

Germany: September 1944
After a relatively long wargaming break, the Hell's Highway article in the last TFL Summer Special worked miracles, waking my appetite to play this campaign with IABSM, the WWII company-sized rules of the TooFatLardies factory. An email exchange with my pal Alex at Club Dragón on Thursday and we were set to do some warming up exercises with a small encounter scenario, taking place in Germany in September 1944, before attacking the campaign.
US forces have broken the Siegfried Line and penetrated West Prussia in the Eschweiler-Weisweiler area; all German available forces are sent to try stopping the gap. The German commander Werth and mission is to maintain control of two small villages (Werth and Scherpeensel) with a hastily collected group of infantry forces supported by some armour and AT guns operating in the area. The US commander must take control of the village of Werth and exit through the north road. The attacking forces include two tank platoons and two mechanised infantry platoons supported by artillery and planes (full OOBs included at the end of this post).

Map, initial deployment and general direction of attack
As the German player, I placed two infantry sections, the ATG and the FOO (120mm mortar battery) at Werth, the HQ section (including a HMG section), two infantry sections and two Panthers at Scherpenseel and the two remaining infantry sections entering the road north of Werth acting as a reserve for deployment depending on the US axis of attack.

Game Table: View from North
I placed two dummy blinds or recon patrols (marked with "D" in the map), one in the forest west of Werth to serve as an advanced spotting point; and the other in the northernmost forest covering my left flank in the hope that the US player thought it was the Panzer detachment. The US deployed the infantry in the centre and the two tank platoons in each flank, launching a frontal assault on Werth with one of the the infantry platoons almost immediately. My dummy blind and the forces at Werth quickly spotted the US units and after a couple of turns were all out of blinds and deployed on the table.

Pak 40 in action!
With the Shermans and the M3s now approaching the outskirts of Werth, it was time for the German Pak 40 to start firing at close range, destroying one of the halftracks and causing some damage to the US command AFV, before getting itself a target of the American firepower. In the meantime, the other US tank platoon advanced under the cover of the hill south of Werth. My two Panthers patiently waited for the Shermans to decrest the hill before unveiling their position and taking advantage of the higher firepower of their 88mm gun.
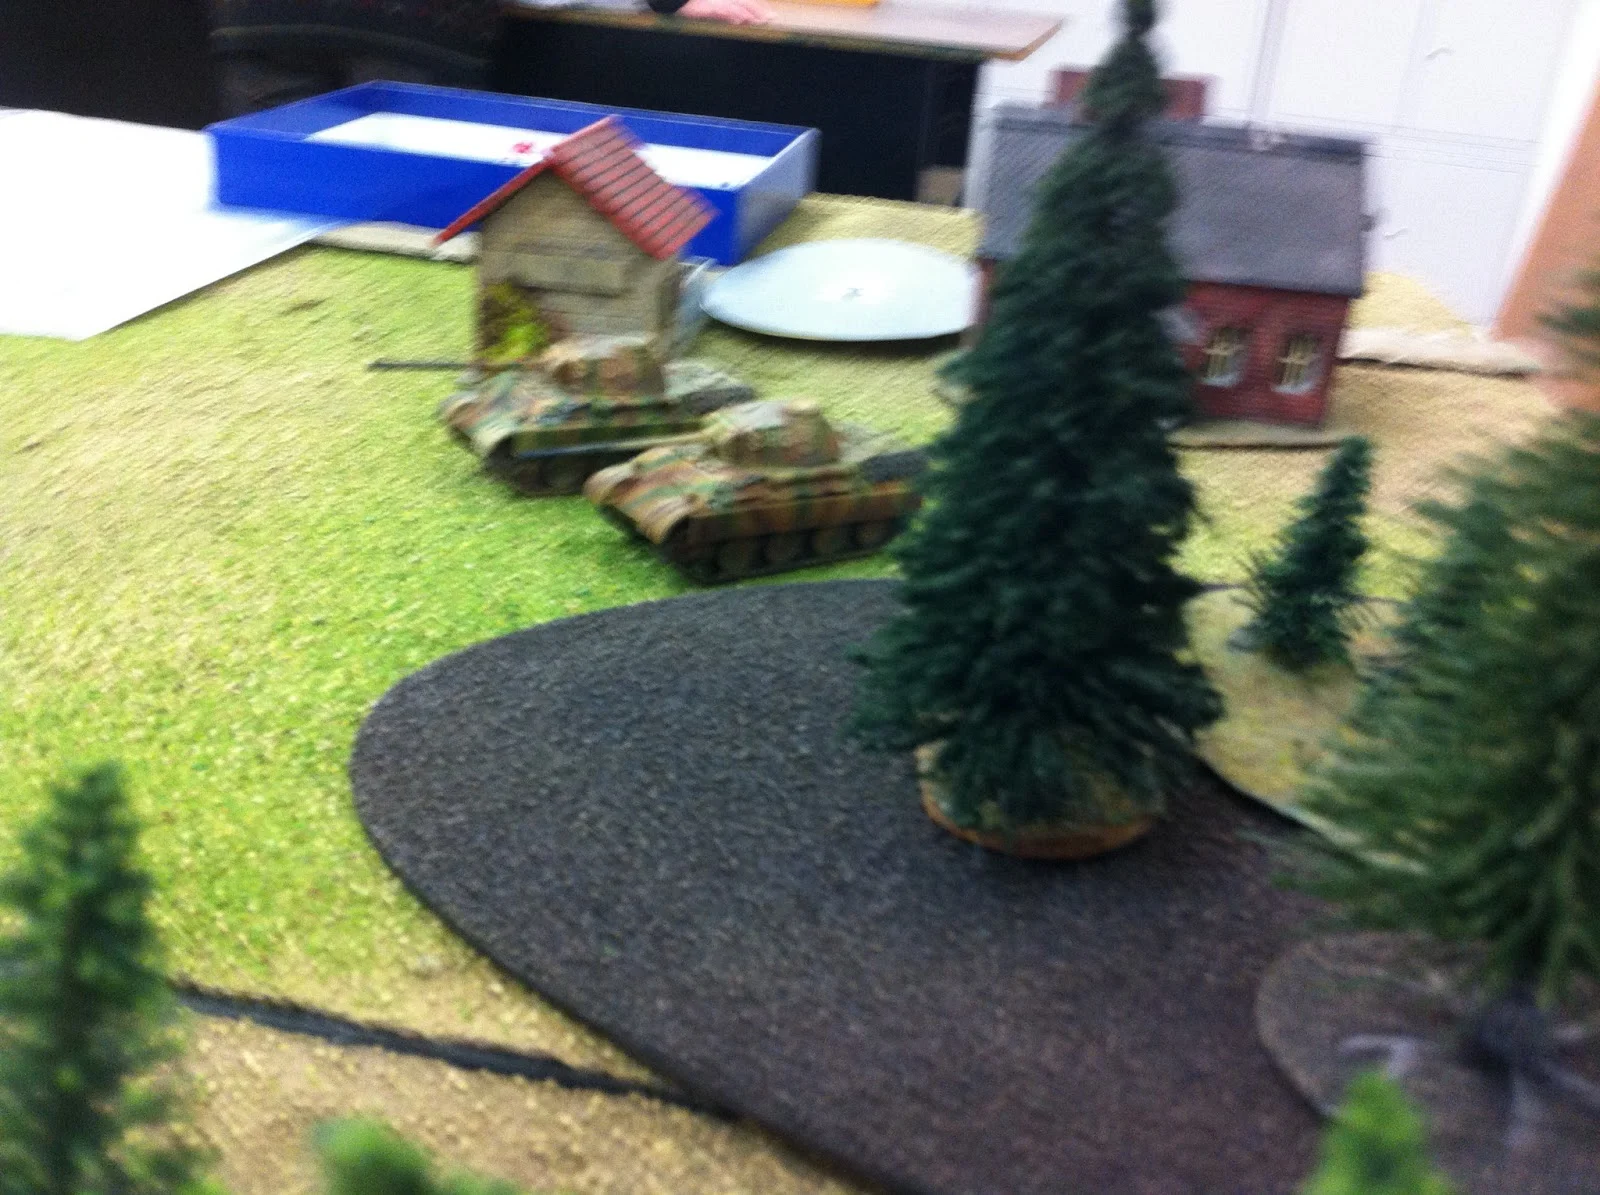
Panthers in Hunting Mode
The US player ordered their tanks to stop on the top of the hill and for the remainder of the game it saw an exchange of long range volleys between the two forces. As expected the Panthers prevailed, but not before one of the tanks being seriously shocked and the crew losing control and abandoning the vehicle

The "Ronson" Effect
In the meantime, the fight at Werth escalated in ferocity. The German ATG was finally destroyed and the infantry losses amounted, reducing the sections in the fornt line houses to half size. But when the Americans were to launch their final assault, the German FOO called the mortars and a very accurate and deadly round of shells fell over the mechanised infantry platoon, destroying all four halftracks and putting out of action the rifle sections

US Infantry Detrained
The raid of the second tank platoon towards Scherpenseel bogged down in the outskirts of the village, as they were no match for the two infantry sections armed with Panzerfausts, two HMGs and the remaining Panther defending the area. The other US infantry unit struggled to decide between supporting the tanks or taking the lead in attack to Werth (still defended by another two German infantry sections in good order)

Final Stages of the Battle
At this stage it was clear that there were not enough forces to take the objectives and the US player conceded defeat. Excellent game but I must recognise (as the German player) to be extremely lucky with the arrival of the mortar barrage in a very critical phase of the game. We both agree that it was somwhat unbalanced in favour of the Americans and probably it would work best with one mechanised and one motorised (trucks) infantry platoons. The firepower of the ten 0.3 and 0.5 MGs was too strong and the Germans did not have enough support long-range firing assets to offset the Americans'.
Benito
US OOB
COMBAT COMMAND B, 3rd ARMOURED DIVISION
Company HQ
- BM 1: Captain Seb Springfield (Level III)
- 2 x M4 Sherman
1st Tank Platoon
- BM 2: Lieutenant M. Memphis (Level II)
- 1 x M4 Sherman 76mm
- 2 x M4 Sherman
2nd Tank Platoon
- BM 3: Lieutenant Tim Tulsa (Level II)
- 1 x M4 Sherman 76mm
- 2 x M4 Sherman
1st Armoured Rifle Platoon
- BM 4: Lieutenant P. Portland (Level II)
- 2 x Rifle Squad (10 men each)
- 1 x LMG Squad (2 LMG with 3 crew each)
- 1 x 60mm Mortar Team (3 crew)
- 2 x M3A1 Halftrack with 0.50cal HMG
- 3 x M3A1 Halftrack with MMG
2nd Armoured Rifle Platoon
- BM 5: Lieutenant C. Charleston (Level II)
- 2 x Rifle Squad (10 men each)
- 1 x LMG Squad (2 LMG with 3 crew each)
- 1 x 60mm Mortar Team (3 crew)
- 2 x M3A1 Halftrack with 0.50cal HMG
- 3 x M3A1 Halftrack with MMG
Off-Table Artillery
You may call upon Three fire missions from four M7 Priests (105mm guns)
Air Support
Roll D6, appears on a 5 or 6: fighters with rockets
Other
The US player will have one blind for each platoon plus two dummy blinds
Victory conditions: take Werth and exit the table through north edge
GERMAN OOB
48/REG 12/ INF DIVISION
(in Scherpenseel)
Company HQ
- BM1 Feldwebel Richard Zweigler (Lvl IV)
- 2 x MG42 tripod-mounted MMG (5 crew each)
I/48 REG. Zug One
- BM2 Hauptfeldwebel W. Warsteiner (Level II)
- 2 x Rifle Gruppe (8 men each)
- 2 x Panzerfaust 60 (one per Gruppe)
II/48 REG. Zug Two
- BM3 Feldwebel G. Gevultzstraminer (Level II)
- 2 x Rifle Gruppe (8 men each)
- 2 x Panzerfaust 60 (one per Gruppe)
II/89 REG. PZ. GRENADIER
(in Werth)
Zug Three
- BM4 Stabsfeldwebel A. Asbach-Uralt (Level II)
- 2 x Rifle Gruppe (8 men each)
- Pak 40 (5 Crew) + 10t Tractor.
- Mortar Section FOO: two off-table 120mm Mortars
I/33 Pz.Reg.
(deployed anywhere north of the dotted line)
- BM5 Feldwebel Richard Zweigler (Level III)
- 2 x Panther D
The German player will have one blind for each platoon plus two dummy blinds
Victory conditions: control Werth (major victory) or Scherpenseel (minor victory) by the end of the game
GERMAN OOB
48/REG 12/ INF DIVISION (in Scherpenseel)
Company HQ
BM1 Feldwebel Richard Zweigler (Lvl IV)
2 x MG42 tripod-mounted MMG (5 crew each)
I/48 REG. Zug One
BM2 Hauptfeldwebel W. Warsteiner (Level II)
2 x Rifle Gruppe (8 men each)
2 x Panzerfaust 60 (one per Gruppe)
II/48 REG. Zug Two
BM3 Feldwebel G. Gevultzstraminer (Level II)
2 x Rifle Gruppe (8 men each)
2 x Panzerfaust 60 (one per Gruppe)
II/89 REG. PZ. GRENADIER (in Werth)
Zug Three
BM4 Stabsfeldwebel A. Asbach-Uralt (Level II)
2 x Rifle Gruppe (8 men each)
Pak 40 (5 Crew) + 10t Tractor.
Mortar Section FOO: two off-table 120mm Mortars
I/33 Pz.Reg. (deployed anywhere north of the dotted line)
BM5 Feldwebel Richard Zweigler (Level III)
2 x Panther D
The German player will have one blind for each platoon plus two dummy blinds
Victory conditions: control Werth (major victory) or Scherpenseel (minor victory) by the end of the game