

The afternoon saw Elton and I in charge of an Italian counter-attack on advancing Australians. Elton took charge of a line of defences consisting of two MMGs facing the Australian attack and two dug-in, unable to move M11/39 tanks facing the wrong way; and I took charge of the four L3 tankettes and four M11/39s that would carry out the counterattack itself. Facing us was a company of Australian infantry packed up by a small carrier platoon of two carriers and a captured M11/39.

The Australian Blinds advanced really quickly: the infantry soon hopping over the barbed wire on the right of Elton's MMGs. We were lucky in that one of their carriers got permanently tangled in the wire, but the other carrier and captured tank were only delayed by one turn.
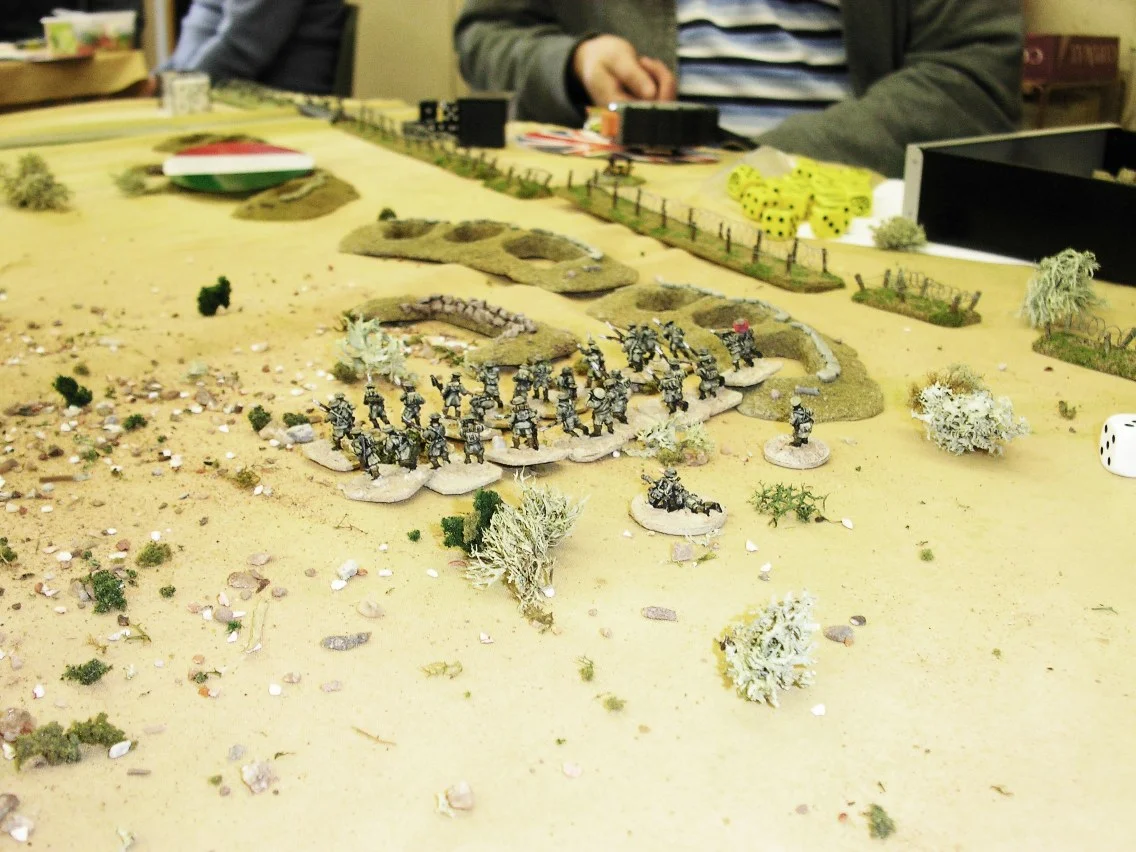
One Australian Blind immediately turned right and charged and overran one of Elton's MMGs with no loss, but then suffered some hefty casualties as it did the same to the other.

The Australians charge in!
Fortunately, this delay had given me time to get our tanks forward, and from a central position on the battlefield, they uncloaked from their Blind and started hammering the Aussie infantry with everything they had.

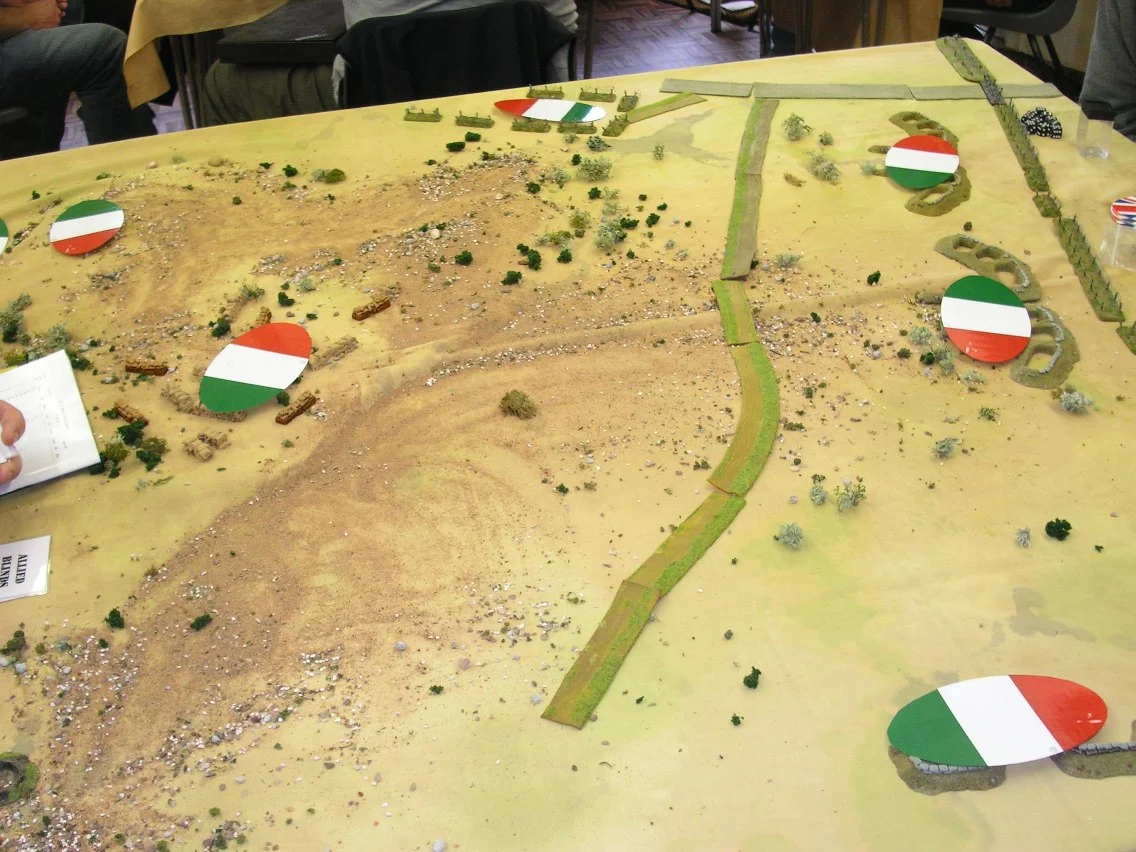
We were positioned in amongst a building site where more trenches were being constructed: a central position, but one that would prove annoyingly difficult to manoeuvre about.
Meanwhile the Aussie infantry seemed to be ignoring both our tanks and their casualties, content to move around the edge of the board seemingly heading for the north-west corner. A brief duel between my tanks and the remaining enemy carrier and captured M11/39 ended with the enemy carrier being taken out and the main gun on the captured M11/39 being damaged beyond repair. This victory was somewhat tarnished when the captured M11/39 rammed my lead tank, permanently disabling both.
I now, however, had seven tanks left, and only a few Boys ATRs against me, so went on a bit of a spree against the remaining Australian infantry that was still moving around the outside of the table. The Australians needed to do something, so left one Blind in transit, whilst their remaining infantry charged my tanks!
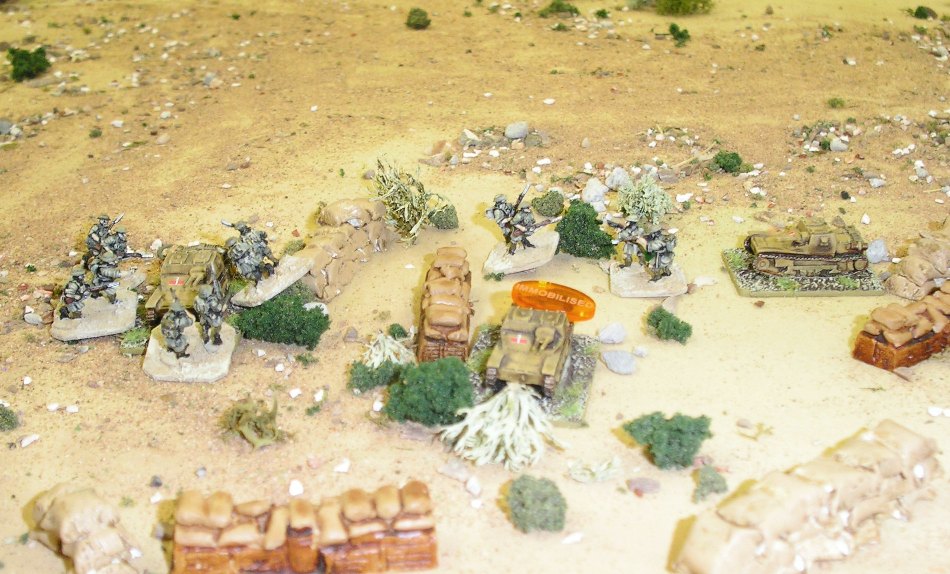
A fierce melee developed, with me quickly losing a couple of L3s, but co-operative fire meant that the Australians were still taking heavy casualties. Things would have gone more my way except for the fact that we were fighting in a building site: my idea about getting cover might have worked against enemy tanks, but not against enemy infantry! At this point, the Aussie Blind left the table behind me and the game ended. Elton and I had lost the two MMGs and two dug-in tanks, plus another two L3s and two M11s. The Australians had effectively lost everything they had except for the single platoon of infantry that had left the table.
The scenario victory conditions were read: the Australians, by leaving the table, had got behind my position so affecting my morale to such an extend that the rest of the Italian line would withdraw. A victory to the Aussies, despite their heavy casualties. Annoyingly...incredibly annoyingly...with the other two afternoon battles both ending up as draws, the Australian victory here have the Commonwealth forces an overall victory on the day!
A great game, however, with fierce and bloody action throughout...and only a few mentions of the fact that I had written the scenario so should have known what the Australian victory conditions were!
Robert Avery