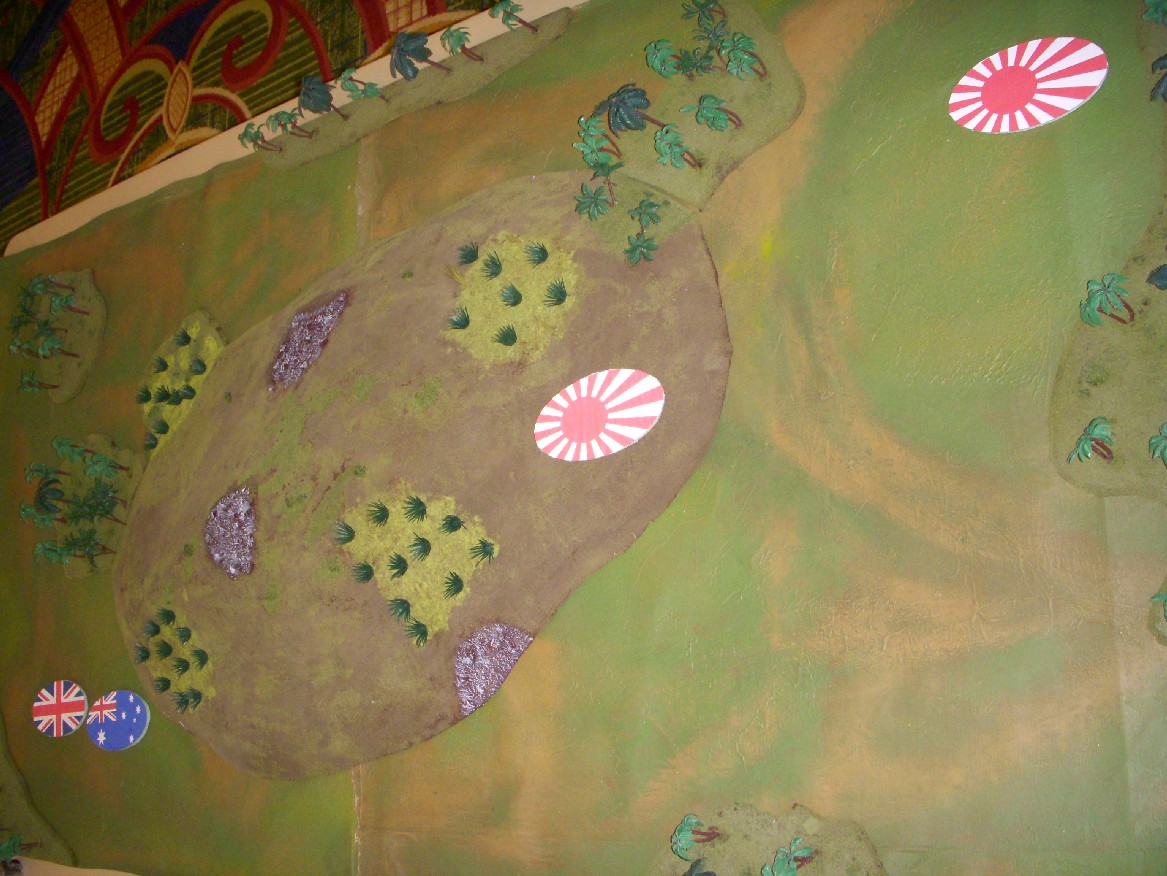
Umpire's Report
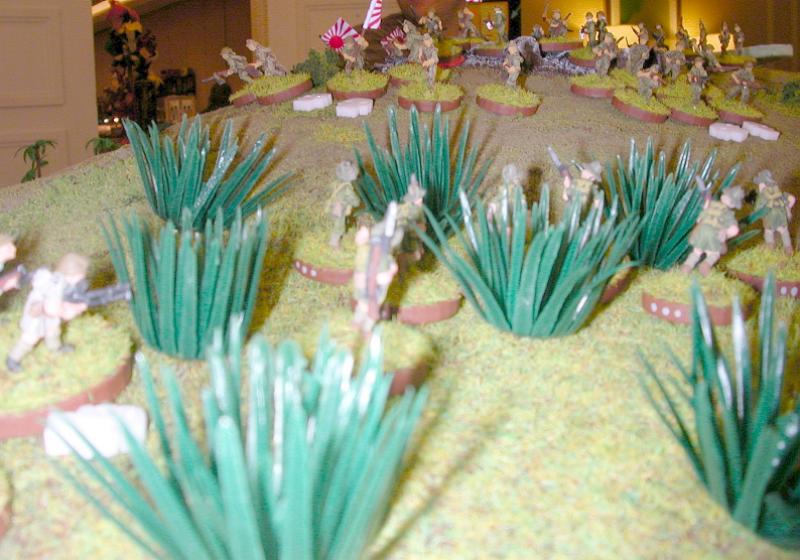
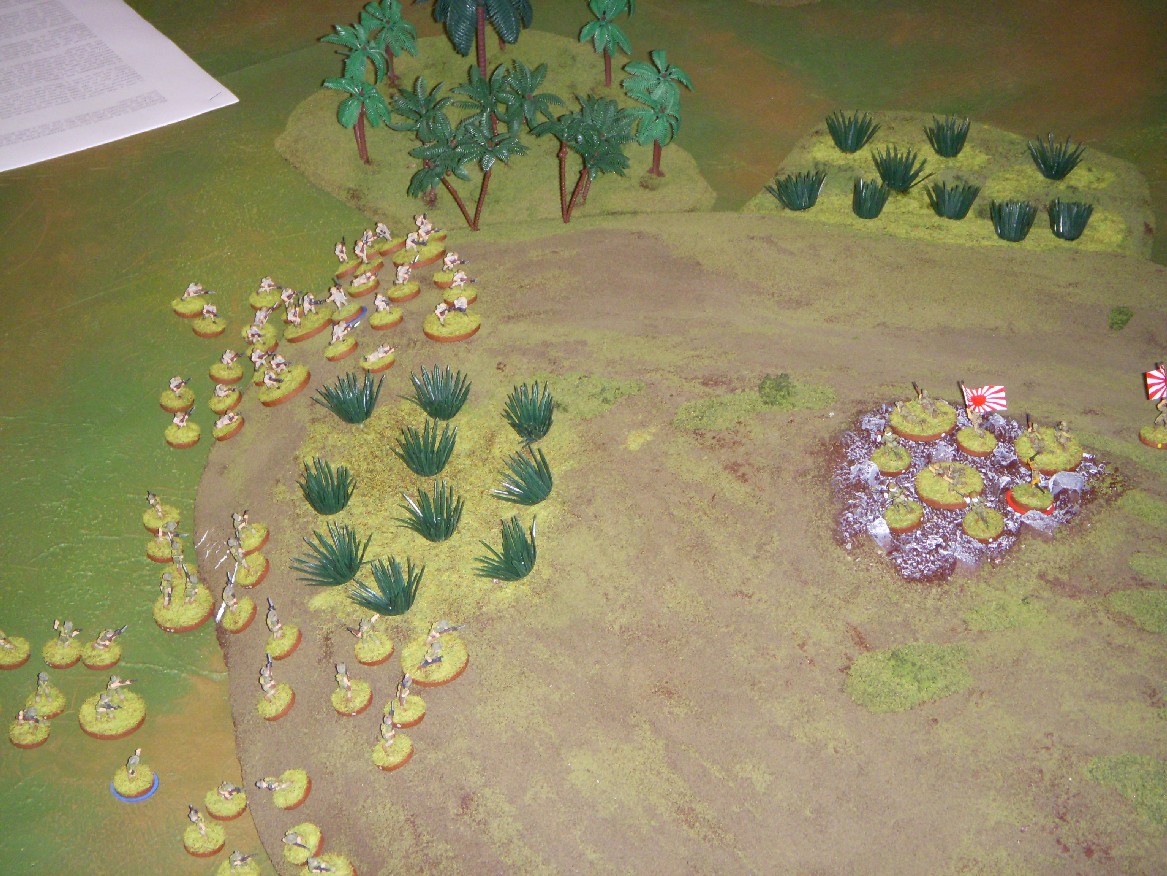
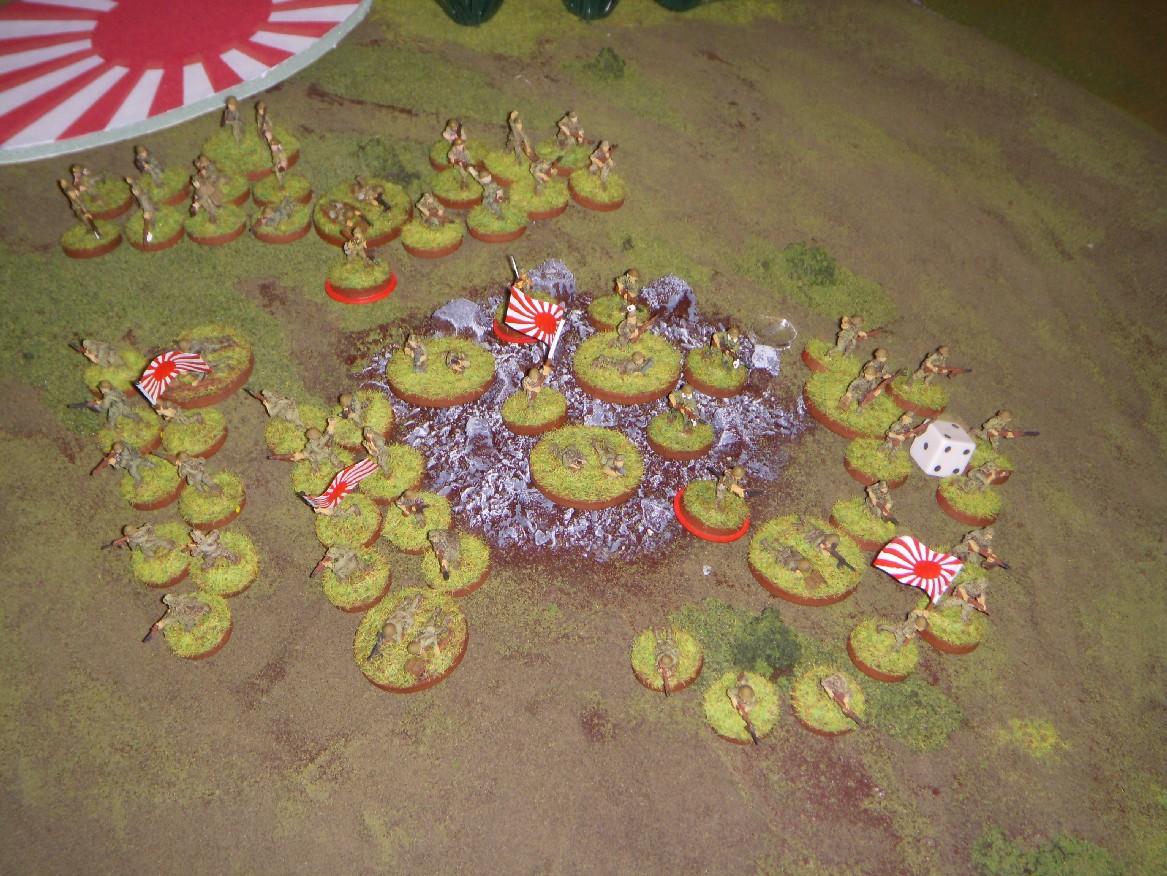
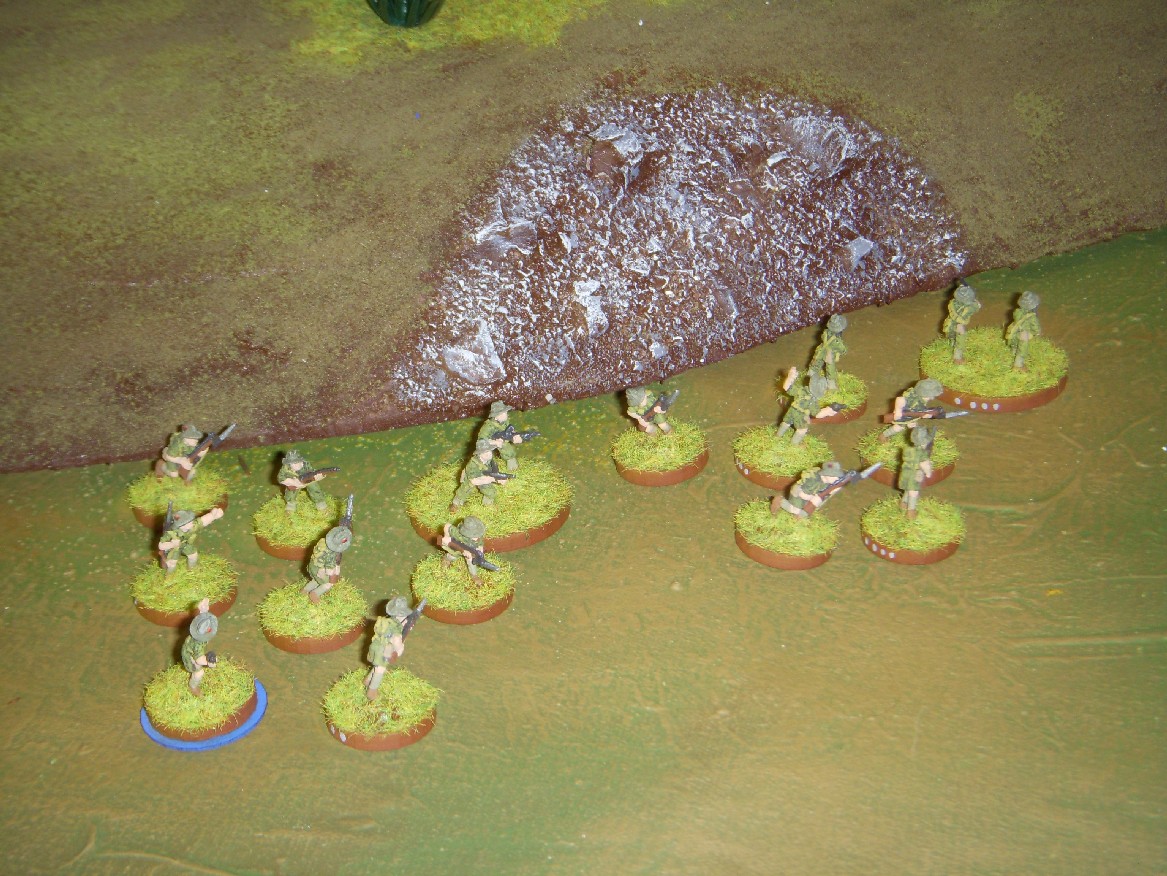
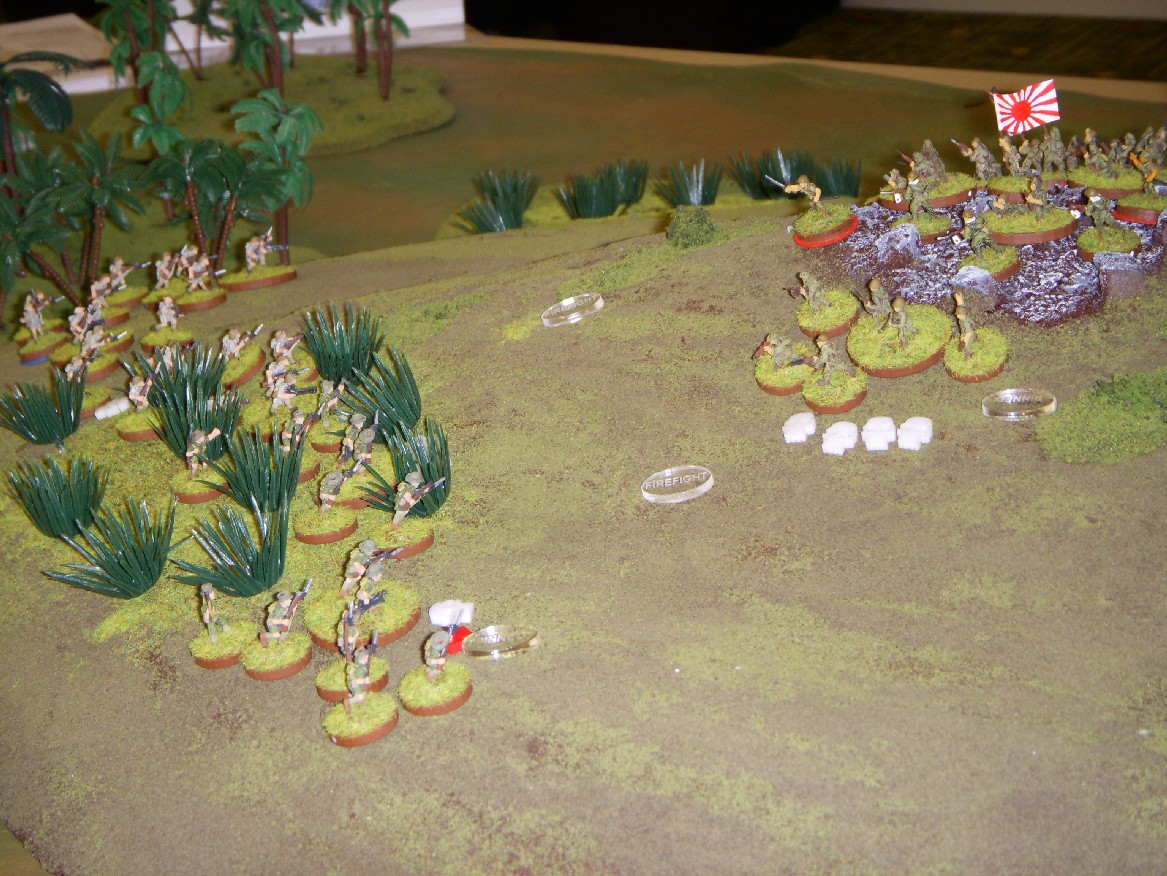
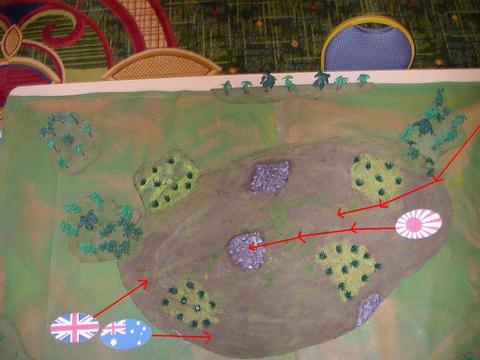
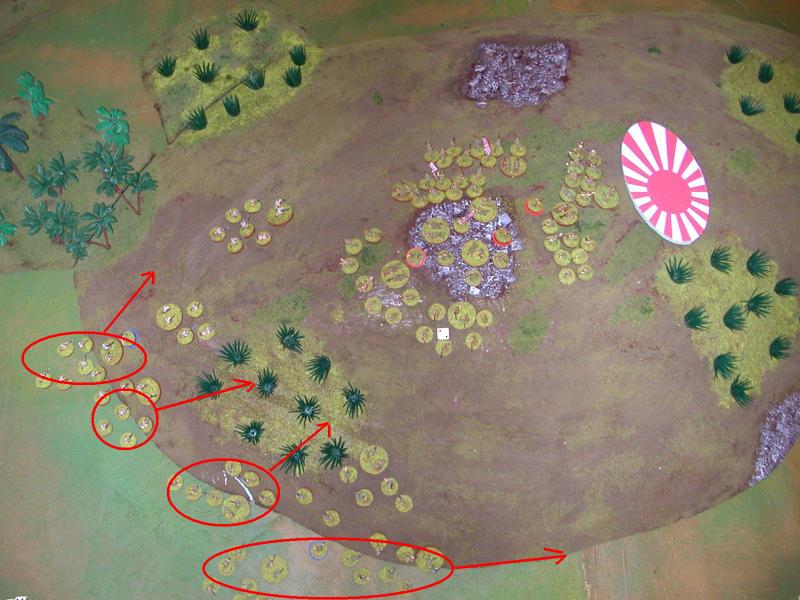
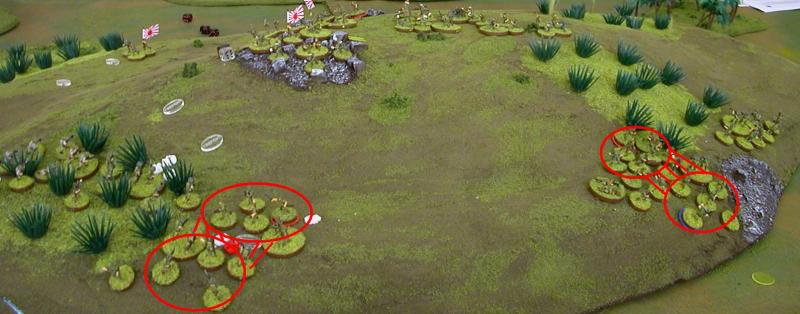
The Japanese moved unmolested from their start positions to occupy the hill before the Commonwealth got a chance to move or deploy. Once the Japs deployed it was an uphill struggle for the Commonwealth to assault the seven sections plus MMG. The Brits used what little cover there was to close before one section mistakenly rushed the hilltop and closed with the Japs. The Brits lost the combat and retreated back down the hill.
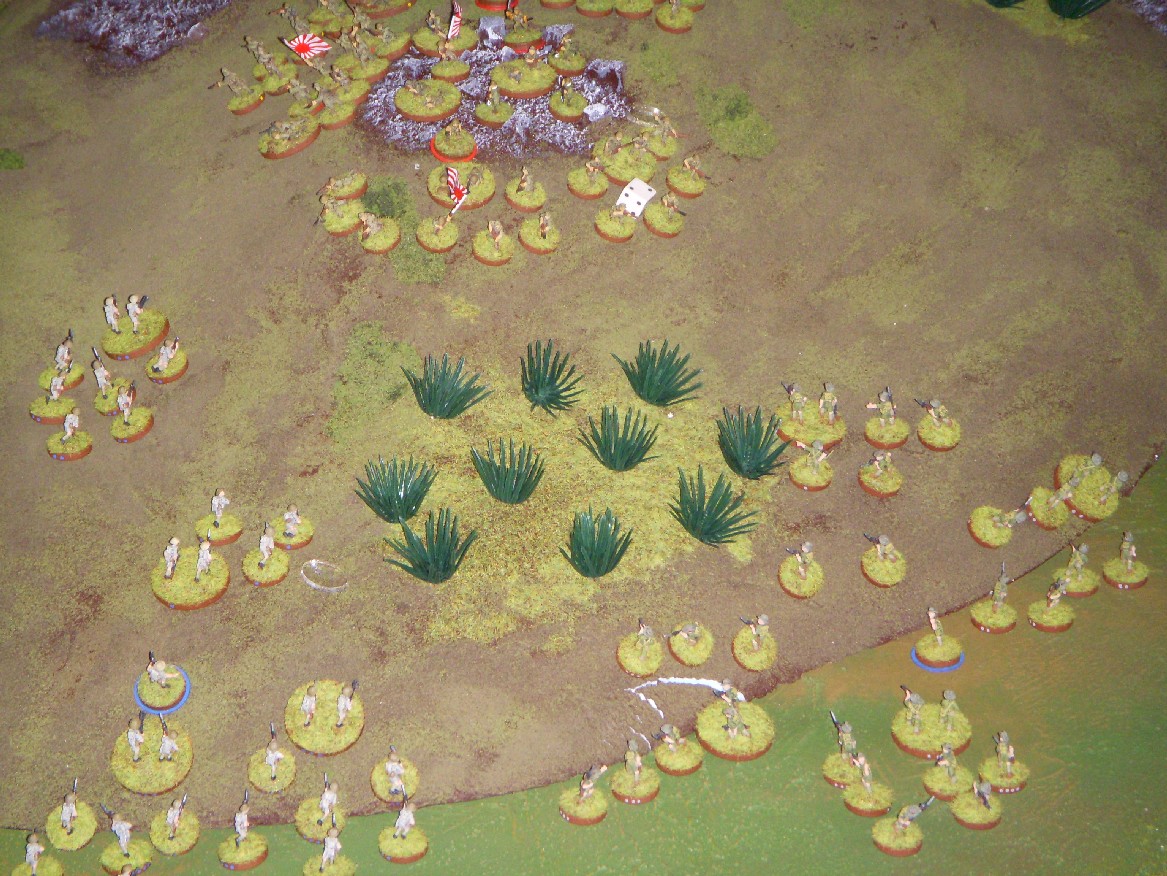
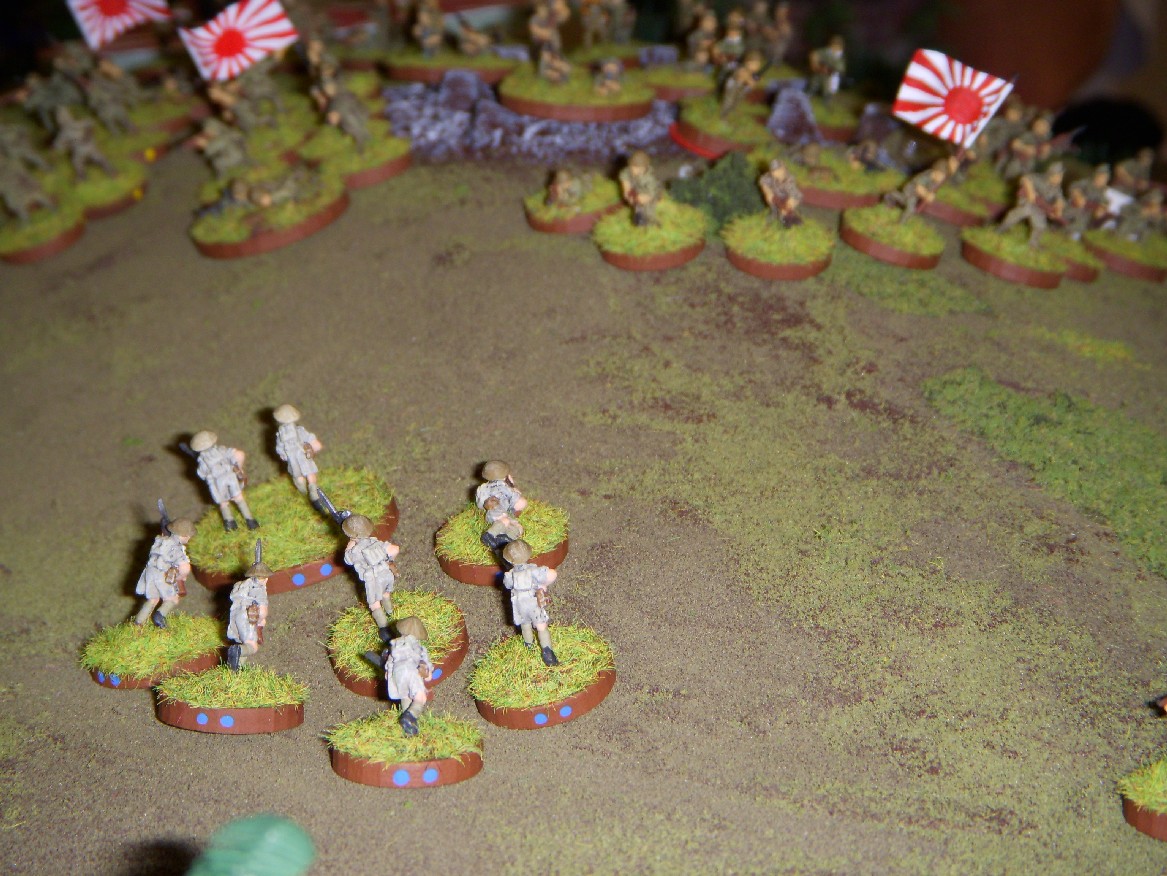
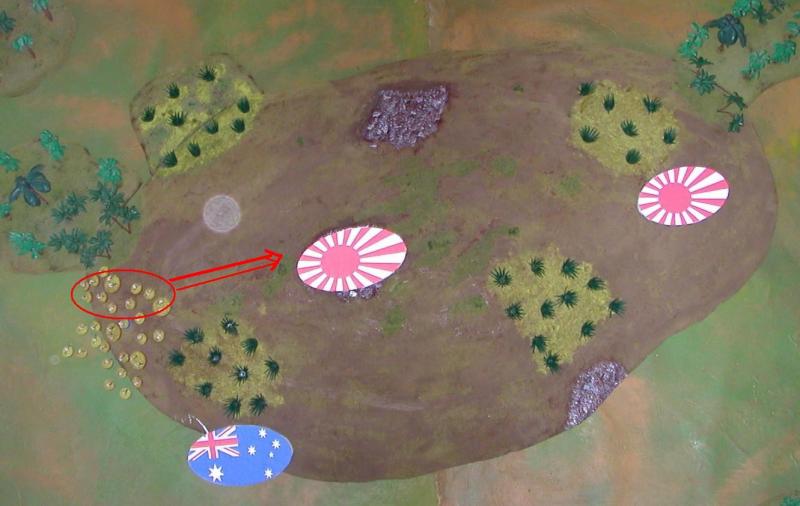
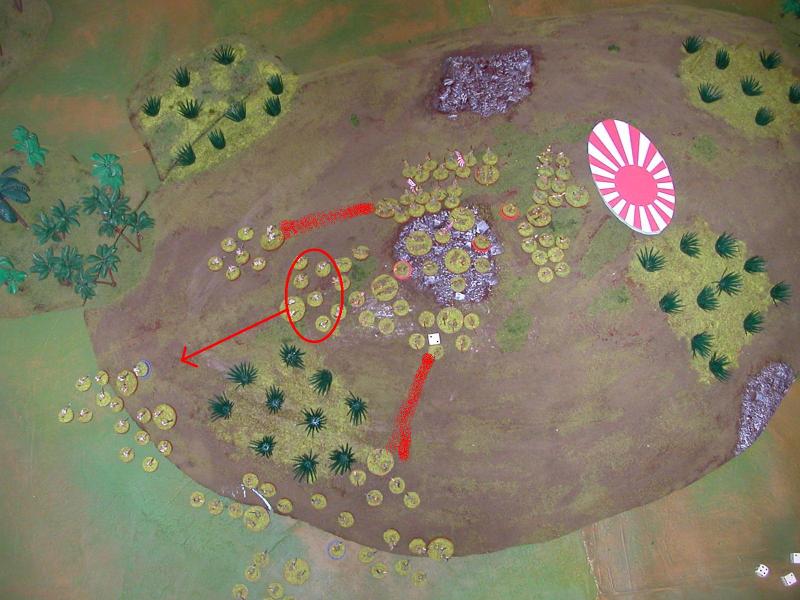
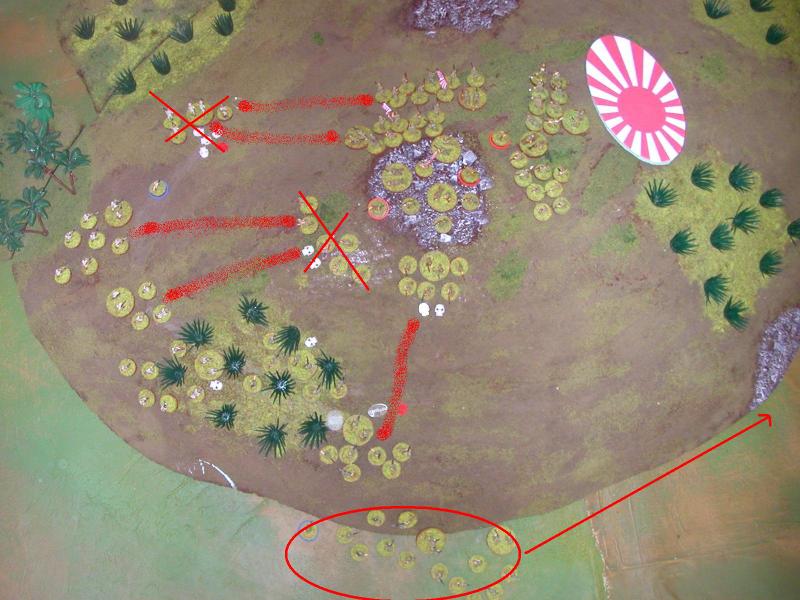
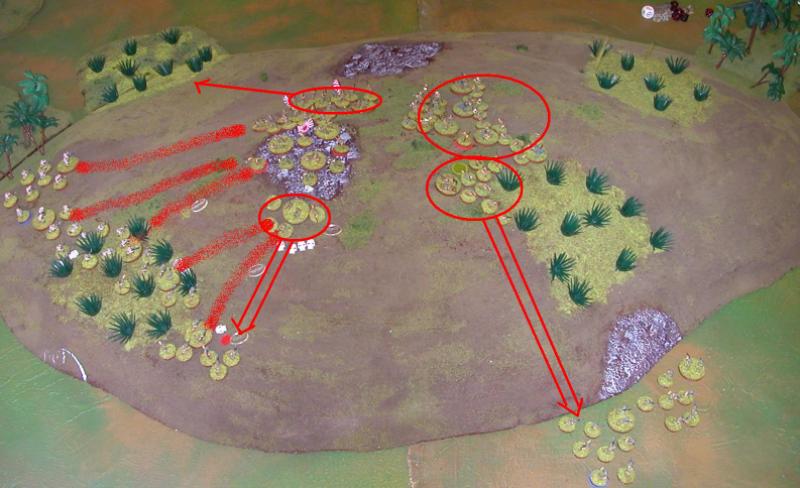
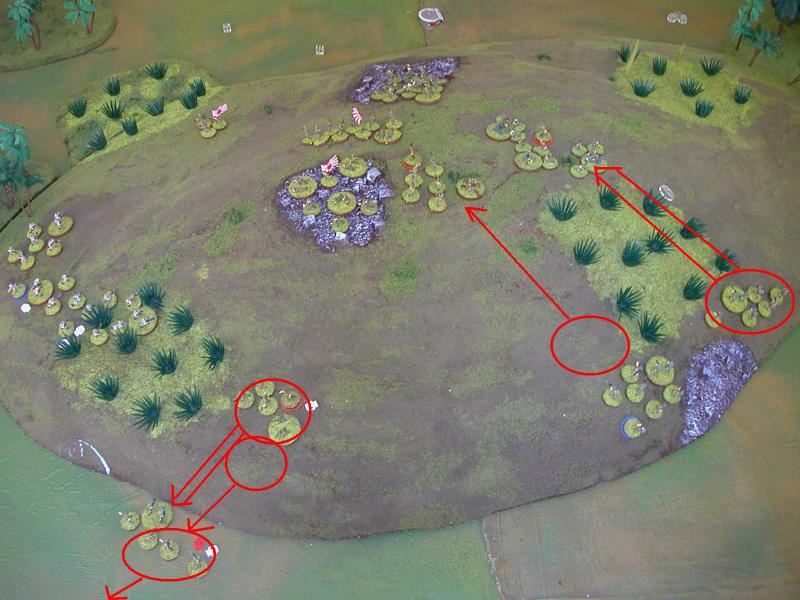
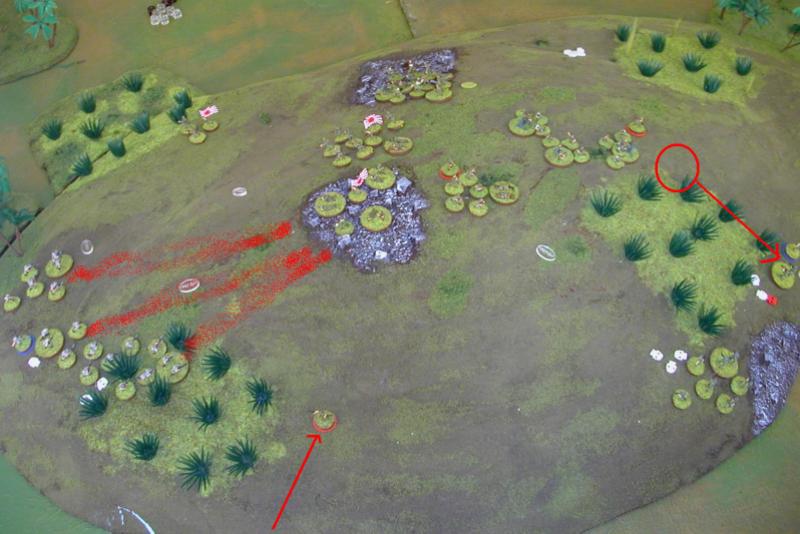
The Aussies sent two sections on a flank march to try and get behind the MMGs while the other two sections got into a fire fight with the 1st Japanese platoon after retreating from a charge up the hill. A Japanese Banzai charge rushed into the weakened Aussie's and after multiple rounds of combat one Banzai charge had just a Jap Big Man and a lone rifleman left. The fire fights were taking a toll on both sides as sections from both sides dissolved. One last desperate Aussie charge against the MMG on the flank took casualties and retreated back into the light cover to regroup. At this point the Commonwealth realized that they didn't have the strength to keep the Japanese from controlling the hill and decided to fall back to Singapore. It was great fun, both the gaming and meeting a few fellow Lardies. I think we're planning to get together again to play a 6MM Game of "Ruddy Picnic"at Nils club in October. We had a few looker's on who'd heard of the rules and a few who stayed to watch for a bit. For our first time out it was a great success.
Tim
Commonwealth Player's Report
The first British section up the hill & was due to my own underestimating the distance & rolling too high on 2d6, which brought the Brits into contact with the Japanese. After getting pretty chewed up, the rest of the Brit sections hung back in the limited terrain & concentrated fire on the lead Japanese elements. This was to allow two Aussie sections to flank & get up the hill before the Japanese MMGs could deploy.
The Brits did get revenge when a Japanese section ran across open ground to patch of cover that could have allowed them to flank the Brits. The Japanese got stuck in the open & due to my uncharacteristically good die rolling, the fresh section of ten men had three standing when the Brits were done with them: seven kills from one roll of the dice!
One of the Commonwealth's other bits of glory was when the Banzai card was turned & the Japanese came down the hill at one of the flanking Aussie sections. Even with about half the number of dice as the Japanese, the Aussies still beat them by two deaths, sending them back up to the top of the hill.
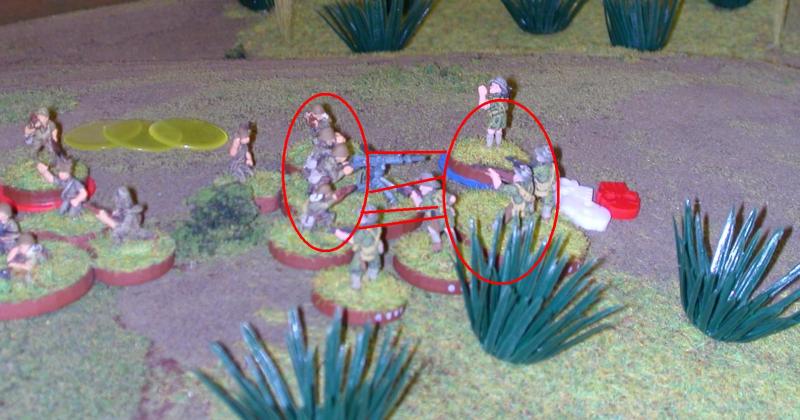
The other flanking Aussie section tried to rush the MMGs, up the hill, but between the wounds caused by the MMGs (the MMG's card had been turned & they had reserved their dice), reduction for dice used for Aussie movement etc, they had no dice to roll for close combat once they got in contact with the MMG crew. And that was even with a d6 Big Man attached.
Overall, it would have been a very tough game for the Brits to win, but the Japanese getting a few unopposed moves at the beginning made it even tougher. But, it was a still a pretty close game.
Black Cavalier
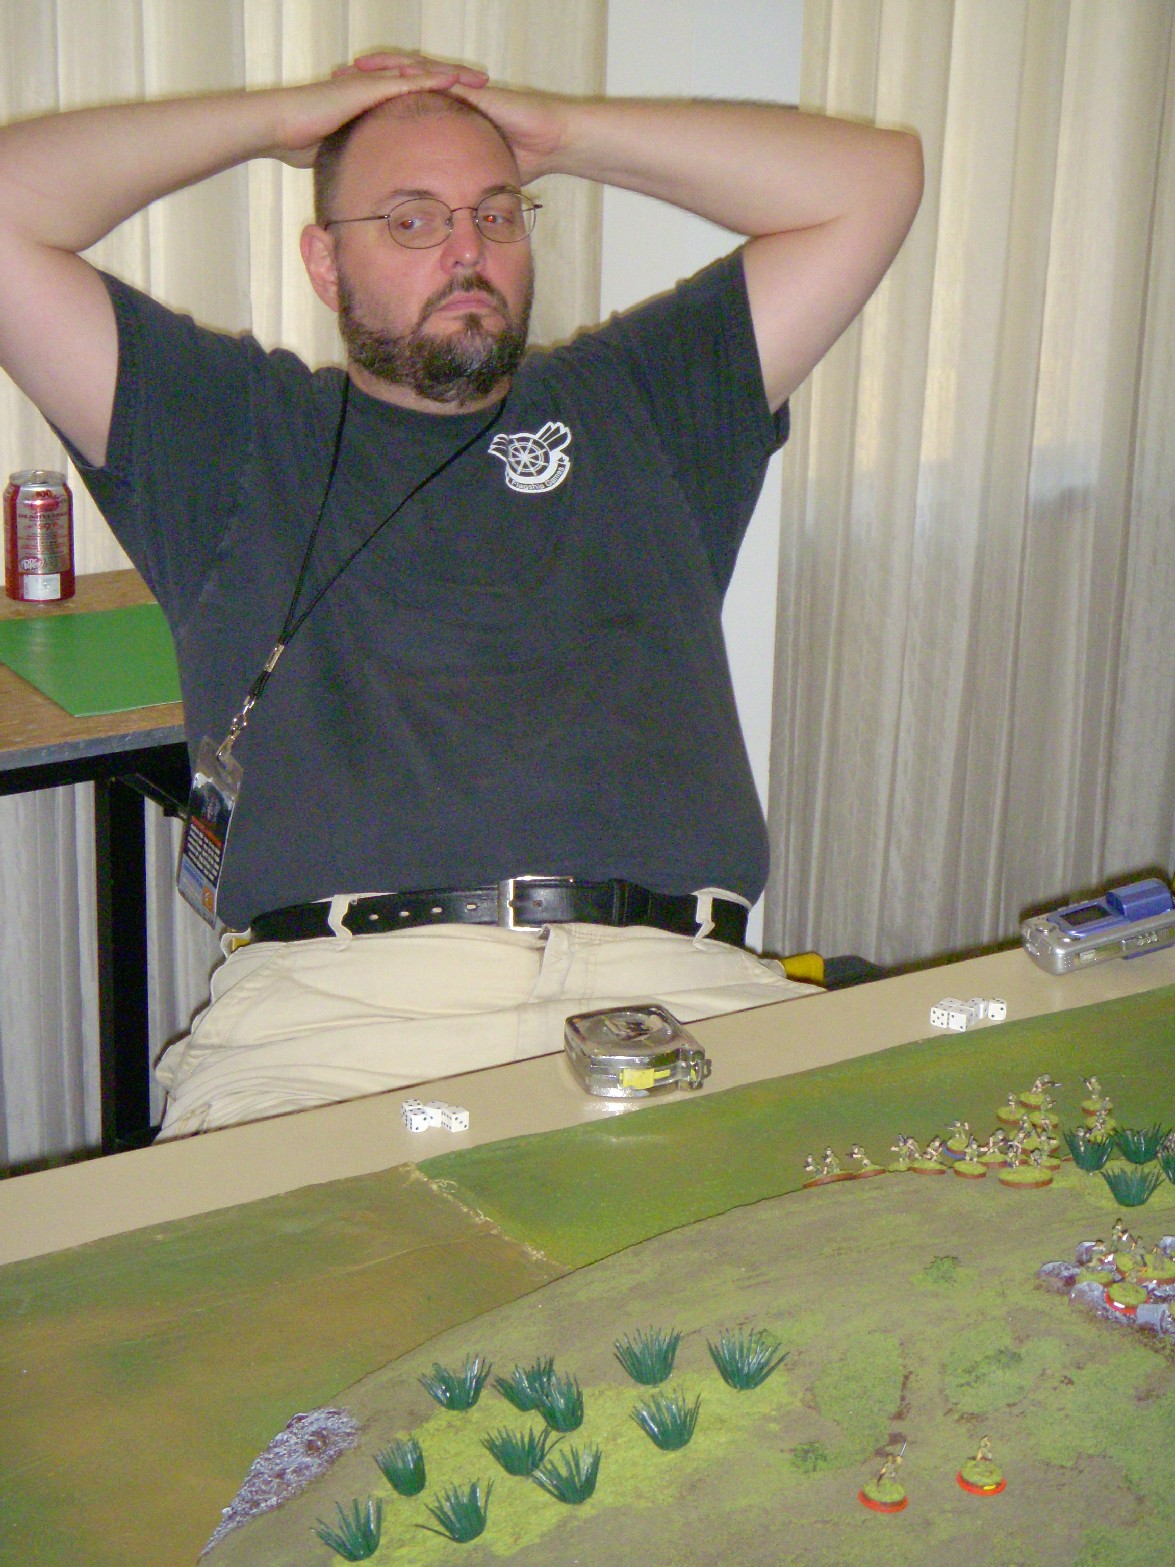
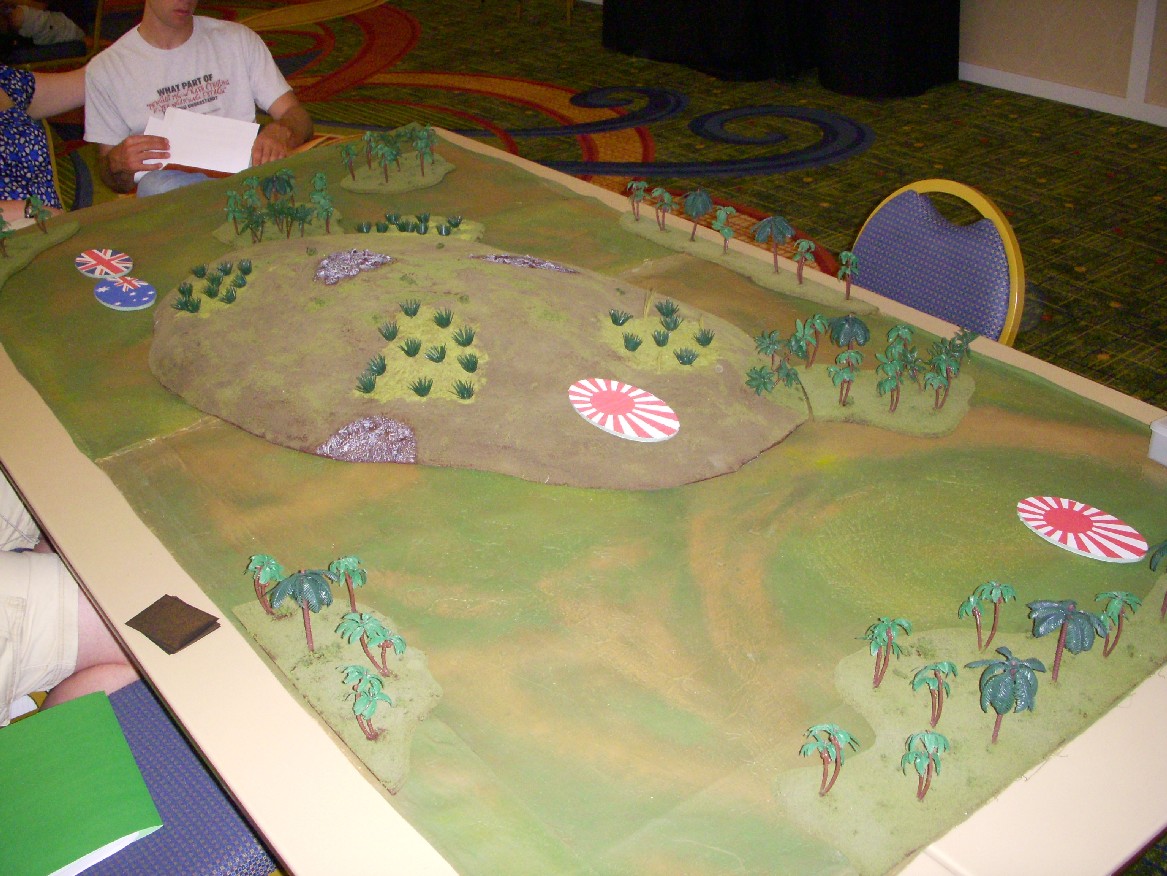
Gallery One: The Story of the Battle in Photos

Gallery Two: Other Photos