

It's always nice to welcome a new player to your favourite set of rules, so I was very pleased to be invited round to new-to-IABSM Paul's house for a game. We had decided to play the fourth scenario from the I Ain't Been Shot, Mum! v3 rulebook "A Canadian VC", with a few modifications to take into account figure availability: the Canadians became US troops, with M10s substituting for Fireflies and Bazookas substituting for PIATs.
The game involves two platoons of Allied infantry supported by two troops of tanks attempting to wrest control of a vital crossroads from three small, battered platoons of German infantry supported by two platoons of tanks: two Panzer IVs in one, and a Tiger and Panther in the other. The US troops would enter the table two Blinds at a time, the Germans would start with a Blind of tanks and a Blind of infantry on-table, but then have to roll to see when their remaining forces appeared.
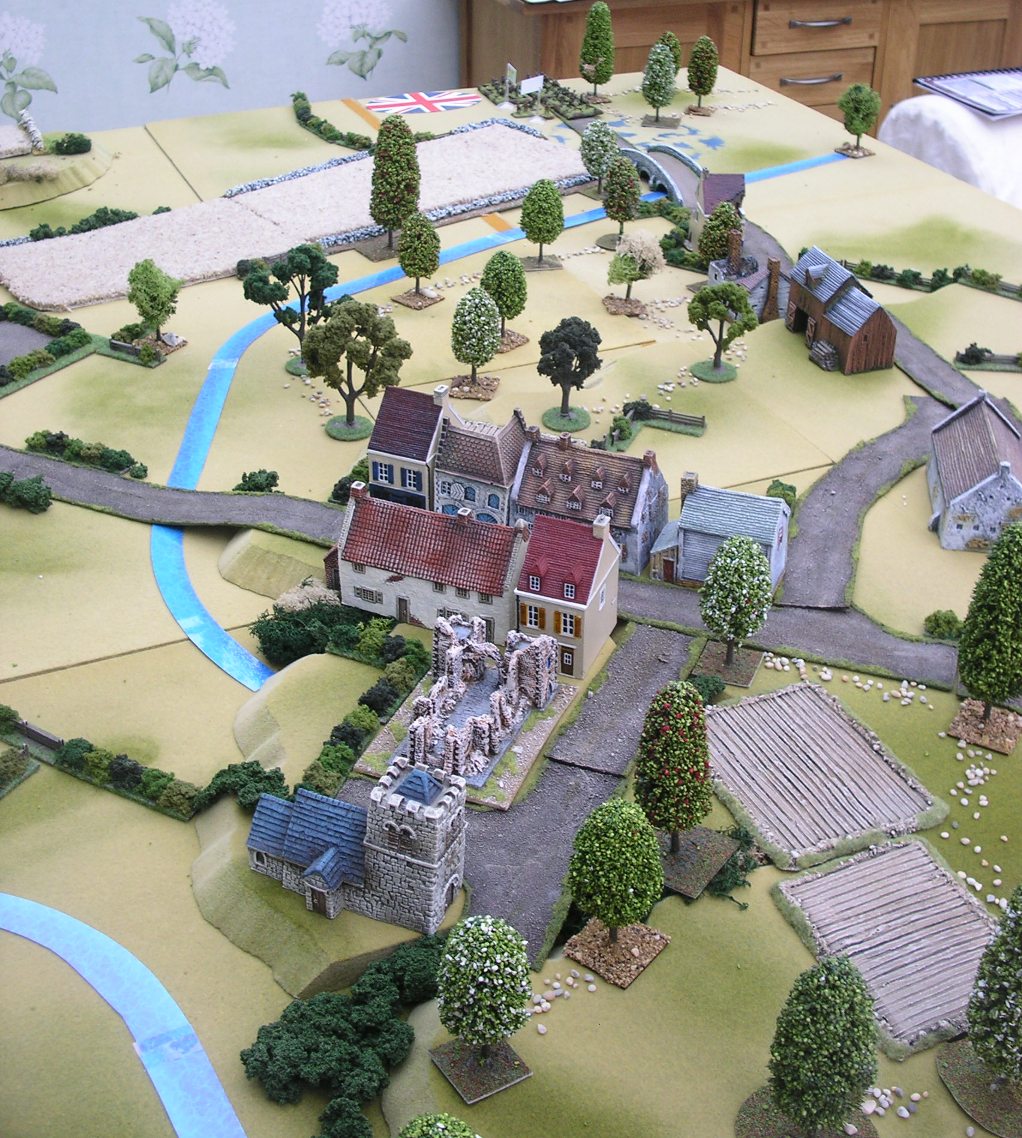
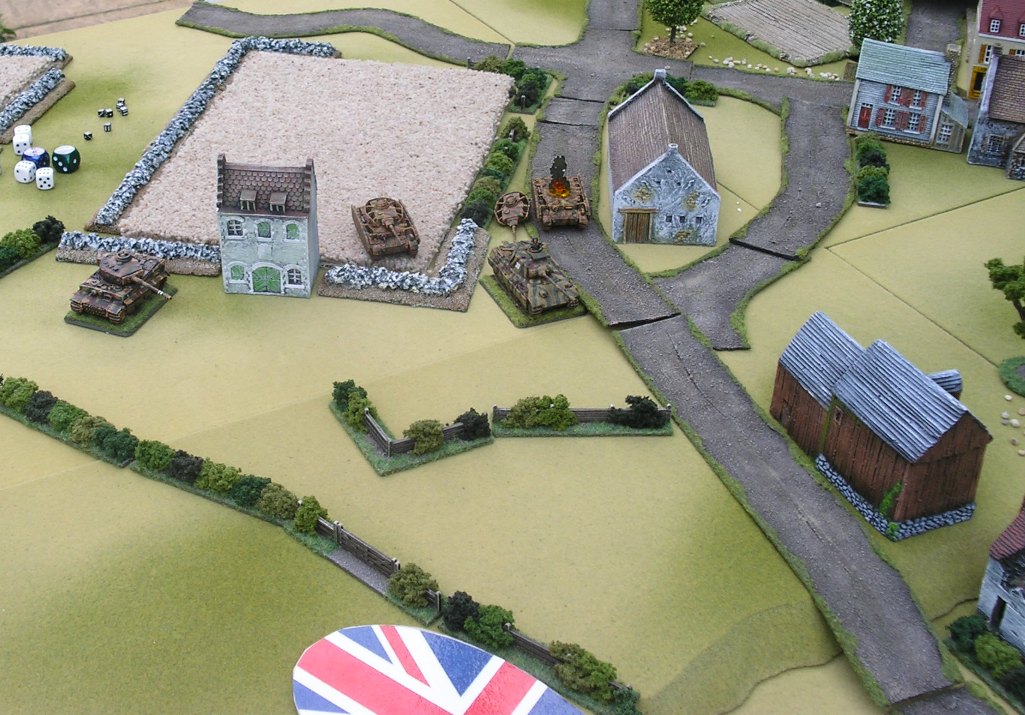
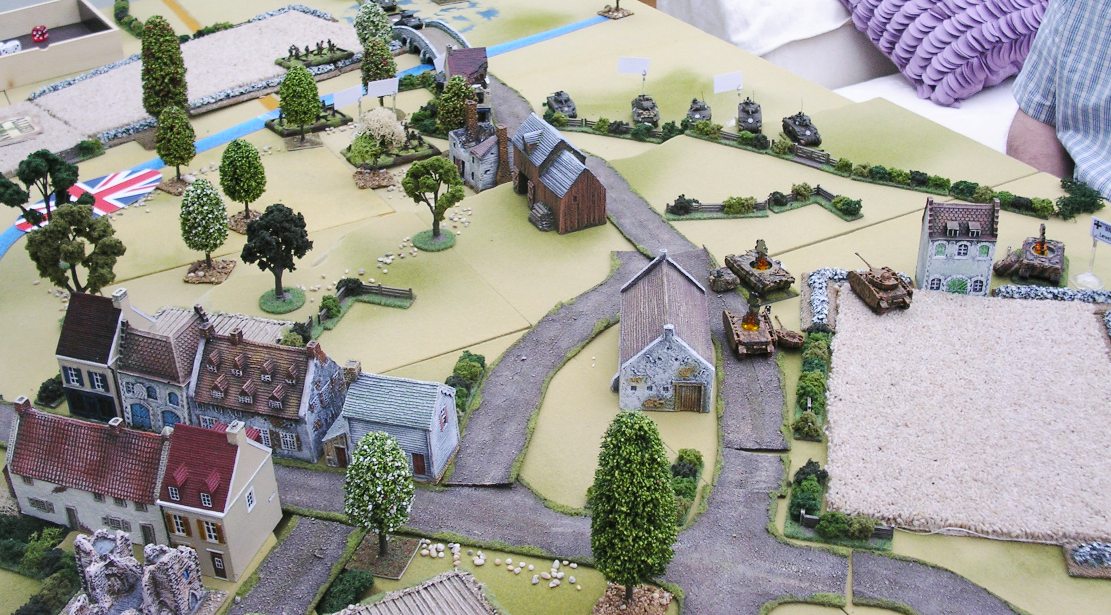
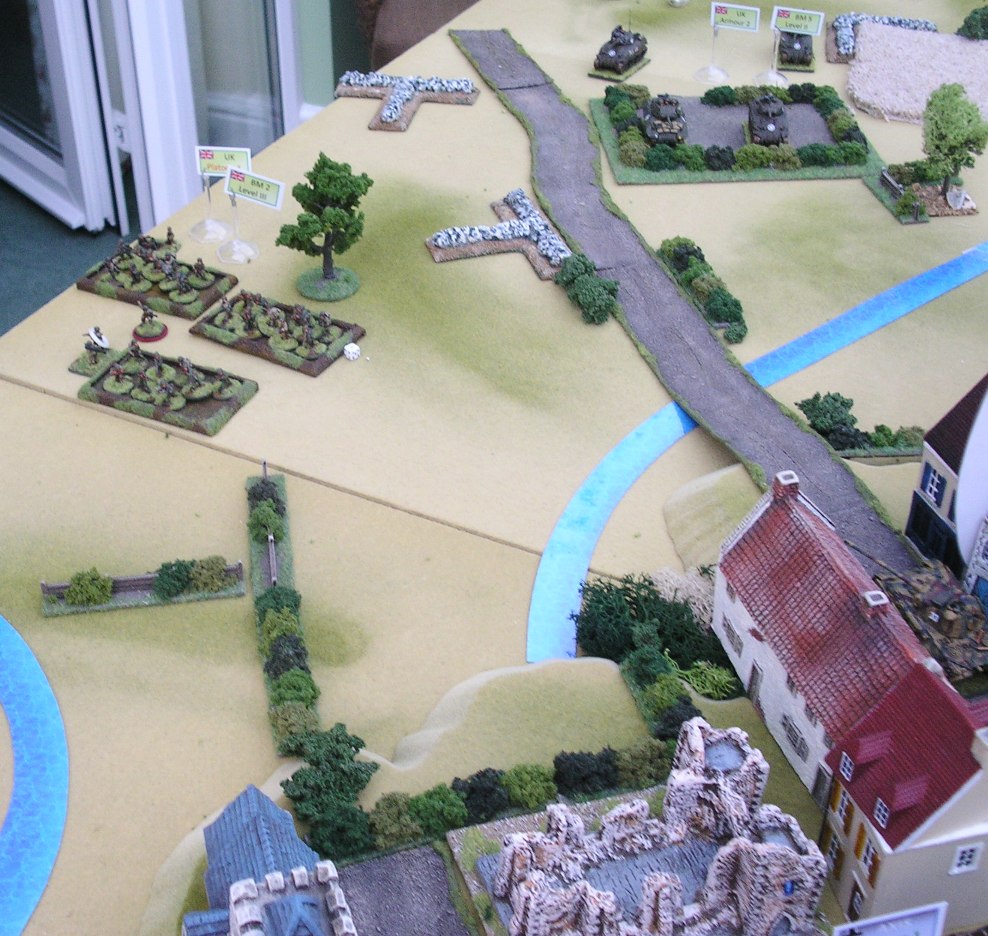
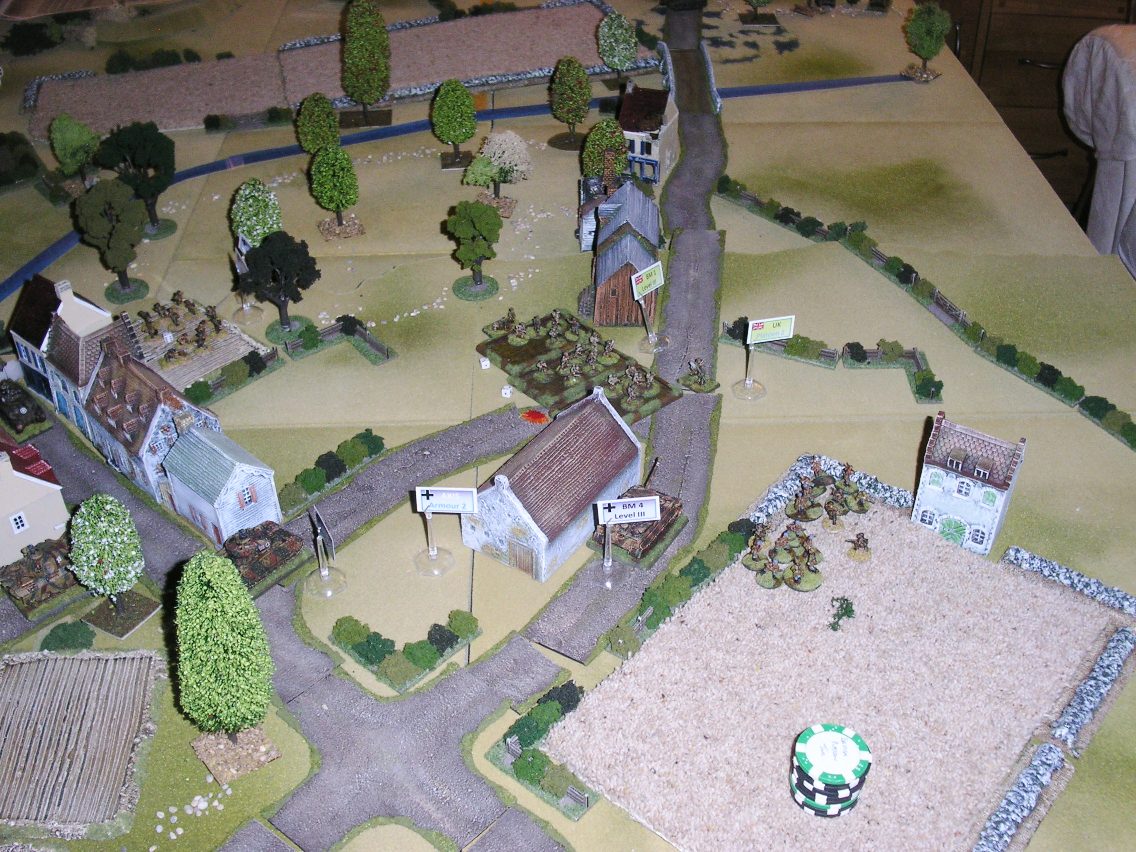
Paul had prepared a beautiful table to play on: the Allied forces are entering from the left, the crossroads that formed the scenario's objective is under the German Blind top right.
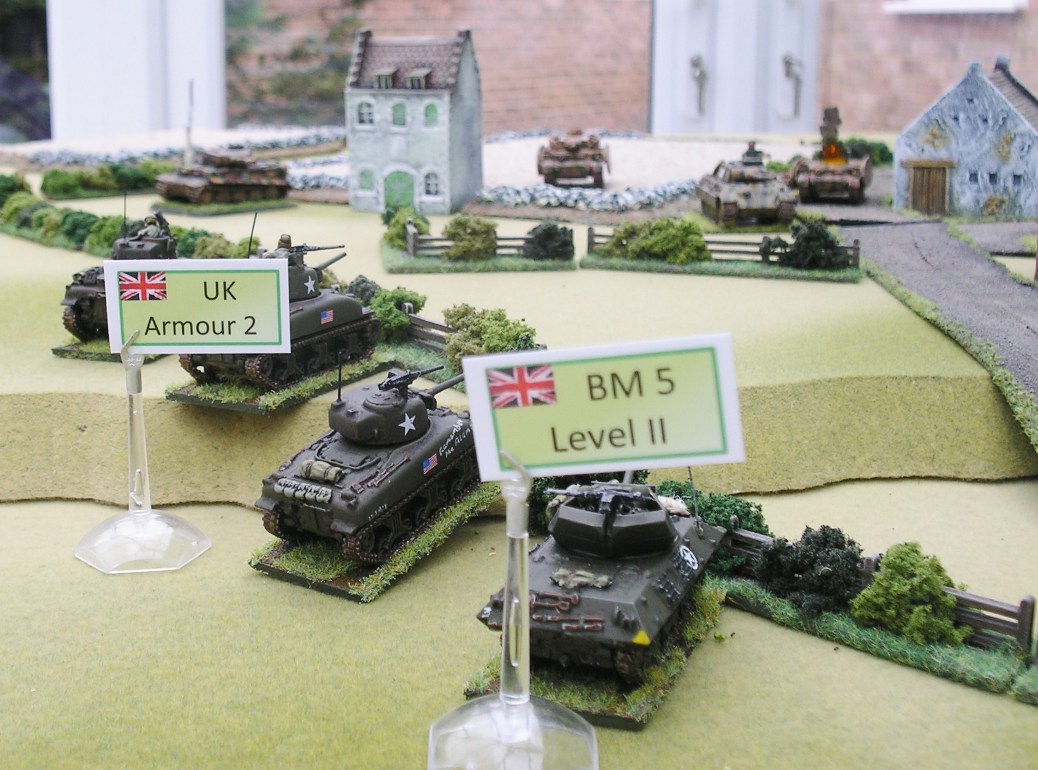
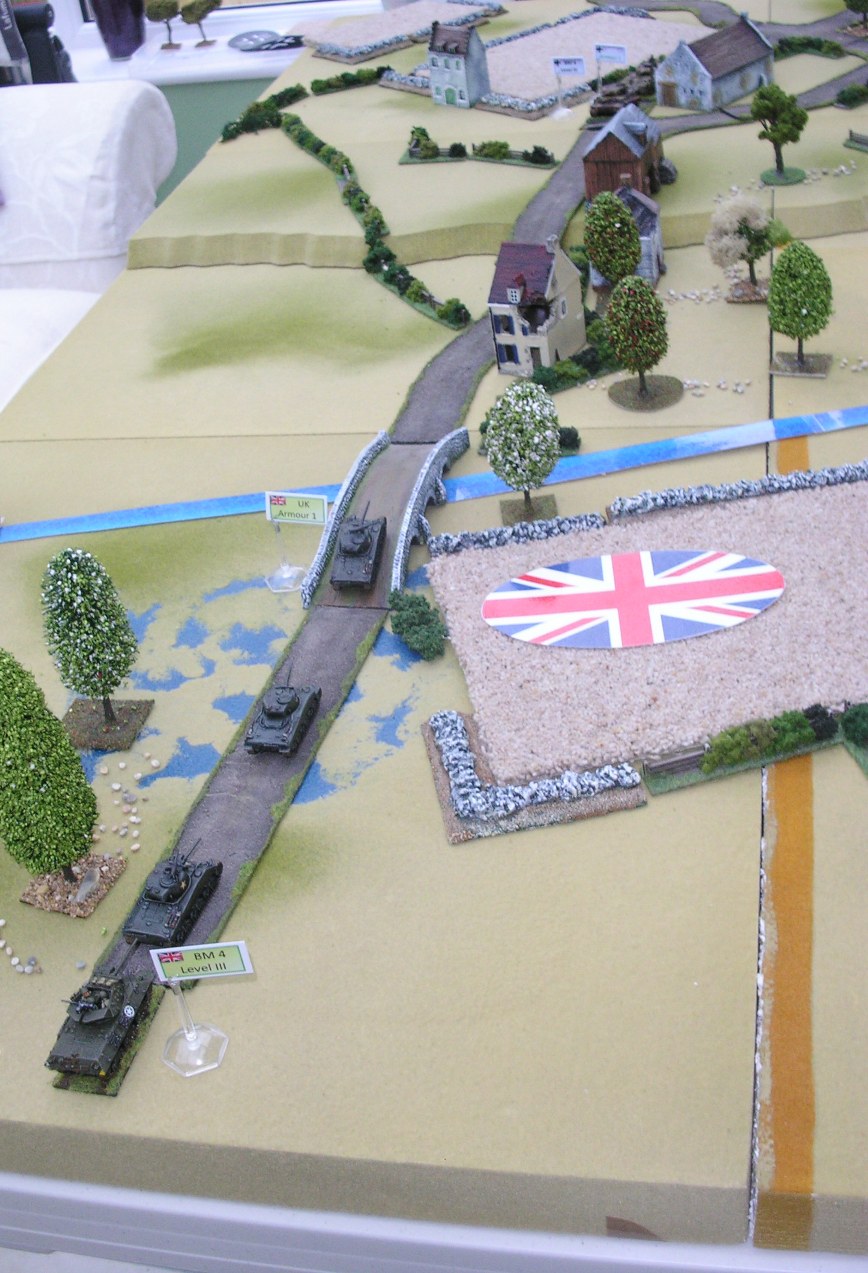
For the first game, Paul elected to play the Germans. Here we can see the situation as the battle begins: two Allied Blinds appear on the edge of the table, quickly followed by two more. Two of these are fairly quickly spotted by the Germans, and revealed as a troops of tanks and a platoon of infantry. The tanks appeared along the main road and began cautiously leapfrogging forward, using every piece of cover they could as the lead tank had spotted two Panzer IVs at the top of the hill in front of them.
Click on the picture below to see the view from the other side of the table:
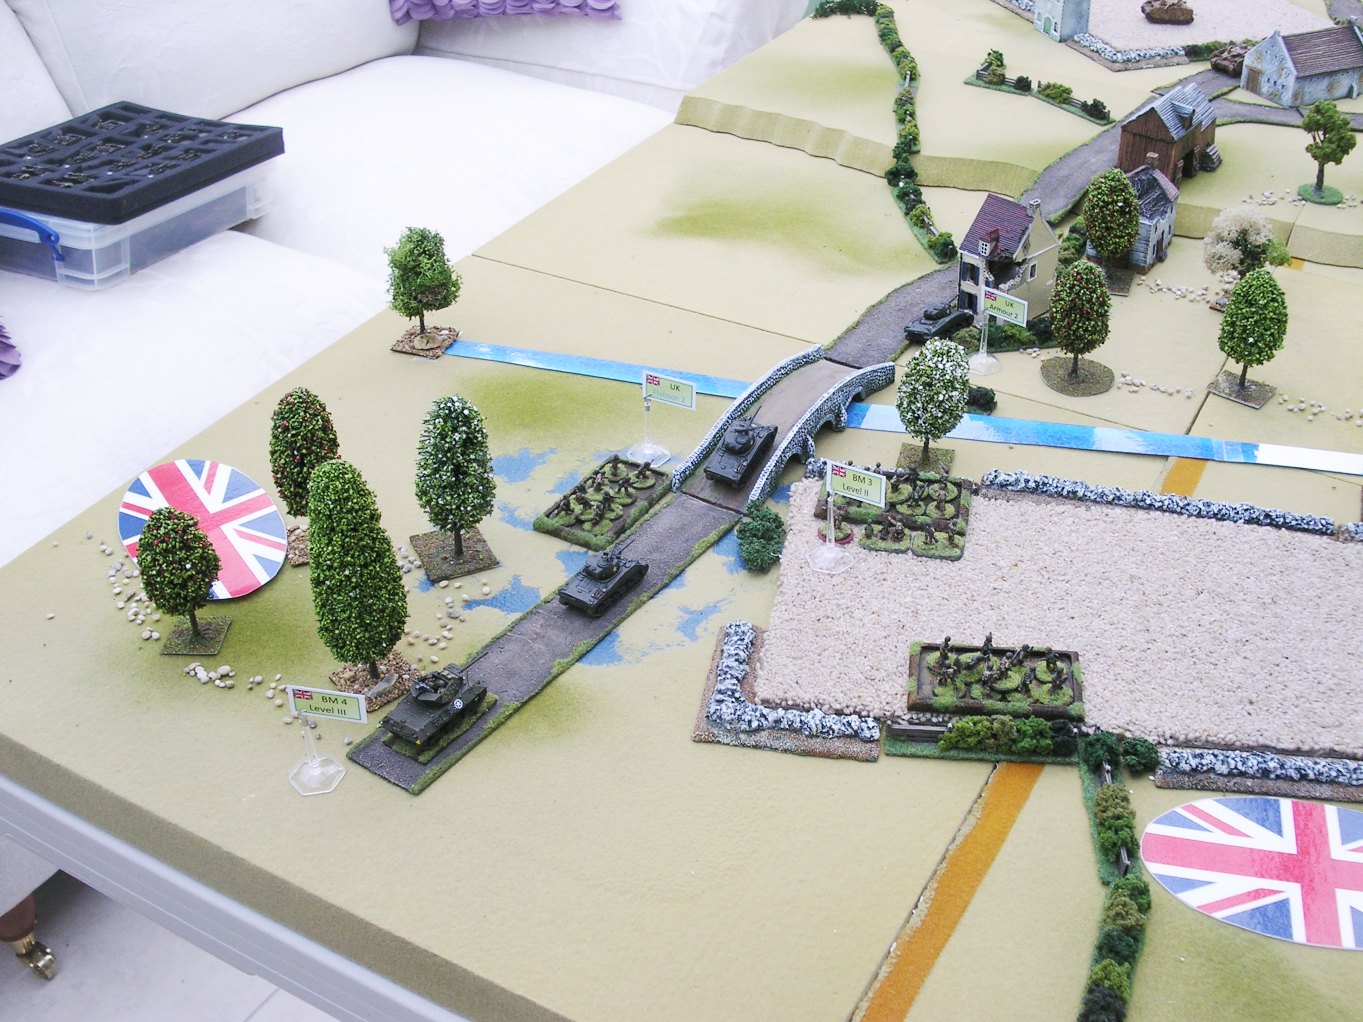
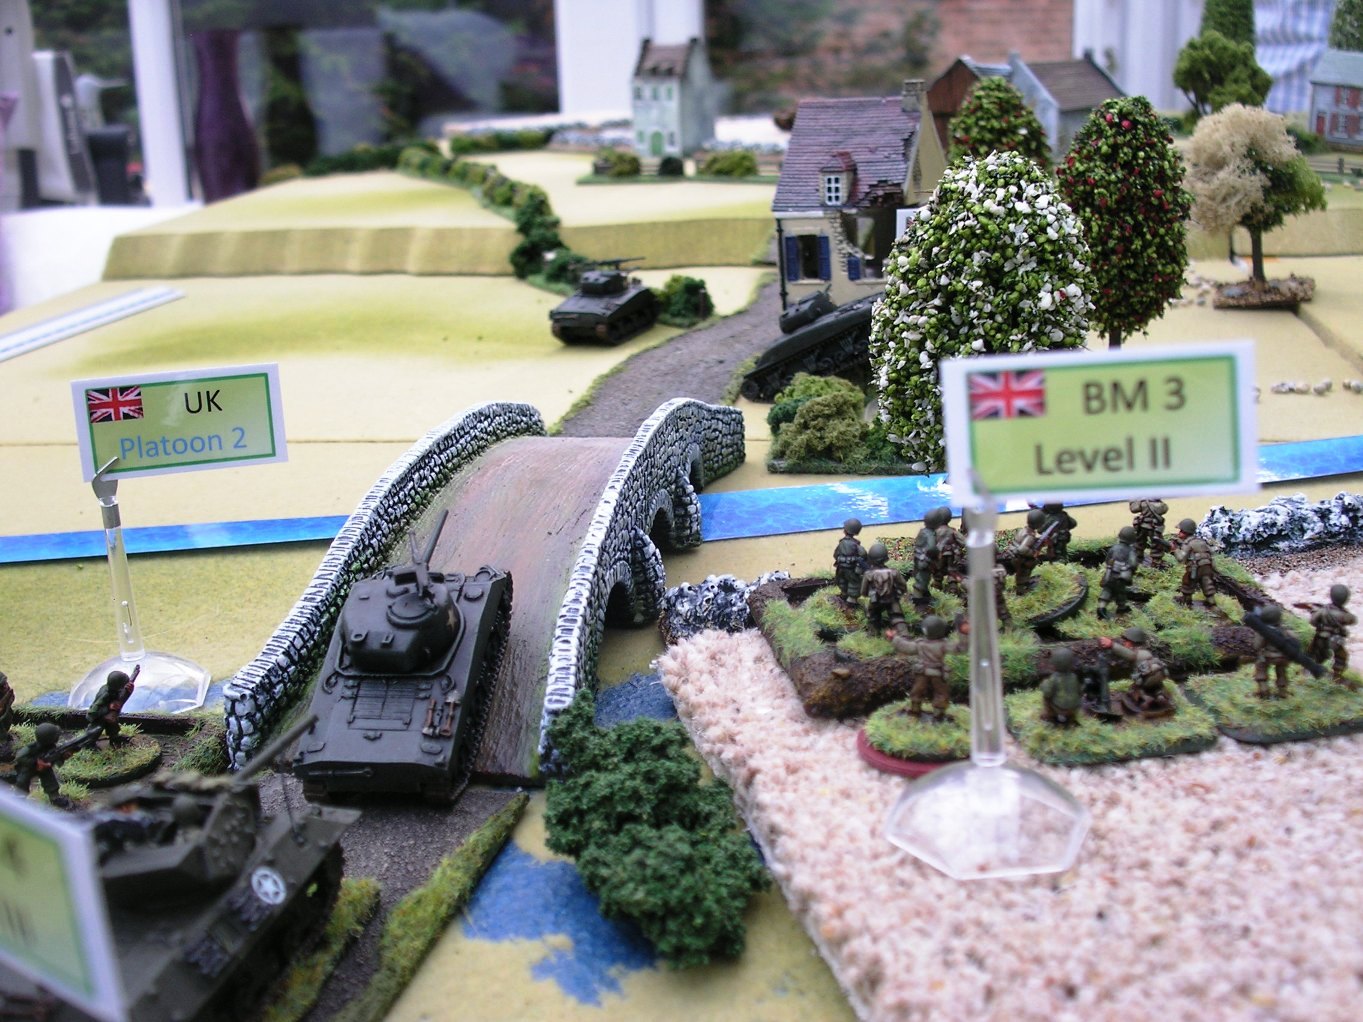
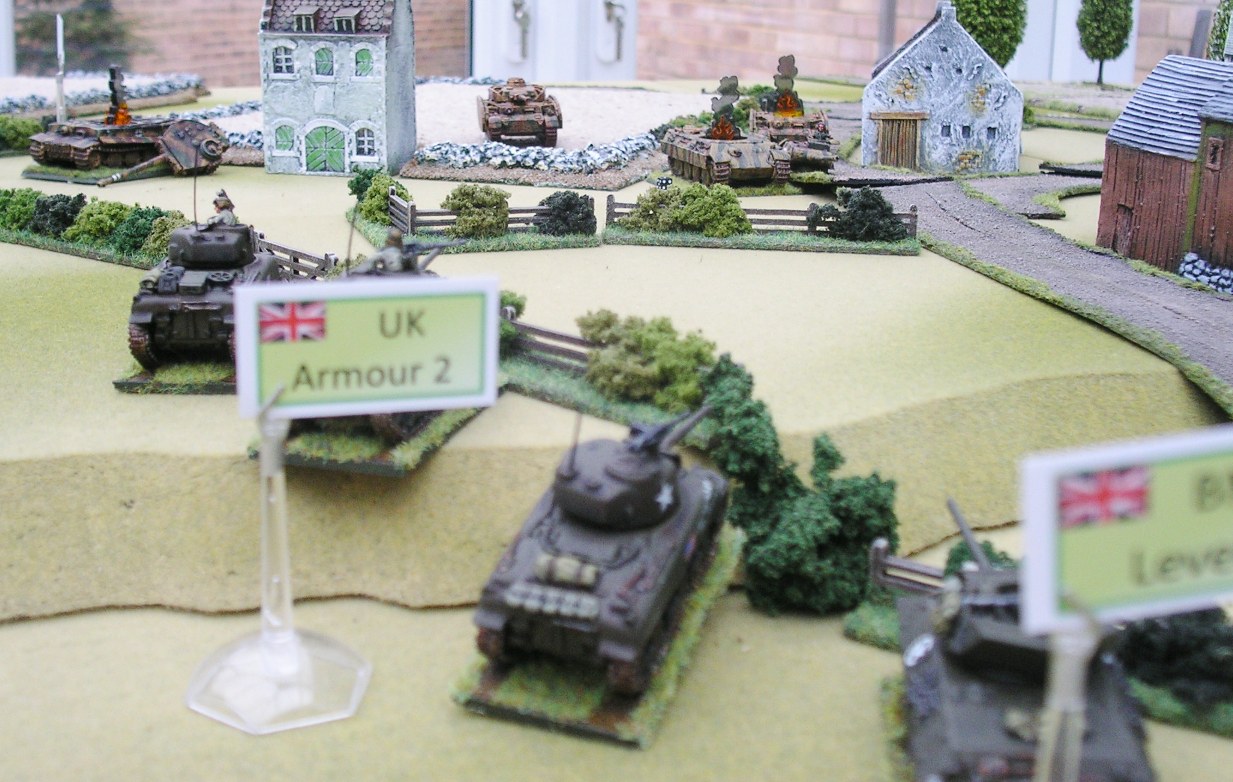
The leapfrog tactics involved the lead tank driving onto the hump-back bridge until it could just see over the top. A couple of long-range (and luckily ineffective) shots were exchanged with the panzers, and then the tank sprinted forward, crashing through a hedge to take cover behind the first house on the right of the road. The next tank then moved up to the same spot on the bridge, and repeated the tactic: this time taking cover behind a hedge just to the left of the road. Meanwhile the first tank performed a French version of the Stalingrad Shuffle: using an Action to drive out onto the road, firing a quick shot at one of the panzers, then reversing his movement to seek safety behind the house again. We ruled that the Sherman would successfully get back into cover as long as the second dice rolled for movement was higher than the first!
Click on the picture below to see the view from the other side of the table:

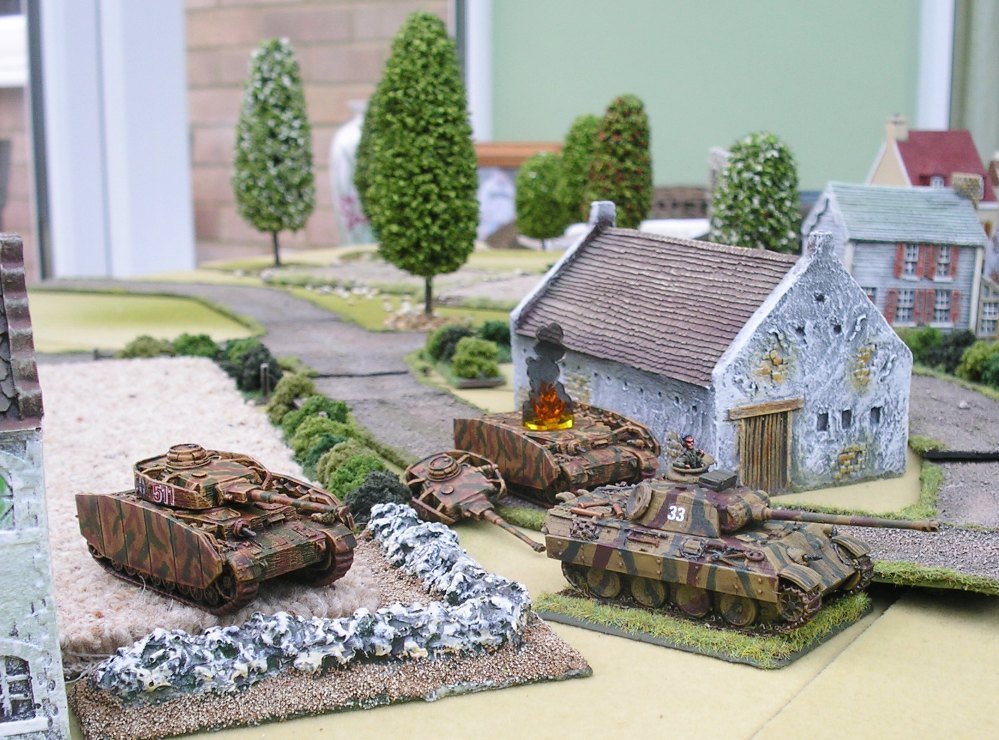
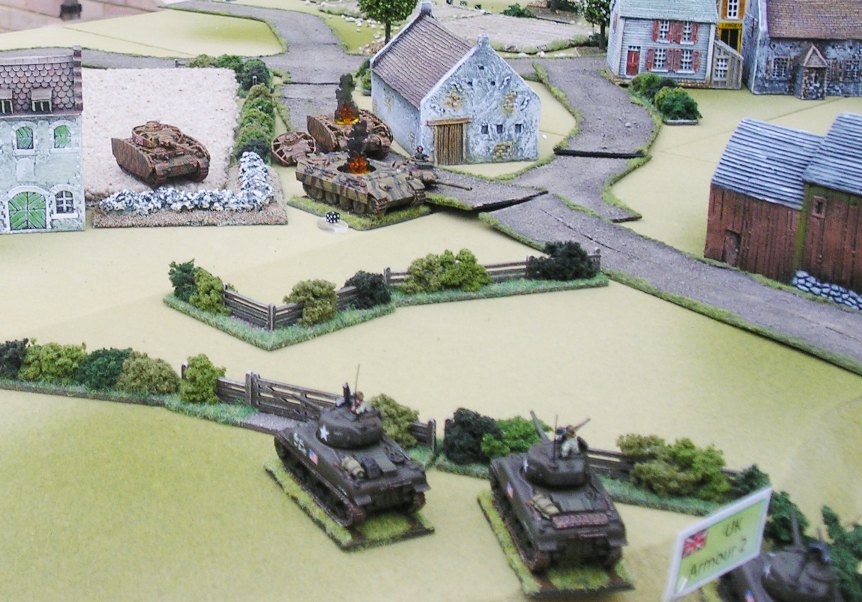
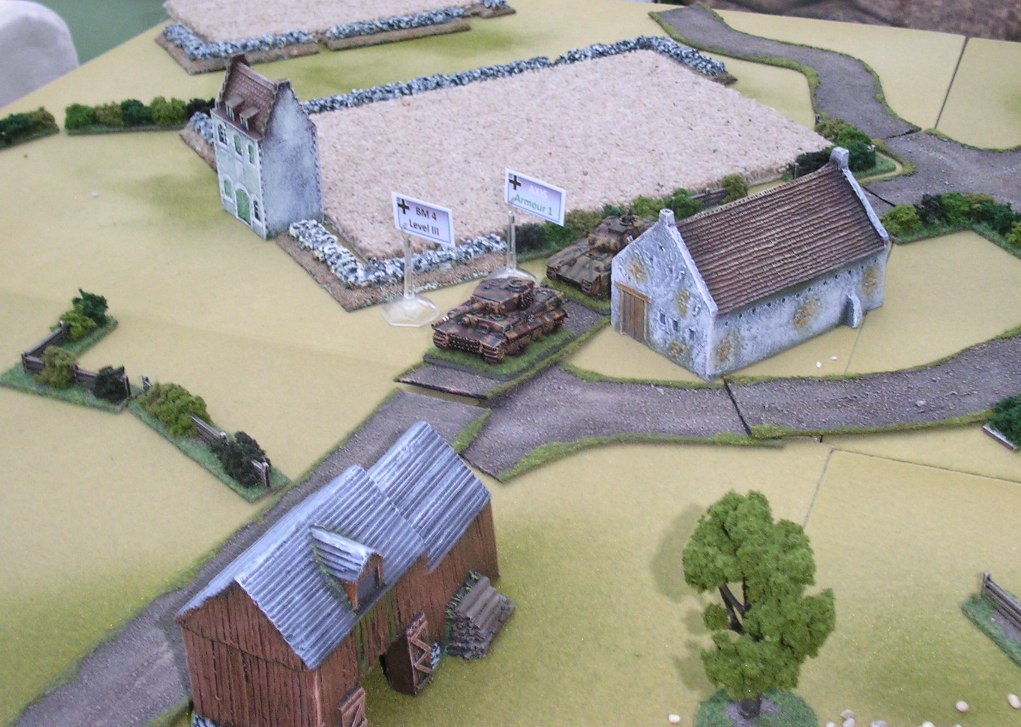
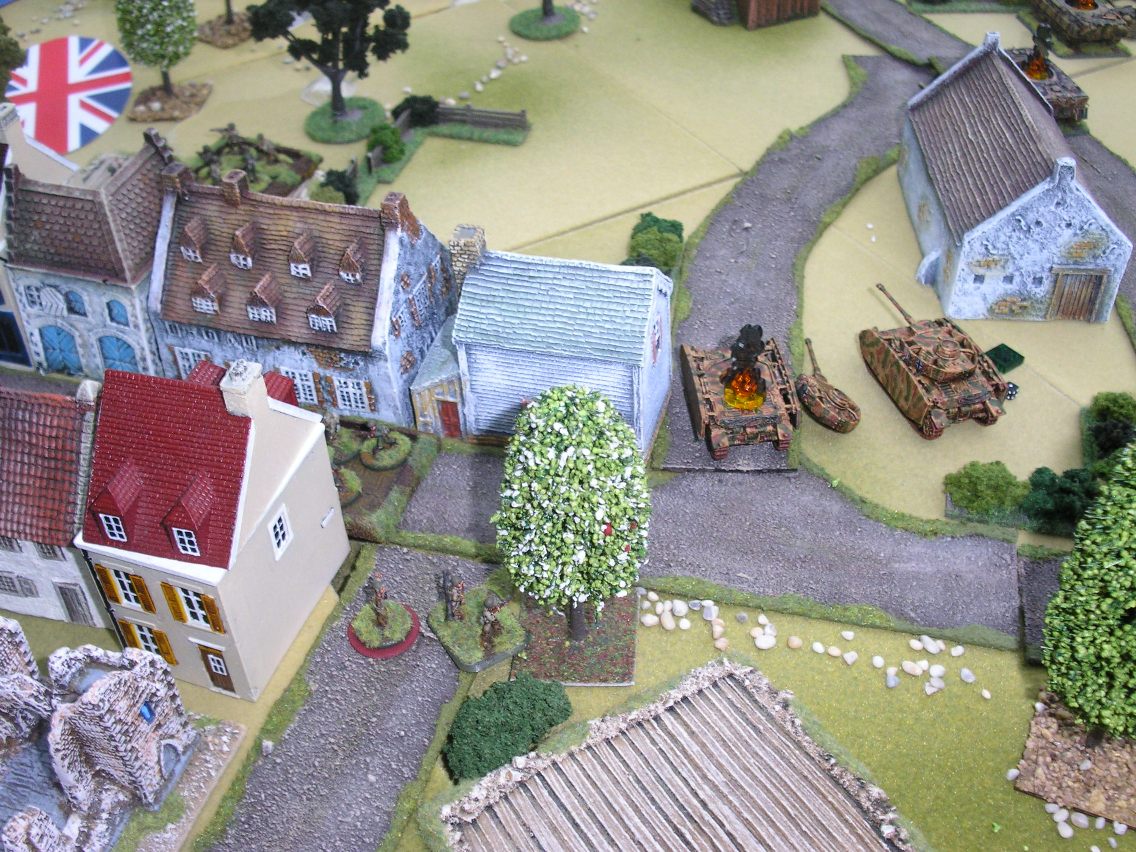
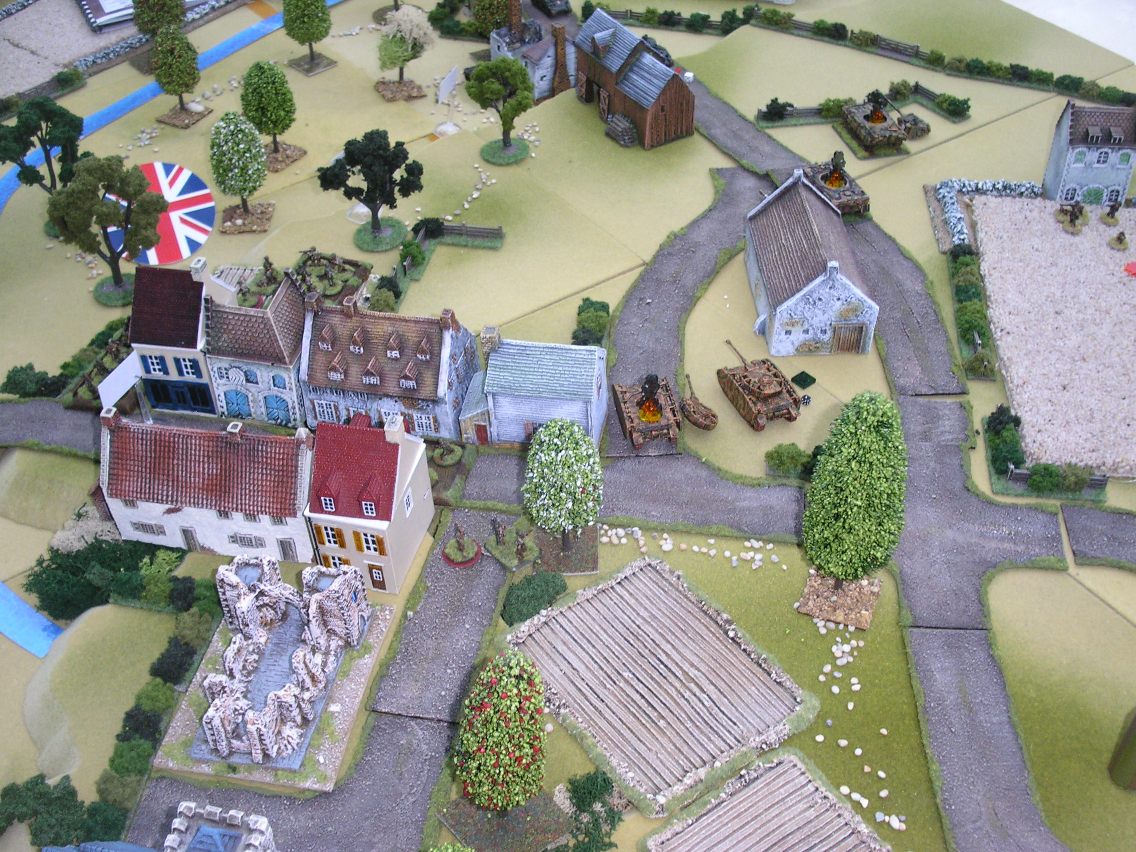
The duel between the first Allied tank troop and the Panzer IVs had so far resulted in one Panzer IV being destroyed, with one Sherman immobilised and another taking damage to its gun sights. Behind the surviving Panzer IV, however, the sinister shape of another German Blind now appeared, and was revealed as the other panzer zug: the Tiger and the Panther. These quickly got into firing position, and it looked as if the Allied tanks had bitten off more than they could chew.
Click on the picture below to see more:
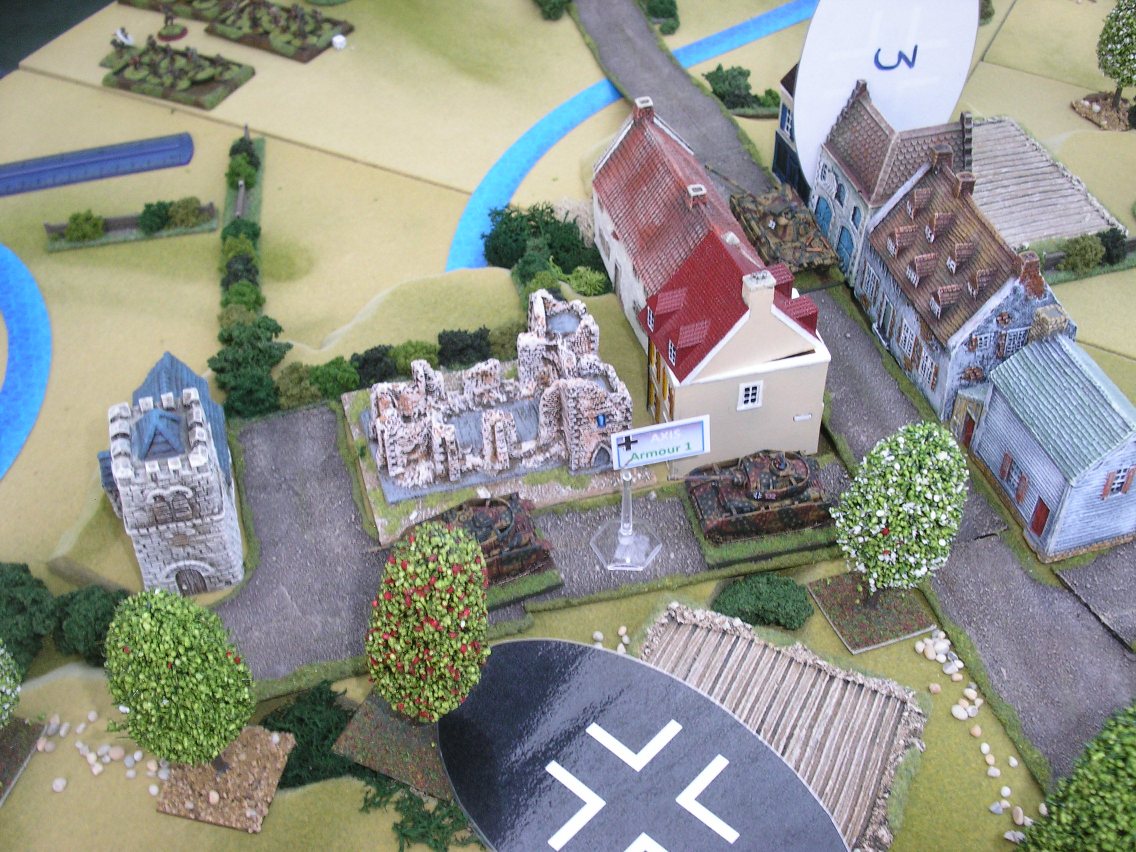
Unfortunately, Paul's inexperience with WW2 gaming now showed: the observant amongst you will have noticed an Allied Blind at the bottom of the last two of the photographs in the gallery, above. Whilst Paul had been distracted by the first troop of tanks, I had sprinted the Blind up the table to the hedge row: deploying the second troop of tanks nicely behind some sort of cover facing enemy tanks that were effectively out in the open.
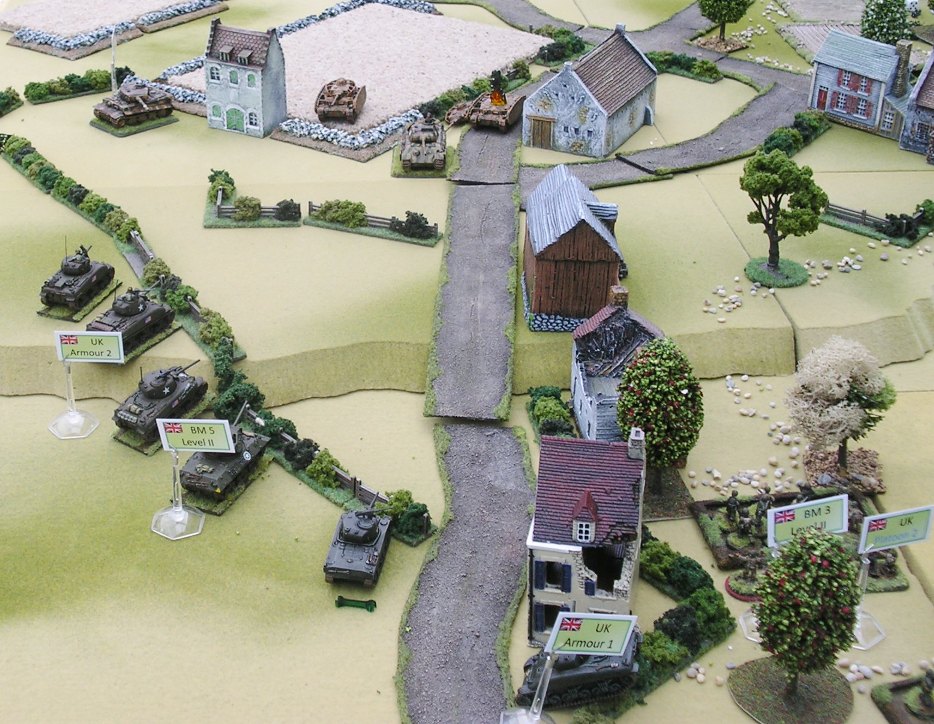
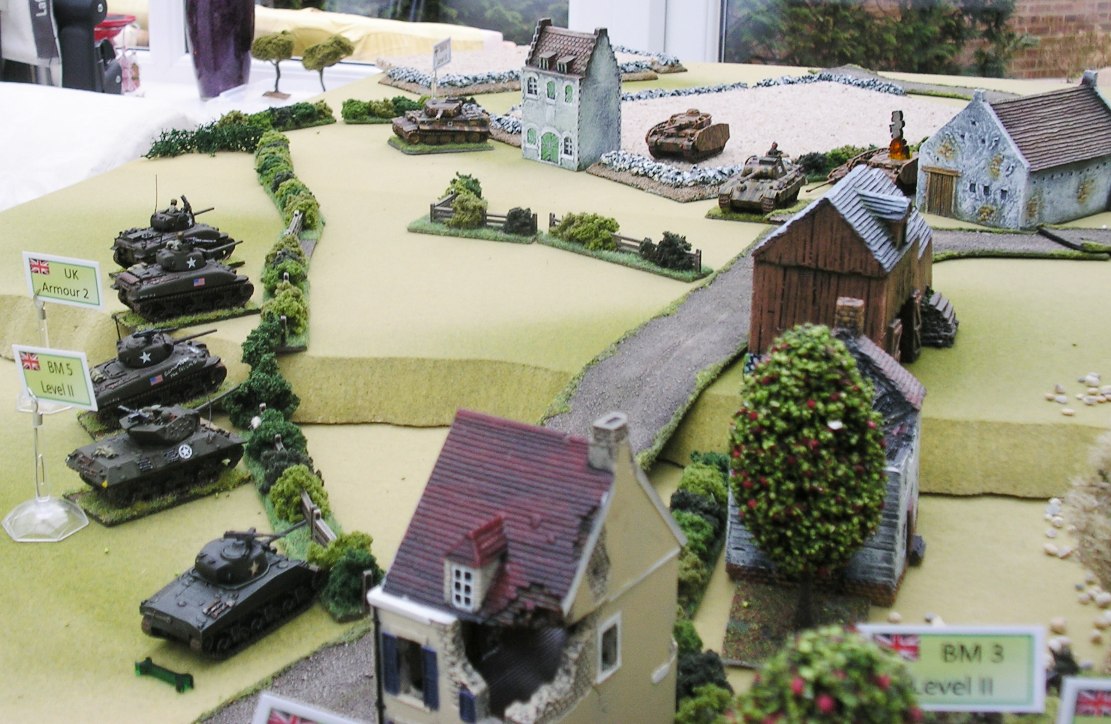
This now made it eight Allied tanks (six Shermans and two M10s) verses three German tanks and, even though two of those tanks were a Panther and a Tiger, the result at this close a range was a fairly forgone conclusion. The Tiger and Panther were quickly destroyed, and at this point Paul conceded and ordered a retreat.
Click on the picture below to see more shots of the end of the game:
That game had lasted under an hour, and had really been Paul's warm-up, so we decided to play again exactly as before, with Paul again playing the Germans.
Game two began with the Allied repeating their tactic of last time. Significantly, however, their infantry Blind (in the field on the right of the road) this time remained unspotted; and the Germans brought on their Tiger and Panther first rather than the two Panzer IVs.
Click on the picture below to see what the Germans are doing:
This time, the Allied tanks were even more cautious, especially after the lead tank took two hits on the front armour from the Tiger, surviving both but definitely being in need of a new paint job...both inside and out! The situation on the road became a bit of a stalemate, with the Allied tanks keeping under cover and only creeping forward a teeny tiny bit at a time. Moving swiftly forward, however, were the Allied infantry Blinds.
Paul had unfortunately placed his on-table infantry platoon in the house on the far side of the Tiger: sensible enough for spotting enemy tanks advancing up the road, not so good for holding the centre of the table. The chips had been a bit unkind as well, and no German reinforcements had as yet appeared. This meant that one Allied infantry Blind was able to get right up next to the German tanks without being spotted, deploying its bazooka team in a position to flank shot the Tiger which, unluckily, took the shot somewhere vital and brewed up.
Click on the picture to see the opposite viewpoint:
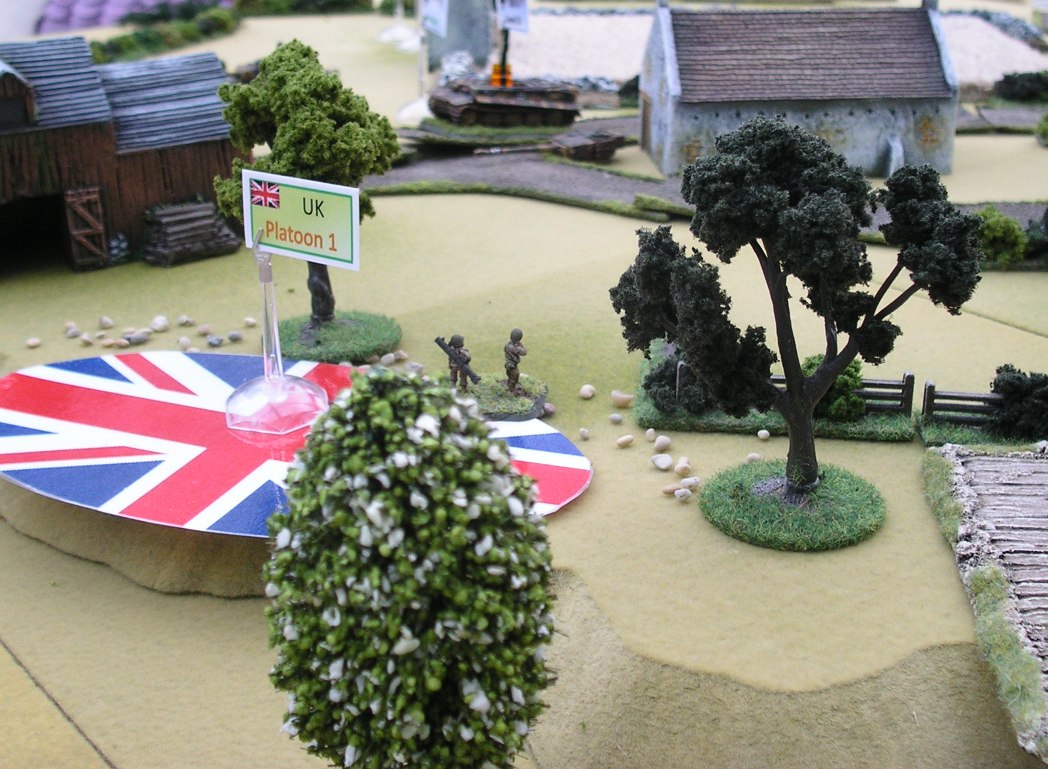
At last, however, a German Blind appeared: the two Panzer IVs. The Allied platoon quickly ran for the shelter of the centre of the village: moving so fast they even left their marker behind them!

By this time, both troops of Allied tanks were engaging the Panther, their combined firepower destroying it before it could do more than disable one Sherman. With multiple armoured targets to their front, the Panzer IVs unfortunately took their eyes of their more immediate surroundings, allowing the Allied infantry to sneak through the village and round behind them. A quick bazooka shot into the rear armour took care of one of them, and Paul again conceded as he only had one tank left and had allowed the Allied infantry to get into the village: he would never be able to shift two strong platoons in buildings even if his other two weak platoons had appeared on Blinds. The pictures below show the situation at the end of game two (click on picture one to see picture two).
Paul was fairly frothing at the mouth to go again, determined to win, so we agreed to play again, but swapping sides. This time I would play the Jerries, with Paul playing the Allies. Game three would prove a very different kettle of fish!
I set up the German tanks as had Paul, but kept both hidden. I wanted to let him come to me a bit more than he had let me come to him: I wanted my off-table reinforcements to have time to arrive. Cunningly, I dismounted the Tiger's Big Man, using him to spot down the road rather than the whole tank! I also placed my infantry platoon in the centre of the village: you can just see the 'Gone to Ground' marker showing which house they are in.
This hanging back allowed Paul to get more of his Blinds on to the table and, wary about repeating my tactic again someone who had used it twice before, he set his first two Blinds off across rather than up the table, meaning that the first Allied tank platoon was spotted by the Tiger's Big Man considerably further back from where mine had been spotted in the previous two games.
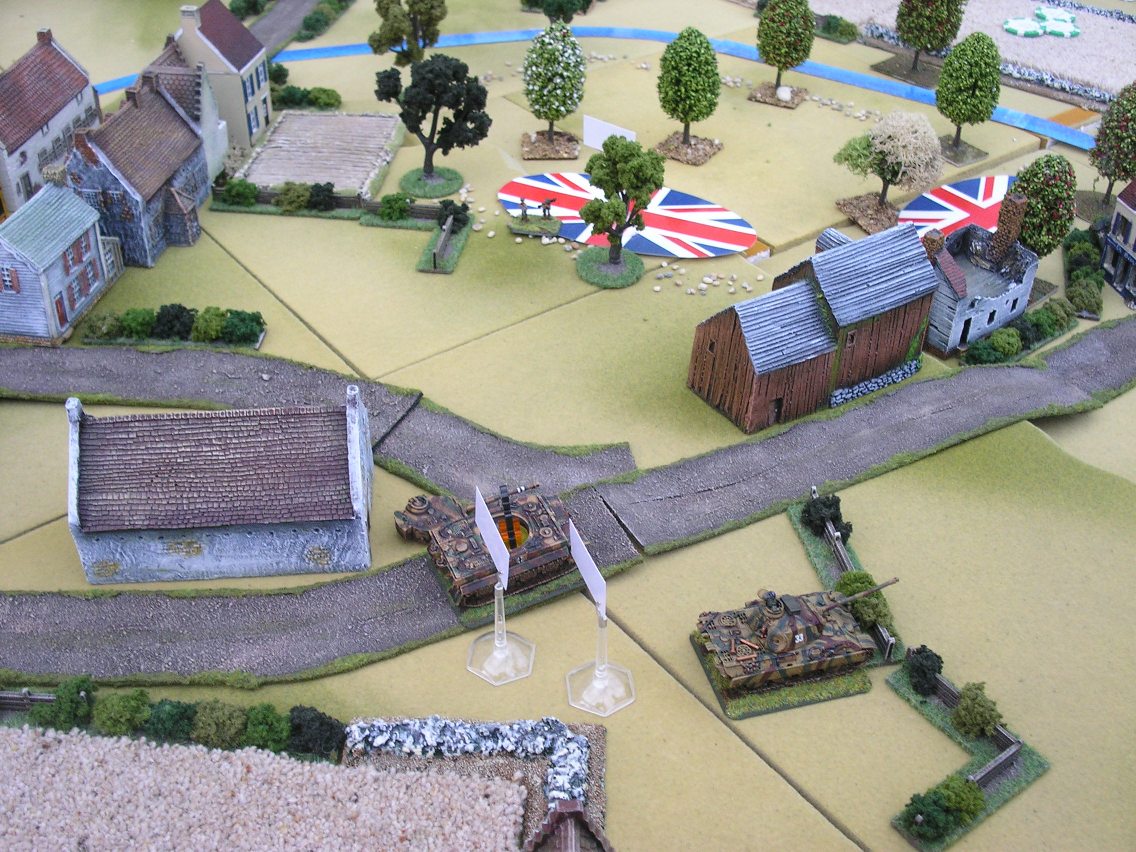
Seeing that there was lots of movement to the left/center of the village, and trusting the Tiger to defeat the four Allied tanks on the road at what was now a long rather than as twice previously a short range duel, I moved my Panther through the village to see what was approaching. I also moved my infantry platoon into the house at the end of the row.
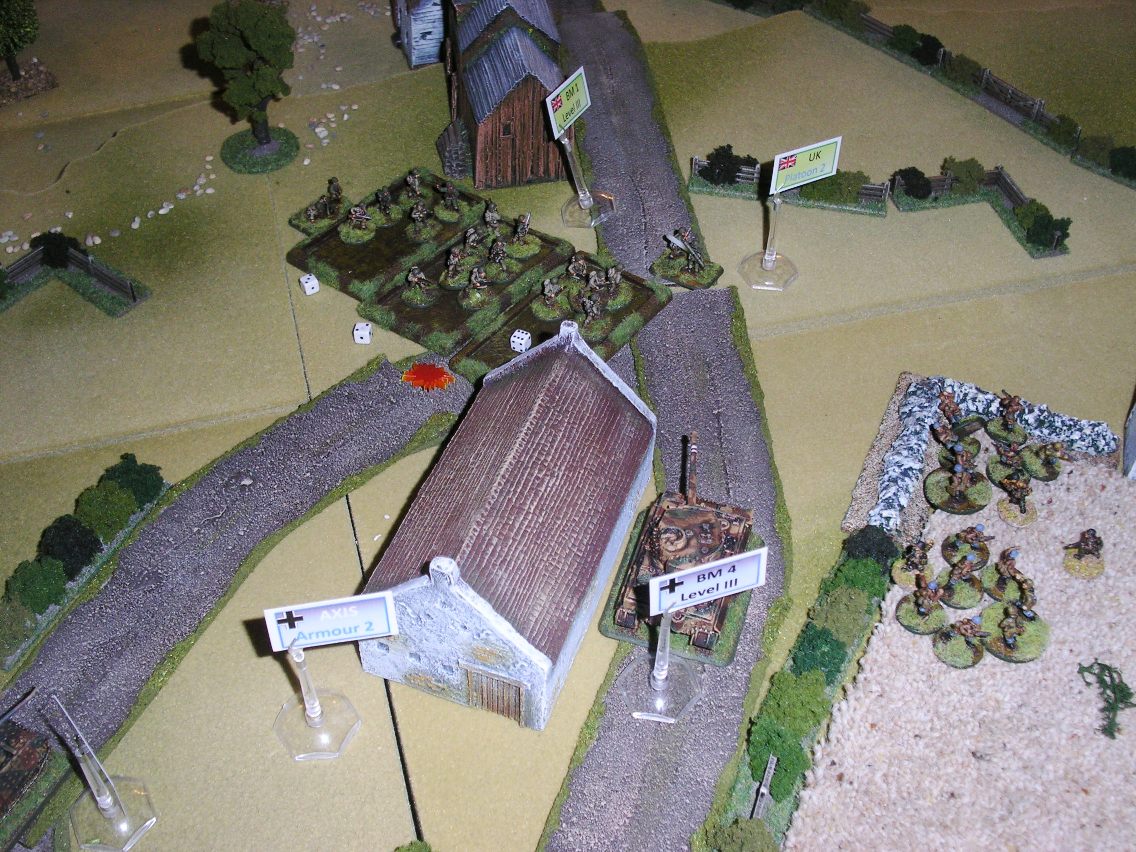
A quick spot revealed an Allied infantry platoon rushing forward over open ground, followed by a tank platoon moving in a rather closely-packed manner into a hedge-lined field. The infantry were too good a target to pass up, so the Panther opened fire with HE, killing one of the bazooka crew and generally battering the rest. See the two pictures below (click on one to see the other). The vertical shape with '3' on it is German Blind 3, about to reveal itself as an infantry platoon and also punish the advancing Allied infantry. You can also see my two Panzer IVs and another Blind's worth of infantry at the bottom of the picture: hanging back had worked, and my reinforcements were arriving fast!
The next few turns proved immensely painful for the poor Allied infantry platoon. They were fairly remorselessly shelled and shot at, although one Panzer IV did leave itself exposed just too long, and succumbed to the M10 on the edge of the field behind them. Meanwhile, although there is no picture to show this, the Tiger had taken out two of the Shermans on the road: one because it couldn't reach the lee of the summit of the bridge in time, and the other as it tried to dash across the road to work its way up the line of houses to try and get around the Tiger's flank...never try that against a big cat on overwatch!
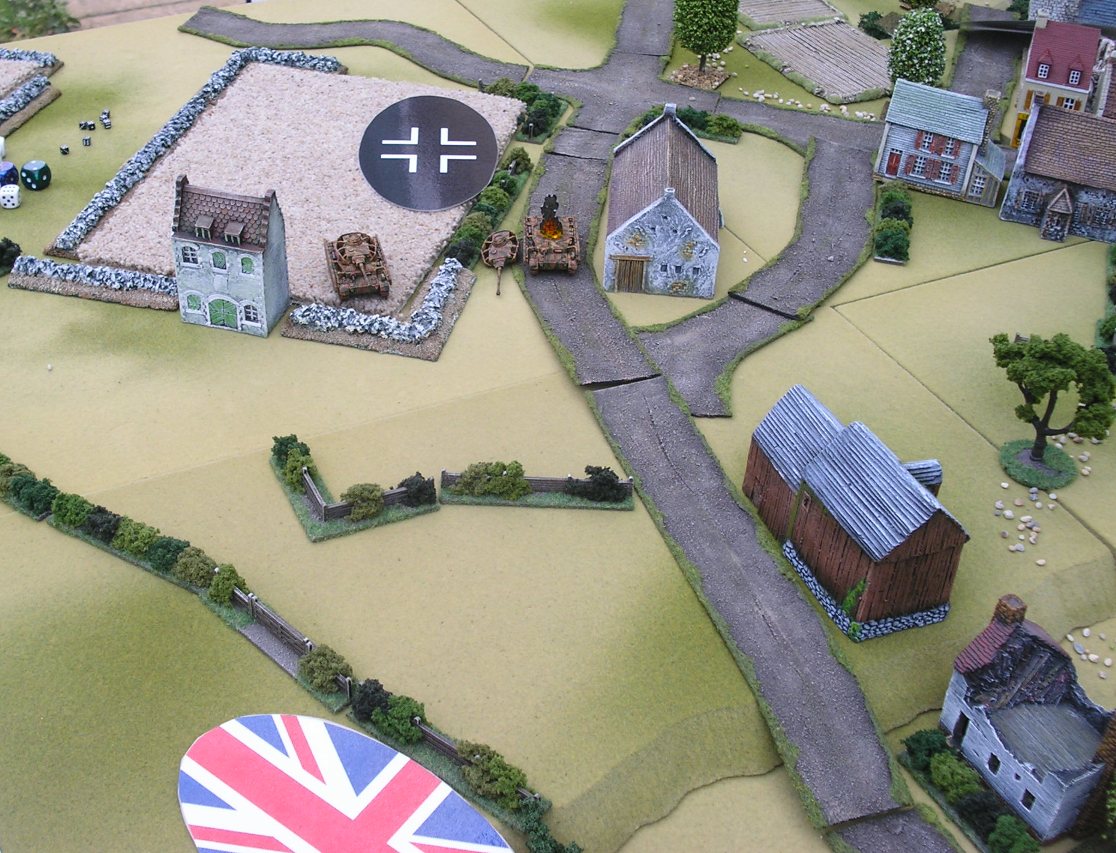
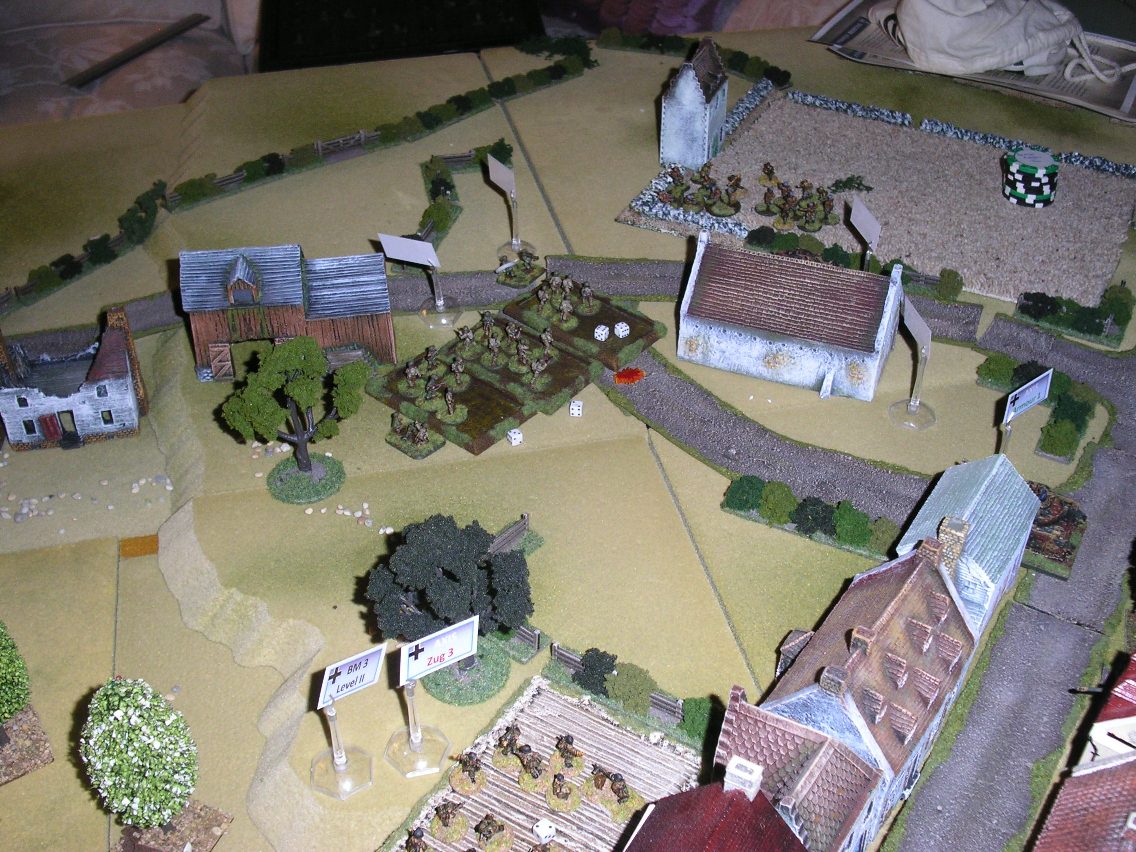
The remnants of the Allied infantry tried to make for the cover of the village, heading for where the Panzer IV was burning merrily away. Unfortunately, no sooner had they scrambled up the hill when they were close assaulted by a German infantry platoon (the Blind behind the Panzer IVs) and bounced back down the hill right into the target area of the other German infantry.
They were wiped out, and the picture below shows the situation just a little later: the German infantry at the bottom of the picture were the close combat winners, soon to disappear back under cover into a house; the German infantry at the top of the picture had just been forced to move out of their building, rendered unstable by the fire from the Allied tanks top left. Note as well the Allied Blind behind them: it would soon play its part!
As you can also see in the pictures above, it was starting to get dark. As there were few lights in the conservatory in which we were playing, we were running out of time. Paul's attack, although developing, had stalled slightly: he had now lost a platoon of infantry, and that bloody Tiger was still holding half his remaining tanks at bay!
Desperate measures were called for. His remaining infantry platoon - the Blind mentioned just above - launched a charge at the Tiger! The bazooka team would shoot it, and any infantry that could would close assault it with grenades etc. This would have been a magnificent tactic but, unfortunately, my other Panzer IV was positioned perfectly to cover the Tiger's flank: you can just see its nose bottom left in the first picture below. As Paul was rushing, he couldn't afford to wait for the right moment, and his infantry charged forward when my Panzer IV had reserved its dice i.e. was on overwatch. The Allied infantry were spotted as they charged out of the wood, then hit with high explosive shells that pinned them to the ground! Although I generously let the bazooka have a shot at the Tiger, that bounced, and now the Tiger and the one remaining German infantry platoon moved forward to finish the job!
Three pics: click to see the next one:
With both his infantry platoons now hors de combat, and with only six tanks versus three (including the Tiger and Panther), and with night falling, Paul conceded once again. Although he had come fairly close, and the Germans were really under pressure, he could not now realistically take the crossroads that was his objective.
Three great games of IABSM3, all played in the best of spirits. An exhausting day's gaming with the three battles being played in six hours, including some setting up. It was also very interesting to play the same battle (on exactly the same terrain) again and again and again.
Finally, my thanks to Paul for his hospitality: it is, after all, the players that make the game...even with a rules set as good as IABSM3!
Robert Avery