


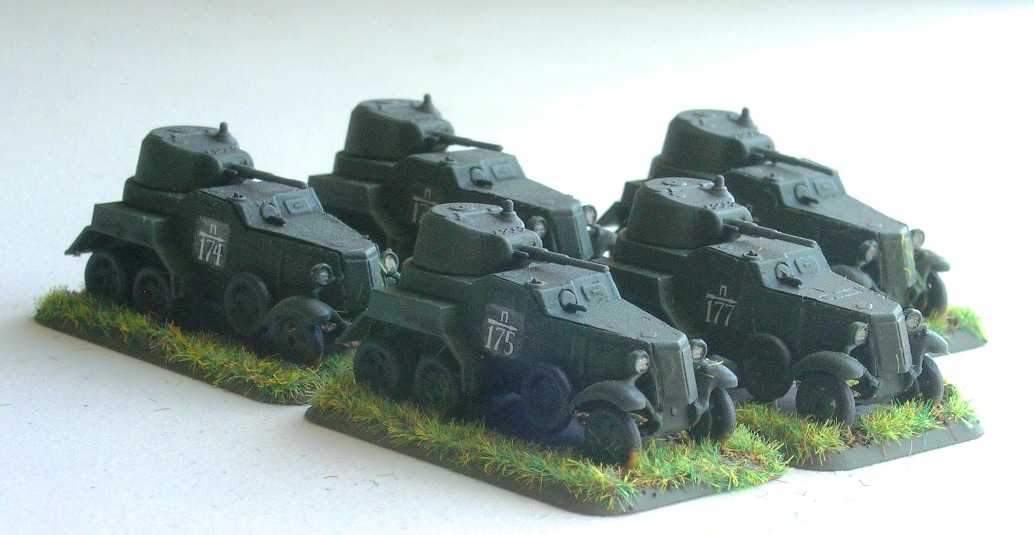
I finally got around to ordering and painting the newish BA-10 Soviet armoured cars from Zvezda, but ordered through Plastic Soldier Company.
They are the usual plastic, snap-together affair, with each one taking only a few minutes to put together. Although the picture, below, is not very good, they are nice looking models that, on the tabletop, look no different from resin or metal models. At less than £2 a pop, as well, they are very good value.
Just a few hints for those of you who have yet to put any together:
1. Before you do anything else, drill out the headlight holes on the main hull piece A4. You will find it nigh on impossible to mount the headlights otherwise. Just use a pin drill (or even just a pin!) to widen the hole so that when you come to step [3] in your build, the horizontal headlight strut will slide right into the hole, giving you the fulcrum you need to place the vertical strut successfully.
2. When going through step [1], don't push the main hull pieces A4 right onto the knob on which they go. If they are jammed in hard, they are actually too close together to properly fit the base and the roof. Push them on firmly, but not ultimately, and then adjust as you put the base step and roof on during steps [1] and [2].
3. Before starting step [2], I glued pieces A1 and A2 together.
4. The headlights are a right pain in the bum to seat during step [3]. If you've remembered to drill the hole I suggest in (1) above, then life is a lot easier. Pop a tiny blob of glue in the hole in the hull and on the tiny notch on the mudguard that seats the vertical headlight strut. Put the horizontal headlight strut in the hole and position so the vertical headlight strut is vertical and sitting on the mudguard. Now gently push the vertical headlight strut sideways until it catches on the notch in the mudguard.
5. The back wheels are challenging in step [4], but just take things slow and you shouldn't have any problems...but be careful when pushing the wheels onto their knobs. I brace the disc on the end of the knob against the nails of my thumb and forefinger, and then push the wheel slowly but firmly on with the other hand. Oh, and the gap between the two back axles is exactly that: a gap. They come with a bit of sprue between them that needs removing!
6. Seating the front axle, however, is even worse than the headlights! I tried it with the wheels on the axle, and then with the axle on its own: I think 'wheels-on' is the way to go, but it is still tricky to seat the axle in the holes on the hull. The only way I could do it (and even then I almost broke the damn thing each time) is to very lightly place the axle where it is supposed to go on the hull. Then I held it lightly in place (too much pressure and it moves) whilst I used a pin drill (I know, I know!) to push really, really hard against the square bit on top of the axle that holds the two knobs that go into the hull. It then should (should!) grindingly pop into the holes in the hull.
Hope that helps!