

The TFL Specials are a great source of inspiration and scenarios. Here, Charles Eckart plays through Mike Brian's scenario from the 2005 Summer Special: The Initiation of Dashwood-Brown.
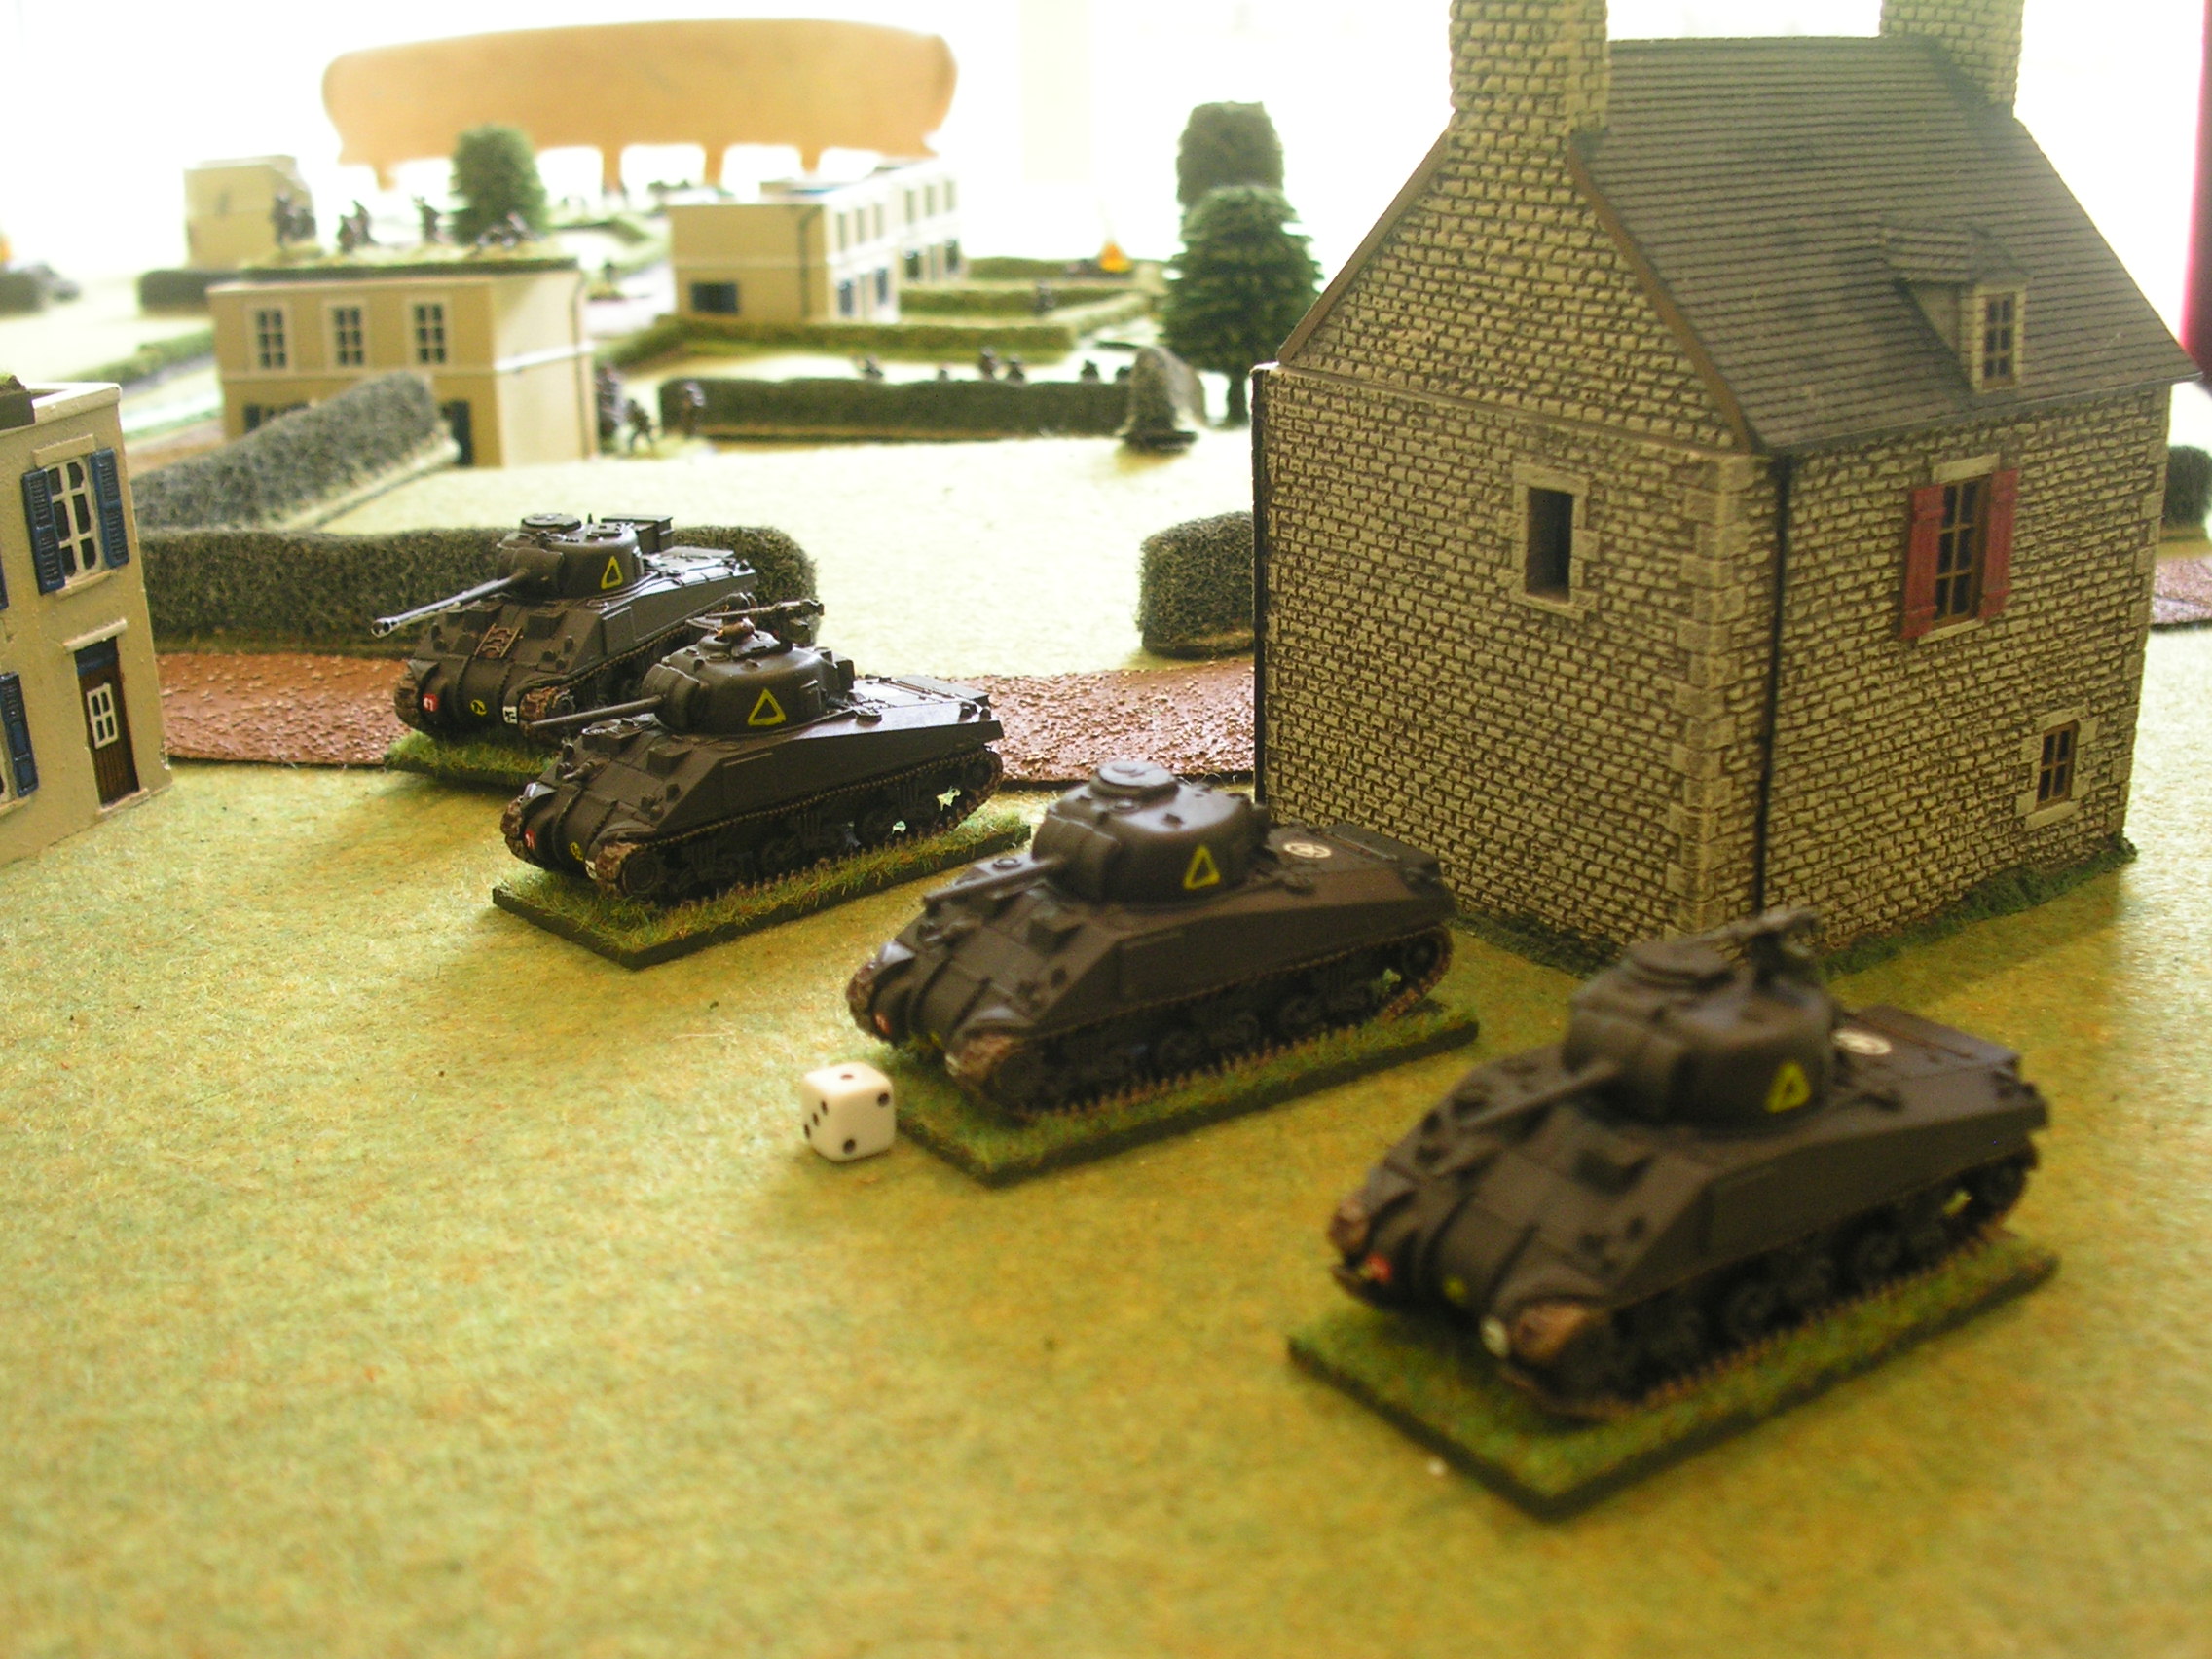
Note that as Charles didn't take any pictures, all the photos to dress the text, below, are taken from other IABSM AARs featured on Vis Lardica.
Introduction
As the scenario was originally written for the IABSM v2 rules, we made a number of adaptations to bring it up to v3 standards:
- Big Man ratings:
- Sturmbannfuhrer Merkin rated at Level IV + Dynamic Leader card
- Captain Brown, Lieutenant Evans, Obersturmfuhrers Bender & Bratwurst: all at Level III
- Sergeant Graves, Scharfuhrer Knippling: both Level II
- Sergeant Daniels, Corporal Hall, Sturmmann Zermits: all Level I
- German mortars are contradictory in the article: given as 8cm in the text but listed in the cards as 12cm. We used them as off-table 12 cm mortars.
- Removed the “Up from the Ranks” card and substituted a D6 roll to see if a replacement Big Man appeared when a lost Big Man's card appeared.
- One try only and if no new Big Man appeared the Big Man's card was removed.
- A roll of 1 to 3 would replace a British lost Big Man; a roll of 1 to 4 would replace a lost German Big Man. The difference was because the scenario presented the British as in combat for the first time while the Germans were veterans of fighting in Normandy.
- A replacement for a lost Big Man would be one grade lower than the lost Big Man but a Level I Big Man would be replaced by another Level I Big Man.
- The Vickers MMG’s were assigned to the infantry platoons and would act on the respective platoon card, so only a MG Bonus Fire was needed.
- Each side rolled 1D6+6 for the turn they could place their Reinforcement card into their deck. The Germans got turn 8, the British got turn 12.
Finally, we used the Chain of Command Force Morale tracker for IABSM. Both the Brits and Germans started at Morale 10.

The Game
Normandy, 1944. Suave ladies-man Captain Royston Dashwood-Brown and his men of 6th Dorsetshire Regiment are about to get their first taste of action on the battlefields of France...
FO Lynn took position in the ruins on high ground to try to spot German positions while 1st Platoon on the left of the road led by Sgt Graves and 2nd Platoon under Lt Evans to the right of the road moved to and across the Start Line.
Graves was to move to the hedgerow along the east-west road and probe forward toward the church while Evans cleared the manor house that overlooked the fields west of the main north-south road.
The Germans had had plenty of time to camouflage their positions well (hidden Blinds) so FO Lynn was unable to locate targets.
British scouts (a dummy Blind) moved down the main north-south road and were immediately spotted by the Germans. 1st and 2nd Platoons cautiously moved through the woods east and west of the road with no hard contact but their advanced scouts (more dummy Blinds) were spotted by German outposts (also dummy Blinds). FO Lynn spotted some German outposts running back toward the town but the Germans were alerted to the likelihood of a British attack. Over the next turns HE rounds impacted the fields west and south of 2nd Platoon and in the woods ahead of 1st Platoon. Both halted and called for tanks.
British players muttered “Jerry is windy” and “We’re almost half way across the table and no contact, he’s being foxy too”.
Sure enough, with only one platoon, the MMG’s and ATG’s starting on the table, the Germans were playing for time. They didn’t want to bring their 2nd Platoon and panzers on until they identified the main strength and direction of the British attack and were hoping for additional reinforcements soon after it was discovered.
To this end they placed their dummy Blinds forward to act as outposts to reveal British movements. Their infantry and guns were placed back where they would have long fields of fire.
The British No.2 tank troop joined 1st Platoon and No.1 Troop joined 2nd Platoon soon after. German HE fire was erratic, switching from one location to another each turn. This encouraged both British platoons to rush through the beaten areas toward their objectives.
Evans' 2nd Platoon covered by two MMG’s and the tanks dashed along the hedgerow toward the walled orchard north of the manor but luck was against them. HE fire caught the trailing third section, inflicting four Shock and the entire platoon went to ground.
Next turn the HE fire shifted away and with the help of Rally and Big Man cards Evans was able to remove all shock. While Evans was restoring order to his men the three M4 tanks of No.1 Troop rolled forward, crashing over the north wall of the orchard. One tank was disabled with a thrown track when crashing through the wall. They then fired their main guns at the north face of the manor itself. The wall collapsed in a heap of rubble and, unknown to the British, two Germans were killed and four Shock delivered to Obersturmfuhrer Bratwurst's squad with a MMG in the manor. Both the British and surviving Germans were unable to see each other through the dust raised by the collapsing wall. It was now up to Evans infantry to get into the manor sans support fire.
Stumbling through dust over the rubble, Evans lead two sections into the manor, quickly engaging Bratwurst's men in close combat. A brutal fight ensues in the gloom. Five Brits are down with four Shock on the rest, but the Germans lose Bratwurst, six men and a MMG. The five men remaining have six Shock. Considering the confusion and Shock, the five Germans are ruled as surrendering.
Meanwhile...
Meanwhile Graves' 1st Platoon and No.2 tank troop arrived just one hedgerow short of their objective. Looking ahead toward the house and last hedgerow nothing was seen. But what about the house to the left? Graves decided to send one tank and a section toward the house ahead covered by an MMG, two tanks, and the other two sections to discover any hidden Germans.
“Luck mates.” First section dashed across the open ground protected from flank fire by the tank to their left and entered the empty house. The advancing tankers watched the house beyond a low wall on the left and “spotted something there”. Can they fire first? The main gun barks sending HE into the building with no replying fire. “It was nothing…?” Graves moves his remaining two sections, two covering tanks, and MMG to the objective hedgerow.
The first tank section in the manor orchard risked disabling another tank and crashed over the remaining wall into the manor courtyard. Both made it.
Decision time for both sides. How would Dashwood-Brown use his reserve 3rd Platoon and No.3 tank troop? Where would Sturmbannfuhrer Merkin commit his 2nd Platoon and panzers? Most of all where were those damn German ATG’s and MMG’s?
Quick Break
All the foregoing took only an hour to play through. We decided to pause while Brits and Germans considered their next moves. Written so far mostly from the British perspective and not wanting to show favourites we call a break for Bier und Brats.
Resuming the game after the break we wanted to keep the pace of action up so allowed both sides to re-deploy as long as movement was under cover and not apt to be seen. Also, nothing could advance farther than the most advanced positions still held.
The Germans put their panzers in good ambush positions along with having received a reinforcement (a Tiger!) in an earlier turn. Their second infantry platoon put one Zug into the houses in the main part of town while two others settled in at the church with the mortar FO. One Zug was in the eastern woods with a MMG to guard that approach.
The British had decided that Evans' 2nd Platoon and No.1 tank troop would again risk becoming disabled by crashing through the south wall around the manor, advance into the large orchard, turn left to interdict the western approach road to prevent German reinforcements arriving from there.
Graves' 1st platoon would send one section to clear the two buildings on their left then probe into the eastern woods. The rest of the platoon along with No.2 tank troop would hold in place to engage anything seen around the church.
No.3 tank troop followed by 3rd Platoon and HQ would advance through the fields directly west of the main road and with their right flank covered by smoke rounds called by FO Lynn, and would seize the large building just west of the road. They would then push on through the fenced field to the town itself. Once the town was taken the church could be engaged from at least two directions. The final assault on the church would be from the western side.
At least, that was their plan. Things heated up fast.
Action!

First Platoon spotted a German ATG hiding in the hedgerow just across the road to their right. Graves led a section to close assault it but was surprised to face a full Zug led by Zermitts as well as the ATG crew. In a nasty fight, the Germans are driven into the building where the struggle continued. Zermitts and most of his men fell, five men surrender to Graves. The ATG is taken but the Brits pay a heavy price. Only Graves and one British soldier survive.
As the British reserve moved into the field with the tank wrecked in the previous day's fighting, German FO Roth spotted them and requested a fire mission.
British No.1 tank troop smashed through the south wall surrounding the manor followed by Evans' infantry they enter the field beyond. The infantry reach the low hedge near the road.
Graves spots a Panzer IV in the town, dashes back to his original position to warn No.2 Troop to radio the other tanks about this.
Captain Dashwood-Brown is informed by his boss that a troop of Churchills and a platoon of infantry is available to support him. “Get going and take that town, Captain!”. German ranging rounds hit the Captain’s field. Yes, time to go! “Where’s that smoke cover Lynn?” The tankers aren’t waiting, they race through the gate, deploy in echelon right and move forward. Smoke rounds drop to cover their right flank but FO Roth has adjusted German fire and two of 3rd Platoon's infantry sections are pinned with Shock.
No.2 troop tanks fire on the church, AND MISS! “How the hell do you miss a building big as that?” wonders Sgt Graves. The tanks fire again and open up part of the church.
German HE fire continues to pummel 3rd Platoon, suppressing it and causing more shock.
Evans platoon and No.1 tank troop move east through the orchard toward the town but see no Germans.
Captain Dashwood-Brown decides his 3rd Platoon is stopped and orders the Churchills and 4th Platoon to join Graves' 1st Platoon. Together they are to assault and take the church. Once that is done the center of town will be flanked on both sides and the Germans will probably withdraw.
Sergeant Lumsden, leading 4th Platoon, considers moving through the fields too slow and takes the platoon and Churchills down the main road.
Evans moves his infantry up to the orchard's low hedge near the road but the movement is seen by the Tiger. The turret turns, the MG fires but without effect. Deeper inside the orchard the two Sherman 75’s now vaguely see the Tiger. Both fire their guns and watch a round bounce off but one round has penetrated the big cat that stalls, temporarily immobilized.
The Shermans continue throwing rounds at the Tiger but none penetrate. The infantry fire a PIAT with little apparent result. But the Tiger has had enough and cranking up the engine the big cat retreats.
British Force Morale has dropped to 8 but the Germans are now at just 3. Sturmbannfuhrer Merkin orders a withdrawal before his force collapses with many more losses. Another ATG is abandoned, being too far forward to get away.
Conclusion
It was an interesting game, taking a little more than three hours. Everyone agreed that using Force Morale with IABSM was an excellent idea since it provides a clearer view of how a battle is progressing.
When there is a large difference in morale between the contending sides the lower morale force should consider breaking off the fight. Ending the game before morale collapse would save strength for the next battle in a campaign.
The Germans were particularly unfortunate in this game. Each time they rolled for a morale loss the result was usually the worst possible. The Brits faired much better.
The German side's decision to withdraw before morale collapse could be justified by their lack of sufficient infantry support for their panzers once the British had flanked them by entering the large orchard with infantry and armour and could still attack their front with strong forces
Charles Eckart