

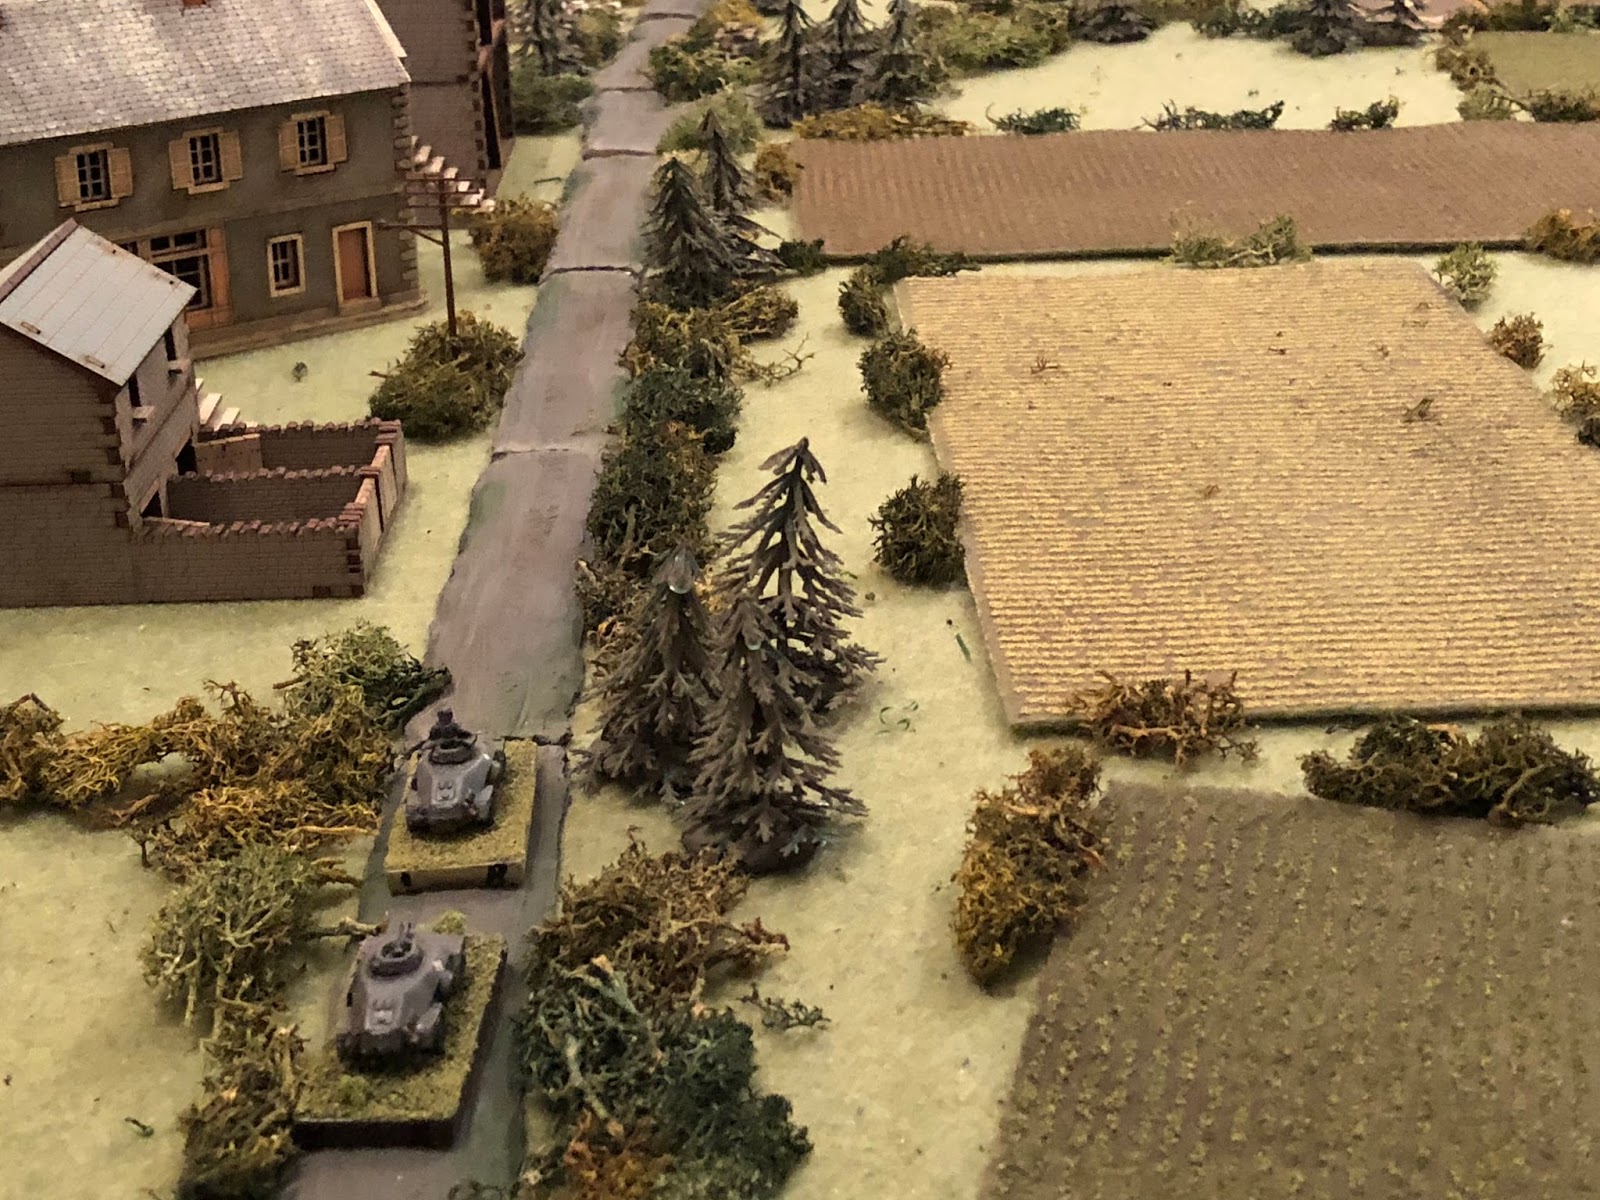
It's 1600 on 14 May 1940, and KG Klink, attached to the 7th Panzer Division, is on the move. Earlier this morning KG Klink attacked and destroyed a strongpoint manned by the French 5th Infantry Division. Having broken through 7th Panzer Division is on the road to Flavion. However, an hour ago, 7th Panzer reconnaissance elements on the march came under fire from the (fictional) French village of Riqueville. 7th Panzer continued west around the village, and KG Klink immediately received a FragO to stand detached to reduce yet another French strongpoint.
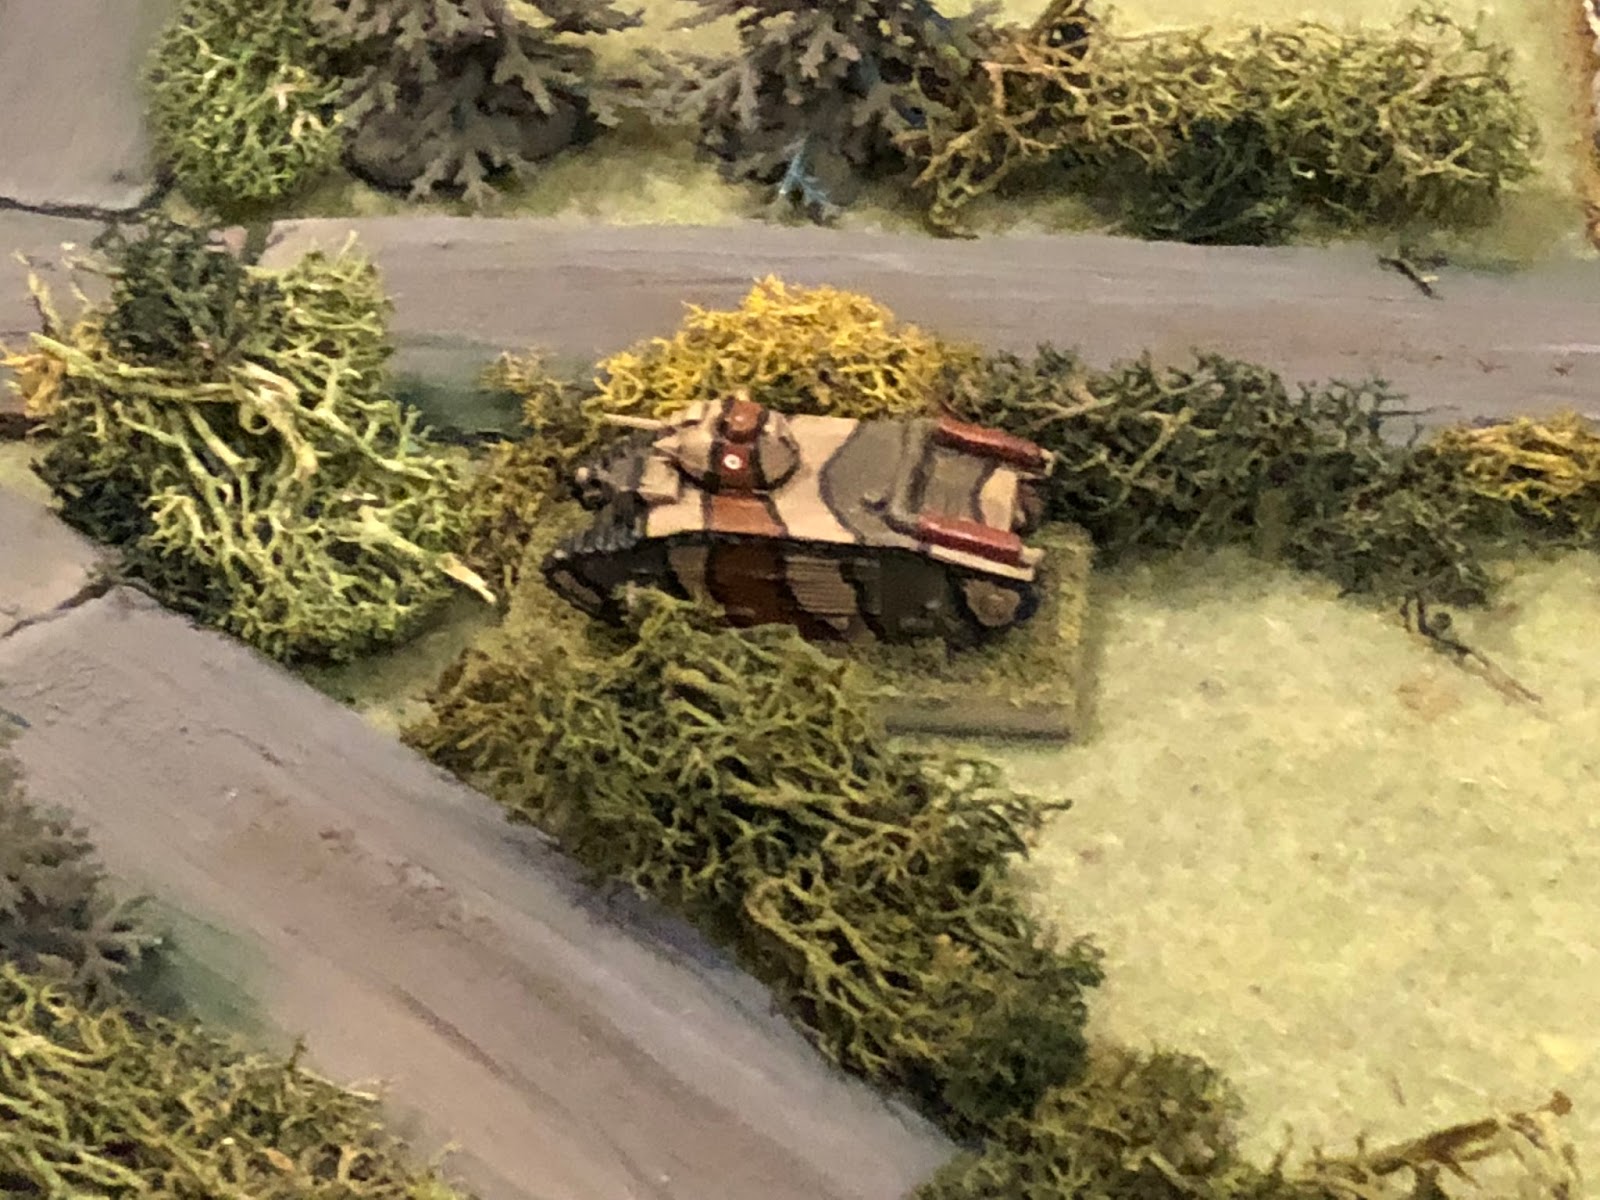
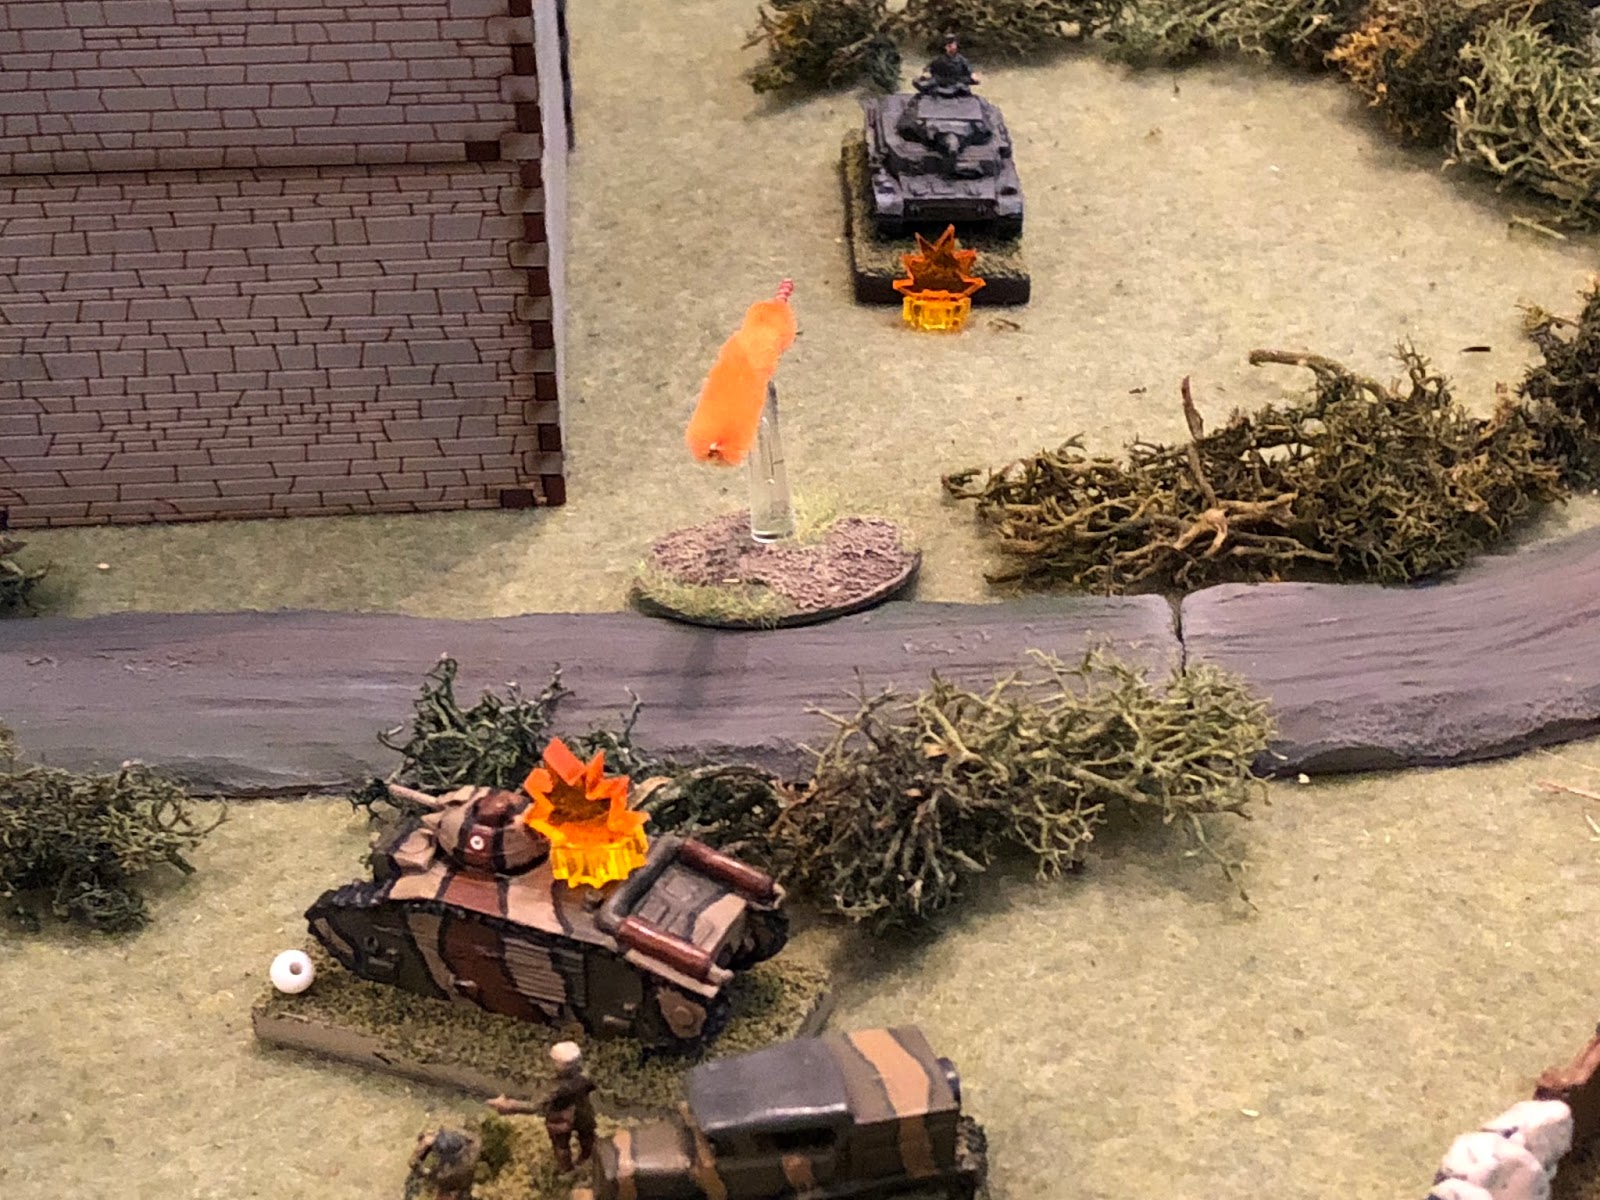
Colonel Klink decided to lead the assault himself, composed of the better part of his Grenadier Company, two platoons of tanks, a portion of the Kampfgruppe's Reconnaissance Platoon, and a section of 80mm mortars. Aerial reconnaissance stated the French force as a couple platoons of infantry with perhaps a couple crew-served weapons, with maybe a single tank in support. Ordinarily a single tank in support wouldn't be something for Colonel Klink to be too concerned about, but when that tank is a Char B, with it's extraordinarily heavy armor...
Regarding rules, I'm messing around again. Years ago, when my father was still alive, he'd come over pretty much every weekend and we'd play wargames (sadly, this was before I created a blog to record all my wargaming efforts). In any case, we primarily played three games: Force on Force, Bag the Hun, and I Ain't Been Shot Mum (IABSM). So it's been awhile, but I've had a hankering for some larger, reinforced-company level games that are a bit grittier that what I normally play, so I decided to give IABSM another try.
I did change some things up, vastly simplifying the shooting and morale mechanics, but I've kept the 'guts' of the game as written: platoon and 'Big Man' activation randomized by cards and further randomized by the 'Tea Break,' starting the game on 'blinds' and having to be spotted, and variable (diced-for) movement. I say guts; others may have differing opinions, but to me, those items are what set the IABSM rules apart from others.
This desire to play a larger game and try out IABSM again also happened to coincide with my eight year-old boy telling me "it's been a long time Daddy, we should have another battle." I happily acquiesced ;)
The Battlefield

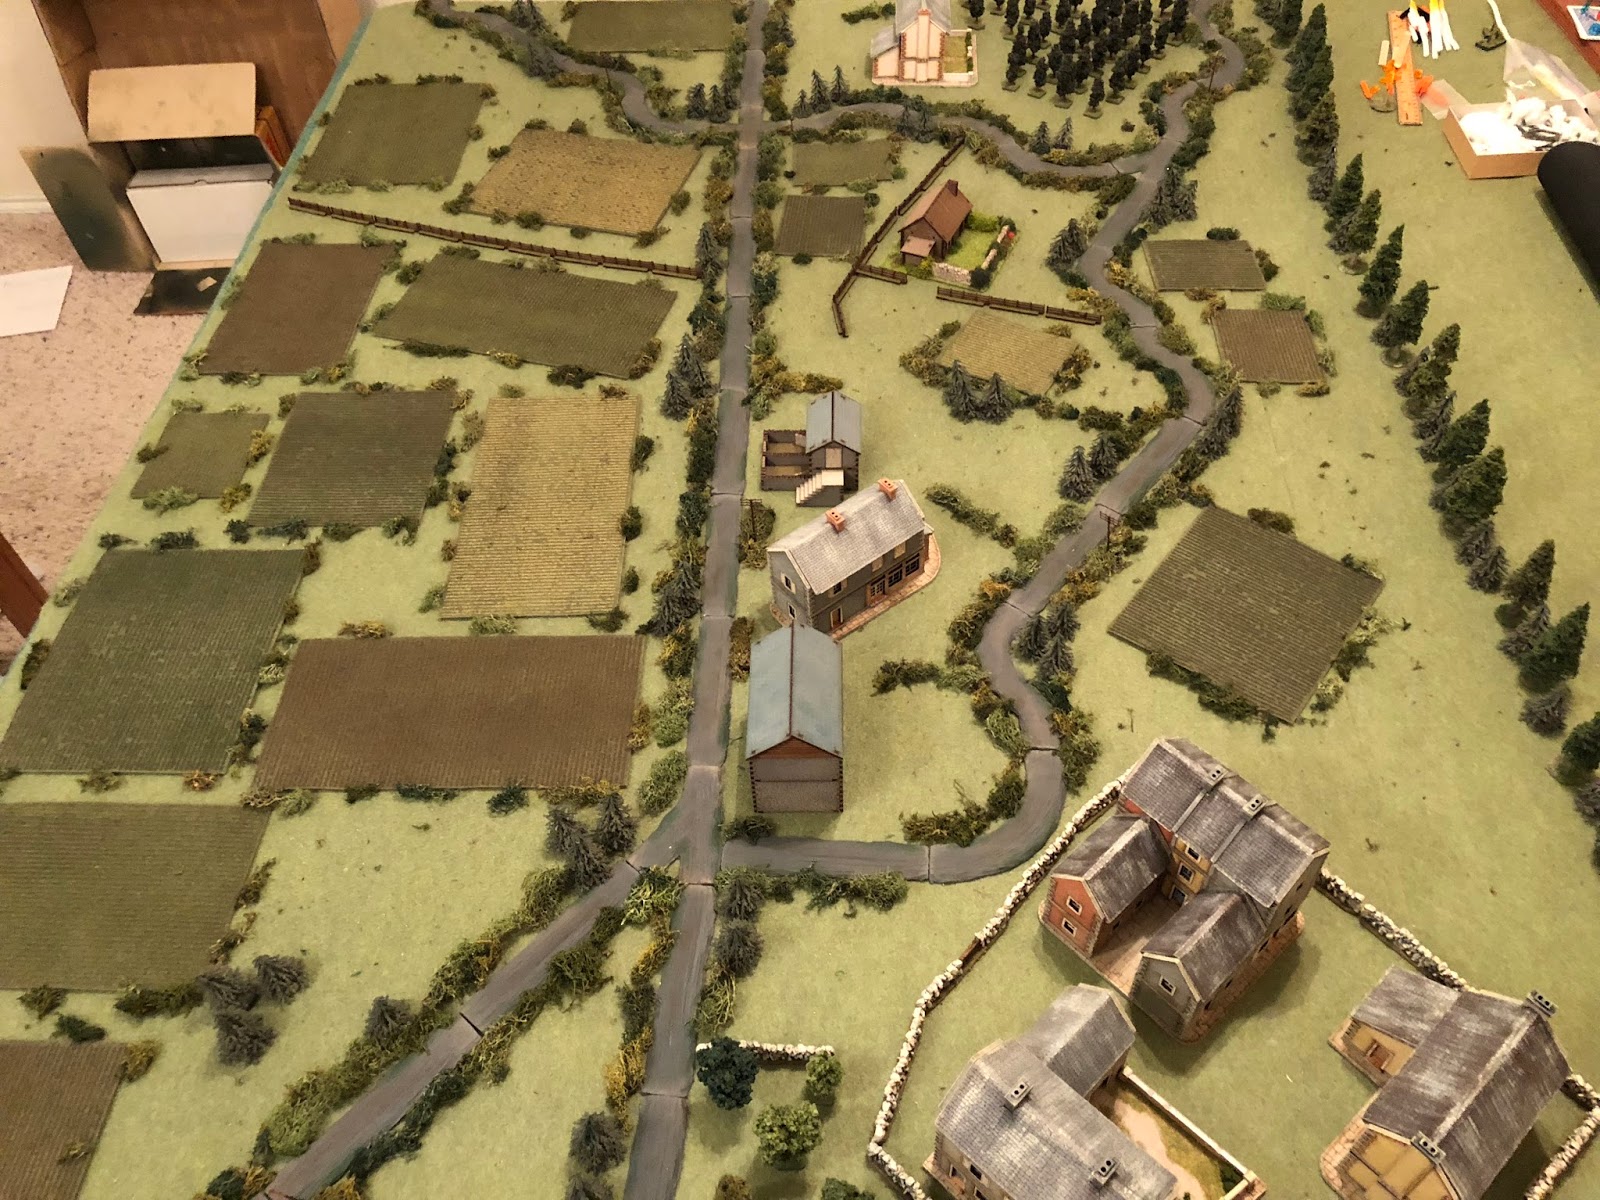
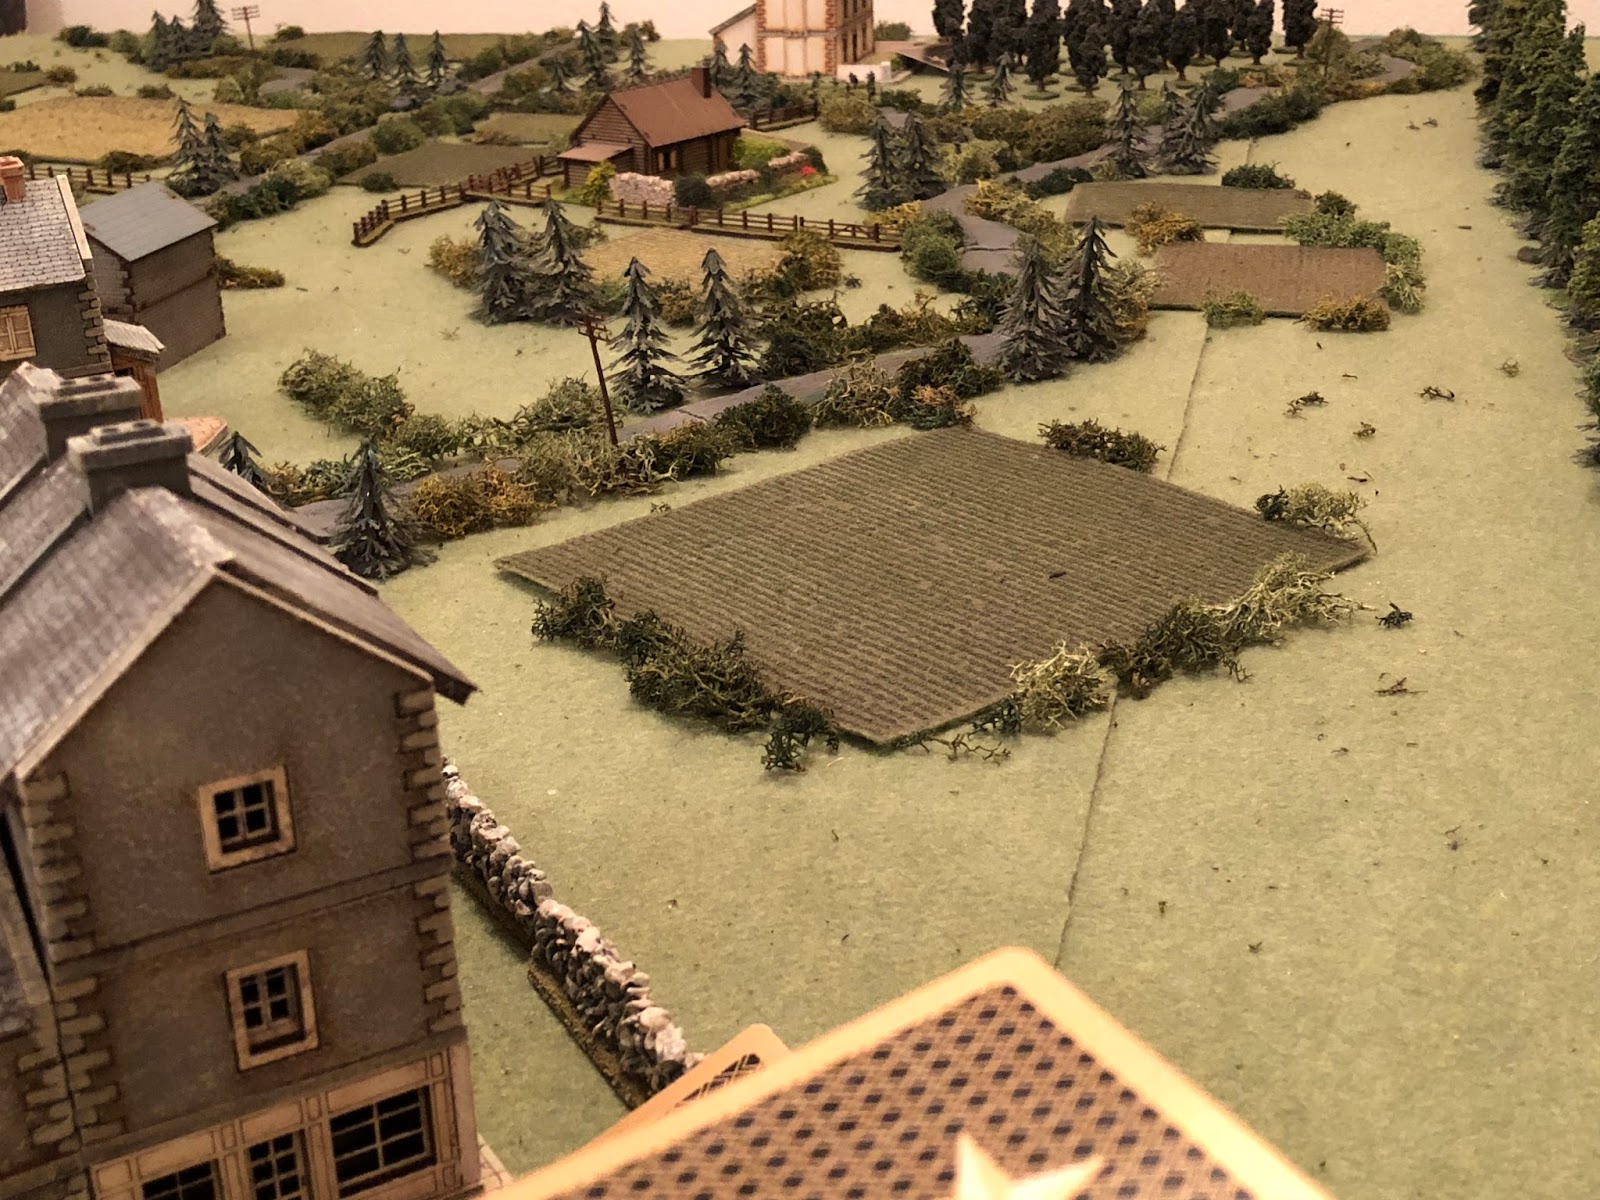
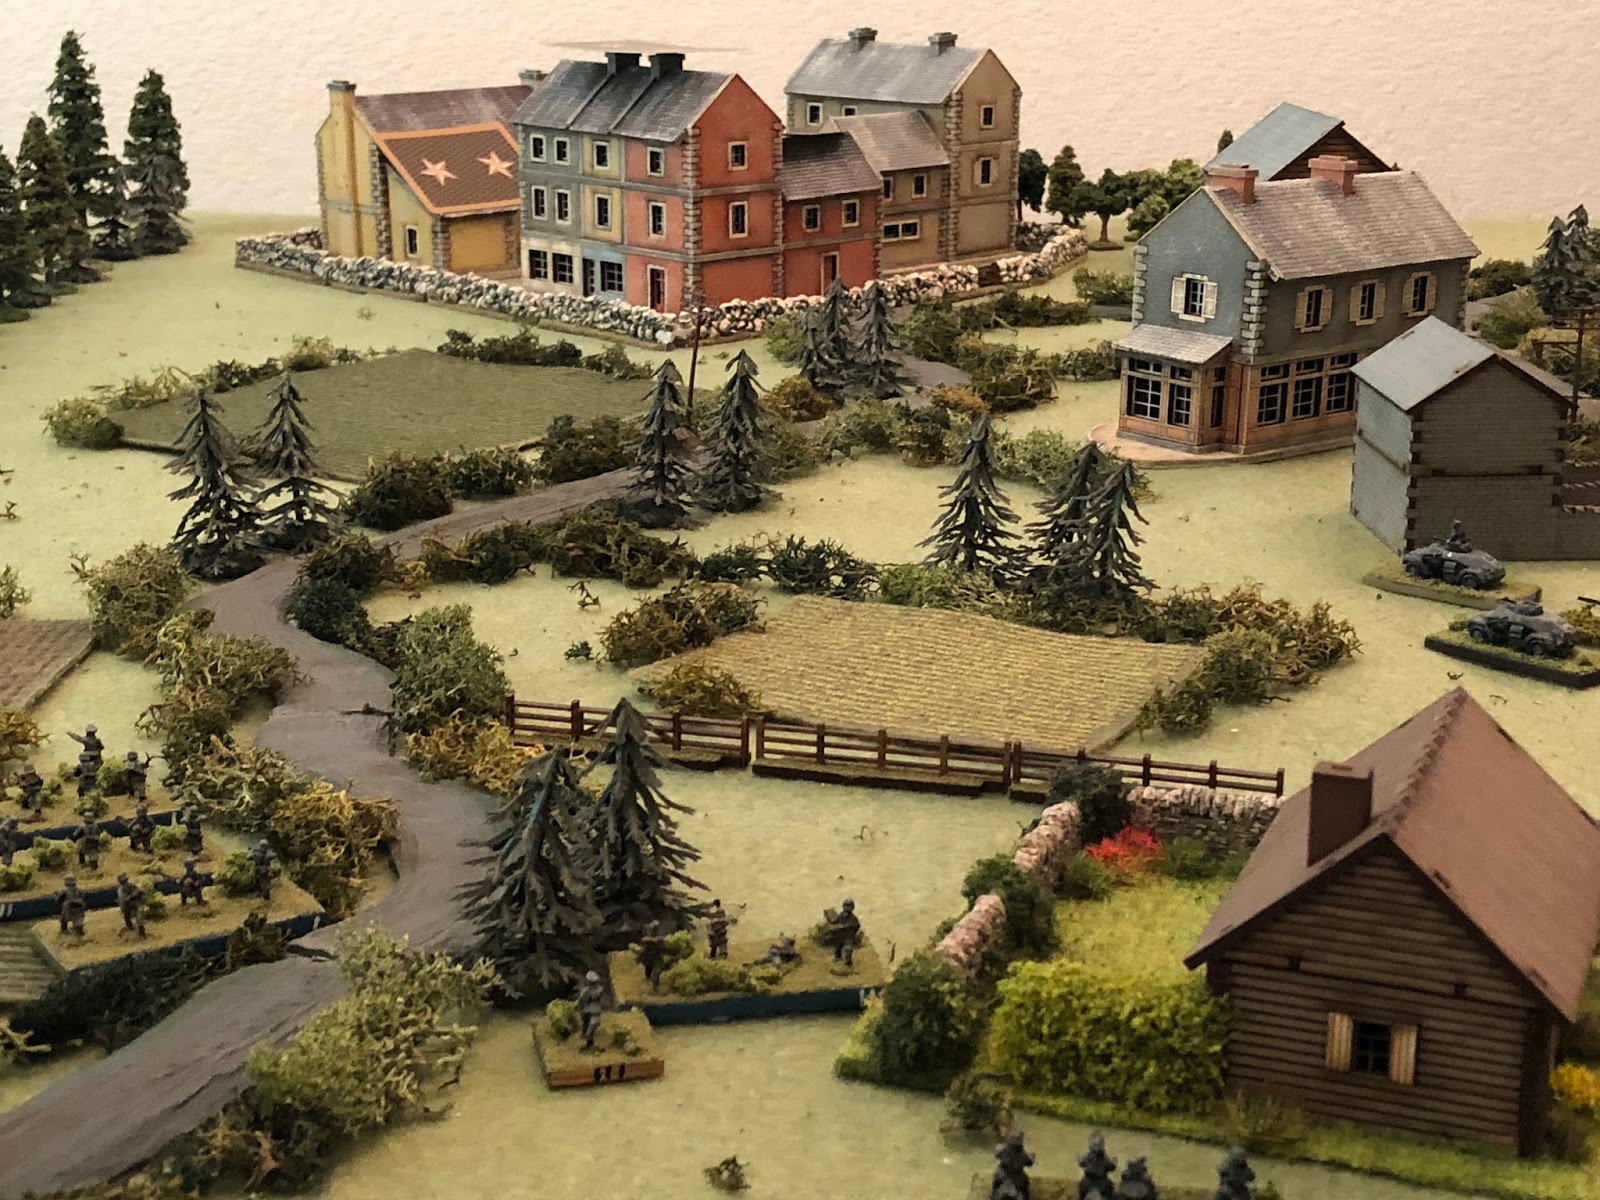
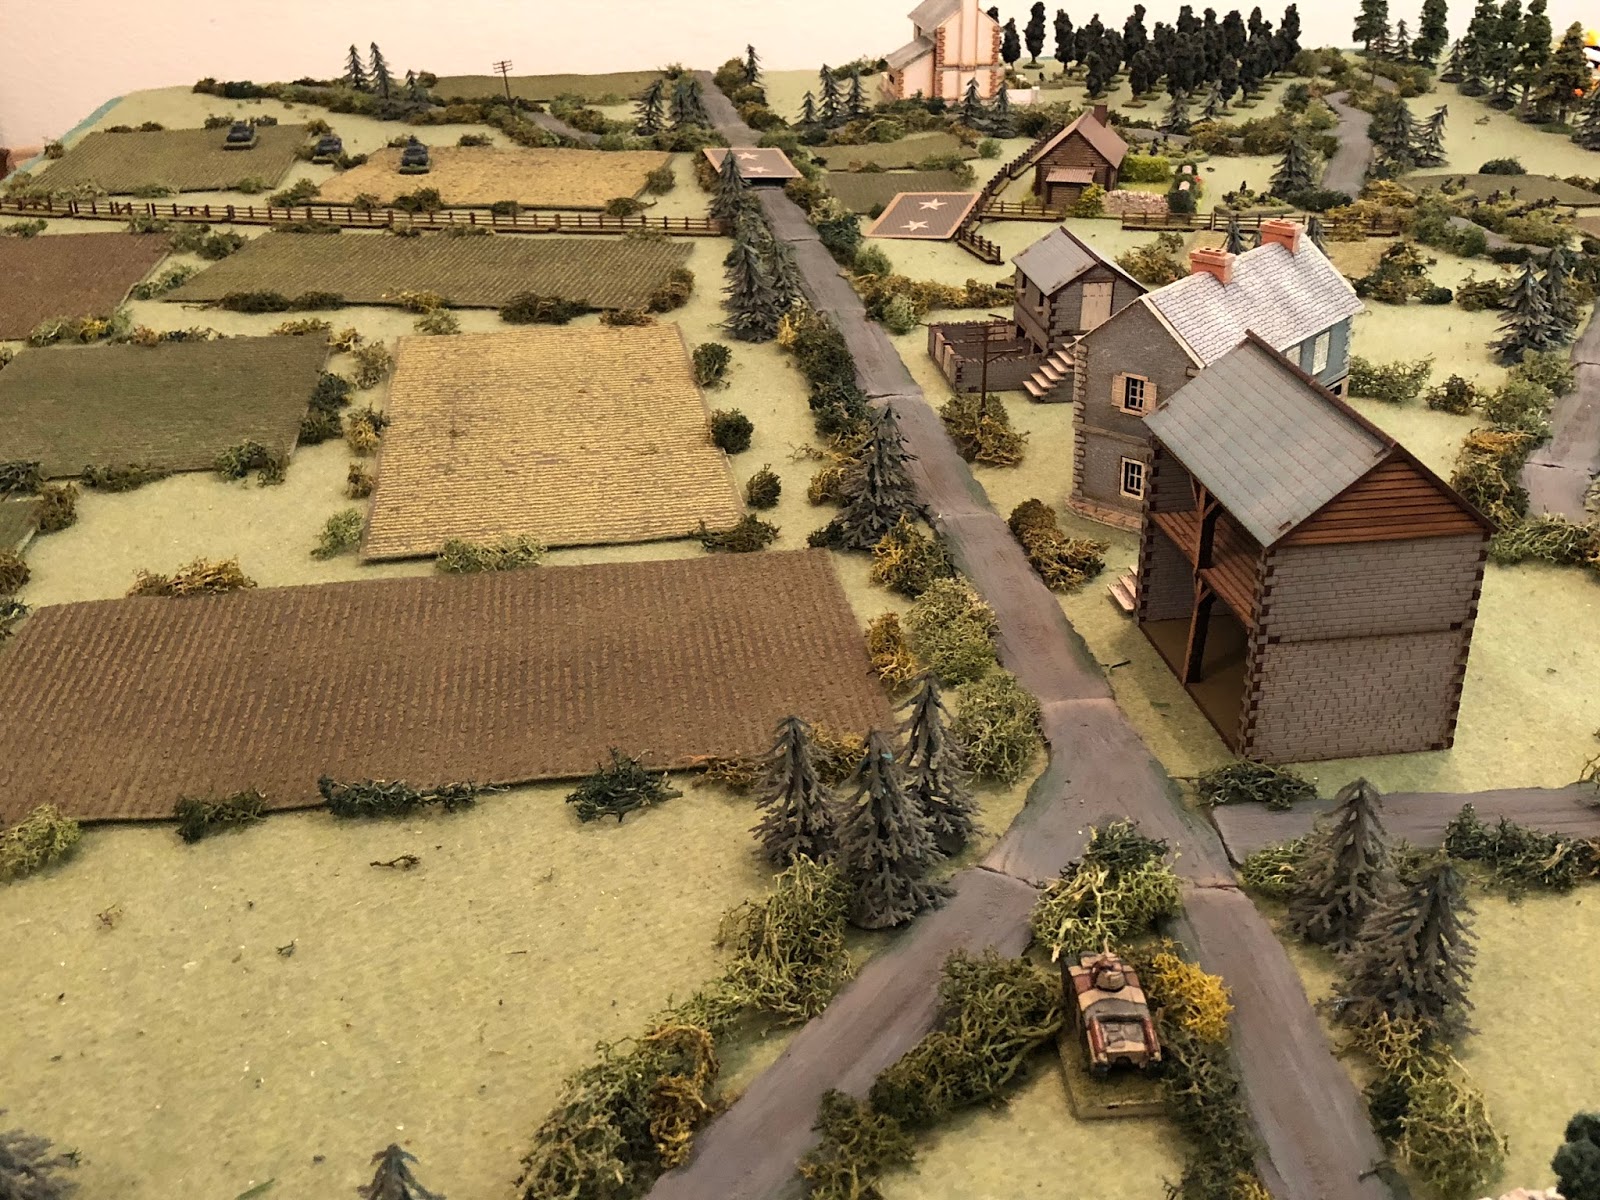
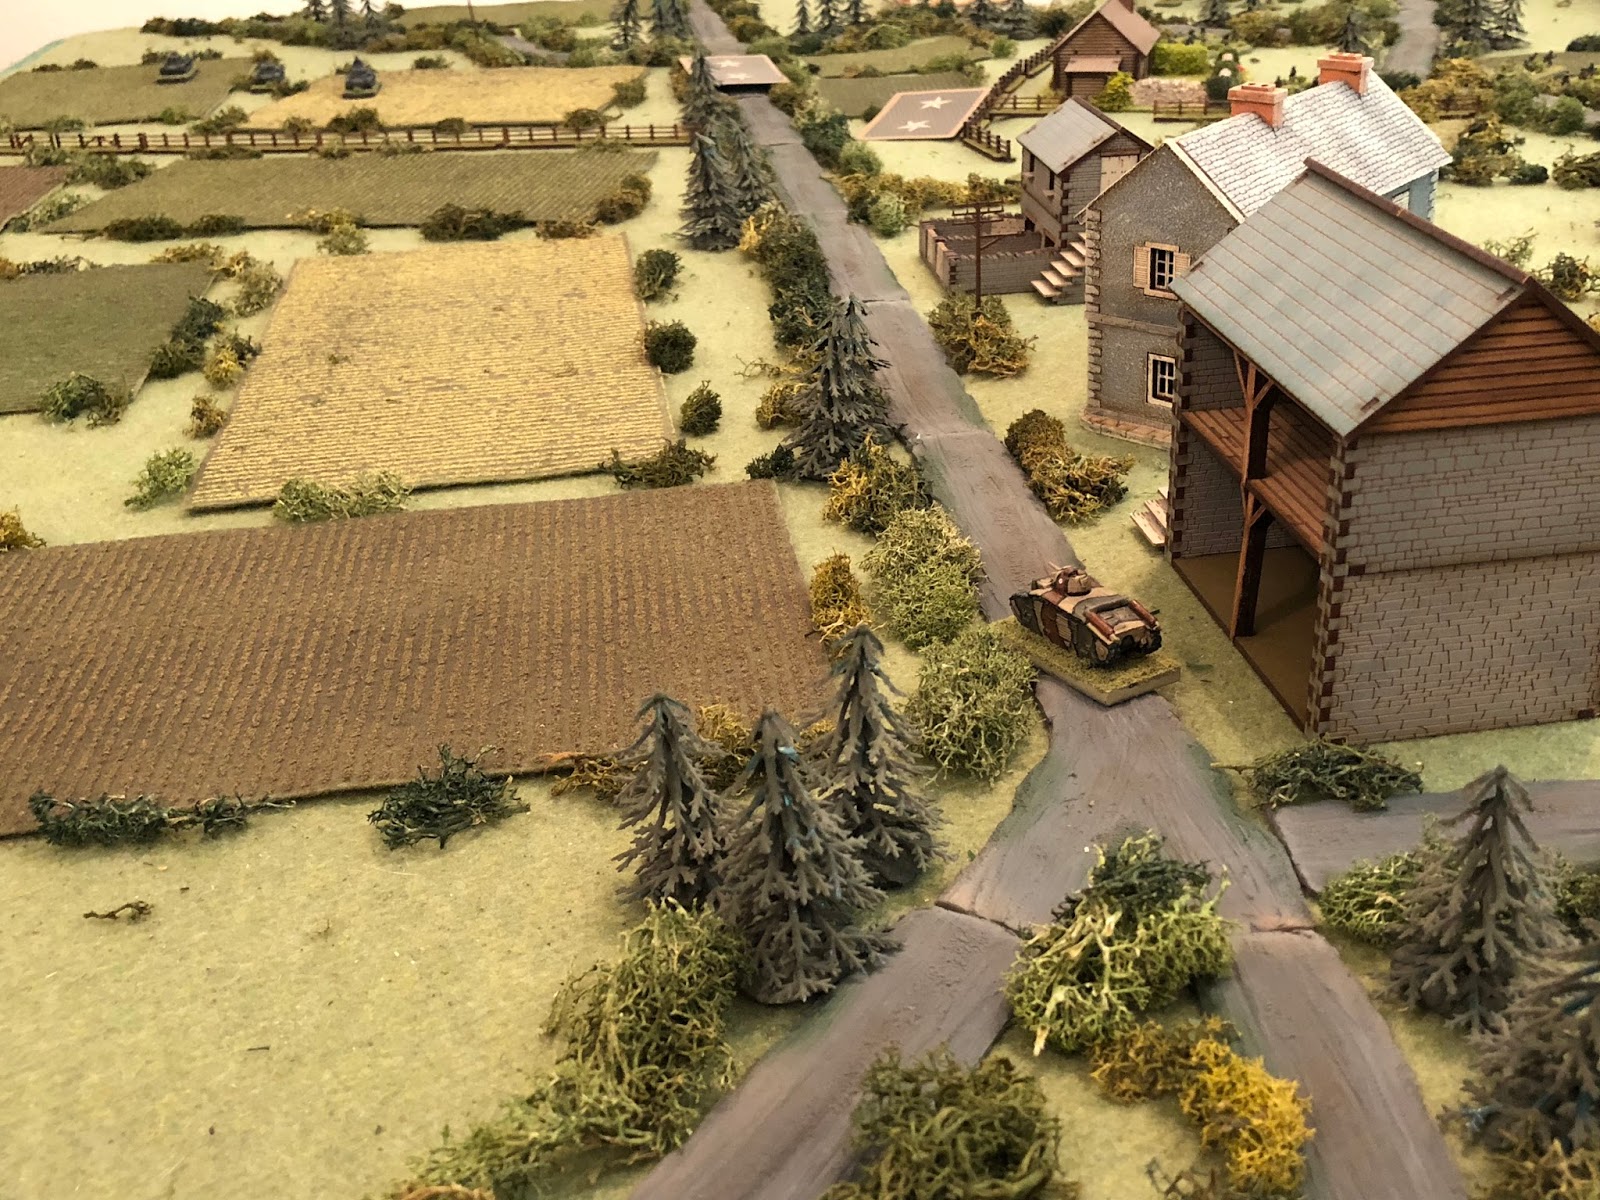
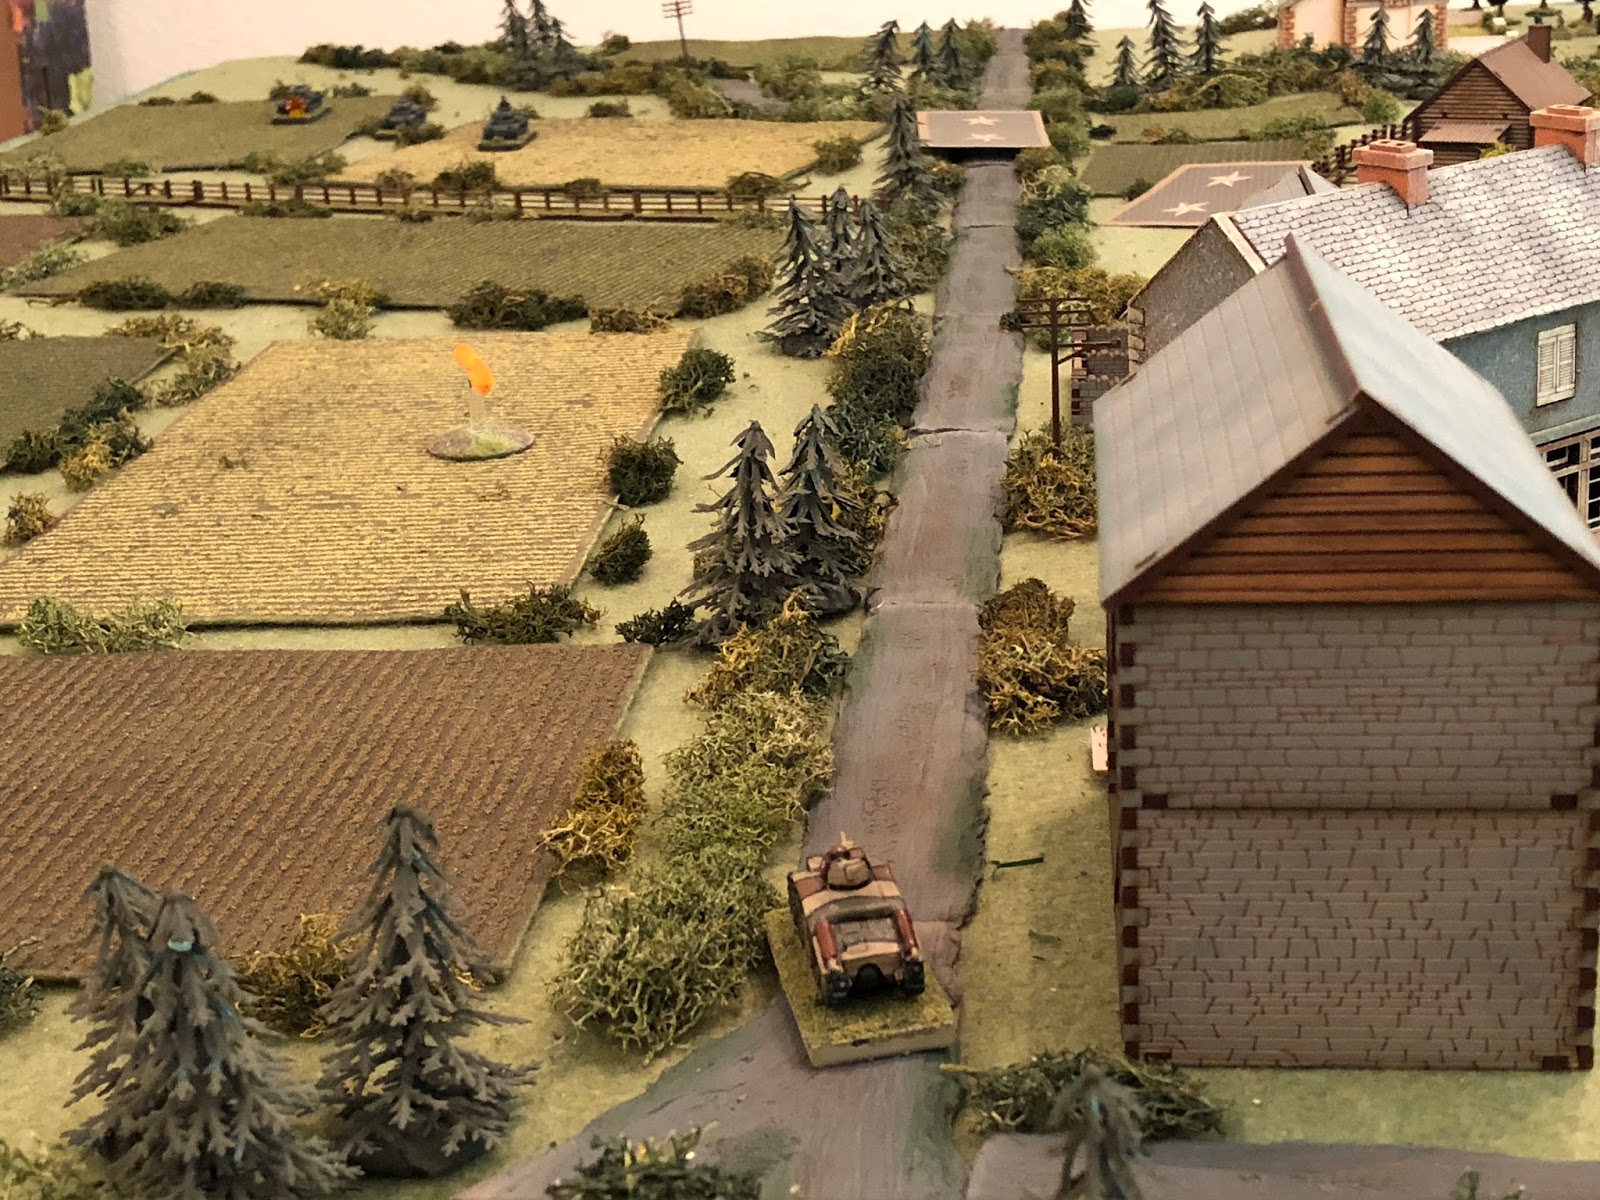
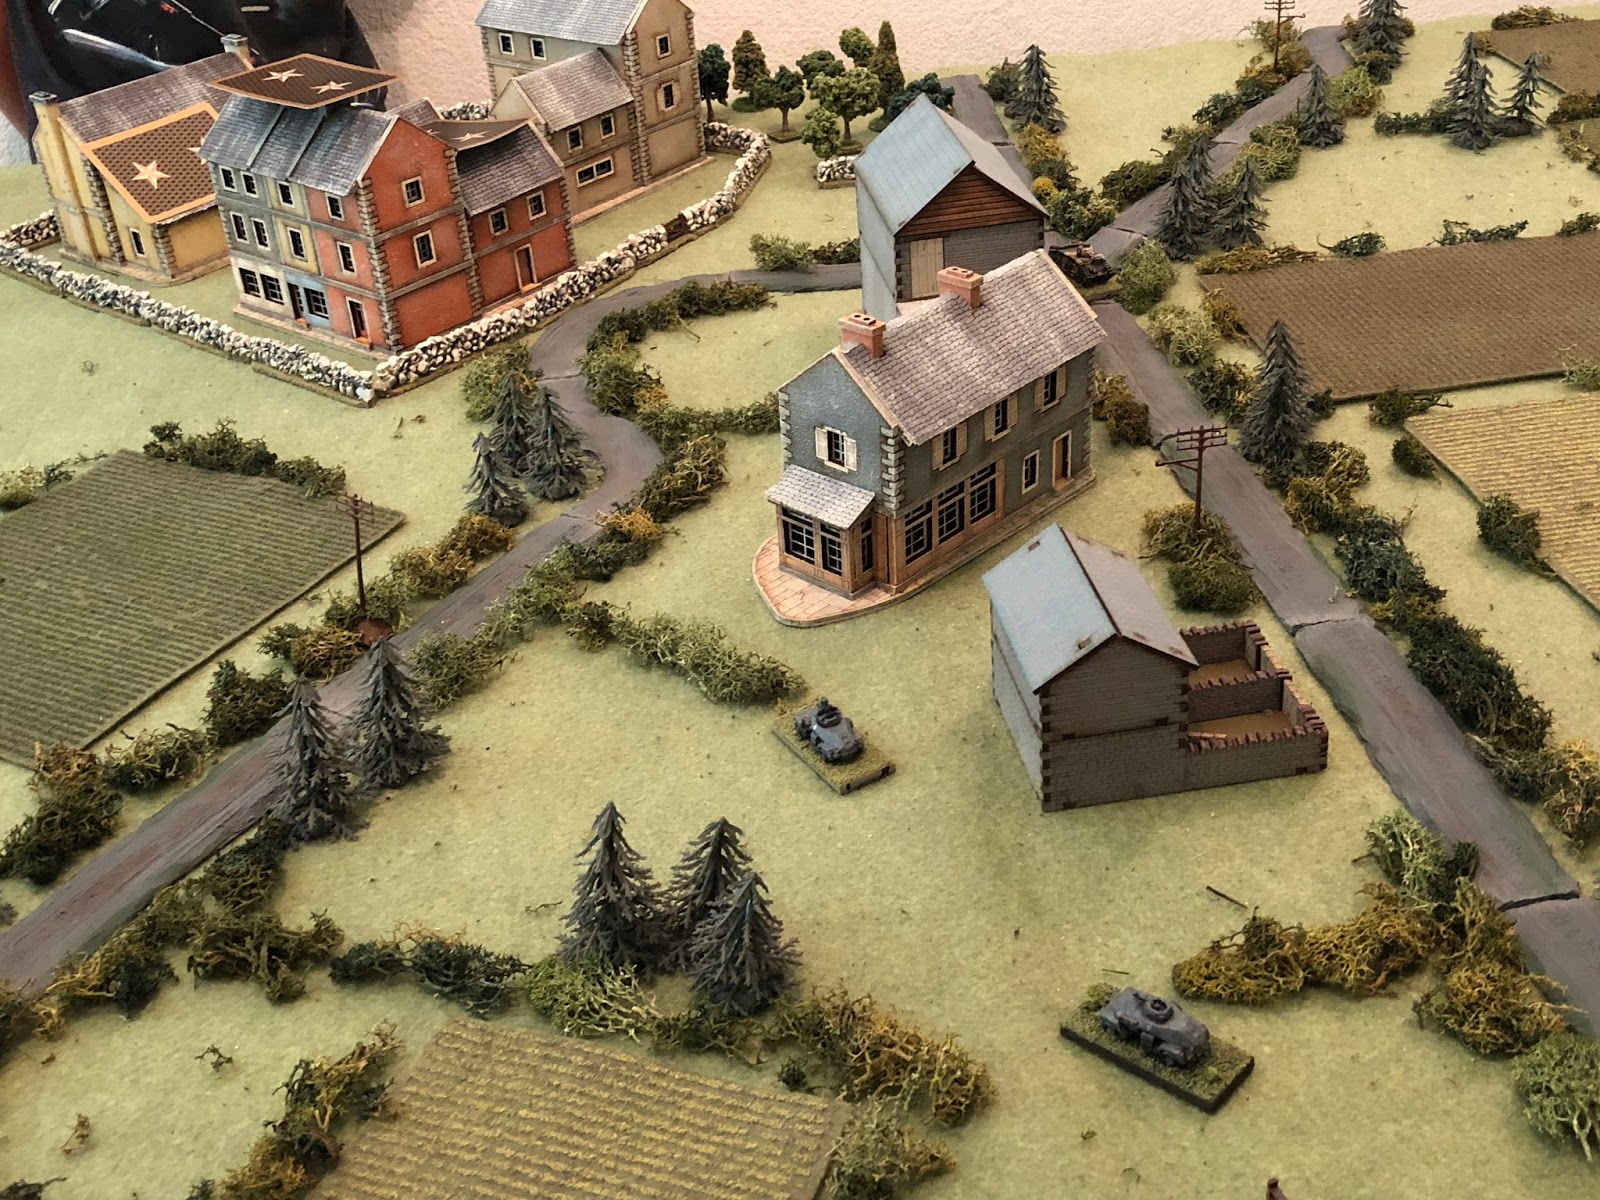
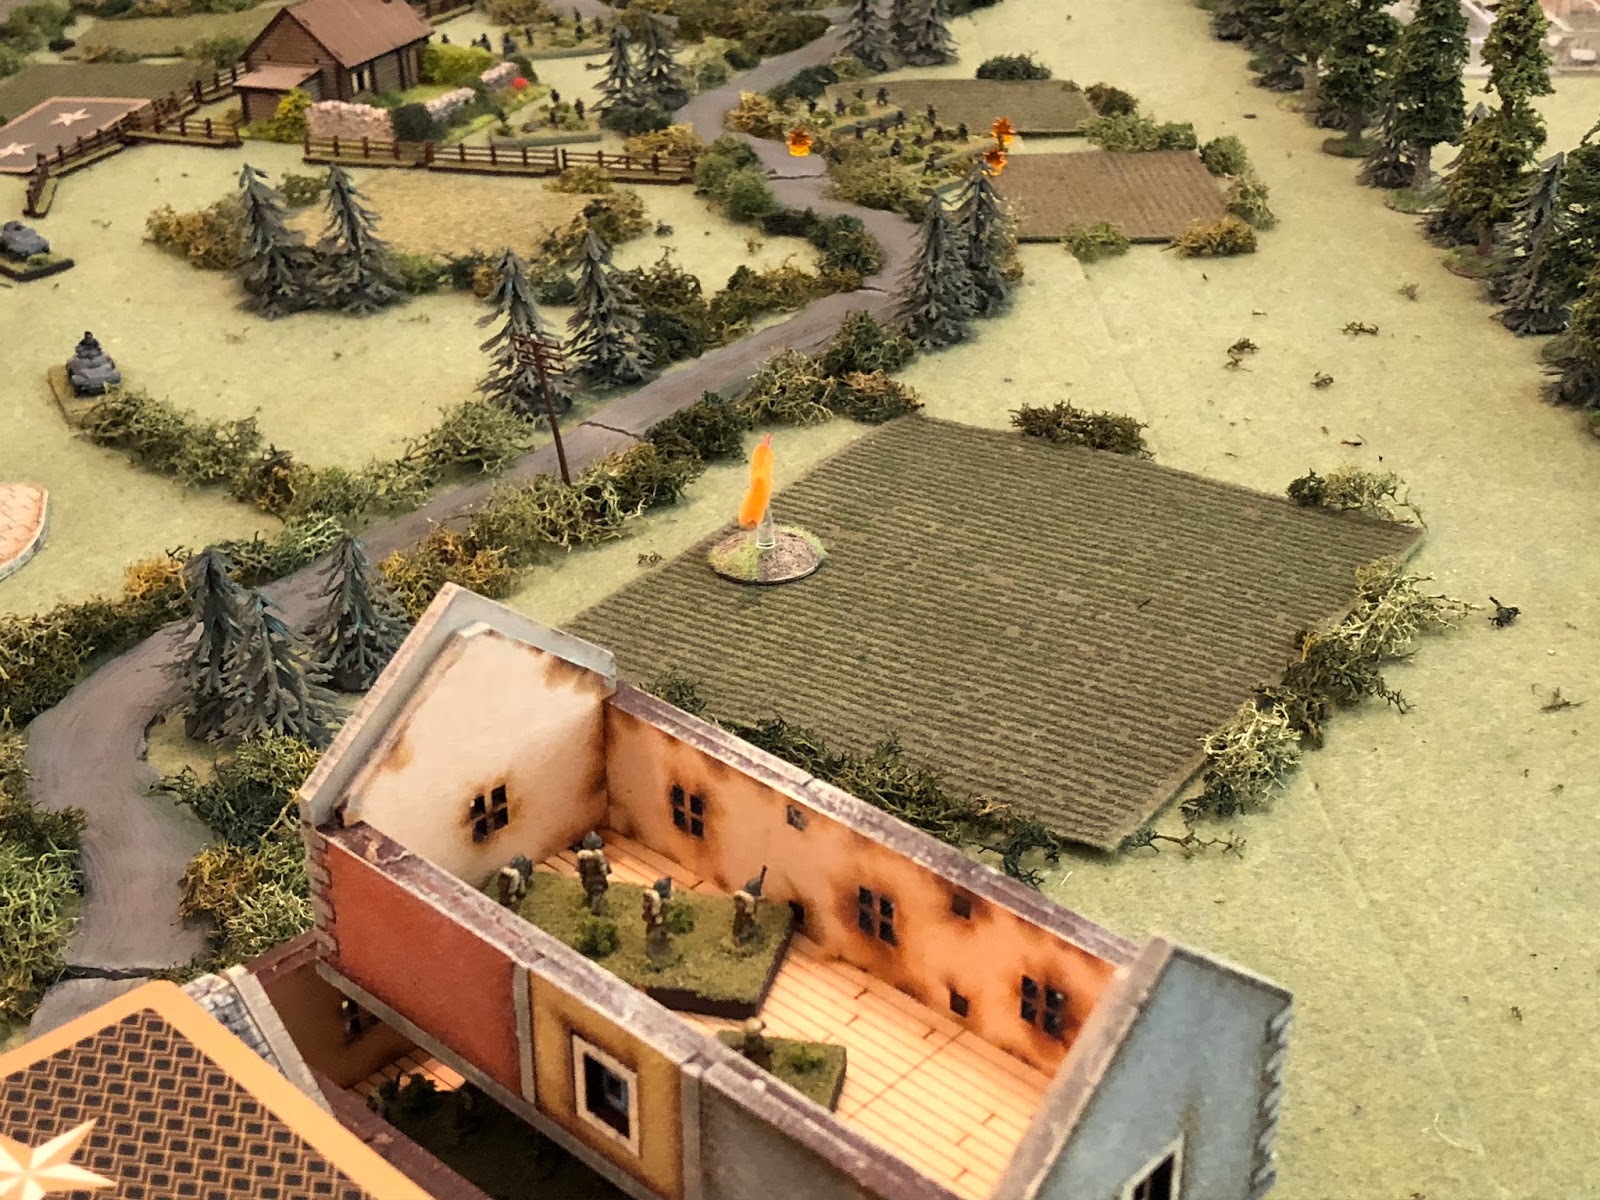
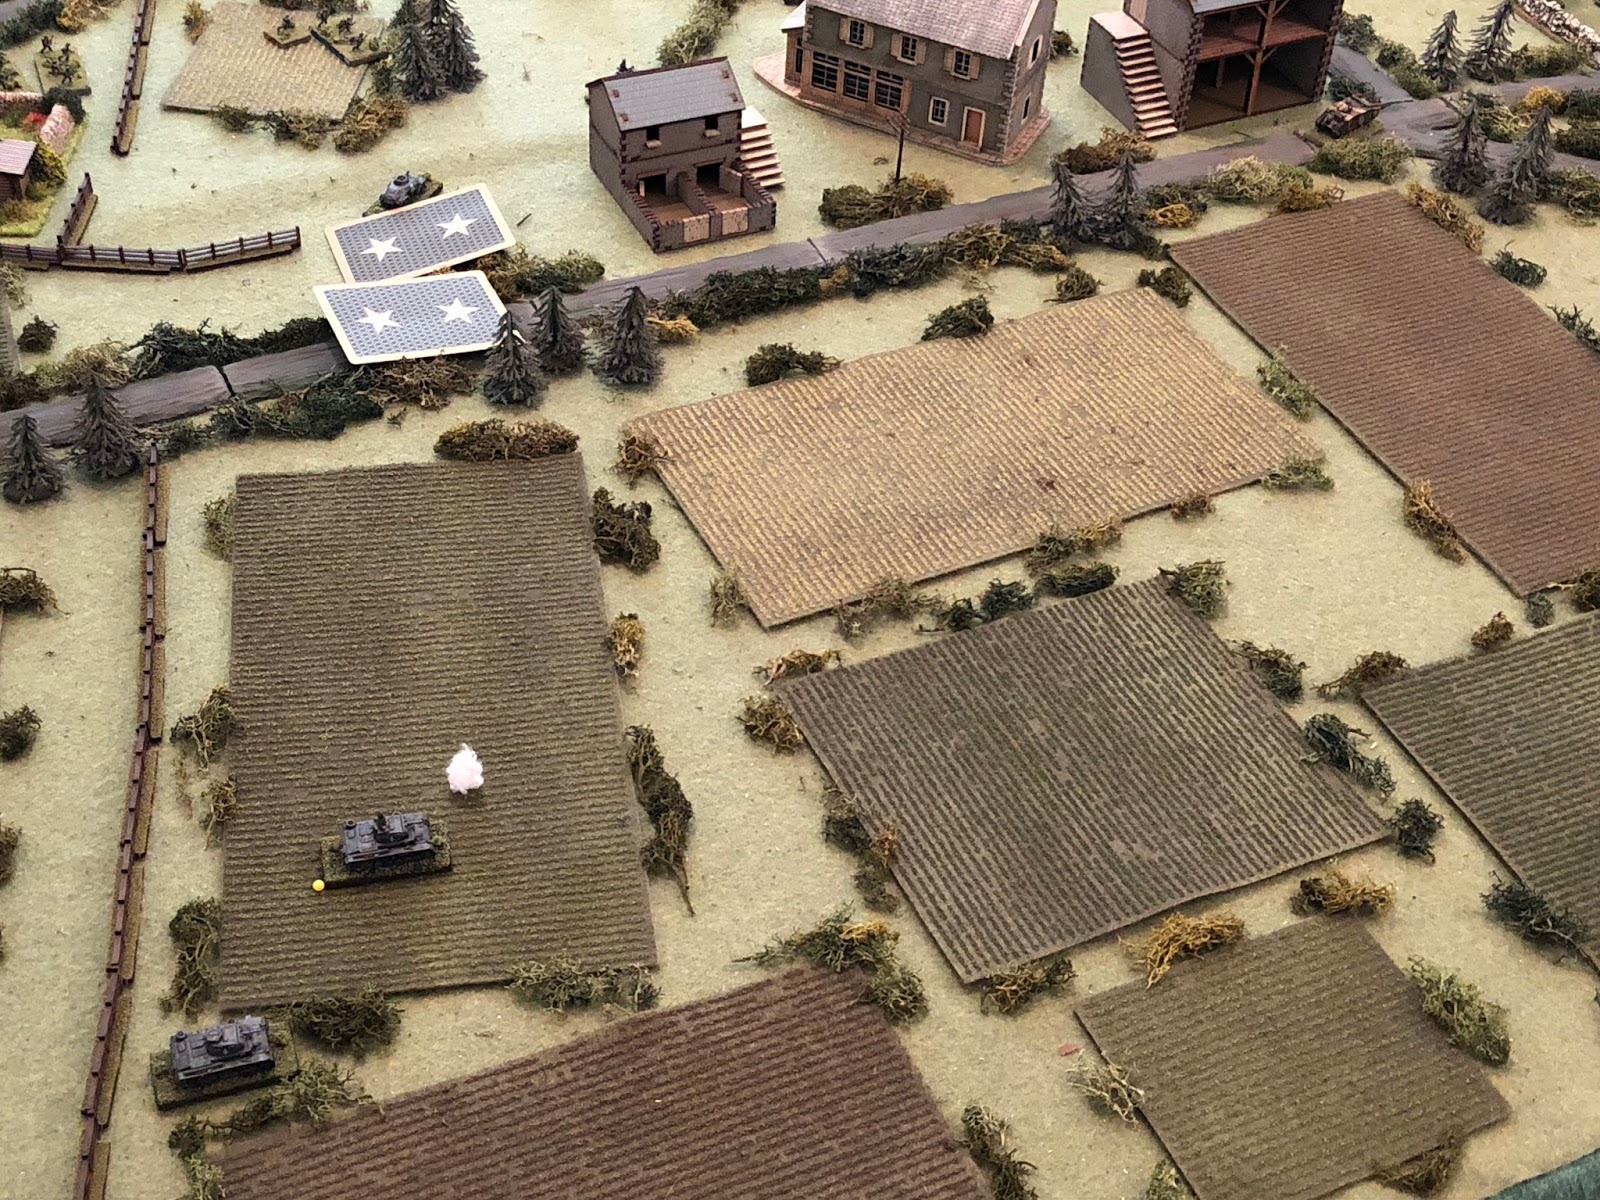
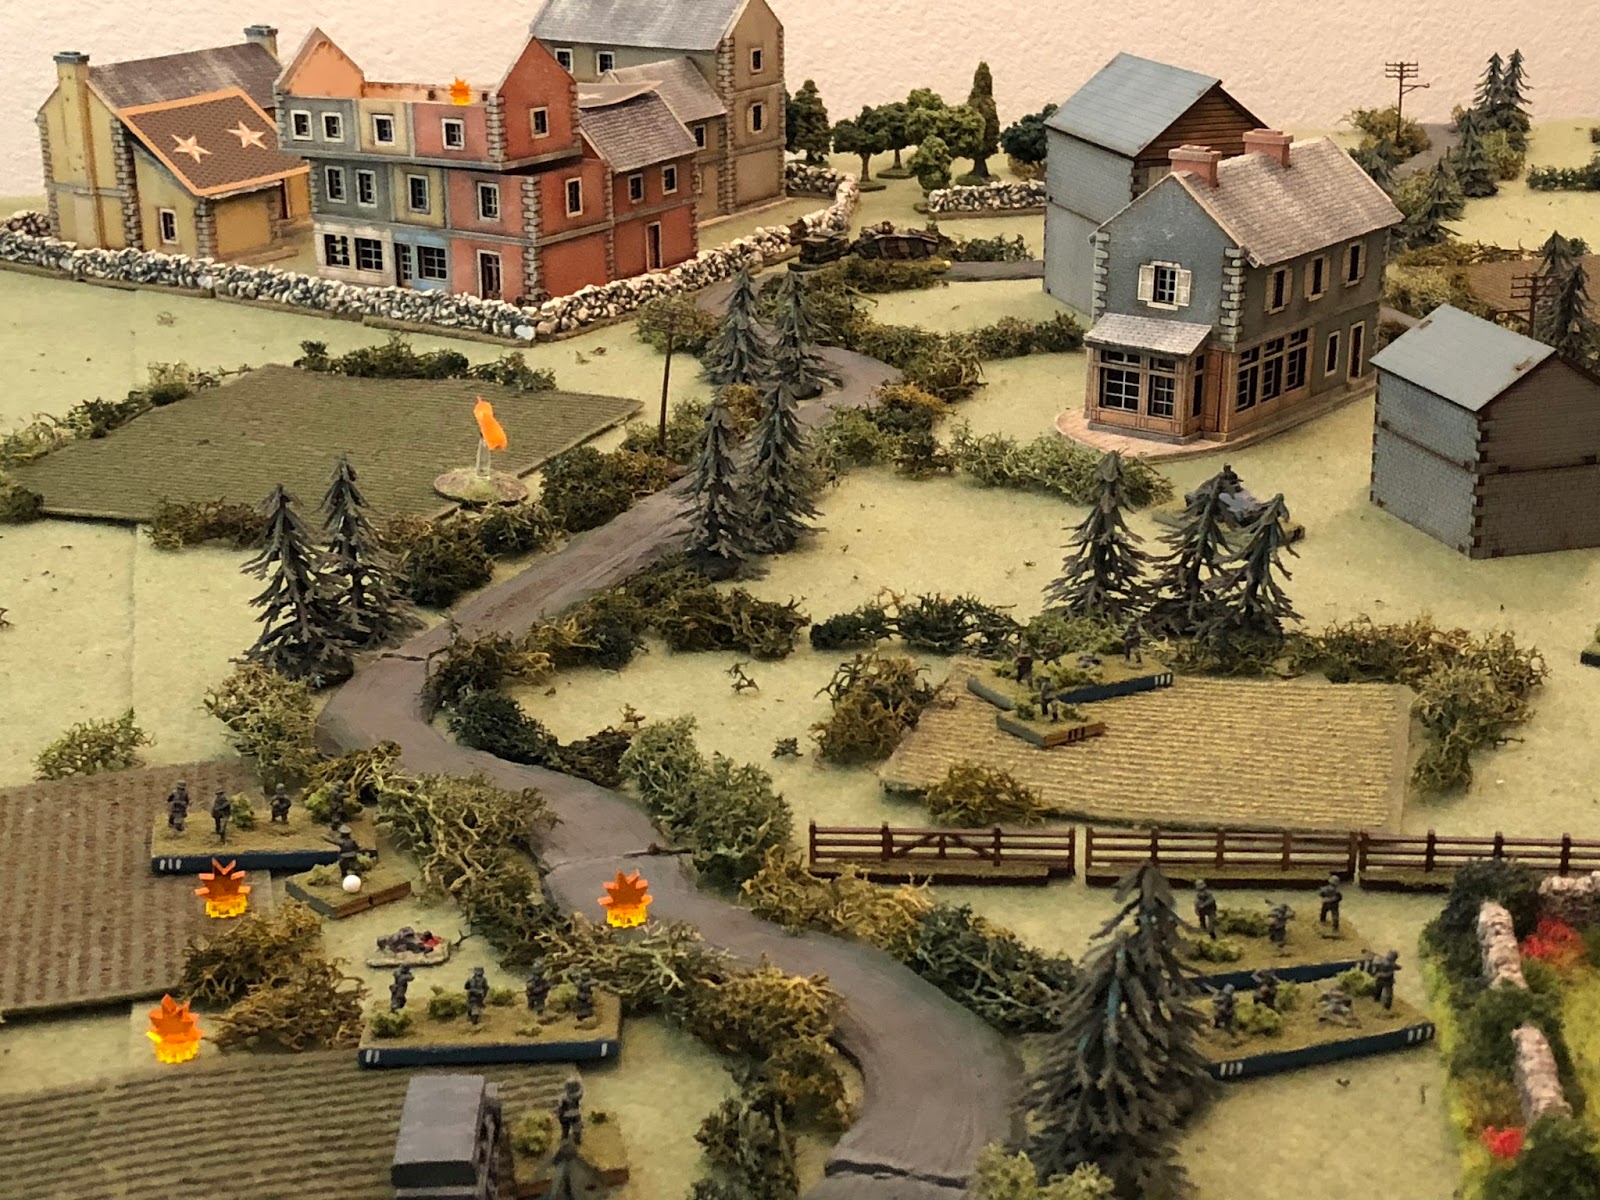
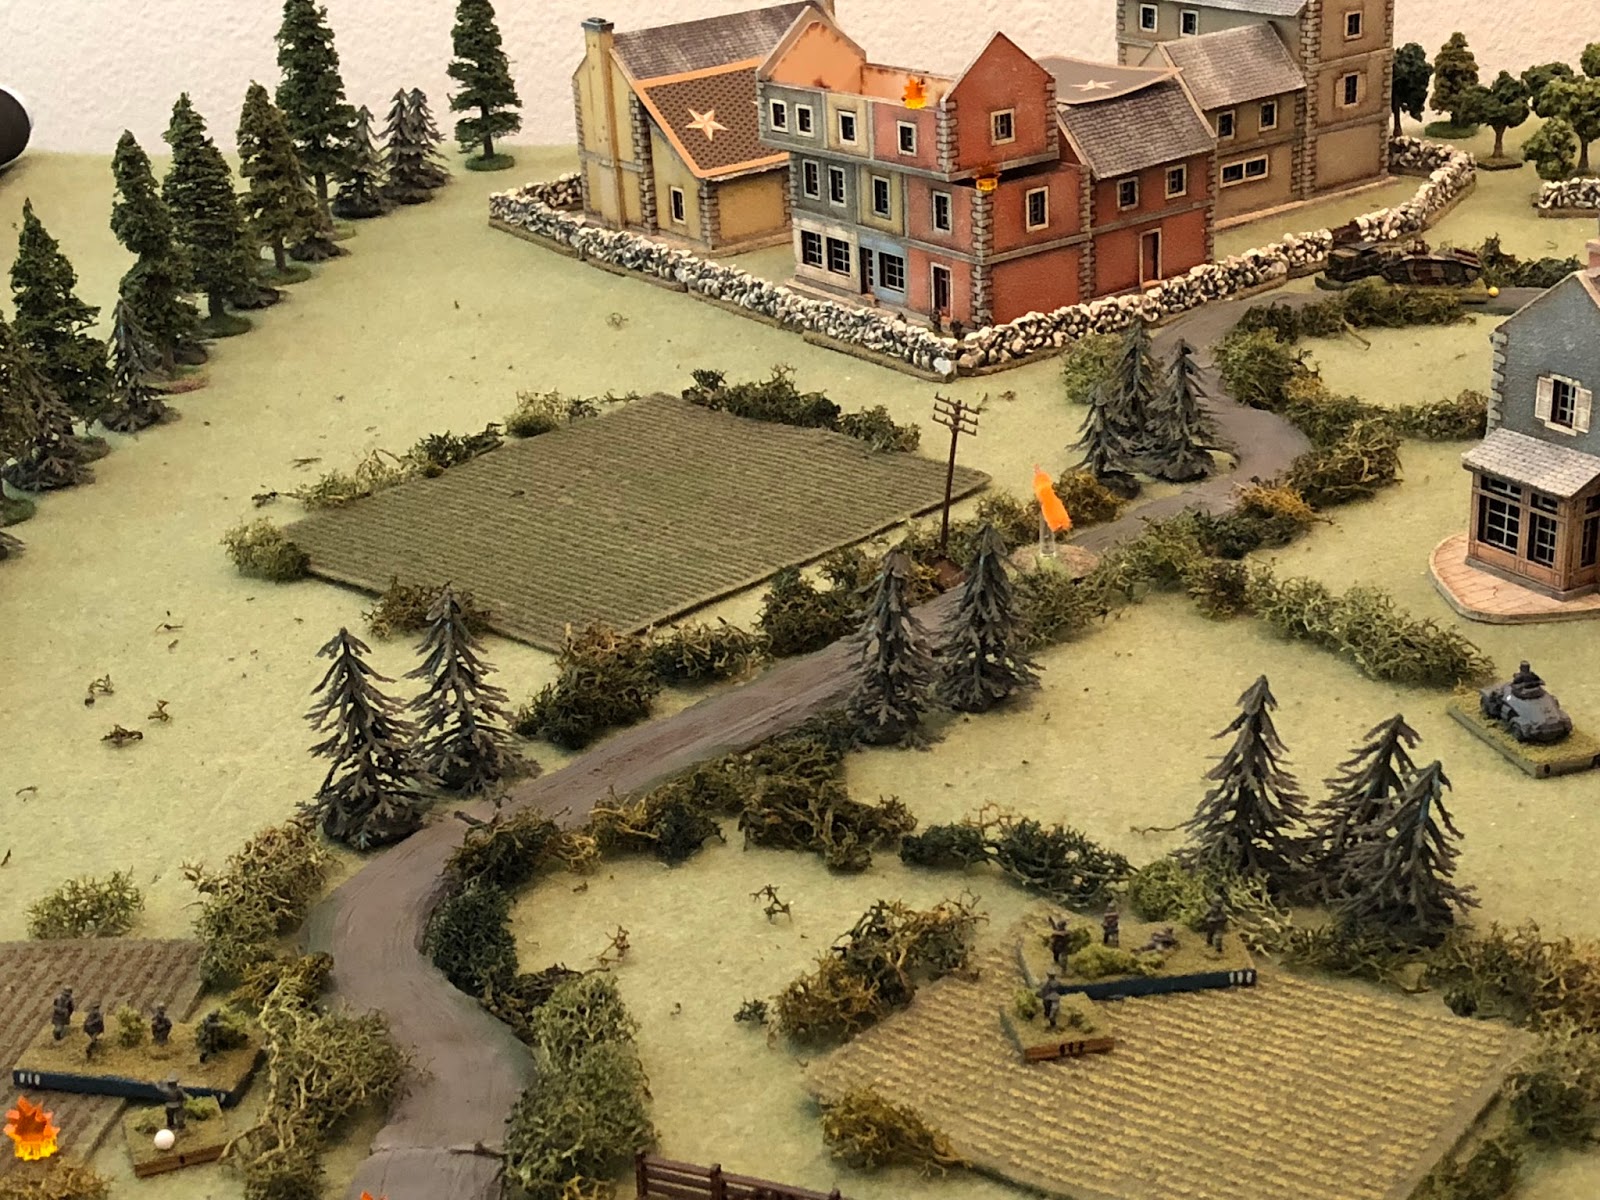
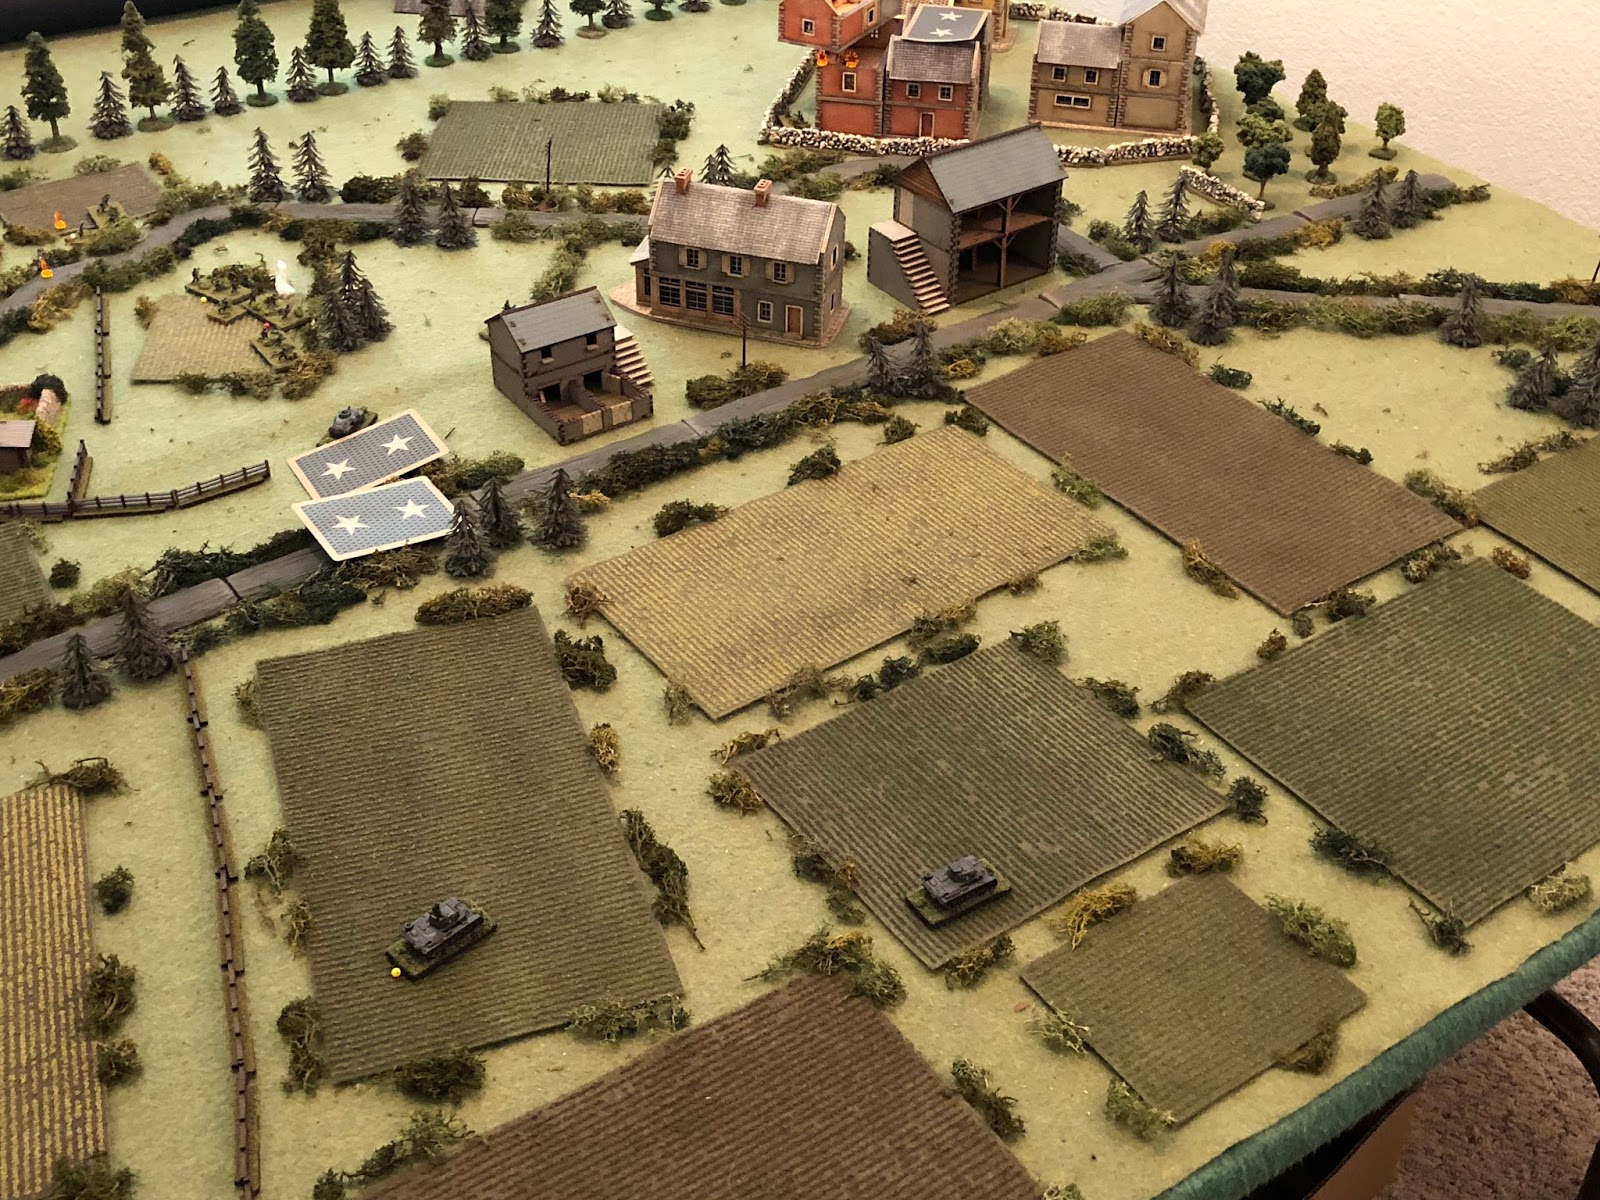
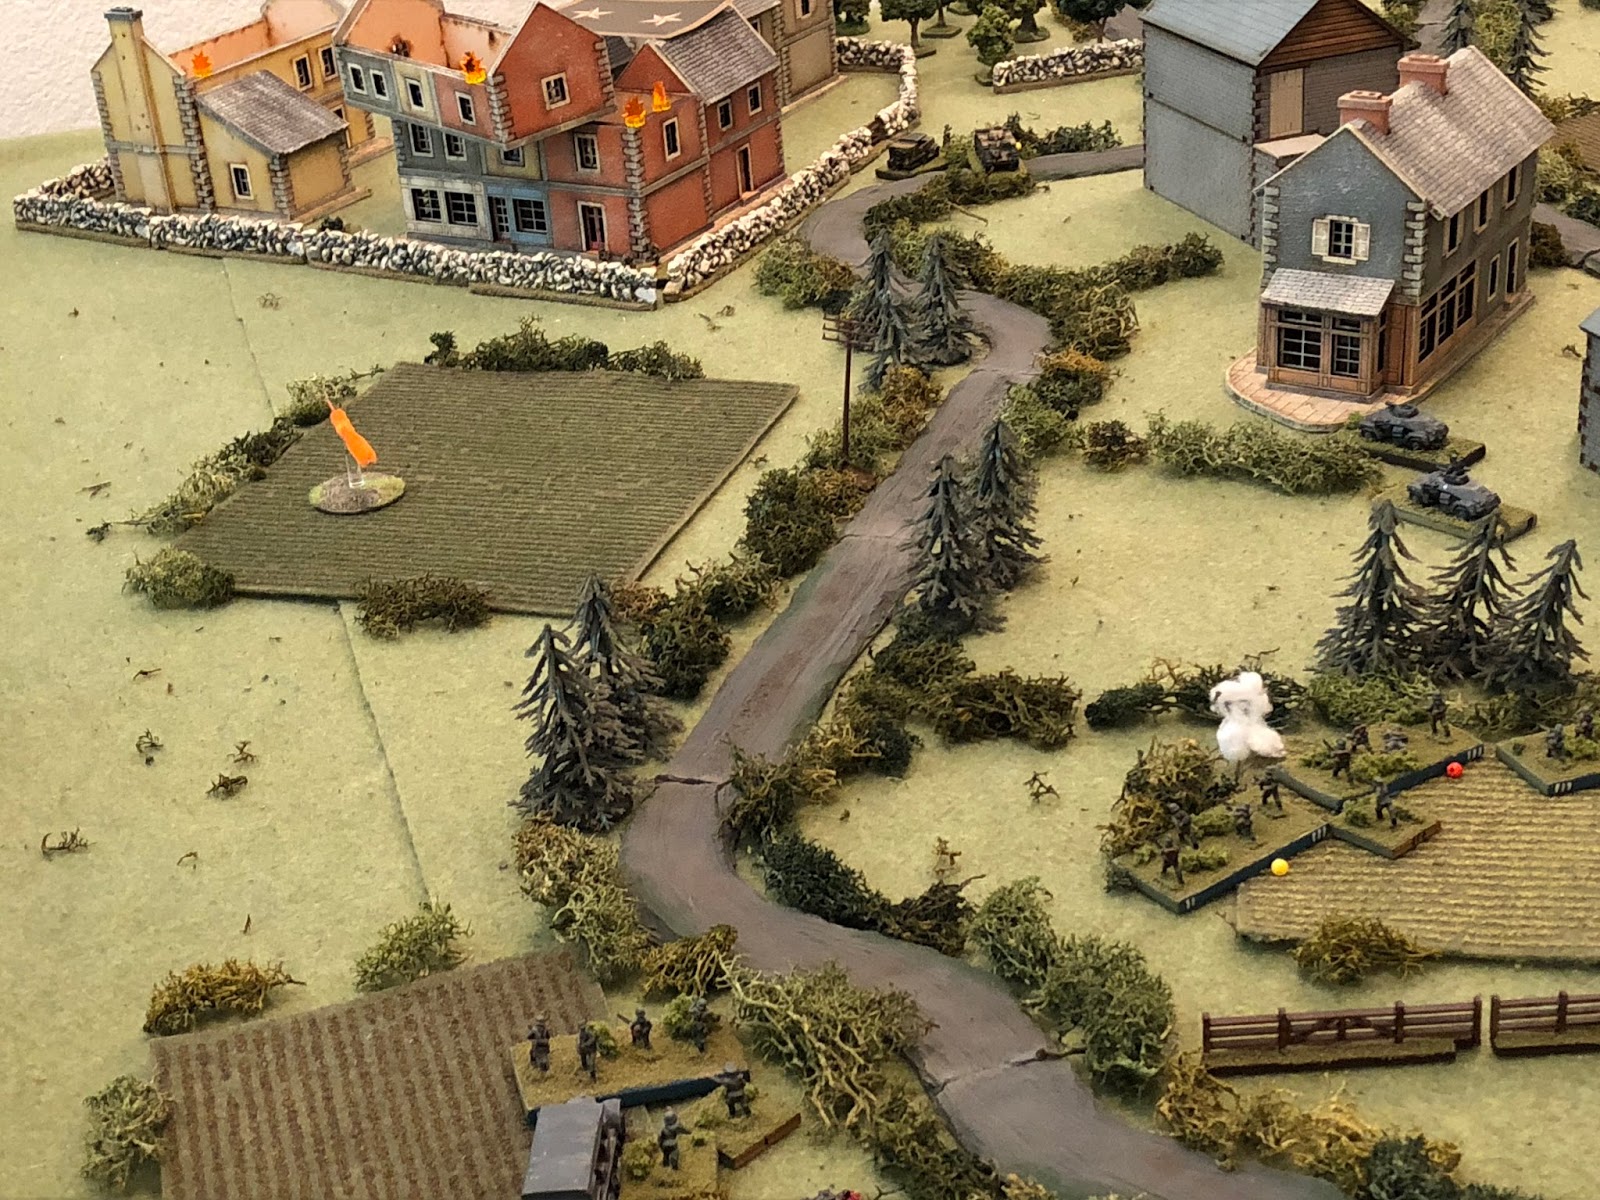
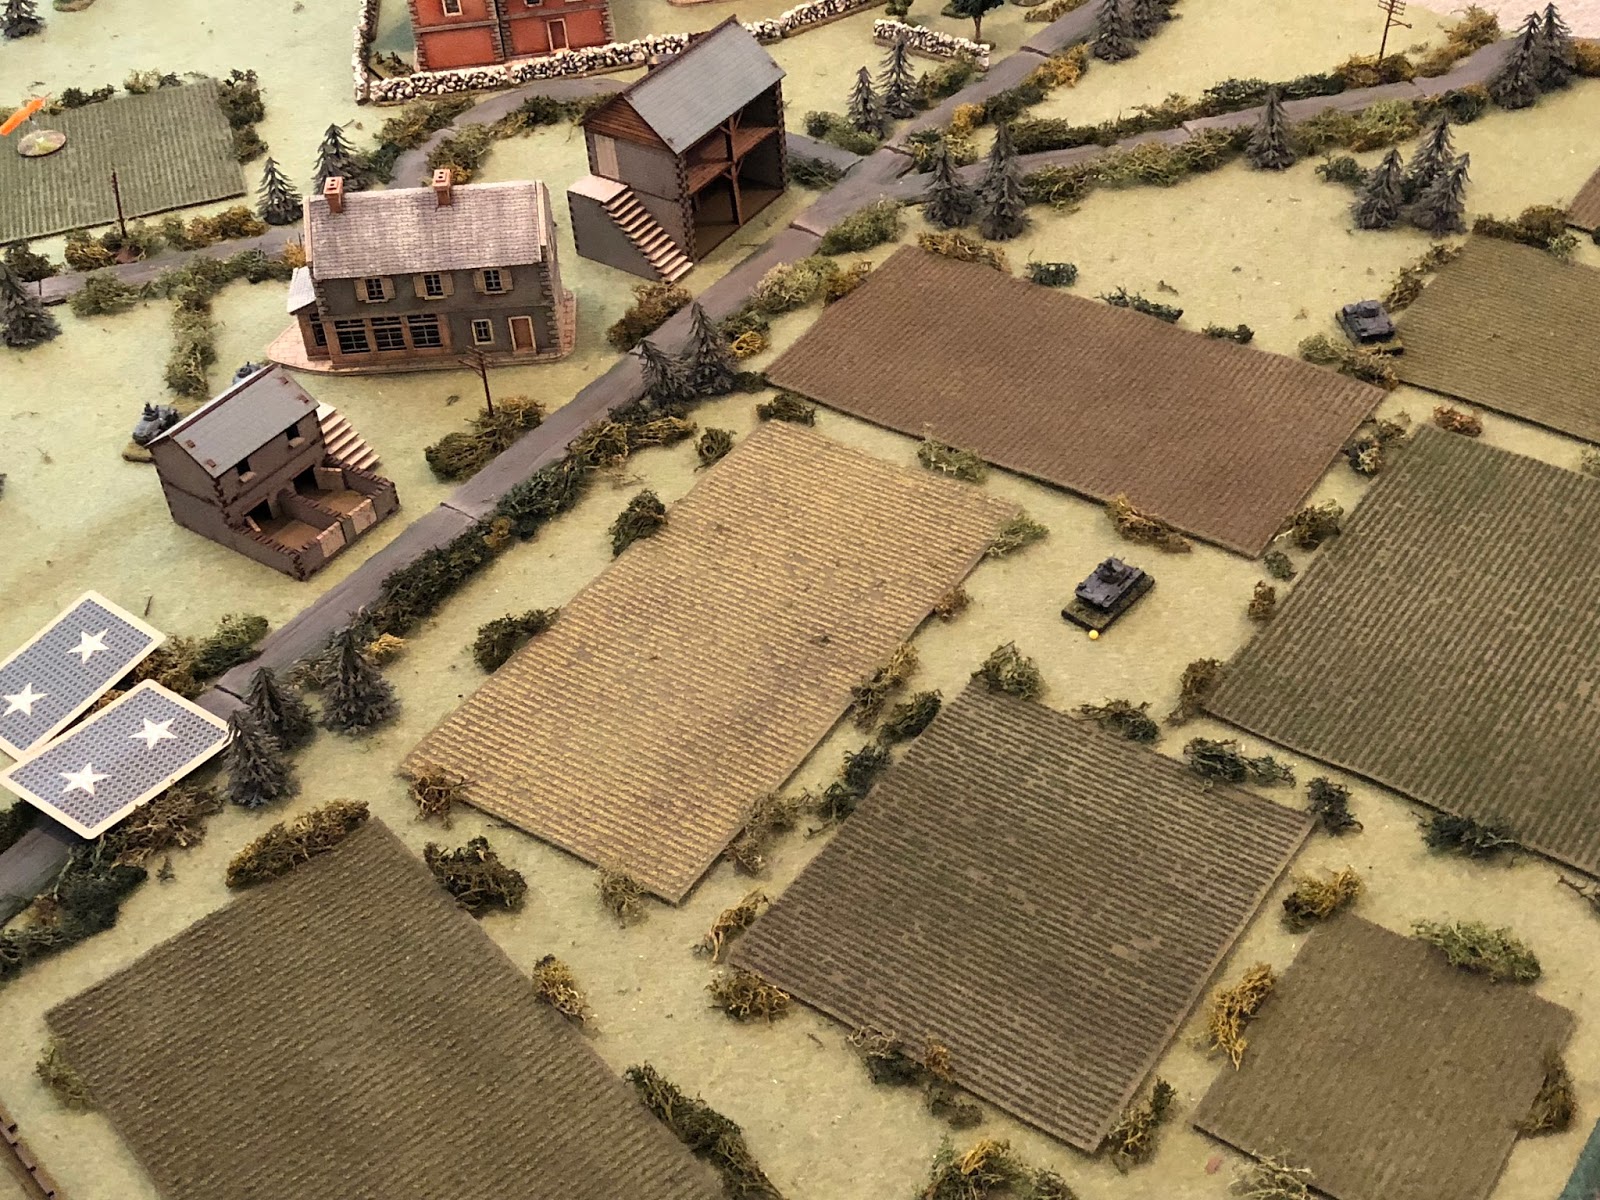
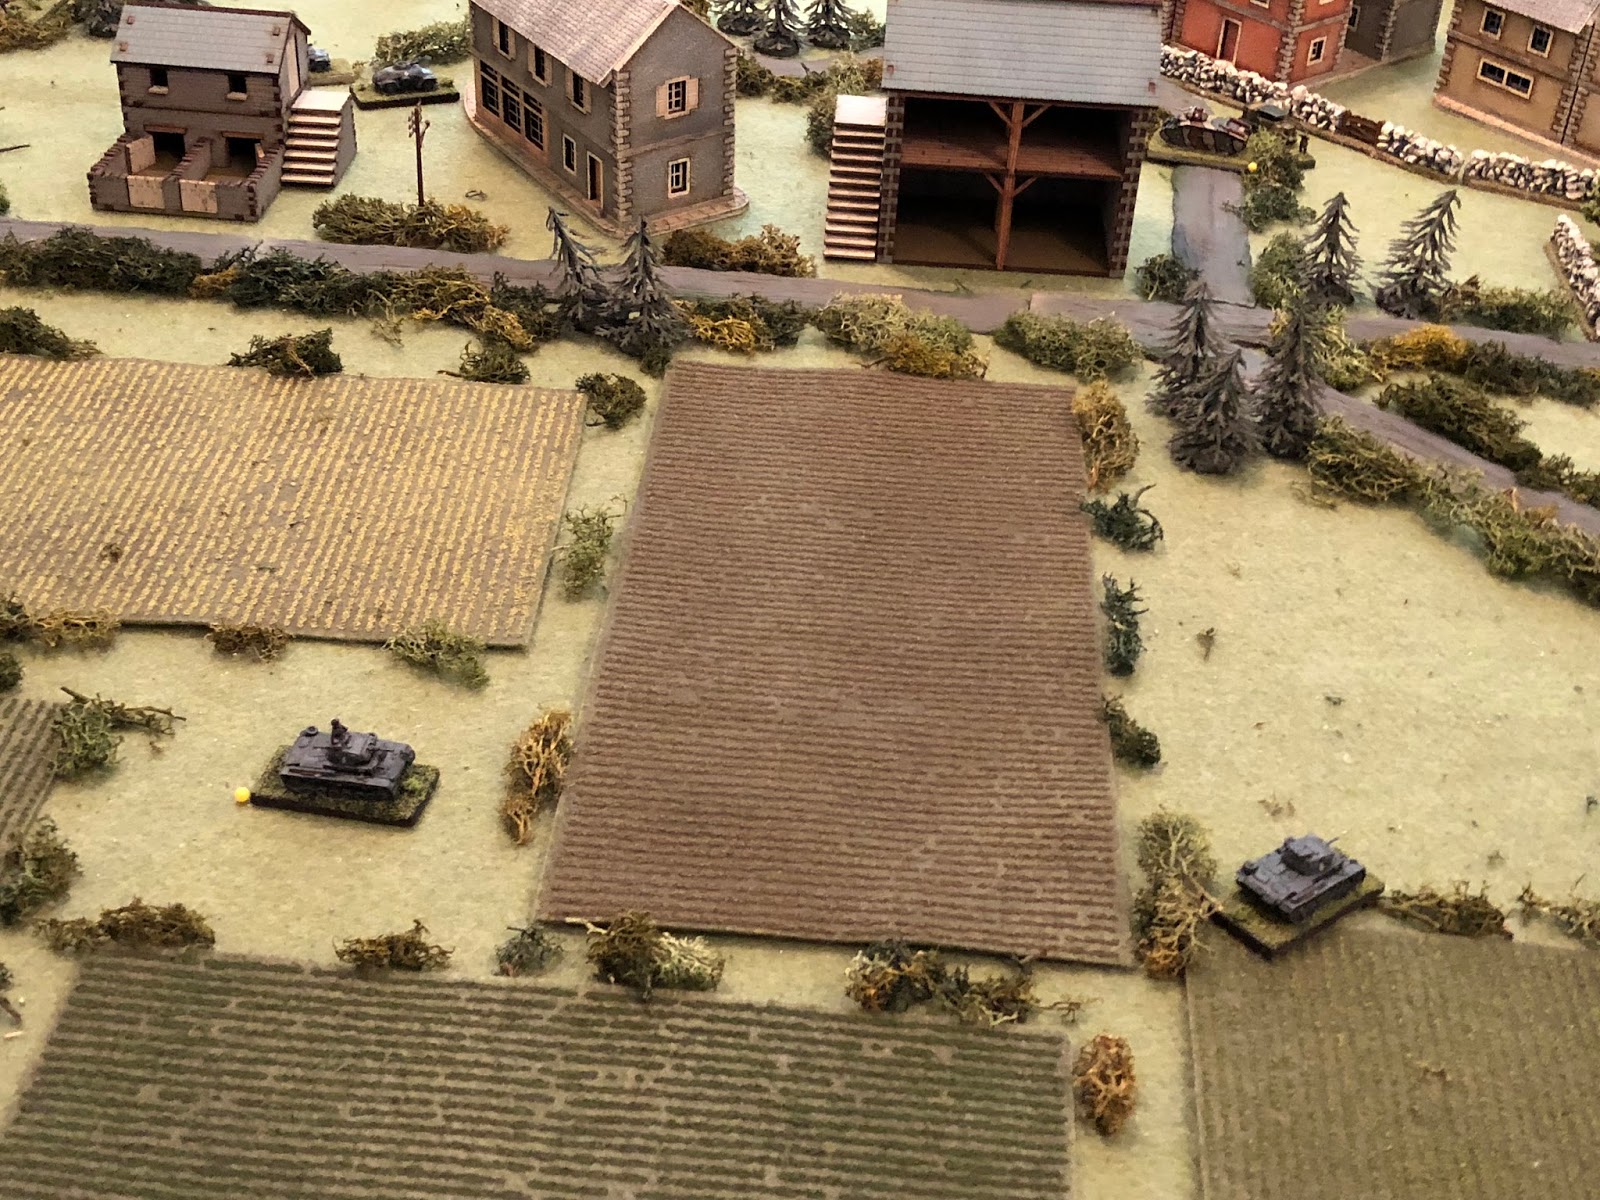
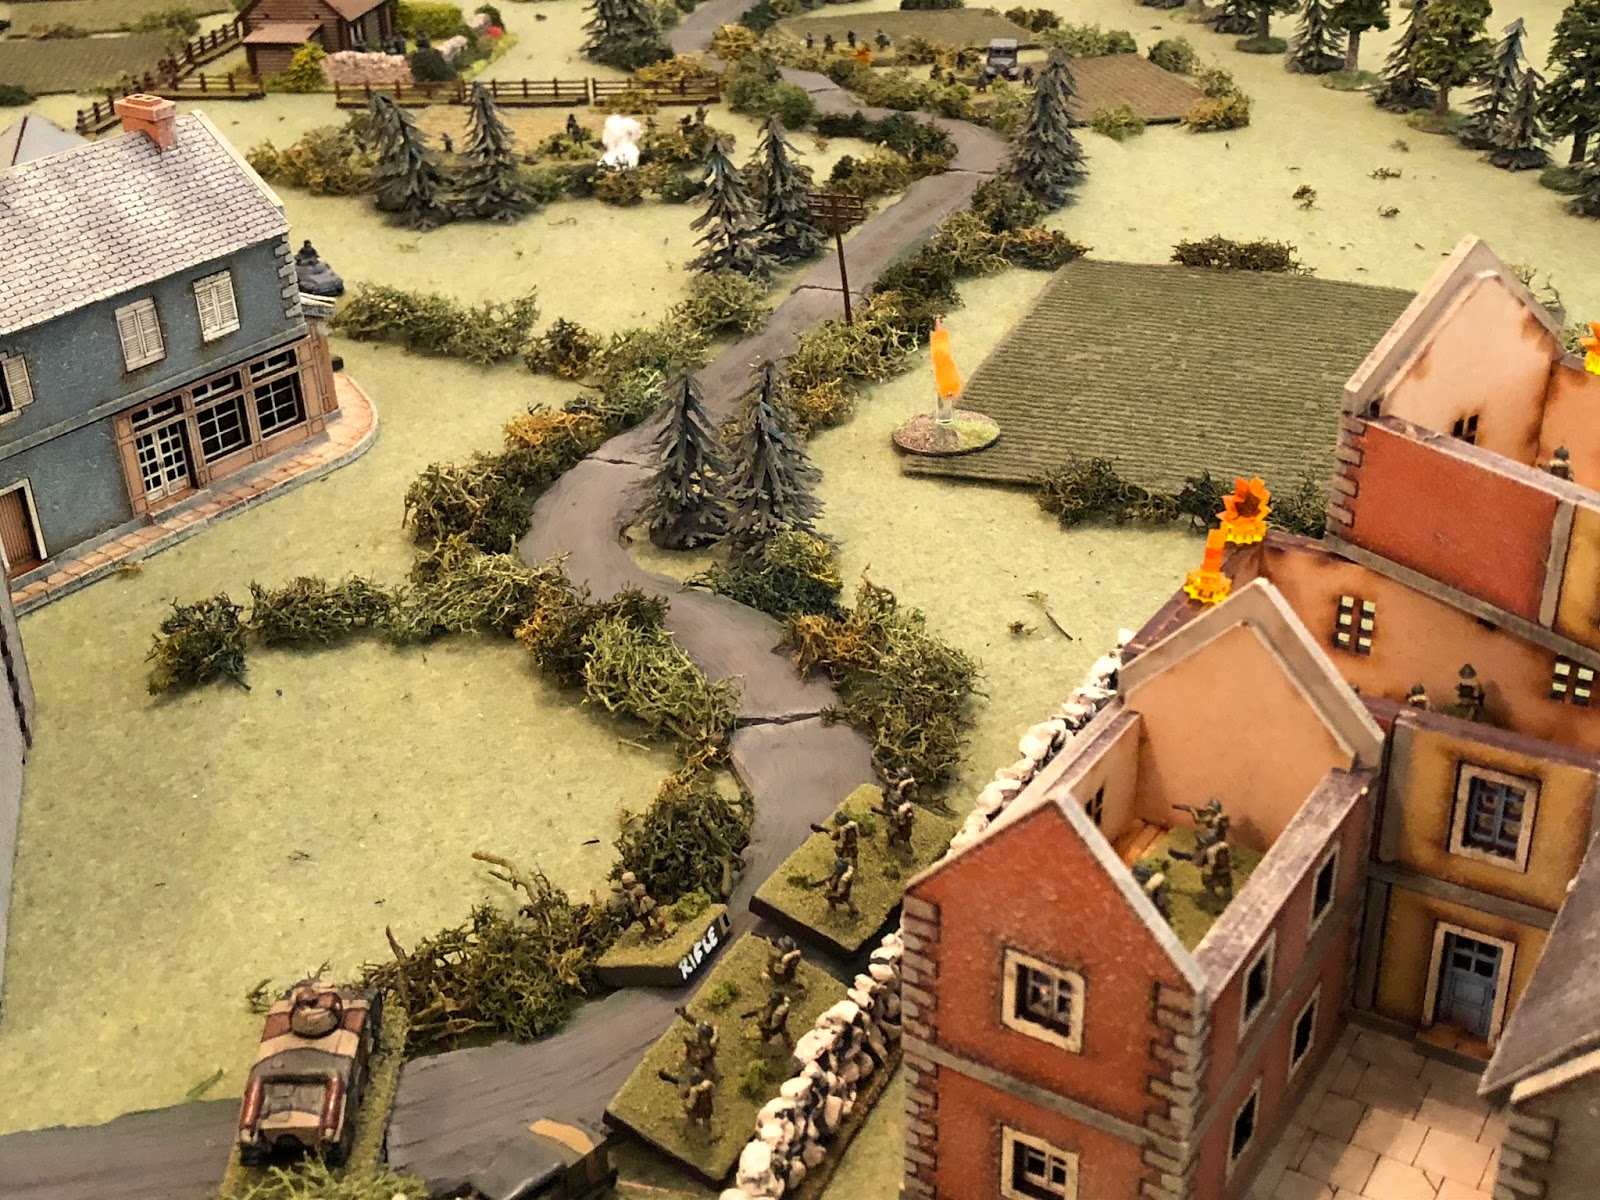
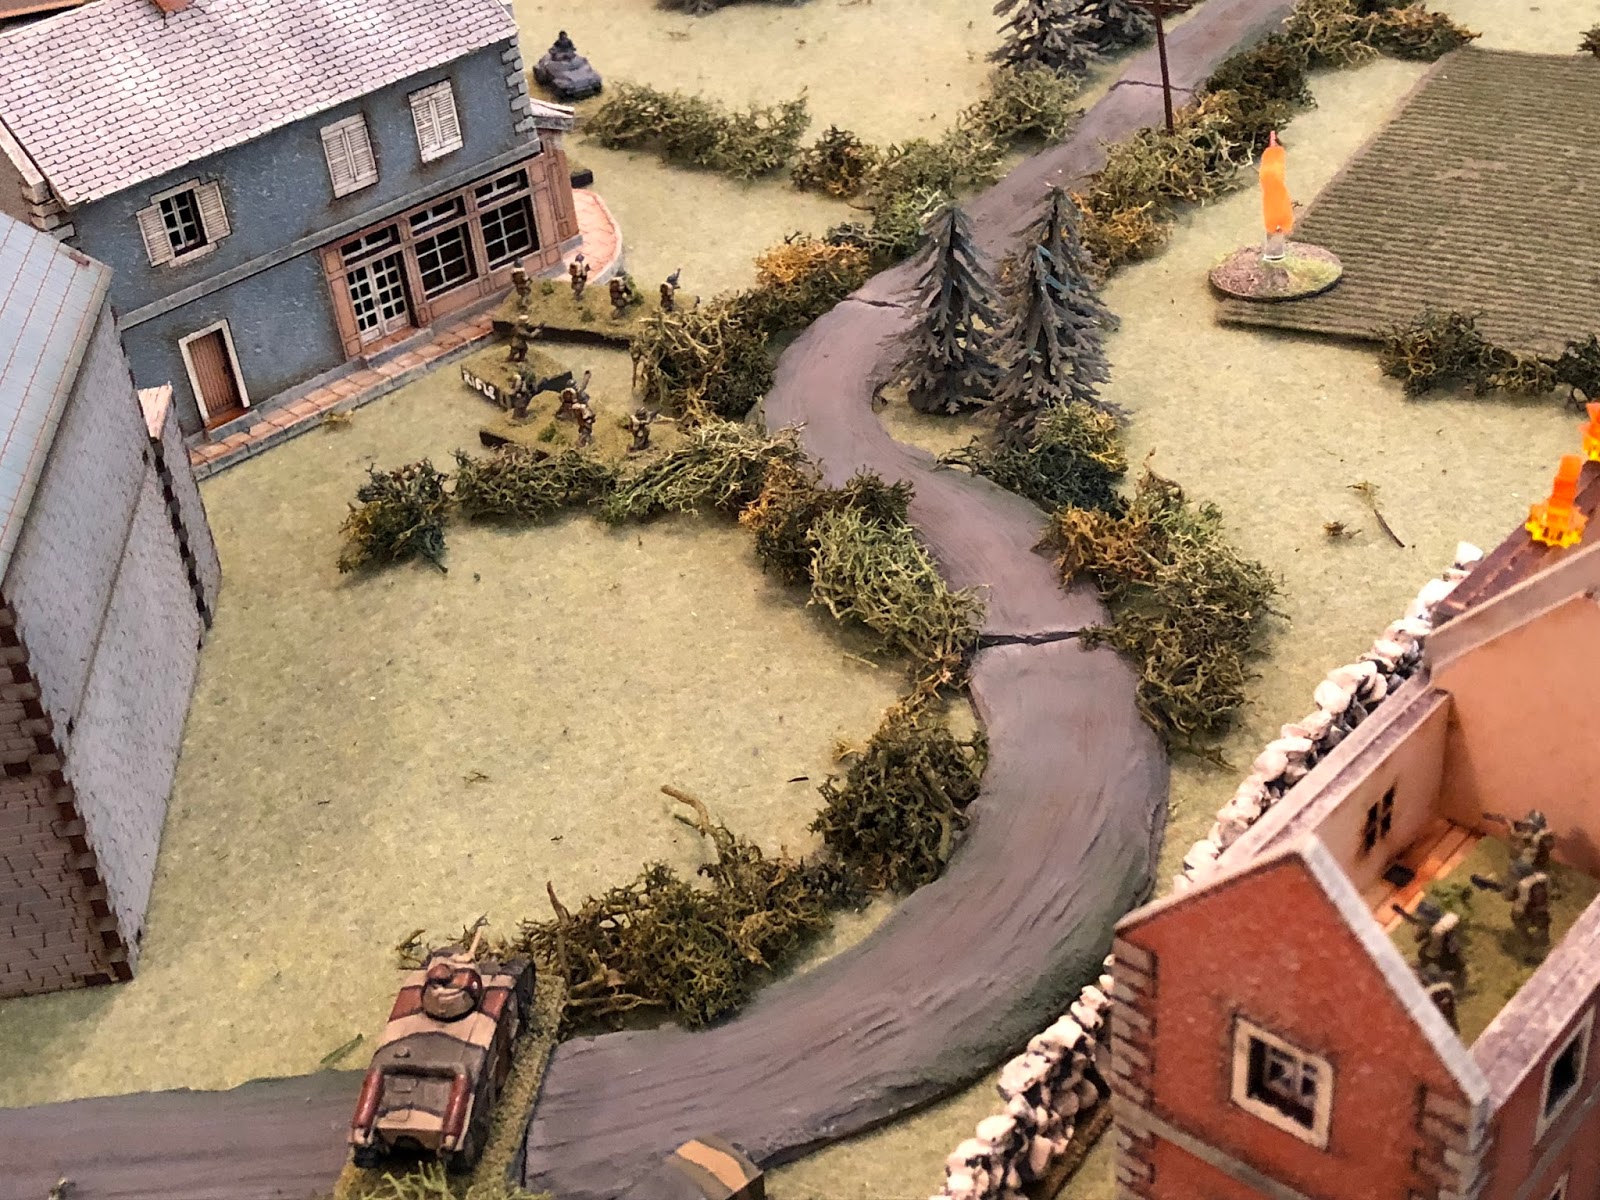
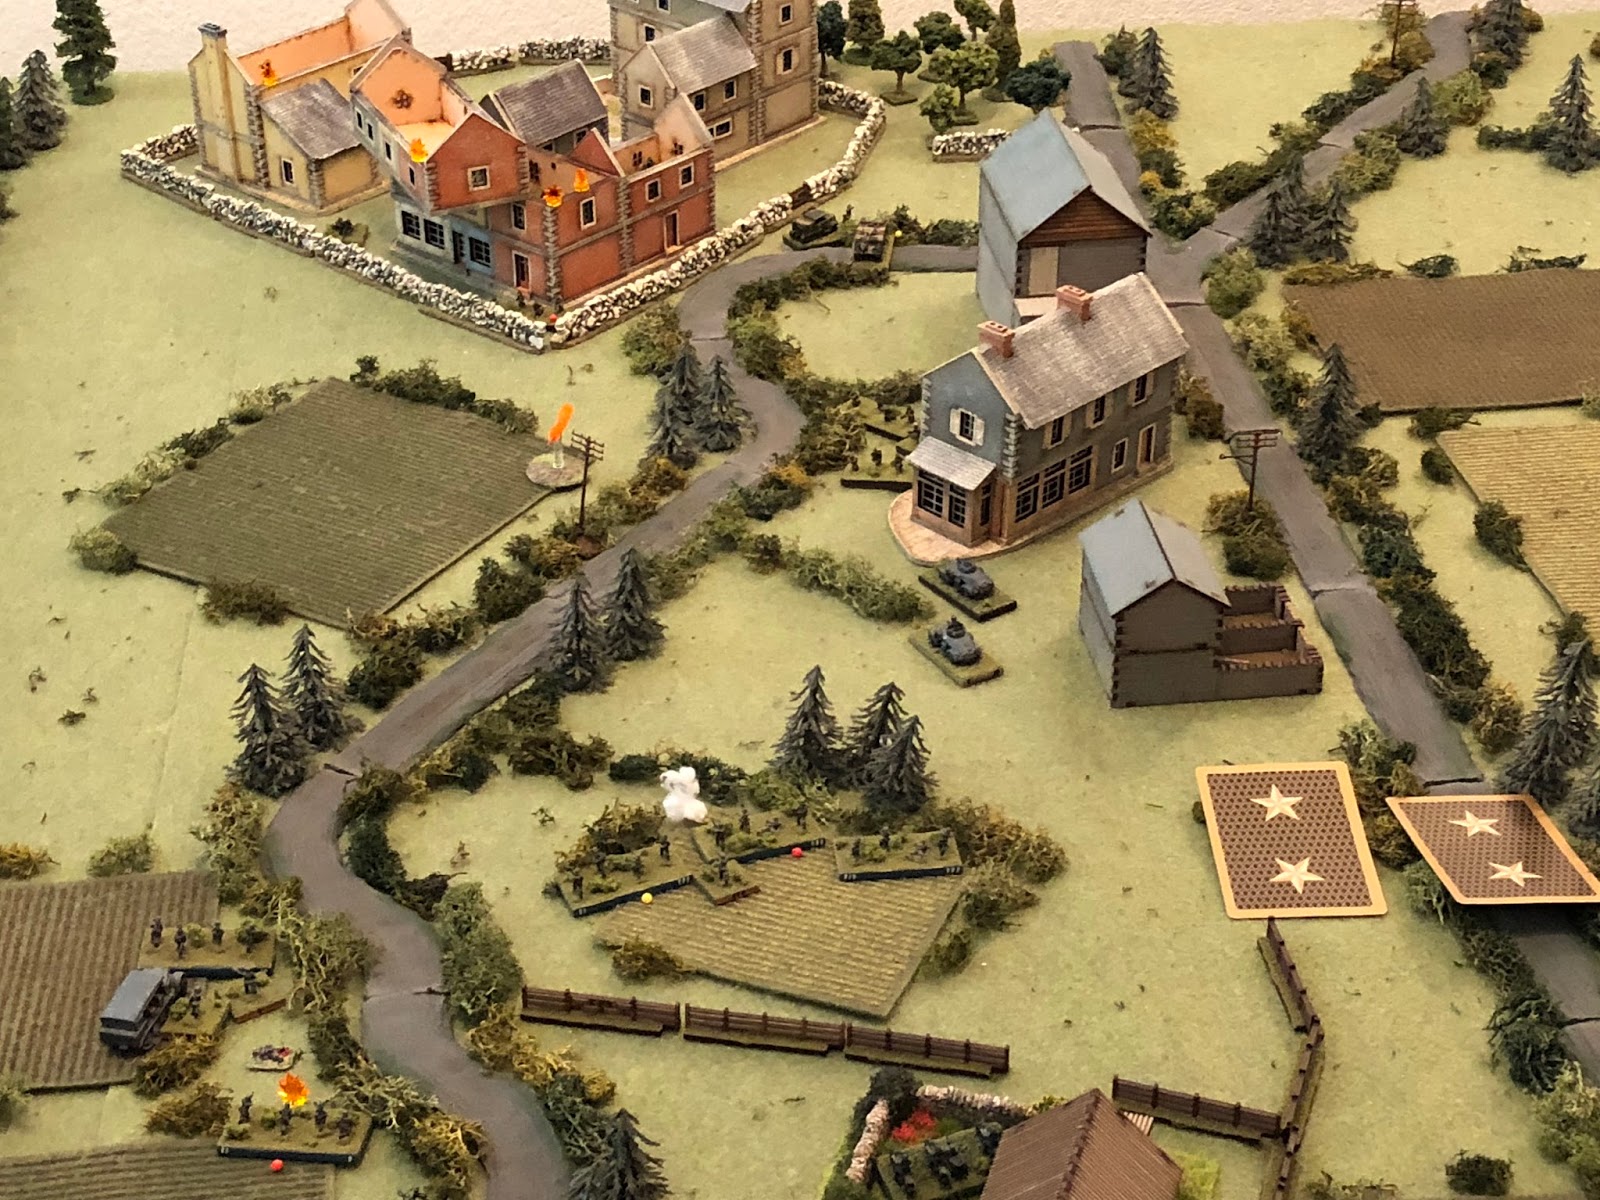
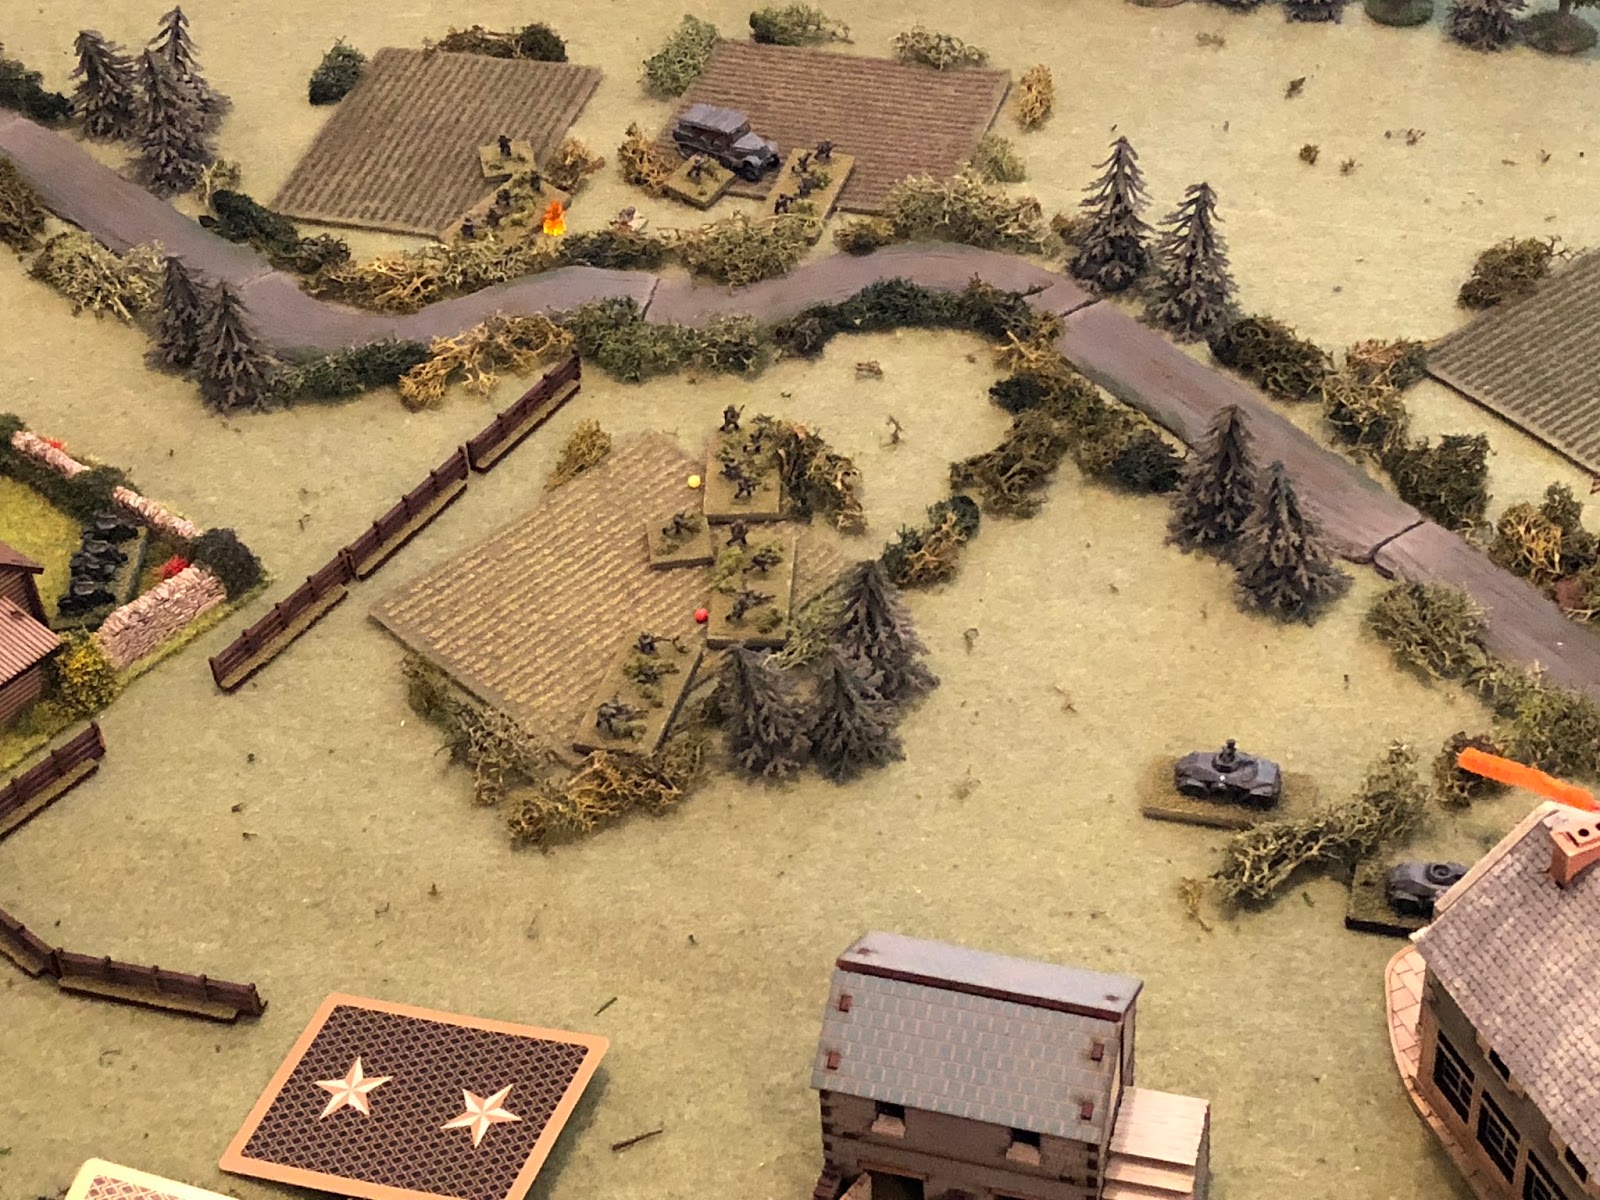
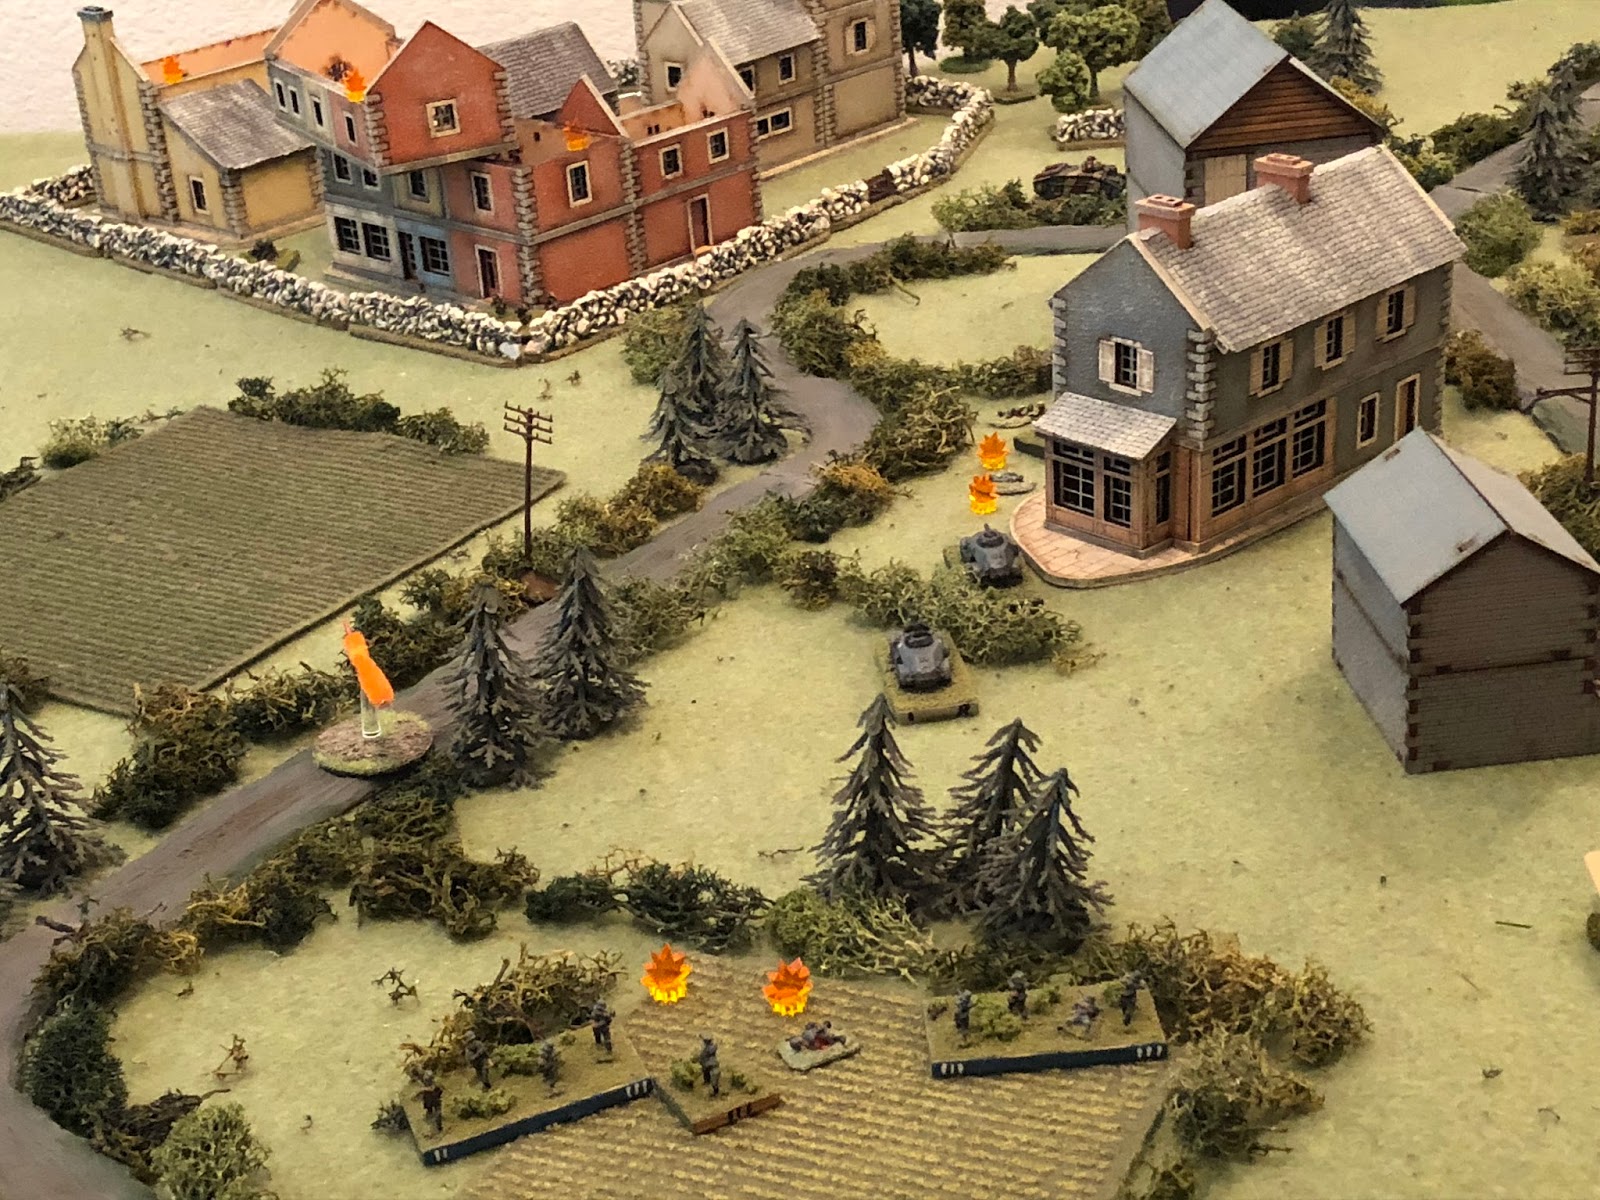
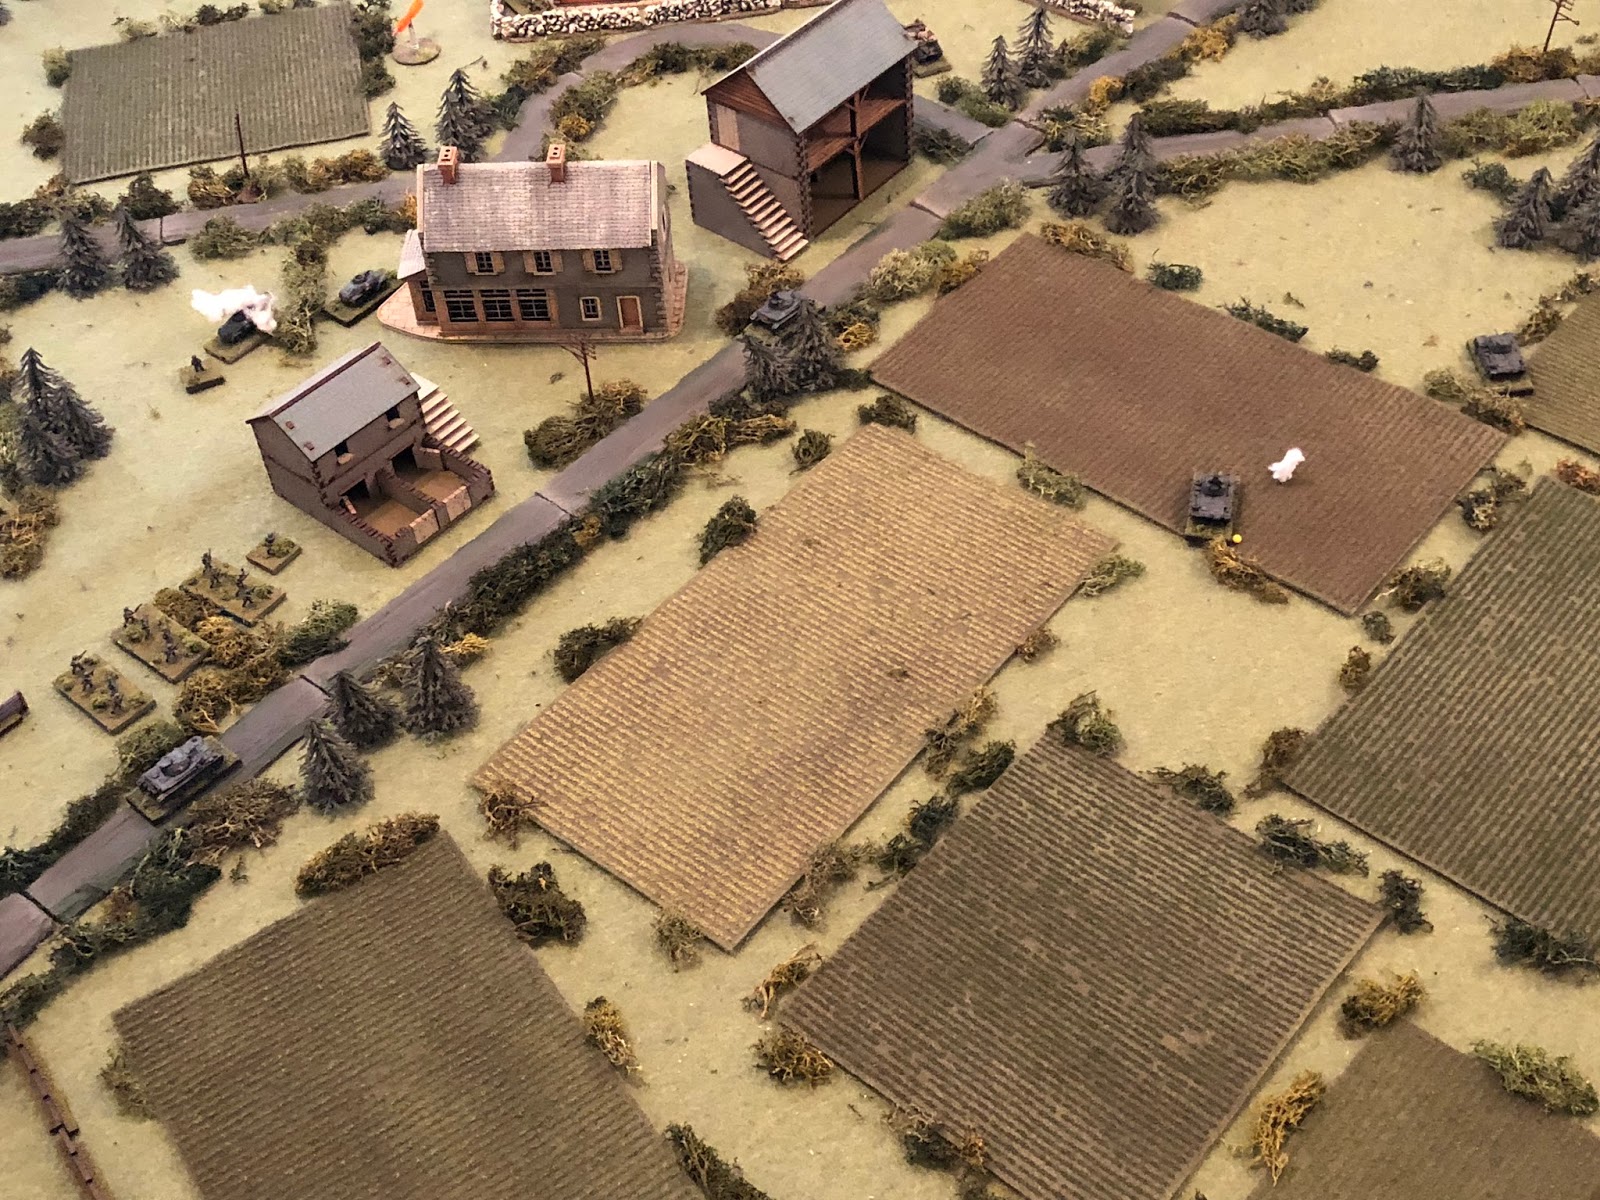
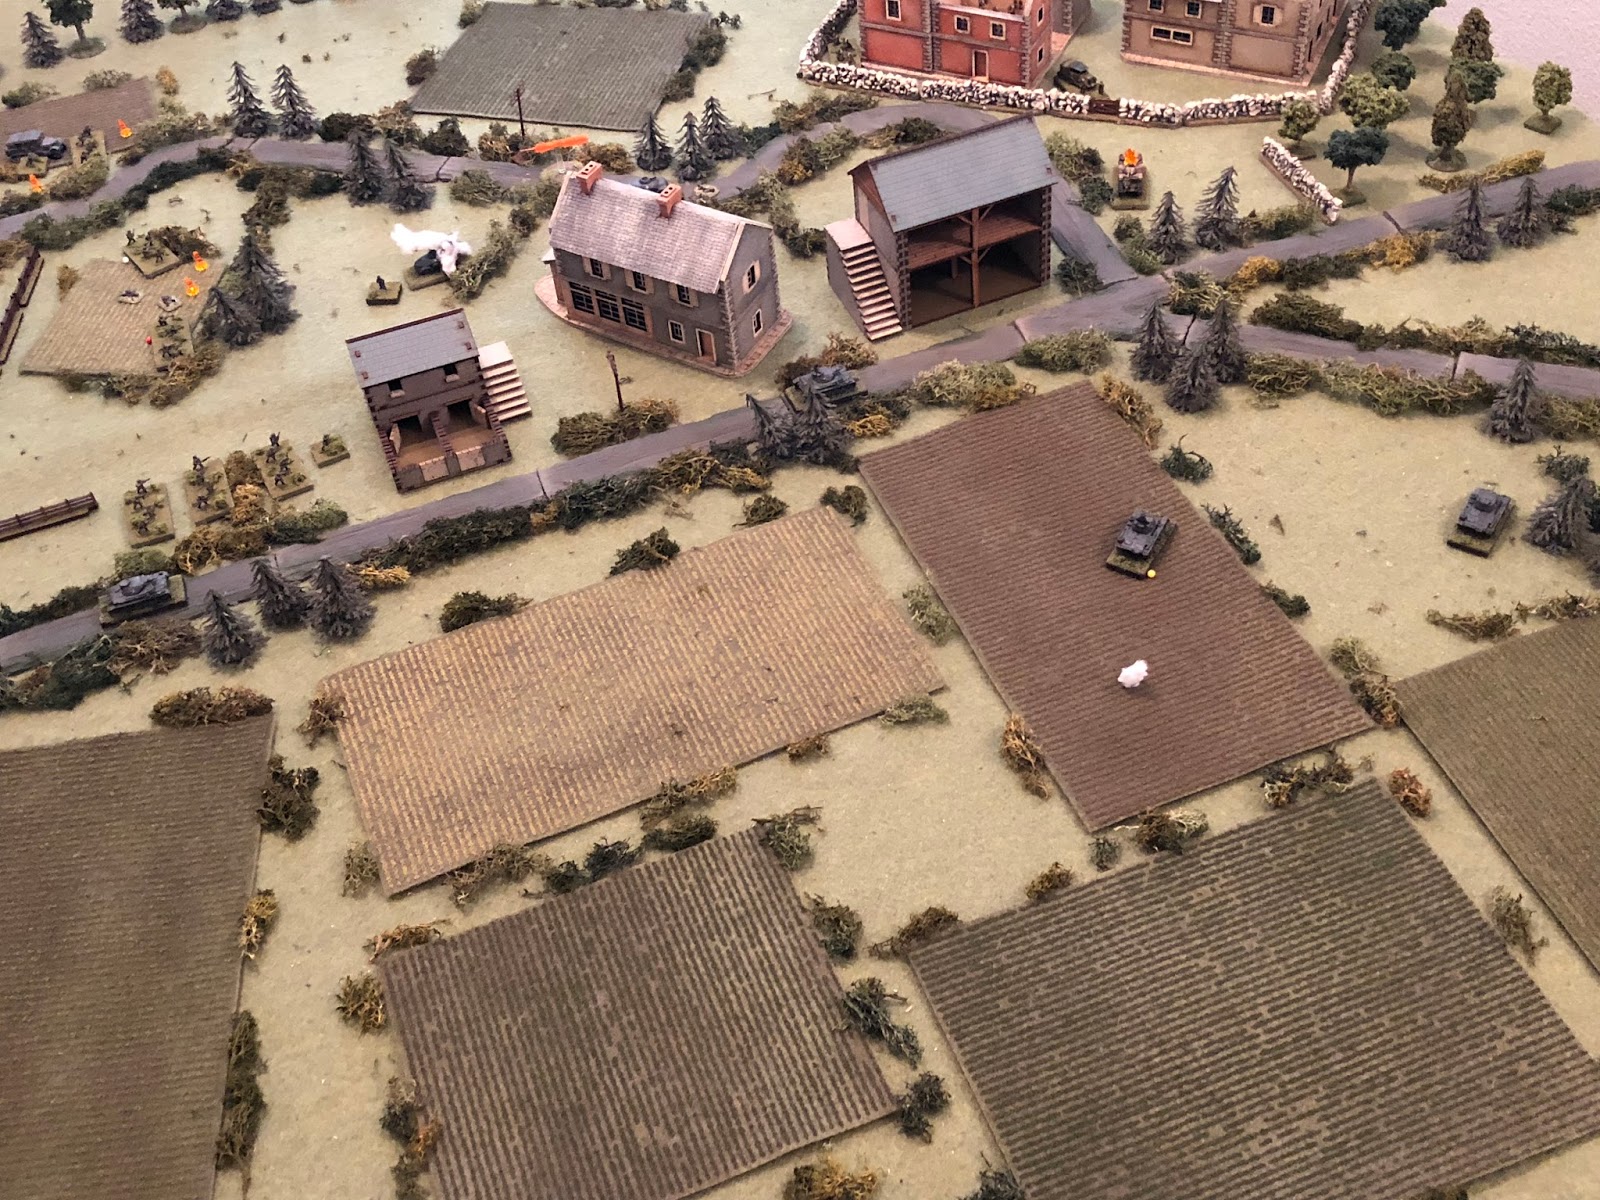
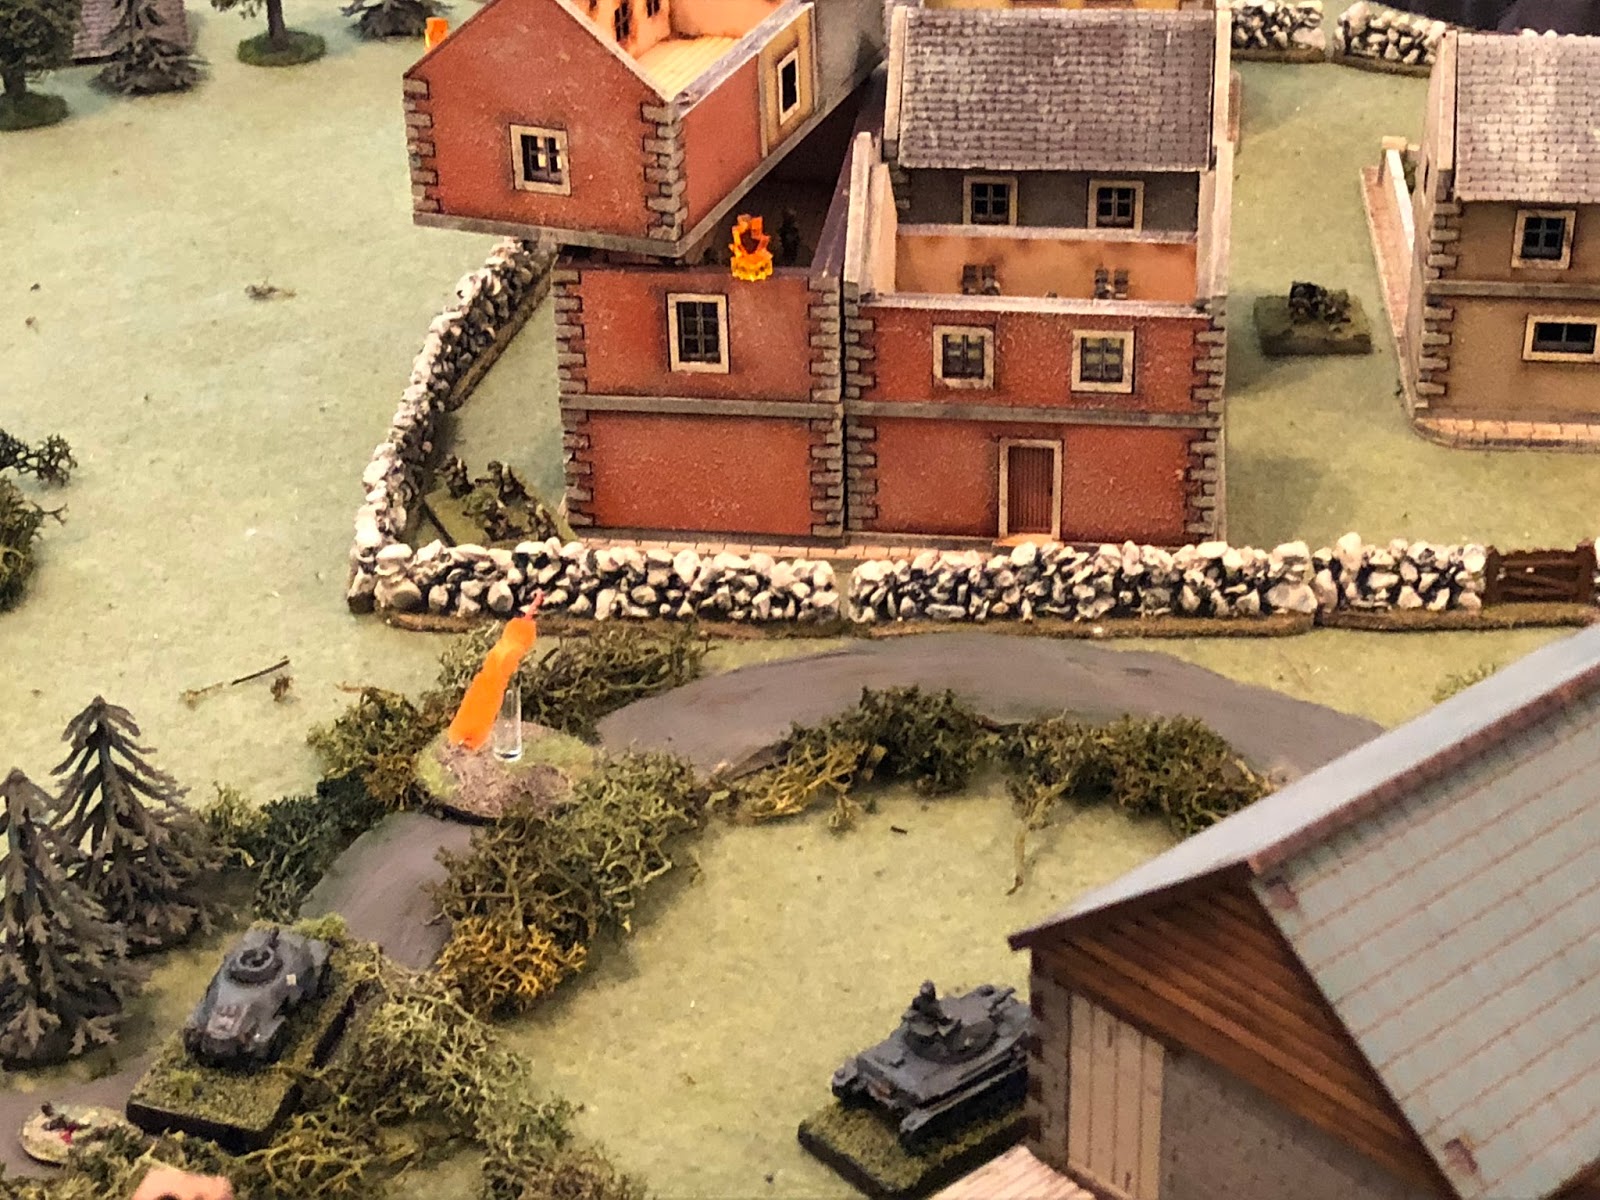
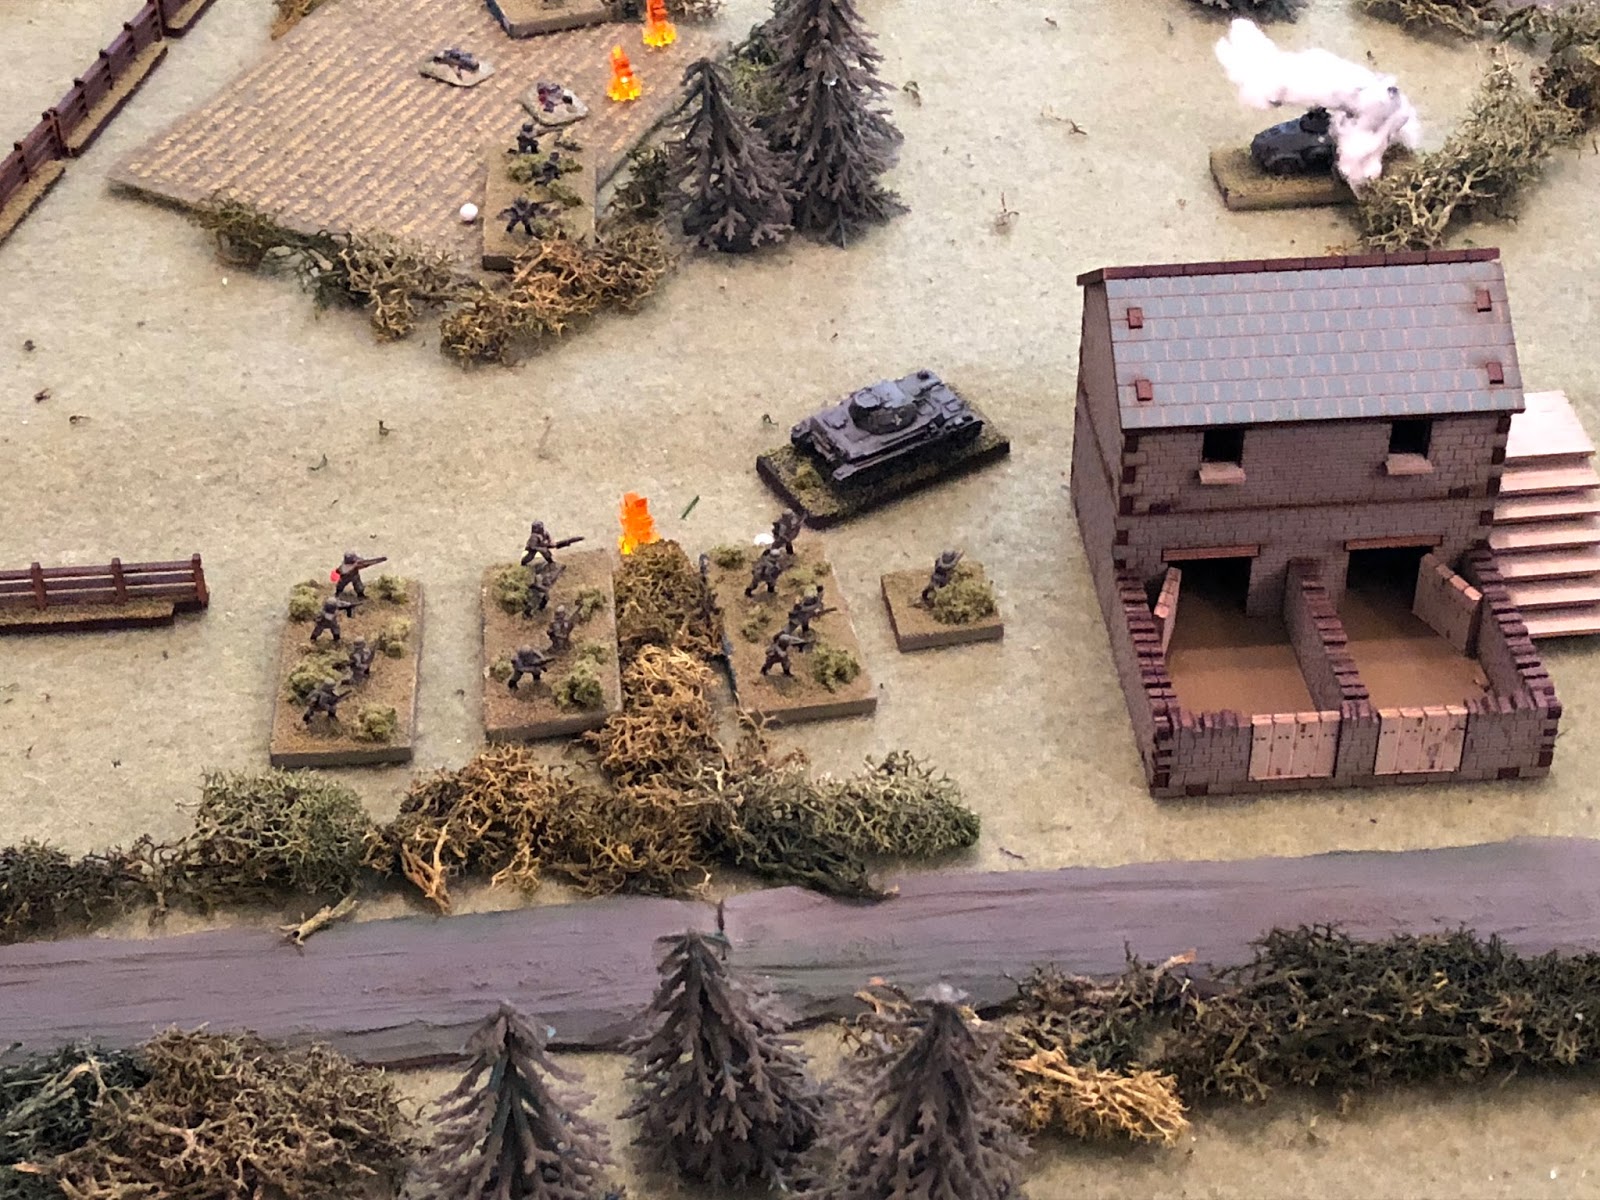
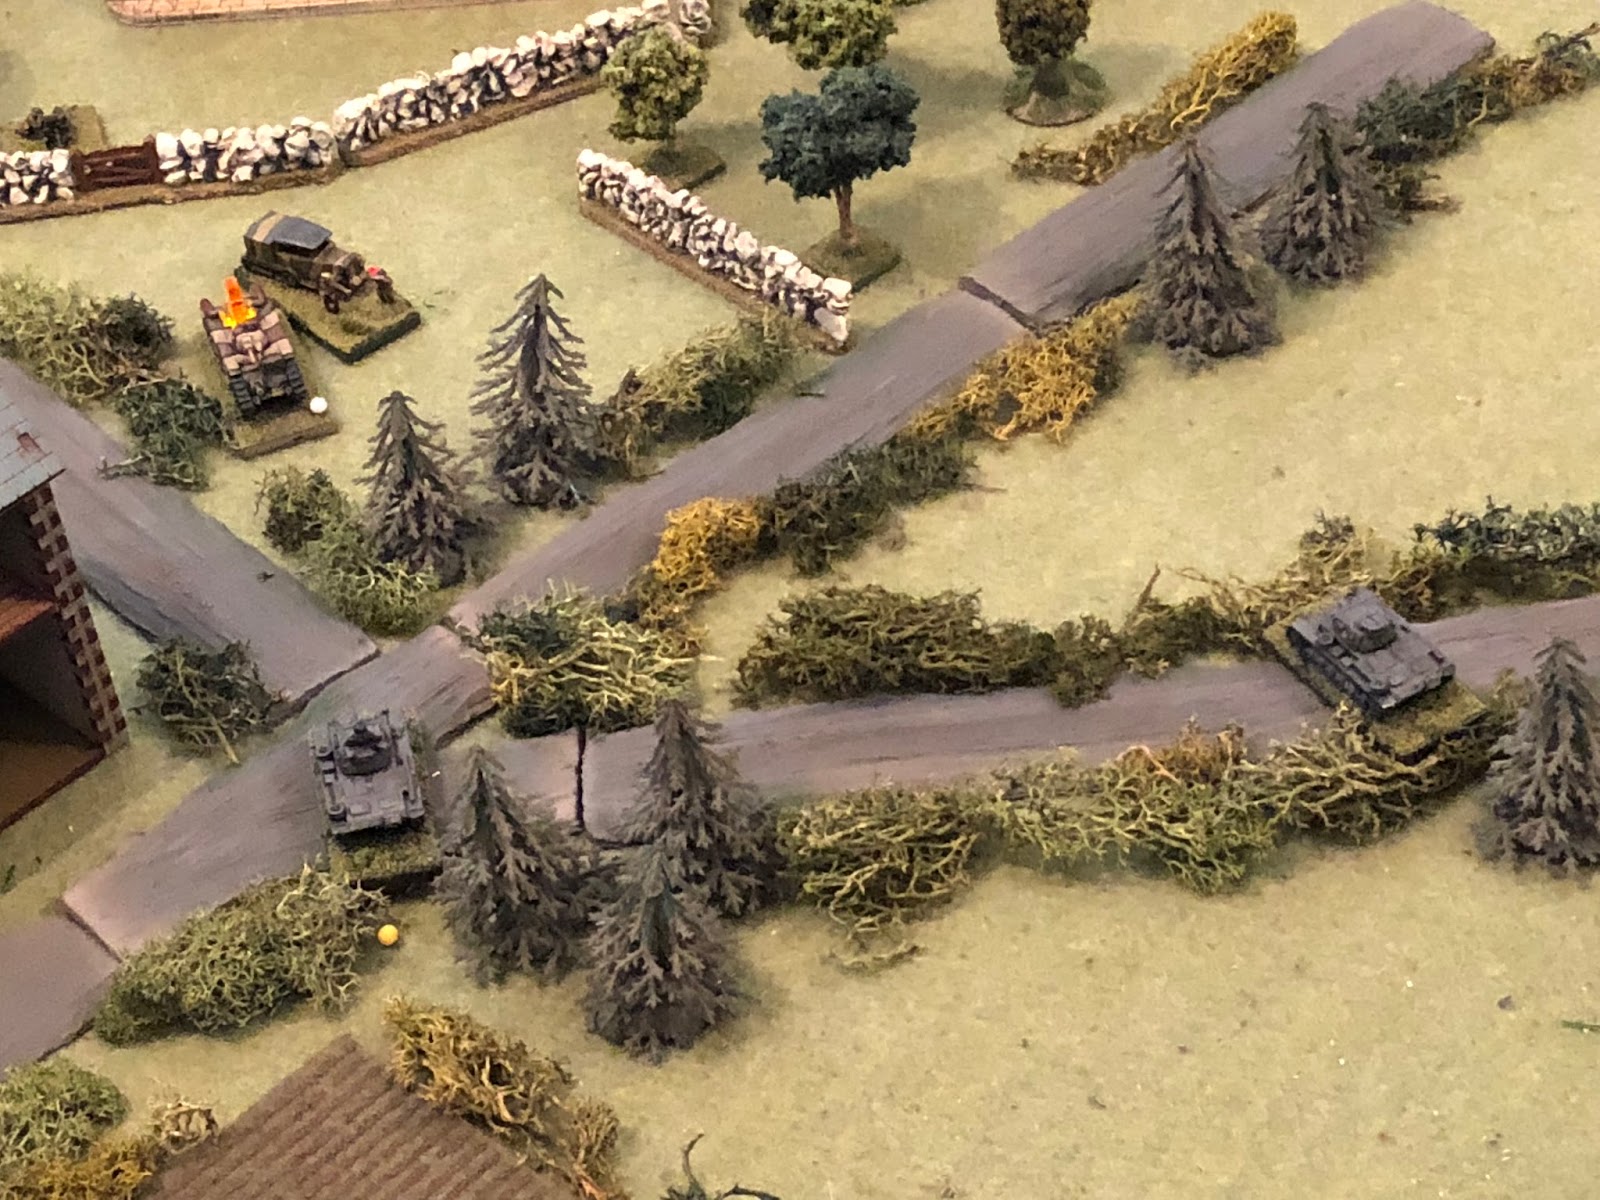
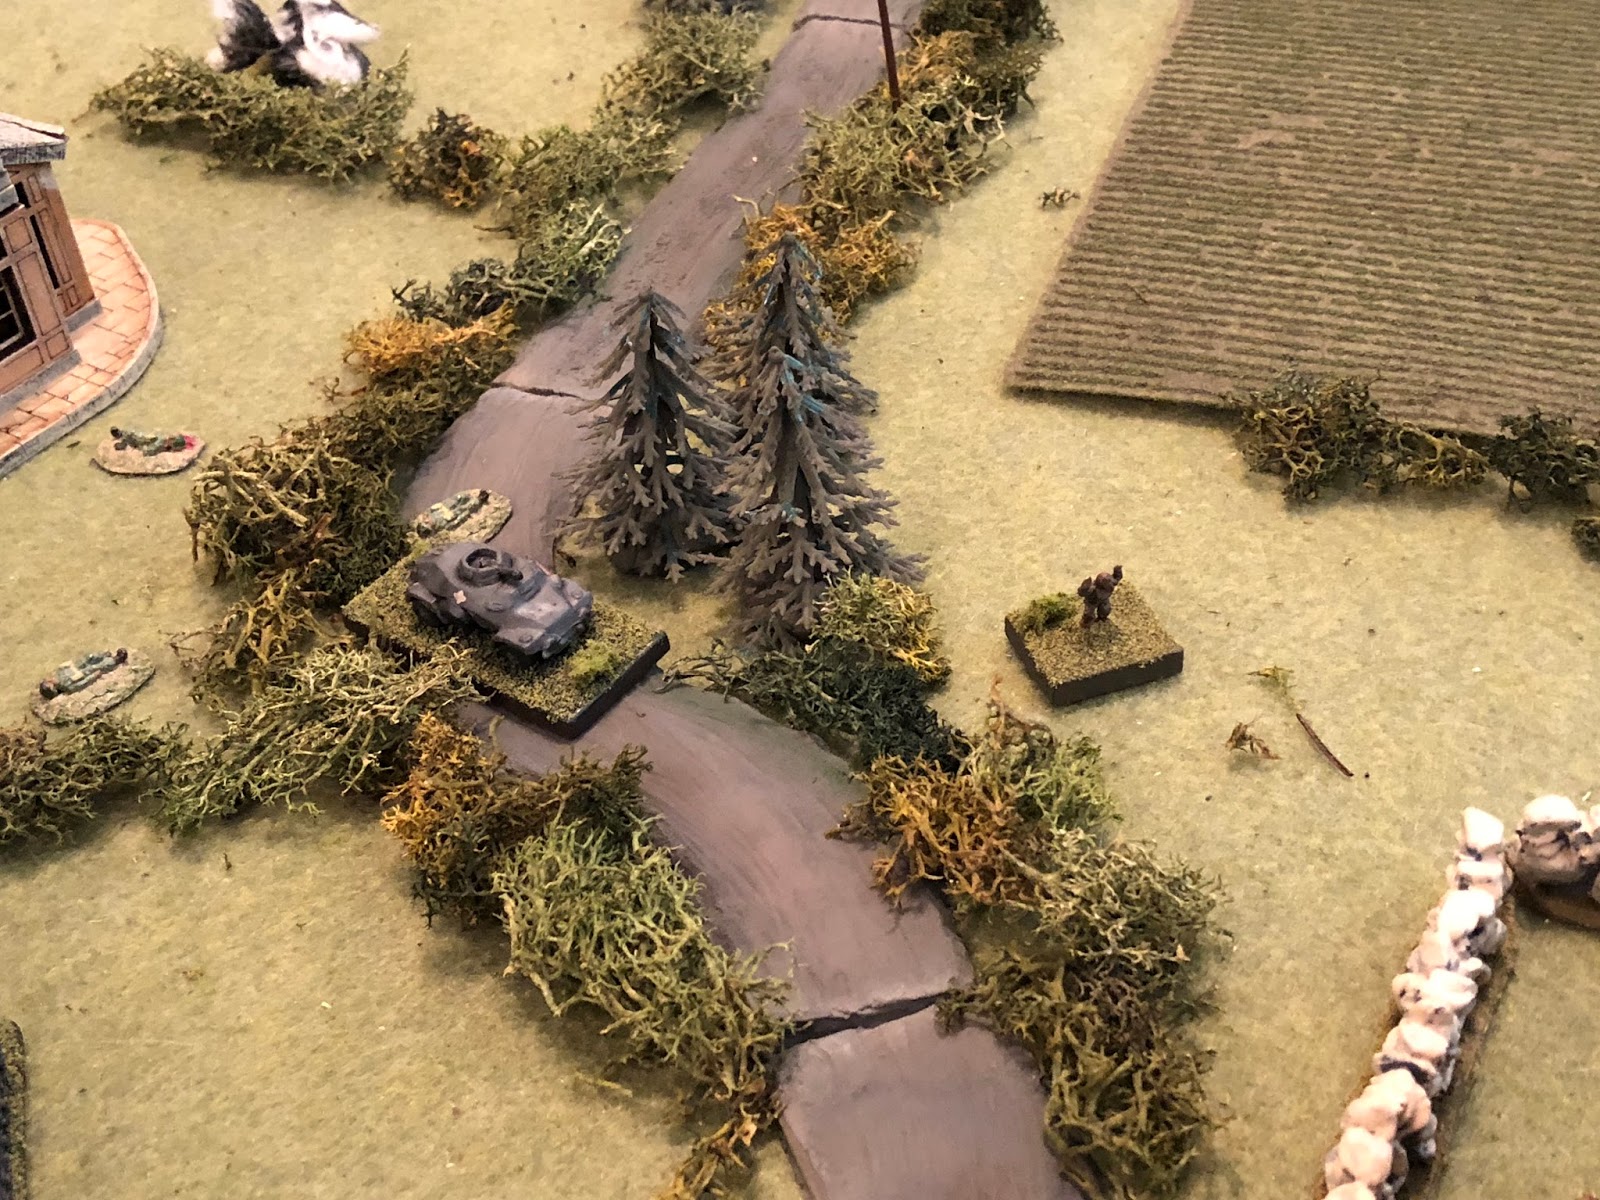
Overview. North is DOWN, with the Germans entering the table at left (east) and the French defending the right (west) half of the table, including the village, at top right (southwest).
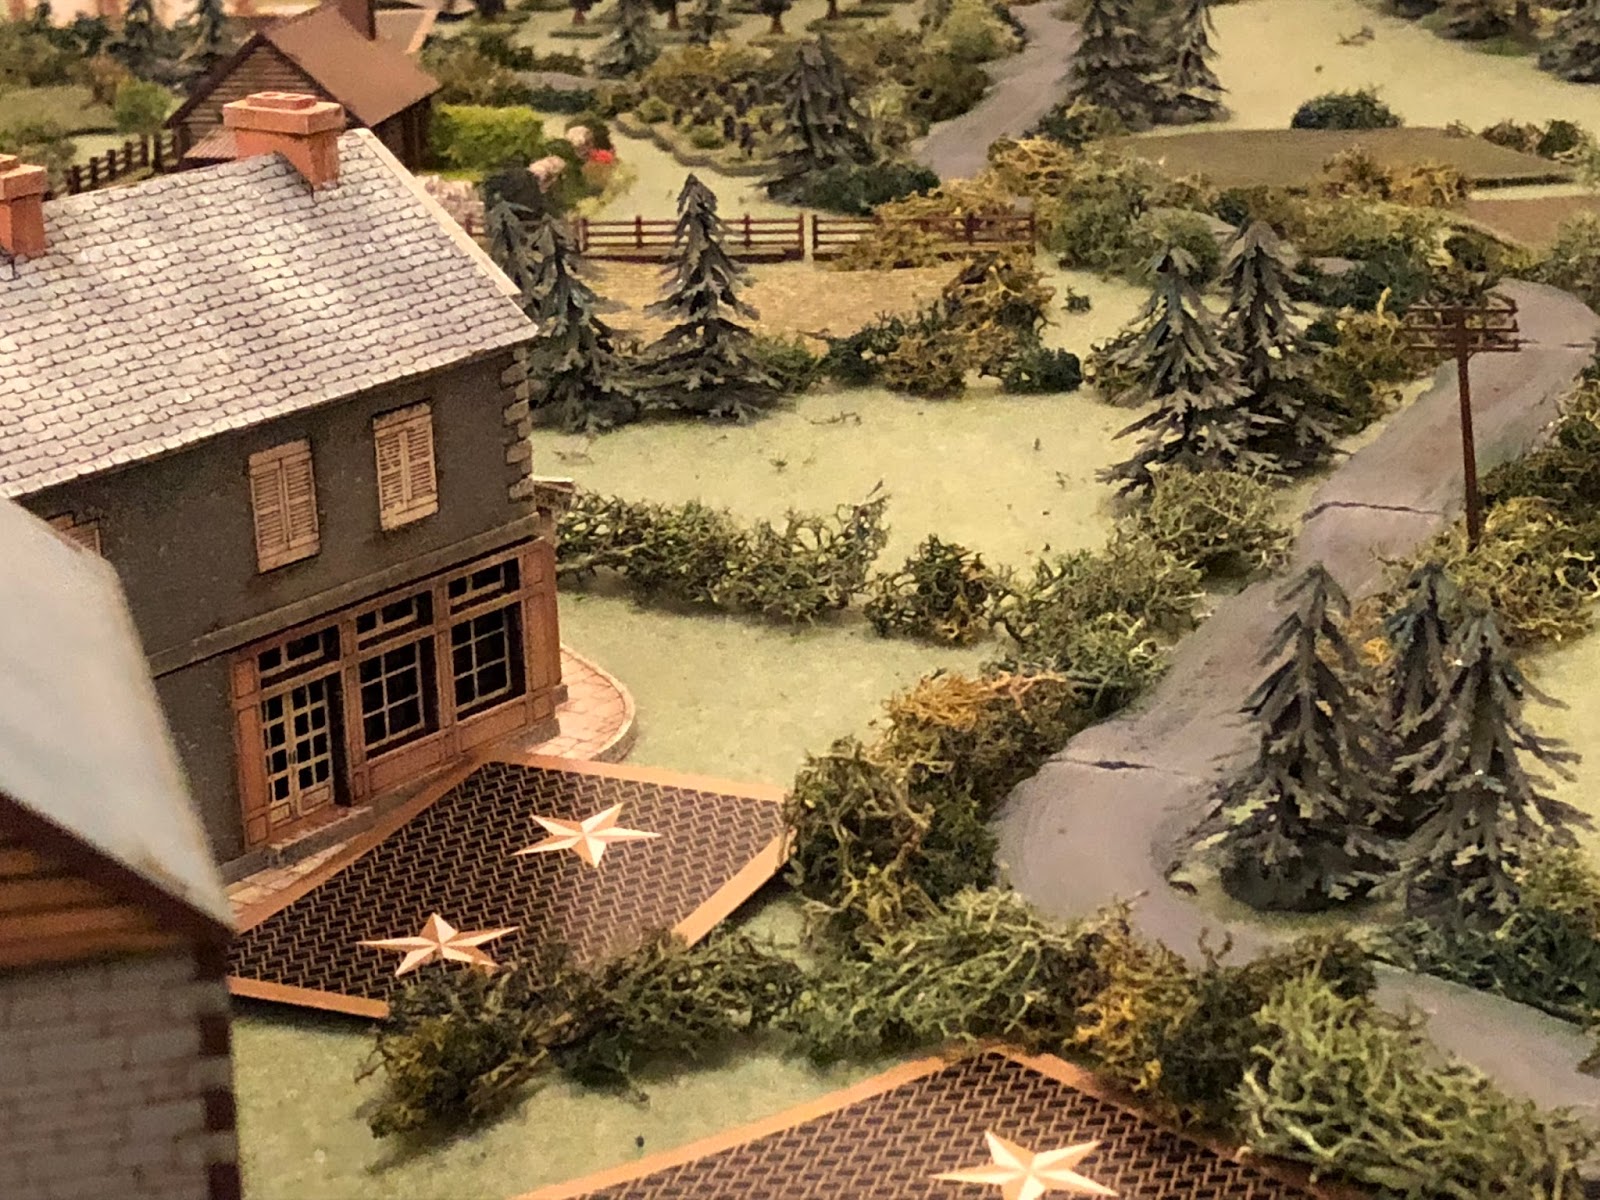
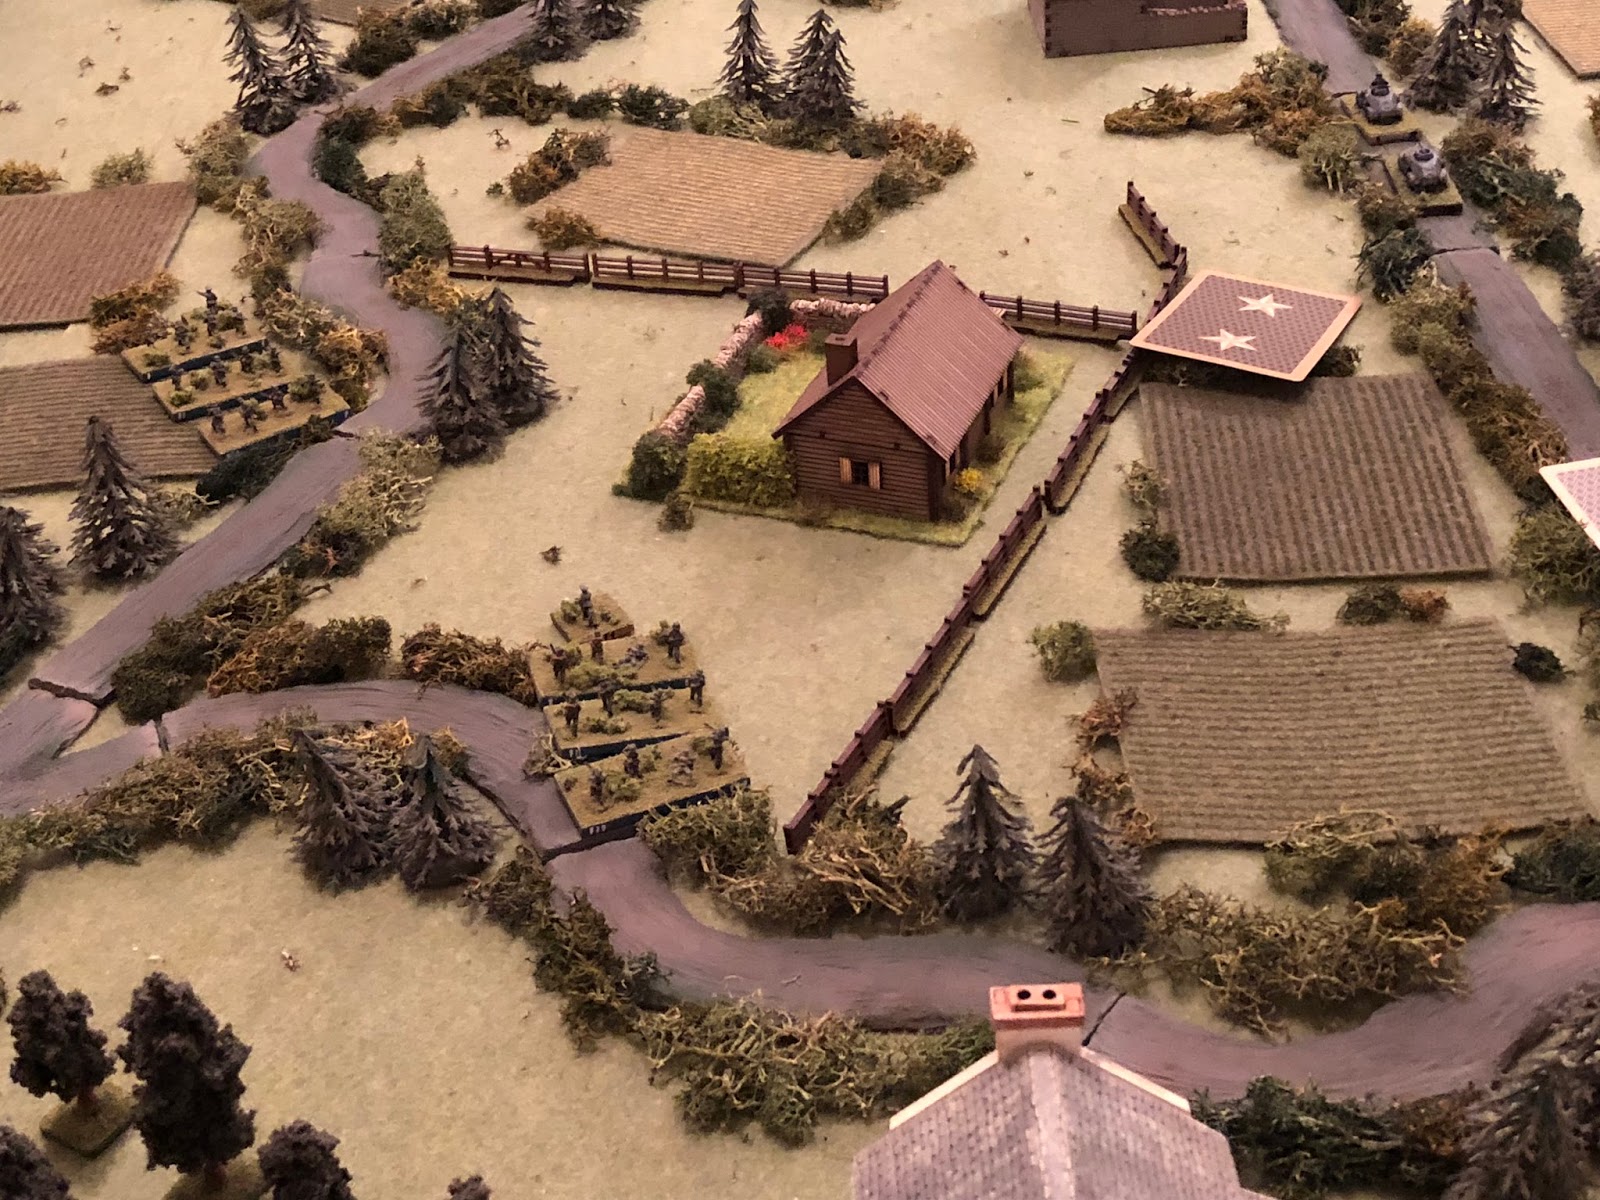
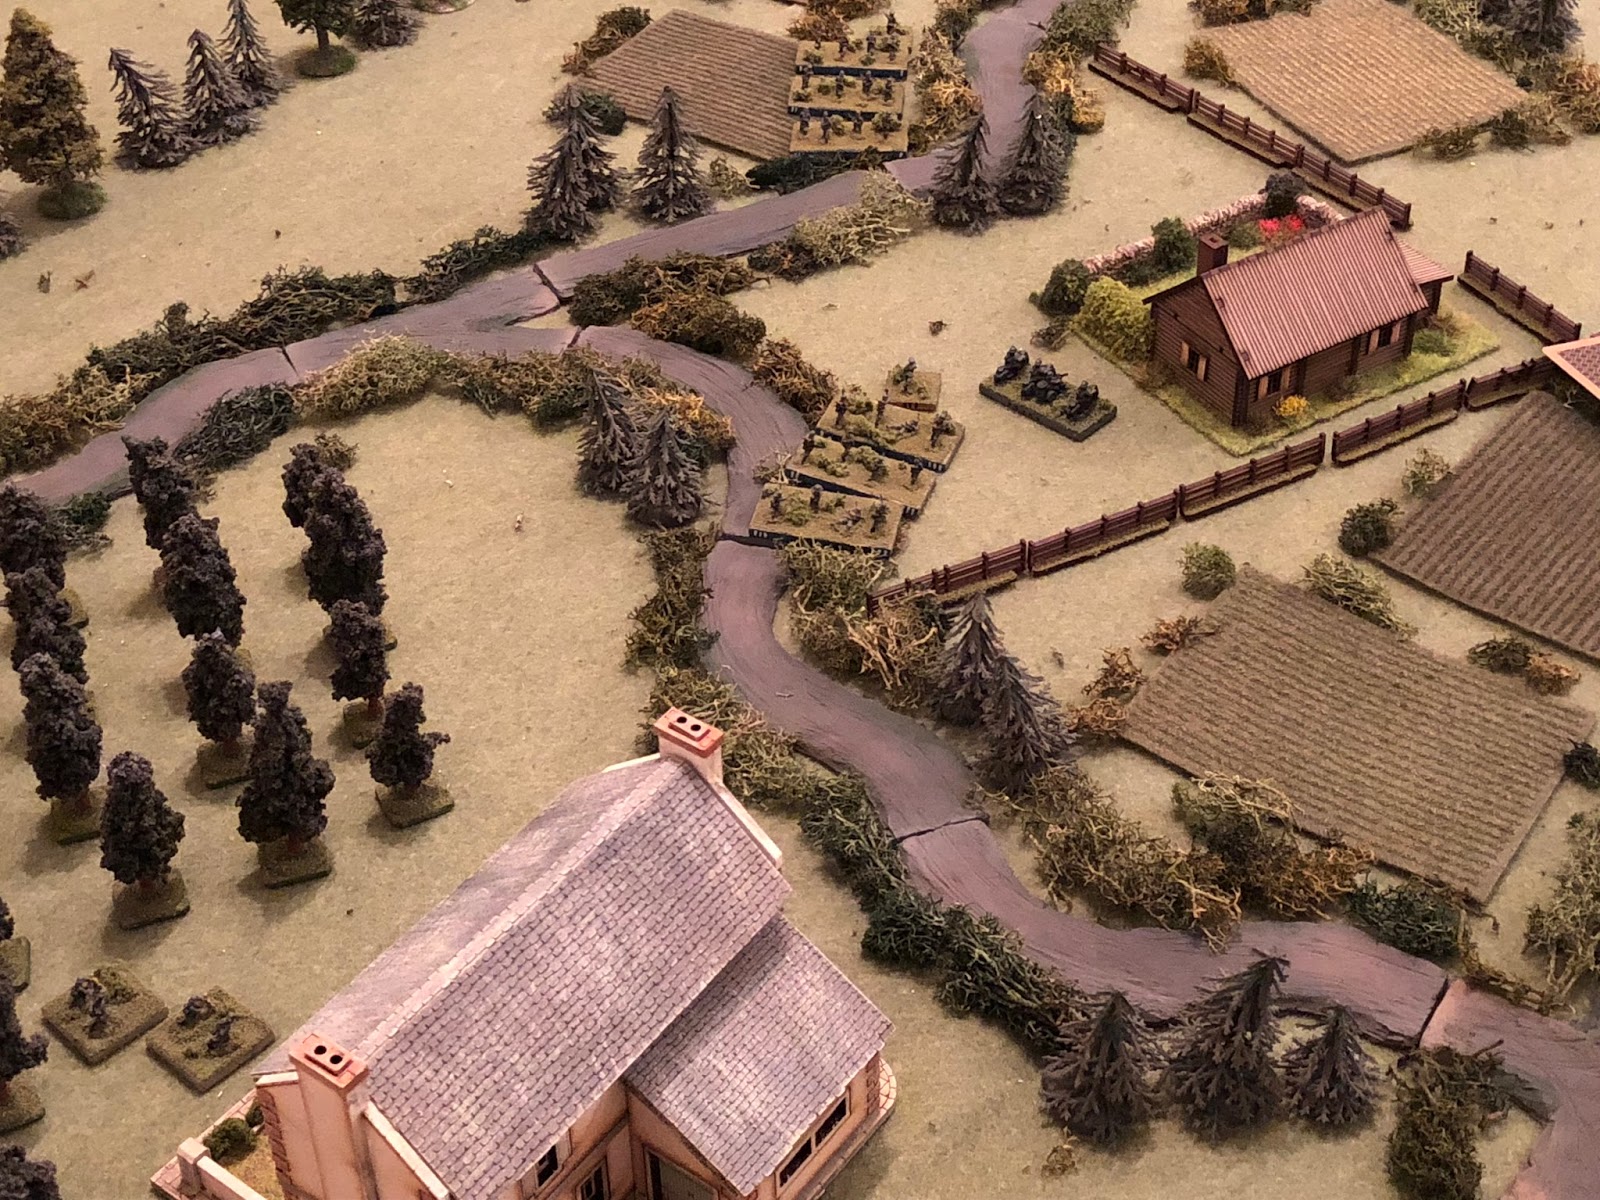
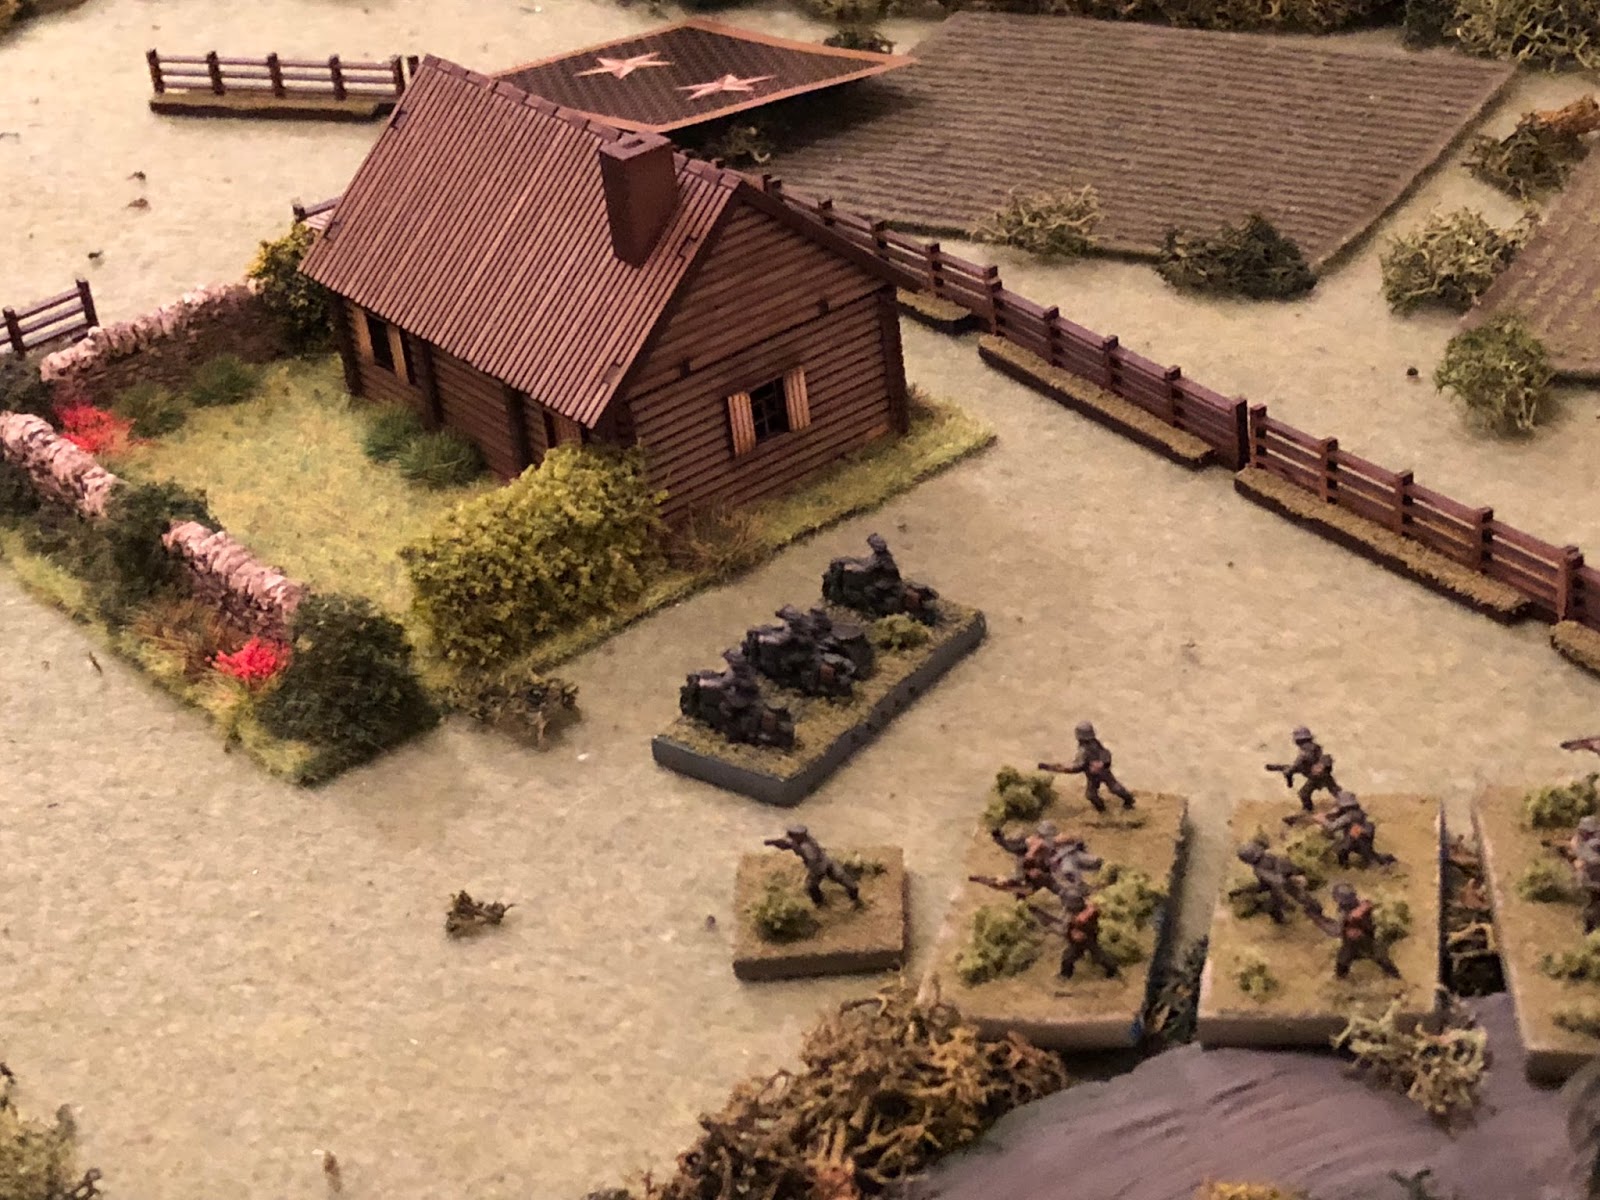
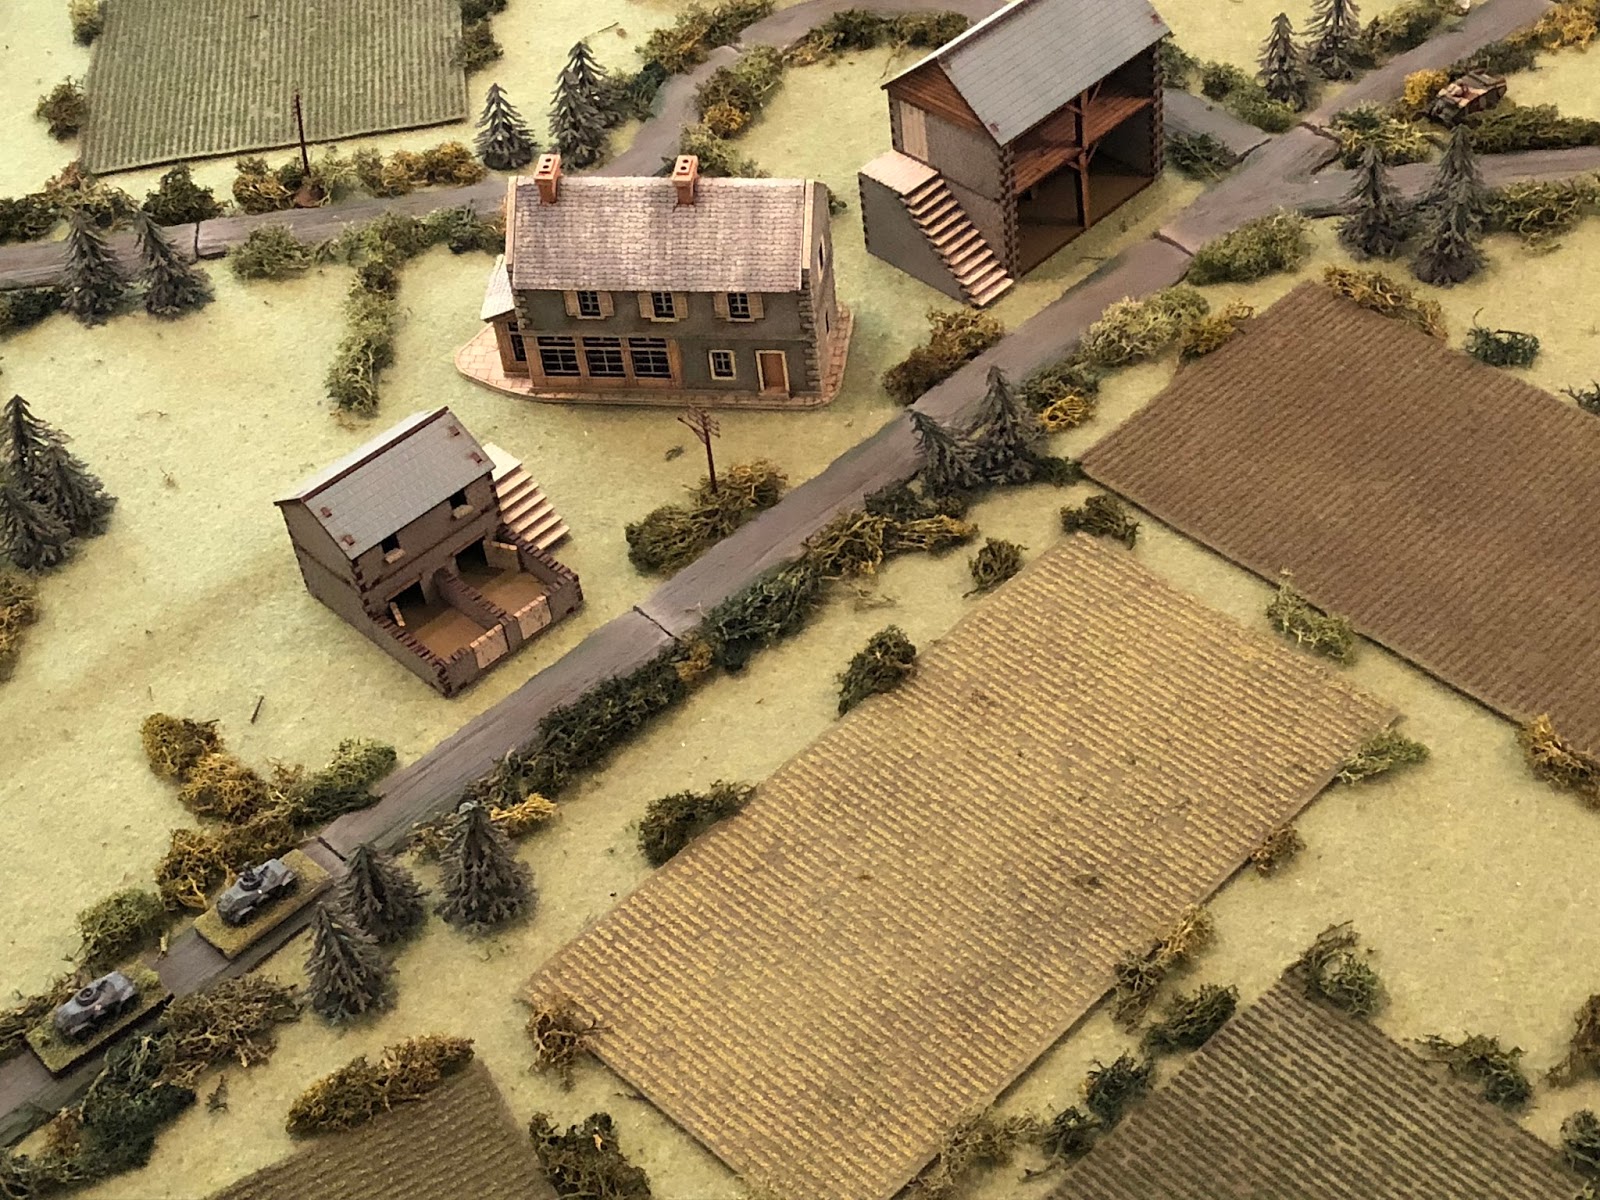
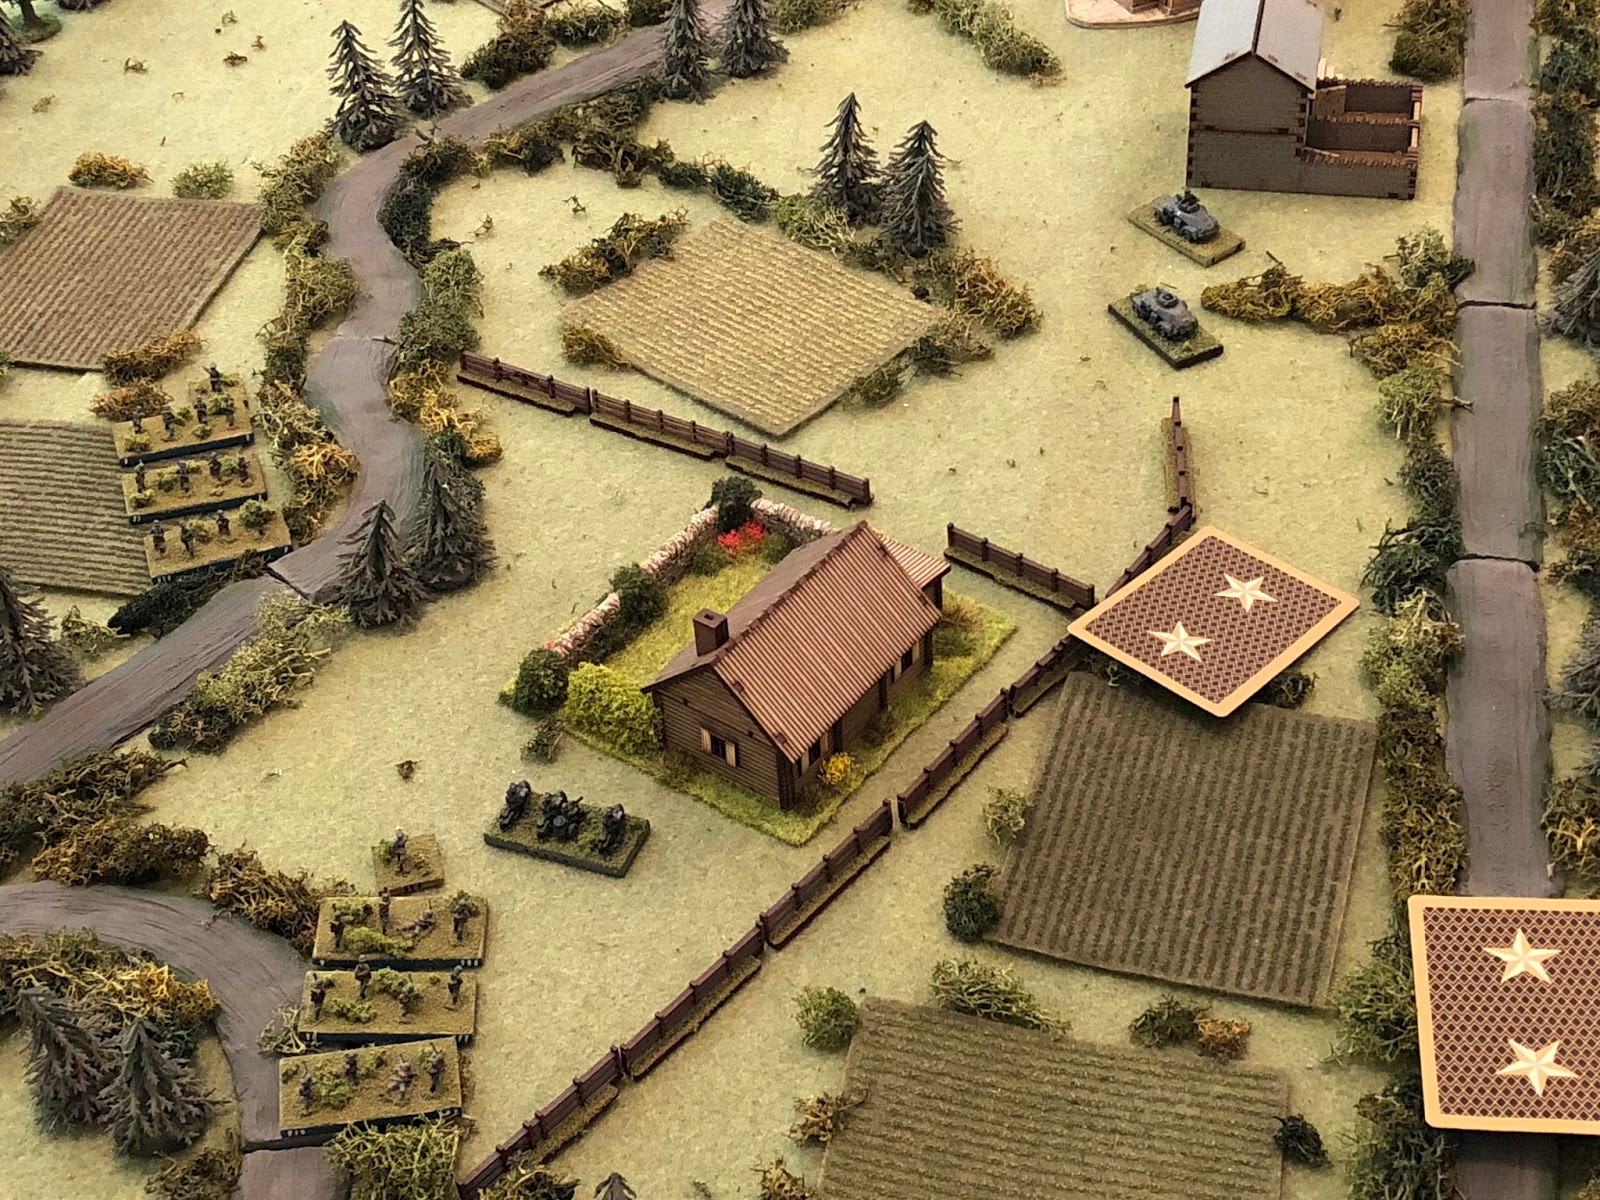
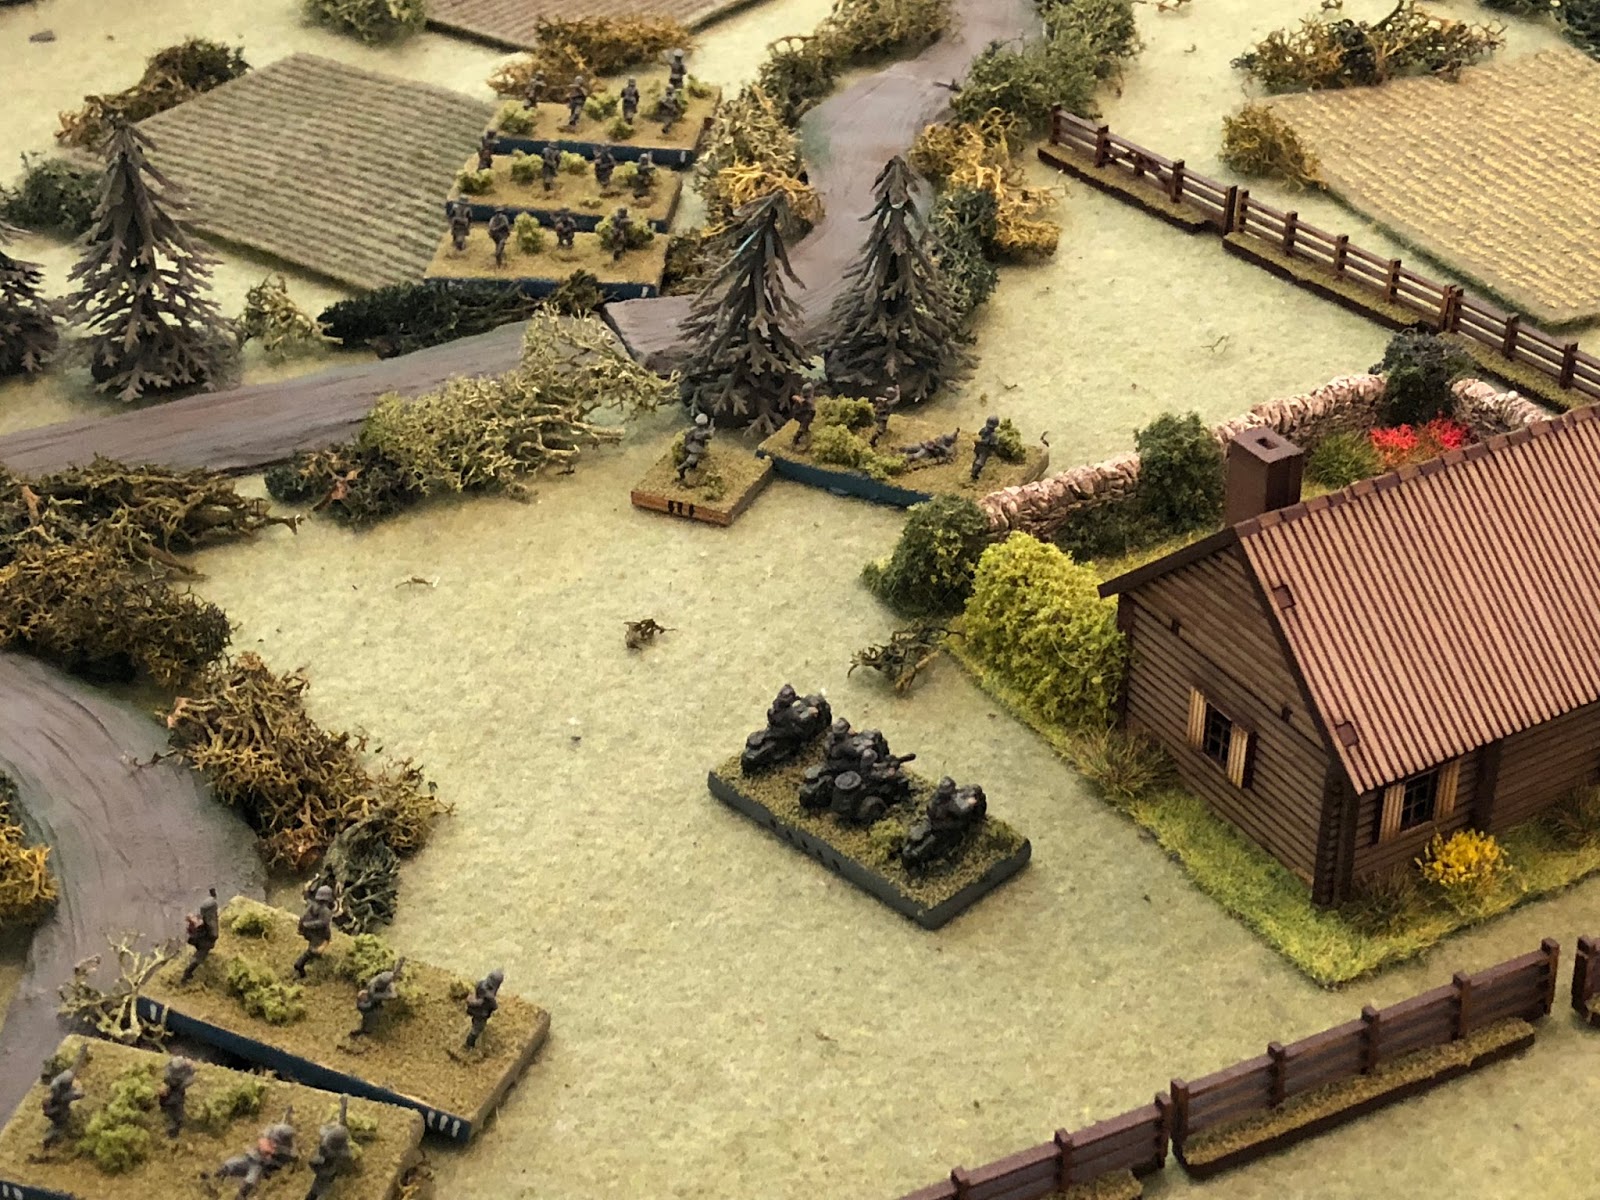
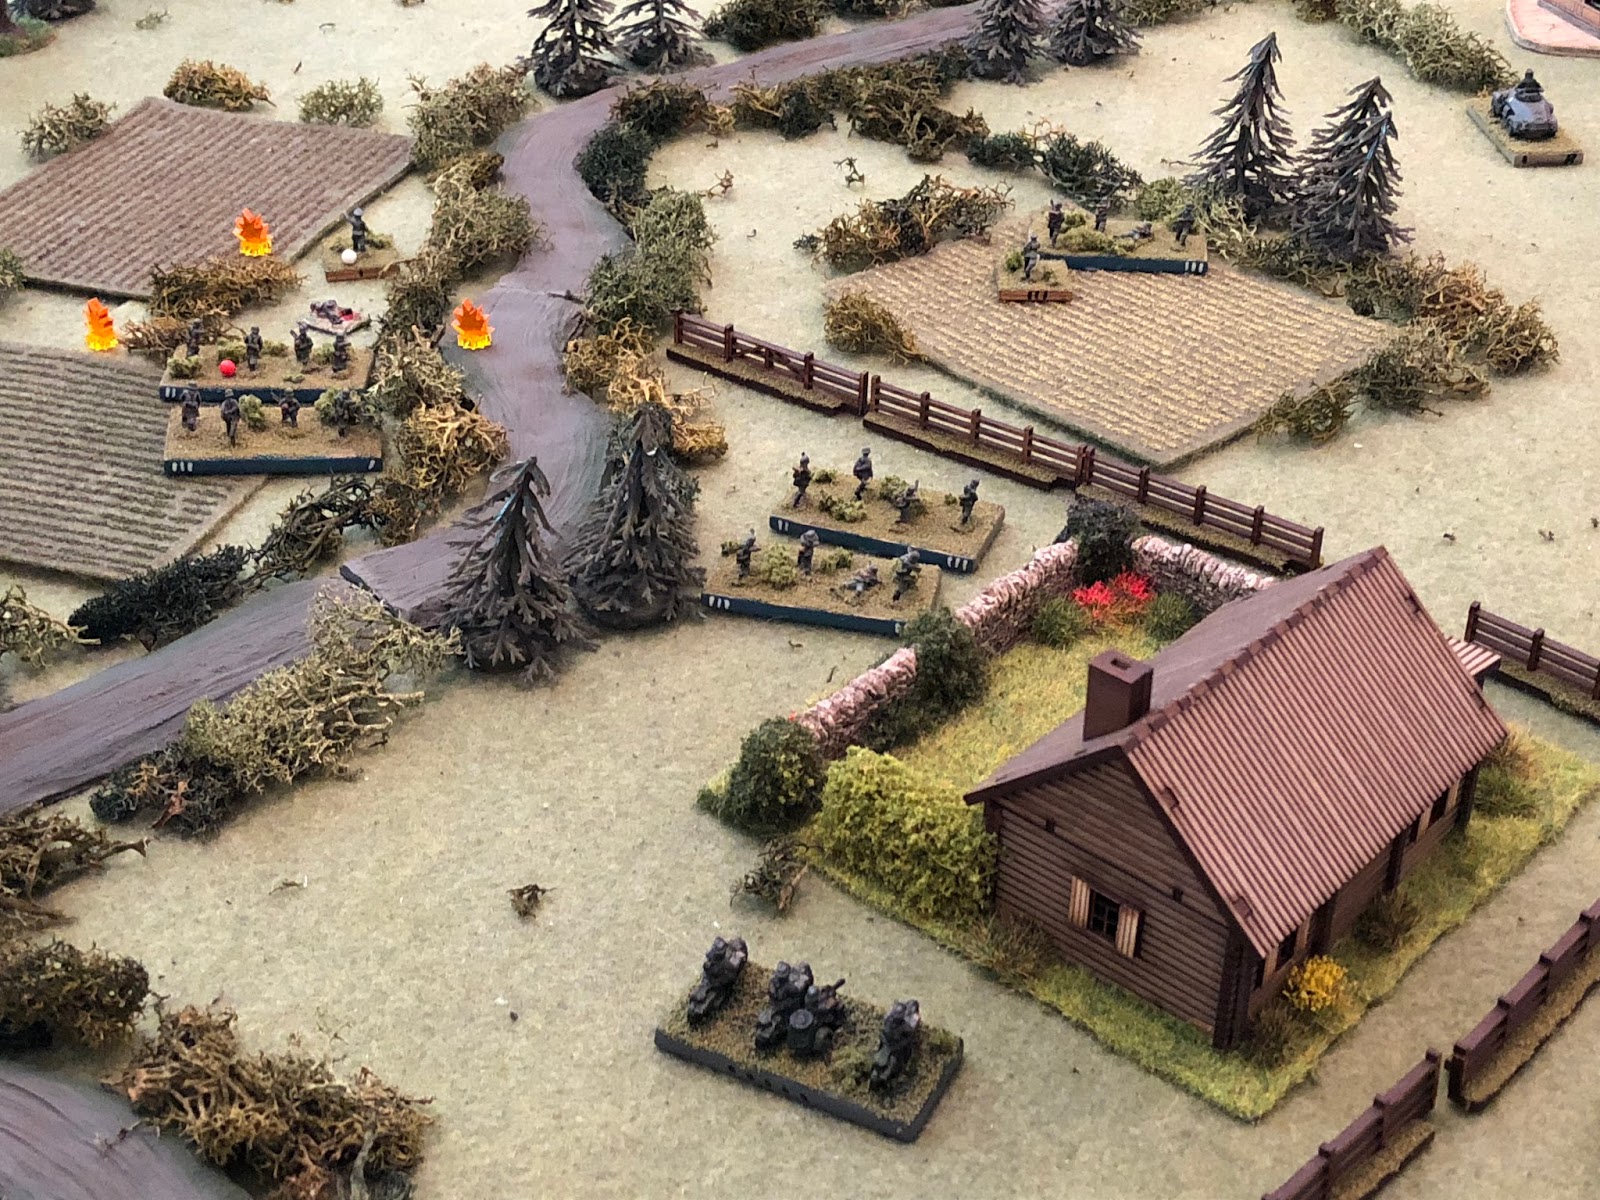
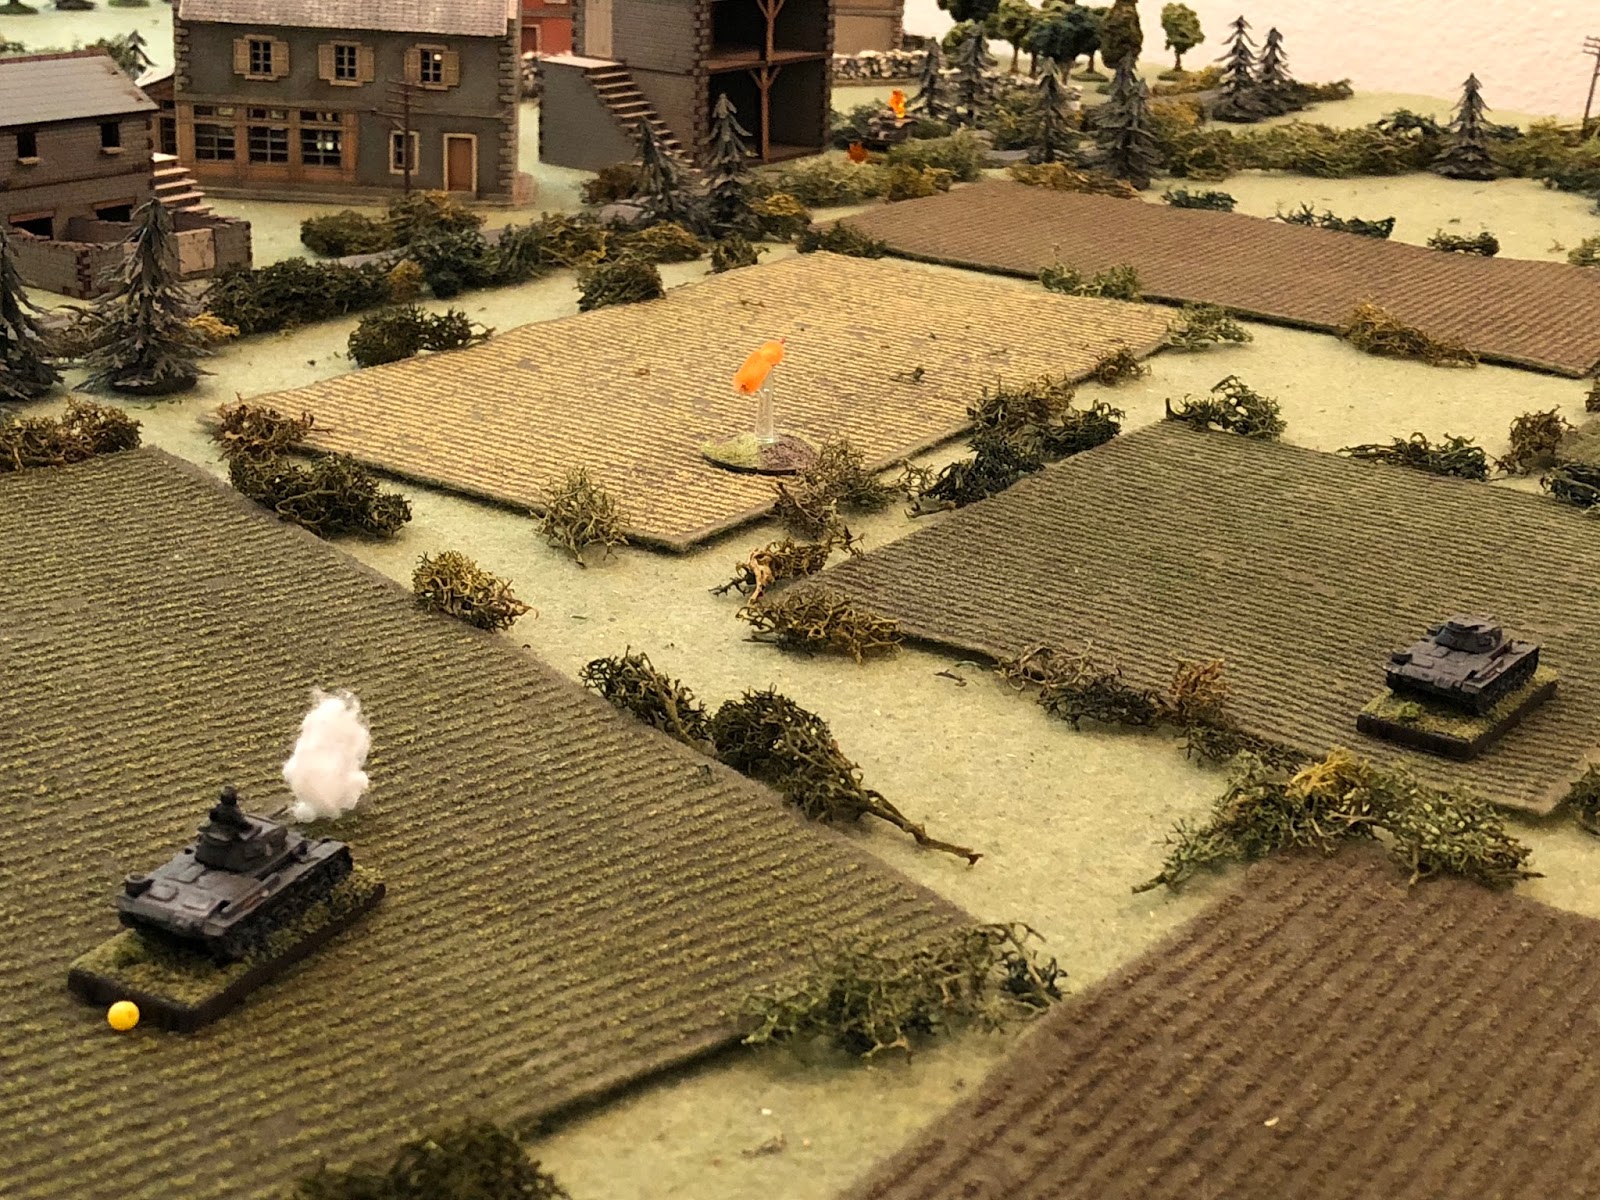
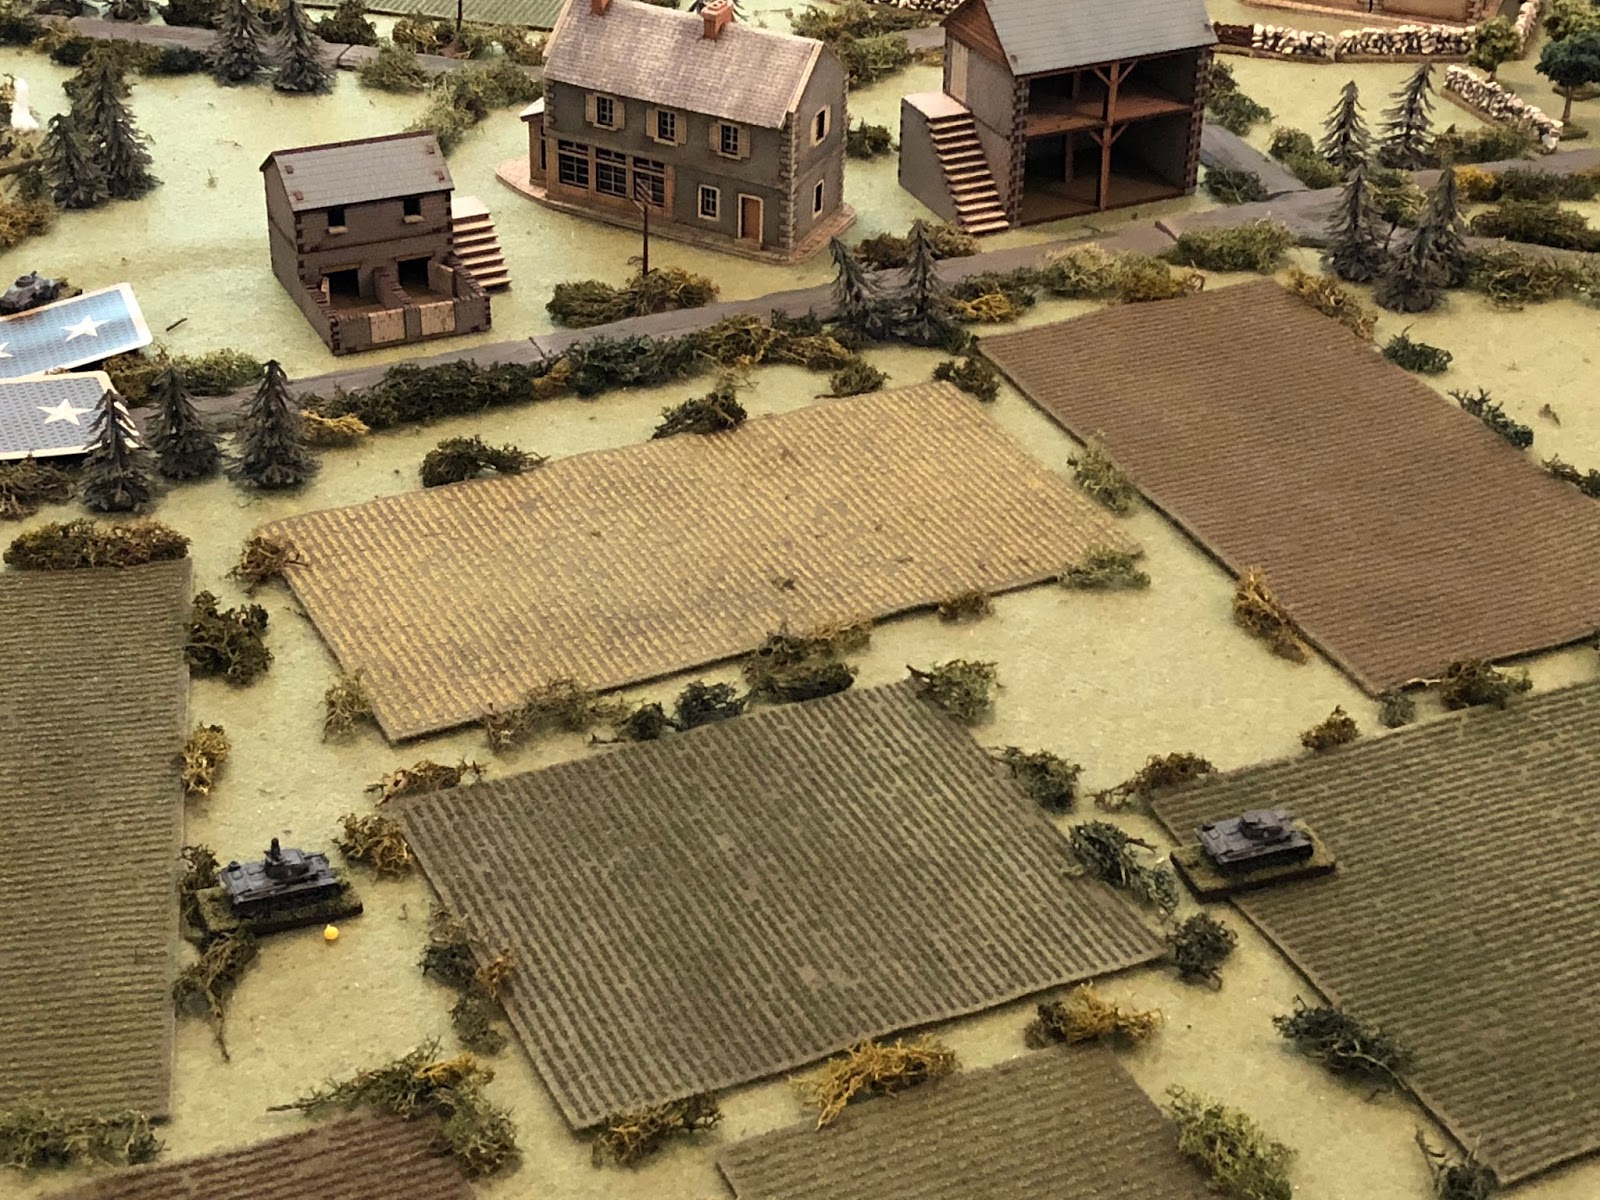
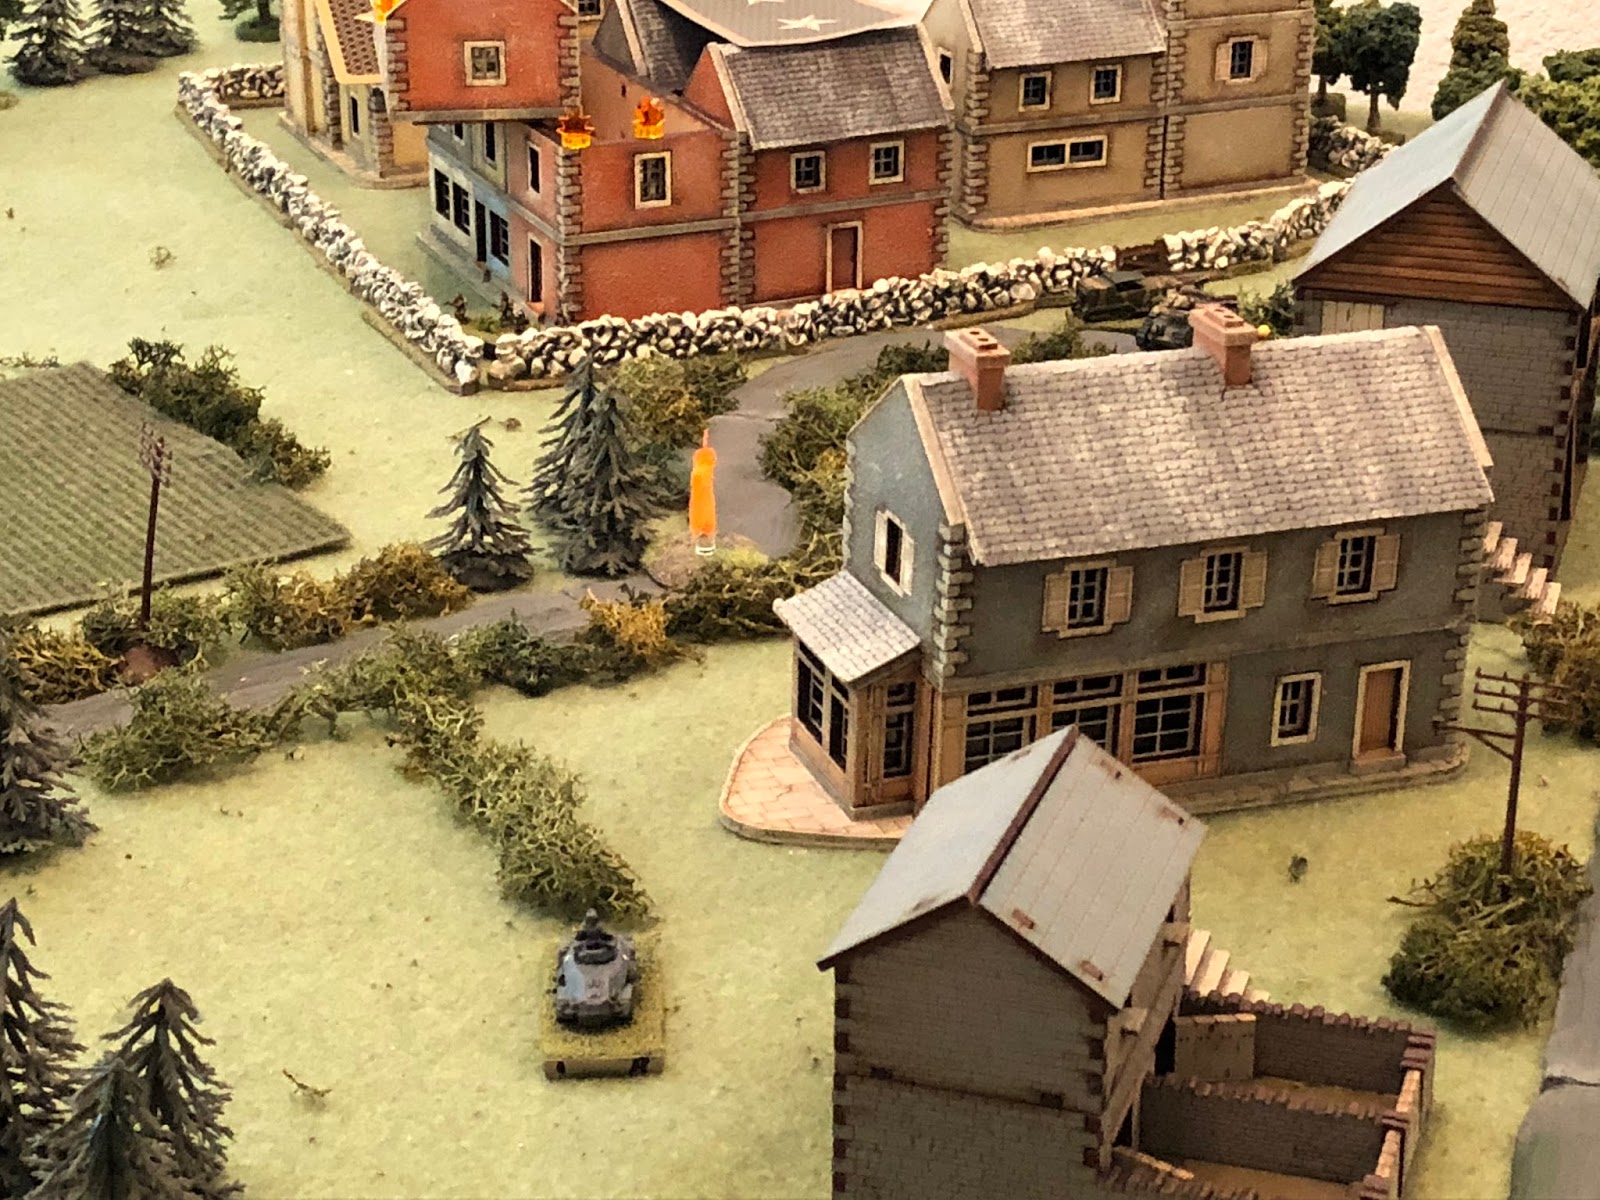
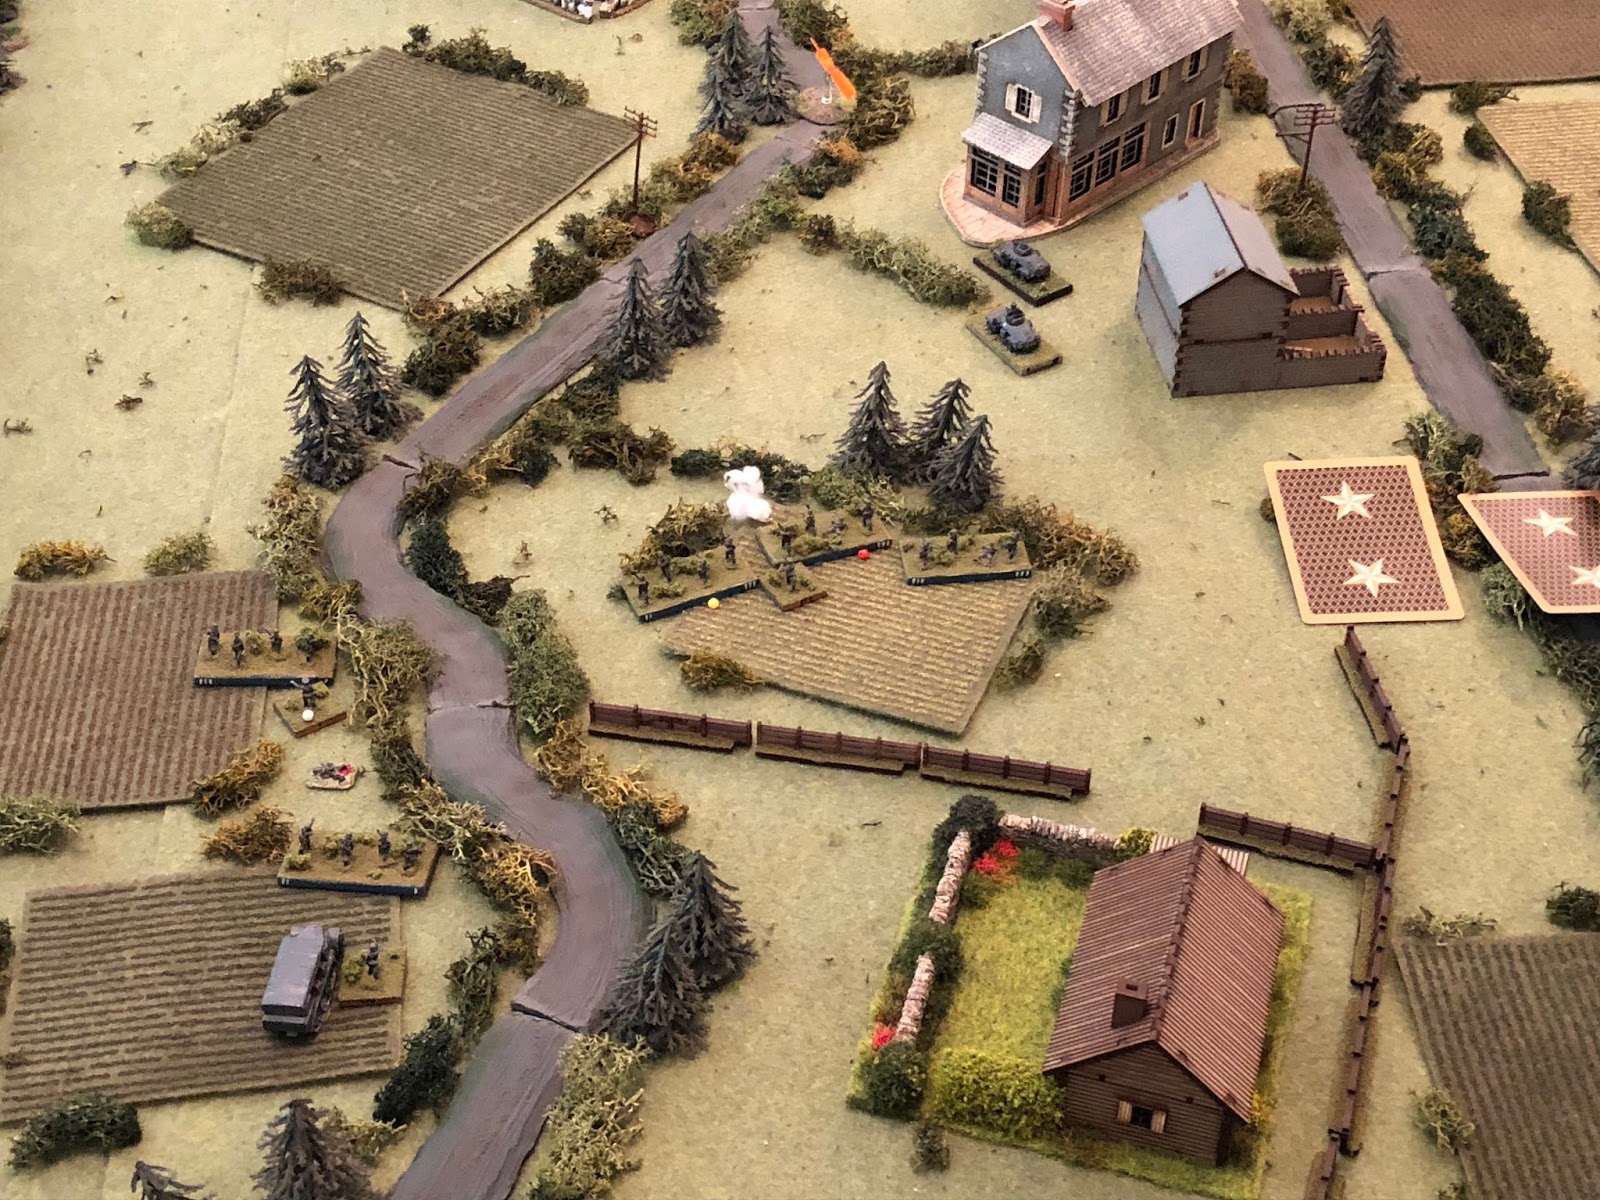
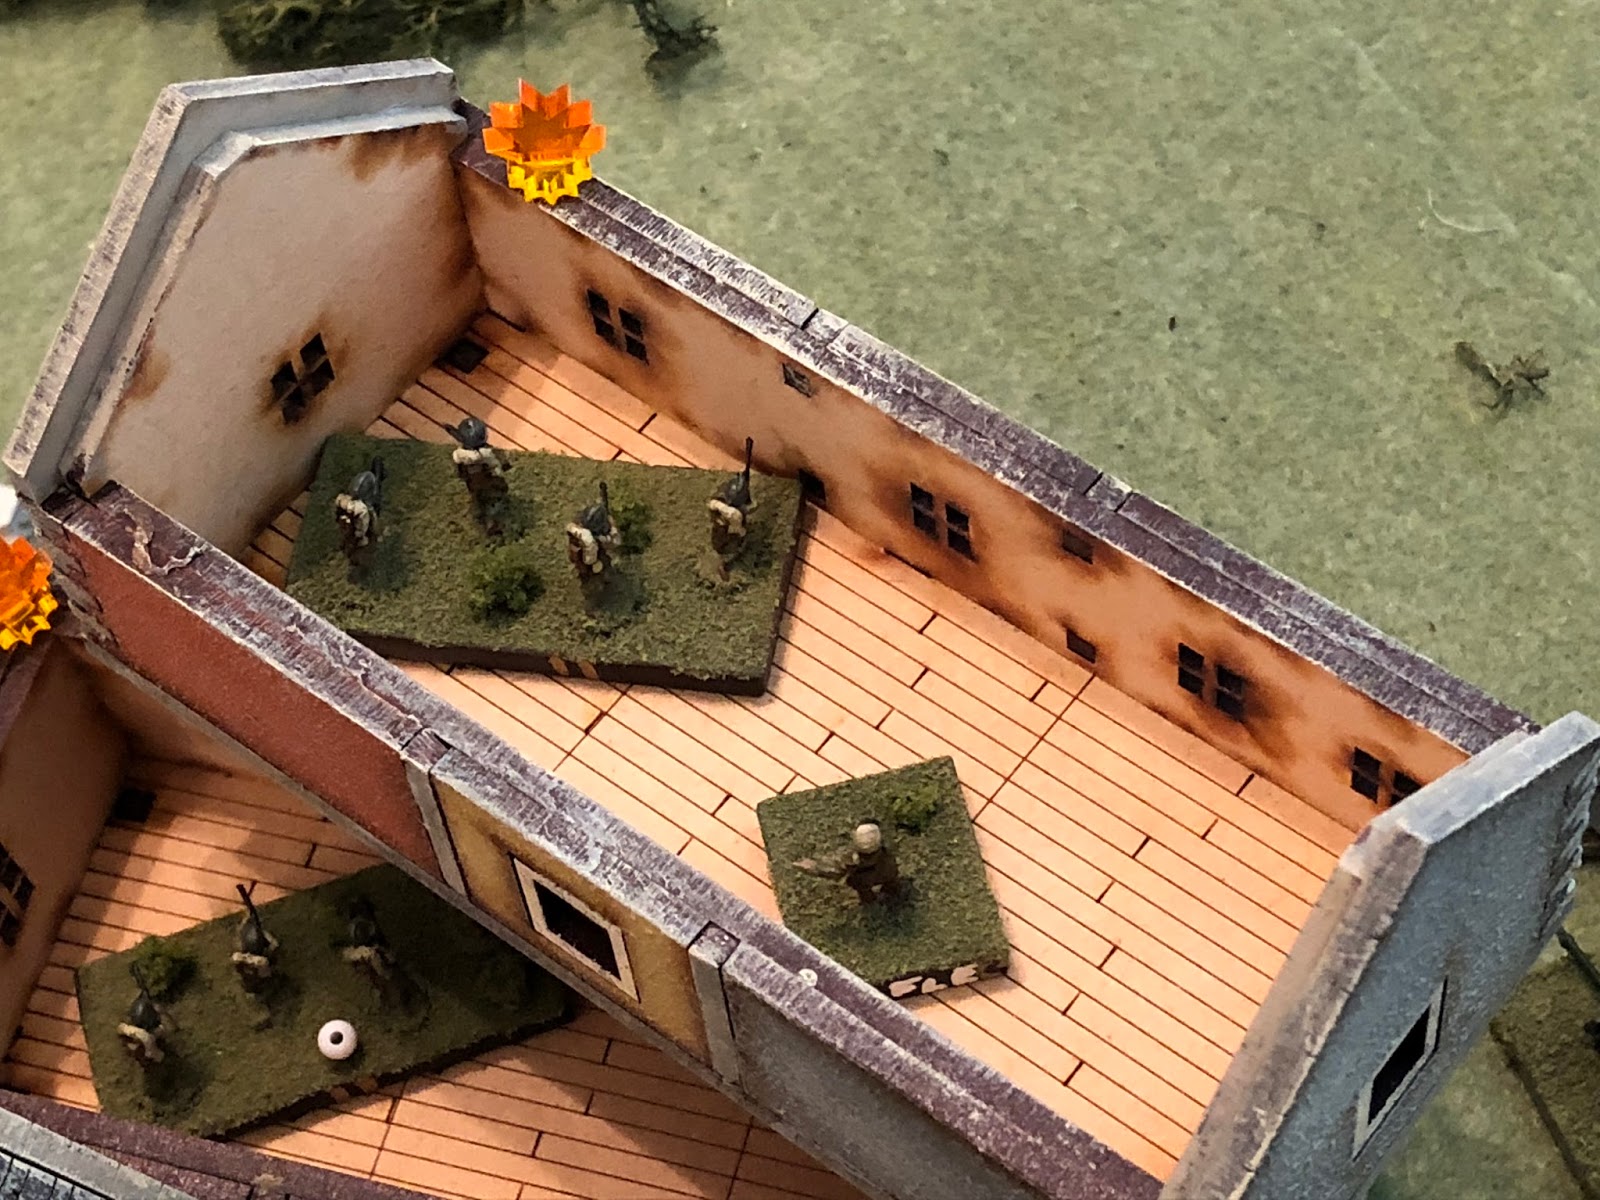
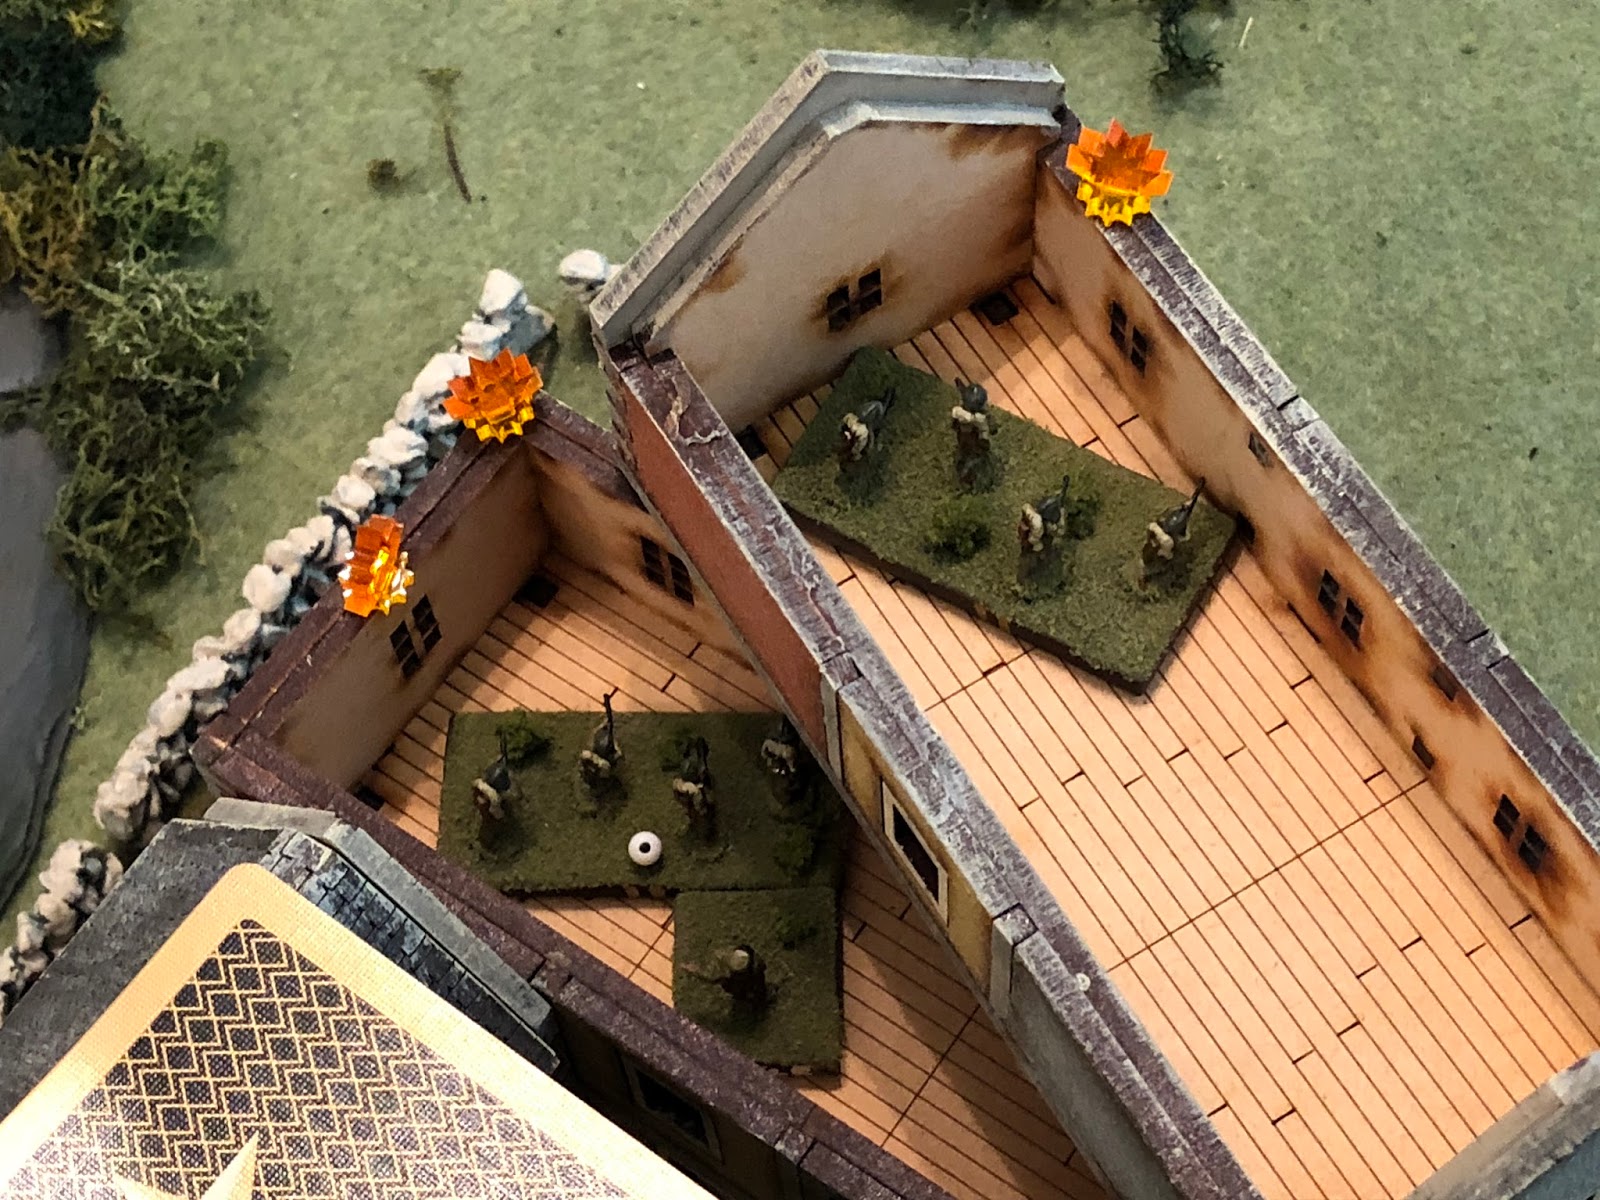
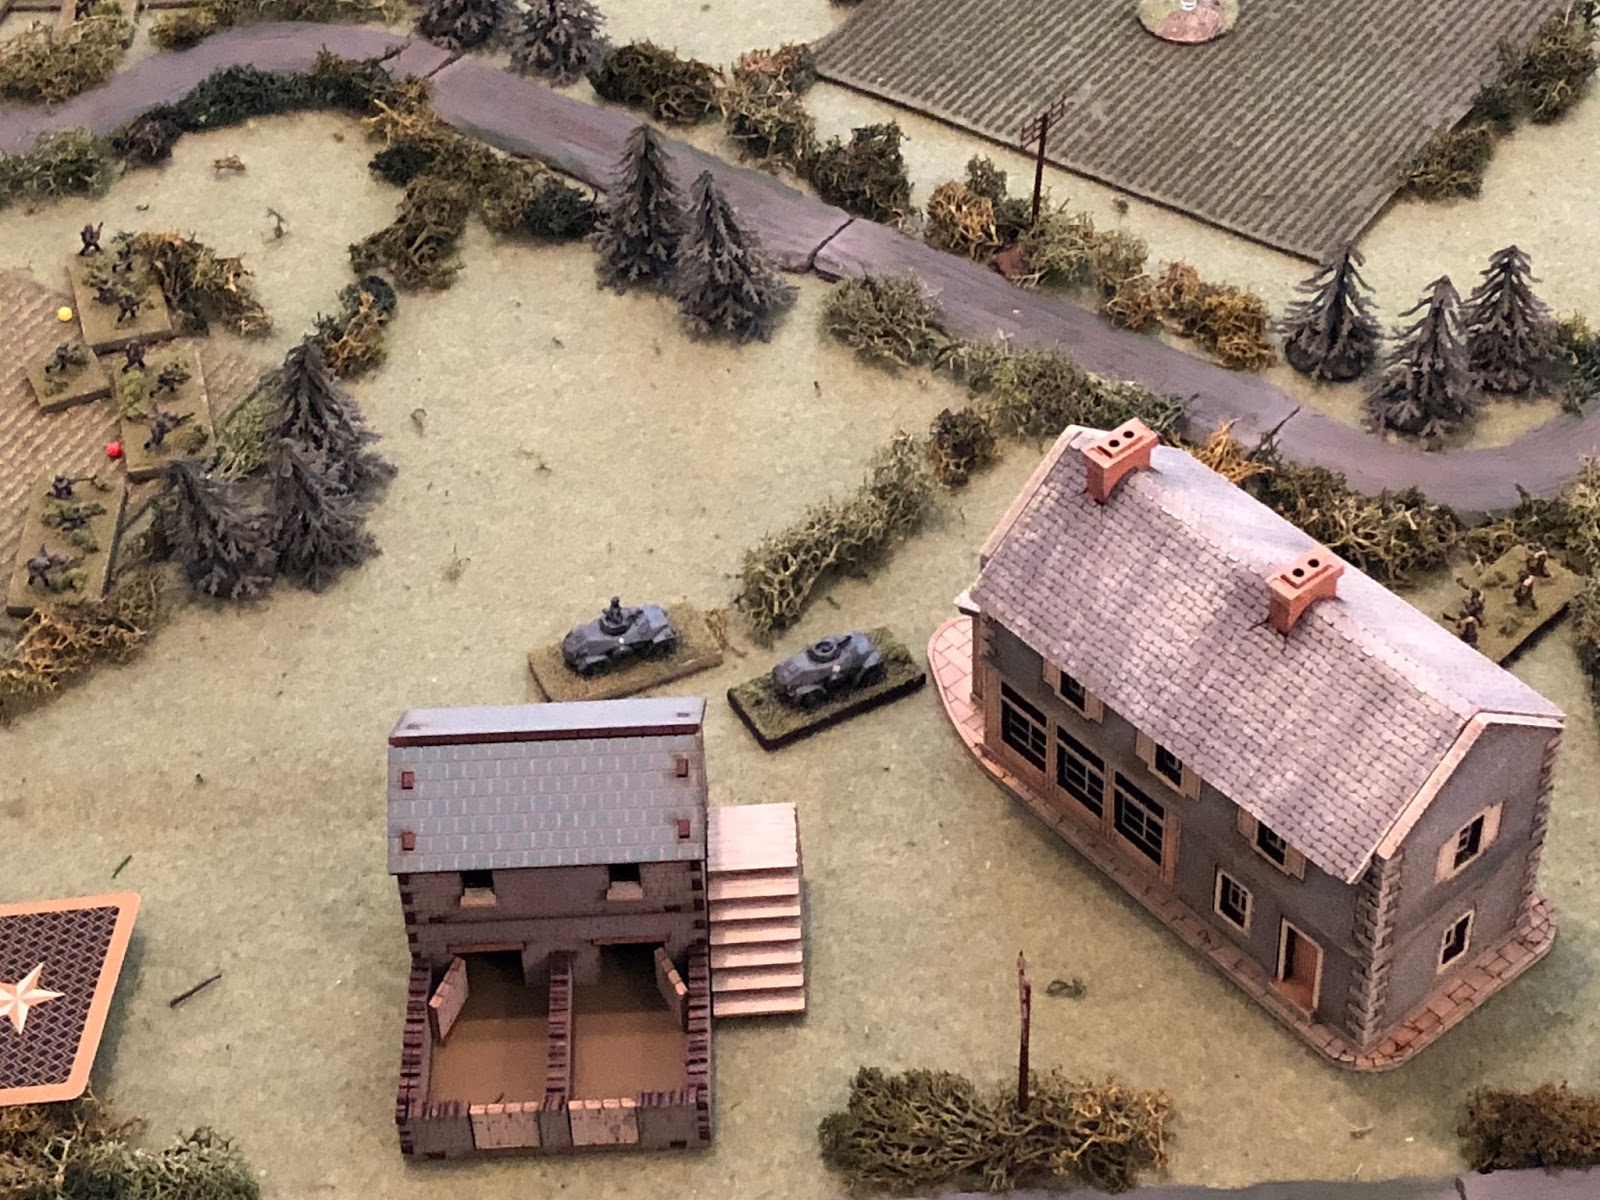
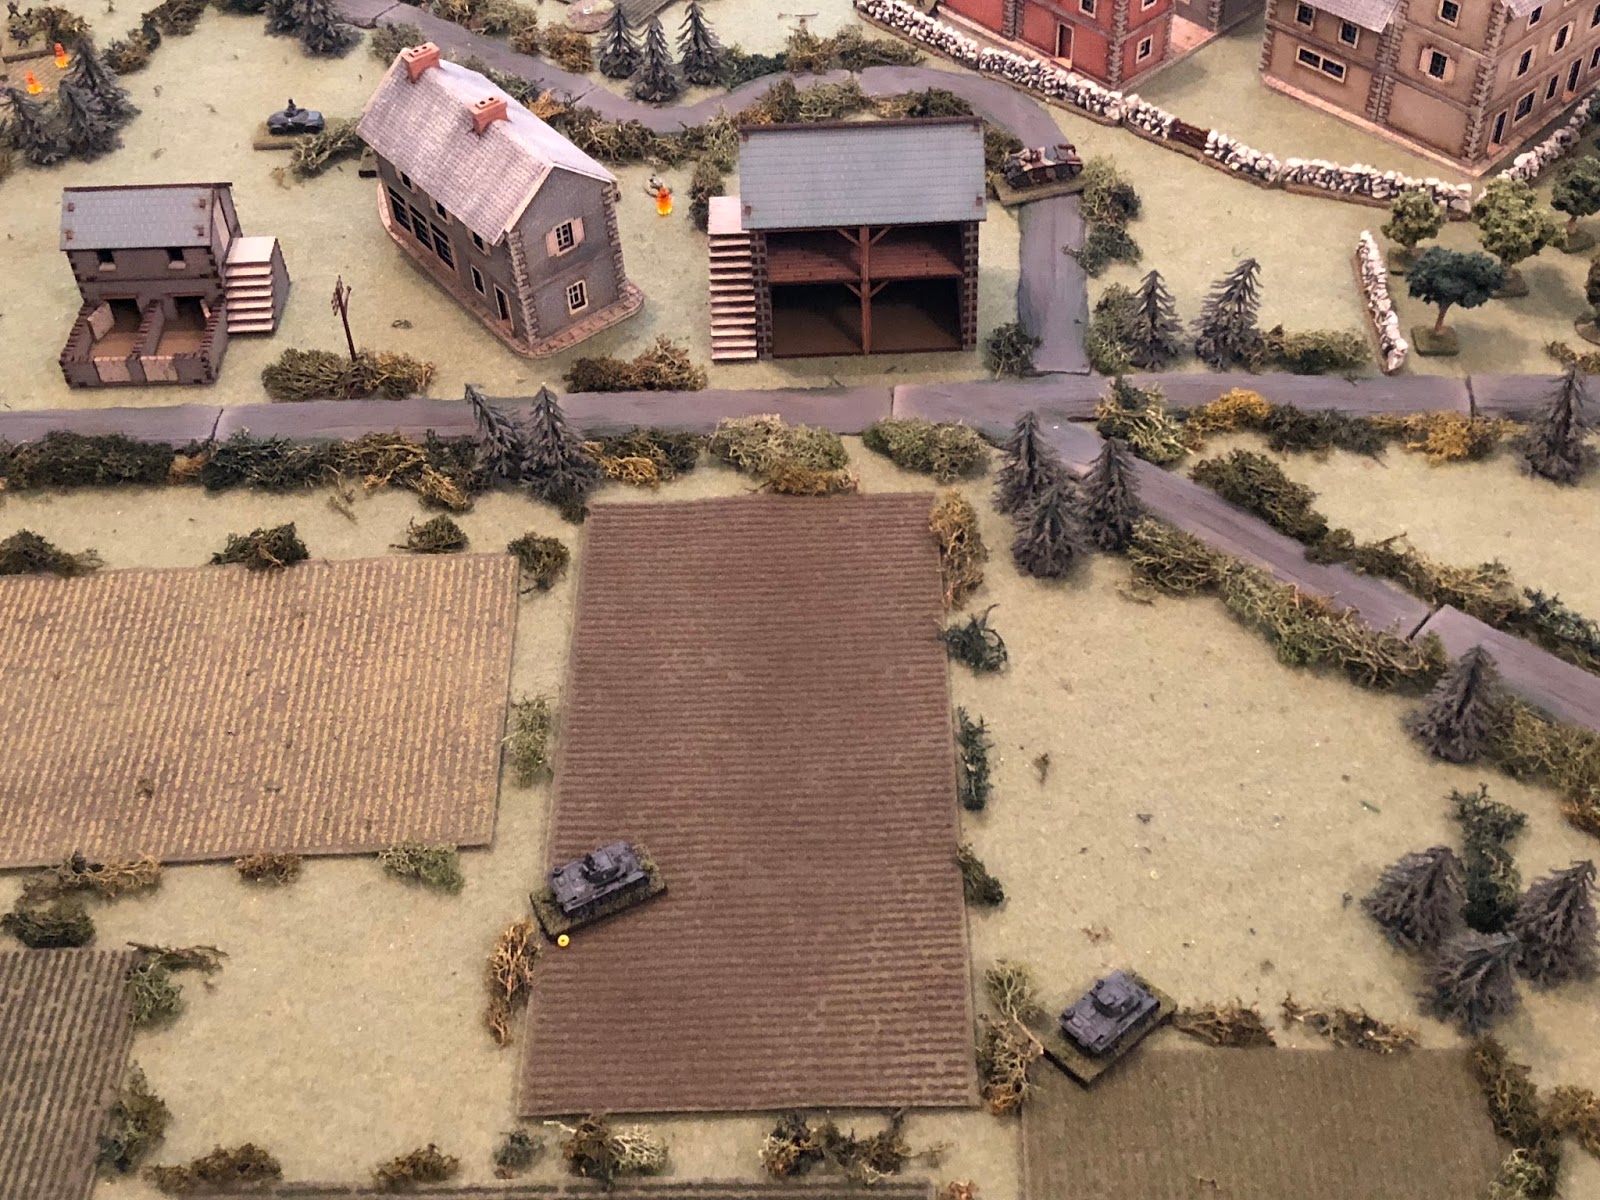
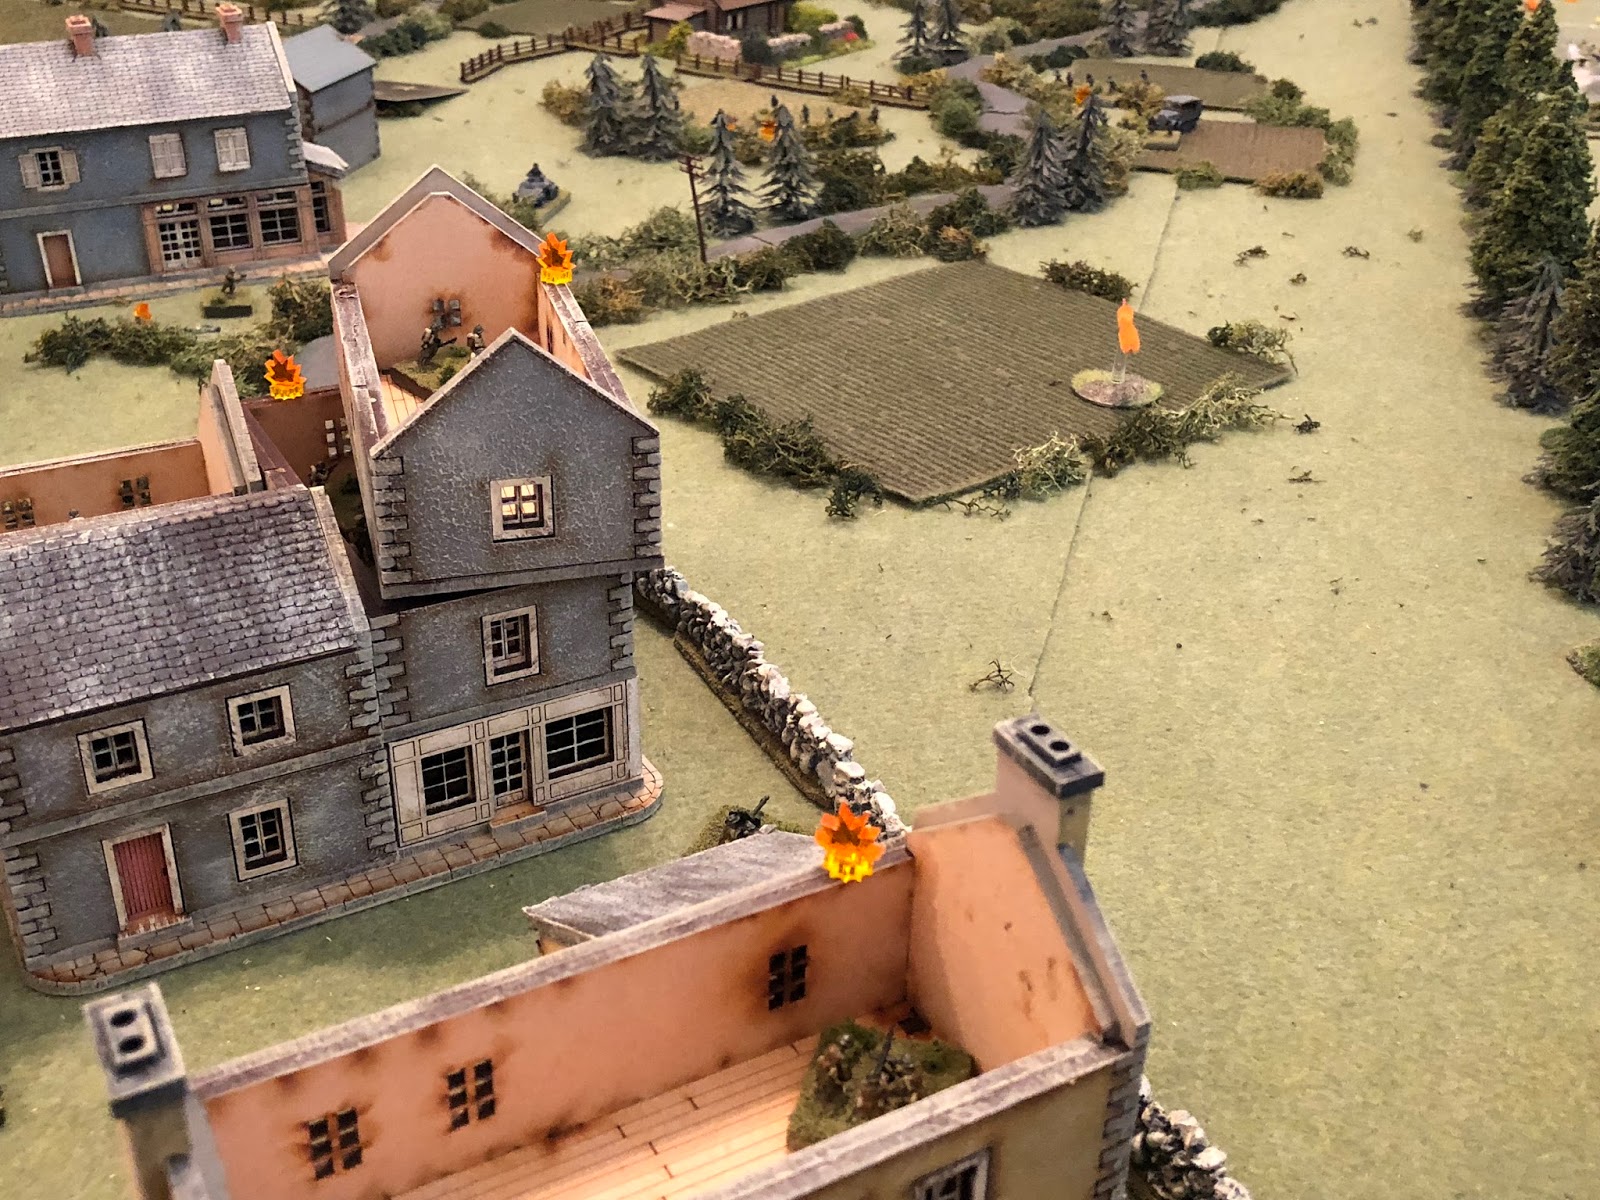
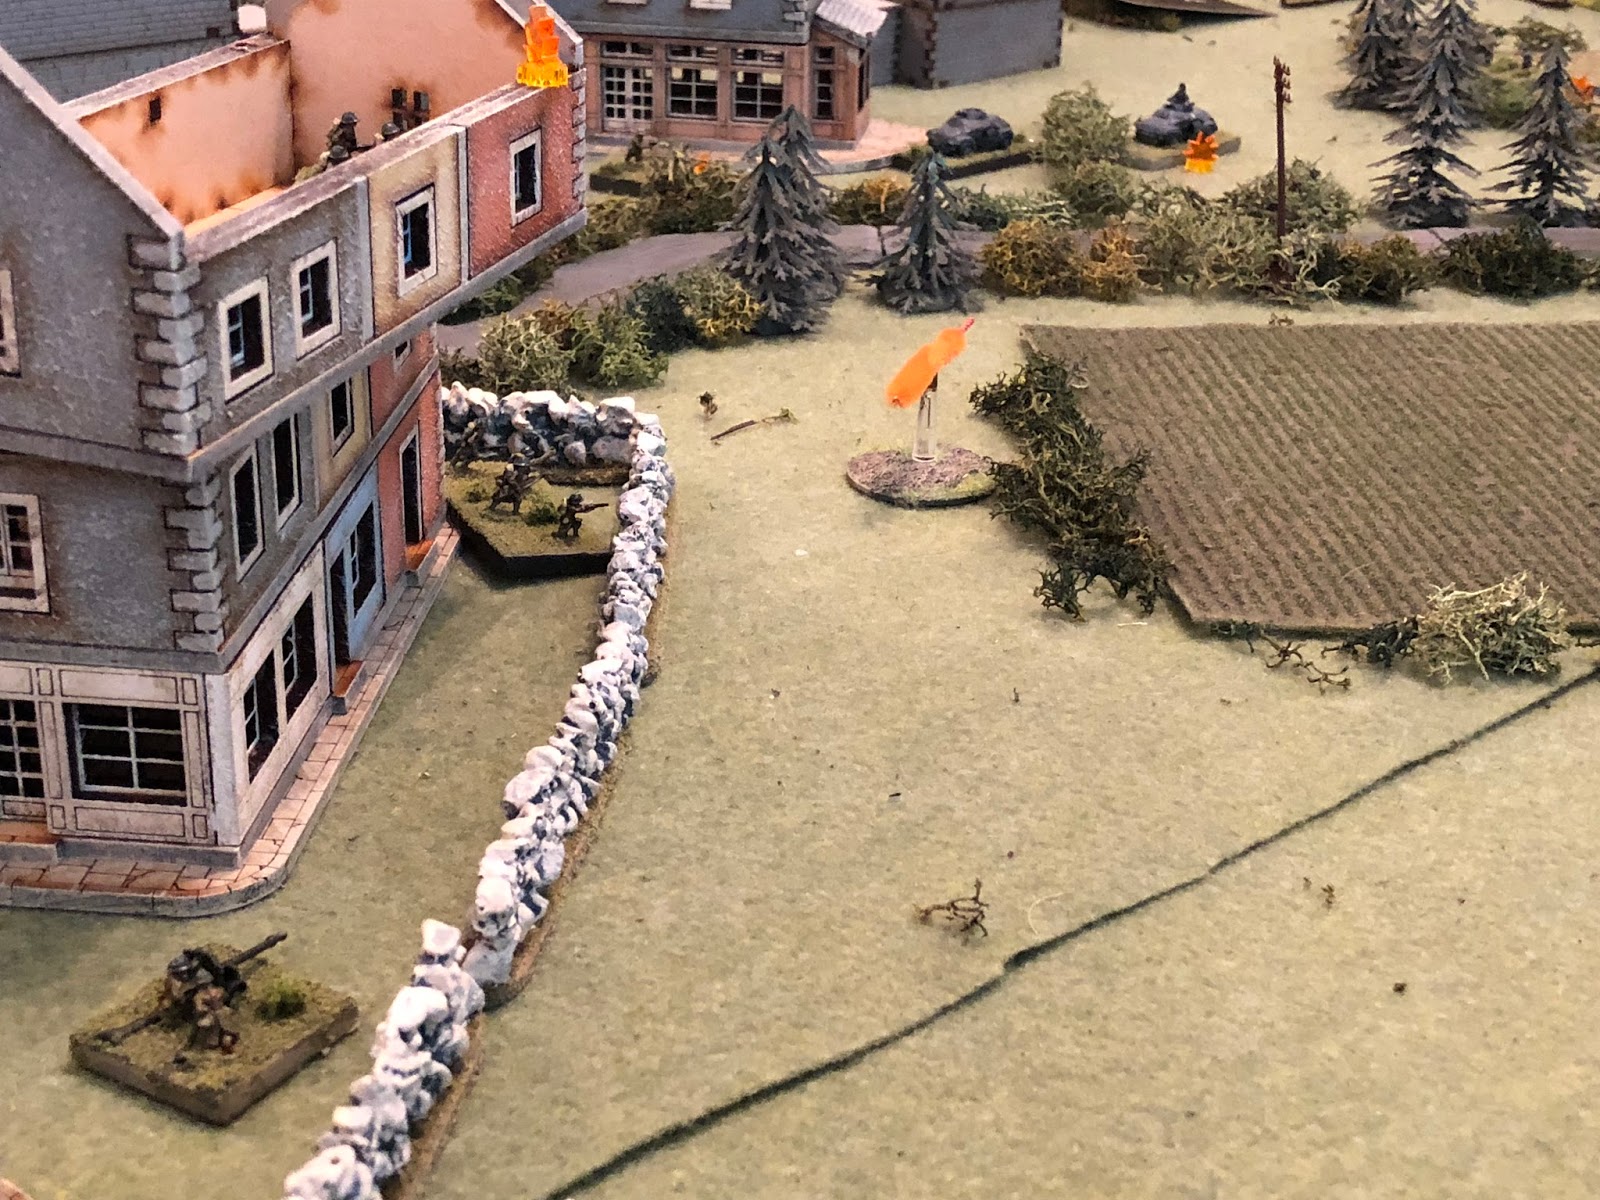
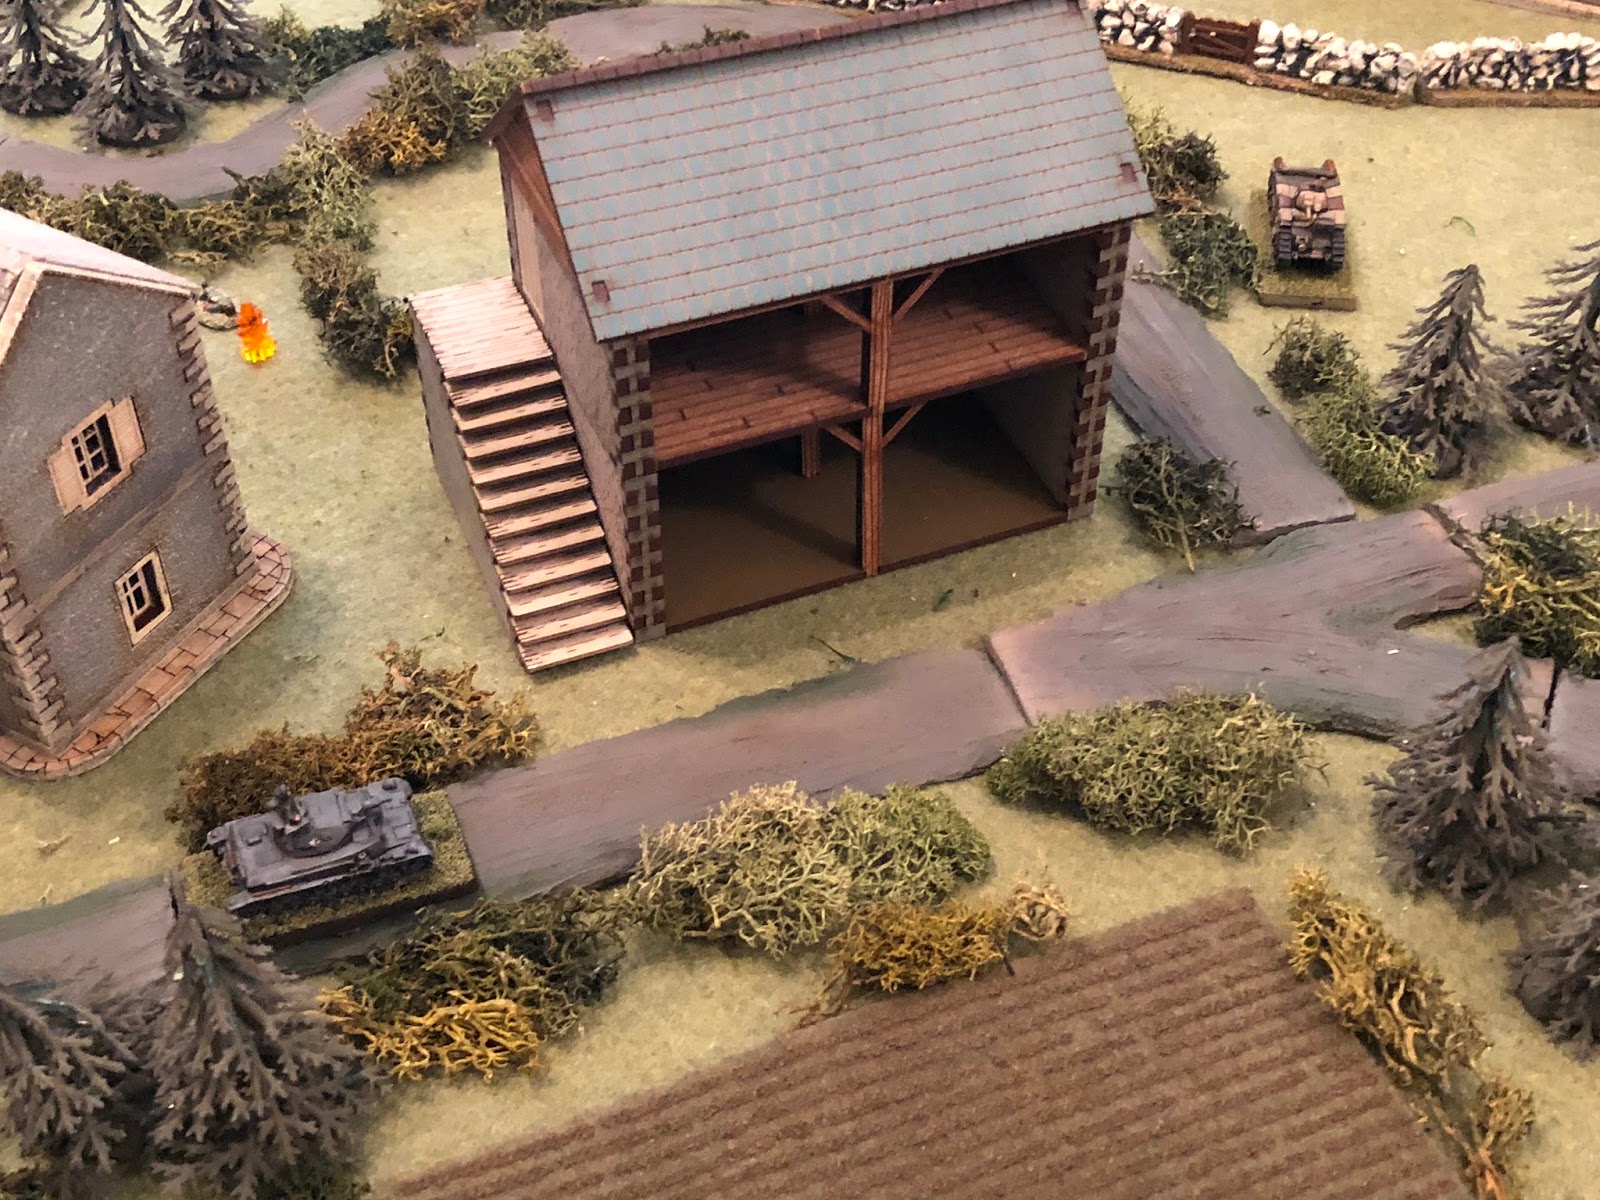
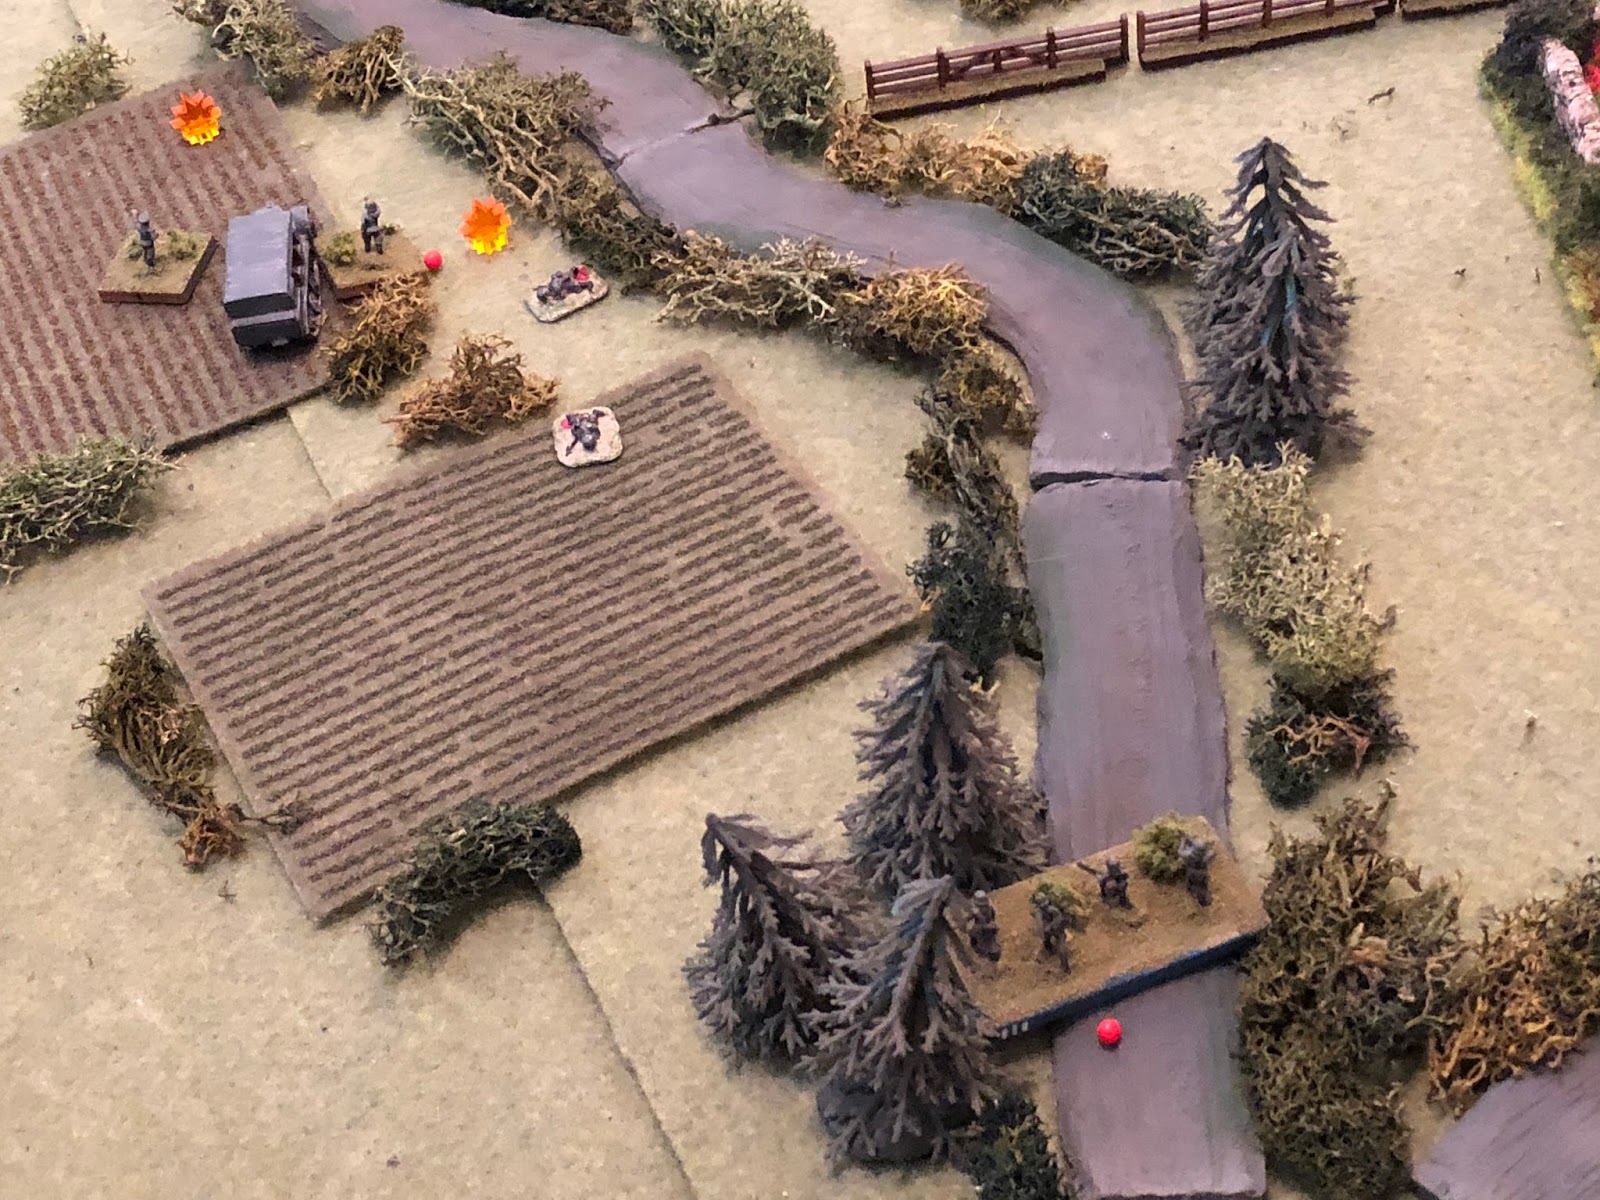
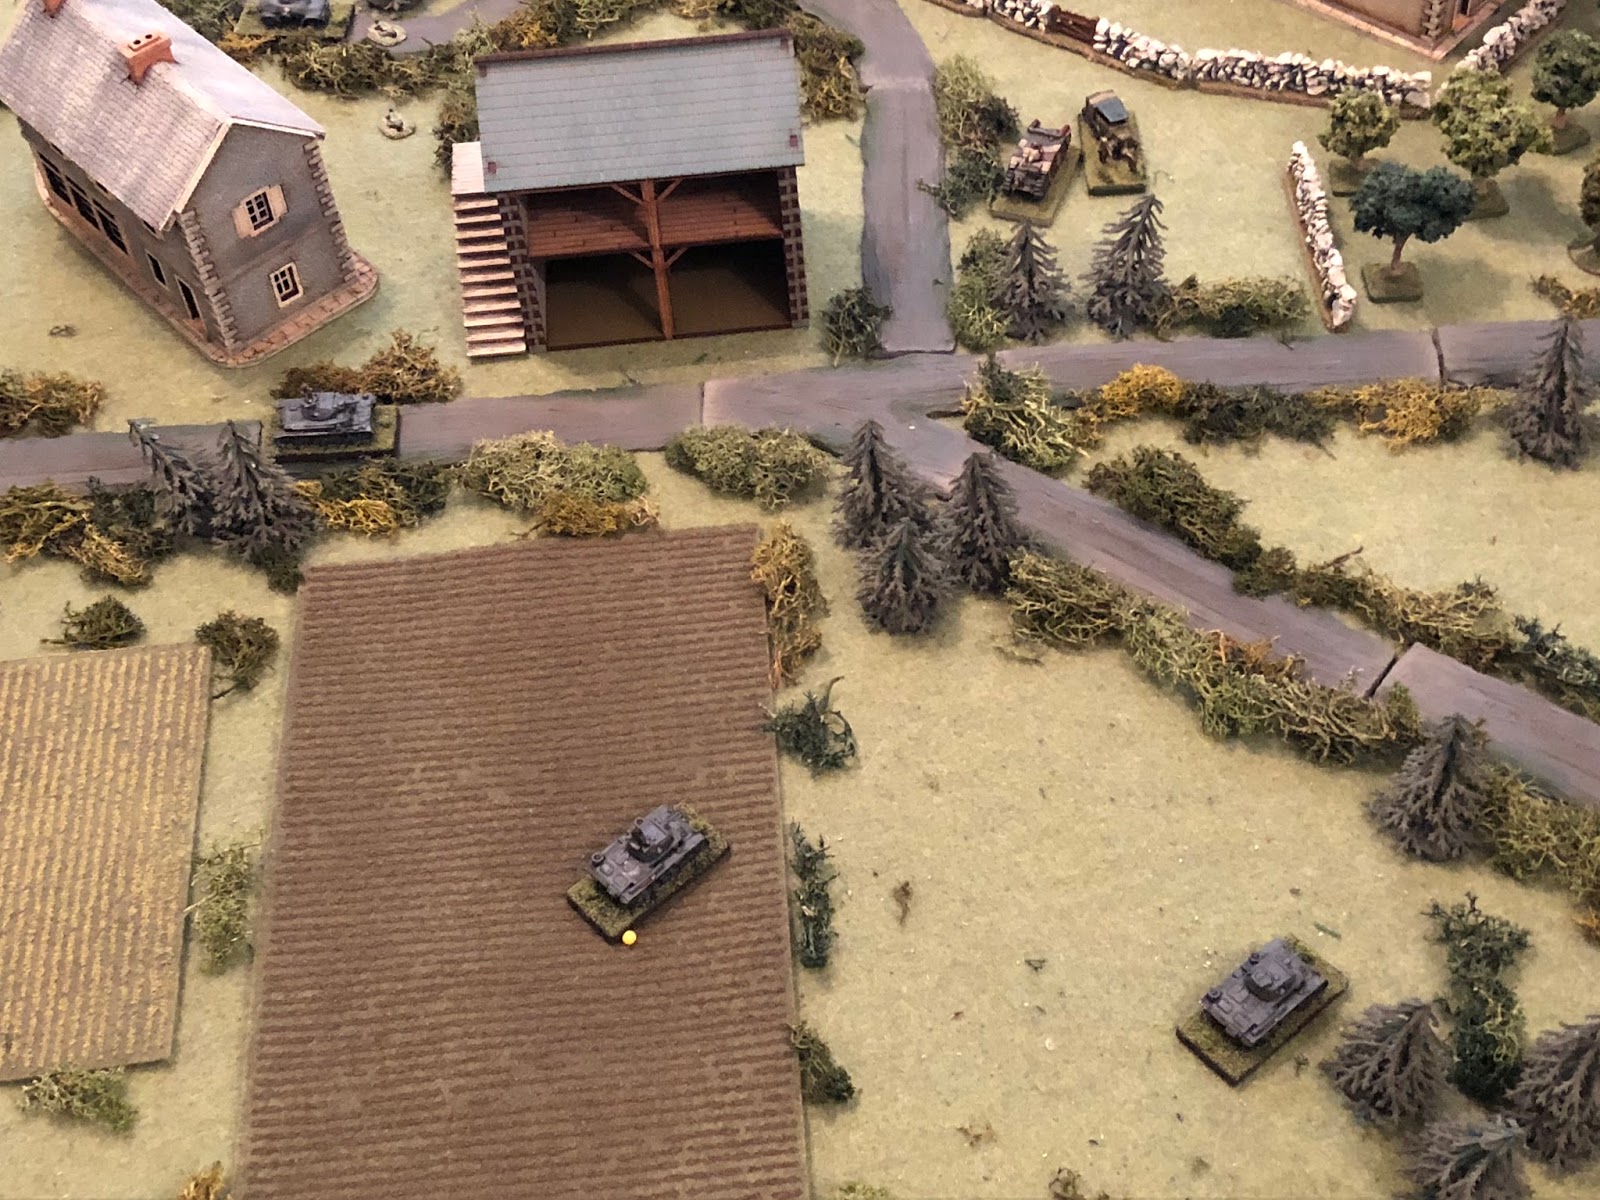
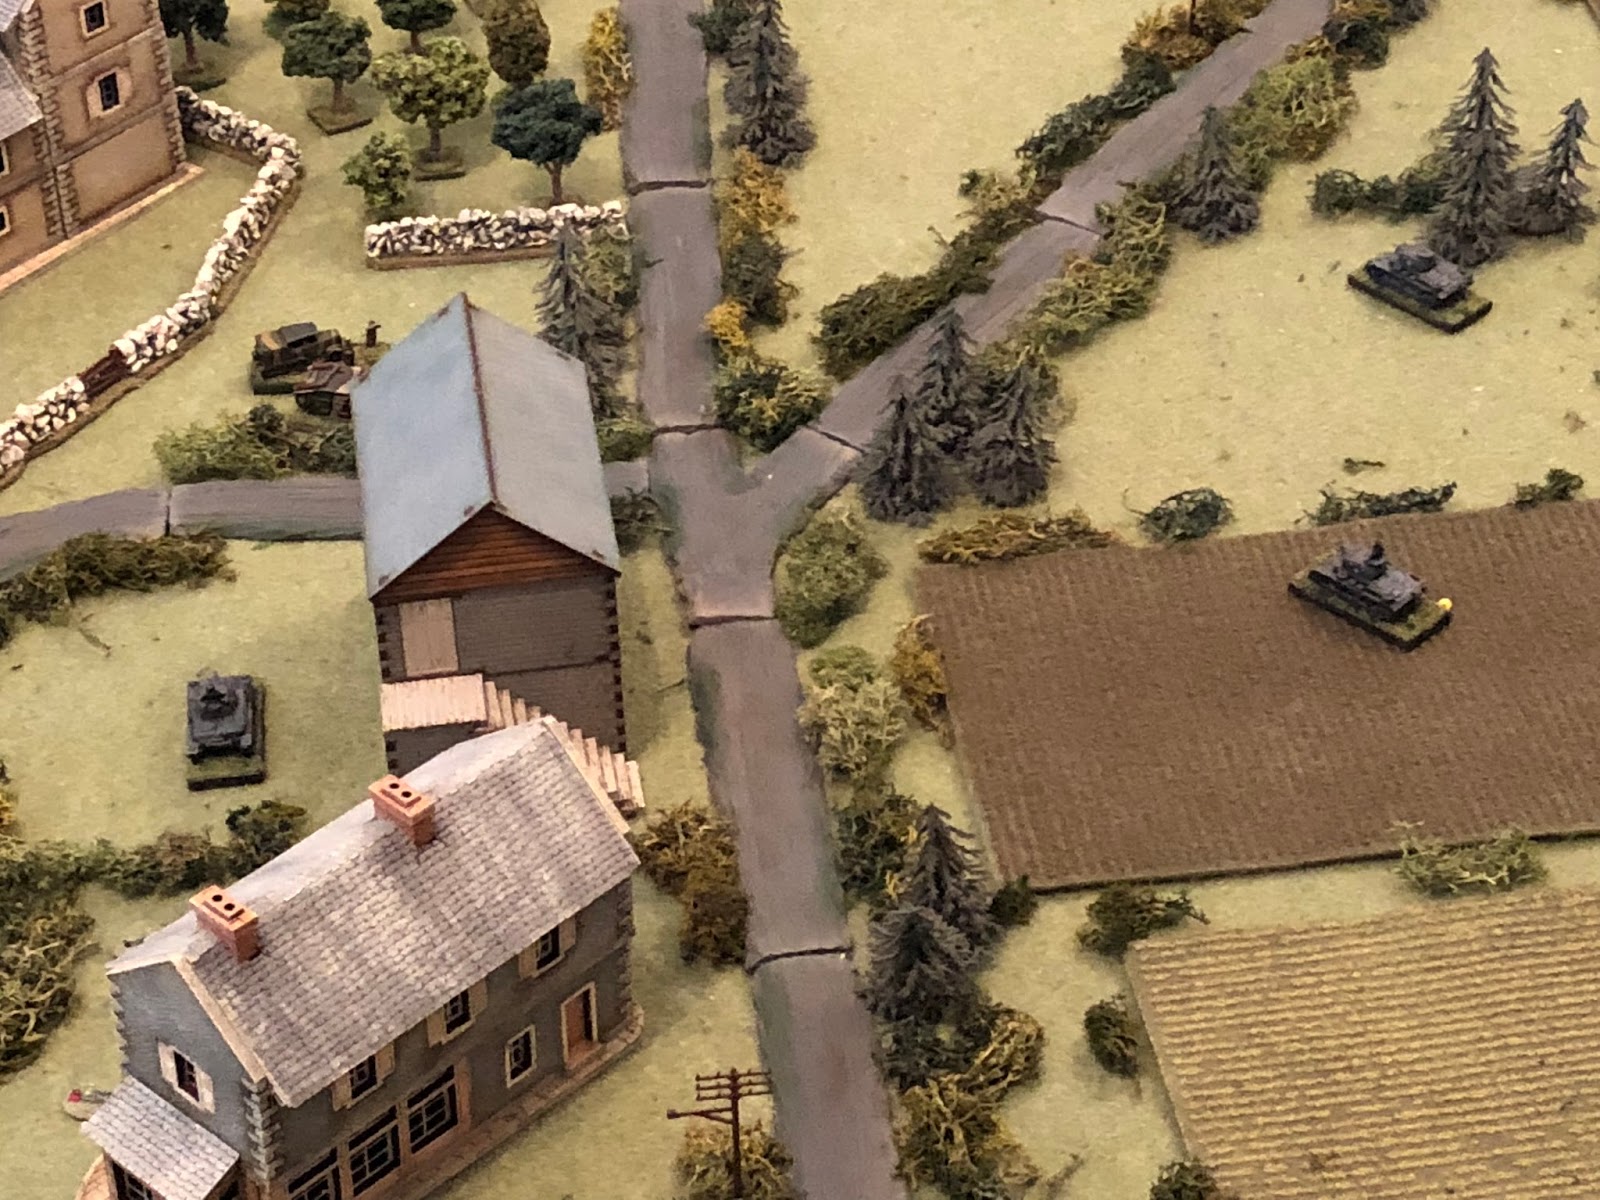
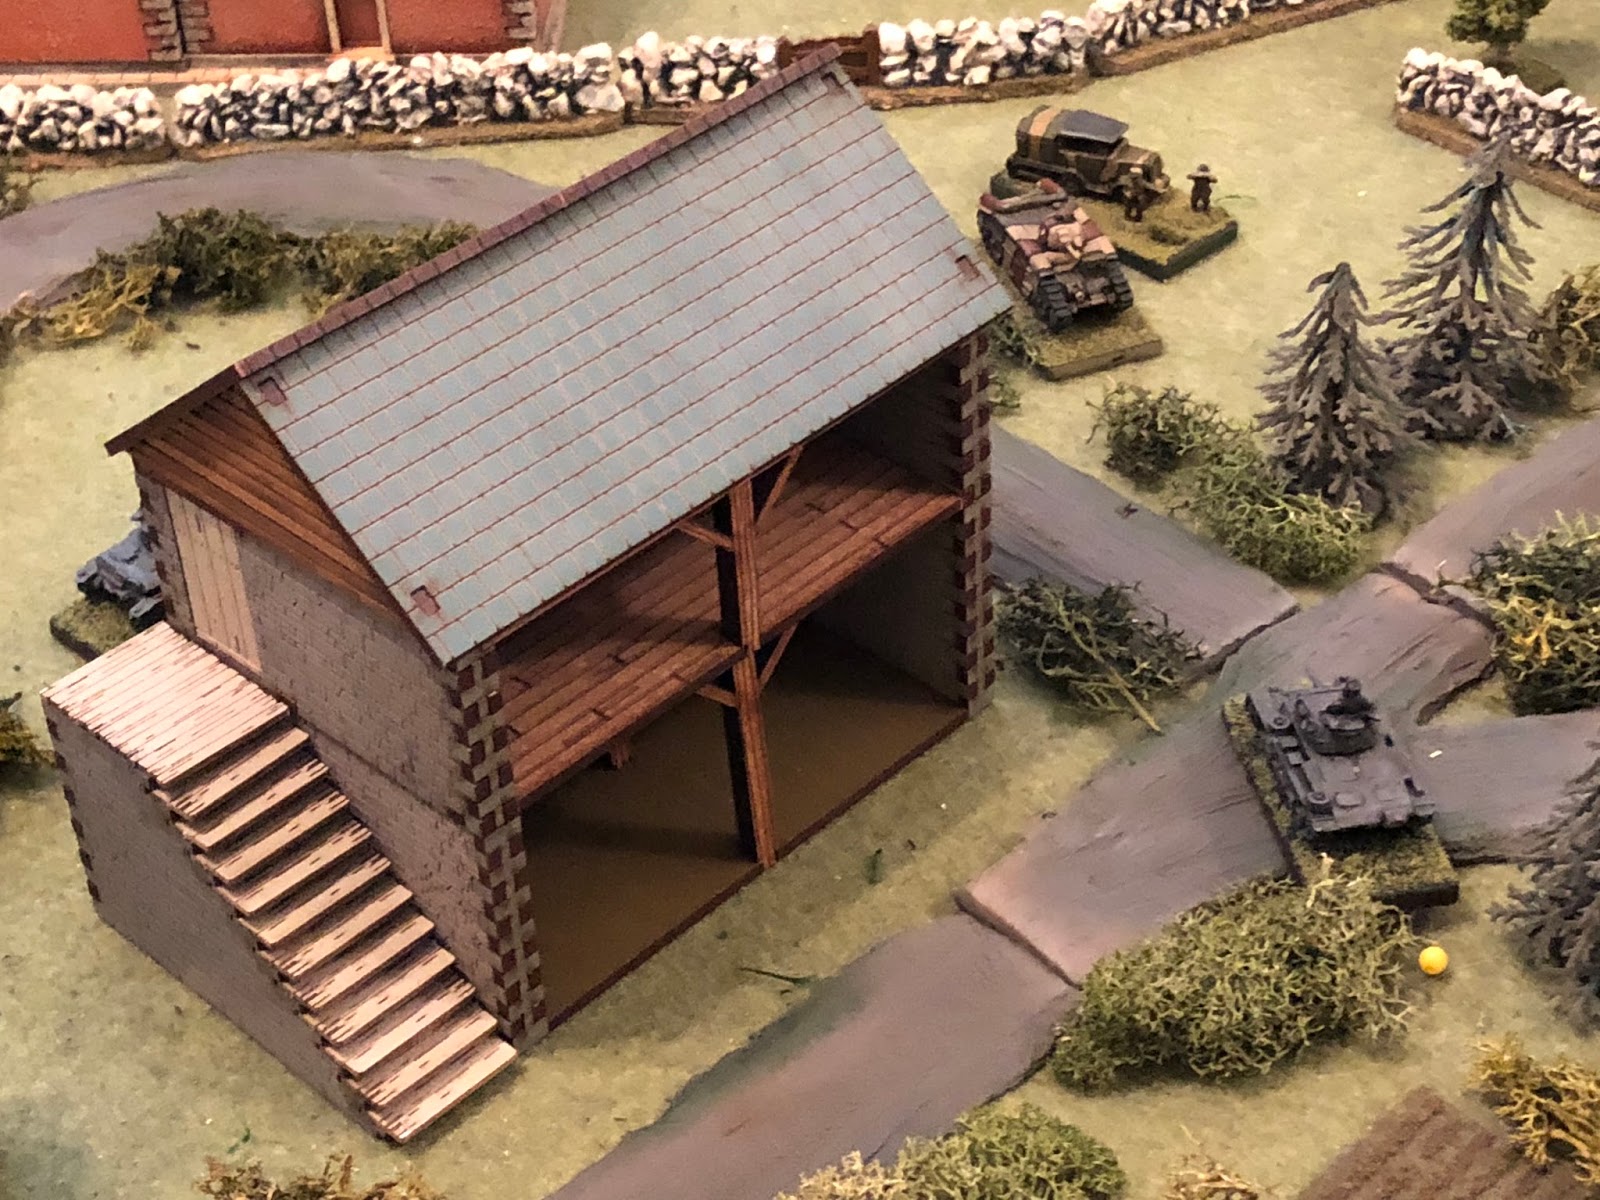
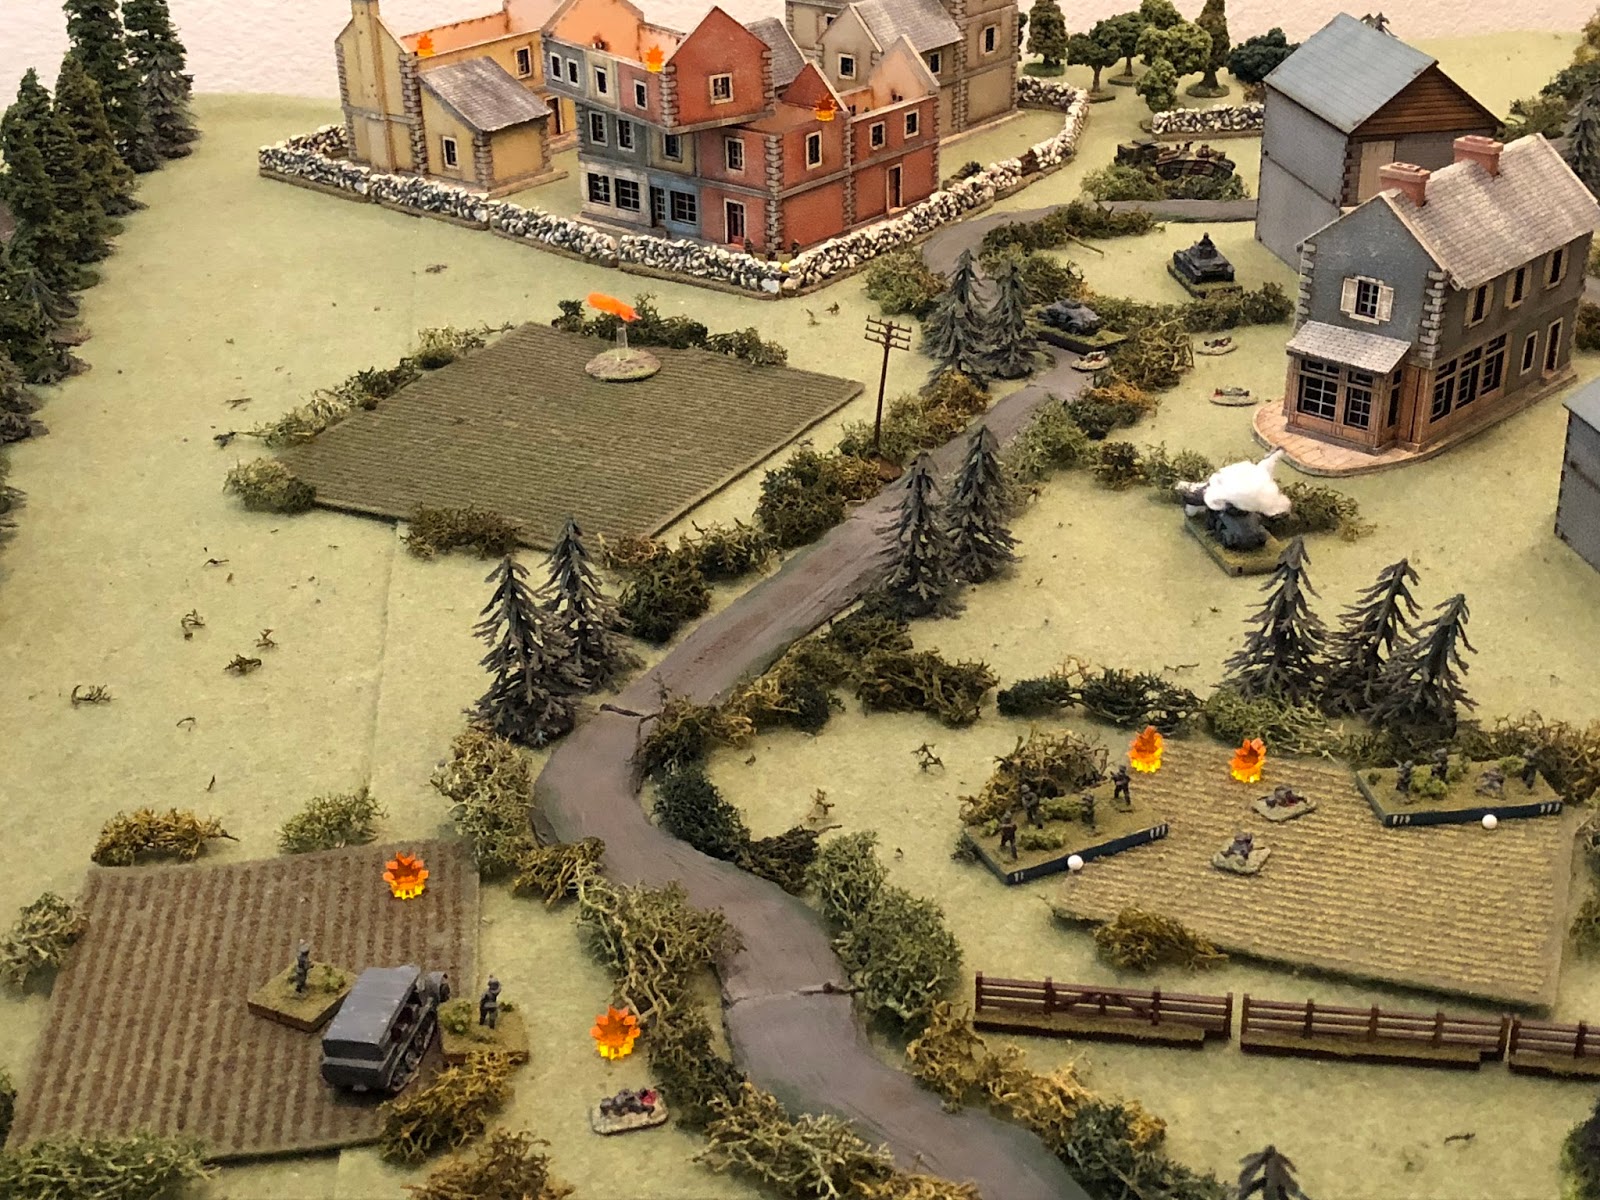
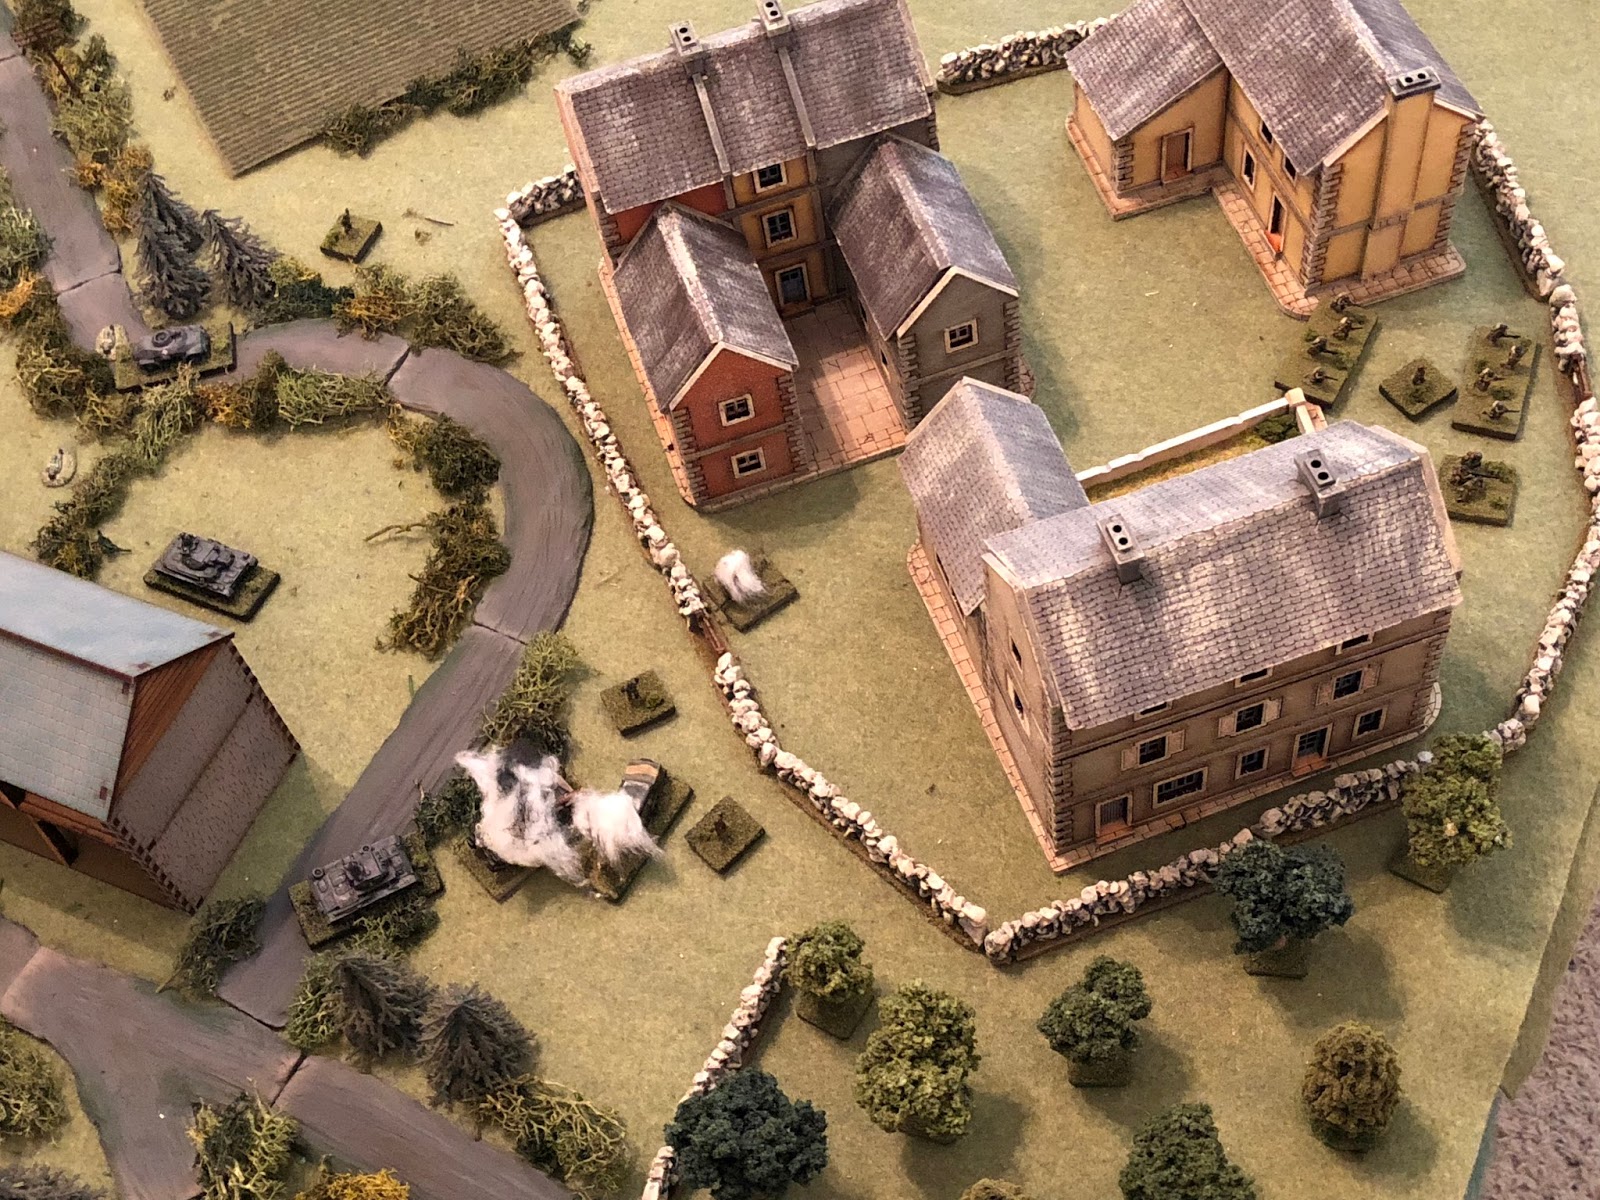
The north is covered with crop fields and bushes which provide neither cover nor concealment, and while the bushes across the entirety of the table might look a bit bocage-ey, they're just bushes. At far left is The Chateau, which has The Orchard just above it. At centre top left is The Farm (with a wood fence running around it and north *down* through the fields), and at centre/centre right is The Granary.


The figures that will be used are 10mm: a mix of Pendraken and Minifigs. Basically it breaks out to most of the infantry are Minifigs and most of the vehicles are Pendraken.
The Germans
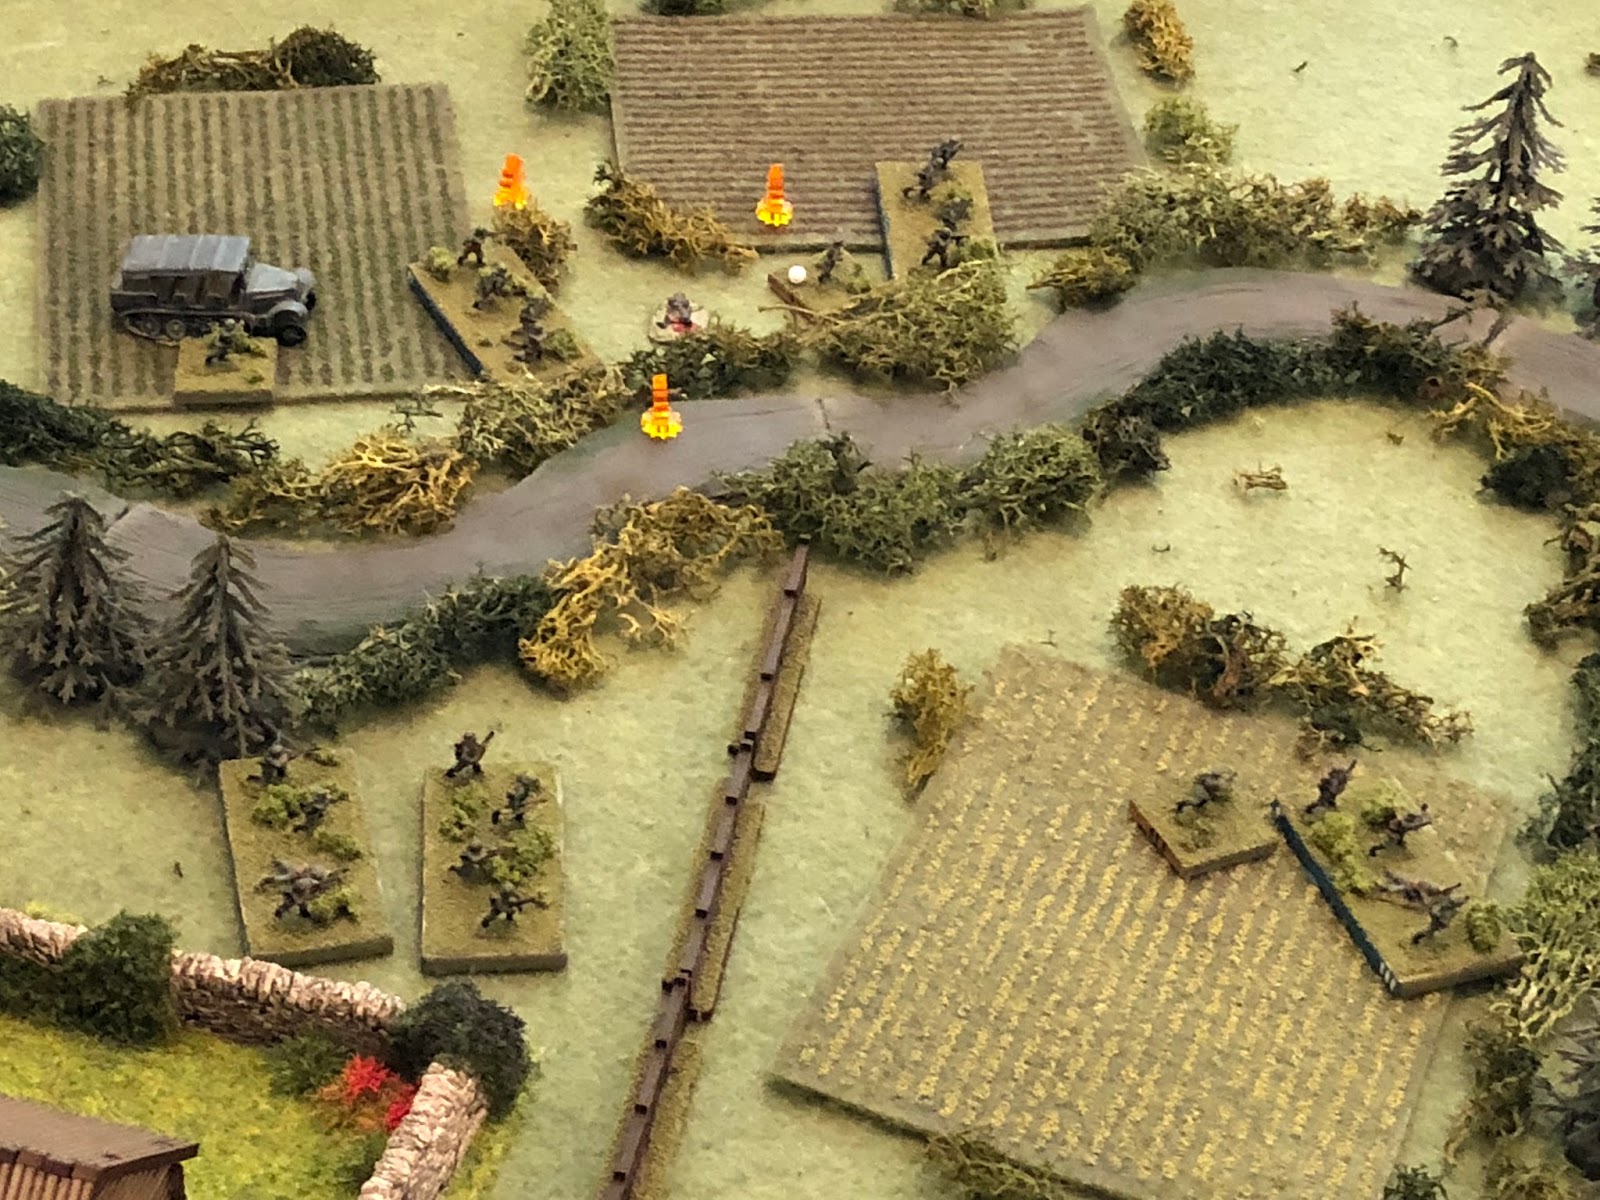
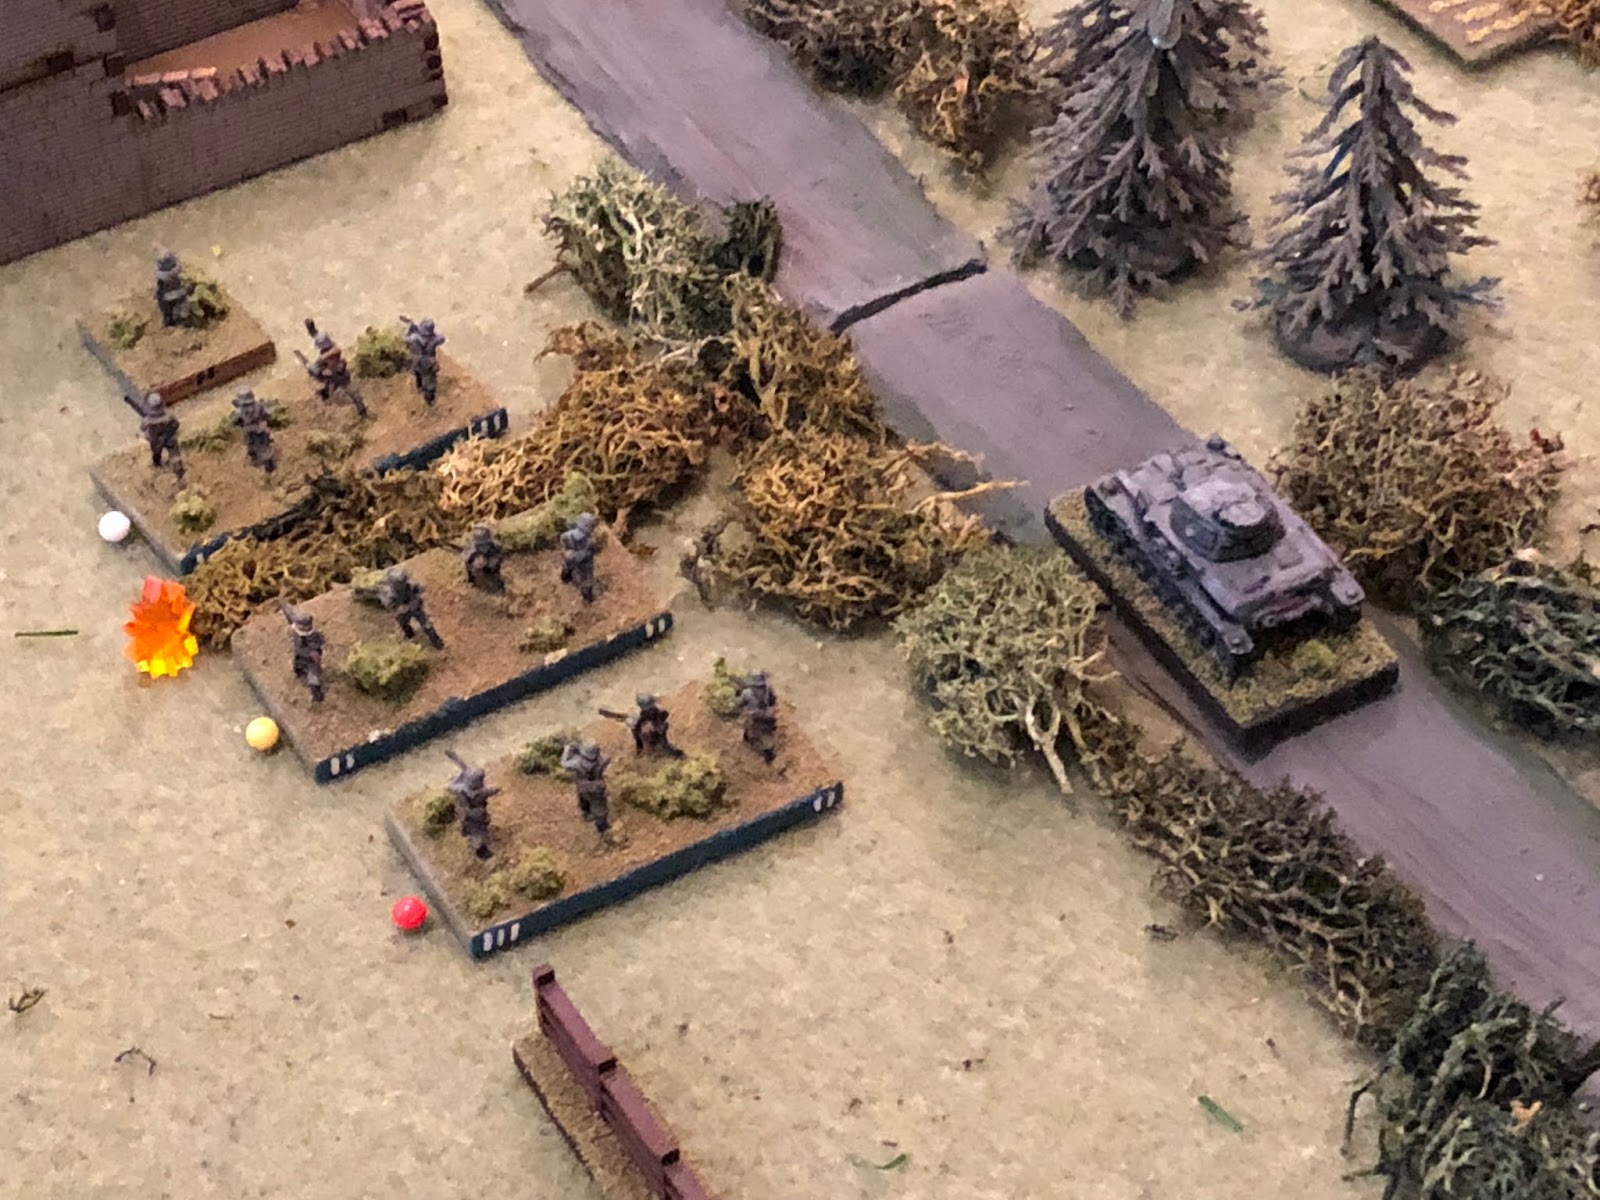
At left in the photo below is the Kampfgruppe Commander, Colonel Klink, proud owner of the Iron Cross 2nd Class for his actions in Poland. At top is the German infantry company: top centre left is the company commander, Captain Freitag (Iron Cross 2nd Class). He has three of his four platoons available.
I thought about adding all of the Iron Cross holders as "Big Men," but I didn't. I only did the KG Commander, the Company Commander, and each Platoon Commander, which is how I treated the French as well.
The Infantry
1st Platoon Commander: 1st Lieutenant Klugmann, Iron Cross 1st and 2nd Class
- 1st Squad, 1st Platoon: SSgt Aust
- 2nd Squad, 1st Platoon: Sgt Kamphaus
- 3rd Squad, 1st Platoon: Sgt Lehmkuhl
3rd Platoon Commander: SSgt Janke, Iron Cross 2nd Class
- 1st Squad, 3rd Platoon: Sgt Hauer, Iron Cross 2nd Class*
- 2nd Squad, 3rd Platoon: Sgt Nader
- 3rd Squad, 3rd Platoon: Cpl Arndt, Wound Badge
4th Platoon Commander: SSgt Mader, Iron Cross 2nd Class, Tank Killer Badge
- 1st Squad, 4th Platoon: Sgt Imhofe, Iron Cross 2nd Class*
- 2nd Squad, 4th Platoon: Sgt Kandler
- 3rd Squad, 4th Platoon: Cpl Rishel, Replacement Squad Leader
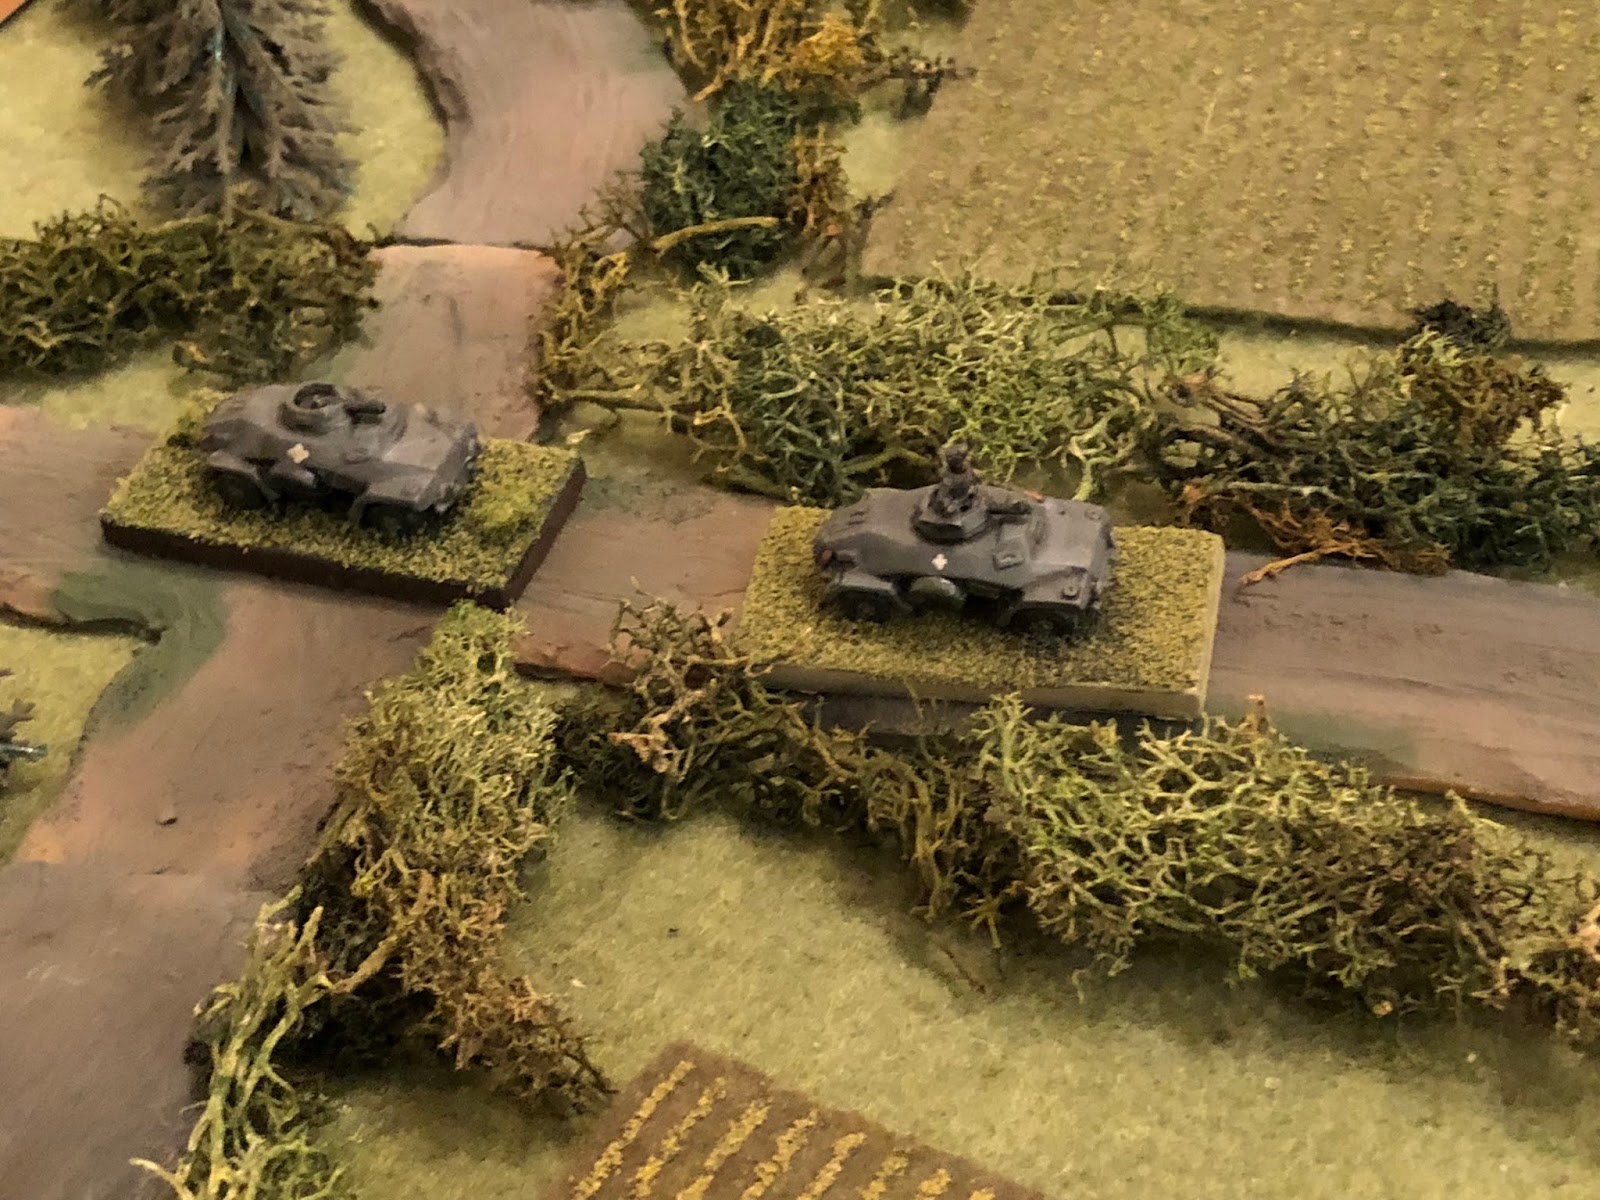
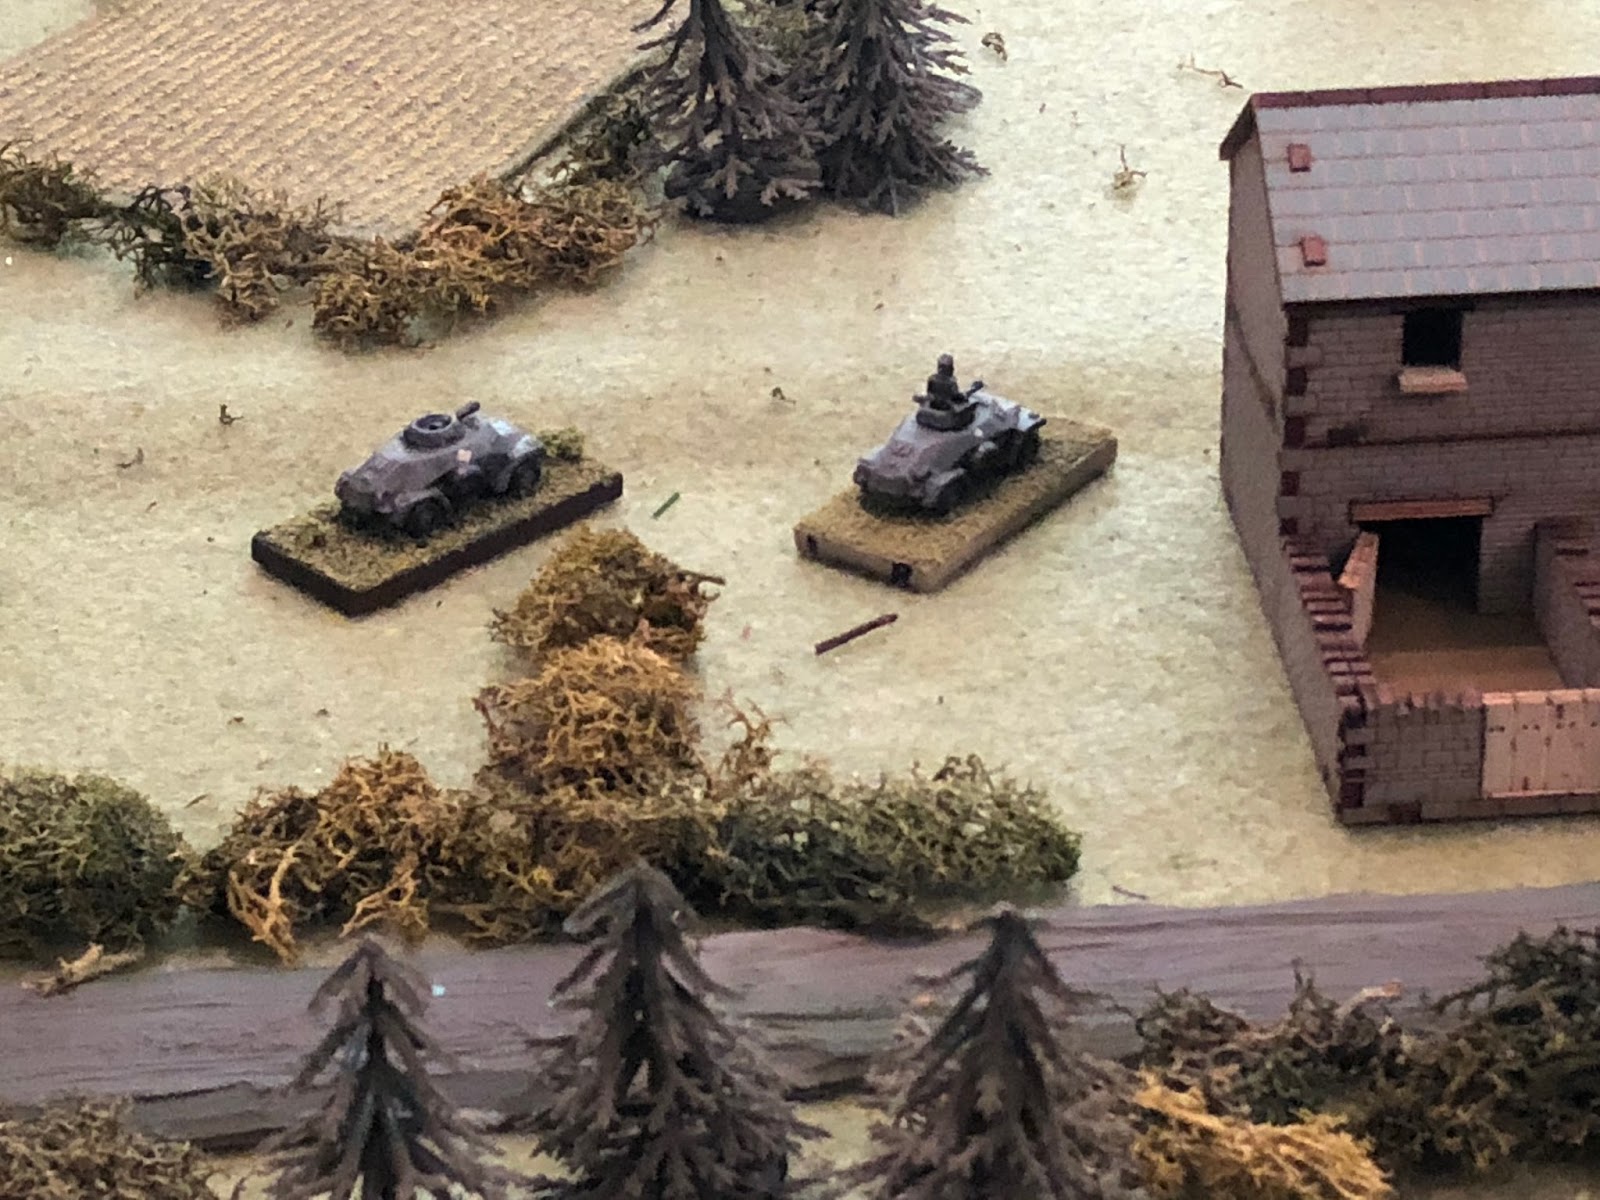
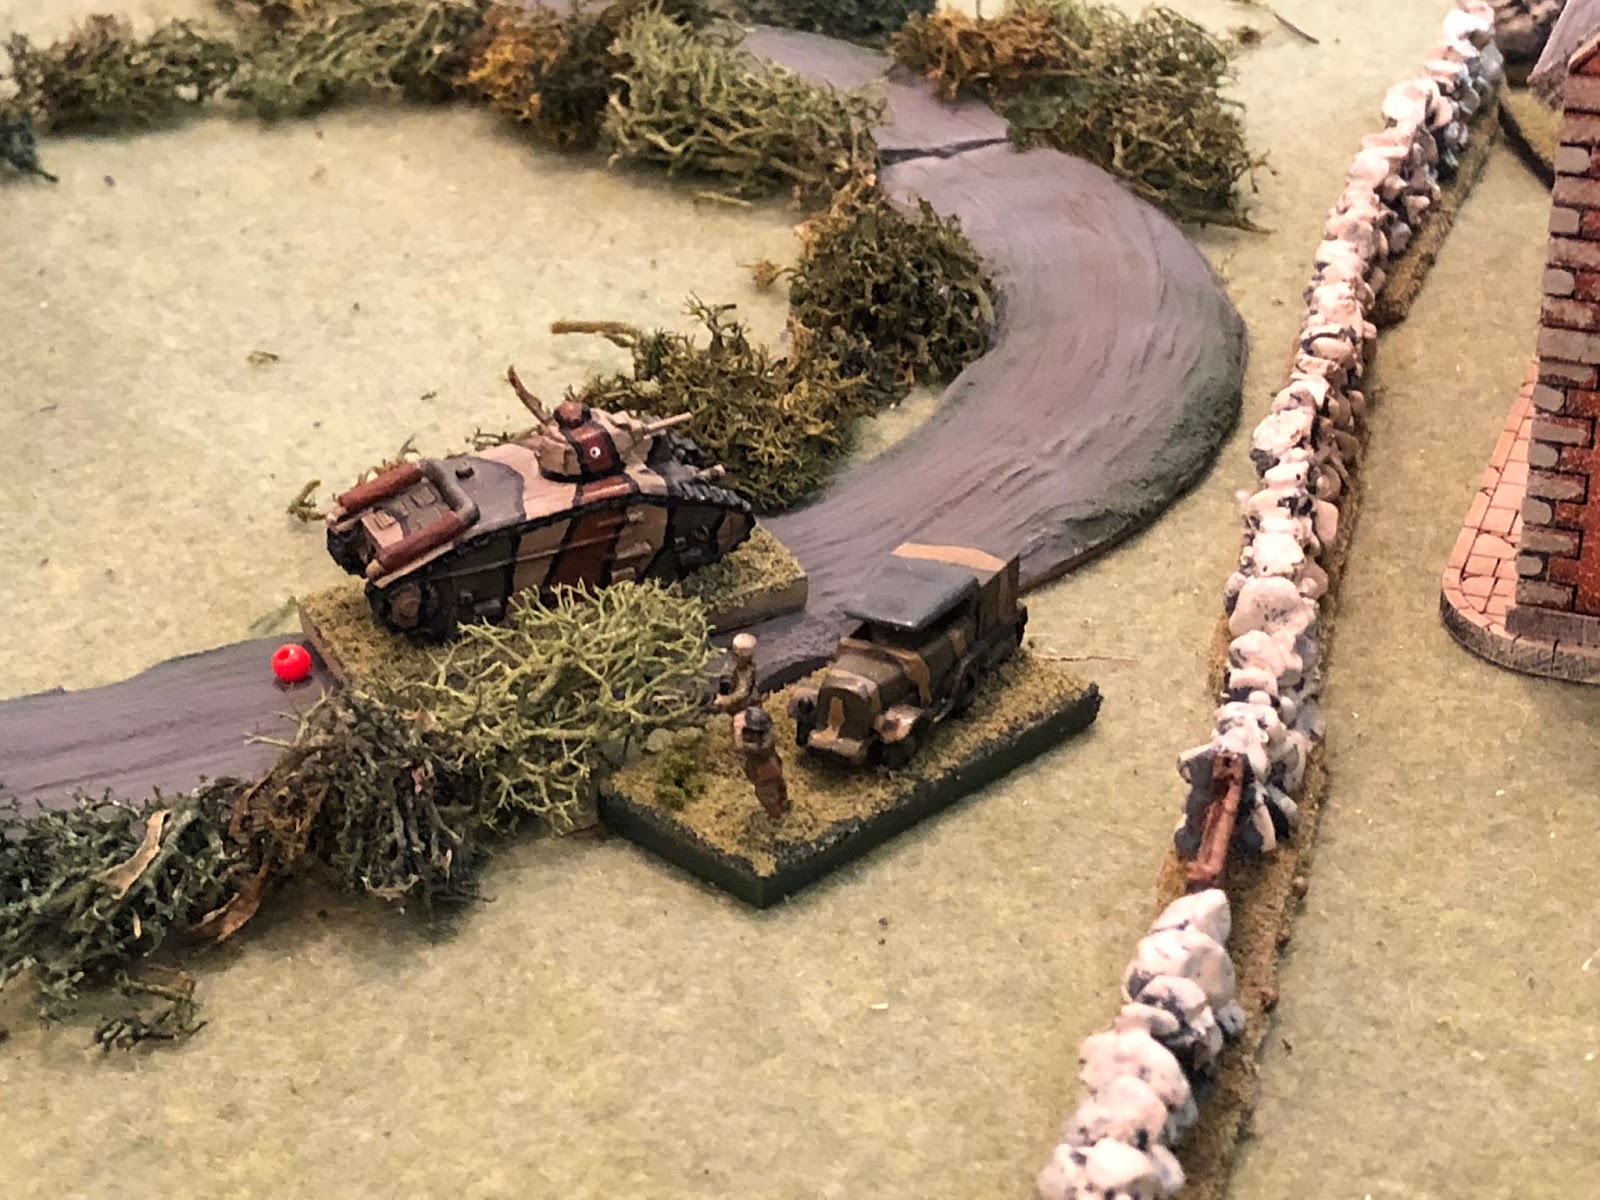
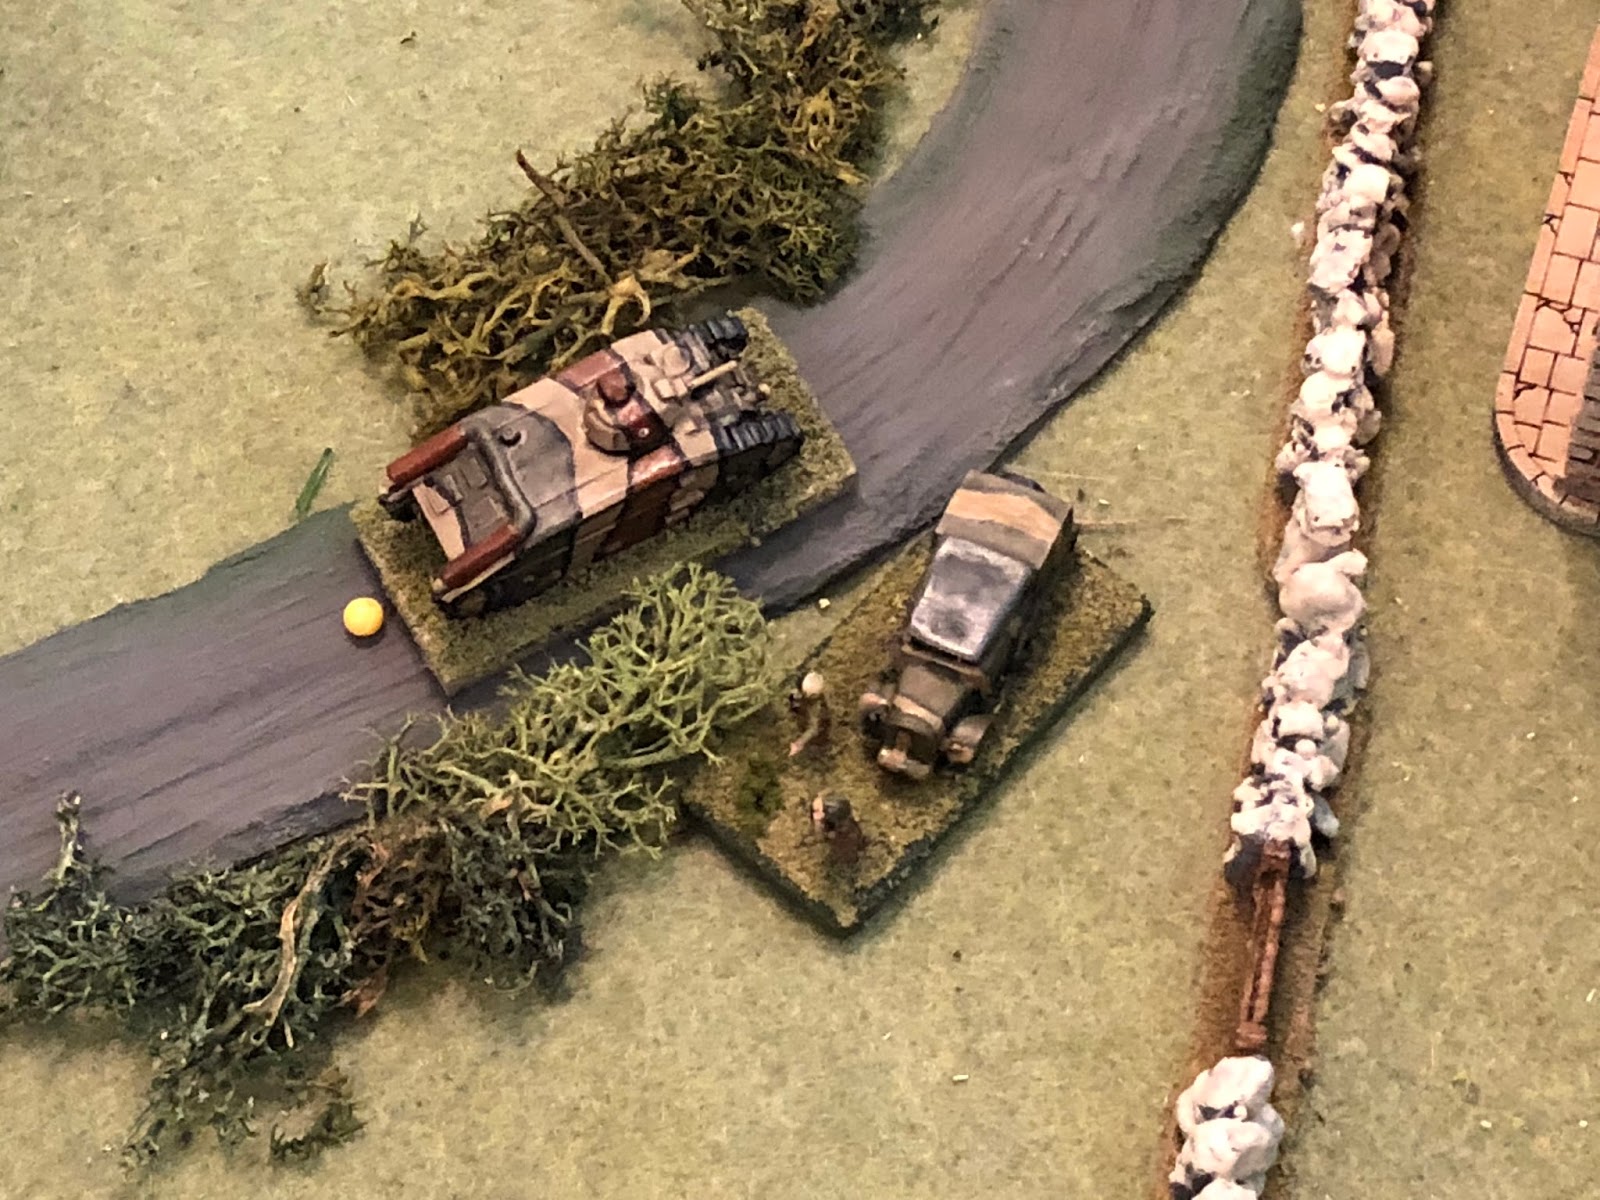
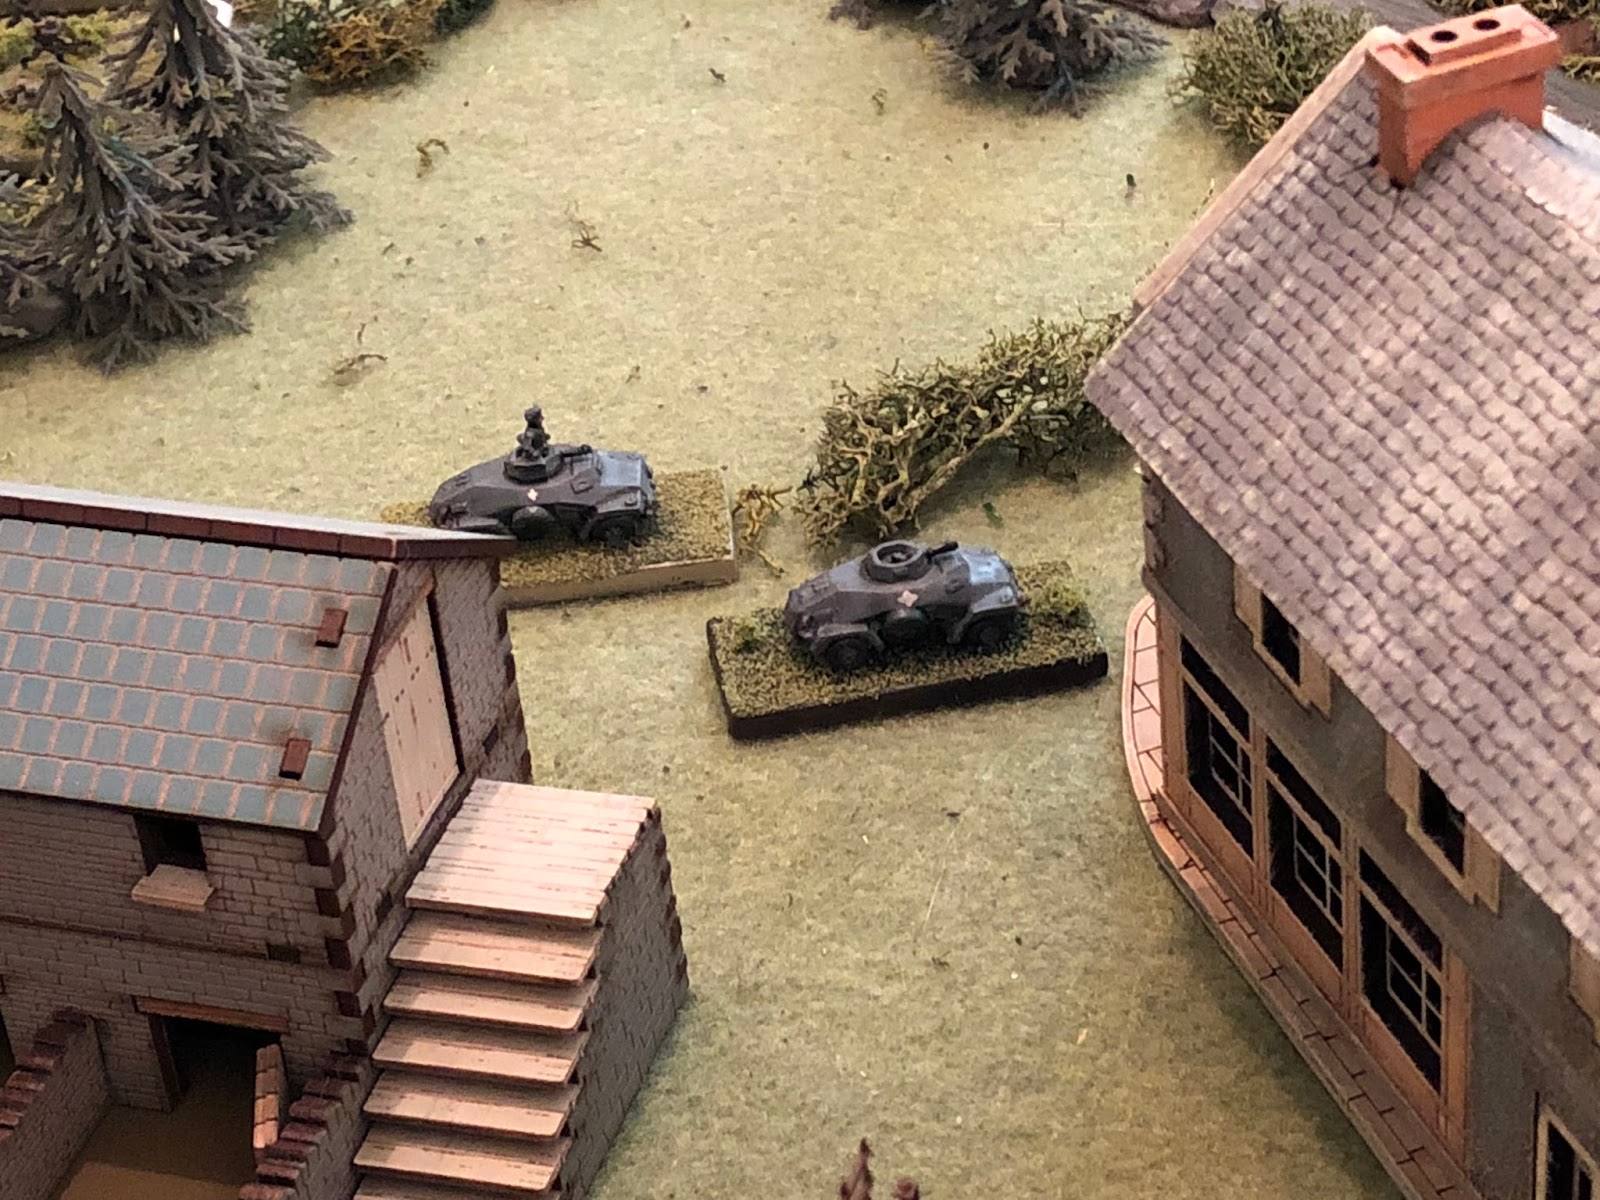
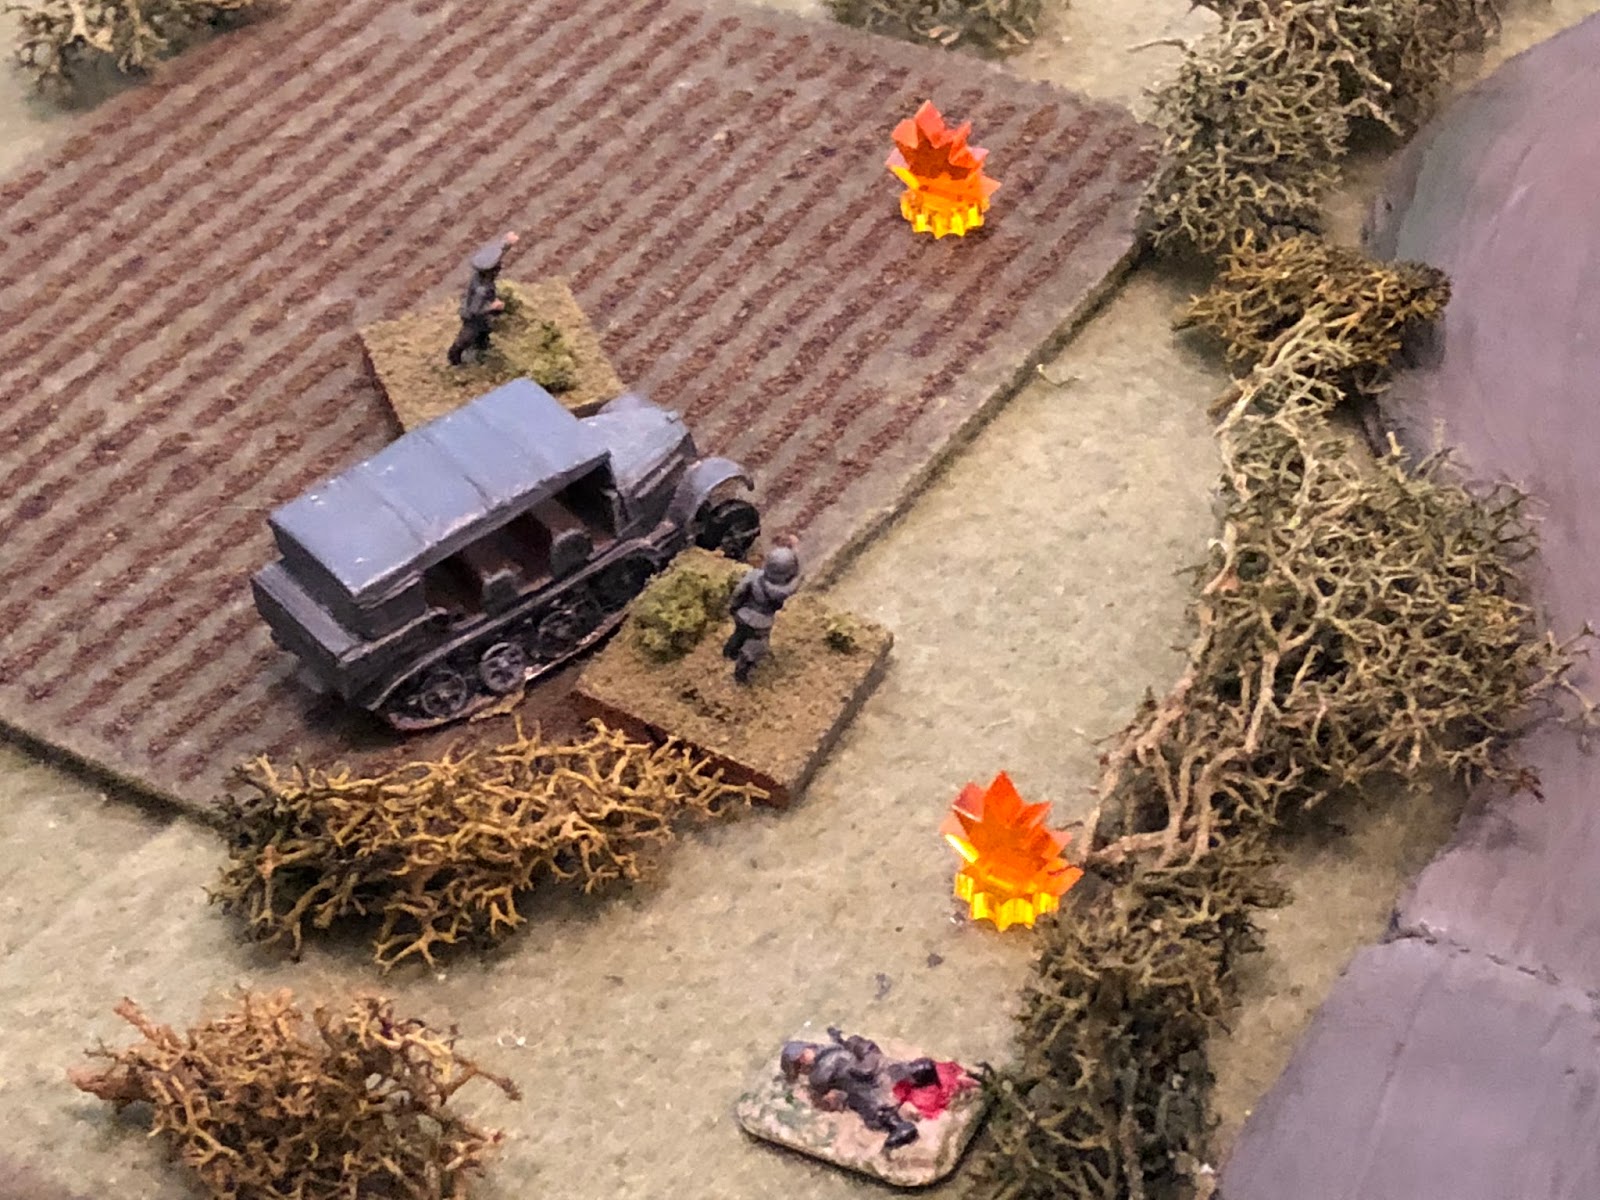
Two vehicles of the Reconnaissance Platoon:
- SdKfz 221: Platoon Commander, 2nd Lieutenant Weidner, 1 Tank Kill
- SdKfz 221: Cpl Edst, replacement vehicle commander
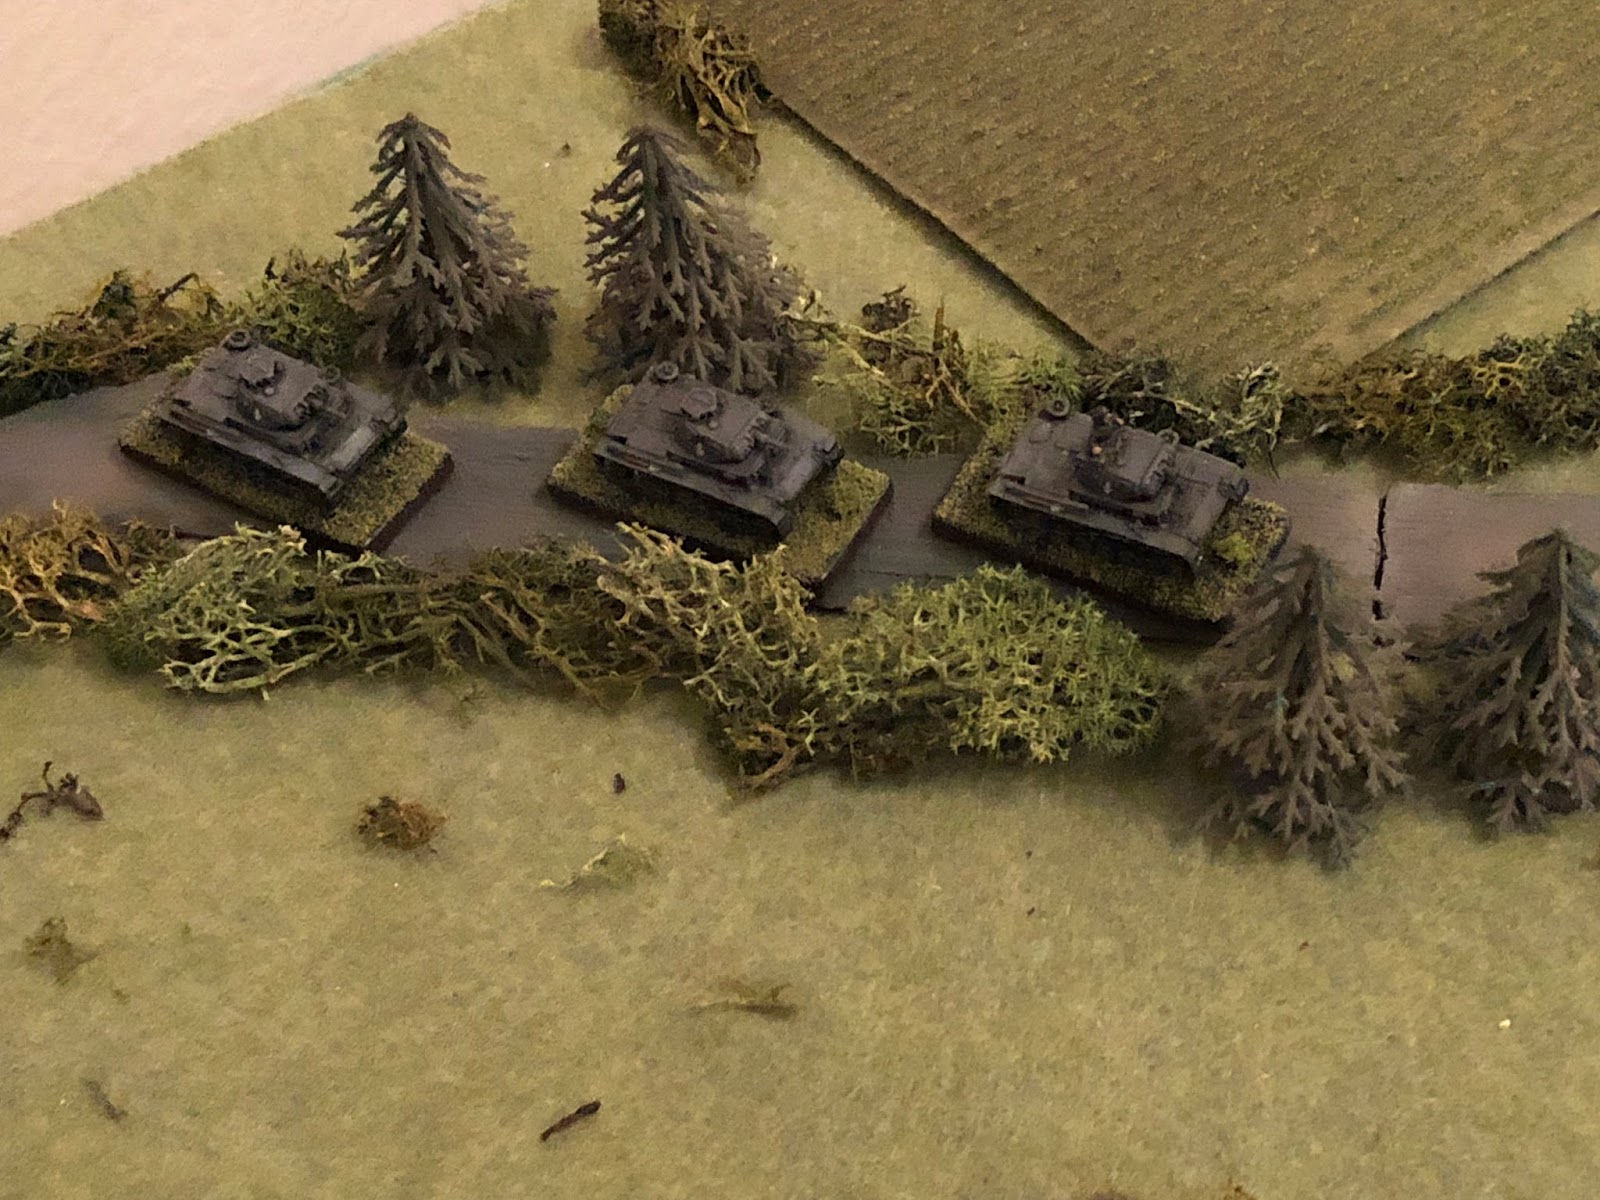
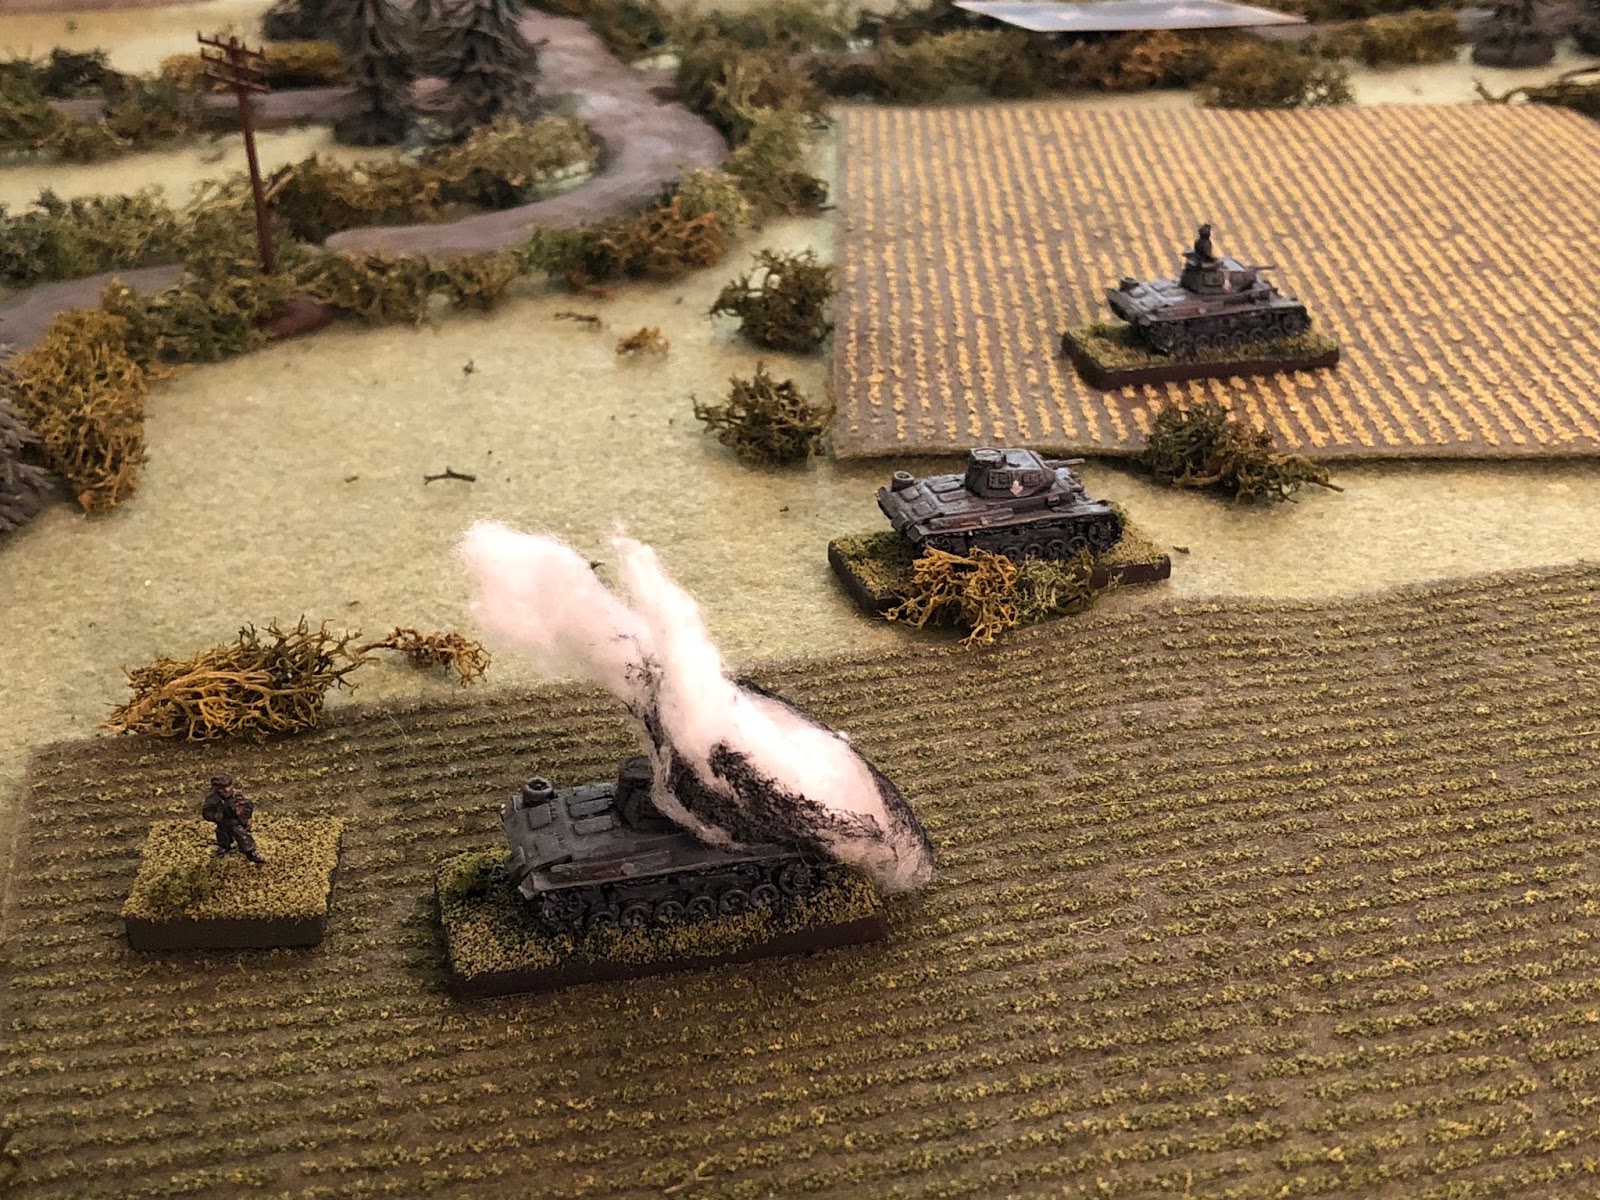
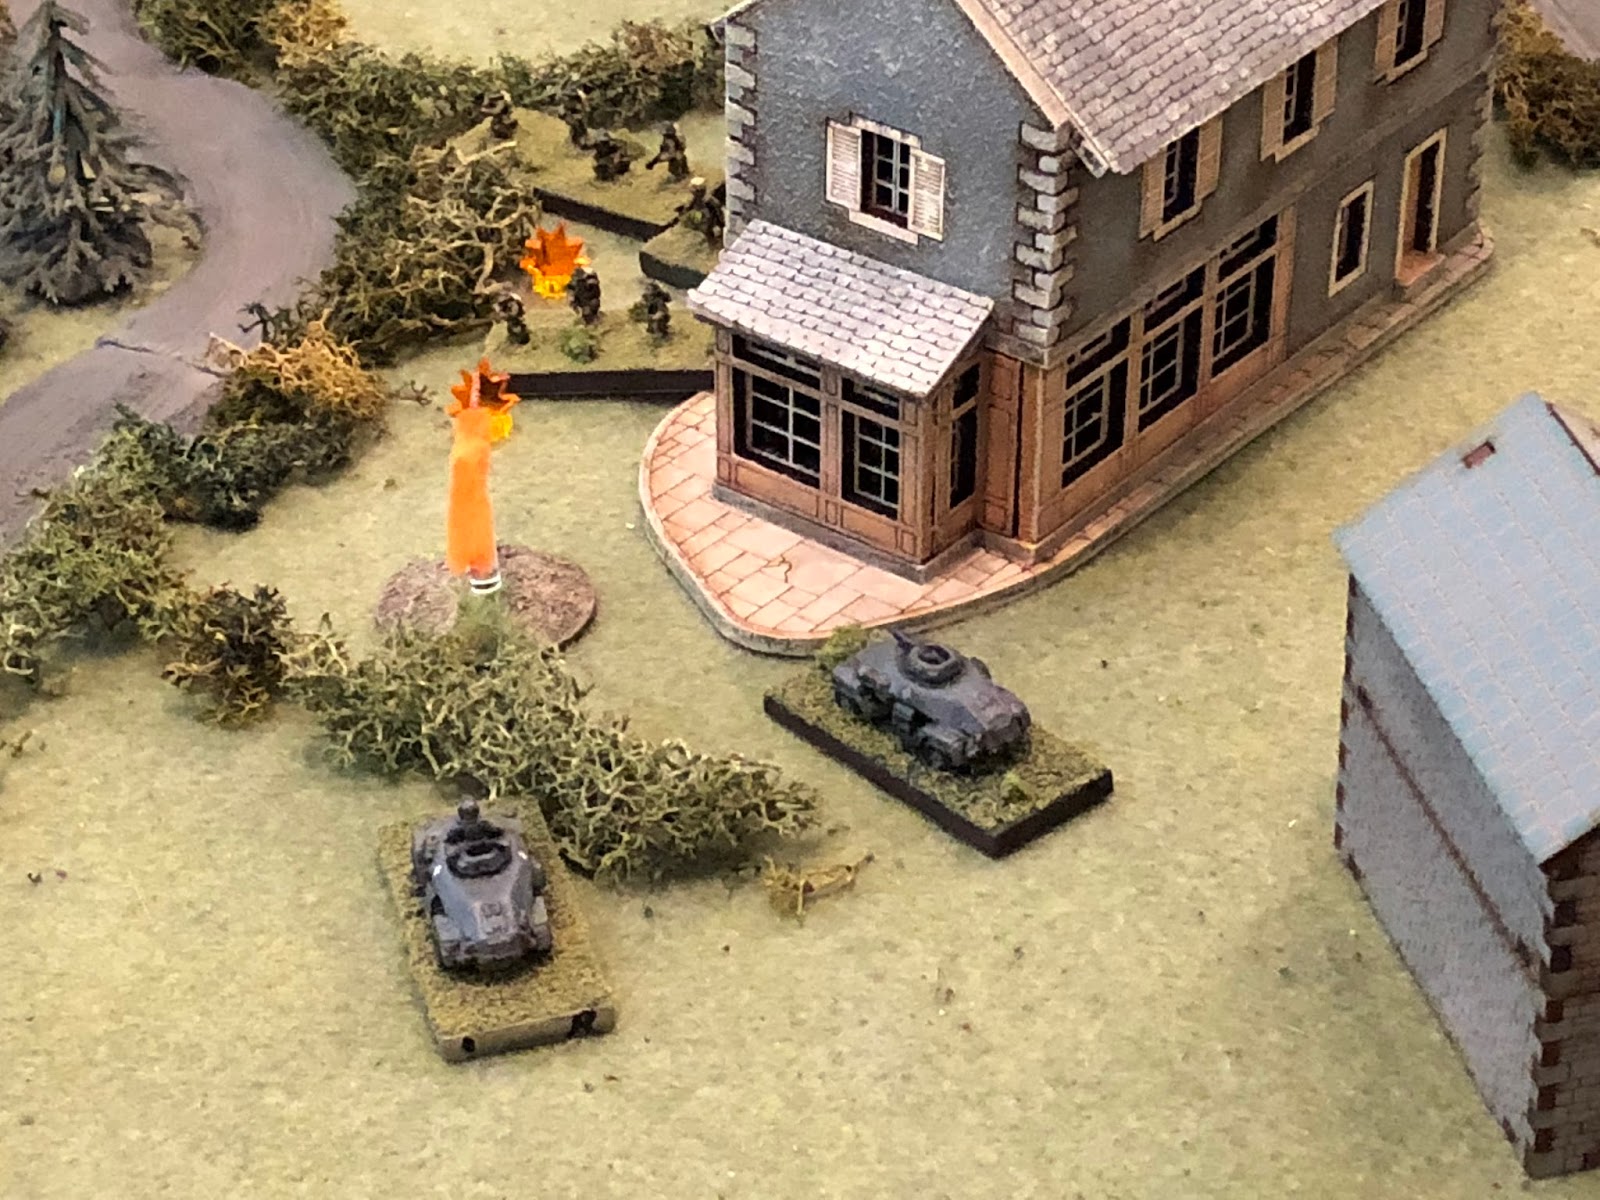
Three vehicles from 2nd Tank Platoon:
- Pz III: Platoon Commander: 1st Lieutenant Loeb, Iron Cross 2nd Class, 2 Wound Badges, 4 Tank Kills
- Pz III: SSgt Grossman
- Pz III: Sgt Mayer, 1 Tank Kill
Two vehicles from 4th Tank Platoon:
- Pz IV: Platoon Commander: SSgt Mangold, 2 Tank Kills
- Pz IV: Cpl Ed st, Replacement vehicle commander
Mortars
- A mortar section under Sgt Osswald, who has been incredibly unreliable in the past. Sgt Osswald is the forward observer on a motorcycle
- Two 80mm mortars and crews
The French
The French are commanded by Major Renaut (left) and have:
- Two rifle platoons of three squads each (Lieutenants Renoir and Gagne, respectively)
- A weapons section of a single machine gun and a 25mm anti-tank gun (I gave them bonus MG fire and a bonus ATG fire)
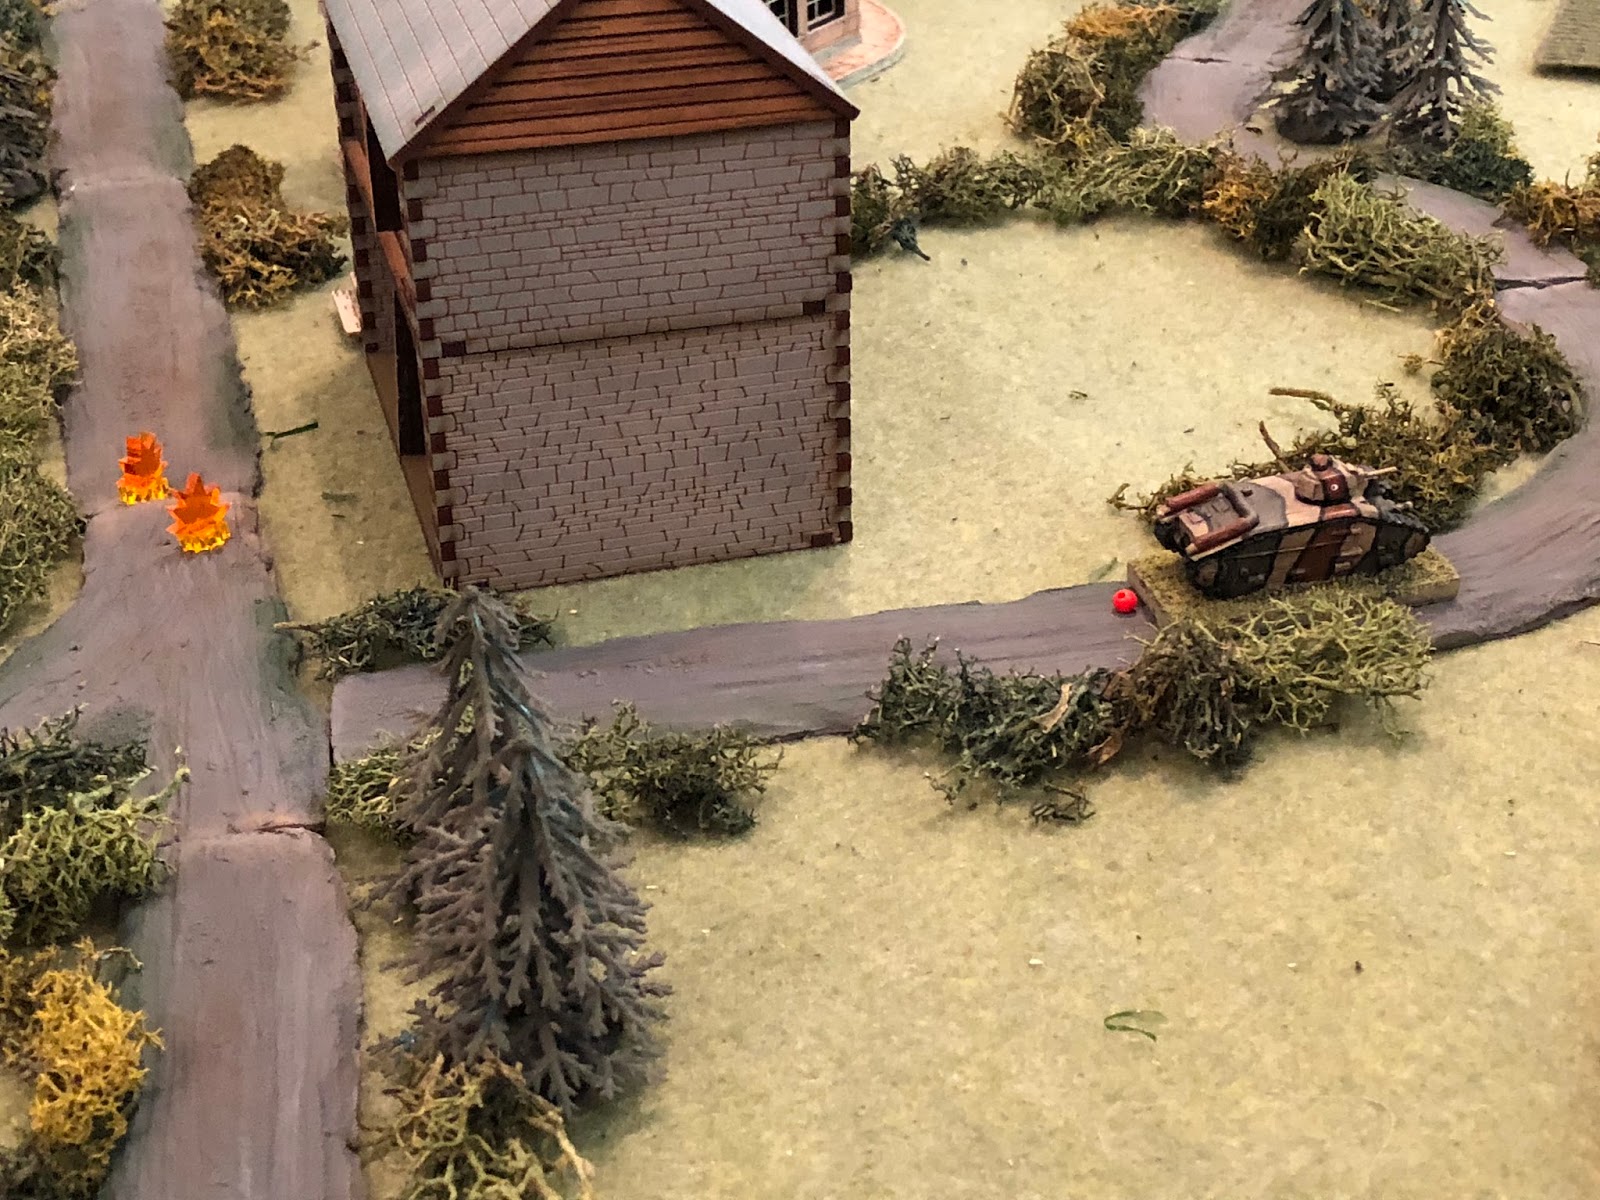
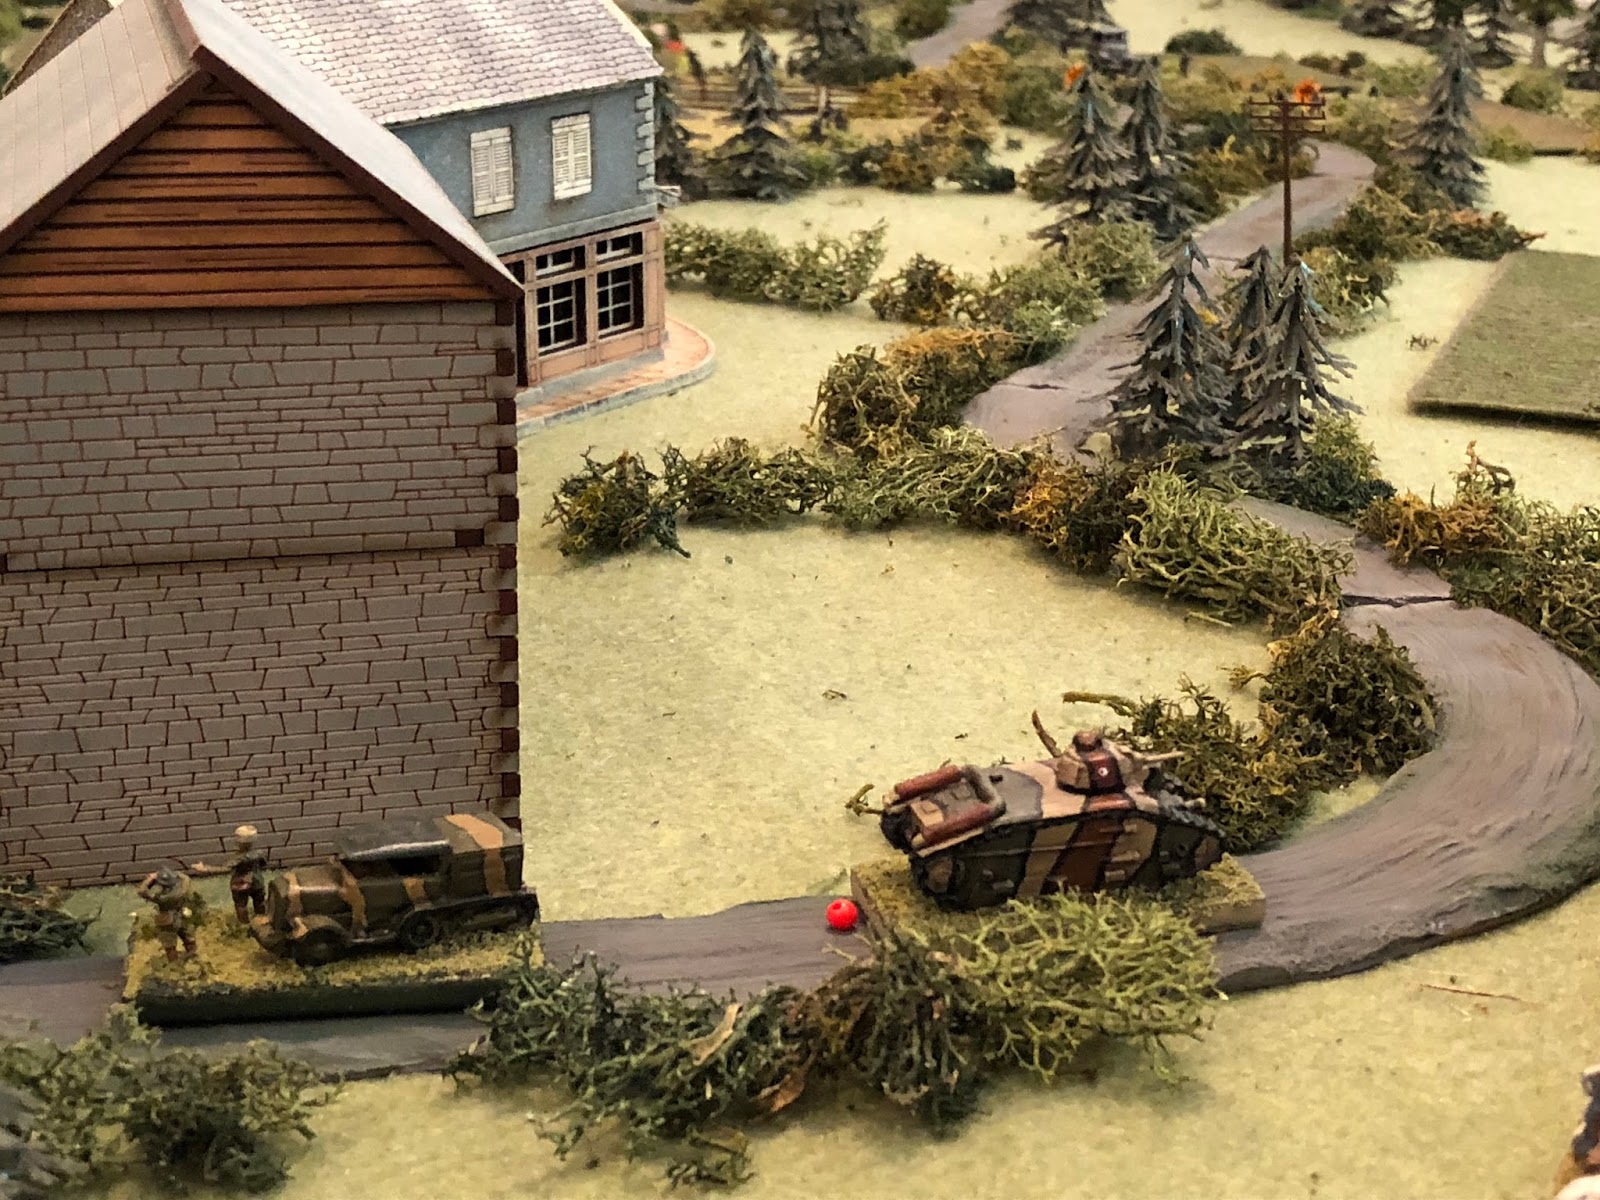
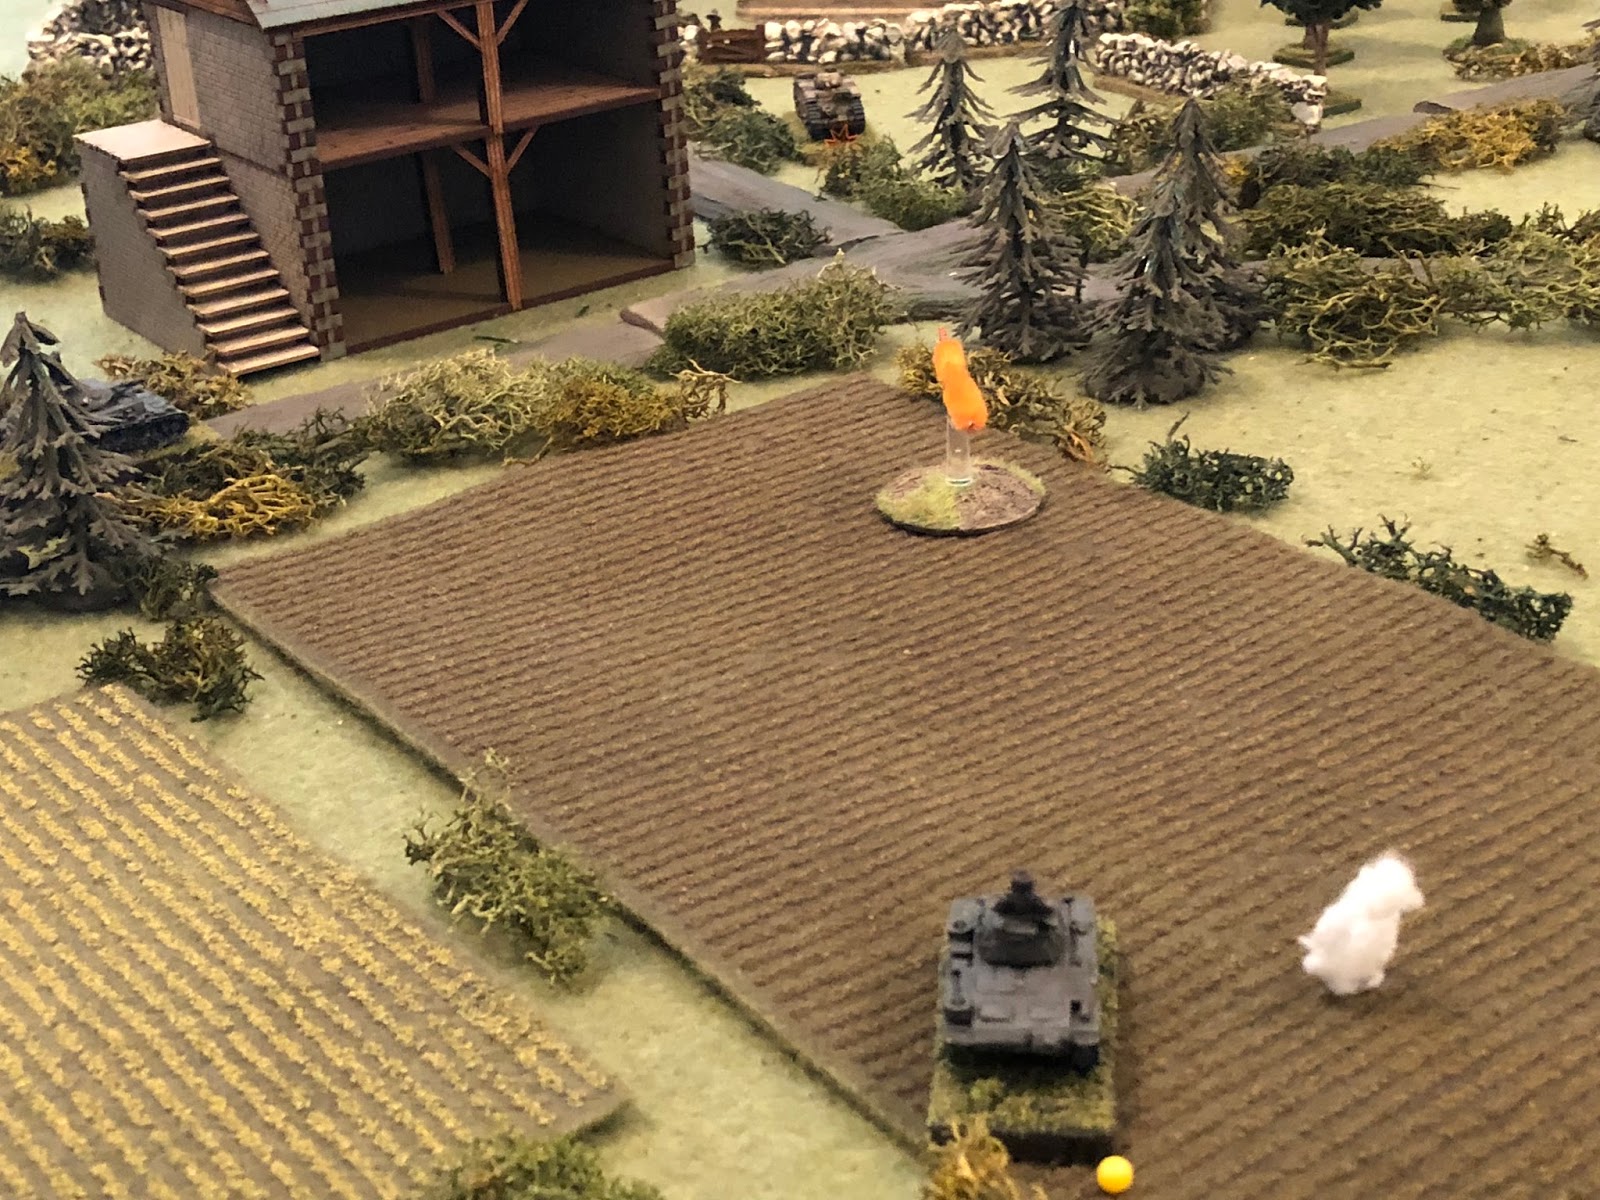
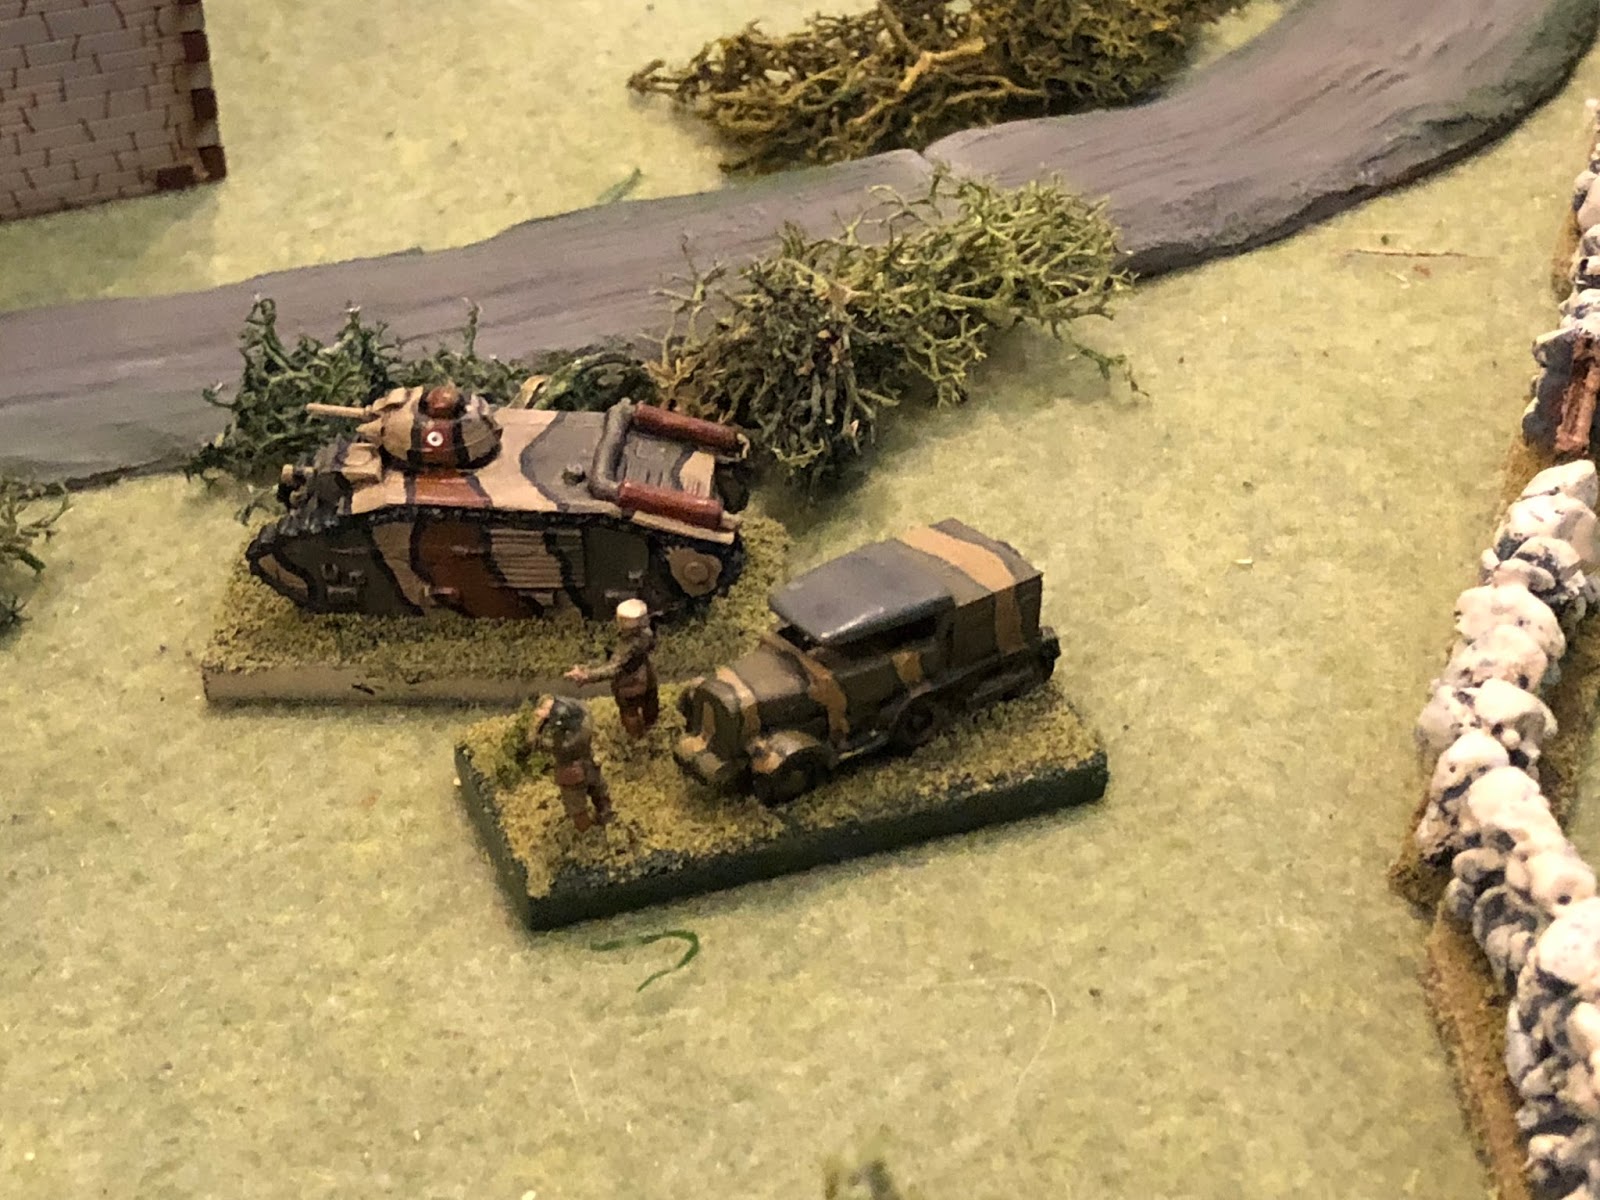
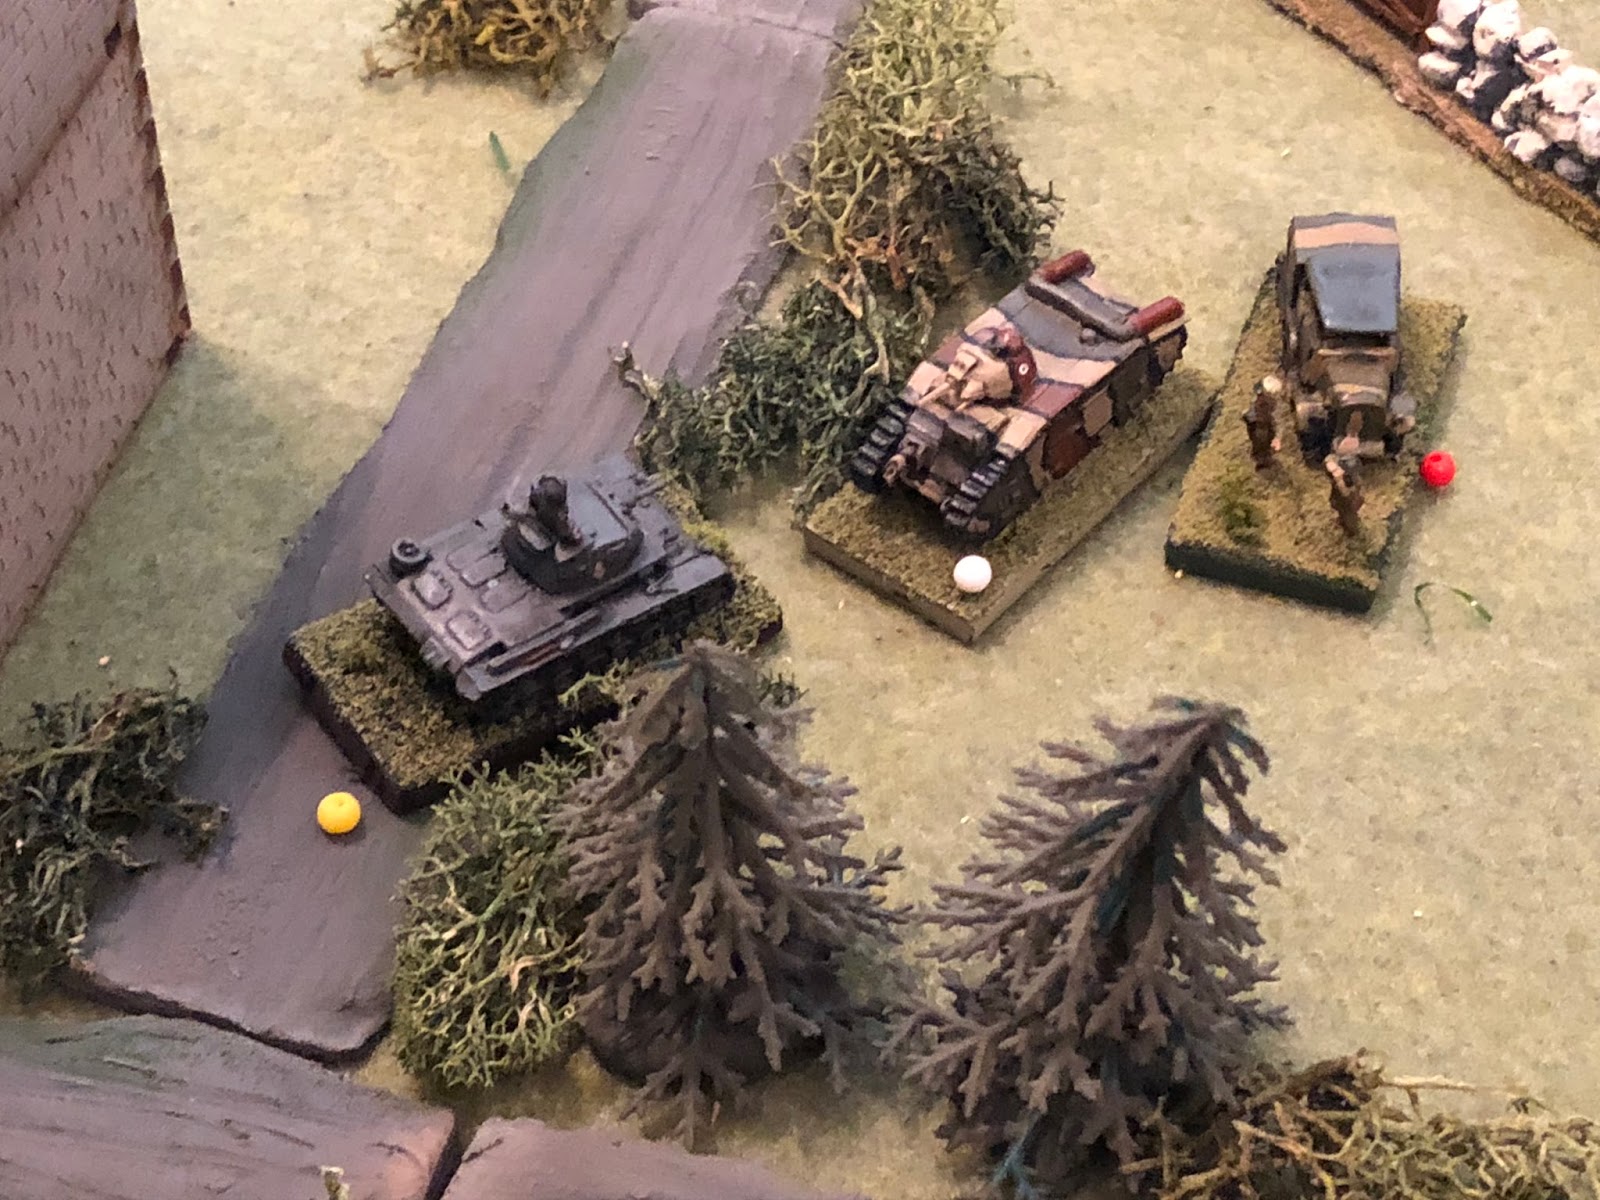
- A single Char B commanded by Sgt Guillaume.
Opening Moves
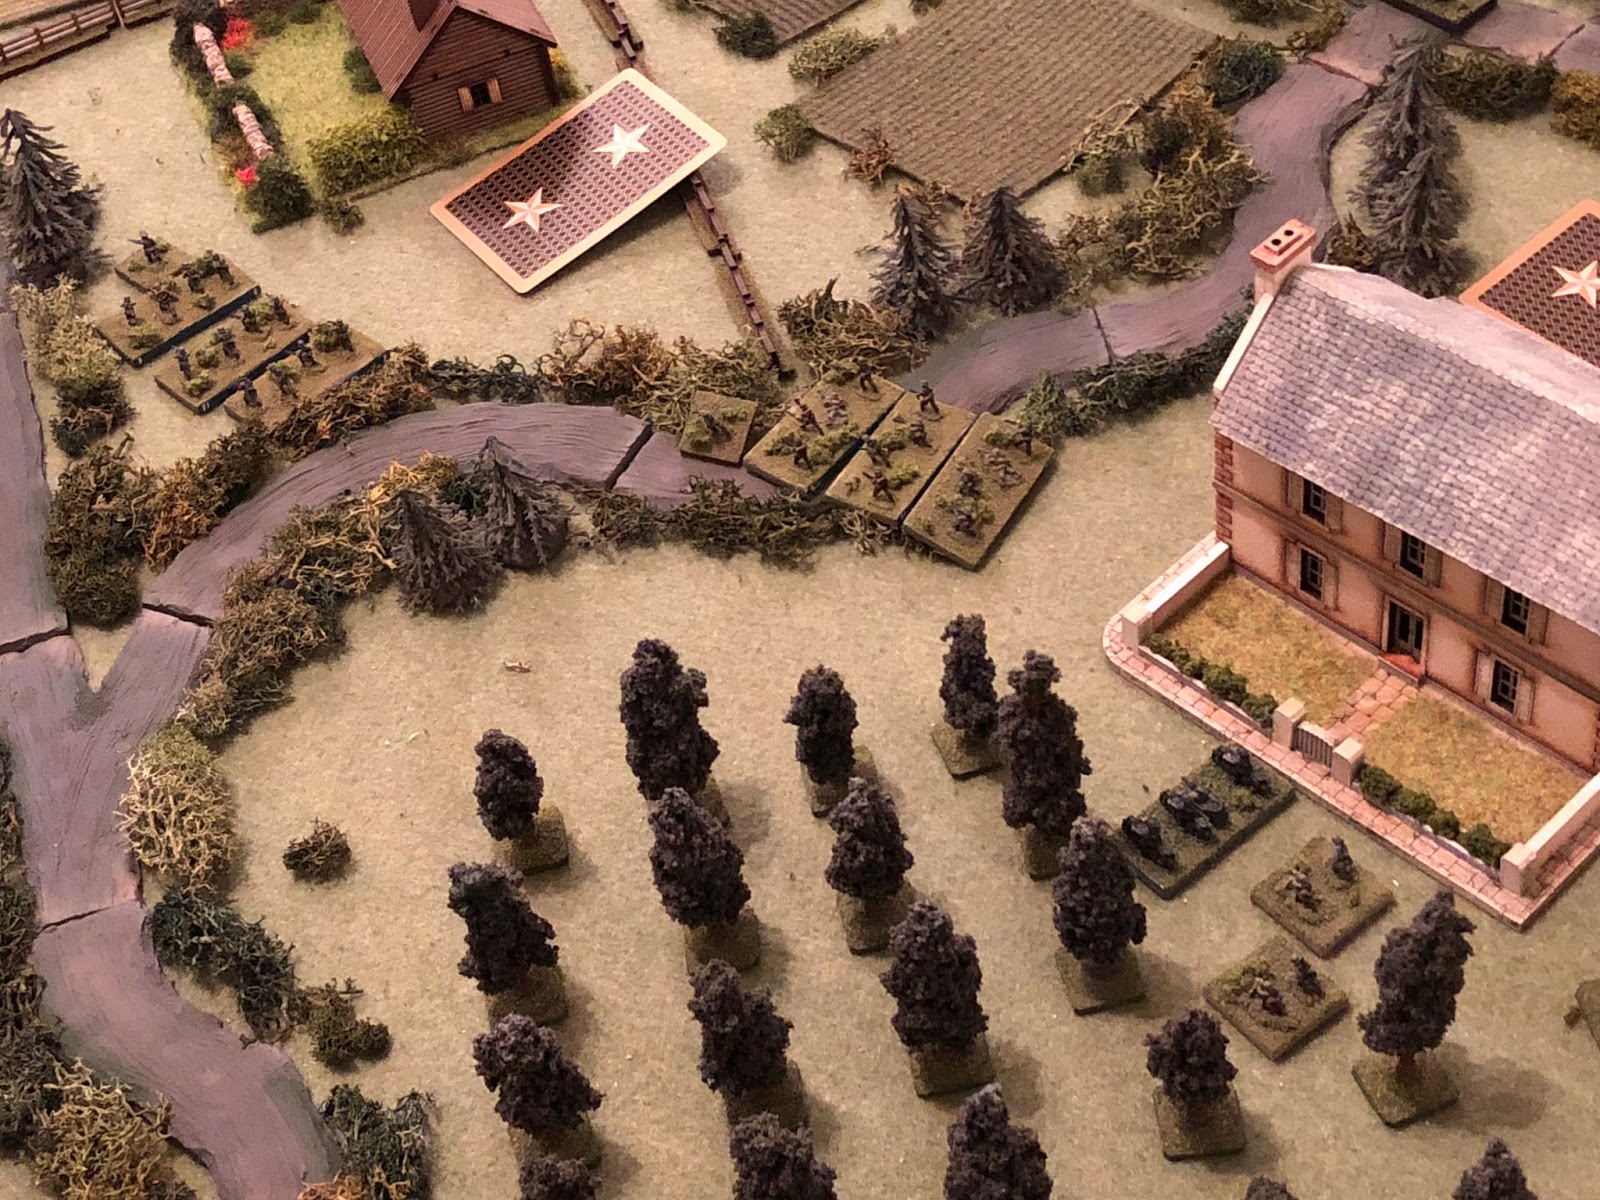
Overview, looking north to south, Germans on the left (east) and French on the right (west), everyone on Blinds.
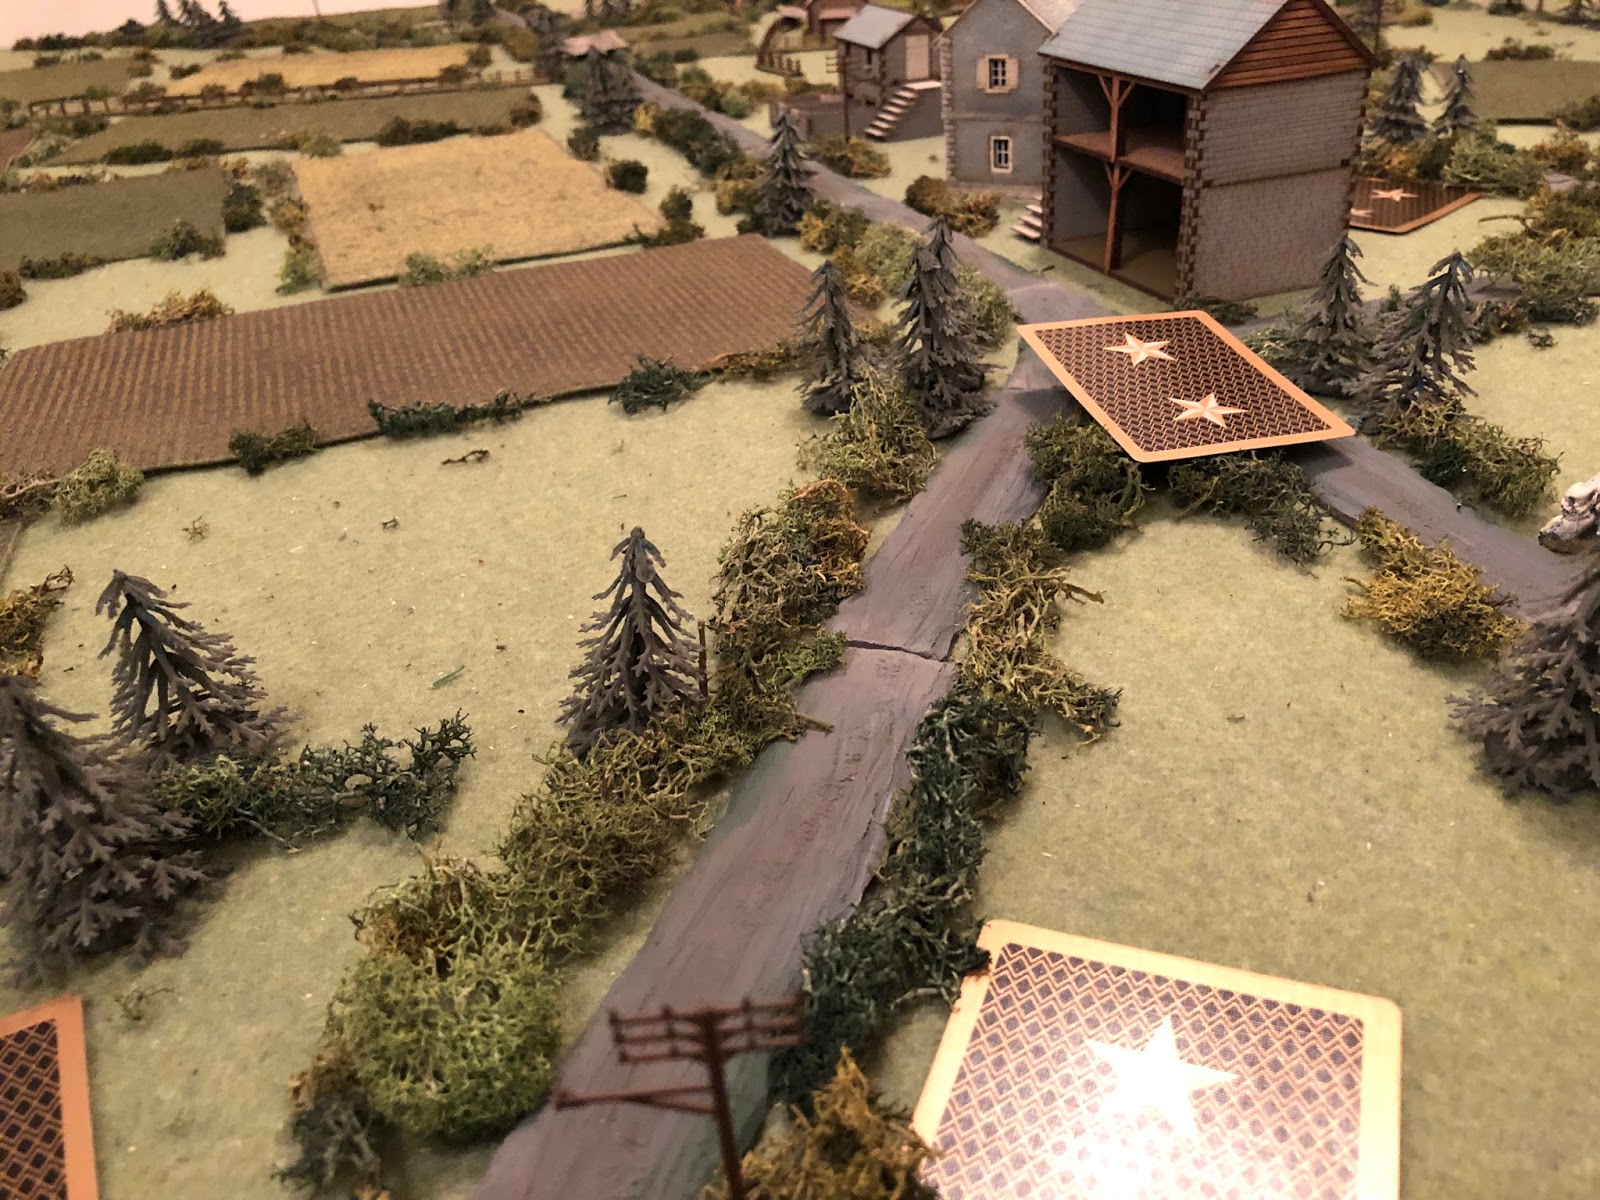
The French have a Blind for each rifle platoon, weapons platoon, the Char B, and four dummy Blinds.
The Germans have a Blind for all three rifle platoons, both tank platoons, the recon platoon, and the weapons platoon (mortars), plus three dummy Blinds.
Looking east to west from behind the Germans. I'm playing the Germans.
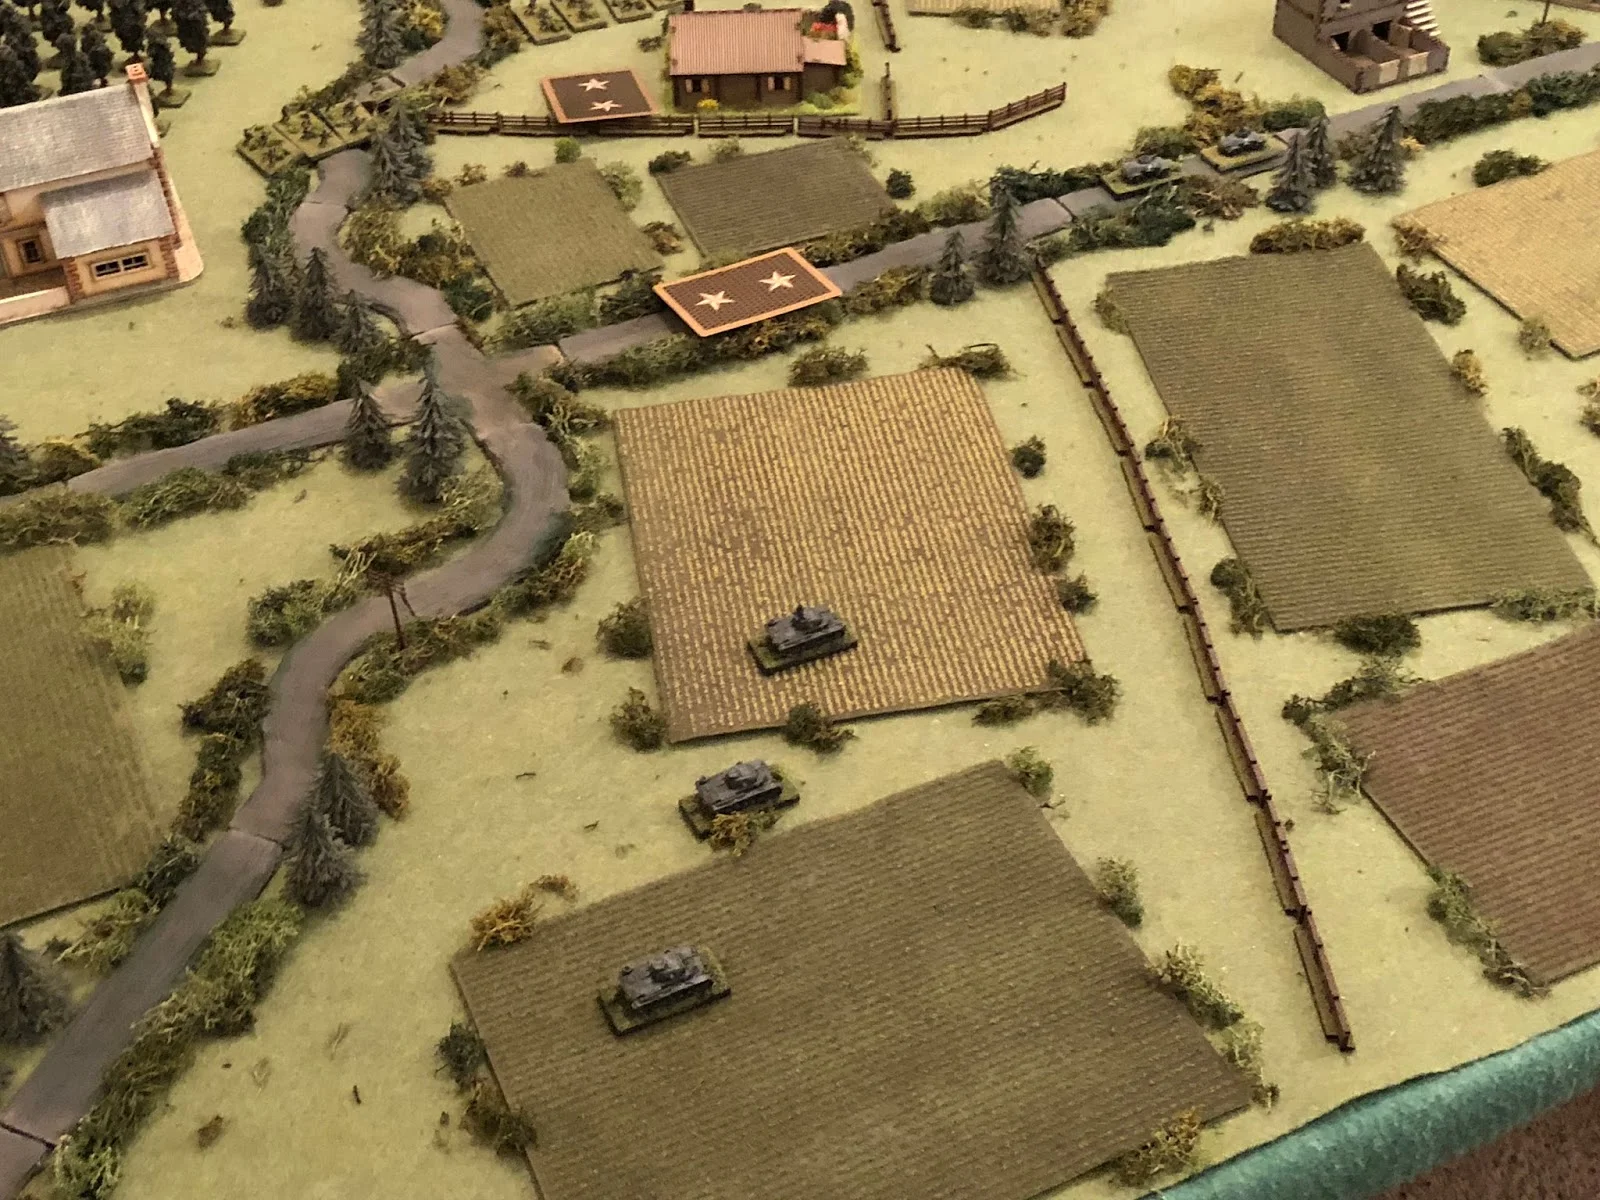
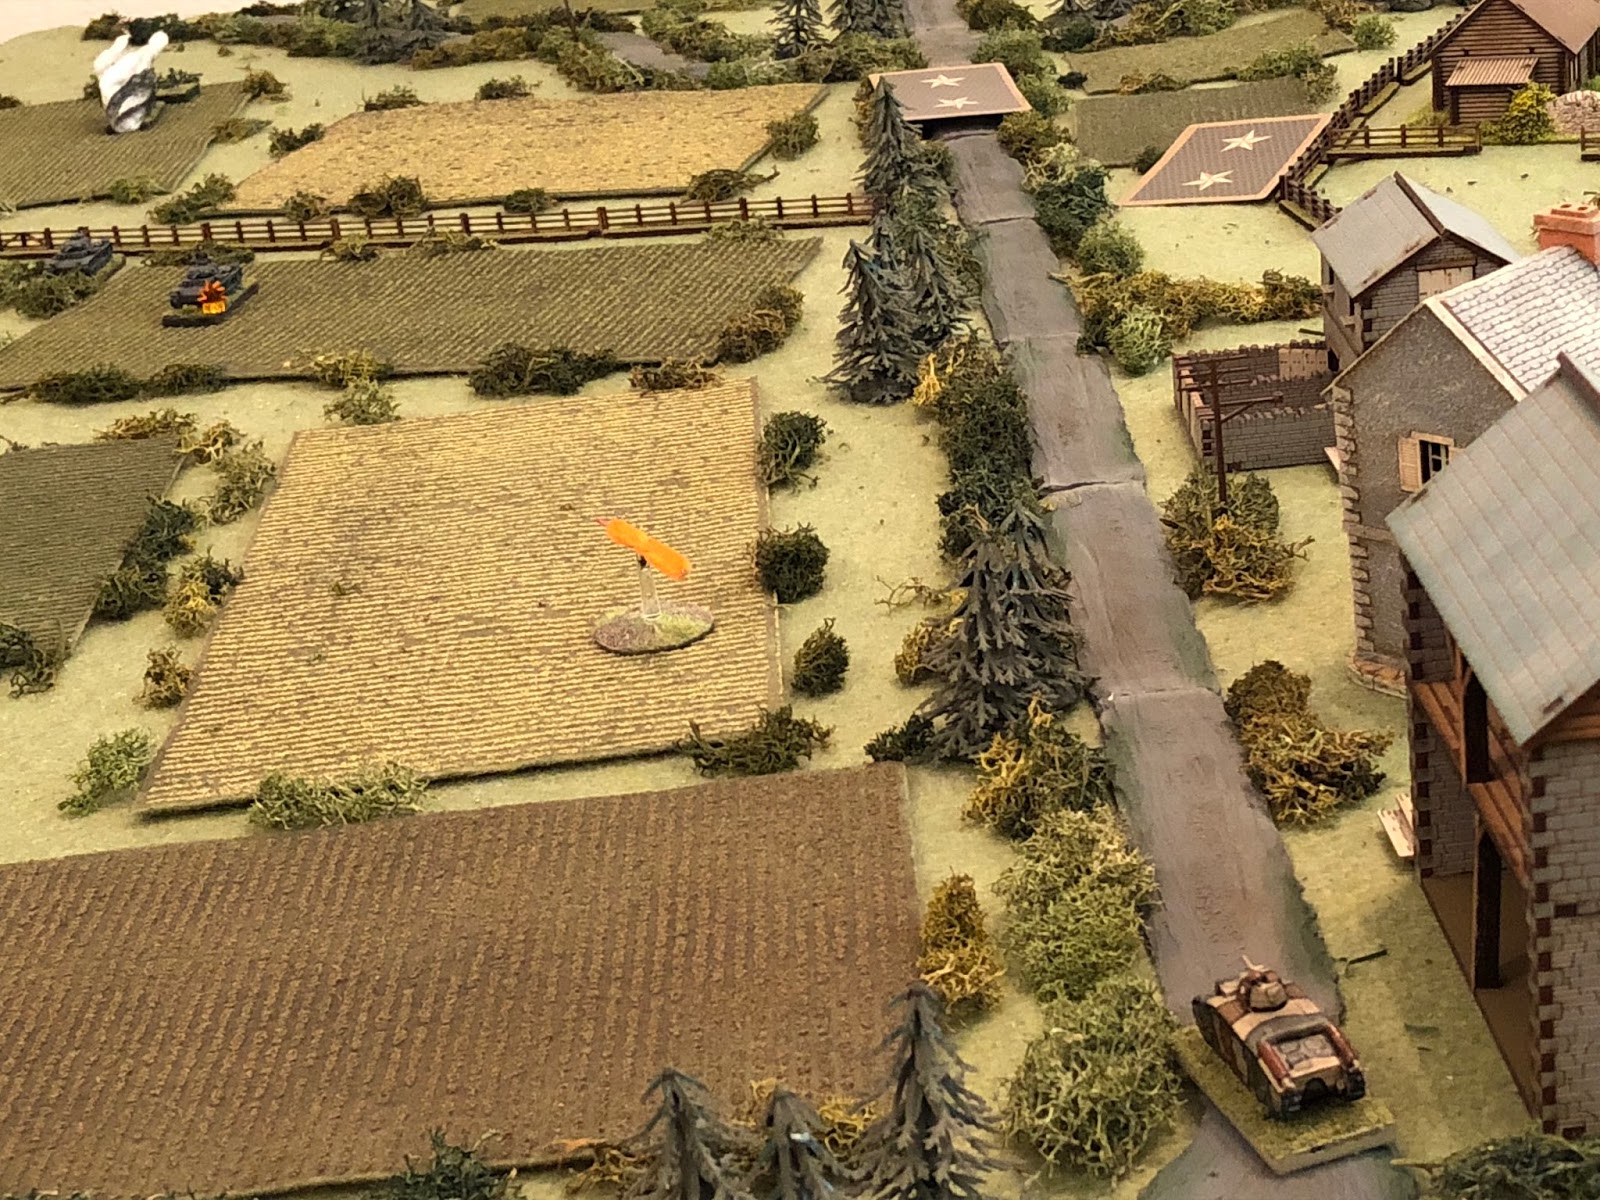
I've got my infantry on the left, intend on getting my mortars set up around the chateau (bottom left), got Recon and Panzer IVs on the road, Pz IIIs at bottom right.
Looking west to east from behind the French: the boy is playing the French, so I had no idea at the time, but it turns out he put the tank at bottom left with two dummy Blinds, two dummy Blinds in the centre, and then the two rifle platoons and the MG/ATG at bottom right.
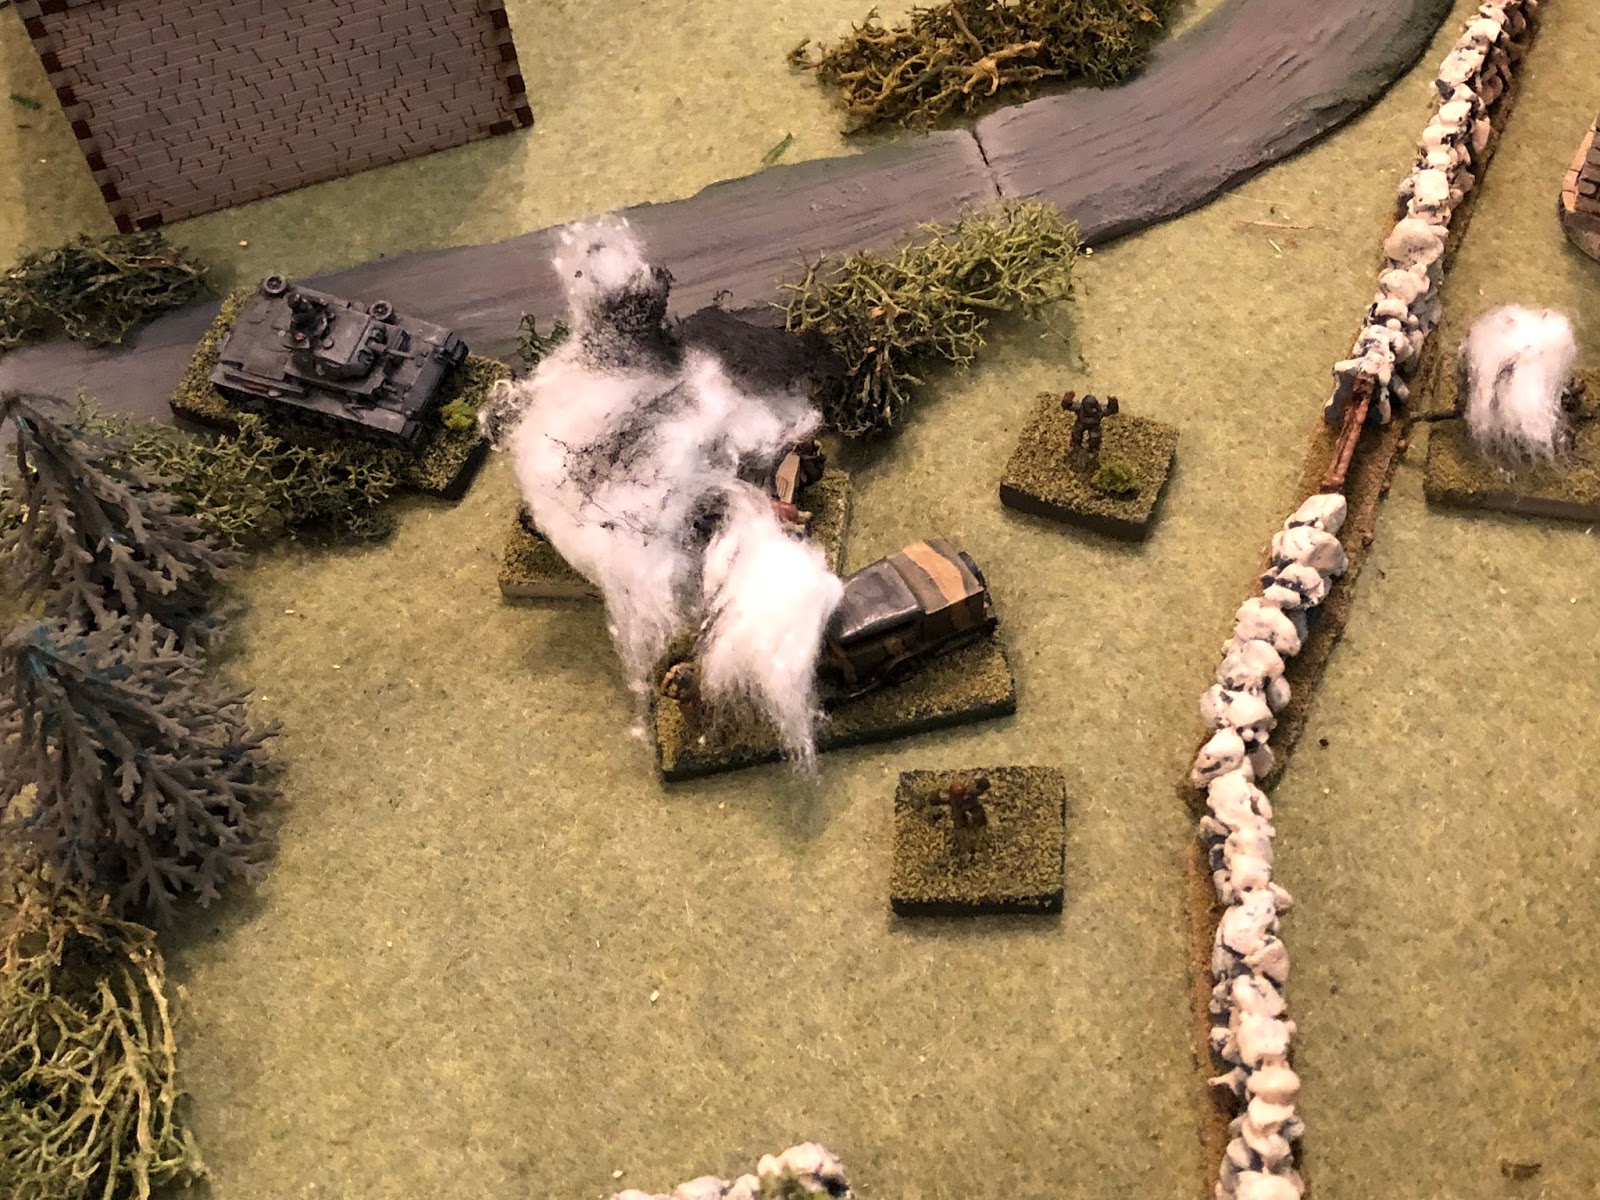
The Germans move first, pushing their blinds west and trying to spot the dastardly French.
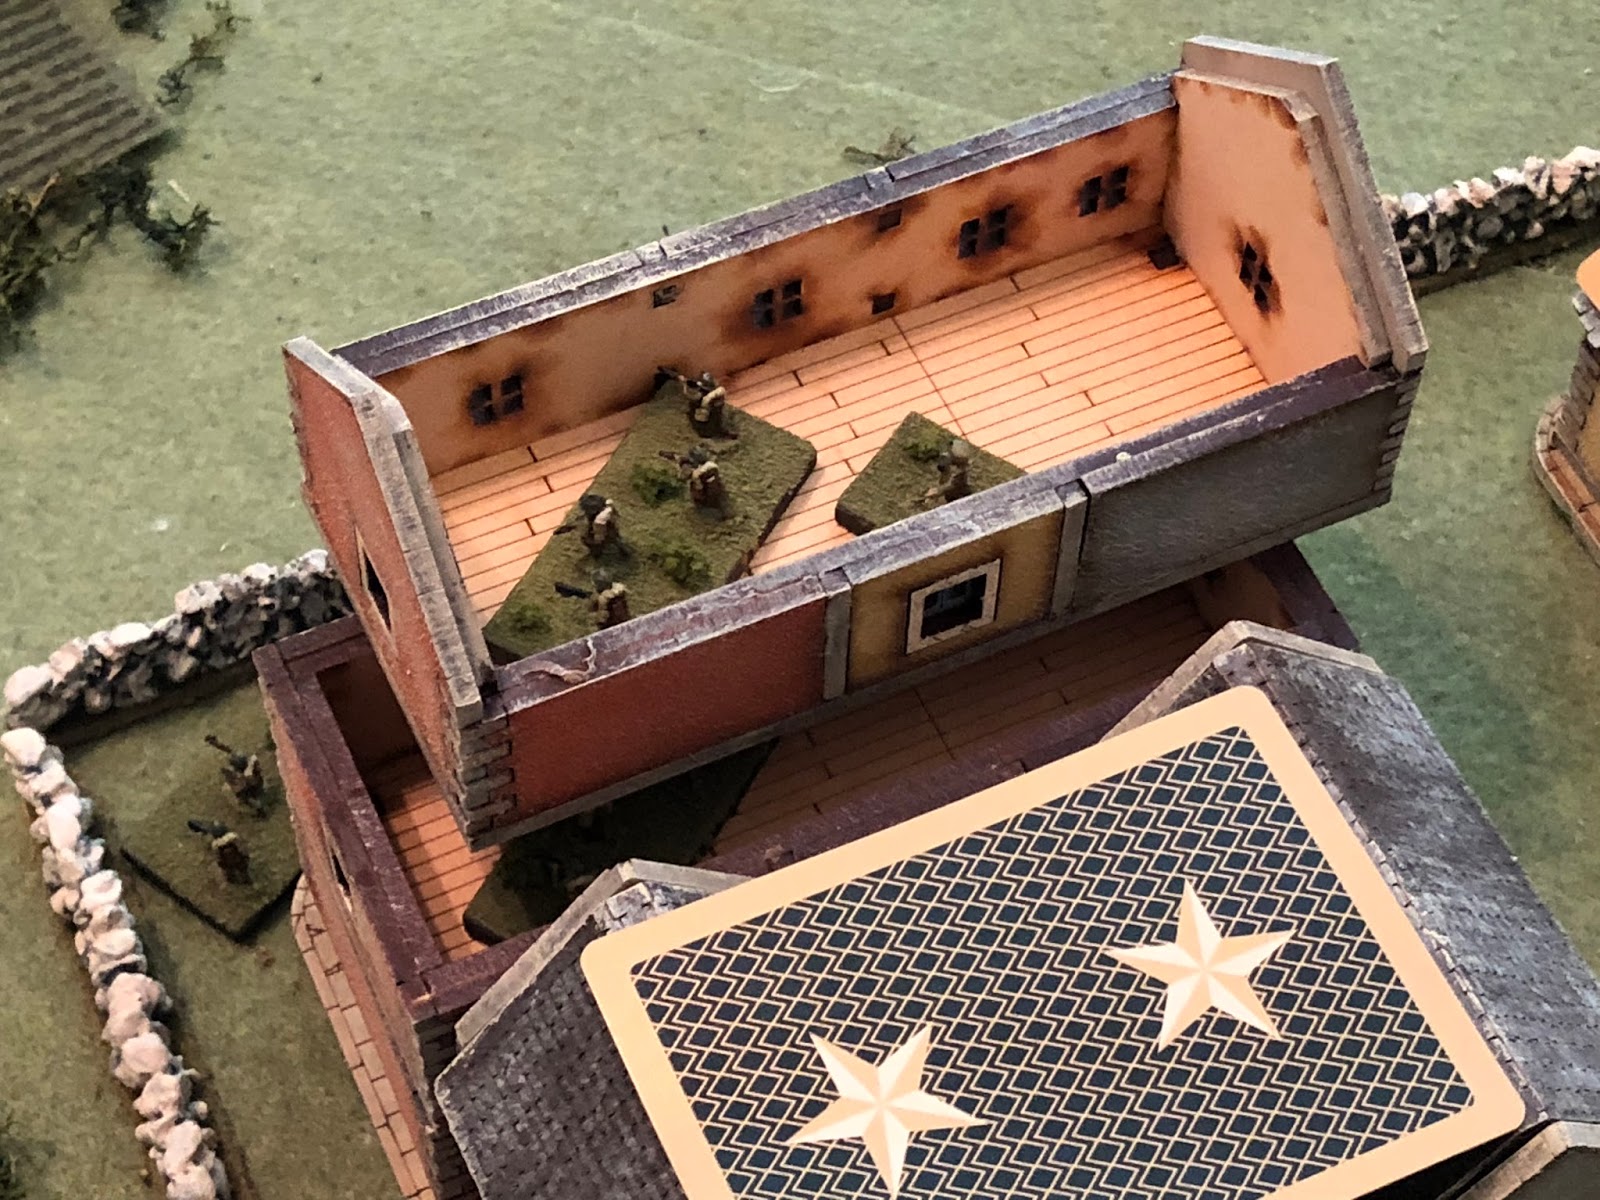
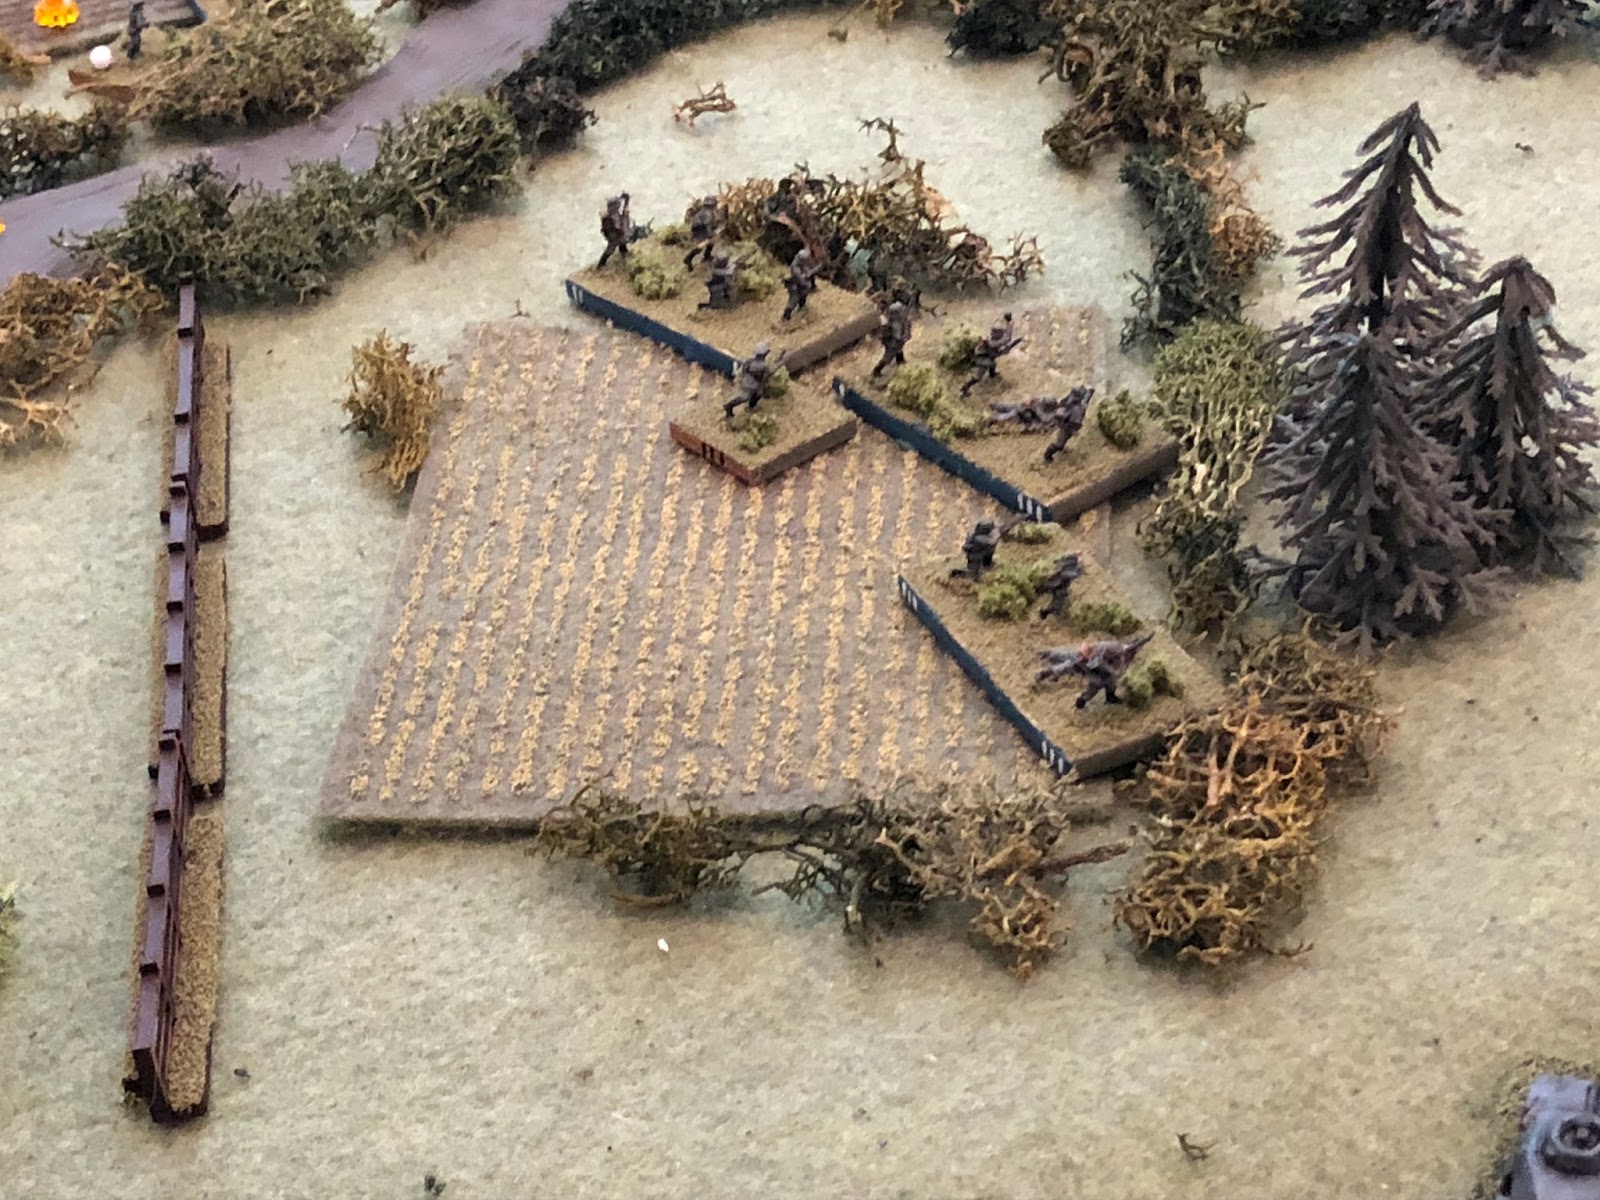
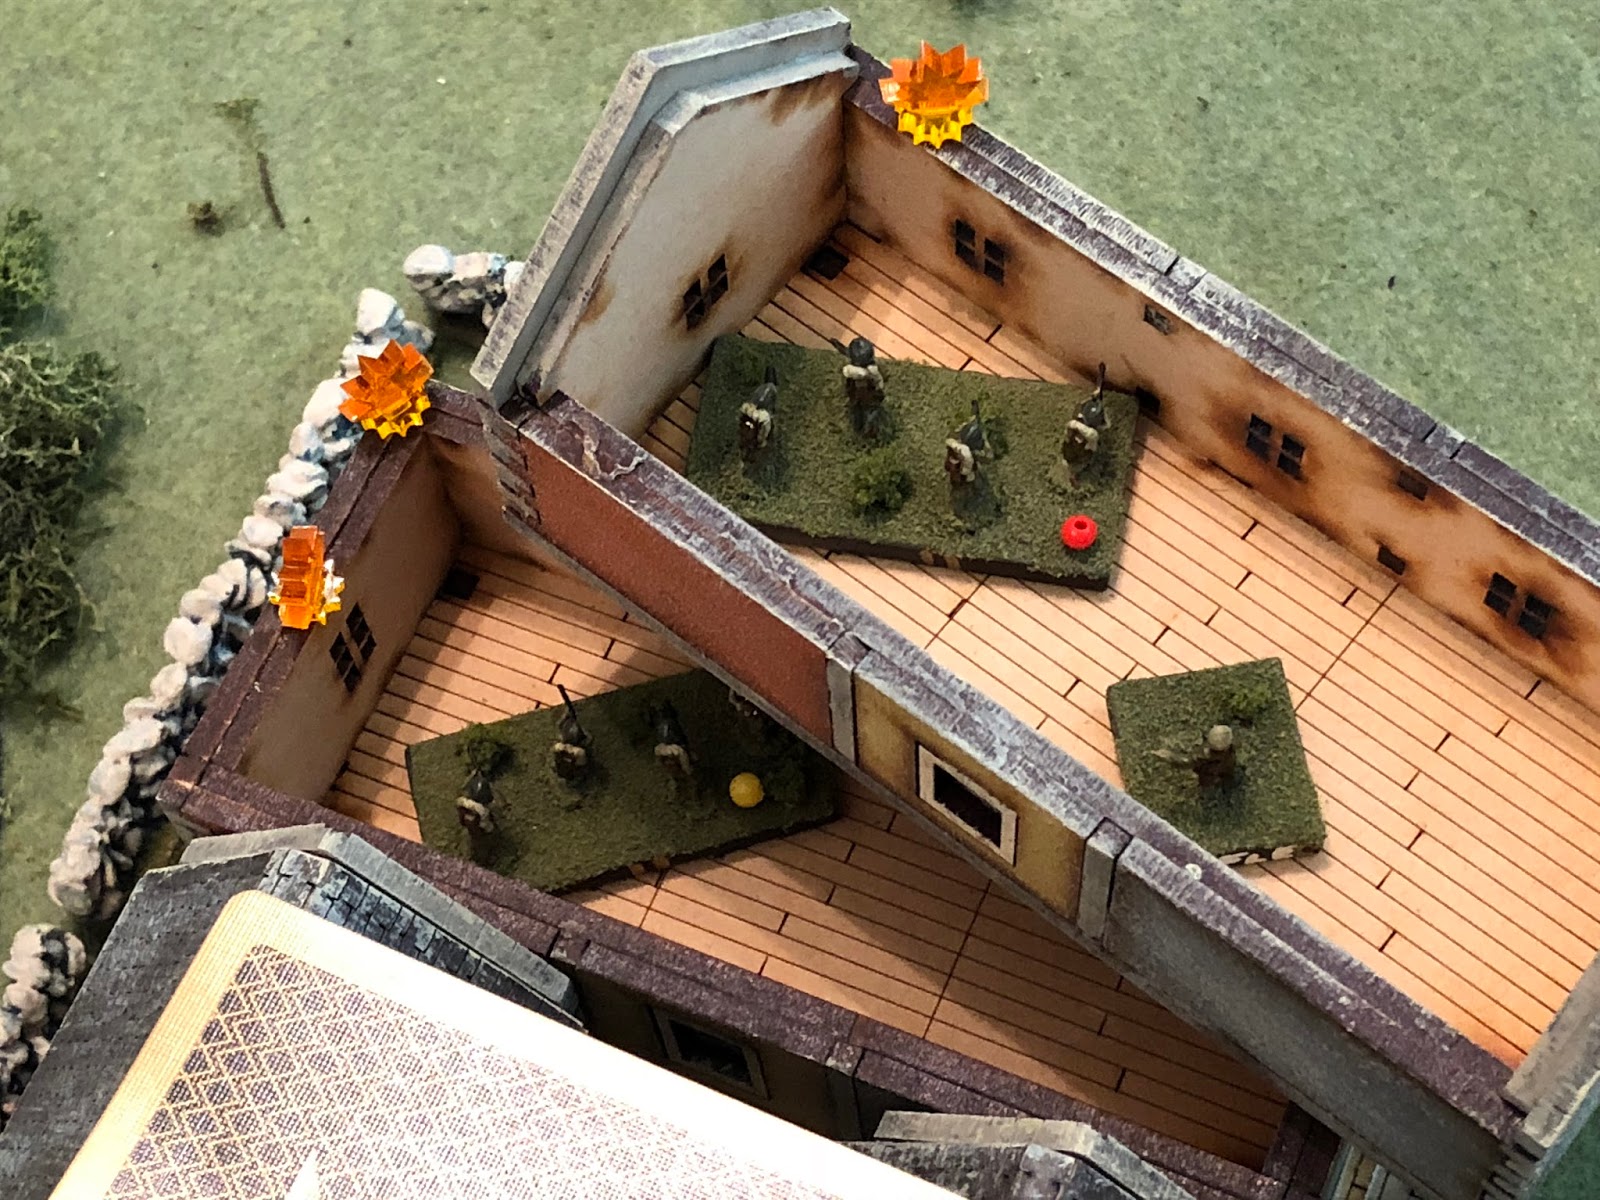
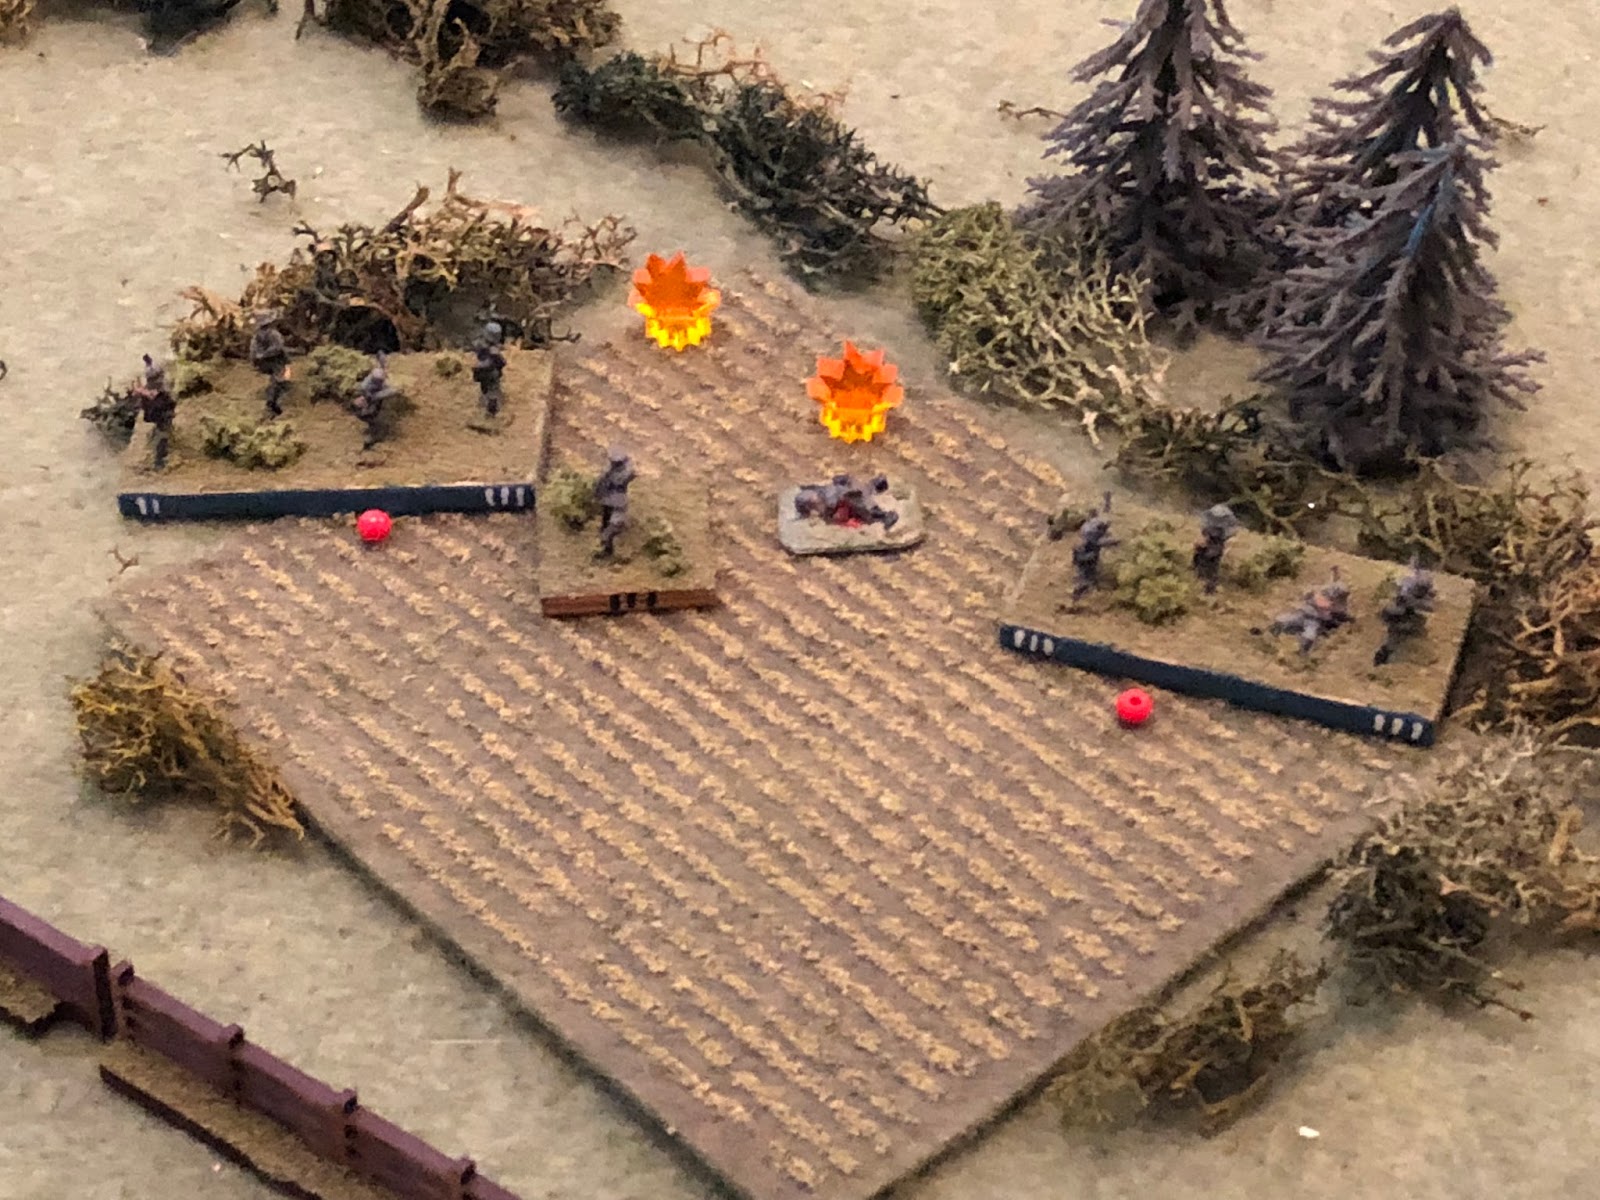
A French Blind creeps up to the Granary (centre, with the ville at bottom center/right) and peers east (top)...
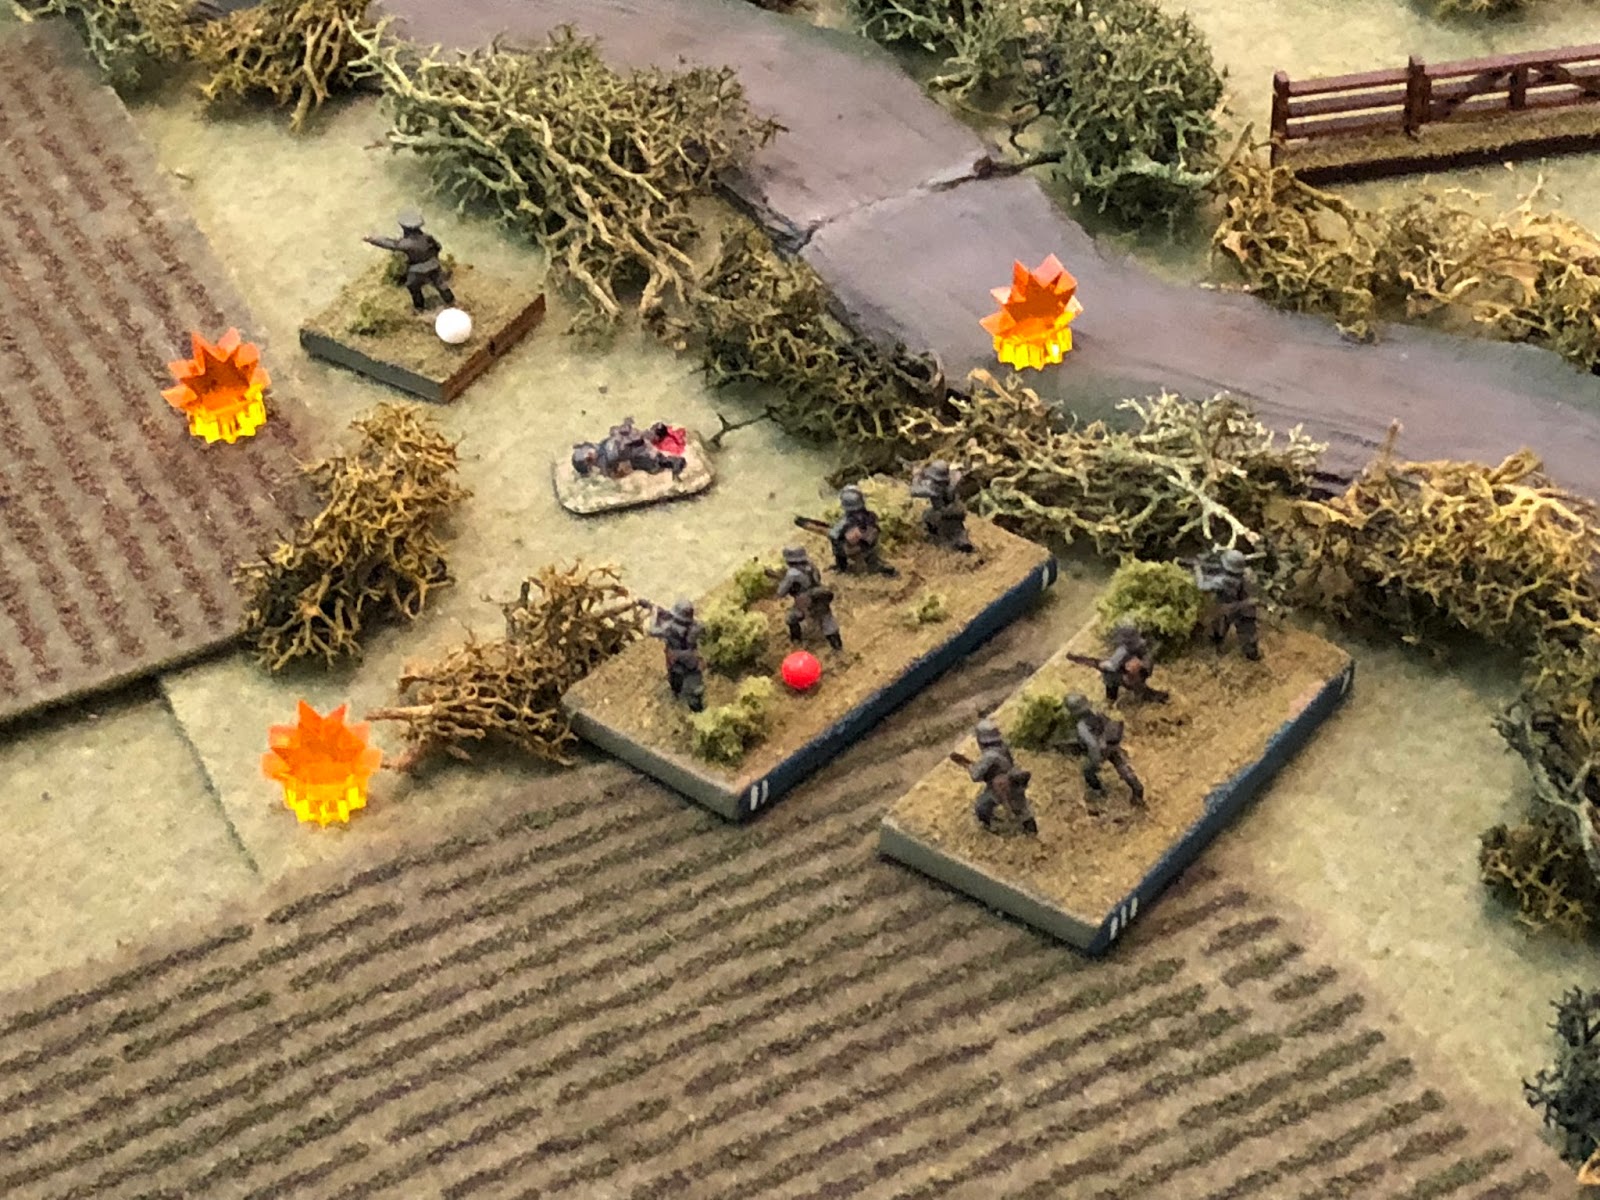
The Action Begins


Intermission
For those not familiar with IABSM, when you start the game every unit is on 'Blinds,' which we are using poker cards for, and you draw cards to move Blinds/units/dummy Blinds. At the beginning of the game you only have three cards in the activation deck: Allied Blinds, Axis Blinds, and Tea Break. But as units get spotted and/or the owning player decides he needs to get them on the table, cards for the units and their leaders (or "Big Men," as the Lardies call them) go into the action deck.
So right now the deck has the following cards:
- German 1st Rifle Platoon activation
- German 1st Rifle Platoon Commander
- German 4th Rifle Platoon activation
- German 4th Rifle Platoon Commander
- German Rifle Company Commander
- German Weapons Platoon activation
- German Recon Platoon activation
- German Recon Platoon Commander
- German 2nd Tank Platoon activation
- German 2nd Tank Platoon commander
- Axis Blinds
- French 1st Tank Platoon activation
- French 2nd Rifle Platoon activation
- French 2nd Rifle Platoon Commander
- French Company Commander
- French Weapons Platoon activation
- French MG Bonus Fire
- French ATG Fire
- Allied Blinds
- Tea Break
When the Tea Break card pops out the turn is over and the deck gets re-shuffled. So we've had a number of turns since we added troops to the table (and their cards to the deck) where the Blinds haven't gotten to do anything, and it's really frustrating and doesn't make a lot of sense, and, as I recall, was part of the reason I gave up on the rules.
If you're not familiar, it is supposed to be a huge bonus to still have troops on Blinds. These are your guys that have yet to be detected by the enemy, so they can't be shot at and they don't have to deal with terrain when they're moving. But I think the fix is simple, and can't believe it didn't occur to me earlier: there are some set actions units that did not activate are allowed to undertake as part of the end-of turn sequence. Frankly, I just ignore these as I figure if the unit(s) didn't get to activate, well, that's the whole point of friction in rules. But I feel like Blinds not being able to activate doesn't make sense, so I think the answer is to allow Blinds to activate automatically as part of the end of turn sequence. I'll try it out next game and let you know.
Back to the Action
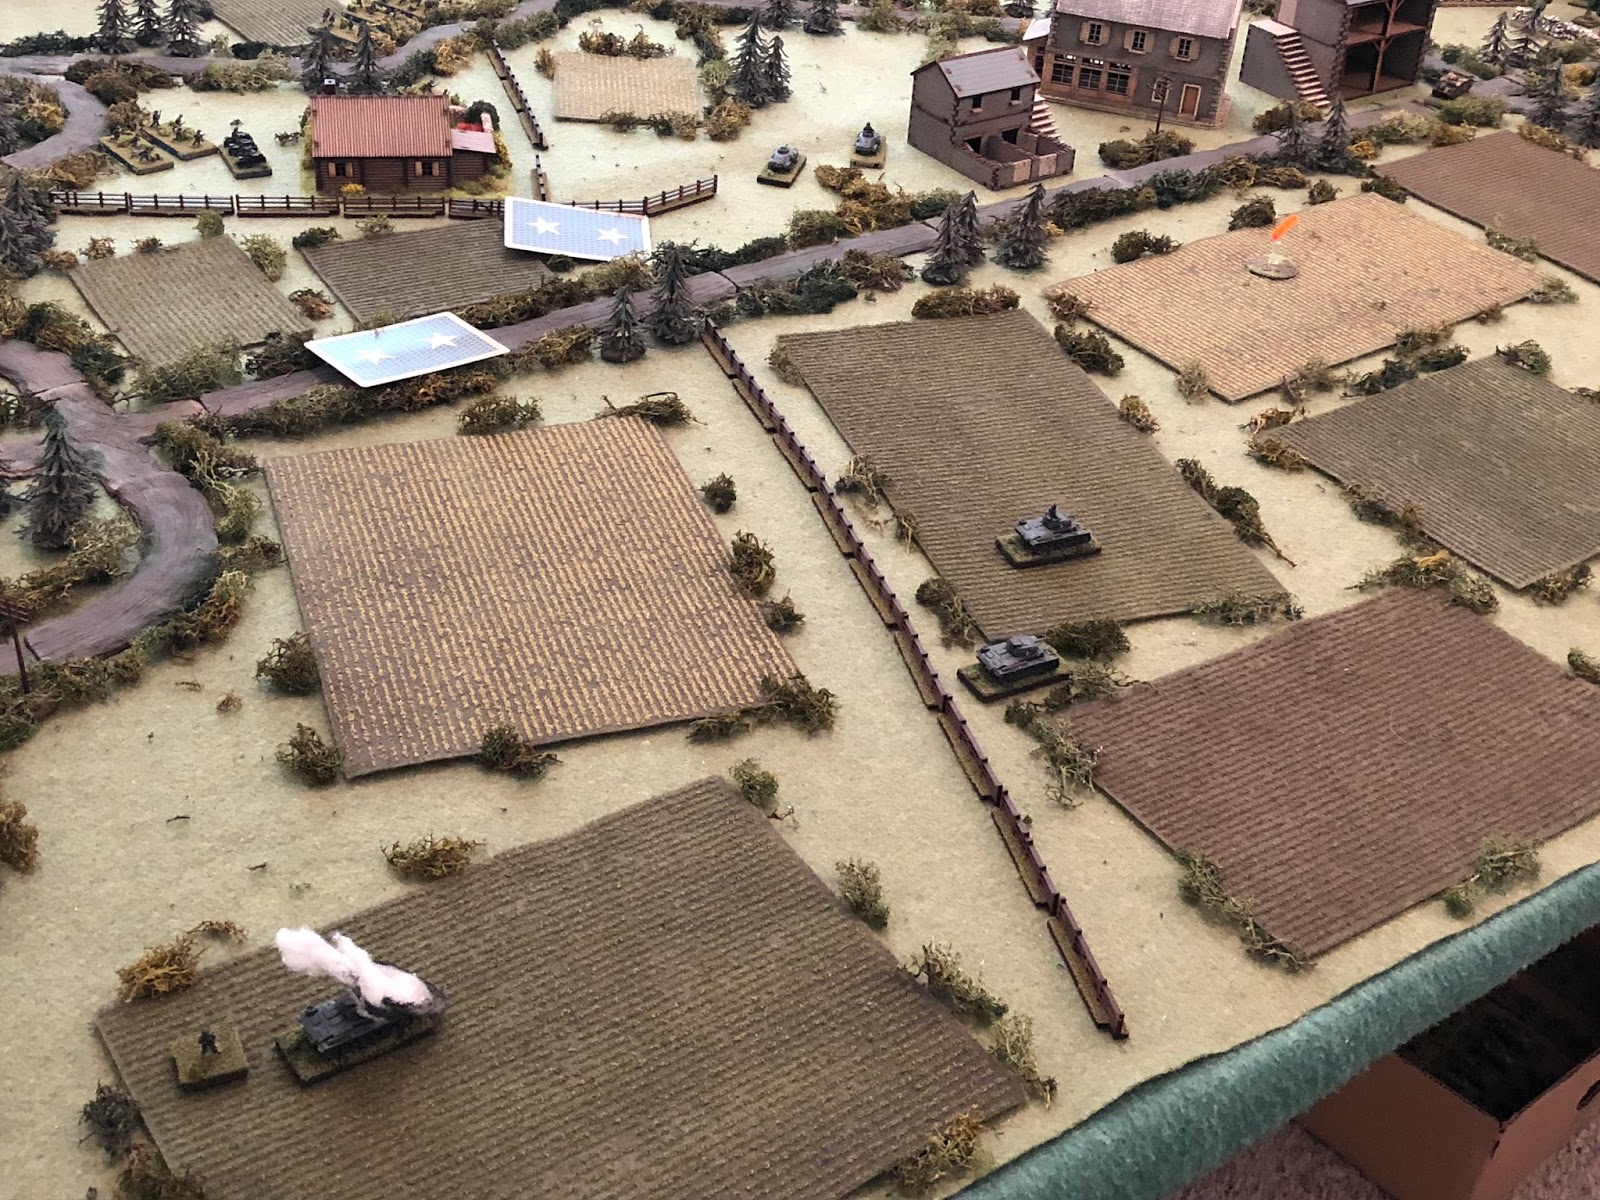
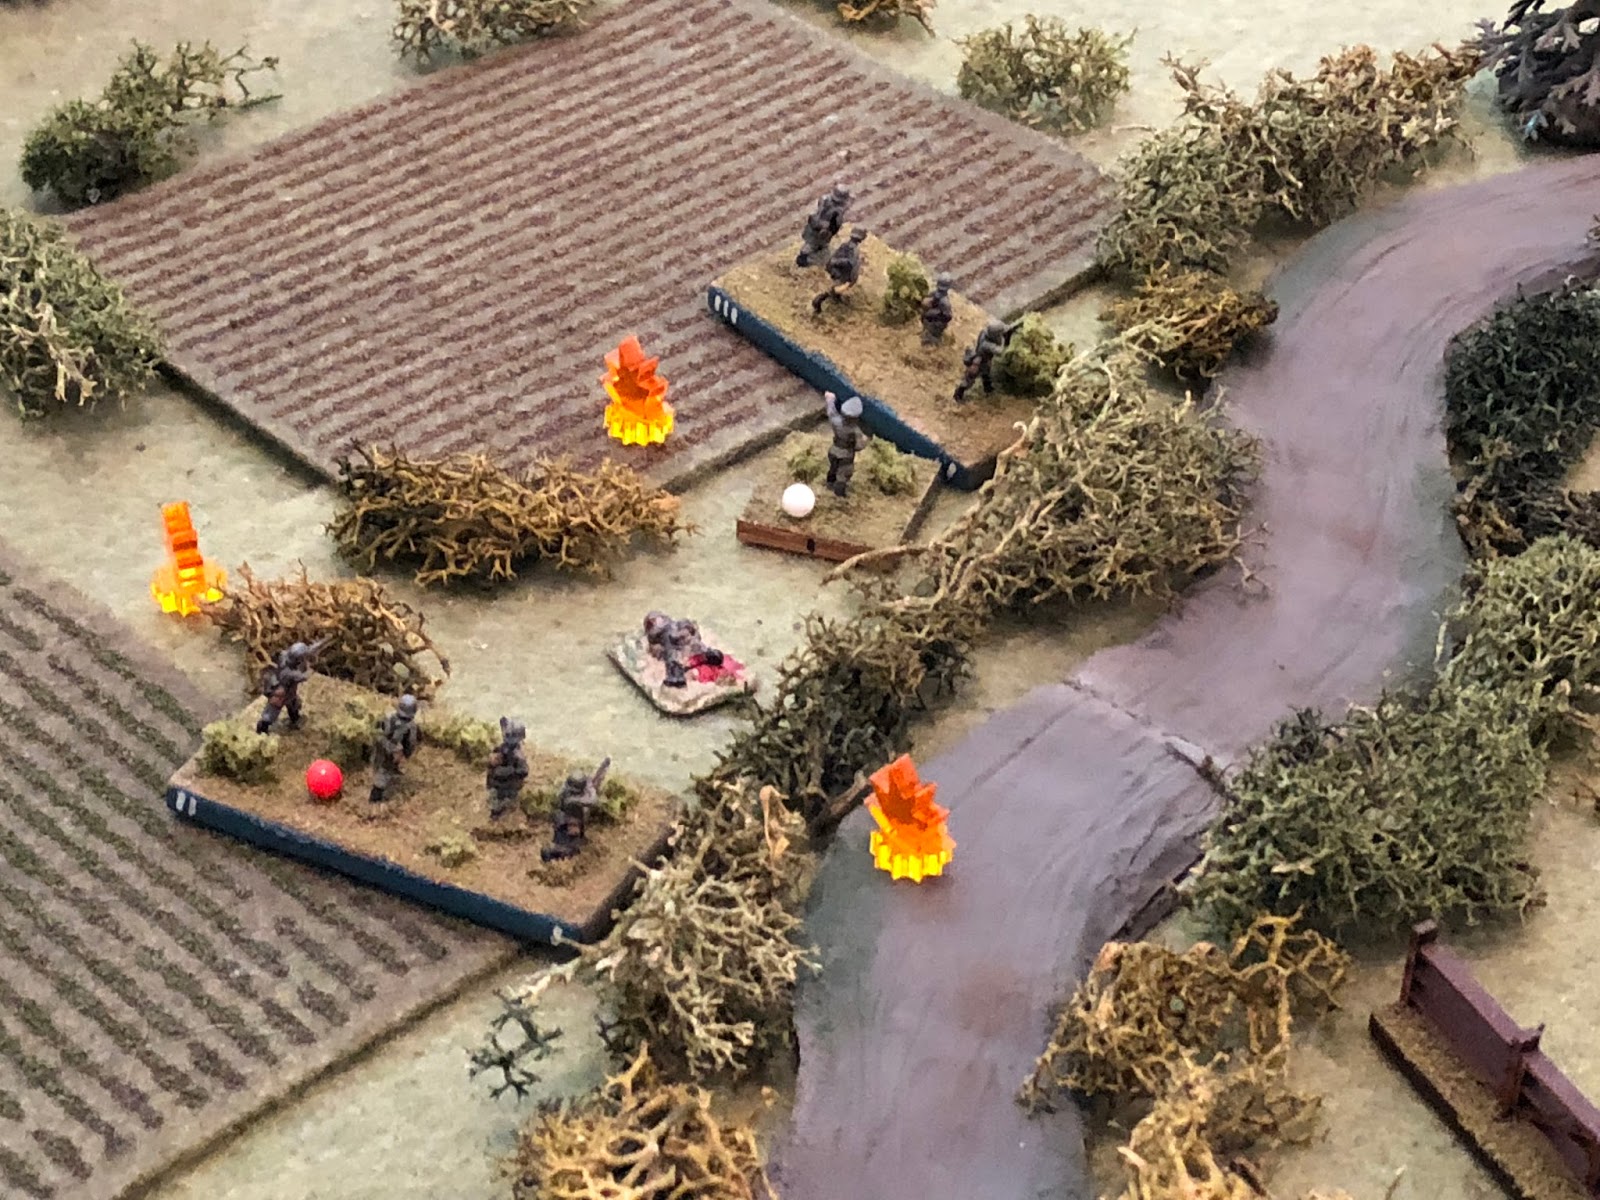
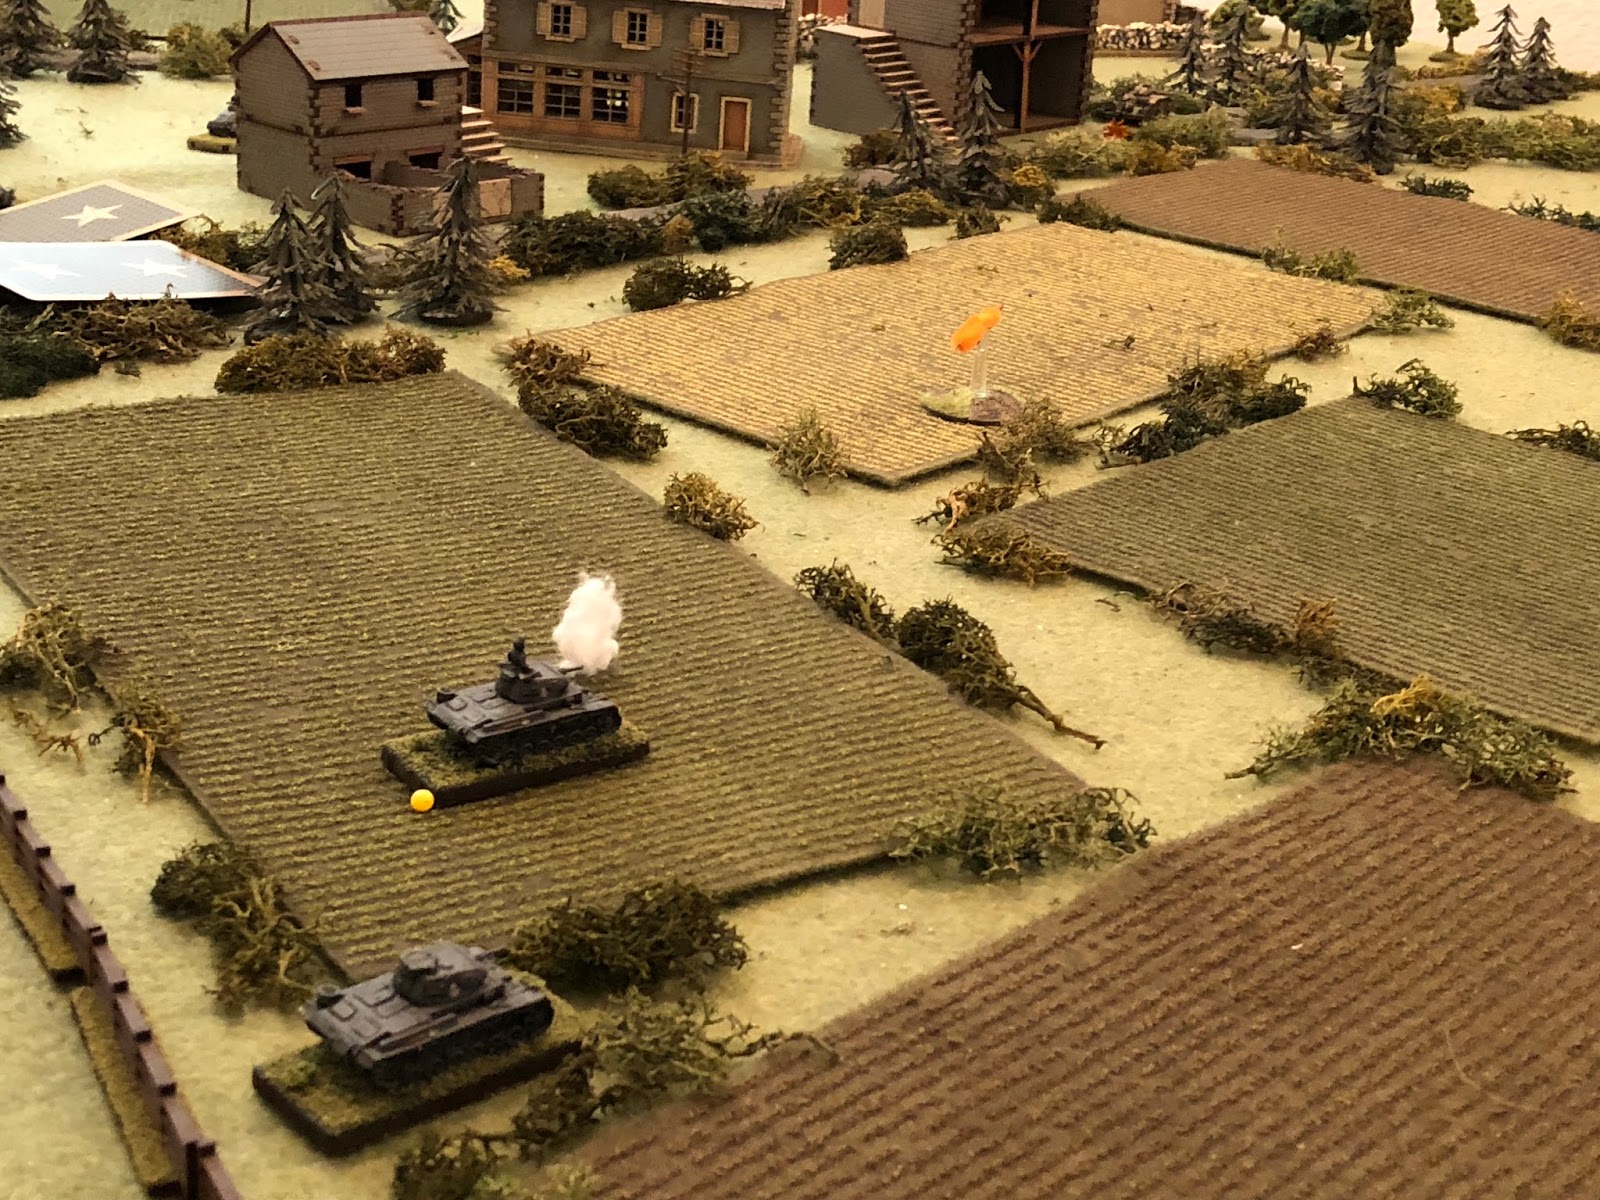
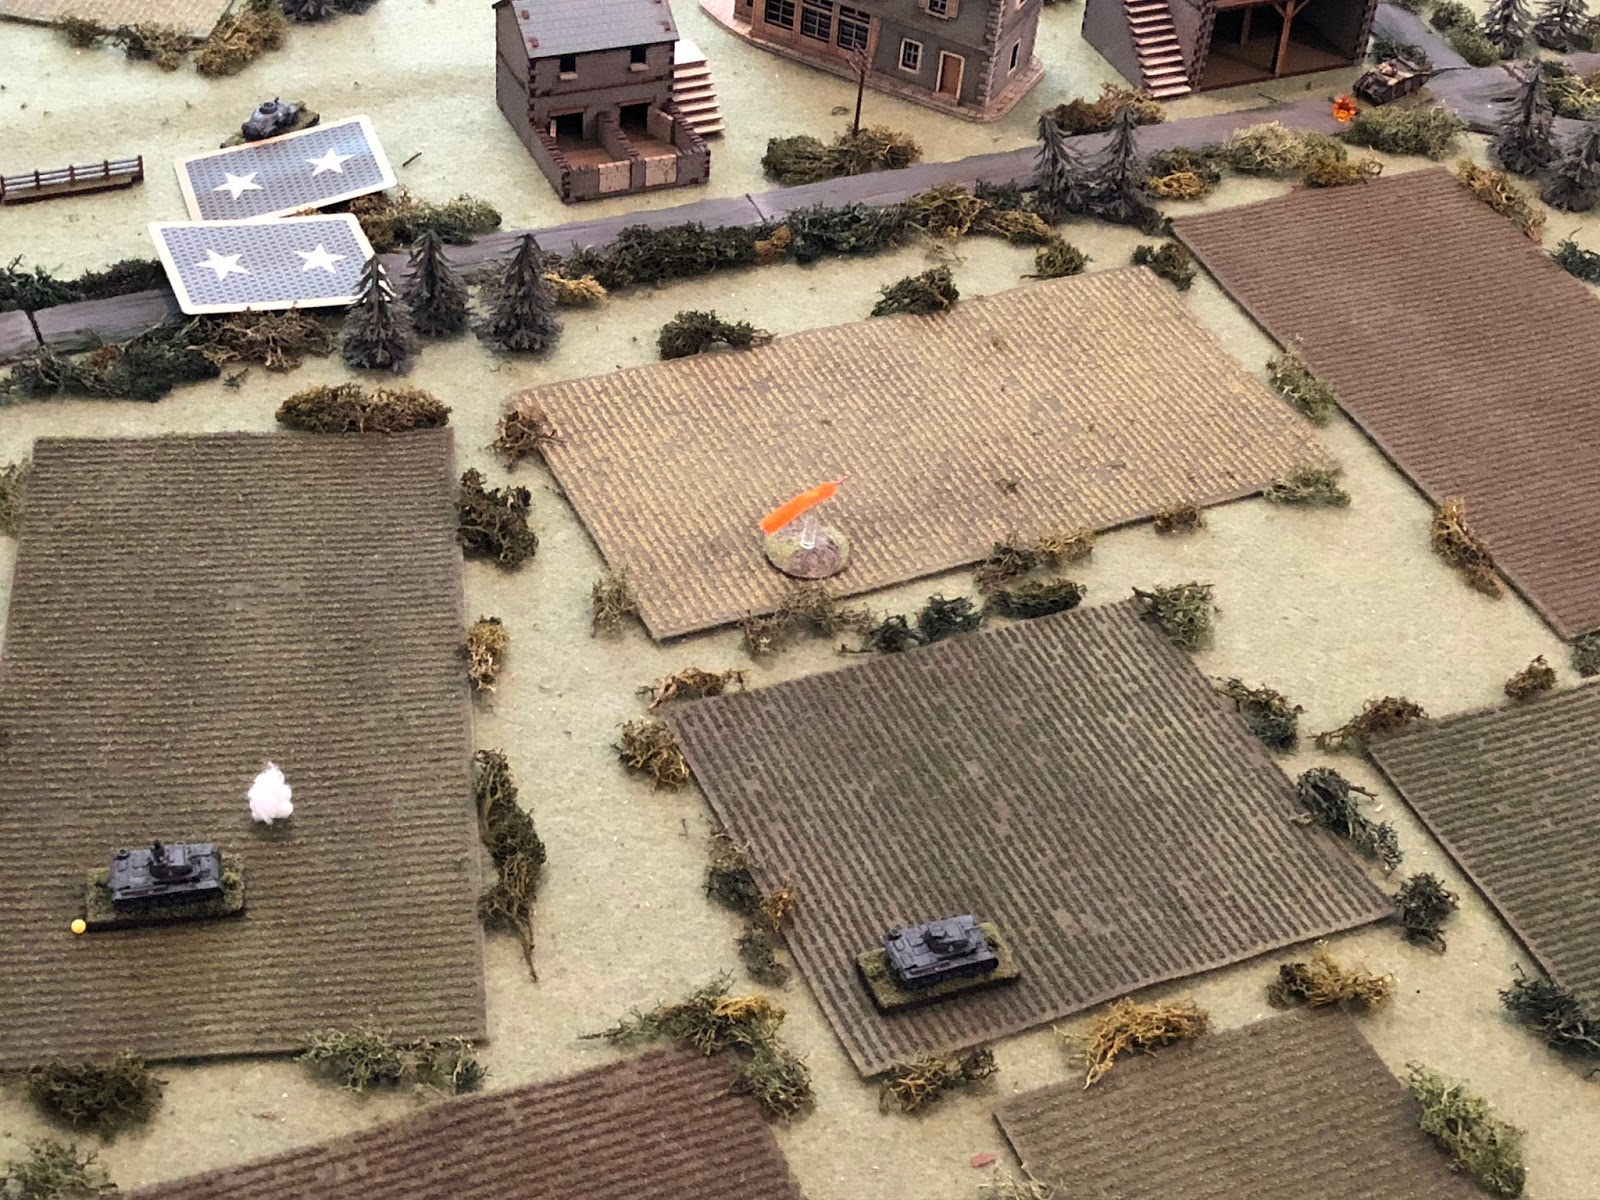
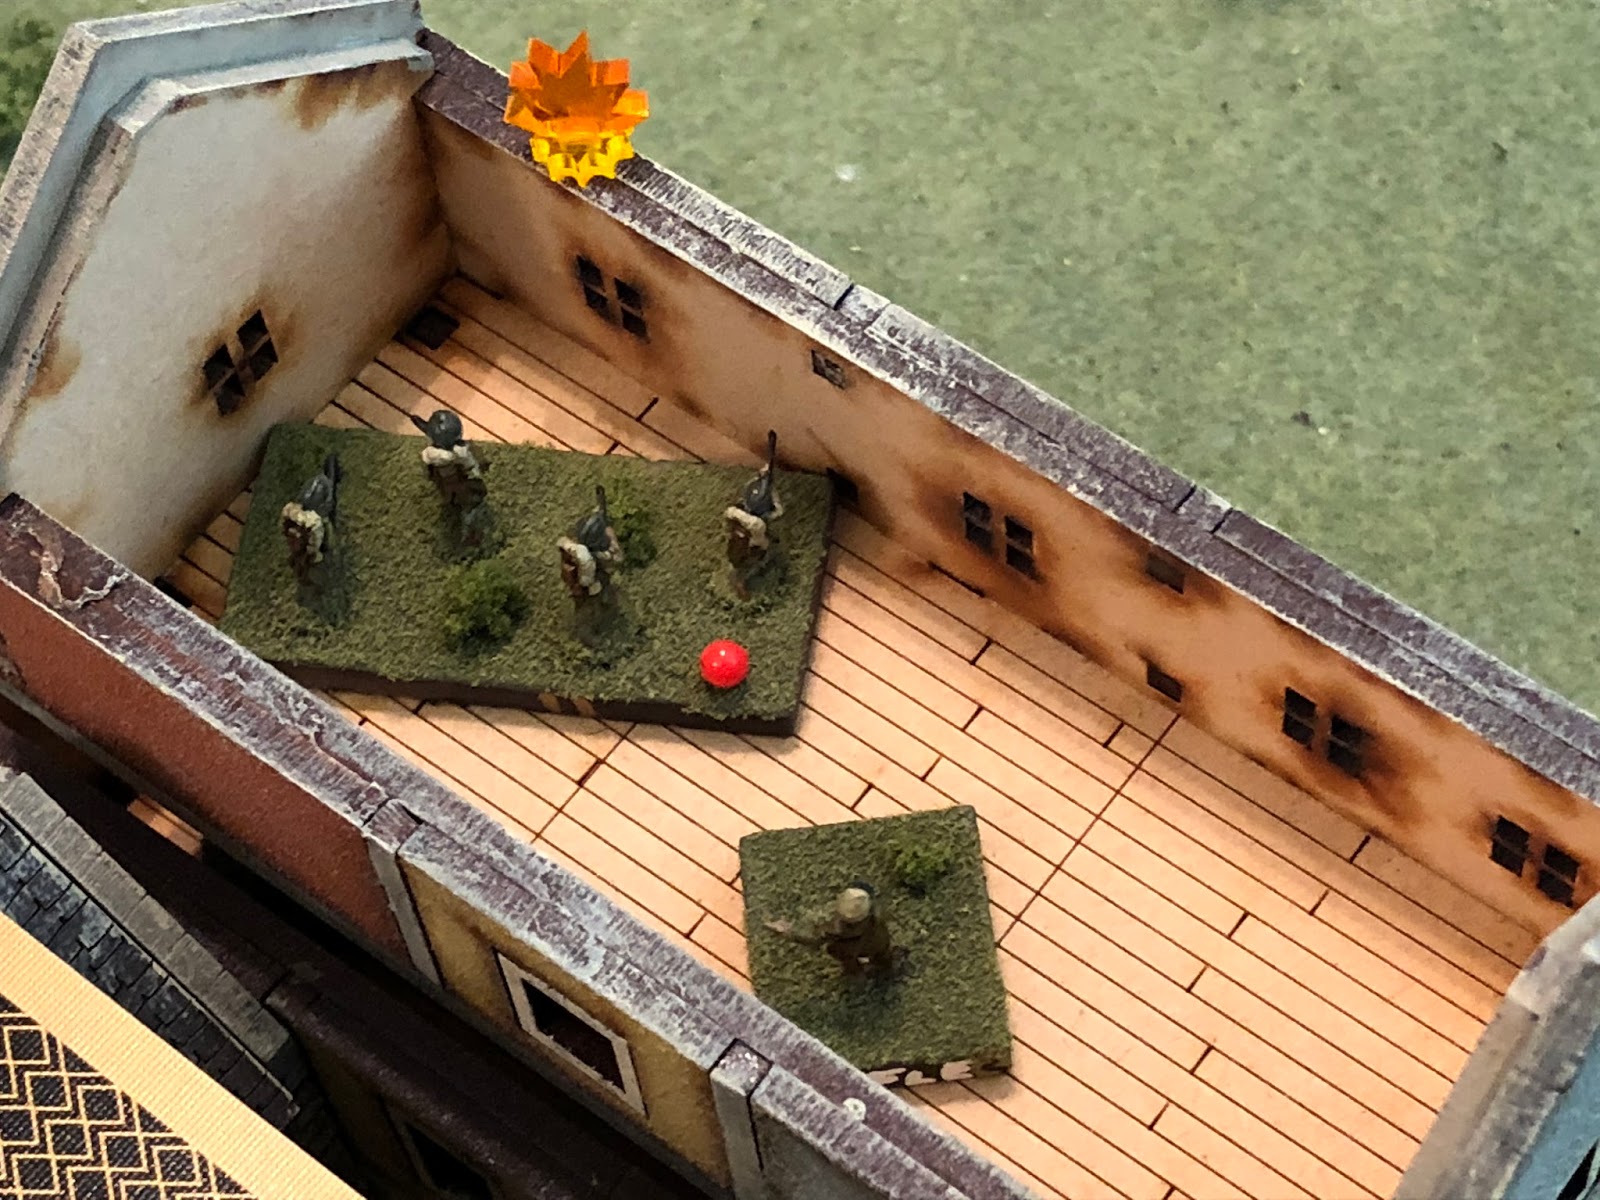
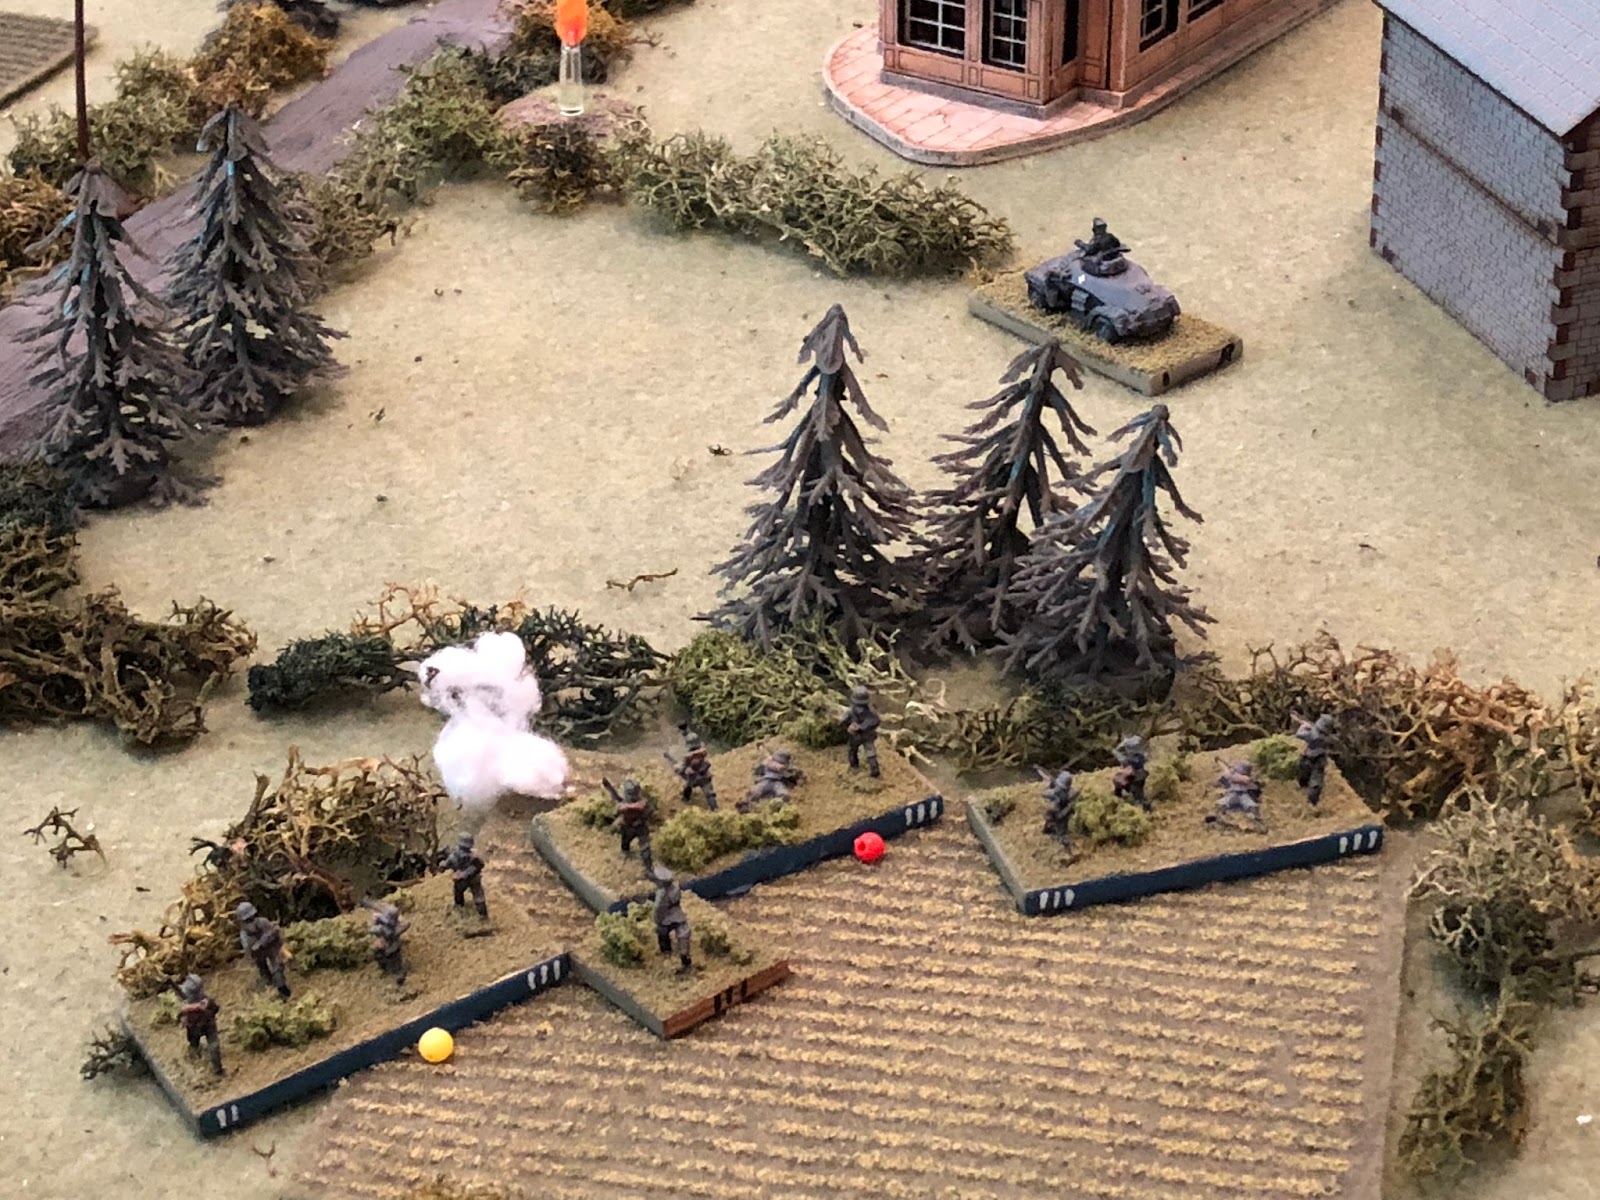
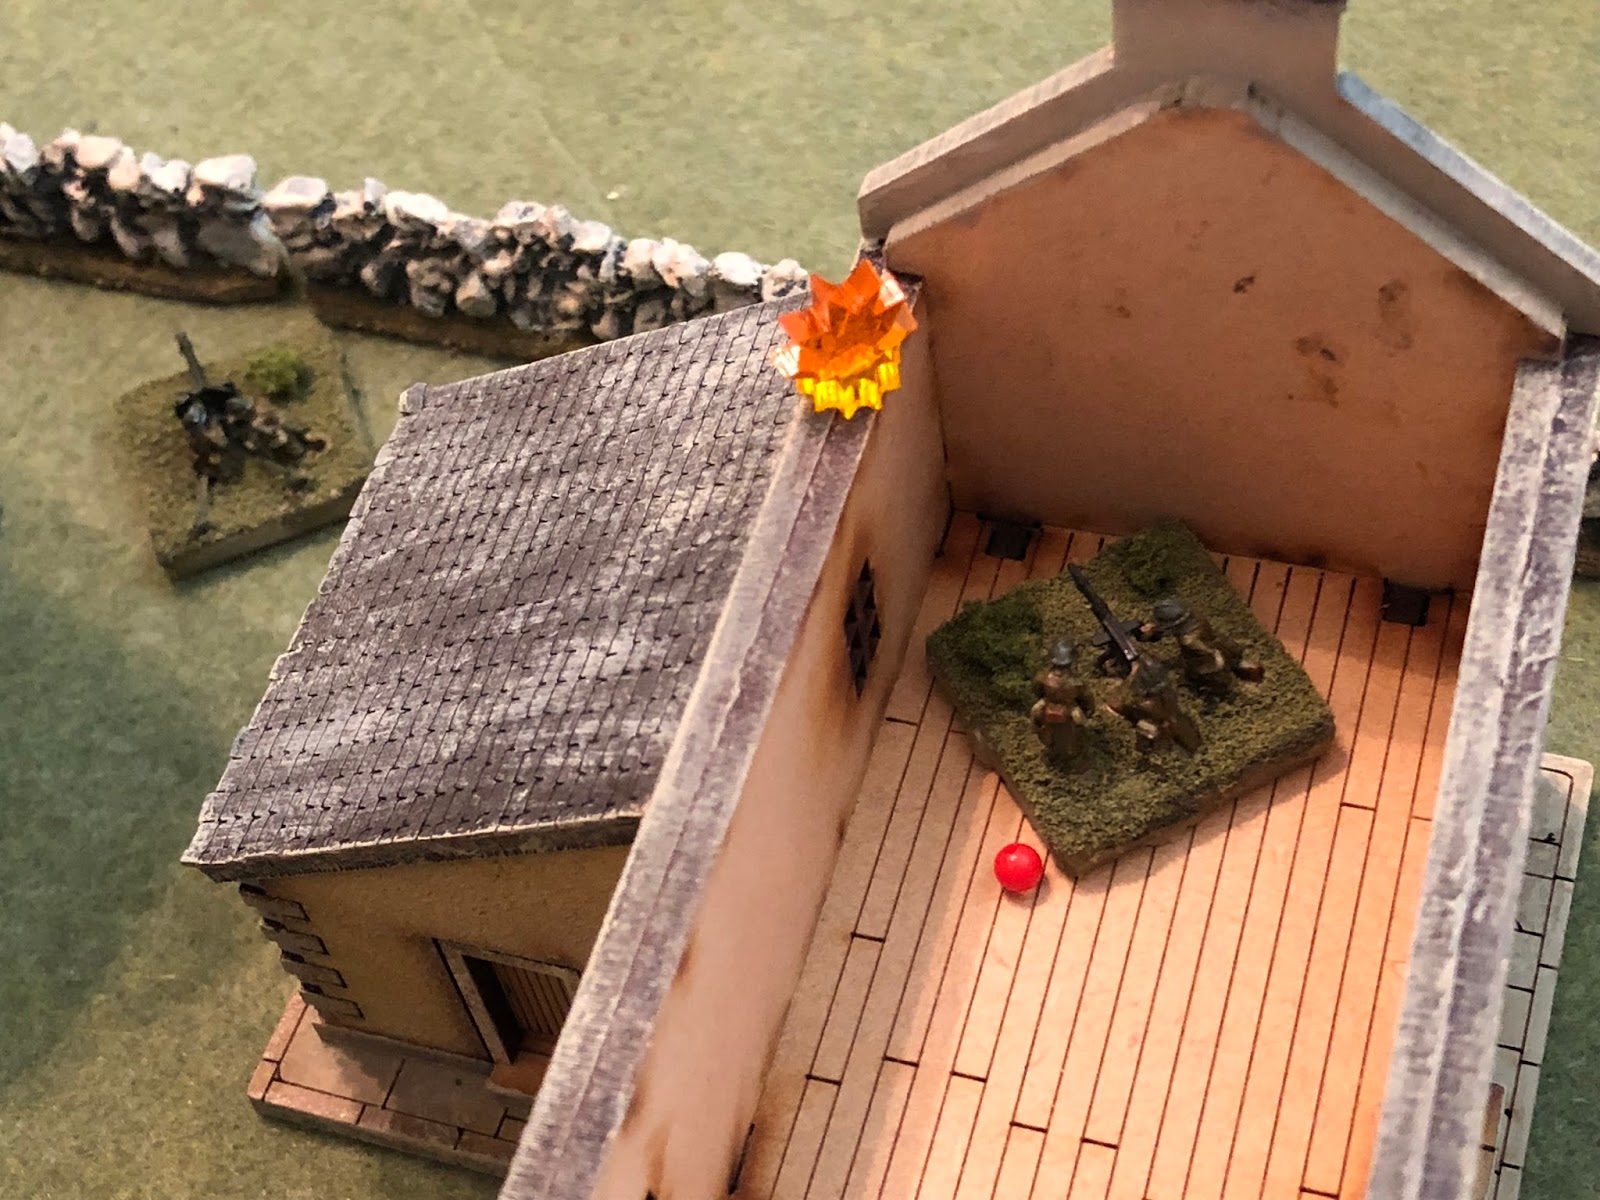
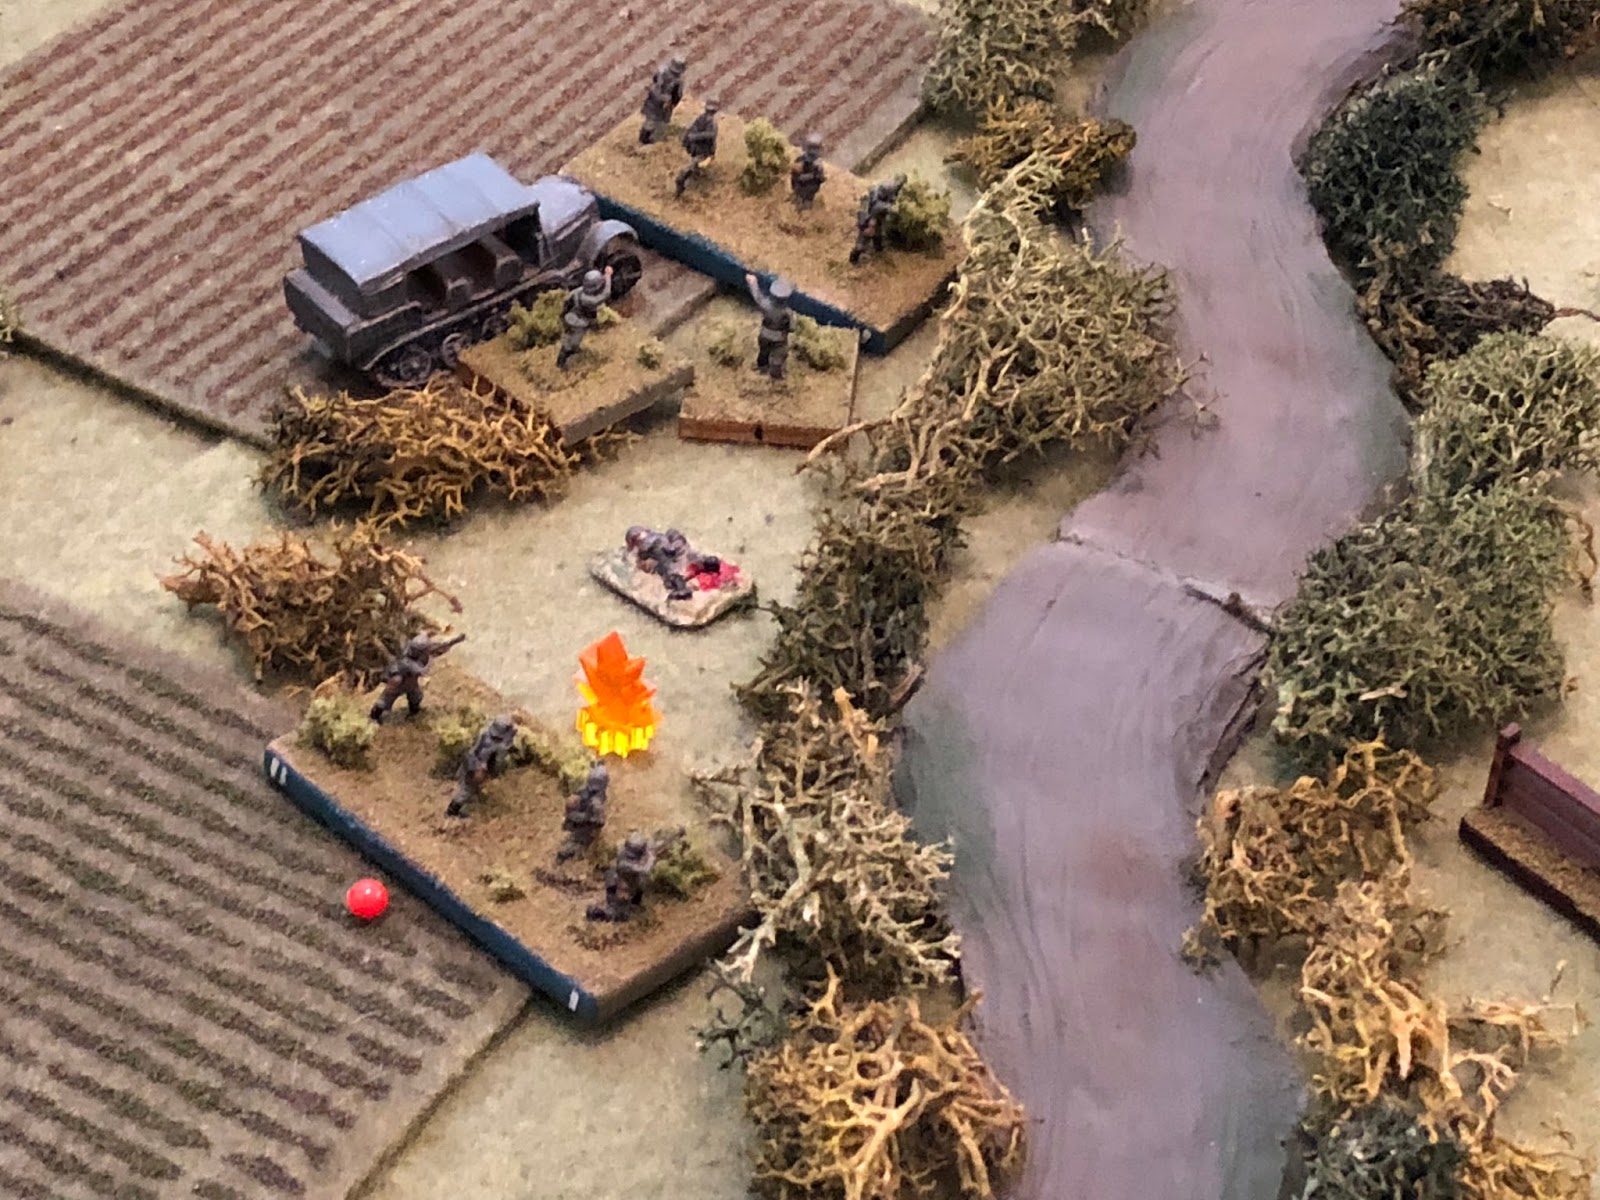
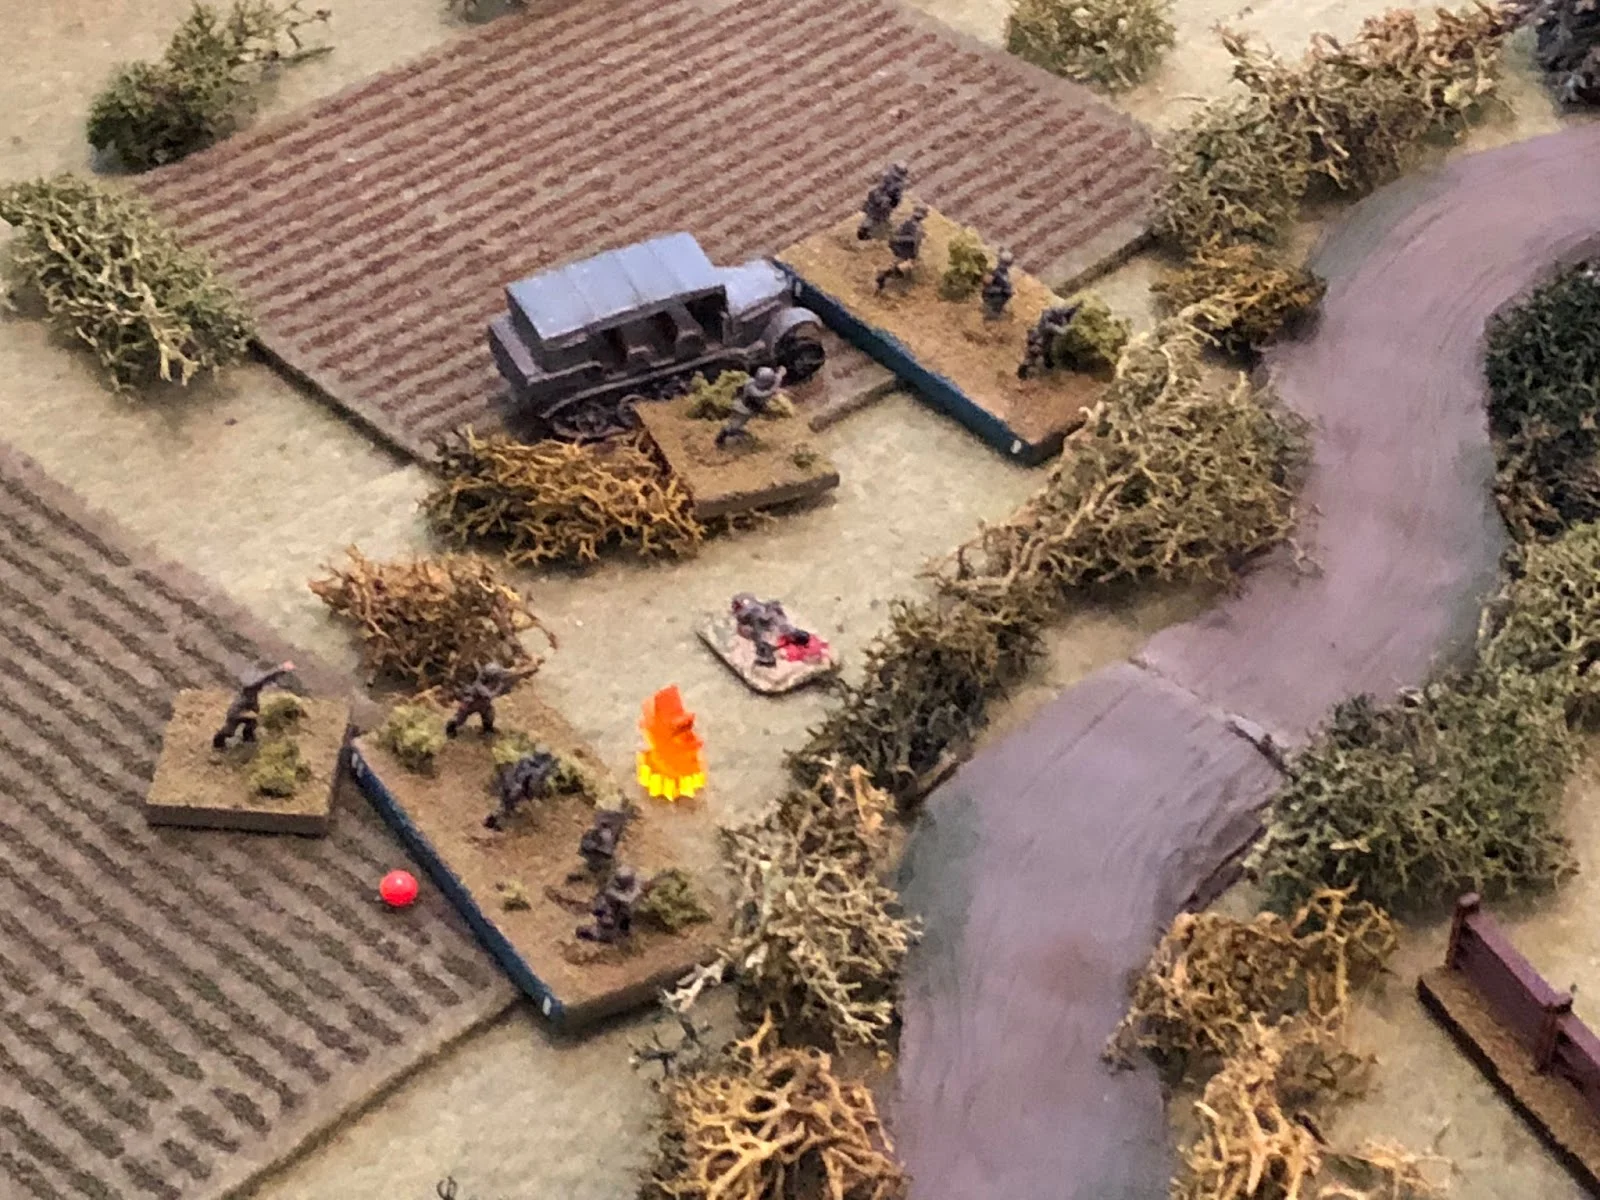
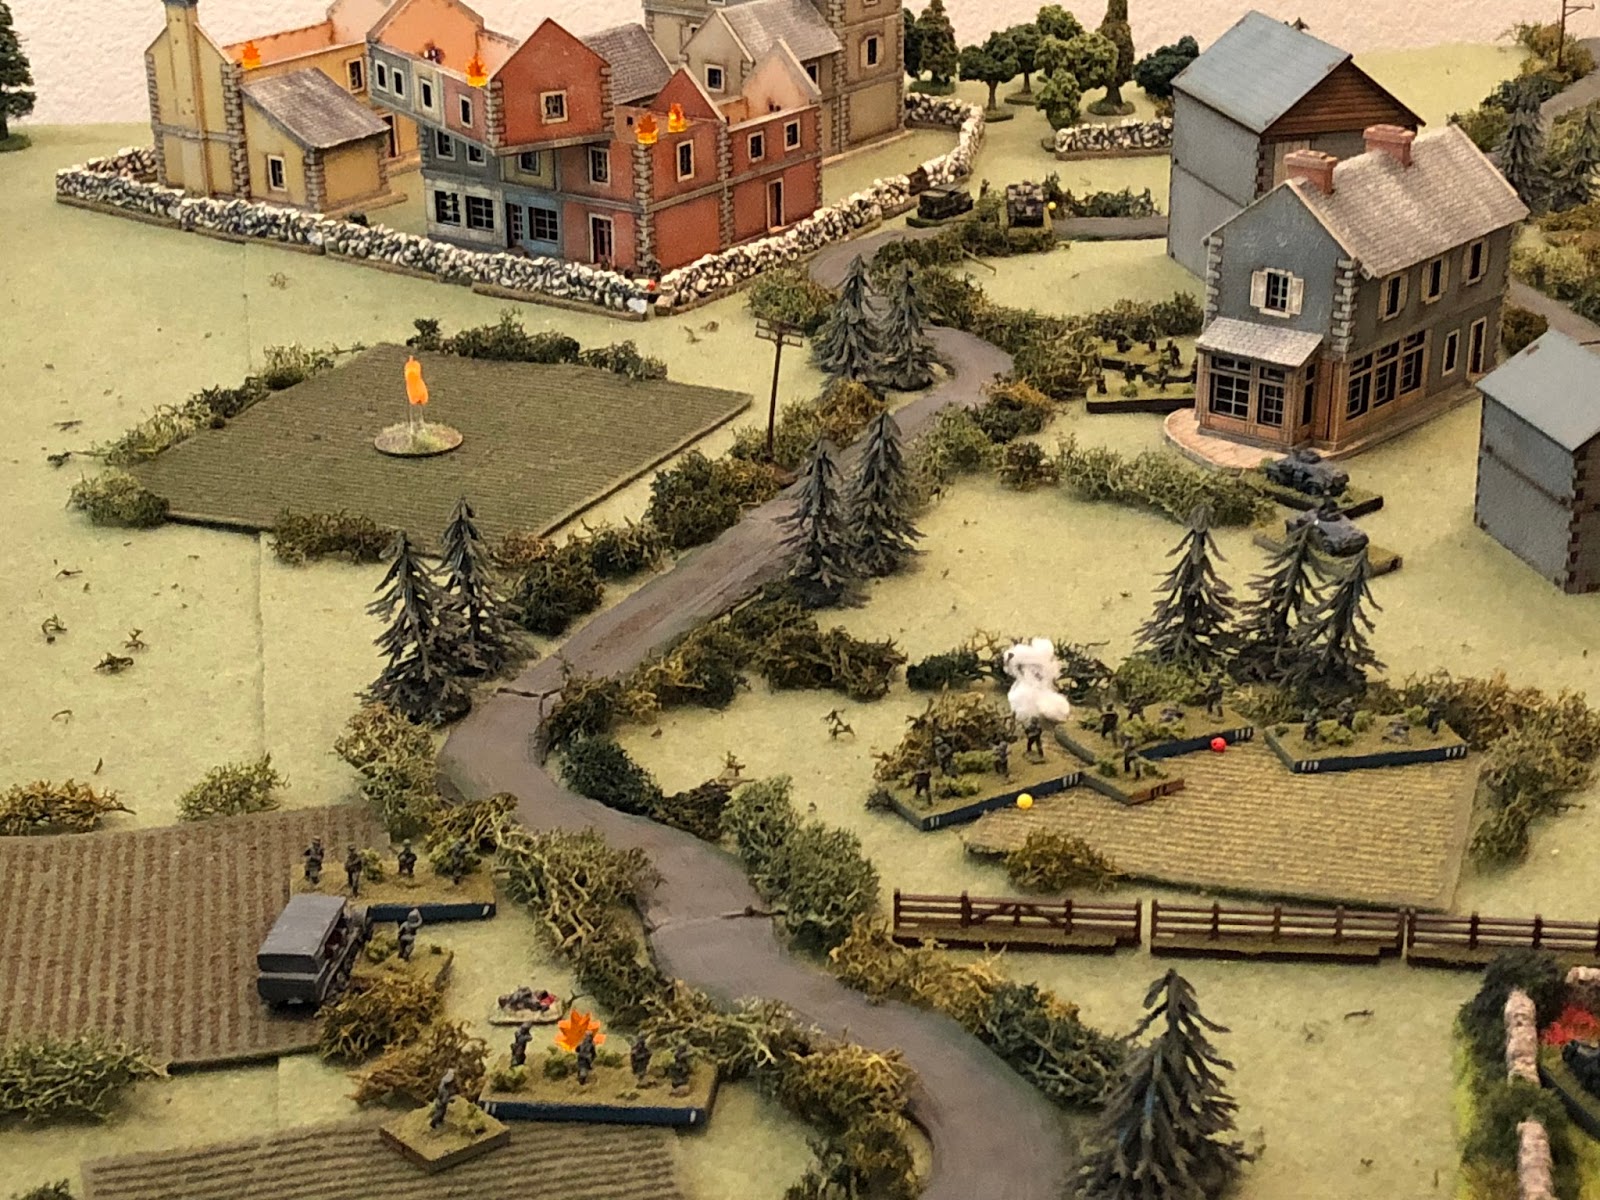
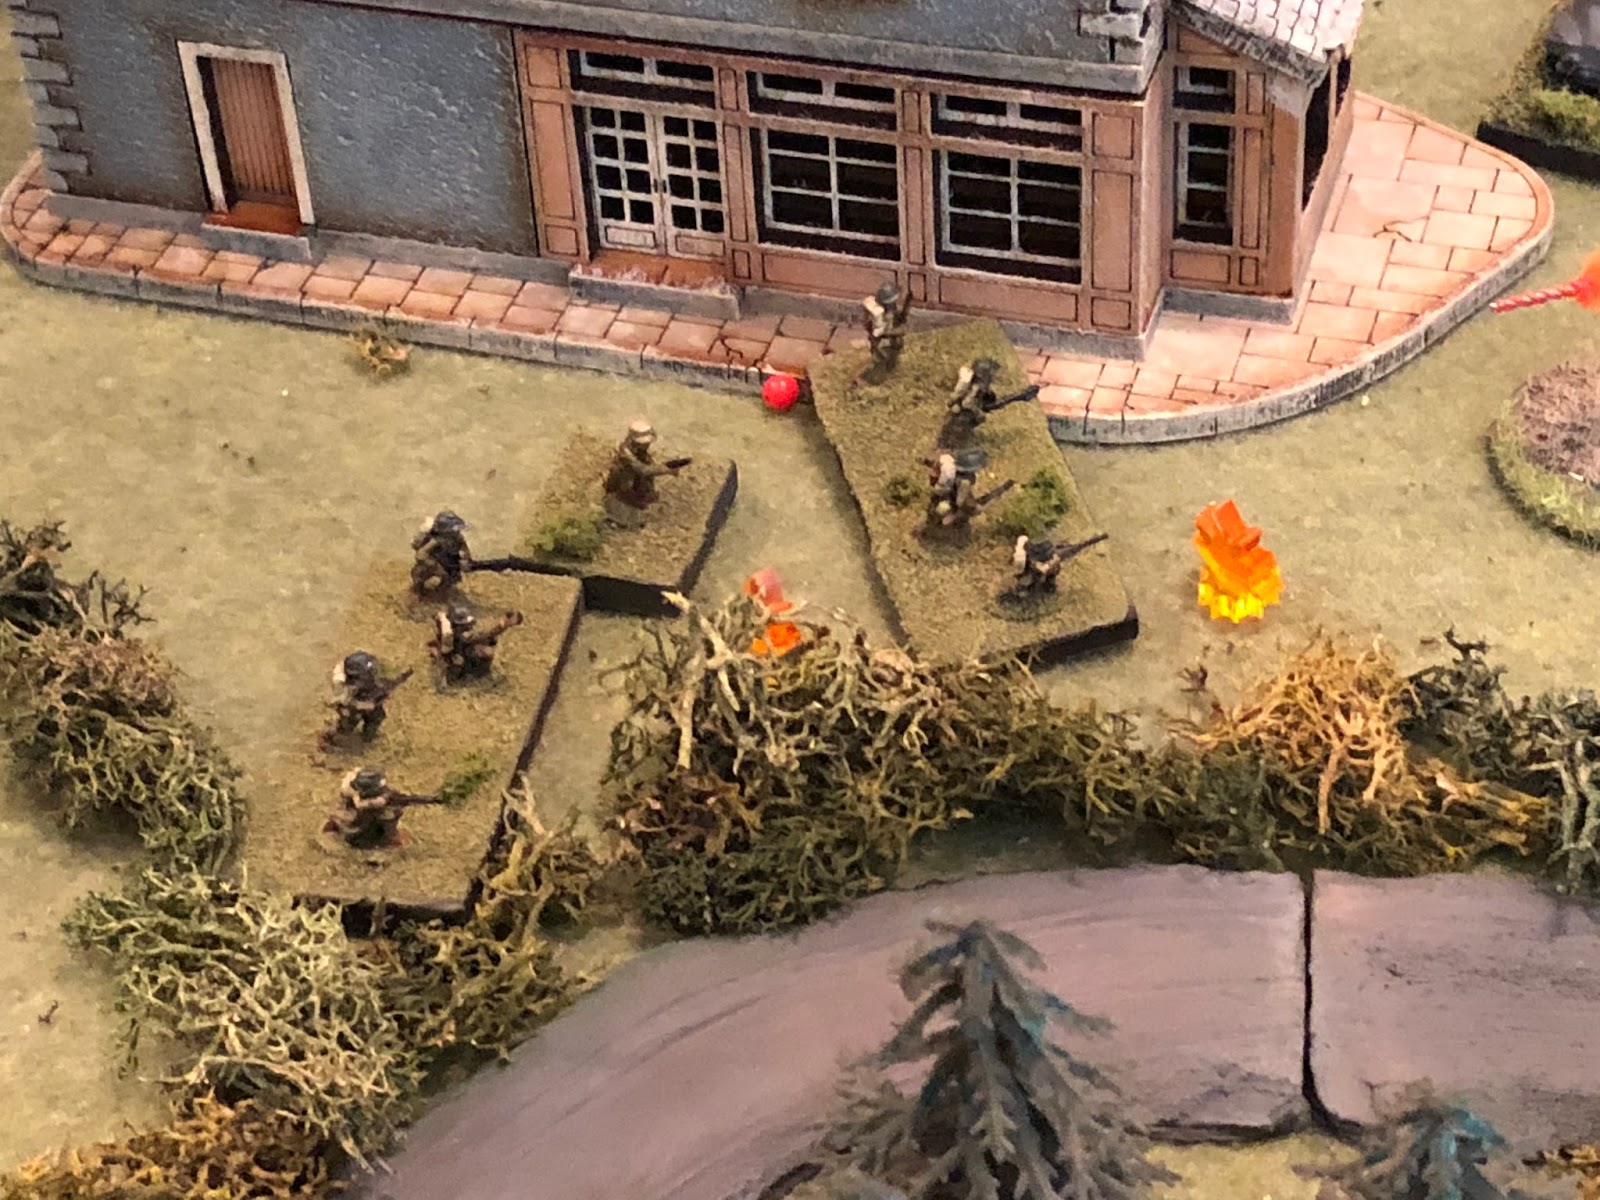
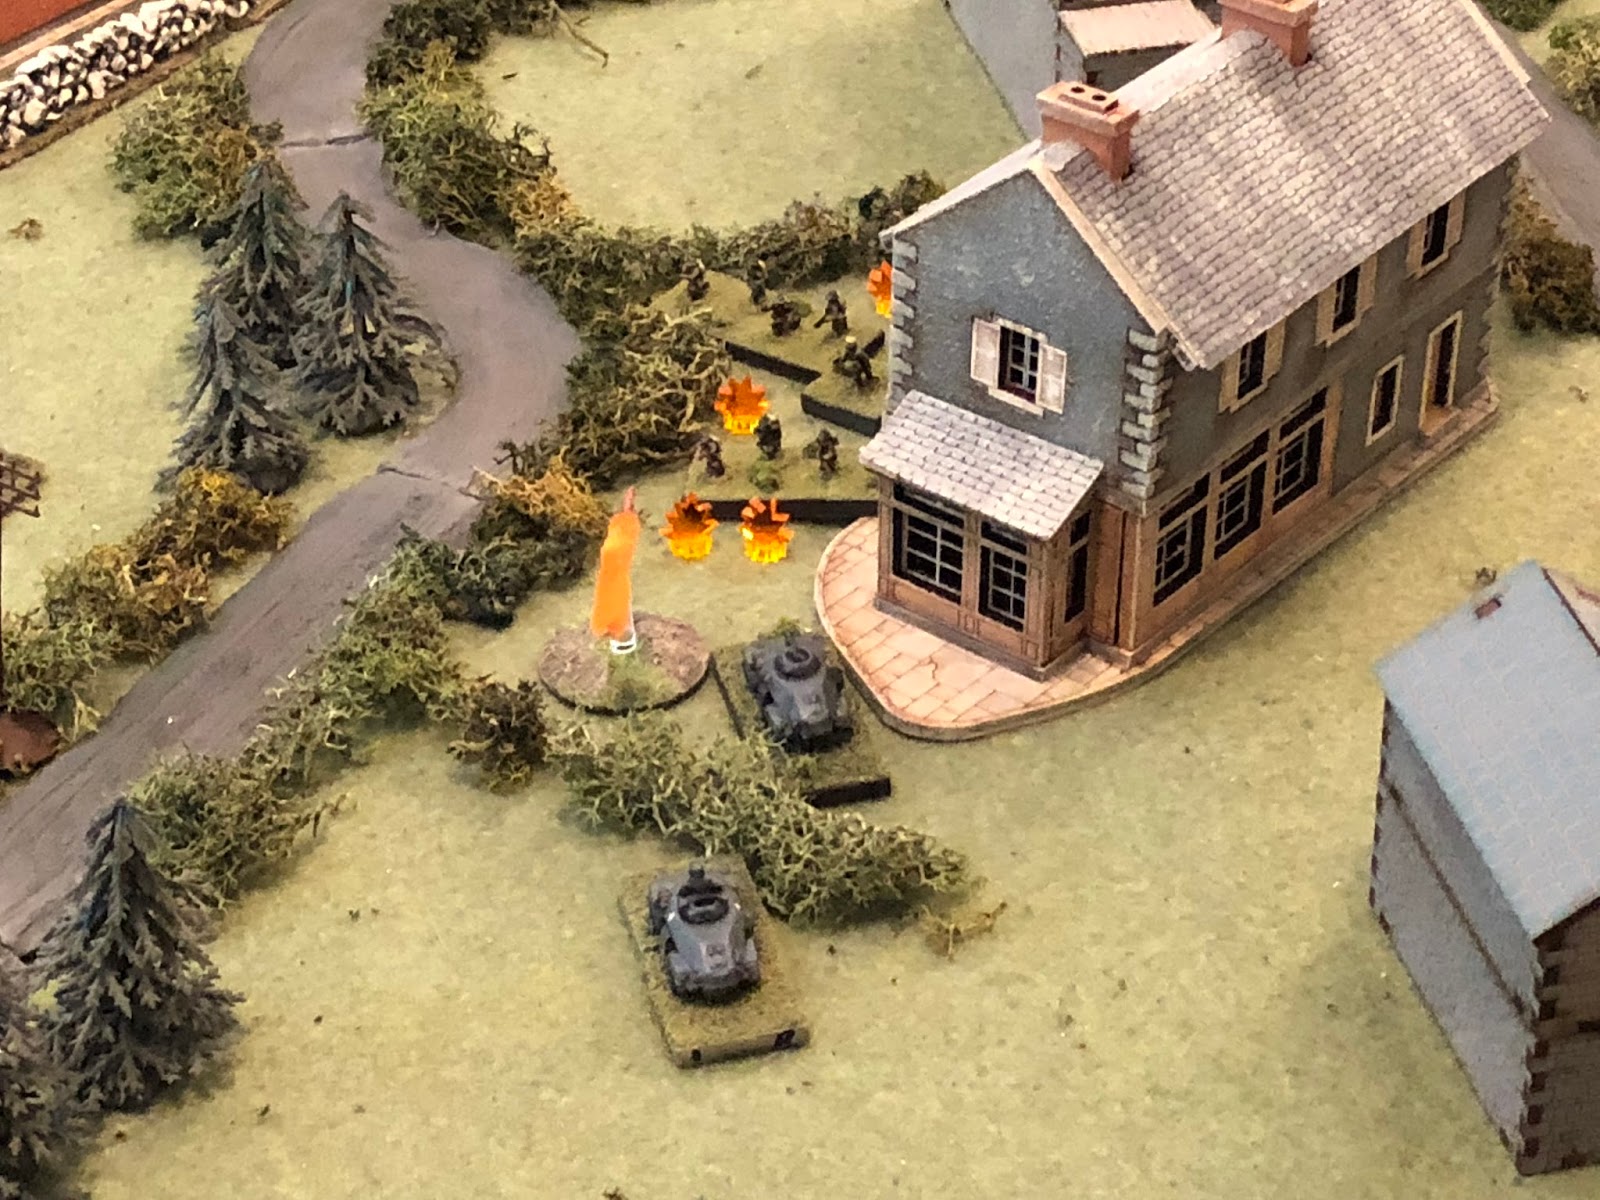
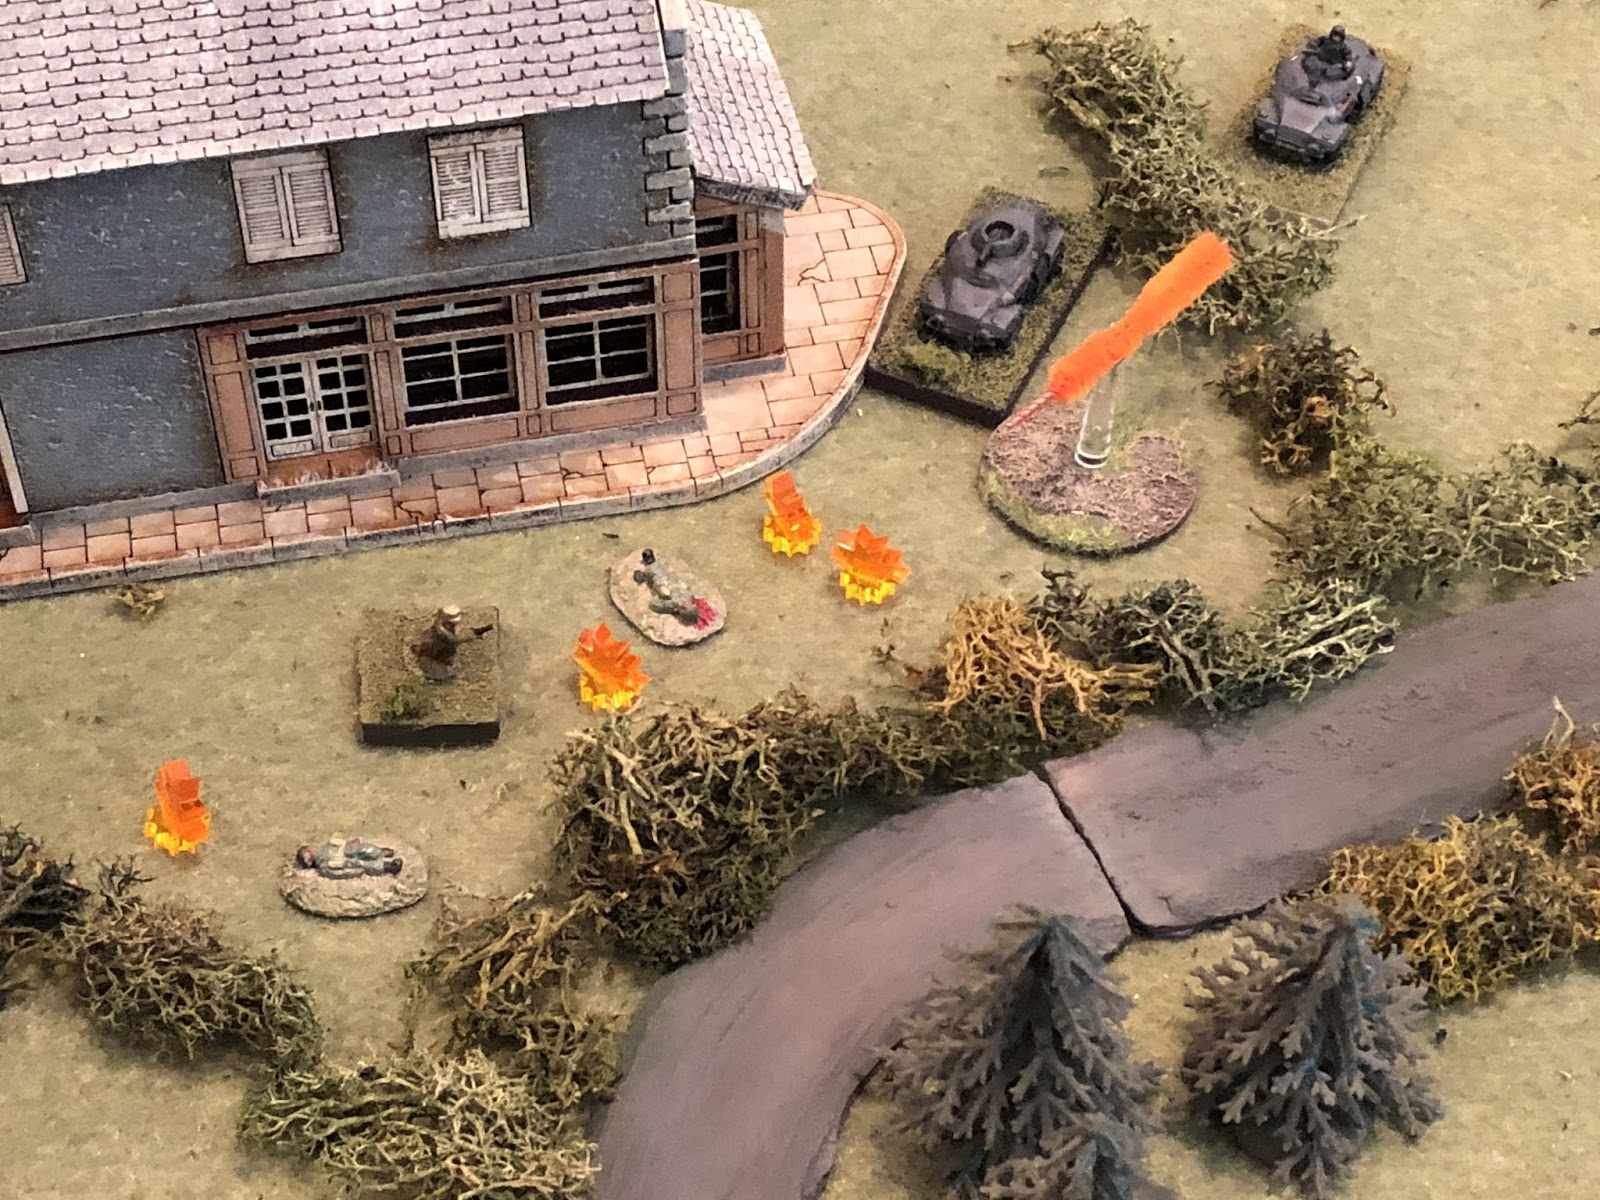
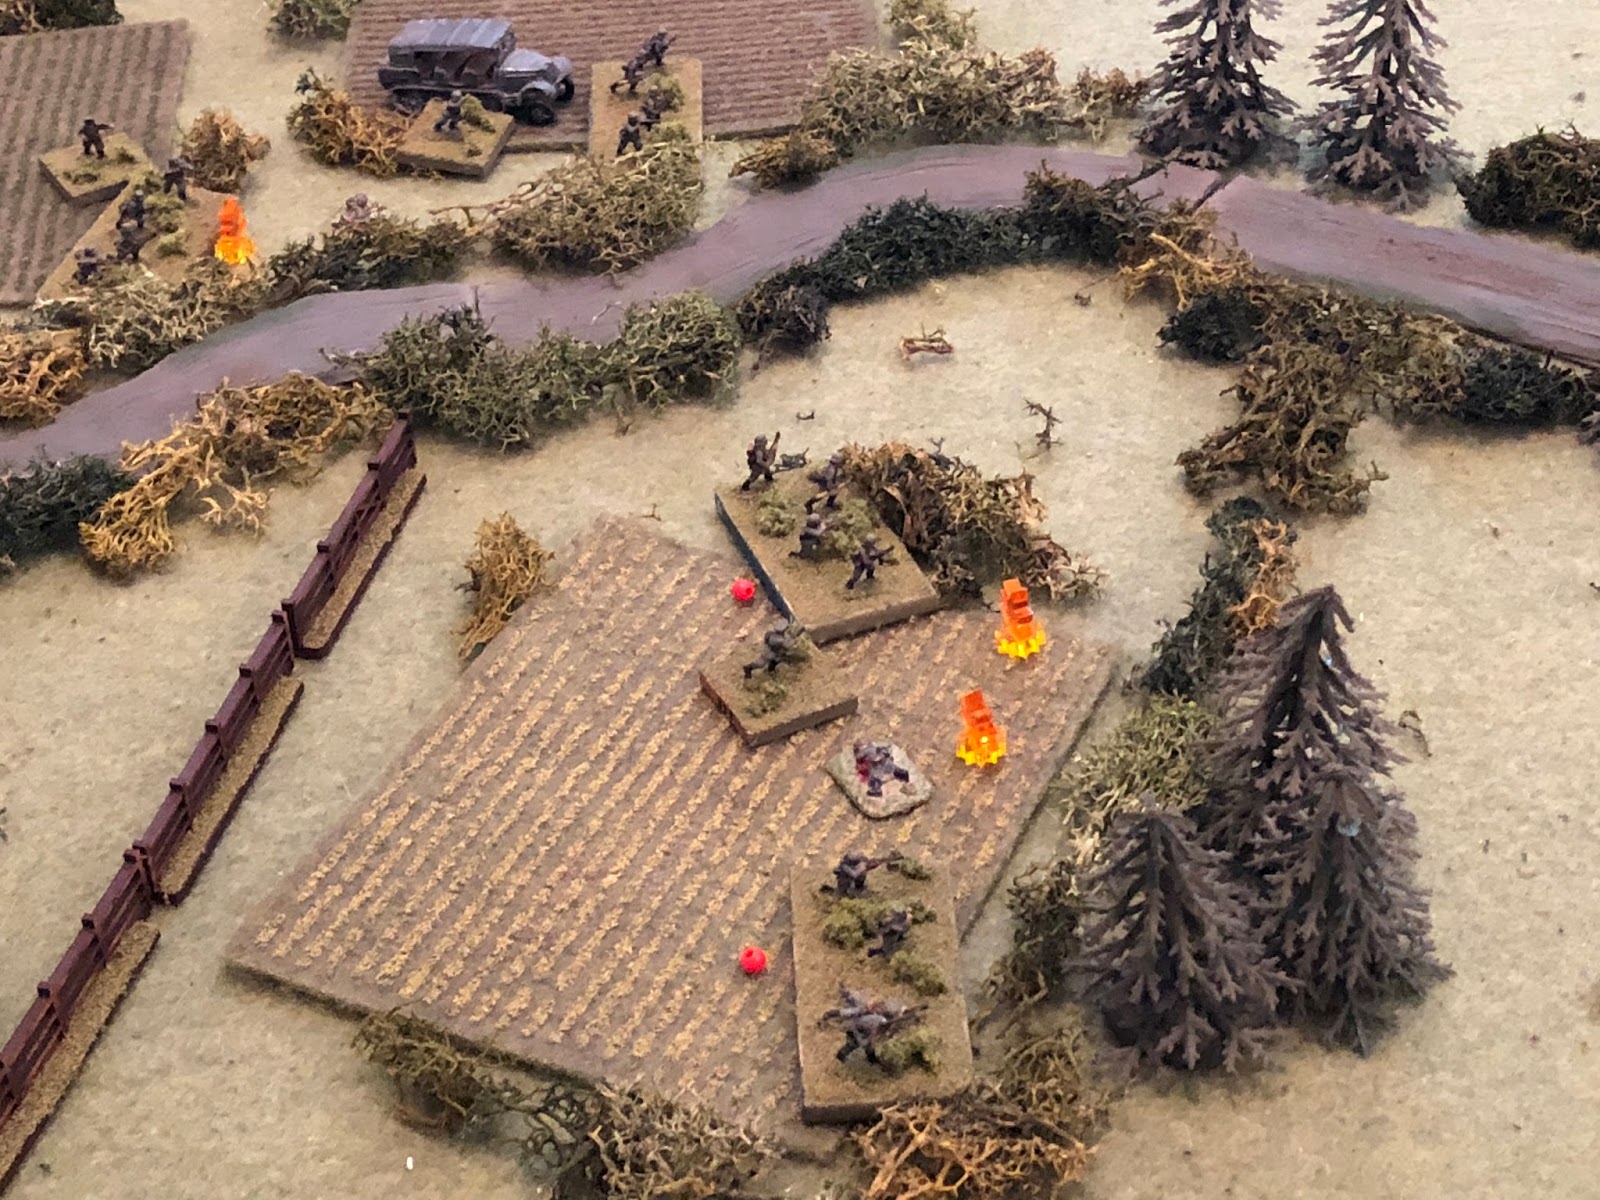
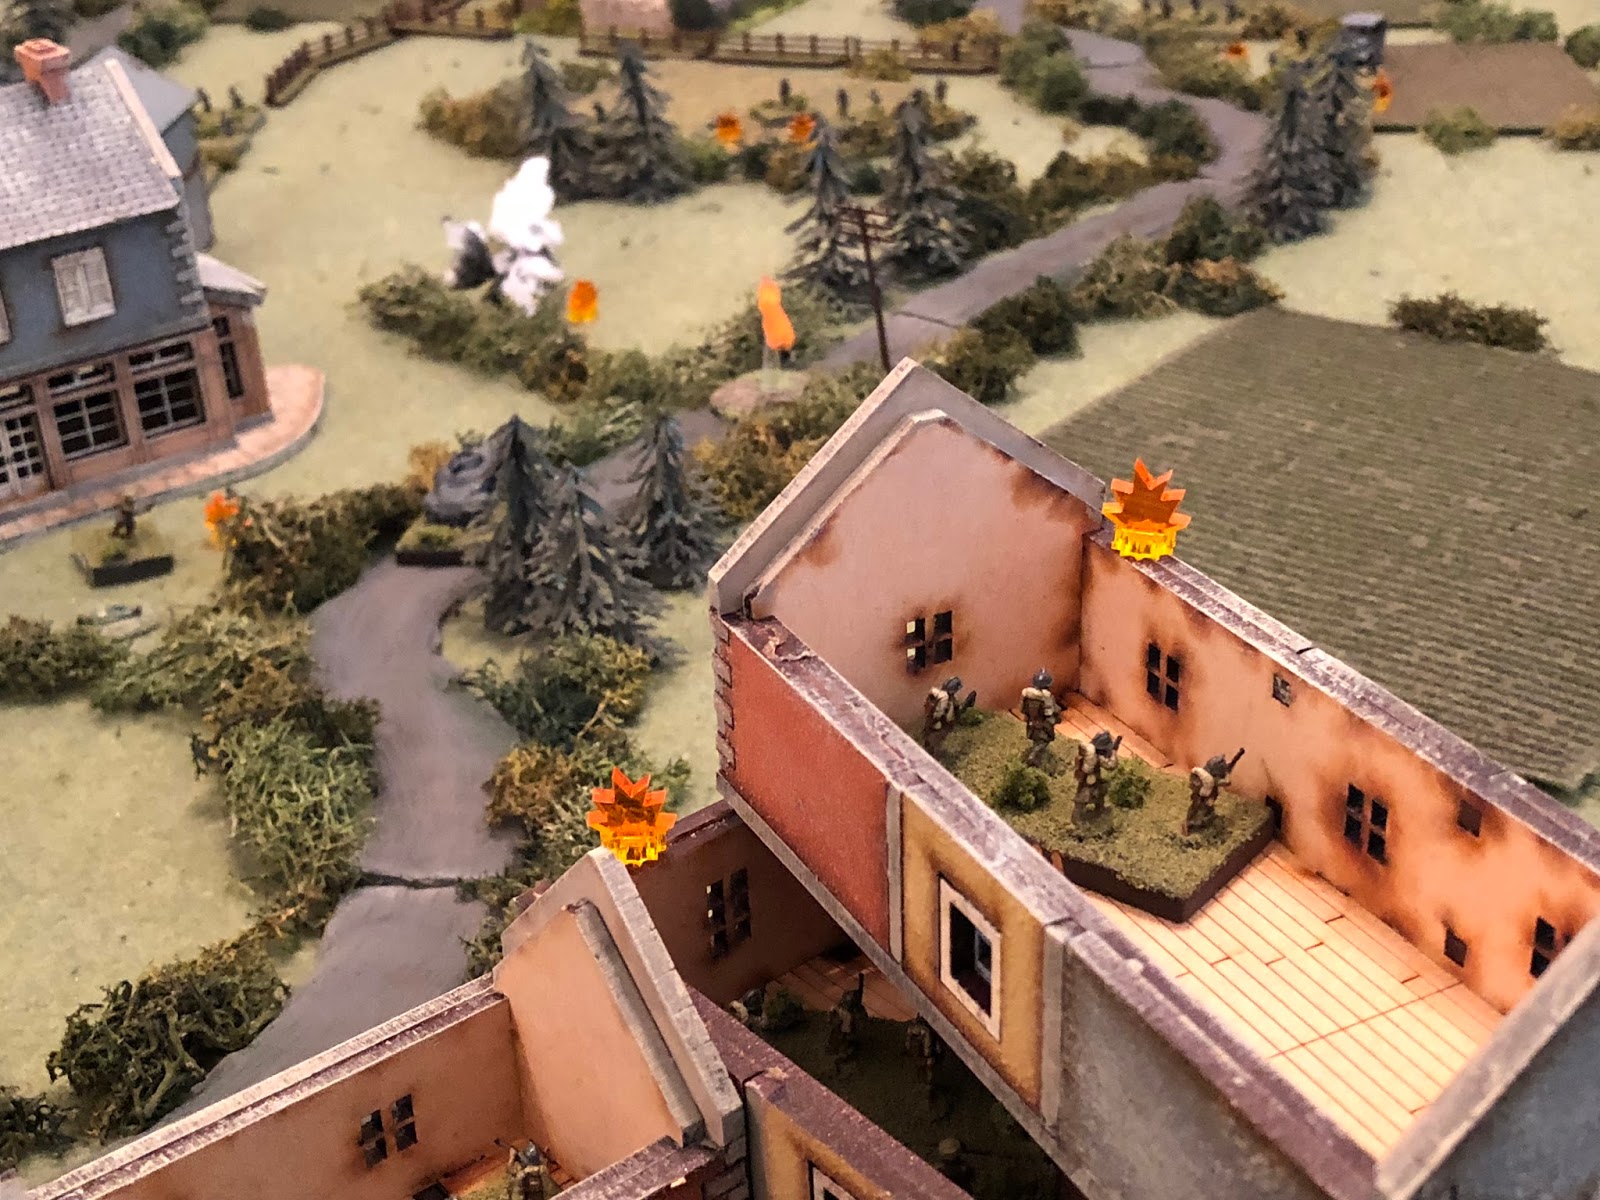
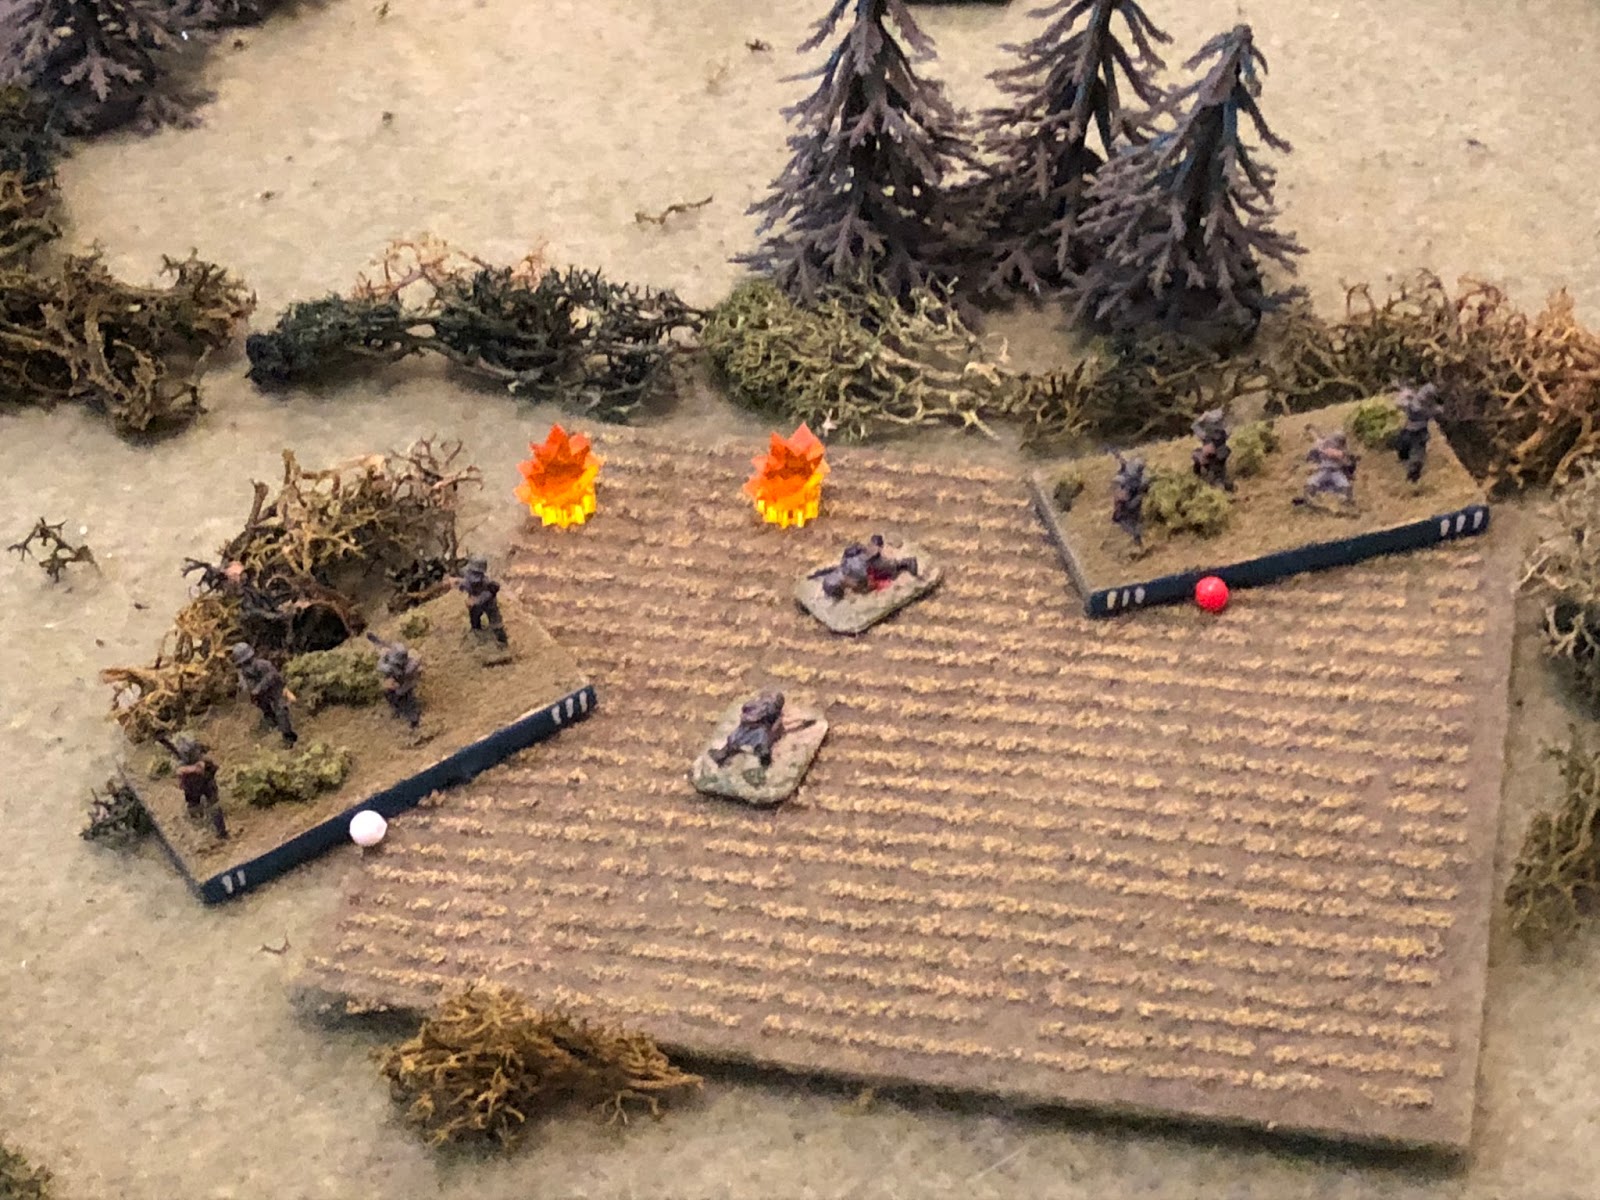
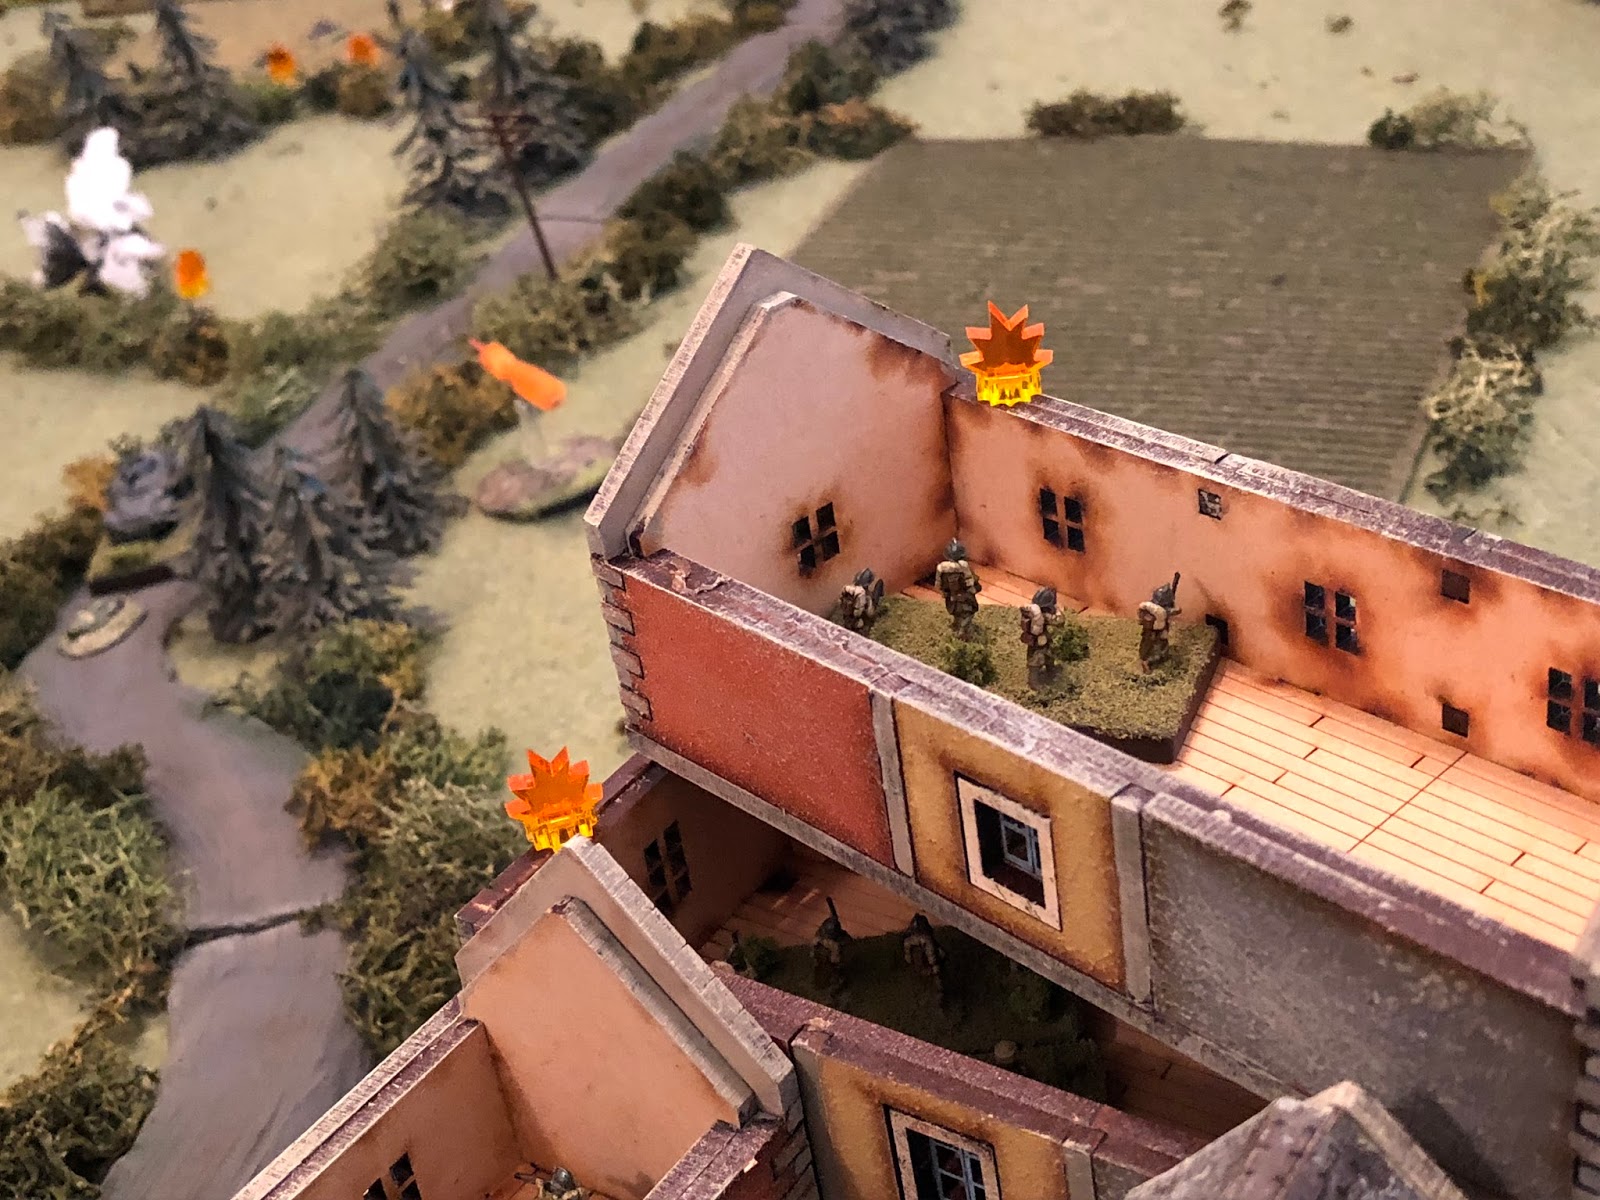
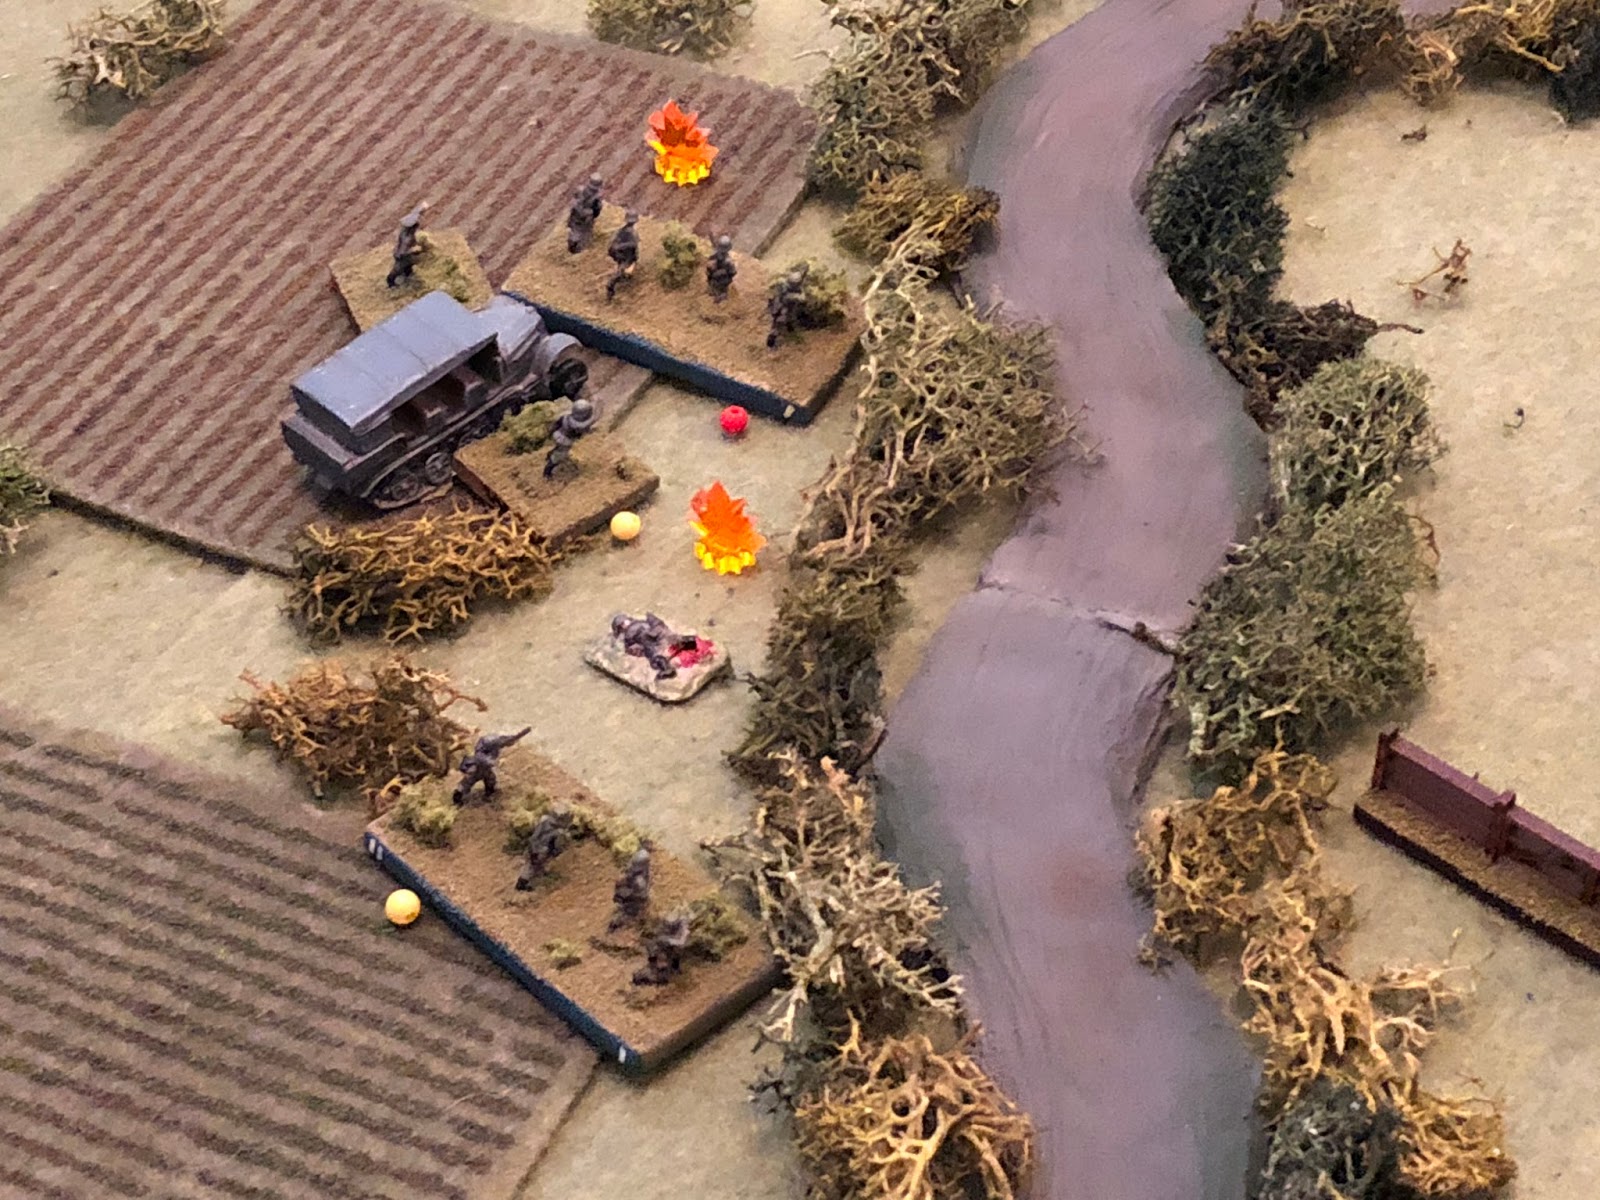
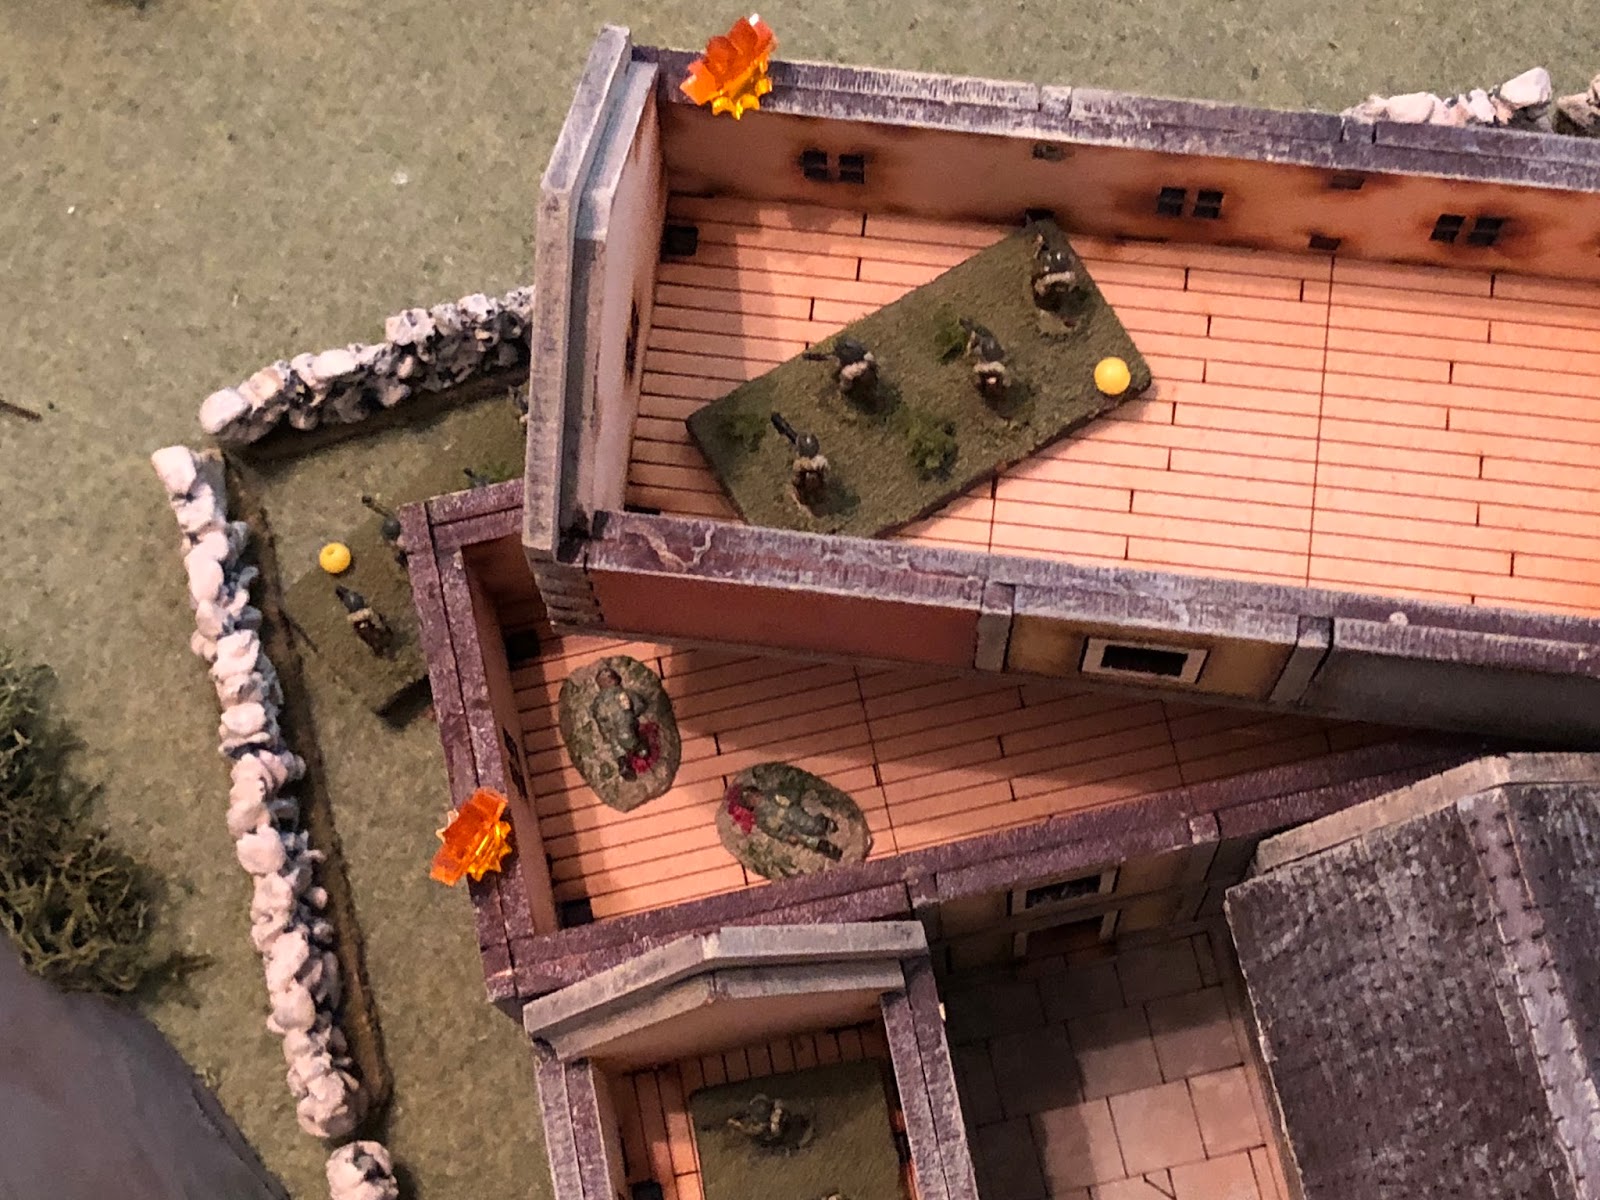
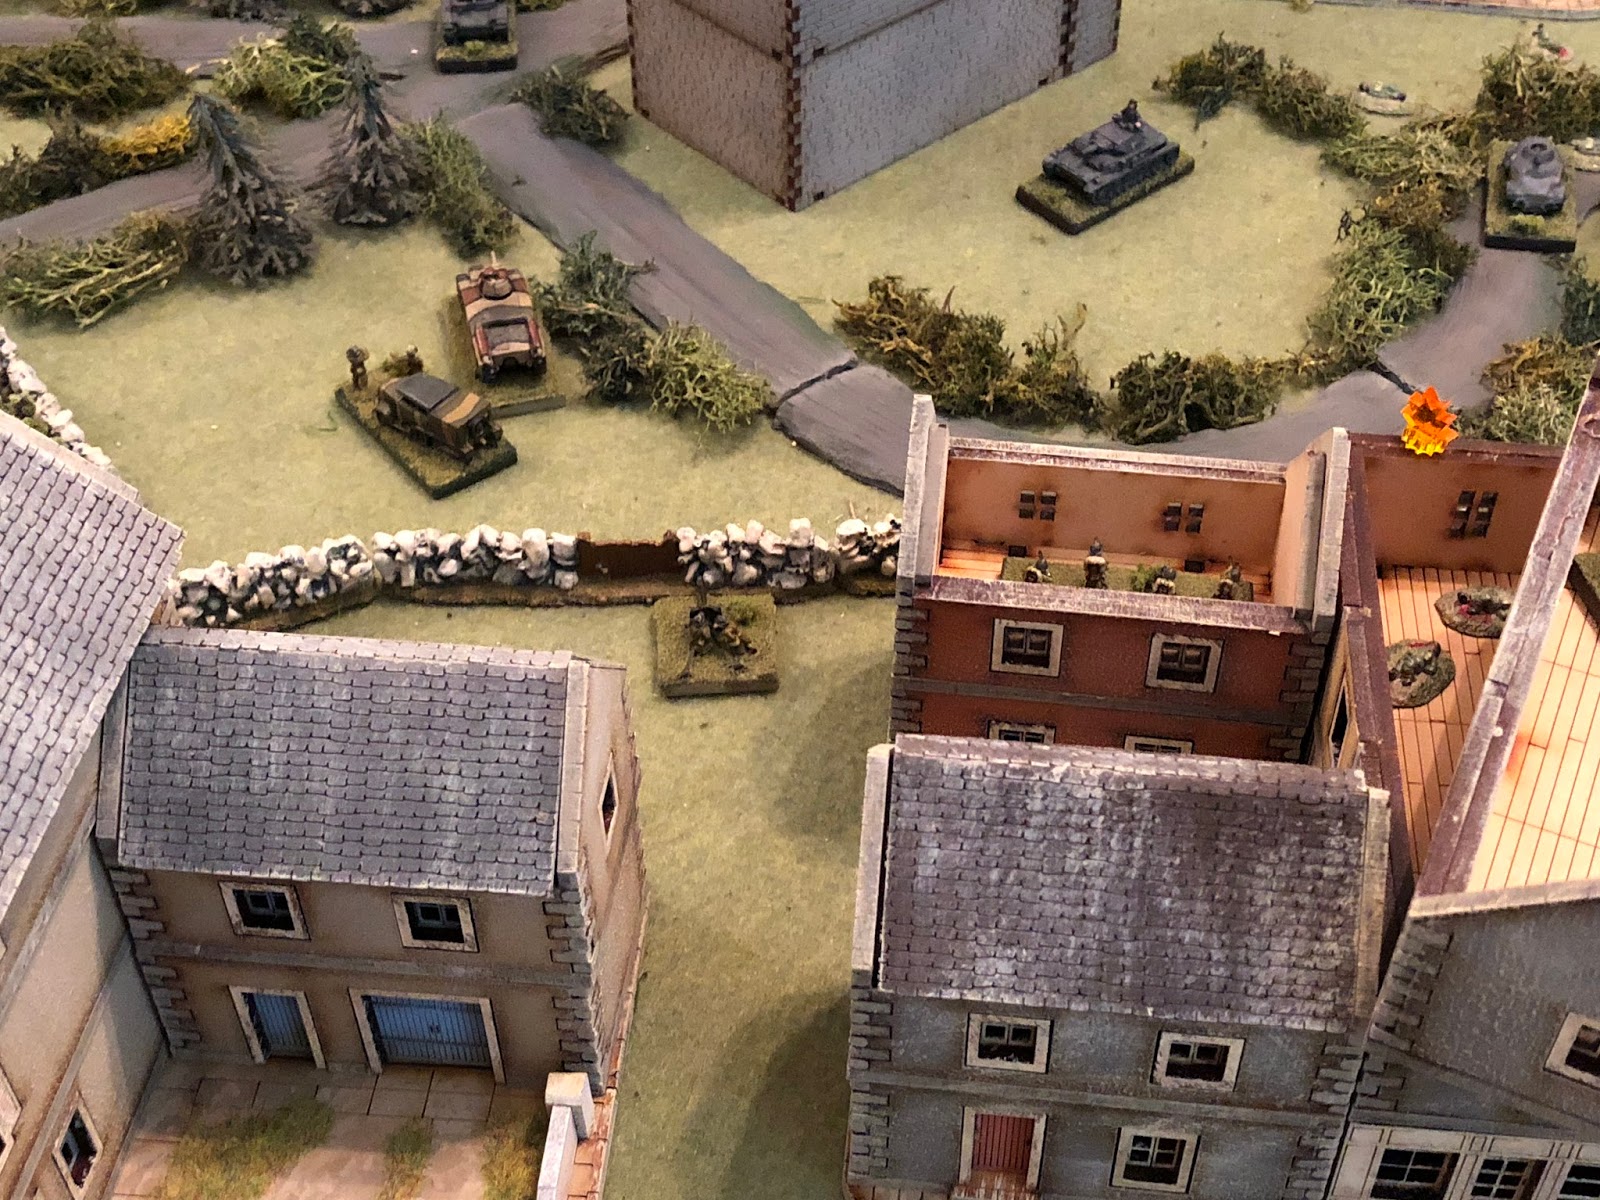
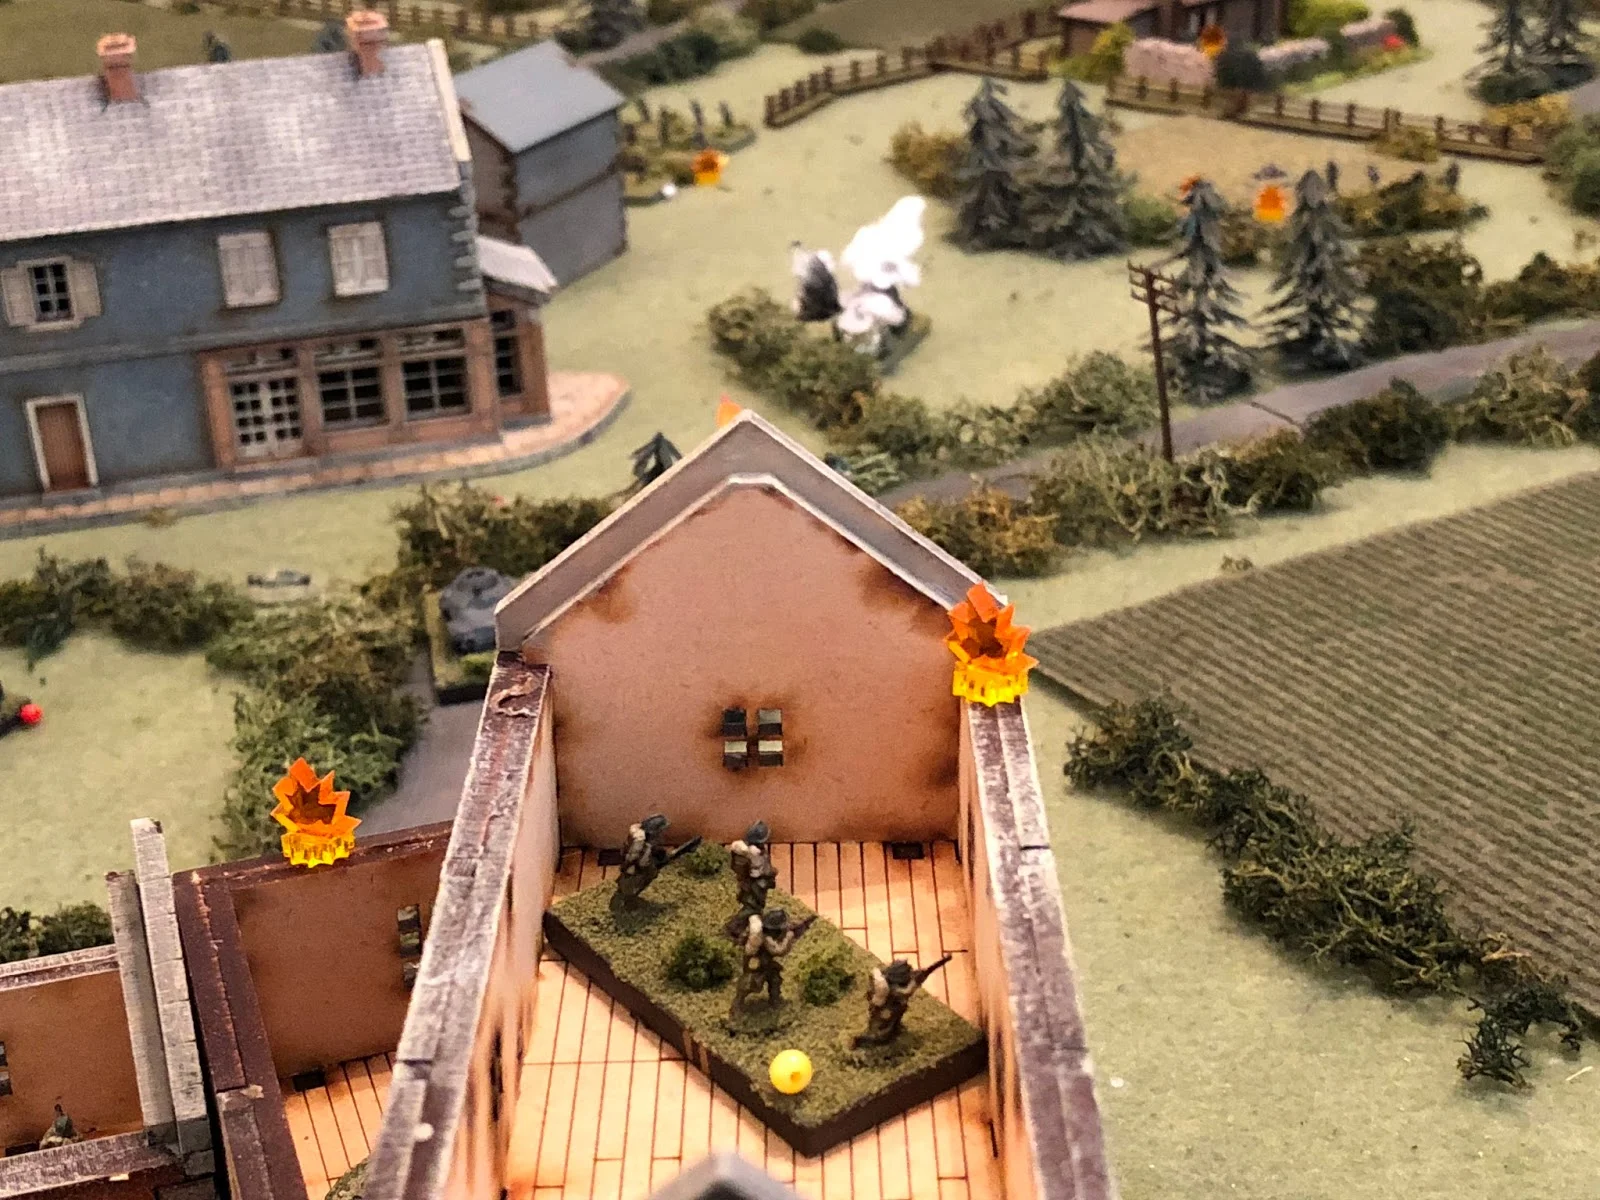
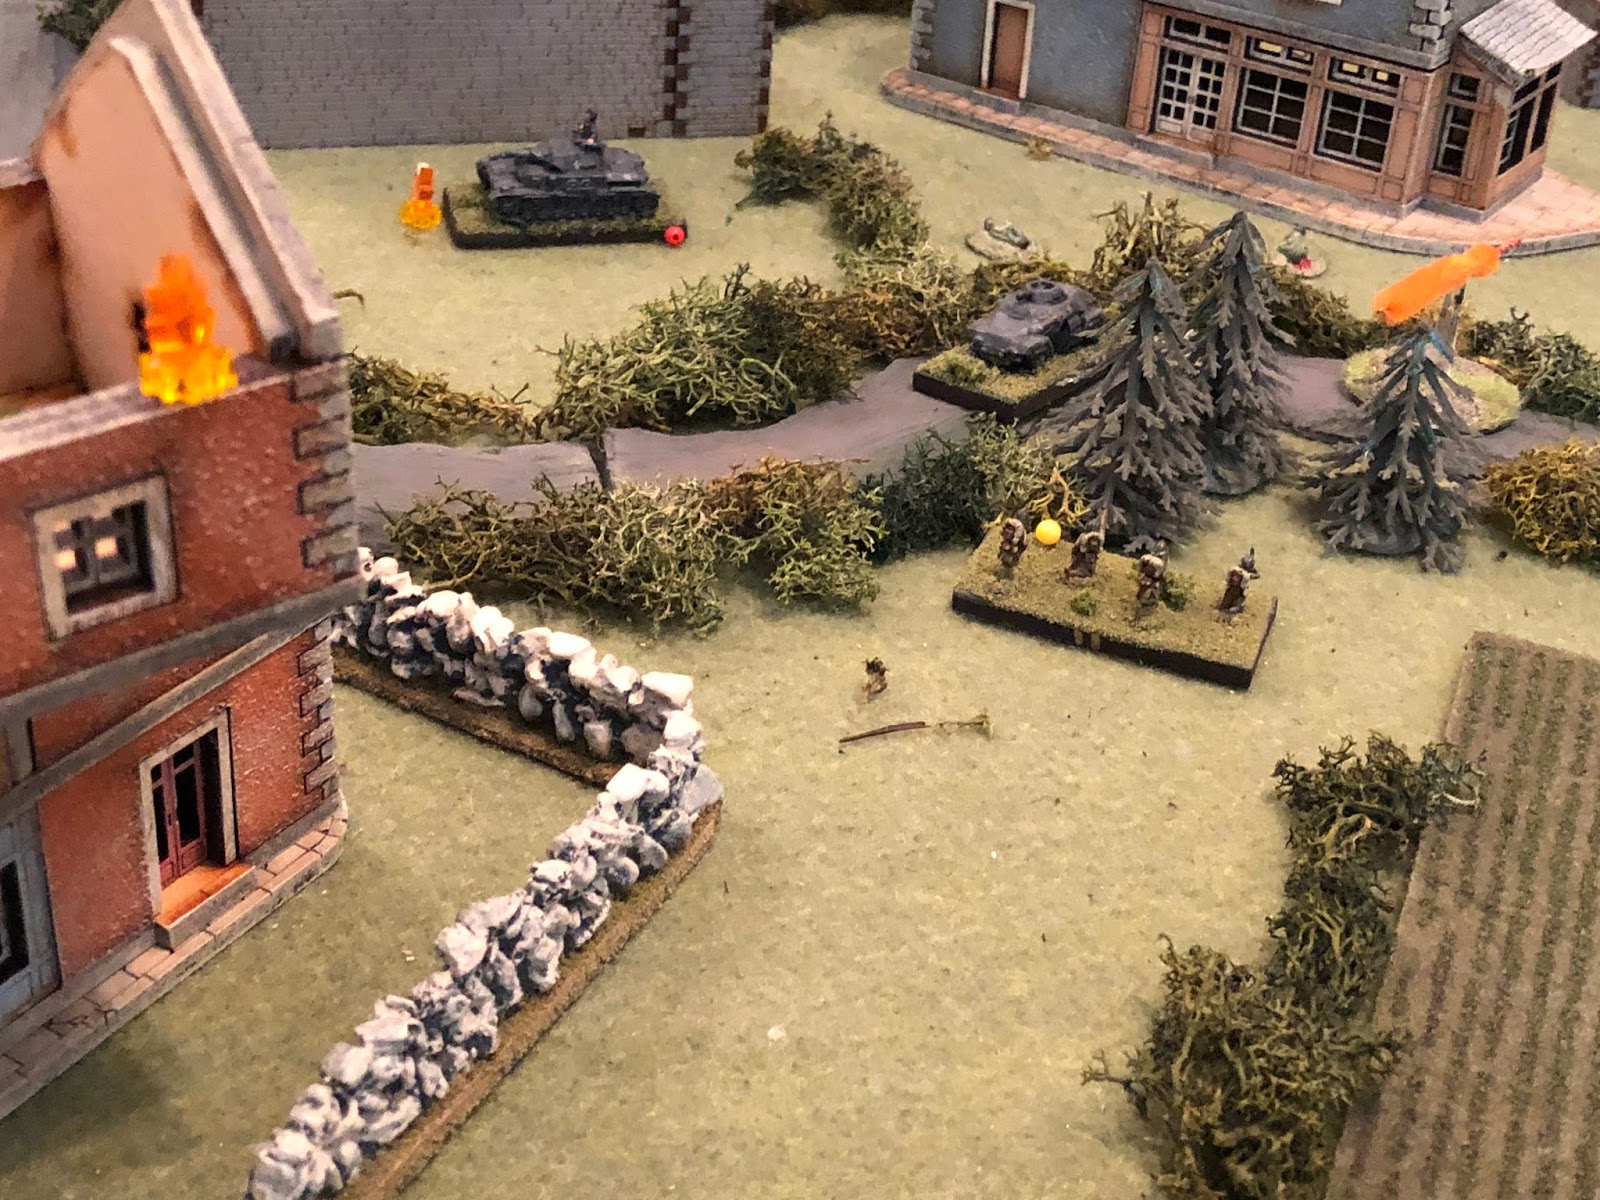
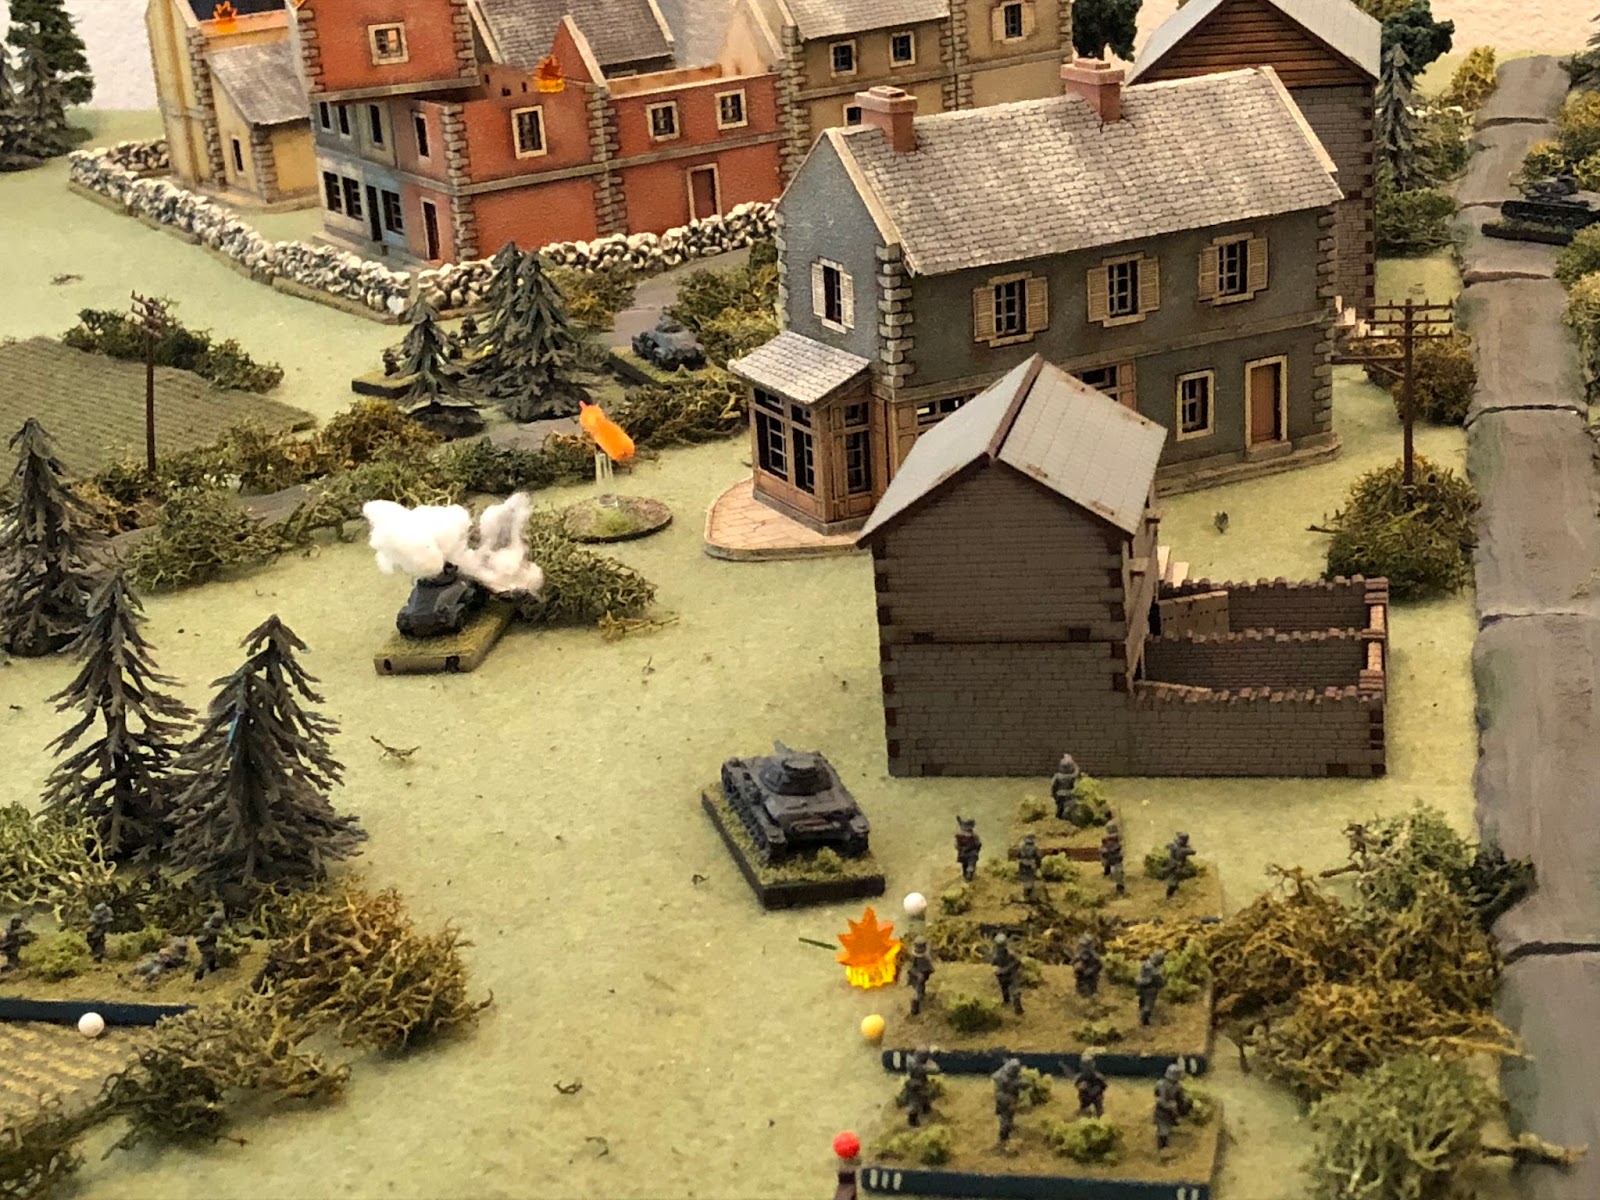
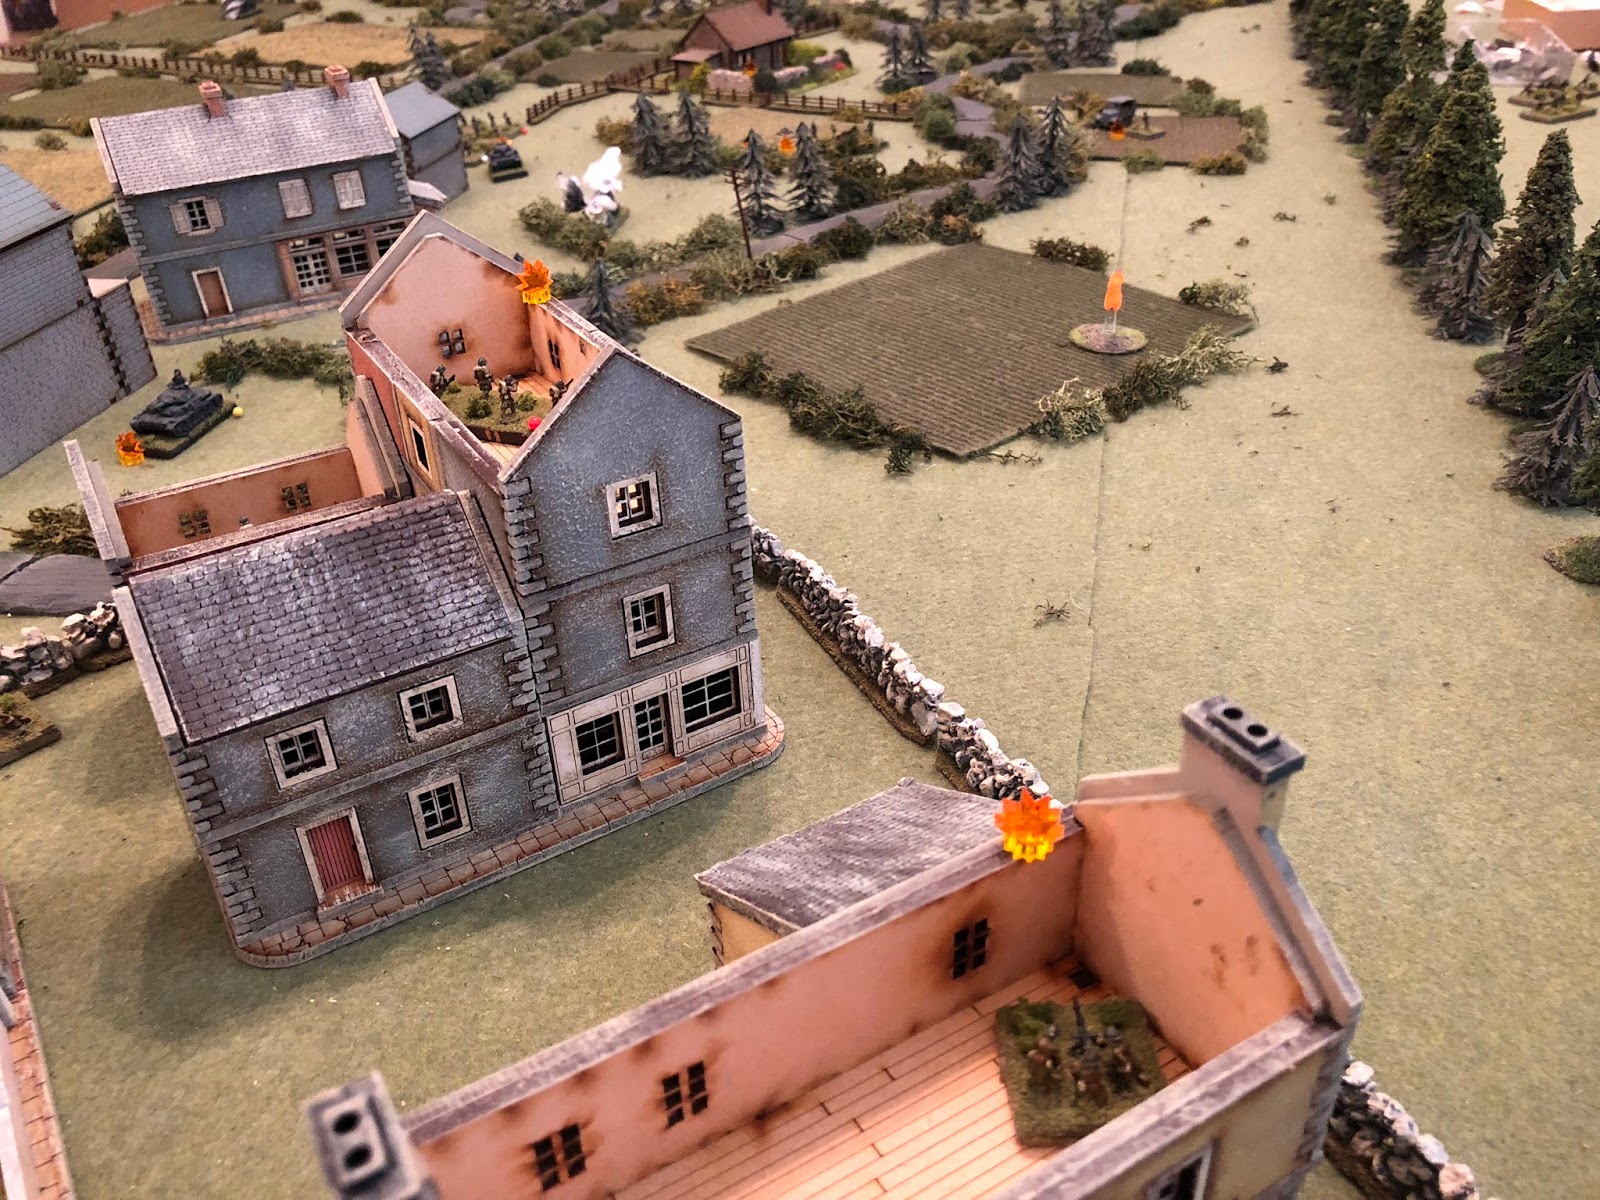
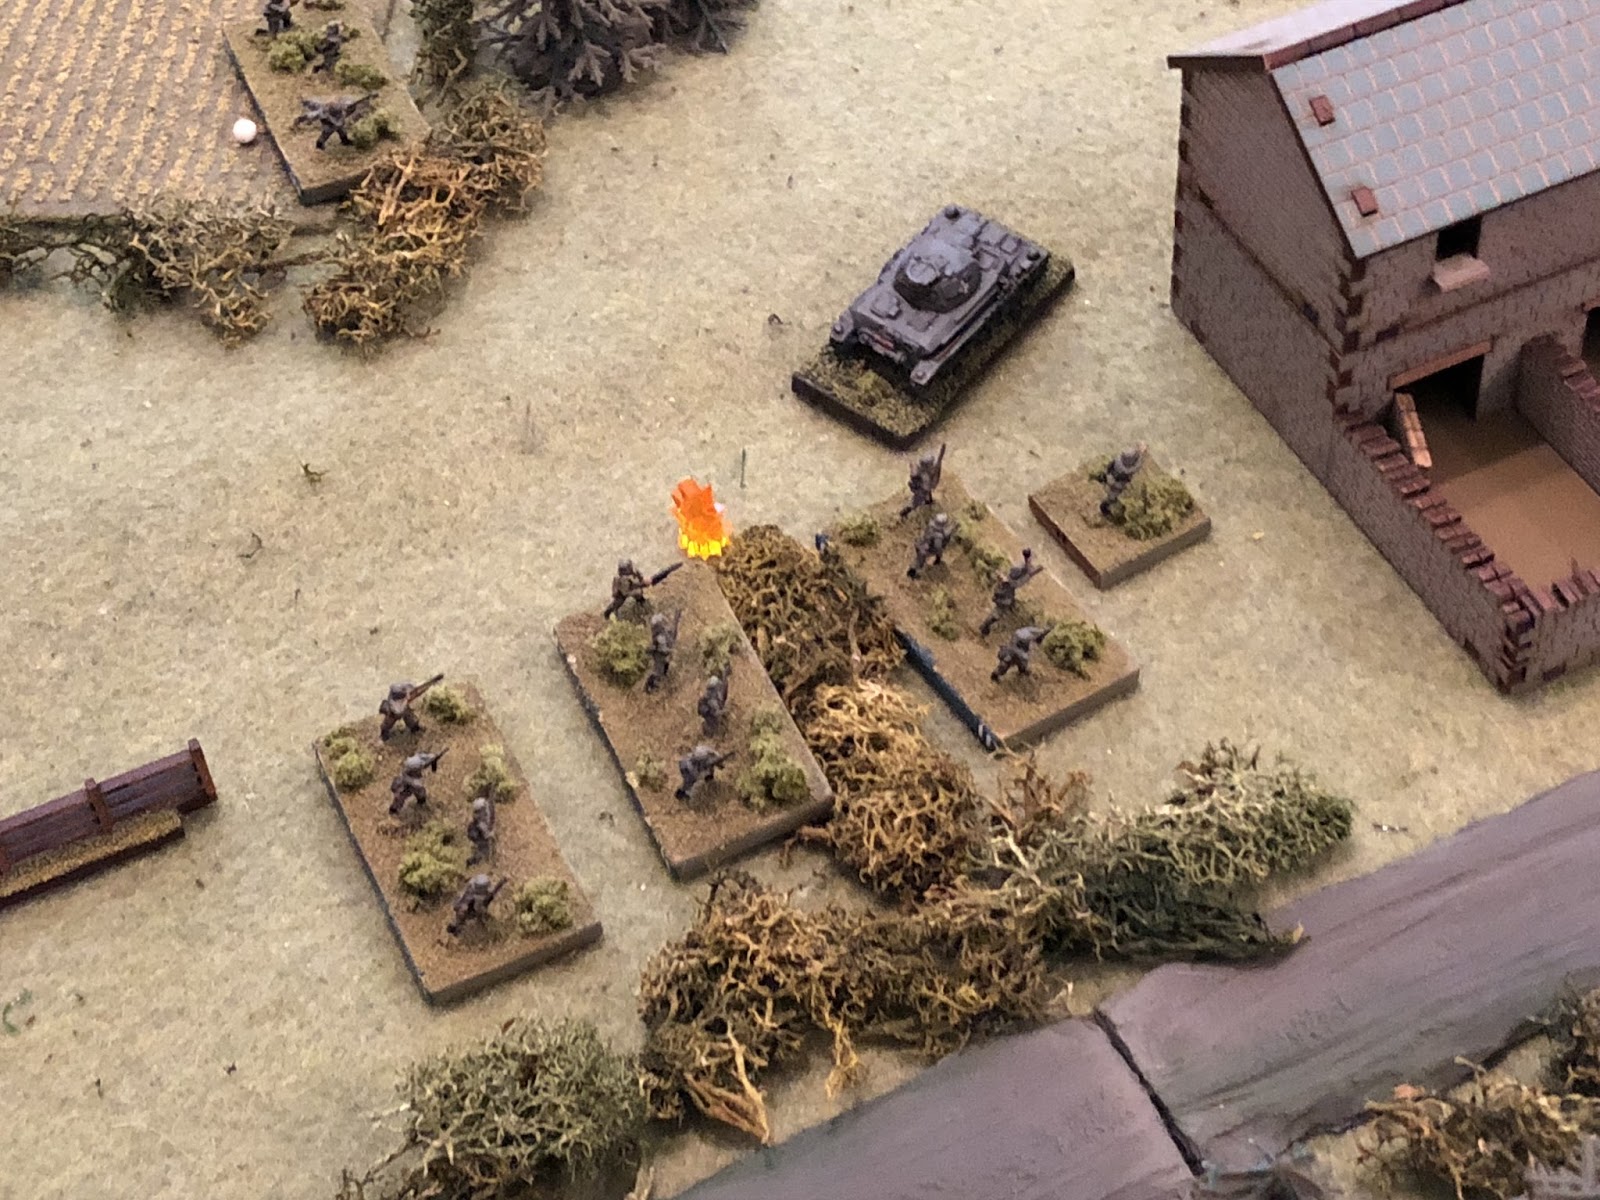
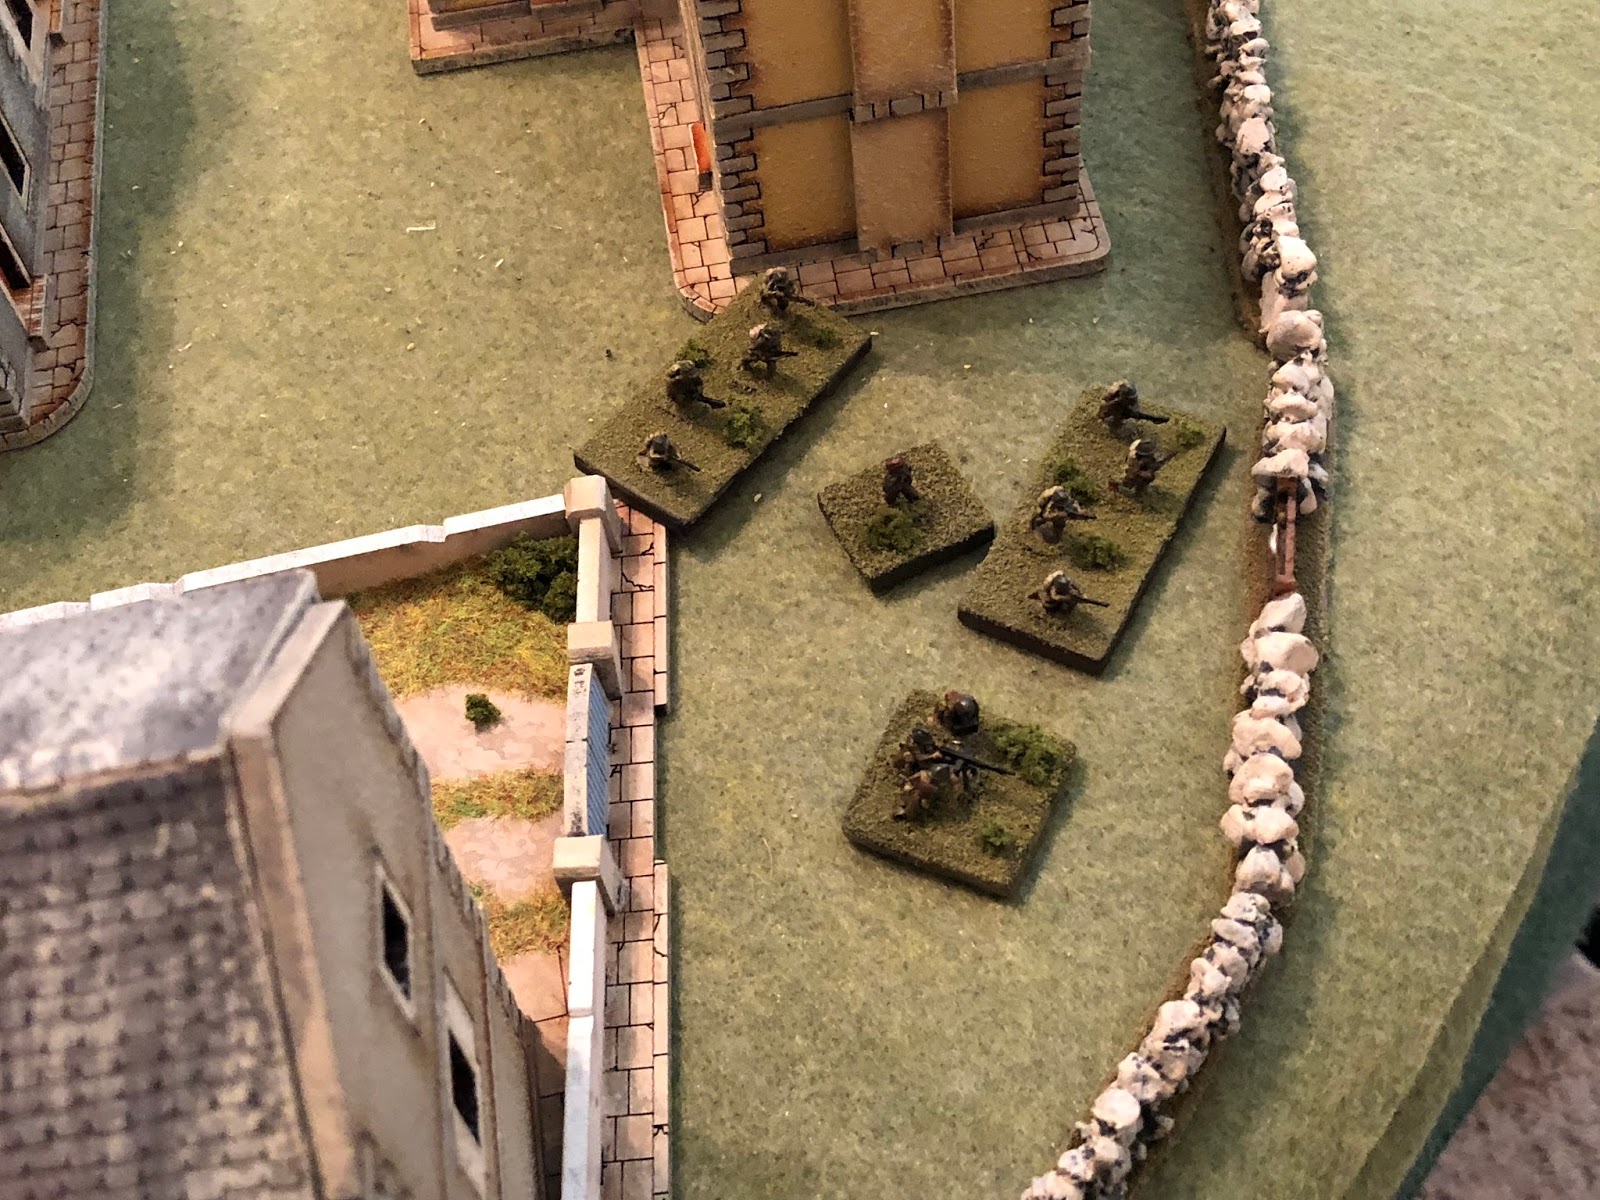
Captain Freitag (left) has managed to get the understrength 1st Platoon back into fighting shape, though SSgt Mader's 4th Platoon is beat up (top center), while Sgt Osswald, the mortar FO, has managed to get into position in the Farm (far right).
*yeah, that's right, the mortars have yet to speak this game. Don't misunderstand, I'm not complaining. I was complaining about Blinds not activating because it's supposed to be a big advantage to be on Blinds, but it doesn't bother me at all that units actually on the table don't activate, that's the point of friction!
I hope my commentary isn't ruining the narrative: it probably would have been better if I'd simply typed something like "the mortar section got their tubes set up and began cracking open ammo crates, only to discover the rounds were supplied without the fuses! Sgt Osswald quickly dispatched a team back to the rear to find some fuses for their 80mm HE rounds."


Aftermath
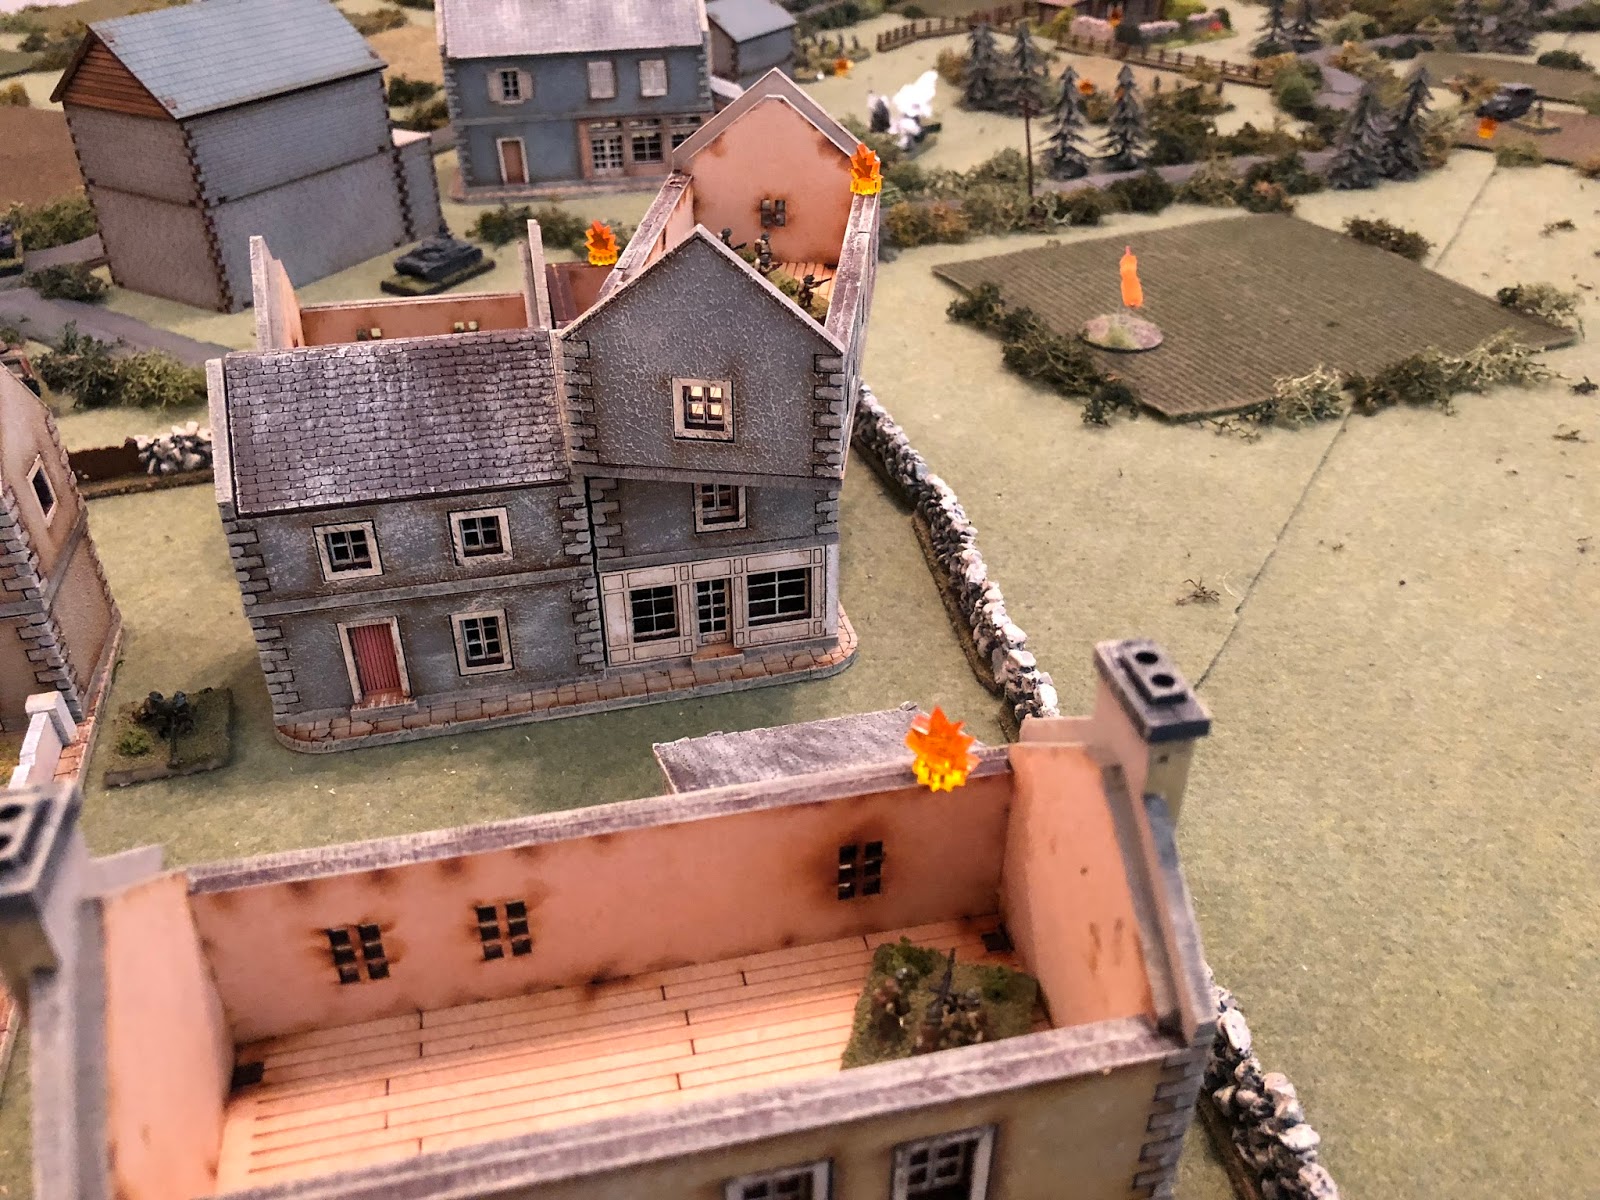
Man, what a fight! I was a bit worried about the disparity in size between the attacking German force and the defending French force; my experience is that most wargame rules struggle with games that have substantial differences in the size of the opposing forces. But the friction/fog of war brought about by the use of the cards meant that the fight was extraordinarily tense and the outcome hung in the balance until the very end. The fight was very enjoyable for both of us and we will definitely play again, the only change being our house rule of allowing Blinds to activate at the end of the turn if their cards don't come out.
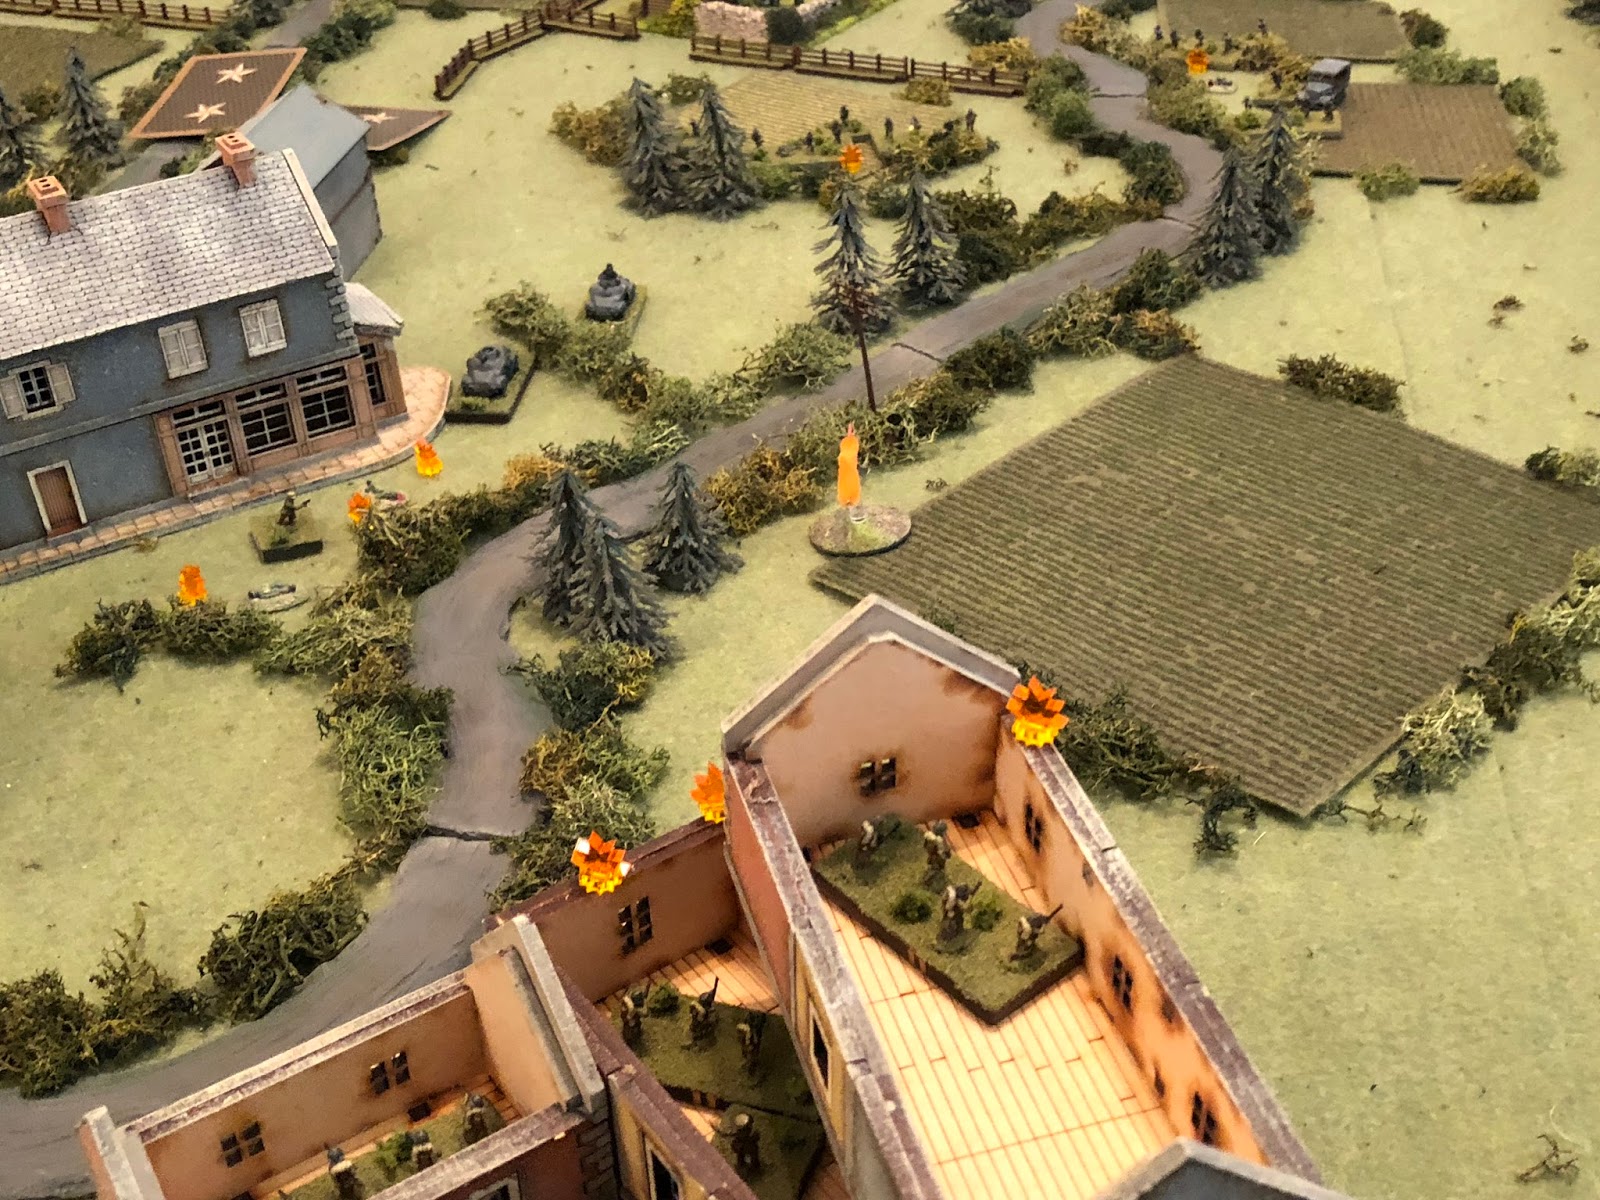
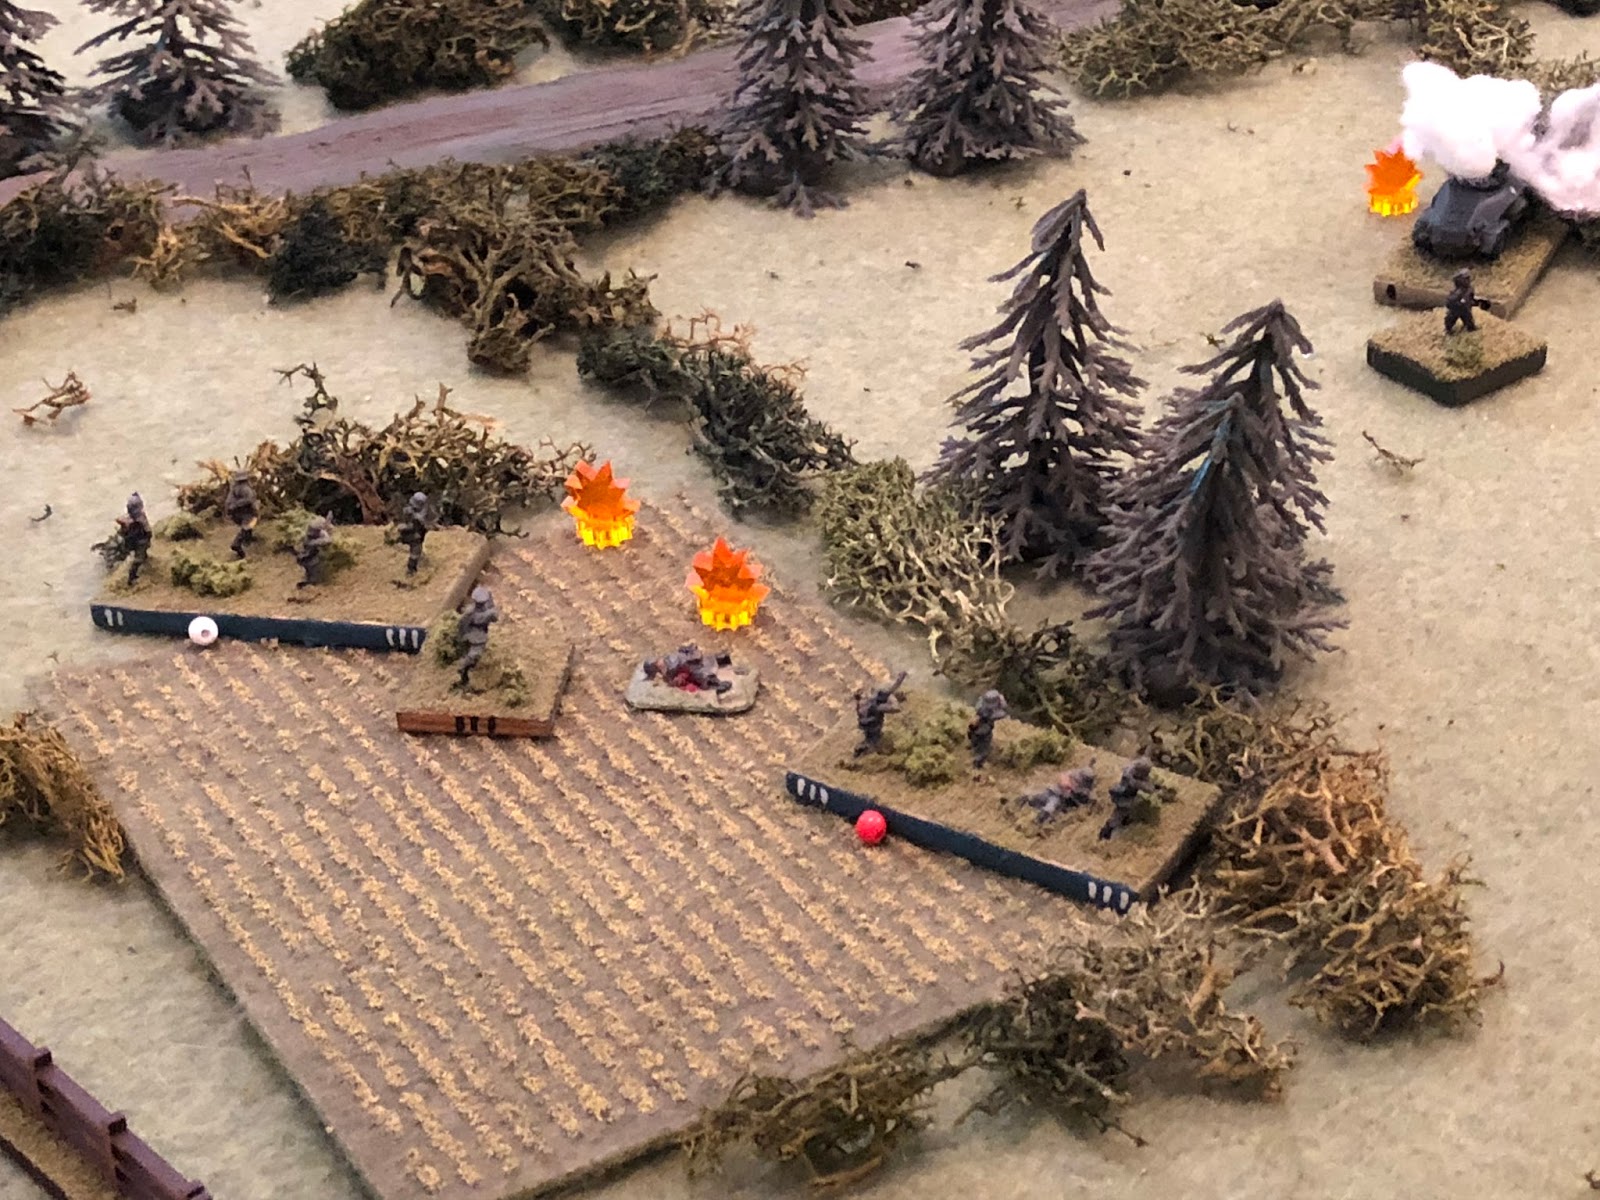
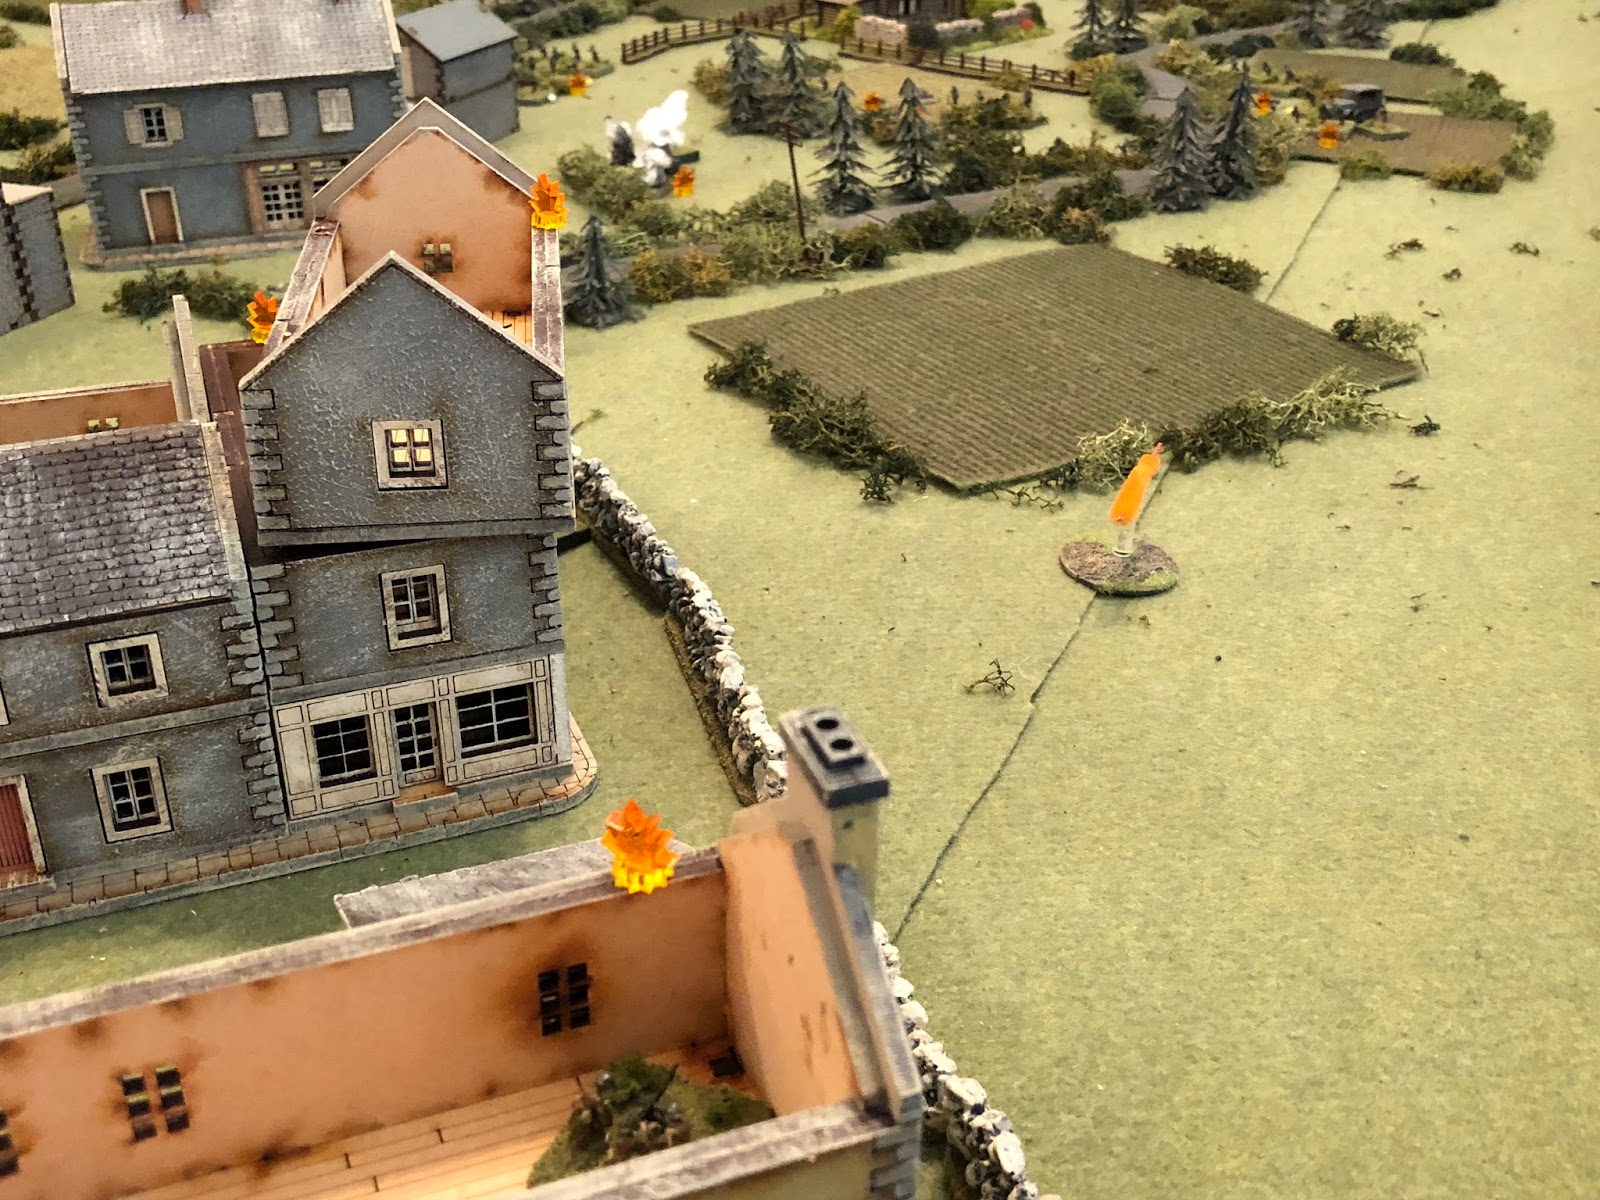
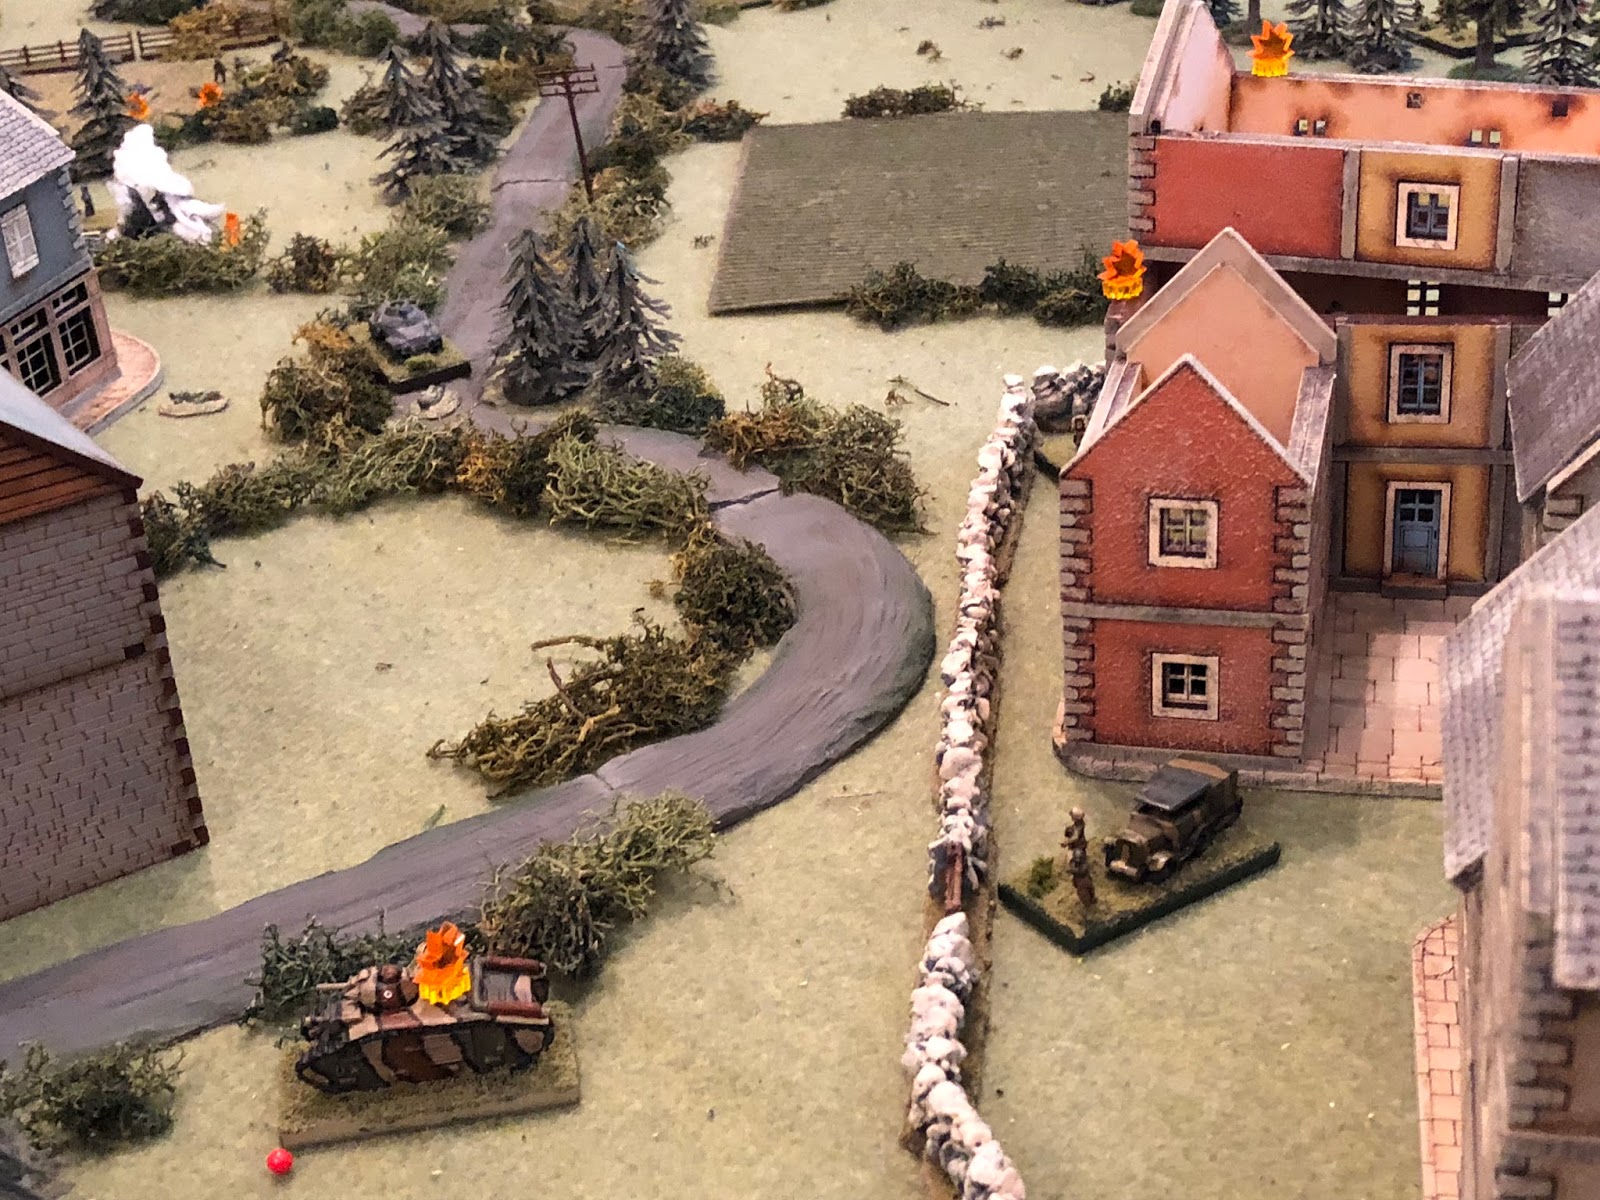
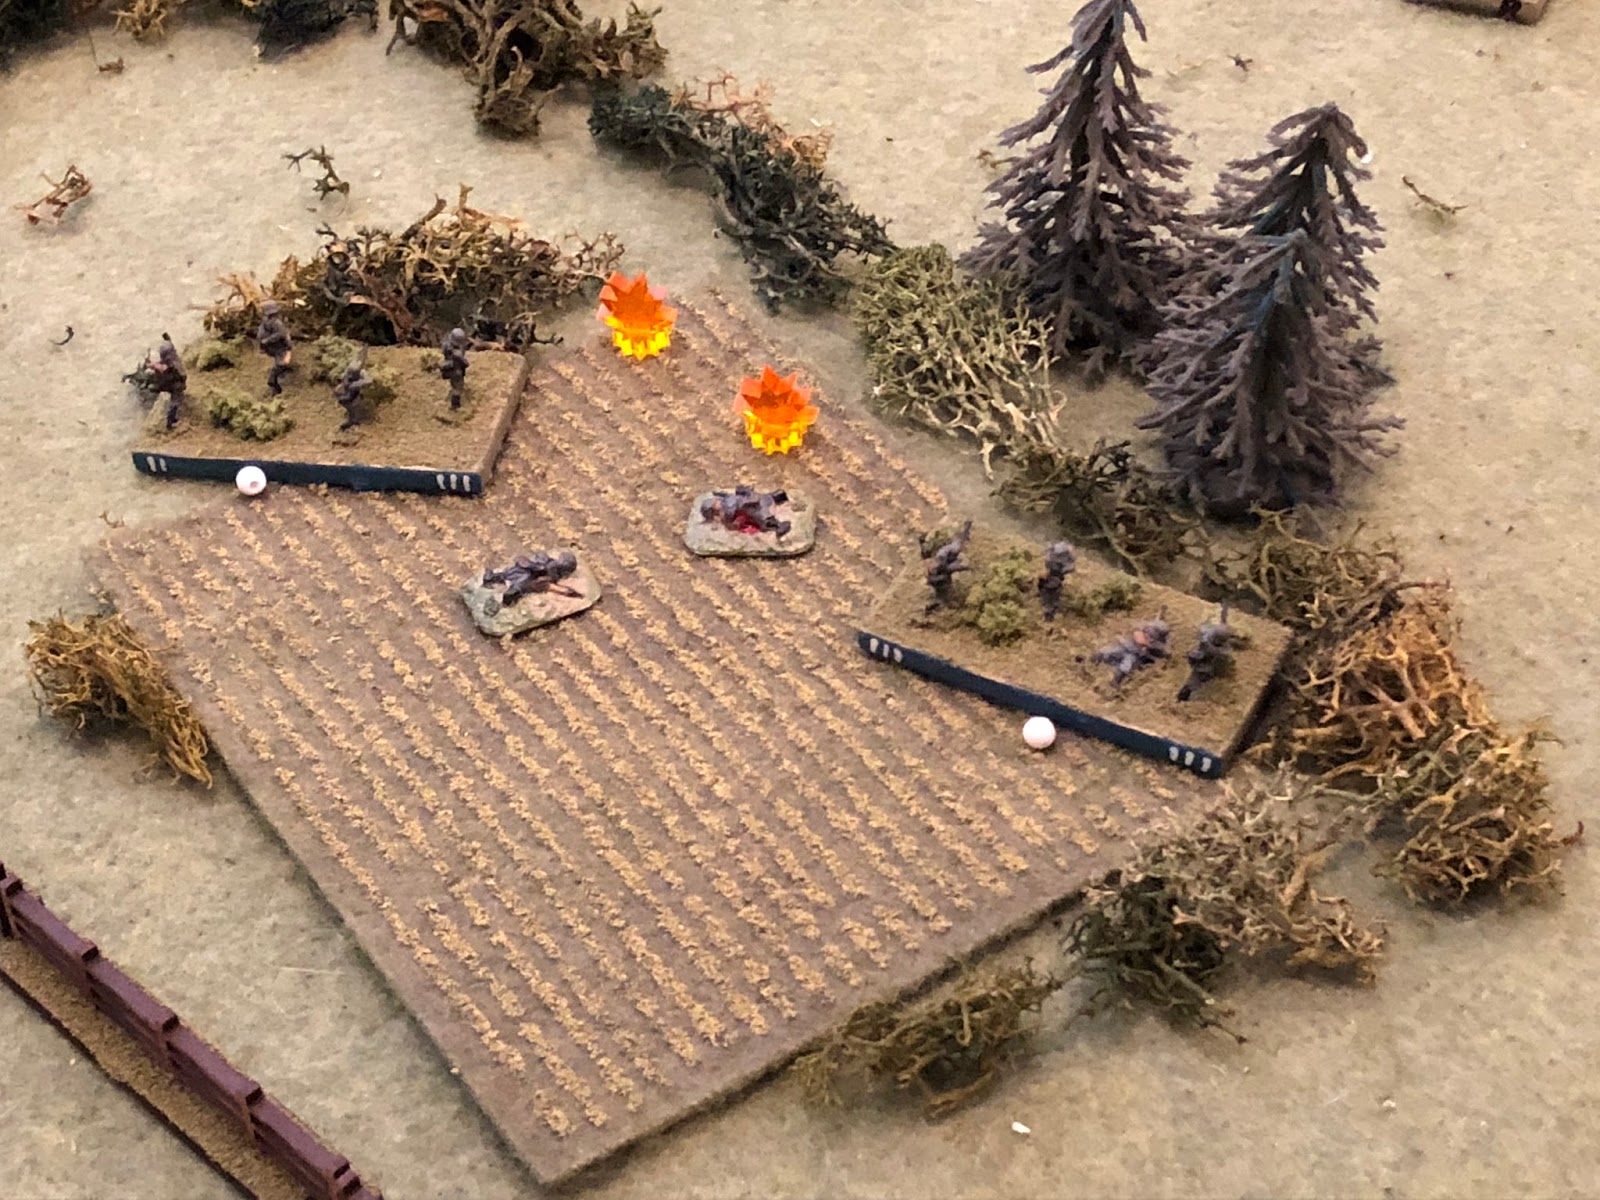
KG Klink accomplished its mission of taking the village, but it was a real meat grinder. Here are the casualties for the battle:
German
- 55 KIA/WIA/MIA (including the rifle company commander, a platoon commander, and two squad leaders!)
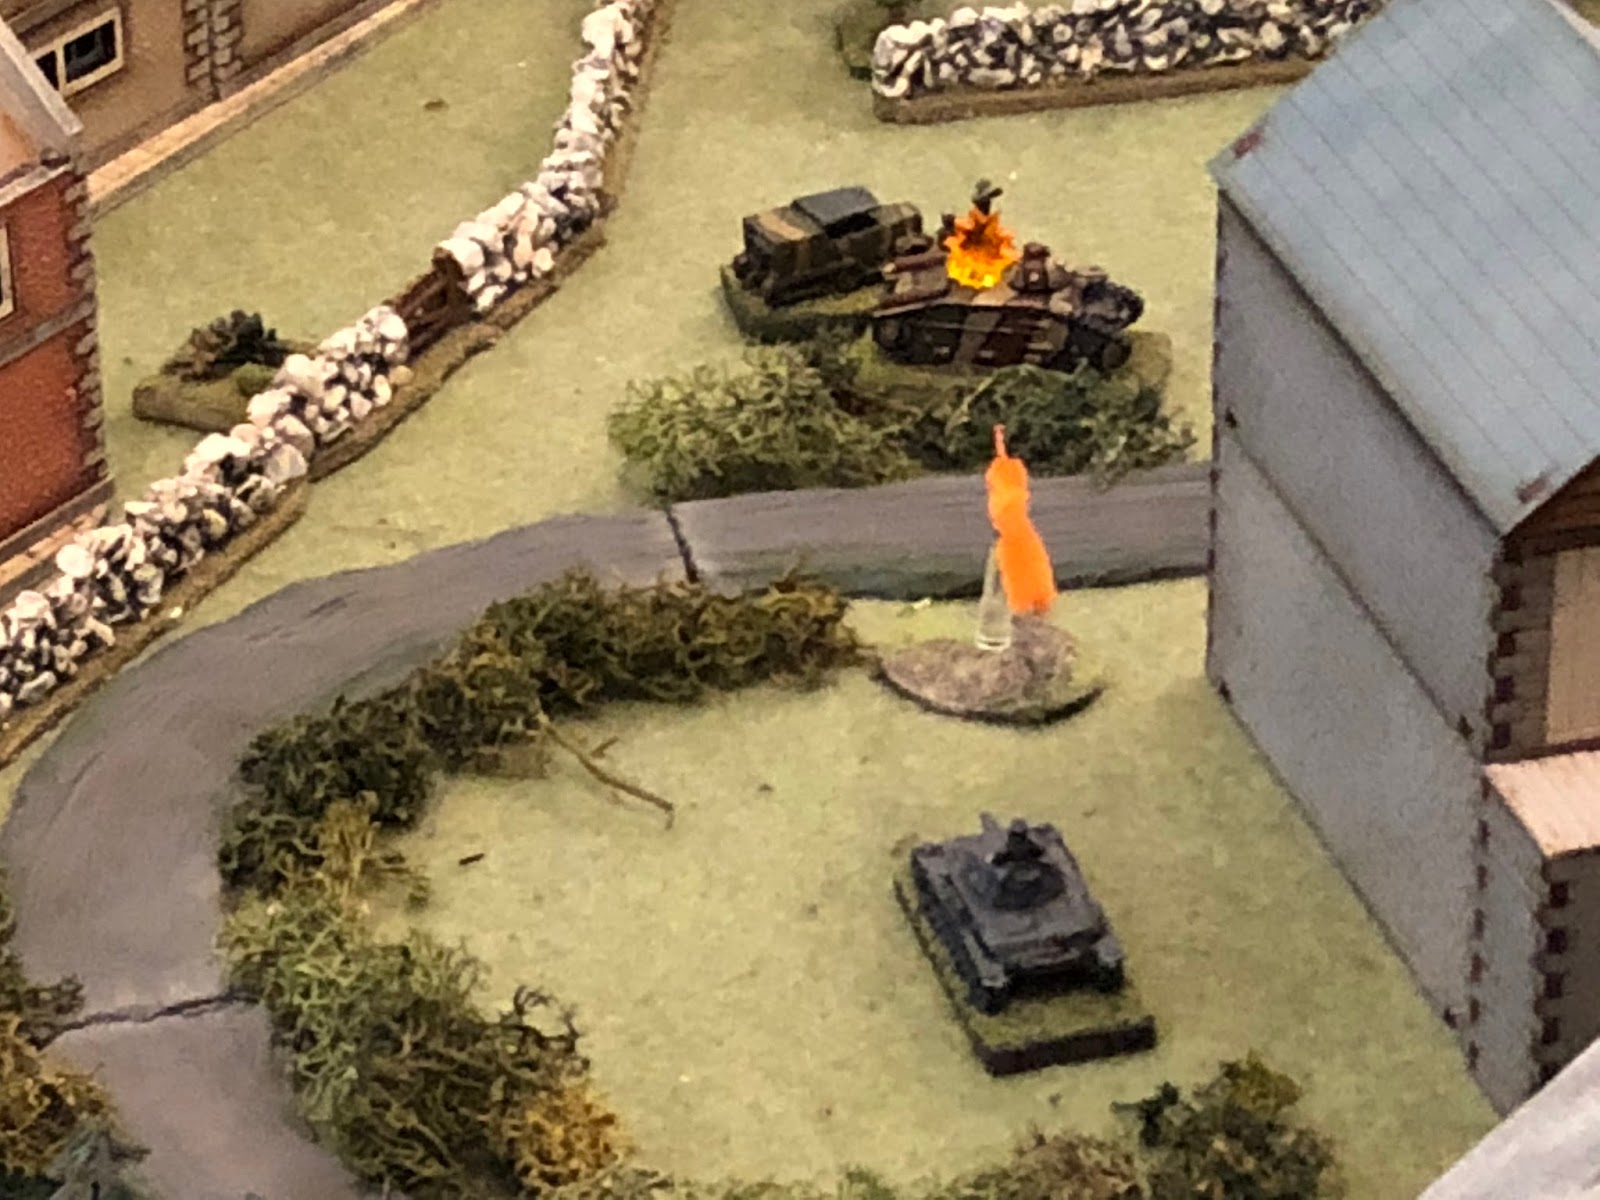
- One Pz III knocked out
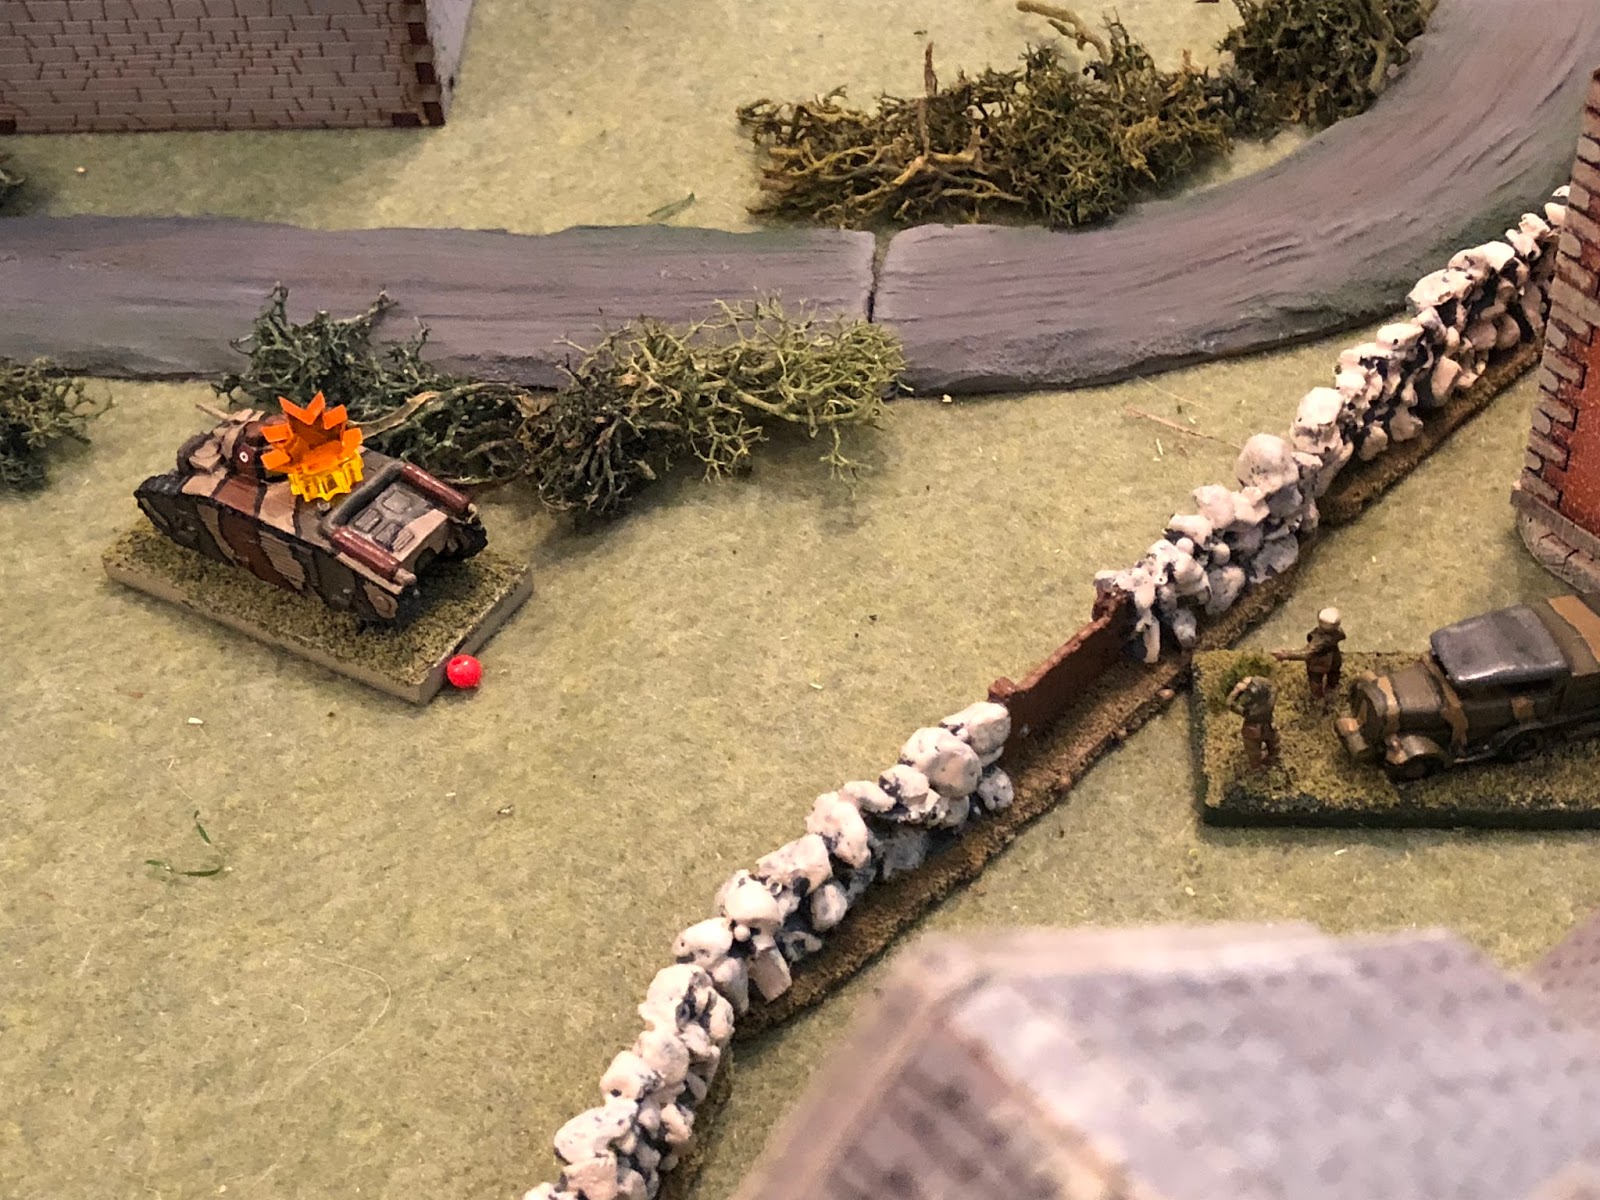
- One Sdkfz 221 knocked out
French
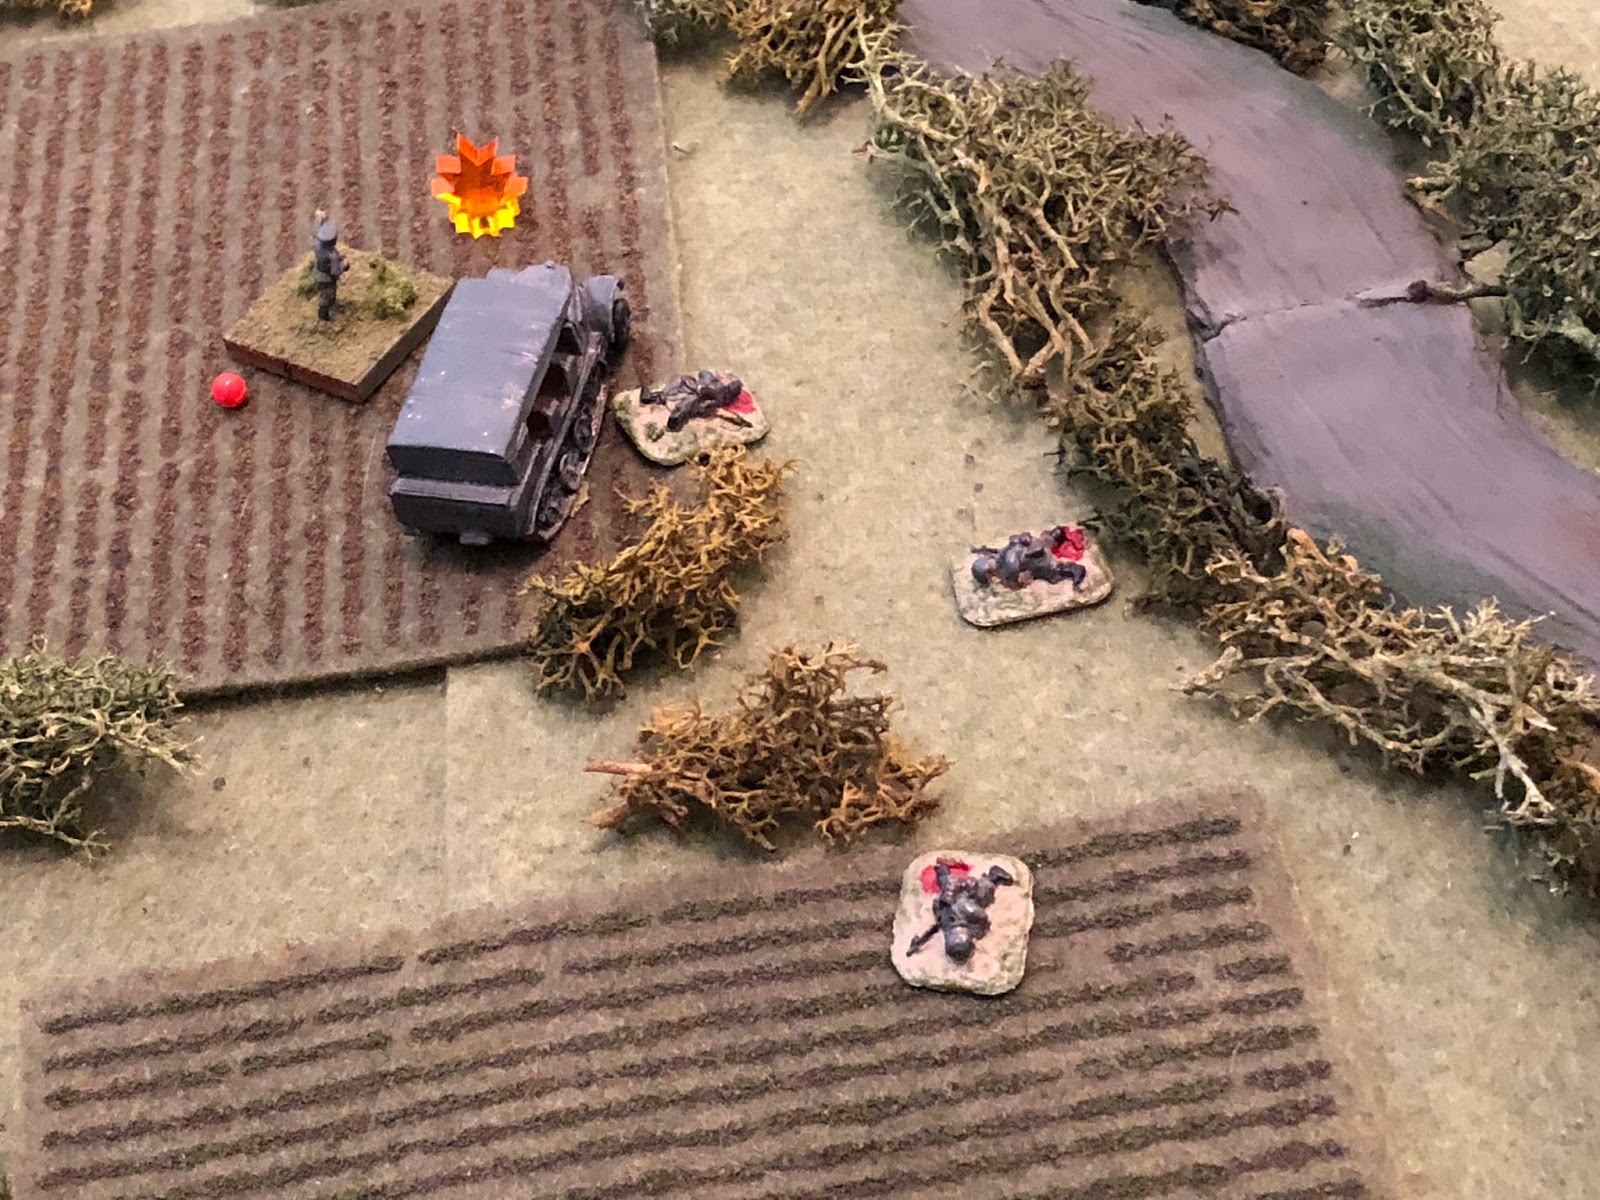
- 40 KIA/WIA/MIA
- 20 Captured
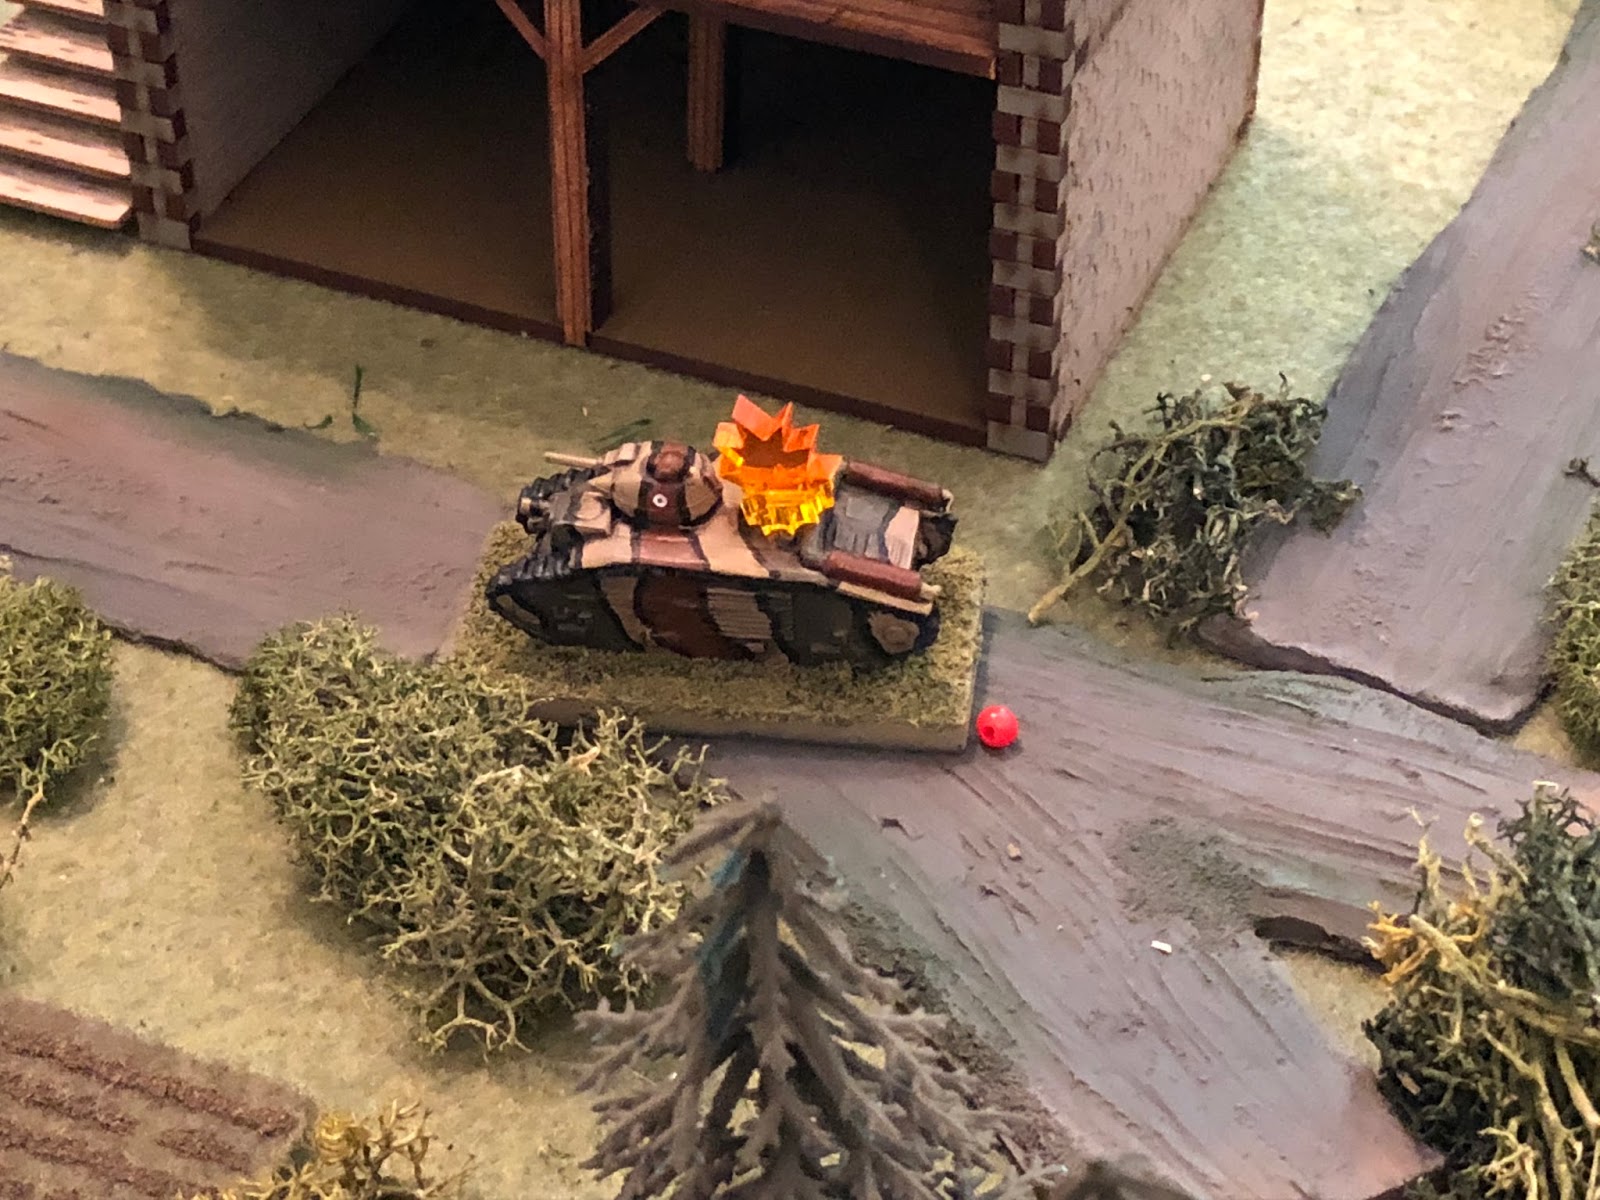
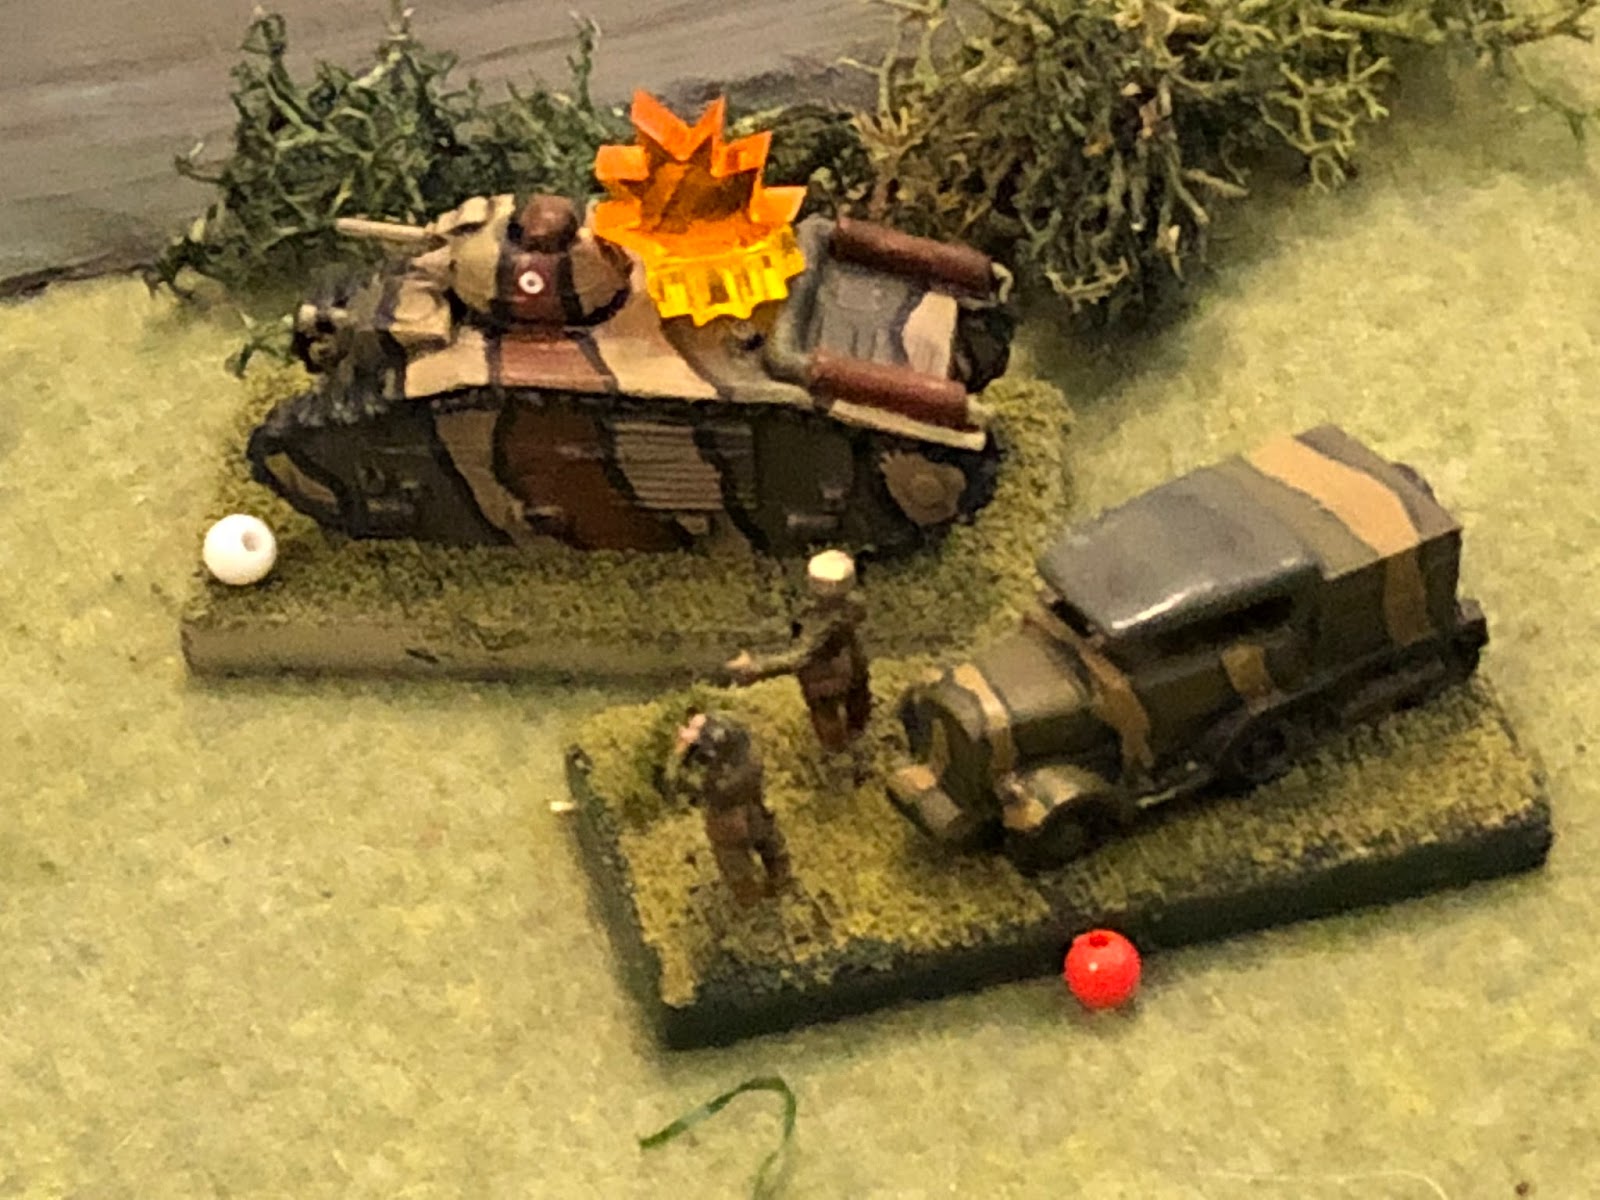
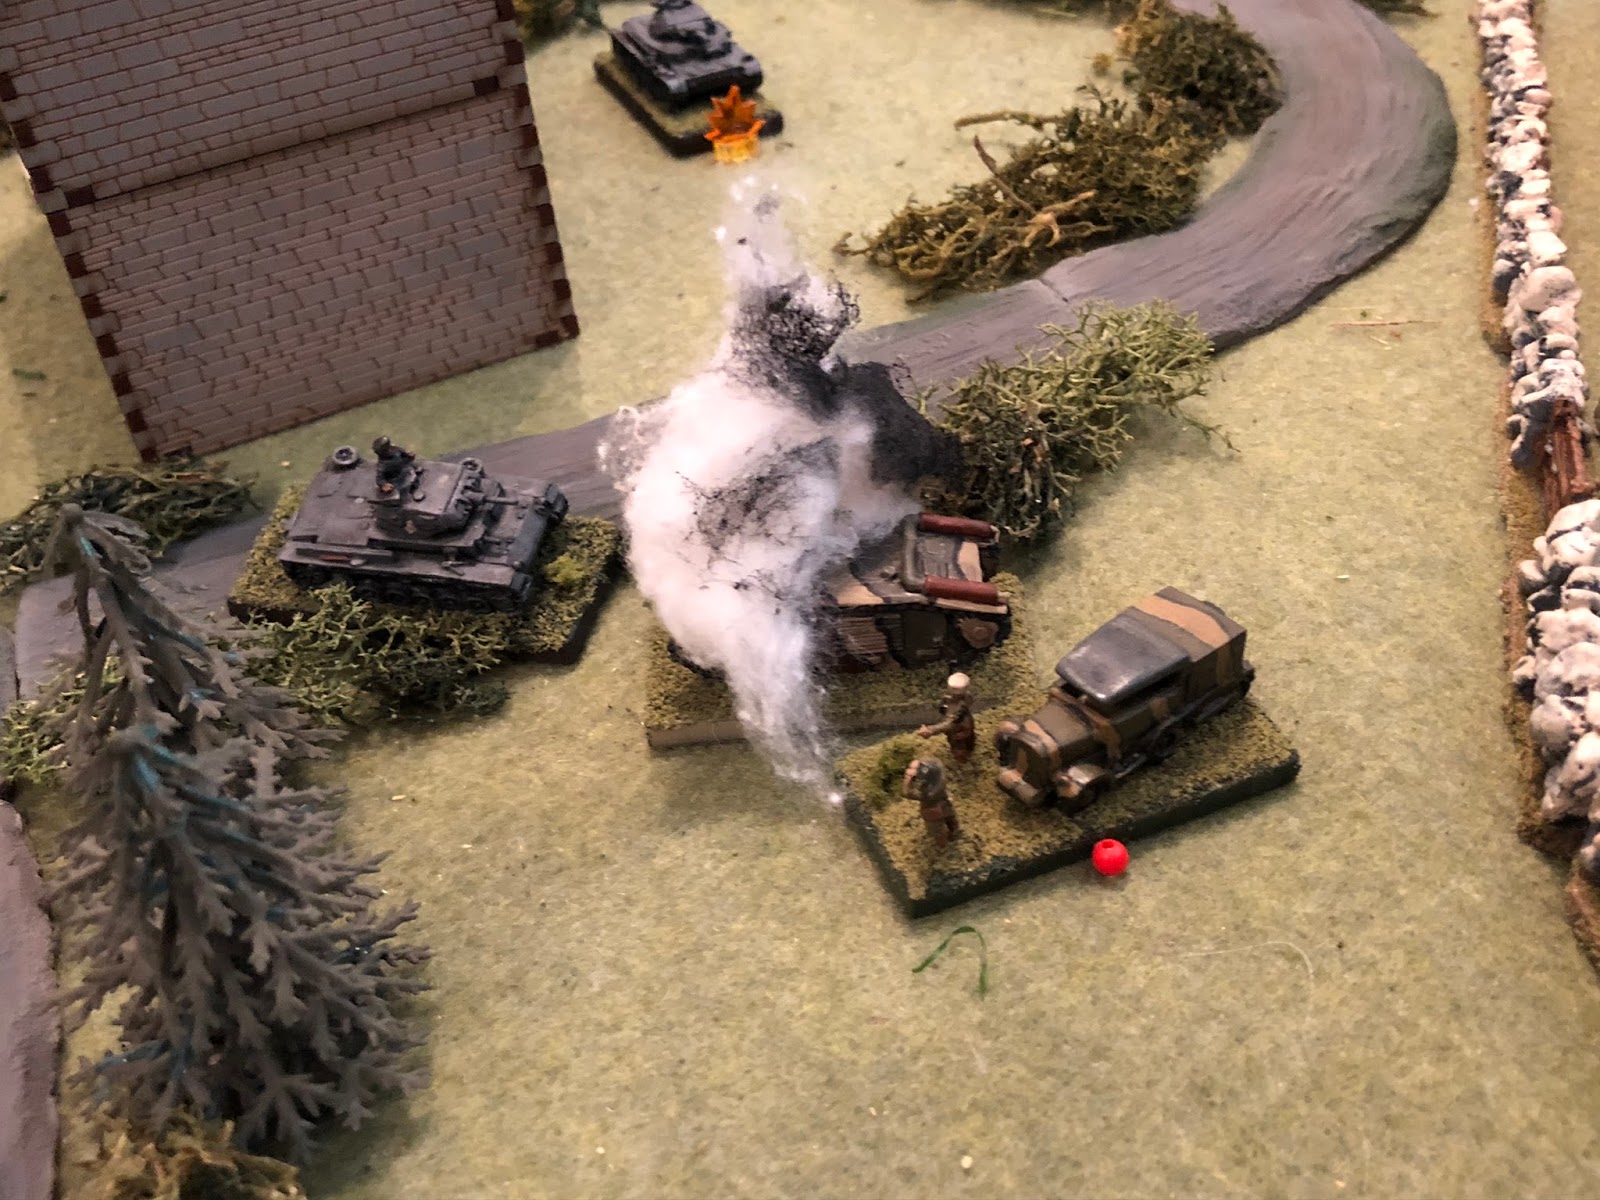
- One Char B destroyed
- One 25mm ATG destroyed
Character casualties
- Sgt Hauer, Leader, 1st Squad, 4th Platoon, Grenadier Company, holder of the Iron Cross 2nd Class, was killed in action.
- Captain Freitag, Grenadier Company Commander, was severely wounded, ending his campaign in France.
- SSgt Mader, Leader, 4th Platoon, Grenadier Company, was severely wounded, ending his campaign in France.
- SSgt Aust, Leader, 1st Squad, 1st Platoon, Grenadier Company, was severely wounded, ending his campaign in France.
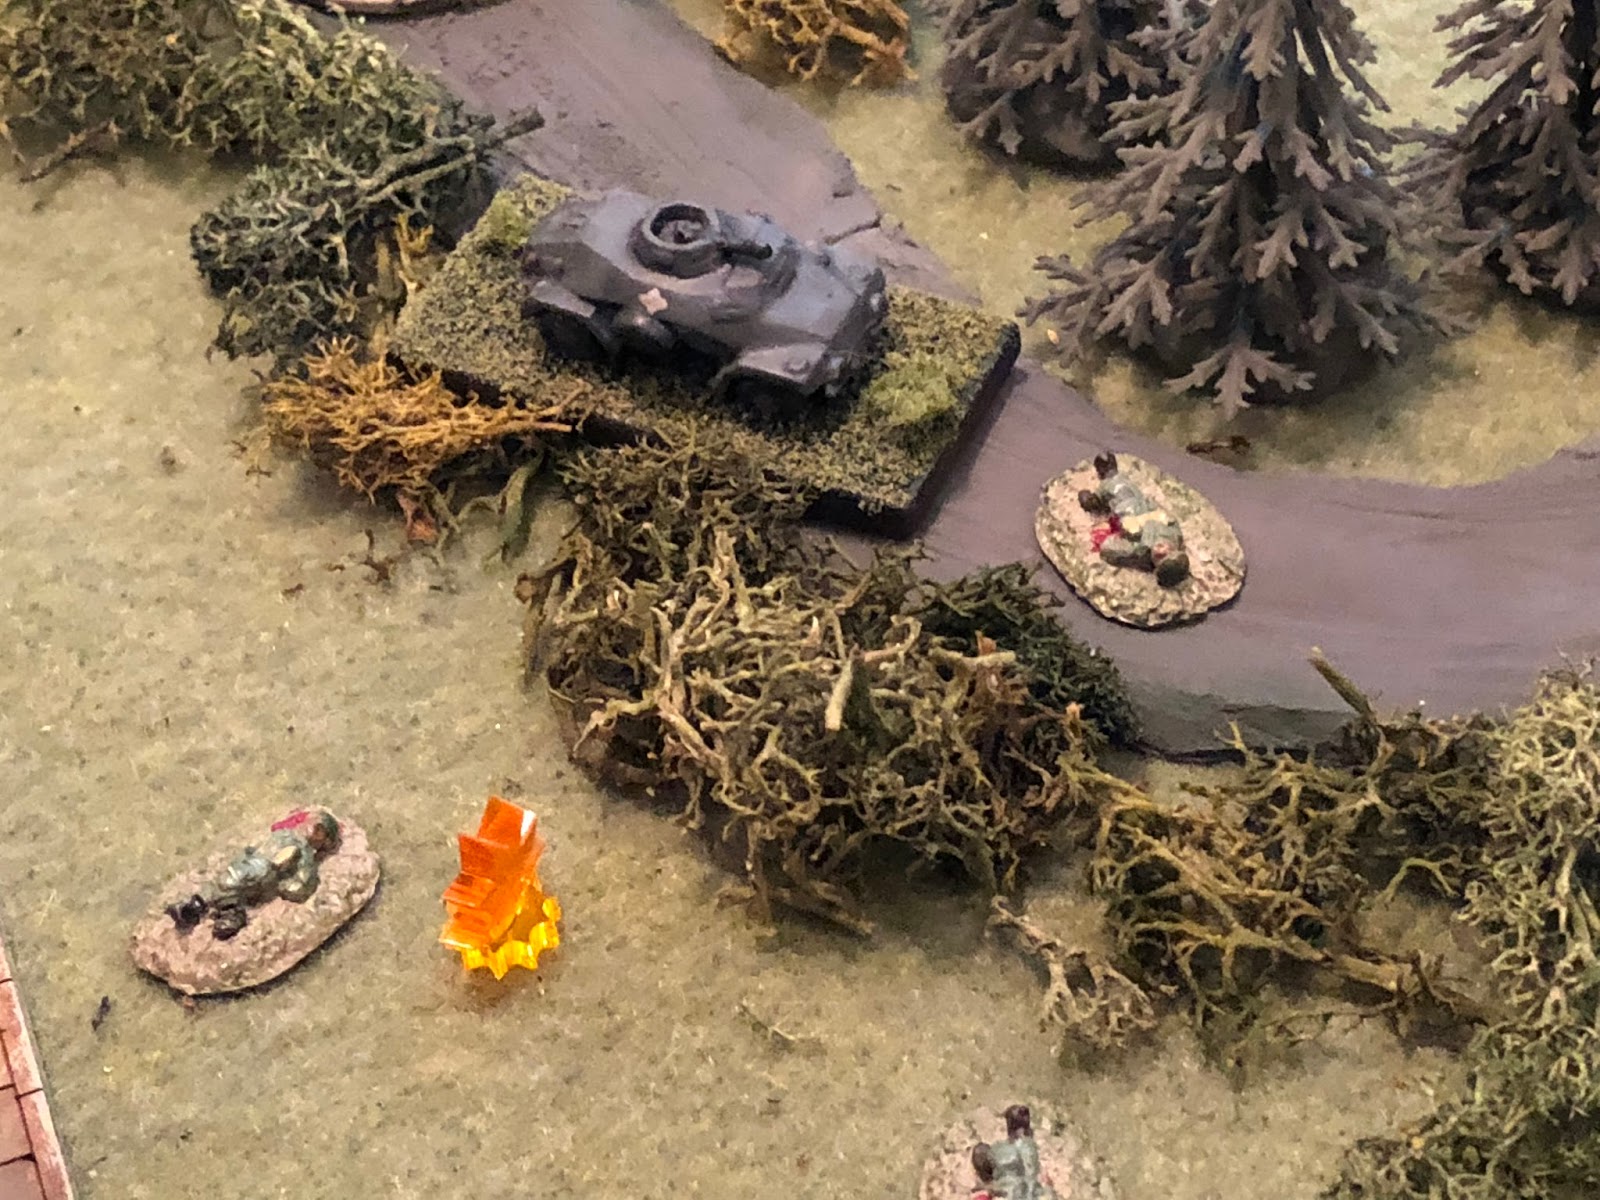
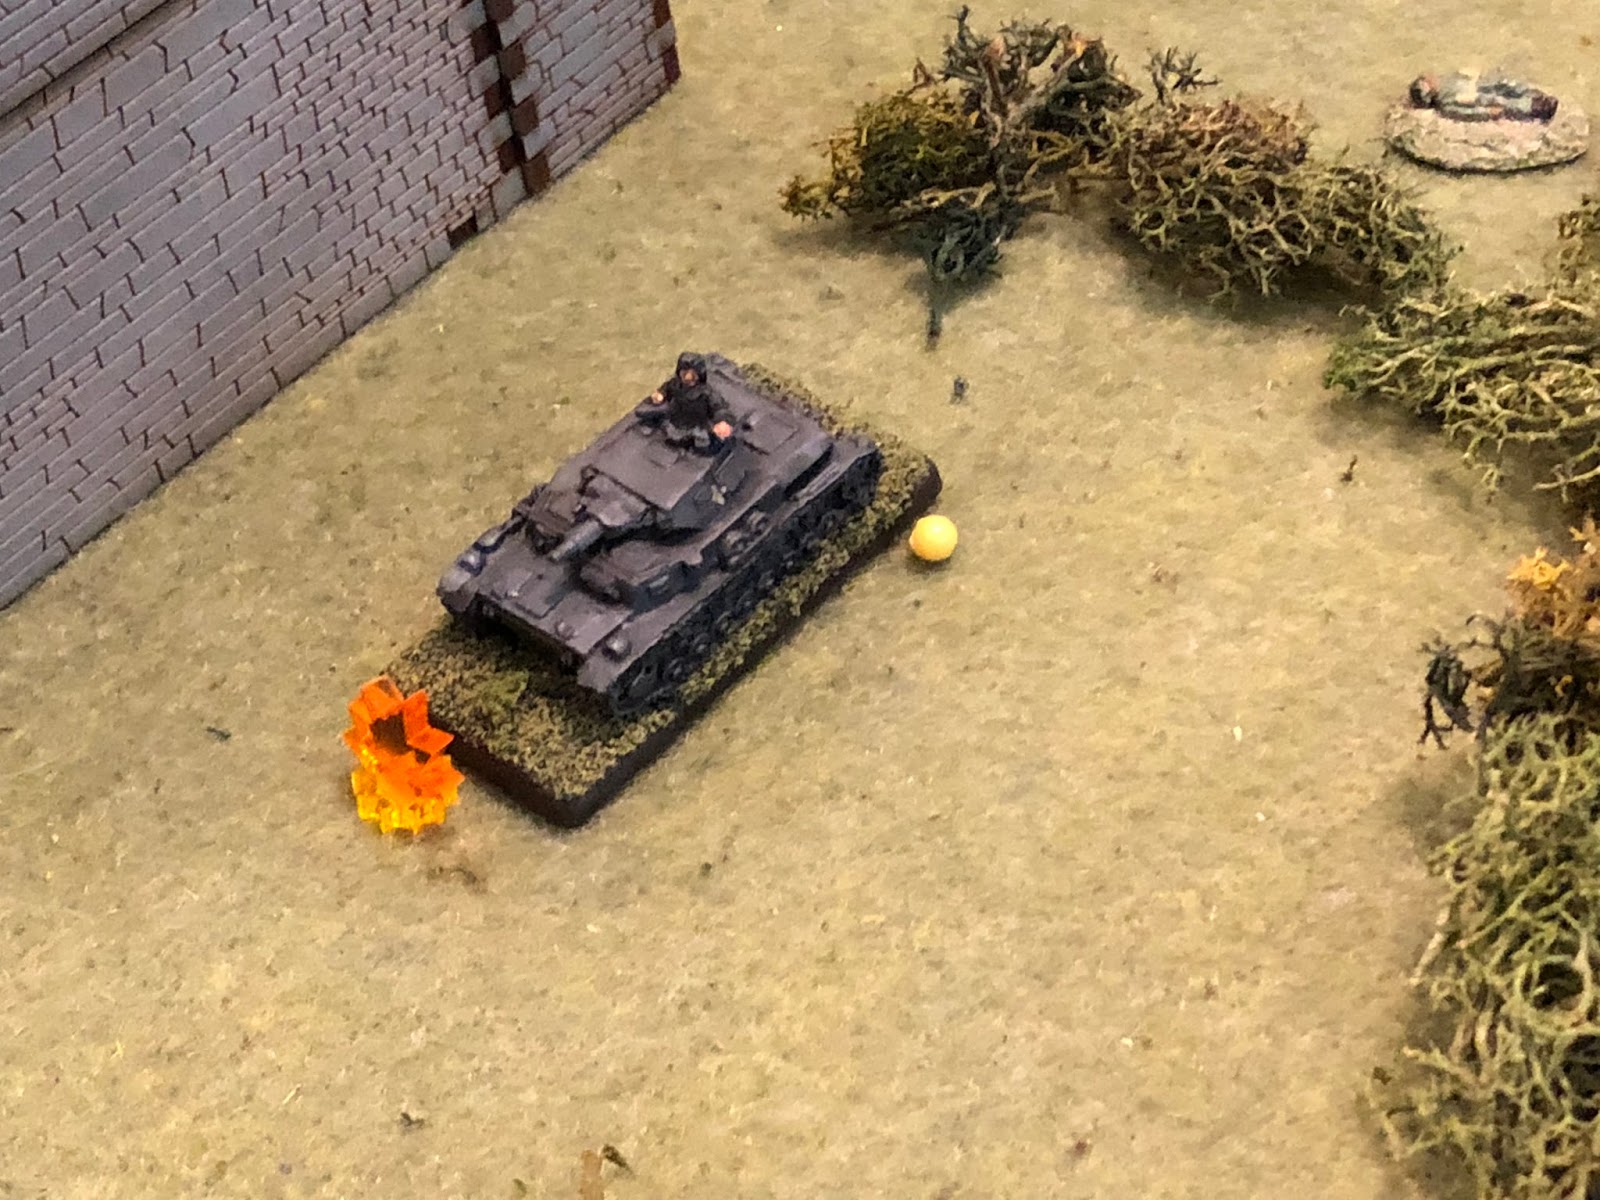
- SSgt Grossman, Vehicle Commander, 2nd Platoon, Panzer Company, was wounded but is able to return to action immediately.
With Captain Freitag out for the duration of the campaign in France, the Grenadier Company needs an interim commander. Col Klink was going to push Lt Klugmann into the spot, but had second thoughts following the action at Riqueville. Following his platoon being shot to pieces and his commander being severely wounded right next to him, Lt Klugmann had fallen into a funk, and so the 2nd Platoon commander, Lt Tausch, was given the company.
Colonel Klink never showed up; I guess his vehicle broke down on the way to the battlefield, or maybe he went to the rear to help find those 80mm mortar fuzes. For the mortars that never fired...which reminds the good Colonel, something needs to be done about that slacker, Sgt Osswald.
In terms of heroics, two members of KG Klink were recognized for their personal bravery on the field of battle:
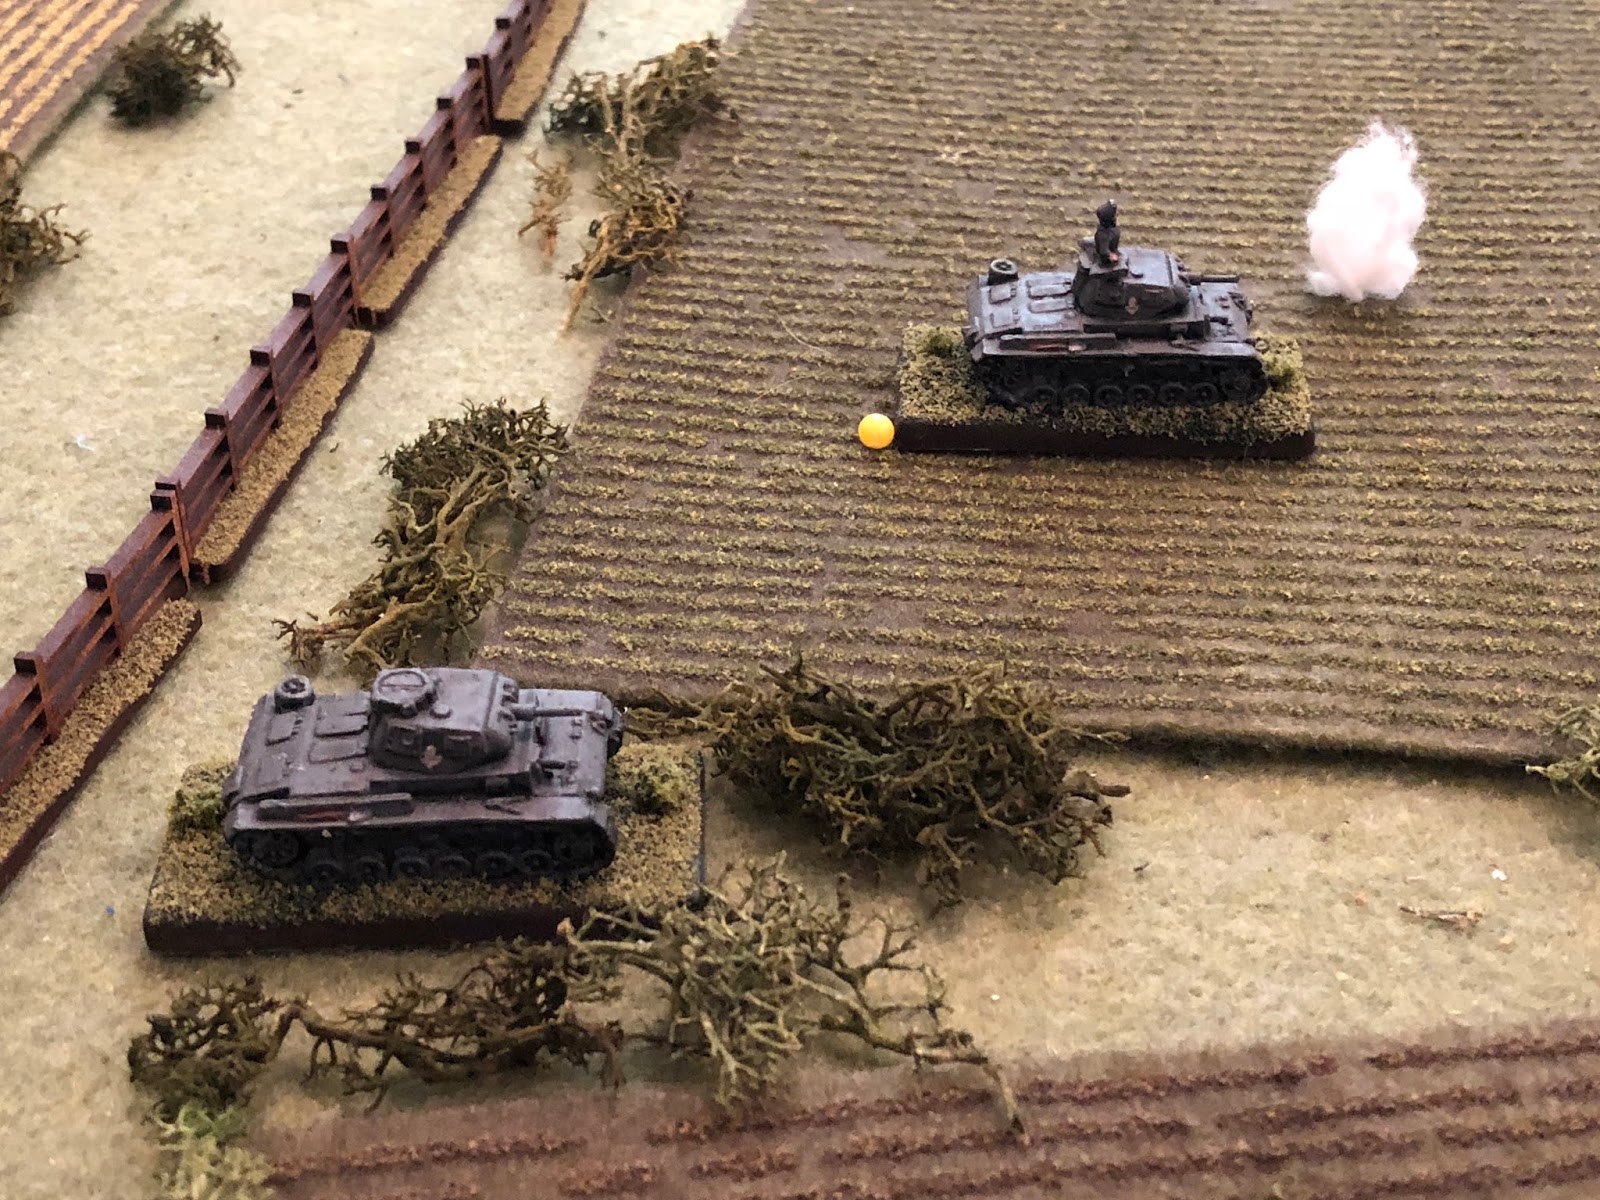
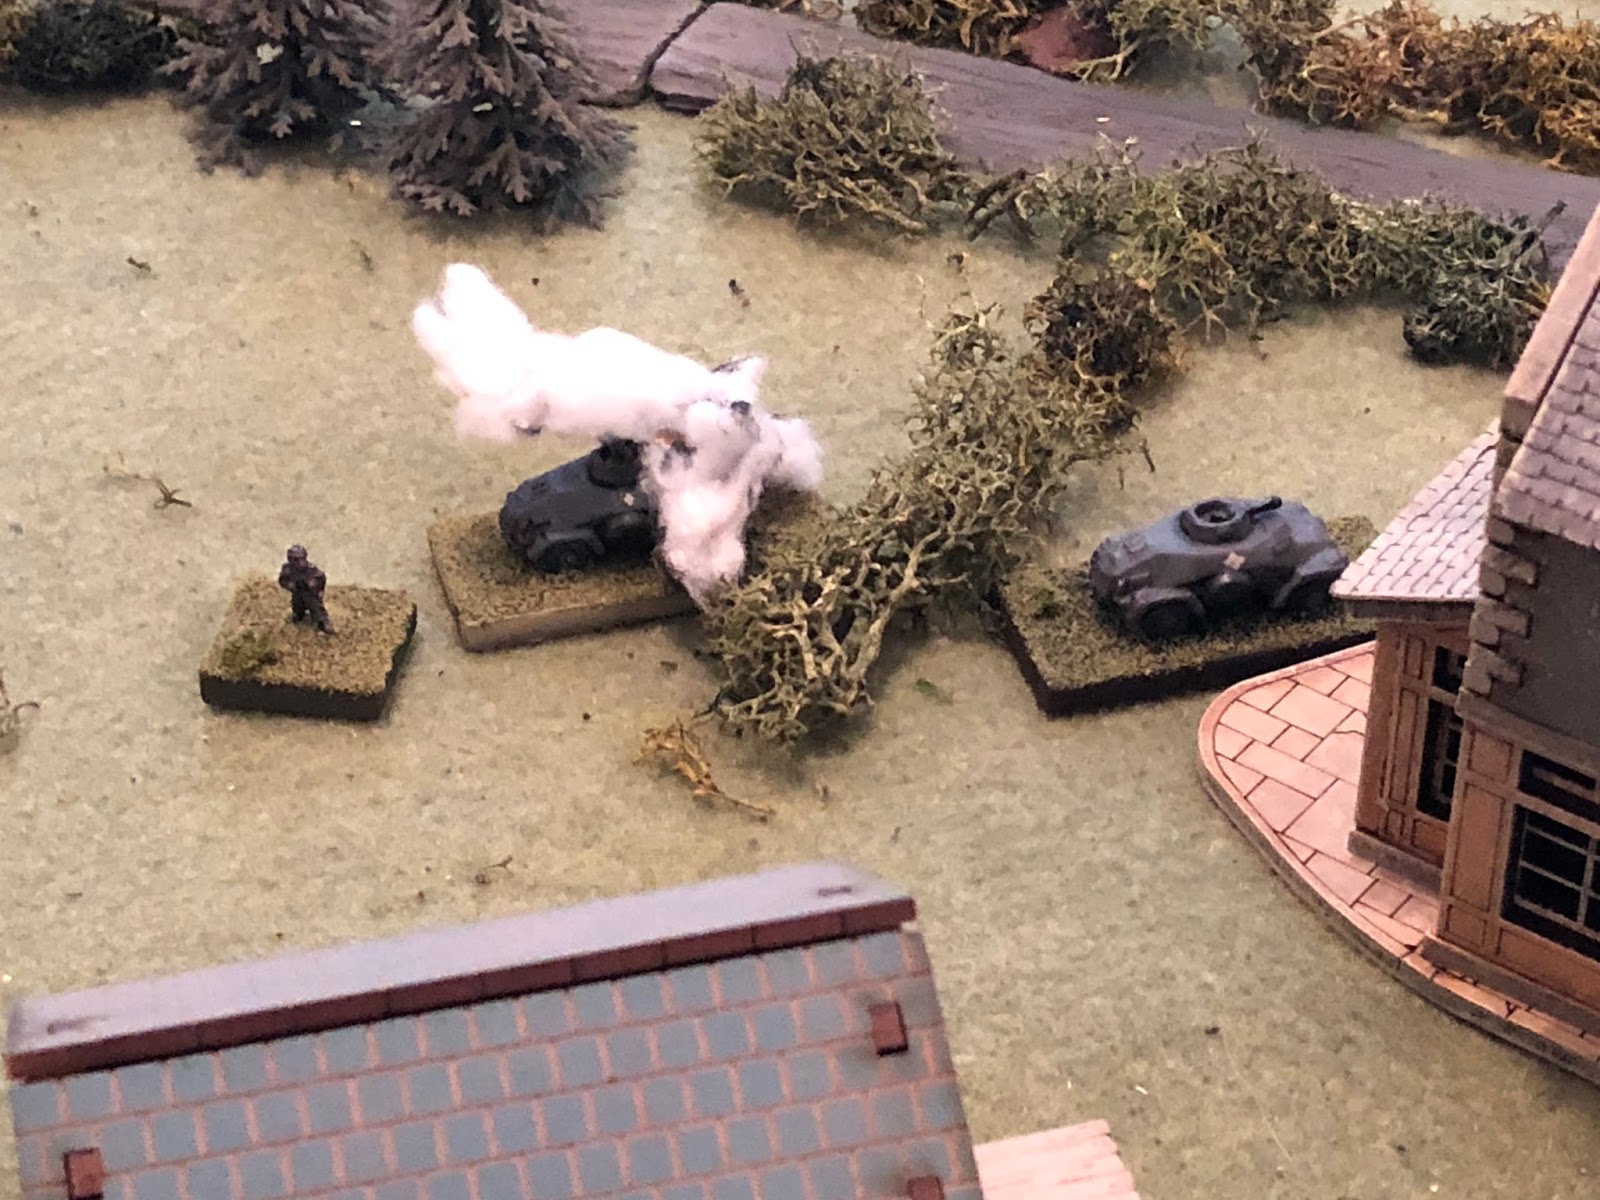
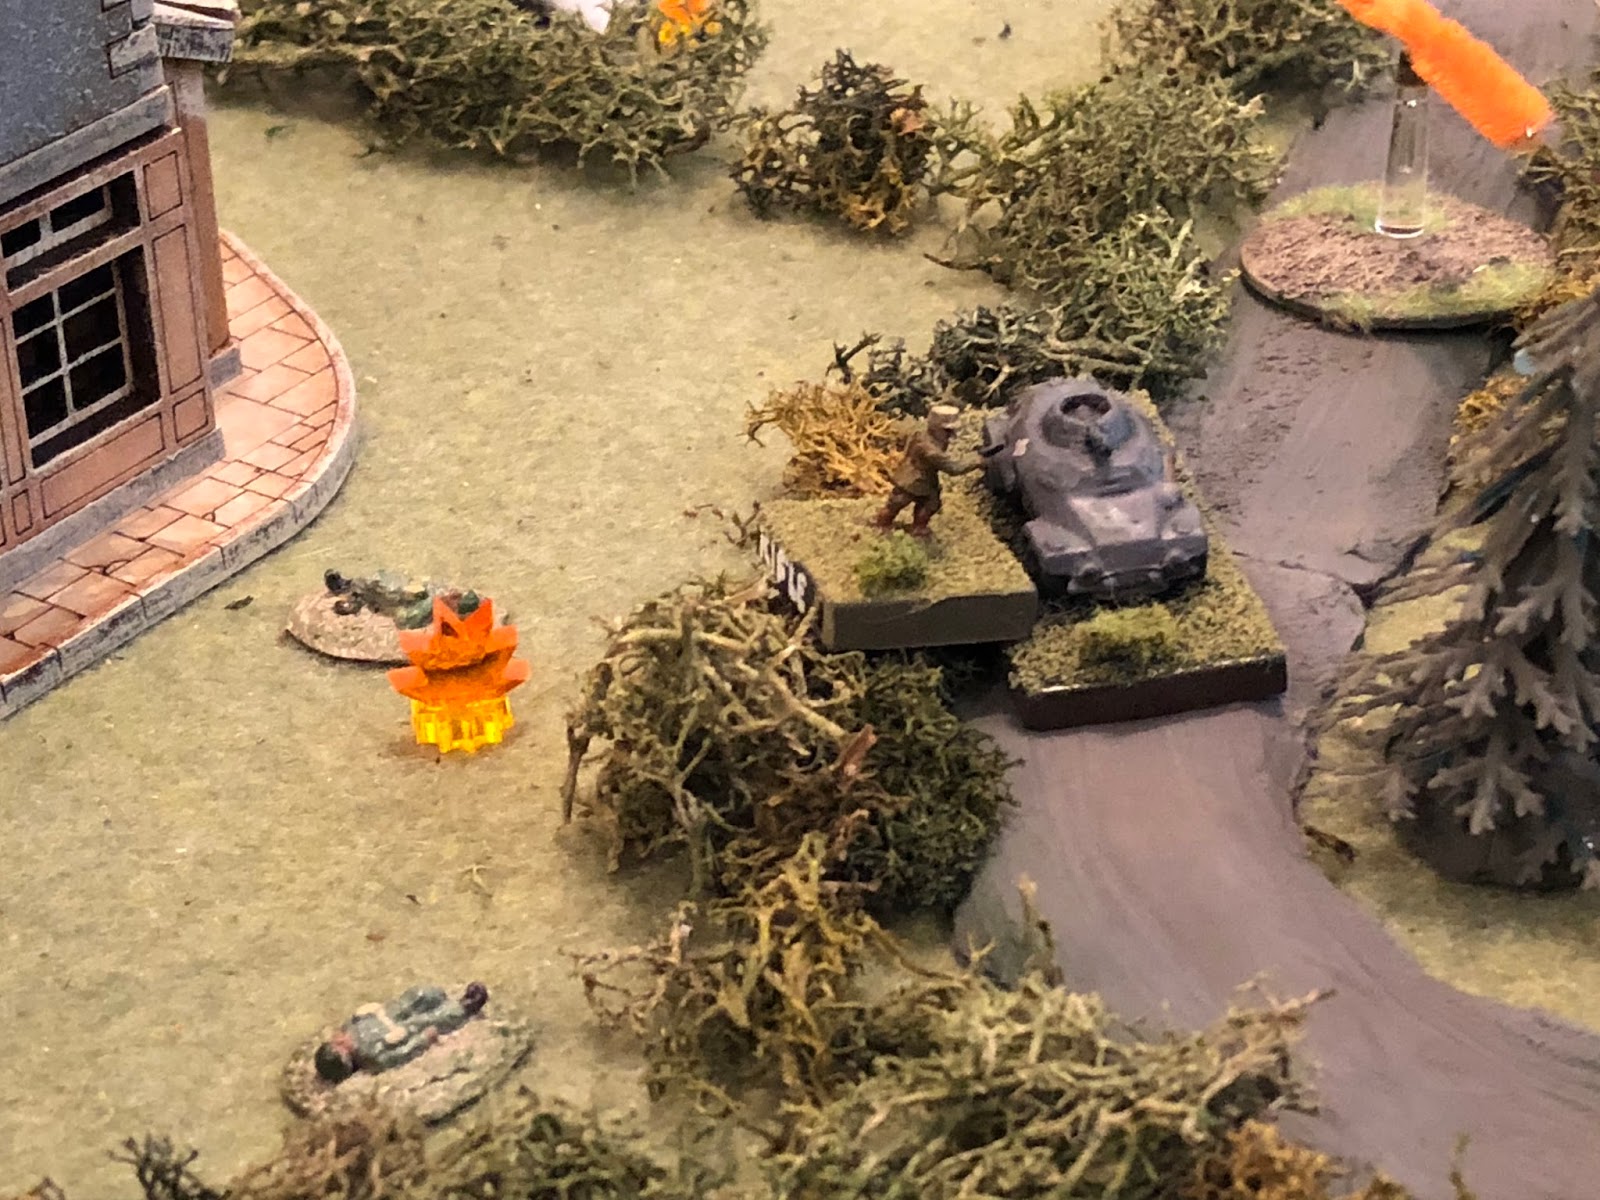
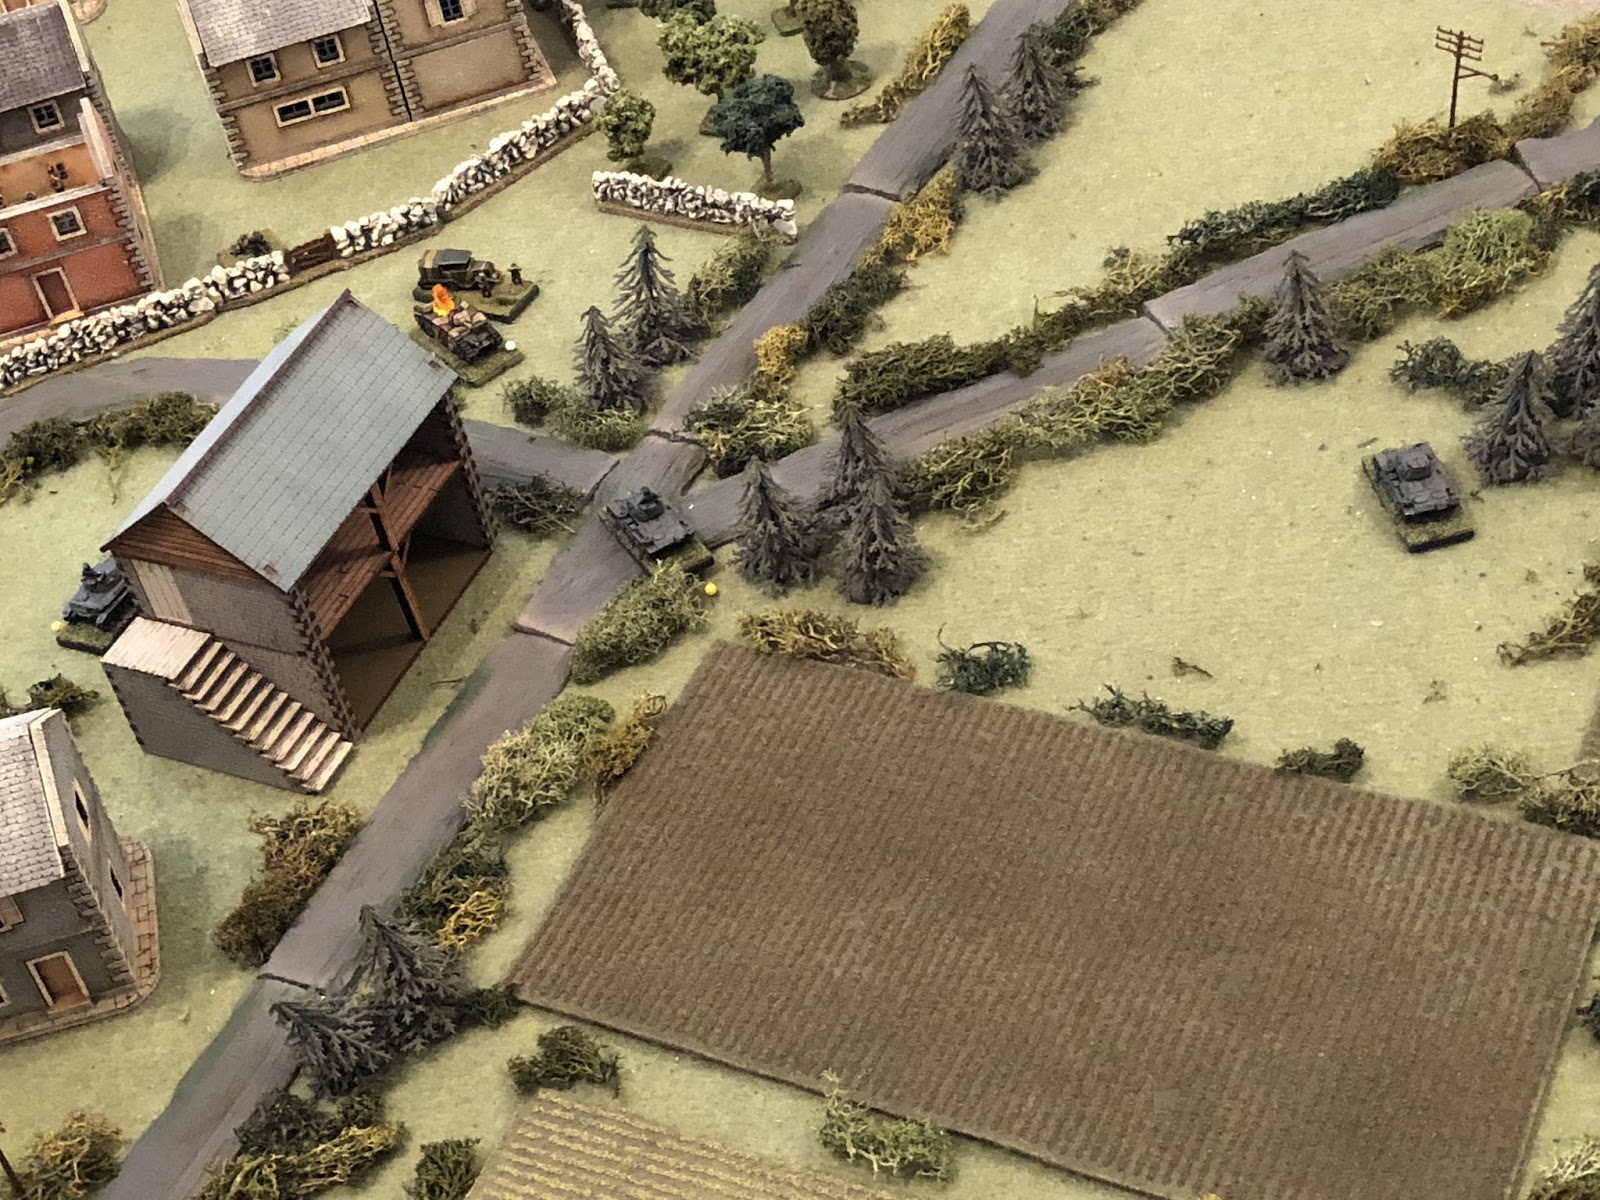
- 1st Lieutenant Loeb, commander of the 2nd Platoon, KG Klink's Panzer Company, holder of the Iron Cross 2nd Class and two Wound Badges, was awarded the Iron Cross 1st Class for heroism in leading his tank platoon through heavy fire against a qualitatively superior enemy dominating a key crossroads adjacent KG Klink's objective. Lt Loeb maneuvered his platoon in a flanking maneuver, then personally pushed his vehicle nose to nose with enemy tank, blasting the enemy tank to destruction at point blank range (his crew members were also decorated). This kill was Lt Loeb's fifth tank kill of the war.
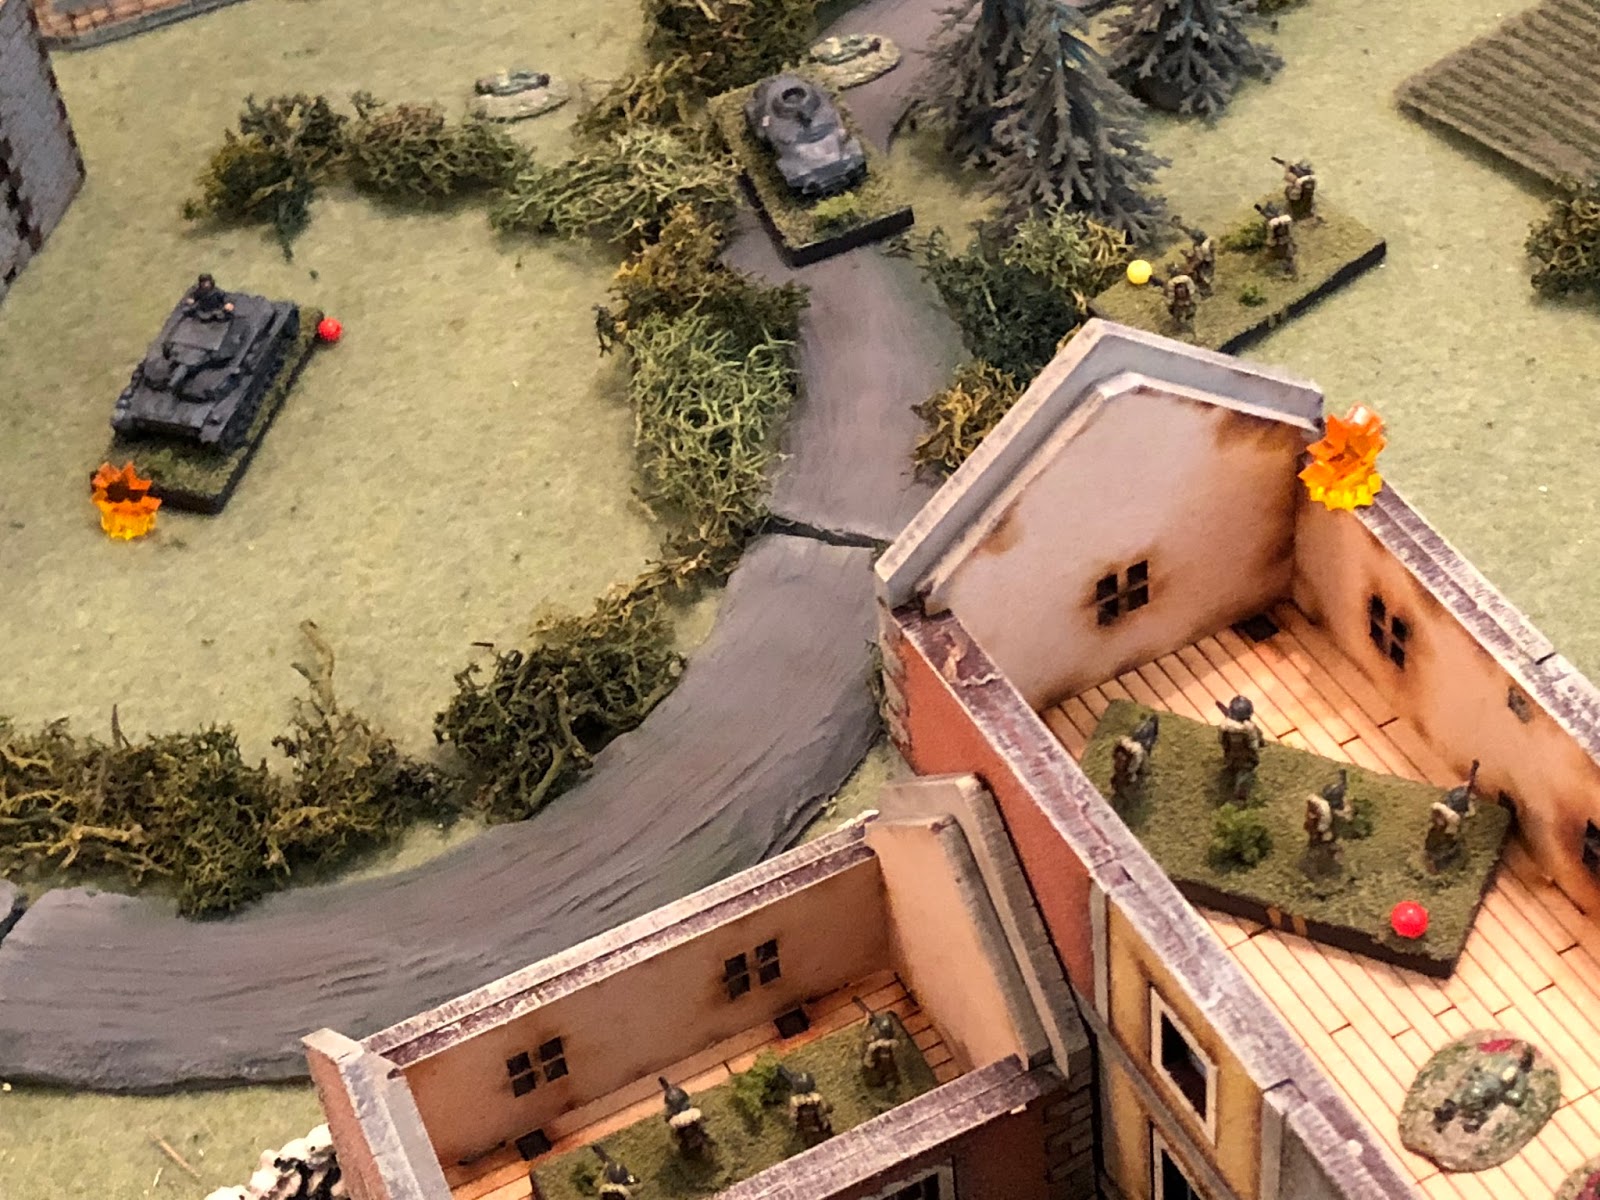
- Cpl Edst, Vehicle Commander, Reconnaissance Platoon, was awarded the Iron Cross 2nd Class for bravery. When his platoon commander engaged at point blank range by enemy infantry, Cpl Edst placed his vehicle in the line of fire, eliminating the threat. When his platoon commander's vehicle was destroyed by enemy anti-tank fire, Cpl Esdst pushed his vehicle forward to cover his platoon commander's evacuation. Cpl Edst then engaged an enemy tank with auto-cannon fire in order to distract it from maneuvers by friendly panzers to outflank the enemy tank, engaged an enemy strongpoint in a building in the village to relieve pressure on KG Klink's pinned infantry company, and then Cpl Edst fought off a charging enemy officer attempting to disable his vehicle in close combat.
Hope you had as much fun as we did!
Jack