TTS AAR: To The Smallest Game 1: Arab Conquest vs Later Lithuanians
/My first game proper at this year’s To The Smallest 15mm TTS tournament in Cardiff was against John’s Later Lithuanians: light cavalry, more light cavalry…and even more light cavalry!
My main concern was getting outflanked and enveloped by the Lithuanian horde, so I took full advantage of my mounted infantry to deploy as close to the enemy as possible.
I should also note at this point that this was actually our second deployment: a mix up regarding what the terrain actually represented meant that I had severely compromised my set up but, once we both understood what was Impassable and, more importantly, what was not, John was very happy for me to adjust my positioning…a generous example of great sportsmanship on his part.
As expected, the Lithuanians’ first move was to advance quickly against my flanks. I was okay on the right, where my outnumbered troops were helped by the marshy terrain, but things were not looking so good on the left, where the beginnings of an overlap were already beginning to show.


Things went from bad to worse on the left as I desperately, and ultimately unsuccessfully, tried to stem the tide of the Lithuanian horde. The left was lost: I would have to win the battle elsewhere.


John’s army might have been large and manoeuvrable, but it was fragile: if I could connect with a unit, even one of his massed lights, then I could probably kill it. It was the connecting bit that would be difficult, as his horsemen could evade away from infantry charges with comparative ease and my cavalry were tied up on the wings.
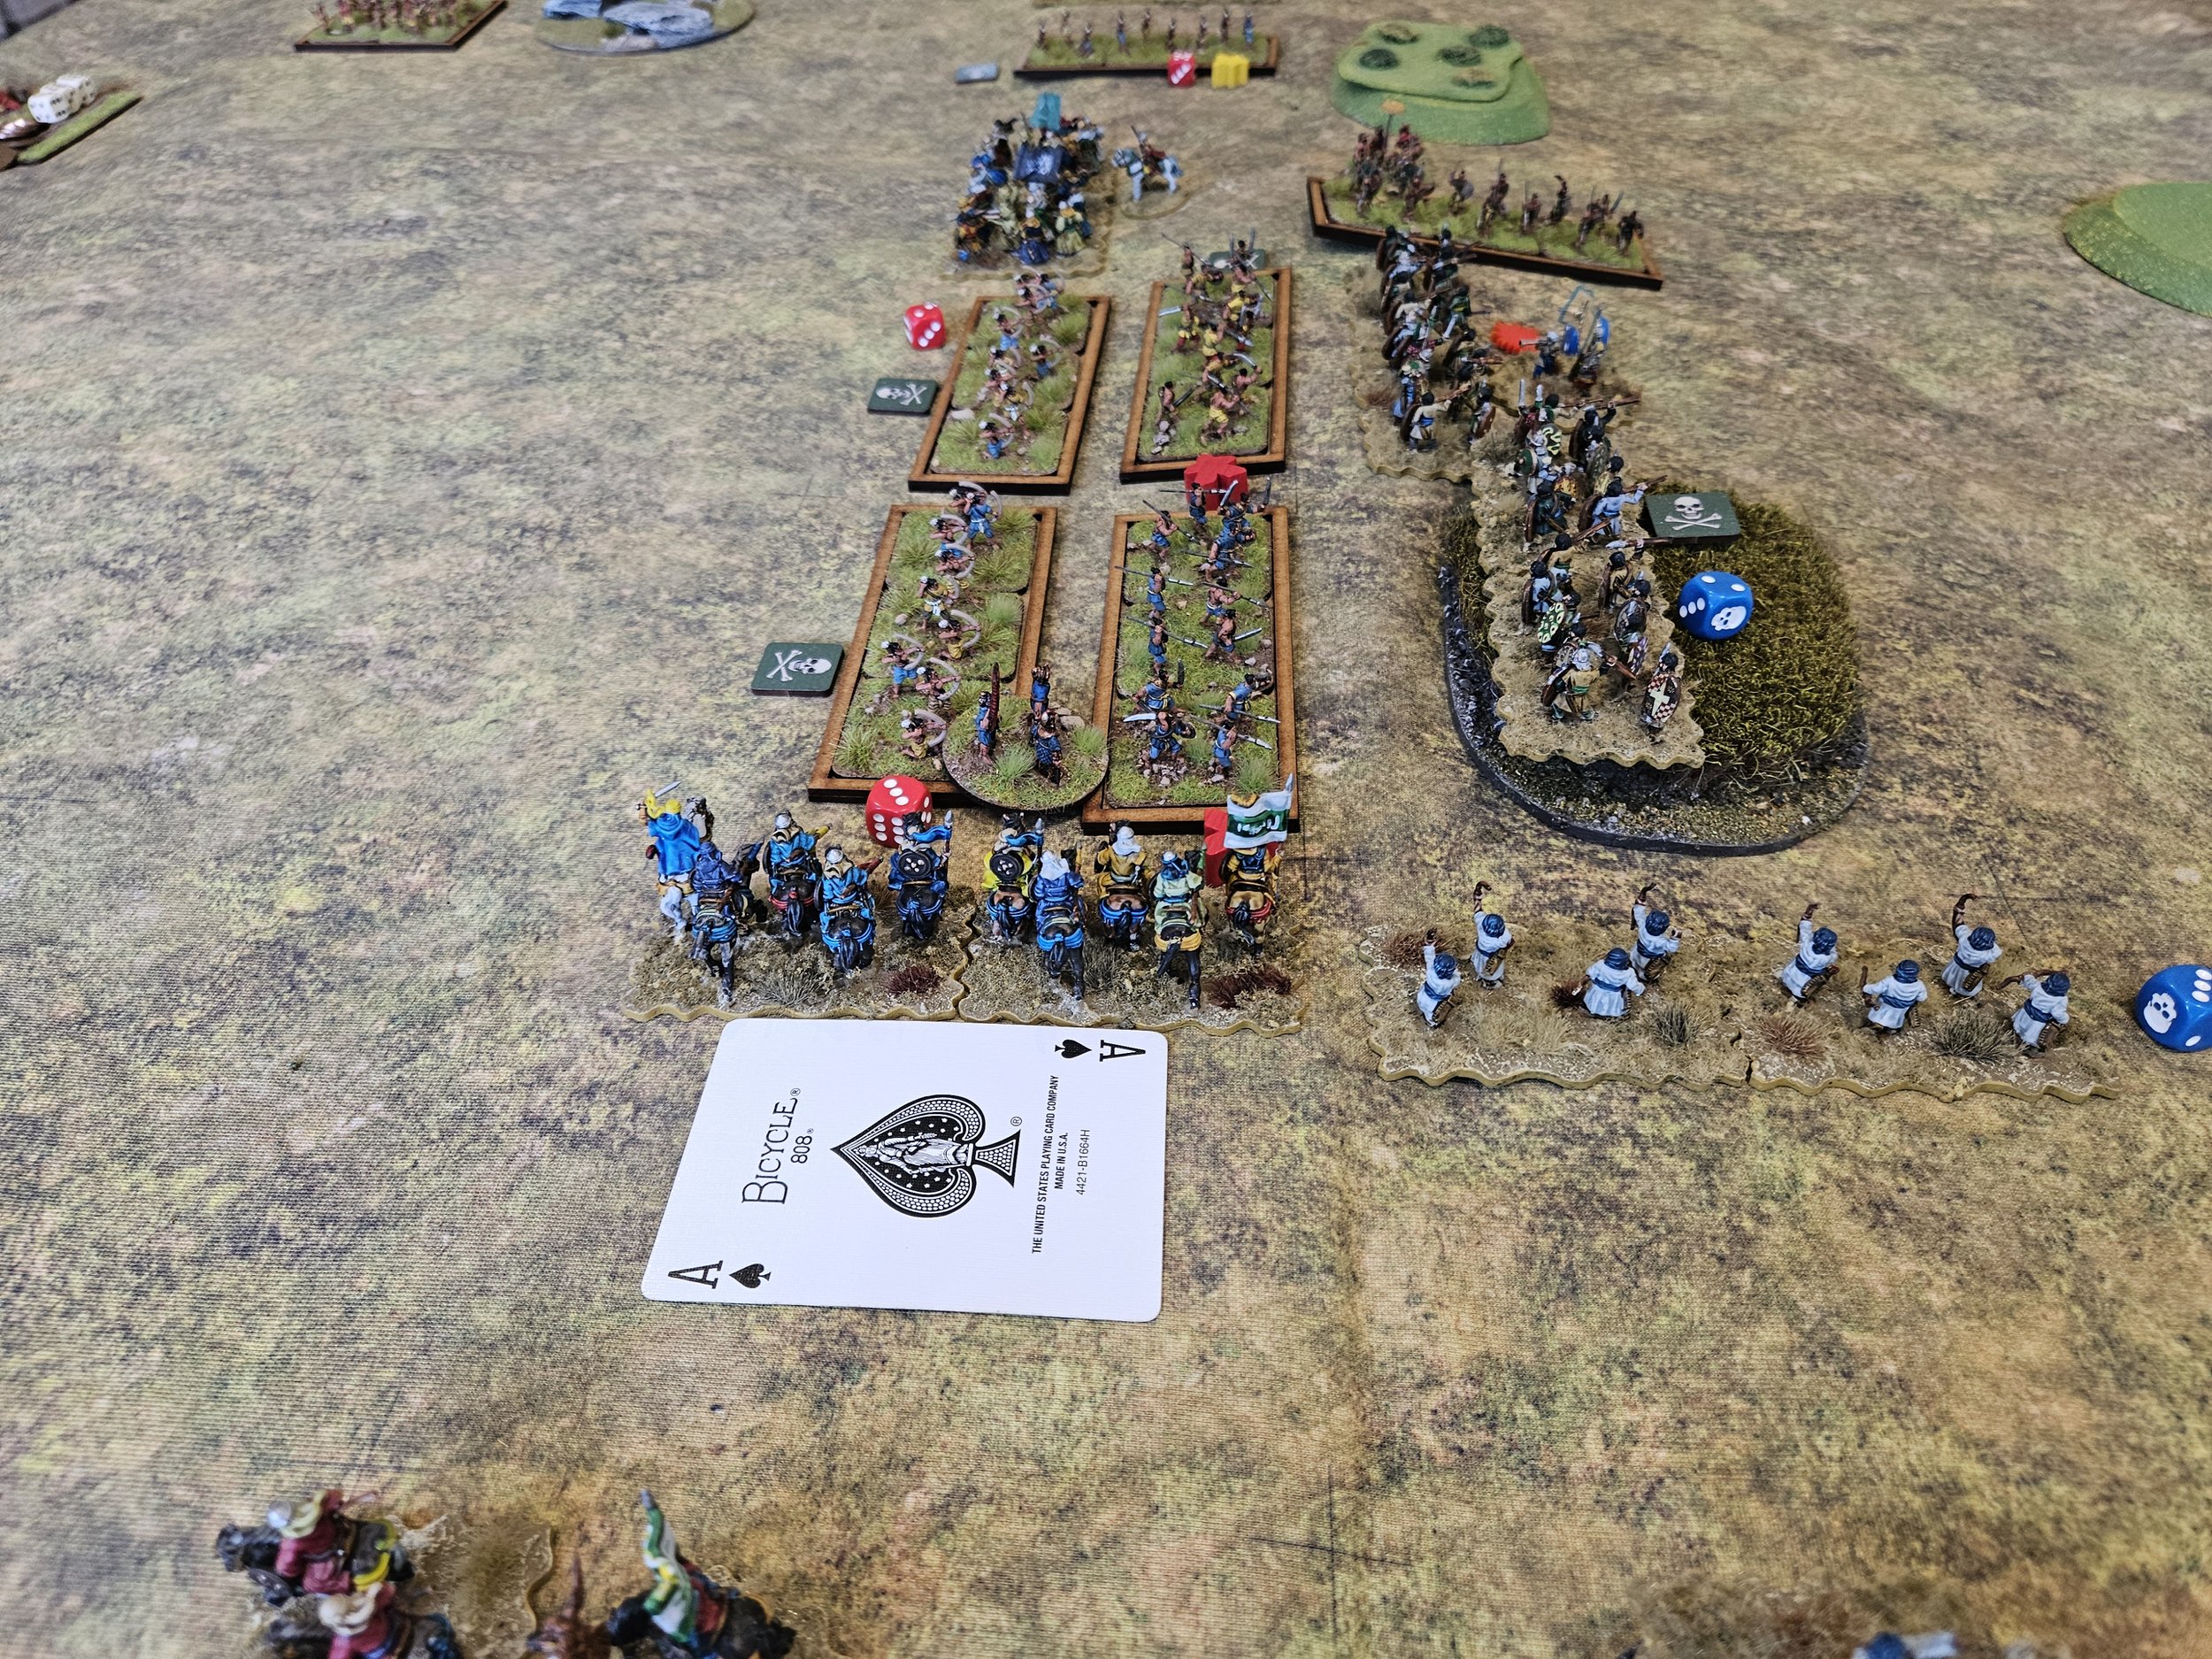
That was, however, the only thing I could do, so I set about relentlessly charging every light horse unit I could with my infantry. This shot, taken after a couple of turns of this, shows how fragmented the action had become: rather than two battle line clashing in the centre of the table, the game broke down into a myriad of minor actions scattered across the field.
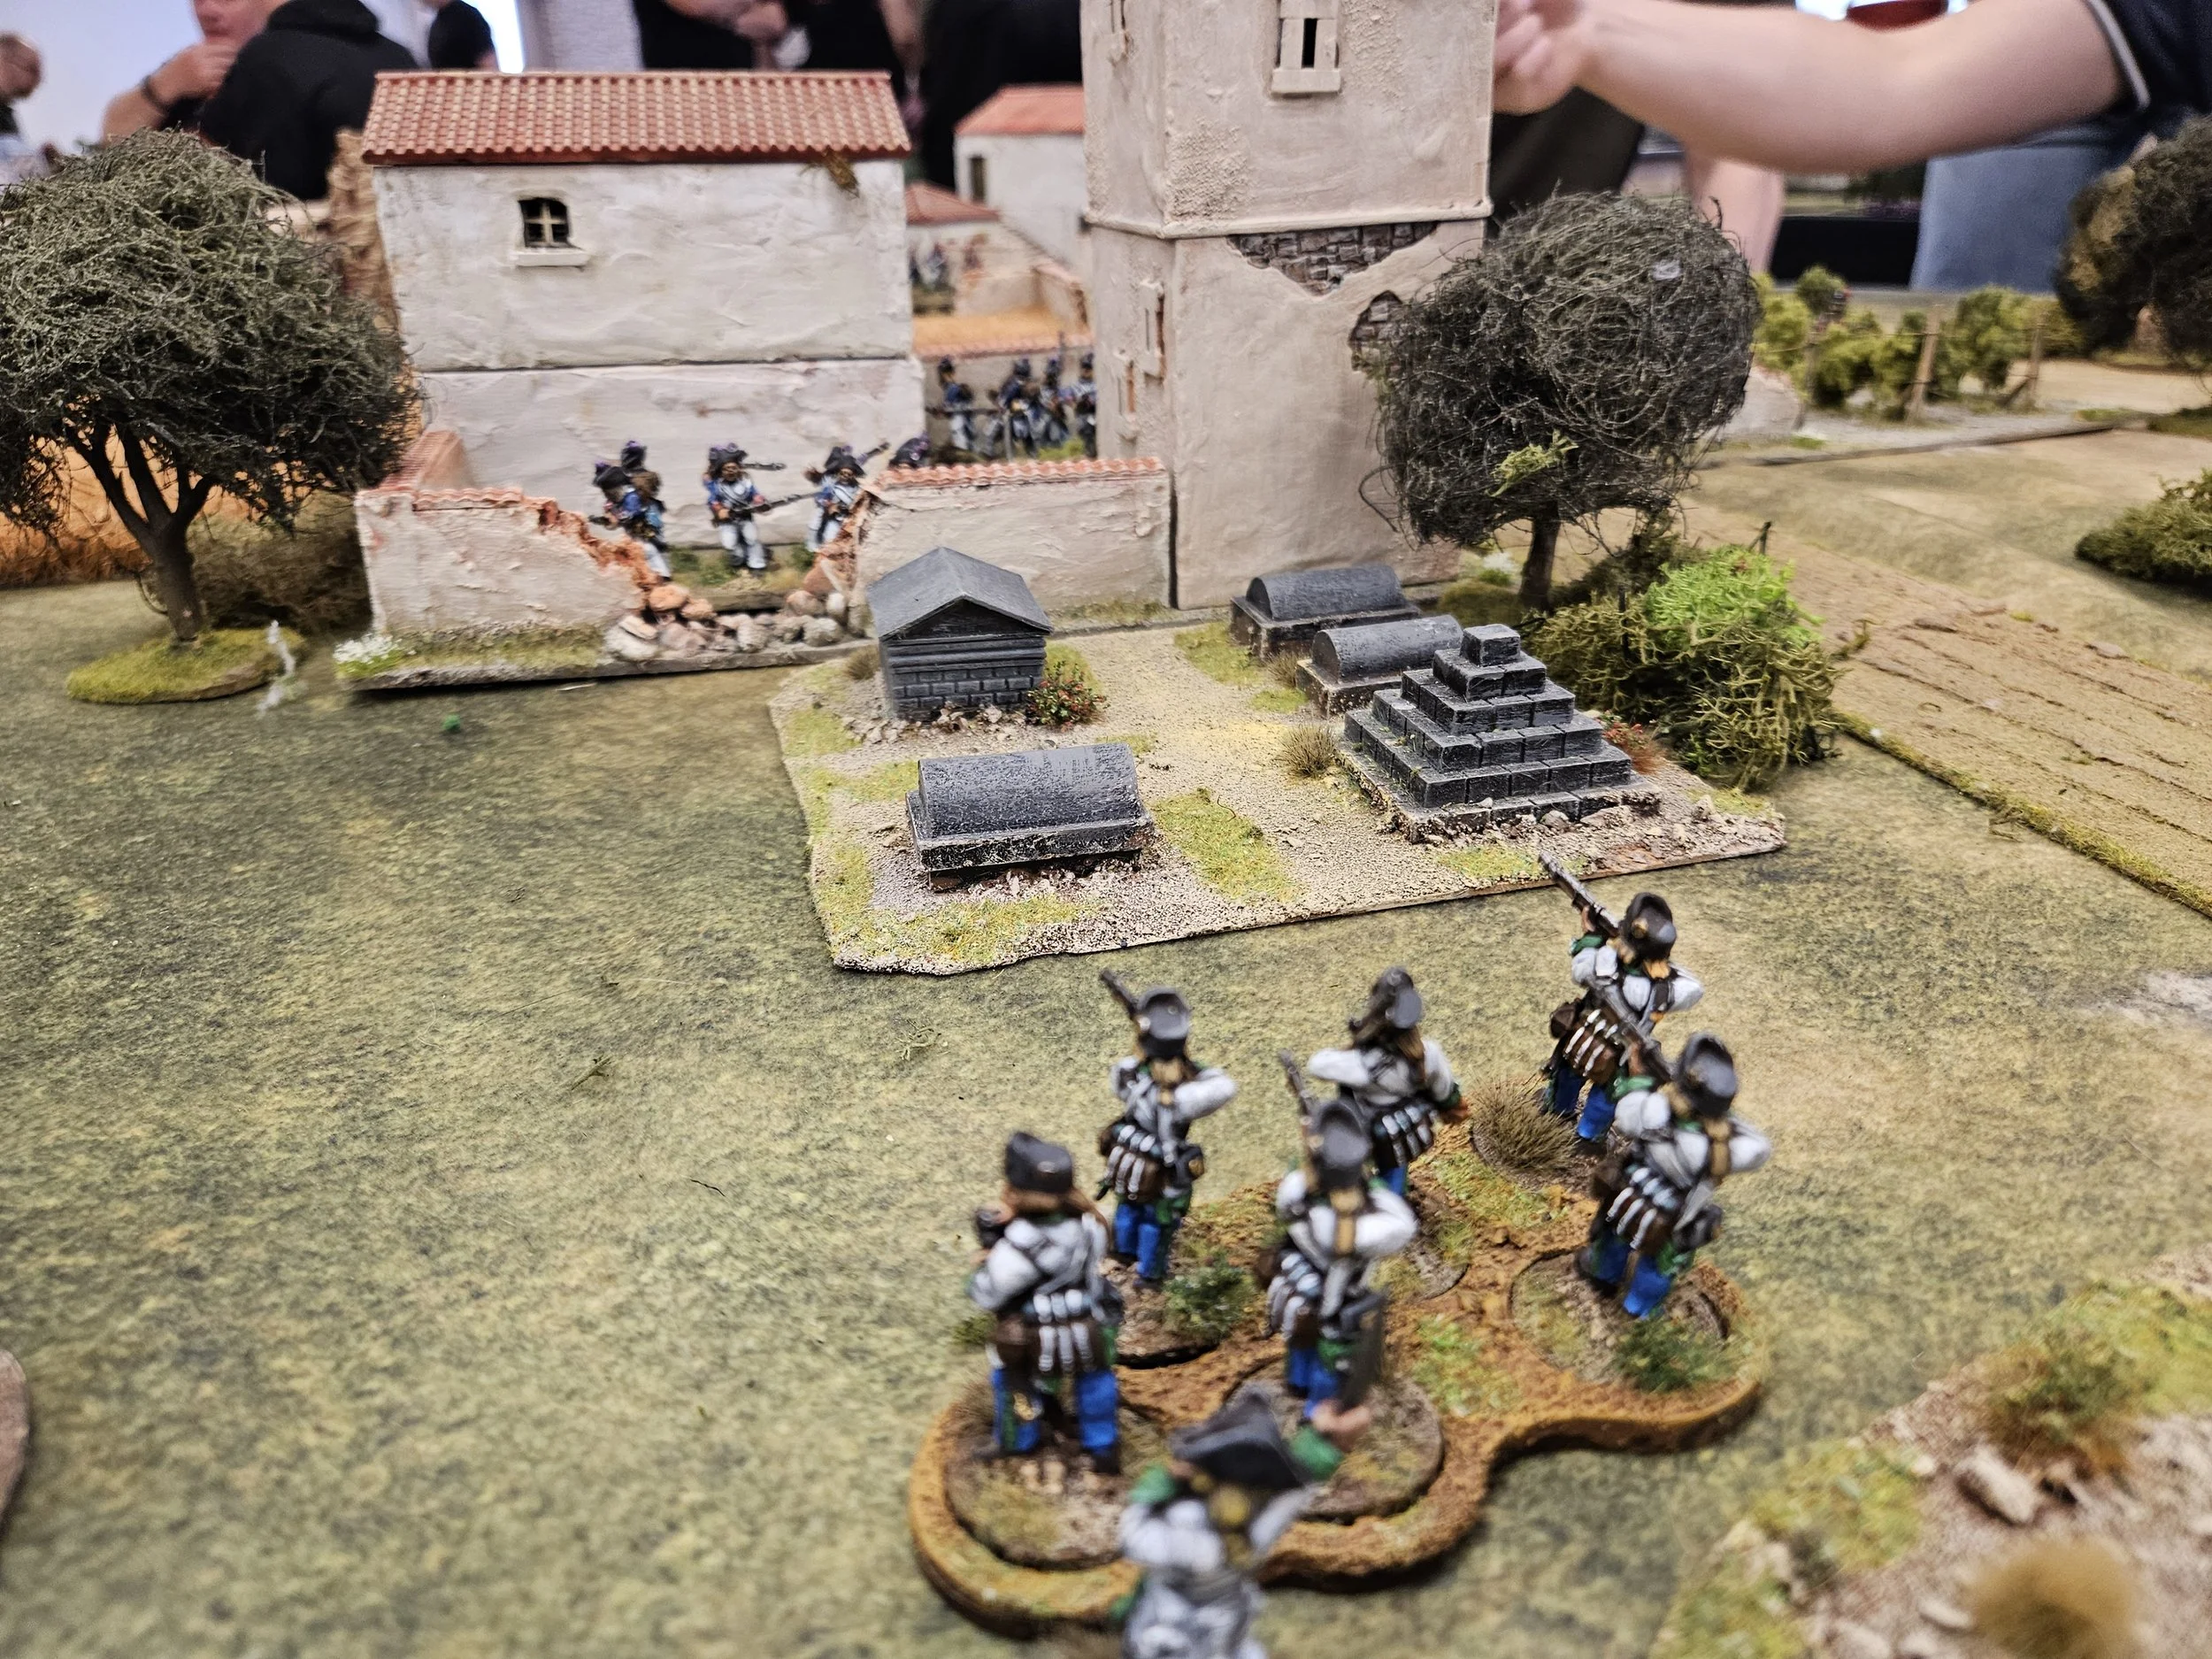
There were several epic chases as my foot soldiers desperately tried to close with the Lithuanian light horse. A unit of veteran Daylami javelinmen chased down some enemy cavalry until the horsemen crashed into a wood on the edge of the table and were forced to fight…and then die!


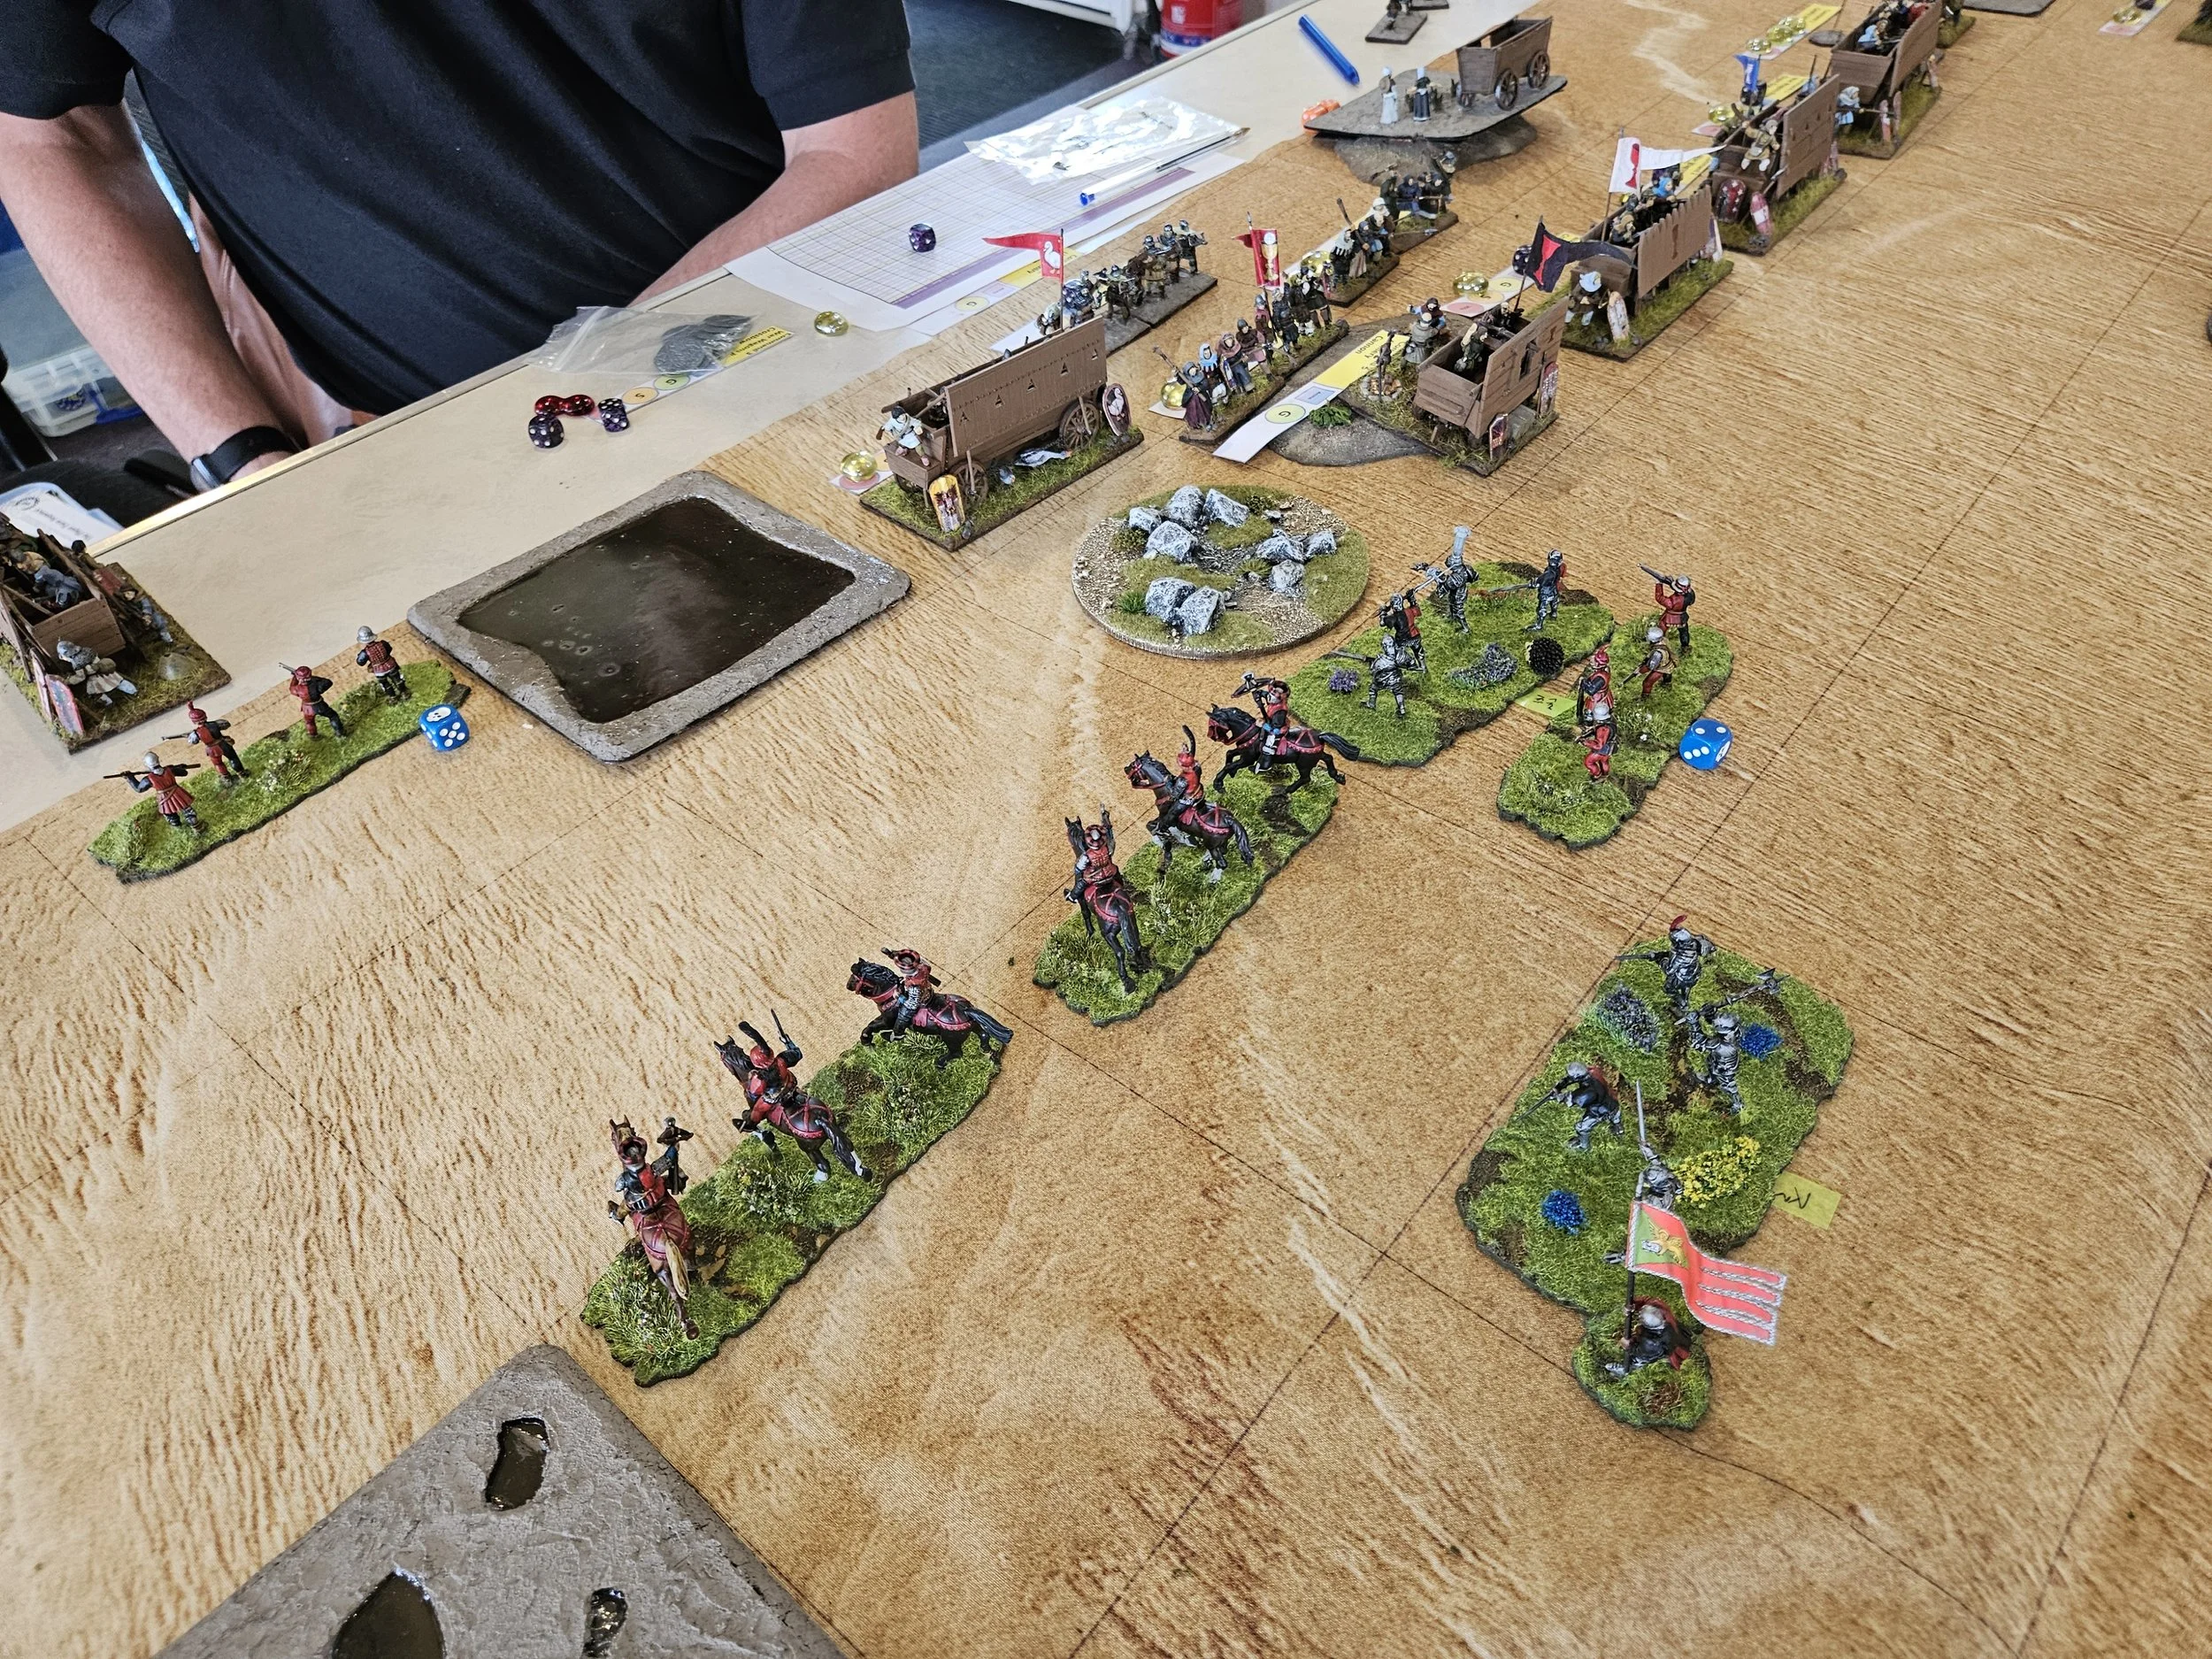
A unit of fanatical warriors chased some Lithuanians right to their baseline, even taking one of their camps as they did so.


I even managed to bring one of the cavalry units from the right wing back into the action and use them to squish some Lithuanian light horse up against the back of another of my warrior units. I was doign everything I could to whack-a-mole the enemy!
Finally the Lithuanians had had enough: their last victory medal was taken as the survivors fled the field. That had been a 13-9 victory to the Arabs and one hell of a game!
I was just pleased we had been fighting on a simulation of the field of Thermopylae, with the fighting area of the tabletop narrowed by plentiful terrain on the flanks. I might have won this time, but a more open table would, I think, have led to me being enveloped by the Lithuanians even with me trying to chase them down.
A good start to the day!