19thC AAR: Battle in the Crimea
/Having recently re-based all my British Crimean figures, it was time to get them onto the tabletop. Like some of my other 19thC figures, these troops hadn’t seen the light of day for almost twenty years: a testament to my inability to sell or give away any of my collection!
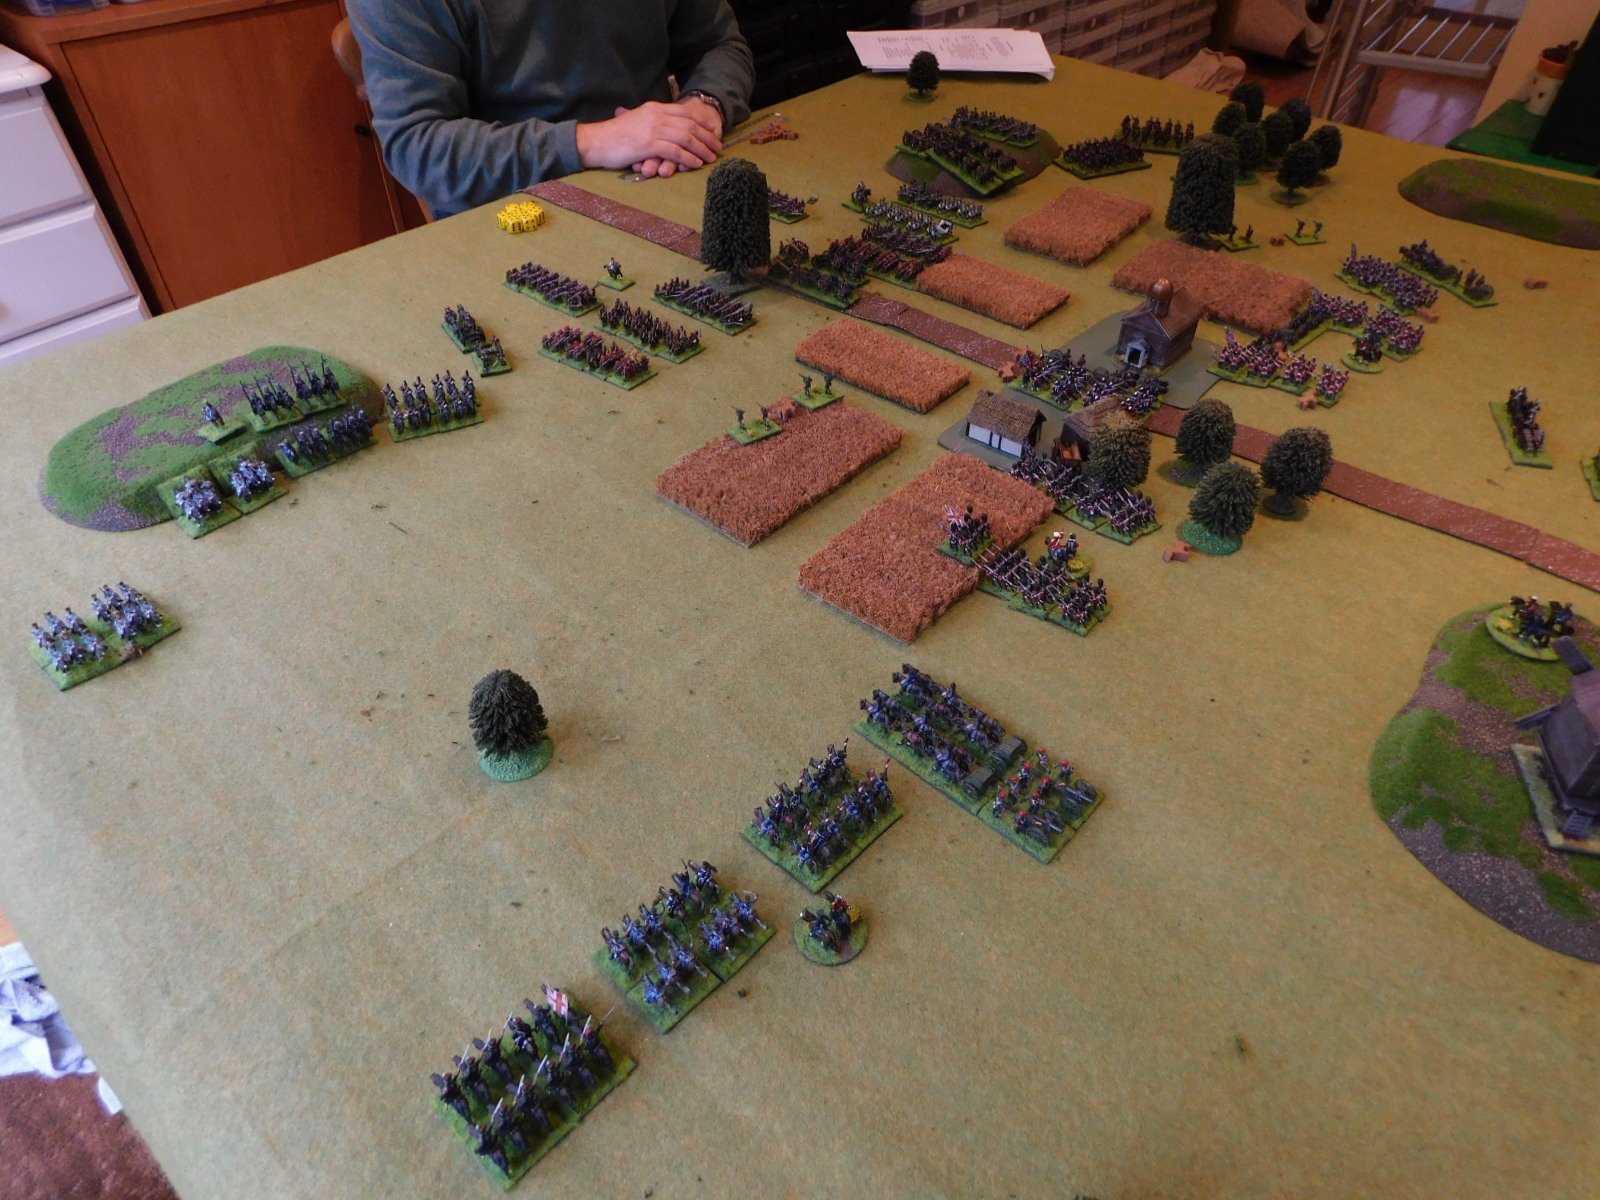
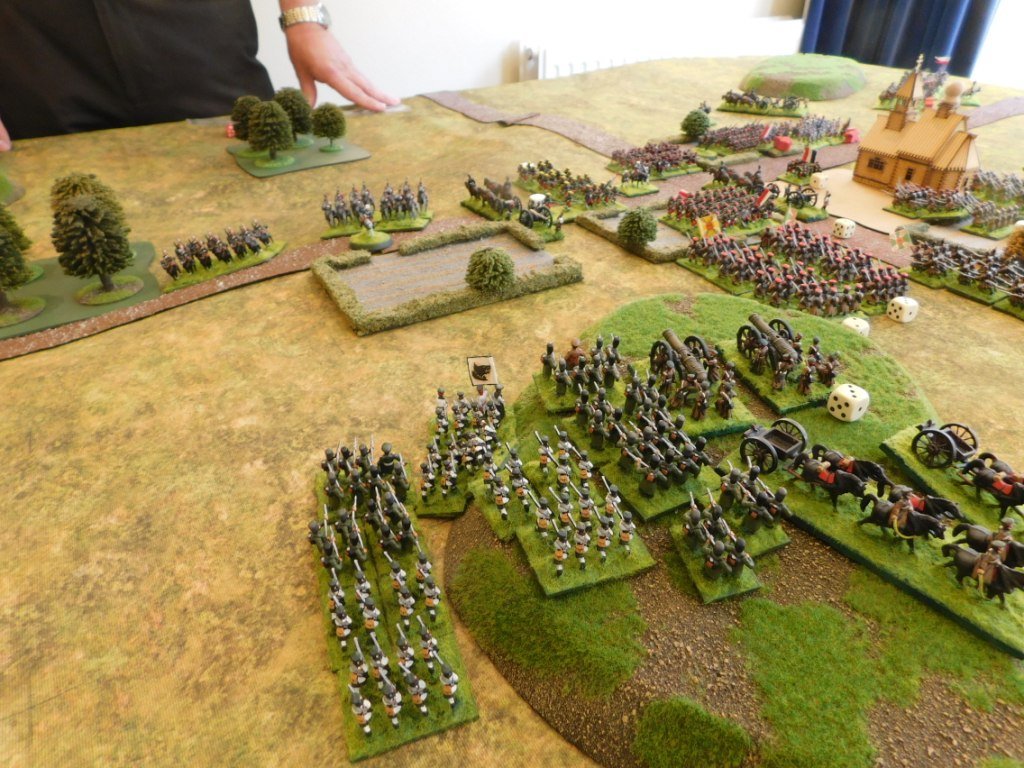
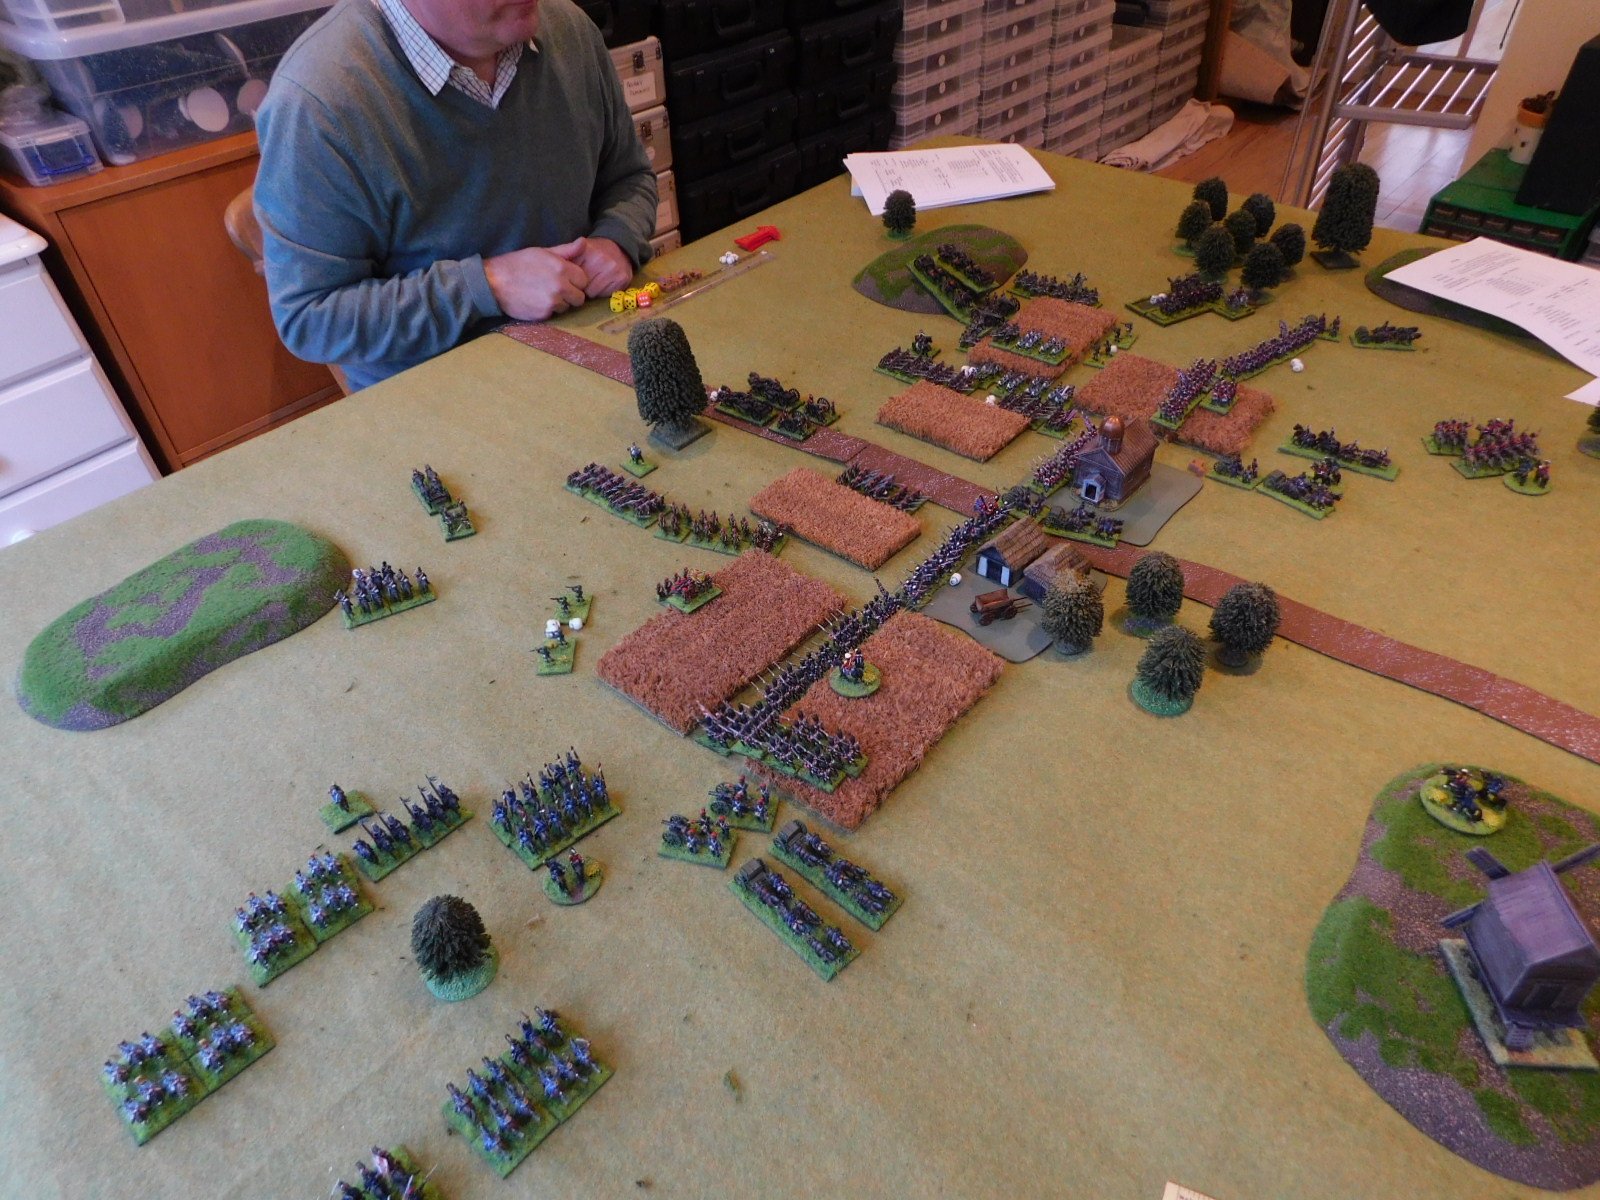
As I had done all the work, I would take the British, with friend John taking the Russians. Set up was a simple one: both sides were after possession of a strategically important village in about the centre of the table. We would use the Neil Thomas Rules for Wargaming the 19th Century.
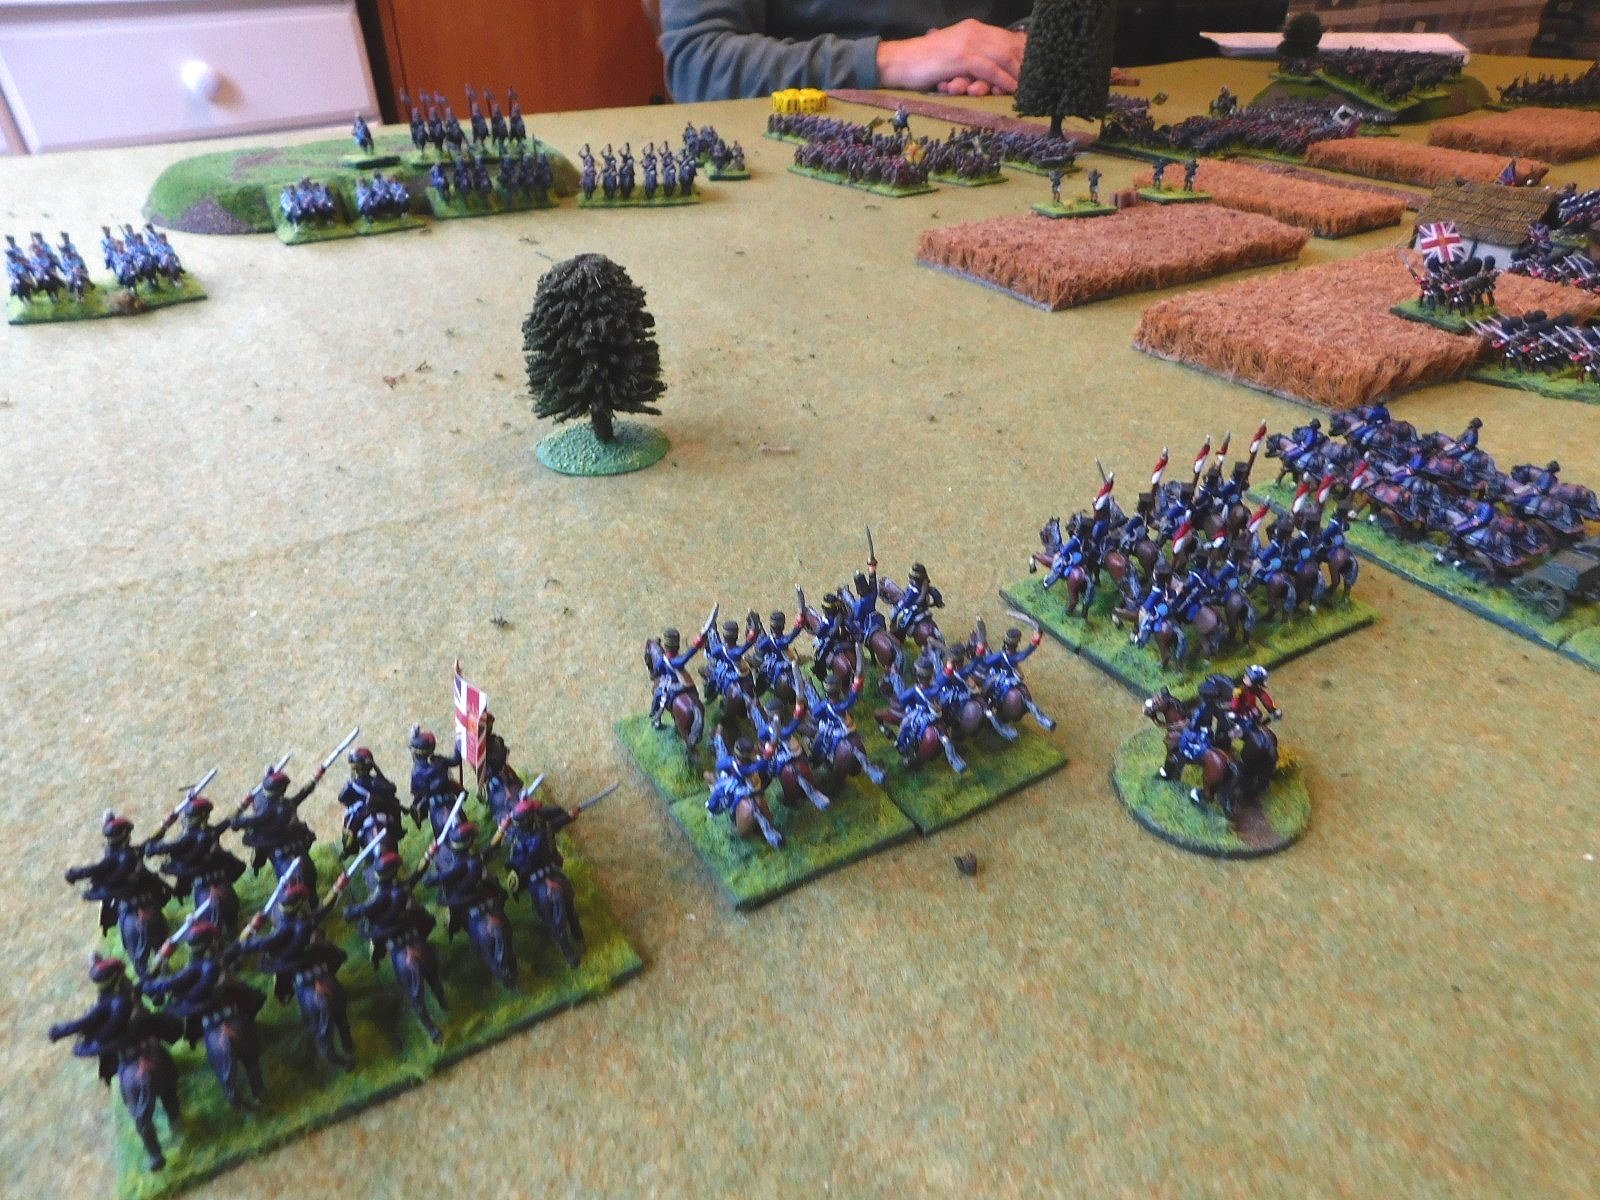
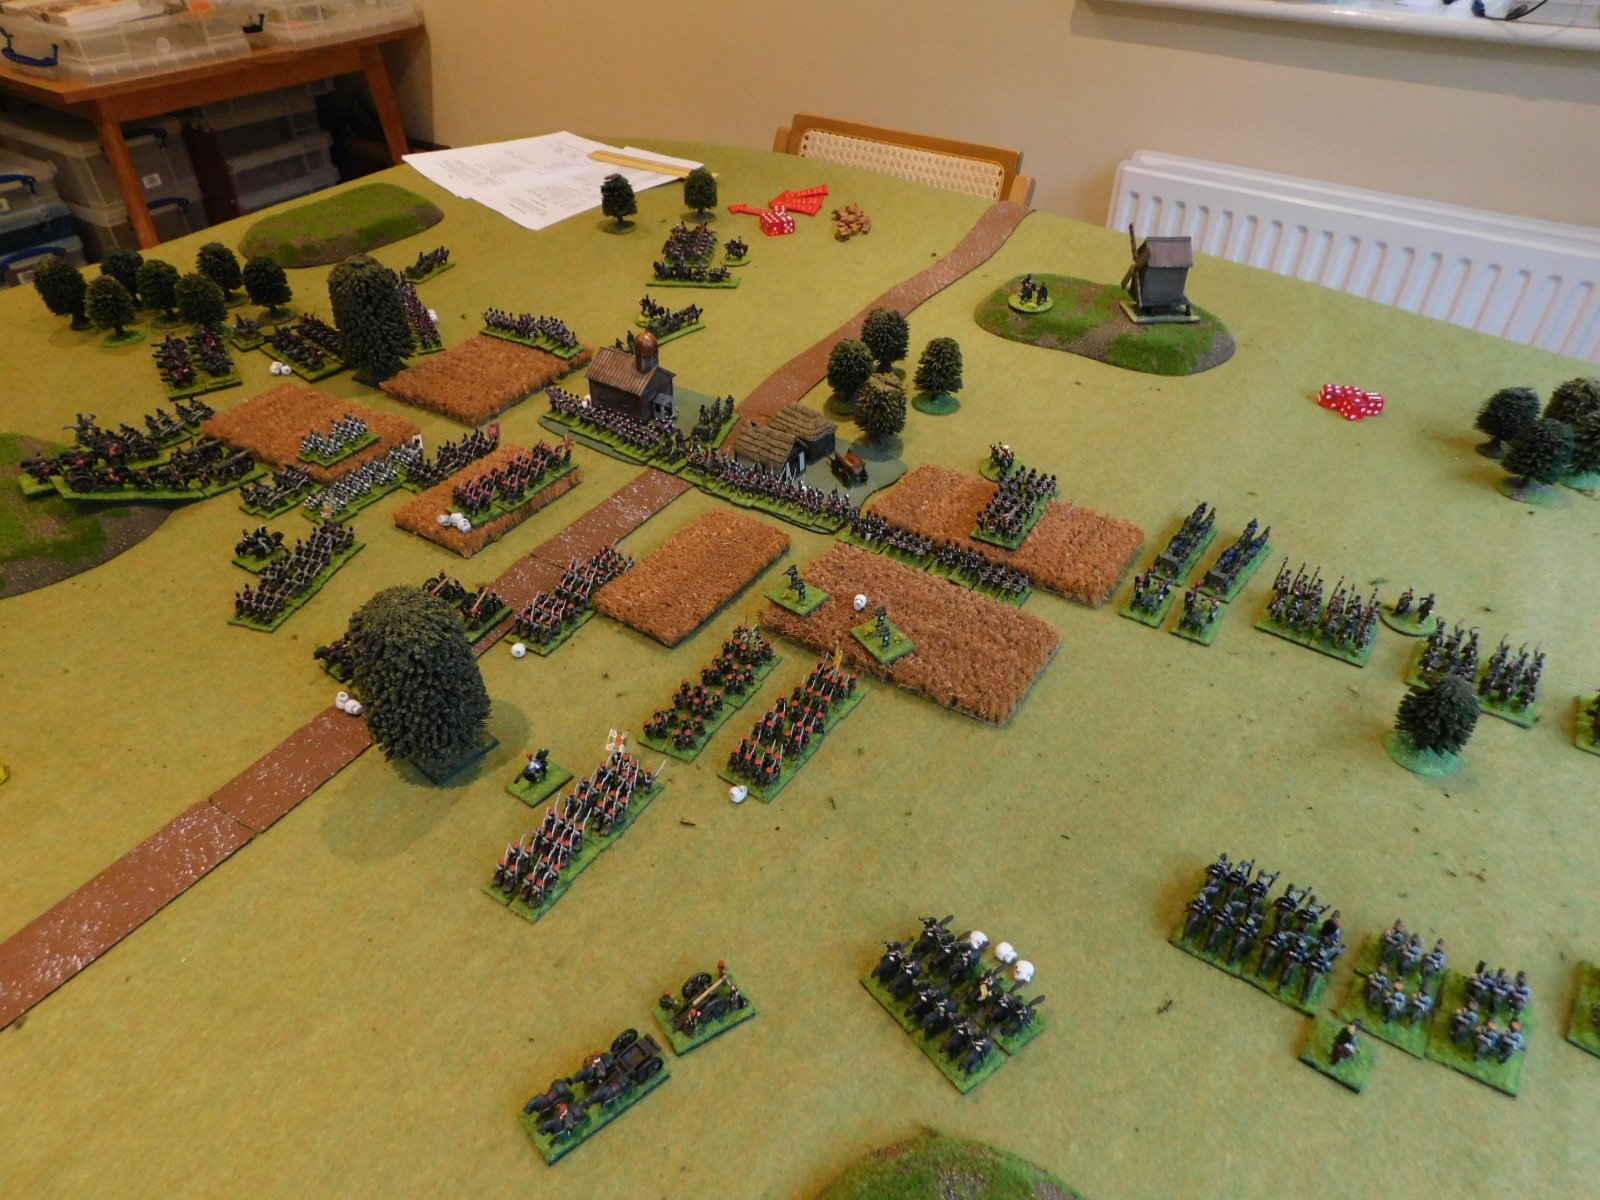
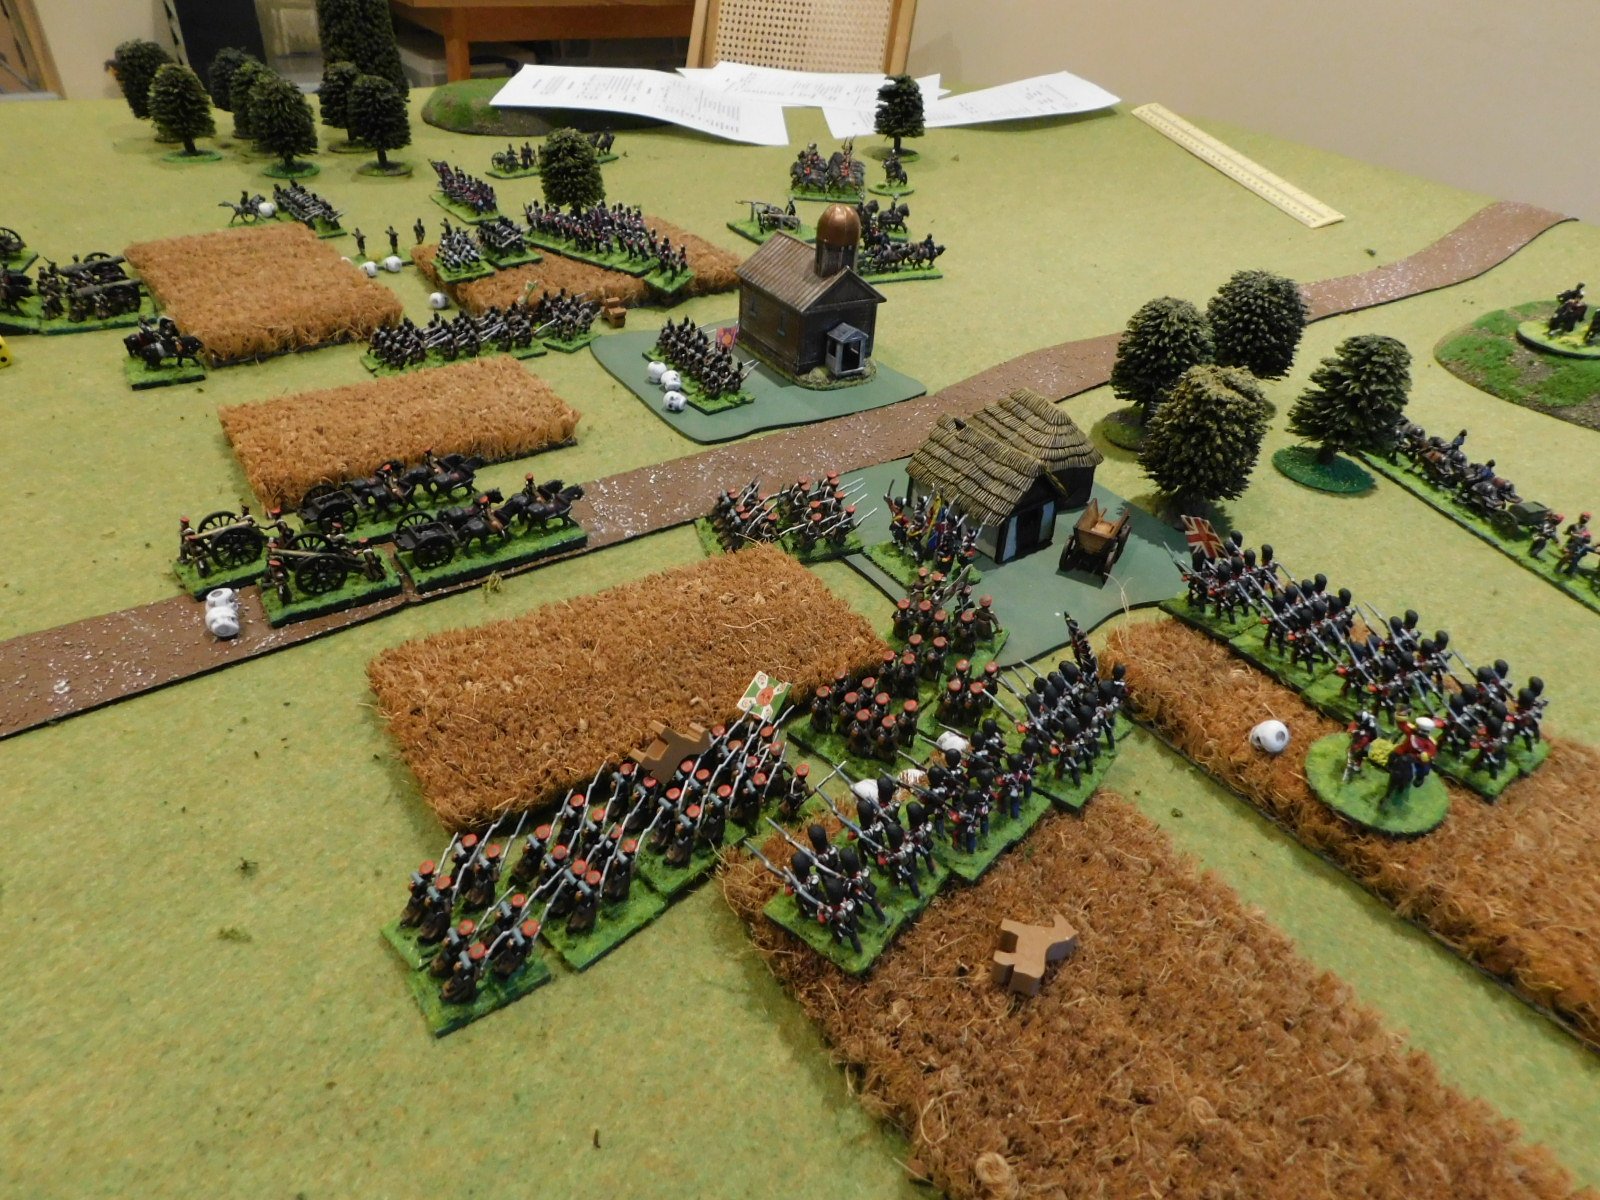
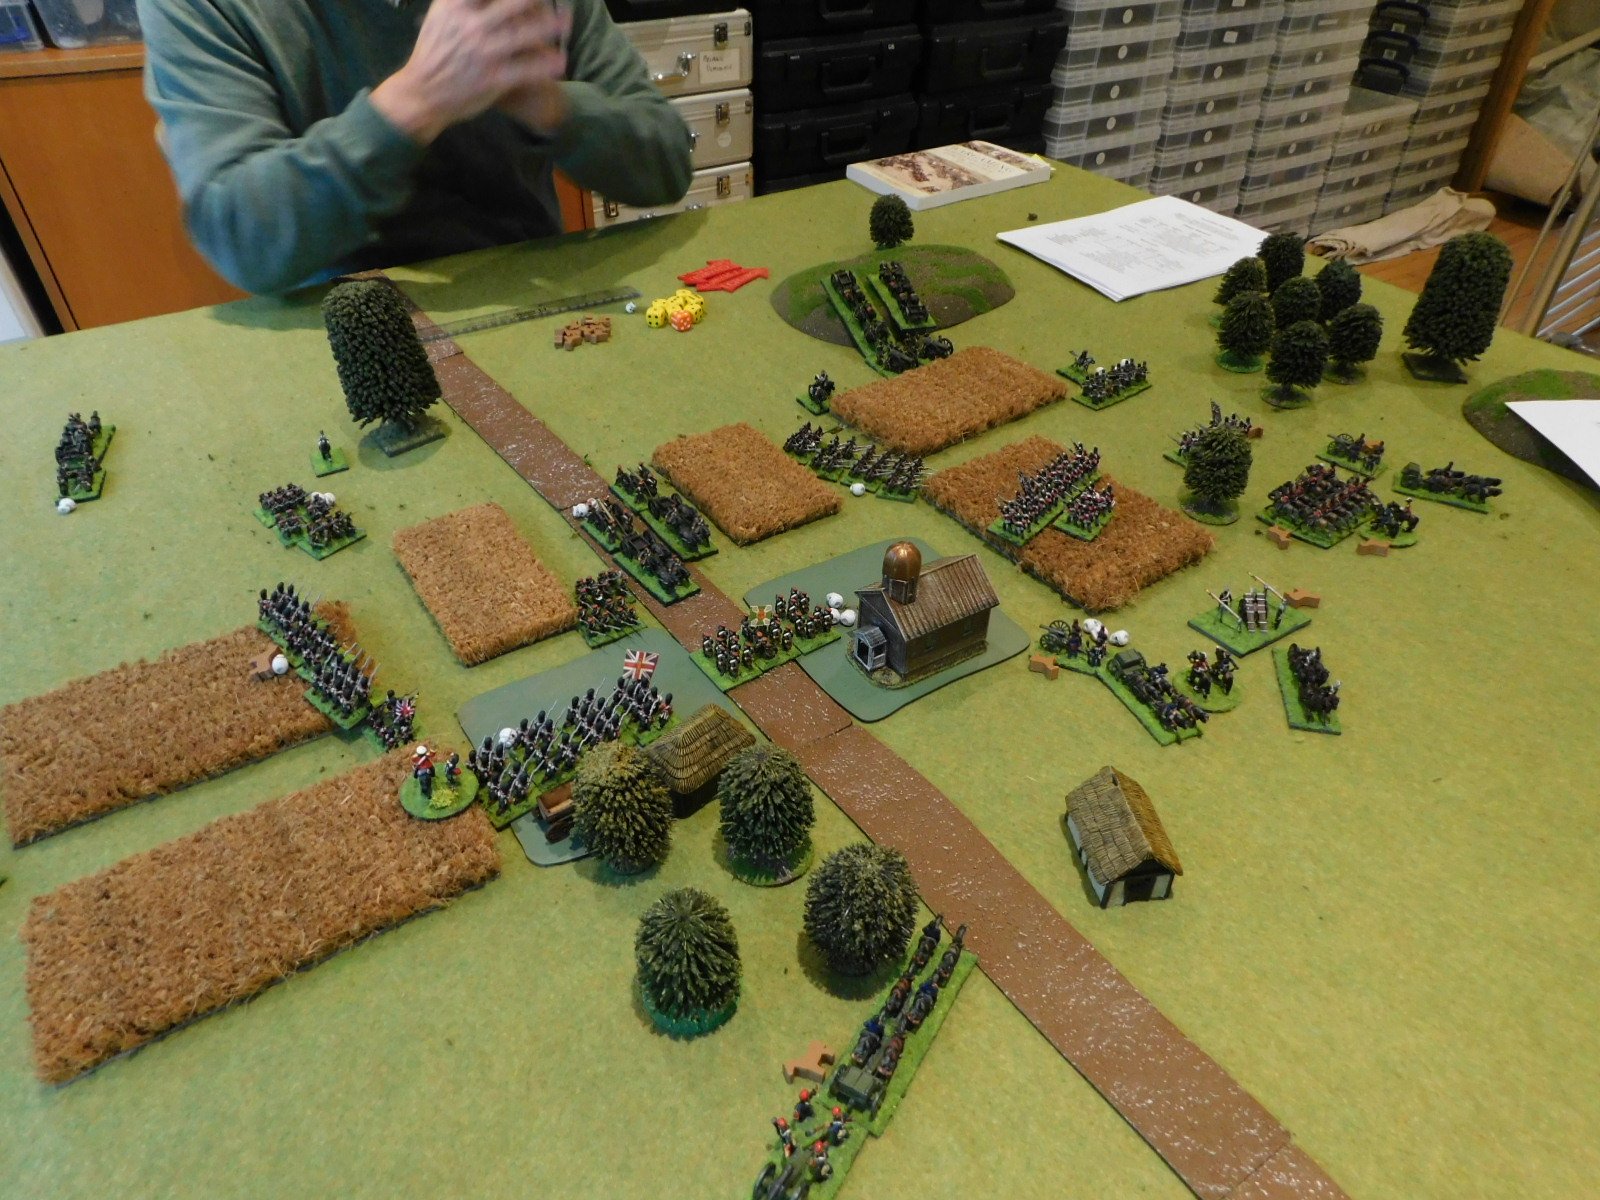
As the game begun, both sides hotfooted it towards the village.
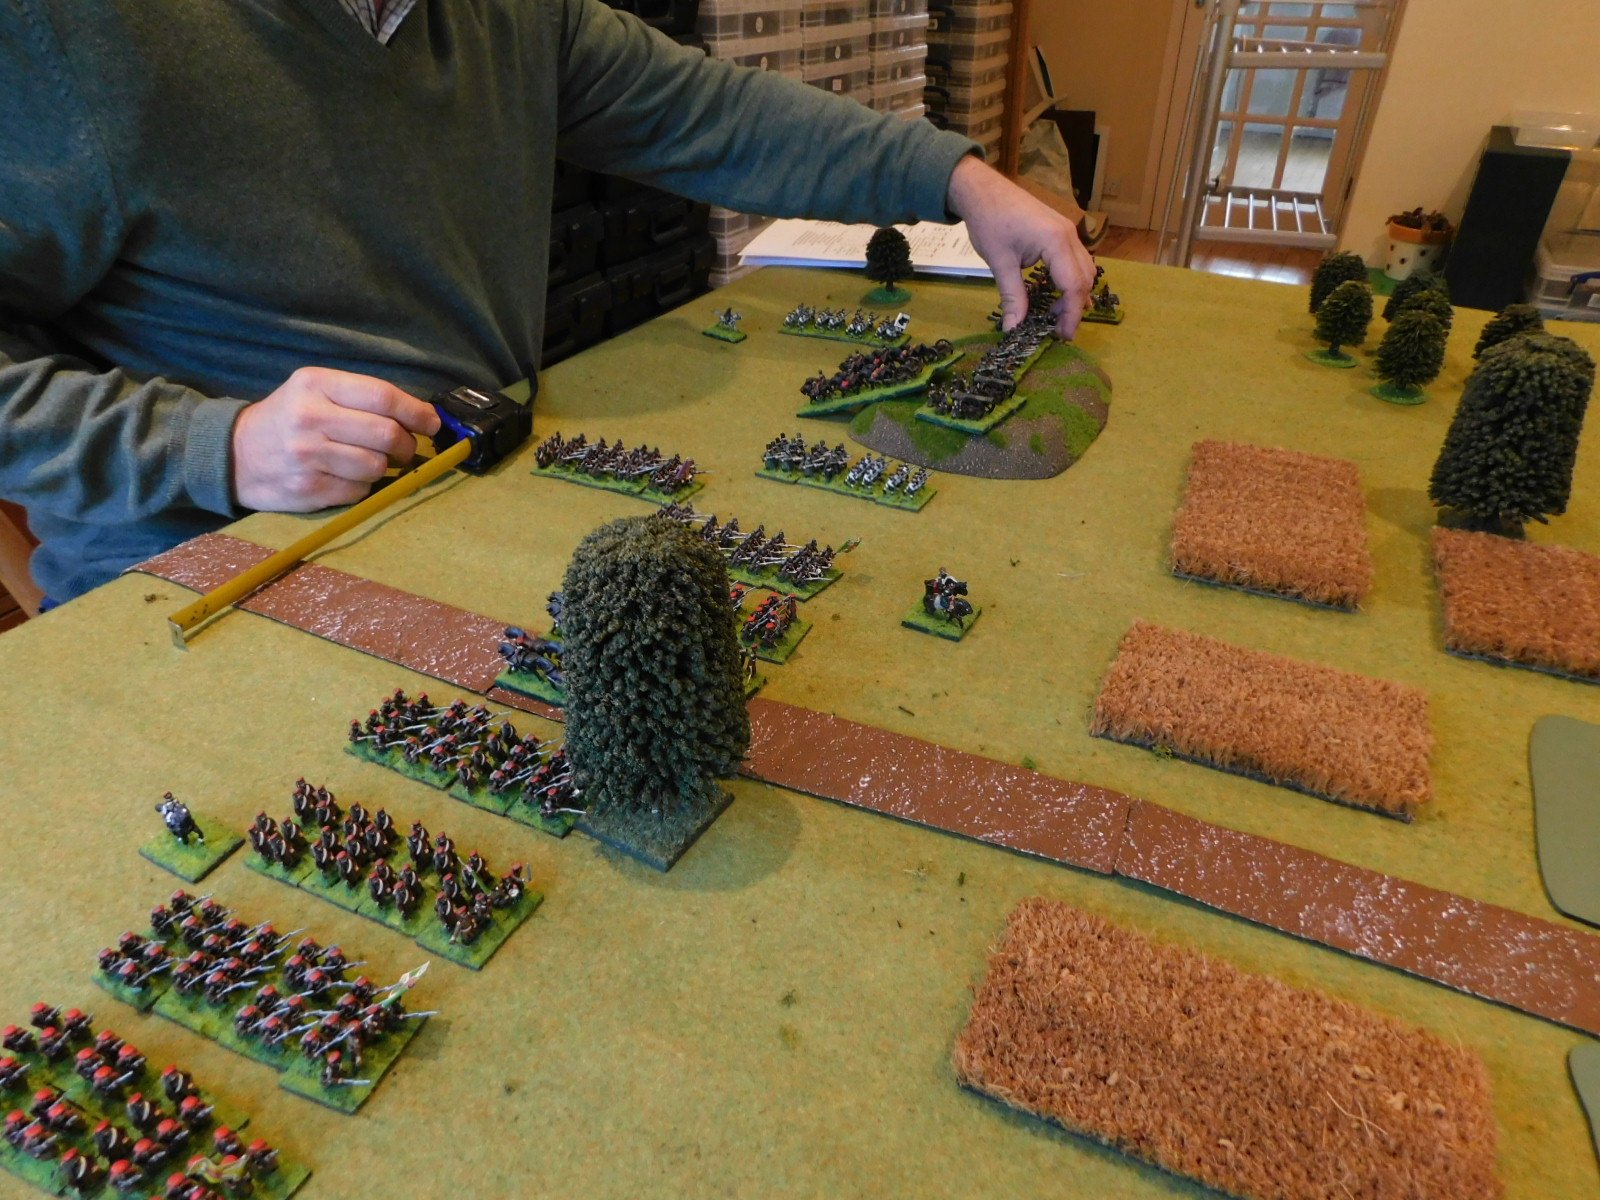

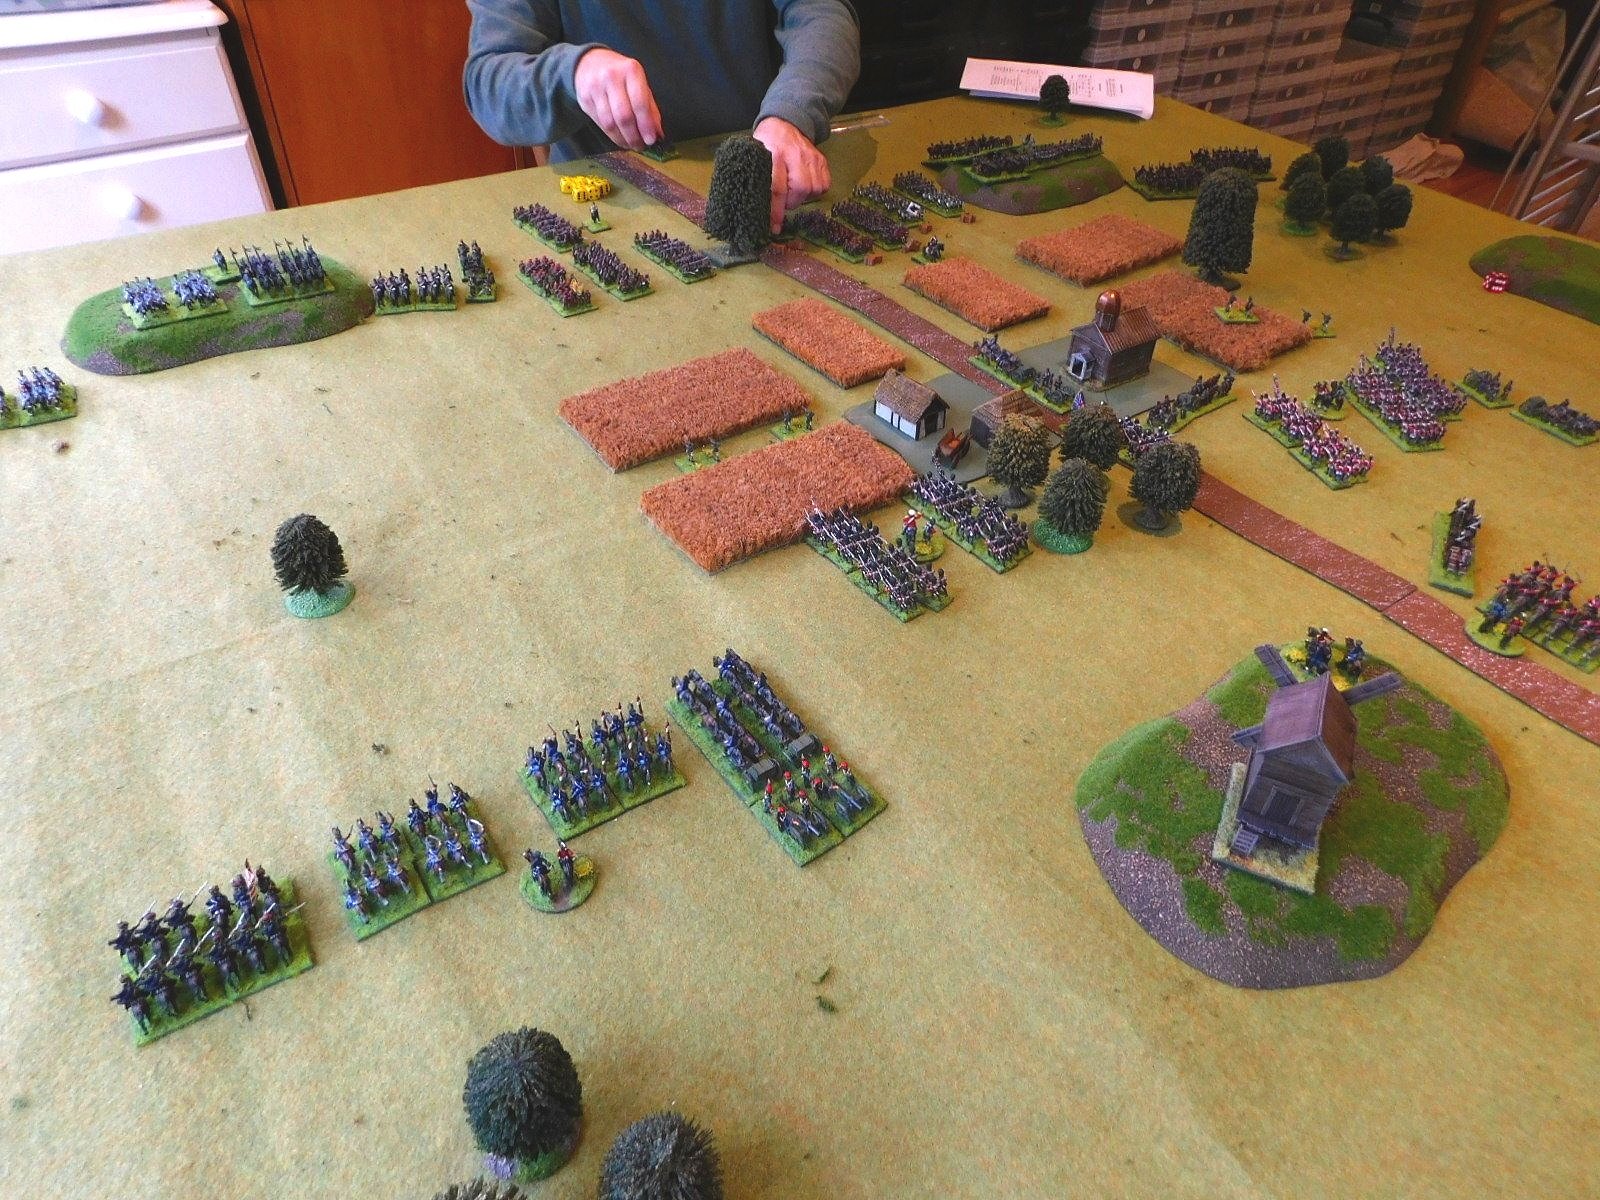
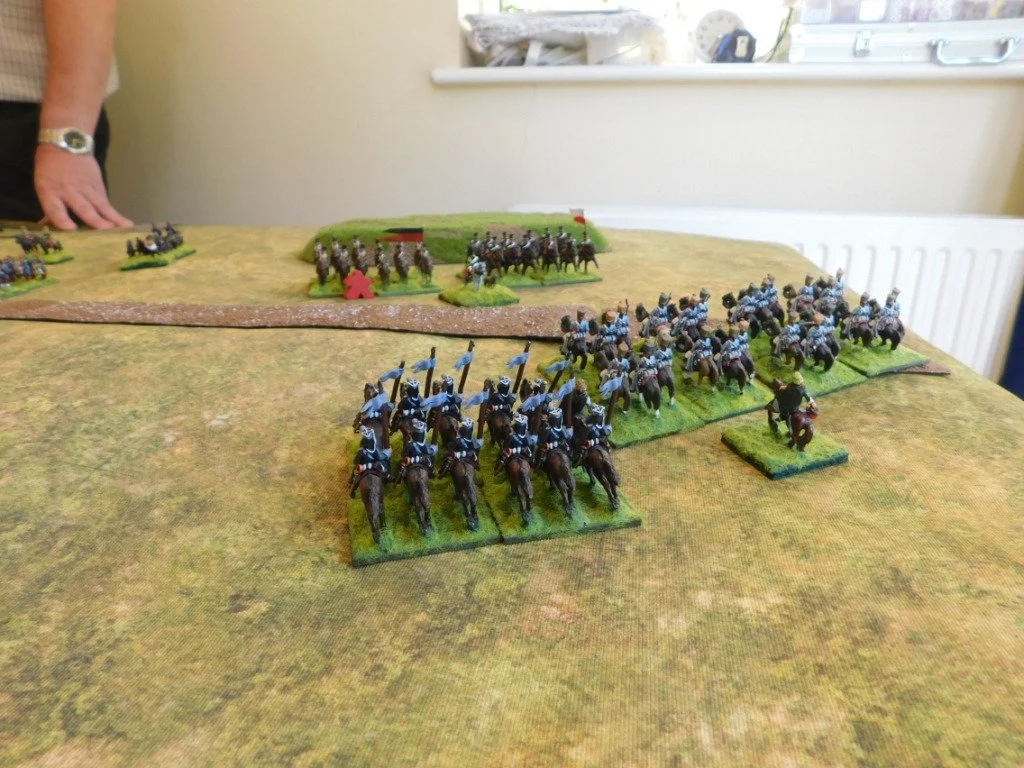
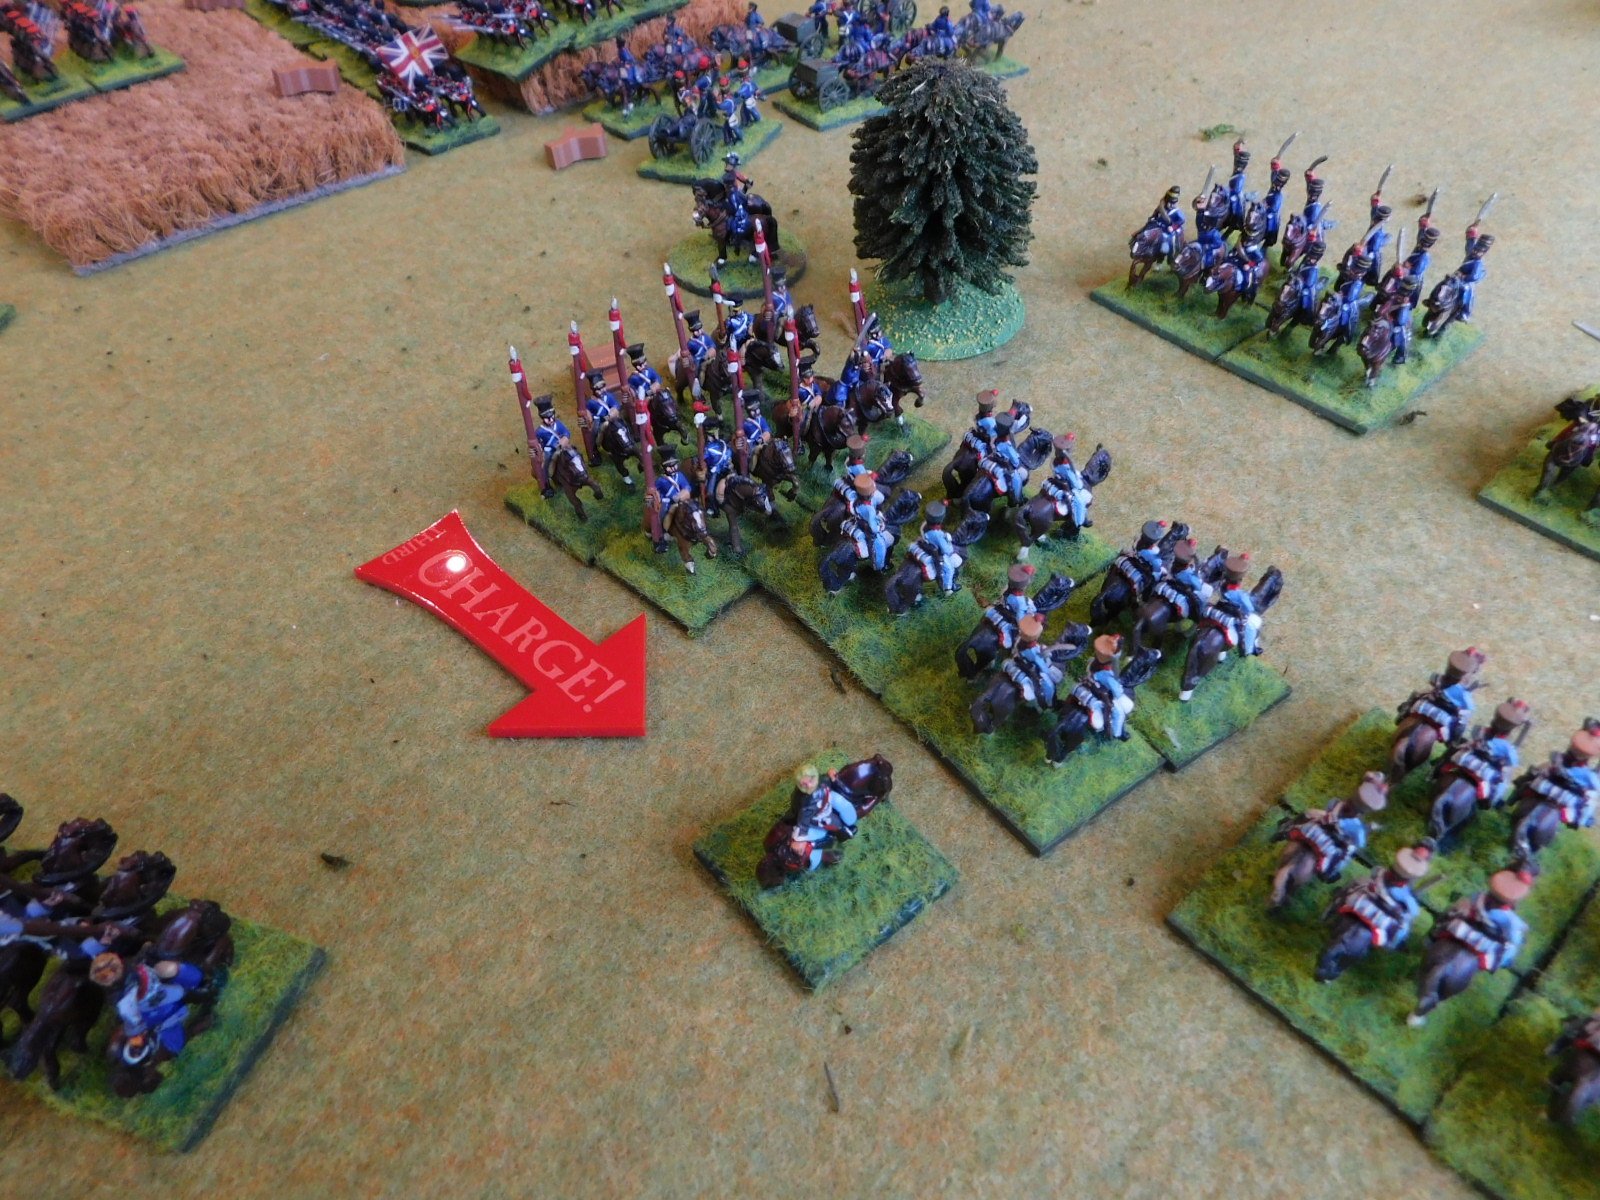
As you can see, the Brits were a bit faster (and maybe closer, but we rolled for sides!) so managed to get into the village before the Russians. Also note the opposing sides’ cavalry moving towards each other slowly on the near flank.
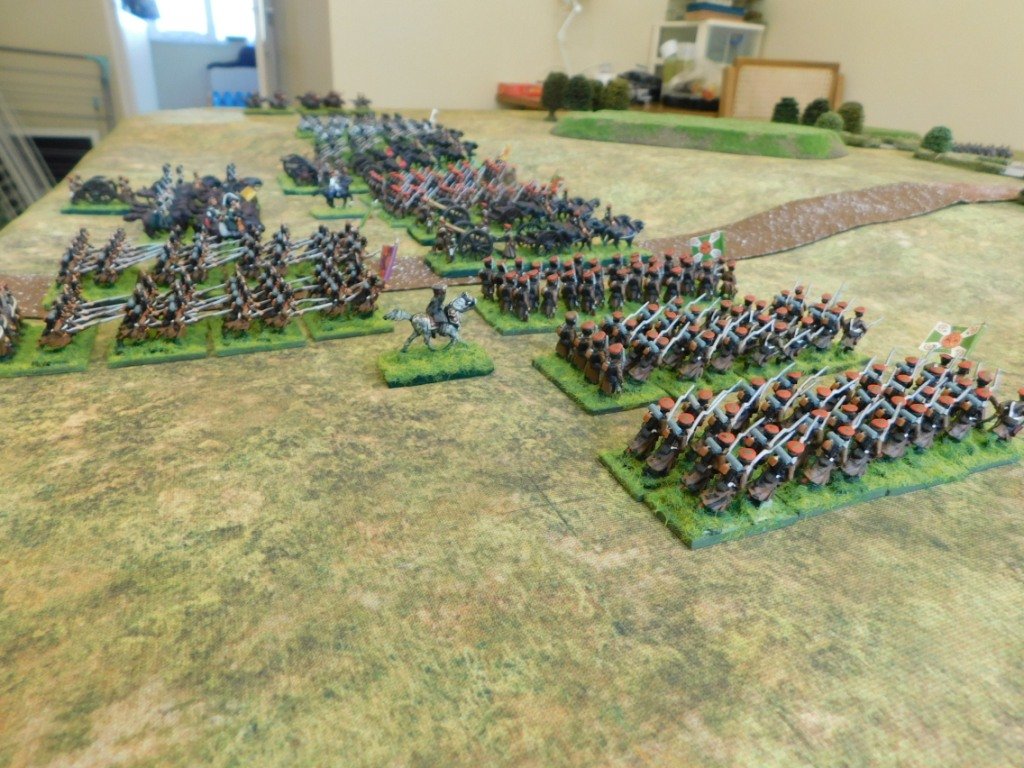
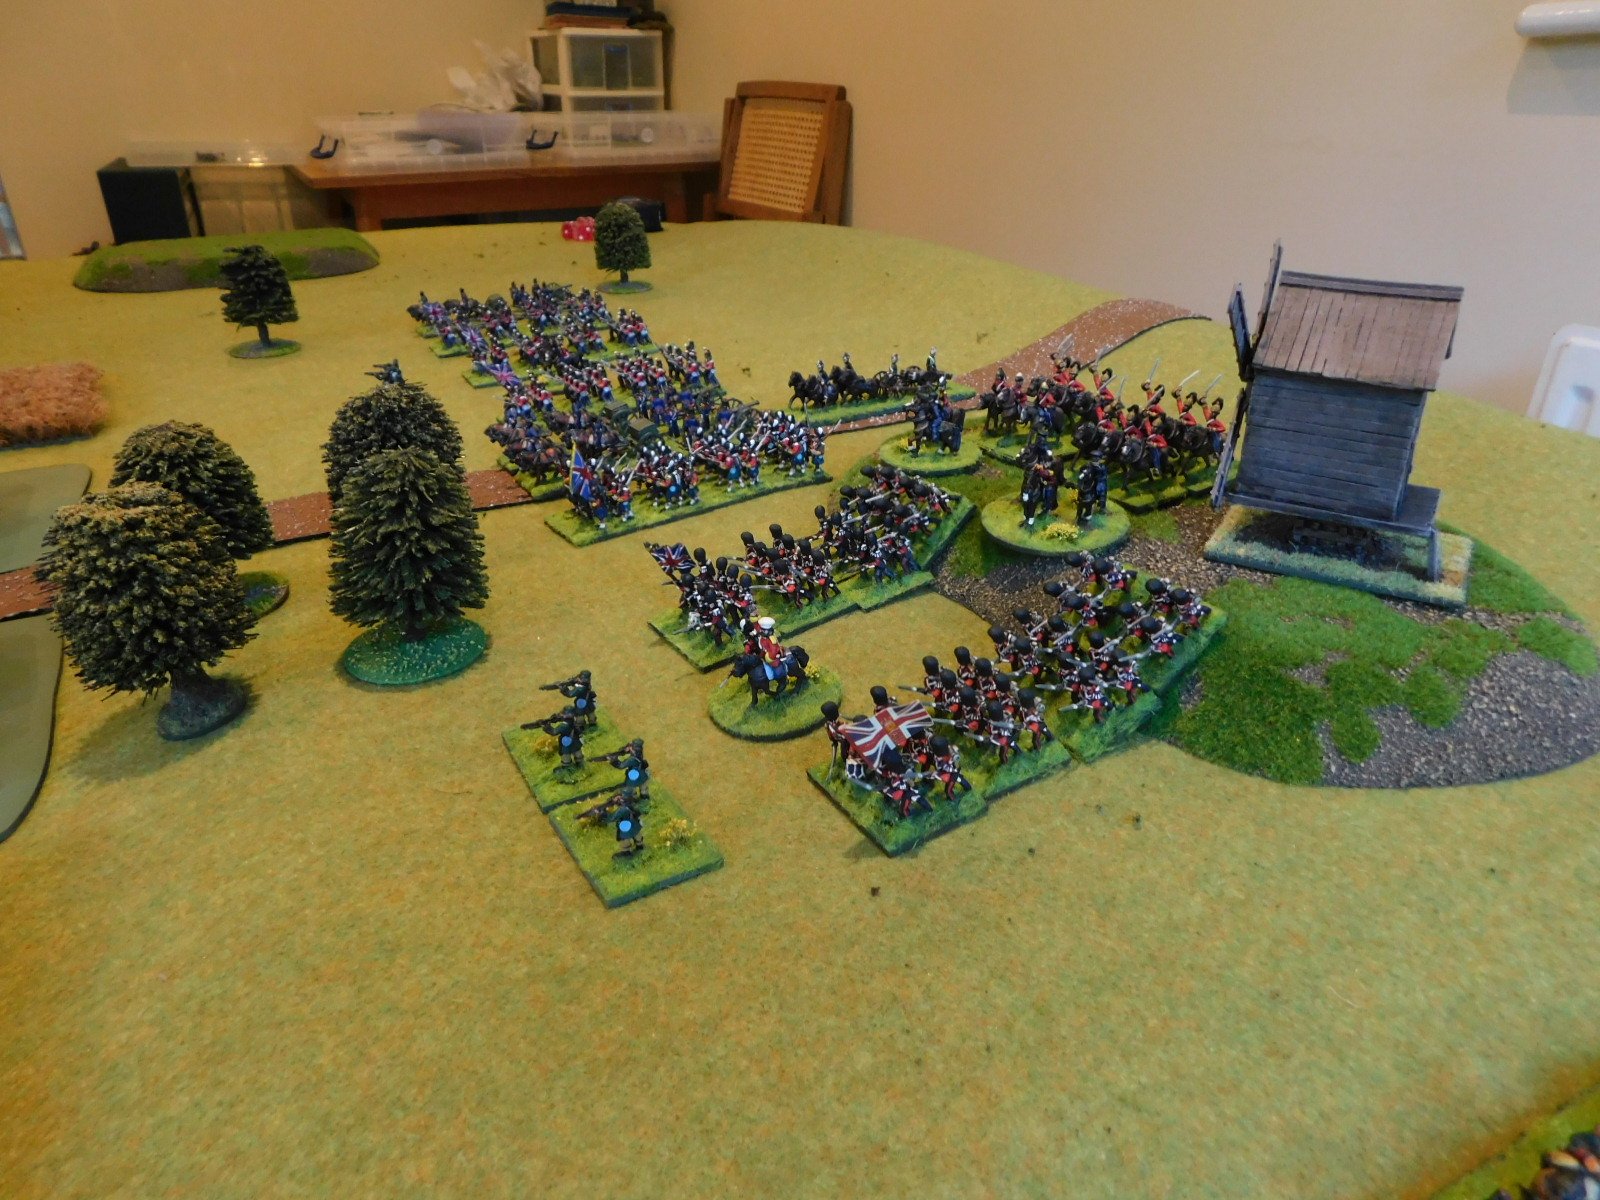
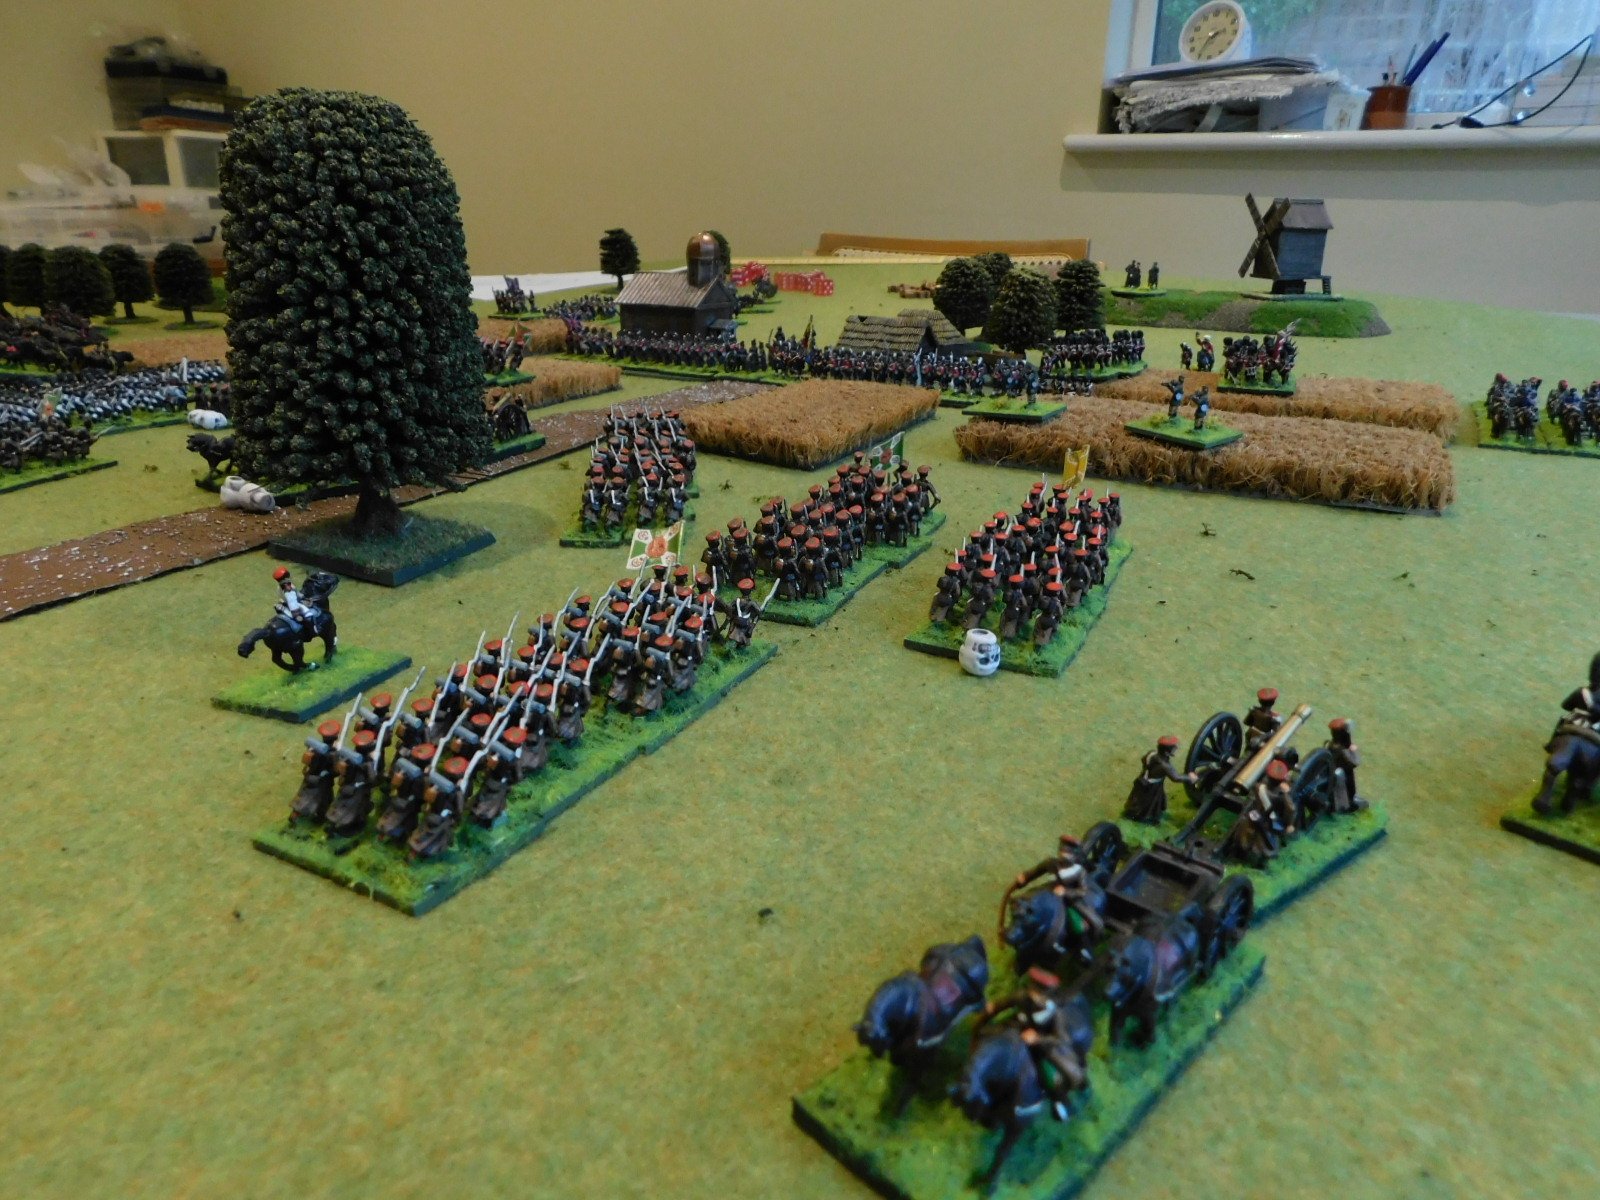
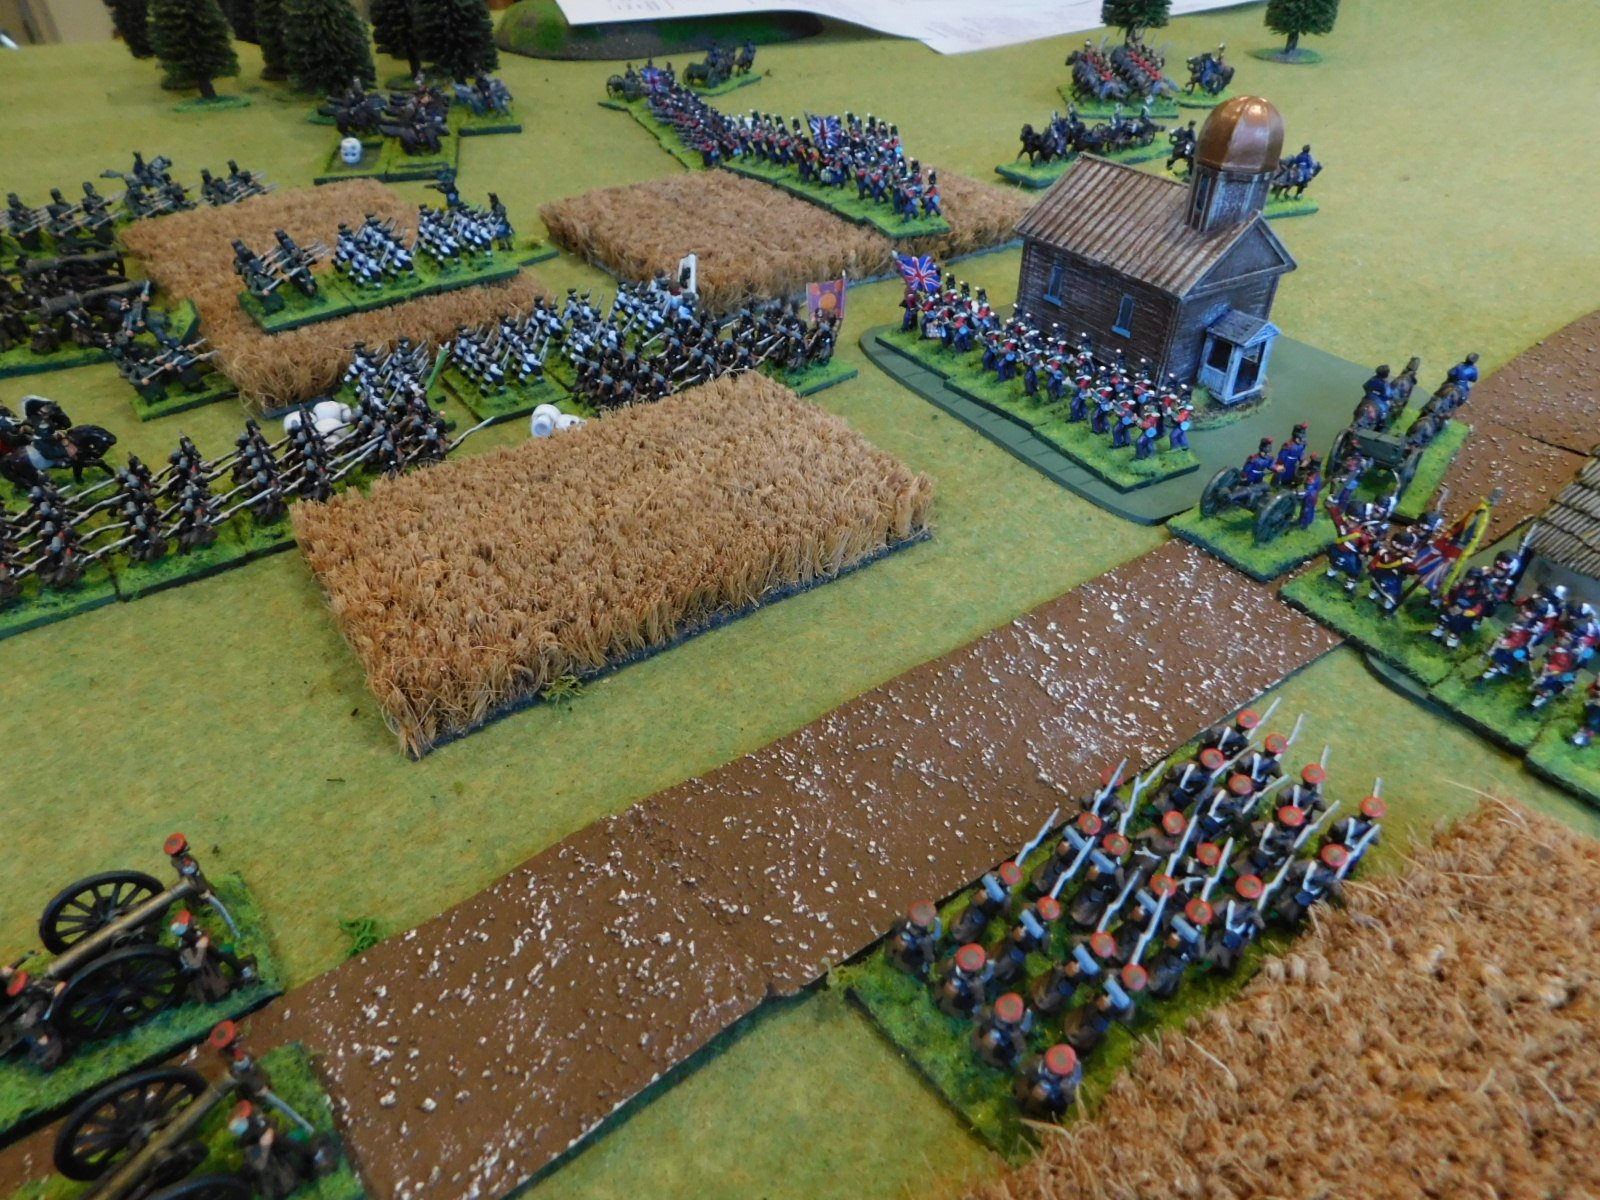
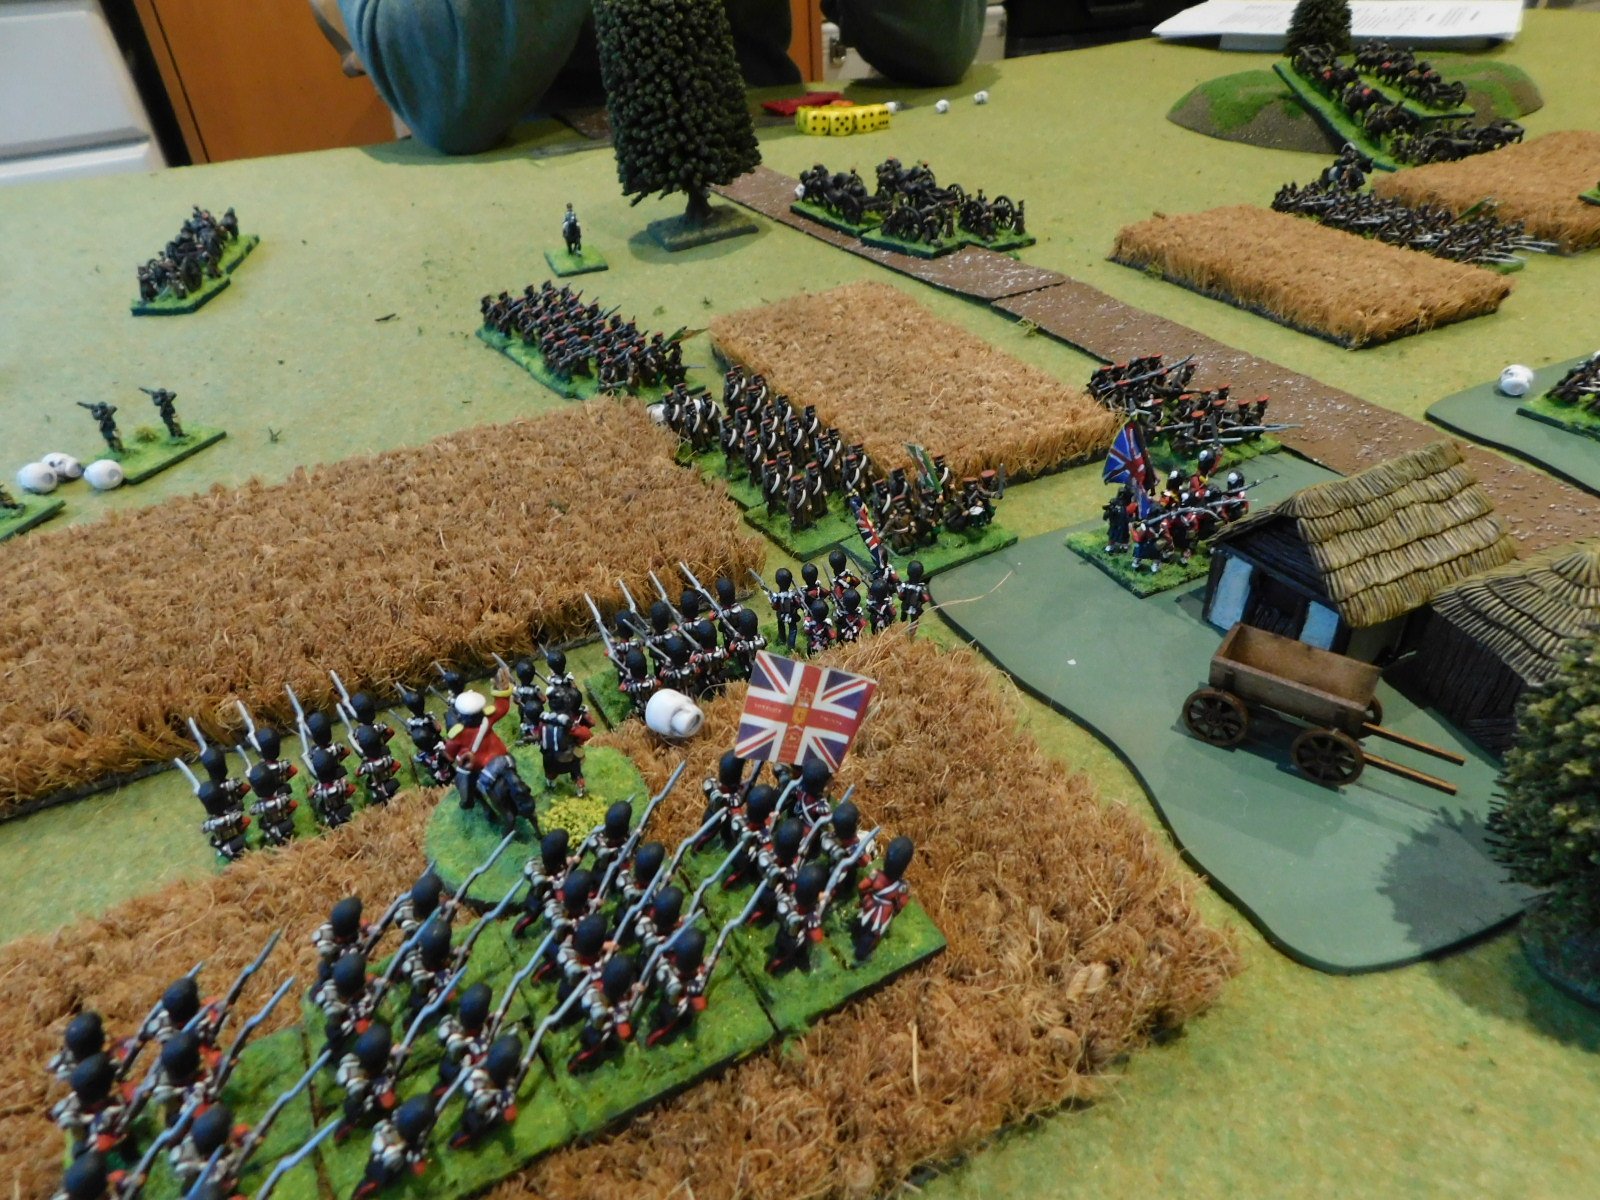
Before we move on with the narrative, here’s a great shot of the British during their approach:
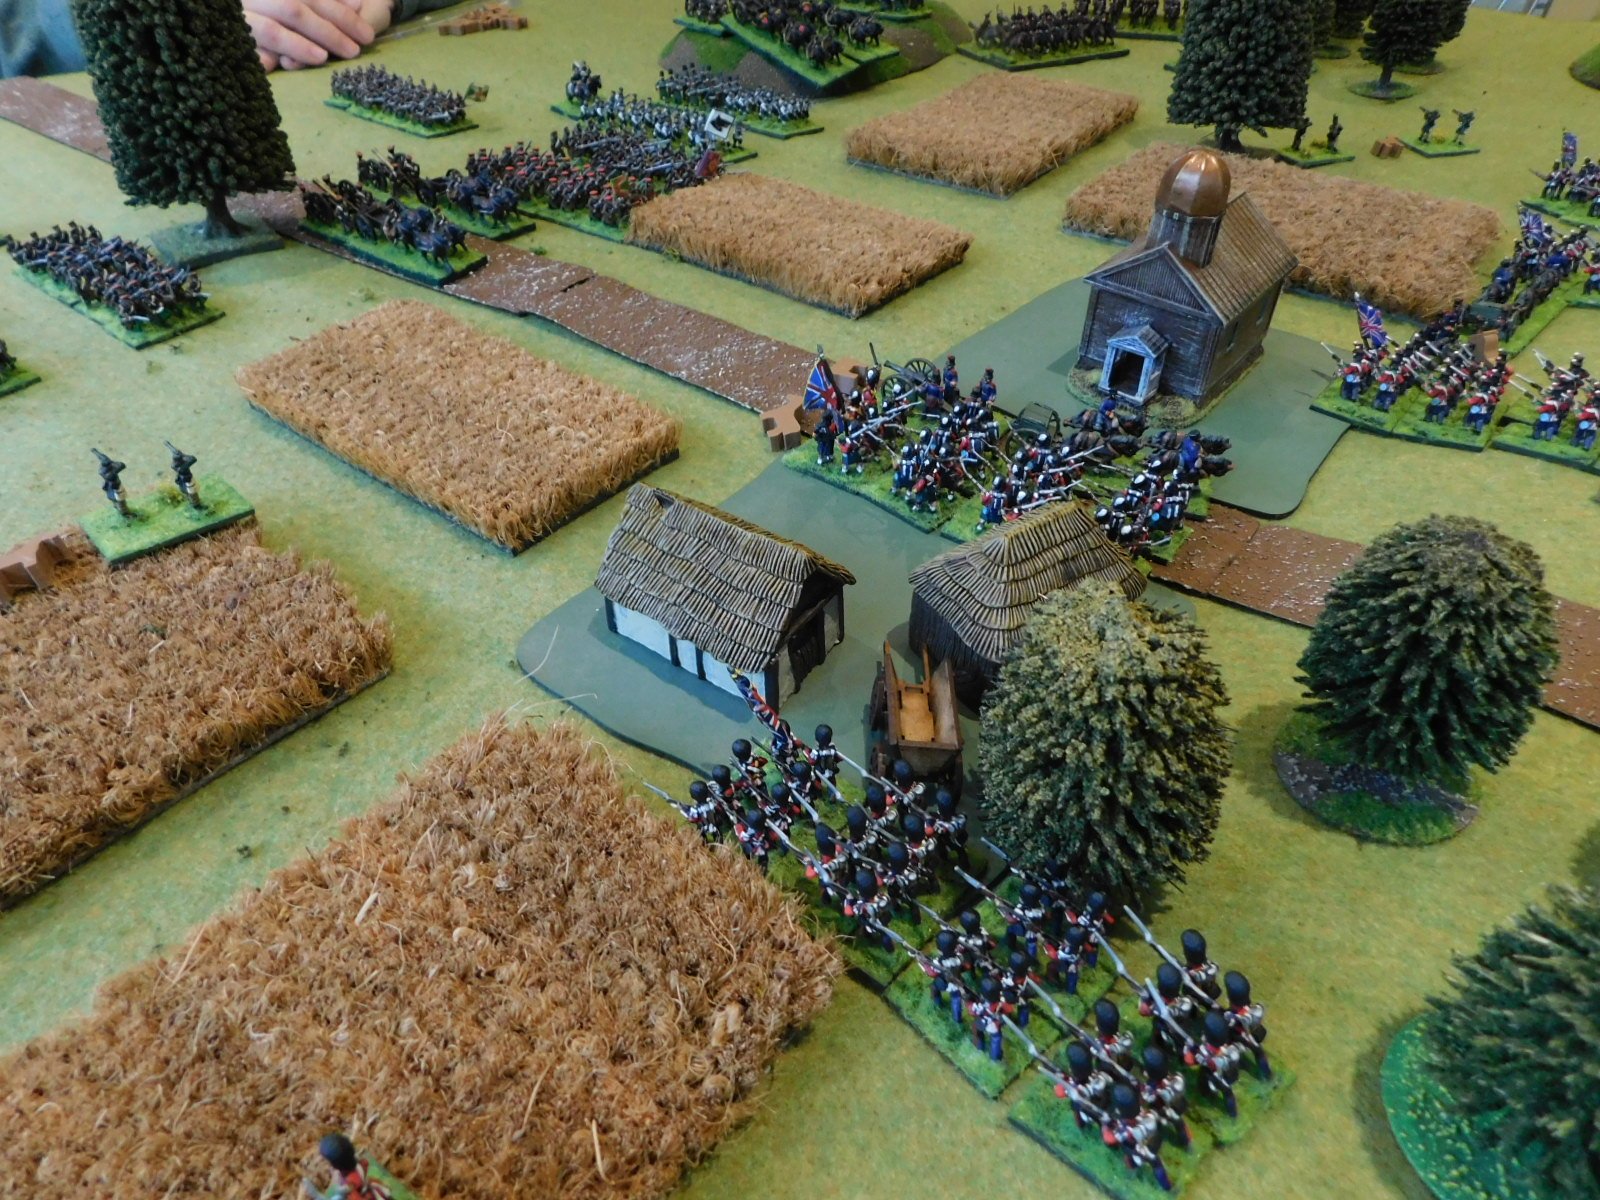
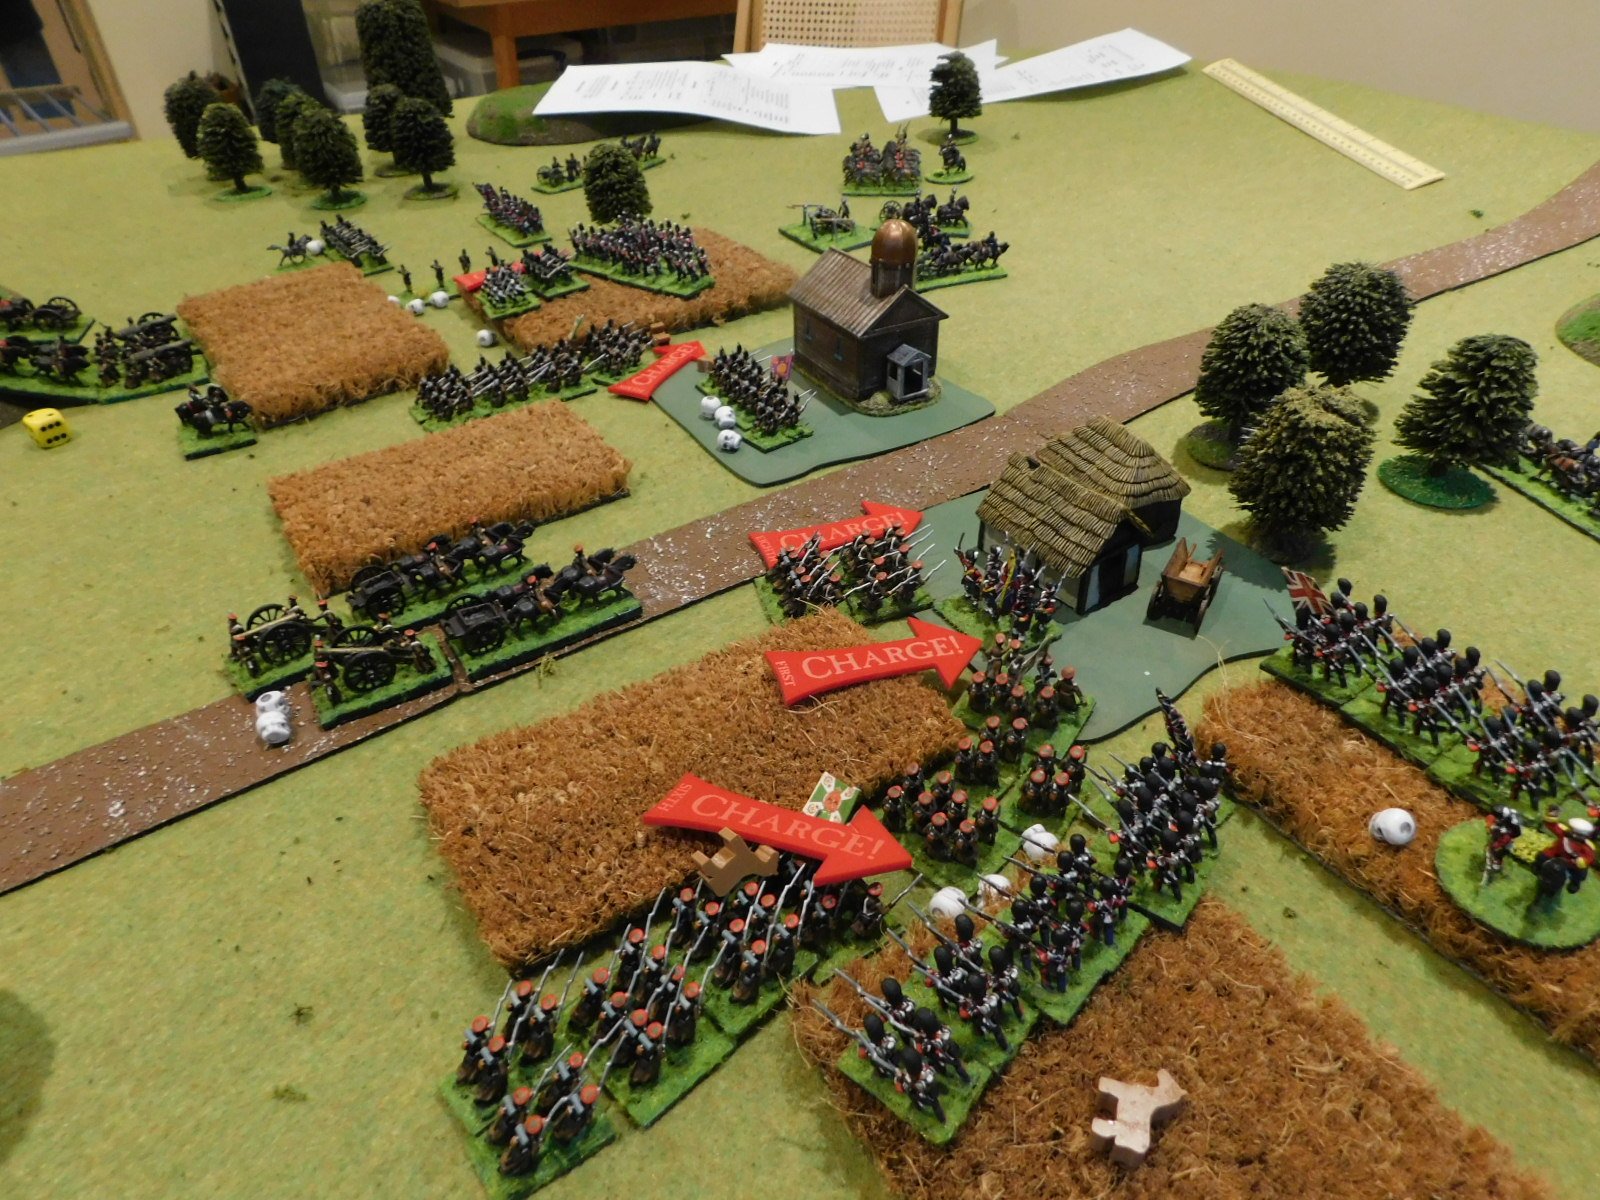
The Fight for the Village
The British reached the village first and barely had time to form line before the Russian columns started to charge home.
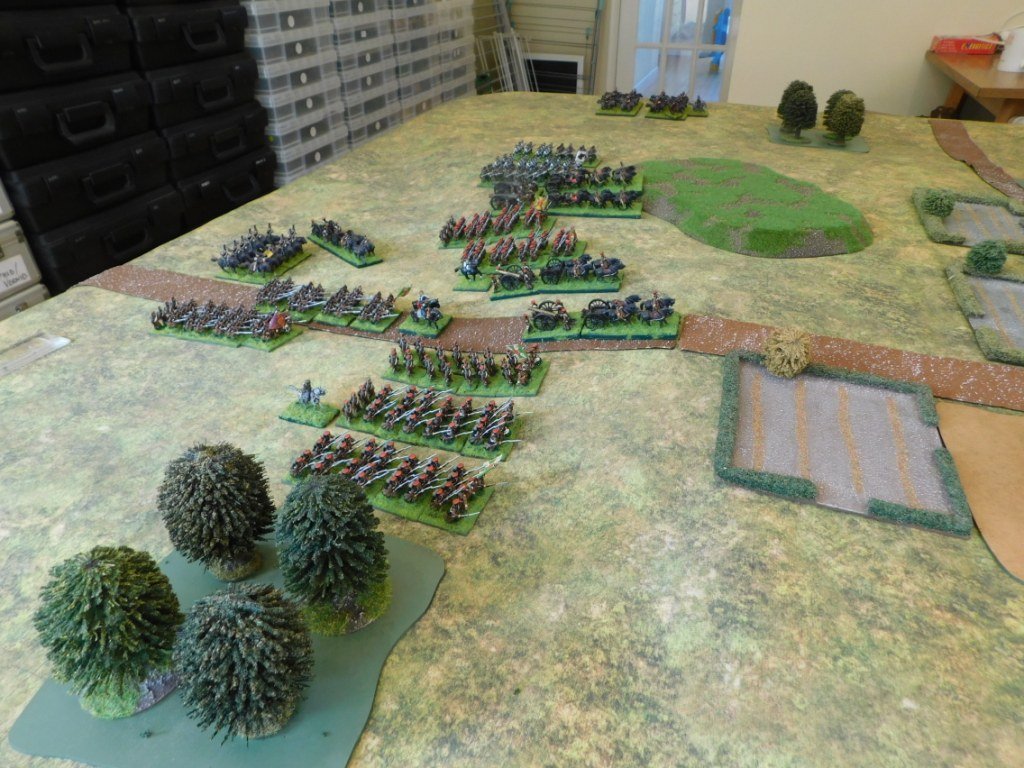
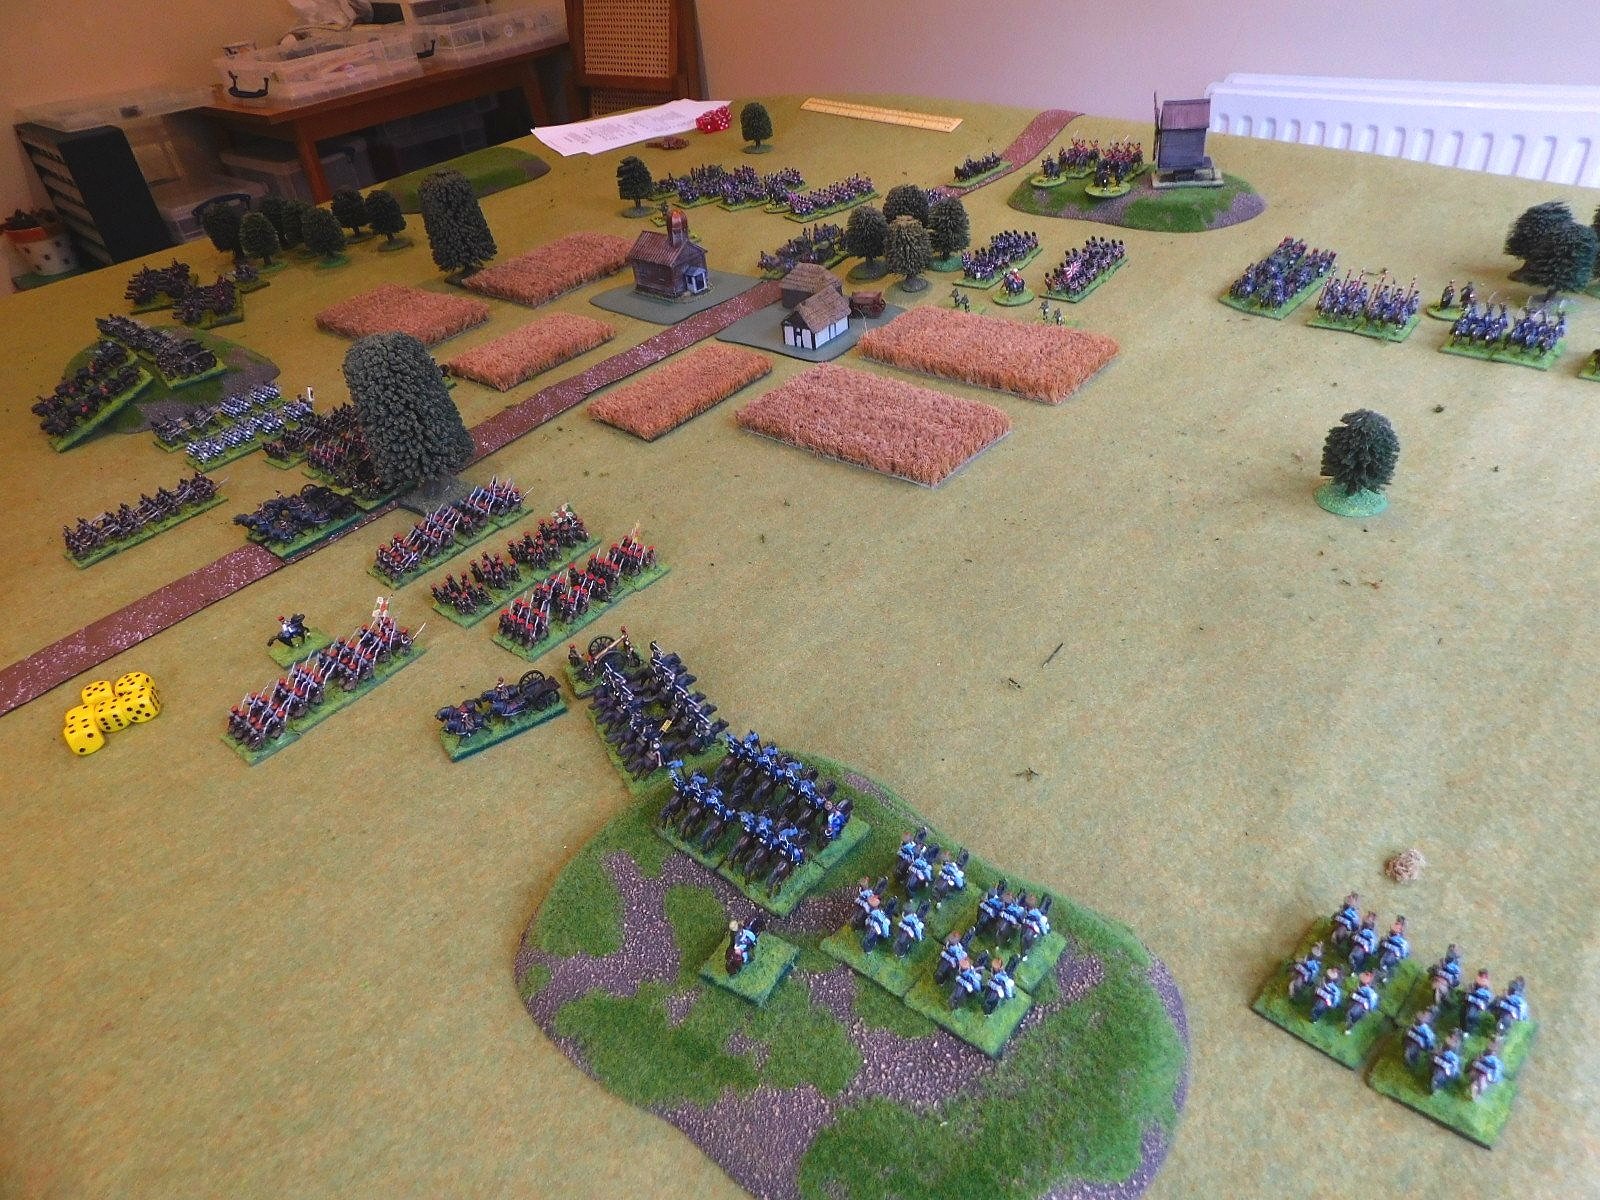
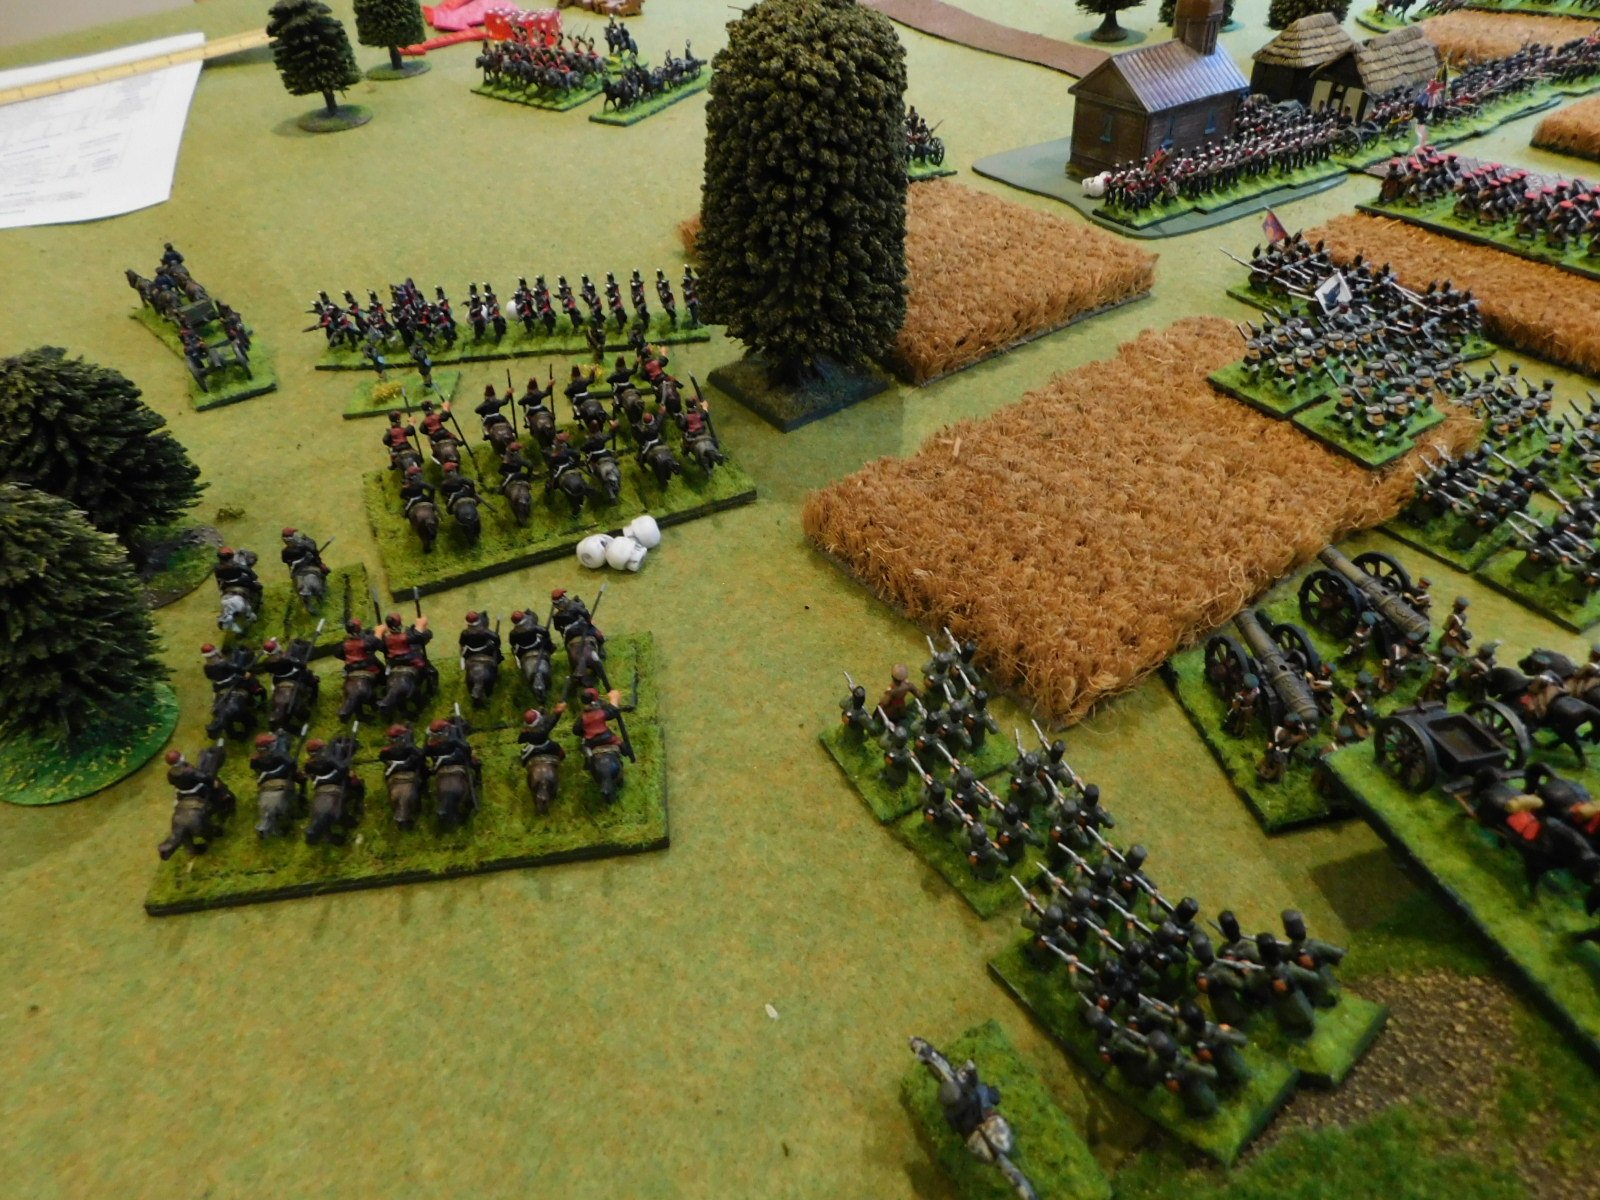
On The Right
On the right hand side of the field, a British battalion supported by skirmishers faced off against two large masses of Cossack horse supported by heavy artillery and a battalion of Cossack foot.
Throughout the rest of the game, this battalion would hold this flank, sending the three Cossack units flying back to their steppes. The price was high: only half the British infantry were still on their feet at the end of the battle.

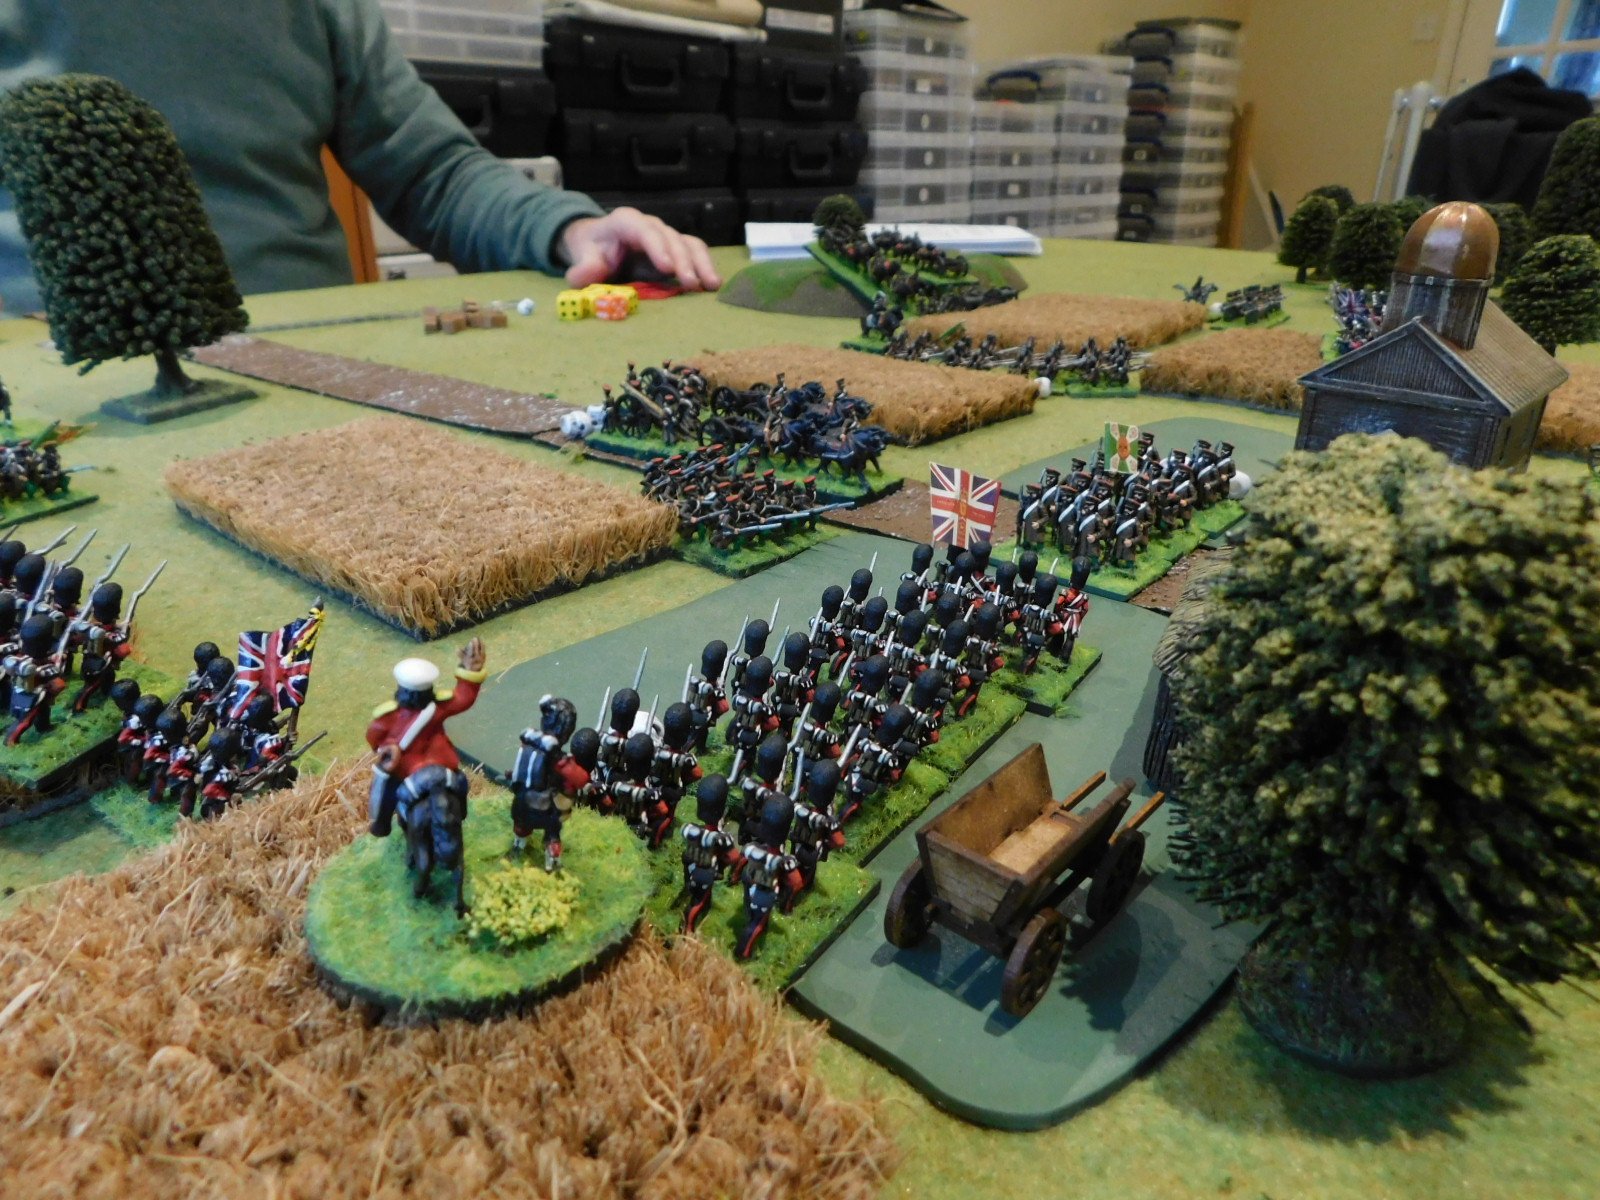
On The Left
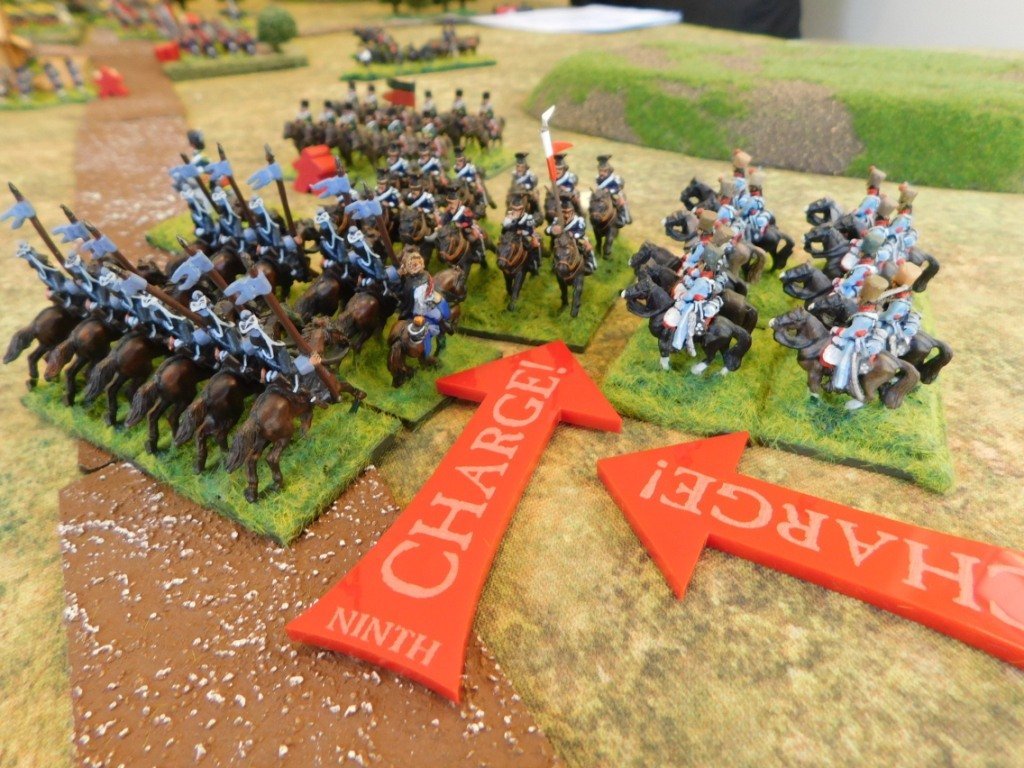
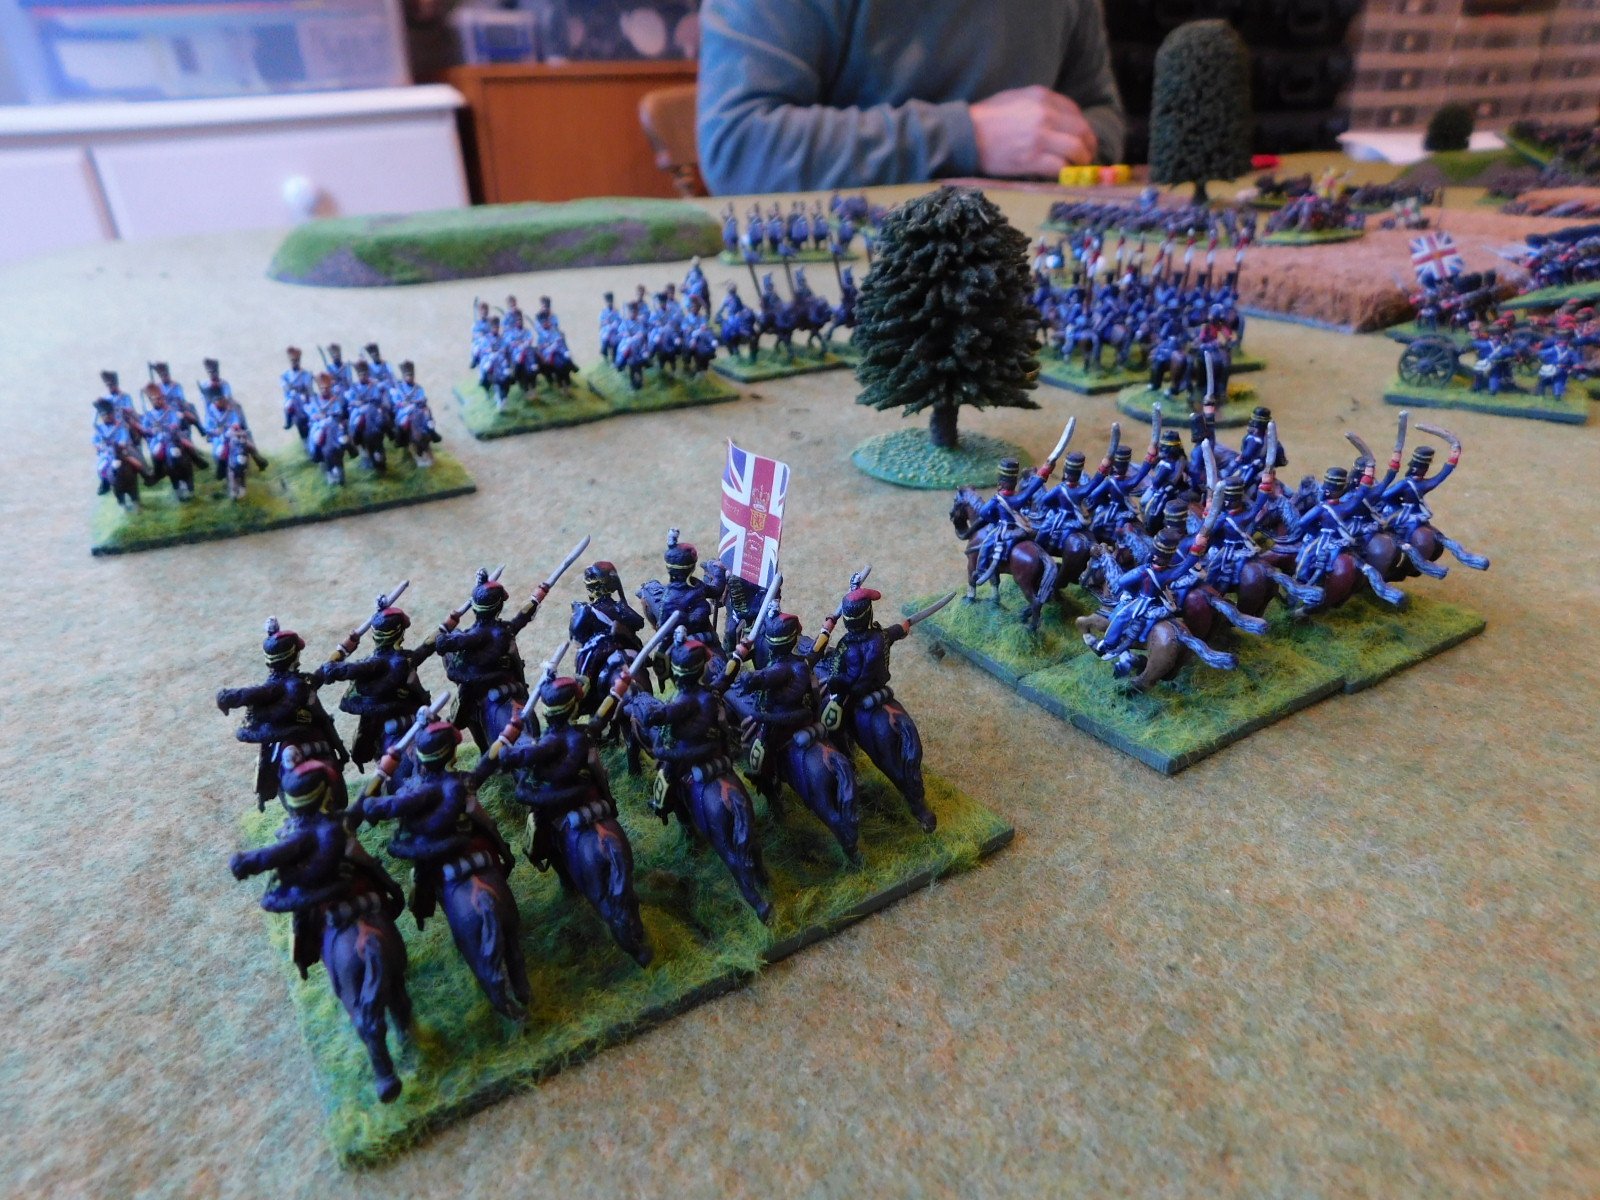
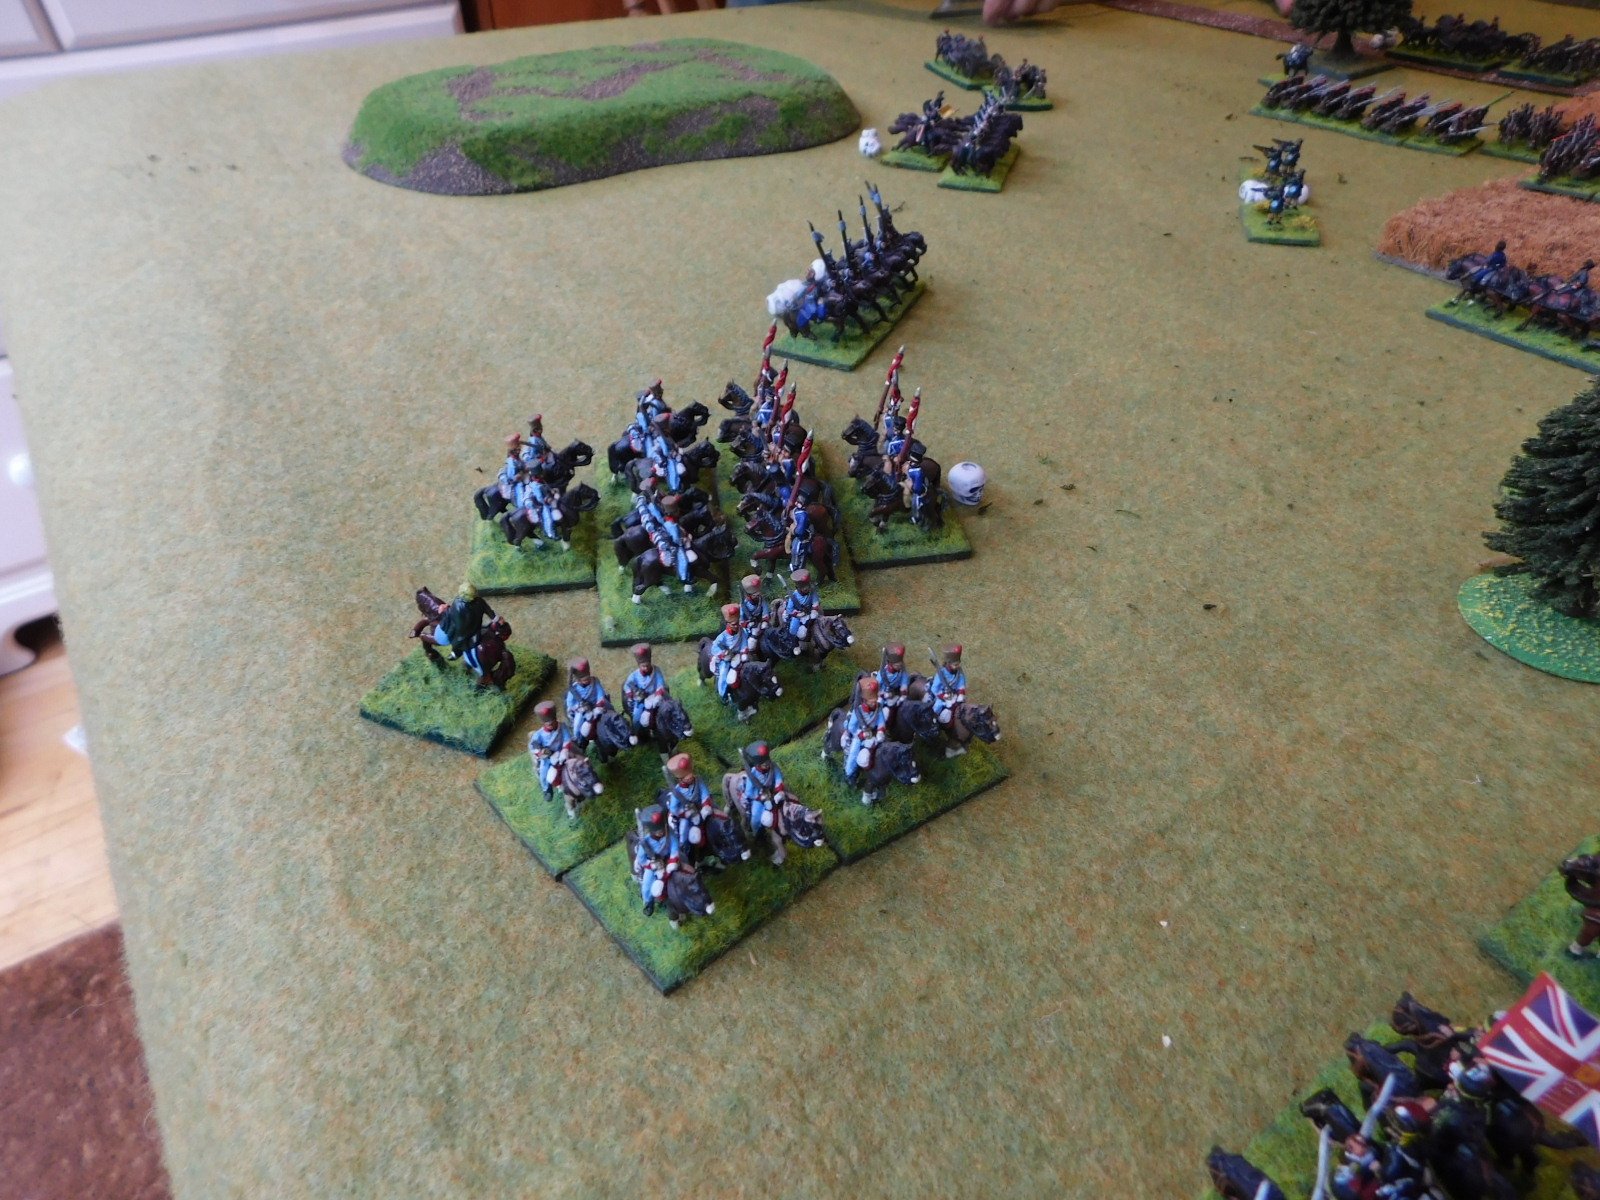
On the left hand side of the field, the British cavalry slowly advanced towards their opponents: the plan was to protect the left flank then, once the Russian infantry were fully committed to the village, to smash the enemy horse from the field before looping around the Russian rear.
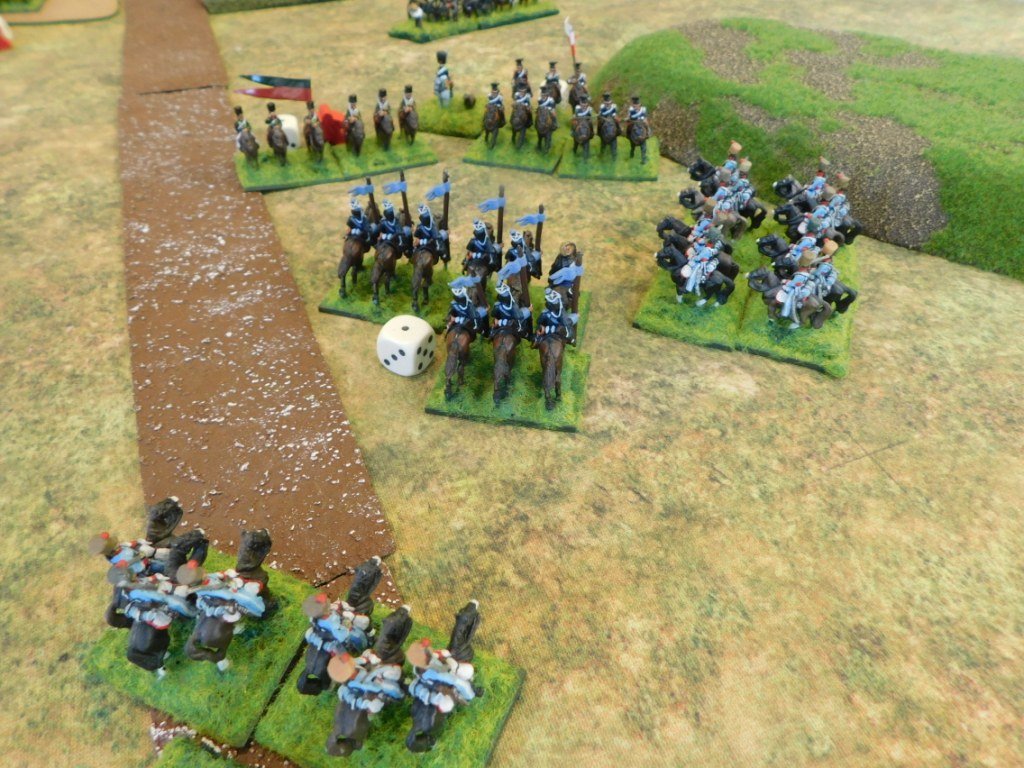
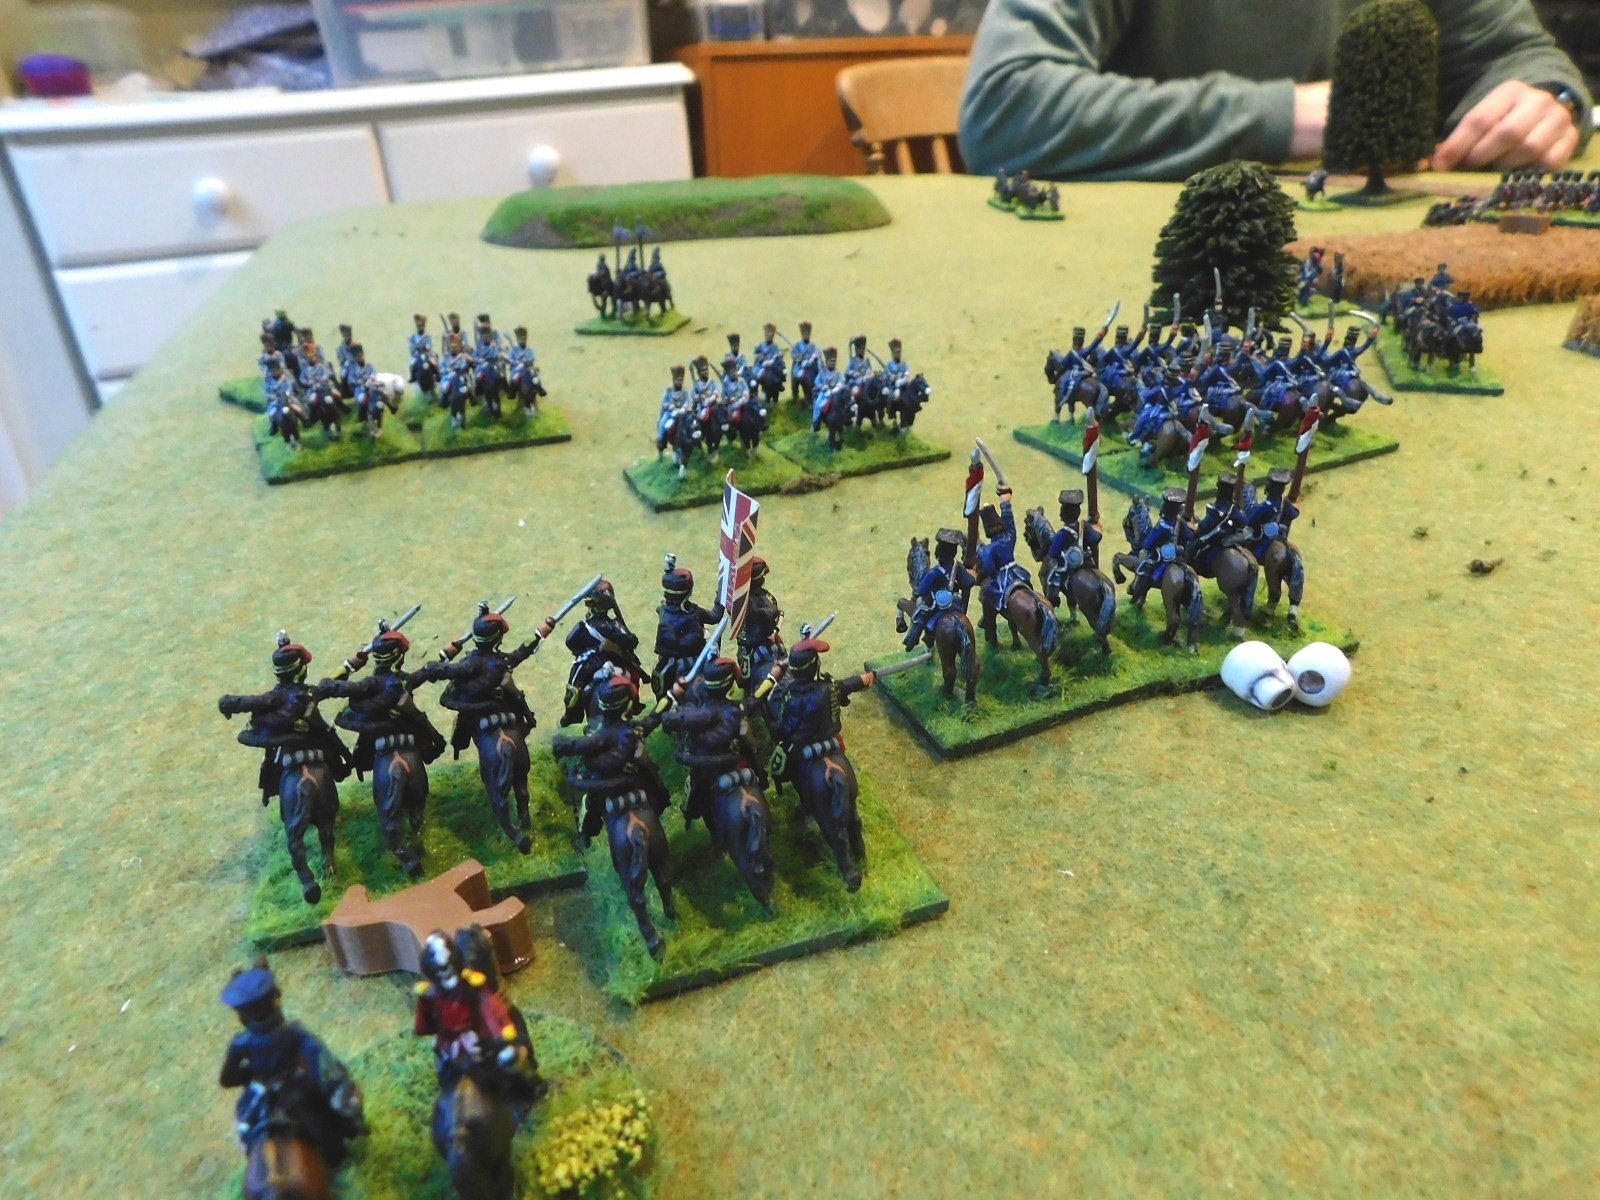
Unfortunately, although the flank was indeed protected throughout the game, when the British cavalry did eventually commit to combat, the result were…mixed! There was certainly no rapid smashing from the field going on and the situation developed into a grinding melee that lasted until the end of the battle.
The British eventually probably had the best of the encounter, but their cavalry had done all they were going to do for the day: no looping around the rear was going to occur.
This was very disappointing, as I was expecting the cavalry to quickly carve through their opponents and then go on to wreak havoc in the Russian rear.
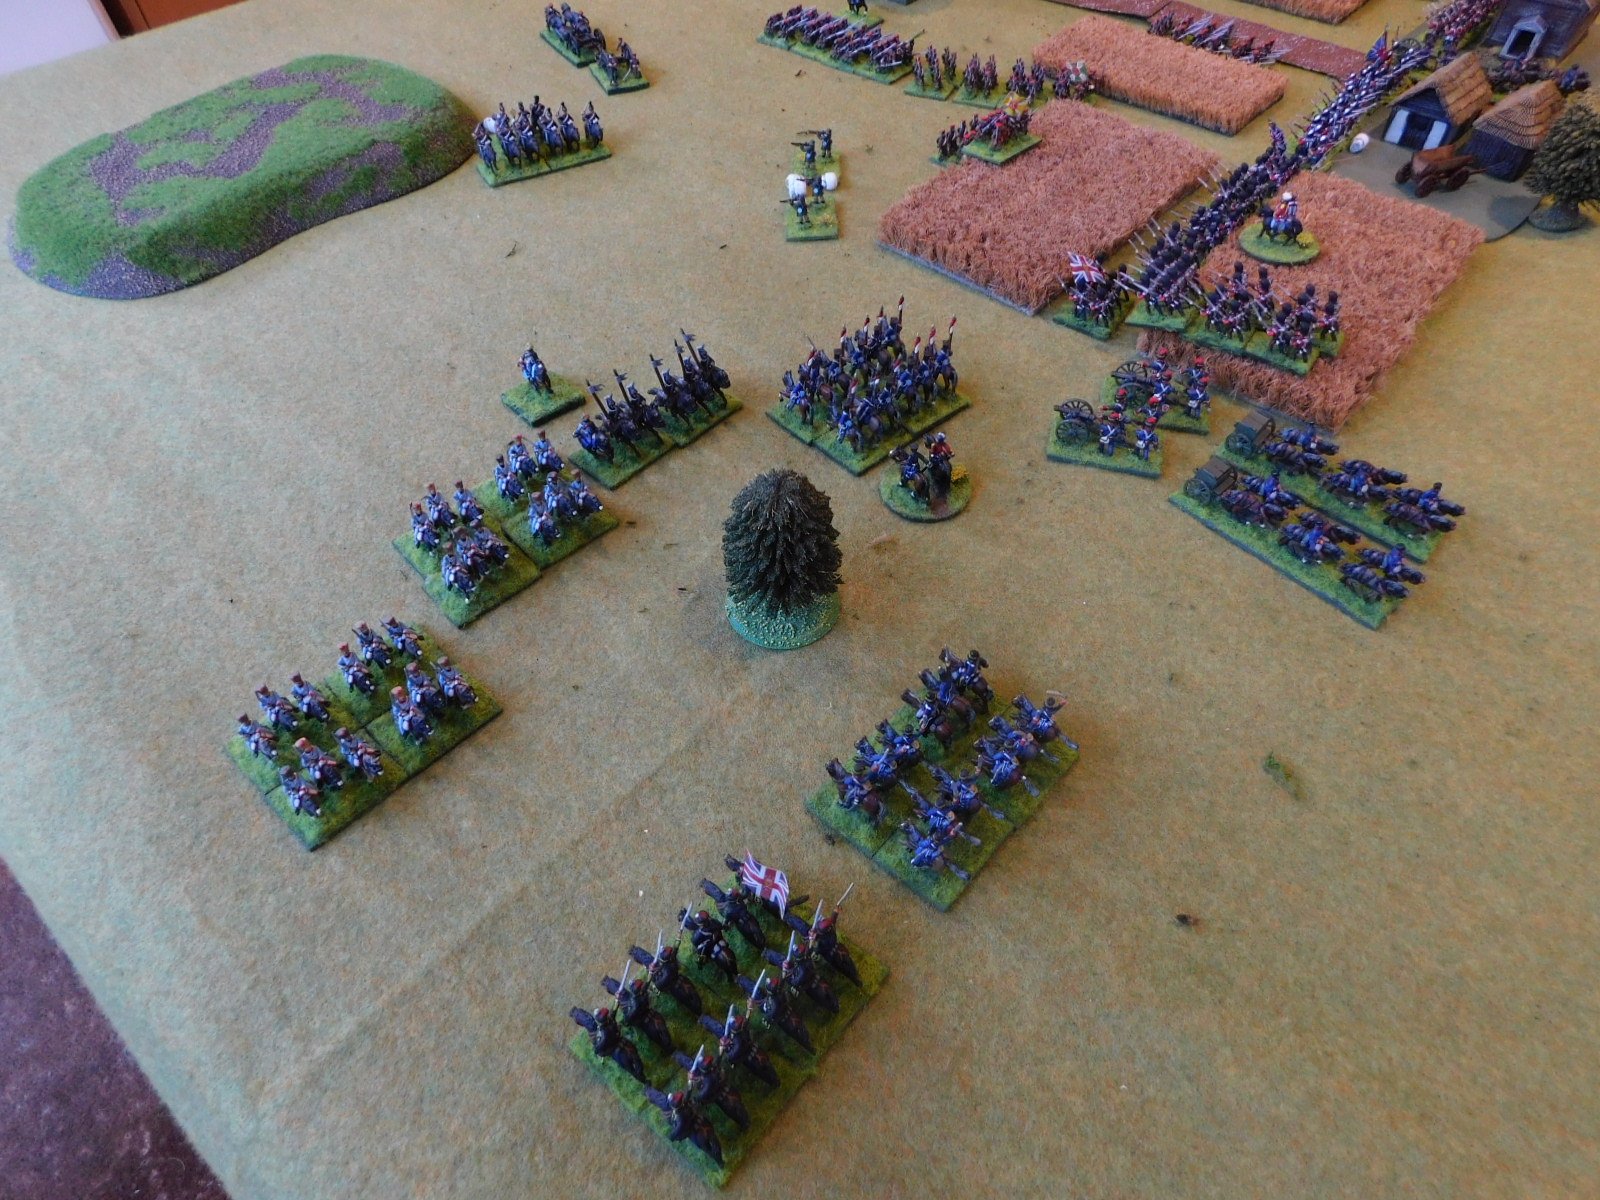

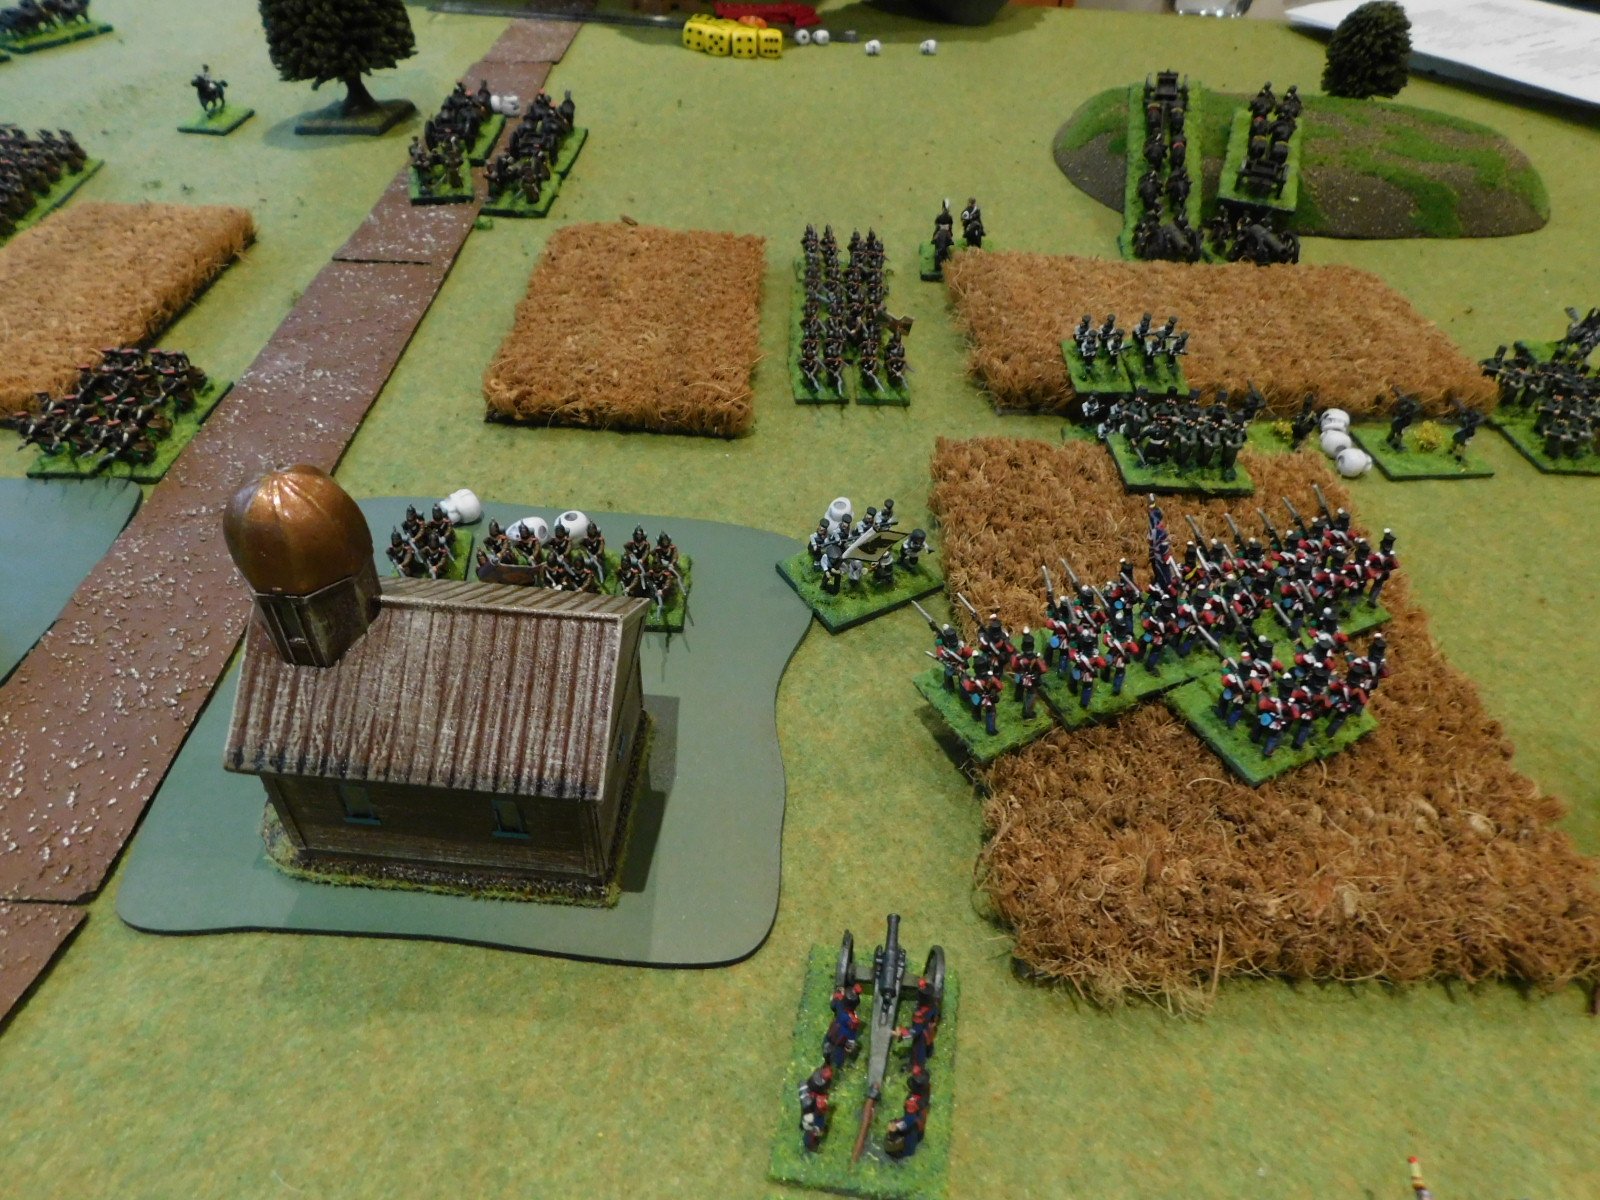
With the two flanks fought to a standstill, resolution was going to occur in the centre.
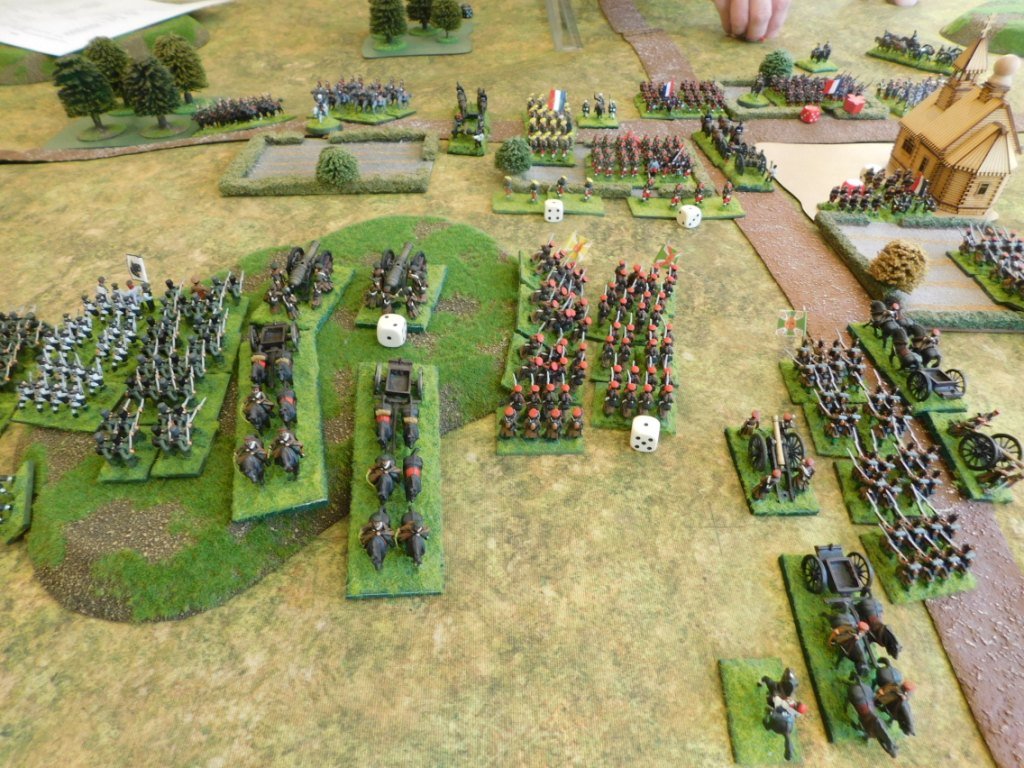
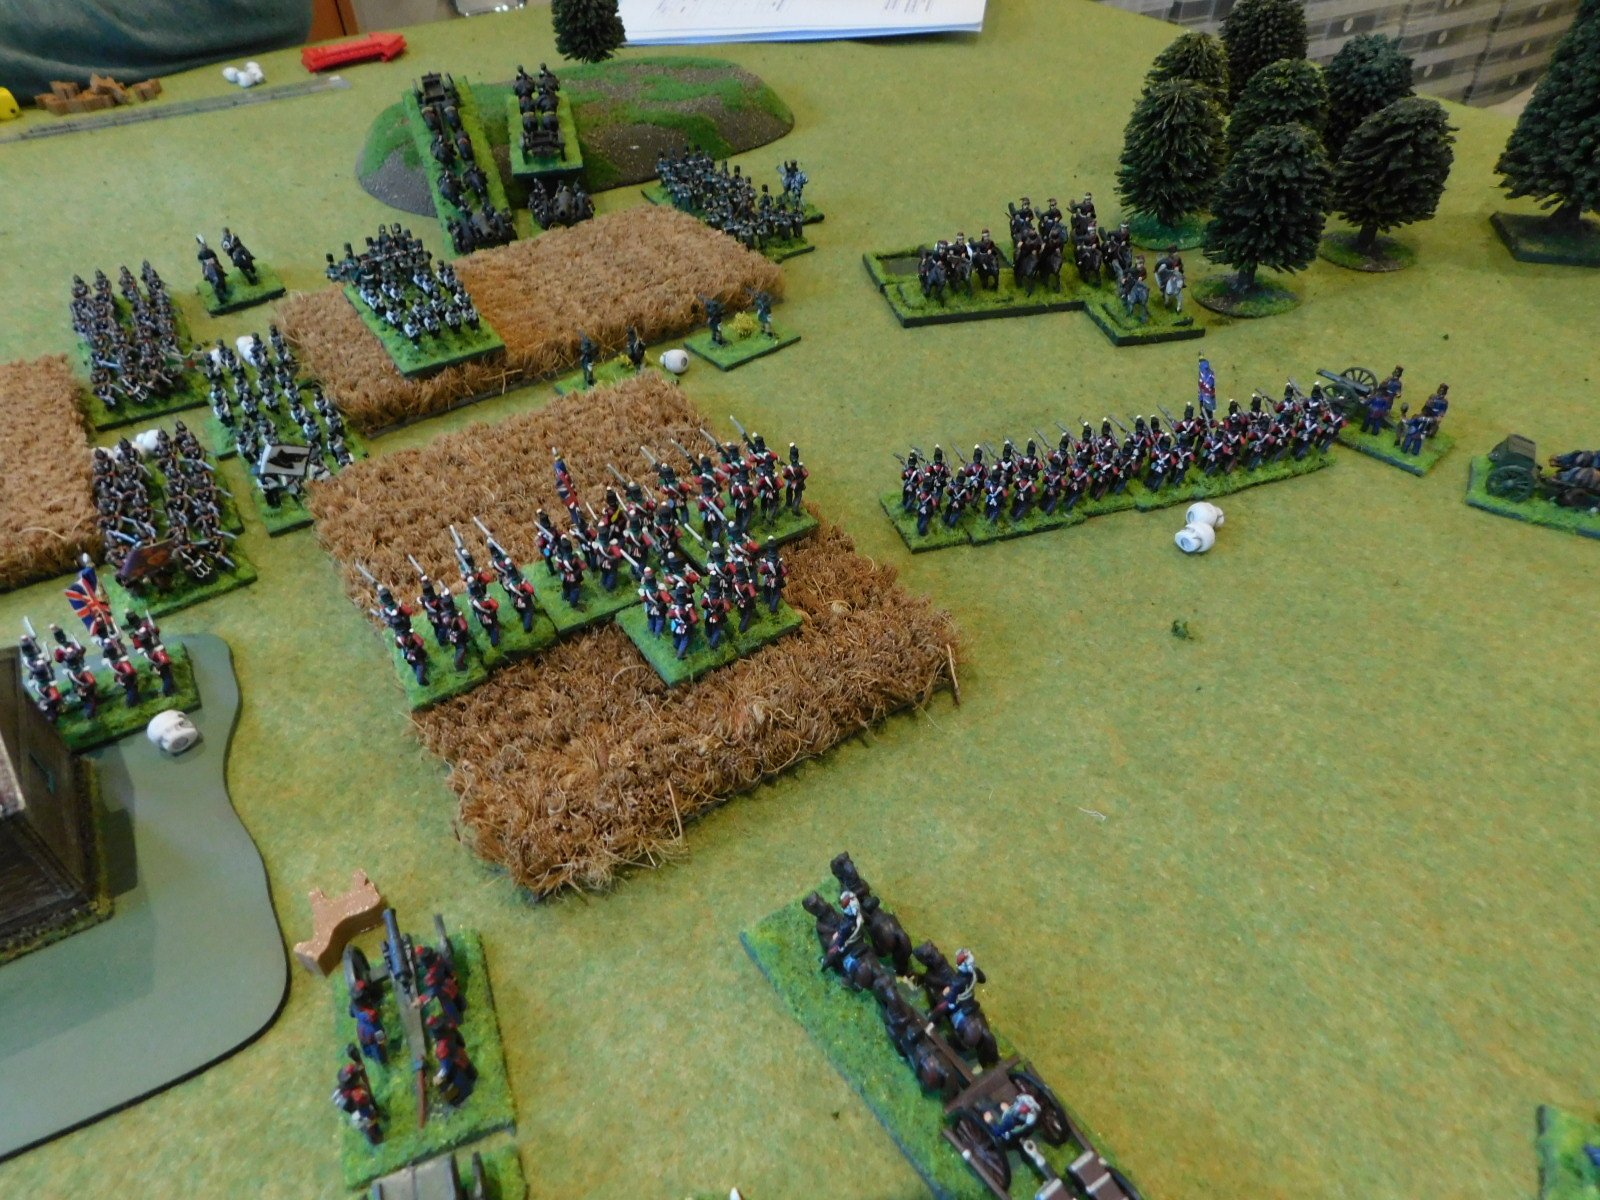
Extreme Action In The Centre
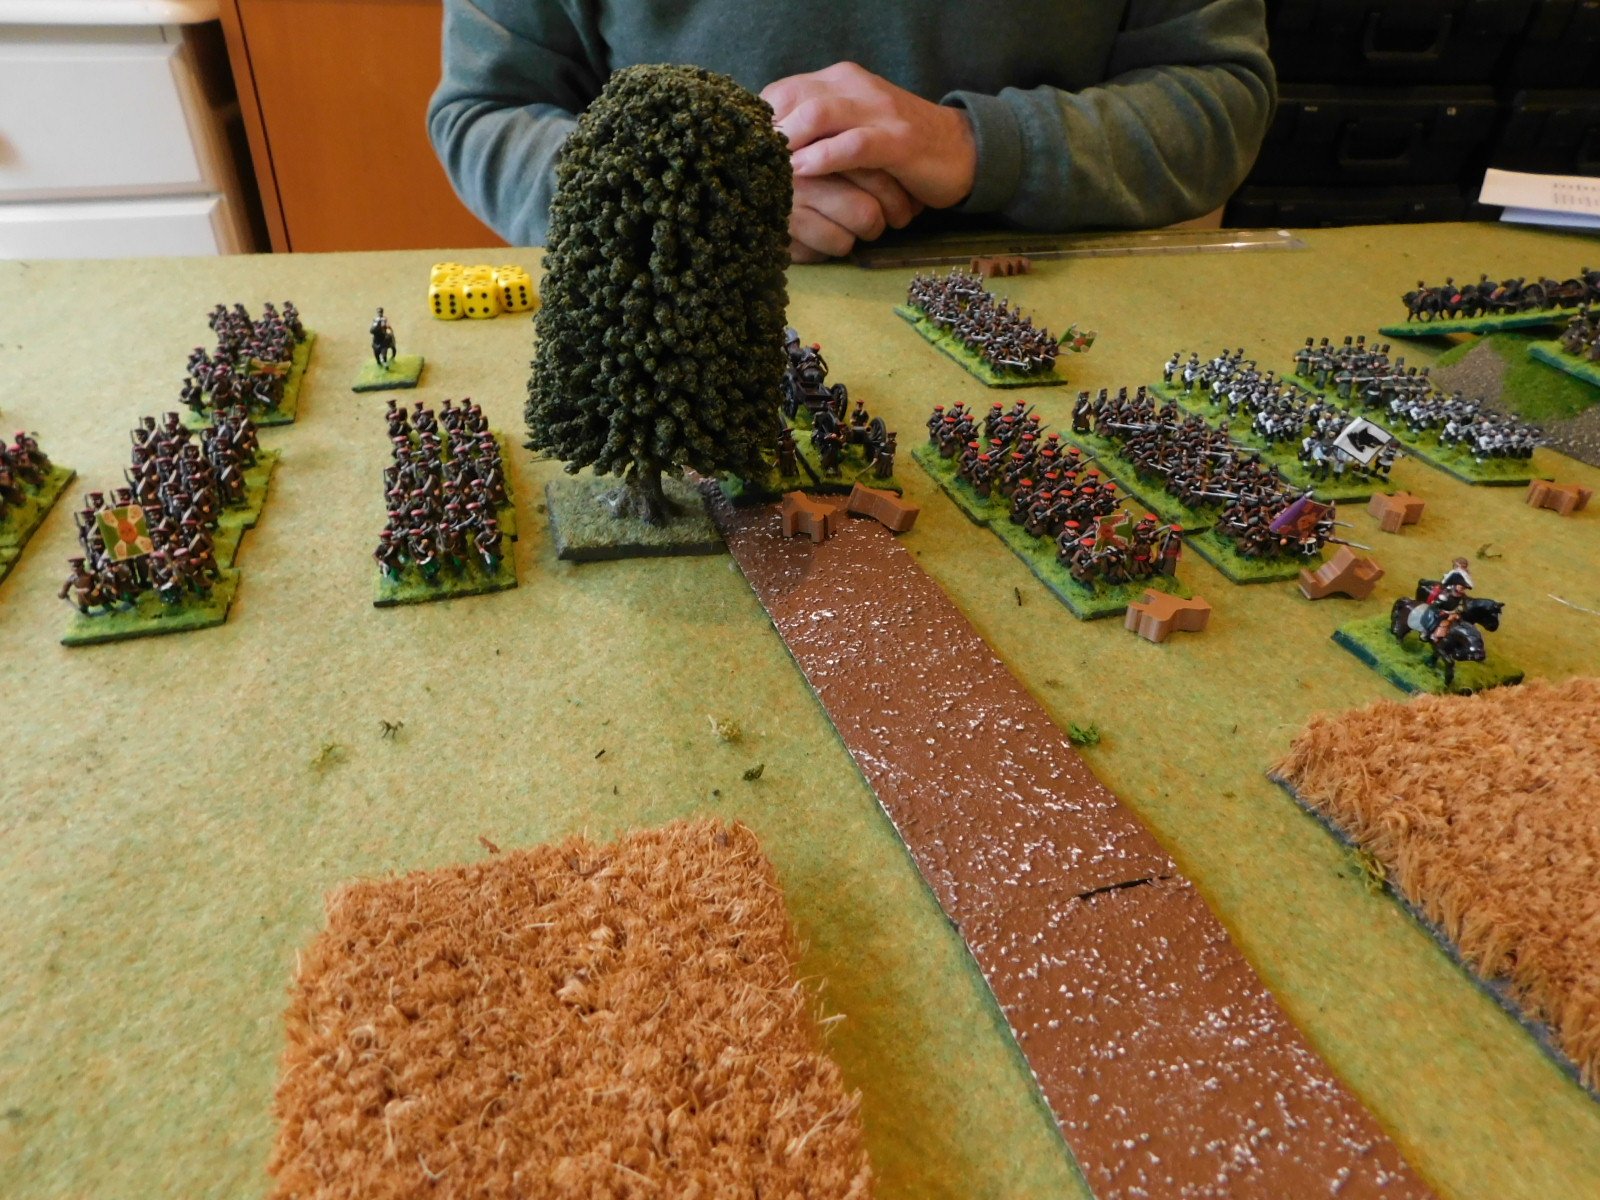
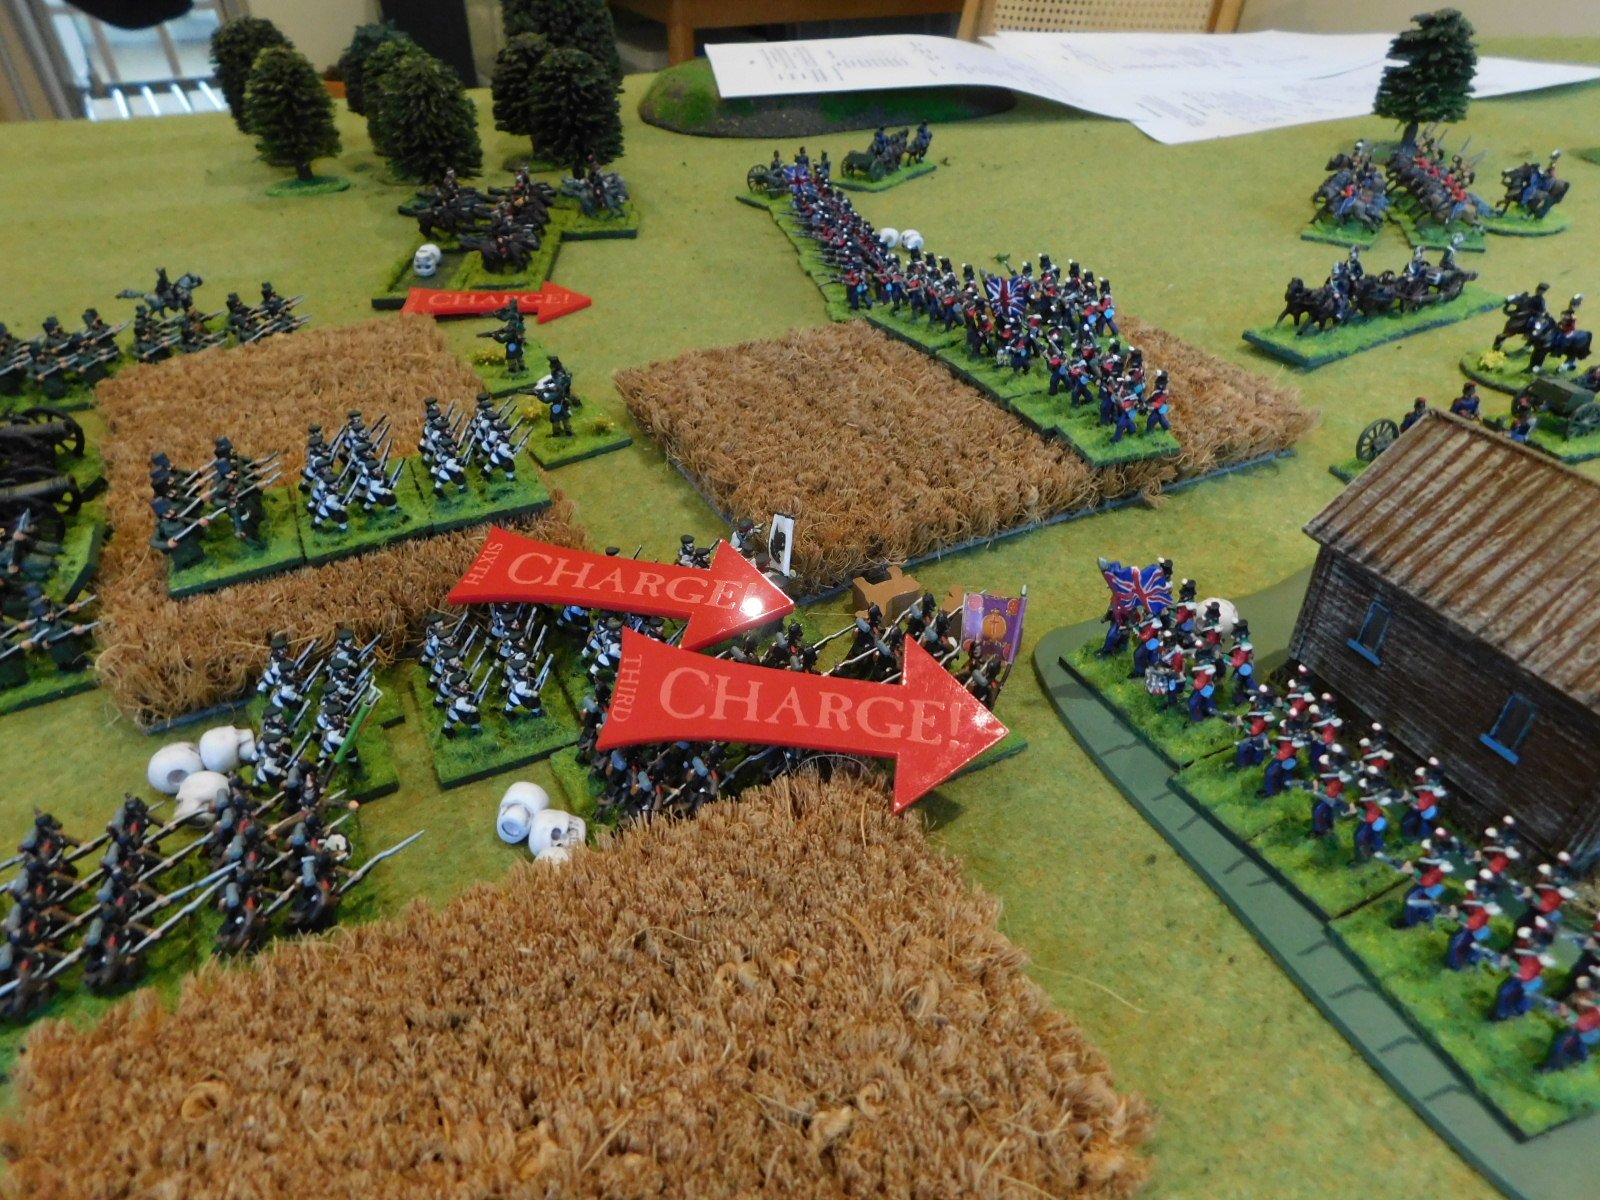
As previously mentioned, the Russian columns charged into the village, focussing their efforts on the lone battalion of Highland infantry occupying the buildings on the left hand side of the road.
Time and time again, fresh columns of brown clad infantry advanced into the fight until the area was strewn with their corpses, but sheer volume of numbers was beginning to tell and soon there were only a handful of brave Scots left. These resisted for another turn or two, then were finally sent flying, leaving the left hand side of the village in Russian hands,
At the same time as the above, more Russian columns attacked the British battalion holding the right hand side of the village. These crumbled somewhat faster than the Scots, and soon the entire village was in Russian hands! Things looked a bit grim for the Brits!


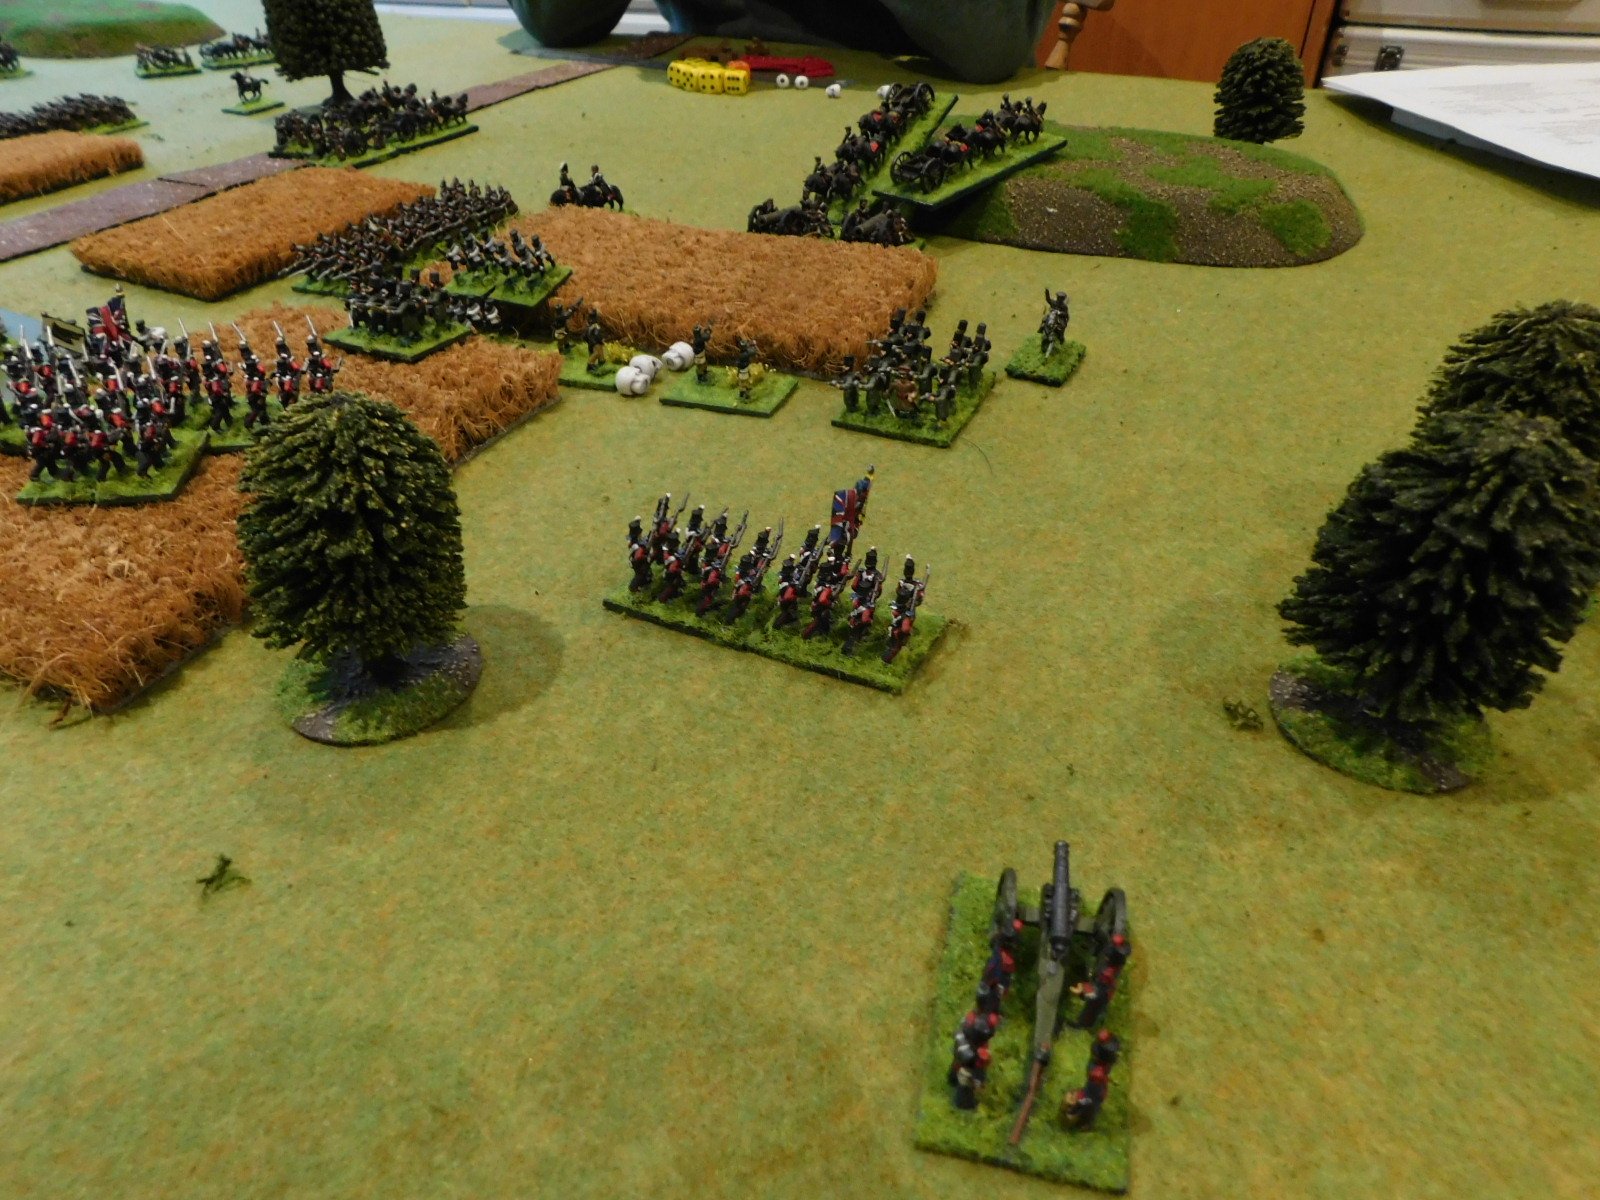
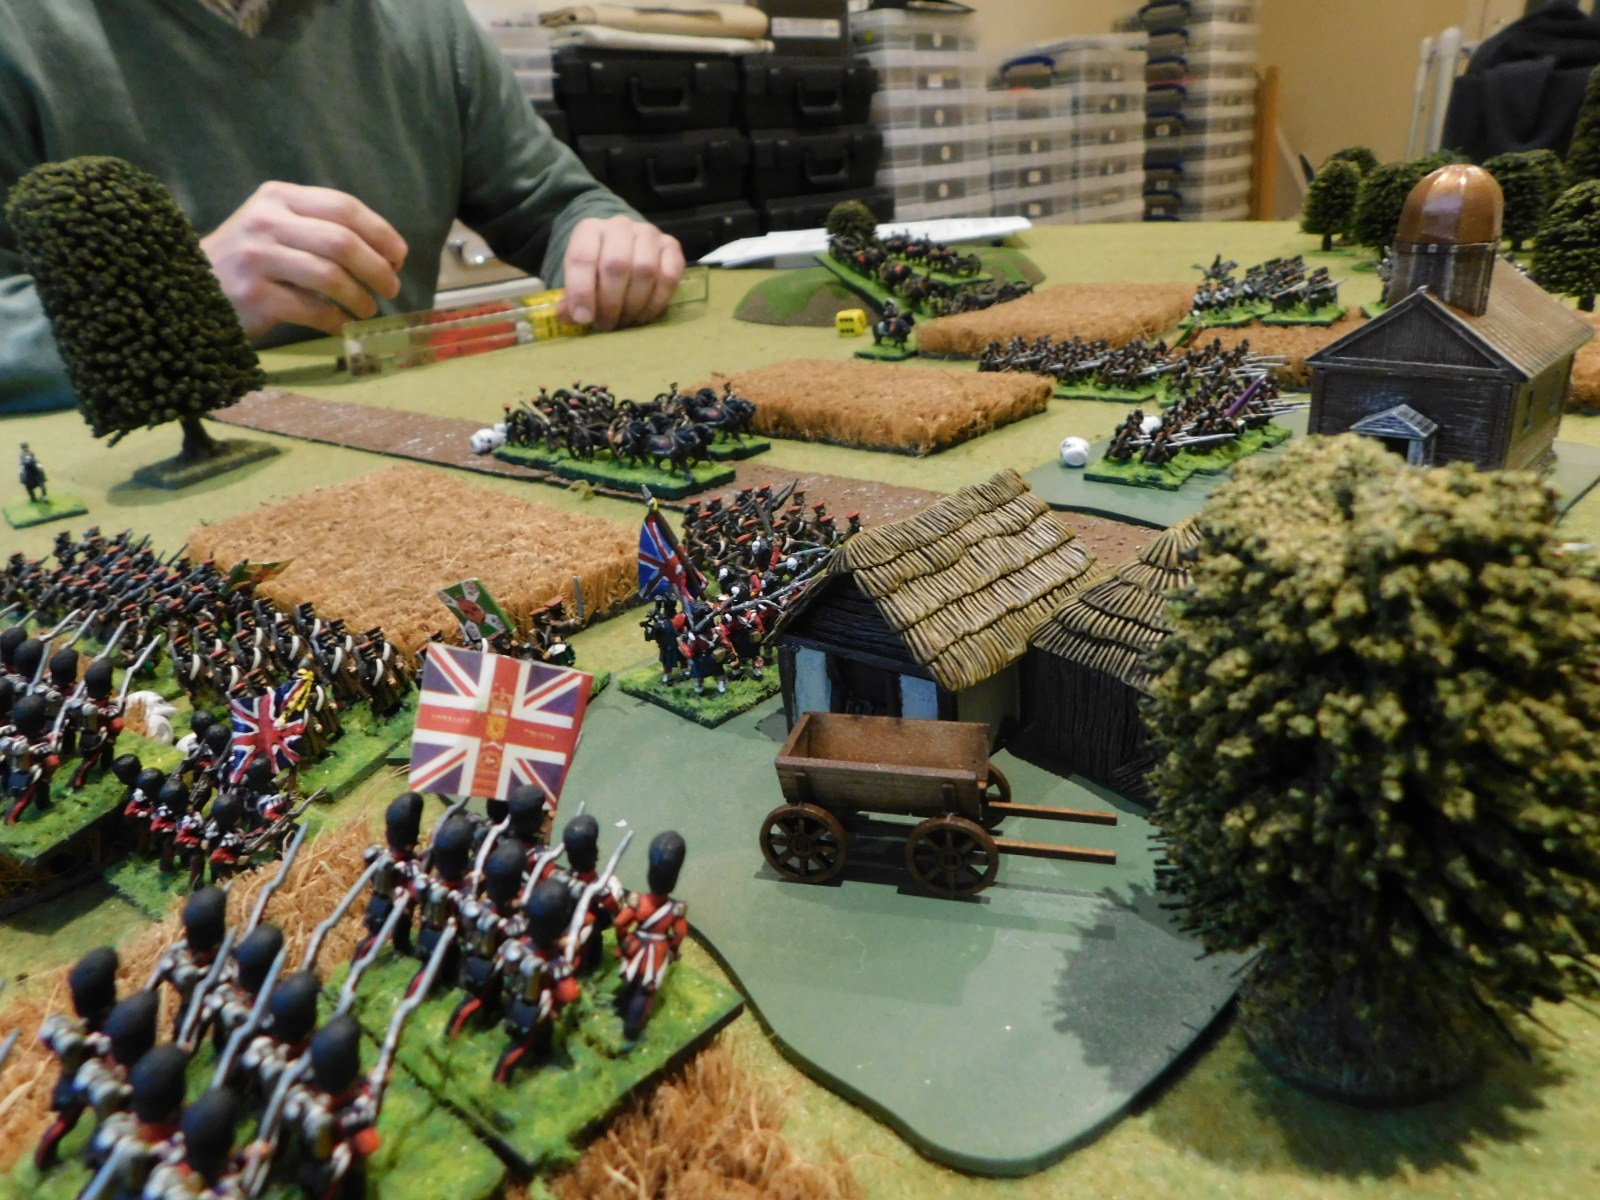
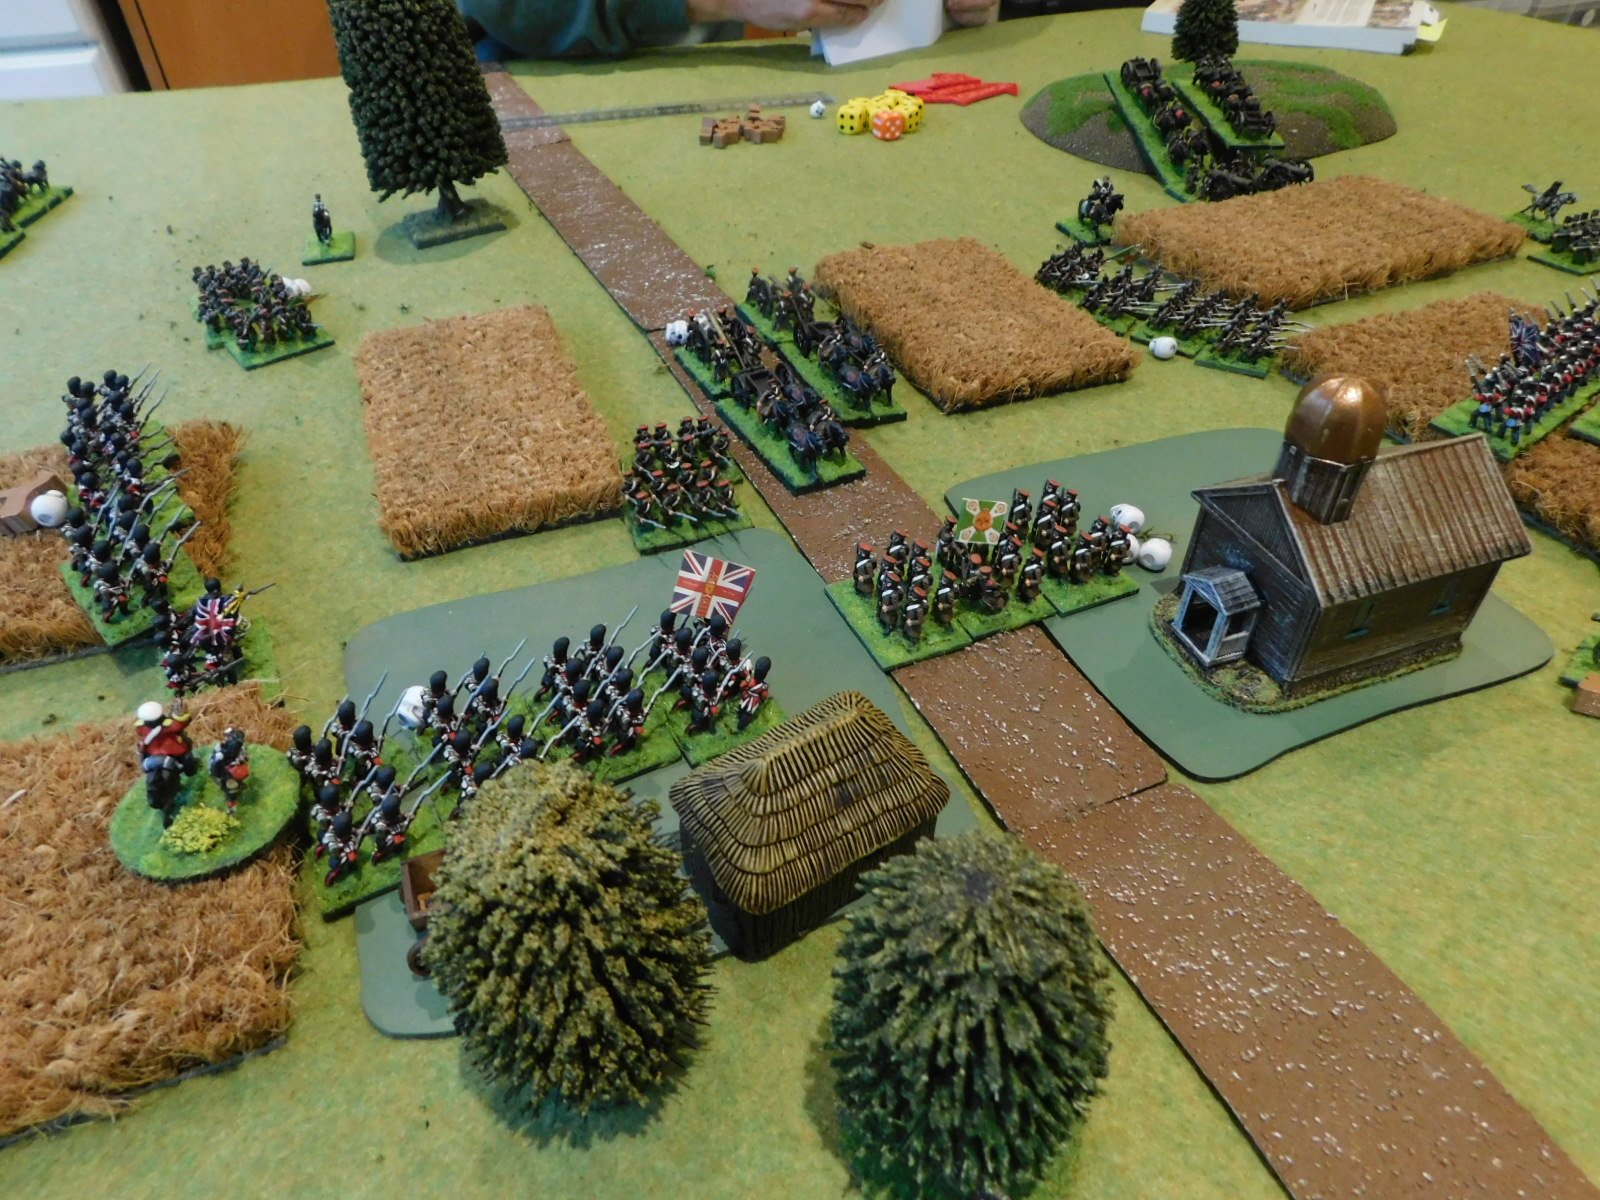
This was, however, only a temporary setback. The two battalions of Guardsmen on the left of the British line had repelled the Russians in front of them and now took the offensive. One formed columns and moved towards the left hand side of the village whilst the other pivoted around its right hand man to flank more Russian columns as they advanced forward.
This proved too much for the Russians, and soon the left hand side of the village was back in British hands, with no more Russian reinforcements on the way.
Meanwhile, on the right of the central British line, a battalion of line infantry had been holding its position in the centre of a cornfield, repelling any Russian columns who came towards them. Fortunately for the Brits, the terrain meant that the Russian attacks had come in piecemeal as opposed to a co-ordinated push.
Although honours were now technically even, with each side holding one half of the village, the Russians were down to only three effective infantry units (from eleven!) whereas the British had only lost two of their six infantry battalions. With the wings stalemated, the Russian commander declined to waste his troops on further assaults, or even to try and hold the gains that they had made, and ordered a general retreat.


Aftermath
Another great game and one that was actually very close indeed.
When the Russian columns pushed two British battalions out of the village, I was seriously concerned that I wasn’t going to get back into them, especially as my “elite” cavalry were busy getting nowhere.
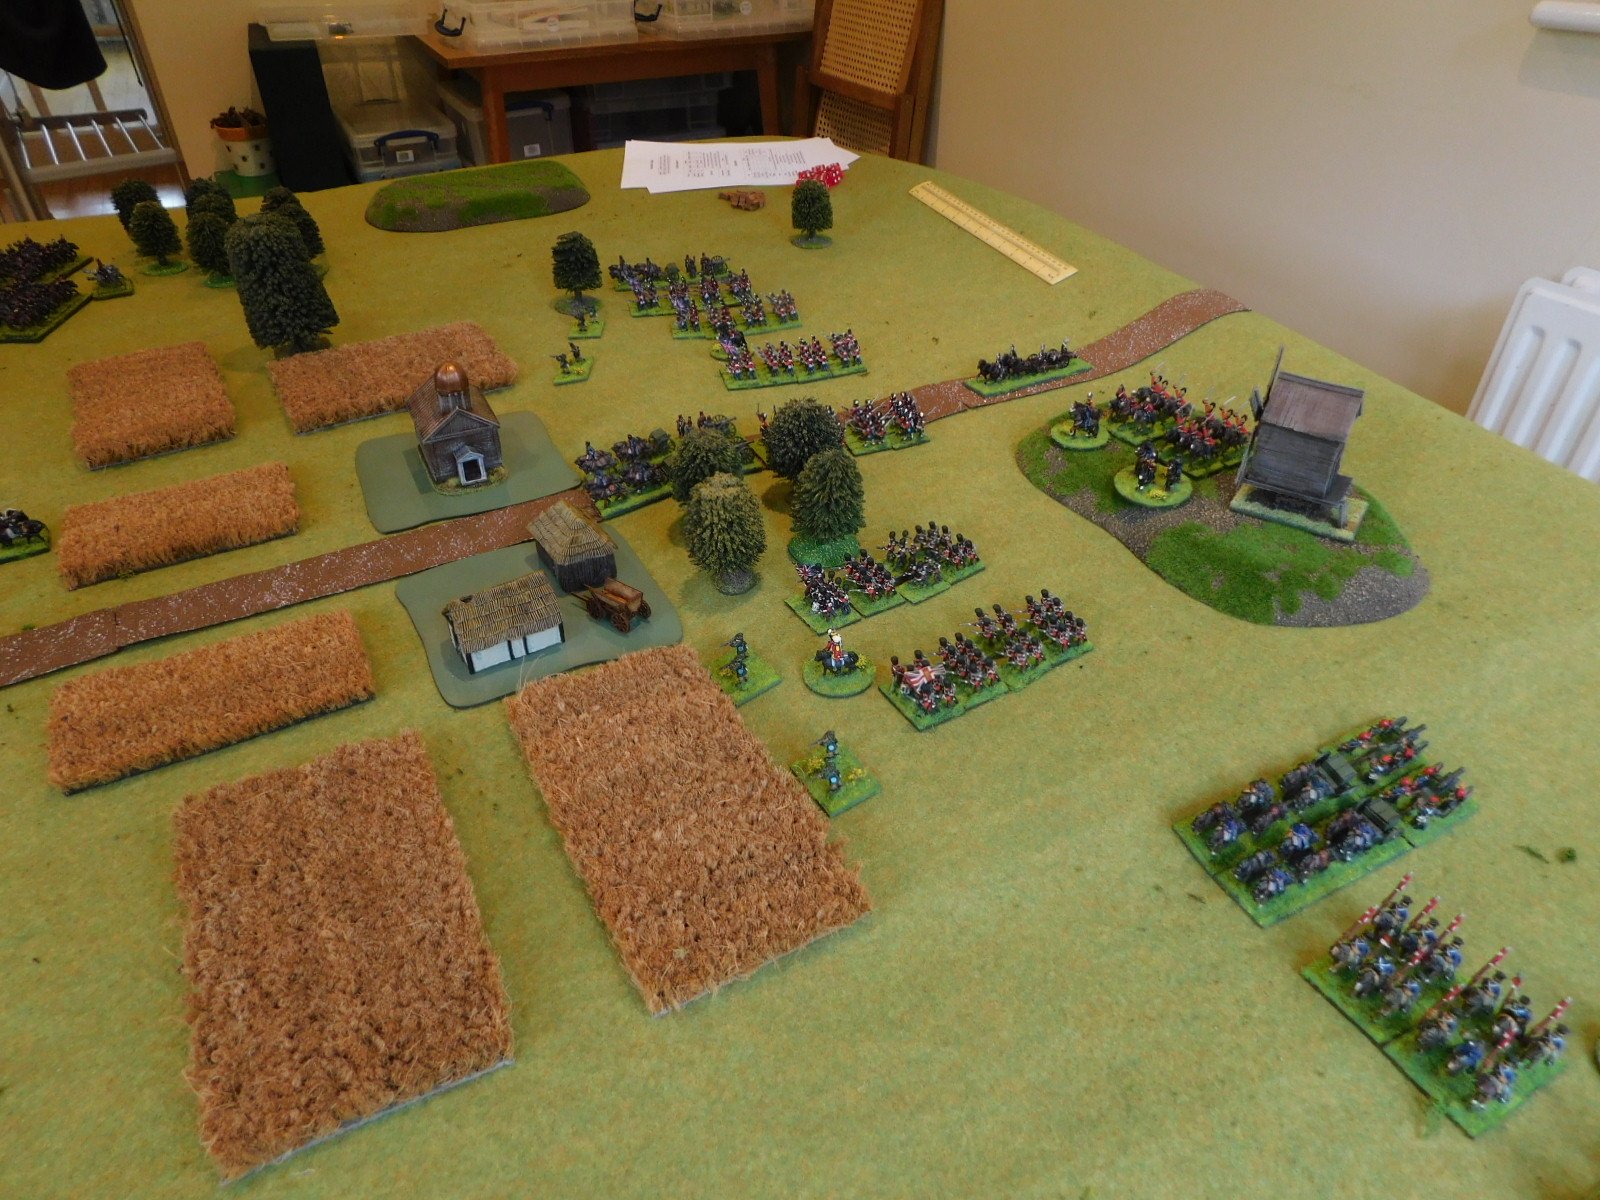
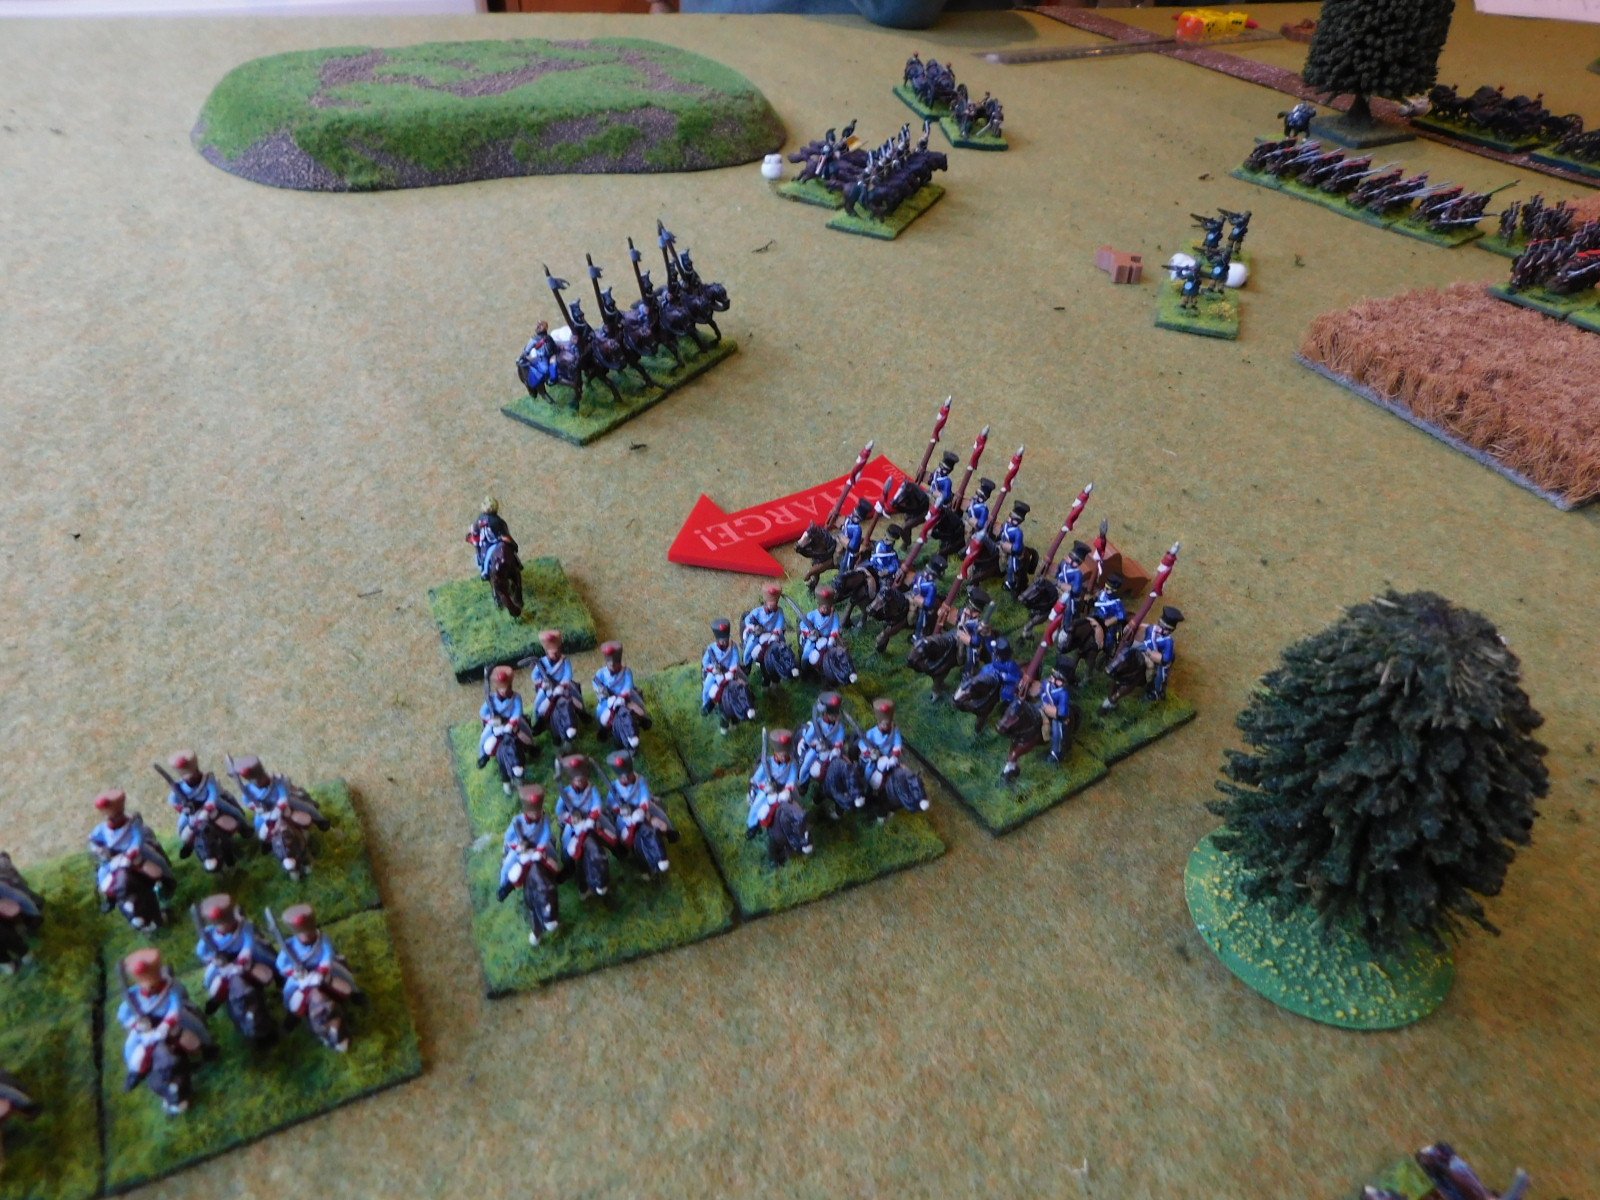
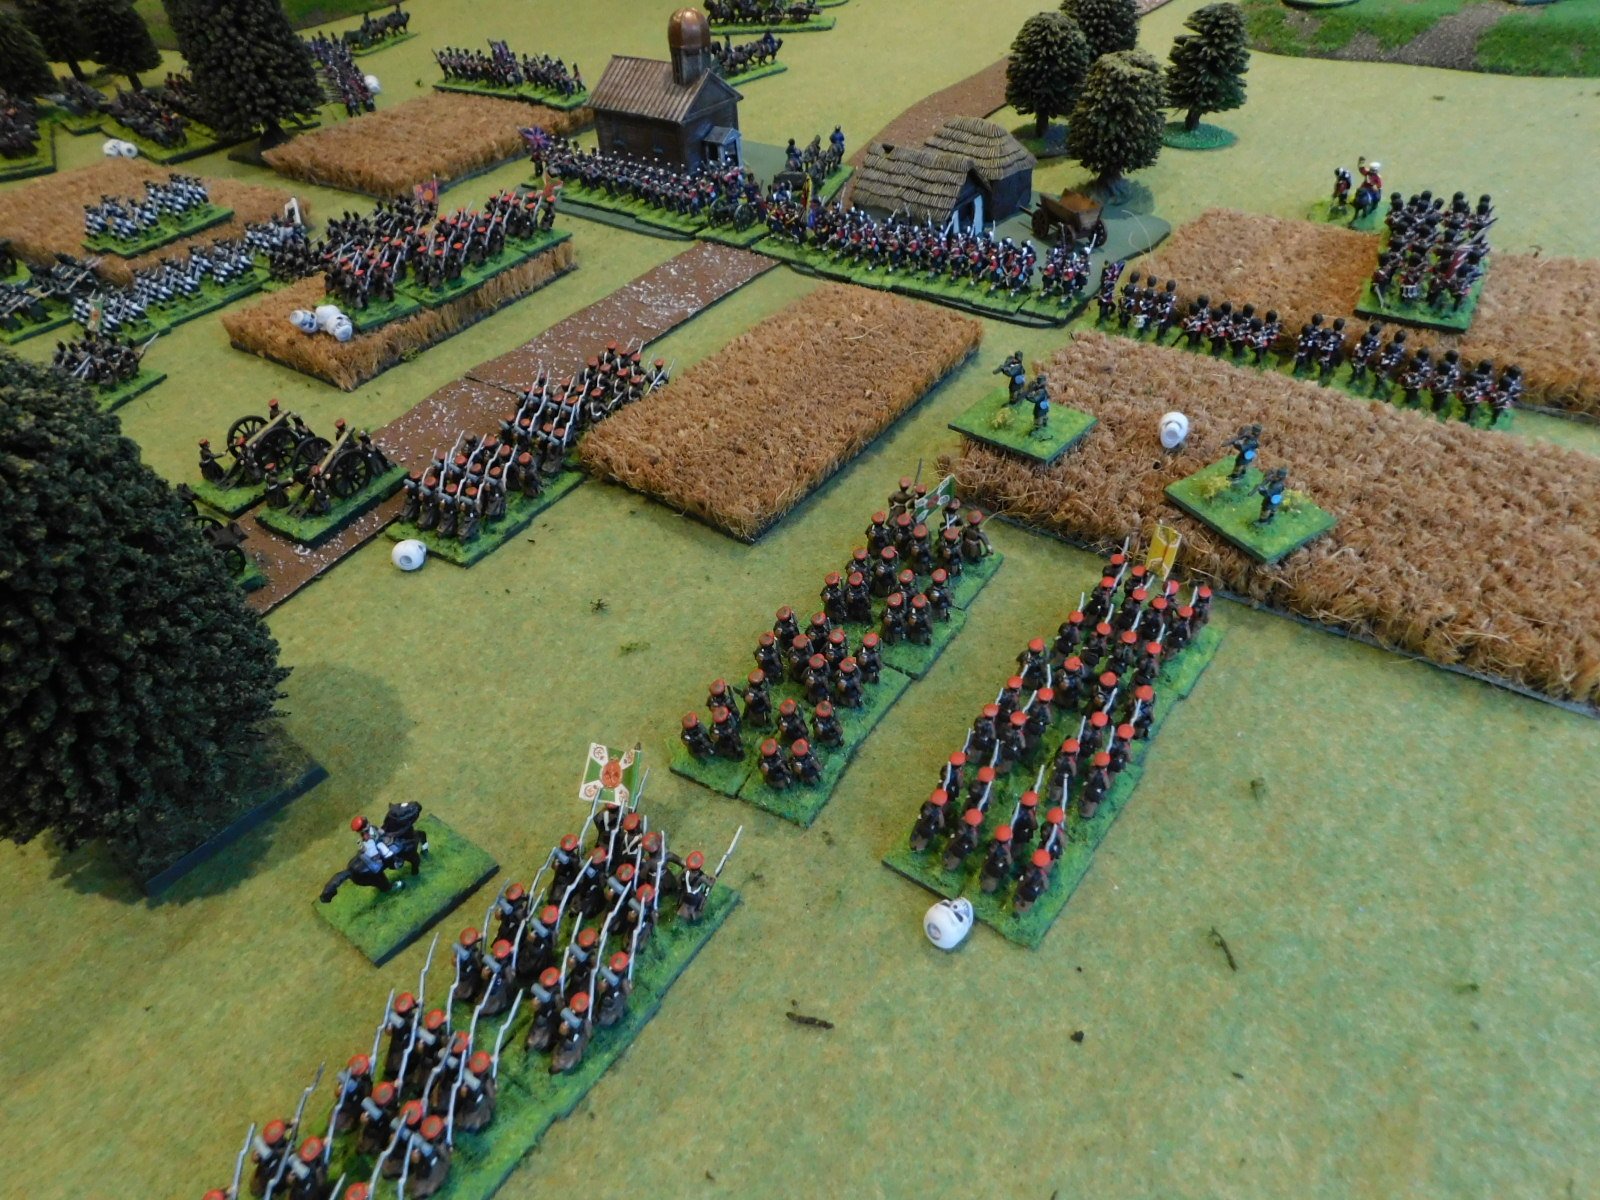
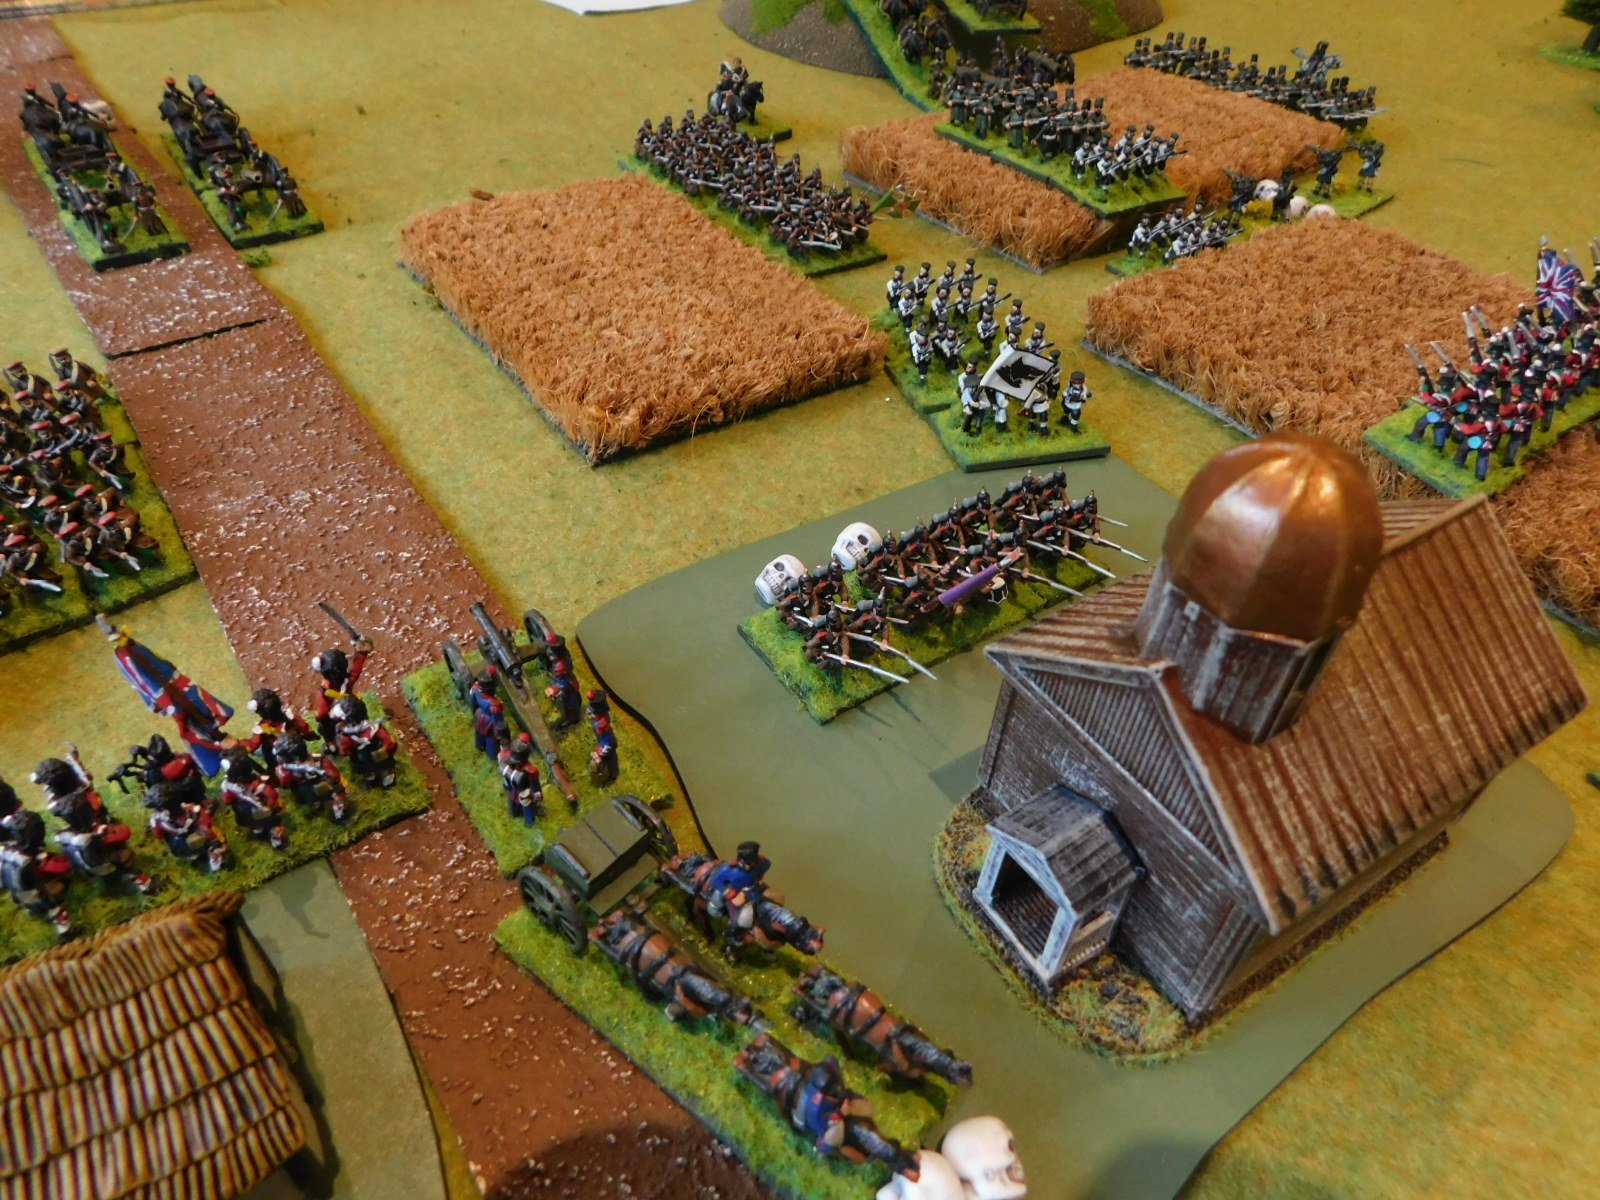
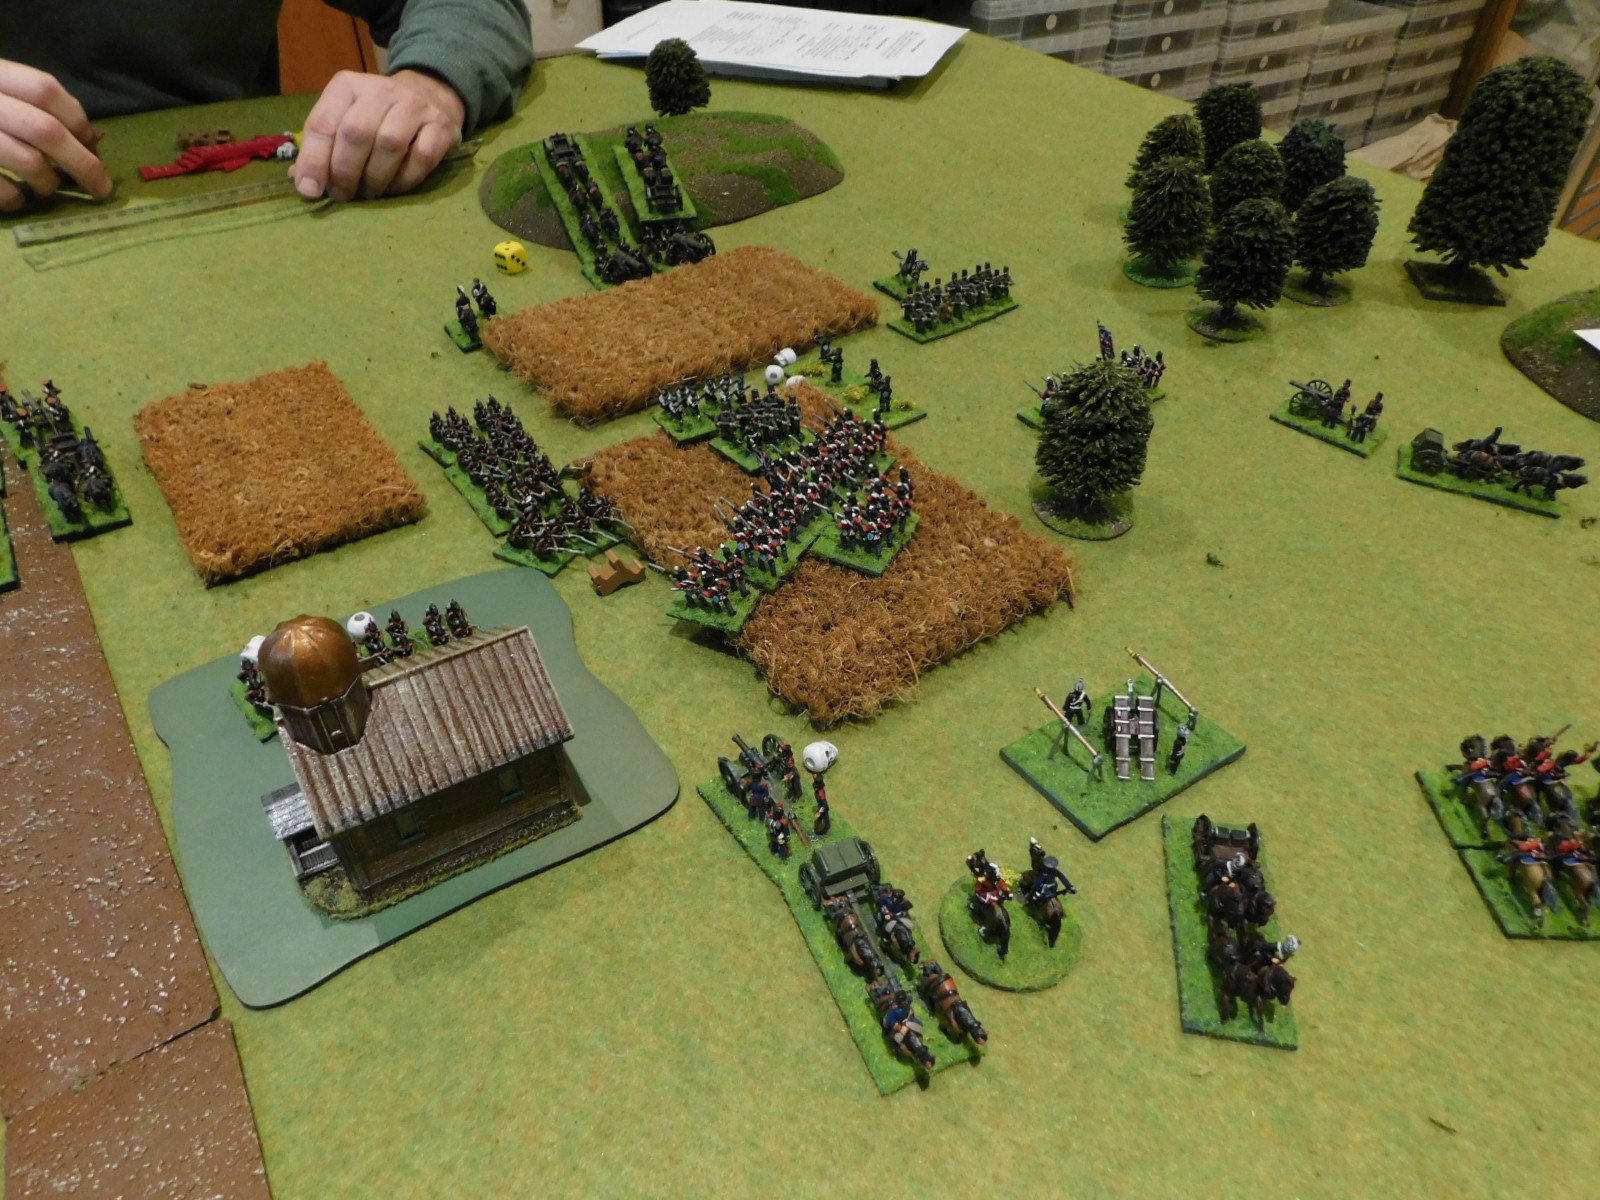
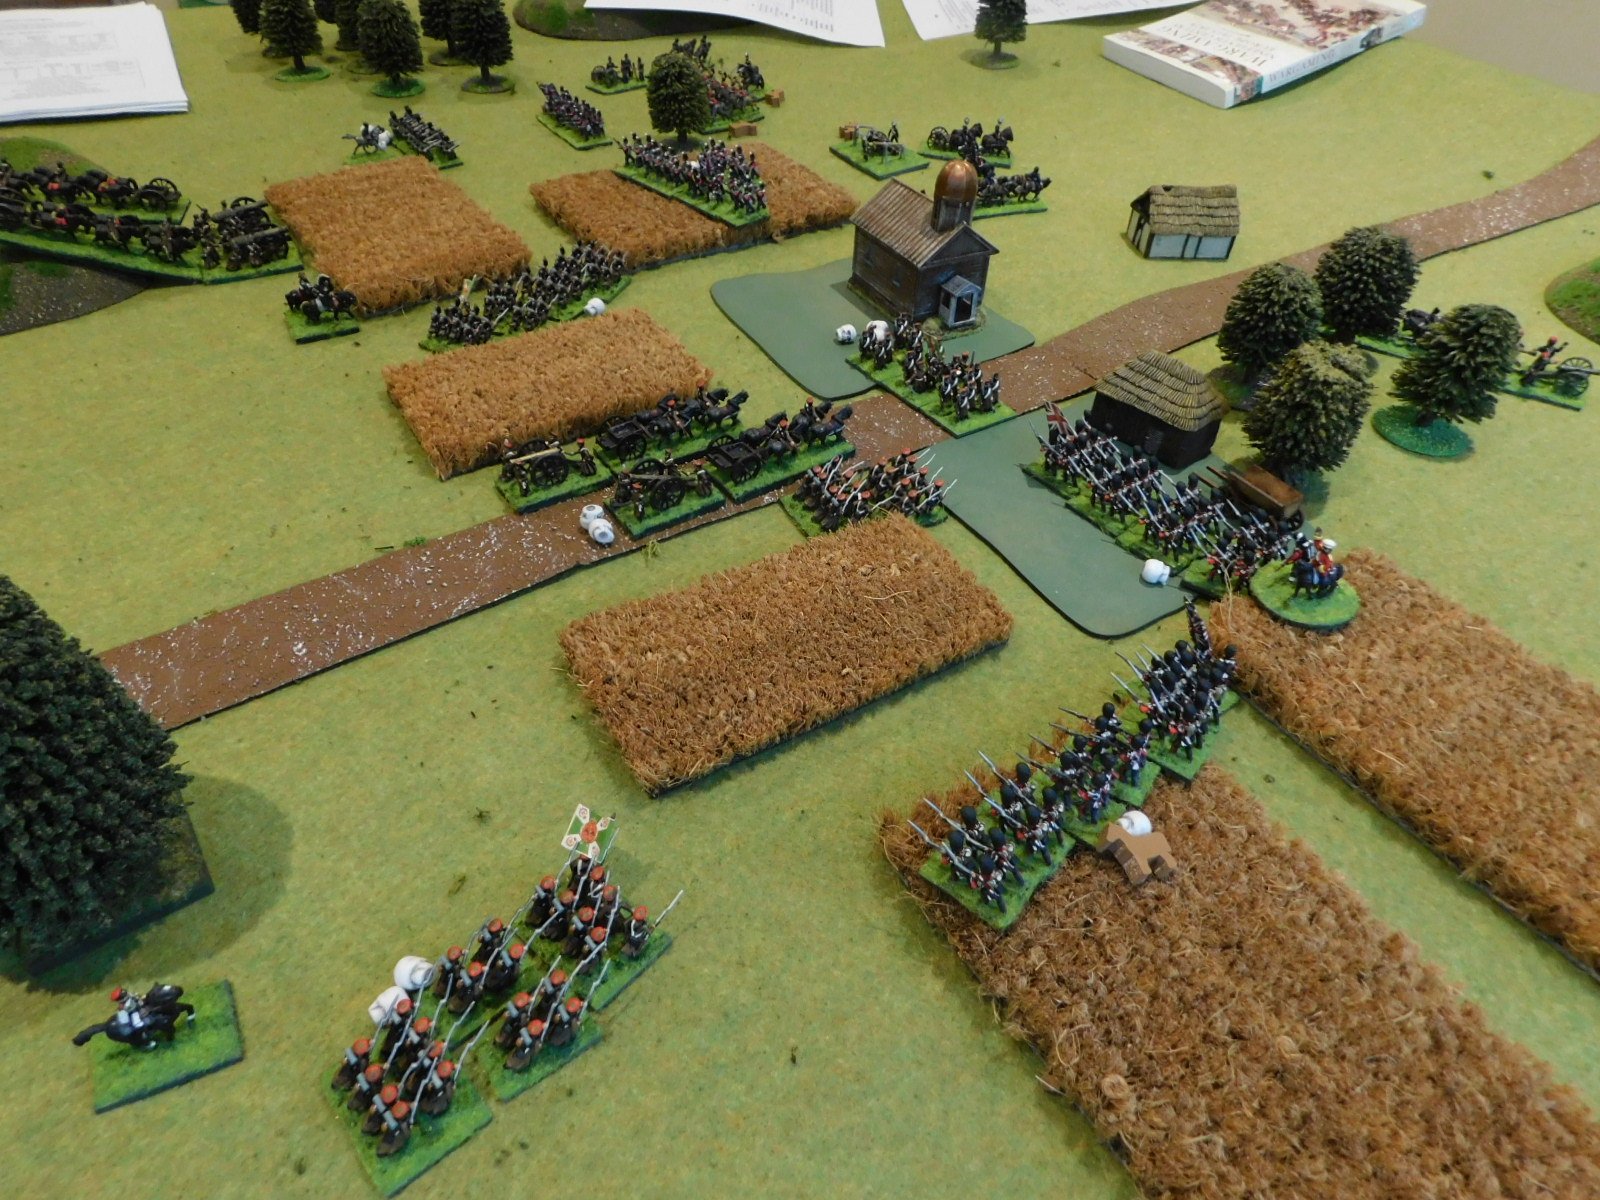
To finish, here are a couple of shots not included above of the battle in progress: