TTS AAR: Anglo-Normans Hammered!

With Viking and Norman armies now complete, I thought I’d have a look at what else this meant I could field. The most obvious mash-up was an Anglo-Norman army i.e. an English army from after William the B’s victory at Hastings.

This seemed to me to be quite a good combination: you have the the mobile power of Norman knights, the endurance and ferocity of the Viking foot (well, Anglo-Saxons…but the fyrd is a fyrd as they say!), and some lights in support.

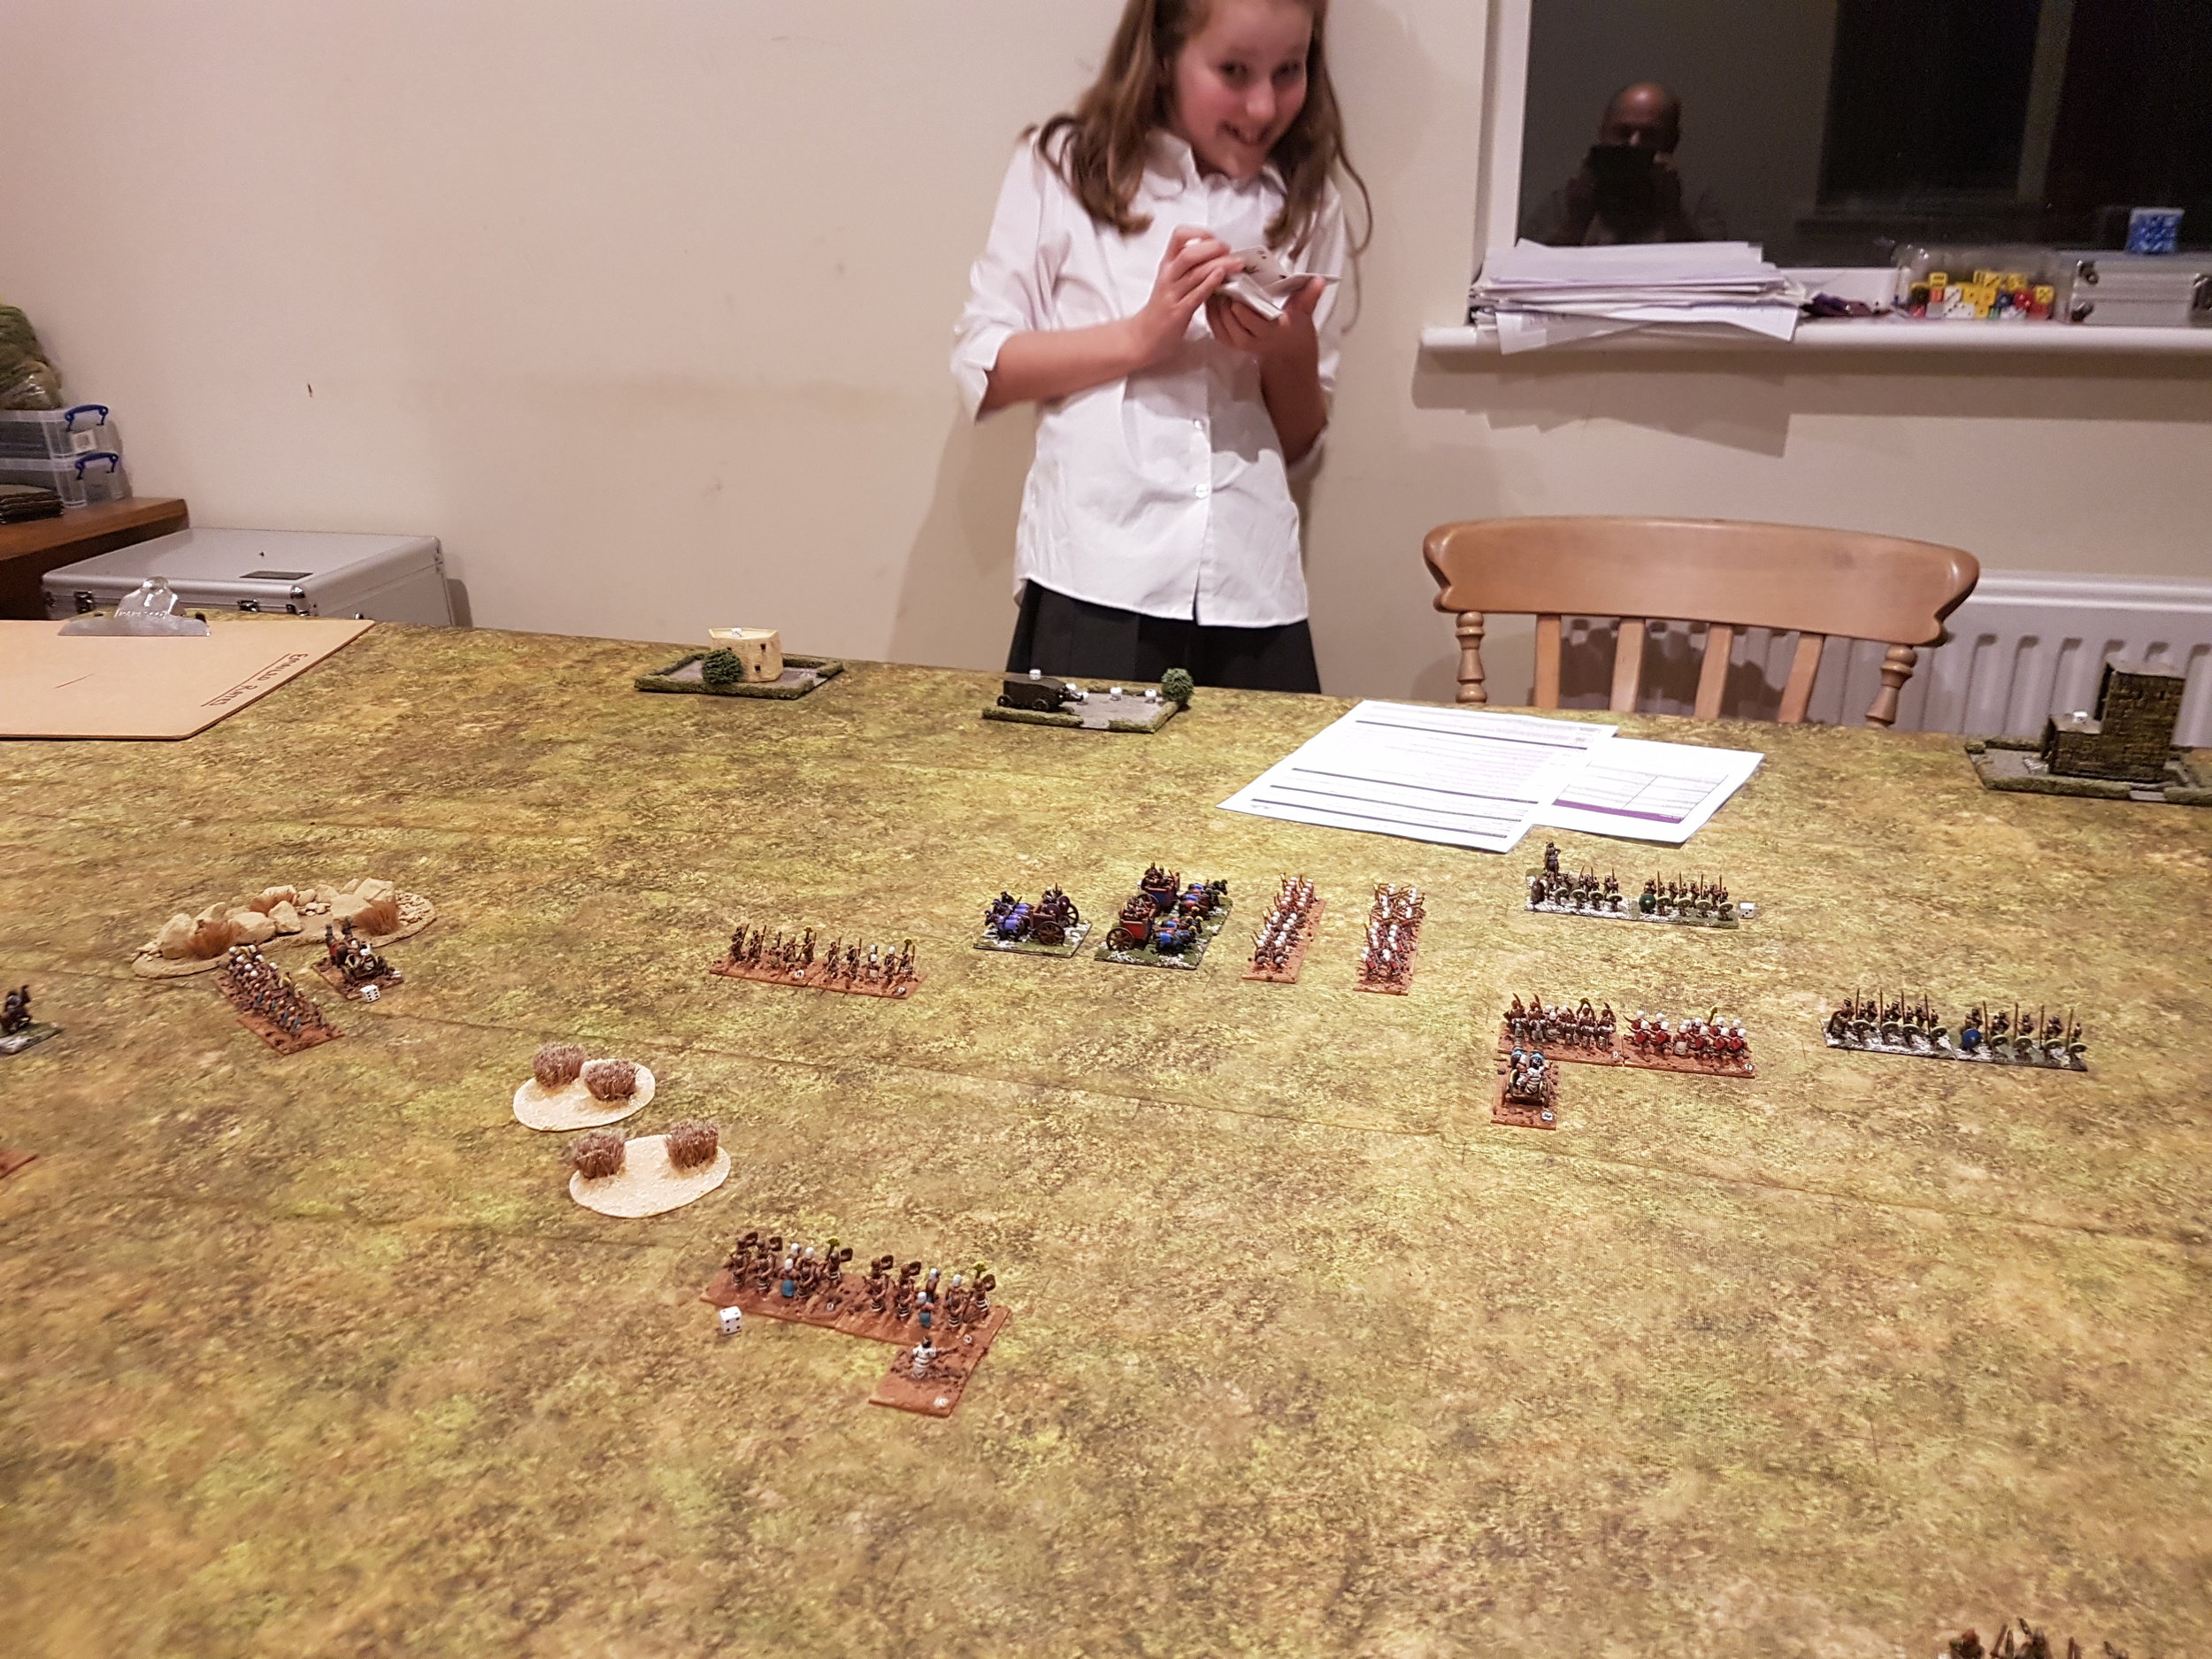
With that decided, it was time to pick an opponent. Looking at the list of units that have been painted but haven’t been on the tabletop yet, it was obvious that the Assyrians were up. Not an historical match up by any stretch of the imagination (well, perhaps a pre-emptive strike on what would be the site of the British museum?) but this is Ancients so we won’t worry about that too much! I would play the Anglo-Normans, Kavan would play the Assyrians.

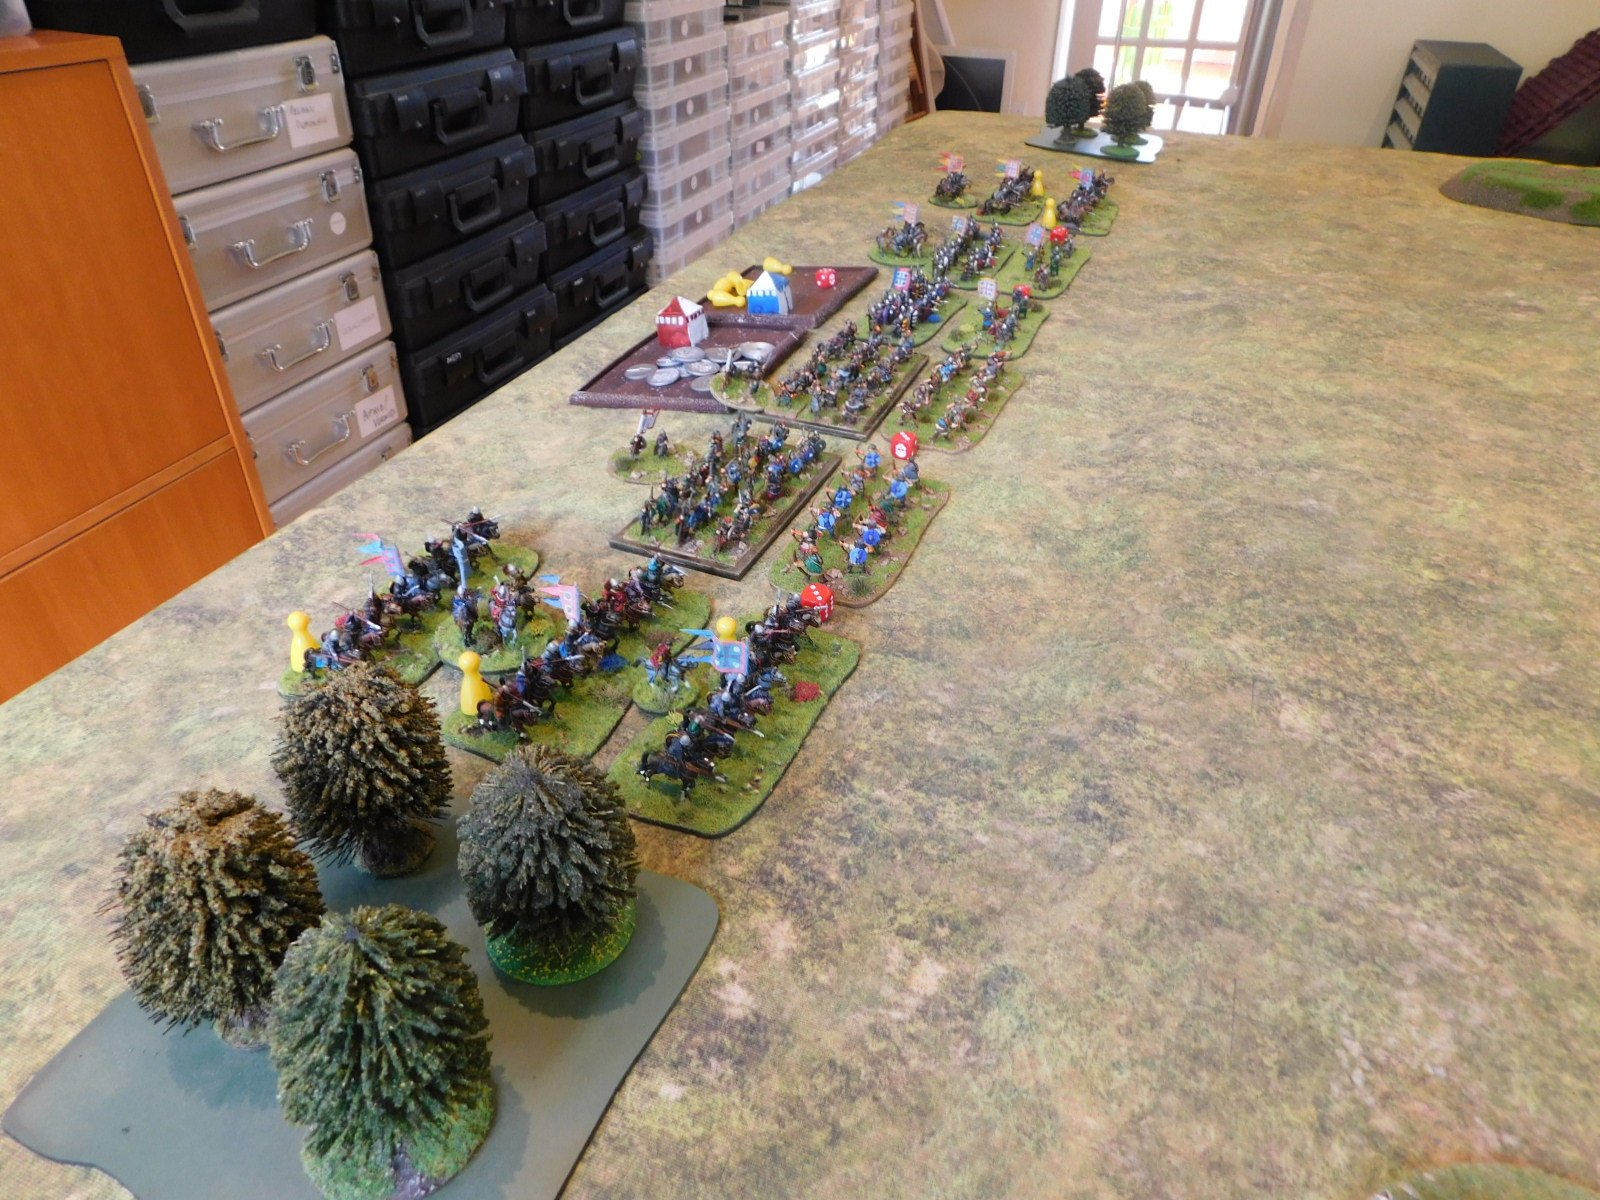
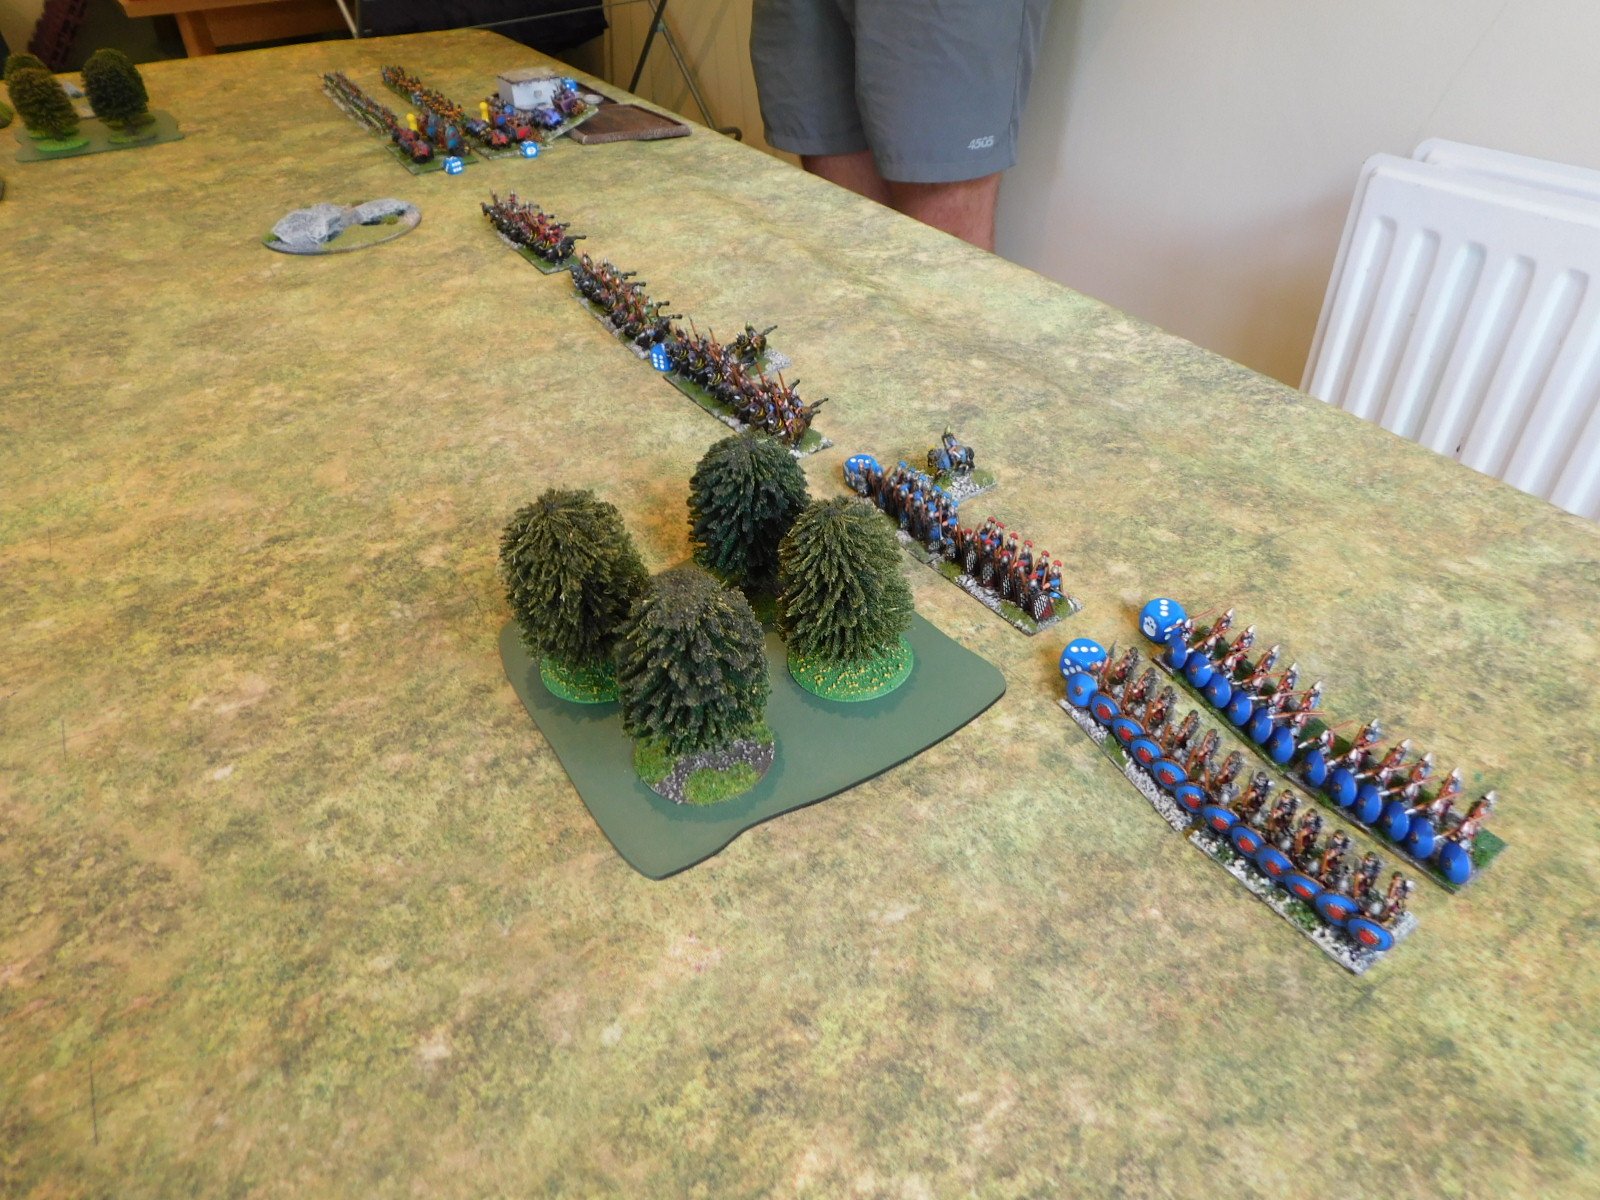
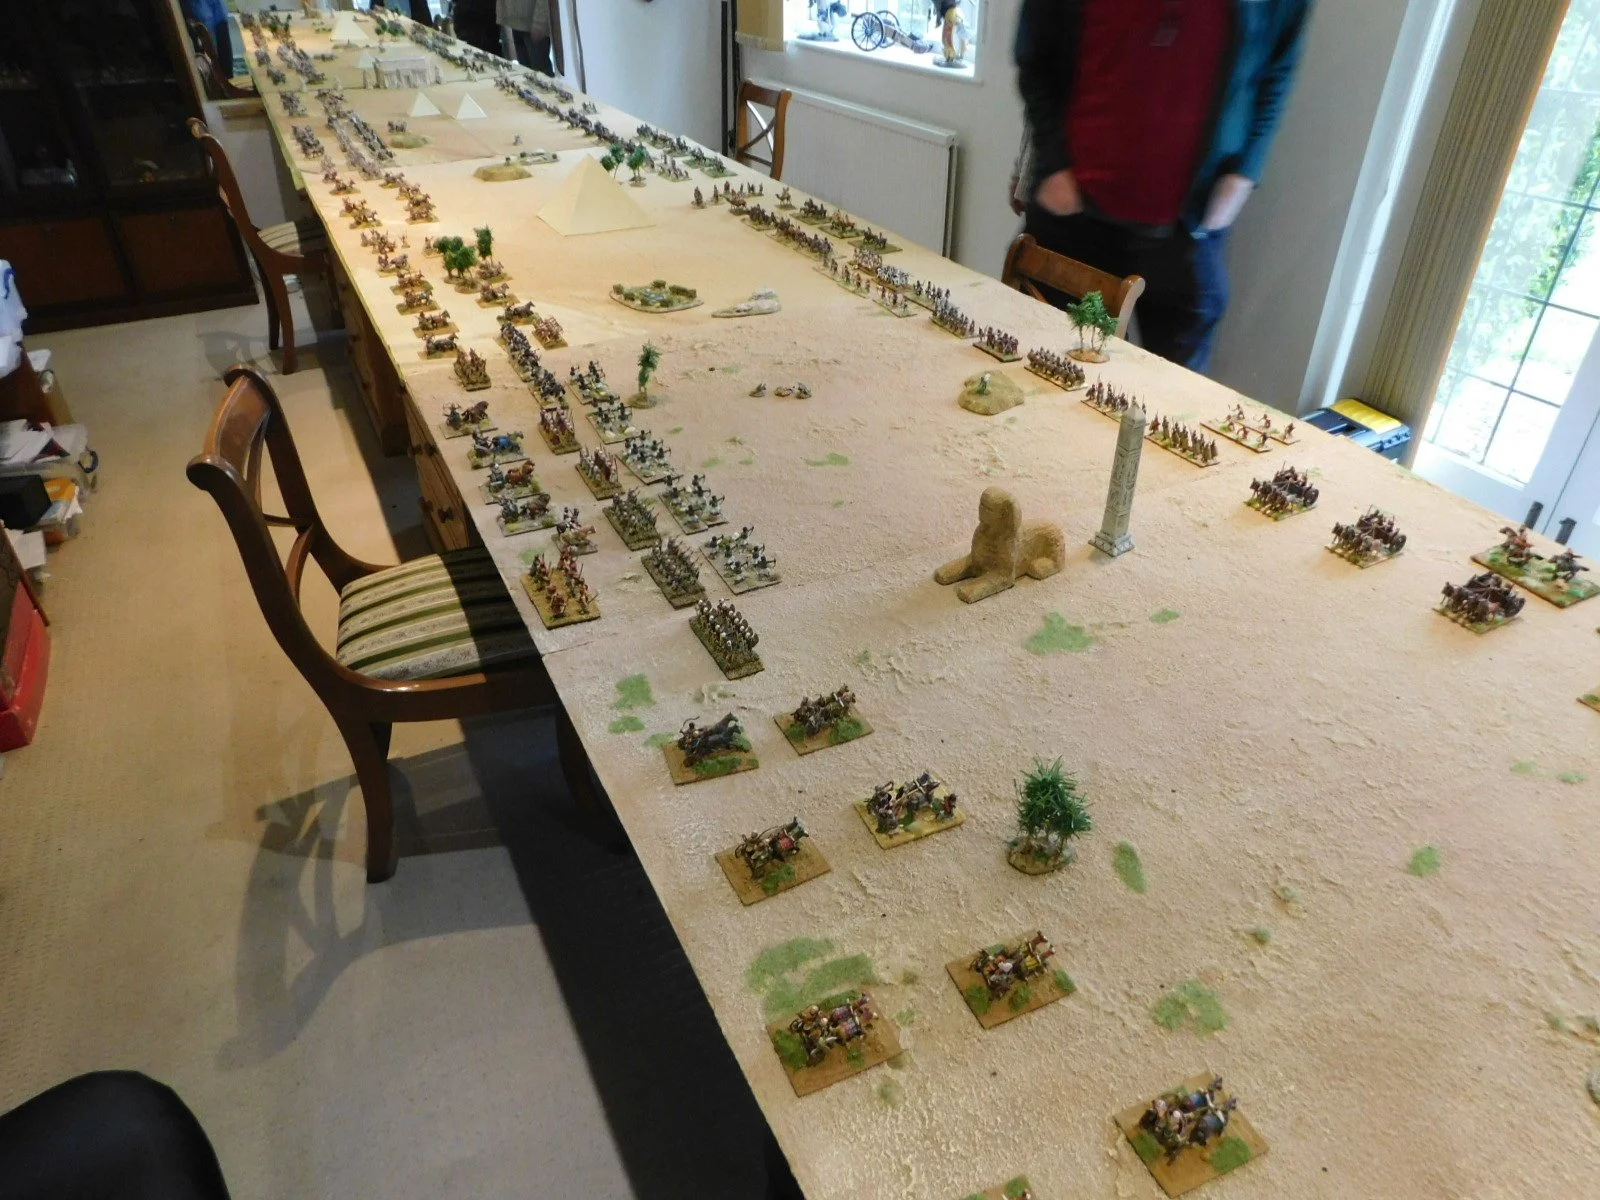
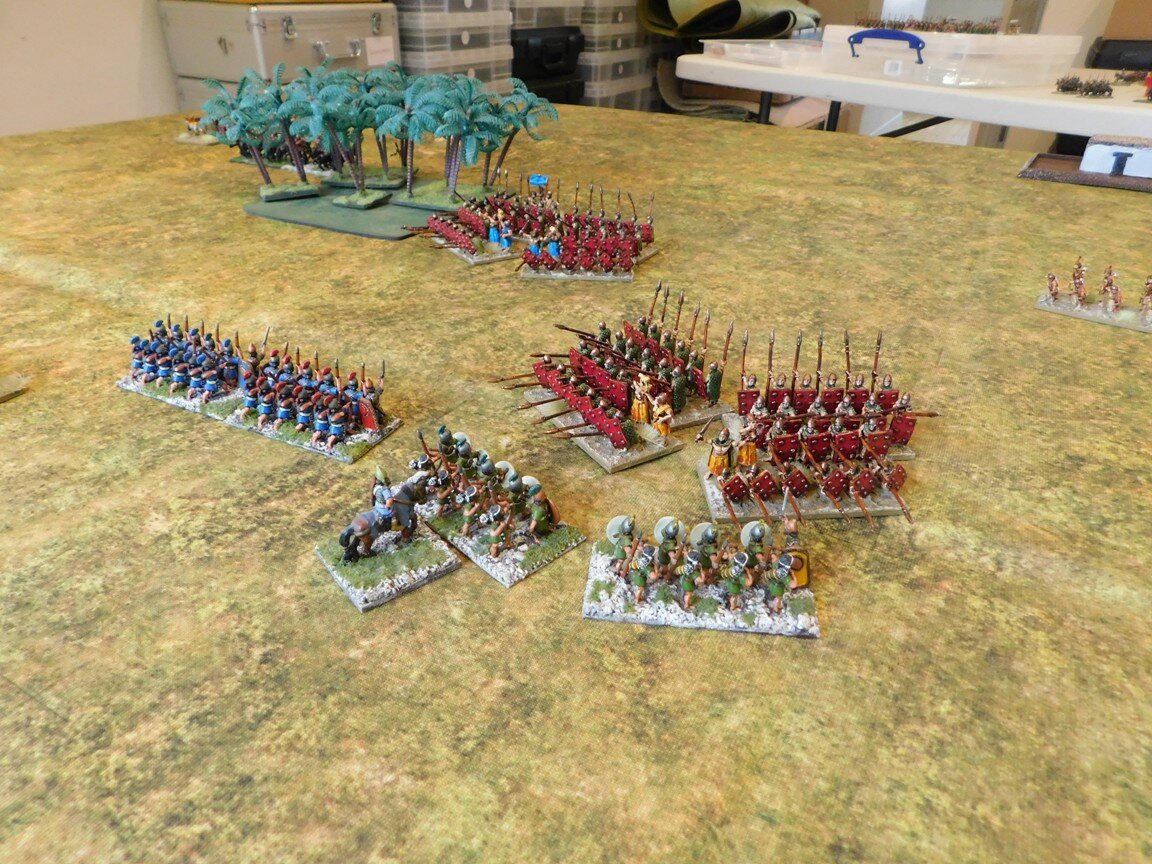
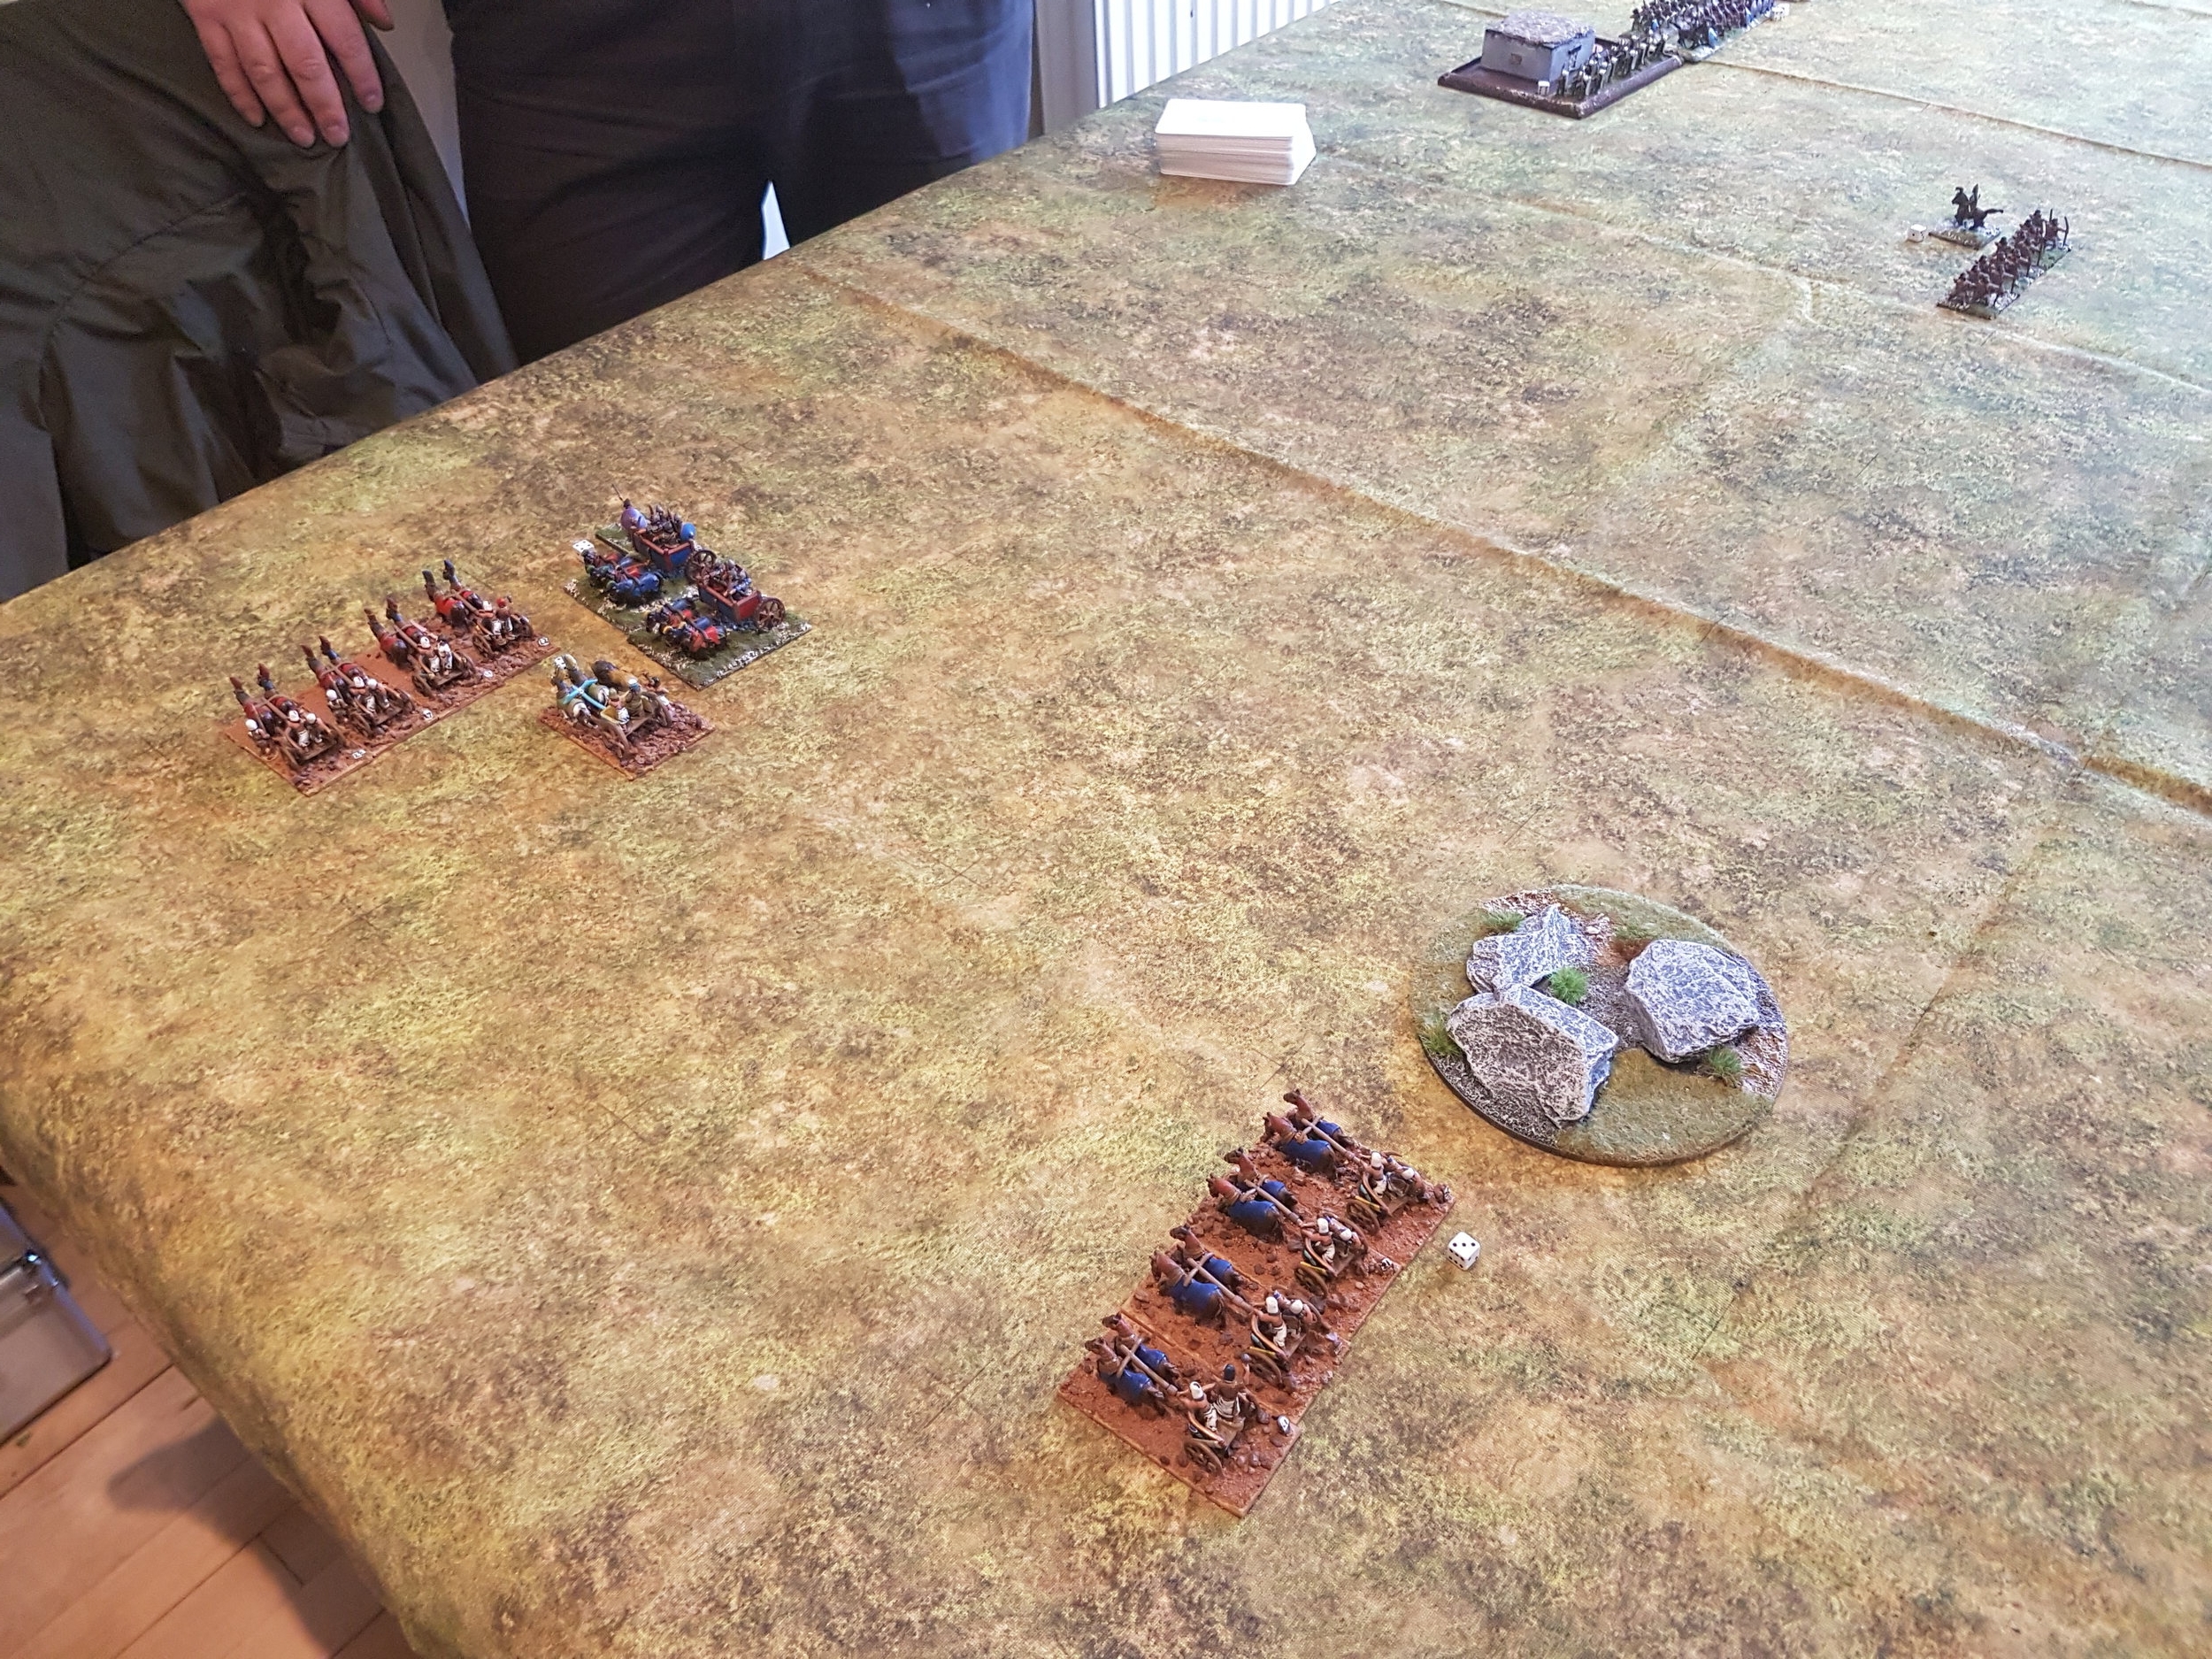
I deployed in a conventional manner - infantry in the middle, cavalry on the wings, lights with missile weapons in front - but Kavan made the unusual choice to put all his heavy infantry on his left wing, with the heavy cavalry and heavier chariots in the centre and his lighter infantry on the left. He then proceeded to march his heavy infantry forward at a rapid pace, hanging back most of his other troops.

I must confess that this completely banjaxed me, and I spent the next phase of the battle trying to re-arrange my troops to match. Talk about surrendering the initiative to your enemy!

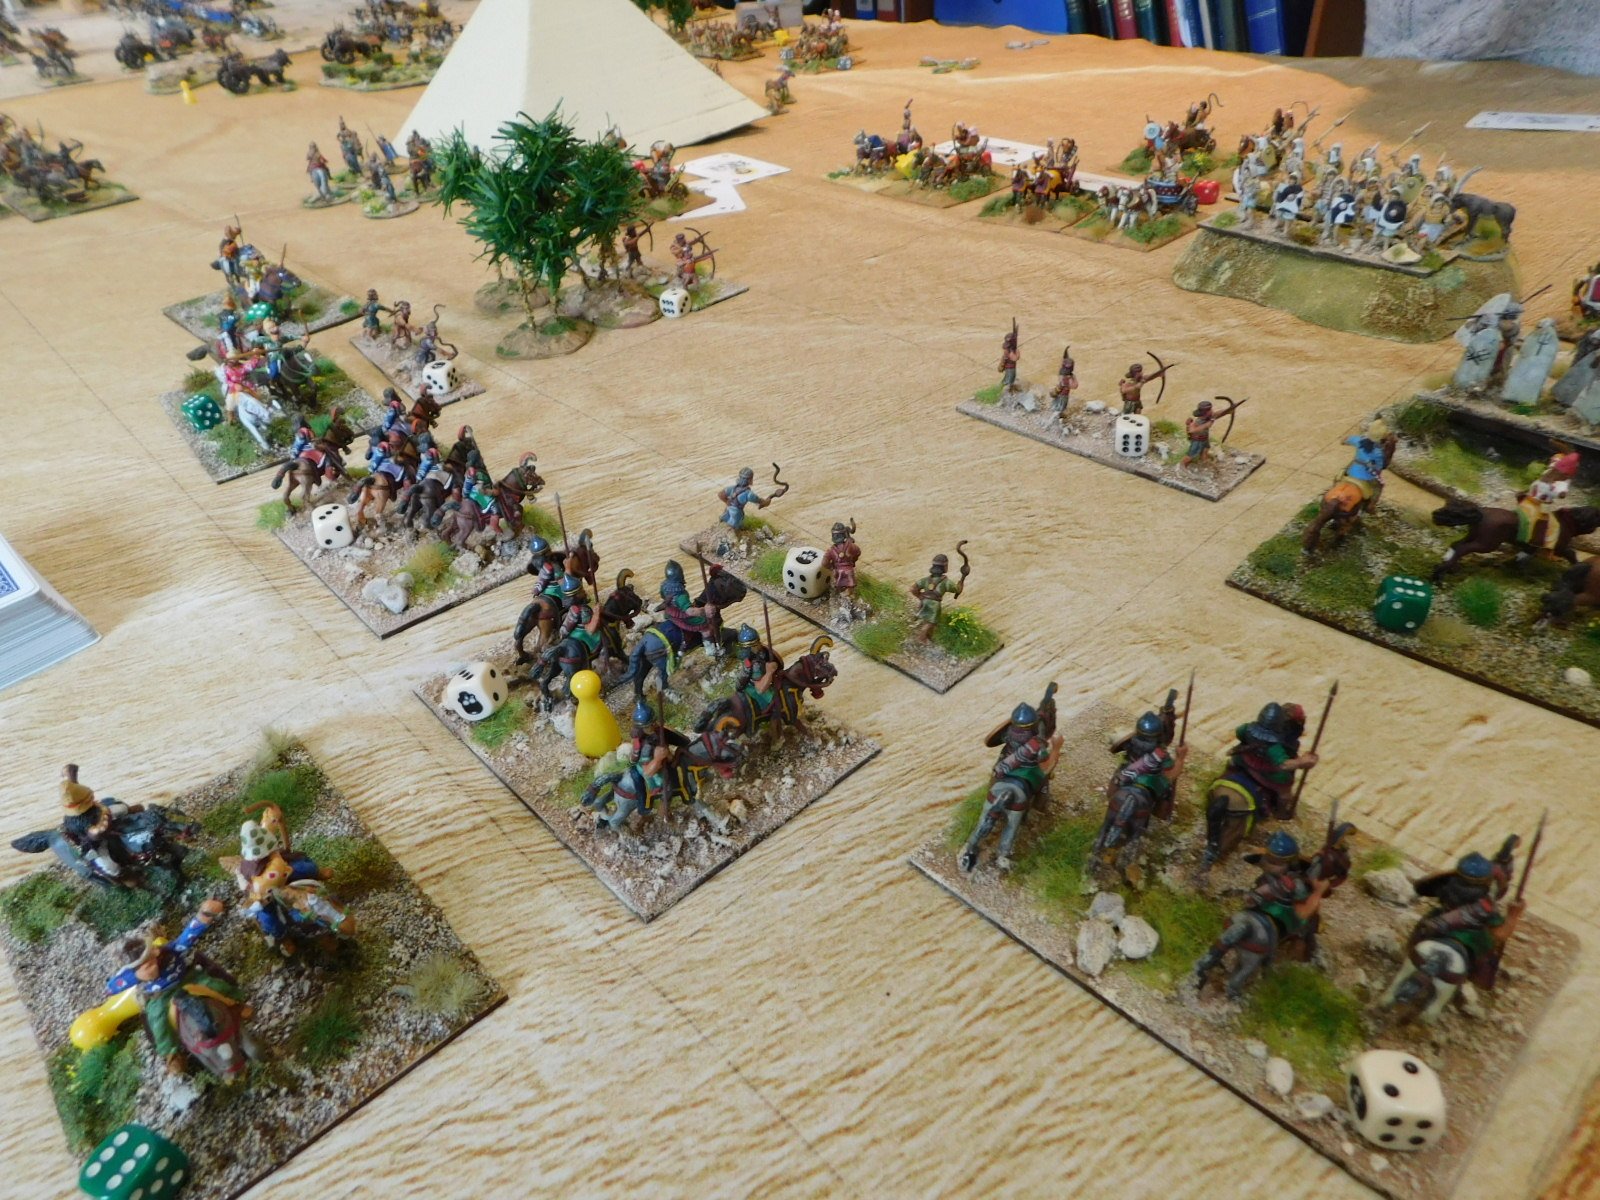
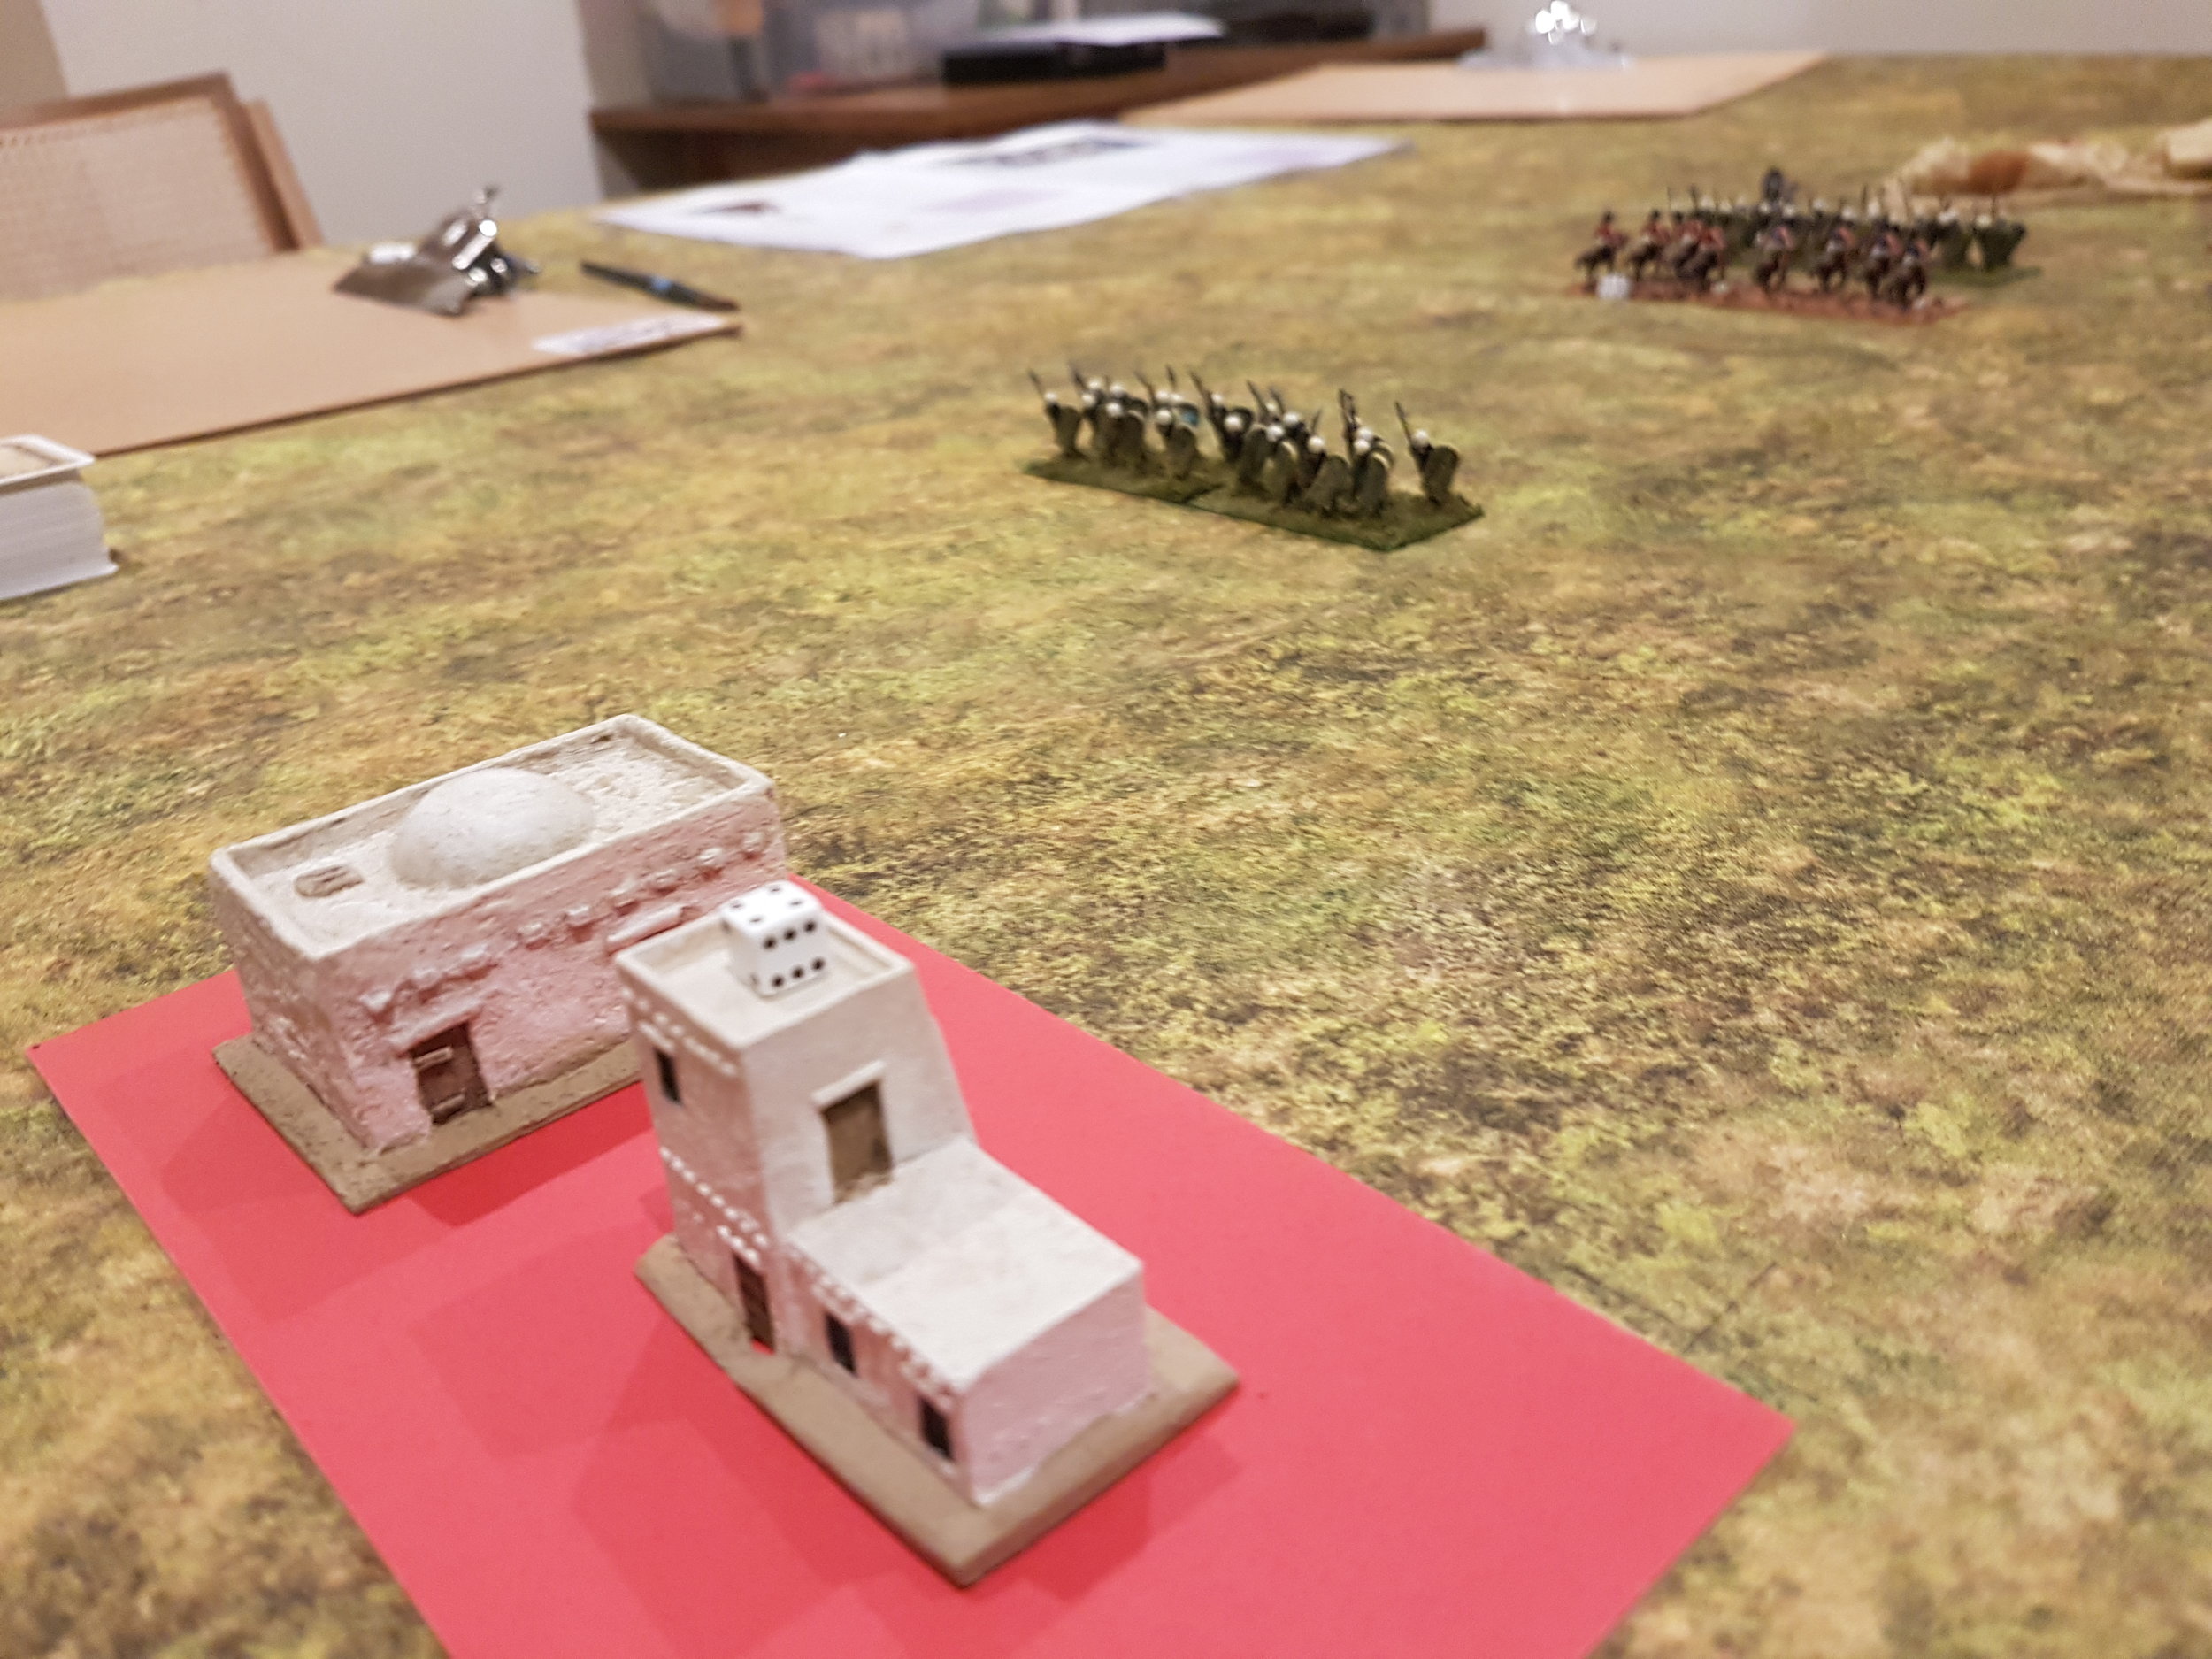
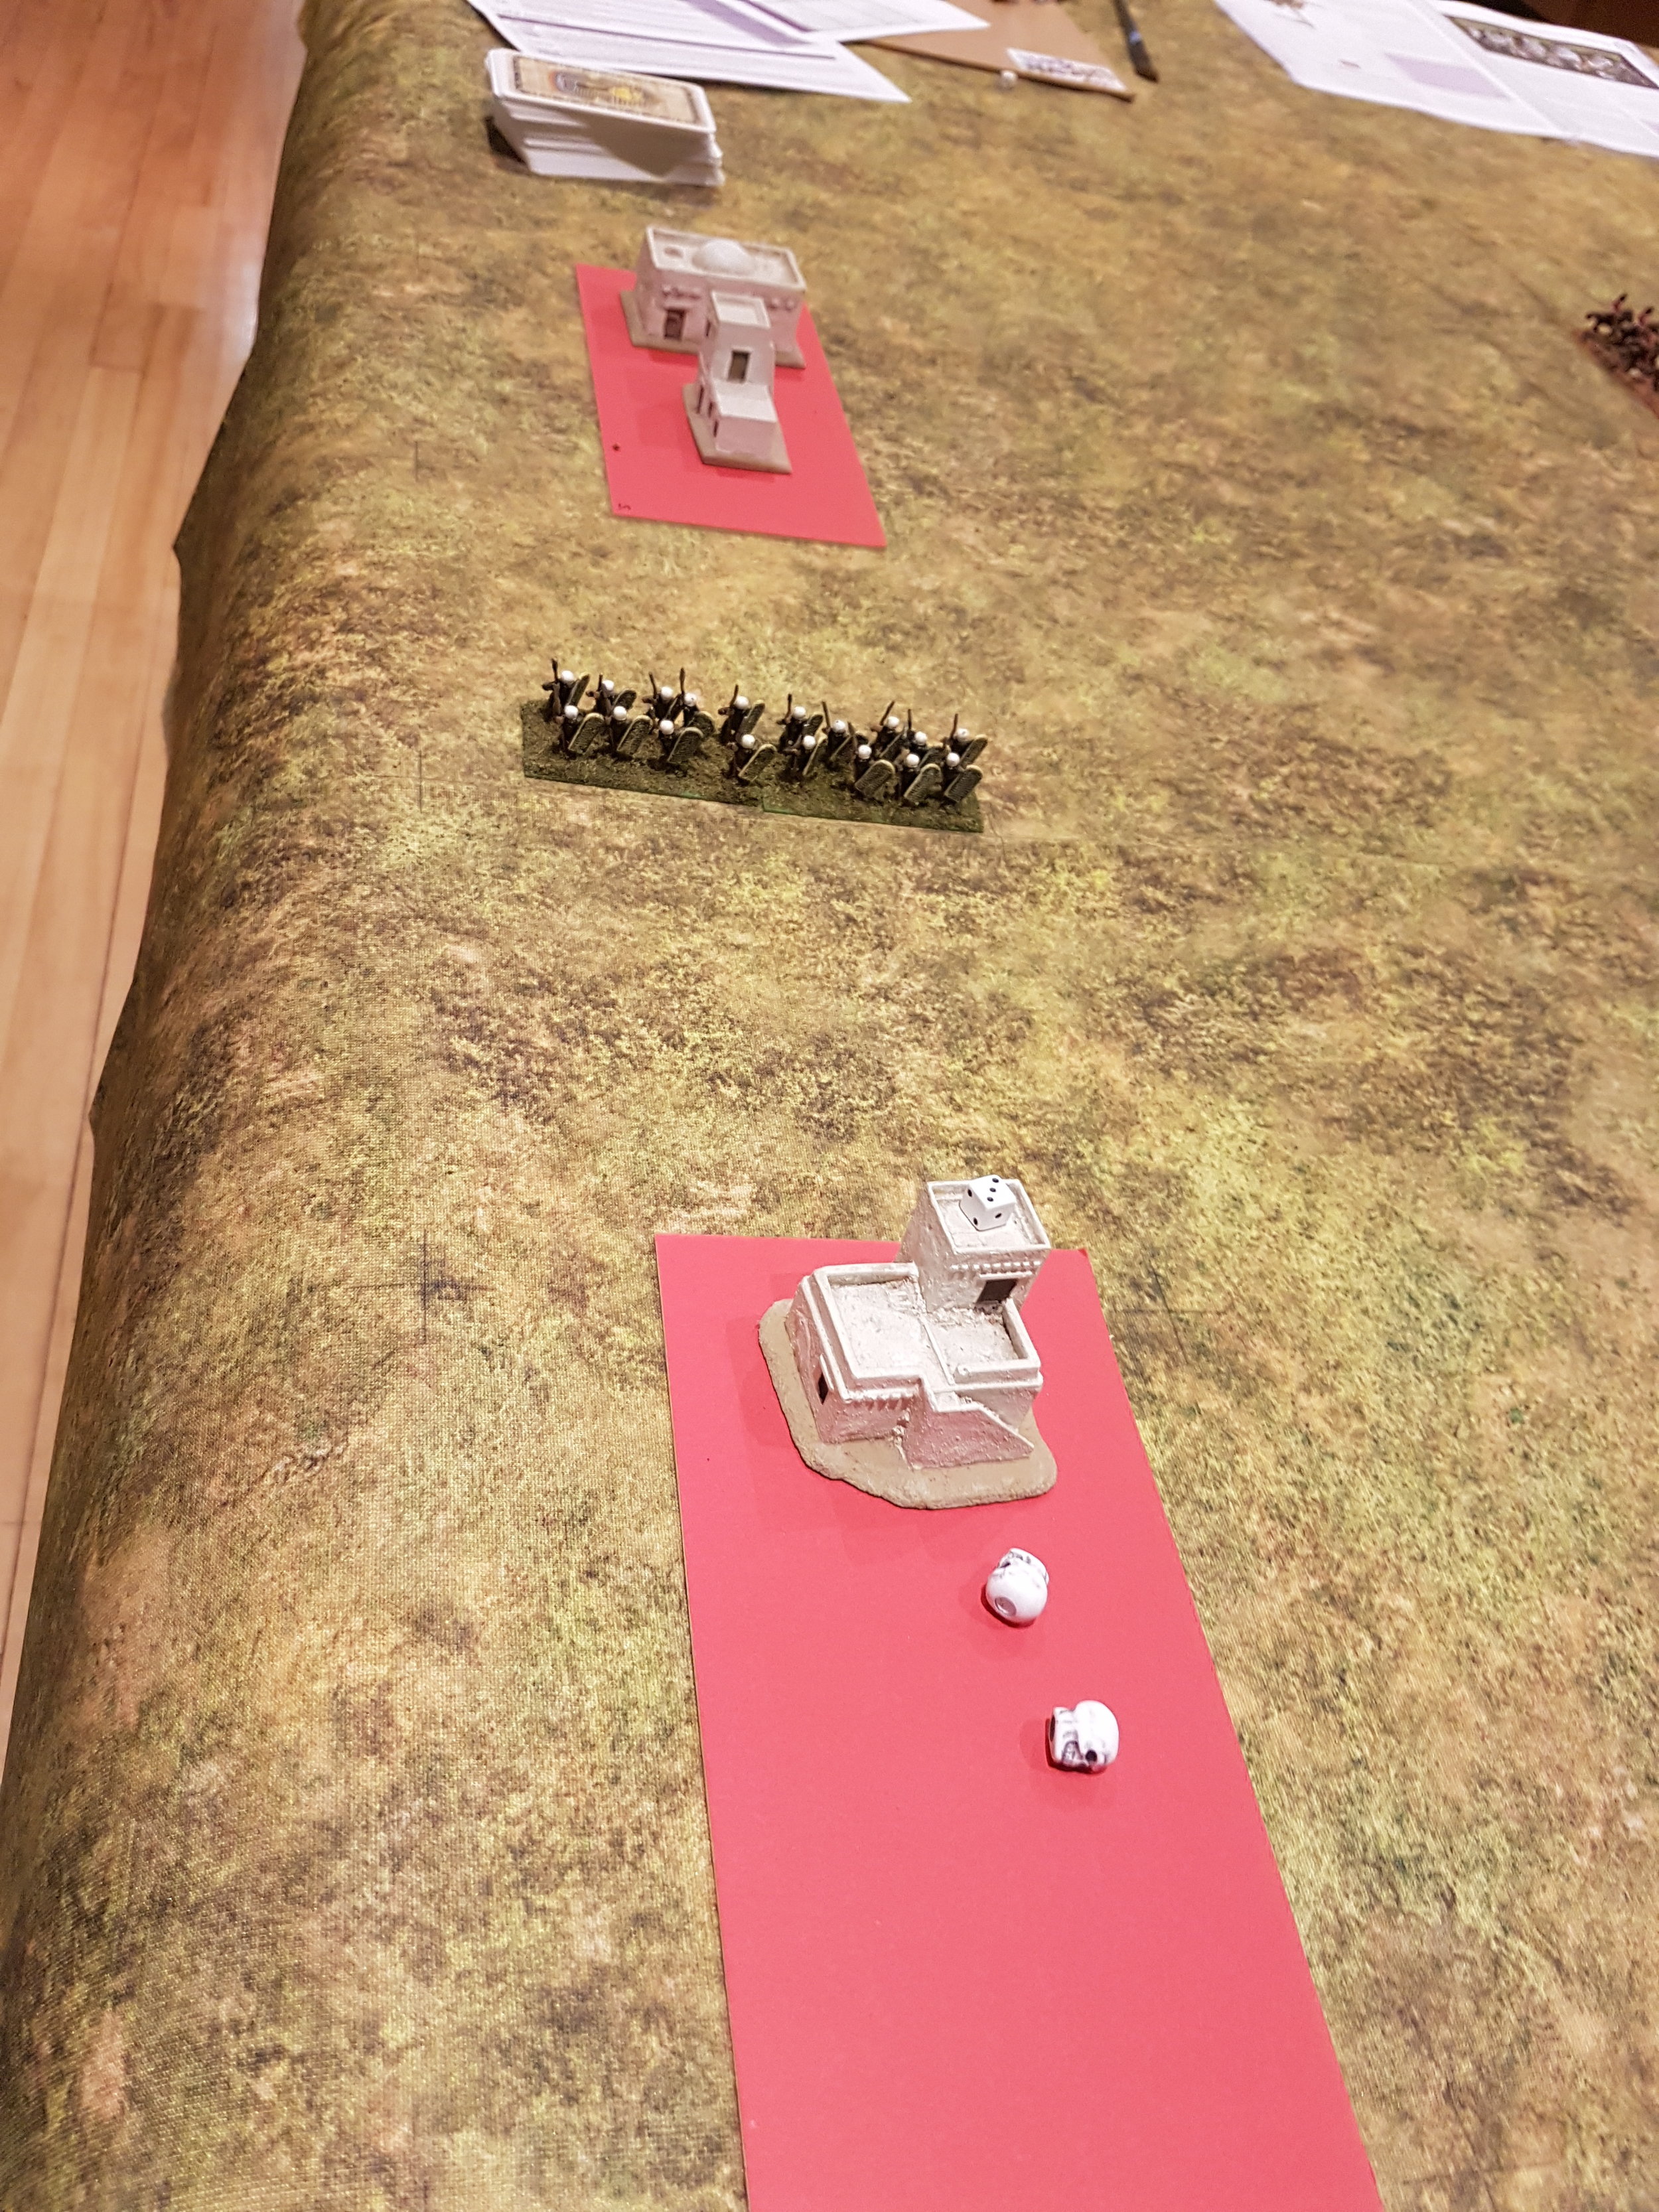
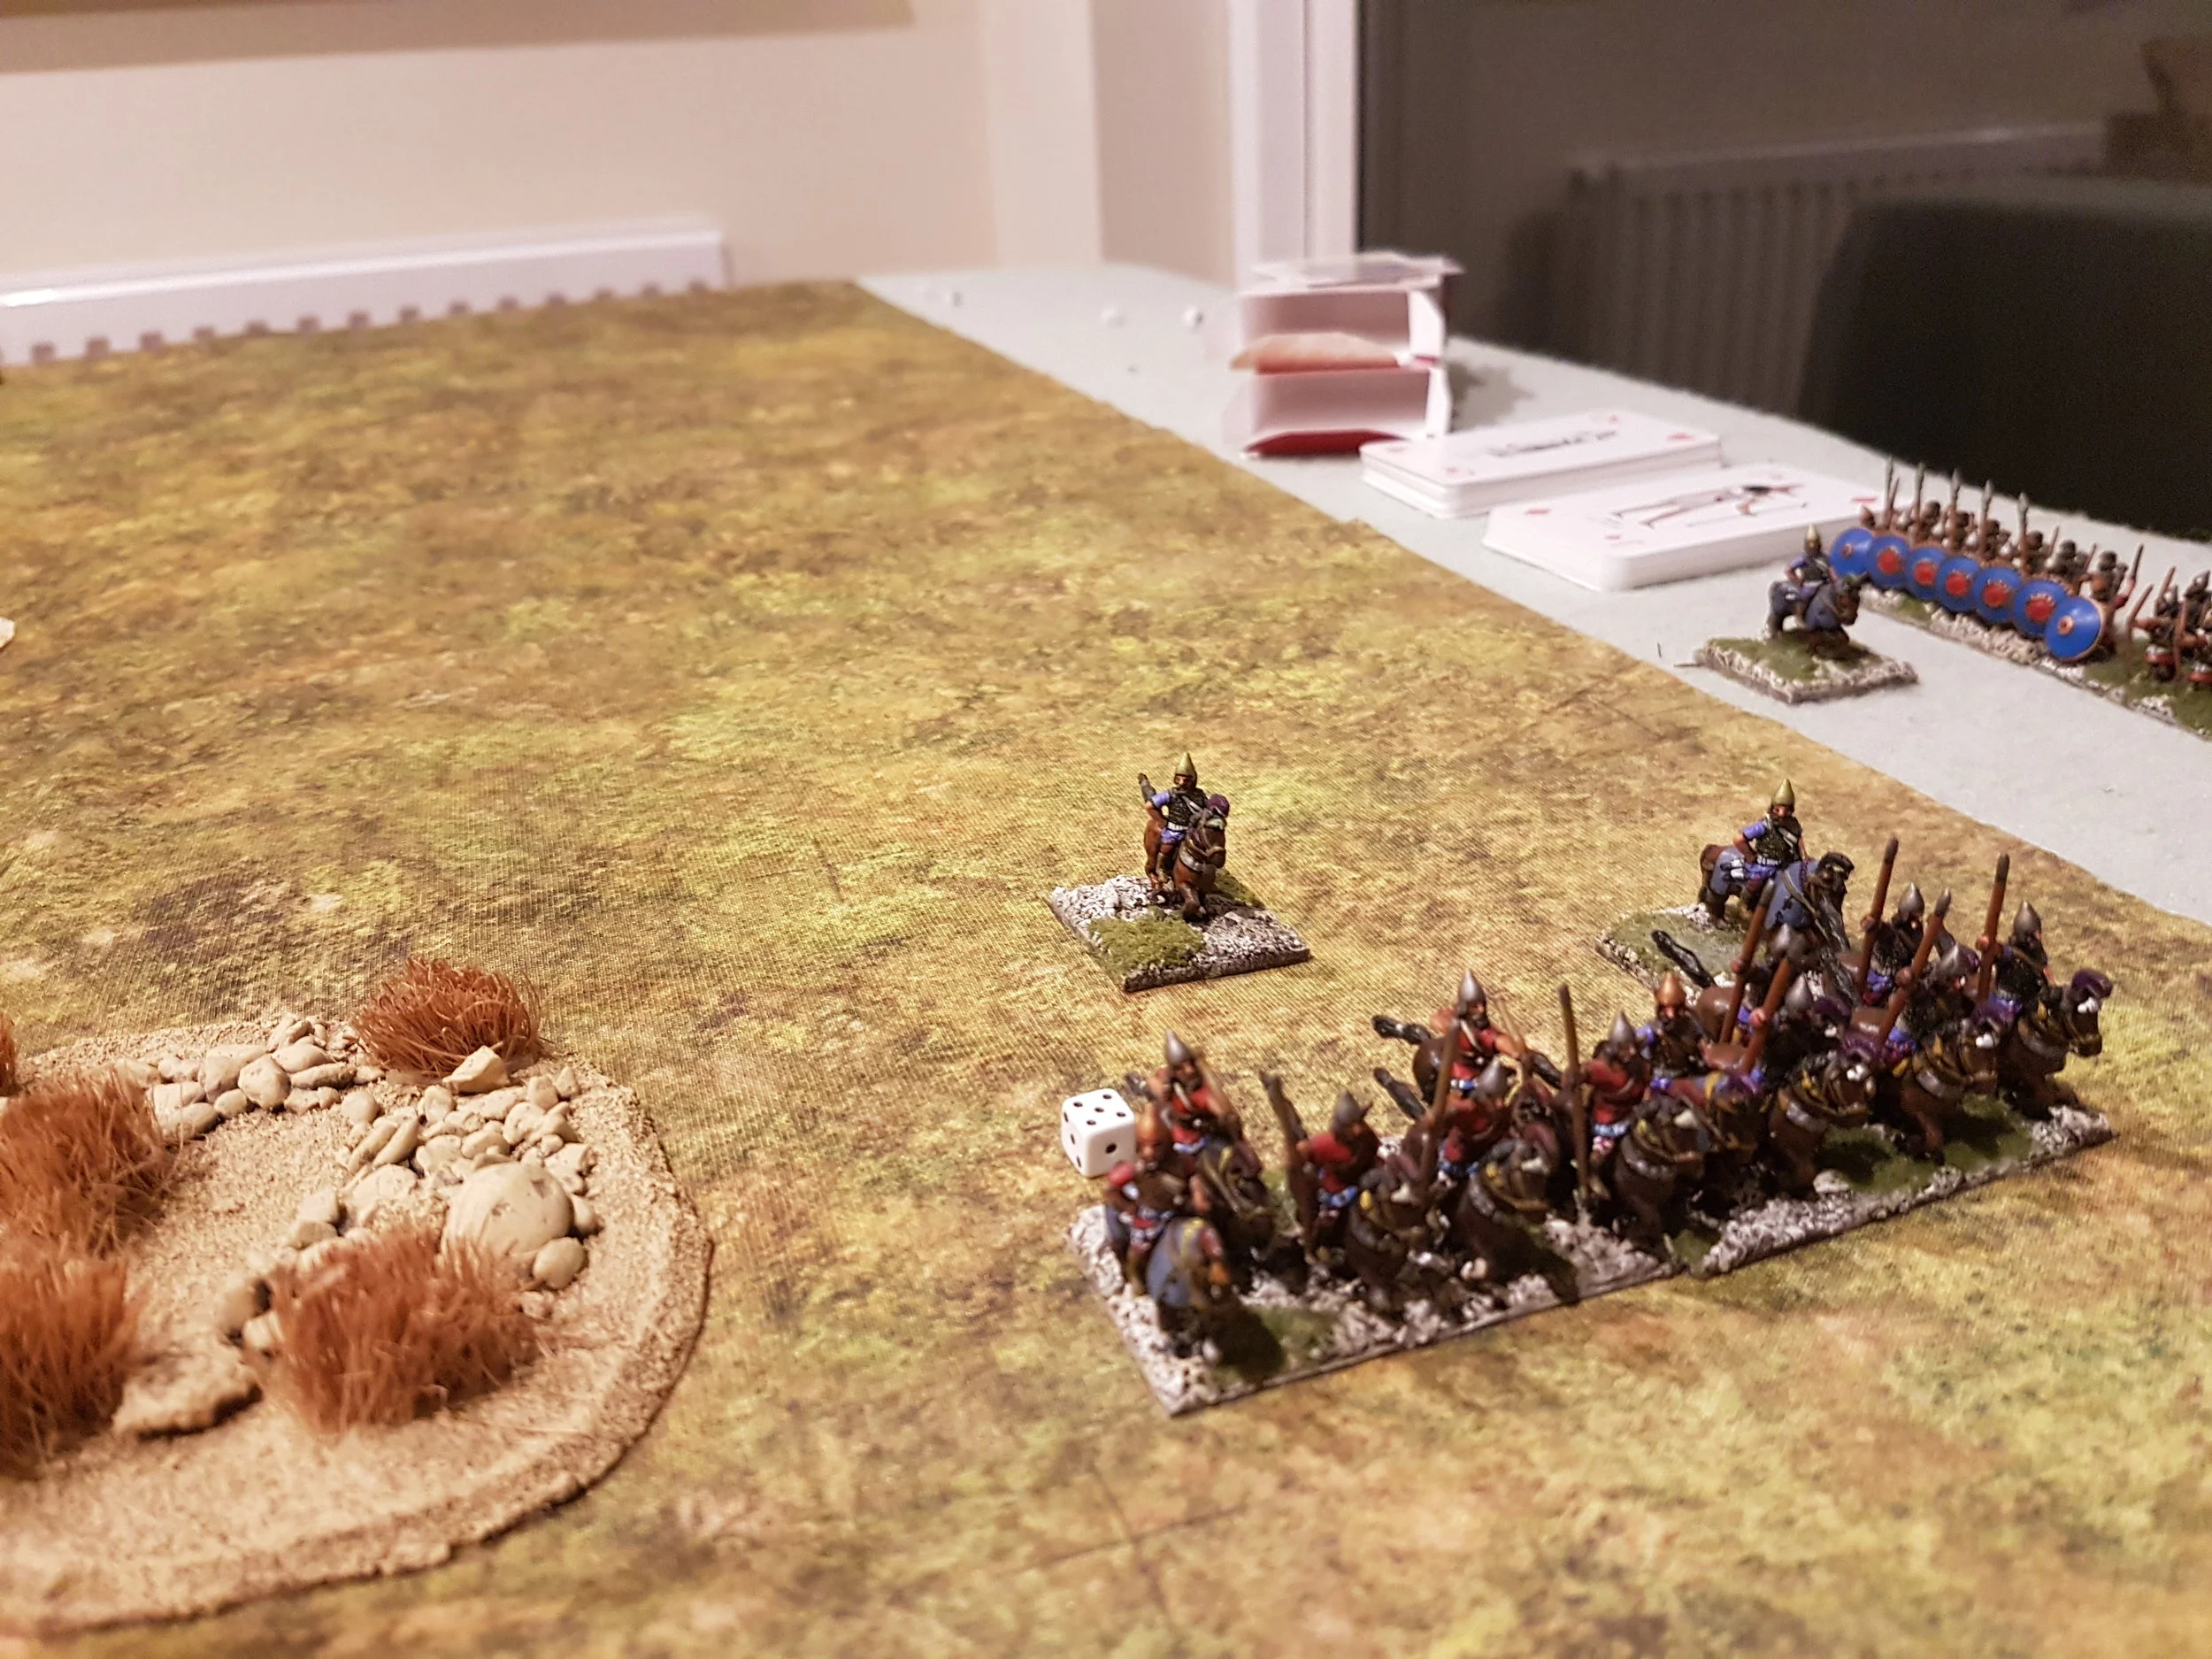
Kavan’s troops, of course, were not waiting for me to sort myself out: they were up and at me, taking full advantage of the confusion to sneak a unit of cavalry through the middle as I tried to face the twin threats approaching my flanks.

And this was just the start!

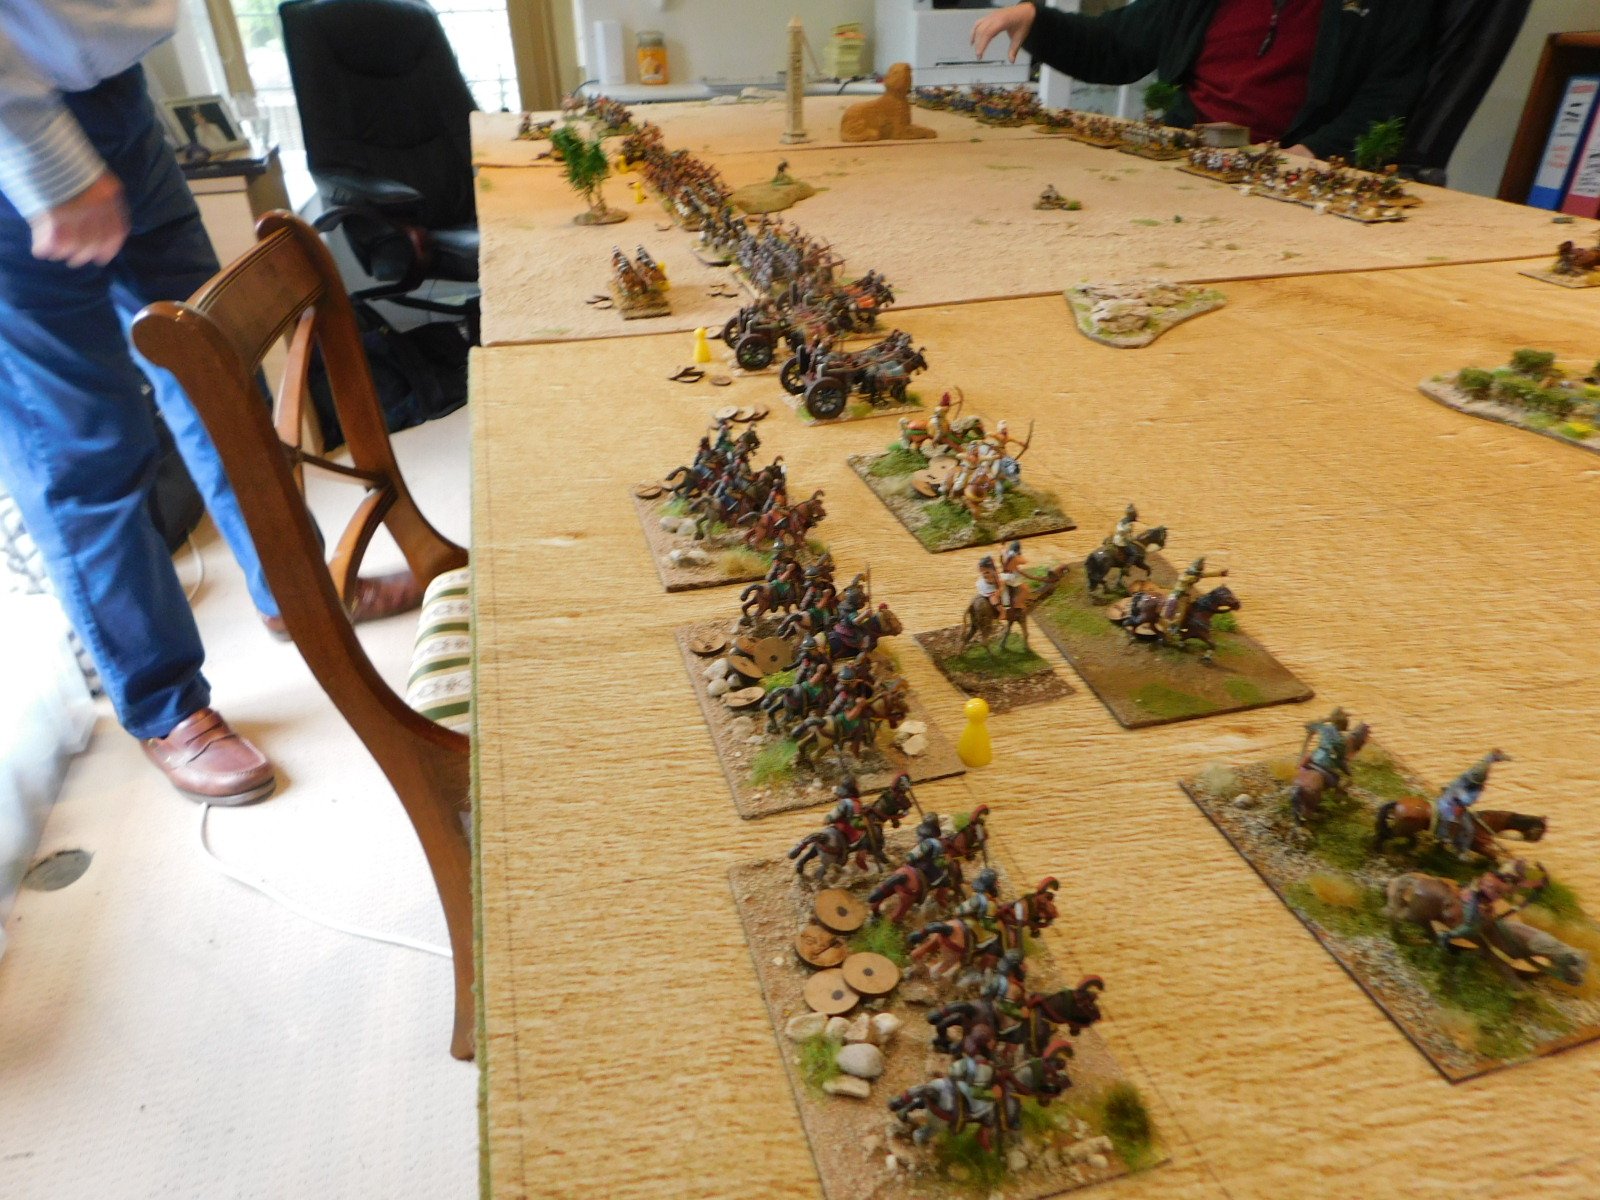
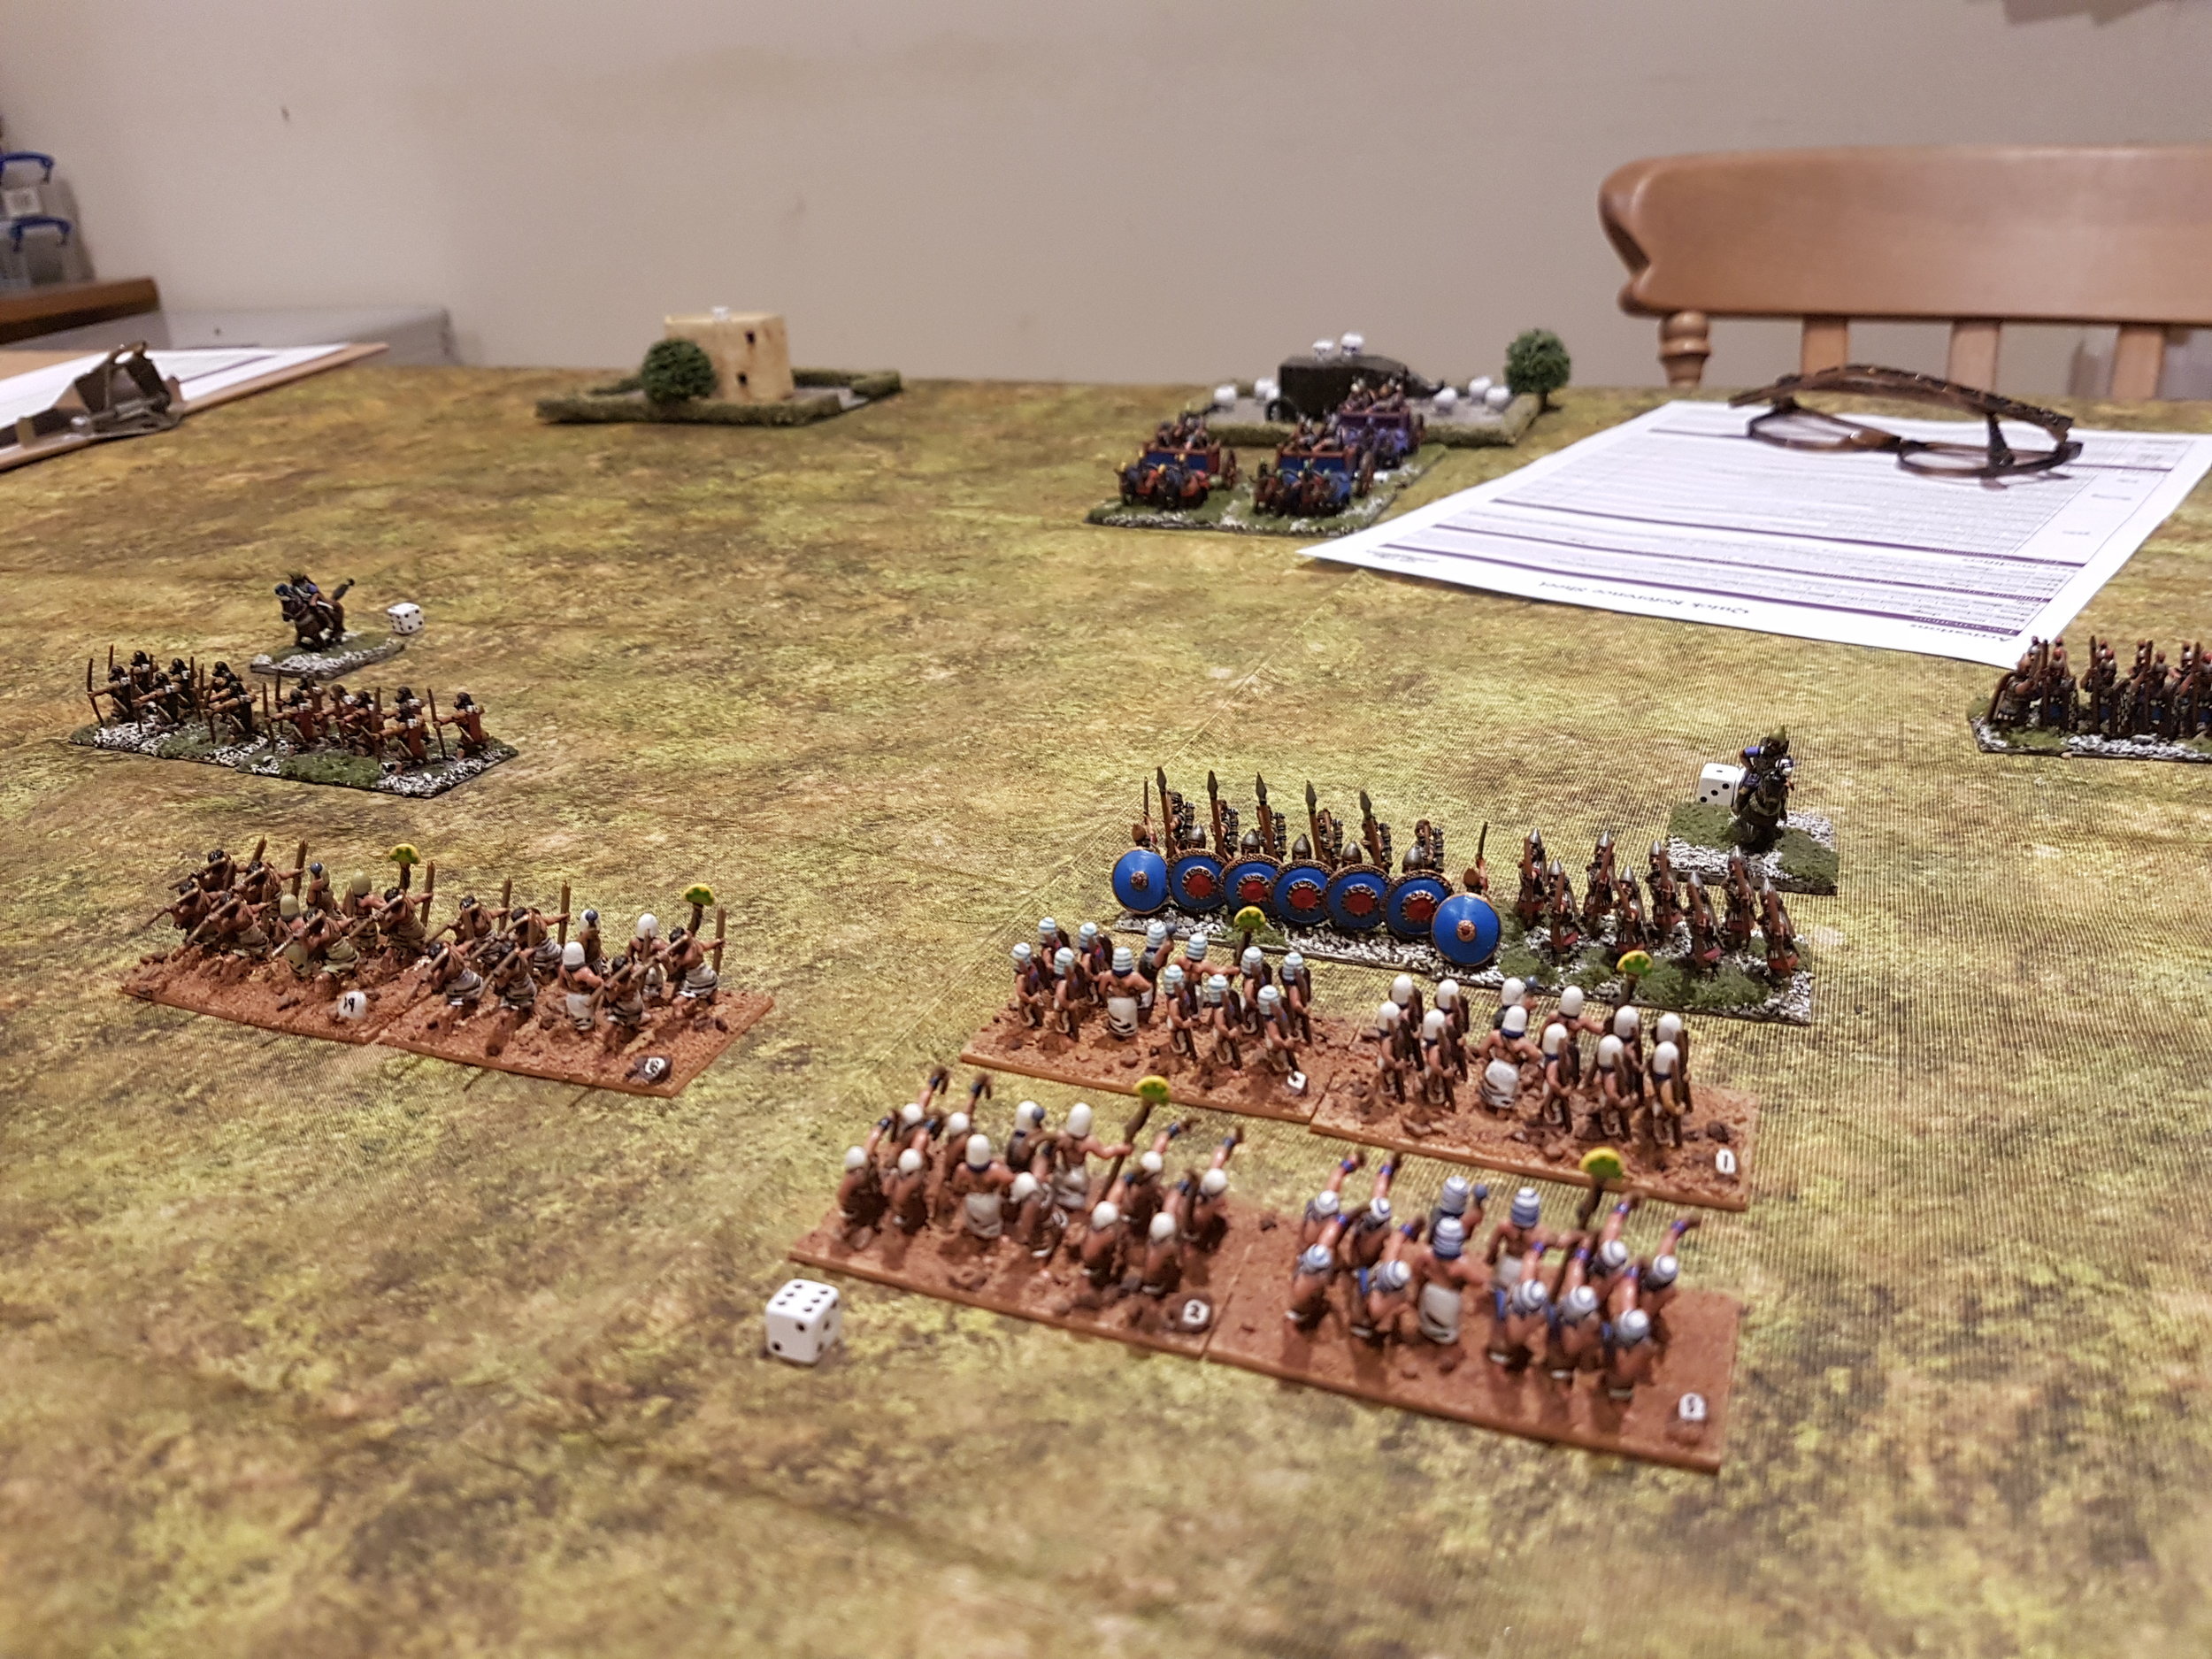
With cavalry now driving through the middle of my line, I couldn’t advance the infantry I’d moved to the right flank to counter his infantry, meaning that I tried to stop them with my knights. Kavan had anticipated this, however, and had hung a unit back to protect his flanks. So this effectively stalemated that side of the field, taking my best troops out of the battle.

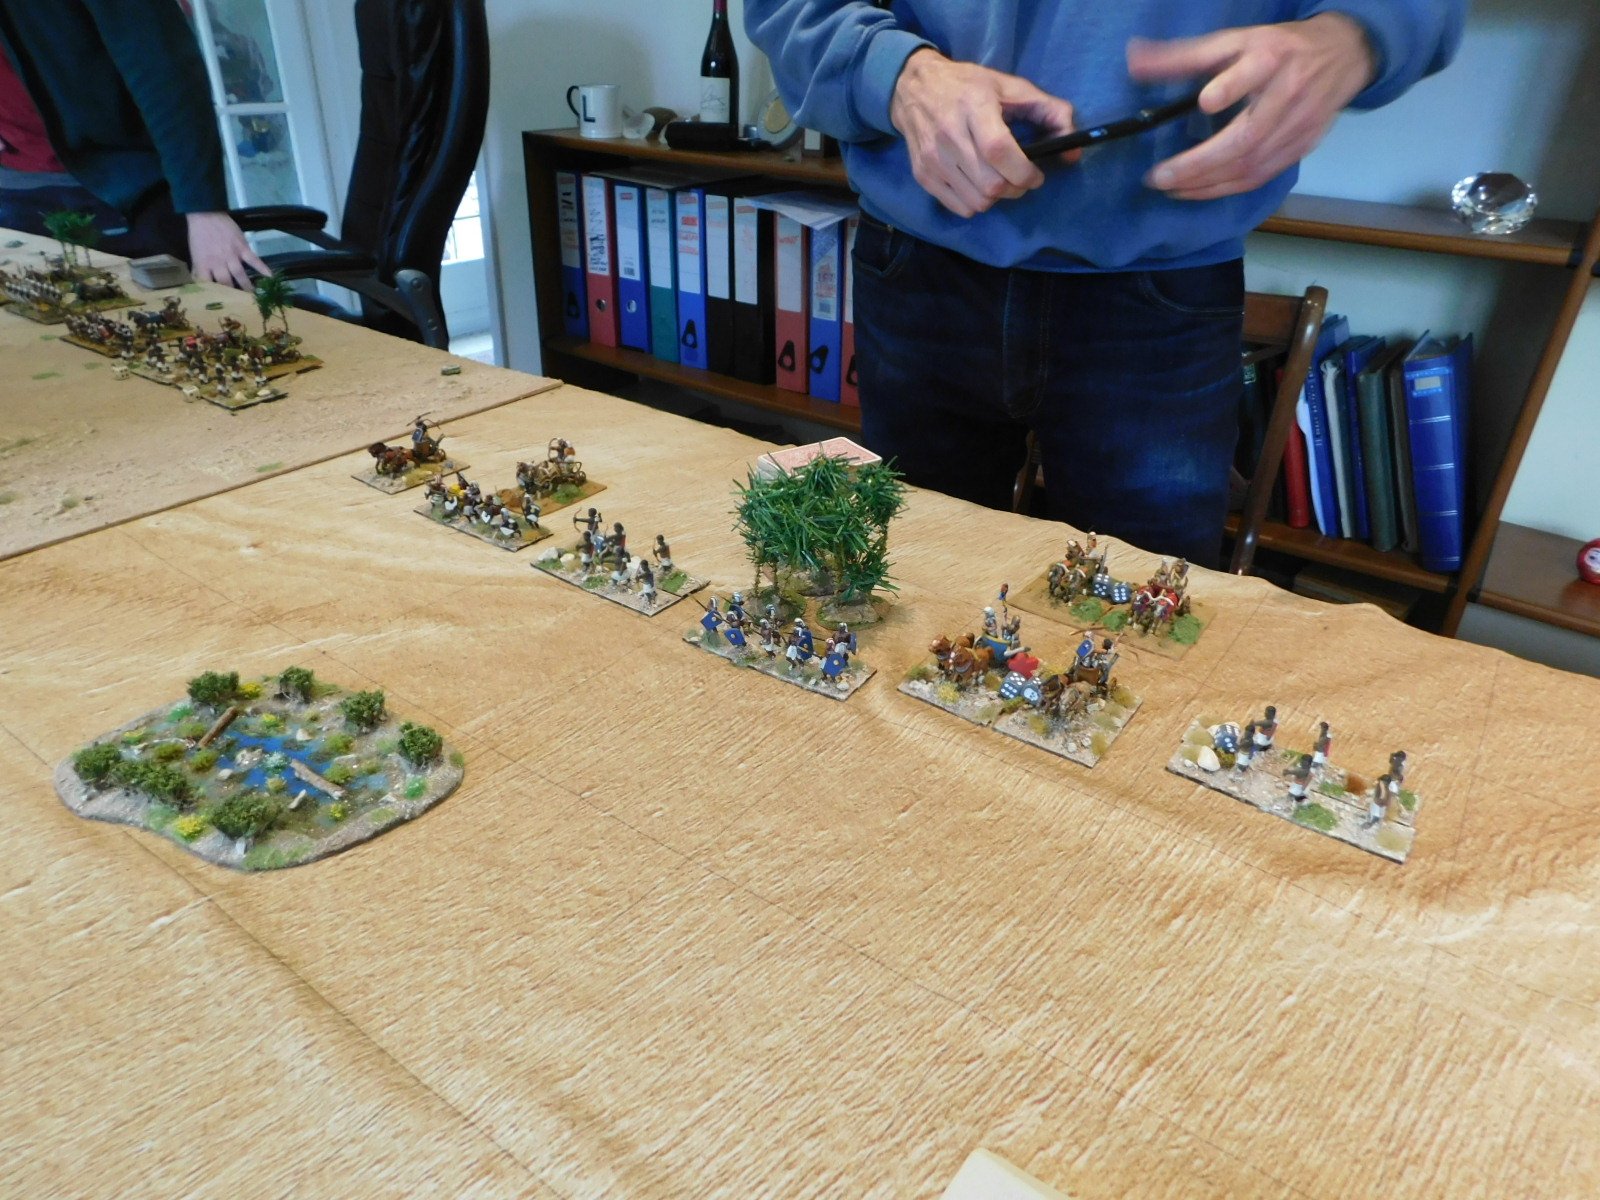
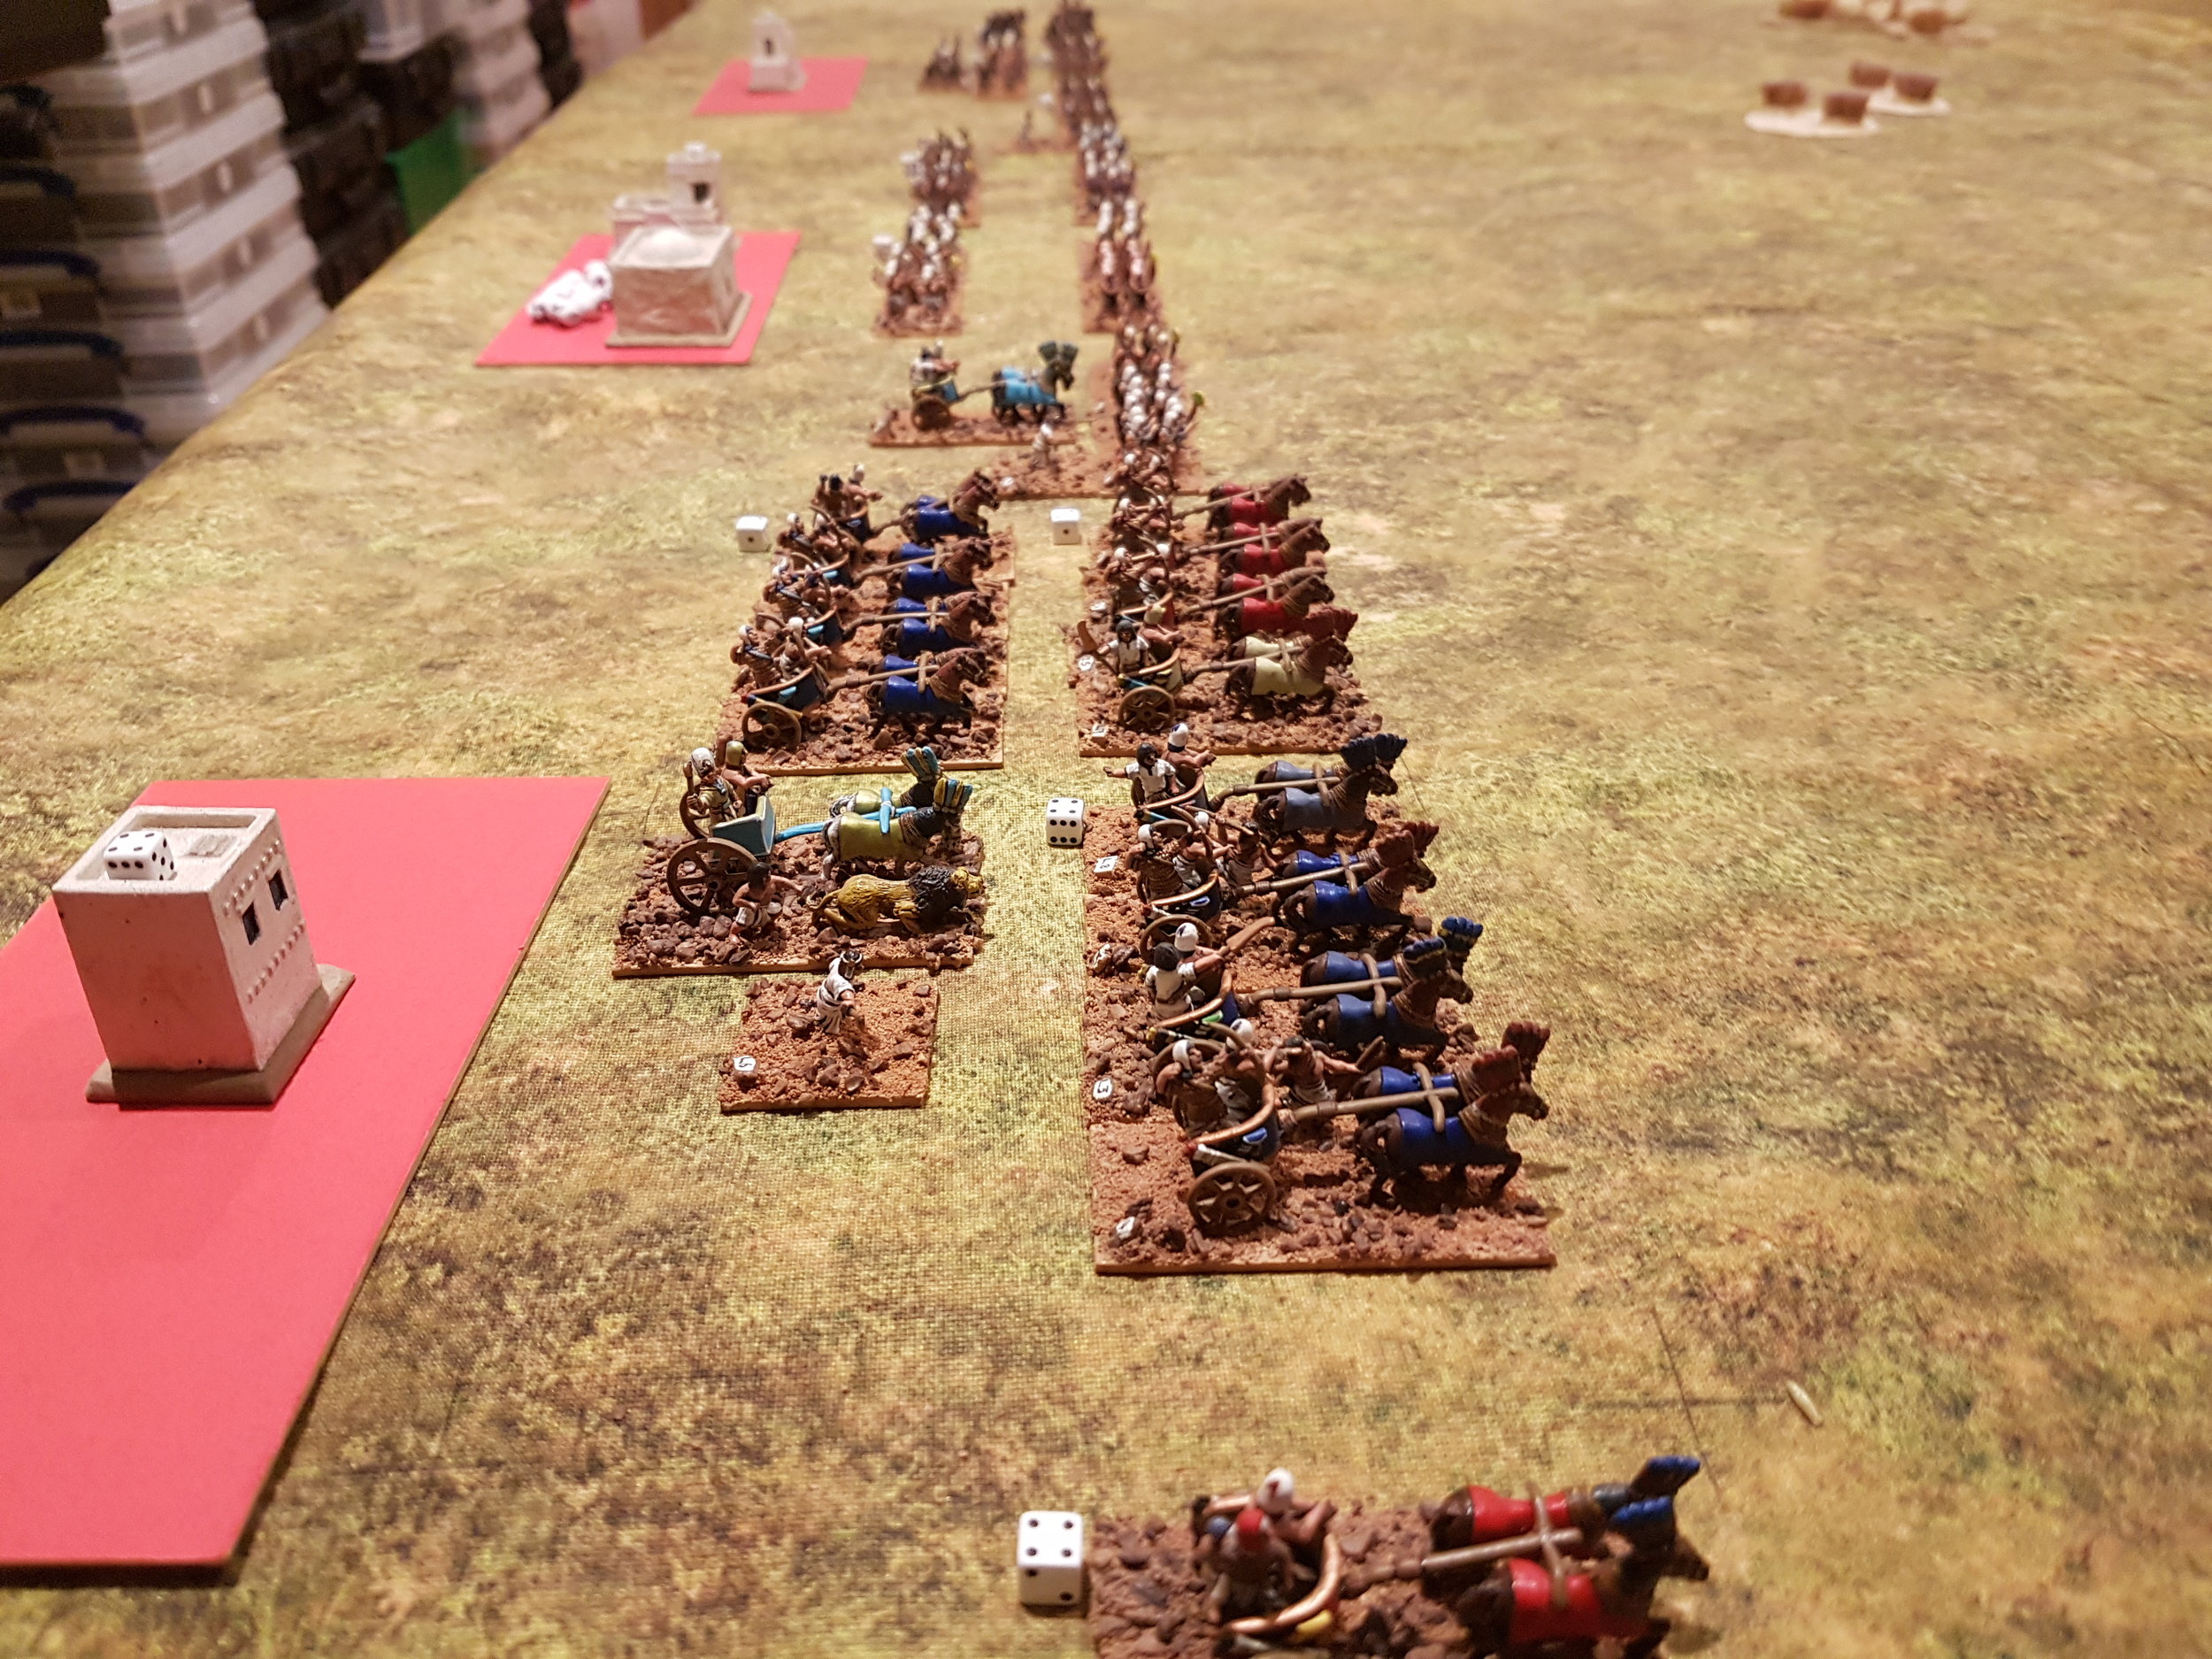
Things were going no better on my left and in the centre, with Kavan cross-ruffing his heavy chariots between the two to both prevent me getting any sort of advantage on either and then, with a superb run of cards, even managing to rear charge a unit of heavy Norman spear that I was pulling back to try and defend my camps!

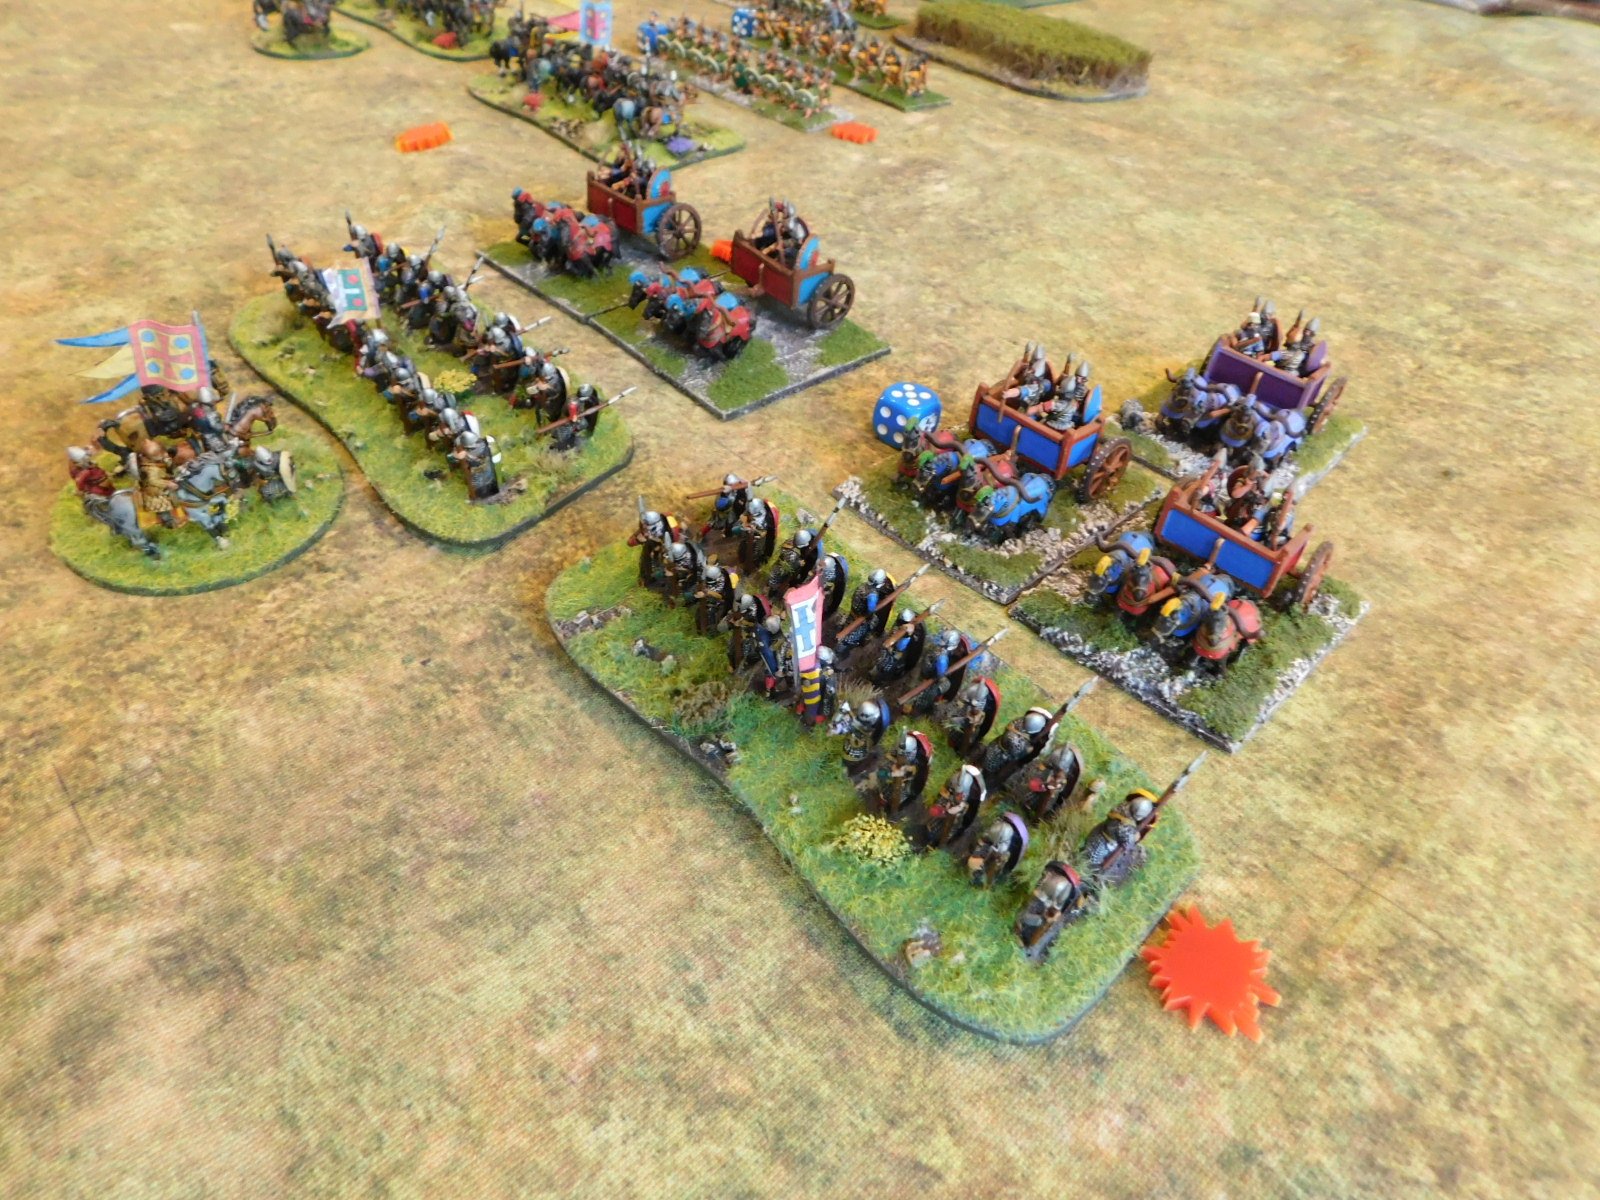
Even if my heavies did survive that initial impact, I was definitely now on the back foot, and it wasn’t long before they did give way, leaving the way clear for the Assyrian chariots to break through and finish the capture of my camps that the cavalry had begun.

That took care of the last of my victory medals, meaning that the Assyrians had won a glorious victory over my utterly-defeated Anglo-Normans.

A great game of To The Strongest, fought superbly by Kavan, who knocked me off balance with his initial deployment and never let me recover. A master class!

TTS AAR: A Day in the Desert

Another series of mega-games of To The Strongest yesterday!

The premise is as follows:

  • two teams: one of three players, one of two players

  • New Kingdom Egyptians vs Neo-Assyrians

  • Four armies, two identical armies of each, each army is 300 points

  • In the morning, one team takes the Egyptians and the other the Assyrians for two simultaneous 300 point battles

  • In the afternoon, the teams swap armies for two more simultaneous battles

  • Finally one massive 1,200 point battle with each side bidding to play their preferred army by sacrificing victory medals

  • Add up all the points over the five battles and see which team wins

The big pyramid marks the centre of the 18 foot table. The temple at the far end is the end of the battlefield, but there’s a mirror behind it making things look even bigger!

Game One

My morning game involved me using a New Kingdom Egyptian army against Steve and Dillon playing the Neo-Assyrians.

I decided to mass my light chariots to give them a bit more staying power and at first this seemed to be working nicely. My charioteers charged forward and were soon loosing a hail of arrows on the Assyrians.

Unfortunately, there seemed to be something wrong with my bows that day, and I just couldn’t score a hit to save my life. The Assyrians then came forward in return and hammered me in melee. We didn’t finish the game (phew!) but at the final whistle I had lost 7:13 points.

Game Two

For the first afternoon game, I swapped sides and played the Assyrians versus Si taking the Egyptians.

This battle started really well for the Assyrians, going 5-0 up within the first few turns. Unfortunately my luck turned and the cards (it was a new deck as well) decided that they hated me!

It was a hard fought game that we did manage to fight to a conclusion: with me going down 15:21 points.

The Mega-Game

Fortunately my team partner, Peter, had done somewhat better than I had, and we went into the final mega-game only two points behind. We then sacrificed two more victory coins to make sure that we took the Assyrians: so four down in all.

We played this enormous battle as one game in two halves, meaning that there were a couple of times that the two halves got out of sync and one side or the other had to pause and wait for the other to catch up. Dillon, playing in the centre on the enemy side, had to fight Peter with some of his commands and me with what was left. Despite these small speedbumps, the game rattled on at a cracking pace, showing what a robust system To The Strongest is.

Not only was the game cracking, but also very close. We started off with me doing rather well, and Peter doing less well. Then I had a catastrophic turn when I shed victory coins like last year’s fashion (not sure where that metaphor came from!) but recovered to deal out the same treatment to my main opponent, Si, immediately afterwards.

Both Peter and I then continued to alternate good patches with bad patches, calling out our successes (and failures) to the other as they happened. Finally the last Egyptian victory medal was won, and it all came down to how many we had left.

We’d been keeping them in a little pot, and, at first, it looked as if we had hardly any left at all. This was, however, an illusion, as we’d been taking out the big medals as we went along leaving only the little ones behind. The final score was 42:31 to Peter and I, meaning that we had won the day overall.

All in all a great day’s gaming. My thanks to Peter for organising and hosting.

Matching Assyrians

As mentioned before on this blog, moving from one set of rules to another often involves certain tasks: the dread re-basing being the most common. Close on re-basing’s heels, however, is the need to add more troops to the army, either different troop types or just more figures.

My Assyrians for To The Strongest are a case in point. The collection I had needed a few extra figures for use with TTS, but that was with some single element bases combined into pairs of double element bases. That was fine, and I added a first wave of new figures that you’ll have seen showcased on this blog previously, but did mean that some of the double element pairs didn’t match. The second heavy infantry unit, for example, comprised one element of mixed Spears/Bowmen with one element of either Slingers or Archers. Not a problem on the tabletop, but it just didn’t quite sit right.

So I bit the bullet and ordered enough figures to match the mixed Spears/Bowmen base and set about attempting to paint the new figures to match.

The figures are Chariot Miniatures via Magister Militum - I seem to remember that I wanted a change from the Essex Miniatures that make up most of the army. Here’s the new element, painted and based, front and back:

But does it match the old element, I hear you cry? Not as easy as you might think, as I first painted the Assyrians in 2021, some twenty-two years ago and way before the introduction of the Contrast Paints I use these days.

Here are the two elements together:

The new base is on the right as you look at the picture above. It’s the one without the command figure with the different shield.

Not a bad match.

Obviously I can see every tiny difference, but to the average eye, particularly at the magic 3ft distance, they might as well be identical. Job done!

A Few More Assyrians

I needed a rest from painting Normans, so I thought I’d fill out my Assyrian army a little bit more.

When I started playing To The Strongest, I resurrected all the Ancients armies that I used to use for Vis Bellica, the only problem being that a VB element was approximately half the size of the elements I use for TTS. Not a problem for most of my armies, as I always over-collected on what I’d actually need to play a game, but it was for the Assyrians: the trouble being that as it was a small, expensive (in points terms) army, I didn’t have multiple identical VB elements that I could combine into a smaller number of TTS elements.

So here’s one TTS element (or, I suppose, two VB elements) of Assyrian heavy infantry, spearmen with big shields in front, archers behind. The figures are from Essex: always dependable figures that do exactly what it says on the tin!

The other issue with matching older figures is, of course, that one’s painting style changes over the years. These days I almost exclusively use Contrast paints, my Assyrians are painted using a black undercoat with acrylics on top , so I had to effectively re-learn how to paint that way. Annoyingly, I couldn’t get the cuirass to look as good as the figures I painted some fifteen years ago. I suppose I’ll just have to buy some more to get more practice in!

Assyrian Lights

With the Akkadian army now tweaked to fit in with the latest lists (i.e. with the new, slimline infantry units) I decided to go through all my armies checking that I had everything that I could need.

First pause for purchase were the Assyrians: I have all the core troops but could do with some more light archer units as the one that I had was almost certainly not enough.

Most of the existing Assyrians are from Essex, so it was off to their website I went to get some more. After all, as the madaxeman says on his blog:

Essex have a vast range of 15mm figures in all periods and are often seen as the "baseline" for all other manufacturers - whatever army you are looking to buy Essex will have a figure range for it, and the decision you need to make is "can I find any manufacturer of figures I like better than those from Essex?" (or maybe "everyone will have these Essex figures - I want my stuff to look different as it will then give the impression that I have a personality of my own!"). IMO their figures are always to a good standard, take paint nicely but are sometimes accused of lacking a little in "personality" or animation. Very good consistency and compatibility throughout the entire range.

Wise words!

Essex also have excellent service: I ordered on a Saturday and by Tuesday the figures were sitting on the painting table ready for a bit of attention.

Lovely figures, and easy to paint up: I used Contrast Paints and did the whole lot in a couple of hours.

Highly recommended.

TTS AAR: Assyrians and Egyptians Clash Twice

With lockdown restrictions easing, I was able to get in a couple of games of To The Strongest, with the width of the wargames table operating as an automatic social distancing device.

Friend Bevan and I decided to use the Egyptians and Assyrians: we’d have two games, keeping the terrain constant, swapping sides for the second game.

We opened with me commanding the Assyrians.

The Assyrian cavalry was massed on the right wing

I deployed in very much a traditional way: infantry in the centre, mounted troops on the wings. Wary of all the Egyptian light chariot units, my plan was to keep my line very much together and advance just into bowshot as one entity, aiming to concentrate fire from several units on any Egyptian lights that came into range and relying on the fact that one kill would knock one out.

The Egyptians massed all their chariots on their left wing, spreading their infantry across the battlefield from there. One thing I did immediately notice was that there were an awful lot of Egyptians on the table: a consequence of my smaller numbers of heavier, more veteran troops.

As the game began, the Egyptian chariots in front of my left wing faltered: apparently refusing to move until some bizarre religious rite had been fulfilled. This allowed me to advance forward so the flank of my line was protected by a piece of impassable ground.

The Egyptian chariots say “no”!

Eventually they did start to move forward. Well, some of them did. Bevan’s Guard Chariots turned smartly to their left and attempted the old switcheroo: heading for the other side of the battlefield. Although sometimes a successful ploy, this time it wasn’t. All that happened was that his elite troops spent the entire game shifting from right to left and never saw any action at all!

“Why not?” I hear you cry, “It can’t have taken that long to traverse the field!”. Correct, but in the meantime his other chariots had moved forward piecemeal and, as I had hoped, I was able to wipe them out with bowfire one by one. This left the Egyptian right wing hanging, with my veteran heavy chariots ready to pounce like the wolf upon the fold, to use an apt analogy. Bevan ordered a general retreat before this could happen!

The situation just before the end. Imagine the Egyptian chariots you can see at the top of the picture are no more, and my heavy chariots have swung round to flank the Egyptian line. The other Egyptian chariots are out of shot off to the right somewhere.

Game Two

For game two, I took the Egyptians. I deployed my chariots in a long line across the centre of the battlefield with my infantry in columns on either side. My plan was to advance together, shoot the enemy with my bows, and then have the infantry curl in from either side as he chased my evading light chariots.

Lure them into the centre, curl in from the sides.

What can I say except for the fact that it almost worked!

This was a terrific game that went on right to the point where both sides had only three victory coins left each. Both sides lost their camps, and both sides had many chances to finally polish the enemy off. In the end, Bevan gained the advantage, finishing me off by killing my last chariot unit with general attached.

My deployment was good, but I didn’t quite manage the infantry-curl-rounds correctly, being a little late on both sides i.e. I’d use this tactic again, but get the infantry into action a bit sooner.

Brilliant game, though!

Pharoah and the Shardana Royal Guard go into action

Robert Avery

A Right Result!

So here we all are stuck under lockdown and unable to go out. No wargaming clubs are open, no wargaming friends can come round: what on earth is one to do.

Well I have had a right result.

Daughter number one came back from university just before lockdown and brought her boyfriend with him as a house guest for a couple of months (he lives abroad normally, but can’t get home at the moment). This is not a bad thing: we have plenty of room and he, unlike me, likes cooking. Even better, the kids were so desperate for entertainment yesterday that they agreed to have a battle: daughter number one and boyfriend on one side; daughter number two and I on the other.

I chose the To The Strongest rules for Ancients as it’s probably the easiest introduction to wargaming for beginners: no measuring, no dice, simple grid-based movement and combat rules etc. D2 and I took the Neo-Sumerians, D1 and BF took the Assyrians.

Neo-Sumerian Battle Line

This was an interesting clash: lots of slow-moving, poor quality Sumerians versus small numbers of deadly, fast-moving Assyrians.

Each side chose to put their heavy chariots on the right flank, so we rapidly got to a situation where the centre was a tie and each side’s right flank was winning and left flank was losing.

The advantage then swung back and forth with both sides ending up with only two coins each i.e. one more unit lost would mean an overall loss. As it happens, one of the Sumerian heavy onager units managed to knock out an Assyrian cavalry unit and the game was ours!

And the right result?

Not the win, funnily enough, but the fact that D1’s boyfriend really enjoyed himself and declared an interest in playing more battles. Well, if we’re stuck together for another ten weeks, his wishes are going to be more than fulfilled! A convert!

Here are some more pictures of the game:

Two More Games of 'To The Strongest'

Regular wargame buddy Neil came round earlier this week for another game of TTS. We’re still limited to using just the Egyptians and Assyrians (until I get a move on painting more Hoplites!) so went into battle again with just about the same forces as last time.

That meant that I had the Egyptians: a large command of light chariots, an Egyptian infantry command, and a command of raw Canaanite ally infantry.

Neil played the Assyrians again: fielding a command of heavy cavalry, a command of heavier chariots, a command of decent infantry, and a command of light infantry.

The Egyptian infantry in their new camps

Ancient Greeks masquerading as Canaanites!

Game One

Our first game was a bit abortive. I advanced the Egyptians infantry forward strongly in the centre, with the light troops of the Canaanites and chariots sweeping round on each wing. Neil kept his infantry back, but advanced his heavy chariots and cavalry forward intending to screen his chariots’ advance with his cavalry.

The Egyptian centre advances

Unfortunately there were a couple of rocky outcrops on the edge of the centre area of the battlefield, and his chariots and cavalry ran up against them, and got all jammed up together.

At this point, Neil realised that heavy cavalry weren’t really the sort of troops to use as a screen - you need light cavalry for that - and with his chariots and cavalry isolated from his main line and hopelessly entangled, and with my troops moving in to take advantage, conceded the game and ordered a general retreat.

Game Two

We reset the table. As I had an army full of light troops, Neil was setting up first all the time, with me able to position my commands to take best advantage of his deployment. This time, he again placed his infantry in the centre, but split his chariots and cavalry: placing one on either wing. In response, I faced his cavalry with the Canaanites, his chariots with mine, hoping to win the infantry battle in the centre whilst stalemating his best troops on the wings.

Now on my fourth game, I was starting to learn how to use my light chariots. In my first couple of games, I had used them individually as fast-moving infantry types, but in this game I went for his heavy chariots with two units to each of his. This allowed me to occupy them to the front ans shoot/charge them from the flank, especially as there was plenty of room on my left wing.

This worked for one unit of his heavies, and failed for the other…and failed in such a way that his chariots dispersed one of my chariot units, broke through the other and took a camp! All this, however, took time, and things were happening elsewhere on the field.

Right!

Wrong!

The Canaanites, meanwhile, had the bit between their teeth and were heading for the Assyrian cavalry at a rate of knots. There were five Canaanite units versus three enemy units, and my plan was just to keep them occupied…even if it meant they were occupied in massacring my somewhat hapless allies! Incredibly, the Canaanites, whilst not exactly winning the resultant clash, certainly didn’t lose: so at least I had achieved my objective of forcing a stalemate on that wing.

So it was all down to the centre.

Here I had six units of infantry versus his four and, for once, everything went as planned. The bowmen shot their arrows from behind the line of spearmen and disordered his front line, the spearmen and axemen charged in to finish the job. Half his infantry force evaporated, with the other half badly threatened.

Meanwhile, I had got my left wing back under control, and was threatening to overwhelm the heavy chariots that had captured my camp (the others had already been nobbled by my chariots) and take it back.

It was all over for the Assyrians!

Postscript

Another couple of great games of TTS. We shall definitely be playing again: Neil has a couple of samurai armies in 12mm that will be facing each other in a week’s time or so.

Meanwhile he is spending his time working out how the Assyrians can counter the threat of the hordes of Egyptian light chariots. Answers on a postcard to…

The Ancient Egyptian Panzer Division


Second Game of To The Strongest

Now that I’d built the Assyrians up to a decent level, it was time to get them onto the tabletop again. As the Beardless King was unavailable (school!), I persuaded long time wargaming buddy Neil to give the rules a try for game two of my To The Strongest journey.

The Forces Involved

I would play the New Kingdom Egyptians again. My troops consisted of three commands:

Pharoah

  • Two units of guard two-horse light chariots

  • Two units of regular two-horse light chariots

  • One unit of bowmen to guard the Camp

The Blue General

  • Two units of shieldwall spearmen

  • Two units of bowmen archers

  • One unit each of marines, axemen, spearmen and Nubian bowmen (this last guarding a Camp)

The Canaanite Ally General

  • Two units of raw spearmen

  • Four units of raw lights with javelins (one guarding a camp)

Pharoah and his army (well, most of it: there are more chariots out of shot to Pharoah’s right)

Neil would command the following Assyrian troops:

The King

  • Two units of regular four-horse heavy chariots

The Cavalry General

  • One unit of guard cavalry

  • Two units of regular cavalry

The Infantry General

  • One unit of veteran infantry

  • One unit of regular infantry

  • Two units of raw infantry

  • A camp

The General of Light Troops

  • One unit of Assyrian light bowmen

  • Two units of raw Javelinmen

  • A camp

The Game

As I had loads of light troops, King Neil (“Kneel before King Neil!”) deployed first. He placed his lights on his right, his infantry in the centre, the heavy chariots just to the left of centre, and his cavalry out on the left.

This allowed me to choose where to deploy my troops. I decided to follow the same tactics as last time: placing my infantry in the centre flanked by the Canaanites on the left and my chariots on my right. The plan was for the chariots to keep his cavalry busy with missile fire and evasion, hold and perhaps chew up some of his infantry units in the centre, whilst the Canaanites used their superior numbers to overwhelm his light troops and then took all his camps.

Unfortunately, things did not go entirely to plan!

On my right, the chariots steamed forward and began pelting the Assyrian cavalry with arrows, evading them when they charged in reply. So far so good, but my chariots rapidly began to run out of room, as the Assyrians followed up every charge with another one.

This became a particular problem when King Neil threw in his heavy chariots as well: one unit of which drove some chariots right back towards one of my camps, much to the amusement of the Egyptian archers therein: everybody likes to see the nobles get nobbled!

Meanwhile, in the centre, my Egyptian infantry had advanced into bow range and then into contact. Unfortunately, they failed to make much headway, and the centre soon developed into a stalemate, with each side able to disorder the other, but not quite manage to break and force any to rout.

Particularly annoying were my axemen (veteran troops with two-handed cutting weapons). I had high hopes for them, but their first advance saw their attack repelled, and the enemy counter-attack disorder them. Methinks the royal crocodiles won’t be going hungry tonight!

The axemen are out of shot, but are about to hit the Assyrian blue unit top right.

So it was all up to the Canaanites.

They were raw troops, but there were a lot of them: in fact they outnumbered the troops in front of them two-to-one.

Unfortunately (I seem to be using that word a lot in this report!) their numbers actually told against them. I tried to cram them into the space in between the left flank of the Egyptian infantry and a patch of rough ground, and got completely jammed up. It took several turns to get everything sorted, and to drive back the infantry in front of me, opening up a way through to the Assyrian camps.

Canaanites (anachronistically dressed as Spartan Hoplites to scare the opposition) finally force the gap, although the High King’s chariot has to mount the curb to get by

All well and good, but all this delay had allowed the Assyrians to disperse my chariots and get their heavy chariots back into the fray. They say a picture is worth a thousand words, so have a look at the below…

Yes: that is a unit of Assyrian four-horse heavy chariots crashing into the flank of my main battle line!

Suffice to say that a general rolling up of my line occurred, and I began haemorrhaging victory coins right, left and centre. To add insult to injury, the other unit of heavy chariots looted one of my camps, and that, as they say, was that!

Aftermath

Another great game of TTS. The activation system is quite fun, but brutal if the cards start to go against you.

The battle was won in a satisfyingly traditional way: Neil’s mounted troops drove off my mounted troops, and then returned to hit the flank of my main battle line as they attempted to push forward over his.

It could all have already been over if the Canaanites had got their skates on, but I mishandled them badly and they didn’t!

The Egyptians are now officially sacked, and I’m now busy painting Hoplites to bring my early Greeks up to scratch for TTS!

Robert Avery

Building up the Assyrians Part 2

As mentioned before, converting my Vis Bellica Ancients armies for To The Strongest means making them bigger, especially where chariots and deep units are concerned.

My Assyrians were already a large VB army, so didn’t need a huge amount of augmenting to bring them up to TTS strength. I’ve already posted about the chariots, now here is the extra cavalry I need: a VB unit of Guard cavalry and a unit of Regular cavalry, allowing me (with what I have already) to field three TTS cavalry units, one Guard and two Regular.

That’s the Assyrians finished, now on to either the Egyptians (need more chariots!) or the Hoplite Greeks (need more Hoplites for those TTS deep units).

Building up the Assyrians

As mentioned in a previous post, using my 15mm Ancients armies originally designed for Vis Bellica for To The Strongest has proved easy: two VB bases (or four for deep units) neatly equals one TTS unit, and allows for disorder to be easily shown.

The only problem is that that means that each of my existing armies is now half the size that it was before (or a quarter for those with deep units e.g. hoplites, pikes and some warbands). Fortunately, I always went big for my VB armies, but there is definitely a need for some topping up to take place. This is a good thing, as I haven’t painted any Ancients for ages, and a change is as good as a rest, as they say!

Here, then, is the first of the topping up: two heavy chariots (i.e. one unit) and three foot figures to represent heroes. All Essex, apart from a couple of the chariot crews, which are Museum.

First Game of To The Strongest

Whilst I was up in Edinburgh playing IABSM the other week, I also had the opportunity to watch a game of To The Strongest, a set of quick-play Ancients rules based on drawing playing cards as opposed to rolling dice, and using grid-based movement rather than tape measures. Well it all looked quite fun, and a useful way of getting some of my Ancients figures out onto the table for the first time in years.

I’d rather have been playing my own Vis Bellica rules, obviously, but the fashion these days is for quick-play, so if I want to get some games in with the group I usually play with, it was TTS all the way!

A quick trip to the BigRedBat’s shop (you can click on the pic of the front cover to go there) and I purchased a copy of the rules and a suitably grid-ed mat. Army lists are free to download, along with a rather handy army calculator that does all the hard work of picking your force for you. Everything arrived quickly and correctly, so all in all a jolly good start to the TTS experience.

All my 15mm figures are based as elements for Vis Bellica, but I soon realised that combining two VB bases would give me a suitable TTS unit with a frontage of 12cms, perfect for the 15cm grid mat I had bought, and allowing me to show a unit as disordered merely by putting the two VB bases at angles to each other. VB bases with a narrower frontage (elephants and light chariot units) could be fielded as four VB narrow bases.

Formed and disordered units for TTS, along with a dice to mark ammo. Note grid intersection just to the right of the ordered spearmen.

What this would also mean, of course, is that I effectively needed double the size of a normal VB army for a TTS force…so double the number of figures!

Luckily, I went big when I bought my VB armies, so was able to field a force of New Kingdom Egyptians and Assyrians without the need to do anything except remove a bit of dust from the figures.

I did however realise that my hoplite and Macedonian armies were going to be short a pikeblock or four: TTS phalanxes are double depth, so I’d need to field them as four VB bases, and even I didn’t have a four-times-normal sized Greek or Macedonian force. The same was true for Celtic warbands, so my Ancient Brits might also be short of a few warrior units. Ah well, if I like the rules I’ll just have to buy some more figures…

Ed.’s Wife’s Note: Any excuse! He bought them already, before he even tried TTS out.

The Cast

TTS is advertised as a game ideal for novice gamers, so bearing that in mind my opponent for my first game was my ten-year old daughter. As it was game one, and she has never really wargamed before, I set up all the figures before we started:

The Egyptian (Pharoah Dad)

Command 1:

  • Attached Senior Heroic Mounted General

  • Two veteran light chariot units

  • Two light chariot units

  • Hero

  • Camp

Command 2:

  • Attached Heroic Mounted General

  • Two spearman units

  • Two archers units

  • One axeman unit

  • One Marines unit

  • Hero

  • Camp

Command 3:

  • Attached Heroic Mounted General

  • Two units of bowmen

  • Two units of skirmishers

  • Hero

  • Camp

The Assyrians (the Beardless King)

Command 1:

  • Attached Senior Heroic Mounted General

  • One unit of veteran 4-horse heavy chariots

Command 2:

  • Attached Heroic Mounted General

  • One veteran cavalry unit

  • One cavalry unit

  • Hero

  • Camp

Command 3:

  • Attached Heroic Mounted General

  • Four shieldwall units, one veteran and two raw

  • Hero

  • Camp

Command 4:

  • Attached Heroic Mounted General

  • One unit of bowmen

  • Two units of javelinmen

  • Hero

  • Camp

Each side therefore ended up with 12 victory coins. Each time you lose an asset, you lose one or more coins. Lose all your coins and you lose the battle.

The Game

The game began with a strong Egyptian advance across their entire front. Activation of units seemed very simple and easy to understand, and choosing which units to try and activate first and pulling the cards did indeed prove quite fun.

The Assyrians also moved forward strongly, with their cavalry heading straight for the Egyptian chariots seemingly unphased by the superior number of pyramid builders.

I then realised that I had a slight problem. My light chariots, being of the light troops variety, couldn’t charge the Assyrians head on: I could only shoot them and evade their charges whilst trying to get around their flanks and rear. Unfortunately, the Assyrian cavalry were just as fast as my chariots, and one unit of veteran chariots was soon no more than a pile of kindling and dog food, with the mildly exerted Assyrian Guard cavalry sailing forward looking for their next victims.

The chess game between the two units of Assyrian cavalry and three remaining Egyptian chariot units would take up most of the rest of the game, as I tried frantically to stop his cavalry running over my light troops whilst looking for a way through to his flanks, rear and camps. The Beardless King was, however, equally determined: forming an inexorable line of cavalry that just kept of coming.

Meanwhile, in the centre, the two lines of infantry had come together: first the arrows flew in either direction, then the units got stuck into each other. The Assyrians had the advantage of having combined units of spear and bow-armed infantry, but I had stacked my spearmen and bow units two to a hex (i.e. a unit of archers behind a unit of bowmen) with some success.

Unfortunately, just as I was about to firmly win in the centre, the Assyrians committed their reserve into the combat (at my suggestion, I hasten to add!) slamming a single unit of veteran four-horse heavy chariots into my exposed flank.

But it was actually on my left flank that I lost the battle!

There, each sides’ light units had clashed, with victory going to the Assyrians. I had already committed my reserve to prop up the chariots, and one pesky unit of Assyrian javelinmen broke through my light troops and managed to sack not one, but two of my camps!

The enormous cost in Victory Coins of losing two camps was too much for my Egyptians, and they fled the field.

A somewhat embarrassing defeat!

Post-Match Analysis

Well that was actually a jolly fun game. We got loads of the mechanics slightly wrong, but know what to do right next time.

The figures looked good on the table, and I am pleased that Simon Miller, the author of TTS, shares my belief in the importance of holding your line of battle strong whilst seeking to punch through or outflank that of your opponent, exactly as VB does. This wasn’t a question of a fight between a series of individual units, but two armies clashing, with victory going to the army that held its overall shape for longest.

I shall definitely have more games of To The Strongest, and am now very tempted by the English Civil War version: For King and Parliament. I’d better get those extra hoplites and pikemen painted up first though!

Here are a few more pics of what turned out to be an excellent game: