IABSM AAR: Hungary 1945

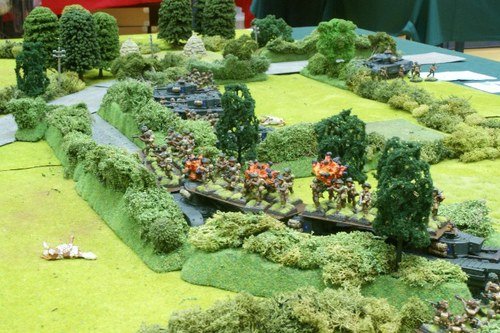
It’s heatwave after heatwave at the moment, so Mark Luther attempts to cool us all down with a great game of I Ain’t Been Shot, Mum set in Hungary, 1945.

This was just a quickie scenario setup that wasn't based on a specific historical battle, but was inspired by the German actions to relieve Budapest in early 1945. Mark also wanted to get his Tiger IIs on the board.

Click on the picture below to see all:


If you enjoyed reading this post, please add Vis Lardica to your list of favourites or, even better, to the list of favourite blogs on your own site.

www.vislardica.com

AAR IABSM: Retreat to Calais

Having recently played on a table set up by Phil & Jenny Turner (click here for the AAR) it’s great to see that they are gearing up for another demonstration game at this year’s Britcon.

Michael Curtis has posted some pictures of the playtest of the game onto the IABSM Facebook Group. Click on the photo below to see all:

IABSM AAR: Breaking the Panzers

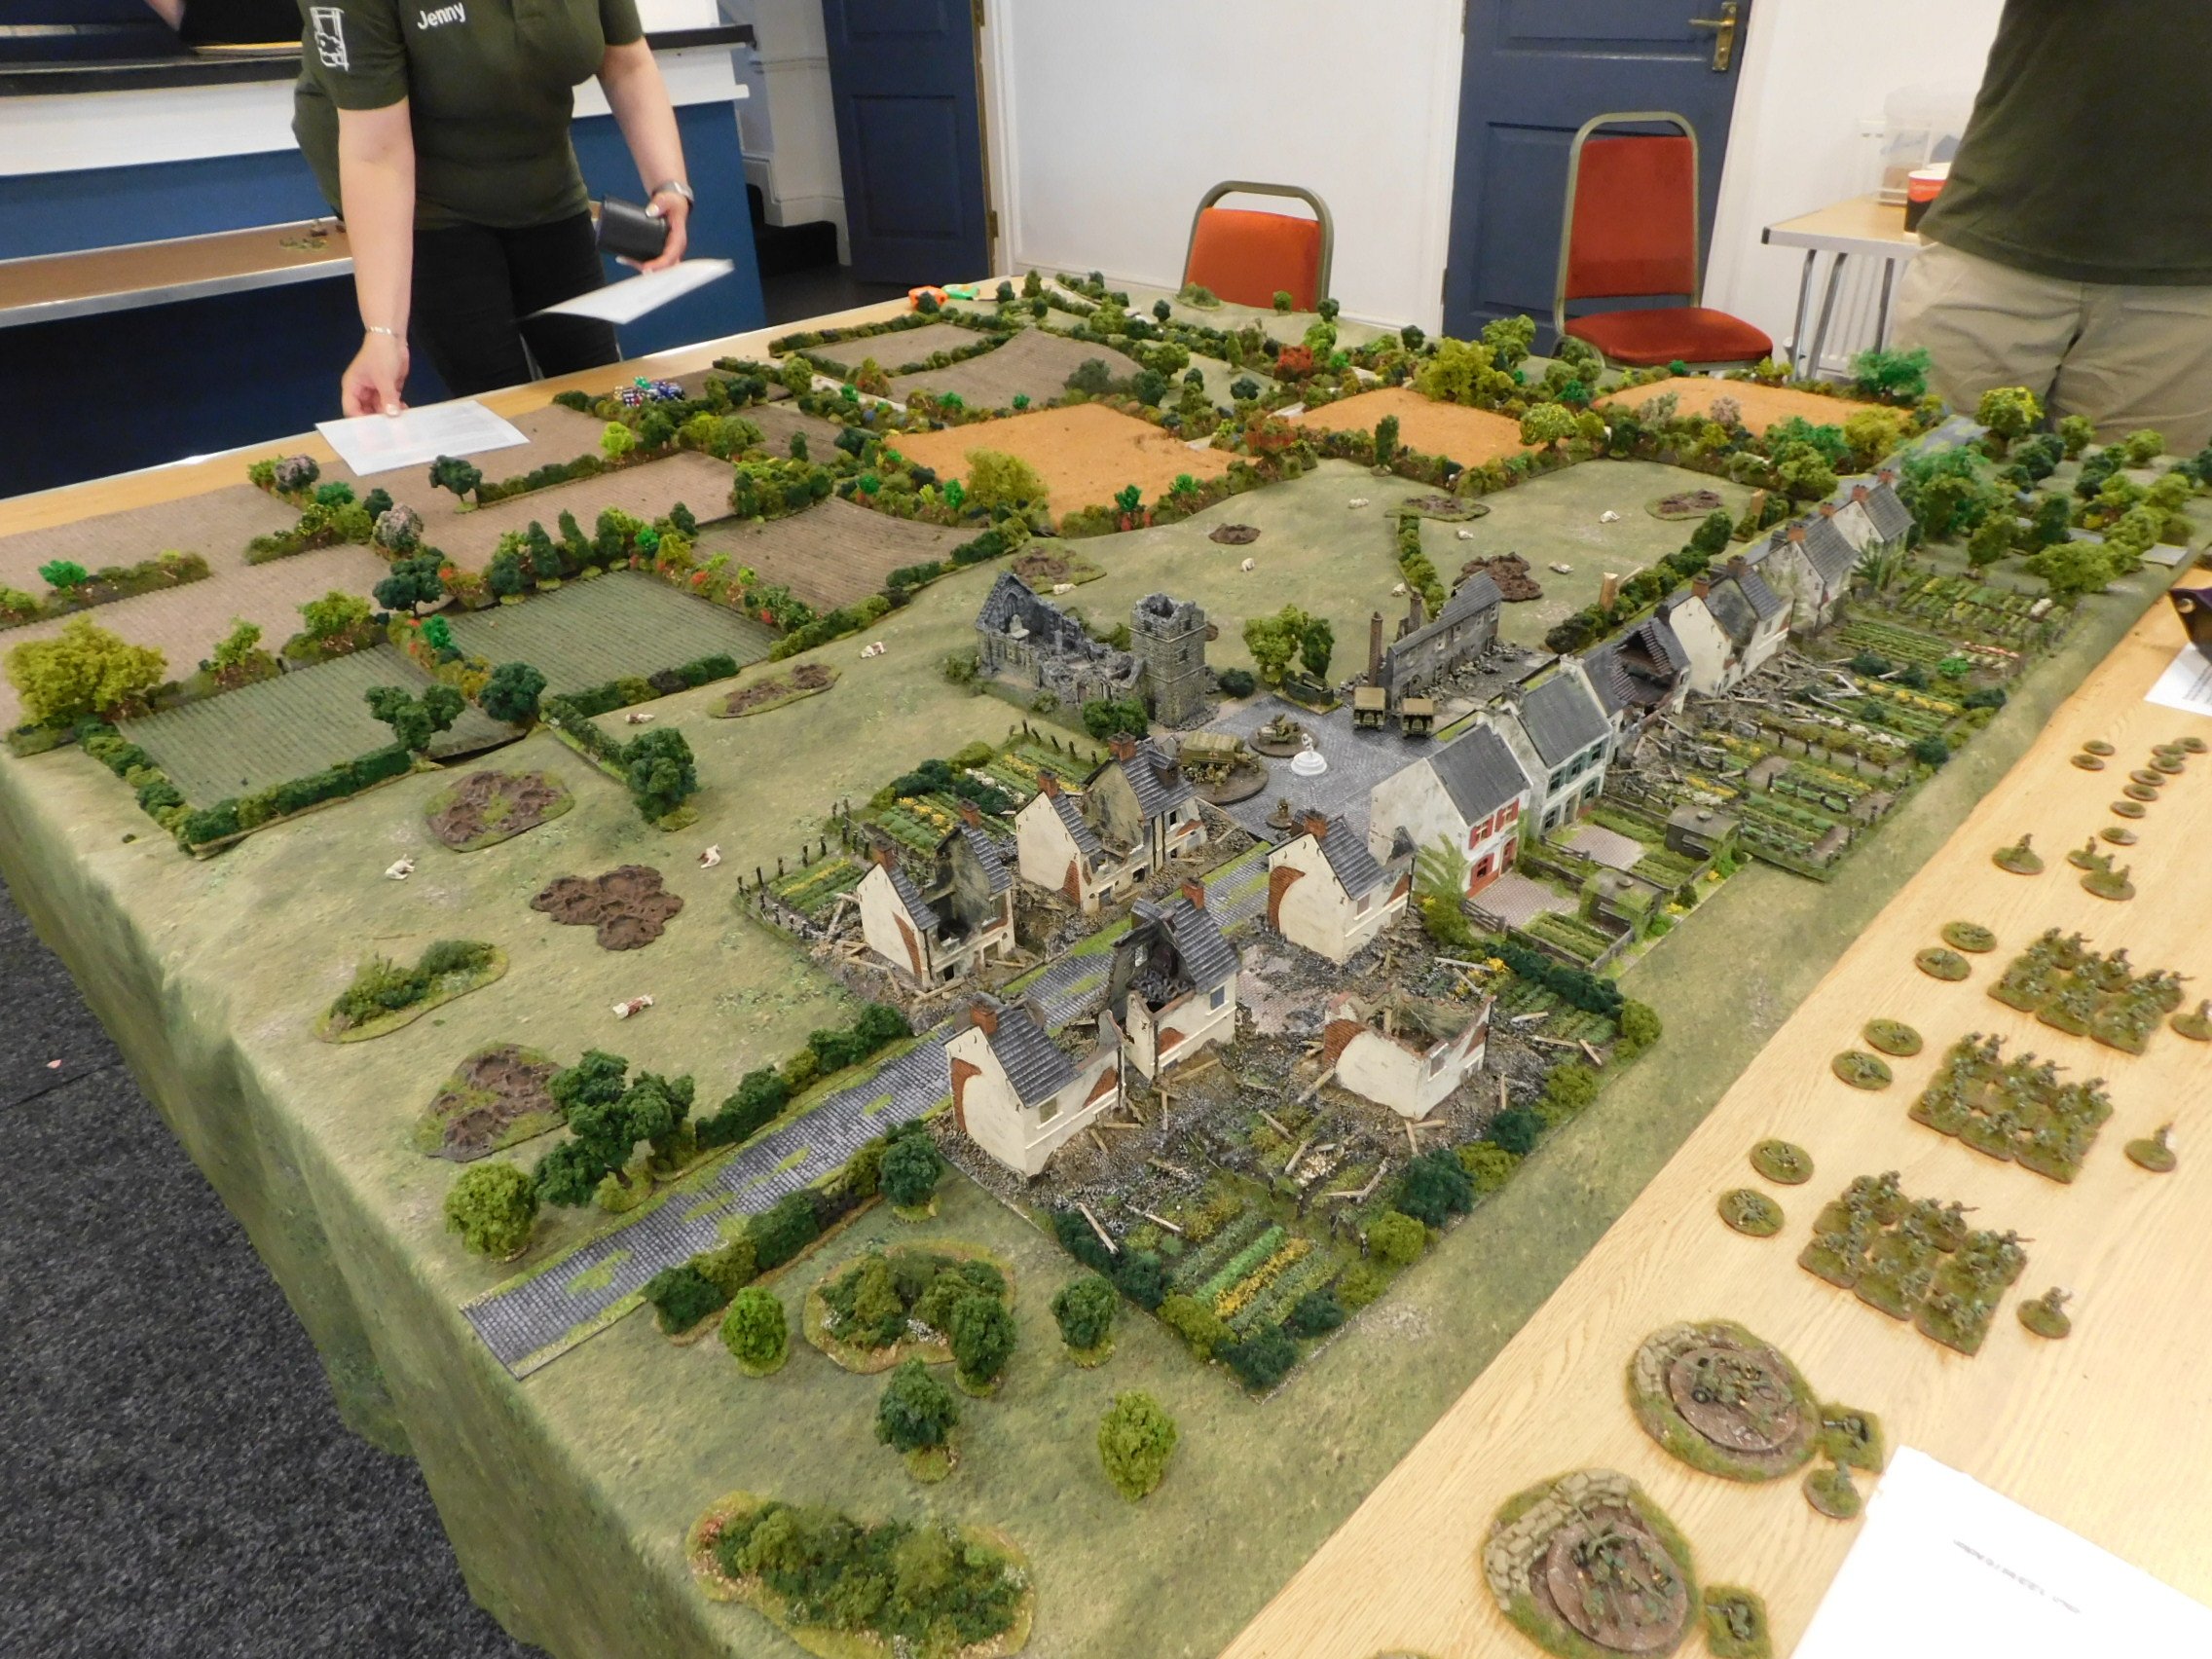
My afternoon game at Operation Market Lardon 2022 was a game of I Ain’t Been Shot Mum run by the legendary Phil and Jenny.

I must confess that I got so into the game that I forgot to note the background properly, but from memory Scottish infantry supported by tanks from the Lancers, commanded by Noddy and I, would be defending a village in Normandy somewhere against an attack by a combined force of infantry and armour from the Waffen SS commanded by Andy and friend John.

A superb game of IABSM played on wonderful terrain. Click on the picture below to see all:

IABSM AAR: Le Hamel

Another great After Action Report from Mark Luther.

It’s I Ain’t Been Shot Mum and Normandy 1944. This was going to be a two part battle, with this AAR describing the first contest covering the attack by 46 Royal Marine Commando and the Fort Garry Horse on the village of le Hamel on June 11, 1944.

Click on the picture below to see all:

Panzers for the Afrika Korps

I used the long weekend to build and paint up all the German tanks with the Battlefront Kasserine box set.

There were nine tanks in all: three Panzer IV and six Panzer III, all of which could be built in a variety of different marks. I opted for a mixture of tank types to give me maximum flexibility when fielding them on table.

The kits went together very, very easily…even for someone as bad at kit building as I am. Really confirmed my belief that plastic really is the way forward.

First off the production line were the Panzer IVs: one F2 or G with the long 7.5cm gun, and two F1 with the short 7.5cm gun.

Then came the three Panzer III L with the long 5.0cm gun:

Finally another three Panzer III, this time the H or J with the short 5.0cm gun:

All were painted in the same way: a spray undercoat of Desert Yellow washed with Agrax Earthshade then drybrushed with Vallejo Iraqi Sand. Tracks were painted metal and then washed with a heavy Flesh-coloured wash. Finally decals were added with the use of a decal softener: essential if you’re applying the turret numbers to the bumpy bit on the side of the turret (I put a bit of softener on the turret, then apply the decal, then paint more softener over the top; leave for twenty seconds or so, then gently press down with a tissue).

These really are very nice kits that paint up beautifully, even with my crude skills. At less than £2 a tank, I cannot but recommend this boxset for anyone wanting a quick fix of Afrika Korps.

IABSM AAR: Relieving St Omer

Another excellent battle report from the equally excellent Bleaseworld blog.

Set during the Blitzkrieg in May 1940 the game was based around efforts by the 3rd Royal Tank Regiment attempting to relieve the French defenders of St Omer who were under attack by the 1st Panzer Division.

This AAR features a beautiful table put together by Phil and Jenny, so is well worth a look. Click on the picture, below, to see all.

A New Project: Afrika Korps

One of the gaps in my collection of WW2 figures is the Afrika Korps. I have Western Desert Brits and Italians, but no Germans. When, therefore, I was at the Vanquish show a couple of weeks ago, and saw the Battlefront Kasserine boxed set, already good value at £42 for twenty-one vehicles/guns, reduced by another 20% by those nice gentlemen from The Pit, I quickly reached for my wallet and snapped it up.

I also bought one of their Team Yankee sets to join the others currently languishing in the lead mountain: so when I do eventually get around to painting some modern Russians, I will have everything I need to hand.

Anyhow, those who are regular readers will know that this year’s rule is that I’m only allowed to paint something new if I also paint something from the lead mountain as well. Lucky then that also lurking at the back of the cupboard of shame was the Battlefront 90th Light Africa Division “themed formation” box set that I’d also picked up at a heavy discount somewhere else. A quick shop to buy the right paints and bases etc, and I was ready to go.

SdKfz 6/3 “Diana”

The first unit off the painting table was a zug of SdKfz 6/3 “Diana” self-propelled anti-tank guns, unique to the aforementioned 90th Light Africa Division. There were only nine of these ever produced but, hey, I might be able to field them one day even if I have to write the scenario for myself.

The models were very easy to put together, even the usually tricky ‘mounting the gun and shield’ bit and, as you can hopefully see, paint up nicely as well. I painted the crew figures (there are two manning the gun in the back) effectively on the sprue by cutting a small slit in a blister pack blister and fitting the tab on the end of the crewman figure into the slit. That was much easier than detaching them and trying to hold a small tab whilst painting.

PaK 36(r) 7.62mm AT Guns

Next up, and from the same 90th Light Africa Division boxset were some ex-Soviet anti-tank guns. These had been captured in 1941 and re-purposed for north Africa.

The models (metal guns with plastic crews) also went together very well, although I had the usual problems with getting the gun barrels absolutely straight after the mangling they had taken in the Battlefront factory and in transit. Is it really so hard to take what is arguably the most important part of the model, or certainly one of the most noticeable parts, and ask your staff to be particularly careful when extracting them from the mold?

Finally I was on to the first unit from the Kasserine box set: a zug of PaK 38 anti-tank guns. The whole box set is plastic, so these needed to be clipped from a sprue before use.

Pak 38 5cm AT guns

Now plastic gun barrels don’t bend like the metal ones but you have to very careful when clipping them from the sprue, as thin barrels can flex as the clippers go in and end up snapping…which is what happened to the gun at the back in the photo above. I glued the barrel back together, but it just looks wrong at most angles. How very annoying! Of course I could have scrabbled around in the bits box for a different barrel, or sent off for a replacement etc, but I was painting them now, so I didn’t, so will have to put up with the wonky barrel for evermore!

So that’s a fair start on the Afrika Korps. Nine Panzers to paint and then I’d better think about what infantry to buy…and what I’m going to paint from the lead mountain to justify that expenditure!

Colours

Vehicles and guns were undercoated with Army Painter Desert Yellow spray then washed with GW Agrax Earthshade. They were then dry-brushed with Vallejo Iraqi Sand.

Crew were undercoated with GW Wraithbone spray then the uniforms block painted using Vallejo Yellow Green. I painted this lot wearing full Afrika Korps uniforms, but when I come to do the infantry, there’ll be a mix of Afrika Korps green and Italian yellow elements i.e. trousers, tops, caps. The helmets, gas mask cases and webbing were Iraqi Sand. The whole figure was then washed using GW Agrax Earthshade. I had then intended to highlight using Yellow Green, and did on the crew for the Dianas but, to tell the truth, it didn’t make much difference, so I just highlighted the faces on the gun crews (forehead, nose, chin, cheeks).

IABSM AAR: Take the Ztarmerski Bridge!

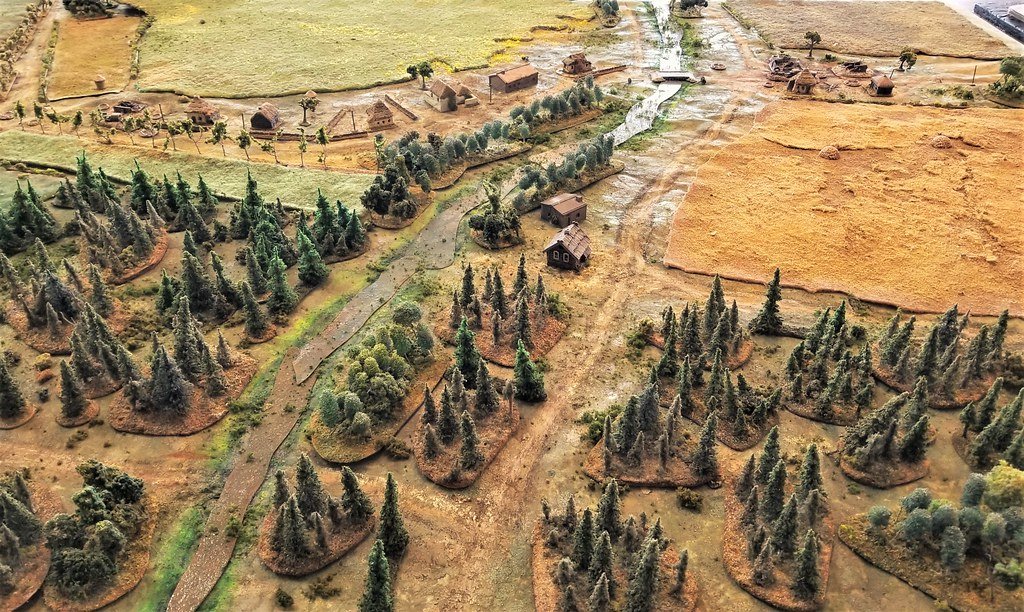
Lovely looking game of IABSM posted onto the IABSM Facebook Group by Phil Turner.

The Wehrmacht is advancing across the Russian Steppe at speed. It is of vital importance that the Ztarmerski bridge over the river Korbynskia is taken before the Ivan’s have the opportunity to destroy it.

Click on the picture below to see the full AAR:

IABSM AAR: D-Day Spectacular

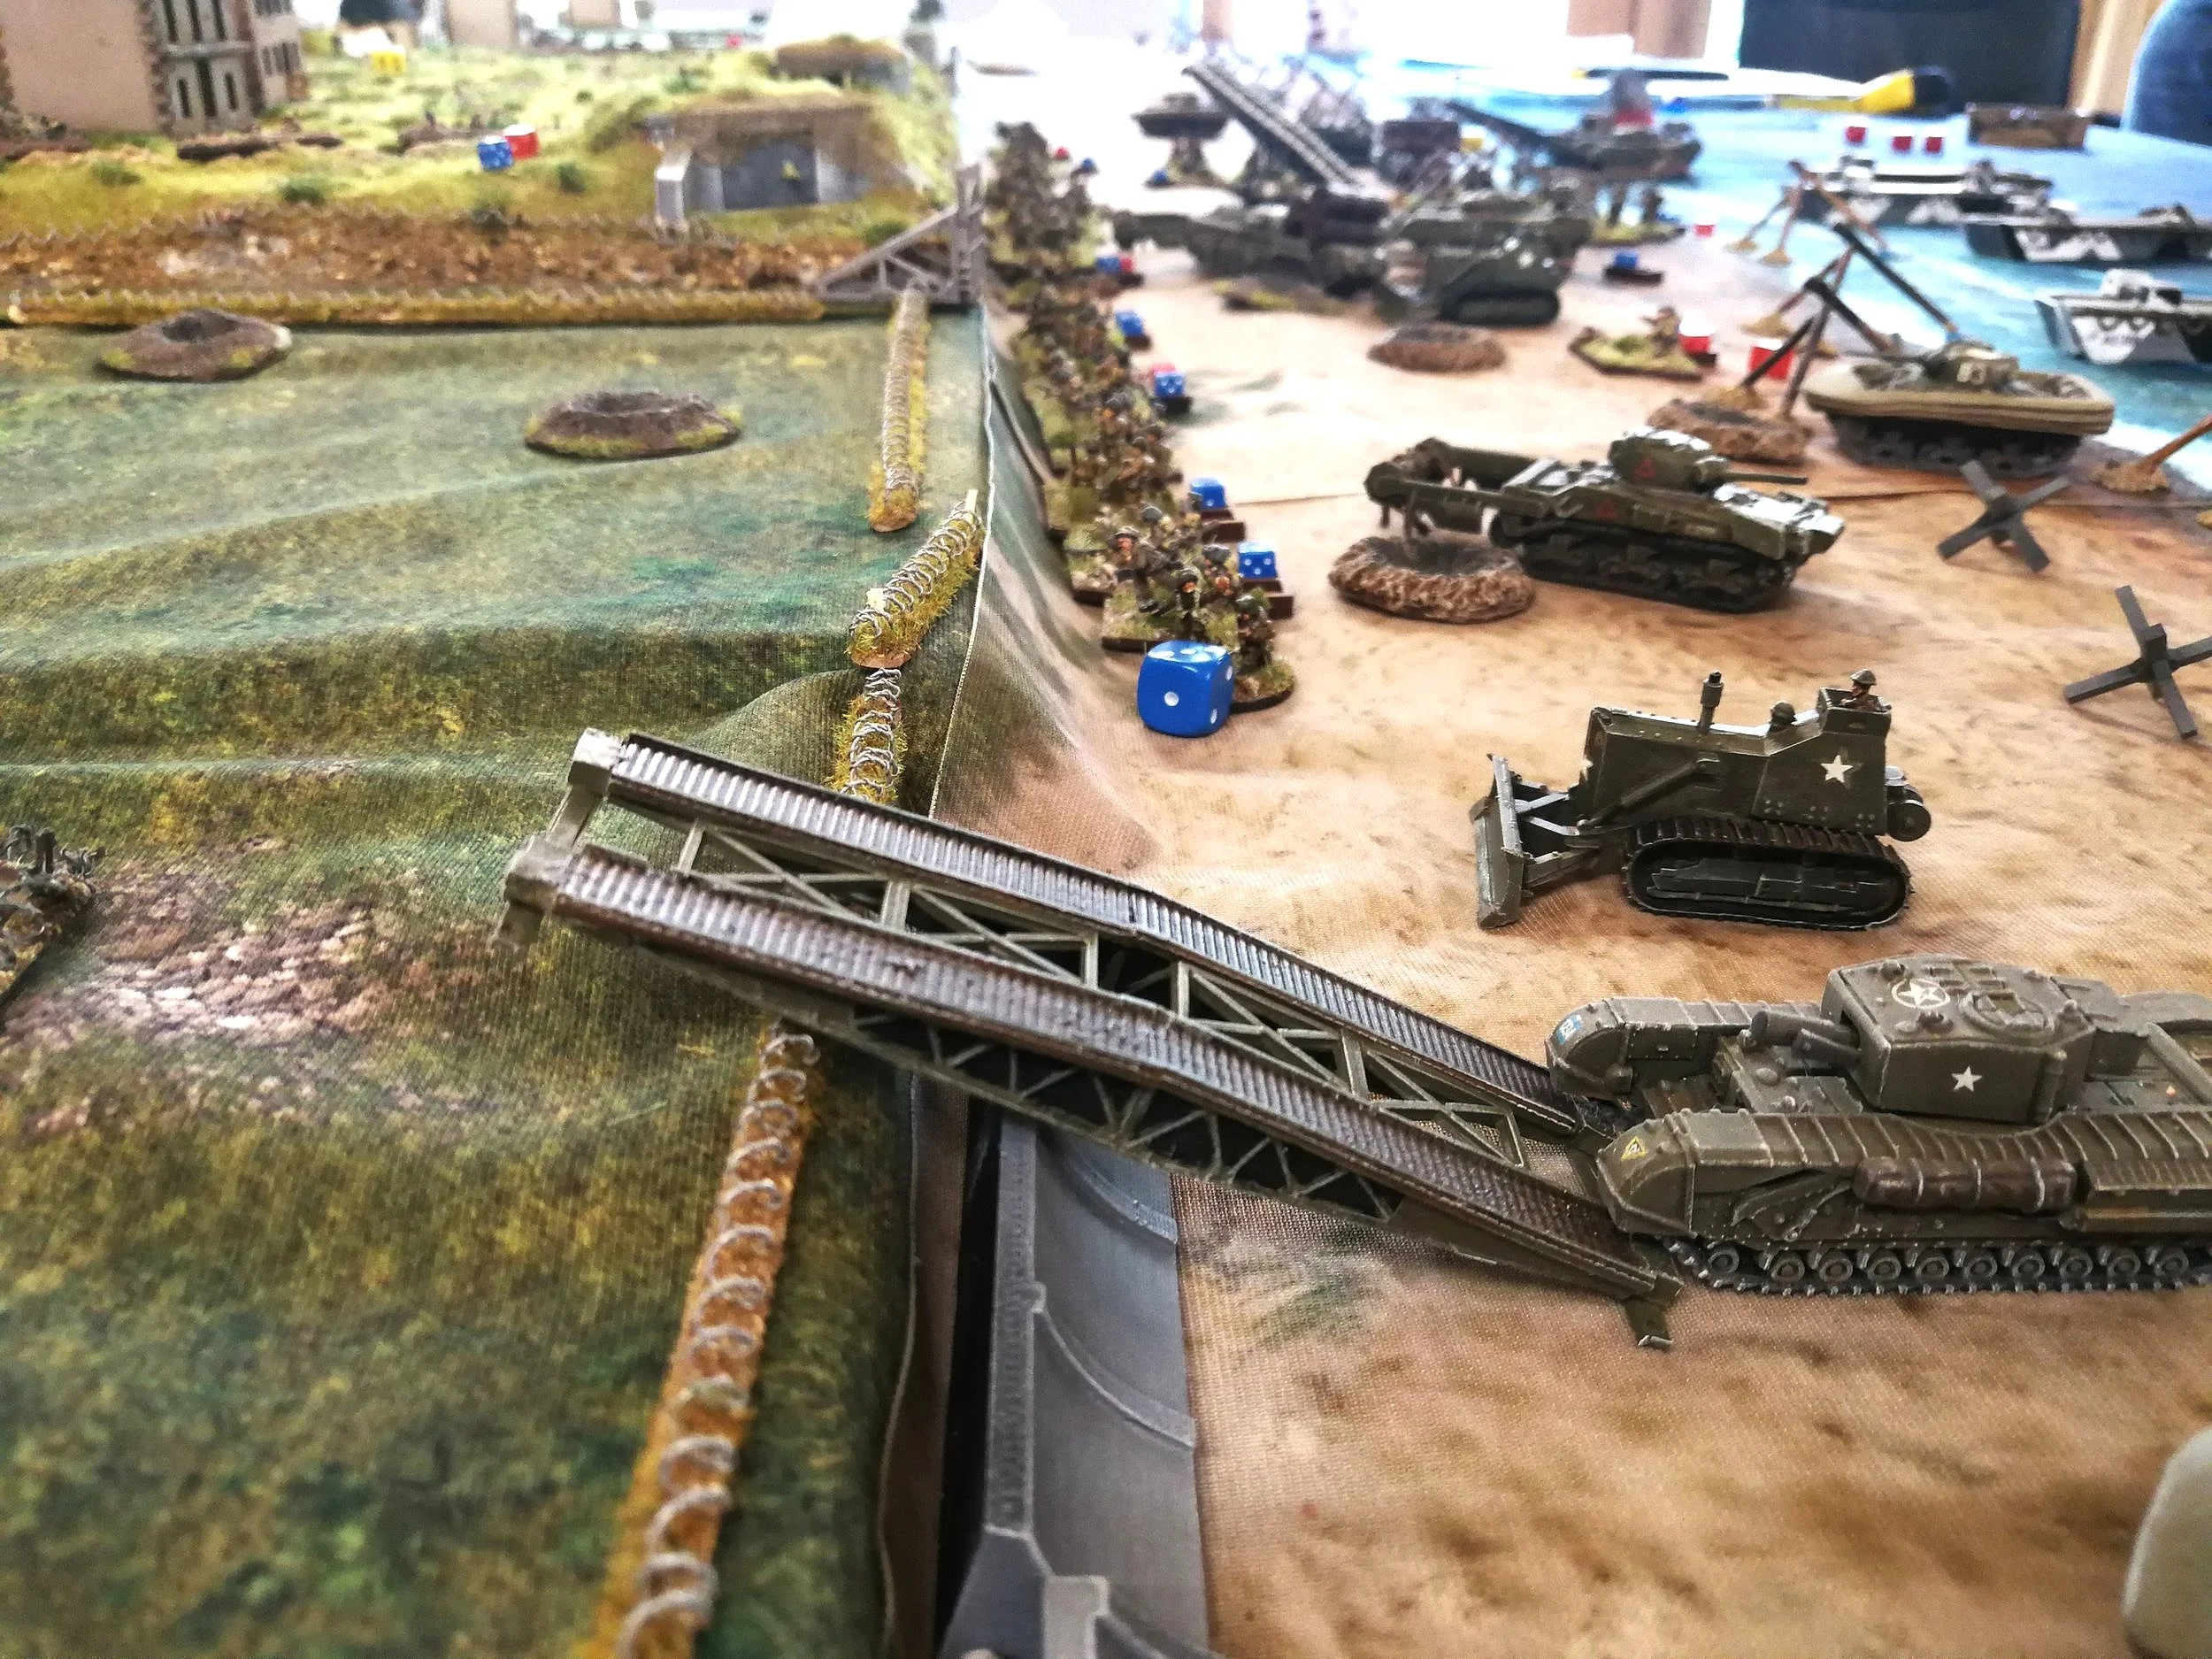
Here’s a superb write up of what looked like an absolutely cracking game of I Ain’t Been Shot Mum featuring another of Desmondo’s brilliant Sword Beach D-Day spectaculars.

The report is taken from Iain Fuller’s marvellous Tracks and Threads blog, and with extra pictures from the IABSM Facebook group.

Click on the picture below to see all:

IABSM AAR: Break-Through

For those of you who are on Facebook, I recommend joining the I Ain’t Been Shot, Mum group. People there answer questions about the rules, post up pictures of their forces, ideas for scenarios and, of course, after action reports.

Here’s one from James Moulding featuring late war action in a break-through scenario. Click on the picture below to see all.

IABSM AAR: Return to Le Haut-Perrier

I was adding another IABSM battle report to the 500+ already on the site (plenty more room: keep sending them in) when I noticed the links to five reports in particular were broken.

The reports were all from from the extremely talented Sergeant Perry: five different AAR featuring the same scenario from the Welsh Guards scenario pack played at the same convention back in August 2012.

The table set up and games look magnificent so, having repaired the links, I thought it worthwhile to highlight them again. Click on the links below to see all:

Sergeant Perry/01

Sergeant Perry/02

Sergeant Perry/03

Sergeant Perry/04

Sergeant Perry/05

And here are a couple of photos to whet your whistle:

IABSM AAR: September War #24: Ambush in the Beskides

My turn to host a game of I Ain’t Been Shot, Mum, so I chose a scenario from the first September War scenario pack that would allow me to field some of my new motorised infantry vehicles: #24 Ambush in the Beskides.

The game would feature a German attack on a prepared Polish position. The Germans would have the numbers, but had a time limit, and those Poles were very well dug in!

Click on the picture below to see all:

Polish Artillery Limbers

Whilst going through my Poles, I realised that I really needed some more horse-drawn artillery limbers. I looked around the web, but couldn’t find any matches to what I was after. The closest seemed to be the Peter Pig WW1 Russian artillery limber, pictured below:

This looked to be a lovely model, just crewed by chaps from the wrong nationality. No problem: Peter Pig also do an excellent range of spare heads, two of which (one set in Polish infantry helmets, one set in rogatwykas) I could use to convert the Russians into Poles.

The conversion itself is fairly easy. Snip off the existing head with a pair of pointed pliers, use a pin drill to bore a little hole in the now-headless torso, glue new head in place. It can sometimes be a bit fiddly, but you get better with practice and I would recommend having a go if ever you need to.

As you’d expect from the image above, the limbers came out very nicely indeed. Rather than my now-usual Contrast Paints, I matched with how I painted the original Poles with black undercoats, acrylics base painted on top, then an Agrax Earthshade wash, and finally some highlighting.

Job done!

IABSM AAR: Beyond Le Plessy

Yesterday’s post featured an After Action report from Des Darkin covering a game he ran for Iain Fuller and Philip Andrews.

Today’s post is the same game, but written up by Iain.

Usually I would combine the two AAR into one massive report, but both are such good AAR that I’ve decided to keep them separate.

Click on the picture below to see Iain’s colossal report on the second Plessy game: