IABSM AAR: More Western Desert Action
/Here’s another pictorial battle report from Ken Snell, with some more western desert action taken from the I Ain’t Been Shot Mum Facebook Group.
Click on the picture belwo to see all:

Here’s another pictorial battle report from Ken Snell, with some more western desert action taken from the I Ain’t Been Shot Mum Facebook Group.
Click on the picture belwo to see all:
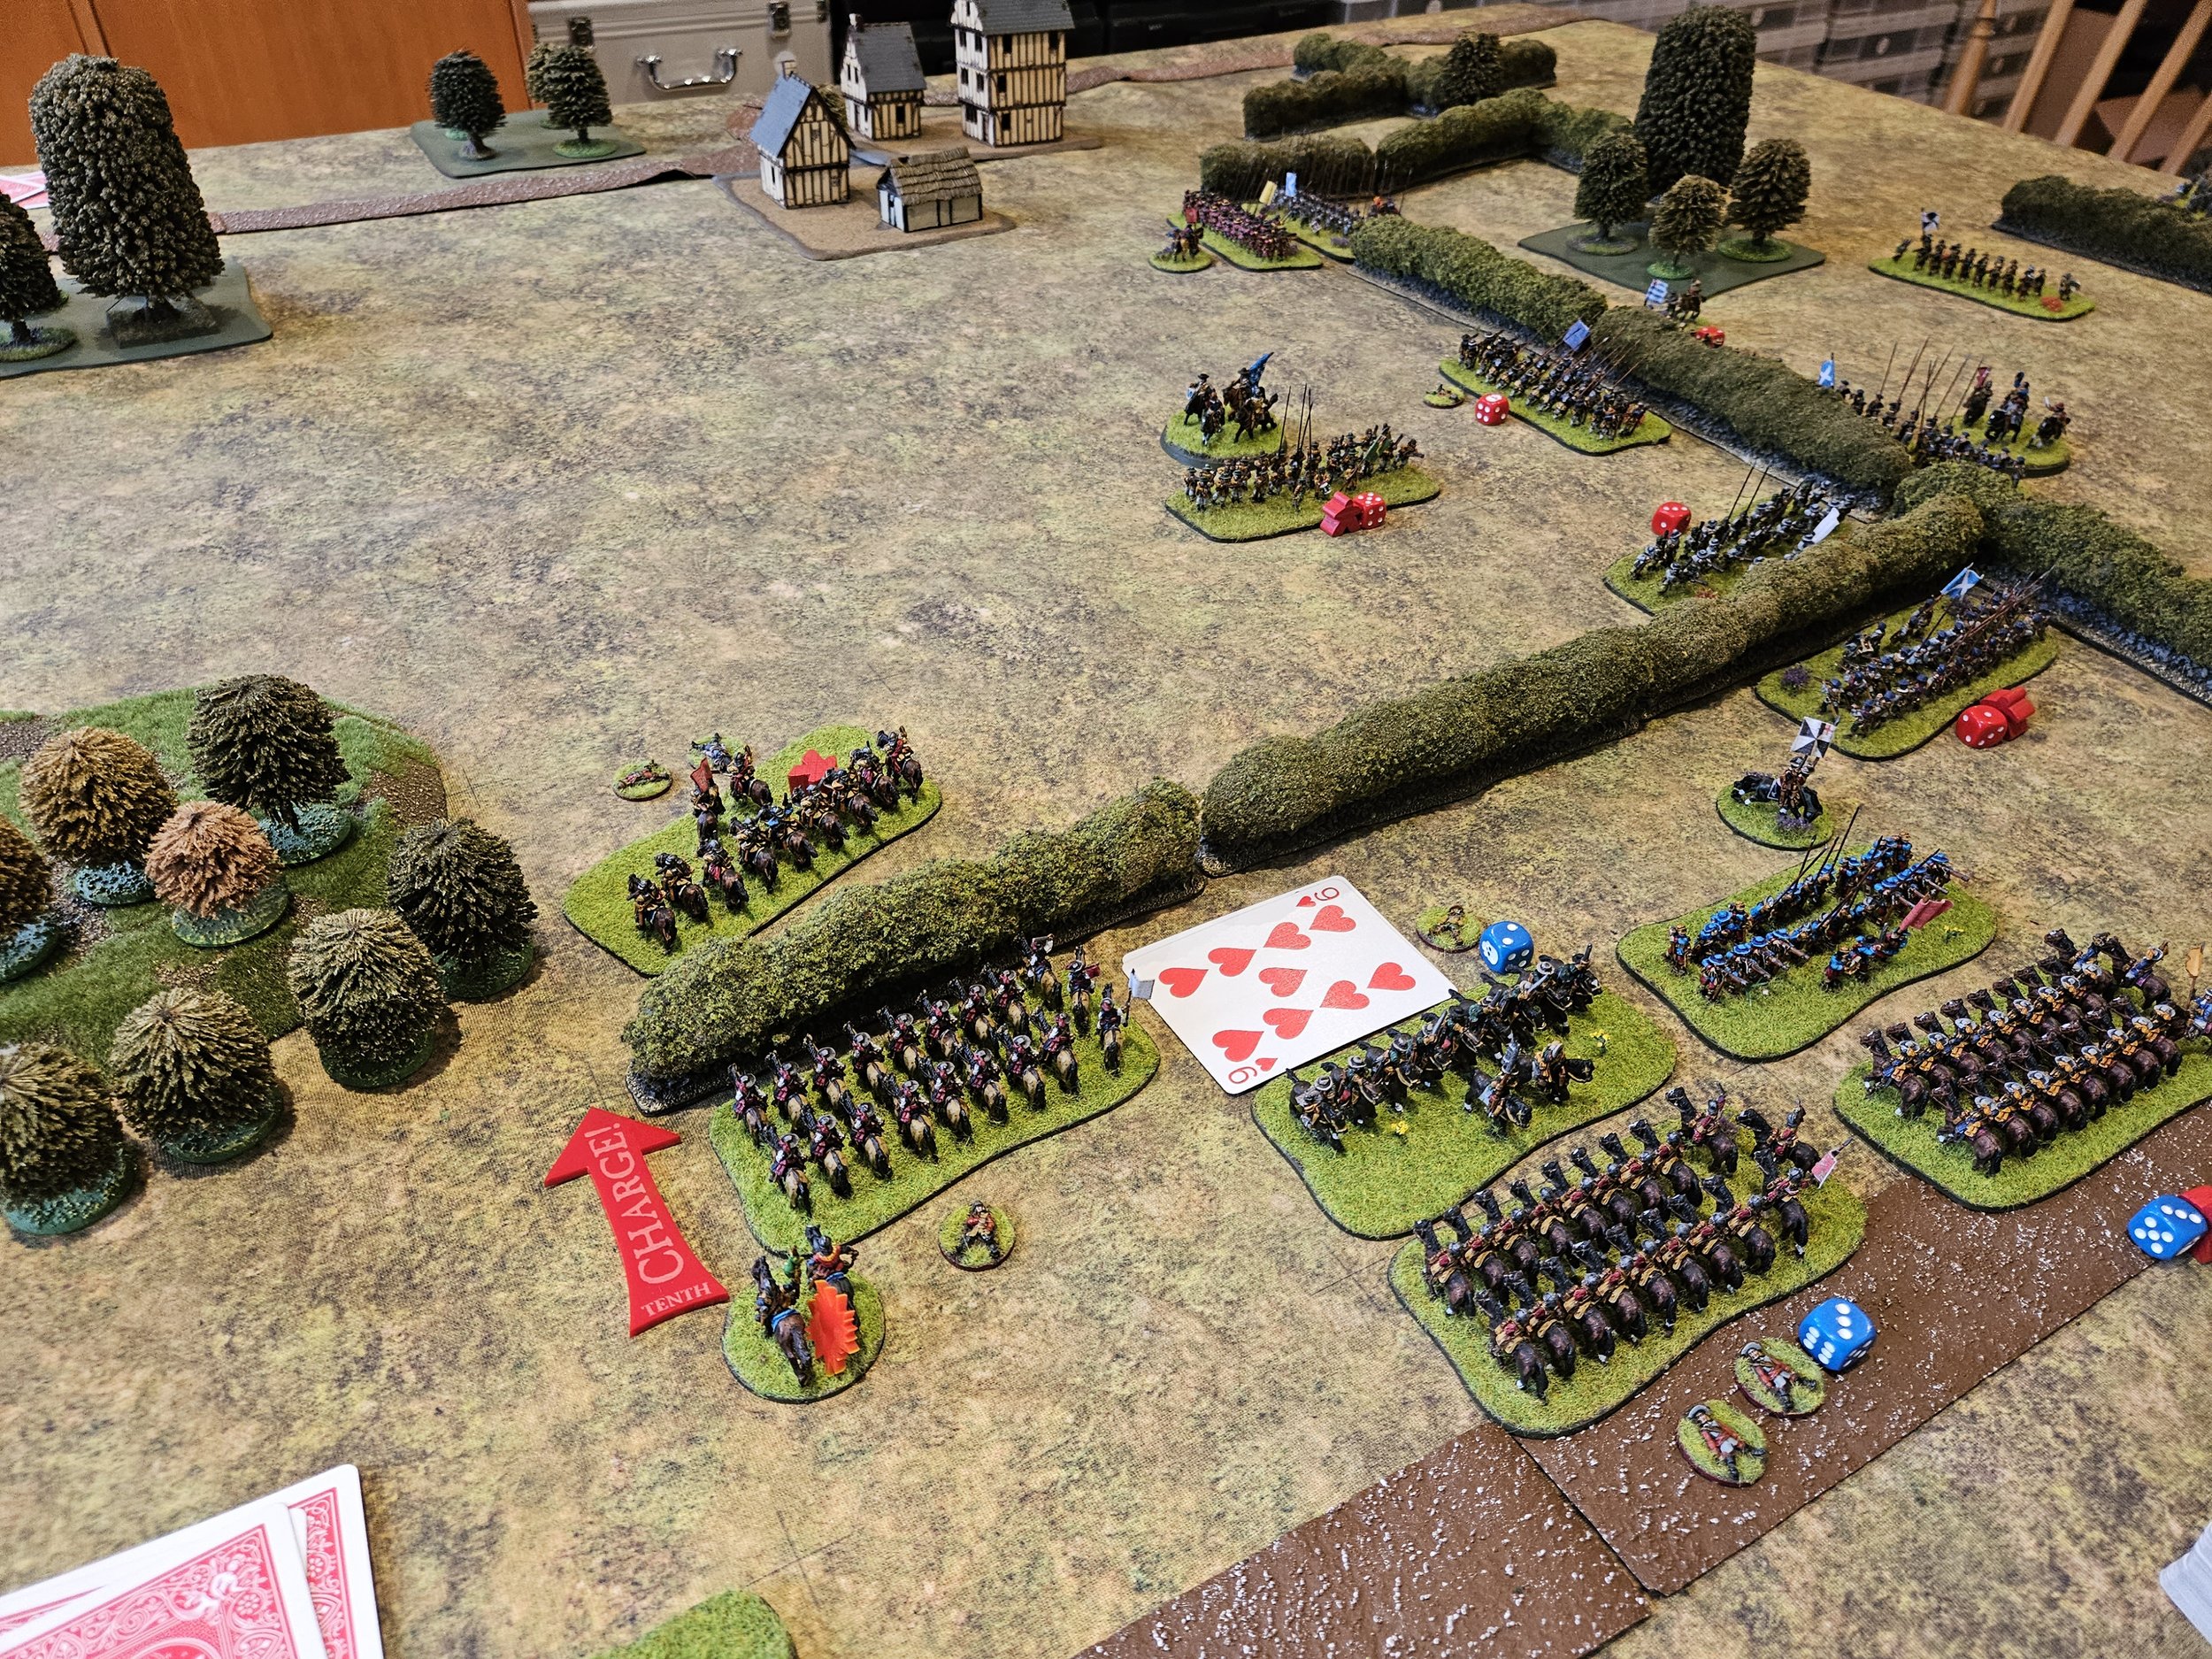
This was the return match from the game reported on Feb 15th: last time my Vikings beat Kavan’s Timurids, now we would swap sides and play again.
As you can see from the pictures above, I won the scouting phase and set off towards my opponent at a rapid rate of knots.
When Kavan moved his Vikings forward to meet me, he accidentally created a gap between his two wings where his longboats were beached…and I thought “ah ha! I can defeat the two halves of his army one at a time and hit him from his inner flank”.
This was the side where I needed to hold his troops up for long enough for me to defeat the Viking right flank.
I assigned three Turkoman horse archer and three Timurid lancer bases for this task. Facing them were four Viking warbands supported by two light archer units.
As you will see from the pictures, below, things initially went quite well for me: flank charging and destroying a Viking warband and disordering two more.
Unfortunately, that was the high point of my success here: the Vikings recovered well and, with the help of one of their reserve warbands from their camp, managed to finish this phase of the game ahead: two warbands destroyed, three warbands and two light units remaining versus my Timurid force reduced down to two horse archer bases!
So the Vikings slightly ahead, but that was okay, as the idea was just to hold them whilst my right wing went to work.
Although I initially only assigned one Timurid lancer unit here, they were supported by three bases of Turkoman horse archers, and the Vikings had got themselves pinned up against some impassable ground, meaning I could just focus on one of their bases at a time. I also quickly sent one reserve lancer unit to help finish them off.
This was potentially rich pickings for me, as the not-pinned base had an army standard (so was worth four coins) and the pinned base had King Cnut himself in charge, making the base worth six, or maybe even seven coins. Take out these two, and that was two thirds of the Viking hoard (not horde!) taken care of.
Again things started very well, with the standard-bearing warband destroyed and King Cnut lightly wounded. Go the Timruids!
Unfortunately, rather than debilitating Cnut, his wound seemed to inspire him, and the beggar just wound’t die no matter what I threw at him and his men:
In fact, the game ended with Cnut and his men retreating back towards their longships presumably in need of some refreshing beverages, with far too much of my army in hot pursuit!
By now we were almost out of time. The Vikings still had just over half their warbands intact, whereas my Timurids were down to only three medals. The result was therefore only slightly in doubt and I was happy to resign the game rather than to flog the proverbial dead horse.
So that was two games of Vikings versus Timurids and two victories for the Vikings: slightly surprising considering how underrated they usually are.
Okay, so their victory in the last game was slightly lucky - King Cnut holding out against extraordinary odds despite being wounded and all that - but that’s presumably why he’s counted as a Brilliant General!
I still haven’t properly got the hang of using Timurids - that combination of missile fire to soften the enemy up then a charge home with lances to finish them off - but that just means more practice needed…
Regular visitors will know that I am currently building a 28mm Later Italian Condotteri (Venetian) army to use of this year’s To The Strongest competition circuit.
An incomplete army, with borrowed figures to fill the gaps, took to the battlefield at the Welsh Open last month, but with the World Championships fast approaching, it was time to get cracking on the rest.
First up were the Lanzieri provisionati or spearmen. I decided to use the same figures as for the pikemen, but just use less of them. Not sure if that is correct, but the alternative was to perform reductive surgery on the pikes to make them shorter. which seemed like an awful lot of hard work and fragile joints!
Then I needed to paint up the final unit of Later Knights. Again I went for the un-surcoated look as this unit wouldn’t have an officer attached to it and could be used to represent lanza spezzate “broken lance” mercenaries.
This also made the knights very easy to paint: reins, horse, paint everything armoured in black then dry-brush with silvery-steel to get the armour effect. Lances in bright red and you’re done!
I’d already painted two units of foot knights (to use in case I need to dismount my cavalry in the face of, for example, elephants, camels, bad terrain, mucho missile fire etc) but needed three more to complete the set:
I loved painting these. Using Perry plastics enables you to build figures in some really unique, characterful poses, and they are even easier to paint than the mounted knights (no horse!). I also like the idea that such a puny looking unit (only four figures) can carve their way through a deep warband like the proverbial knife through barbarian butter!
So that is most of the army now done. Just need to do a few heroes, a spare unit of light crossbowmen in case I want to go earlier than handguns, and then an army standard and some Alabardieri (halberdiers) to bulk things out for bigger points totals.
All I have to do now is hope that the curse of the “first time on the tabletop” doesn’t apply at the World’s!
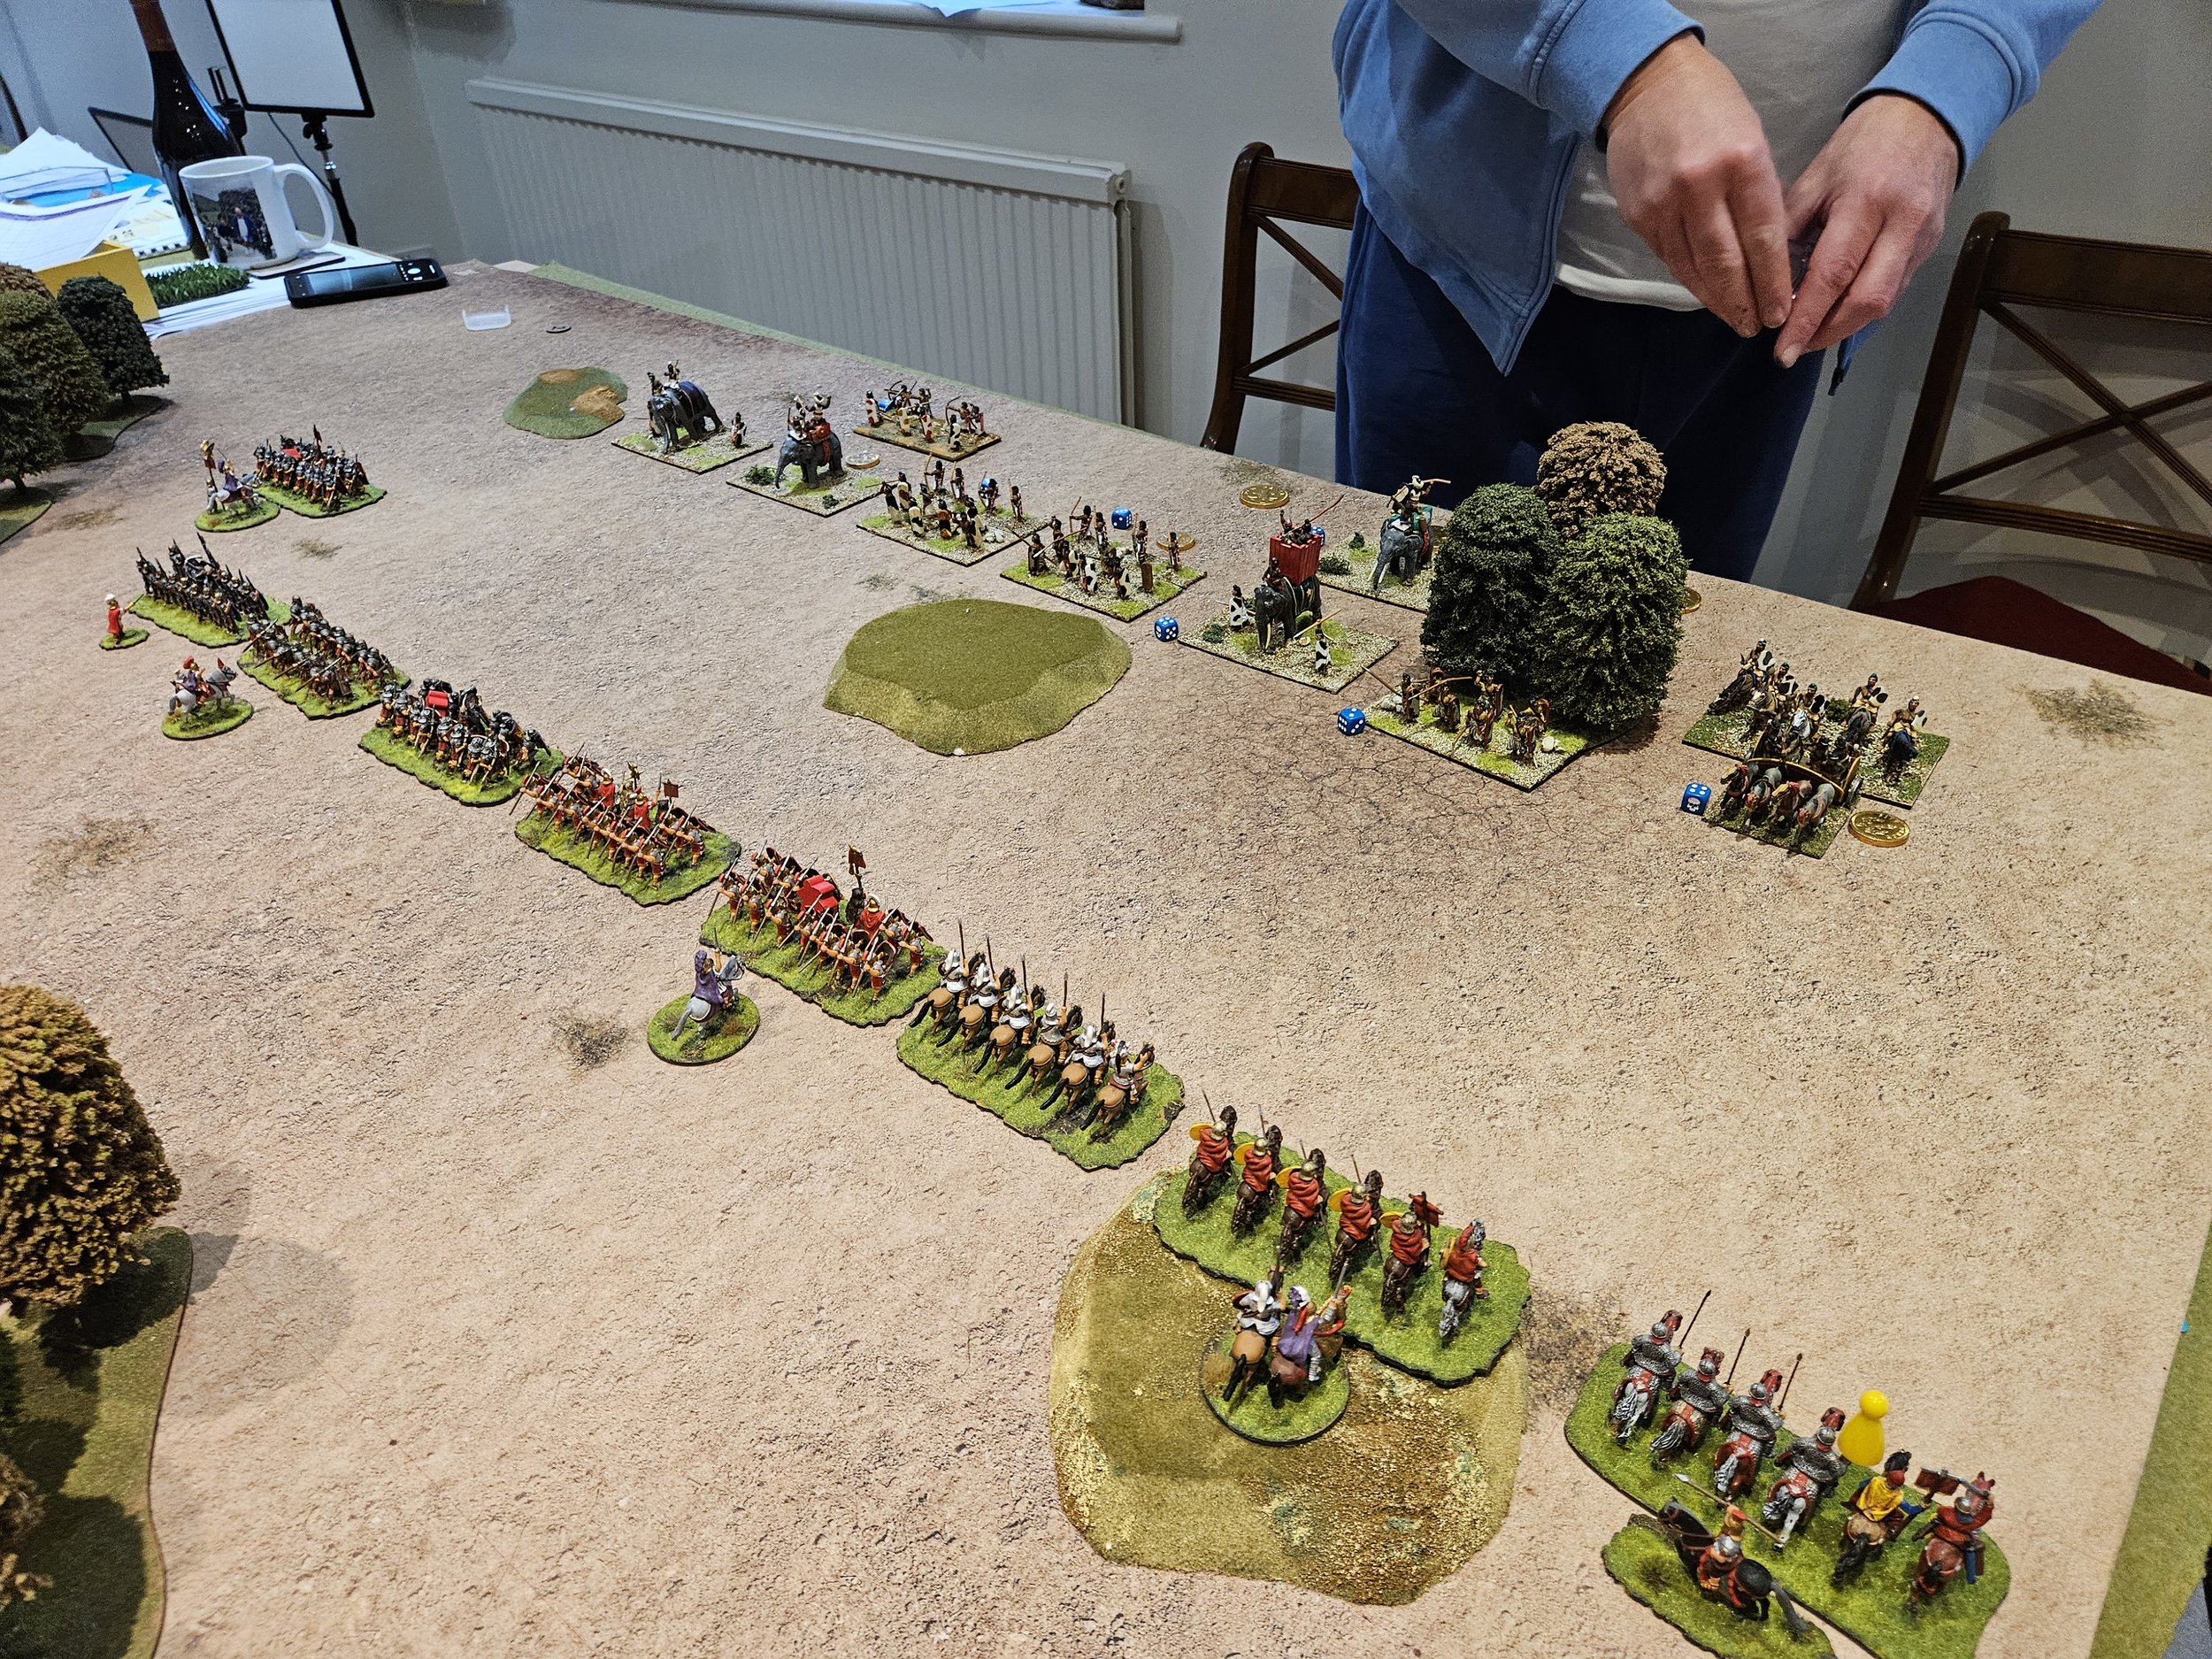
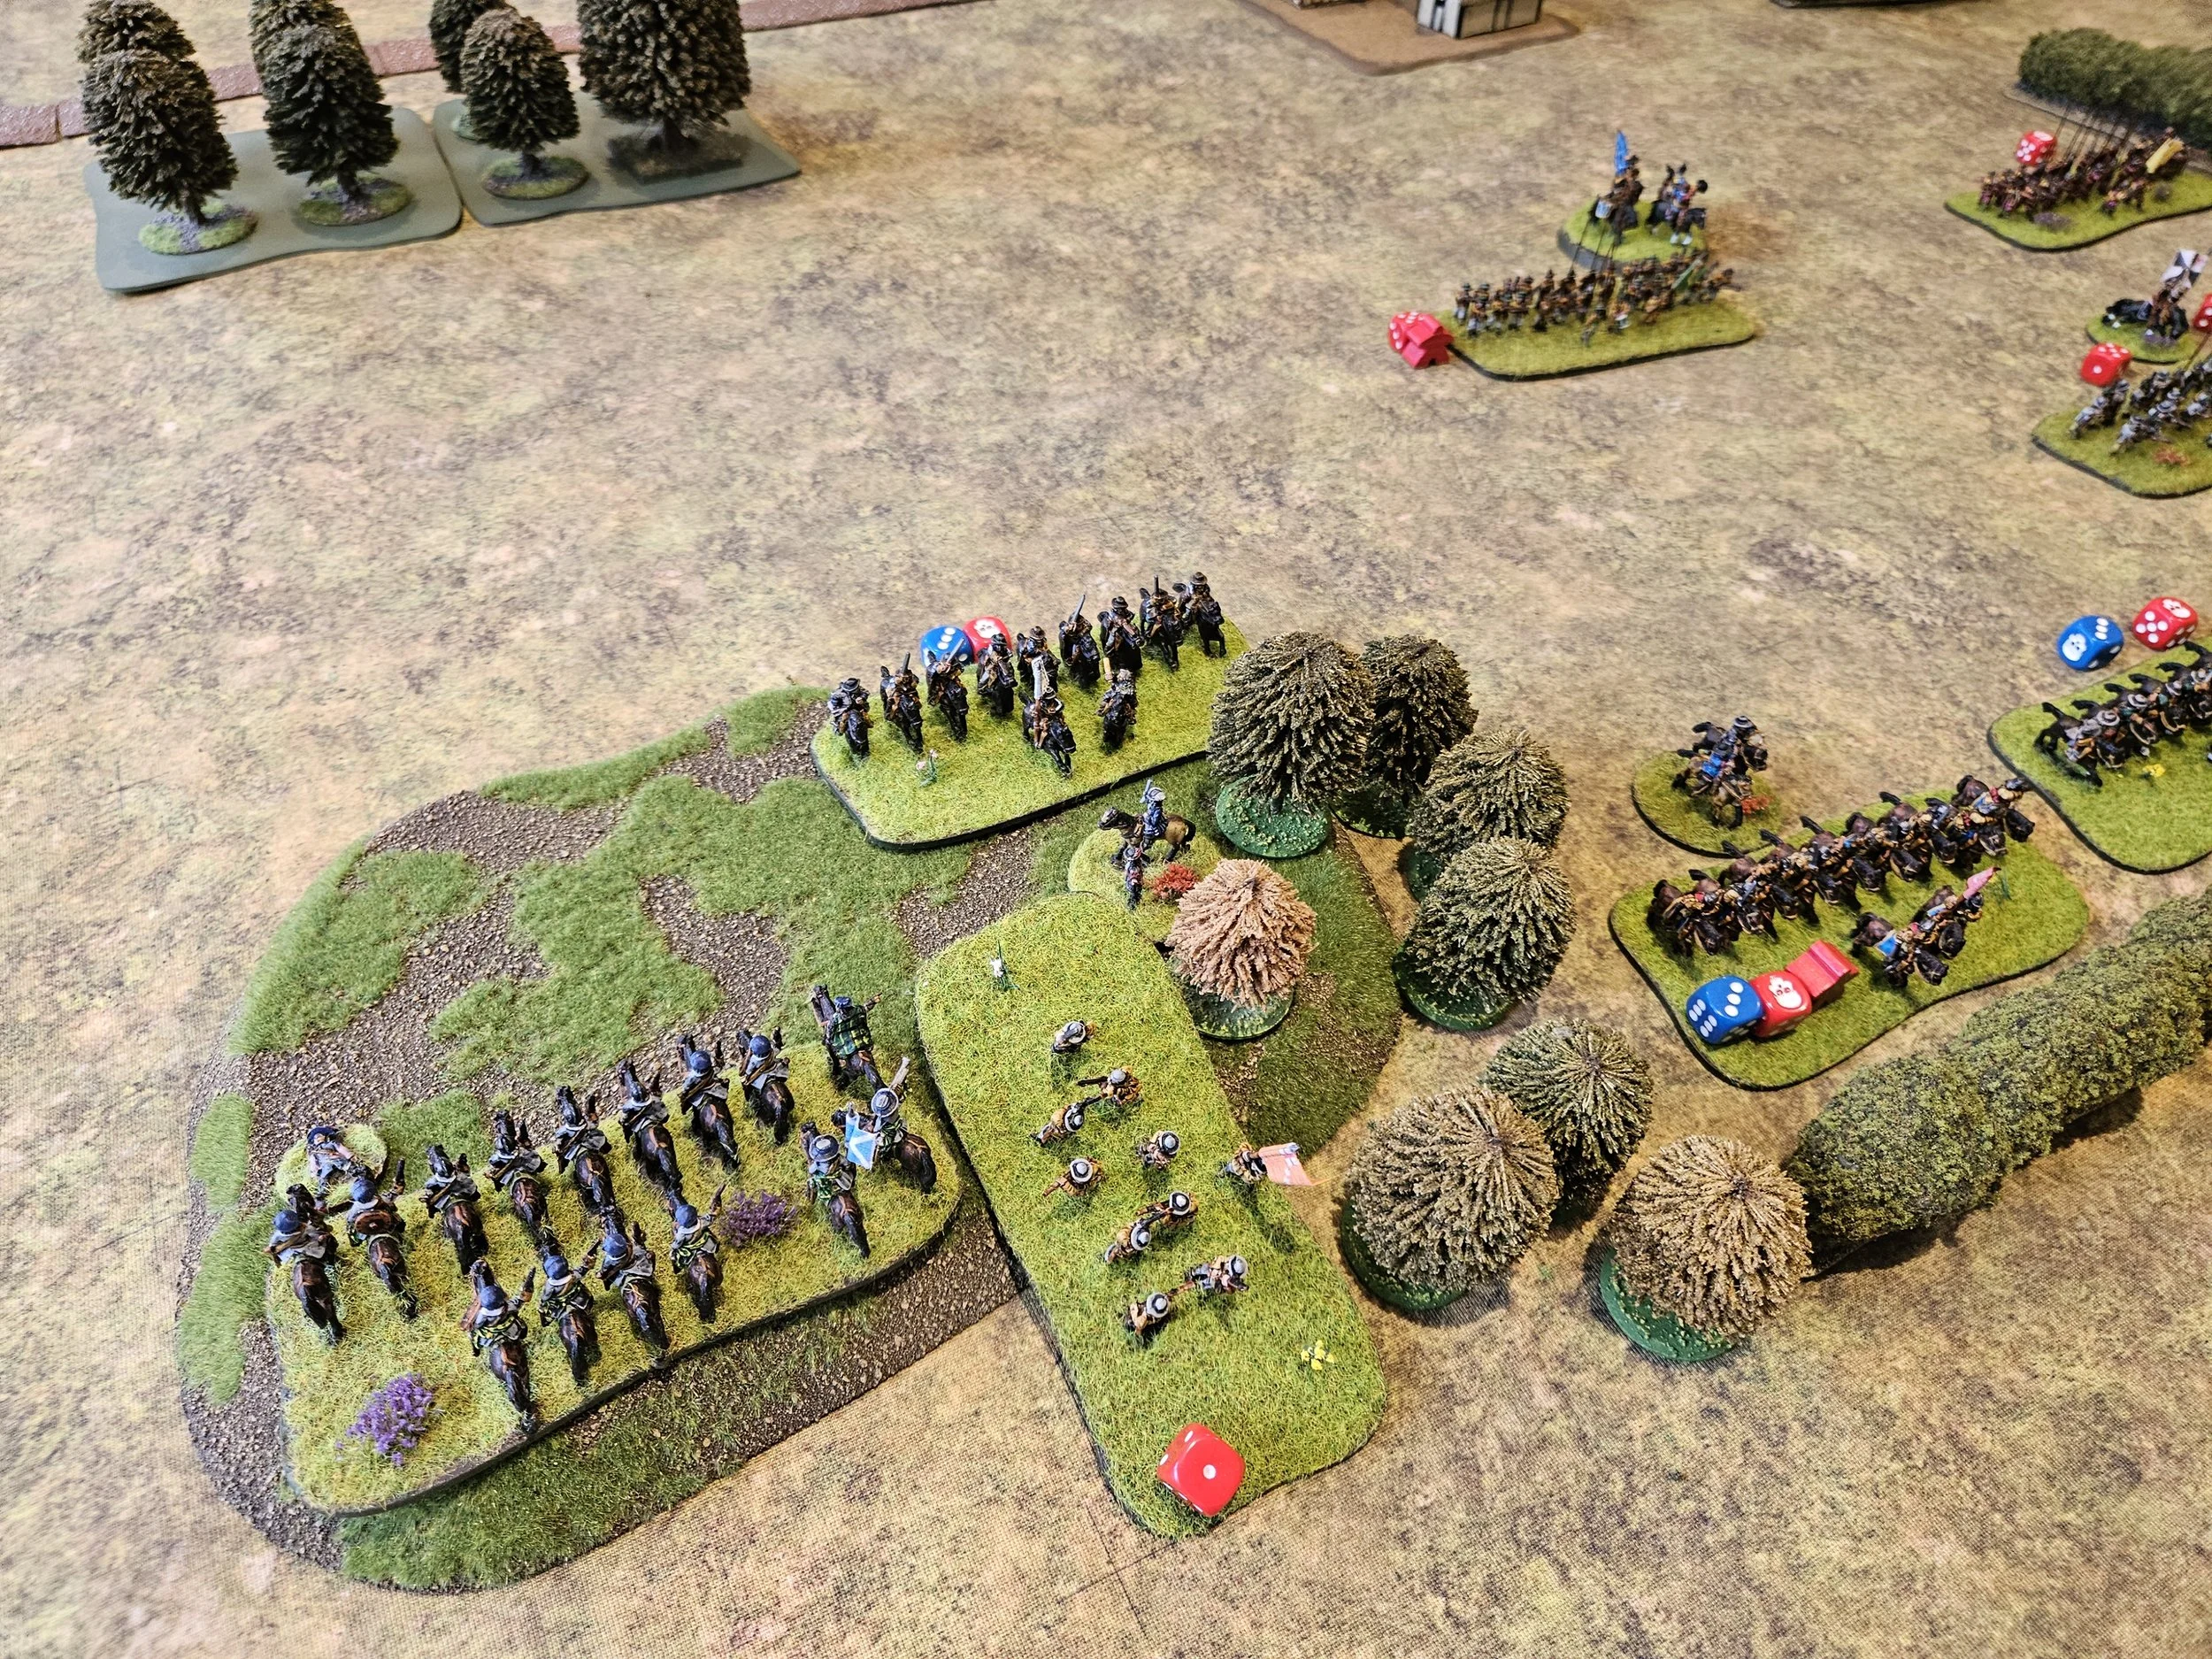
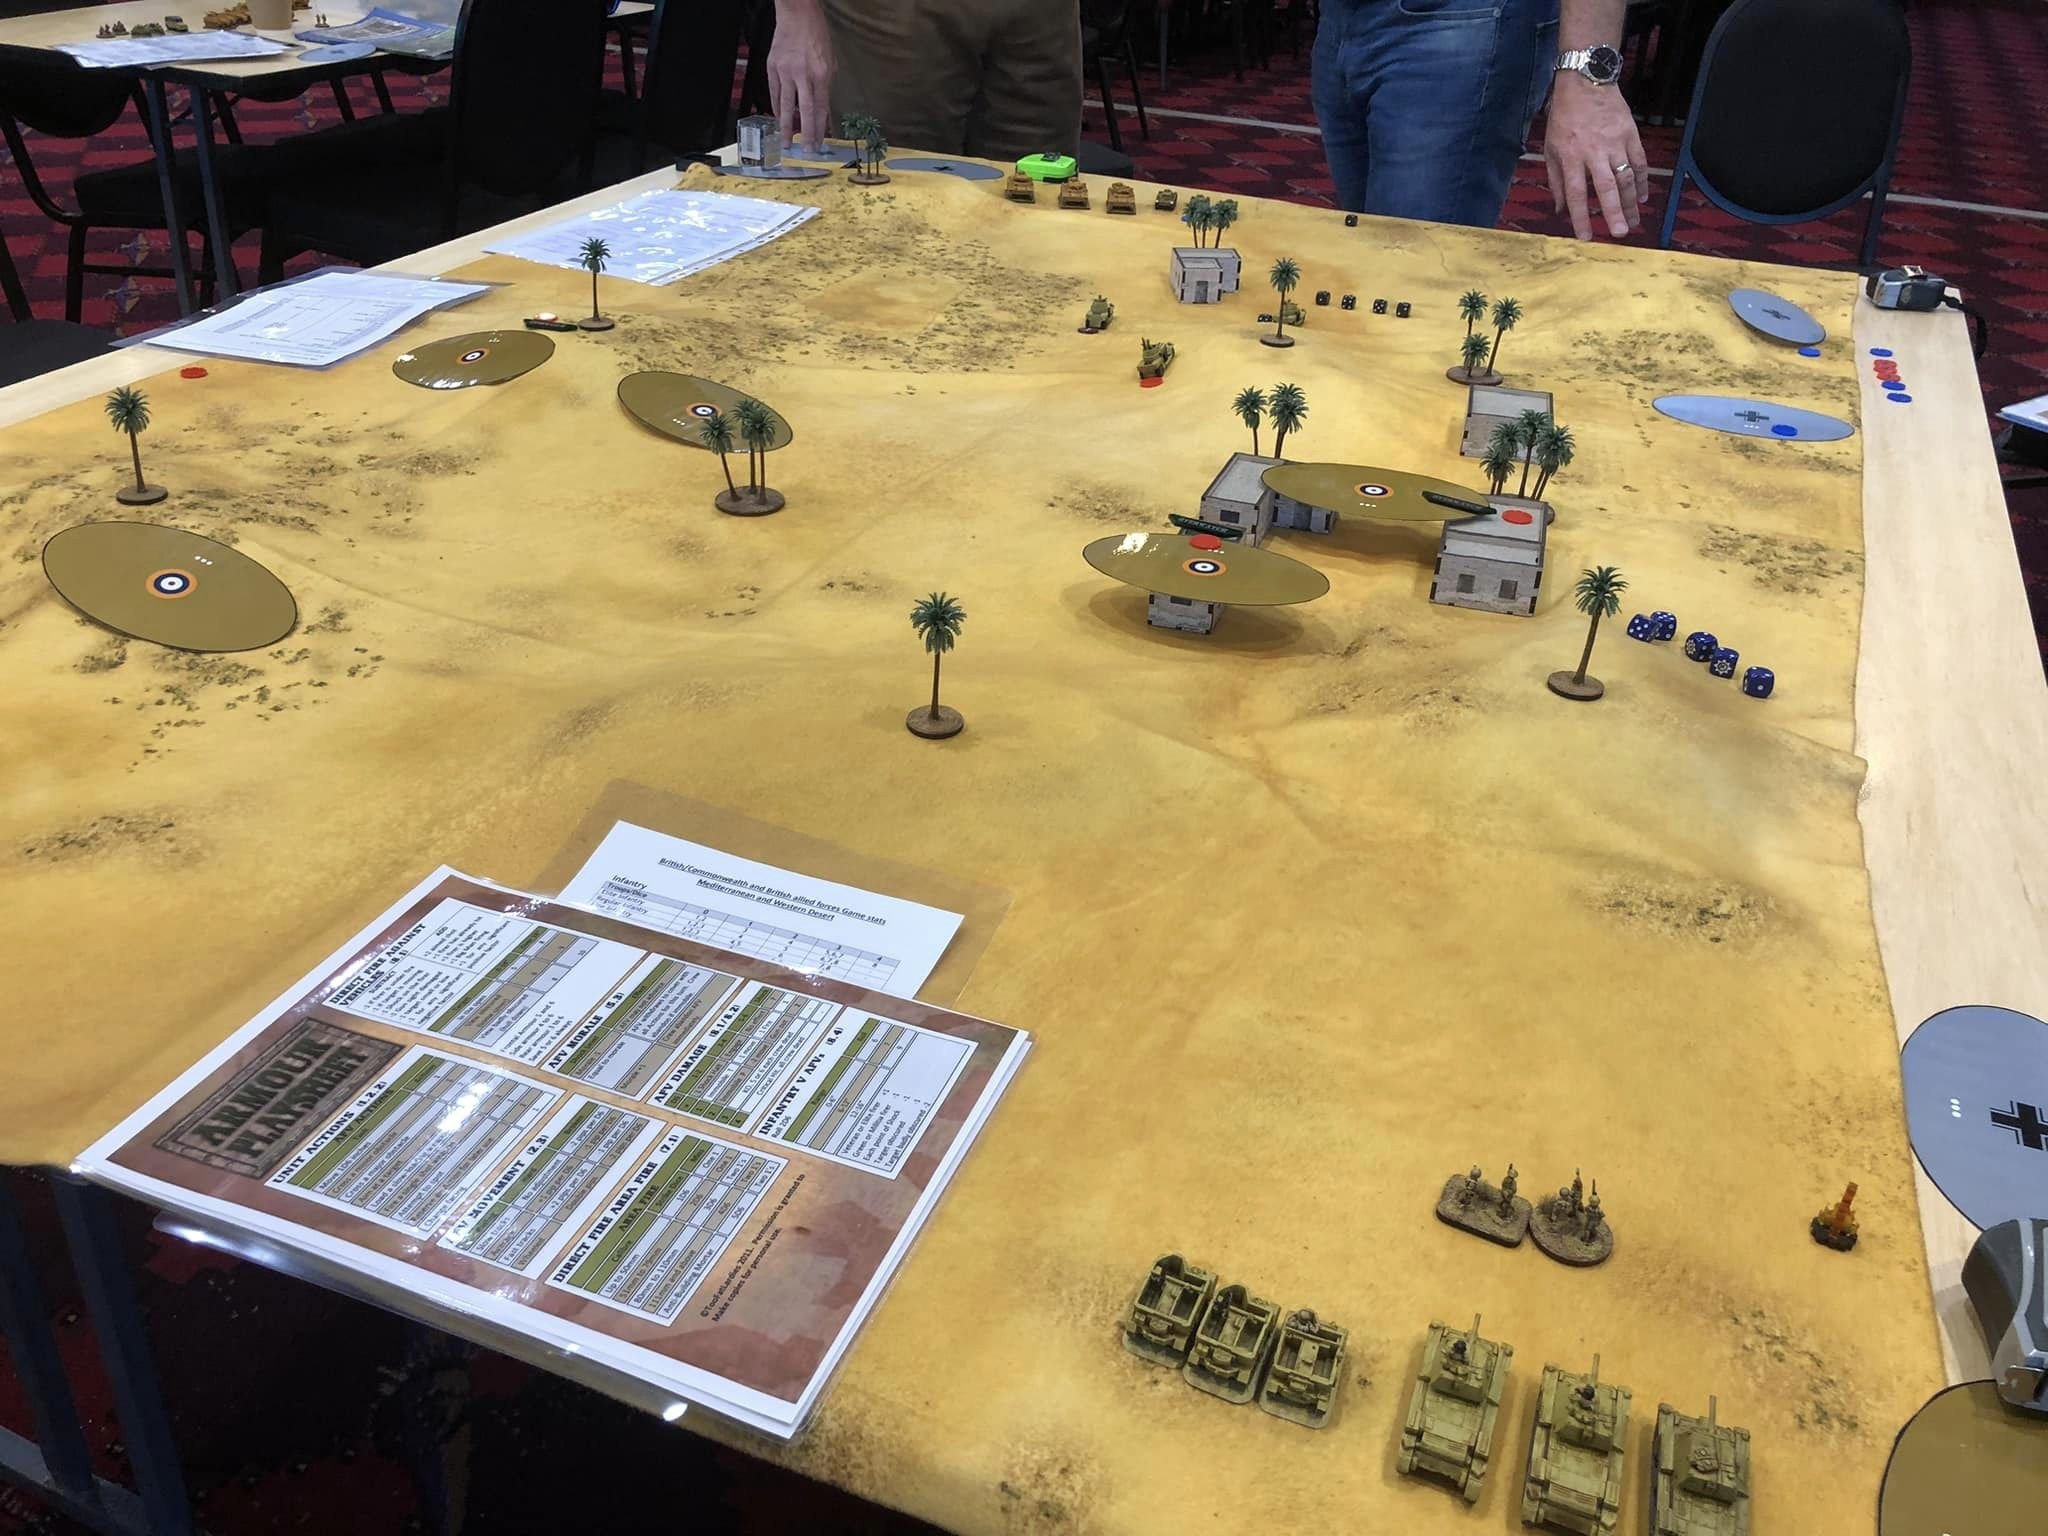
Ken Snell posted a few shots of a recent western desert game of I Ain’t Been Shot Mum.
Click on the pic below to see all:

We’re over half way through February, and more entries are coming in all the time. Let’s have a look at what we have this update.
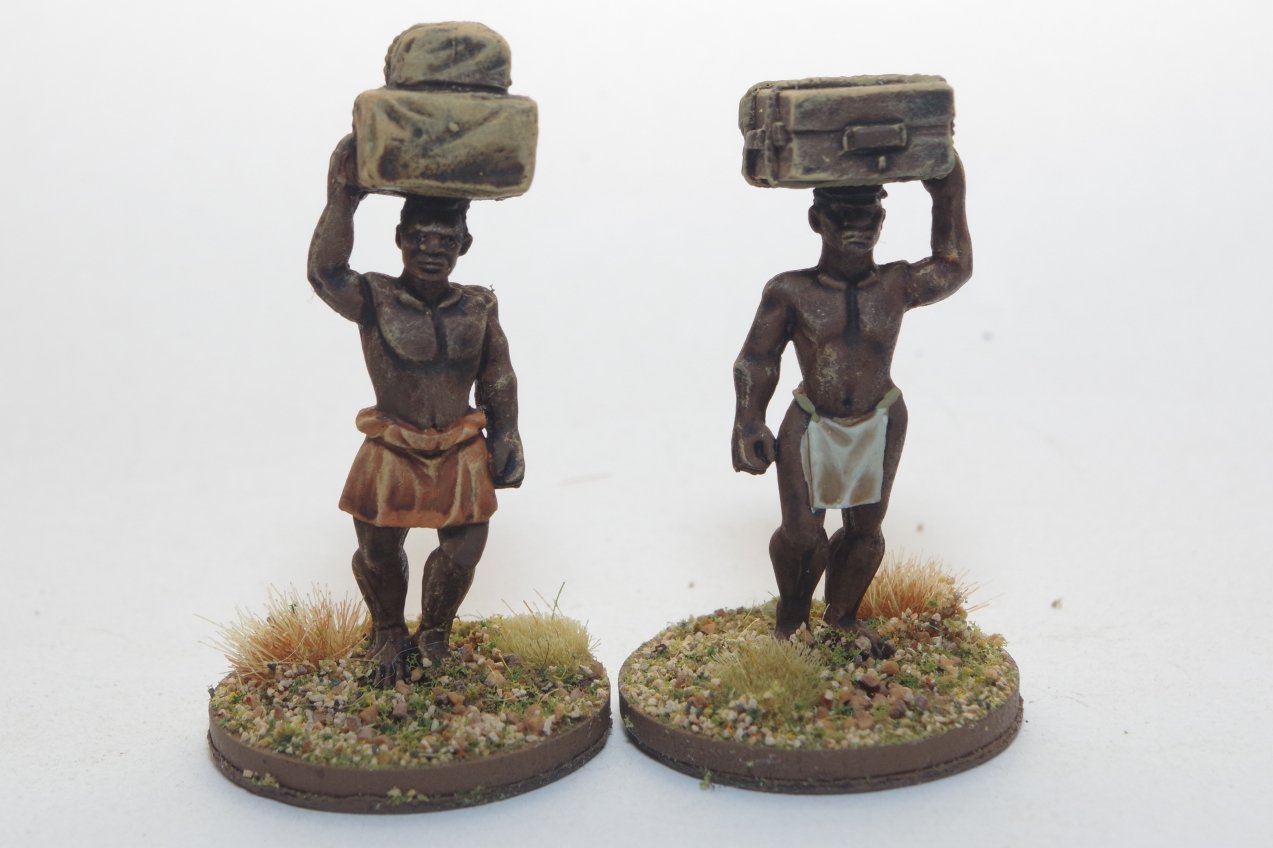
First up is Carole, with figures for a Darkest Africa campaign and some lovely scenery. You can see more of the scenery in Carole’s gallery, accessed through the NavBar, above.
Next up is Matt Slade’s first entry of the year. Last year Matt achieved the fairly incredible score of 6,033 points, a personal best and an excample for us all. Matt starts this year with over 500 points of painting, some of which are shown below:
Last year’s second highest entrant, Andrew Helliwell, has also been painting hard already in 2024. Andrew has already amassed almost 800 points, here’s some of this update’s entries:
Finally for this update we have entries from Stumpy and Ralph Plowman. Stumpy’s ar the Napoleonic French infantry (with adorable poodle at the front!) and the tank; Ralph’s are the Greeks: some of his oldest wargames figures repainted and rebased alongside some new light troops.
Plenty of time to get your entries in, so pick up your brushes and paint away!
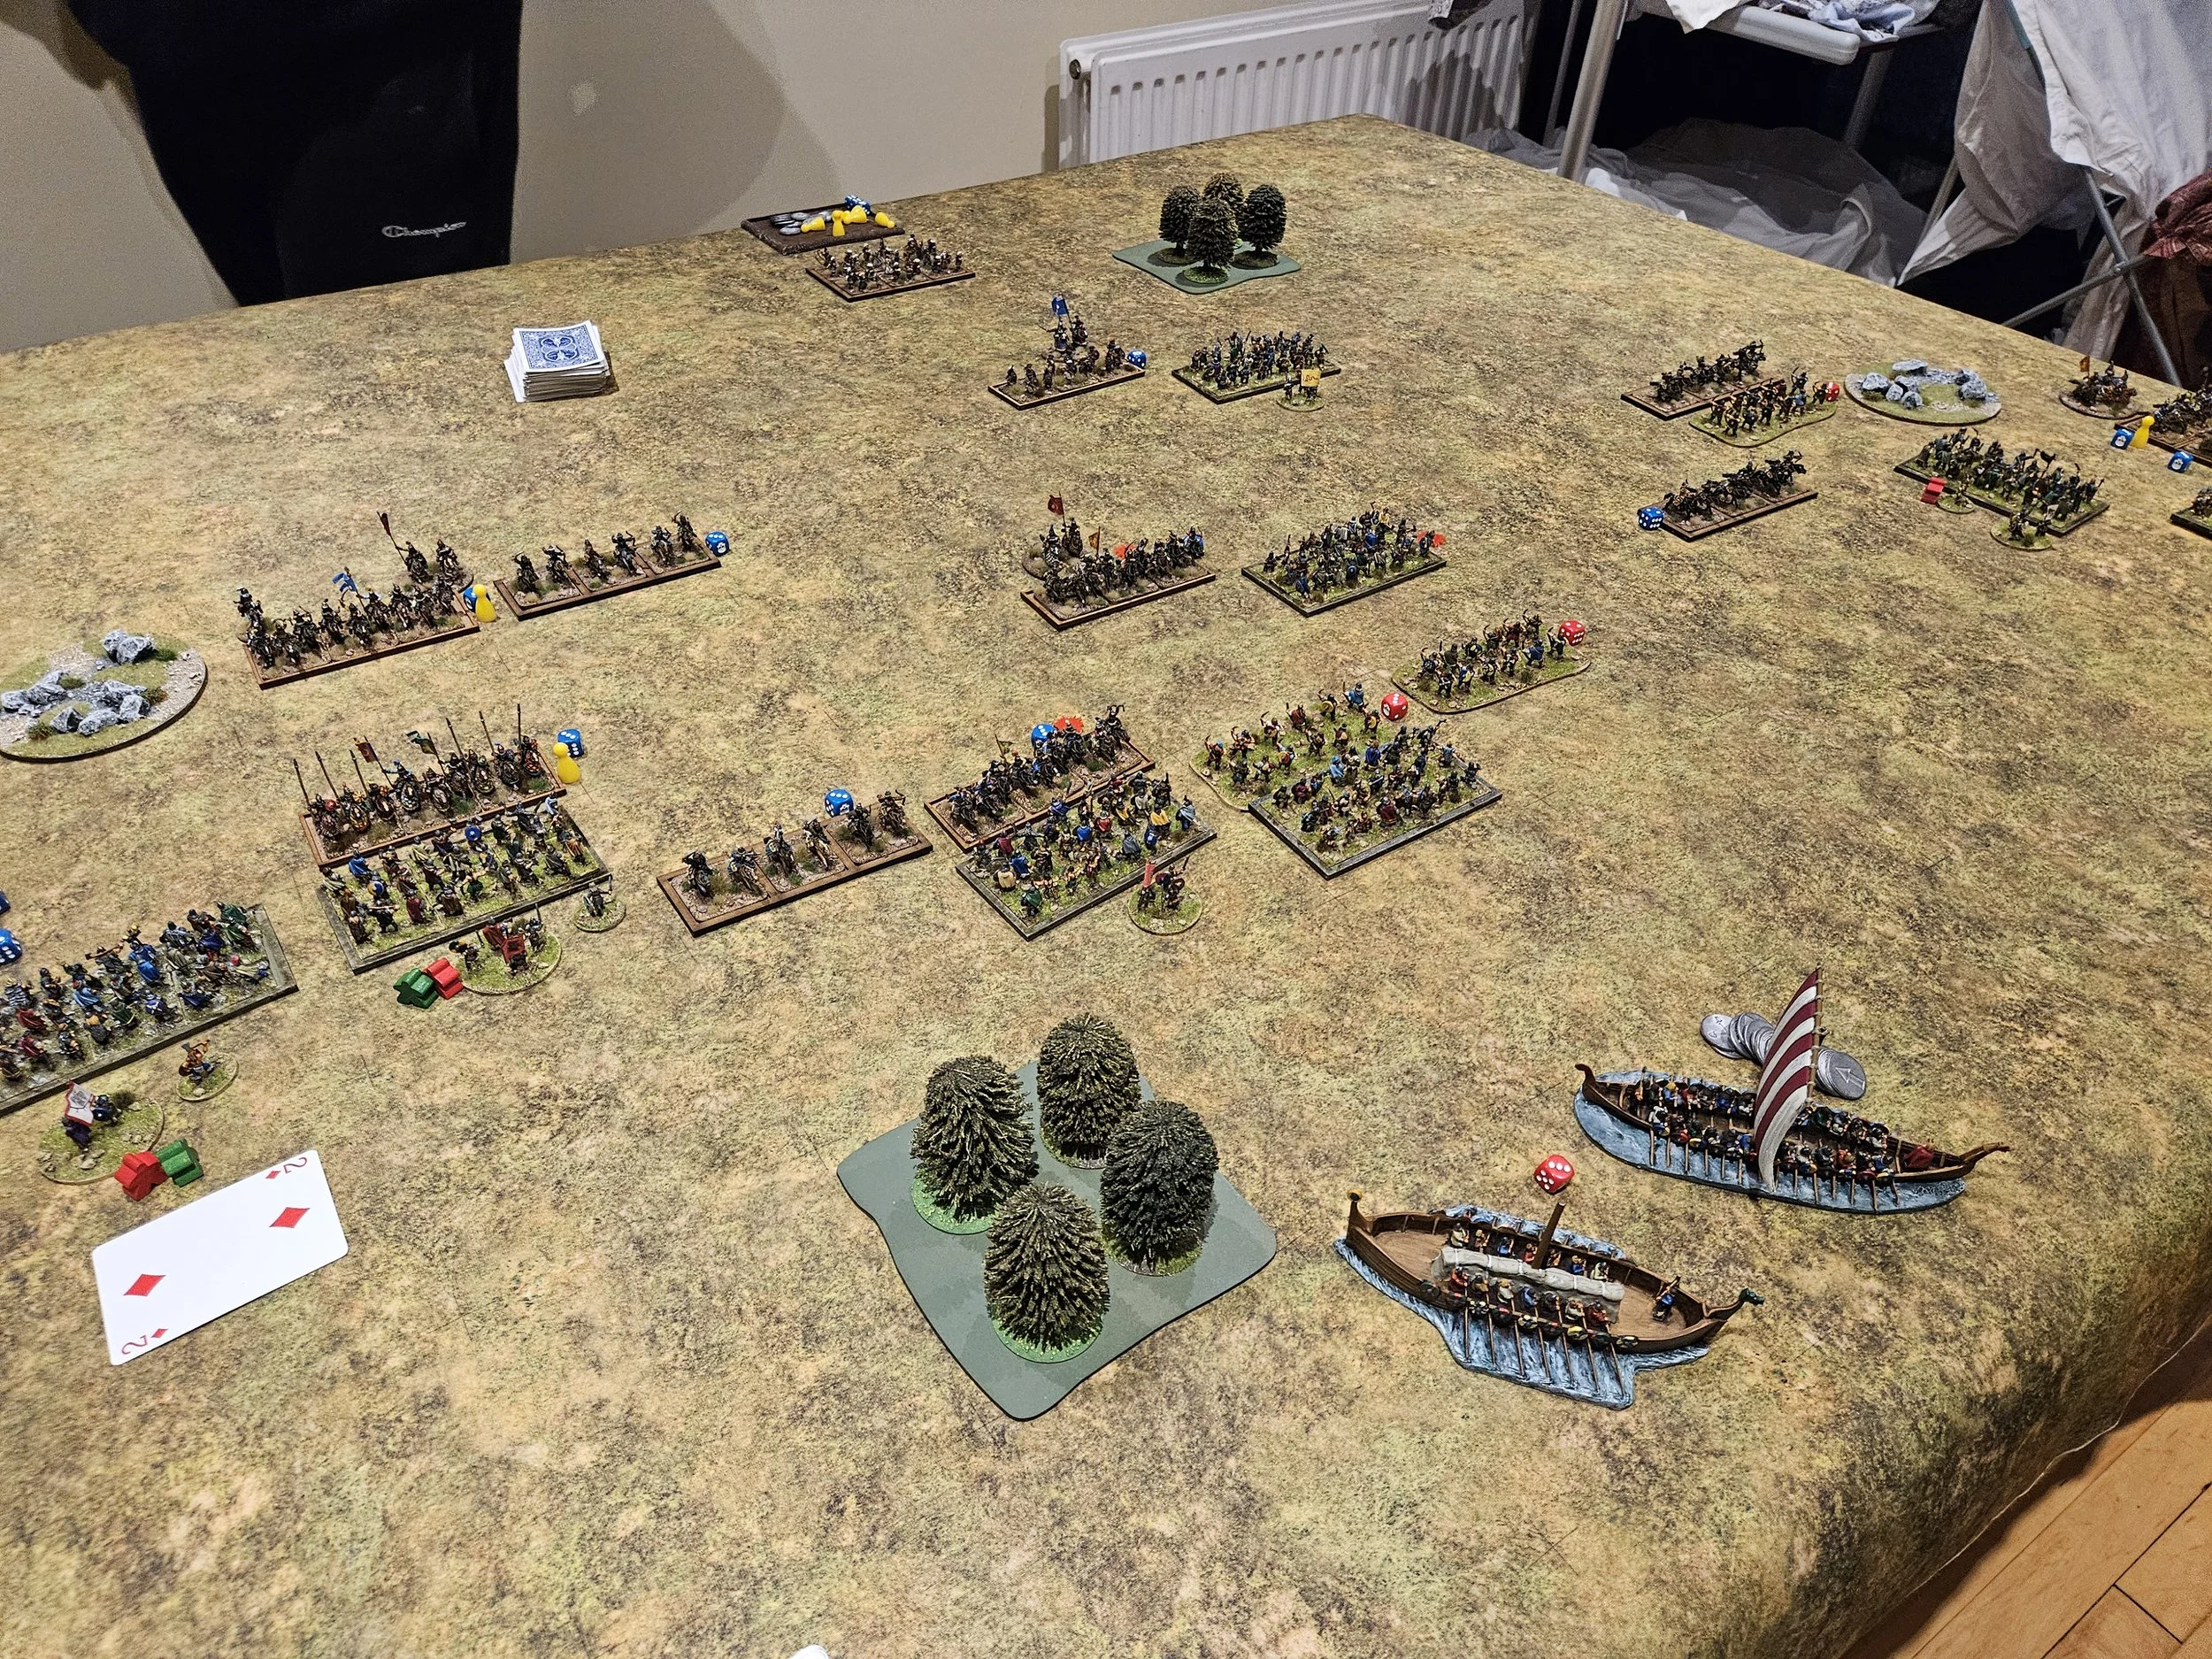
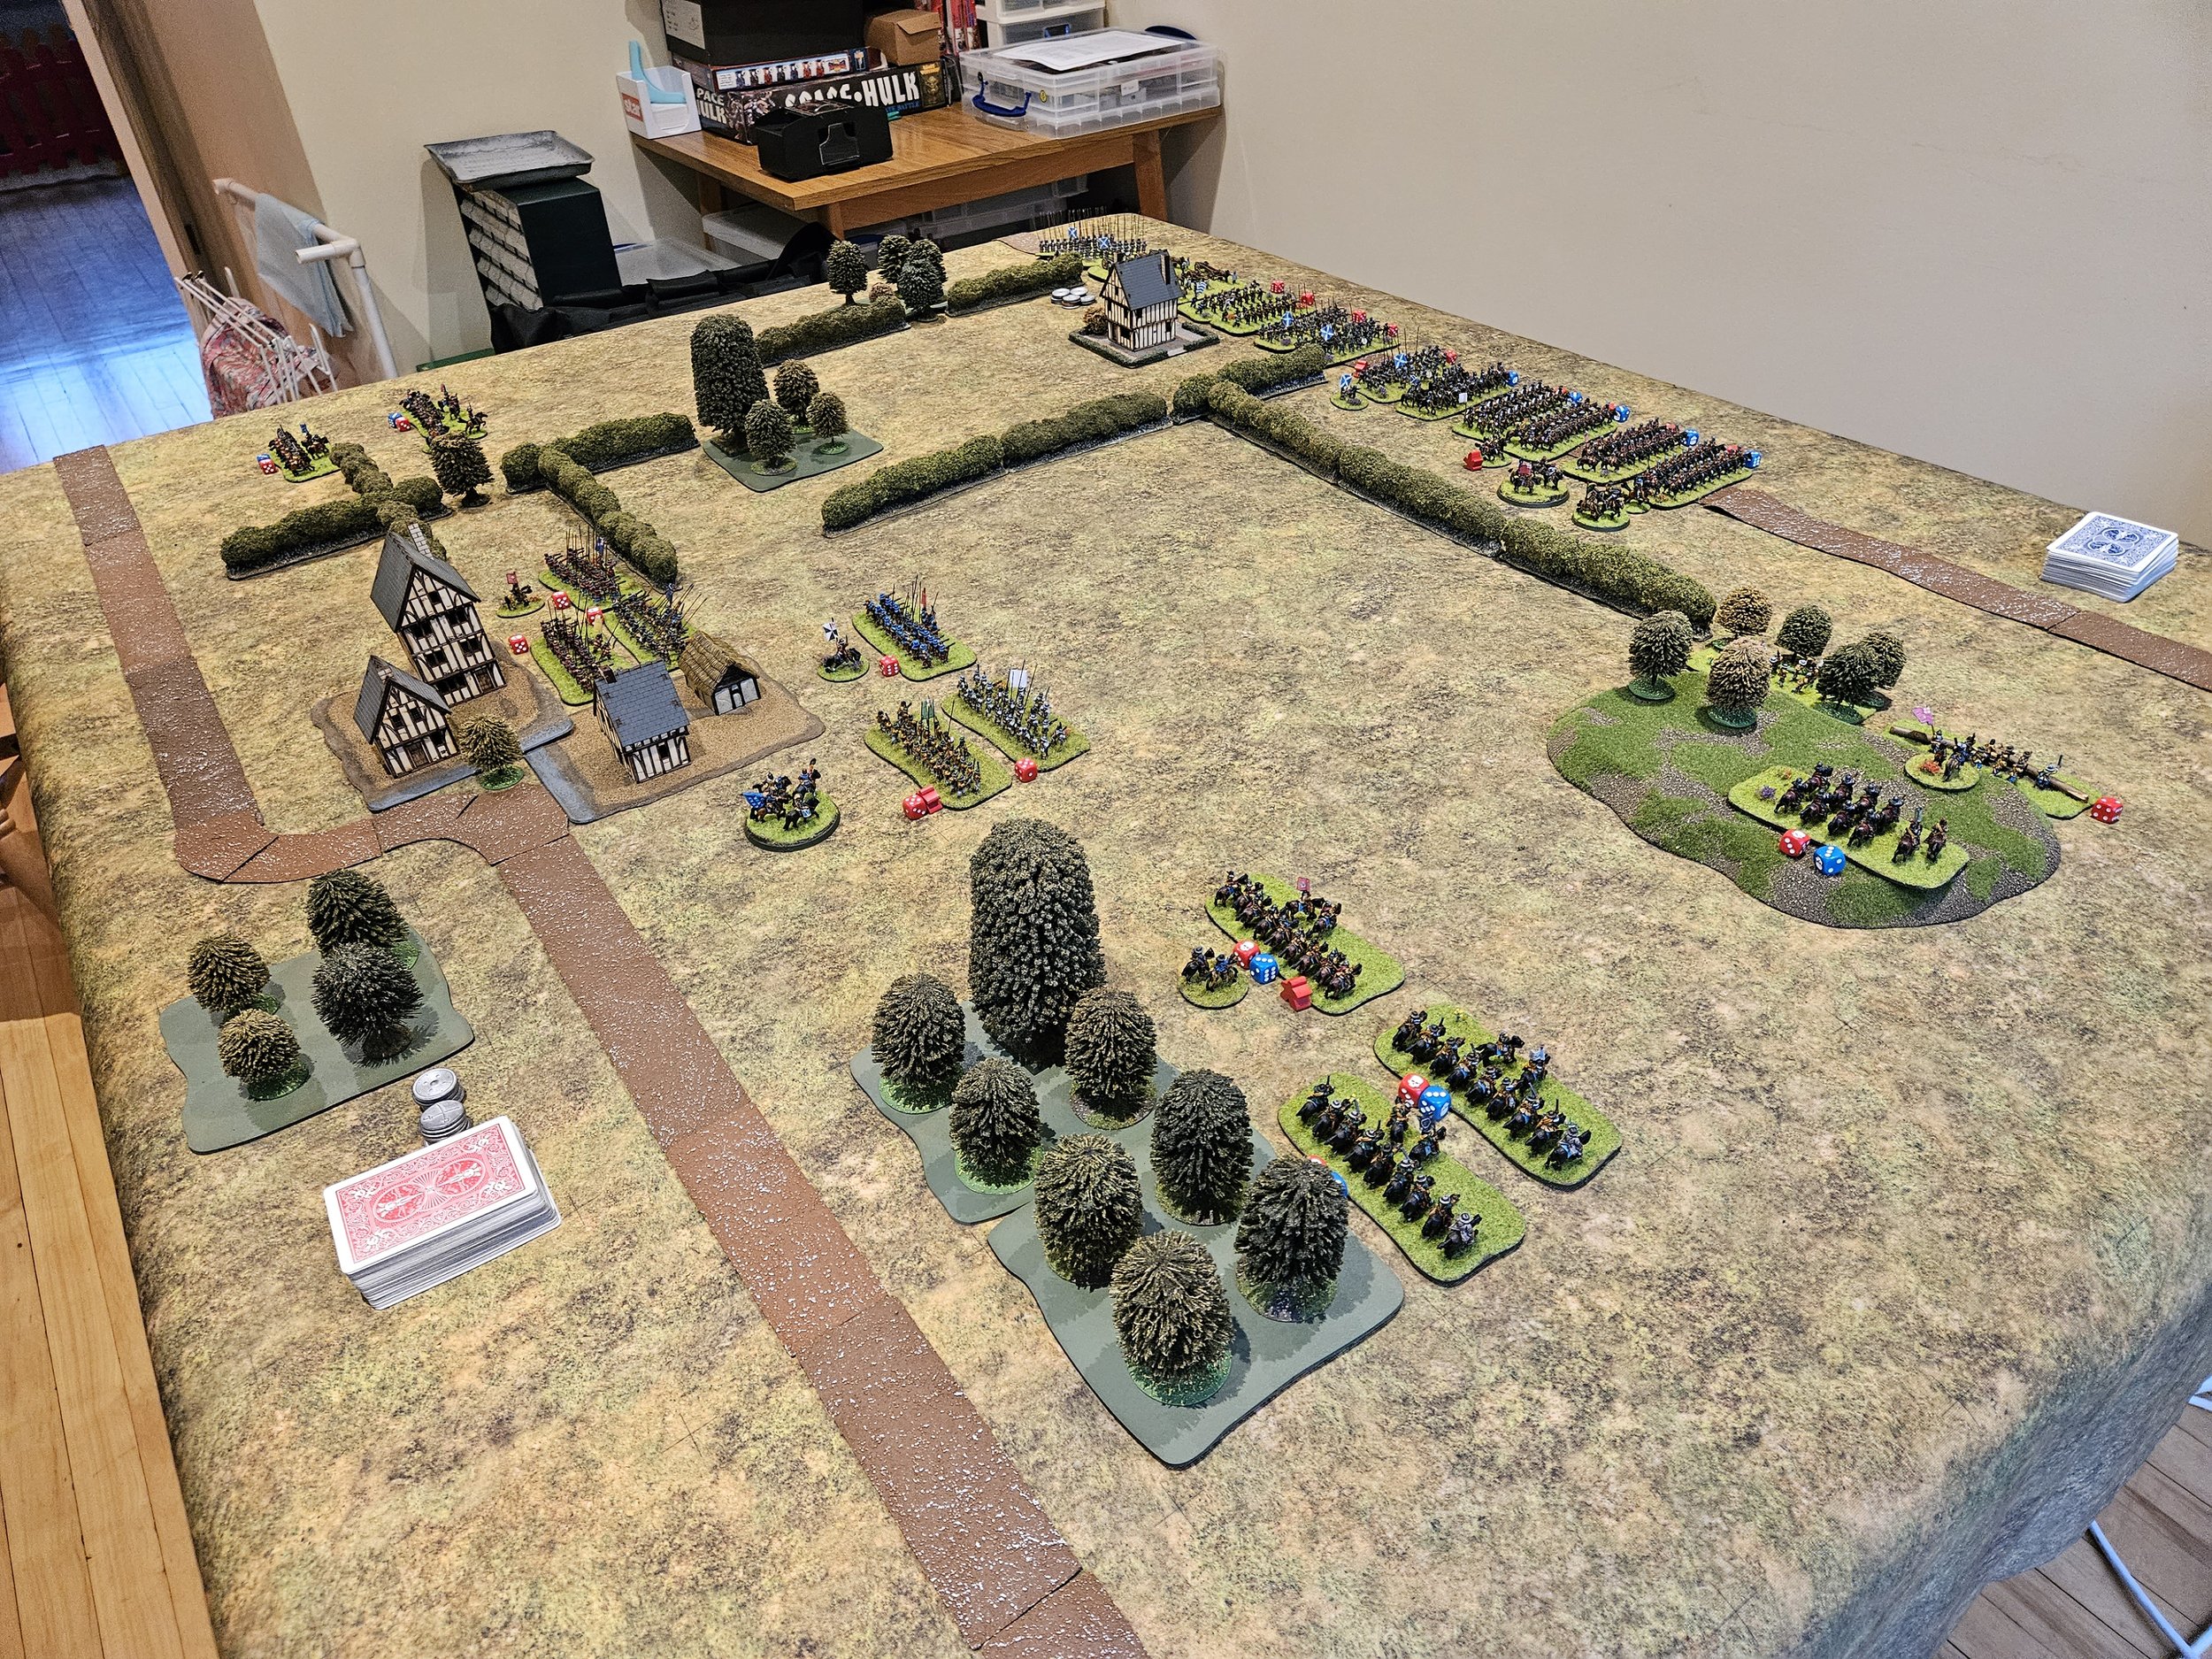
Another game of To The Strongest, this time featuring my Vikings against a Timurid army played by Daughter #1’s boyfriend, Kavan - who hopefully realises that the key to his continued relationship with my offspring is to lose heavily whilst loudly congratulating me on my brilliant play!
A rather empty battlefield: more tundra than fjord!
Beached longships form the Viking camp
The Timurid right wing
As the Vikings are an infantry-only army (no room for horses on those cross-North Sea longship ferries) my big fear was being outflanked and suddenly finding Timurid cavalry in my camp and up my backside!
I therefore put a couple of strong shieldwall units on either flank, rather than concentrating them in the centre and leaving the flanks to the lights as I usually would.
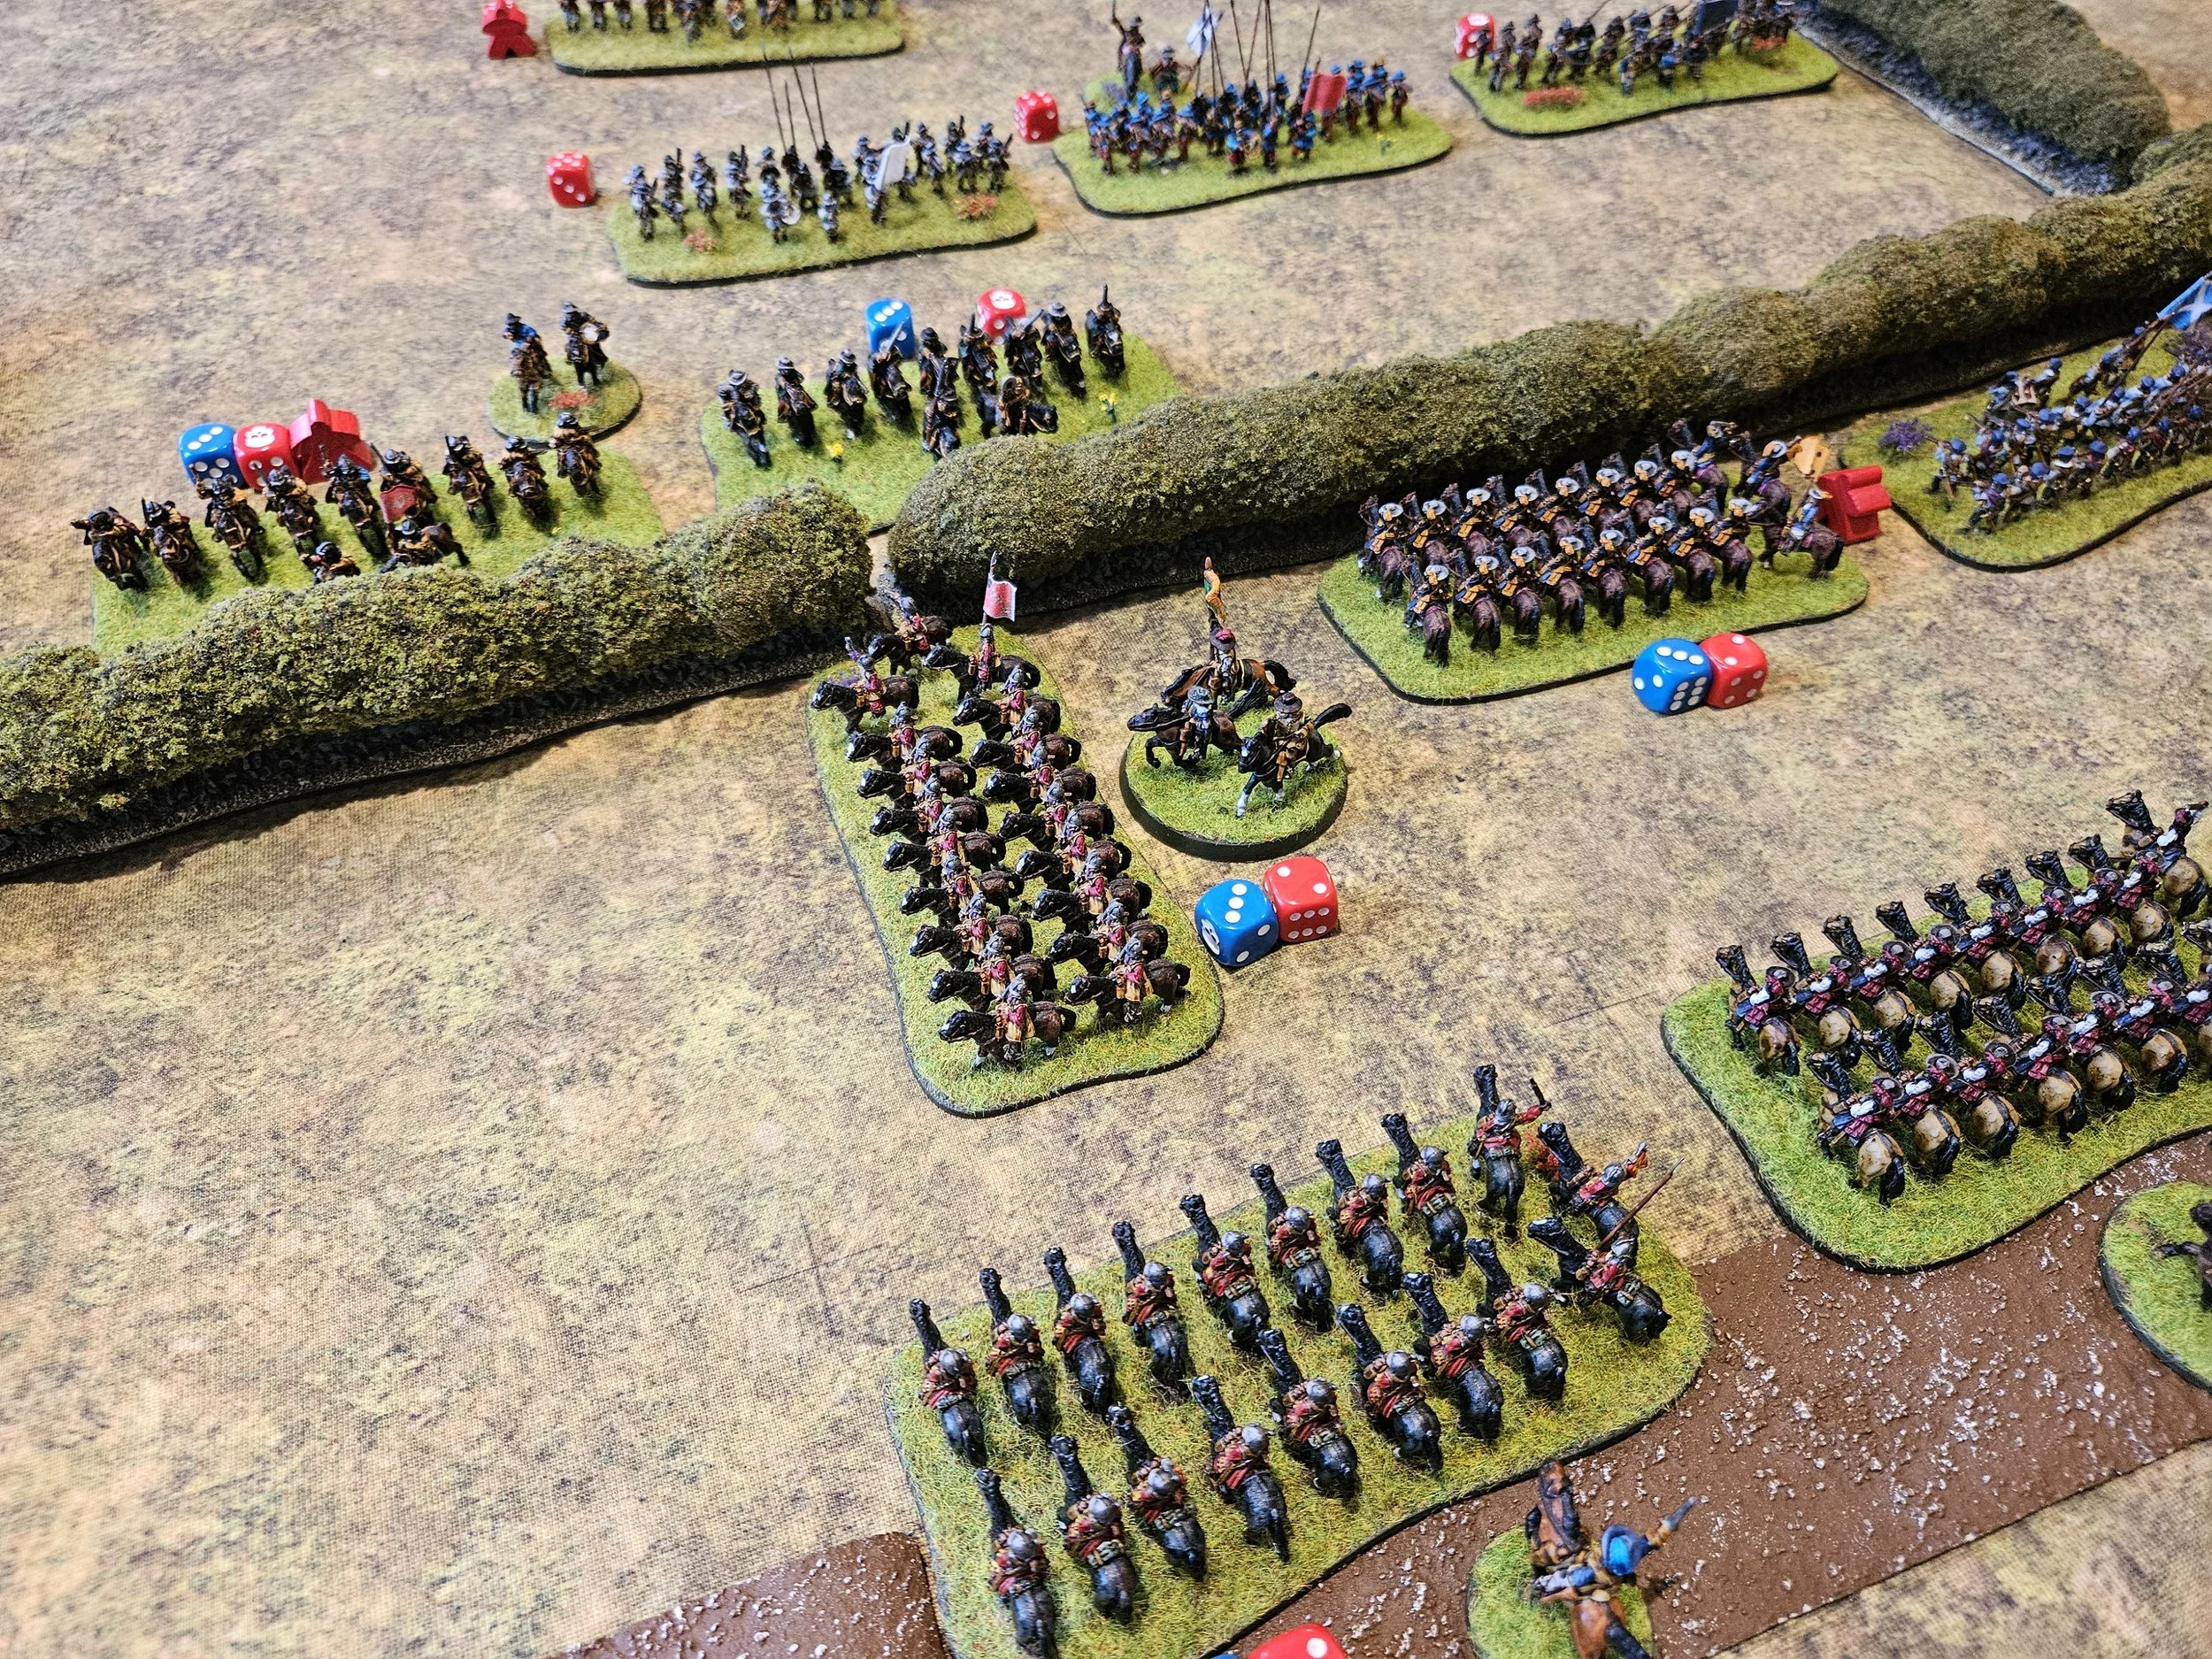
As with many of my more brilliant ideas, this worked well in theory but not in practice, as the cards conspired to prevent my deep shieldwall unit on the left making a very simple diagonal charge to drive two units of horse archers off the table.
This allowed those two units to neatly bypass the shieldwallers, leaving them nicely in a position to turn and either hit me in the rear or to ride for my camps:
“Four or more needed…”
not an ideal outcome
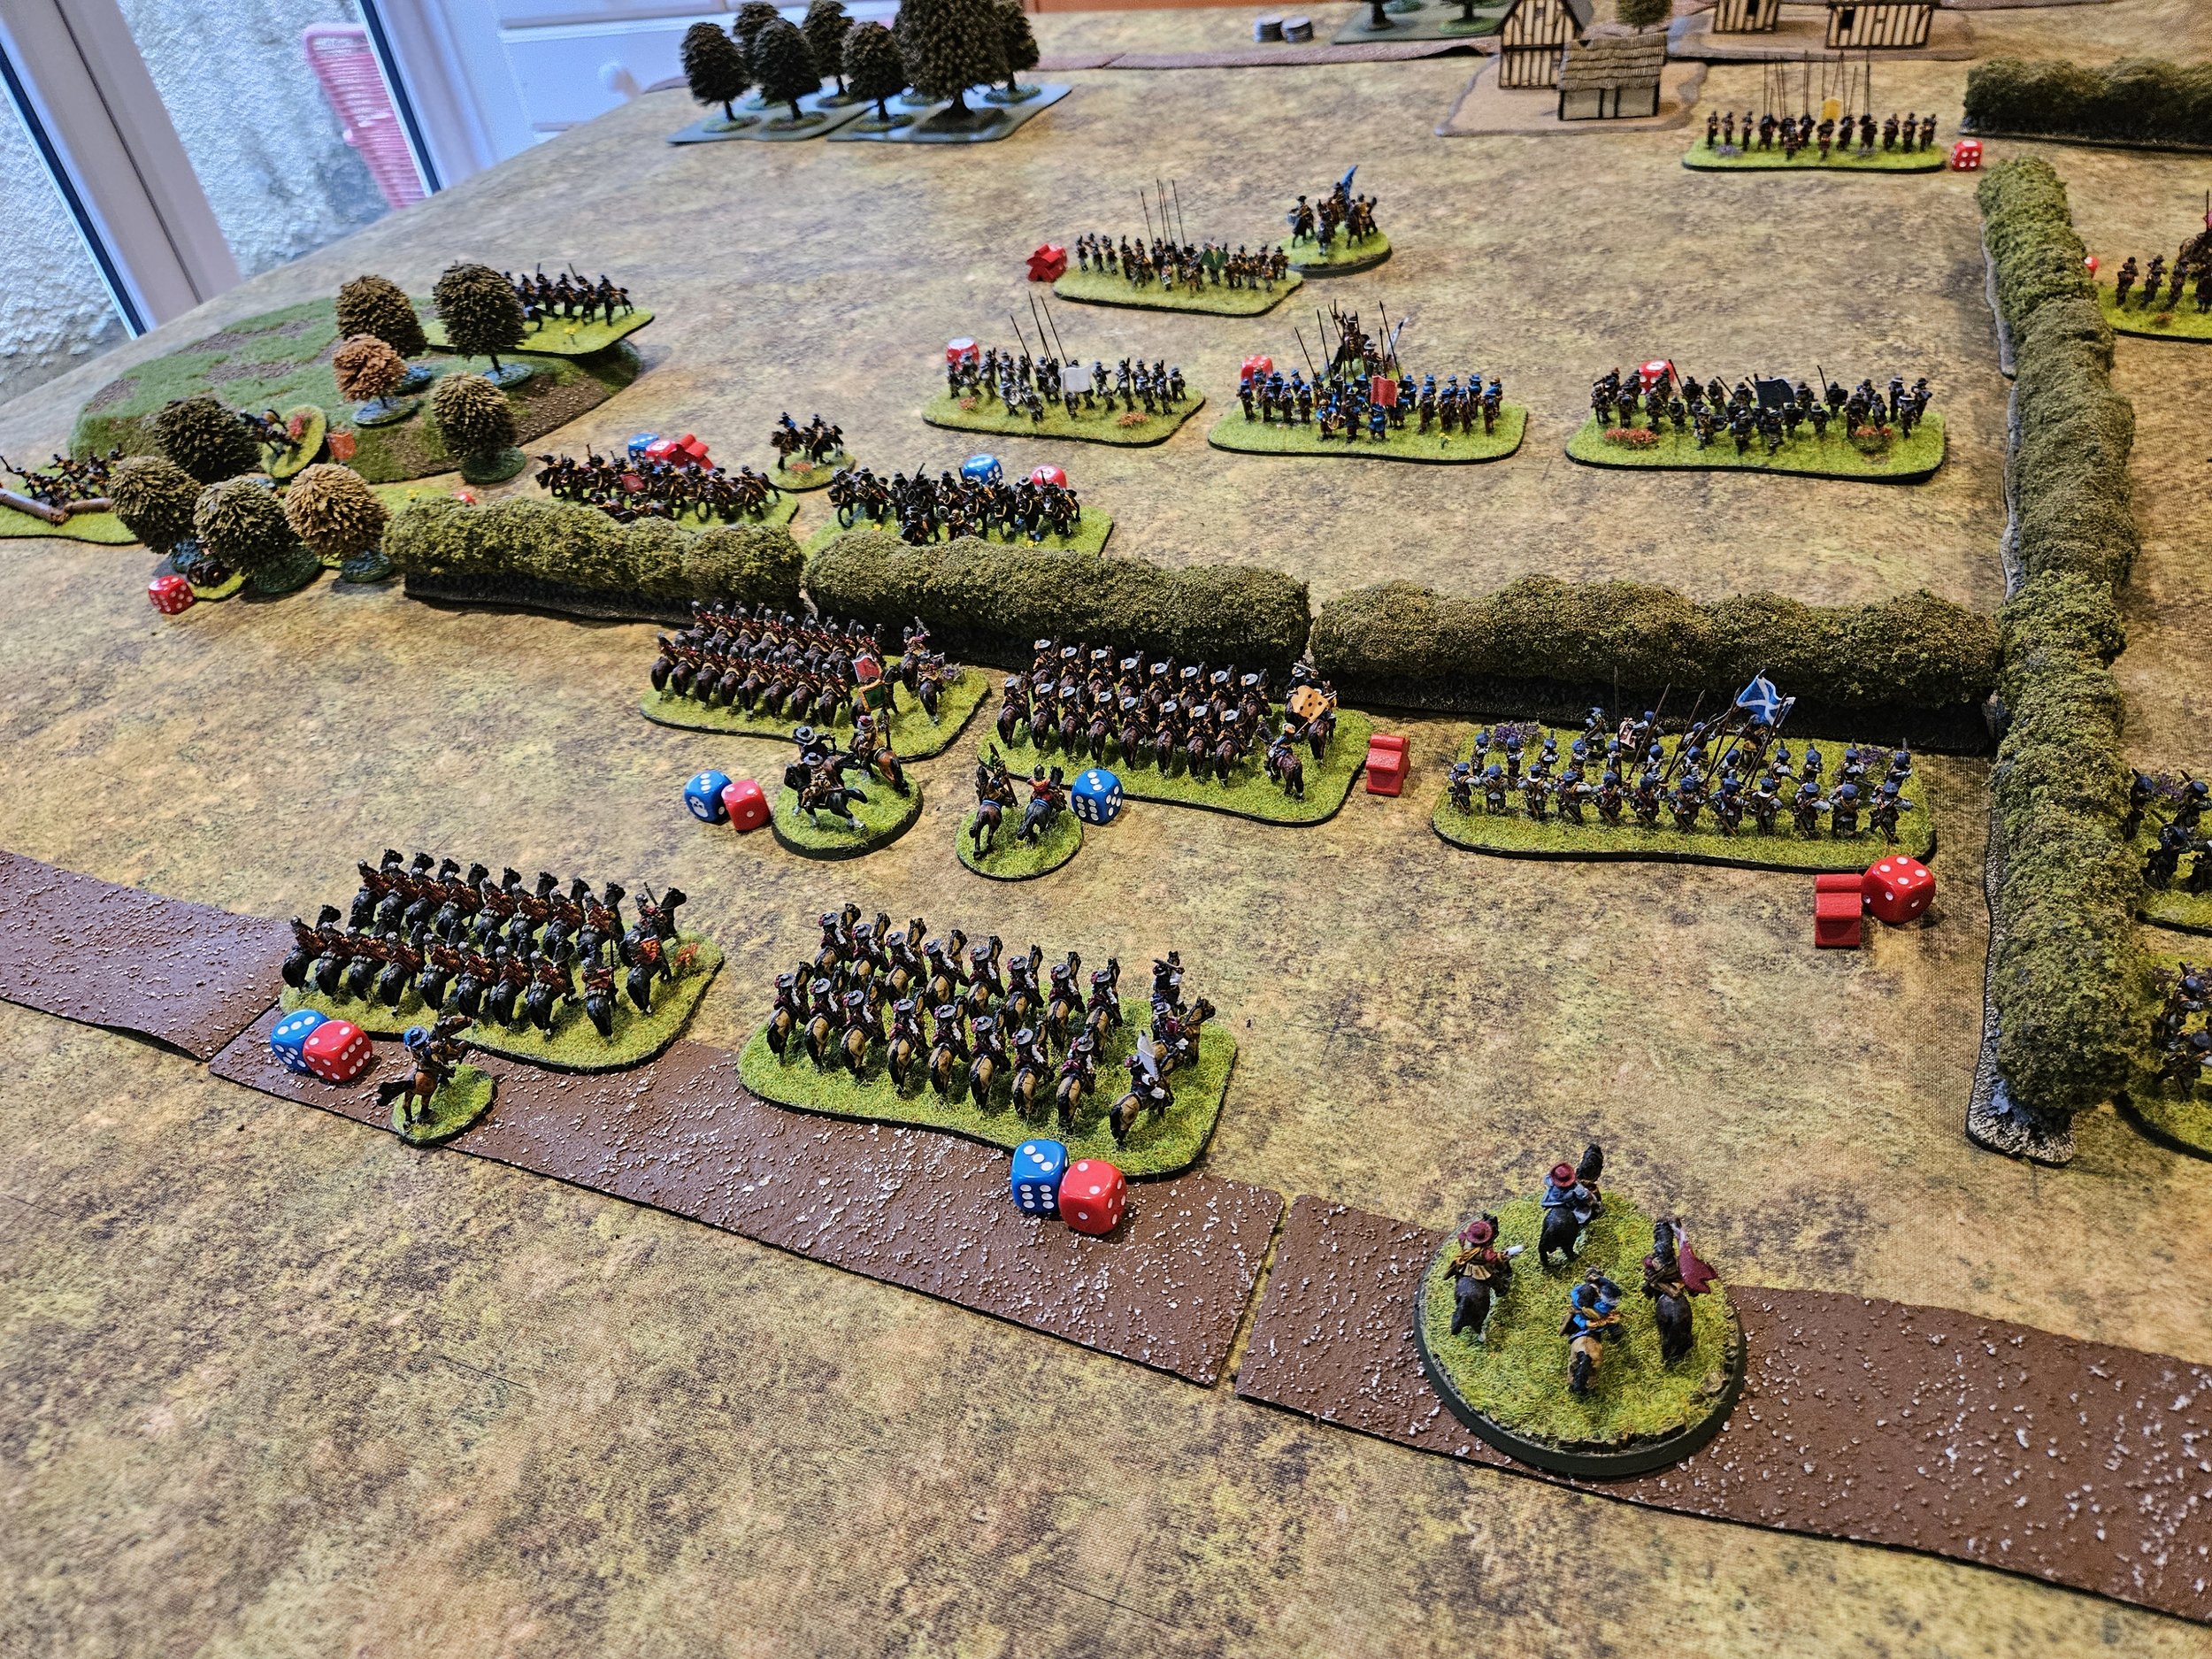
I was also in a bit of trouble on the right, as although I did manage to dispose of his lights there, Kavan had followed up his horsearchers with a couple of meaty heavy cavalry units, who also managed to get around onto my flank and were quickly set to drive at least one shieldwall unit from the field.
Fortunately the top unit in the picture above (the one with the Raven banner) was on fire, and although the bottom unit did indeed get driven from the field, the top unit managed to take out both of the Timurid cavalry units shown, although they did need a bit of luck to do so:
All this action on the flanks did mean that the Timurid centre was a bit weaker than it might have been, and soon another Viking shieldwall unit had broken through towards the Timurid camp, defended only by kharash (driven slaves).
The Timurid camp wasn’t the only one under attack.
Although I had managed to hold off some horse archers, Timurid heavy cavalry charged into one part of my camp, and threatened to take the other, even with two bases of Viking light archers present.
I had started with fifteen victory coins, but was now down to nine, which was about to become six.
Kavan had started with eleven victory coins, but was now down to three. This was unlucky for him, because the Viking unit that threatened his camp had now cleared the kharash off the field, and was able to crash, unopposed, into the Timurid camp.
This was enough, just, to give me the win: a surprise victory for the Norsemen over the more manoeuvrable Timurids.
Here’s the game in longshot…
Sergeant Steiner, who runs an excellent blog that can be found here, has been dabbling with a bit of solo I Ain’t Been Shot Mum.
Click on the picture below to see the first part of his report on playing out the Action at Galmanche scenario from the IABSM rulebook:

As regualr visitors will know, I have been building a 28mm Later Italian Condotteri Venetian army to use on the To The Strongest competition circuit this year.
It’s a nice little army: five units of mounted Later Knights with Lances provide the punch, with light cavalry and foot units in support.
One problem I might encounter, however, is facing elephants. I know it isn’t exactly historically accurate for Venetians to expect to face elephants in combat (although I understand it’s hellish difficult to get them out of the canals once they’re in!) but this is competition gaming so a certain flexibility of approach is required.
Anyway, back to the problems facing of facing elephants. In TTS, cavalry of all types do very badly against elephants as the horses, unless they are familiar with pachyderms, won’t close with the beasts, giving an elephant base a huge advantage in any combat with them.
The solution is to dismount some or all of the Knights, who are somewhat slower but equally formidable on foot: their Lances change to 2-handed cutting weapons, giving a bonus in combat, and they gain extra bonuses when saving against missile fire.
Elephants? We poop on elephants!
As I like to be able to field the right figures rather than proxies or mark a mounted unit as dismounted, and its a good excuse to buy more figures, I decided I needed a foot equivalent for each of my five Later Knights bases. Here are the first two.
These are Perry Foot Knights: easy to build and even easier to paint: black with a silvery steel drybrush then add a bit of detail as required.
Three more bases to go!
The stage was now set for my final game of the tournament. With two wins and a draw behind me, I would need a substantial win to have any chance of placing towards the top of the leaderboard.
My opponent for this final clash was the formidable Sid and his equally formidable Parthians:
Things started quite well: Sid’s cataphracts on my left attempted to charge forward, drew an Ace, so over-extended themselves into disorder. Unfortunately, I was unable to capitalise on this, and the veteran heavies quickly re-ordered themselves.
Equally unfortunately, this proved the high point of the game for my Venetians!
On the left, a combination of horse archers and heavy cavalry/cataphracts disposed of my Knights, and began curling into my centre. I had my Schioppettiere handgunners to defend my camps, but that meant I couldn’t use them elsewhere.
On my right, the same combination of lights and heavies overwhelmed my troops, although I did manage to do some damage before the flank crumbled.
I was now beginning to think that the Parthians had been taking lessons from the Zulus, as the horns of the buffalo began to close on my centre…
And it wasn’t long before the final curtain as the Parthians on my left flank broke through and took one of my camps and the last of my victory medals!
Excellent play from Sid, leaving me trounced 5-12!
So what did that mean for my overall ranking? Well, two wins, a draw and a loss left me an unexpectedly high 6th place: disappointing but not a complete disaster. Here are the rankings:

Overall a highly enjoyable event, and Firestorm Games is a fantastic venue. I would highly recomend the TTS Competition Circuit to players of the game. Next up are the World Championships “To the World’s Strongest” at the end of Feb.
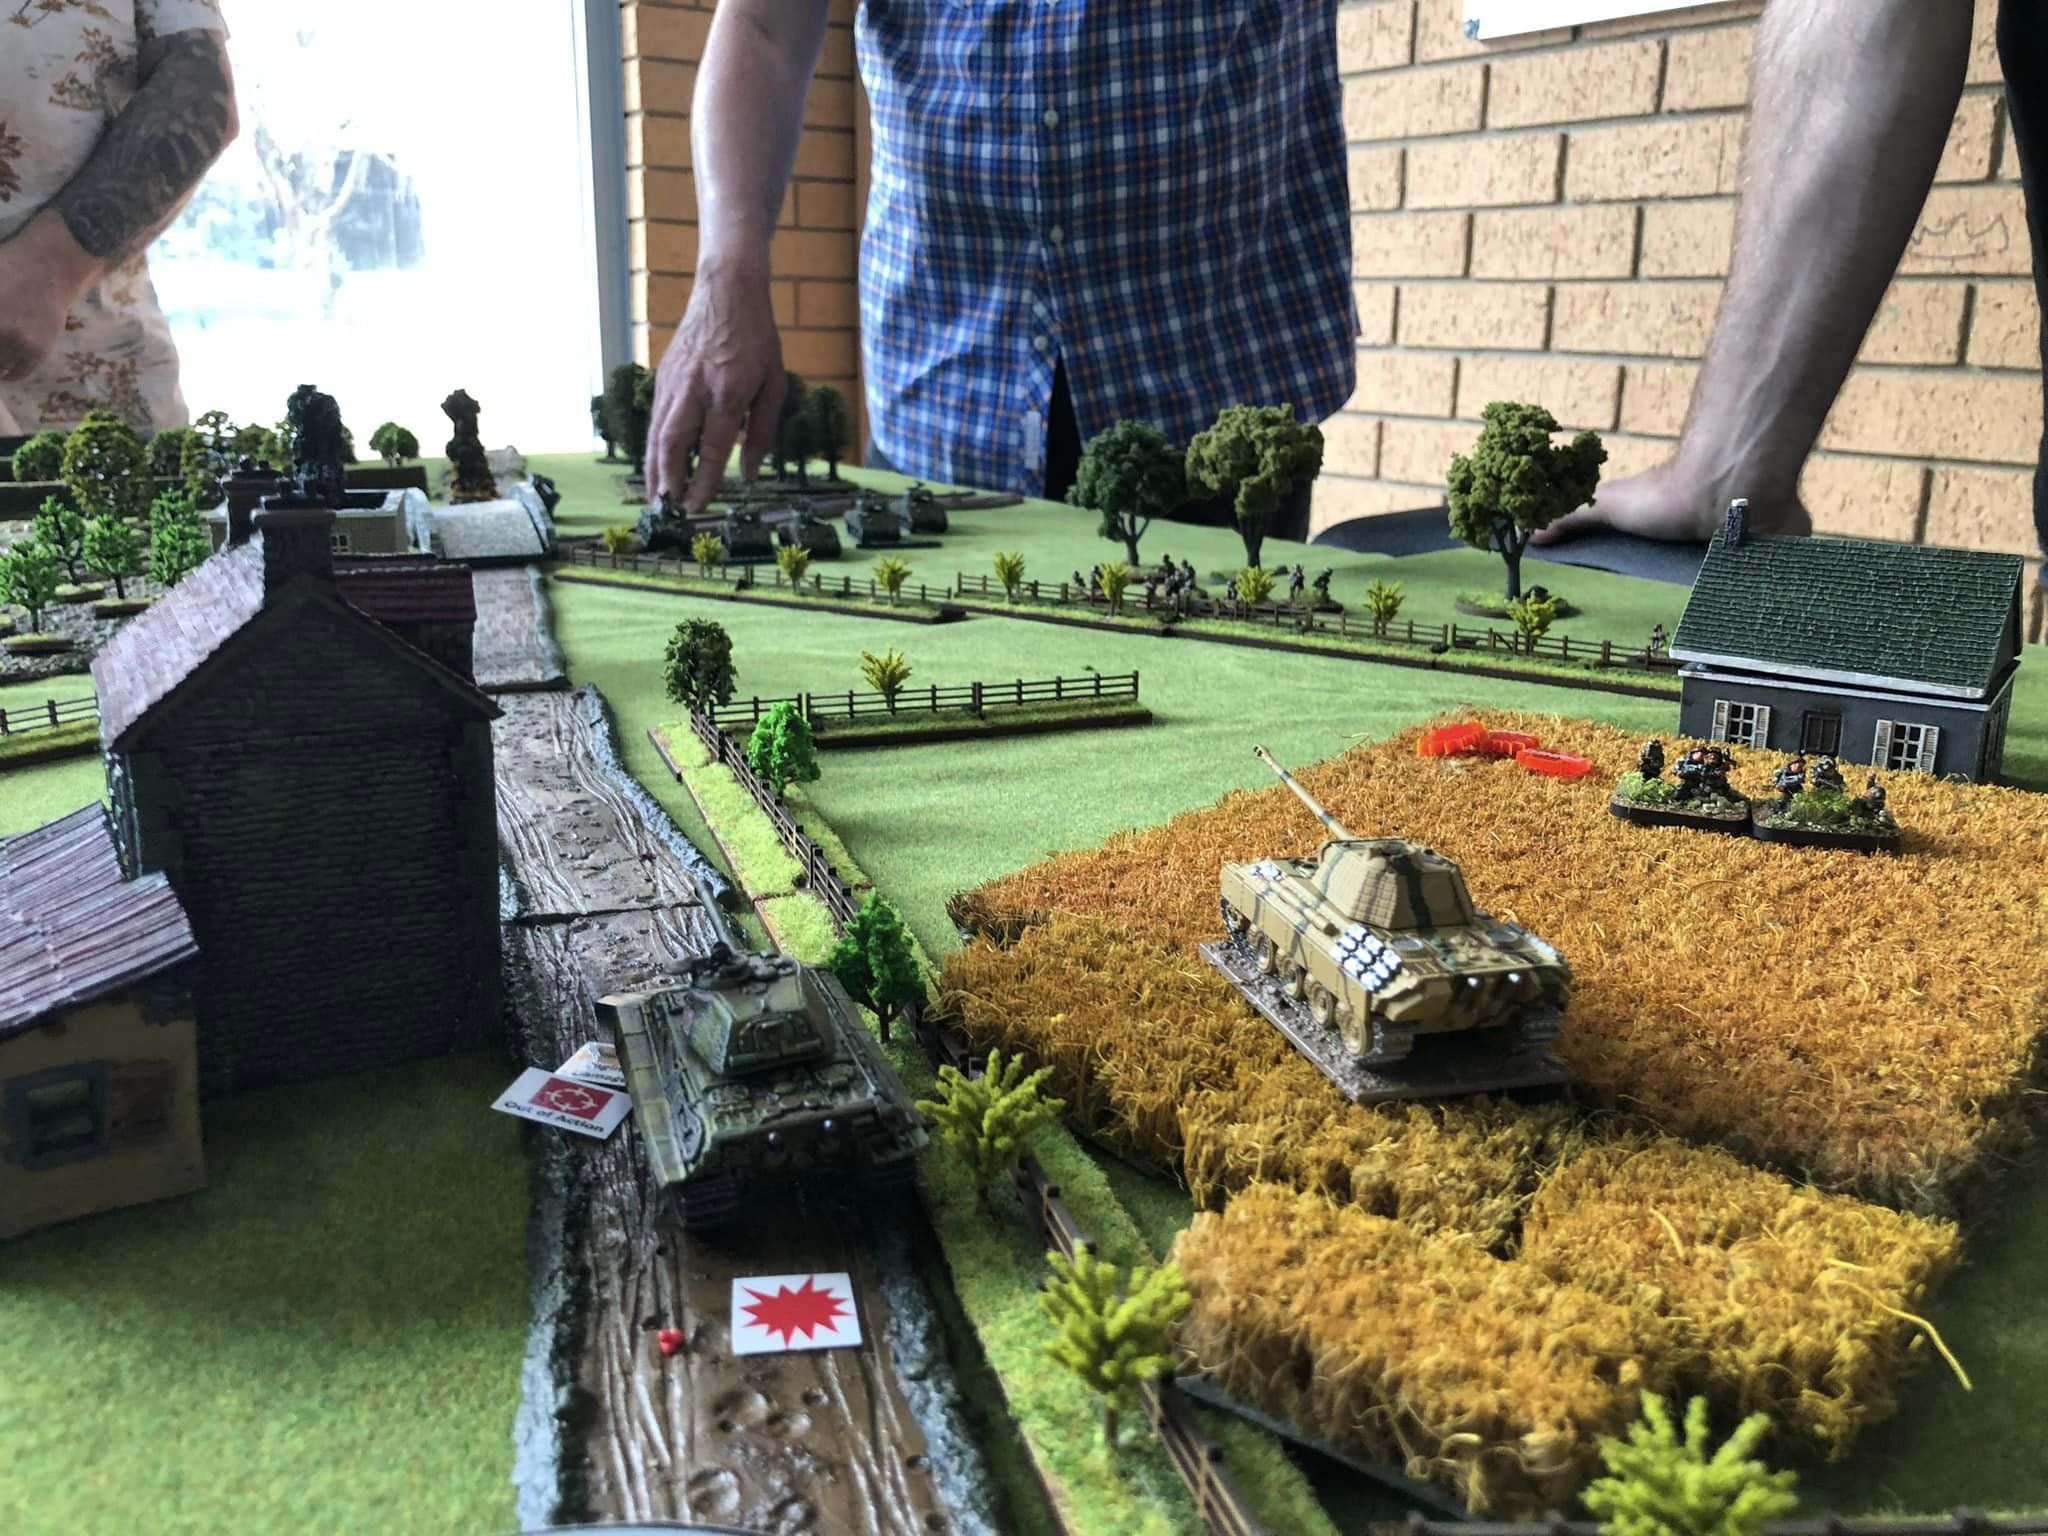
Another great battle report from Mark Luther from the Gigabytes Cafe.
This AAR, written in November last year, covers a feint made by a battlegroup of the 18th Armoured Regiment, 22nd Motorised Battalion and some armored cars of the Divisional Cavalry as the 2nd New Zealand Division pushed west towards Orsogna.
Click on the picture below to see all:

One of the problems with winning your first two games in a competition is that the Swiss Chess system usually in place means that you then have to fight someone else who’s won two games i.e. someone a bit good!
And so it was with the Welsh Open, where I found myself up against Peter and his Tang Chinese. Not it’s fair to say that Peter is a very good player. He’s knows all the rules back to front, and has a very tricky way of getting you on the back foot right from the start of the battle. This was a game that was going to be very tough!
The deployment phase was interesting. Rather than being spread out along the baseline, Peter went for a very one-sided deployment, which I then followed. I told you: very tricky…
The grey patches are woods, by the way
As I advanced forward, Peter didn’t come forward to meet me, but started to shift his troops to the right…
This was obviously part of some cunning plan that I needed to counter…so I moved my men to the right as well…whereupon Peter switched back to advancing on the left…so I shuffled my men back that way to match.
This was a period of move and counter-move with neither side prepared to commit.
One interesting point was that I had drawn the “Lost!” card as my strategem for the game: meaning that one of my units had begun the game lost off the table. I could choose when to bring it on, but it would appear at a random location somewhere on the table’s edge.
That meant that I had to wait until Peter had moved his troops forward a bit, as otherwise I would have just been swamped with flank charges rather than the rear charge that I would be hoping to perform. This was important, as I had taken a bit of a risk and it was a unit of Later Knights that I had declared lost i.e. one of my main fighting bases rather than something like a unit of lights or the like. As it happens, the Knights appeared on the right flank of Peter’s line: you can just see them top right in the photograph, above.
Finally Peter seemed to have had enough of all this shilly-shallying around and sent his heavy cavalry forward. On my left, I lost a unit of Later Knight, but managed to tie up the troops that had broken through with my light cavalry.
In the centre, however, things had gone much more my way, and I had pushed forward and knocked one of his decent cavalry units off the table. Honours were even so far.
Unfortunately my ex-lost Knights hadn’t managed to do much,and had retreated back to their hill to rally and re-arm with lances.
You’ll also see the pikemen, disordered, just by my pack of cards. What I really wanted to do now was to re-order them and move forward again. Here are the cards I drew: activation cards behind the unit, rally cards to their right…
The Pikemen are keen to do anything except rally!
Unfortunately at this point we ran out of time: all that tactical manoeuvring at the beginning of the game had soaked up all the fighting time required later on!
Tallying up the points, the game was an absolute draw: five victory medals versus five victory medals.
What would have happened if we had carried on? Who can say? At the point we ended the battle I was perhaps in a very slightly advantageous position, but that means nothing when facing a player of Peter’s calibre. A draw it was and, as someone said at the time, a result that really opened up the overall tournament ranking overall.
One game to go!
My second game at this year’s Welsh Open To The Strongest tournament was against William and his Later (Eastern) Romans.
William’s army was truly massive: 16 victory medals worth versus the mere 12 that I was fielding. The only downside was that many of his troops were raw but, being Auxilia, they still had an averagely decent save.
The terrain was quite heavy (the flat grey patches in the pictures are actually woods) and infantry get a lot of advantage defending against mounted, so I decided to dismount two of my Later Knights units to give me a bit of flexibility in attack.
The action began on my left, with the Roman cavalry advancing quickly towards my lines. As luck would have it, that’s where I’d put one of my dismounted knights…which just goes to show what can happen when you try to be too clever!
No matter: the Roman horse pushed a couple of my light cavalry units back but left themselves in a position where I could charge them from the flank with the foot knights. Should be no problem: I had an officer with the knights, so all I needed for success was anything except a couple of Aces in a row…
Meanwhile the two lines had come together in the centre and on the right as two separate clashes.
On the right, my mounted Knights charged home and had initial success, disordering two of the enemy Auxilia units and leaving them ripe for destruction. unfortunately, his men then turned on their personal forcefields: William spectacularly saving against every attack I could throw at them. I distinctly remember four flank charges going in against disordered Auxilia with no result!
Equally anoyingly, my dismounted knights could see a way through to his three undefended camps, and were the boys to take the nine victory medals that they represented, but just couldn’t get the cards/freedom to do so.
The Aces were also still coming thick and fast!
If you look at the photo above, you’ll see two of them on the table: one (on the far side) stopping my light cavalry from taking his camps (the nine points eluding me again); the other preventing a unit of Later Knights from rallying for the third or fourth time in a row.
By now I had actually killed his cavalry, meaning that the dismounted knights that had disposed of them could head back into the centre to help out the pike- and spearmen, who were under some pressure from advancing Romans. You’ll also see, in the photo below, that on the right I have withdrawn to regroup, although I did kill two to three of his units before doing so.
Things finally turned my way. The unit in front of the pikemen (about to be hit in the flank by dismounted knights) charged forward already disordered. Unfortunately for them, the cards fell my way, and they managed only to impale themselves on the pikes facing them, taking them and their general off the table.
Almost unbelievably, this turned out to be the straw that broke the Roman camel’s back: the four victory medals gained being enough for me to win the game 16-5, despite the fact that it had seemed to me as if I was on the back foot throughout.
Or it might have been that the Knights then crashed into the Bowmen behind the unfortunate infantry, and it was those two victory medals that won me the day. To be honest, I can’t remember which it was!
It had been a thrilling battle: the epitomy of a small number of elites versus a huge number of less than veteran troops. William’s troops’ ability to save against my attacks was truly legendary, and I seriously thought I was going to be swamped at any moment.
Two games in and two wins: good going so far…
This weekend just gone I started off the 2024 To The Strongest competition season with the Welsh Open in Cardiff.
This was held at Firestorm Games: an excellent venue with a cafe, toilets, plenty of light, plenty of parking and plenty of shopping opportunities! Highly recommended to all wargamers if you happen to be in the area.
Last year on the ‘circuit’ I exclusively used my only 28mm army: the Early Imperial Romans. I fancied a change this year, so over Christmas invested in a Later Italian Condotteri army, specifically designed (and sort-of painted up) as Venetians. The Welsh Open would its first airing and I was looking forward to see what it could do, even if I was feeling a little “jaded” after going out into Cardiff for a curry the night before!
My first opponent was Mark and his Ayyubid Egyptians.
The battle started well, with my Venetians outscouting and moving forward to dominate the cengtre of the field. On the right flank, a unit of my Later Knights dashed some Ayyubid heavy cavalry from the table only to have the Someone has Blundered strategem card played on me: not only was my glorious victory annulled, but my Knights decided that they’d heard the dinner bell and ended up facing away from their opponents just asking to be charged up the backside!
“Someone has Blundered” on the right
Melee on the left
Honours even in the centre
The advantage now swung towards the Ayyubids for a bit (my Later Knights seemed to have decided to wear cardboard rather than steel armour!) until a lucky charge knocked back the Ayyubid Al-Halqa al-Khassa veteran cavalry and killed Salah-ad-Din himself!
This caused the momentum to swing back towards the Venetians, and the game now teetered on a knife edge with both sides down to only a few coins left.
The Ayyubid’s salute their fallen leader!
At this point I should mention that Mark and I both forgot that as a ‘great leader’ Salah-ad-Din should have had another save which may have resulted in him being wounded rather than killed.
But forget we did, and a final charge from either the pike of the Condotteri Knights broke the ayyubid morale and the game was mine.
My final charge goes in…
The final result was a 12-8 victory to the Venetians, so a win by the skin of our teeth.
My Later Knights, although very effective when charging forward, proved very vulnerable to enemy action: as you’ll see in the picture above, I only had two of five left at the end of the game.
Mark made superb use of his Someone has Blundered strategem, completely reversing my initial success and firmly taking the initiative, and if it wasn’t for Salah-ad-Din’s untimely demise, things could have been very different.
So one win and on to the next game.
I don’t usually do two updates in a month, but as it’s the begining of the year, and the begining of this year’s Challenge, lots of people are sending in entries all at once.
Do visit the individual galleries, accessed via the NavBar above, but here’s a look at what’s come in this time around:
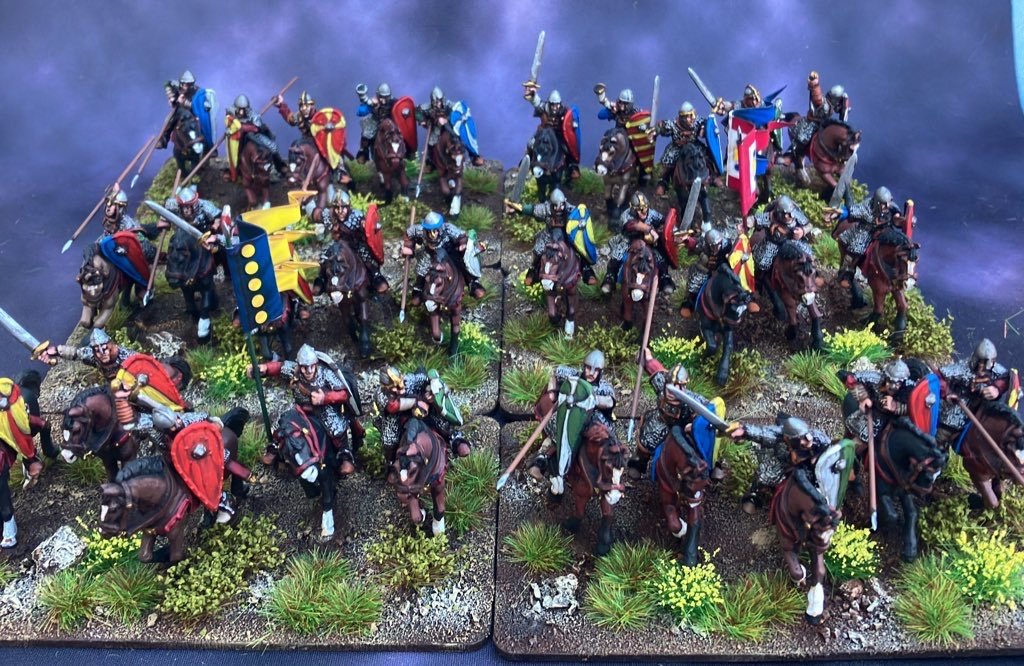
First up is another big entry from Andrew: more medievals in 28mm. I’m loving the drunken soldiers in the second picture and will be oridering some of them myself!
John is back: and with some truly lovely WW2 vignettes. I love John’s work, and these look aboslutely great. Would that I was prepared to take the time and trouble to learn to paint as well as he!
I think my favourite is probably the German briefing: the second one in from the left. Unusual, beuatifully painted, and full of character.
Next up is Stumpy’s first entry of the year: lots of Ancient Germans based up with just the two lone British command figures from the Sudan as company.
Carole is back, and has been busy making 15mm terrain: lots of it. I always admire people who make their own terrain, as that’s something I find horrible tedious to do!
Here we have a cracking bridge (plus lots more river not shown), some woods, a marsh, and just an example of the many roads made.
Finally, as a round up, we have entries from Sapper, Mervyn, Chris and I.
Mervyn and Chris have their own line, with Sapper and I sharing one…and you should by now be able to tell whose is whose from the painting style and content!
Keep those entries coming!
Still frantically building my army for Wales tomorrow!
Here are two more units of Later Knights, painted as before:

Ken Snell and friends played through A Canadian VC: one of the free scenarios included with the I Ain’t Been Shot Mum rulebook.
Click on the picture below to see all:
And it’s a big one!
Five people have already submitted entries for this year’s Painting Challenge, and all have scored at least 200 points with their work so far.
As always, you can see all their work in the individual galleries accessible from the navbar, but below you’ll find a selection of my favourites:
In no particular order, first up we have Chris with a selection of 28mm and 35mm models, only some of which are shown below:
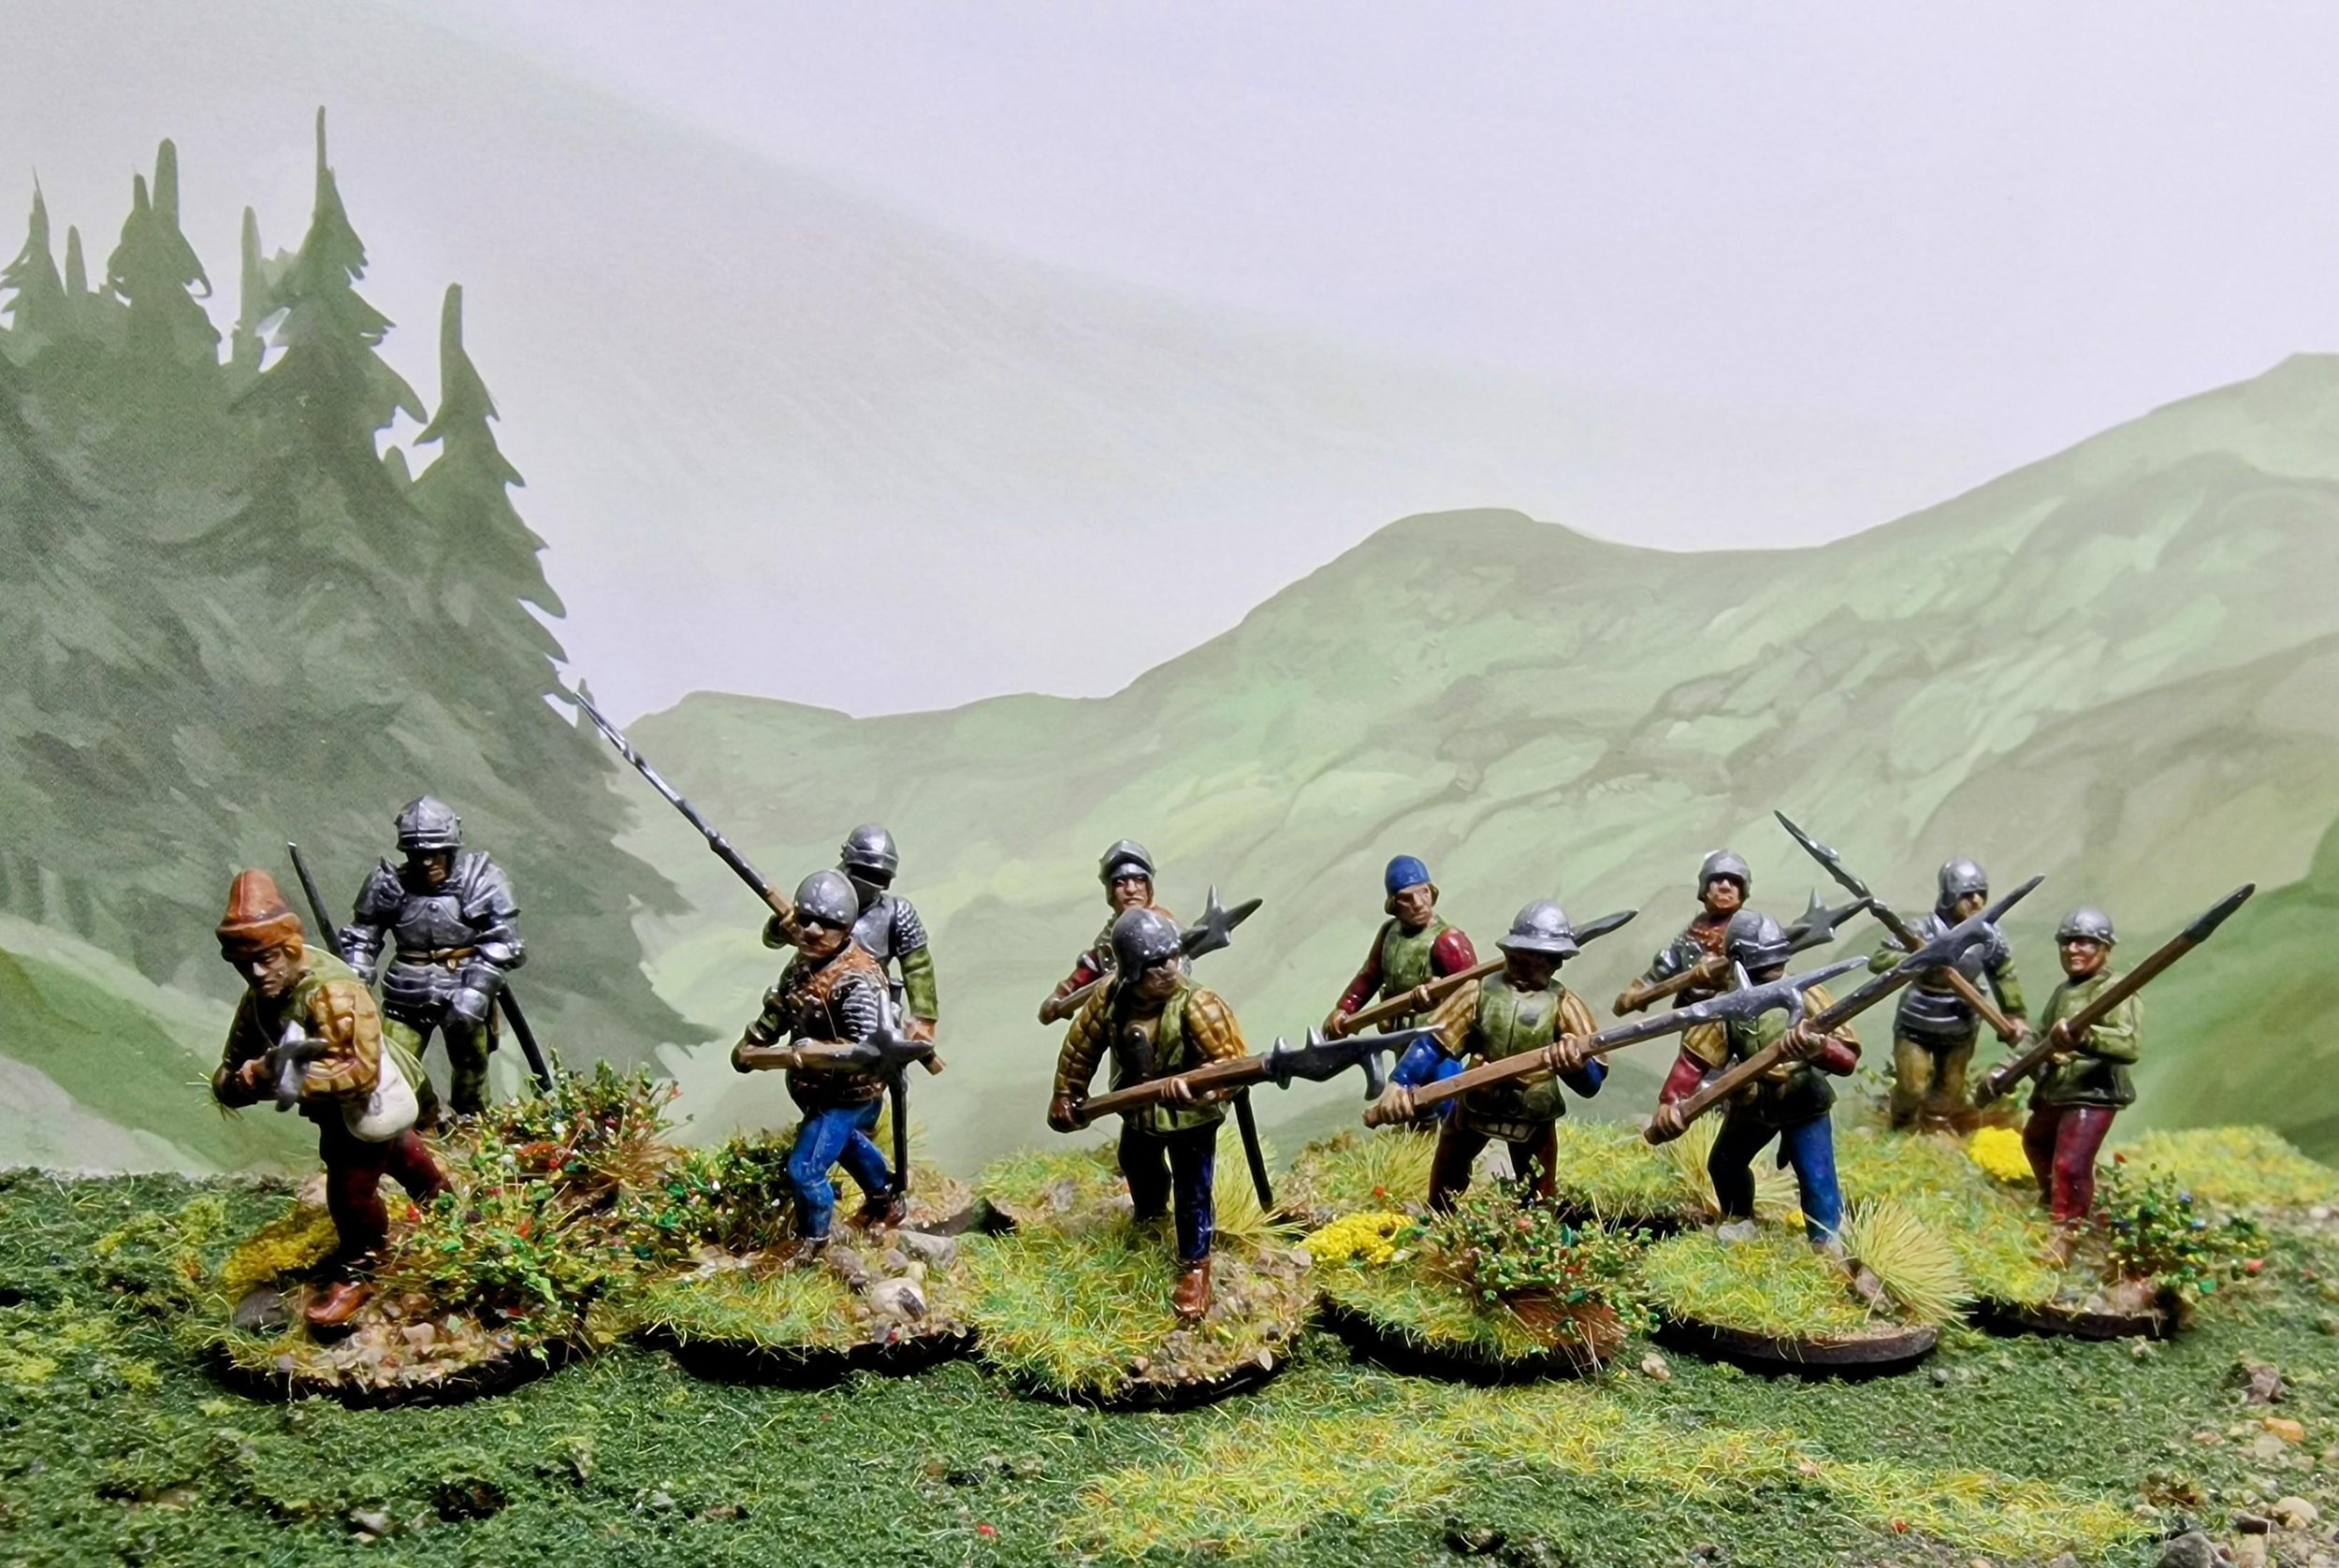
Next up, Andrew is back with some lovely 15mm buildings and tents; and some more 28mm medievals:
Then comes Nick with a fine selection of fantasy 28s. I particularly like the magic user in the pointy hat shown in the first picture below, and the spooky spirit hosts next to them.
Finally (I’m the fifth entrant for those alert at this time on a Sunday morning) here’s Sapper, back with a selection of Ancients and Medievals, 15mm and 28mm:
There’s still plenty of time for the rest of you to get started (11½ months to be exact) and I’m still taking new entrants when possible.
As the title says, not a full battle report, but just some pictures of a “noodling game” that friend Peter and I played recently to test out the effect of the new rallying rule.
Early Imperial Romans versus Classical Indians, with the Romans facing a penalty for successfully rallying and the Indians maxing out their longbows and veteran, escorted elephants.
With the first tournament of the year (the Welsh Open) rapidly approaching, I have upped the speed at which I’m producing units for my new Later Italian Condotteri army.
First up are the last of the infantry that I need: a unit of Crossbowmen:
These are Perry platics taken from the Mercenary Infantry 1450-1500 box, and very nice they are too.
The Crossbowmen are pretty easy to build, and you have a nice variety in poses for both shooters and those reloading.
Next up are the first of the Later Knights, also Perry plastics:
The horses were fairly easy to put together: the only tricky bit was getting the surcoats to line up properly at both front and back.
The knights were a bit tougher: head and left arm were easy, but getting the lance-arm in the right place was a real pain as, presumably in the interests of pose flexibility, the lance and the arm come in two parts: the lance and the hand holding it, and the handless arm. Getting it all to fit together after wrestling with the horse surcoats and the rest of the rider was not fun!
They are, however, easy to paint: lots of good detail and relief. The panels on the horse surcoats come with some embellishments and studs along the seams which, as you can hopefully see, can be painted in a bronze/gold colour that really makes the figure pop. The rest of the model is mostly armour: black undercoat highlighted with steel.
All in all I love the look I’ve achieved with the Knights…almost enough to make up for the pain that was the lance arm!
Time for the next installment in the Siege of Norchester English Civil War campaign that friend Rob and I are playing through. The Royalists beat my Parliamentarians in both of the previous games, so I could really do with a win.
The situation is thus: the Parliamentarians are bringing up their sige artillery in order to properly invest Norchester. The Royalists have discovered this and have laid an ambush: if they can destroy the guns, then Norchester survives at least until another siege column can be raised.
Unfortunately for the Royalists, their ambush is triggered early, and that is where the action starts…
The infantry contingent of the Parliamentarian siege train executed a neat right turn to face the oncoming Royalists, but the Dutch horse at the head of the colmn got into all sorts of bother trying to sort themselves out. Finally, one unit of Borders Horse managed to get forwards and prepared to clear away the Royalist Forlorn Hopes.
Meanwhile the Royalist infantry headed forward to engage the enemy, although some confusion in the ranks meant that this advance was staggered rather than co-ordinated.
Meanwhile, at the tail of the Parliamentarian column, not much was happening. Both sides seemed reluctant to move forward, especially the Roundhead commanded shot, who quite frankly disobeyed orders to occupy the nearby farmhouse for three consecutive activations.
In fact, the only units seemingly willing to engage the enemy were the Borders Pioneers right at the back, who steamed up the far left hand side of the table towards some Royalist horse who were apparently having breakfast, then second breakfast, then third breakfast etc.
Back at the proposed ambush site, and some Borders horse swept one of the Royalist Forlorn Hopes from the field, but were then served the same coin by the other. Nothing very conclusive happening here!
Back to the tail end, and much to everyone’s surprise the Borders Pioneers had passively seen off the now-fully-breakfasted Royalist horse: I say “passively” as the Pioneers had no guns, only pikes, and if the Royalist horse had left them alone, each side would have cancelled the other out, but the Cavaliers couldn’t resist the challenge, and effectively charged themselves to death on the Pioneers’ pikes!
That left them free to attempt to curl around the Roundhead left flank, potentially helping their comrades in the centre, who were by now engaged.
Now, however, the Borders Pioneers had realised that they were indeed pioneers, and elected to stop moving towards the action despite a rather inviting flank charge opportunity: presumably waiting for someone to tell them where to dig a hole or two.
The battle was, however, always going to be decided towards the front of the column, where both sides had their main forces, and where a general combat had broken out over the hedge row.
The Royalist had managed to sneak a horse unit around onto the Roundhead flank, using it very effectively to dash some Dutch Horse from the field. This gave the Cavaliers the impetus they needed to push the Parliamentarians back from the hedge, following up to take the battle into open ground. Unfortunately for the Royalists, however, the Roundhead horse then generally rallied and began to fight back.
Both sides were also now quite weary (down to just a couple of victory medals each) so it was all going to be down to who won the next few combats and, on a roll after their fight-back, it was the Parliamentarians who, with a good run of cards, got the bit between their teeth (well, their mounts did!) and sent some enemy Swedish horse fleeing from the field.
This proved the final straw for the Royalists, and the day went to the Parliamentarians.
It had been a very close run thing, with my Roundheads narrowly avoiding a third defeat! As it was, I managed to claw back a couple of medals towards the campaign totals, but that still leaves the Royalists ahead.
On to Stour Road for the next thrilling installment in the campaign.
Vis Lardica is a website devoted to wargaming and military history, with a special emphasis on the company-sized rulesets produced by the TooFatLardies: I Ain't Been Shot Mum (WW2); Charlie Don't Surf (Vietnam); and Quadrant 13 (science fiction)

Welcome to Vis Lardica, a not-for-profit website mostly dedicated to the company-sized wargaming rules produced by the TooFatLardies, but encompassing my other gaming interests as well.


If you need to contact me, you can do so at:
vislardica@gmail.com
If you have enjoyed visiting this site, please add a link to it on your own wargaming blog: www.vislardica.com.