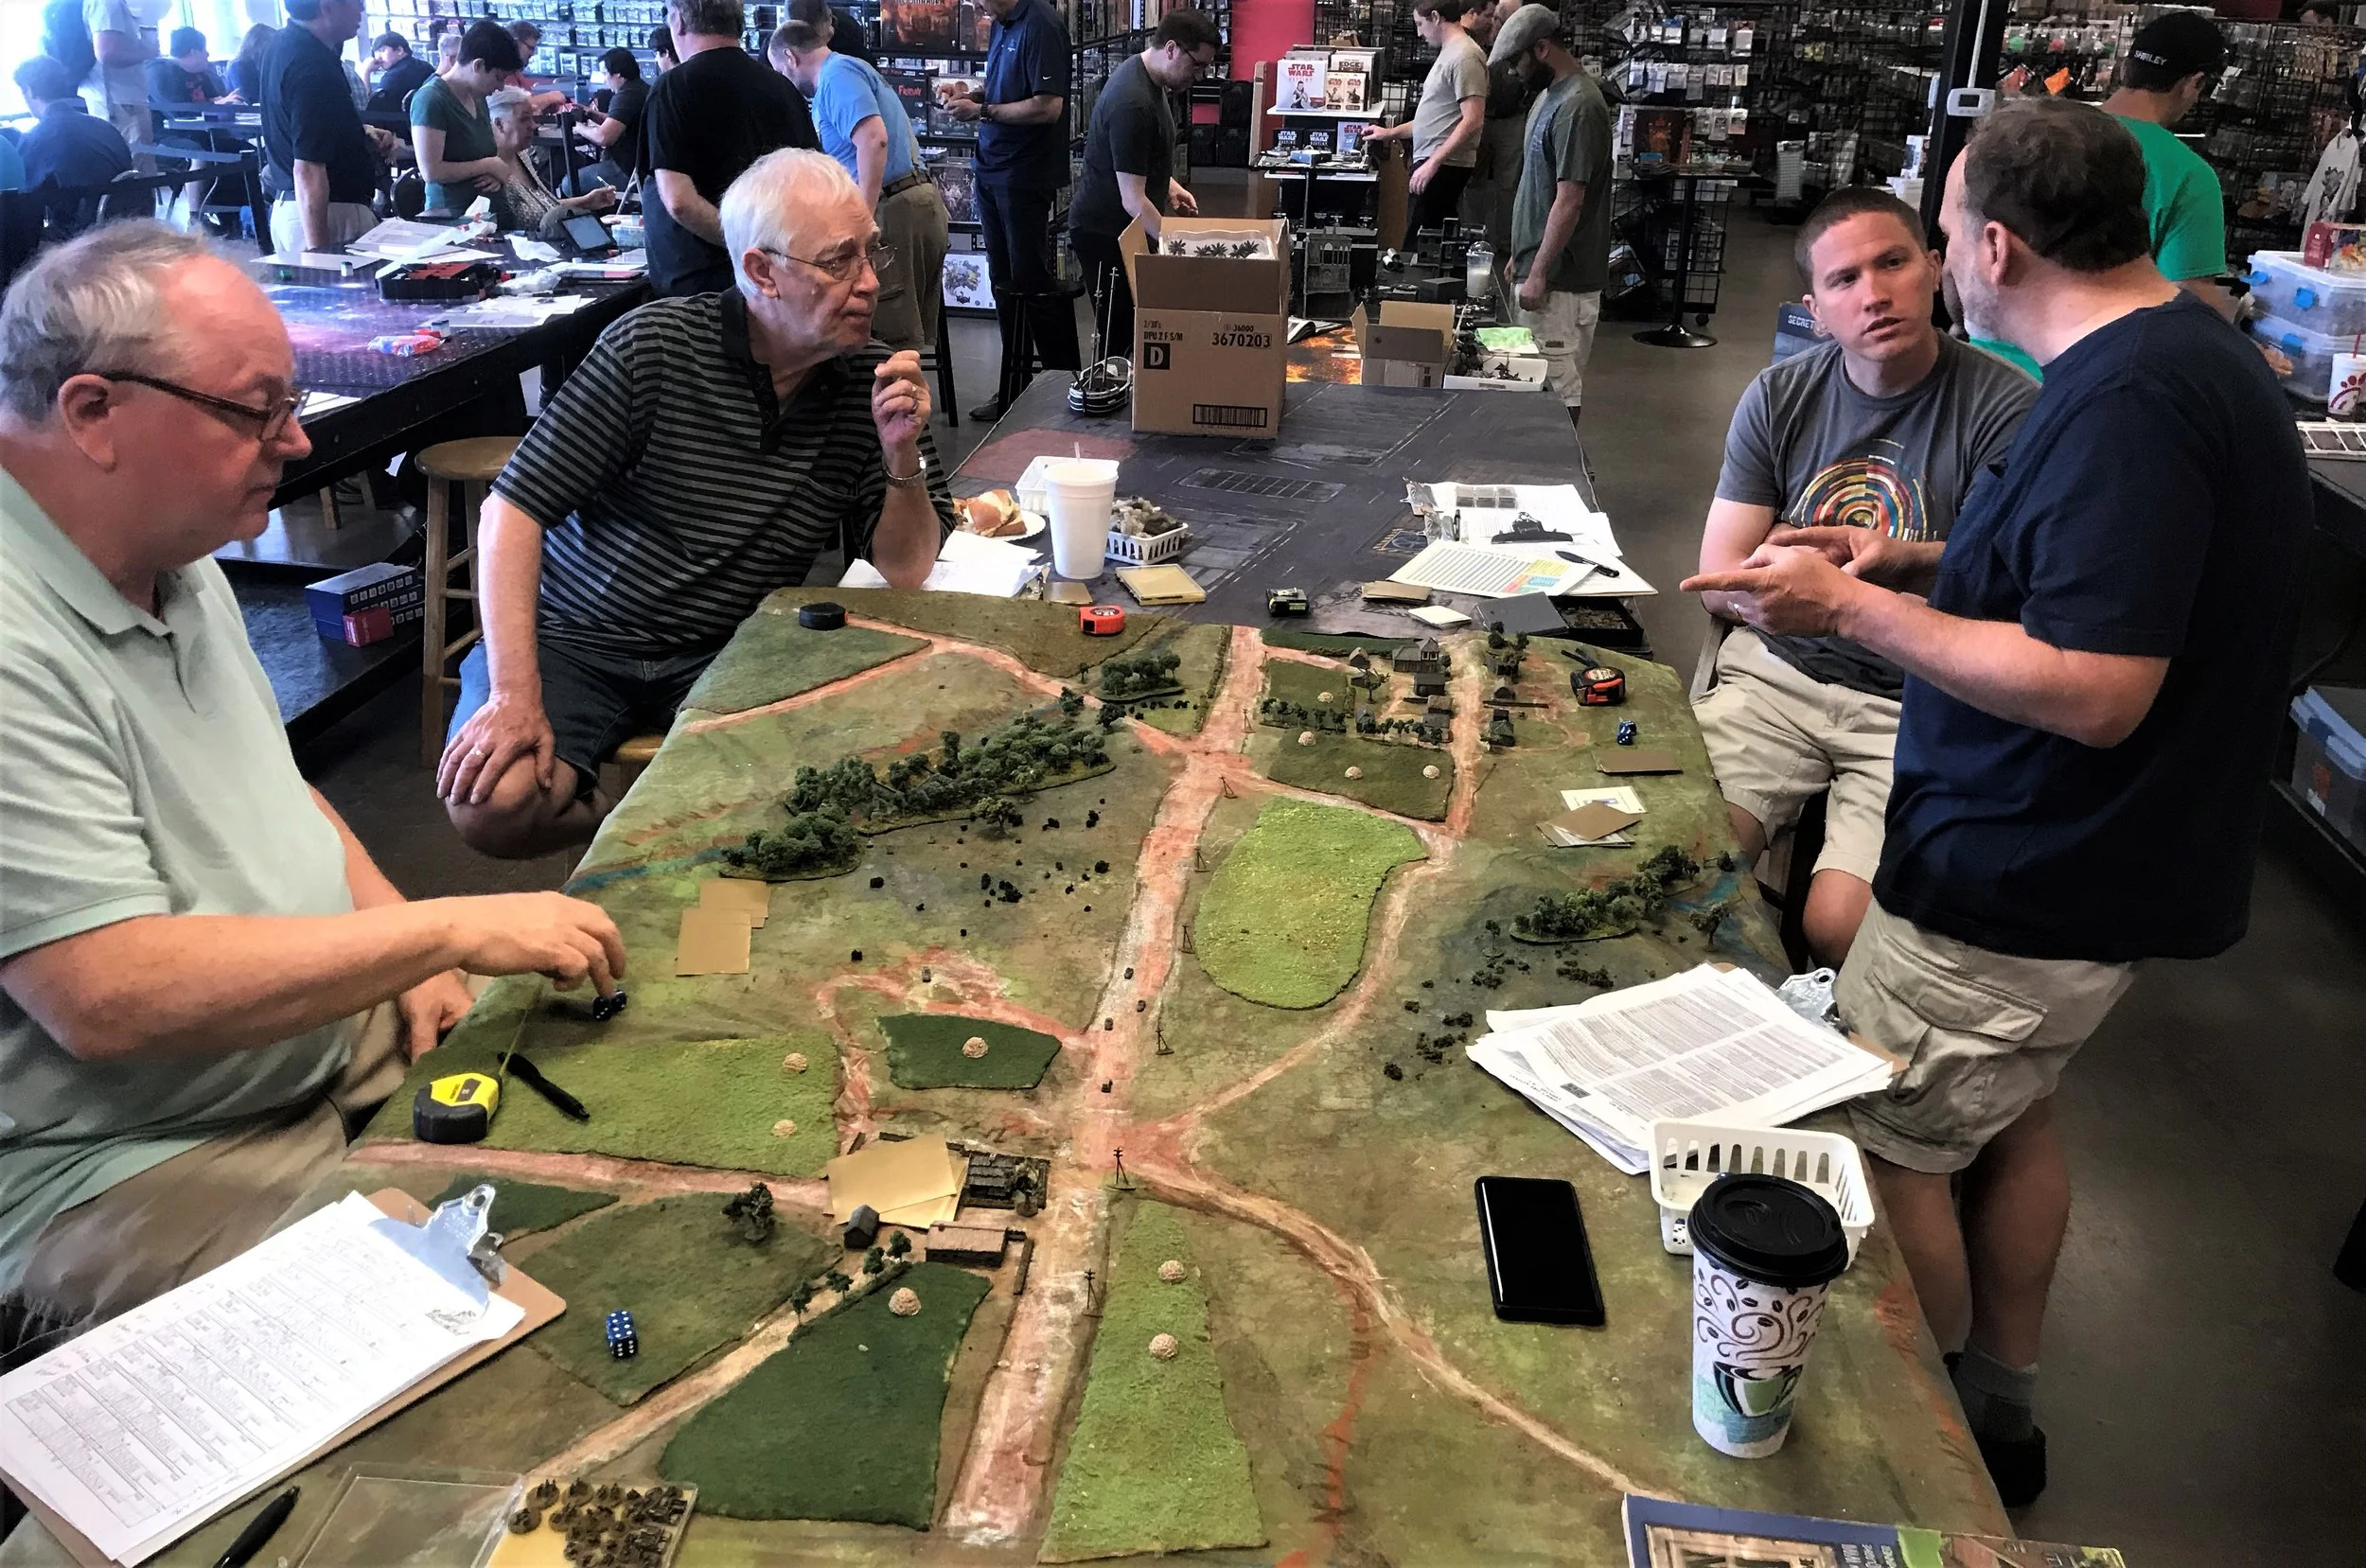
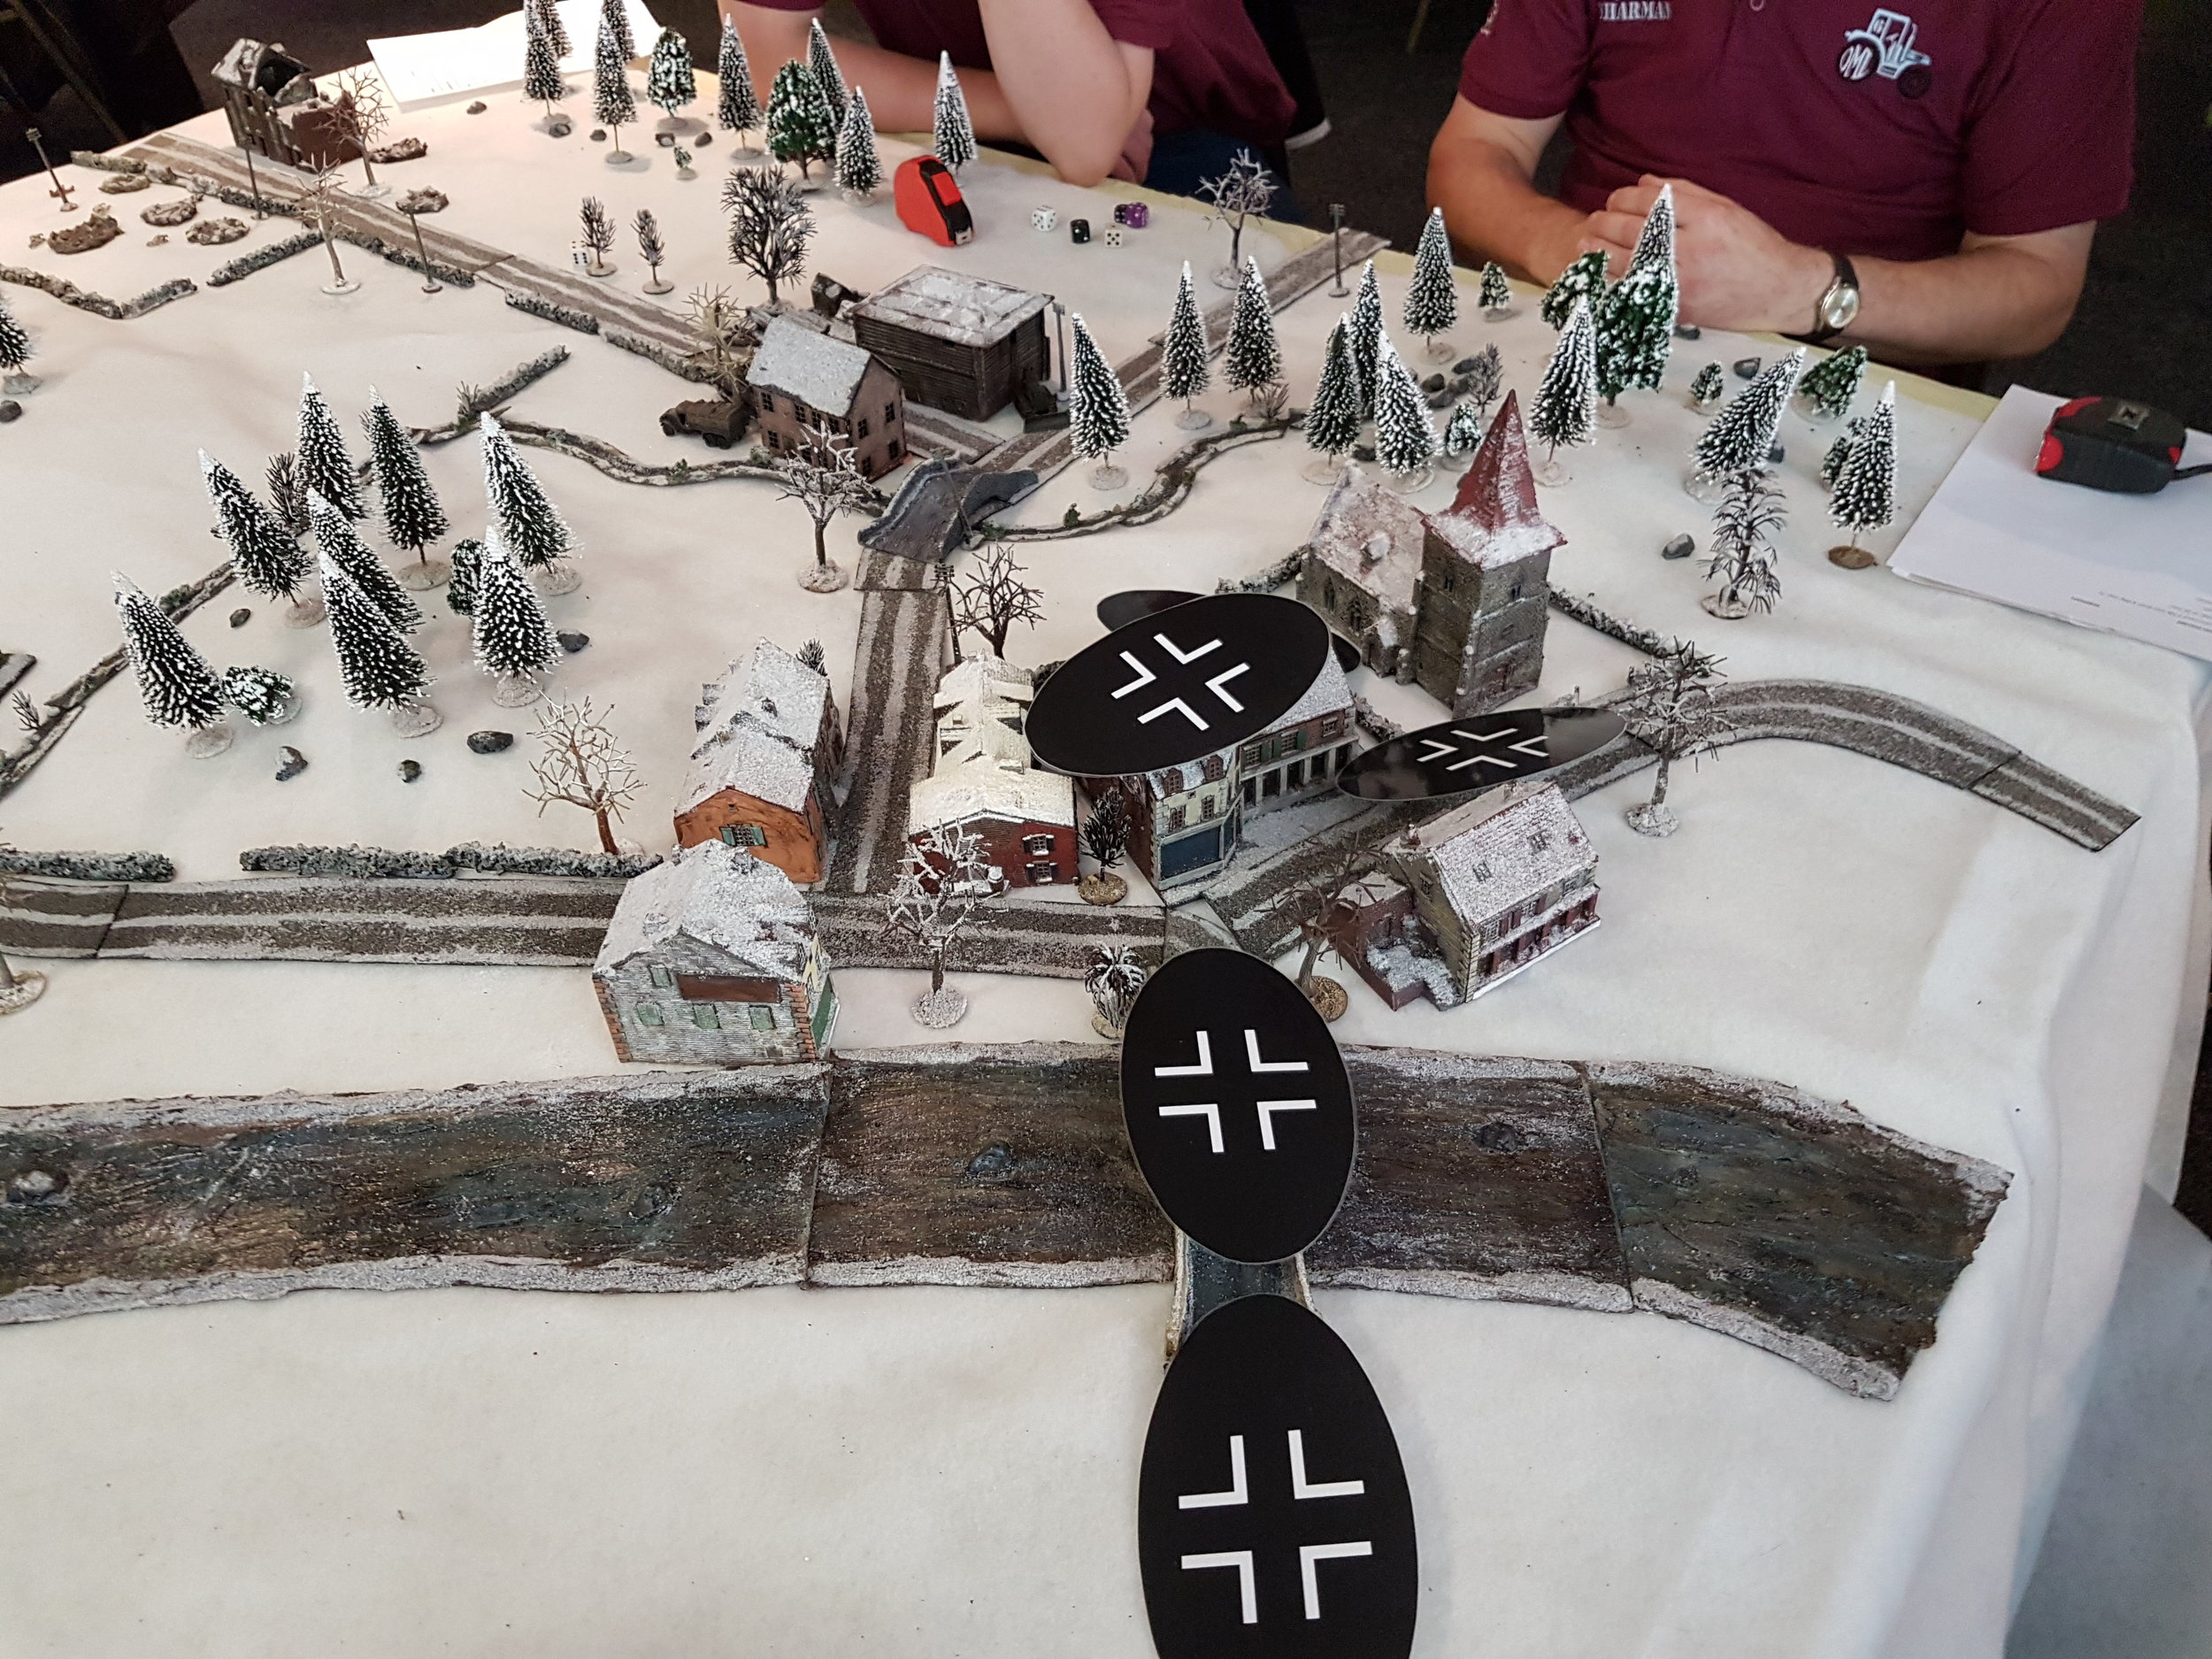
A small table game, just 2'6" by 6' (17.6528cm x 11m for the great unwashed),  last evening on Lard Island. Inspired by El Tel's talk of streetfighting I have been dabbling a bit with Berlin 1945 for a while now, and wanted to roll out a scenario with some of the flavour of that "End Game" battle.

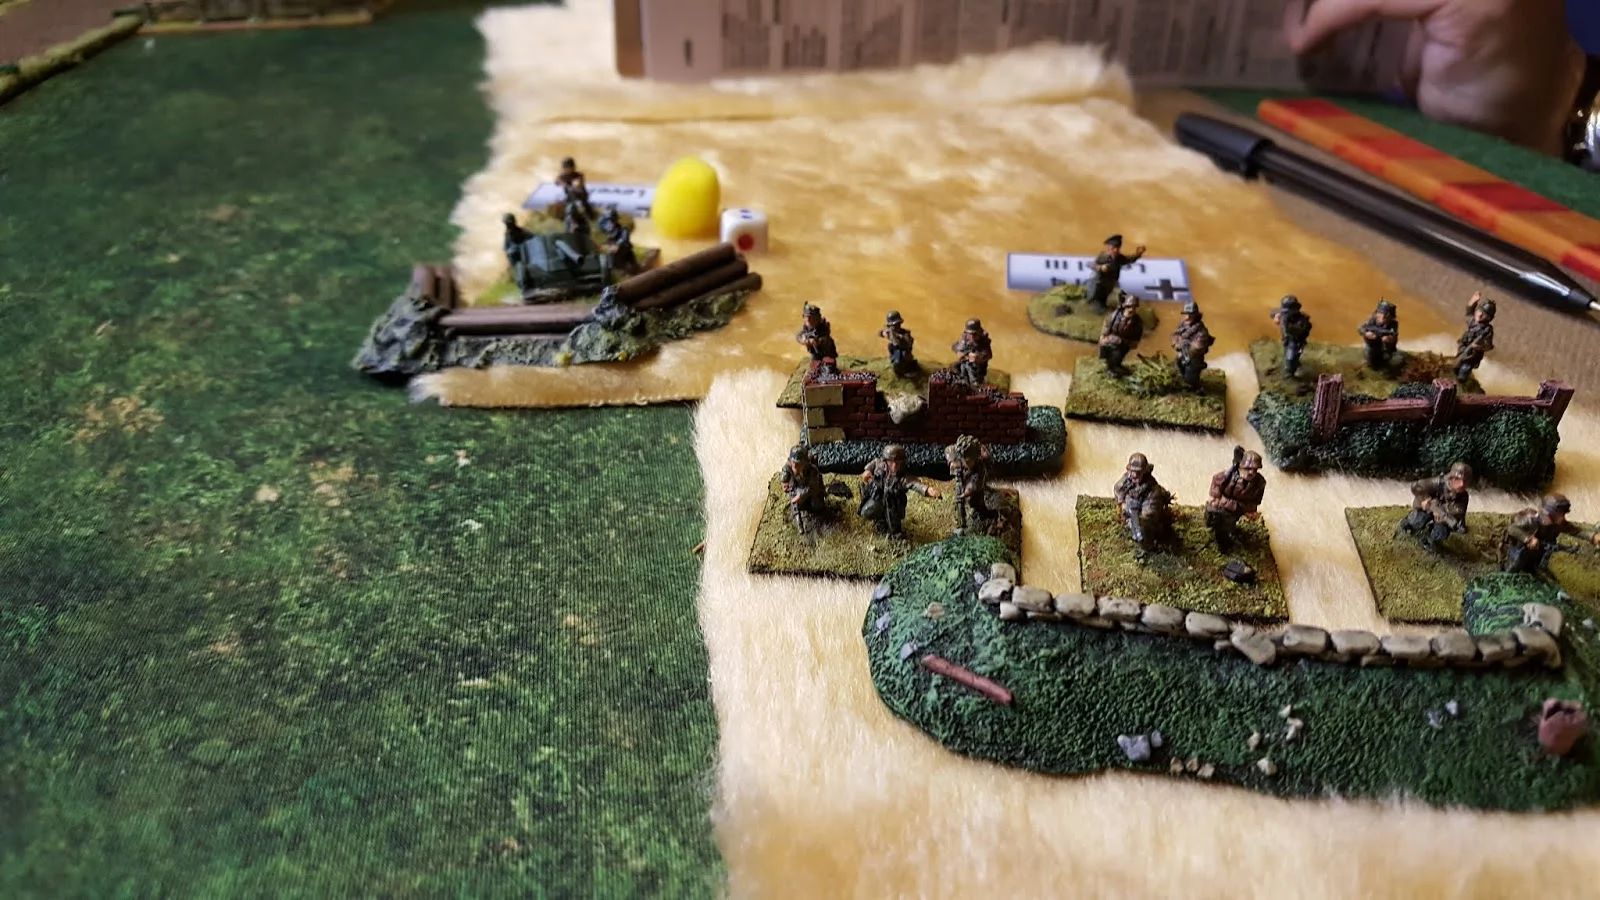
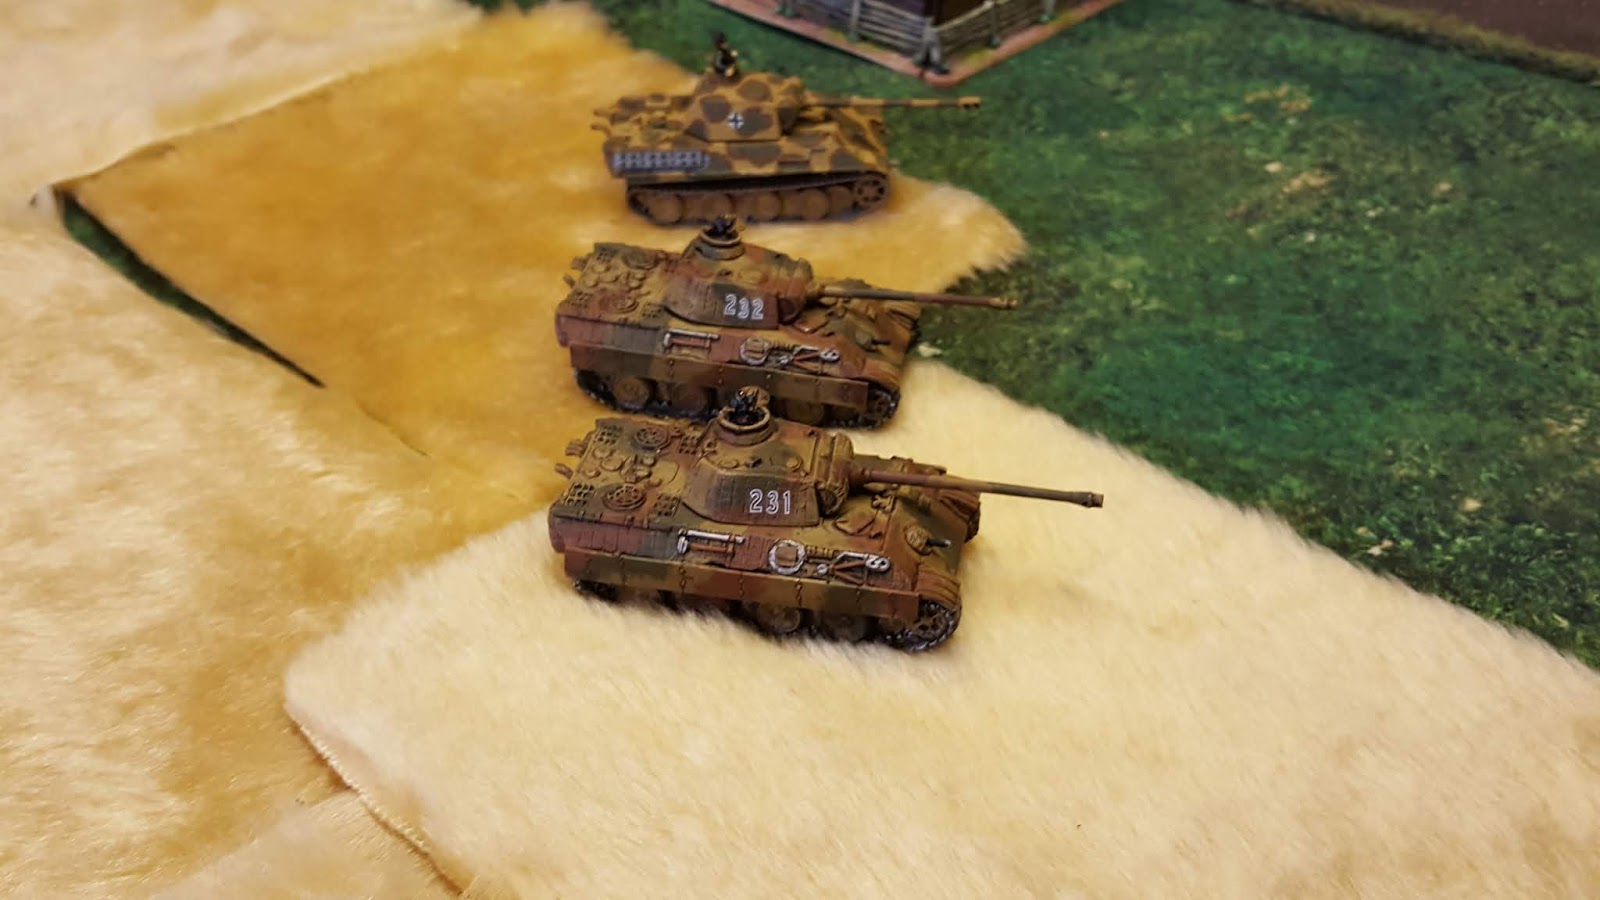
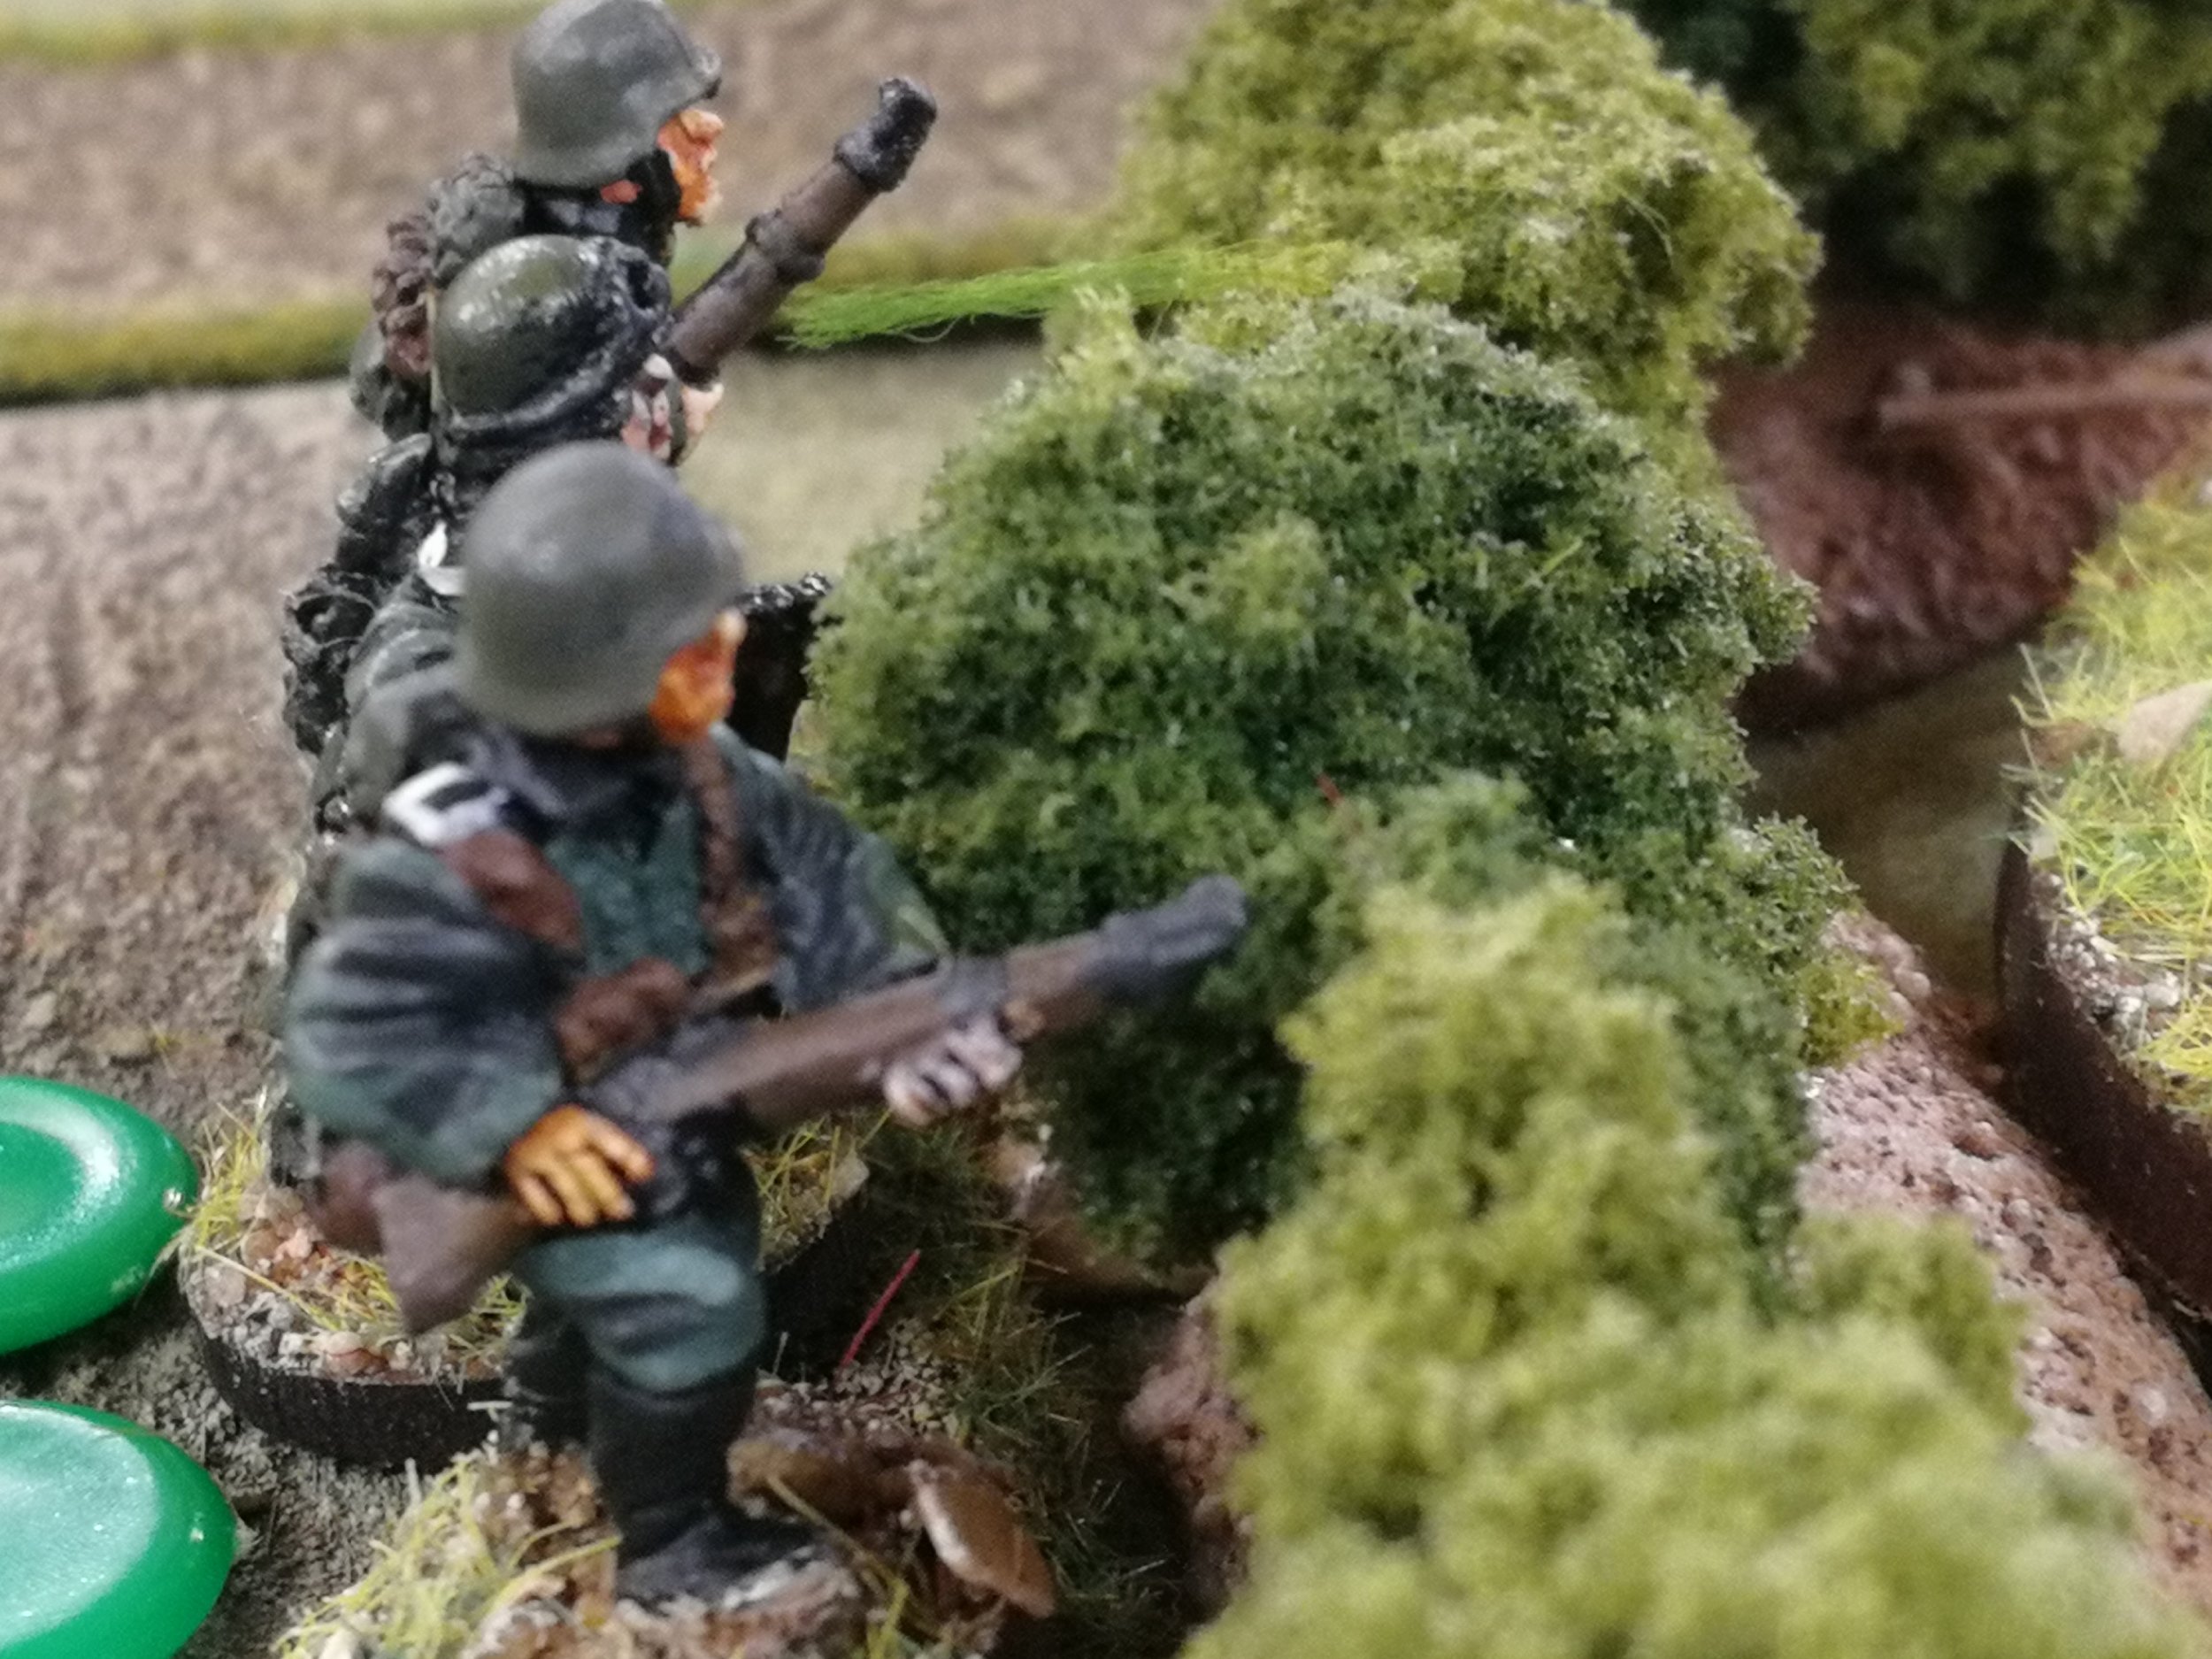
On the German side, as alluded to the other day, the Doc had a platoon of Volksturm under their decrepit Zugfuhrer Willi Niederstanner, along side a Wehrmacht platoon under the joint leadership of Leutnant Oscar Pimpfe and old favourite Kurt Adler. In support they had an old Pak 36 with half a dozen Stielgrenate and two Panther of the Muncheberg Division, one of which had a green crew, the other an elite one under former parachutist turned tanker Jannke Lott.

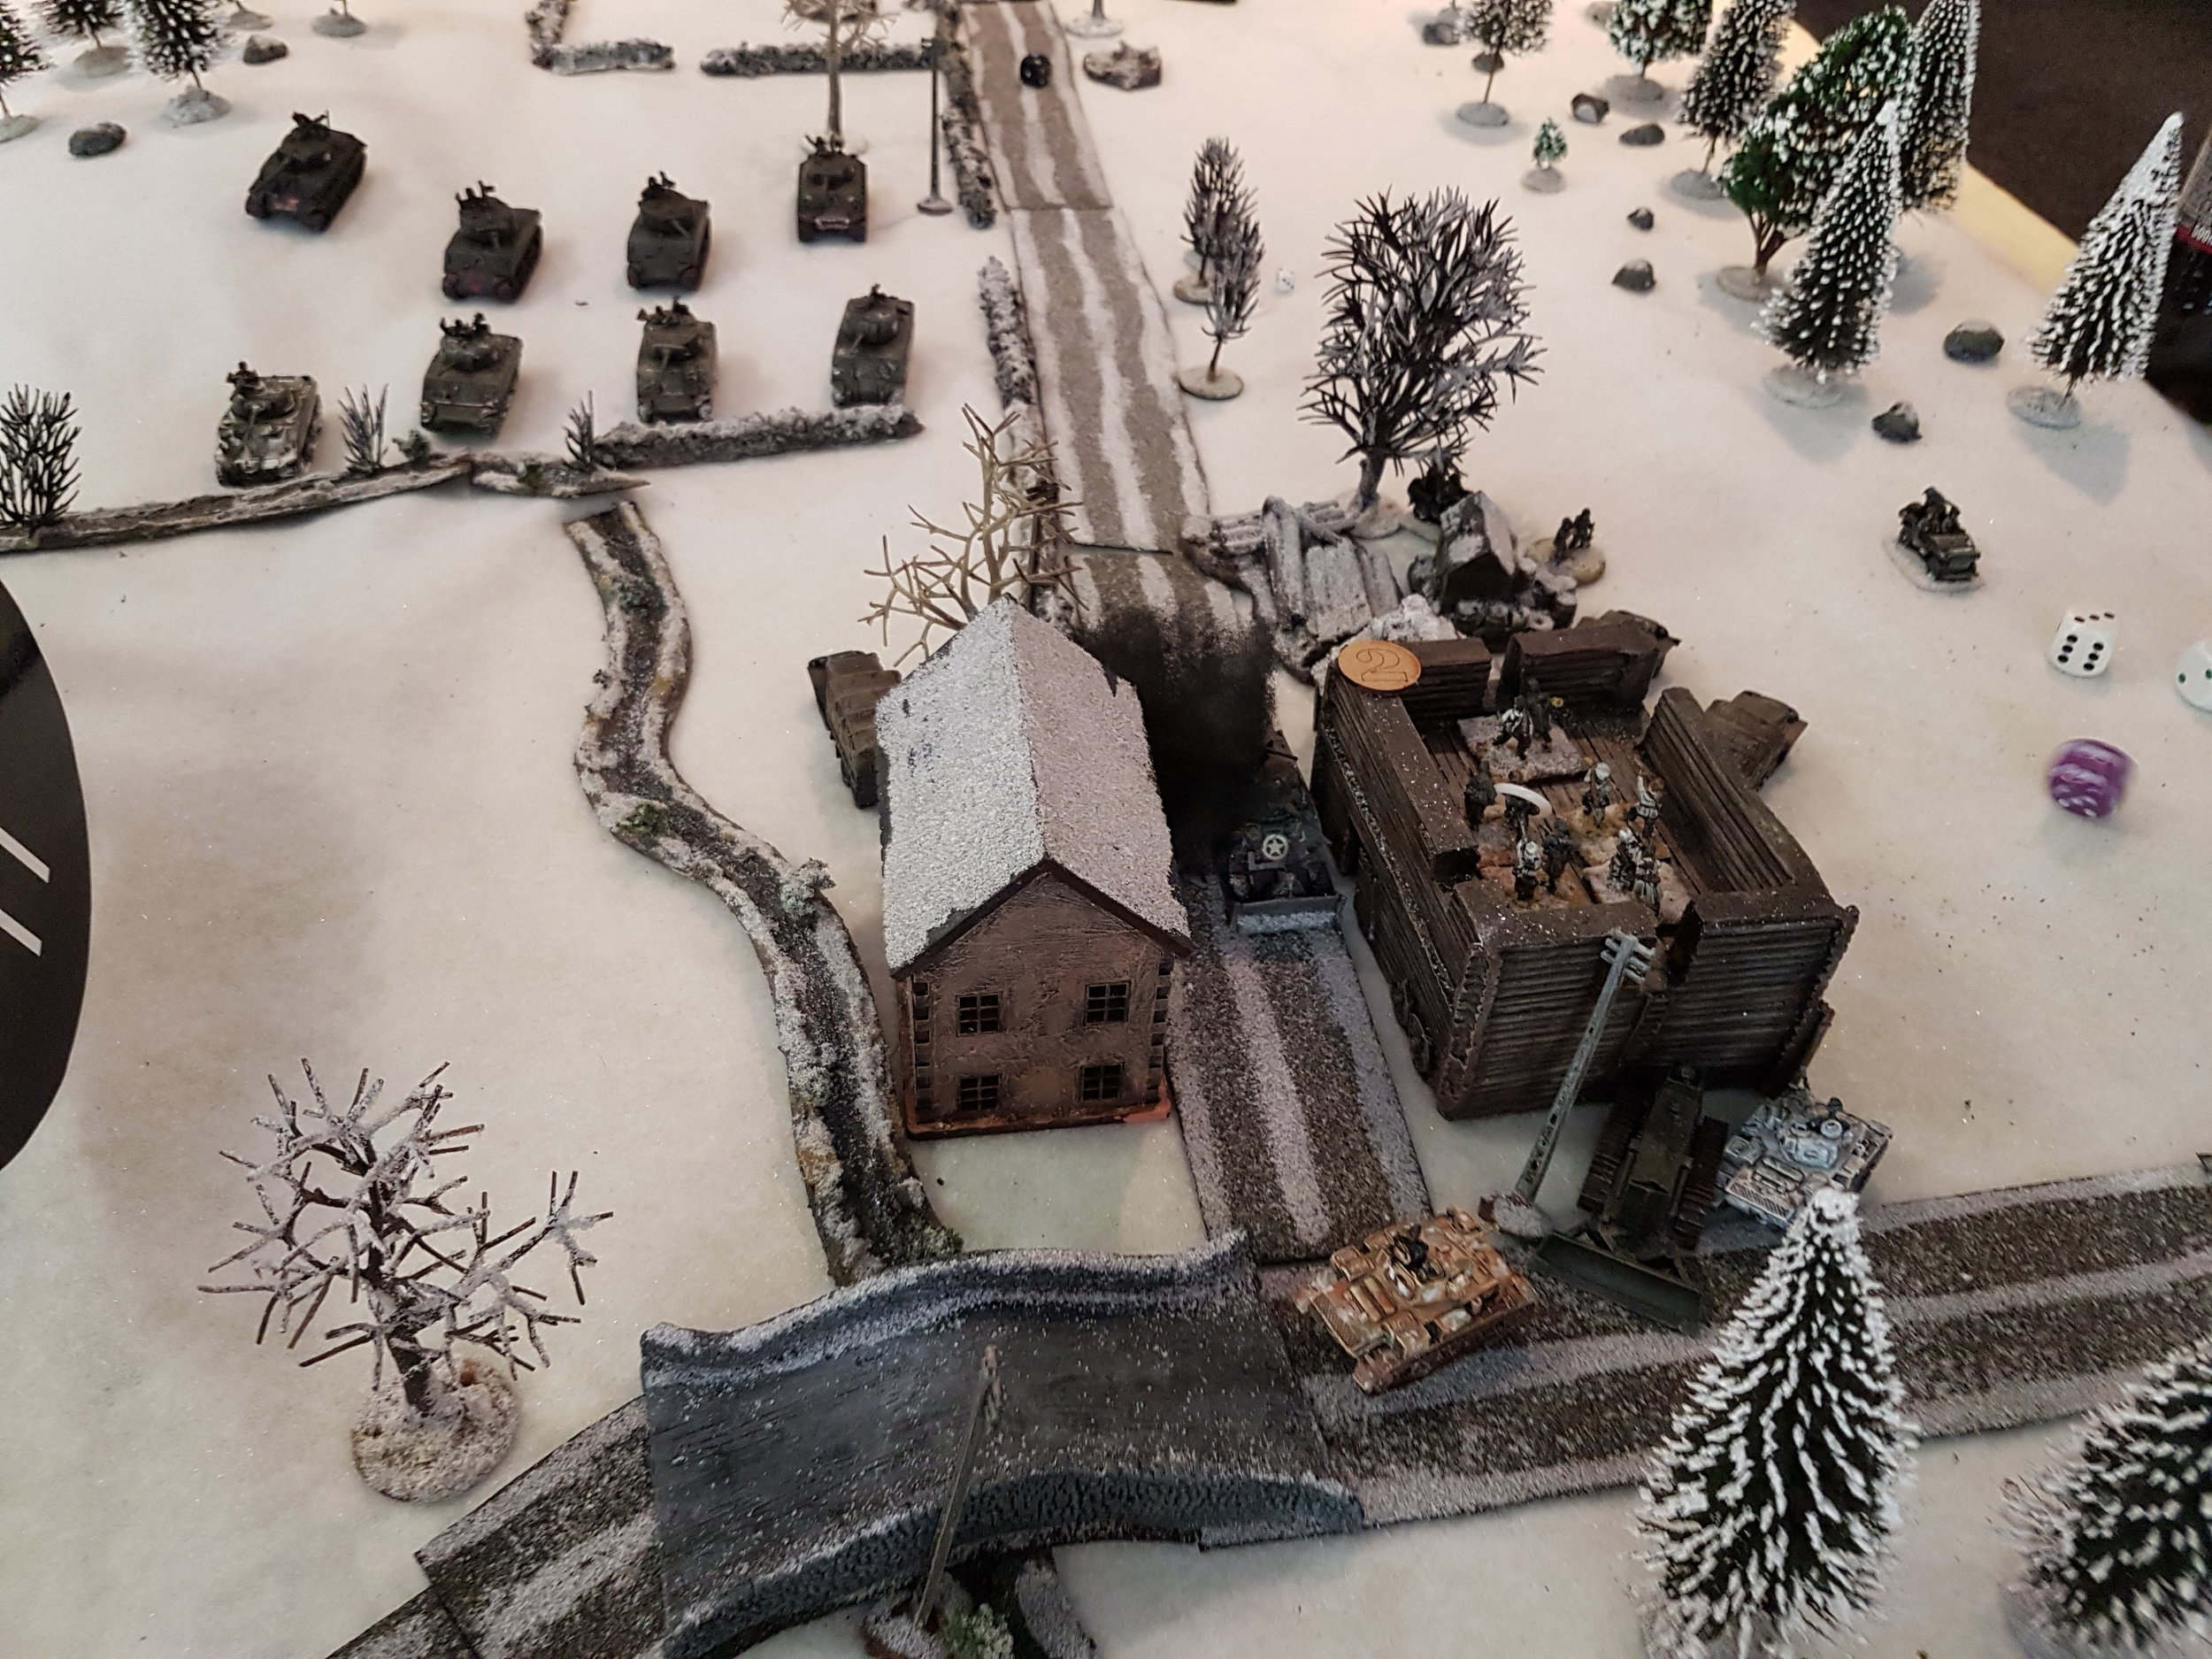
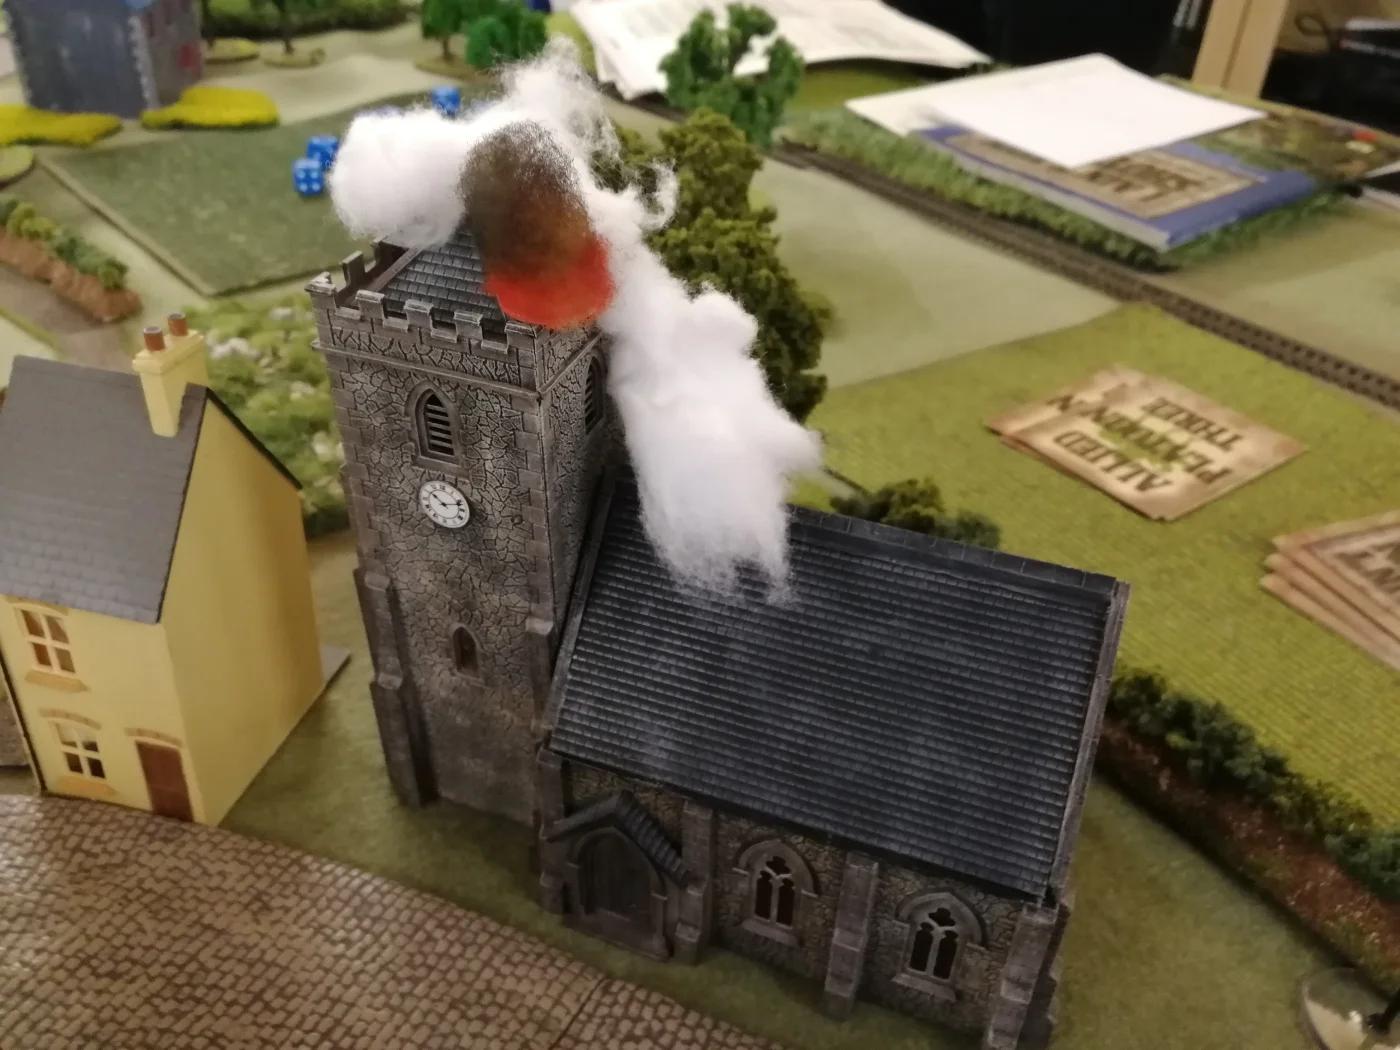
Their job was to defend the Lard Strasse Haupt-Bahnhof, a major nodal point in the Reich's rail network, with significant good yards as well as the main station. More importantly the U-Bahn at Lard Strasse was being used as a field hospital and was jam packed with wounded men.

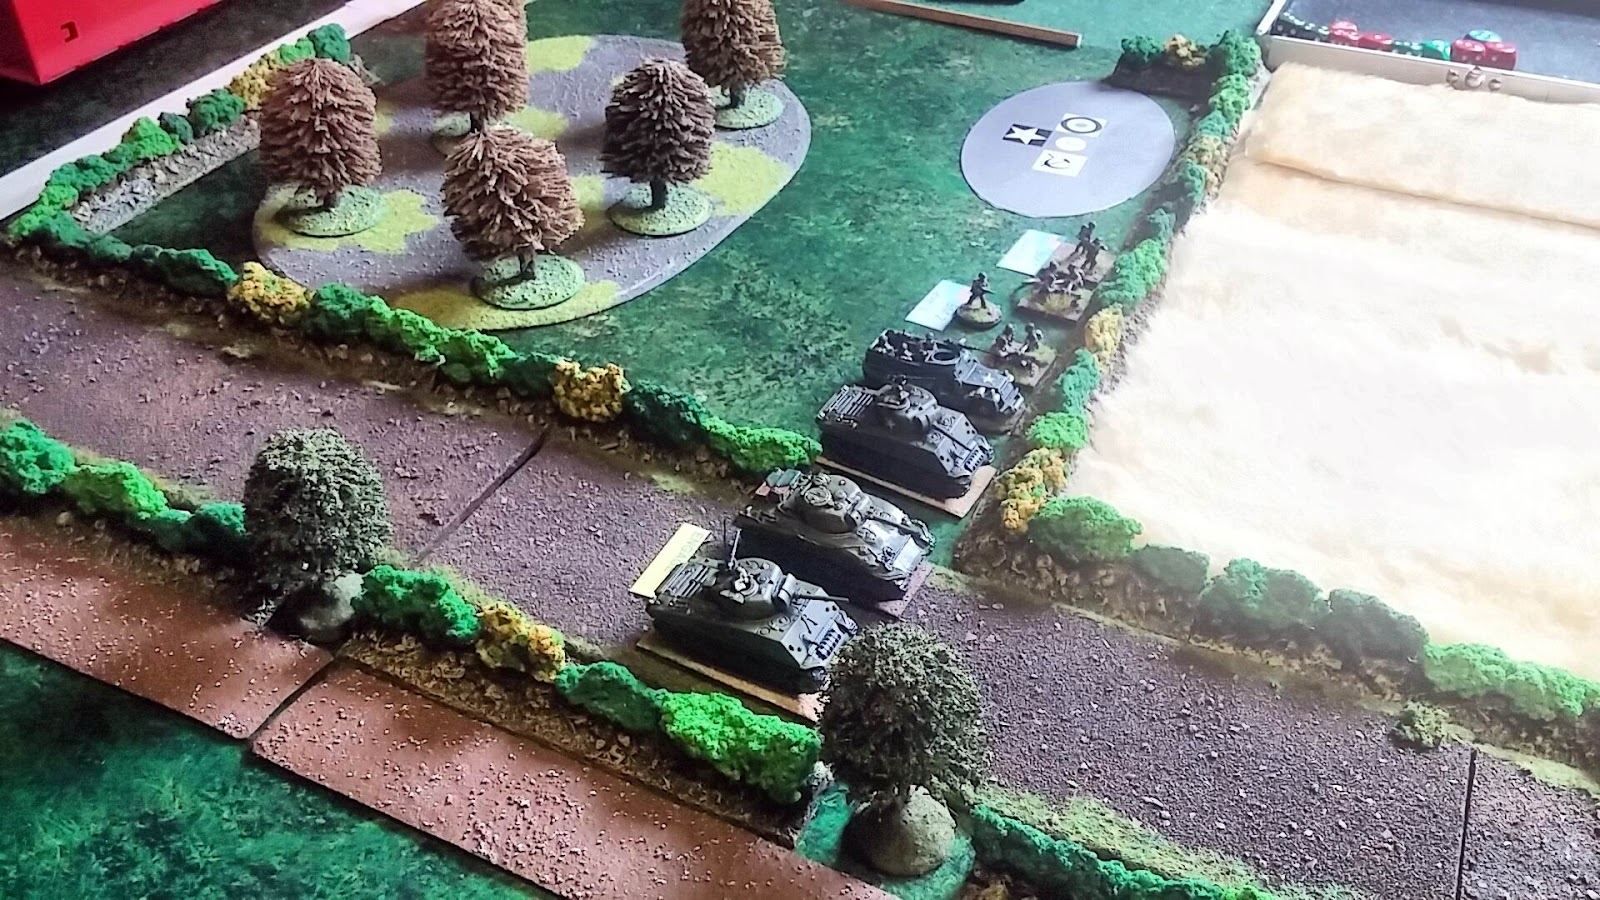
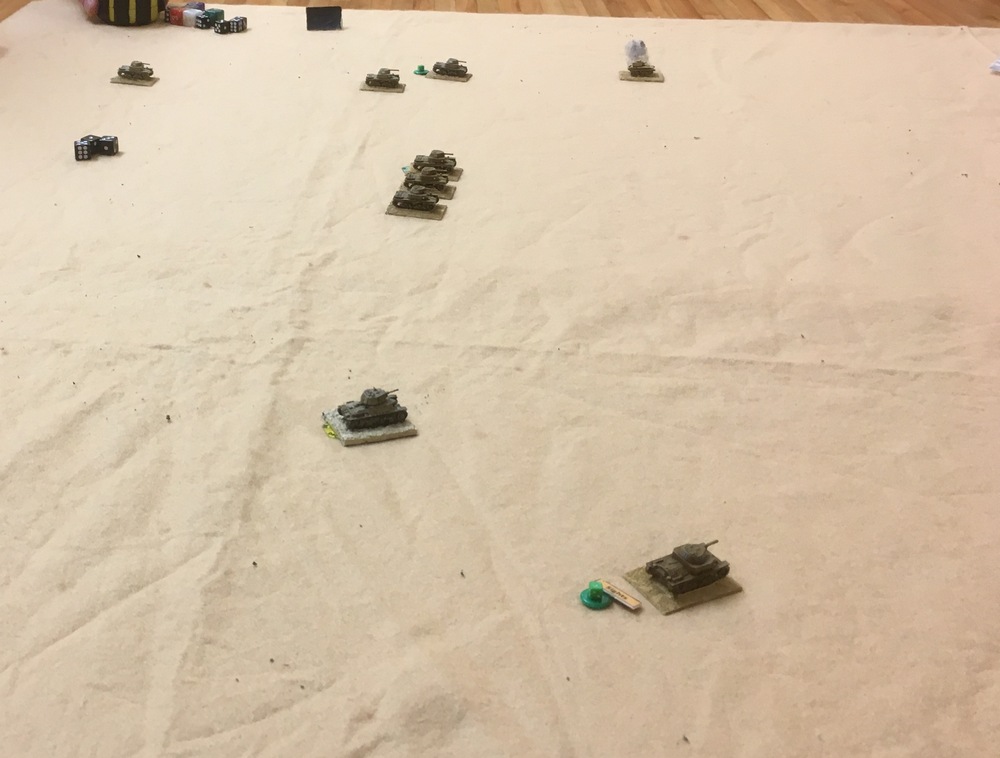
On the Soviet side one full company of infantry was supported by a reduced platoon of three T-34 85s and two SU122s. The T34s had a platoon of SMG armed infantry in support. Noddy, our Red for the evening, knew of, and cared nothing for, field hospitals. His orders were to seize the station and that was what he intended to do.

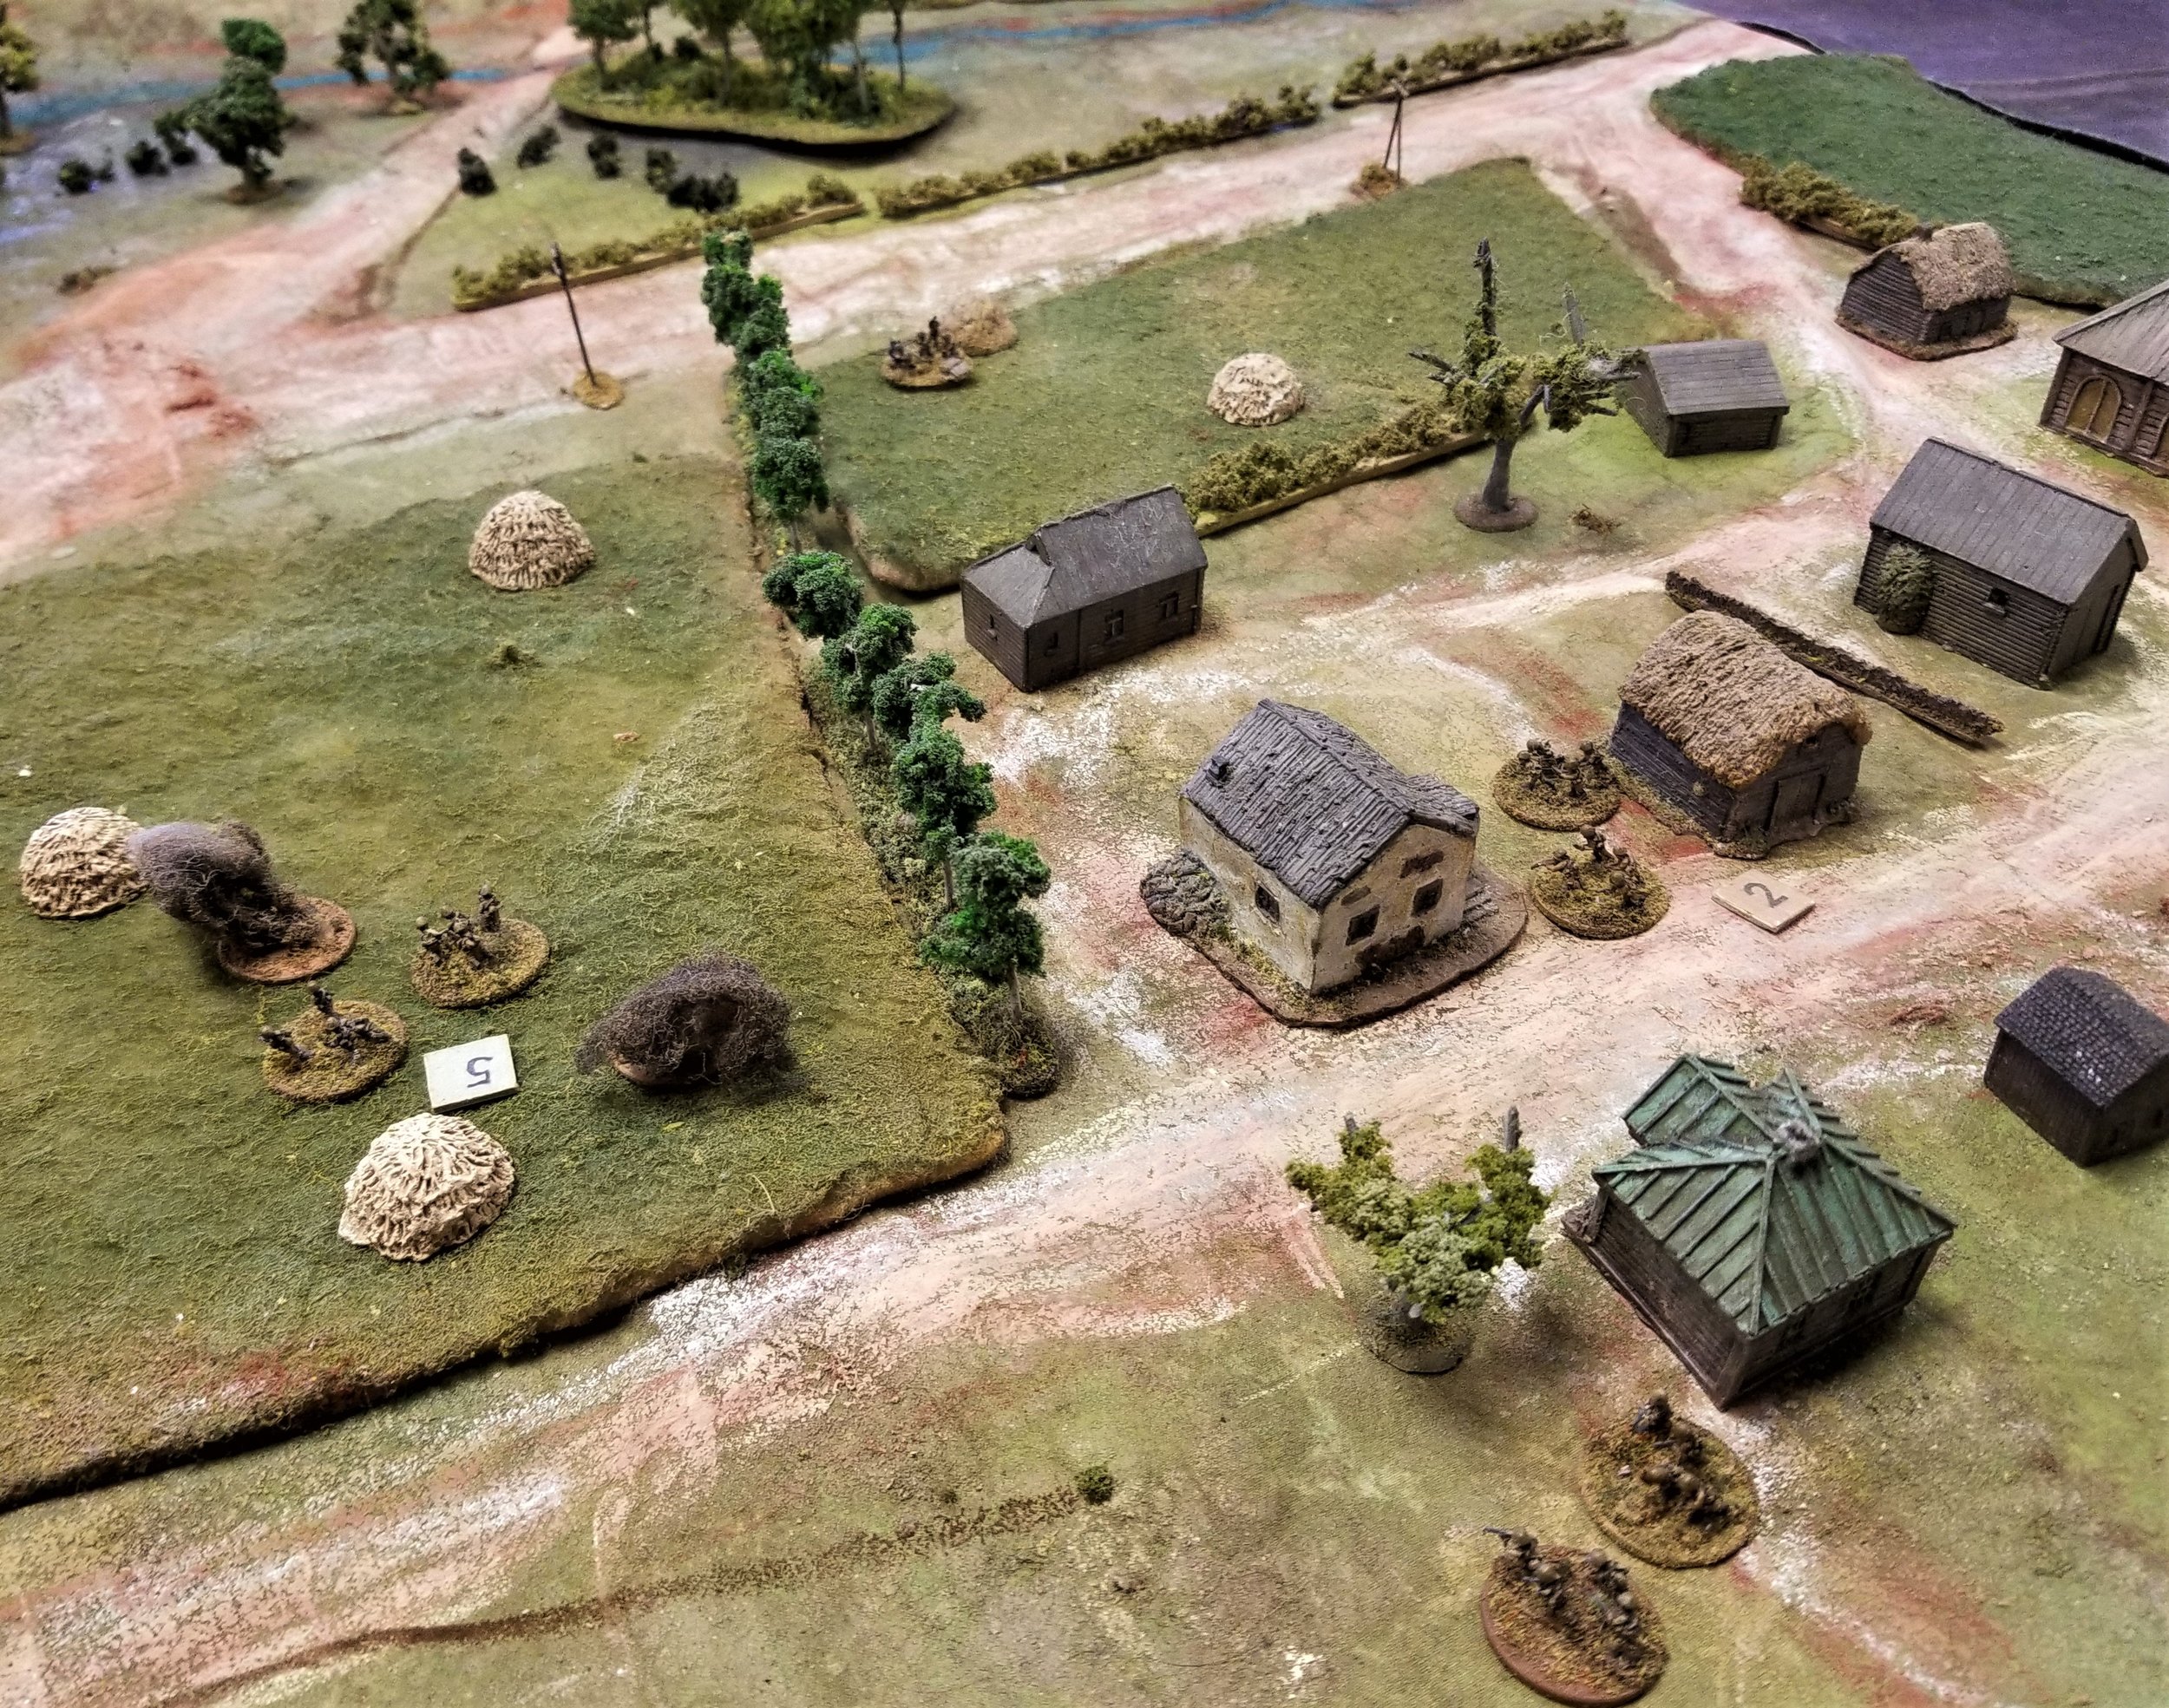
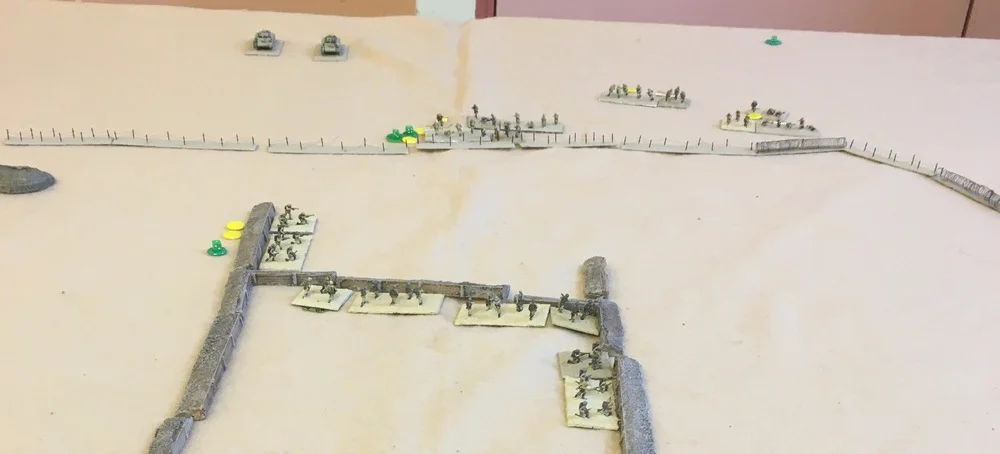
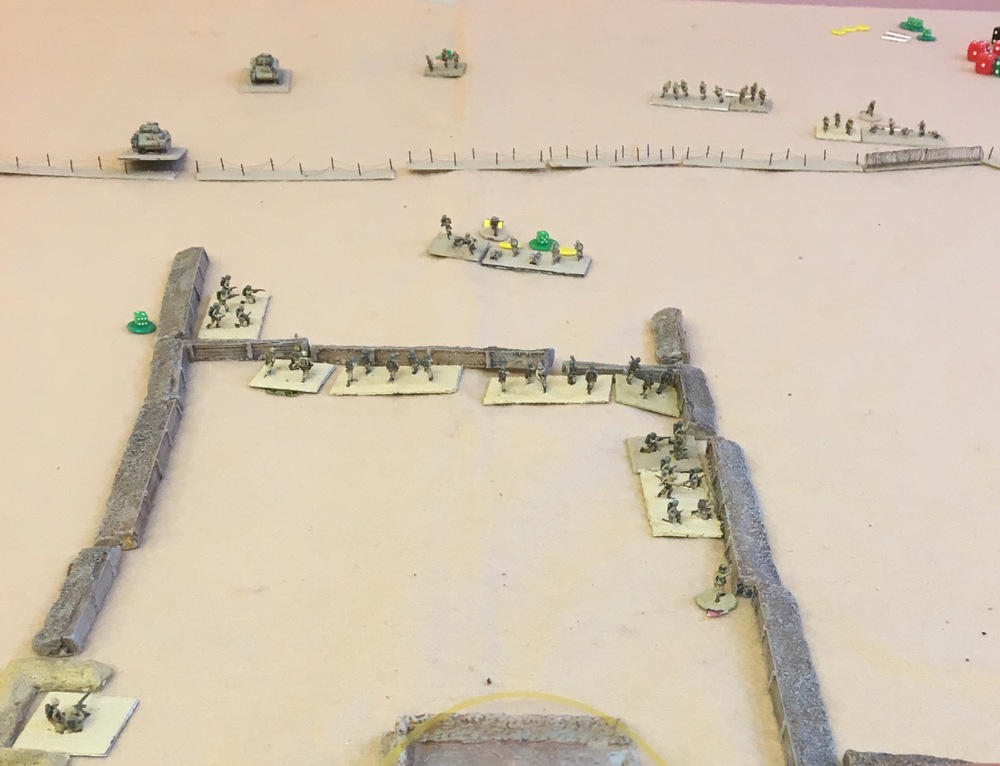
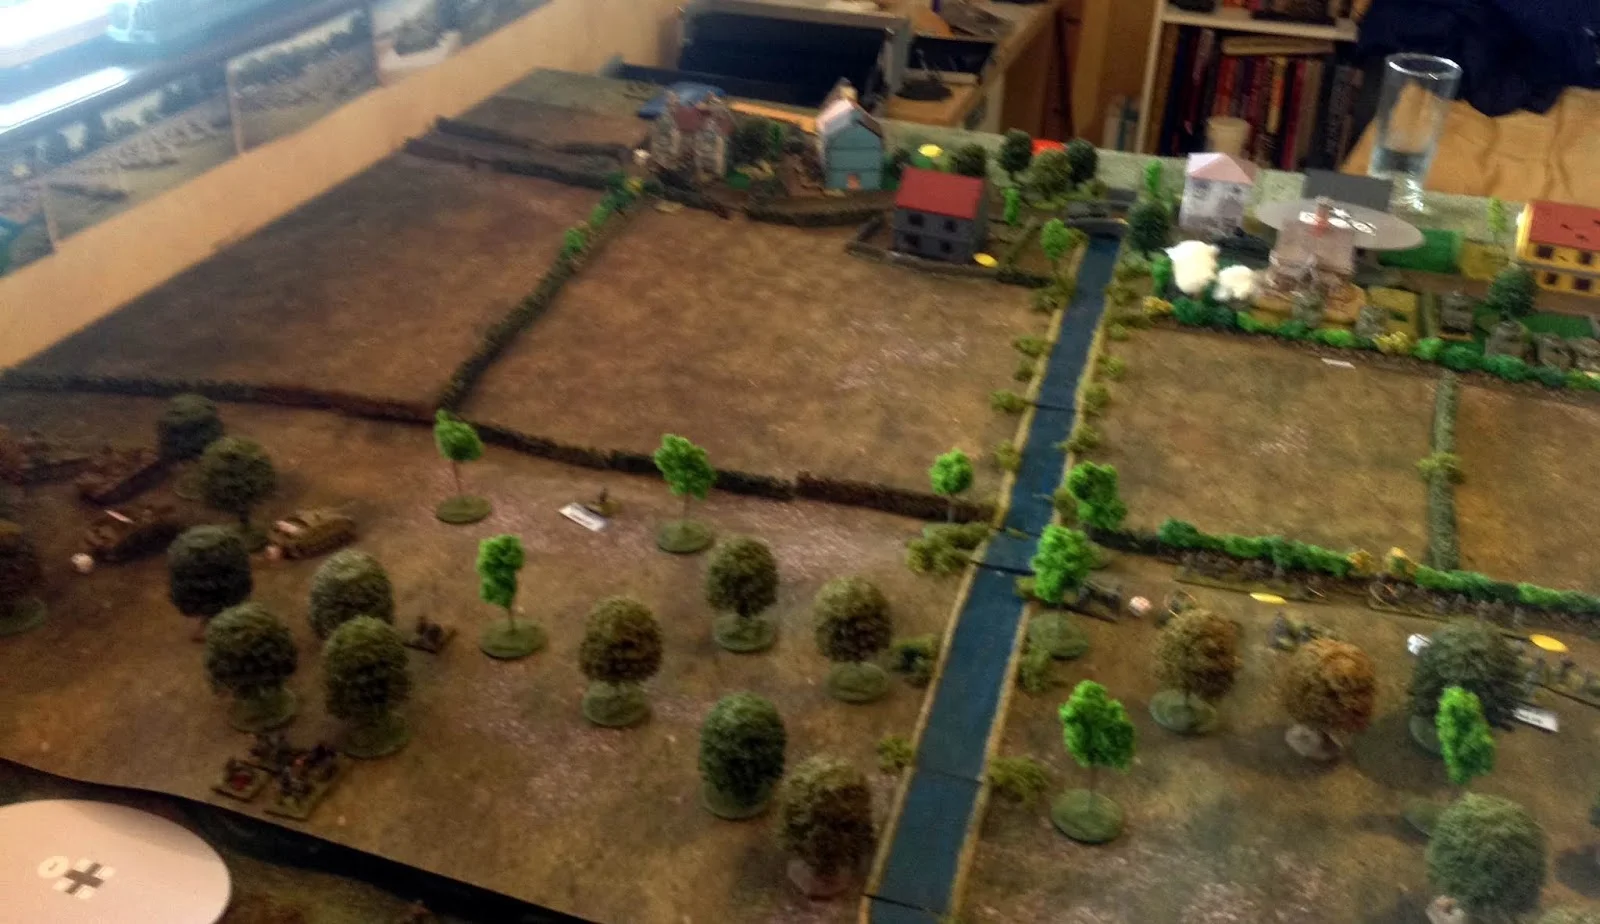
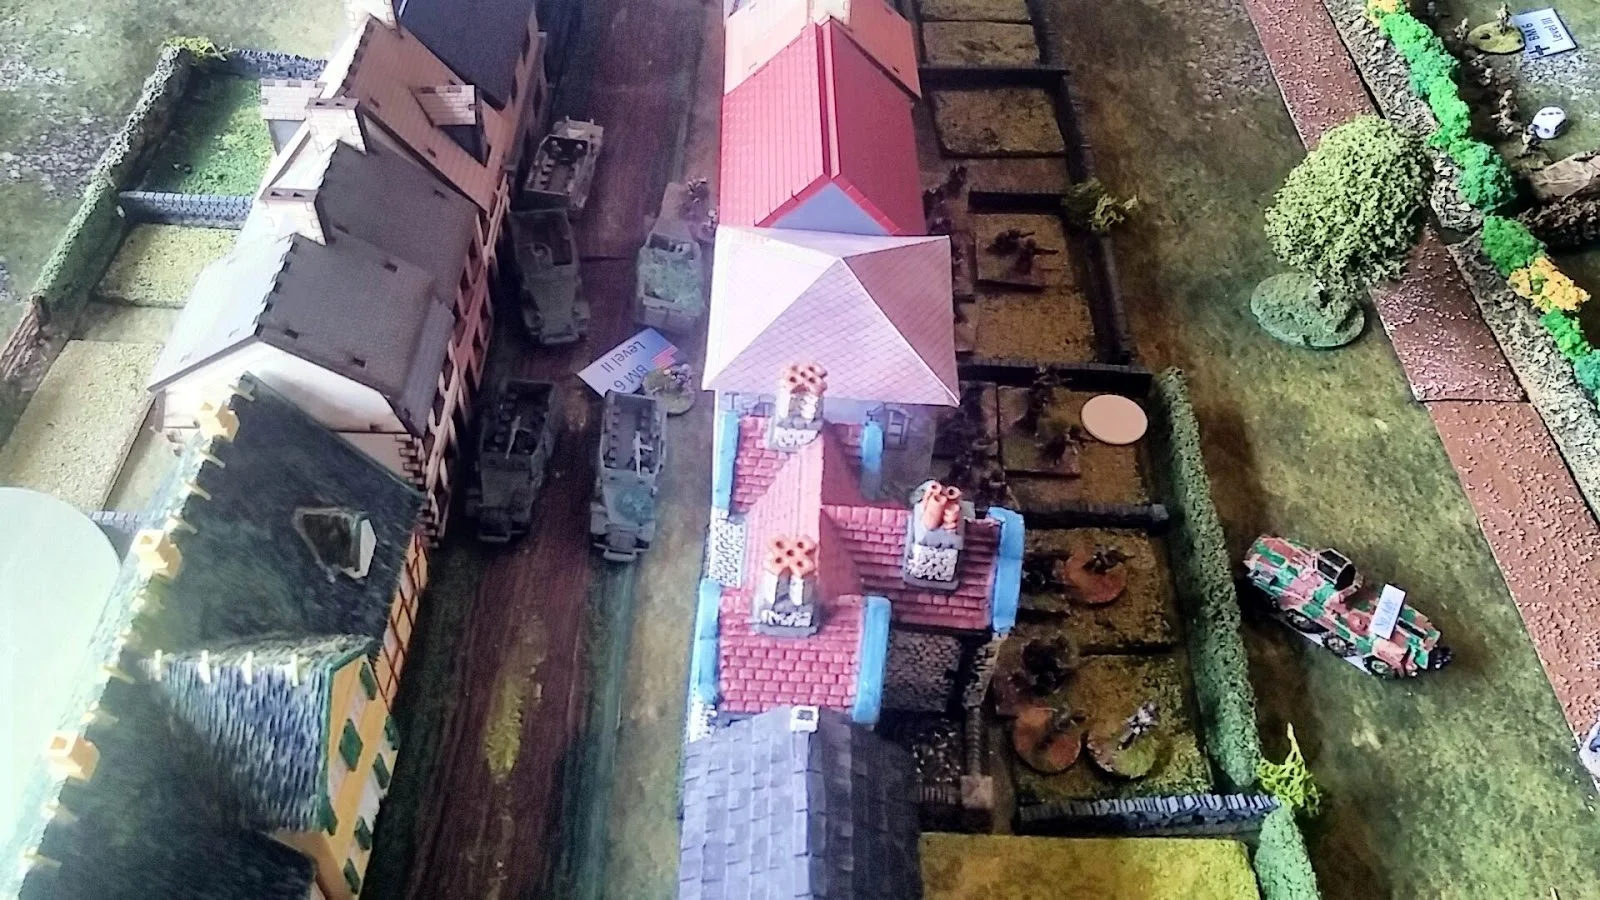
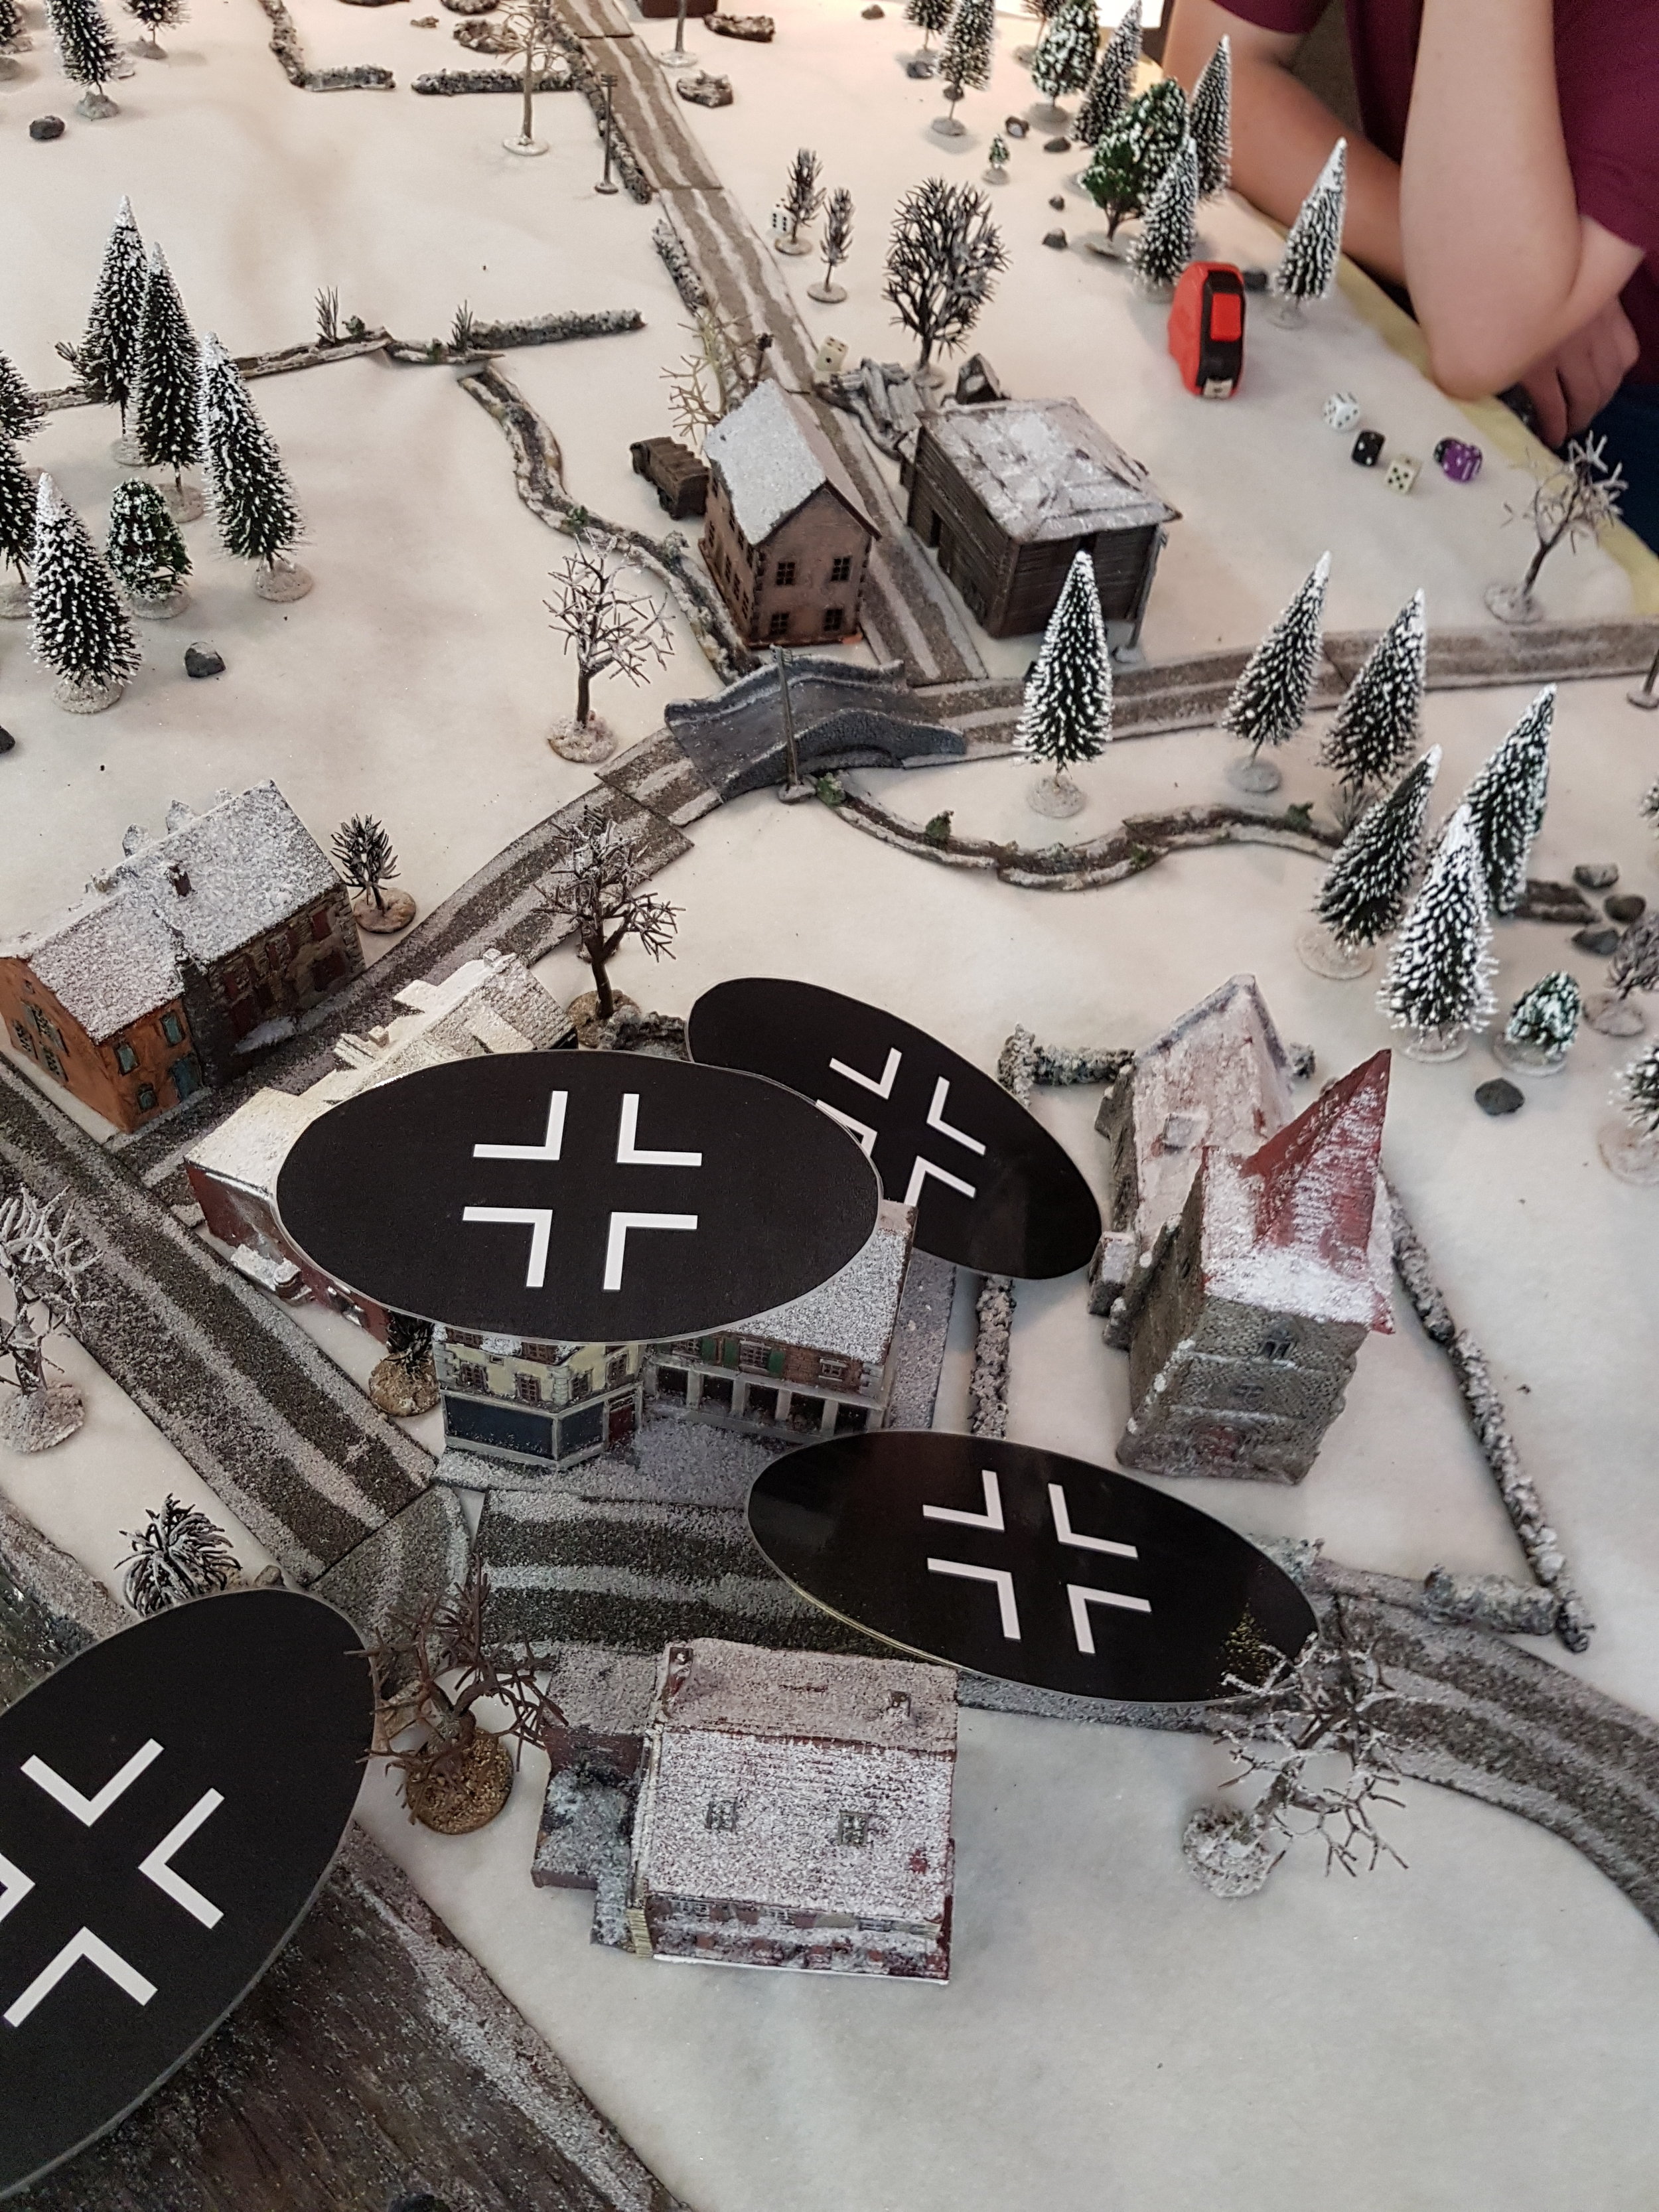
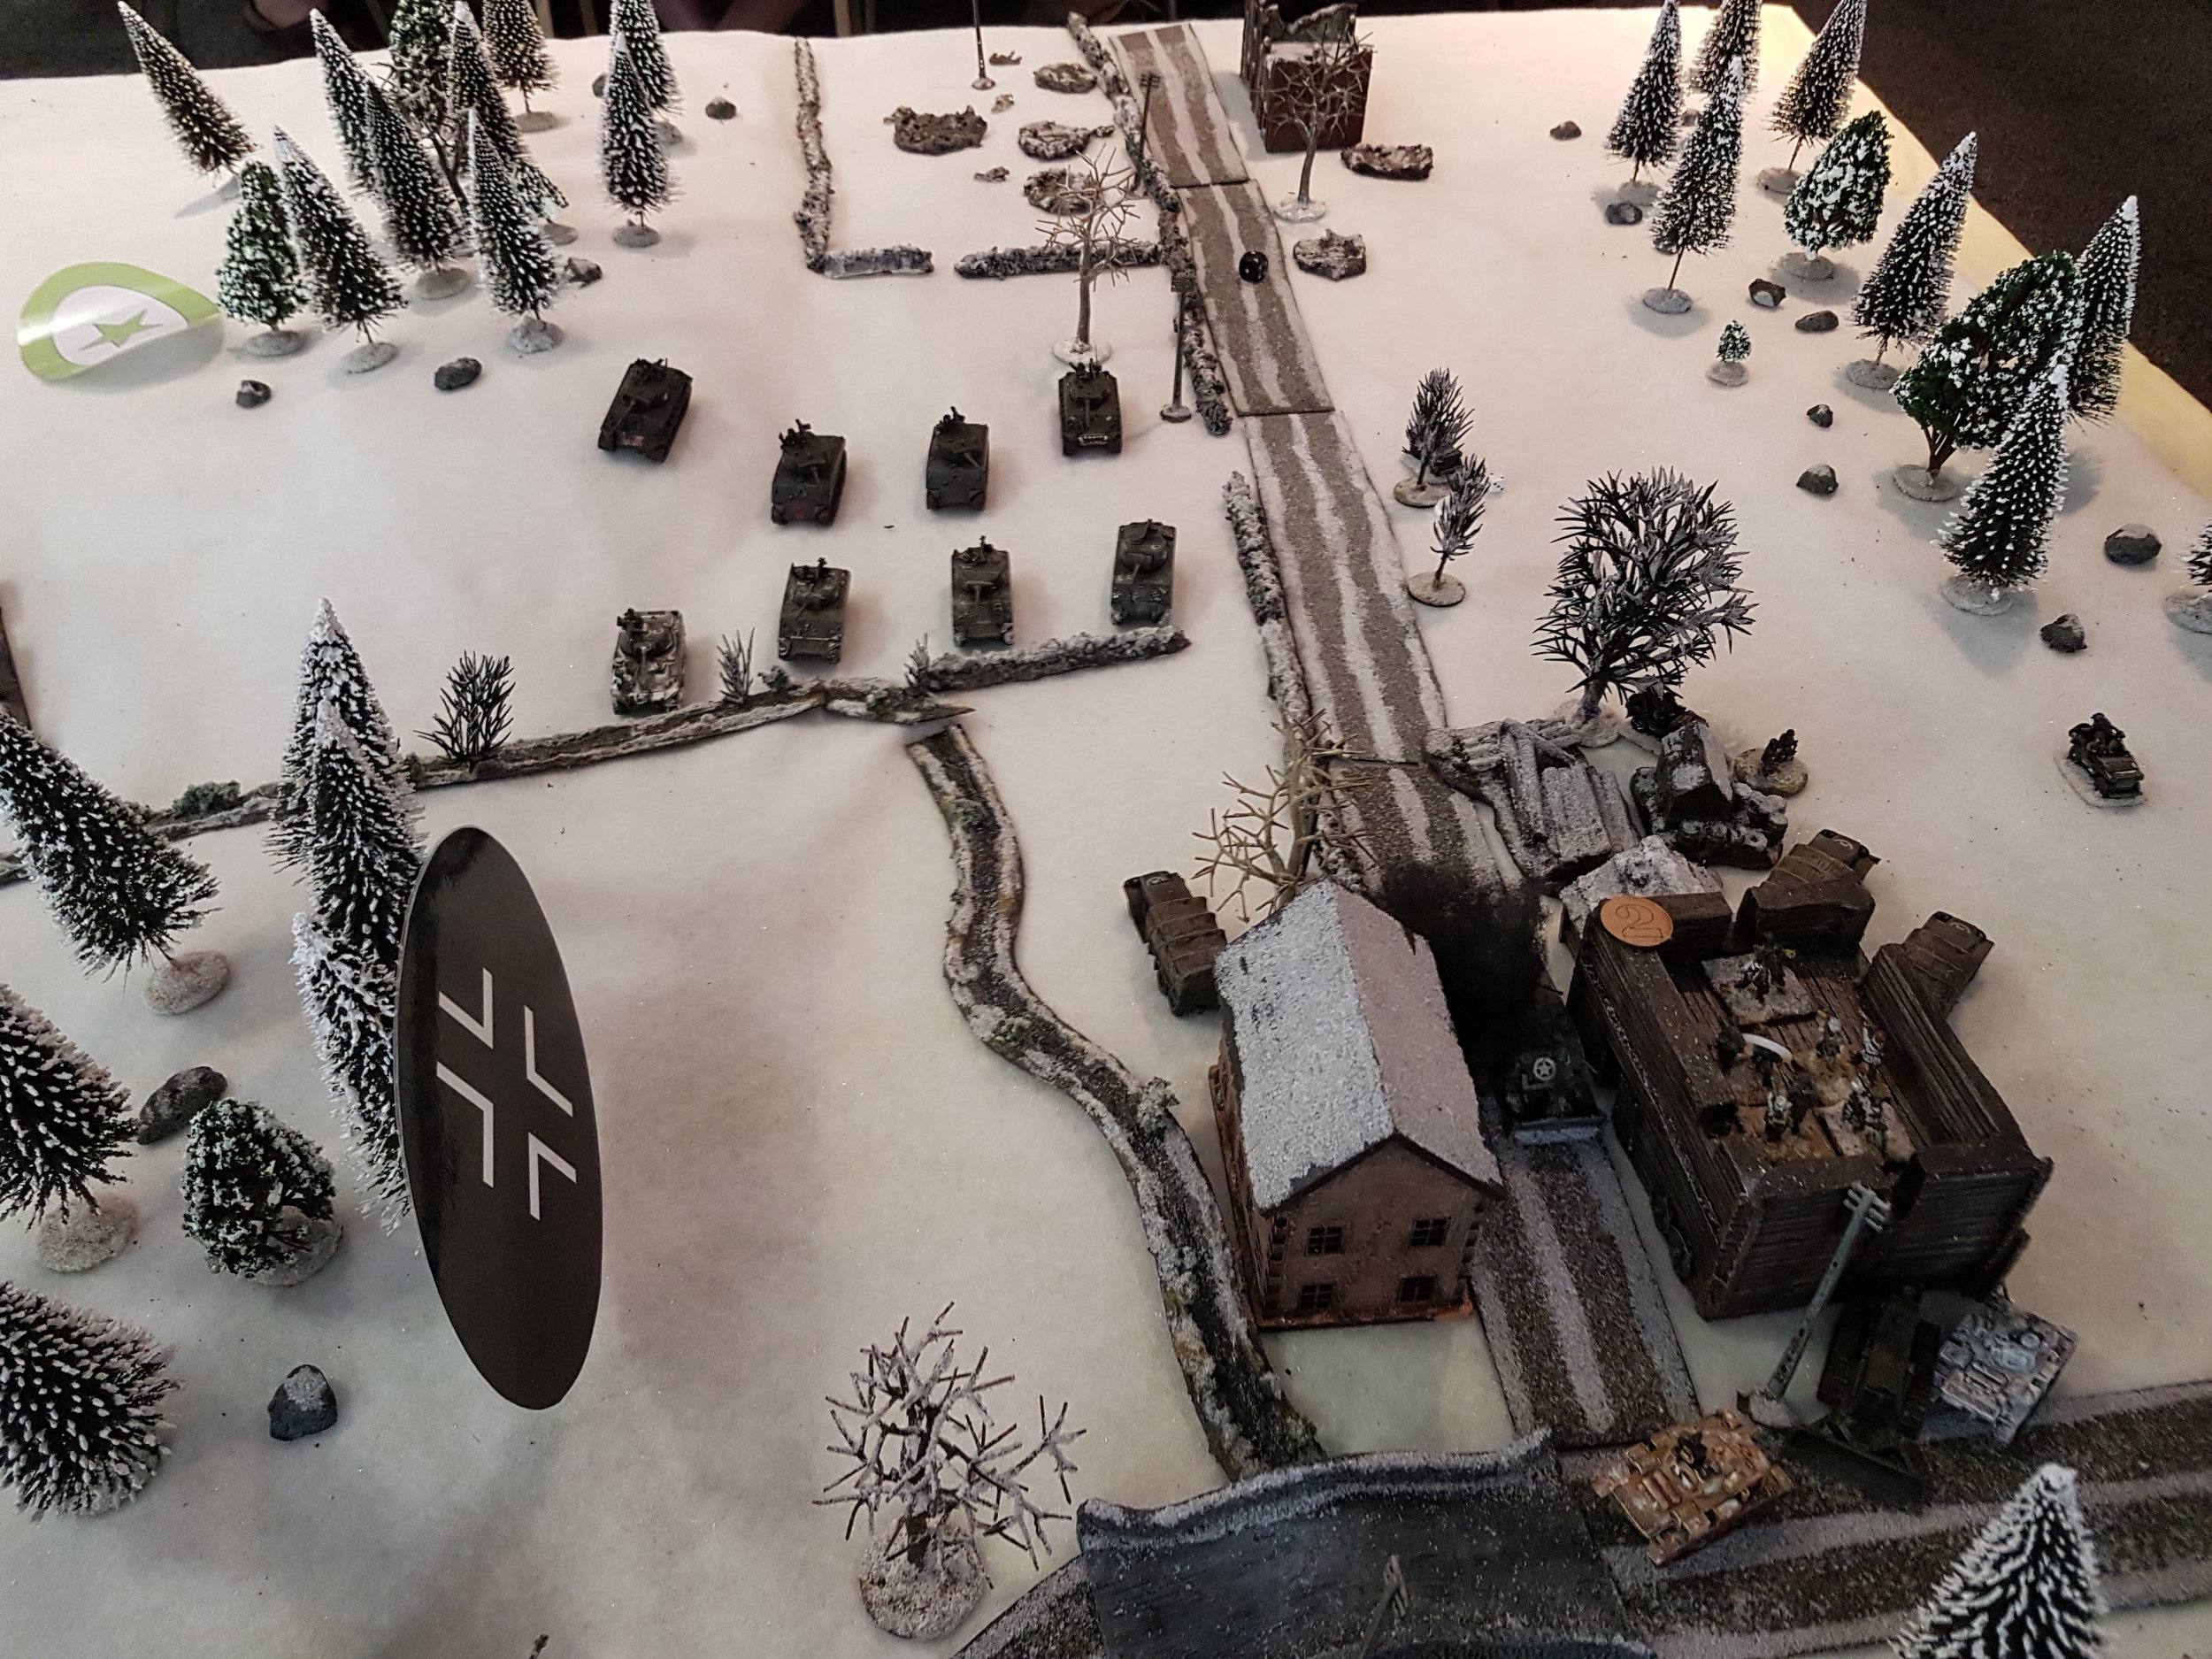
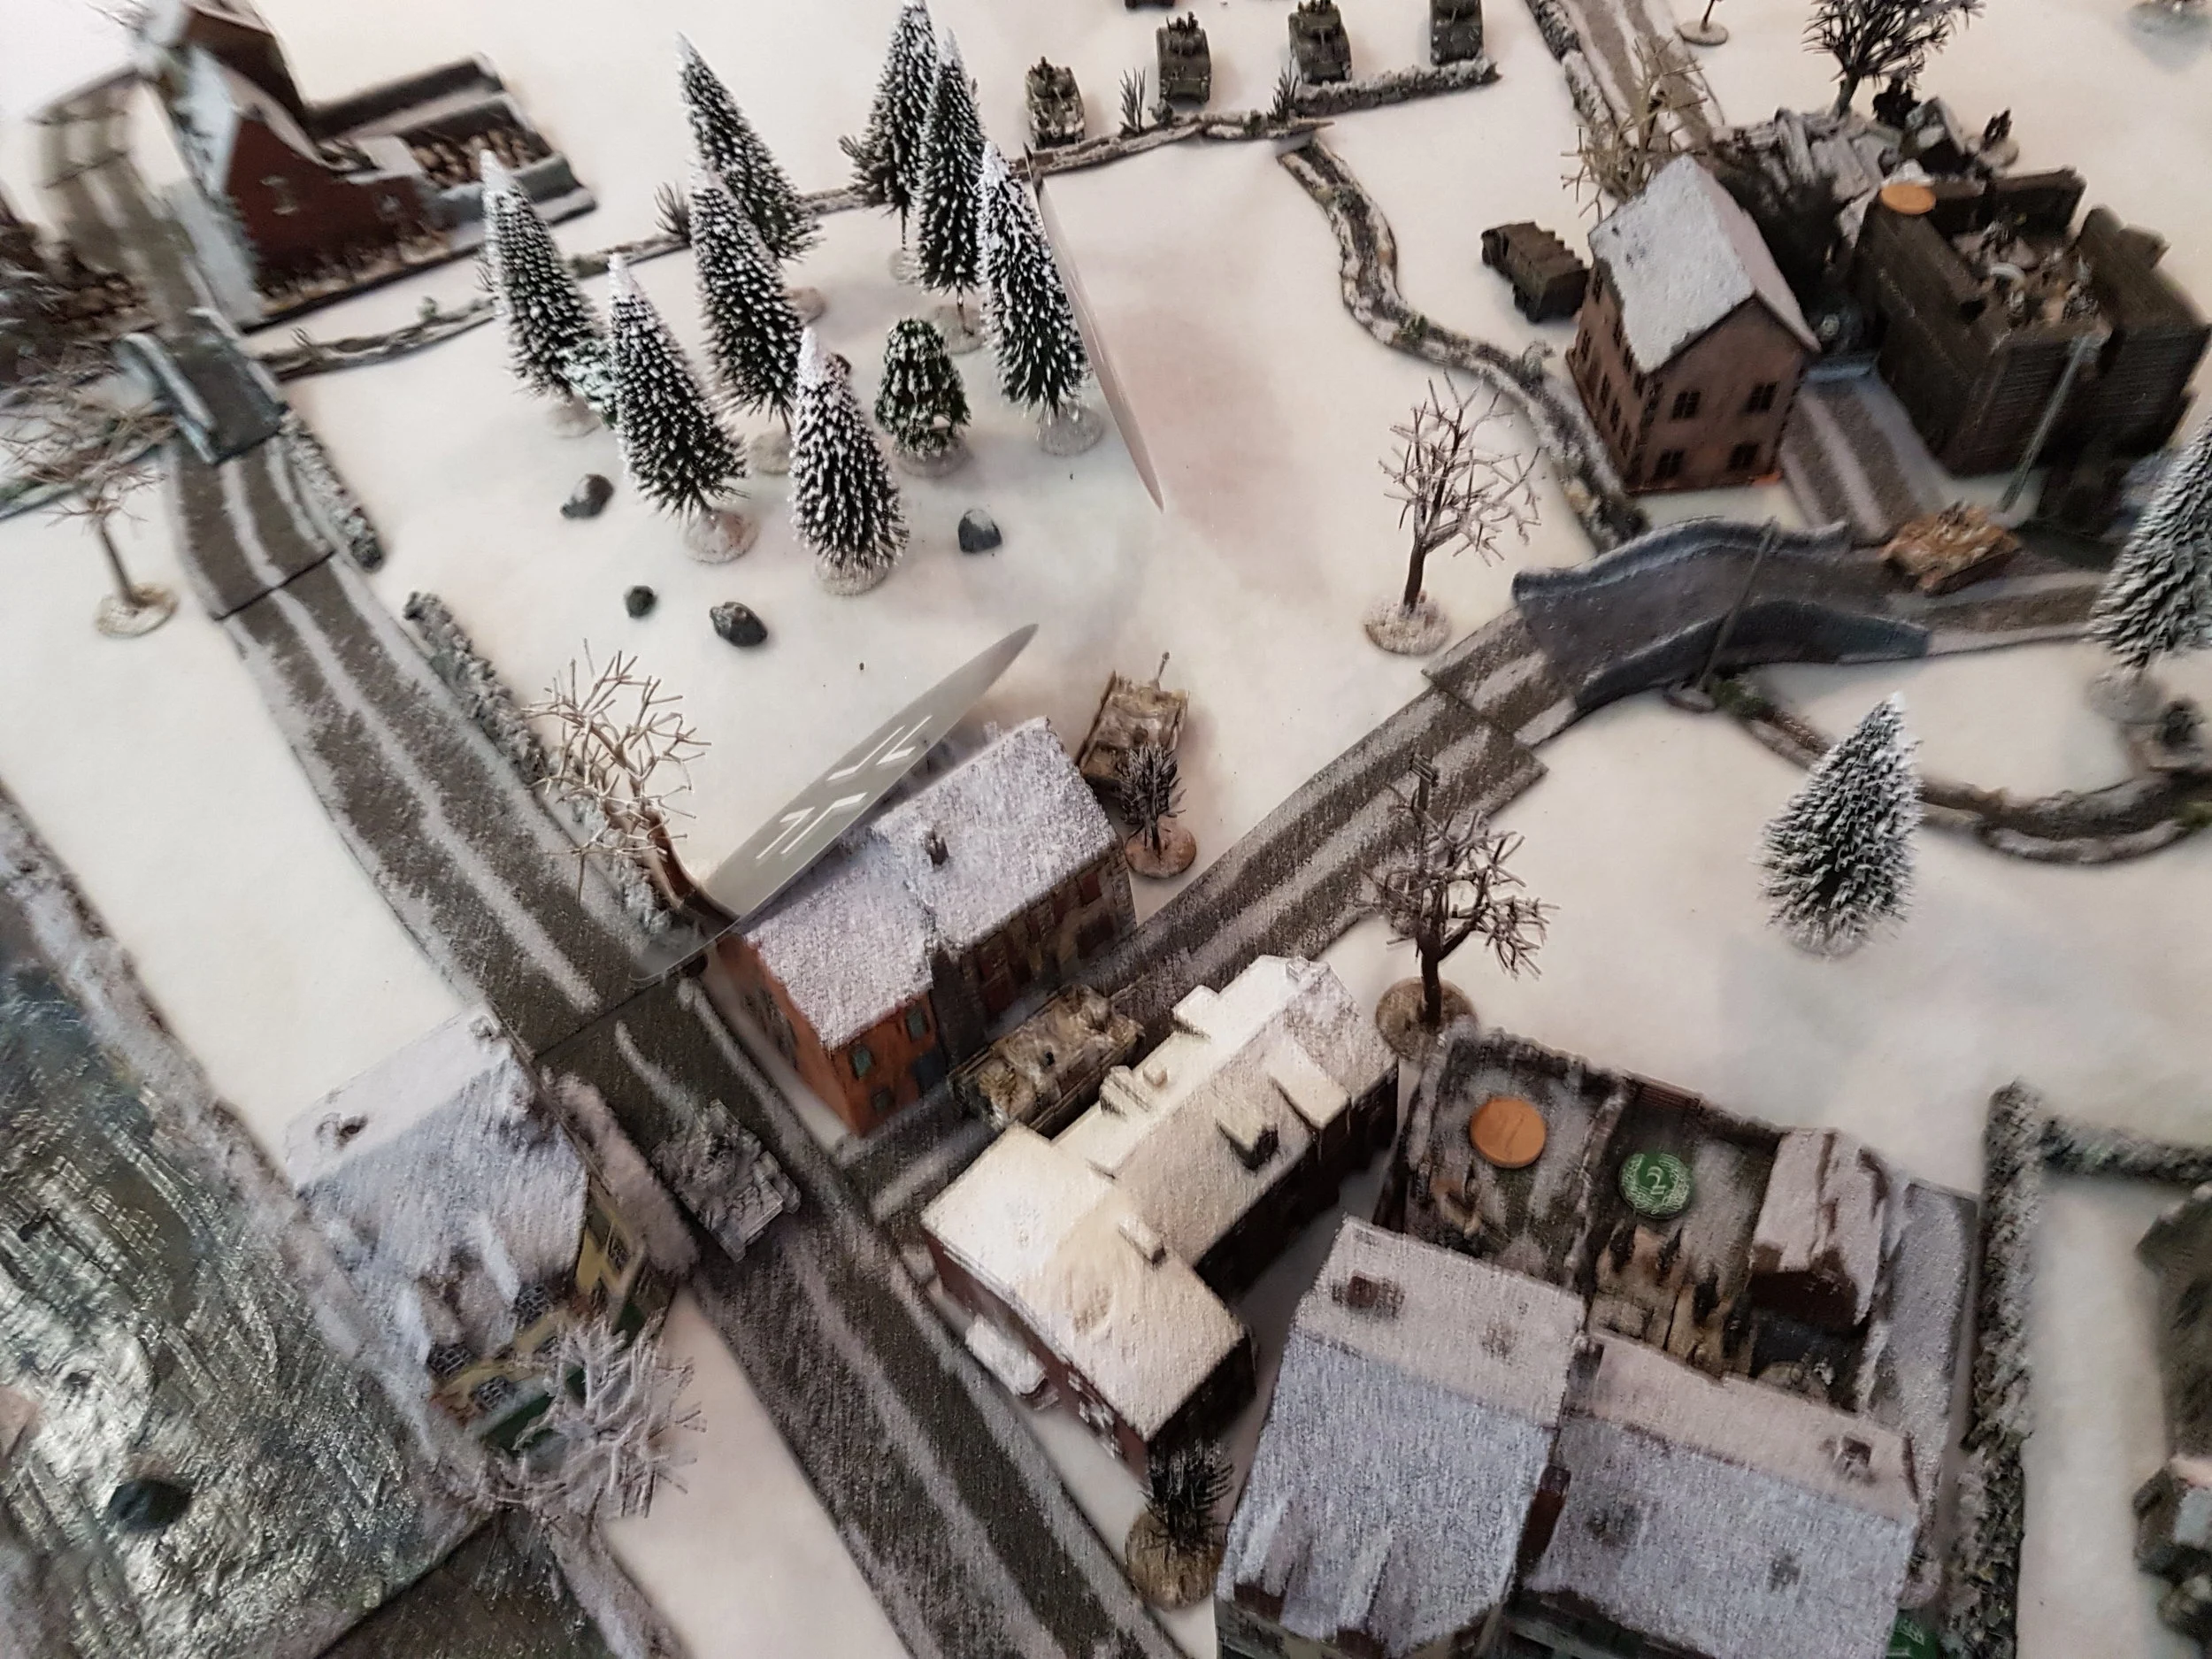
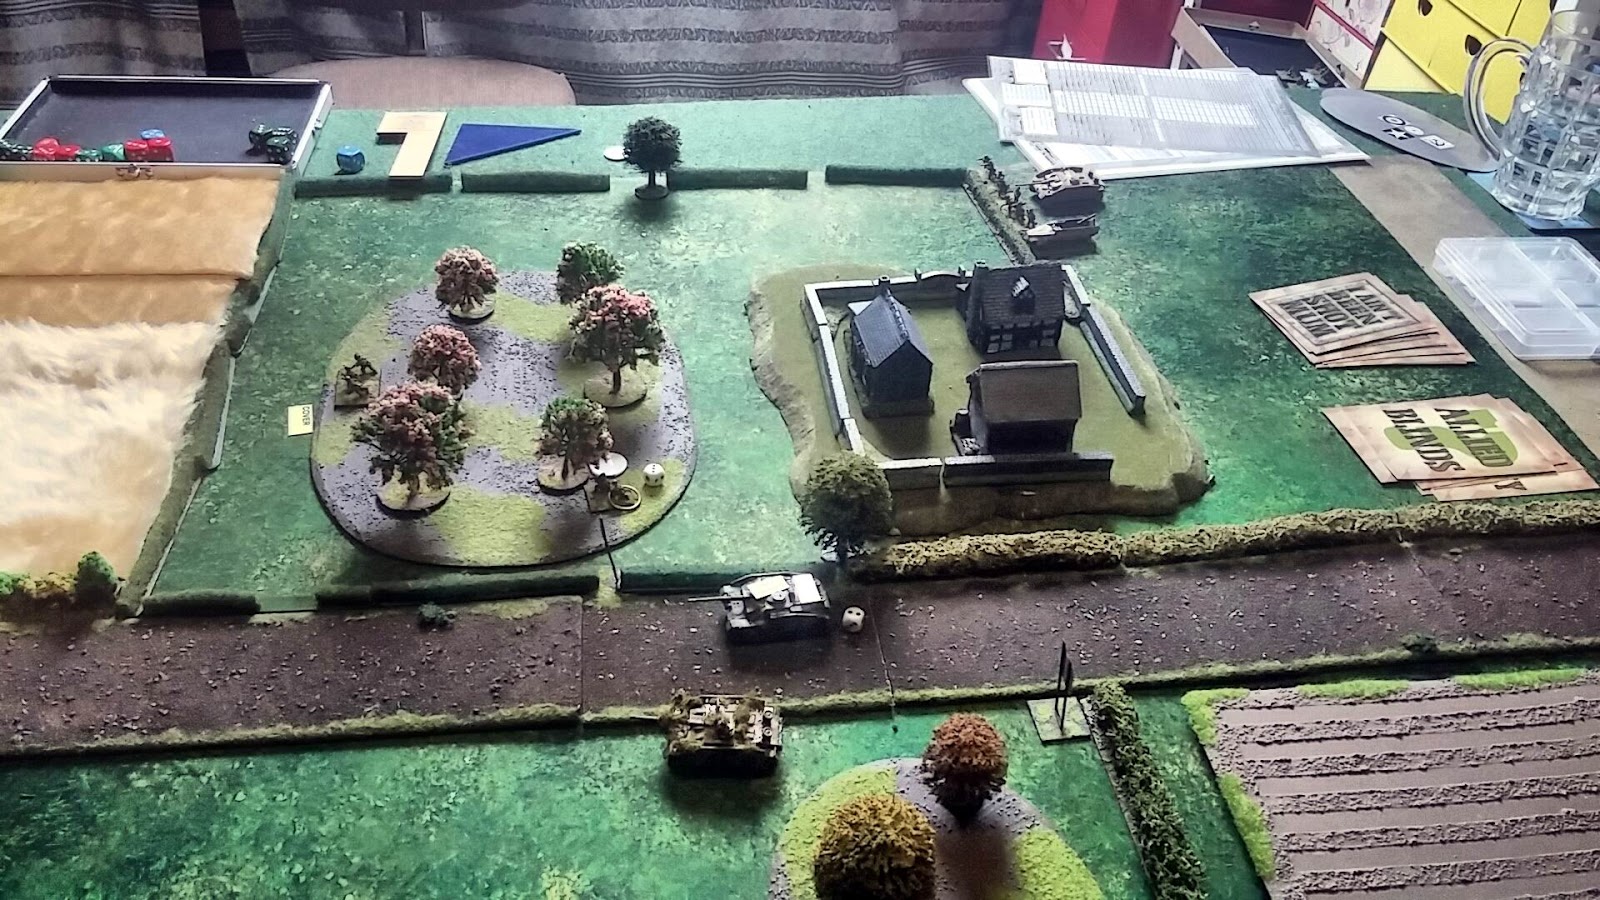
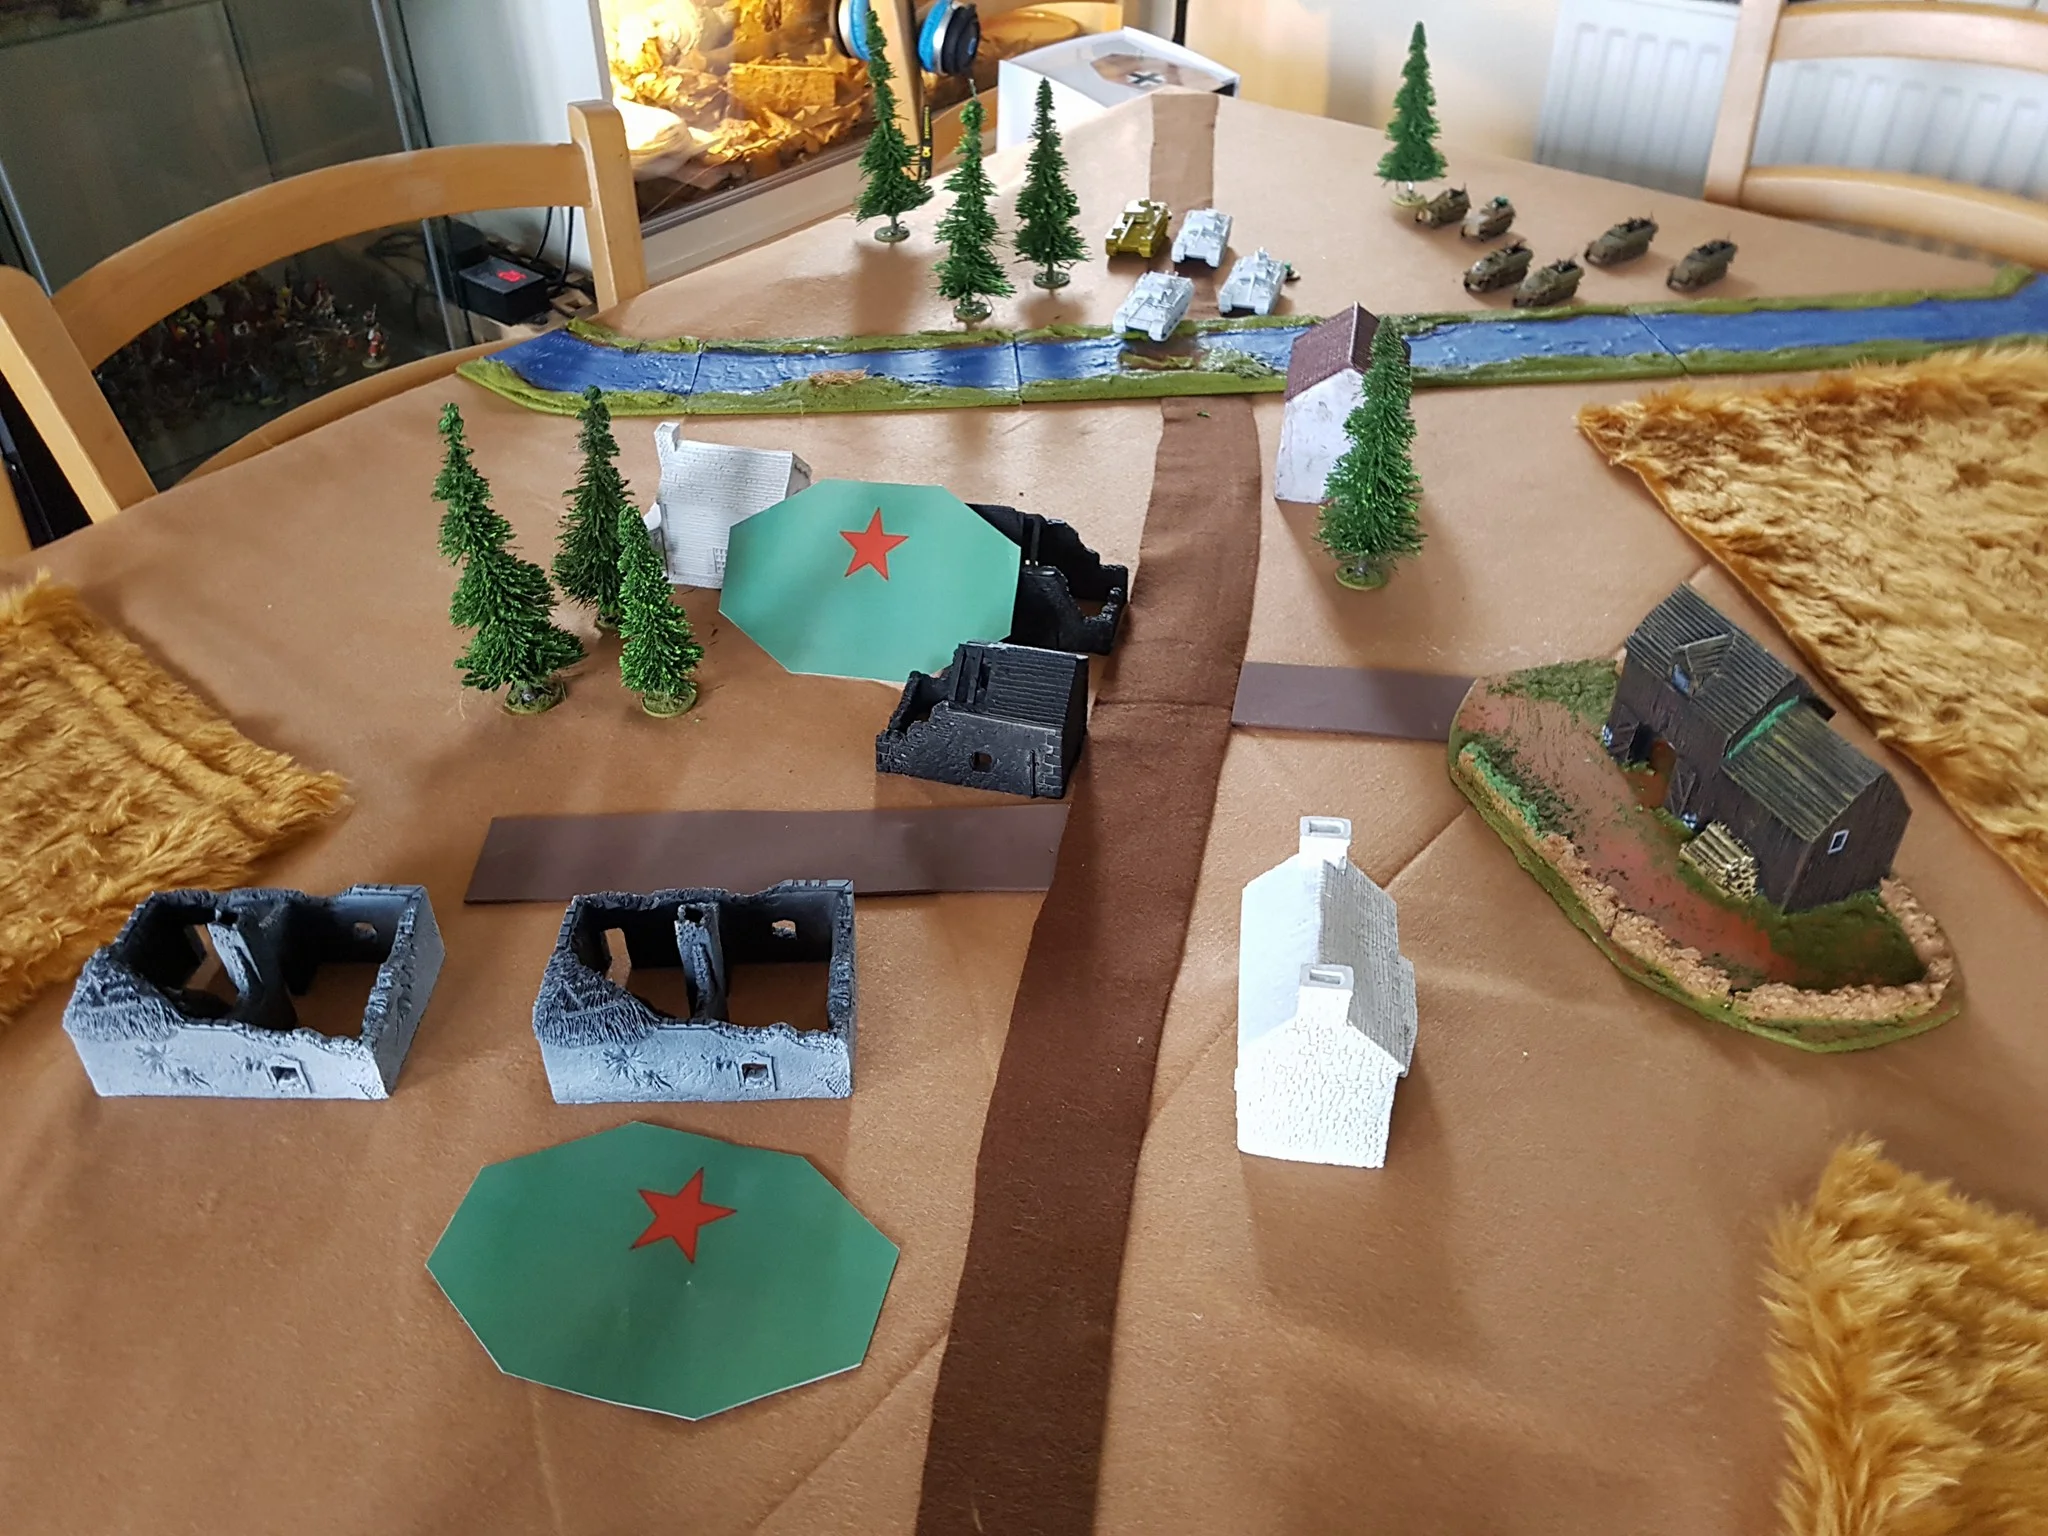
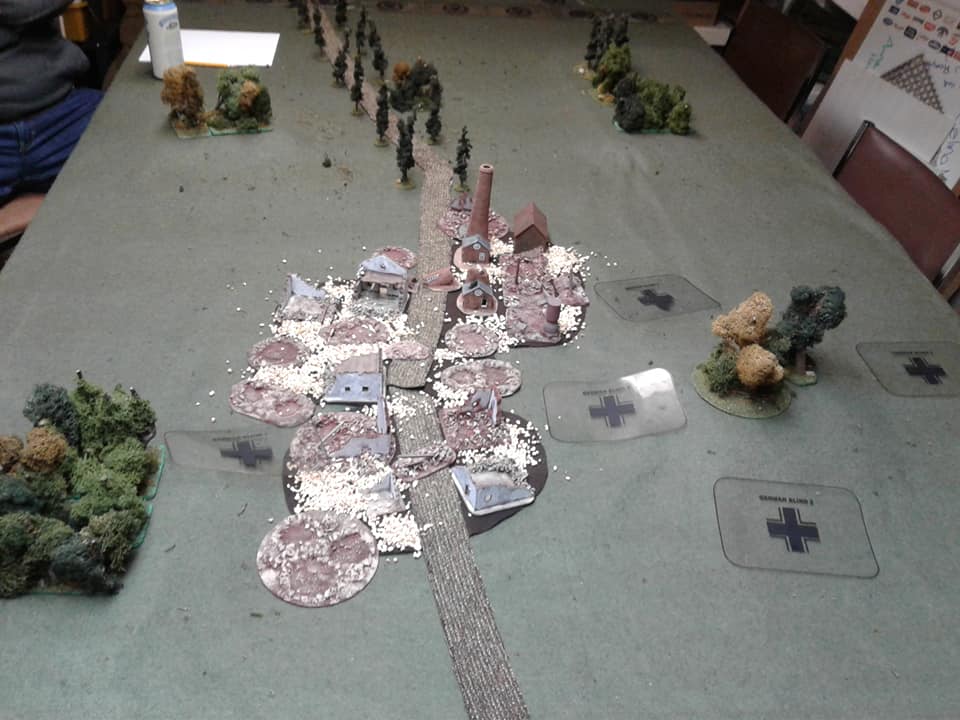
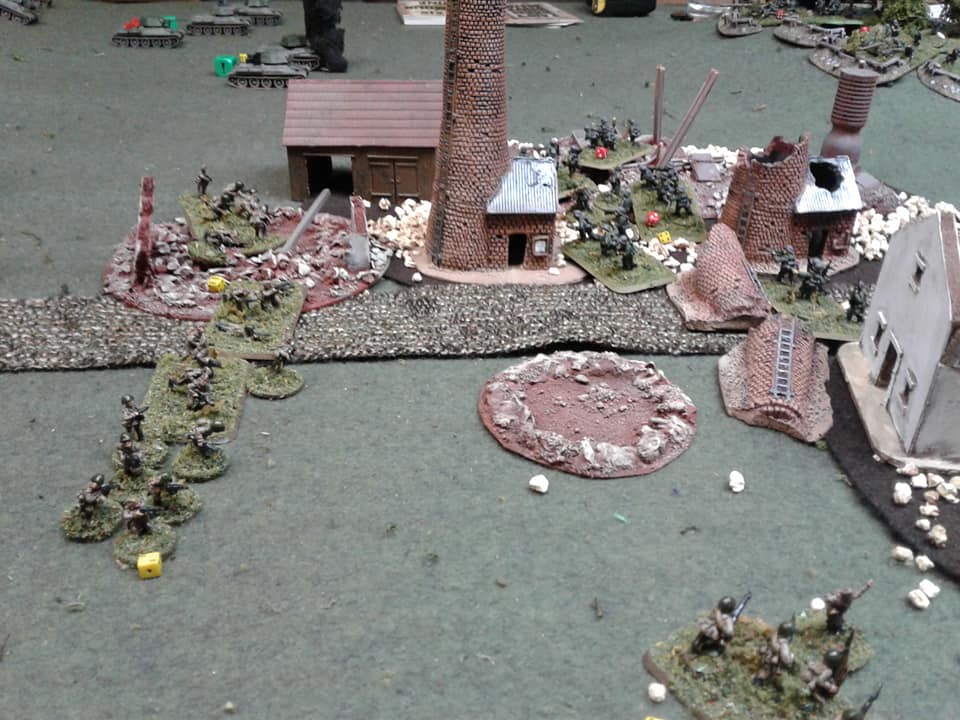
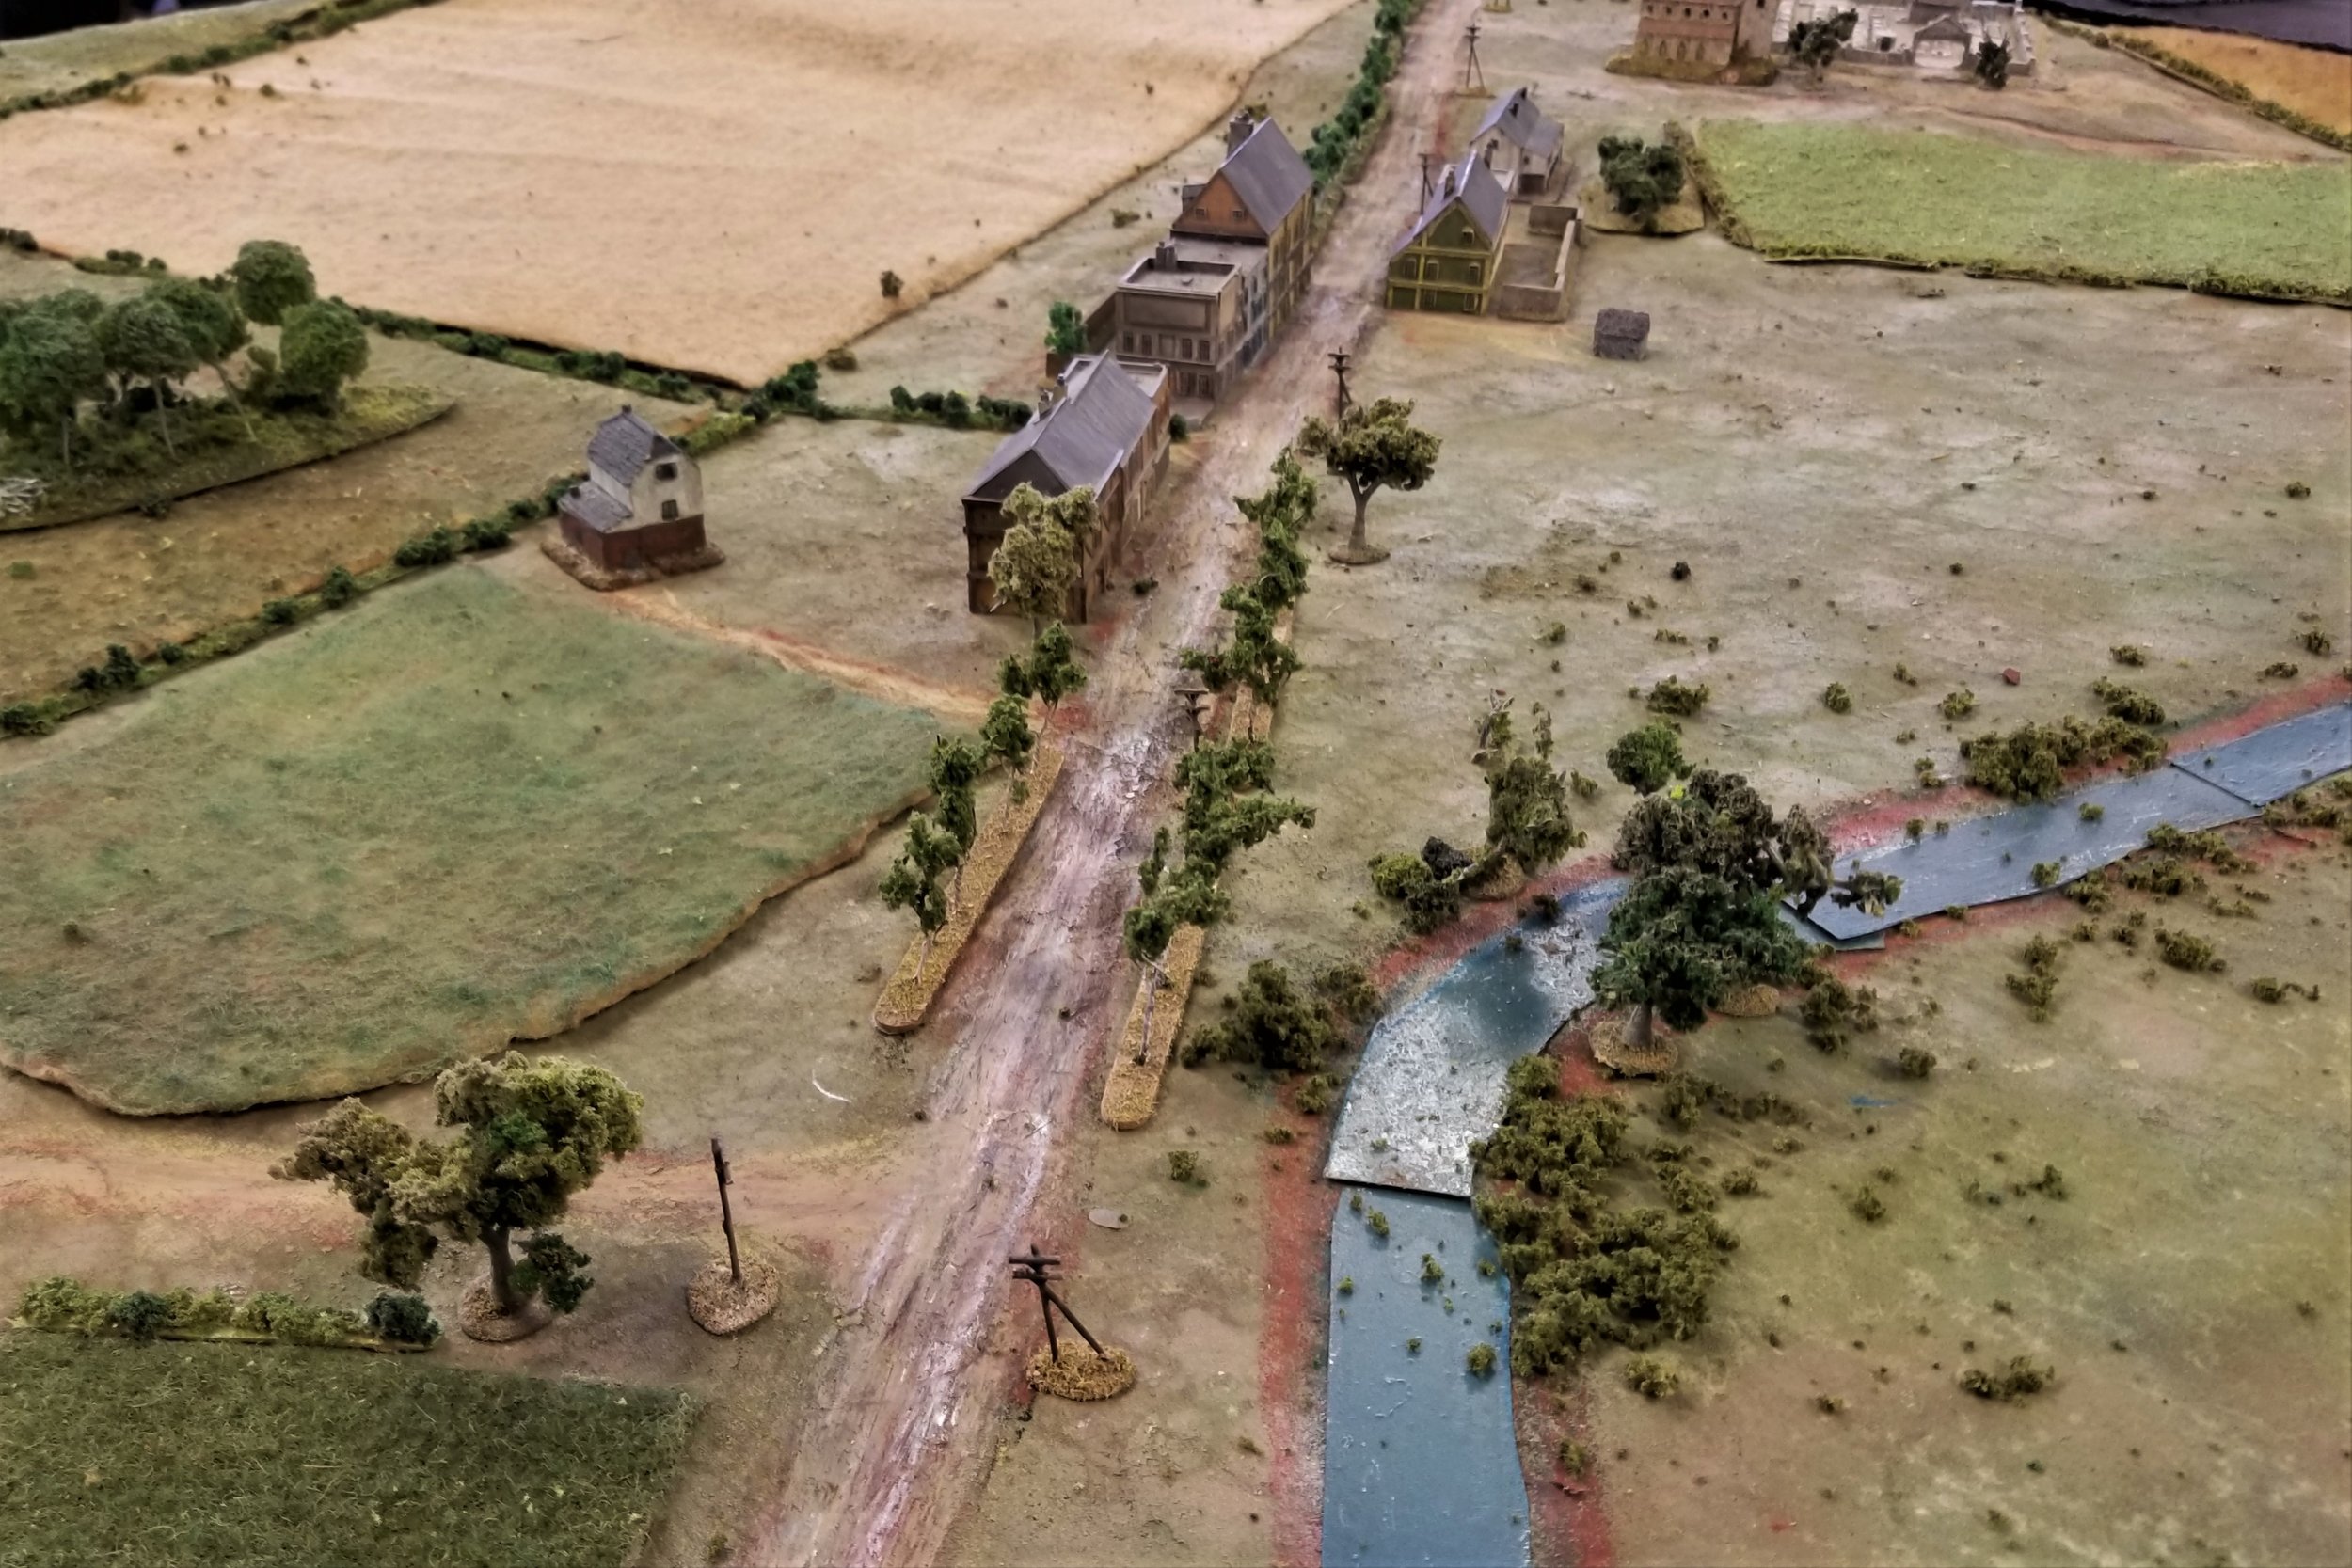
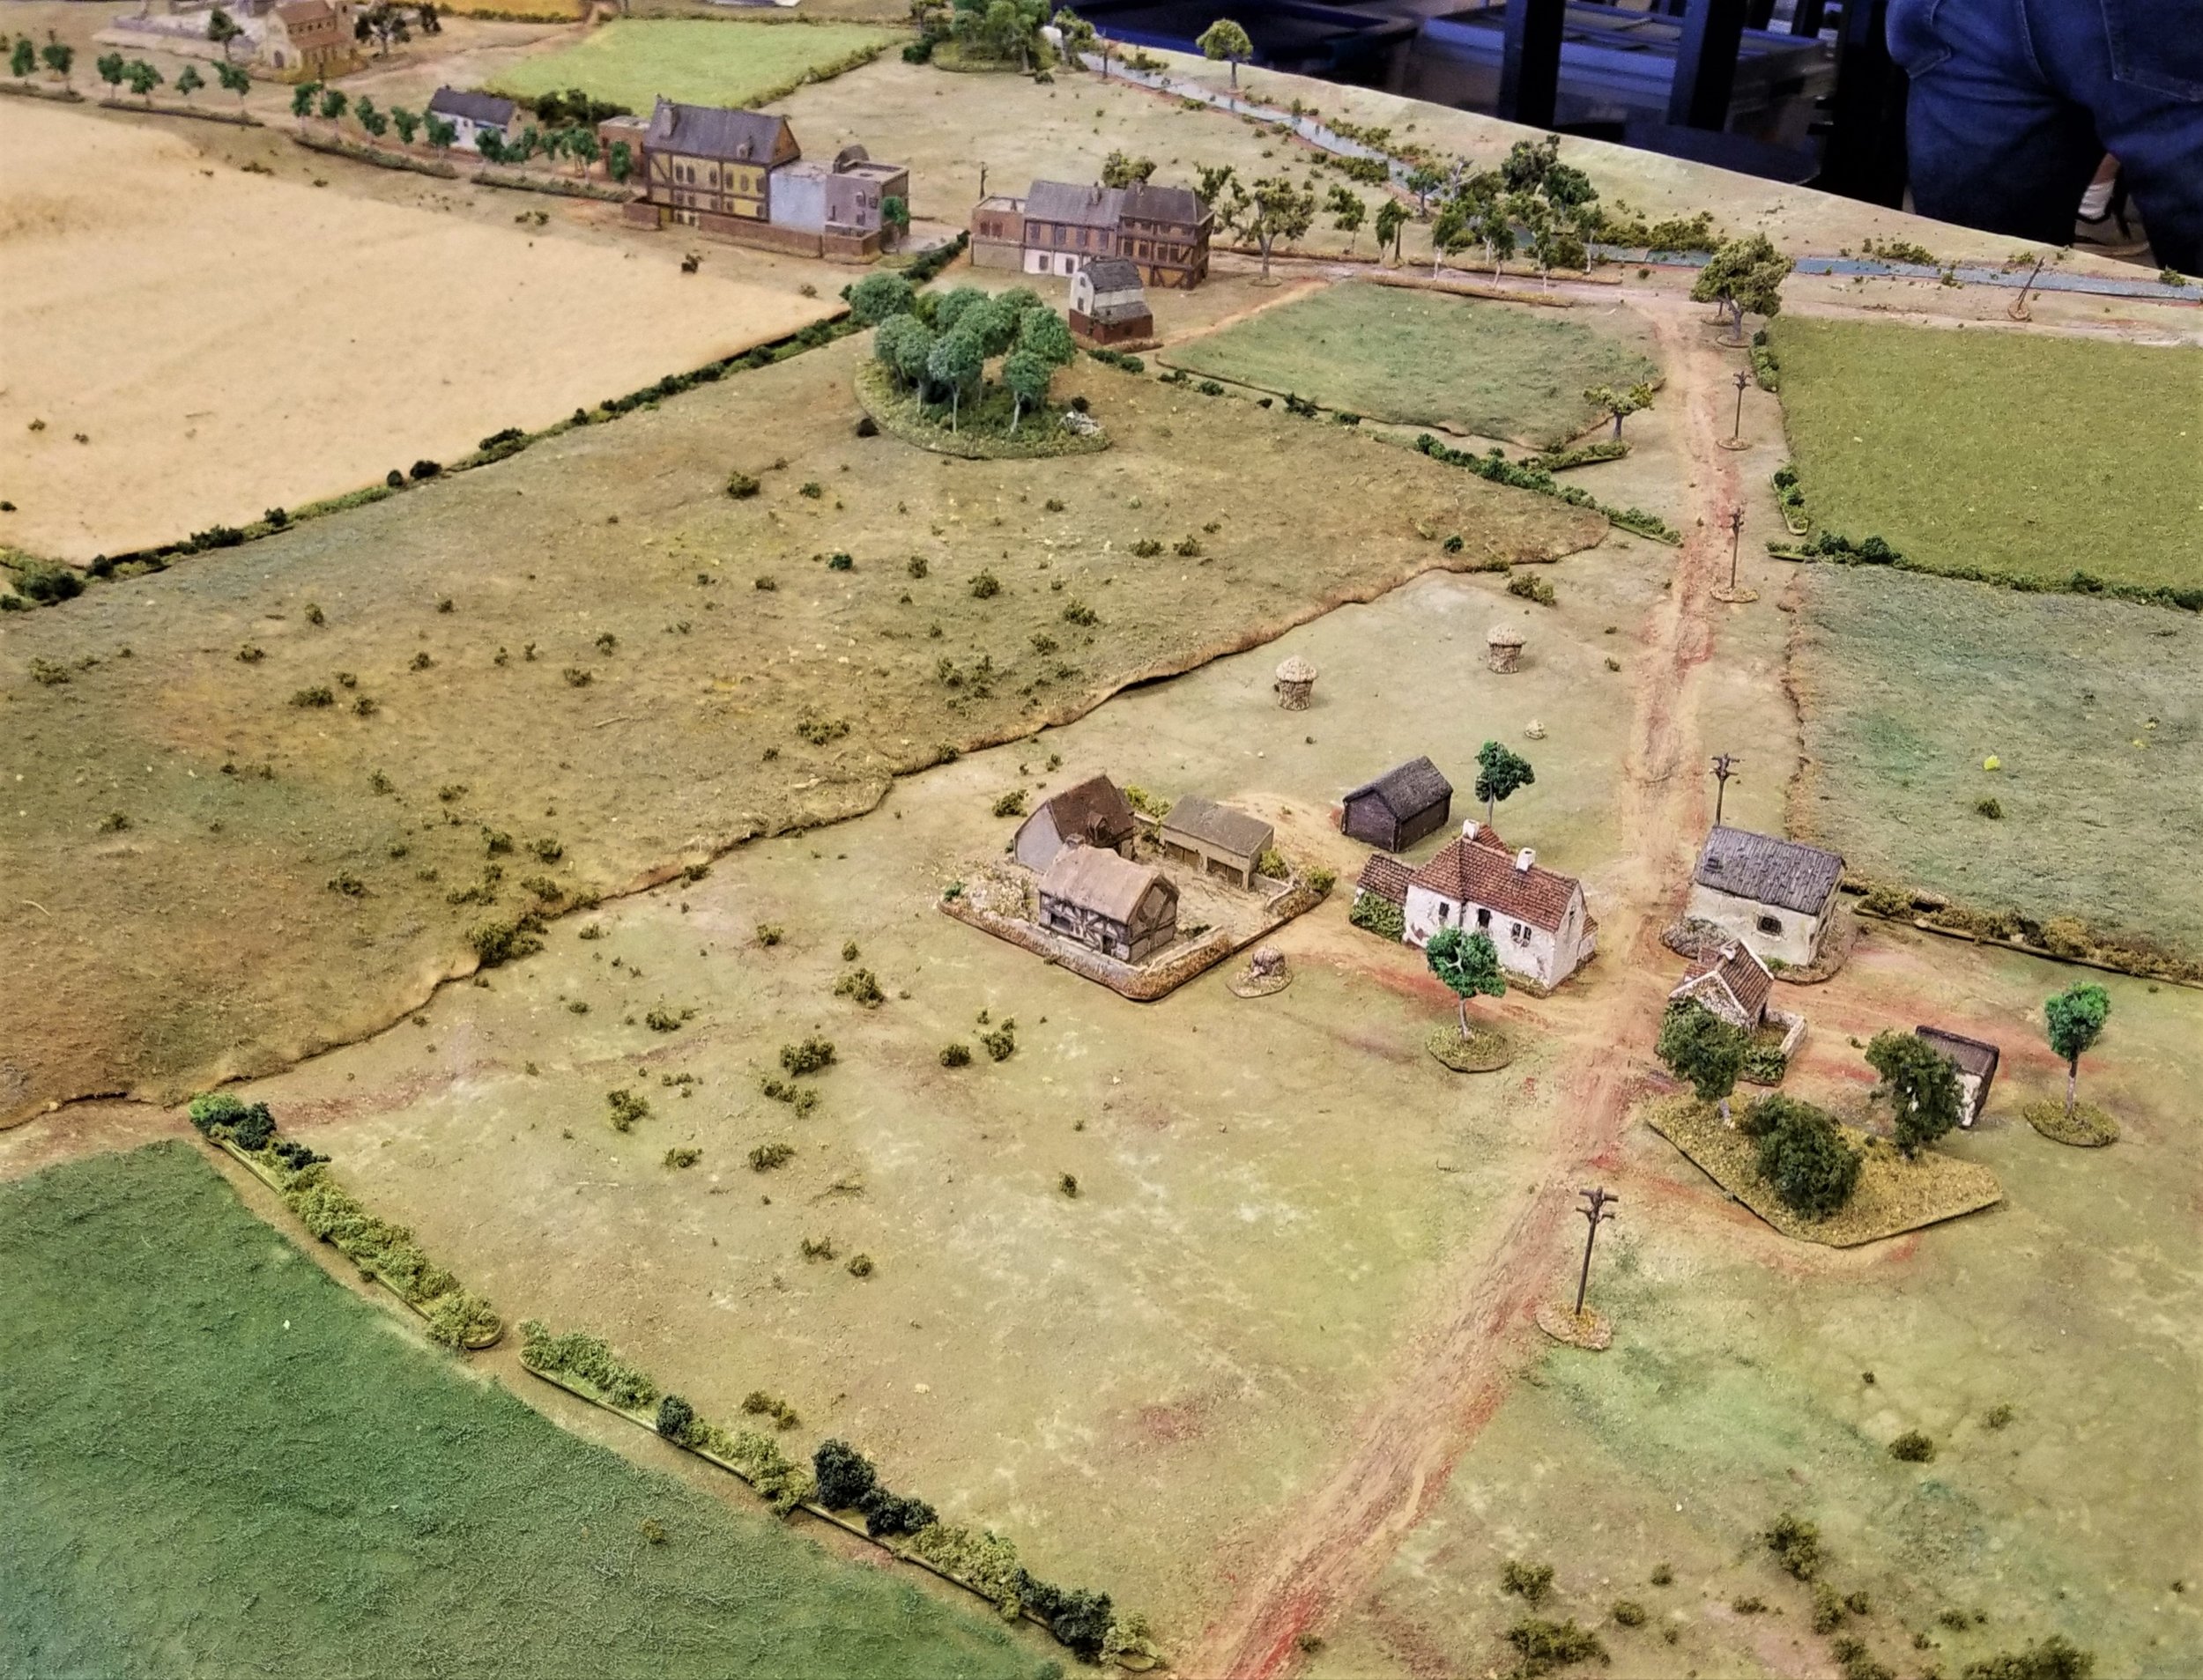
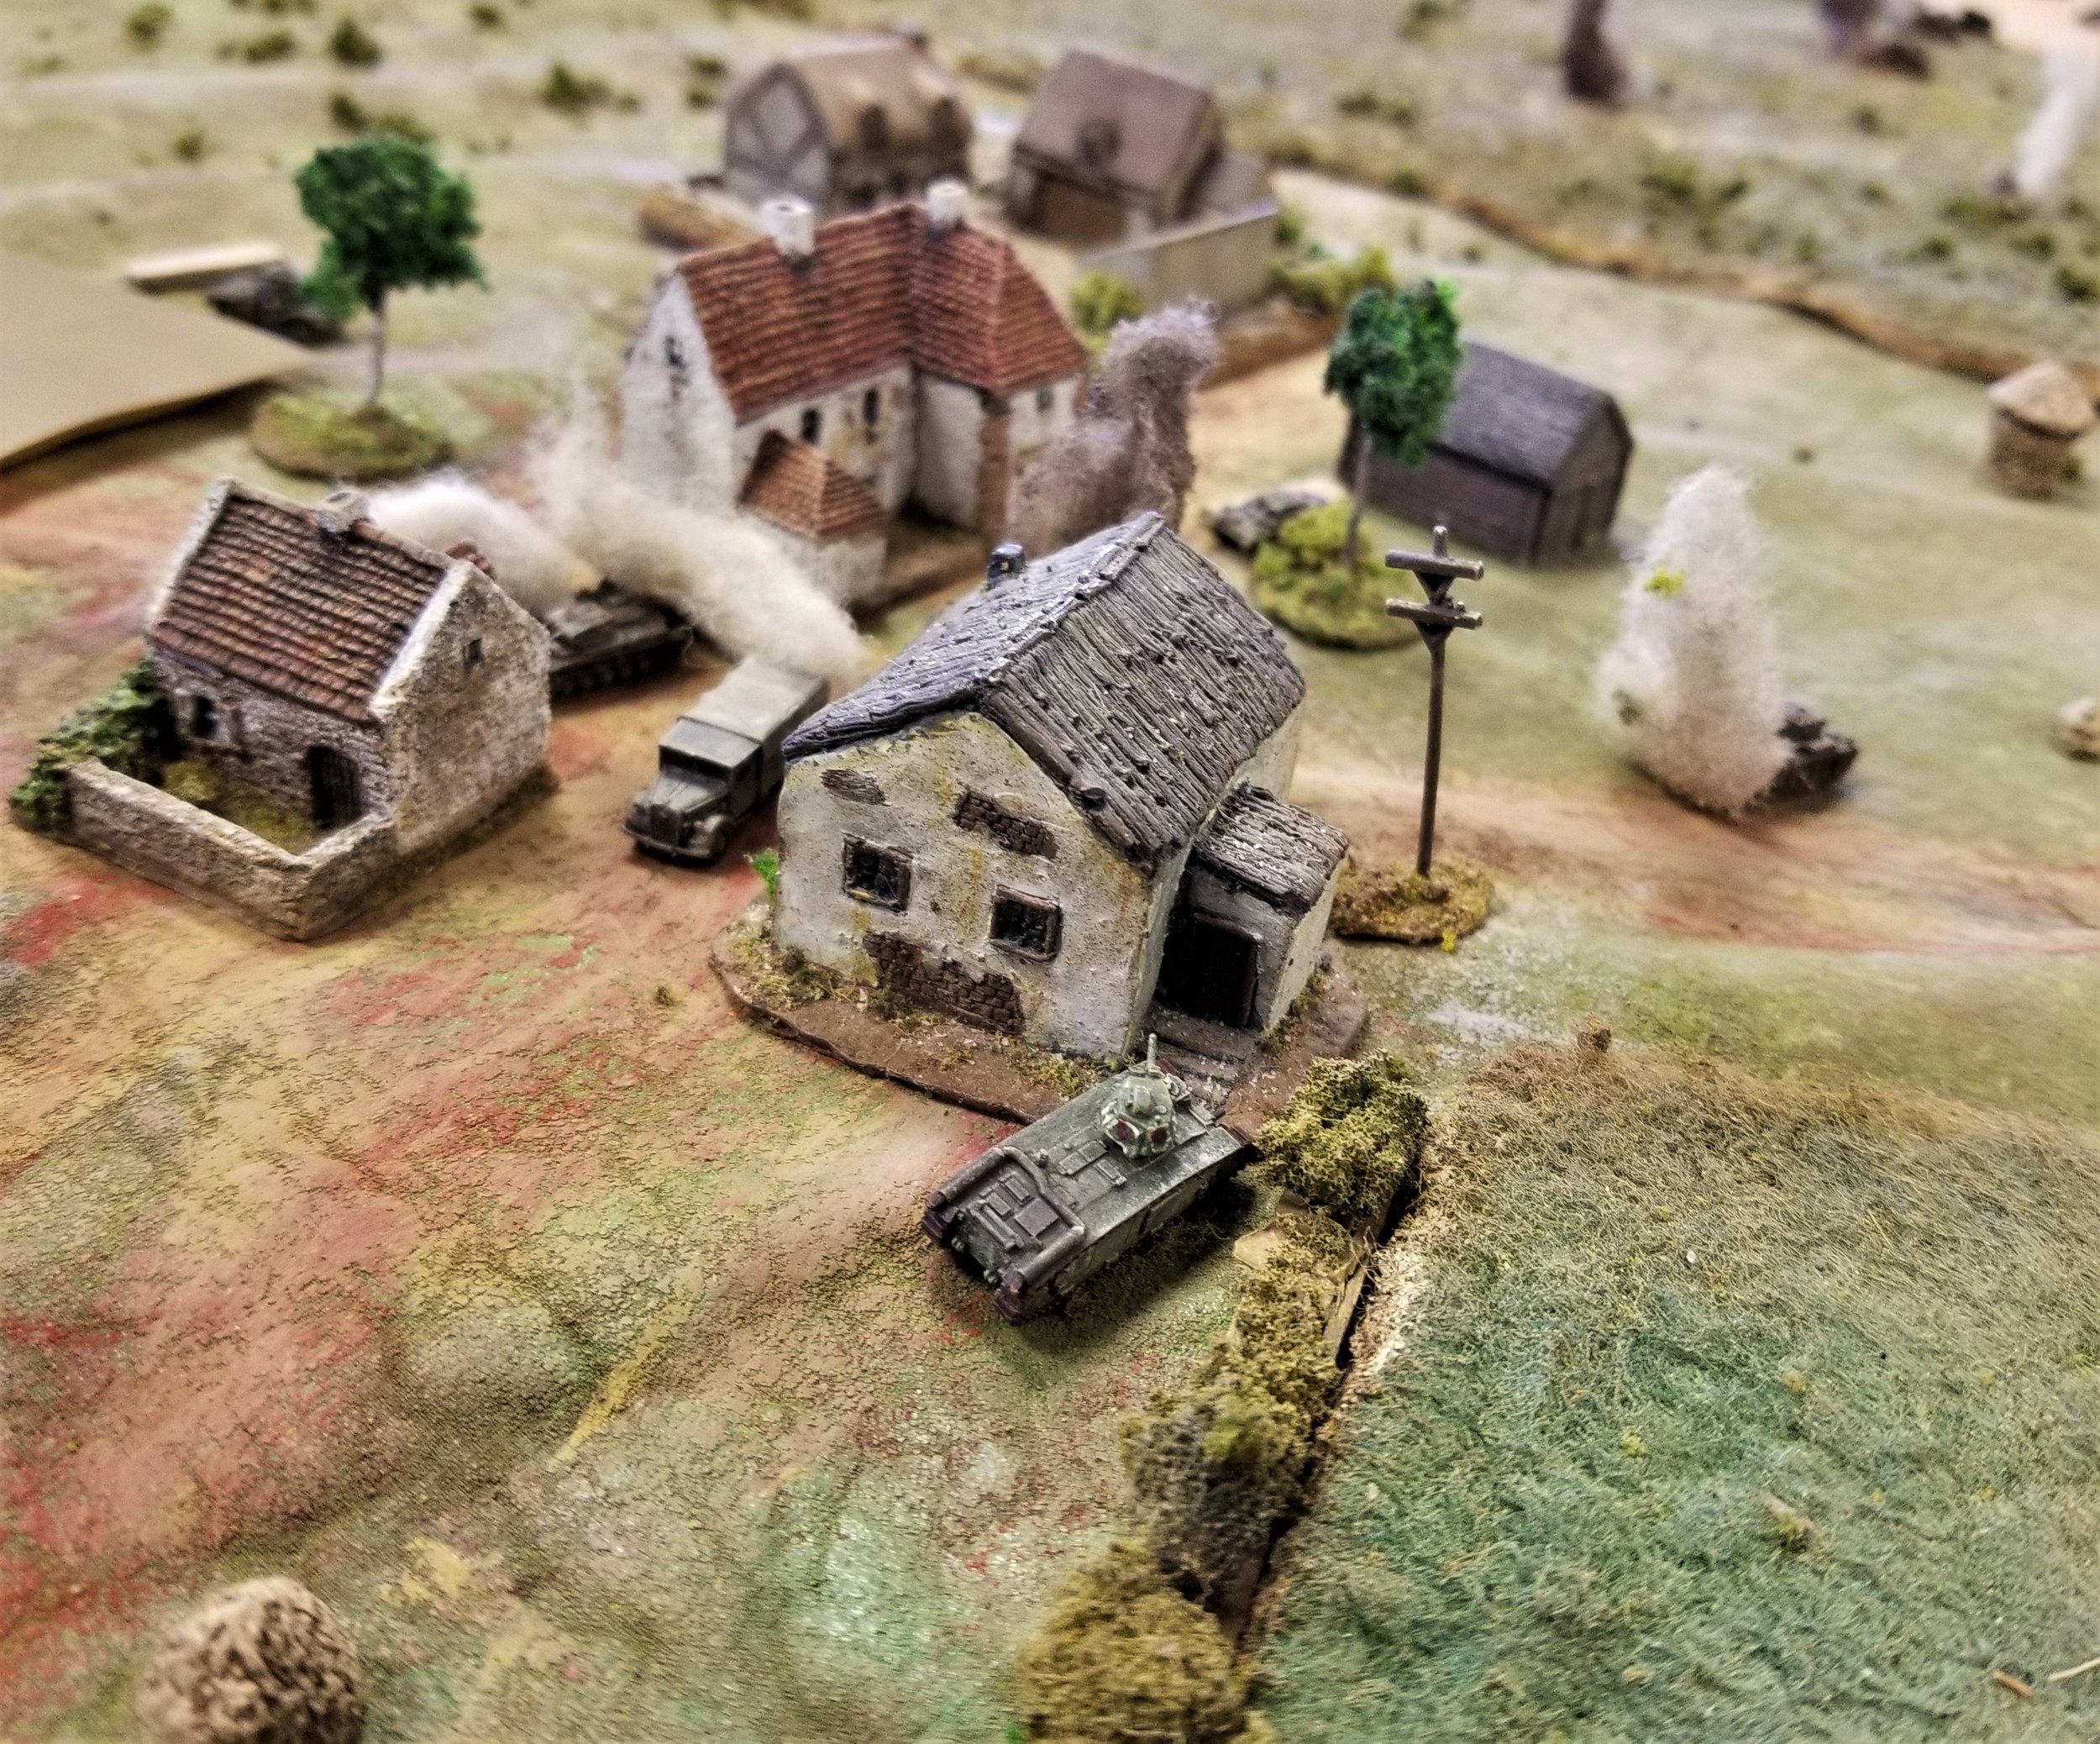
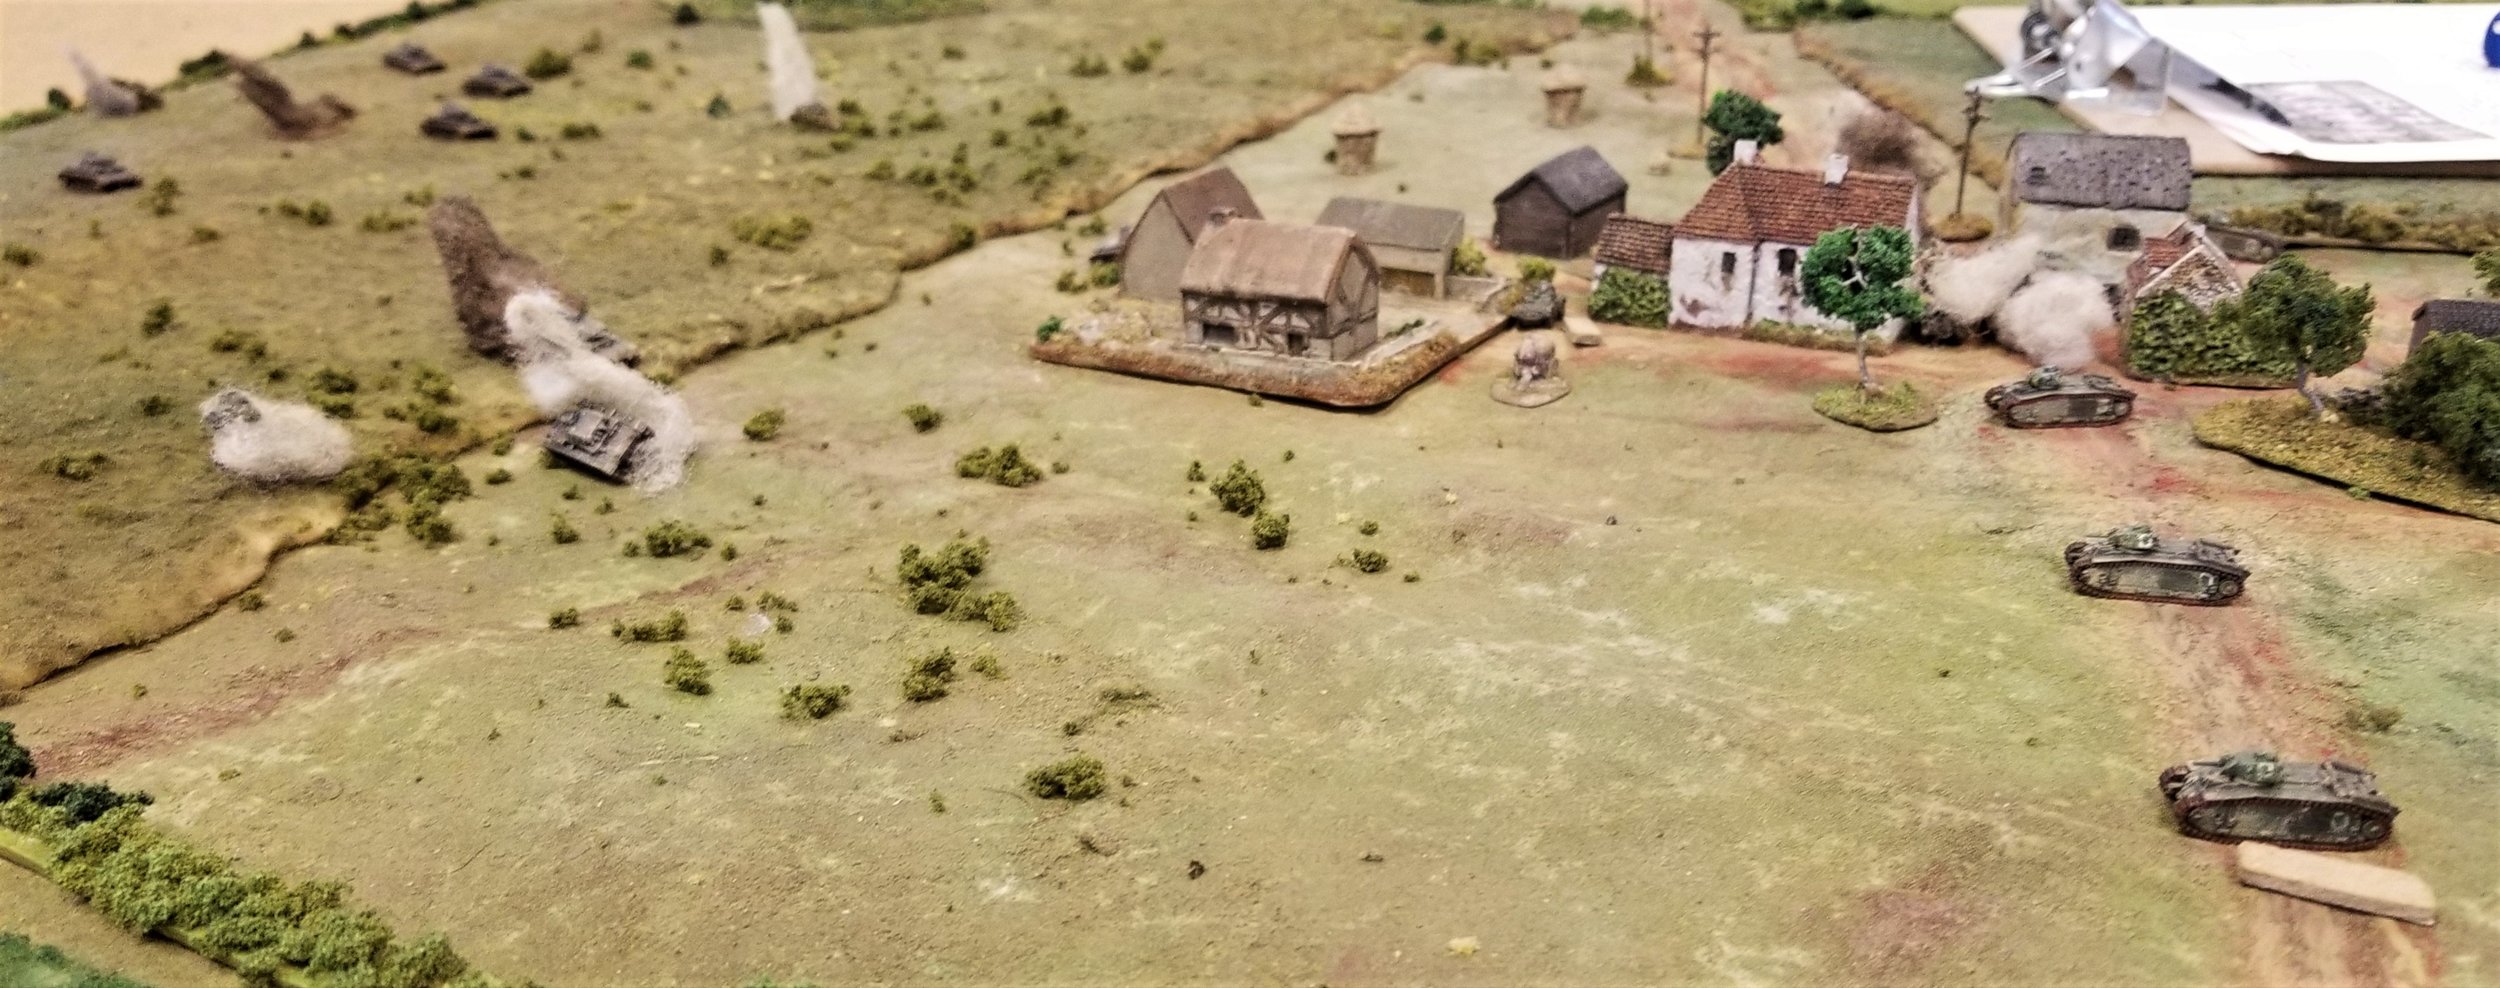
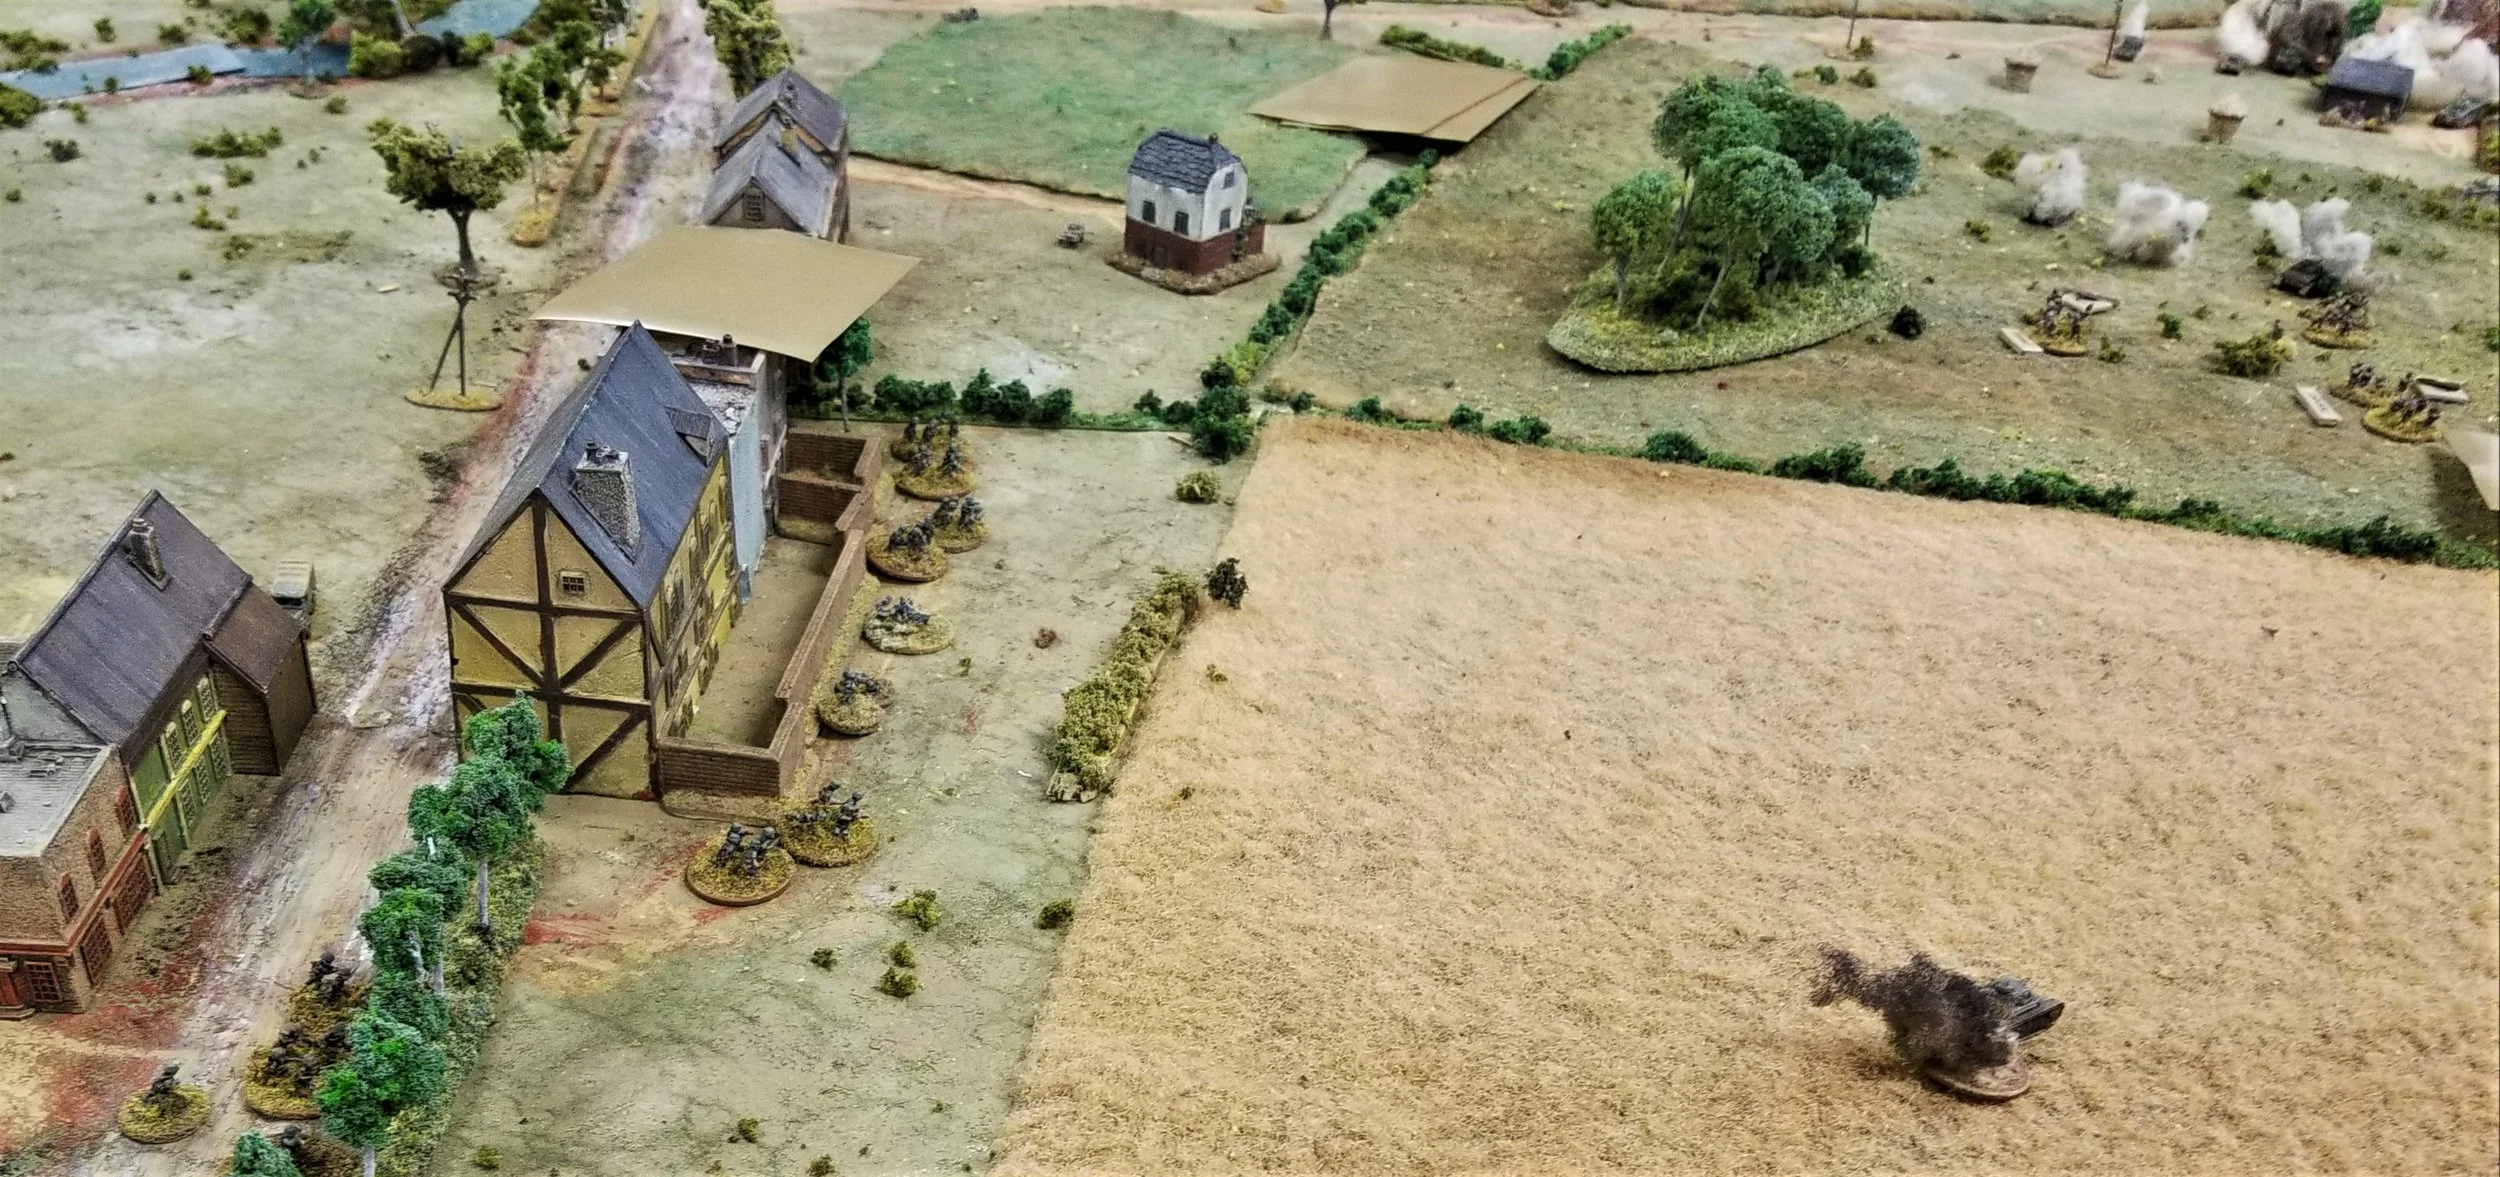
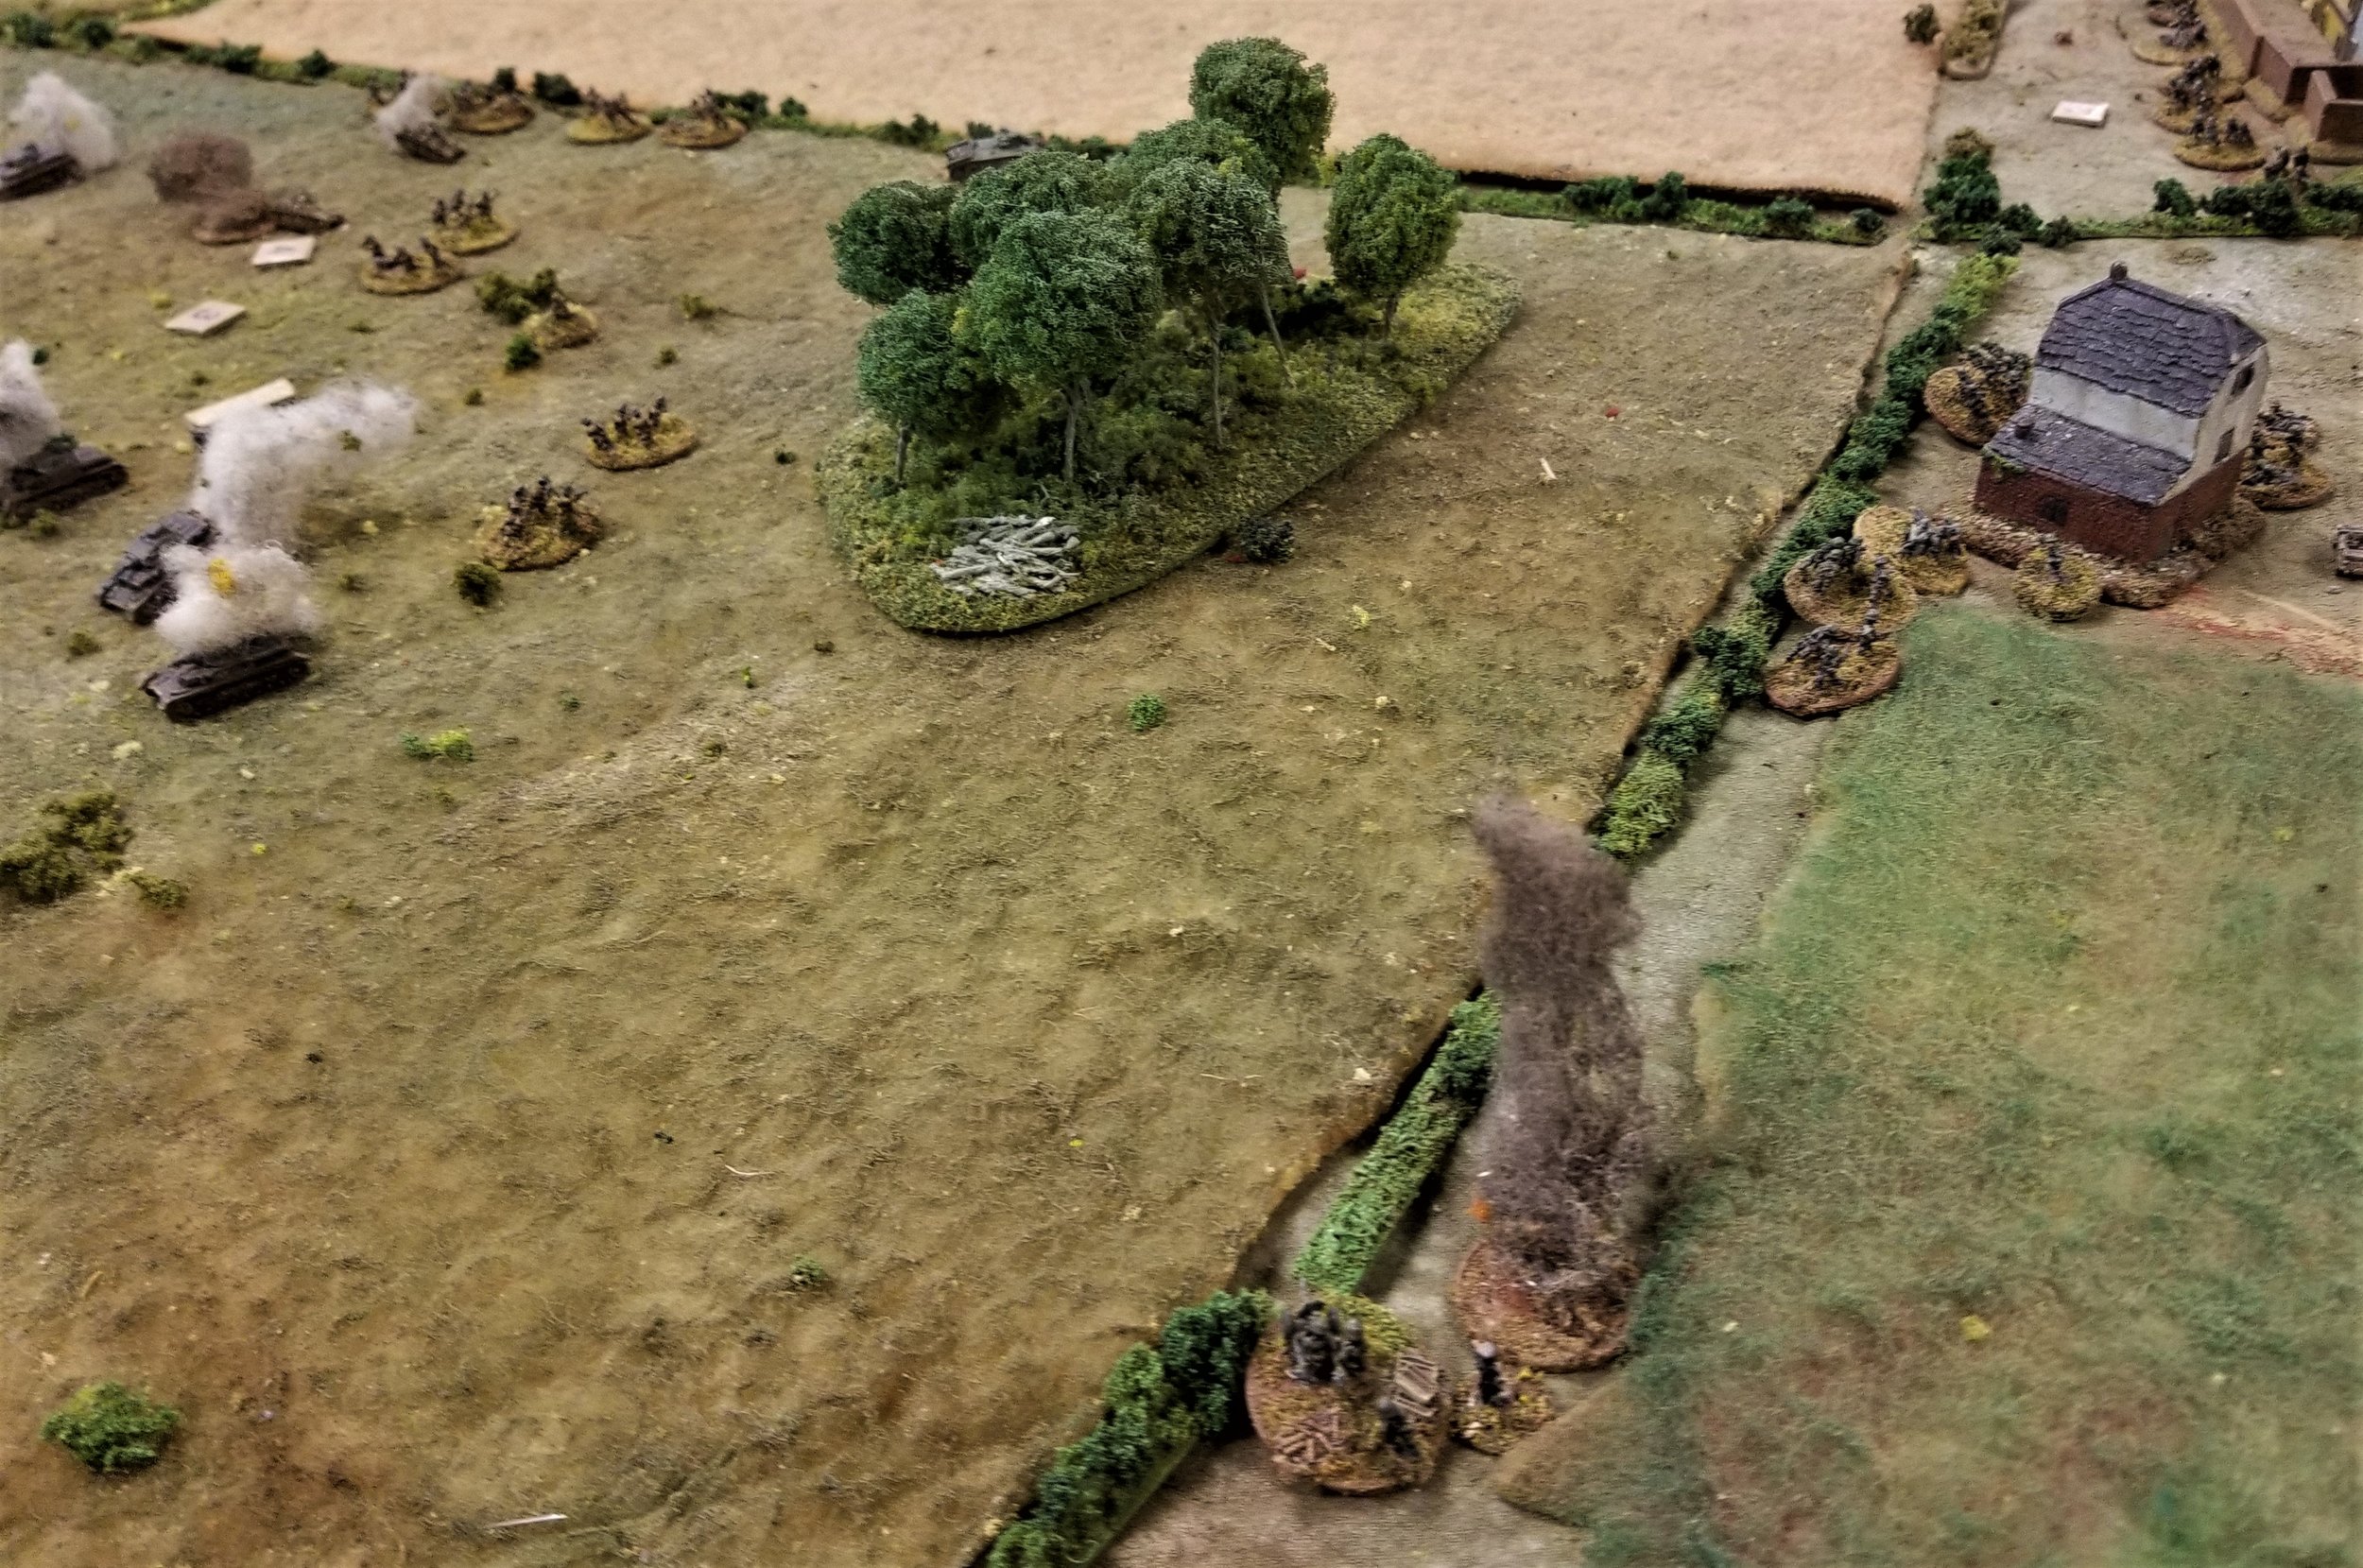
The table is probably best described by breaking it down into four quarters (each rectangular in shape). Looking at the table from the Soviet start line (call this the southern edge), the north-western quadrant was made up chiefly of railway yards, with three main lines surrounded by ancillary railway 'bits', a station block, coal depots, and a large derelict fuel thingy (like a gas works cylinder). In the south eastern quadrant the railway yards were bordered by a small factory area, Sidney's Unterhosen Fabrik being the main one, and to the south of that was a network of streets on a grid basis stretching to the table edge.

On the eastern side of the table a main street ran north-south with a few kinks in it to interrupt fields of fire. In the north east quadrant the main station bordered the railway lines, along with the newer U-Bahn station, a square with a staue was immediately in front of the Haupt-Bahnhof, and to the north and south of this were buildings and the odd side road running off to the east.

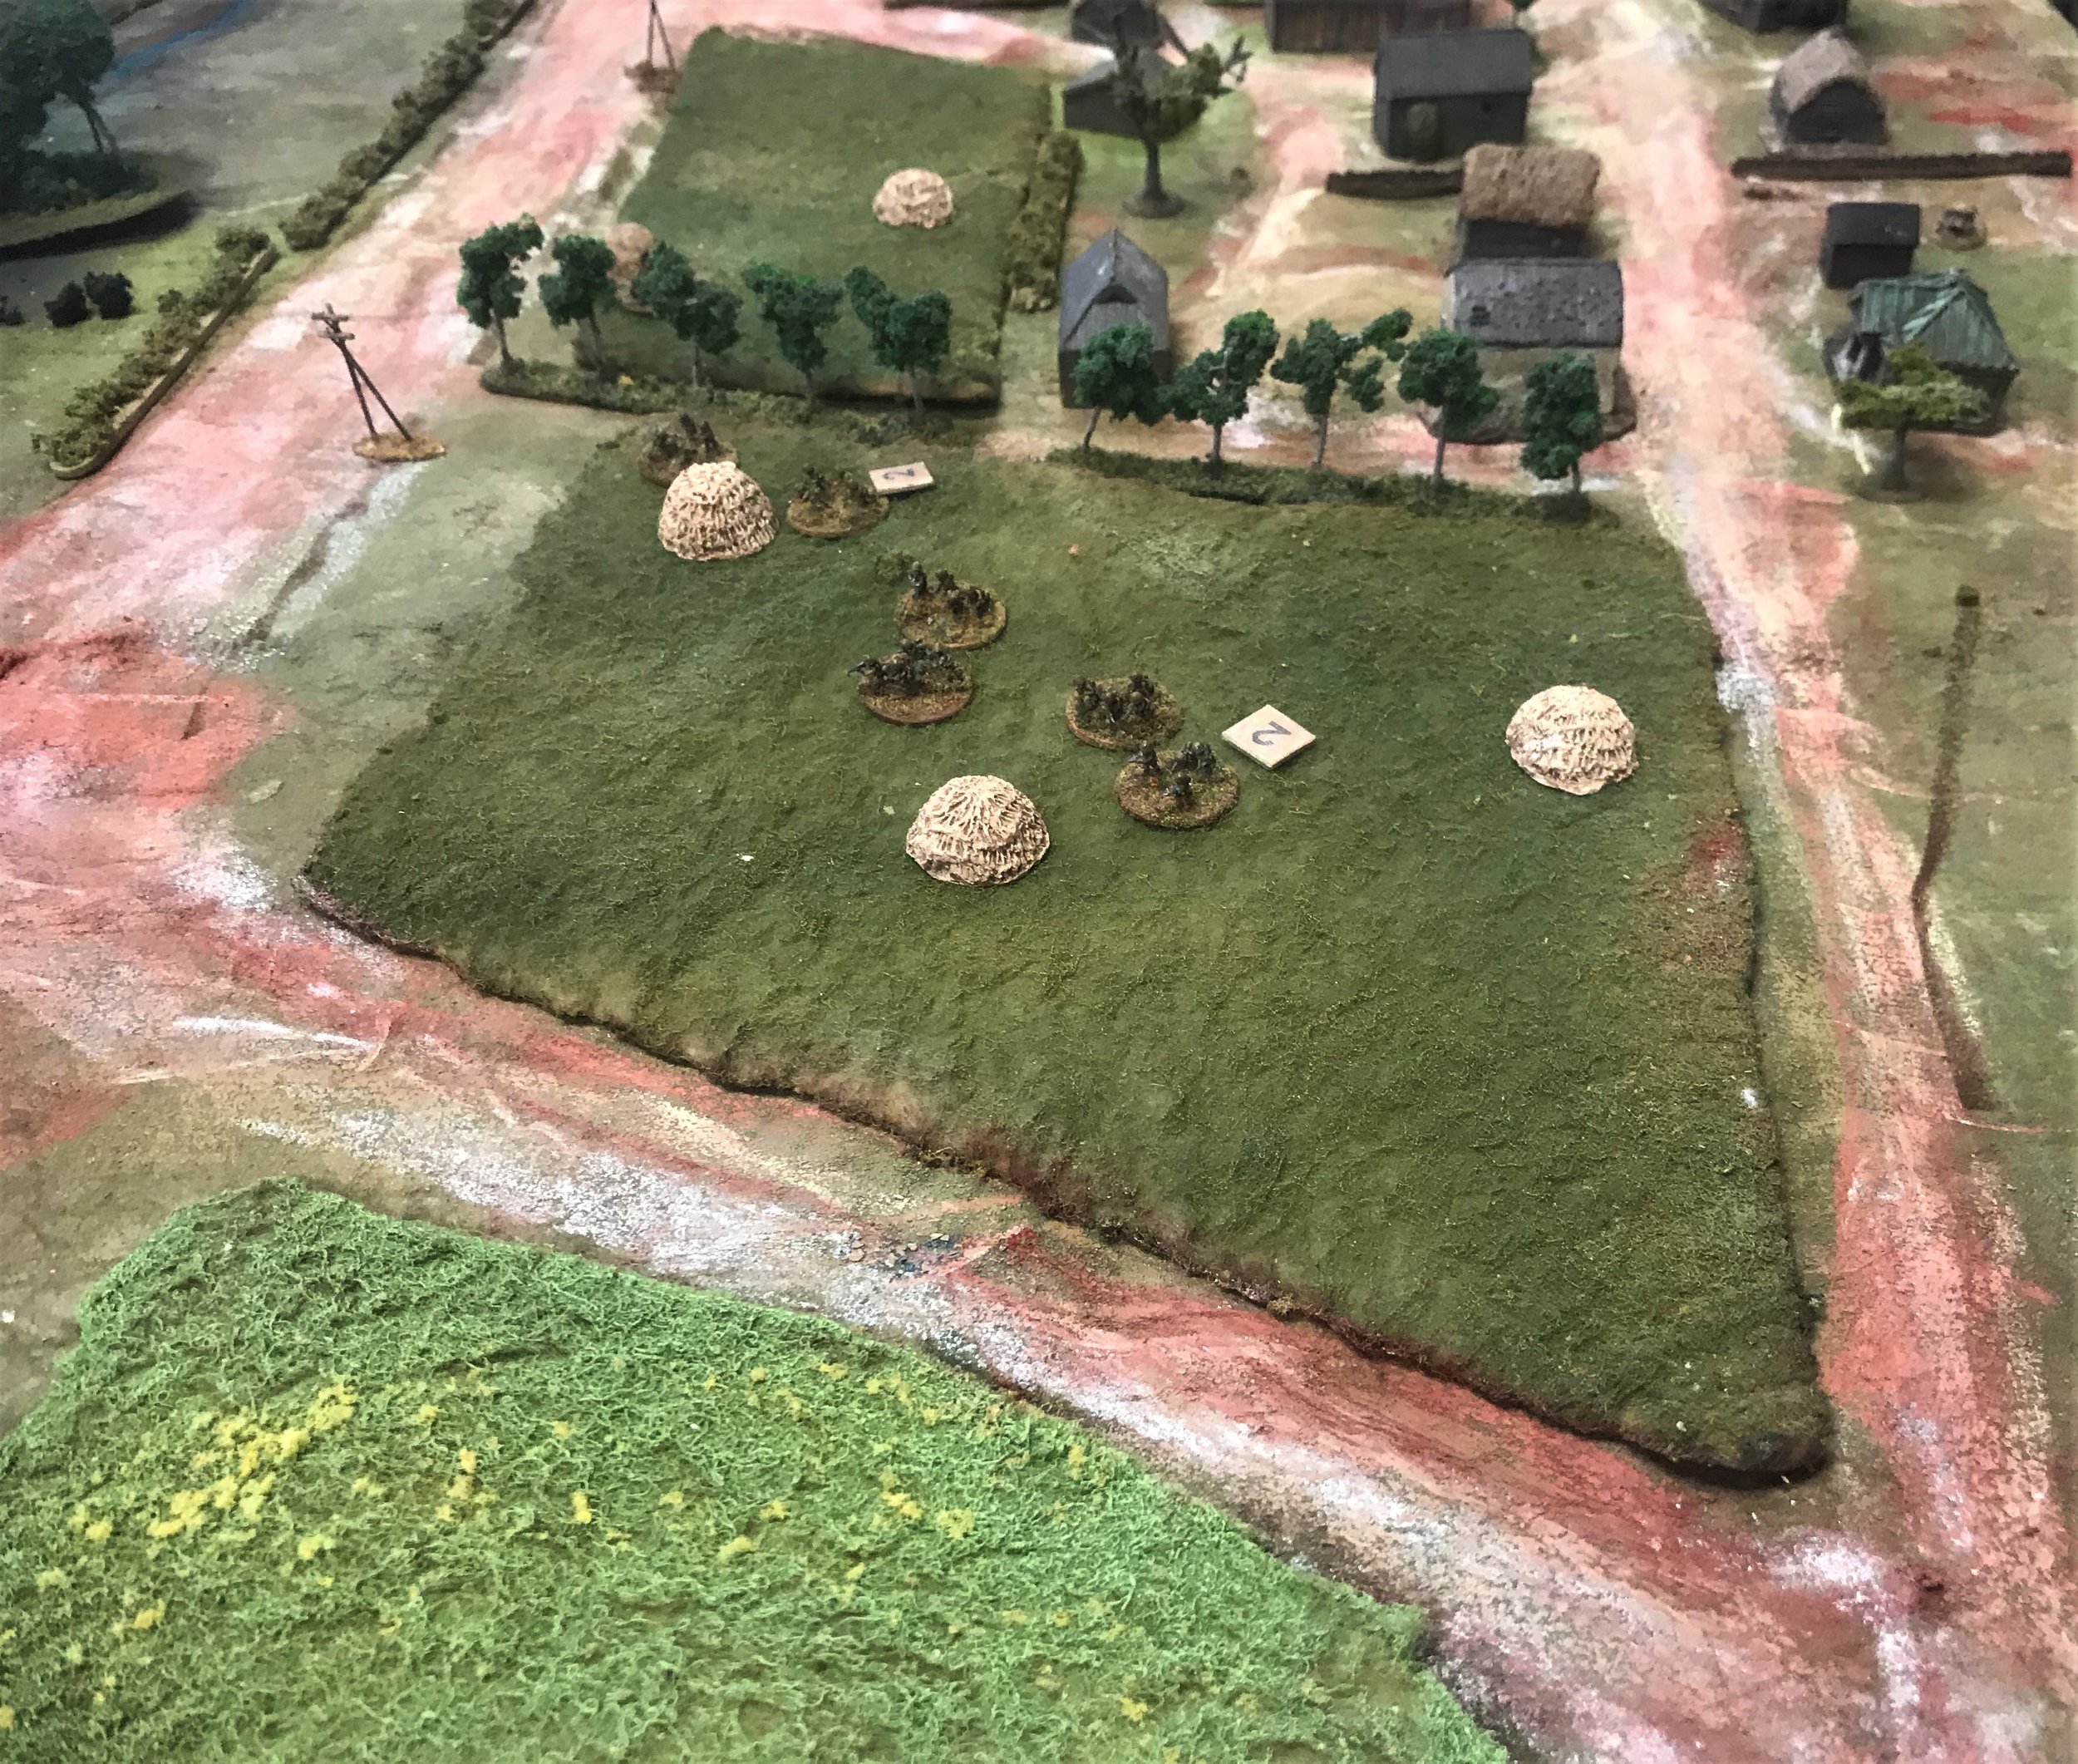
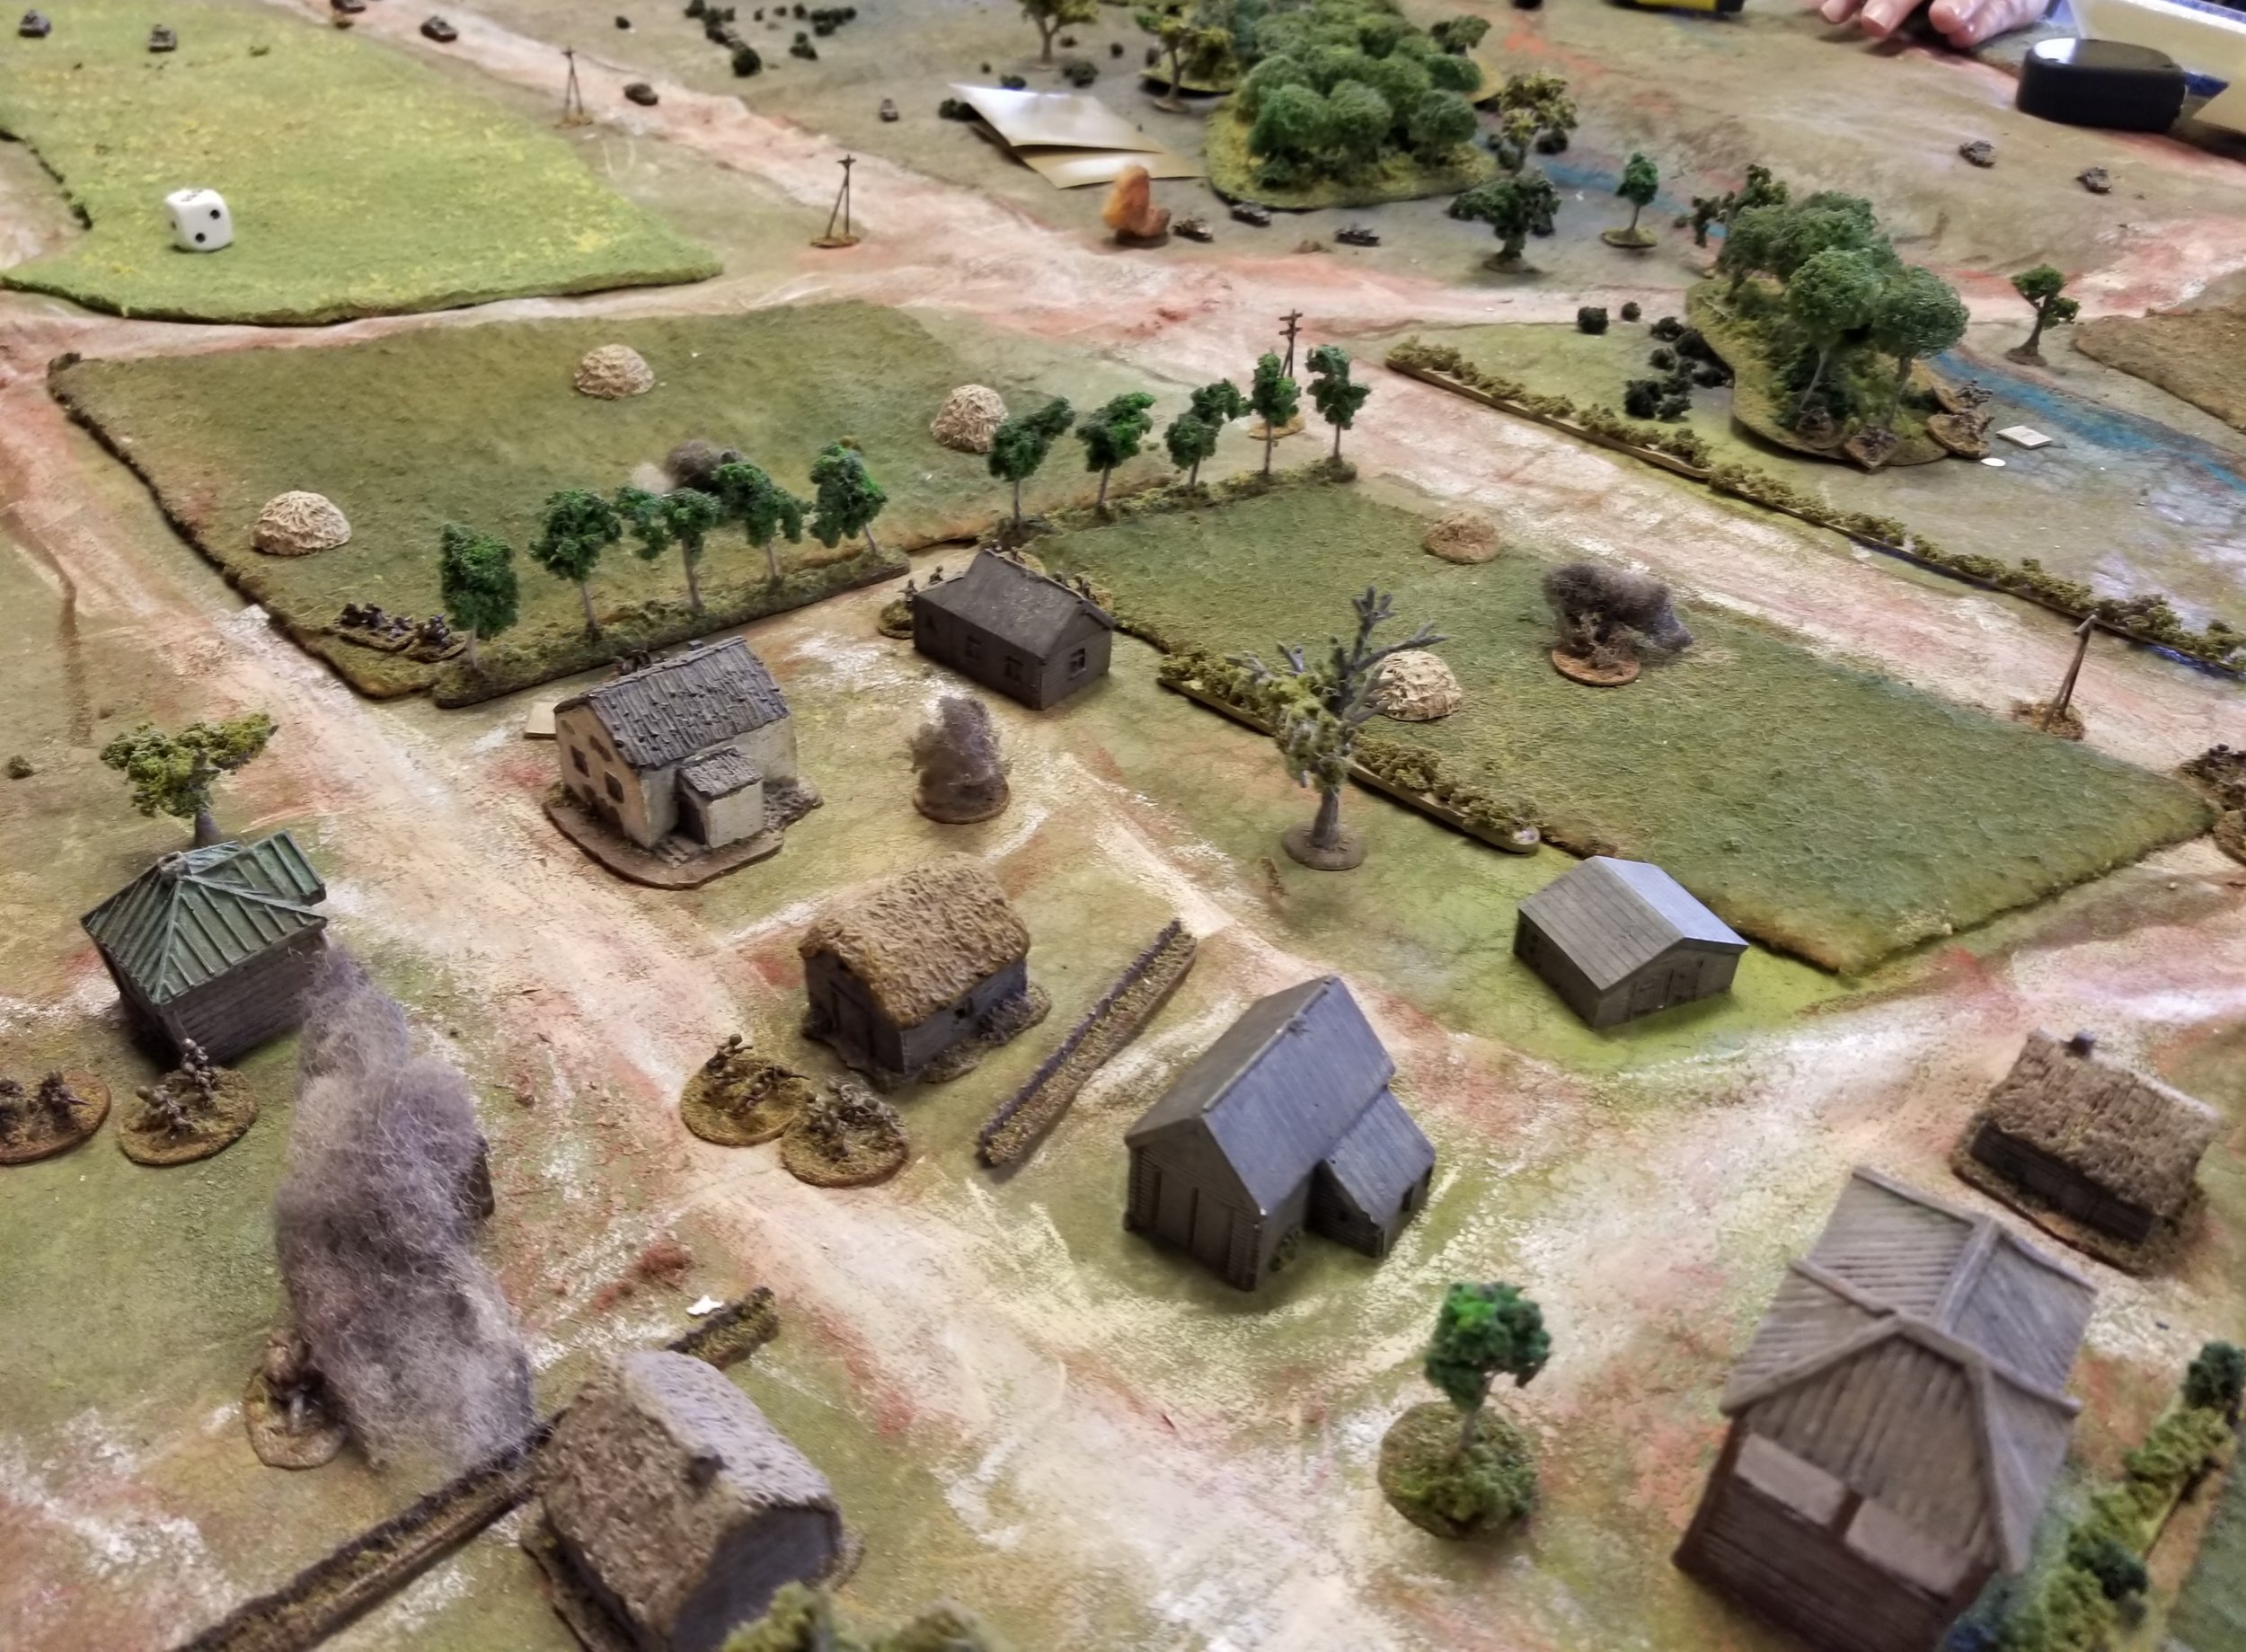
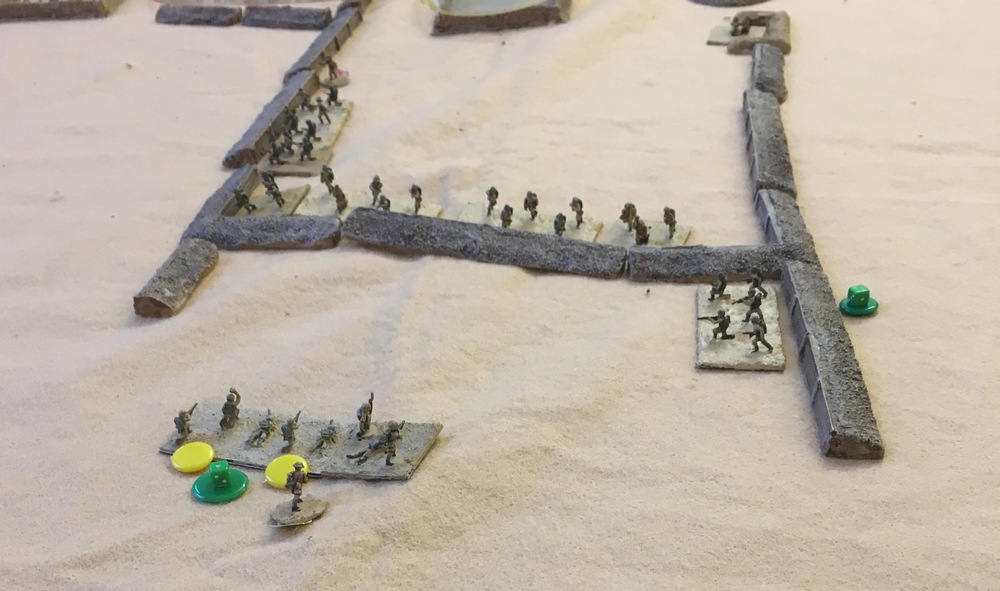
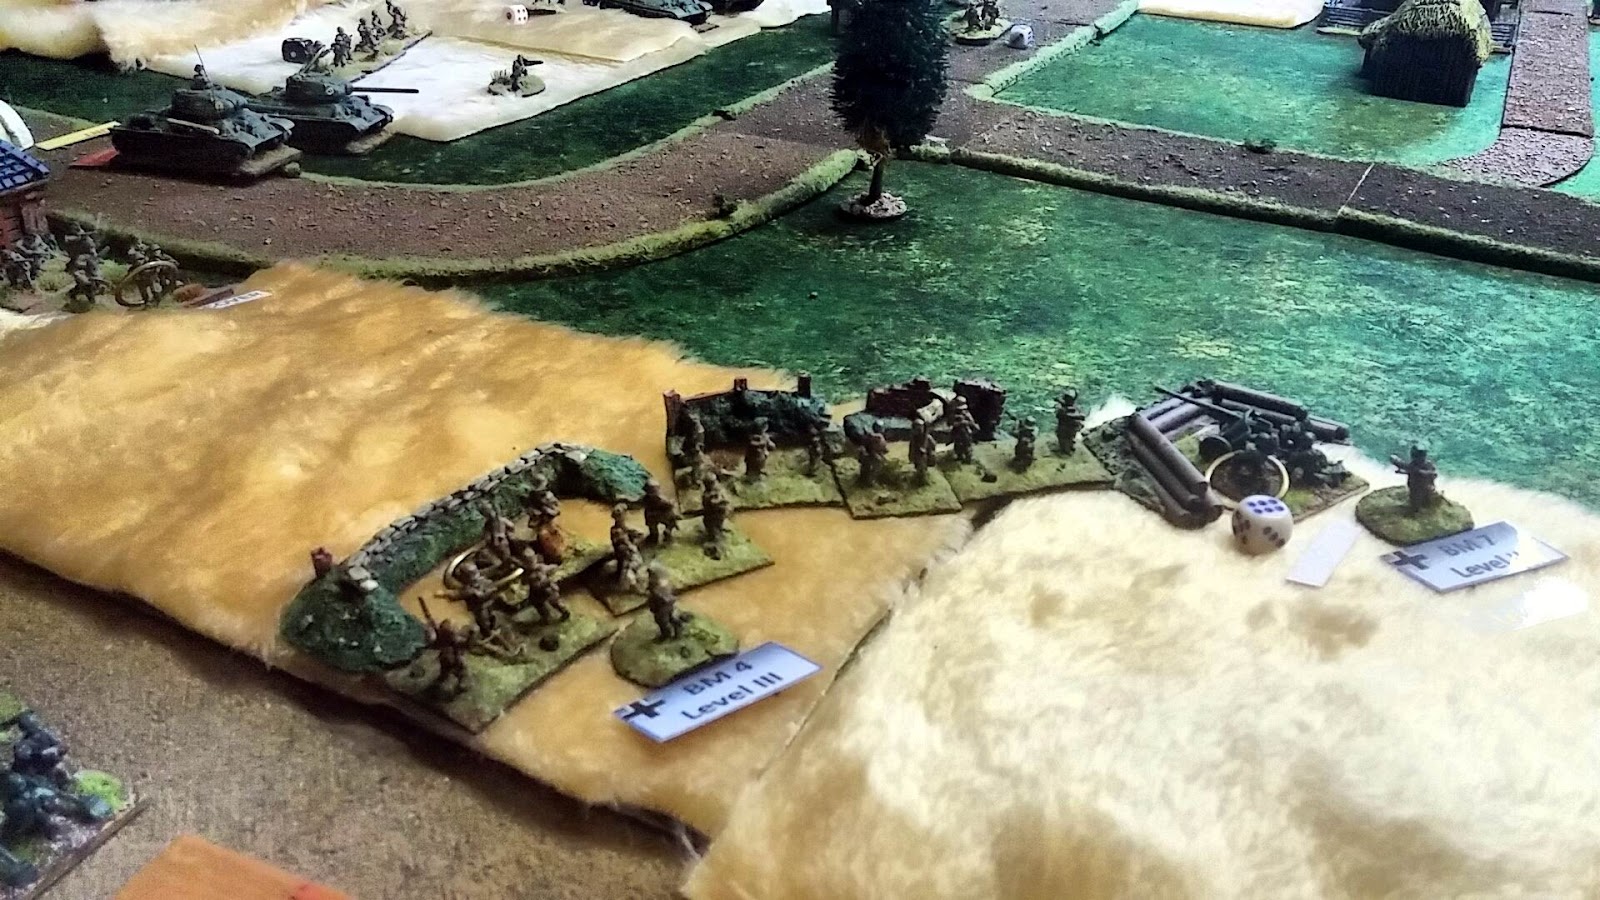
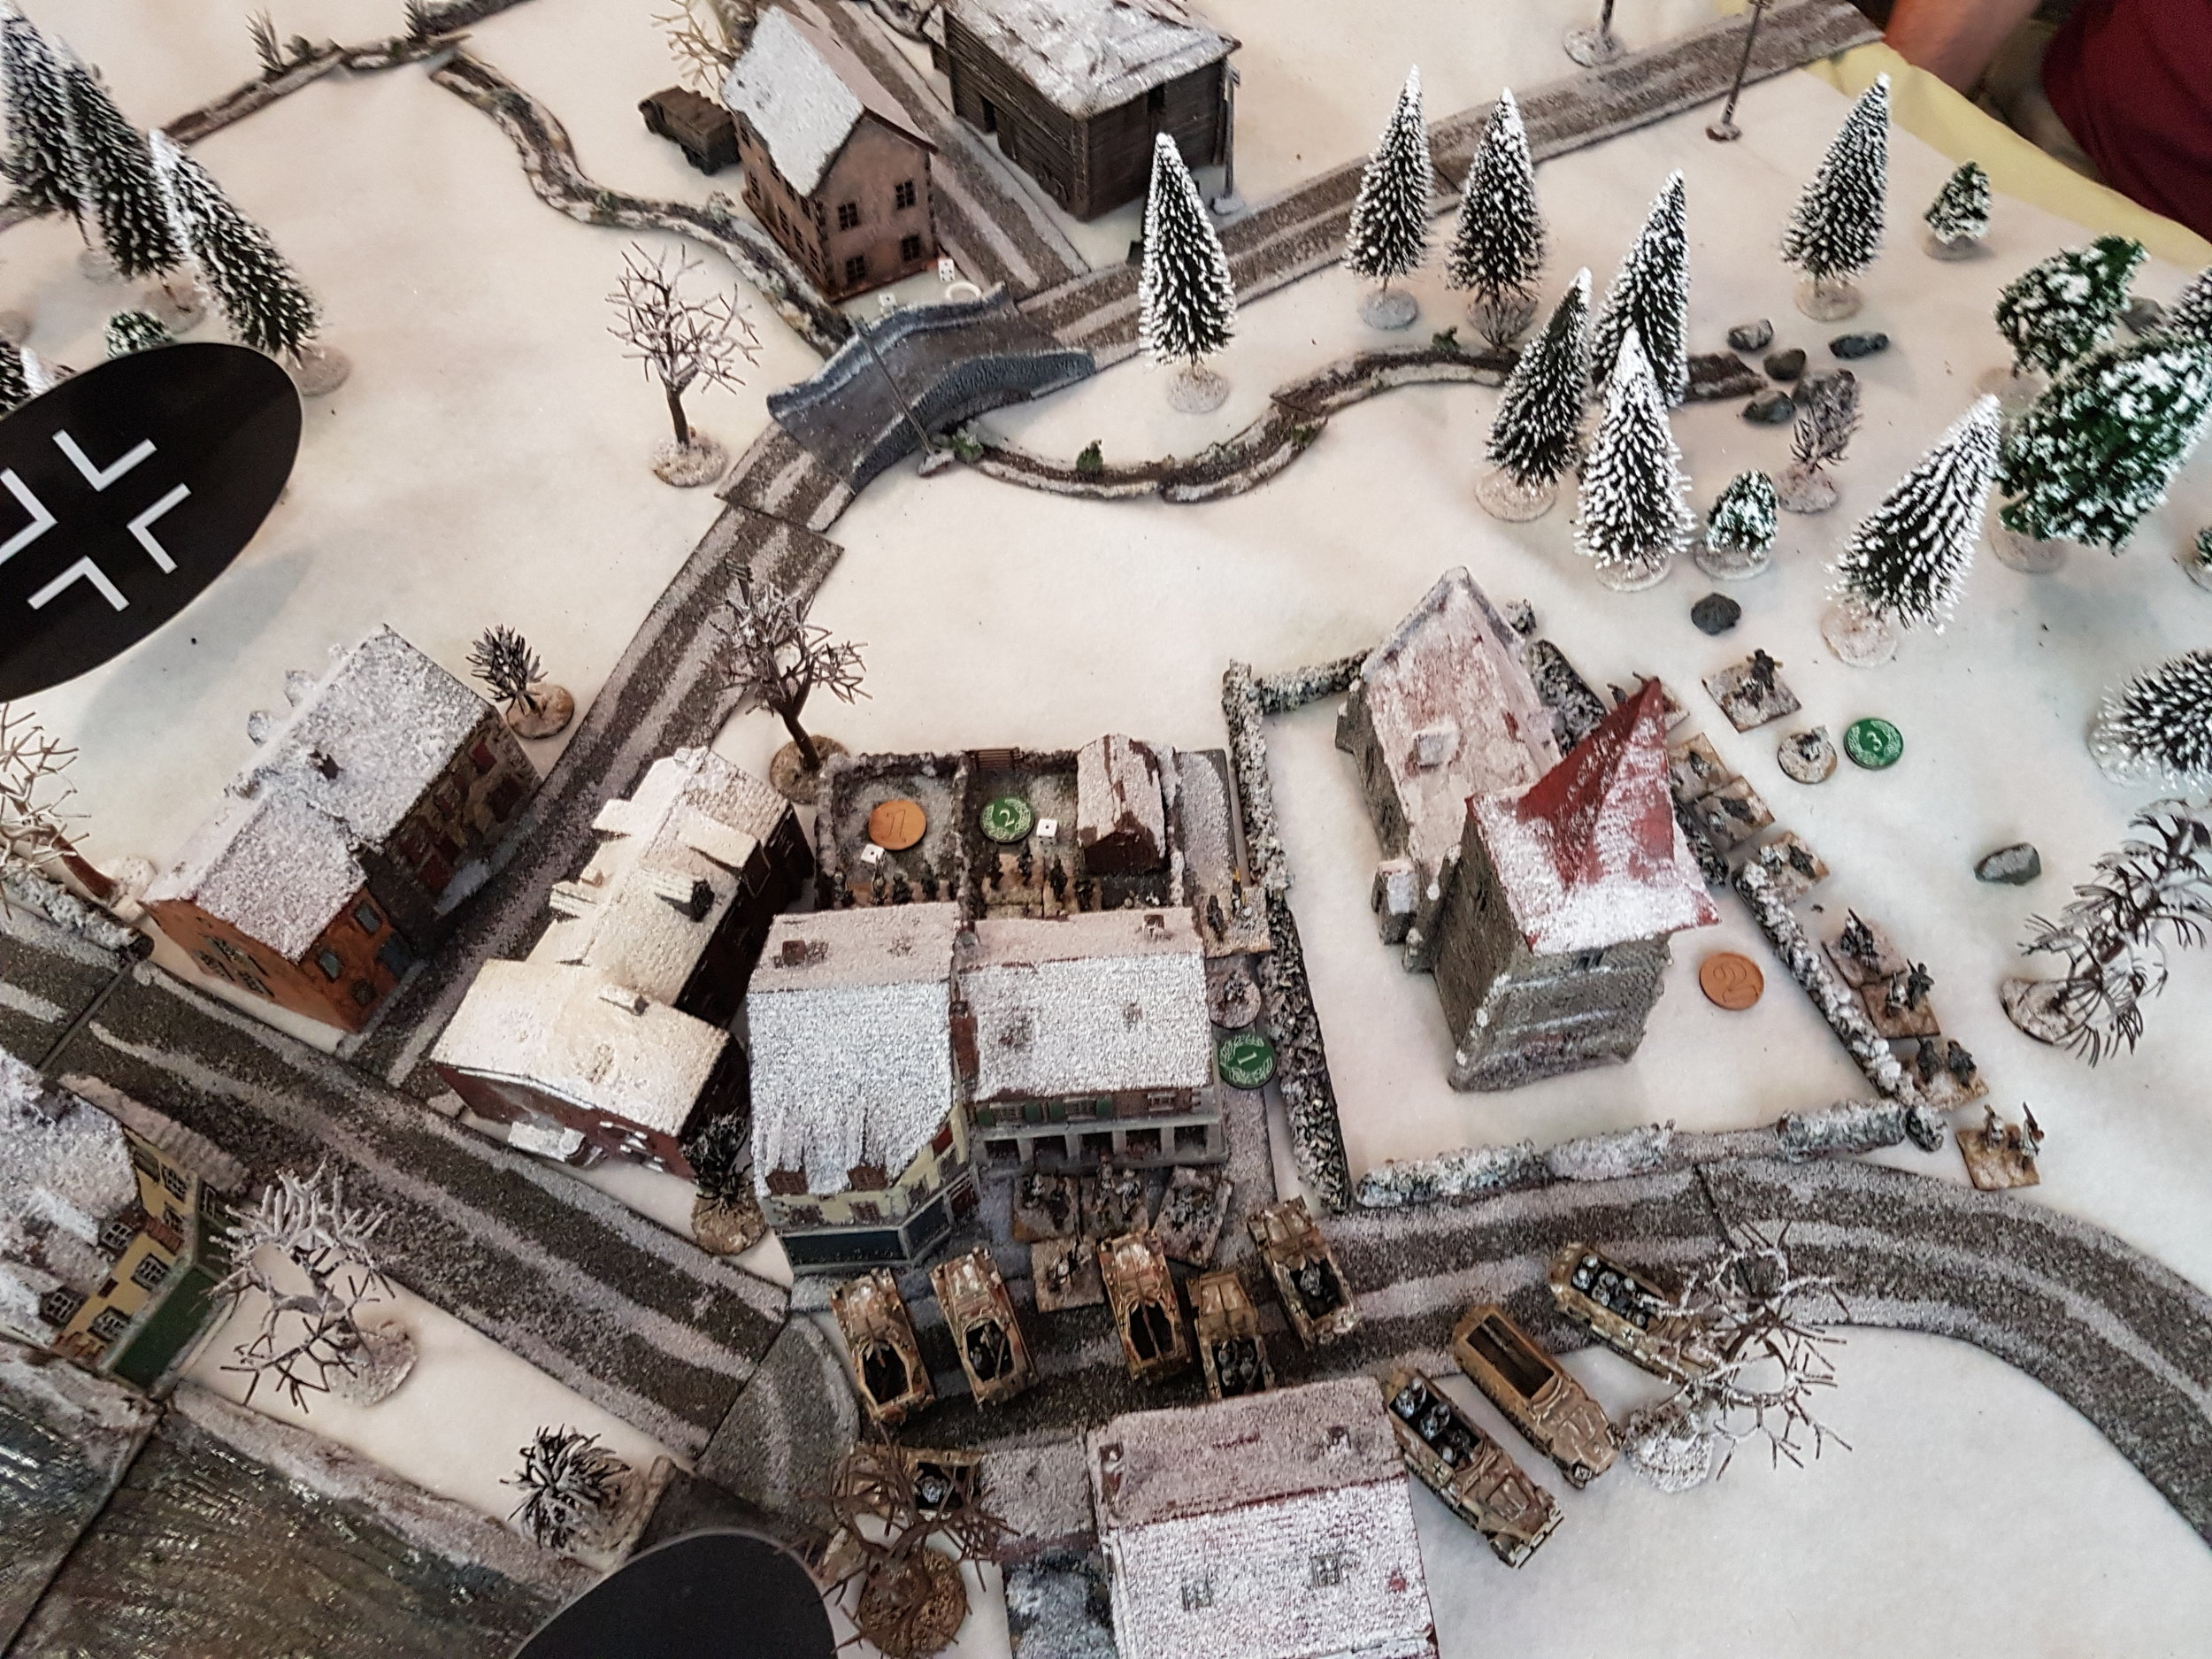
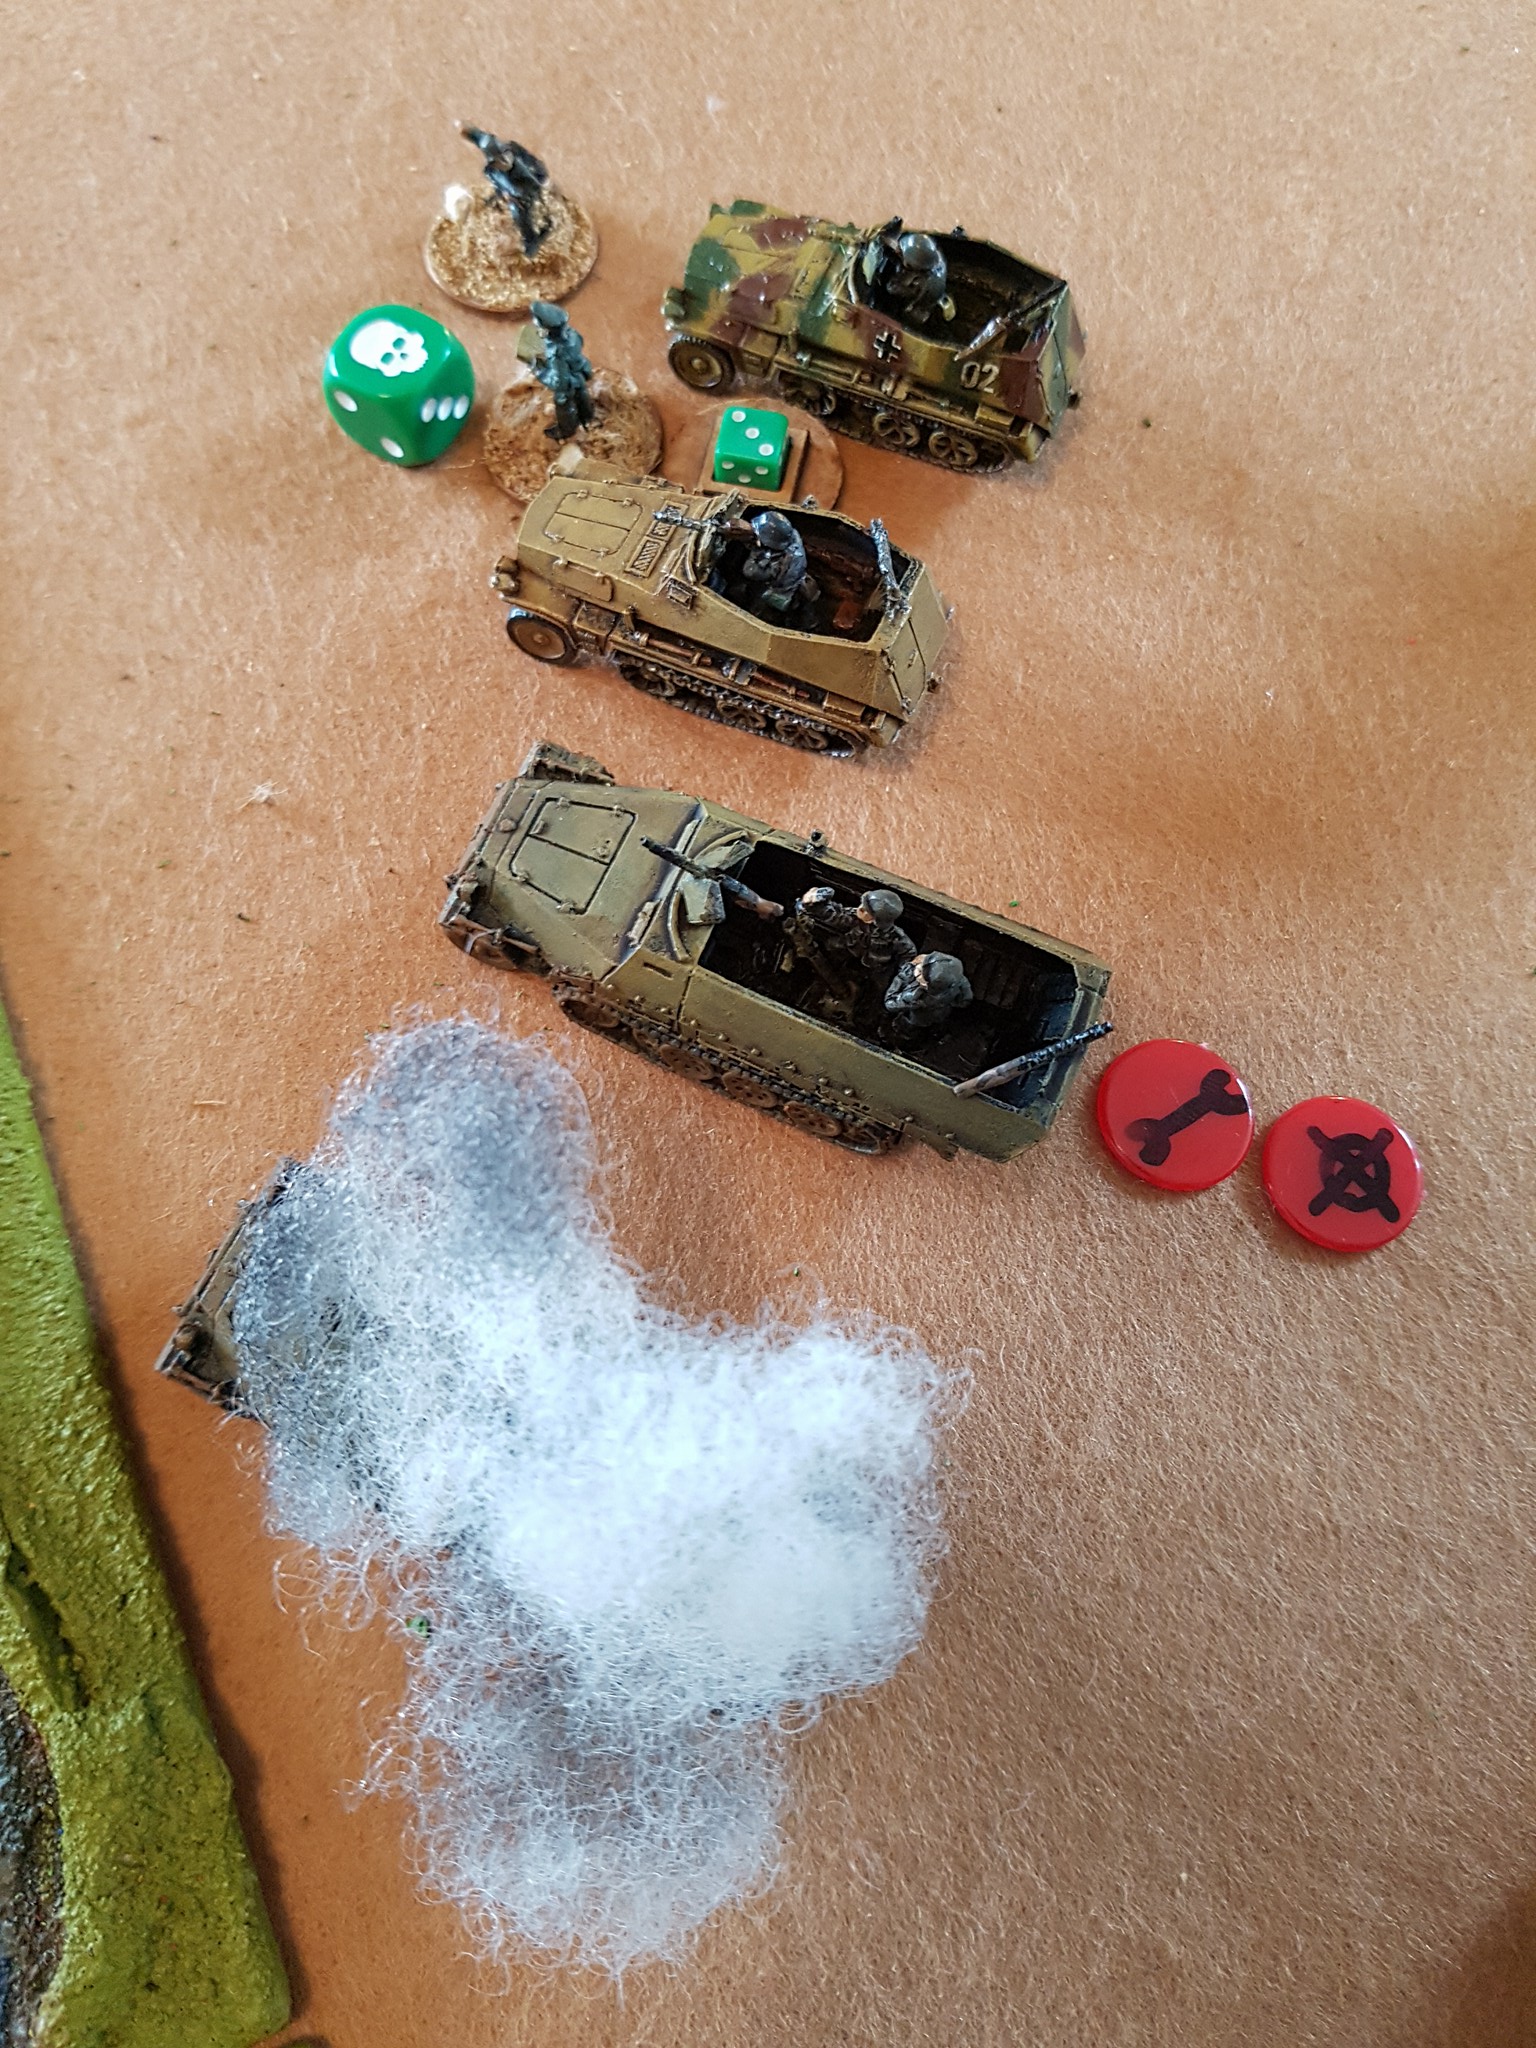
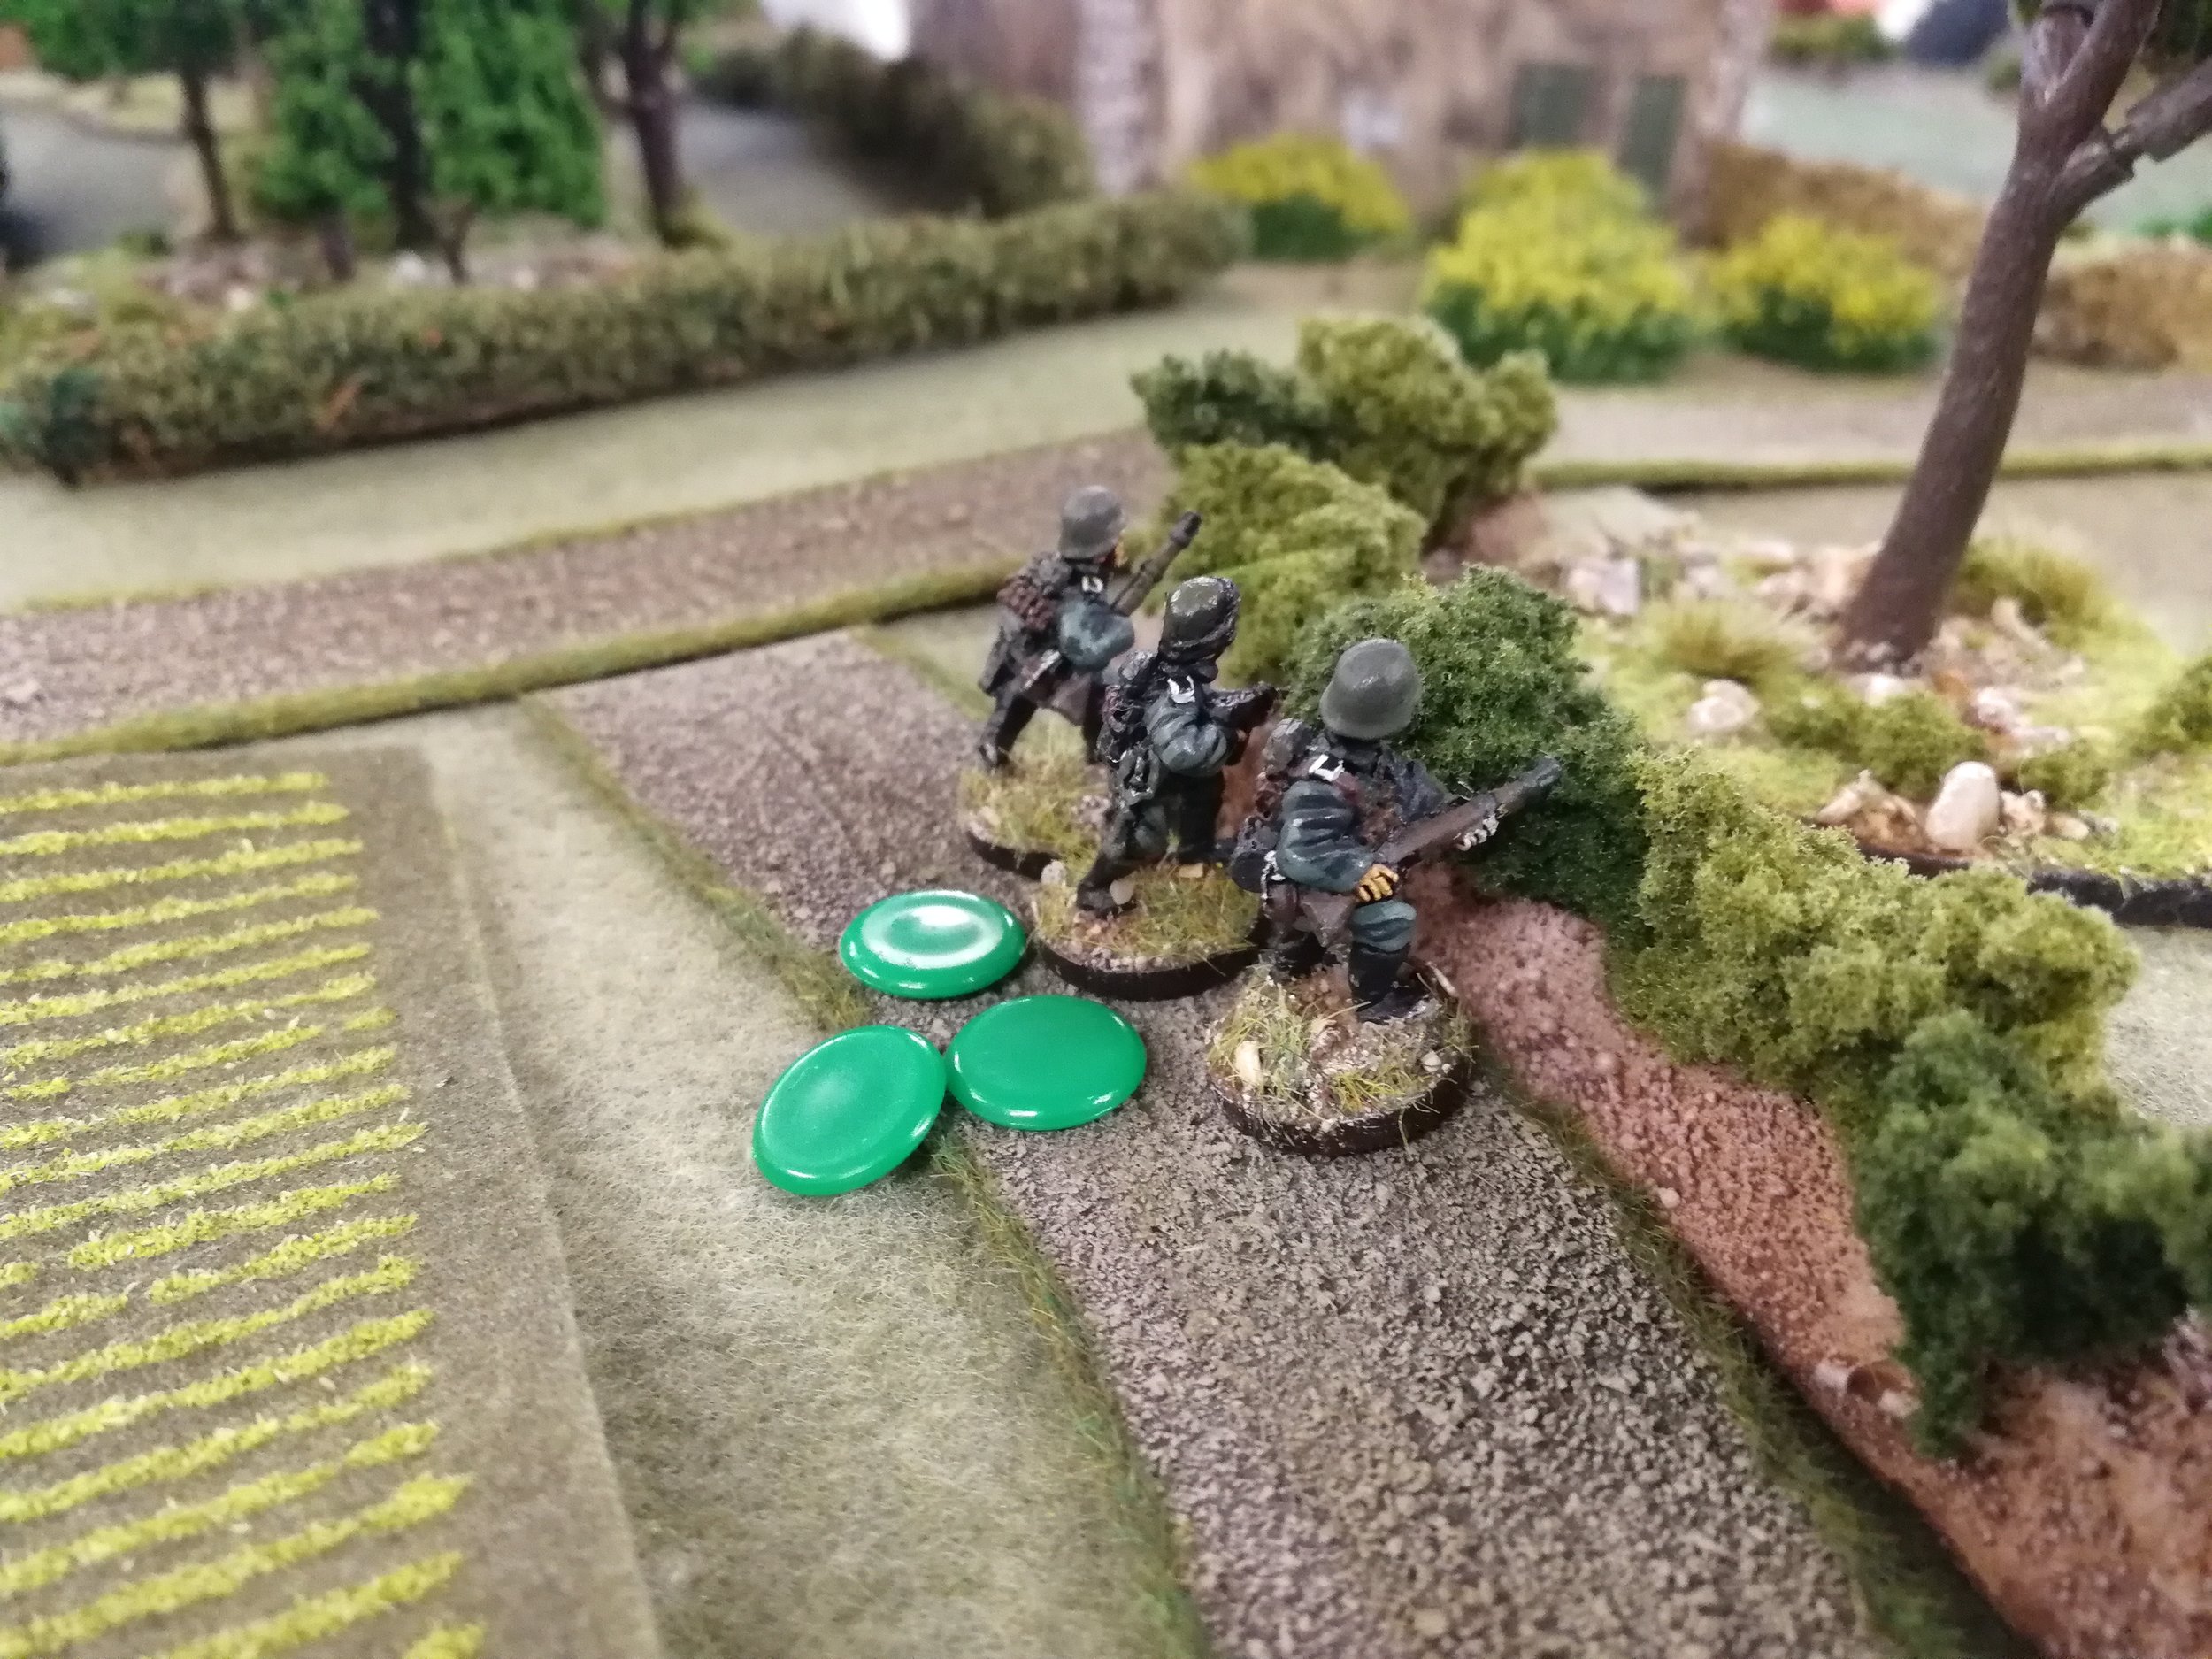
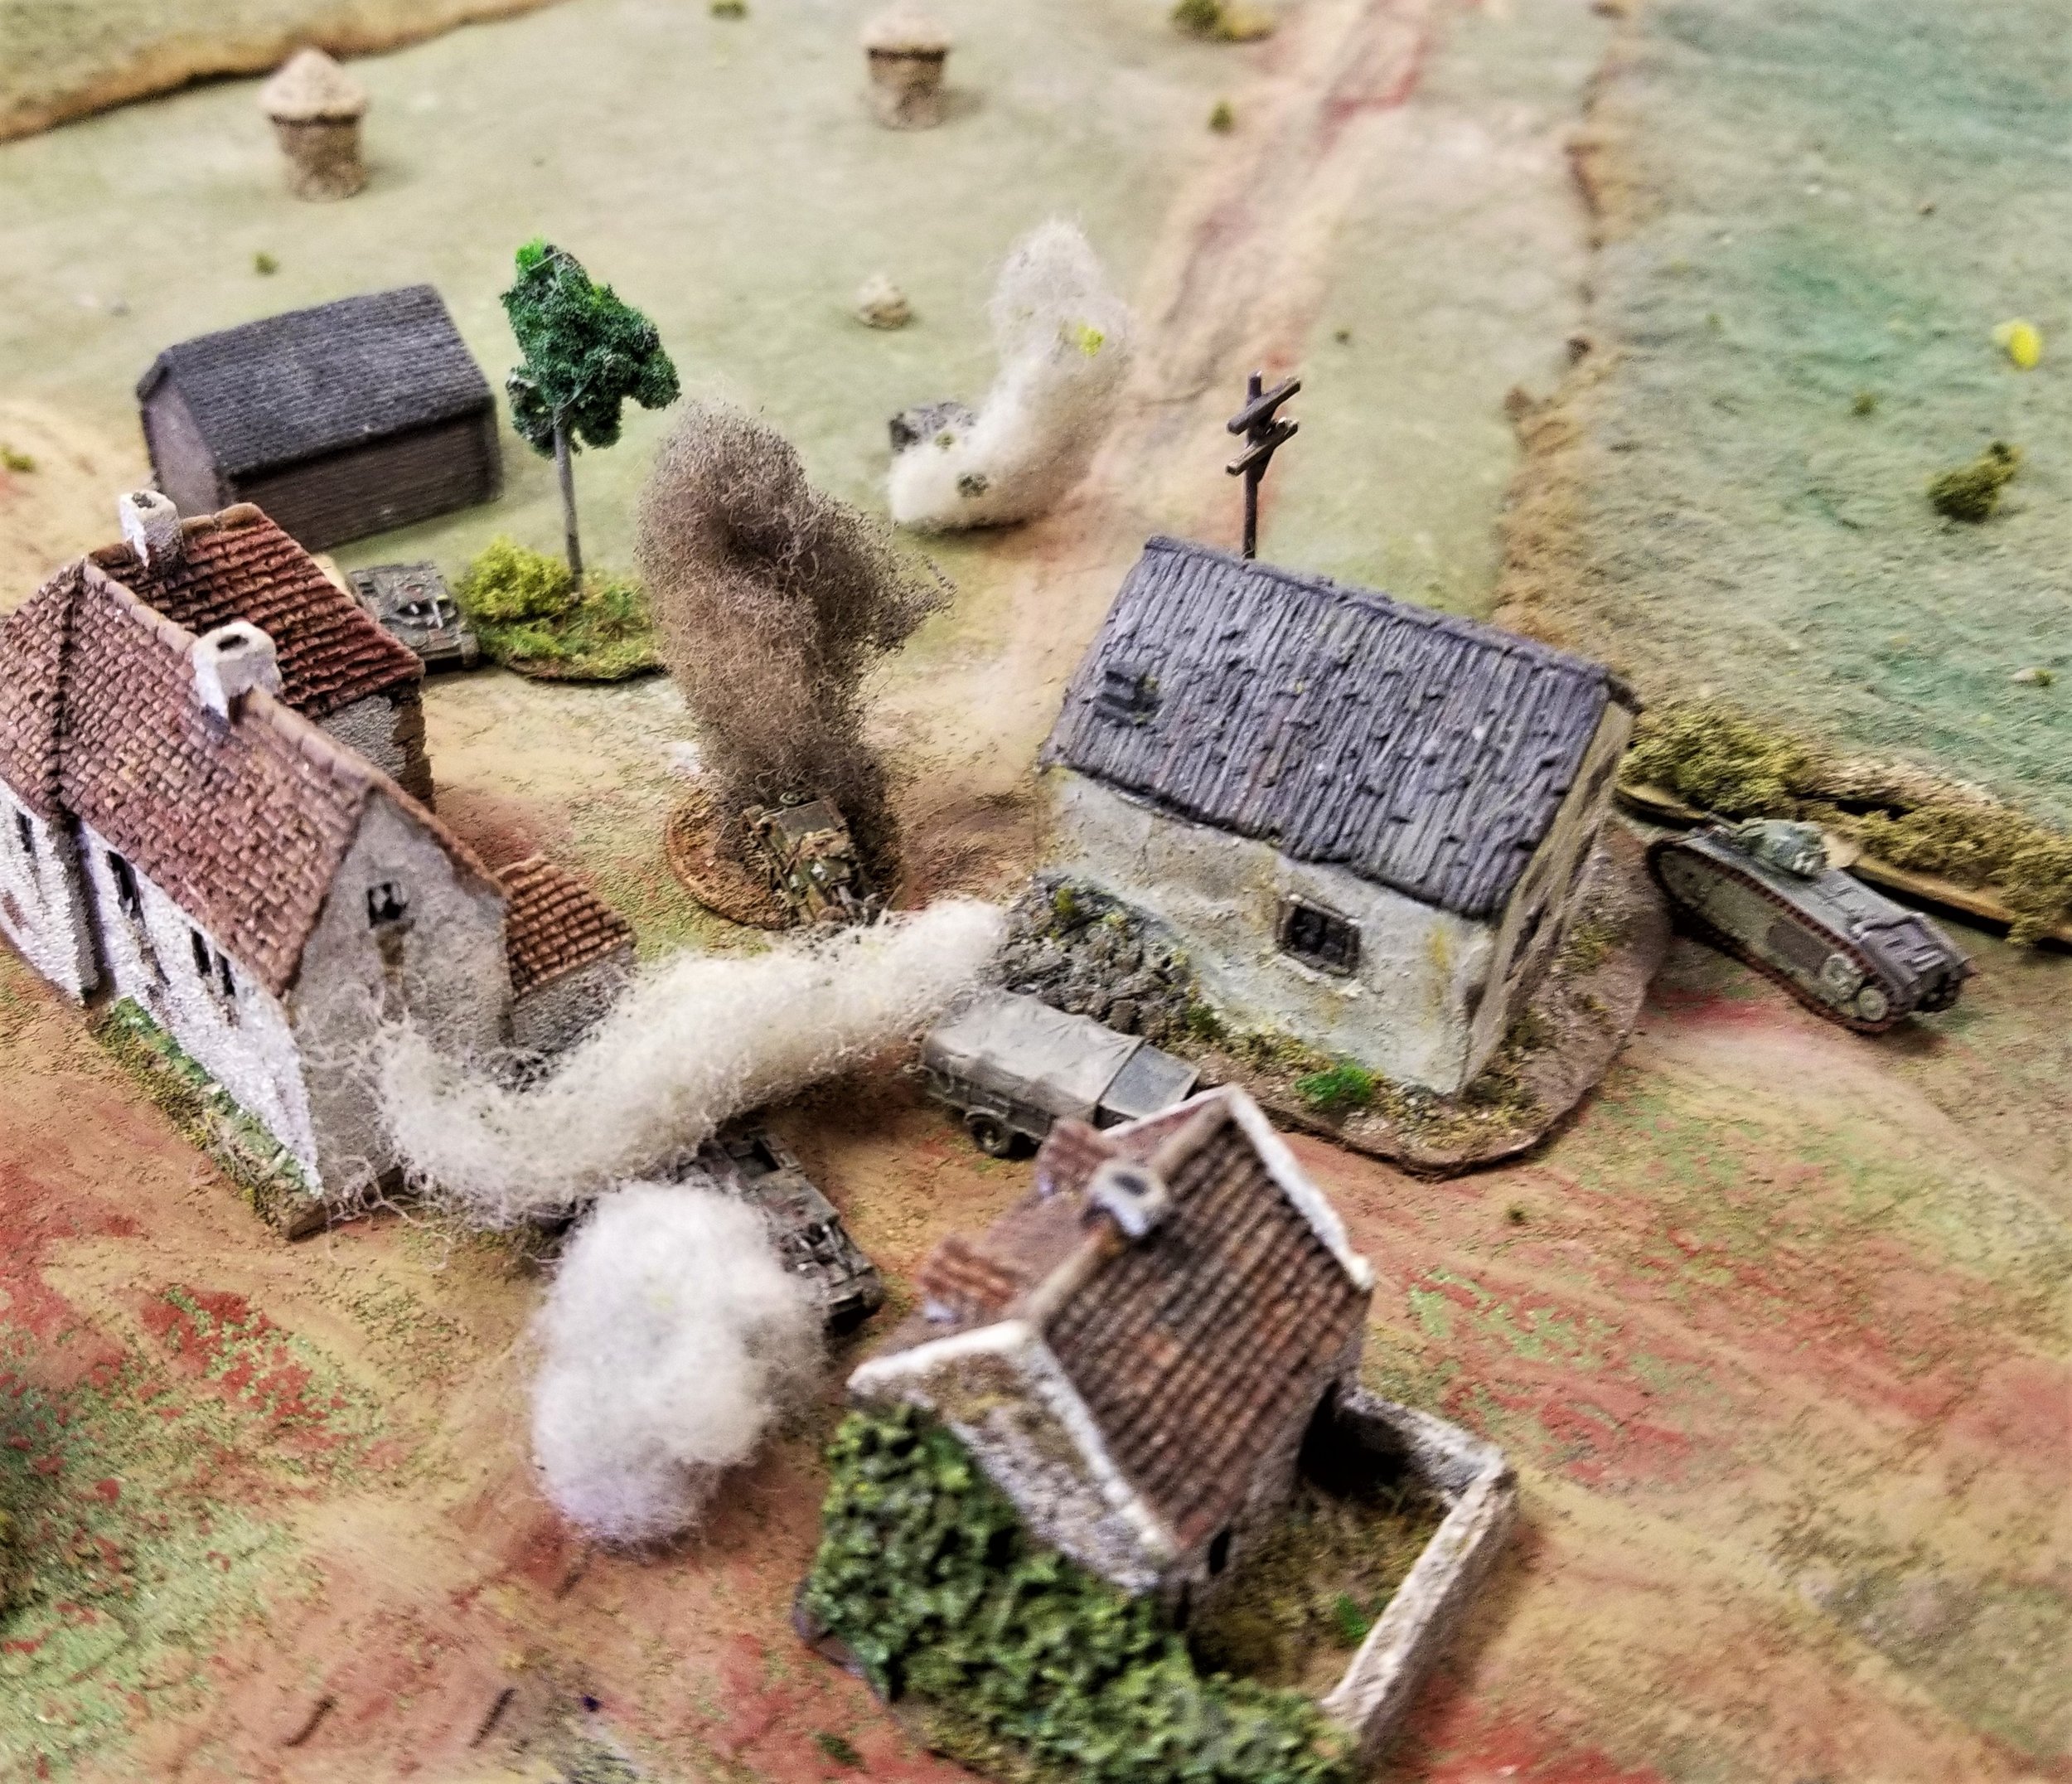
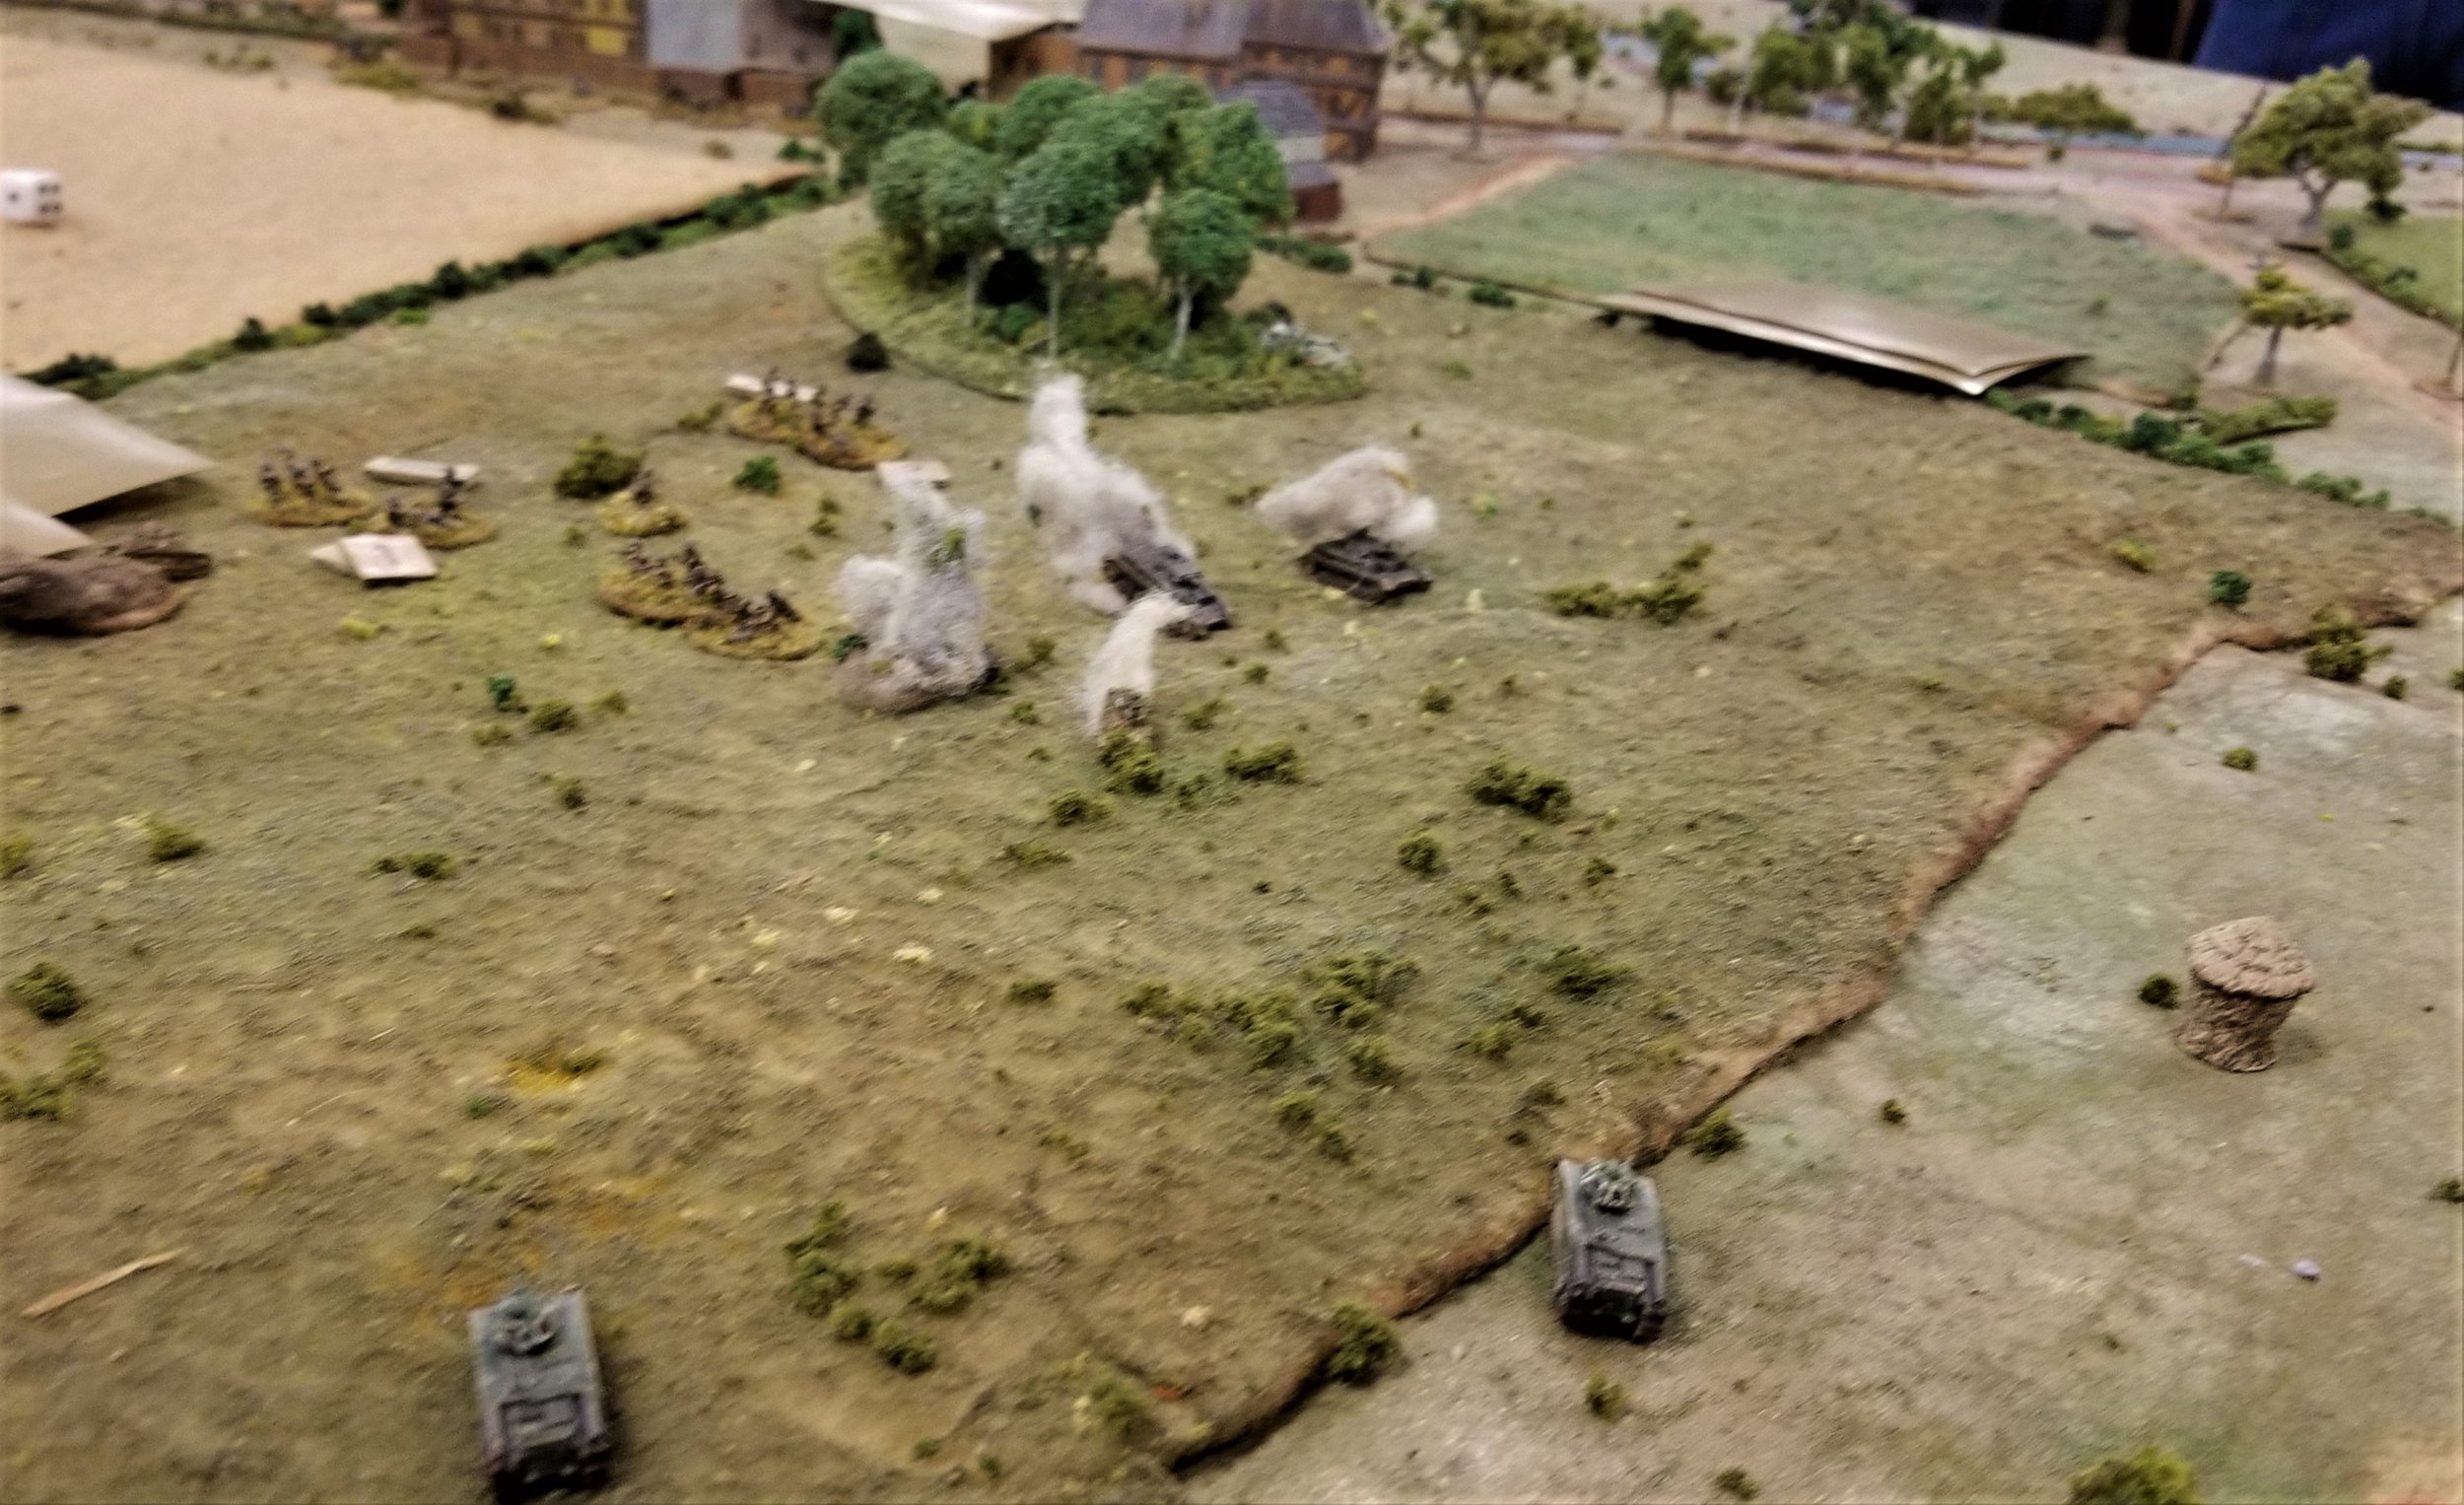
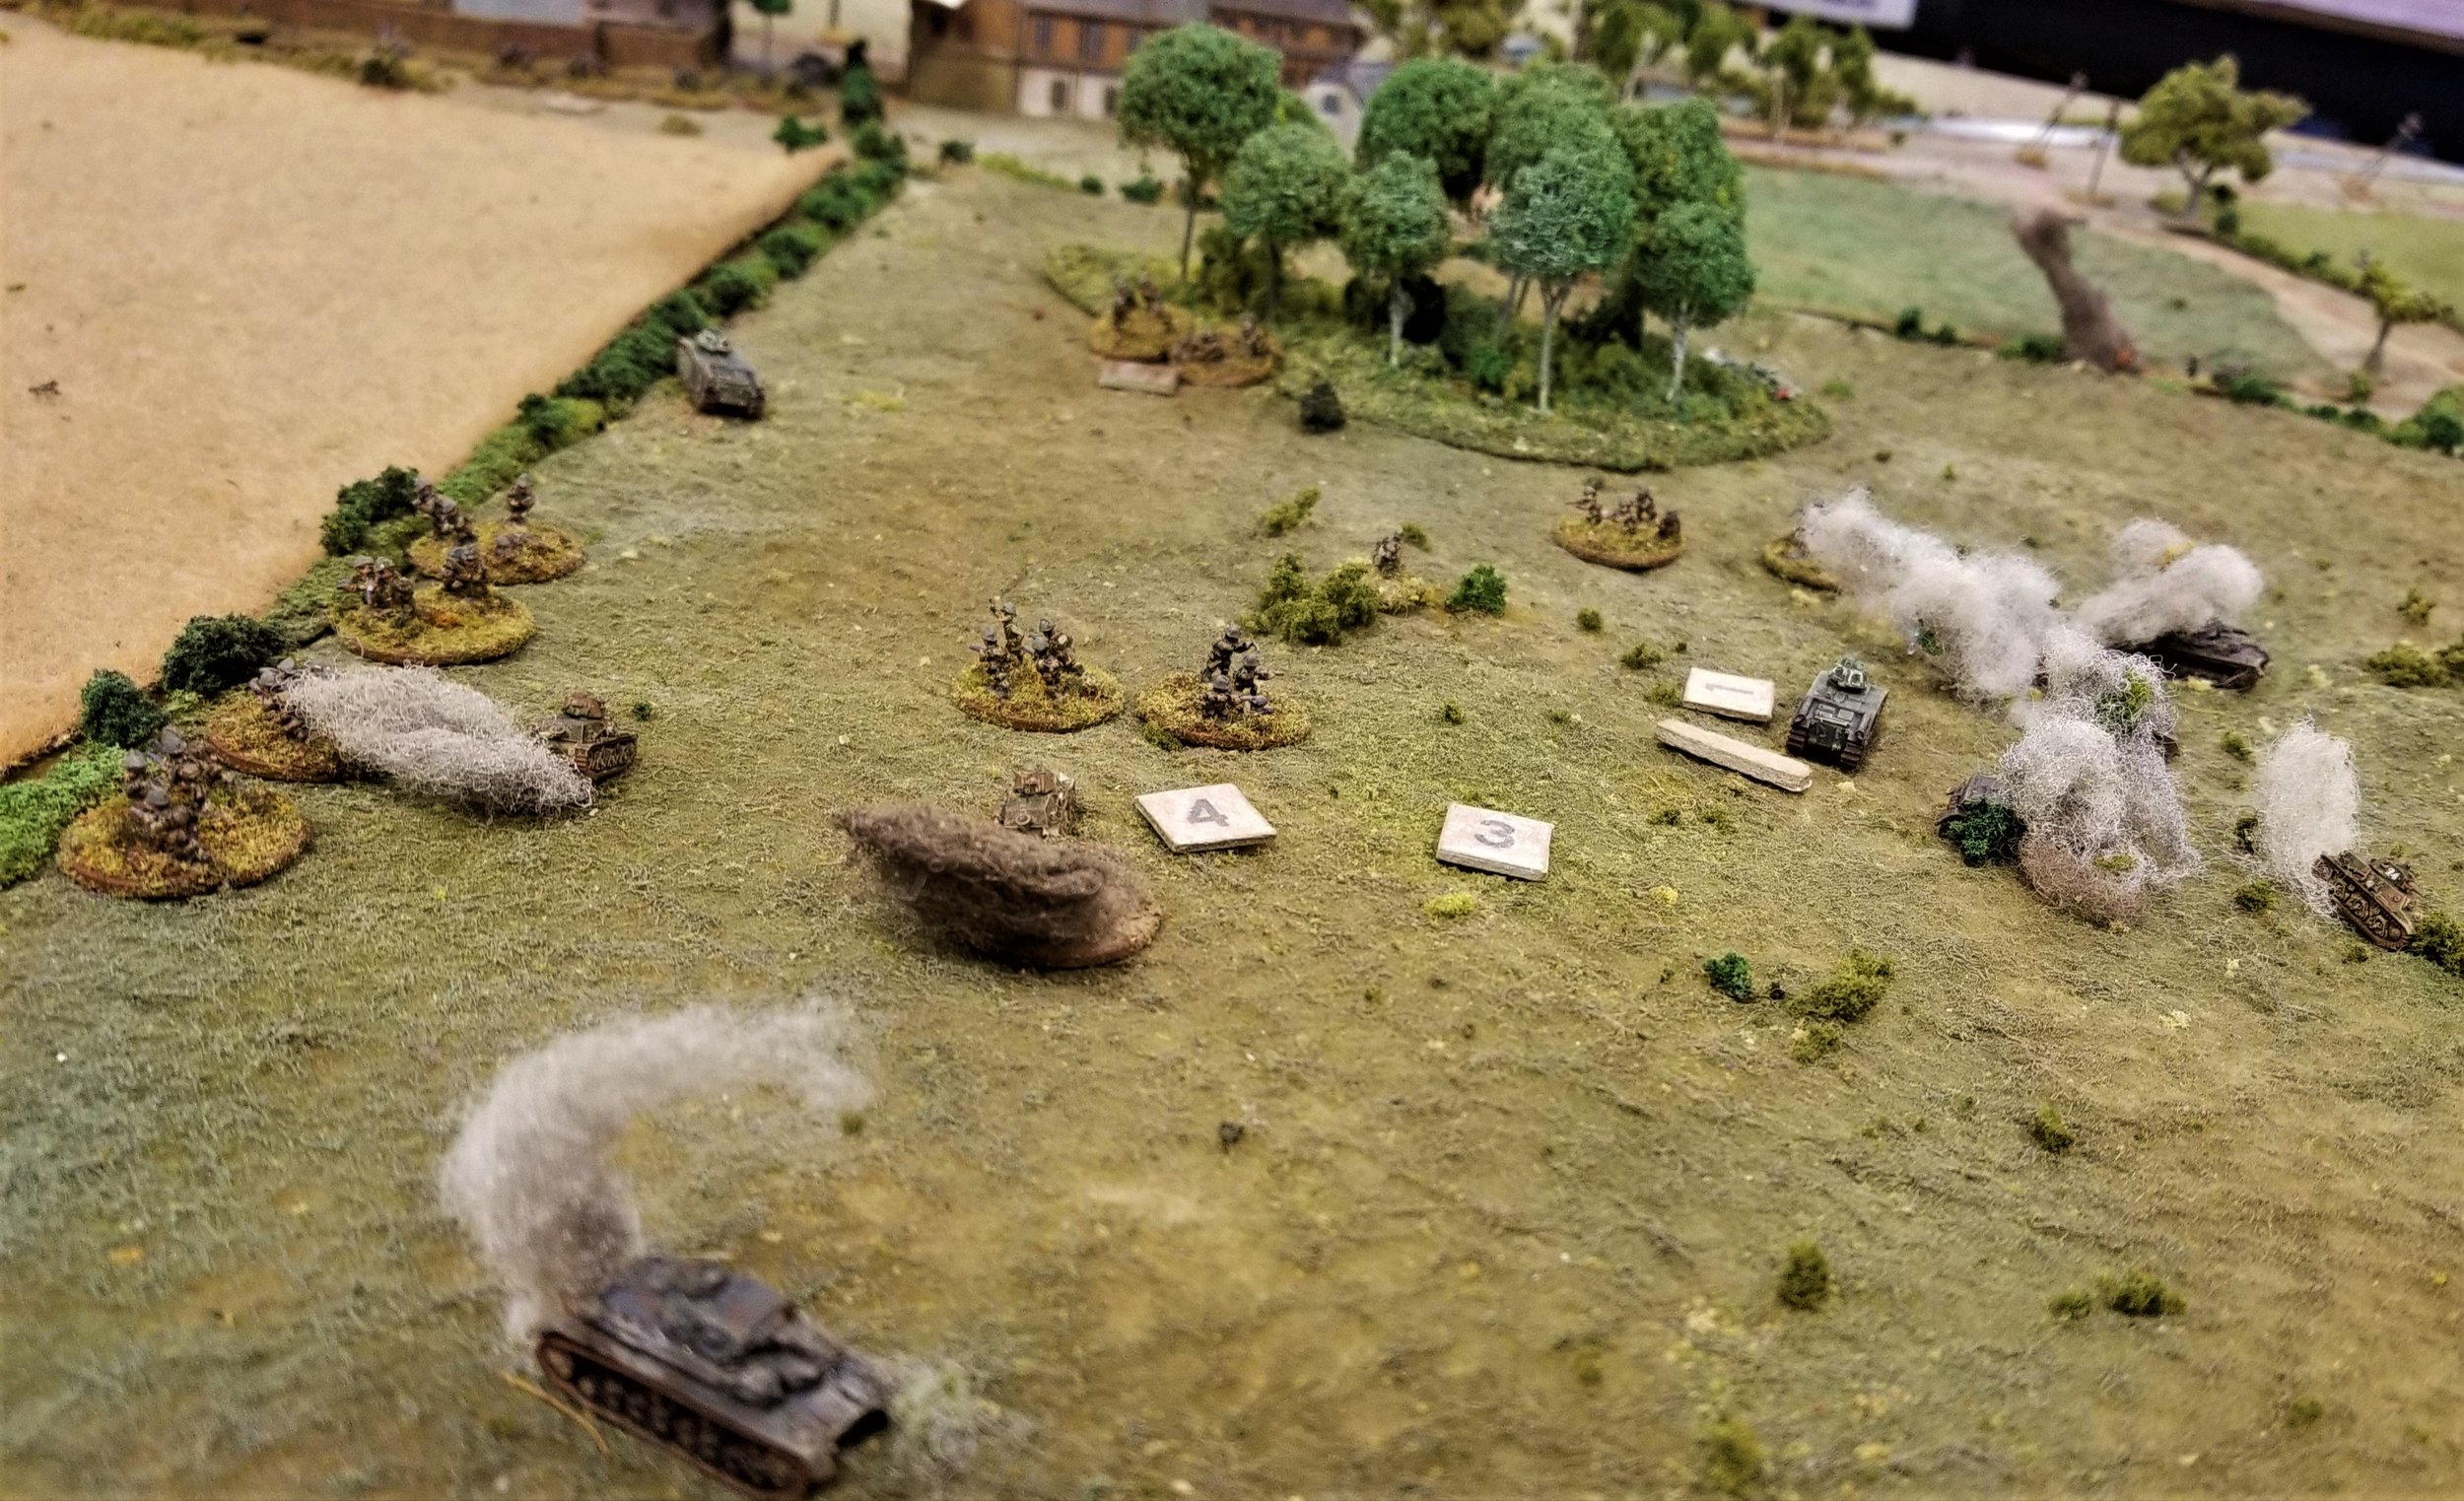
Noddy's ruskis stated off by moving through the buildings whilst holding back their tanks, clearly hoping to secure a base from which to launch their main assault on the station. On their right they ran into an MG42 and a squad of Wehrmacht under Kurt Adler, whilst in the centre and to the left the Volksturm under Niederstanner held the line around the Unterhosen Fabrik. A fierce firefight began, with the Soviets immediately bringing forward their Support Platoon of four MMGs on their right, and driving Kurt Adler and his Wehrmacht back in some disorder. On the left Niederstanner had firm, disappointed that he couldn't make use of the bundles of panzerfausts he had ready, but causing the advancing Soviets there some problems, especially with enfilading fire from an old WWI Maxim gun that they had.

Advancing on the heels of Adler the Soviet Third platoon sprung forward on the right, leaving the MMGs to redeploy to fire across the main road into the Volksturm in the factory. Despite the oblique angle the sheer weight of this fire began to tell, and gradually the Volksturm were whittled away until, with Soviet assault guns knocking out the Pak and turning their guns on this mix of young boys and old men, discretion became the better part of Valour and Niederstanner pulled his men back towards the main station, leaving the Soviets a clear run into the factory.

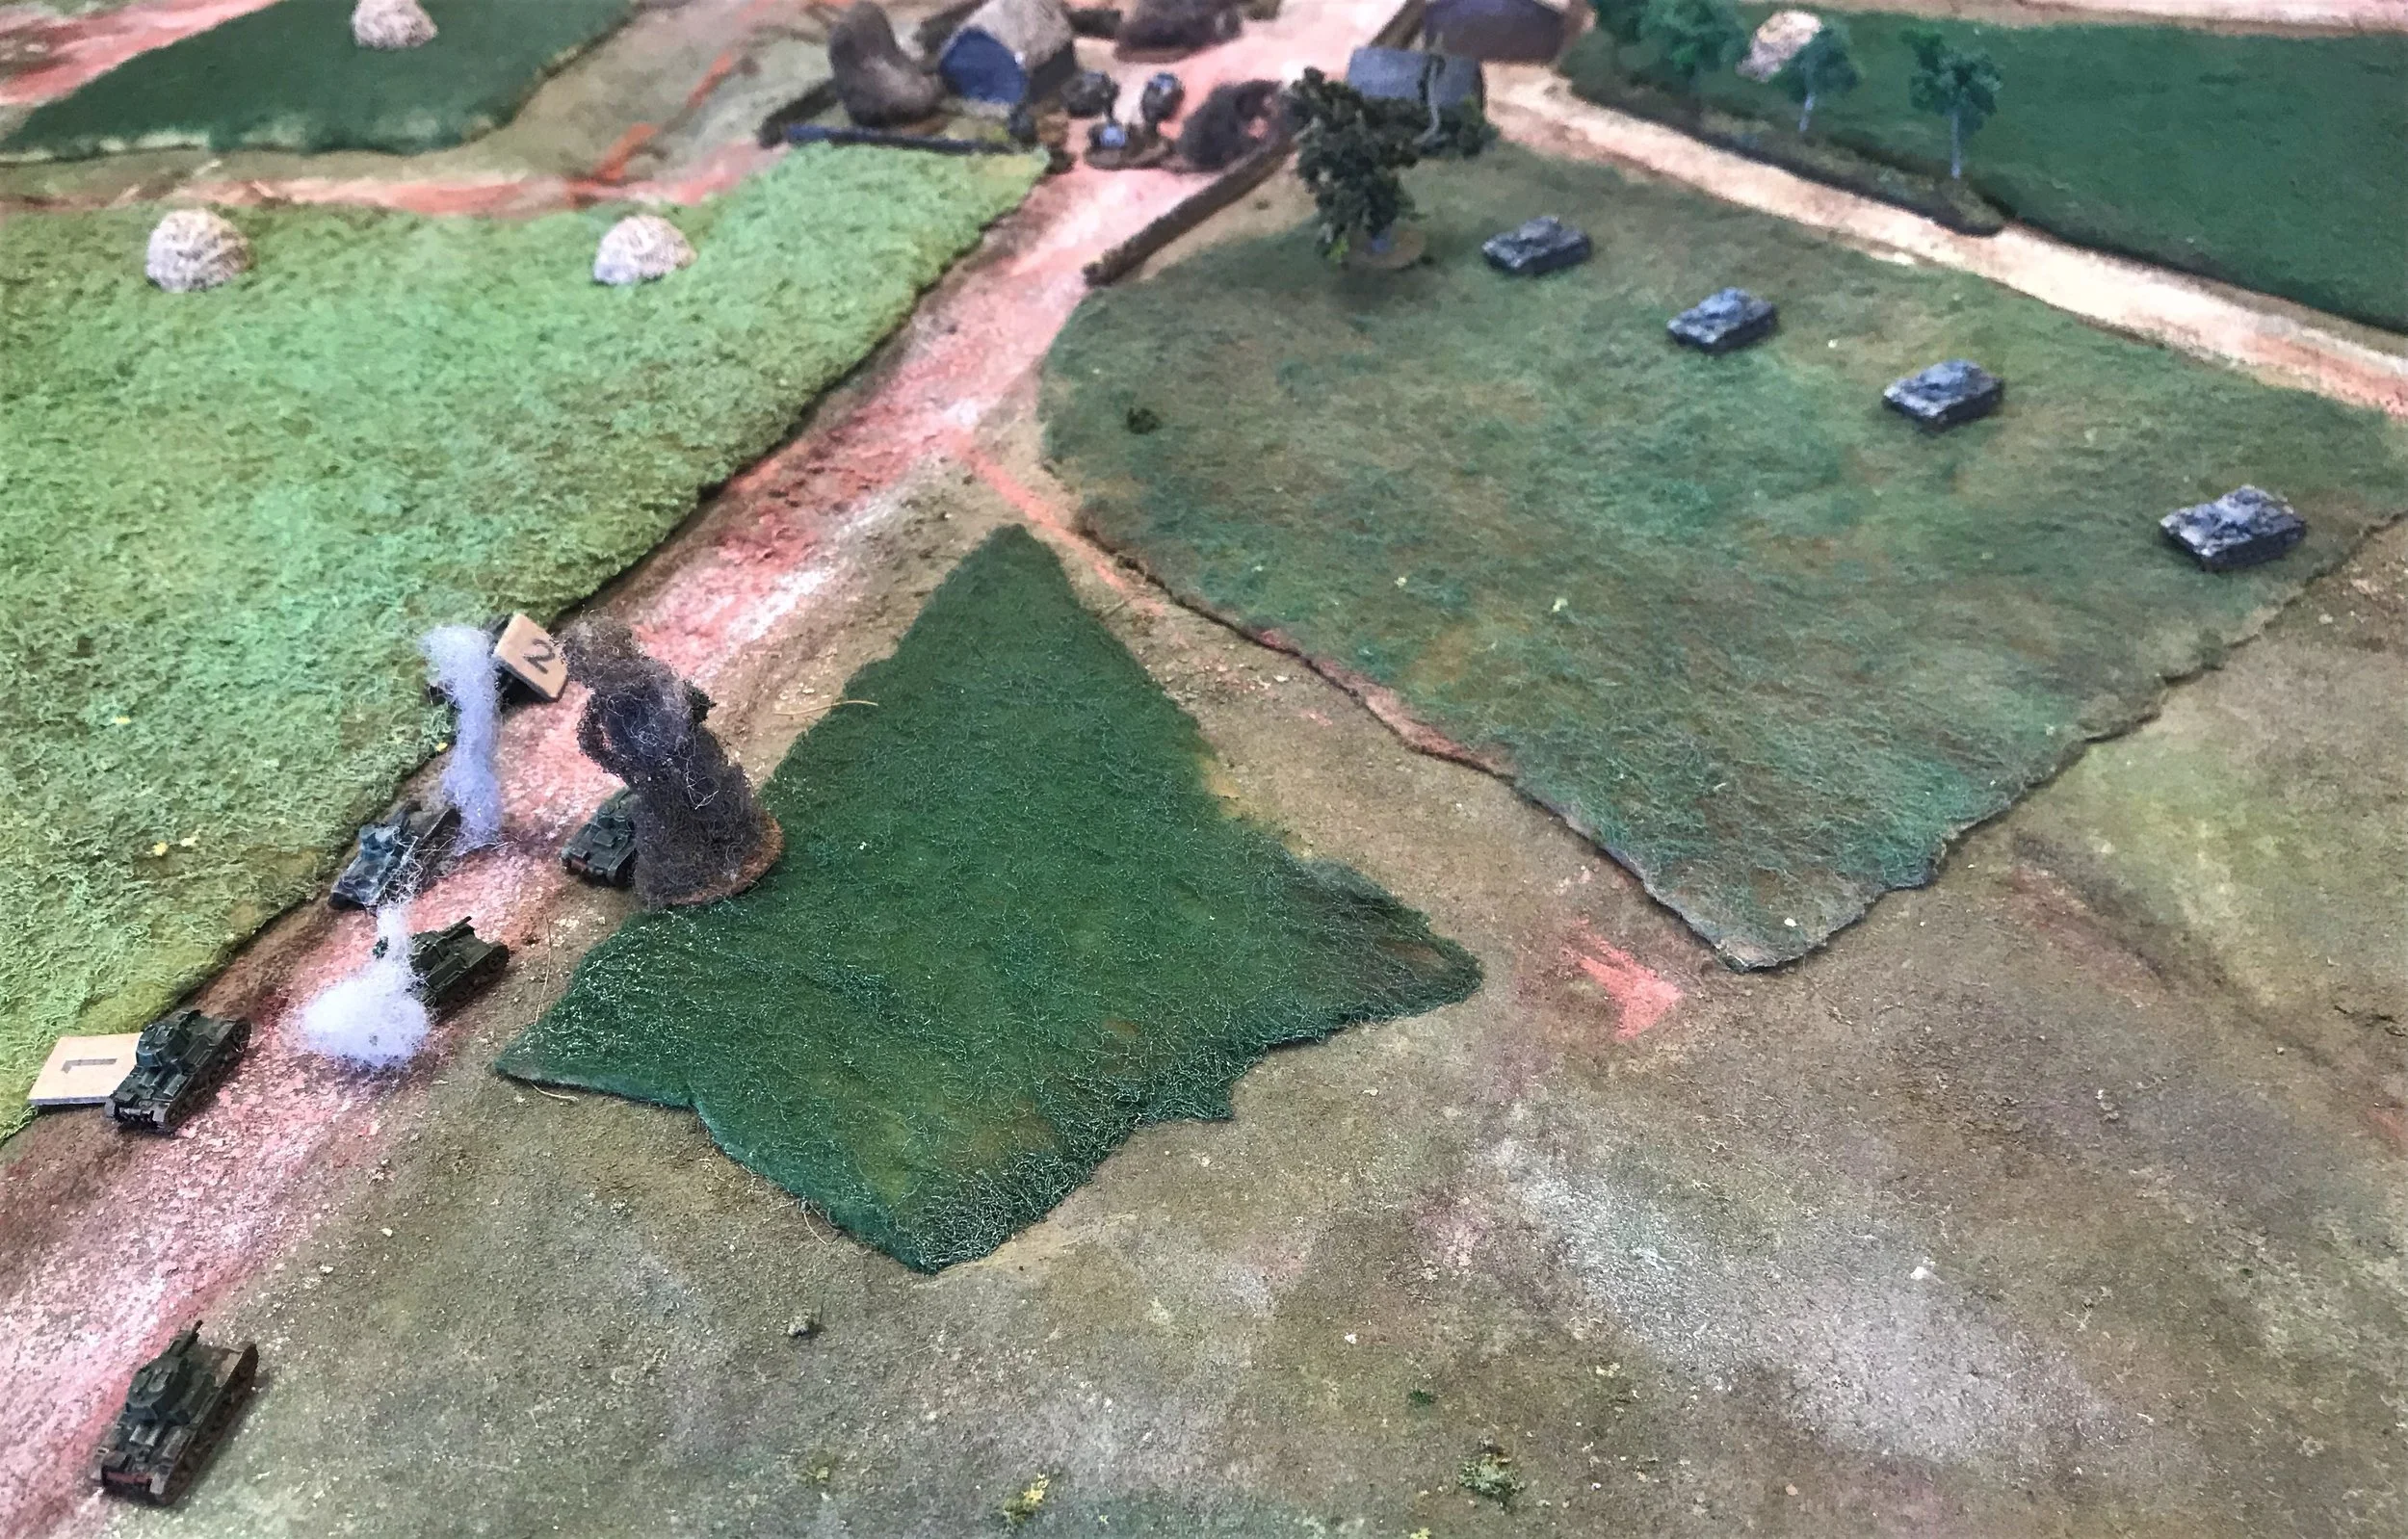
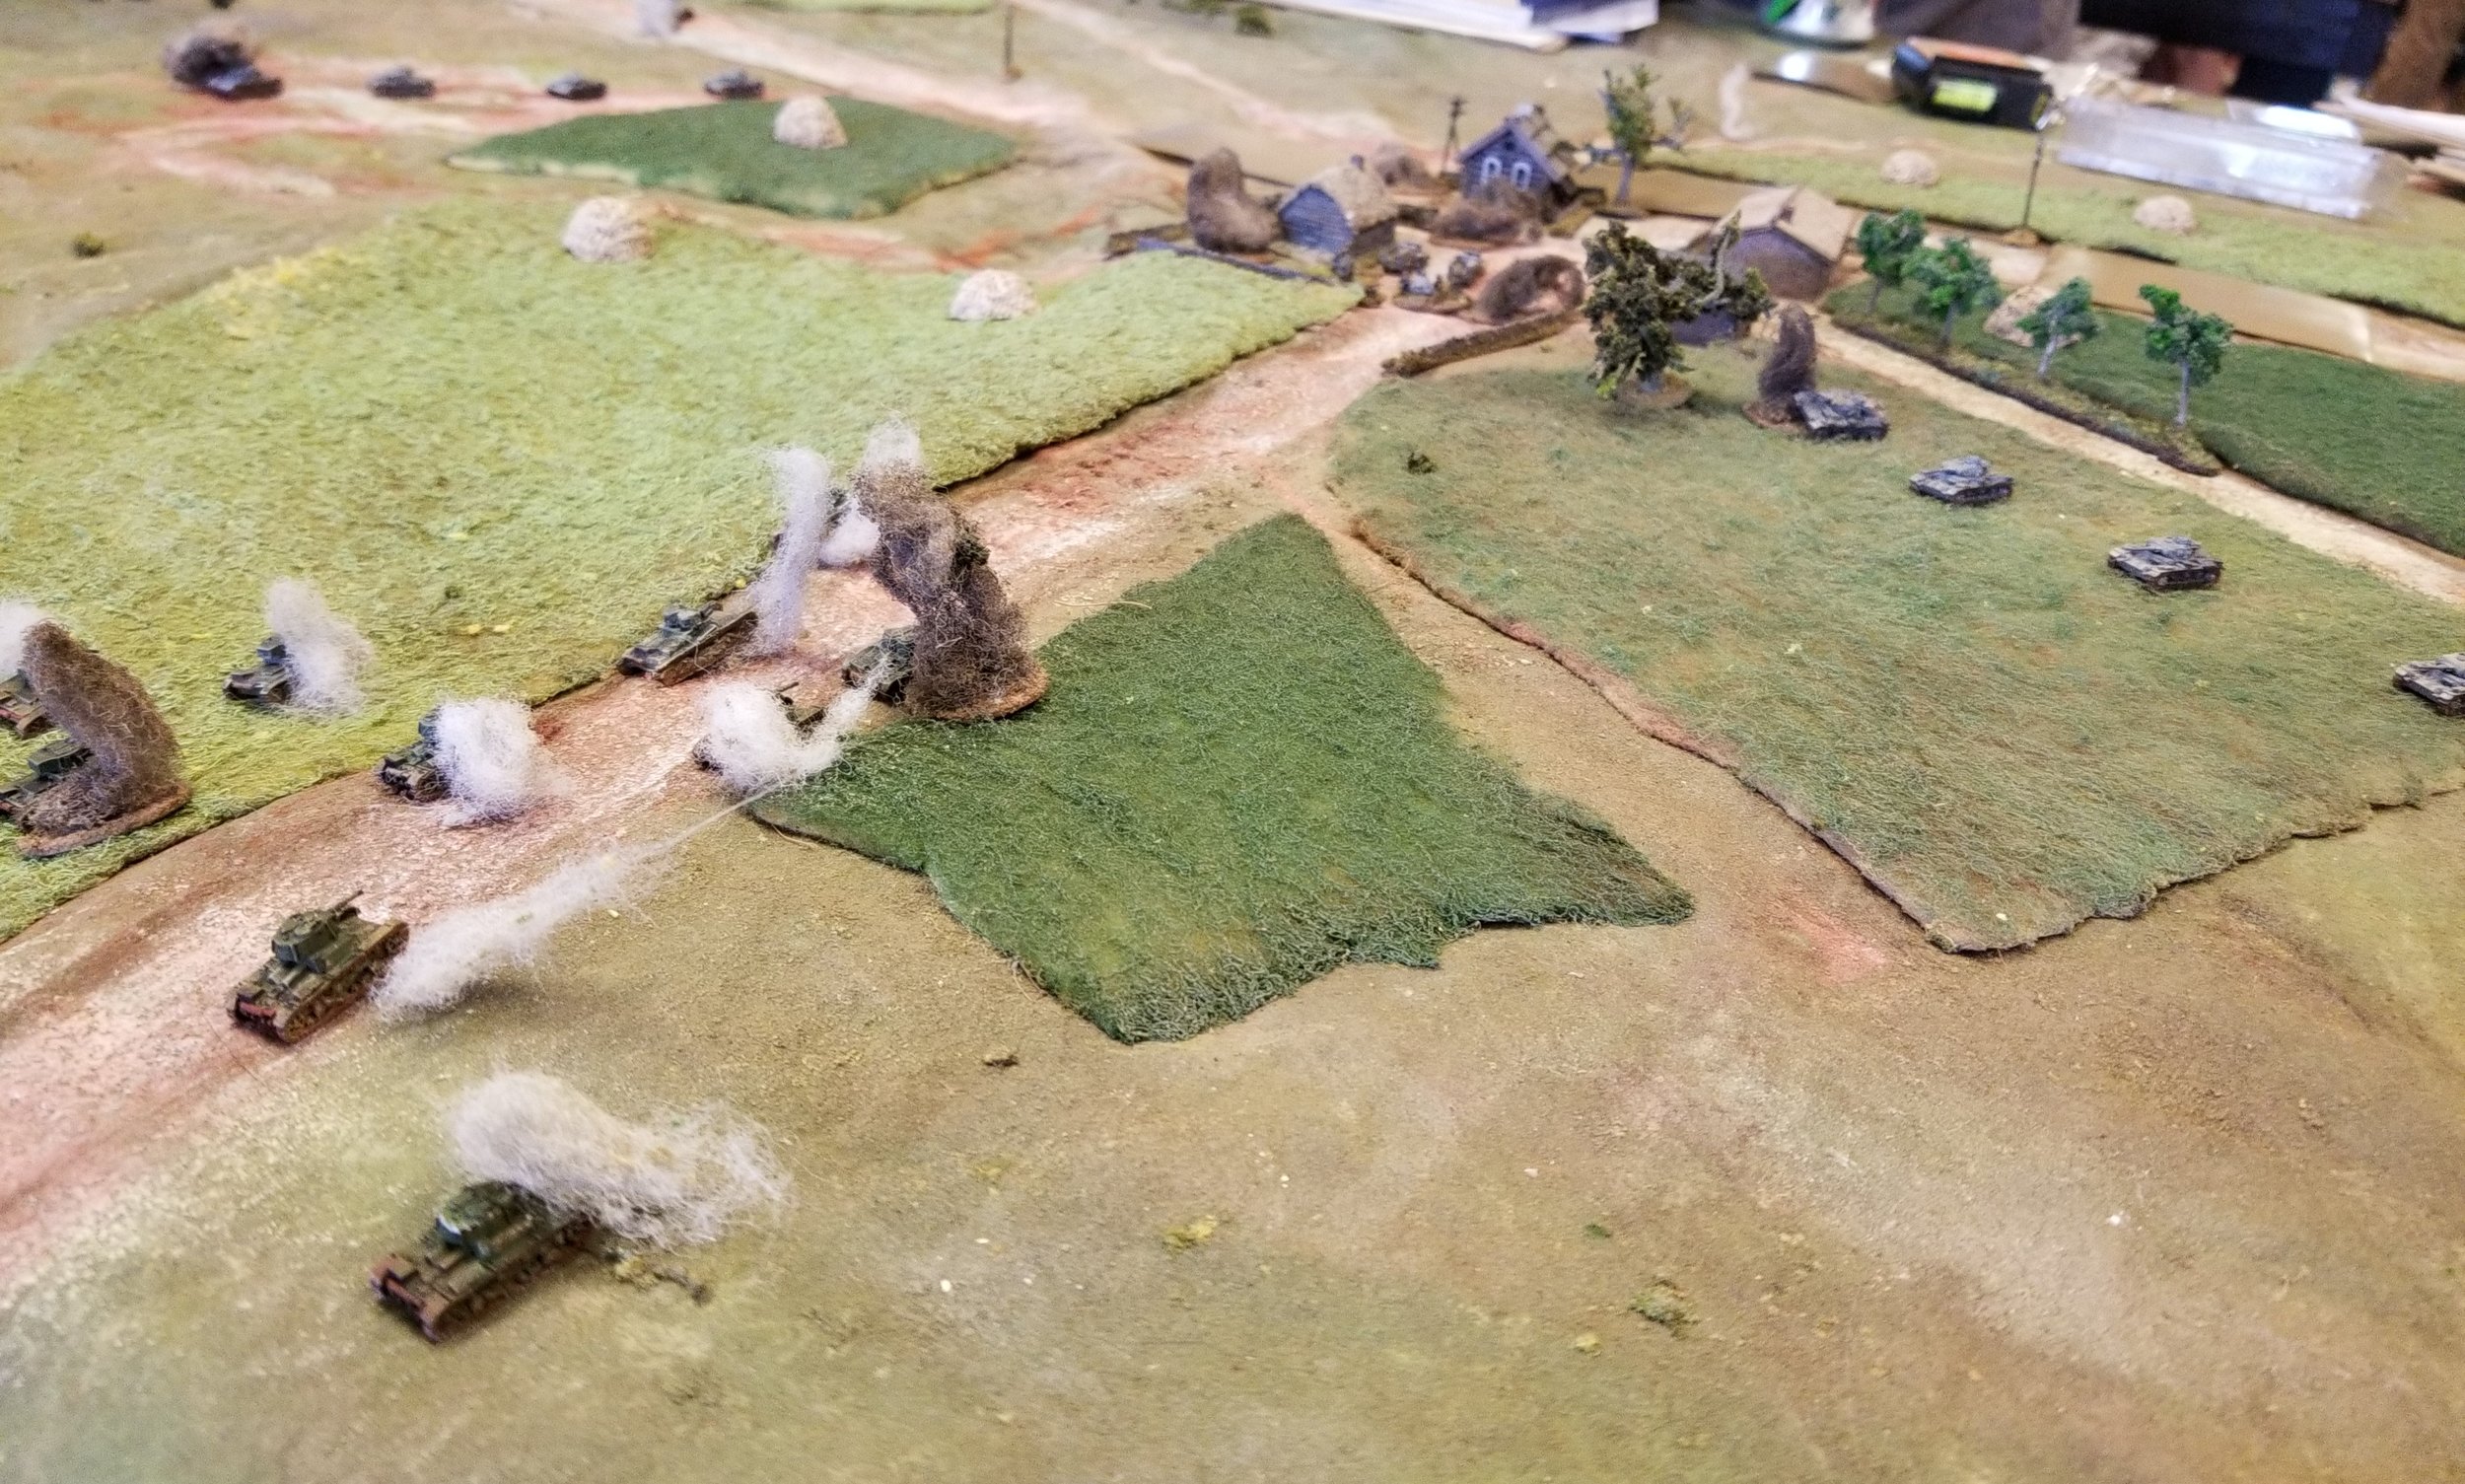
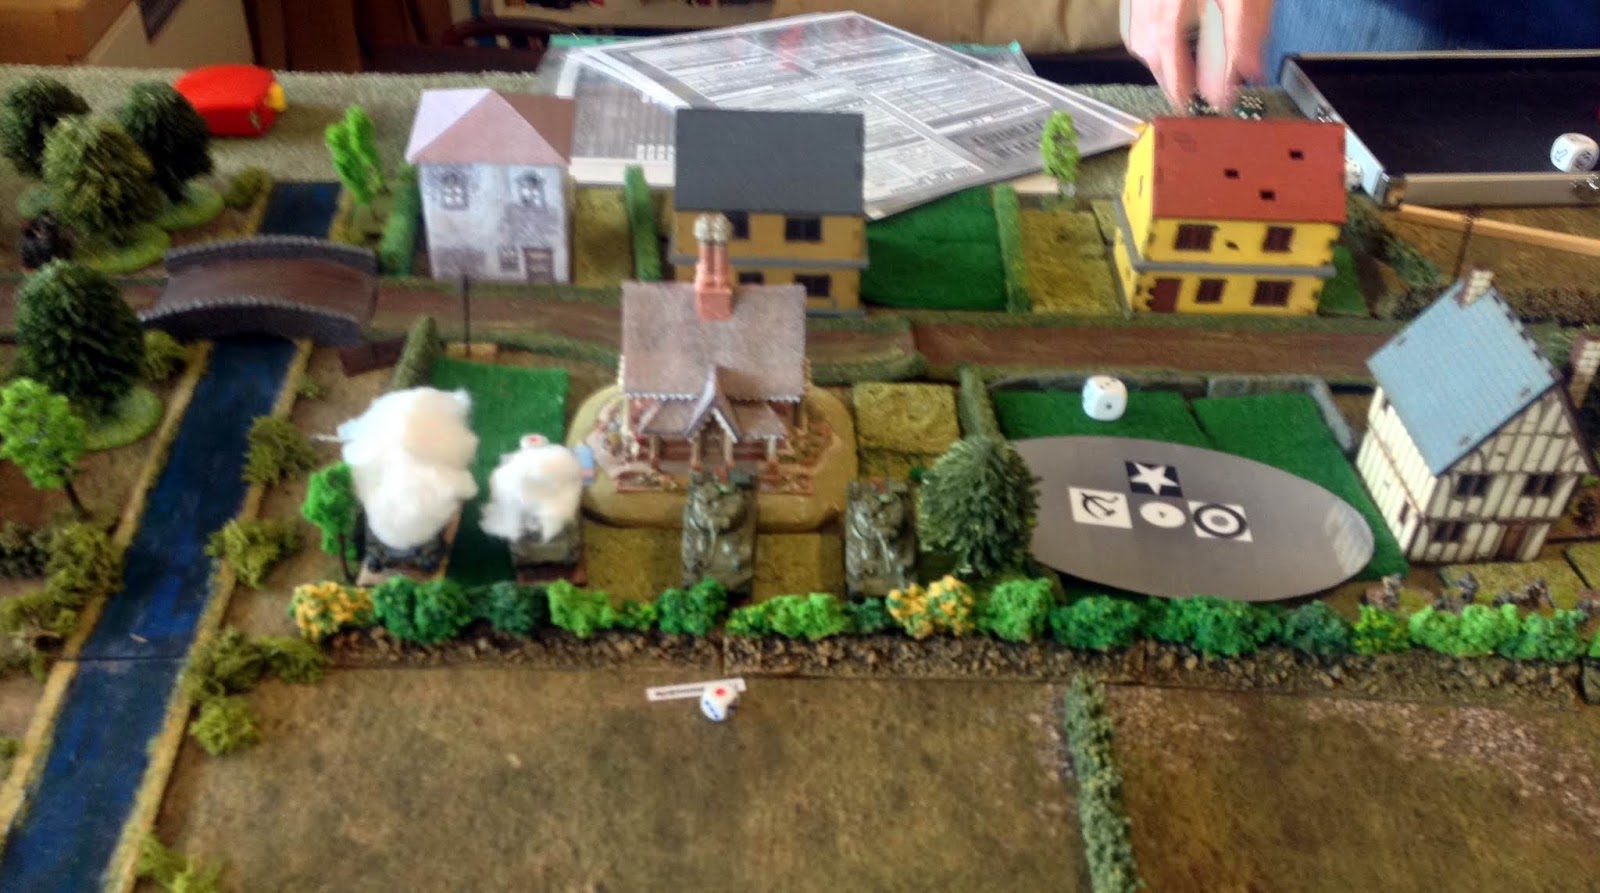
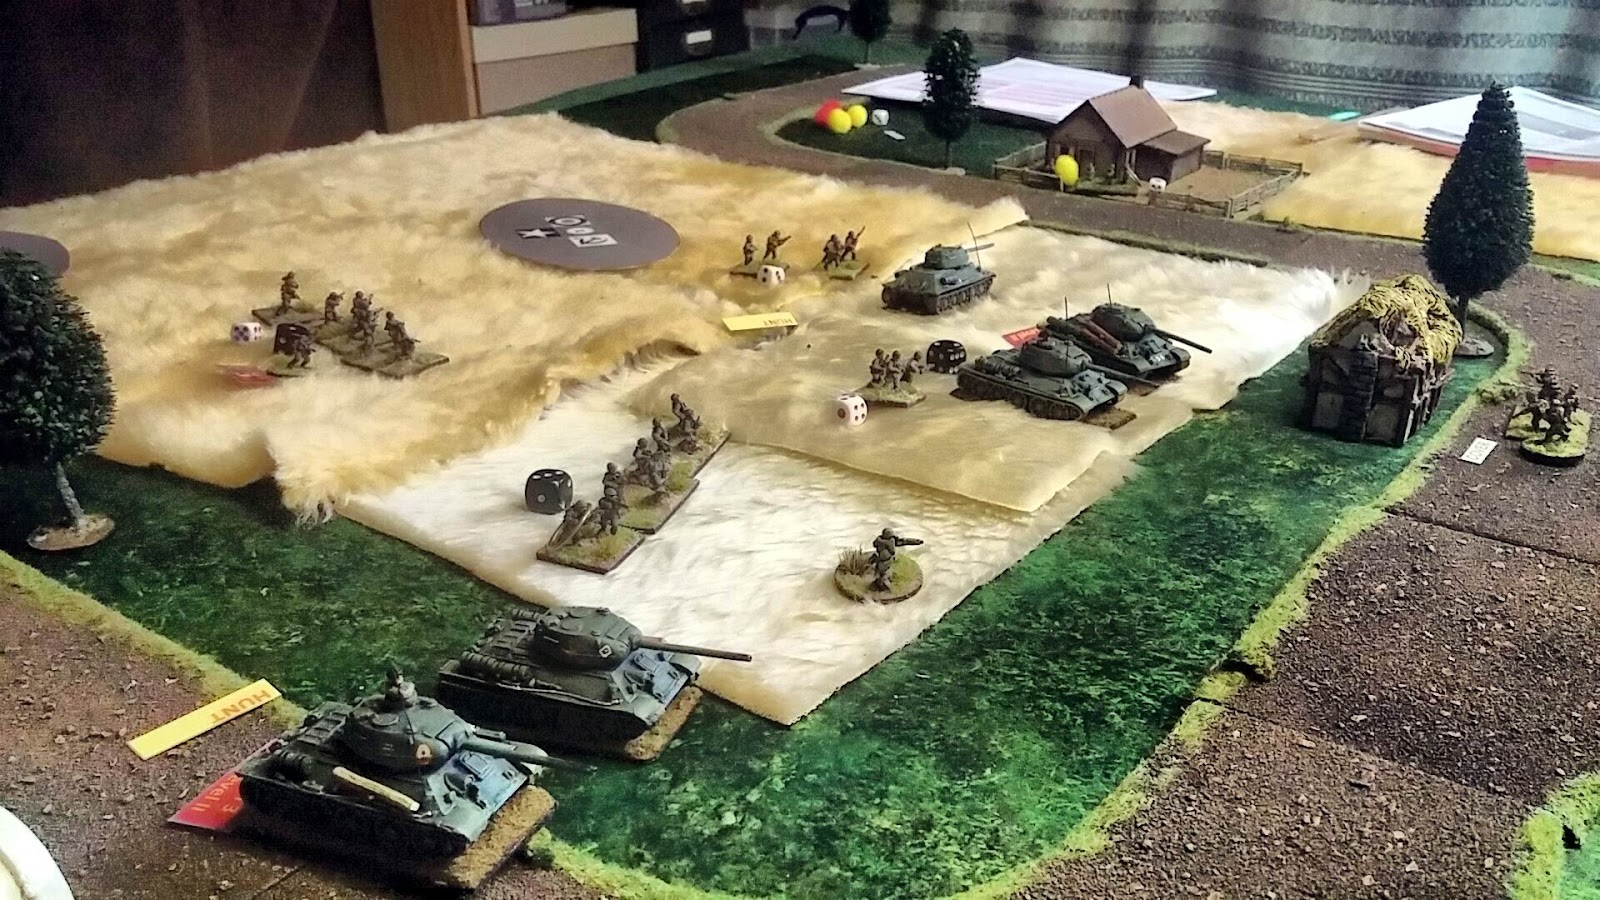
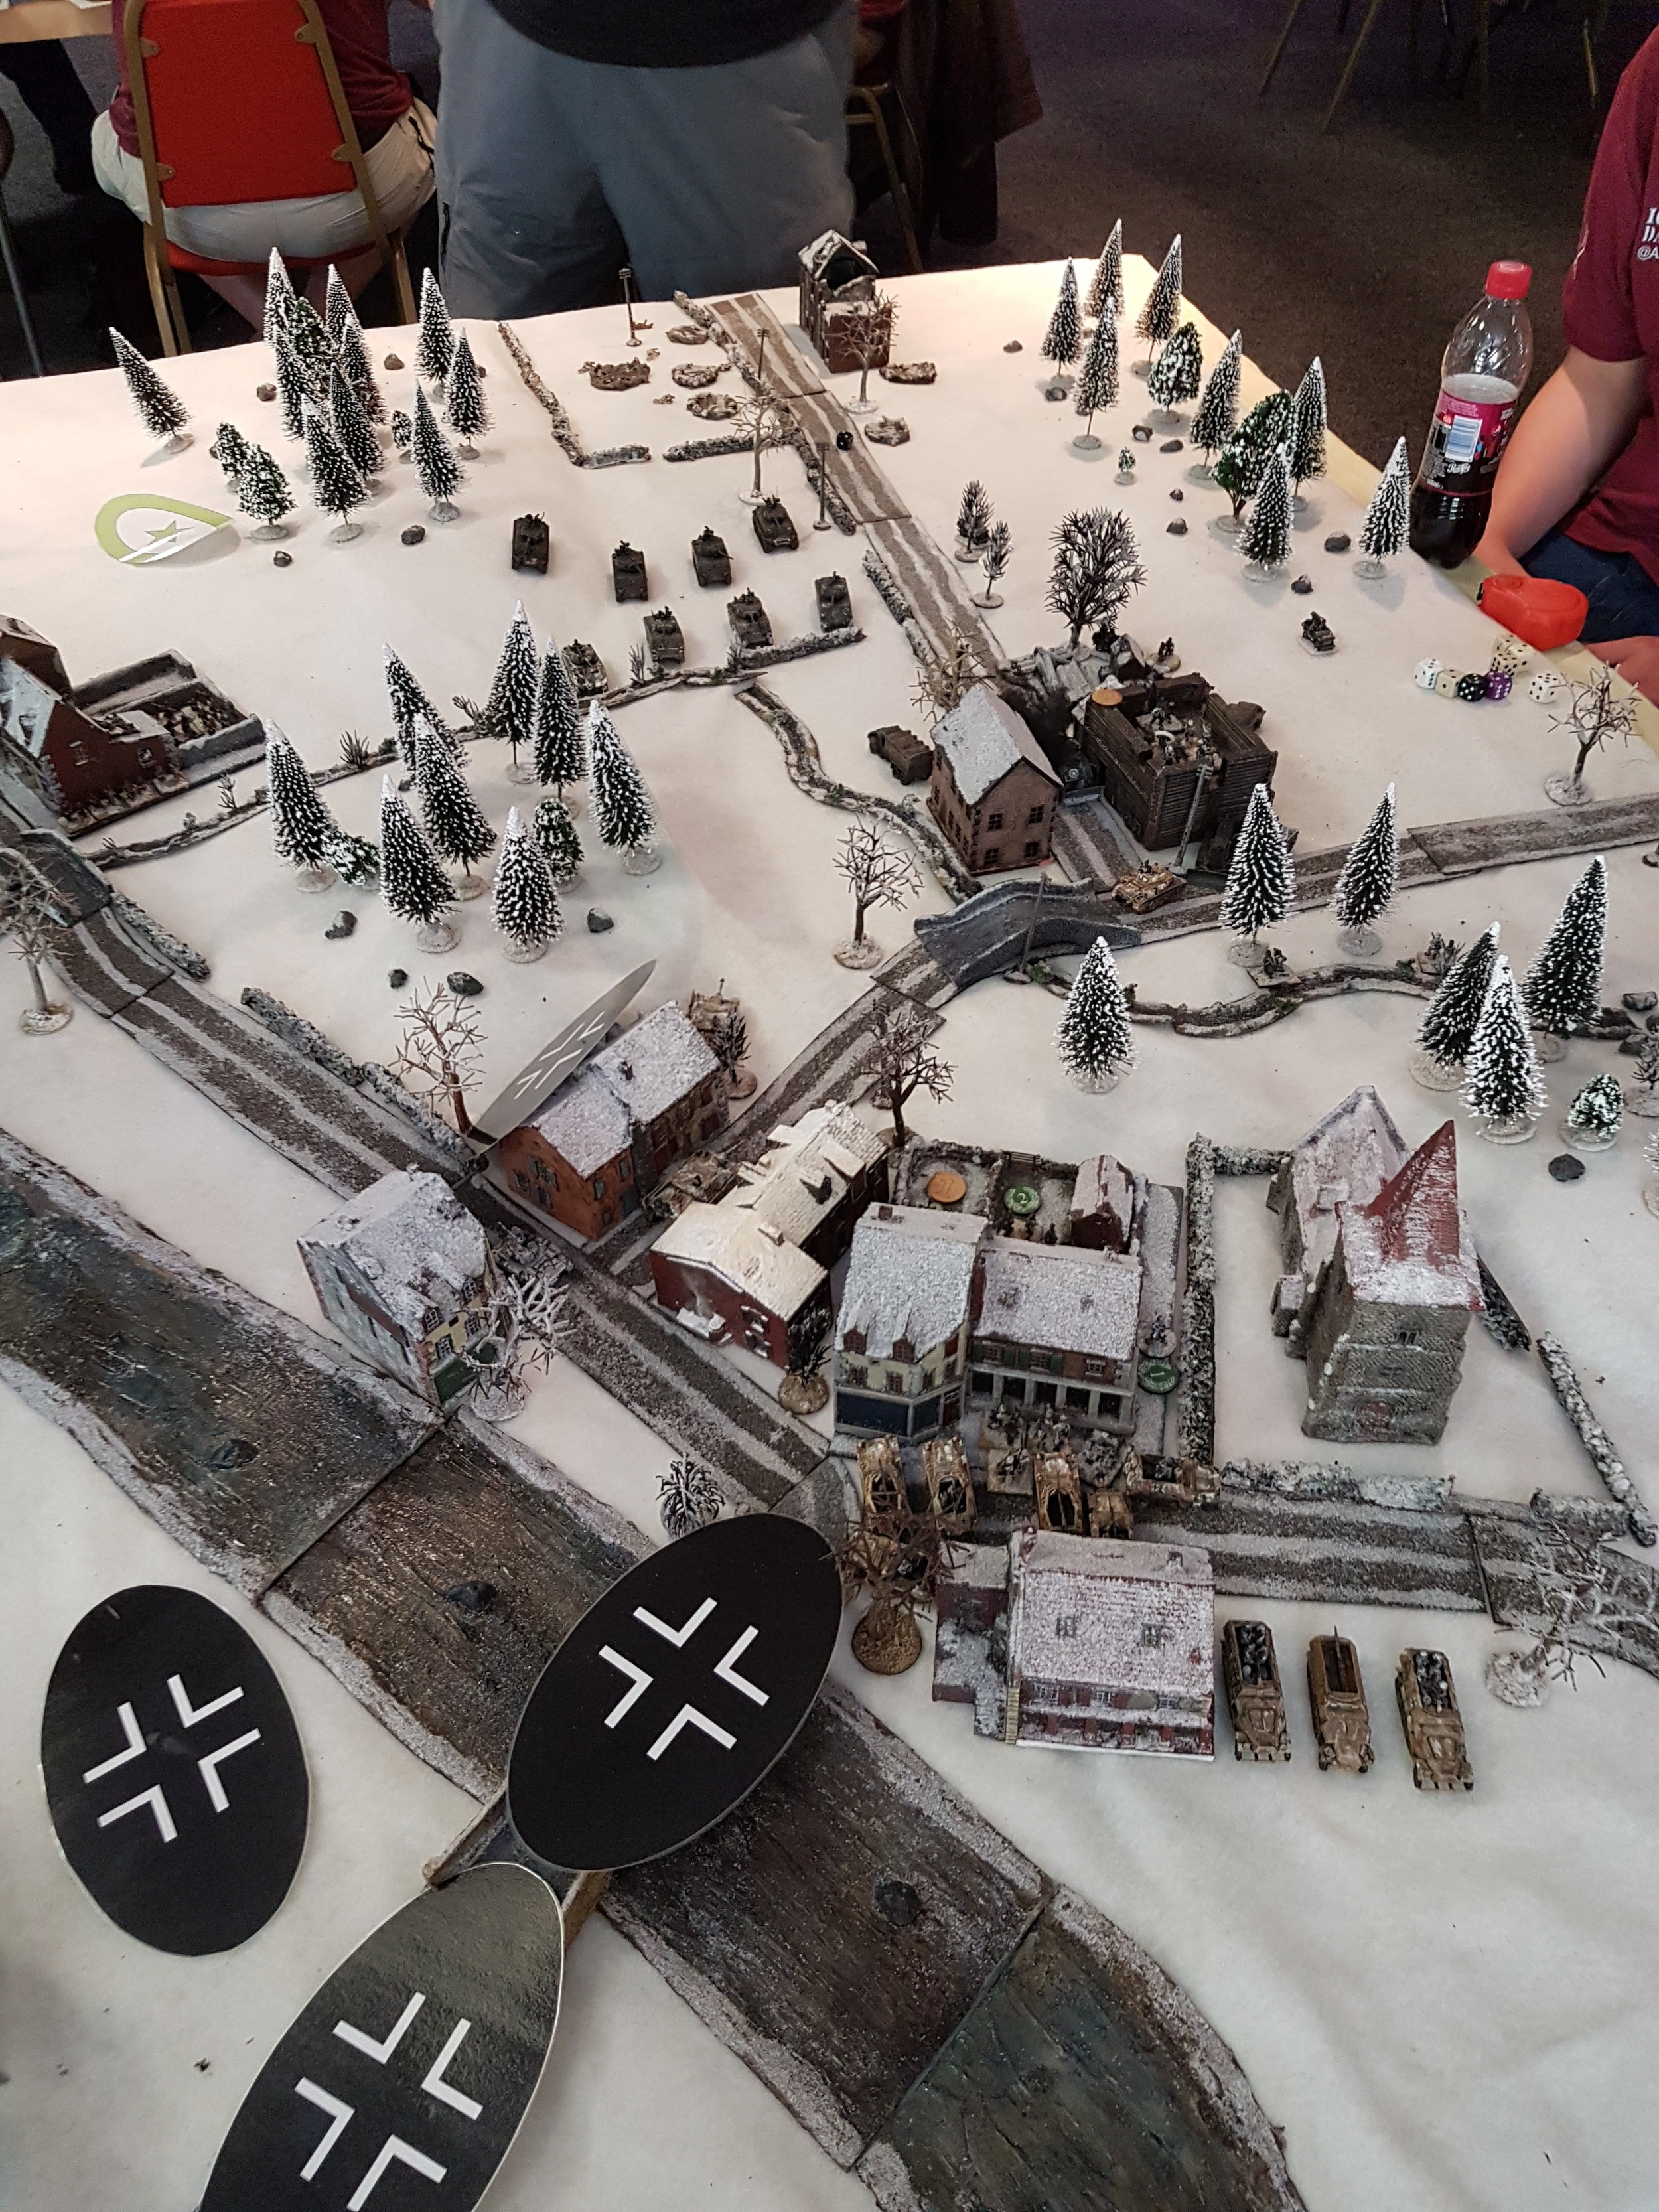
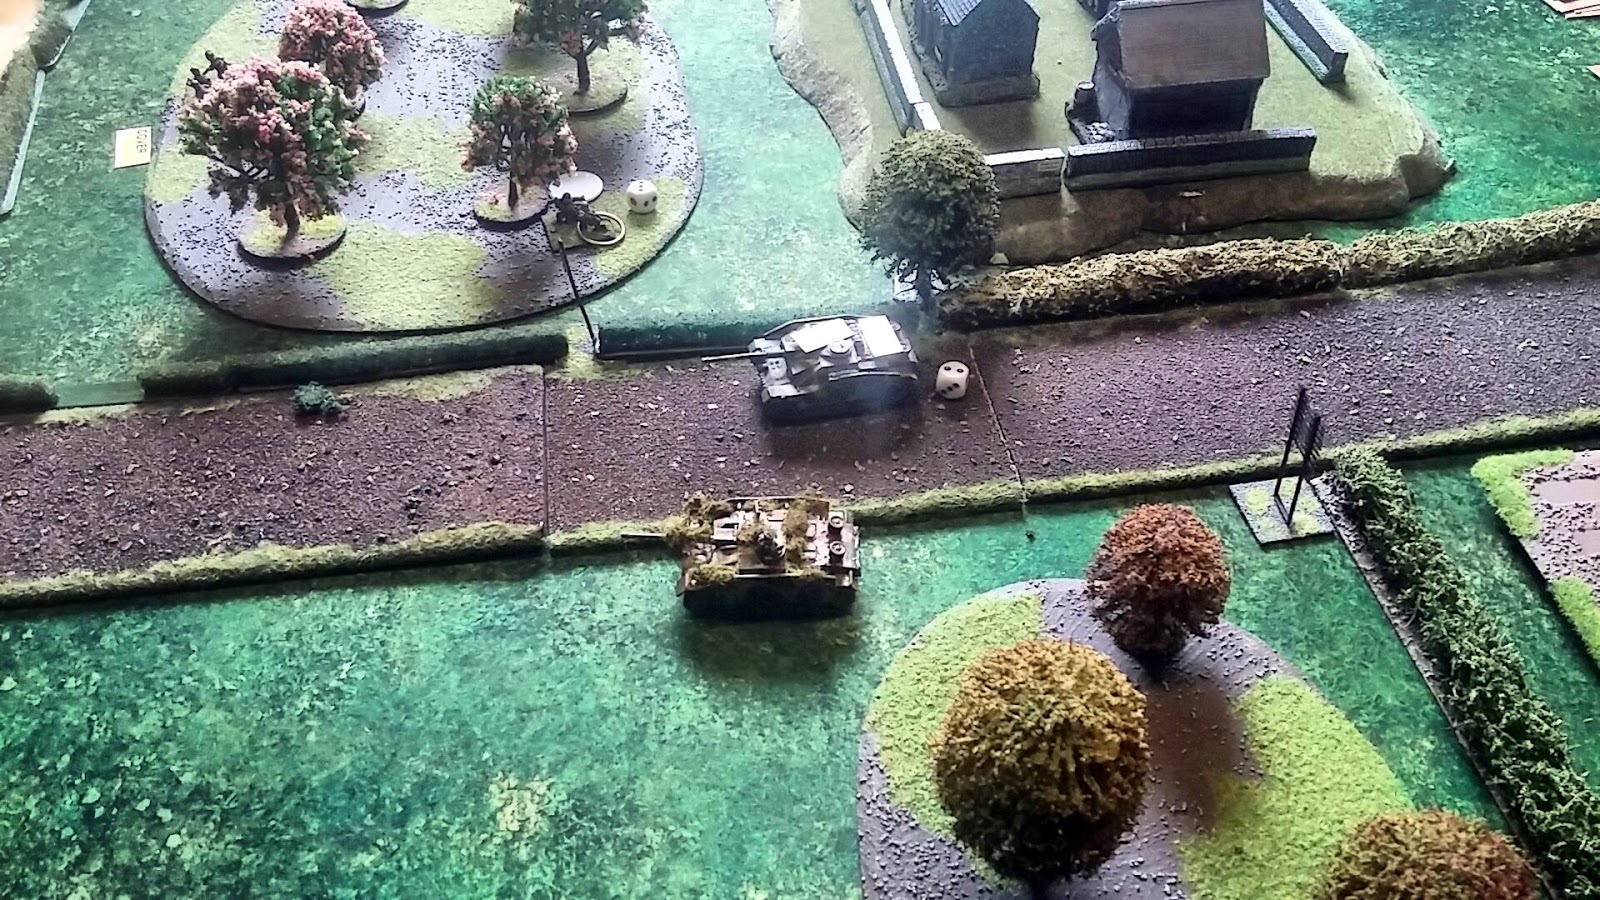
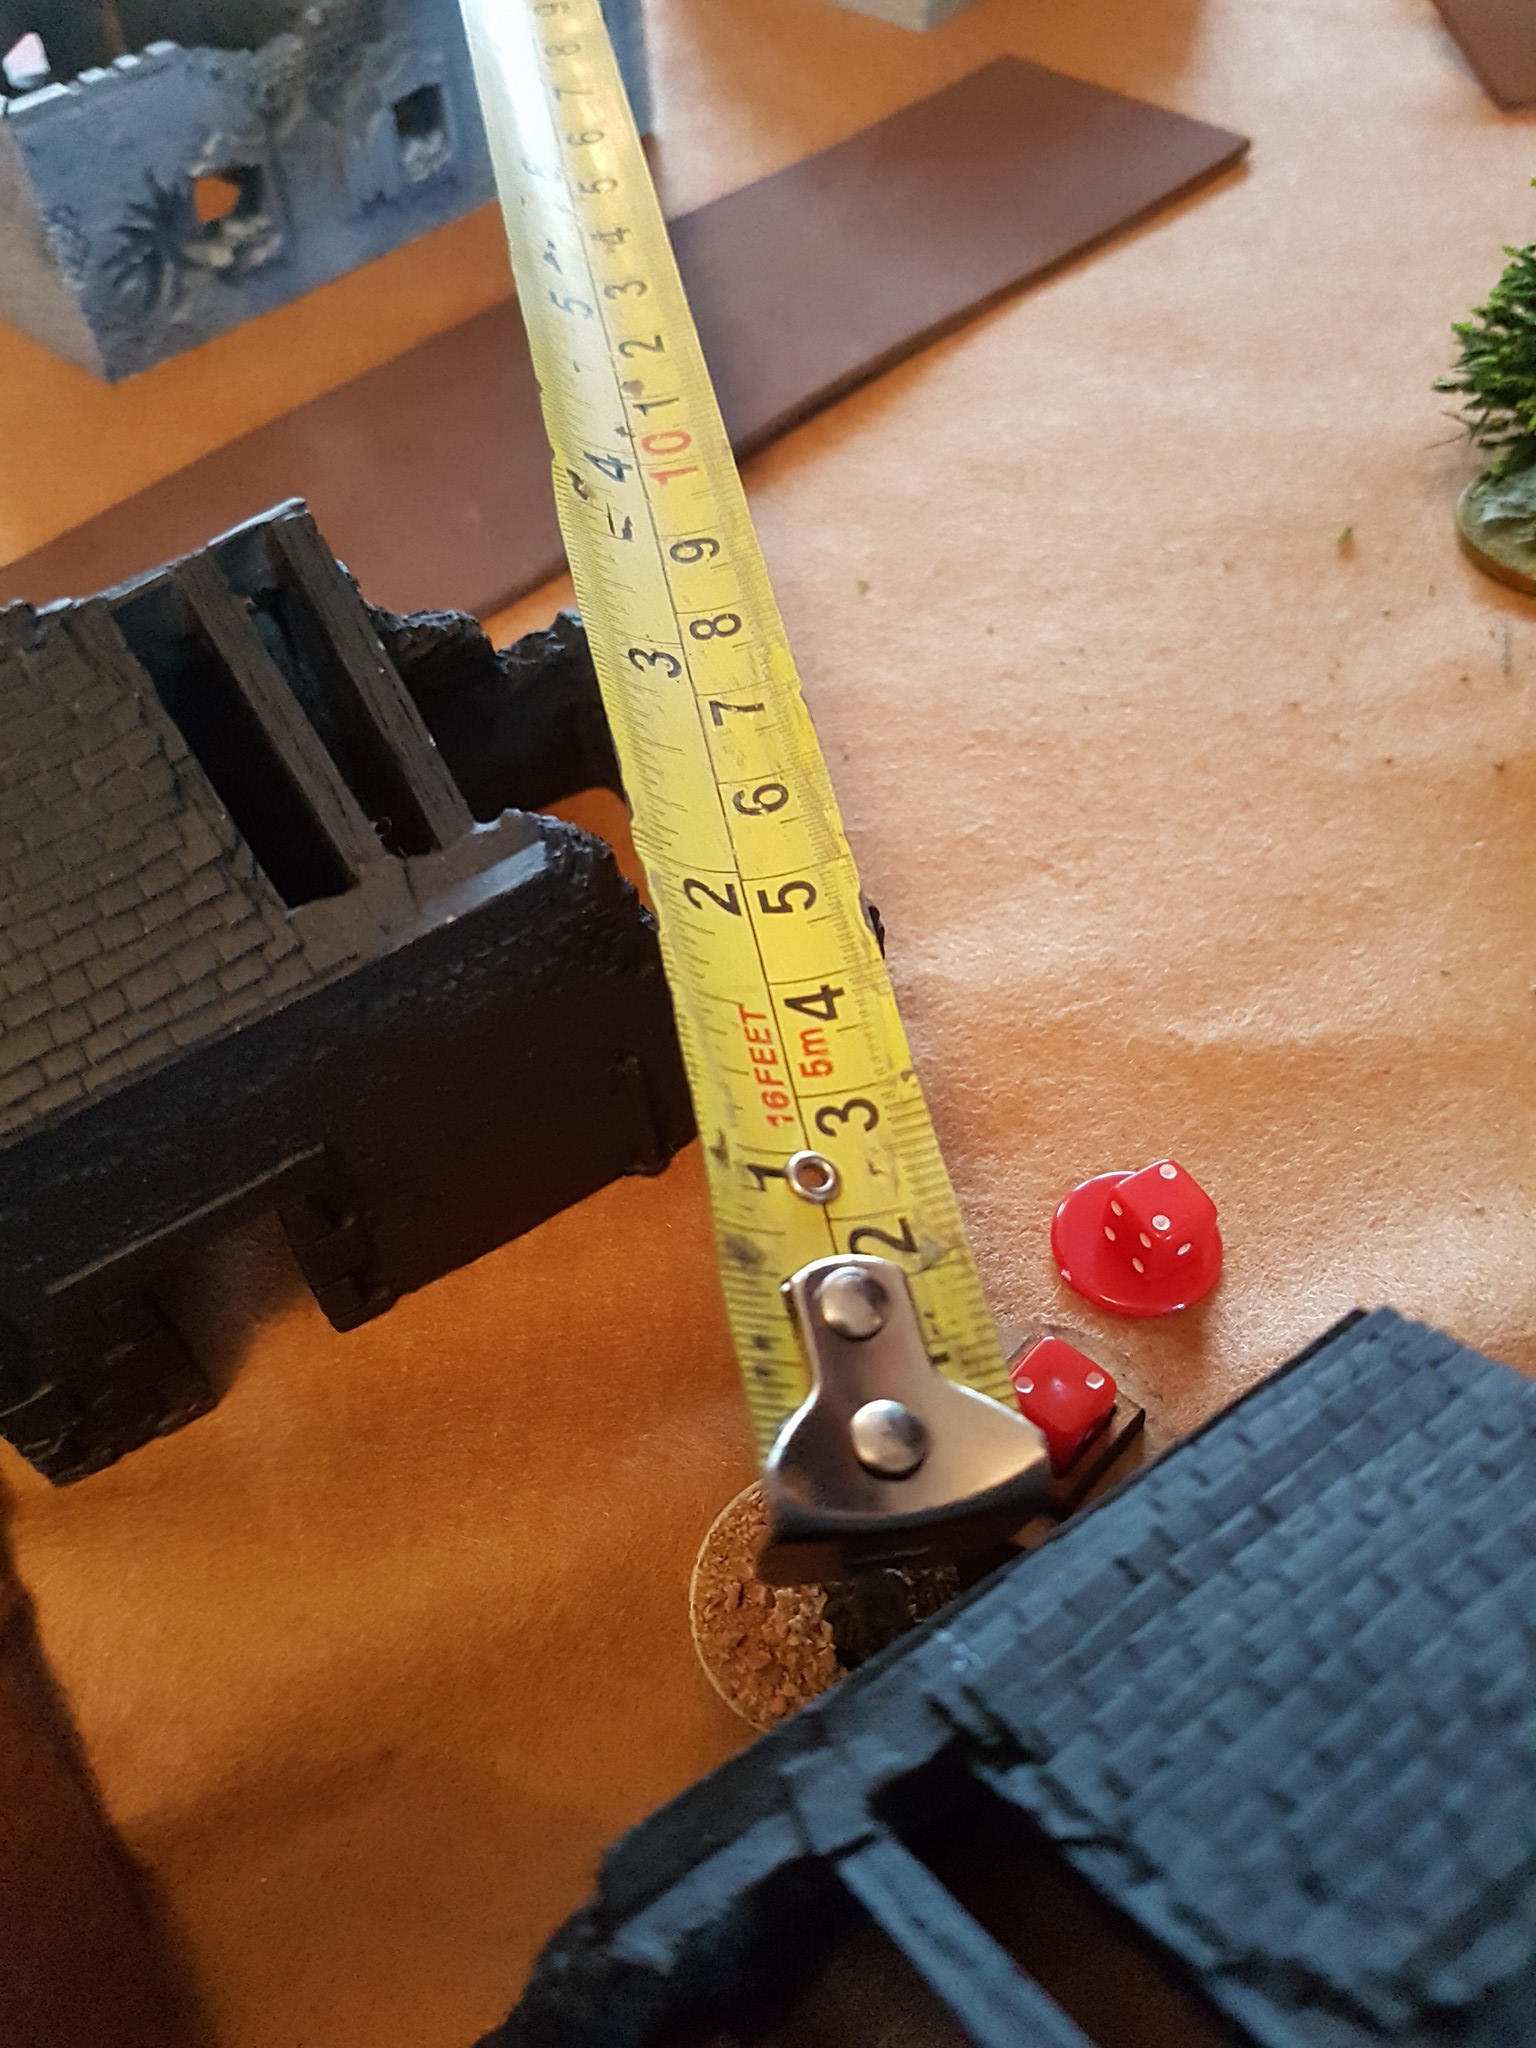
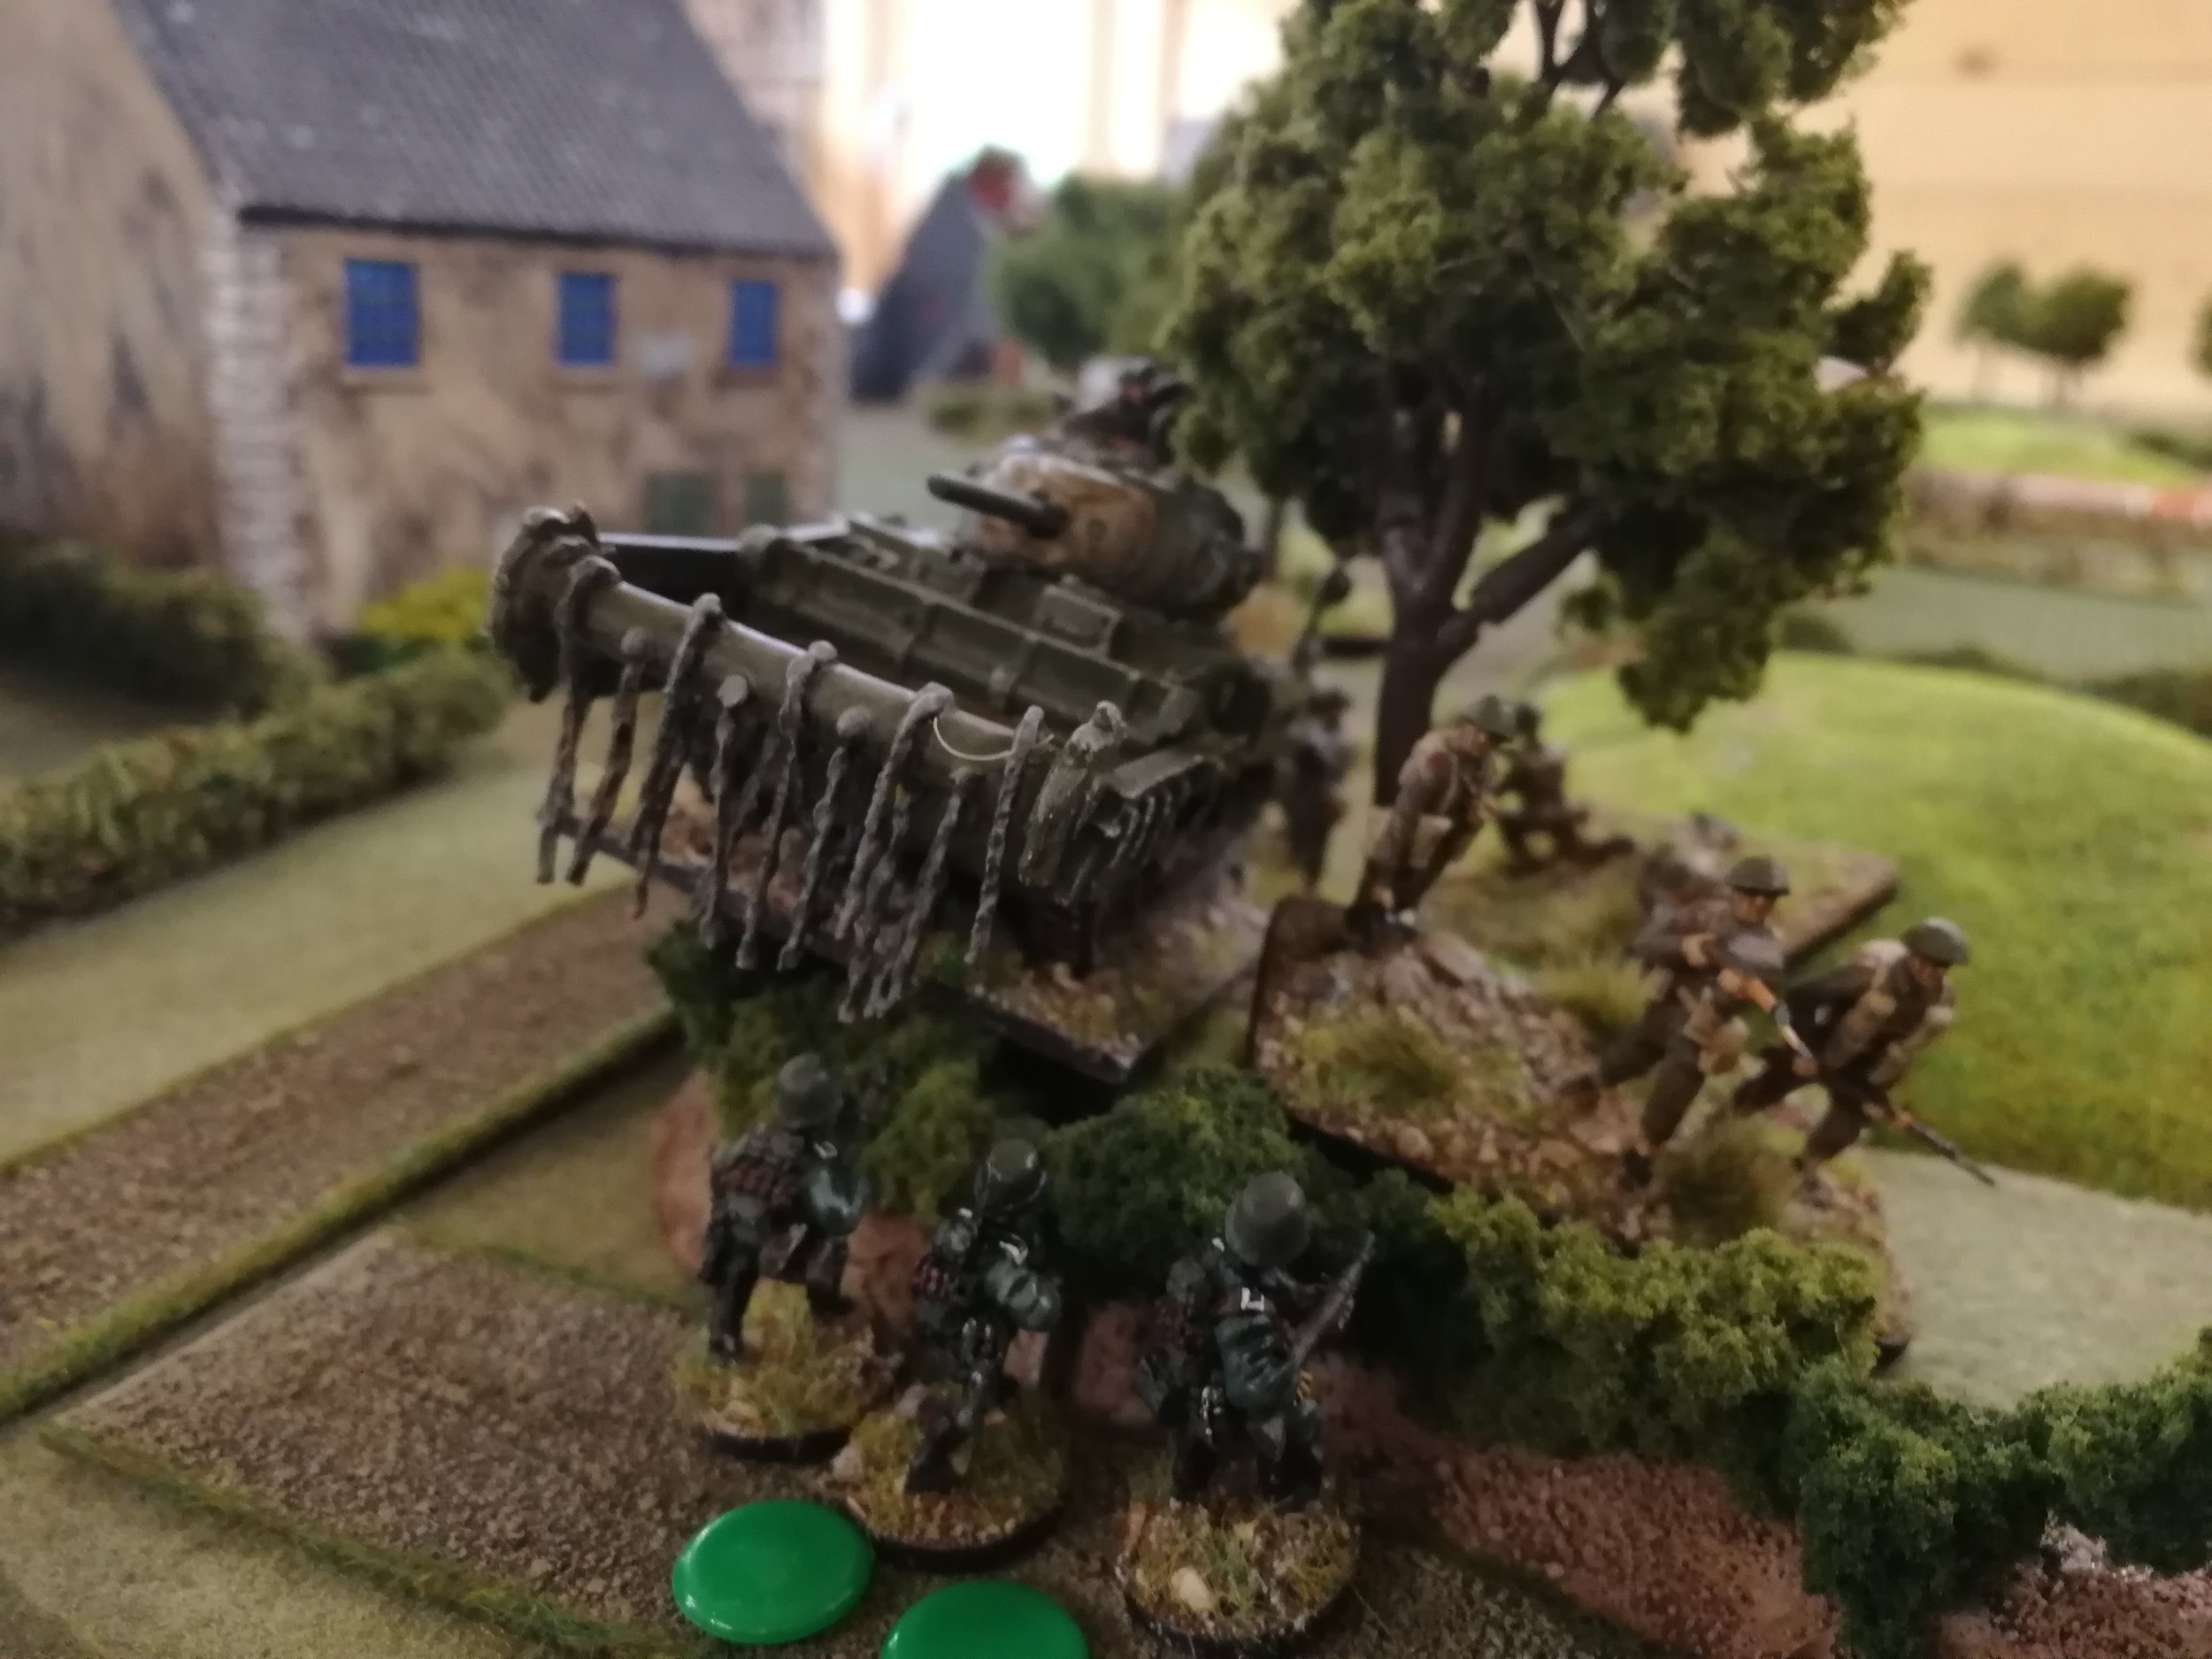
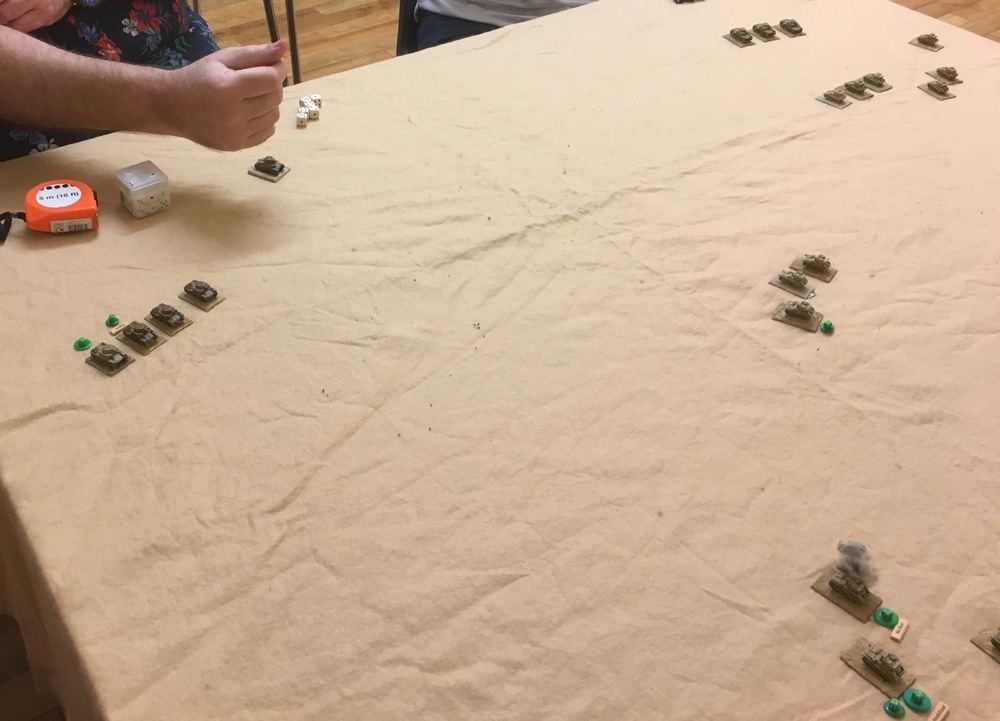
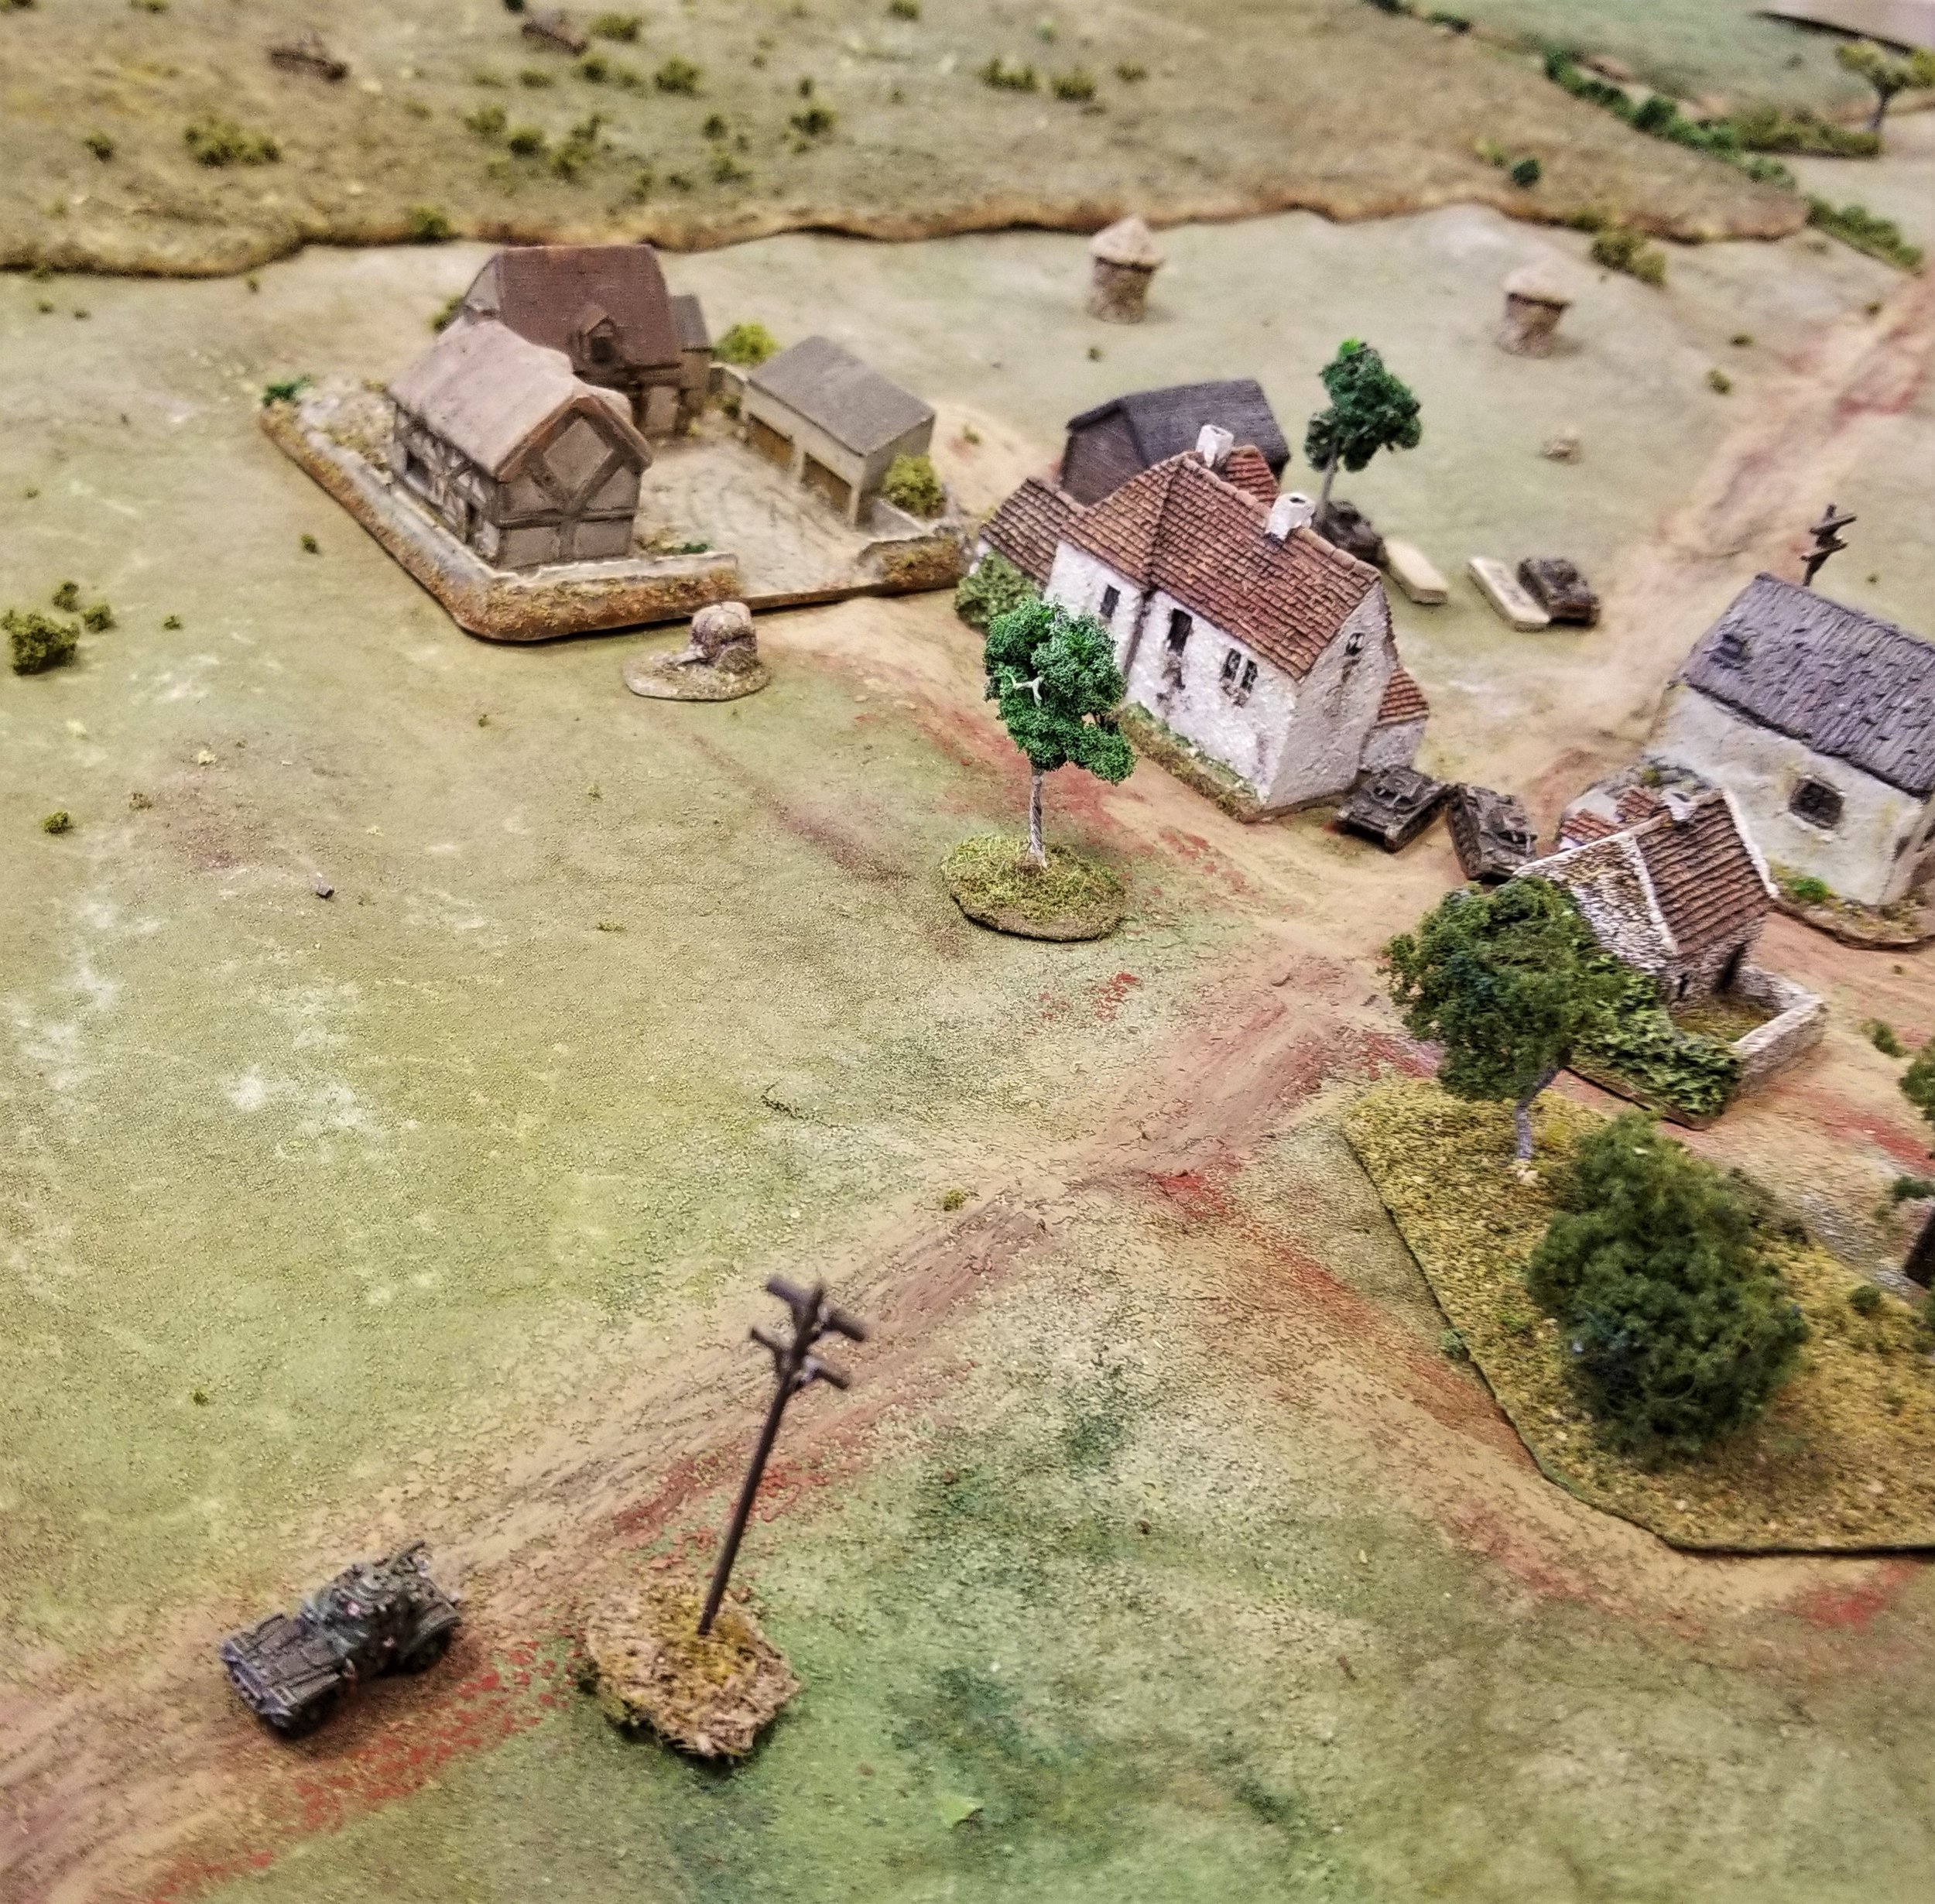
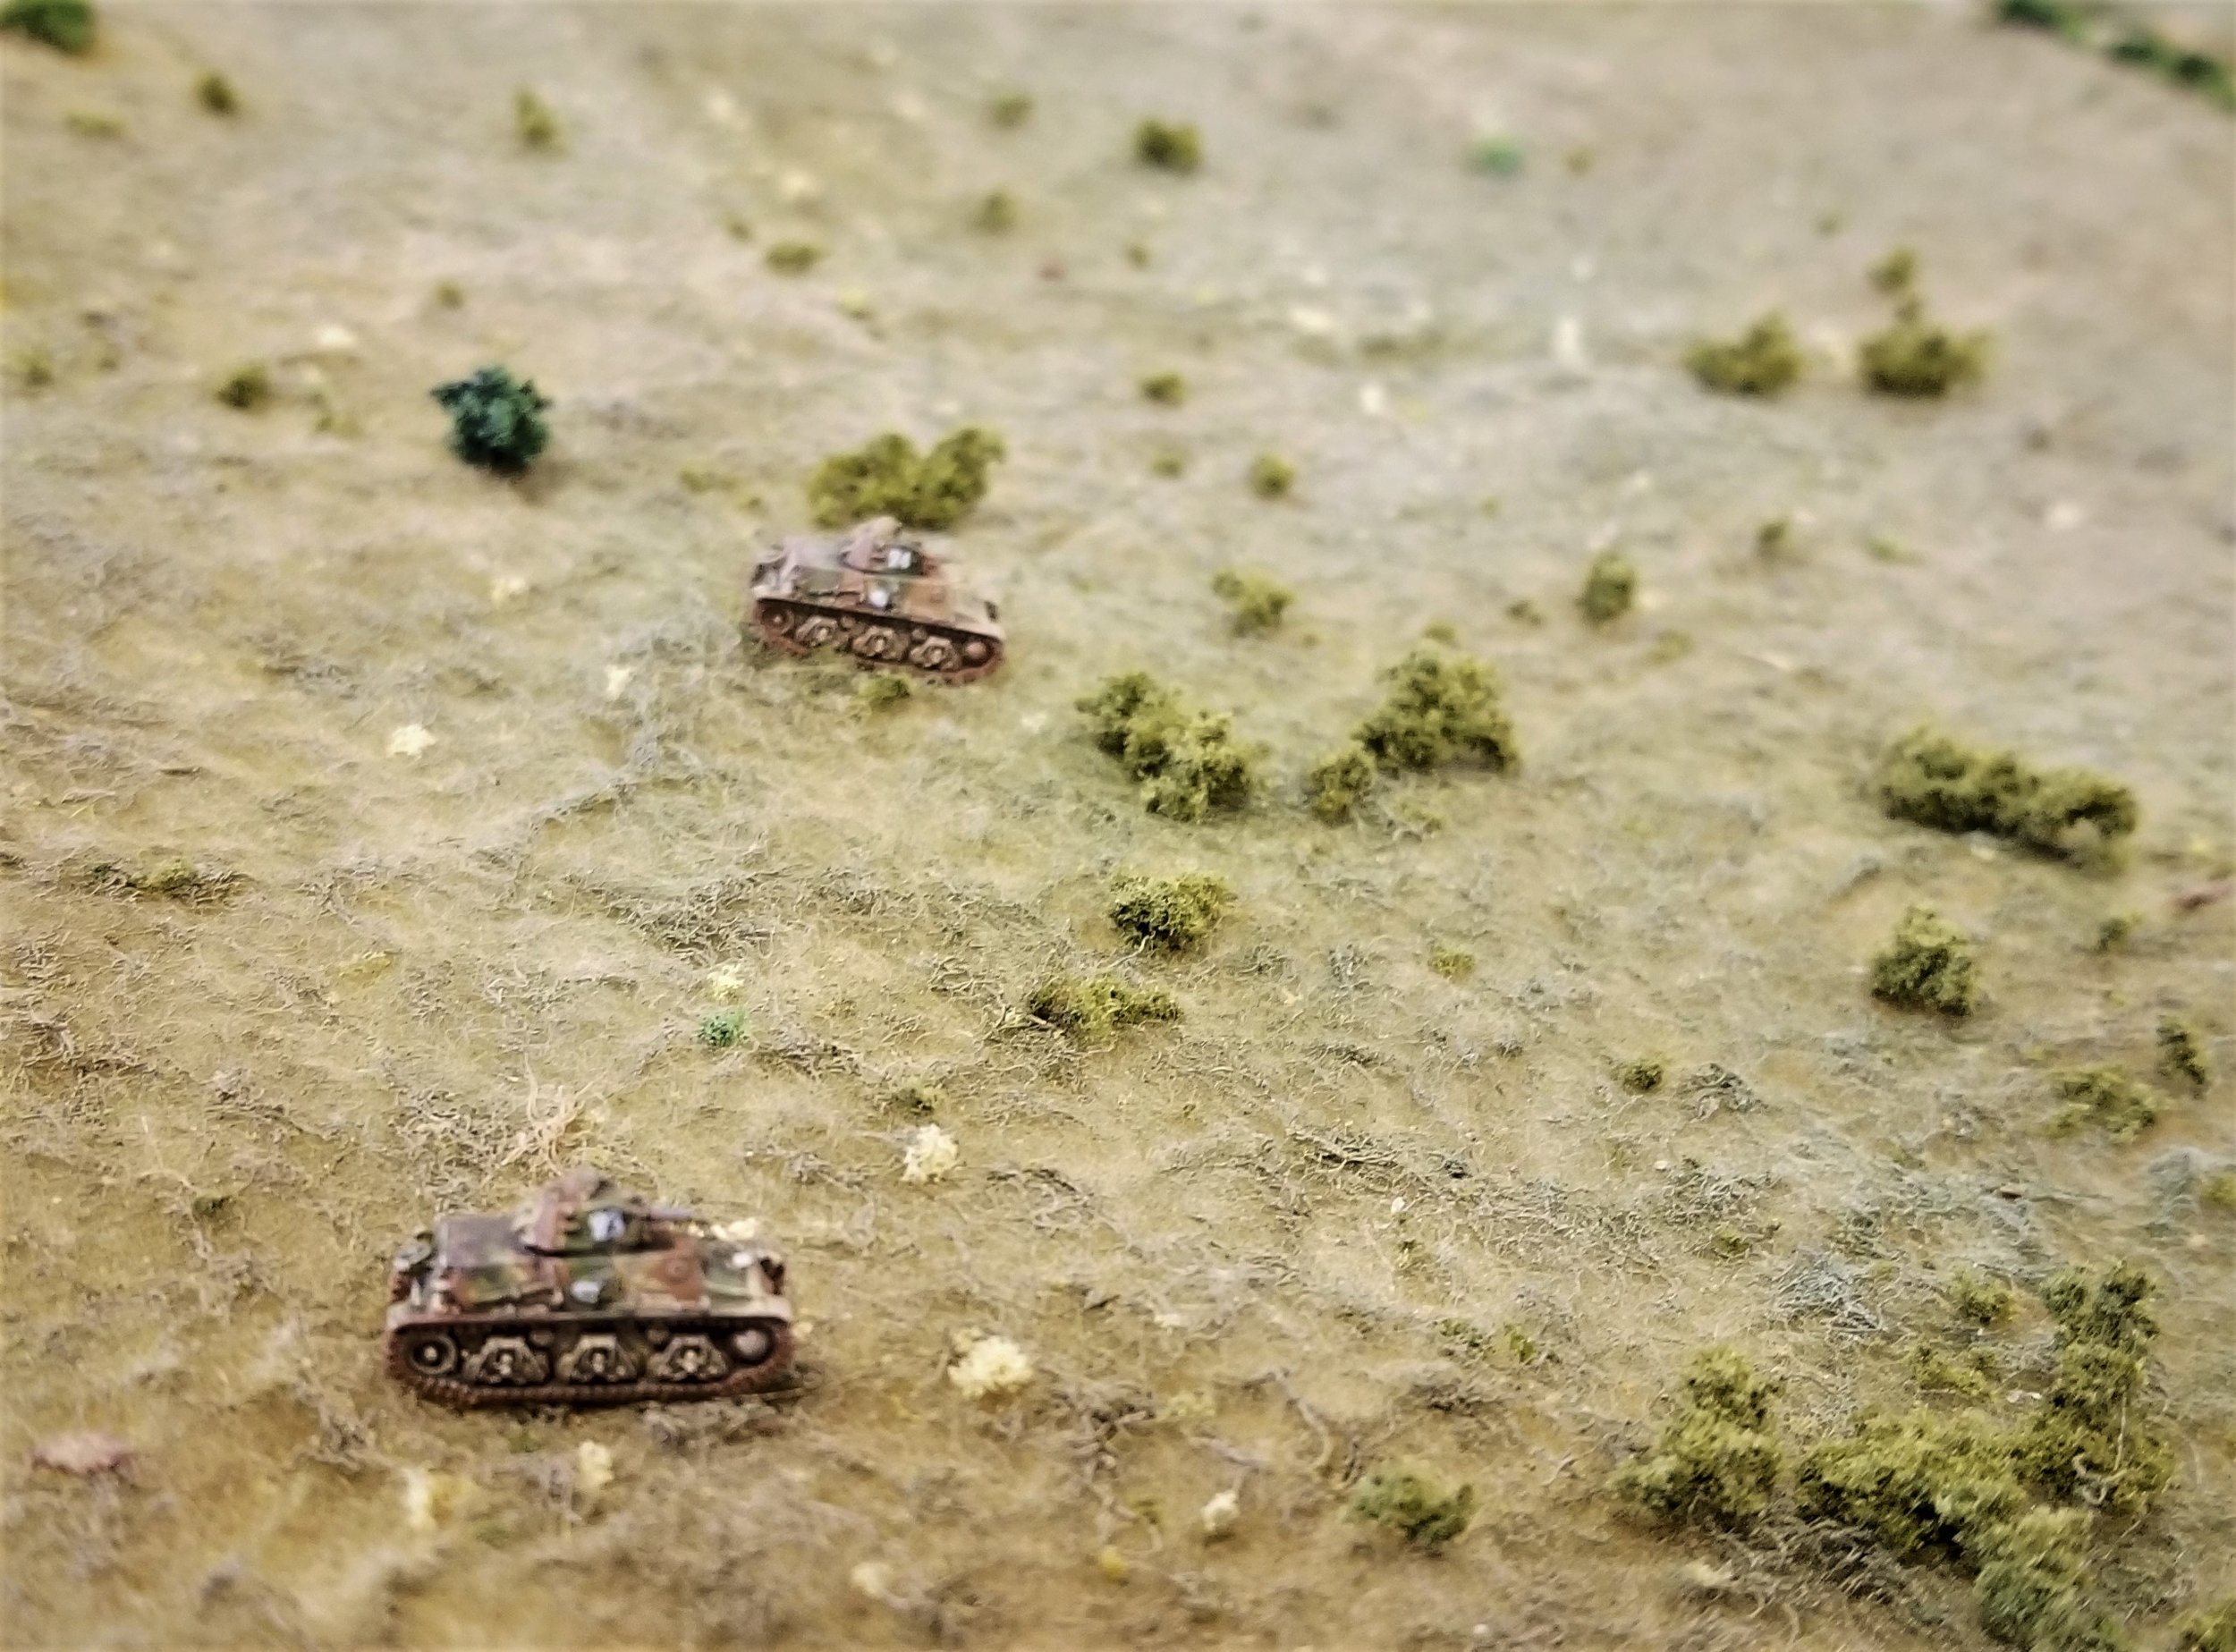
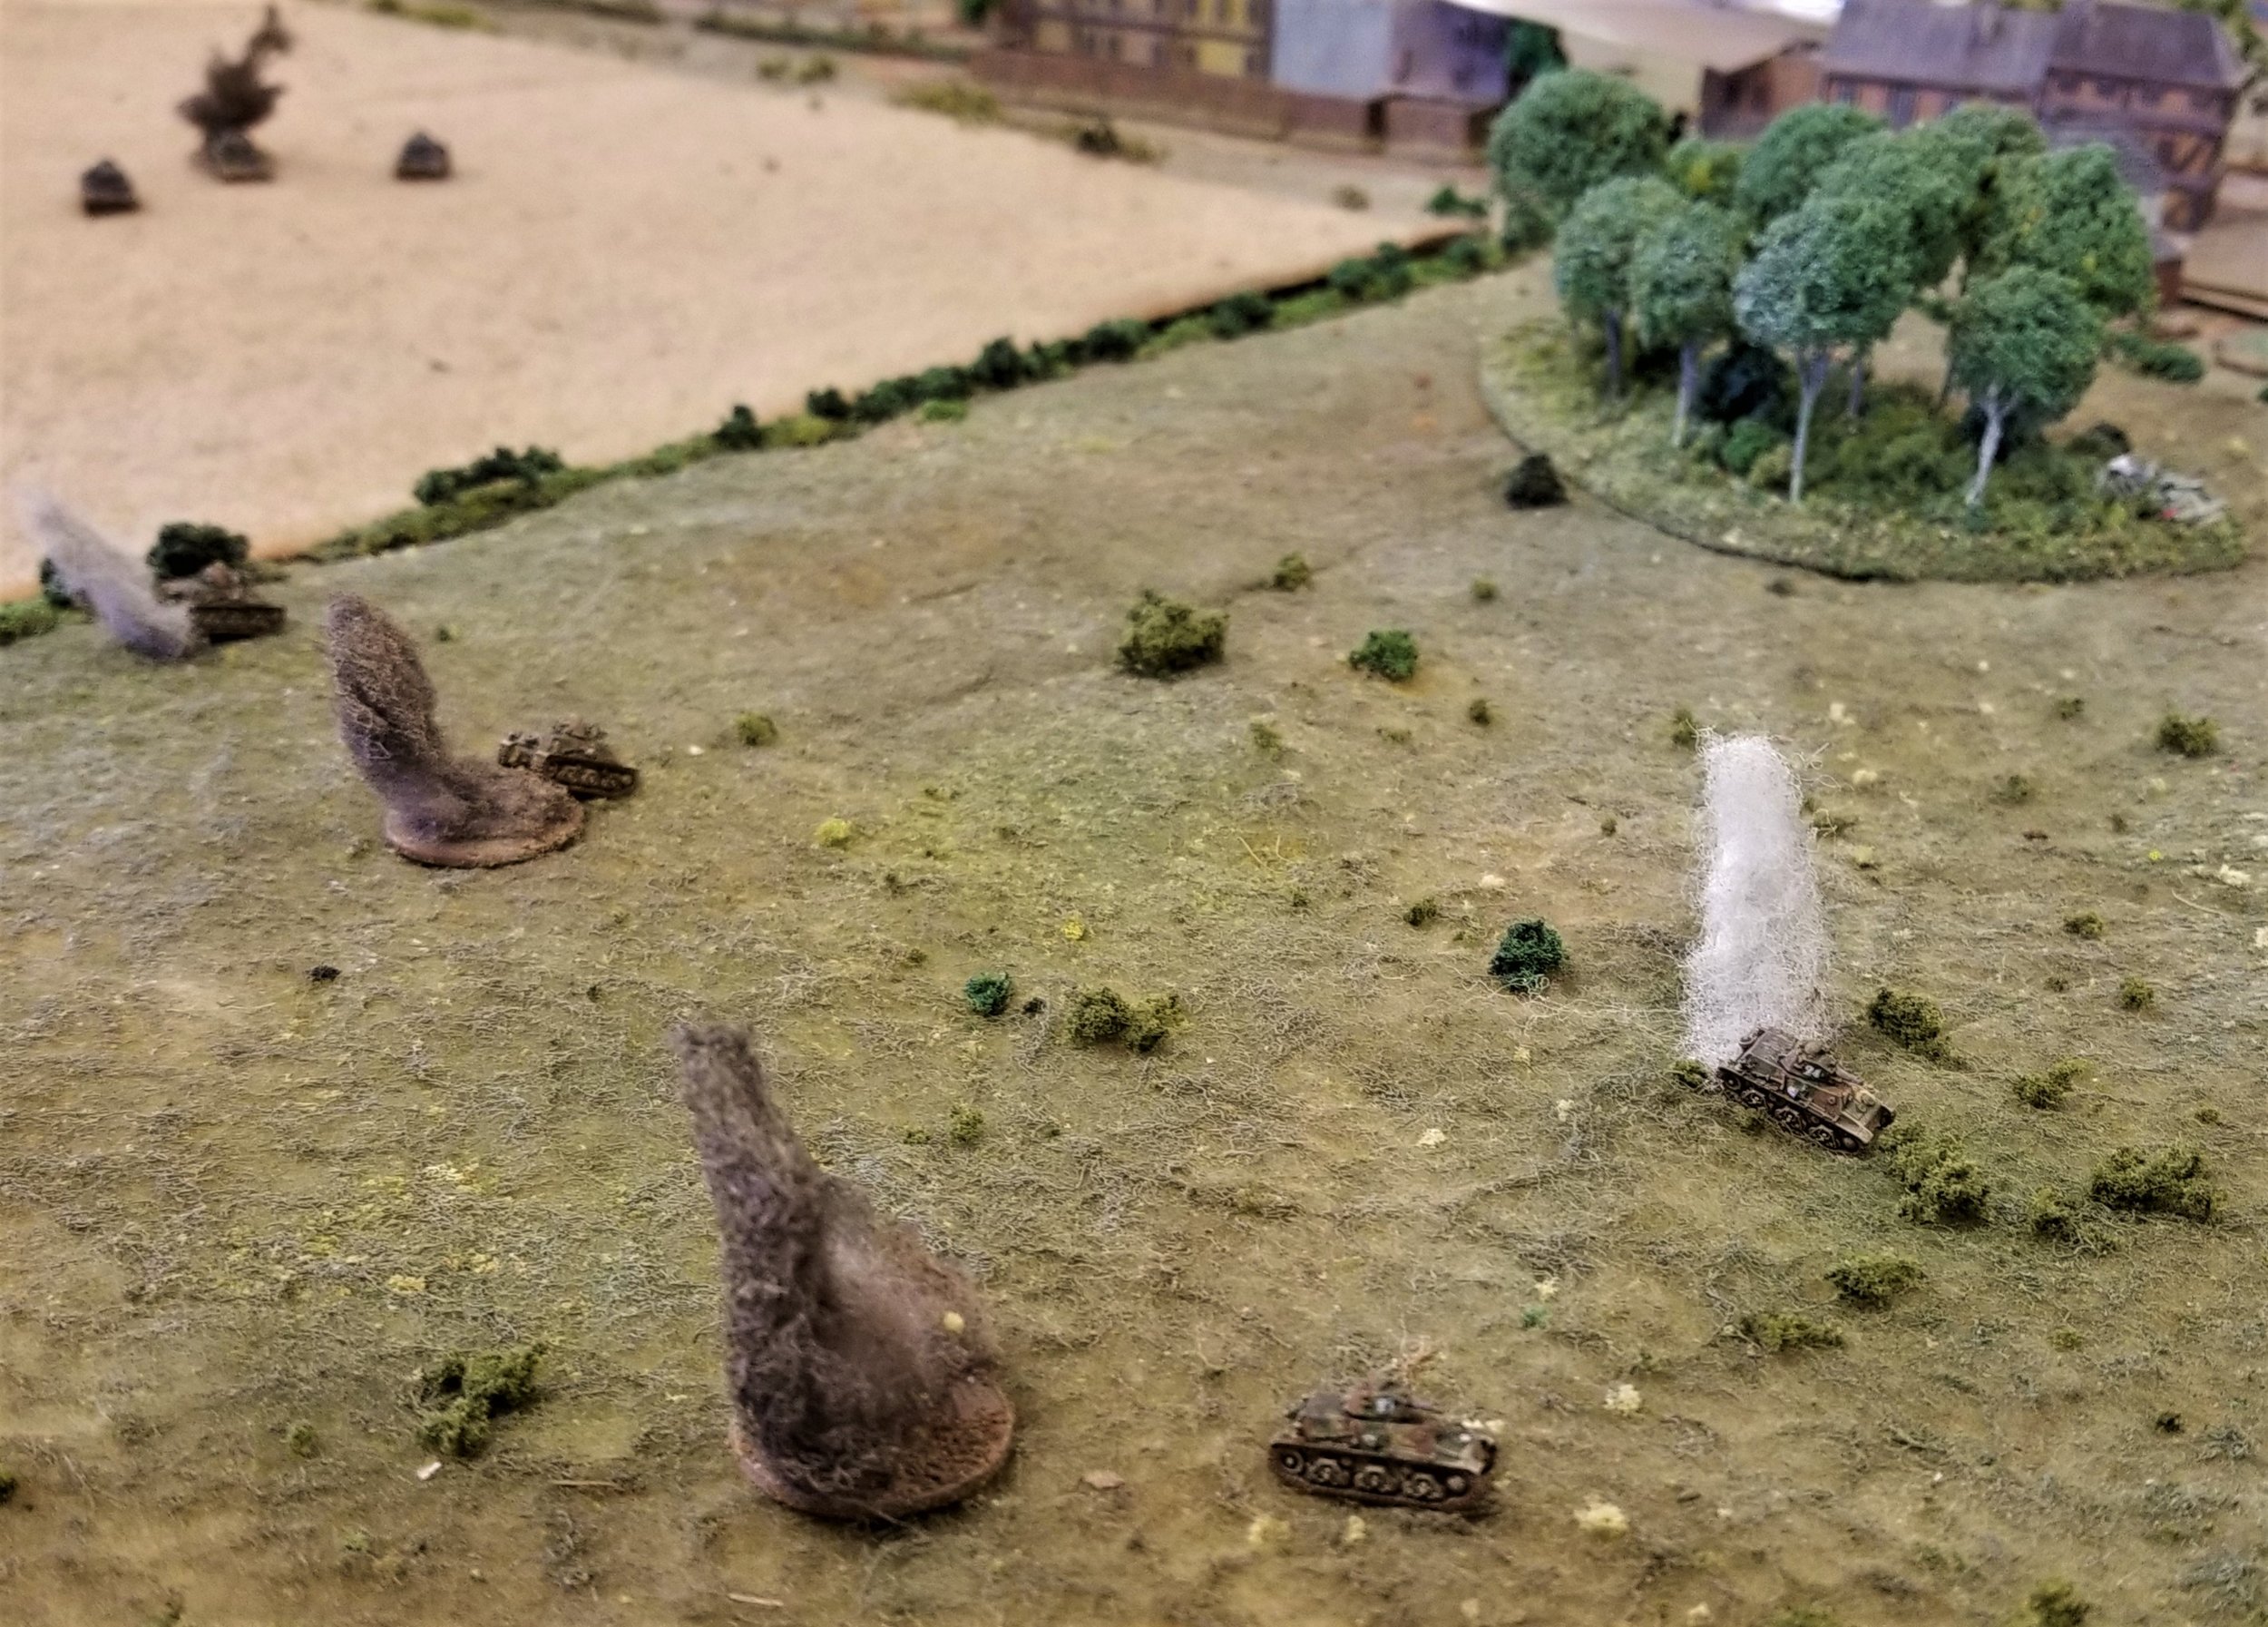
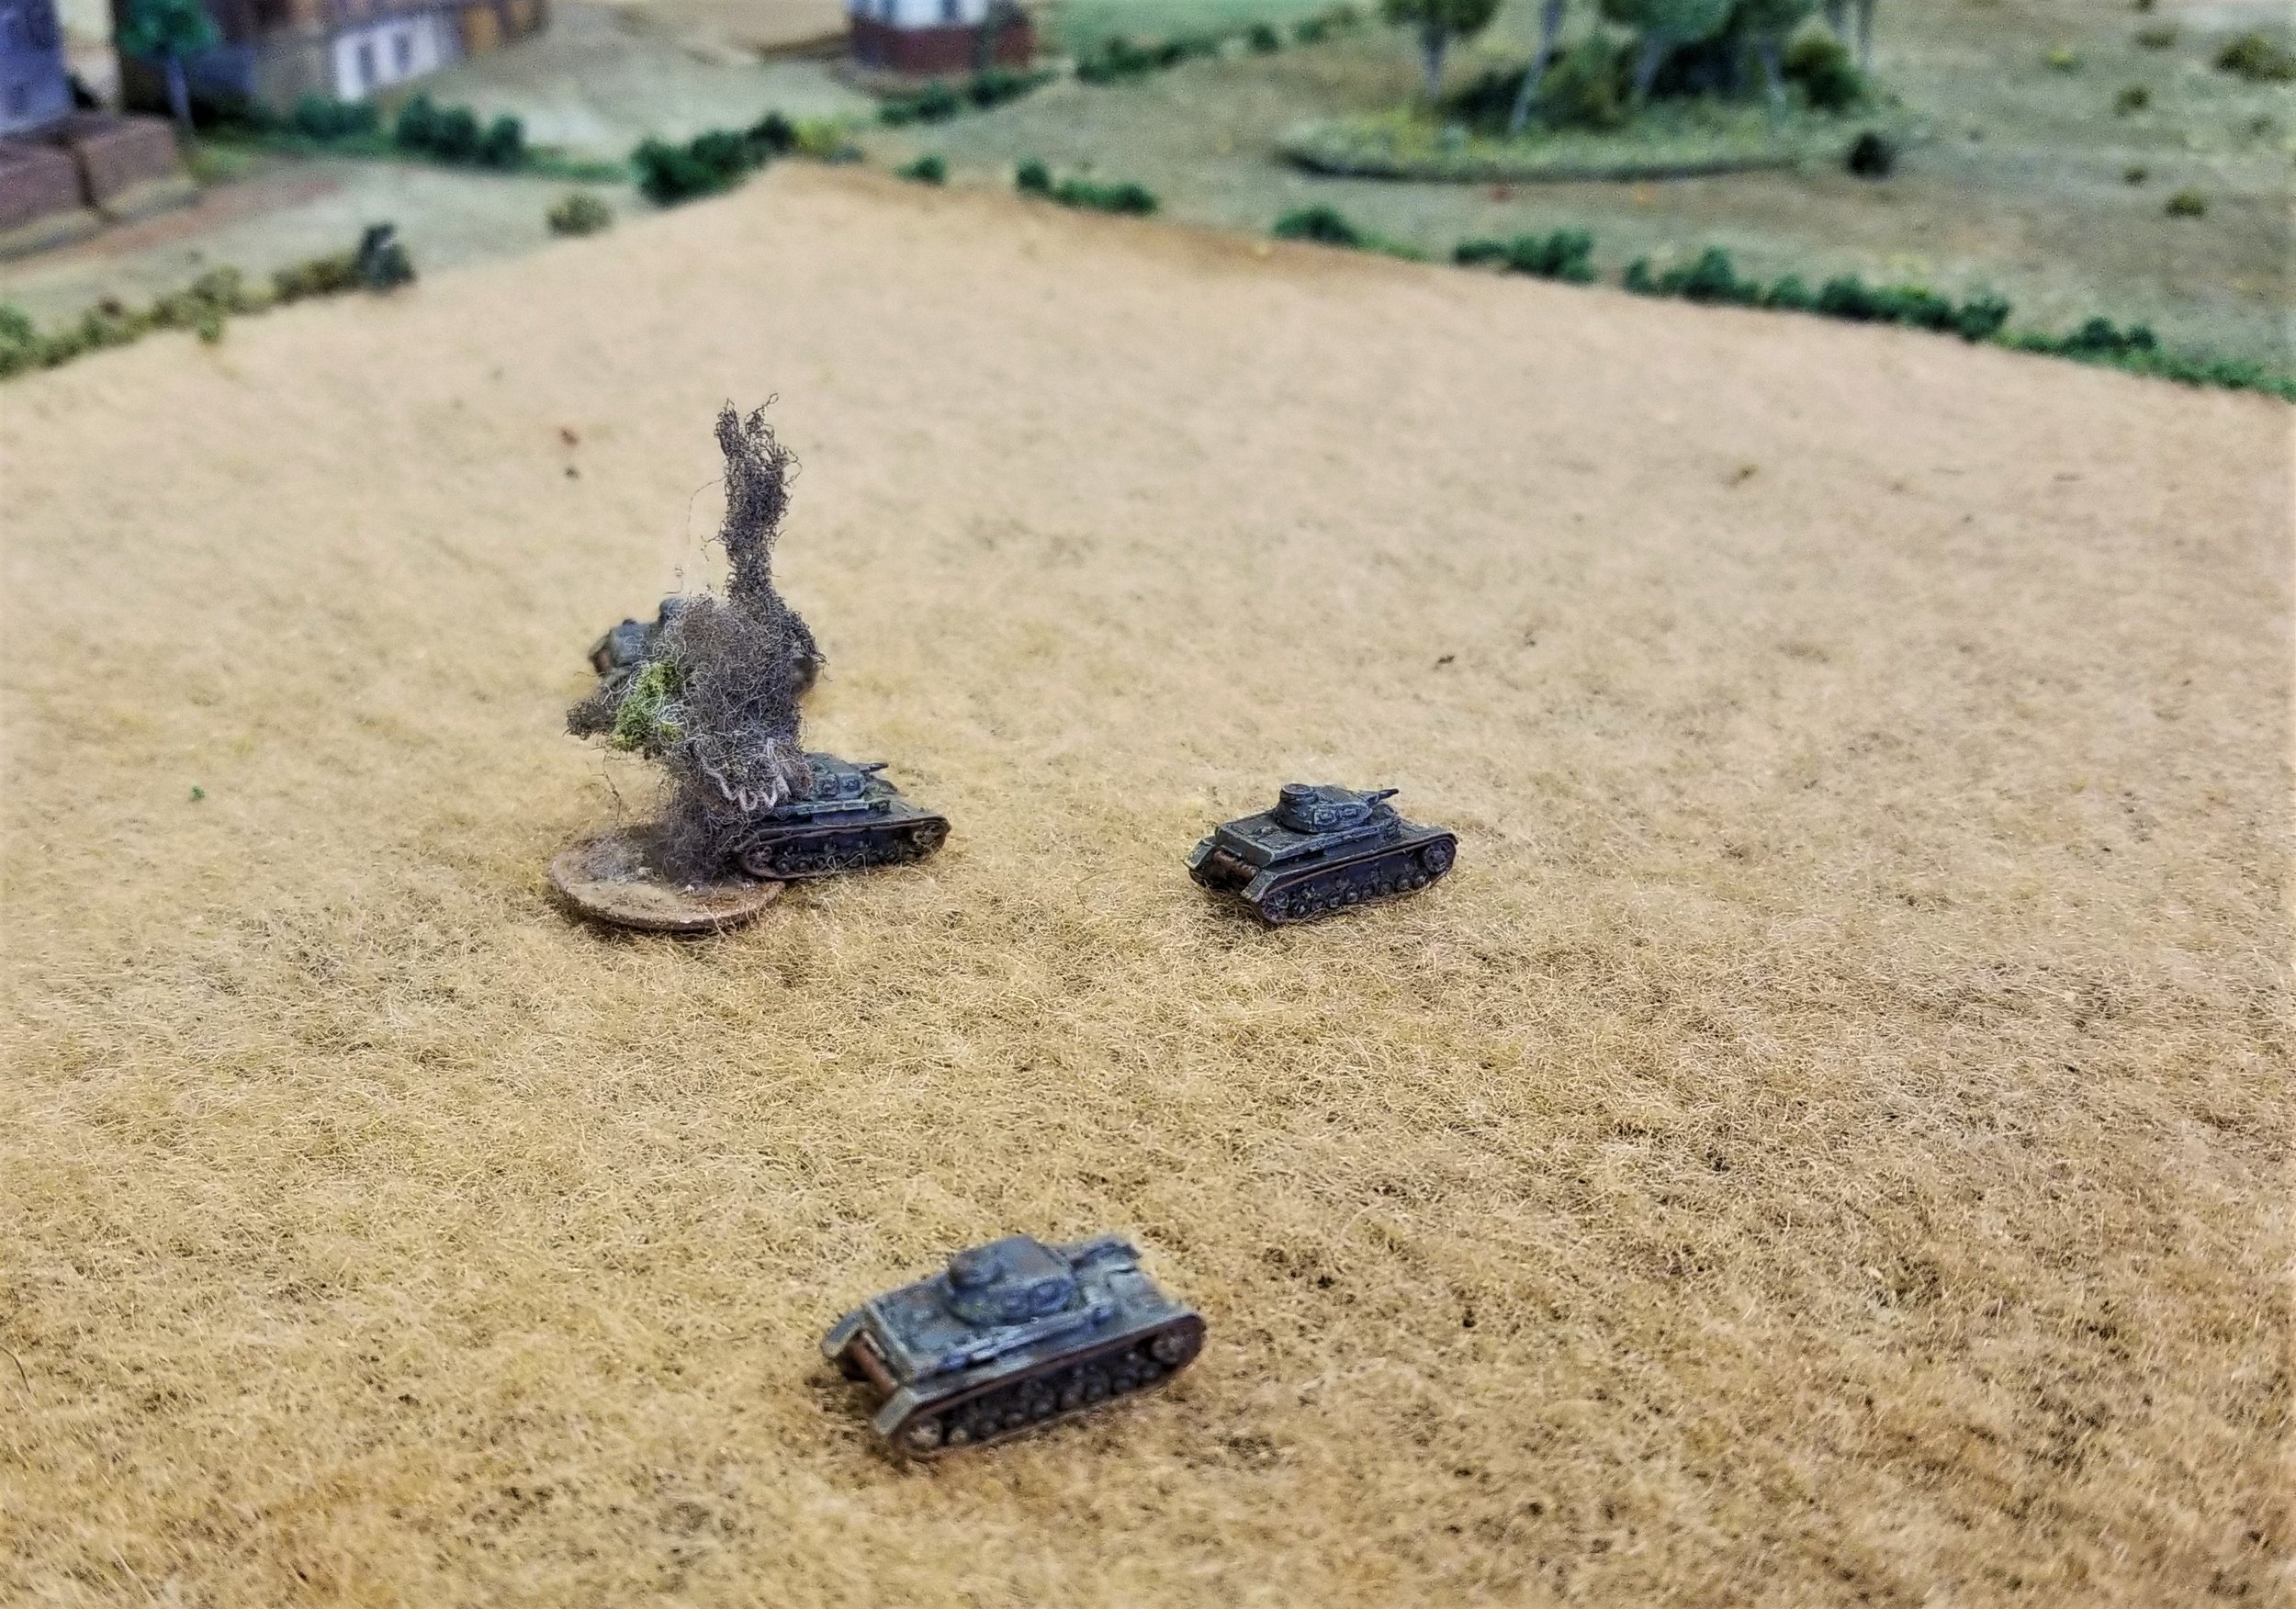
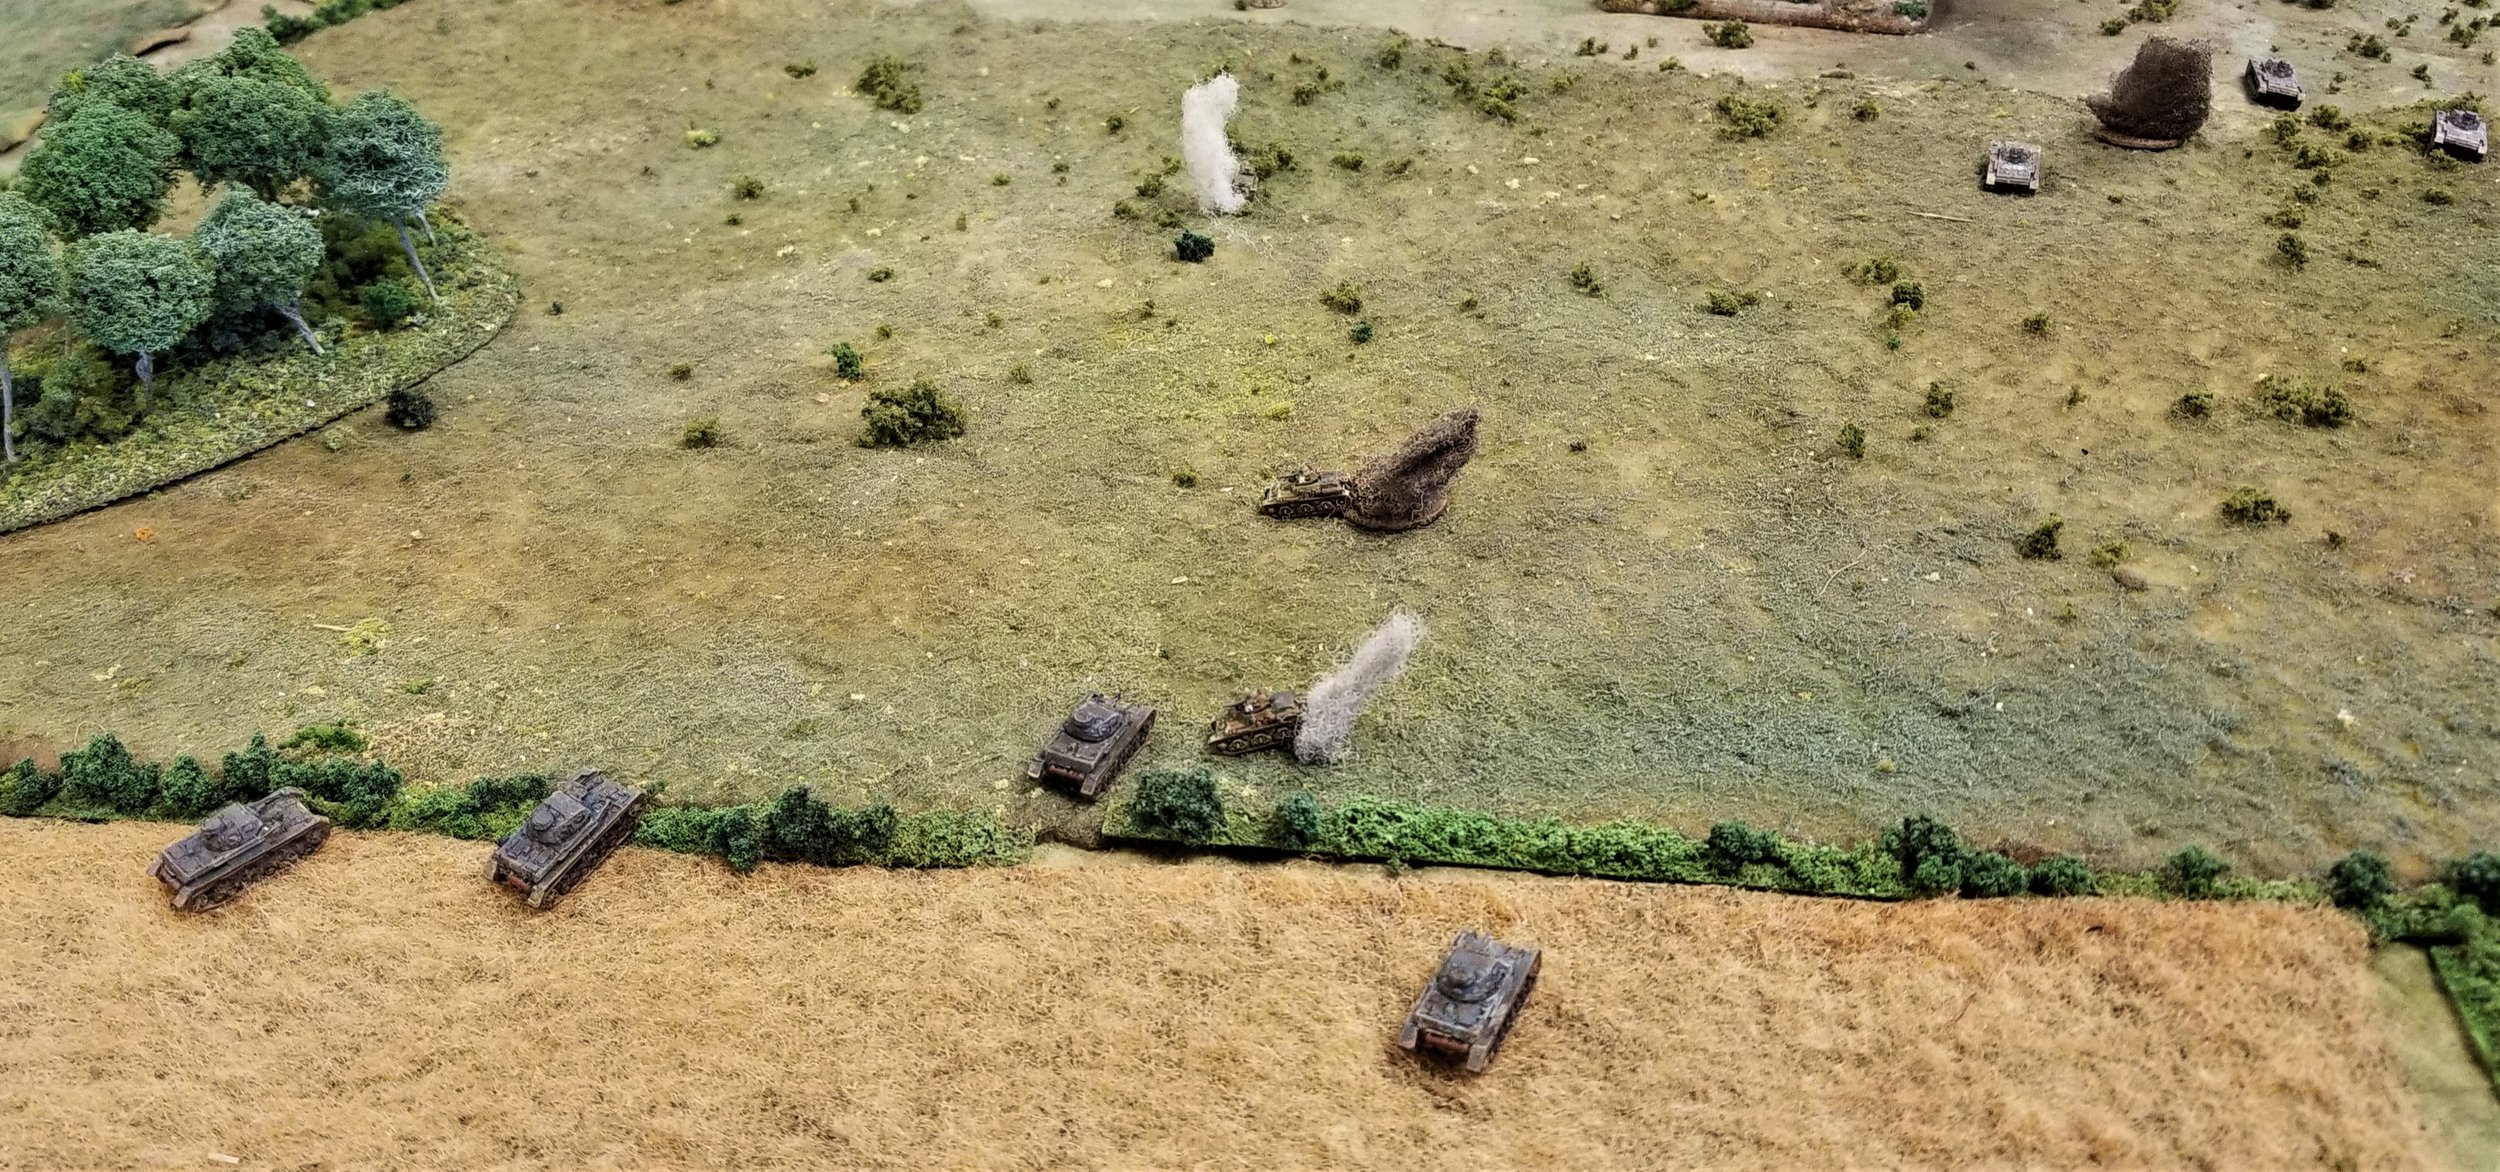
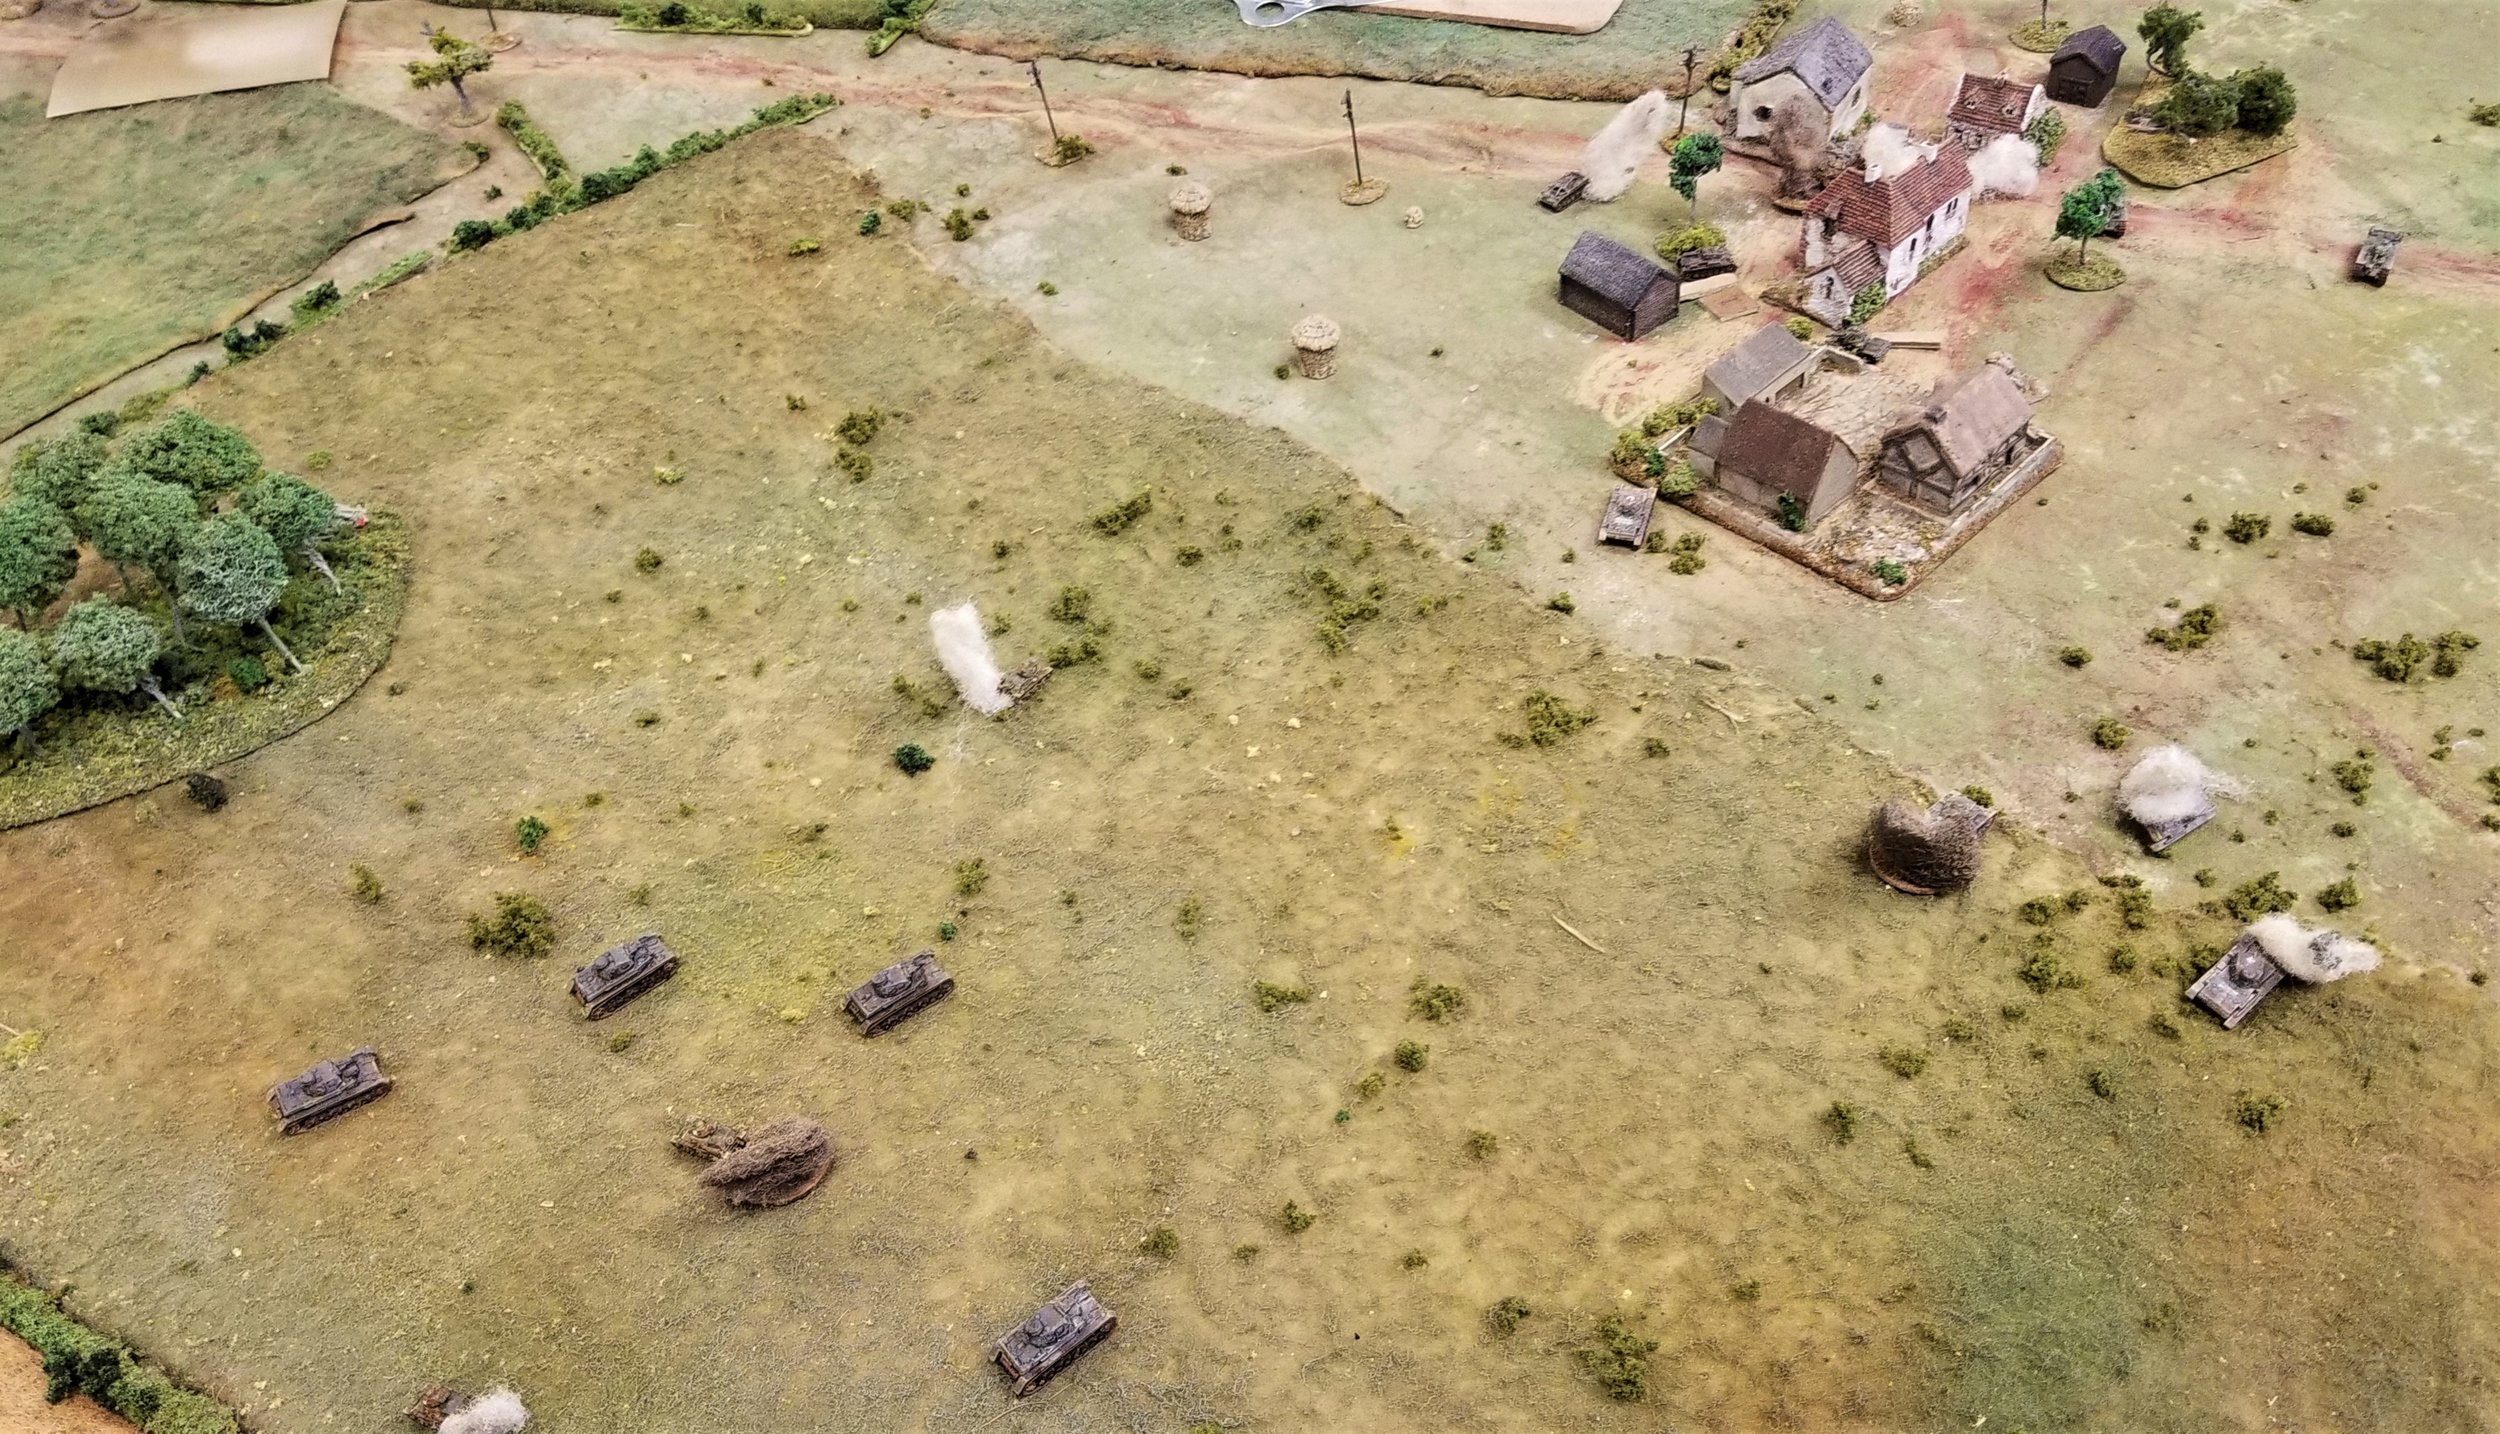
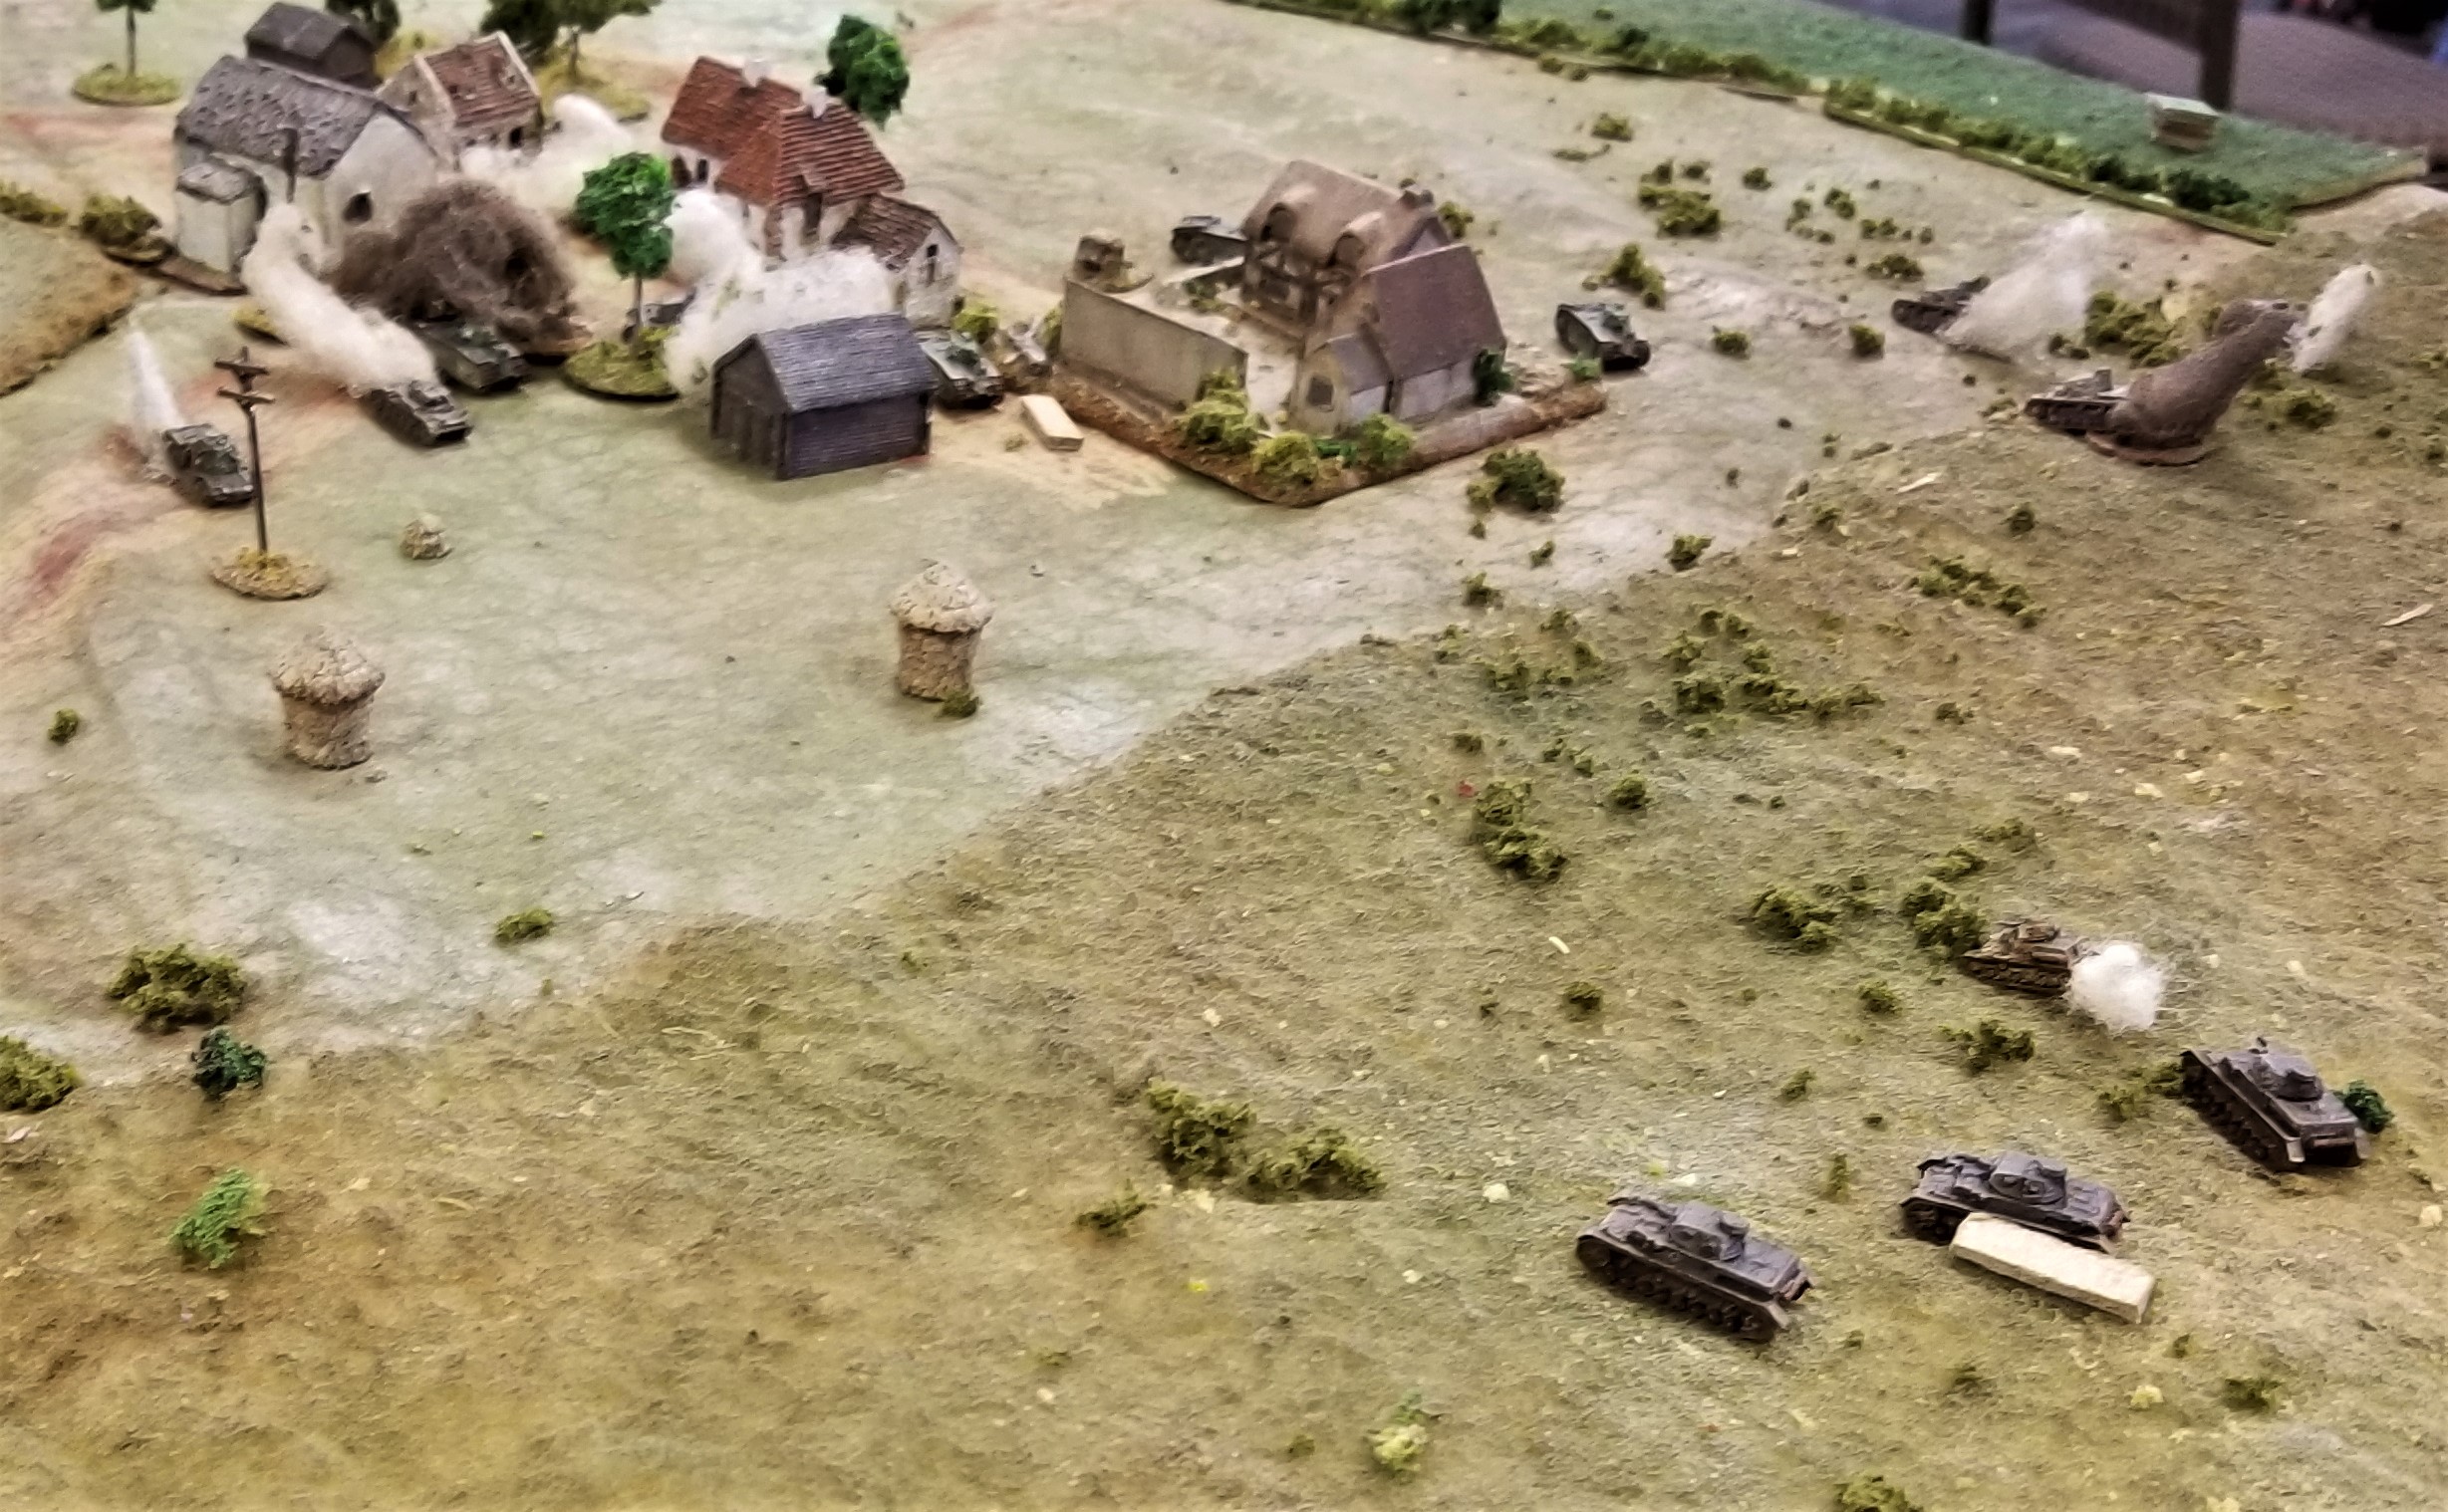
On the right the Soviet T34s were now advancing, cautious due to their previous experiences with German panzerfausts. In the square ahead the green crewed Panther snapped off a couple of shots before a clean shot from a Soviet 85mm main gun crashed through the turret armour and ignited the ammunition therein.

But what was this? A grinding of track and forward came Jannke Lott "Zwie hundert metre, feur!" rapped the Leutnant to his gunner, but fear clearly can get the better of a bravest, most elite crew when singly facing off three Soviet monsters - nothing hit.

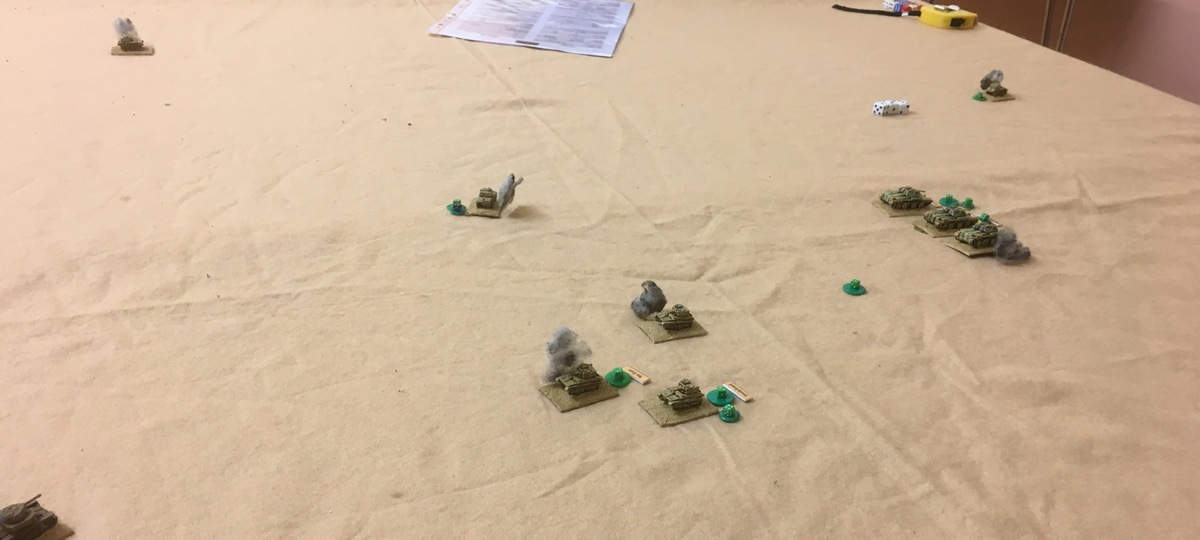
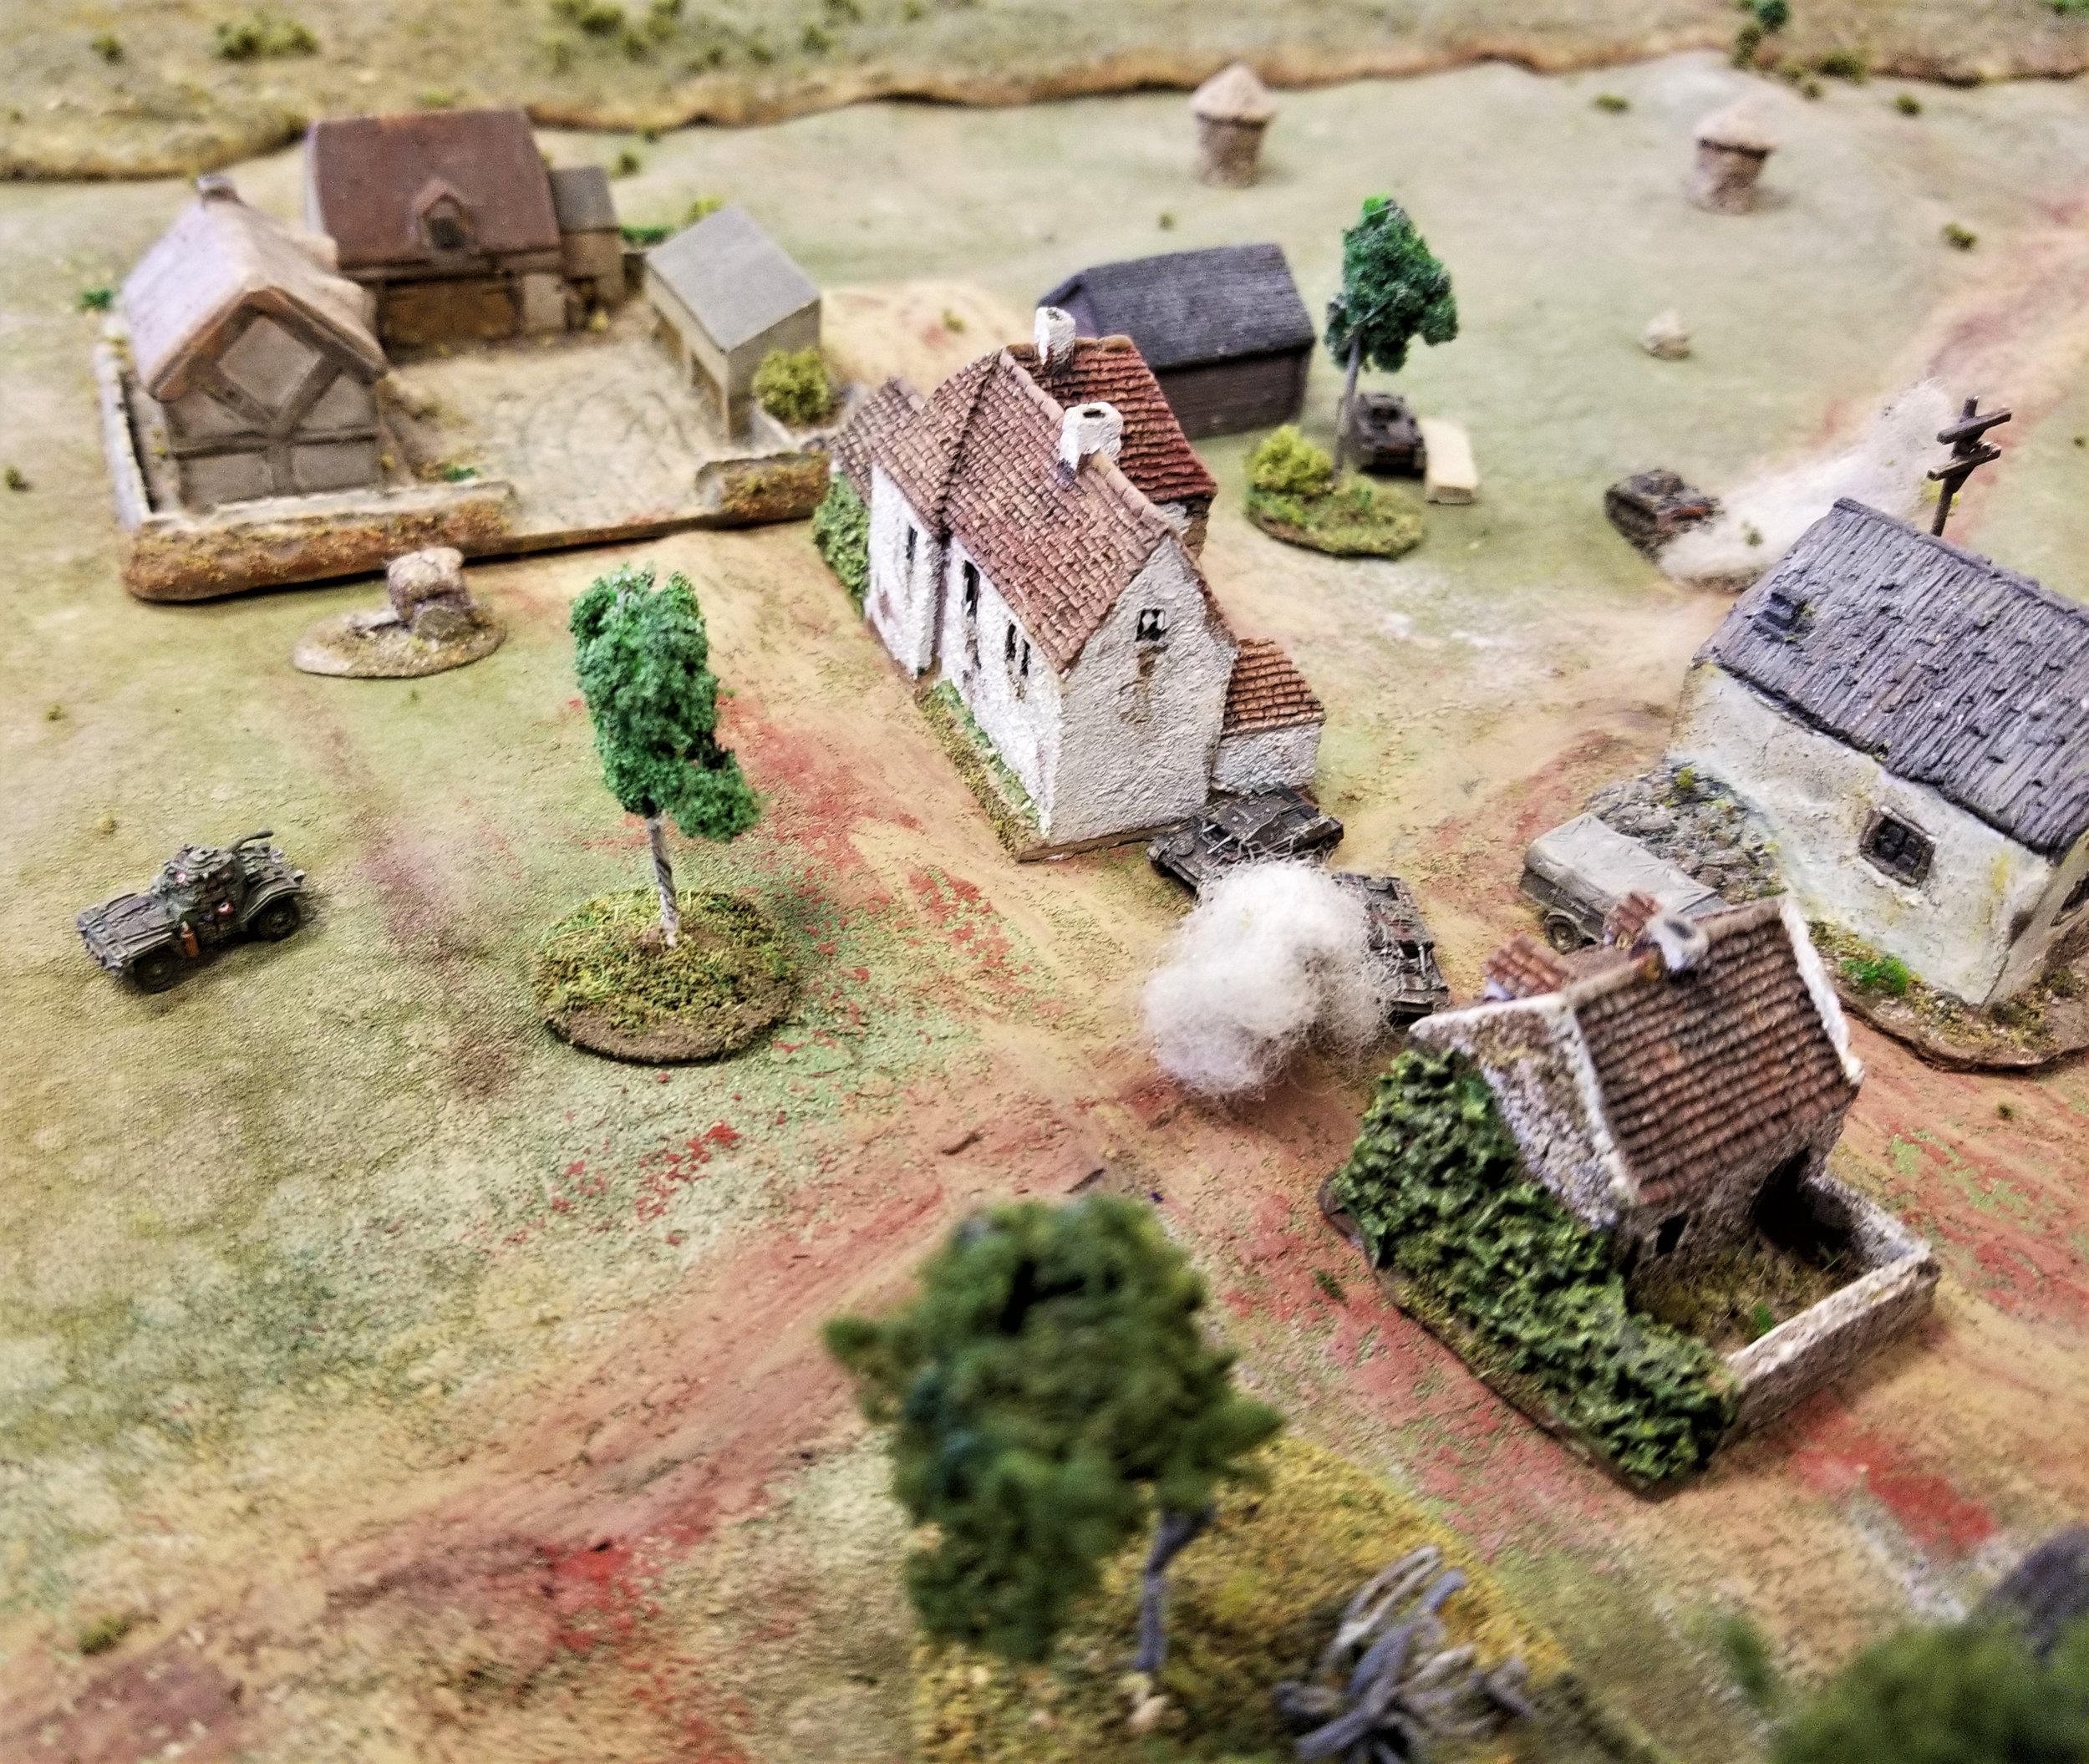
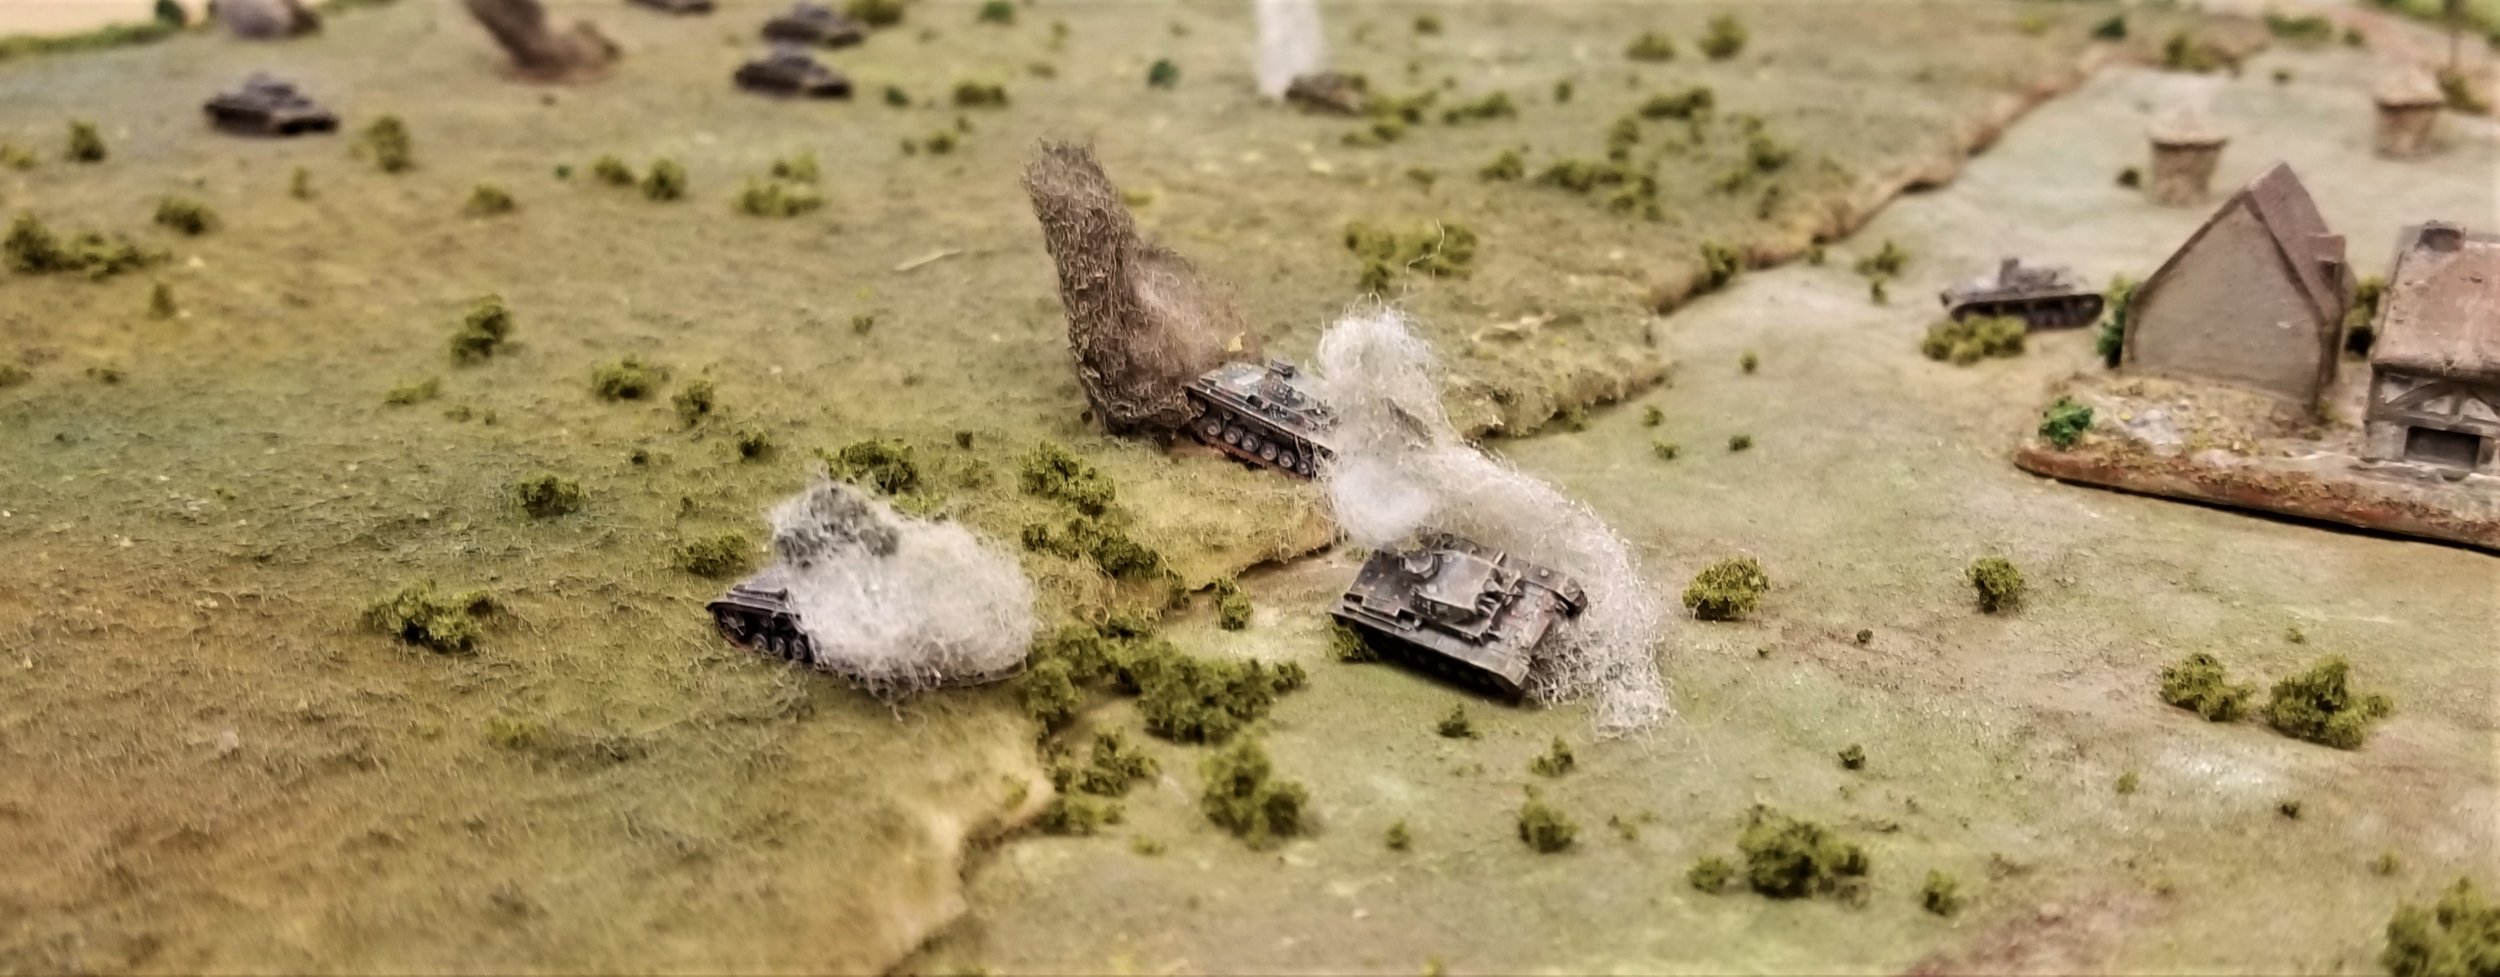
Clang, clang. In response the Soviet shells crashed into Lott's Panther, but with little or no effect at first. Mind you, Lott's options were now severely limited as the last drops of fuel were expended and his tank now stood motionless by the staute of some former Prussian warrior.

Steadying his crew, Lott calmly corrected his gunner's errors, and swiftly two T34s were despatched, one exploding into flames, the other damaged, its crew scuttling for the cover of a friendly shell hole. The balance of the battle now swung in his favour. Unperturbed the remaining Soviet tank commander returned fire. Two successful shots saw Lott's engine catch fire, and after snapping off another couple of shots he and his crew abandoned their rather too warm vehicle.

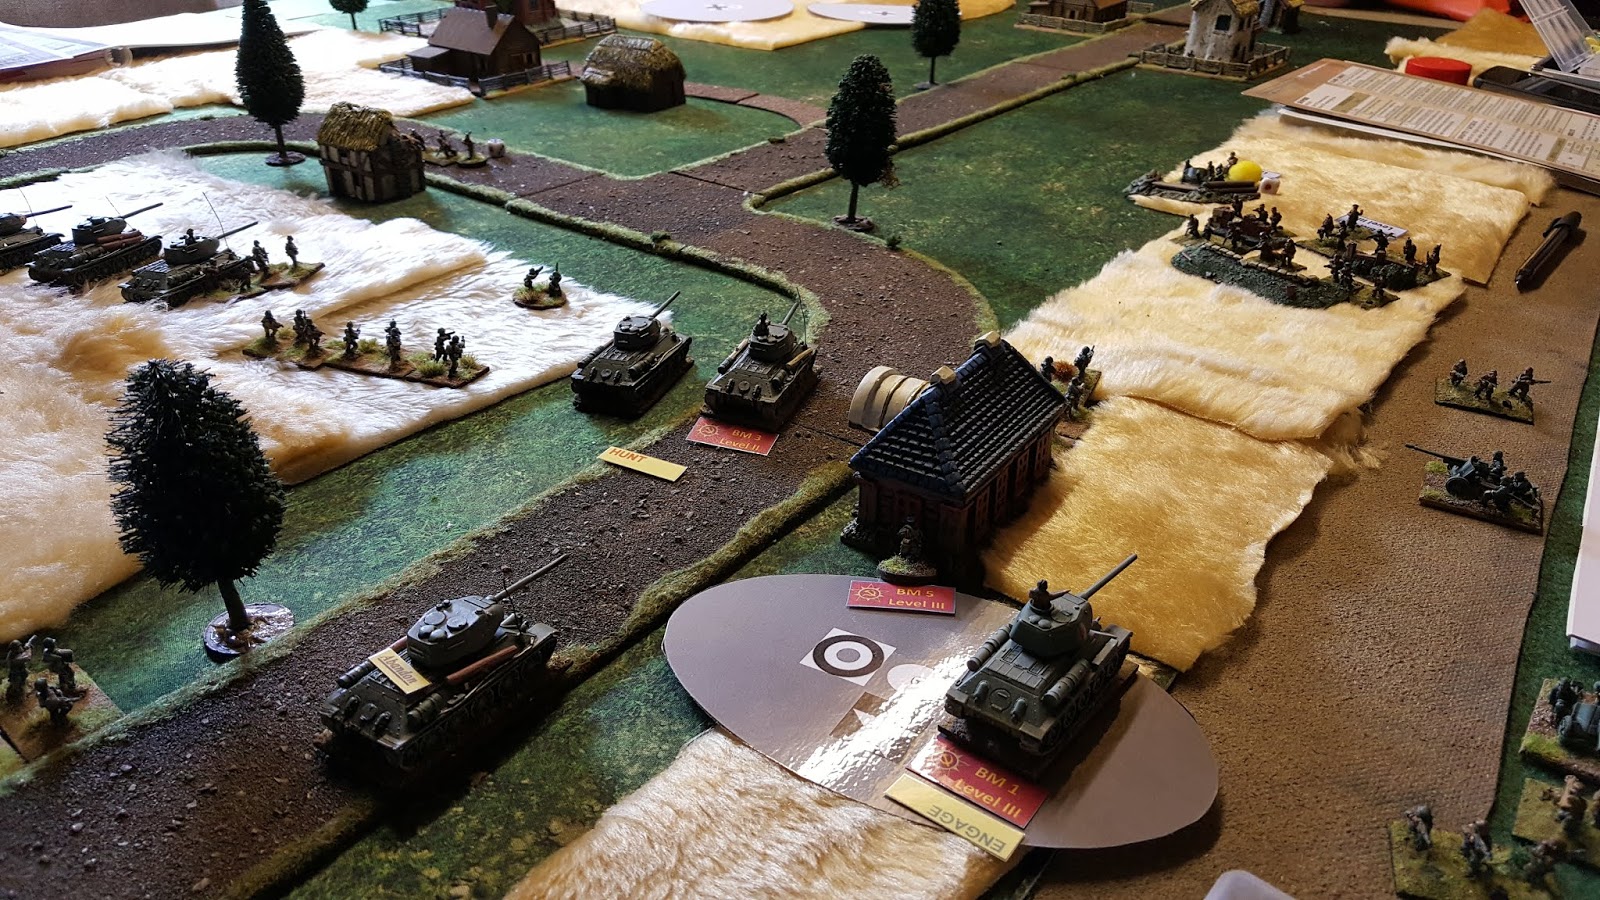
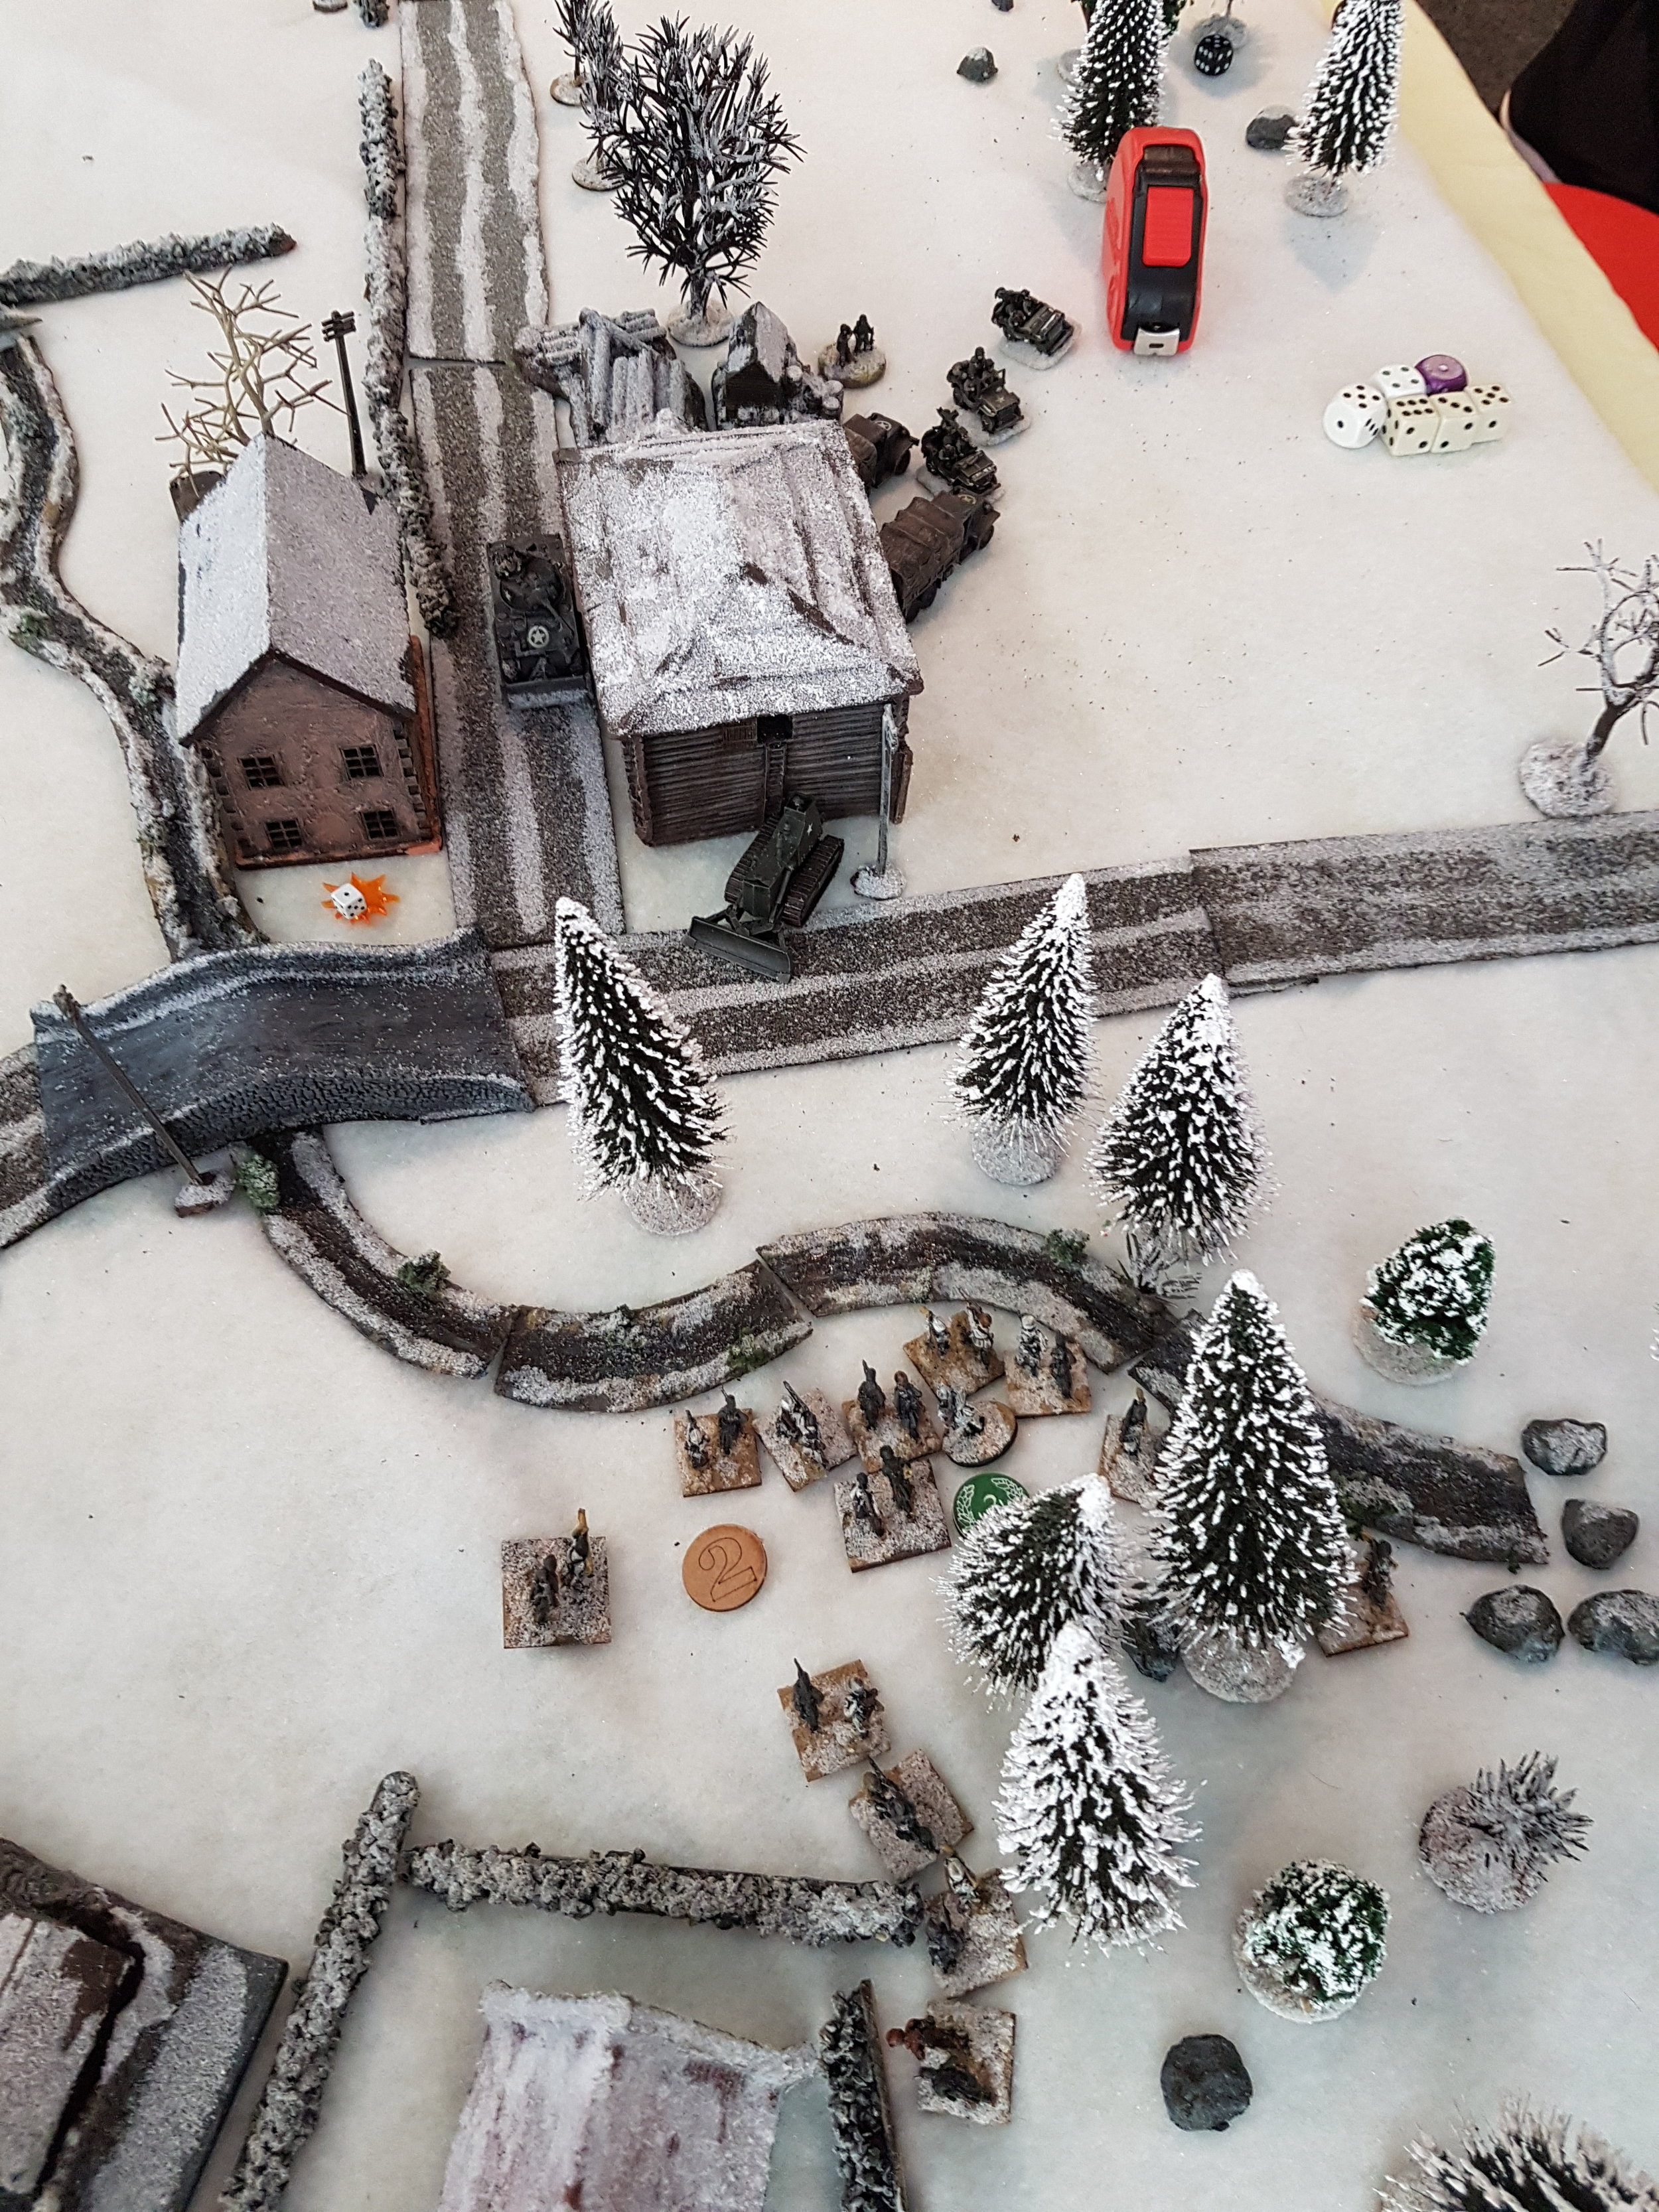
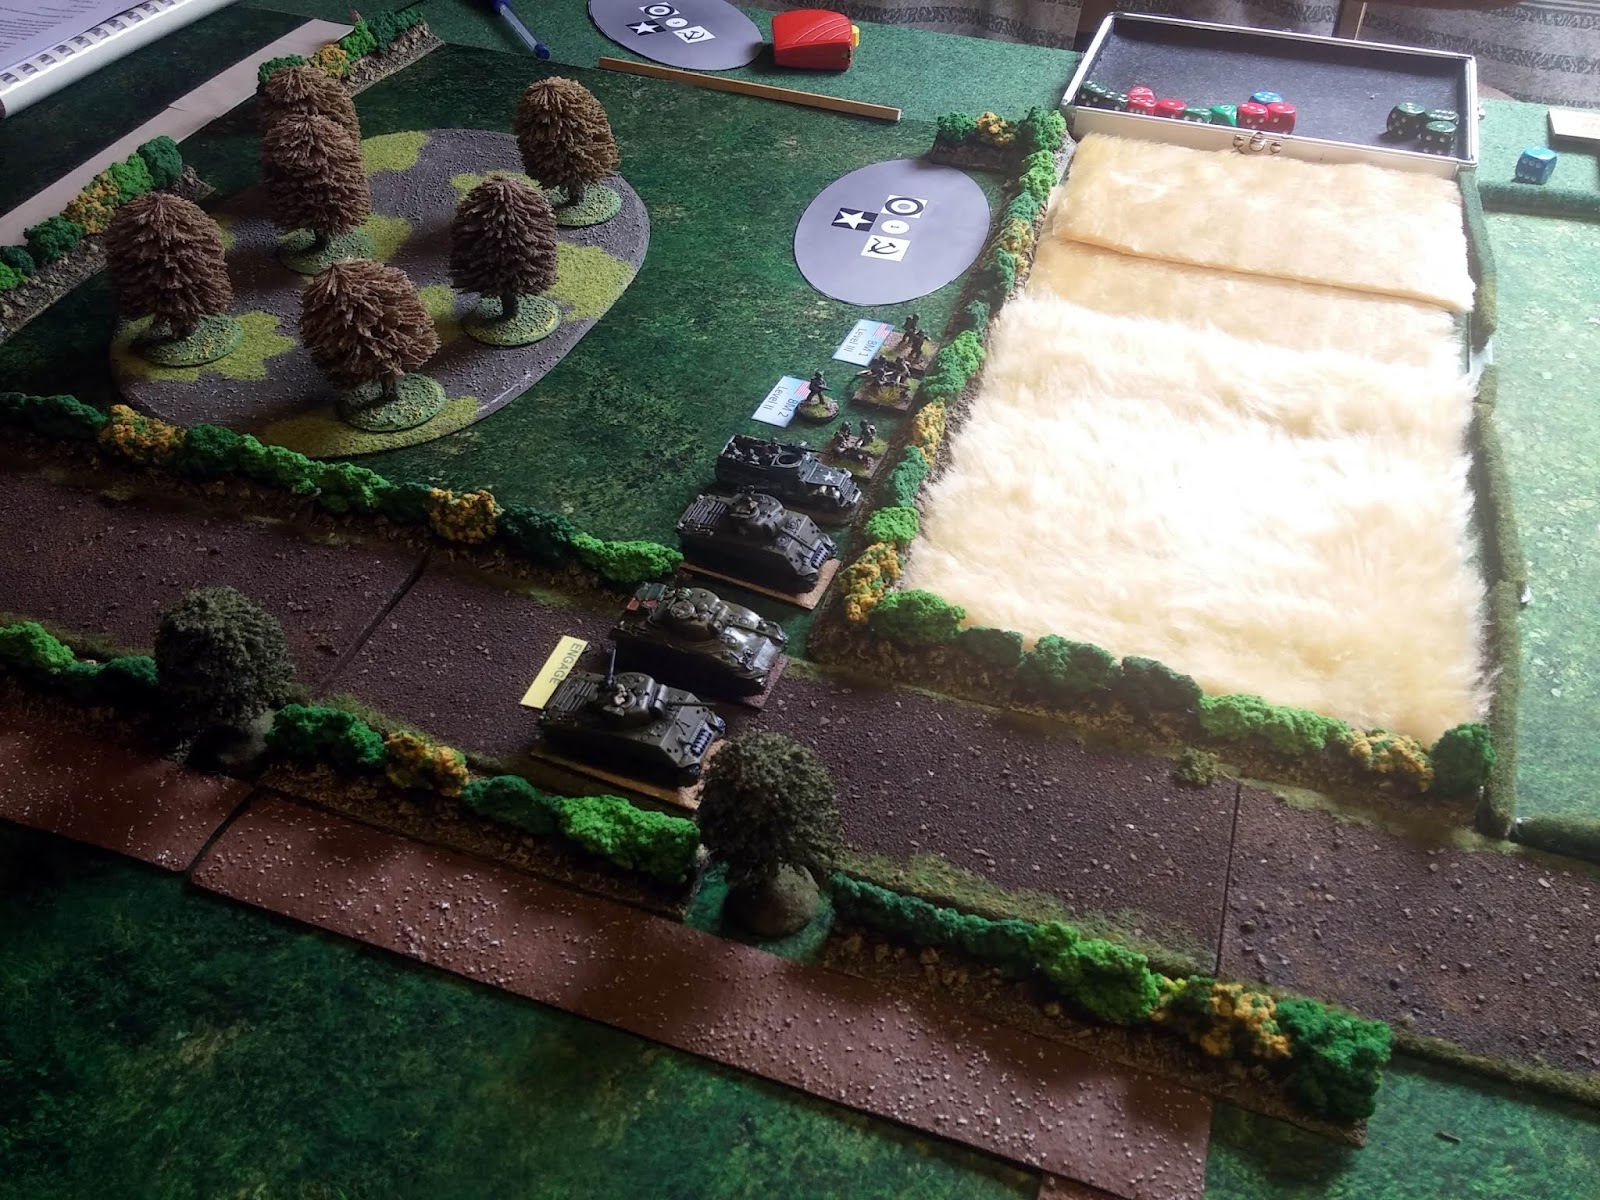
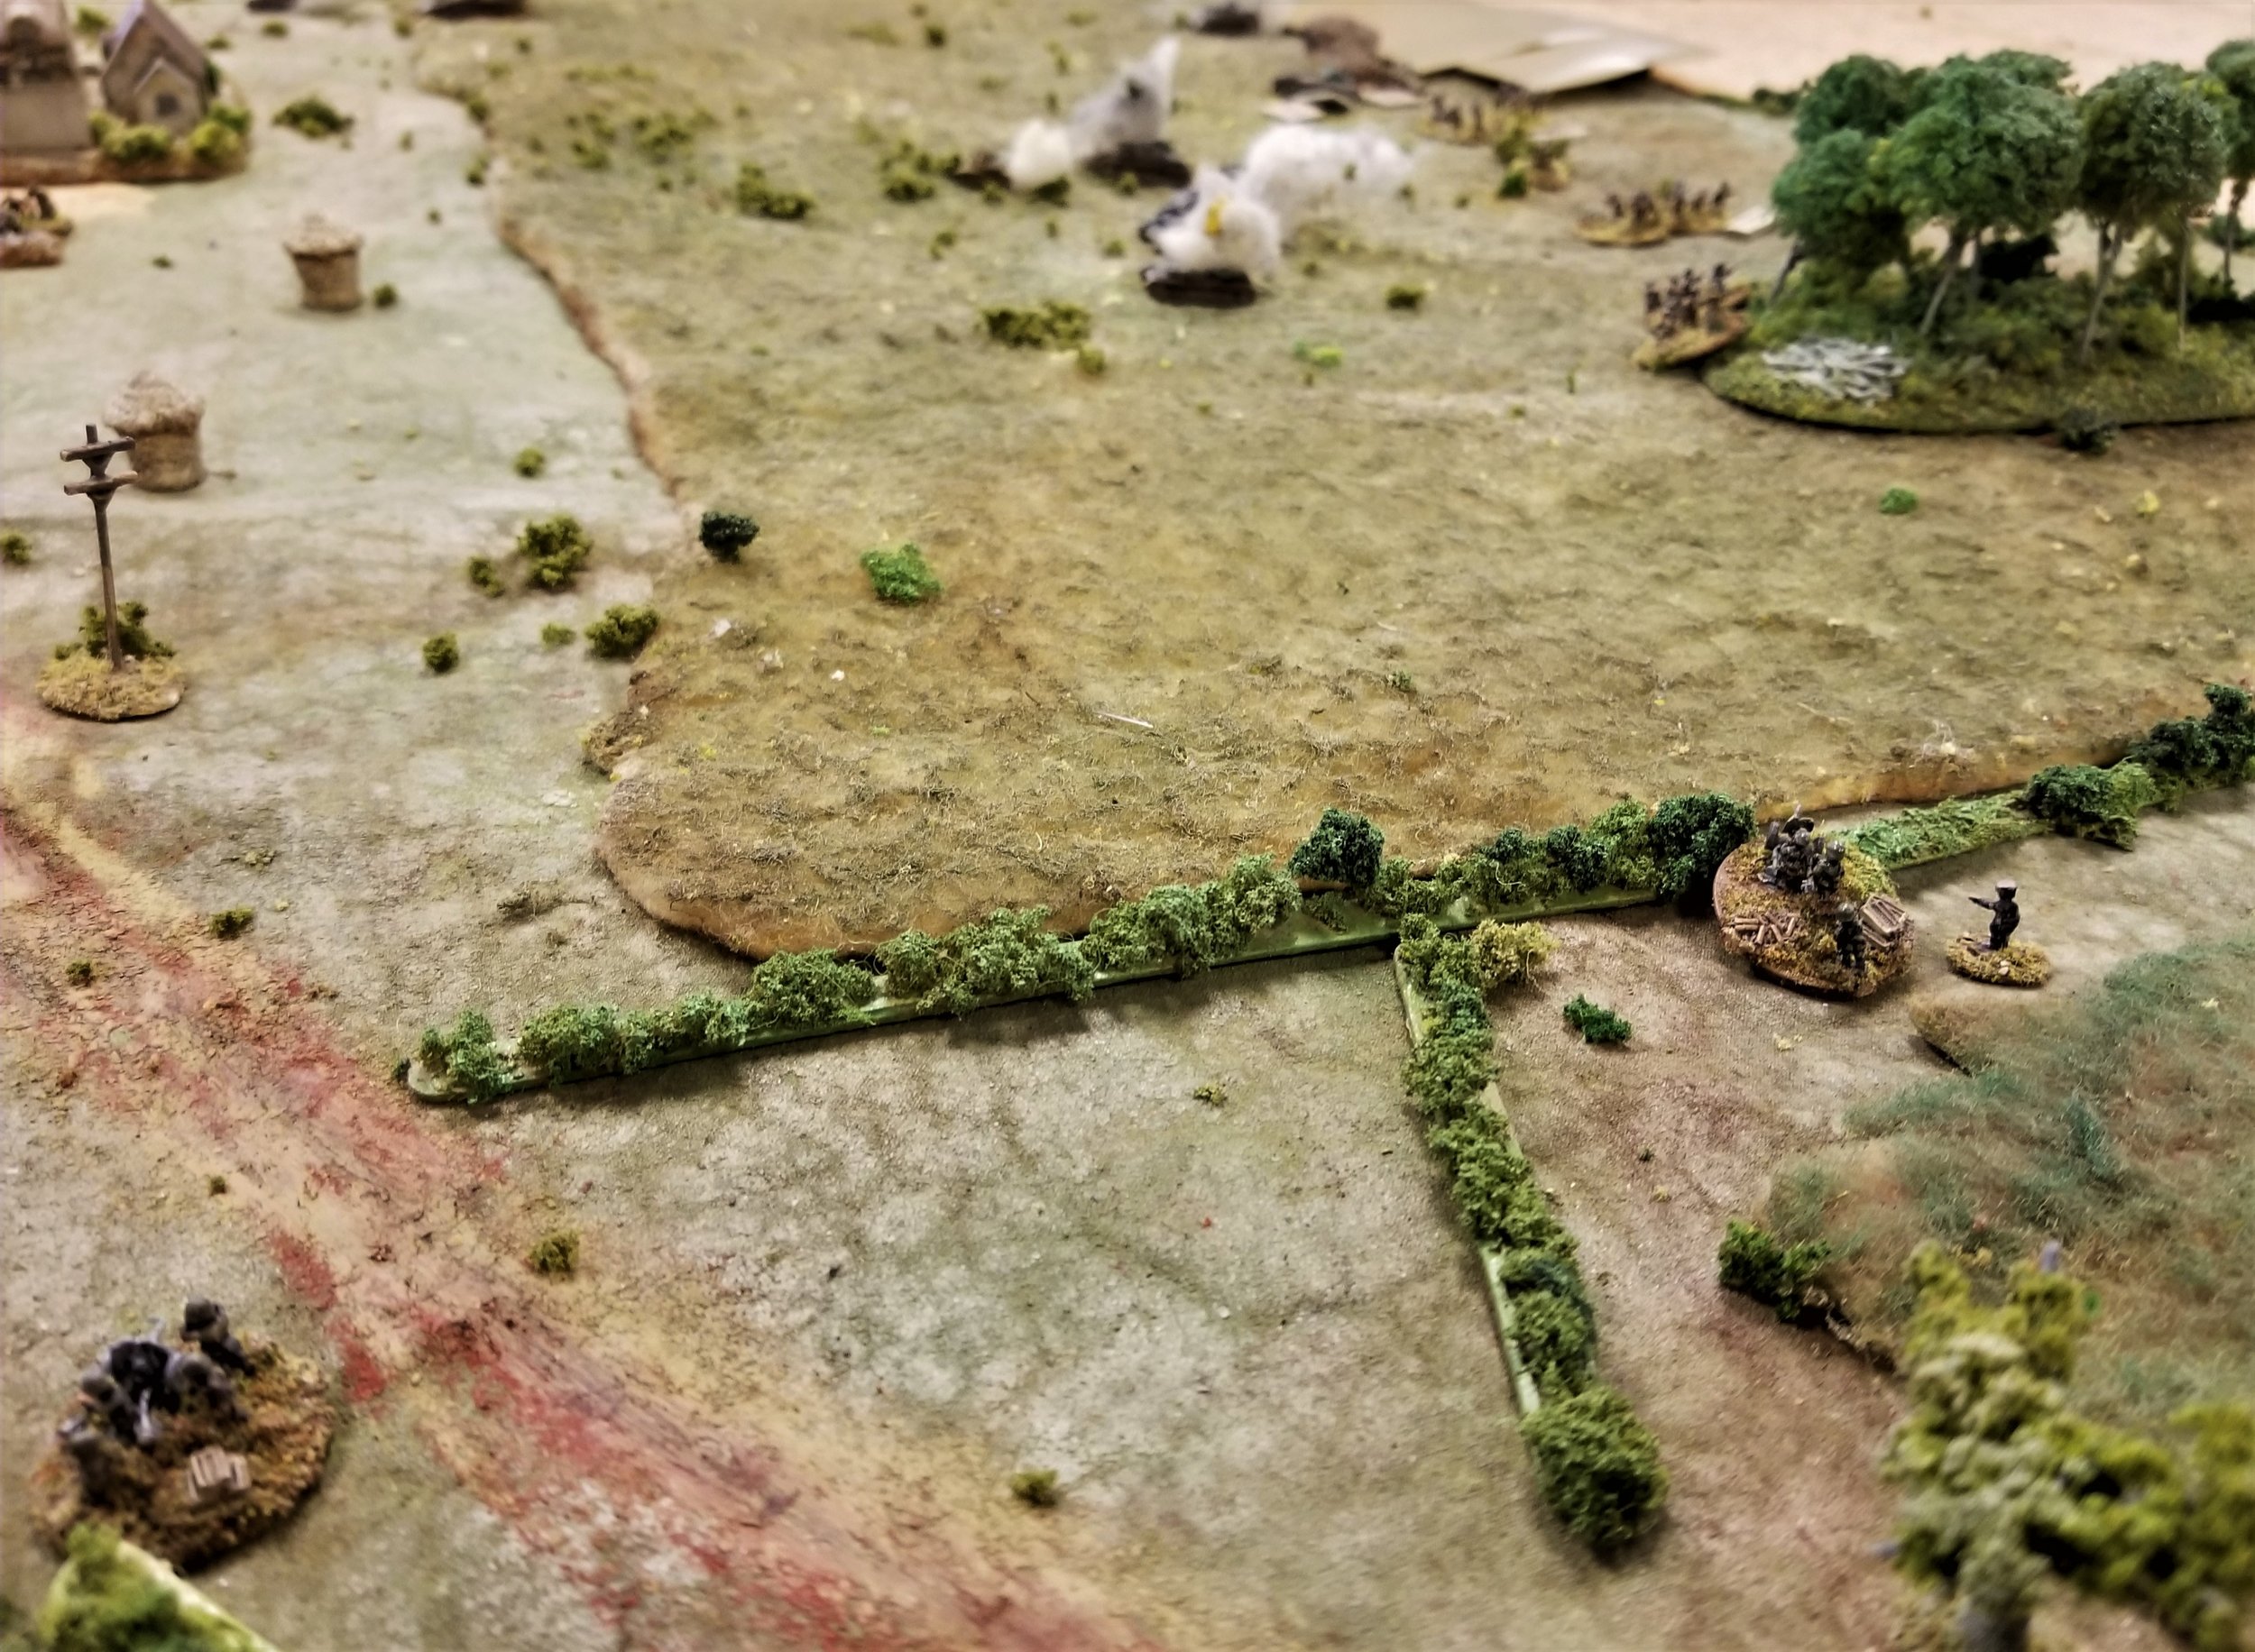
On their left the Soviets now swarmed forward towards the factory, sensing victory. But from the west there came fresh hope for the Germans, never before had the sight of Fat Nick been so welcome to the Rug Doctor. Sweeping through the factory came a French speaking platoon of SS Nordland. To the strains of "Non, je ne regrette rien" this legion of the damned came on with their assault rifles dealing a devastation amongst the advancing Russians that was frightening to see.

On their right another SS unit, smaller but perfectly formed, slipped fleet of foot amongst the ruins. A force of Norwegian panzerknackers under their Hauptscharfuhrer, that giant, Per Annokers, swiftly damaging one SU122 before going on to immobilise the second. Again the battle turned in the German favour.

But Comrade Noddy was no fool (he is actually, so what follows must have been a fortunate error) and had held back one trump card. Now, seeing the MMGs of the support platoon being decimated by the Frenchmen he flung forward these close quarter troops, and in the ruins of the Knicker Factory the embodiment of two political creeds fought to the last.

It was a desperate affair. Untersturmfuhrer Jaques Brioche, all his men dead around him, fought off one Soviet assault on his own before succumbing to the inevitable second wave. Scharfuhrer Pascal Chirac and Rottenfuhrer Eugene le Pen and their squads came close to over- running the Soviet Second Platoon and the MMGs of the Support Platoon before finally being wiped out to a man by the SMG troops in close assault. The last dice were thrown, the Gods of war had cast their vote and, reforming and rallying his men, Noddy drove on again to the Haupt Bahnhof, all German resistance melting away.

It was a tough fight, and one that could have gone either way. The Soviets are an interesting conundrum in Gotterdammerung, as whilst they start off full of vim, they very quickly fall apart. Noddy did exactly the right thing, allowing his rifle platoons to soak up all of the German firepower whilst gradually whittling them down before landing the knockout blow with his SMG troops. The Fat Lad was uncharacteristically flamboyant as the French SS (being obliged to speak French all evening may have helped here), and the attack of the Nordland was a chilling sight. Indeed it seems entirely appropriate that they were killed to a man during the fighting (with the exception of some Swedes on a Pak 40 which, for some reason, was deployed in the railway yards where no tanks could get to(?).

Dazza's Volksturm and Wehrmacht performed stoically, but they looked like what they were, men exhausted by six years of war, and, whilst able to slow the Soviets, were never capable of stopping them dead.

One interesting point that I think emphasises the violence of the battle was the number of Big Men casualties. The Germans lost six out of seven, the Soviets almost as many. All in all a game enjoyable as it reflected the nasty, gritty reality of the fighting for Berlin in 1945. We used poker chips for the first time, rather than cards - the Jury is still out on that. Like Martyn, I like the pretty pictures on cards.

Richard Clarke


Although the initial Allied landings at Anzio in early 1944 took the Germans completely by surprise, they reacted quickly and had soon managed to find enough troops to form a ring of steel around the Allied beachhead. Once the invasion had thus been contained, the Germans gradually began pushing the Allies back towards the sea.

The remains of Aprilia or the Factory. Note the open terrain on all sides.

A significant part of this stage of the fighting took place around Aprilia, known to the Allied troops as the Factory. This was in effect a "new town" plonked down in the middle of the Anzio plain as part of the Mussolini regime's pre-war plans to increase Italy's industrial base.

The Germans began their main counter-attack towards the Factory on the night of 8th/9th February with a devastating thrust towards Aprilia by the Gräser and Schönfeld Battle Groups. This attack fell on the London Irish, holding the town; and the 10th Royal Berkshires, holding the ground to the east; and followed the usual pattern of an outflanking manoeuvre followed by an attempt to roll up the British line.

The London Irish were forced back to the walls of the Factory but counterattacked and regained some of the lost ground. The Royal Berkshires, fighting fiercely but outnumbered about eight to one, were gradually forced backwards and by daylight, according to the battalion’s war diary, consisted only of “Battalion HQ, two sections of C Company, and a few carrier and mortar personnel, totalling forty men in all”.

By 9am, 725th Grenadier Regiment had worked its way down the western side of Aprilia, with 29th Panzer Grenadier Regiment driving down the eastern side. With the Berkshires now effectively hors de combat, and 735th Grenadier Regiment posed to smash into the northern side of the Factory, London Irish had no choice but to withdraw as well.

The British line, bloody but unbroken, reformed along the southern outskirts of Aprilia: with London Irish (about two companies-worth were left) on the left, London Scottish brought forward on the right, and what was left of the Berkshires behind them. Again the Germans could have continued to drive forward and perhaps wiped out the troops in front of them, but the fierceness of the British defence meant that they were content to have taken Aprilia.

That's part of the background to scenario #13: Aprilia from my Anzio: Wildcat to Whale scenario pack  for I Ain't Been Shot, Mum, the subject of last night's game.

The Game

The battle would represent the advance of the 725th Grenadier Regiment down the western side of Aprilia/the Factory in the face of determined opposition from the London Irish. Although a part of the table will represent the battered buildings of Aprilia itself, occupying or moving through these ruins would be very dangerous, as both sides have artillery that has zeroed in on the individual structures and can be called in with little delay.

I would play the London Irish, and start the game on table under Blinds about half way up the table. My force consisted of two full platoons of regular infantry (each with a PIAT team), a small one-squad Company HQ, and two American M10 Wolverines from 894th Tank Destroyer Battalion.

Advancing onto the table would be Bevan's German force: four veteran infantry platoons supported by a couple of medium machine guns, two Panthers and two StuGs.

The table itself was largely flat, but with one side taken up by the outskirts of the Factory. This tested my terrain cupboard to the limit, but I eventually managed to create an 8 foot by 18 inch strip of industrial looking buildings along what was the British right flank. Each building was numbered, with the most senior Big Man able to call in off-table artillery with little deviation onto a specific building. Troops thus had the choice of either moving over open ground or risking 'death from above' in the Factory itself.

The ground was very open but, significantly, there was a gentle hill towards the British end of the table. It had a slight ridge on it, possession of which would become the focal point of all the fighting.

The picture, above, shows the initial British deployment. The closest two Blinds are my infantry platoons. The line of four behind them are Dummy Blinds designed to keep the Germans from just smashing forwards over the ridge. The two Blinds at the back are my tank destroyers and Company HQ.

Each sides' objective was simple: mine was to stay on the table, Bevan's was to push me off.

The Action Begins

My plan was to hold a position along the very slight ridge line and shoot the Germans as they came forward. The infantry would be 'two up, one back', prone and ready to shoot; the tank destroyers would 'shoot 'n' scoot' backwards and forwards over the ridge; and my Company HQ would wait in reserve to see where it was needed. I ignored the Factory as I couldn't really afford to lose any troops to artillery there. 

The German plan was to launch a combined arms attack down the centre of the battlefield with his armour and three platoons of infantry whilst his fourth platoon made its way through the Factory itself in an attempt to outflank the British line. The toughest German troops were the two Panthers, so they were 'front and centre' as the main assault force.

The Panthers and StuGs, out front, were very quickly spotted, along with one infantry platoon and one British platoon. This meant that the chip bag (I was using poker chips rather than cards for unit activation) very quickly became flooded with chips, allowing the German Blinds chip to very successfully hide in the recesses of the bag for most of the rest of the game. Bevan couldn't complain, however, as he was pulling the chips!

What this meant in game terms was that the next, major phase of the battle involved two Panthers, two StuGs and an infantry platoon trying to get over a ridge held by a platoon of infantry and two tank destroyers. 

I immediately made things a bit easier for Bevan by failing dismally in a "shoot 'n' scoot" attempt with one of my tank destroyers. Yes, it shot forward and acquired a target, but it missed its shot (or the shell merely scratched the Panther's paintwork, I forget which) but then the driver must have mashed the gears because it failed to pull back far enough to be in cover. One Panther fired and, against the much thinner tank destroyer armour, did enough damage to force the M10's crew to bail out. 

On a positive note, however, my infantry were keeping his single platoon's heads down, meaning their advance was very slow and quite painful, and the threat of the other tank destroyer was making his armour think twice about just rolling forward over the ridge. They did, however, gradually move up until only a matter of some 100 yards separated the two sides, which was close enough for me to risk my PIAT team (the chaps with the 'ring of death' in the picture below) in an attempt to take out one of the Panthers by crawling forward over the ridge:  in the picture, below, the German infantry squad is about to be driven backwards by the combined fire of my two squads, and the Panther is about to advance level with the PIAT team.


It was a beautiful shot: right into the Panther's side armour, but you'll see from the inset, above, that the Panther was obviously one of the well made ones, and the spigot-fired shell just bounced right off it! This left the position as shown, below: with the German armour moving in on my one remaining tank destroyer and ignoring my other Blind.

Now, if you look carefully at the picture to the right, you can see a German Blind with a little "boom" marker on it in the factory building top/centre. This was a German infantry platoon that had gradually been making its way up the table through the Factory, chased by my off-table artillery who, up to now, had always managed to land on the building they had just vacated.

Unfortunately, their luck had eventually run out: the "boom" marker represents the fact that they had taken a round of artillery fire, the effect of which would be worked out when they deployed.

Well that was now, as Bevan, unwilling for them just to sit and suffer more artillery fire, charged them out of the Factory straight at my Blind. This initiated a massive Close Combat with me rolling something like thirty dice and the Germans, despite the damage from the artillery, rolling something like twelve dice. That's the sort of ratio you get when you charge  an un-Pinned or -Suppressed unit across open ground! The situation was made worse when Bevan rolled not a single kill on his twelve dice, meaning that as I had rolled quite well, the German infantry platoon just evaporated!

Meanwhile, towards the centre of the field, my PIAT had finally managed to do some damage to the nearest Panther: blowing a track off it so permanently immobilising the beast. I just needed one more point of Shock to force the crew to bail, so decided to risk an infantry squad in a desperate charge onto the behemoth's flank. Did I say desperate? I meant stupid! Normal infantry, not tank killers, even with a Big Man, barely scratched the Panther's paint work, and its machine gun then played havoc: killing my Big Man and halving the squad!

That left the battlefield looking as shown in the two pictures, below:

View from the Factory

View from the German Company HQ

Apart from losing a tank destroyer and a squad of infantry with Big Man, I wasn't feeling too bad at this point. I could see the game was still on a knife edge, but if I could kill his armour, or at least immobilise the other three AFVs, then I could hopefully deal with his infantry piecemeal. Unfortunately, at that point the German Blinds chip returned from its holiday, and Bevan immediately smashed forward another two platoons of infantry and the two MMGs of his Company HQ. Worse, his remaining Panther, doing what he should have done some time ago, crashed over the ridge andtook out my last remaining tank destroyer.

This changed matters considerably, but the PIAT team from my other infantry platoon, having survived the earlier melee, went into overdrive: blowing one StuG up and permanently immobilised the other. By now, I'd had to commit my reserve to shoring up my left flank, so this left me with two platoons of infantry (one slightly battered, one at about two-thirds strength) and a couple of PIATS versus two  and a bit platoons of infantry, two MMGs and a Panther.

Unfortunately, my men on the left were still manning the ridgeline, and an unfortunate run of chips meant that they suffered badly from the two Panthers' machine guns (I still had't managed to kill or bail the immobilised one) and the combined fire of a platoon of infantry. Even under cover, this point blank barrage was enough to severely reduce the platoon.

With three of his four vehicles immobilised, I decided that now was the time to retreat back from the ridge, and hope that I could hold the ground further back. The remaining Panther was a problem, and the fact that I now only really had one functioning squad on the left was a problem, but I still had one and a half PIAT teams and a pretty unscathed platoon of infantry.

Aftermath

At this point, having been playing for about three hours, we called the game. Although at this point it was technically a British victory, I couldn't actually see that I would have eventually won. Had I been Bevan, I would have let me do what I like on the other side of the ridge whilst I brought all my men and machine guns up, plus the Panther, then taken up my own position on the ridge and blasted down at the Brits until nothing moved. That would, however, have been quite a long and boring process, so we agreed to call it a draw, although I think I was lucky to get away with that...my conscience dictates that I confess that it was at best probably a losing draw for me!

Here's what happened historically (again from the Anzio scenario pack): 

By 9am, 725th Grenadier Regiment had worked its way down the western side of Aprilia, with 29th Panzer Grenadier Regiment driving down the eastern side. With the Berkshires now effectively hors de combat, and 735th Grenadier Regiment posed to smash into the northern side of the Factory, London Irish had no choice but to withdraw as well. The British line, bloody but unbroken, reformed along the southern outskirts of Aprilia: with London Irish (about two companies-worth were left) on the left, London Scottish brought forward on the right, and what was left of the Berkshires behind them. Again the Germans could have continued to drive forward and perhaps wiped out the troops in front of them, but the fierceness of the British defence meant that they were content to have taken Aprilia.

All in all a cracking and hard-fought game that both sides were convinced they were losing right up to the final moments!

Robert Avery


We tried a first go at IABSM last weekend, and I think I was a bit over ambitious in picking "The Gloucesters of Zuytpeyne" as our first attempt at the game.

Since there were only two of us and I was the only one who had read the rules, I played the British as well as umpiring, and because I was trying to sort out all the rules in my head I got distracted and made some bad mistakes in deployment. For starters, I forgot the "must deploy within 6" of buildings" provision and had to go back and adjust just as we were starting. Then, after we had started, I realised I had forgotten to write down the location of the MG platoon and one of the Big Men and decided to penalise myself by placing them both with the Company HQ (which, with the Lance Corporal, was in the farm with the French MMG).

So I had one rifle platoon in the wood and field to the north of the Styuver Road, one rifle platoon and the Major in the east side of the village itself, all the MGs and the company HQ plus the Sergeant and the Lance Corporal in the farm by the Noorderpeener Road, and Blinds in the west side of the village and in the field north of the mill. The sniper was in the houses on the south side of the village.

The biggest mistake of all is probably obvious from that description: I had no Big Man with the riflemen south of the town. Second-worst mistake was assuredly leaving the ATR so far away from the village itself.

The Germans advanced a Blind up the Stuyver Road right away. They managed to spot out both of my fake Blinds, but not before one of them had detected the panzers. Several following Blinds turned out to be trucks with the German MMG platoon and one infantry platoon. We popped the advanced riflemen out of their Blind and began shooting up trucks merrily, doing a fair amount of damage to the German MGs. That proved to be about the most successful hour for the Gloucesters.

The panzers had passed through the field to the north-west of the Gloucesters and parked to the rear of the area where they were deployed. The Brits started throwing jams tins filled with a lethal mixture of Marmite and Brasso over the hedge, and the German tanks decided to decamp, driving into the village and starting to spot around like crazy: being Germans, they were probably using their MGs to do the "reconnaissance". Meanwhile, the German MGs, damaged as they were, began making life hell in the little orchard, and the platoon 's senior rifleman started wondering where all of his NCOs were. Far away, alas.

What then ensued was what really put the nail in the game: a run of cards that excluded the British Blinds card (the only way that any troops other than the hapless and eventually defunct 7 Platoon could move, spot, or even reveal themselves) for something like half a dozen turns.

Another German Blind (which later turned out to be their company HQ) entered and began moving toward the mill. Two more Blinds entered on the Noorderpeener Road, stayed far enough away from the Allied MGs to remain hidden, and moved to isolate the advanced rifle platoon. With no Big Man to remove wounds, 7 Platoon gave up the ghost after a few turns of crossfire from what turned out to be the Germans' other two platoons.

The panzers eventually found 9 Platoon and the Major in the village (or they revealed themselves in order to shoot when we finally got the British Blinds card - I forget which) and parked in the village square, machine-gunning the heck out of the buildings on the east side. The infantry, not able to do much damage to the tanks, wondered where the hell the Boys rifle was.

Having eliminated 7 Platoon, the German MGs and their supporting grenadiers moved into the village, making for the bridge. The British sniper opened up at this point, taking a number of shots at one of the German Big Men but never managing to inflict more than a passing flesh wound. The riflemen of 9 Platoon crocked a few more MG gunners and started taking apart another of the German infantry platoons which had made its way to the far side of the village, debussed, and started walking in.

Since the panzers' MGs were killing 9 Platoon section by section, the Major decided to have one section rush the tanks. Of course, the luck of the cards intervened and the panzers' card came up again before they could close in and start putting Mills bombs in the fuel tanks and whatnot. Some intense shooting later, and 9 Platoon was down to its last section.

The company HQ and the MG platoon had moved out from the farm, but the Germans came up and started shooting out the tyres of the trucks before they could make it to the Cassel Road. The HQ rifle section got almost as far as the village before they and the Boys team became casualties of, of all things, a passing Stuka attack. The Stuka came back again almost immediately and dropped a bomb smack into one of 9 Platoon's buildings, which blew a lot of dust on the Major's newly polished shoes (oh, and killed a rifleman or two).

The British MG platoon did manage to unload without to much damage, and they proceeded to go to town on the advancing Hun. They wiped out the (already damaged) German heavy weapons platoon and began chewing pieces out of the infantry platoon in the town, which was already getting hit hard by 9 Platoon. Sadly, however, more Germans came up and managed to eliminate one Vickers team after another.

At the point that the MG platoon headed south, leaving me with the French MG section (which had been reduced to one die by then) and one section of 9 Platoon and the Major (holed up in a farmhouse and facing the wrath of three Panzer IIs) plus the so far ineffective sniper. I decided to call it a day.

End of the day? I have a feeling I didn't get all the rules right or even close, but I think we got the basics correct. But between my bad deployment and the horrendous disappearance of the British Blinds card, it was much more of a walkover for the Germans than it should have been.

Jan Spoor


Australians fail to take post 41

First picture shows the layout of defended area with barbed wire, anti-tank ditch, trenches and dugouts.

The defences are set up repel an attack from beyond the barbed wire barrier to the west. The Australians are unsportingly attacking from the north.

This scenario pits four sections of Australian infantry and two tanks against ten Italian sections, an MG and two artillery pieces, all dug into defences.

The Australians came onto the table showing no concern for the possible quality of the defenders. Perhaps the last post attacked fell so easily that they were expecting a similar walkover. The Australians did not even bother to use their Dummy Blind to attempt the spot the defenders.

The leading sections were spotted by the Italians, who then opened up with a hail of small arms fire.

The leading section would soon retire, a spent force, having taken effective fire from four Italian sections.

Eventually the Australians charged the nearest trenches and, while they took the position and threw back the remnants of two Italian sections, the Australians were also down to about half strength.

Seeing that so few troops had broken into their positions, the Italians decided on a quick counter attack. They soon found that green troops attacking entrenched aggressive troops, with two big men adding to the defence, was a recipe for disaster, even with twice as many attackers.

What remained of the Australian infantry made one further charge and eliminated a further section of Italians. But they were now a completely spent force.

As for the tanks, well they arrived late, survived being attacked by every weapon the Italians could bring to bear. Even three possible breakdown events were survived. They had started to damage the support weapons in the centre of the defences, but it was too little too late.

Without infantry support the tanks would probably withdraw, and, with the poor fire dice results they were generating, it would take them a long time to eliminate all the defenders.

Better tactics by the Australians would have completely changed the outcome. Leading with the tanks would have resulted in the Italians being spotted and the sting taken out of the initial fire from the trenches. They would also have gapped the wire and allowed easy access for the infantry.

The photographs, below, were taken after each Tea Break card.

Tony Cane


Another go with these enjoyable, yet frustratingly written rules.

We played another scenario from the Blenneville Or Bust! supplement with Stephen using his Yanks against my Germans. I had two StuGs and two Tigers backing up a mixed Company of Fallschirmjaeger and Infantry against ten Shermans and a full Armoured Infantry Company with some Recon assets. We both had access to air power, although the USSAF had rocket-armed Jabos, whilst Luftwaffe had MG strafing only.

I did manage to brew five Shermans but lost one Tiger to laser guided munitions of the Jabo (and the second Tiger nearby was lucky to escape unscathed) whilst my two StuGs retired with guns knocked out.

My Infantry were badly handled by Yank tank fire and incessant 60mm mortar attention (the Yanks had four  of these annoying weapons).

We failed to finish but I think it would have been hard for me to wrest control of the bridge objective from the Yanks.

Again we came up against some rules issues this time being unable to find any rules covering on-table mortar fire!! Not covered directly (amazingly!) in the actual rules but is in the late war supplement Battle for Liberation. Another was use of MGs on half-tracks, with rules covering their firing included but not how to crew them. Again I found an answer later in another supplement (a no-brainer as such but at least it spells out that you need to leave crew to drive a half-track and two additional crew to fire any onboard MG at full effect).

Such issues are very annoying with IABSM especially with such basic stuff, easily enough resolved but much time wasted trying to decide what rules say, or don't say and making a house rule.

Still an enjoyable game and we both like the scale of IABSM and its system overall, but just wish the writing was a tad 'tighter' and less left to Kriegspiel approach.

Sergeant Steiner


Another try with IABSM this time using a scenario from the Bashnya Or Bust! supplement.

I was Germans defenders and Stephen used his Russian hordes to attack near the fictional village of Holm. We failed to finish the game with things firmly in the balance.

As ever a few 'what do we do here' moments with the rules but thrashed out a couple more house rulings.

We also learnt a few nuances regarding the use of company commanders and the potential danger of occupying buildings! The Dice Demon Steve managed to 3 x 6 on 3D6 when firing HE at a house which reduced it to rubble killing all occupants ! He then rolled 2 x 6 on 3D6 against a wooden abode with same devastating effect. I lost two MMG teams and two Big Men to this so twelve men.

Despite our struggles to understand several aspects of these at times ill-defined rules we actually like the game they generate at this 'big' skirmish scale as evidenced I guess by multiple plays.

Sergeant Steiner (with the Duc de Gobin)

Photos from Sergeant Steiner (first three) and the Duc de Gobin (the others):


Another try of IABSM this time using a scenario from the 'Bleneville Or Bust' supplement, with my Germans encountering a US force under the command of Stephen near fictional Norman town of 'Belle Maison'.

Another interesting and fun game (unless you were a Panther crewman!) with even a visit from a USAAF rocket armed 'Jabo'.

We did however find one or two more ambiguities with the rules not knowing if Blinds can use Reserved dice for firing later in turn? I believe, reading the rules, they cannot...but far from clear. Still, a nice flavoursome ruleset.

Sergeant Steiner


My morning game at OML6 was Noddy's game of I Ain't Been Shot, Mum!  The scenario was a situation from the Battle of Bulge: the Germans' last ditch attempt to drive back the Allies by sending everything they had left in a attack through the Ardennes.

I was one of the players running the Germans, and our mission was a real pig! Starting off in the corner closest to the camera in the left-hand picture, above, we had to cross the bridge into the main town, and then exit the table along either of the two roads leading off to the left. We knew there were Americans in the other two sets of houses (off to the left and near the red chair) and that they would receive reinforcements.

Our initial force was divided into two. In front, I commanded a platoon of elite recce troops with two LSWs per squad, a platoon of average infantry, and a platoon of three Panzer II recon tanks. Behind me, my partner in crime commanded two platoons of infantry with a couple of MMGs, and two Panzerjaeger IVs.

Our strategy was simple. We would initially ignore the Americans on the left, counting on the inertia of their players to leave them where they were rather than intervening on what we were doing, and concentrate our entire force on the rest.

In terms of tactics, my plan was to place my elite troops as a firebase in the houses overlooking where the Americans were, and then send my other infantry platoon through the dense cover on the right to get into position to assault when the enemy was properly softened up.

Let's see what happened:

And that's where the morning session ended.

To my mind, I had carried out a textbook assault on the houses in the centre of the table. The platoon there had been pinned and battered by concentrated fire from my fire base. The unexpected Sherman had been quickly taken out by one of my two Panzerschrecks. The only problems had come from the three jeeps of the US Company HQ who sported a .50 cal and two .30 cals between them. They wiped out one of my assault platoons squads before being driven back or KO'd. 

As for the rest of the table, as predicted the other Americans just stayed where they were, spending the entire game trying to spot a couple of Dummy Blinds through the fog. We were already hammering them with MG fire and were about to start pounding them with HE from our reinforcement Panzer IVs...and had two untouched infantry platoons available to assault them in due course.

As for their reinforcement Shermans: they had got themselves into an awkward position where they couldn't advance across open ground and couldn't see anything to shoot at. Our hull-down, shoot-n-scoot Panzerjaegers had already killed one of them, and would have knocked out the others pretty damn quickly as well. If they didn't, well we had five Panzer IVs who could.

All in all, a pretty good show from the Germans!

How do I know? Well, in the evening I was sat next to one of the chaps who played the Americans in the afternoon session. When he found out I'd played the morning game, he was all ready to become furious with me if I'd been playing the Americans as, to quote, they'd left a right mess for him to deal with! 

A great game and great umpiring and set up from Noddy.

Robert Avery


Sticking with WW2, Stephen and I decided to try IABSM after our CoC games. Stephen picked a scenario set in the Normandy bocage with an US Infantry Company attacking with the support of five Shermans against two German Panzergrenadier Platoons with three Veteran StuG IIIG (one commanded by a Level 3 Ace!). The Yanks also had a battery of 105mm in support (but thankfully these failed to ever fire).

We have always thought that IABSM had a lot going for it at its 'large' skirmish scale, but we have usually struggled with how Blinds and the card deck work and are used in IABSM:  but somehow today we seemed to have got it...at last!

The card and command initiative system combined with unit Actions based around numbers of useable dice works very slickly and plausibly. I am not a big fan of 'buckets of dice hits/saves' AFV combat systems (with a Sherman if it achieves a hit rolling seven 'strike' dice needing 5-6 to 'hit' and then the StuG rolling seven 'armour' dice needing 5-6 to save any such 'hits') but in essence it works, especially when combined with the armour command system of unit orders (Hunt/Engage), Actions, aimed or snap shots, and the damage model of equal or greater 'hits'.

Obtaining the initiative by having your unit or Big Man card appear first is a major boon and of course is random within a deck (that chaos factor I like) and indeed the possibility of not acting in a turn if the 'Tea Break' (end of turn) card appears makes for a nicely unpredictable sequence of actions/events. Lucky Legs of course managed to get every single card out before mine in one turn and I watched as two of my StuGs got pummelled on the road with one suffering its gun damaged and temporary immobilization (with associated effect on Actions) and the Ace being permanently immobilized and shocked!

Of course in hindsight I had no need to reveal them from their Blind as soon as I did, so running such risk.

The rules for Aces are interesting and easy, with the ability to aid shooting, hits and/or effects. The Ace did brew a Sherman, but his mate then suffered a similar fate, and he was then the subject of the attention of three other Shermans for rest of the game, eventually being forced to abandon his knocked about assault gun.

A firefight between the fifth Sherman and my remaining StuG saw the dice demon twice roll five hits out of seven dice rolls, and whilst I survived the first volley, a second saw my vehicle explode damaging a nearby Hanomag and Panzergrenadier section. Just as in CoC, the dice demon seemed to take minimal infantry casualties whilst nearly every volley on my men resulted in kills and shock!

Great stuff overall and a very enjoyable game.

Only complaints (as per most Lardie rules we have tried) is maybe a lack of definition on some aspects especially regarding line of sight and terrain issues. We were unsure just what effect some types of terrain have, and if sighting across multiple terrain types affects firing/vision e.g. if my line of fire crosses a hedge and goes through high wheat is it degraded once or twice ?

To be fair the rules seem to very much a 'gentlemen's agreement' set in many regards, and its easy to establish how much such detail one wants to include. And since small arms firing is either a Good, Okay or Poor shot, it's easy to debate/argue the case for which applies for individual actions and locales. A lack of a points structure means one has to use scenarios or fudge things, but that's fine...just different than say Battlegroup.

We shall be using these again.

Sergeant Steiner


I've been so busy with both real life and the four Blitzkrieg in the West handbooks that I haven't had much time for any gaming this year. Fortunately that changed yesterday, with Dave and John coming over for a big September War battle that also gave me the chance to get my relatively newly painted Polish 7TP tanks onto the table for the first time.

The game we played was scenario #45 from the second September War scenario packPiotrkow Trybunalski. Taken from the events of 4th September 1939, the scenario covers the latter part of the fierce fighting for the Borowska Heights in the opening phases of the German invasion: where the Polish 2nd Light Tank Battalion was thrown into action against the advancing German 4th Panzer Division. This was going to be a straight up, head-on clash between two companies of tanks, each supported by infantry.

The Battlefield: with the Germans due to start from the closest edge

As you can see from the slightly weirdly angled picture, above, the battlefield was a largely flat area surrounding the town's church. The "main road" was a fair quality track that would aid movement, the smaller roads not so much. The crops in the various fields had all been harvested, it being September, but they would still provide some cover and be an obstacle to movement.

As this was to be a straight forward clash, each side got to place an objective within an area approximately down the centre of the table. As you can see in the picture, below, the Germans placed their objective at the crossroads by the church, the Poles placed theirs just by the large farm at the far end. Victory would go to the side that controlled the most objectives at the end of the game, which would occur after nine appearances of the Turn Card. It was also dusk, so night could fall (with its associated difficulties of seeing anything!) at any time after six appearances of the Tea Break card.

The objectives go down

The Poles would attack with a two-platoon company of light tanks (eleven 7TPs) supported by a reduced company of infantry (three platoons of two 12-man infantry squads each) backed up by two tchanka-mounted MMGs and two anti-tank guns. Some of their force had to be designated as reinforcements, to arrive later in the game, so one platoon of infantry and one platoon of tanks would start the game 'on the bench'.

The Germans would attack with a full company of light tanks: a company HQ of four vehicles, and then three platoons each of three Panzer IIs and two Panzer Is. They also had infantry backing: three three-squad platoons of Schutzen infantry, with each squad armed with two light support weapons, backed up by a four-gun MMG platoon. A force with formidable firepower. They also had to designate two of their units as reinforcements, and chose the MMG platoon and one platoon of infantry as such.

Both sides began the game by deploying their Blinds.

The Poles opened proceedings by advancing their Blinds rapidly towards each objective. The Germans chose to hold back and spot: revealing a platoon of tanks and a platoon of infantry heading up the right hand side of the battlefield towards the objective by the farm.

Polish spotting then revealed a platoon of German light tanks (here proxied by SdKfz 222 and SdKfz 221 armoured cars) lurking in a field, but an opening volley of fire from the 7TPs almost immediately knocked out one Panzer II and forced the crews of the other two to bail. First blood to the Poles!

The Germans, meanwhile, had deployed most of their tanks to the left of the church, necessitating a sweep back across the table towards where the action was. A few Polish scouts (a dummy Blind) were driven back from the centre-table objective

A few Polish scouts (a dummy Blind) were driven back from the centre-table objective, and the church captured by an infantry platoon, and it looked as if the objective was secure...but then Polish reinforcements arrived in the shape of a column of tanks, and the two Polish anti-tank guns deployed to face up to the advancing Panzers.

The lead 7TP was quickly dispatched, and for a time it looked as if the Poles had been bottled up in their column on the road, but they quickly sorted themselves and spread out.

Meanwhile, on the right, a major battle for the farmhouse had broken out. One of the Schutzen platoons had deployed and was attempting to suppress the Poles in the farmhouse with fire. Unfortunately, despite their superior firepower, they had discovered that walls do actually mean quite a lot when facing bullets, and were soon clearly getting the worst of things.

Just to their left, a major tank battle had broken out, with six Polish tanks backed by one of their anti-tank guns versus the remaining seven Panzers in the area. Despite looking so strong, the Germans also soon discovered that autocannon and machine guns don't match  37mm guns, and soon there were fleeing Panzer crews everywhere!

Despite the Germans throwing in another platoon of infantry against the farm, this is how that sector of the battle ended: the Poles in the farm holding the objective and killing German infantry at a 3:1 ratio, the six 7TPs and anti-tank gun outside the farm disposing of all but two of the ten Panzers facing them even if they lost two of their own number.

Meanwhile, on the left, another major tank battle had broken out, with nine Panzers facing four 7TPs and an anti-tank gun.

Unfortunately for the Germans, the story was largely the same. Although two of the 7TPs were destroyed, and bits knocked off the others, the Germans lost seven tanks in quick succession as 37mm shells hit them from all over. The Polish anti-tank gun did sterling work here: at one stage calmly knocking out one Panzer per shot despite taking incoming MG fire.

At this point, night fell and the game ended. True to its historical outcome, the Germans had failed to make an immediate breakthrough.

Looking at the carnage, it was obvious that the Poles had won a major victory in terms of material: only four out of nineteen Panzers were still operational versus only four casualties for the Poles, but as the game had to be declared a draw (one objective each) most of those Panzers would be dragged from the field and repaired, whereas the Poles couldn't really afford to lose a single tank.

So that was the result: a draw with a significant morale victory to the Poles.

Conclusion

A large and very interesting game. The Poles had a clear plan and, apart from a bit of a blip when their reinforcing tank column got caught bottled up on the road, made very good use of their assets.

The Germans, on the other hand, never really made us of the firepower of their Schutzen infantry, with their two MG-34s per squad. On their right, they never really managed to suppress the farm, something they should have been able to do with 48 men in six two-LMG squads versus 24 men in two one-LMG squads. In the centre, they kept shooting at the Polish infantry hunkered down in the field in front of them, slowly whittling one squad down but not really achieving anything. Why, for example, didn't they shoot at the Polish anti-tank gun crews that were punishing their Panzers so badly?

Had the game continued, I'm fairly sure it would have been a Polish victory, but a time limit is a time limit, and so a draw it was.


This game of IABSM was set on the eastern front: a random encounter between Germans and Soviets. As we had the whole of Saturday evening/night for our game, we decided to make it a big one fought out on a good-sized table measuring 180x240cm.

As the Soviets were attacking, we used the hidden Blinds rule for the initial German set up. This meant that the Germans would only be spotted if the Russians got right on top of where they were, or the Germans chose to move or fire, or the Soviets specifically Spotted a certain area. Obviously this only applied to areas such as towns, hills or forests, and not open fields.

The Soviets, on the other hand, would deploy under Blinds as normal:

Although they chose to immediately deploy their armoured units in order to maximise the chances of them moving each turn.

As the Germans were staying hidden, the Russians quickly advanced down the table.

Until the Russian armour bumped into the first of the German units.

And the fighting begins

The Soviet armoured advance is on a narrow front:

And the first casualties on both sides start to be worrisome.

But the avalanche of Russian armour is both huge and unstoppable.
 

Although the German ambushes are also wreaking havoc.
 

And as soon as the Panthers and their friends enter the scene, it becomes clear the the Soviet green tide is not as unstoppable as first appeared.

And Soviet losses begin to mount up.
 

In the end, the battle ended with a marginal last minute German victory, as their reinforcements hit the flanks of the confidently advancing Soviet column.

One more afternoon of laughter and fun in good company!

Burt Minorrot


15mm WW2 using IABSM by the TwoFatLardies tonight at the South London Warlords Club, with gallant British Paras holding two bridges (Ham and Jam) versus German counterattacks on the morning 6th June 1944. This was a loosely based on the real events, and a good club game.

The Paras rolled for casualties lost in the initial assault, and then set up on Blinds or hidden. Germans had six Blinds, each one potentially coming on at six different entry points.

The Paras had a company of infantry (less casualties); a 6pdr AT gun; a mortar team and an HMG; plus all the captured German defences.

The Germans had six infantry sections, three Marders, three StuGs and a Company HQ in half-tracks but, as mentioned, not all coming on at the same entry point, and only one unit on each turn of the German Blind card: so no guarantee a new unit would come on at all each turn!

This turned into a great little game with the added special cards adding flavour: such as the Allied Low on Ammo, or adding an extra Anti-Tank Fire card to represent the Elite Paras' battlefield nouse. 

The Germans made good progress in attacking one bridge, but at quite a cost. The Paras lost all their Big Men , and after taking heavy HE fire had to withdraw across the river. The other bridge was never really threatened by the Germans until the last turn, but I doubt they would have done a lot more.

The interesting decisions for the Germans were all to come, as somehow they would have to actually take the bridges, and I doubt they could have done that without more support. 

Thanks to Andy T for planning the game and to Glen, Iain F and Dan "nice suit" N. Only a few photos as I was too busy umpiring.

Desmondo Darkin


Vaggelis Miliarakis recently added the following photographs of a 1/160 game of IABSM using the first Bashnya or Bust scenario to the IABSM Hellas (Greece) Facebook group: 


Pictures from Thomas Sloan's first game of I Ain't Been Shot, Mum, in which he uses Scenario #2B, Sorok from the Bashnya or Bust! scenario pack.

Click on the pics to see what's happening...

We called it quits because of time. Great game, no clear winner: could go either way!

Thomas Sloan


Back in December I was invited to Des’ inaugural big game in his new shed-o-war, that I haven’t posted about it yet has been bugging me so I’ll try and remember what happened to get something down at last. The game was a WW2 Normandy bash using I Ain’t Been Shot Mum by the Lardies and Des’ lovely 20mm collection.

I was in charge of the Canadian forces (the first mistake made by our side!) and I was ably assisted by Andy and Daren. We were tasked with advancing and clearing the immediate area to our front of some nasty Bosche that were led by Des and Ian.

After a quick ‘O’ group with the chaps we decided that Andy would take the dismounted infantry company through the fields along the left flank supported by the flail tank. I would be in charge of the recce detachments and would barrel up the road in the centre and scout the right flank; I was also in charge of the reserve of a tank squadron. Daren would take another tank squadron with a Kangaroo-mounted infantry platoon along the right and would react to what the scouts found. The idea was to keep things as simple as possible and hold on to the reserve until either one of the two flanking groups were in dire trouble or to exploit any success that they had.

12 feet of Norman countryside.

We got lucky with our three pre-game Stonks setting fire to two of the buildings that we targeted, one of which being the church thus negating the use of its steeple to any Fritzy FOO’s, and Andy started things off by advancing down the left while the scouts cars nosed along the road in the centre and the right.

Andy’s lads were quickly engaged after running into some enemy infantry and a fierce fight swiftly ensued and pretty soon it looked like it was time for an assault to go in to clear some of the Germans out.

As the reserve Sherman’s were not being let go from the reserve (their card was not coming up) to support the impending attack Andy chucked his attached Sherman Flail into the fray and mighty impressive looking it was too as it churned its way through the hedgerow where the enemy lay.

Unfortunately the attack faltered due to some heroic defending by the Landseer (absolutely jammiest of jammy dice throw!) although they didn’t hang on too long afterwards and withdrew to the rear just as a couple of StuG’s opened up and dispatched the Flail.

Cannuck infantry move out

While this attack was going on Andy was keeping more infantry located by the burning farmhouse pinned down in a firefight with one of his platoons which let the Daimlers work their way gingerly down the road onto the flank of the dug-in defenders.

Unfortunately one of the cars was taken out by a German anti-tank weapon fired by the infantry but the survivor managed to get round the flank and revenge was served by brassing them up. The Jerries didn’t like this much and they soon broke and the left flank was looking open for the reserve tanks to start moving through with only the StuG’s seemingly in the way. However, things weren’t going so well over on the right.

The Daimlers creeping down the lanes spent quite a while nosing gingerly forwards expecting any moment to be on the receiving end of general German nastiness in the shape of a Panzerfaust or ‘schreck.

When it did come it was more of a massive clang as one of the cars was hit by some high velocity 75mm from a Panther hiding in a stand of trees. The surviving car was in somewhat of a pickle as it was immobilised with the next shot so decided to have a go back with its 2pdr and a seemingly one sided duel ensued.

What seemed like a futile gesture on behalf of the recce types ended up being one of those great gaming moments as the German gunner couldn’t land a hit whilst the Armoured Car kept on hitting the target eventually causing enough Shock to the Panther crew that it had to withdraw! The cheers of the watching Canadians were quickly silenced however when another Panther opened up knocking out the gallant Daimler: just not cricket really, but medals all round.

Panther ambush!

Take That Jerry!

Panther About to pull out

While this was going on Daren had moved his armoured infantry up and they were cruelly ambushed by another German infantry platoon and pretty soon most of the Kangaroo’s were burning due to attention from the remaining Panther and Panzerfaustings, although some of the infantry survived to fight on.

A terrific close range firefight then ensued across the hedgerow which the Allies finally won thanks to the HMG’s on the surviving APC’s which tipped the balance and finally saw the German footsloggers break. Unfortunately we still hadn’t managed to get any of our Sherman’s into action yet and were unable to as we had to stop due to time getting on.

So at the end of play we had managed to break the initial line of resistance and force the German infantry to bug out but at no small loss to our own infantry and Armoured Cars, we still had two units of tanks that were uncommitted but still had a couple of Panthers and a couple of StuG’s to worry about and as we found out that the Germans also had a couple of Tigers lurking around the church we were sort of  glad that we didn’t carry on as we didn’t fancy our chances much! We reckoned a draw was a fair result, we broke into their position but sort of got stuck doing so.

It was a great days gaming and a cracking way to christen Des’ shed. Big thanks to him for putting the game on and a keeping us fed and watered all day and a massive thanks to Mrs D. for the fantastic lunch too. As usual cheers to the chaps for making a great day’s gaming better by being their usual fun selves, a pleasure as always gents. Stay tuned for the next instalment from chez Darkin...

Iain Fuller


Australians take Siret el Chreiba airfield (just)

We played scenario 18 from the Operations Compass scenarios. This pits nine sections of Australian infantry and a single mortar, against six sections of infantry, an MMG and some direct firing off table artillery for the Italians.

 The main objective for the Australians is the hanger and the buildings behind. The feature nearest the camera is a ditch. The buildings near the end of the ditch are the secondary objective. The eagle eyed amongst you will notice that the position of the ditch was corrected before the game actually started.

Initial moves with all forces under Blinds:

 The Australians were easily spotted, and the Italians elected to open fire with one section next to the hanger and the company HQ, which was in the buildings behind the hanger, and could fire though it, counting as a poor shot.

Next turn all three Aussie platoons were on the table. Platoon #1 on the left, #2 in the centre, and #3, by some rapid movement was in the lead on the right.

Same situation showing the last two Australian Blinds. The one furthest from the camera concealed the company commander and the mortar.

A further cautious advance by the Australians. The three Italian sections defending the houses near the ditch, having no direct threat, decided to move out into the ditch to threaten the flank of the attack on the hanger.

The Charge card came up for the Aussies, who used it to assault and wipe out the section by the hanger.

Elsewhere the Off Table artillery fire has caused significant casualties to the advancing Australians, Including the leader of Platoon #1. Poor fire discipline had forced the other Italian dug in section to open fire.

The same situation from the Italian end of the table.

Poor fire discipline had caused the Italian platoon near the ditch to reveal themselves while only partly in the ditch.

At this point the Australians attack was stalled by sections being Pinned by artillery fire, the loss of a platoon leader, and running out of men and the necessary actions to put an effective attack in. The Australian company commander was escorting the mortar on to the table and was still under a Blind. He now intervened decisively, if briefly in the battle. Giving orders for the mortar to fire on the Italians heading for the ditch, he moved forward, un-Pinned a section and sent it forward.

Shortly after galvanising his force into action the company commander became a casualty from further artillery fire, just as an assault, using the Charge card, was made on the remaining entrenched Italian section.

Also Platoon #3 made a successful charge on the larger house behind the hanger. Only three Italians and their officer made their escape out the back door.

The first and only shot from the mortar landed close enough to kill two Italians, caught in the open between the ditch and the houses.

The fire from the remains of four sections caused the Italian MMG to retire due to Shock.

We called a halt there as the Australians, at some cost, had gained the main objective, but were in no state to mount an attack on the houses near the ditch. They would be taking cover, mostly in the hanger, and hoping that the mortar would survive long enough to write down the Italian platoon by the ditch.

A very interesting game with the Australians not making use of cover, particularly the ditch, early on, and then becoming cautious as the Italian artillery started to bite.

Australian “casualties” were a total of 30 men, it the actual battle it was 23, the direct firing off table artillery was responsible for most of these.

The Italians suffered 22 casualties, two from the mortar fire, and about 18 from close combat.

The special cards in the deck produced a good recreation of the original battle. Rapid deployment and charge cards allowed the Australians to move aggressively forward, and the two rally cards prevent any “loss of bottle” before the section had become spent. The Italians Poor Fire Discipline twice caused a less than optimal opening of fire.  The off table artillery prevented the Australians from just using their superior numbers to fire at beyond close range and wear down the Italians.

Tony Cane


Shots from tonight's IABSM game. Germans managed to barely stop Soviet attack last turn with the AT and armour cards finally coming up before the Soviets!


We recently ran the Mechili scenario (#17 from the Operation Compass publication) as an introduction to the tank vs tank rules. Table is open desert with the Italian end higher than the British. We fought the battle using 10mm miniatures.

Victory depends on tanks destroyed and functioning tanks being more than half way down the table. The Italians were up 30 points to 6 when we ended the game.

The British had lost seven light tanks due to them emulating the charge of the light brigade, and the first troop of A13s that arrived on table were chewed up by a unkind run of cards. The deck at that stage was very biased in favour of the Italians with twelve unit activation cards compared to the two for the Brits.

Here's some more detail of the action:

Tony Cane


We played this last month at Gigabites Café in Marietta GA. This game was based on the Robert Avery scenario Wave Goodbye, from the 2011 TFL Summer Special. 

The idea is that a French armor counterattack is hitting the flank of a German panzer column in an area east of the Ardennes in May 1940.

Mark Luther