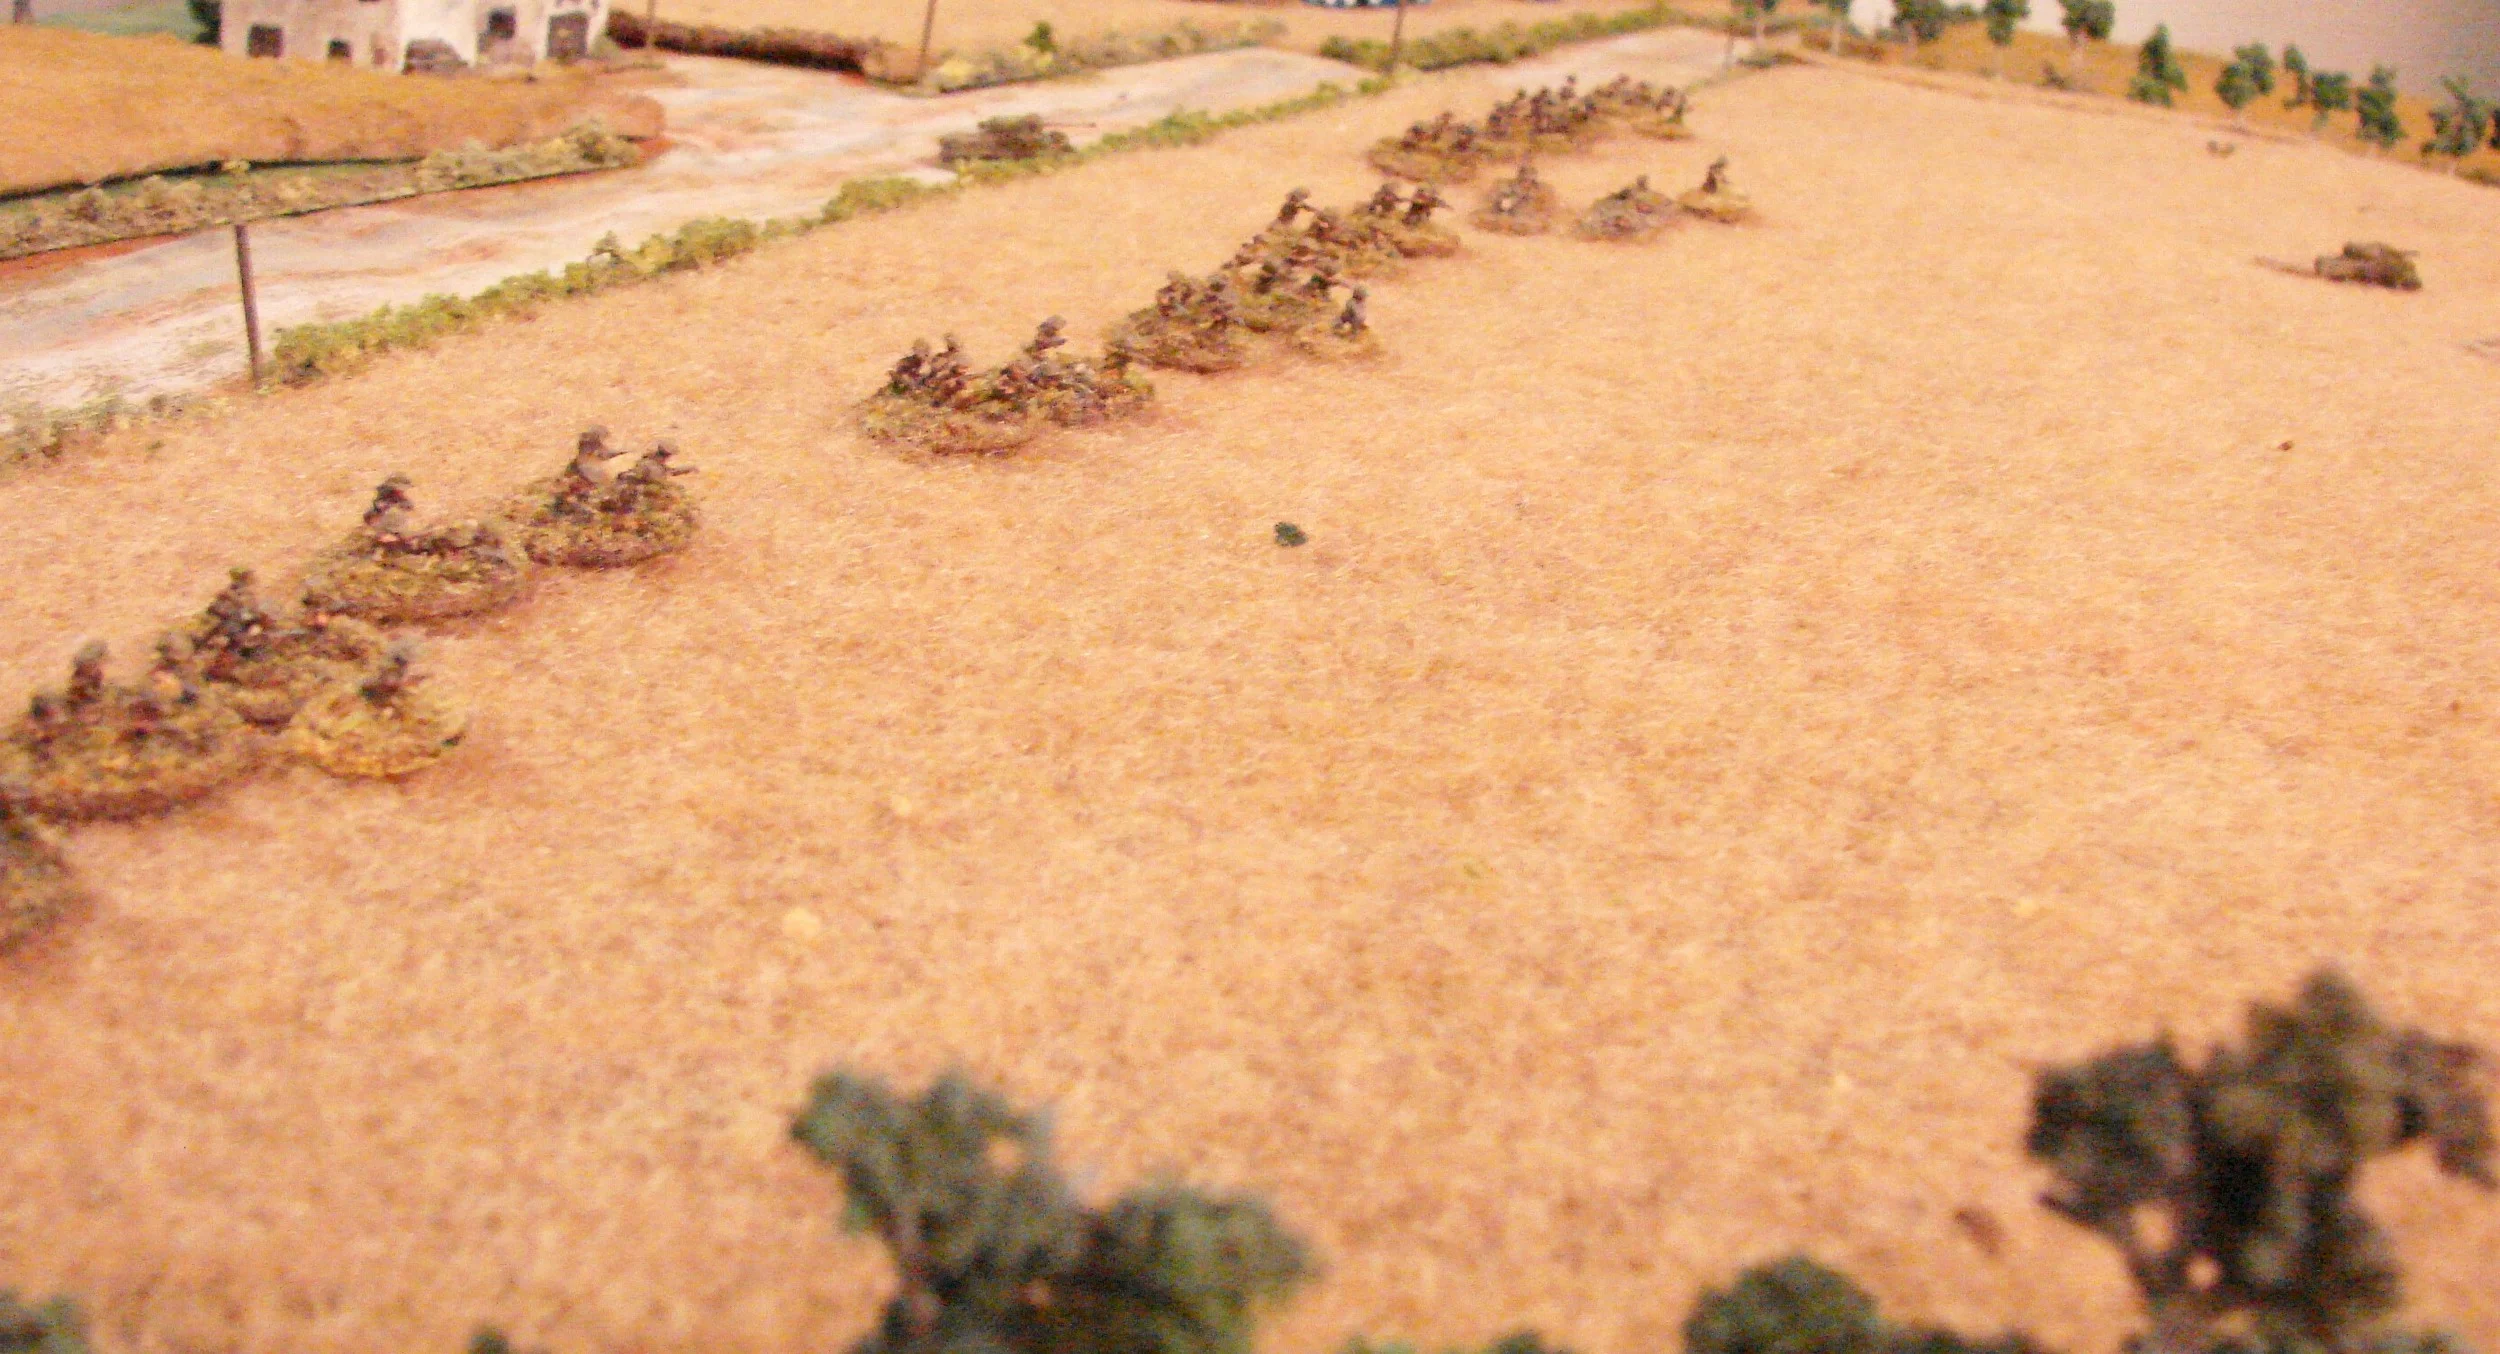
This is a 6mm IABSM game played in June 2010. The scenario is based on the attack of the 7 Seaforths and 23 Hussars towards Mouen on the 26th of June '44 during Operation Epsom.
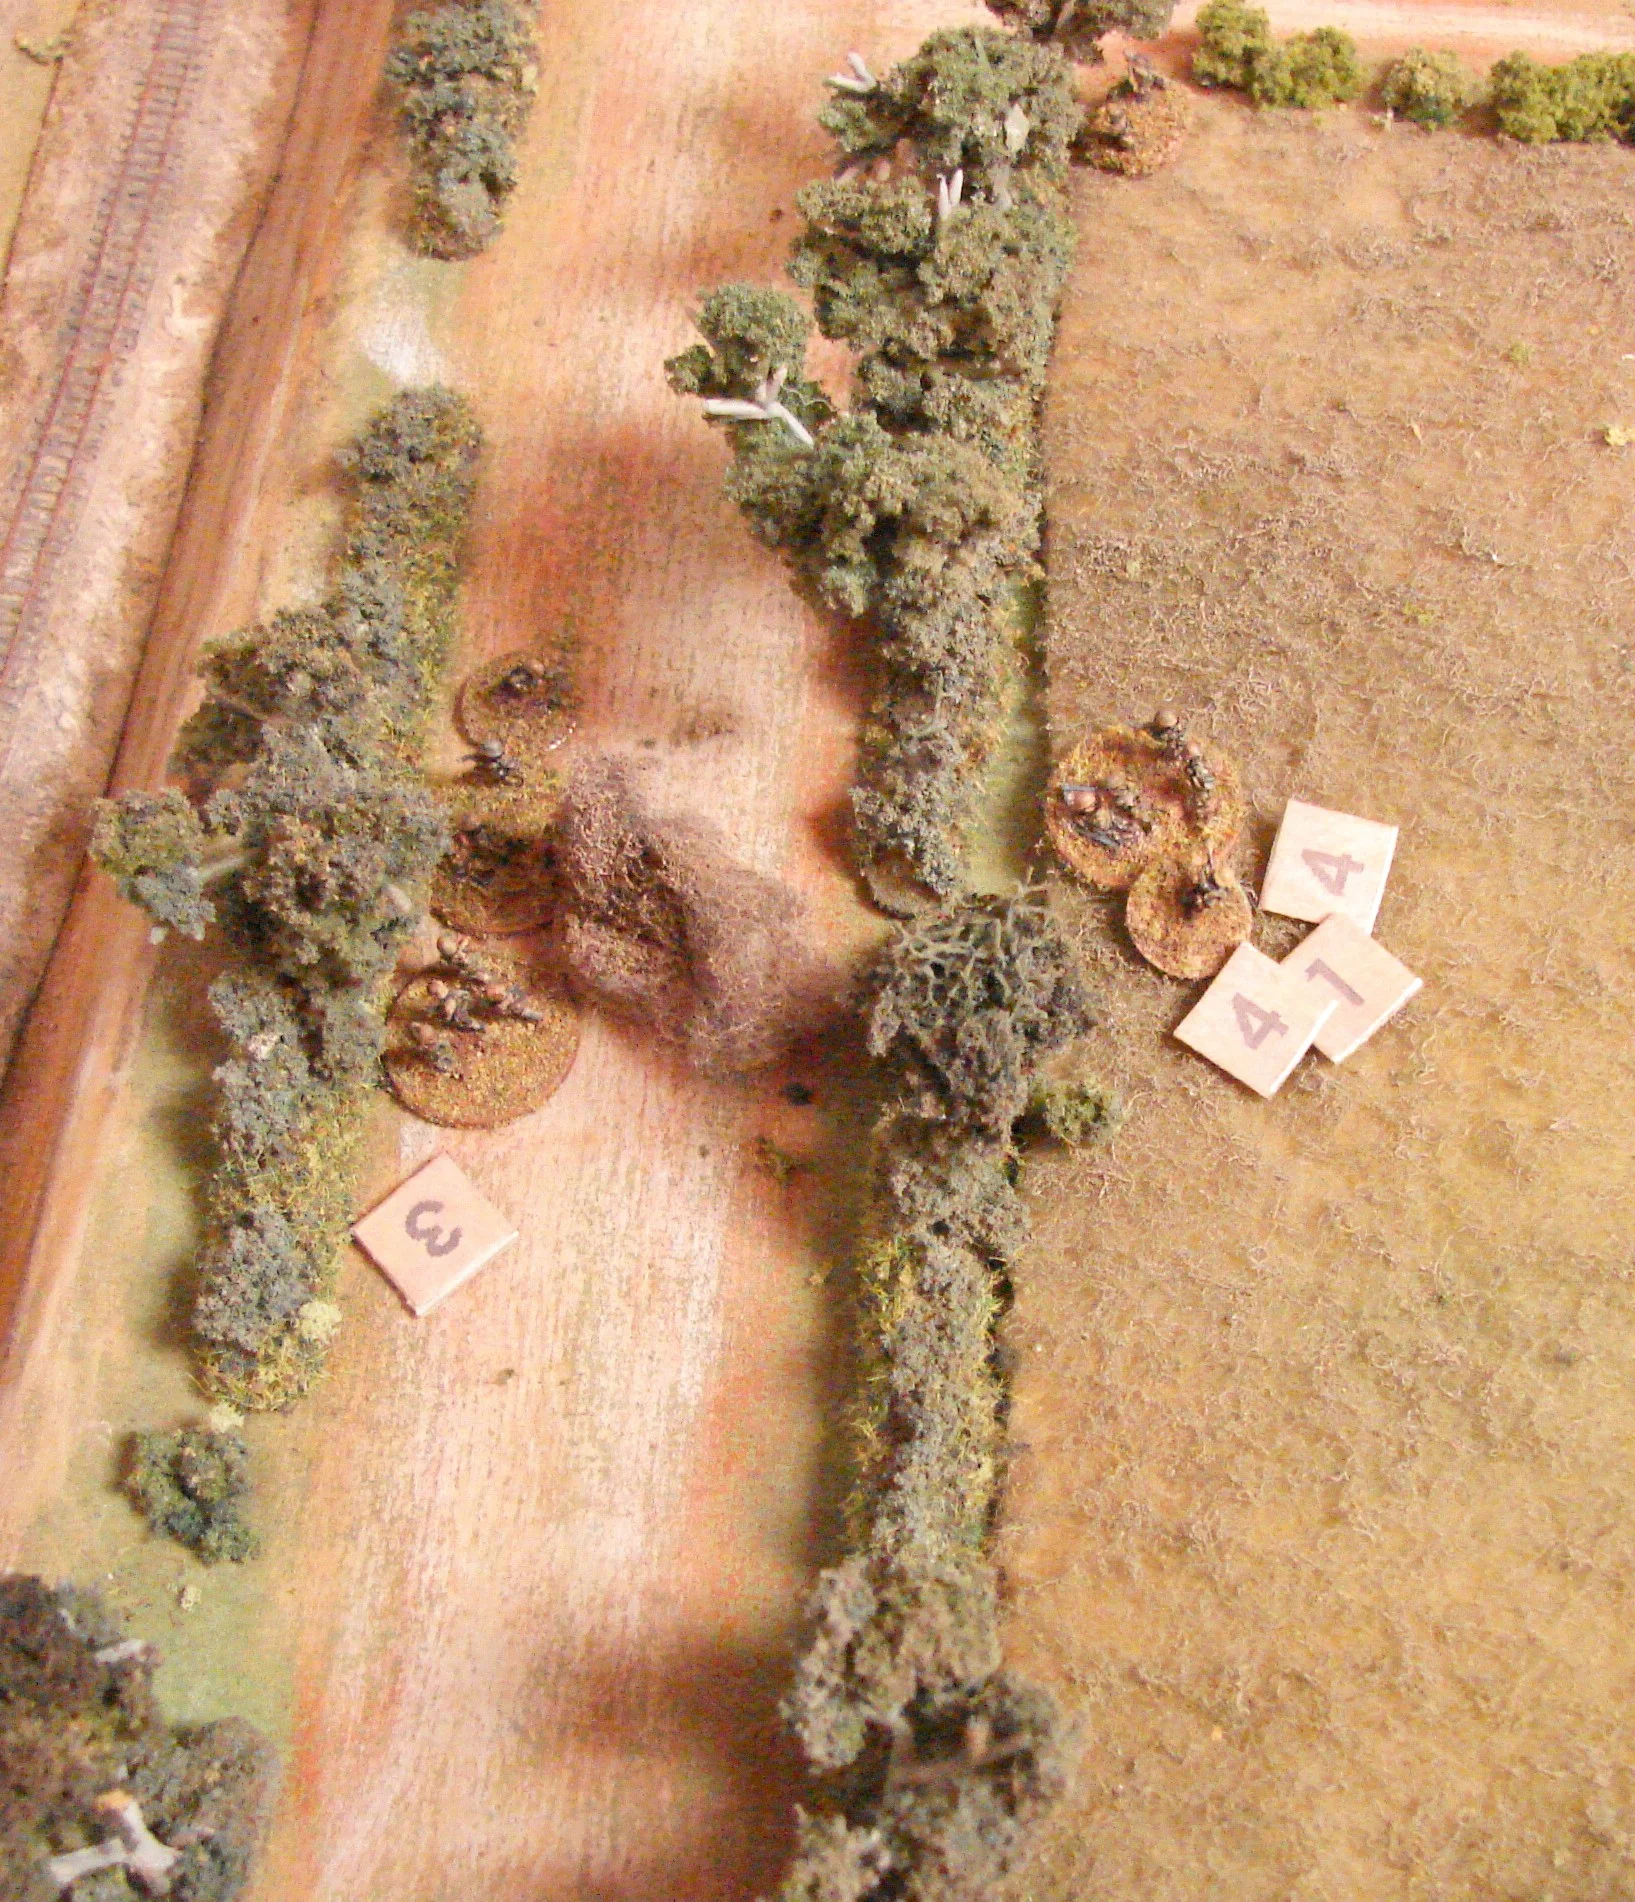
The Brits had an Infantry Company and a troop of Shermans/Firefly at the start. They were also allocated five stonks. An FO for 25 pdrs was also available. The Germans were from the Recce company of 12th SS. They had two consolidated platoons (out of an original three), two MMGs and two Pak 40s. Limited fire from 82mm mortars was also availbale They were considered dug in: the bocage providing excellent cover.
Reinforcements for the Brits was an additional troop of Sherman/Firefly; and a Tiger of the 101 Schwere Panzer Battalion would arrive to help the Grenadiers.
![Looking north from Mouen The main part of the village is offboard to the South. The grenadiers and the ATGs will have some nice open ground to target the PBI as they move down the slopes.](https://images.squarespace-cdn.com/content/v1/5406c773e4b087d8052ef58b/1449569943876-6A1QP7VQFZDMOB8NA9MQ/looking-north-from-mouen_4756144884_o.jpg)
![The Killing Zone This will be the tough part. Hopefully the artillery will take out some of the opposition and the tanks will be able to shoot their infantry to the RR cut where they will have some decent cover.](https://images.squarespace-cdn.com/content/v1/5406c773e4b087d8052ef58b/1449569957758-1B9CU3BL8KHTO2VO1JHL/the-killing-zone_4756146764_o.jpg)
![The view down to the RR cut The Brits will be moving down this slope to the northern parts of Moeun.](https://images.squarespace-cdn.com/content/v1/5406c773e4b087d8052ef58b/1449569959708-A8FO0P6FCBT505KIDL1L/the-view-down-to-the-rr-cut_4755504395_o.jpg)
![The Seaforths move down the slope The initial stonks were done and the Seaforths move to their first postion. No activity seen to their front at this time](https://images.squarespace-cdn.com/content/v1/5406c773e4b087d8052ef58b/1449569957284-LOG5O87RGX4VQVWGPME3/the-seaforths-move-down-the-slope_4758236553_o.jpg)
![Troop of 23 Hussars The Shermans and the Firefly of the attached troop from the 23 Hussars also starts down the hill towars Mouen.](https://images.squarespace-cdn.com/content/v1/5406c773e4b087d8052ef58b/1449569961953-8H1JKXNYSIW5HJ5AJW22/troop-of-23-hussars_4758876022_o.jpg)
![Tanks to the front The infantry stay behind the tanks and use the time to spot. Nothing yet The Firefly stays behind on overwatch](https://images.squarespace-cdn.com/content/v1/5406c773e4b087d8052ef58b/1449569955501-6AZVHI4DCAC7FGSNN4T7/tanks-to-the-front_4758239561_o.jpg)
![Pak attack A Pak40 opens up on the the advancing Shermans. Unfortunately for the British their stonks totally crapped out and did no damage, so the Germans are waiting with all their units in position and at full strength.](https://images.squarespace-cdn.com/content/v1/5406c773e4b087d8052ef58b/1449569946950-ZH7V9FNEMVLN0T09HD70/pak-attack_4758878860_o.jpg)
![One Sherman down The Pak takes out the first Sherman in the first firing.](https://images.squarespace-cdn.com/content/v1/5406c773e4b087d8052ef58b/1449569945903-0XTF8JWM18934LGBDJDL/one-sherman-down_4758242465_o.jpg)
![ATG under fire The tankers respond by shelling the area with their 75/17pdr. This does cause a few casualties. The grenadiers are shown deployed behind the hedgerow overlooking the RR cut.](https://images.squarespace-cdn.com/content/v1/5406c773e4b087d8052ef58b/1449569931822-7X99H9V9EVUPZCVCIOLQ/atg-under-fire_4758881856_o.jpg)
![A Second Sherman hit The Pak immobilzes the second tank.](https://images.squarespace-cdn.com/content/v1/5406c773e4b087d8052ef58b/1449569925844-0INP9B43P5TN161JG98W/2nd-sherman-hit_4758883496_o.jpg)
![Through the corn The Seaforths advance down the hill, causing the grenadiers to open up with their MGs](https://images.squarespace-cdn.com/content/v1/5406c773e4b087d8052ef58b/1449569959548-SPZEUZ1AA1TX8B24953P/through-the-corn_4758884730_o.jpg)
![Infantry advance starting to scatter The formation begins to spread out and move at different speeds as it moves down the slope and some units receive fire](https://images.squarespace-cdn.com/content/v1/5406c773e4b087d8052ef58b/1449569942095-T303WV2NTJAV73PDDCMD/infantry-advance-starting-to-scatter_4758248239_o.jpg)
![German center The grenadiers and their MMG are in great cover behind the bocage and on the other side of the RR cut.](https://images.squarespace-cdn.com/content/v1/5406c773e4b087d8052ef58b/1449569937151-MXF1M1P88FJYT3AUTNJW/german-center_4758249811_o.jpg)
![German right Another MMG with the weapons section Big Man. Nice field of fire up the slope to the advancing Brits.](https://images.squarespace-cdn.com/content/v1/5406c773e4b087d8052ef58b/1449569939762-WC9690INLMUJVPGUX3ZT/german-right_4758888964_o.jpg)
![R ight hand platoon They decide to use the cover of the hedge to move up to the RR cut. They were also taking fire from snipers in the damaged house on this side of the cut.](https://images.squarespace-cdn.com/content/v1/5406c773e4b087d8052ef58b/1449569949500-1NXWFIY718M9ILDR51OC/right-hand-platoon_4758890388_o.jpg)
![Action on the right side Moving down to the hedges above the RR cut, this platoon managed to get closest to the Hun first. It has taken a few hits but is now in some pretty good cover. Grenadier squad shown on the other side of the RR.](https://images.squarespace-cdn.com/content/v1/5406c773e4b087d8052ef58b/1449569928051-BWL9W51QLU1AHA89YNBX/action-on-the-right-side_4758892180_o.jpg)
![Stalling out The British infantry is getting stalled out. A spotting round just arrived. The British FO can't seem to get its batteries up. The Firefly started down the slope and took a couple of hits from the Pak that is still in operation despite](https://images.squarespace-cdn.com/content/v1/5406c773e4b087d8052ef58b/1449569955418-4R43YL66W32OECRTU2EH/stalling-out_4758893870_o.jpg)
![Firing across the cut One of the squads from the left hand platoon made it down to the hedges above the RR but is under fire from the grenadiers on the other side.](https://images.squarespace-cdn.com/content/v1/5406c773e4b087d8052ef58b/1449569937173-W7T2FEKNPEIKALKVCH8J/firing-across-the-cut_4758895732_o.jpg)
![Germans taking damage Their leftmost squad has been forced back into the orchard. The Pak is in serious trouble and one of their MMGs has pulled back also.](https://images.squarespace-cdn.com/content/v1/5406c773e4b087d8052ef58b/1449569939500-46YXWSCZV3V8UUNFBRS6/germans-taking-damage_4758259491_o.jpg)
![Brits moving again Despite the casualties, the Seaforths continue to move down to the RR cut. Only one of the Shermans is still moving and that one has turret damage. The other Sherman continues to fire though. German sniper visible in the shell](https://images.squarespace-cdn.com/content/v1/5406c773e4b087d8052ef58b/1449569932063-B07EGYJ6KWY8C7CDBNTG/brits-moving-again_4758260691_o.jpg)
![Another troop of Shermans The second troop arrives finally on top of the hill. It sees a burning Sherman and two tanks not moving.](https://images.squarespace-cdn.com/content/v1/5406c773e4b087d8052ef58b/1449569929755-XRQ1NAU5YJF1JZV3ZUAV/another-troop-of-shermans_4758261813_o.jpg)
![Mortar fire The Germans have very little in the way of artillery at this stage, but do manage to get some medium mortars to land on the advancing Brits. Meanwhile the 2" mortars of the Brits have been busy putting an occassional shock point on th](https://images.squarespace-cdn.com/content/v1/5406c773e4b087d8052ef58b/1449569945062-6B7K2E4UJG0MU0VHIX0B/mortar-fire_4758263673_o.jpg)
![2nd troop advances The three Shermans move up to the hedge to overlook the battle. The Firefly from the 1st troop is in front of them.](https://images.squarespace-cdn.com/content/v1/5406c773e4b087d8052ef58b/1449569927067-WJCZOROQO8VGGJN6GDSV/2nd-troop-advances_4758902576_o.jpg)
![2nd PaK opens up Seeing some tanks heading towards their side of the table, this Pak decides that its time to join the fun.](https://images.squarespace-cdn.com/content/v1/5406c773e4b087d8052ef58b/1449569925182-L6LHRTLF9QACP9TH0PMF/2nd-pak-opens-up_4758903938_o.jpg)
![Another Firefly hit Intrending to lead the 2nd troop down to finish off the grenadiers near the RR cut, the troop CO takes the lead only to be the first victim of the 2nd Pak.](https://images.squarespace-cdn.com/content/v1/5406c773e4b087d8052ef58b/1449569929814-QC6N2BOCZJ6NG0W55ZPB/another-firefly-hit_4758267371_o.jpg)
![Fire in the rear. The 25 pdrs finally come down behind the German positions and a random event card comes up for fire started. The German line is really starting to falter now. The platoon leader is attempting to rally its retreating left squad. Th](https://images.squarespace-cdn.com/content/v1/5406c773e4b087d8052ef58b/1449569934976-JBHQ6TYXVBPNUPESBKYN/fire-in-the-rear_4758907454_o.jpg)
![Tiger arrives The much anticipated panzer reinforcement arrives. A solitary Tiger from the 101 Schwere Pnz Btn.](https://images.squarespace-cdn.com/content/v1/5406c773e4b087d8052ef58b/1449569962356-DSUW92M5CU7YG0R8THWR/tiger-arrives_4758271281_o.jpg)
![Shermans in the wheat Some of the 1st troop Shermans](https://images.squarespace-cdn.com/content/v1/5406c773e4b087d8052ef58b/1449569953084-CHVHRMW9BR4TVJ1TF8PL/shermans-in-the-wheat_4758272687_o.jpg)
![Pulling back The HQ sqd and supporting 2" mortars pull back up the hill. It looks like the 2nd troop might be going in to pull out the remaining Seaforths](https://images.squarespace-cdn.com/content/v1/5406c773e4b087d8052ef58b/1449569949353-A1JHWW2VFDYPGNTN3J4A/pulling-back_4758911946_o.jpg)
![Pak under fire The three Shermans of the 2nd troop send some HE at the ATG.](https://images.squarespace-cdn.com/content/v1/5406c773e4b087d8052ef58b/1449569947642-QWD45Q2BGBZ0CILKMB7P/pak-under-fire_4758275297_o.jpg)
![Stalled Tiger After coming on board, the Tiger just sat back at the farm for the rest of the game. If it moved up I'm sure it would've chewed up the remaining Shermans, since the Fireflys had already disappeared.](https://images.squarespace-cdn.com/content/v1/5406c773e4b087d8052ef58b/1449569953541-CQG6TTC5U6CFCWSTWUS7/stalled-tiger_4758913884_o.jpg)
![Seaforths at the RR cut The right hand platoon is down to 2/3rd strength, but has driven the grenadiers back from the hedges overlooking the cut.](https://images.squarespace-cdn.com/content/v1/5406c773e4b087d8052ef58b/1449569951723-D8K5ZE8WL8LNL8HAXZUX/seaforths-at-the-rr-cut_4758277541_o.jpg)
![Grenadiers in bad shape The left and center of the grenadier line is broken.](https://images.squarespace-cdn.com/content/v1/5406c773e4b087d8052ef58b/1449569941395-P1RM6VTD2FL4OOK9ONT8/grenadiers-in-bad-shape_4758278619_o.jpg)
![Right side still fine The right side unit is virtually untouched though.](https://images.squarespace-cdn.com/content/v1/5406c773e4b087d8052ef58b/1449569951164-1XAS615J6CGRVJXHTNG5/right-side-still-fine_4758279669_o.jpg)
![End of the game It was obvious that the Seaforths would not be able to get across the RR cut. They did have the remains of two platoons at the hedge line overlookng the RR though. The HQ squad was wiped out, the 1st platoon was down to one squad.](https://images.squarespace-cdn.com/content/v1/5406c773e4b087d8052ef58b/1449569934277-TV96XHIQ43P1O56MZA0T/end-of-the-game_4758919076_o.jpg)