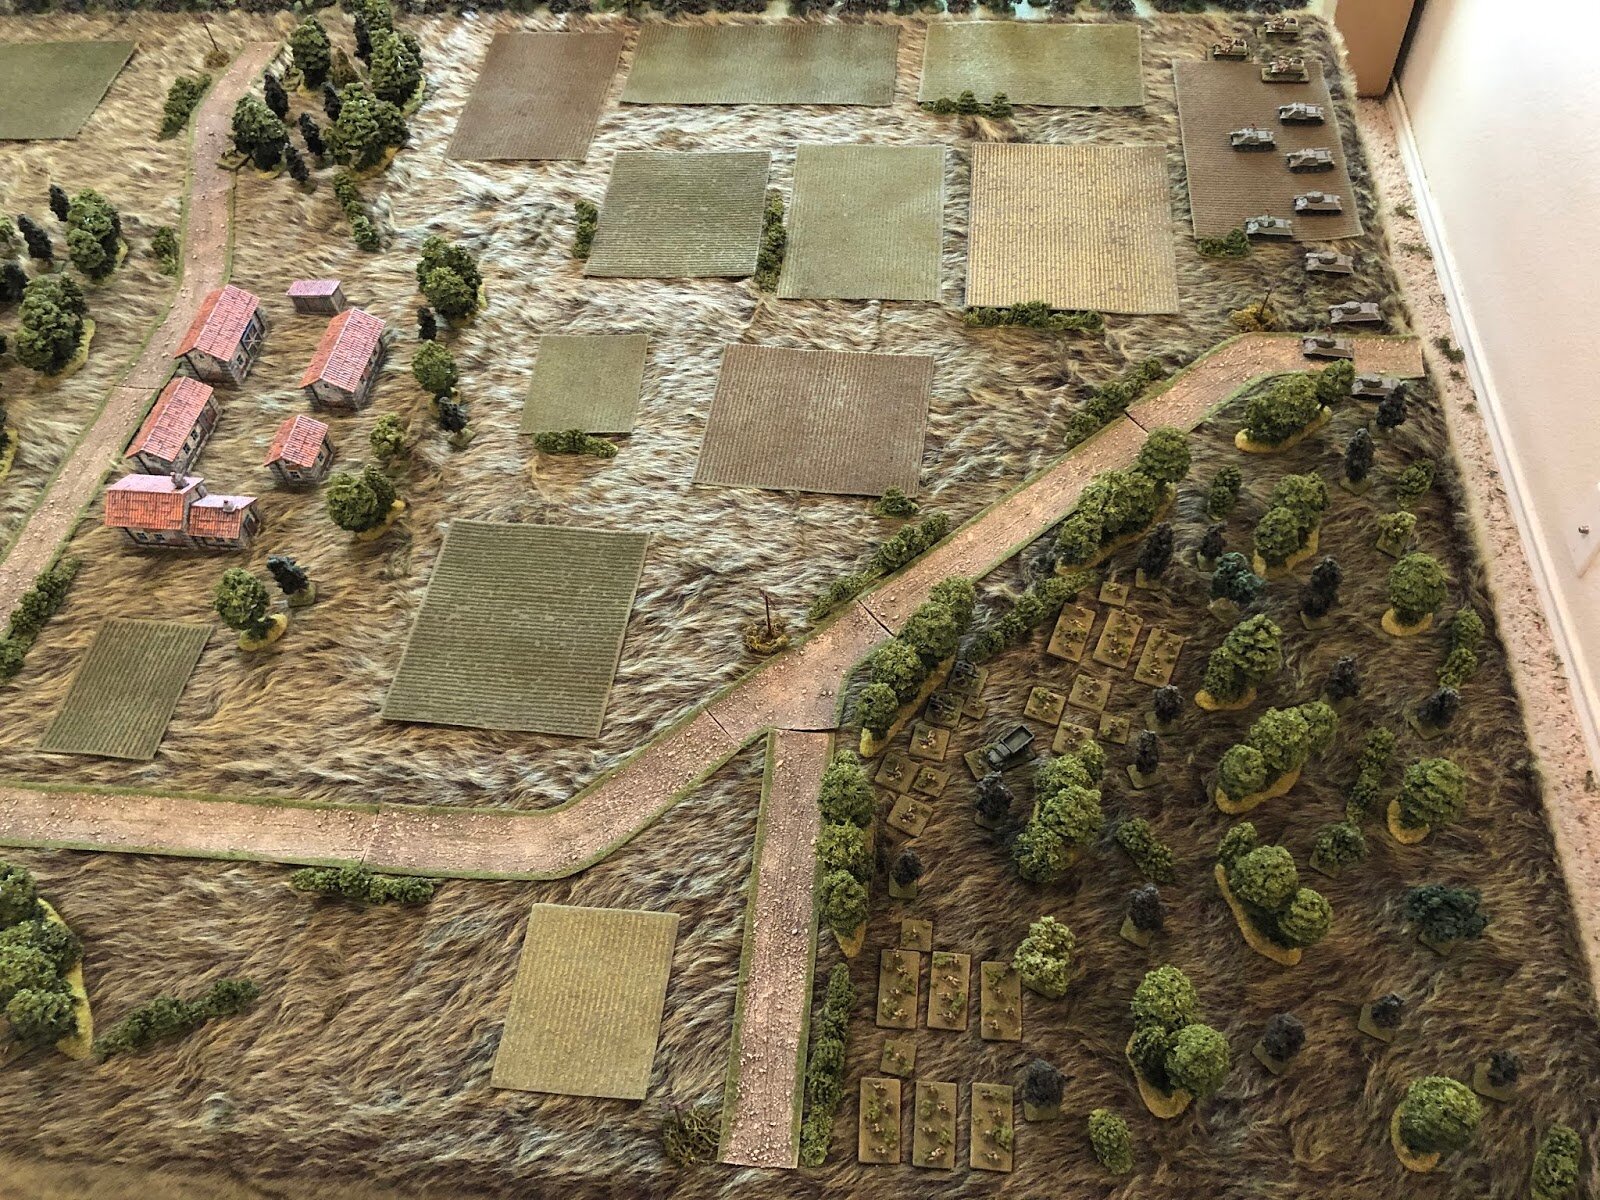
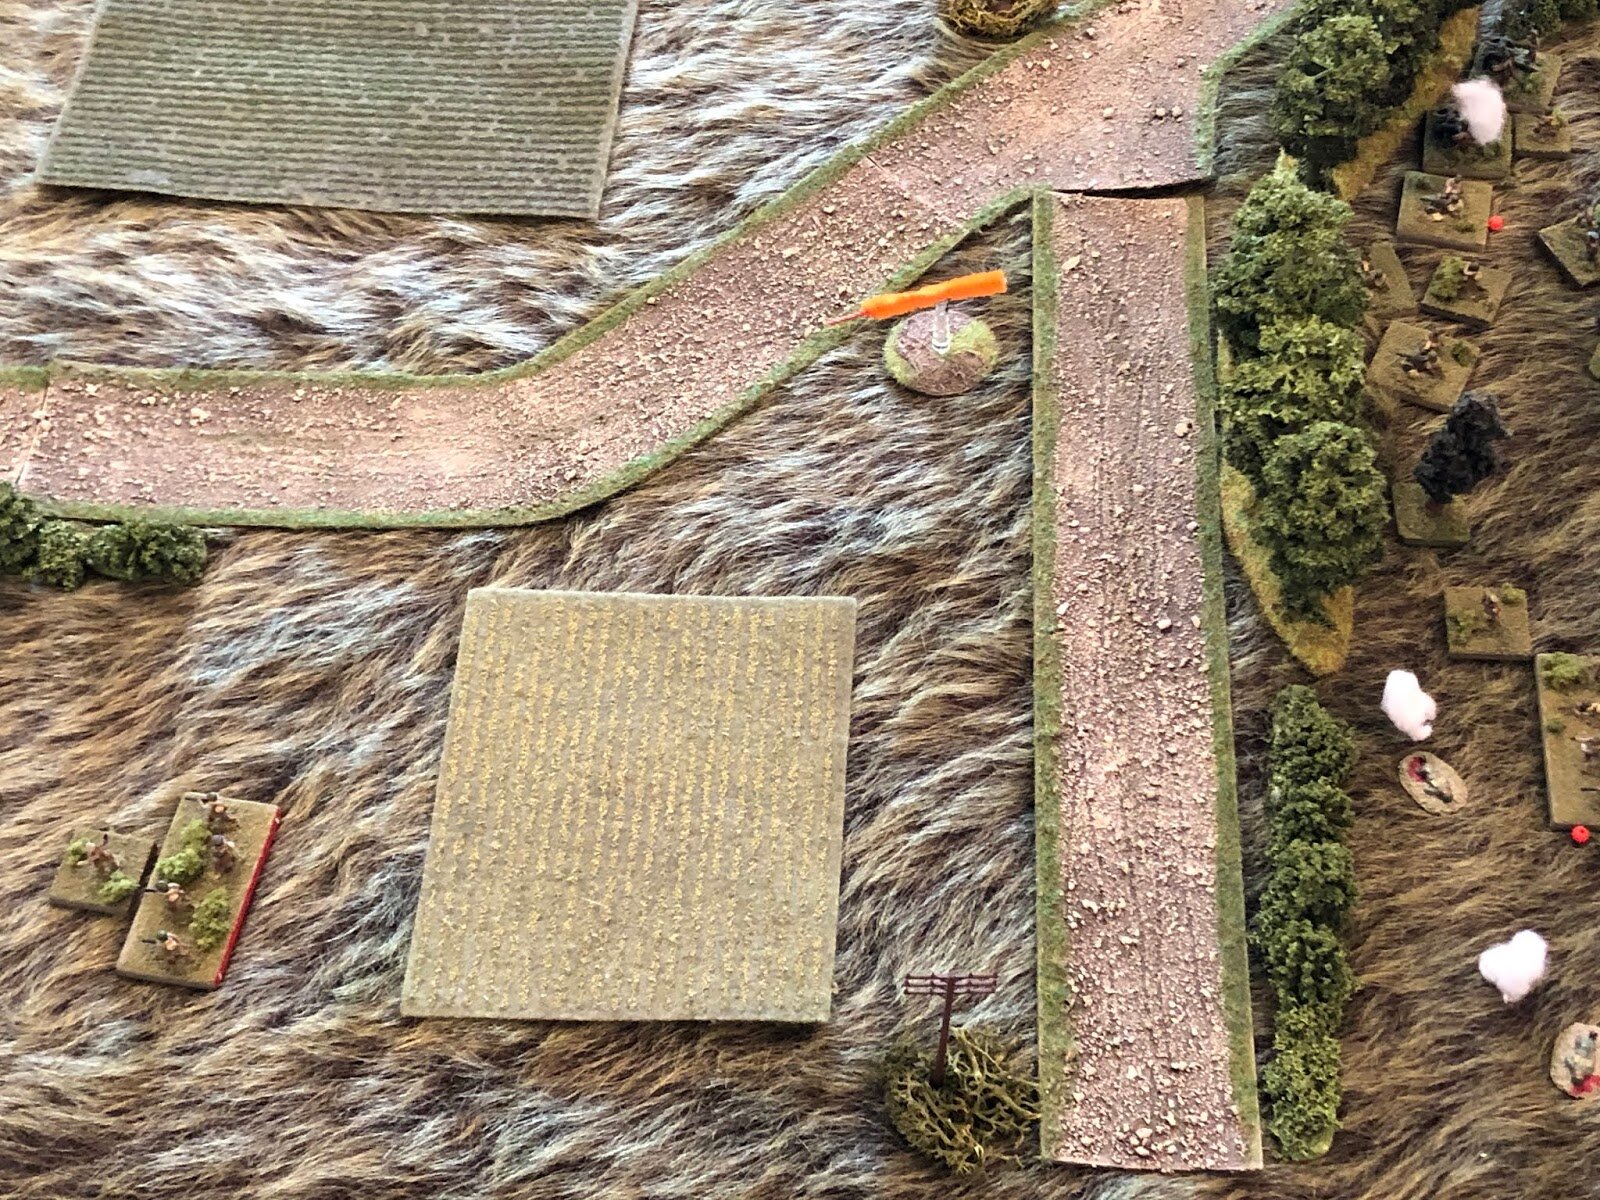
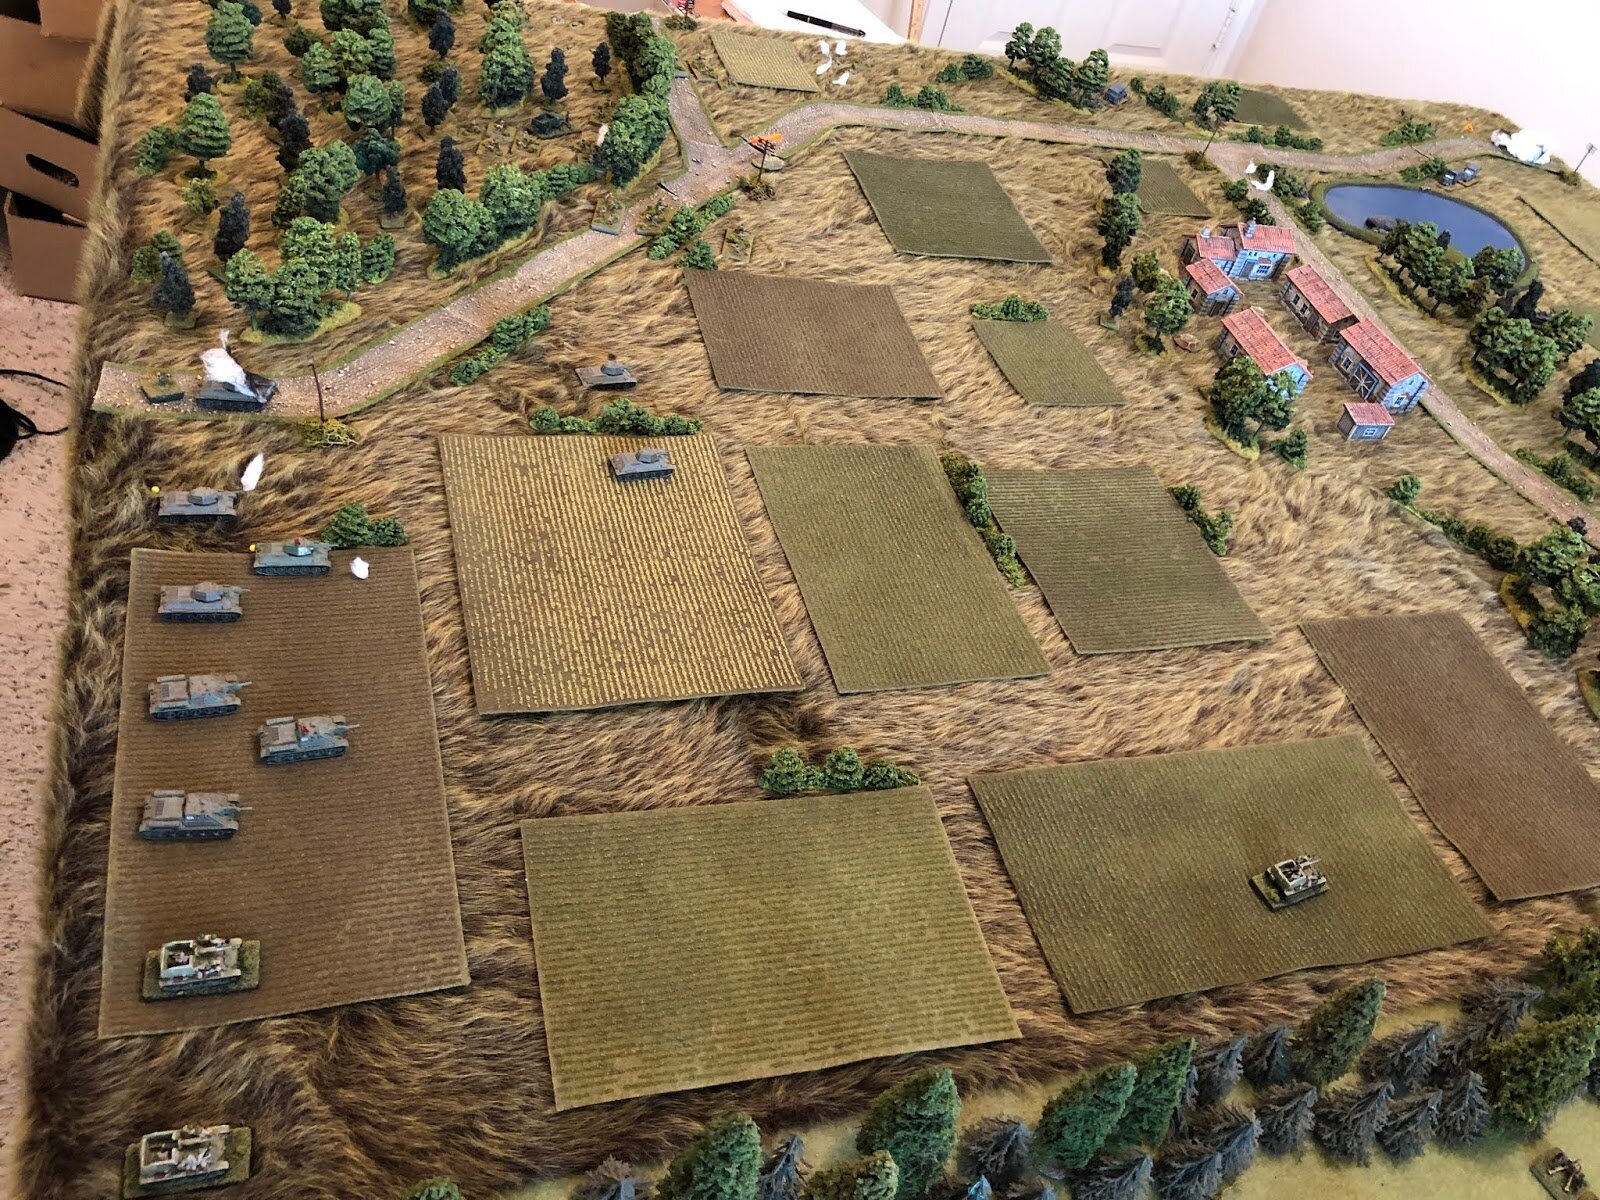
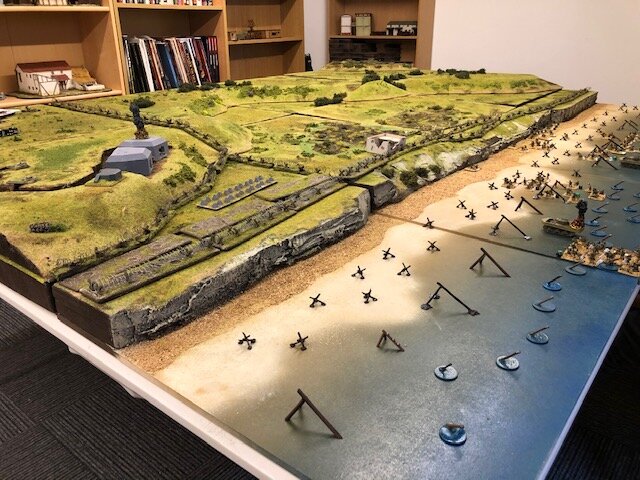
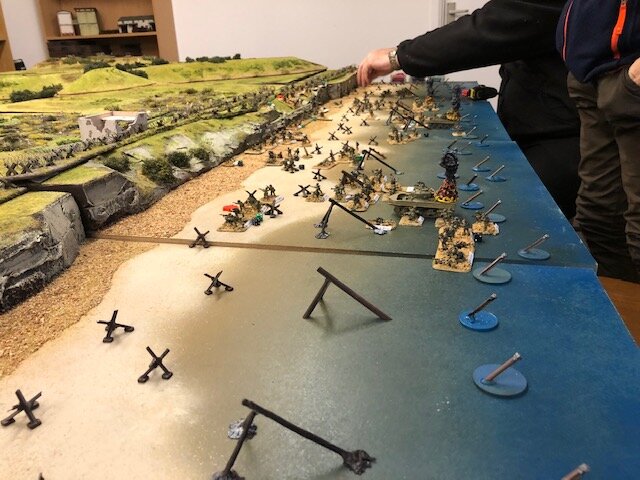
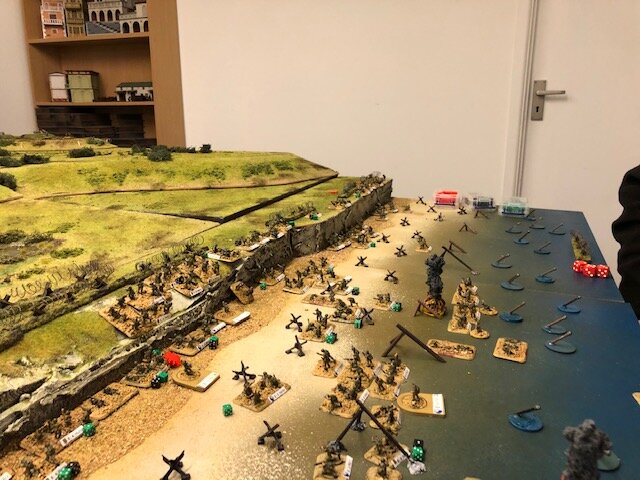
Time for another game of I Ain’t Been Shot, Mum. This time, as a change, we were to fight late war as opposed to our usual early war Poland and France encounters. As today was going to be a three-hander, I set up a scenario involving a large Soviet force (the Two) attempting to force a gap in a ridge held by the Germans (the One).
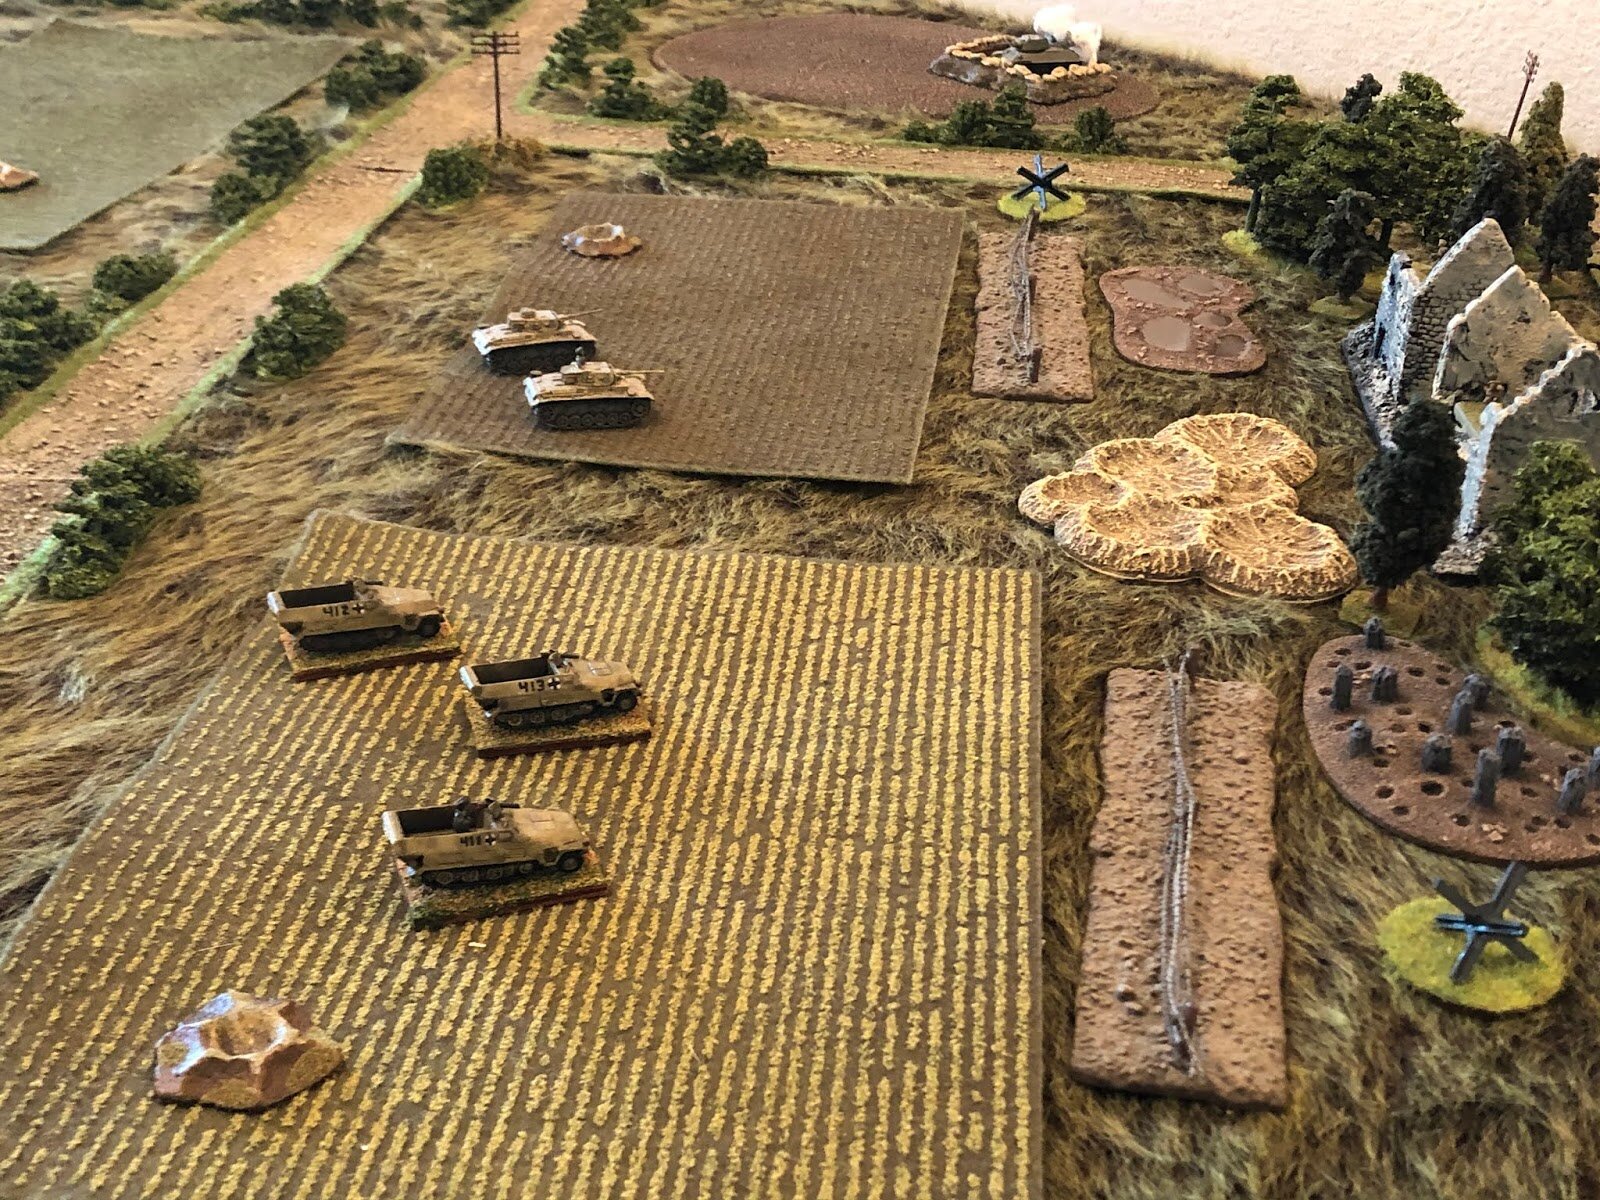
Rather than this being a static battle, with the Germans established in defensive positions as the Soviets slowly grind towards them, I wanted to add a bit of momentum, so the Germans would also start the game on the edge of the table and would need to advance onto the ridge/into the gap in order to hold it against the advancing Russians. The ridge/gap was much, much closer to the Germans, so they could easily get their first, but it just added a bit of oomph to the situation to make them have to move forward as well.
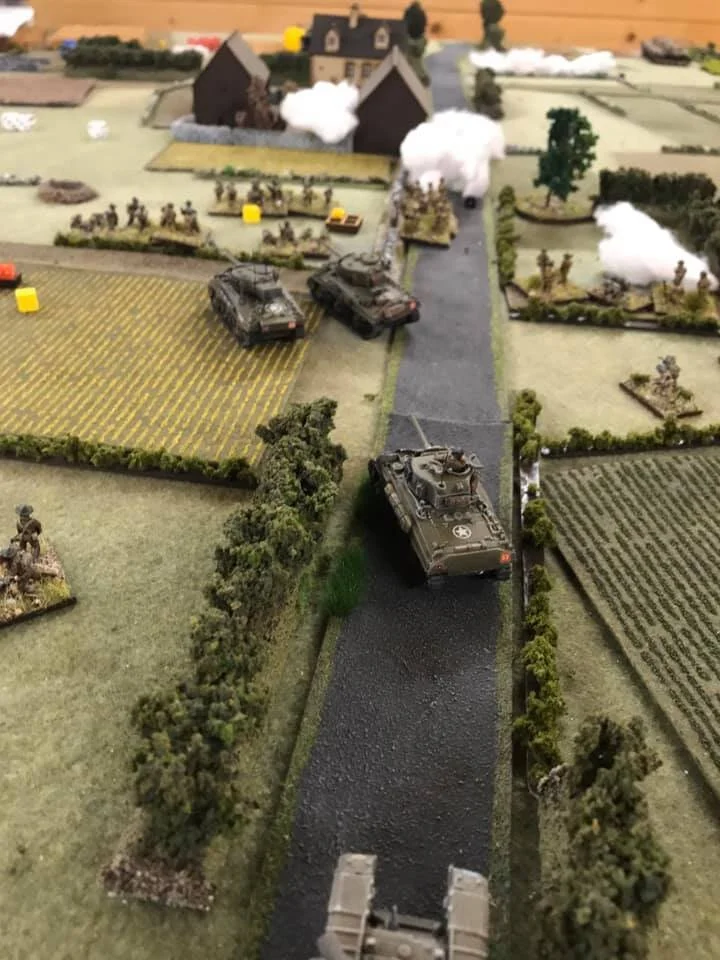
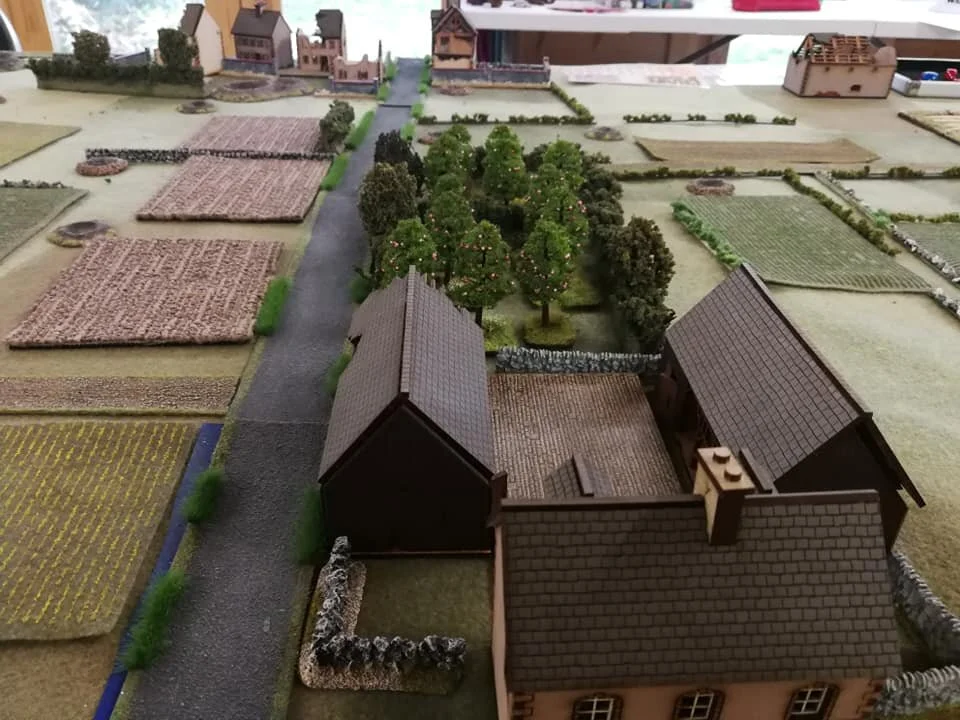
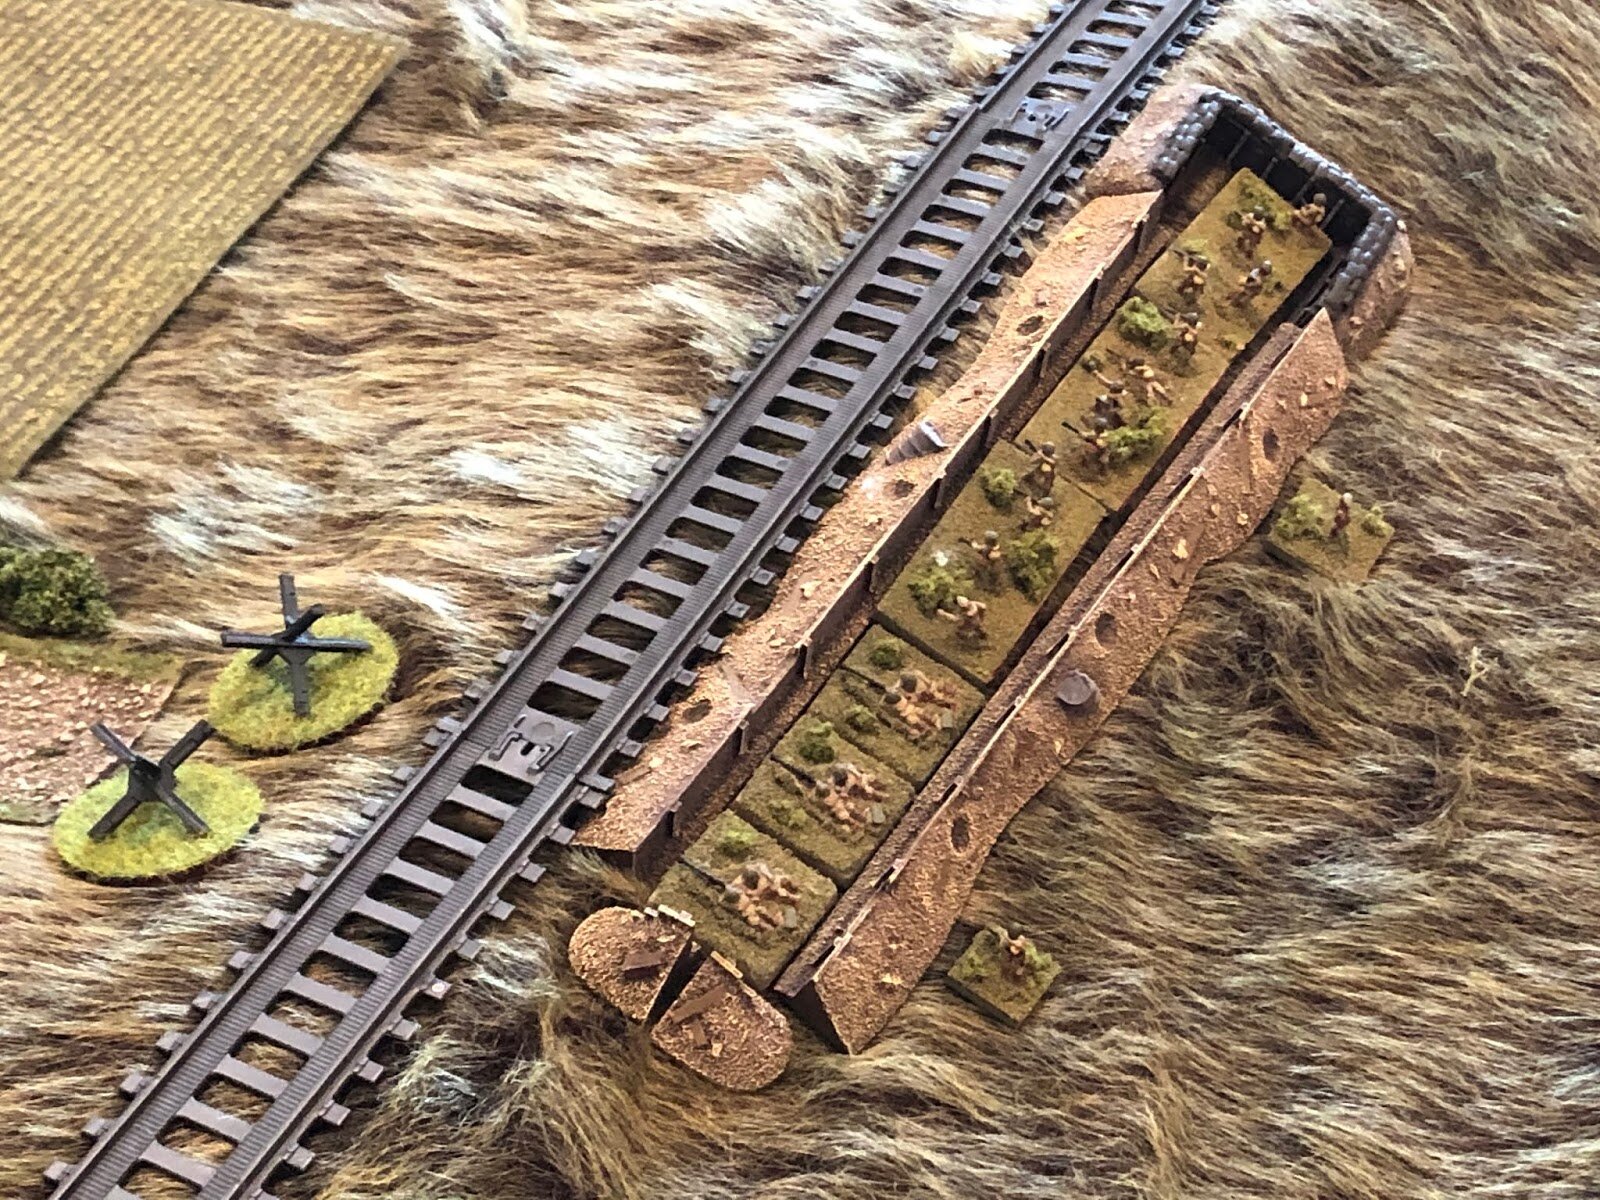
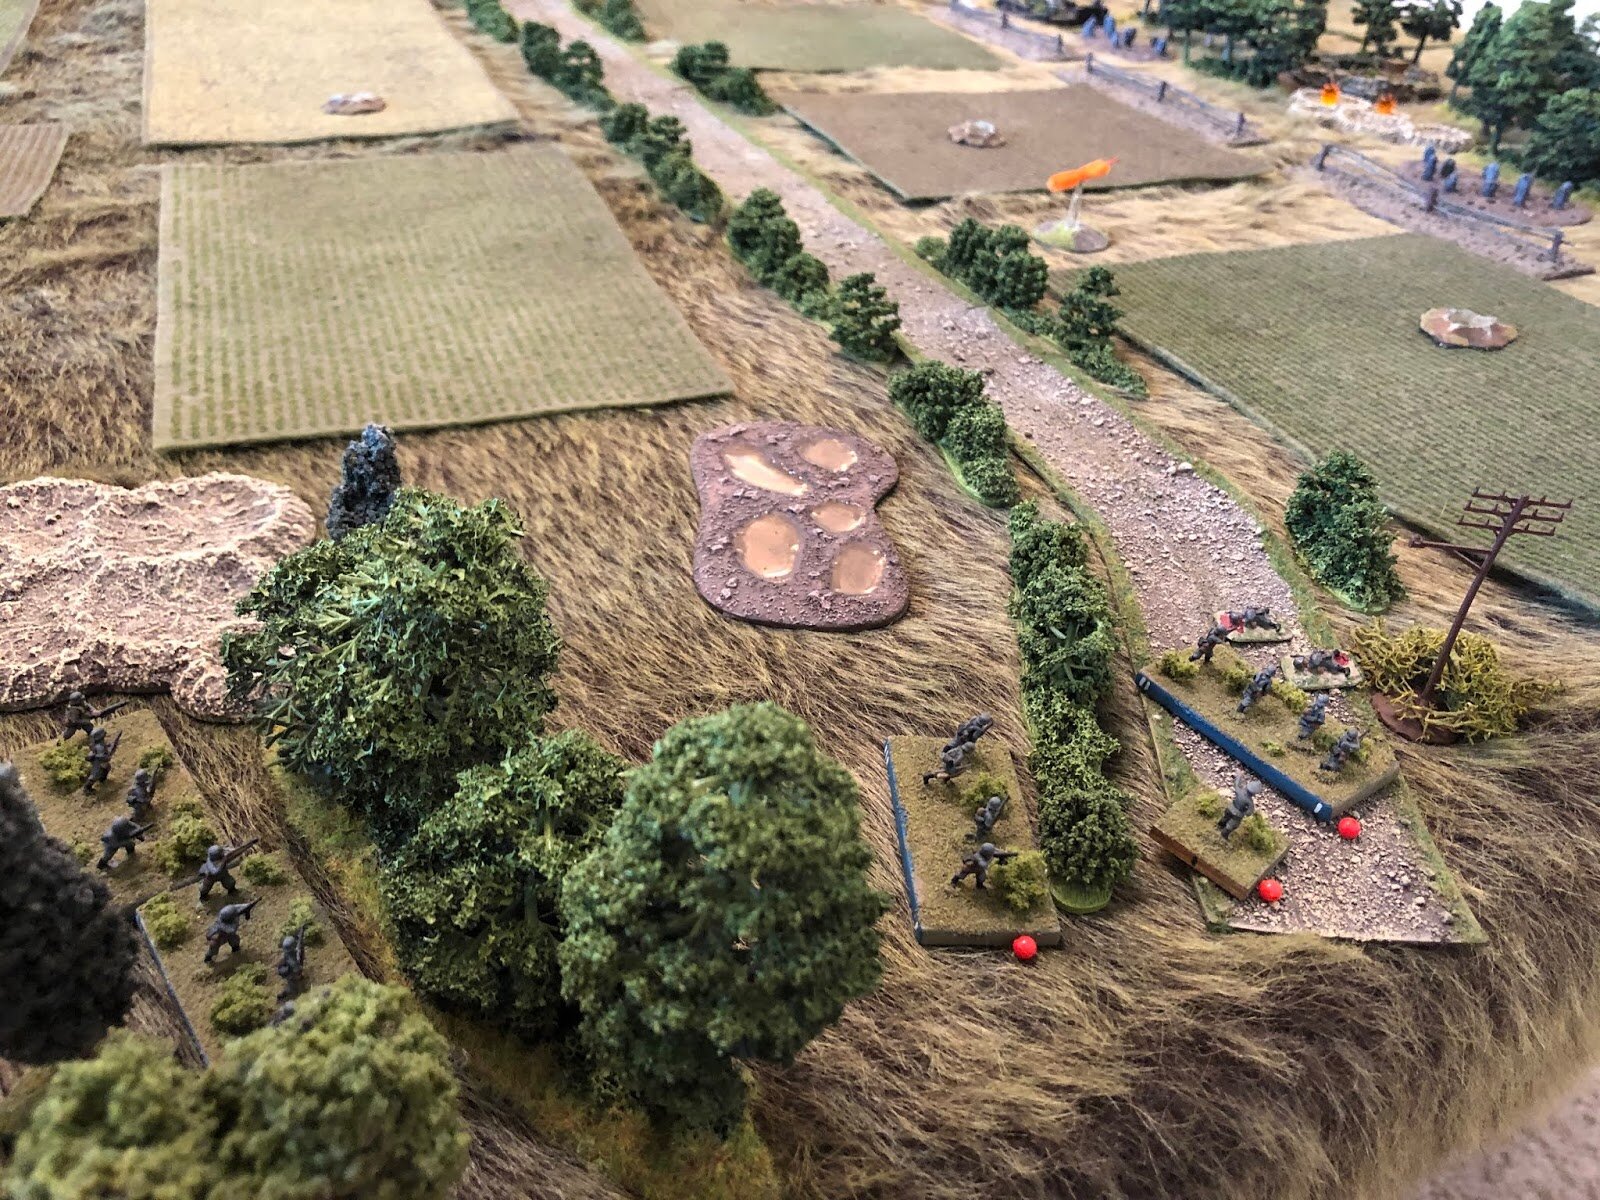
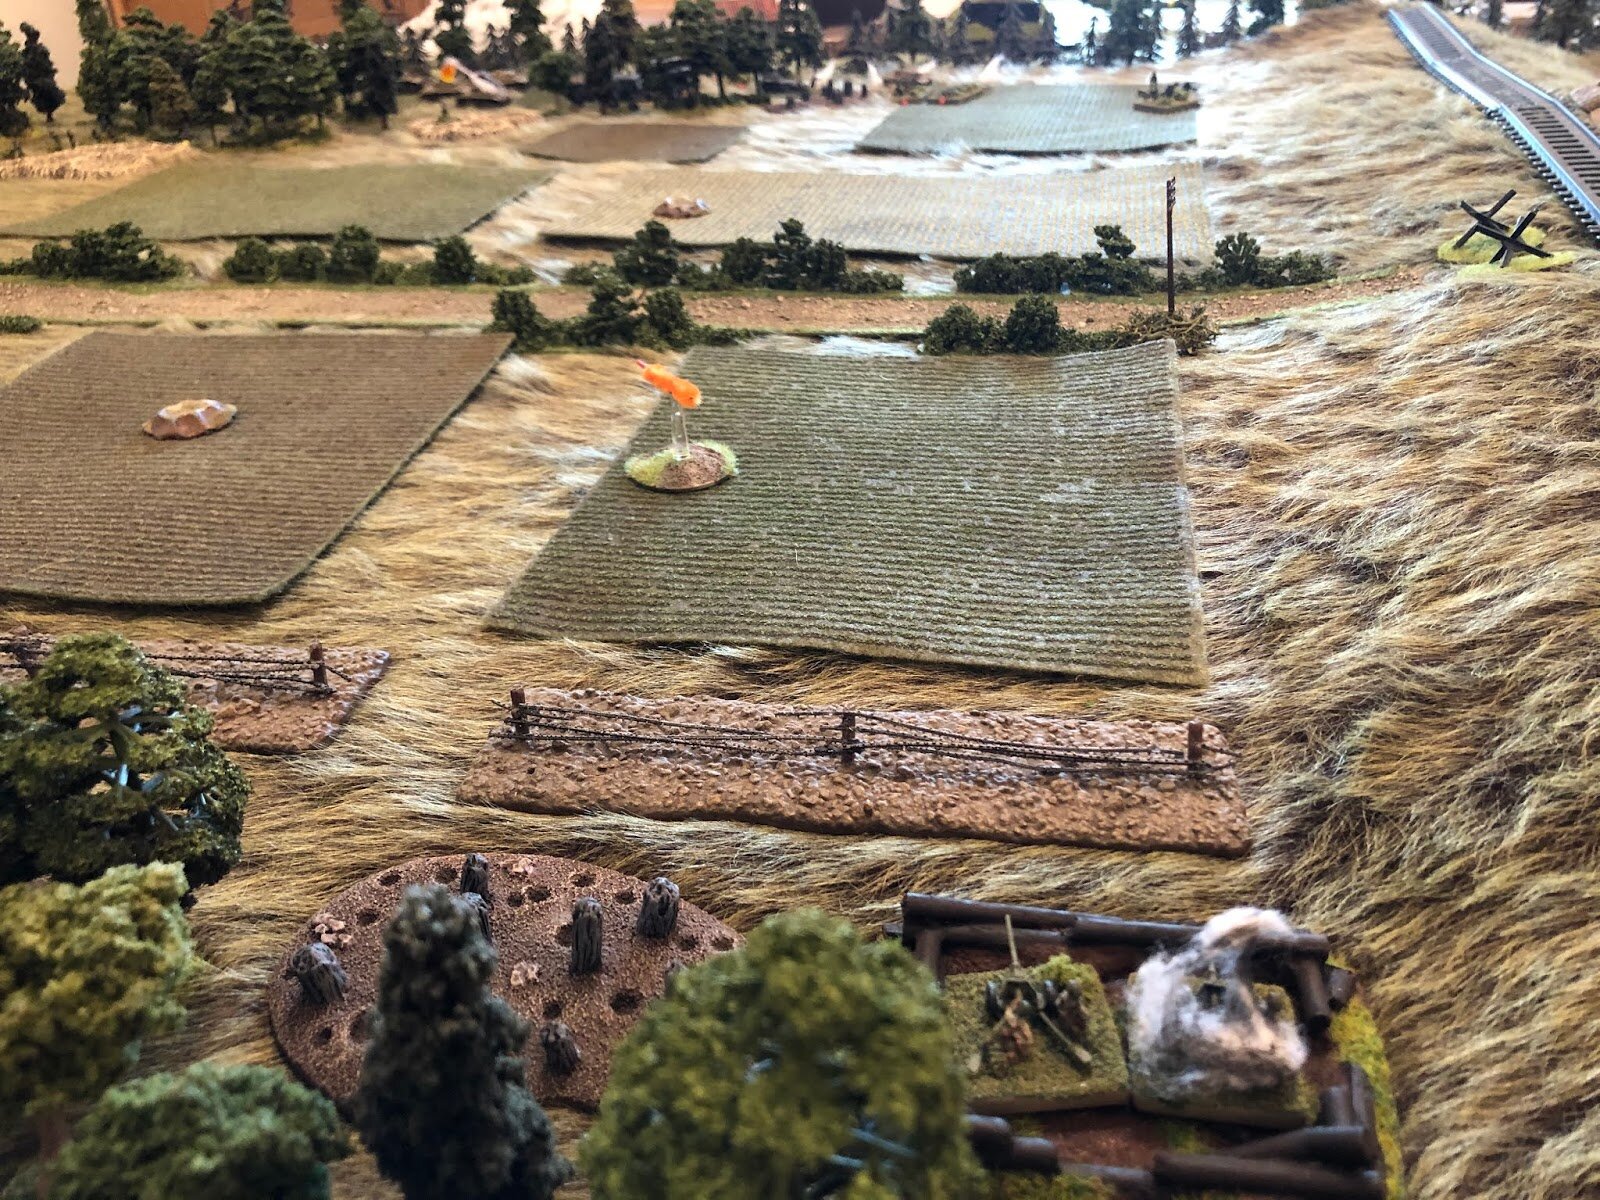
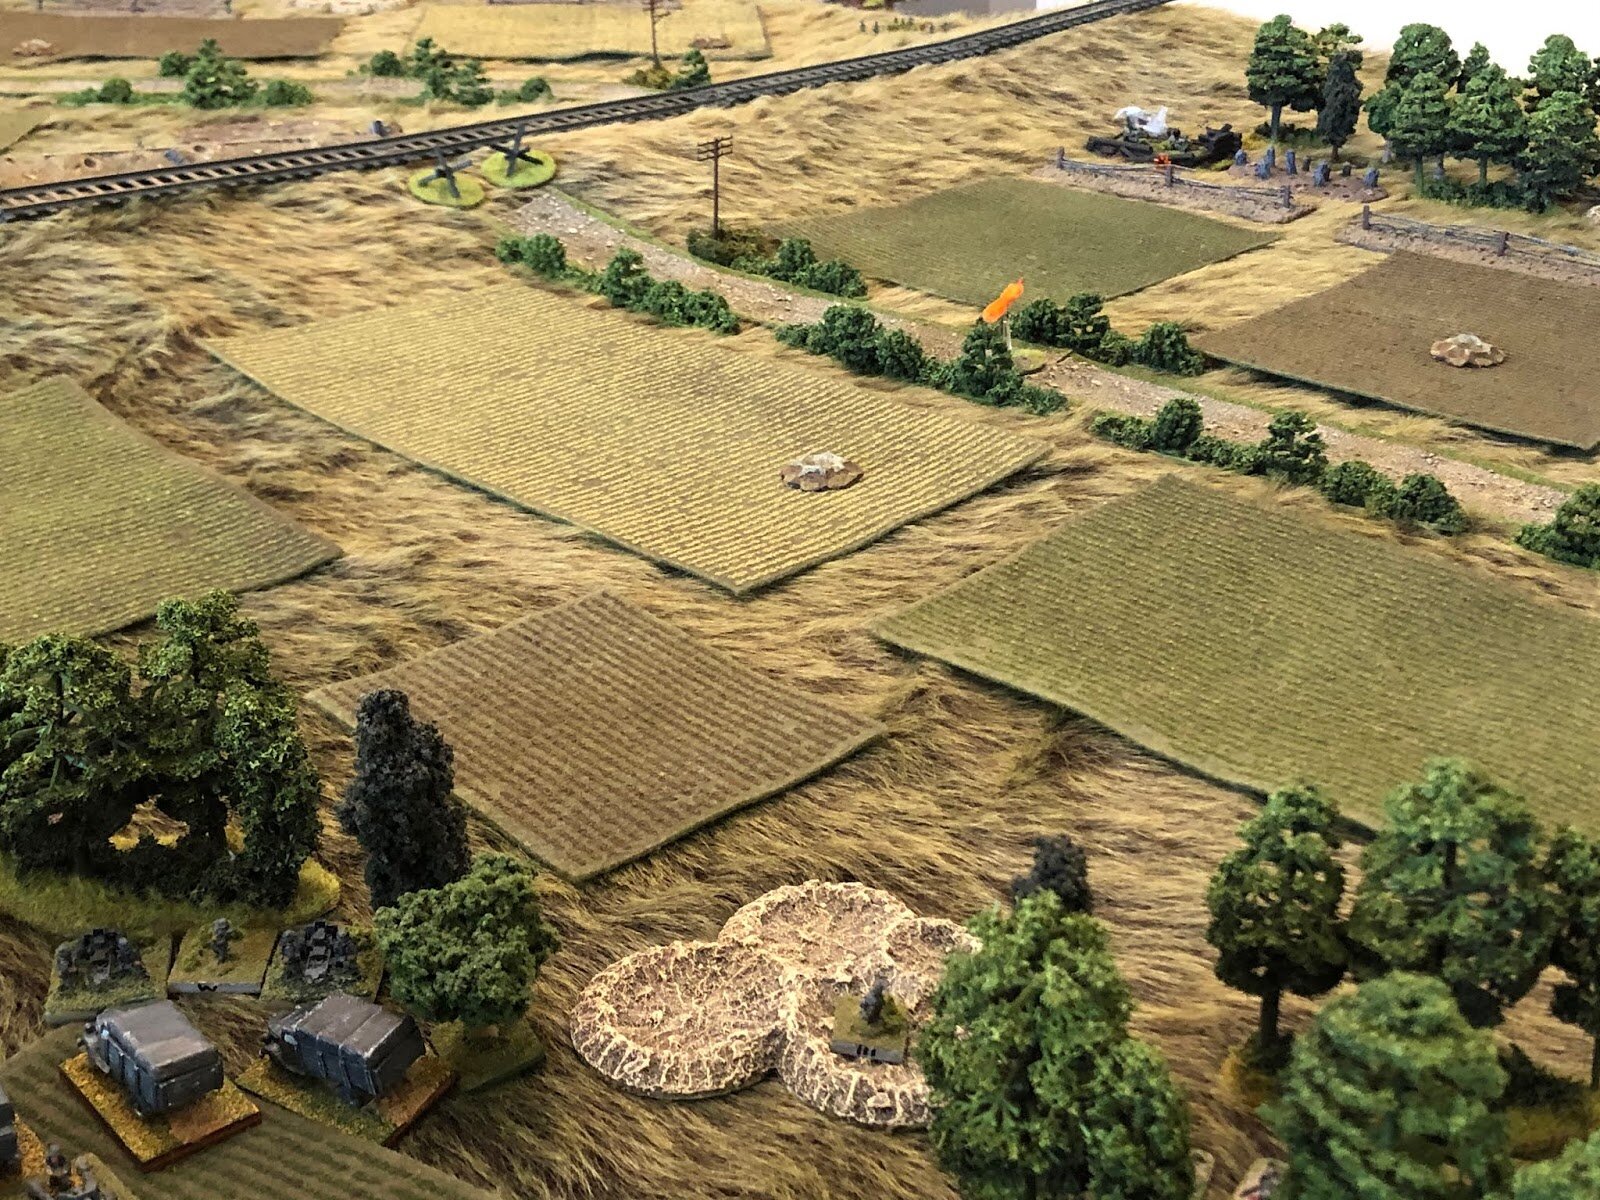
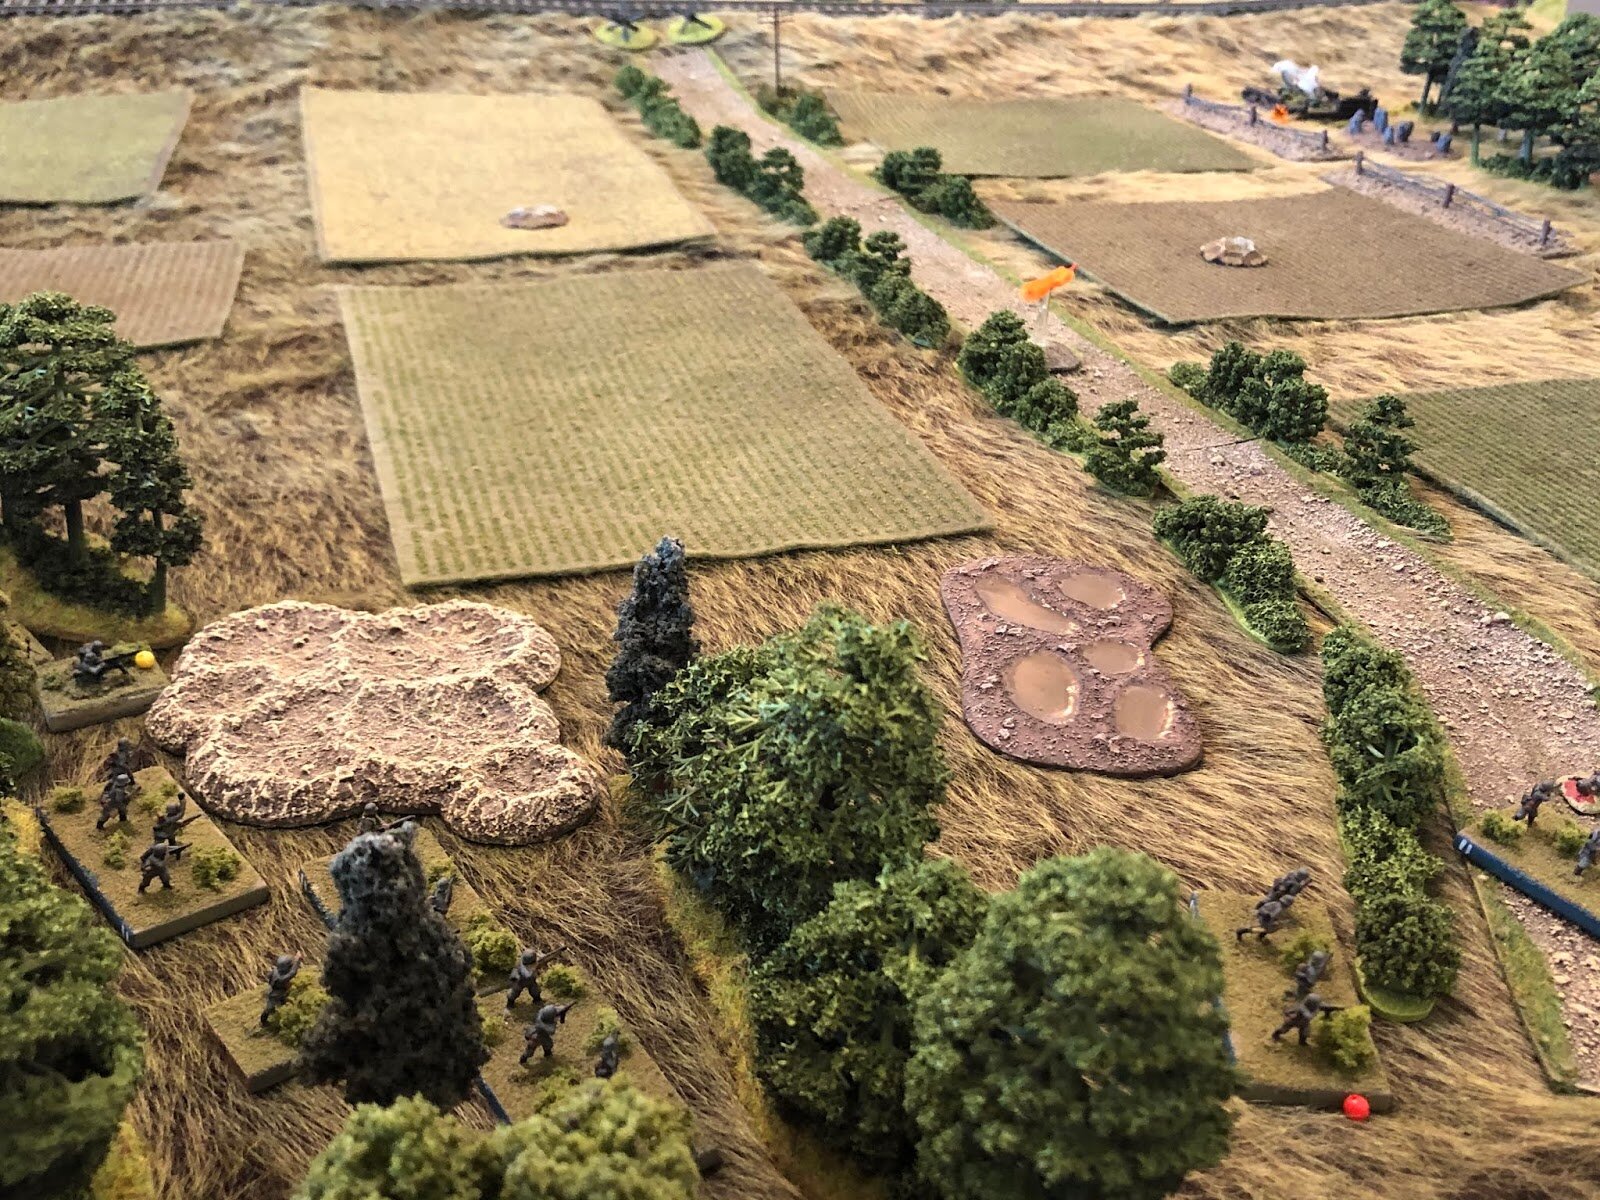
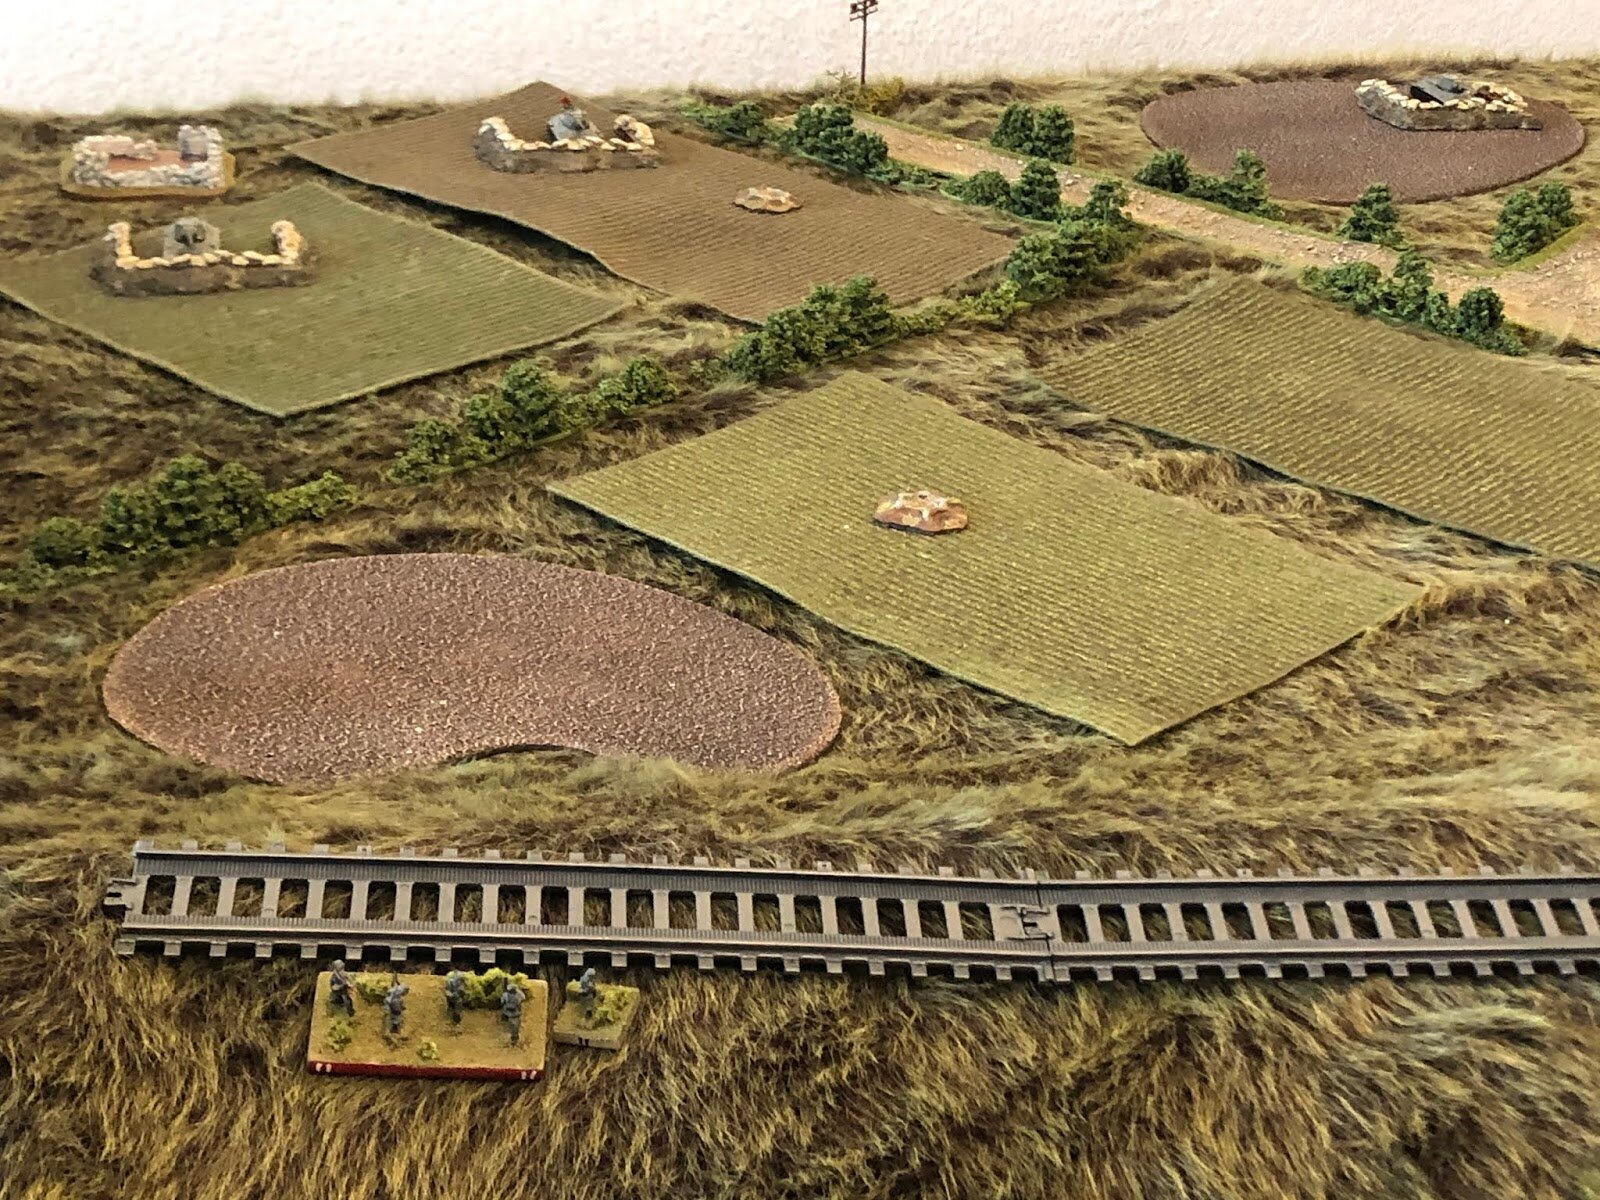
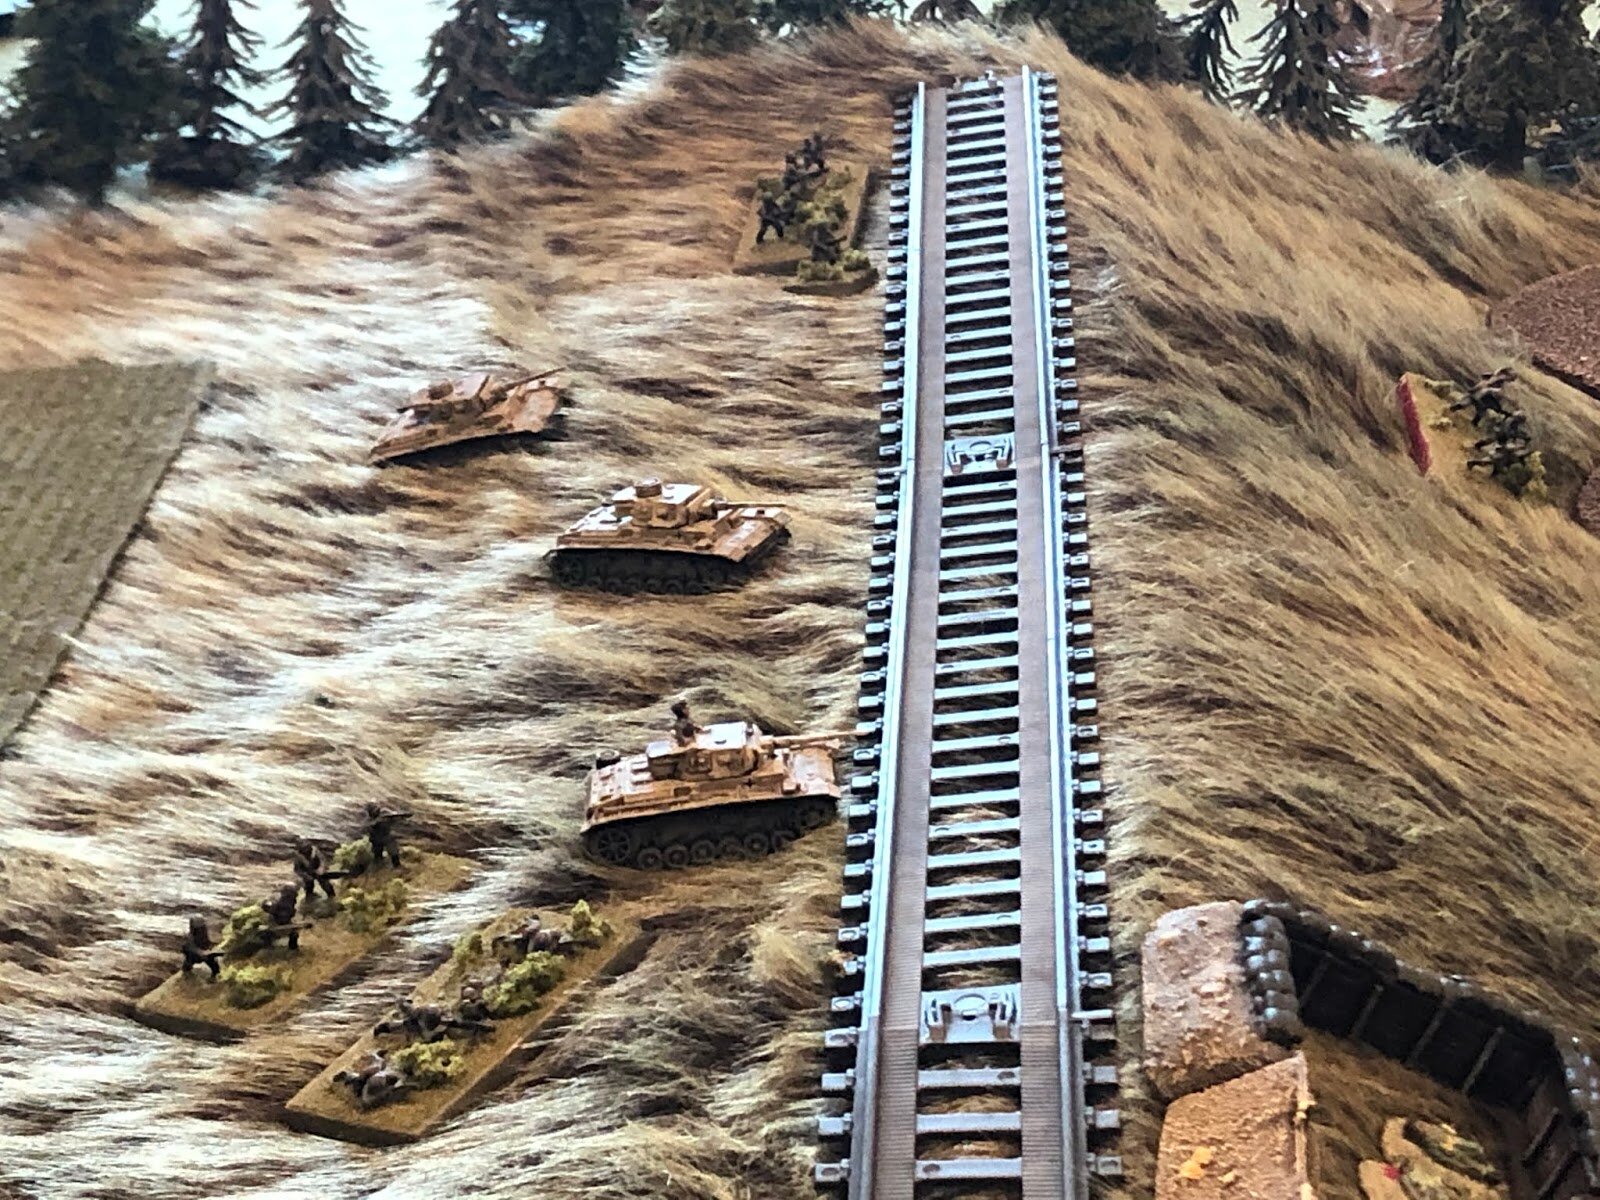
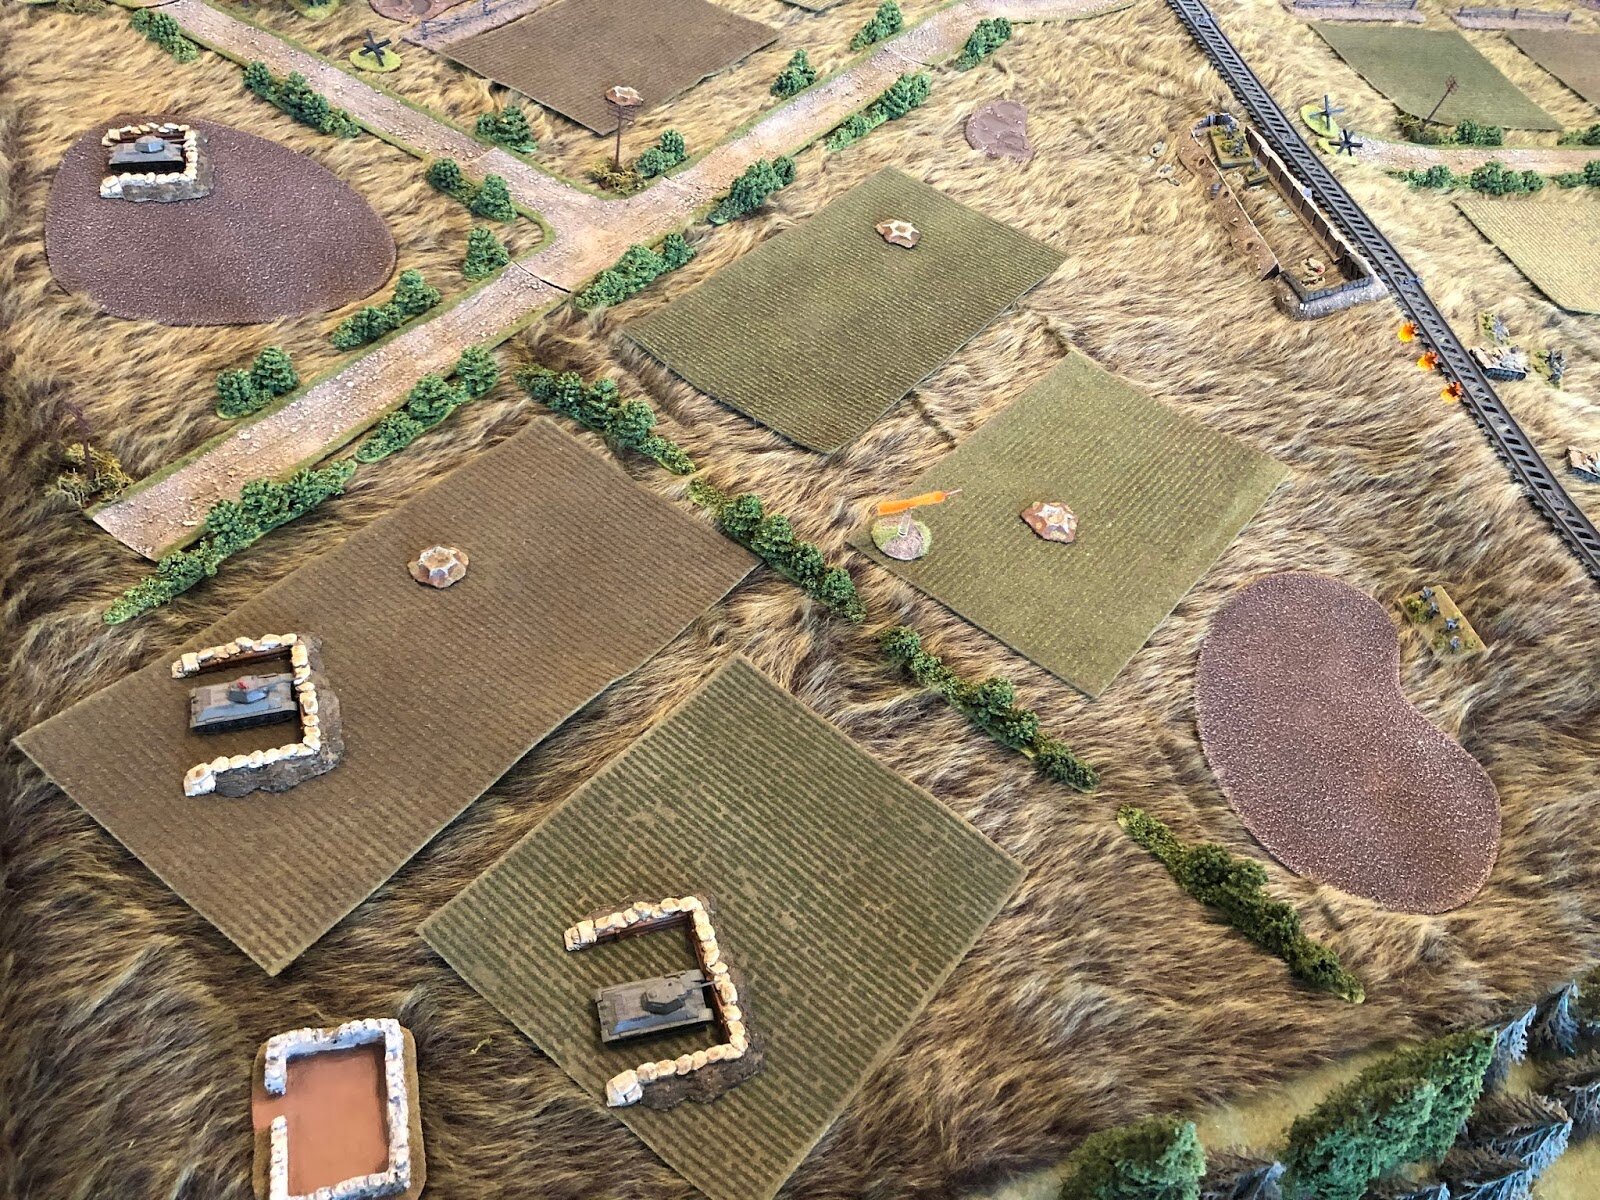
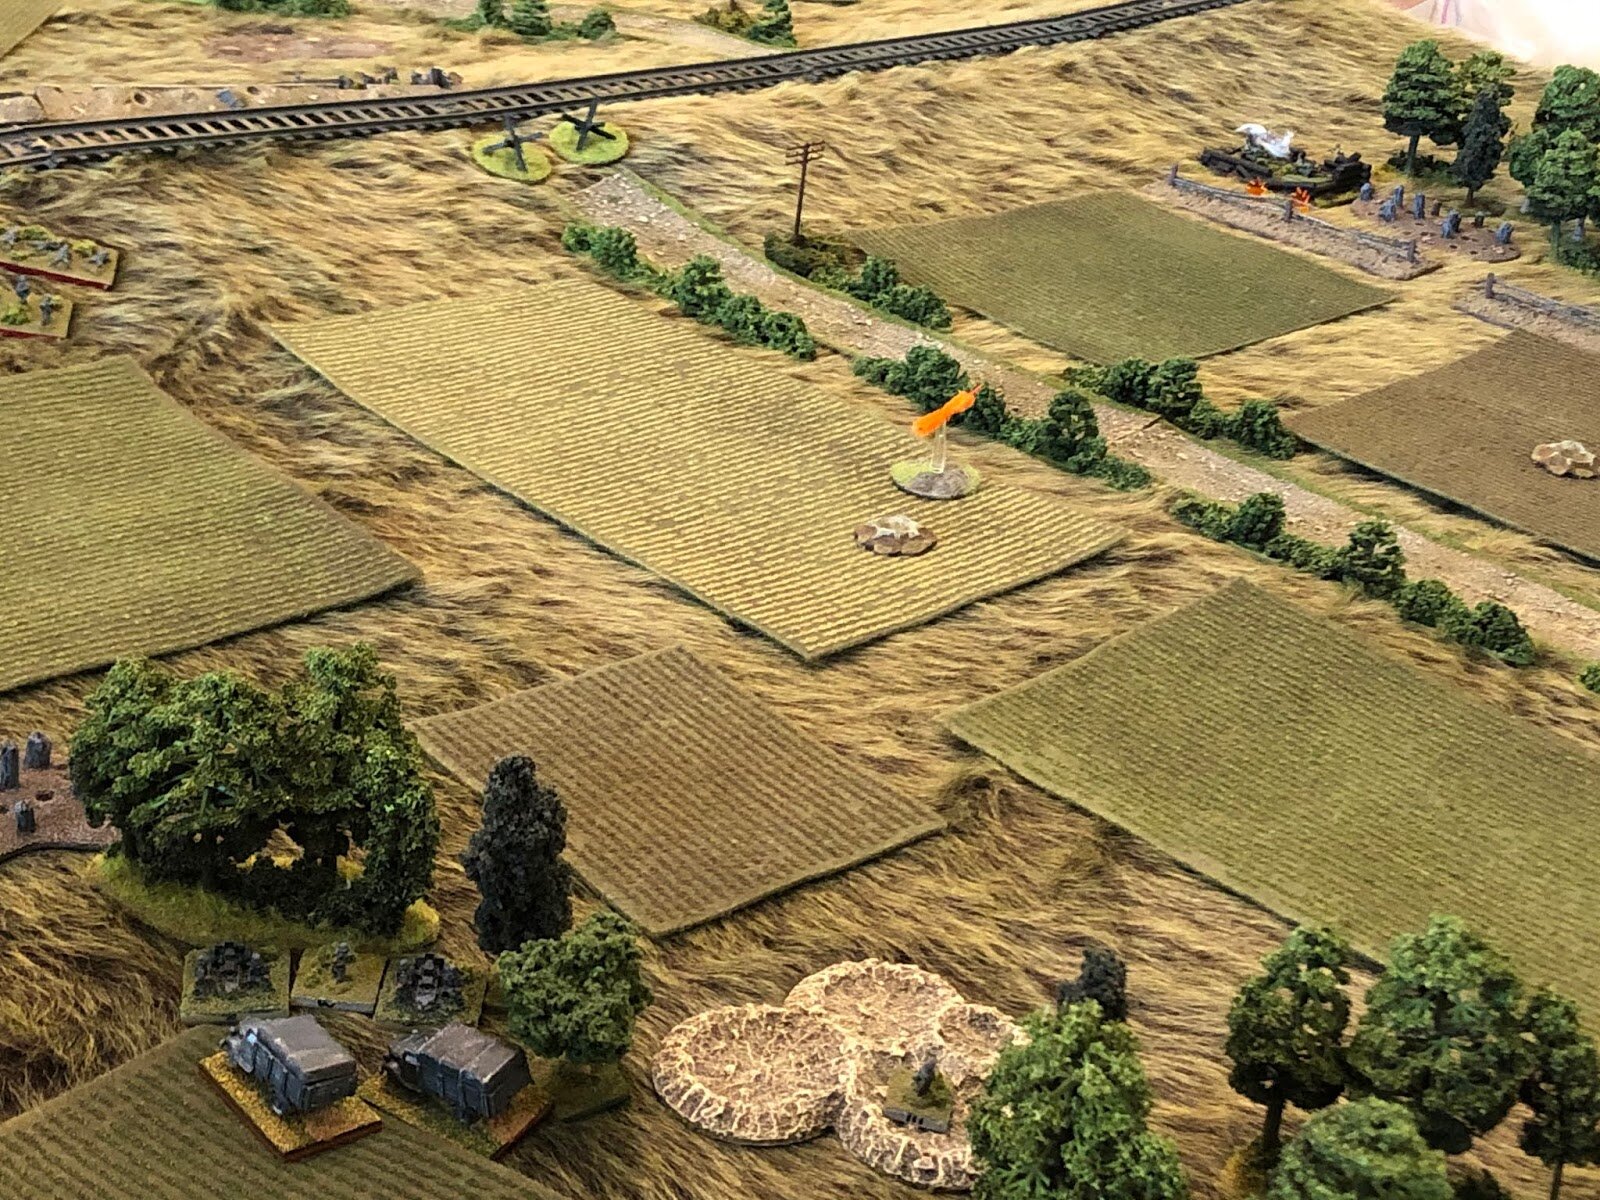
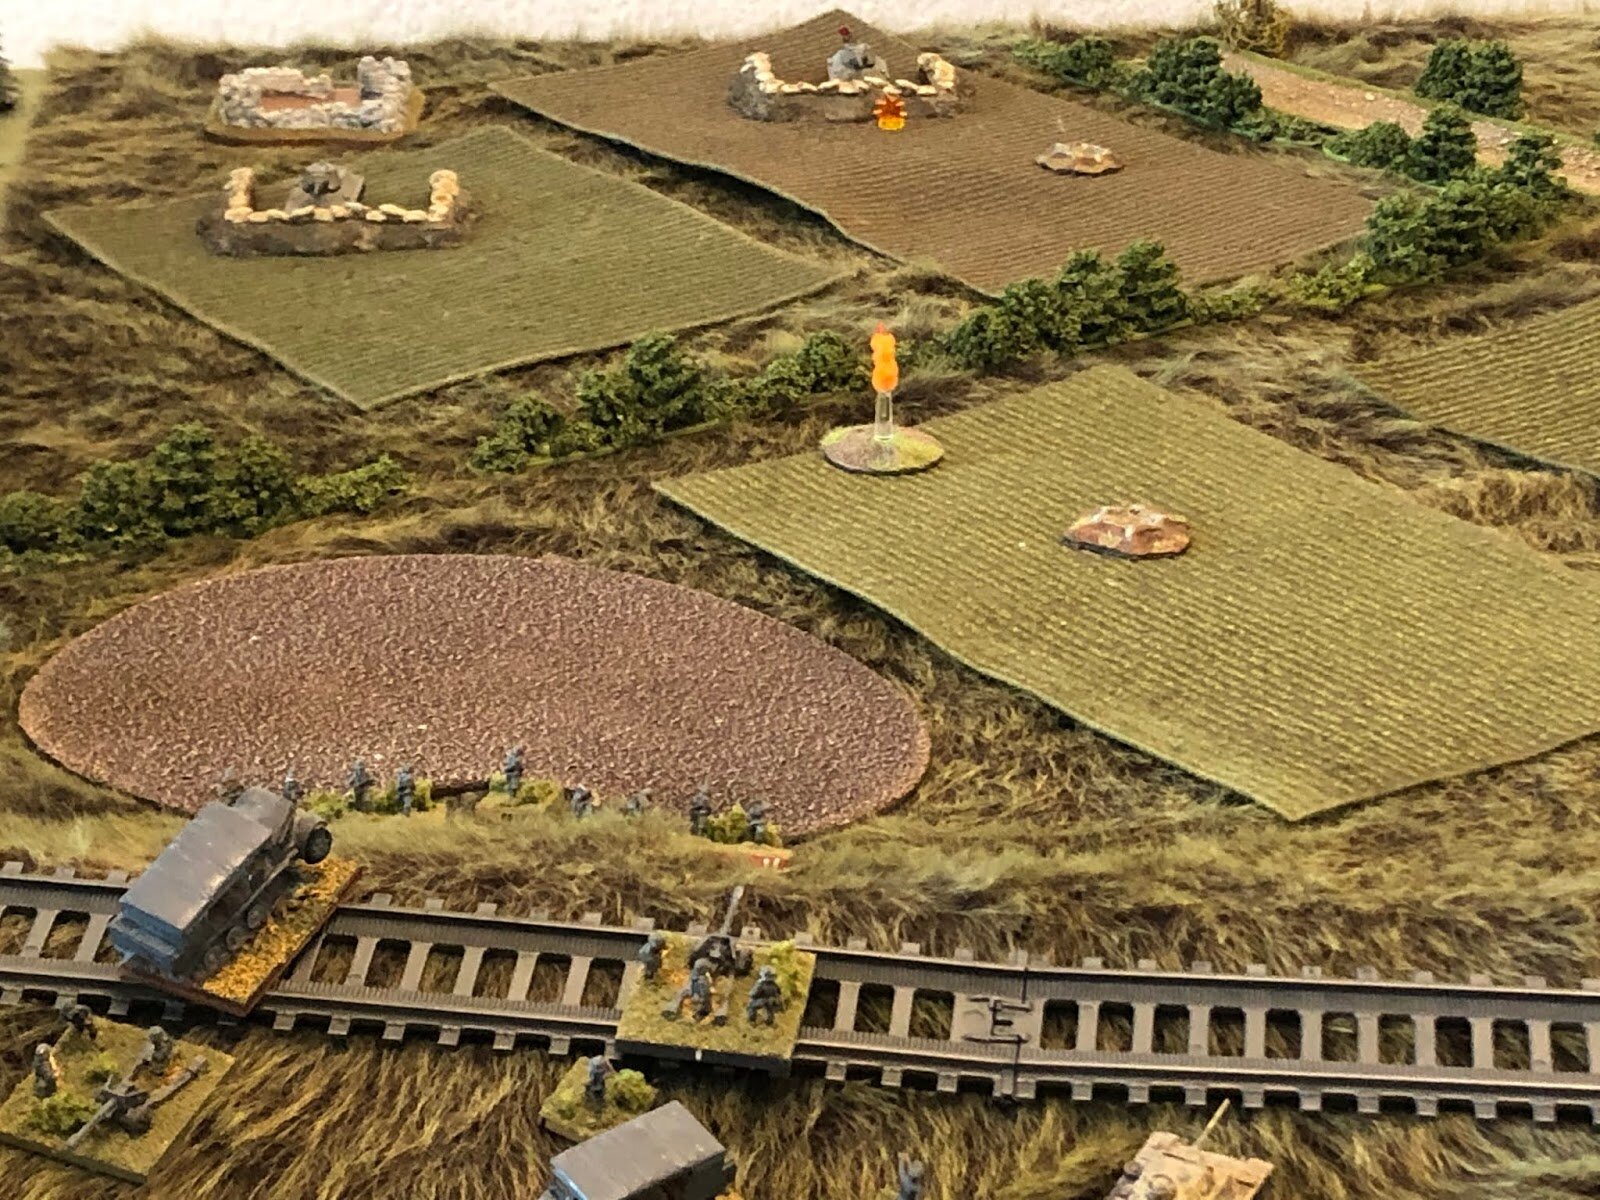
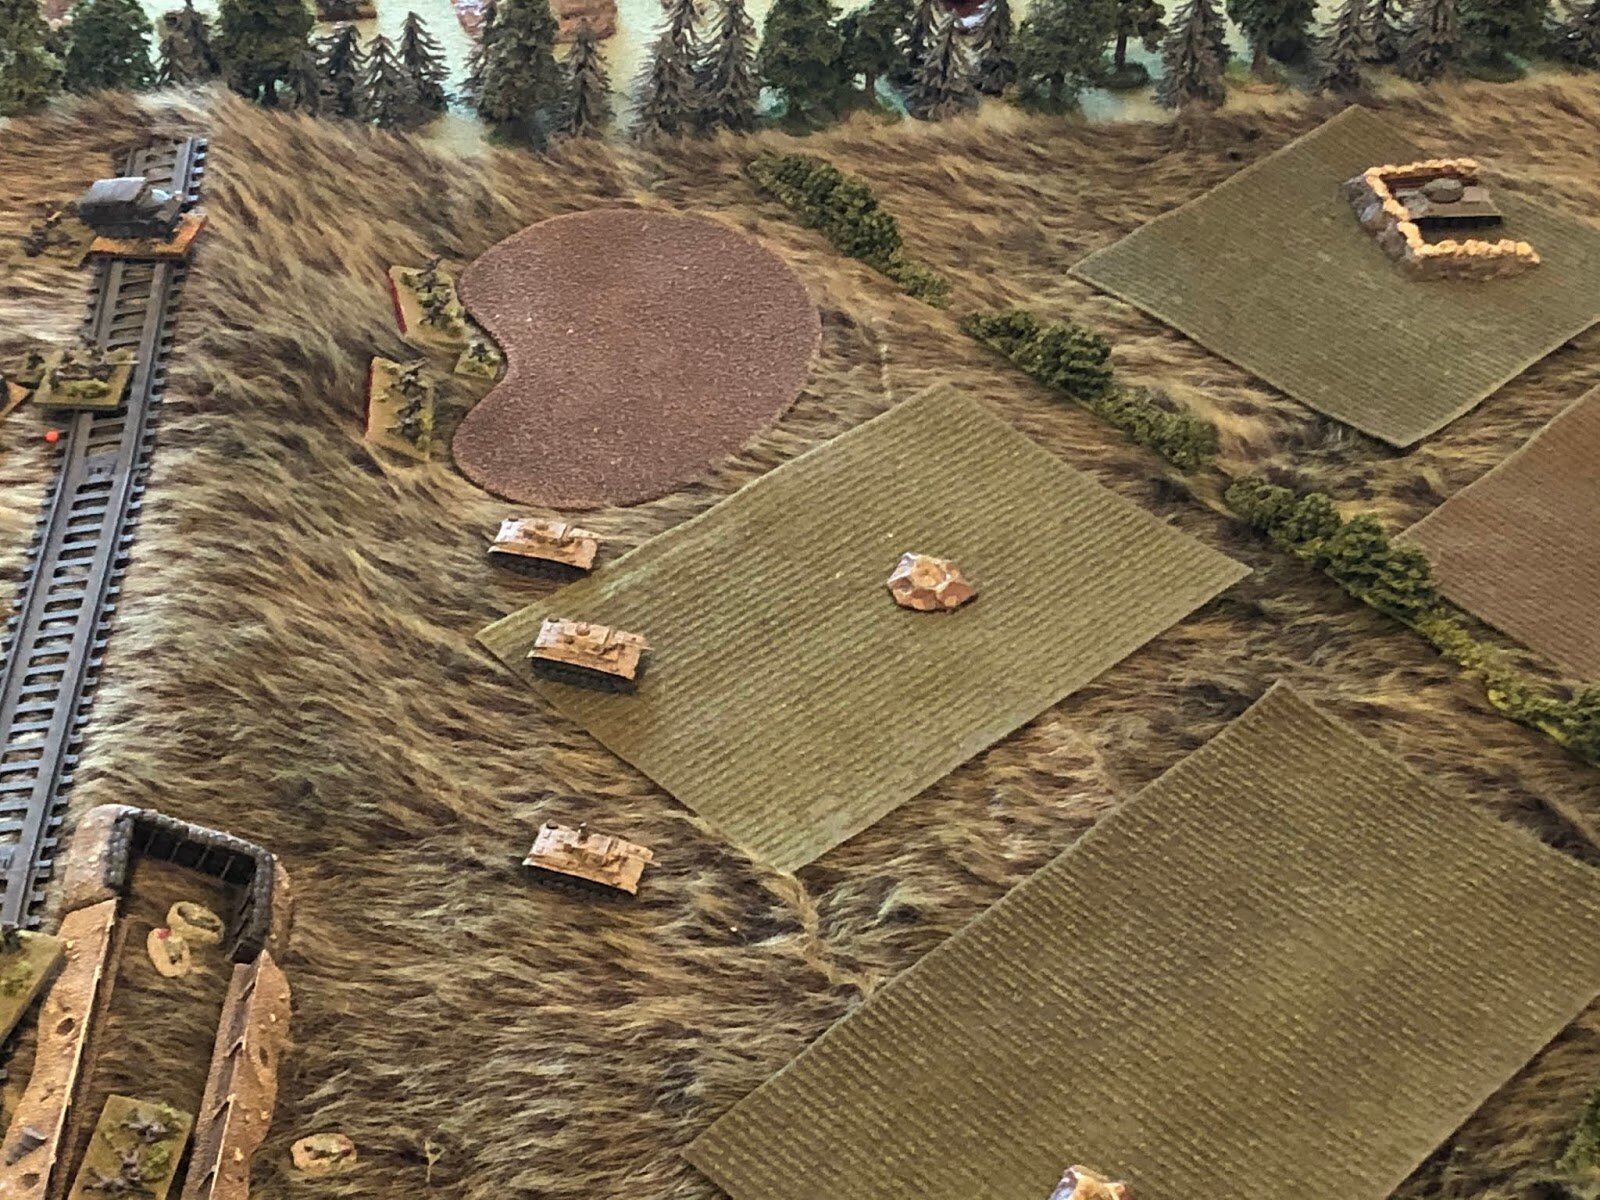
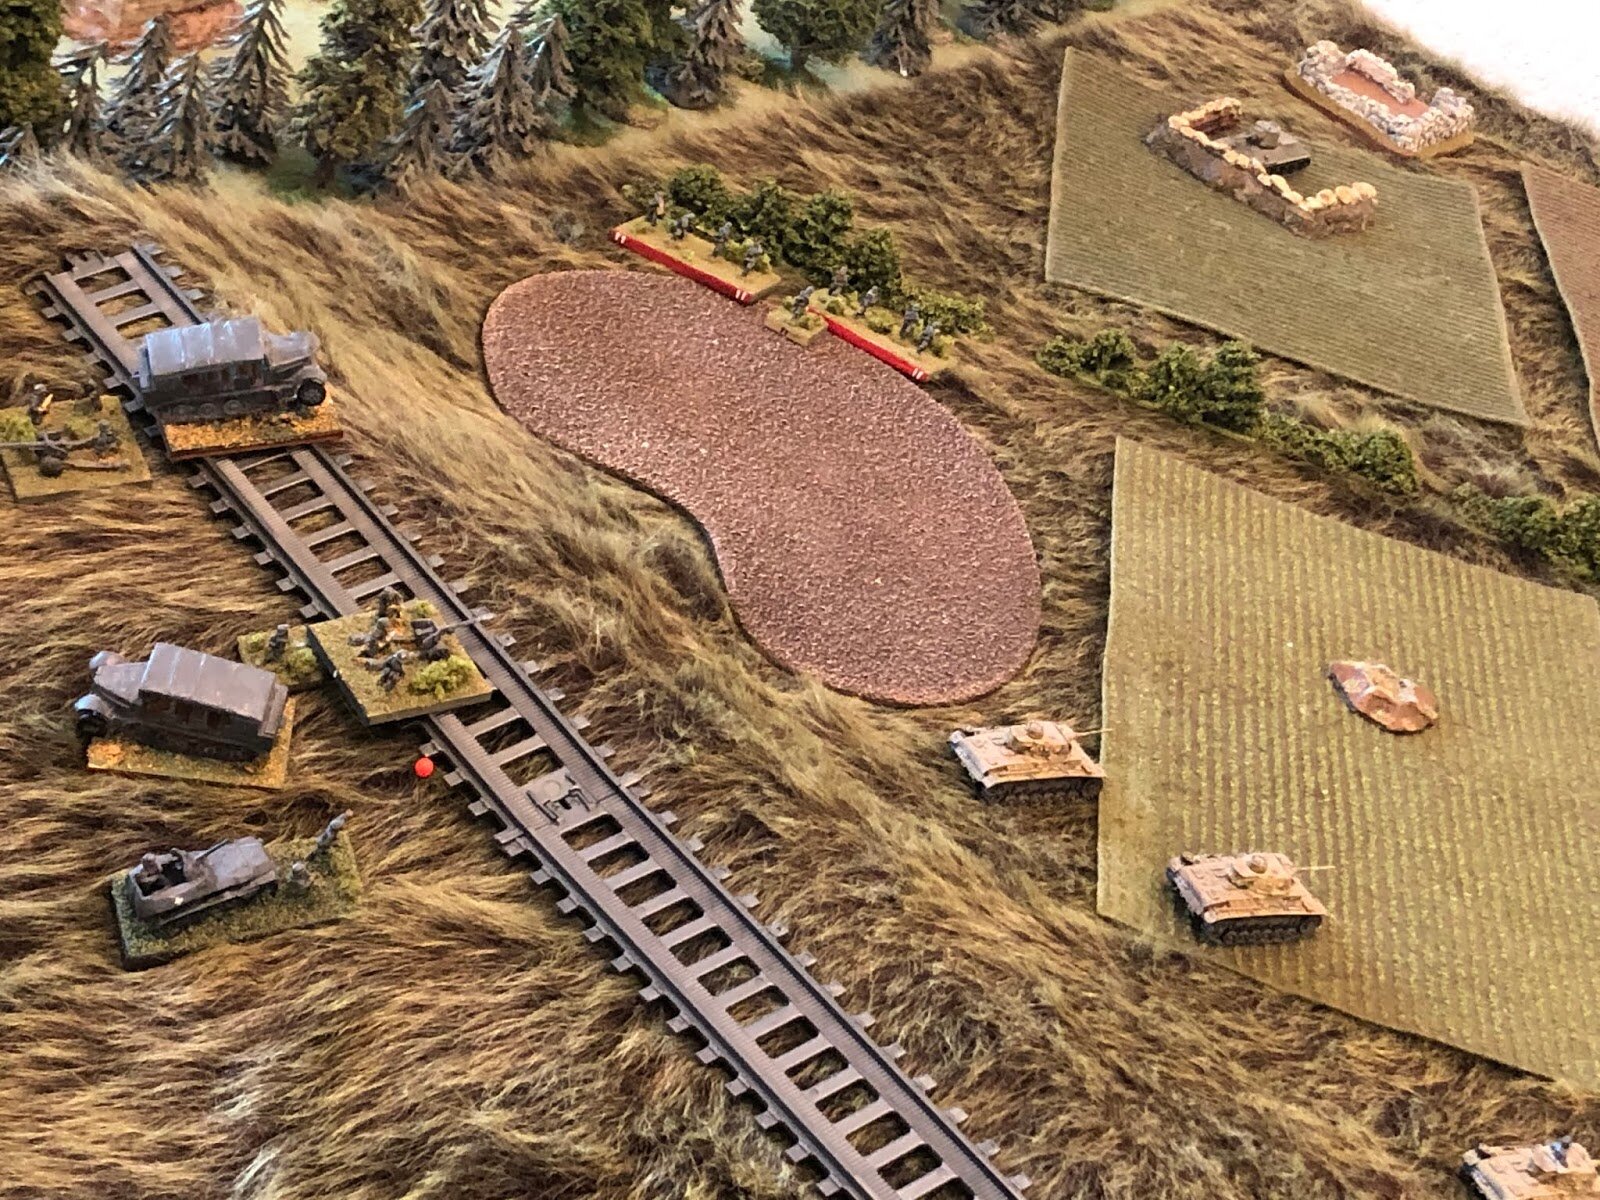
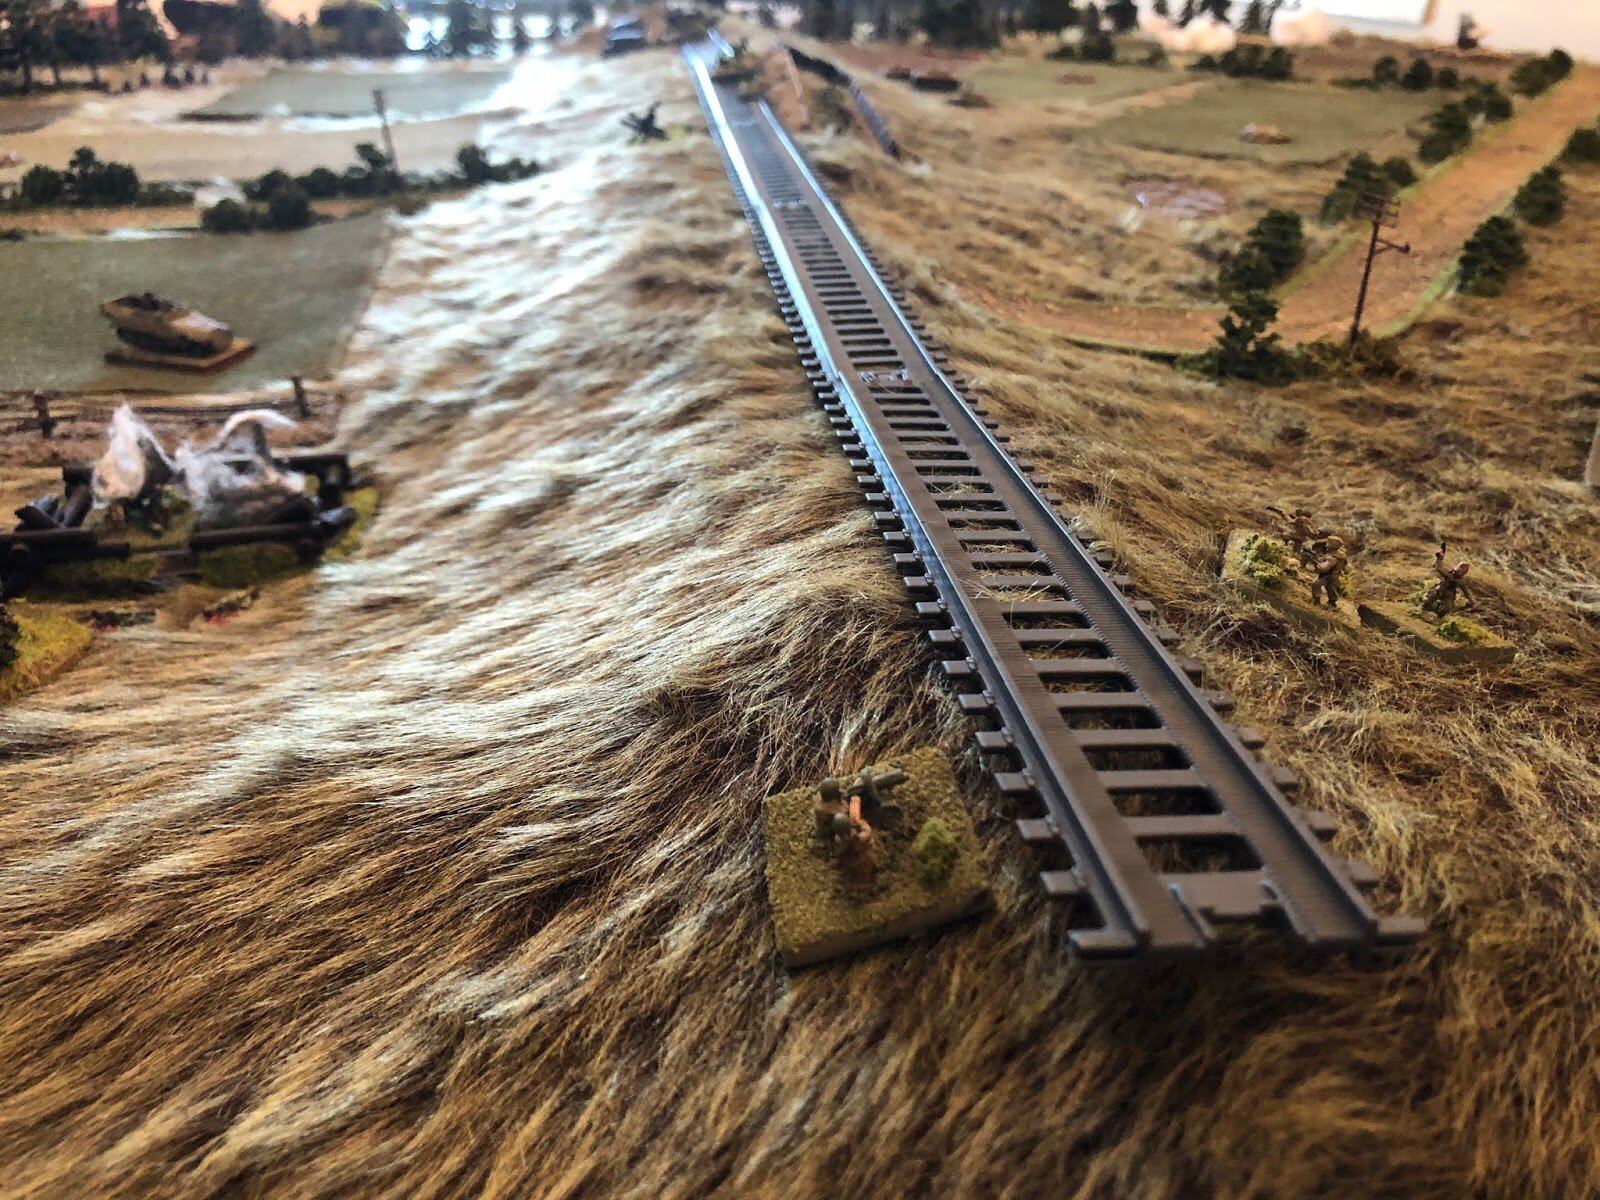
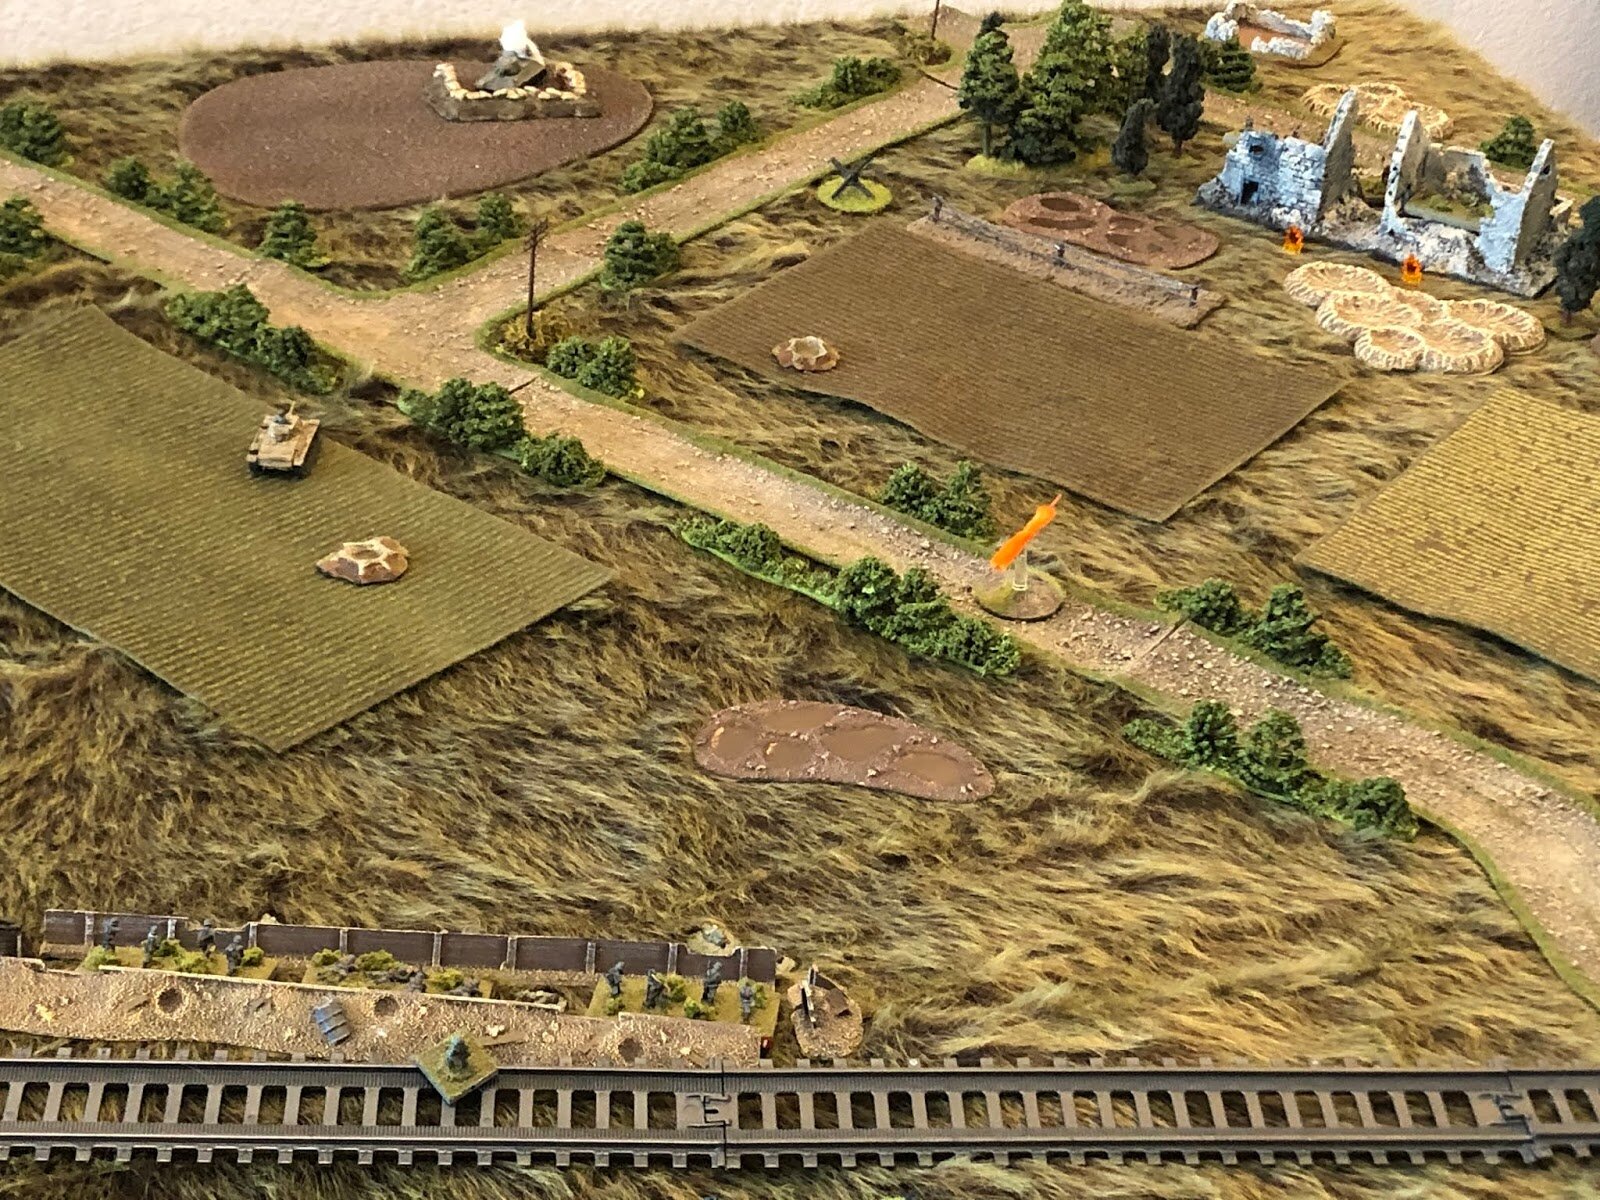
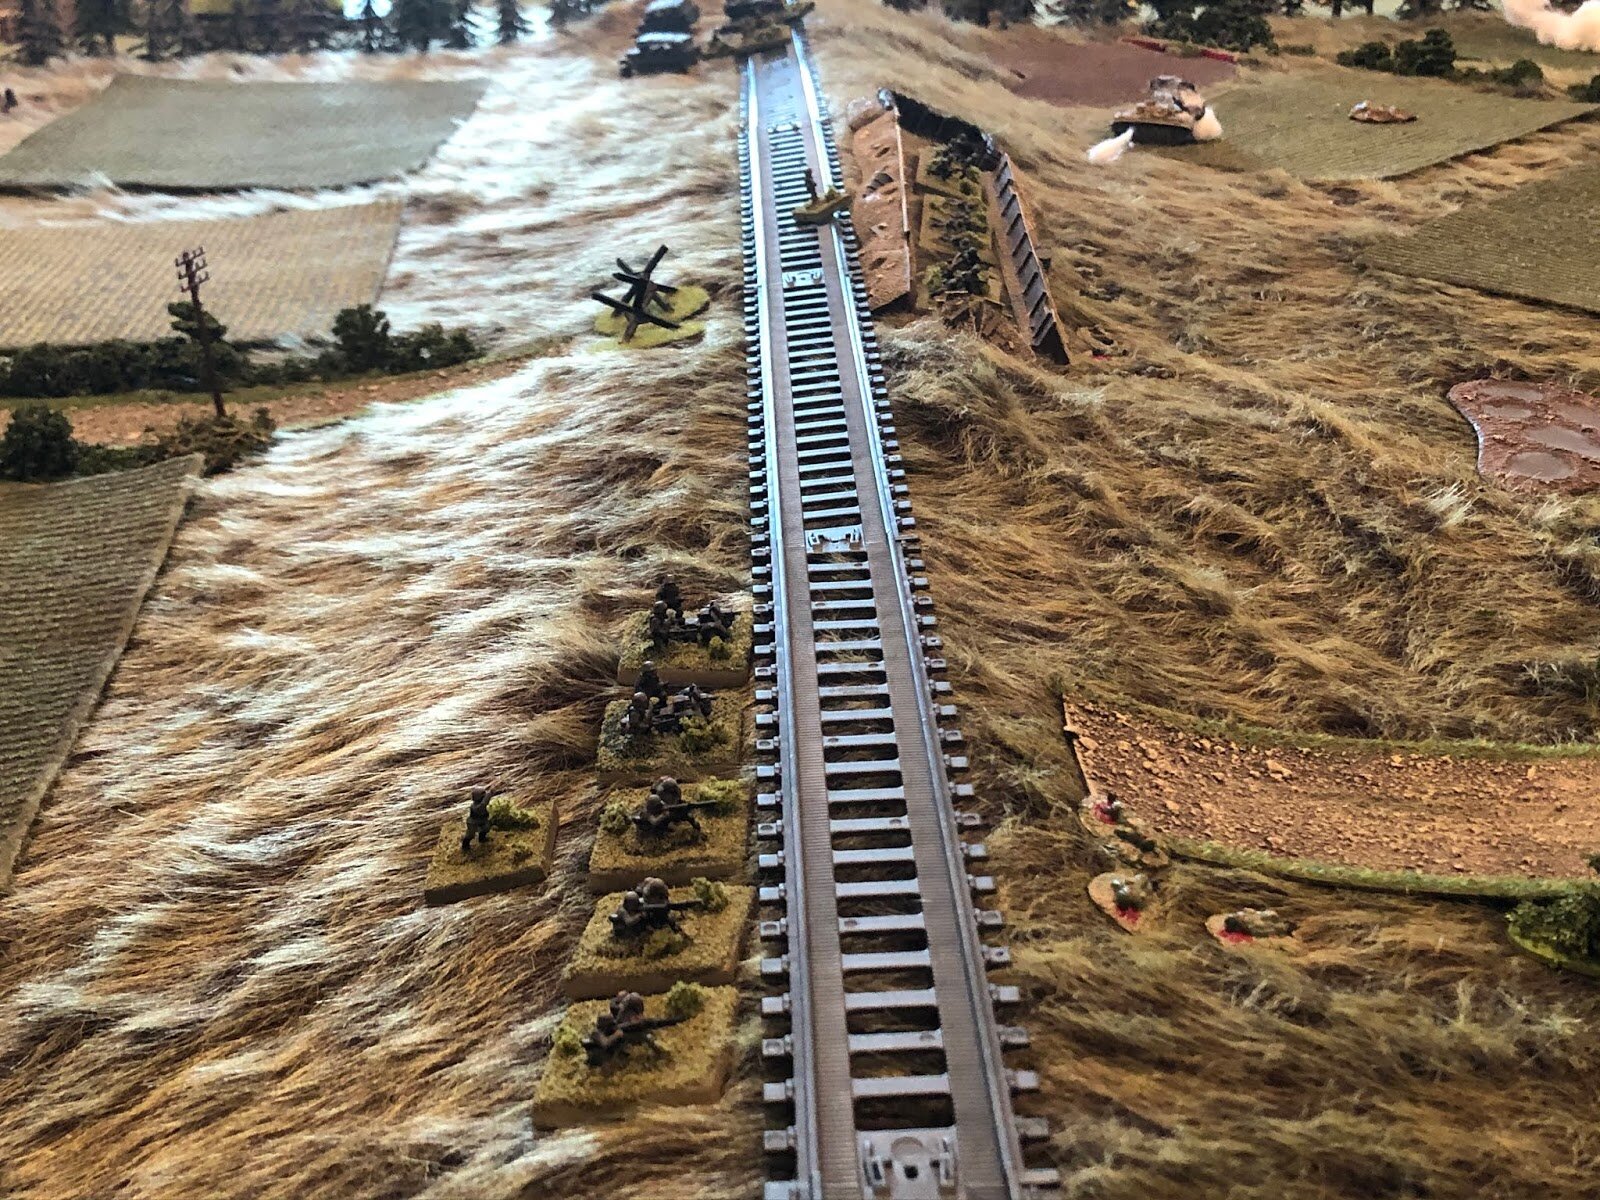
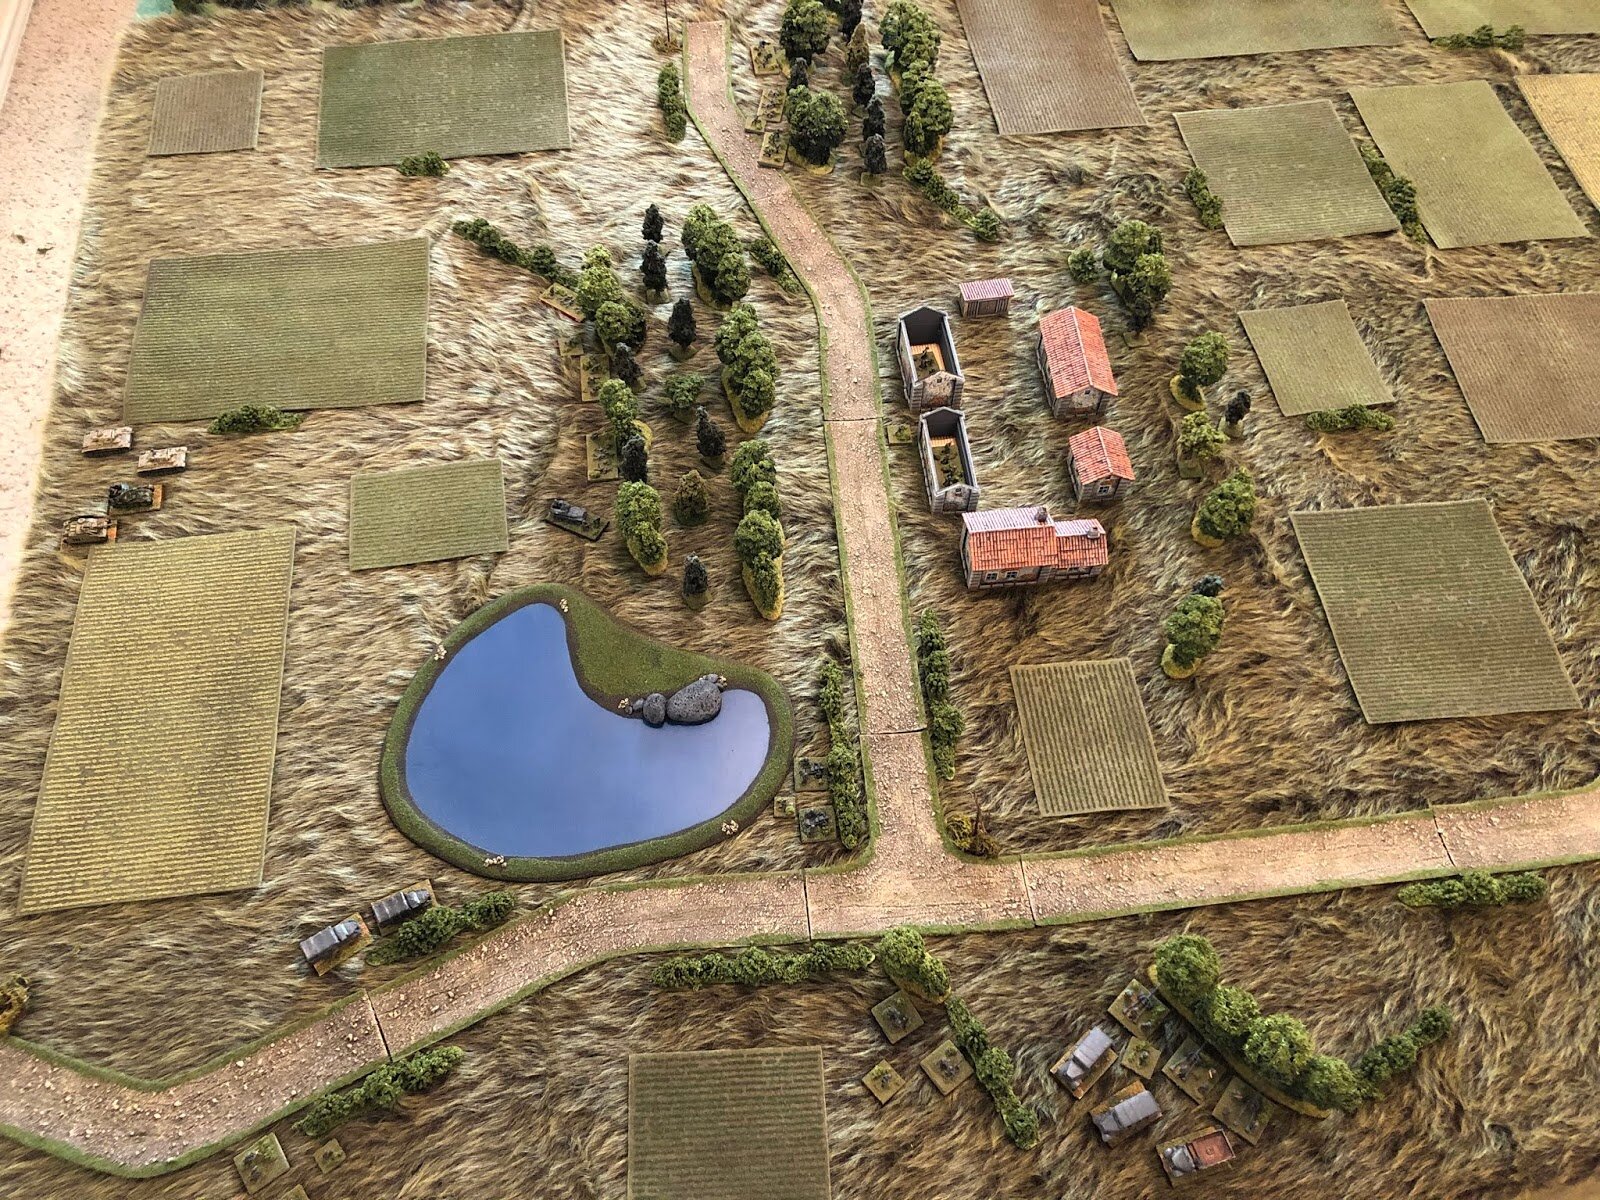
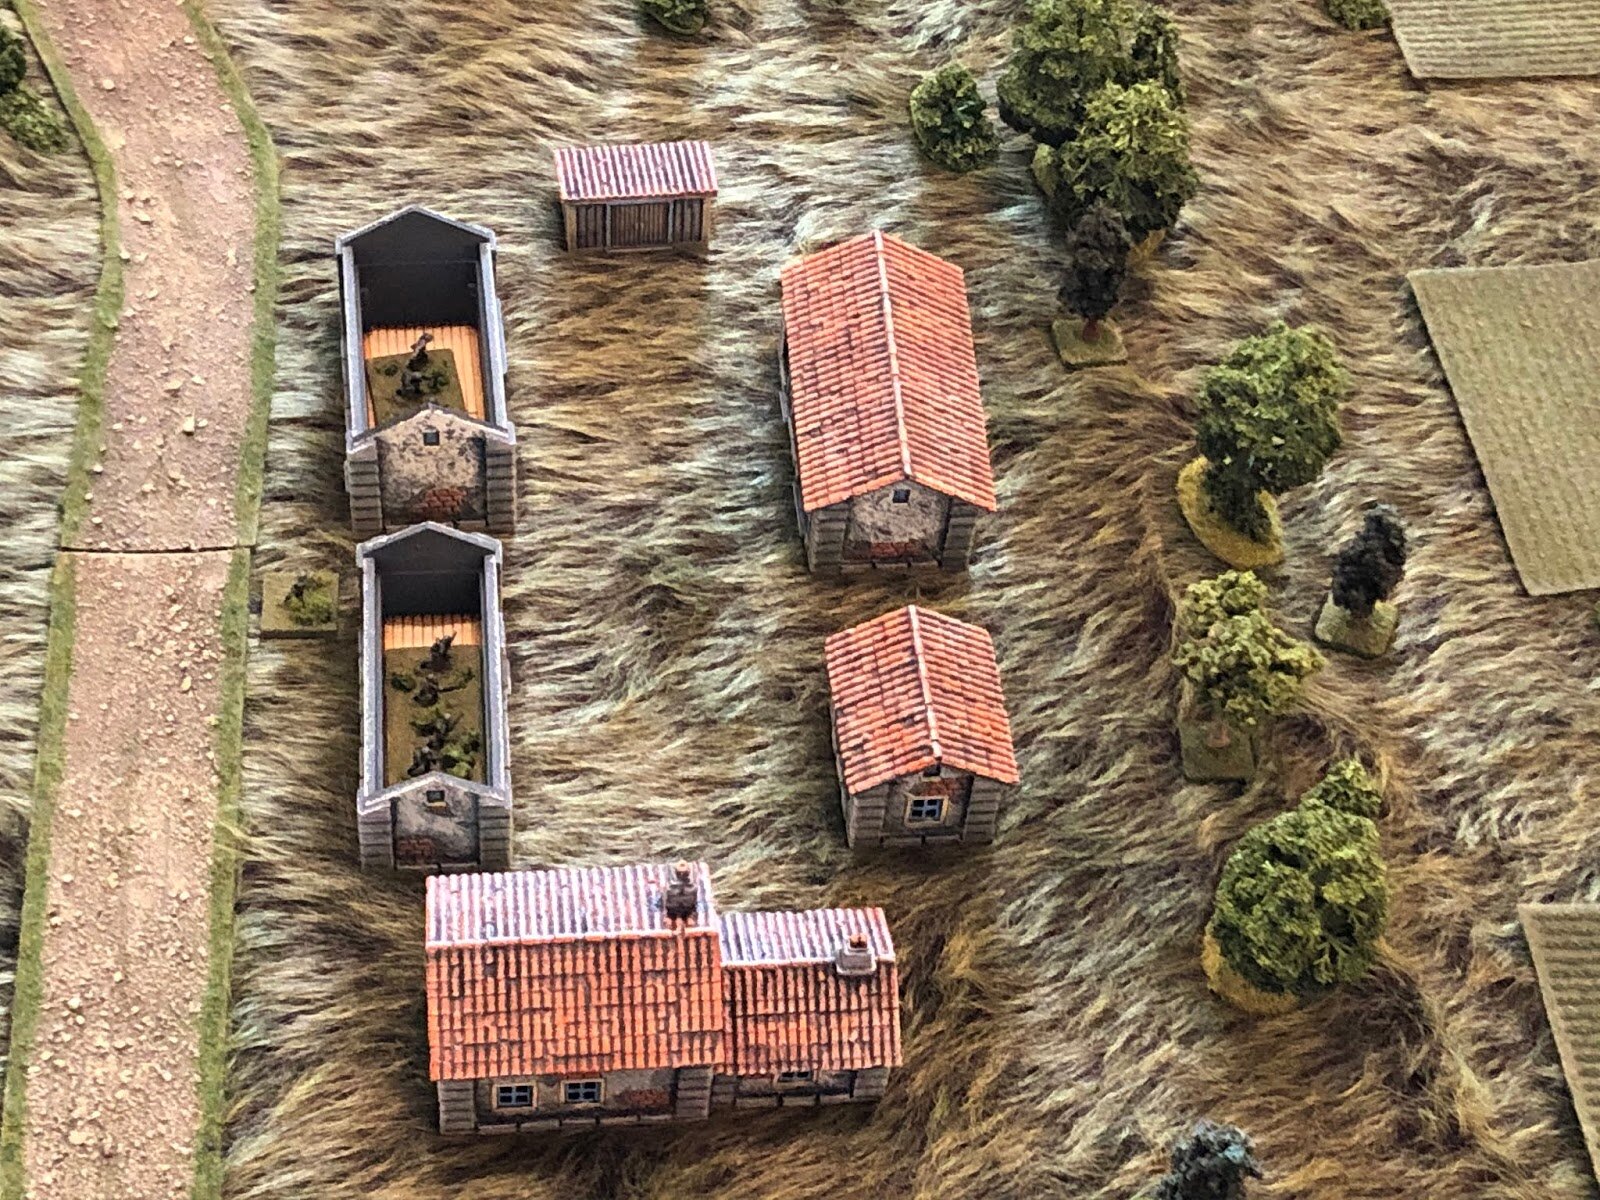
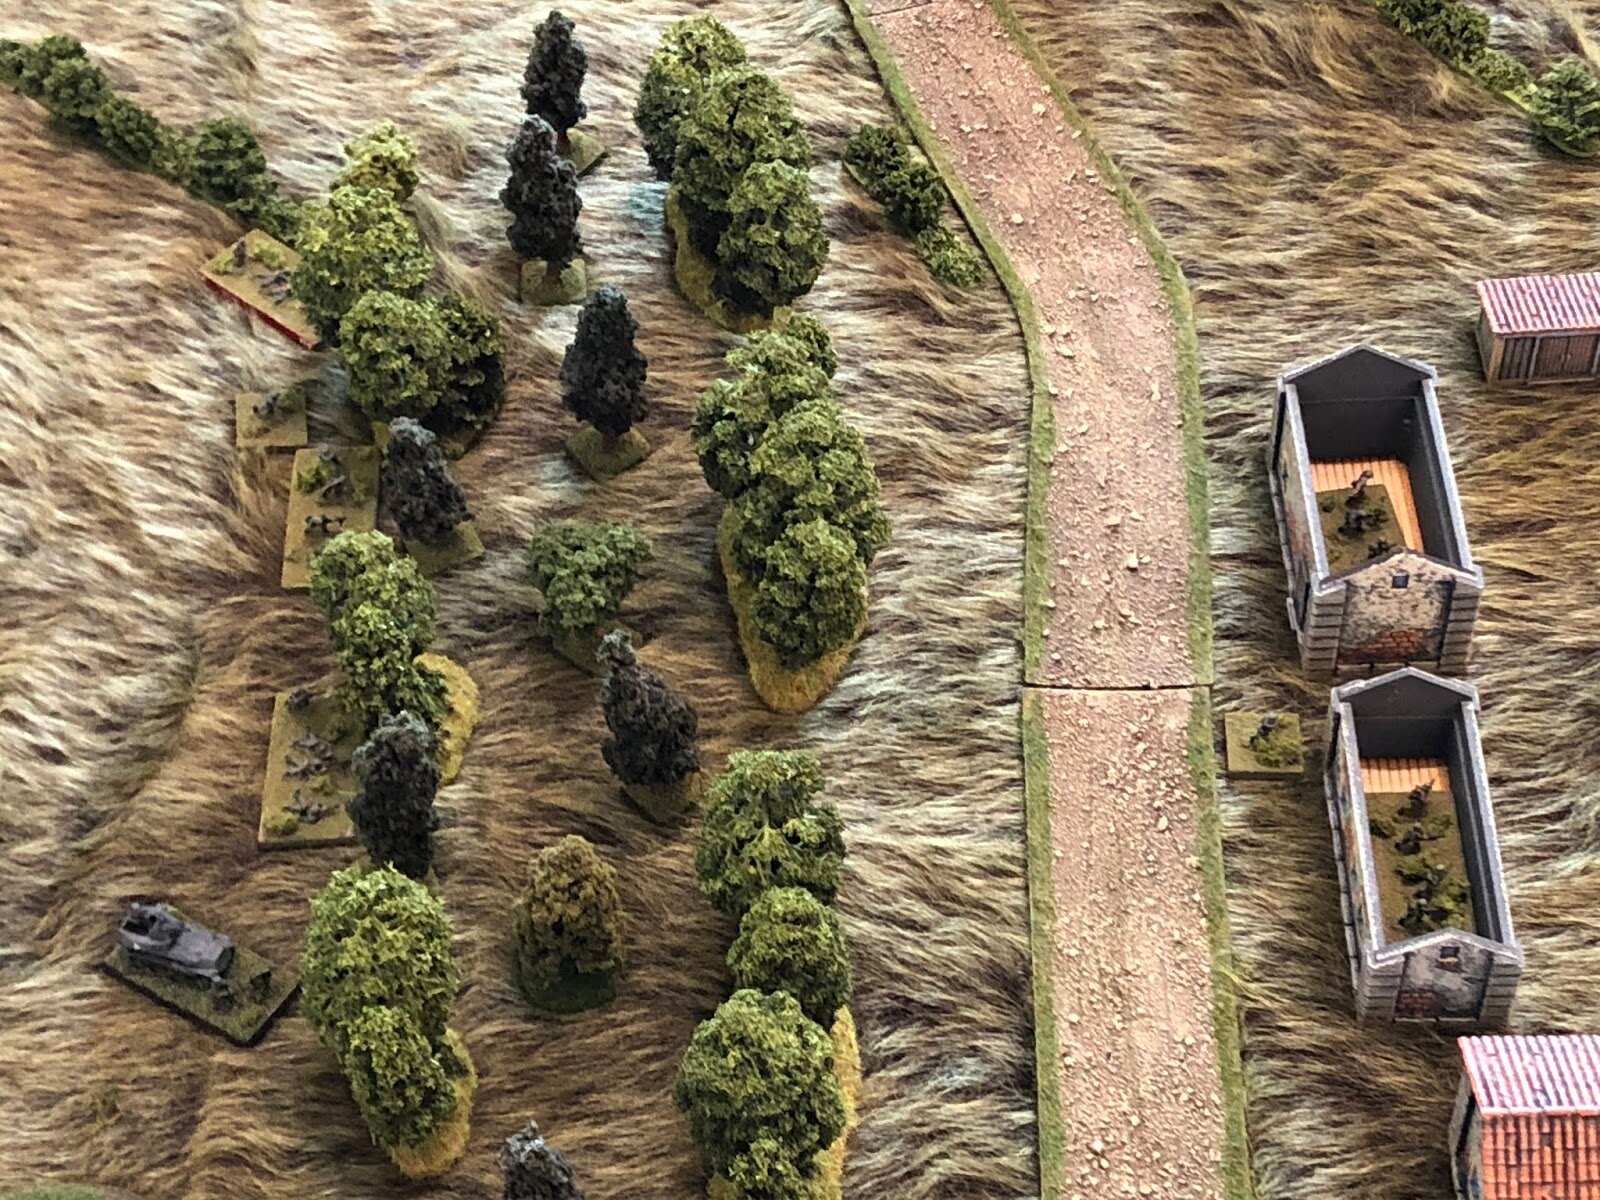
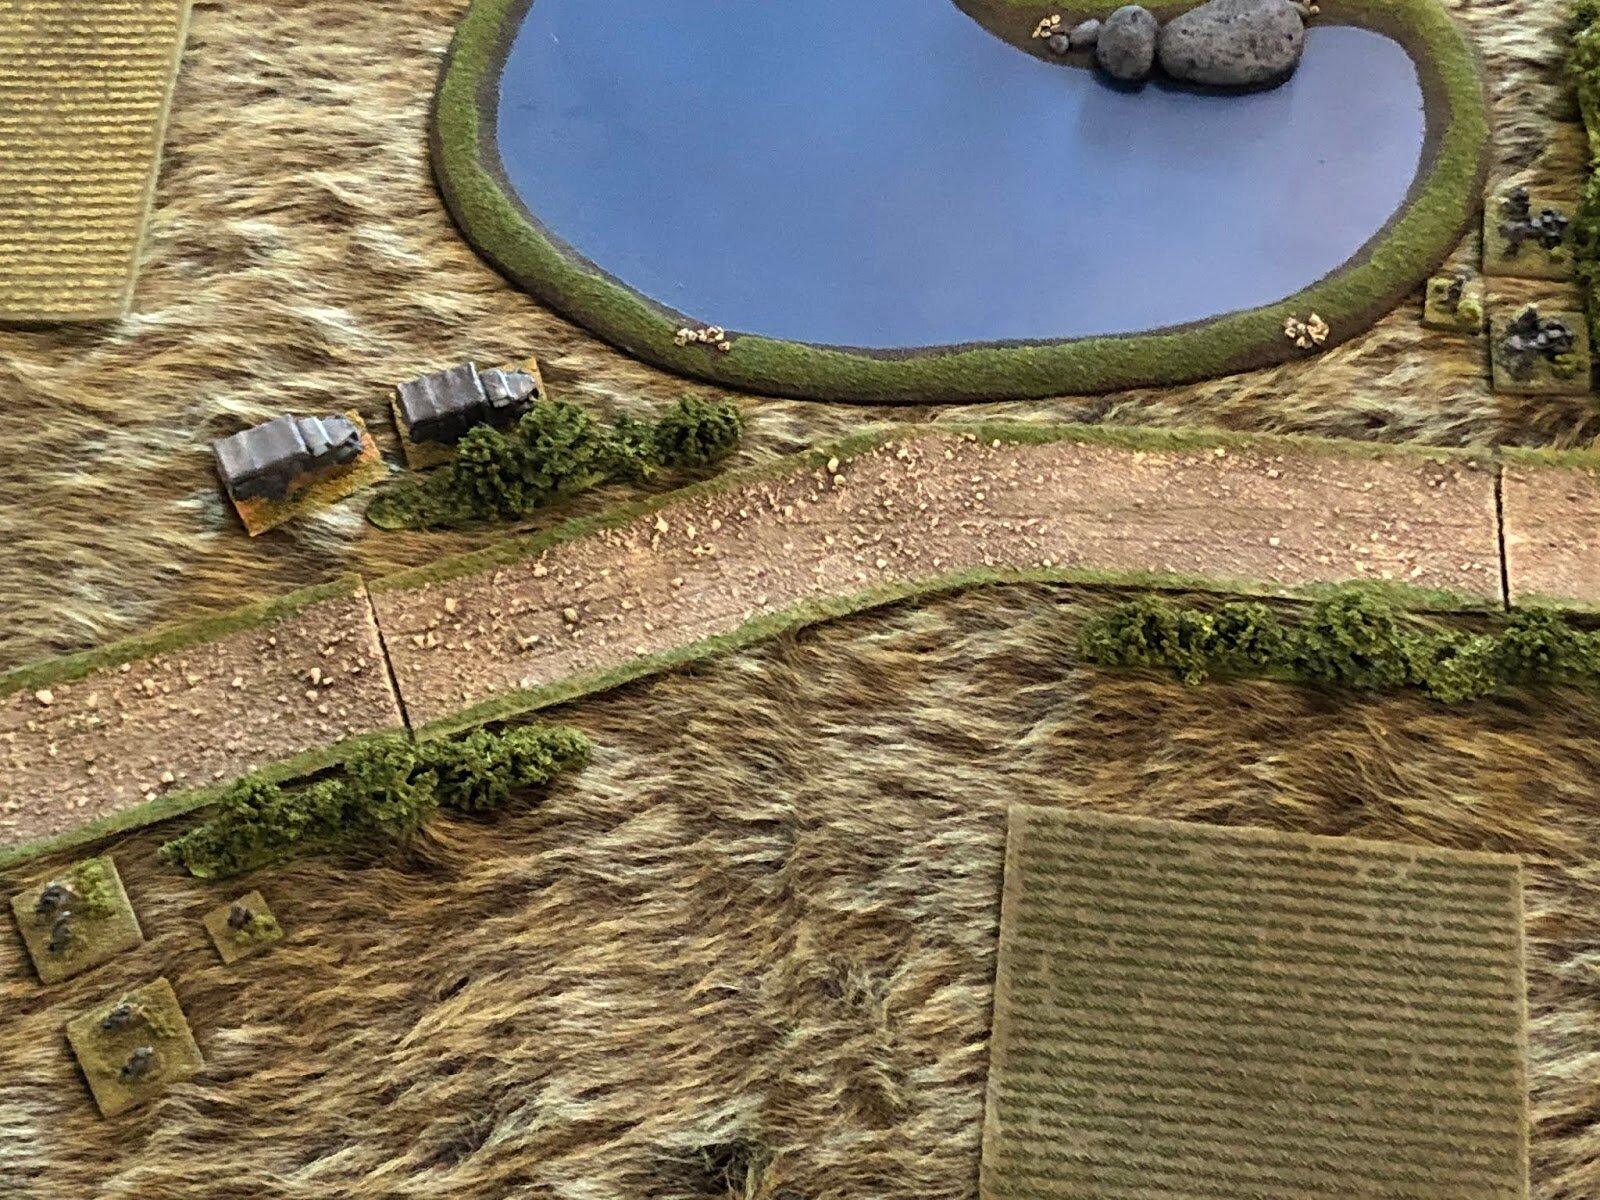
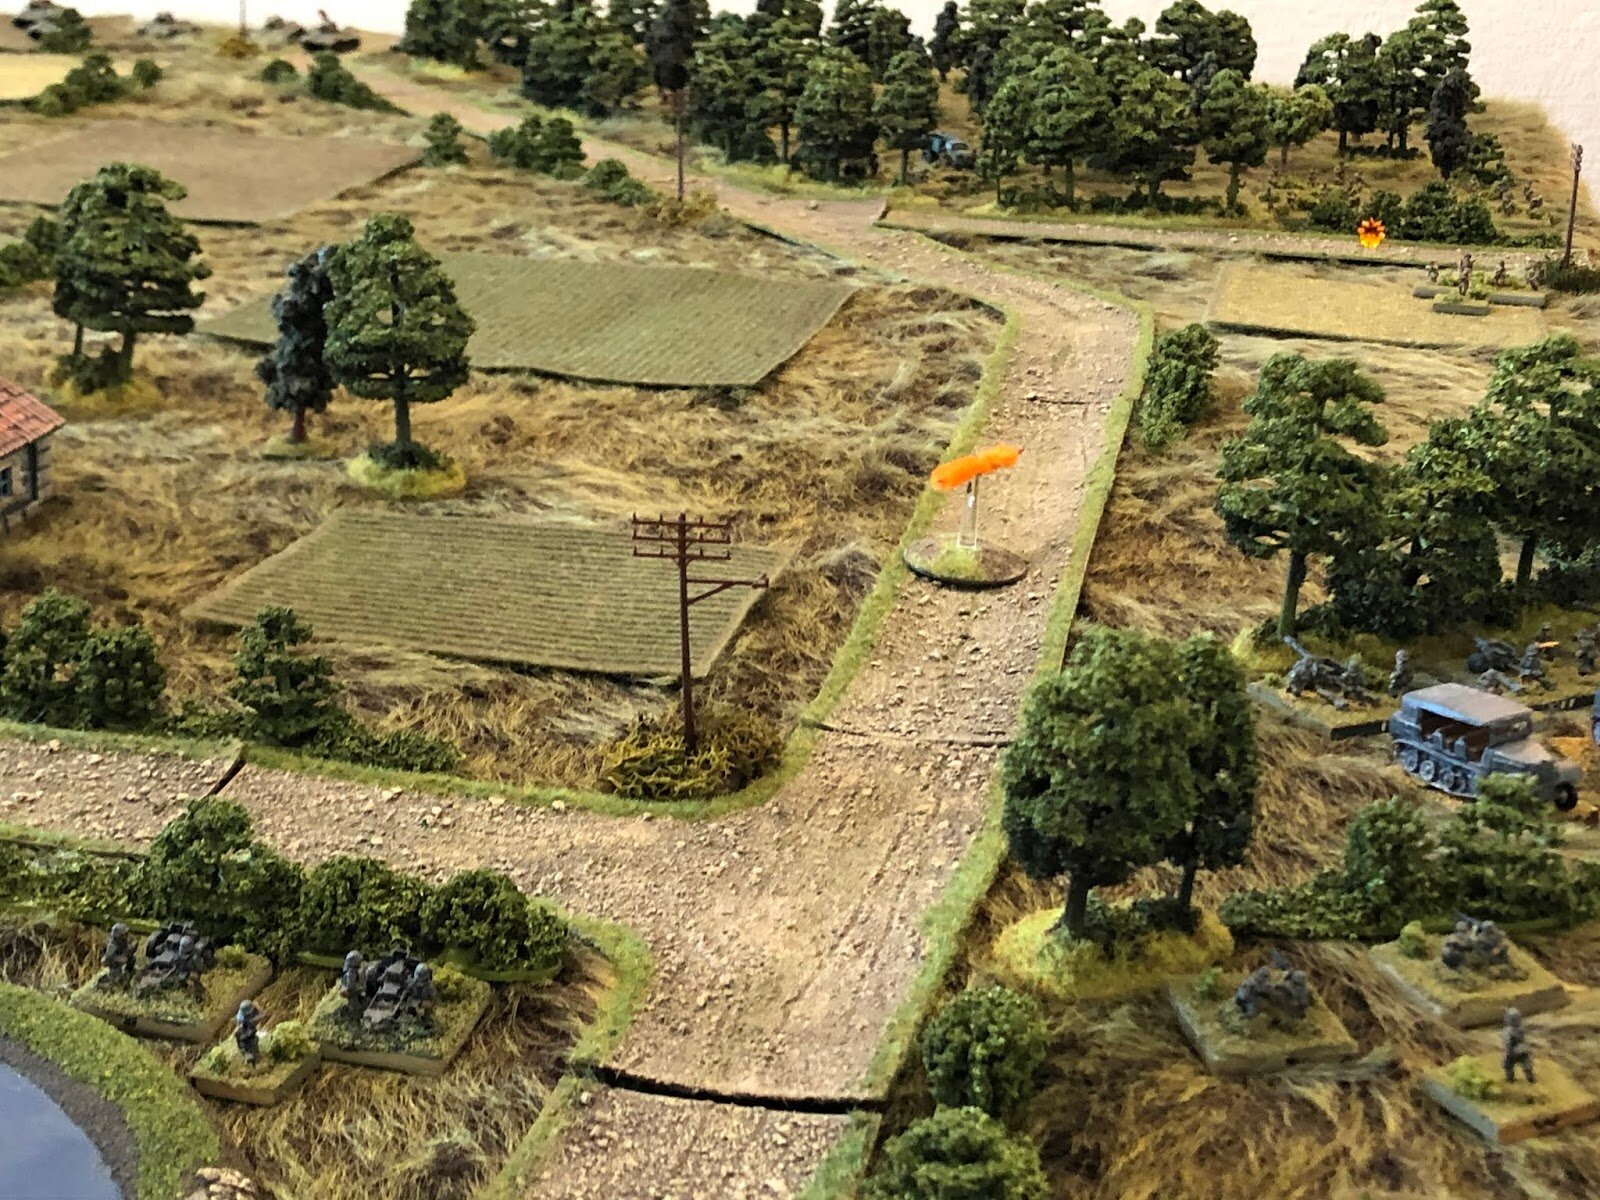
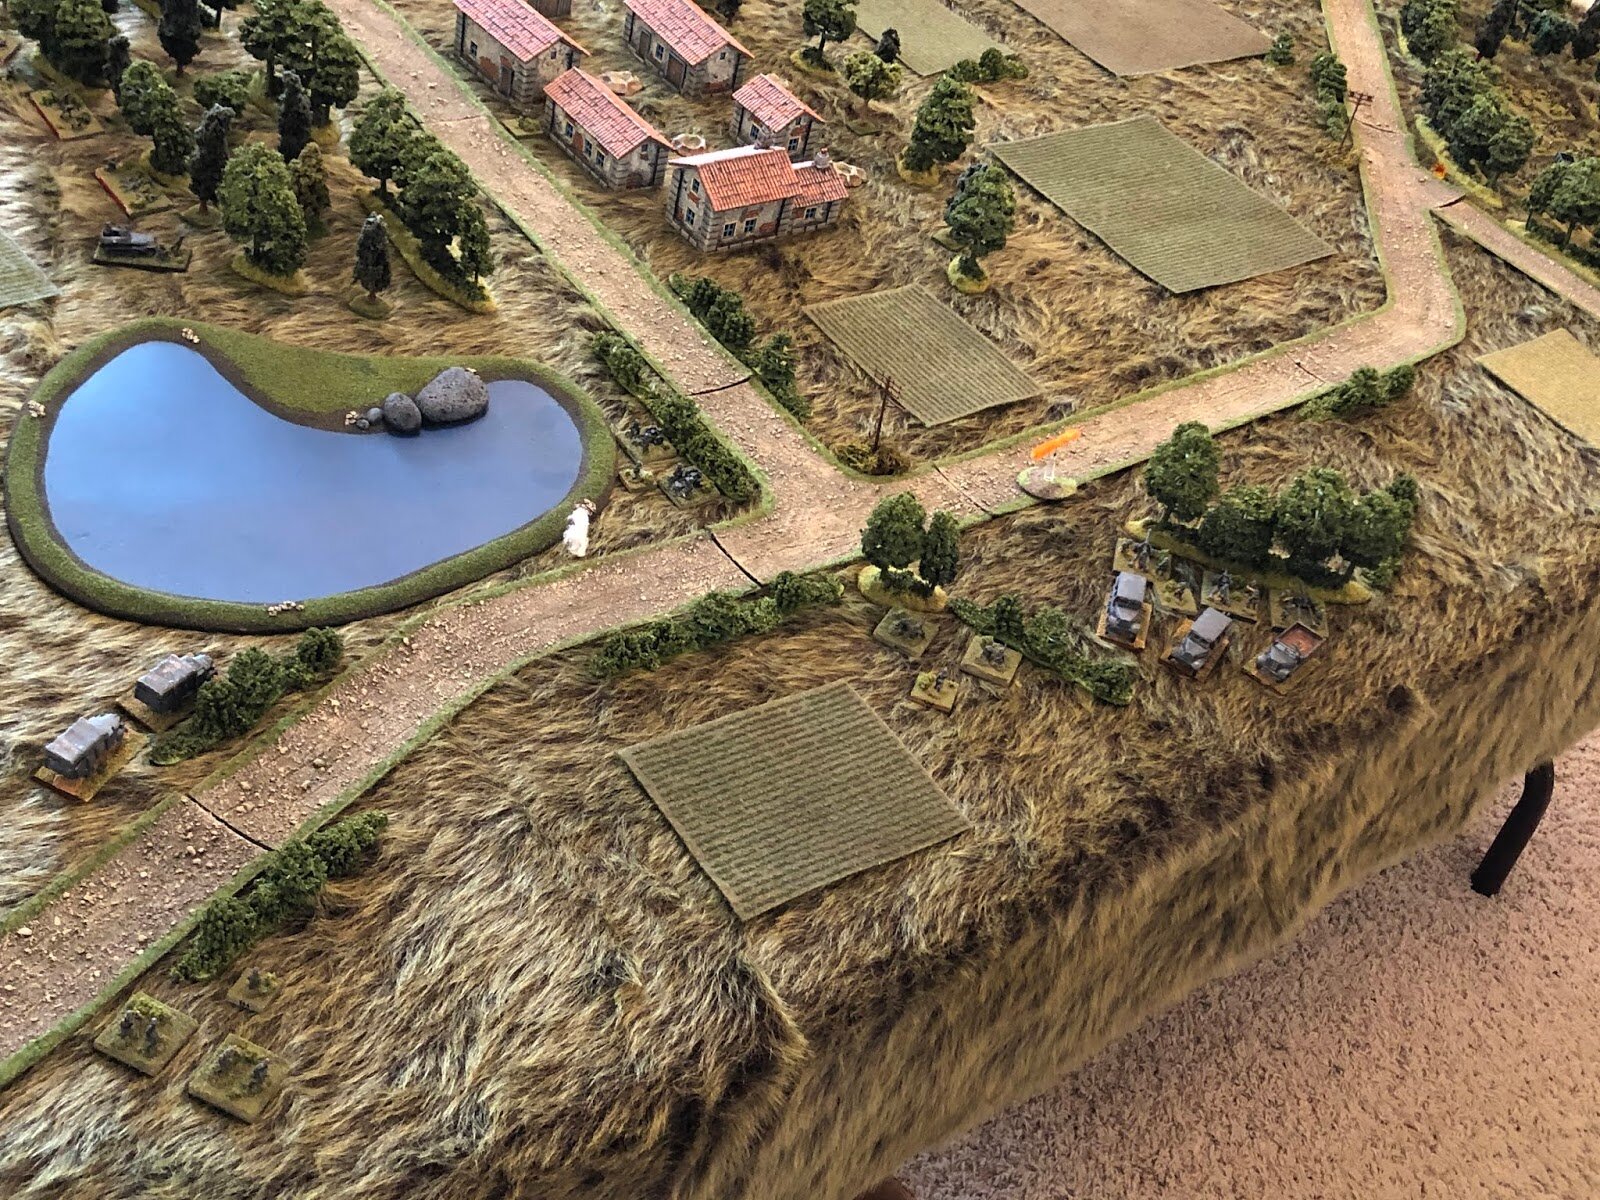
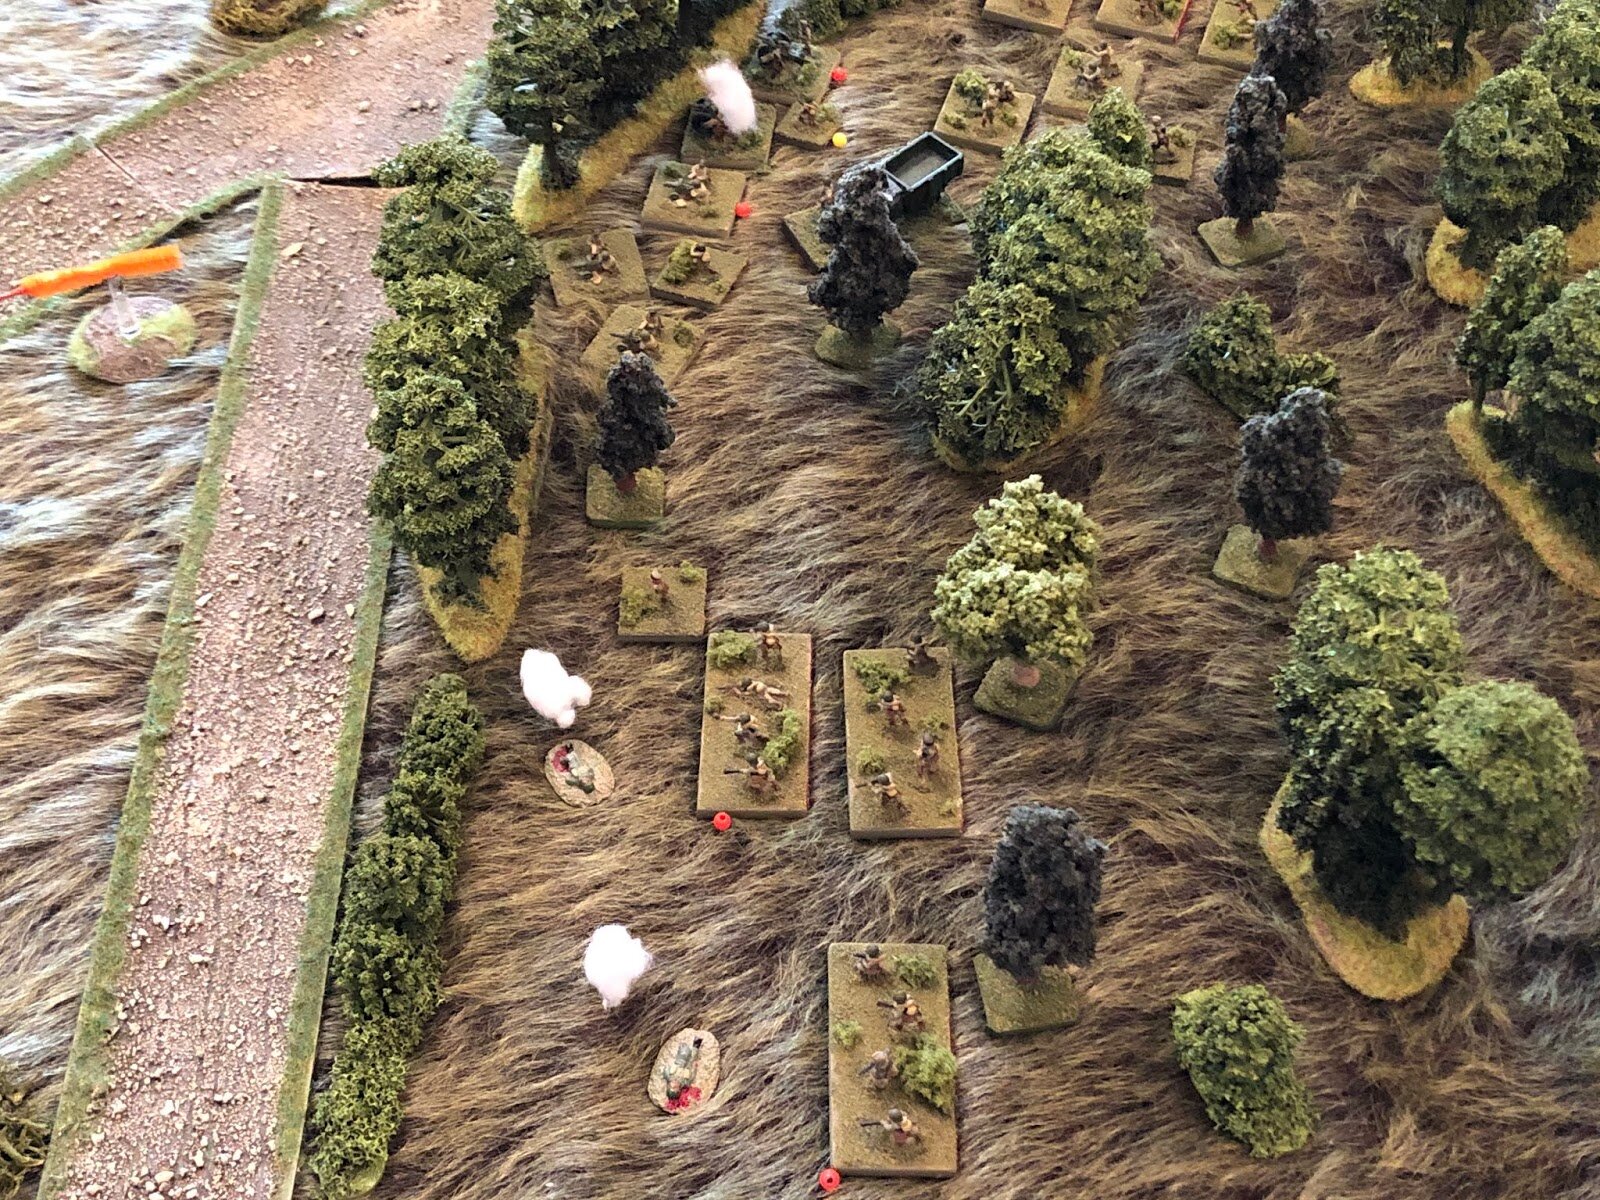
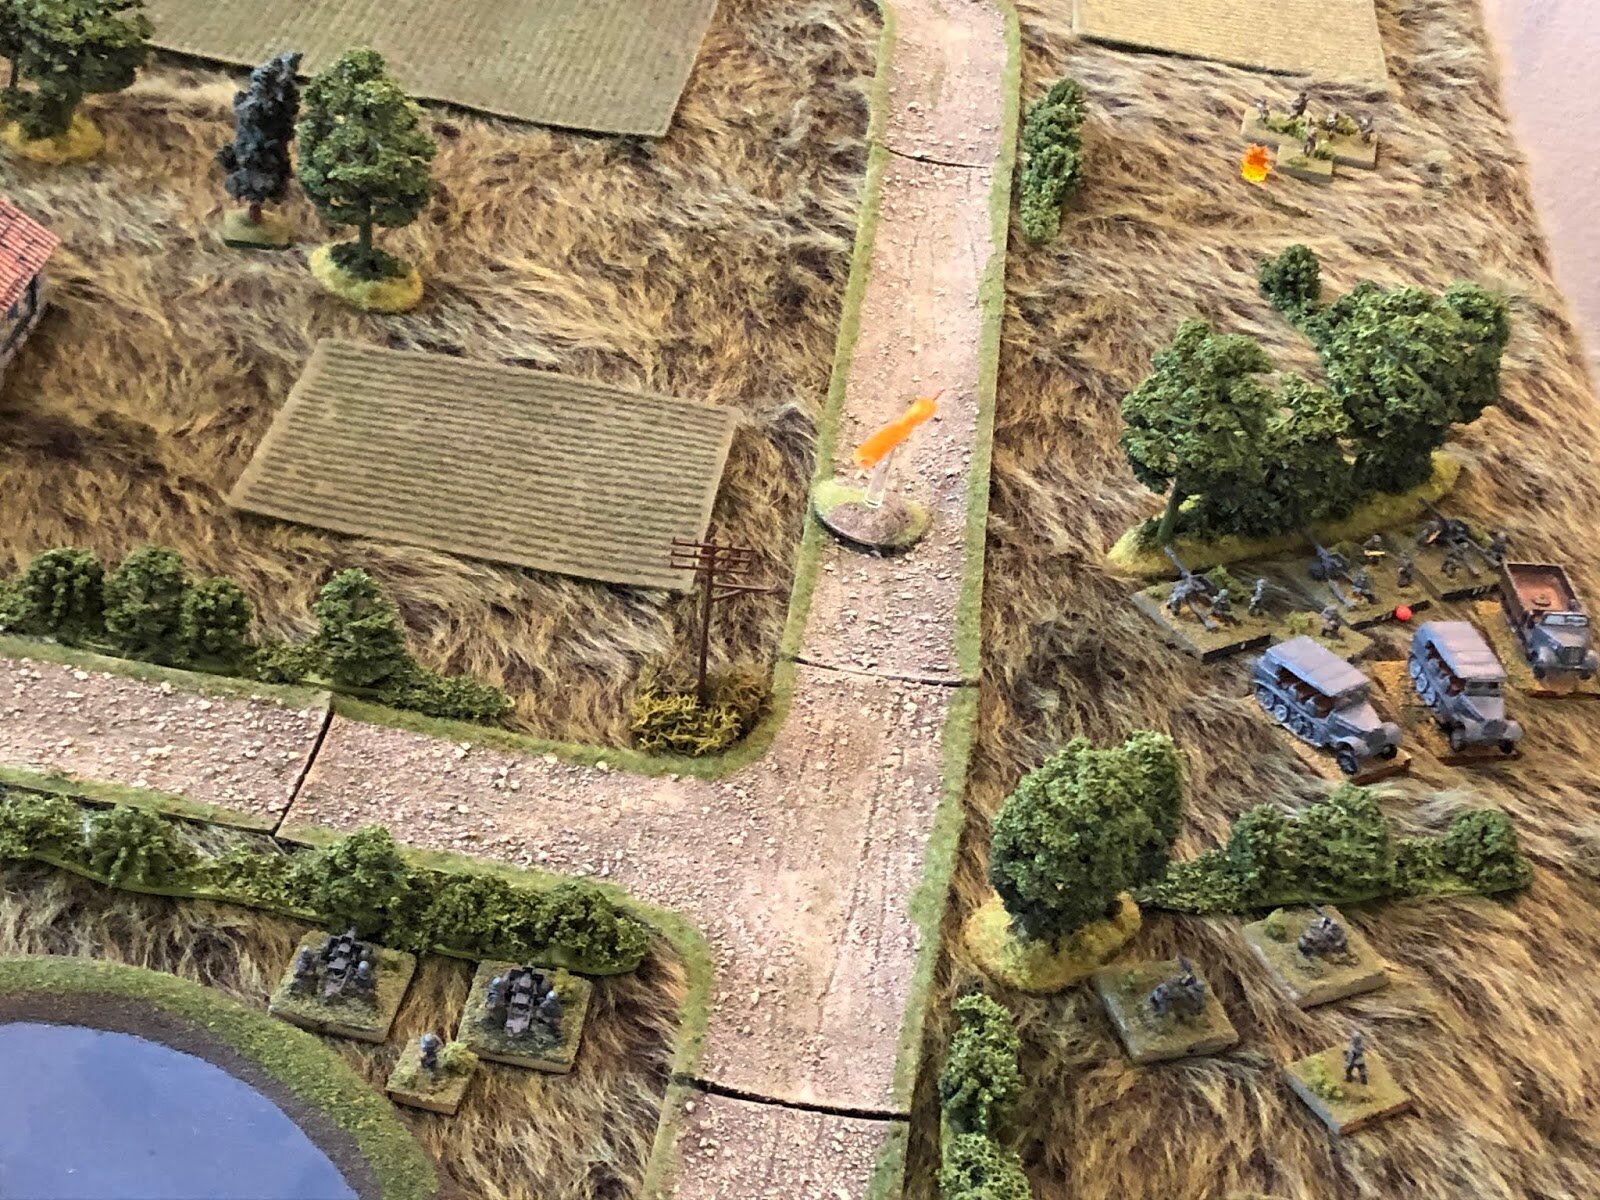
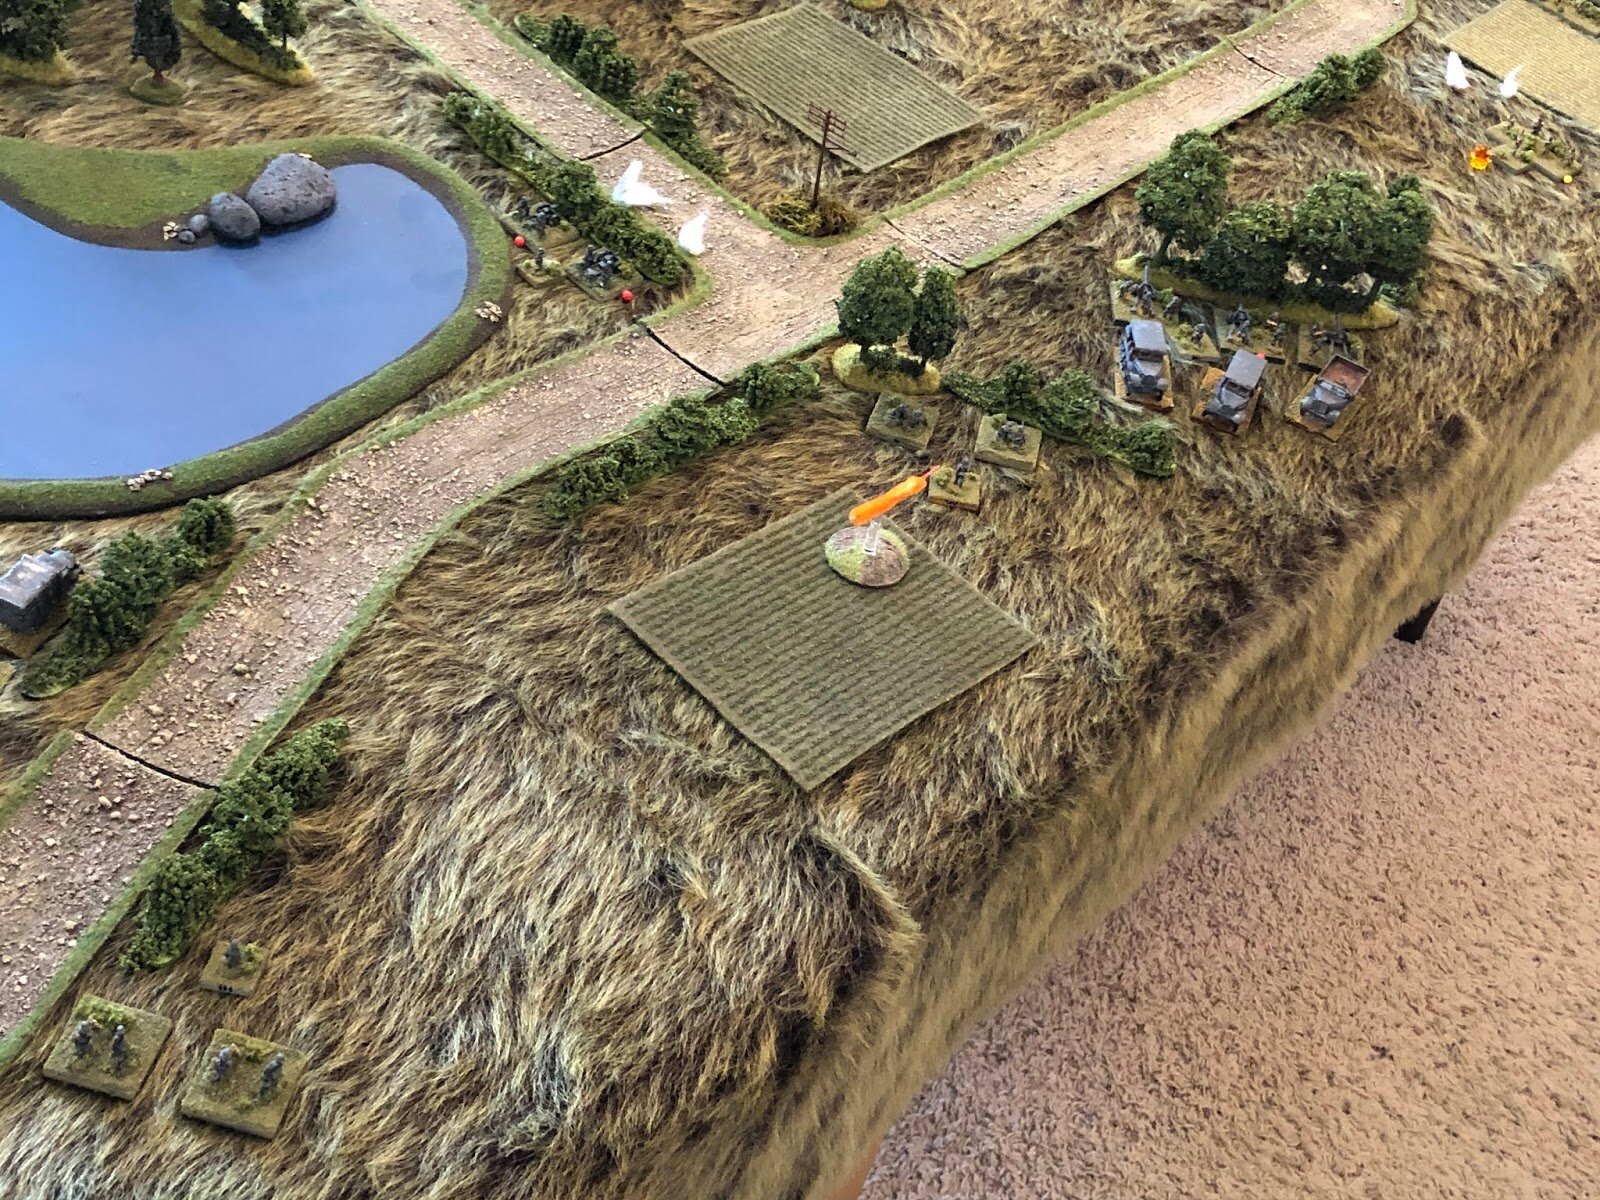
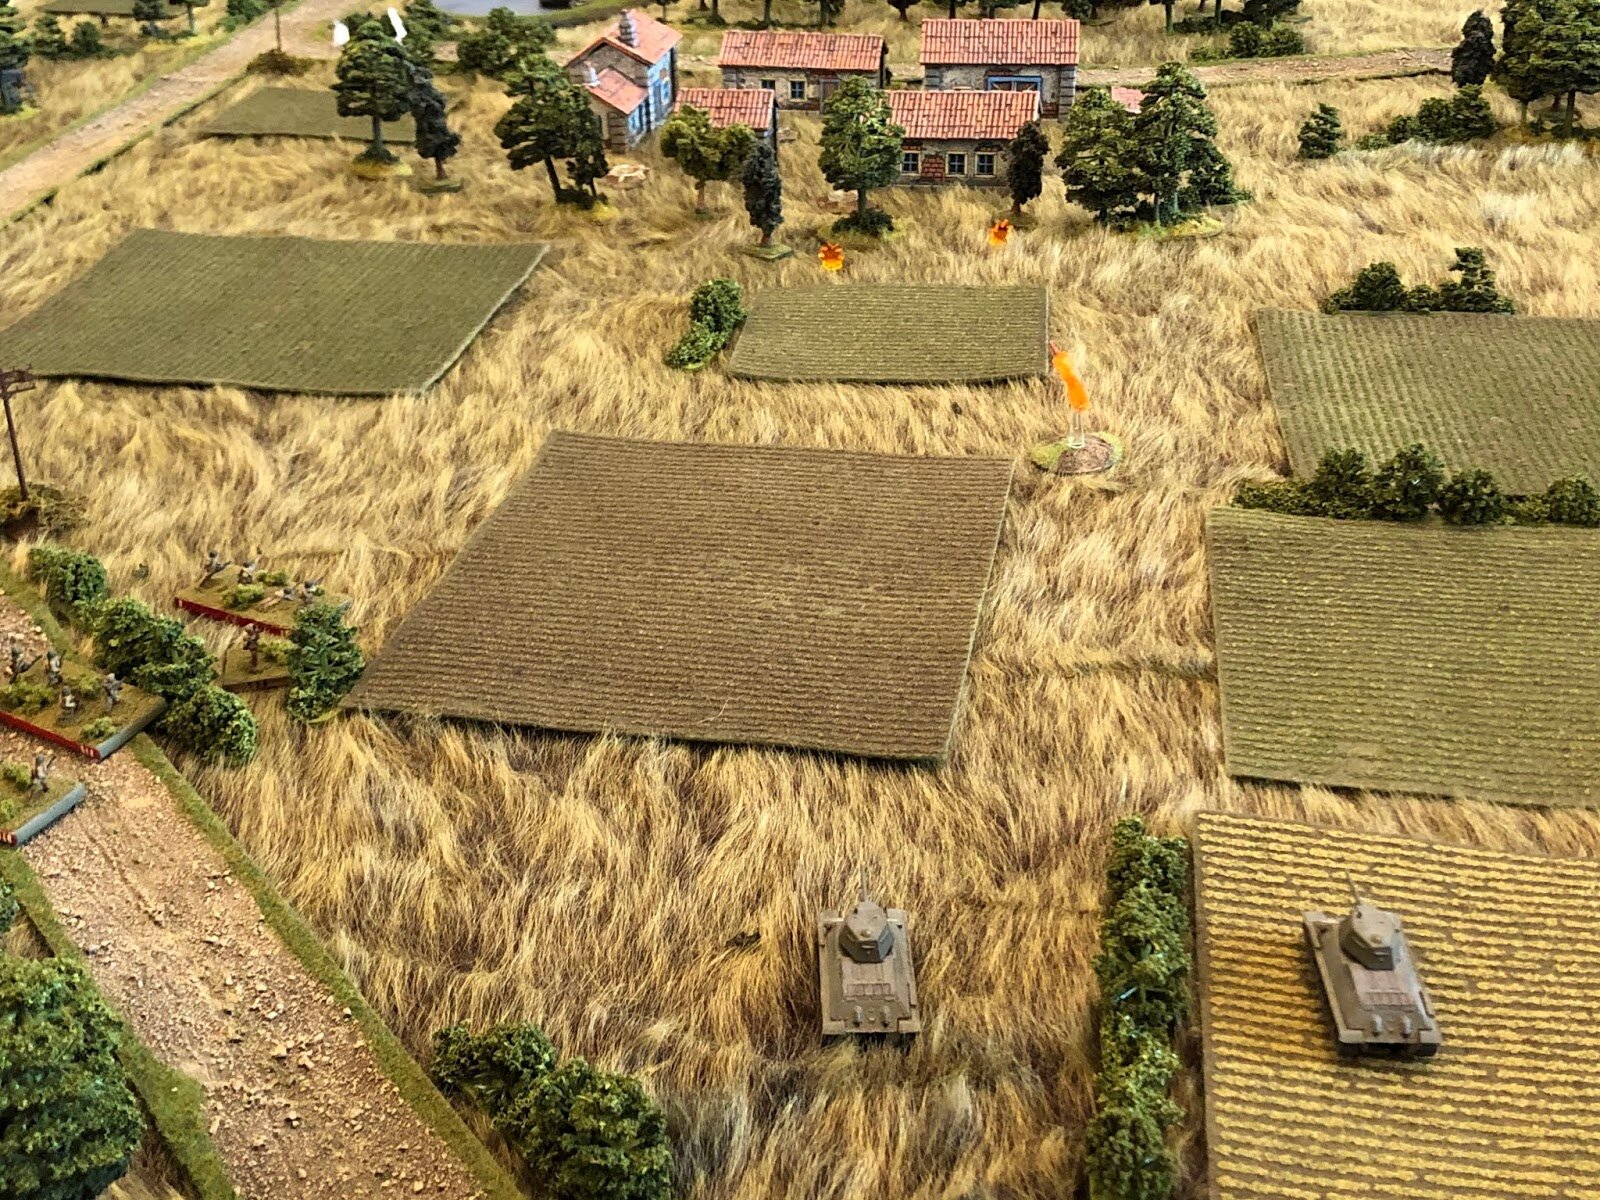
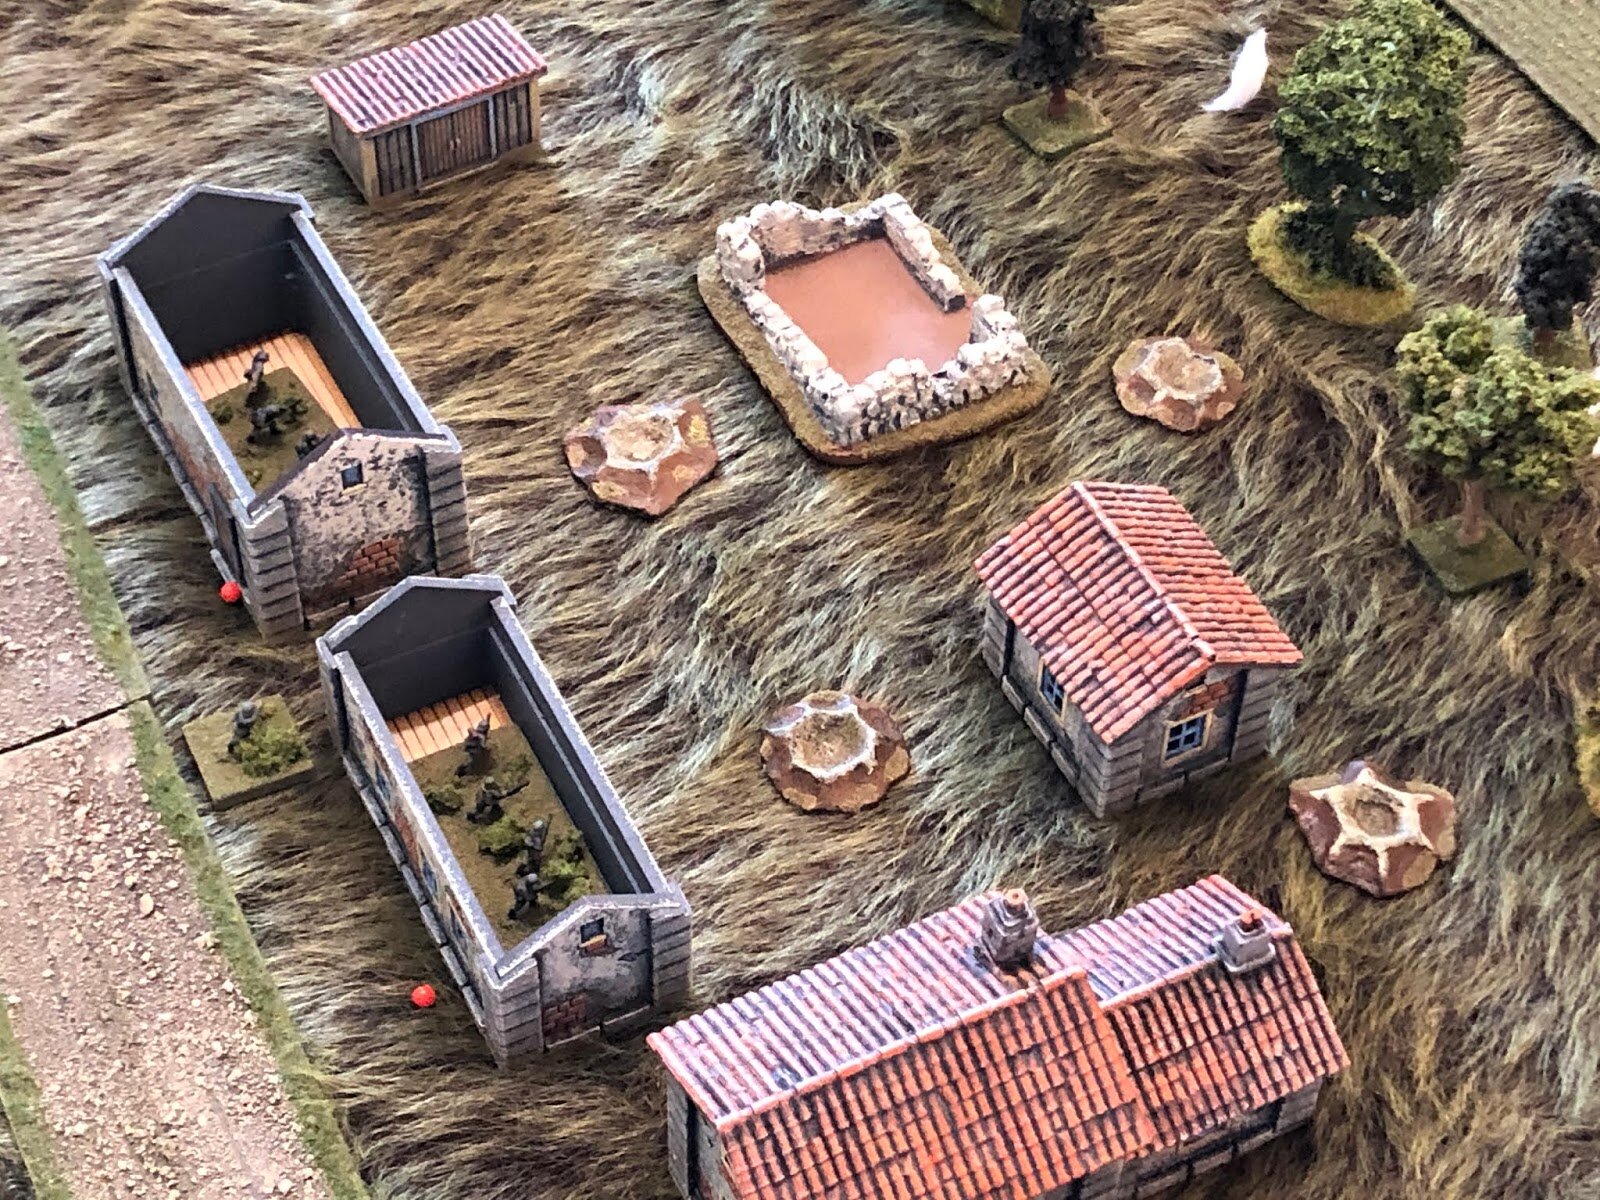
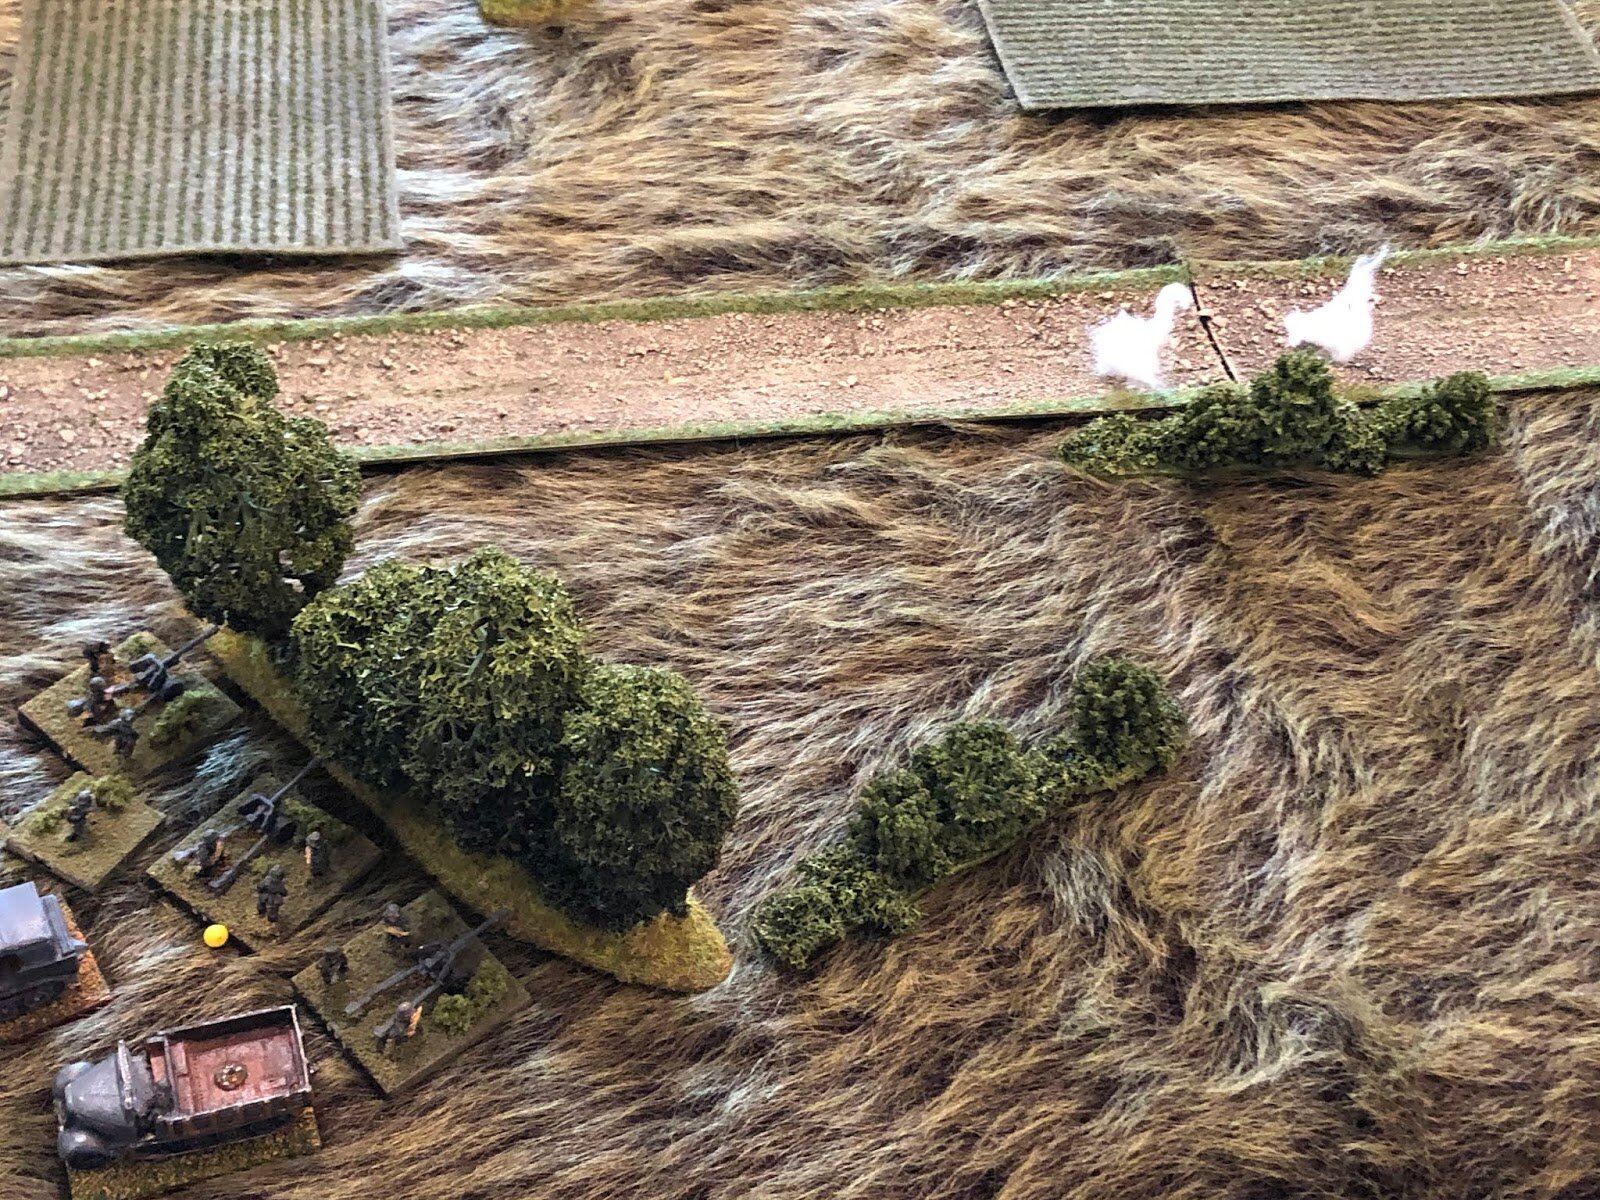
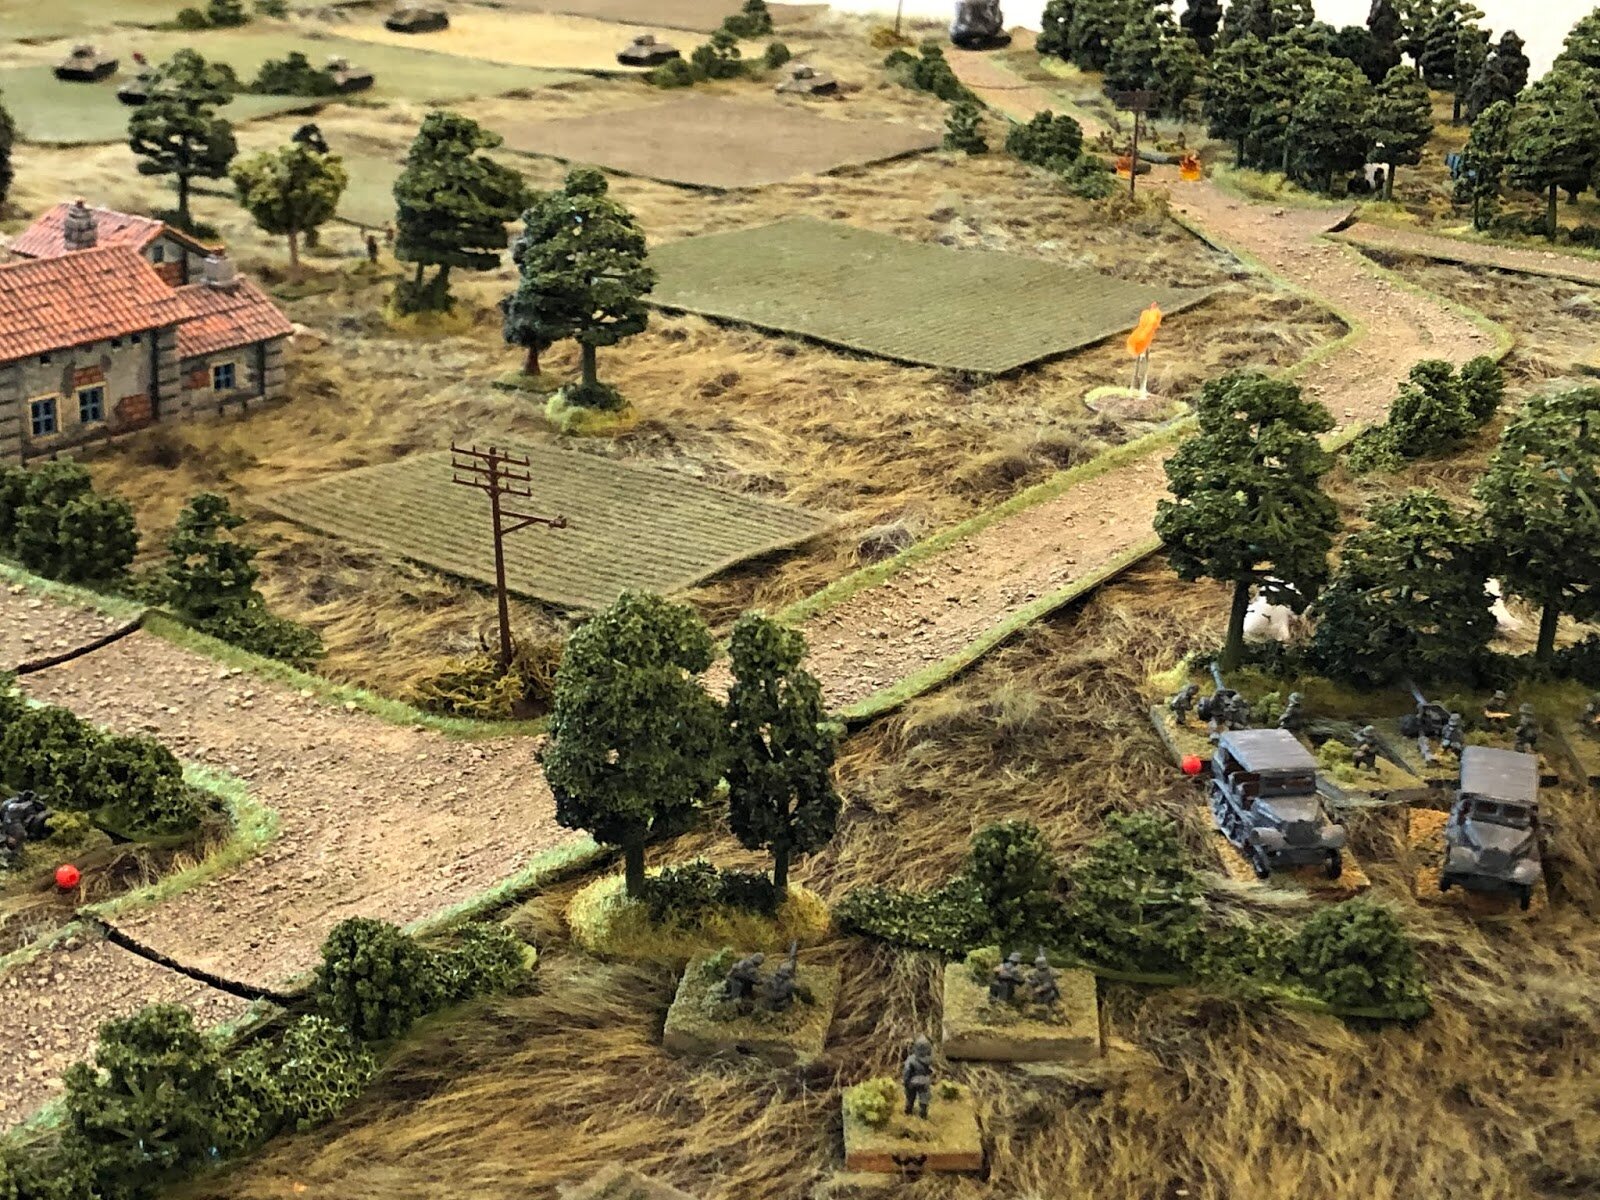
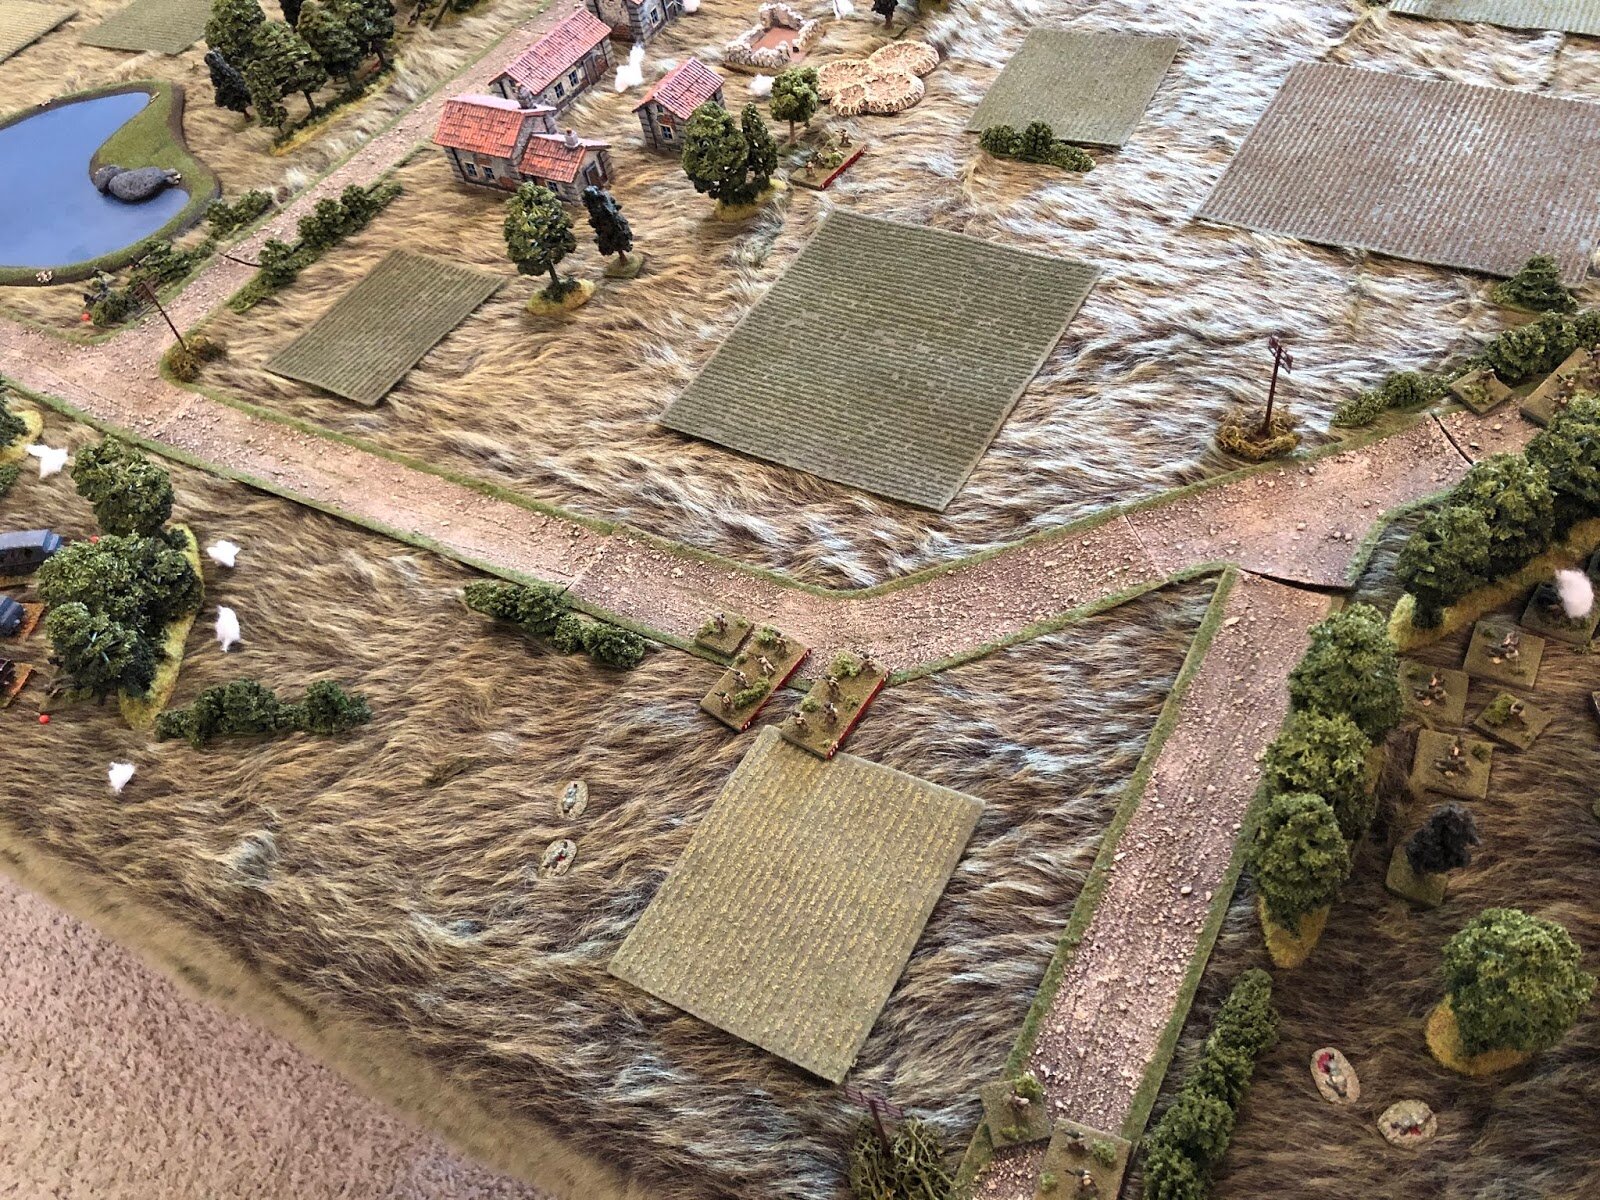
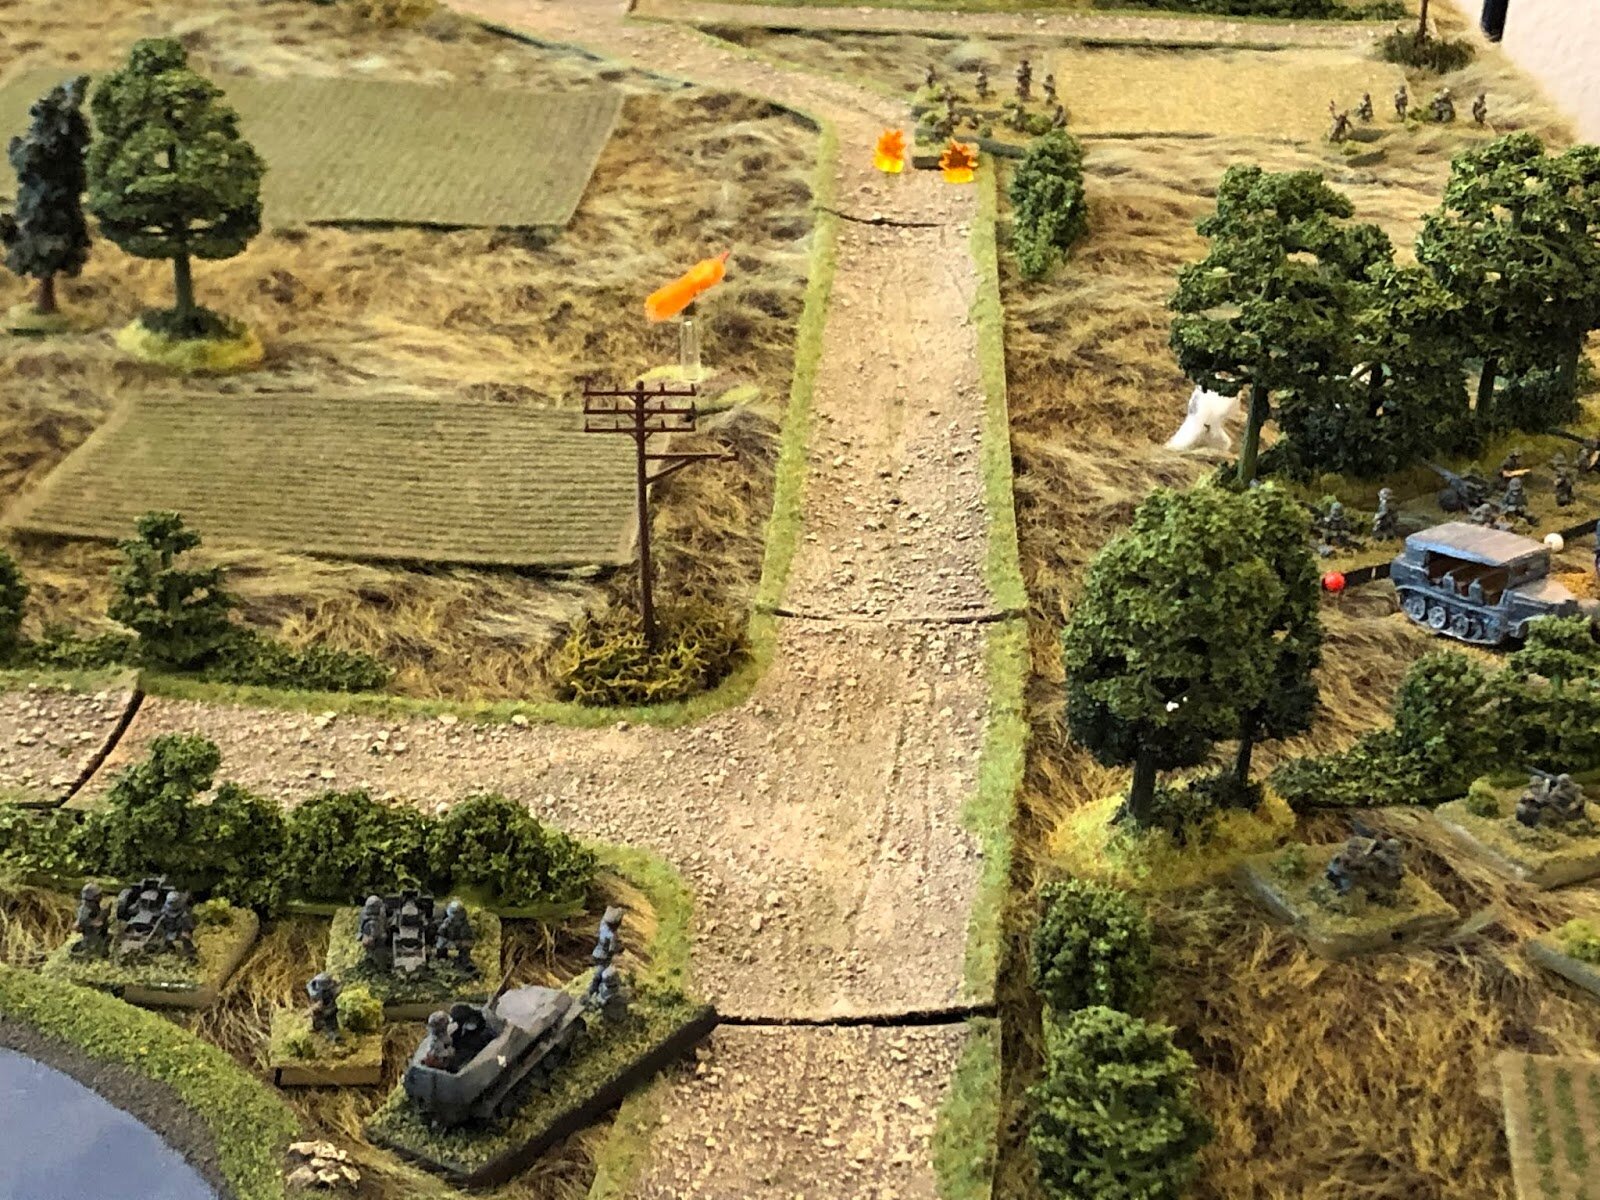
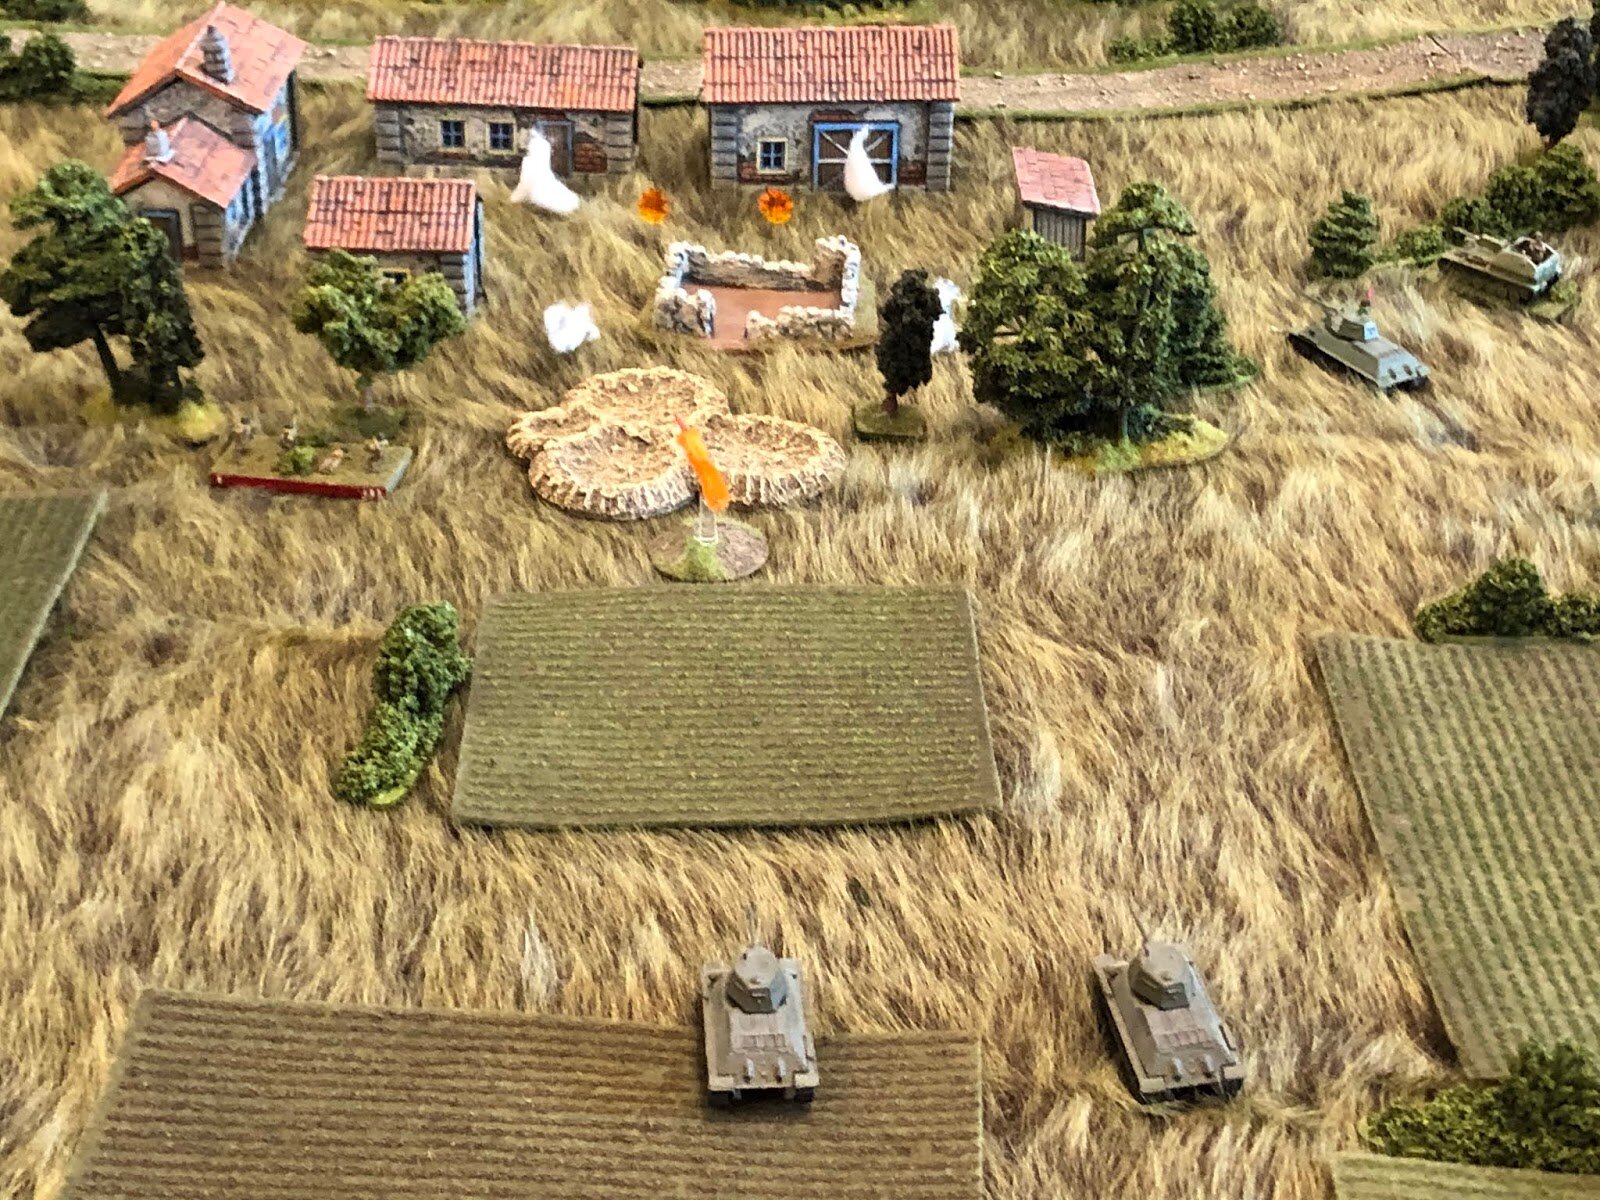
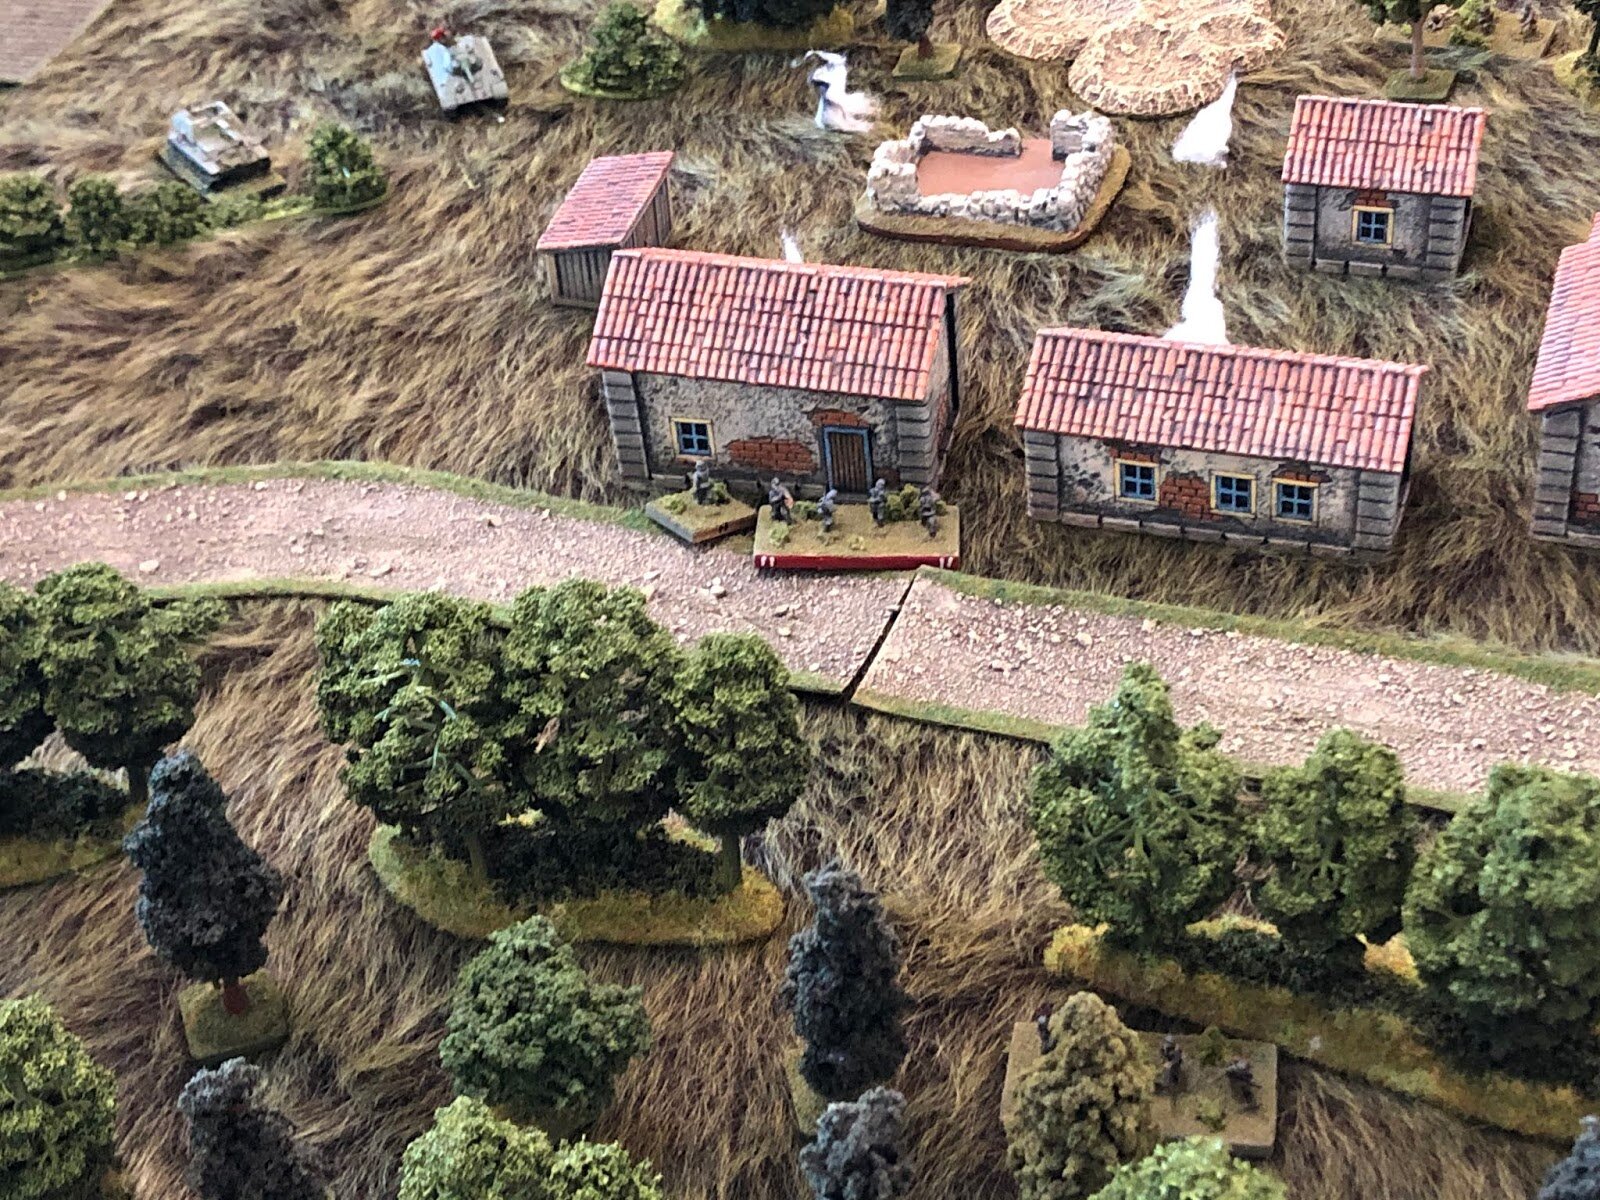
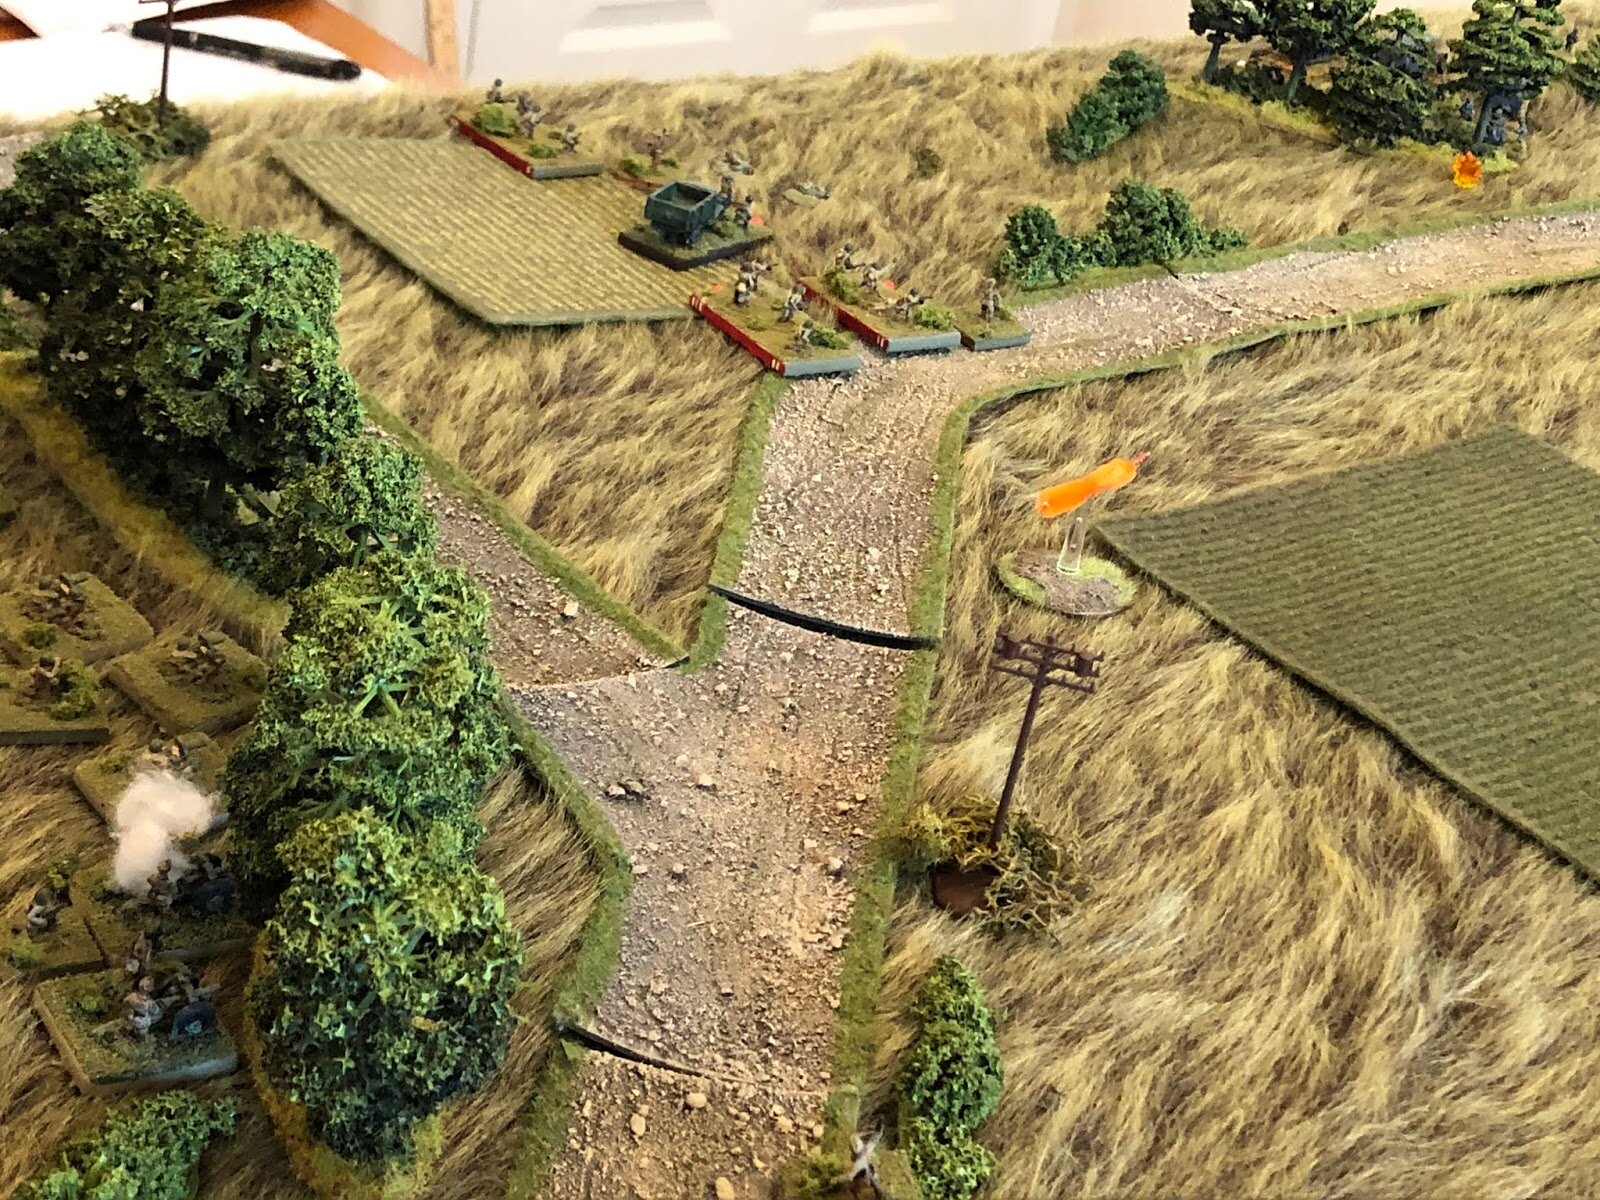
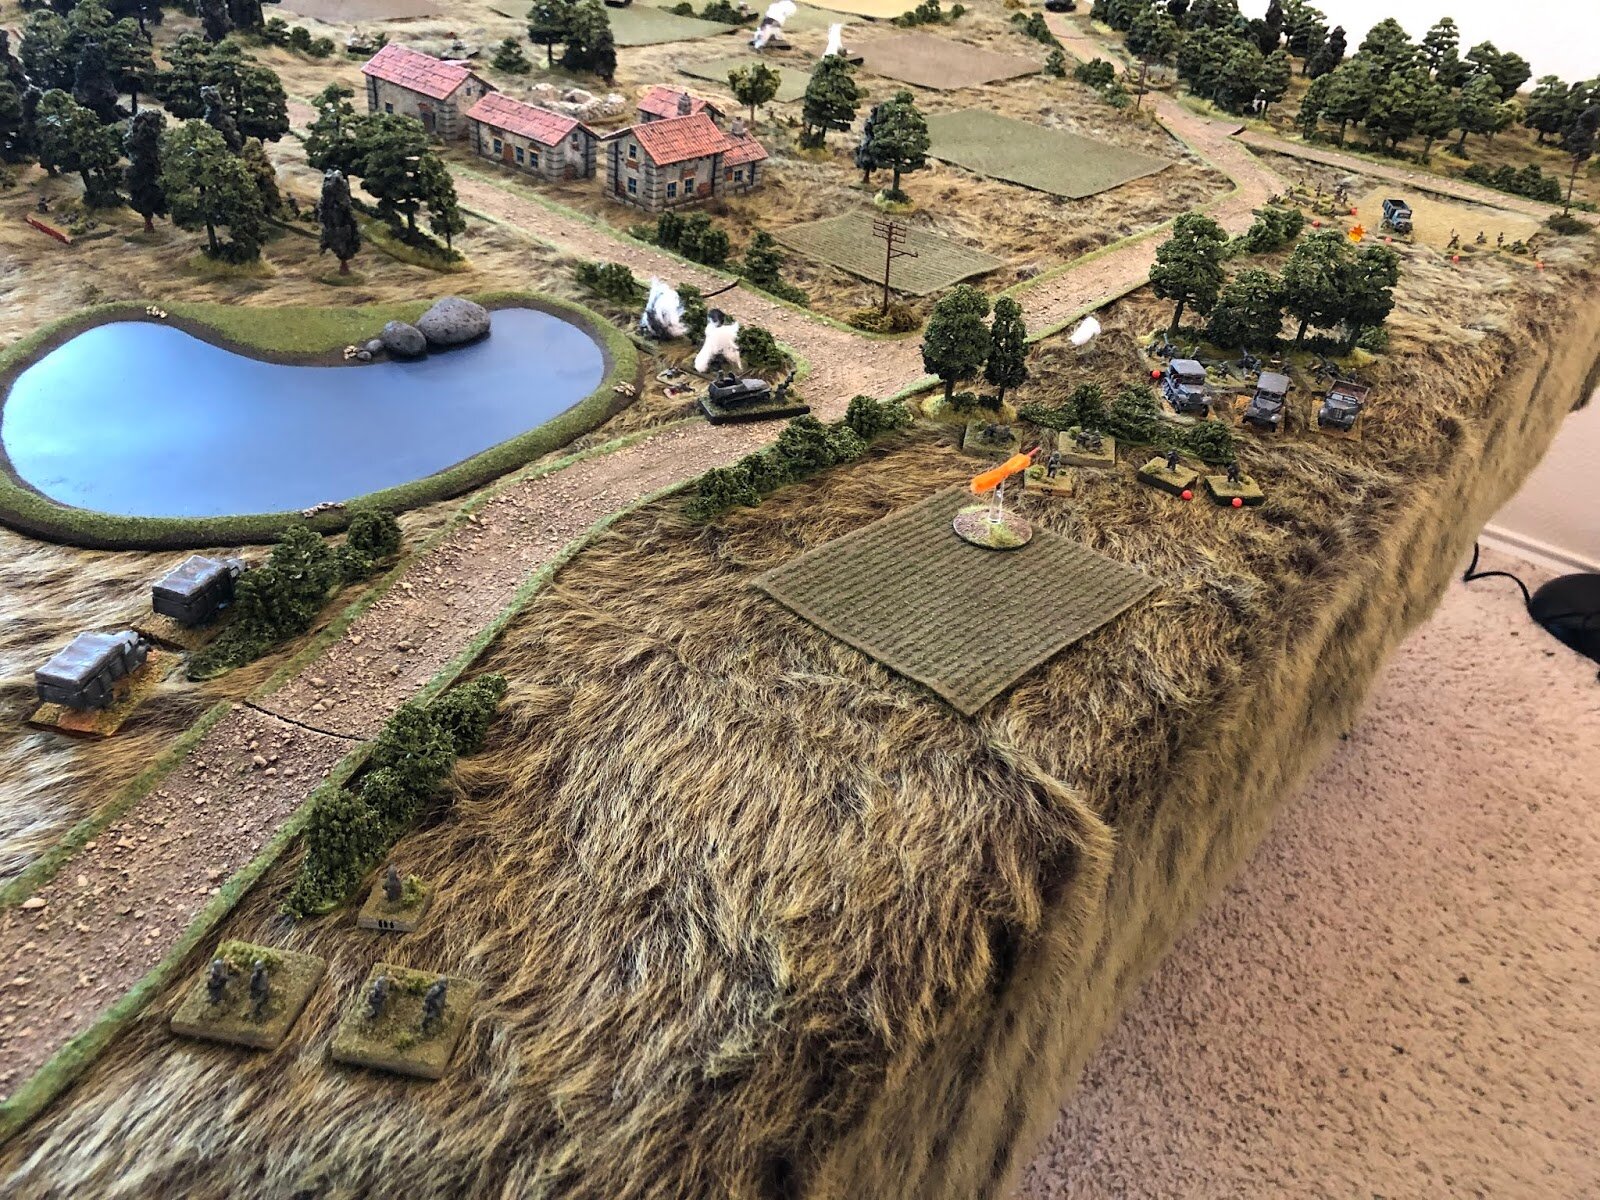
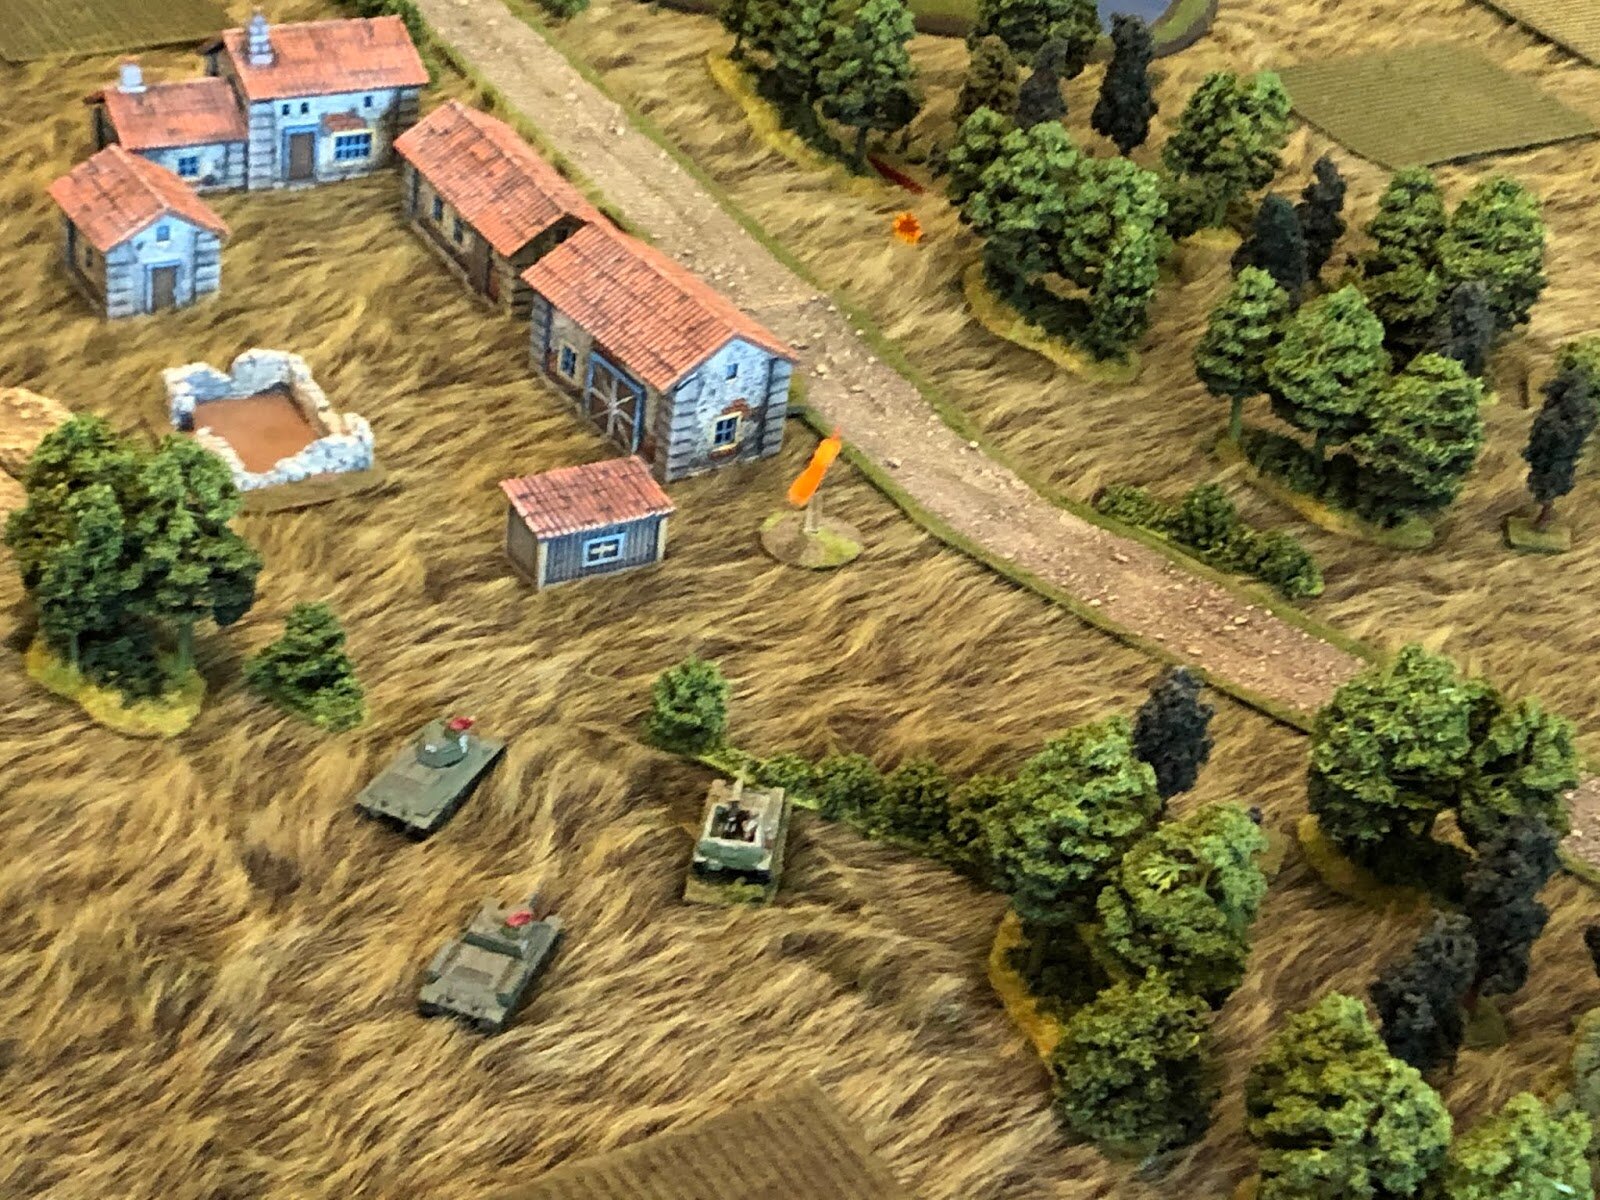
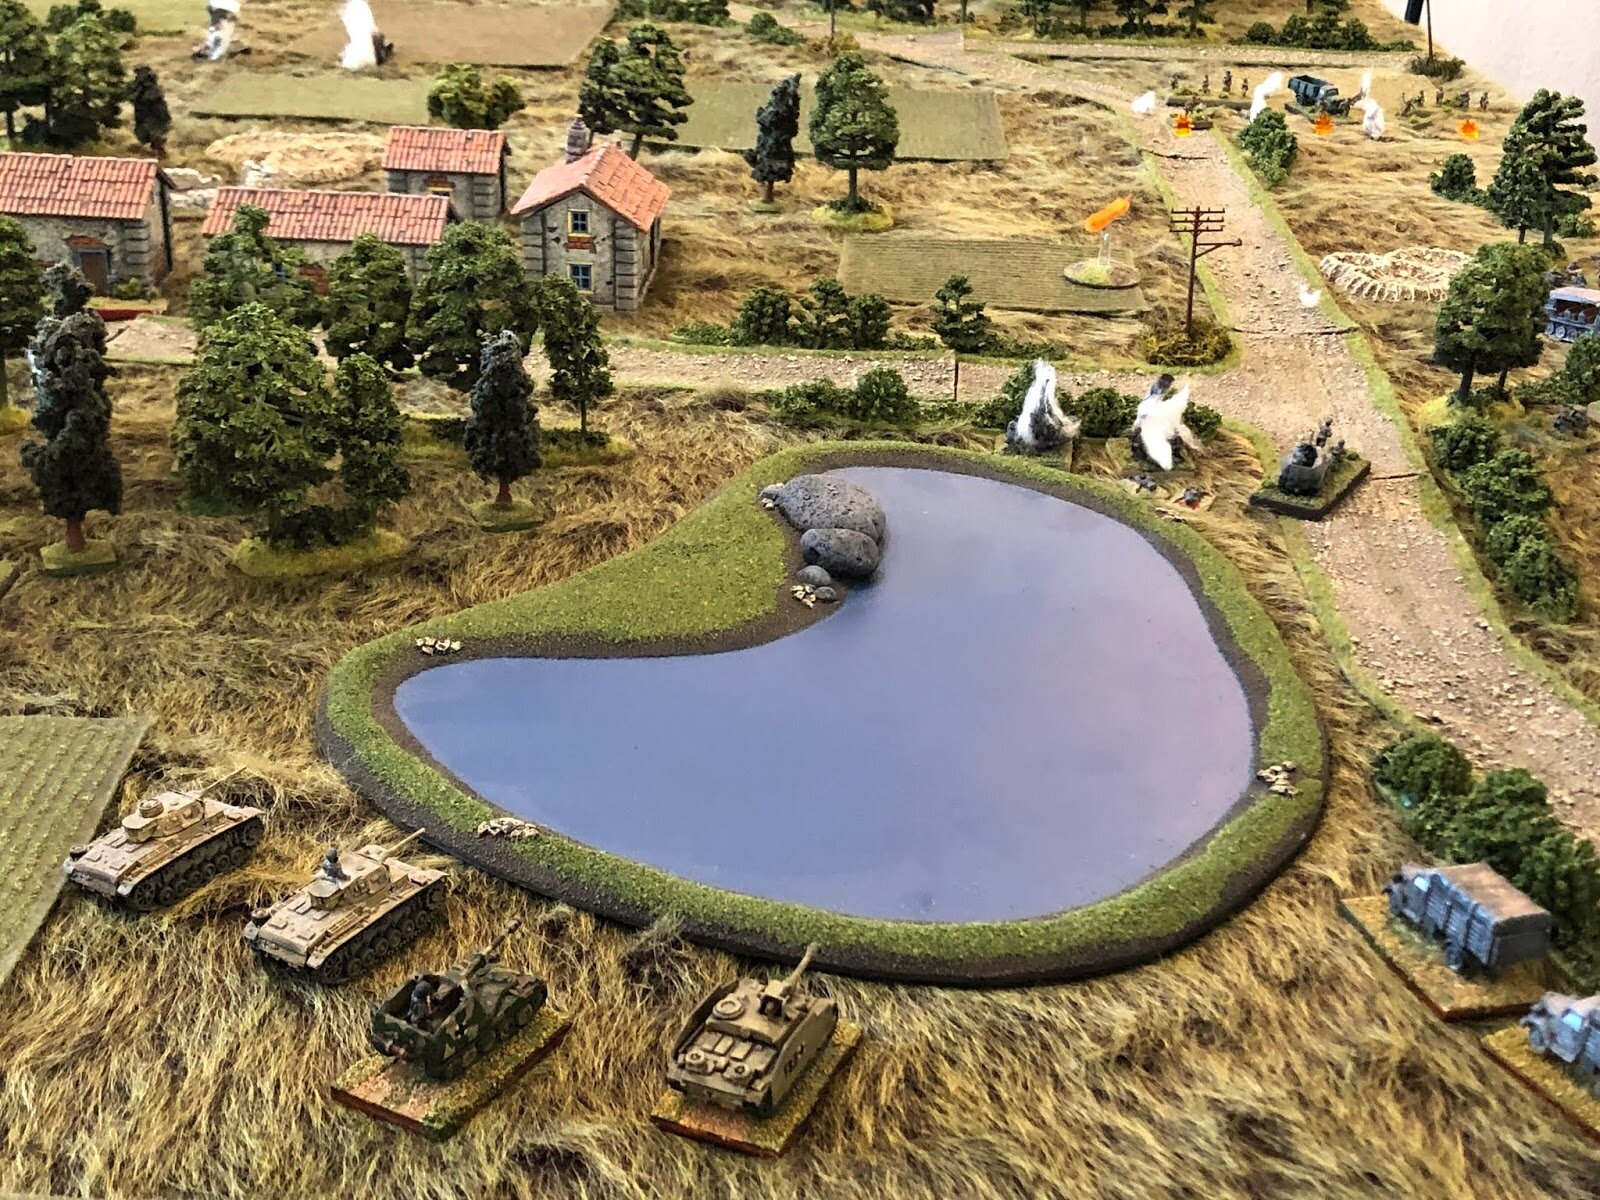
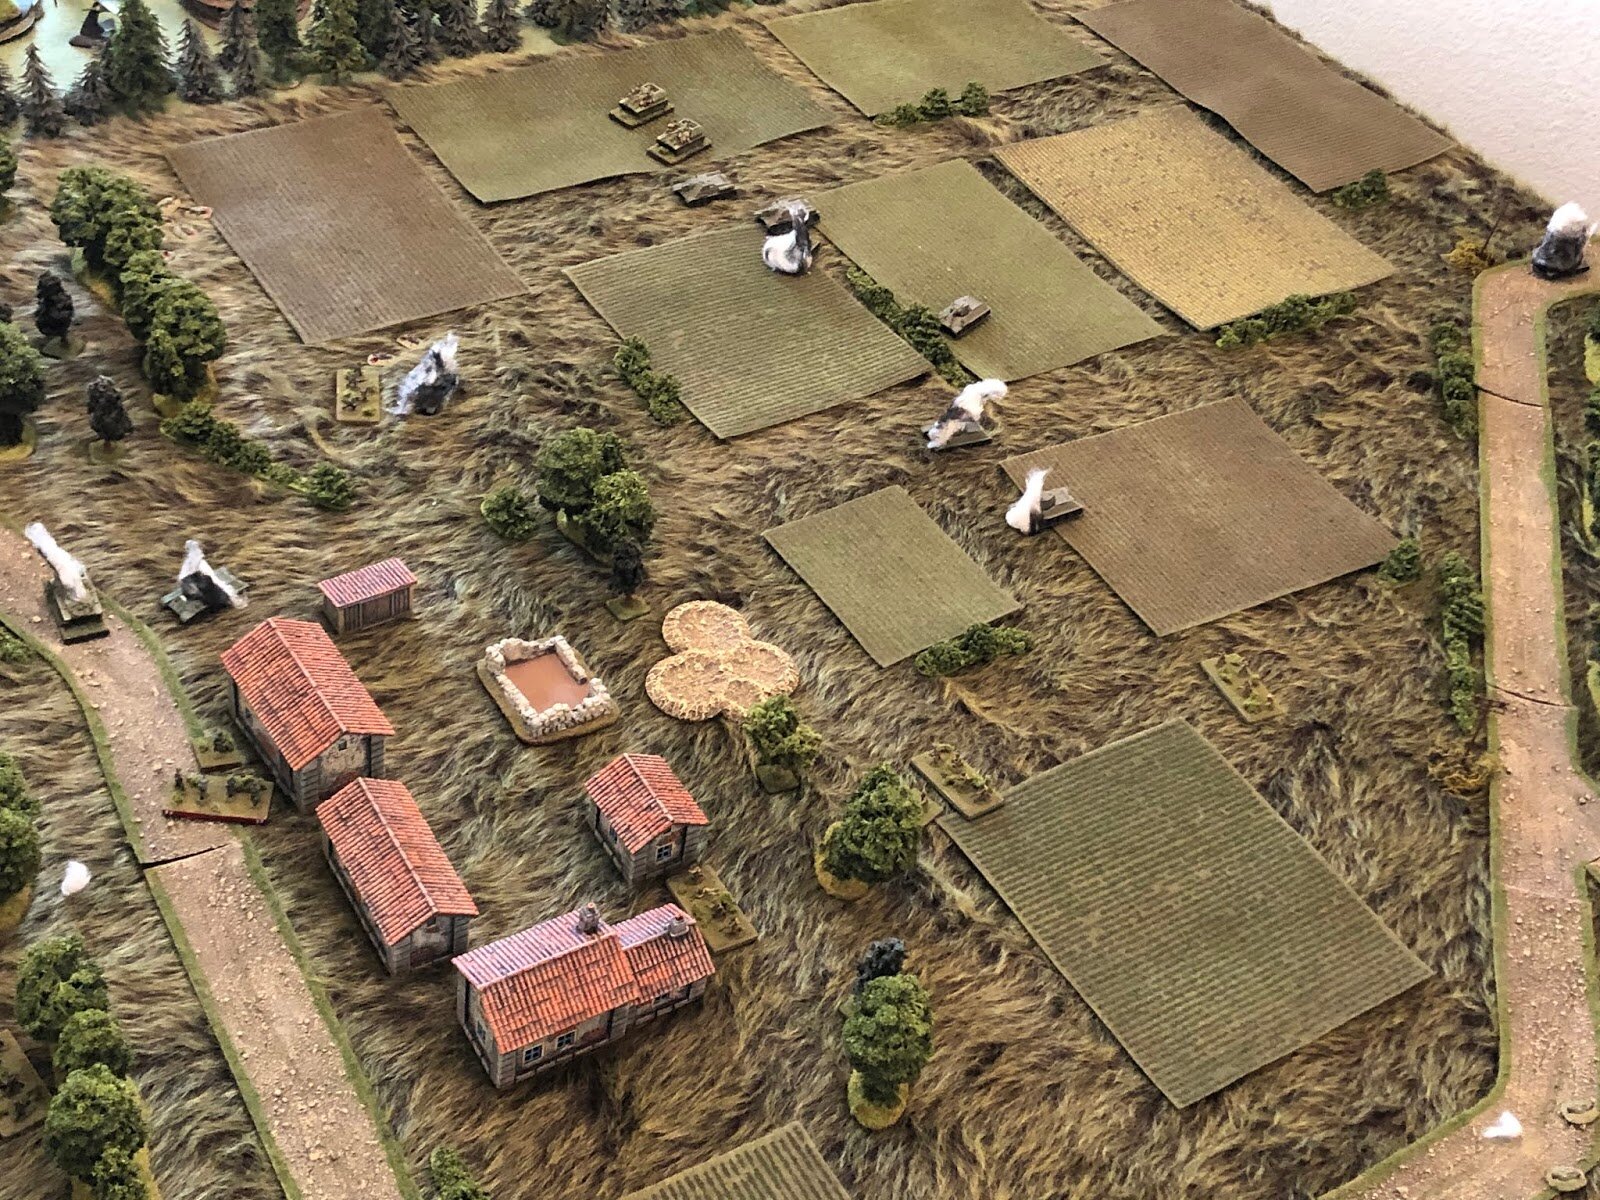
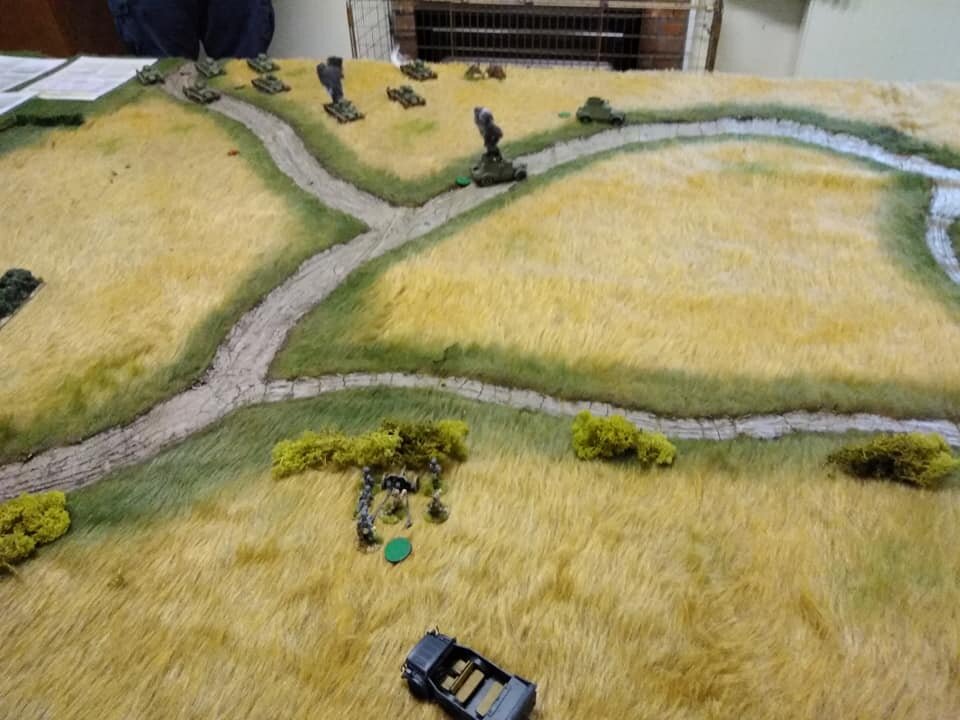
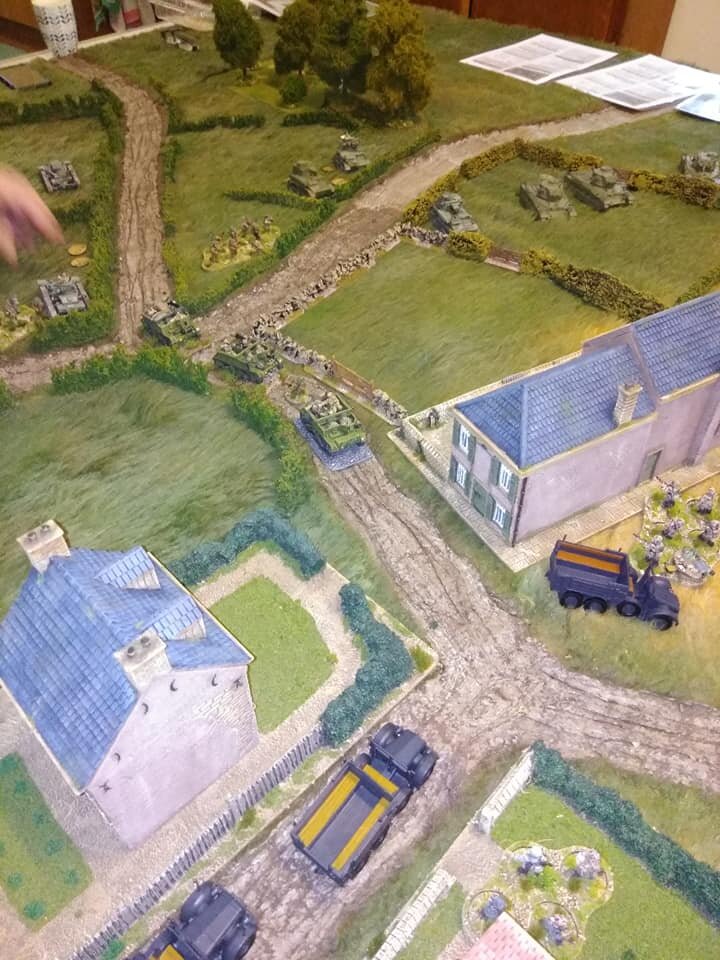
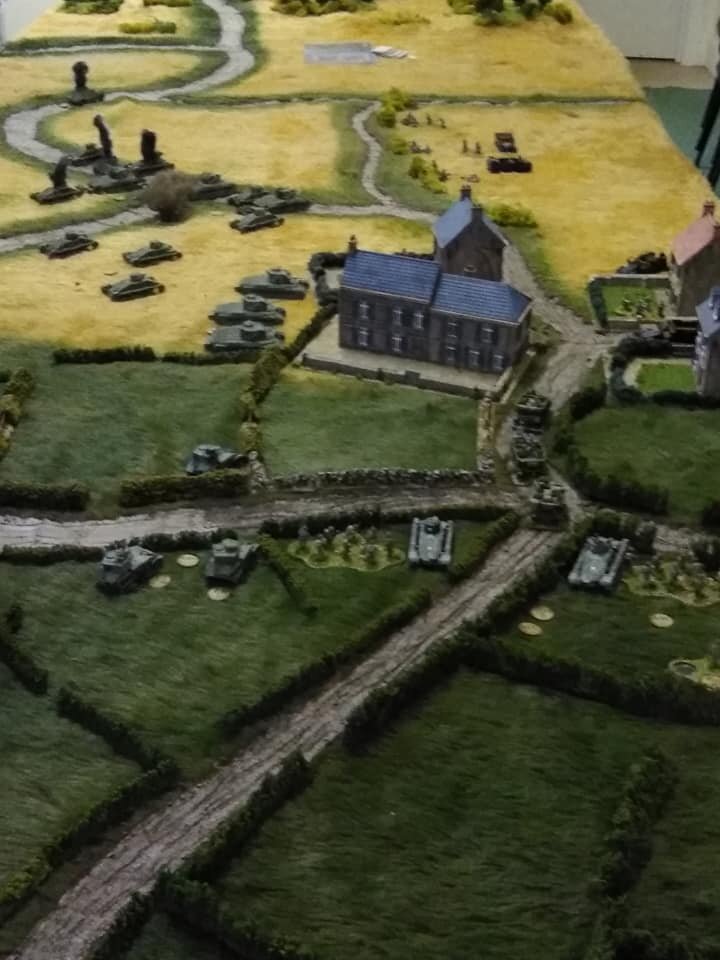
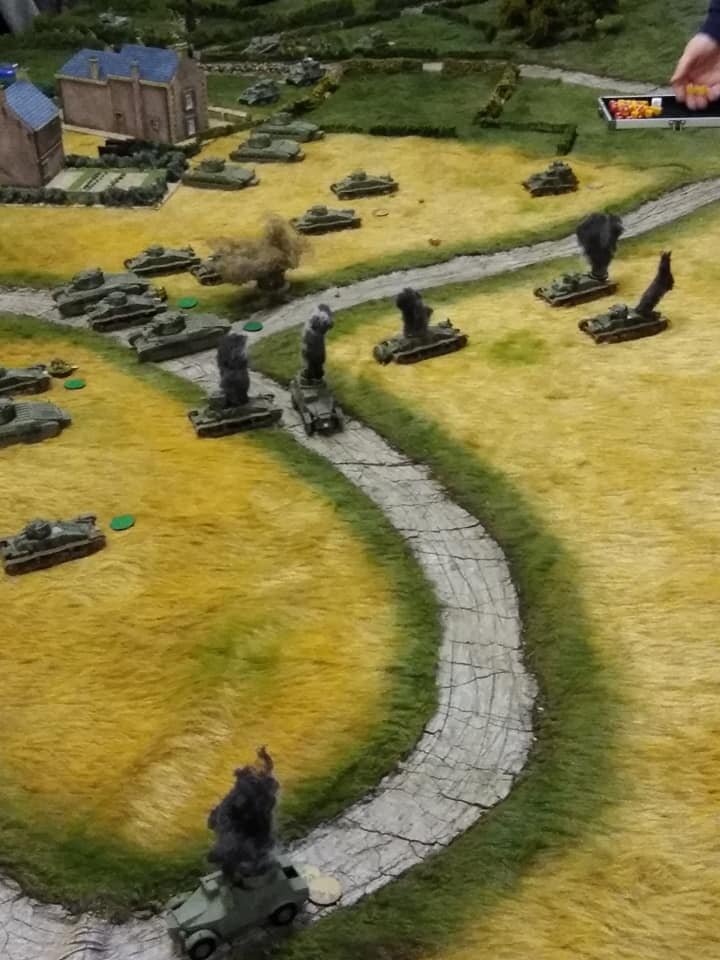
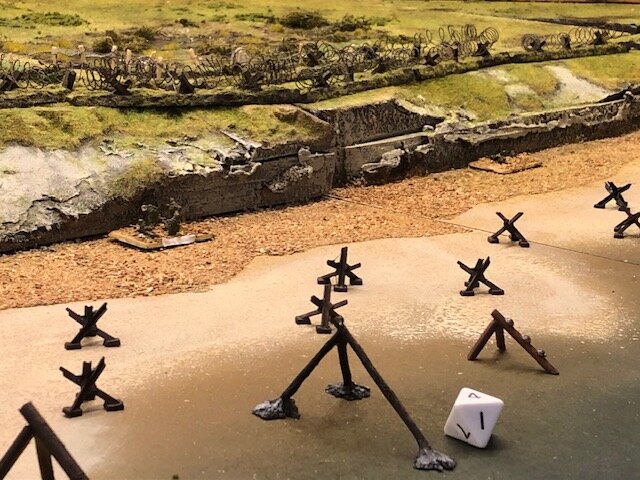
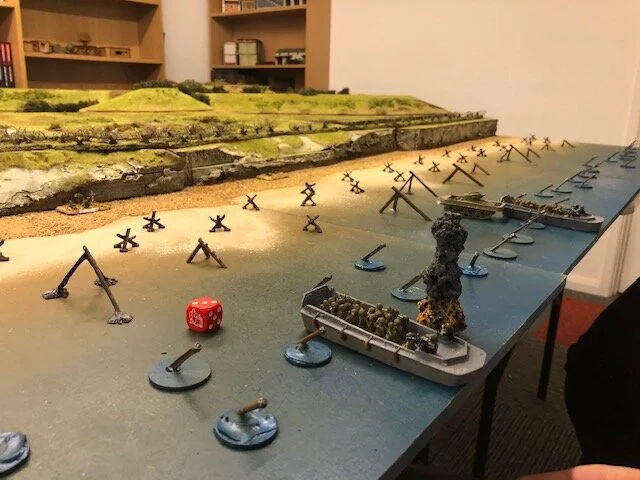
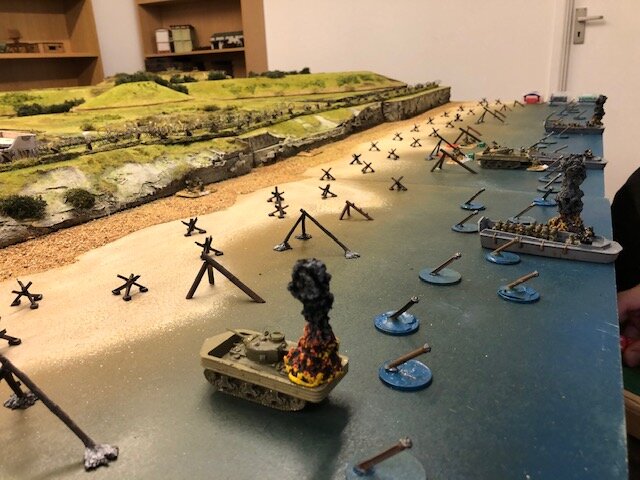
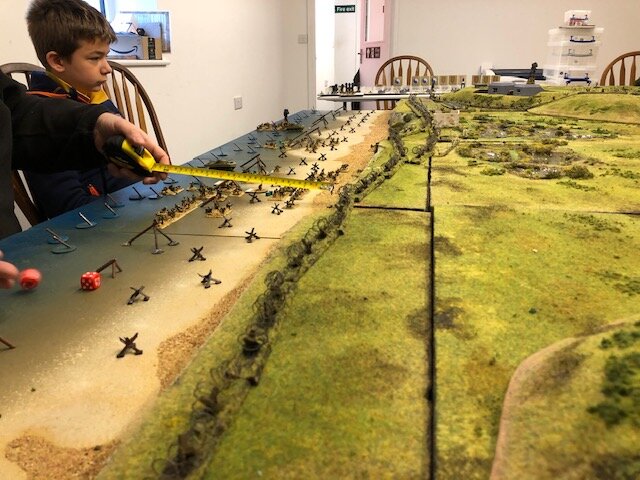
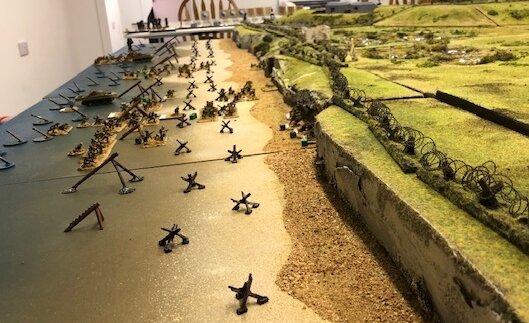
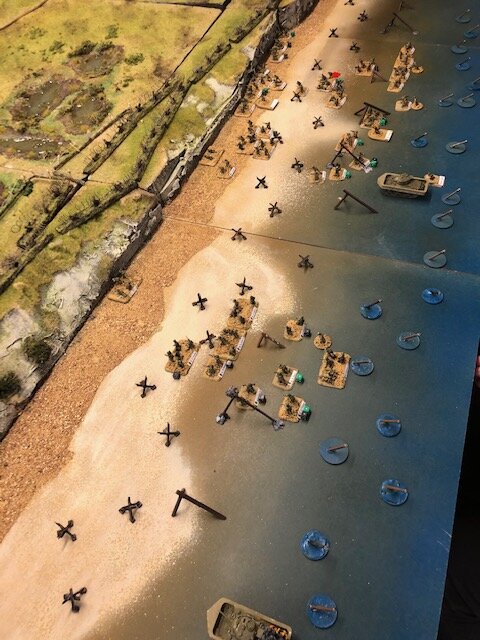
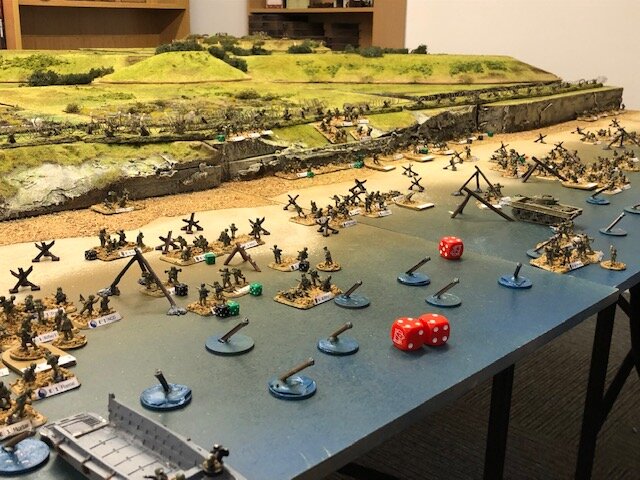
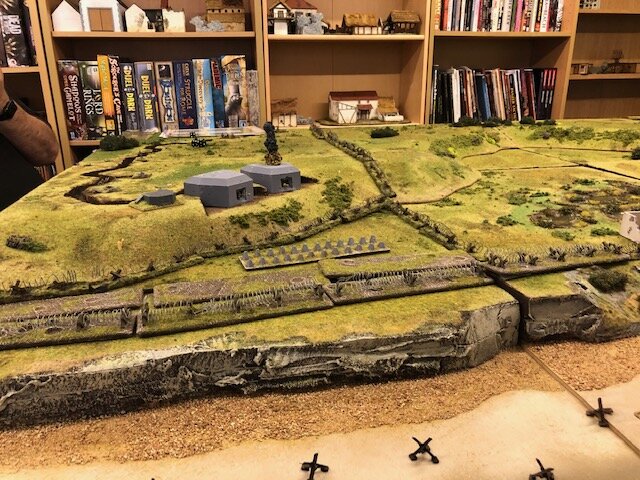
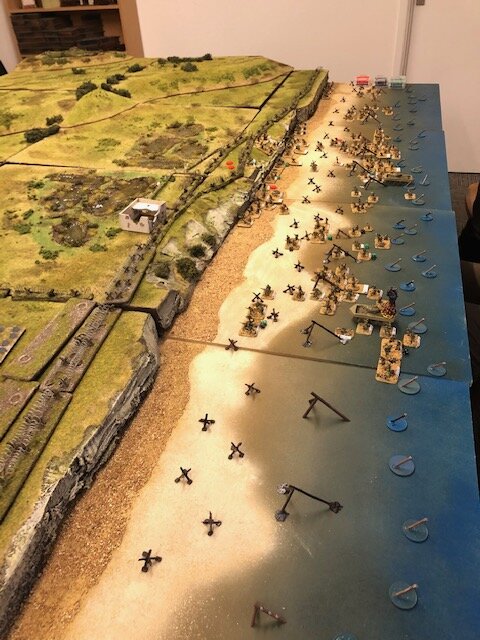
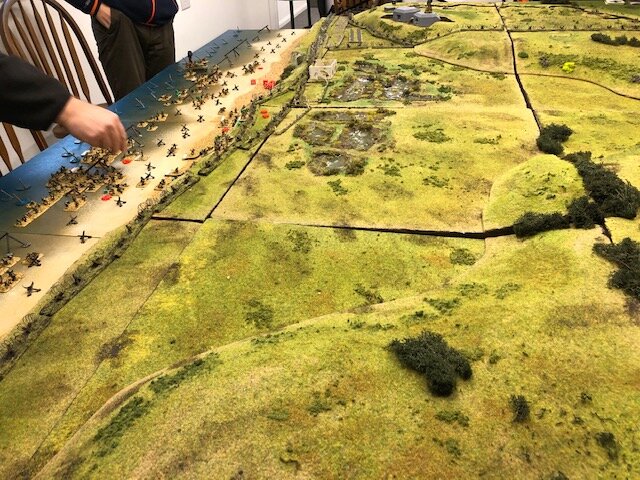
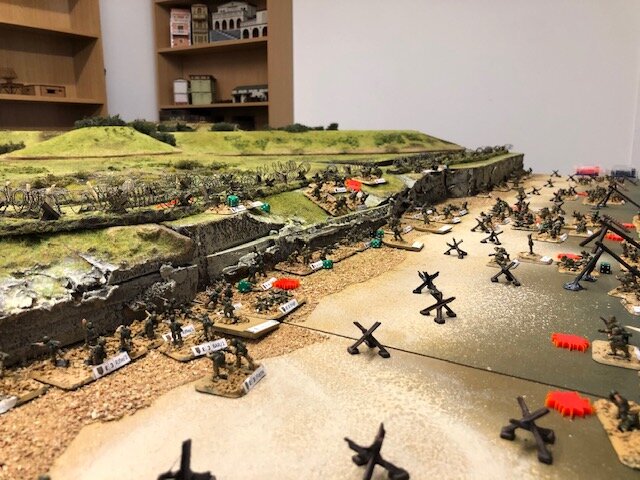
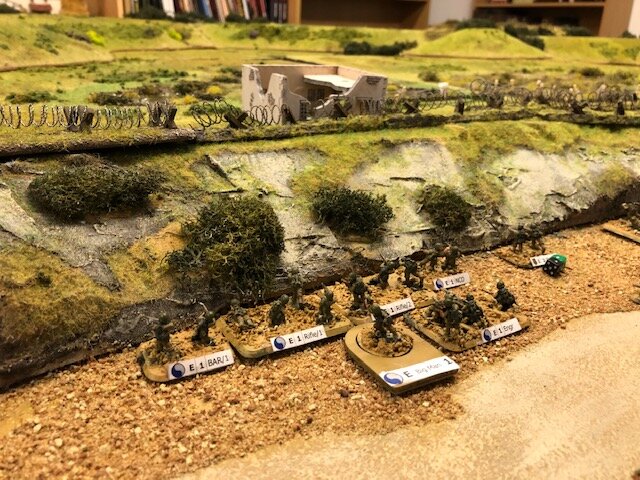
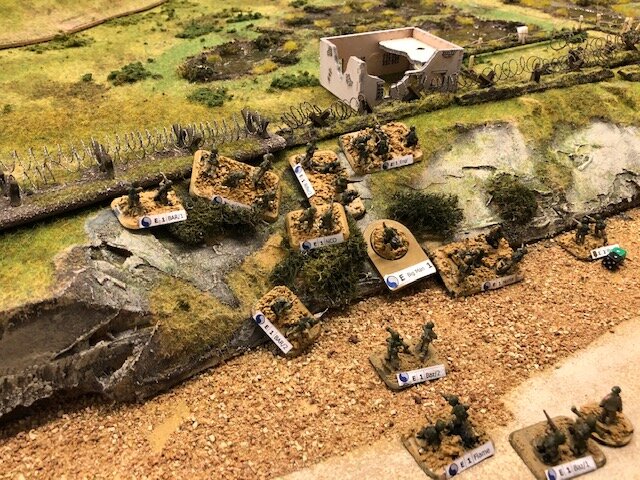
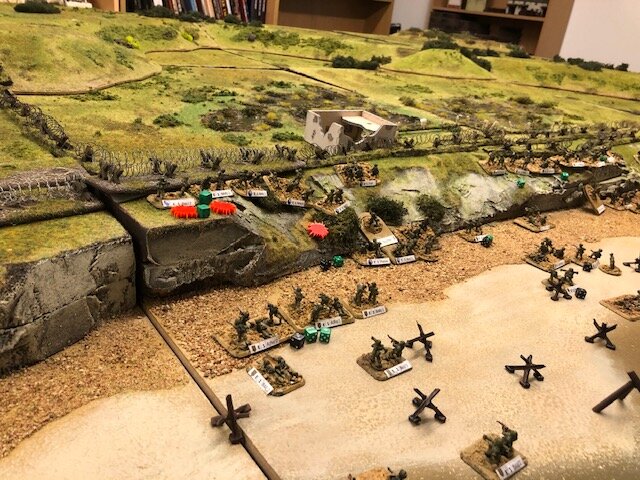
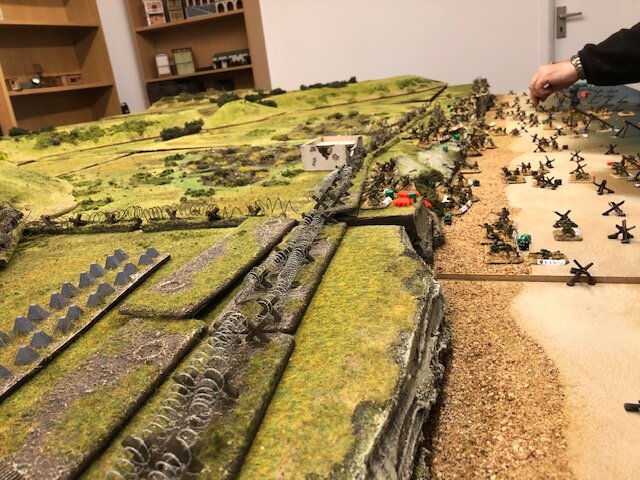
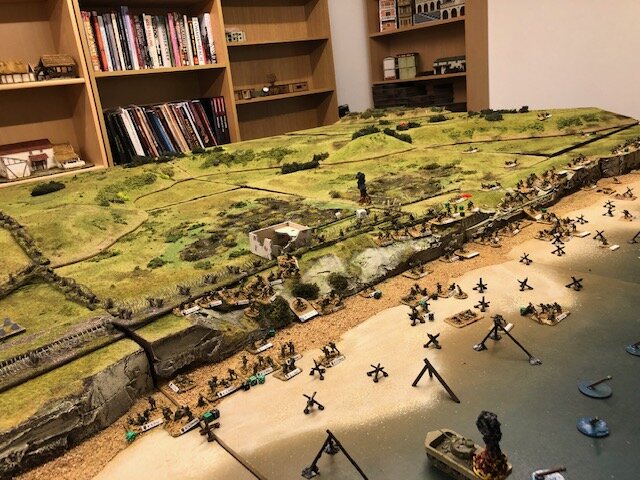
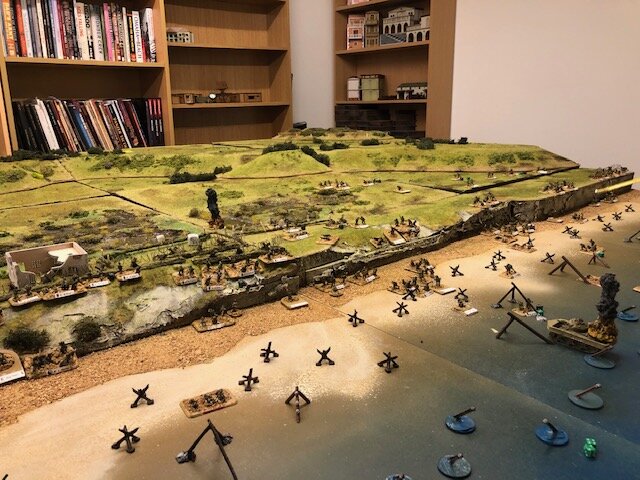
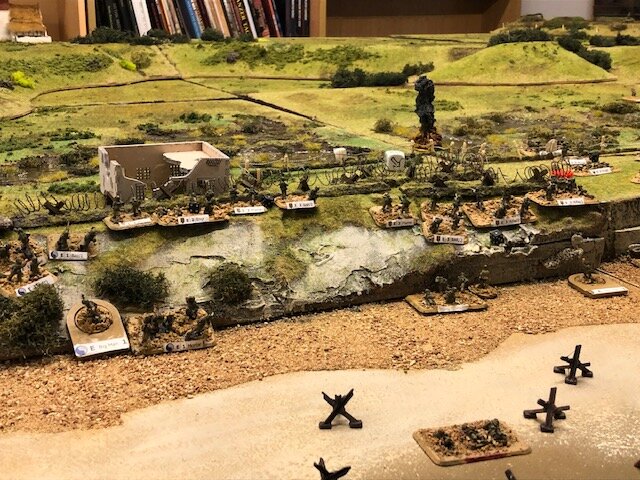
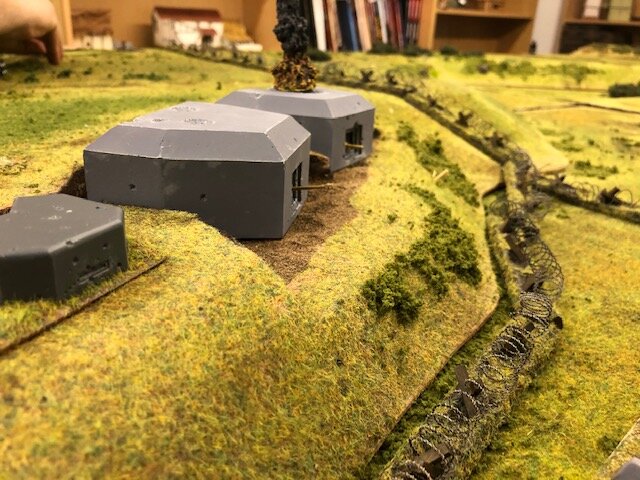
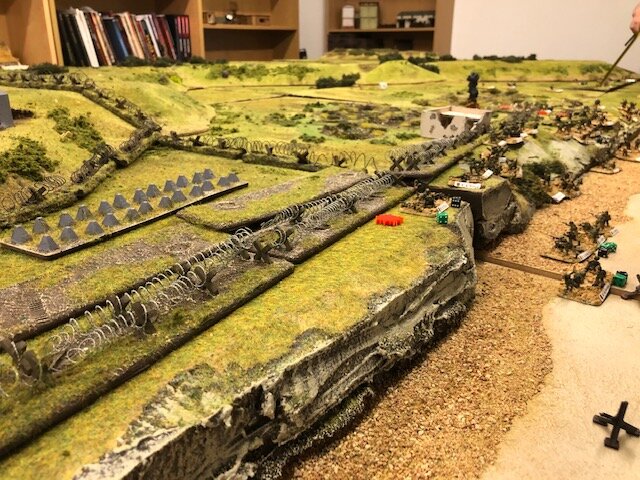
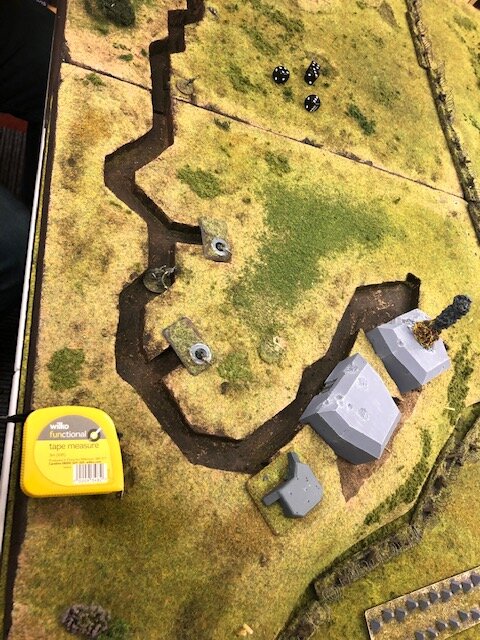
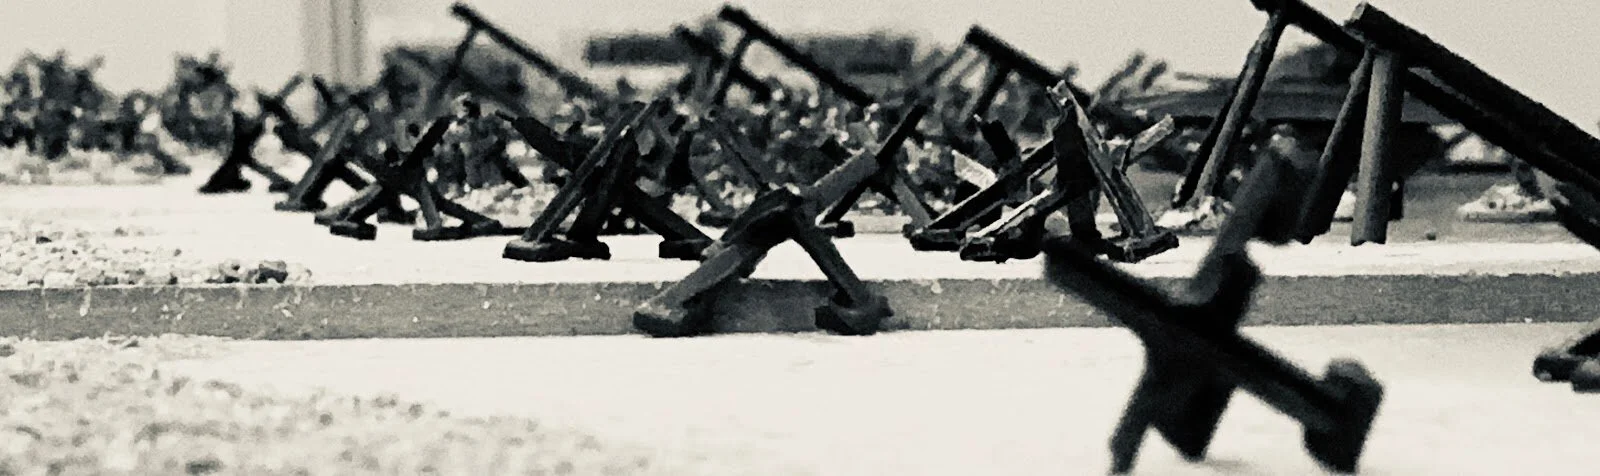
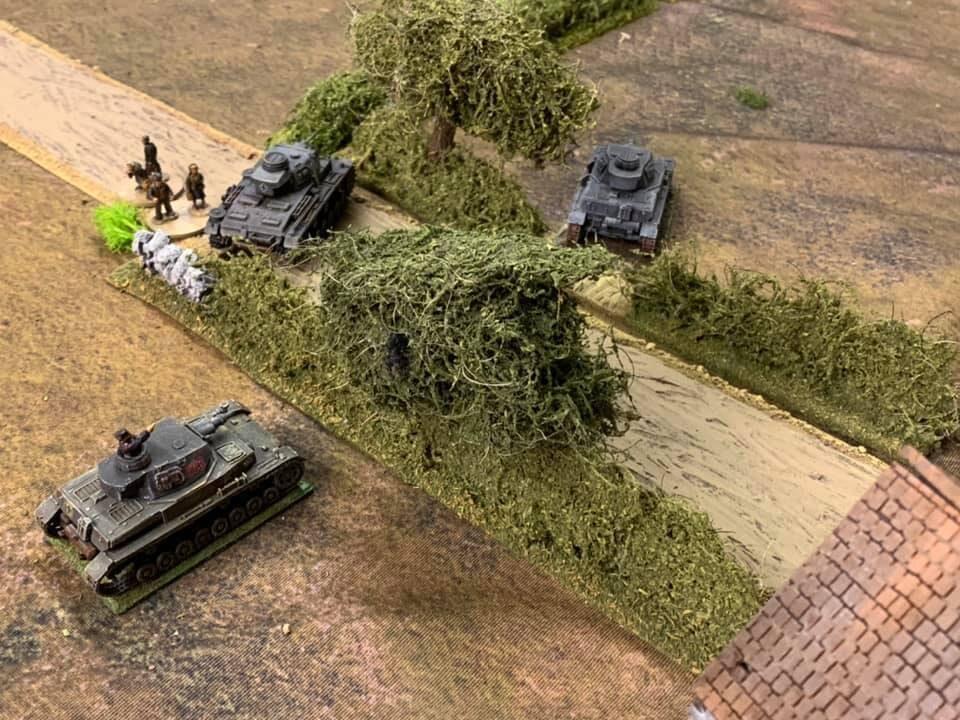
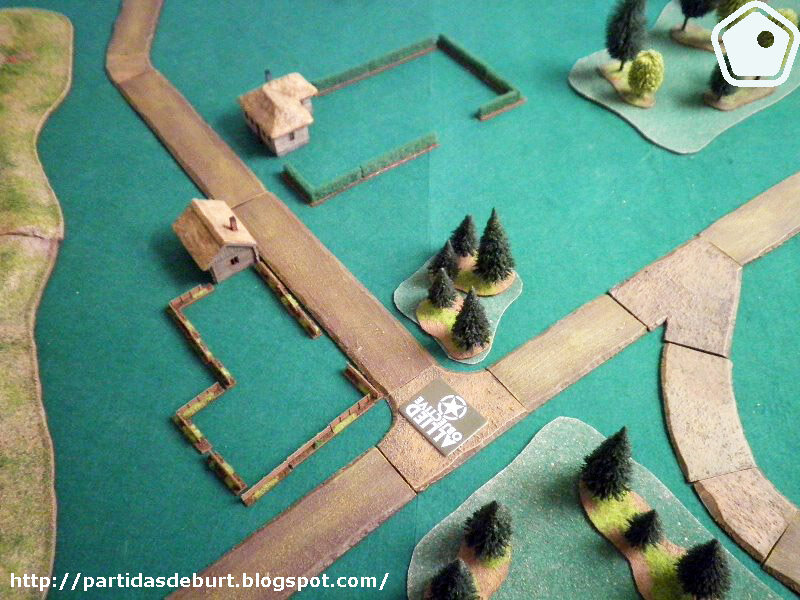
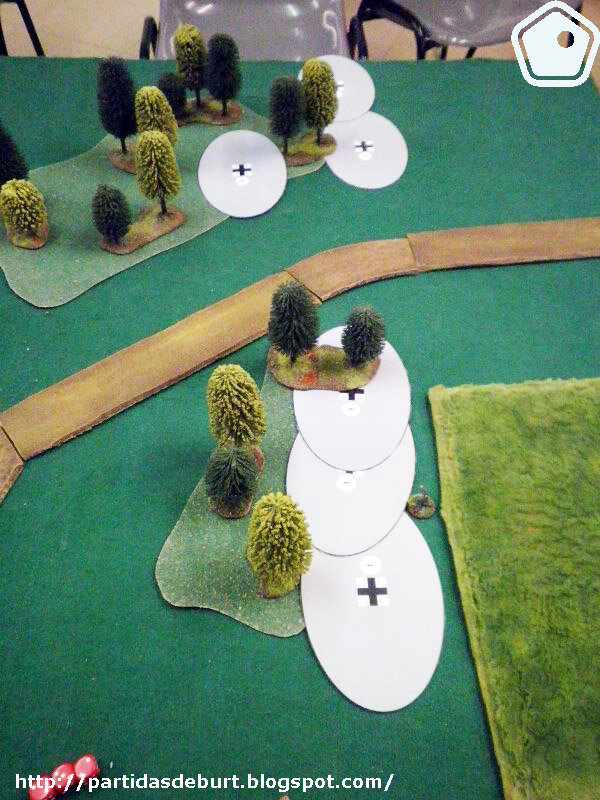
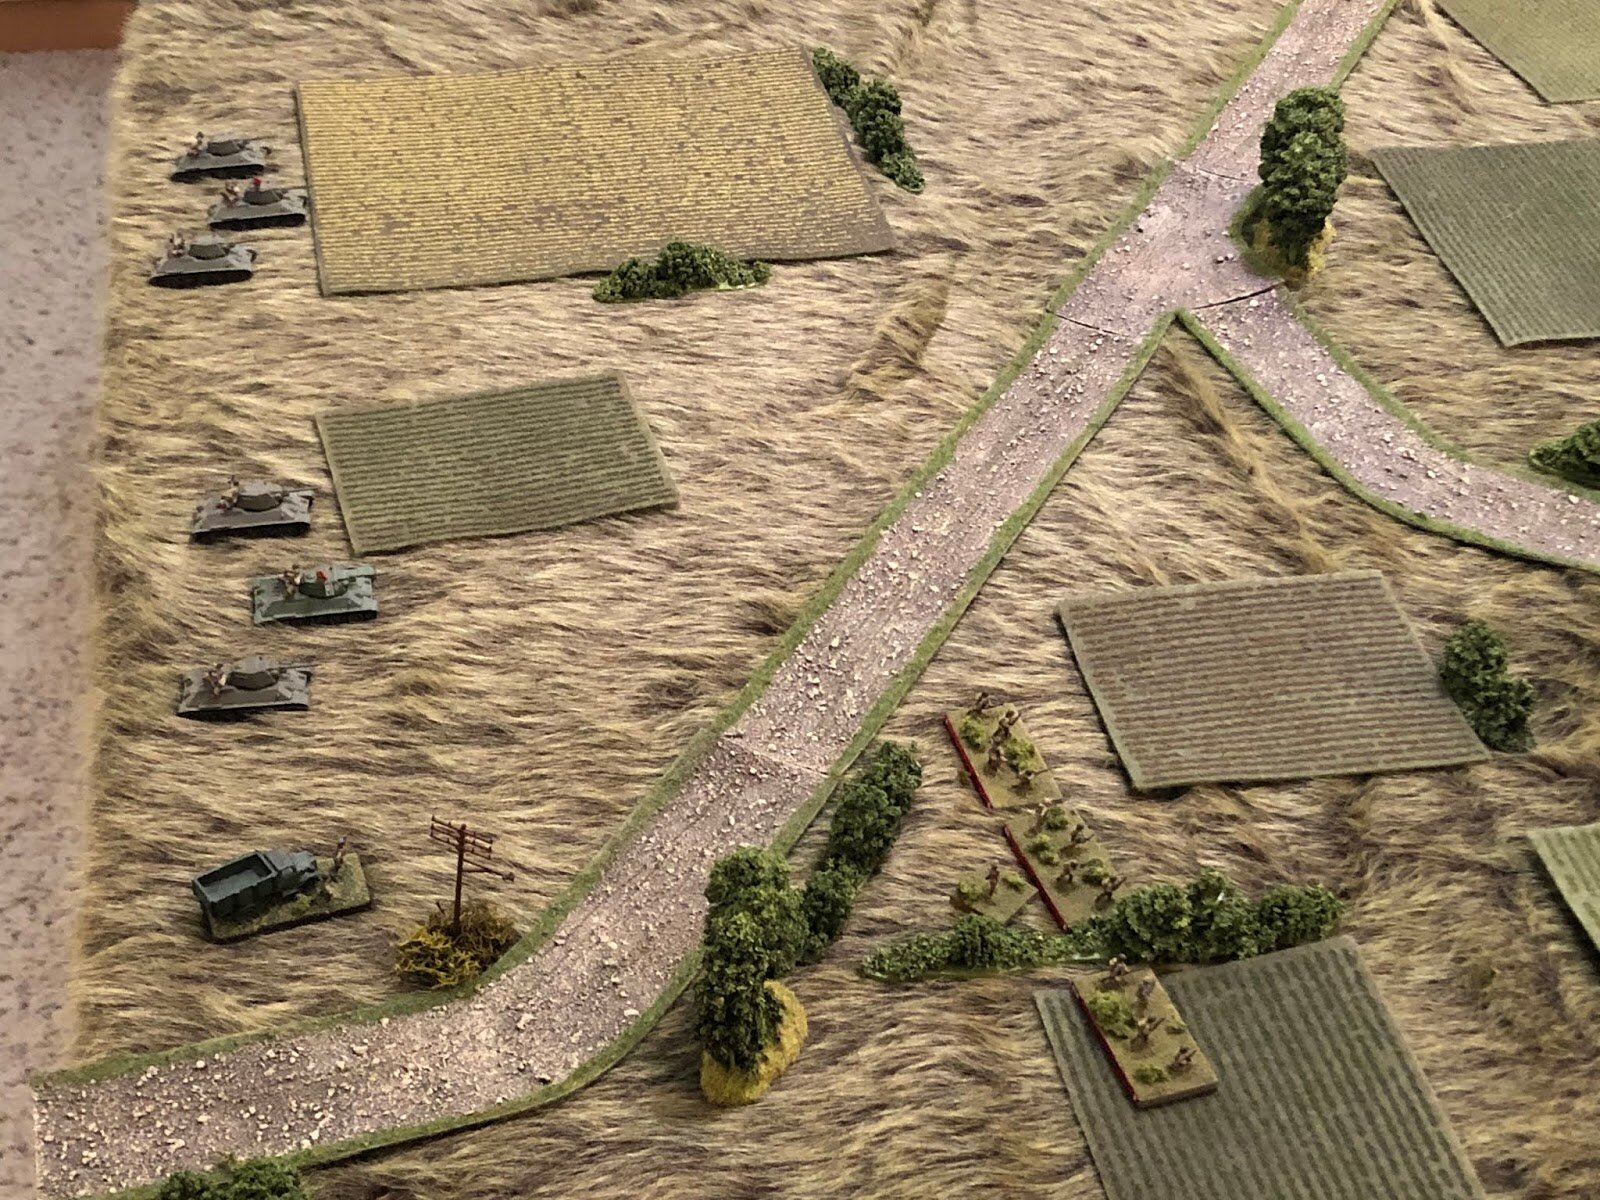
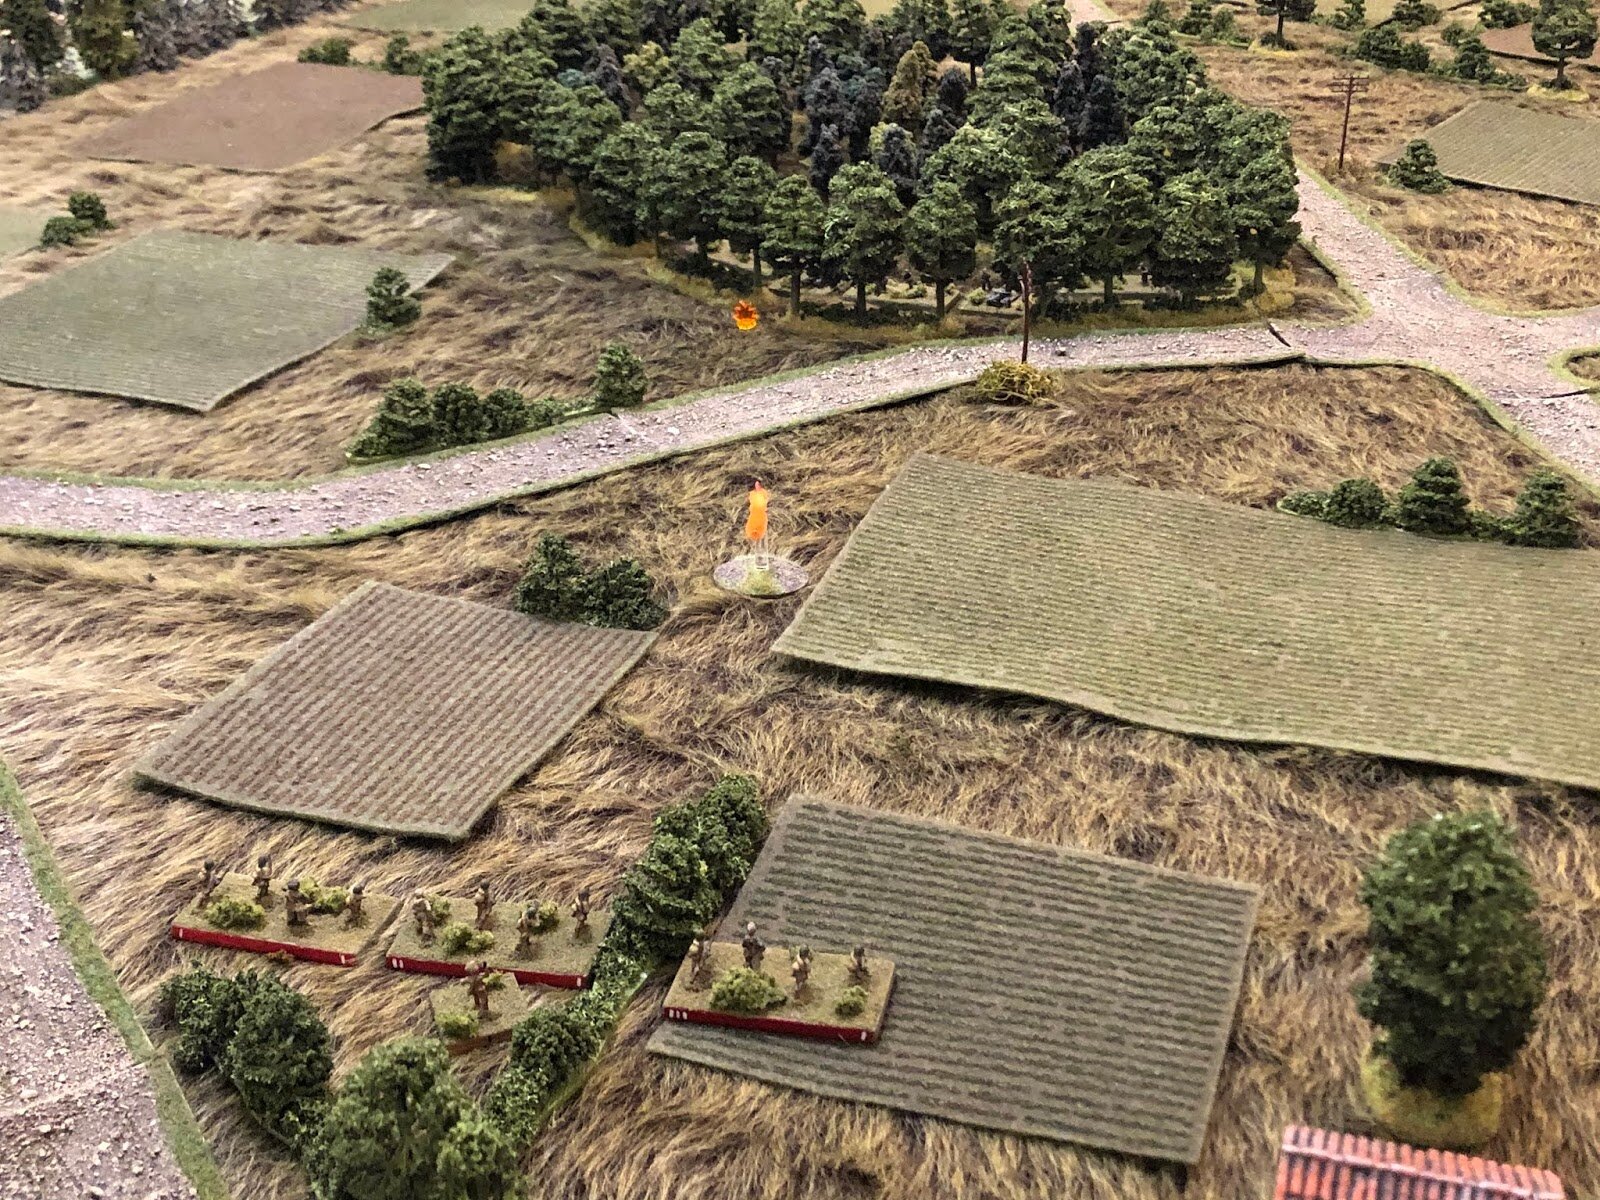
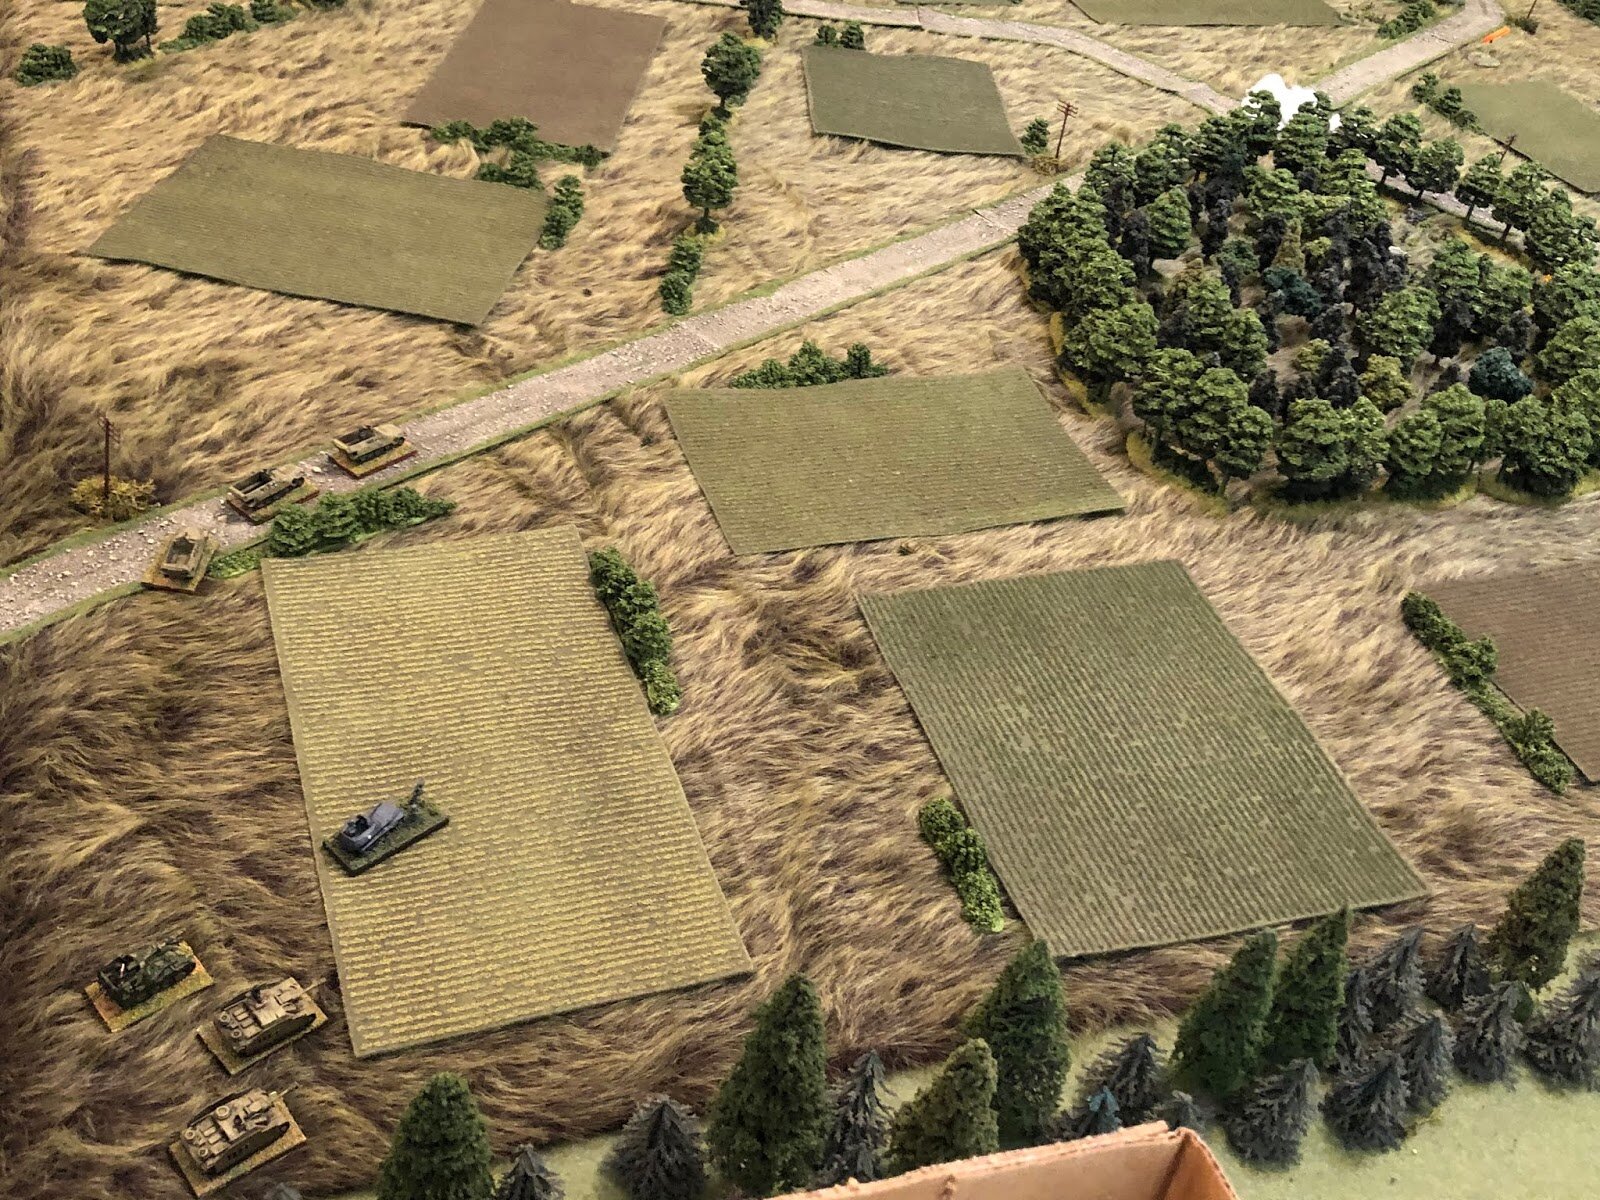
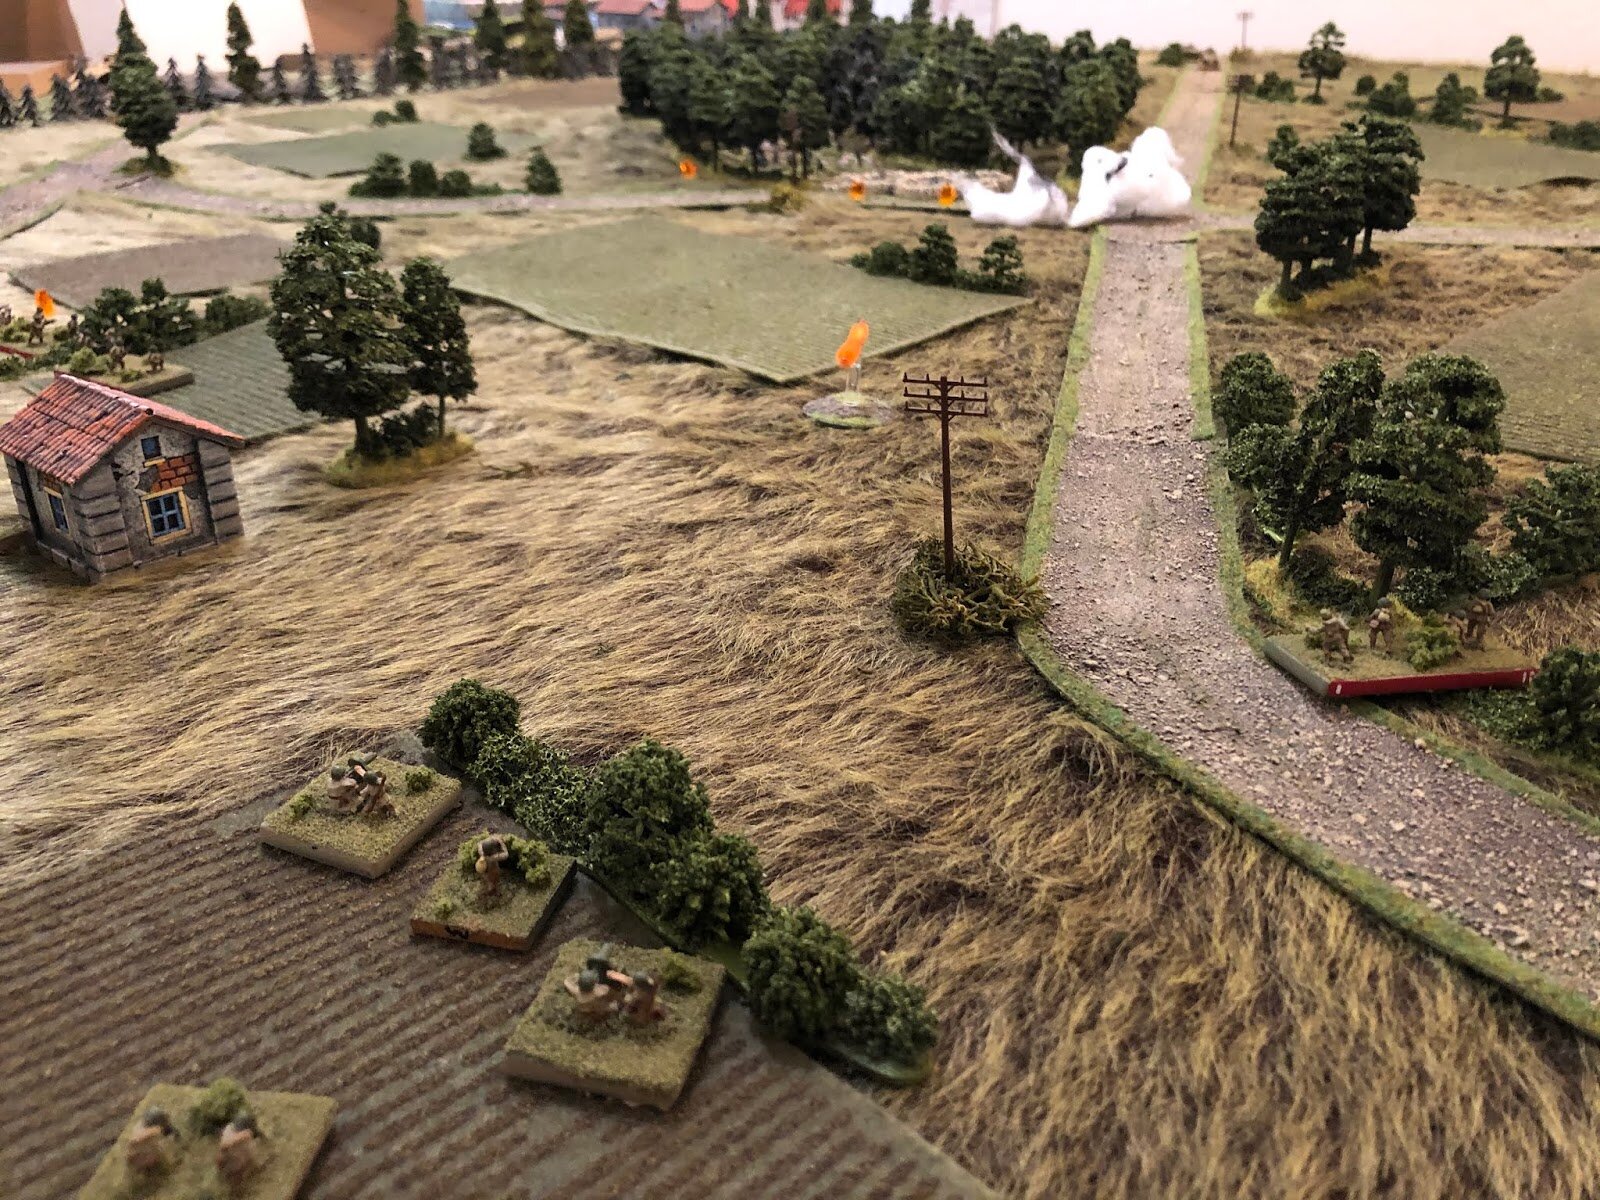
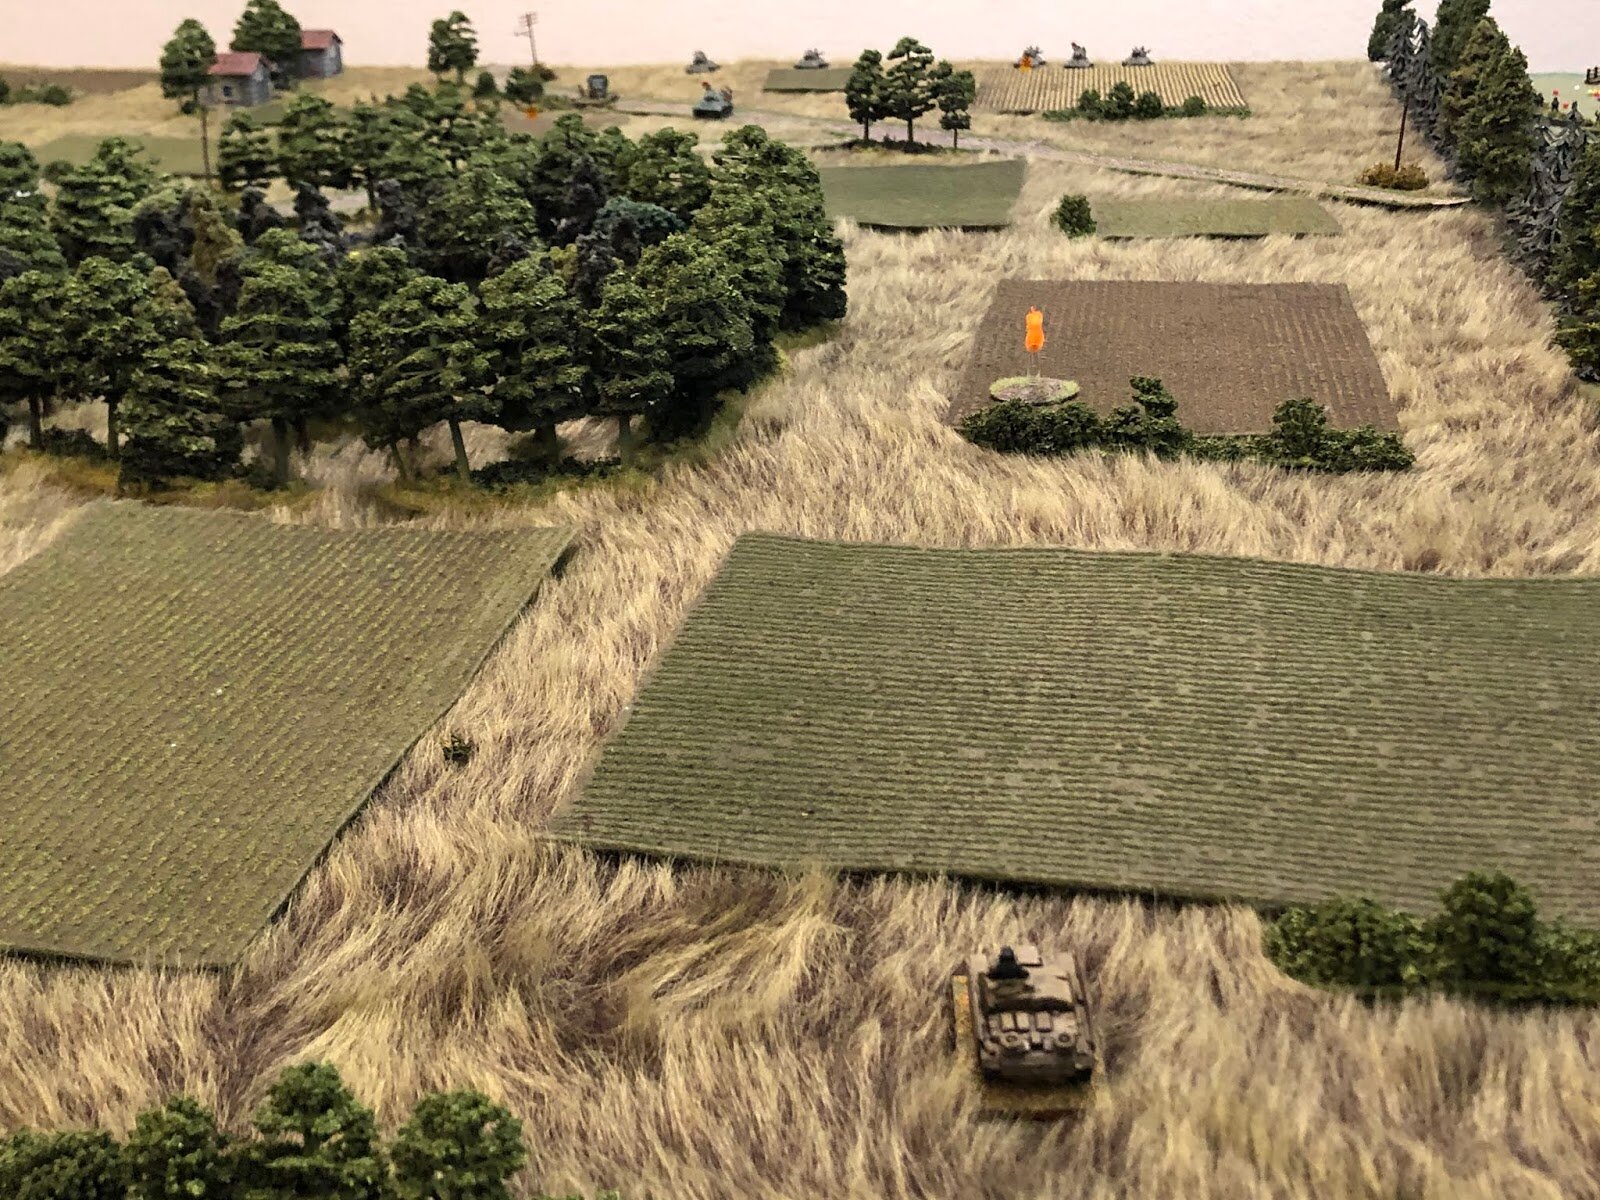
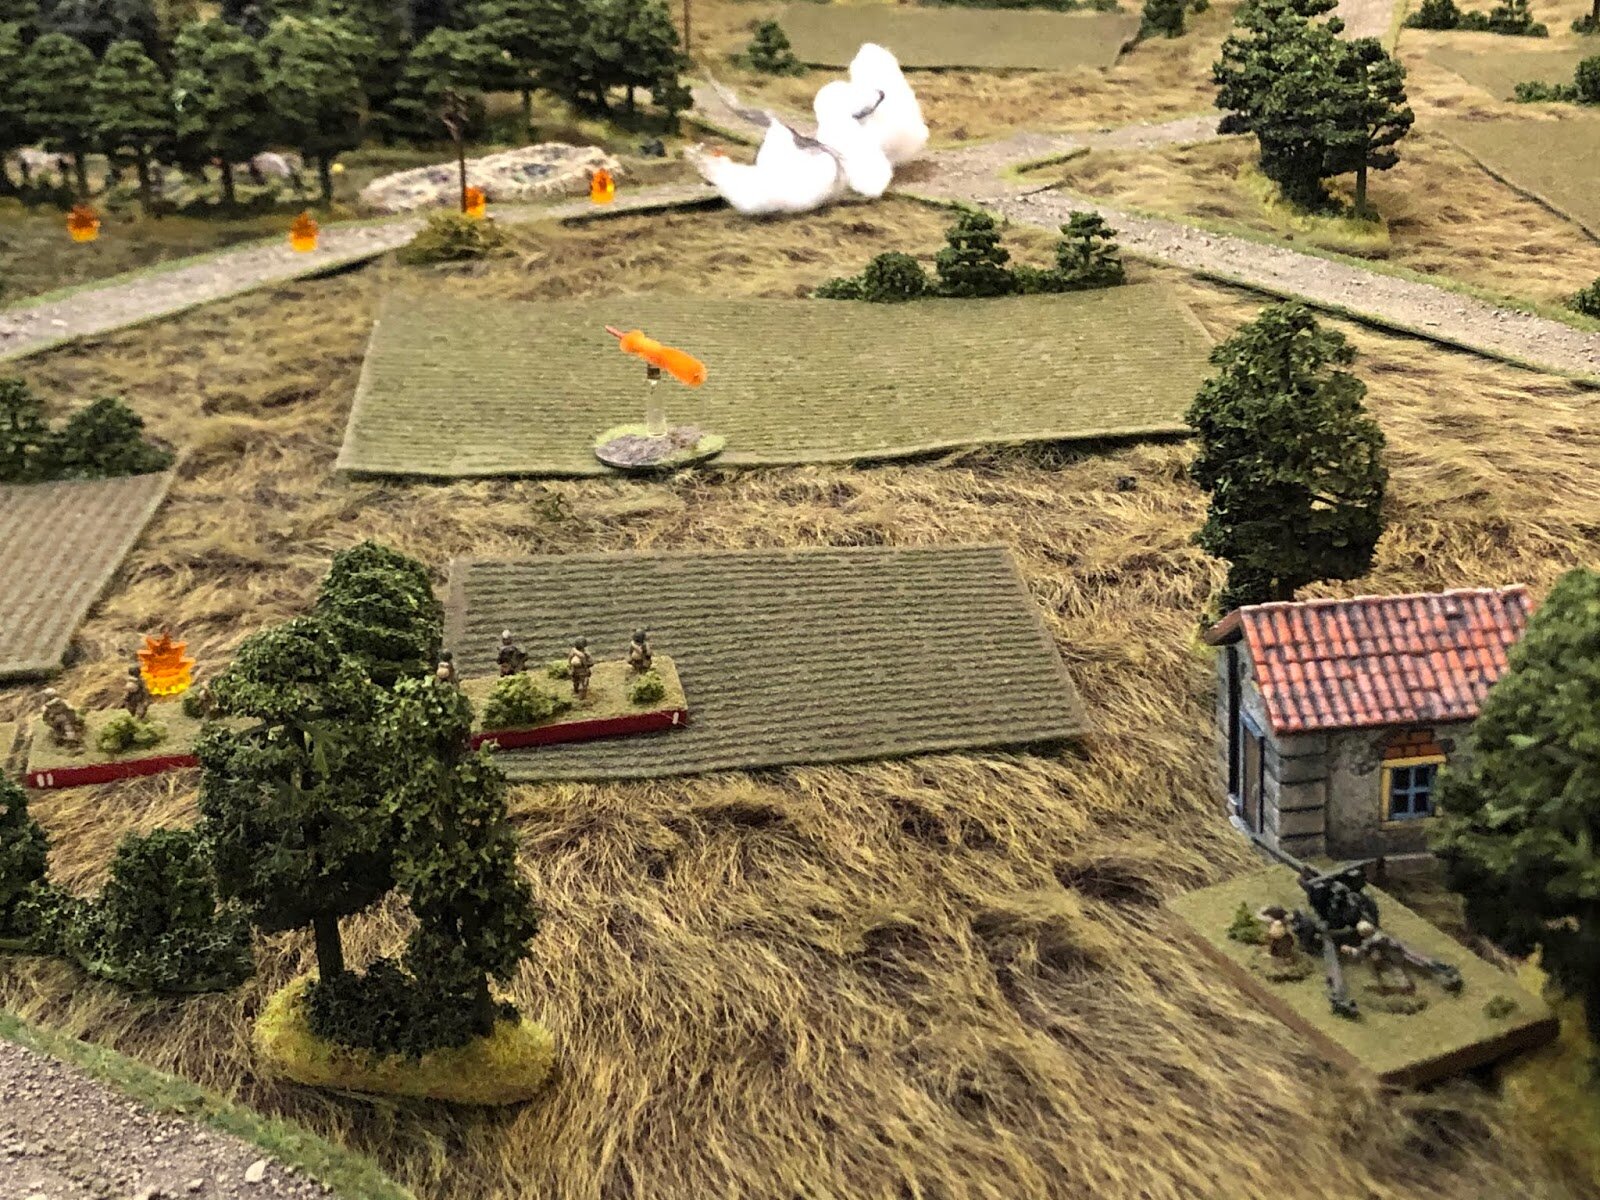
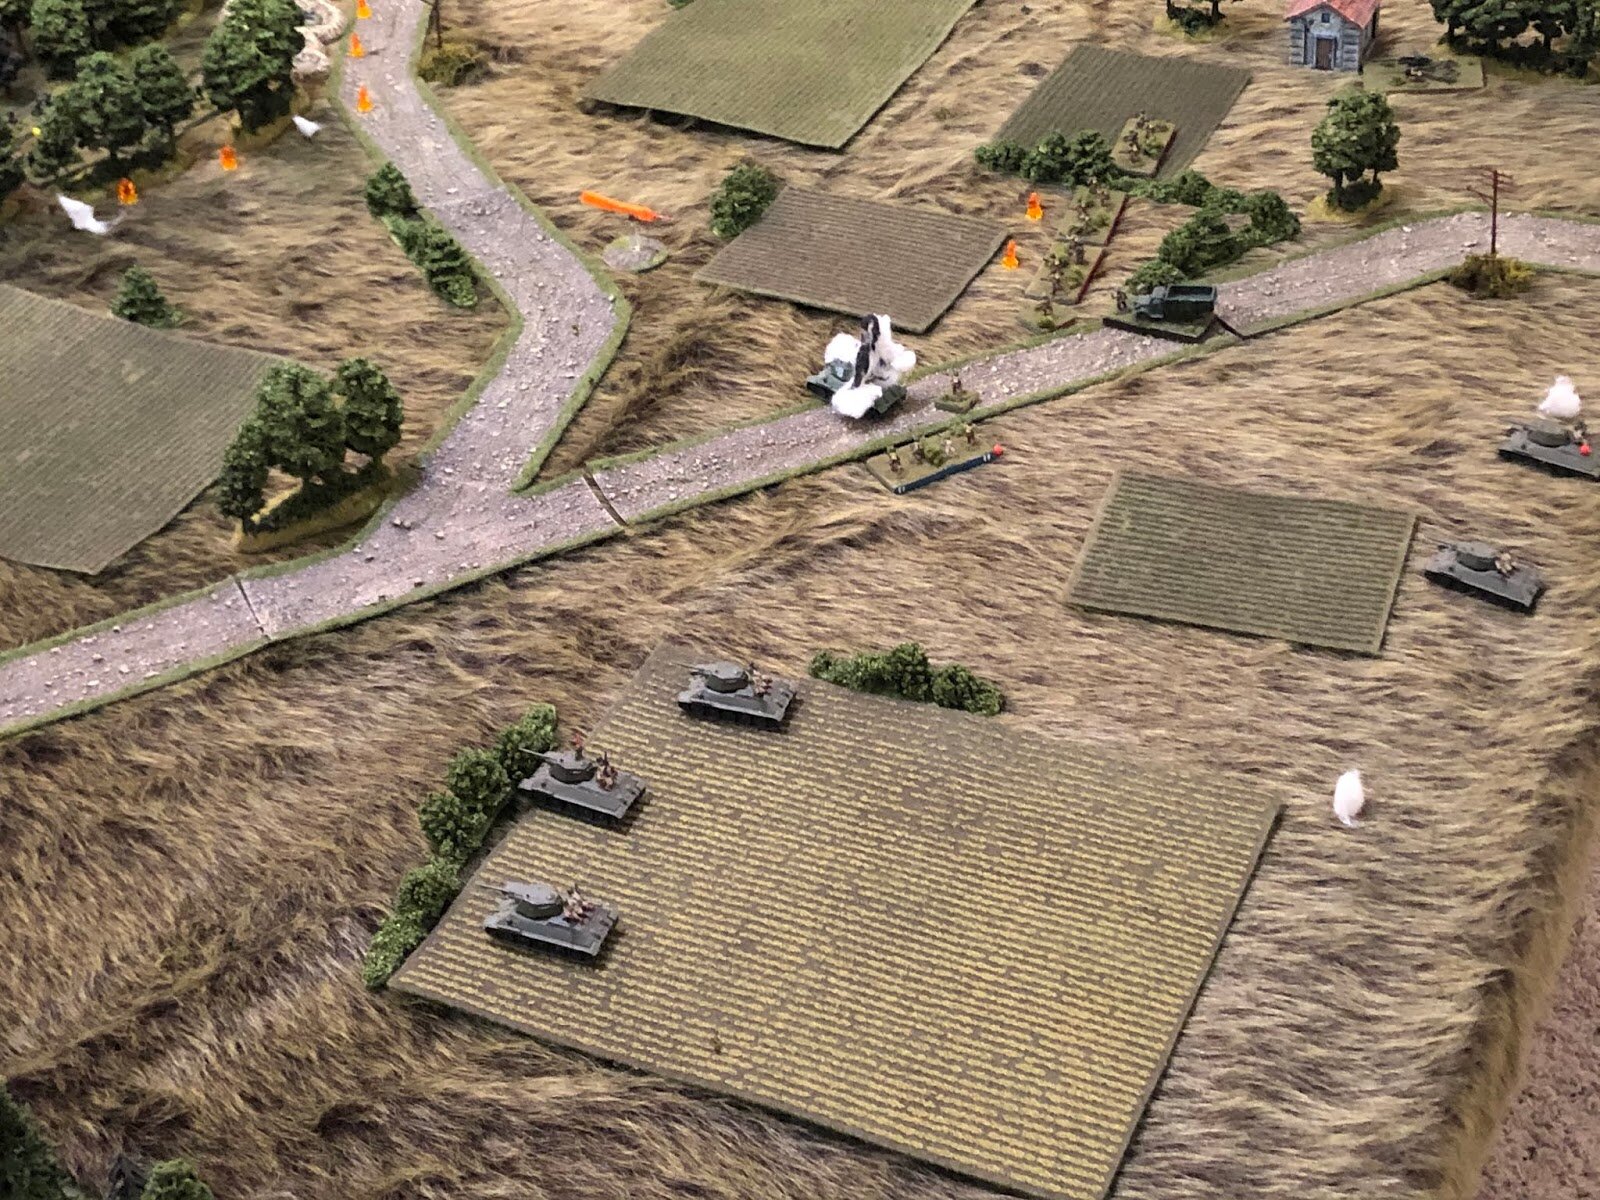
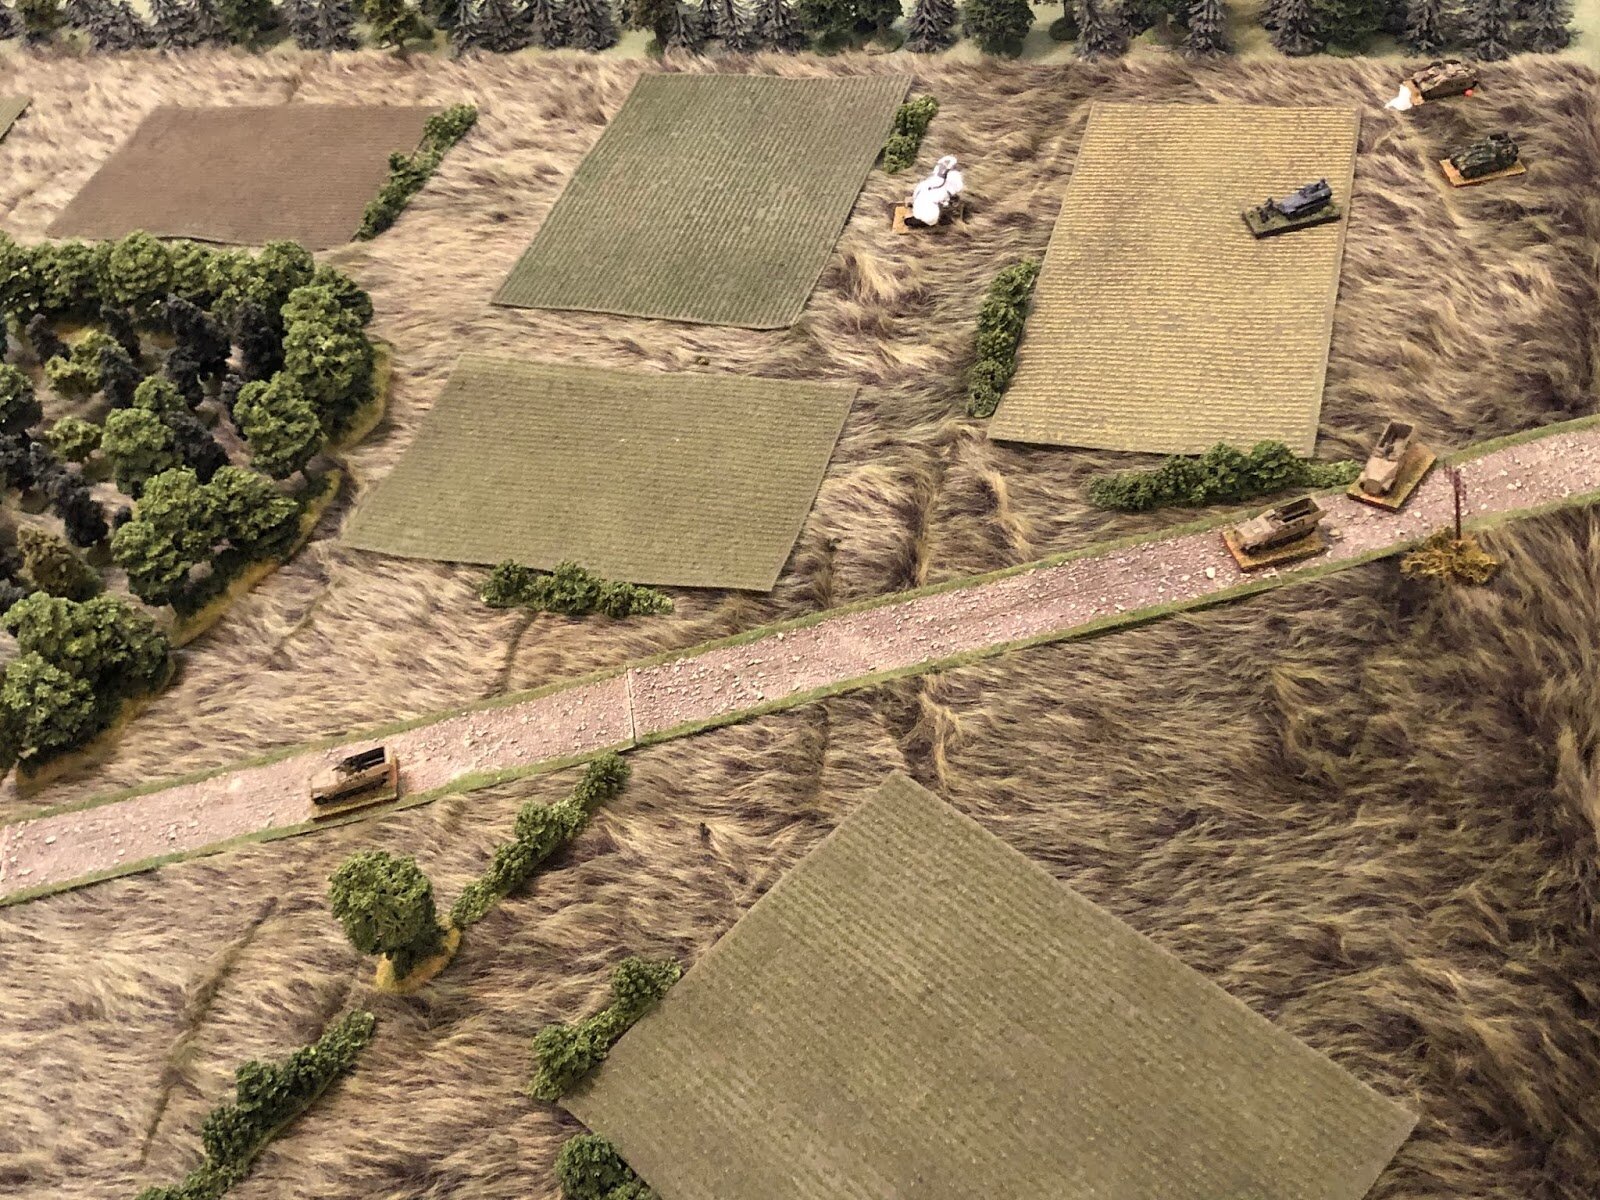
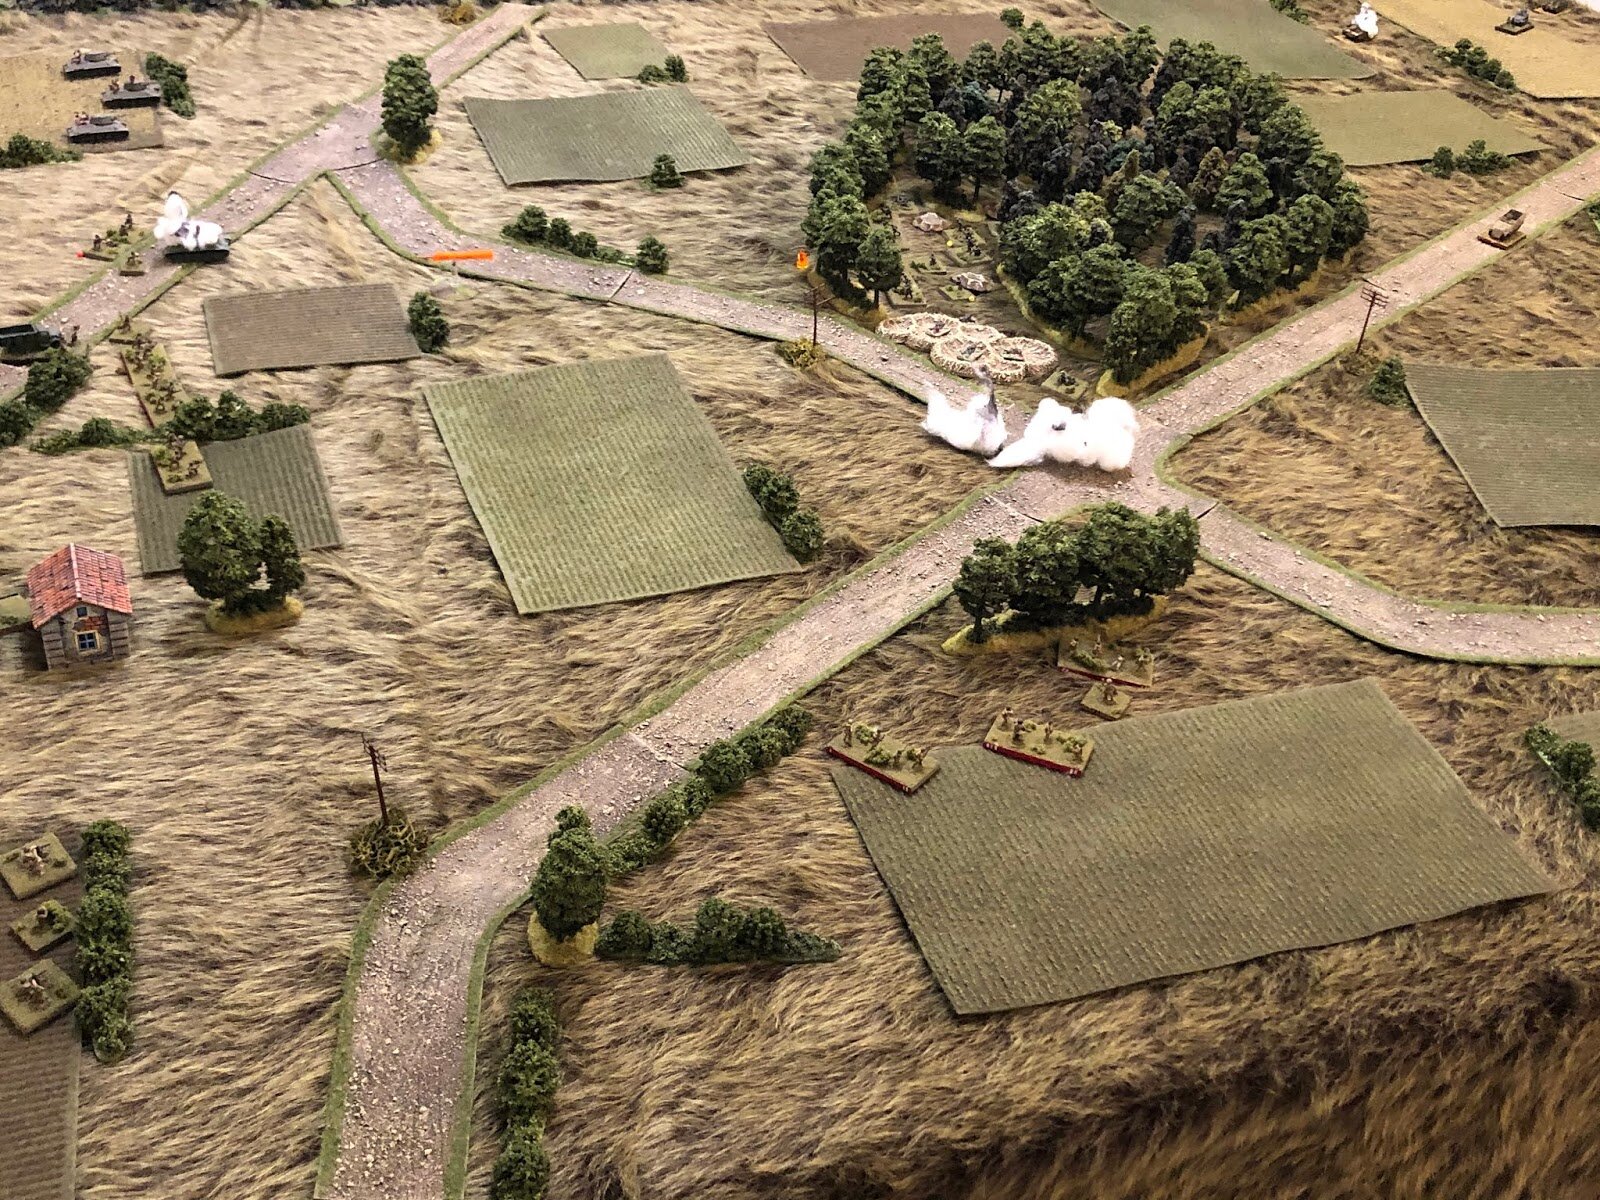
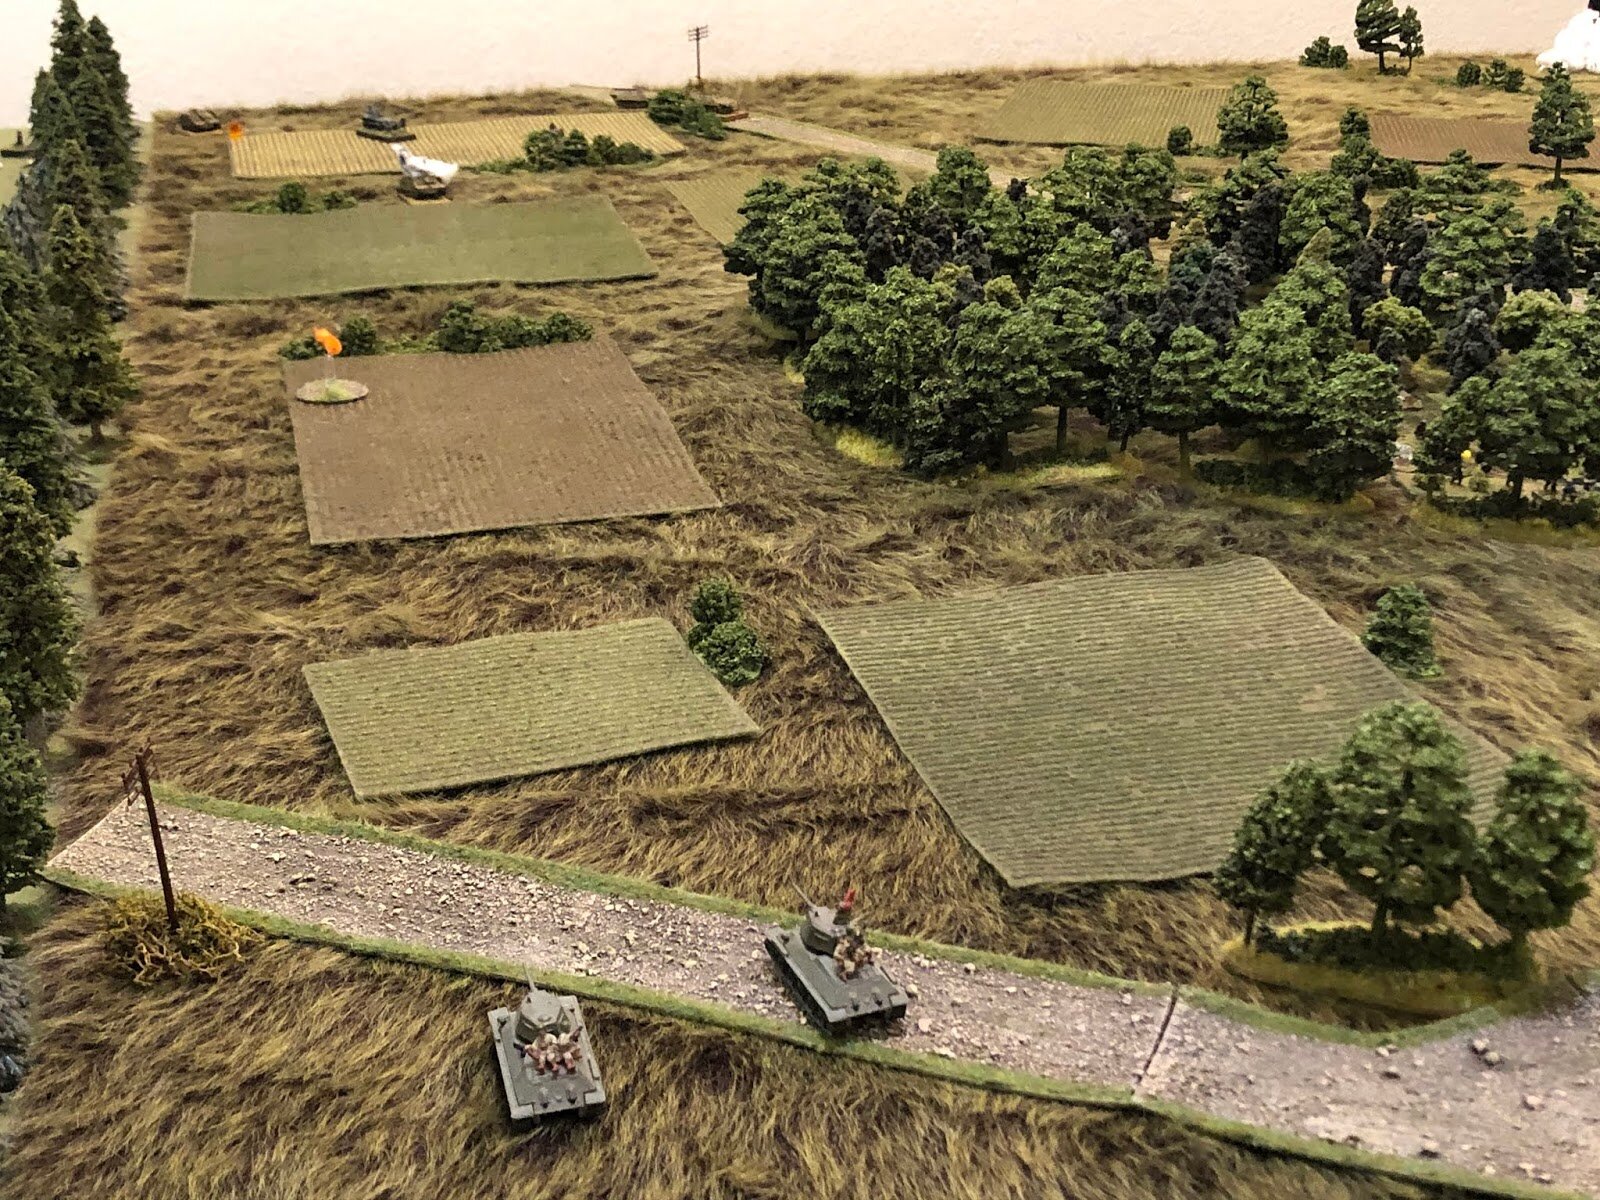
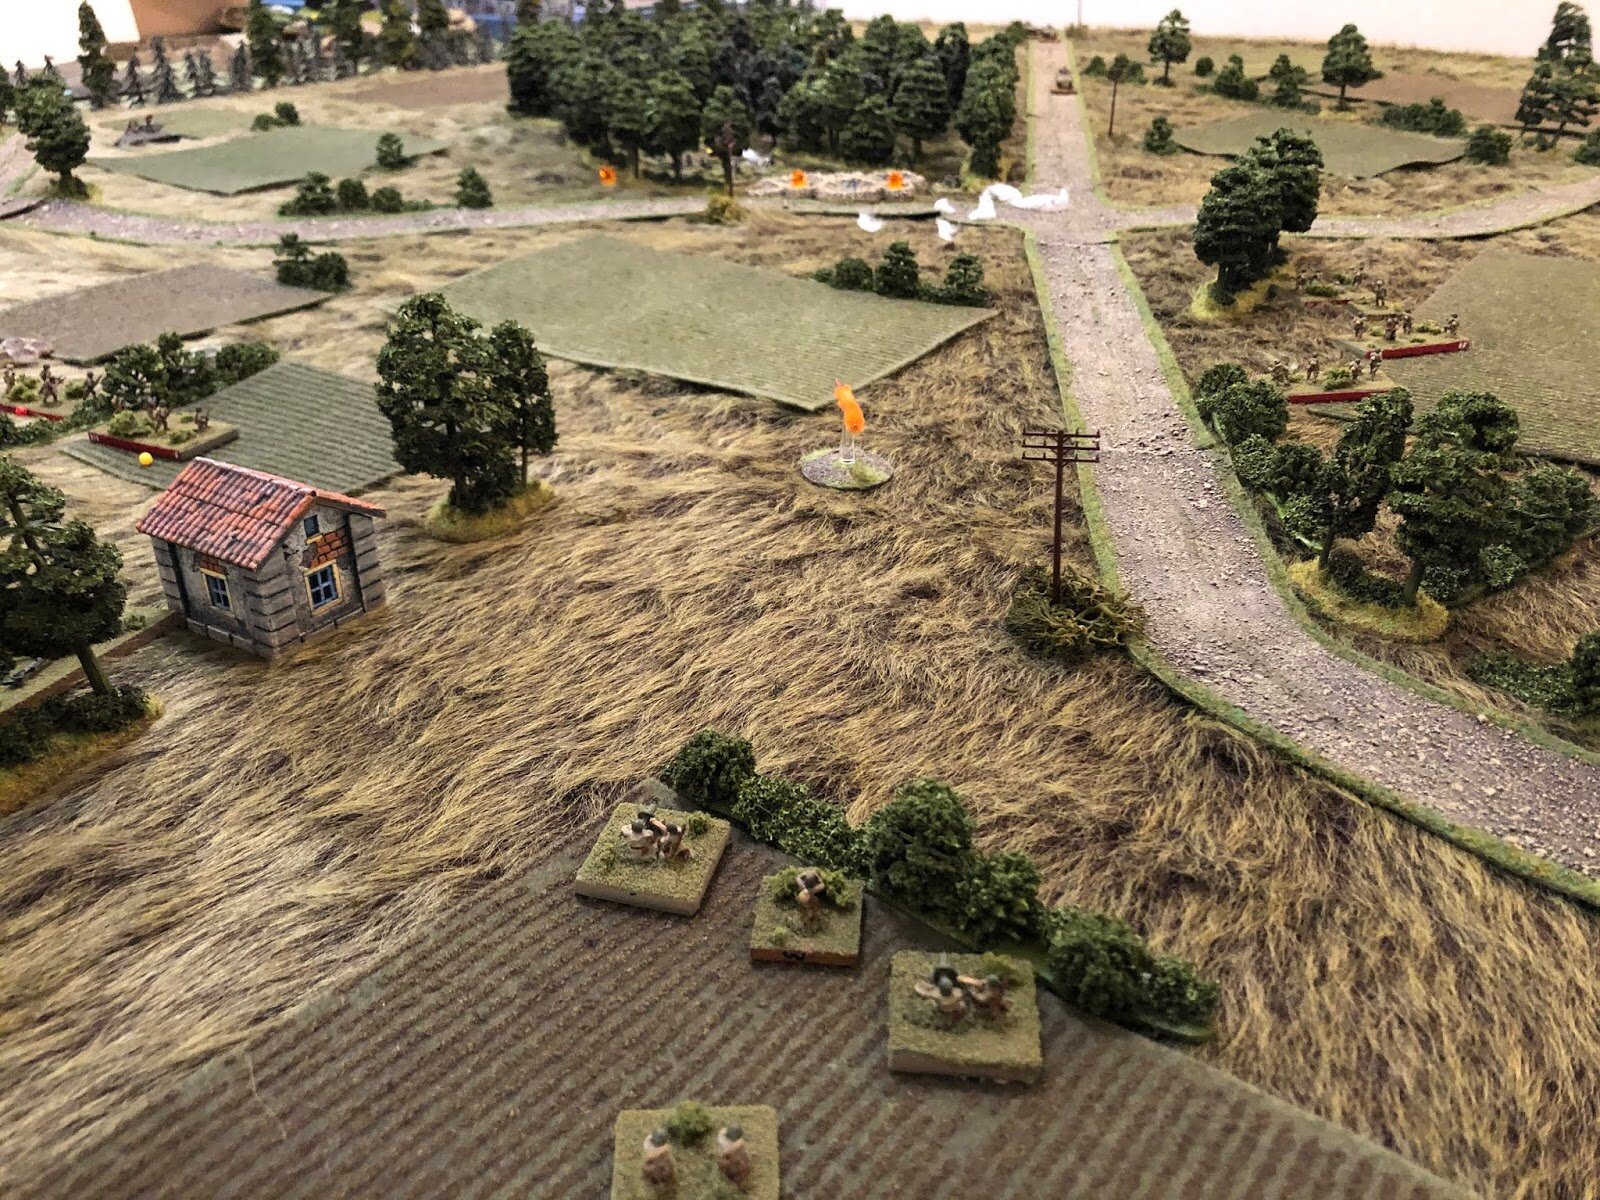
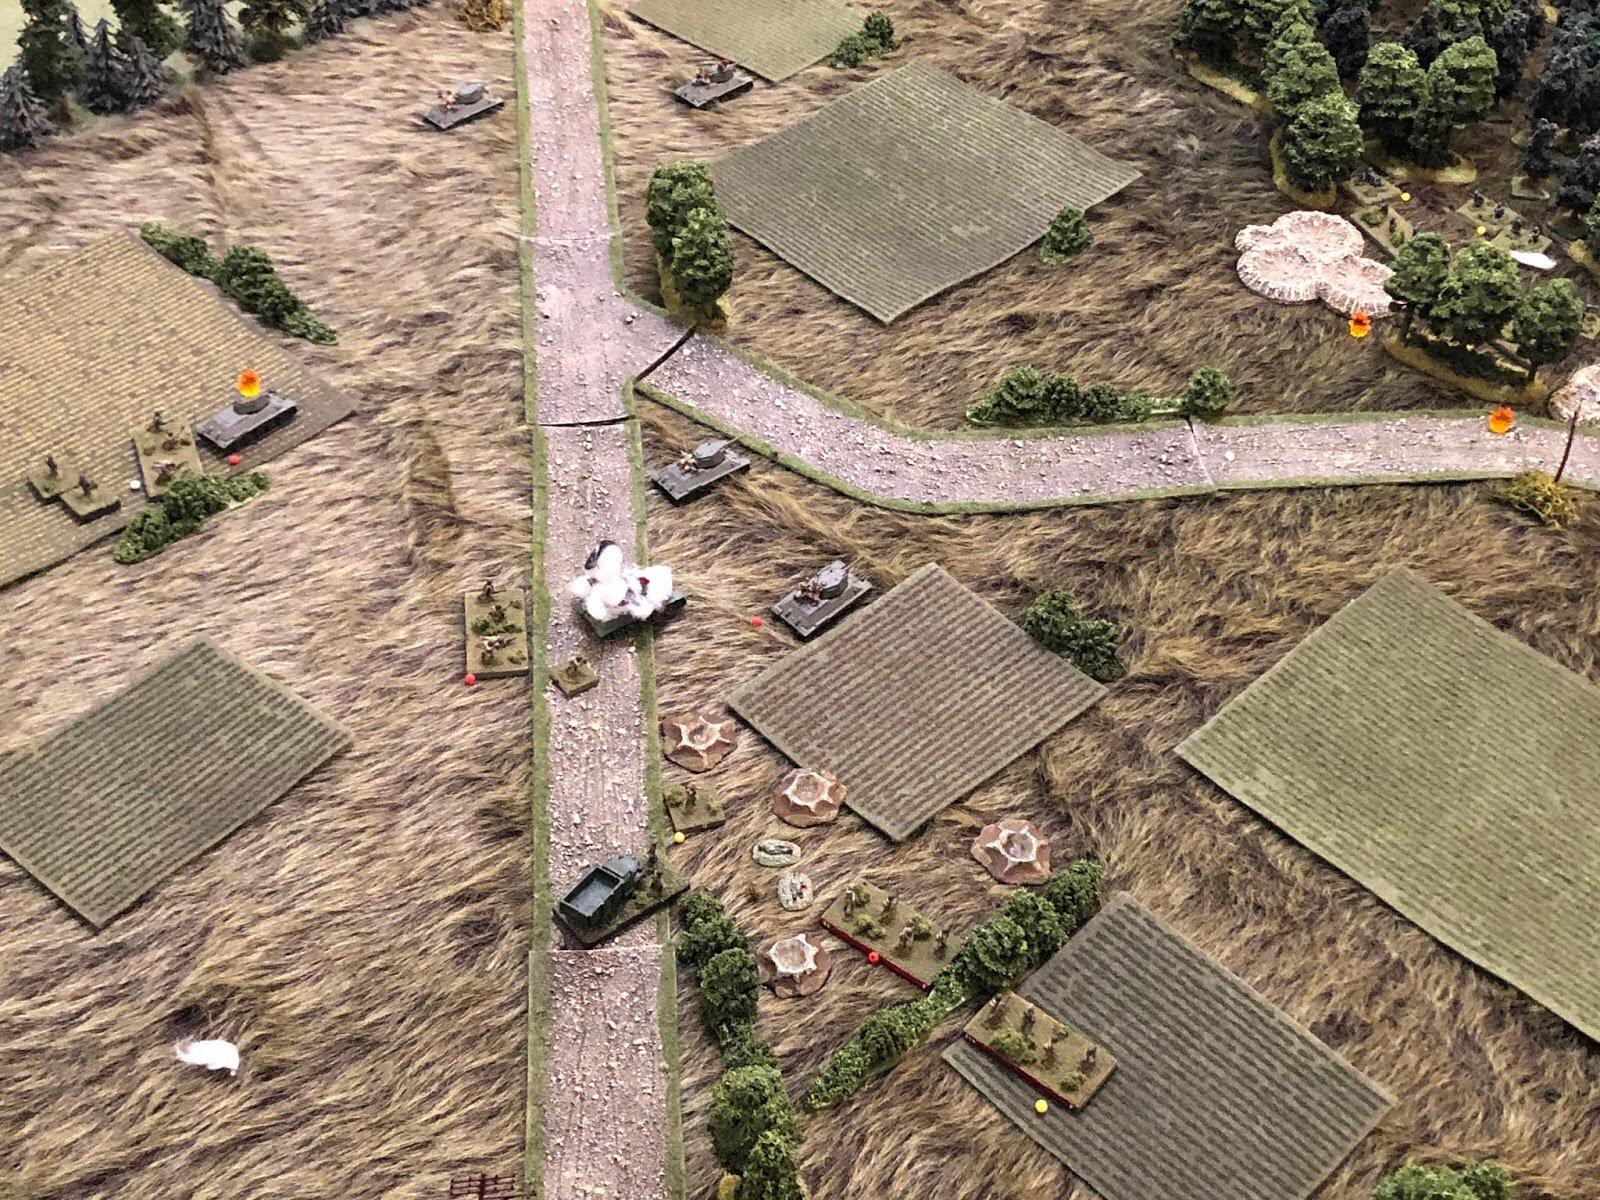
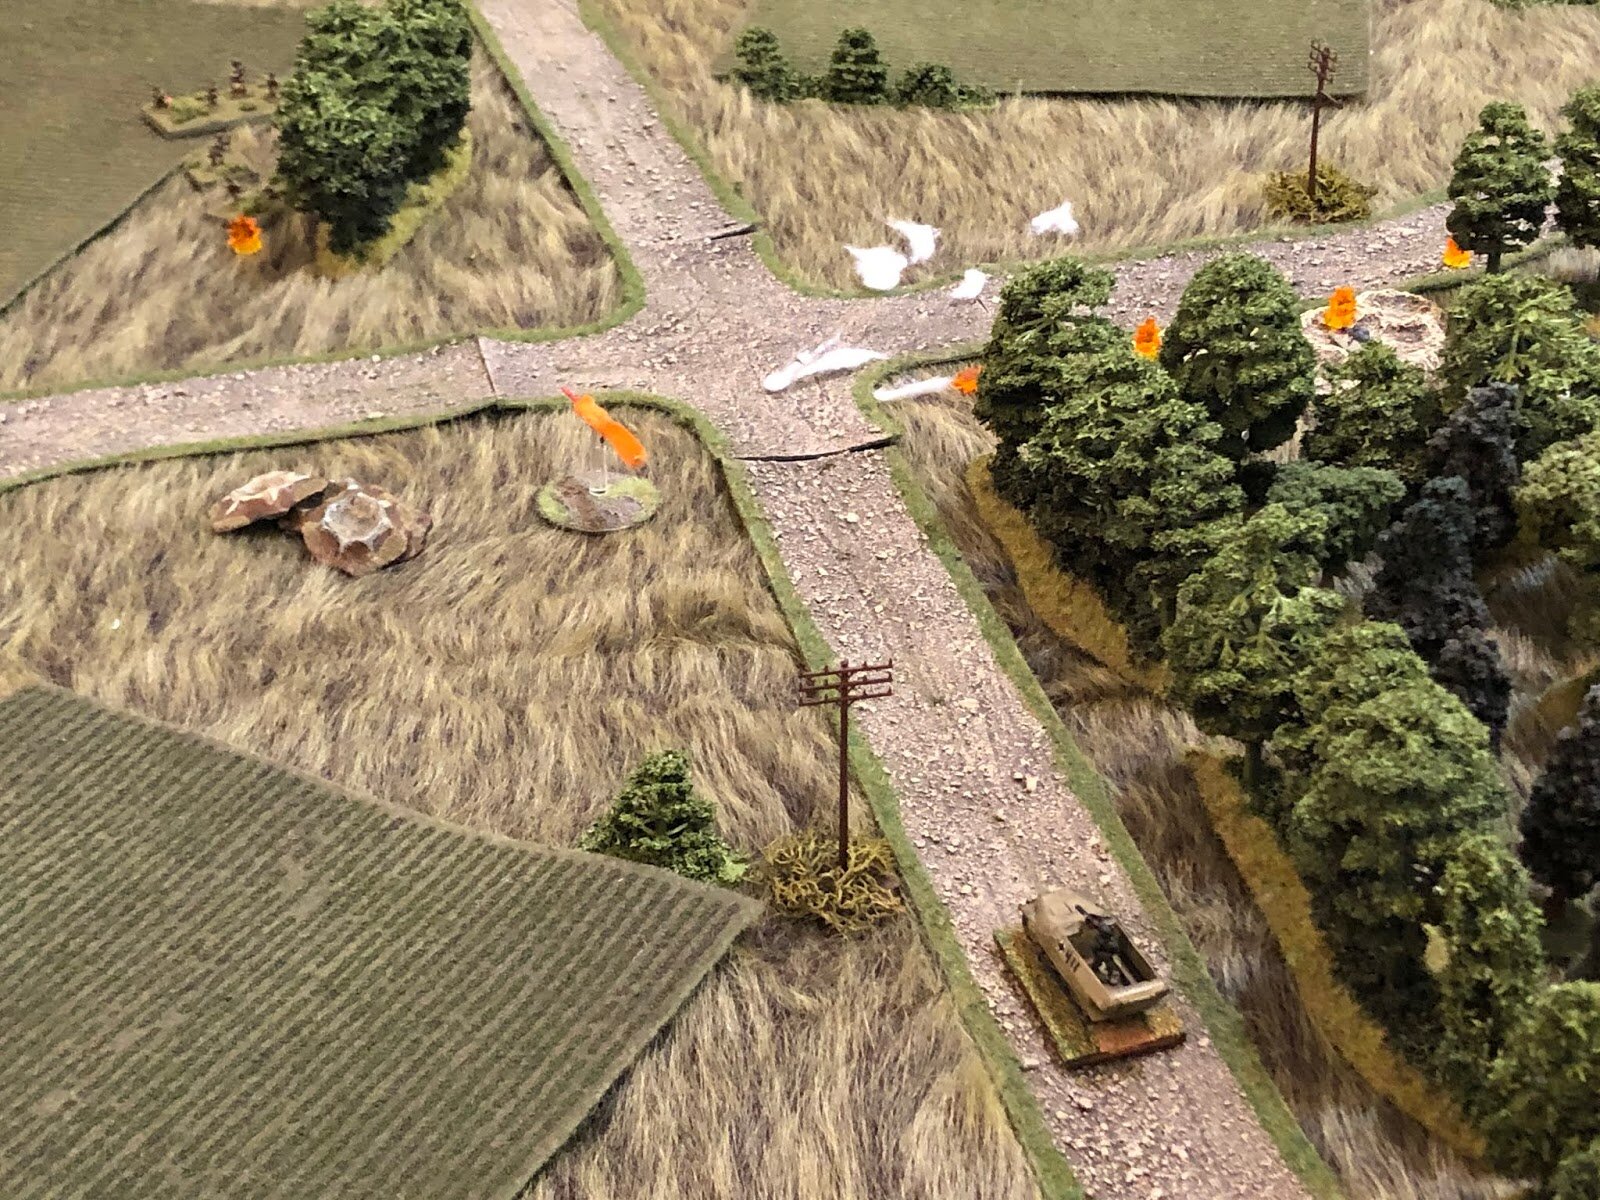
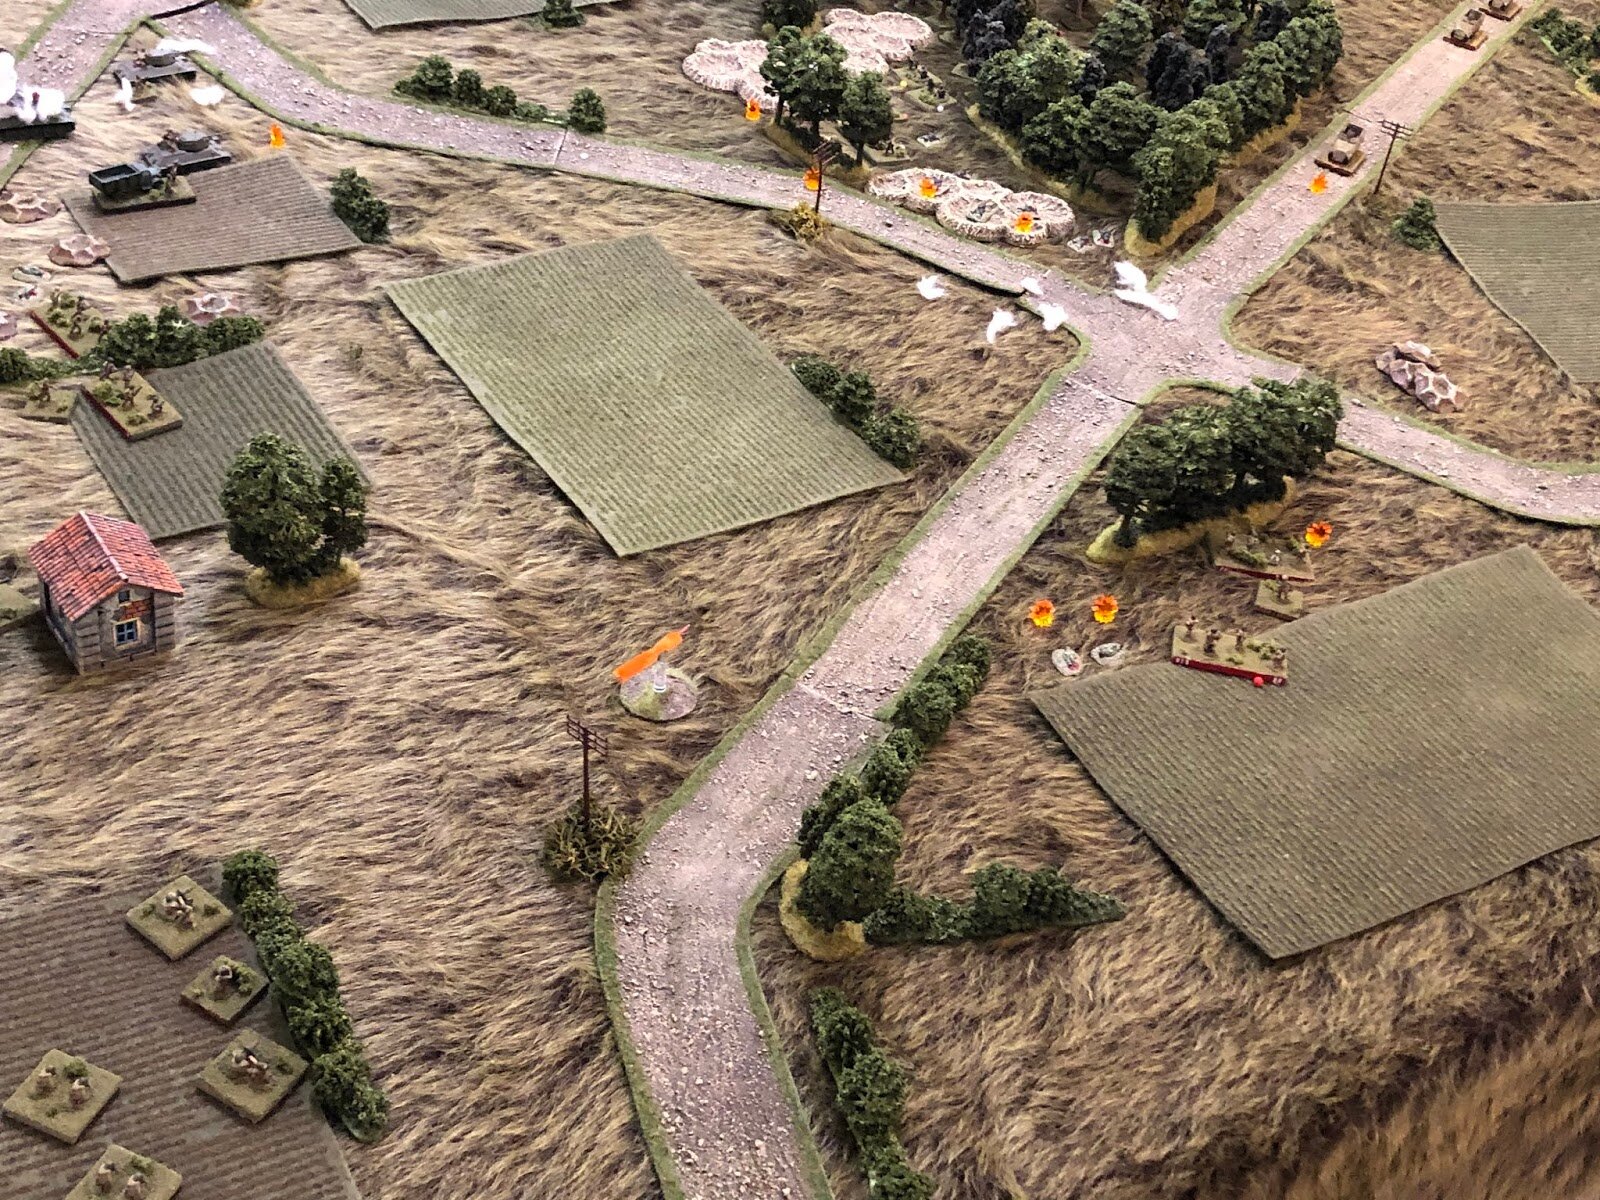
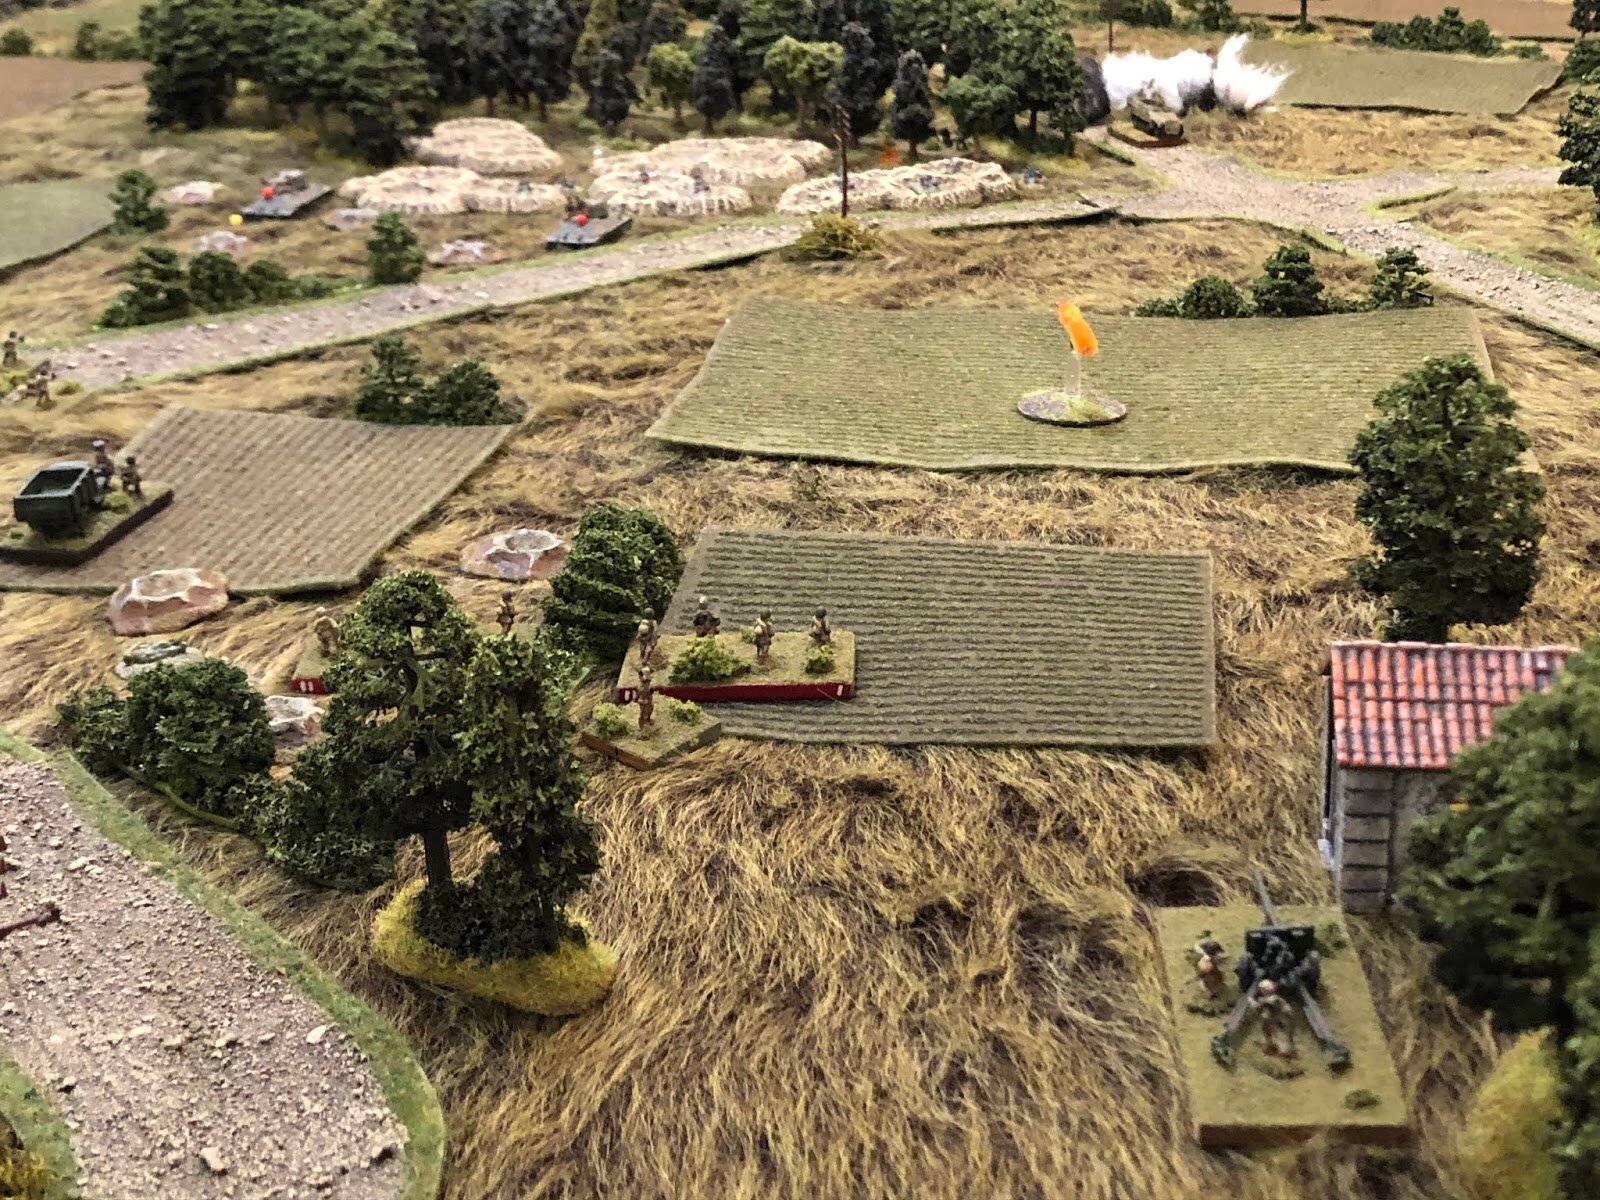
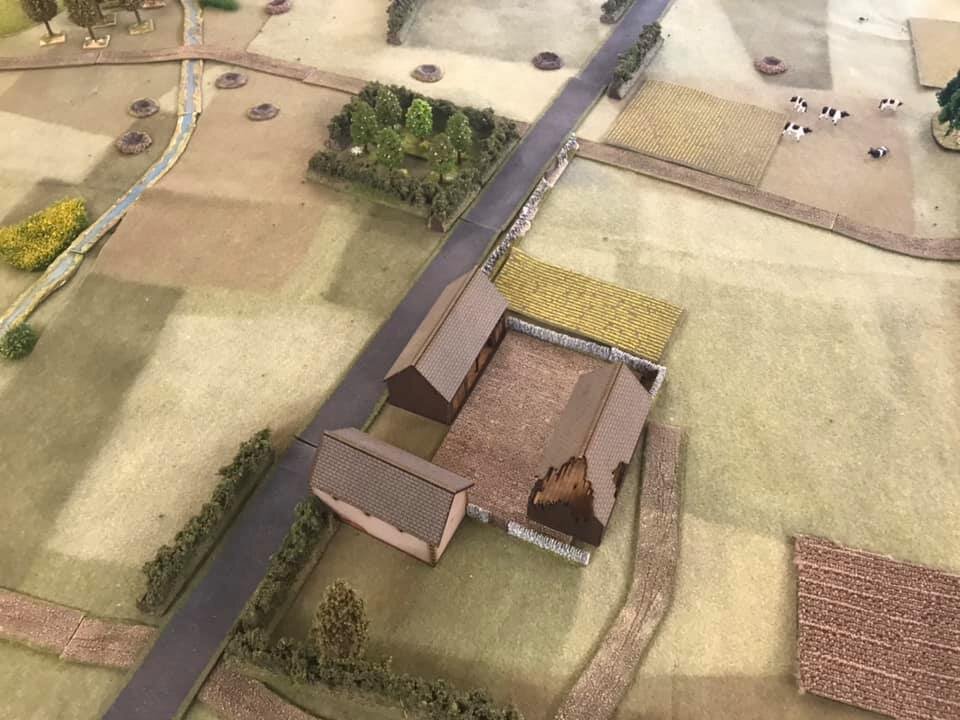
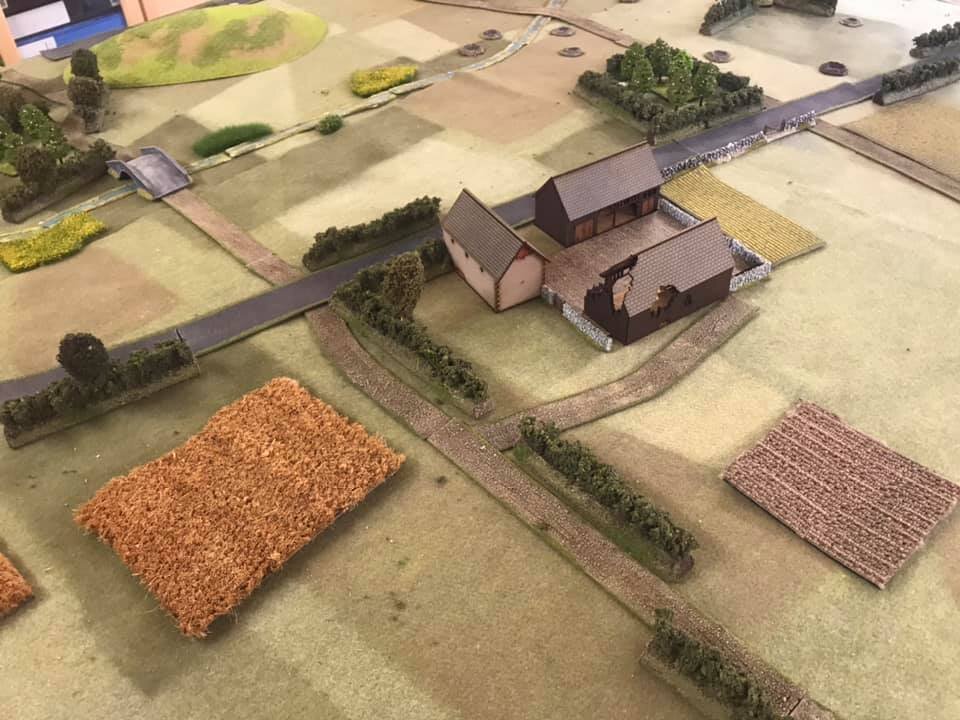
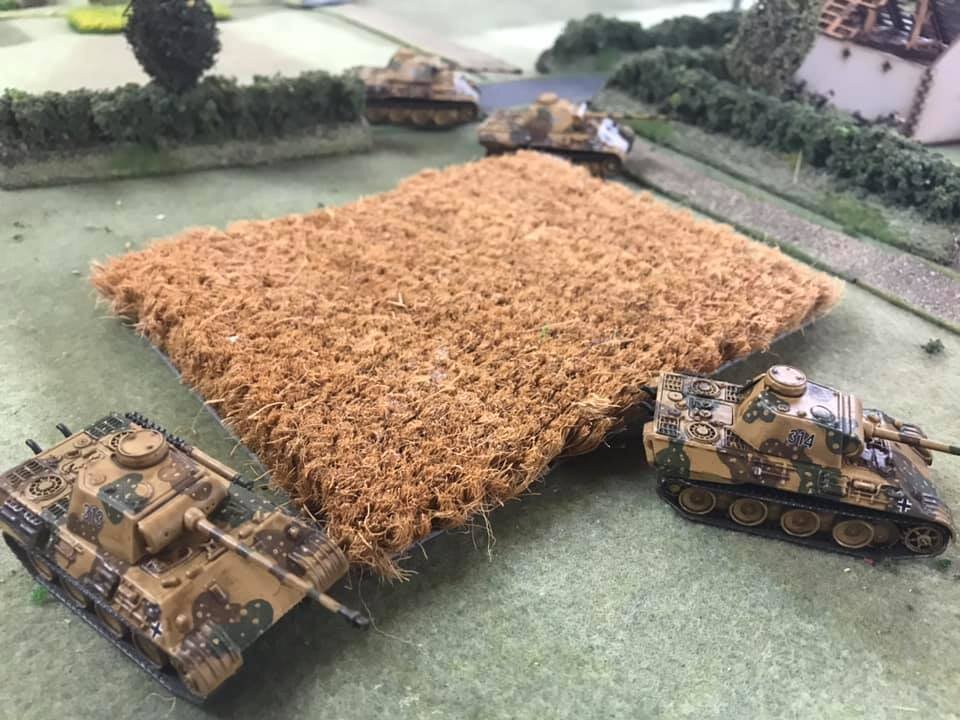
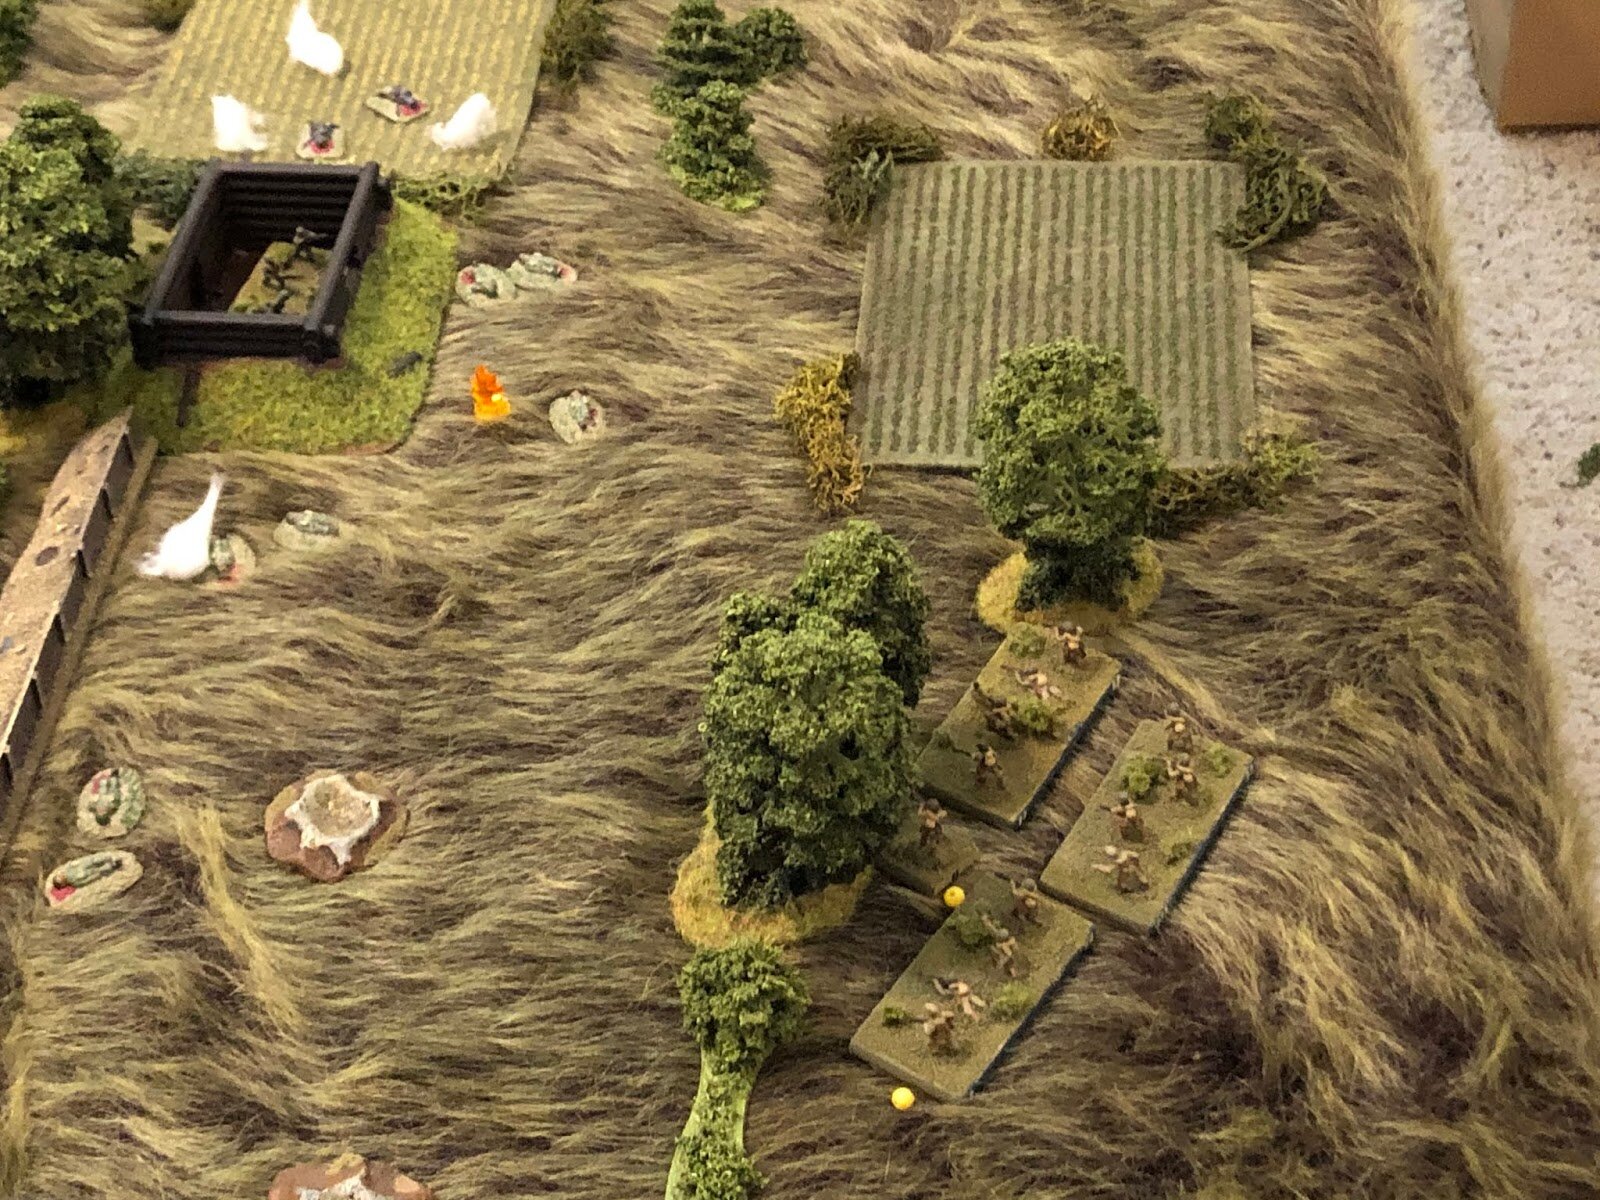
The Gap is where the road passes between the line of hills
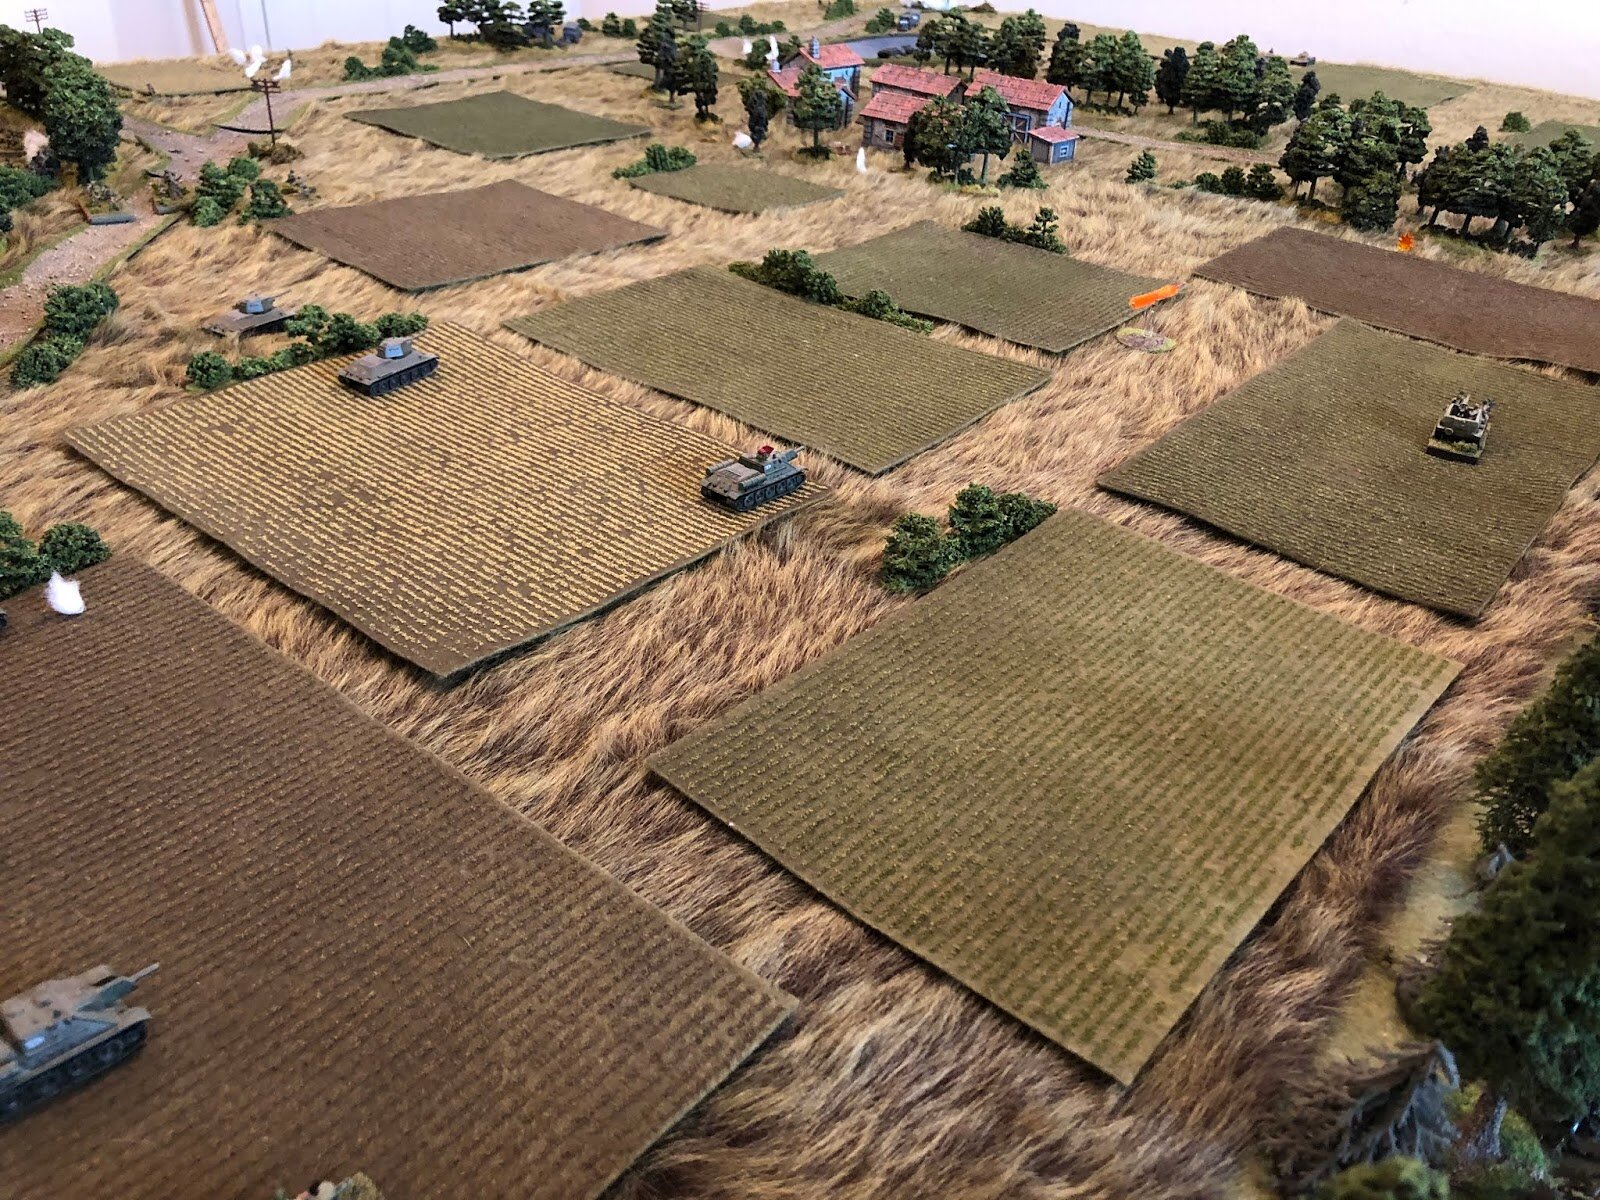
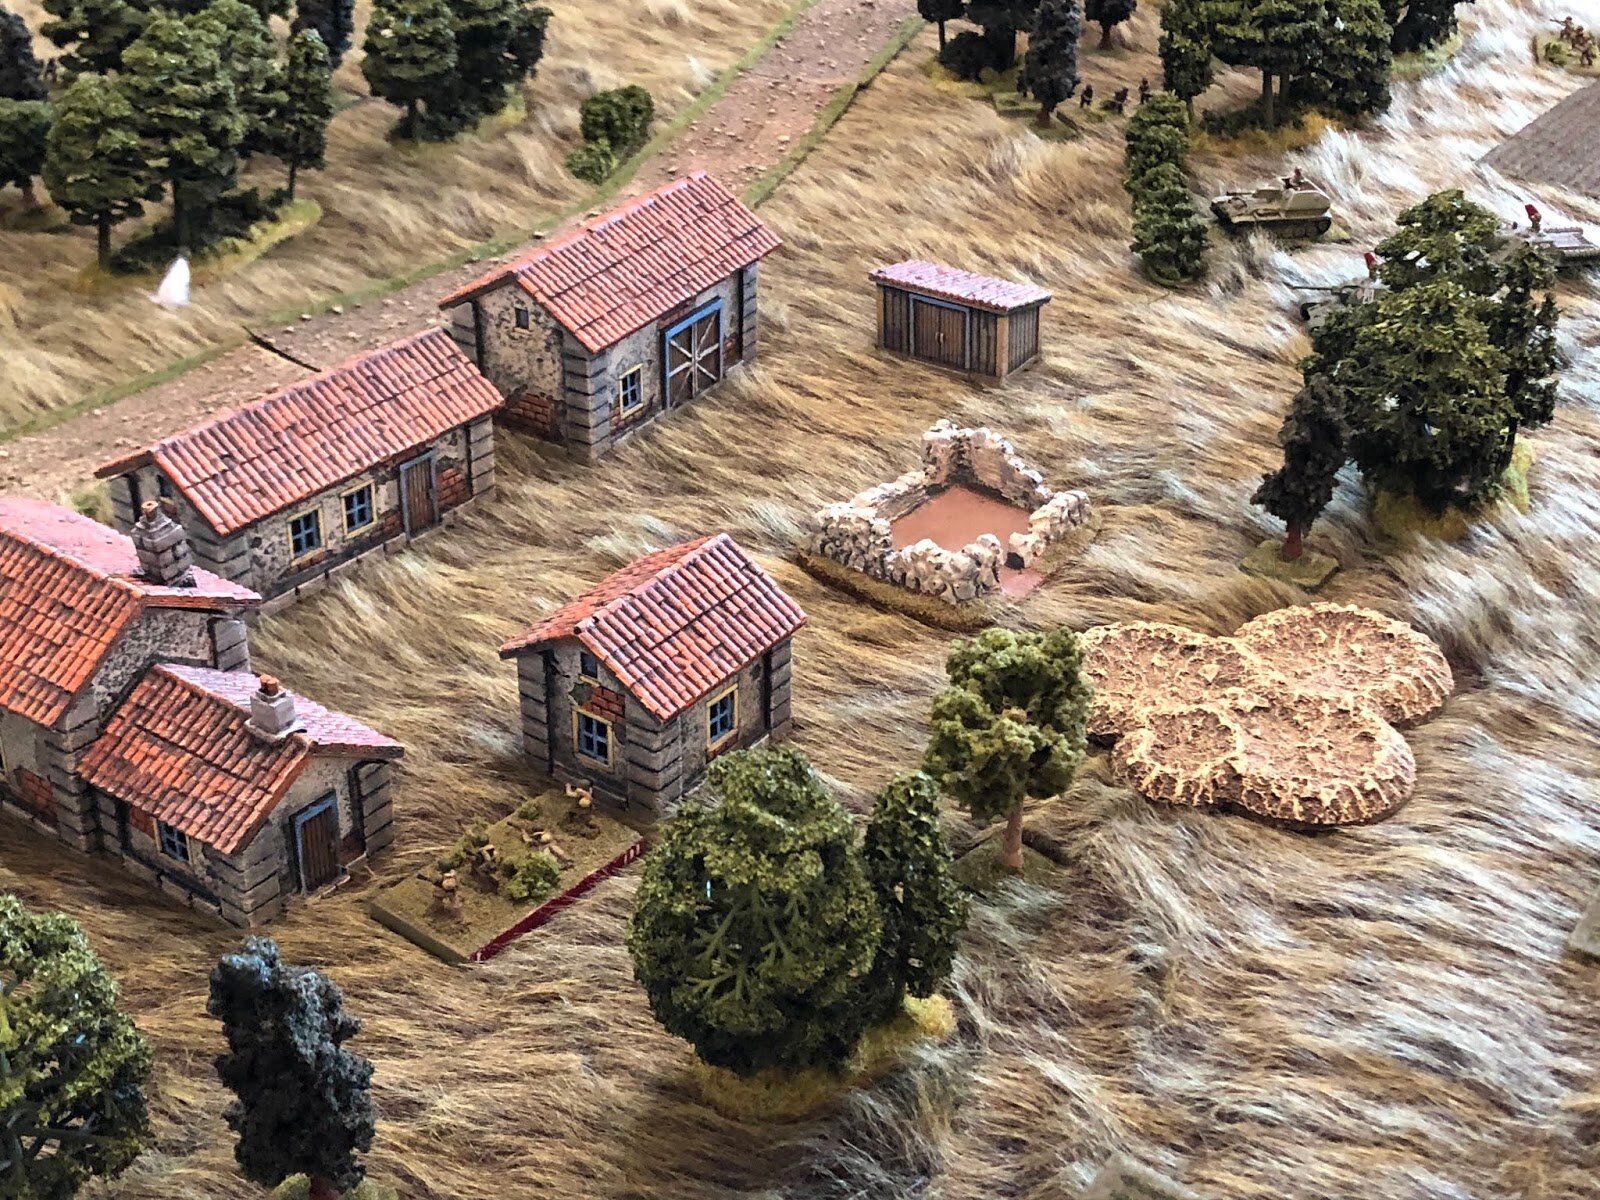
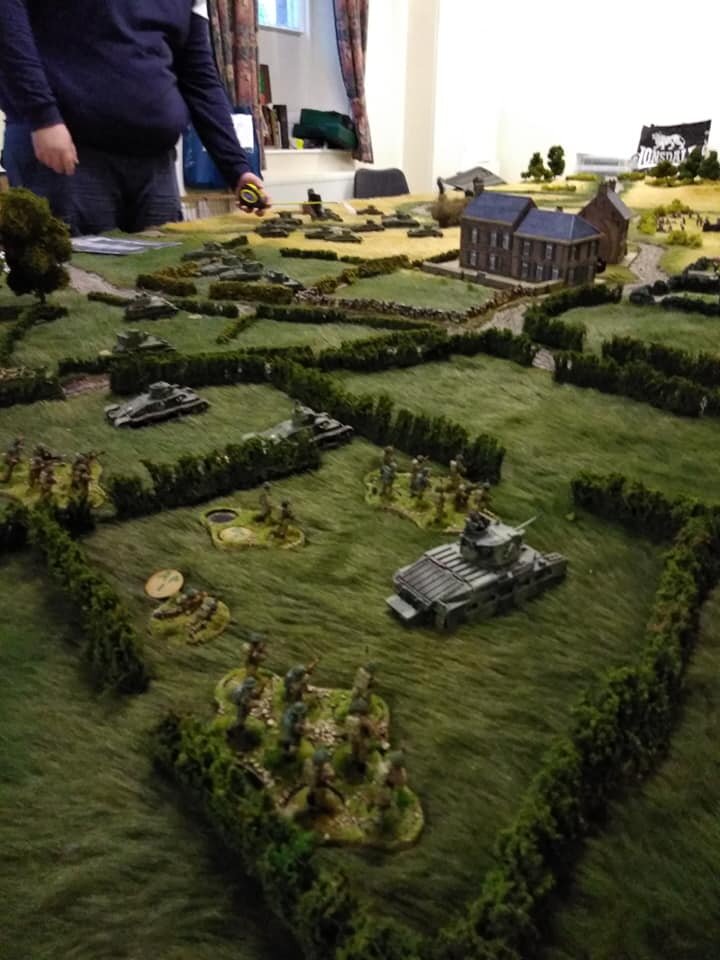
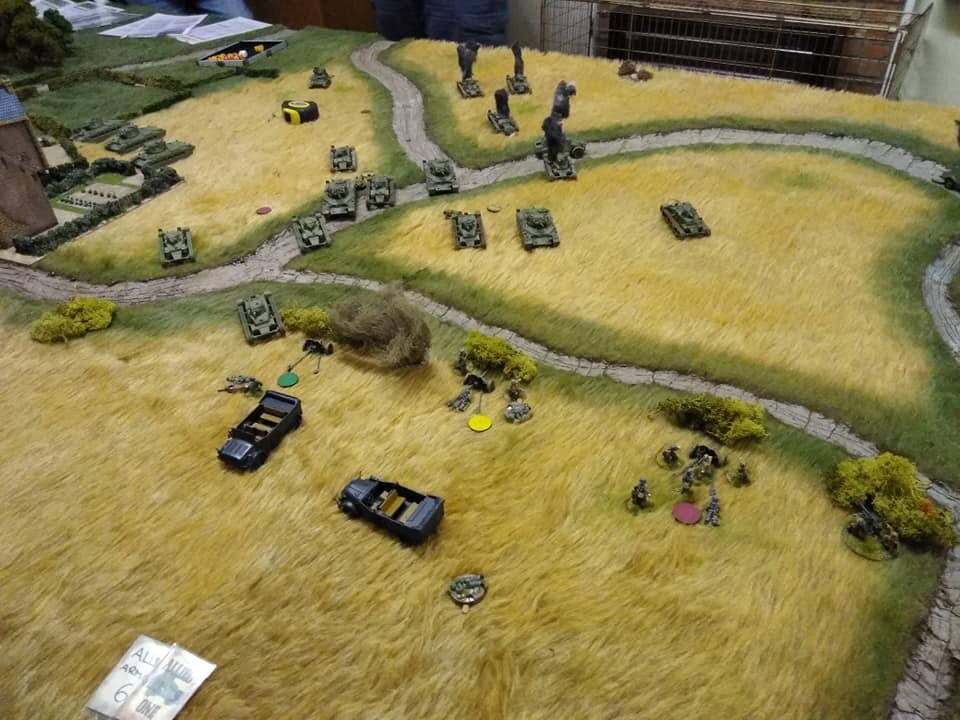
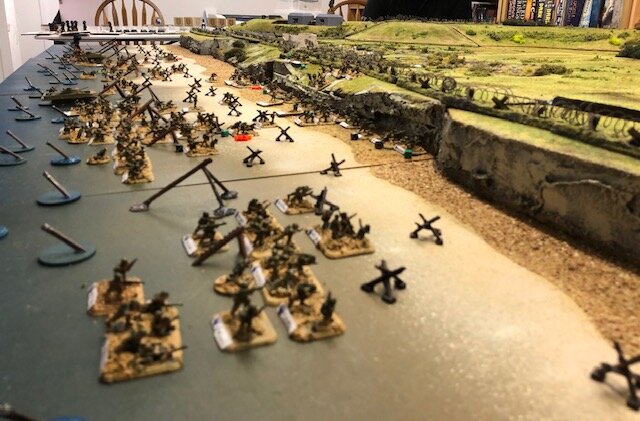
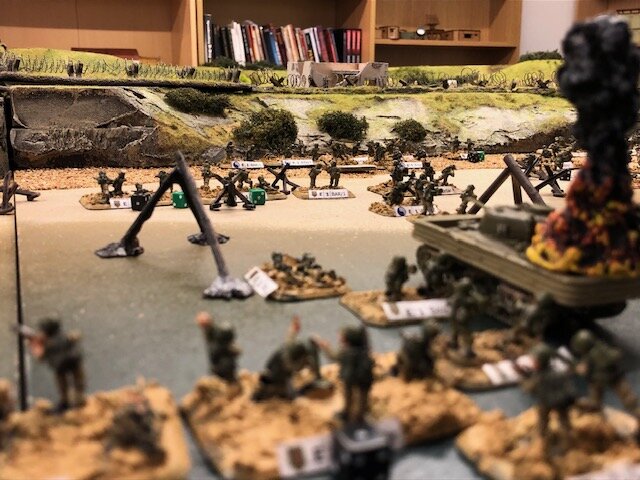
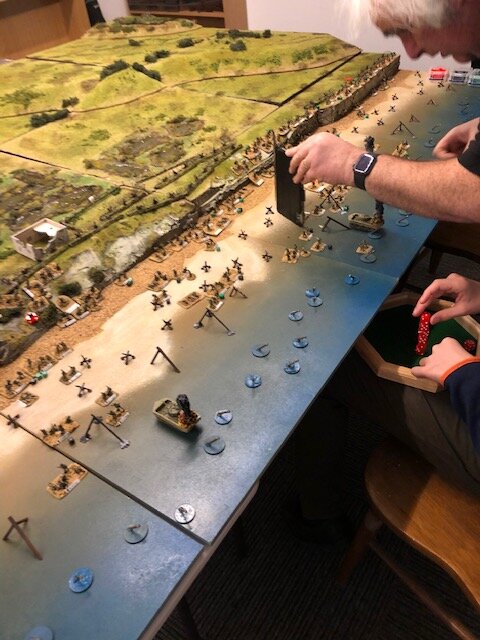
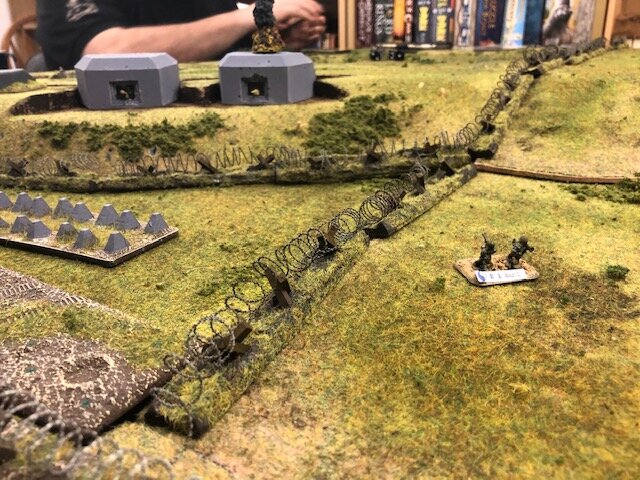
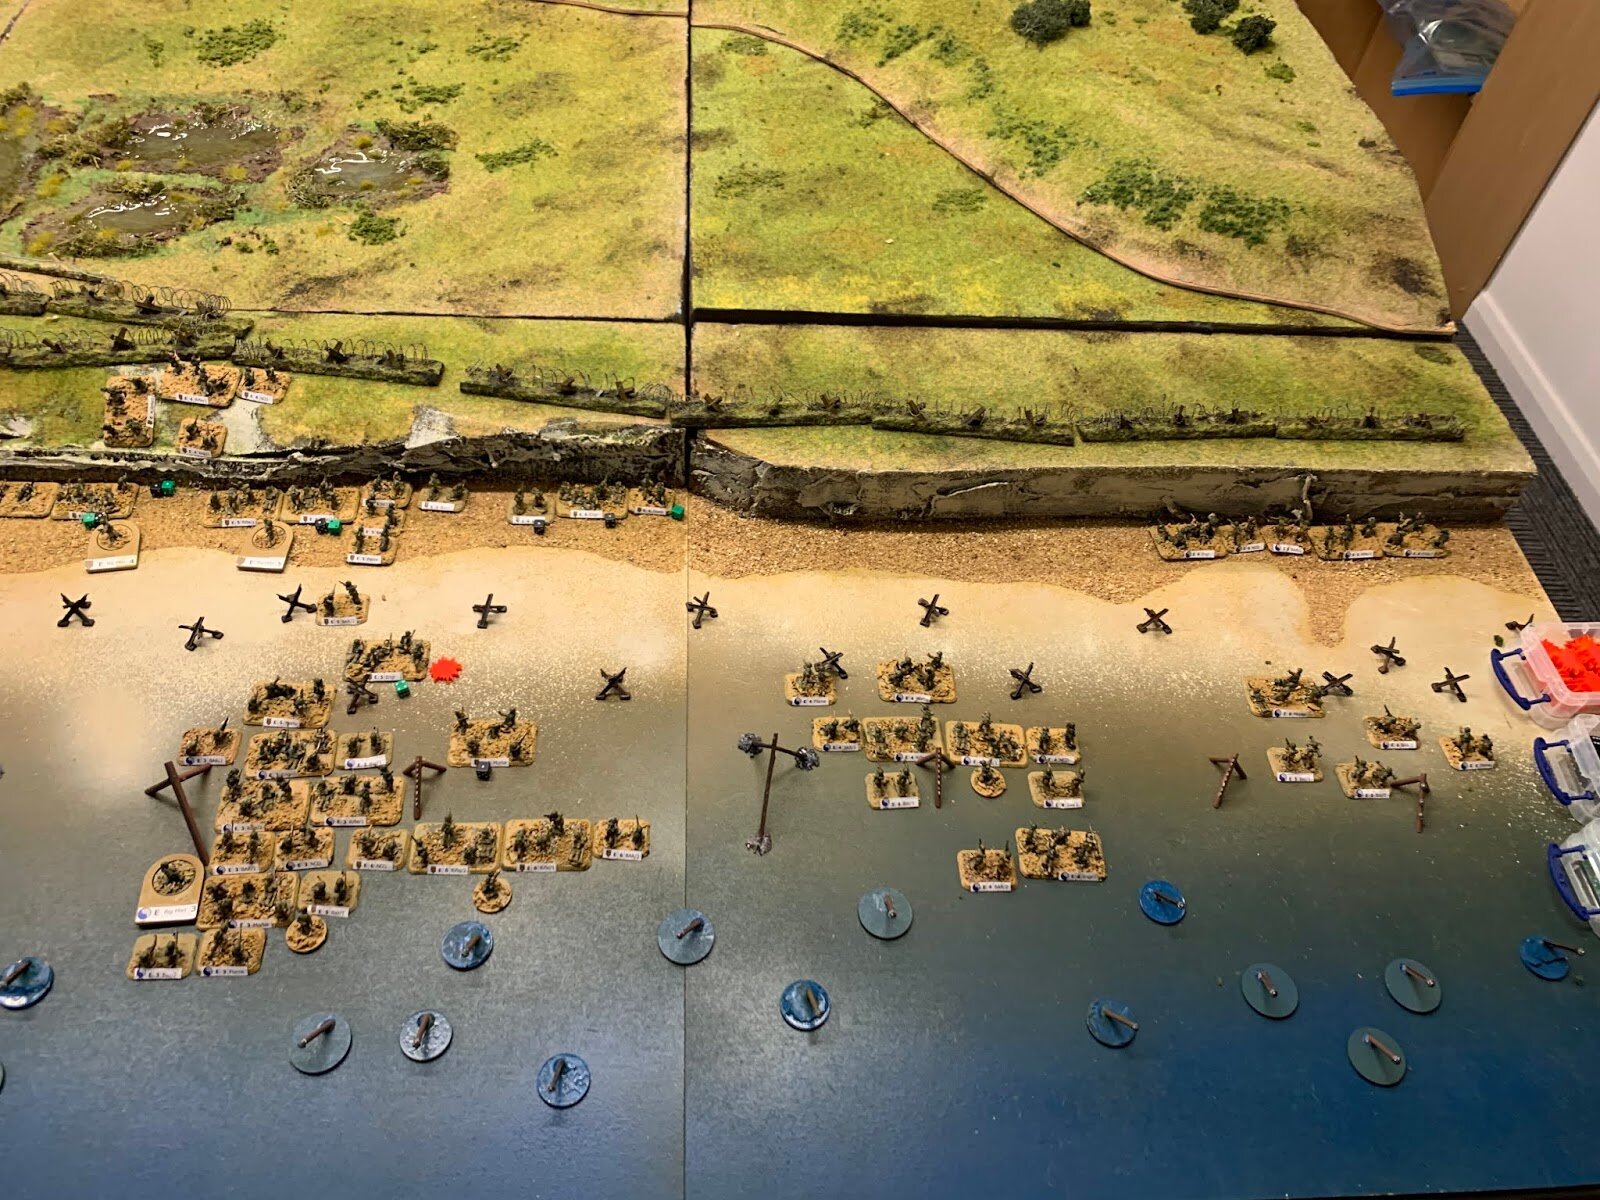
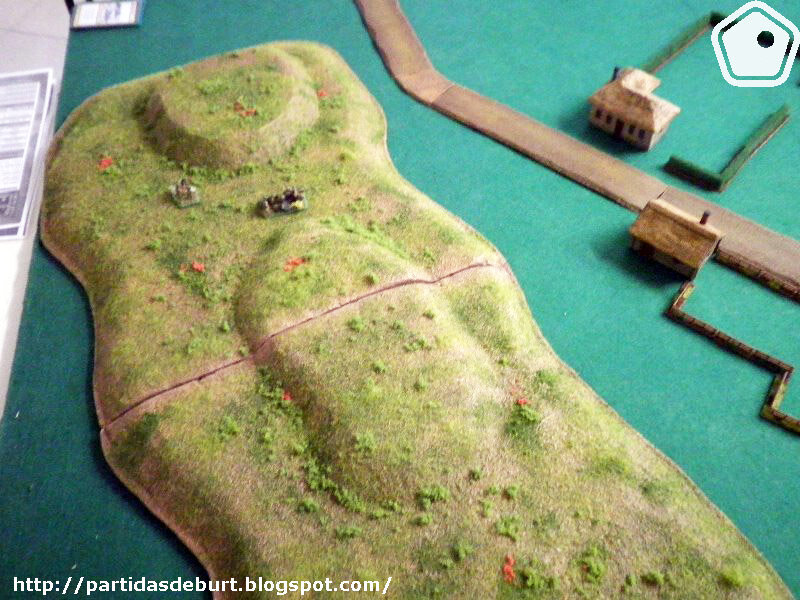
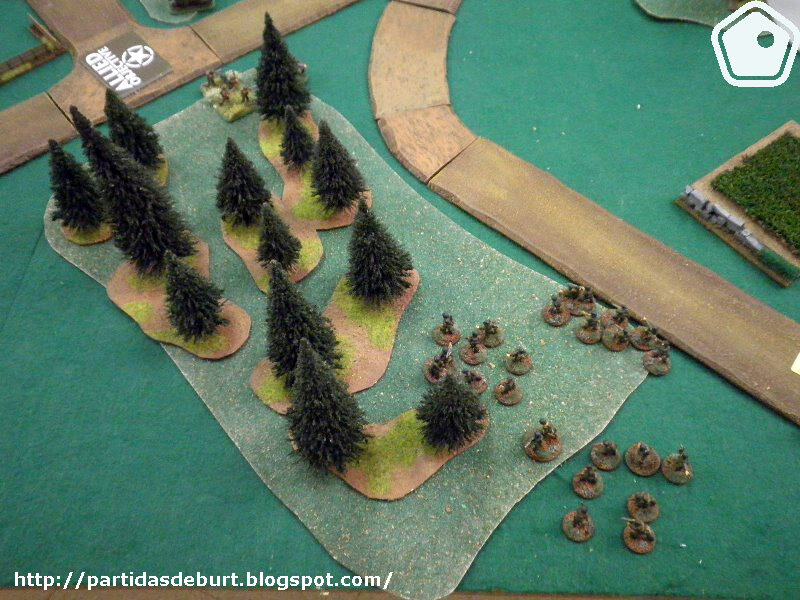
The view from the German end of the table
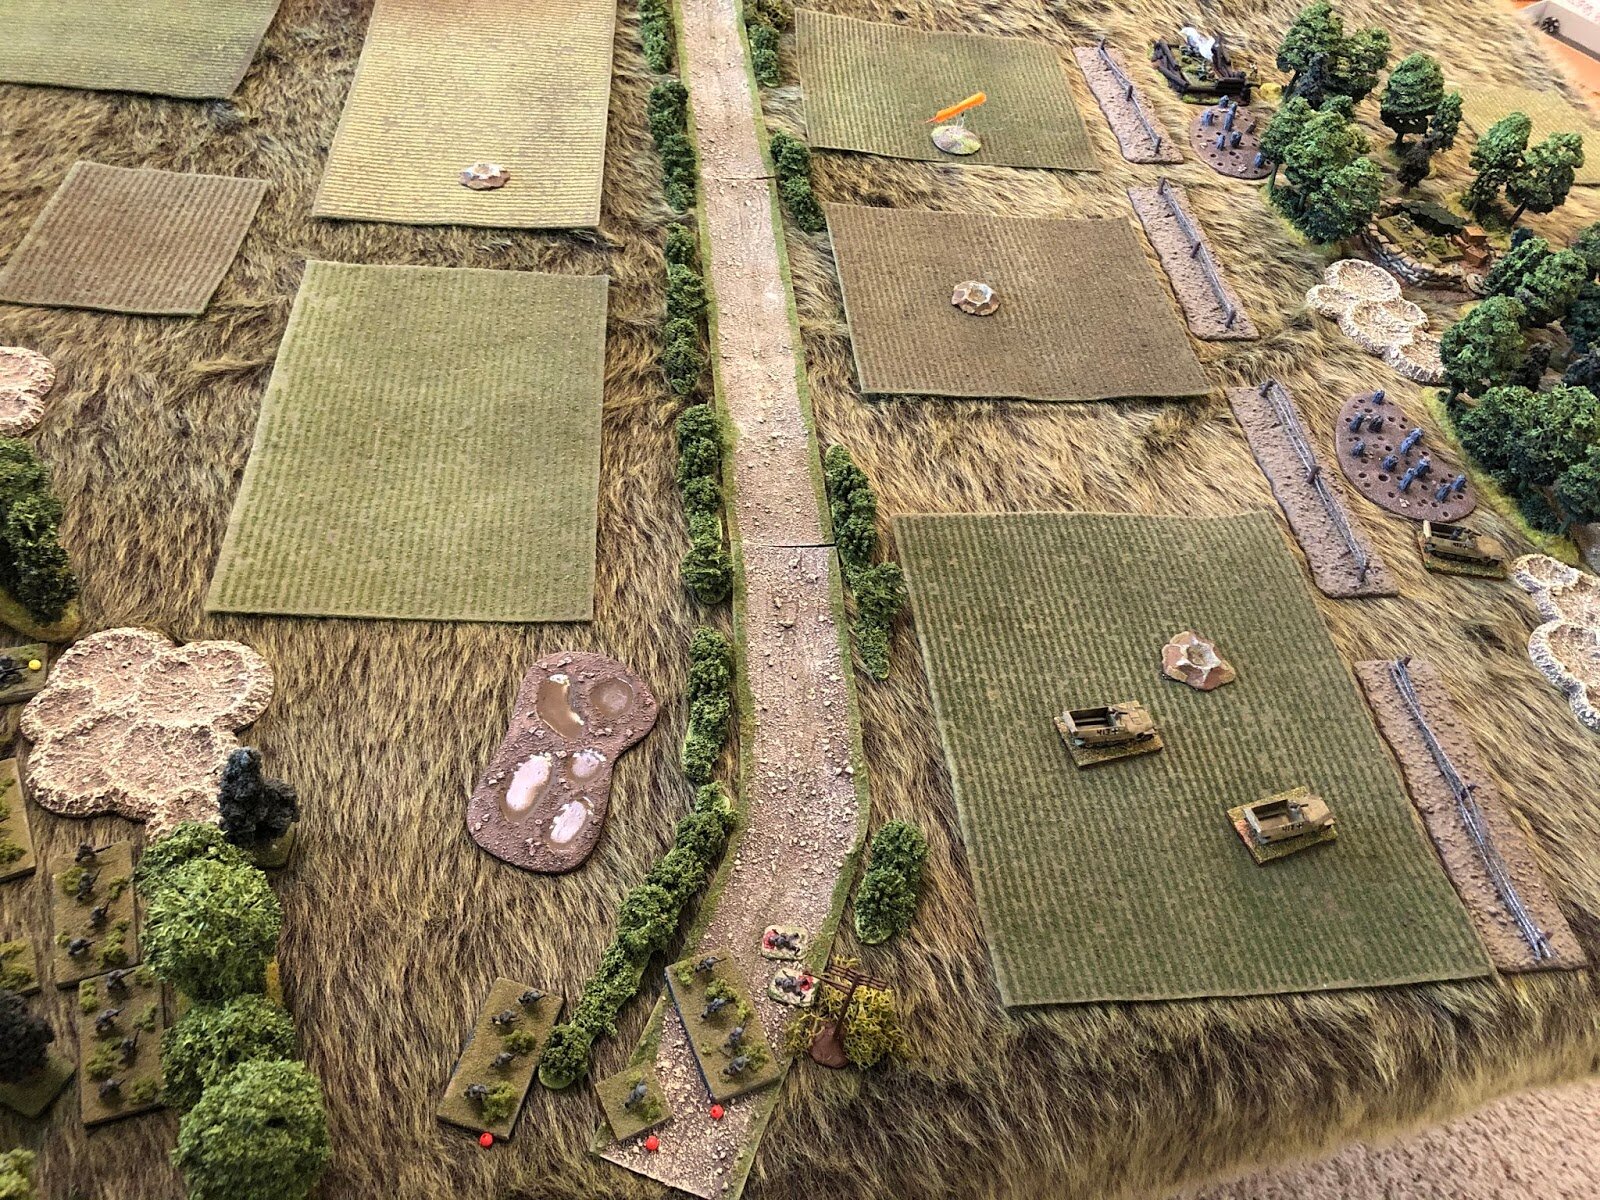
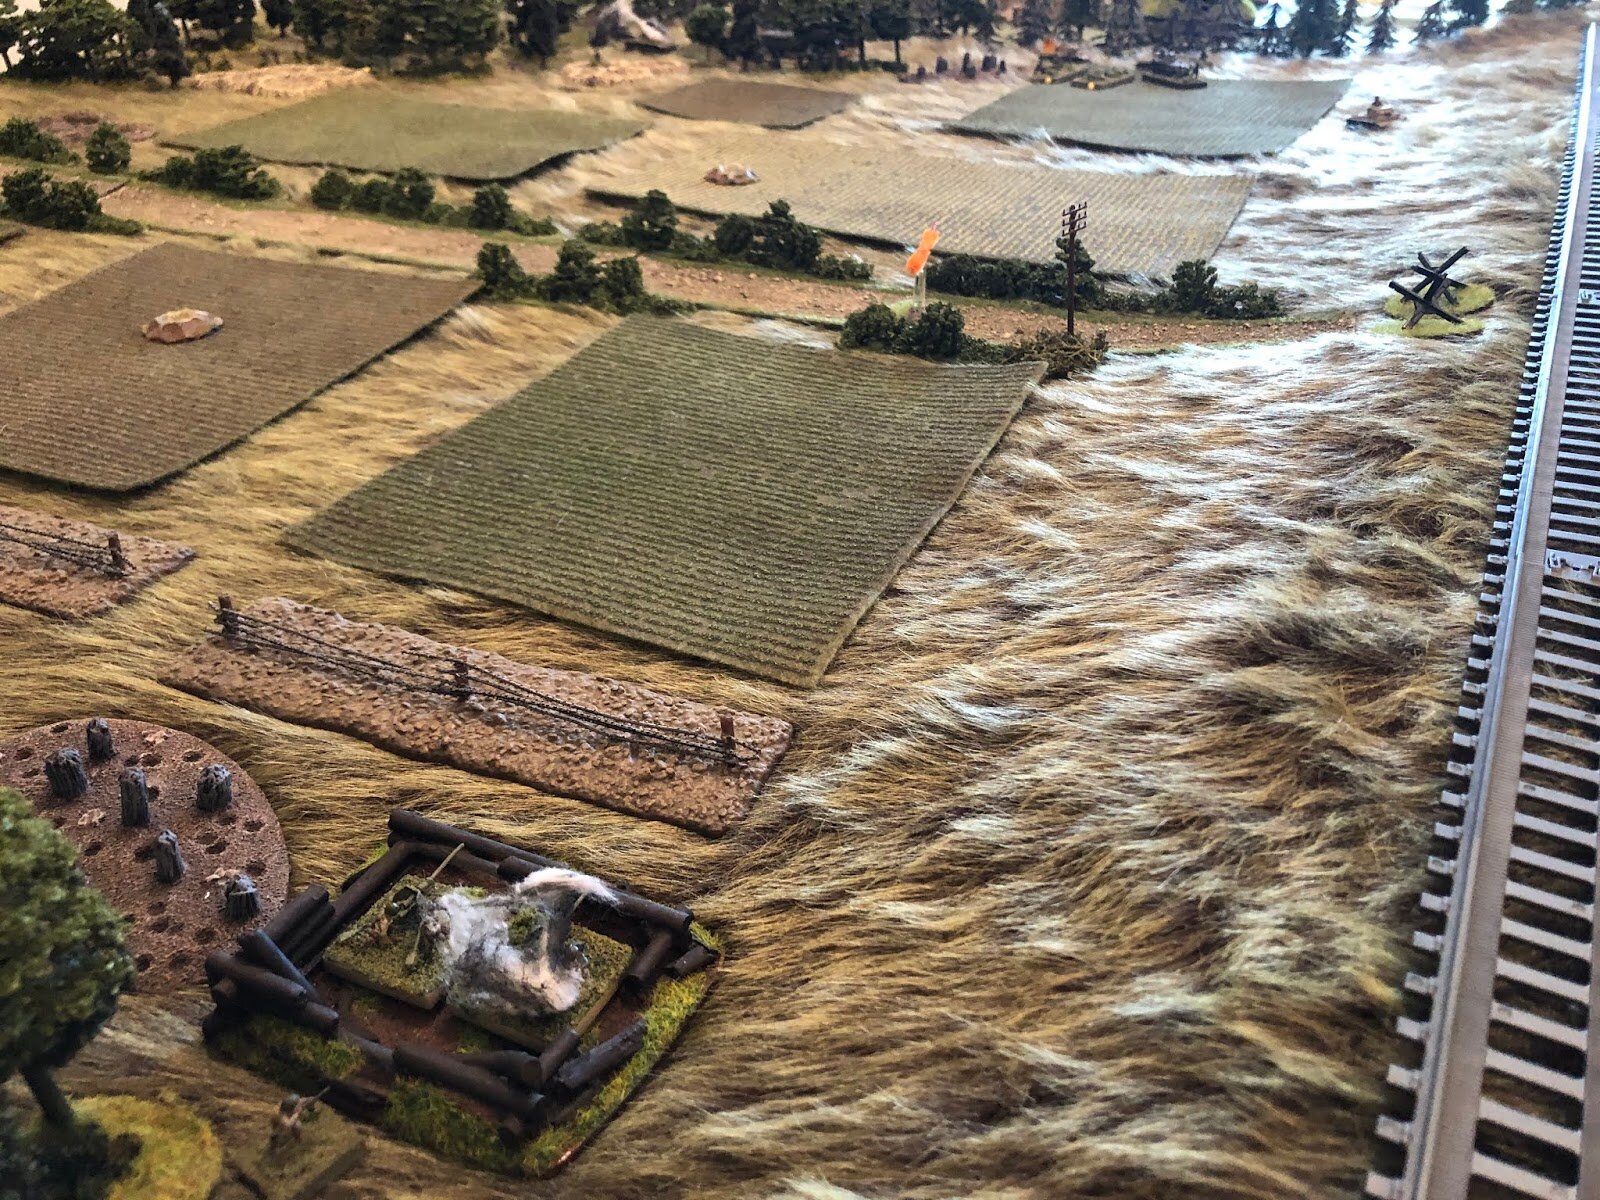
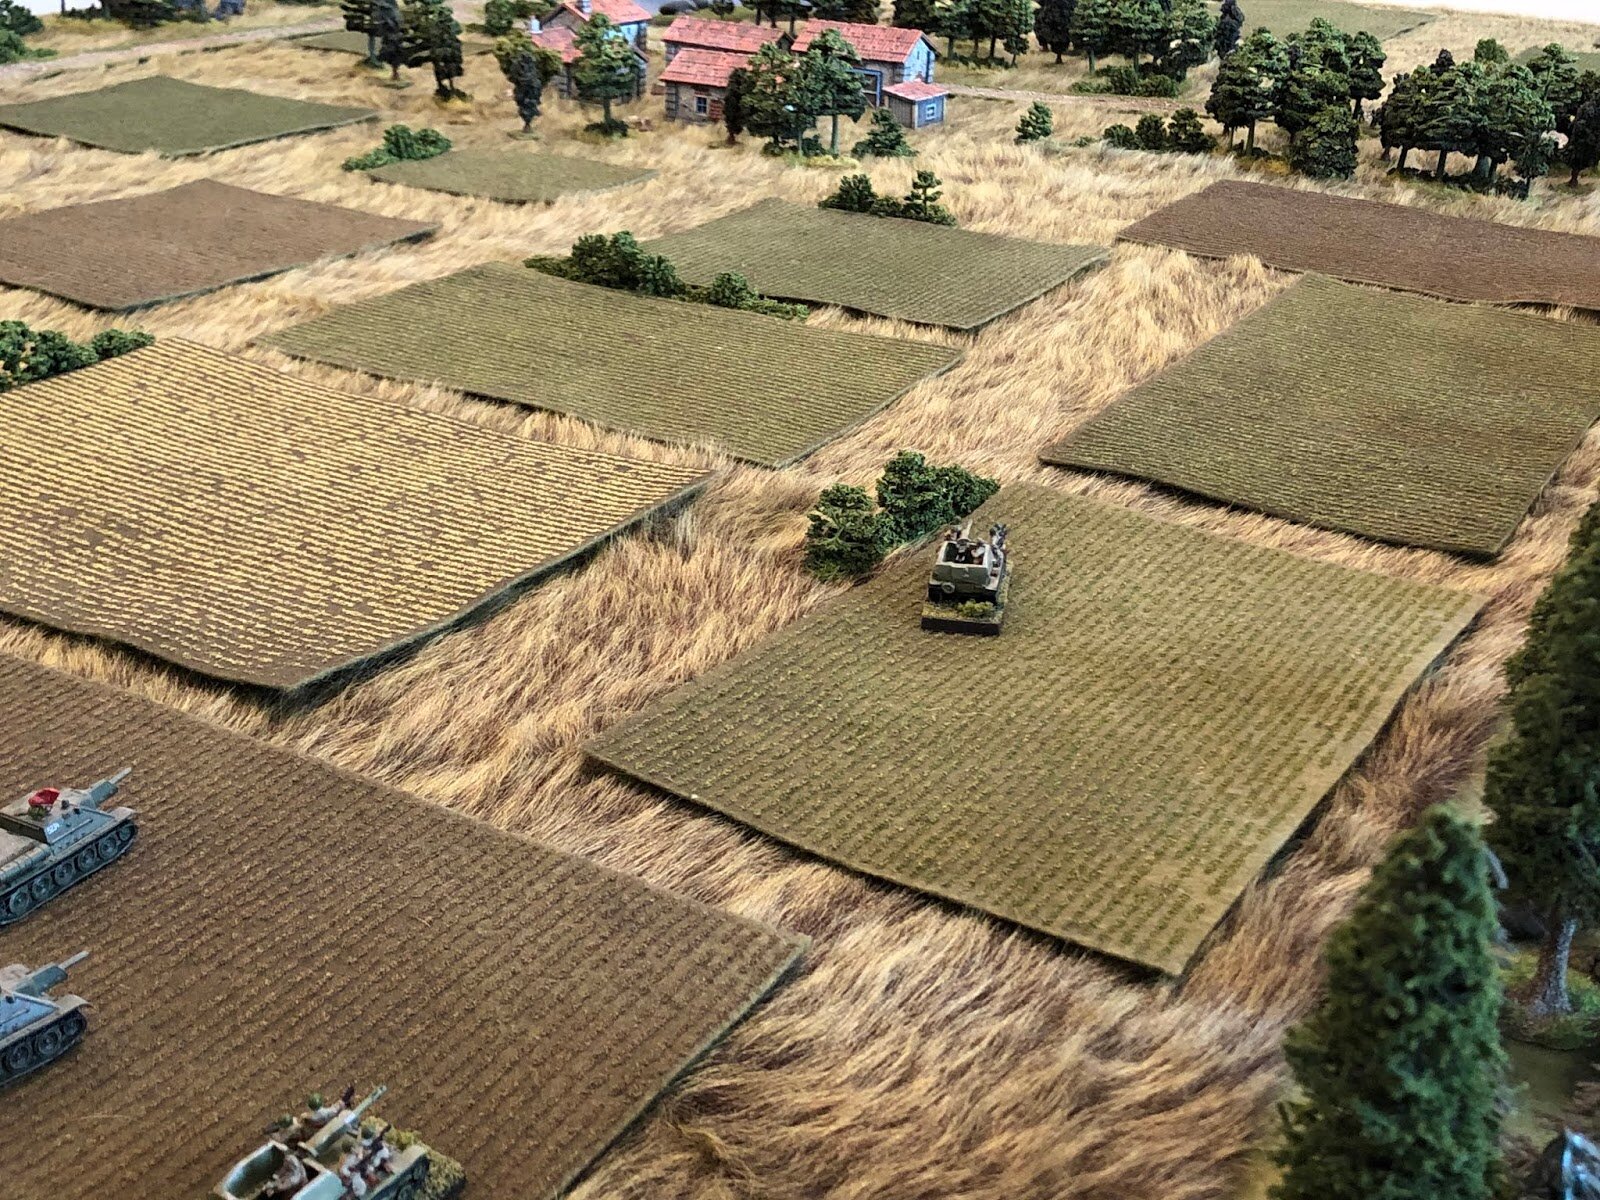
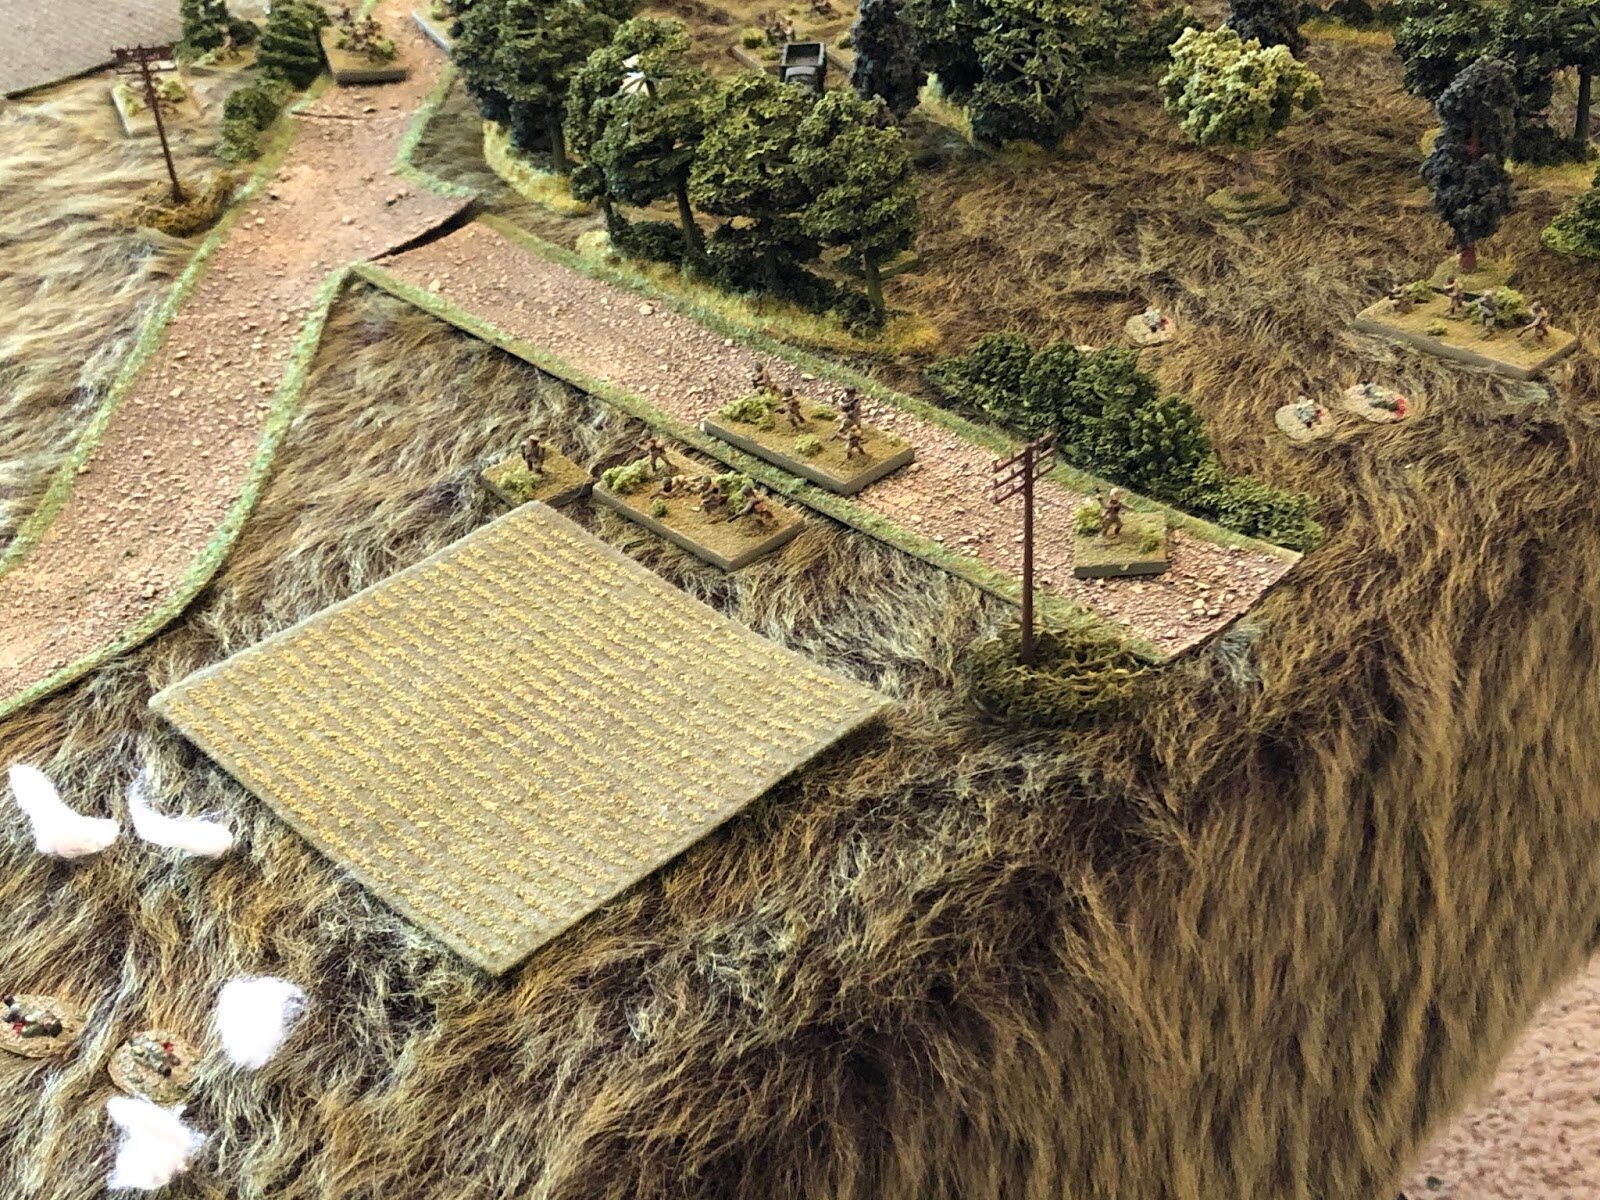
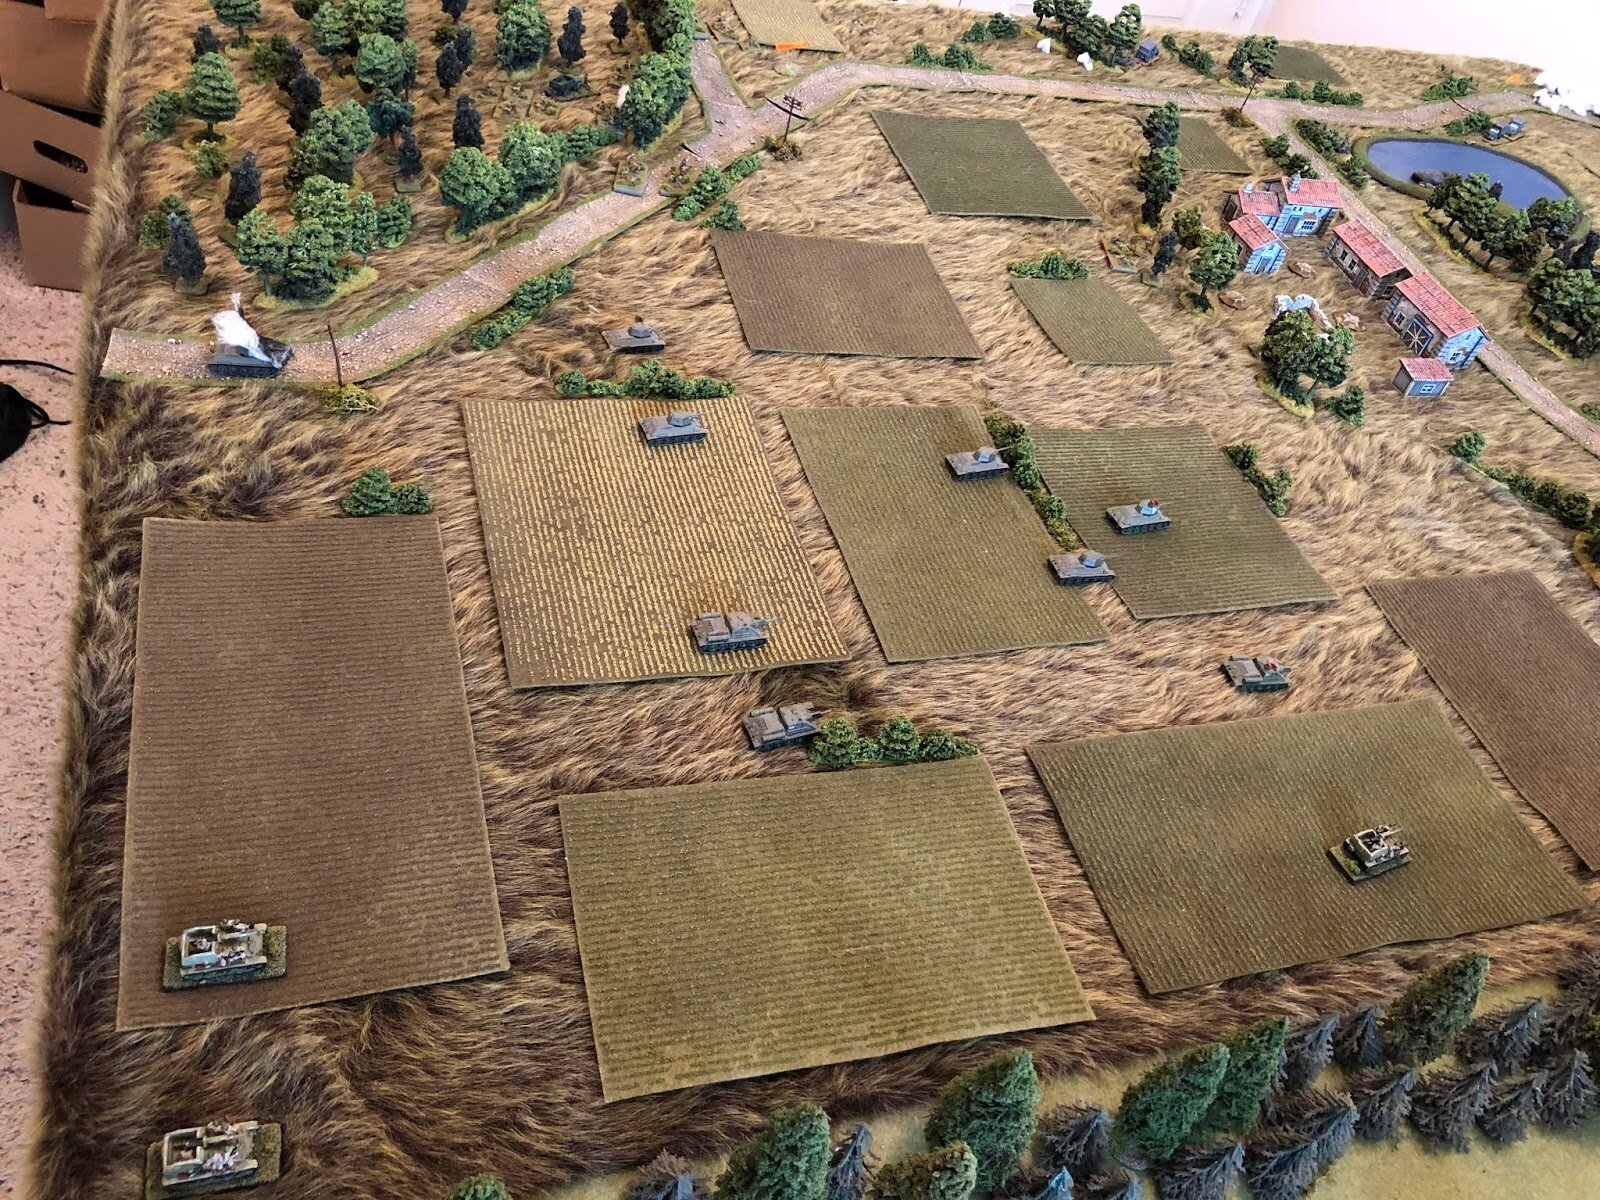
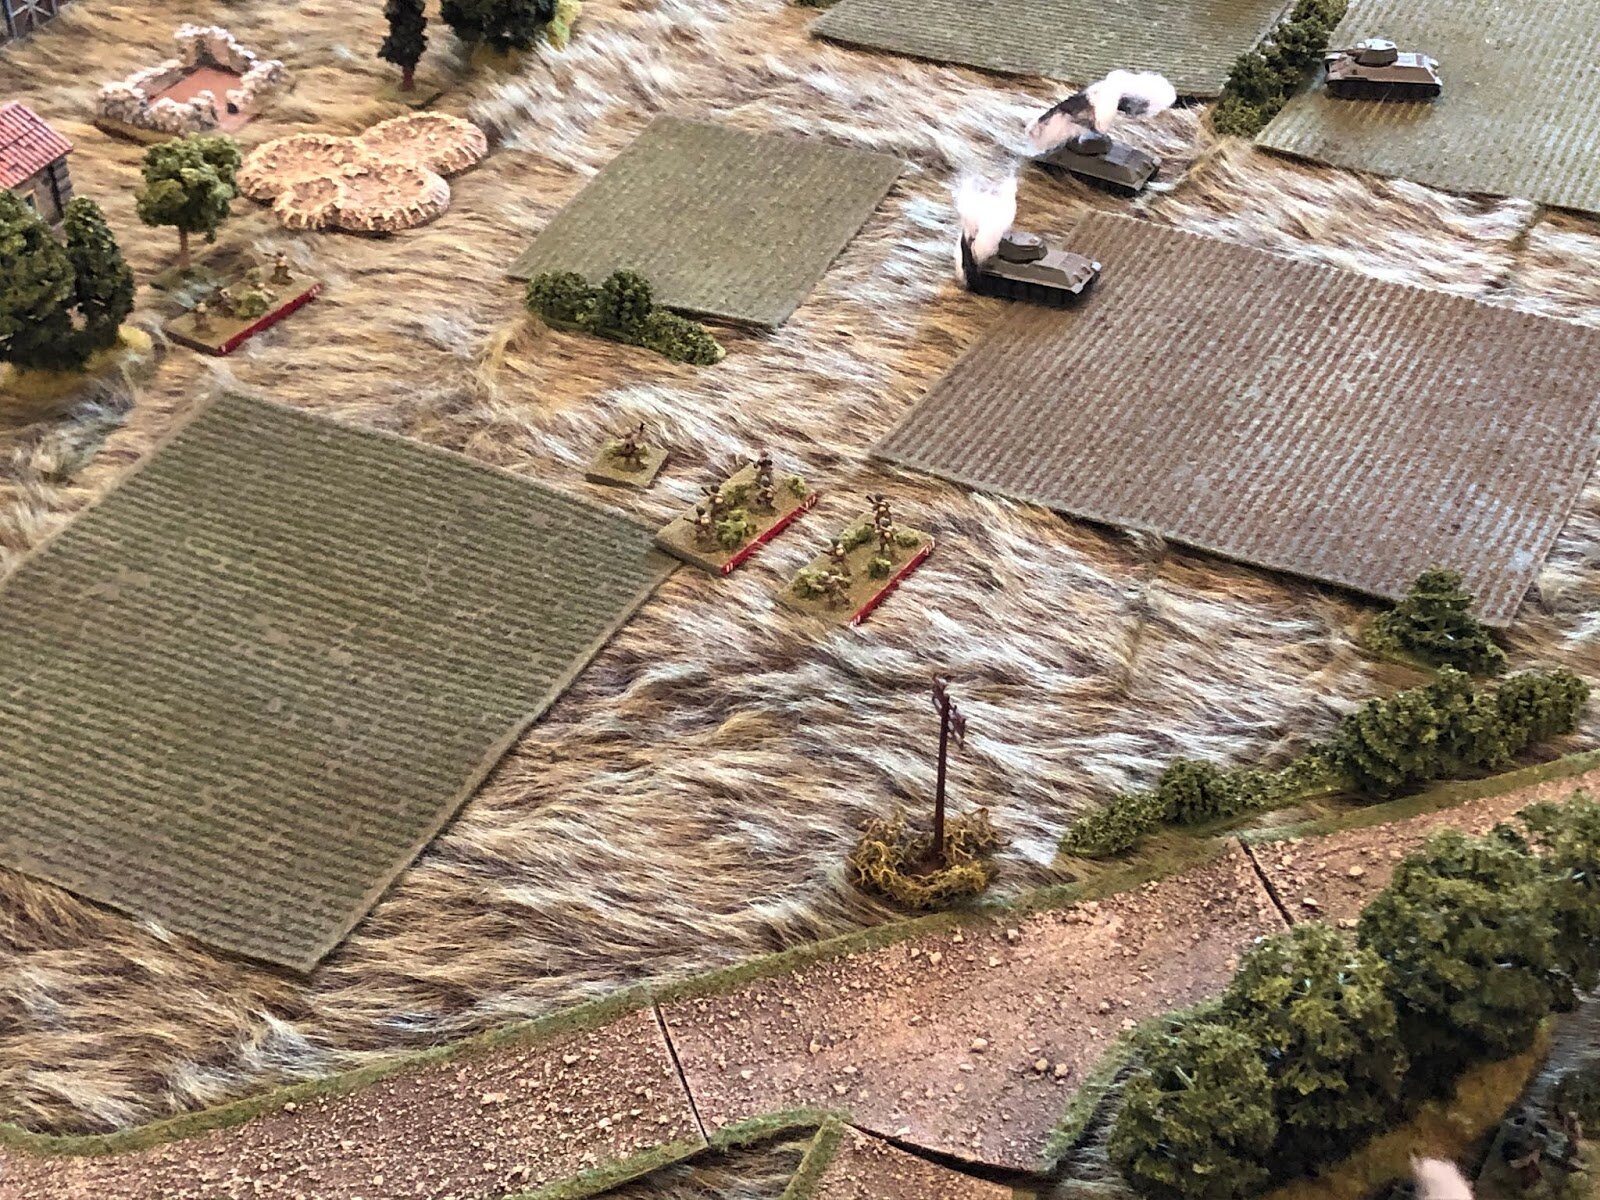
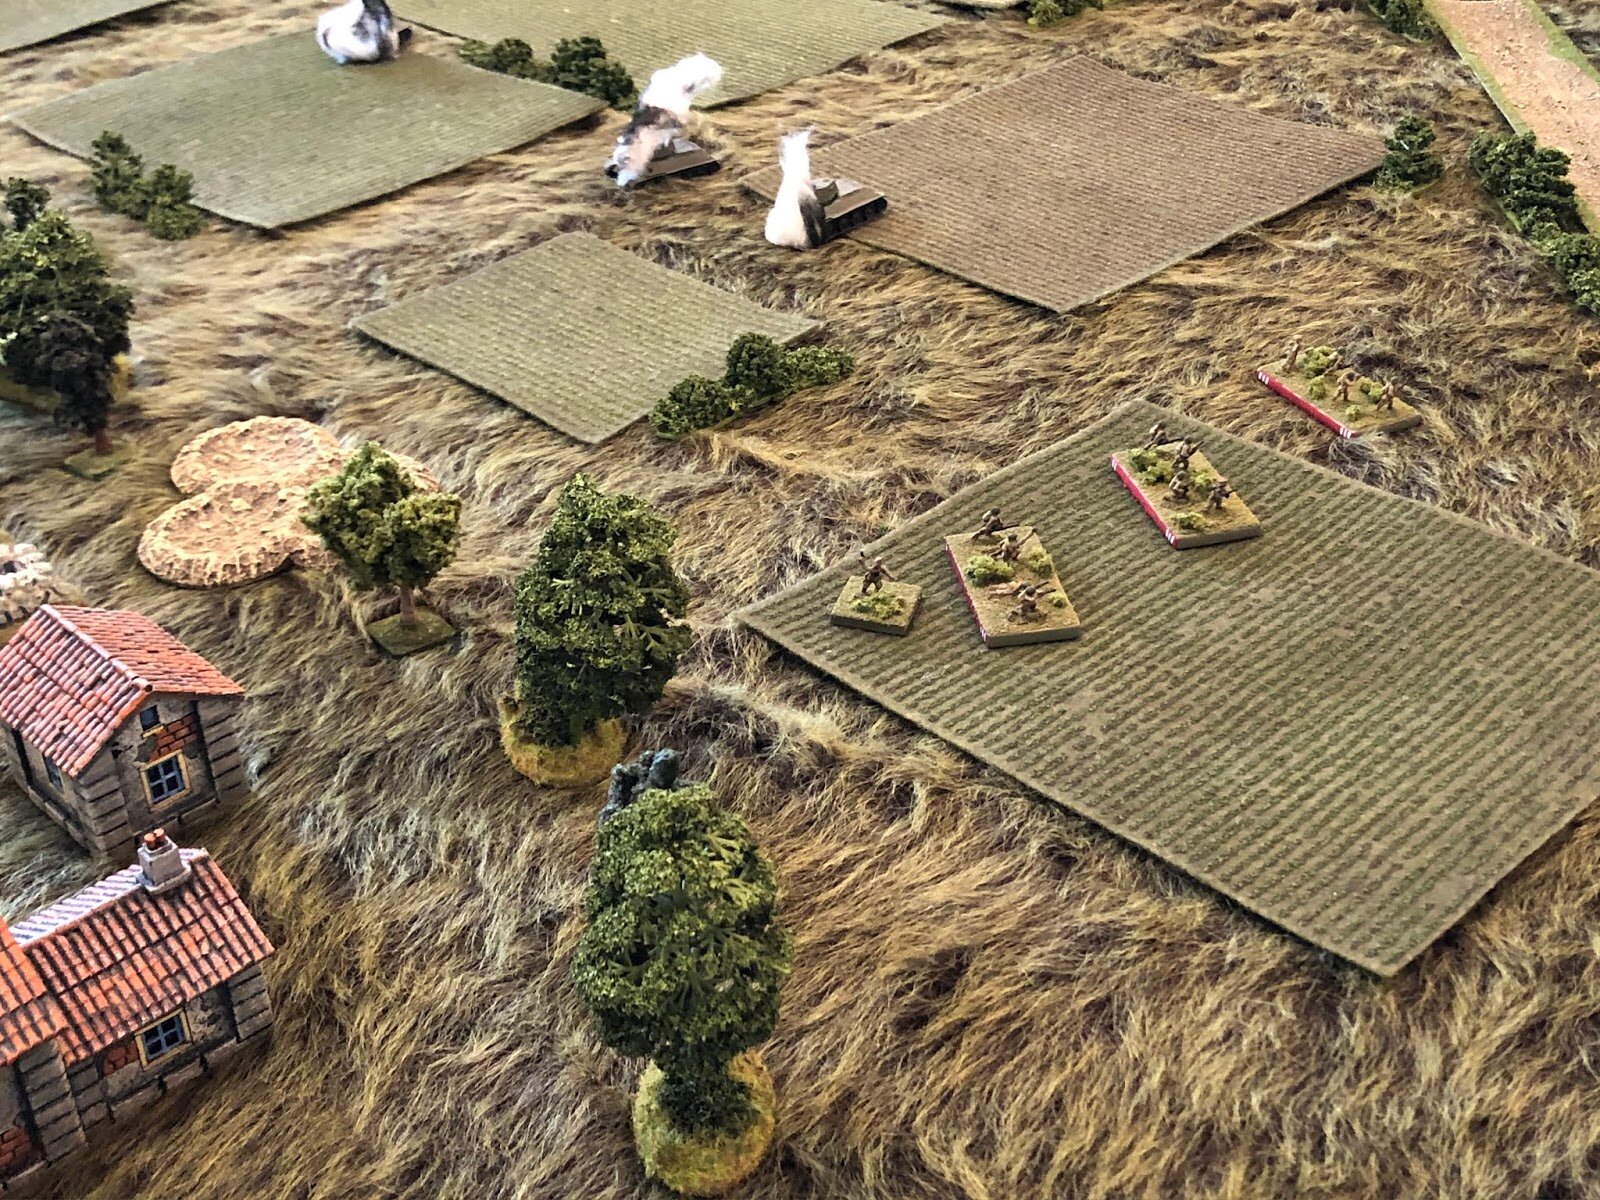
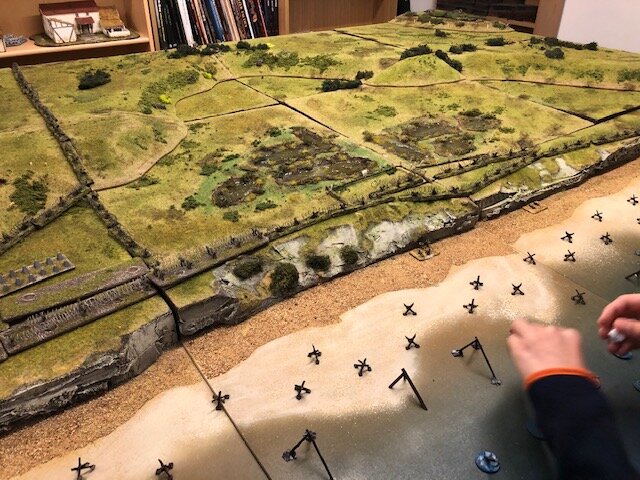
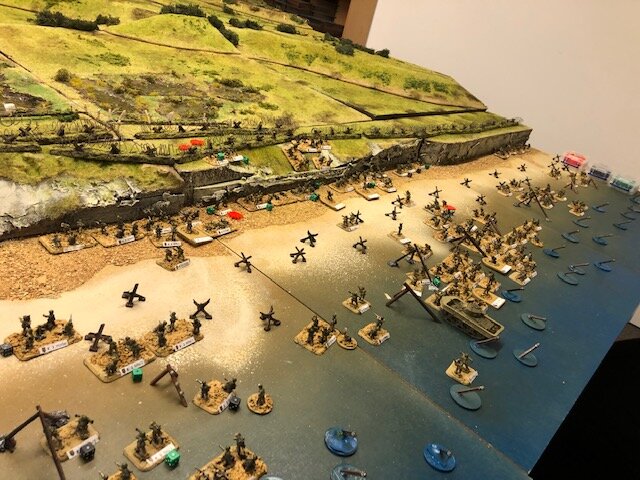
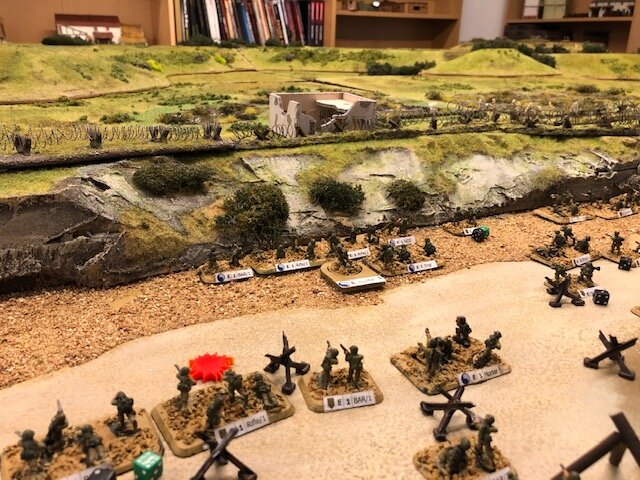
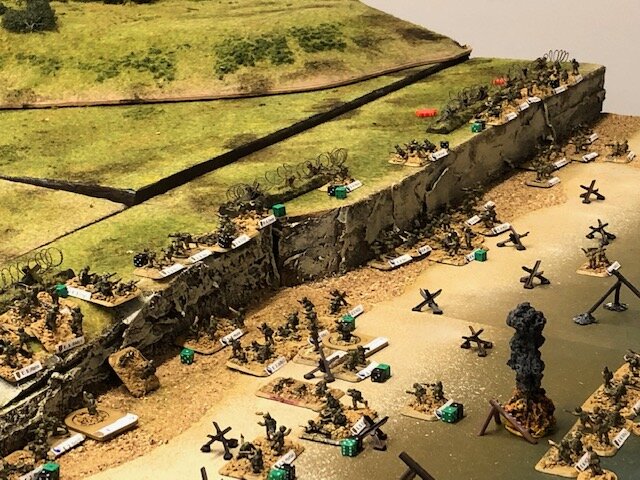
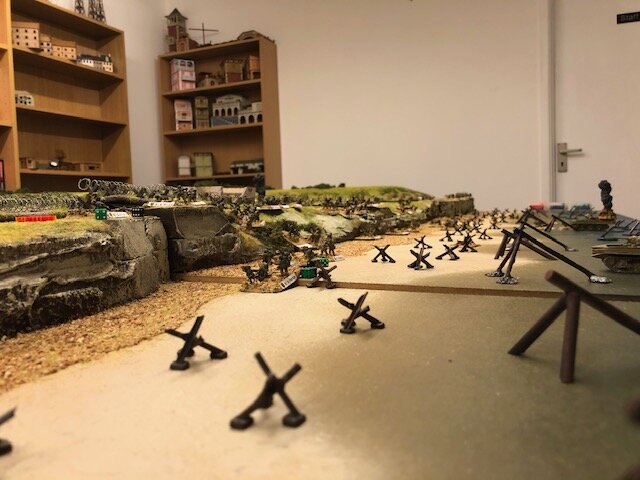
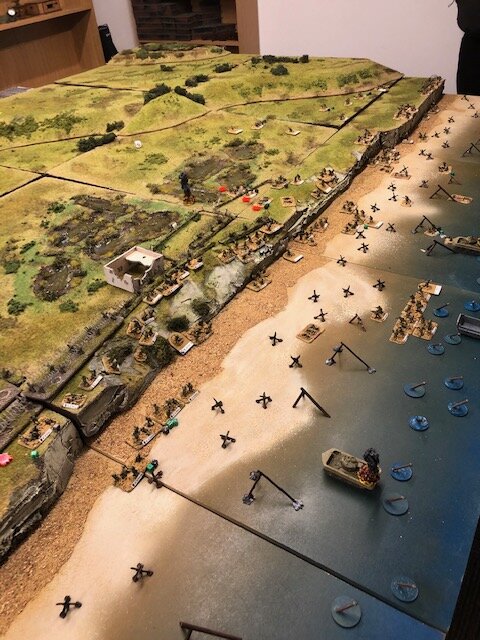
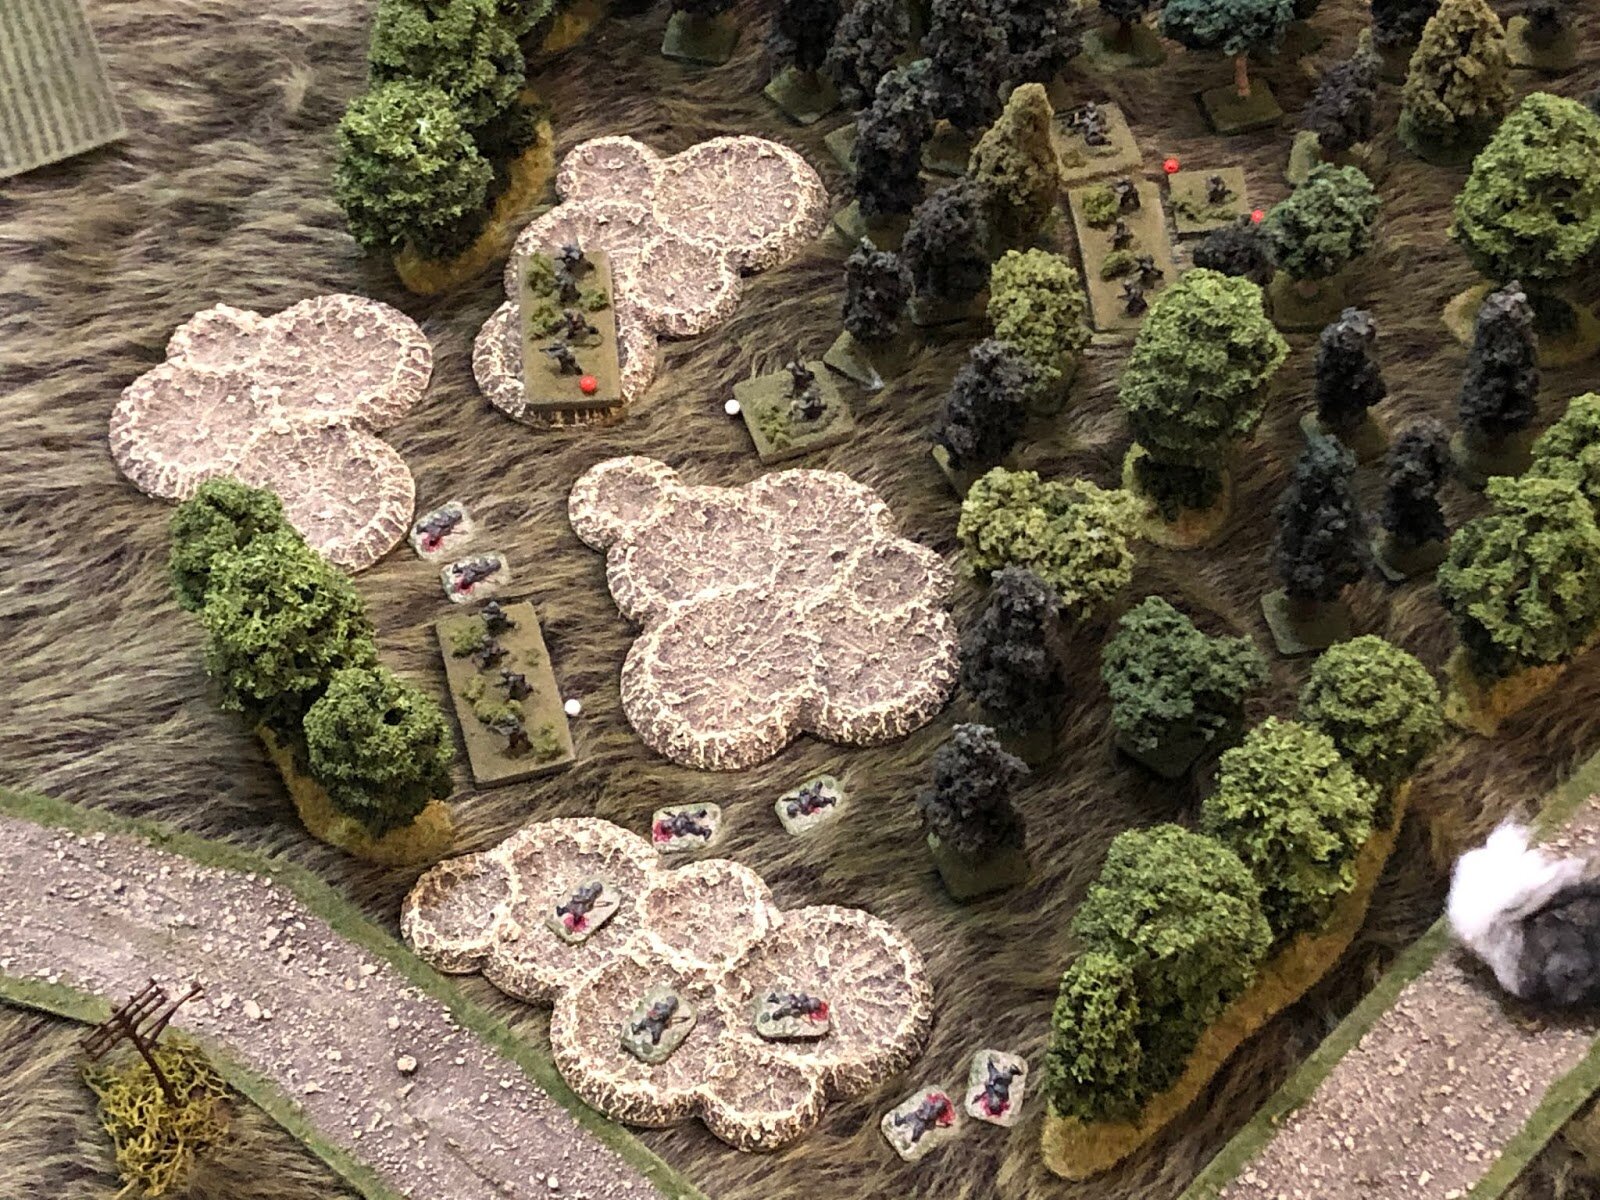
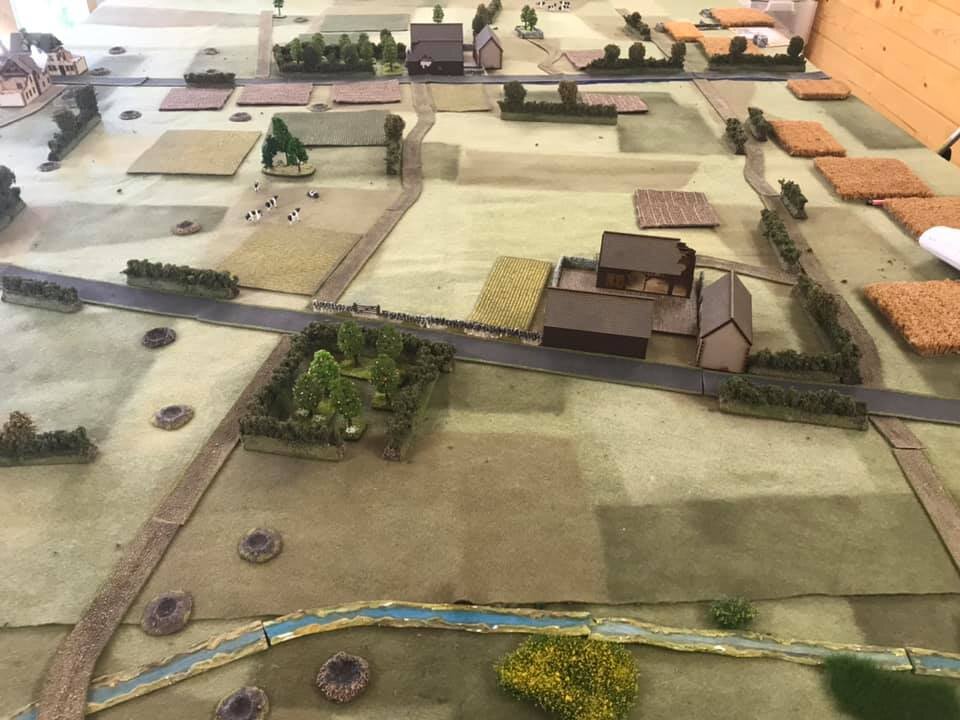
Although it’s difficult to see from the pictures, above, the Soviets (who would be played by John and Dave) had a good six foot of table to cover before they even hit the ridge and gap. What is also quite difficult to see is how much the table slopes down from the ridge towards the Russian start line.
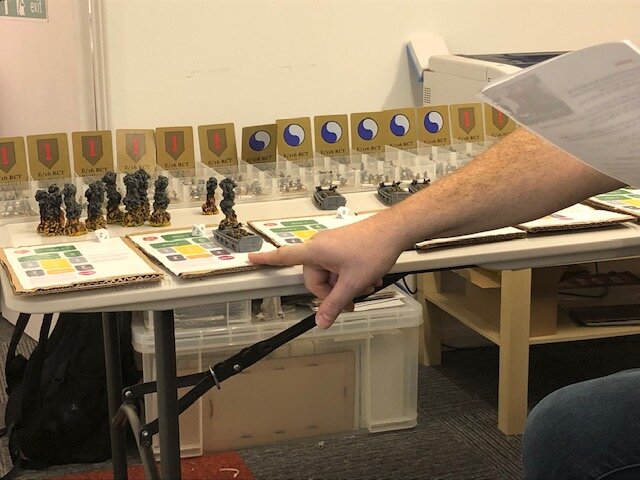
The Forces
This was a chance to use some of my painted-but-never-used late war kit, so the sides would be somewhat eclectic in nature.
The Soviets
HQ Element
Big Man Level IV
Sniper
1st Platoon
Big Man Level III
3 x Rifle Squad (8 men each)
2nd Platoon
Big Man Level III
3 x Rifle Squad (8 men each)
3rd Platoon
Big Man Level III
3 x Rifle Squad (8 men each)
MMG Platoon
Big Man Level II
4 x MMG Team (5 crew each)
4 x Lend-Lease Dodge Trucks
Attached Engineers
Big Man Level III in Gaz Jeep
3 x Engineer Squad (each 8 men plus a 2-man flamethrower team)
ATTACHED ARMOUR
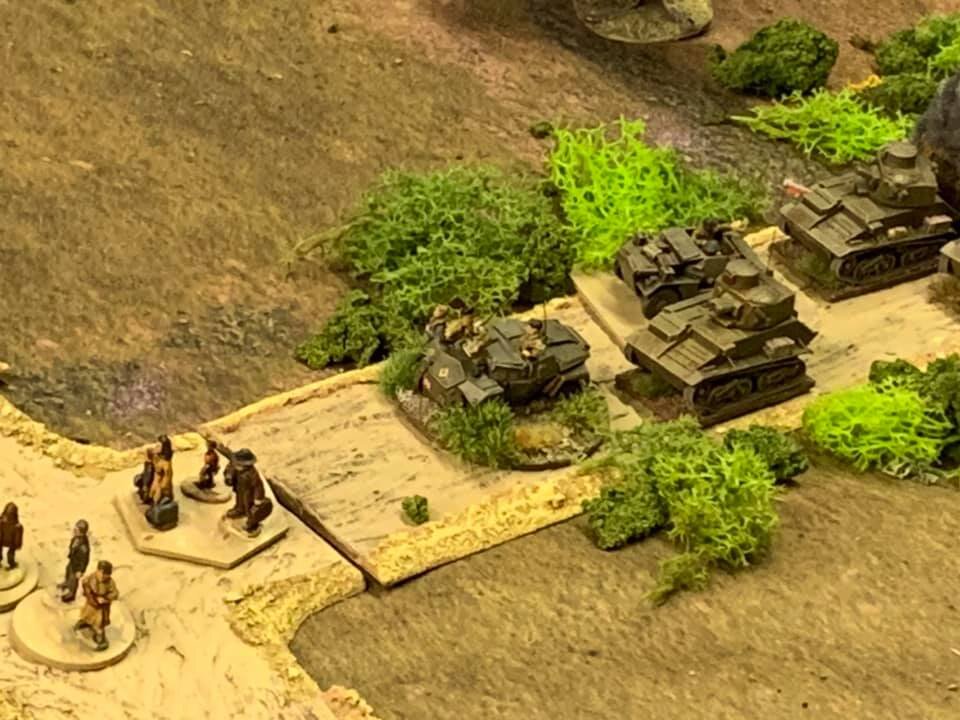
Recon Platoon
Big Man Level III
3 x BA-64 armoured car
Tank Platoon
Big Man Level III
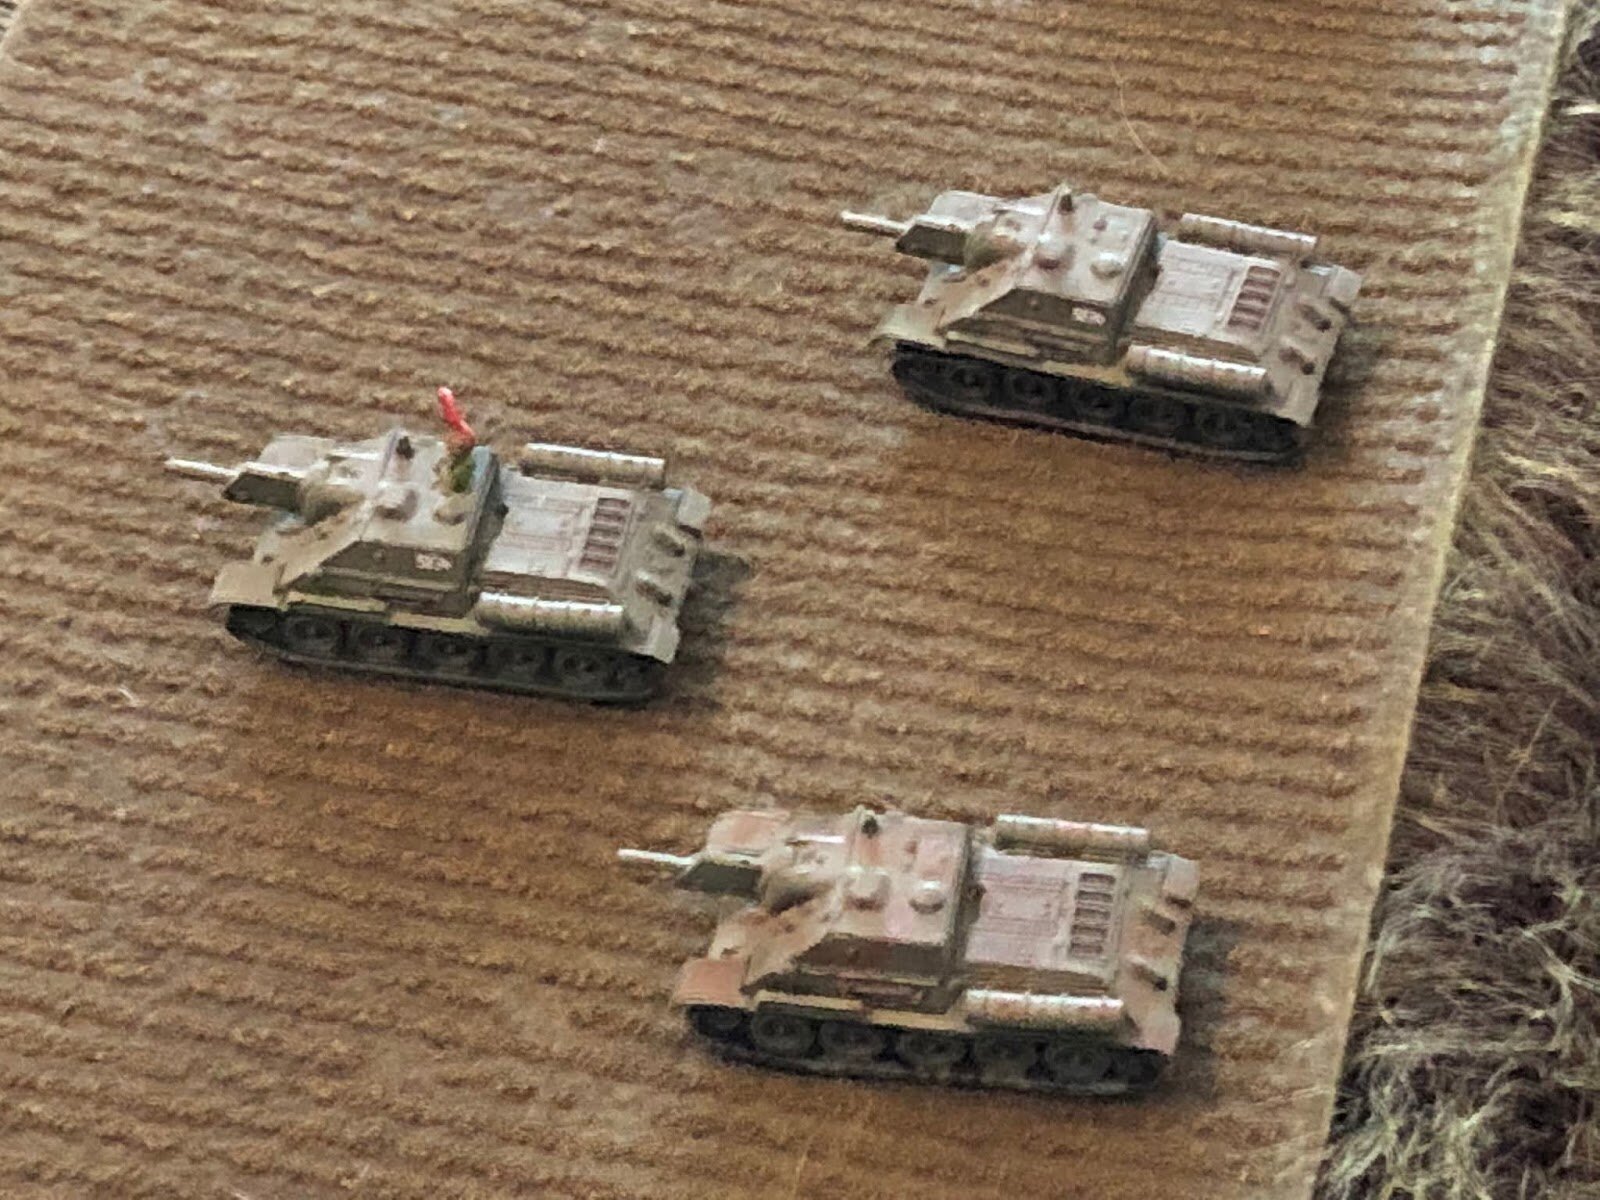
5 x KV-85
Tank Hunter Platoon
Big Man Level III
3 x SU-100
Ridiculous Attachment for a Laugh
1 x SU-152 SP Artillery
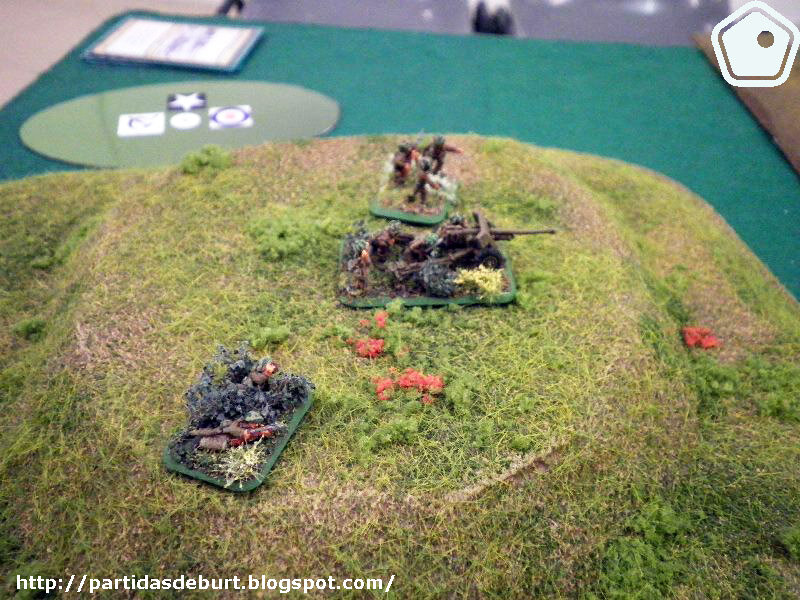
The Germans
HQ Platoon
Big Man Level IV
Big Man Level II
2 x Panzerschrek Team (two men each)
1 x Horsch Field Car
2 x MMG Team (5 crew each)
2 x Kettengrad
1st Platoon
Big Man Level III
2 x Rifle Squad (8 men each)
2 x Steyr Car as transport
2nd Platoon
Big Man Level III
2 x Rifle Squad (8 men each)
2 x Steyr Car as transport
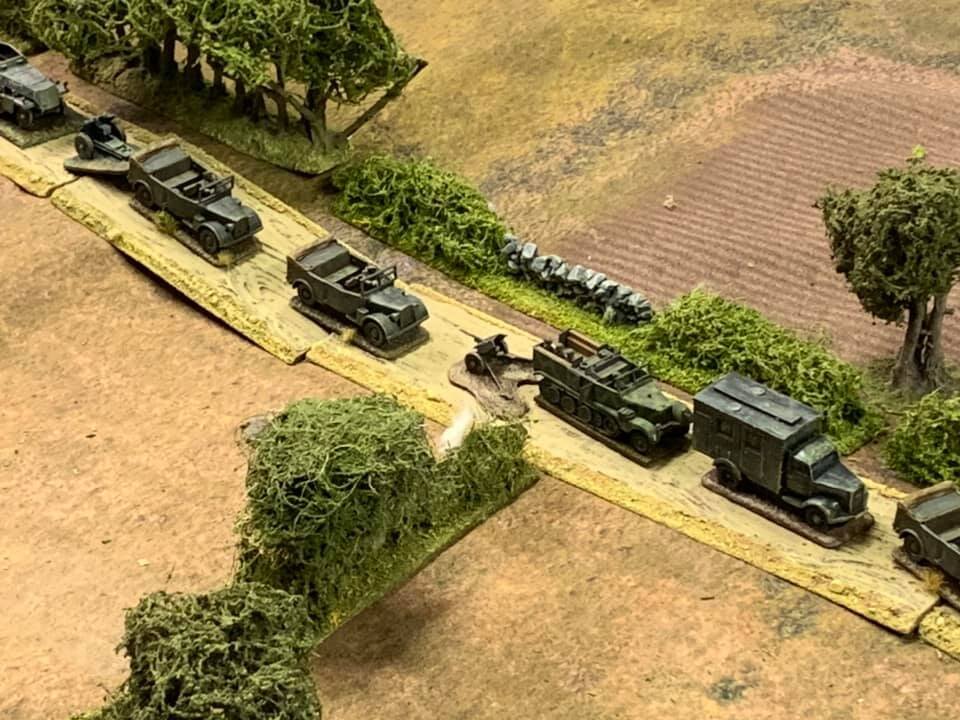
Heavy Weapons Platoon
3 x 81mm Mortar
3 x Kettengrad
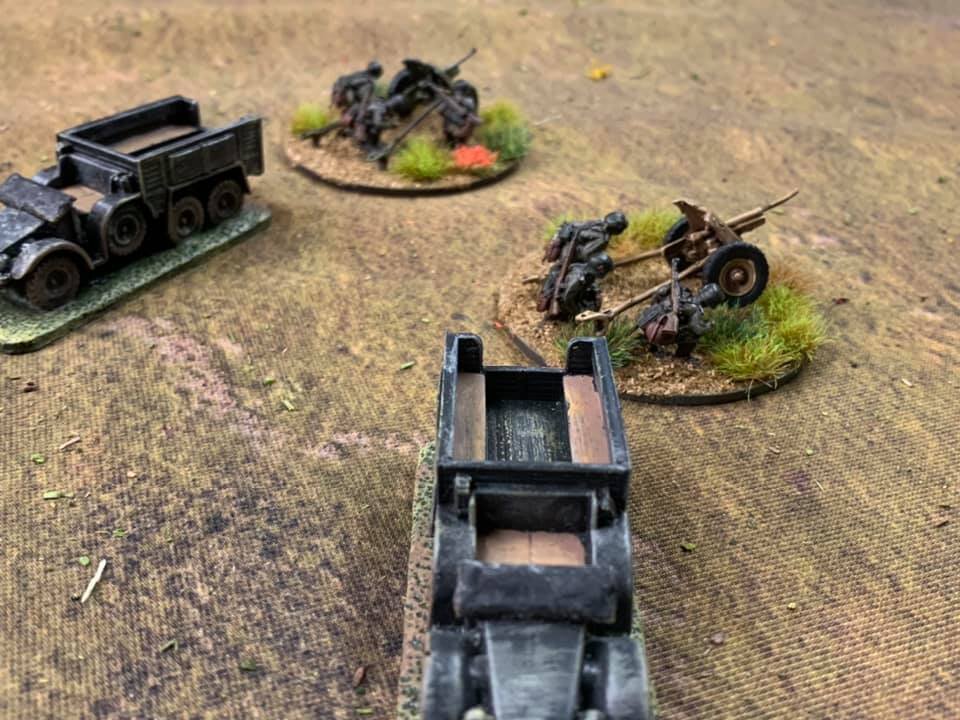
Anti-Tank Platoon
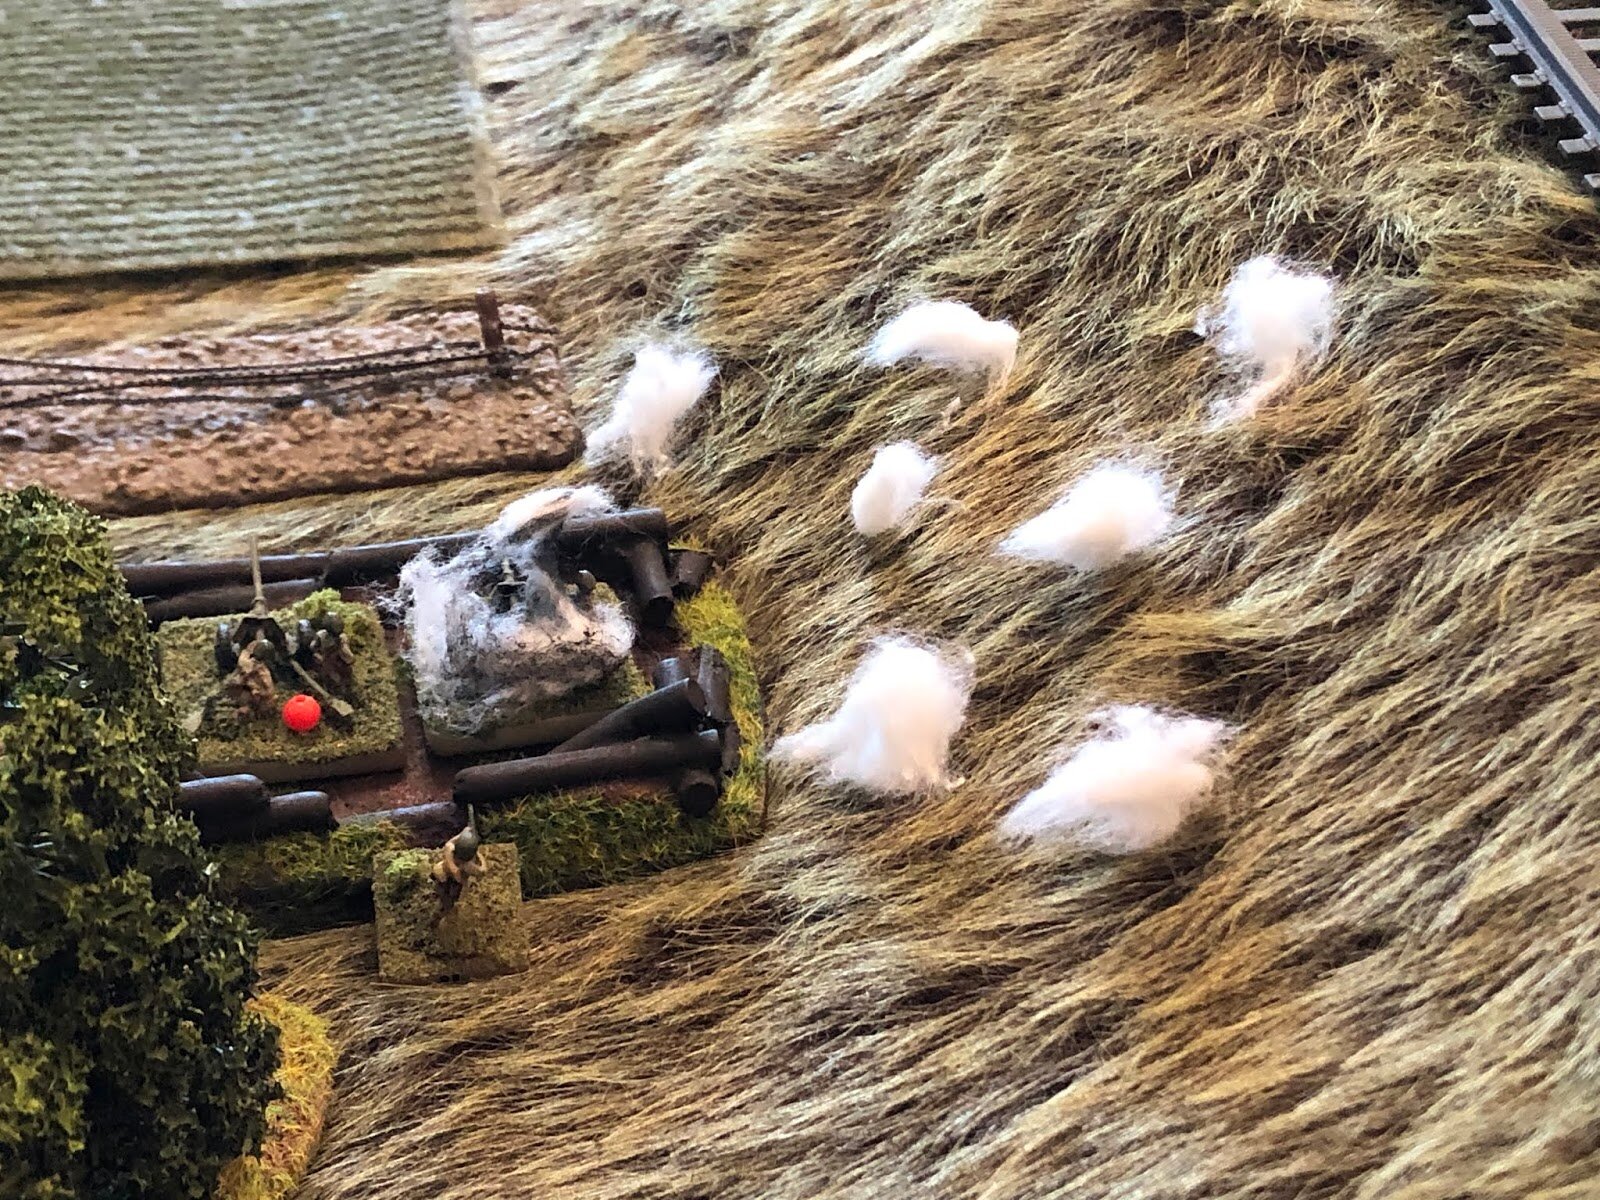
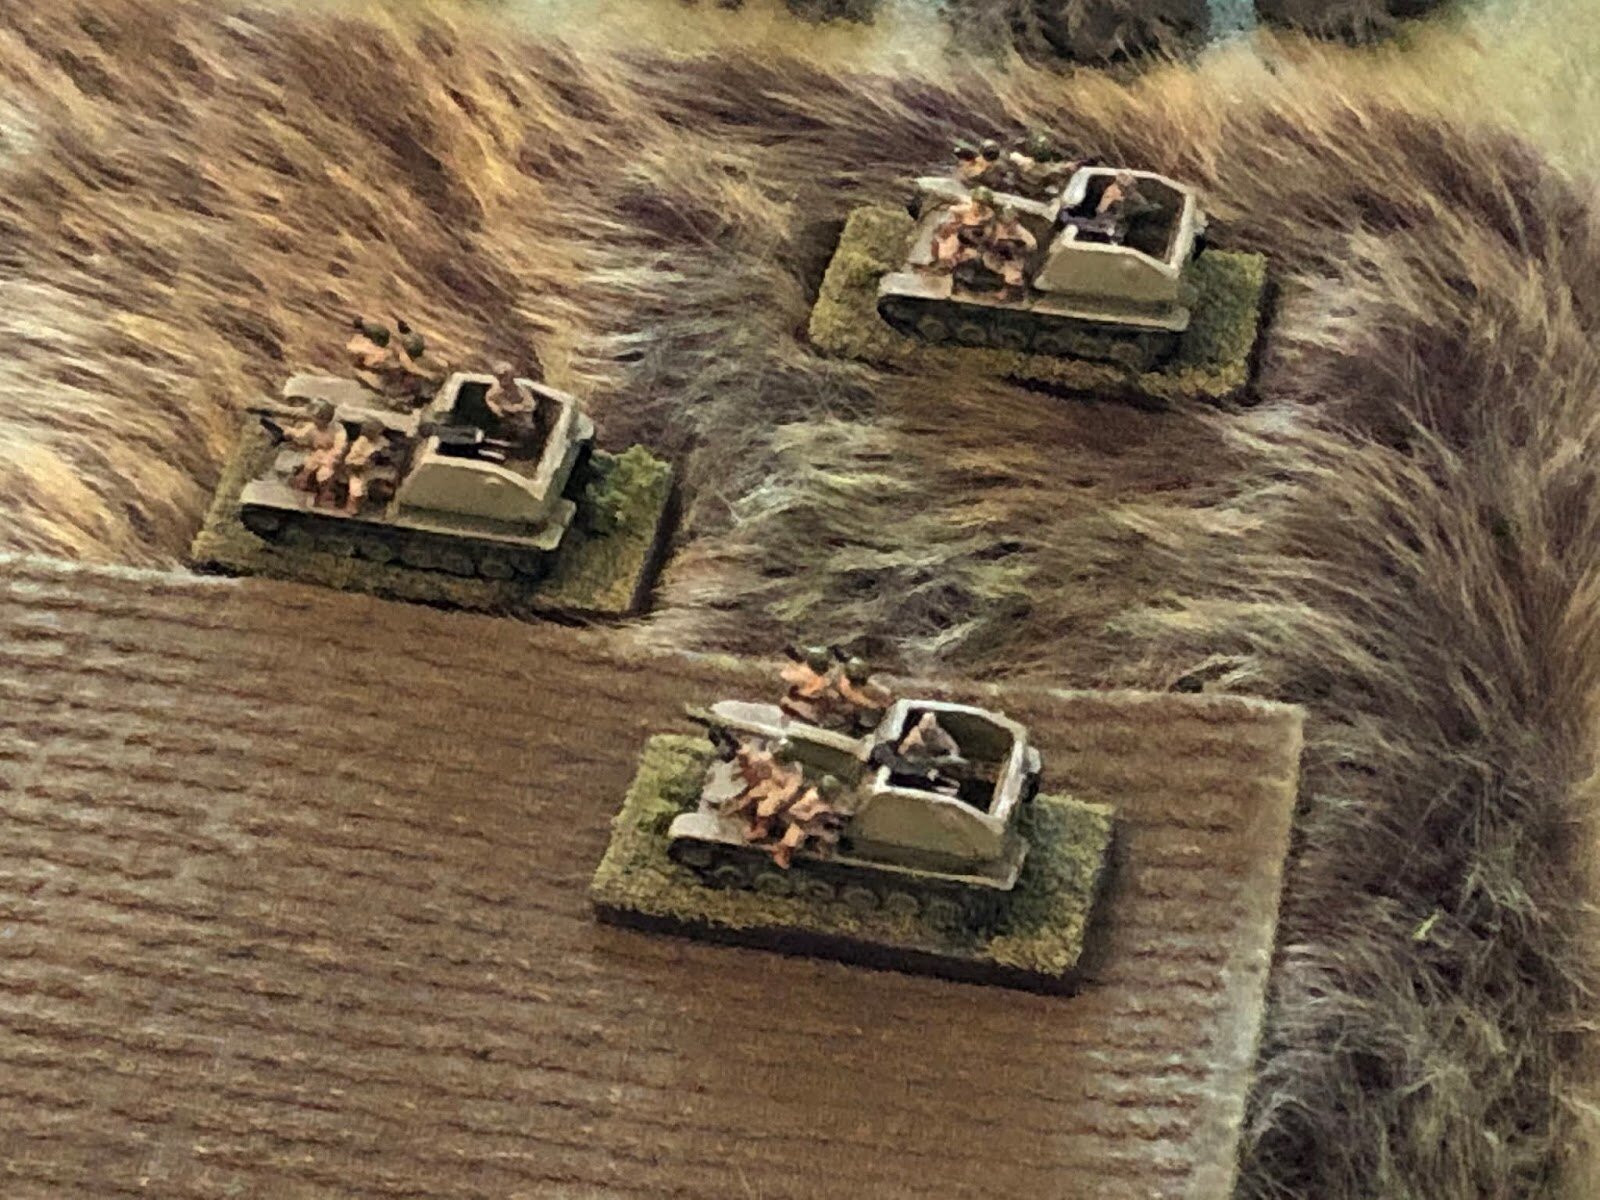
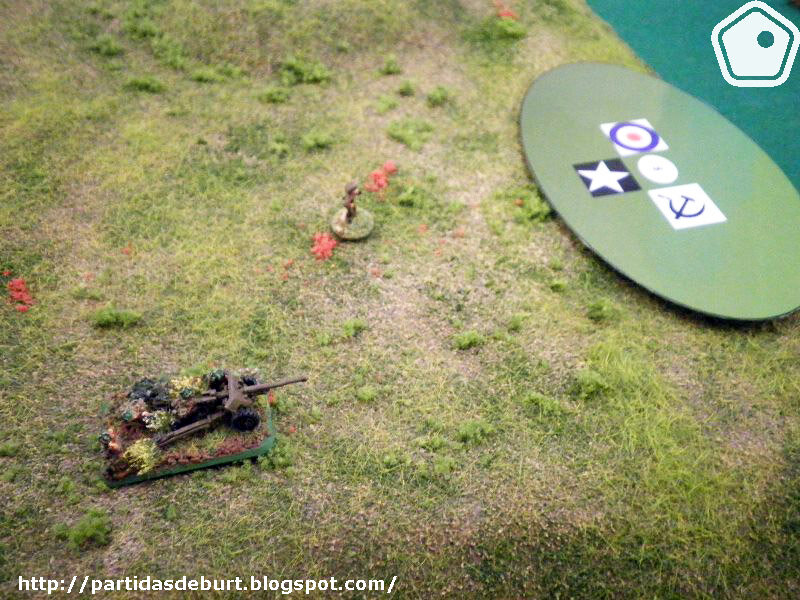
3 x PaK 40 (5 crew each)
3 x Opel Mautier
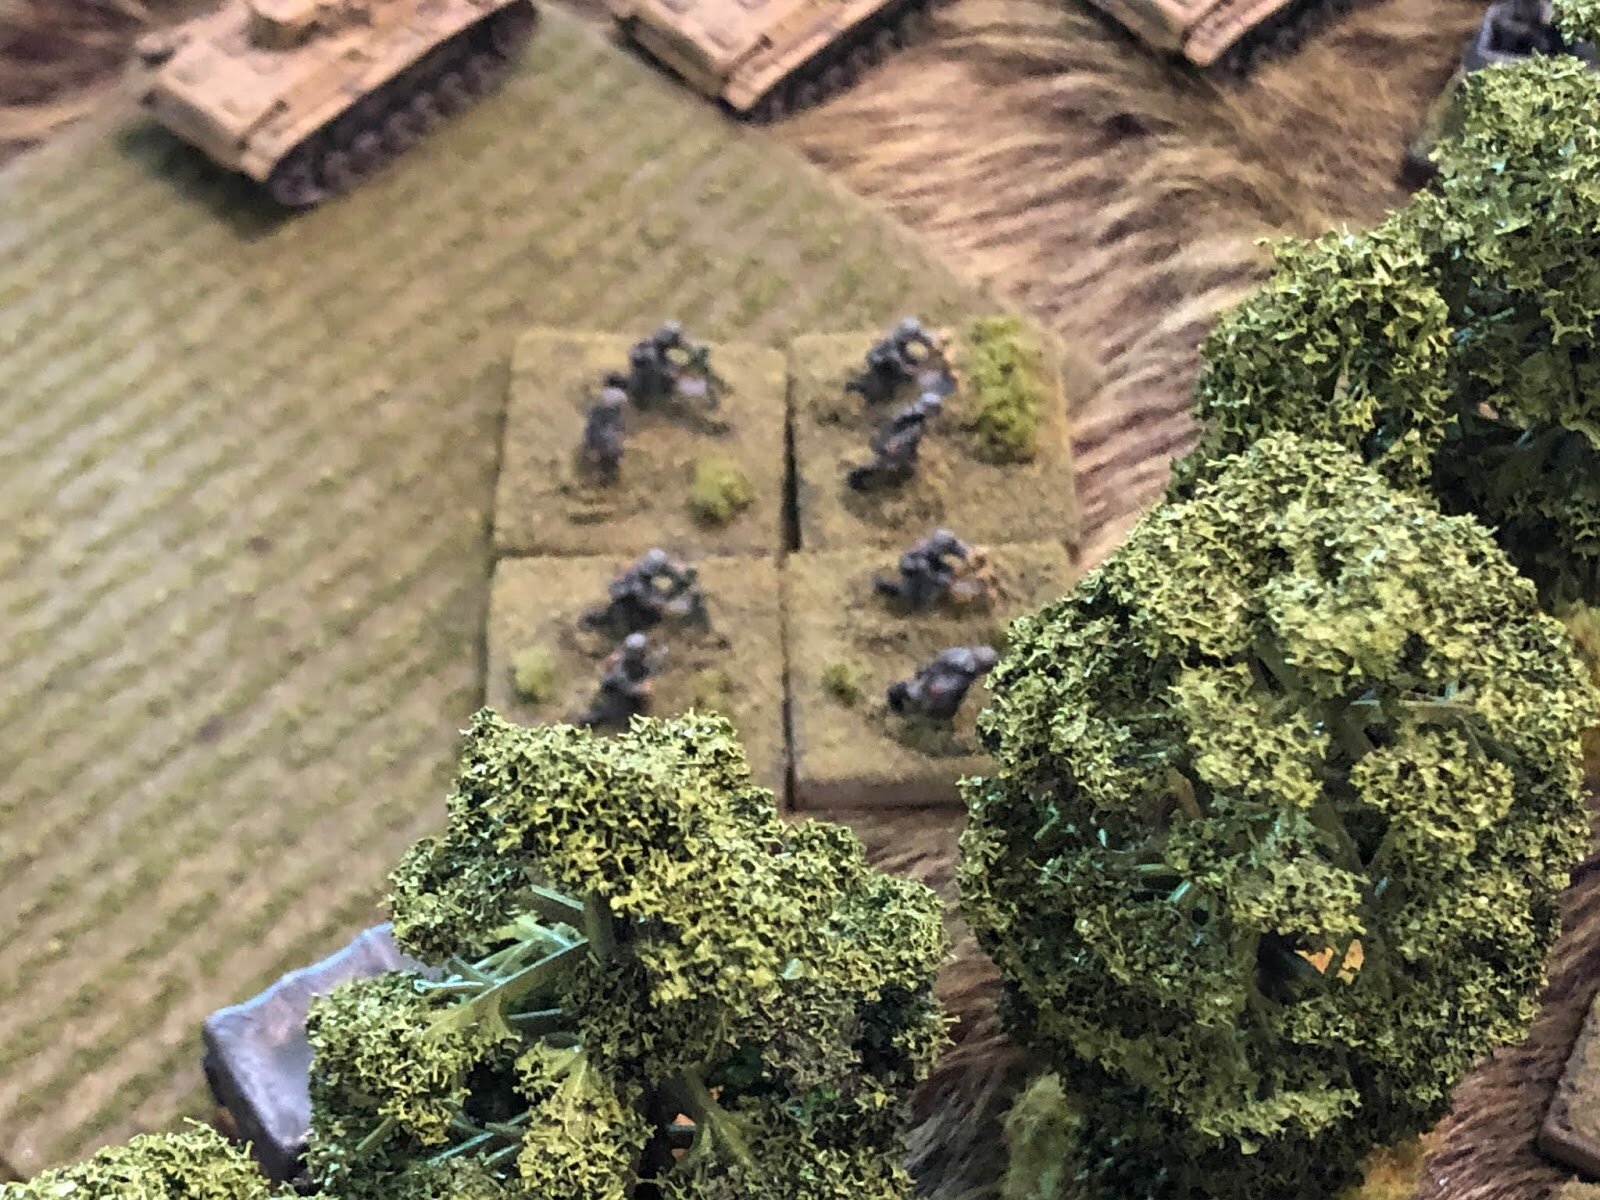
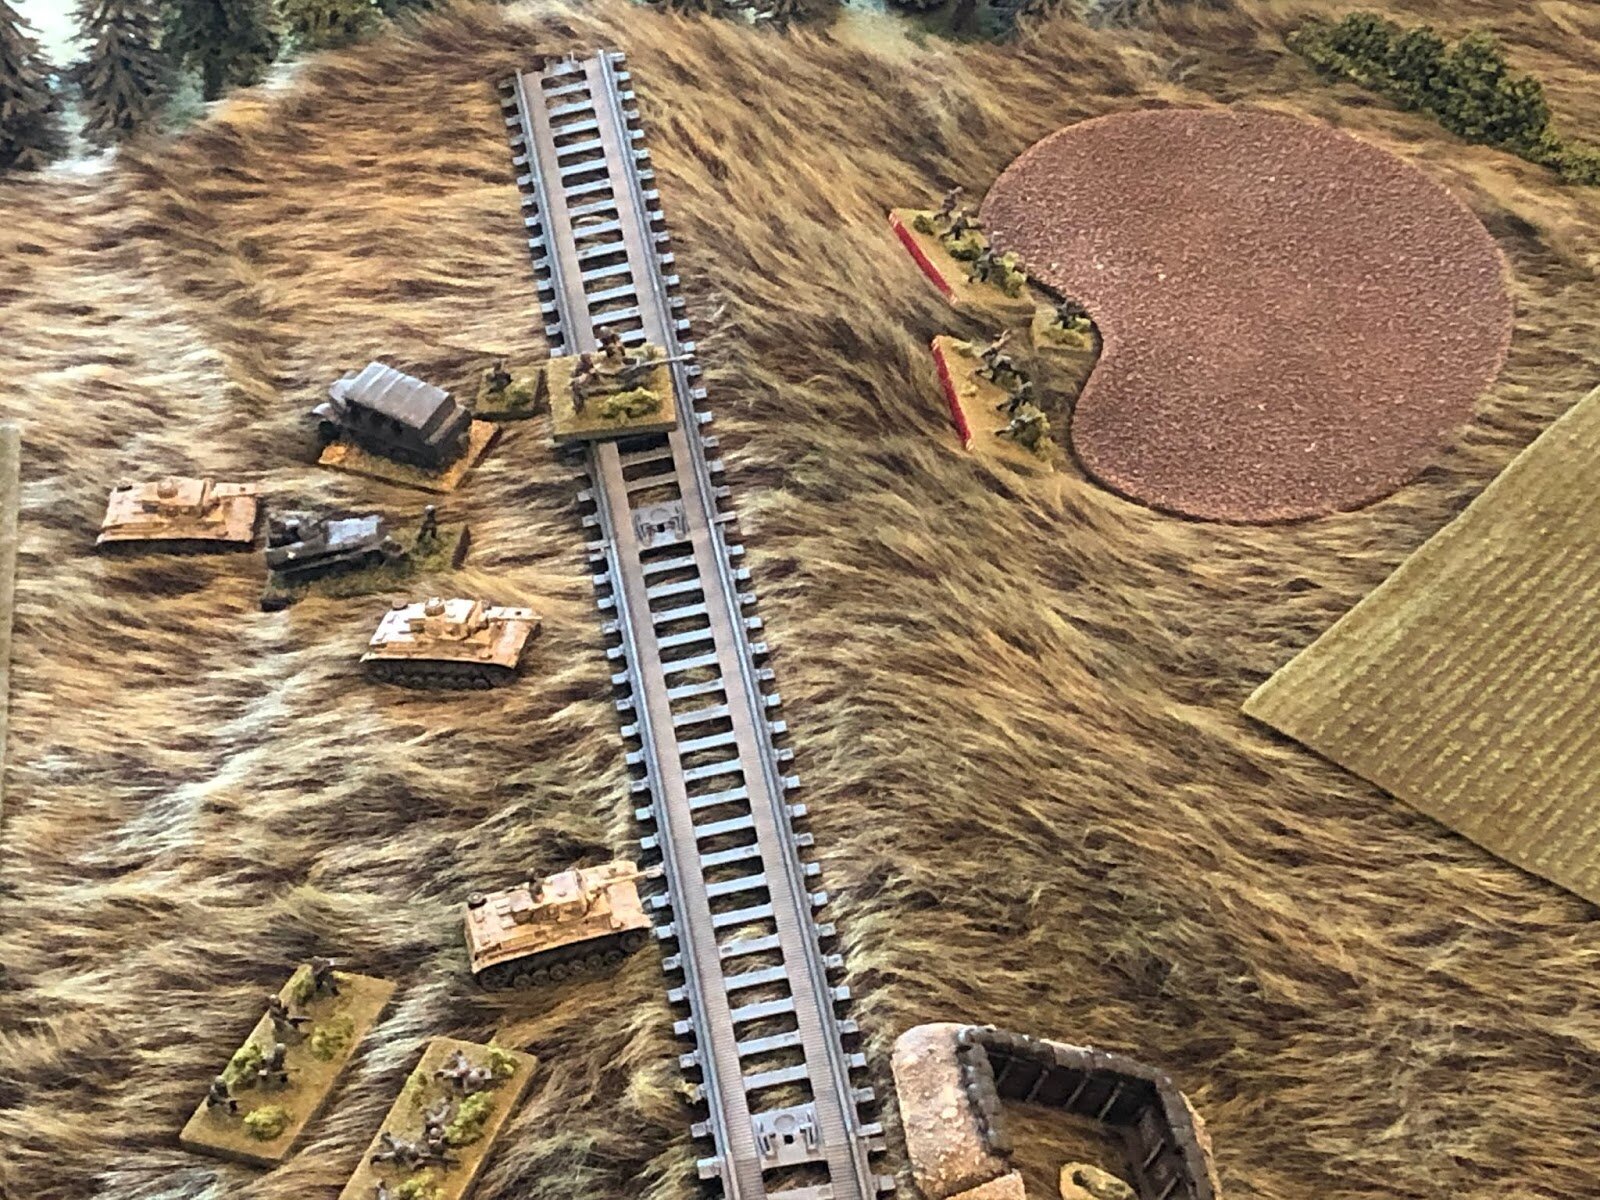
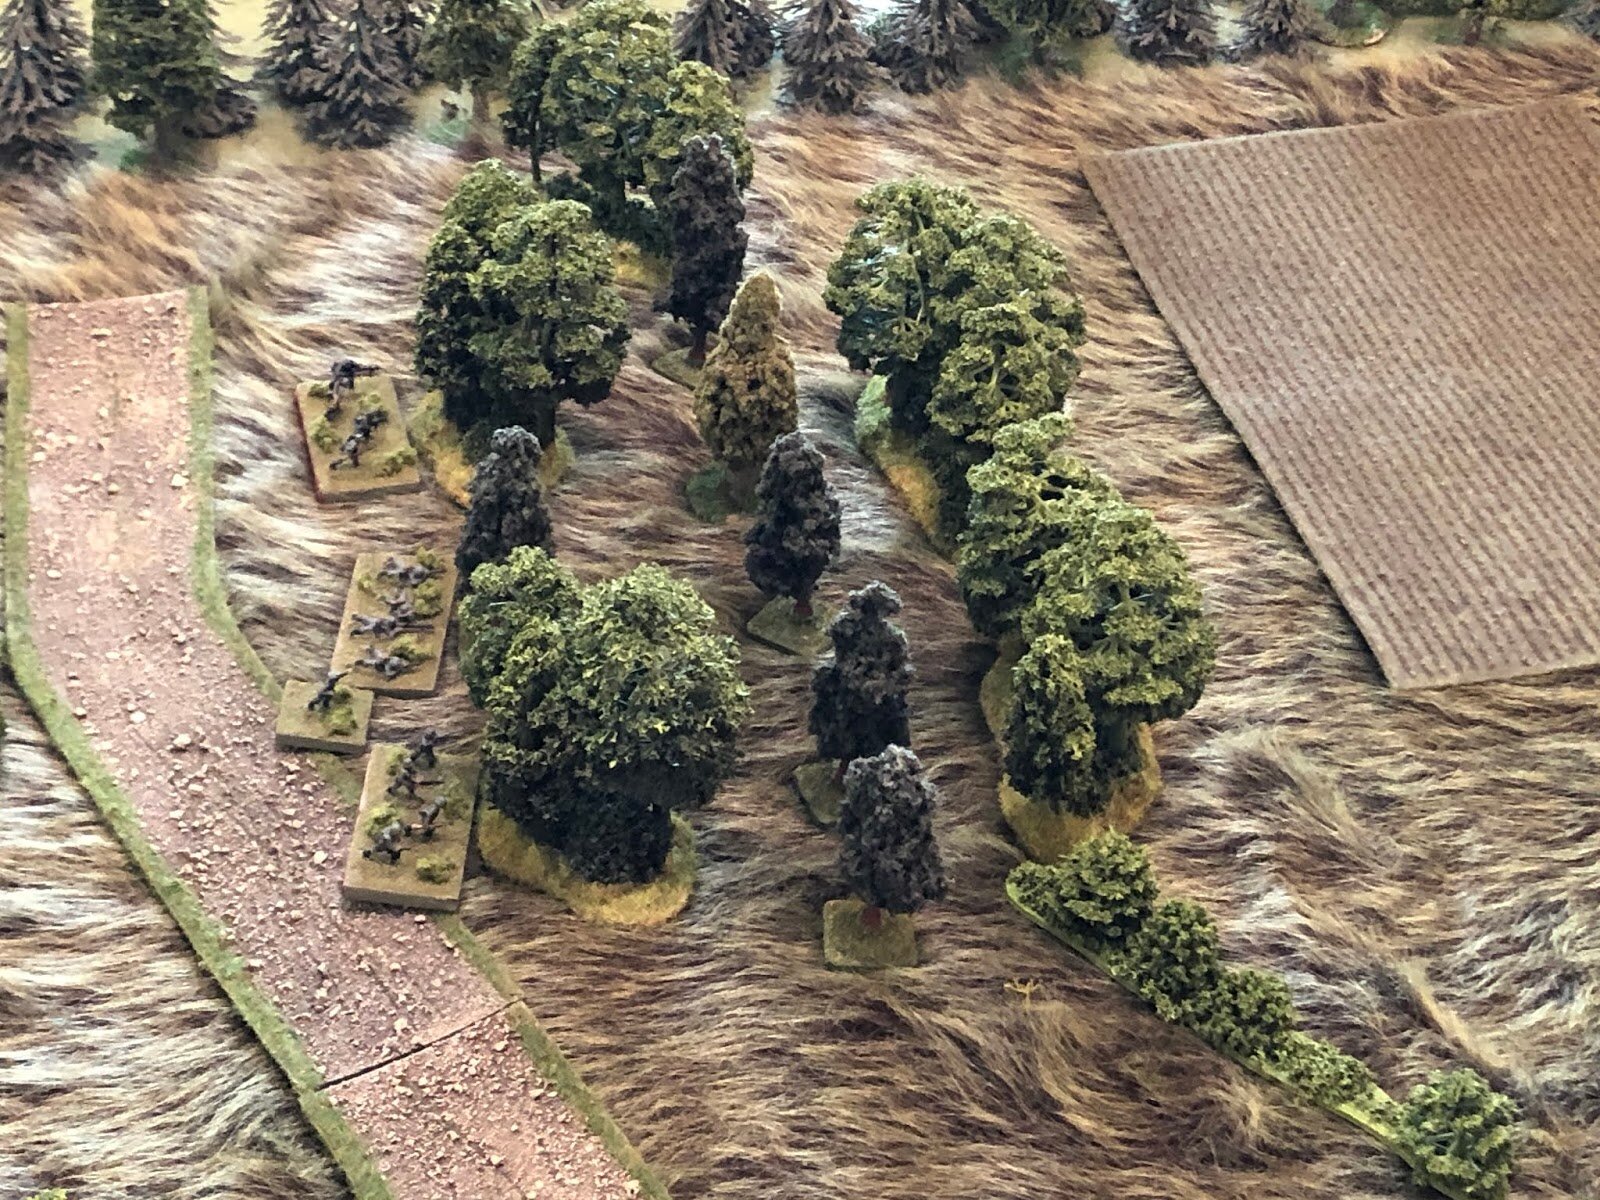
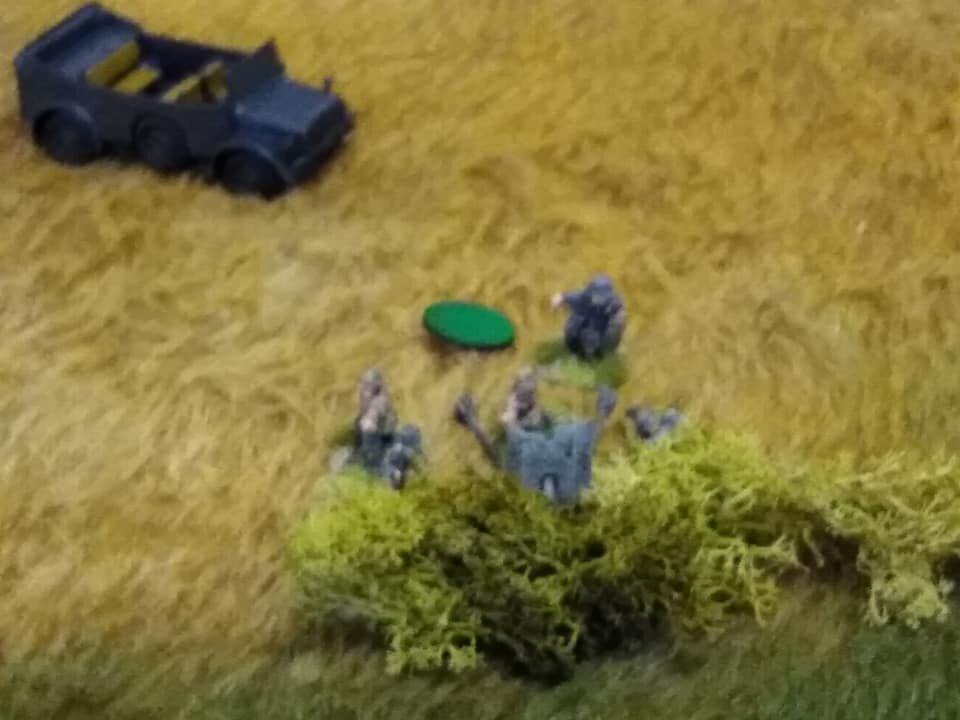
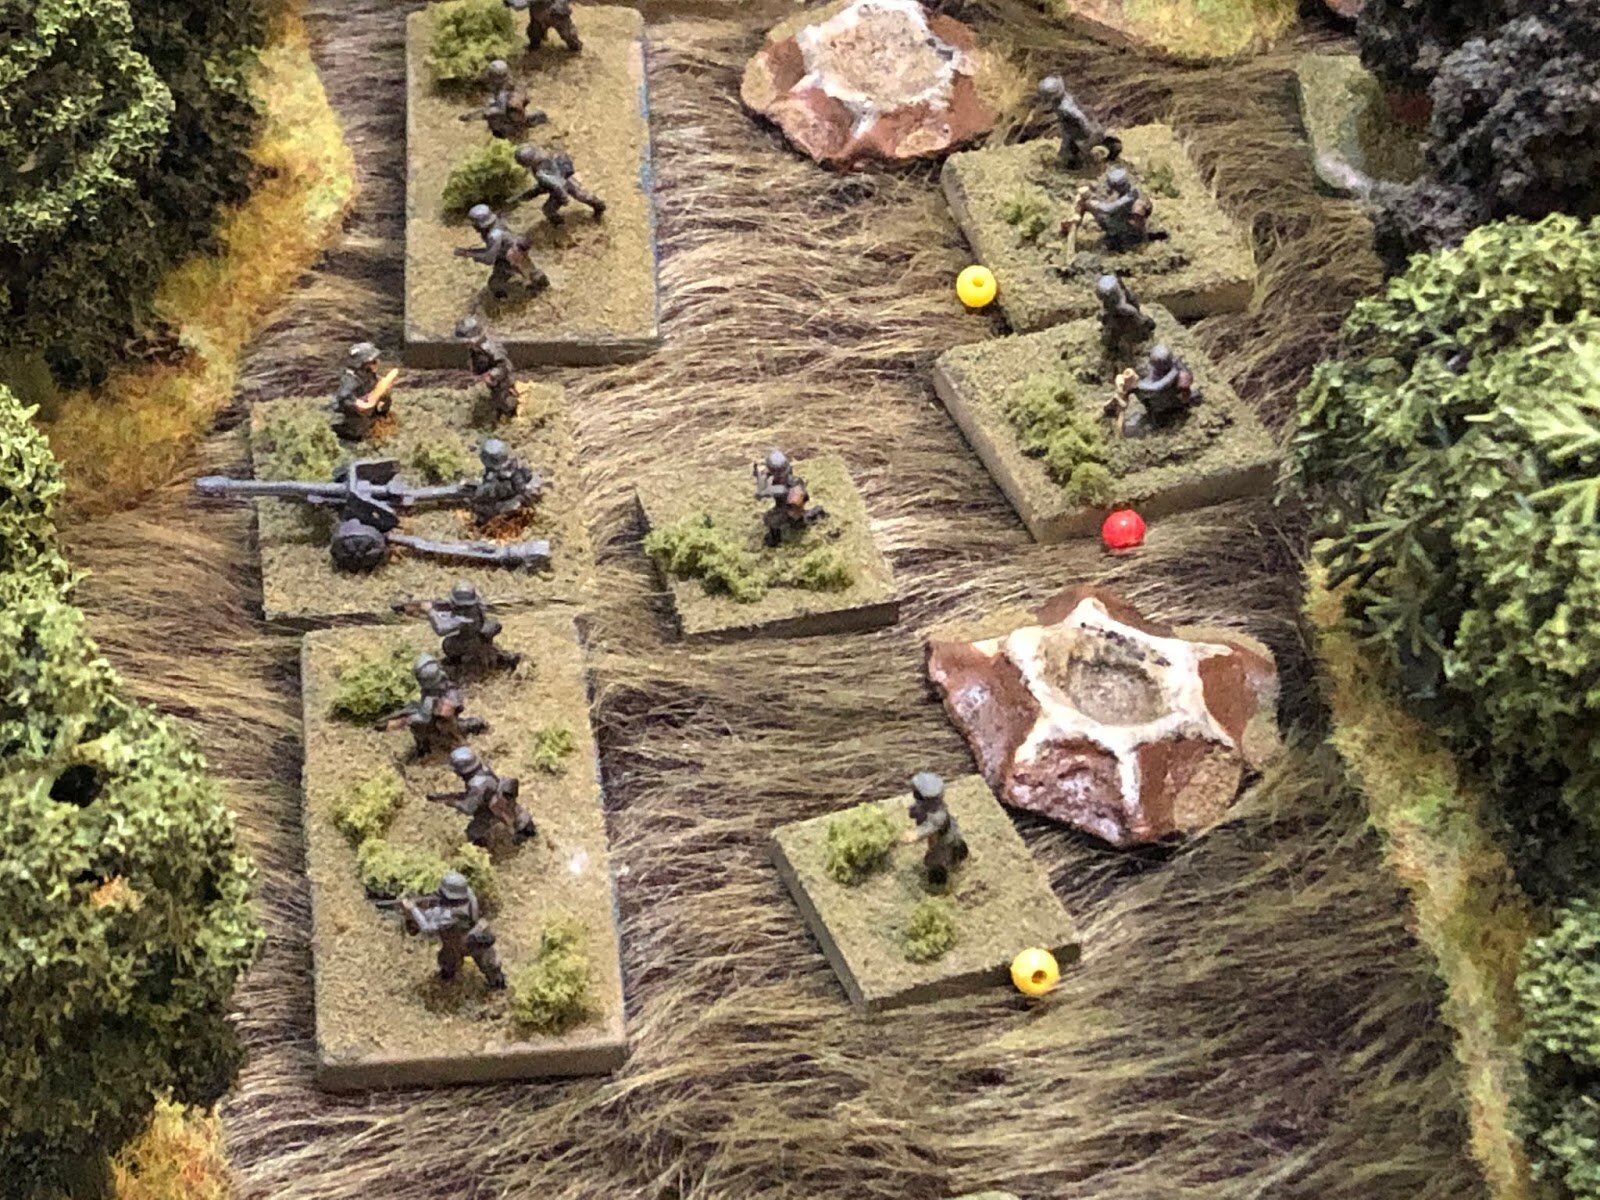
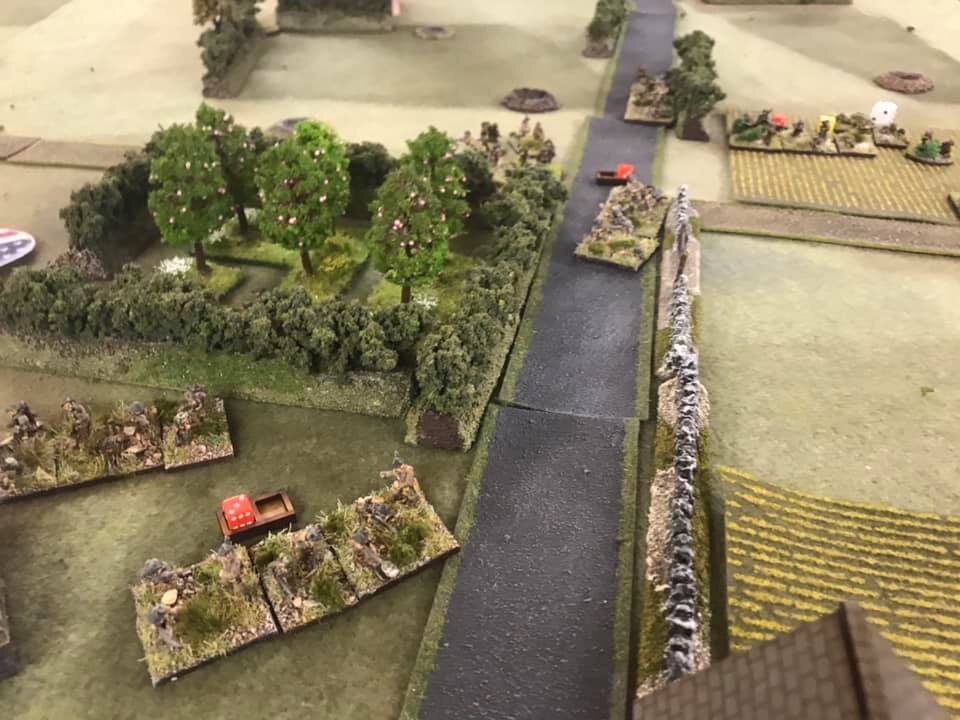
Scouts
Big Man Level III
1 x Scout Squad (10 men)
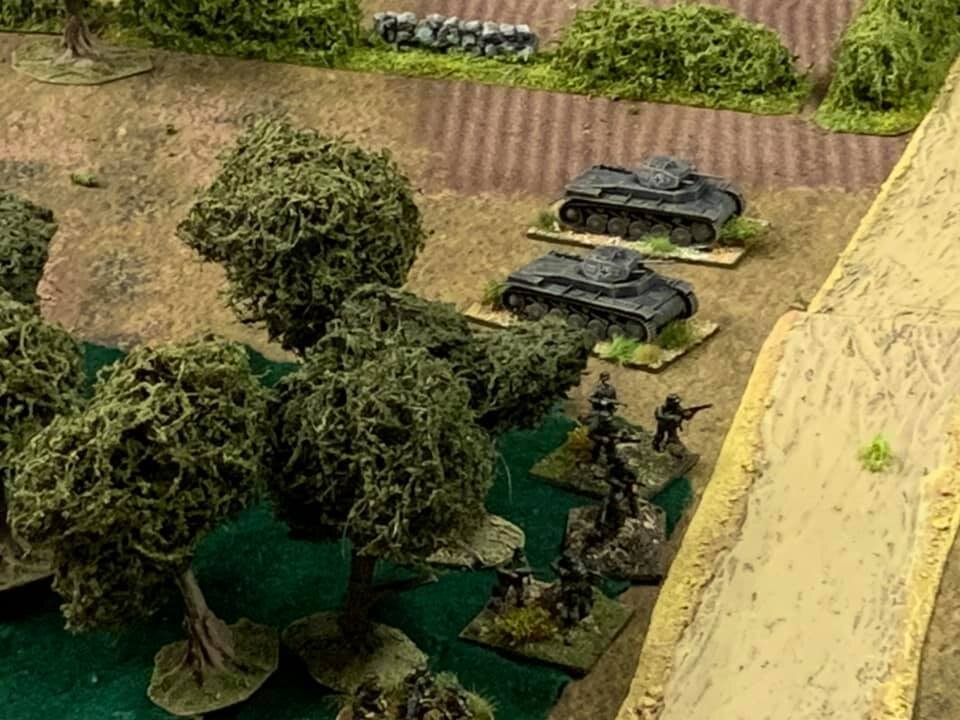
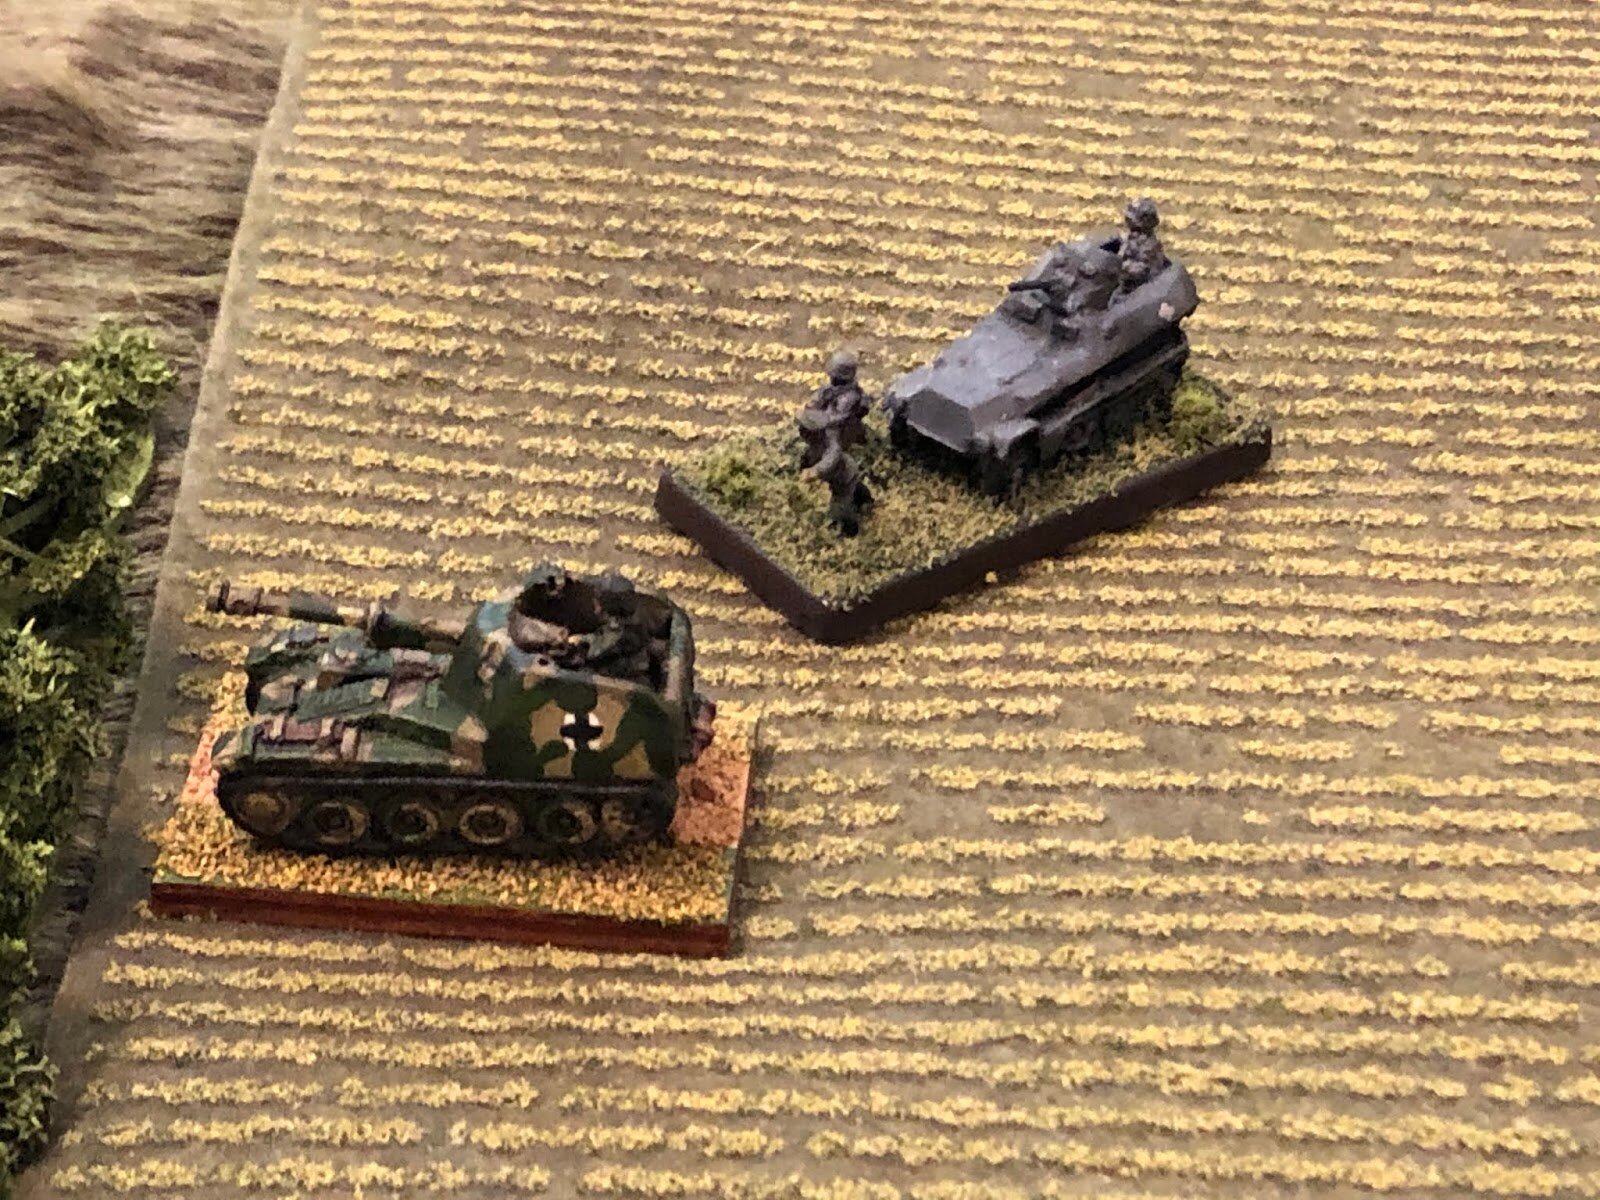
Attached PanzerJaeger Platoon
Big Man Level III
4 x Jagdpanzer IV
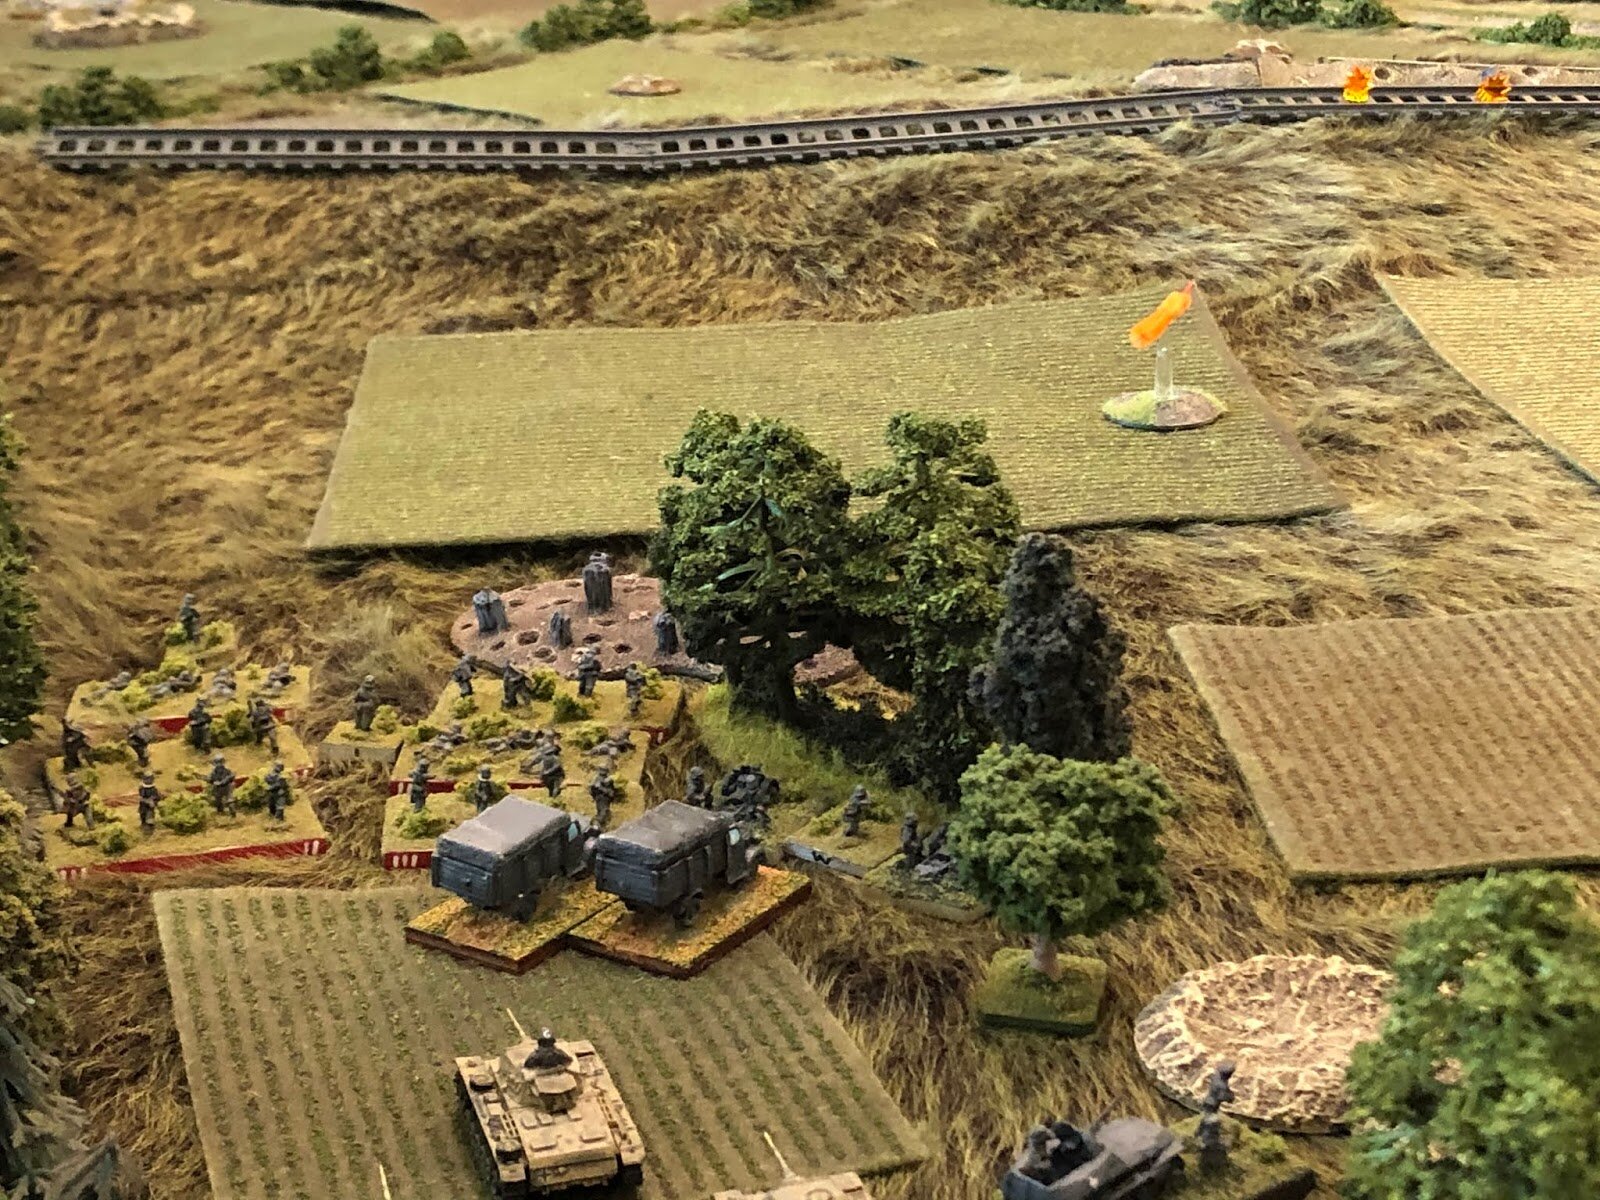
Attached Artillery
1 x Wespe SP Artillery
1 x Support Vehicle
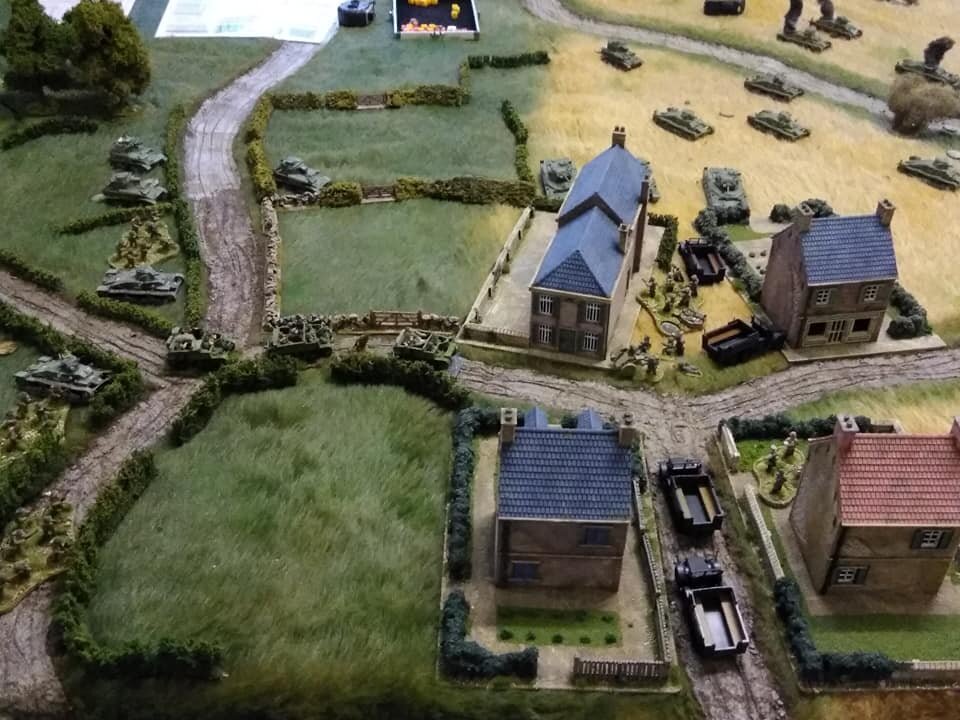
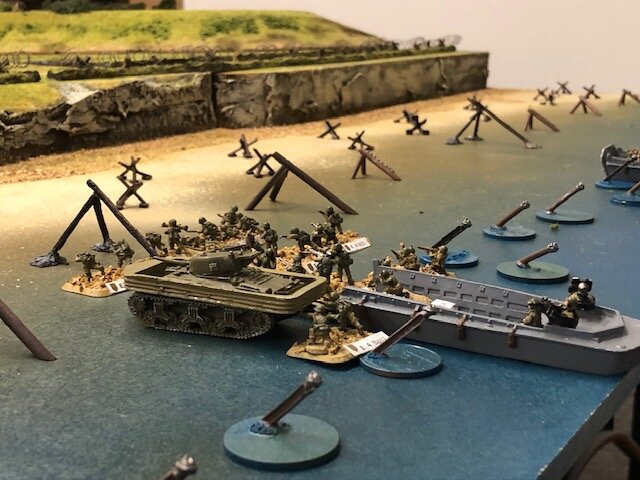
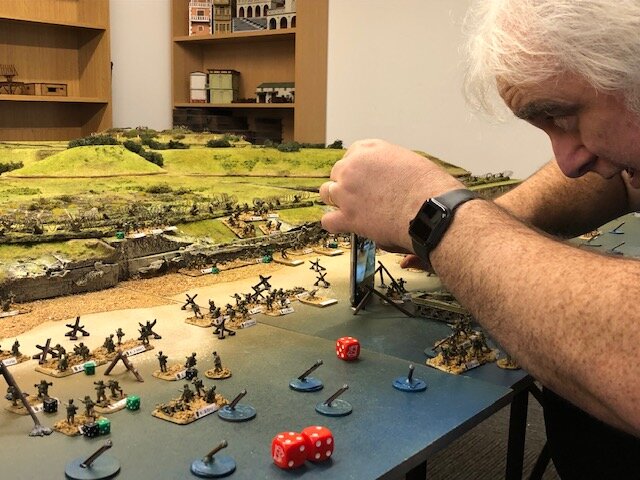
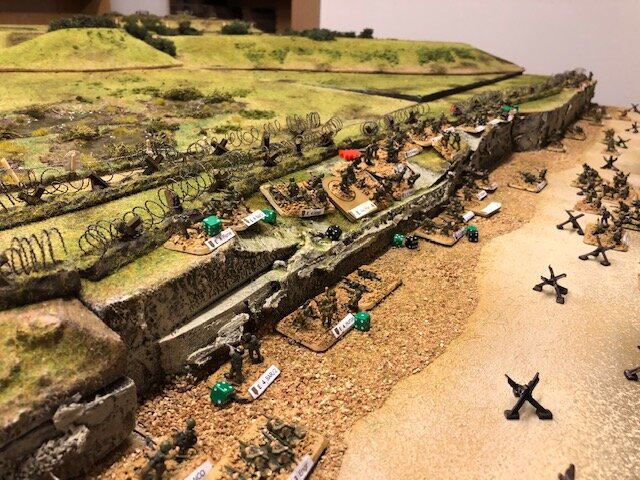
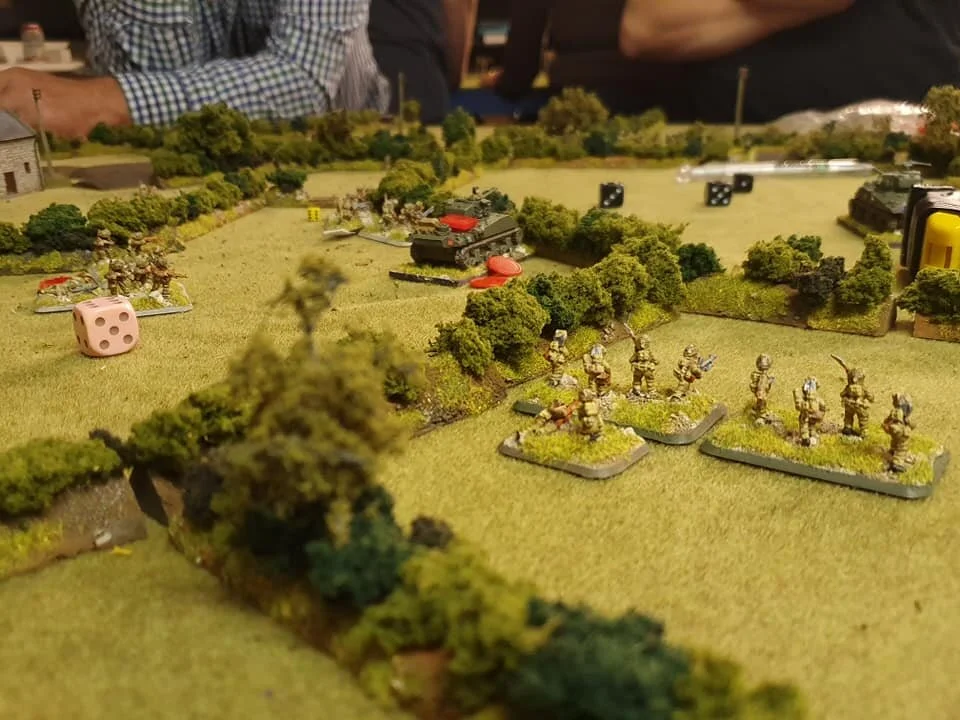
The Game Begins
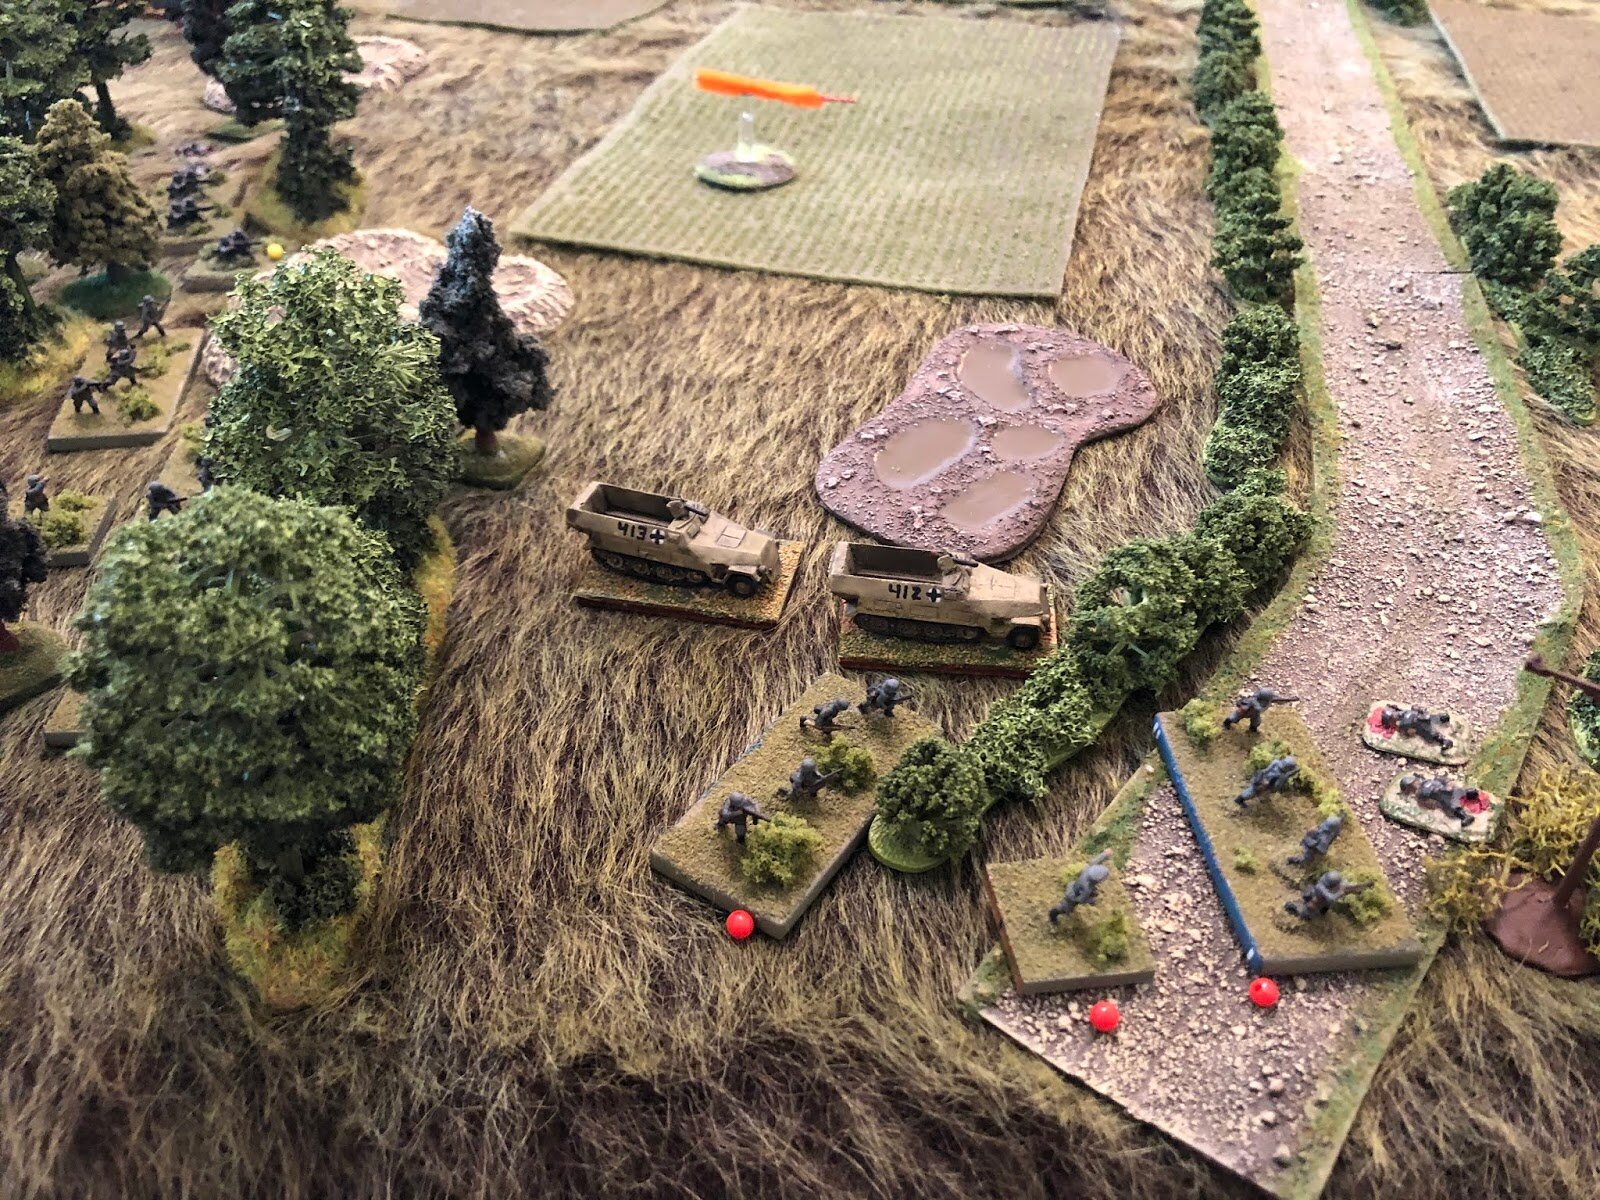
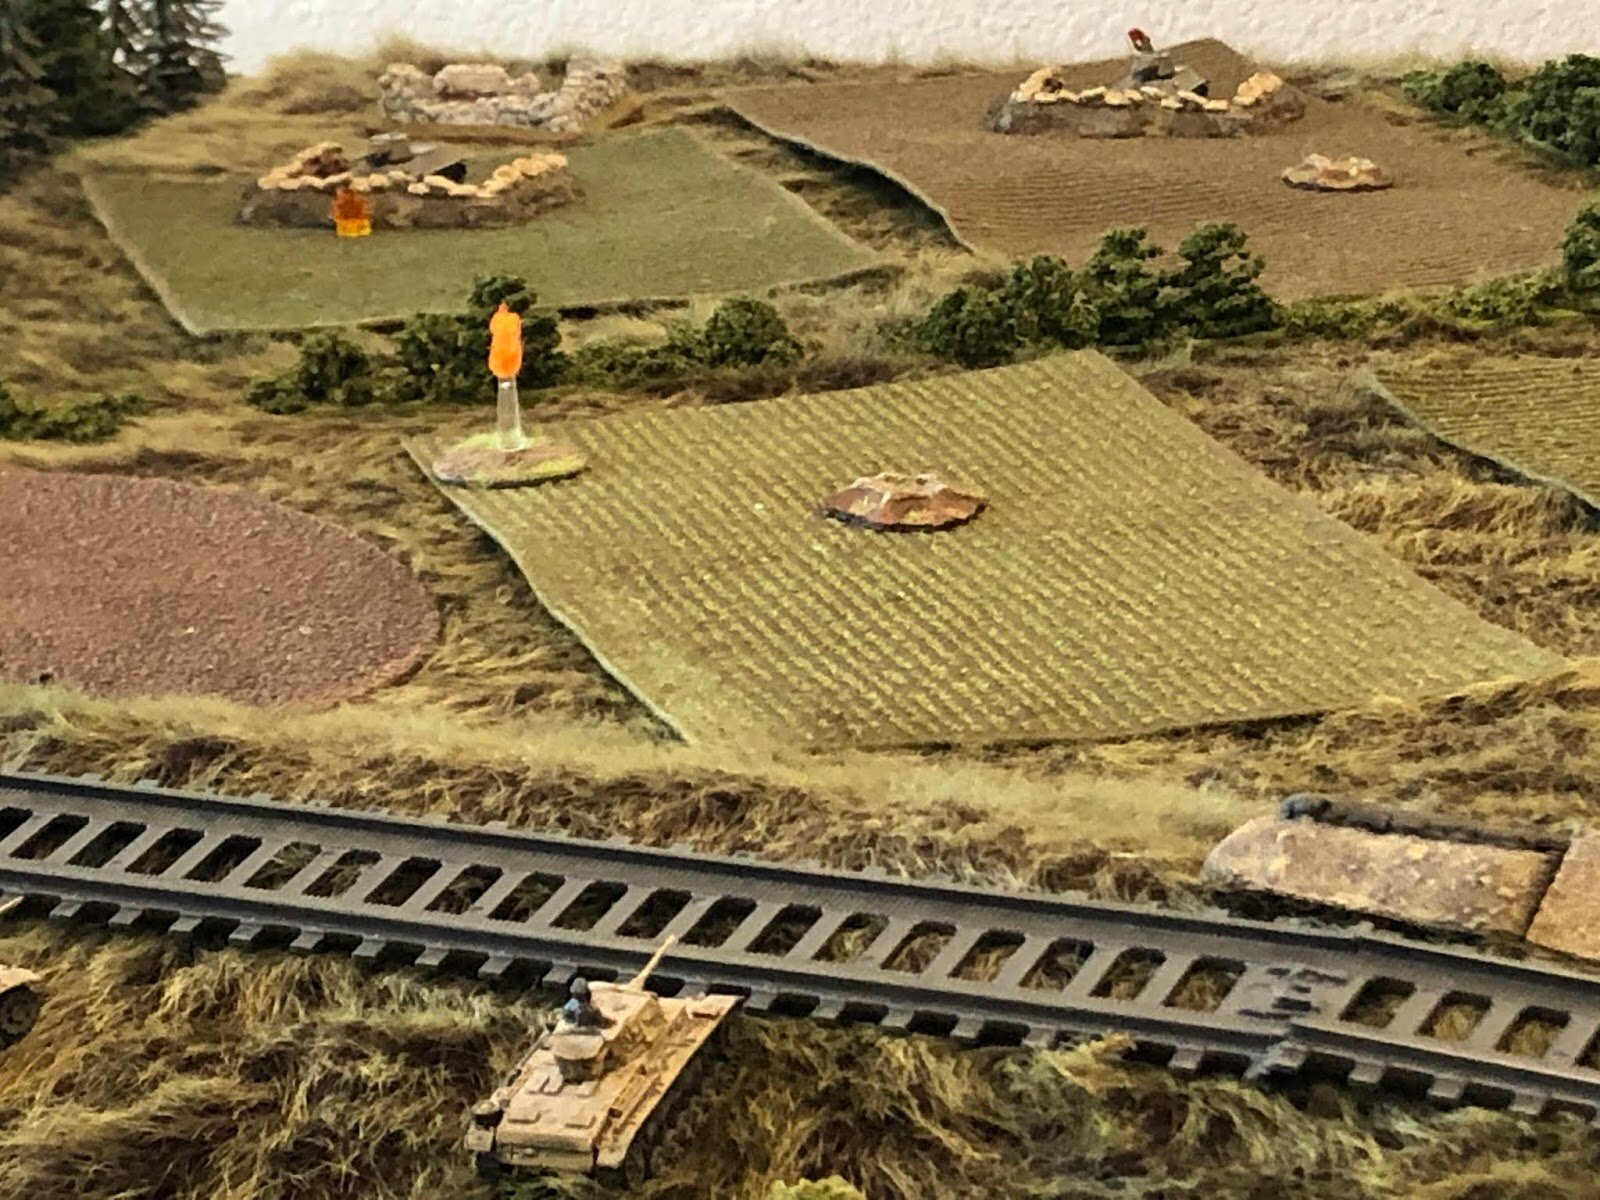
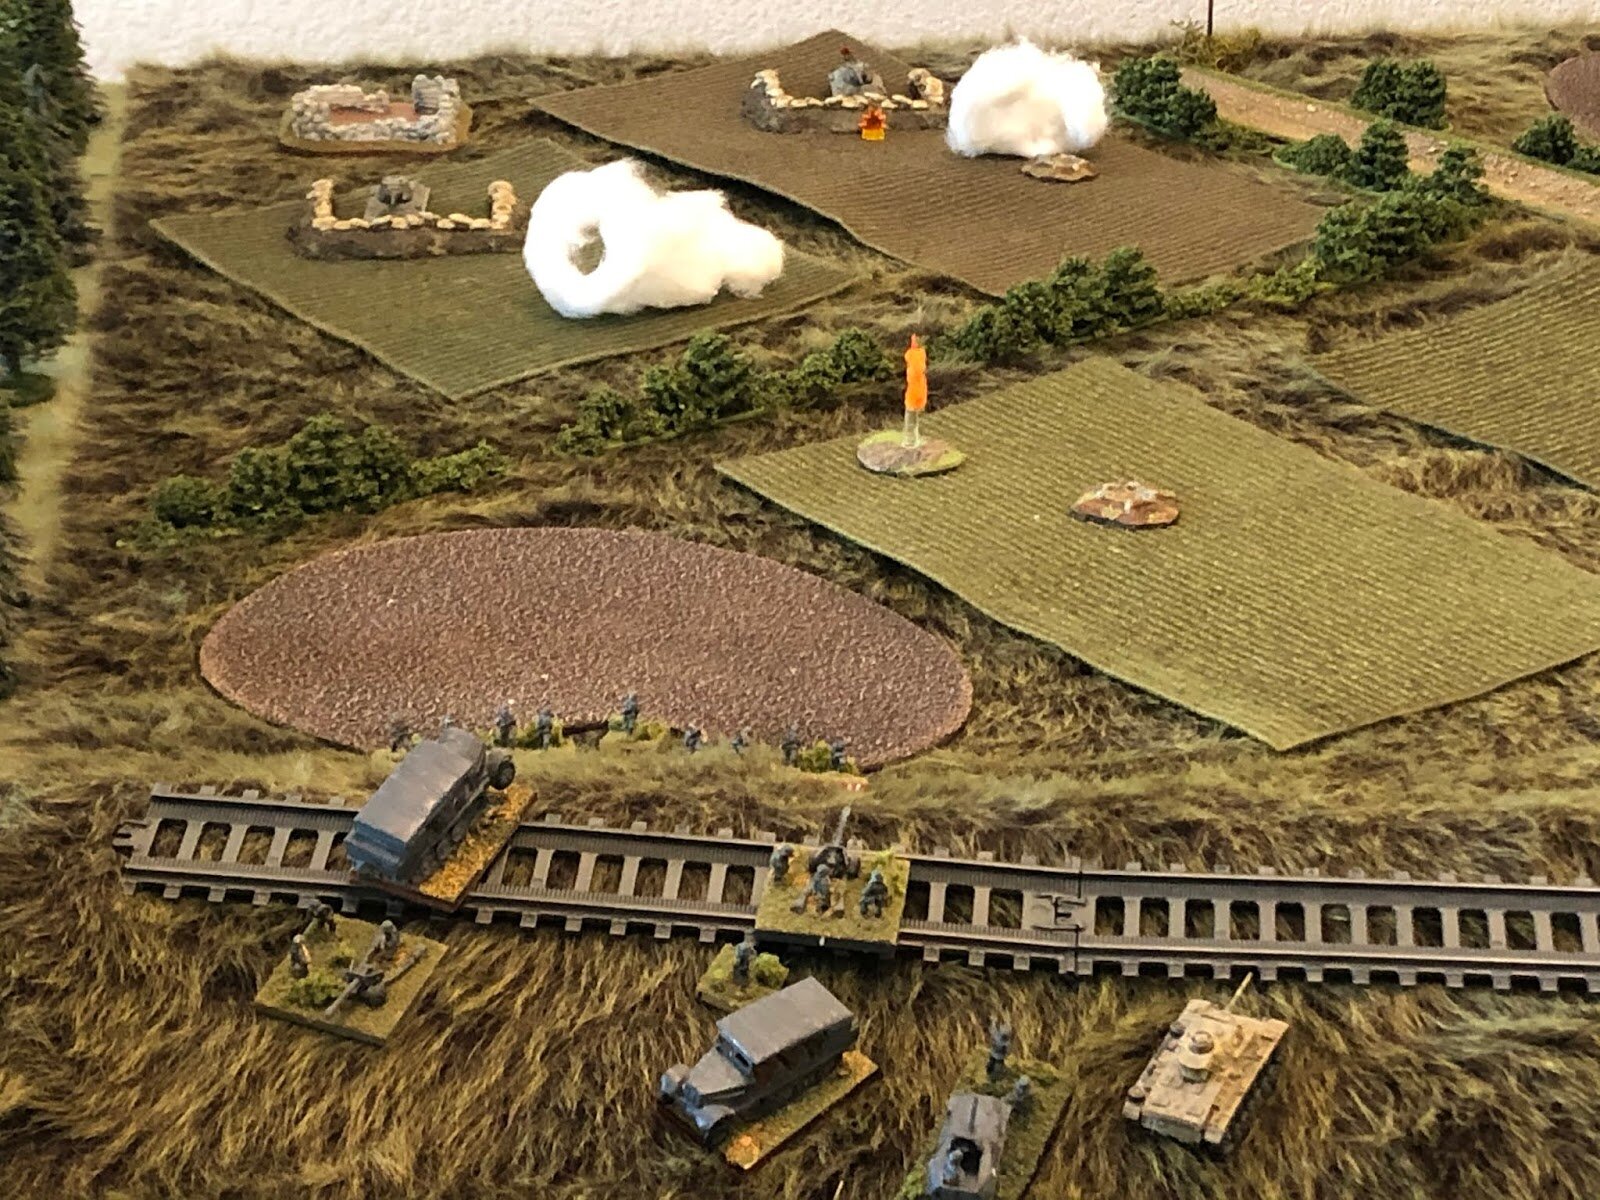
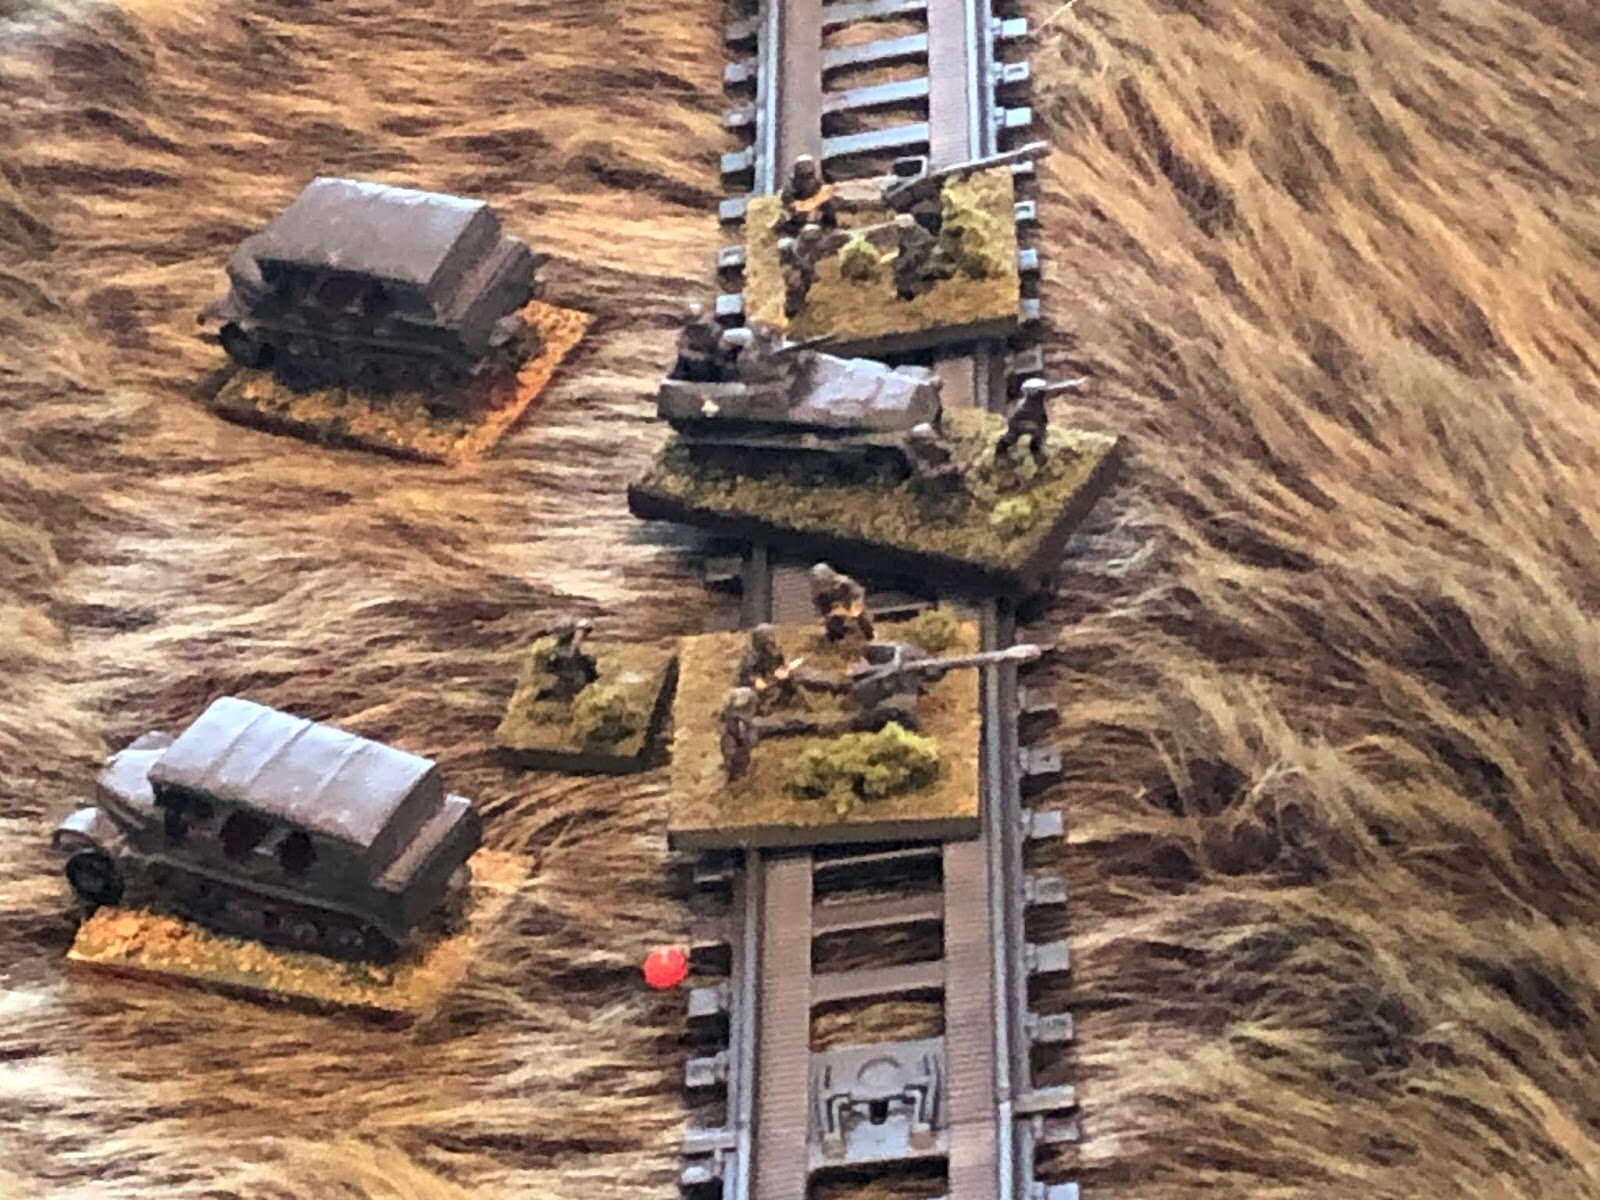
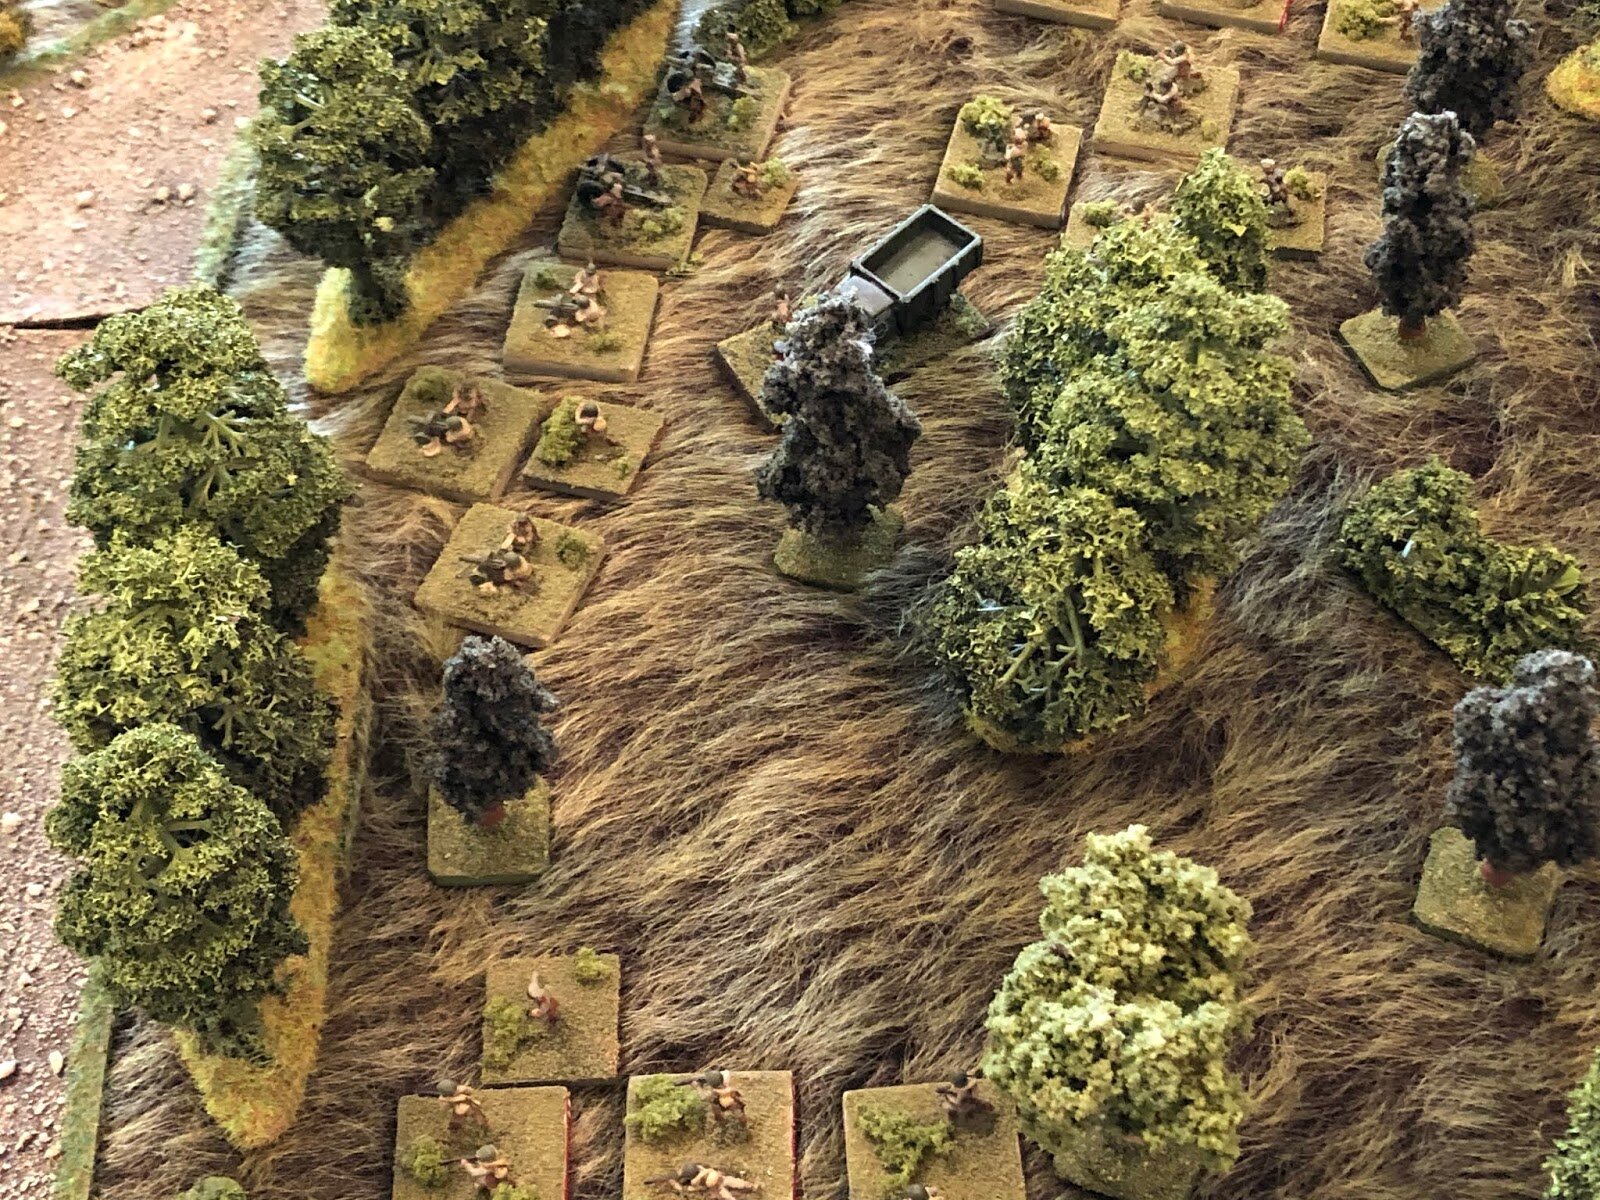
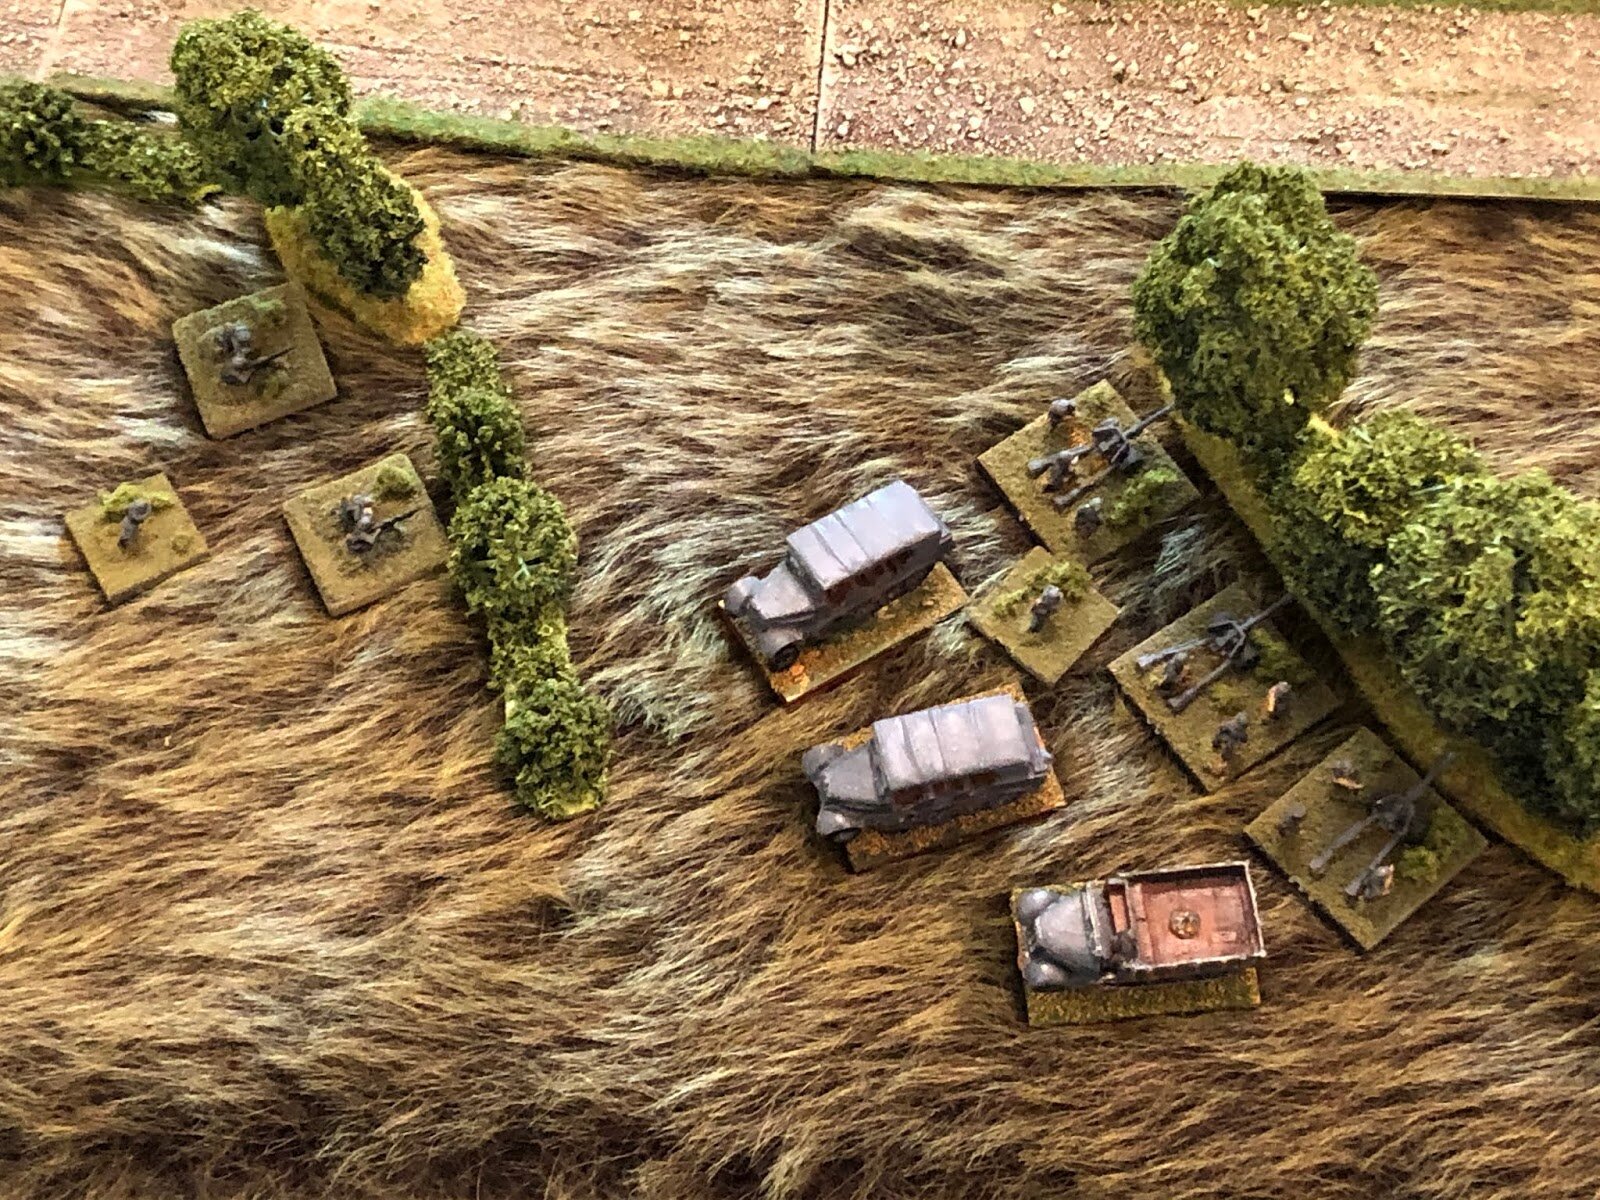
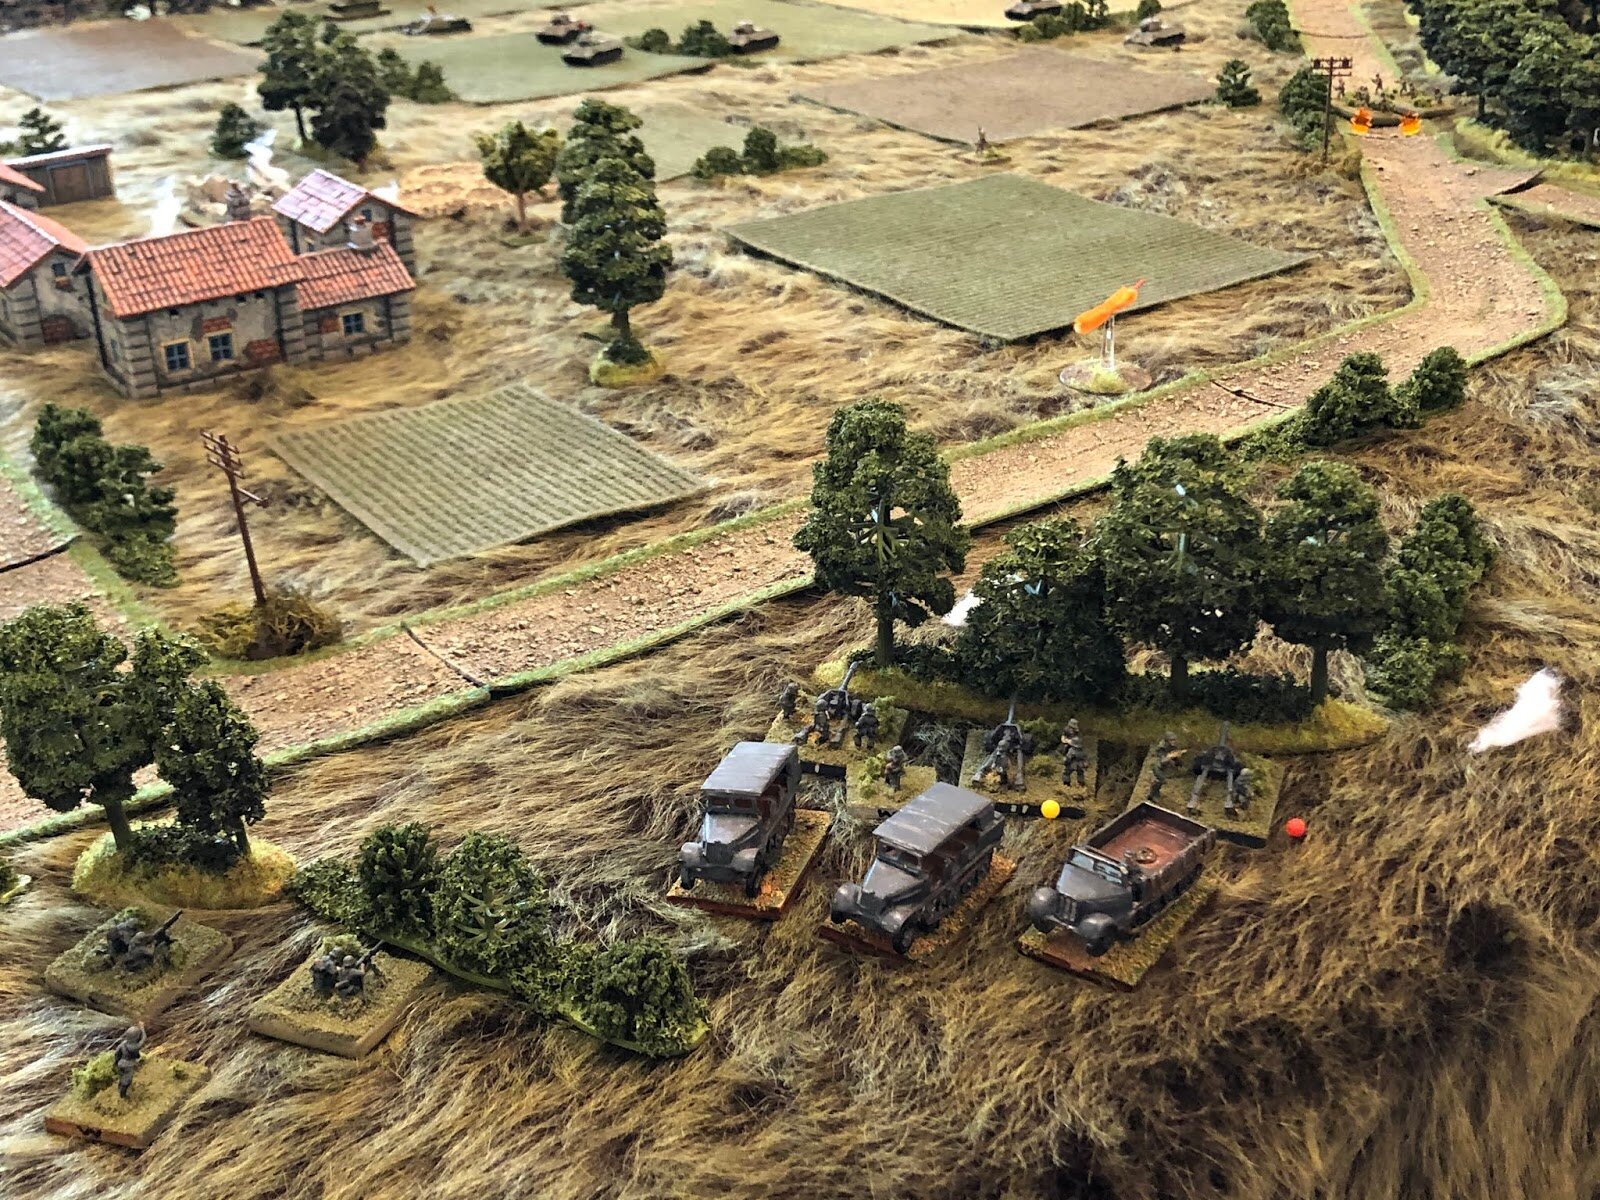
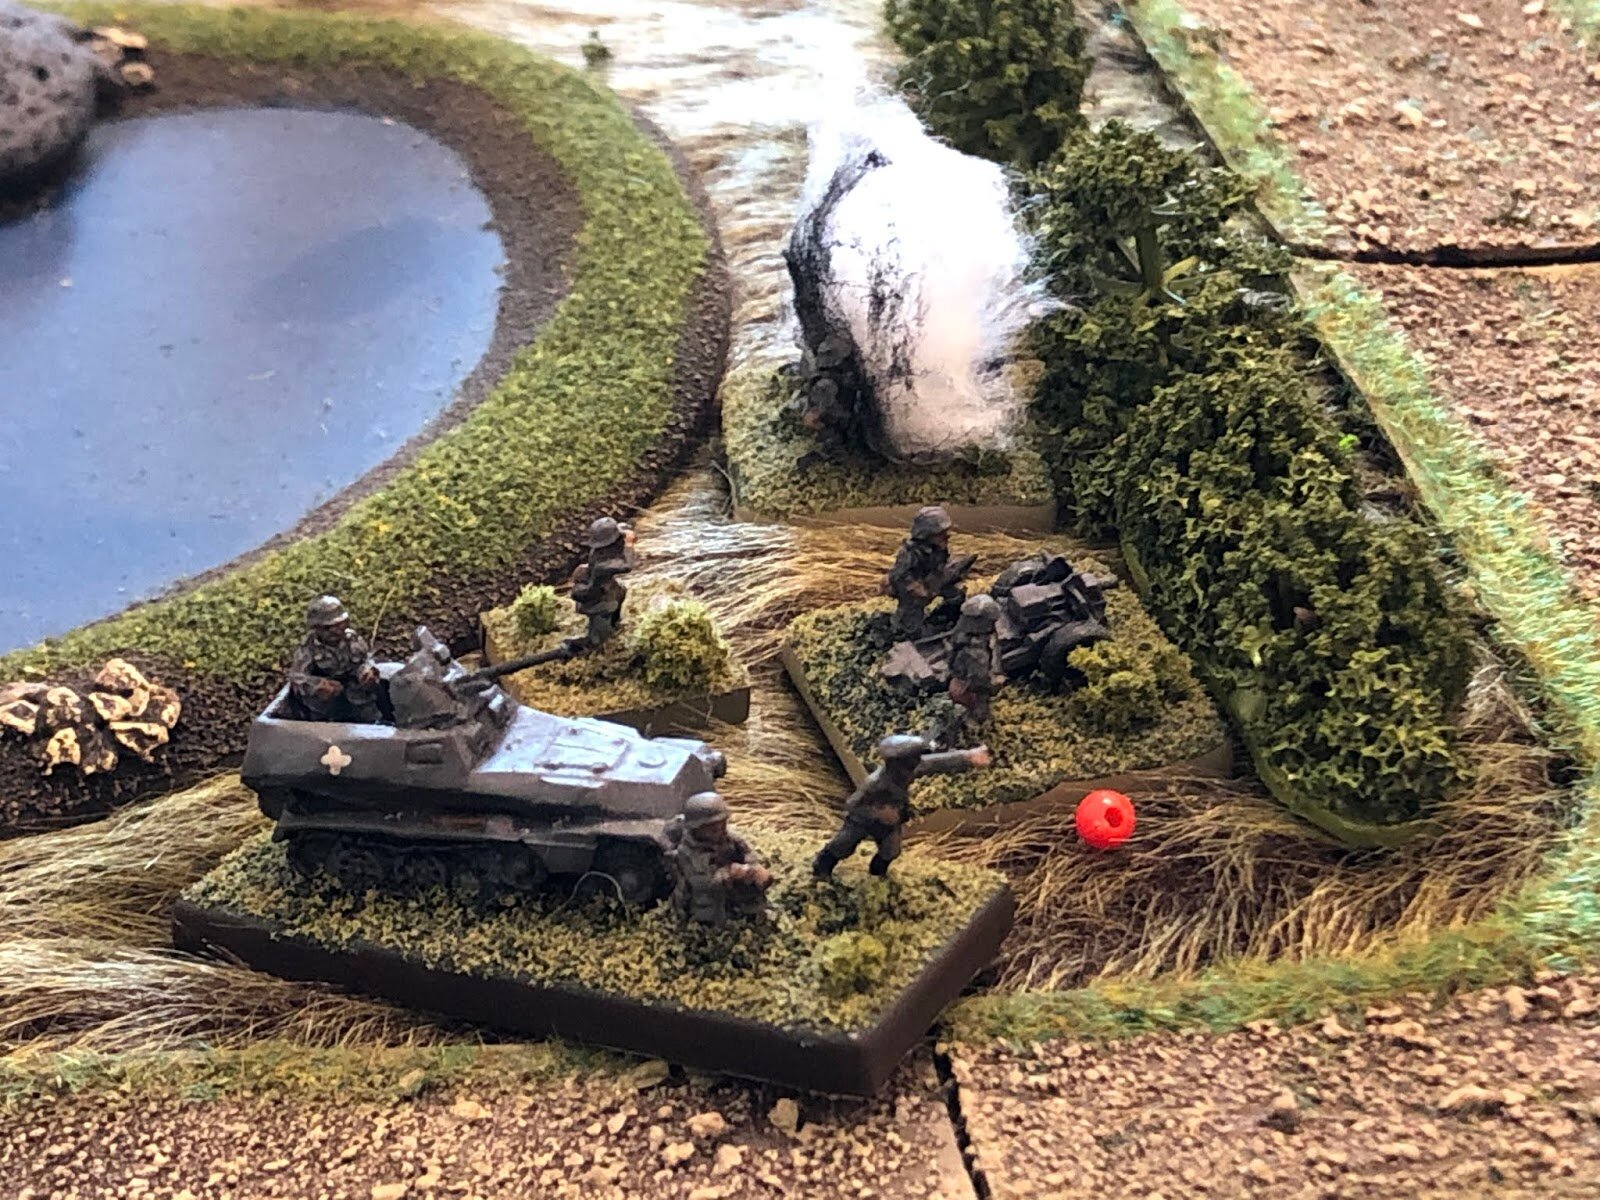
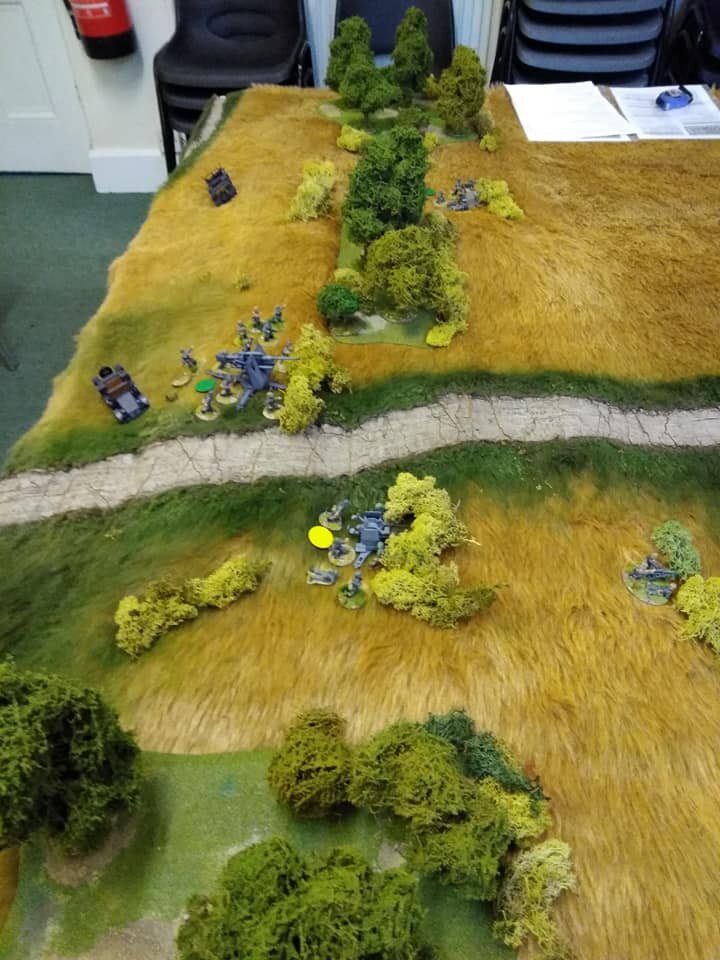
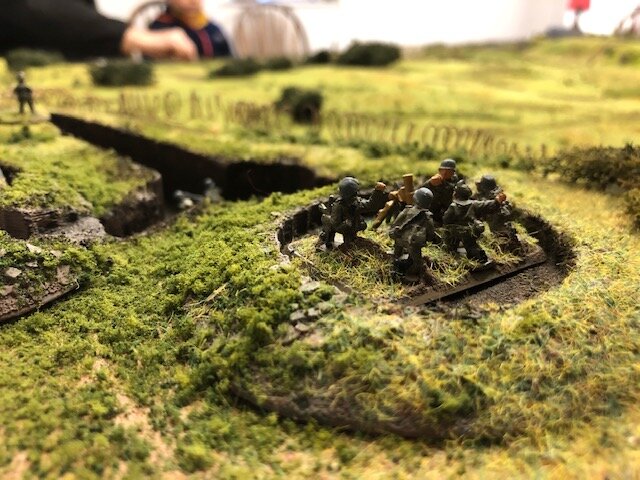
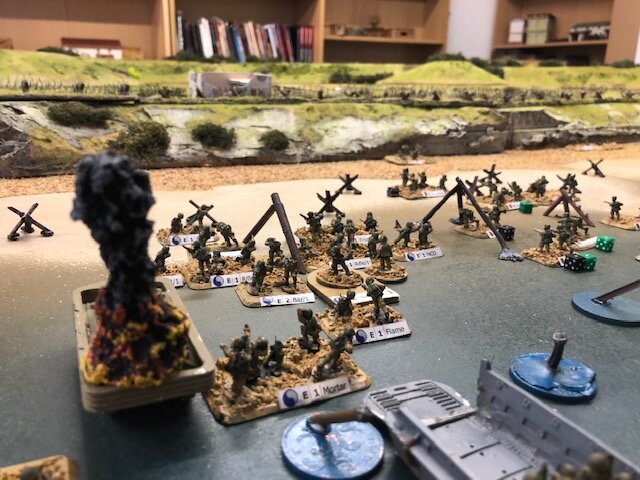
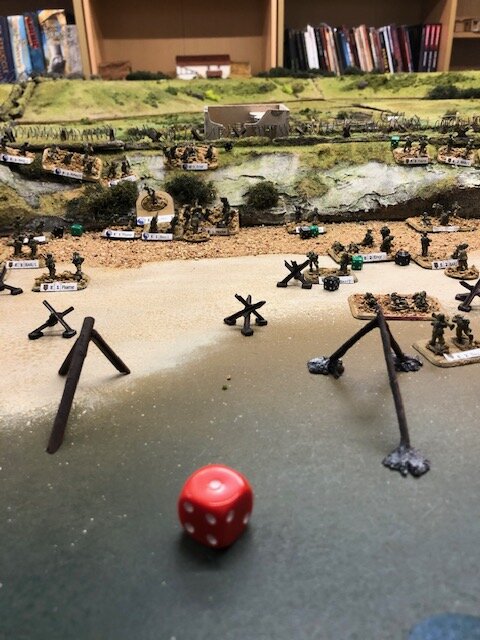
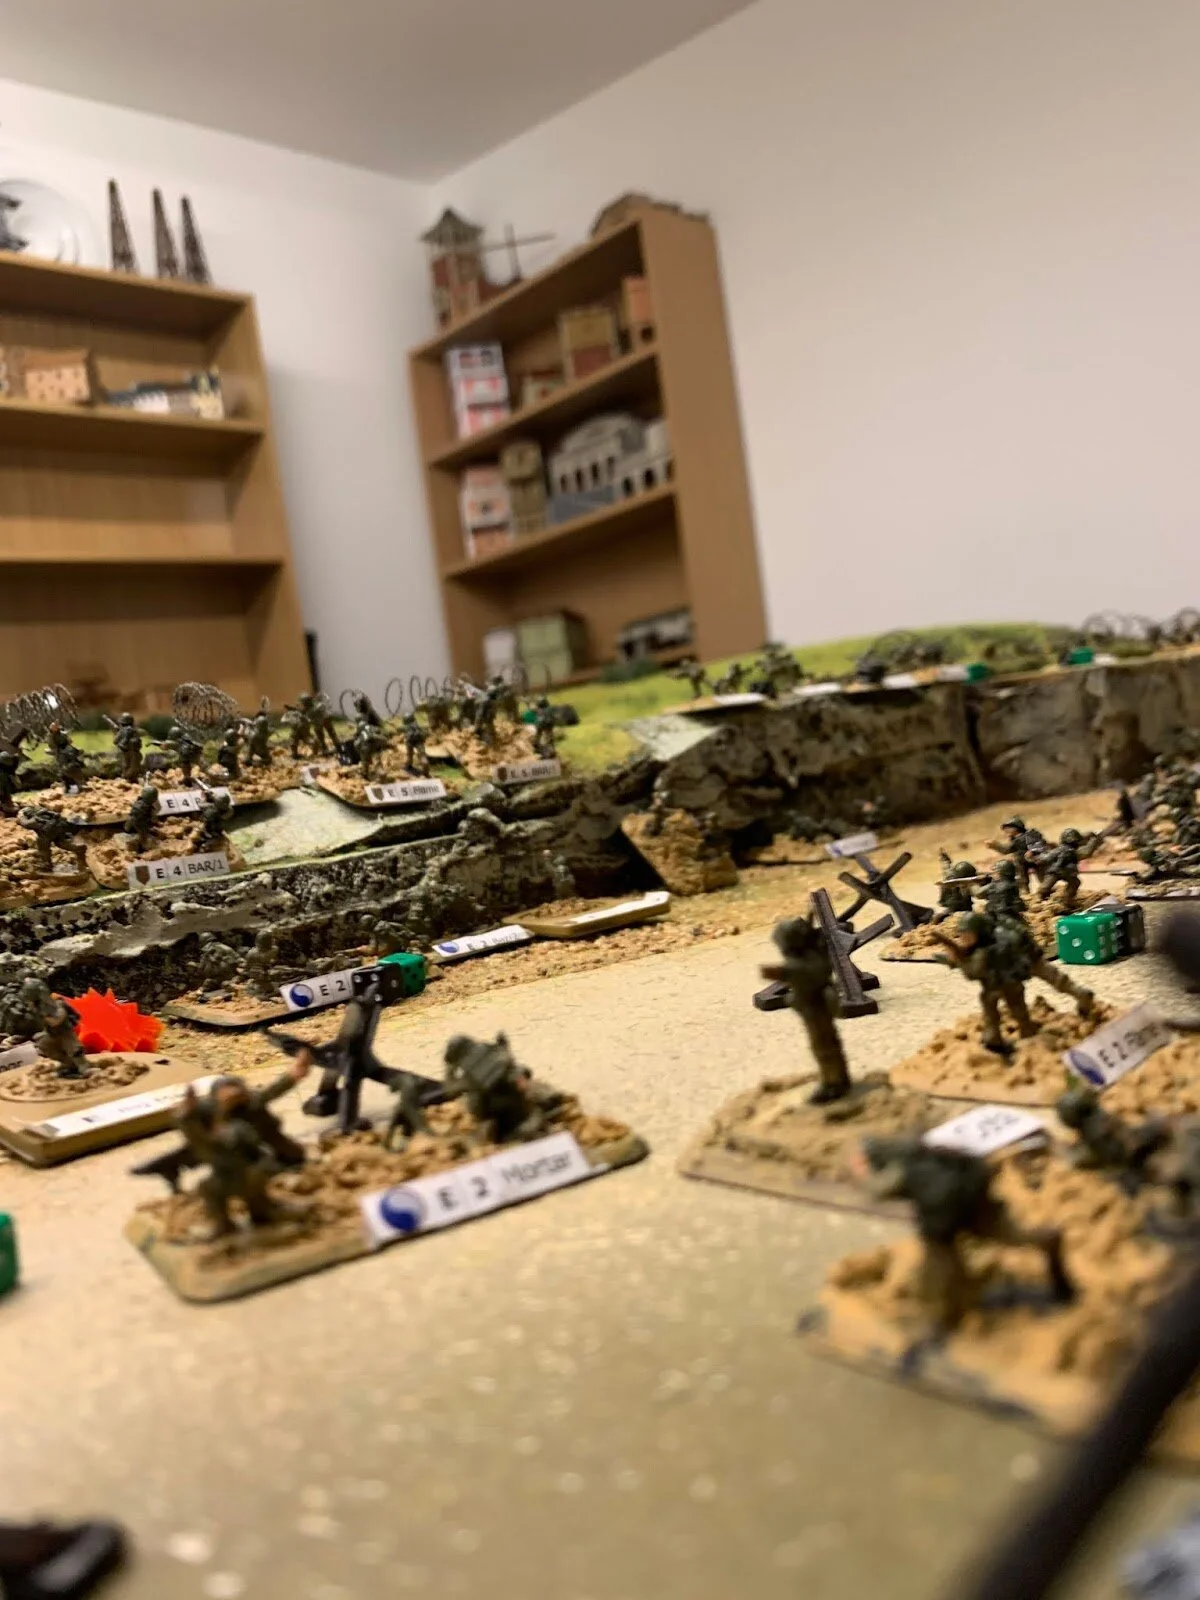
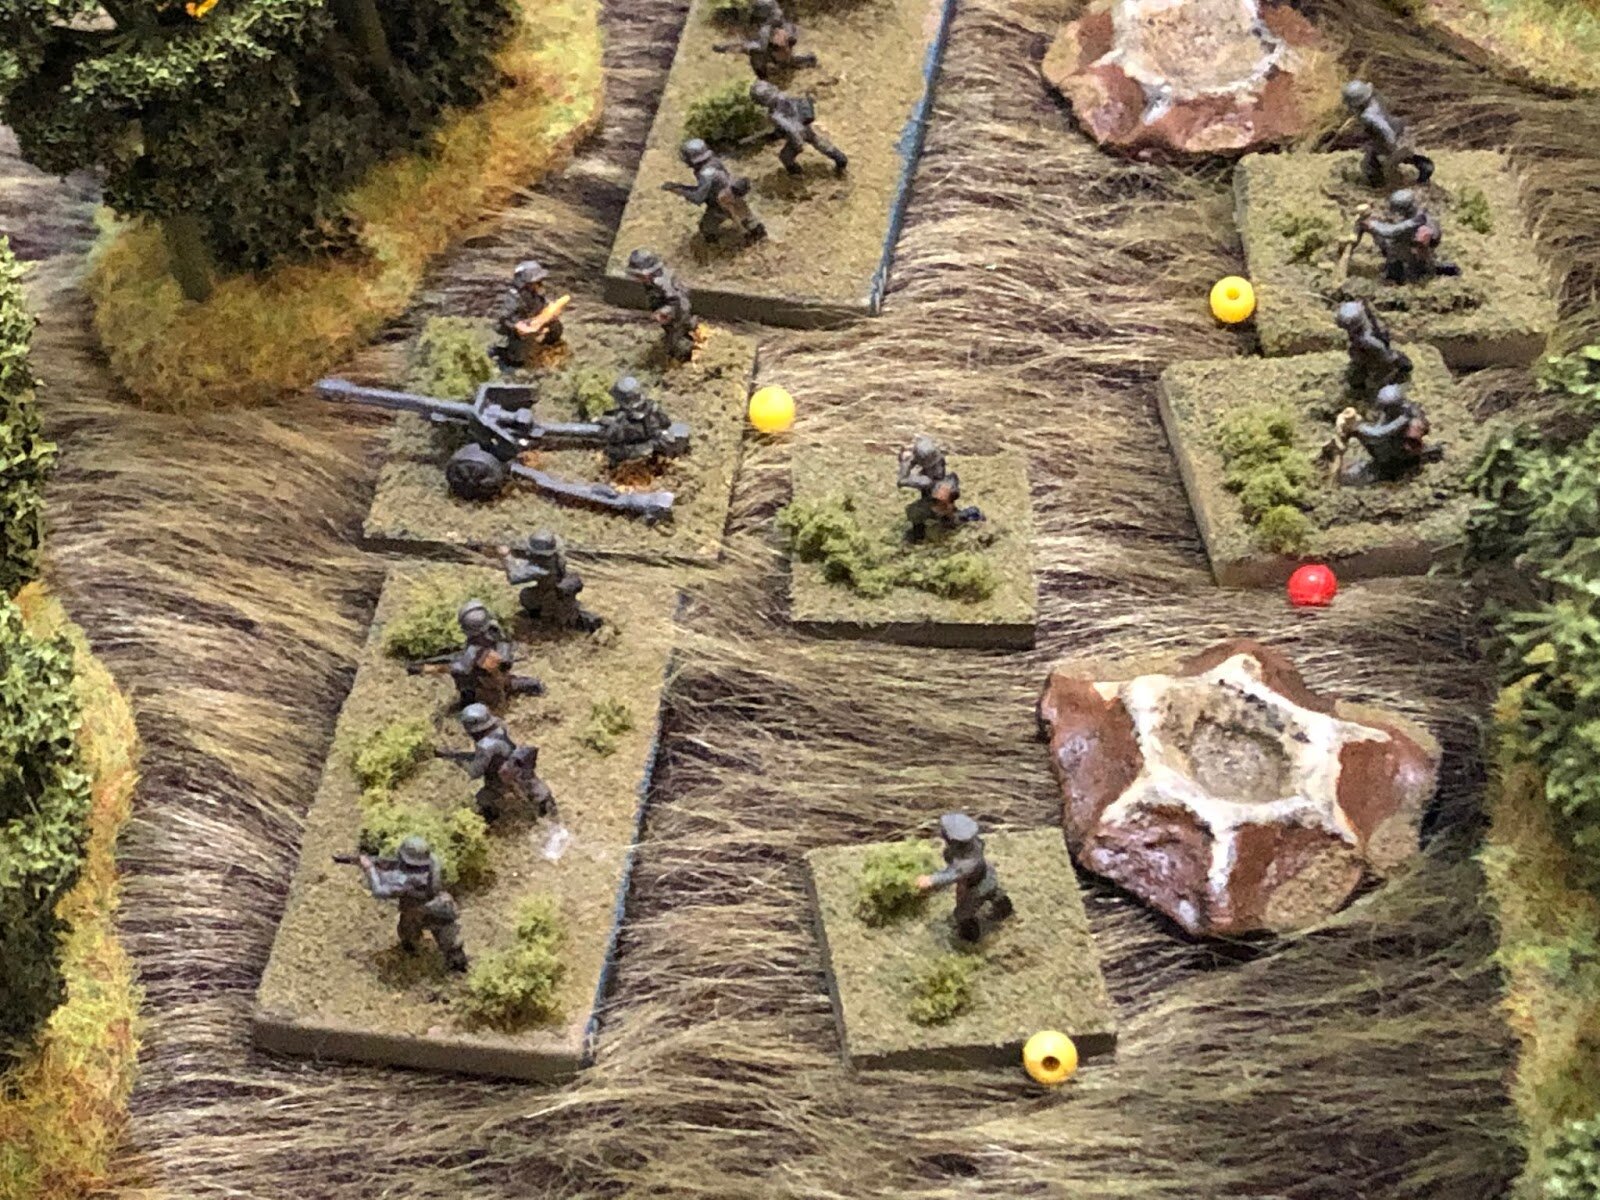
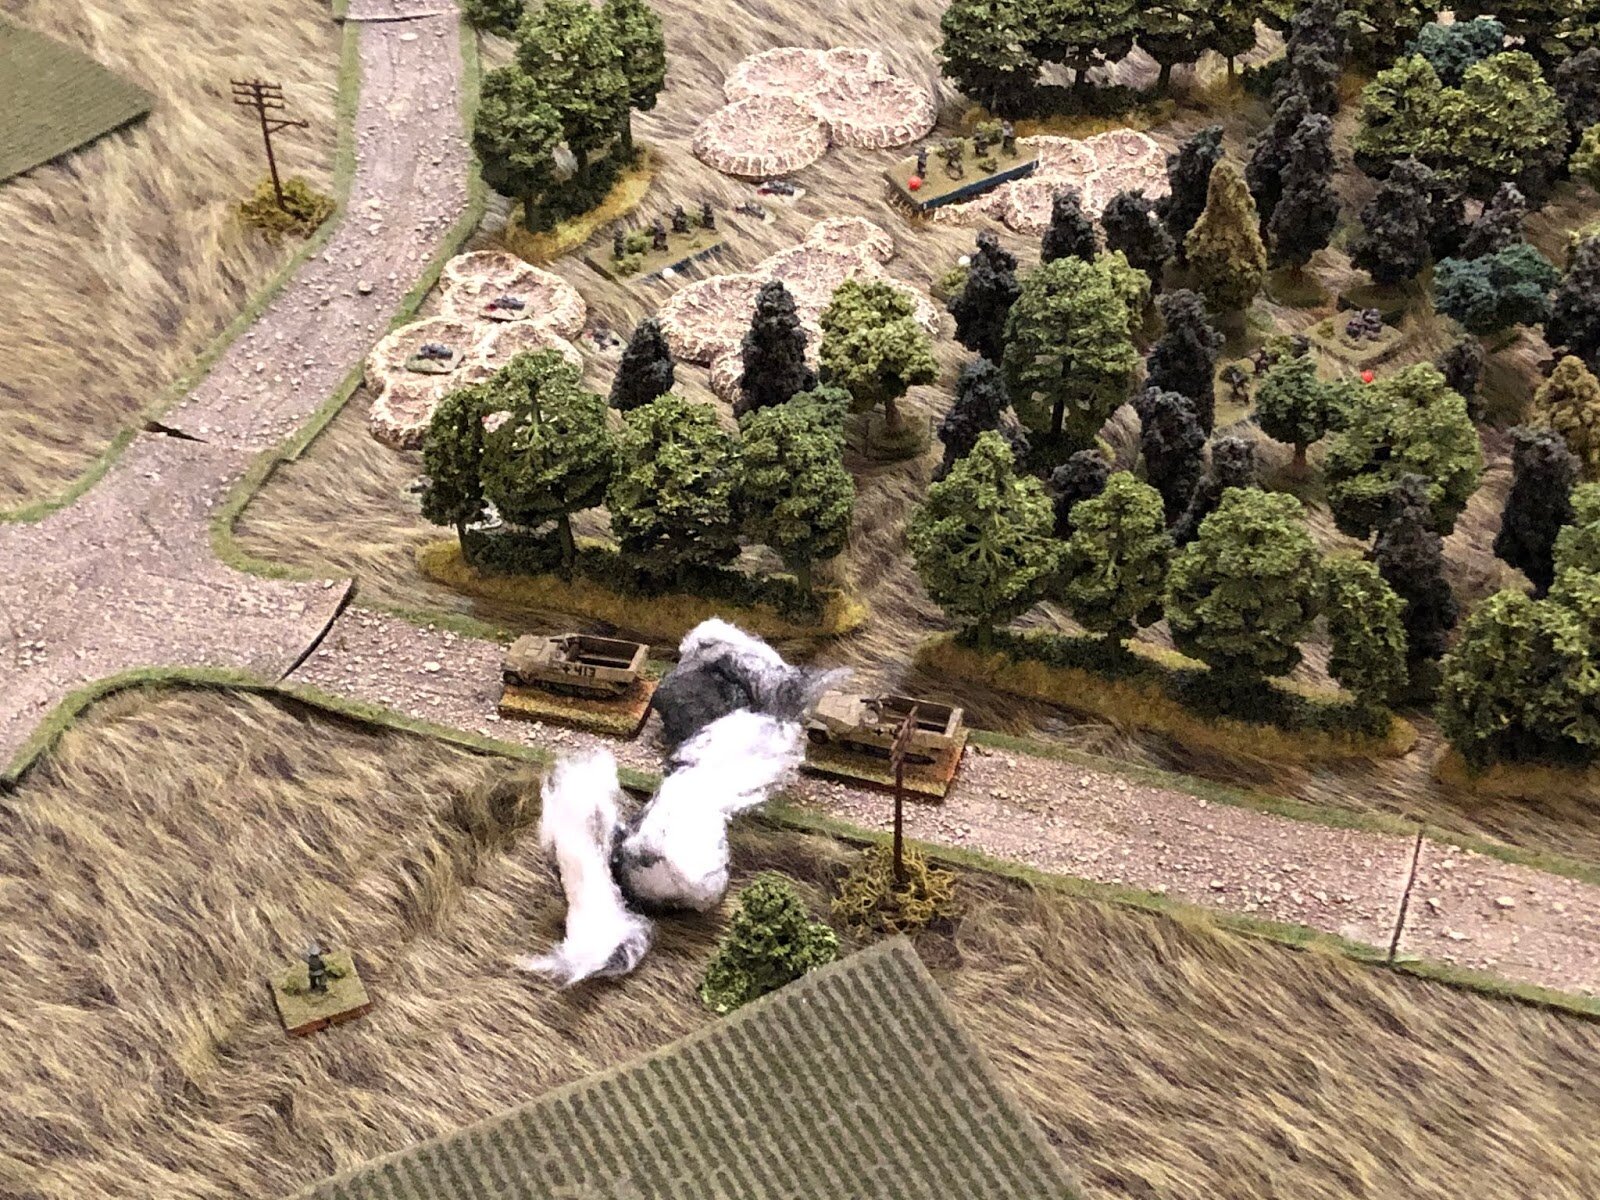
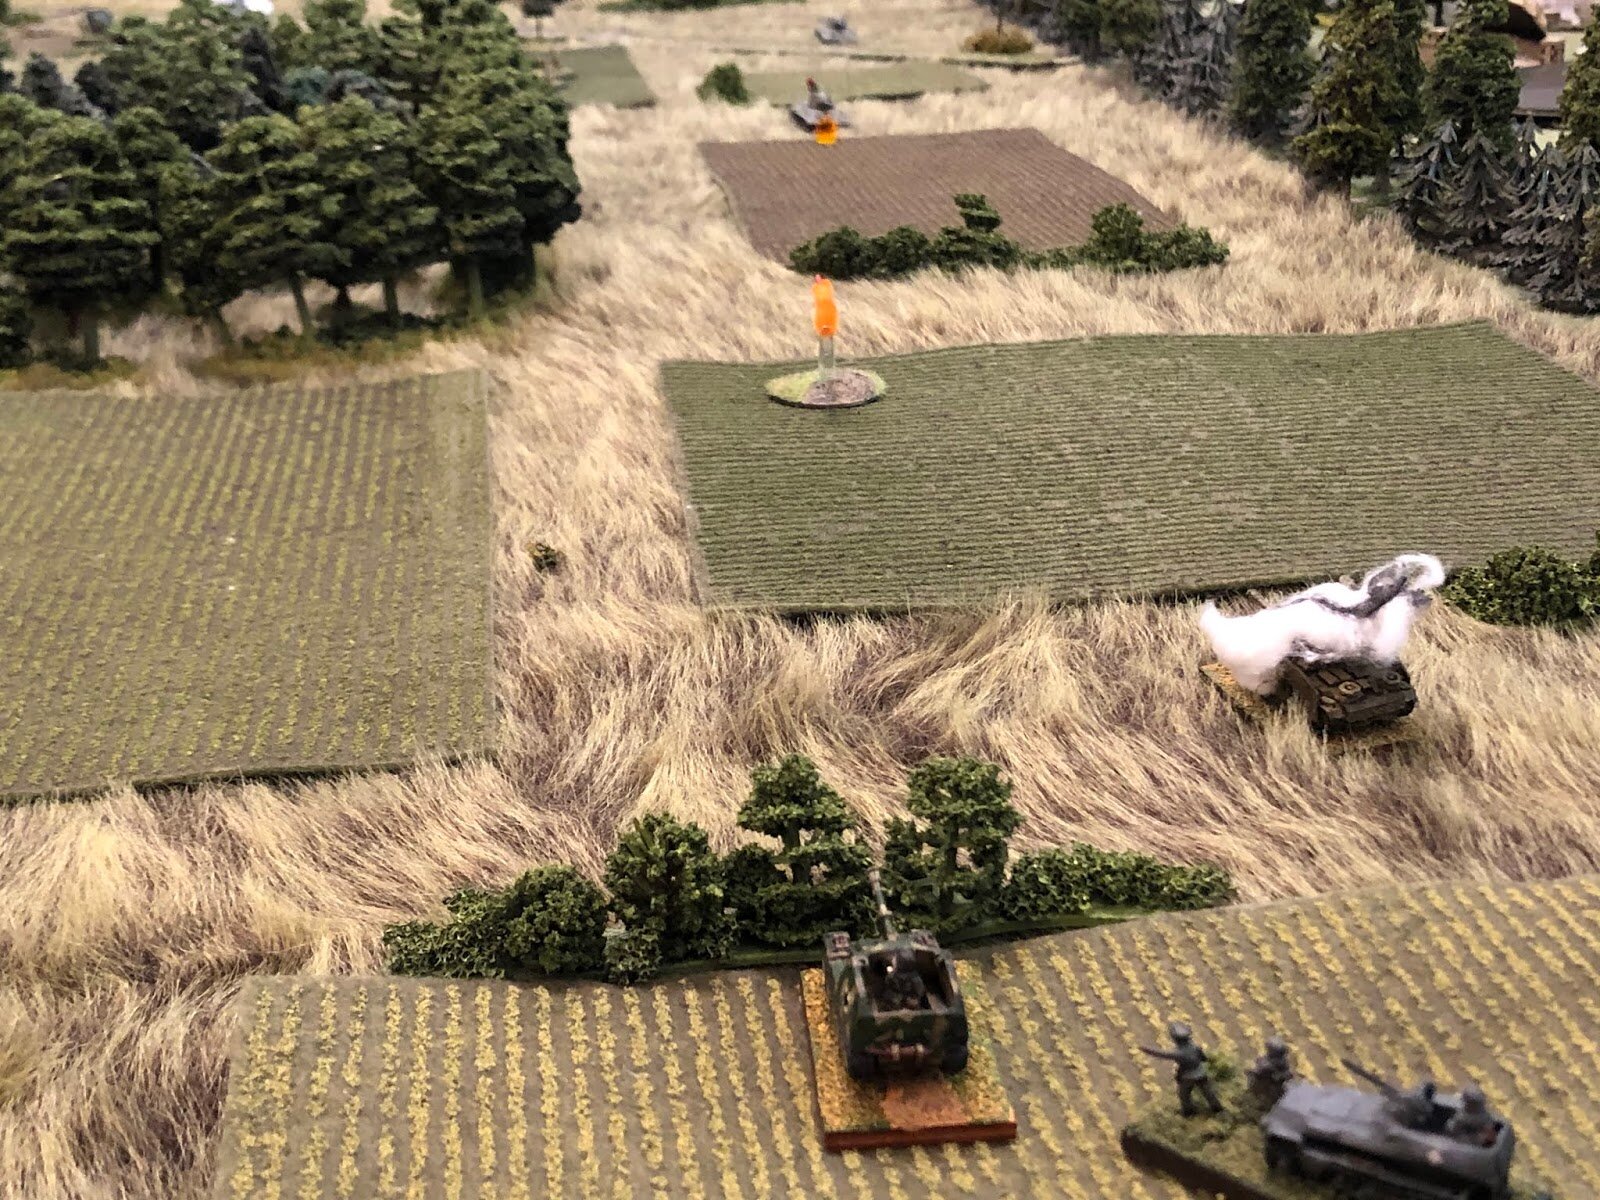
The game began with the Germans rushing forwards towards the ridge. First things first: get those mortars and the Wespe deployed and ready to fire. This was all very well, but unfortunately I forgot to put the Wespe’s chip into the deck, so the damn thing sat there whilst it’s crew fiddled about with whatever for most of the game!
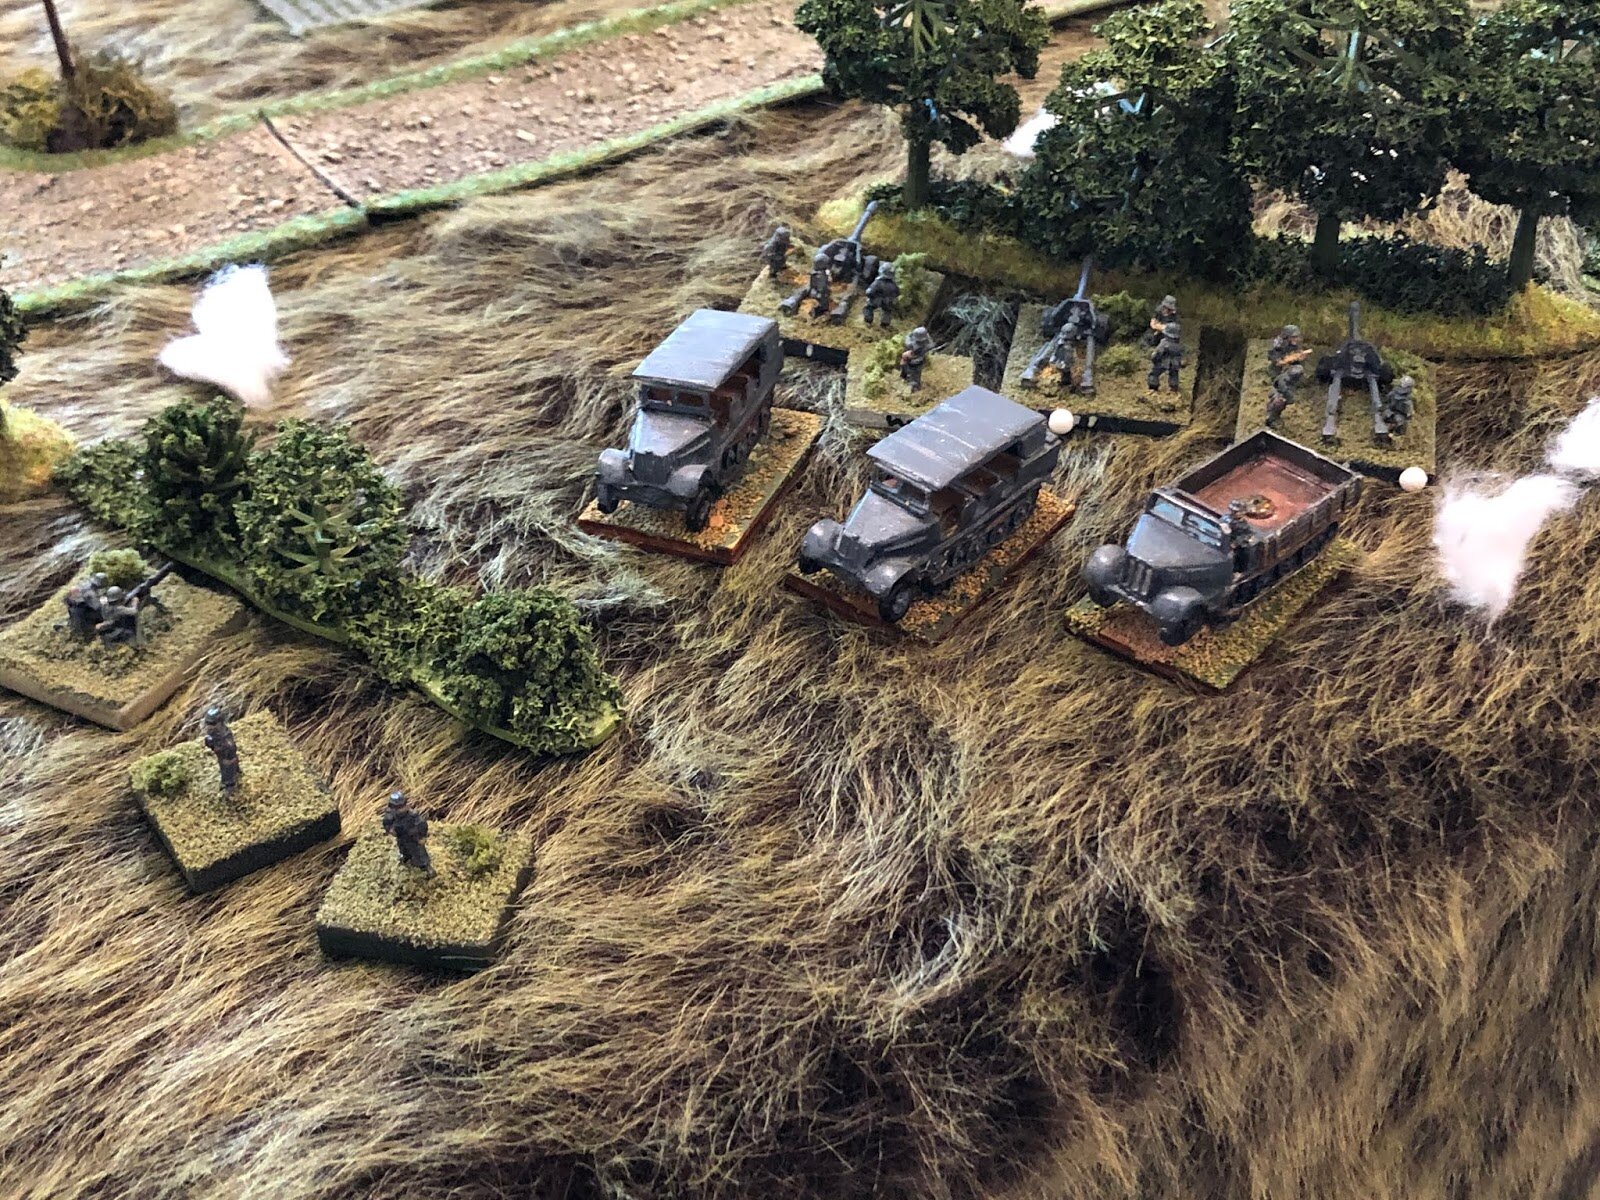
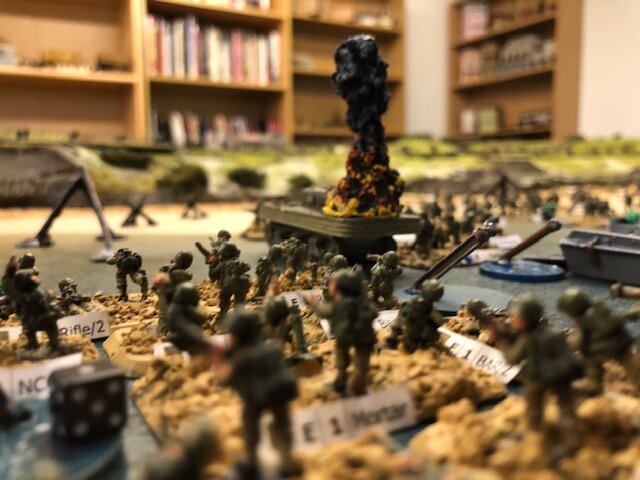
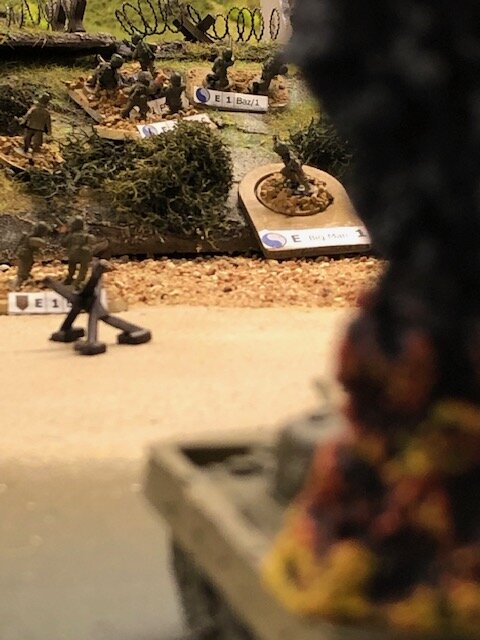
The German Mortars are Good to Go!
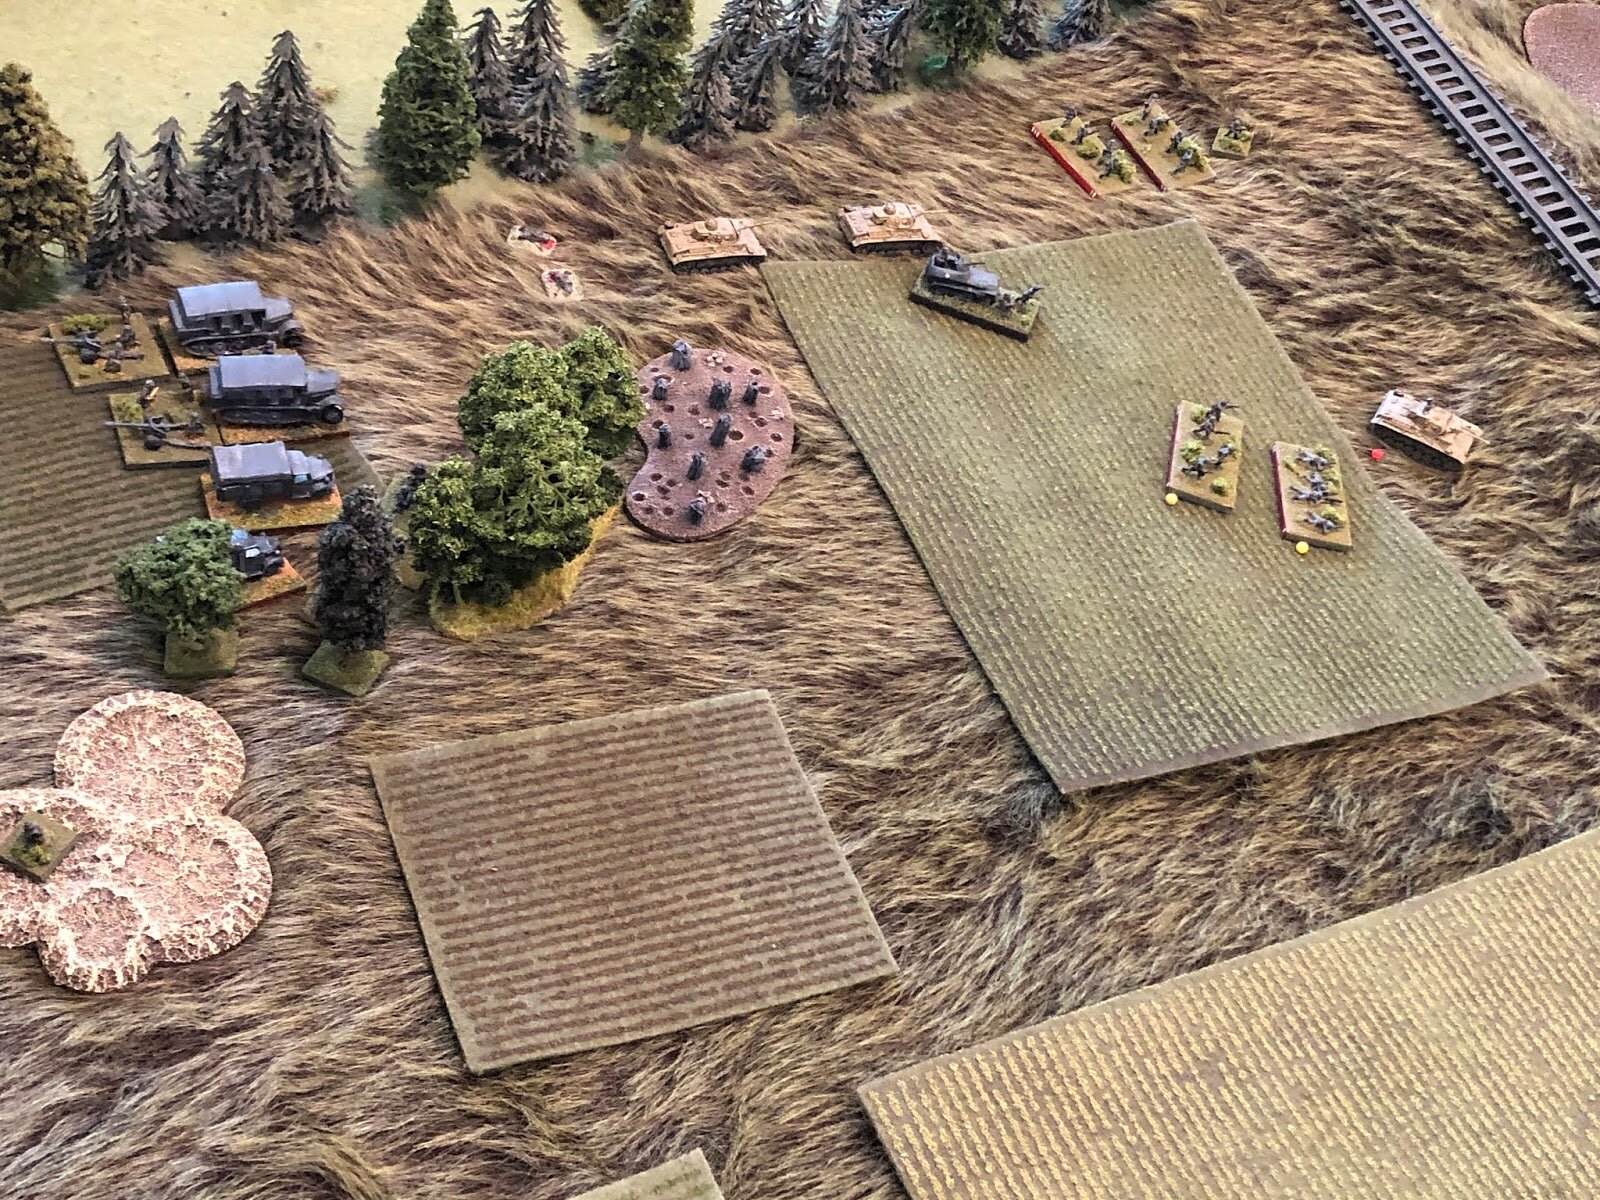
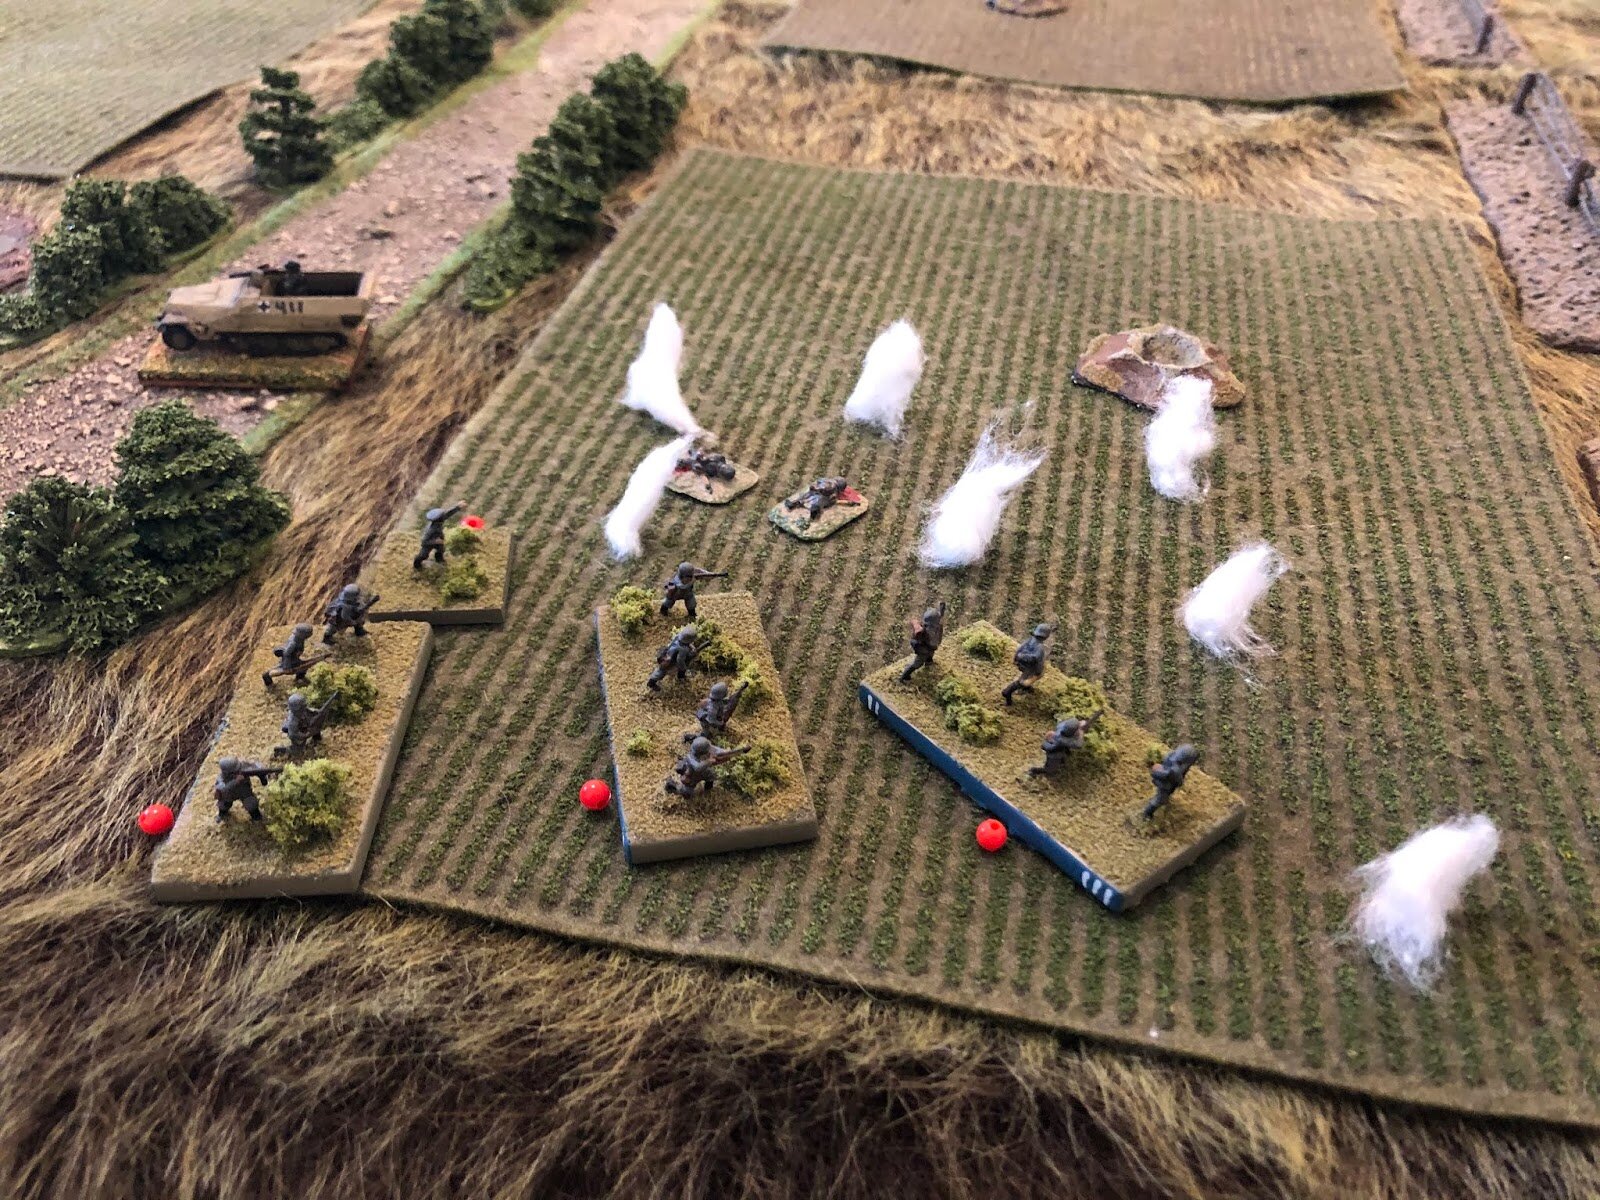
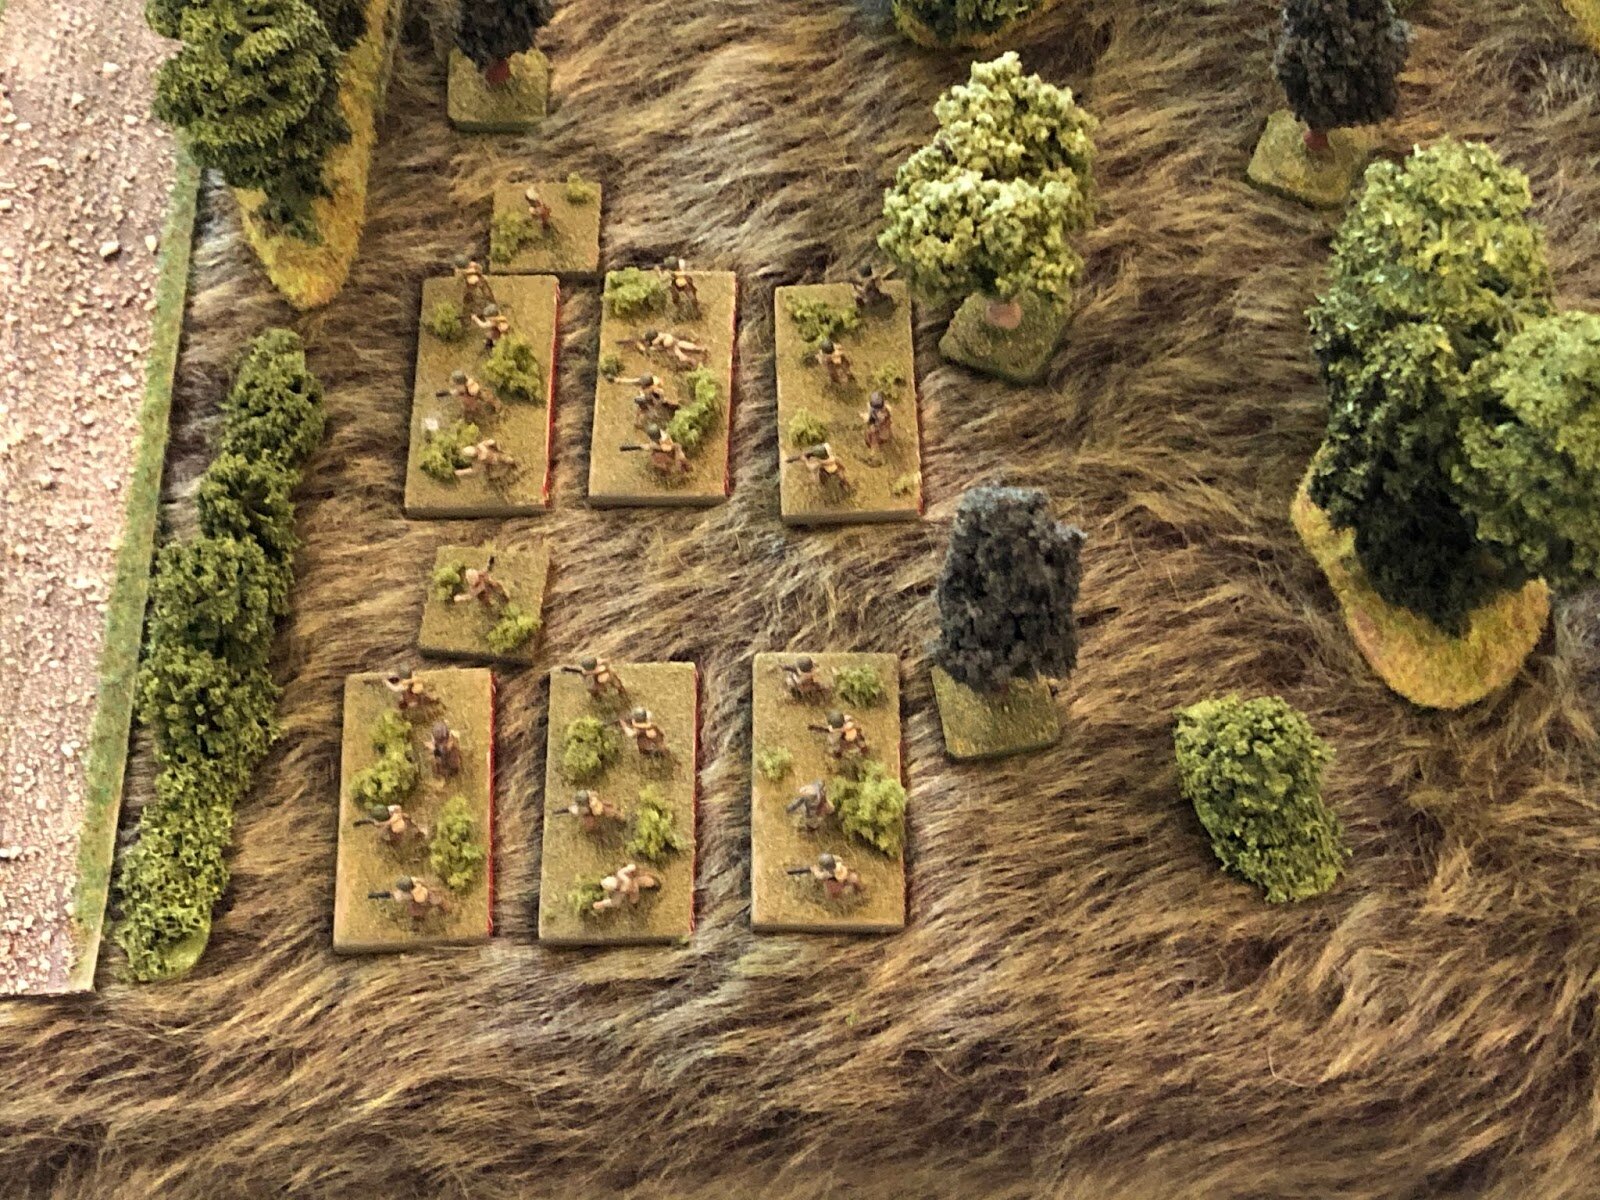
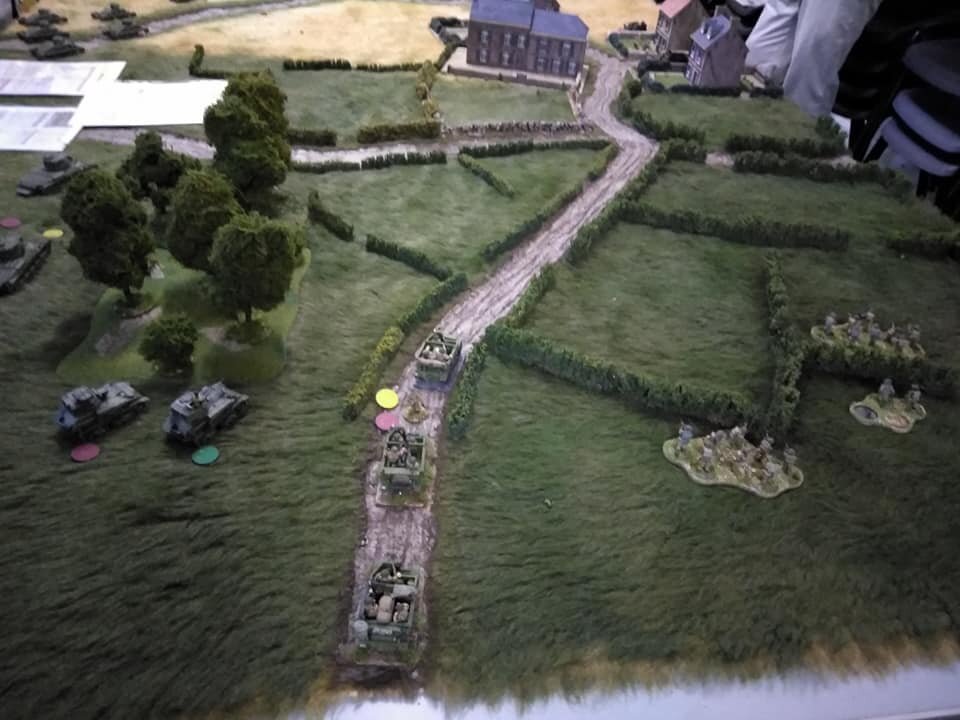
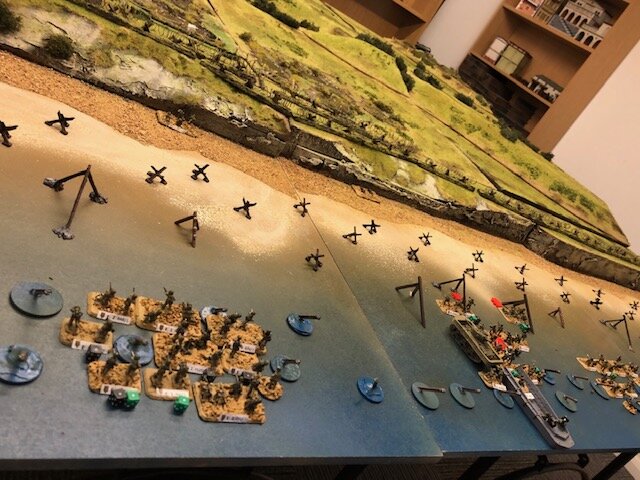
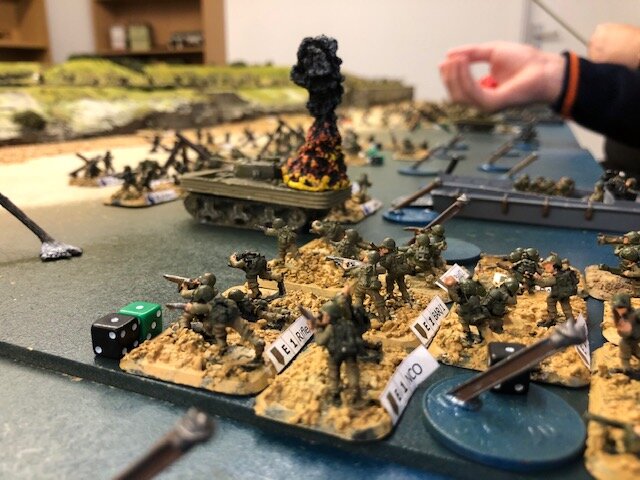
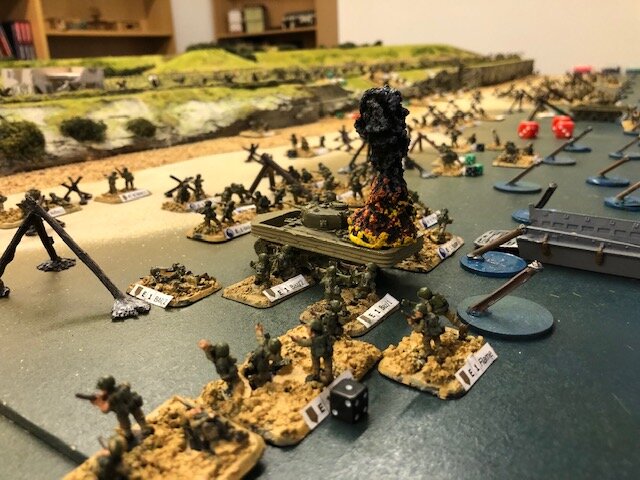
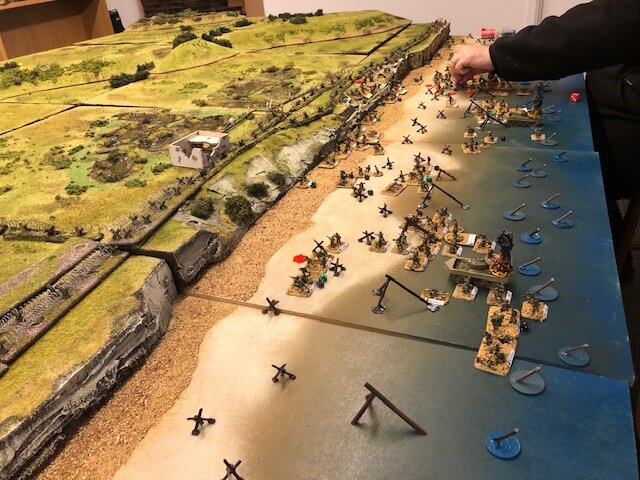
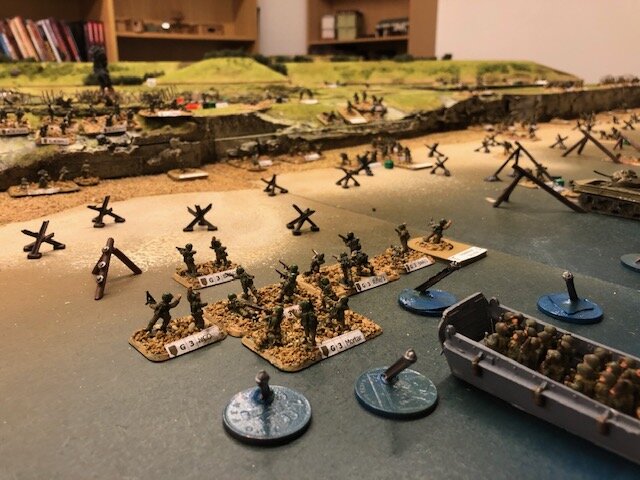
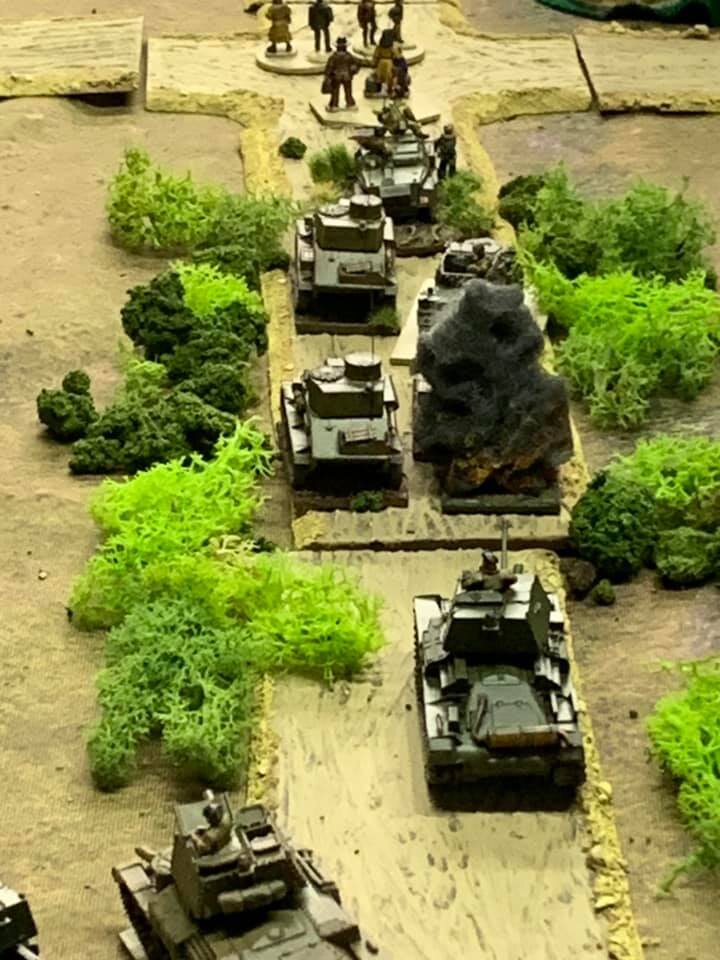
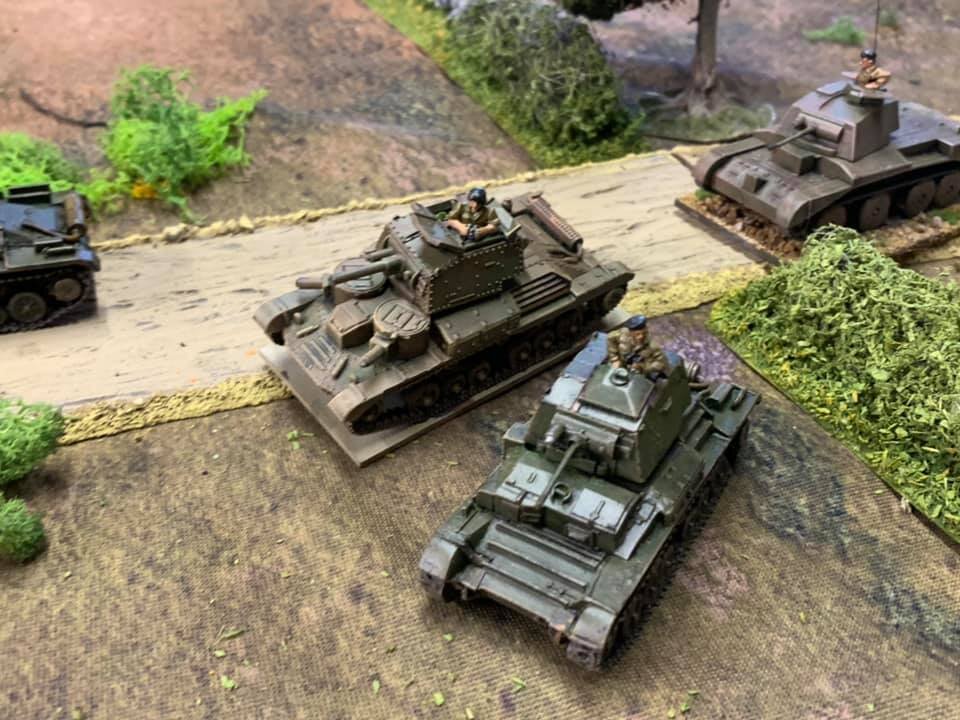
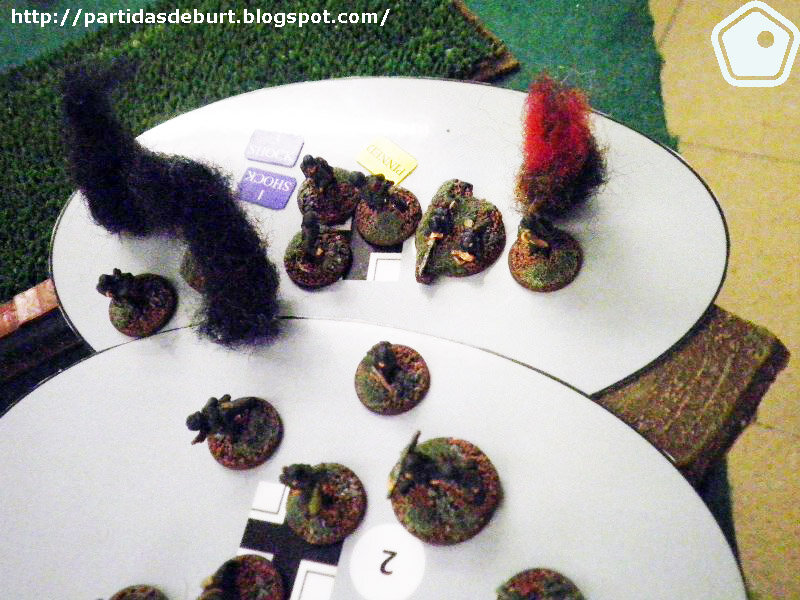
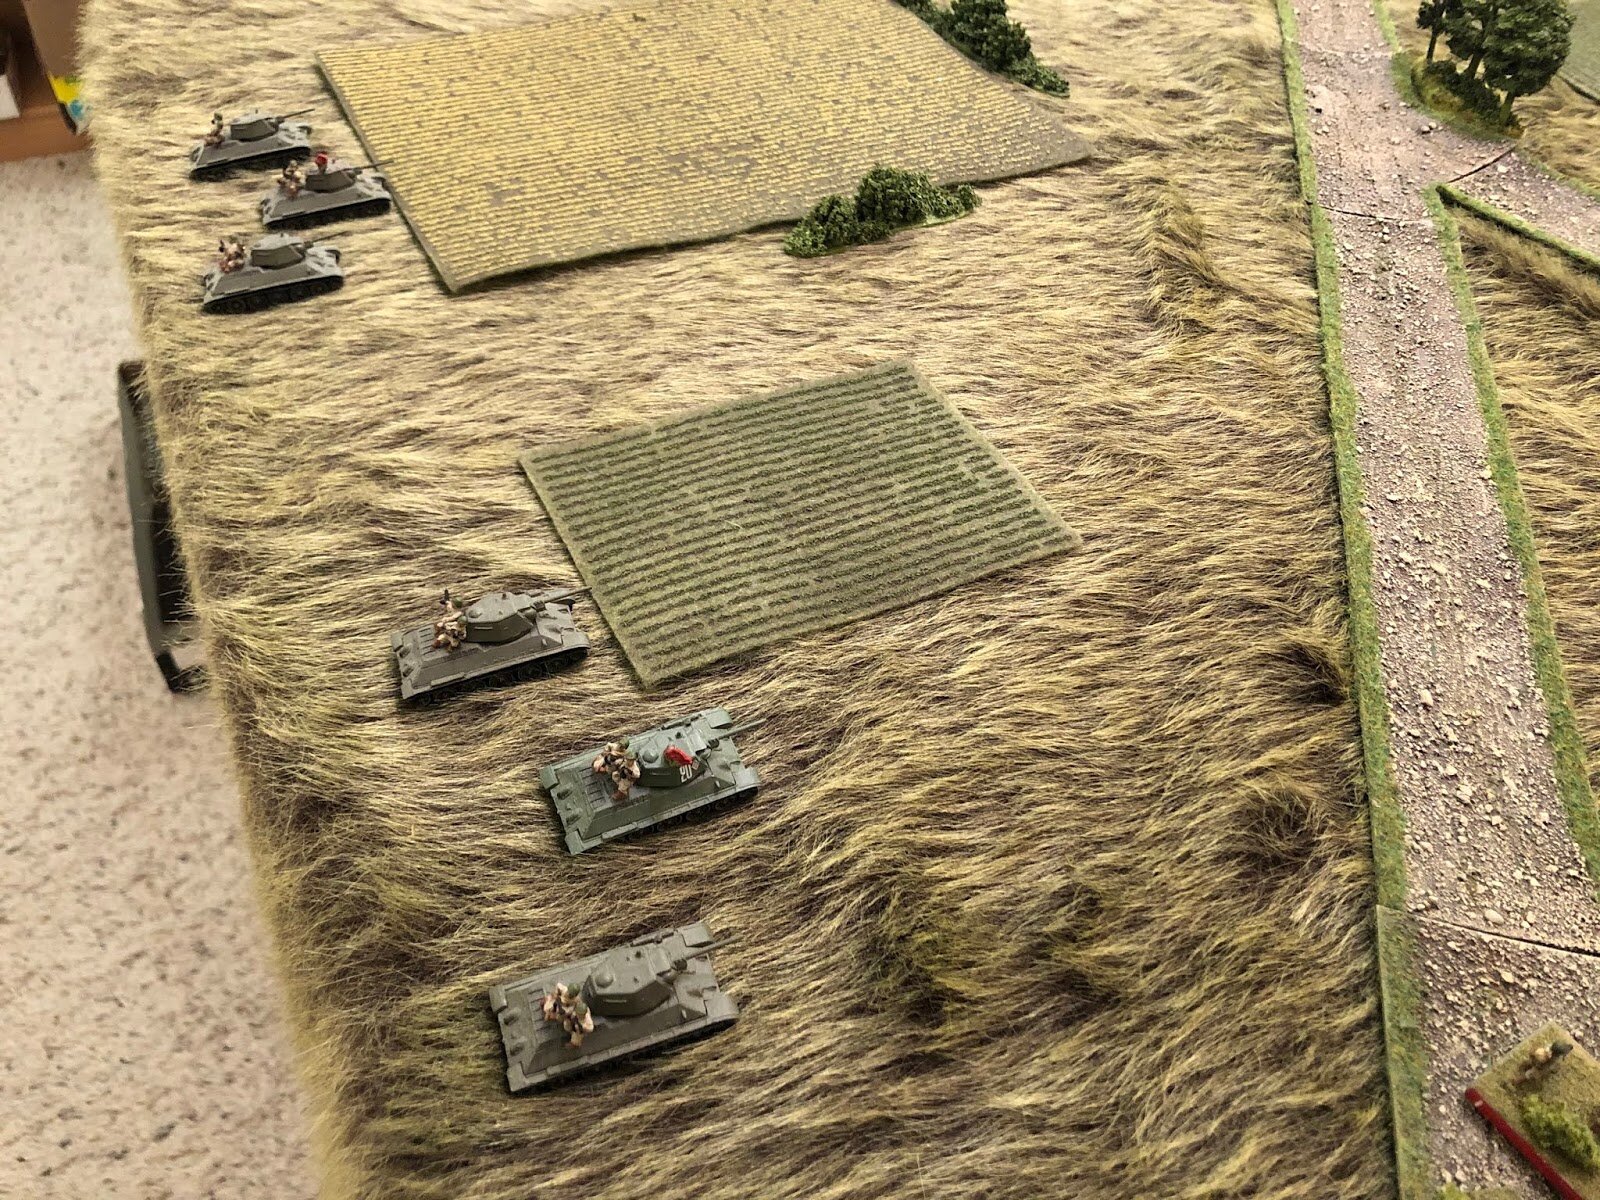
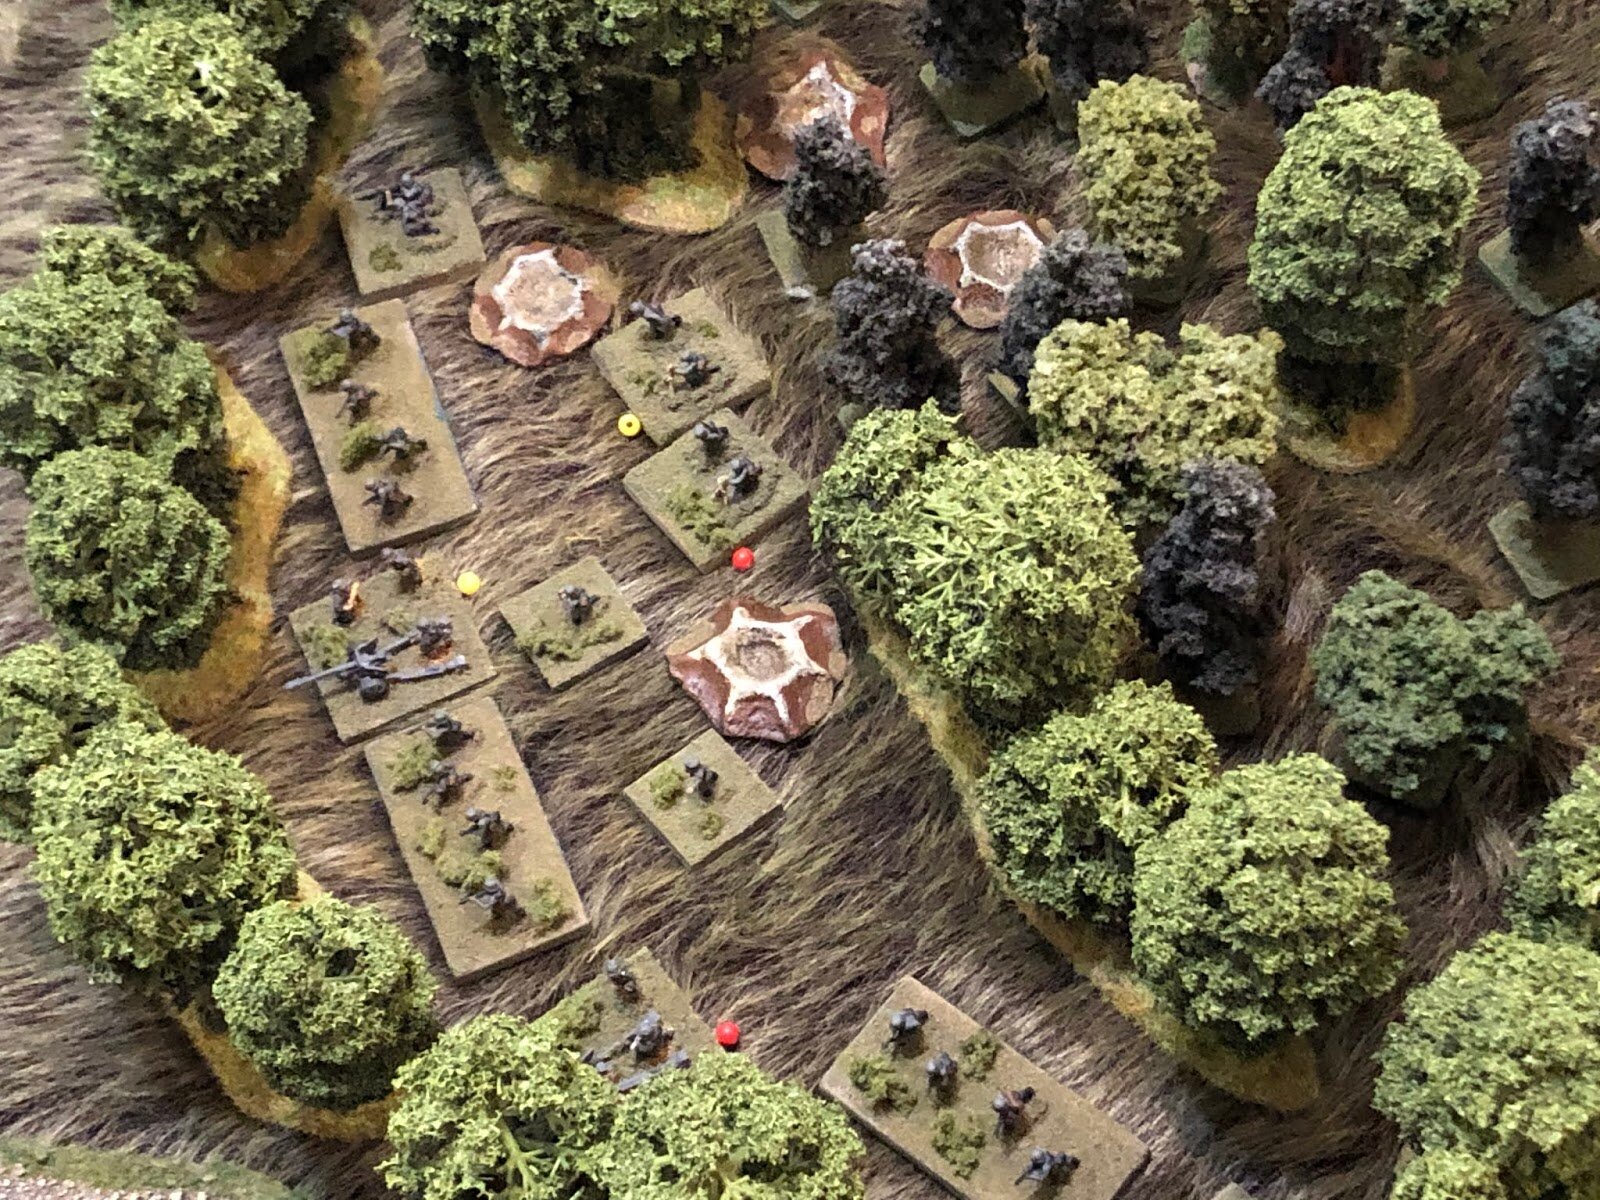
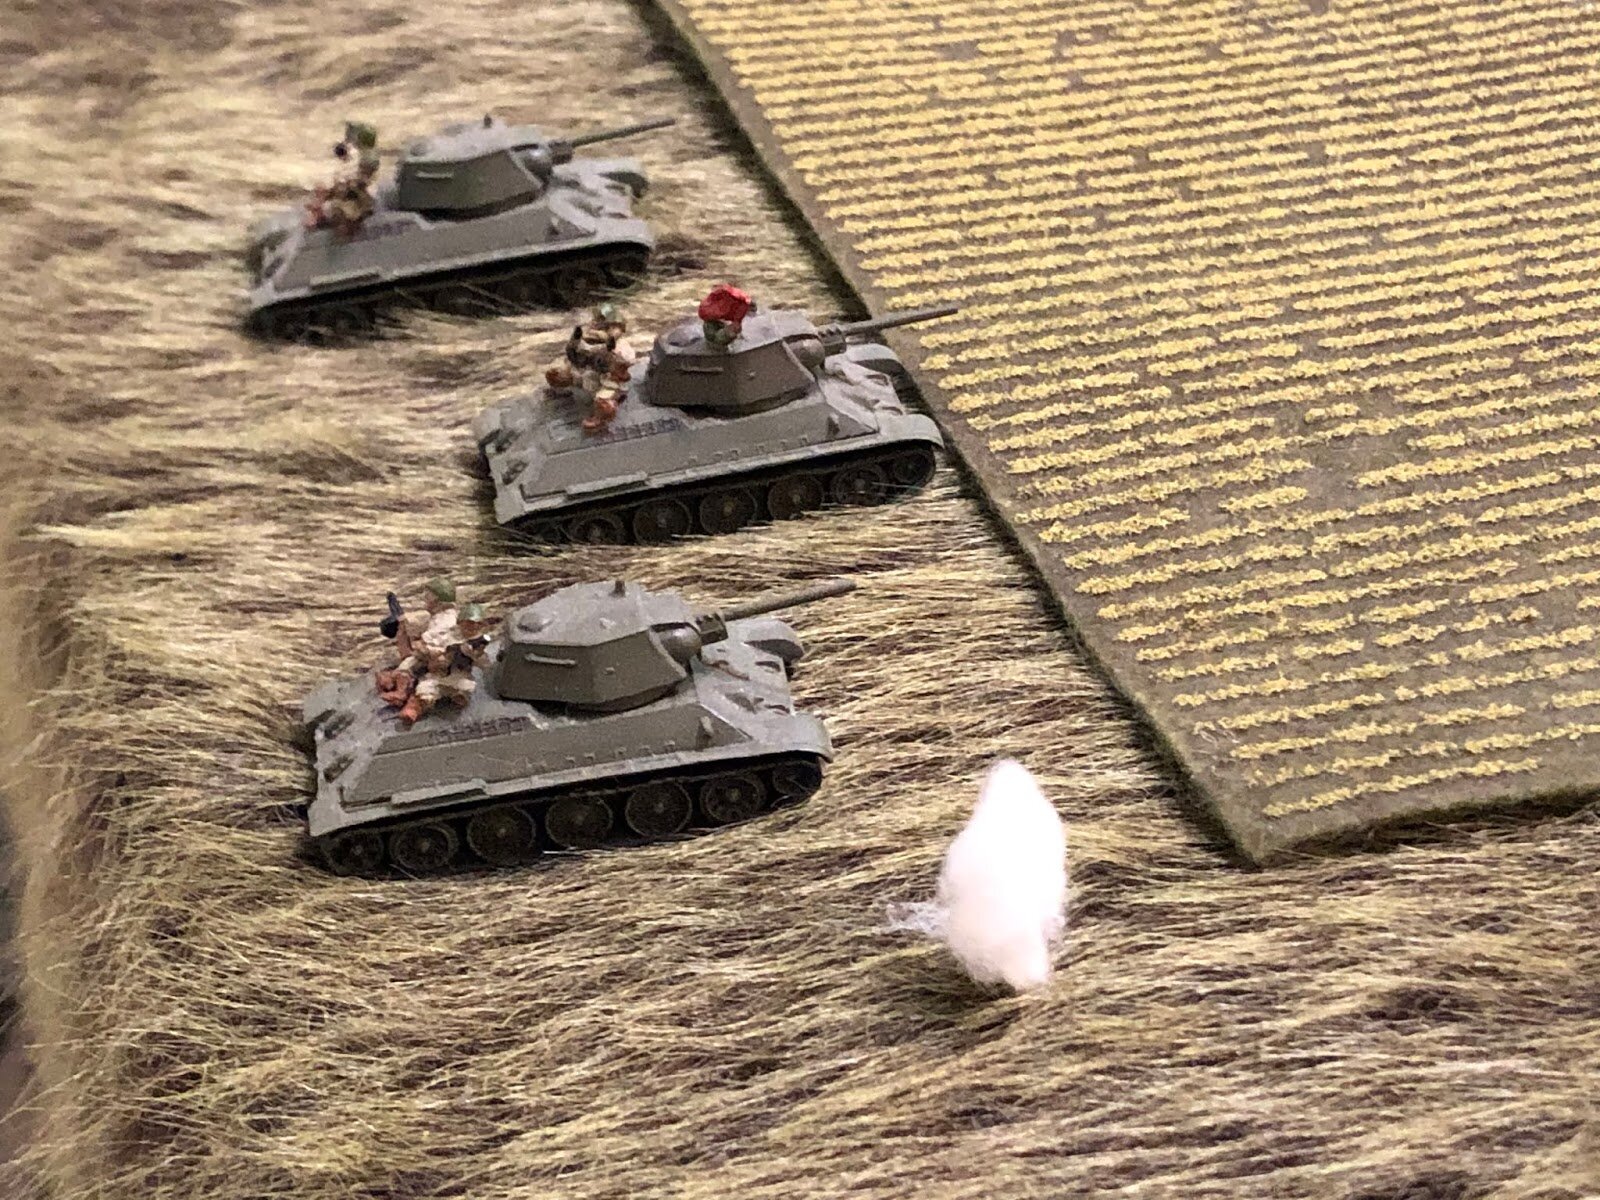
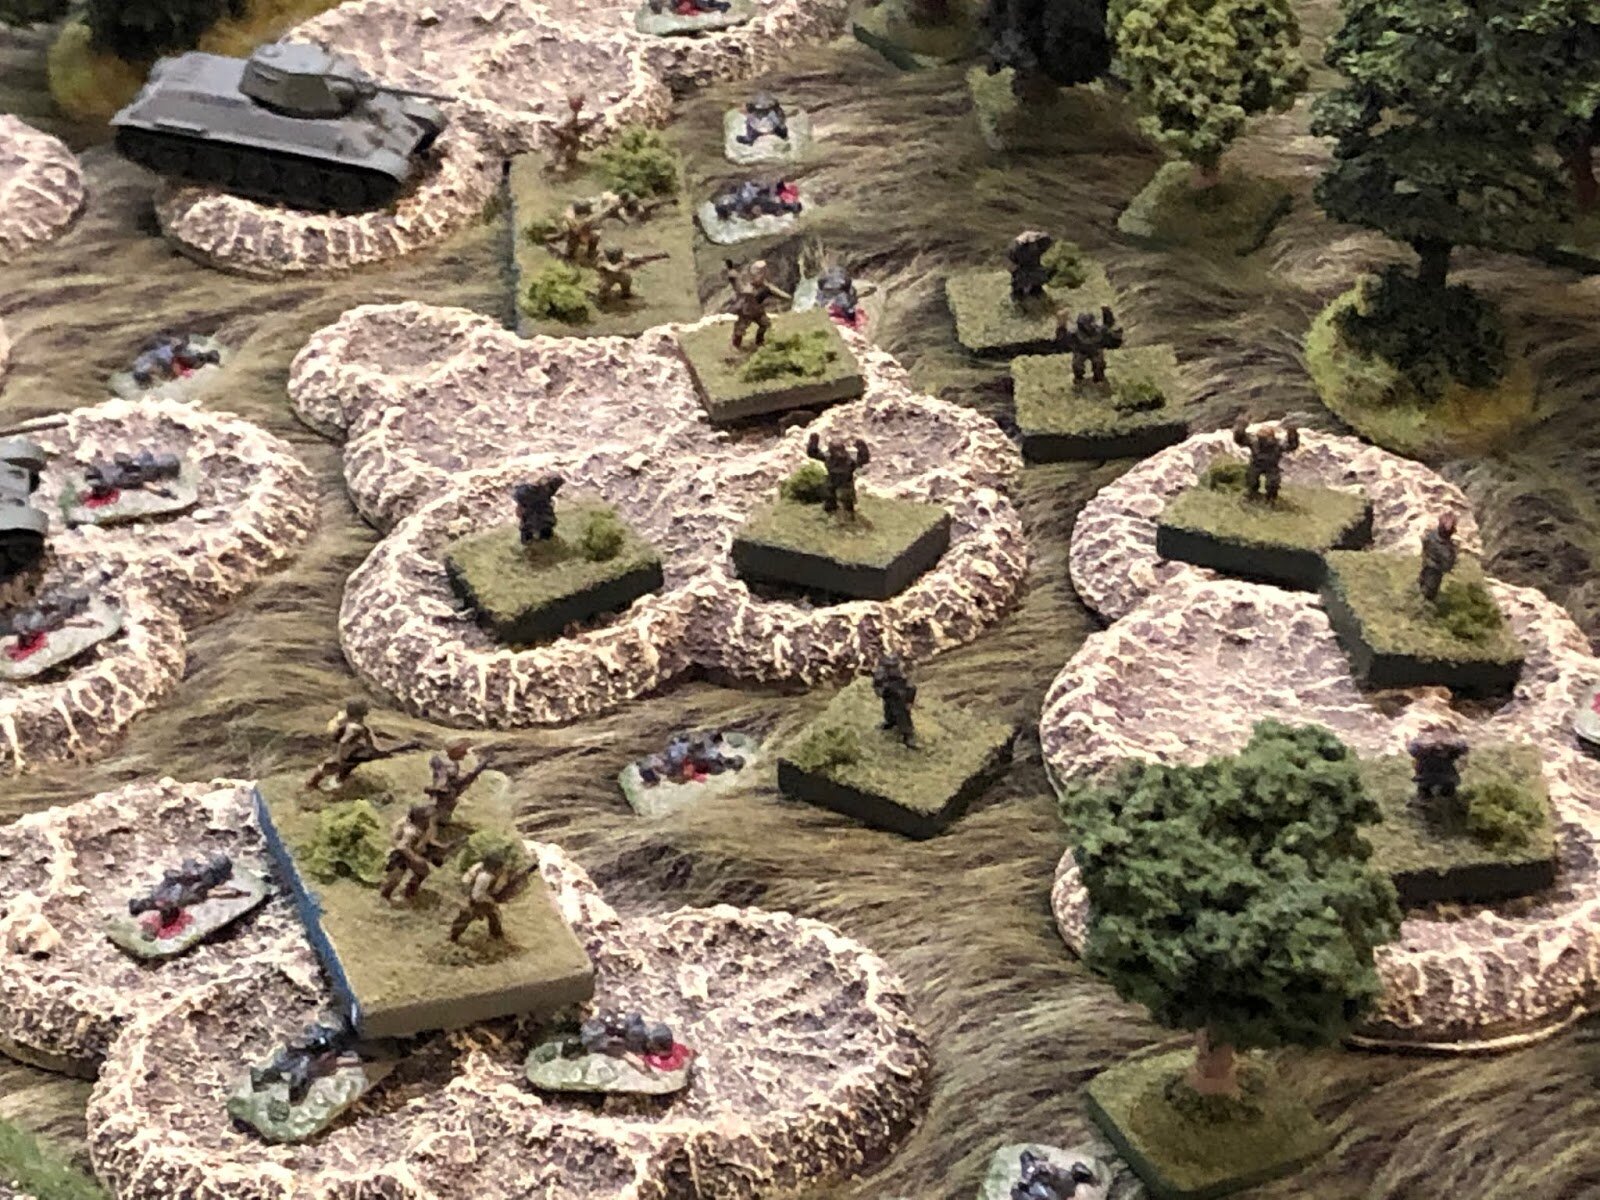
The Soviets also flooded onto the table: there did seem to be an army of Jo Stalin’s on their way towards me!
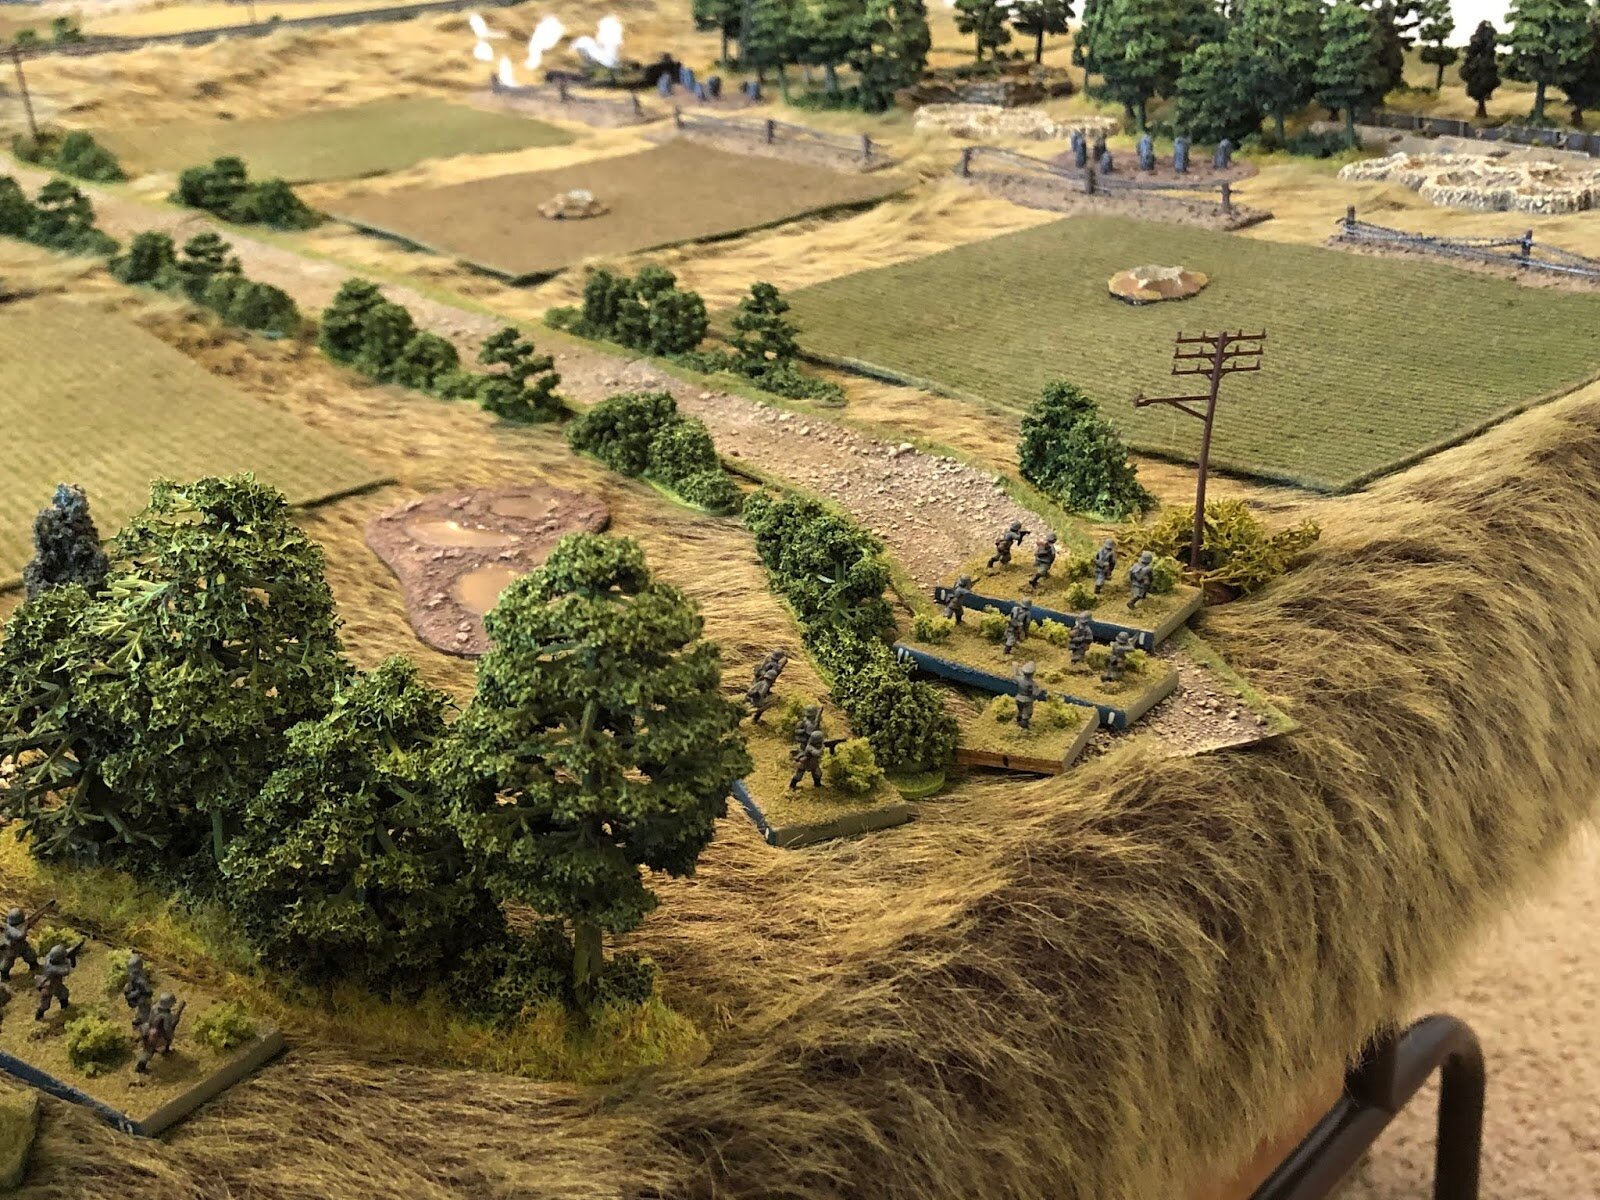
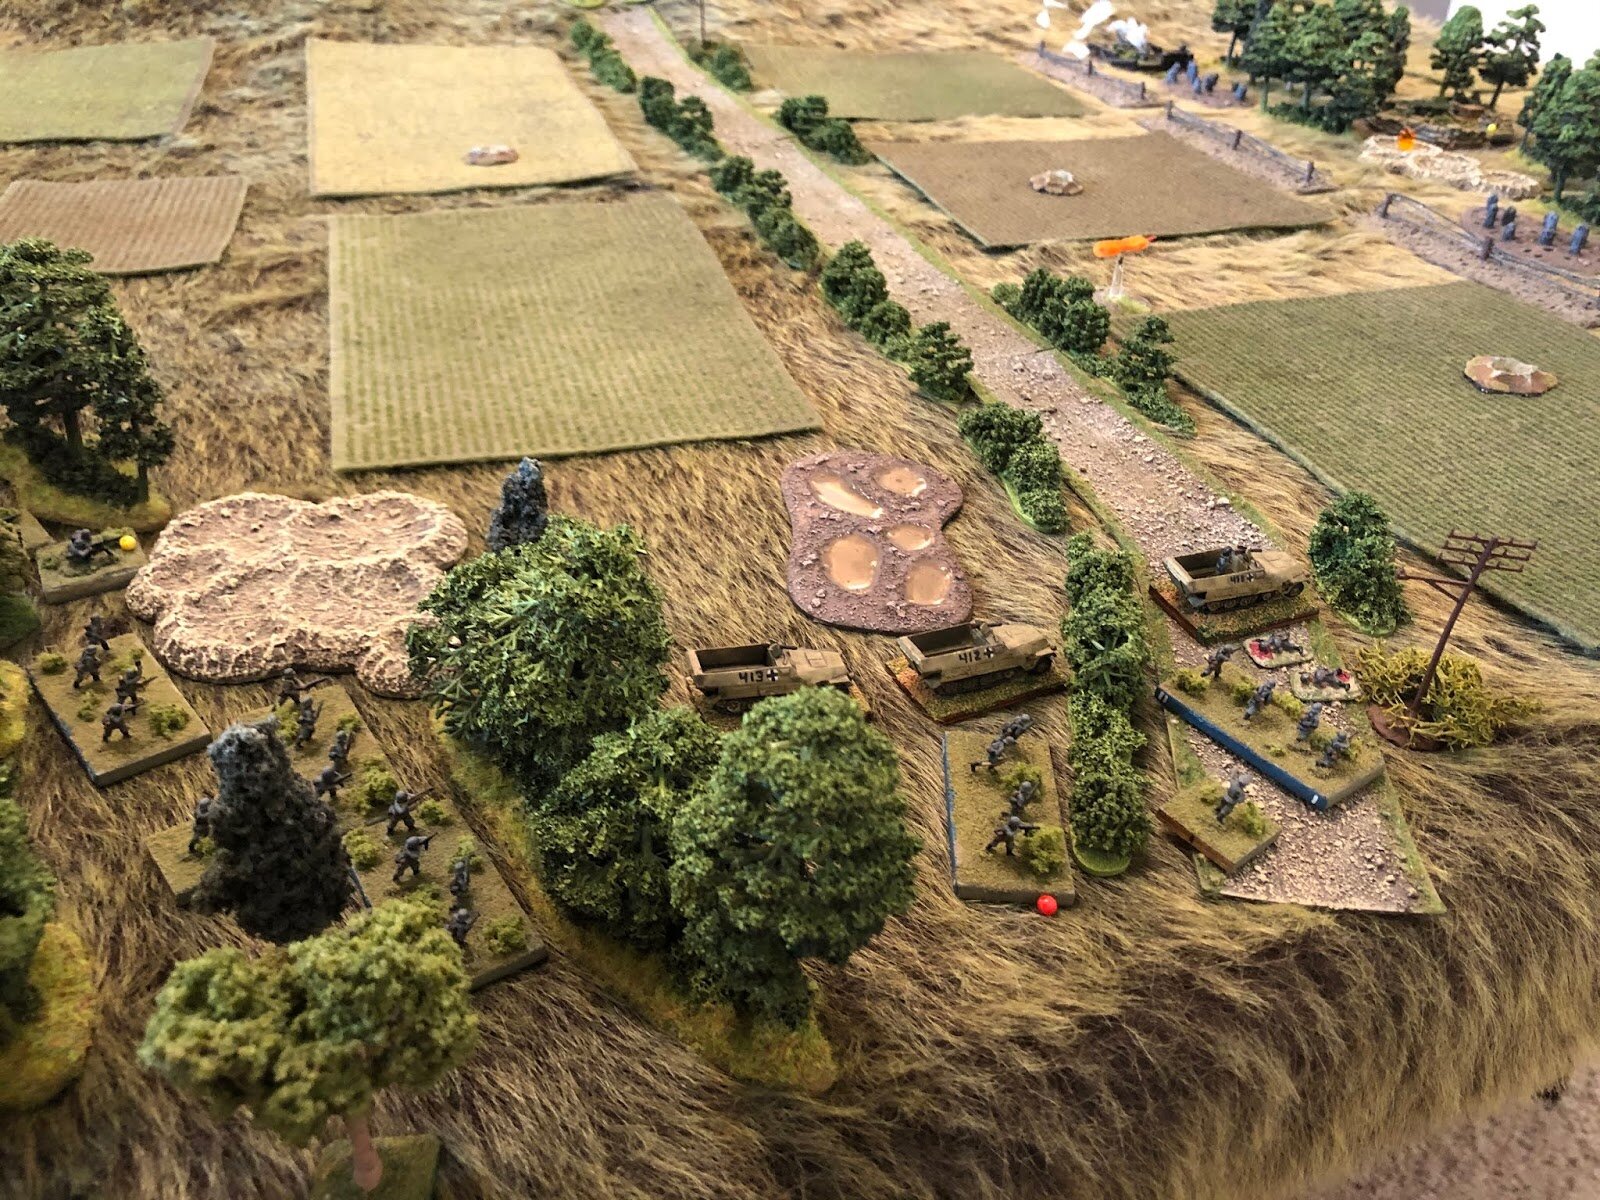
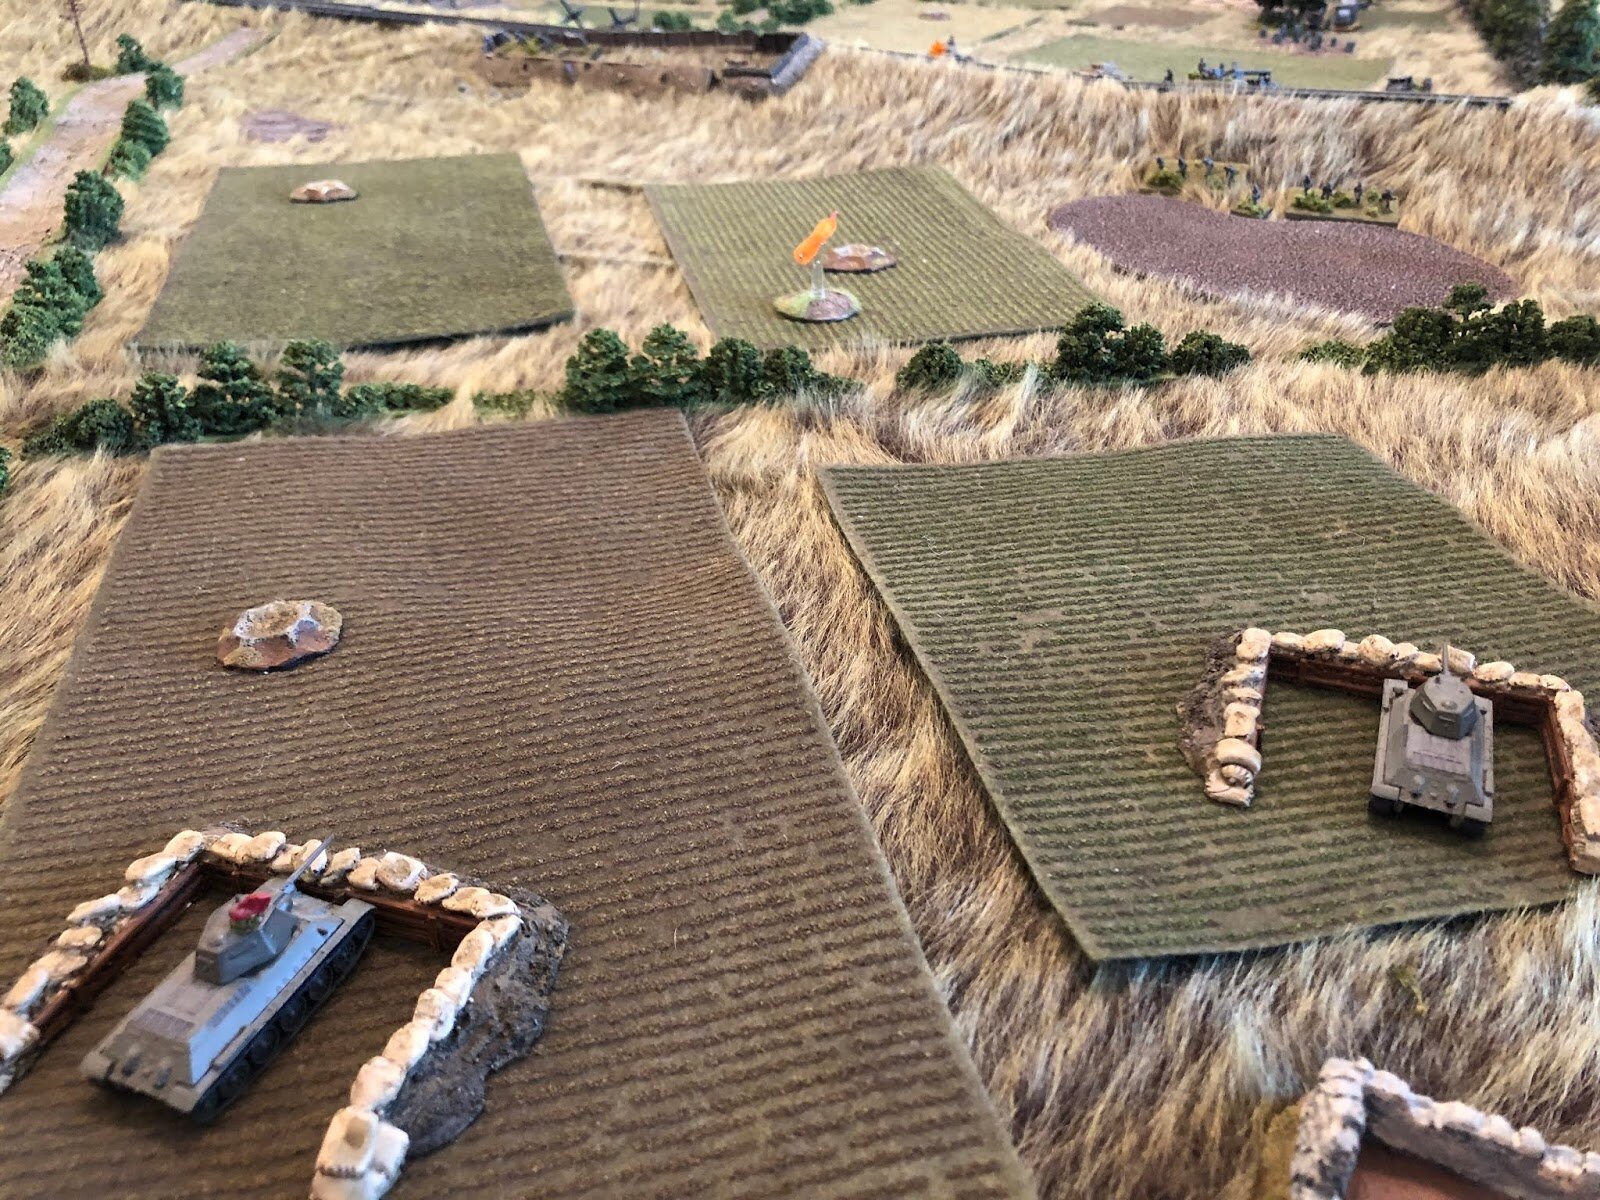
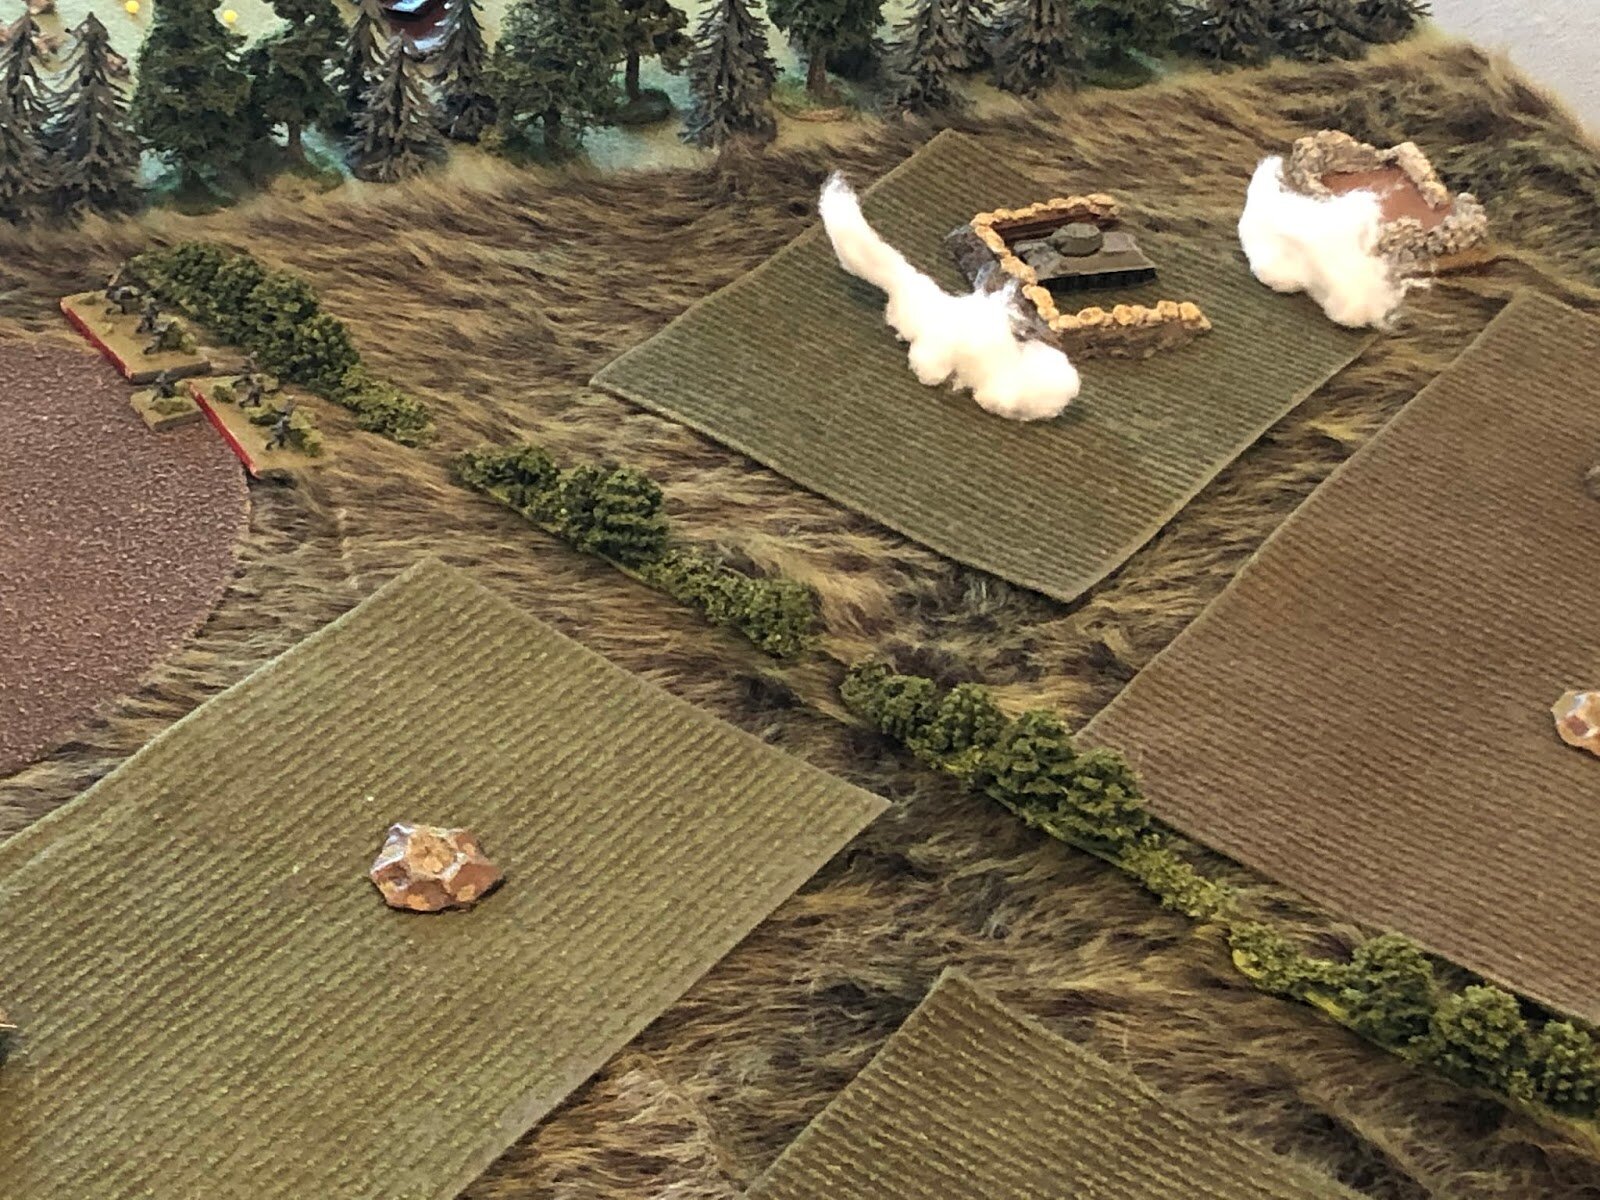
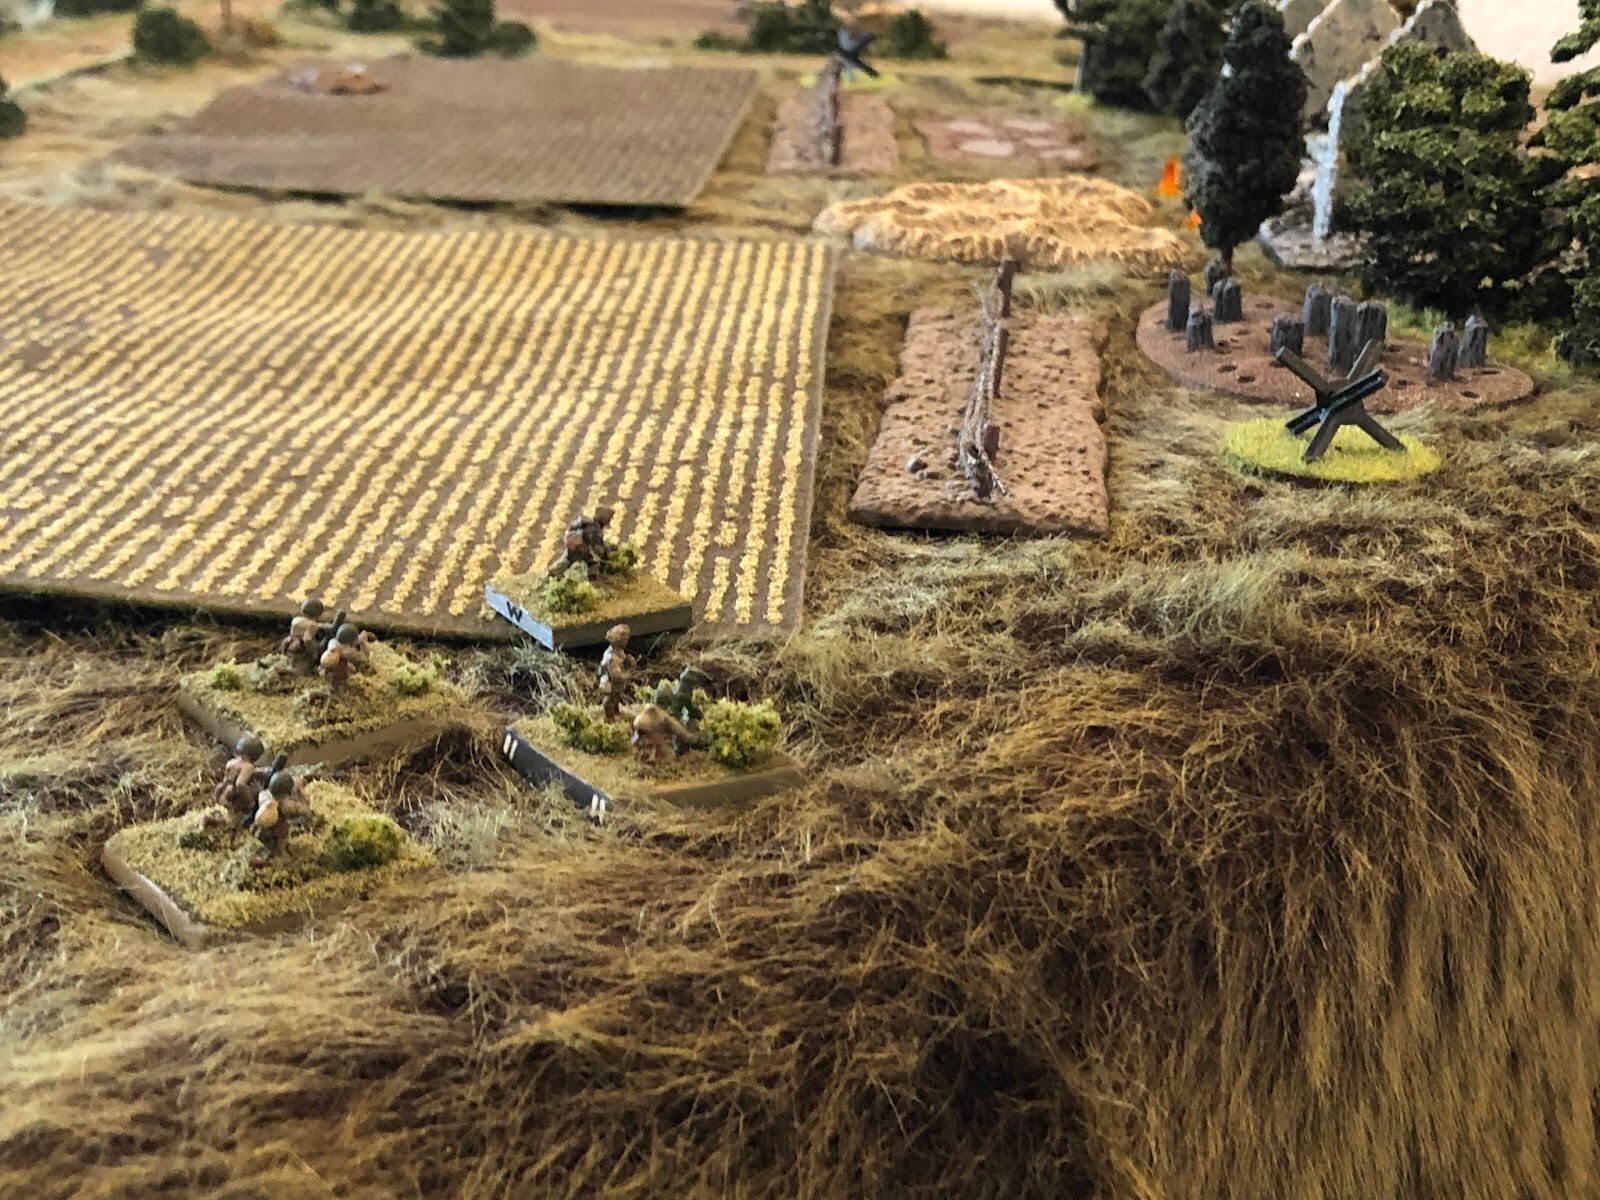
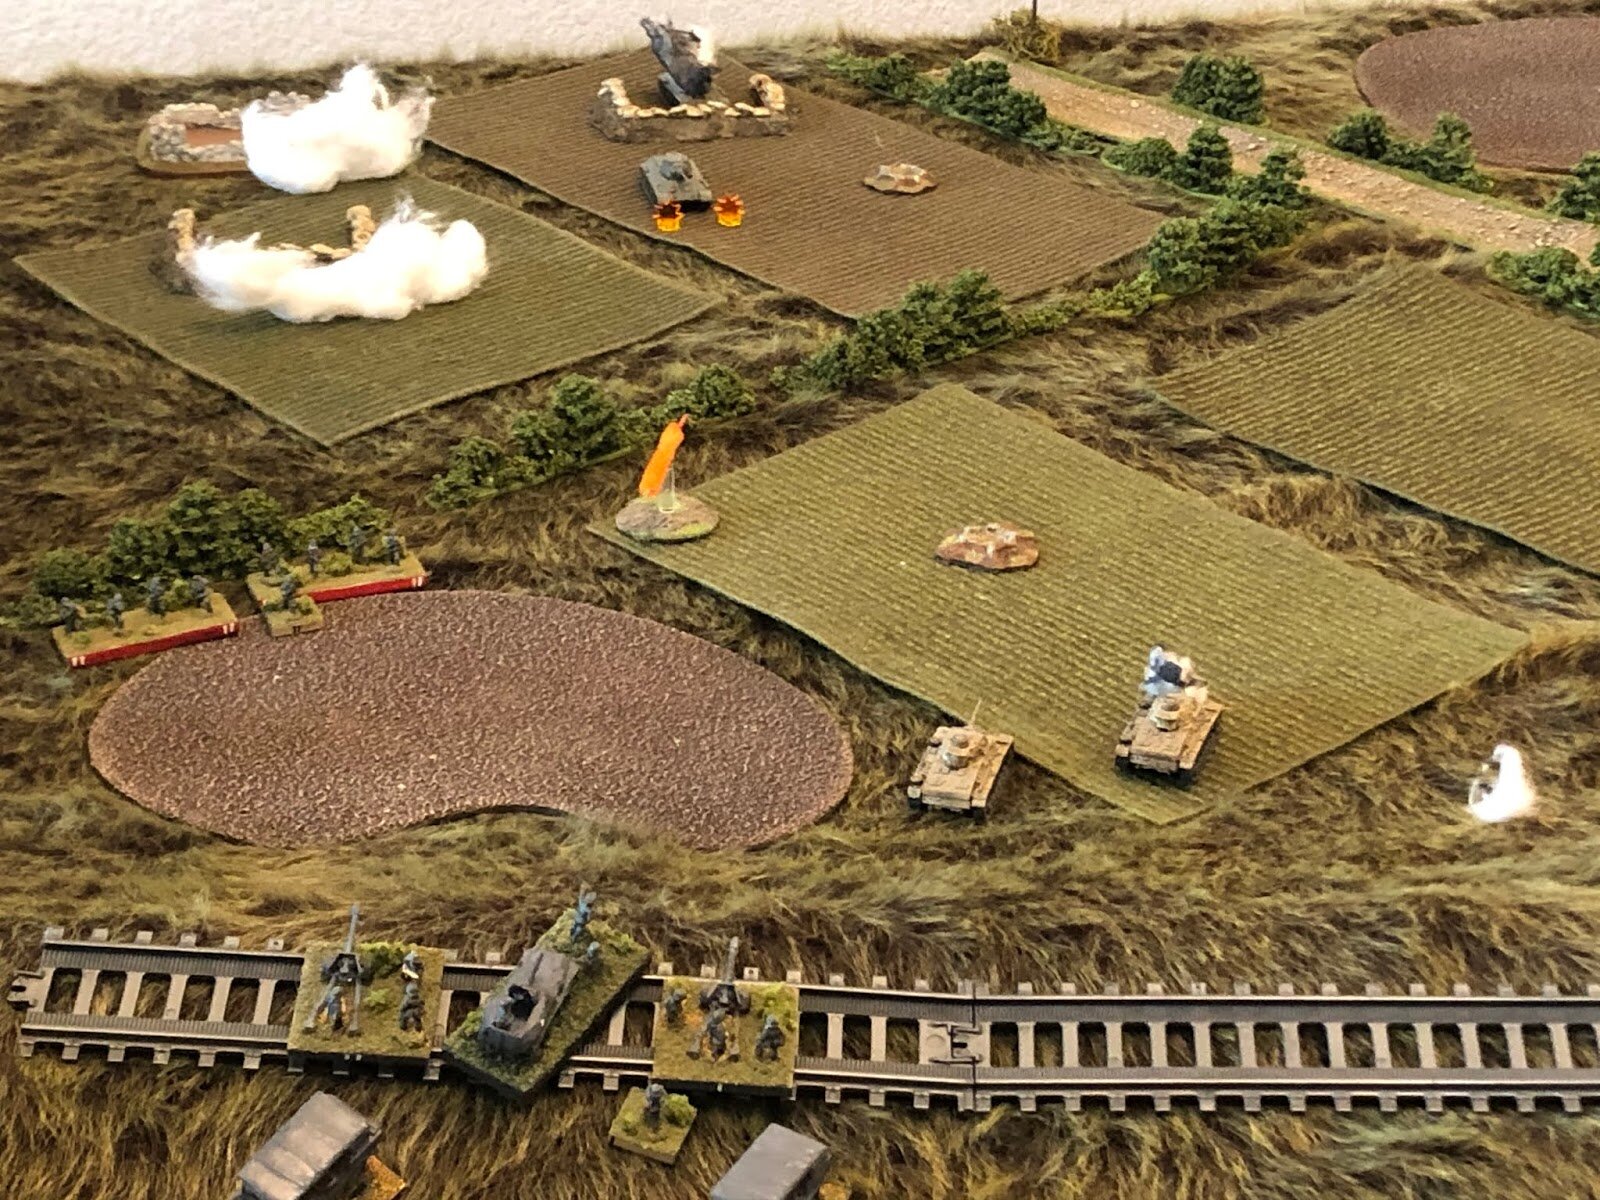
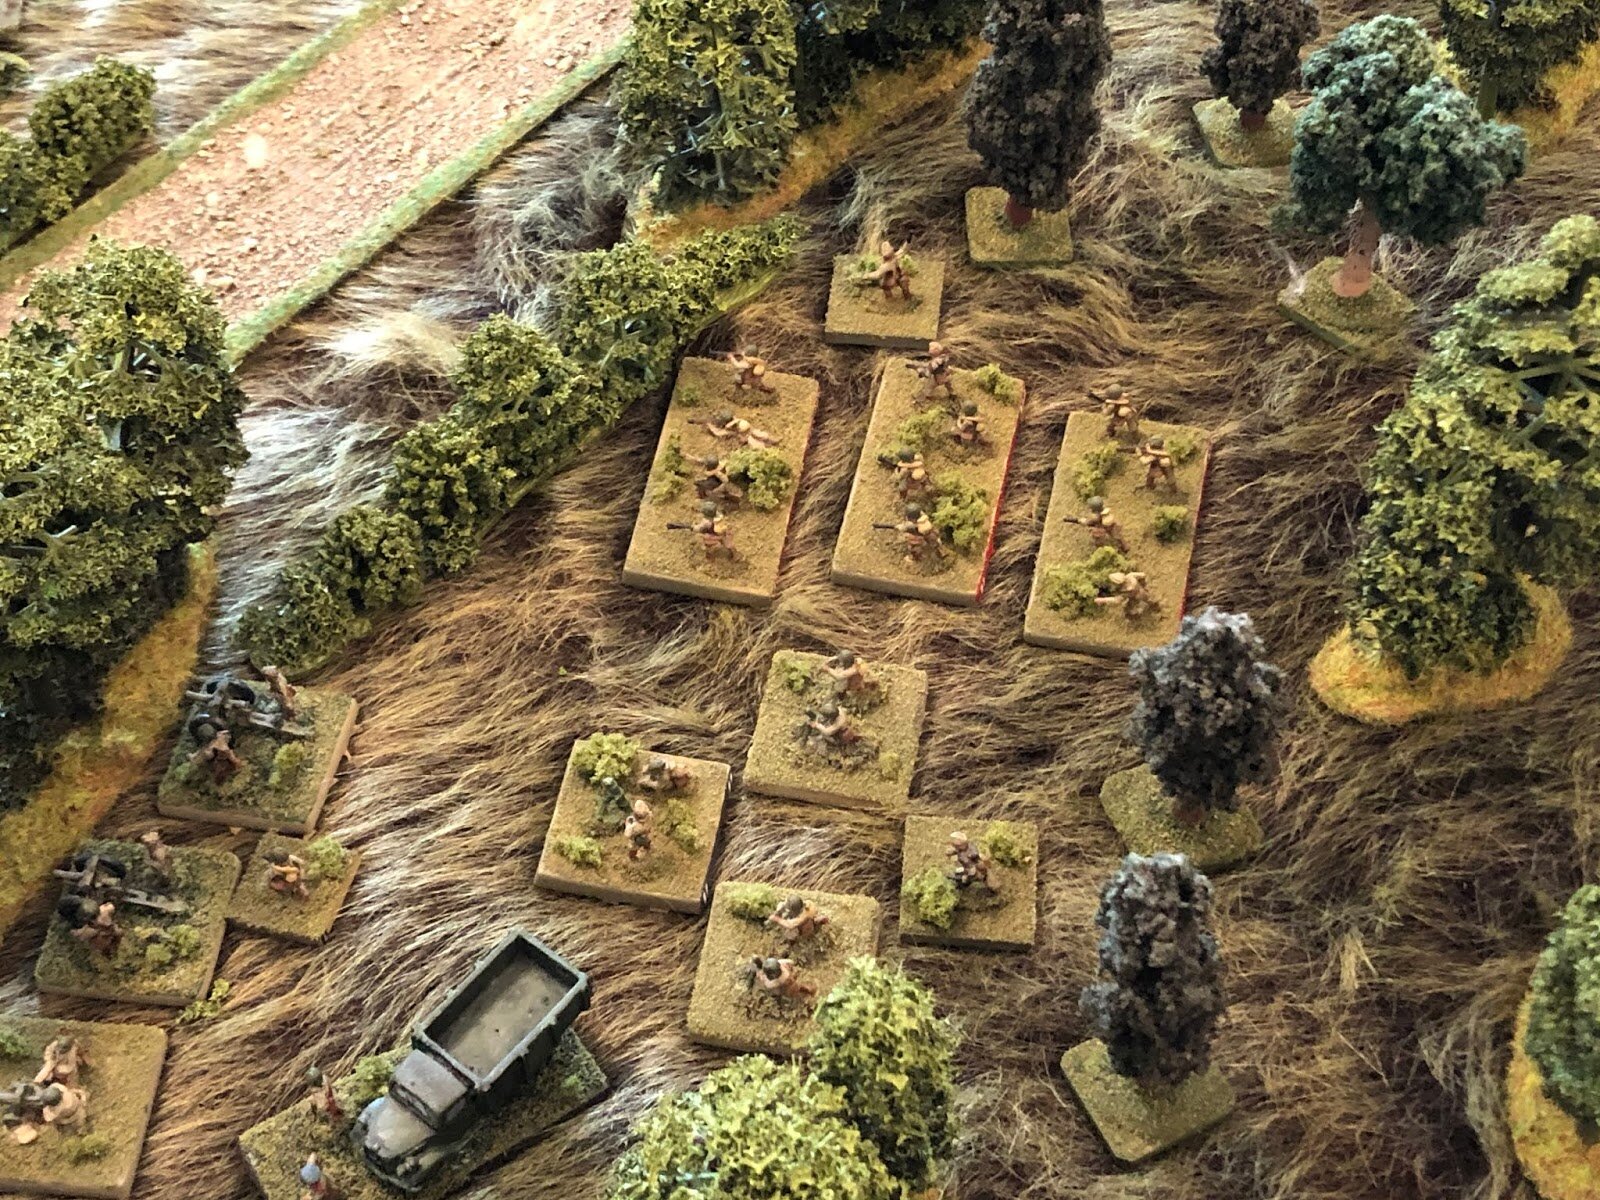
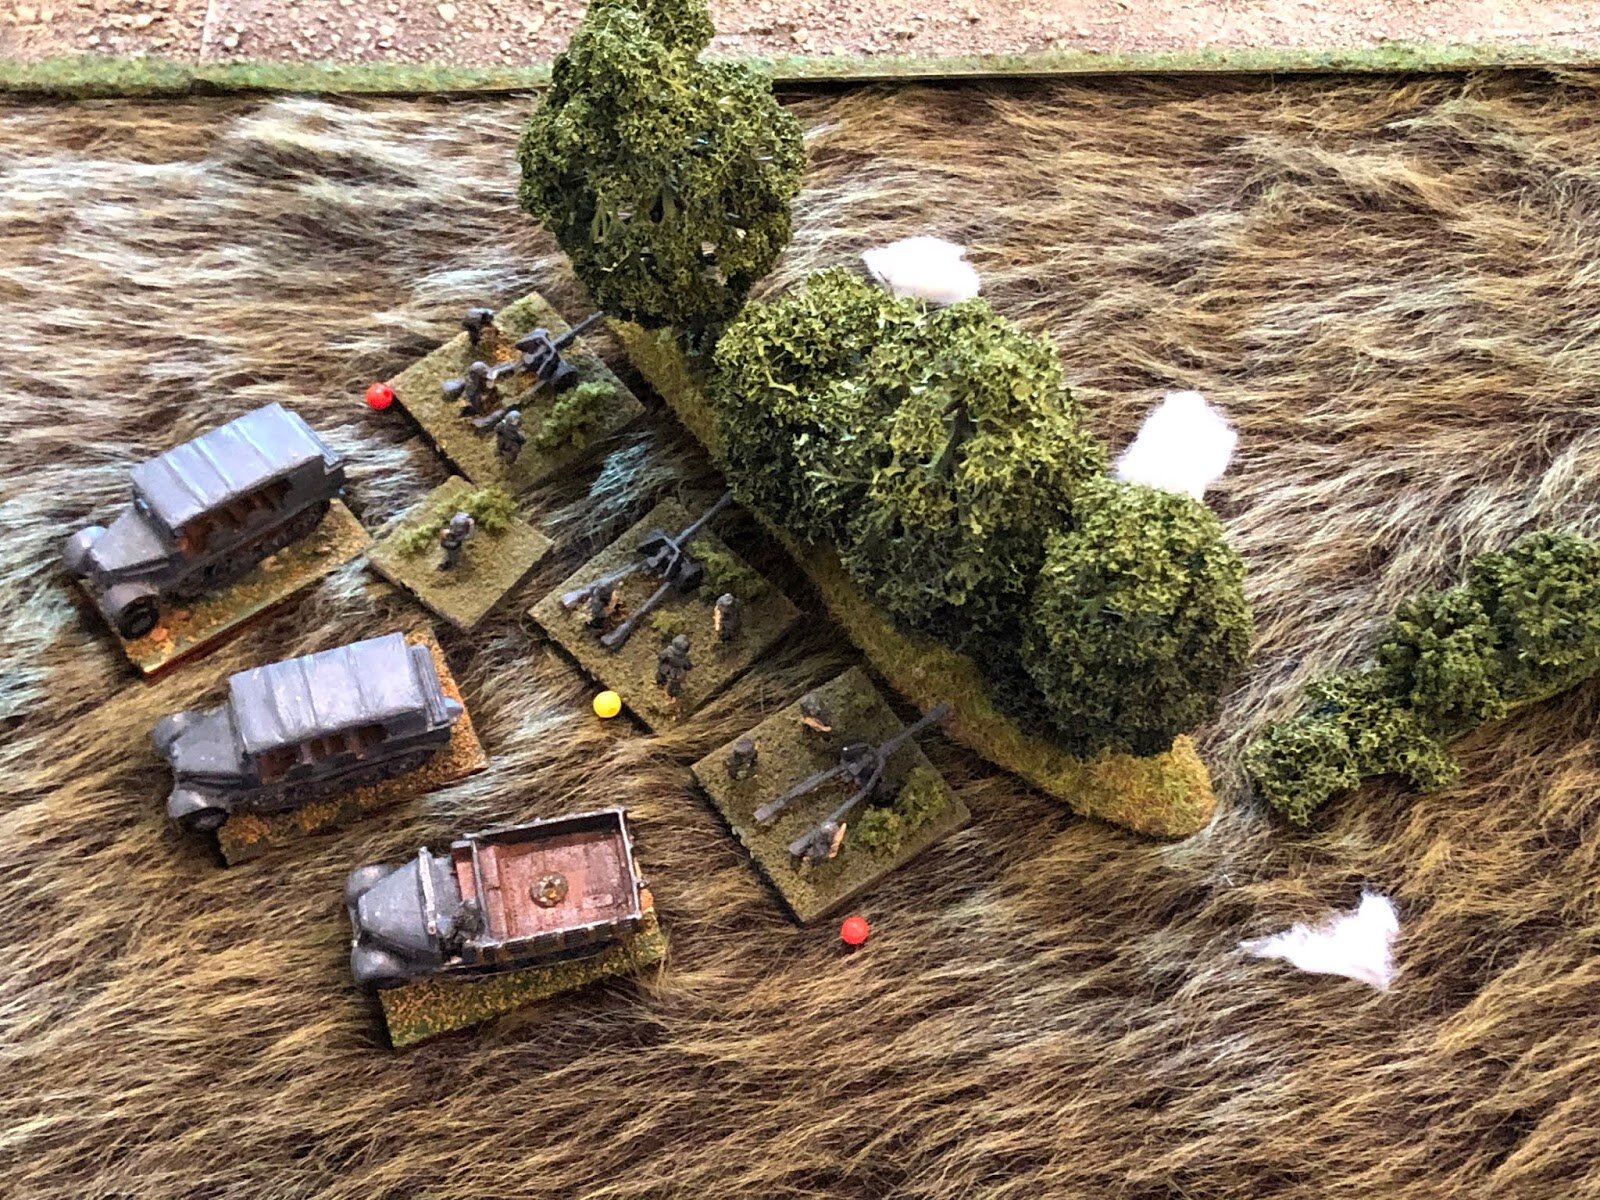
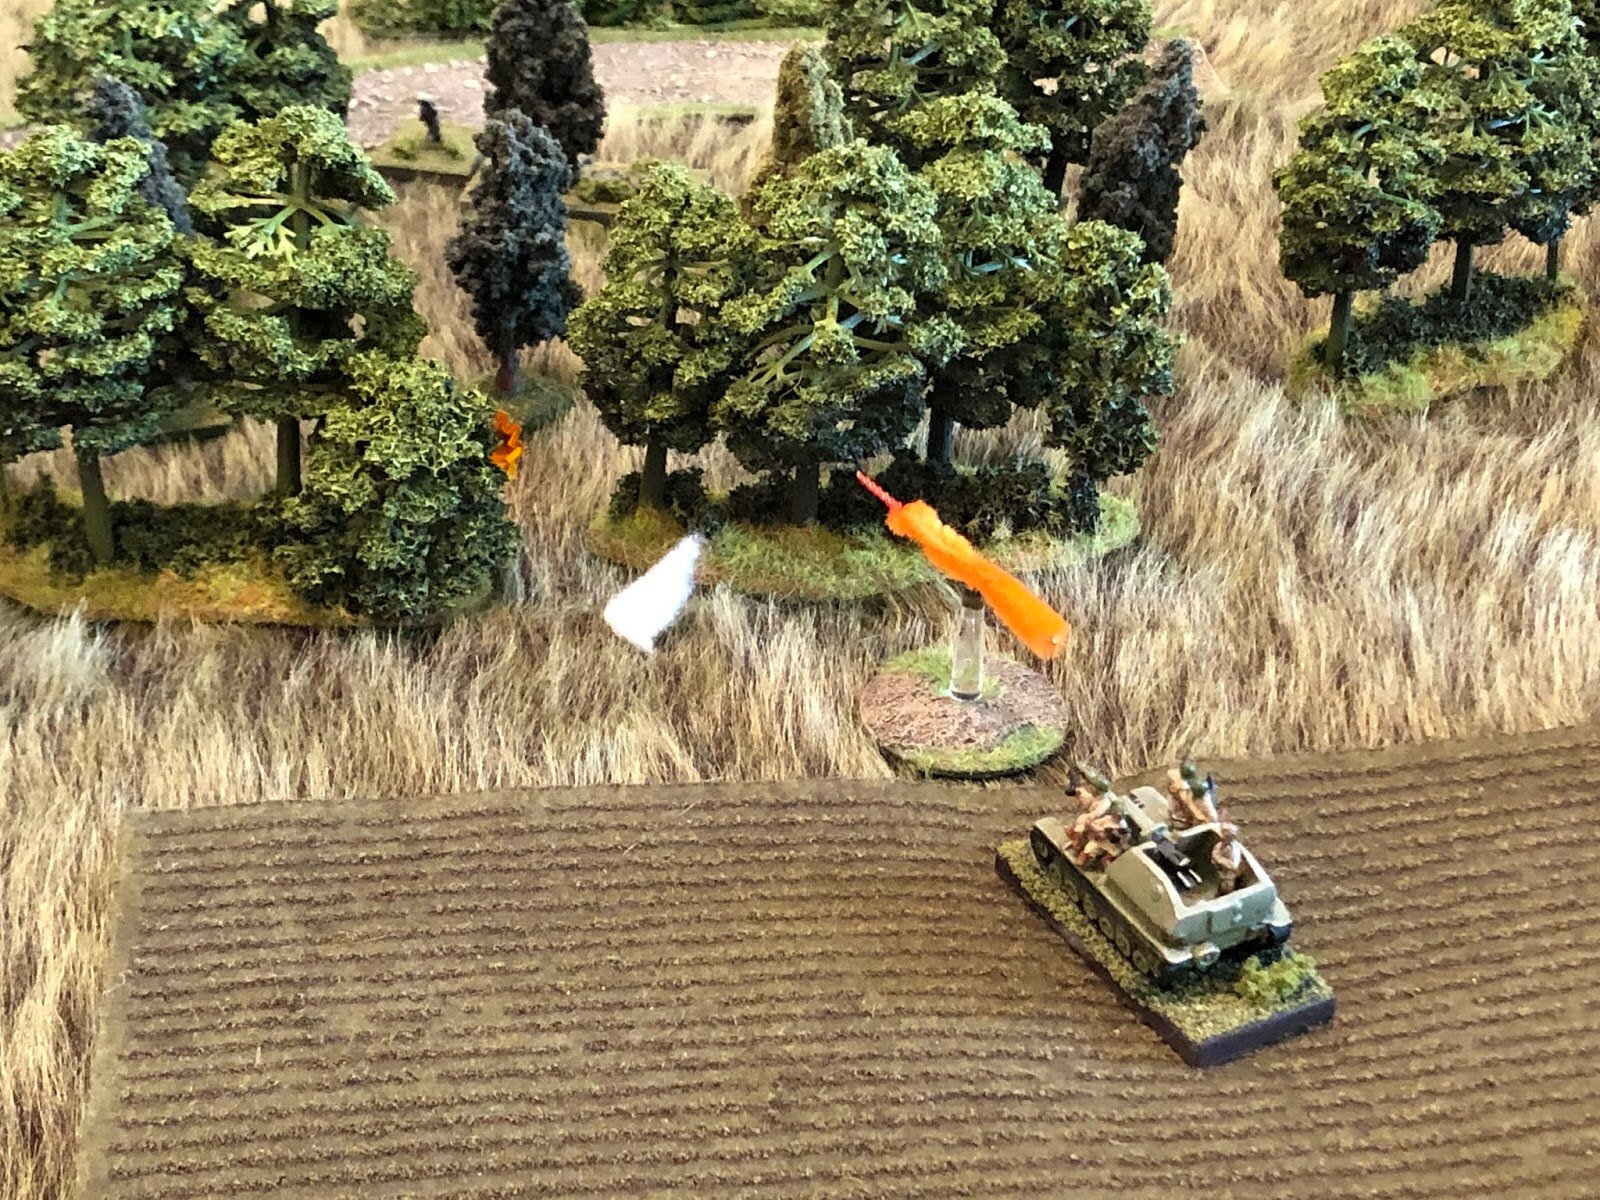
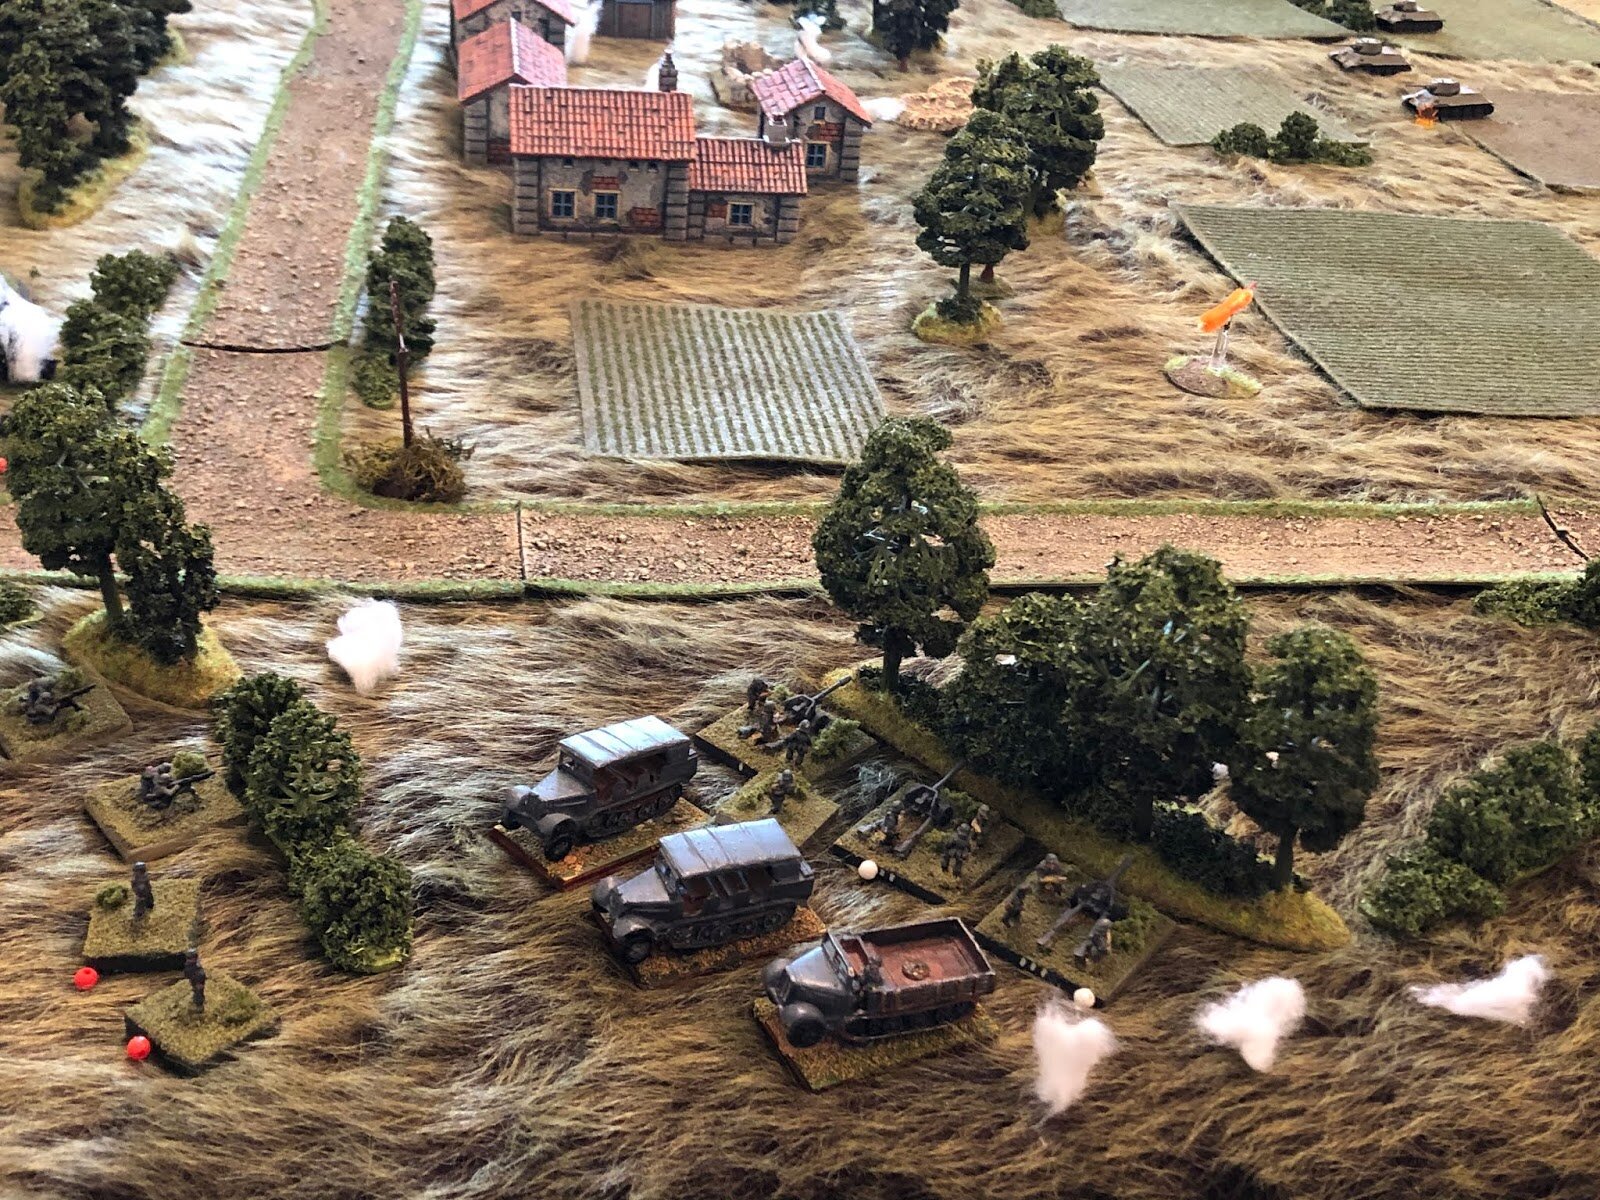
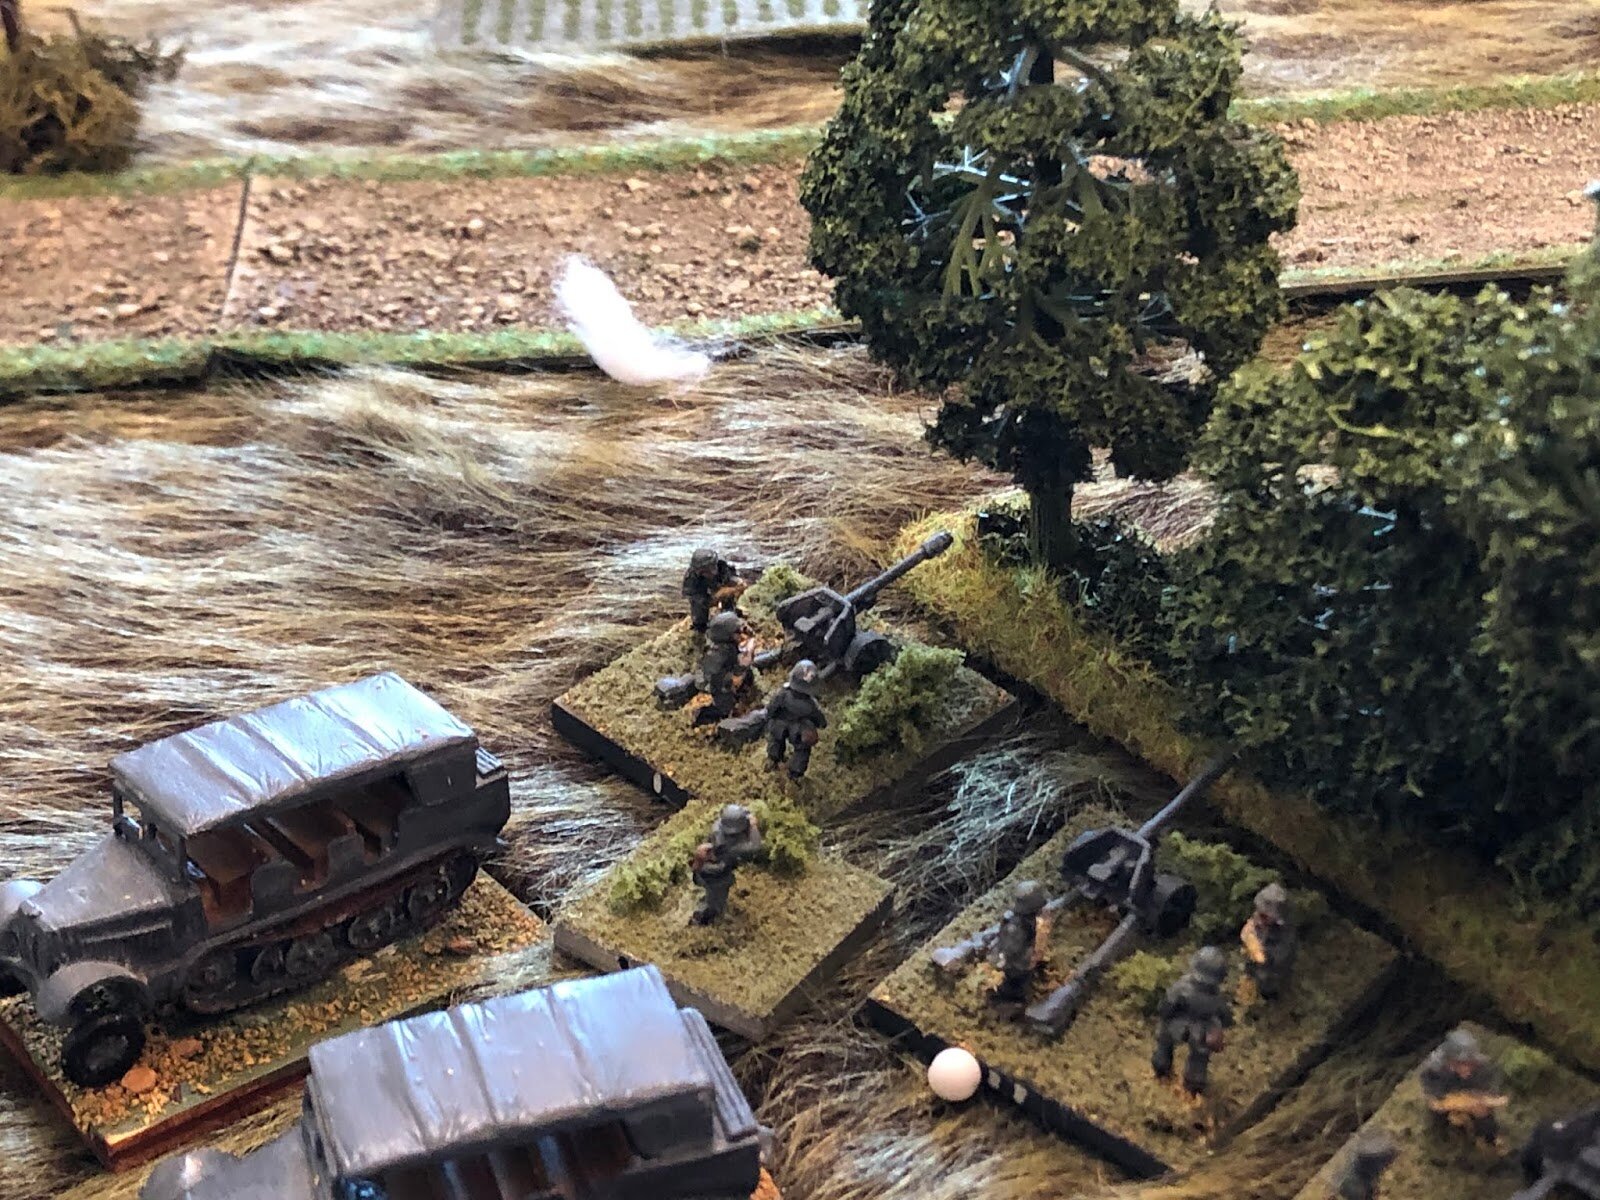
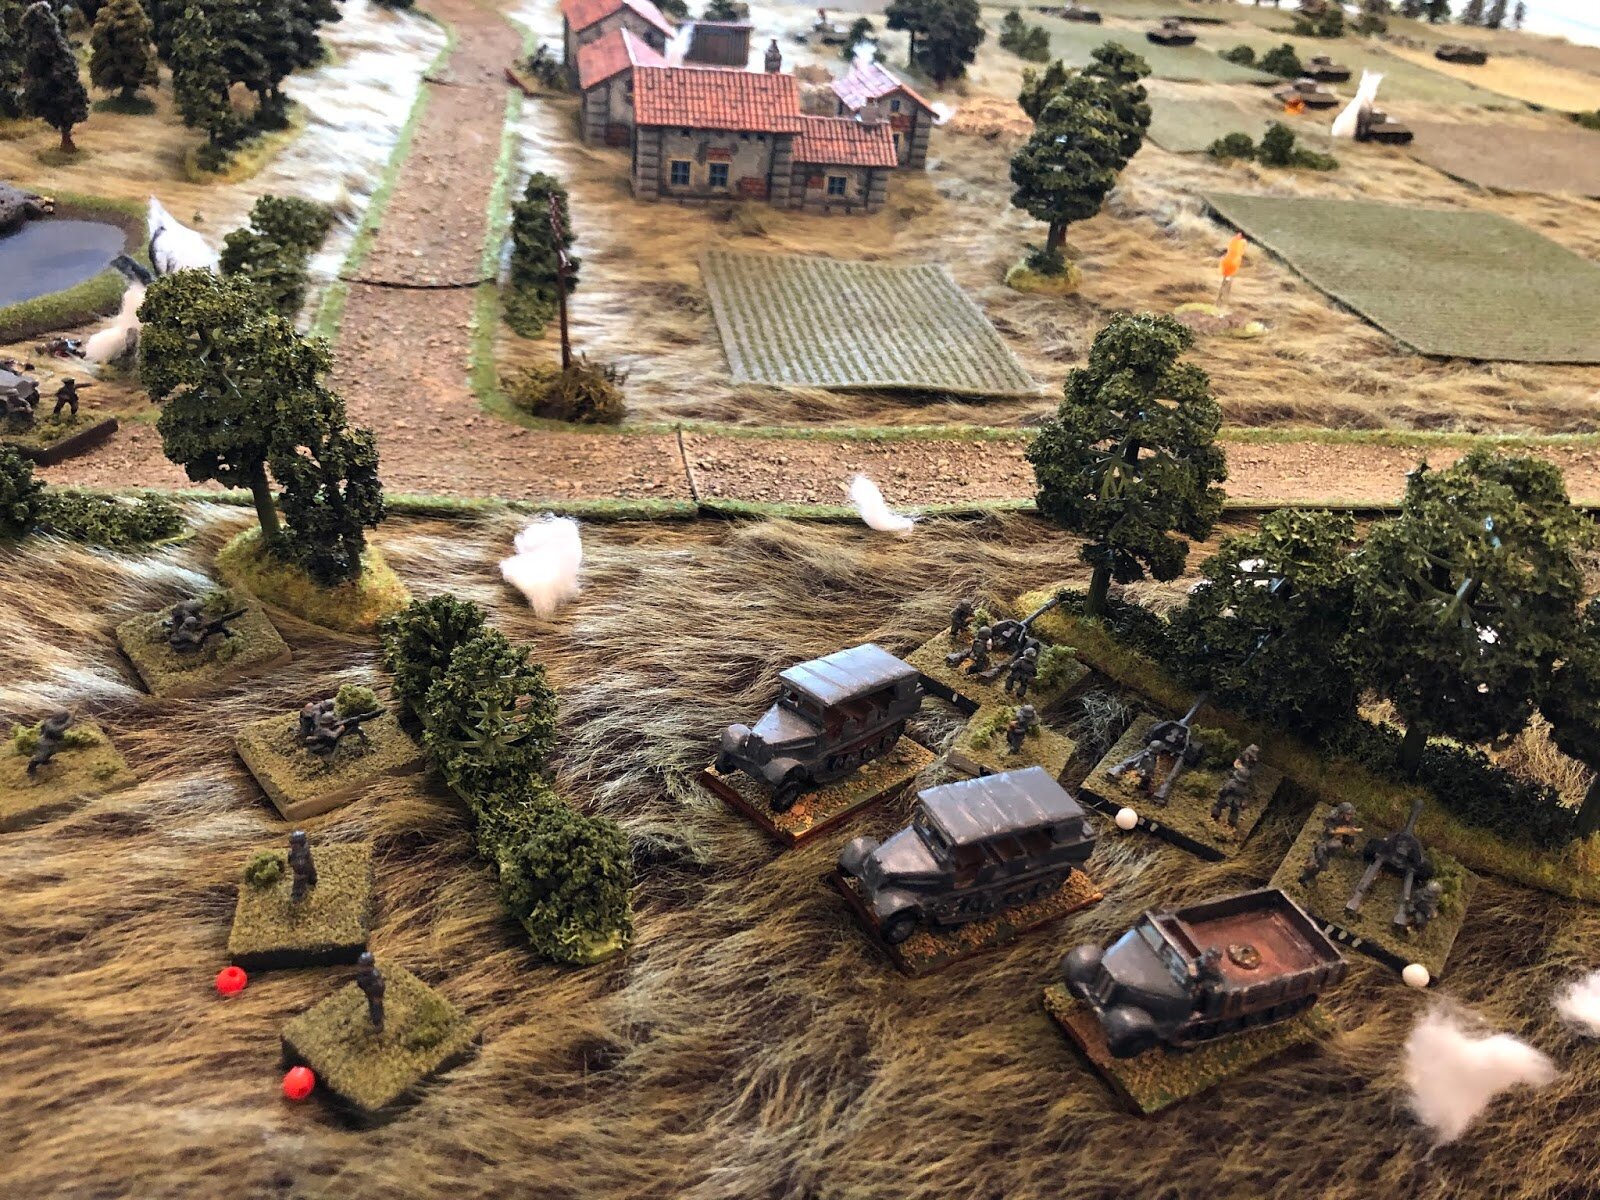
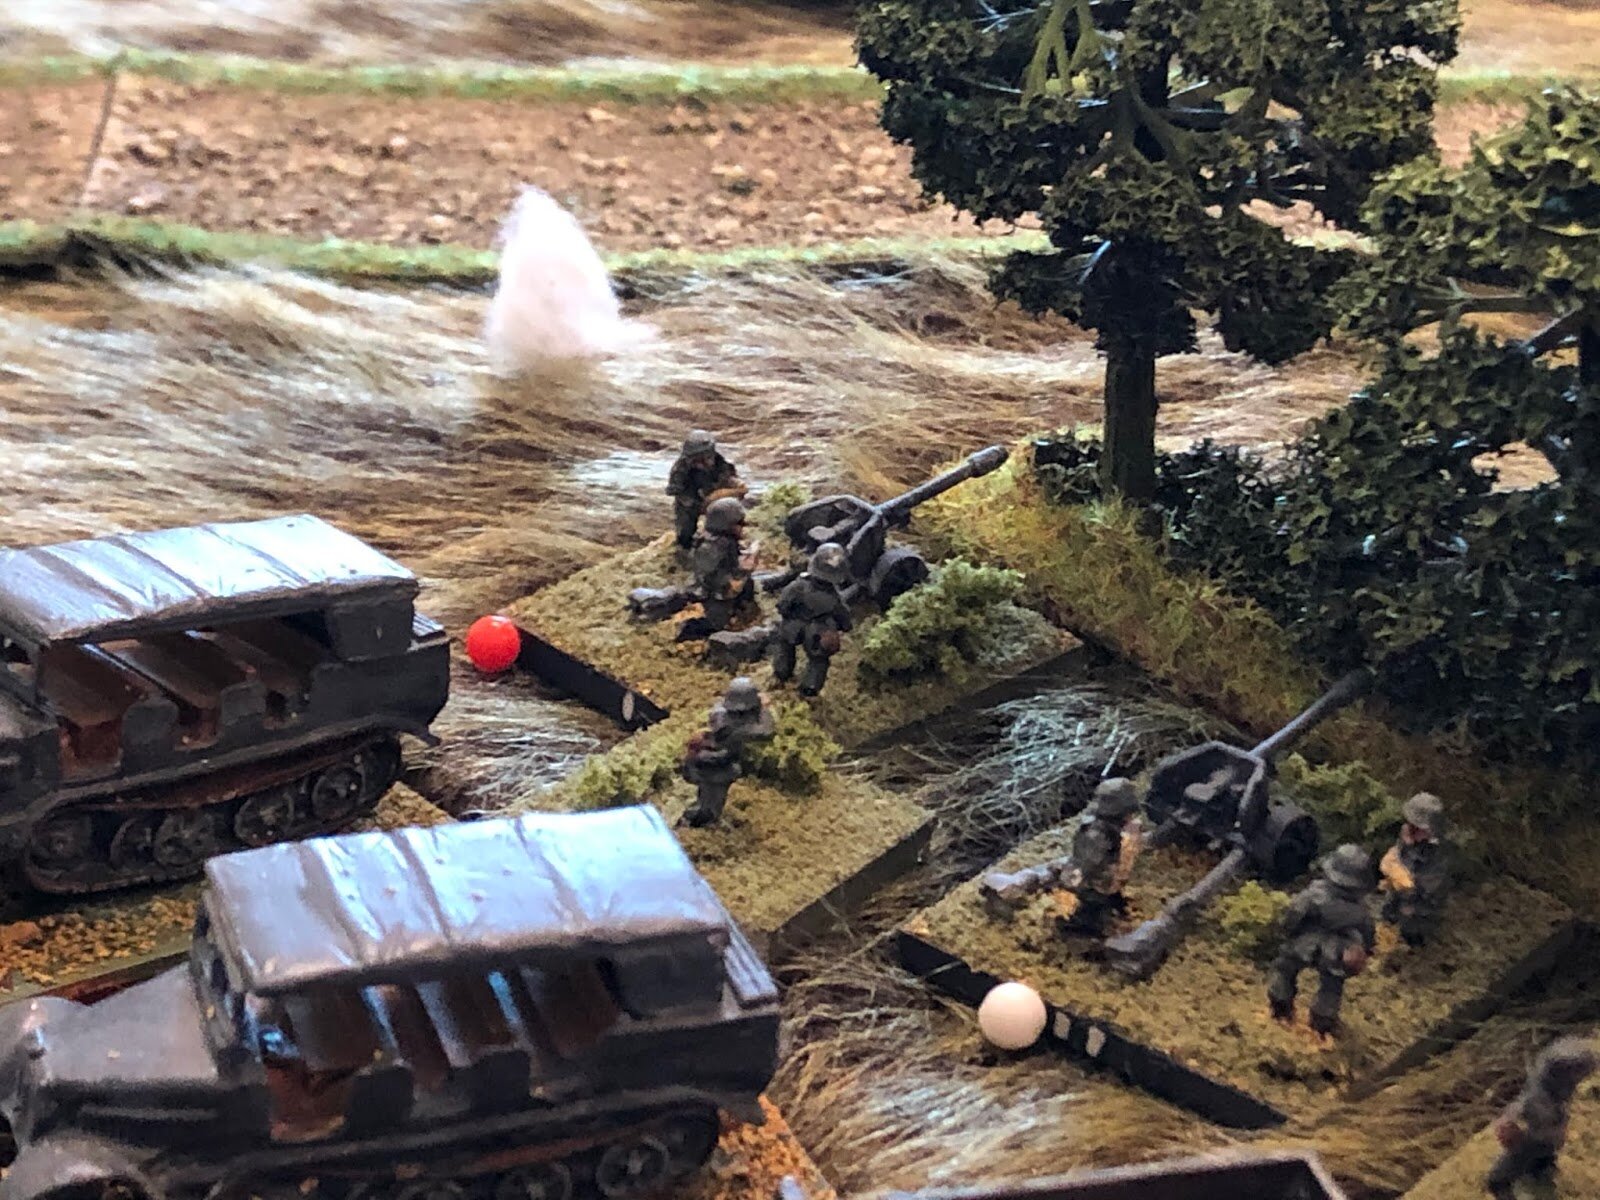
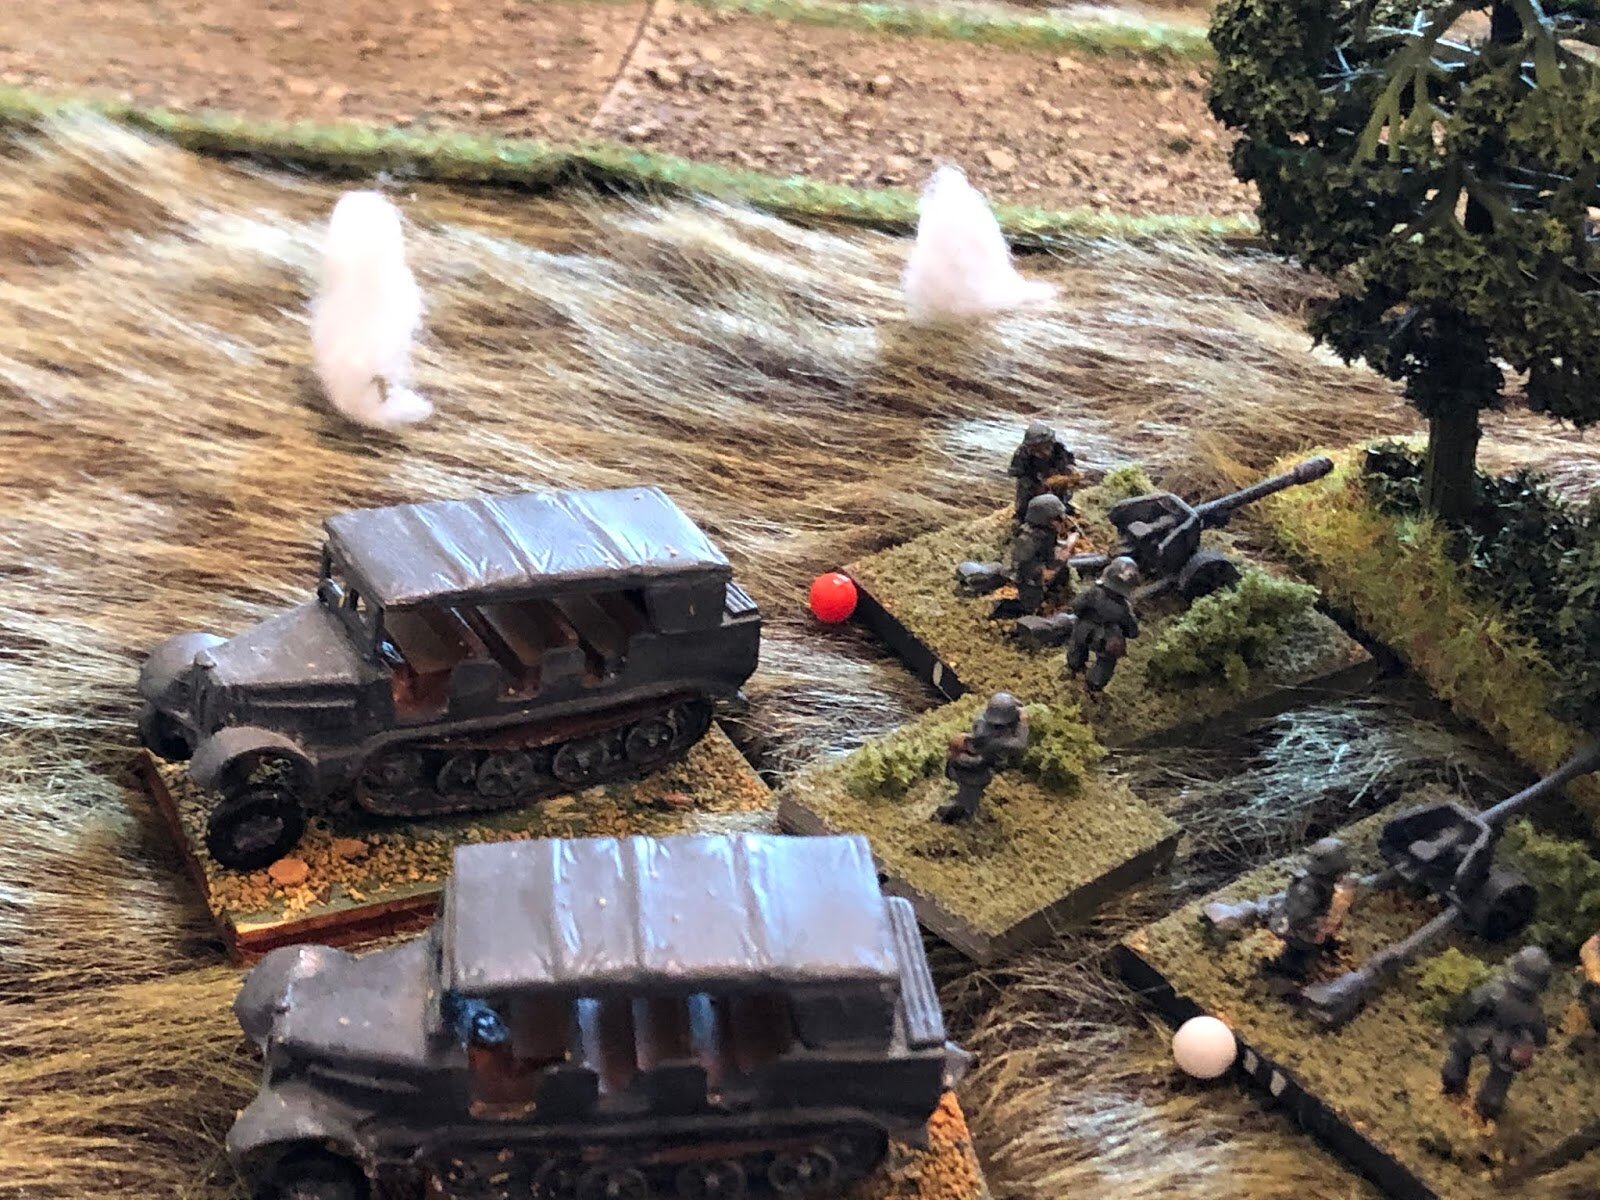
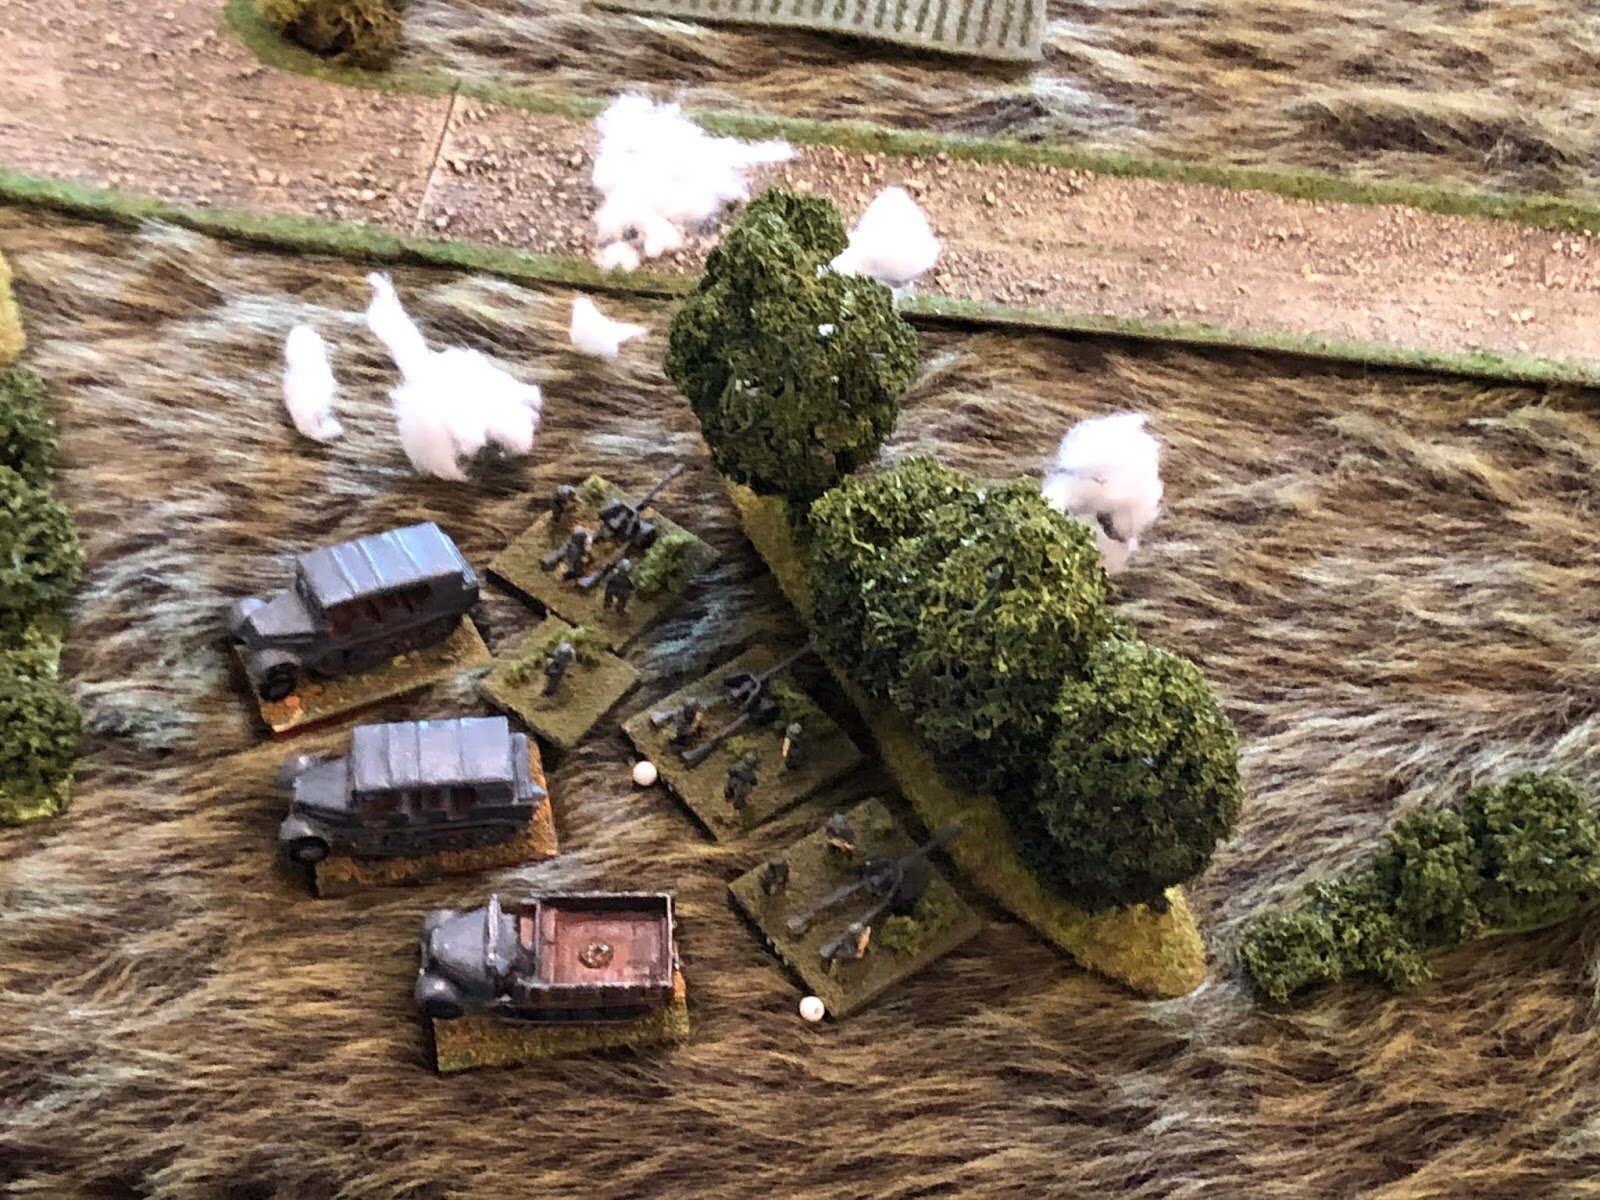
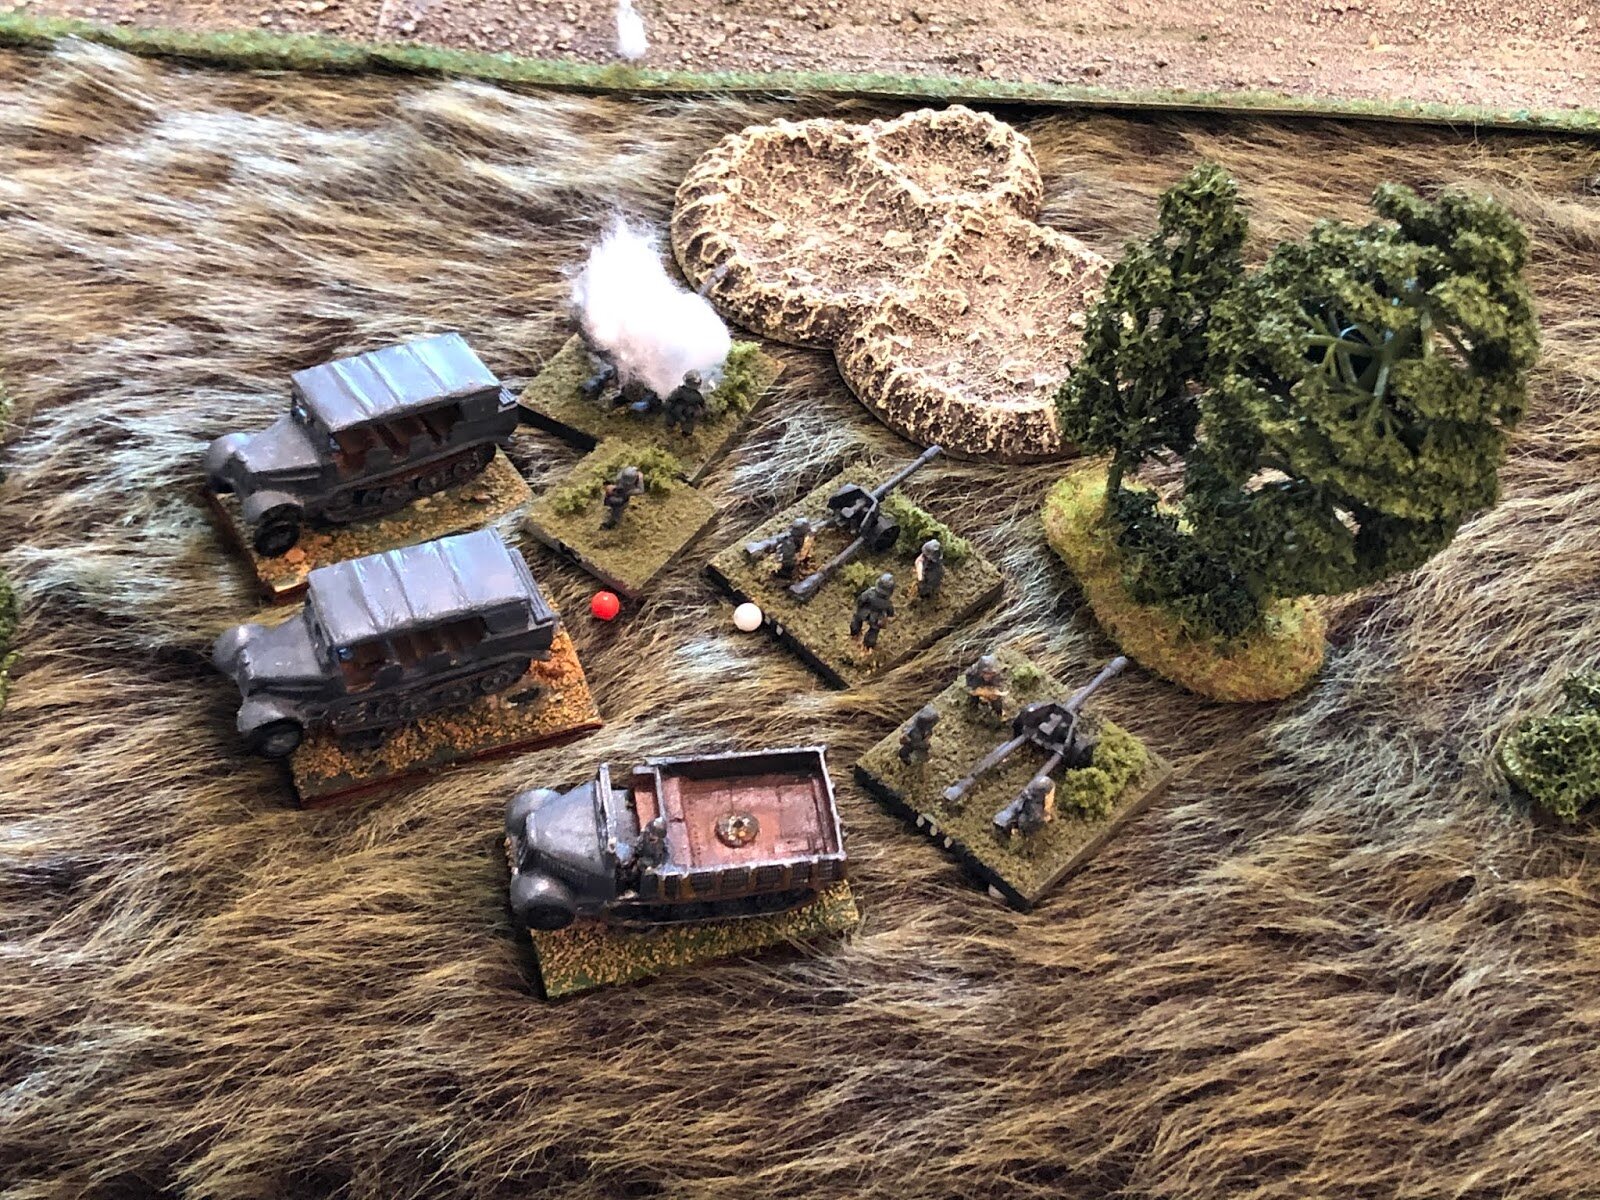
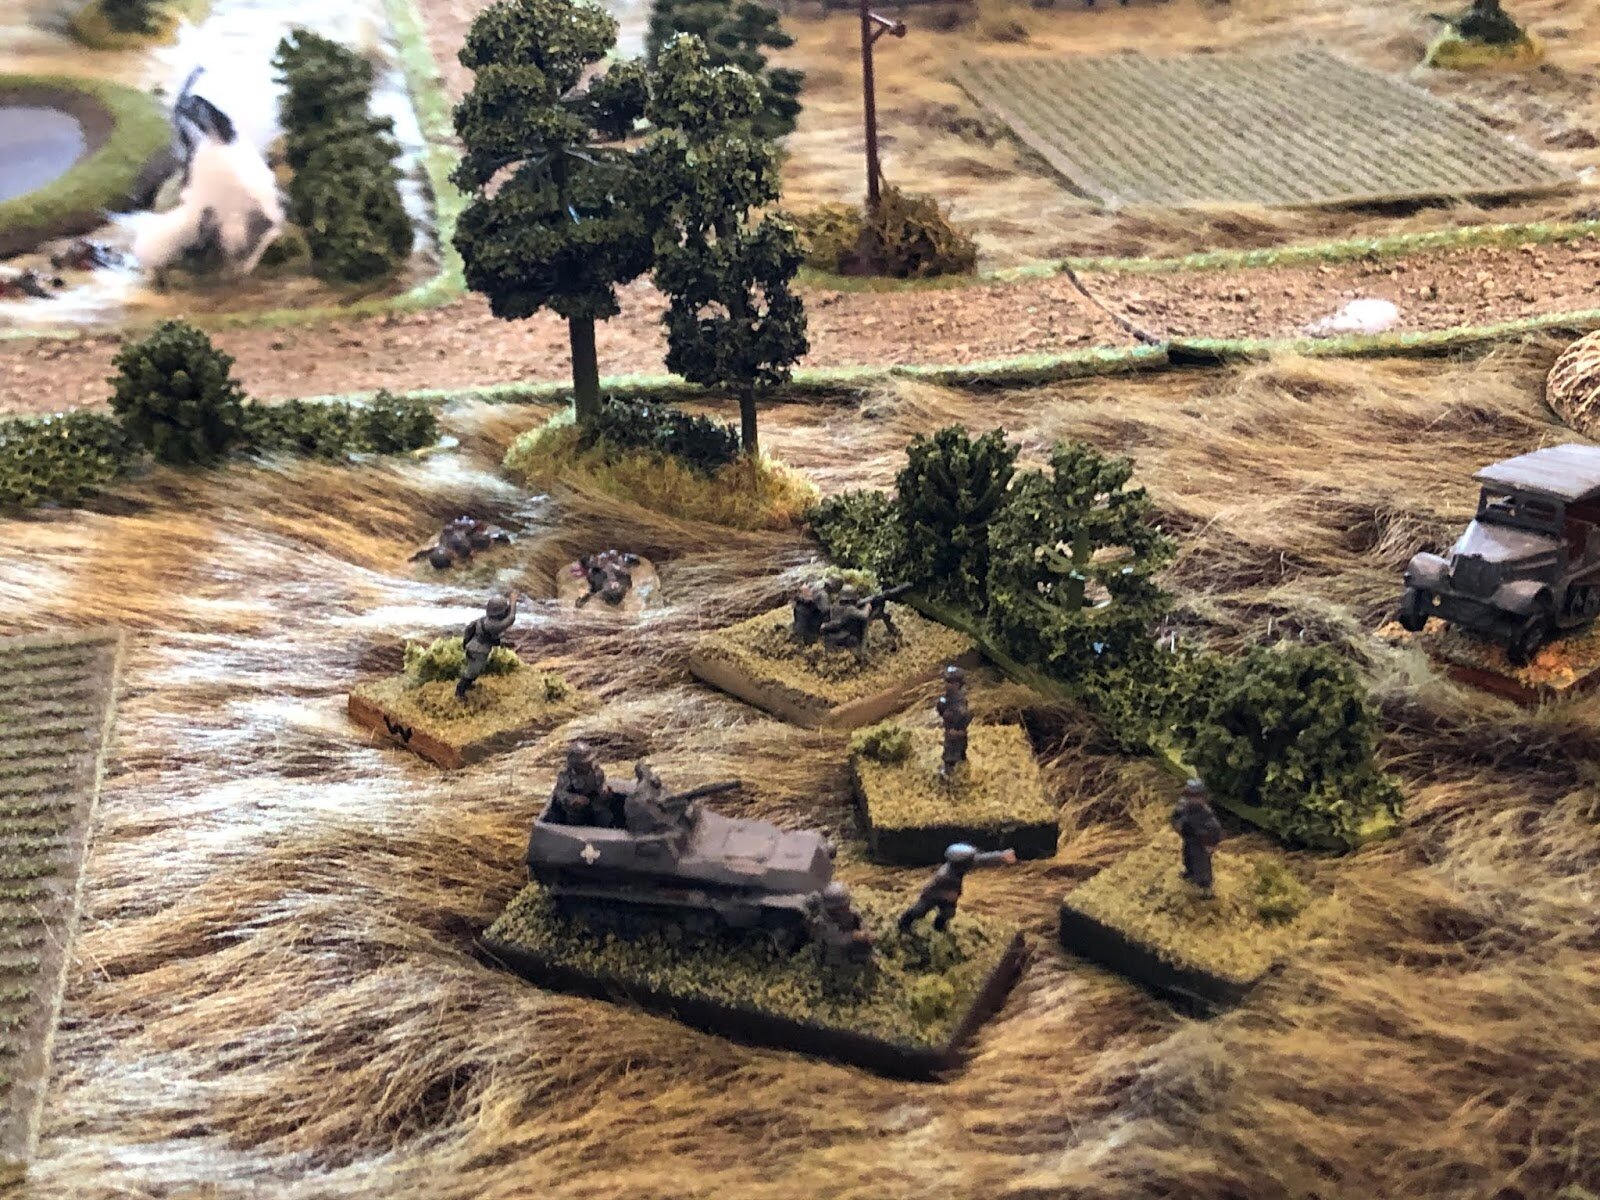
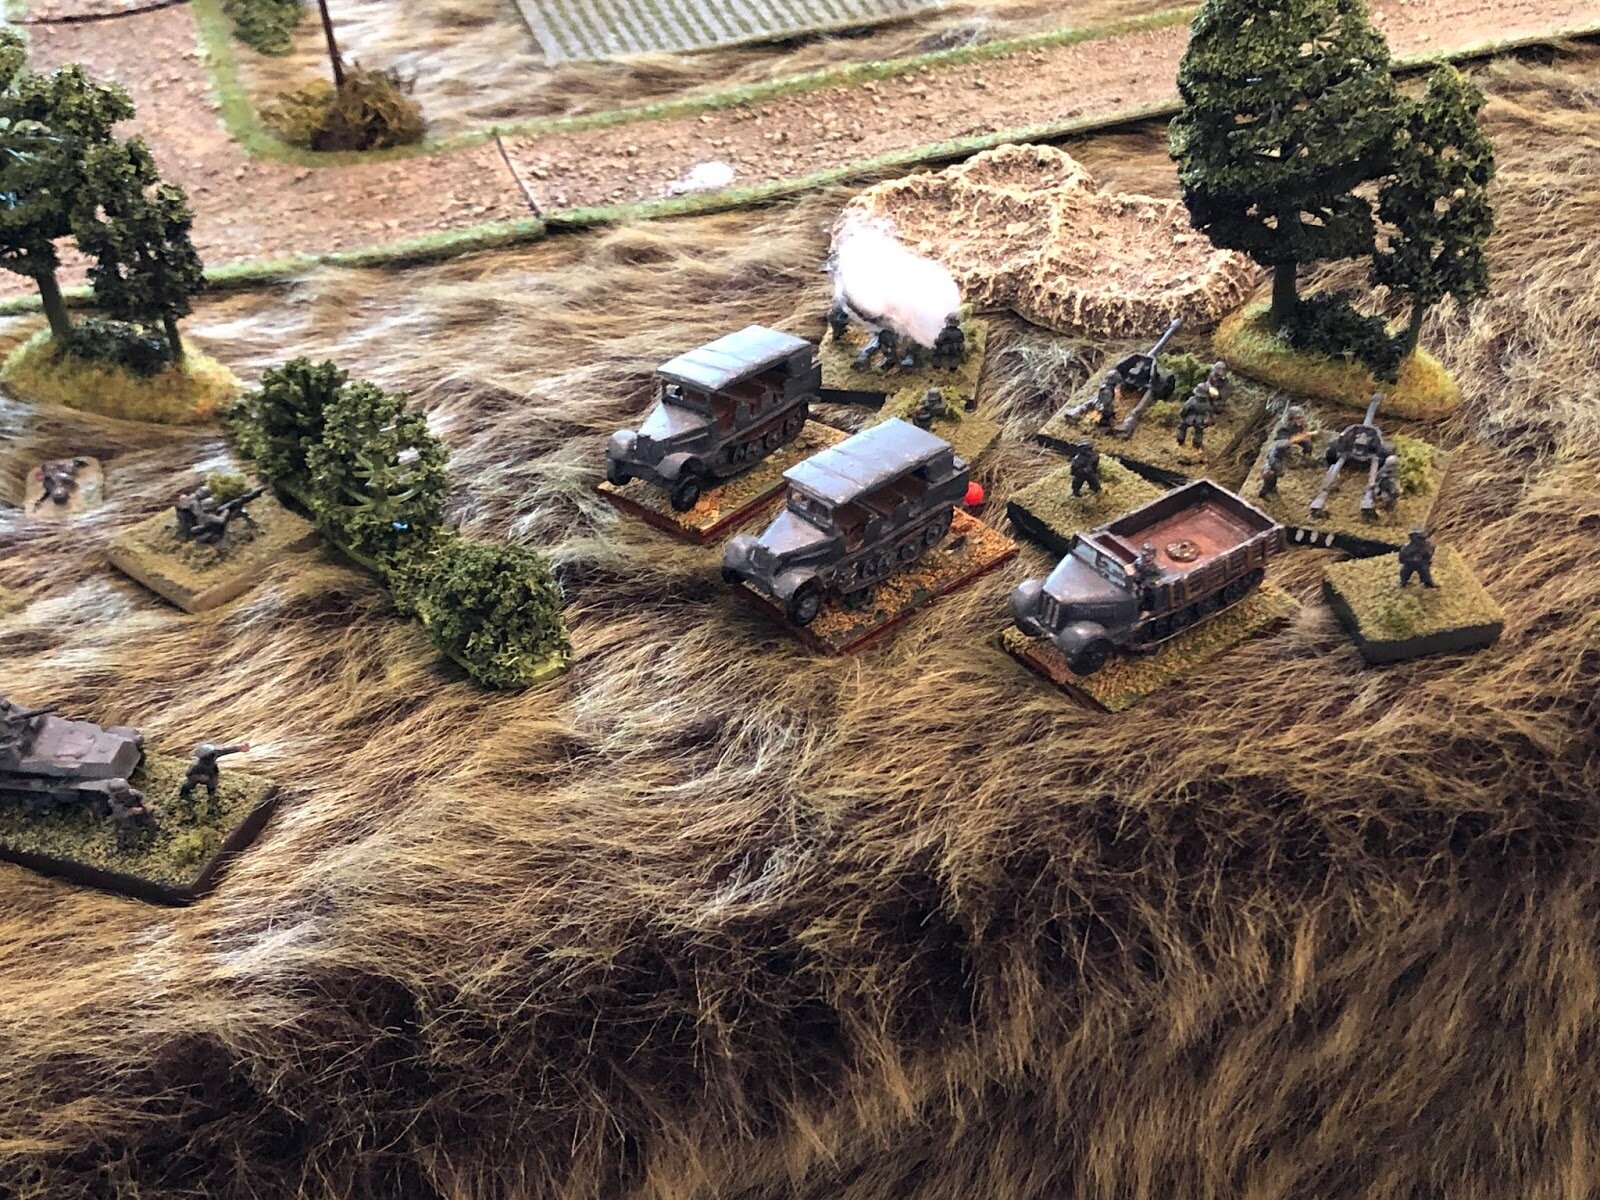
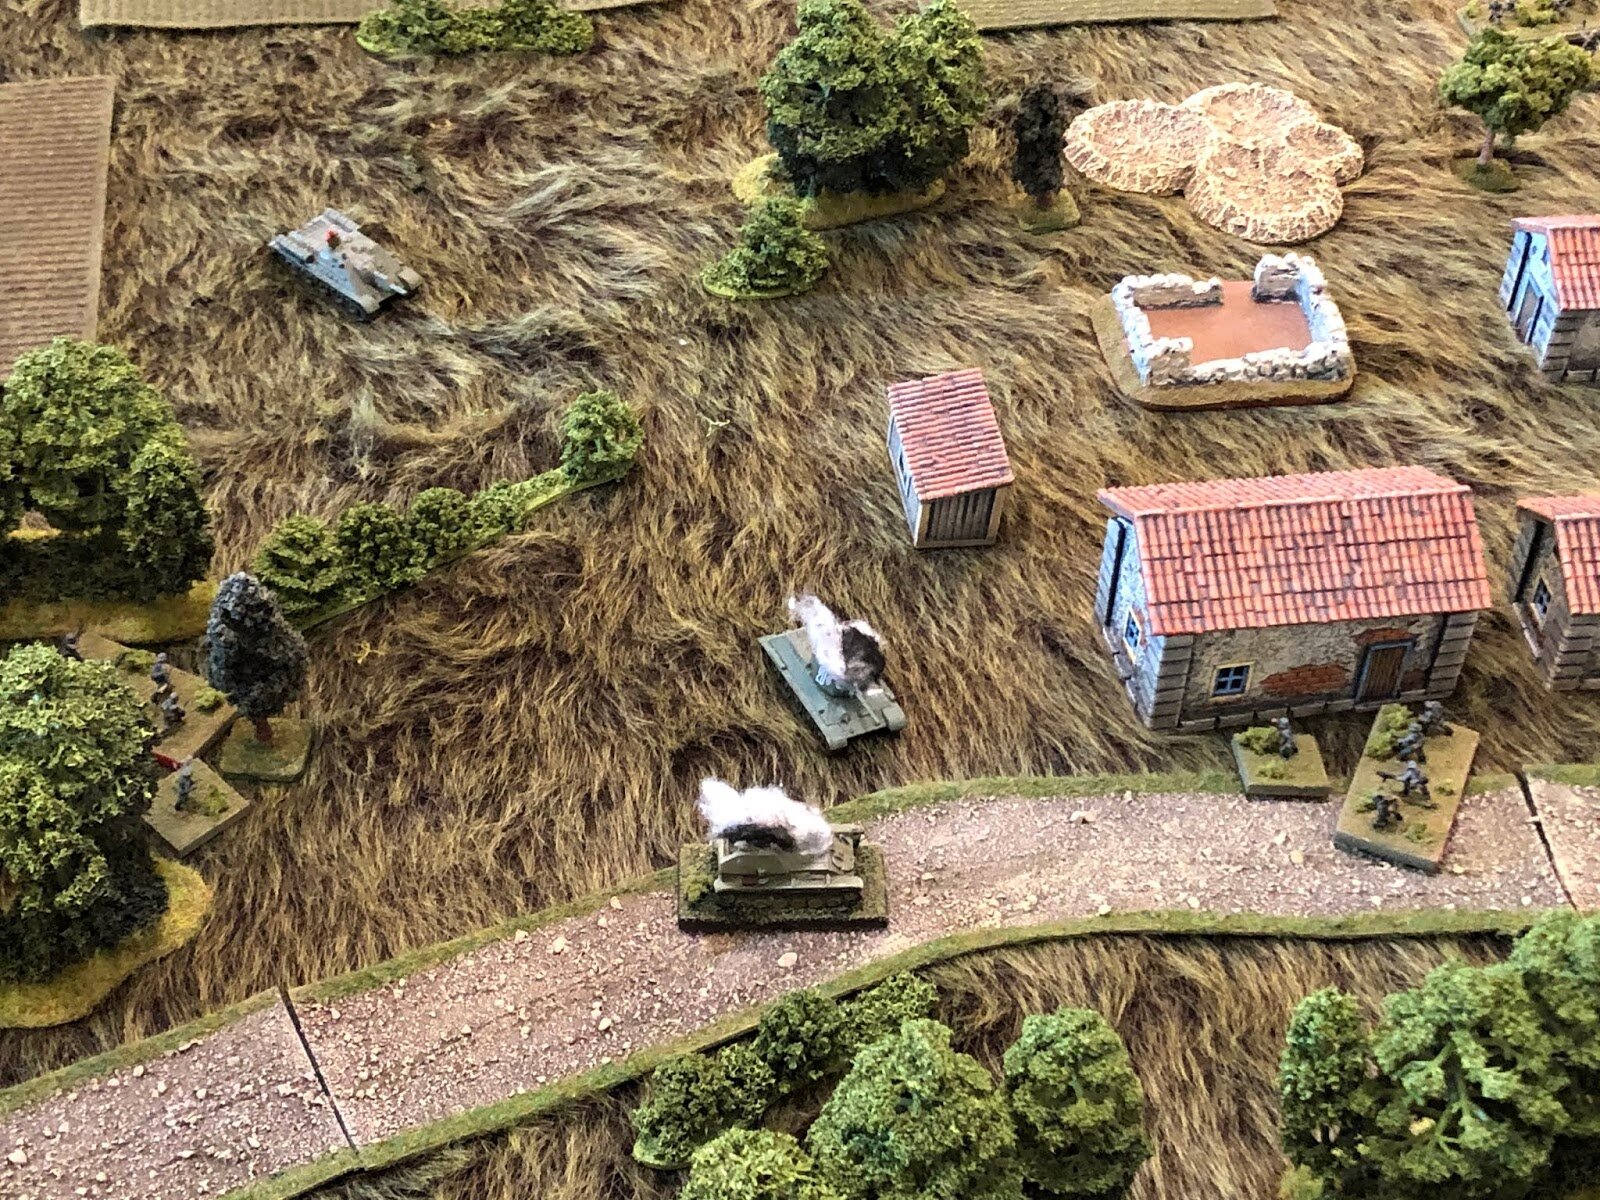
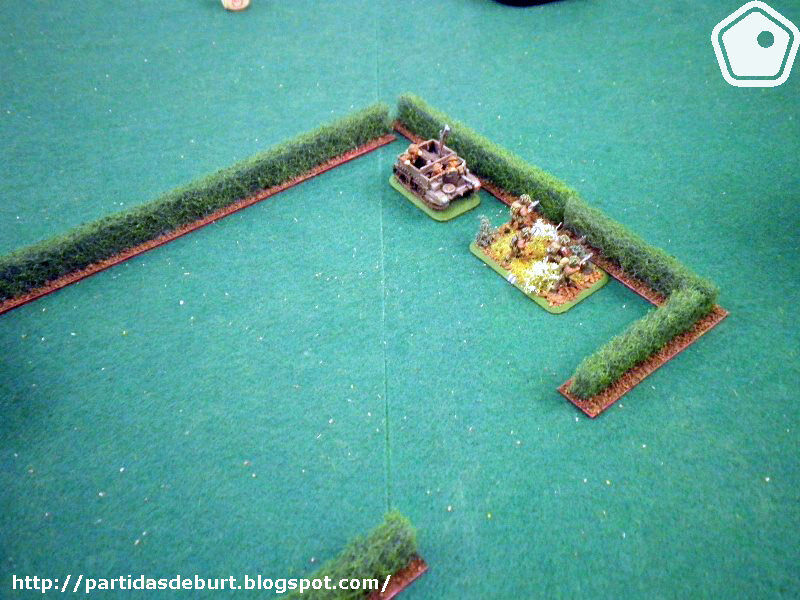
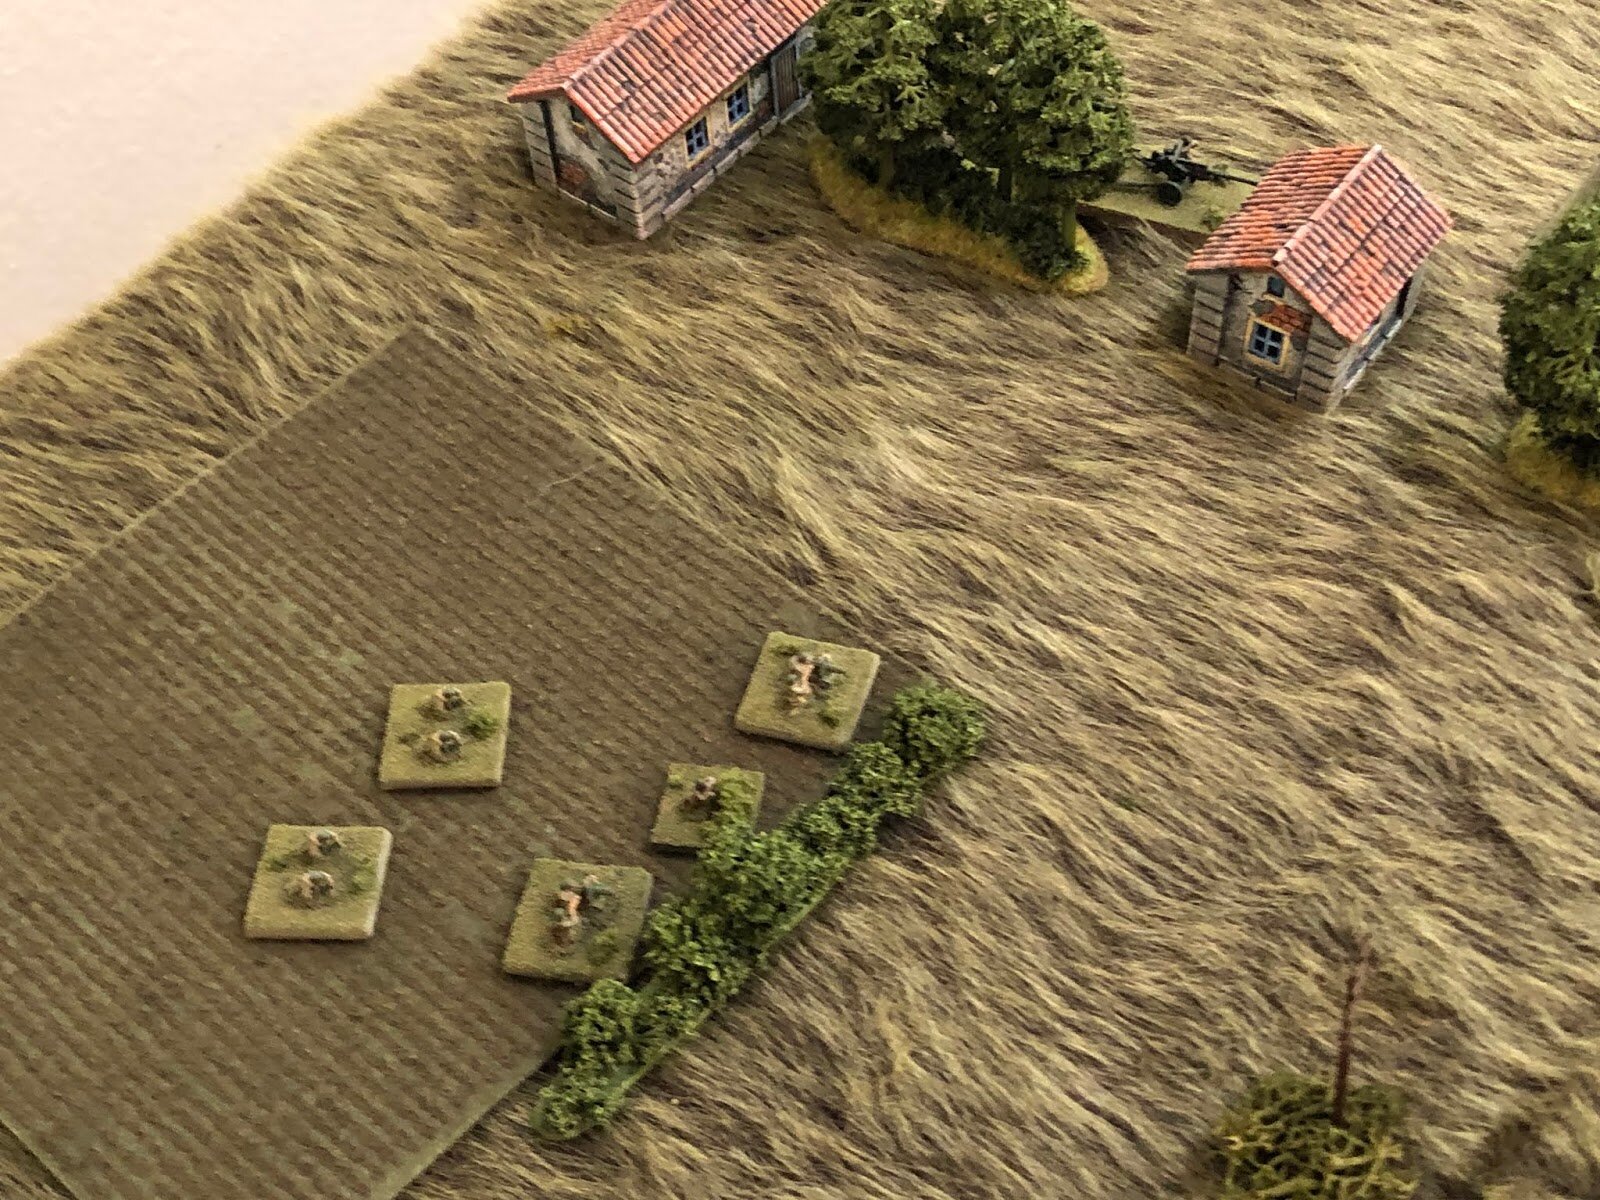
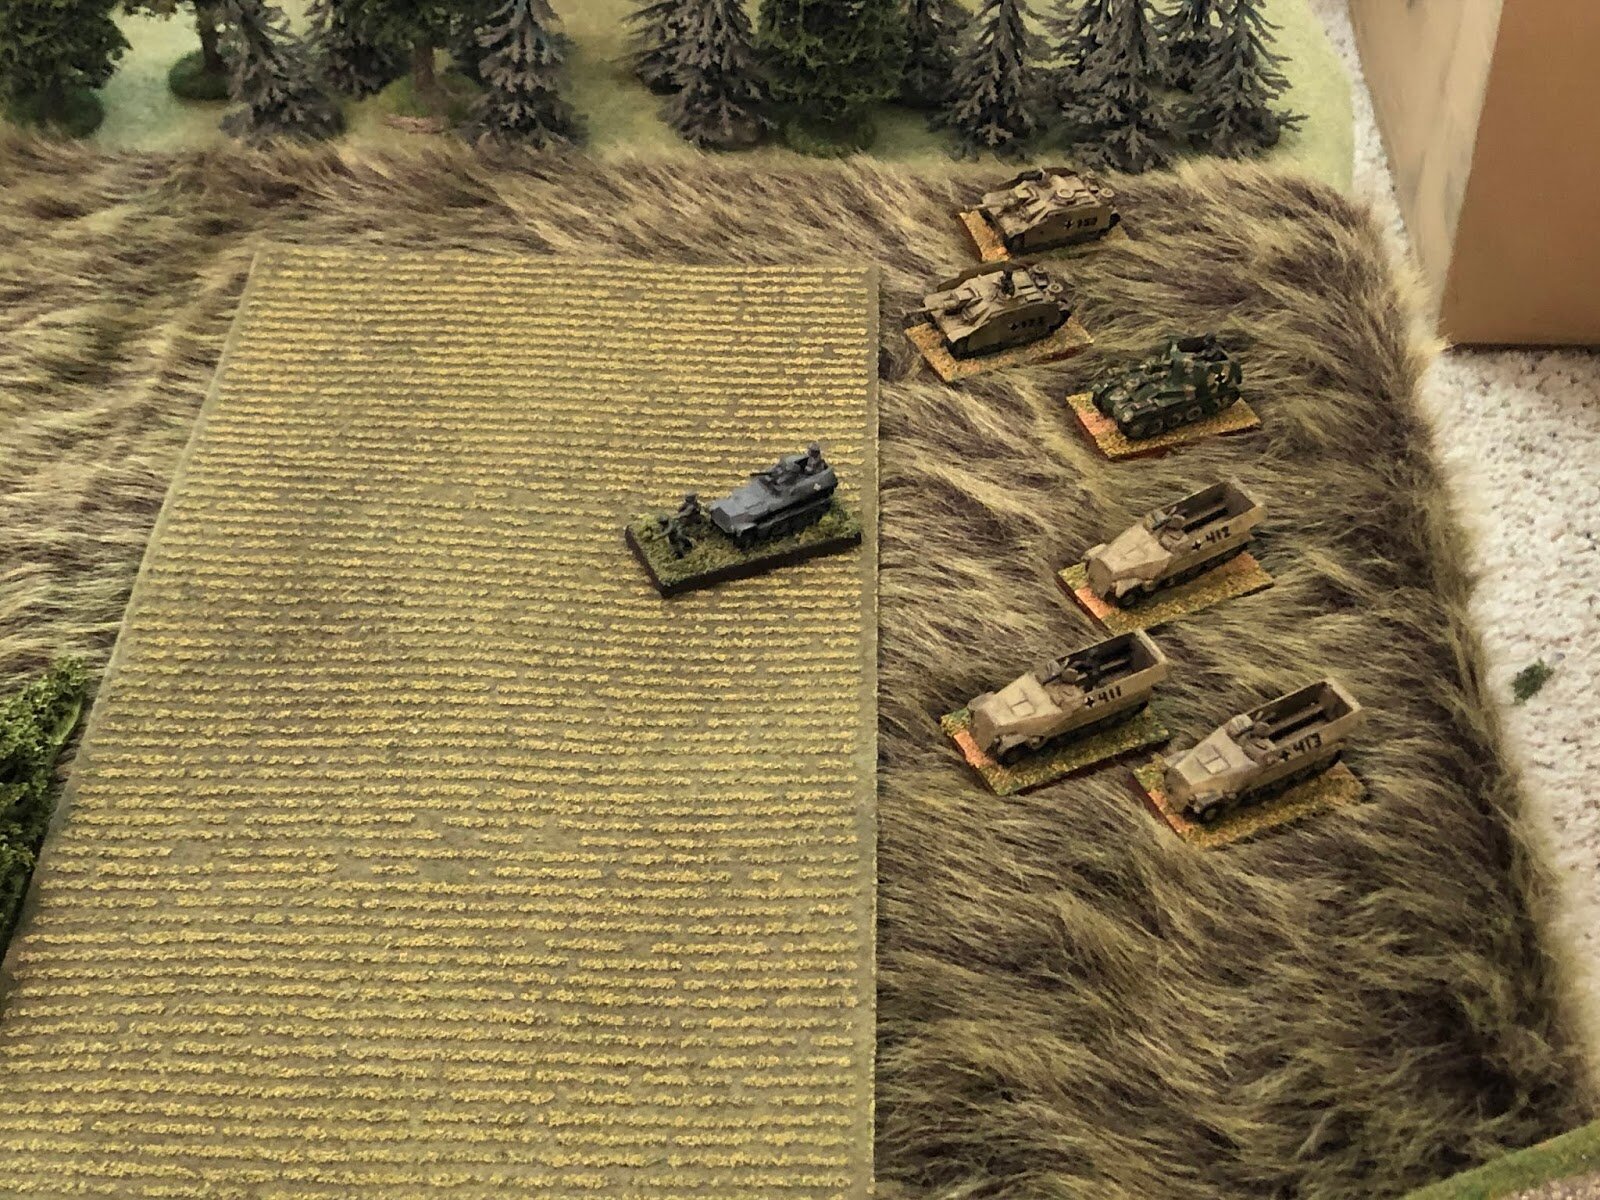
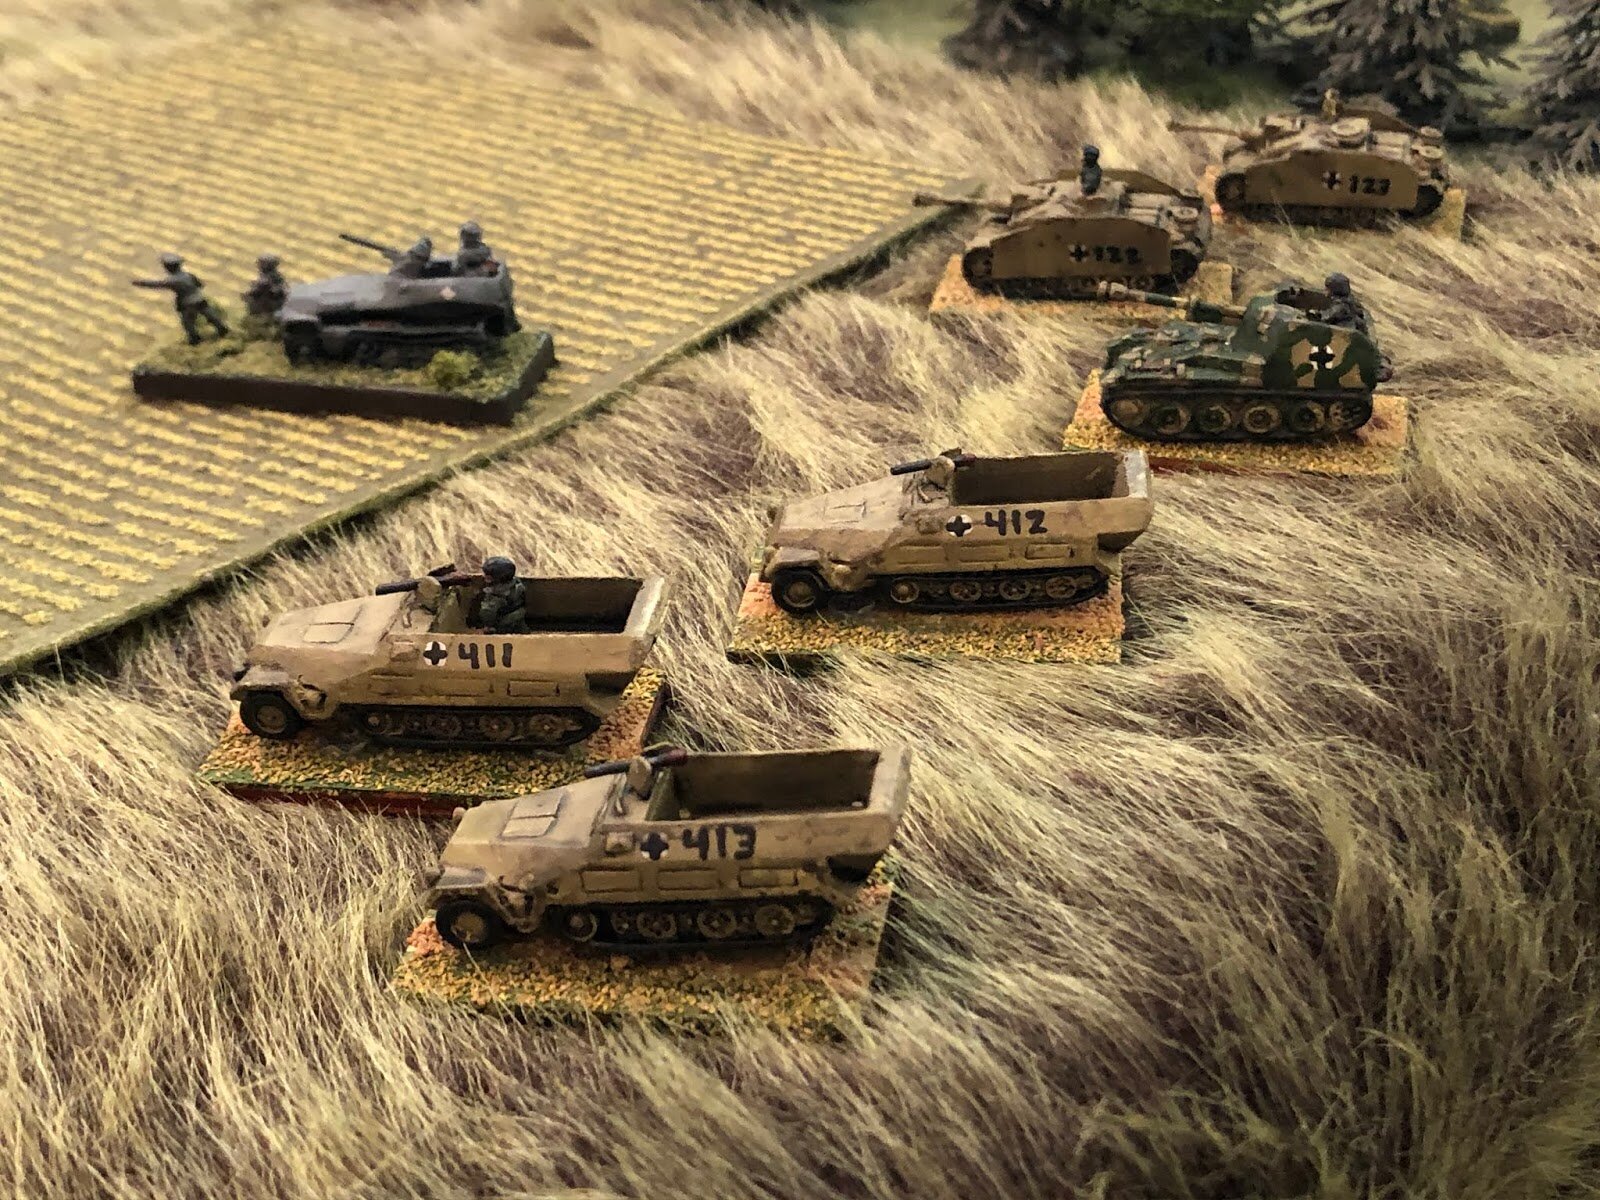
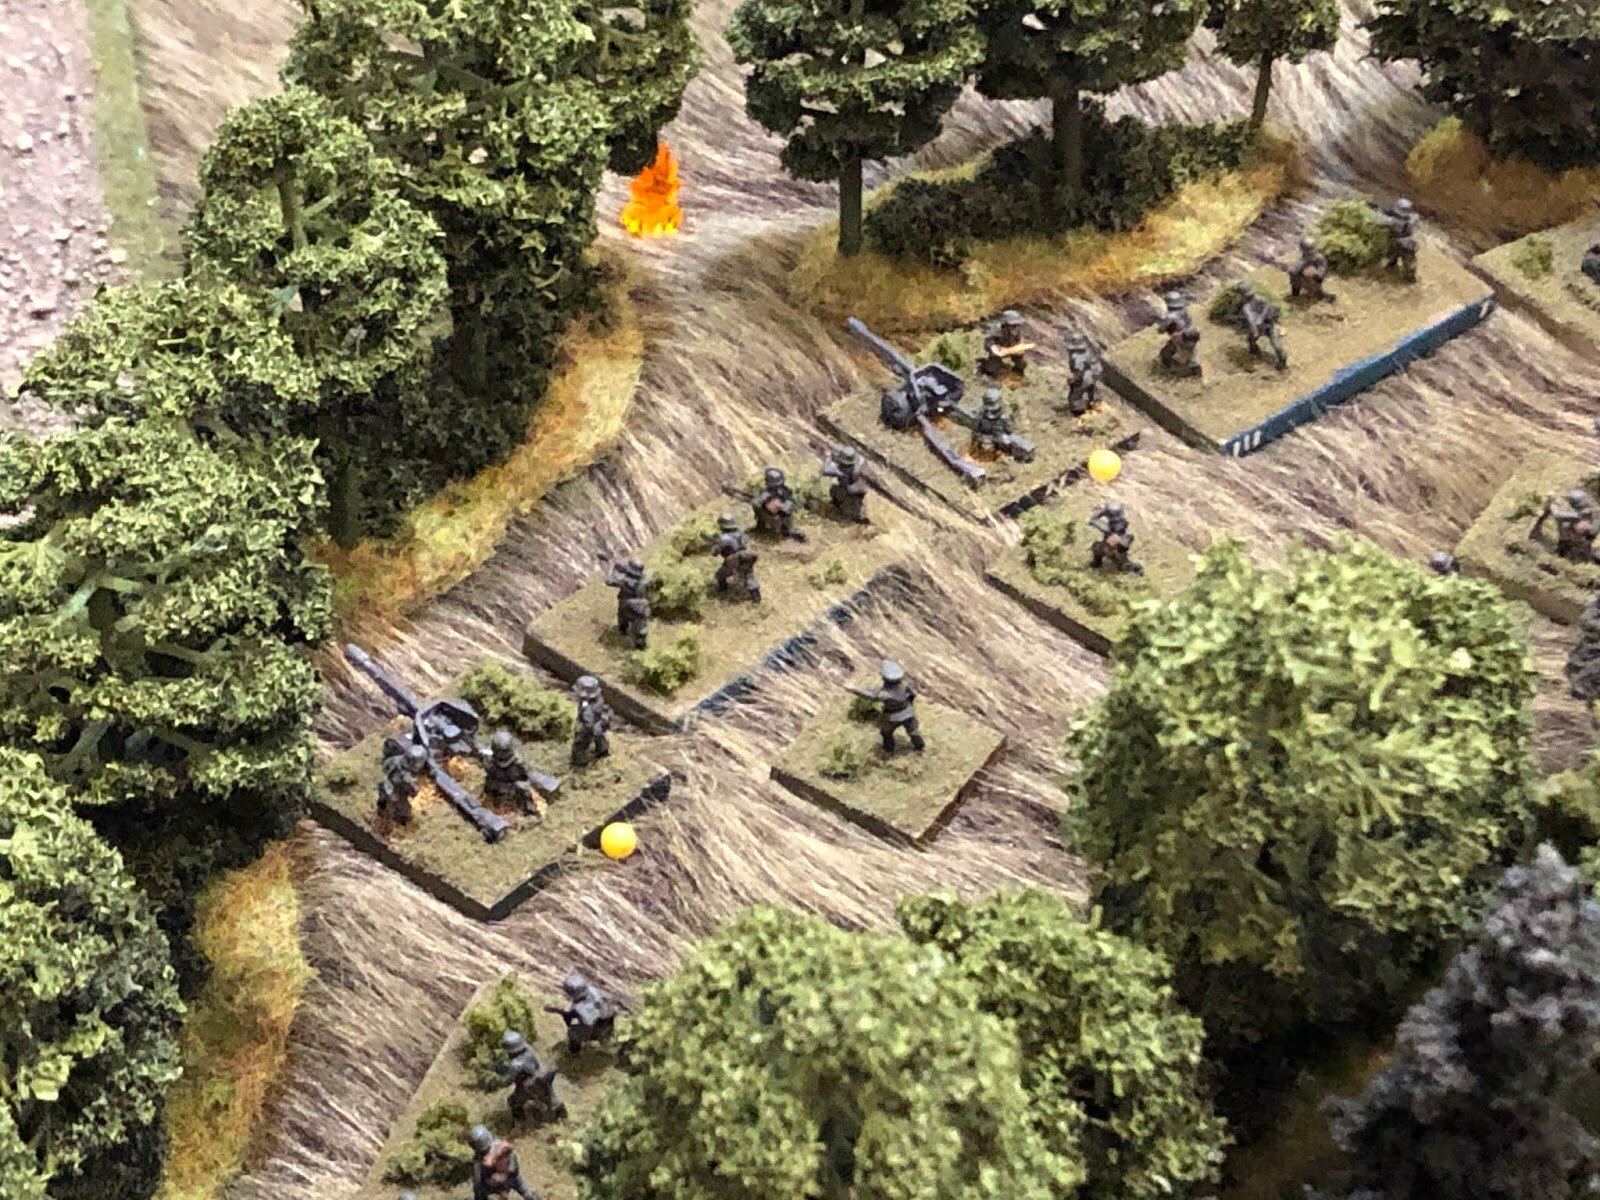
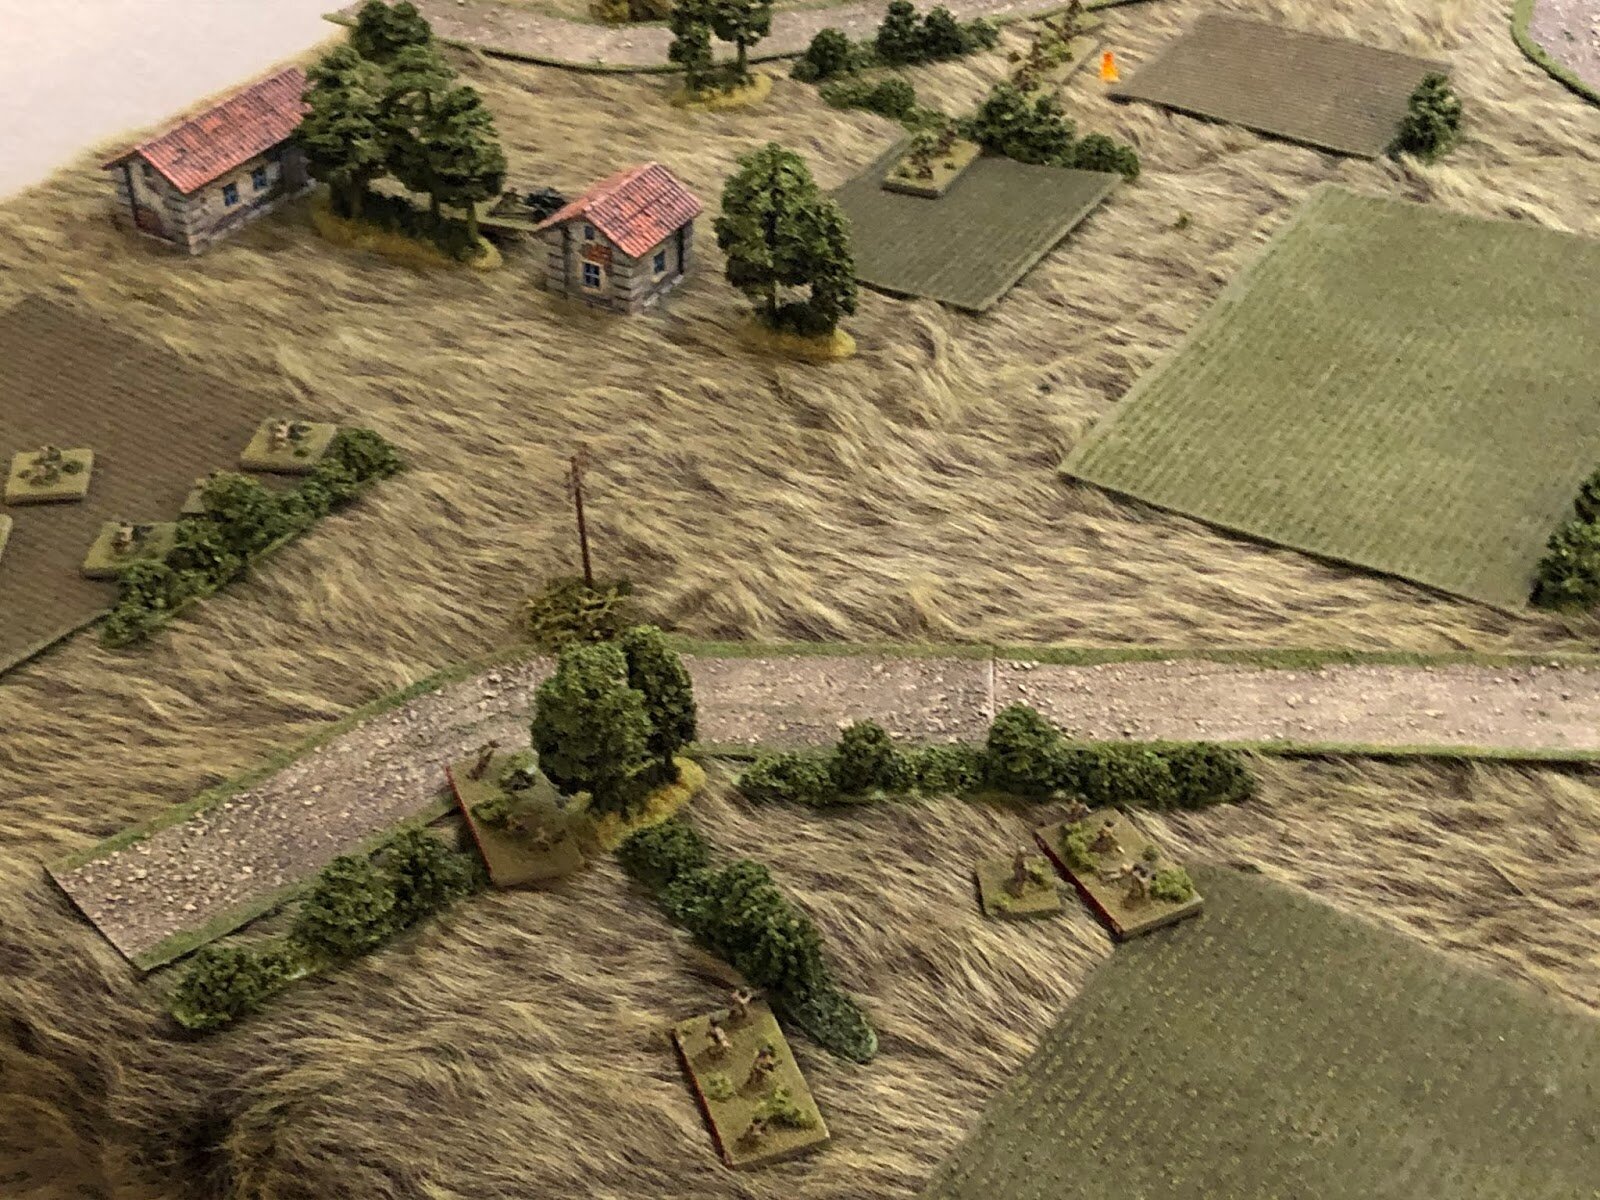
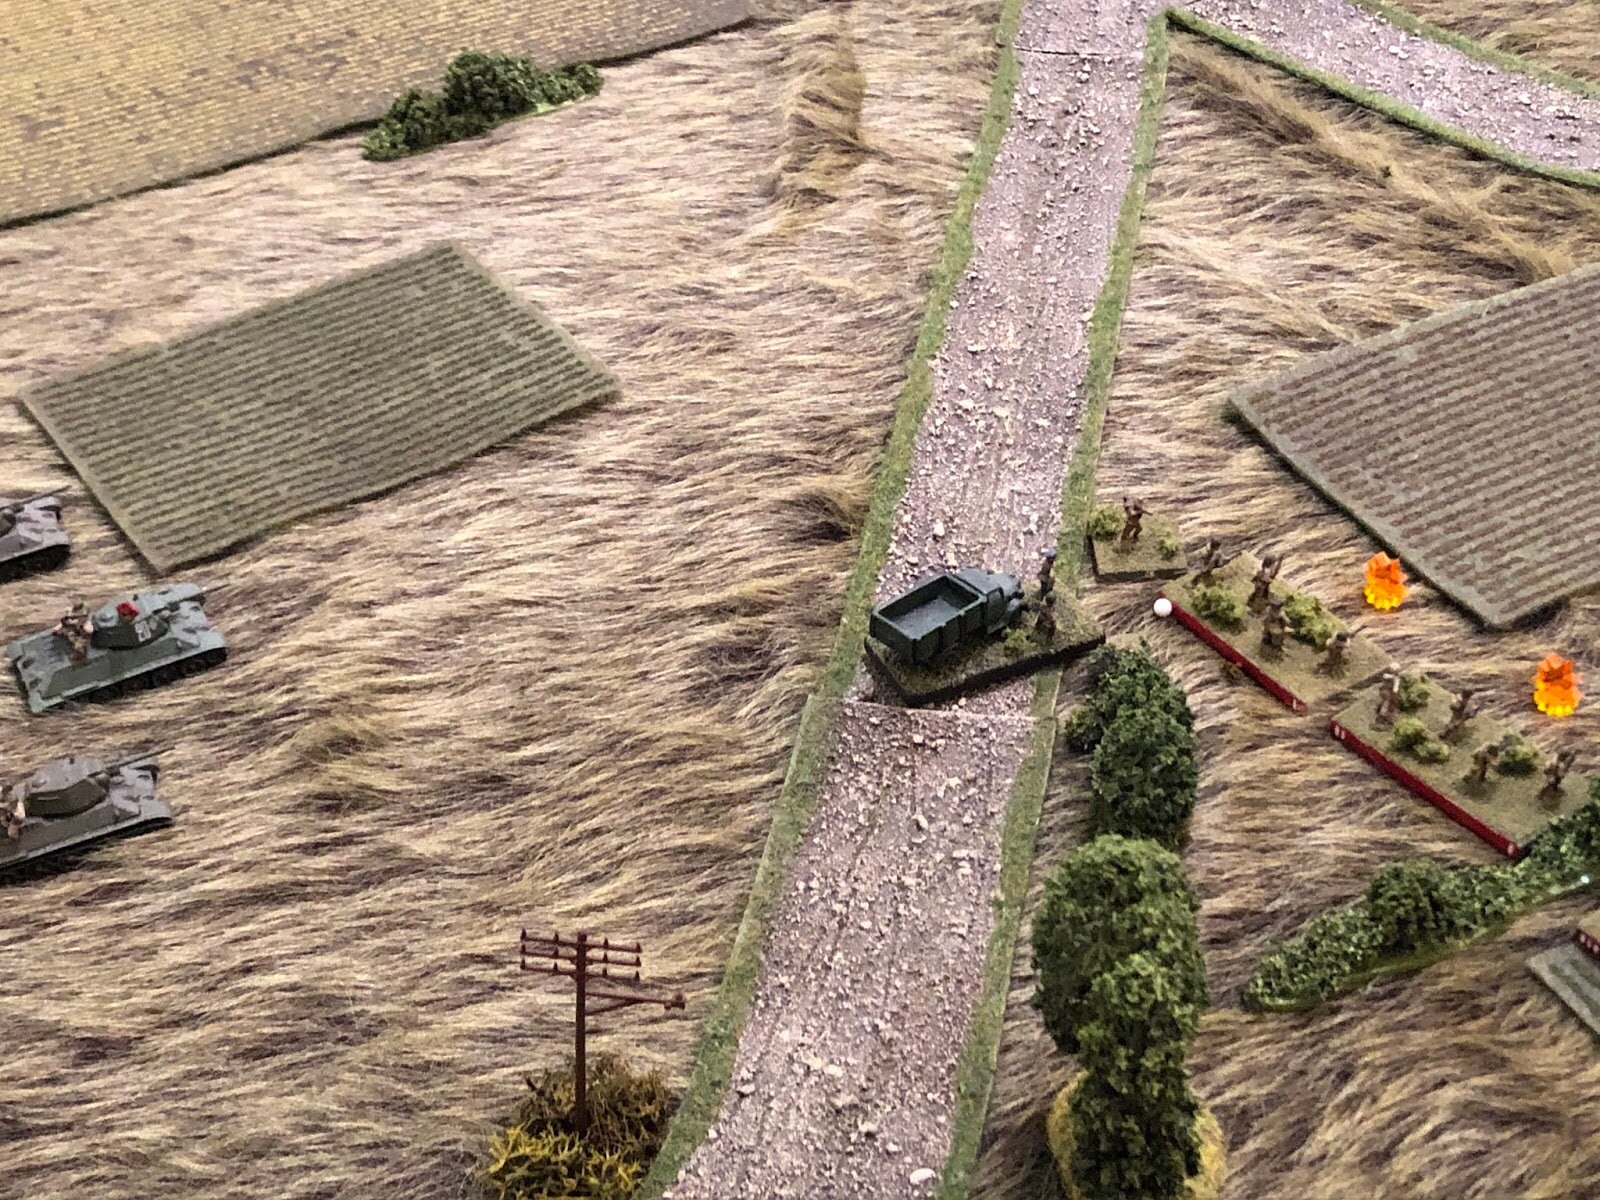
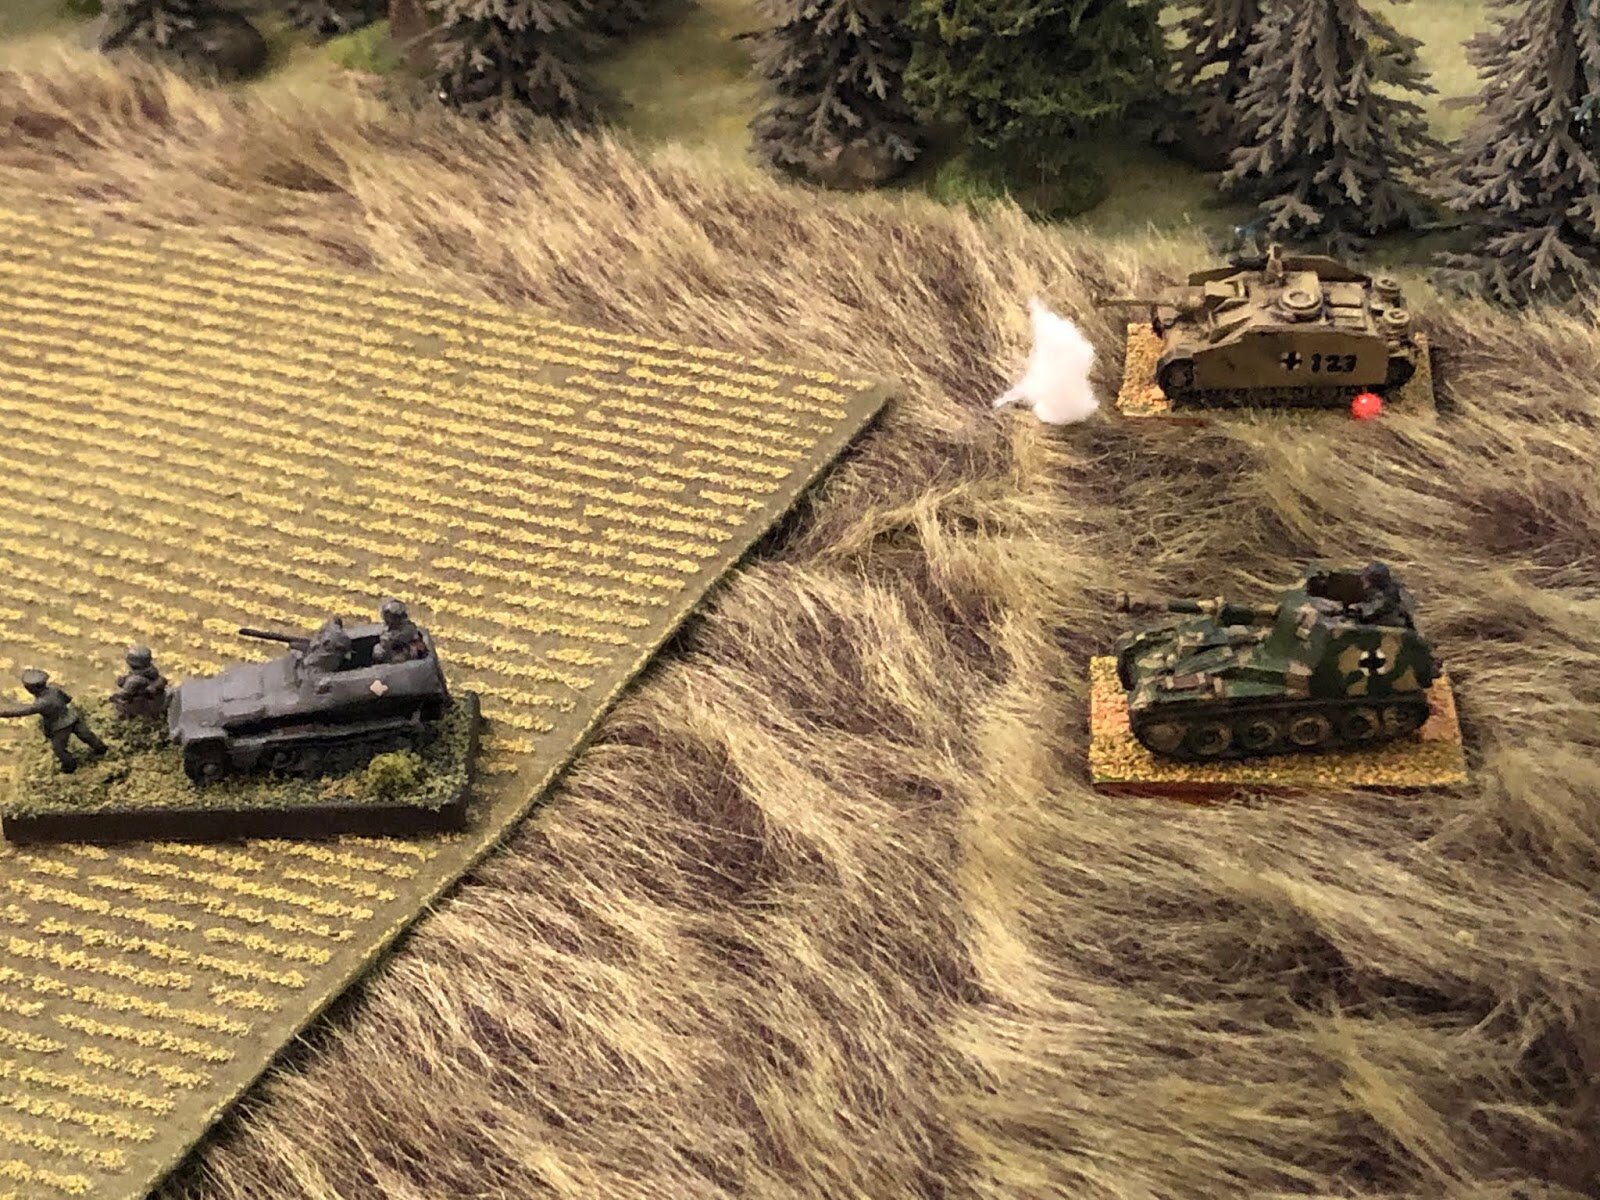
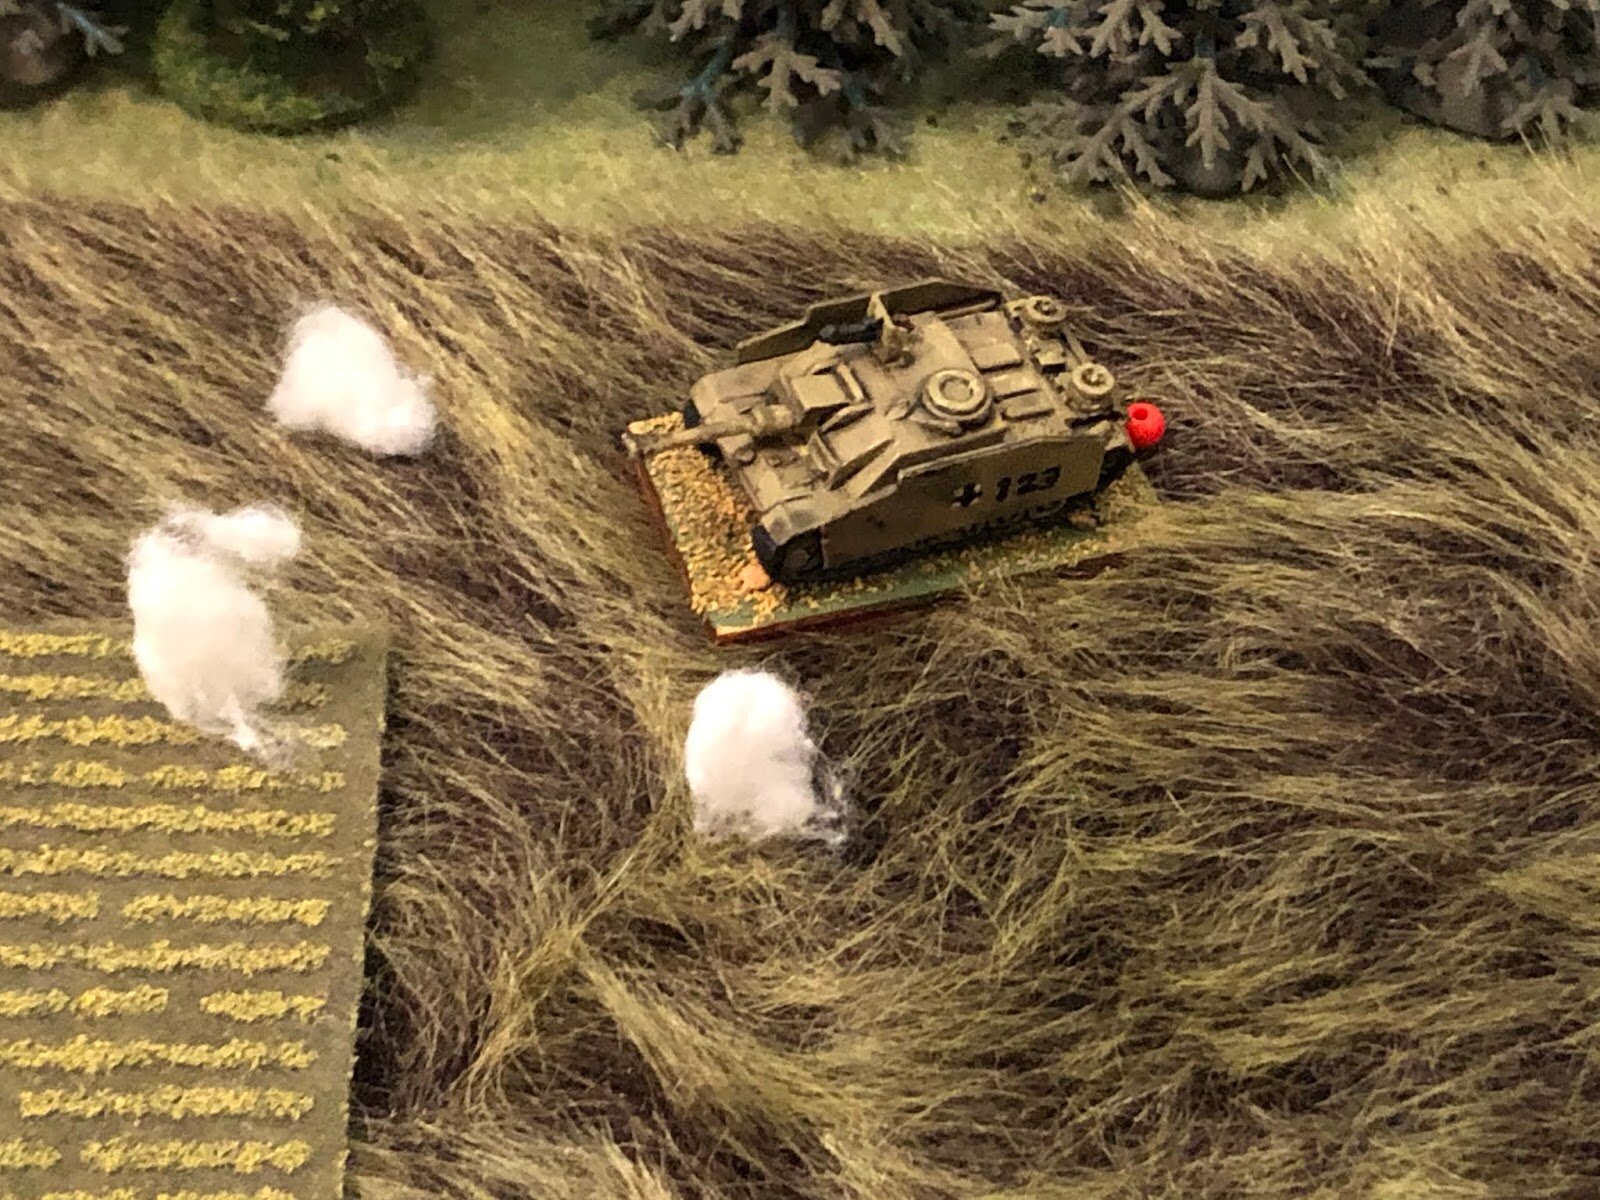
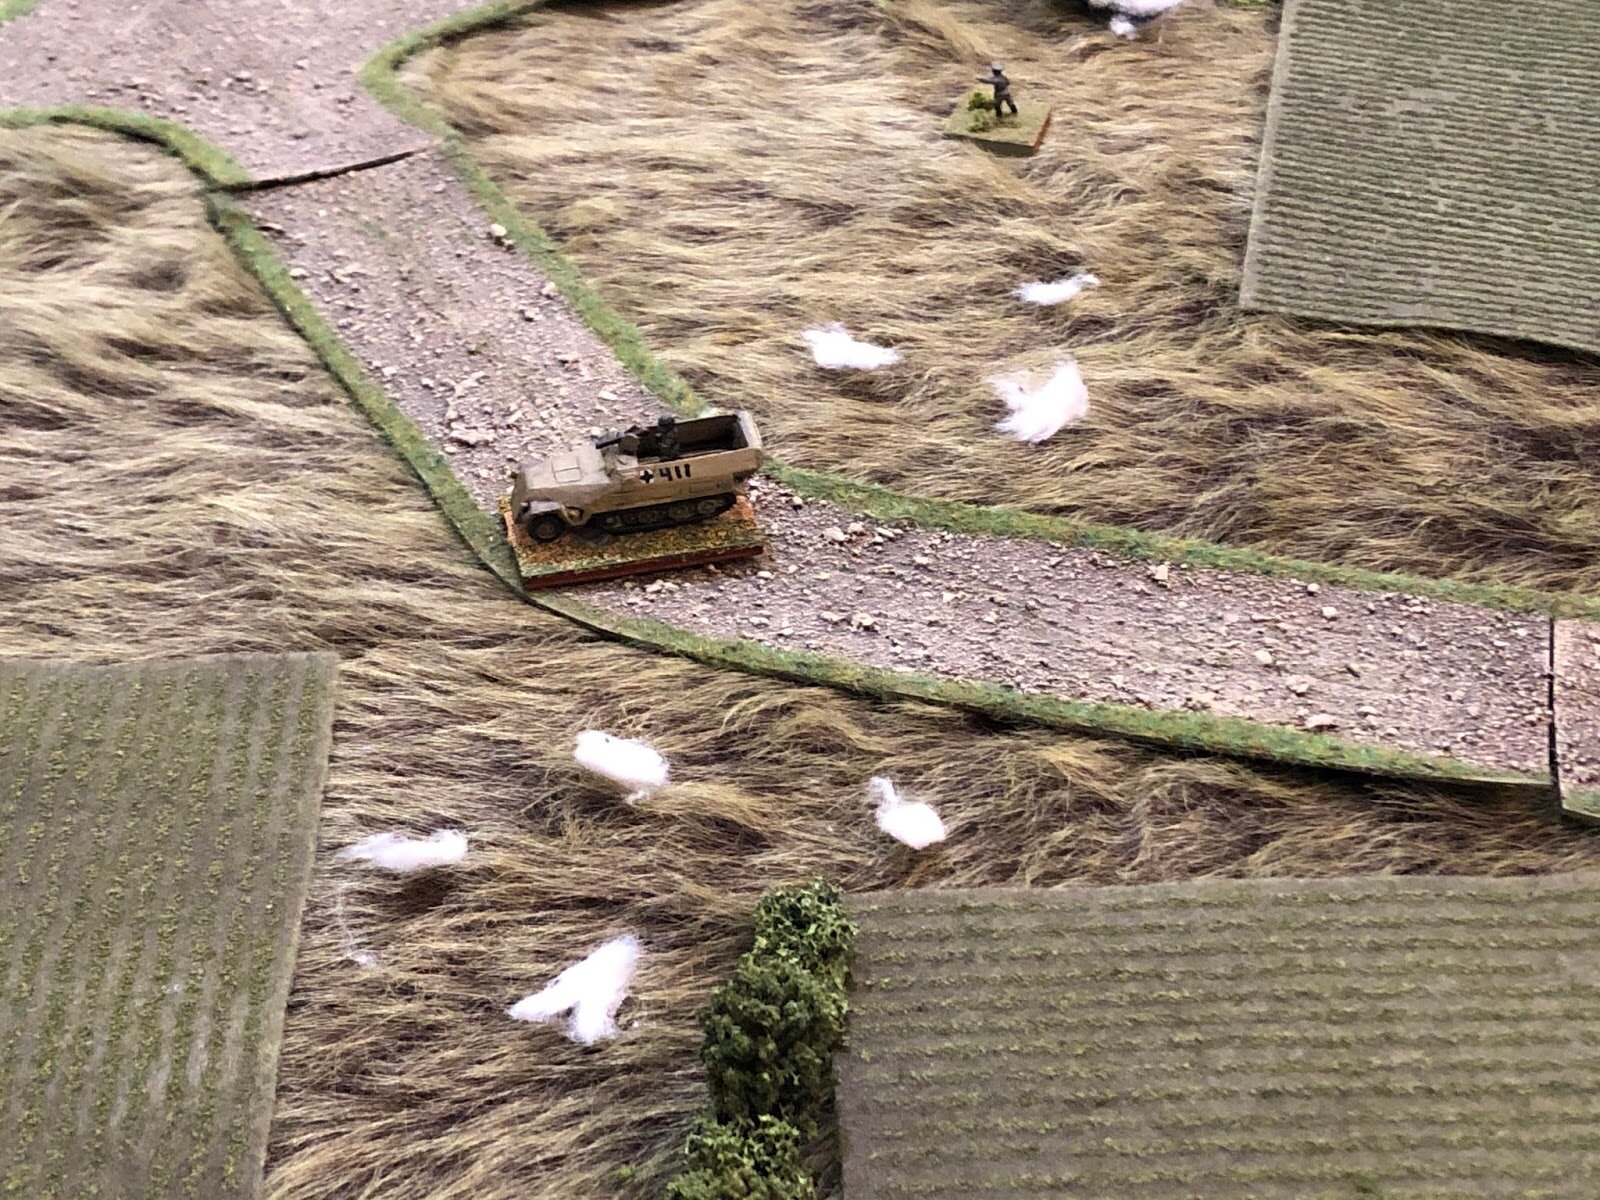
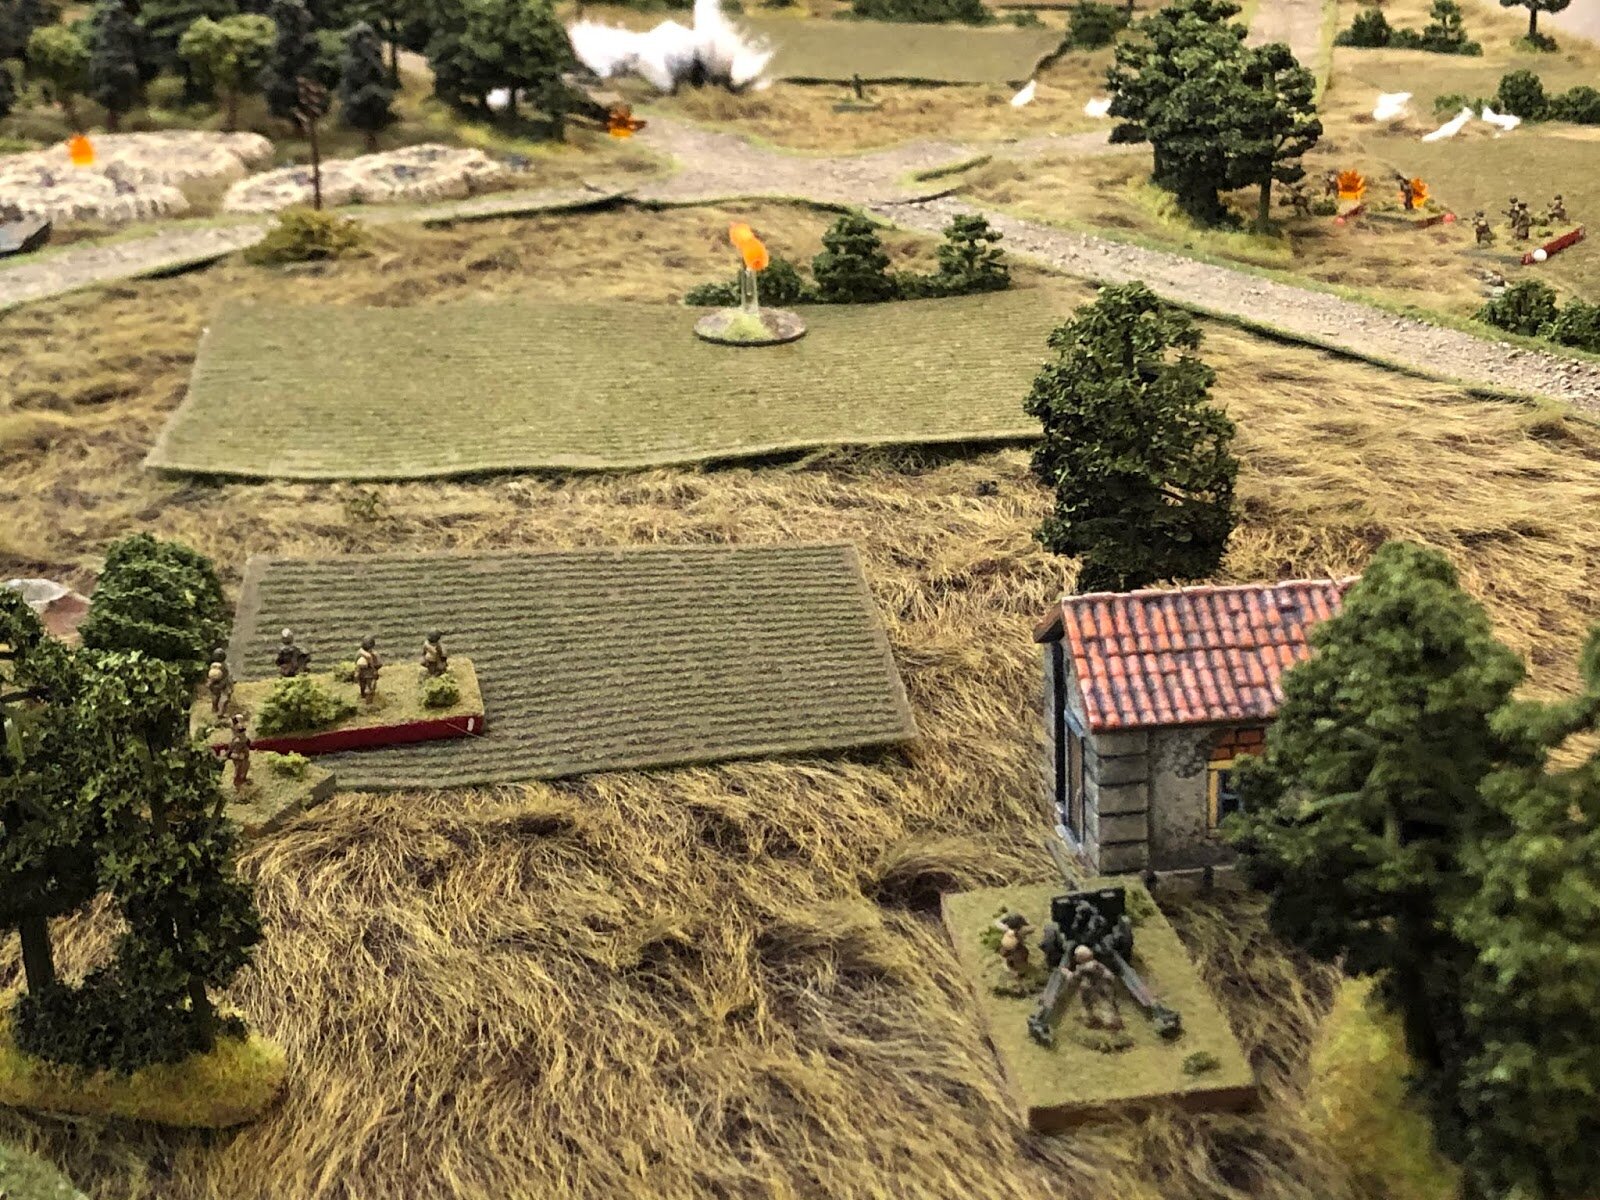
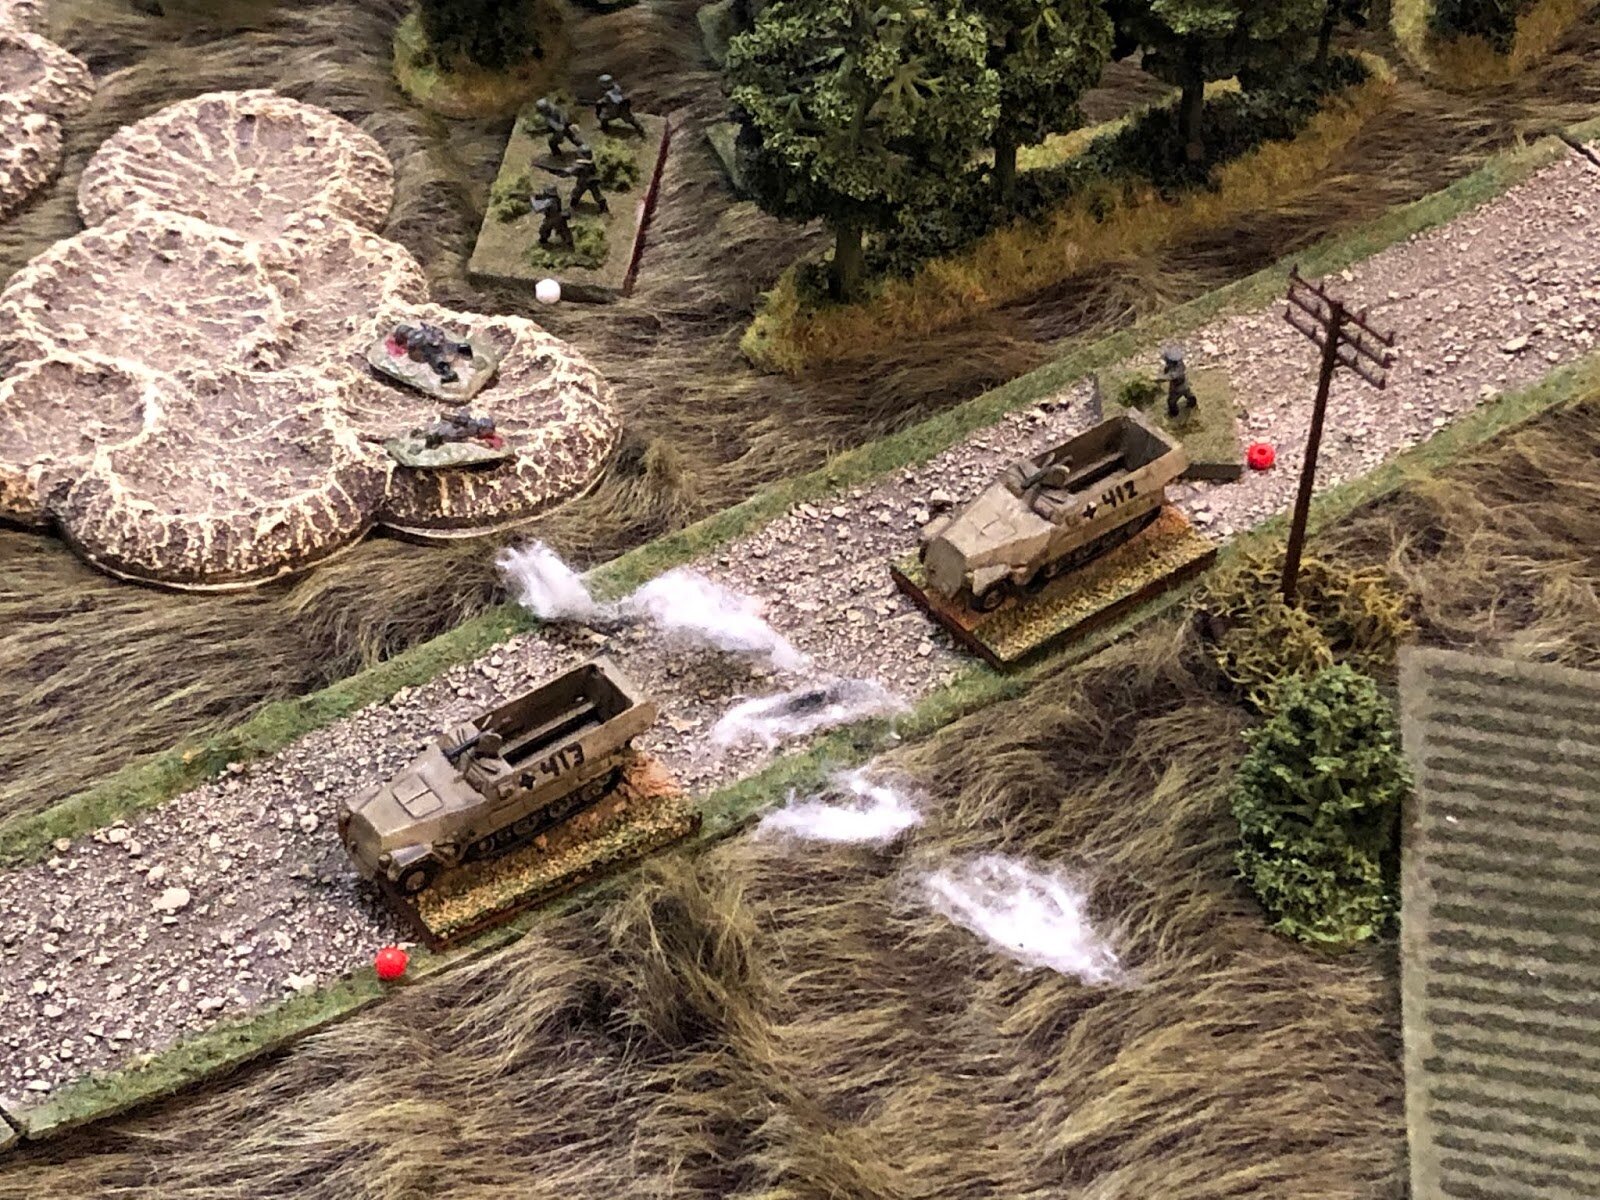
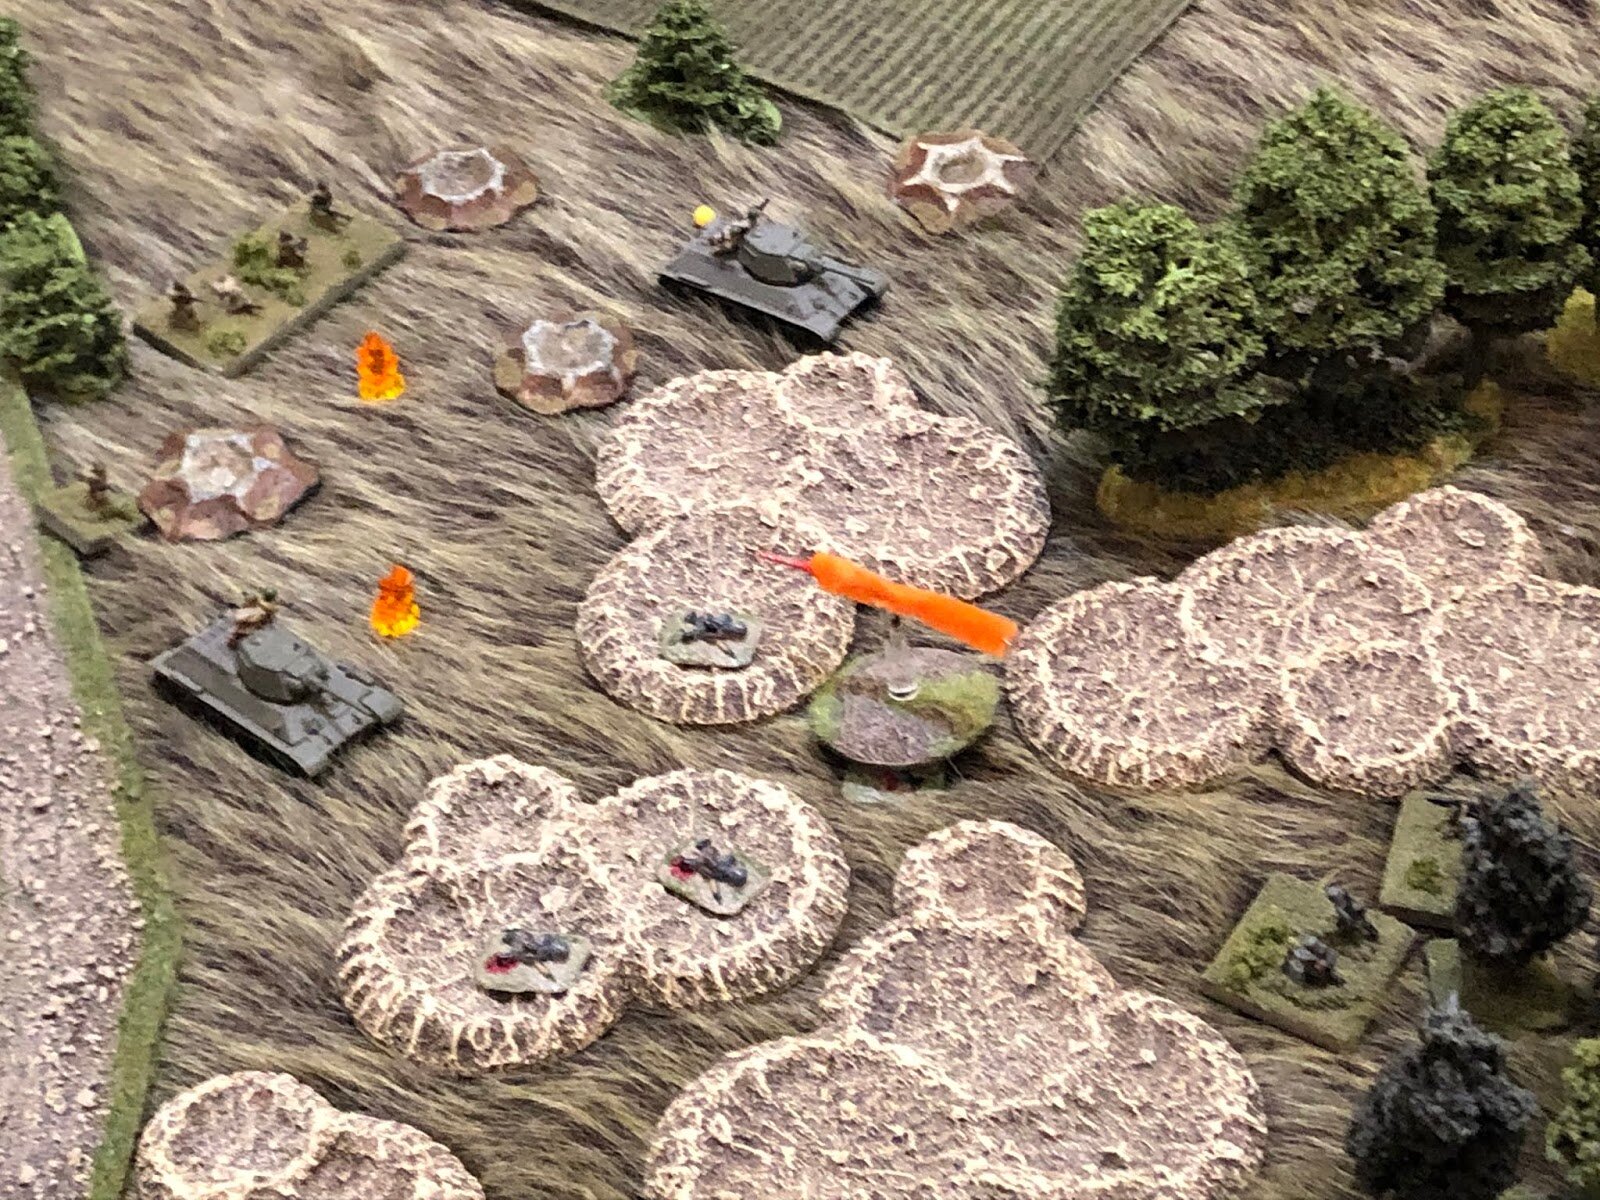
Things were going quite well for the Germans: the right chips were coming out of the bag, allowing me to get set up nice and early on. I had to guess which side the Soviets would deploy their armour, so went for the right hand side for my anti-tank guns. The models, by the way, are PaK 38s not PaK 40s, but we fired them as PaK 40s.
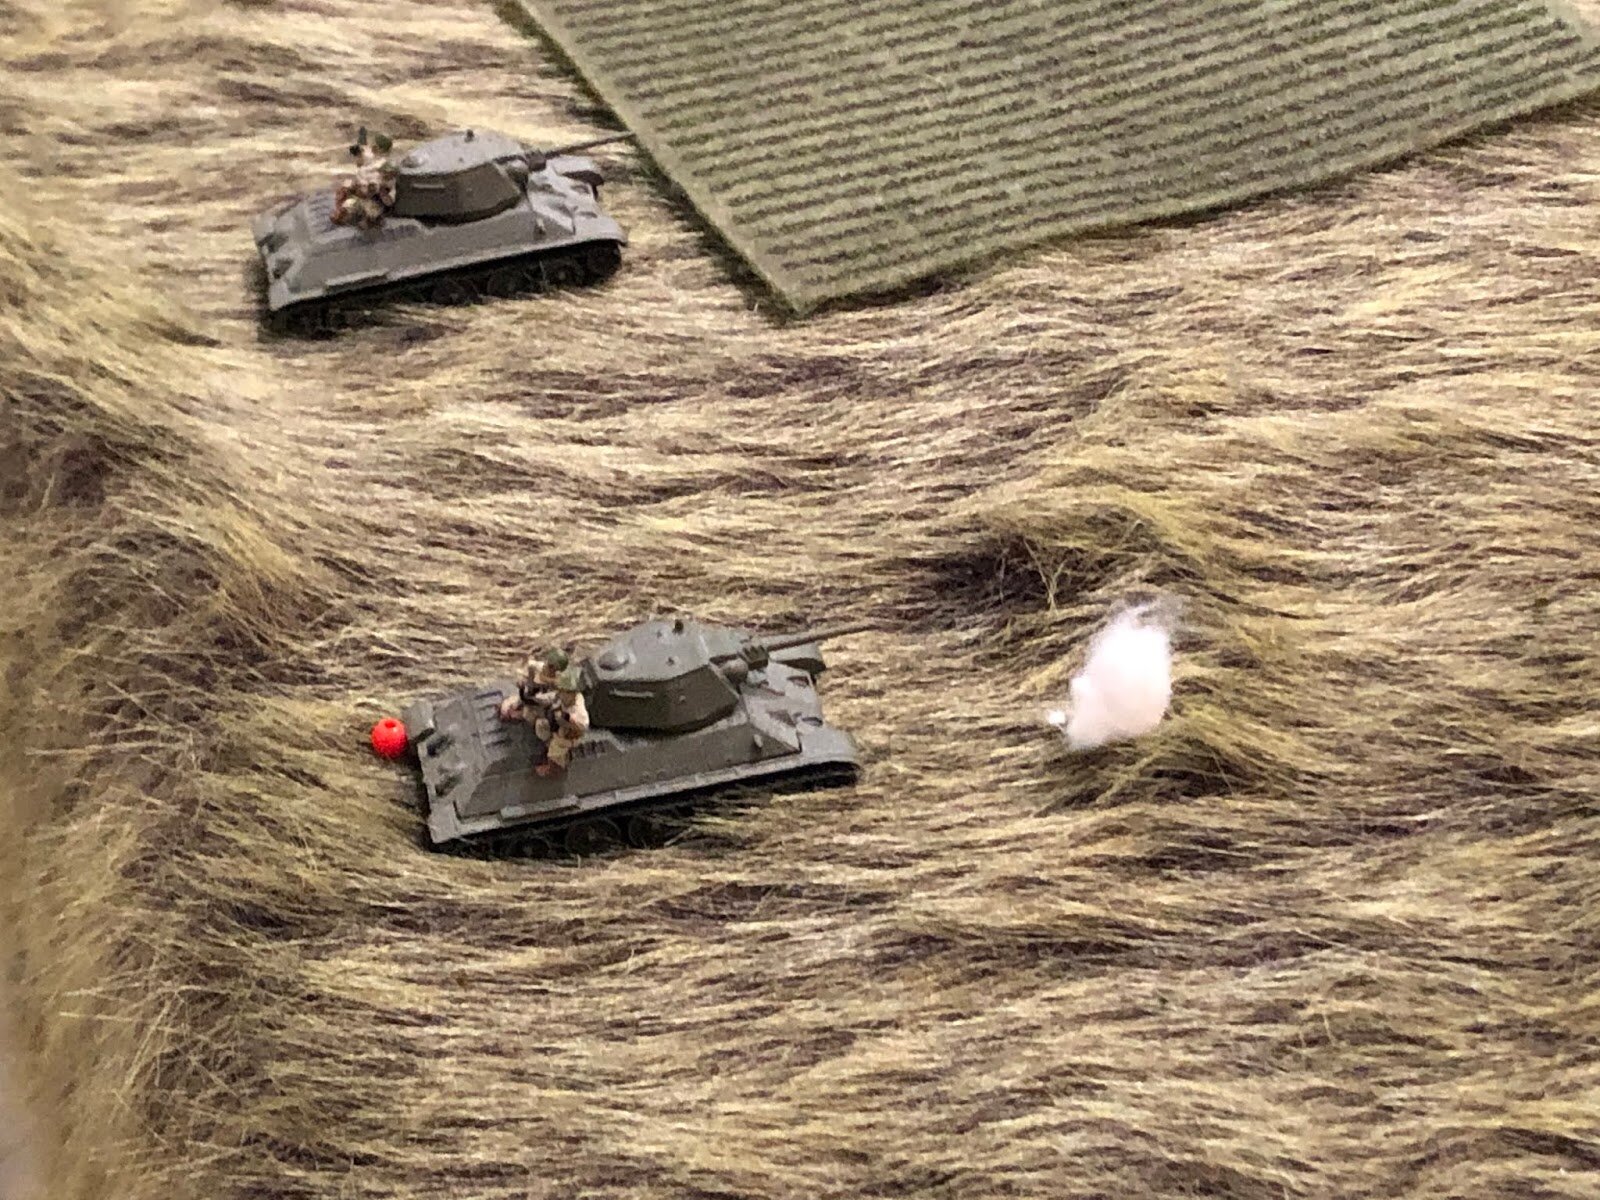
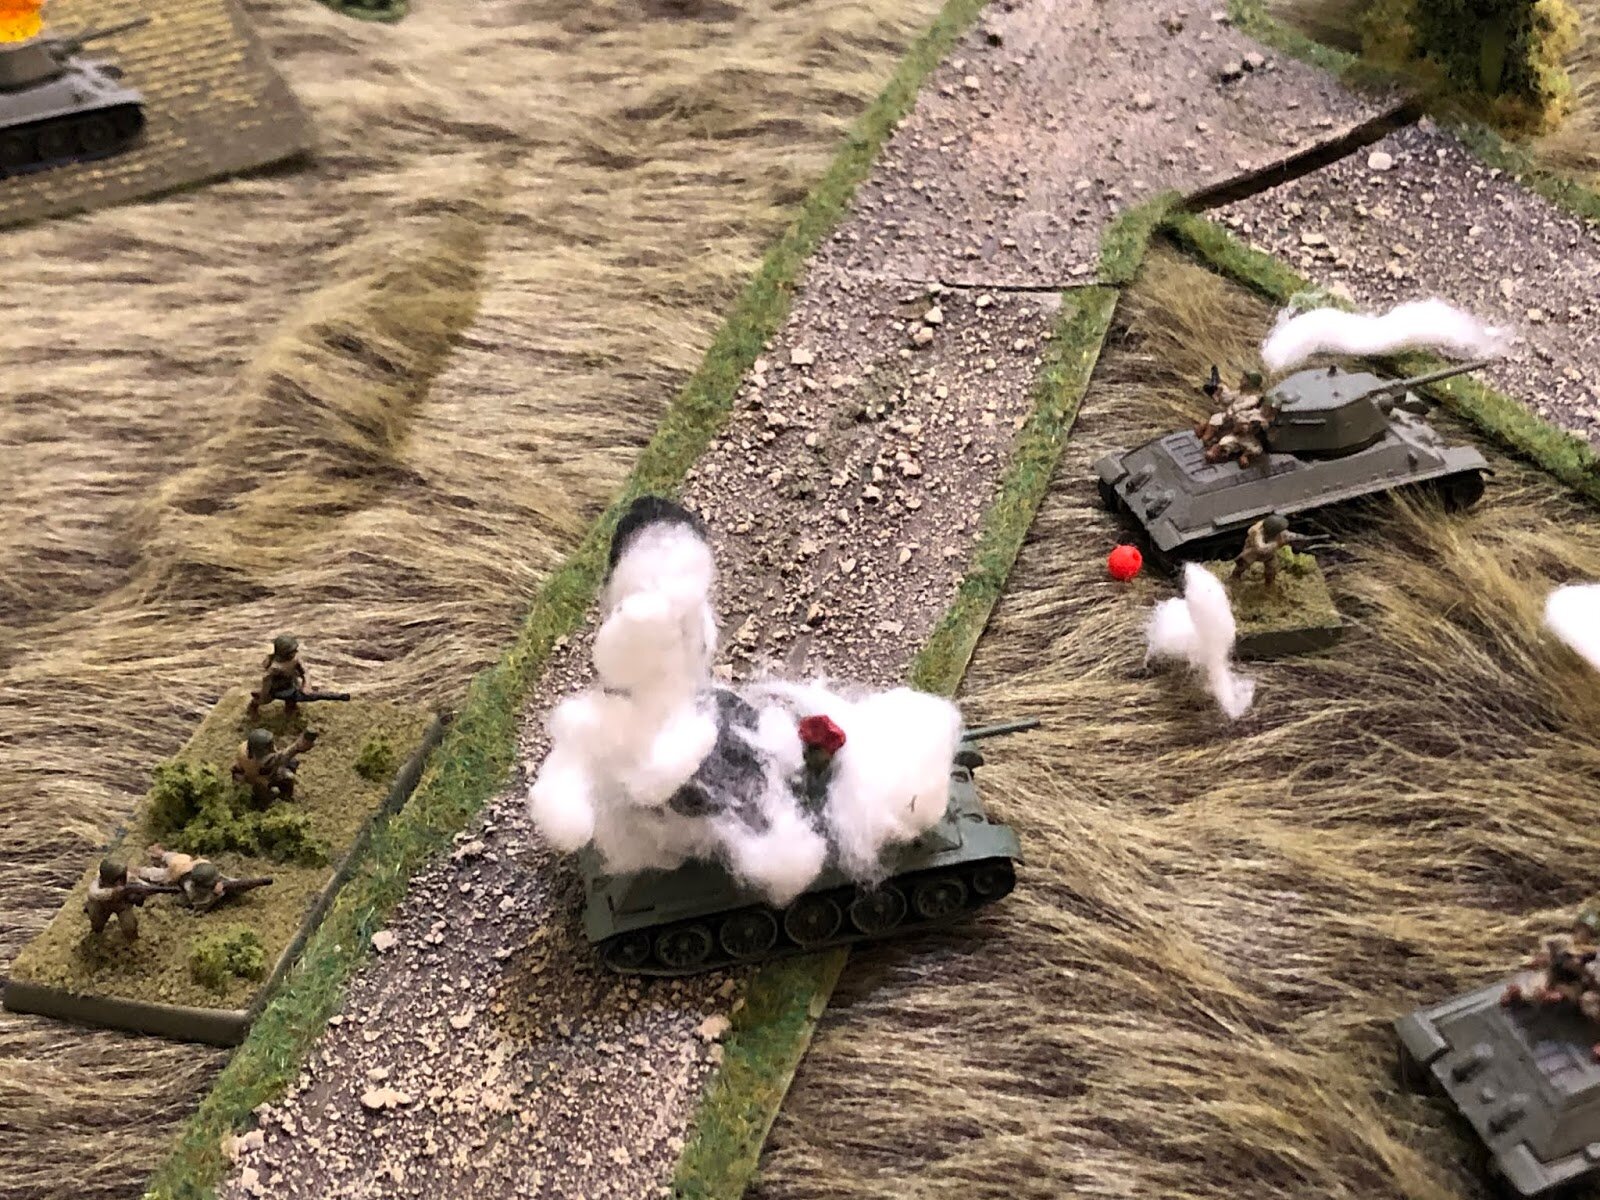
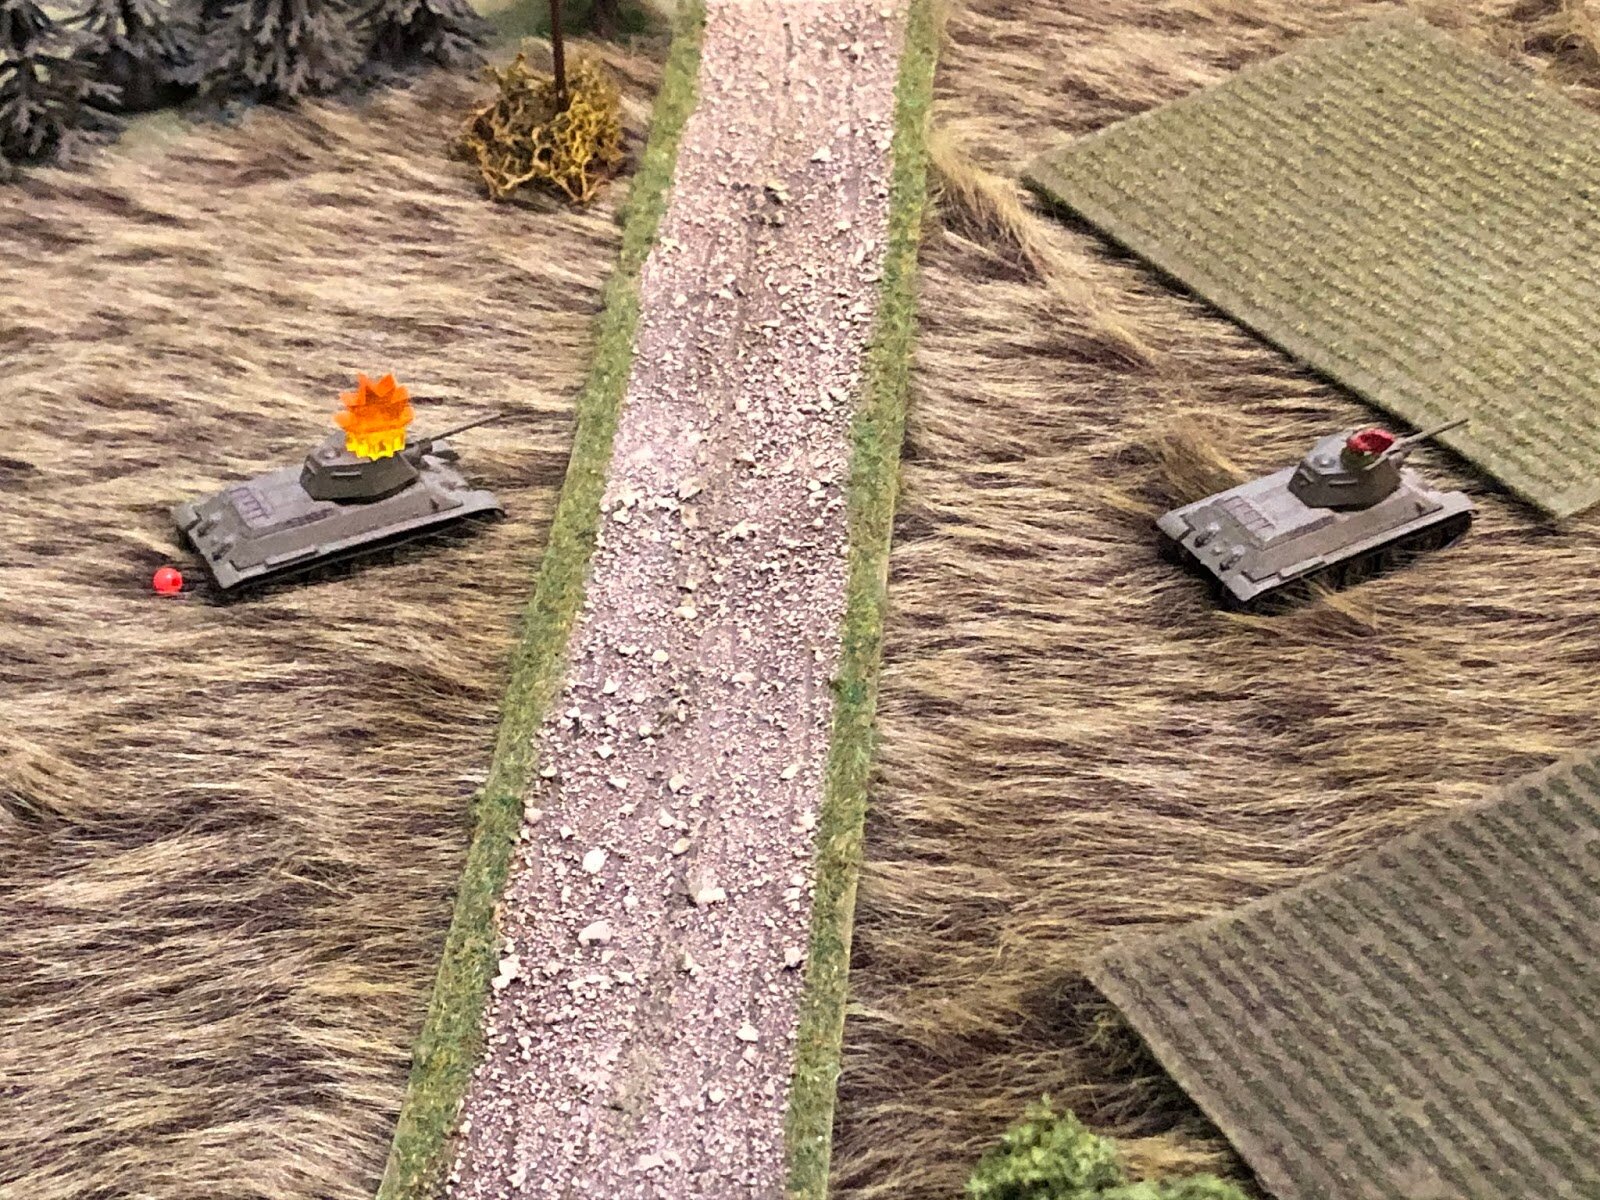
As it happens, the right side was, indeed, the right side: my anti-tank gun crews could see three SU-100s advancing towards them, so opened fire immediately.
Ridiculous!
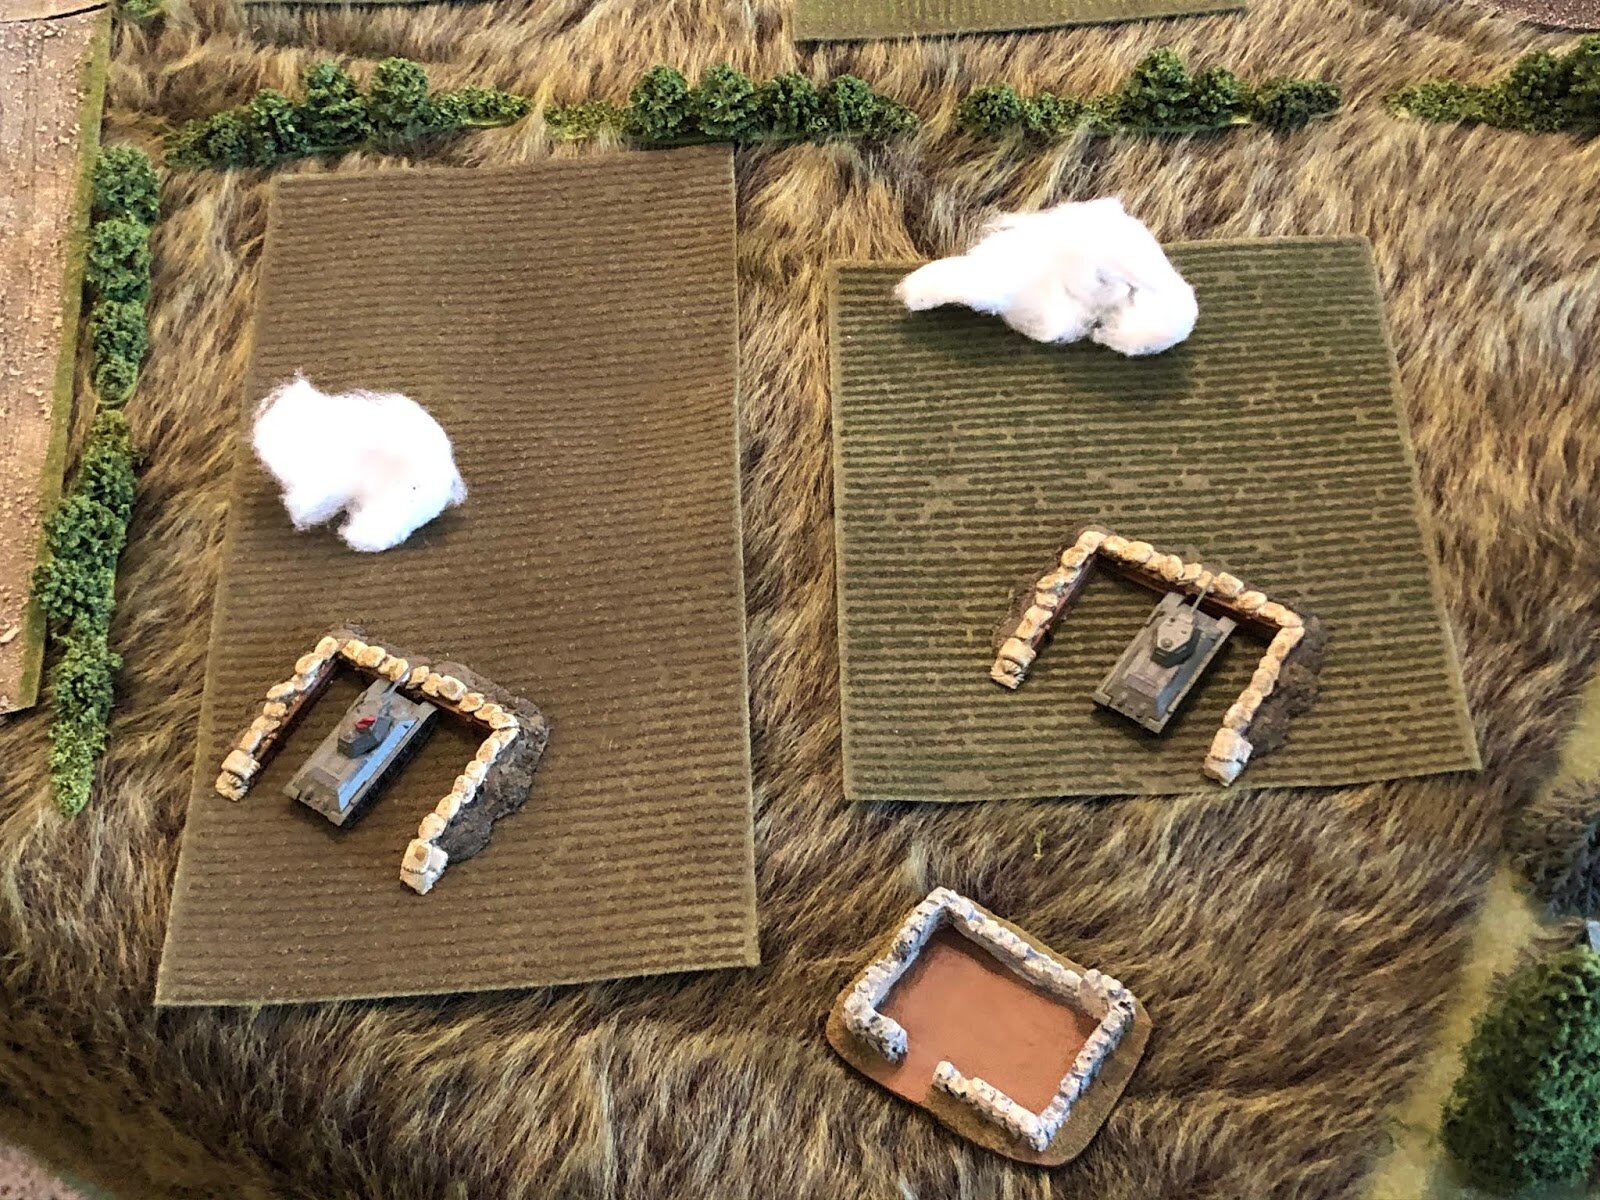
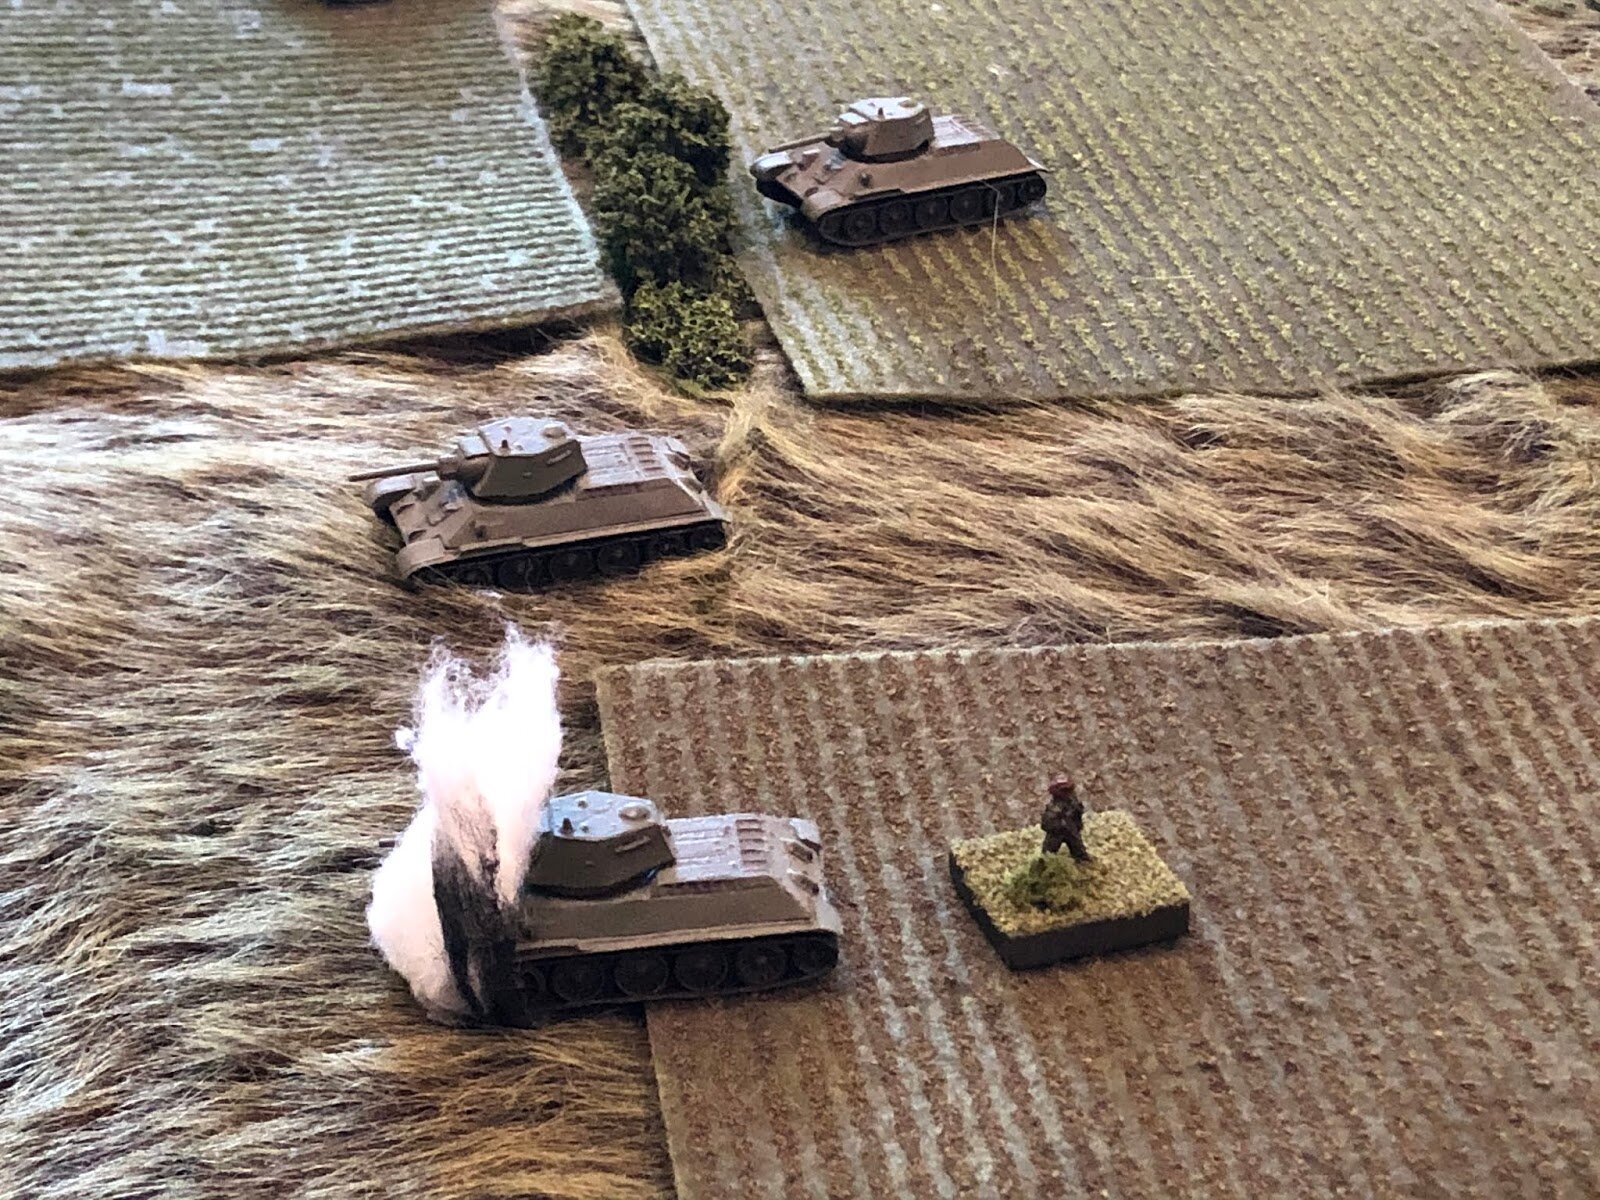
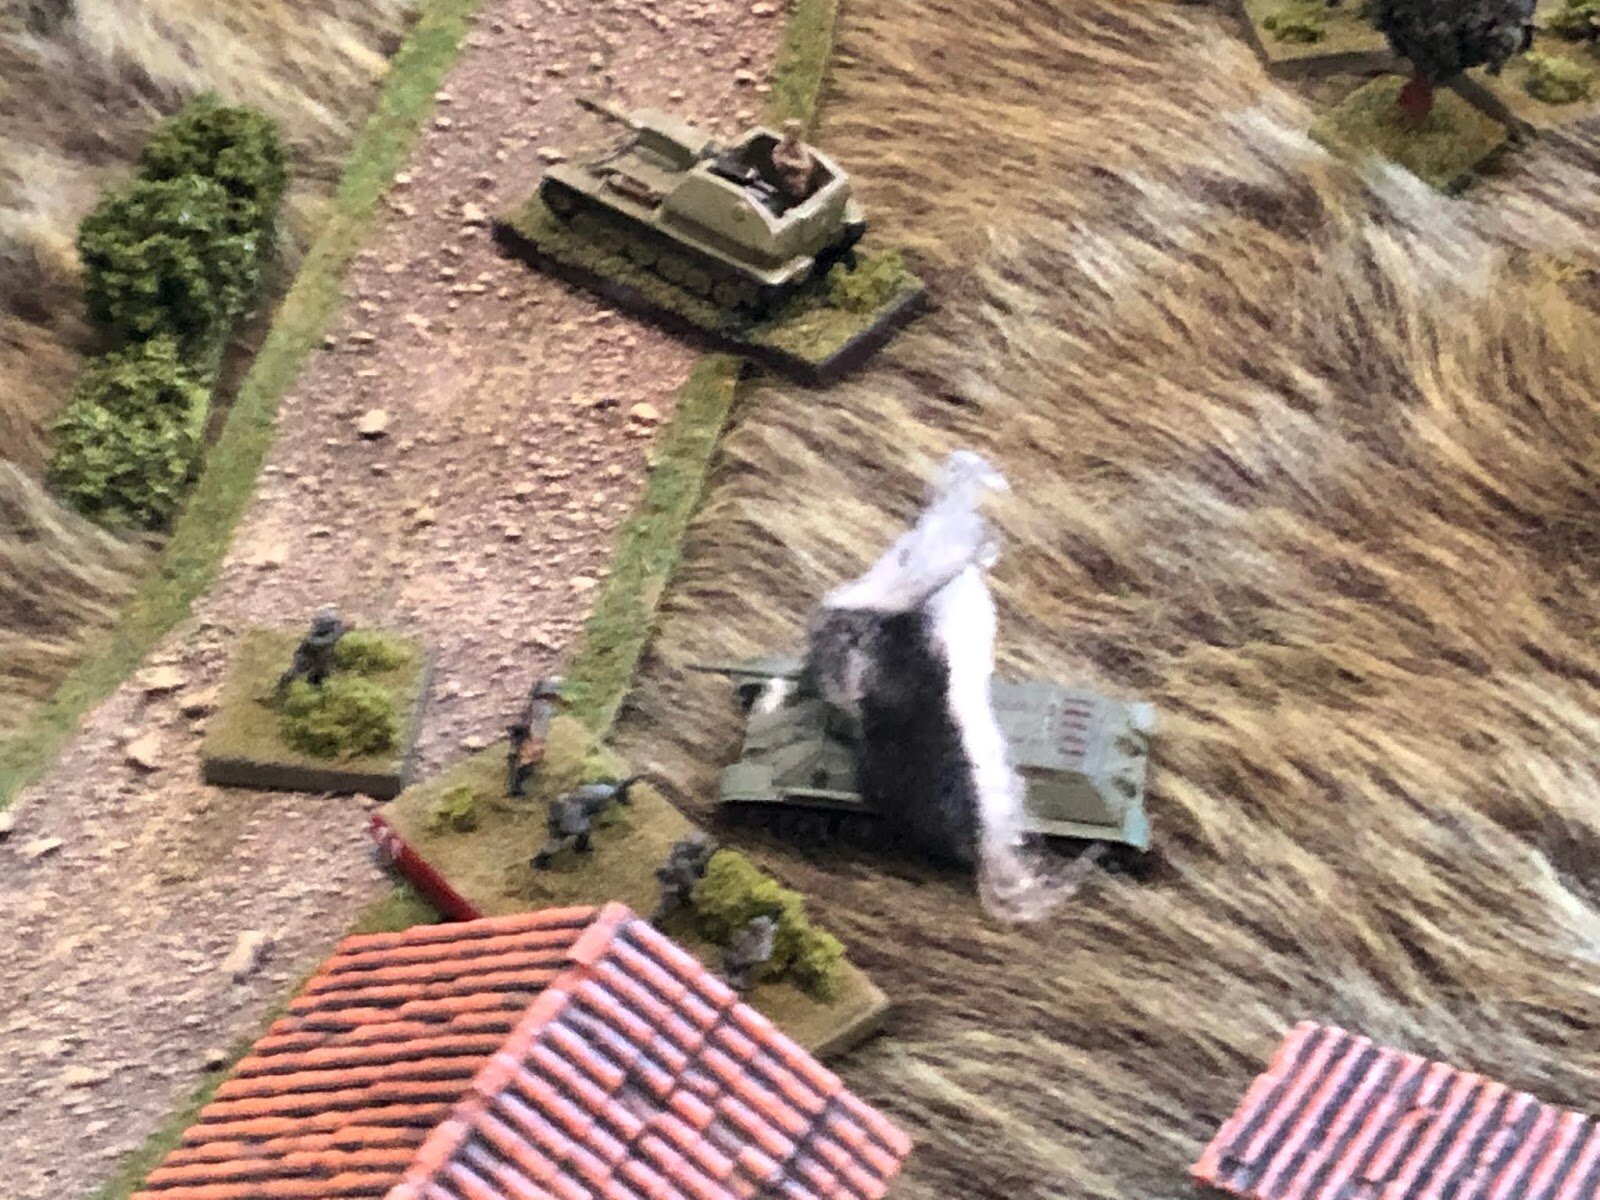
My first few volleys were very successful: one SU-100 had it’s main gun knocked out, and one was blown to bits. Two down, one to go: and the anti-tank gunners congratulated themselves on a job that was going well.
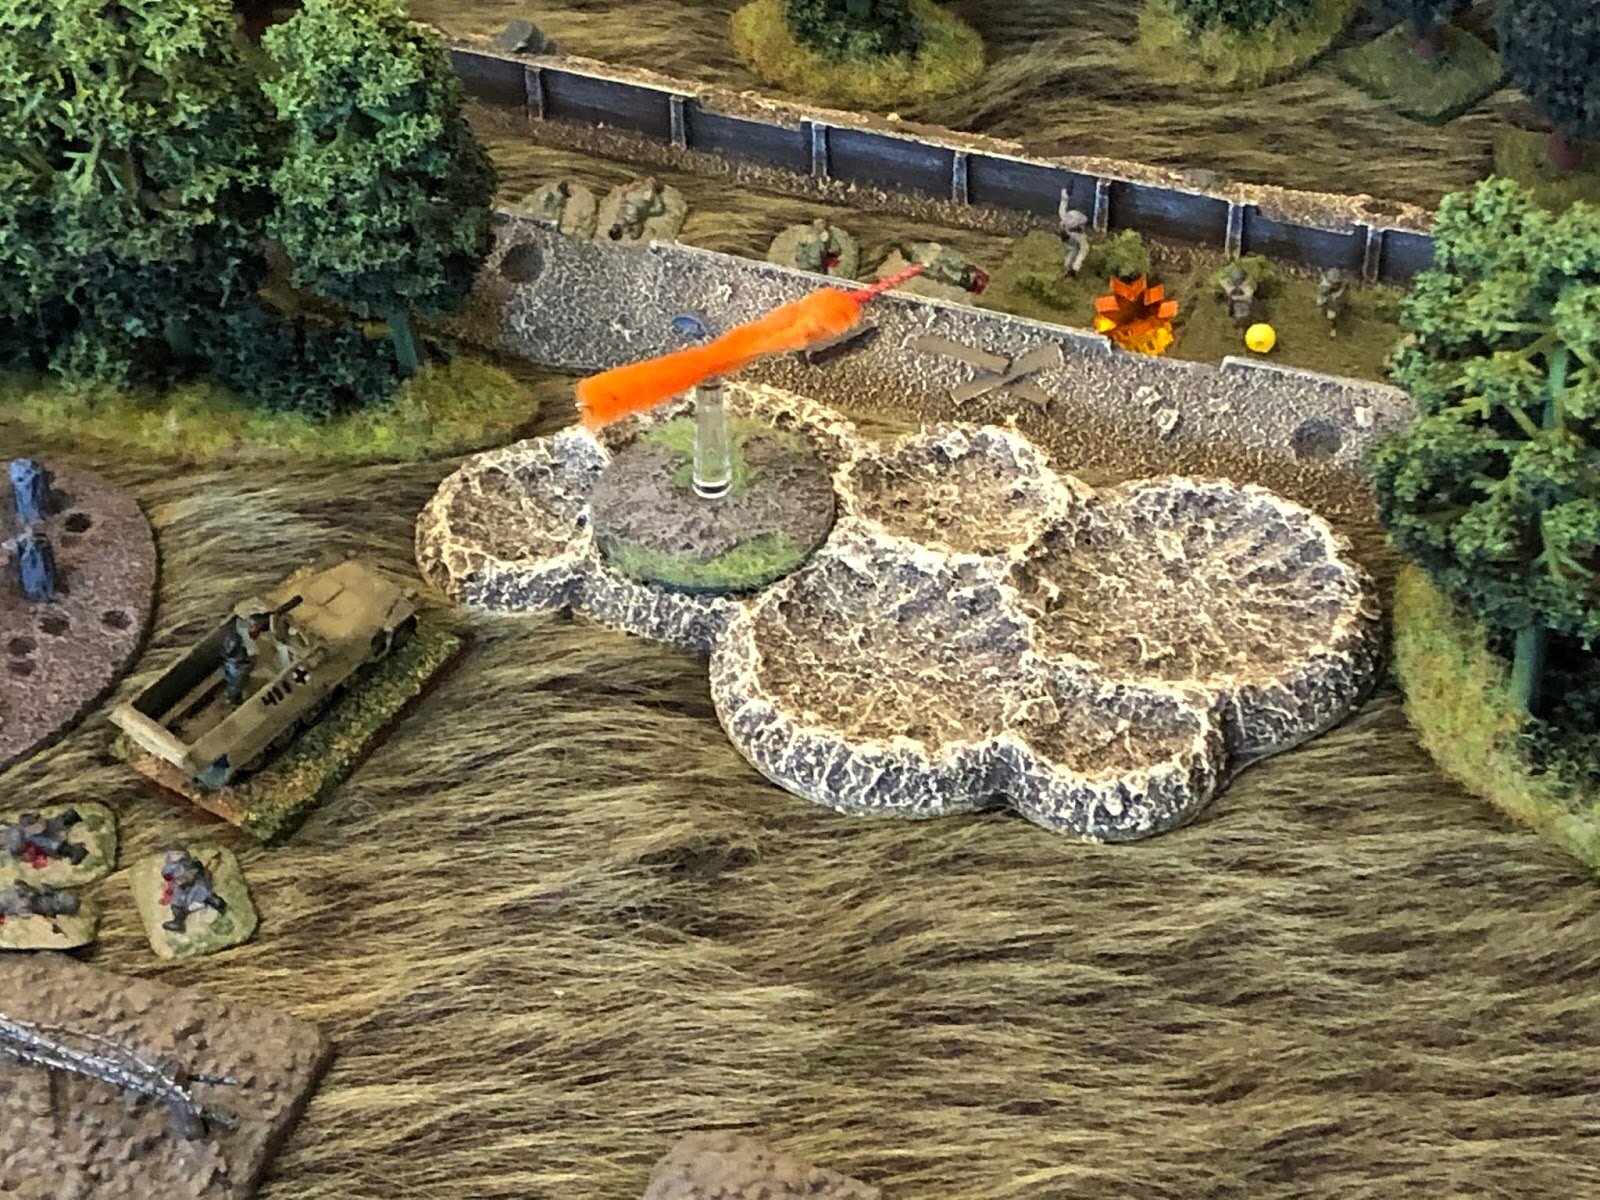
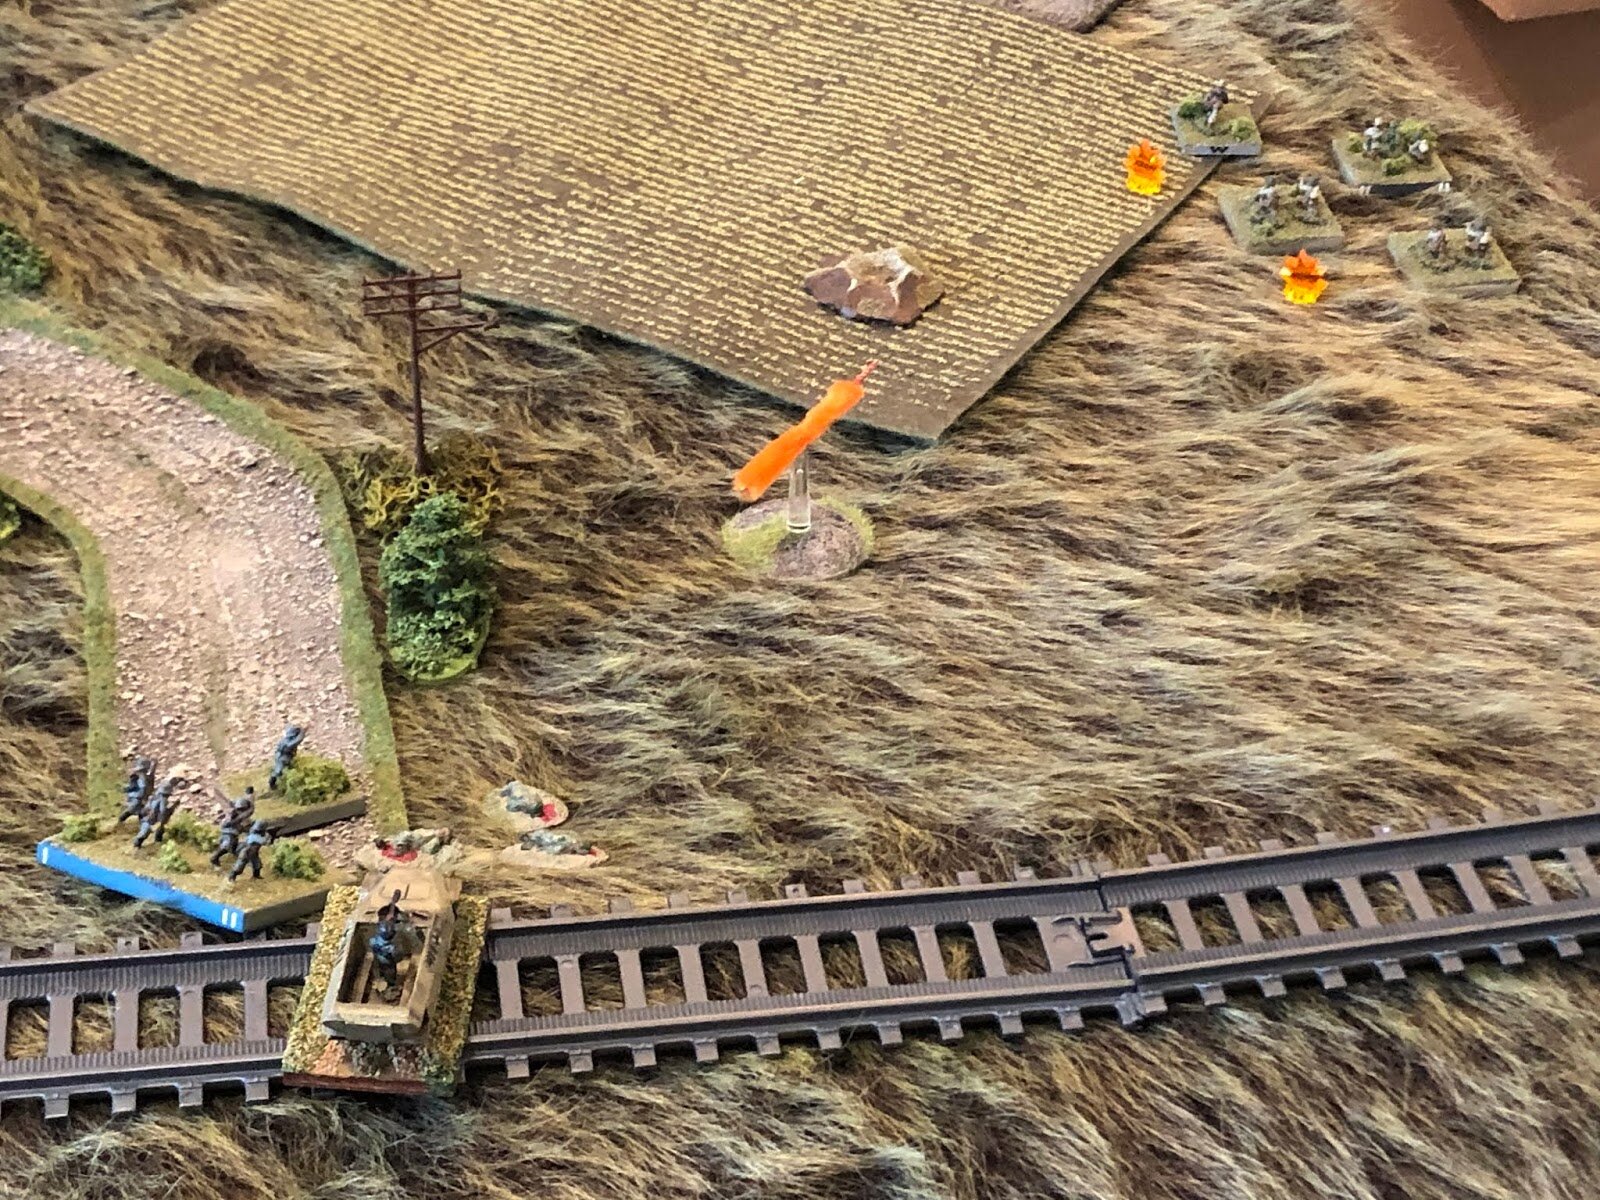
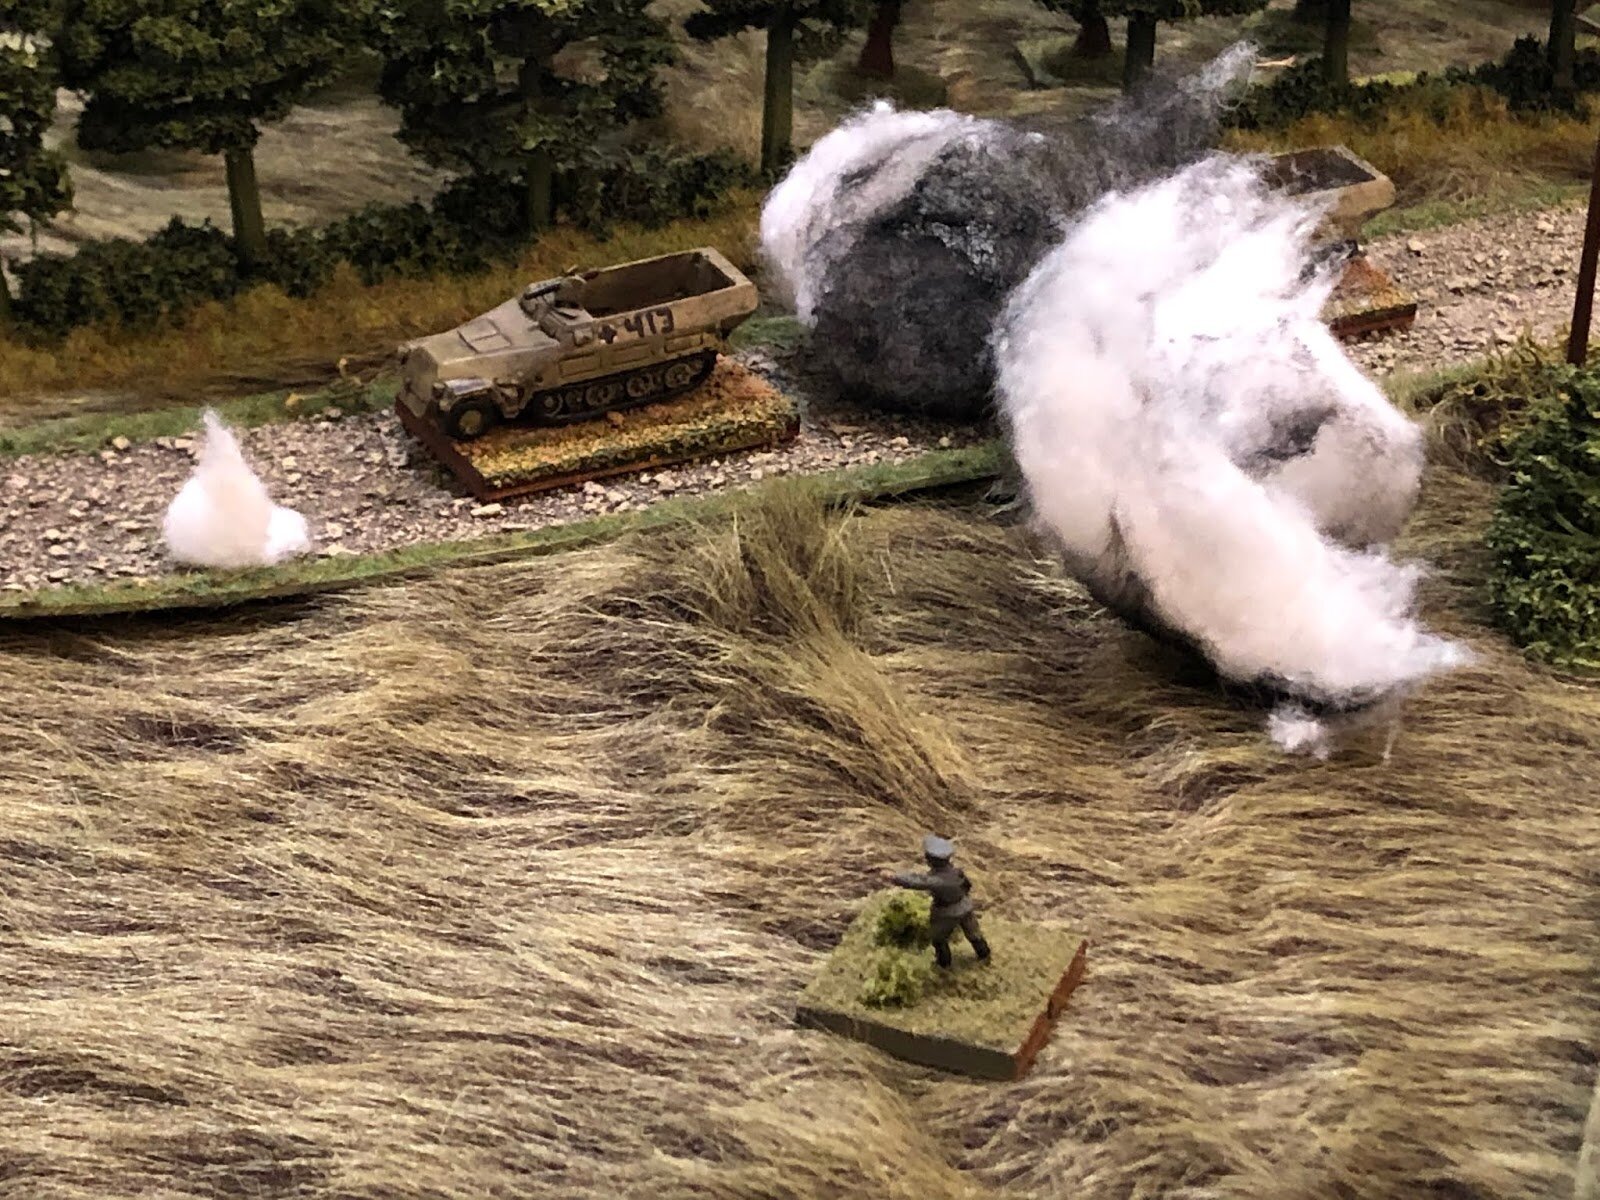
Unfortunately, I had forgotten about the “ridiculous attachment” that I had given the Soviets. With its fire zeroed in by the sniper (we allowed this, but obviously he couldn’t snipe and FOO at the same time), the SU-152 opened fire with its horrendously huge gun.
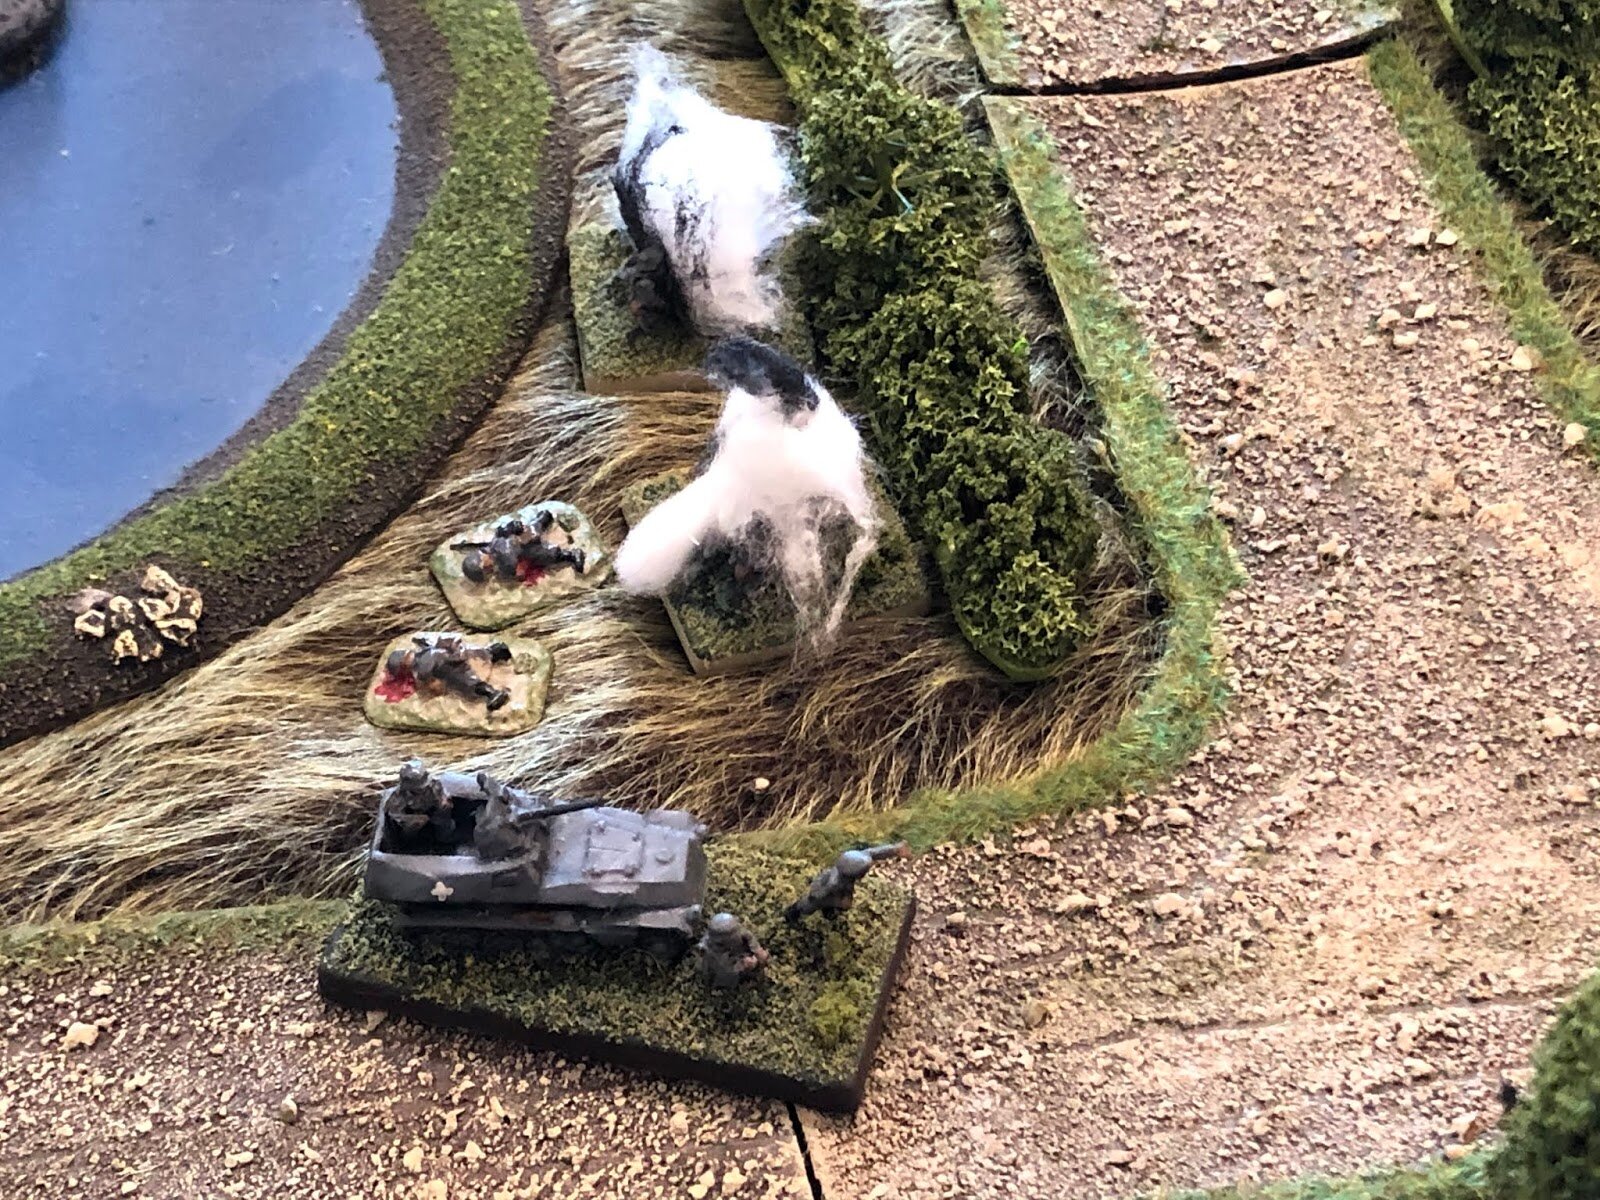
It’s first round fell short, but it’s next landed right on top of two of the anti-tank guns, blowing them and their crews right off the table!
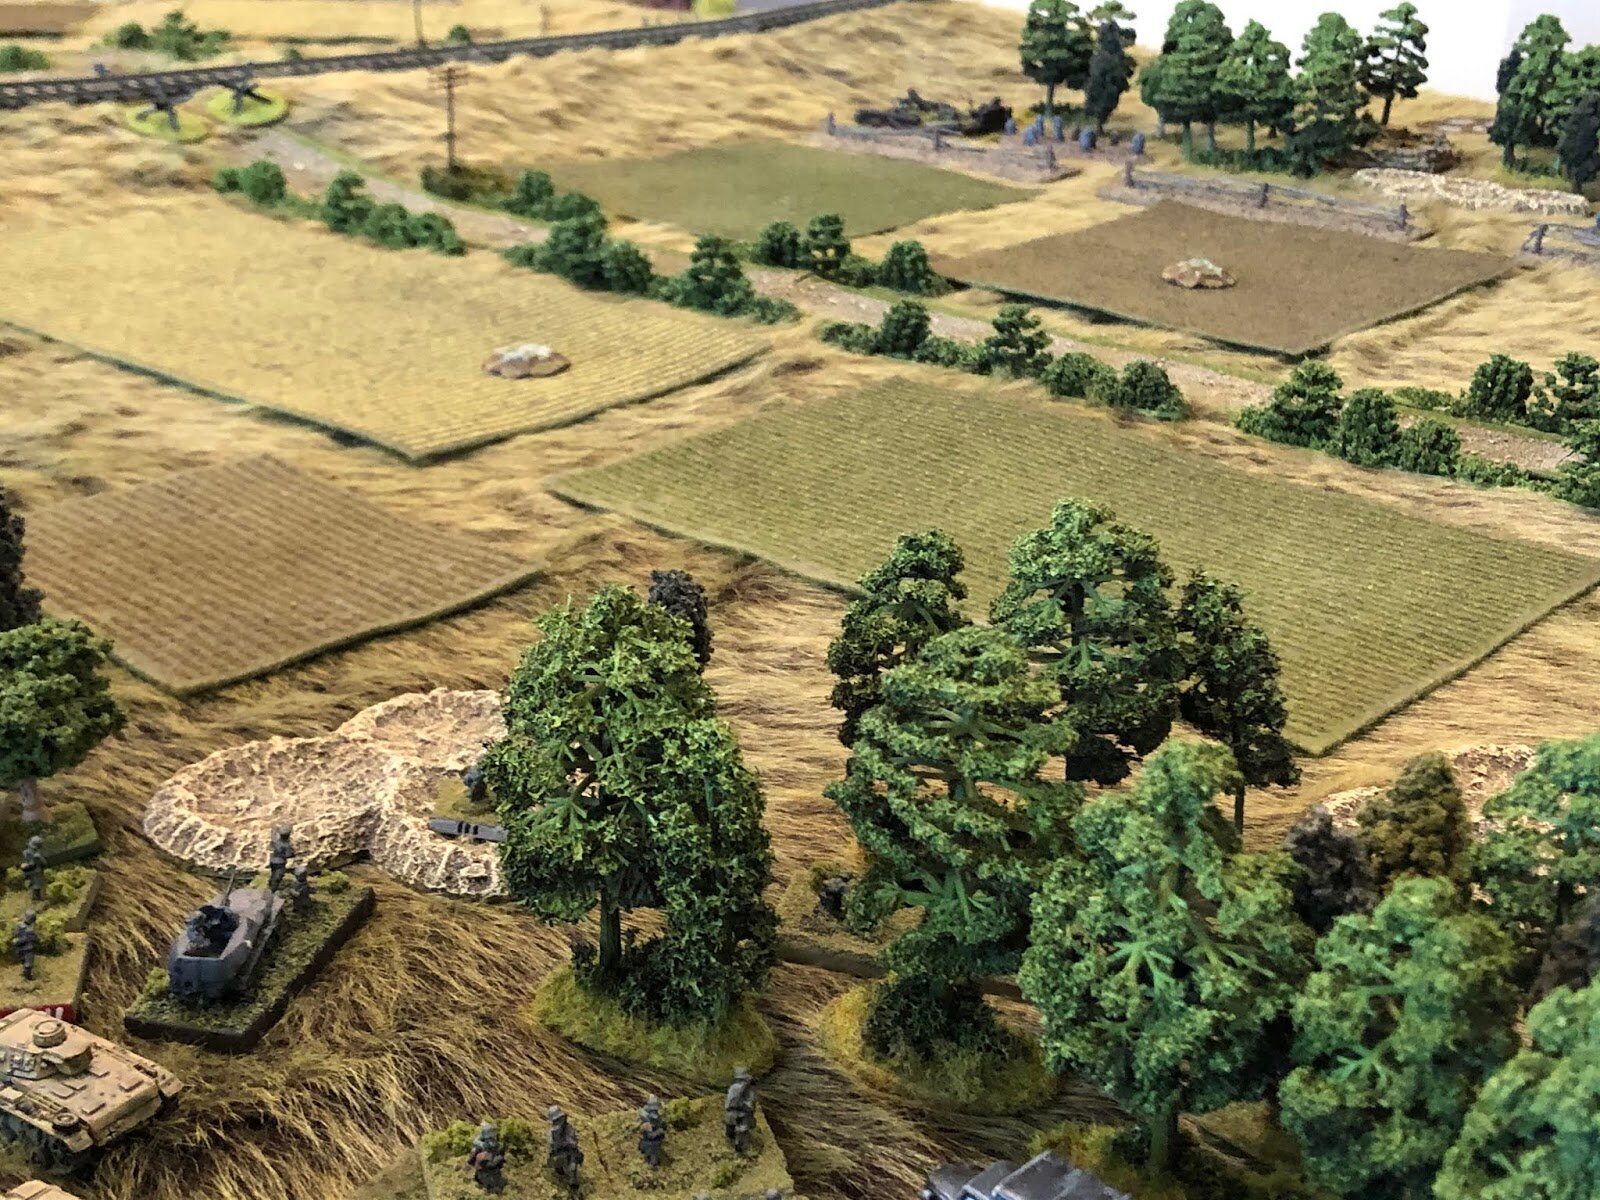
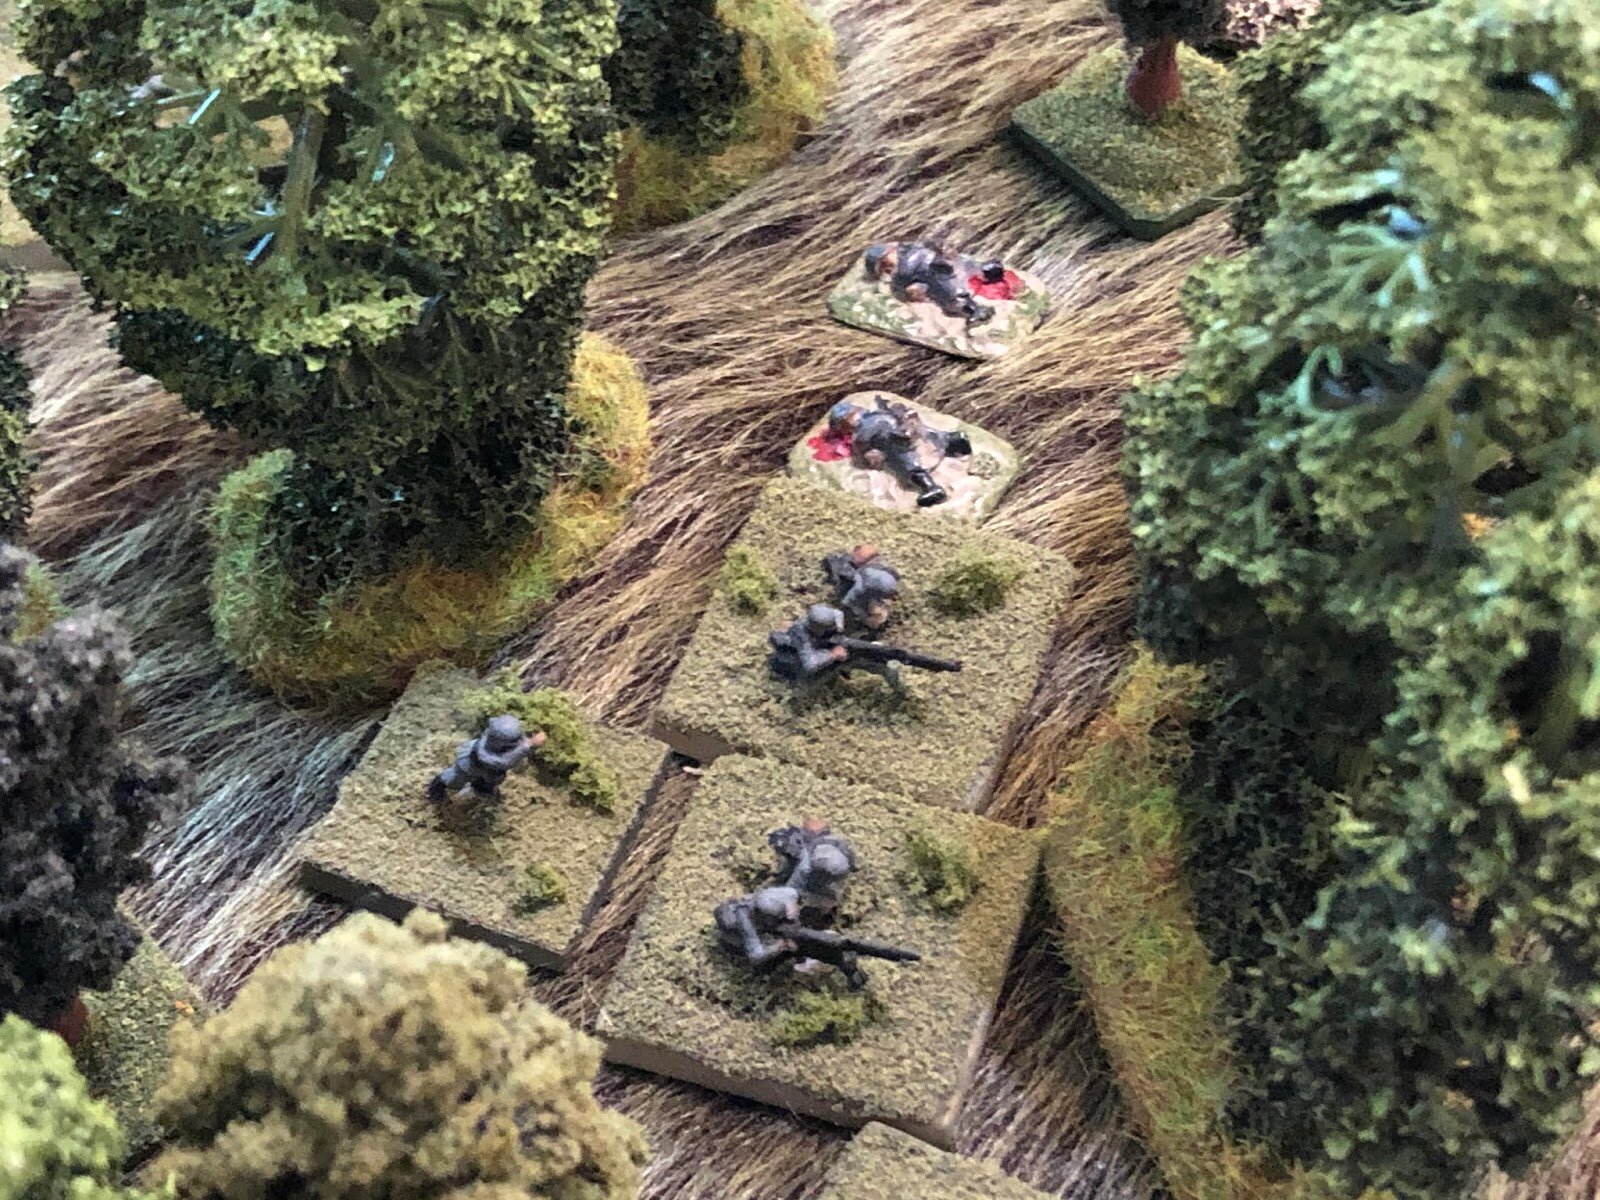
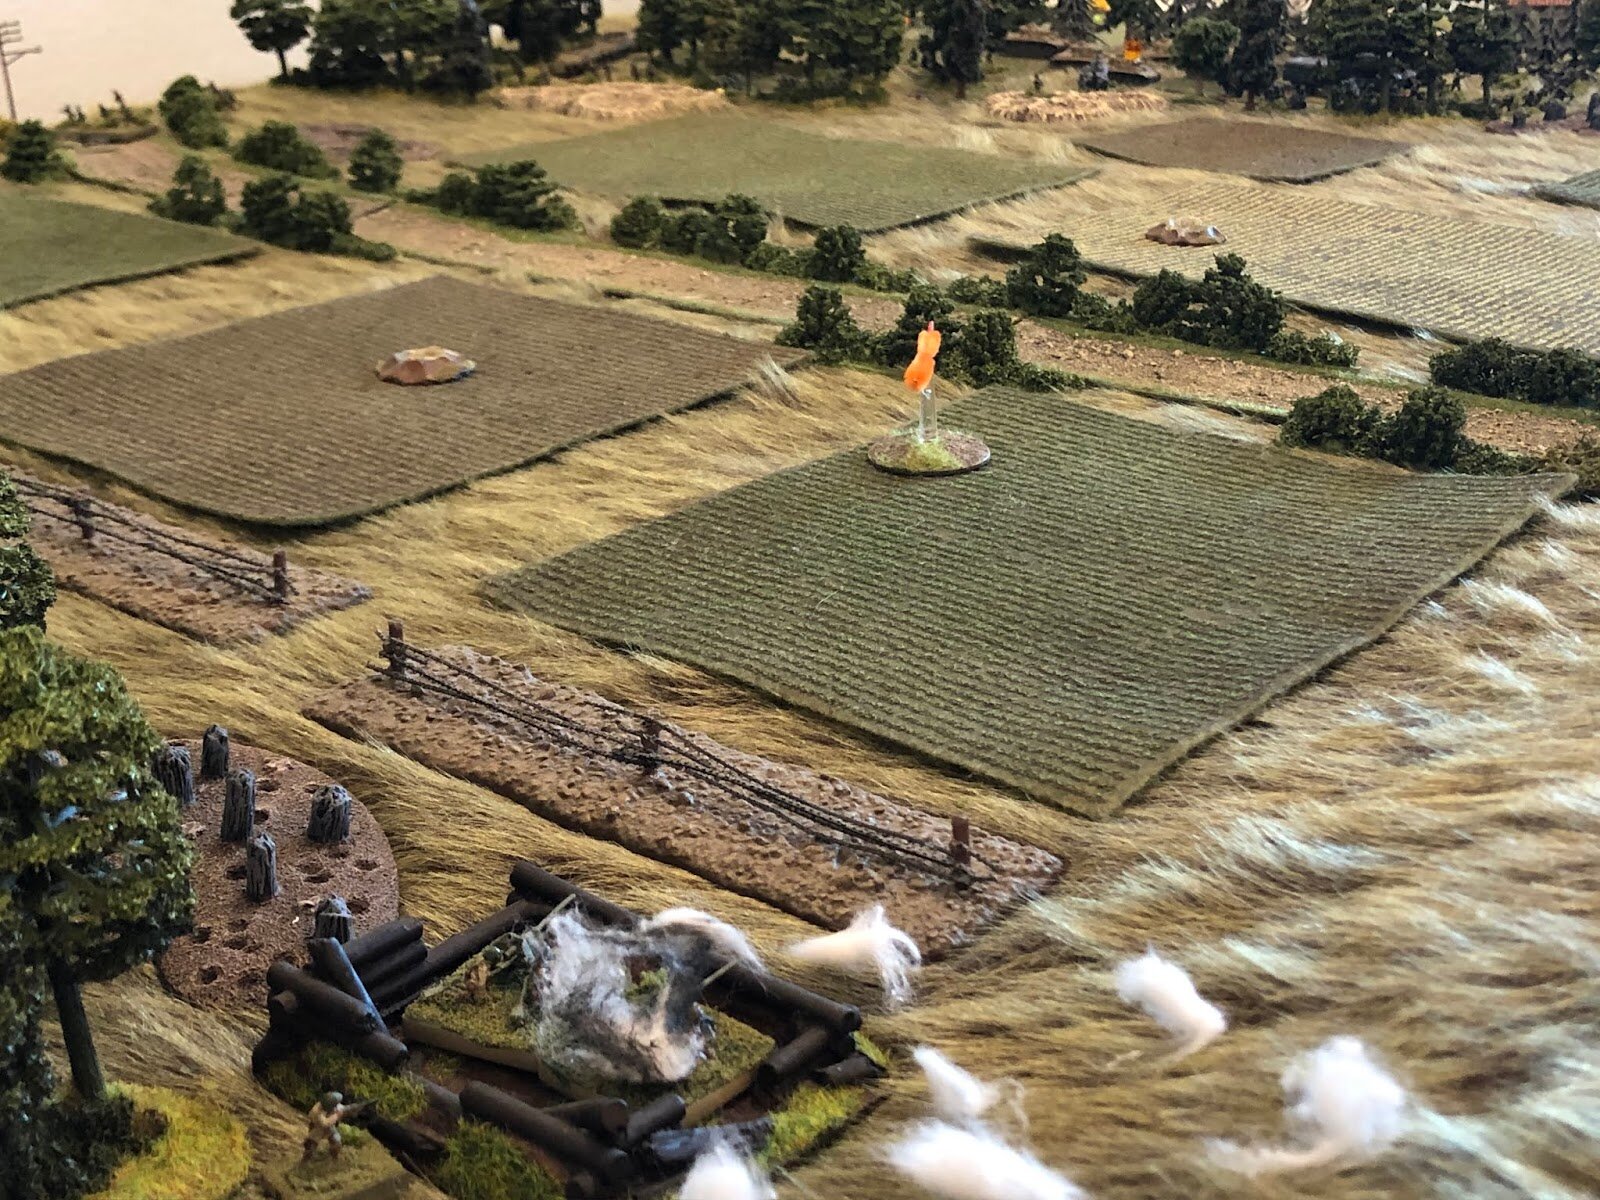
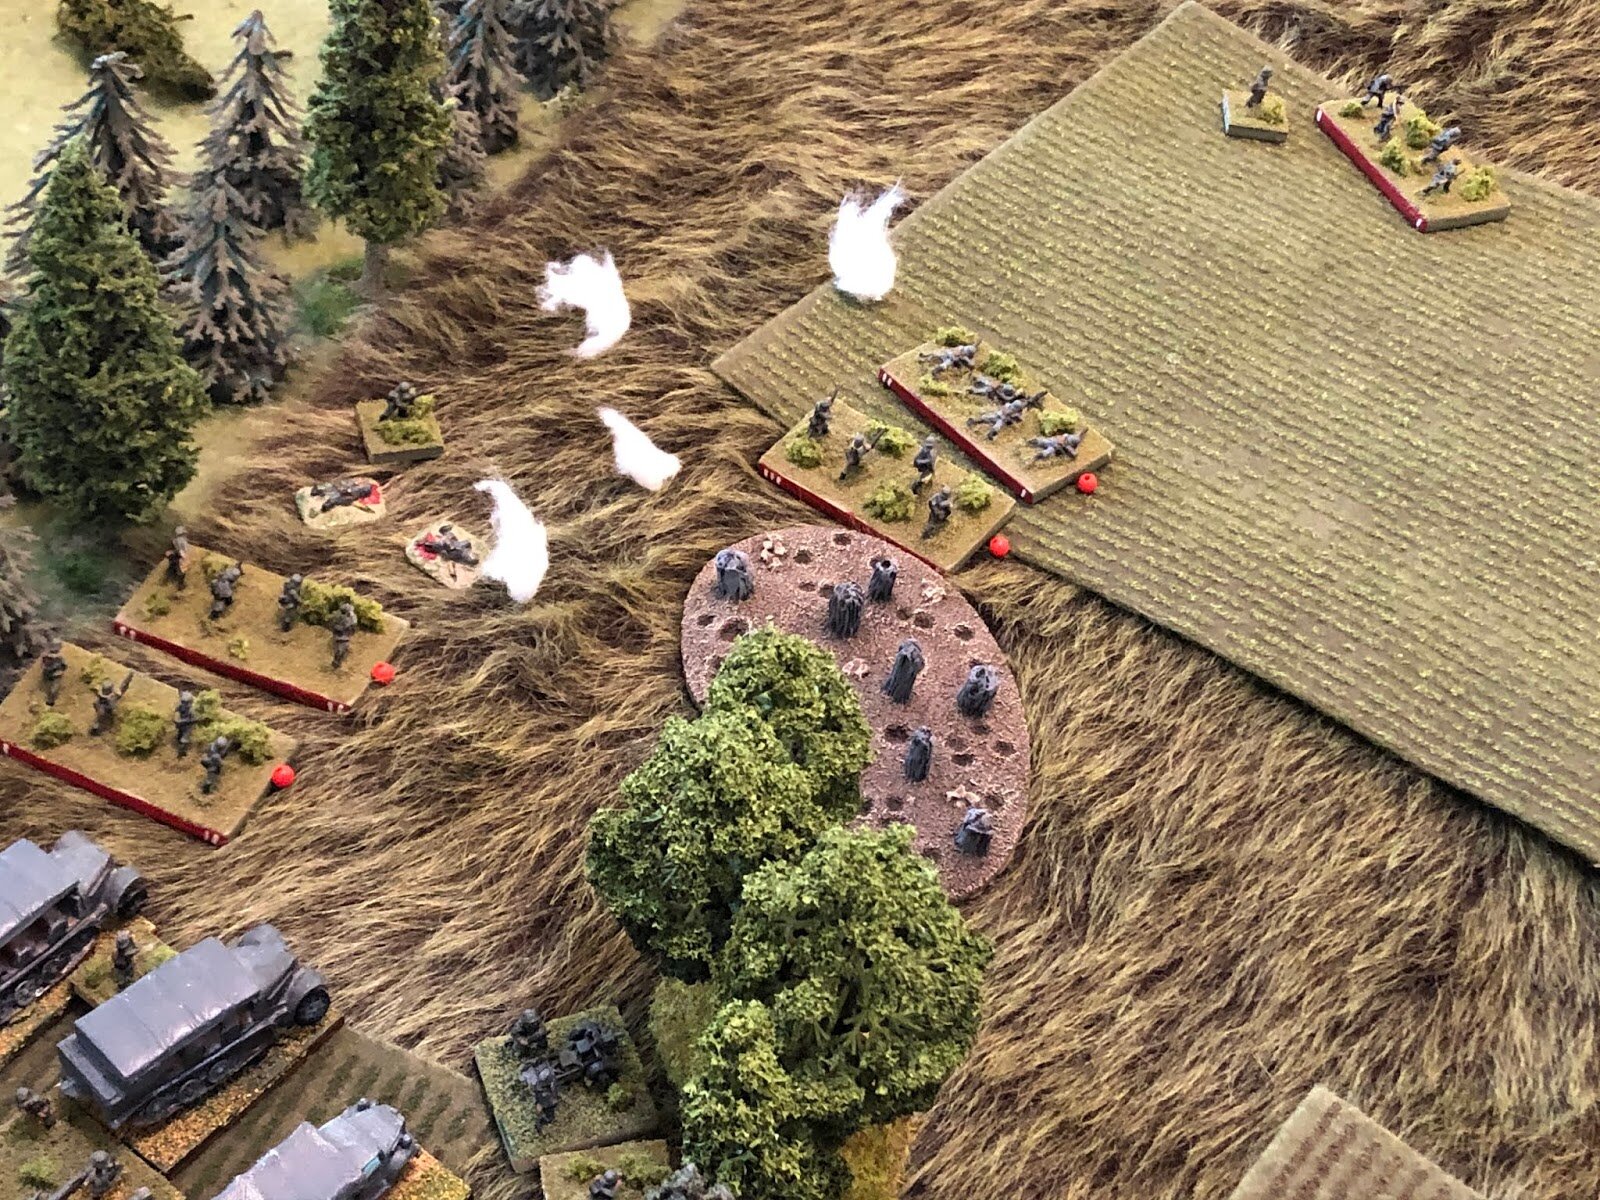
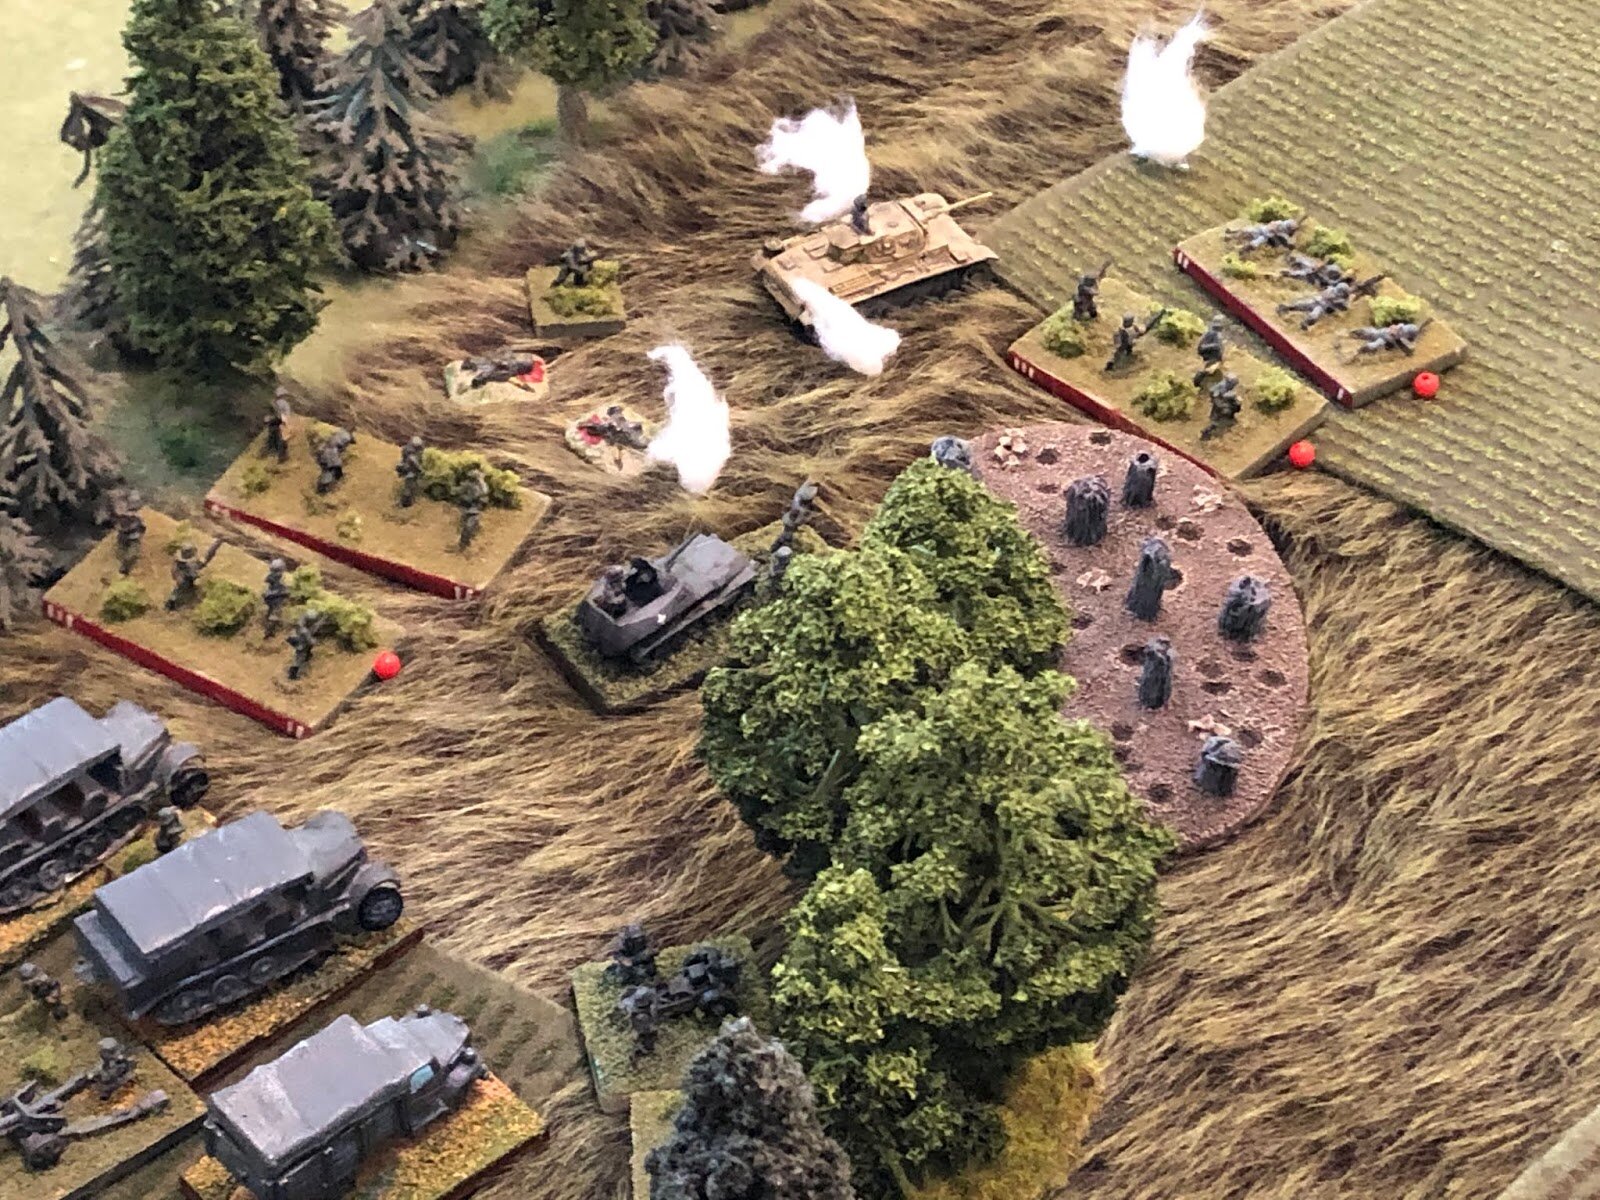
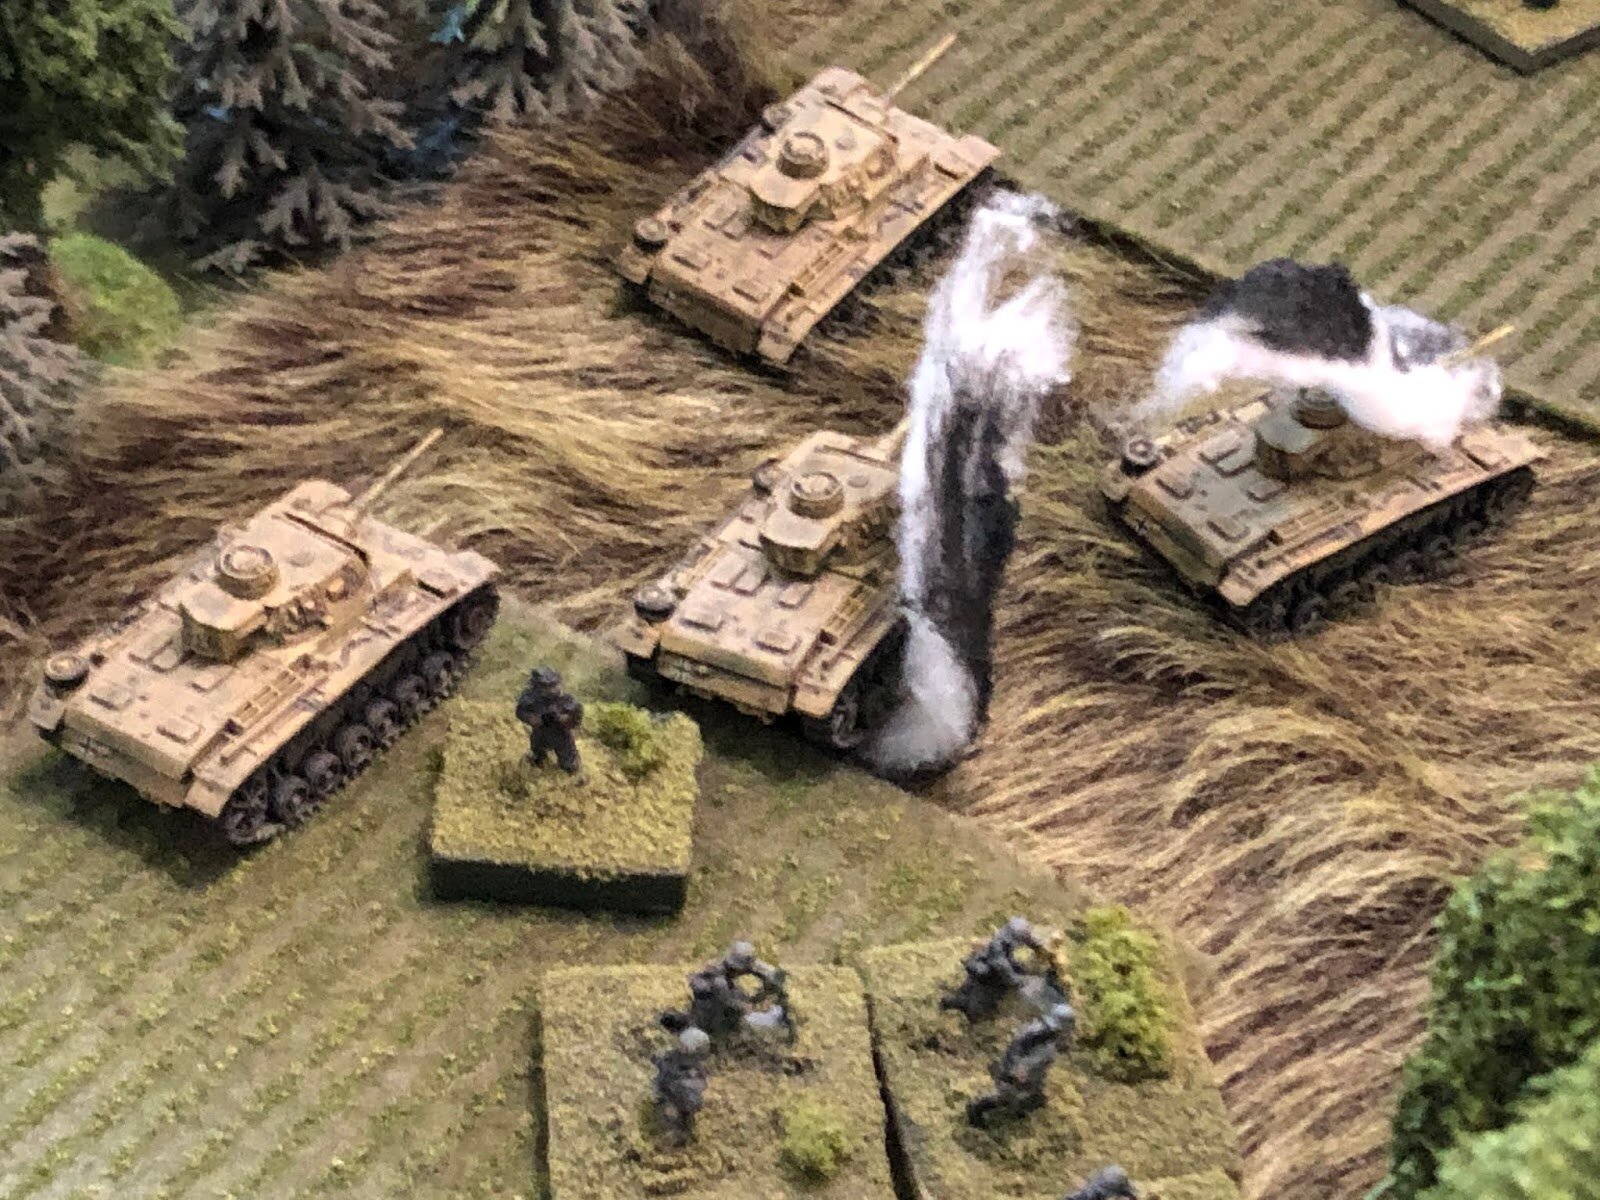
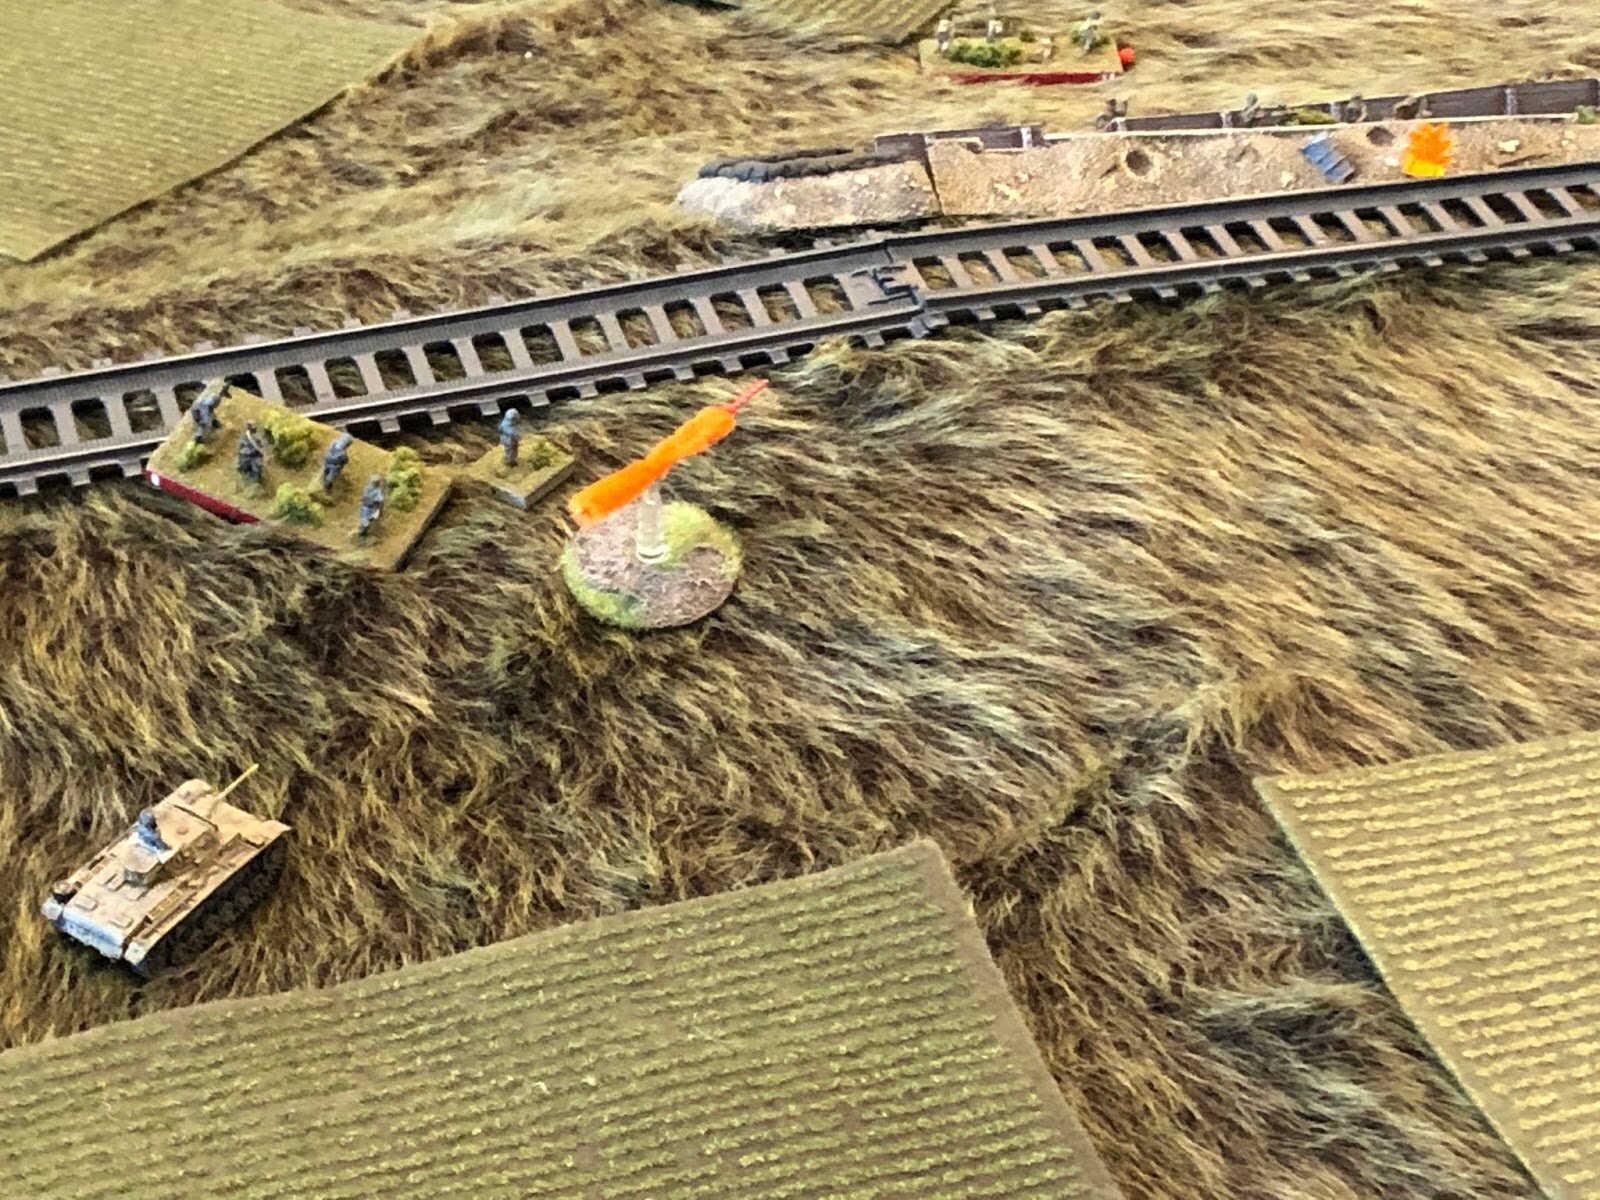
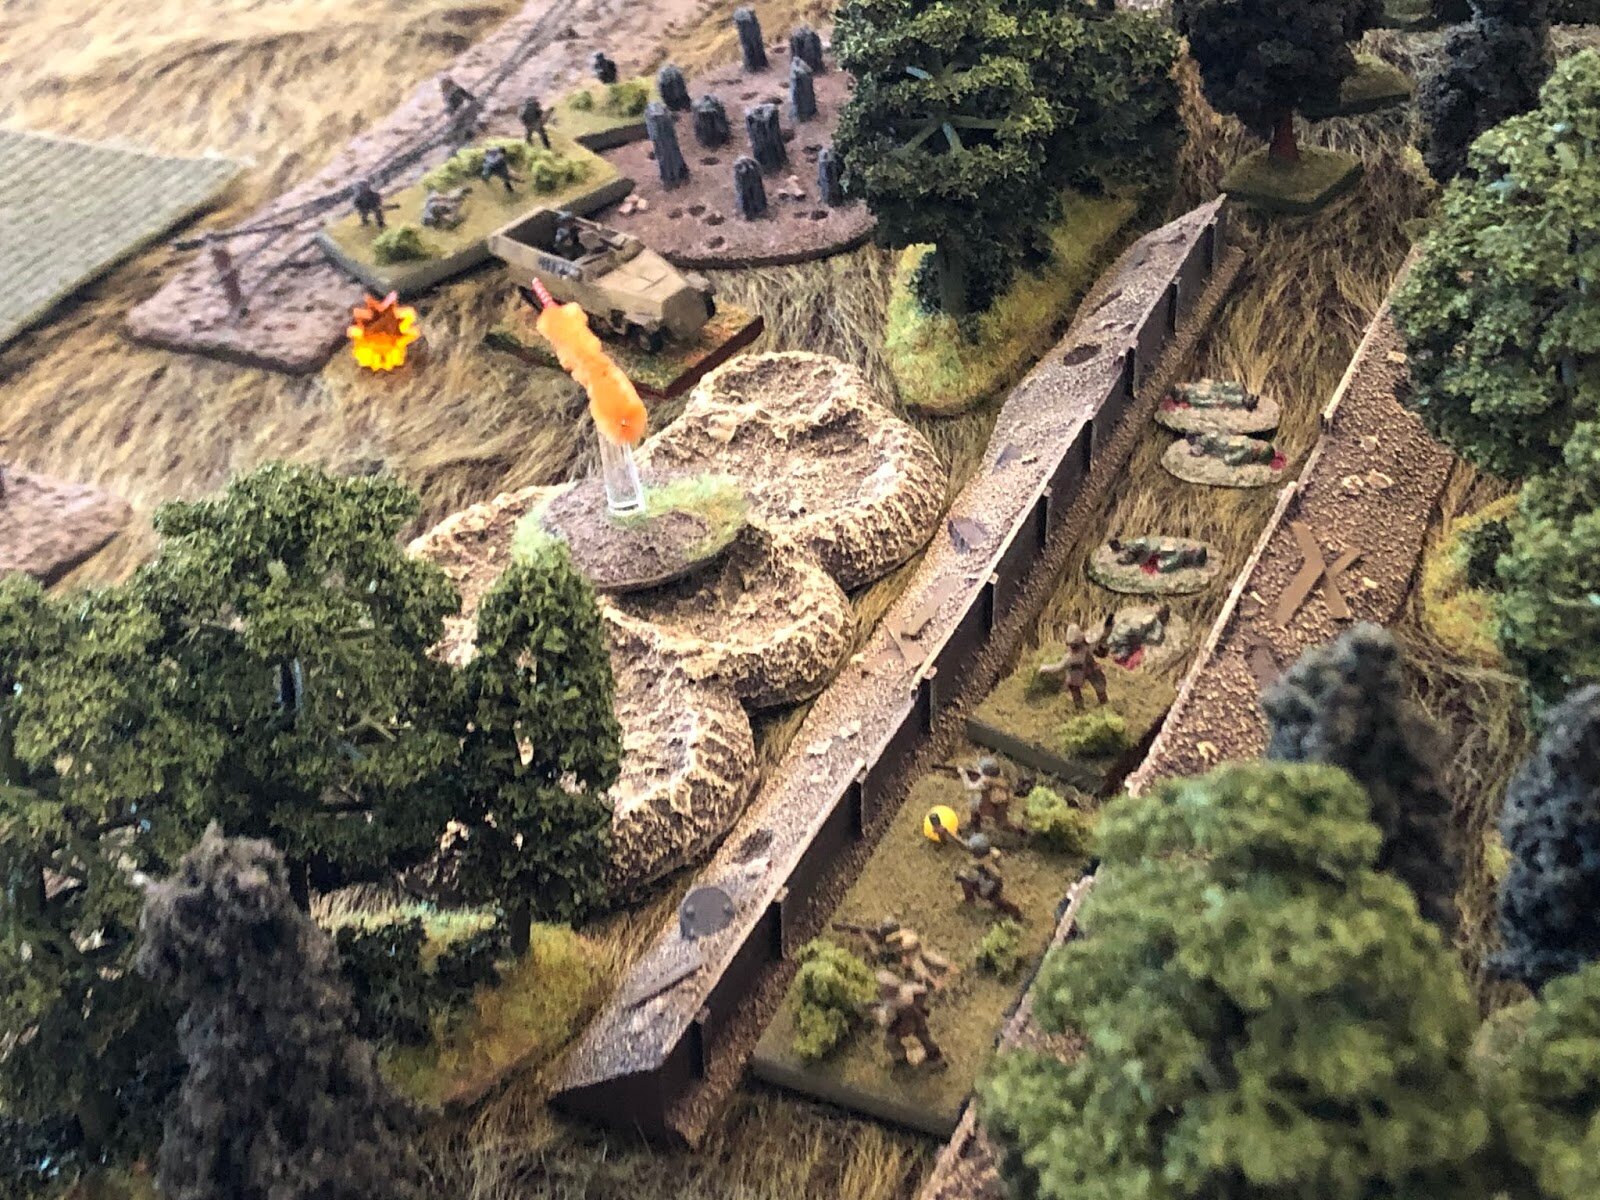
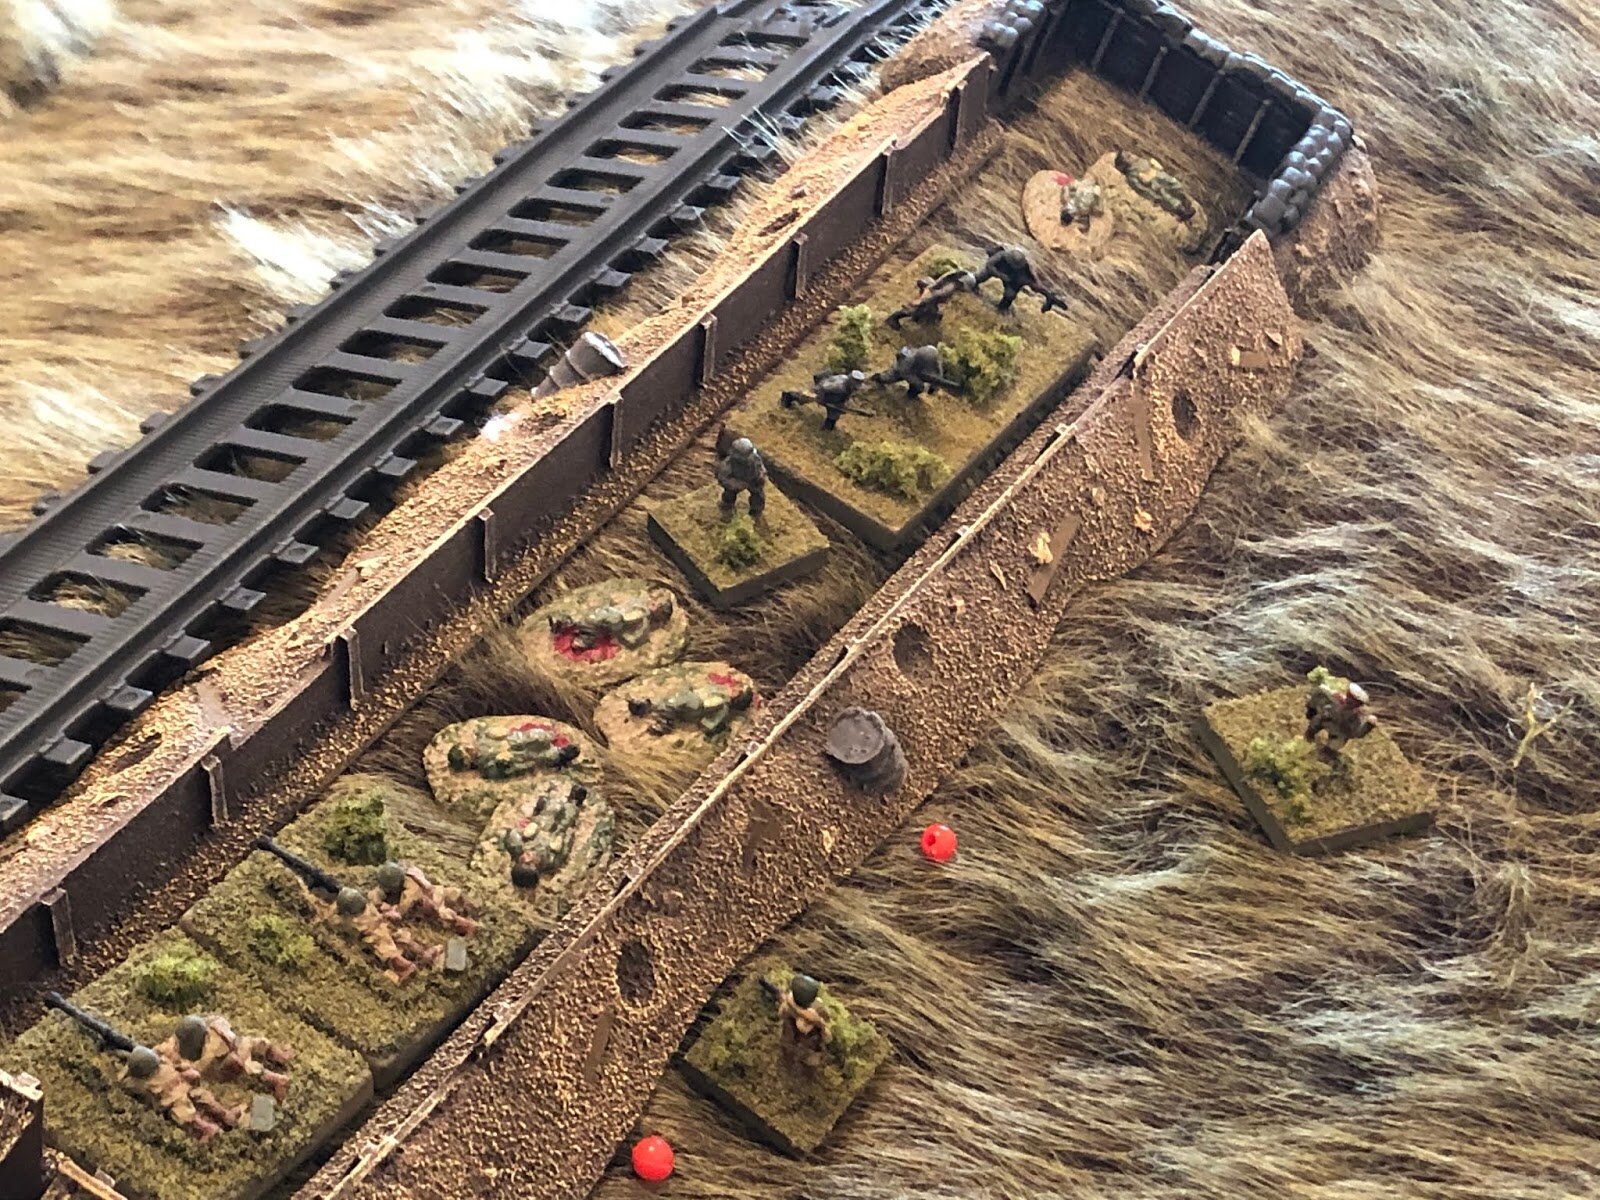
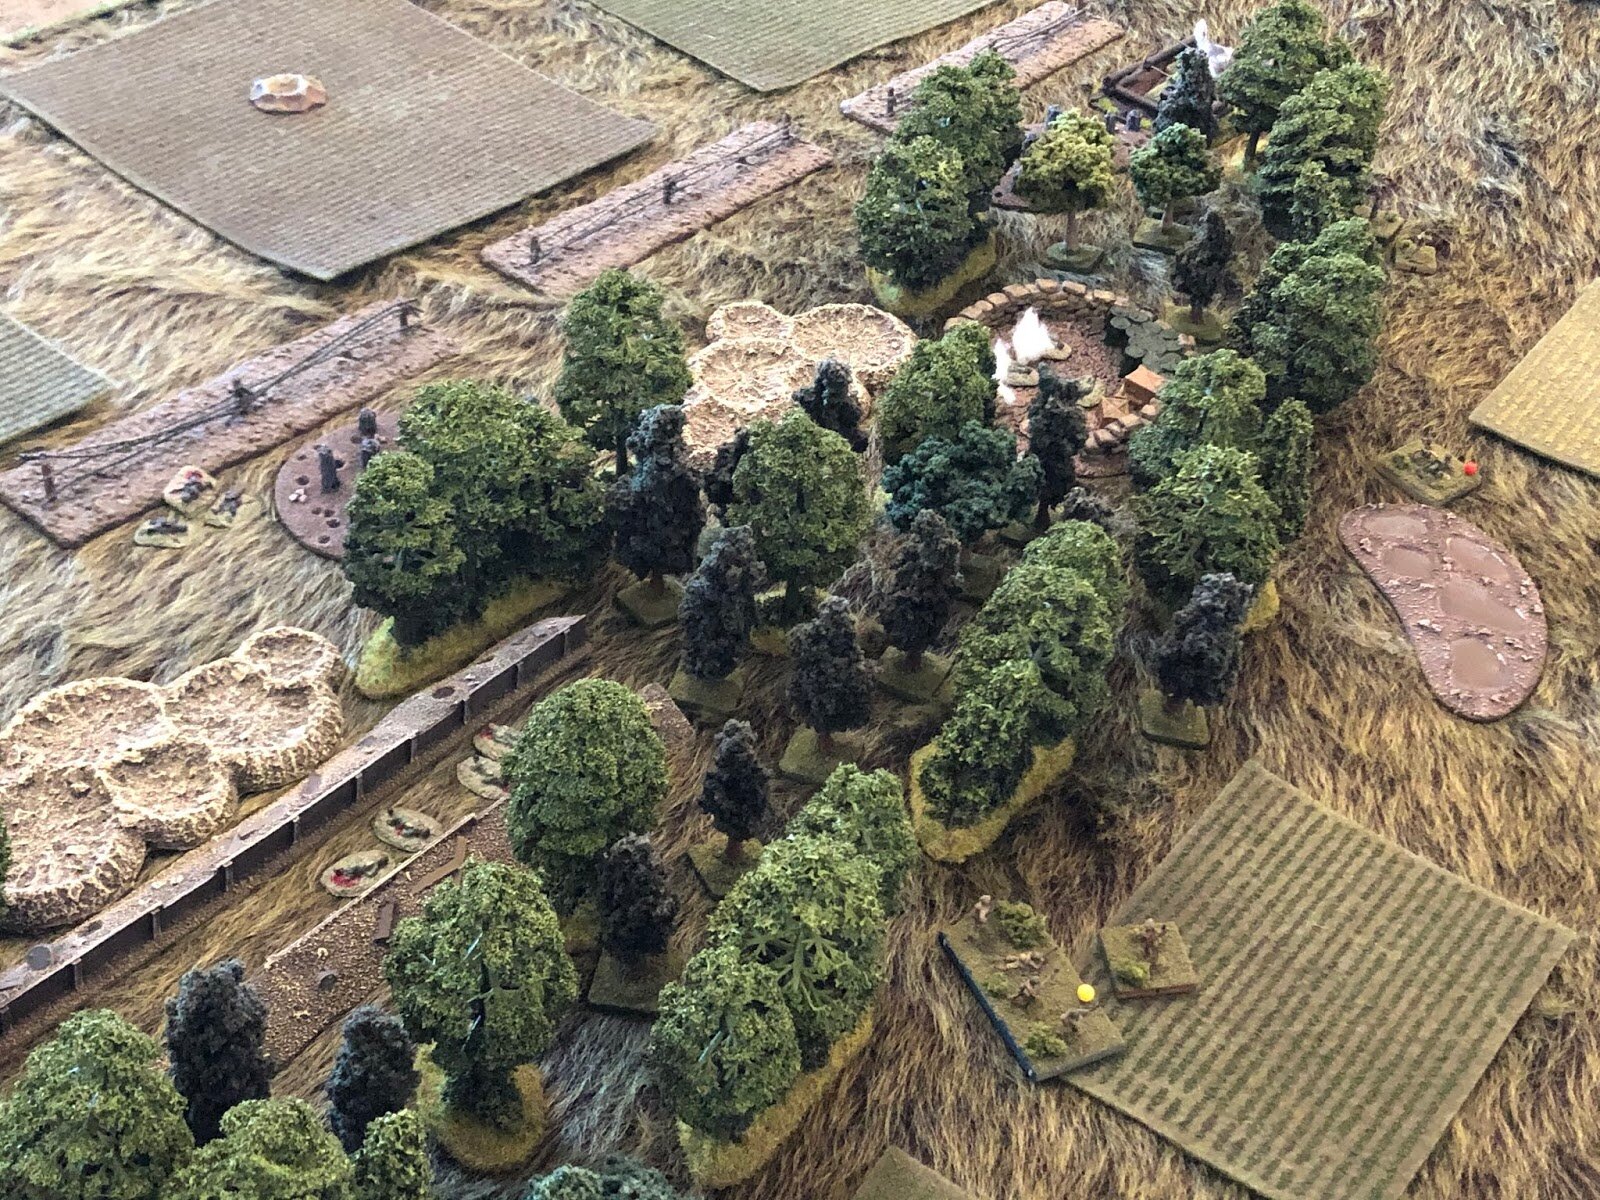
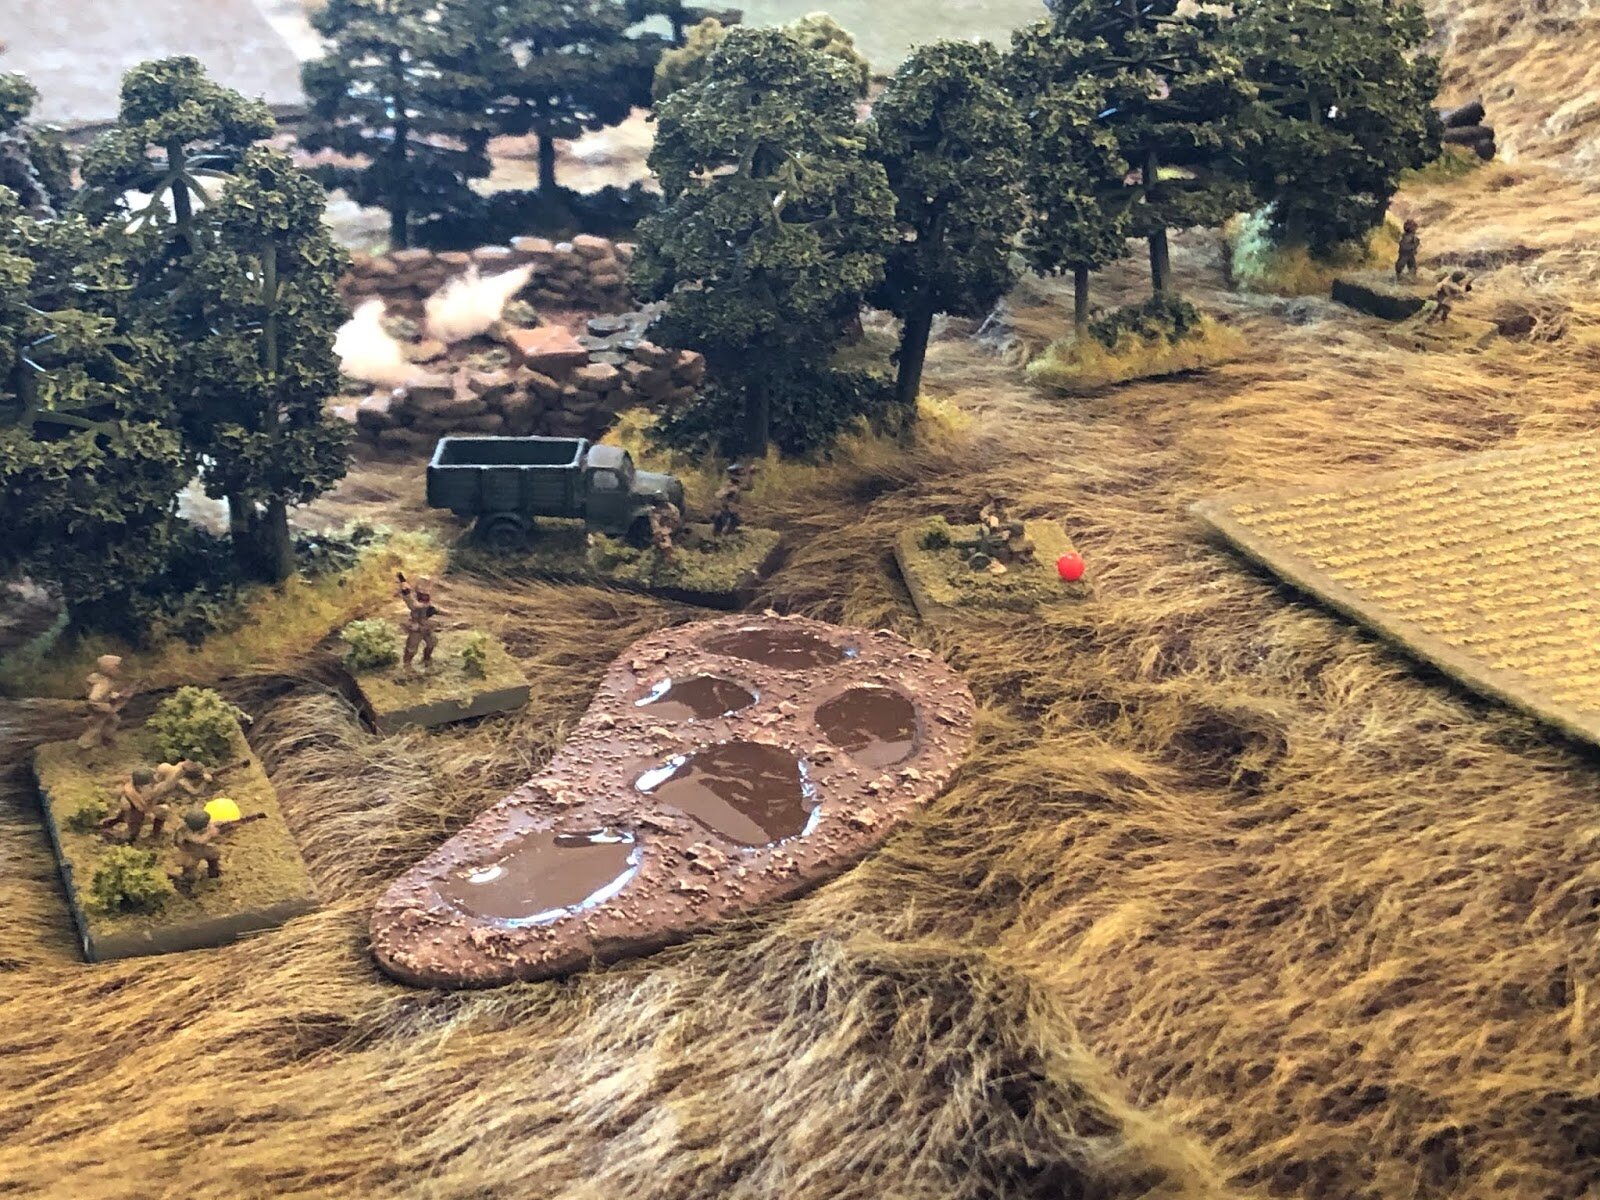
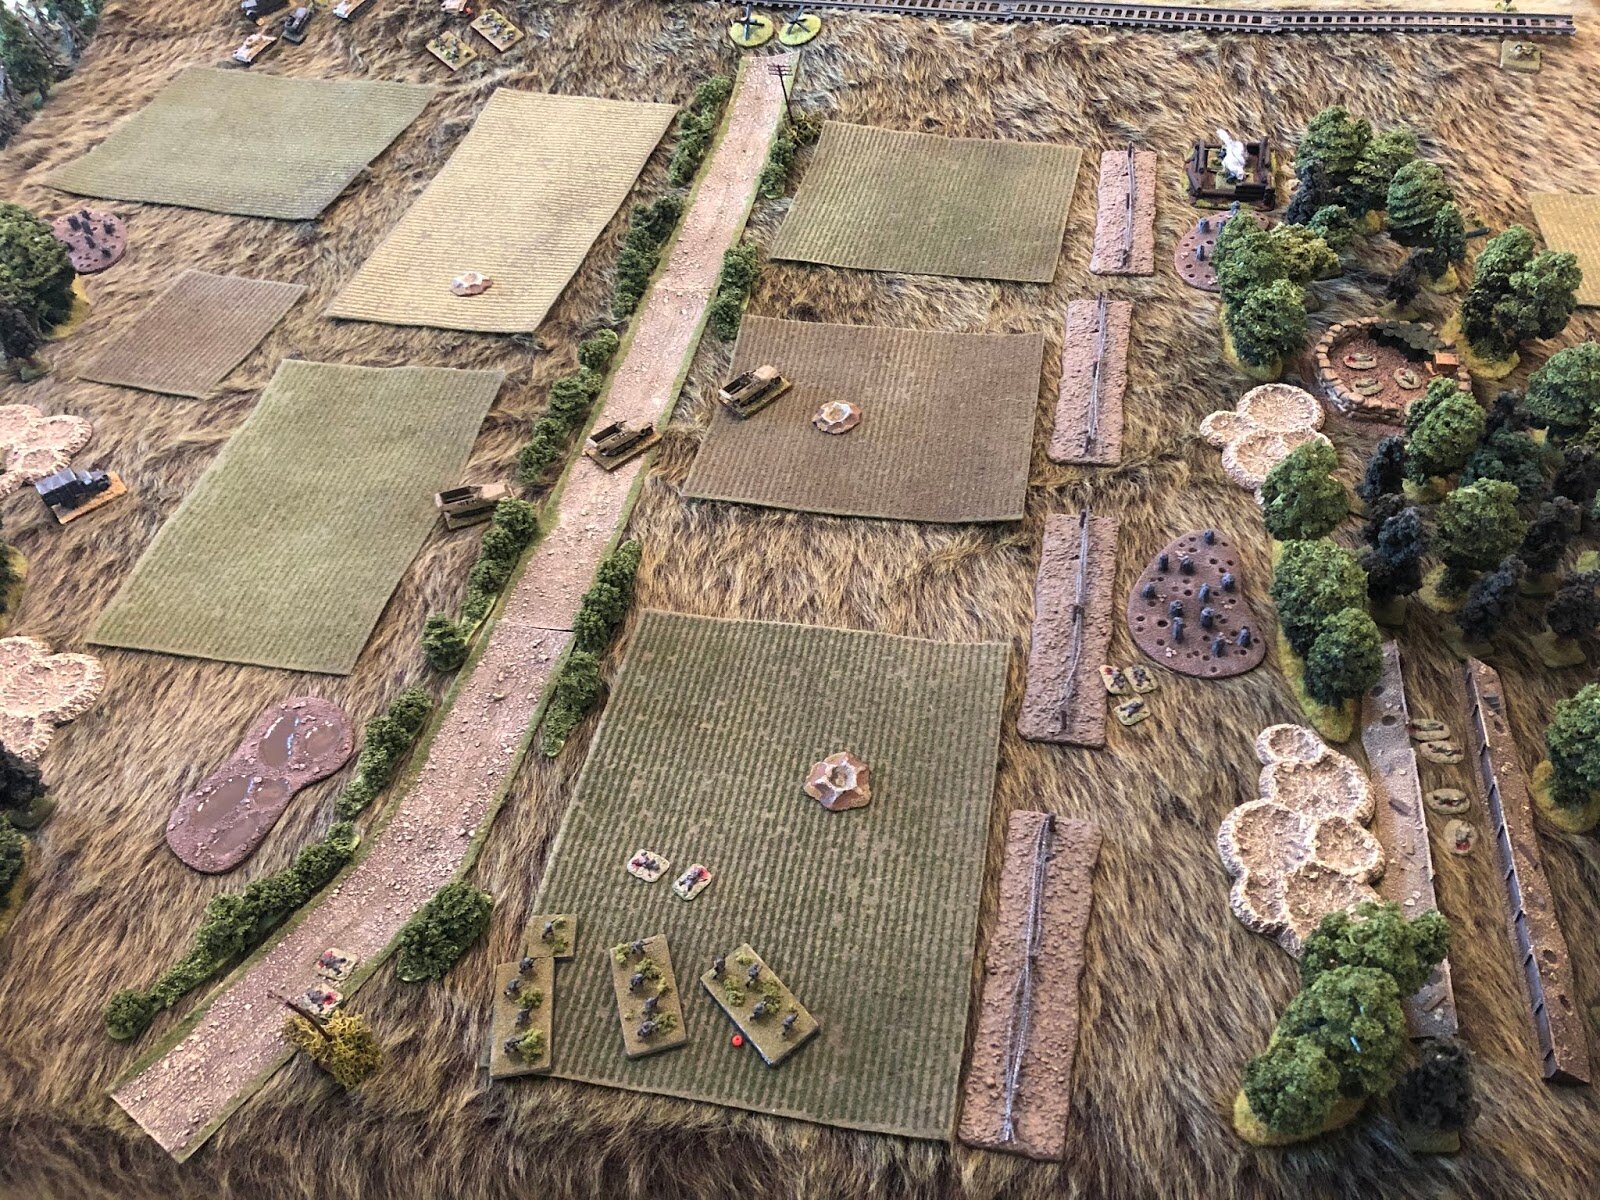
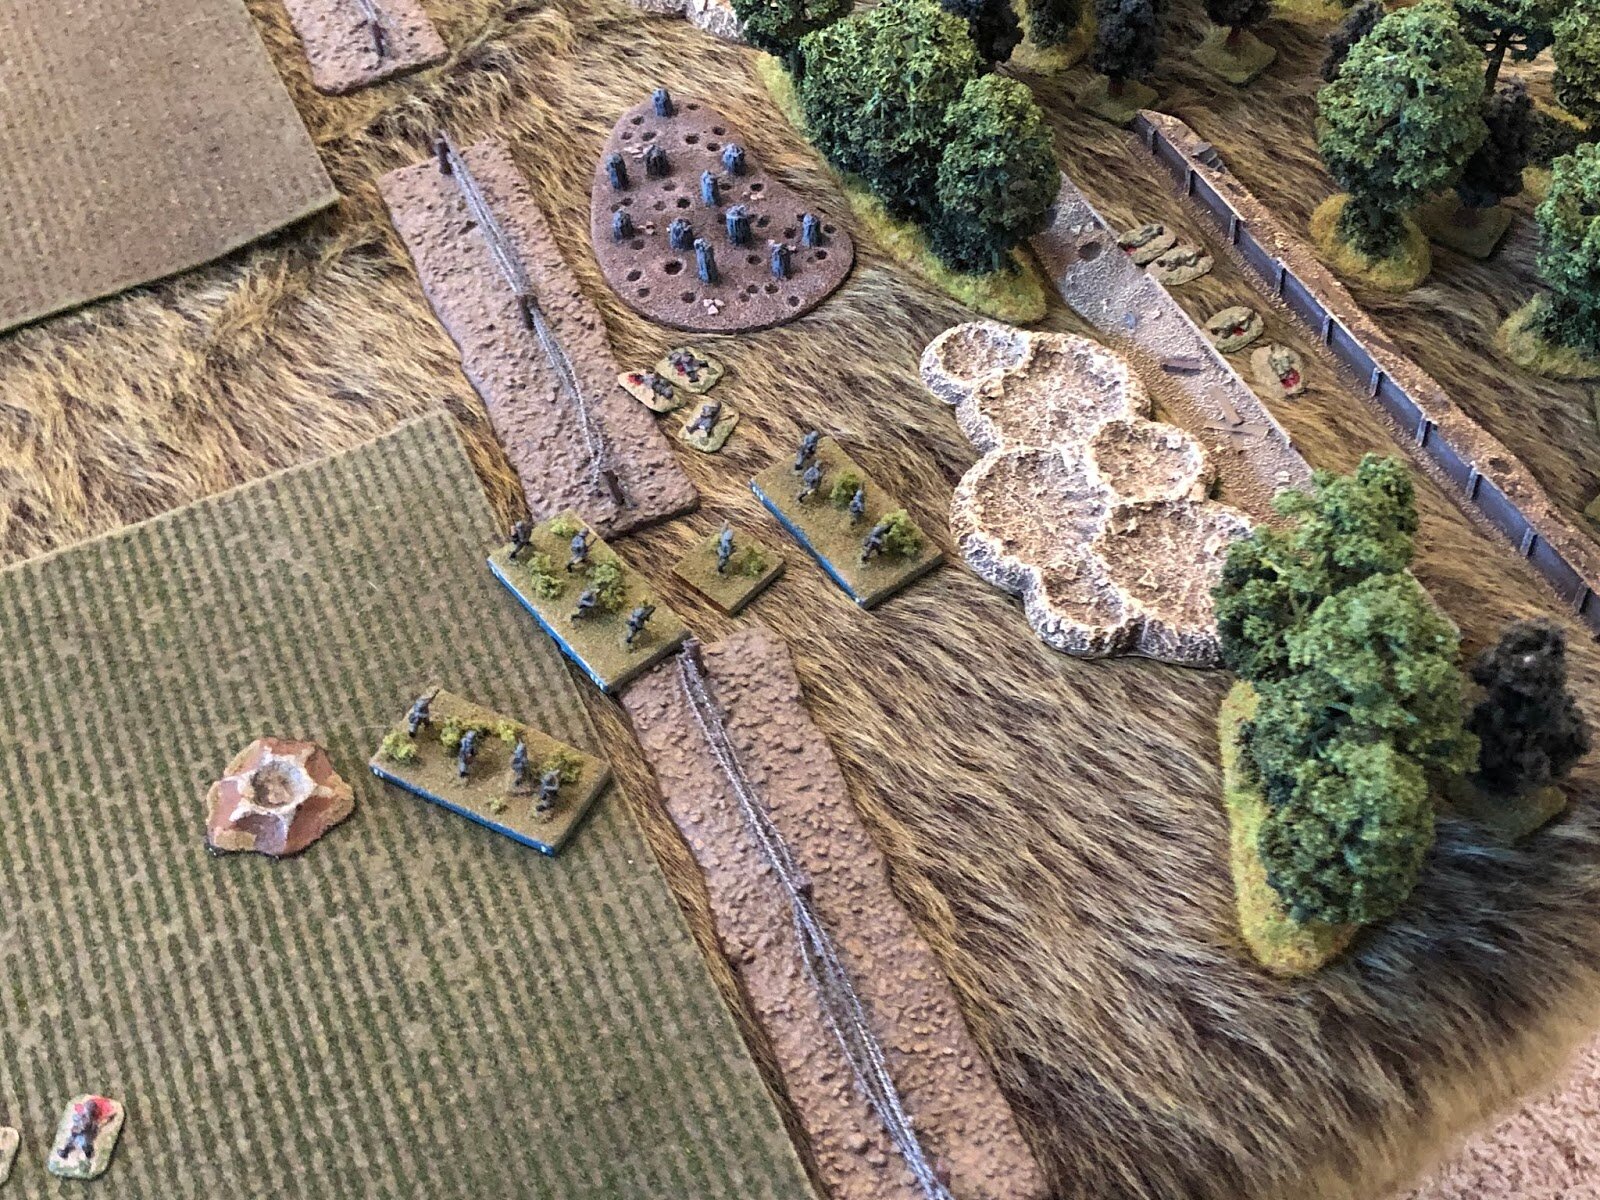
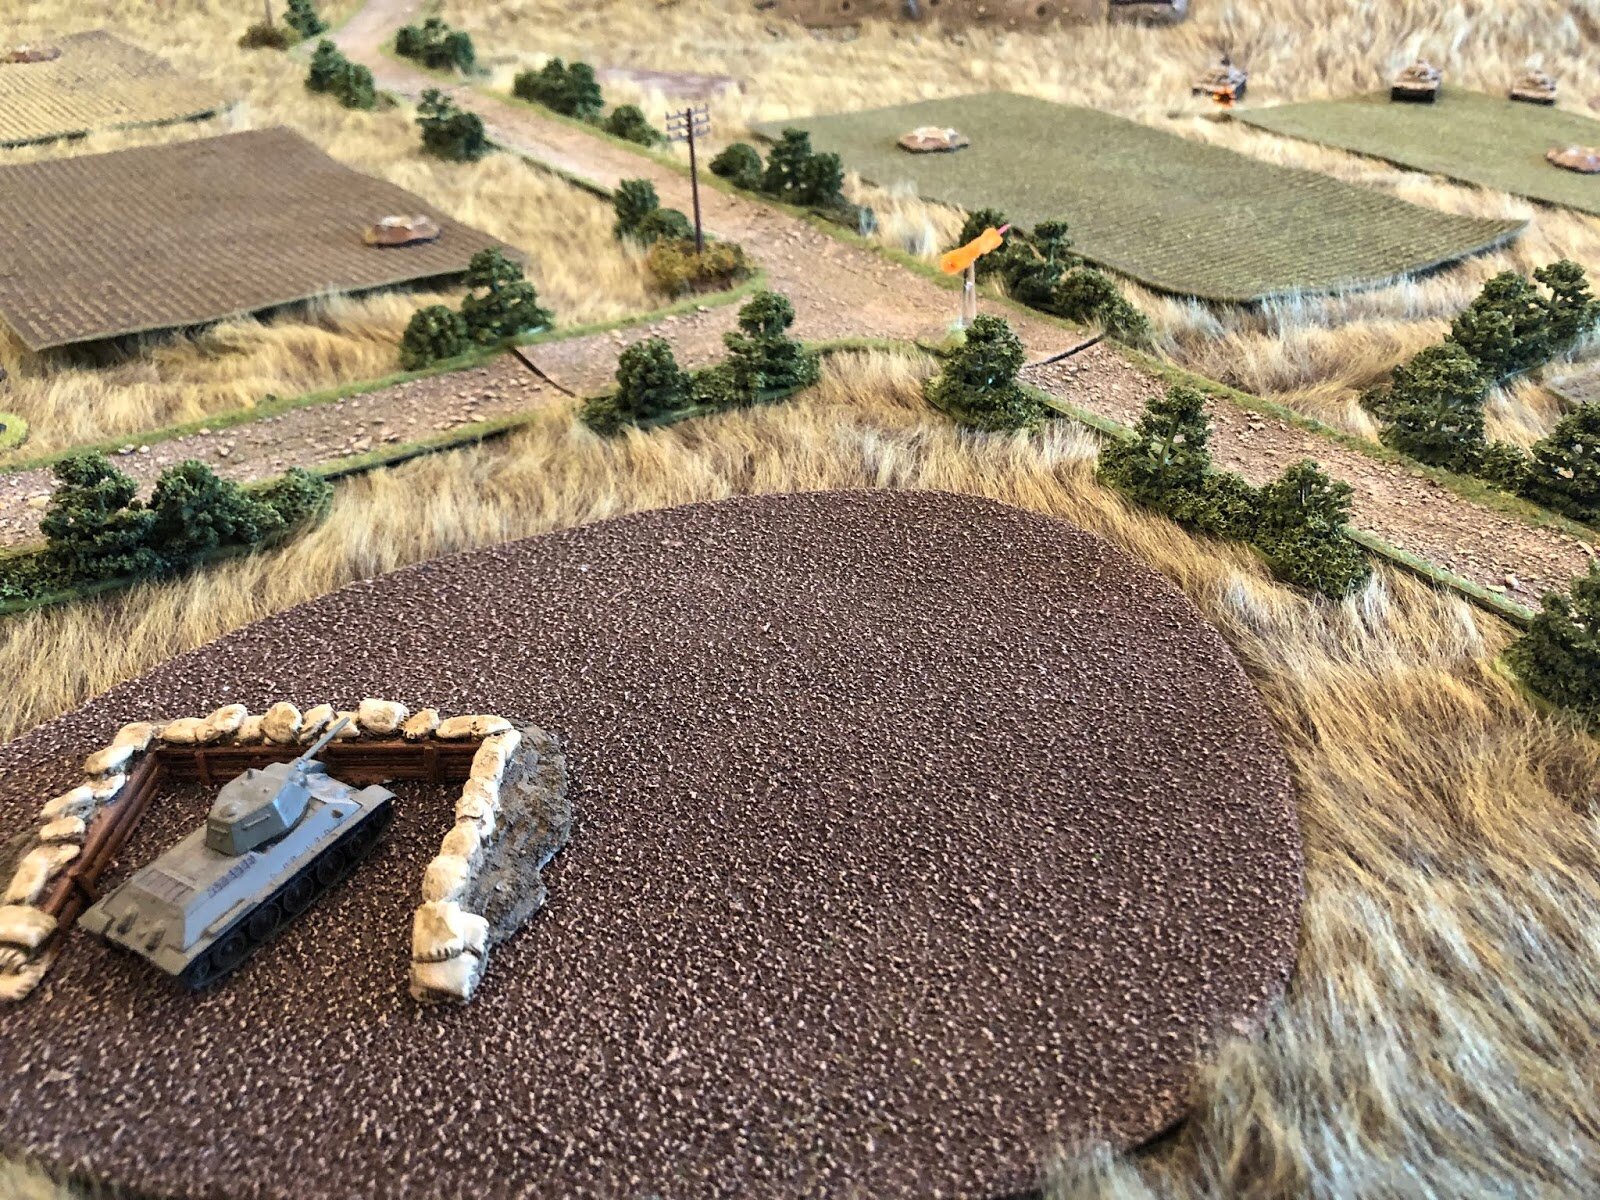
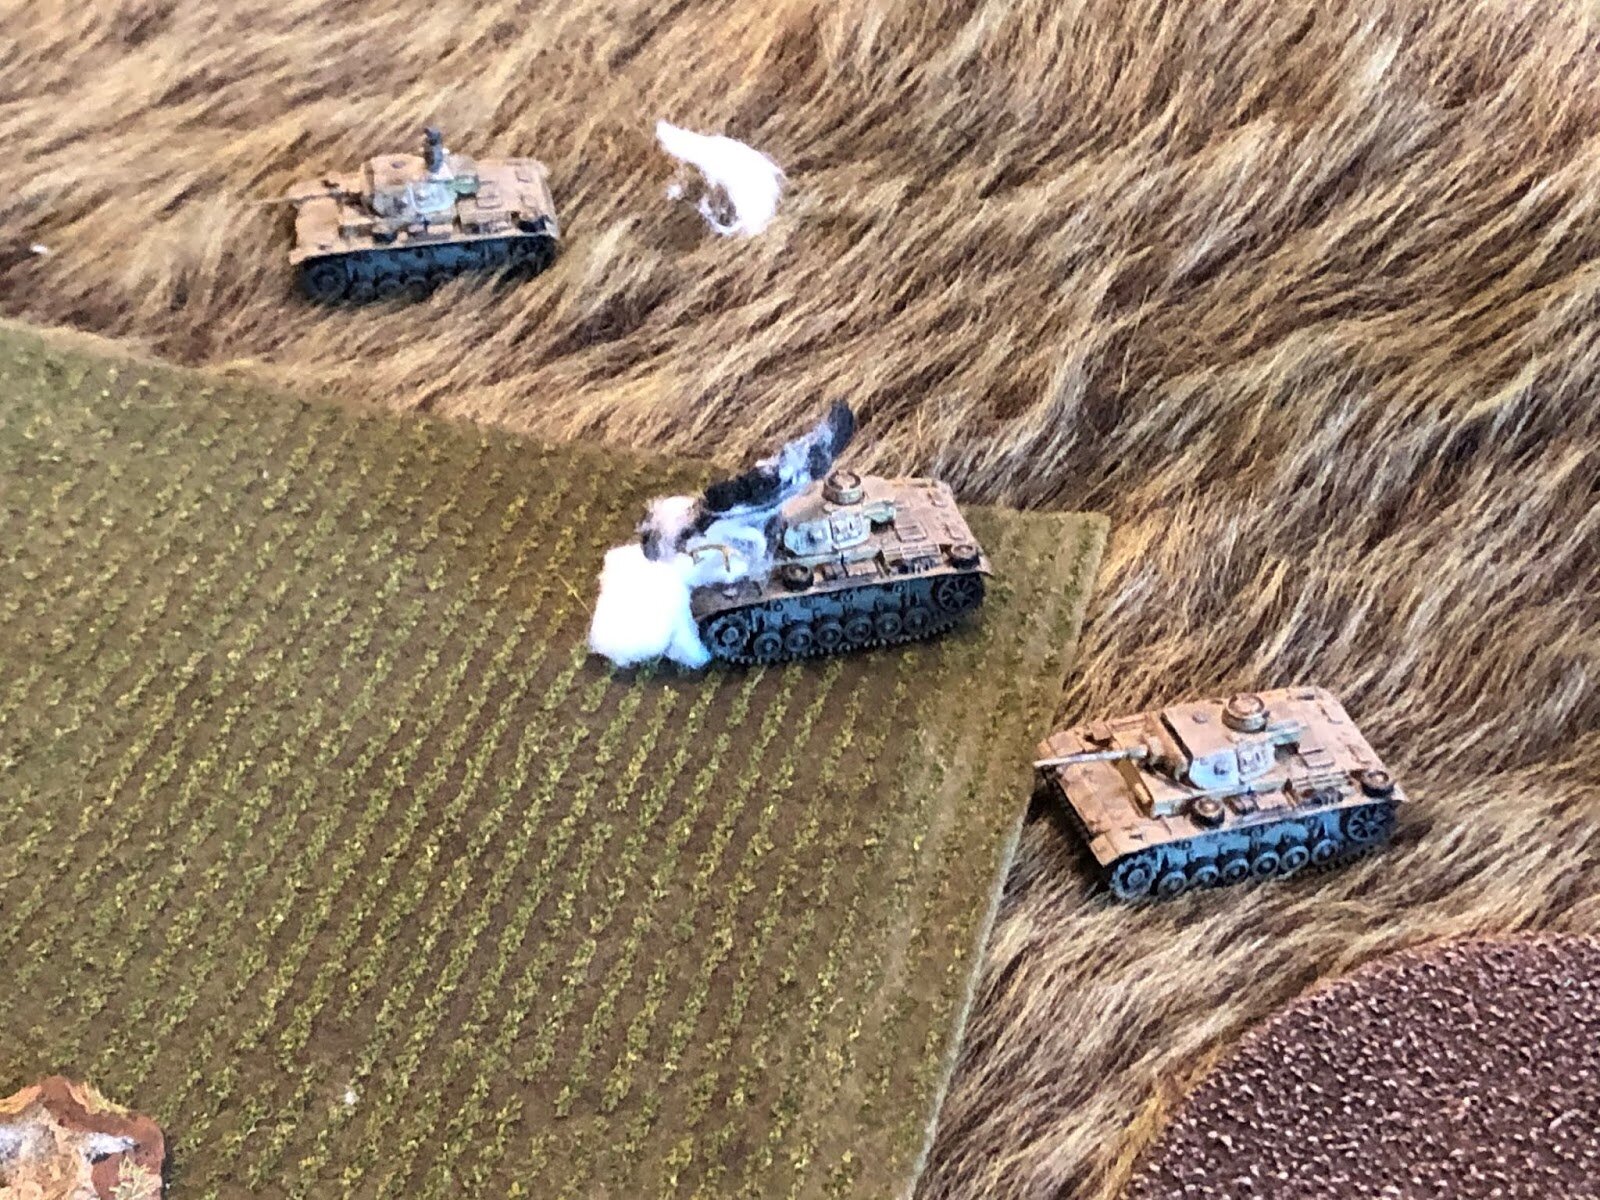
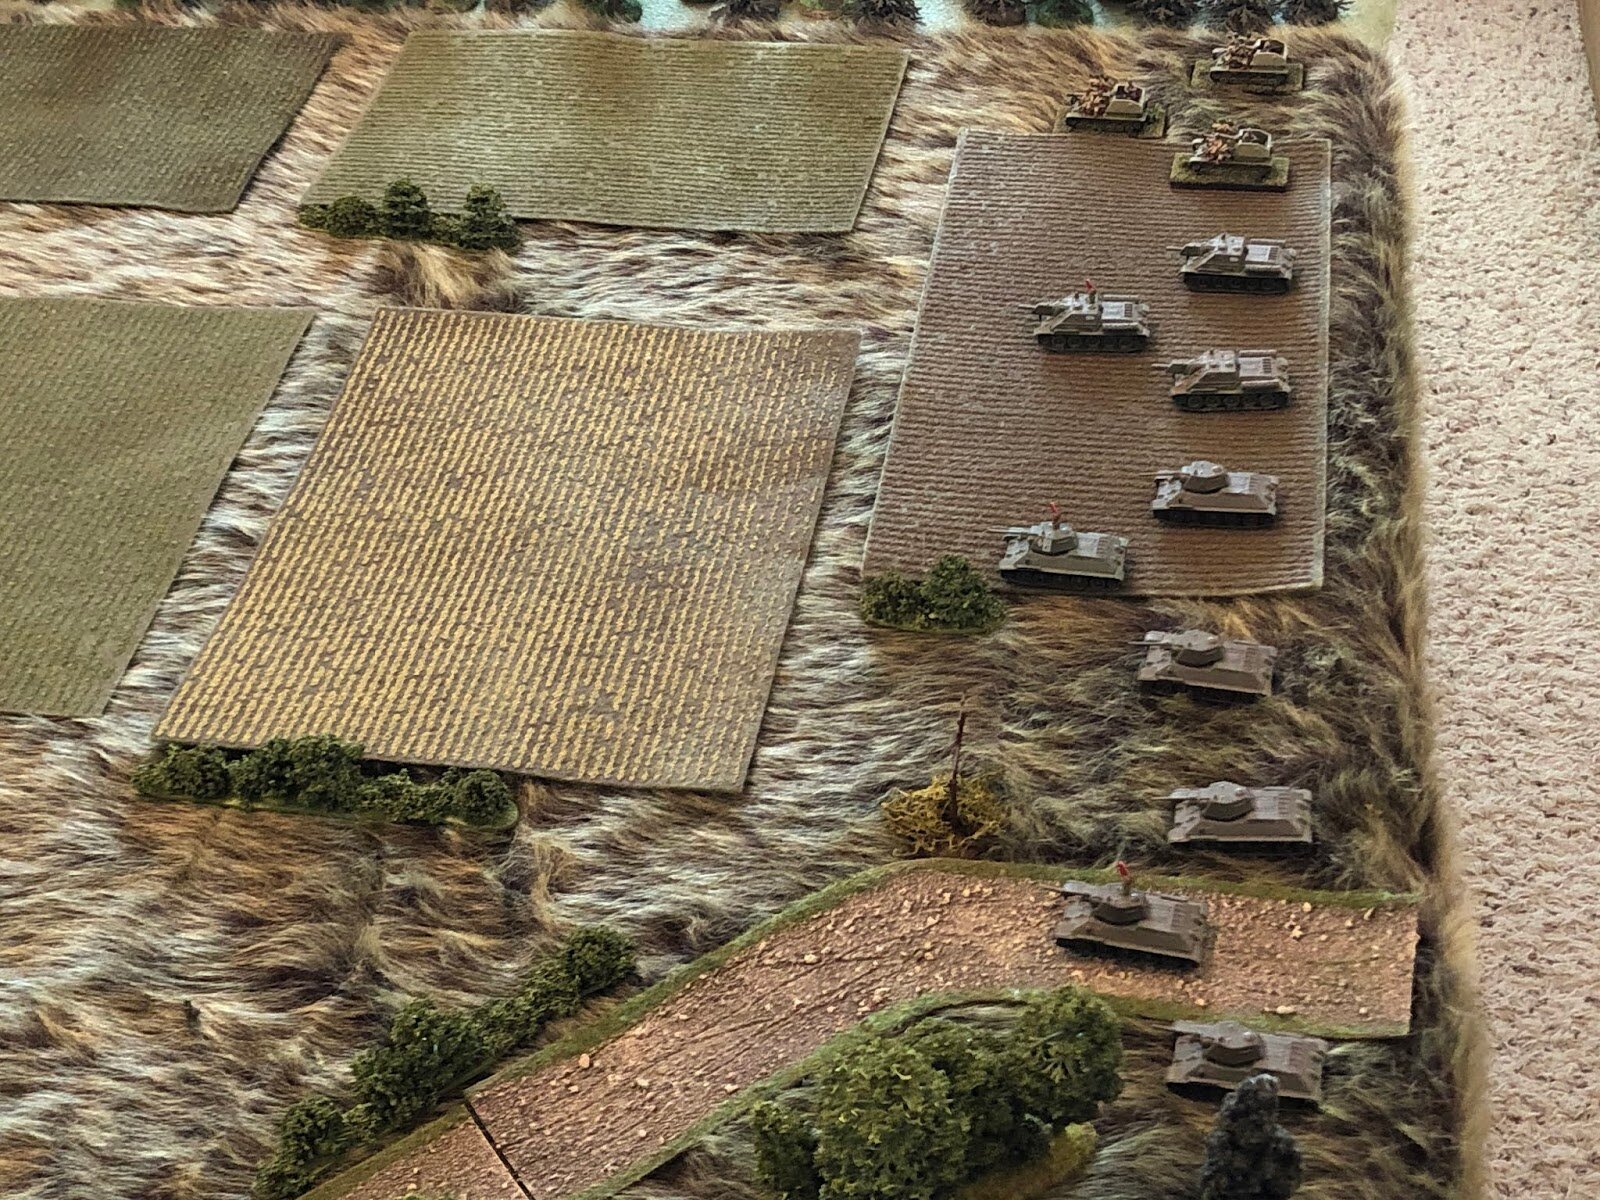
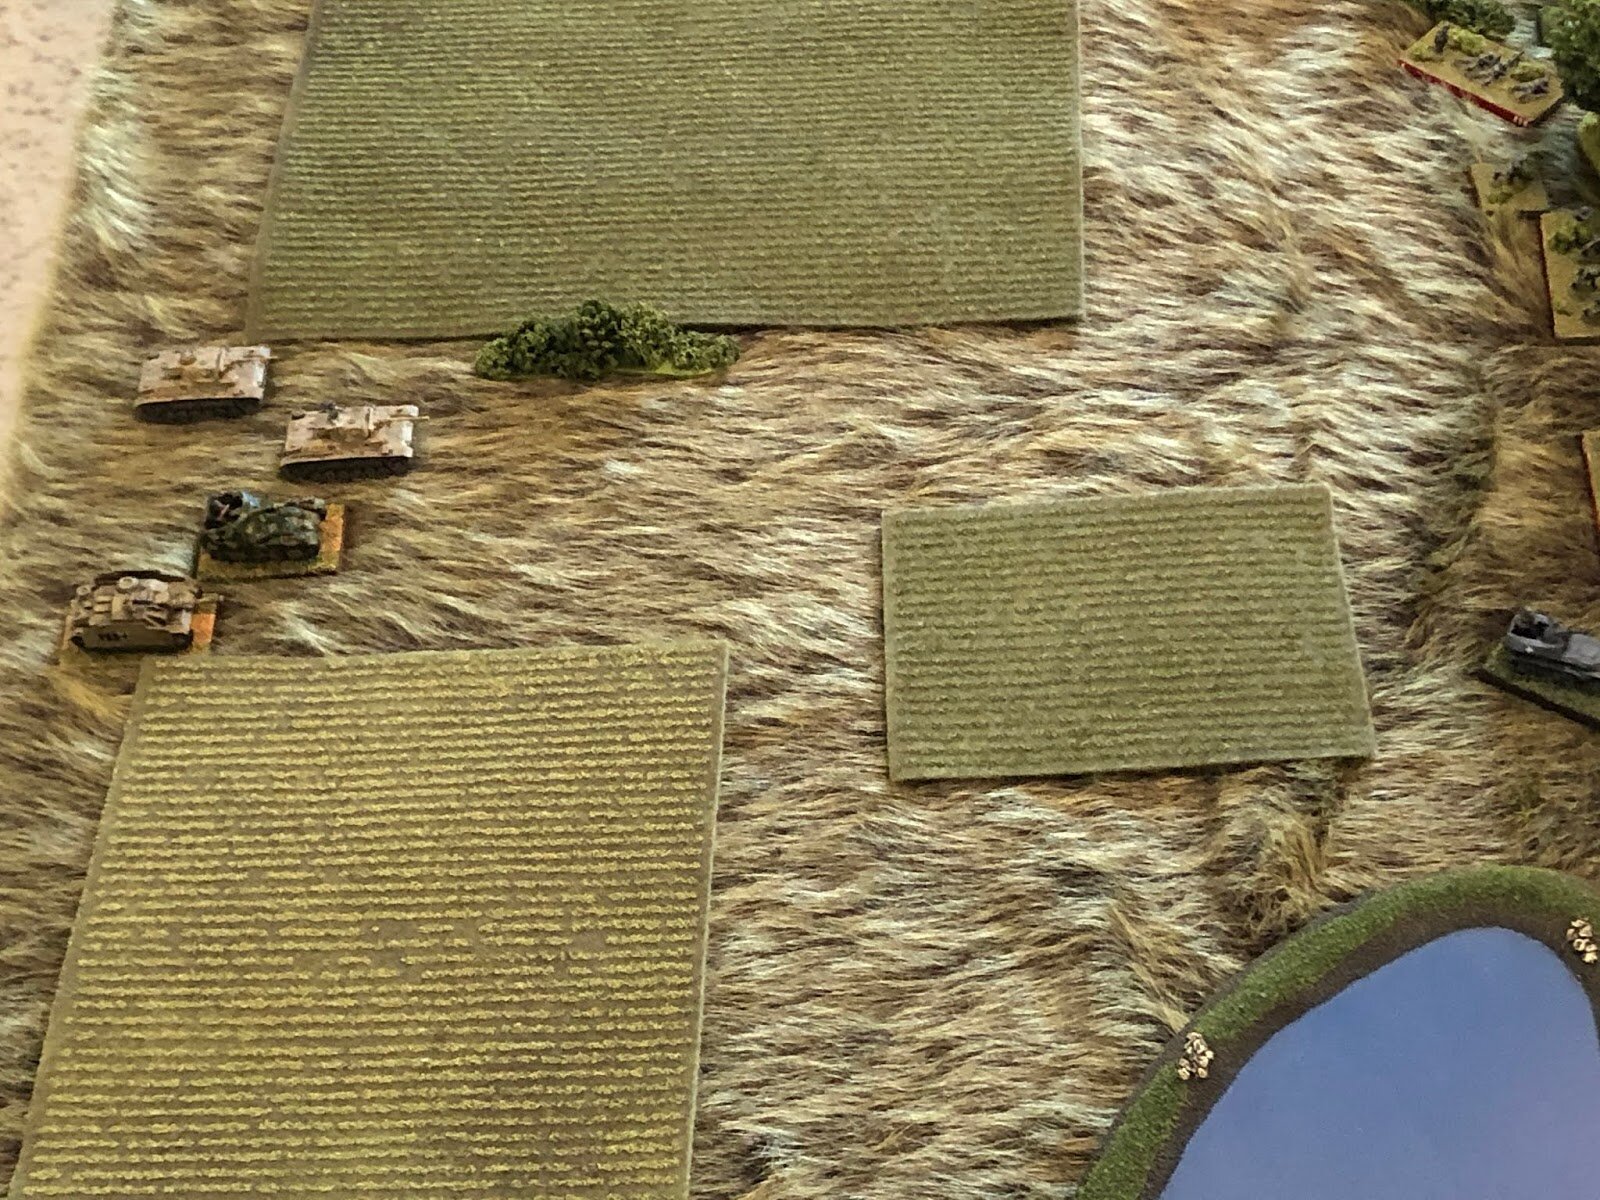
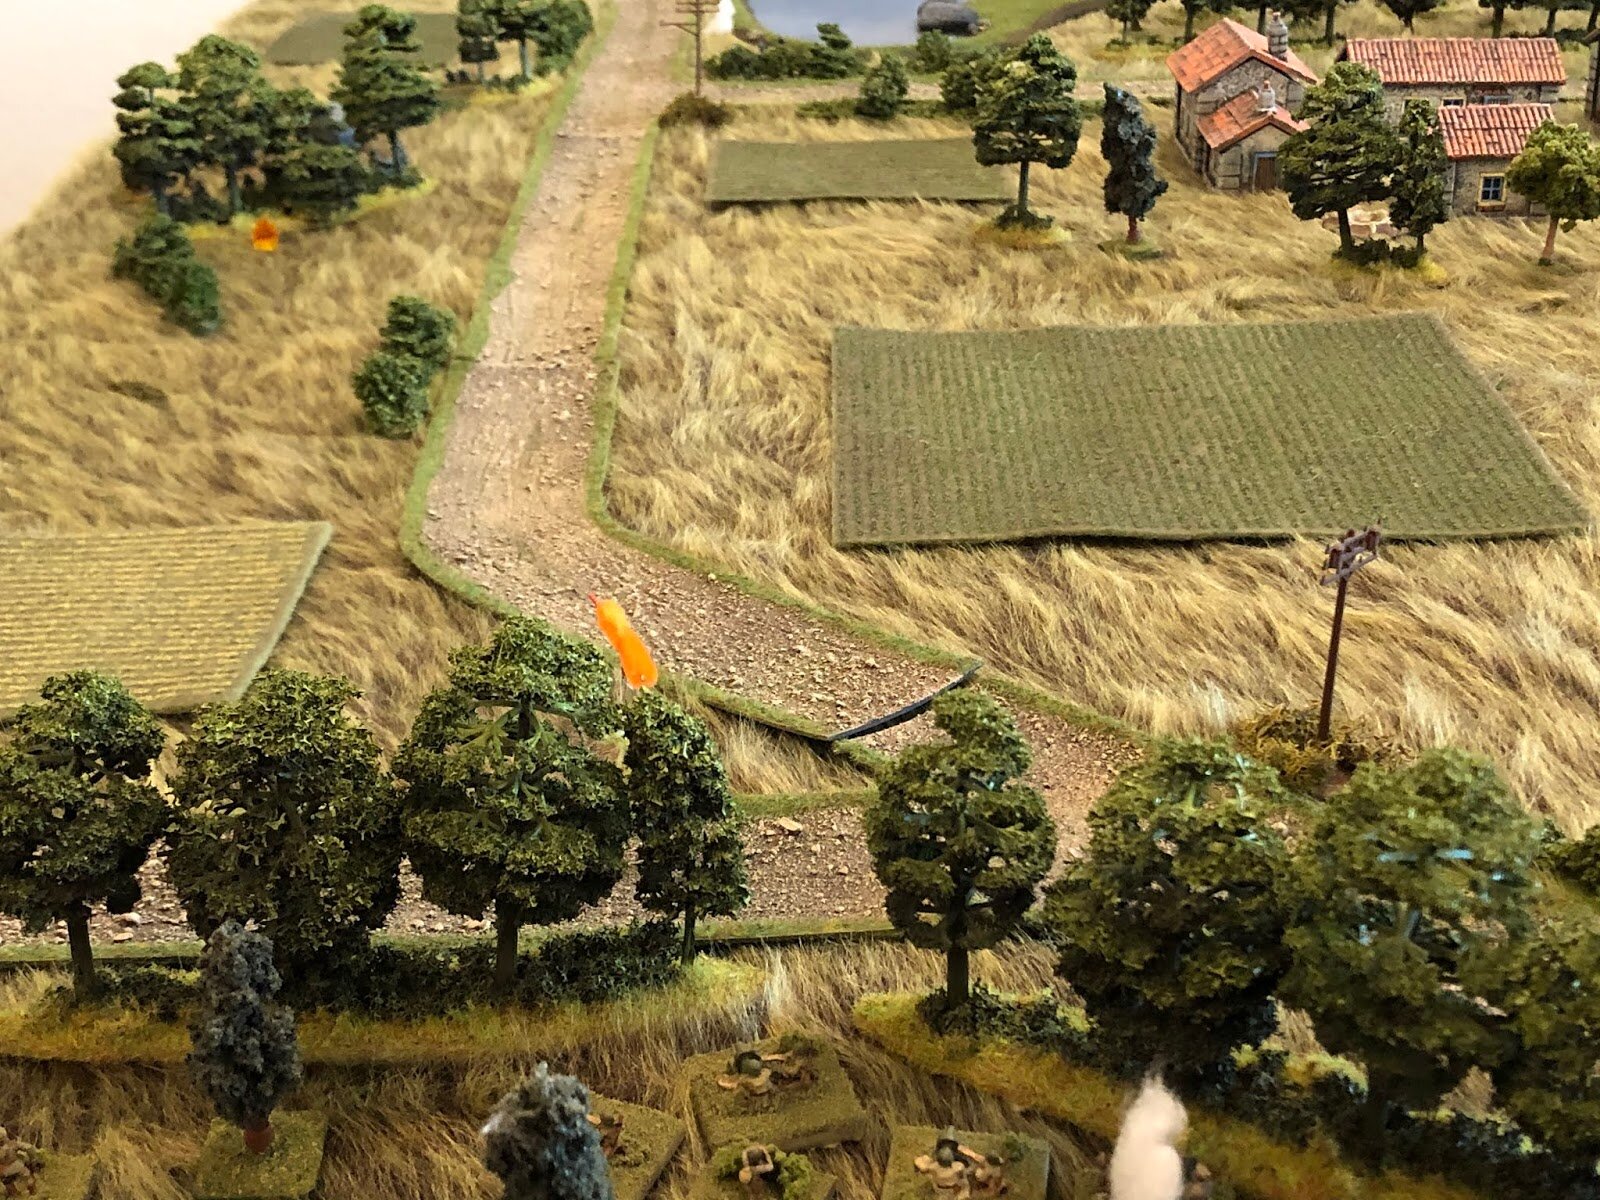
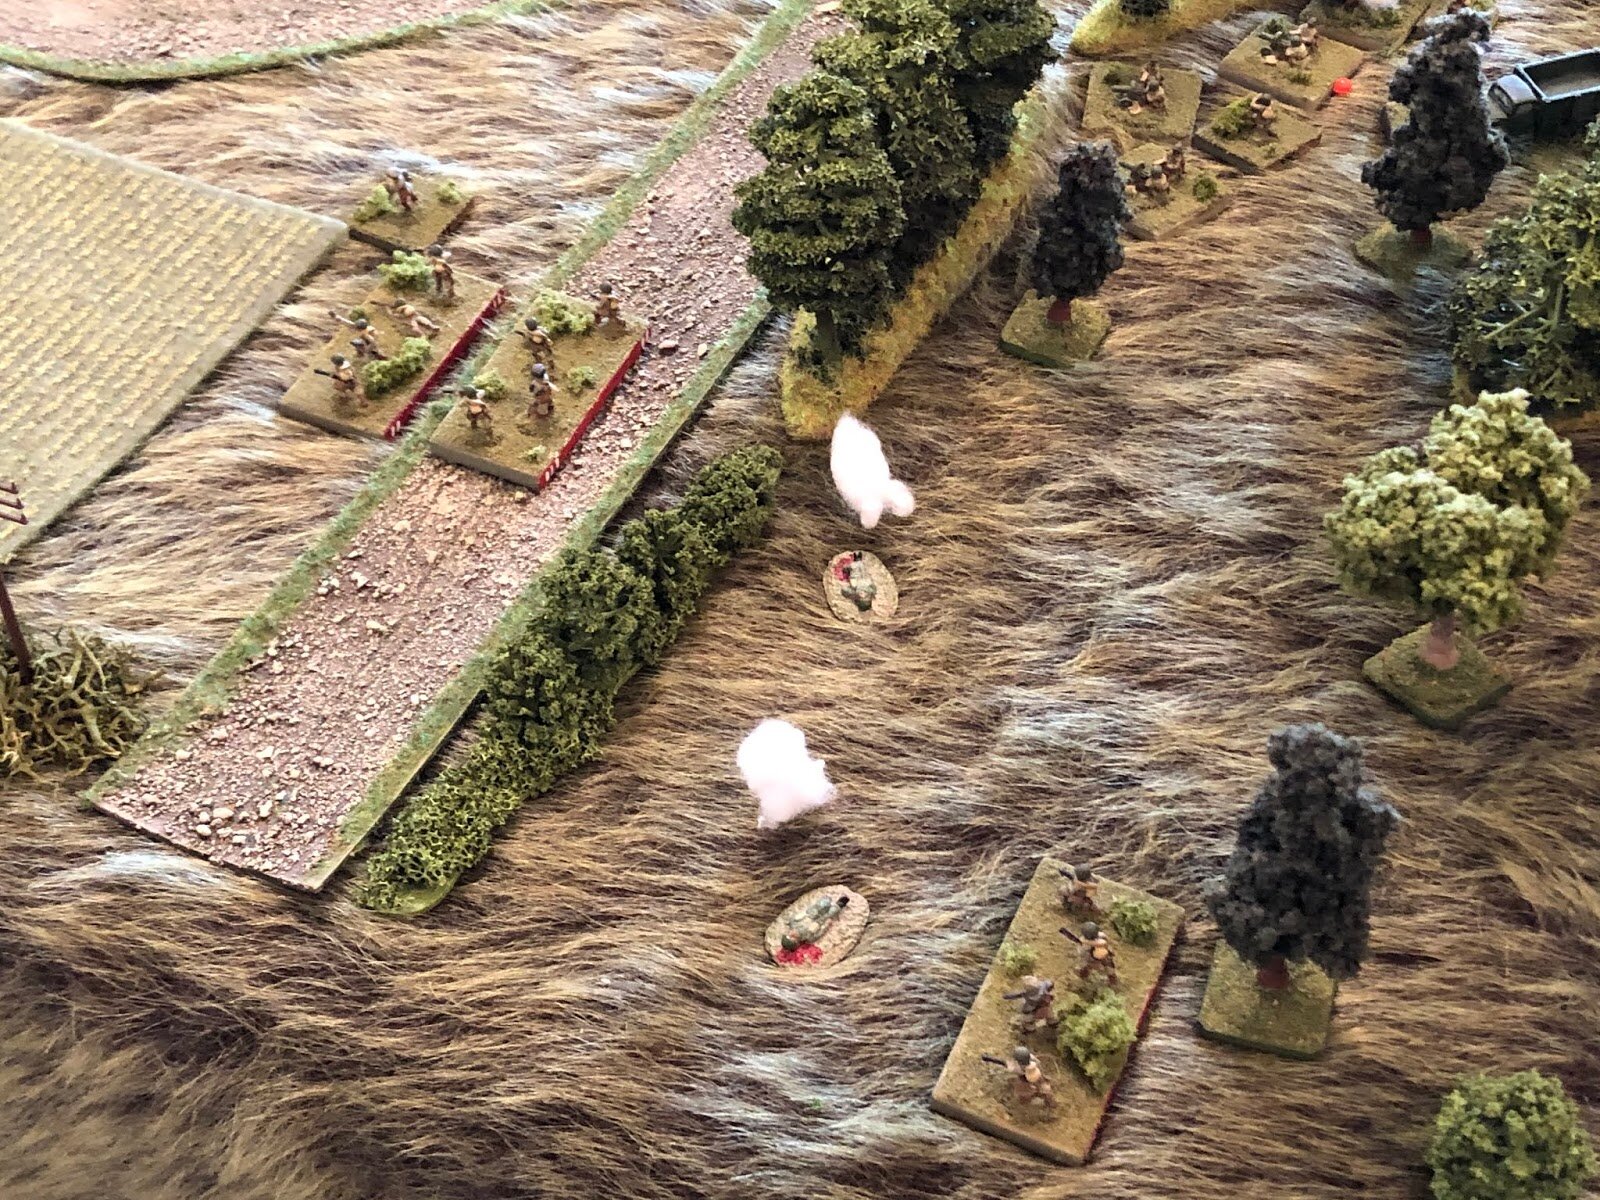
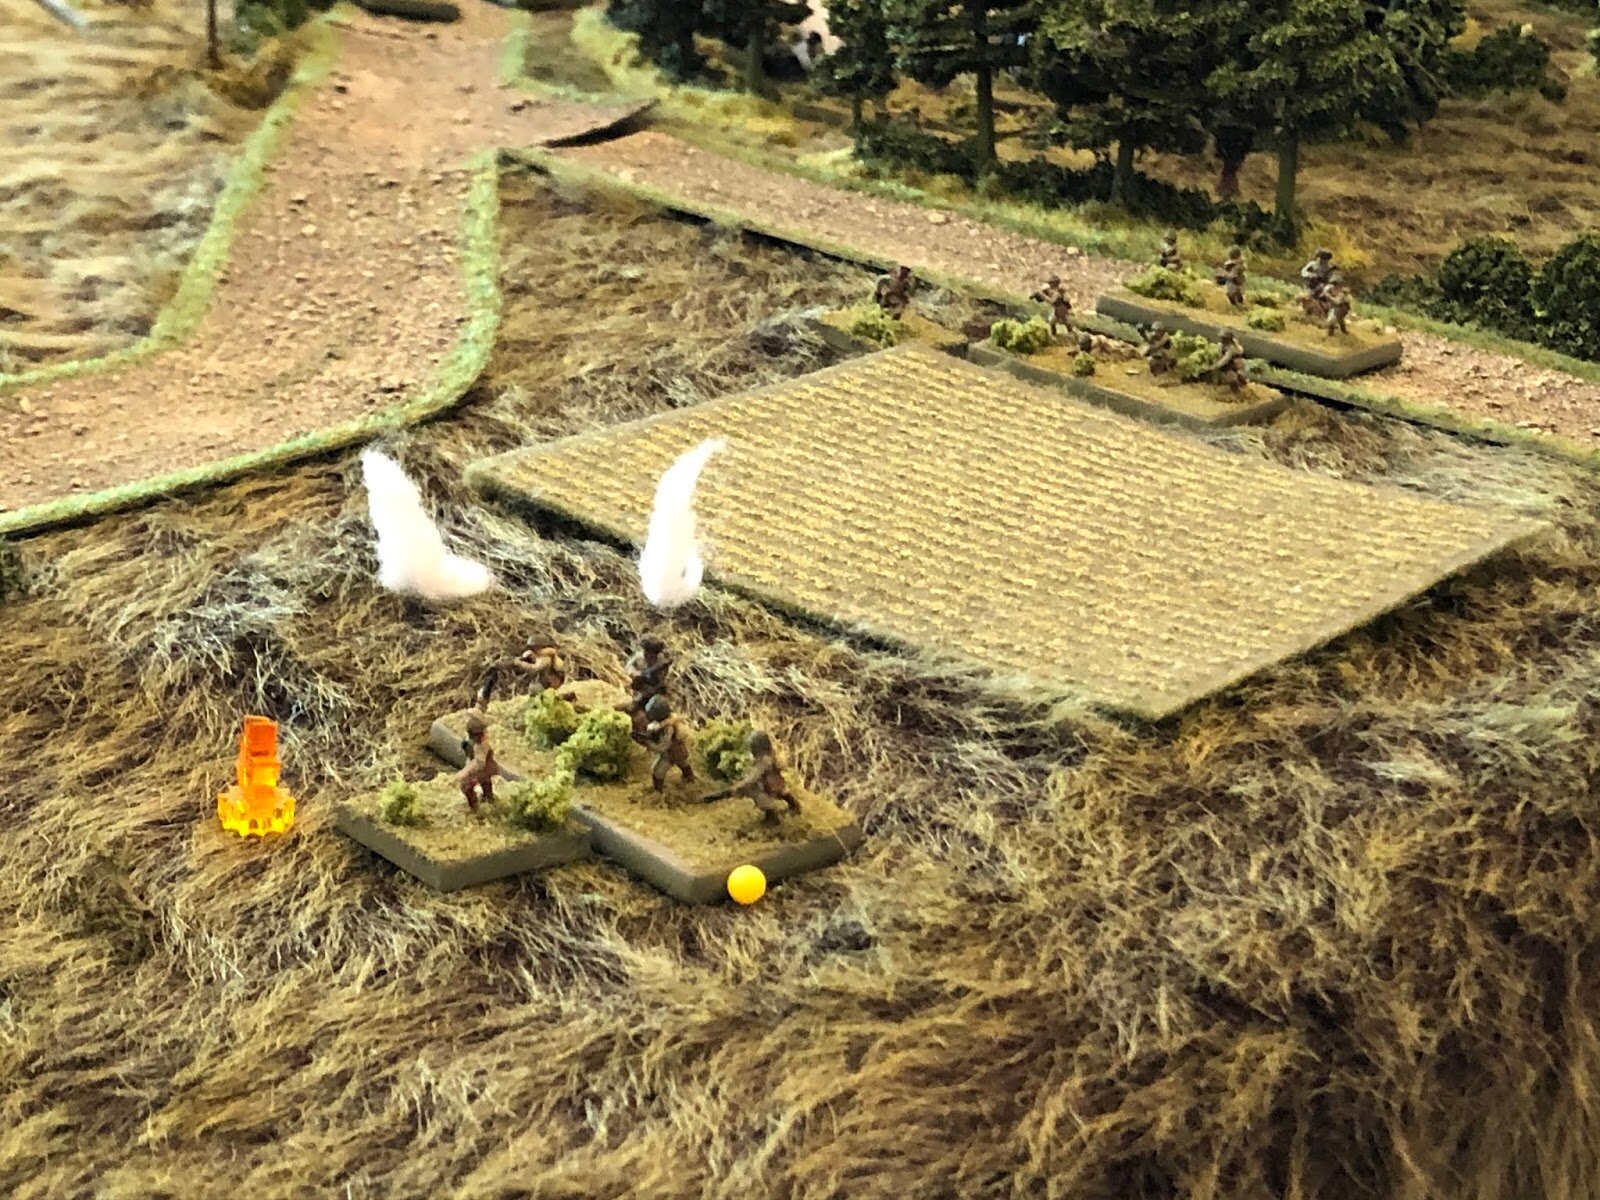
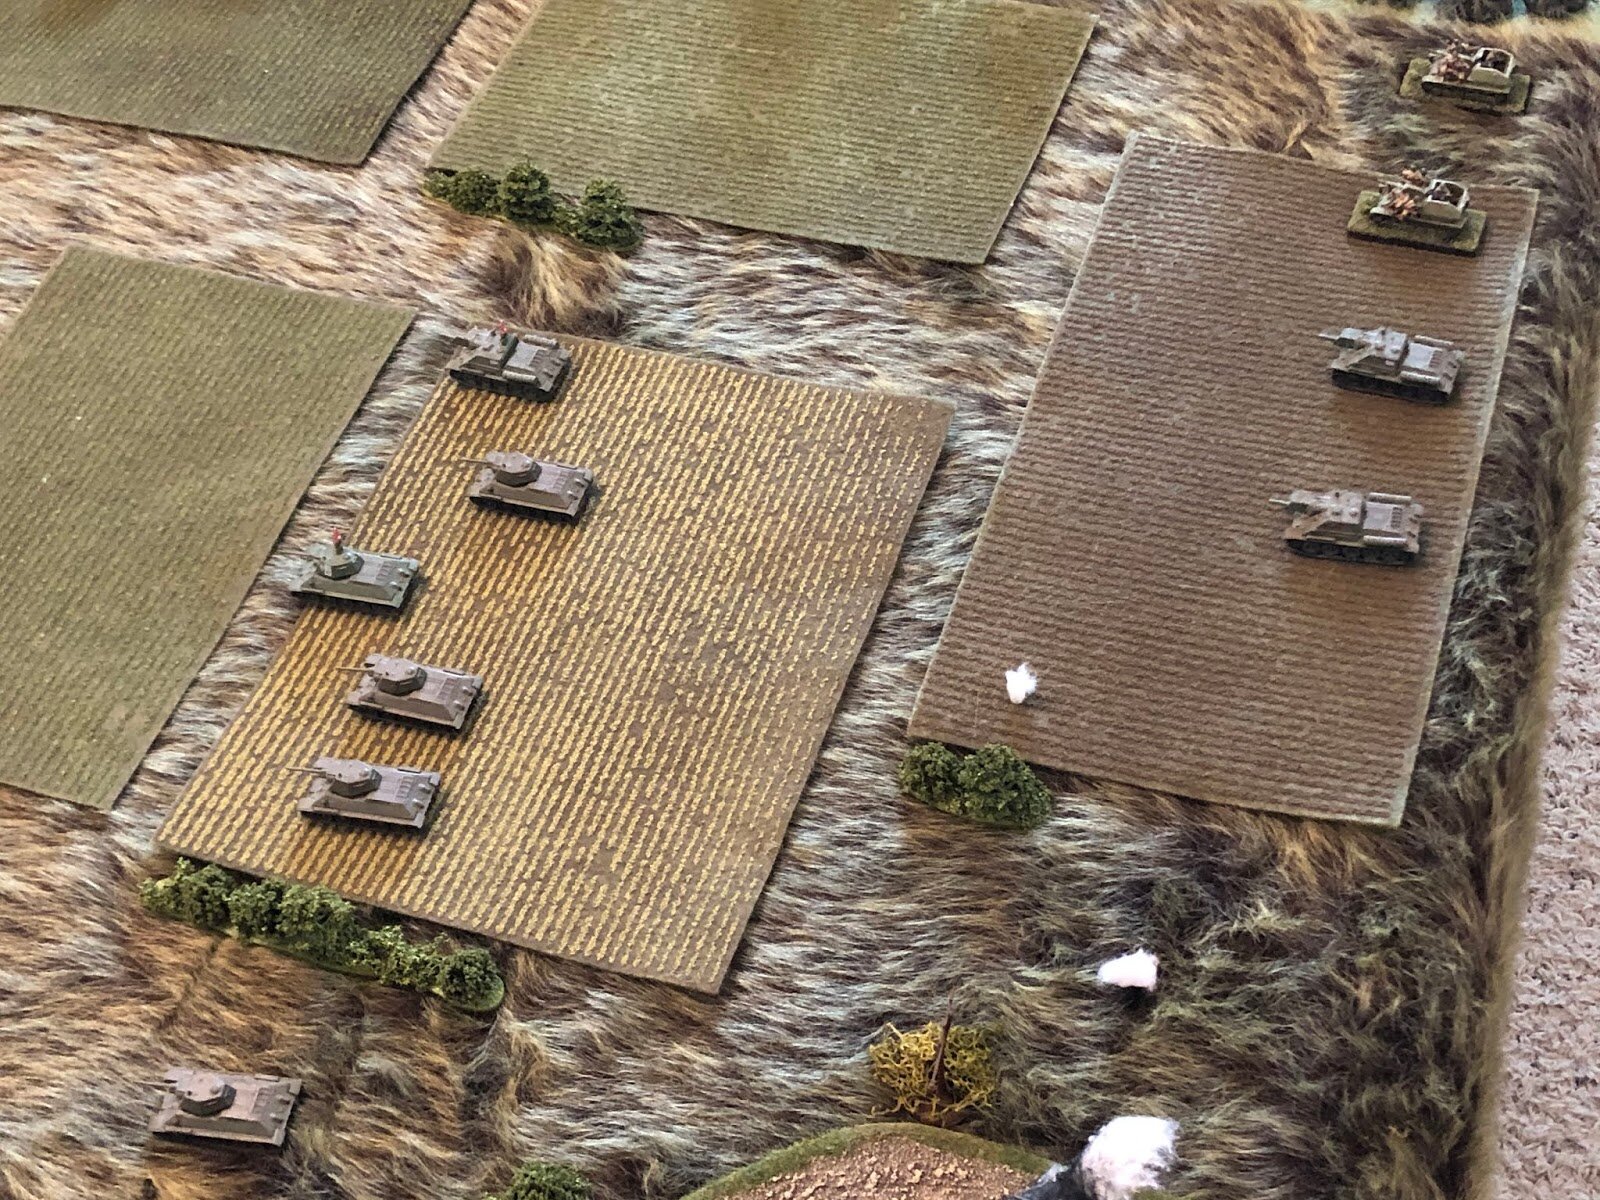
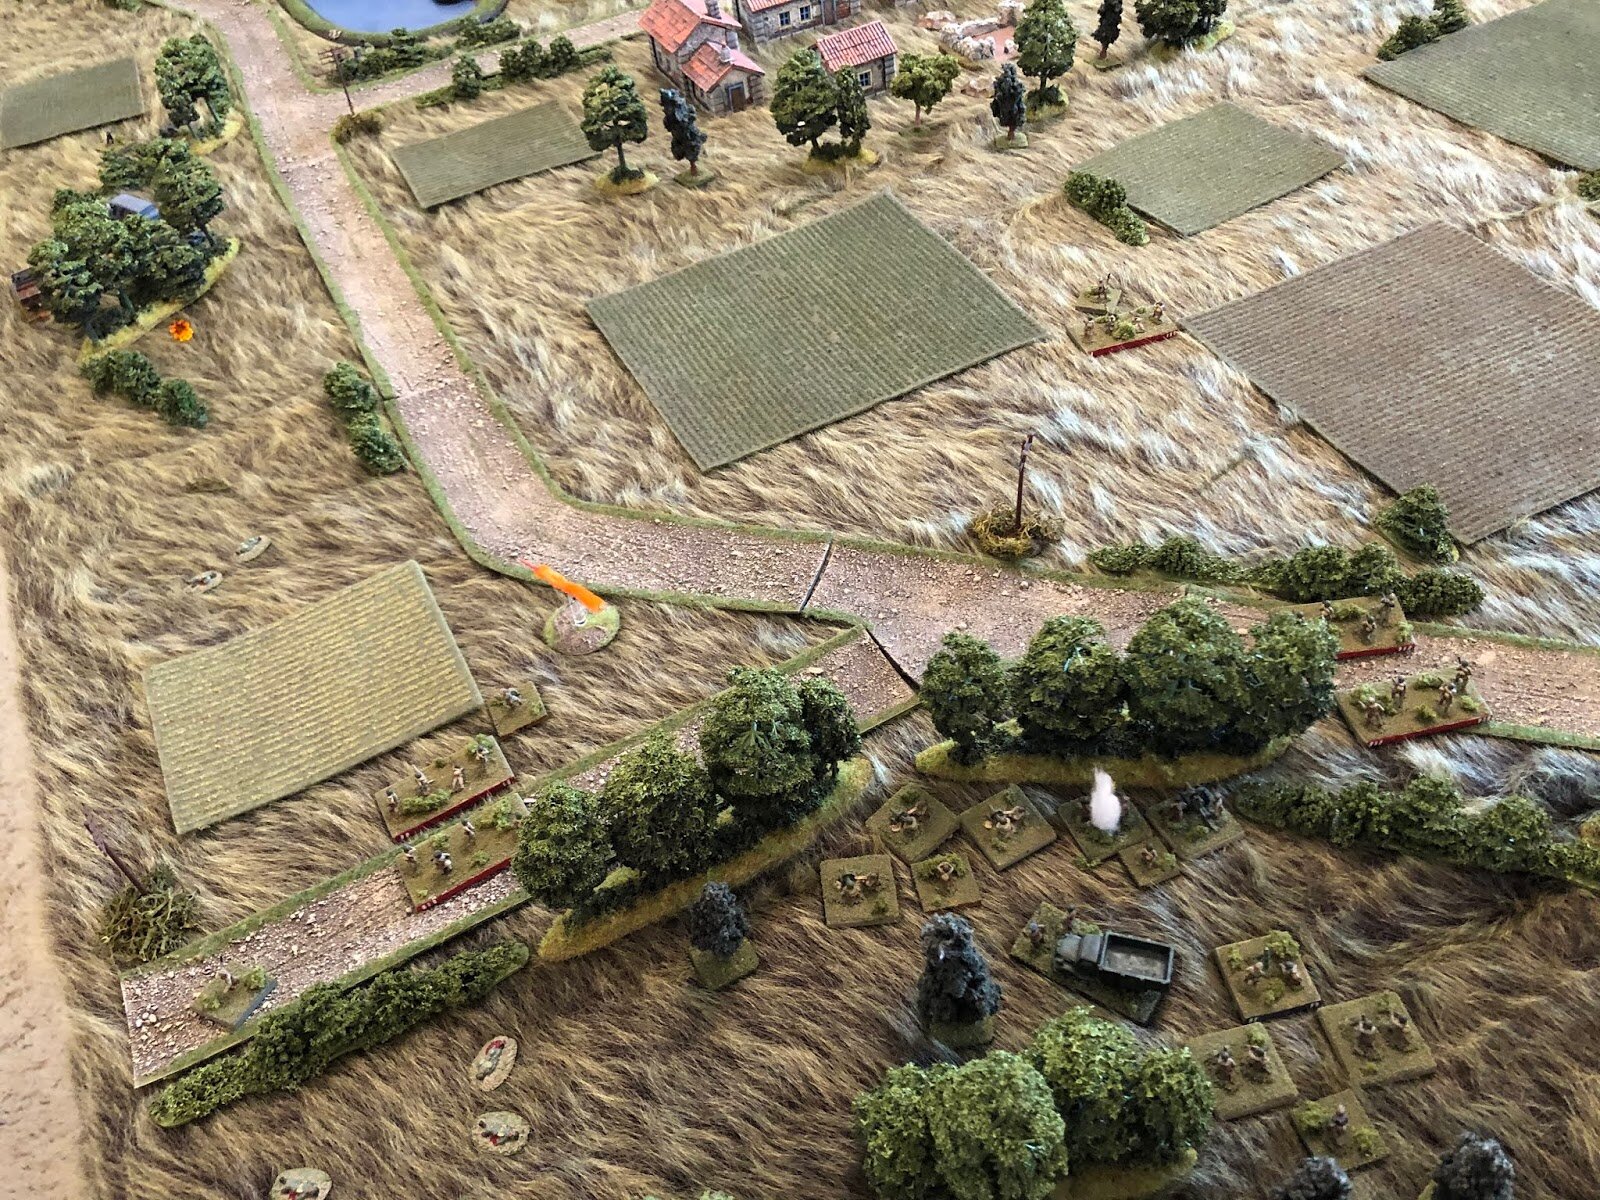
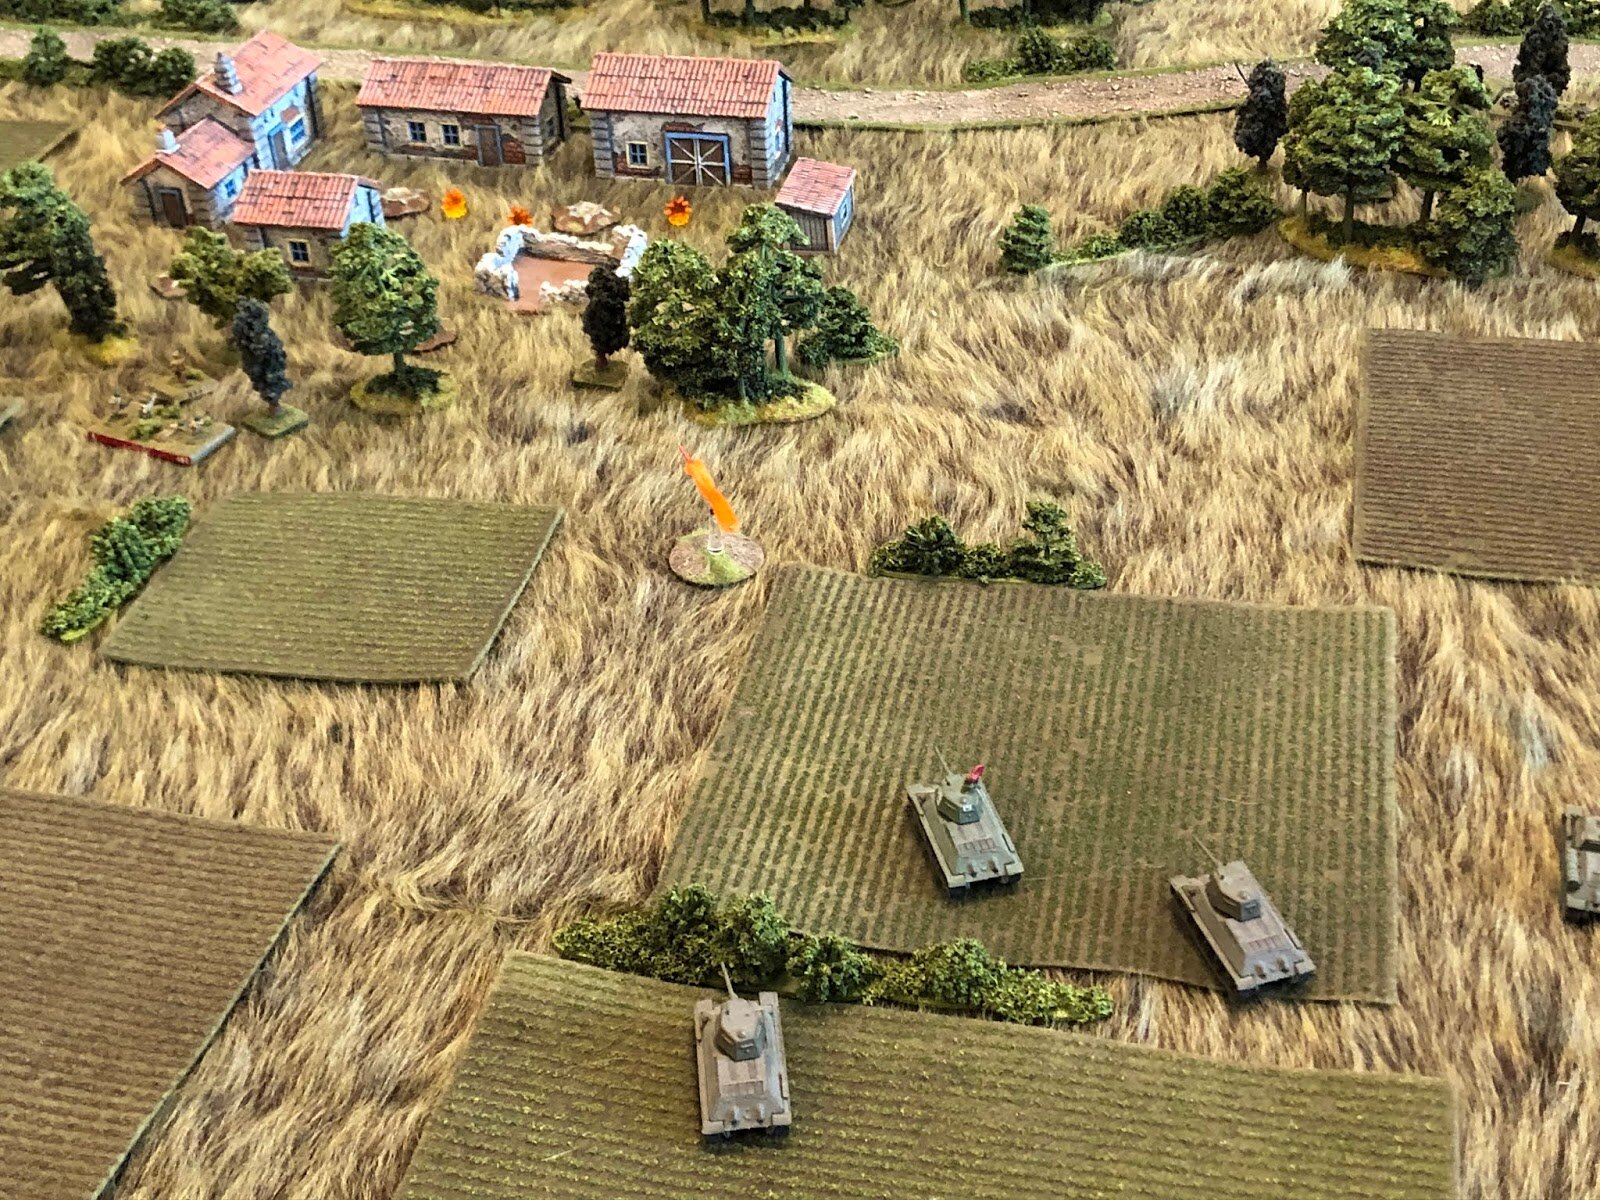
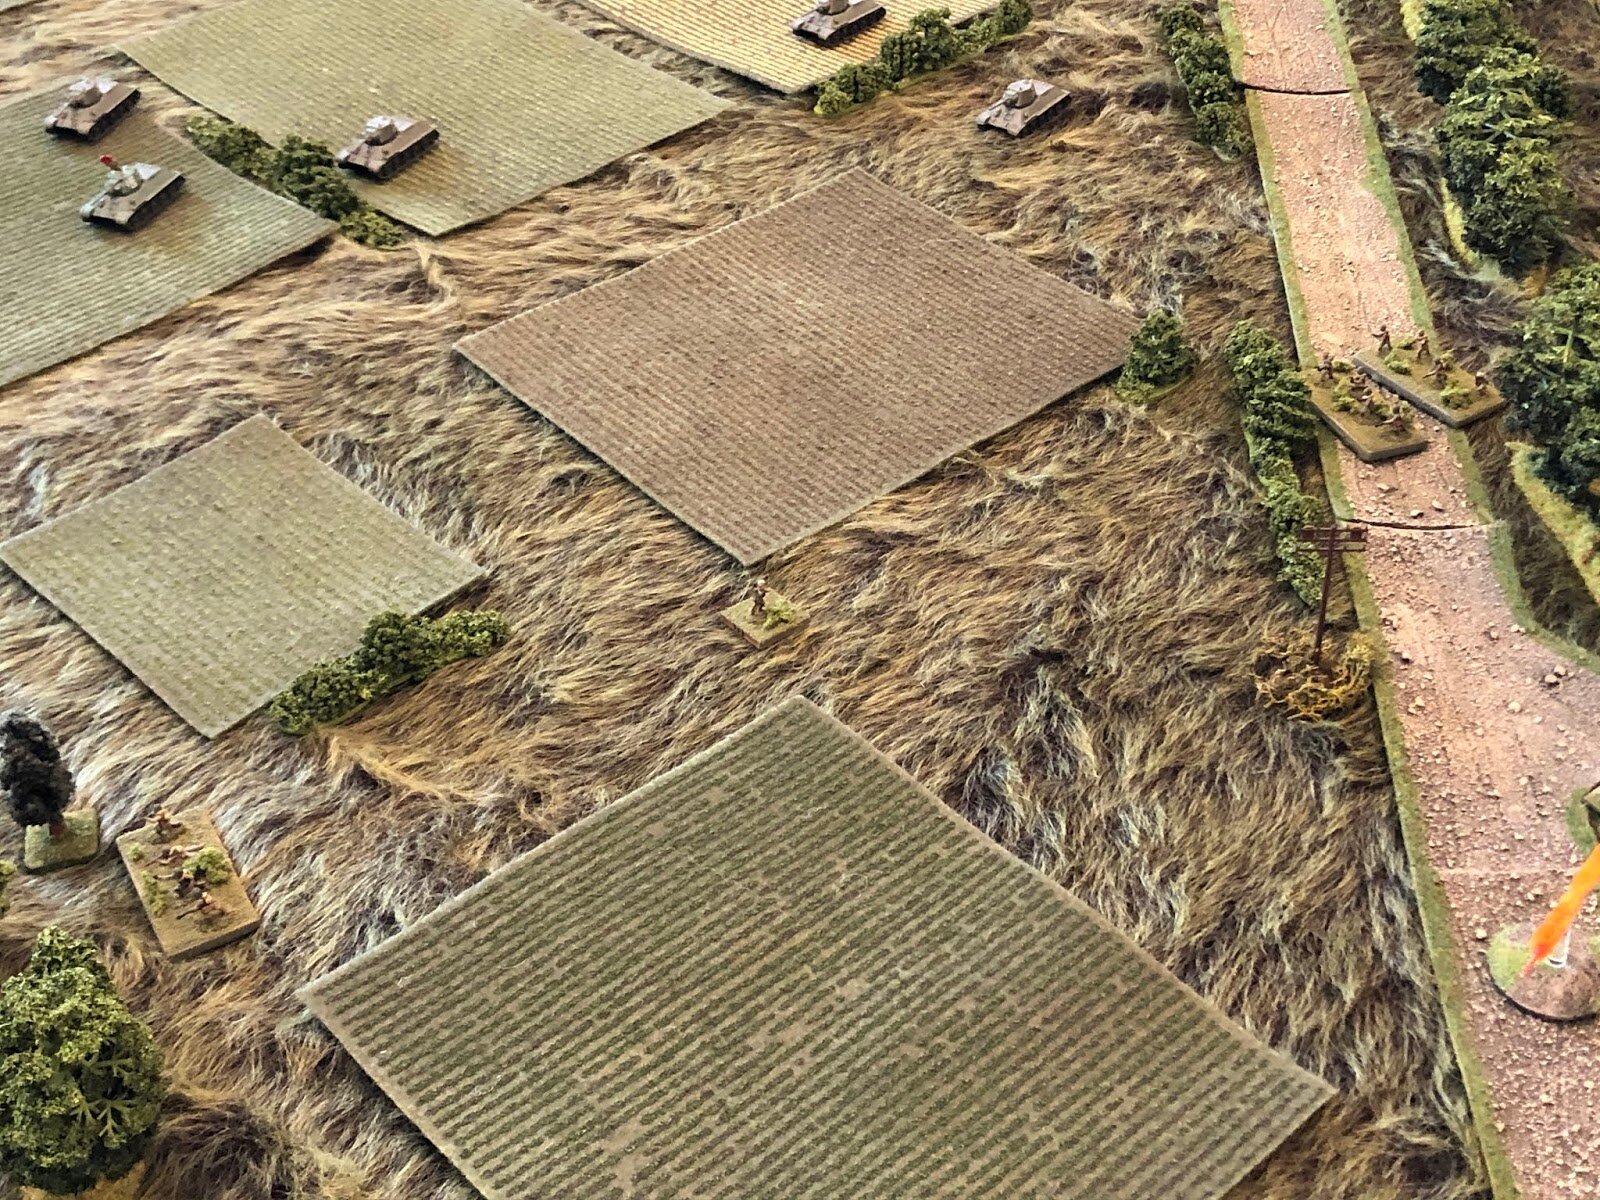
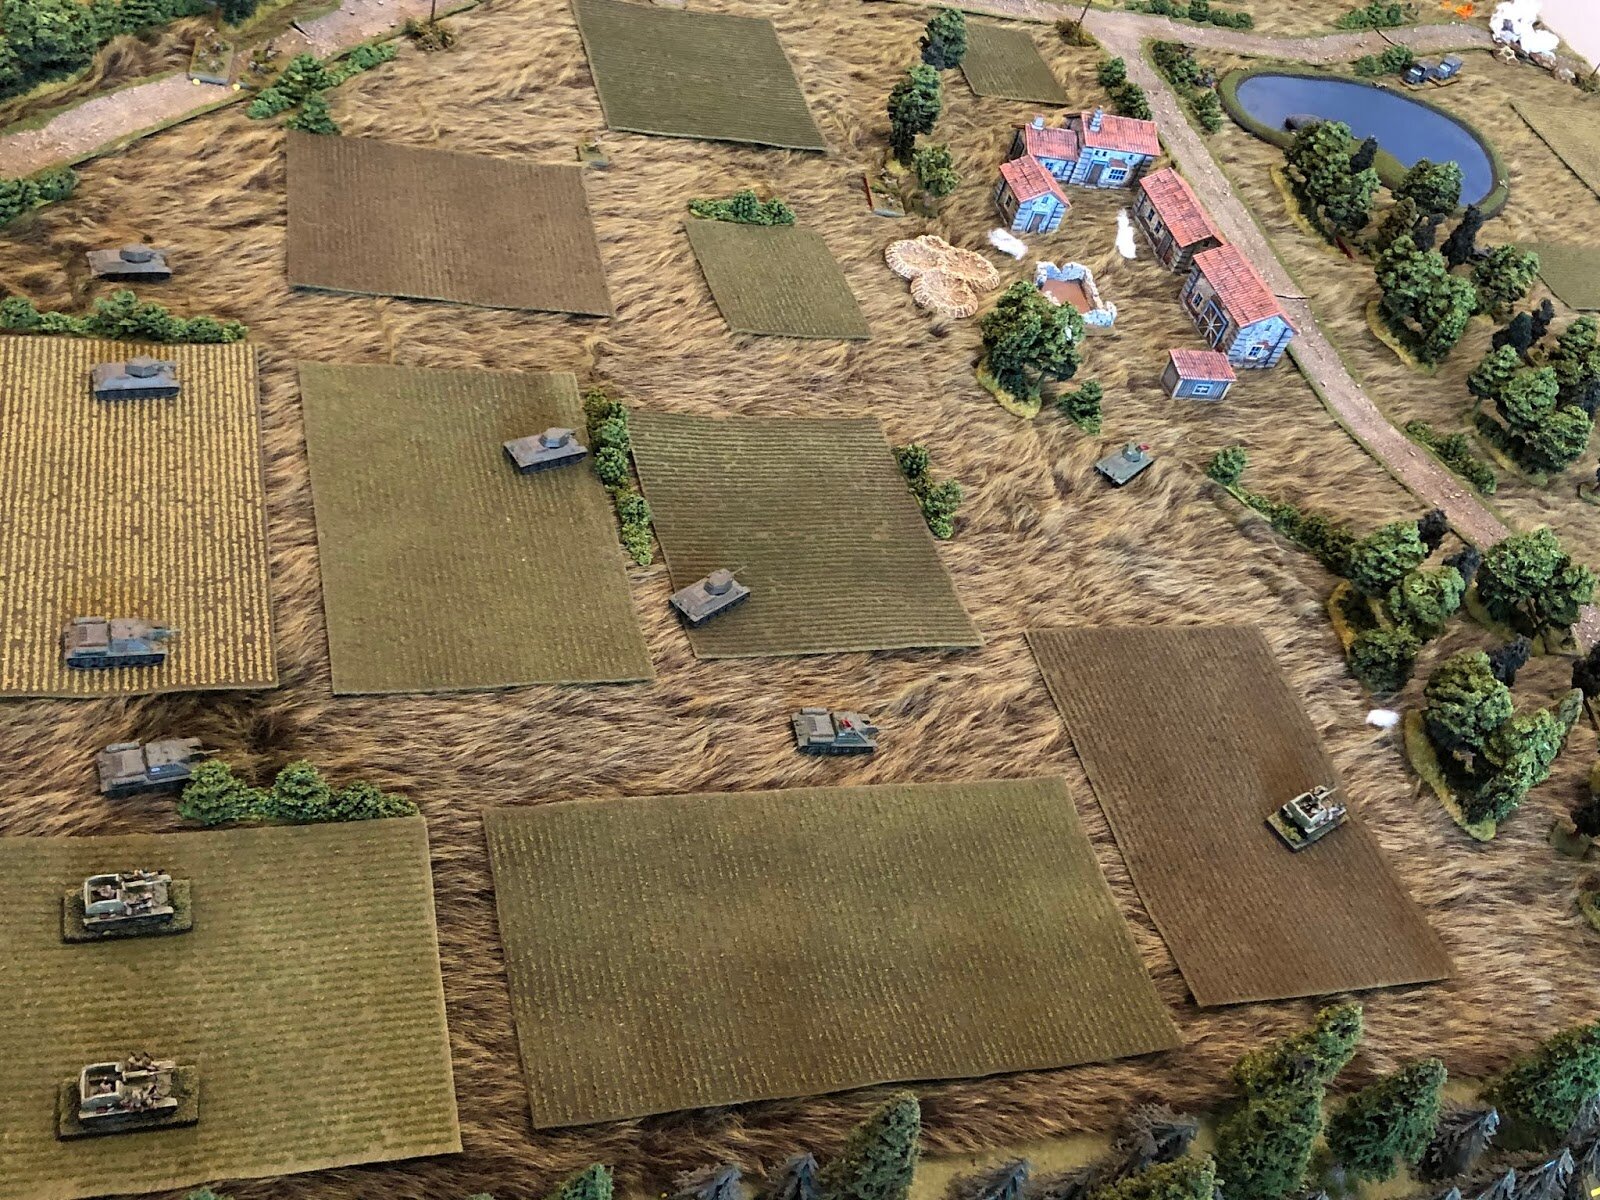
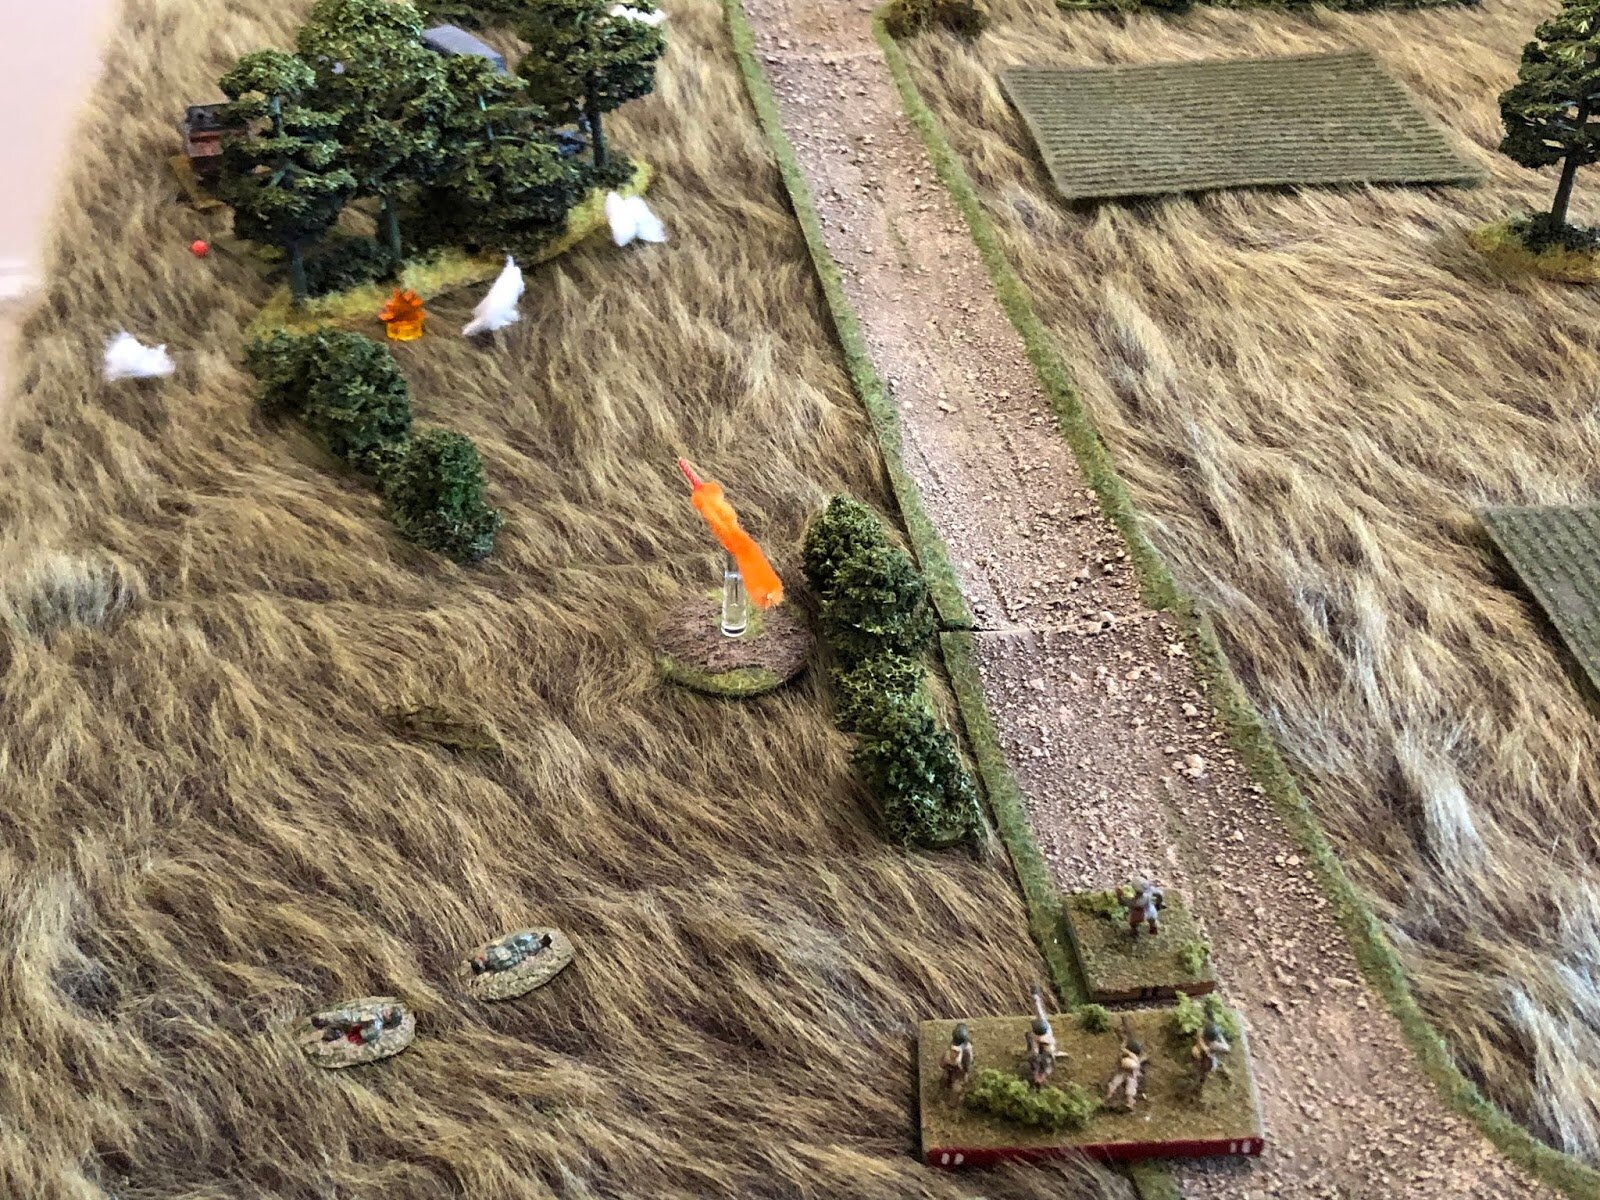
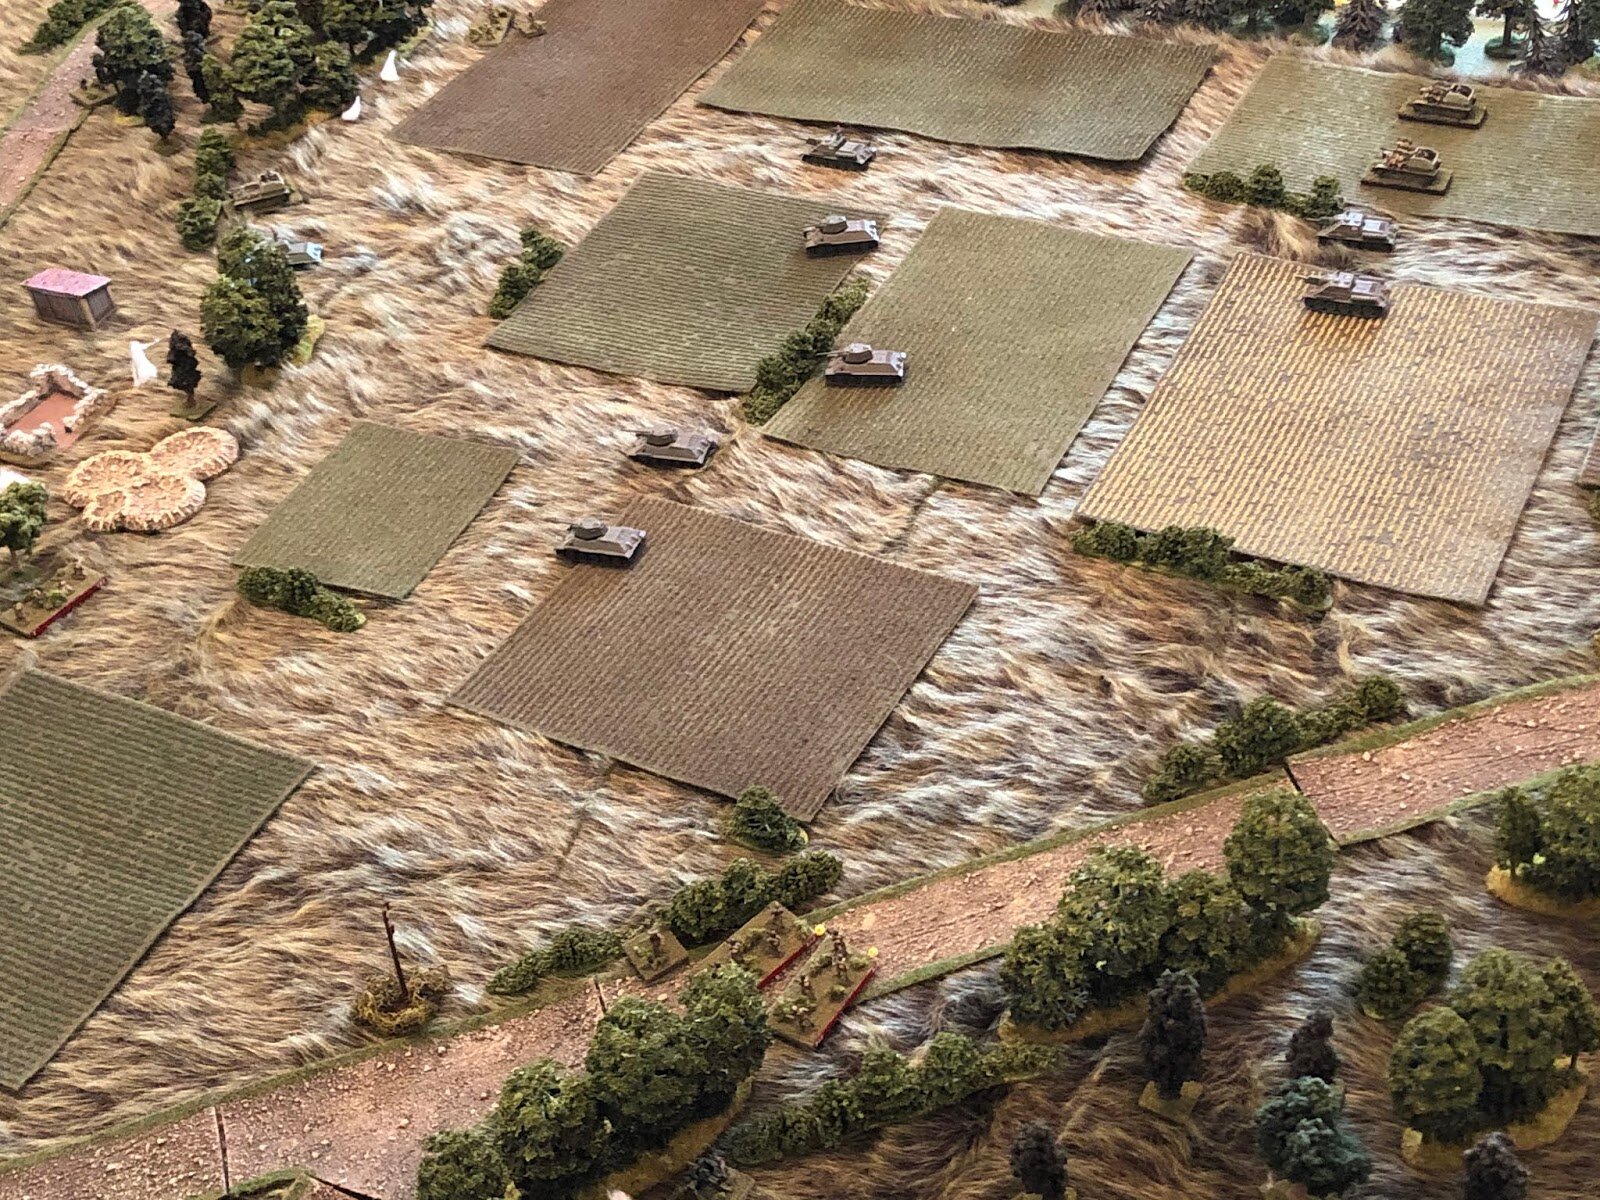
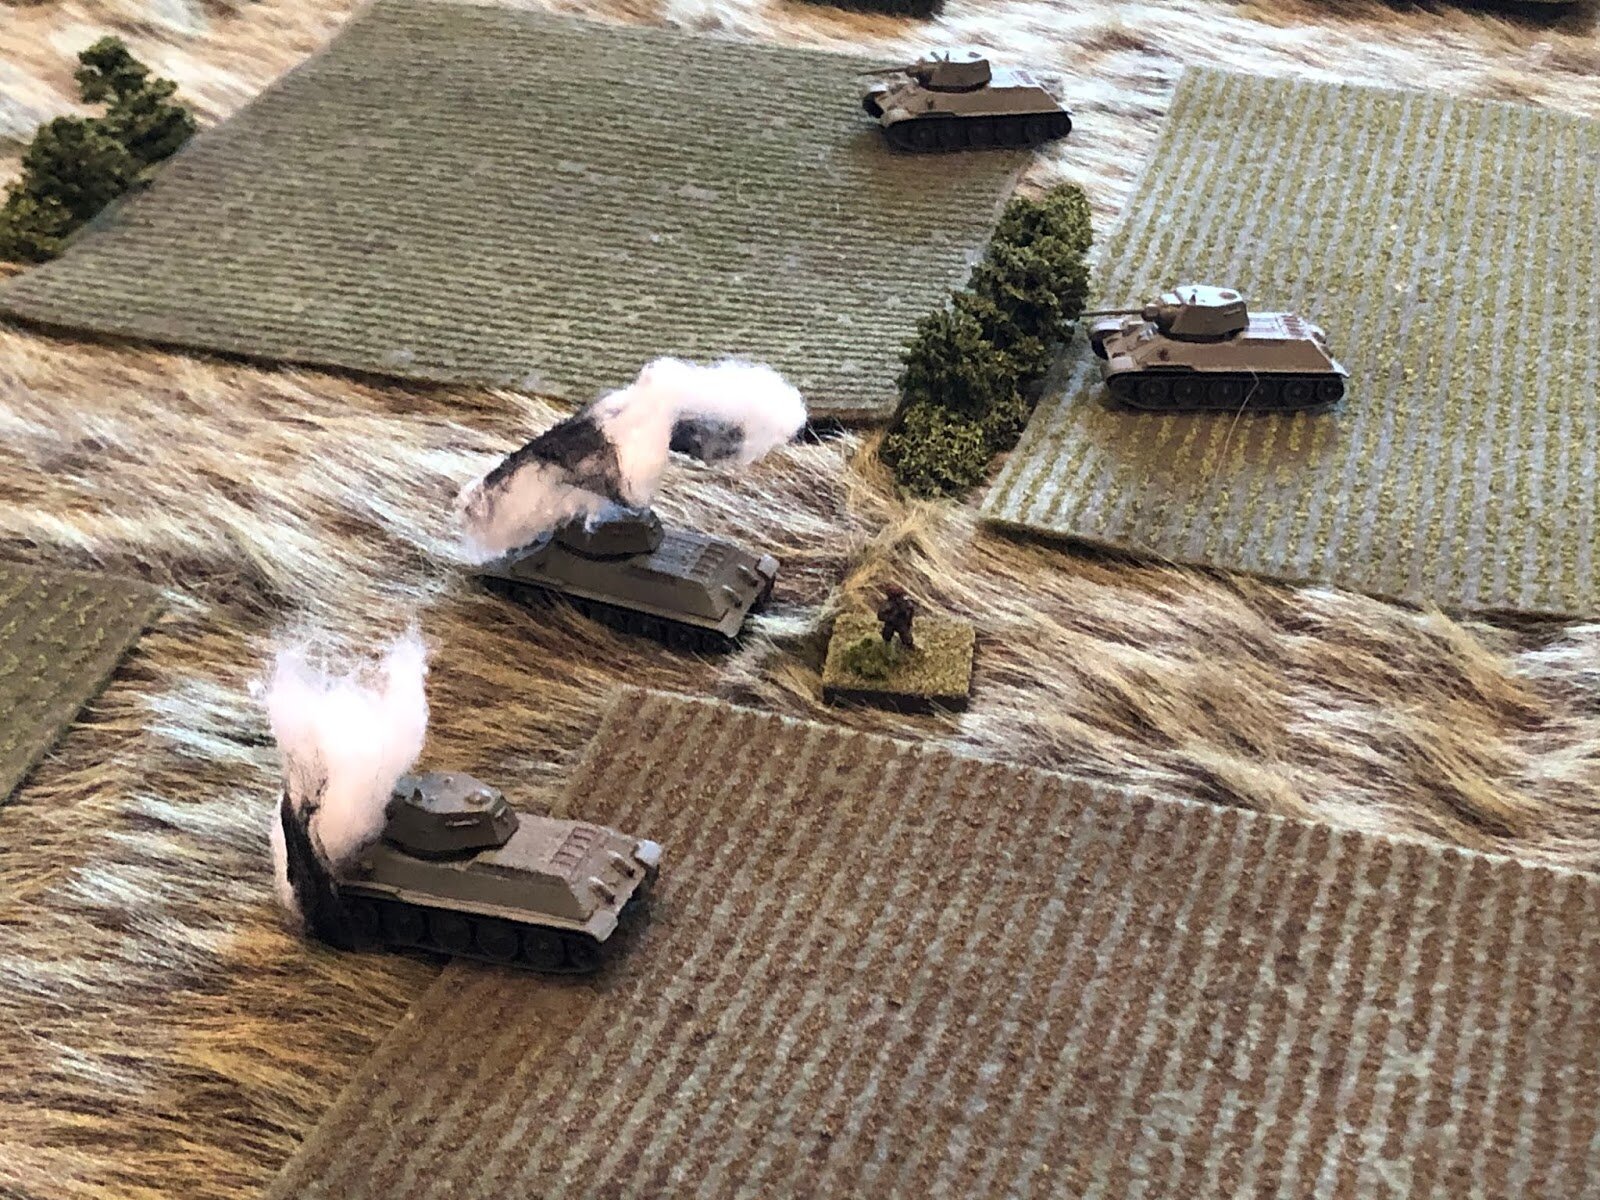
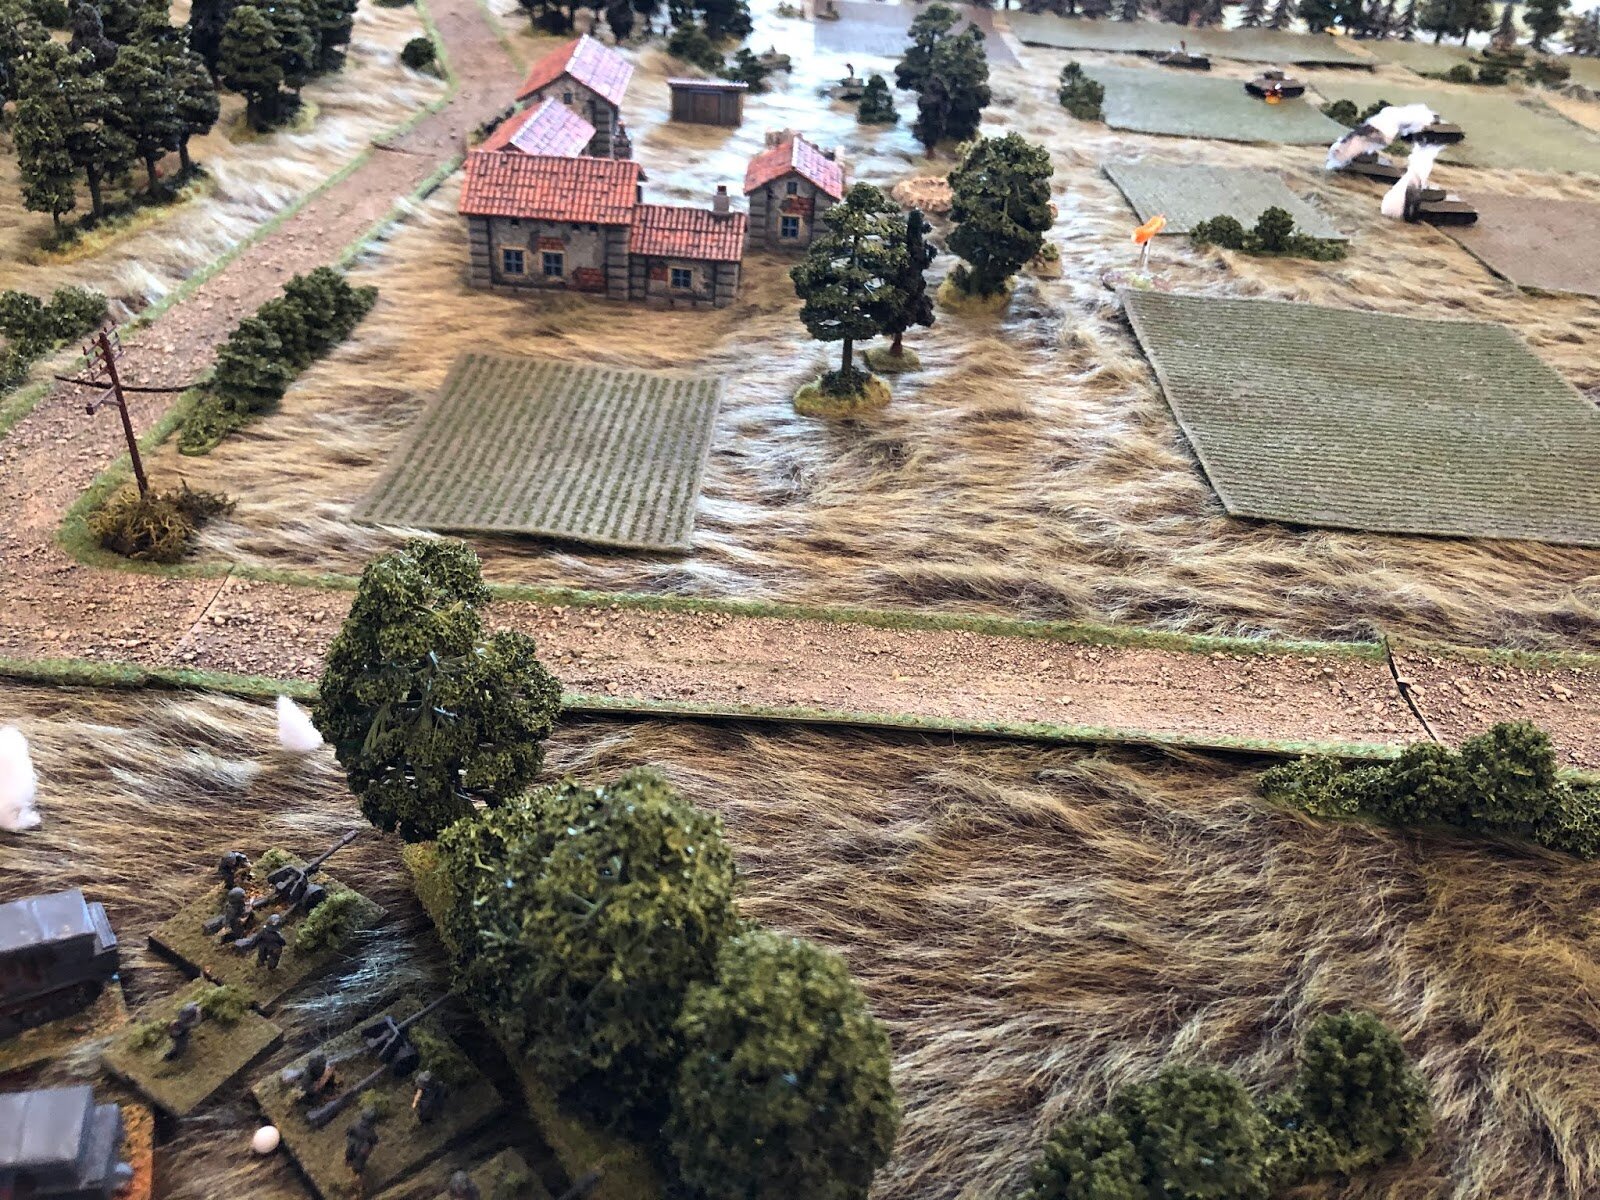
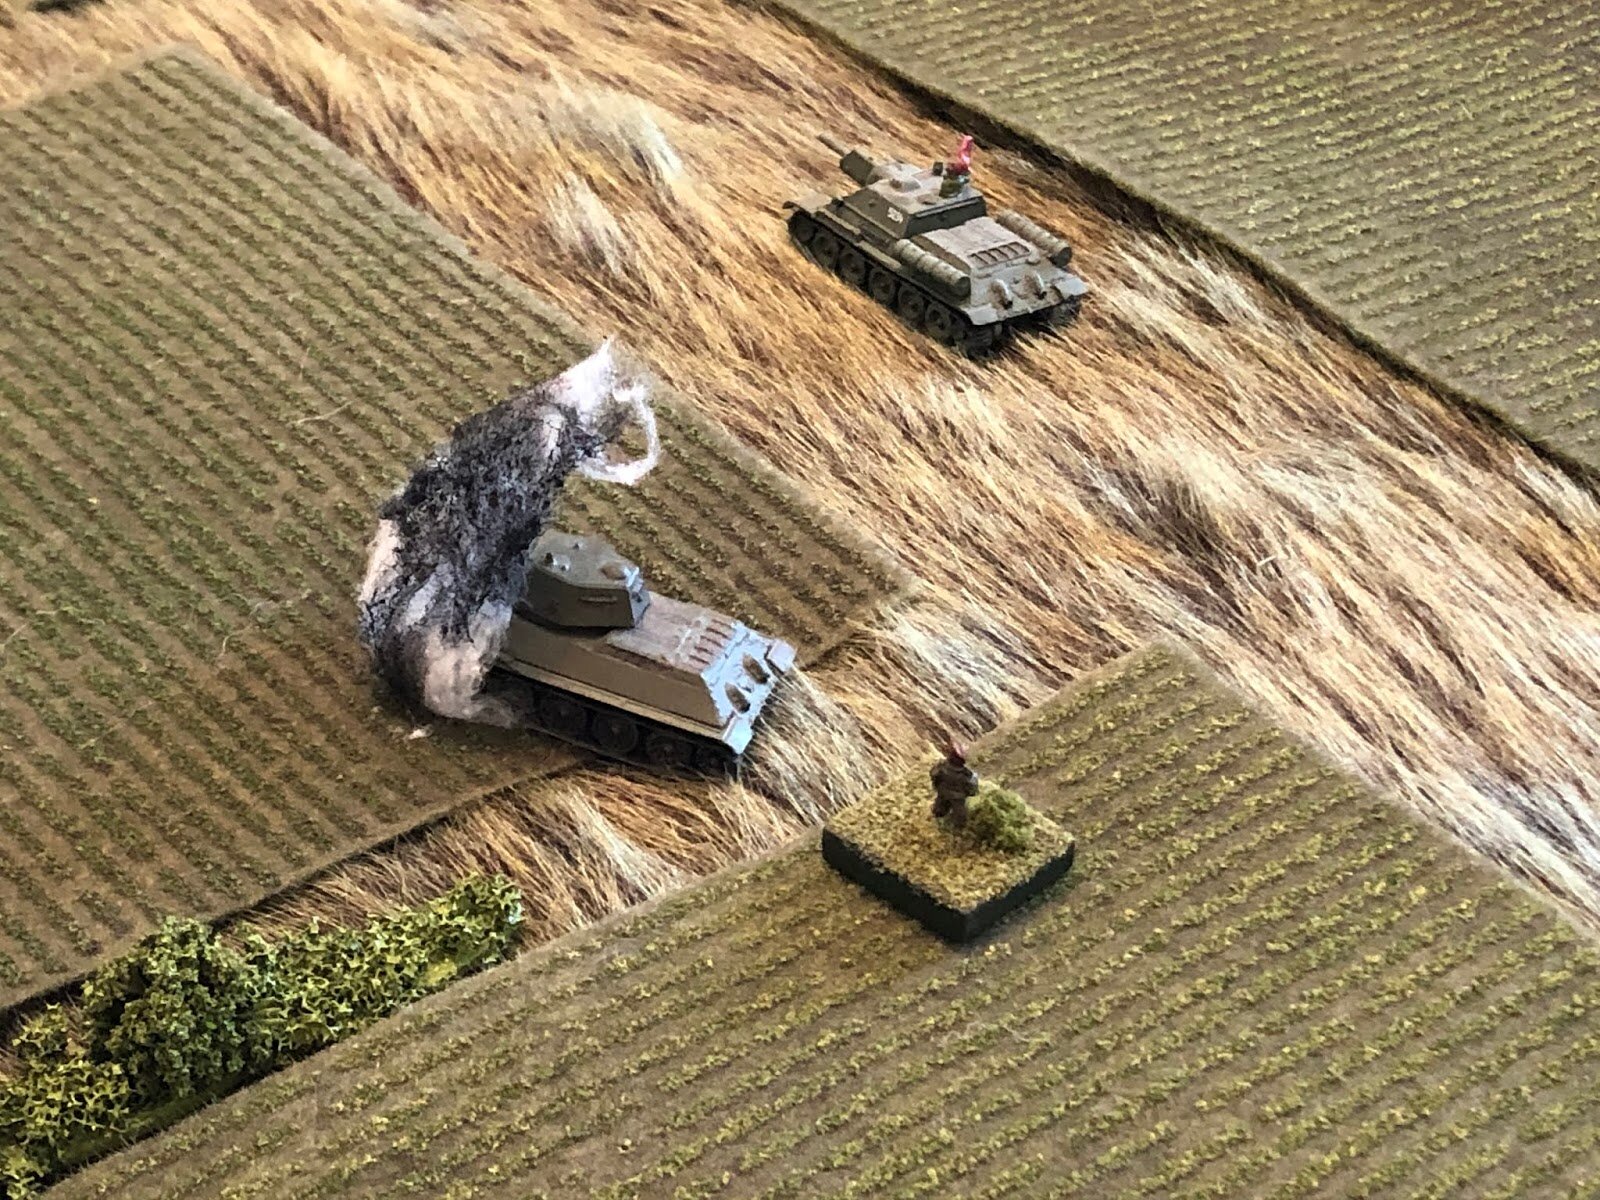
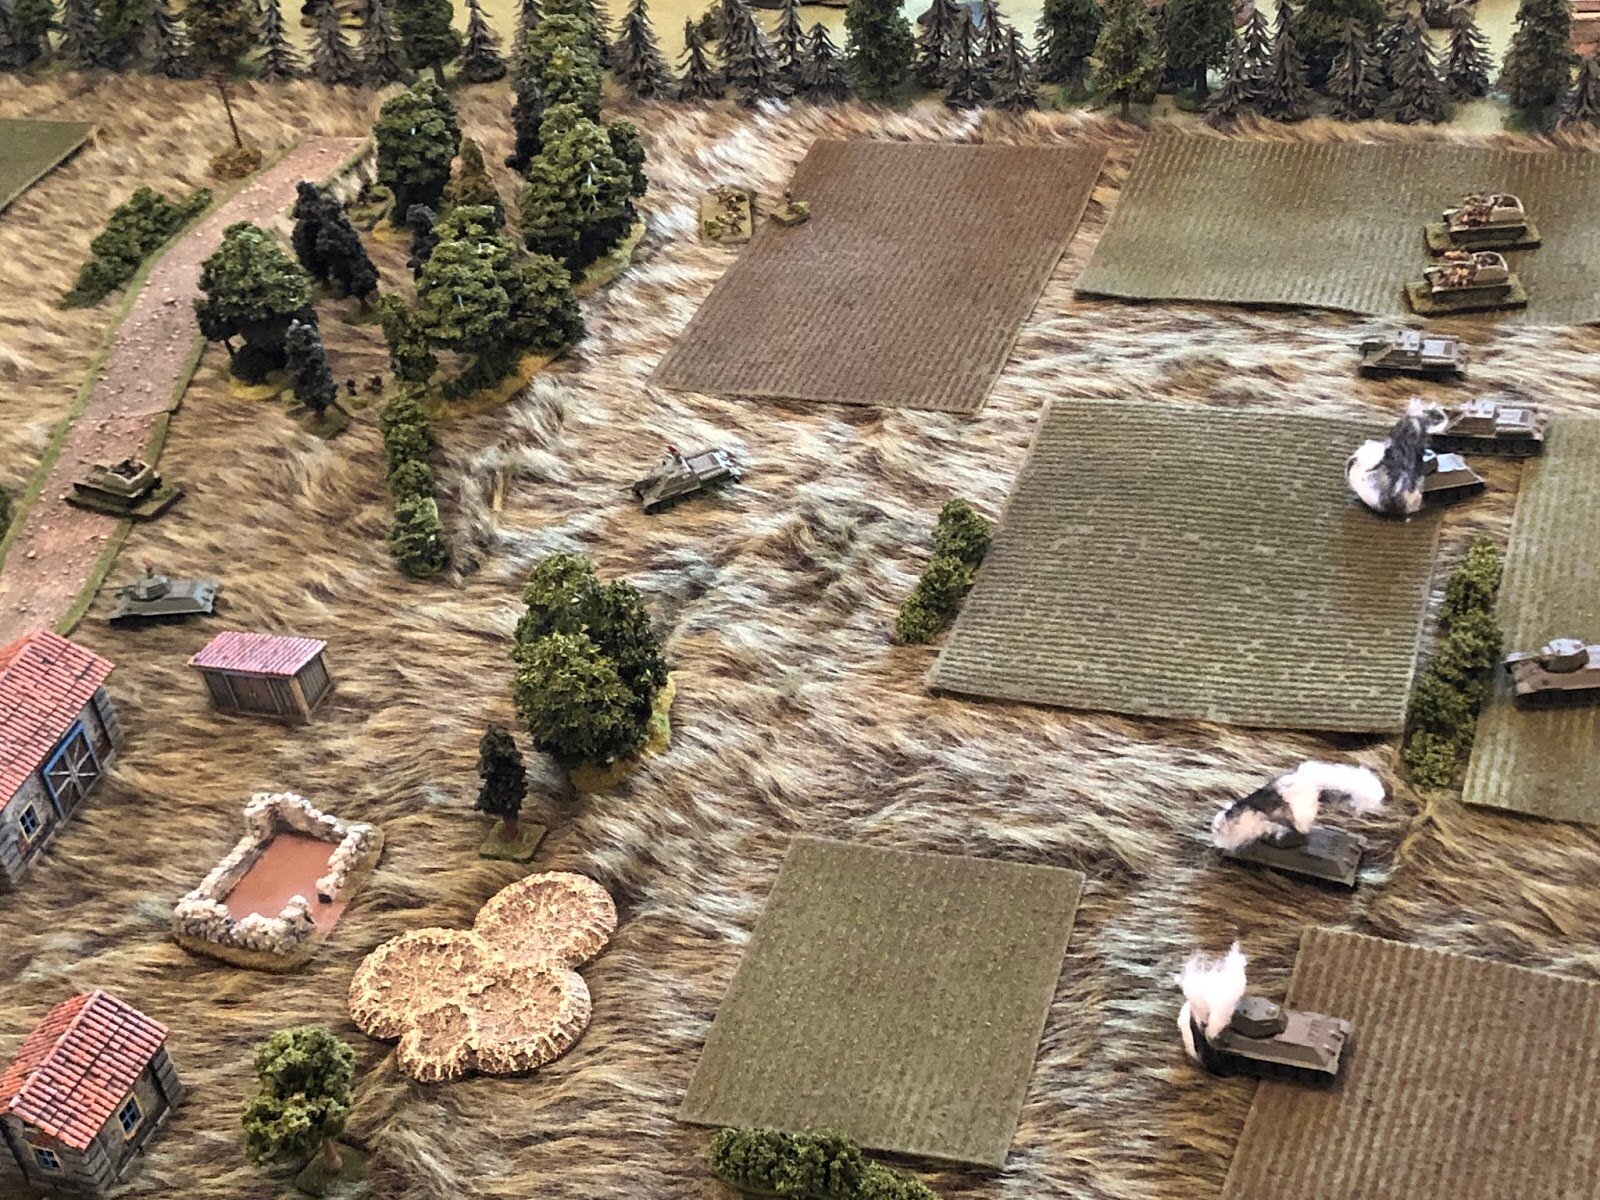
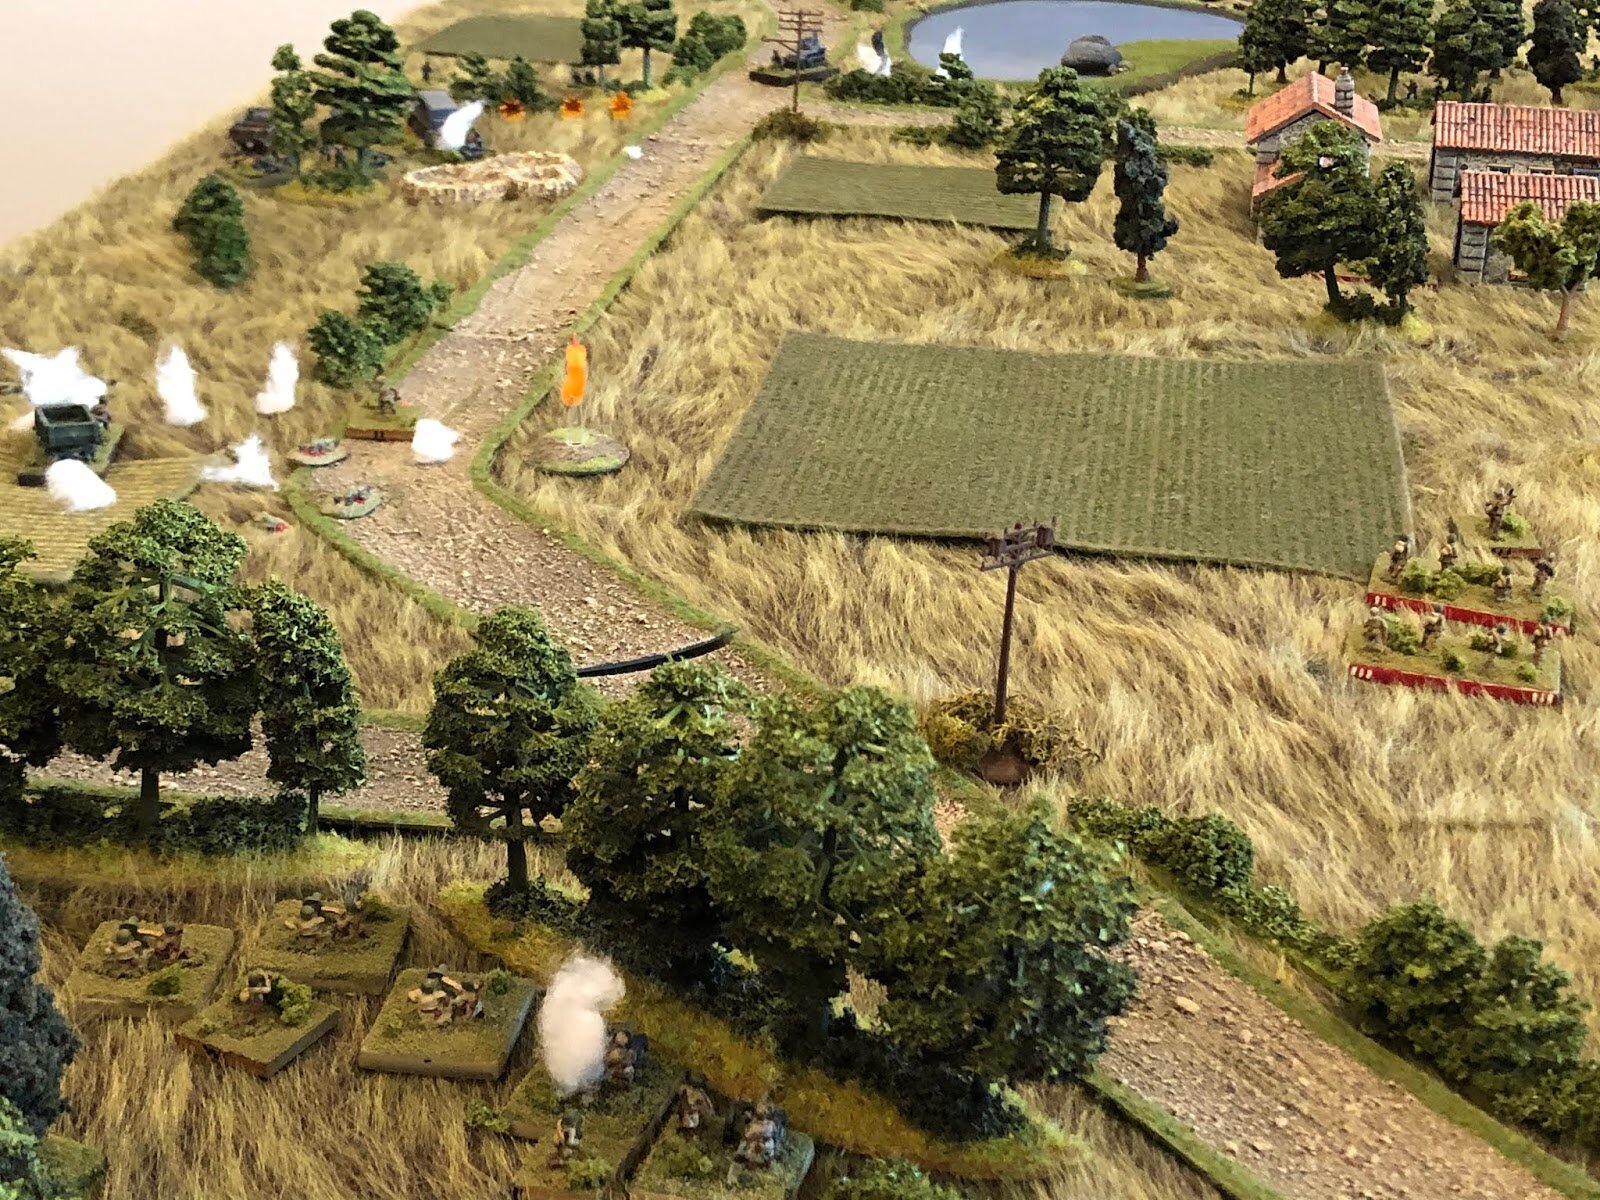
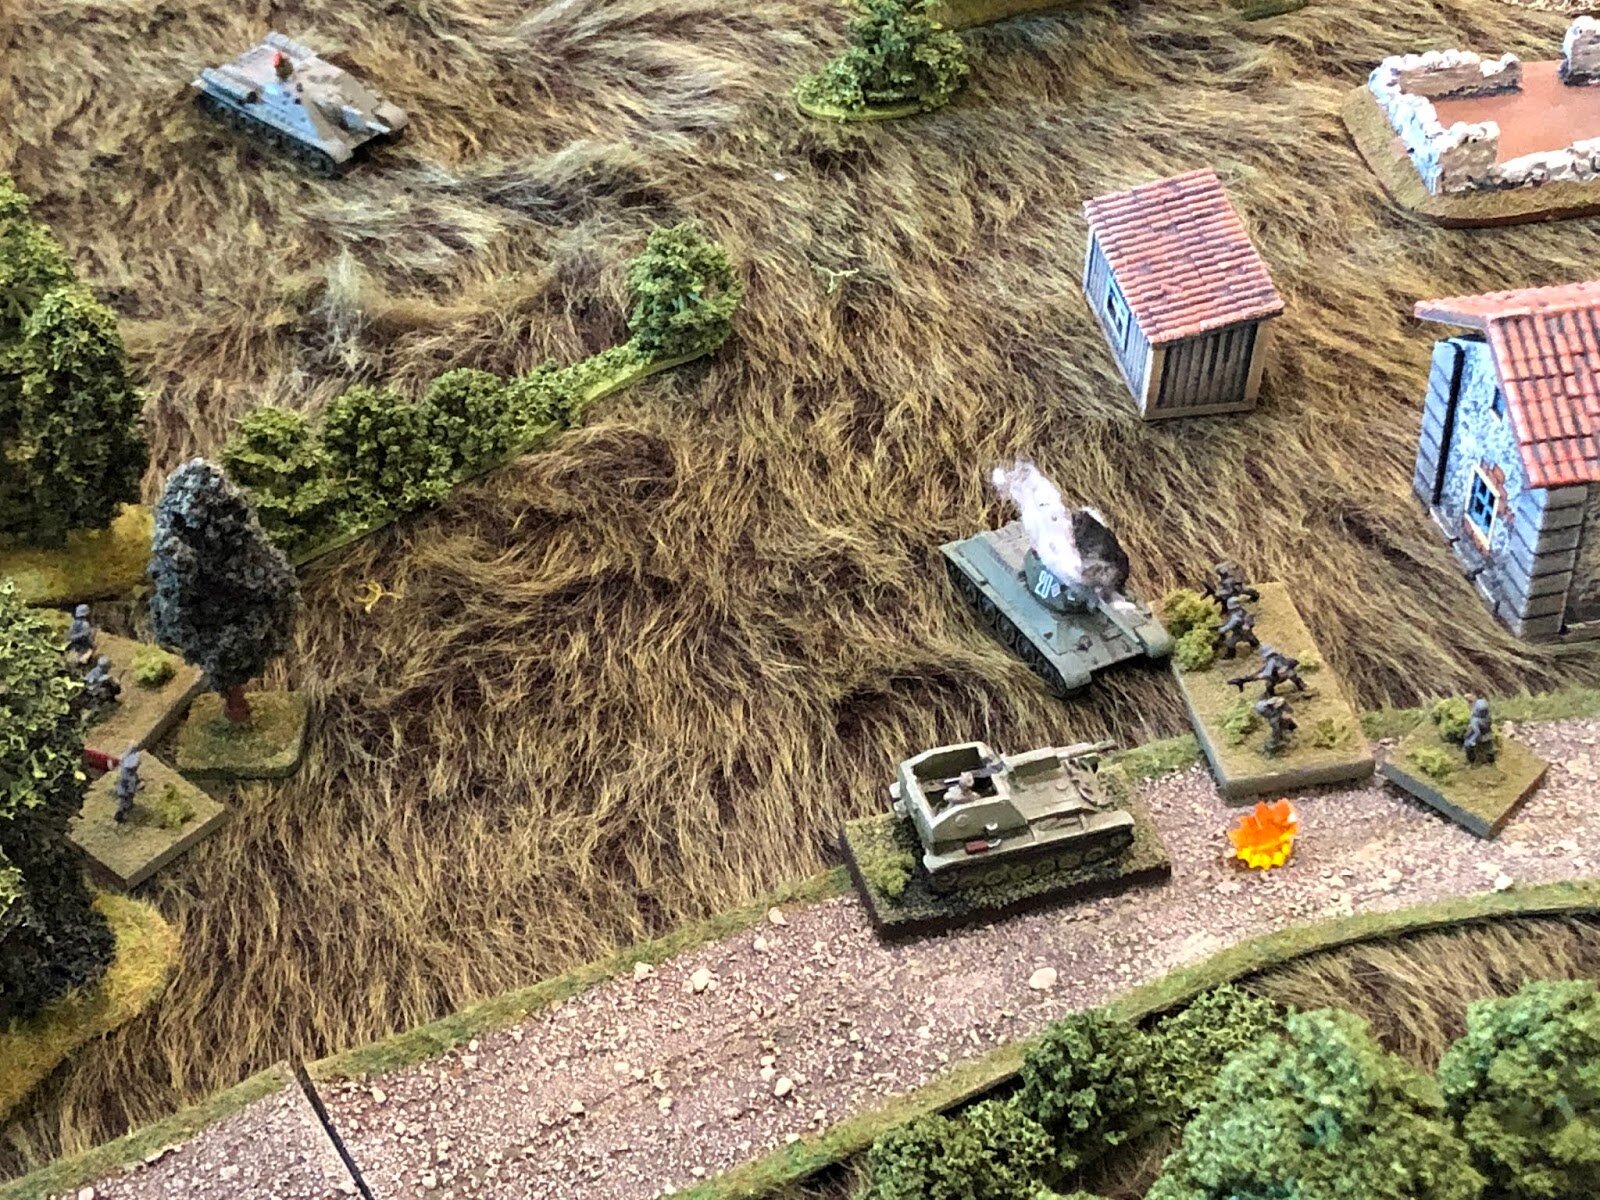
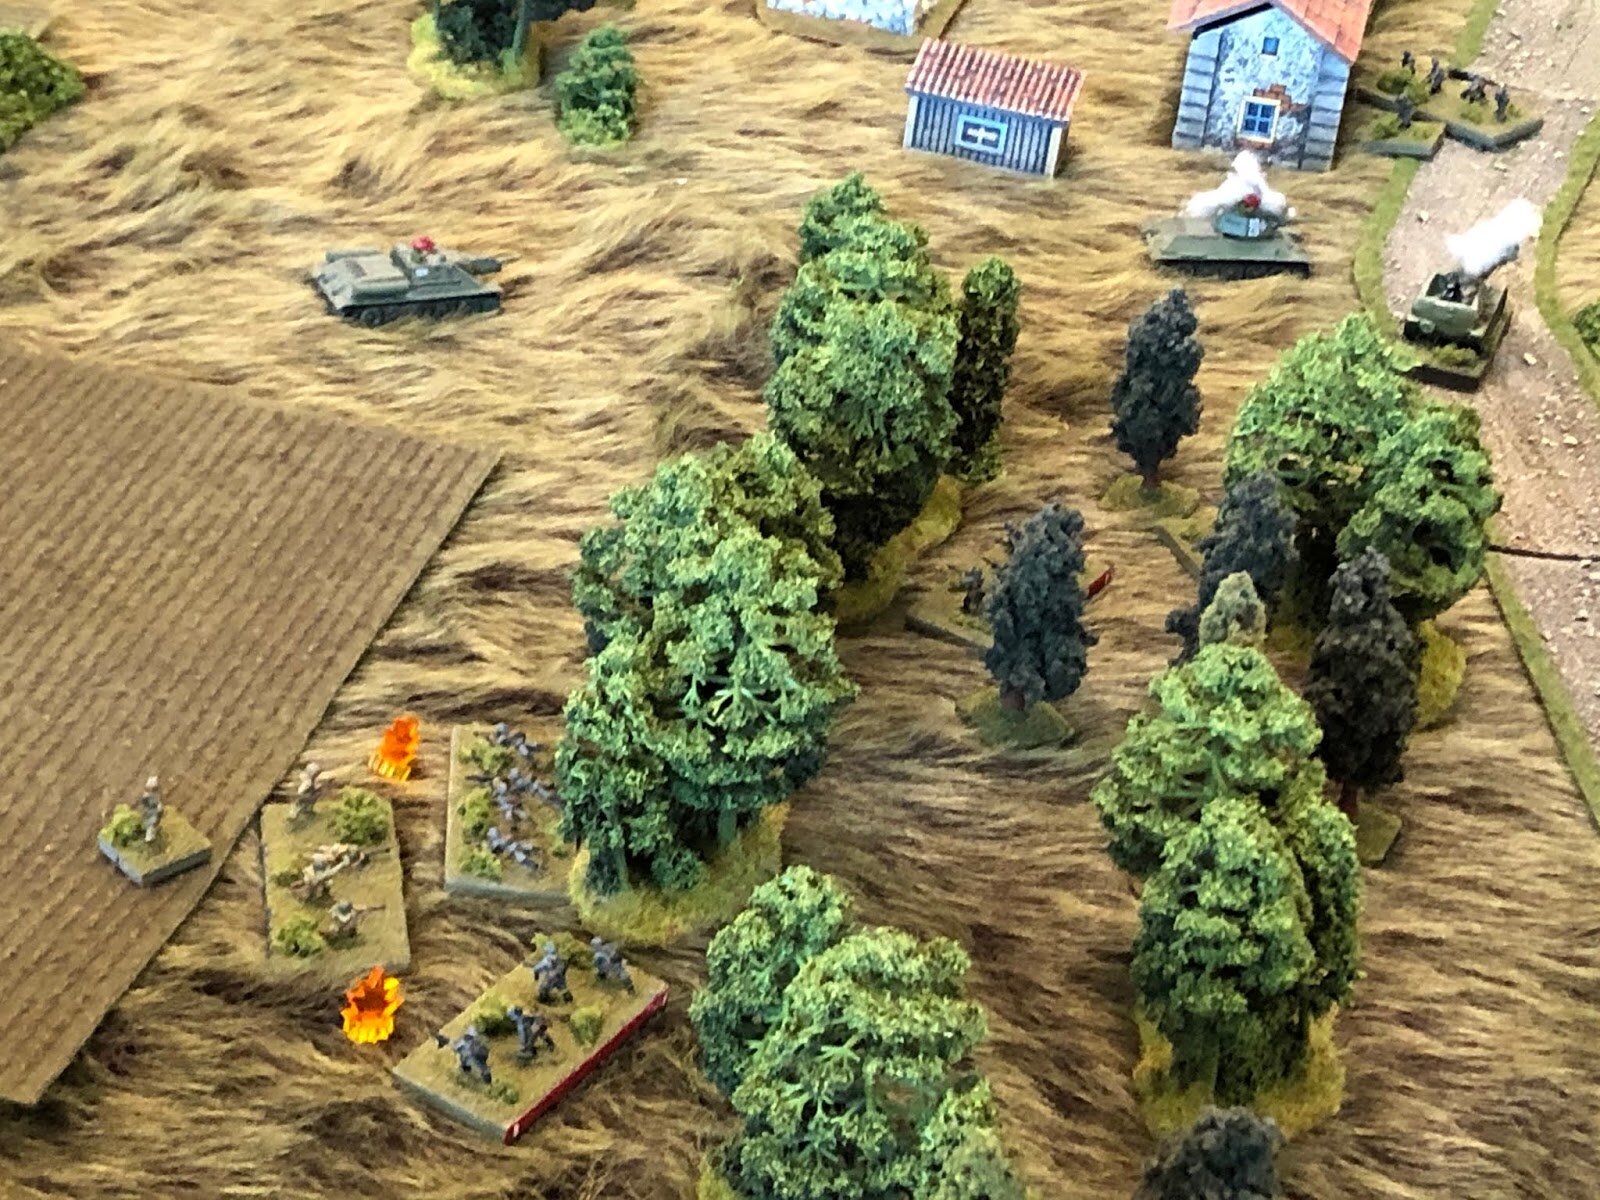
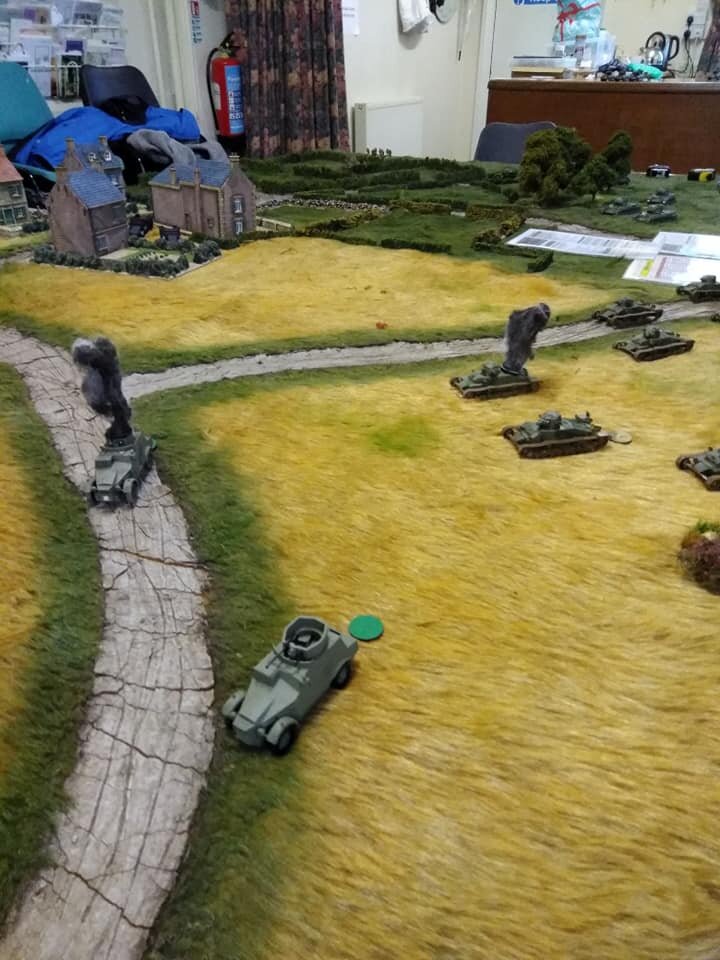
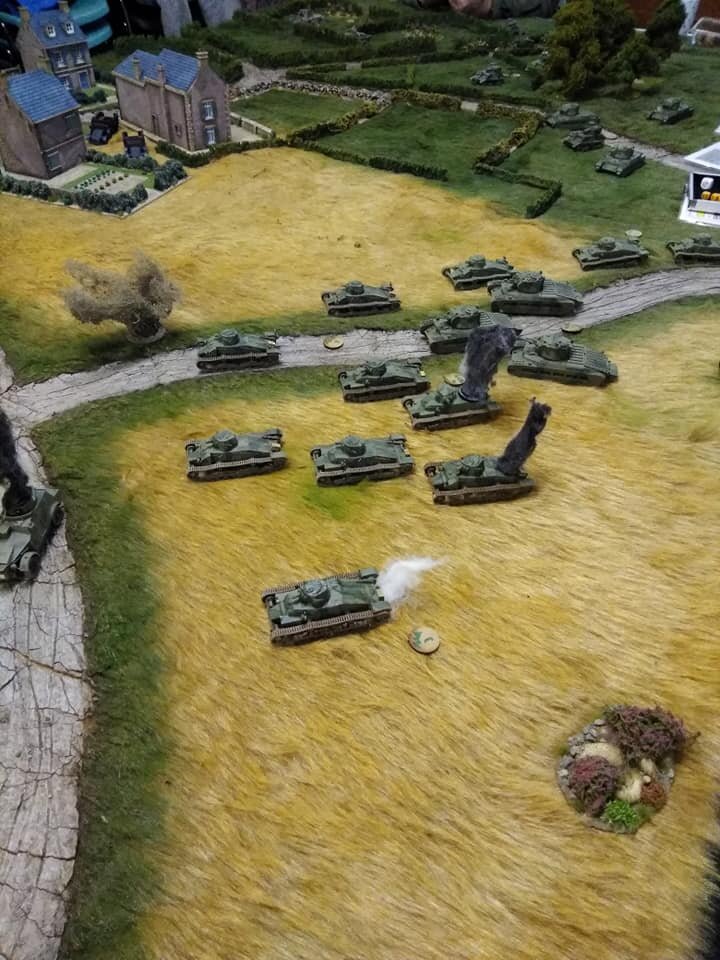
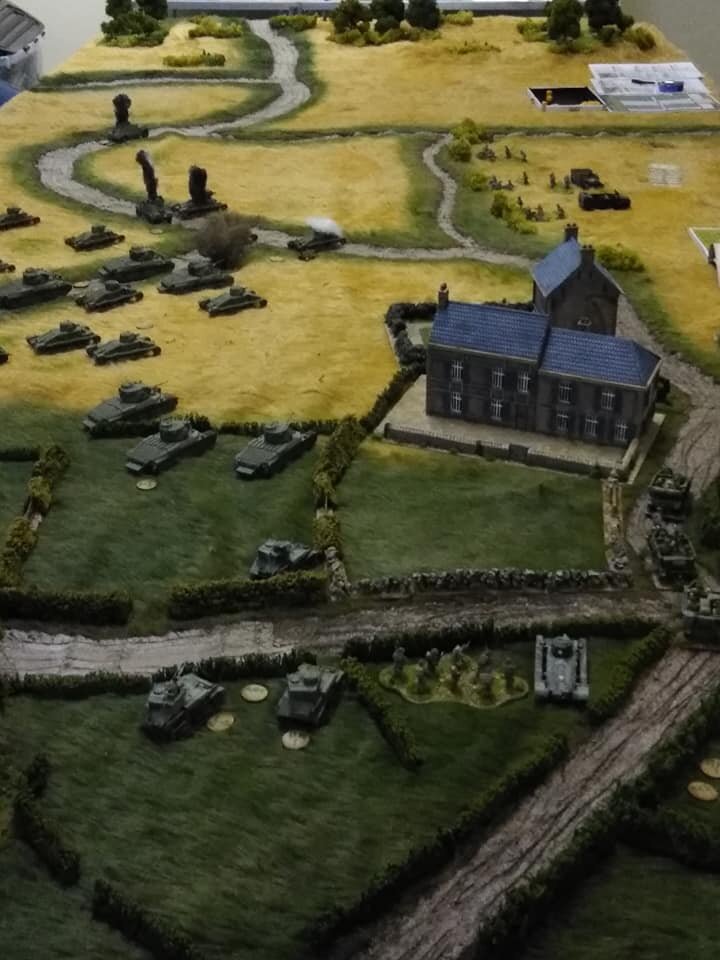
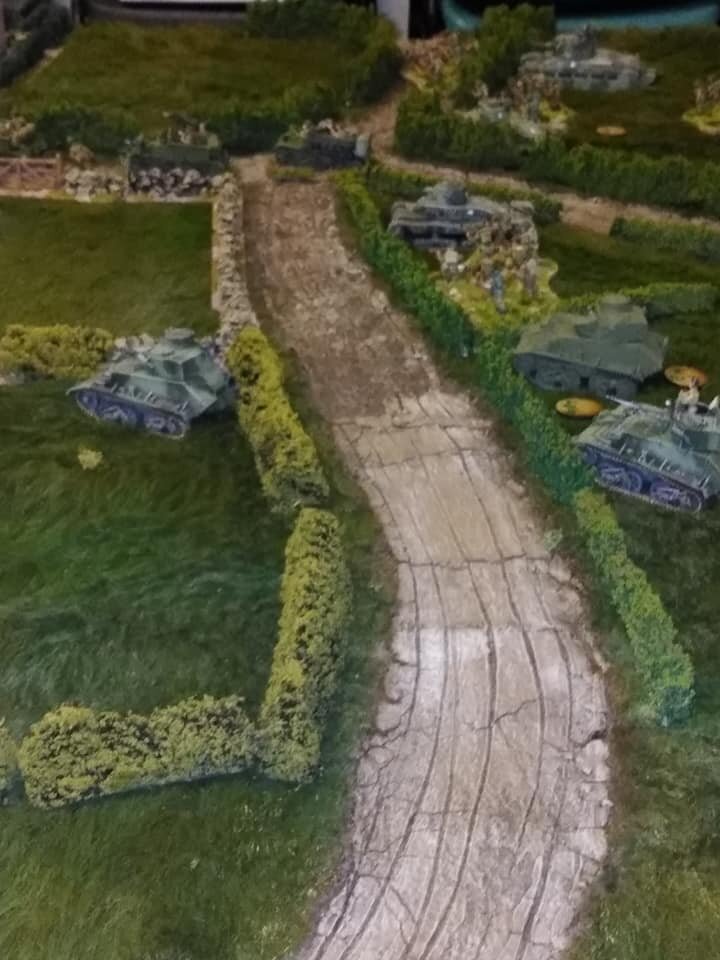
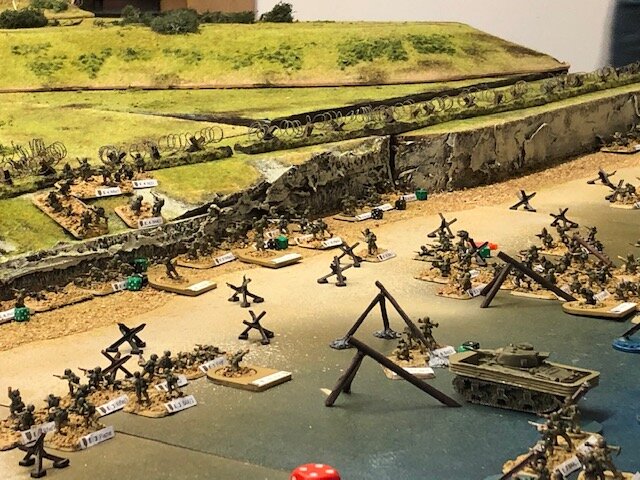
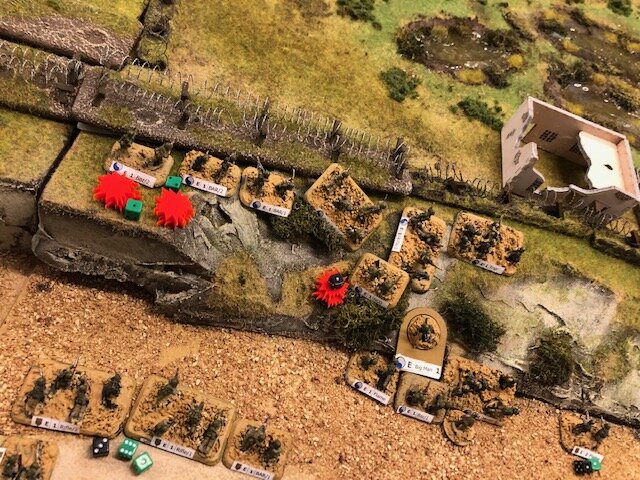
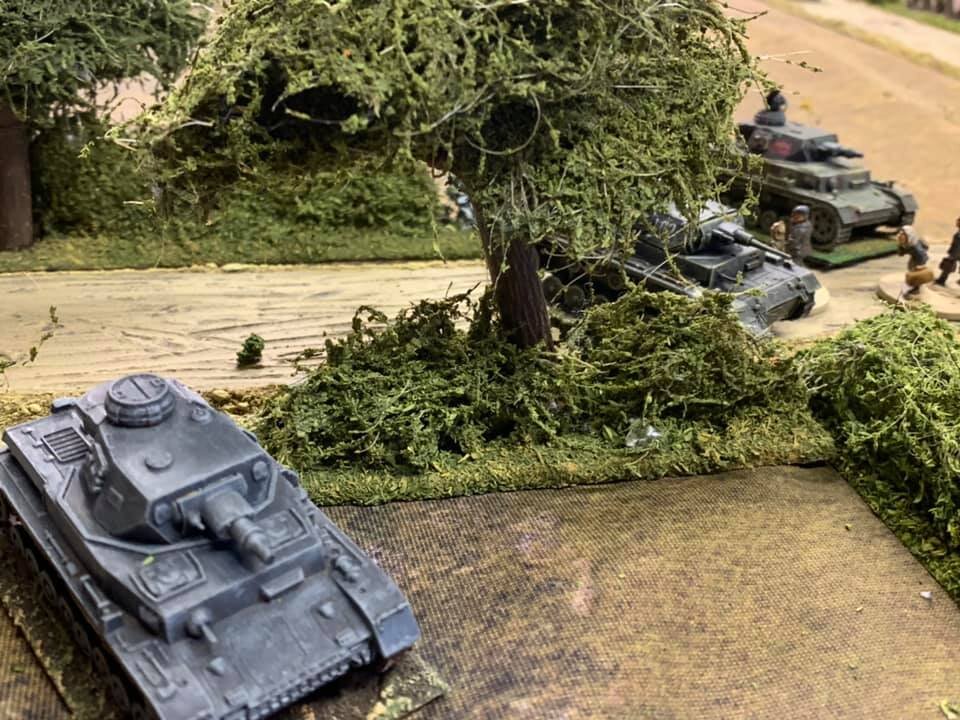
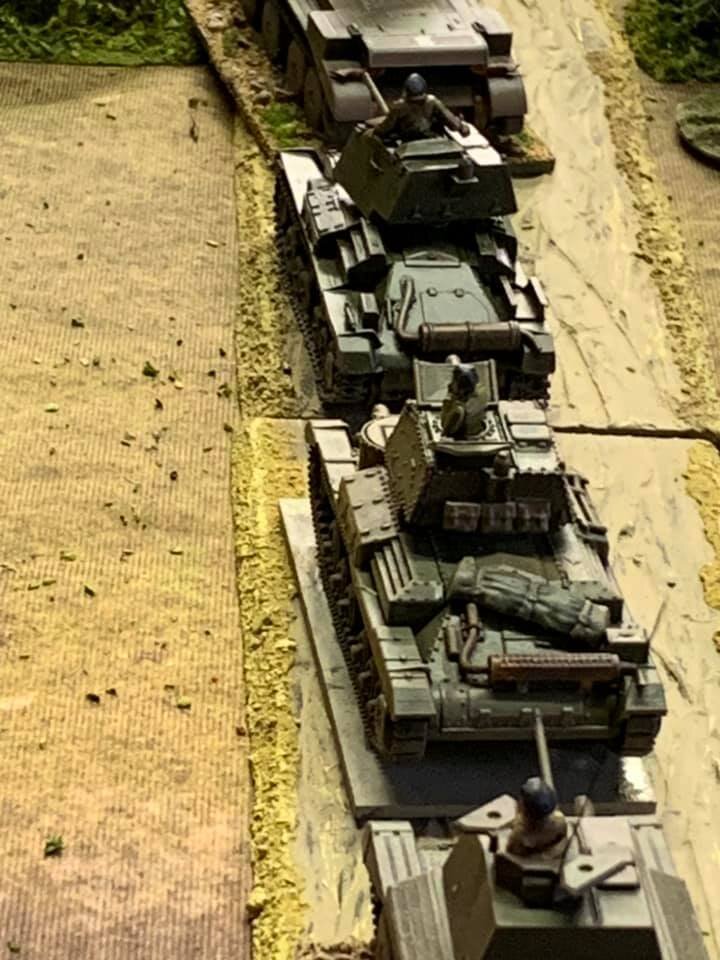
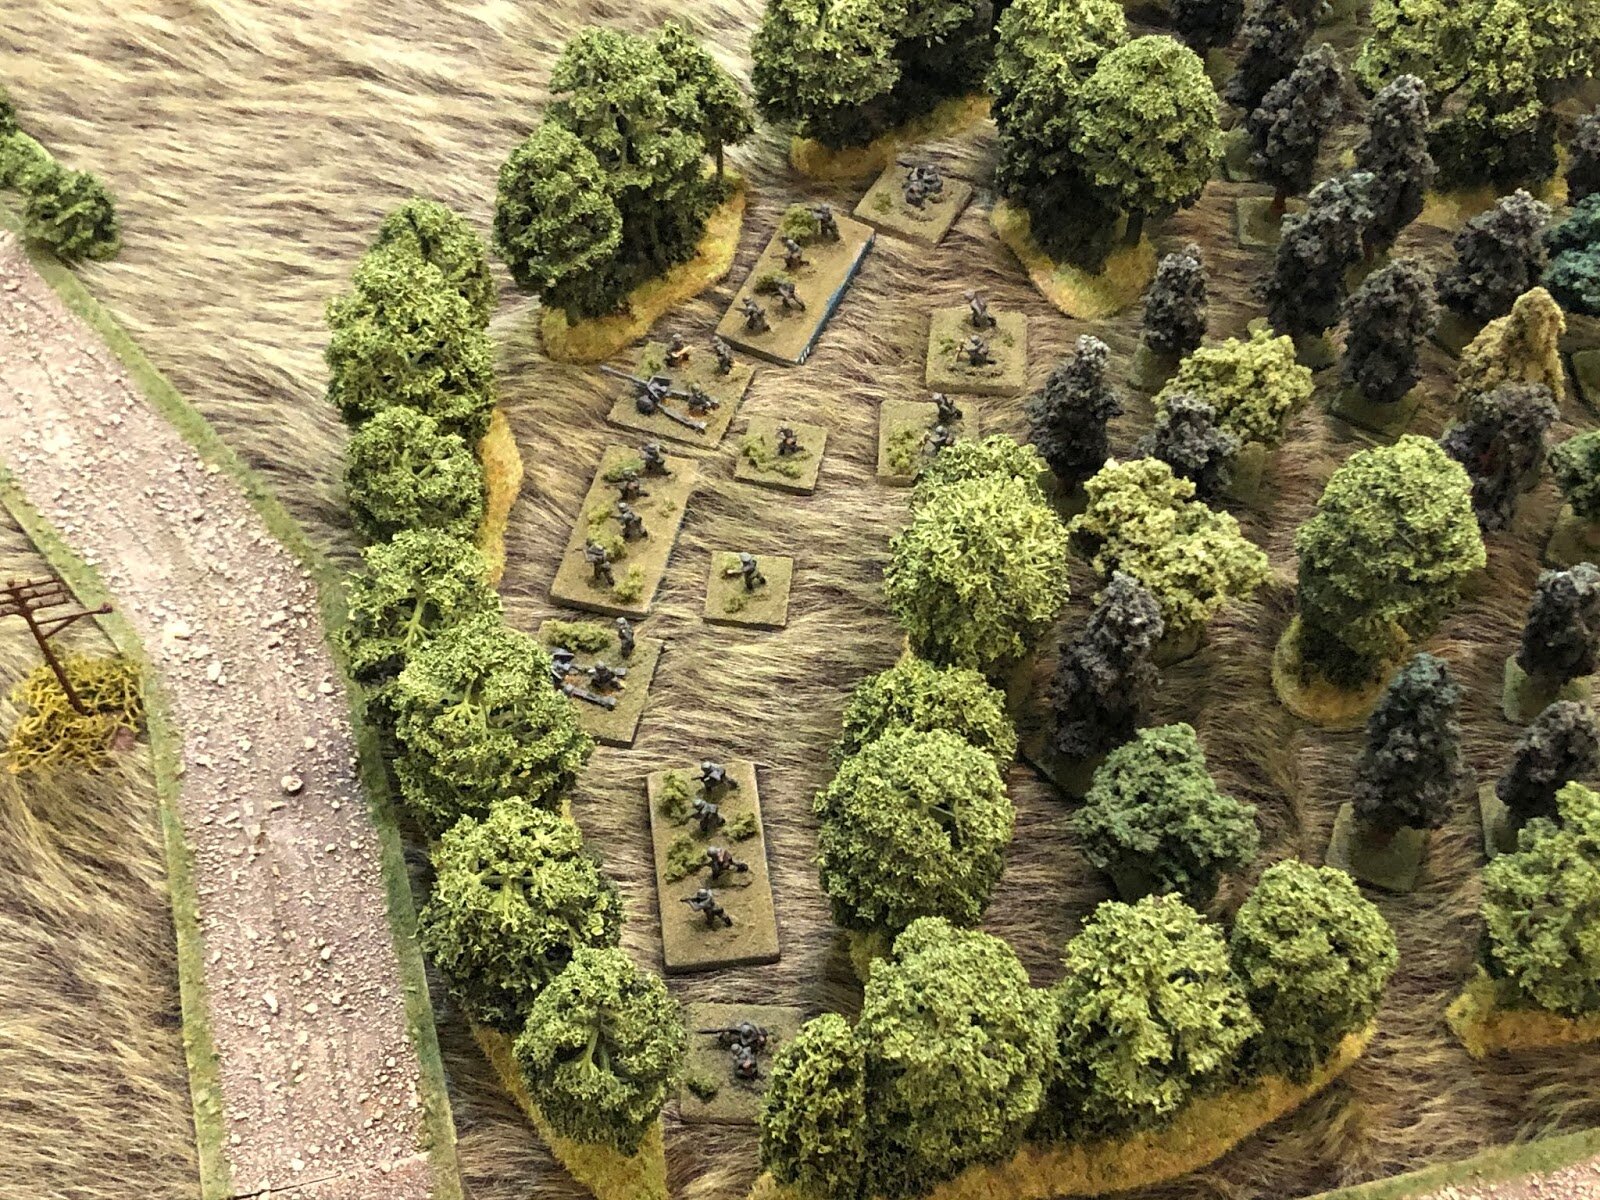
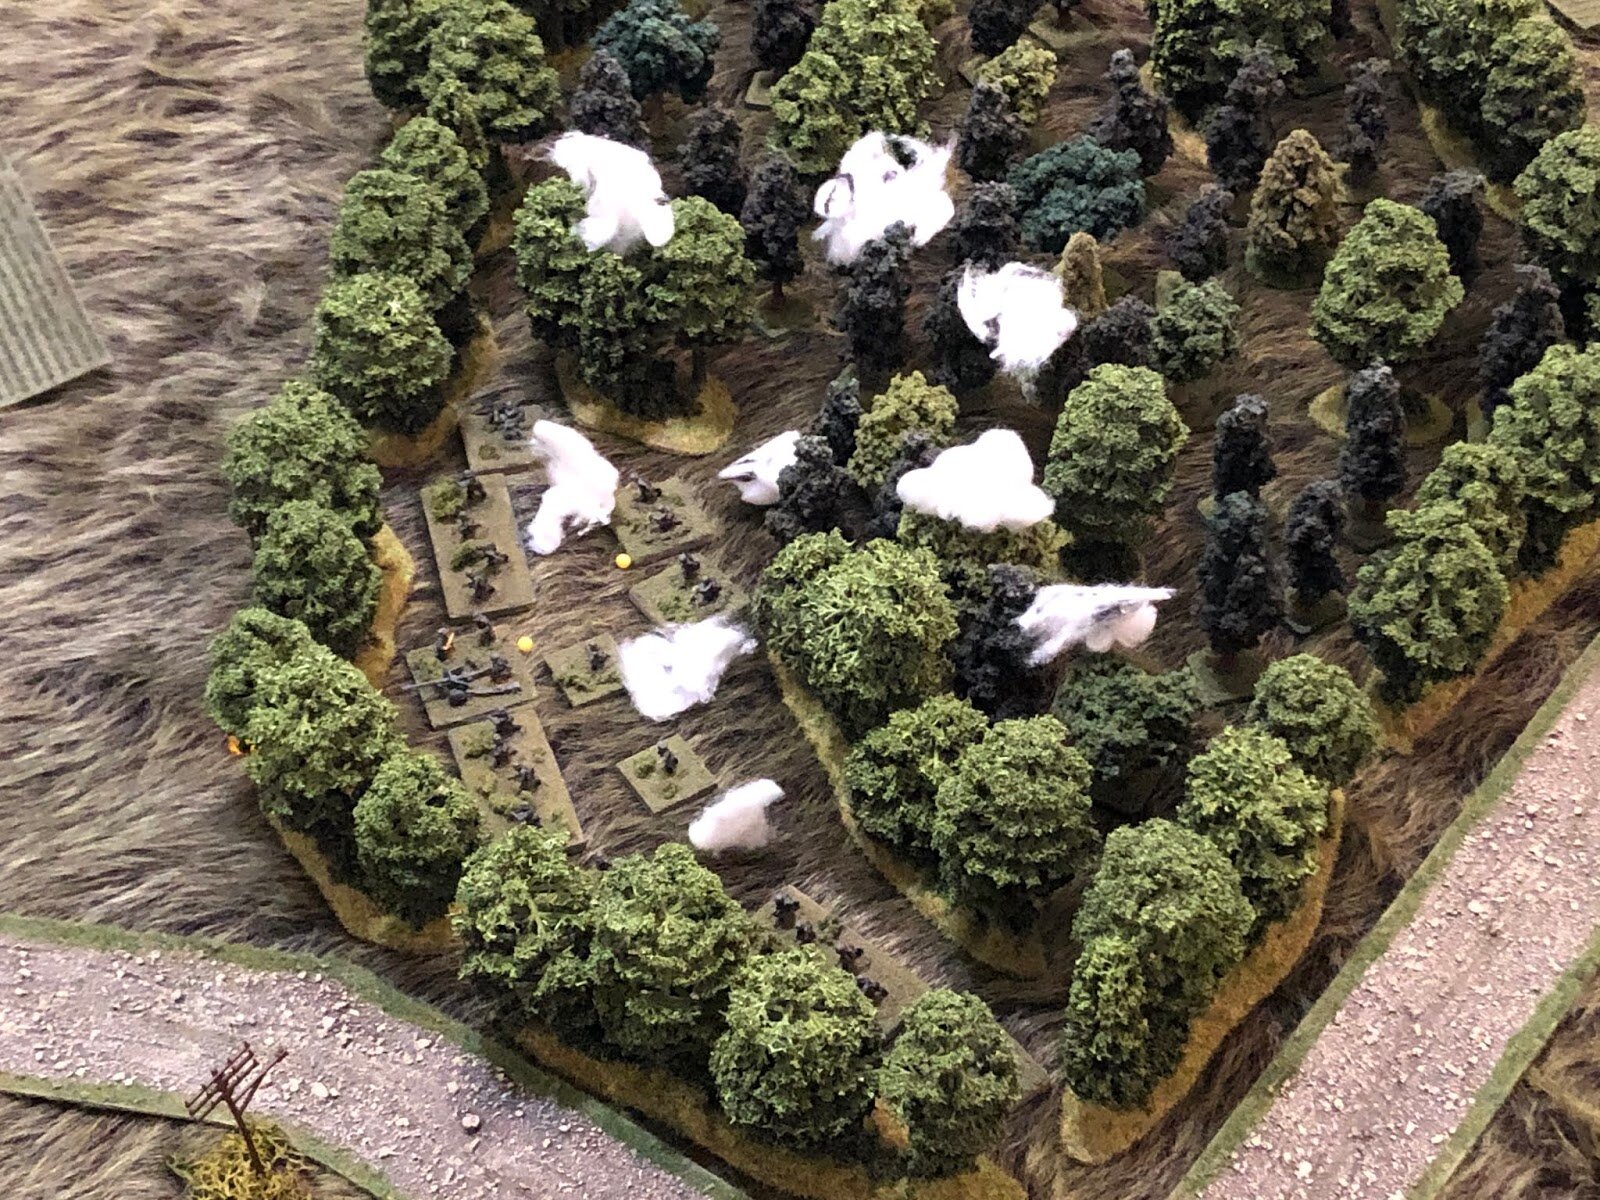
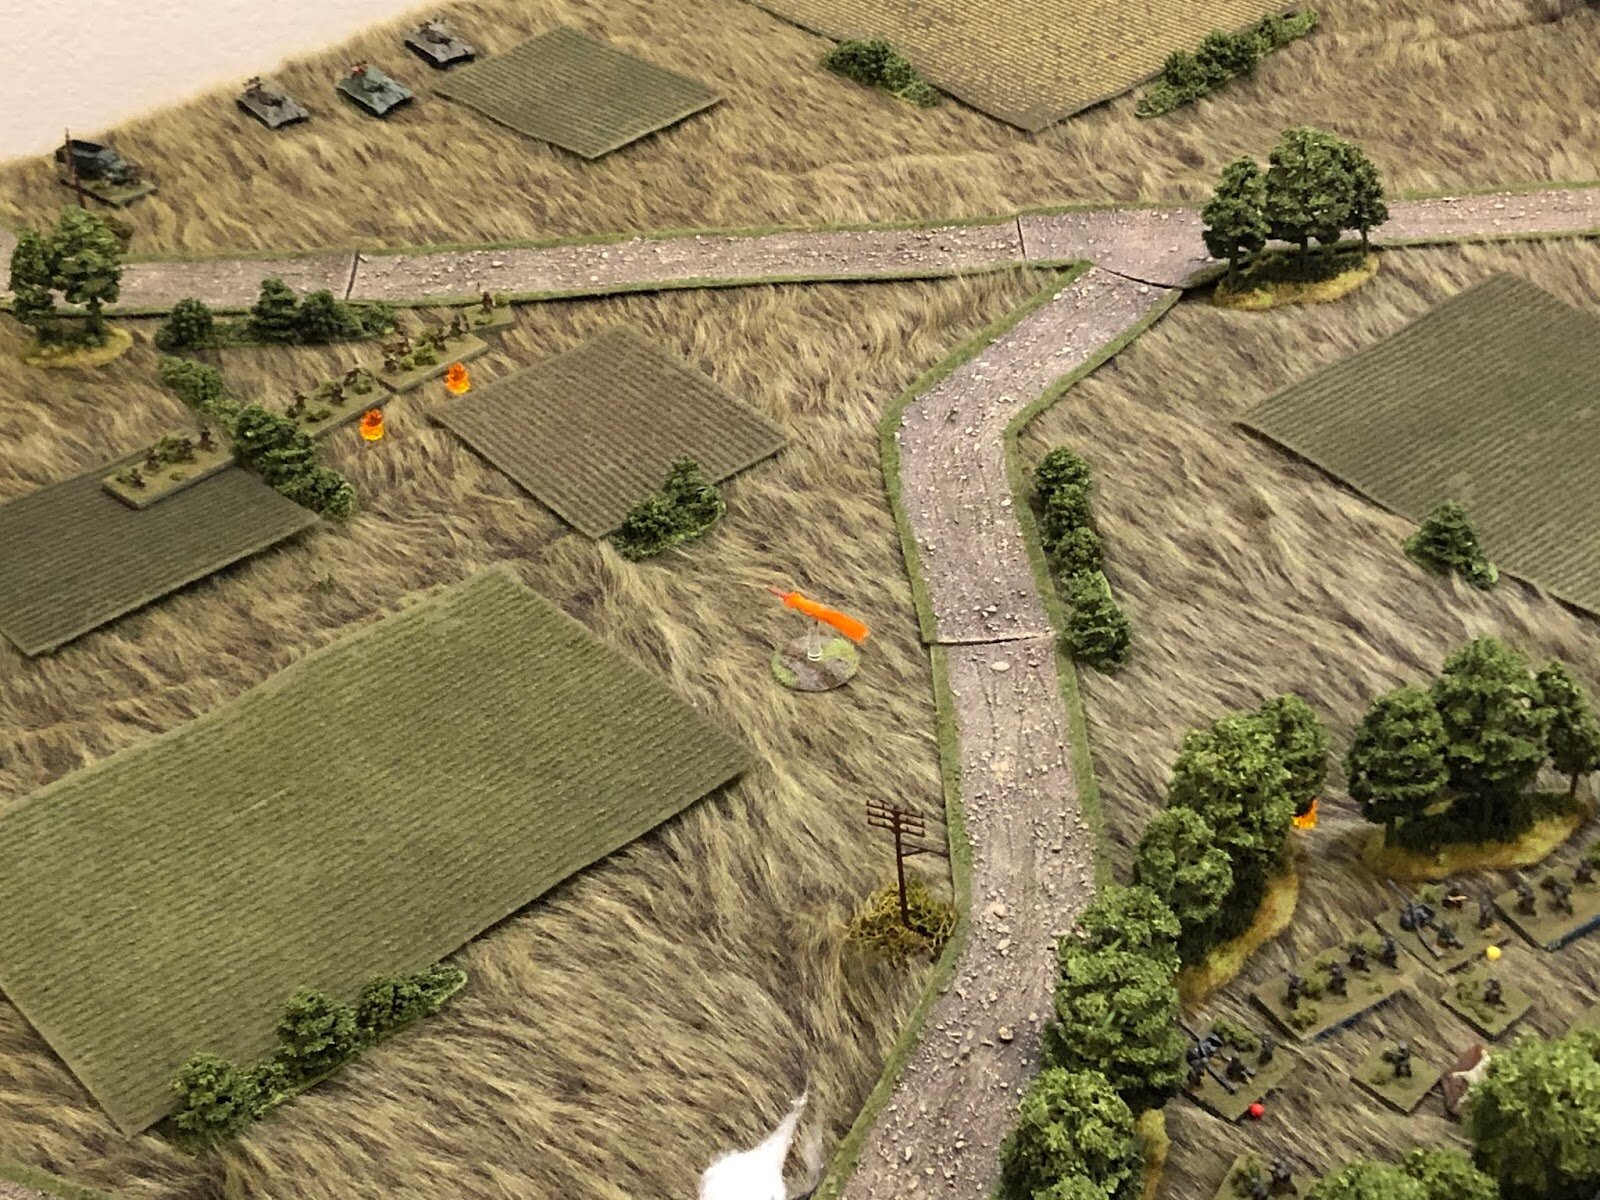
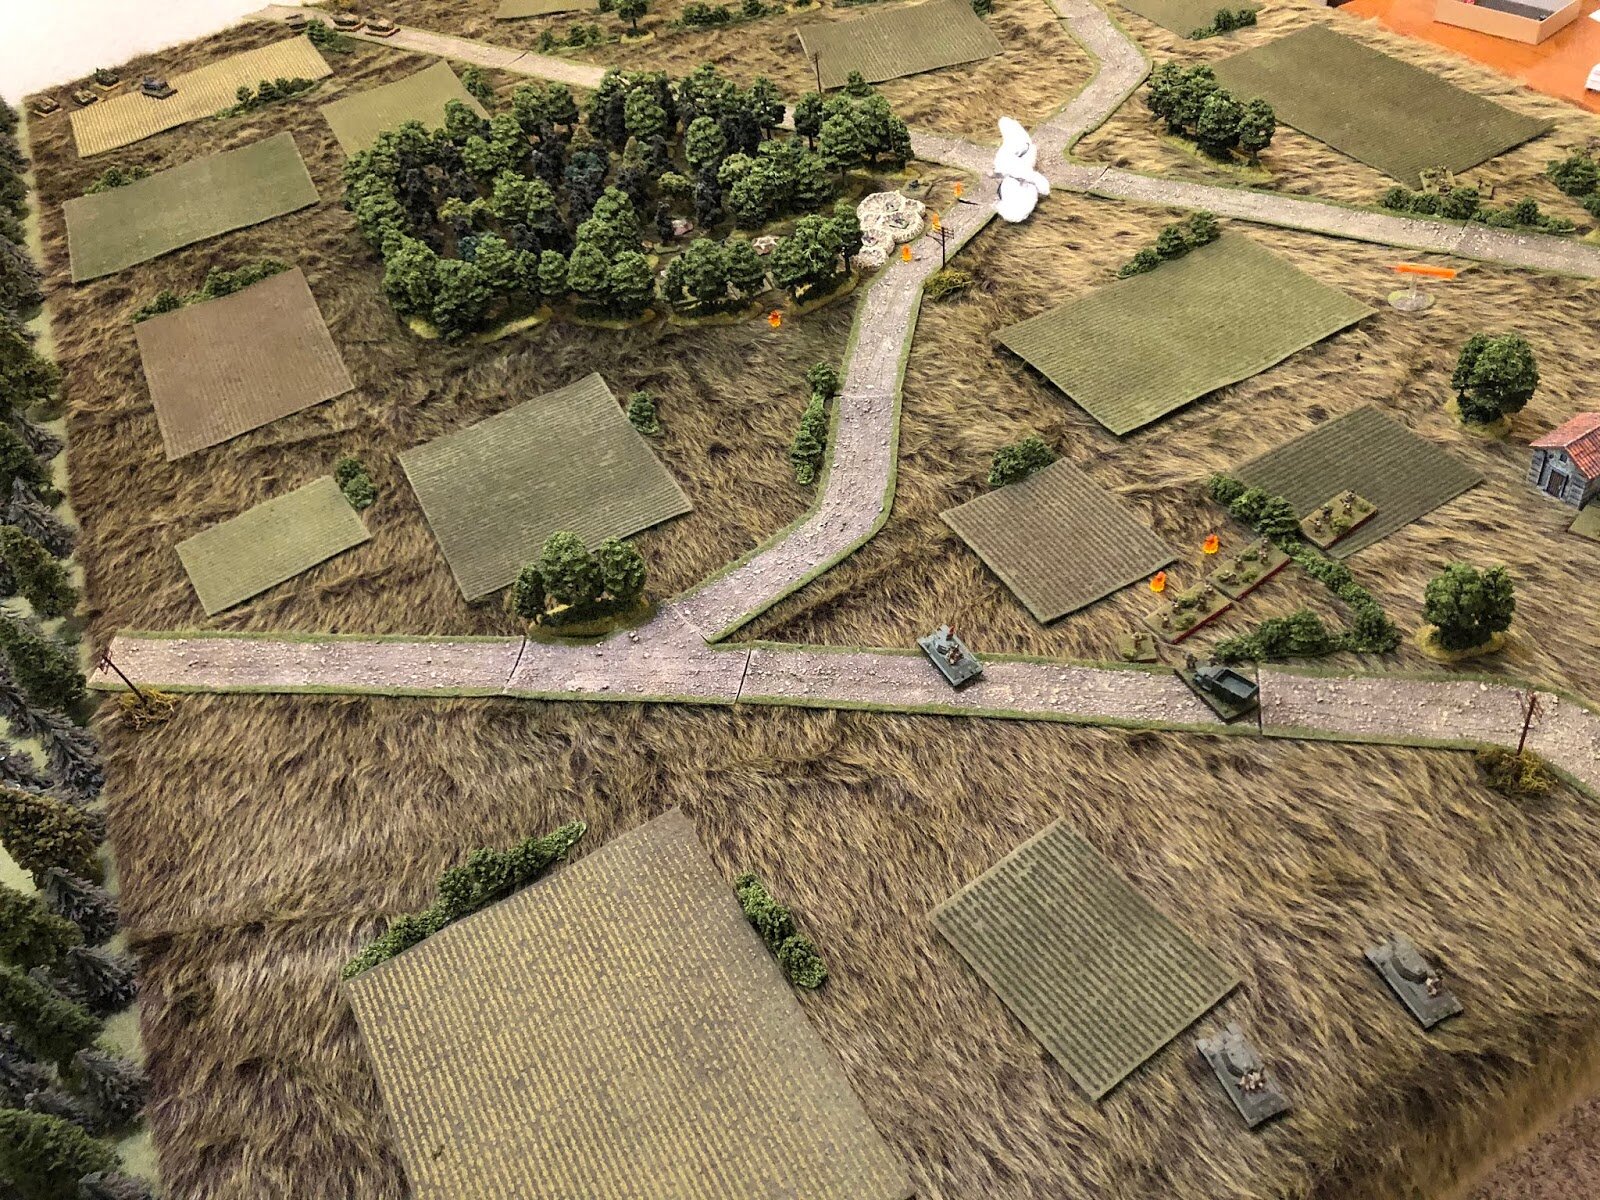
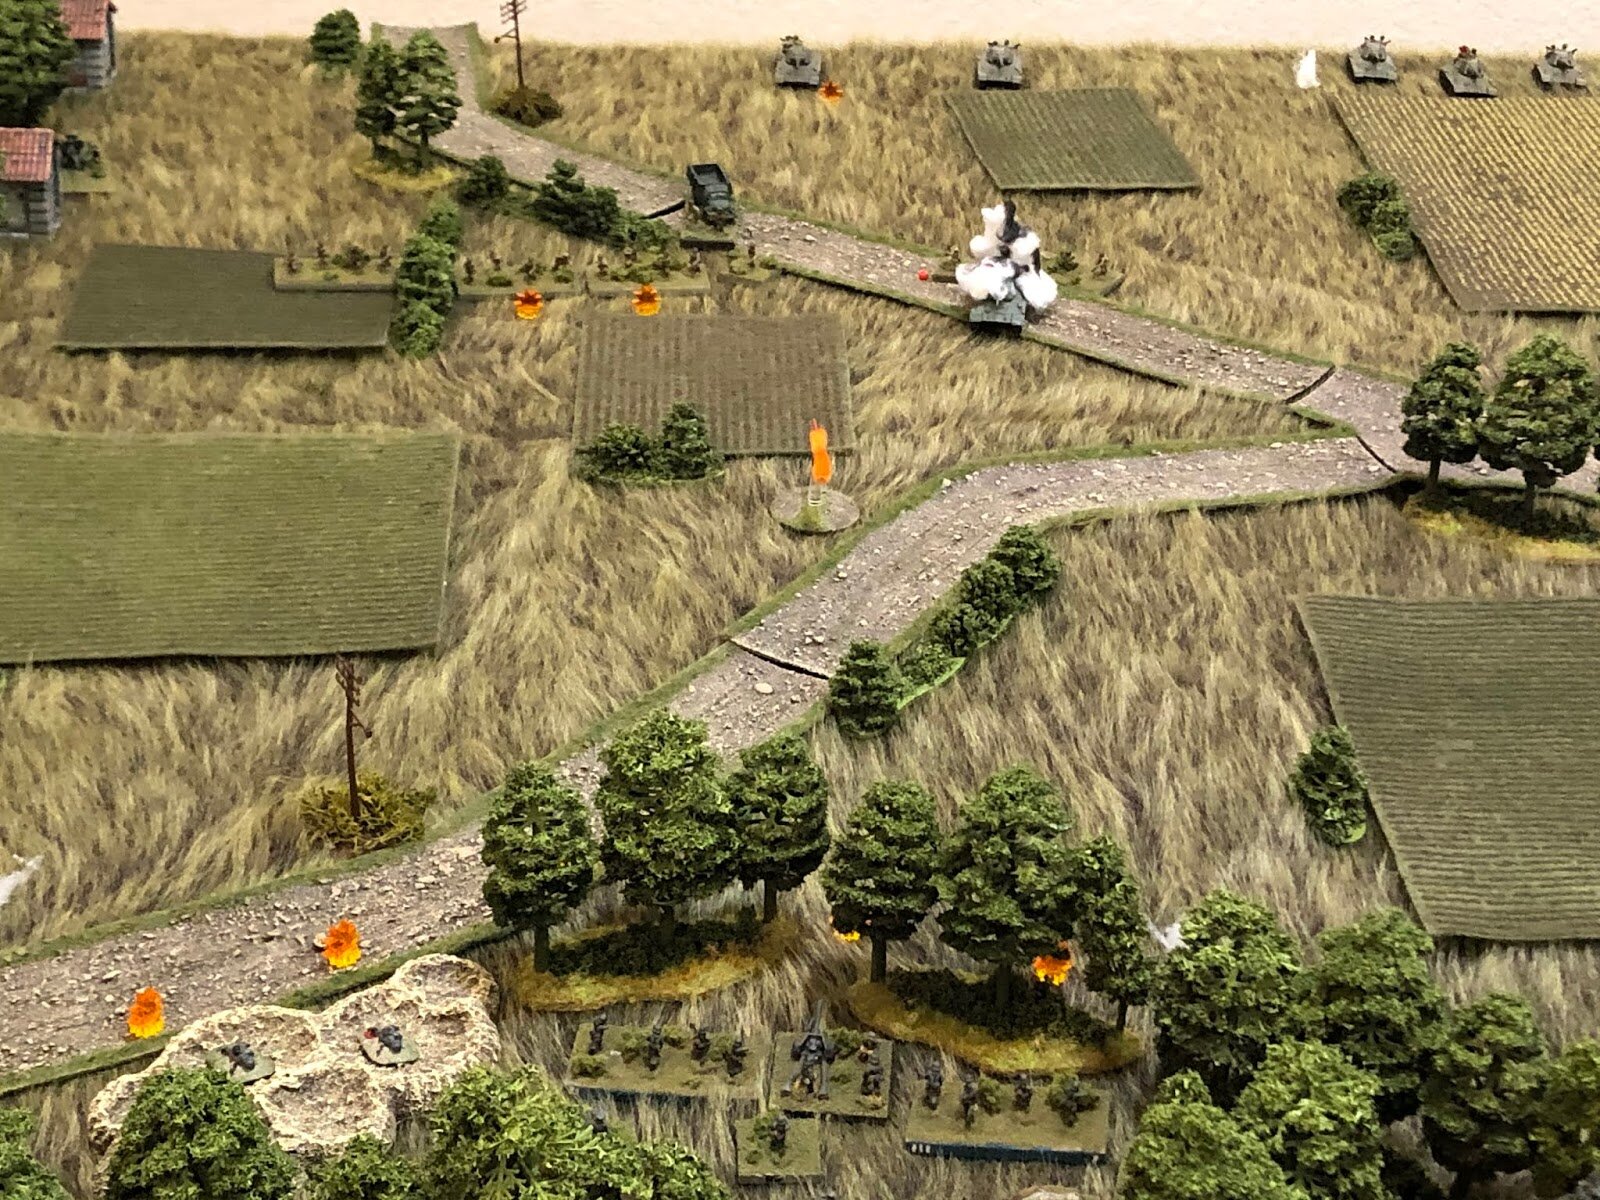
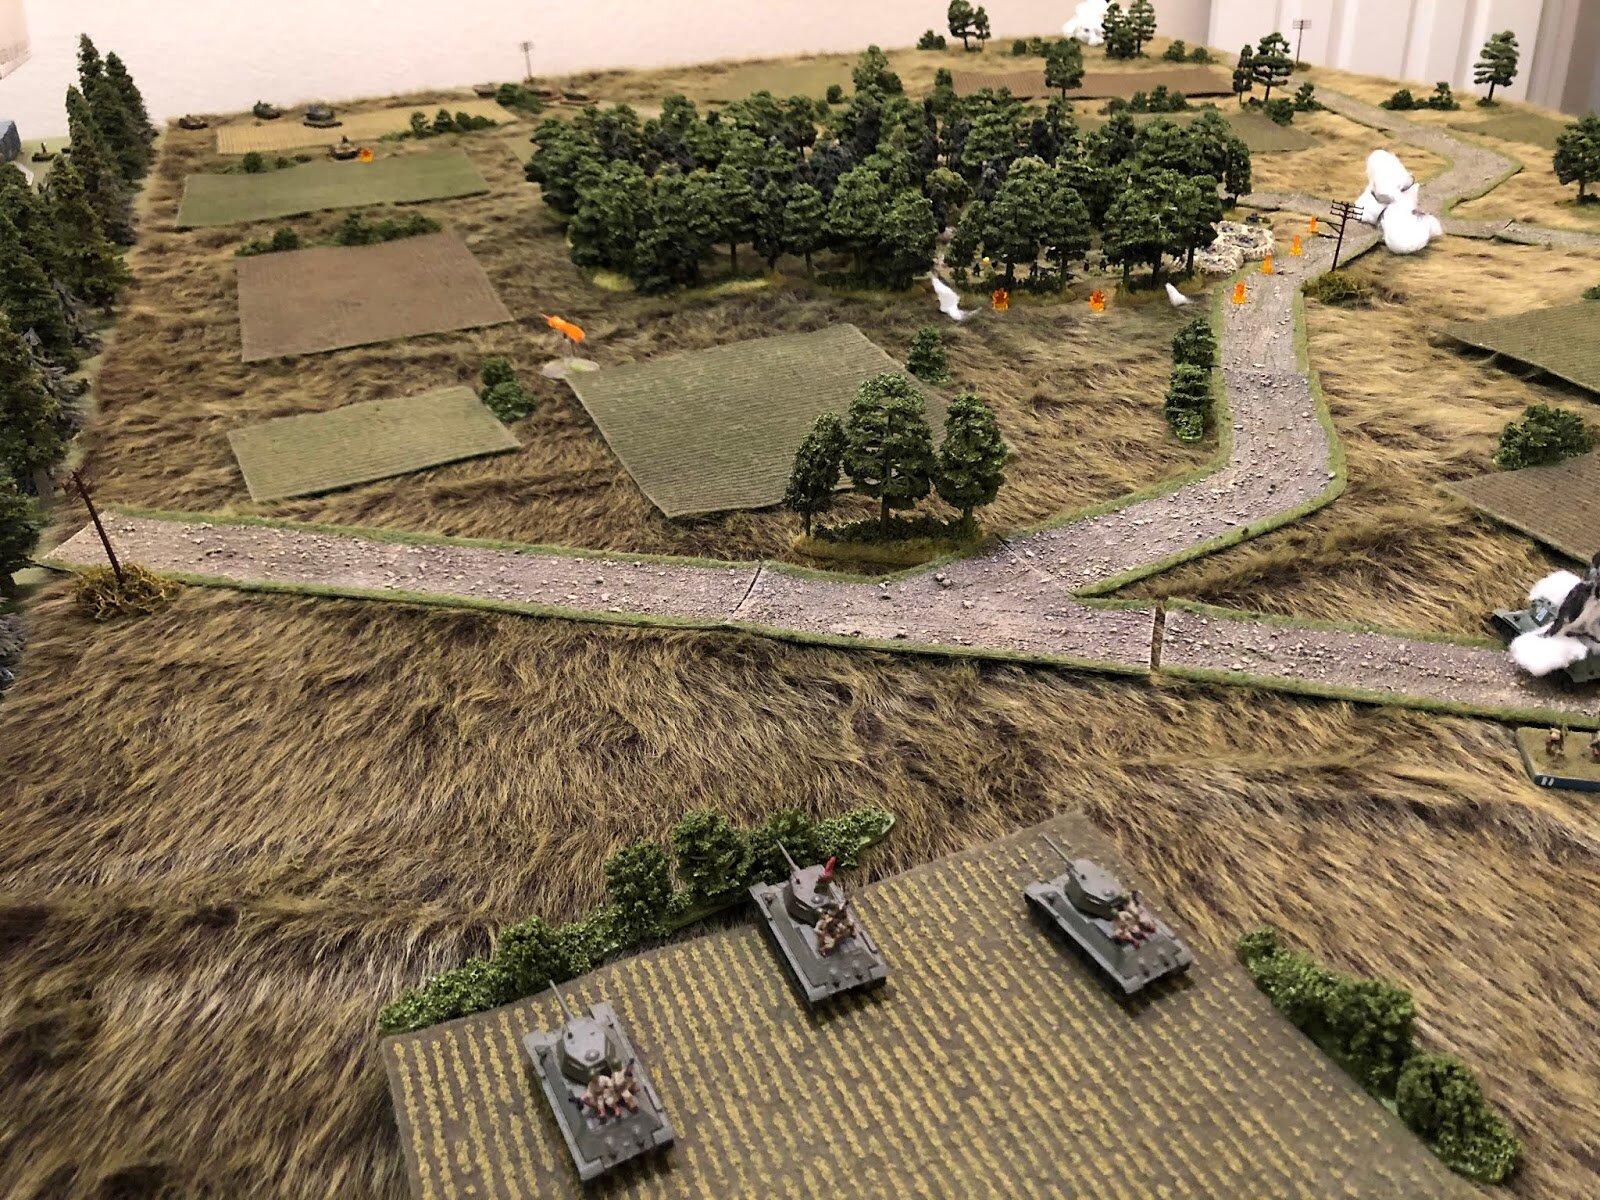
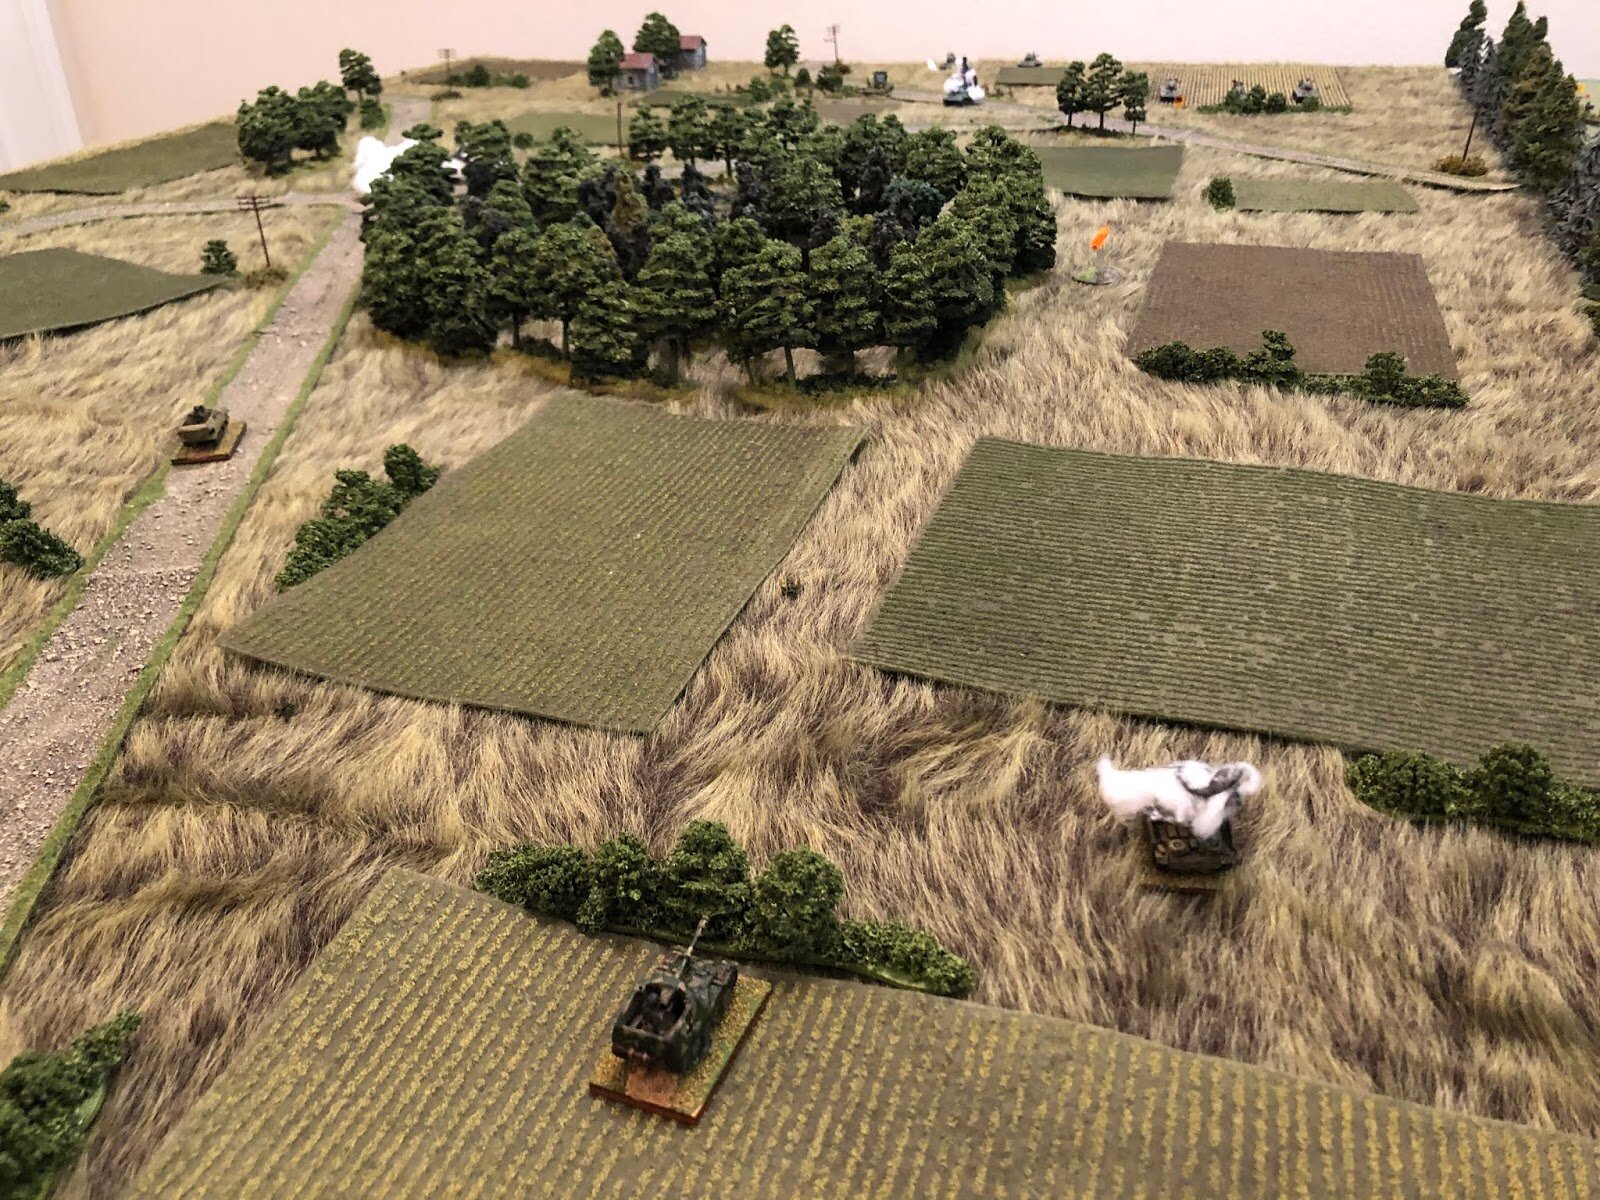
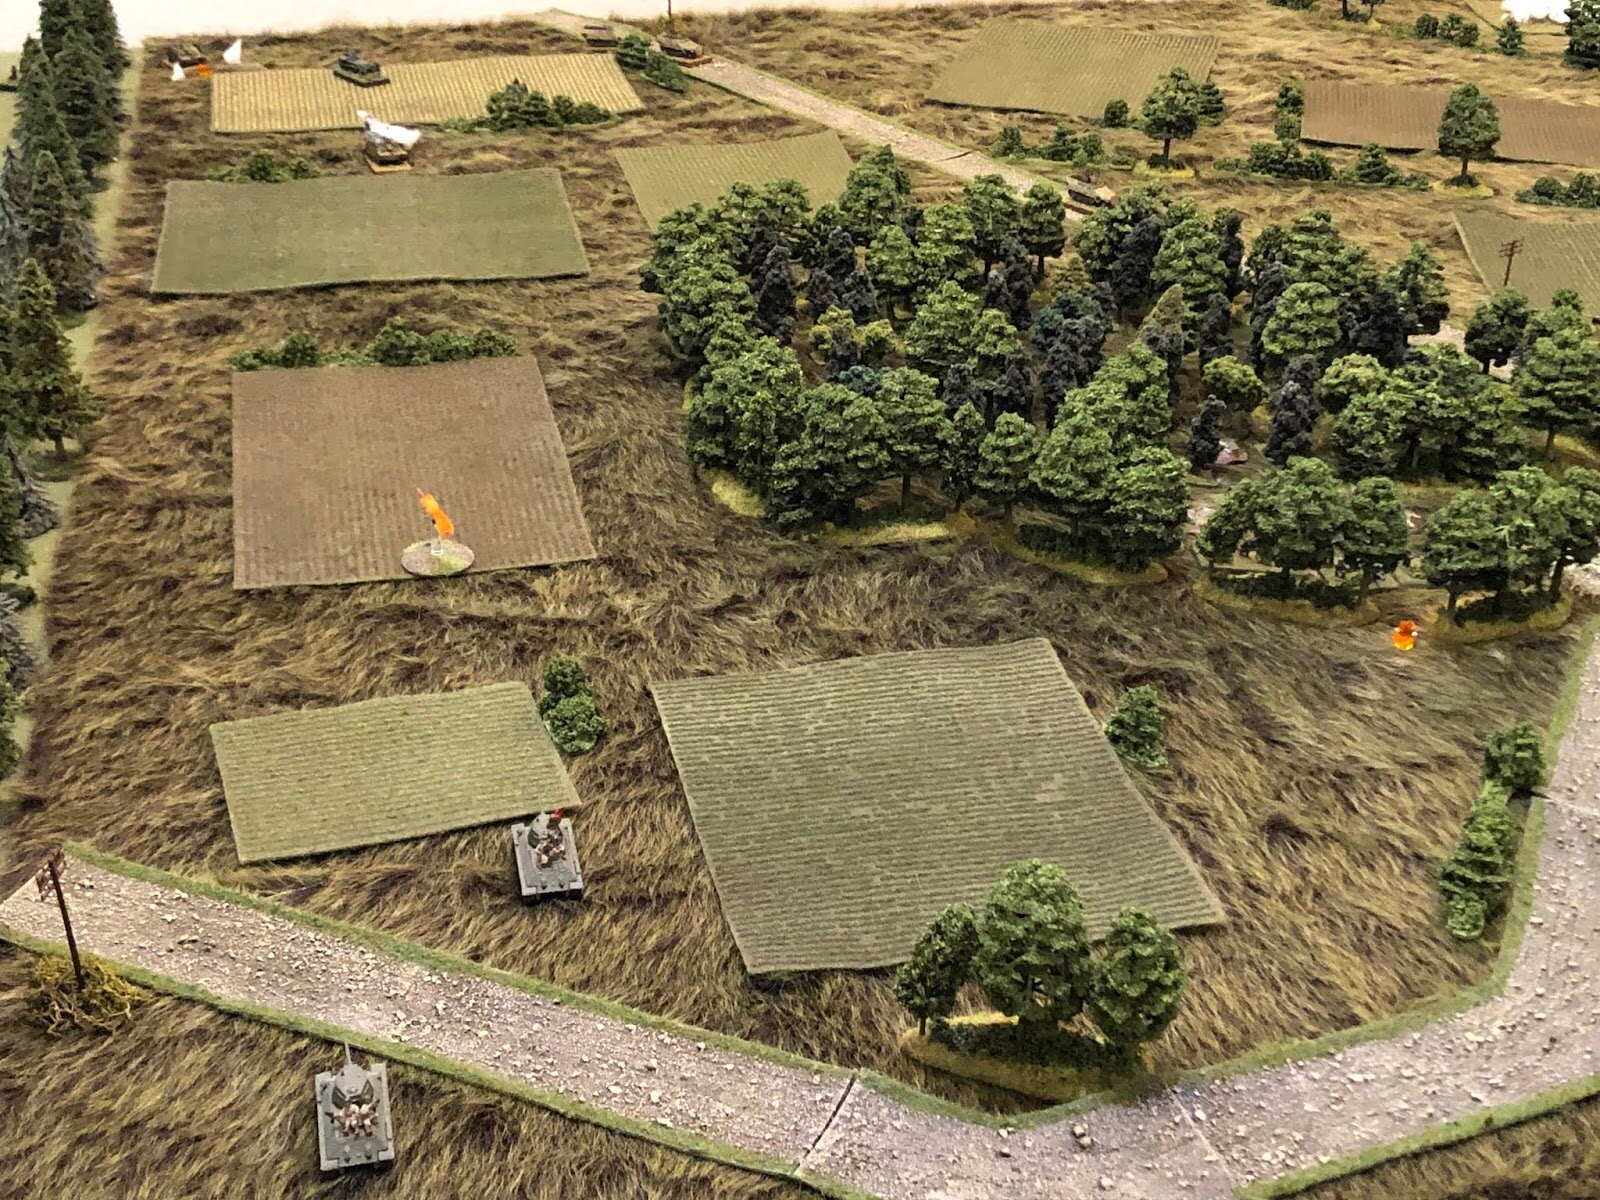
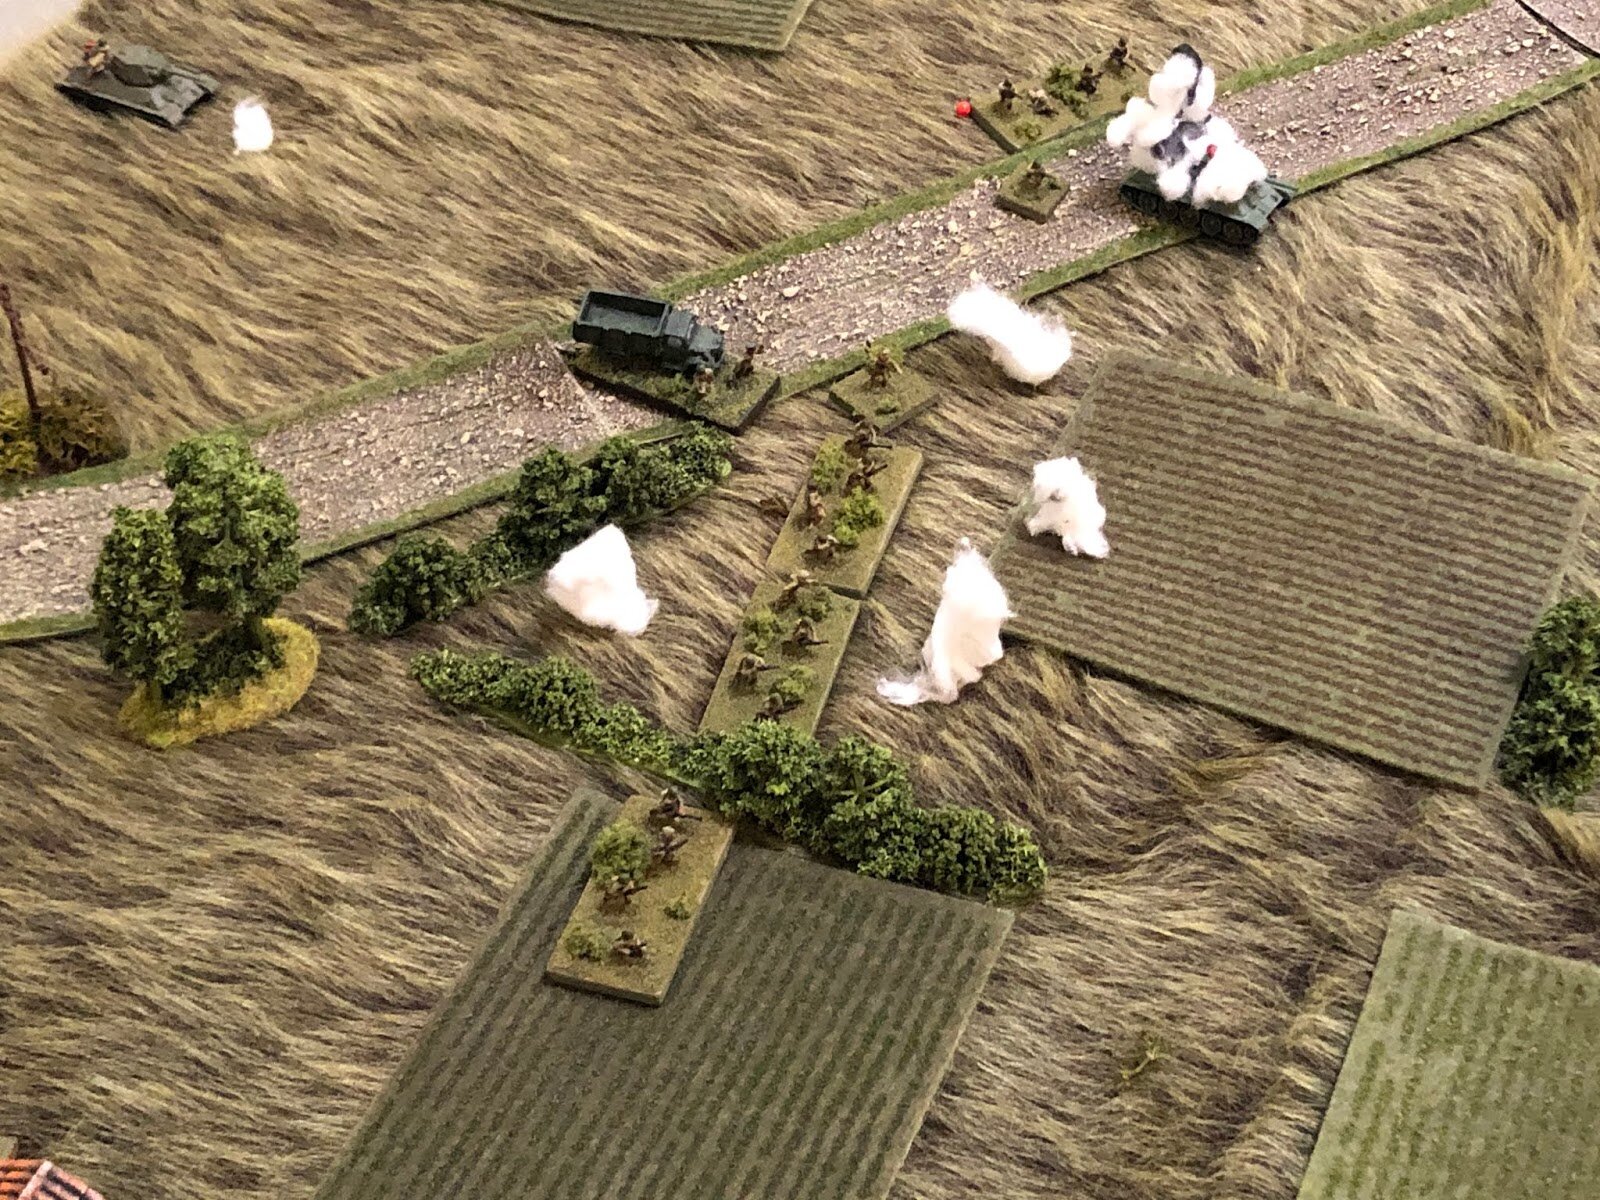
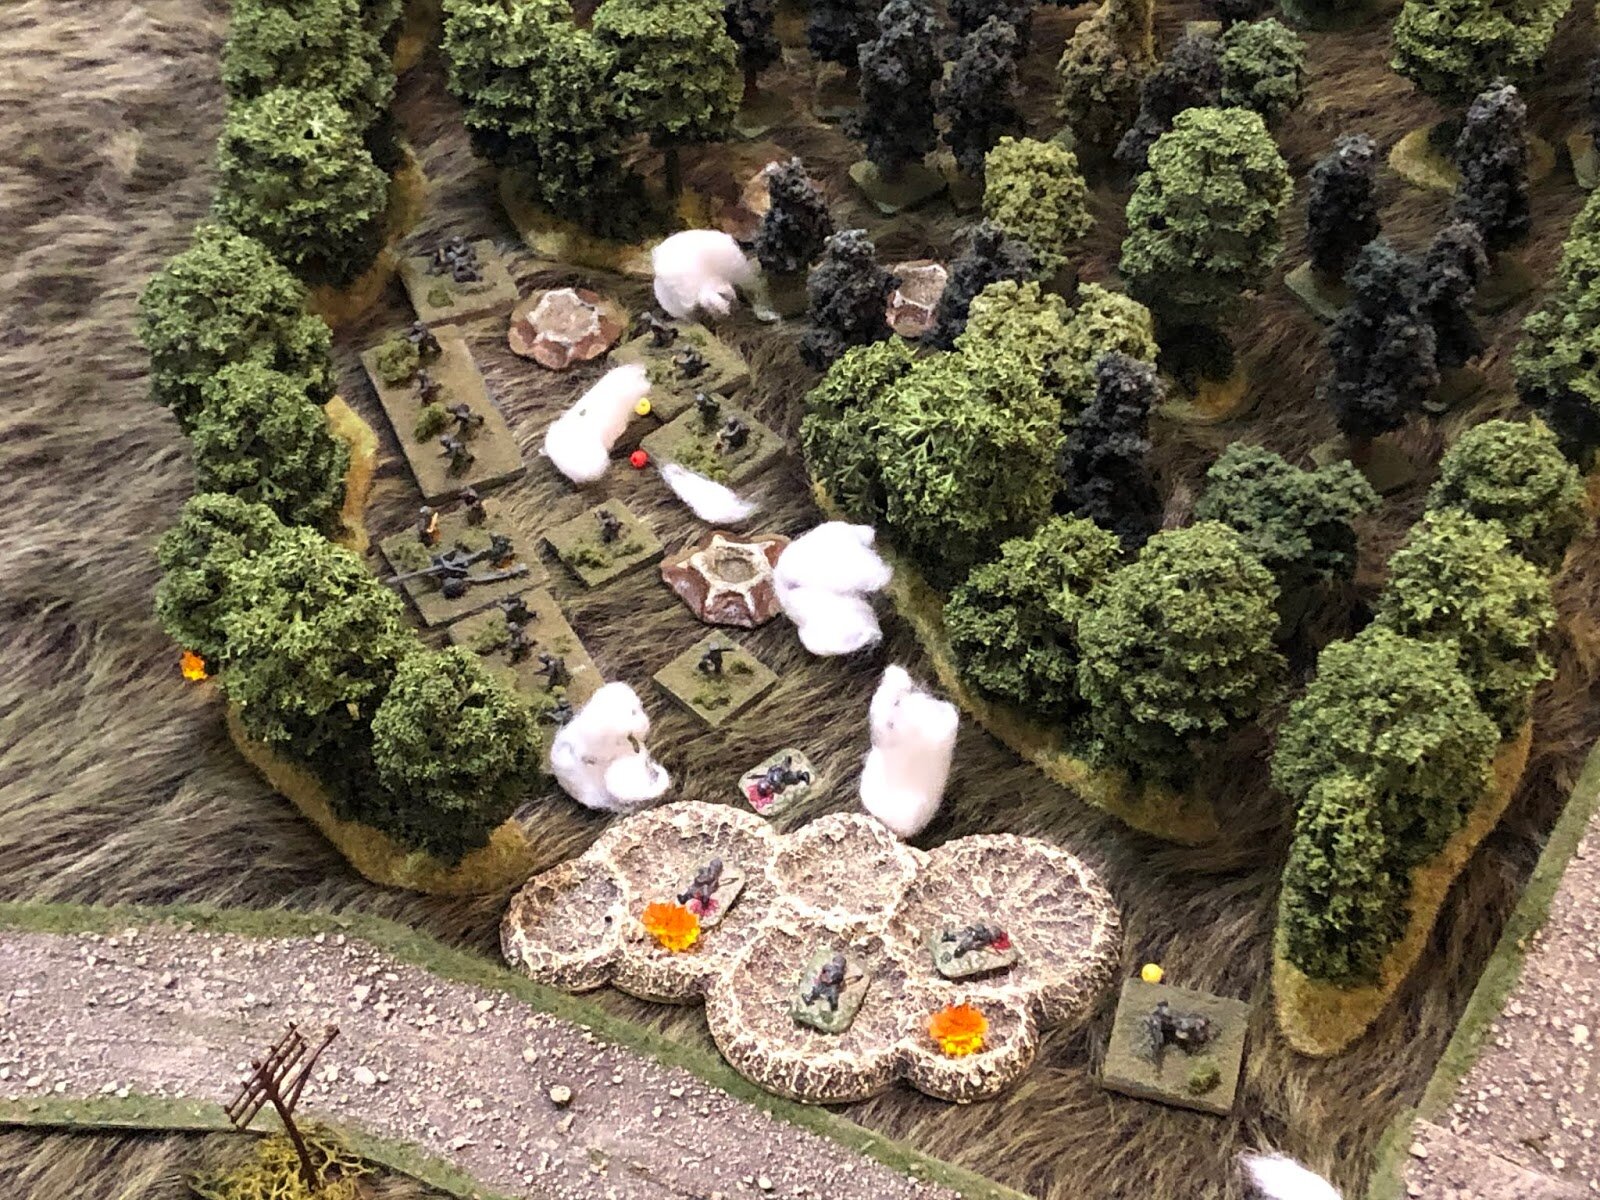
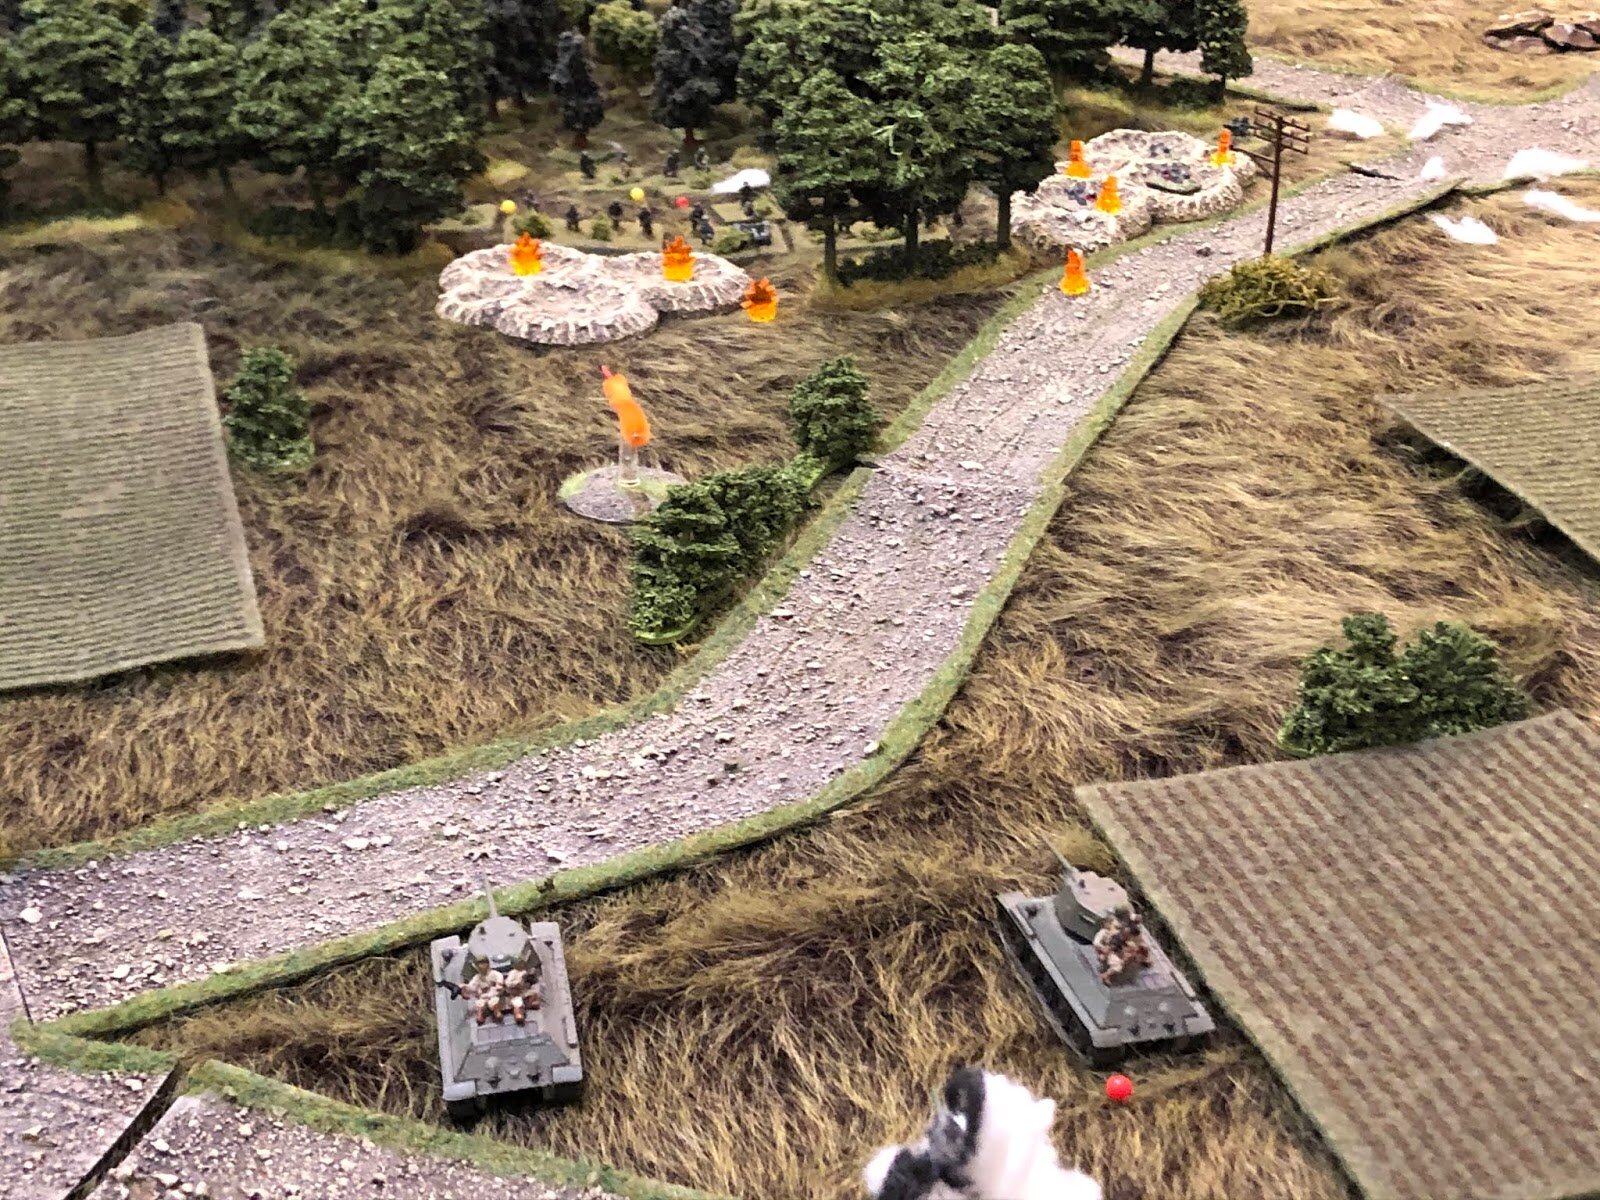
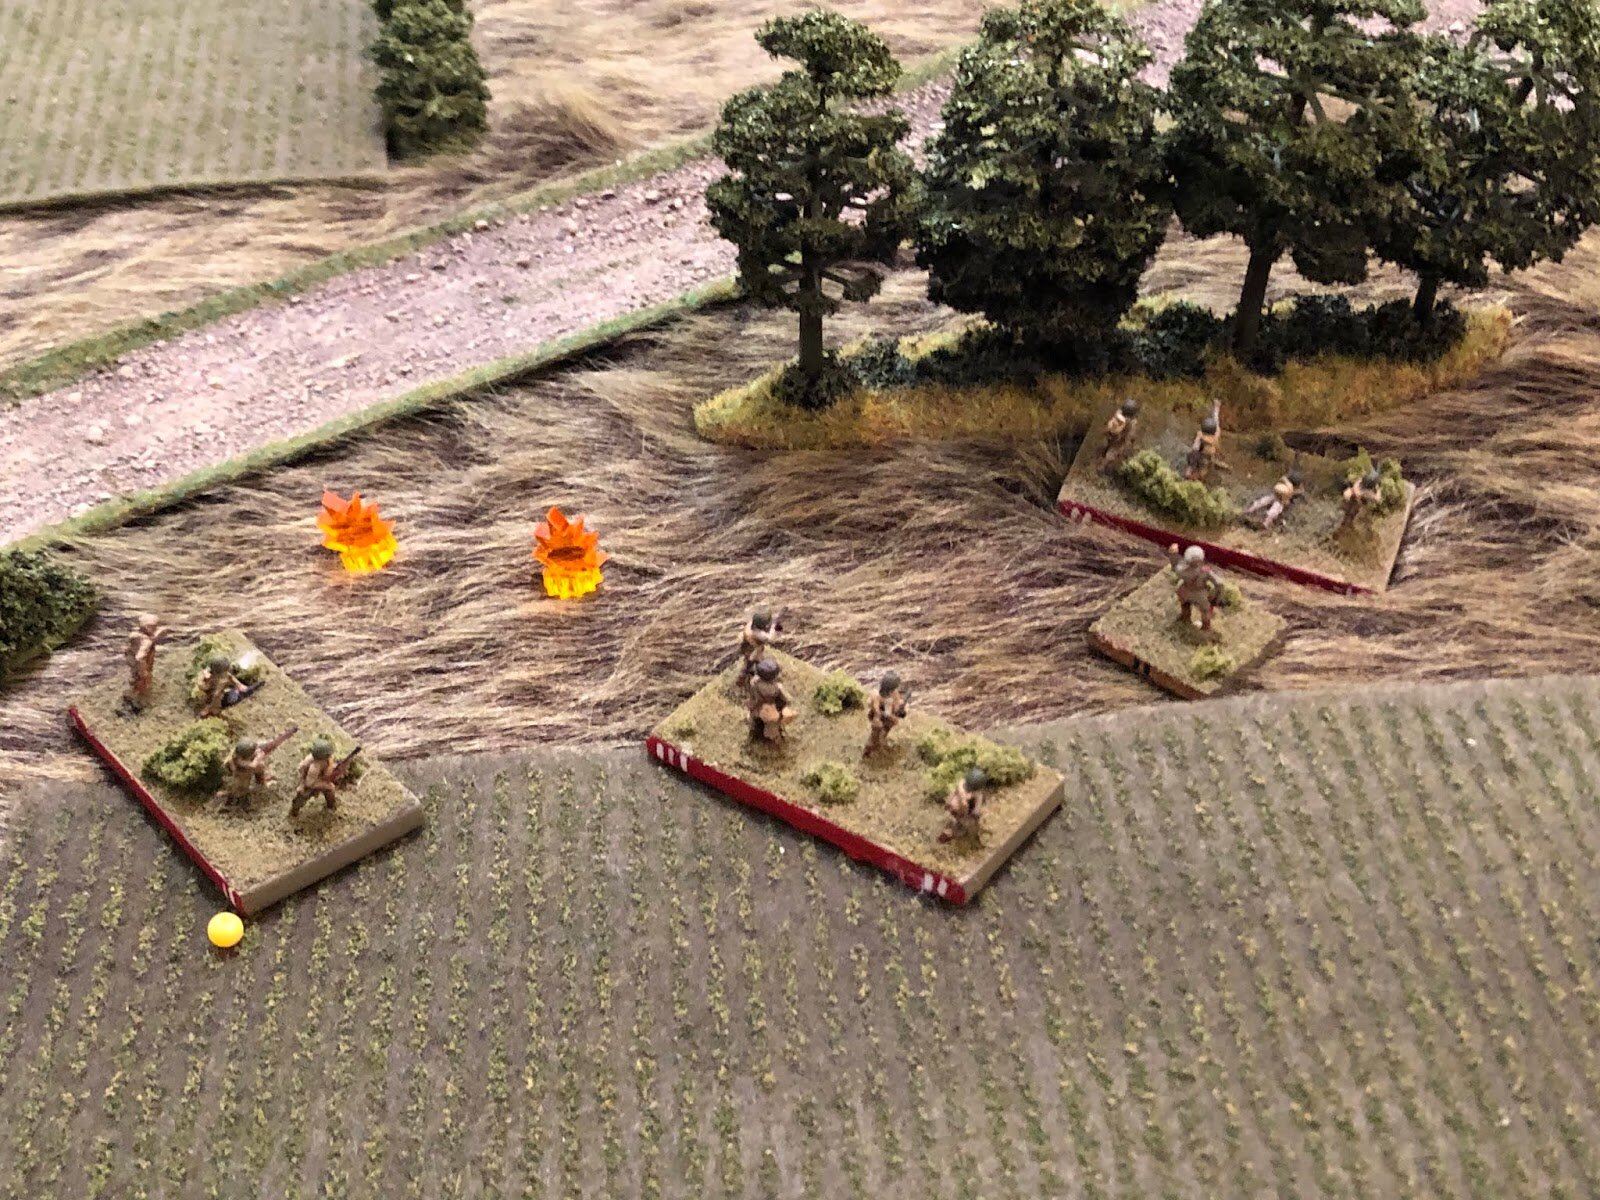
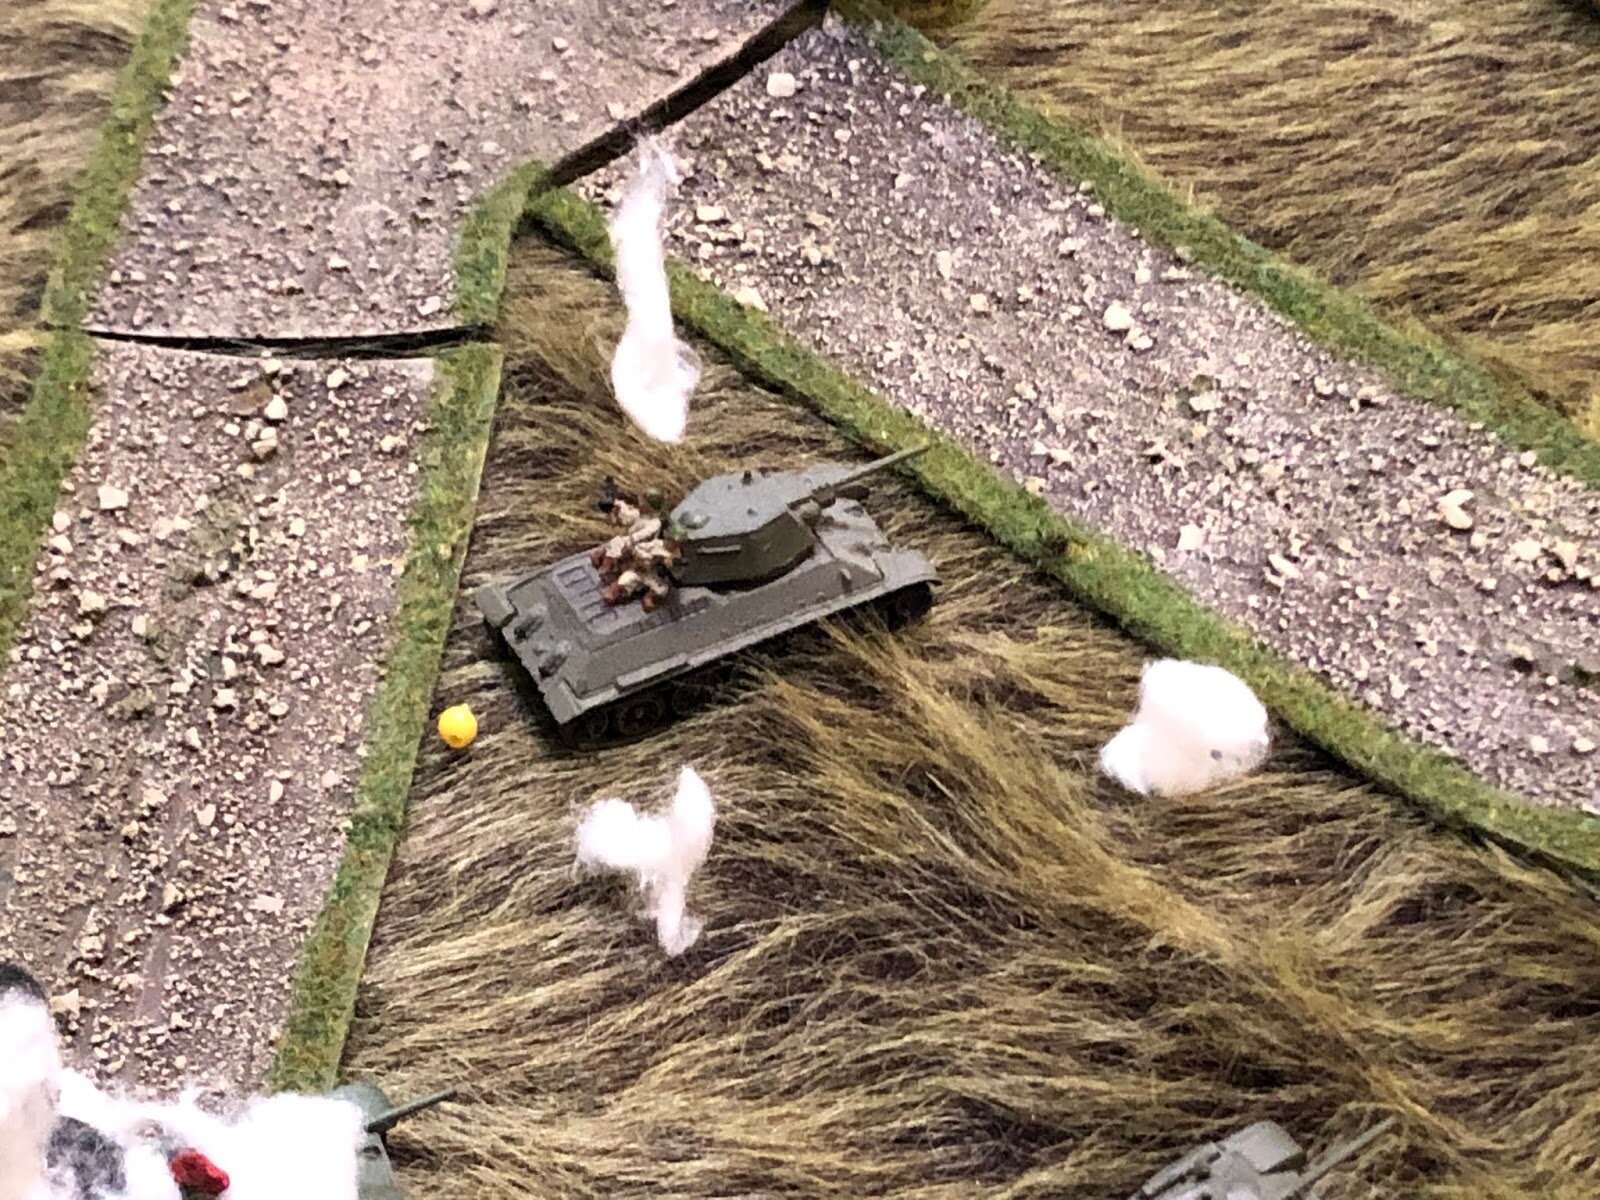
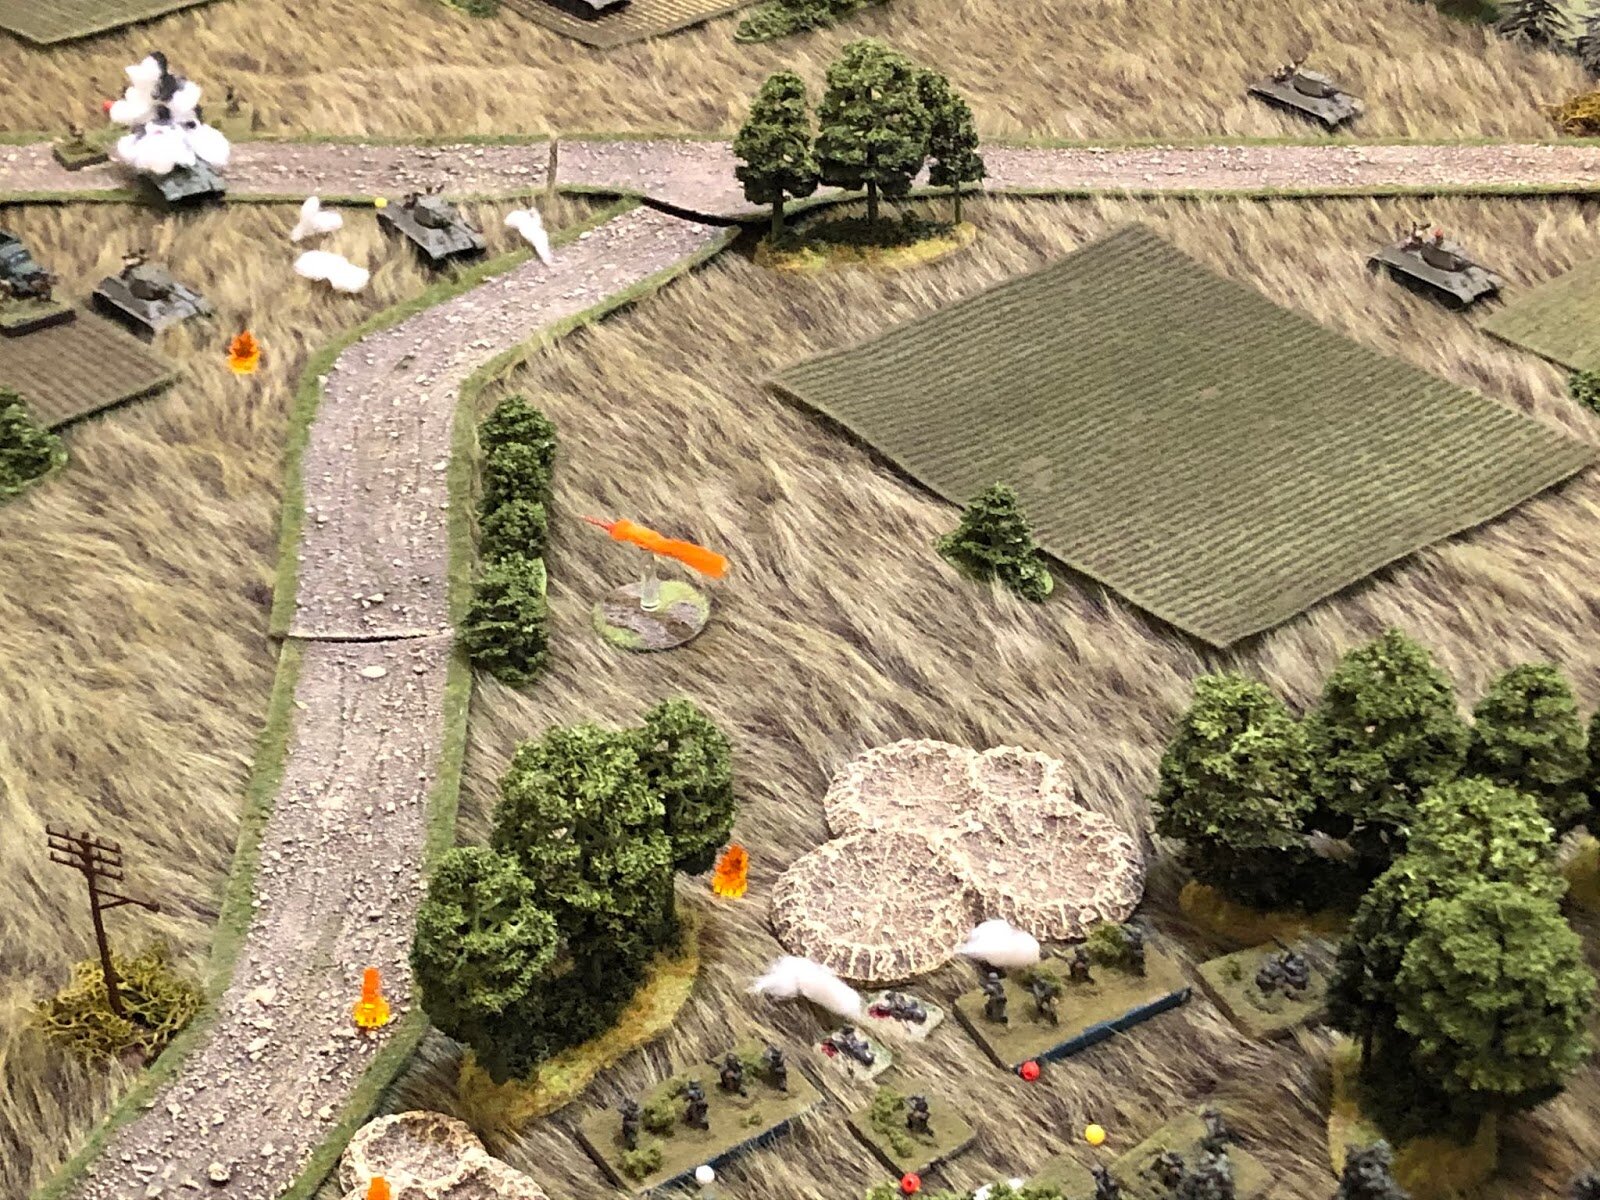
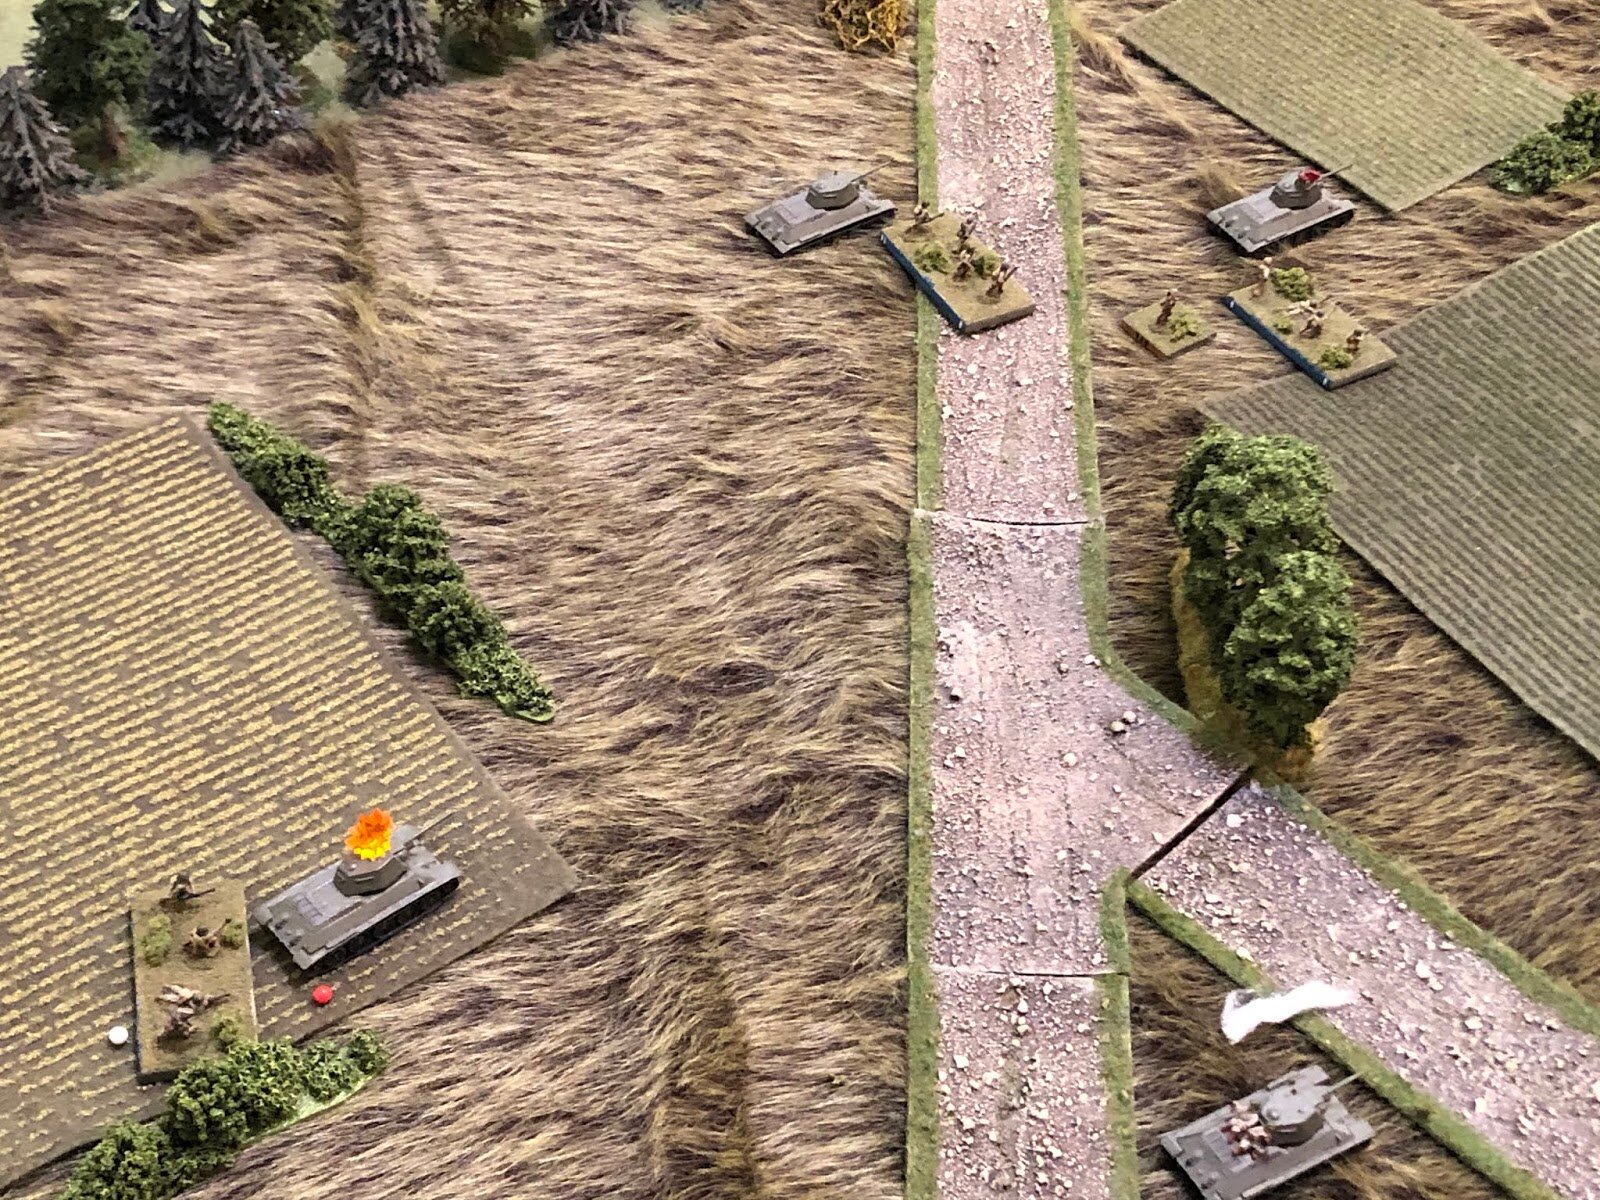
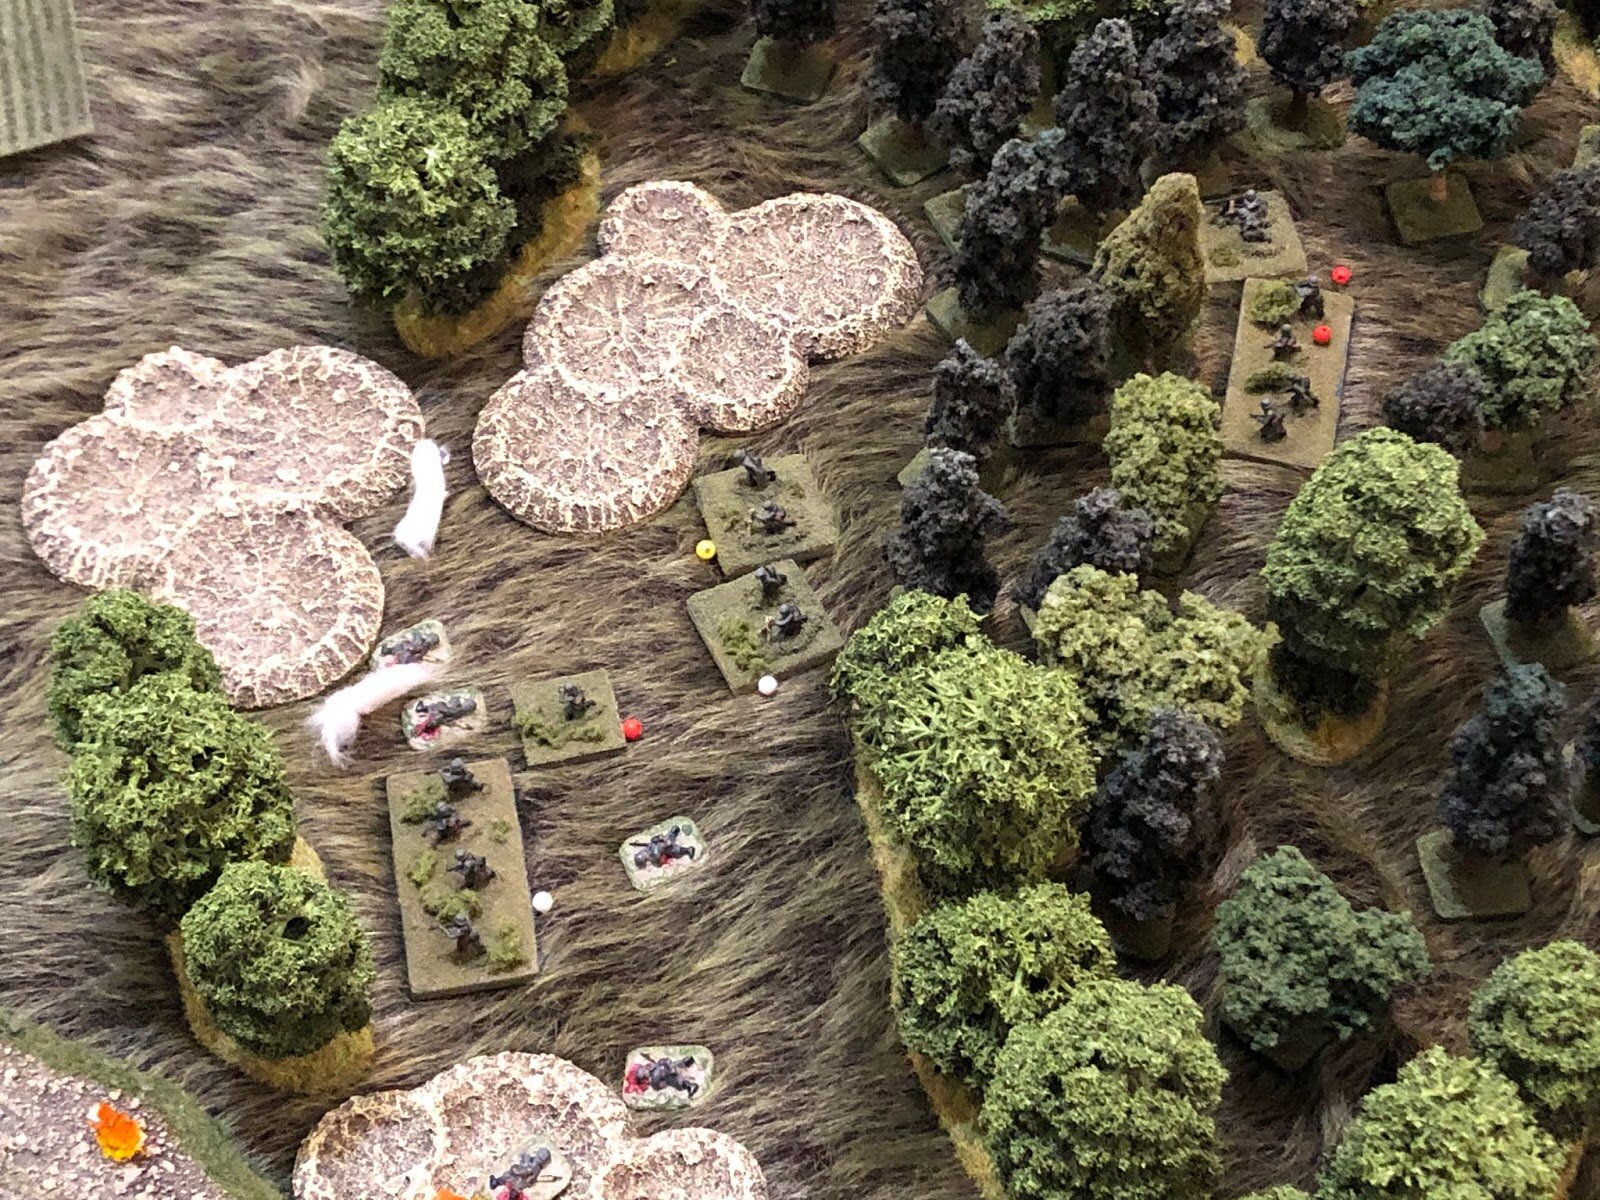
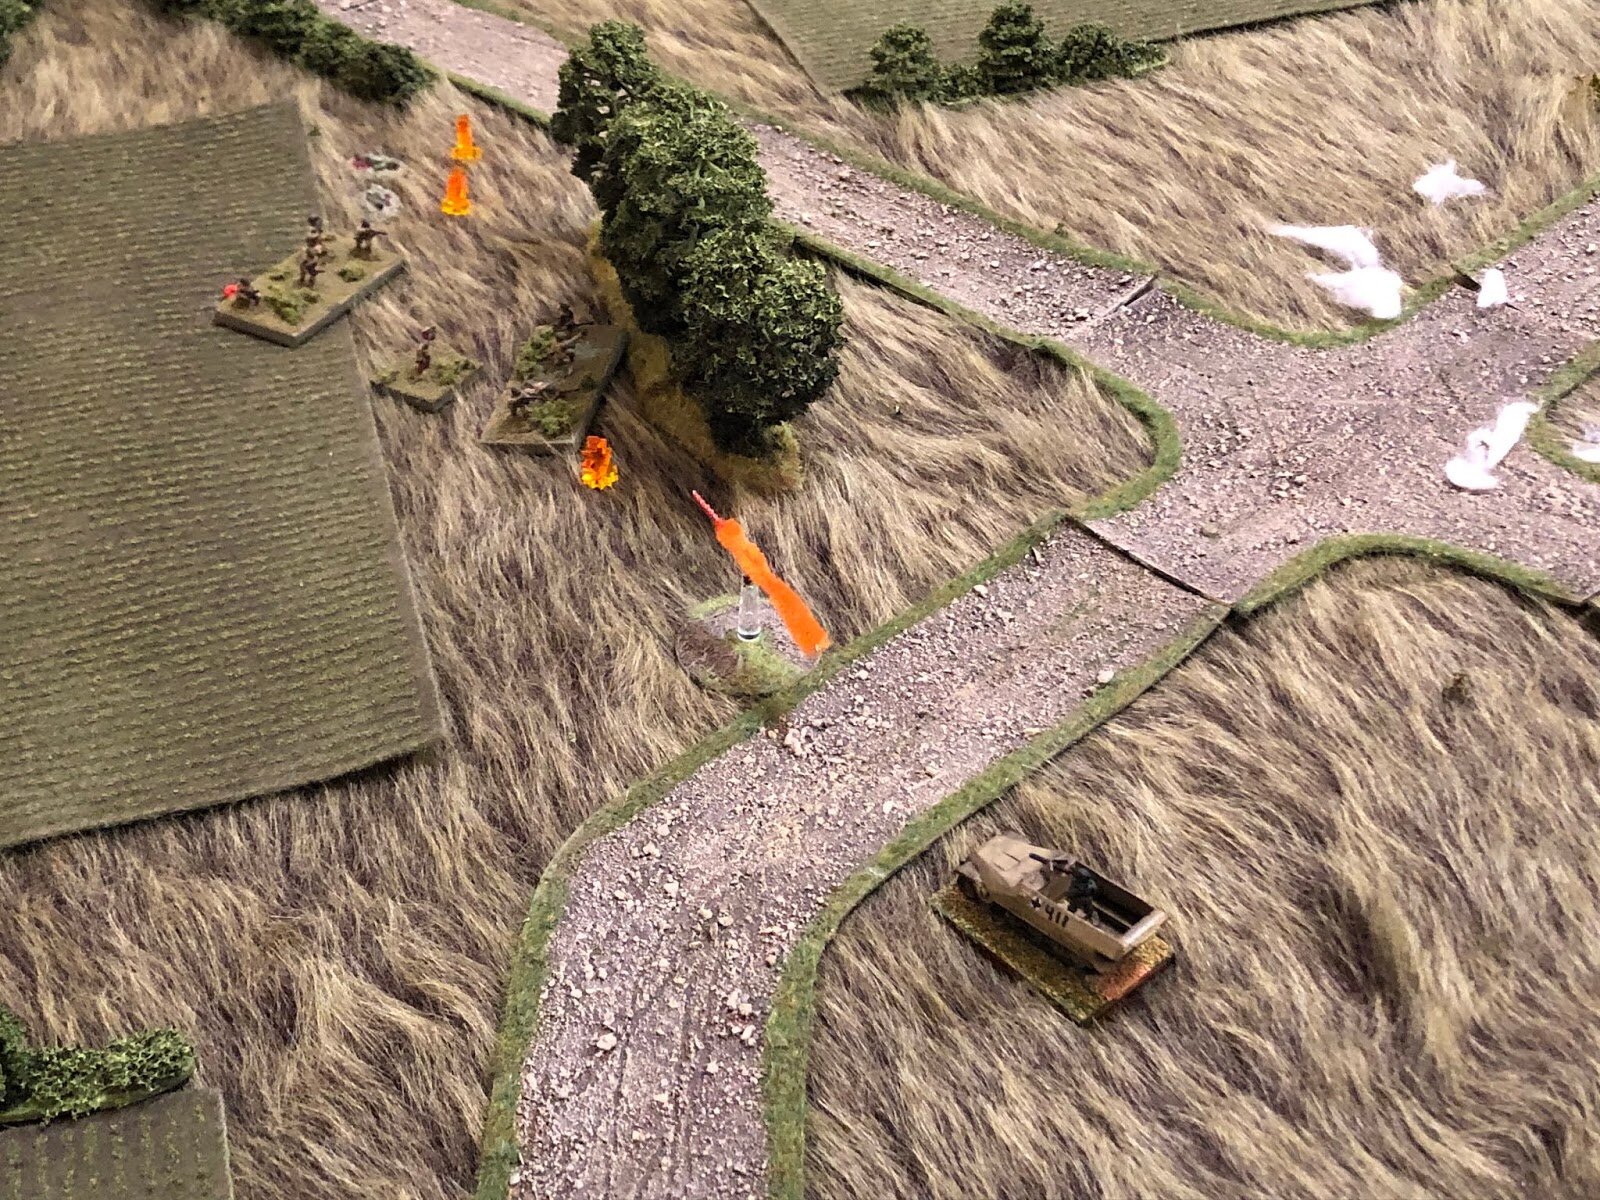
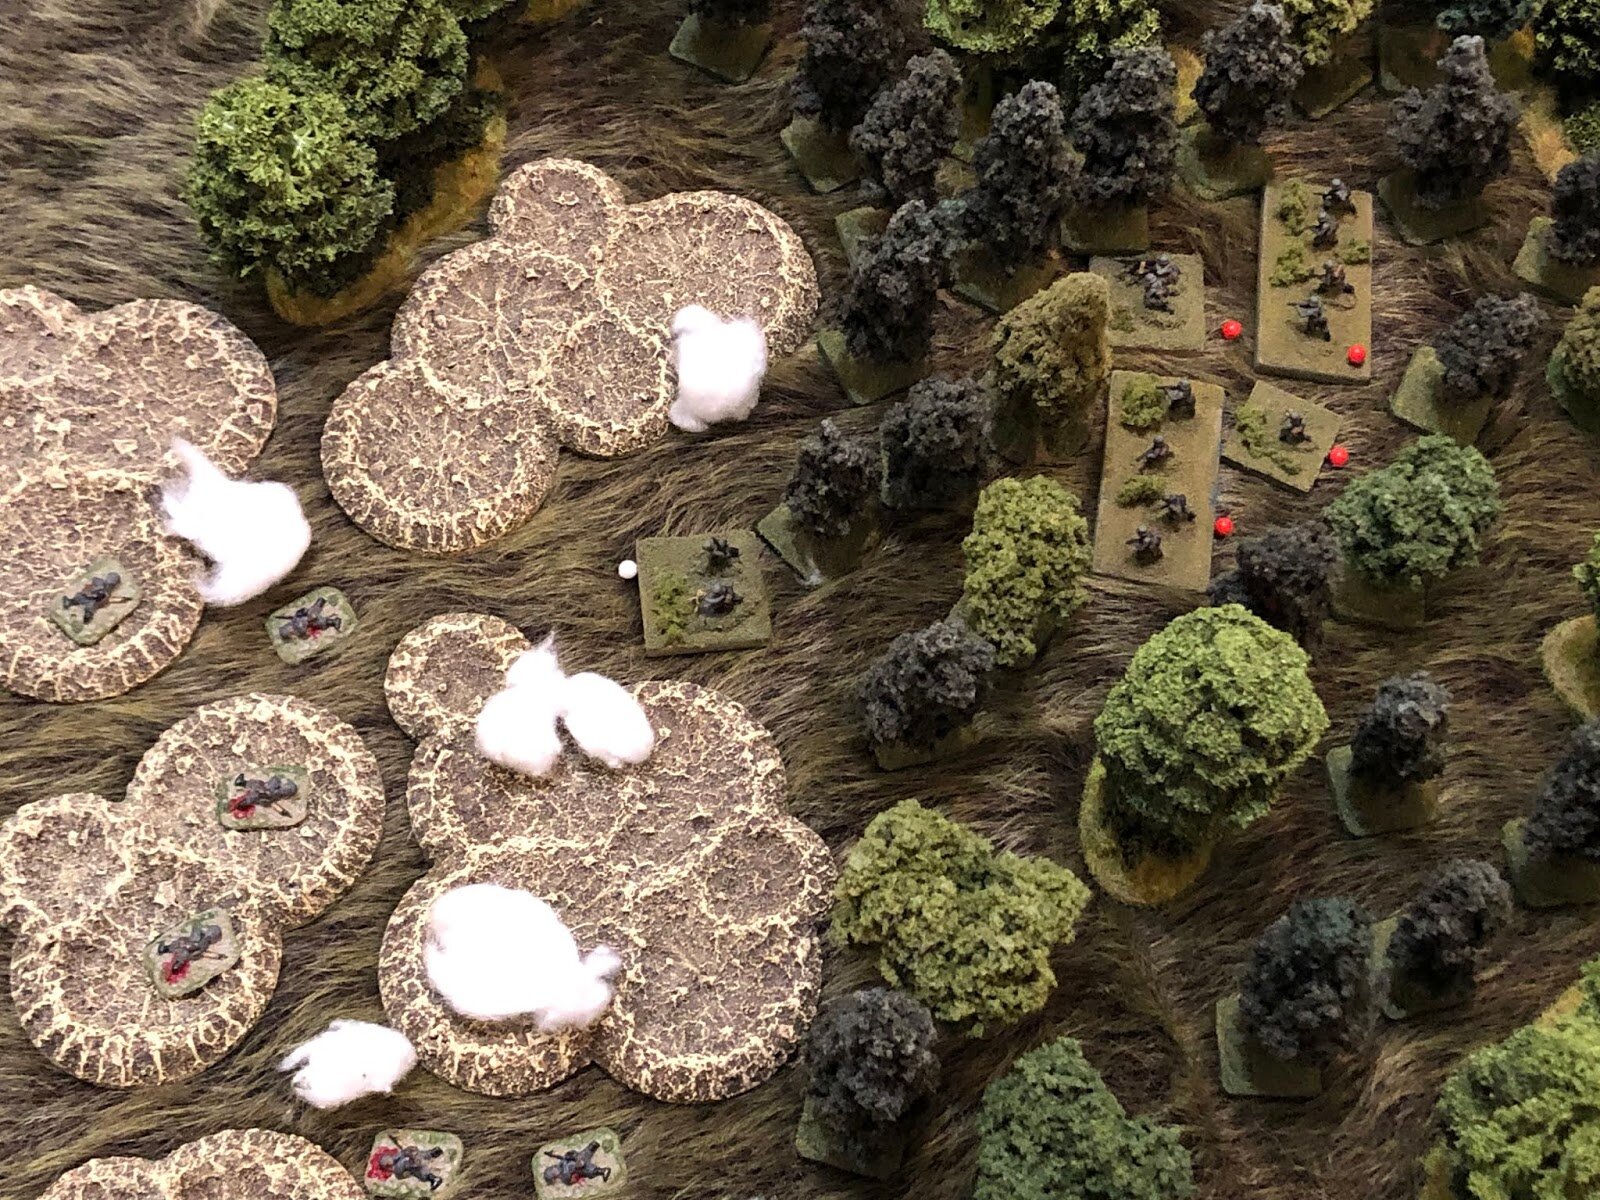
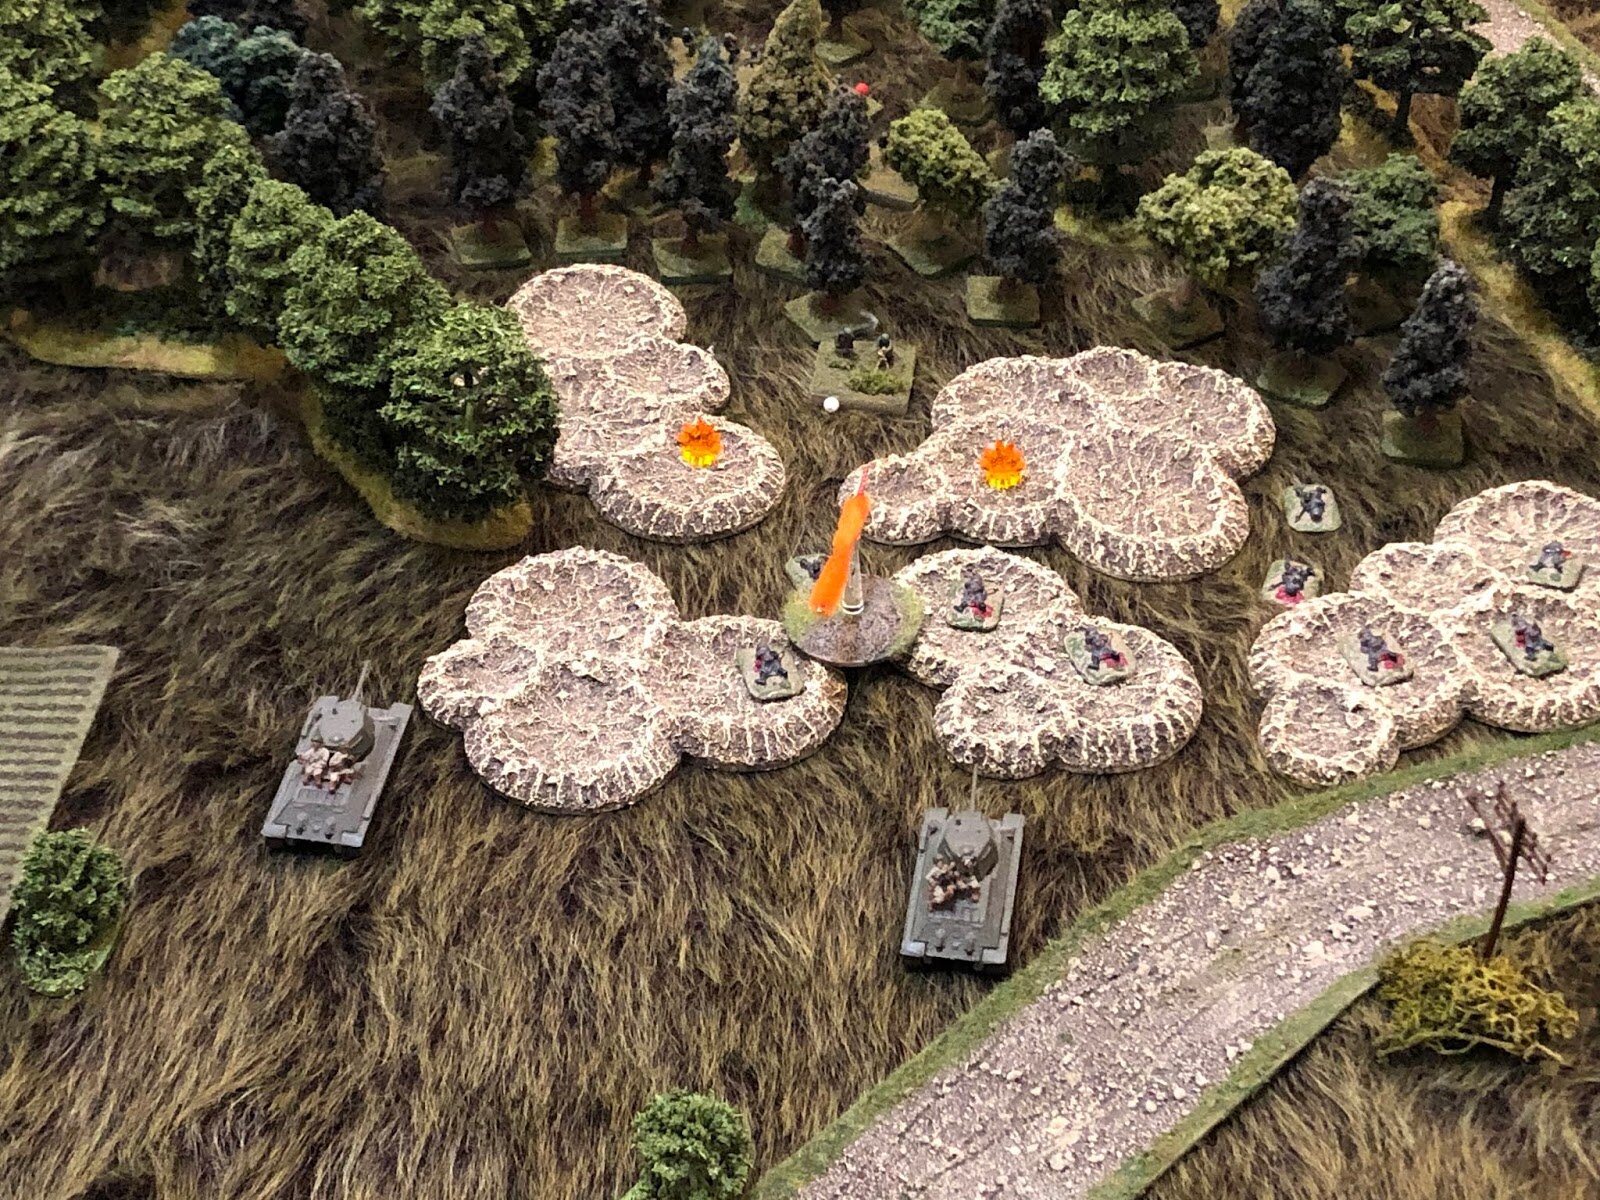
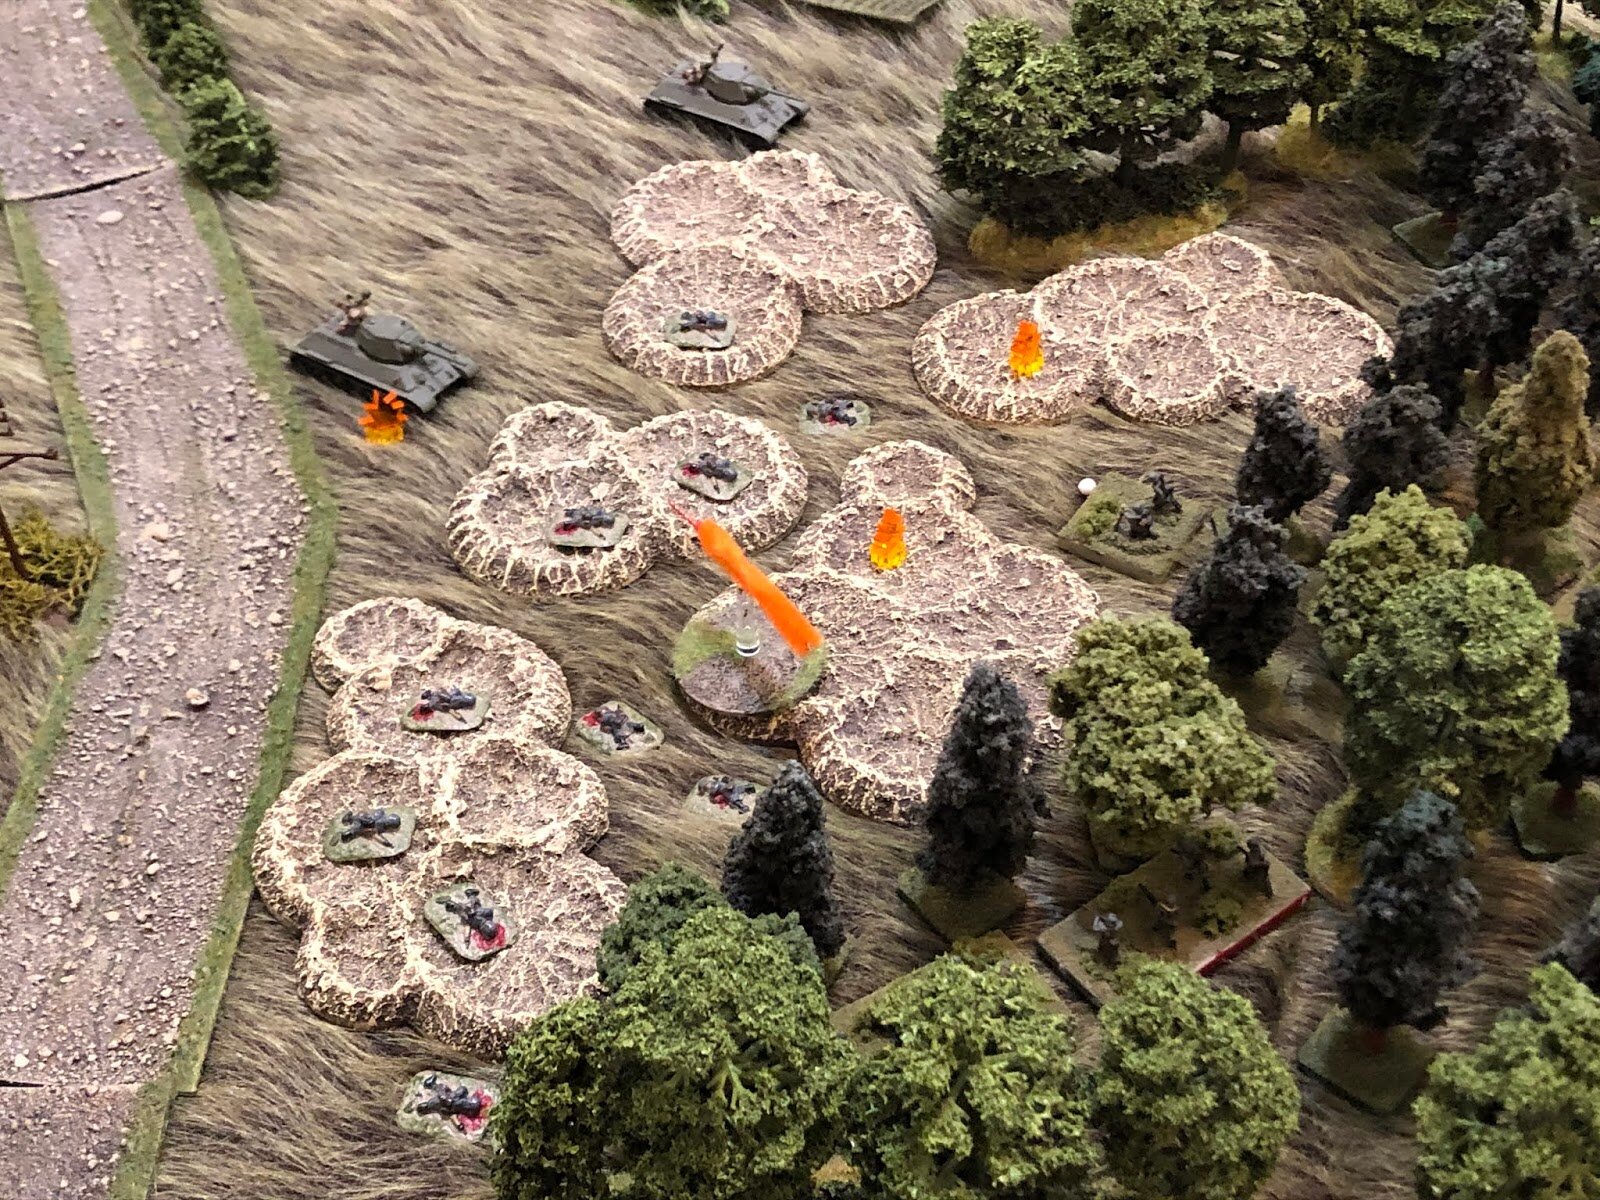
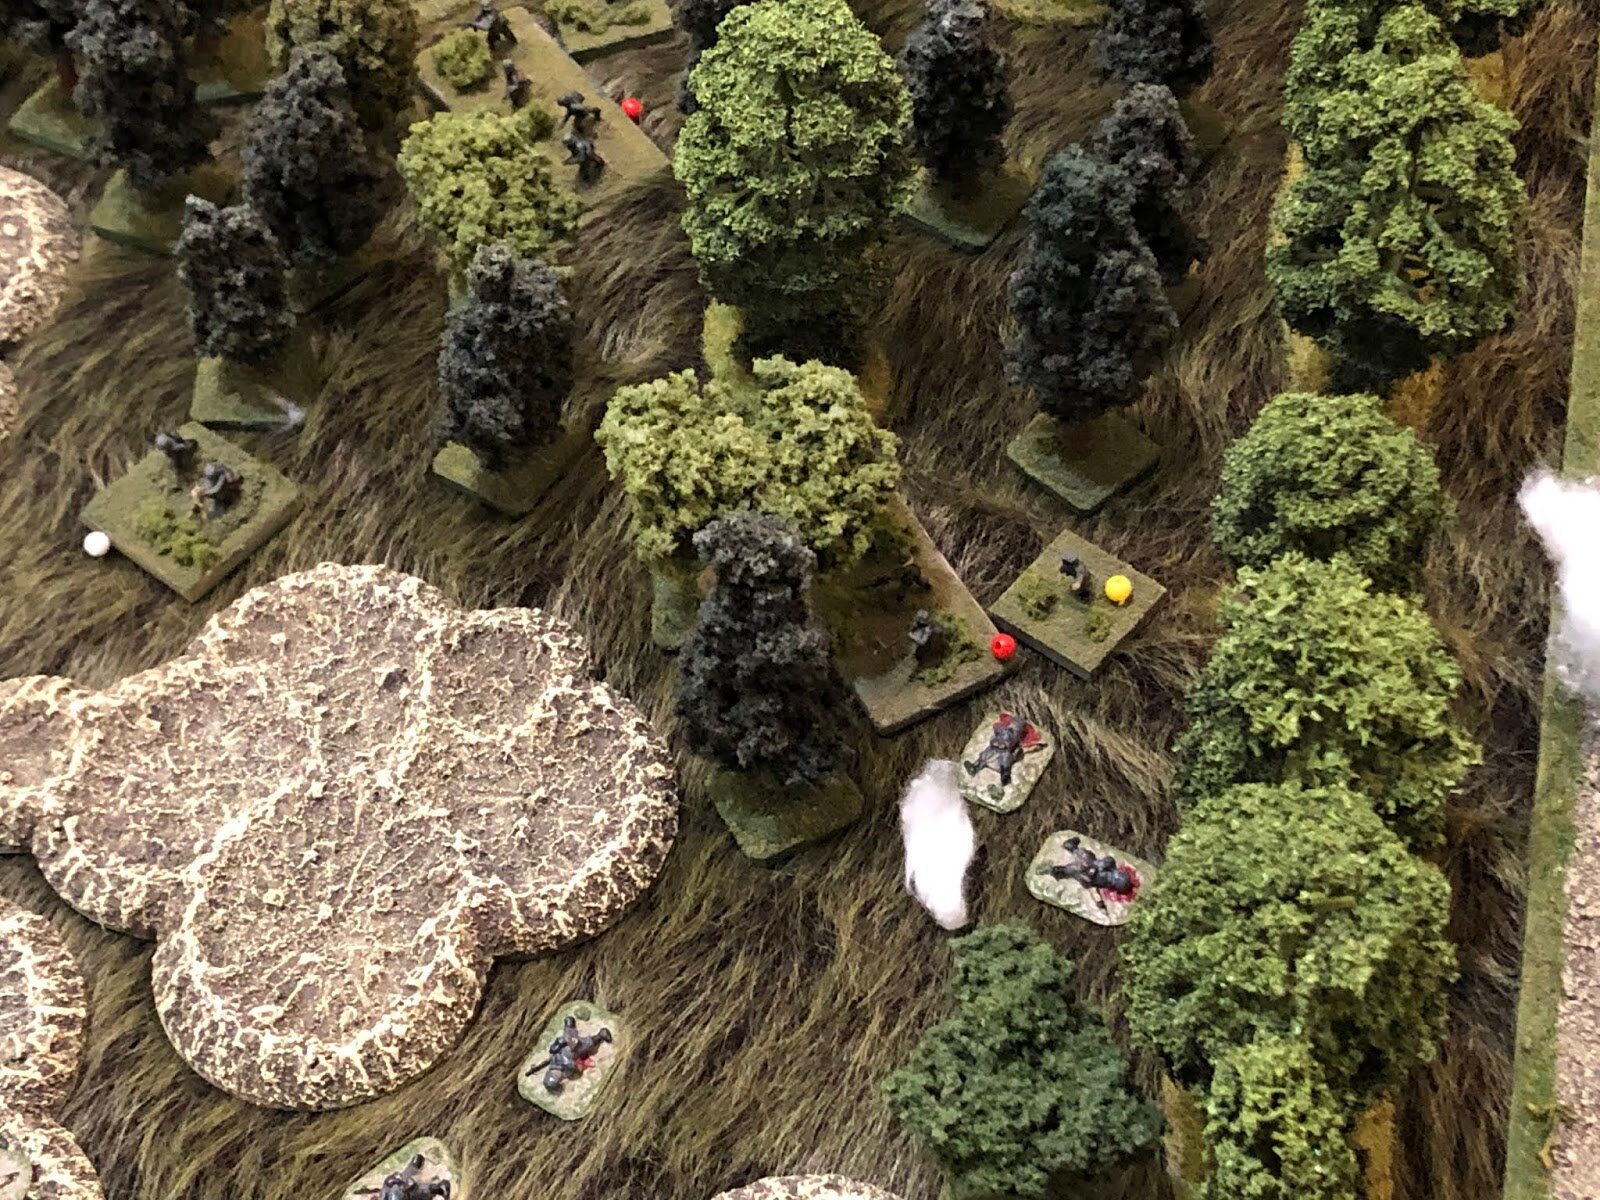
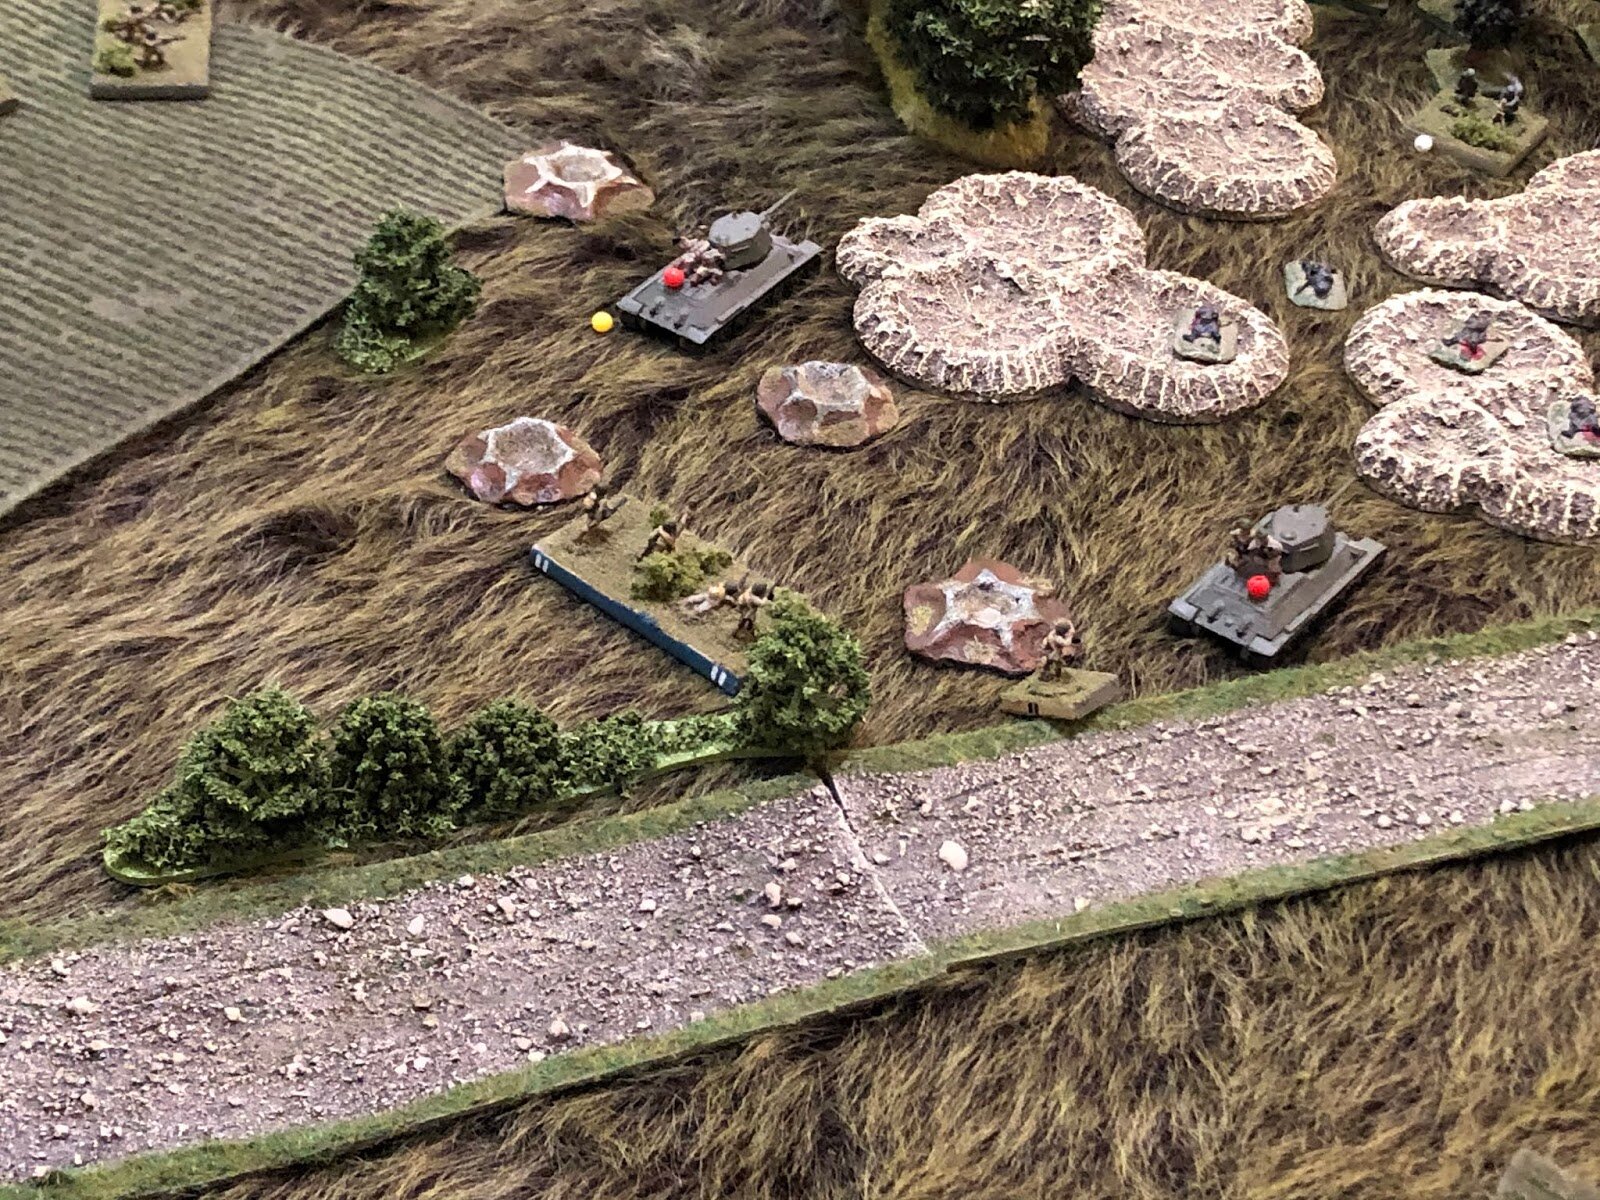
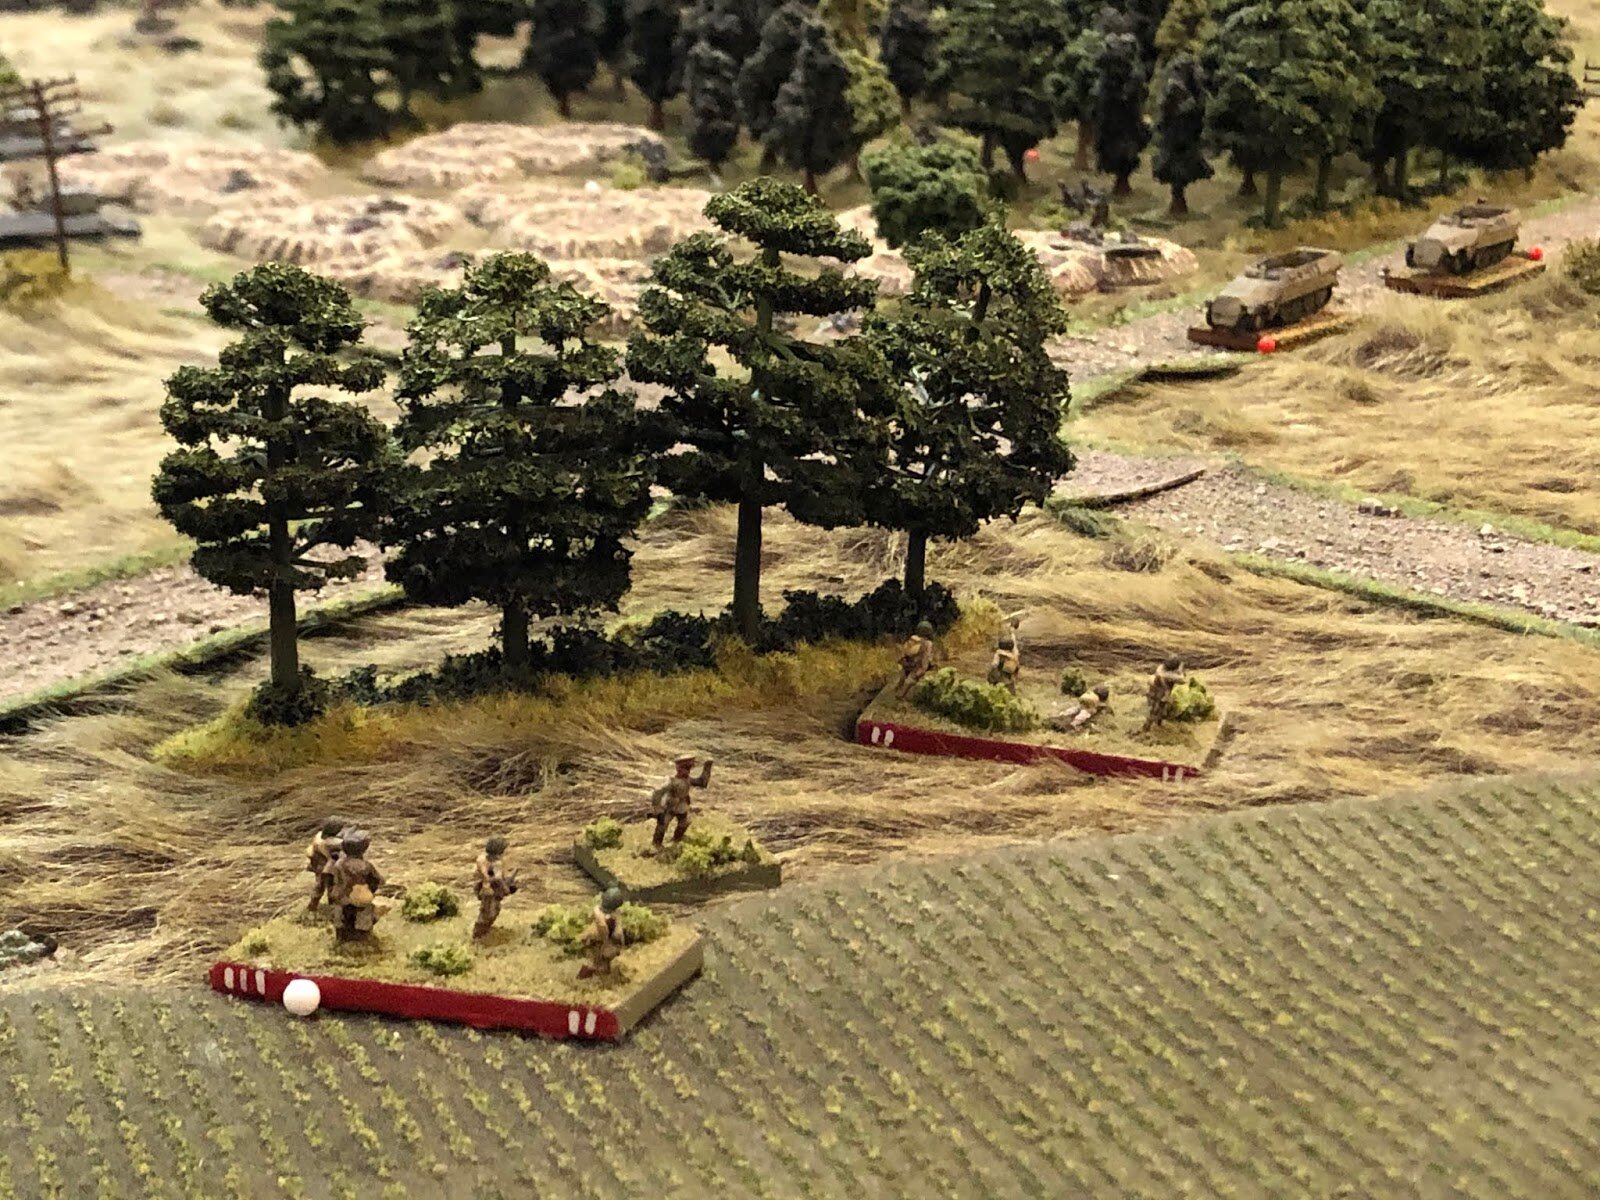
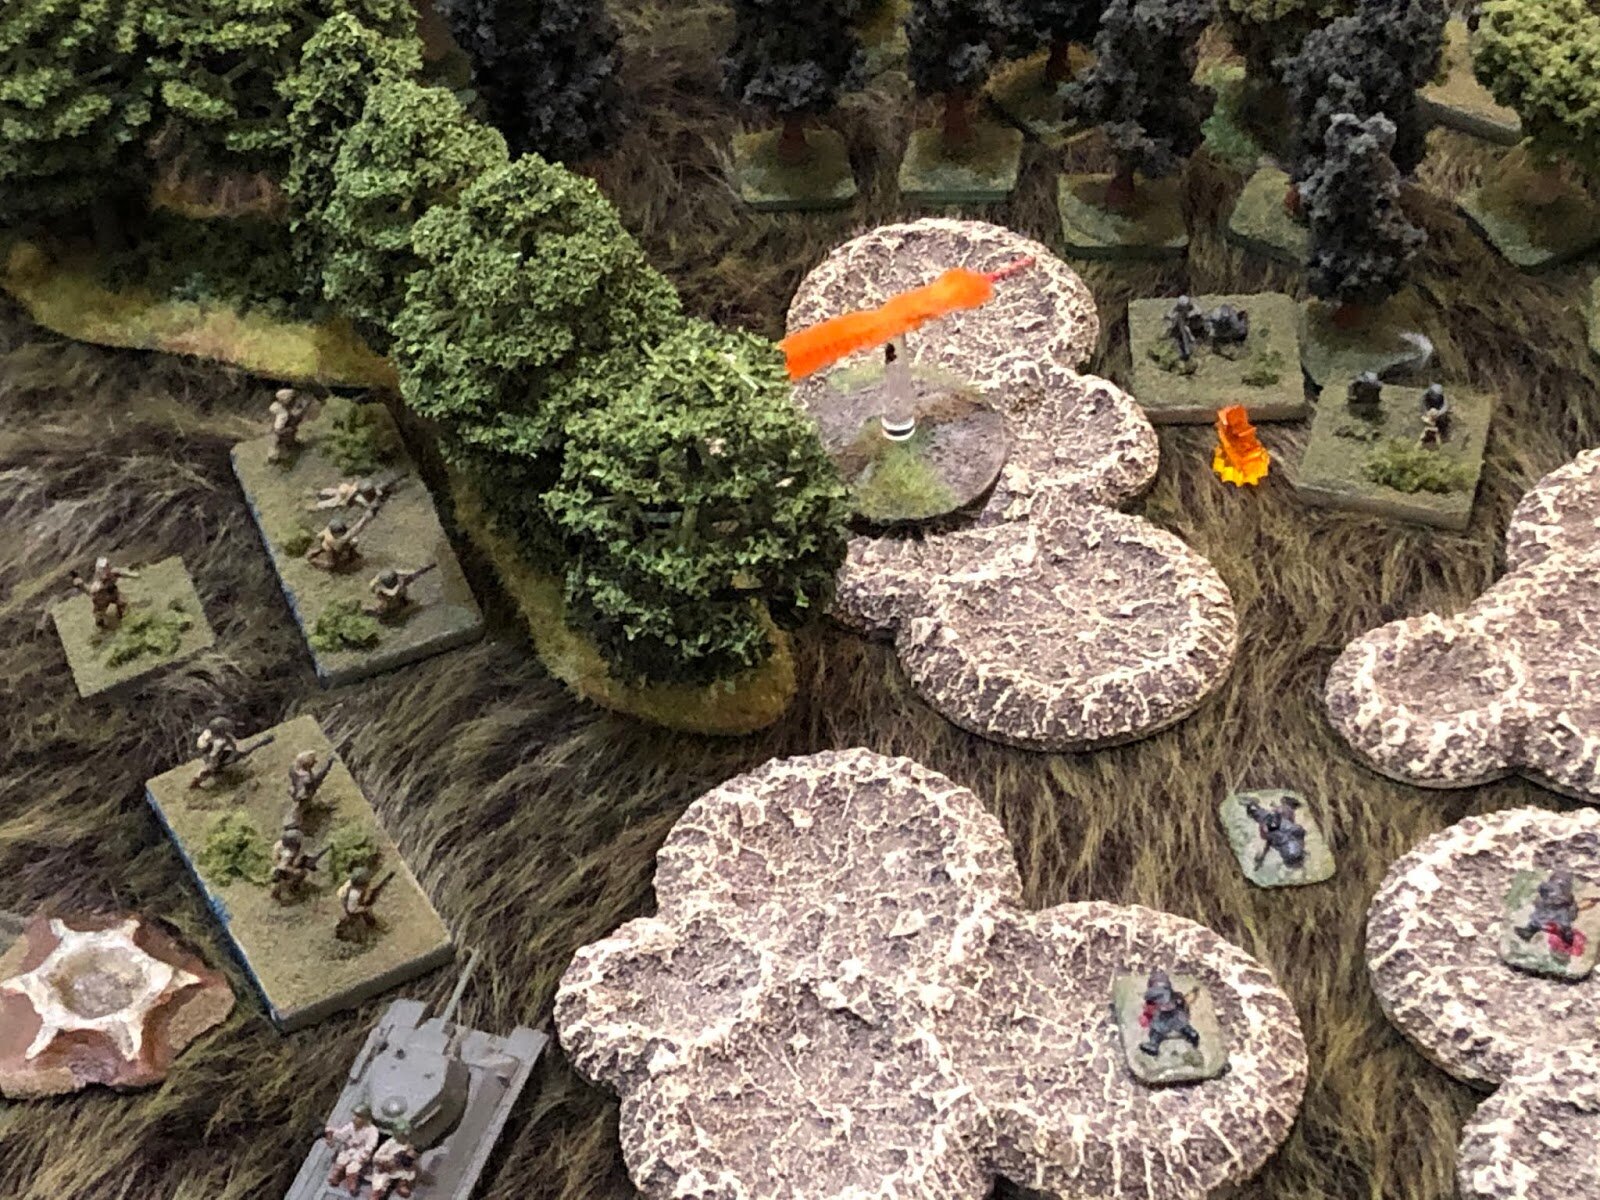
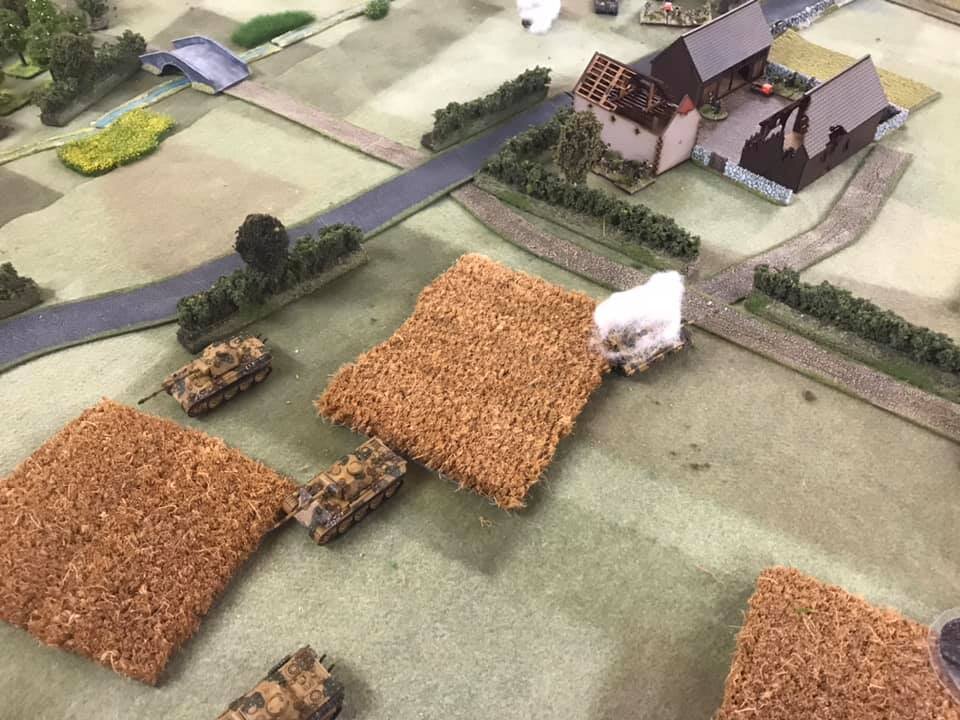
Meanwhile, the Soviet KV-85 platoon had advanced quickly up the centre of the table, ignoring anything in their path. This included the wood just near the main road leading up to the gap, which they motored through as if the fir trees were made of balsa wood.
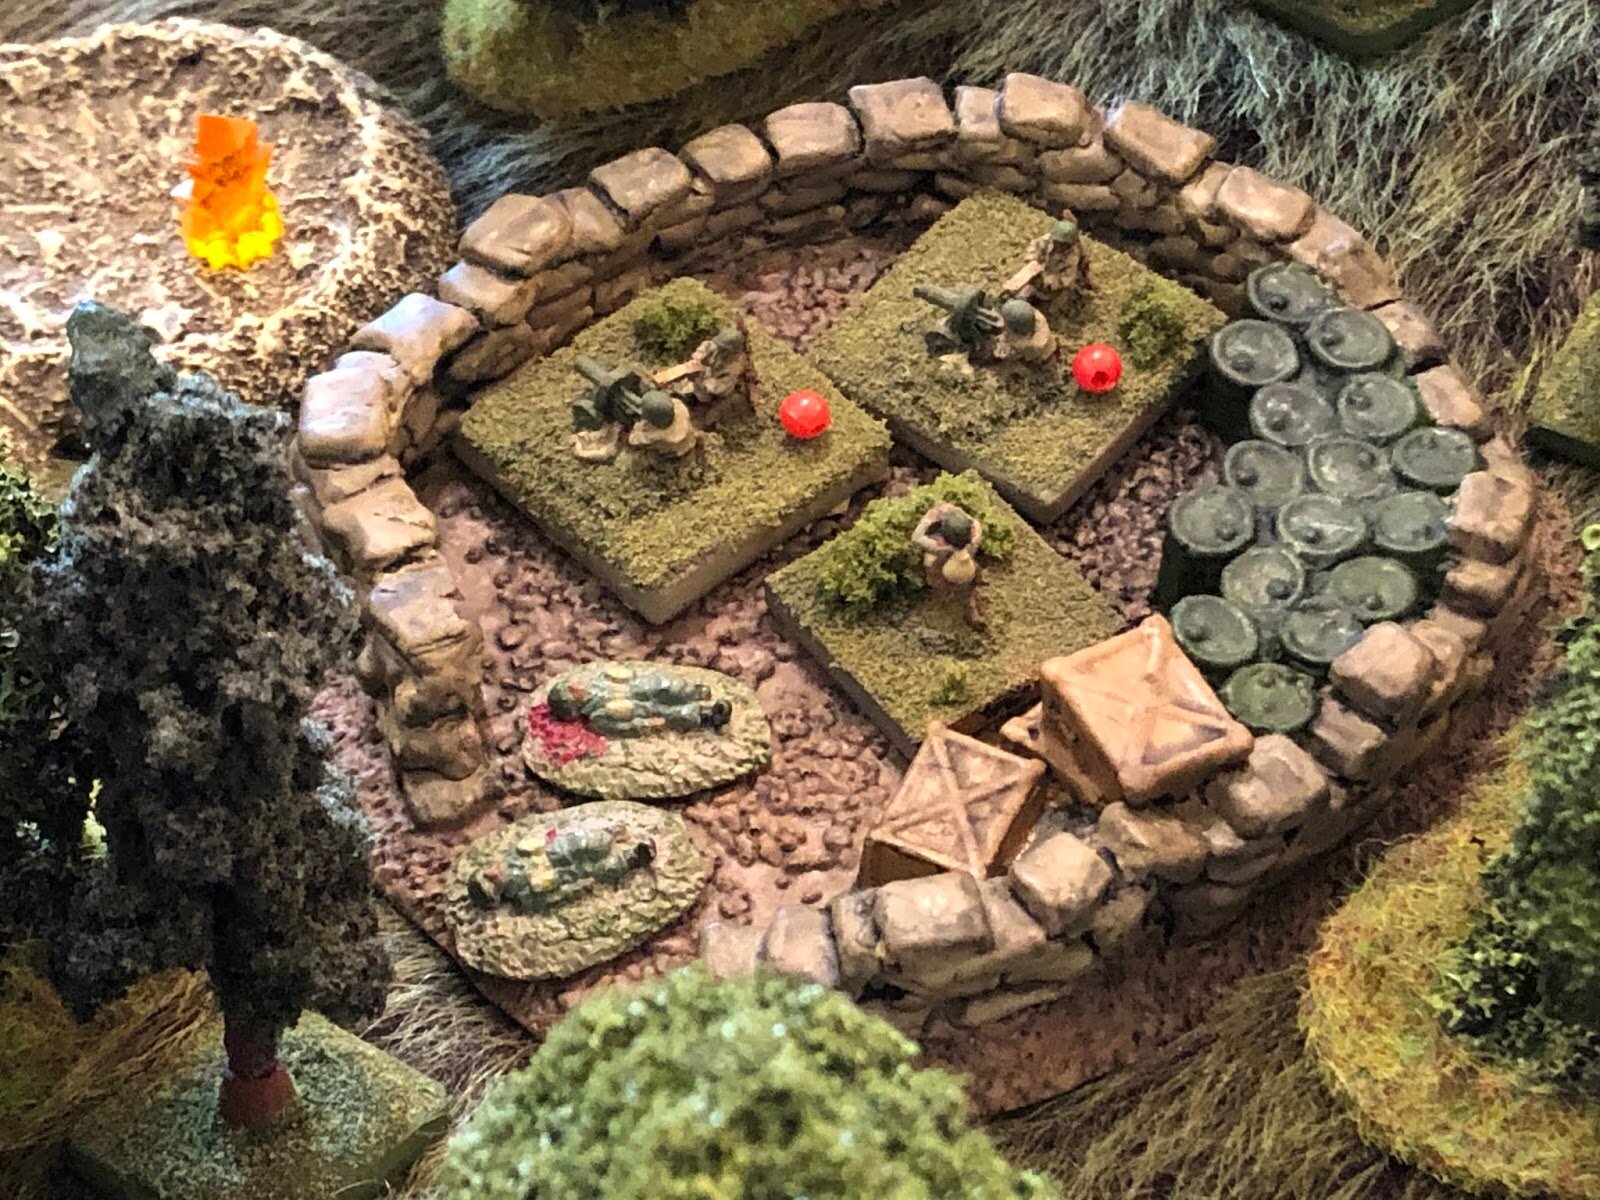
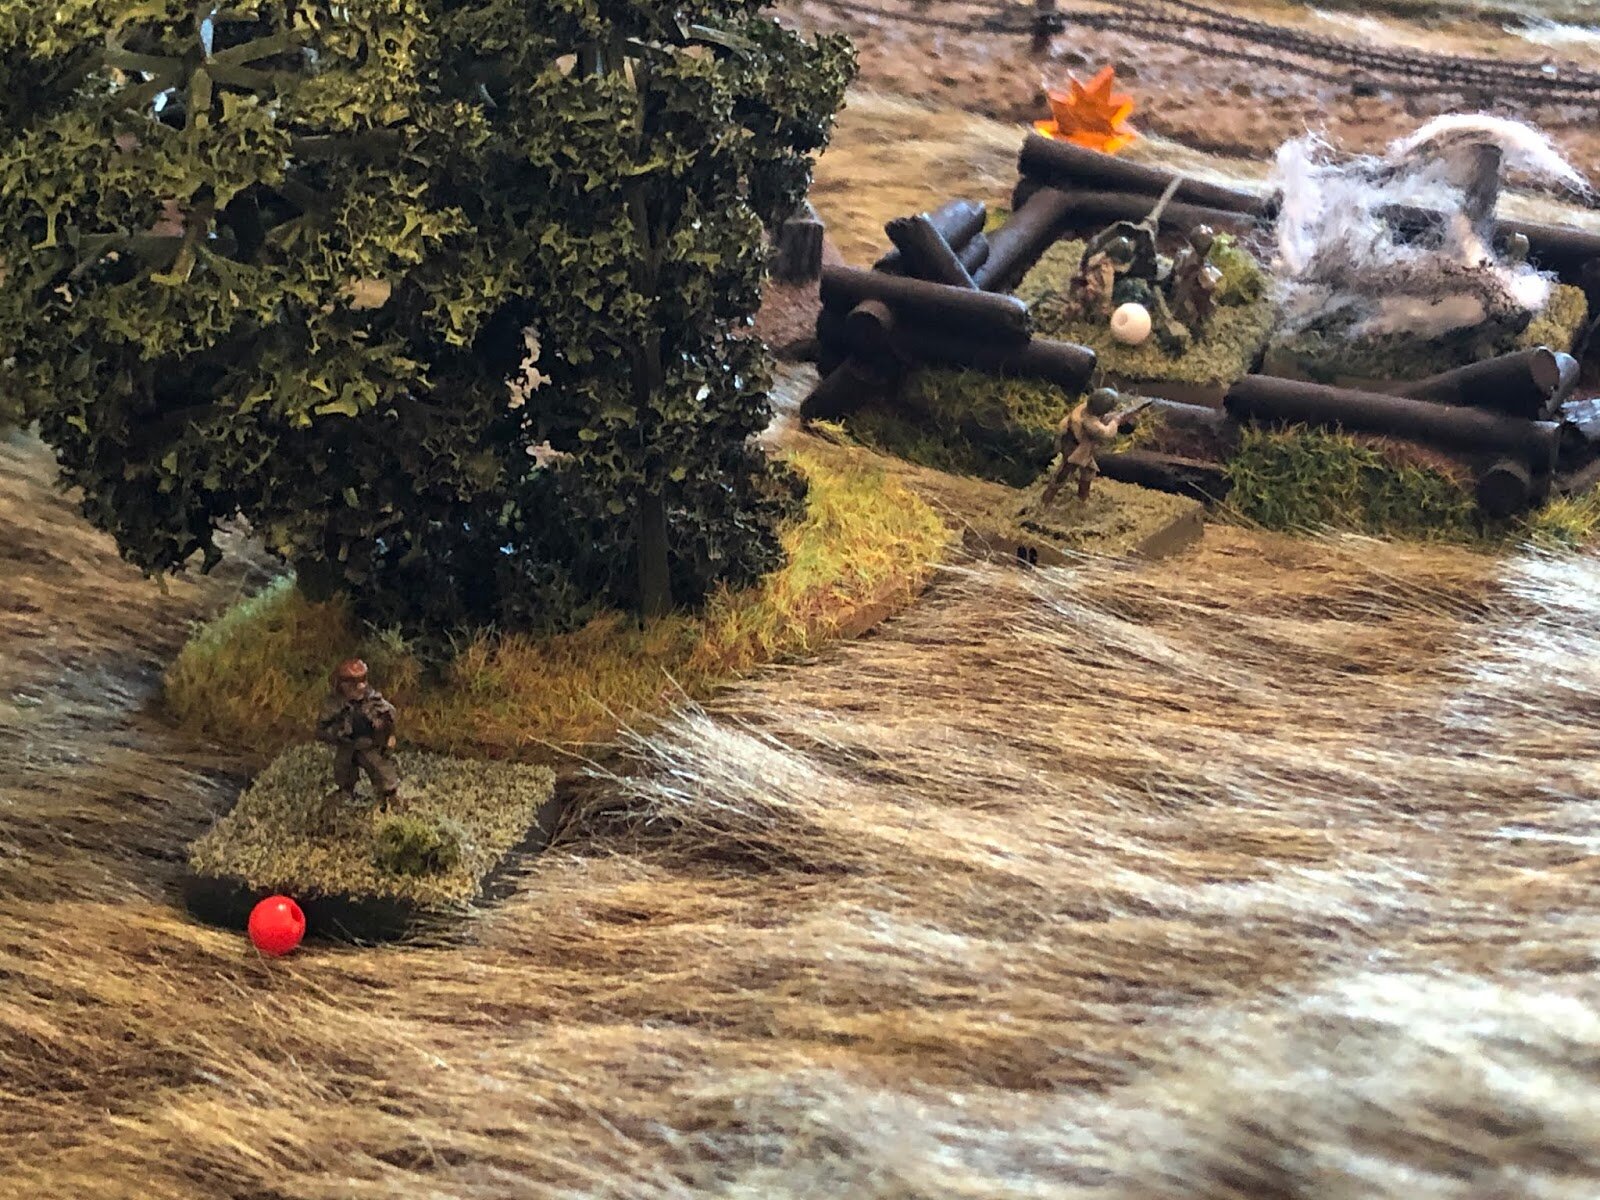
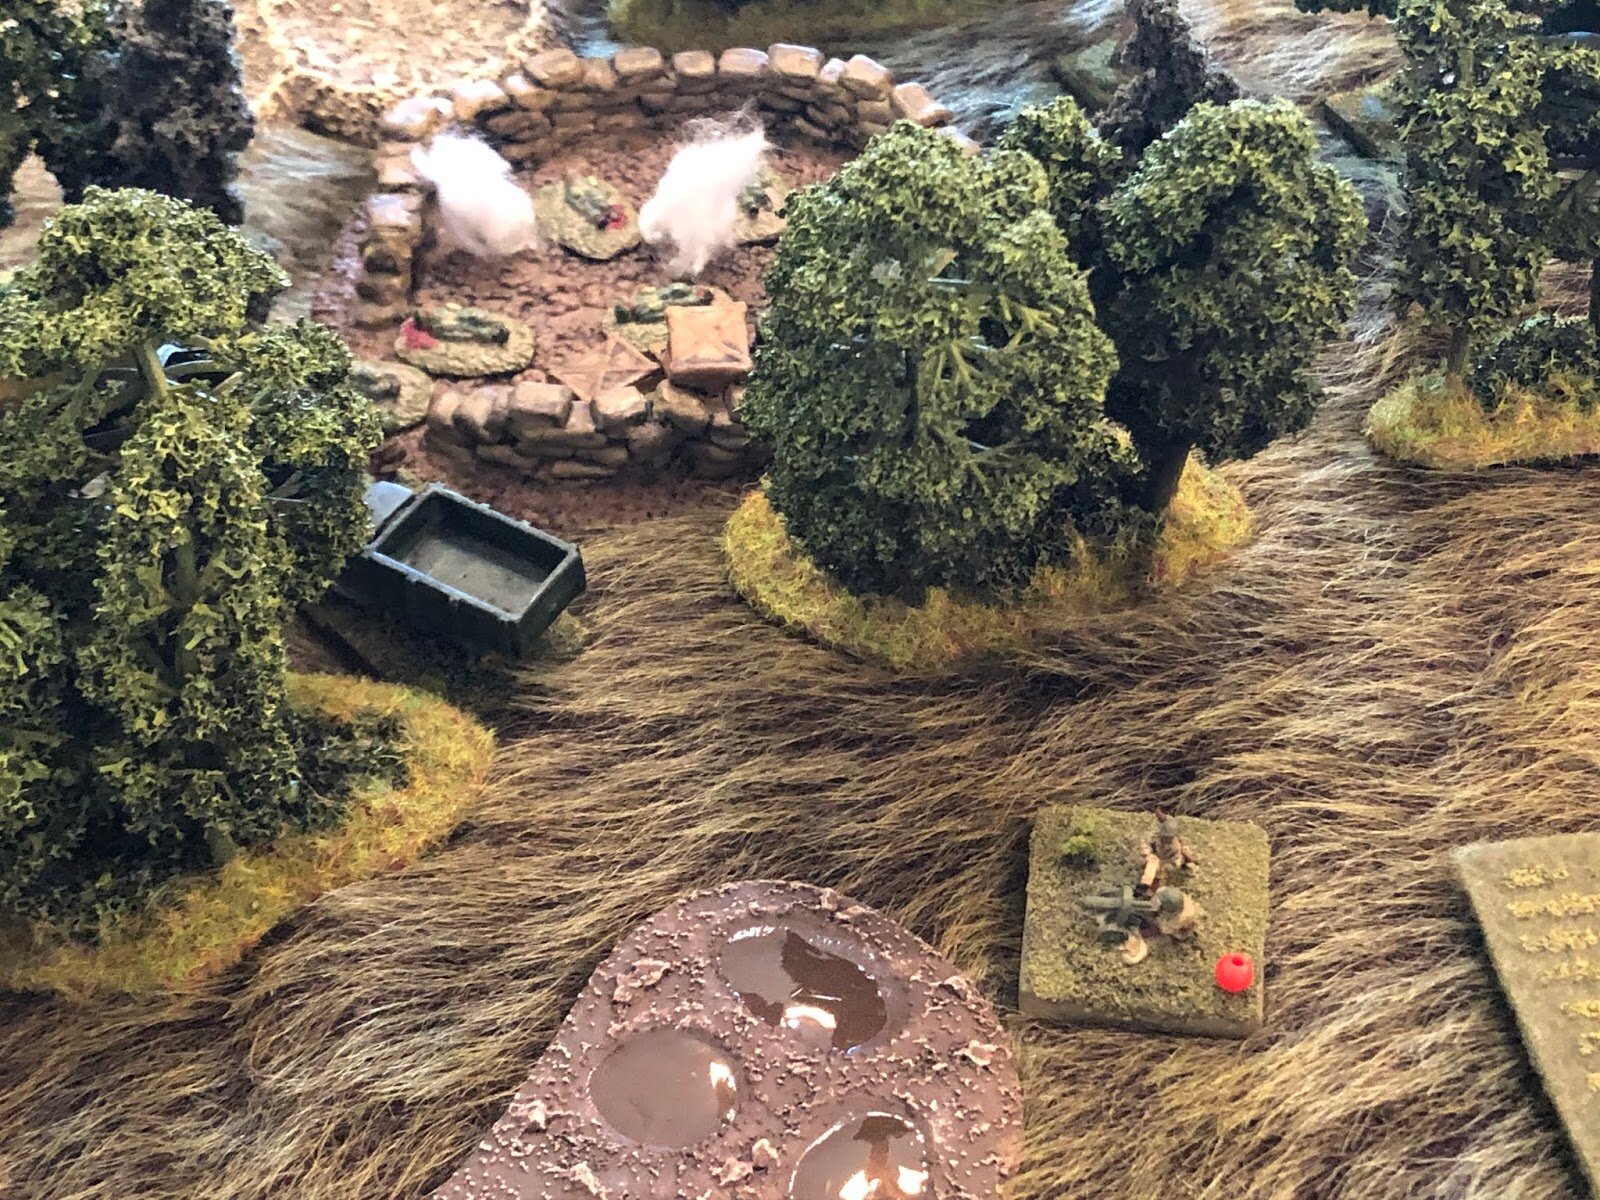
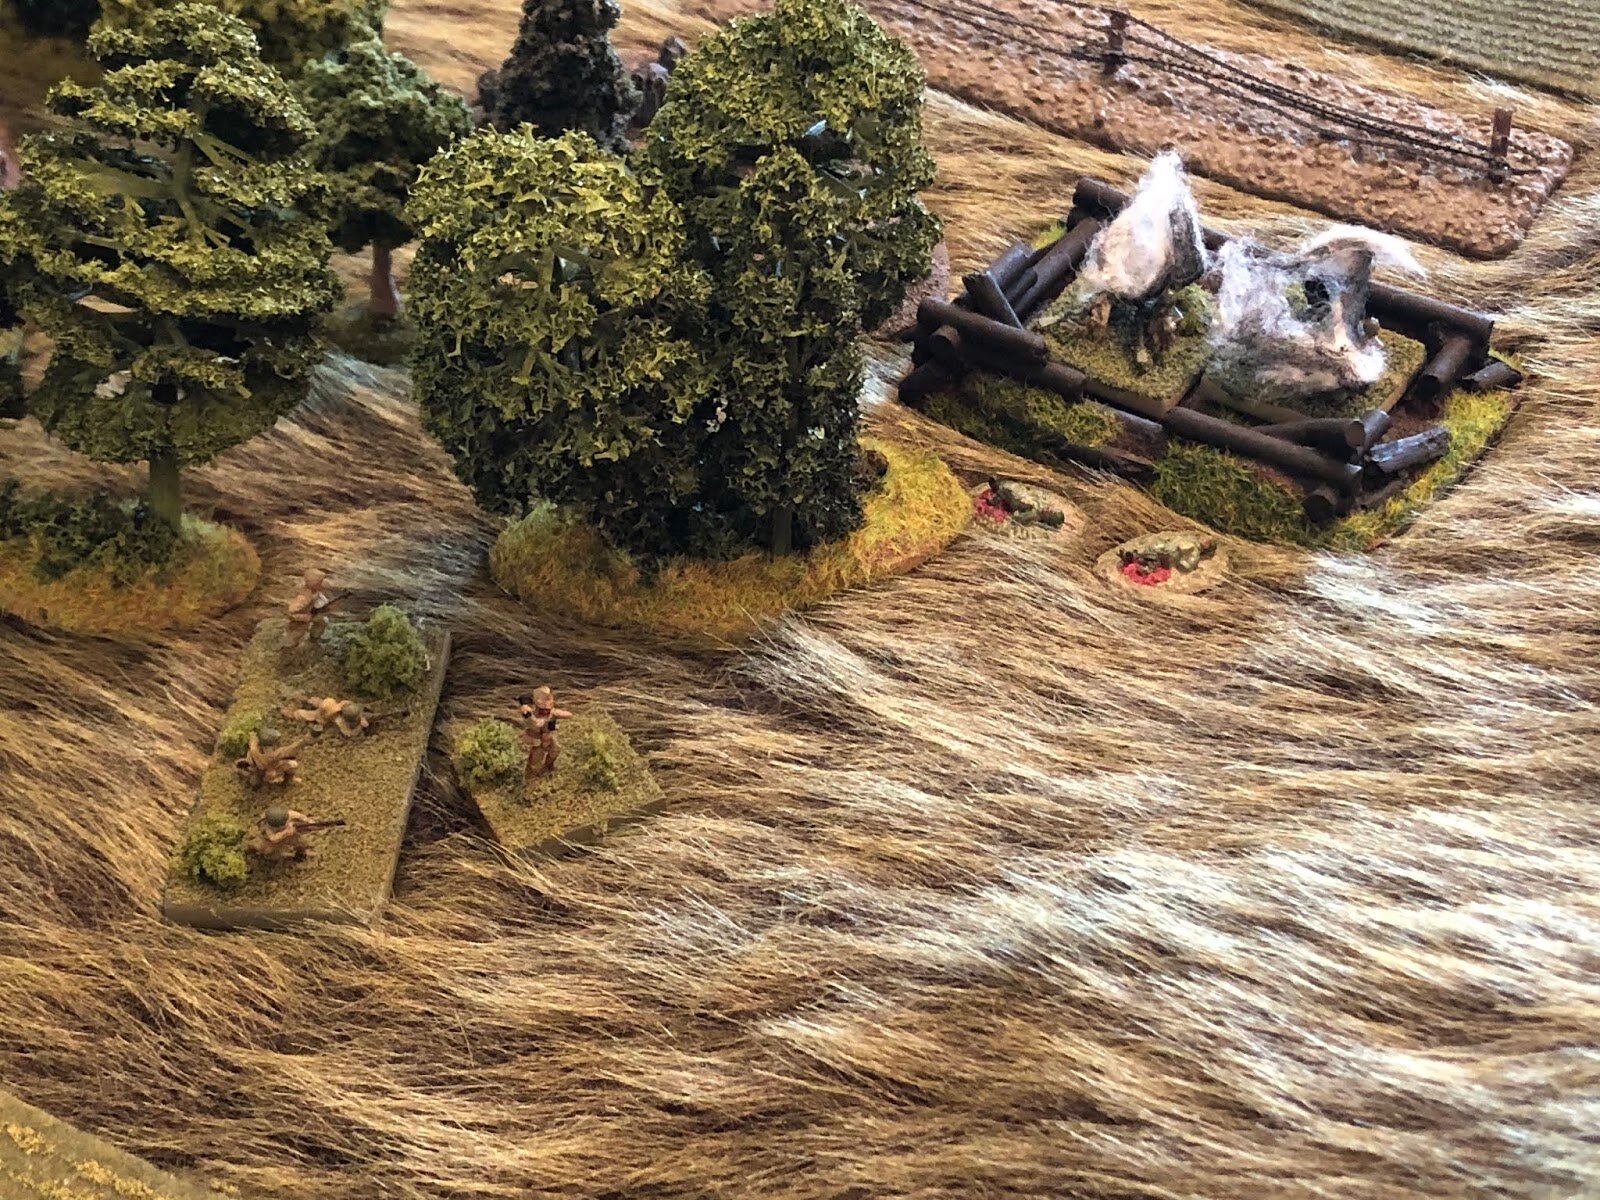
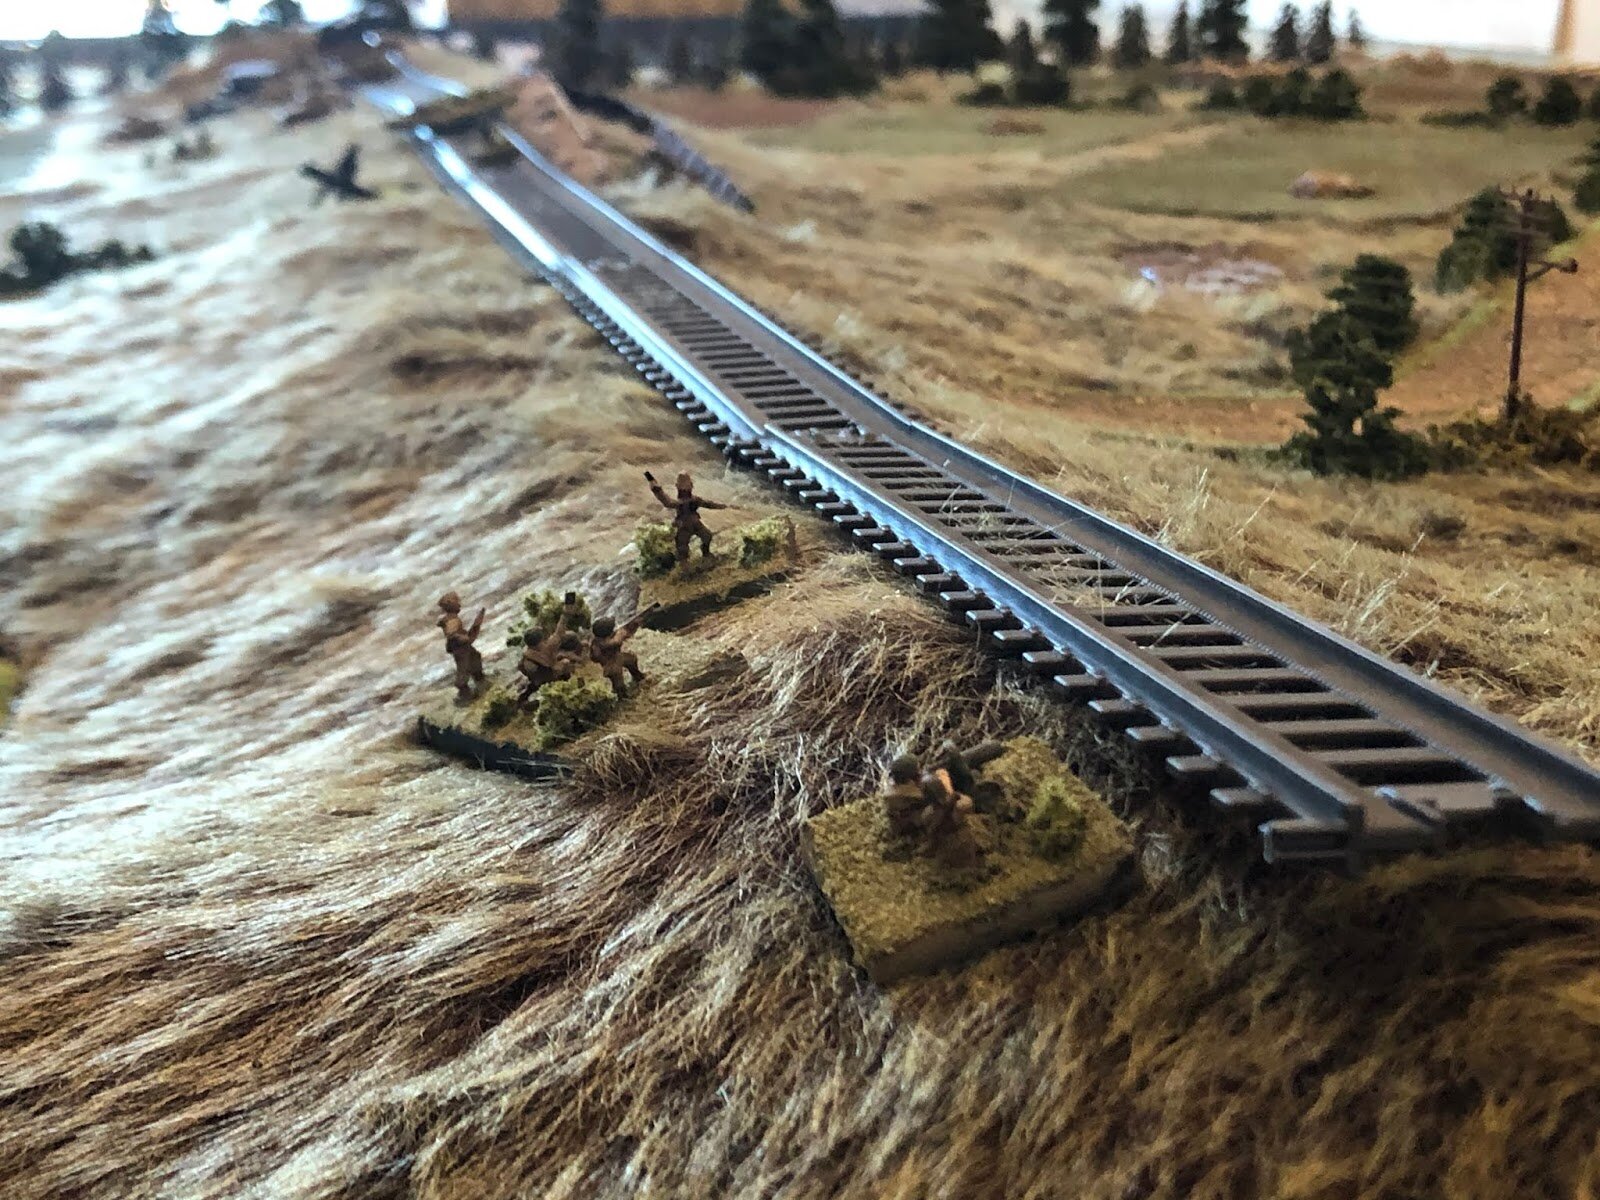
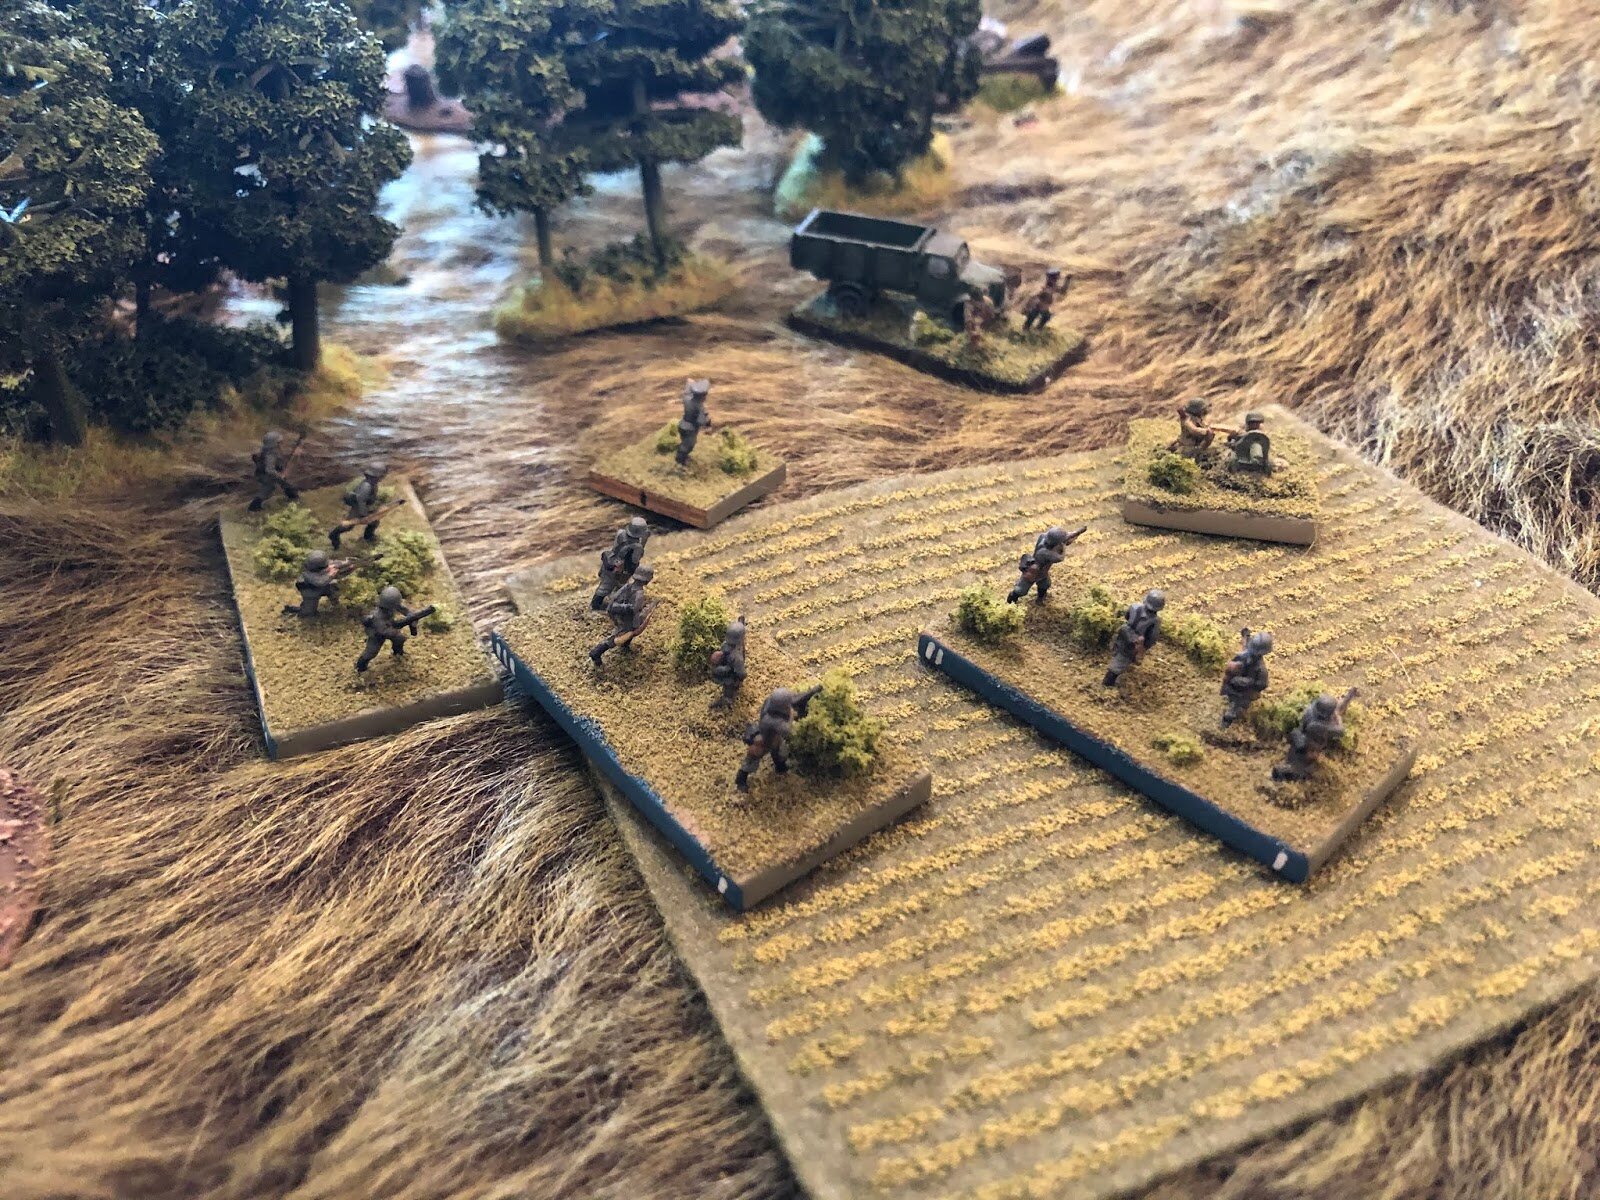
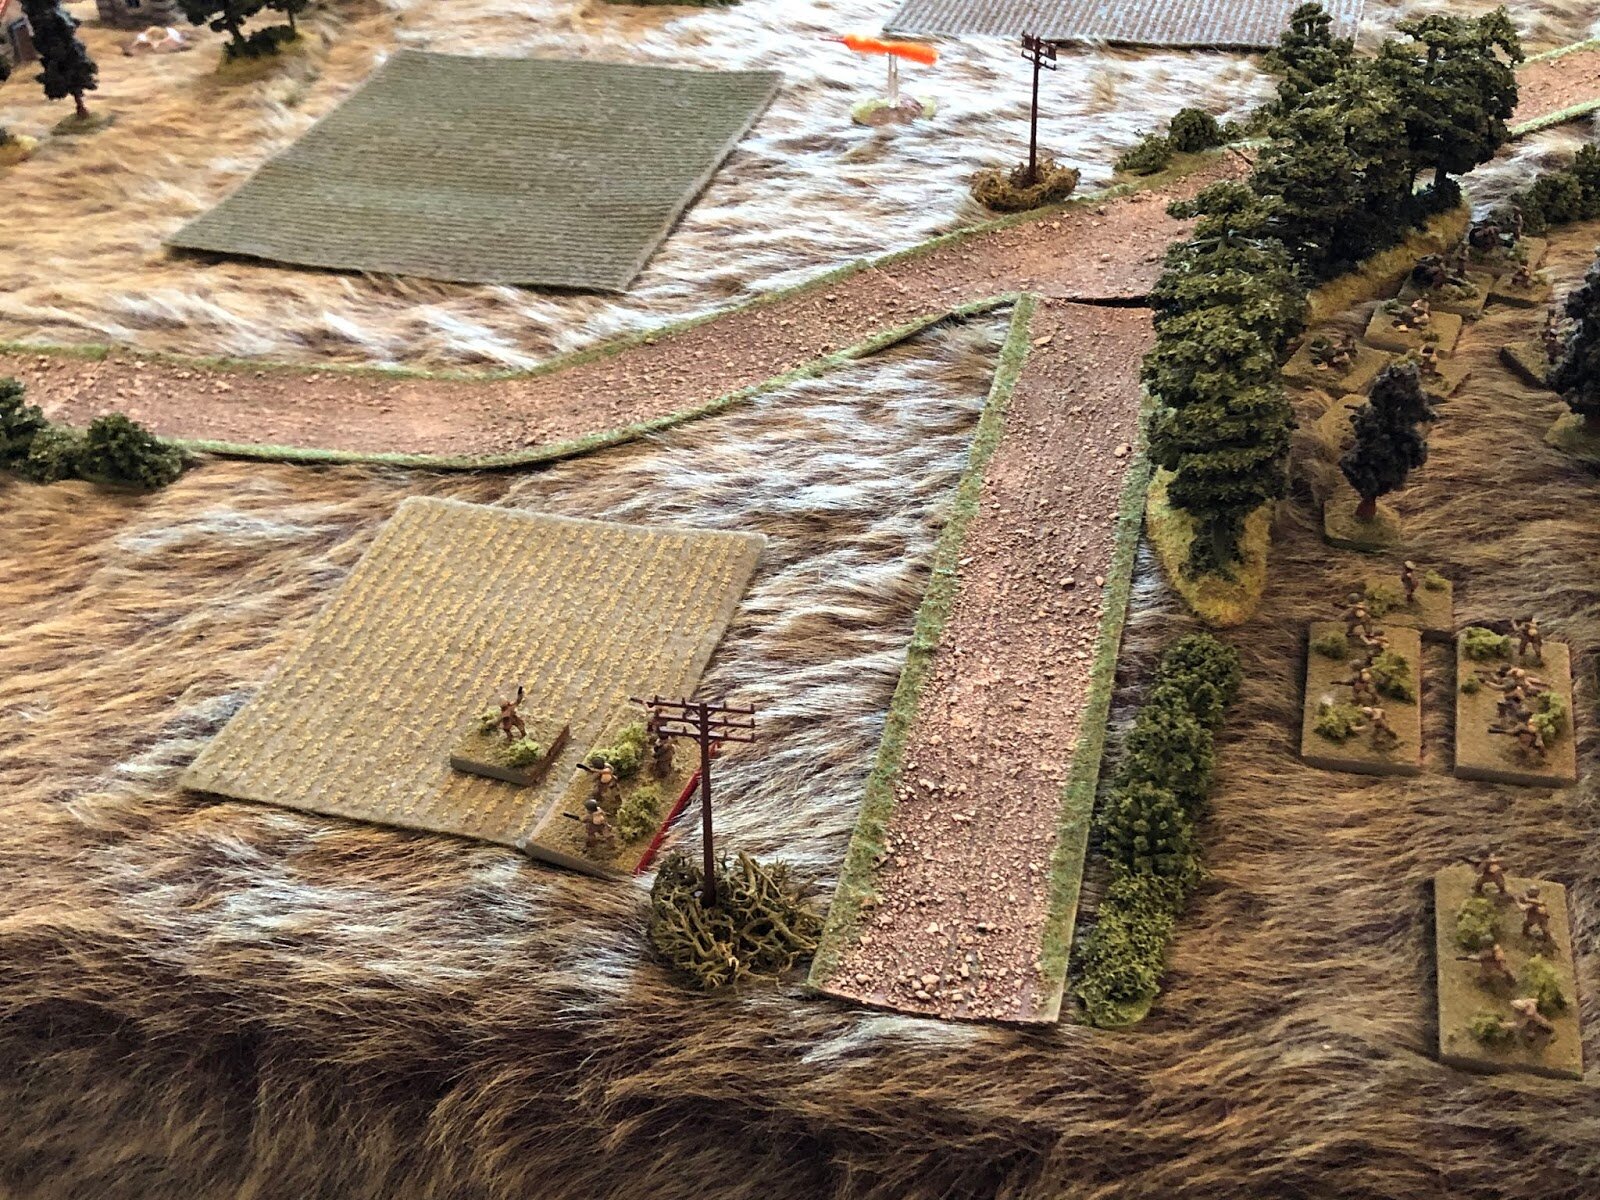
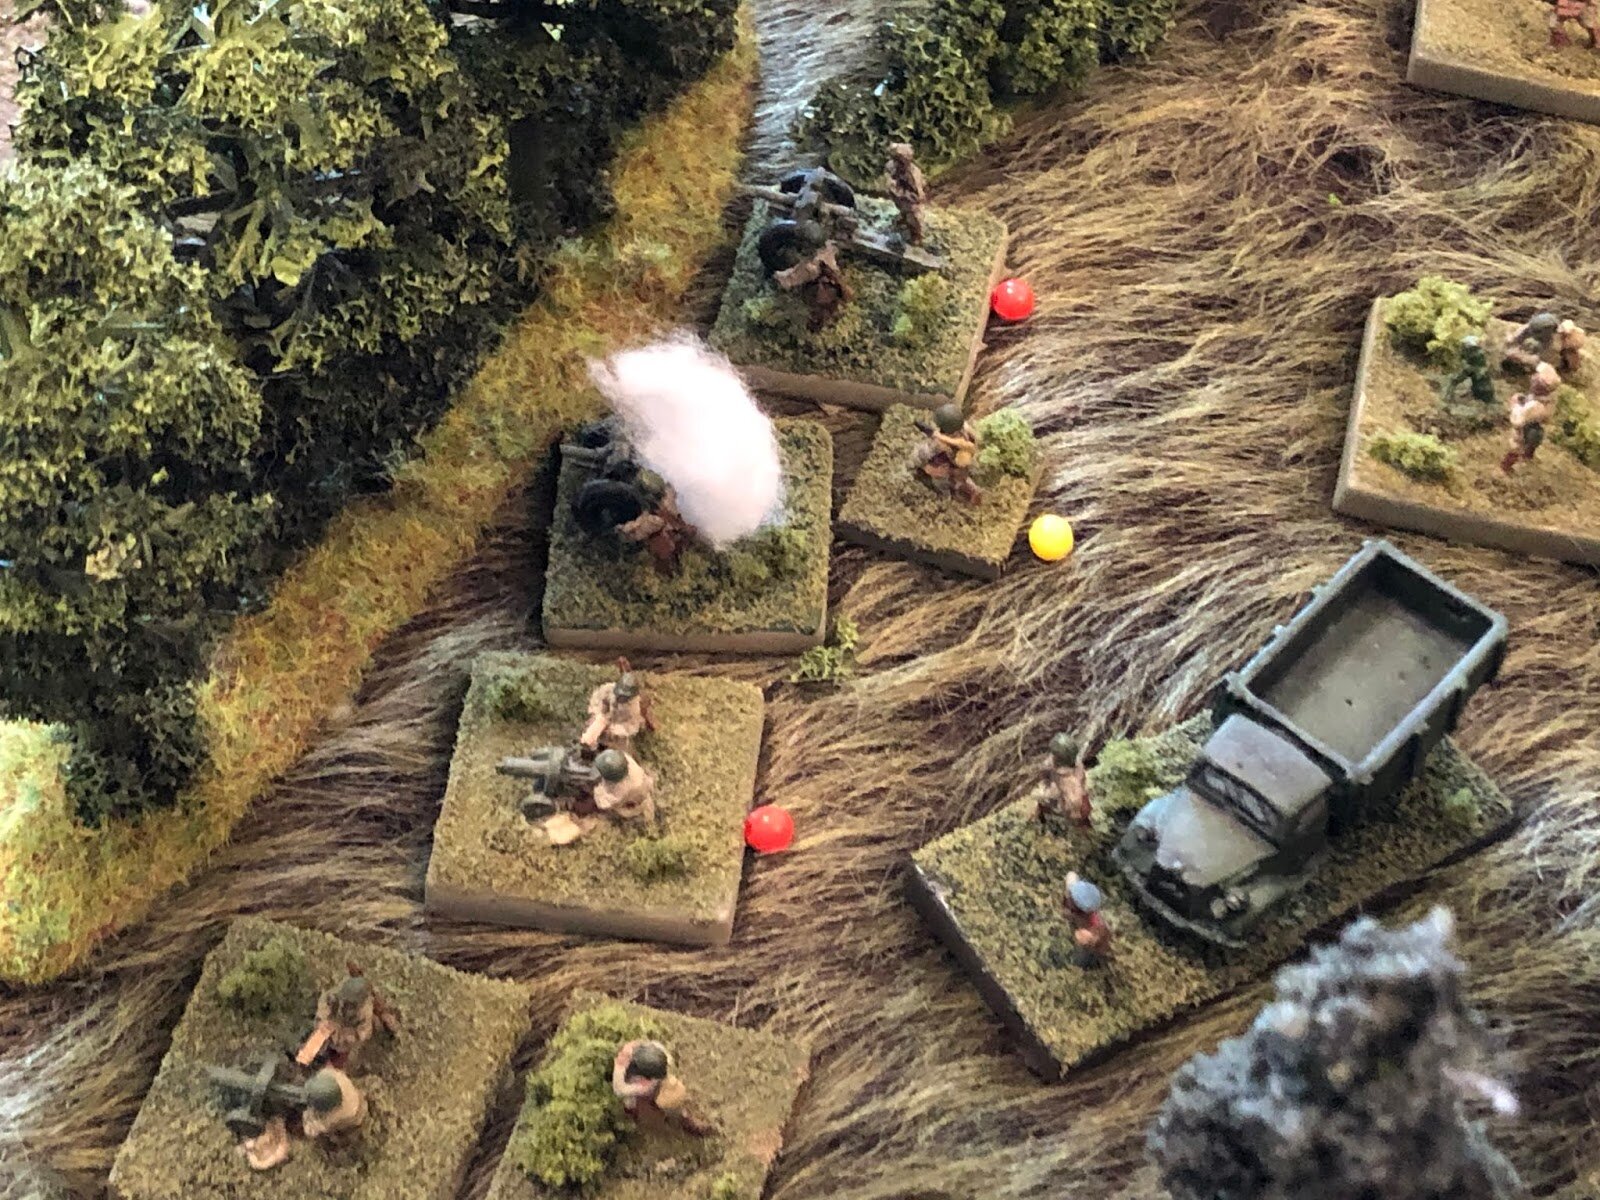
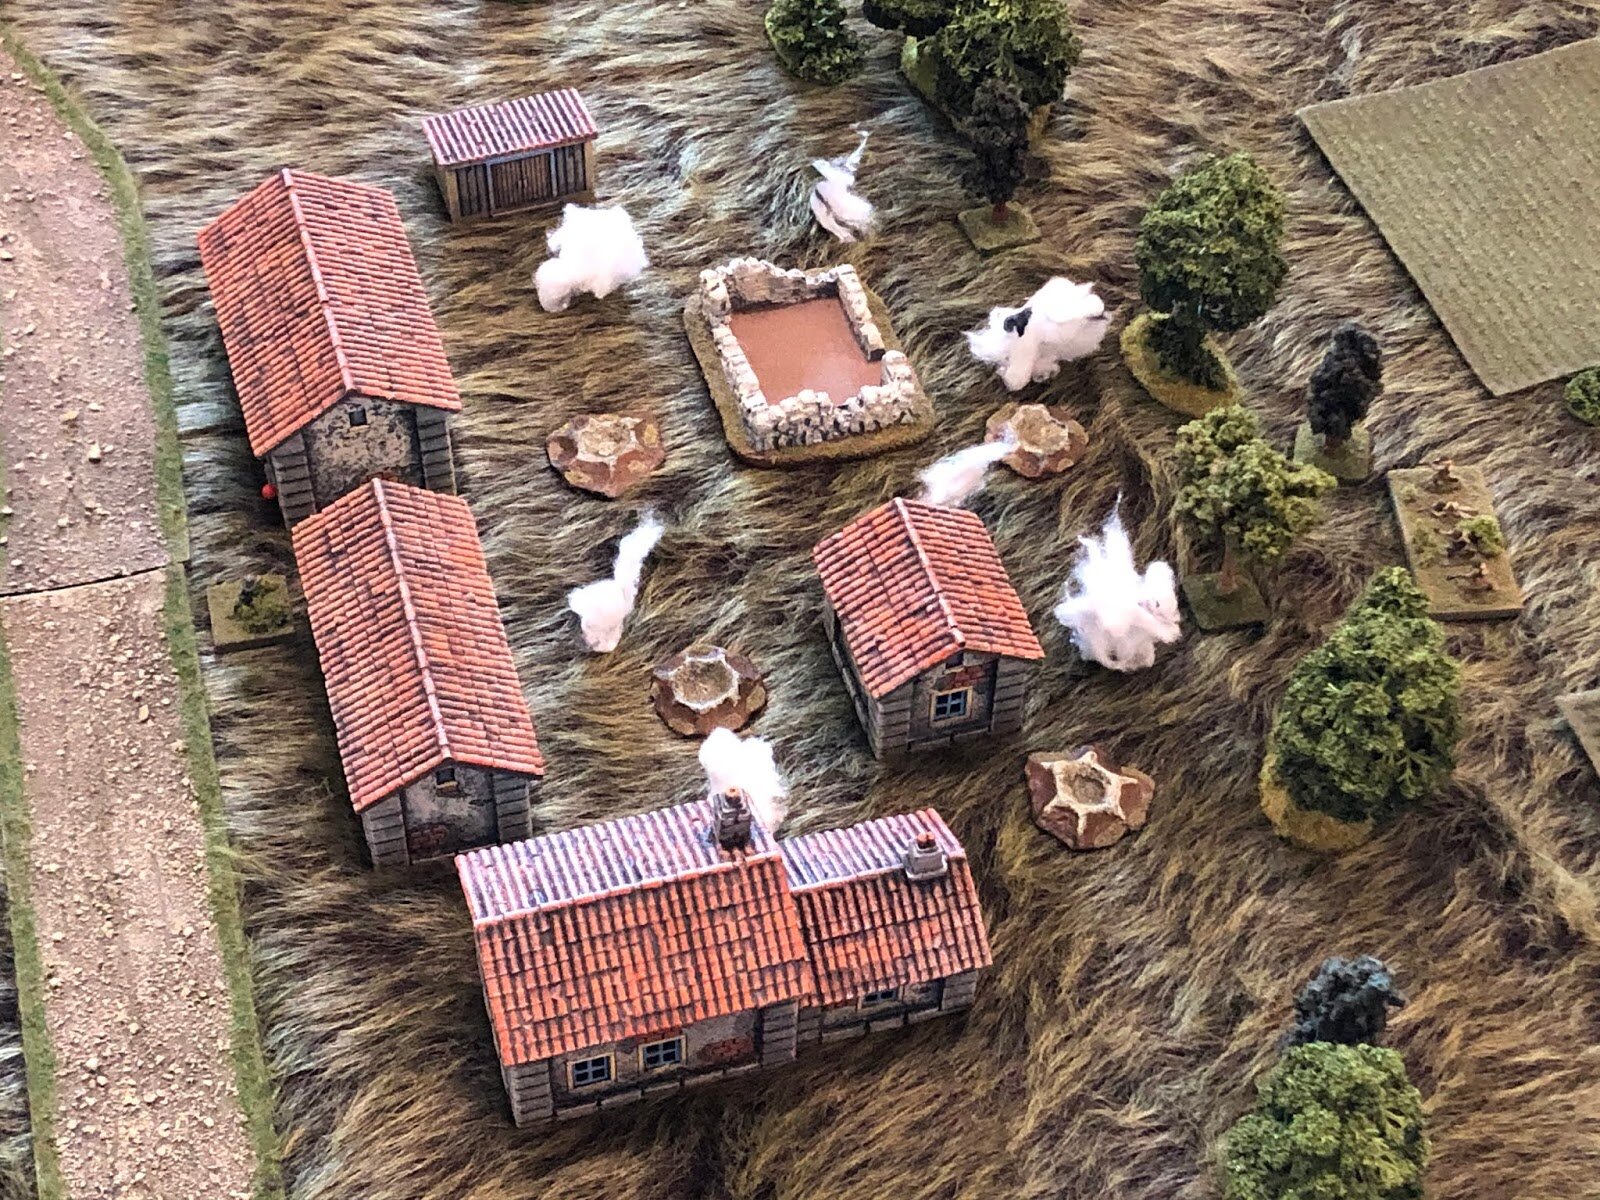
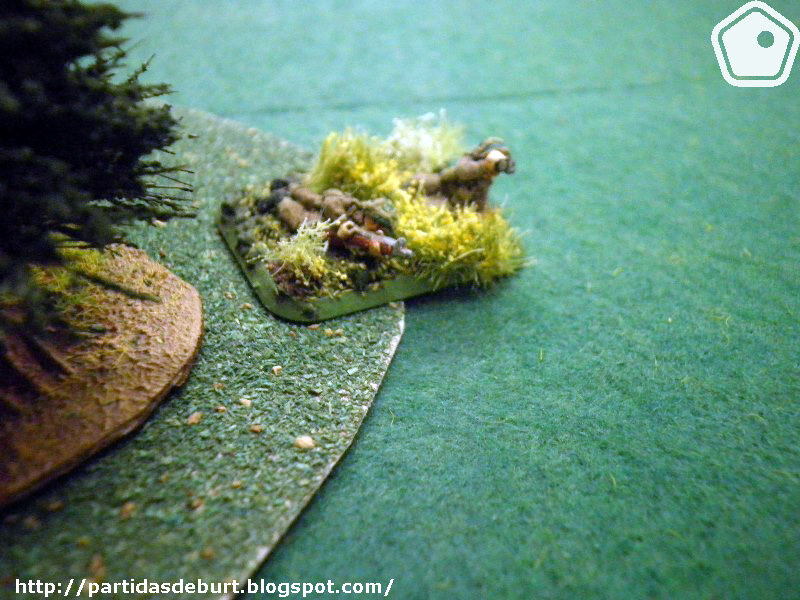
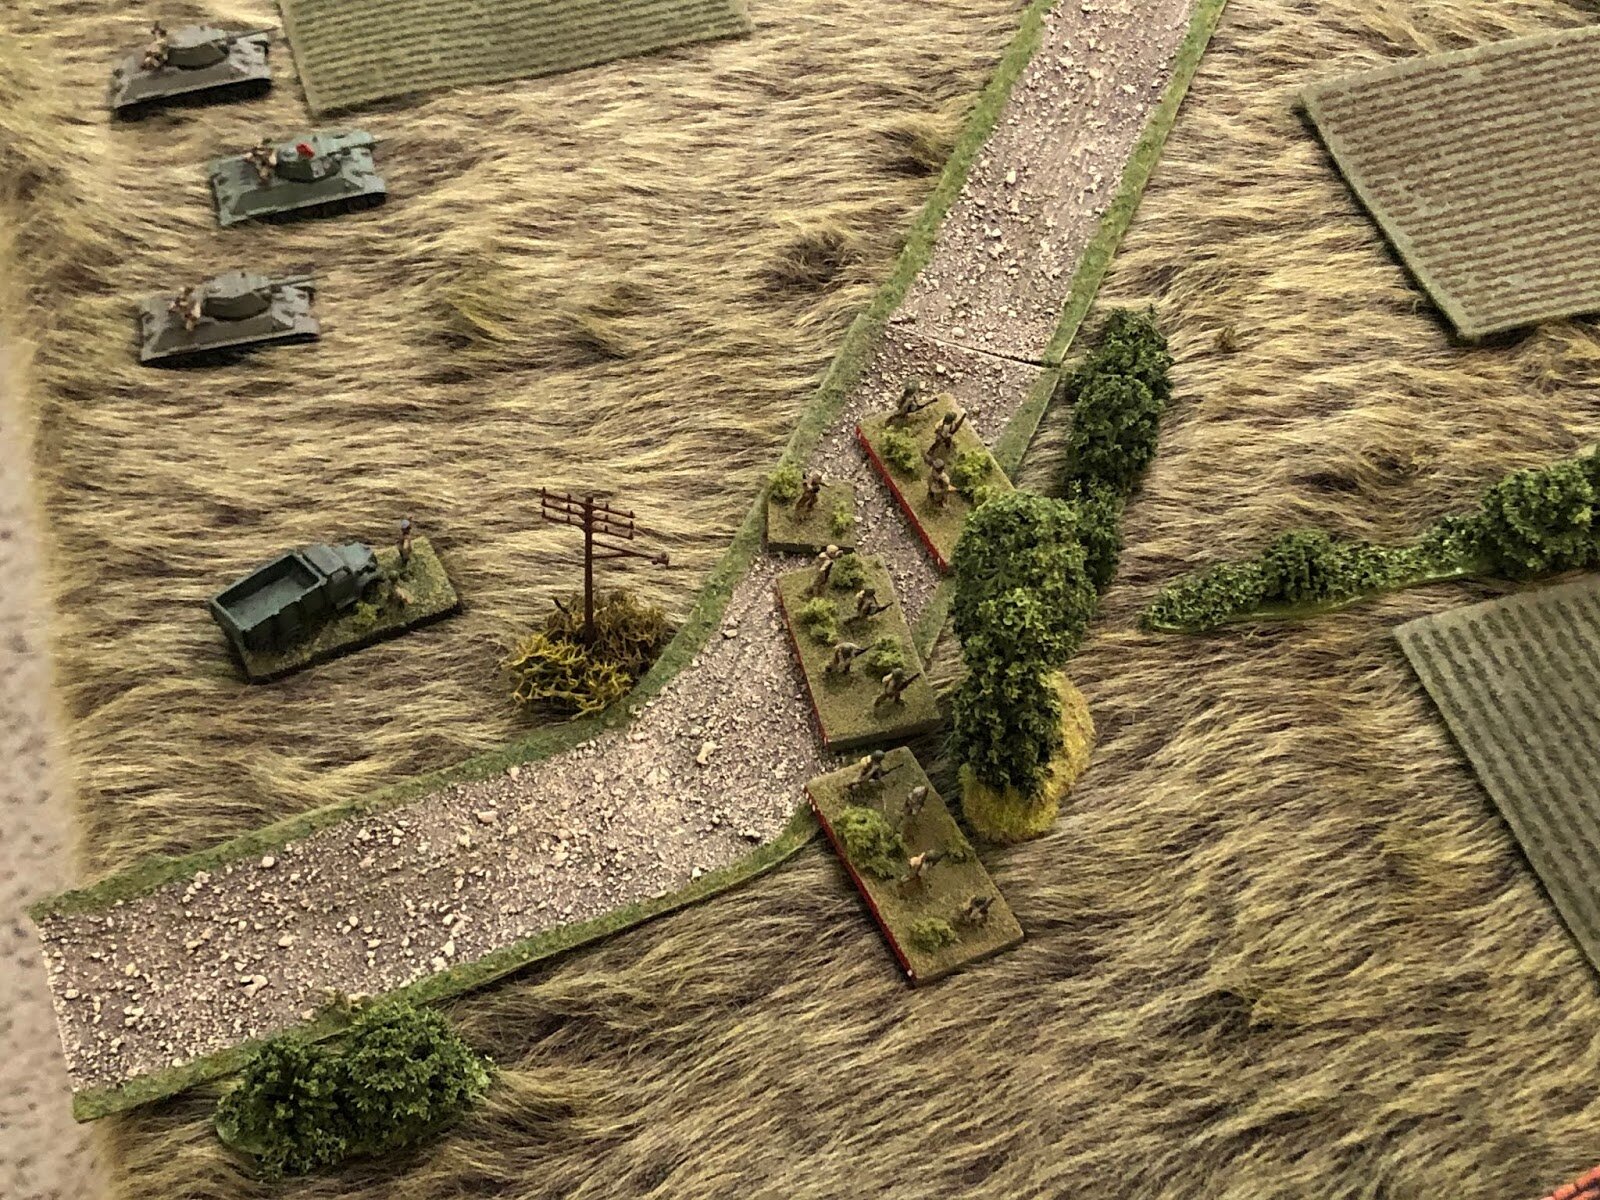
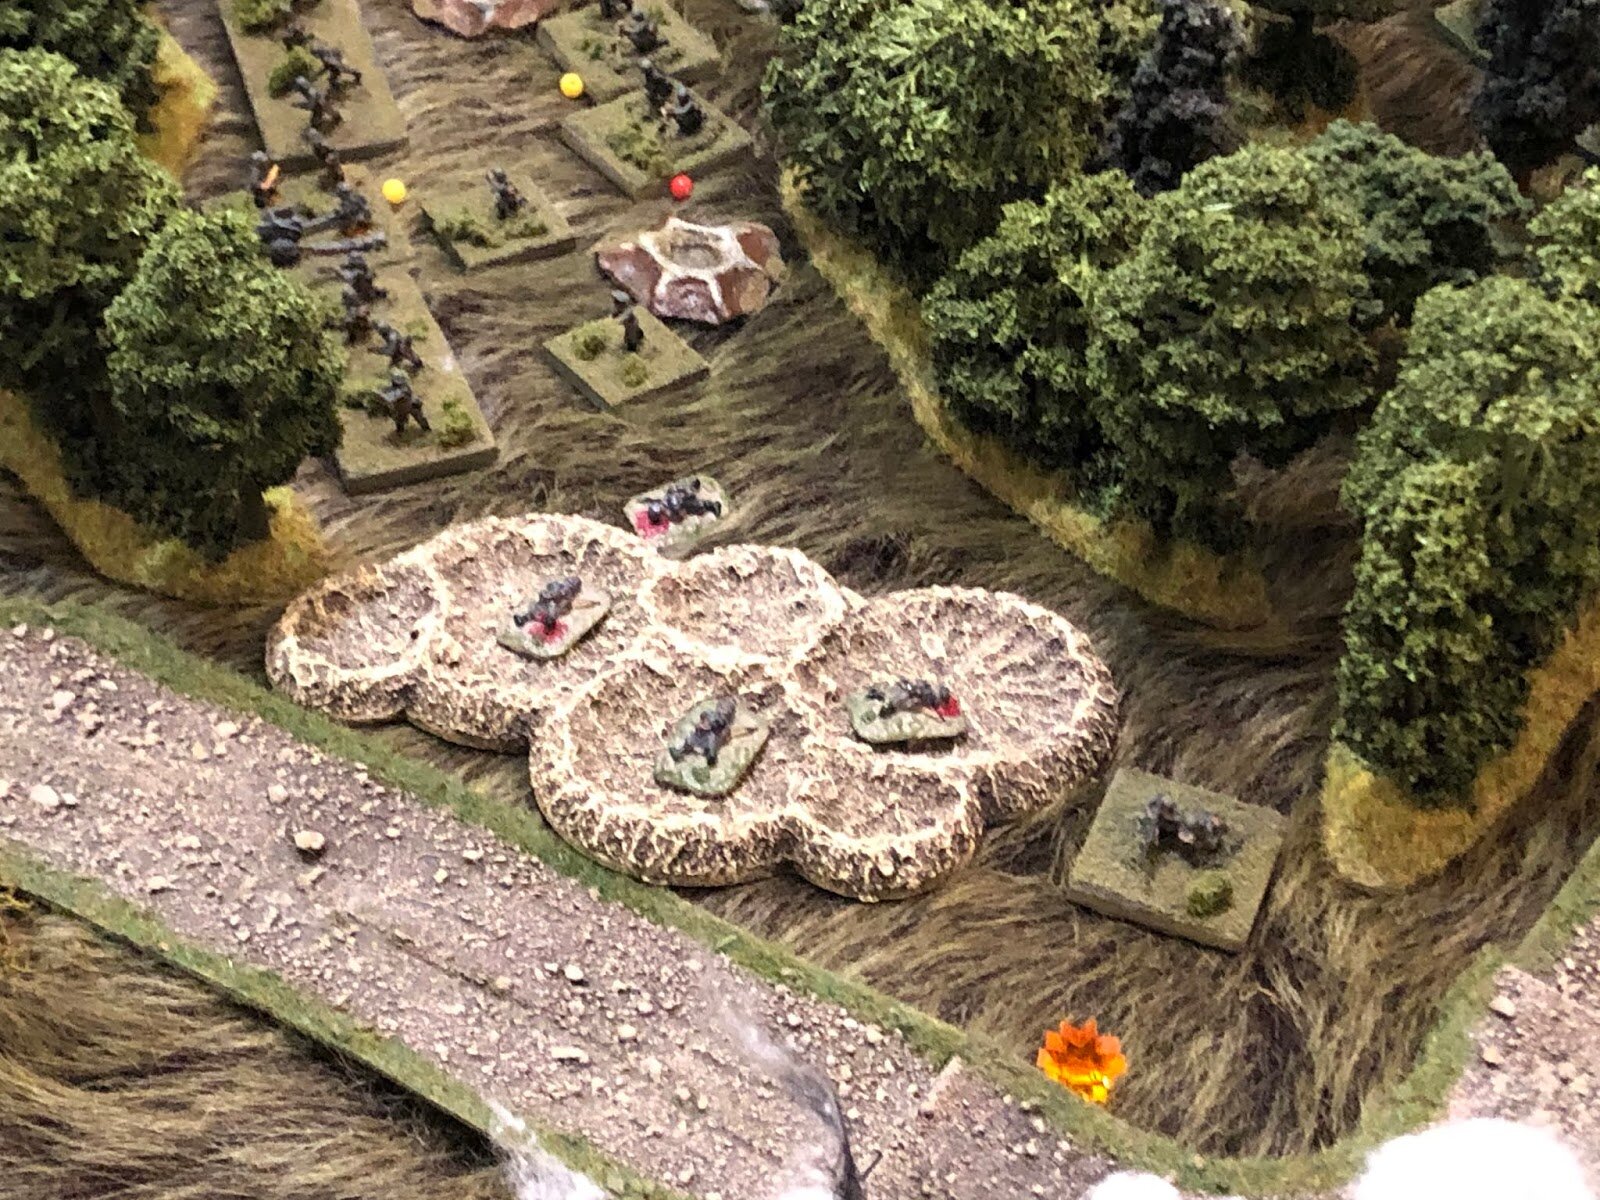
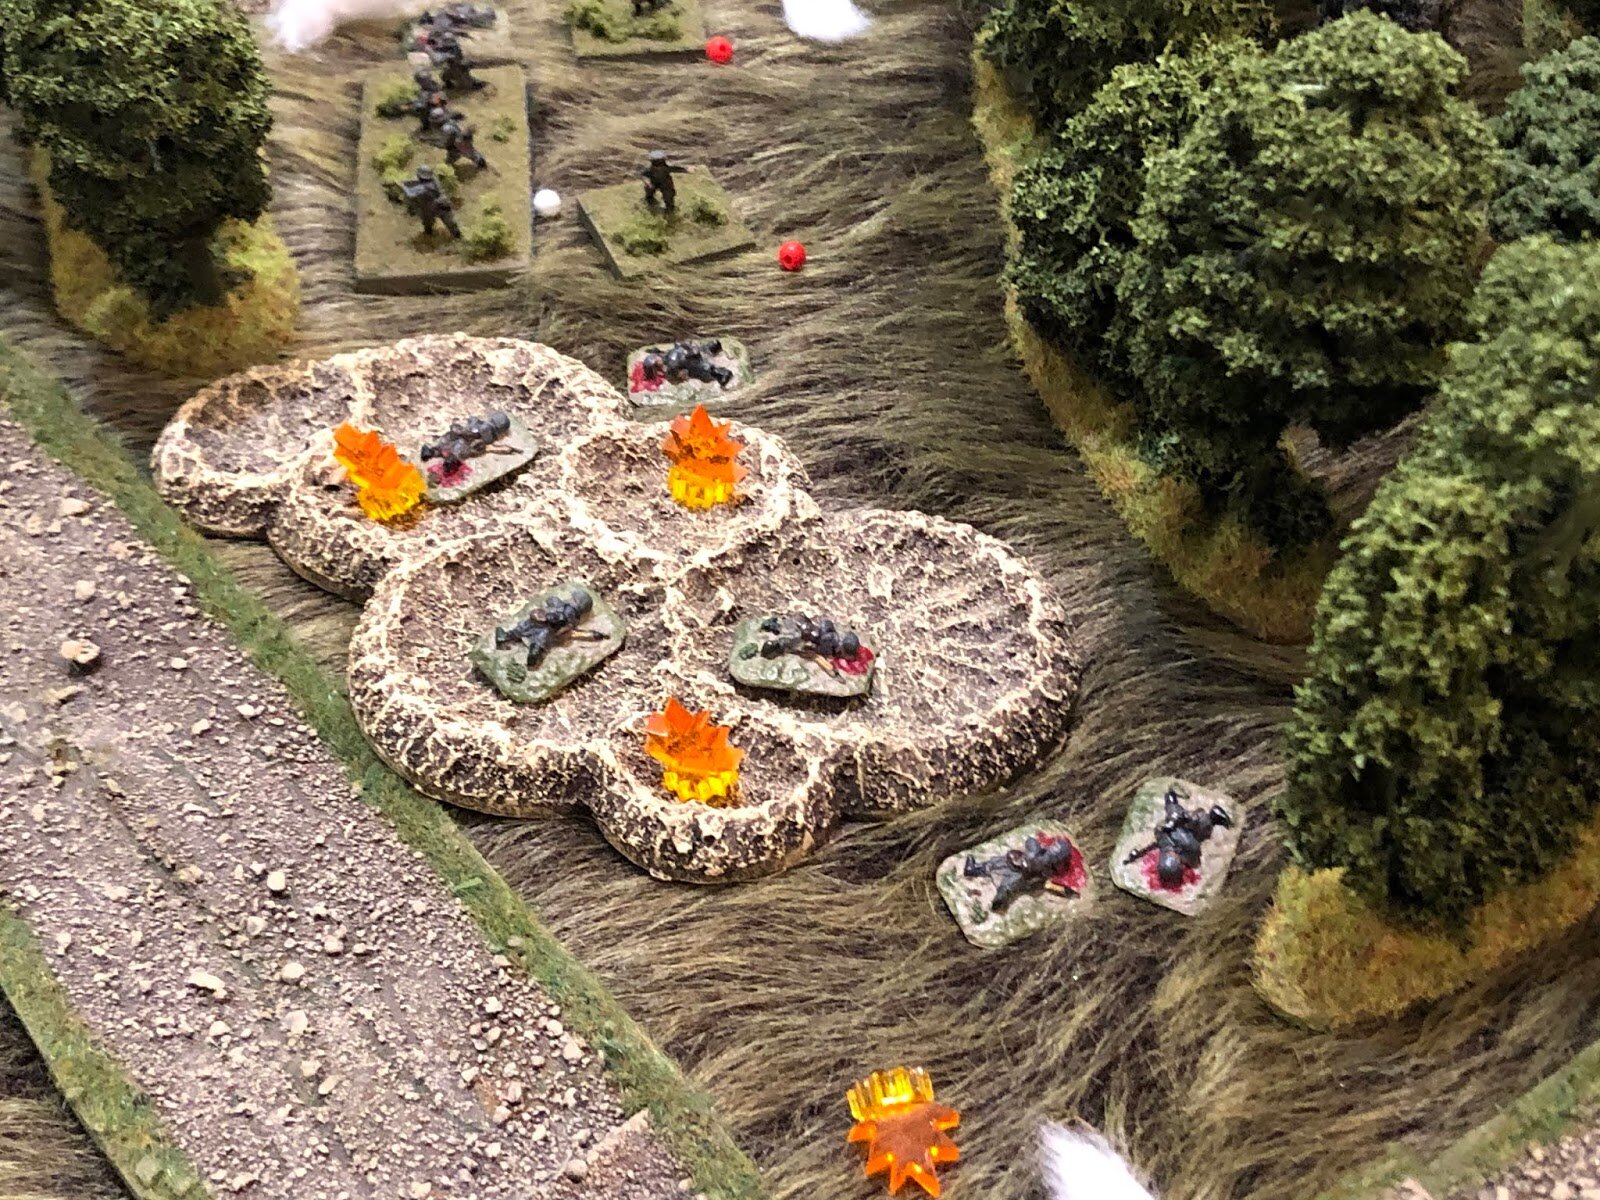
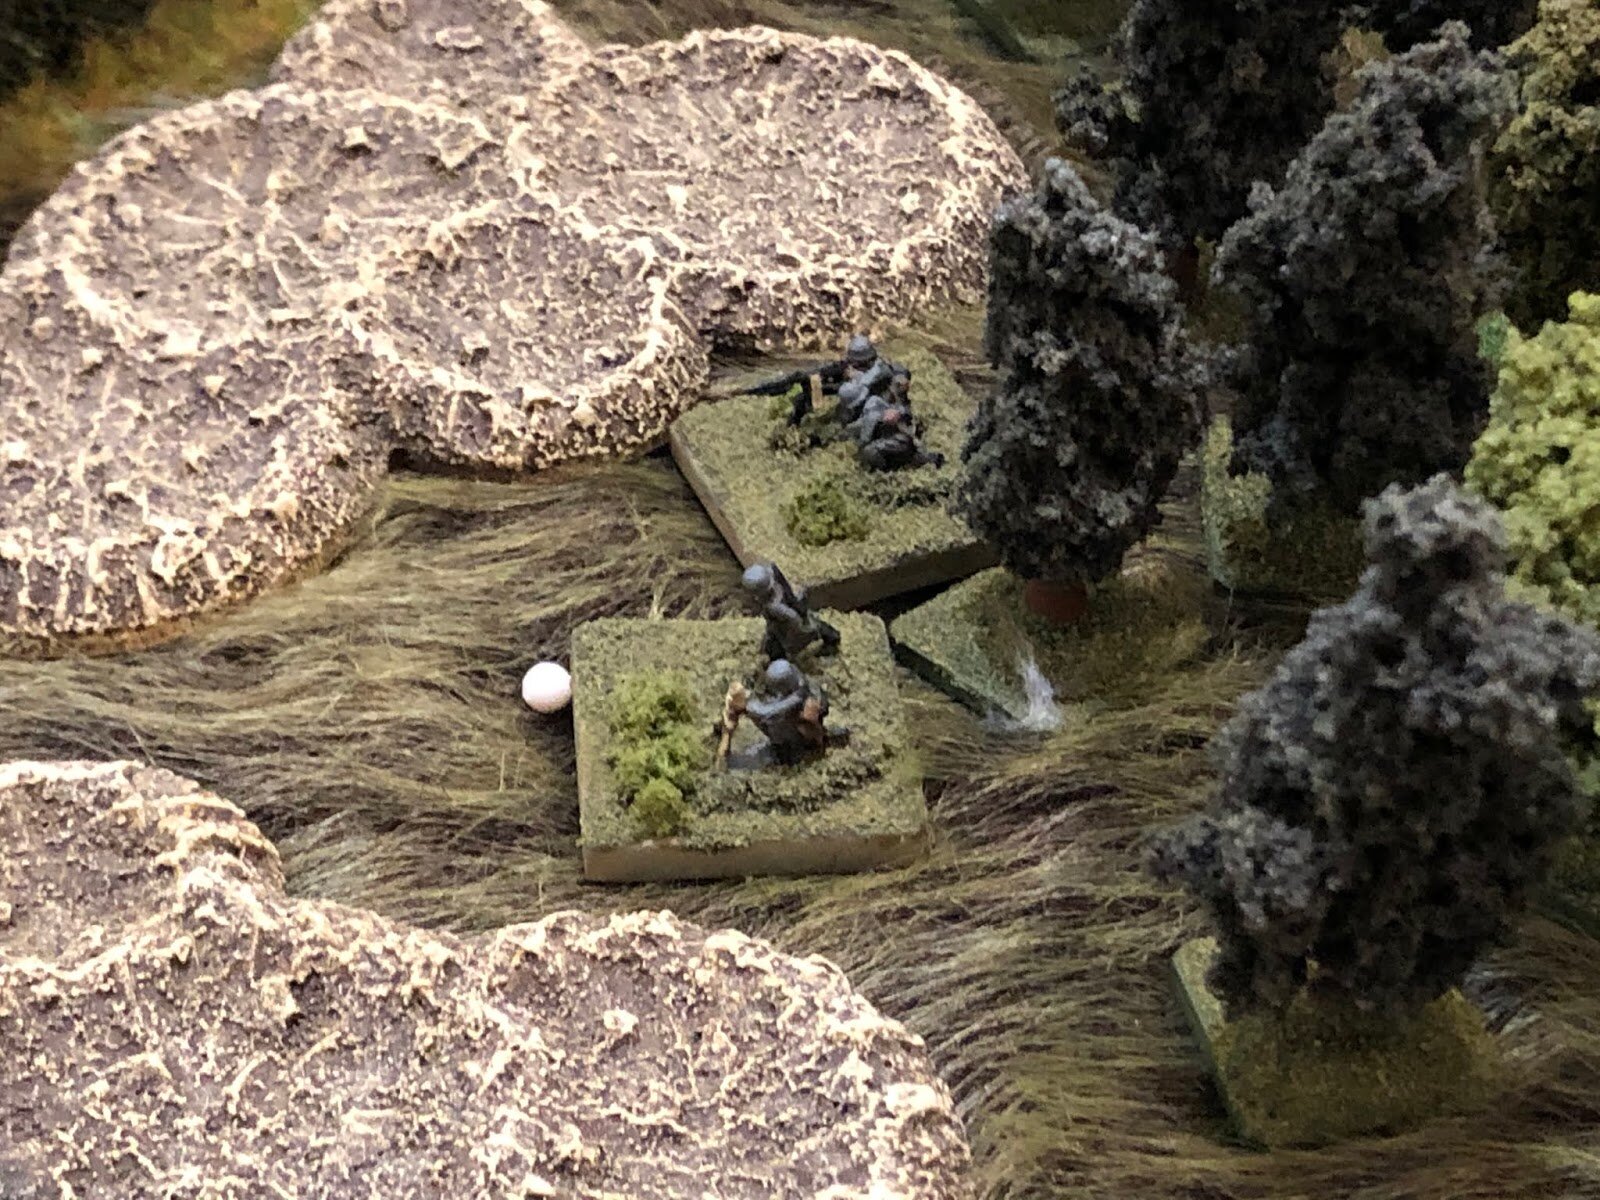
Unfortunately for them, however, I had a little surprise waiting for them on the other side of the wood: my scout squad was dug in to fox holes and, as soon as the beasts appeared, hurled sticky bombs and grenades and all sorts of other nasty, dangerous things at them.
The tanks stopped dead, bits knocked off some of them, and tried to machine gun the scouts with their secondary weapons. The scouts proved very resilient to fire, however, and the next few turns would see a bit of a duel develop, but with the advantage slightly to the scouts.

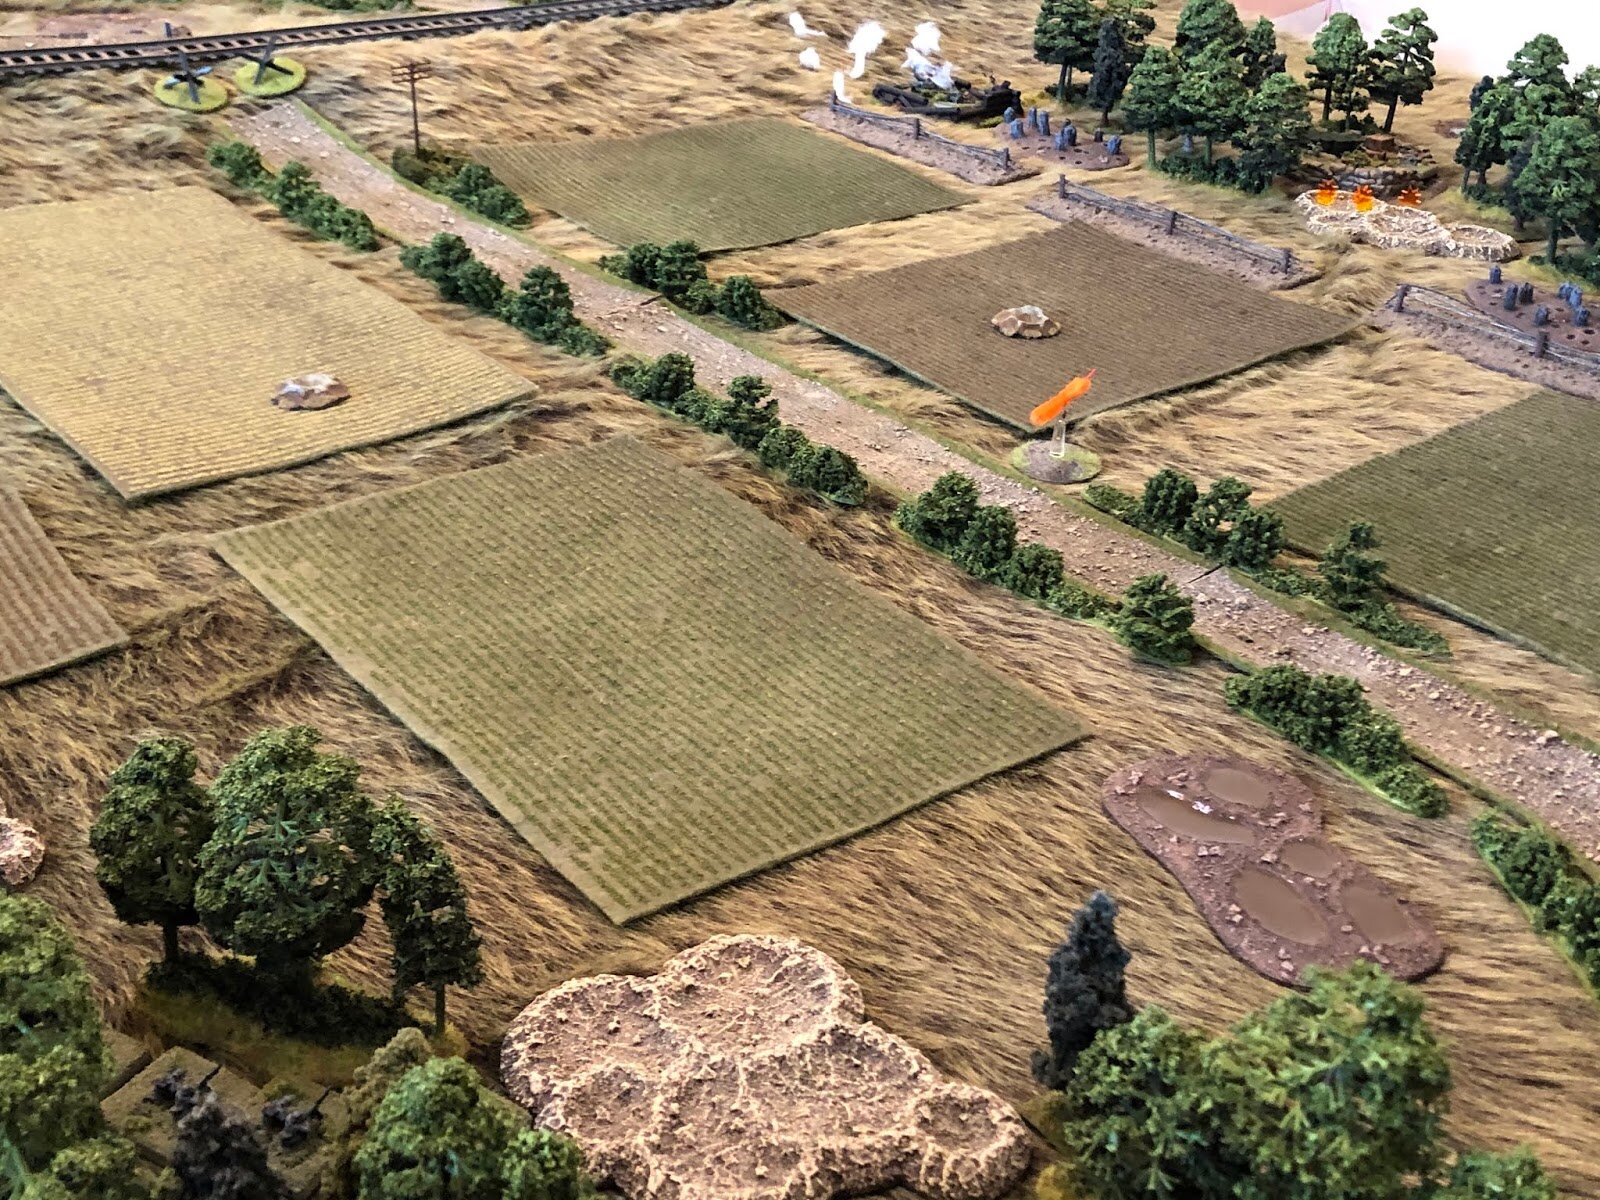
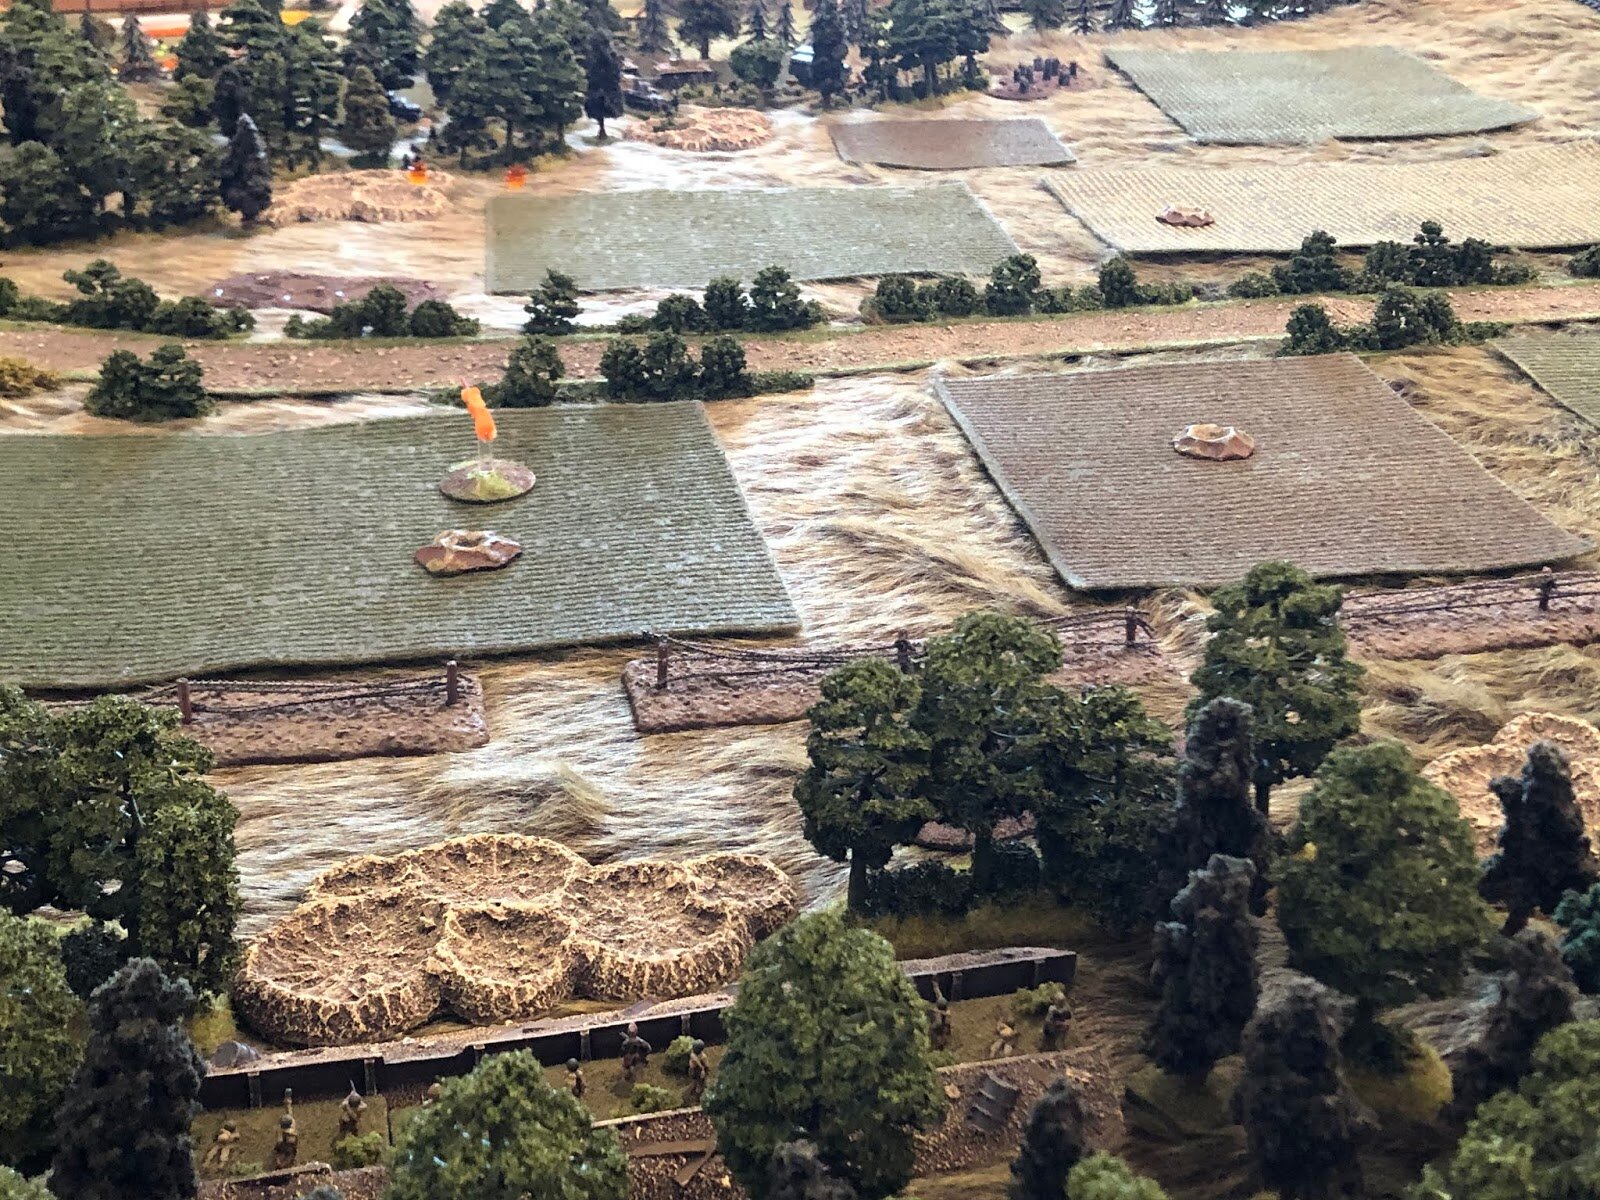
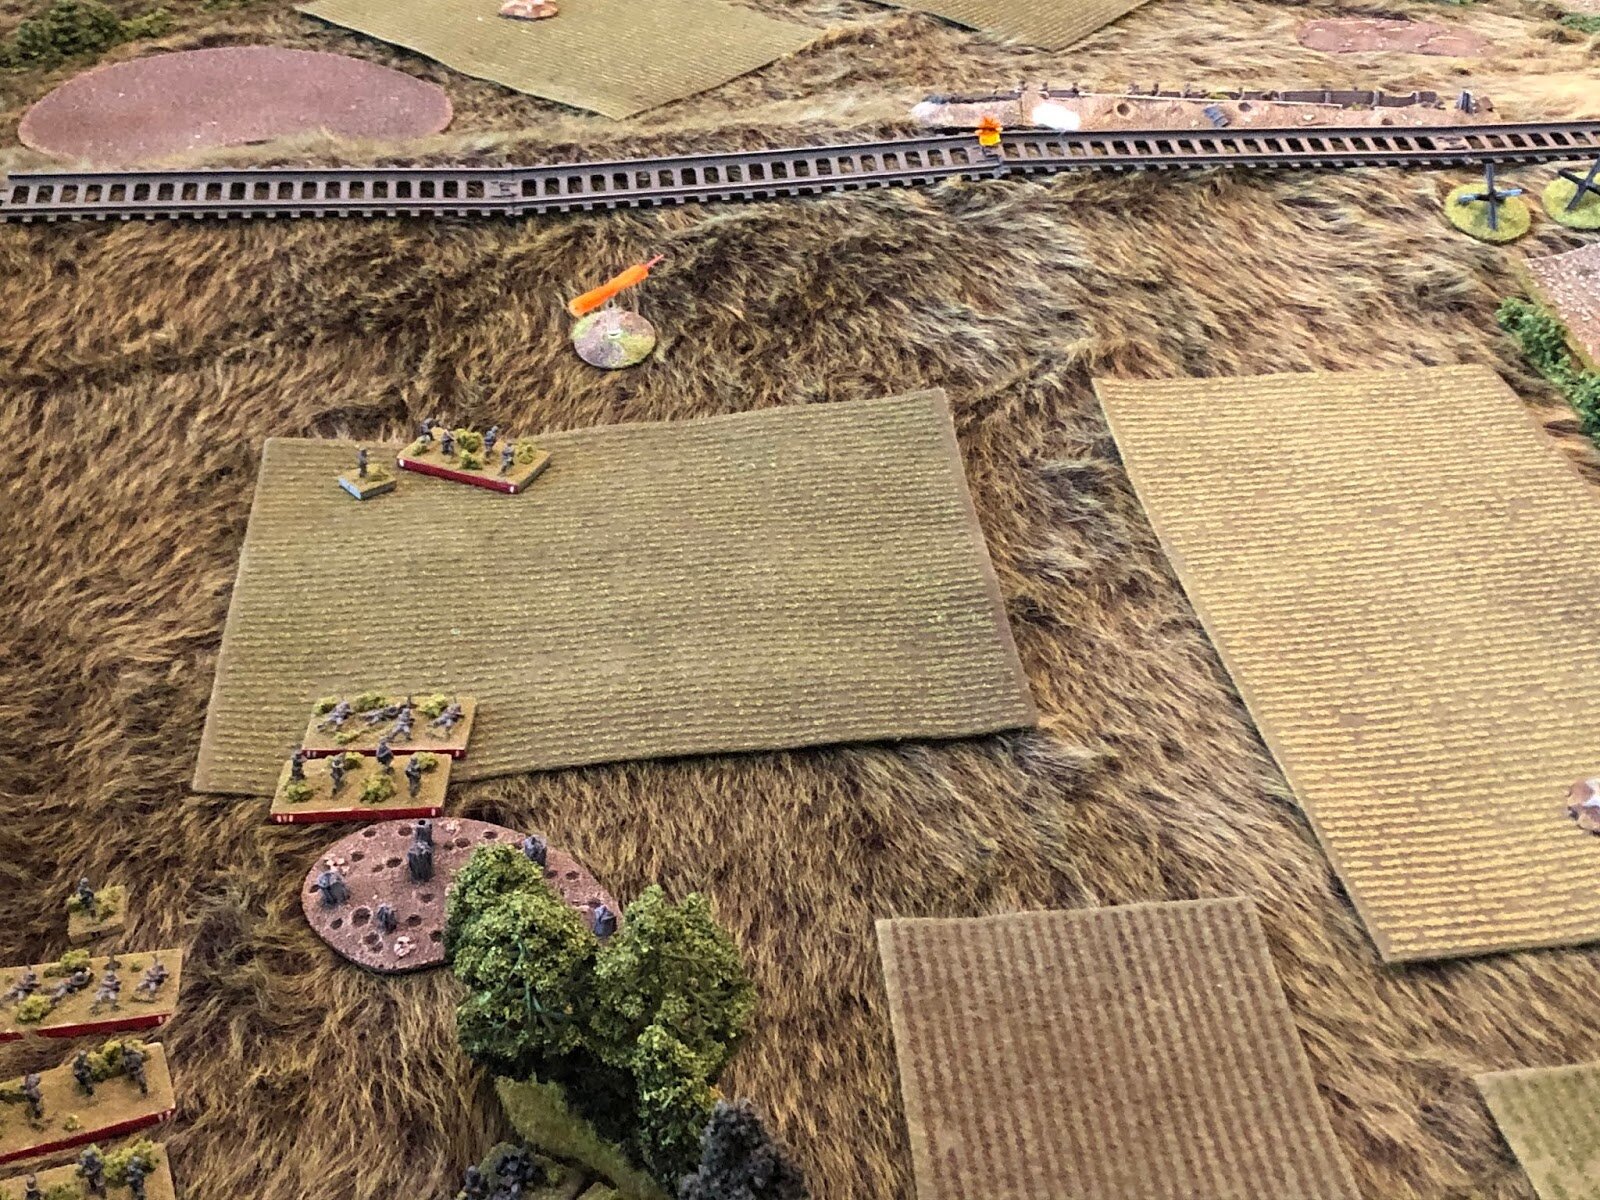
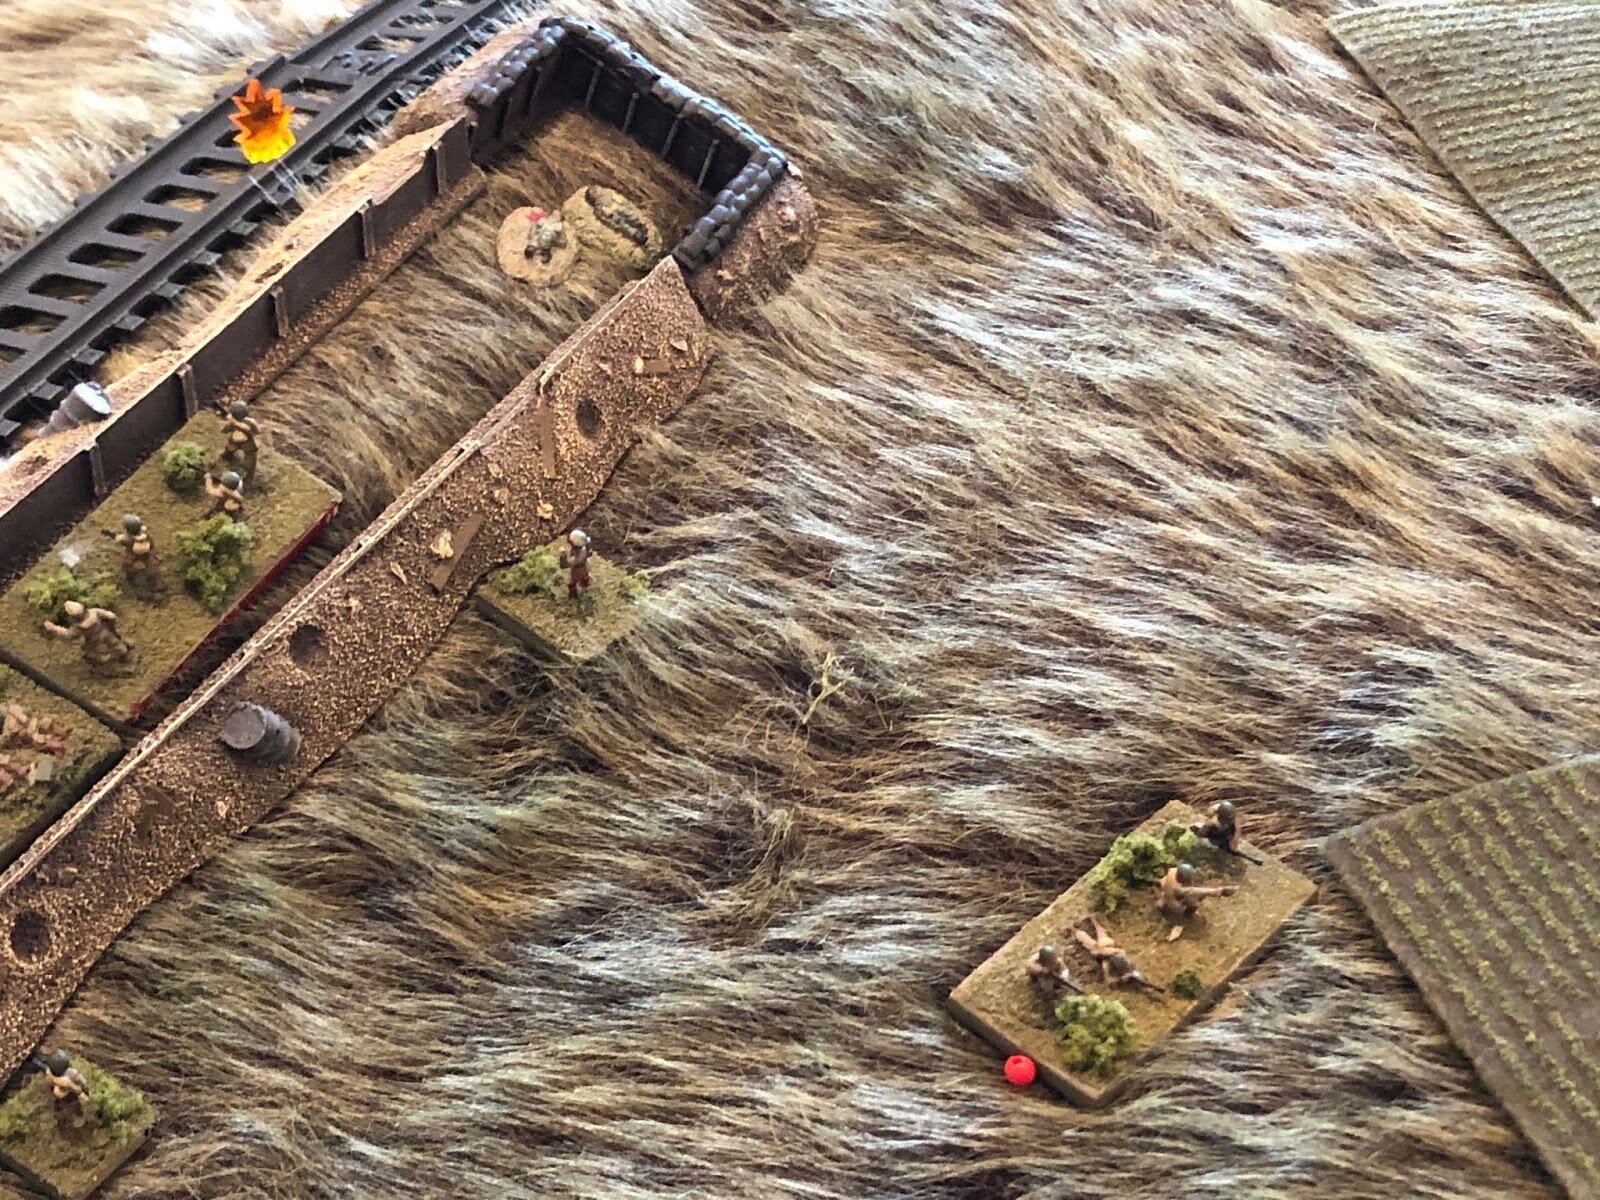
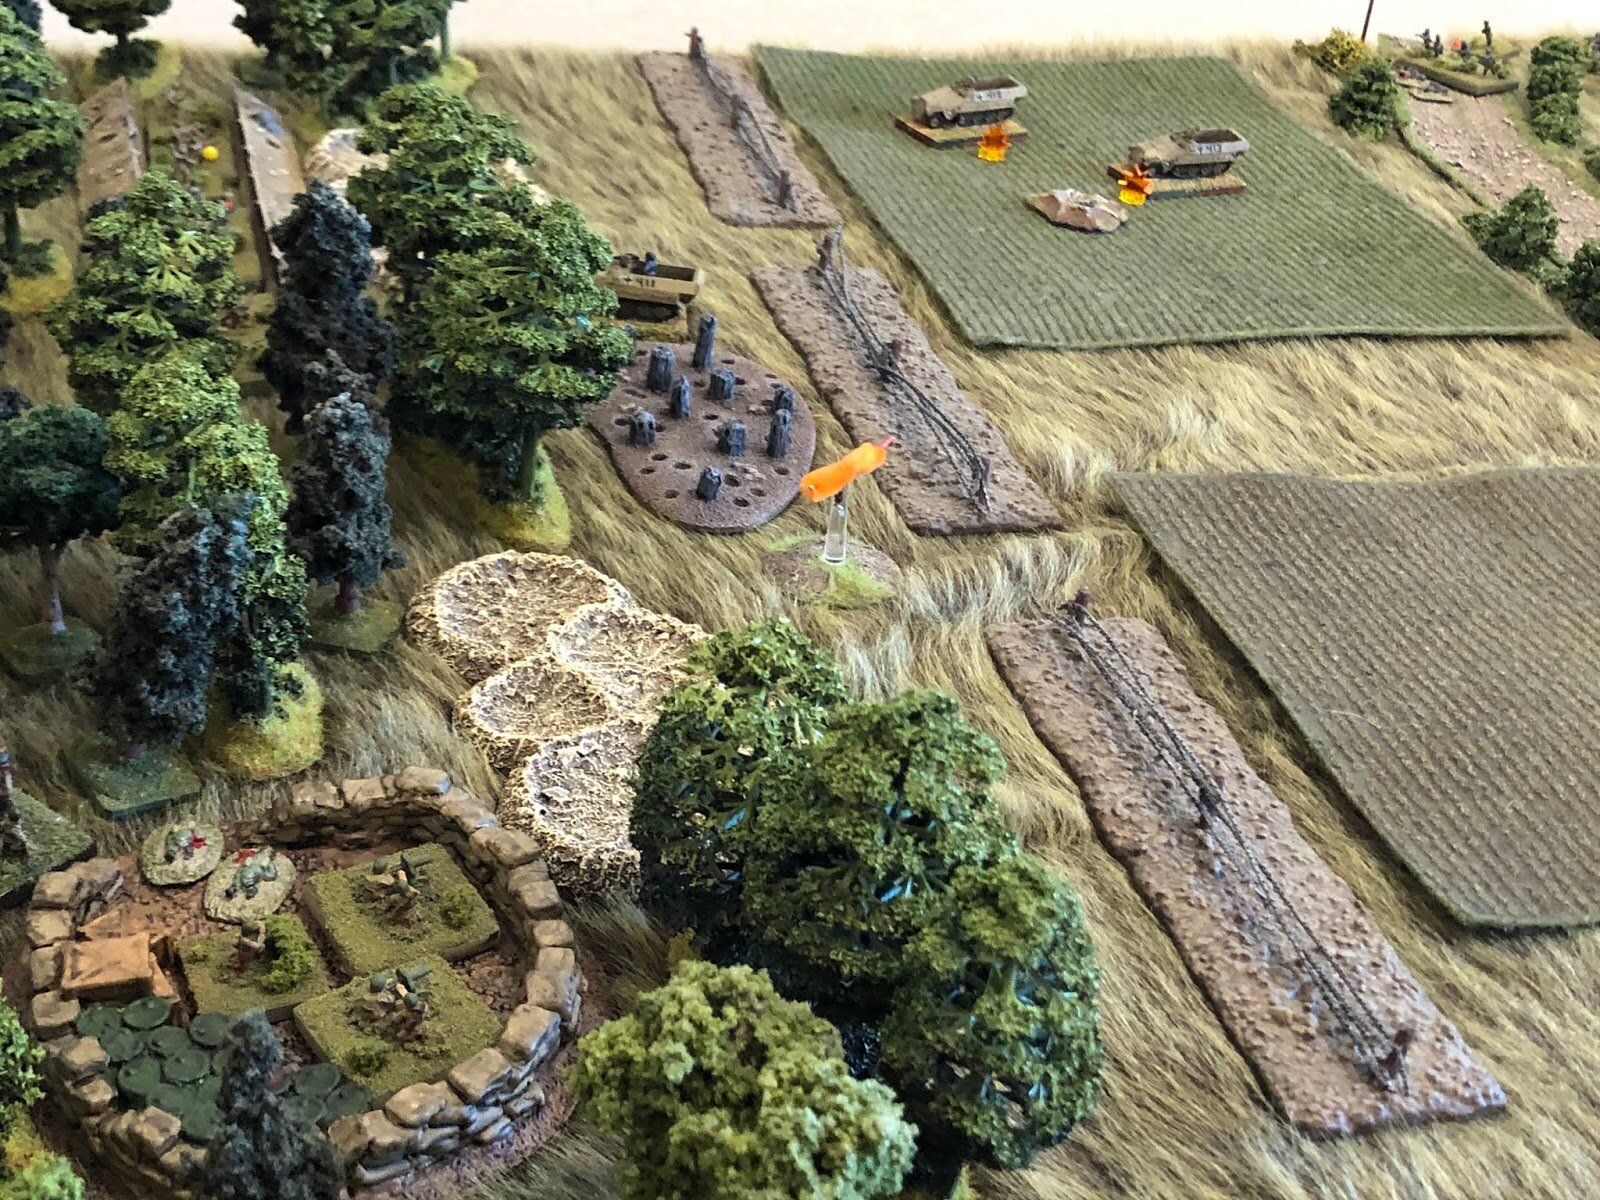
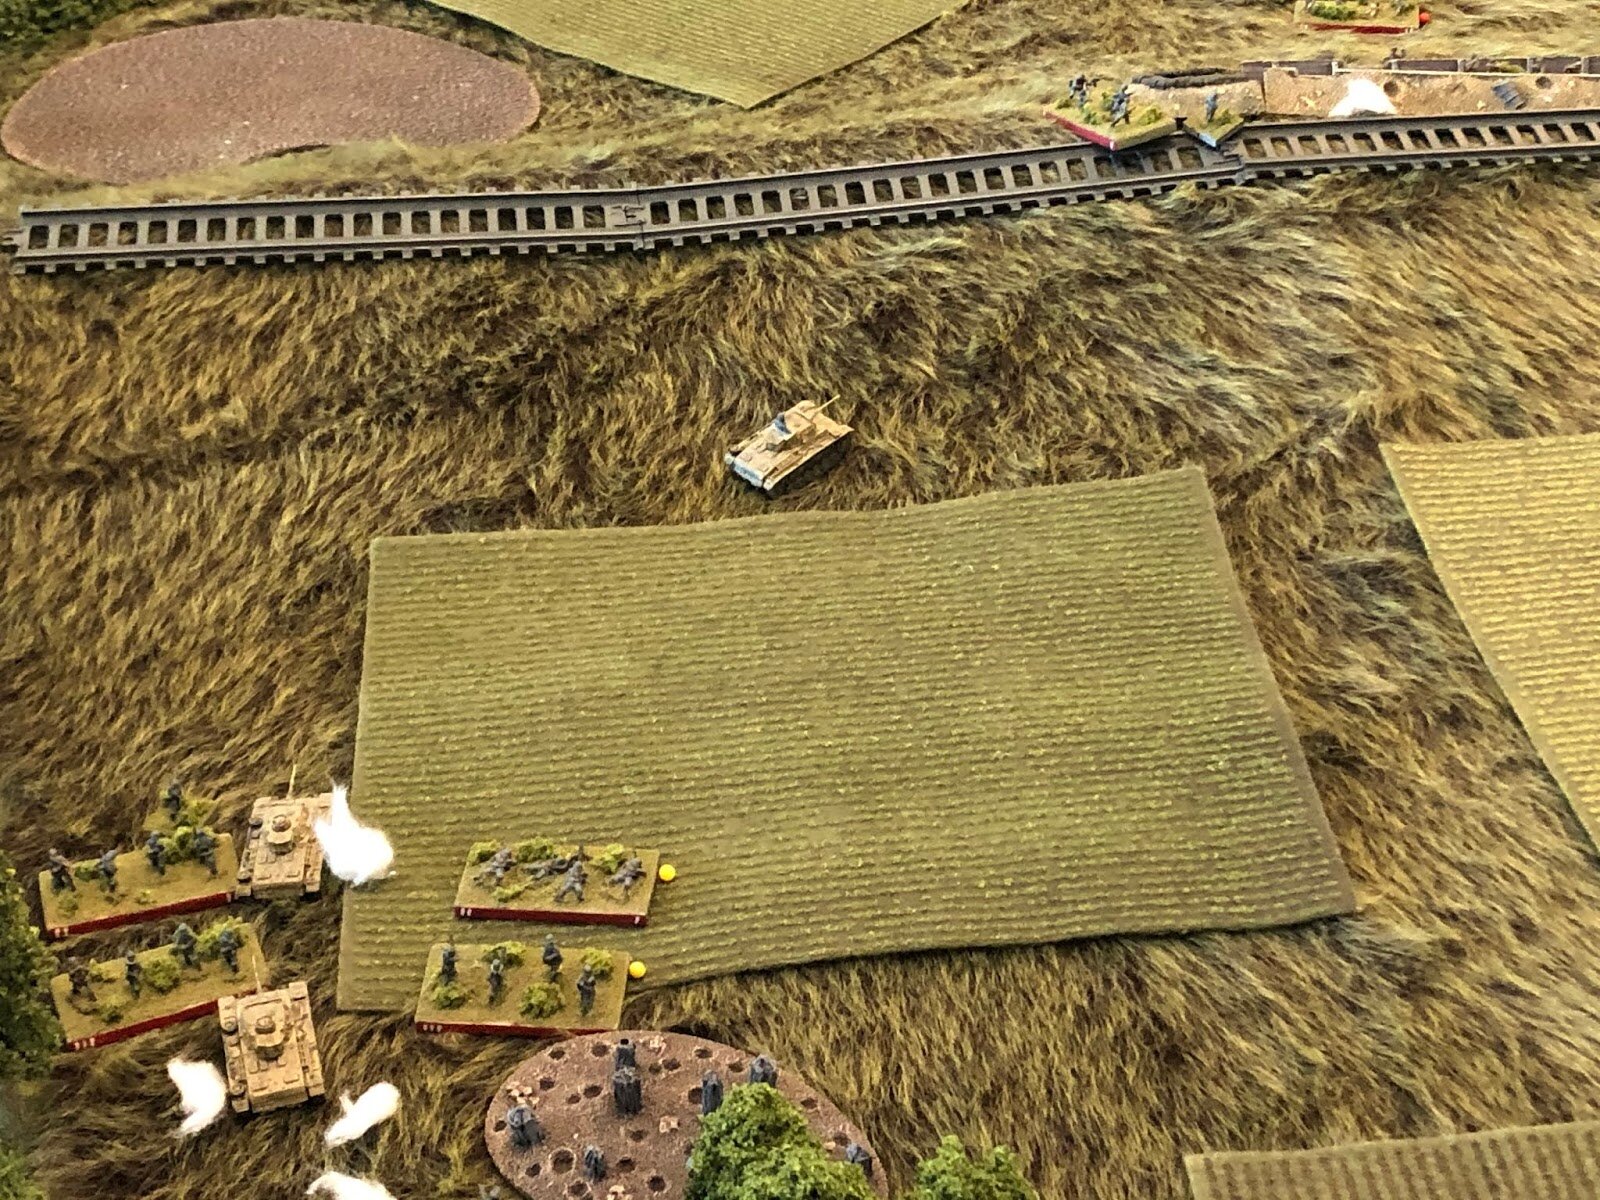
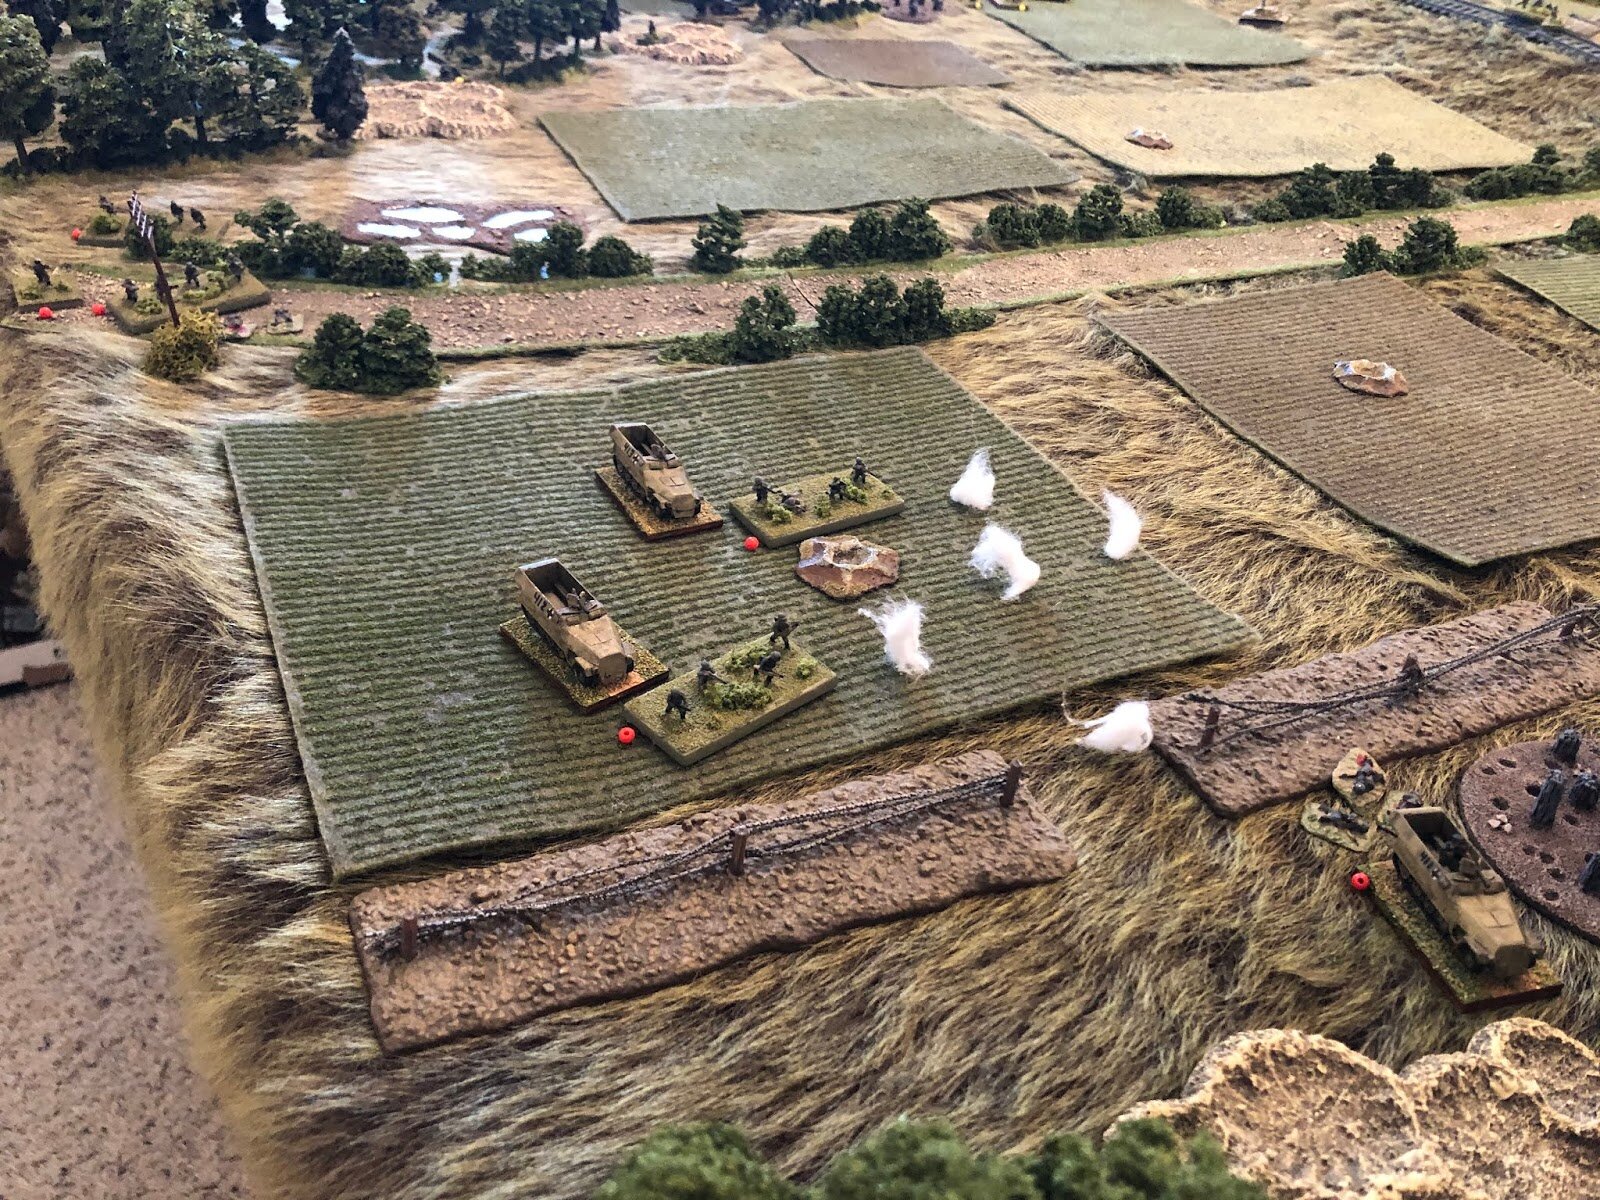
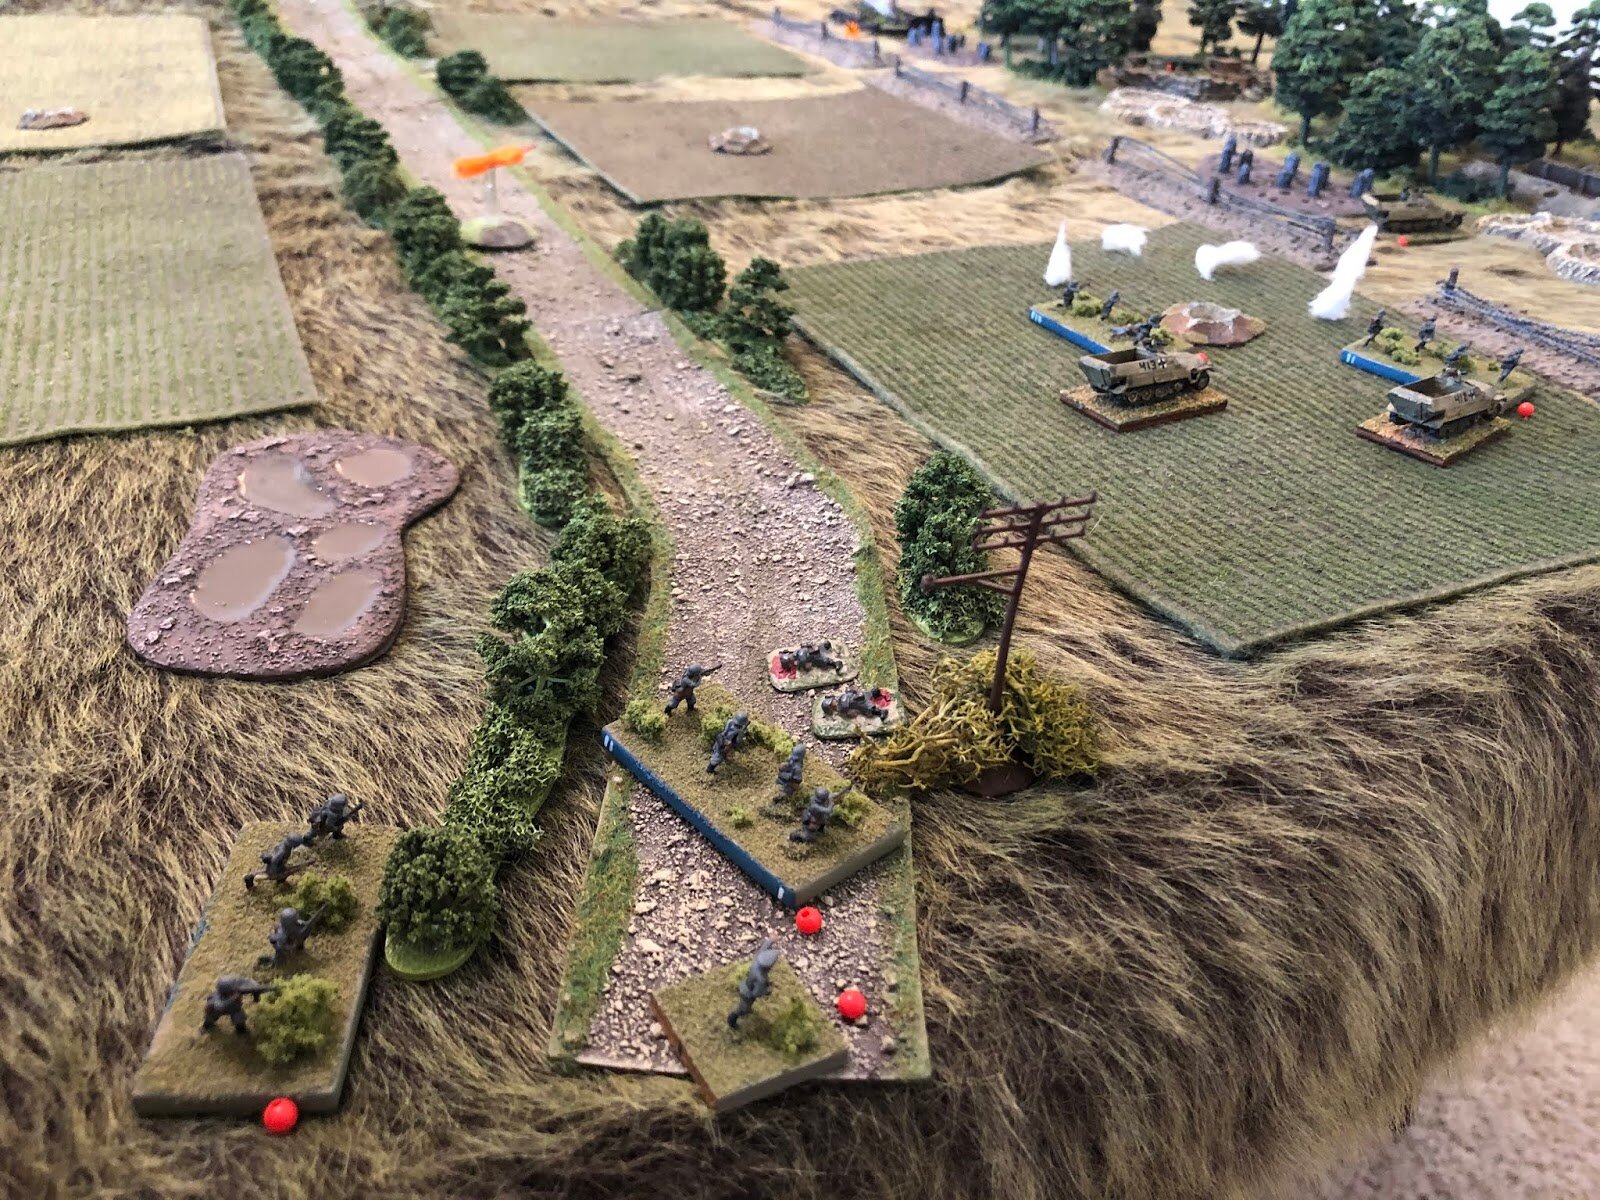
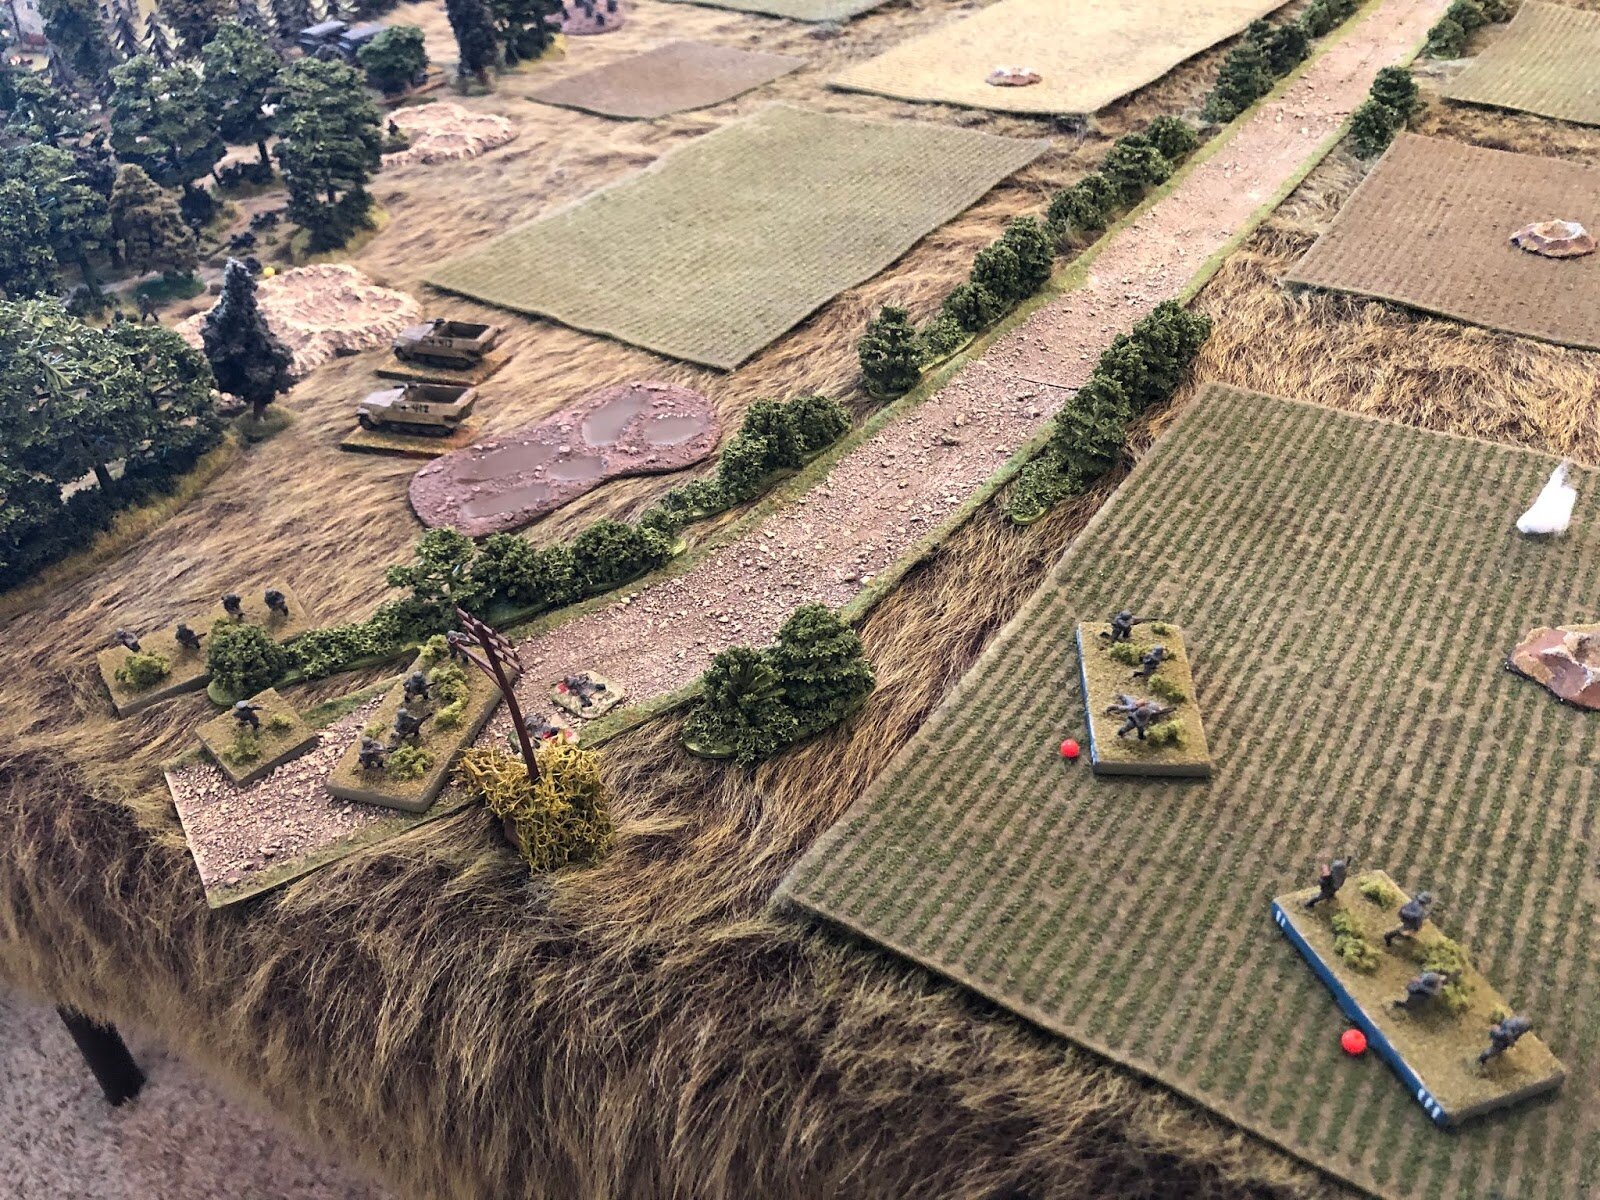
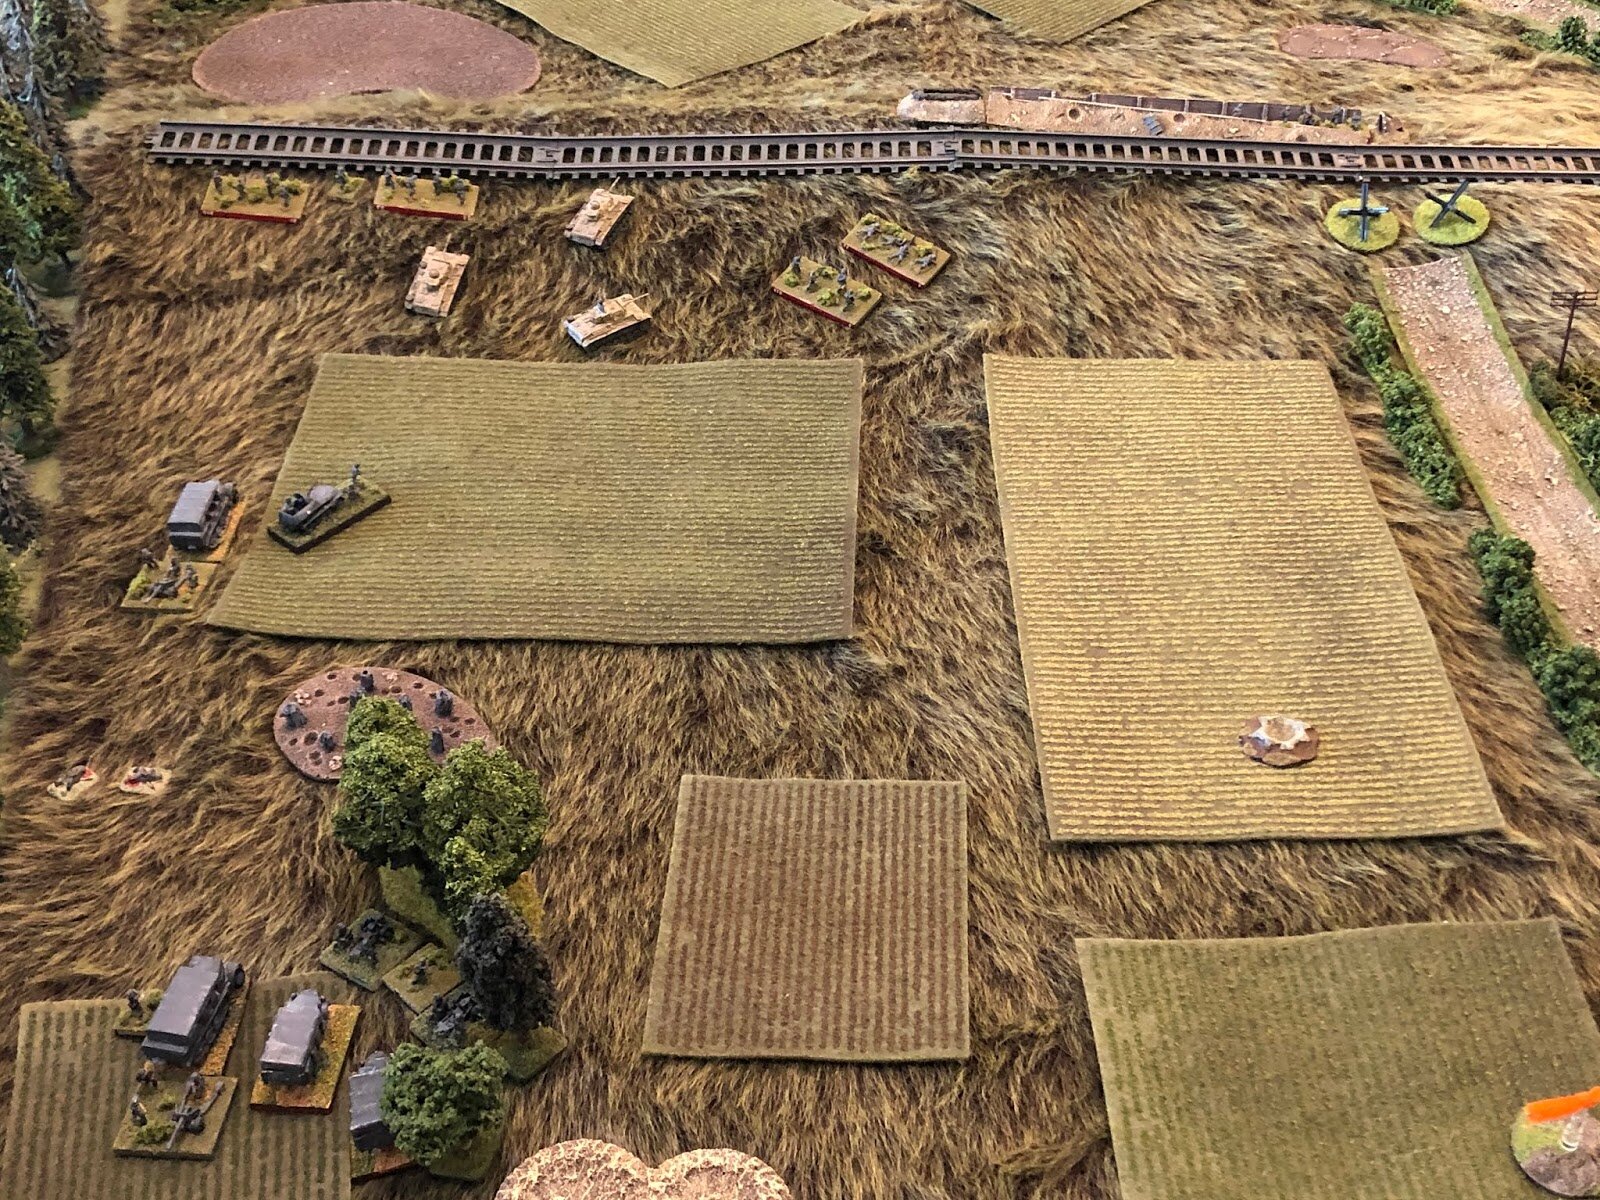
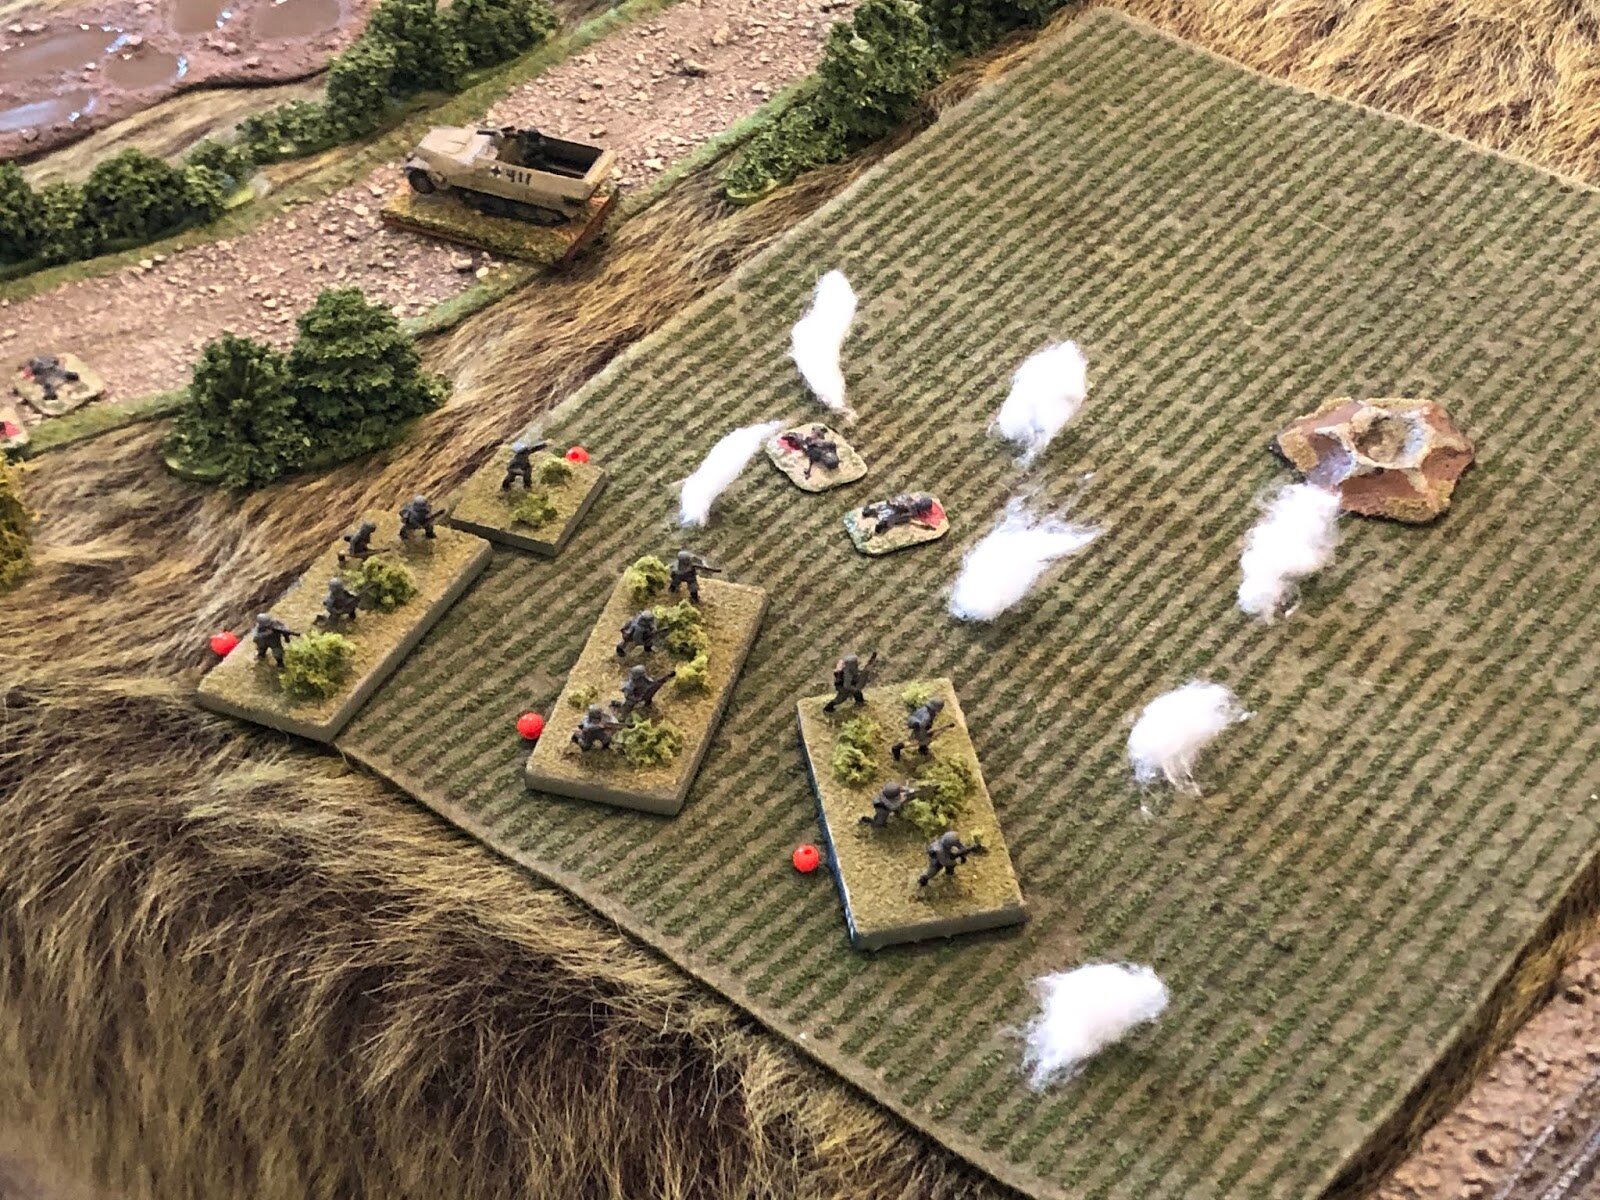
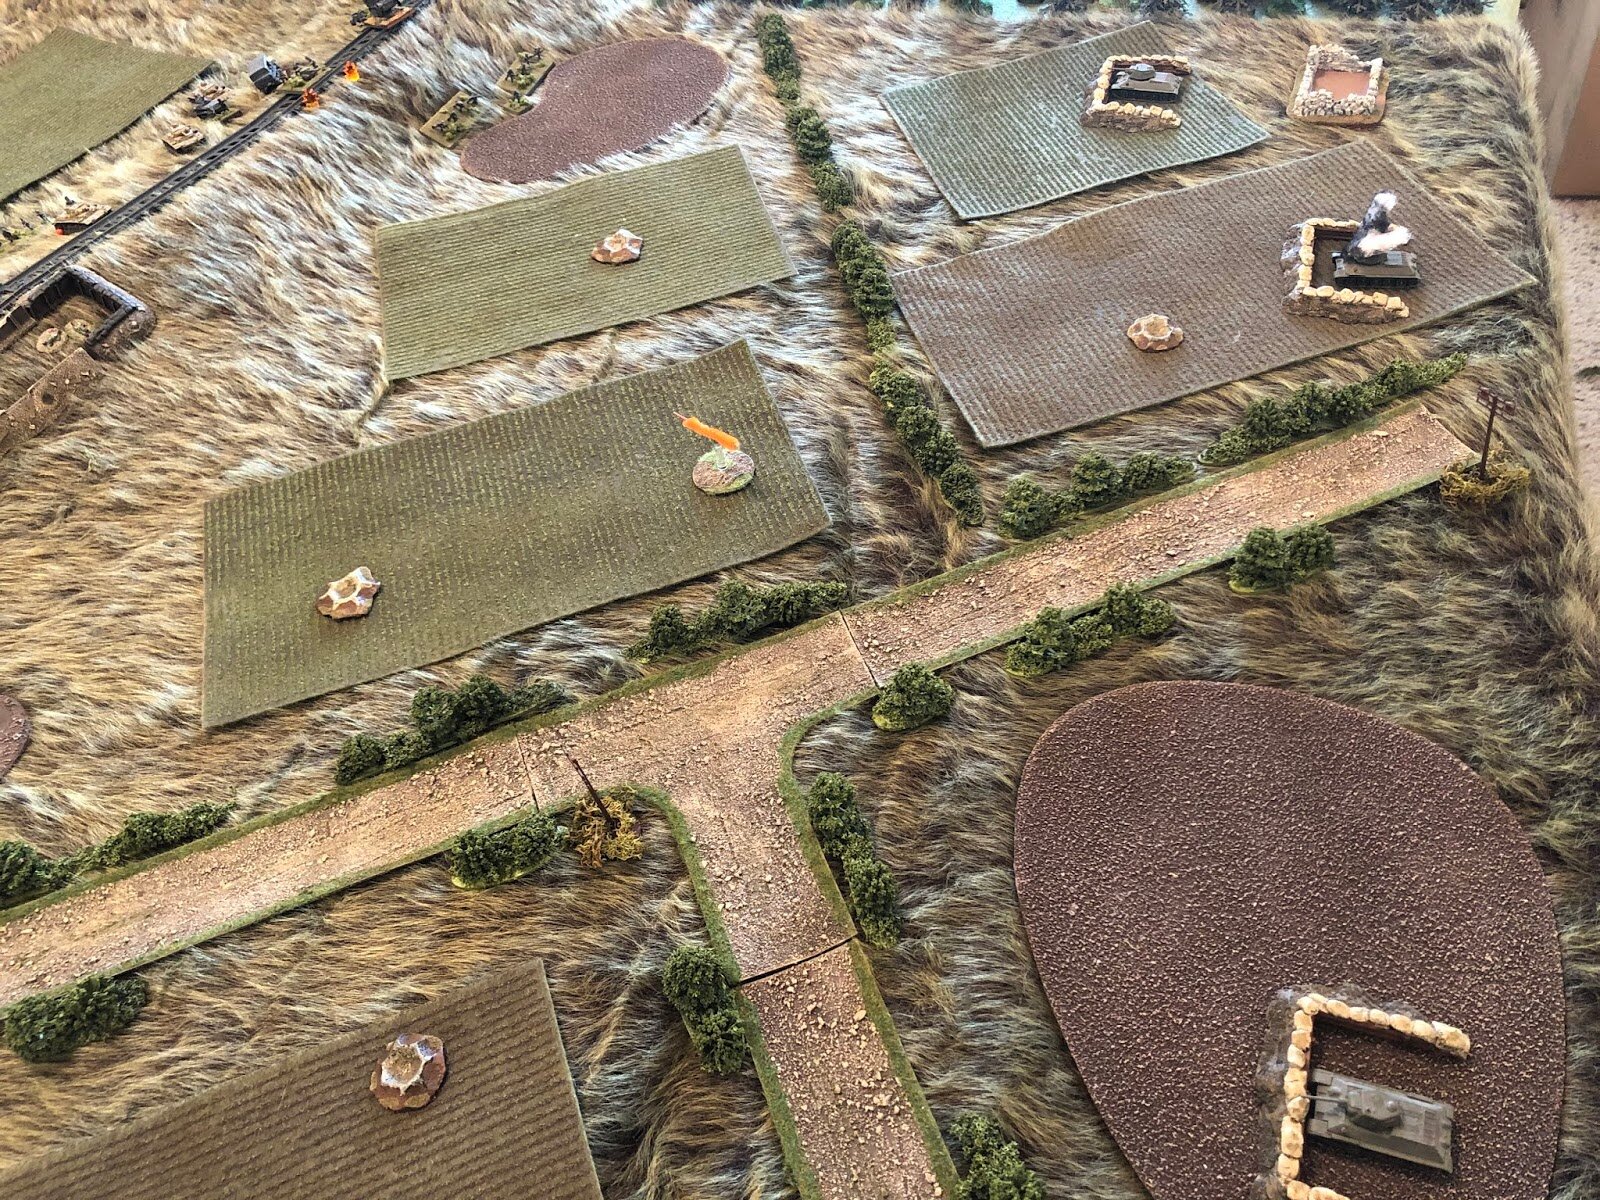
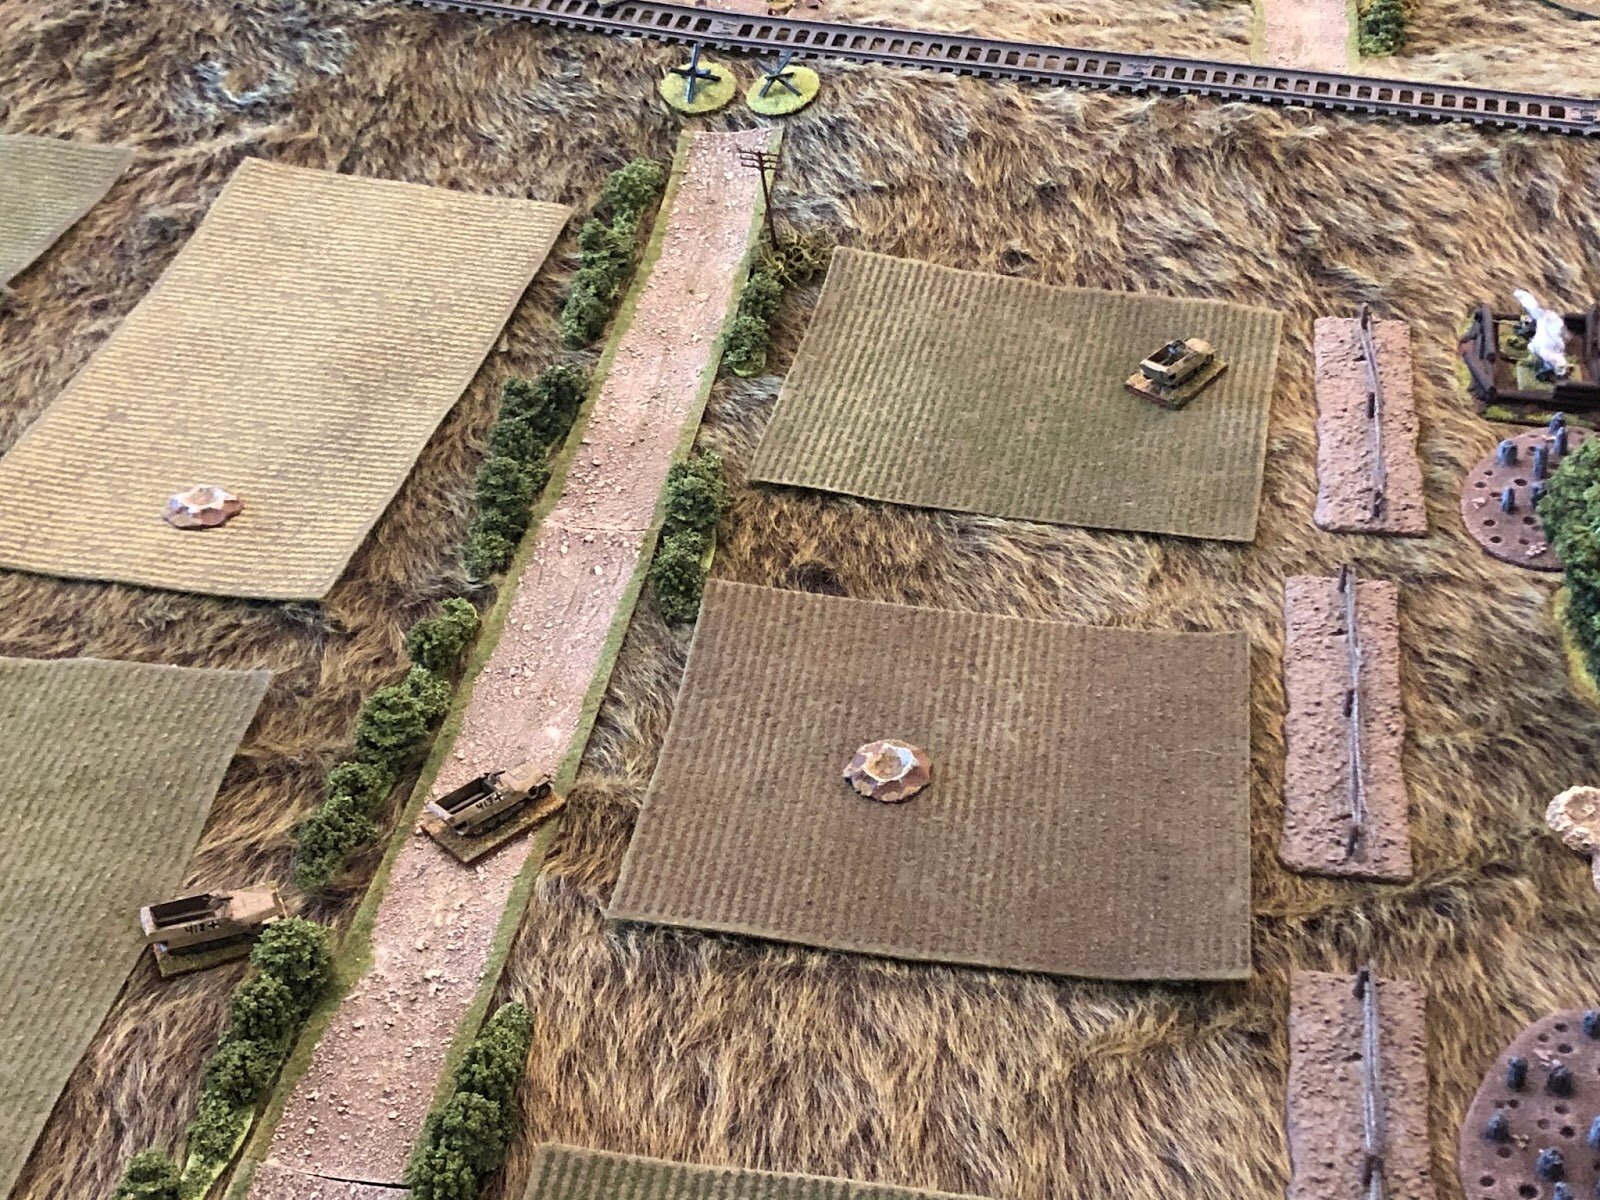
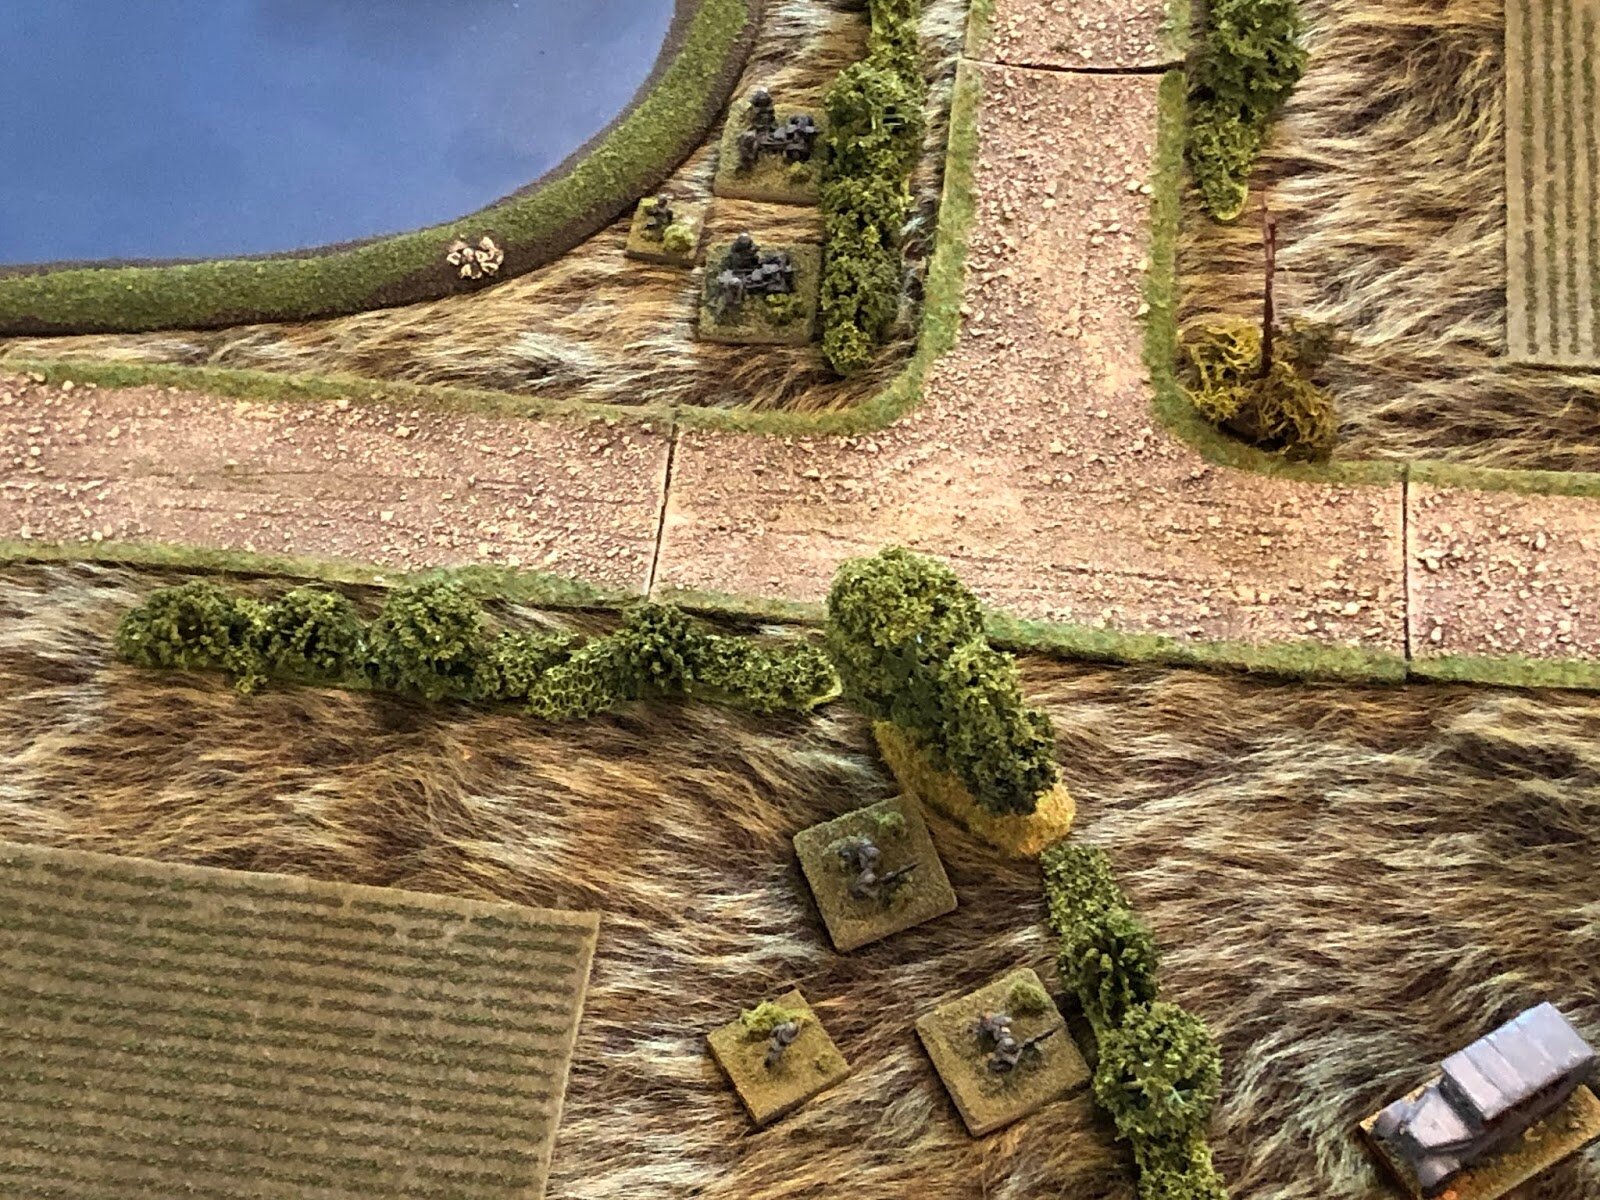
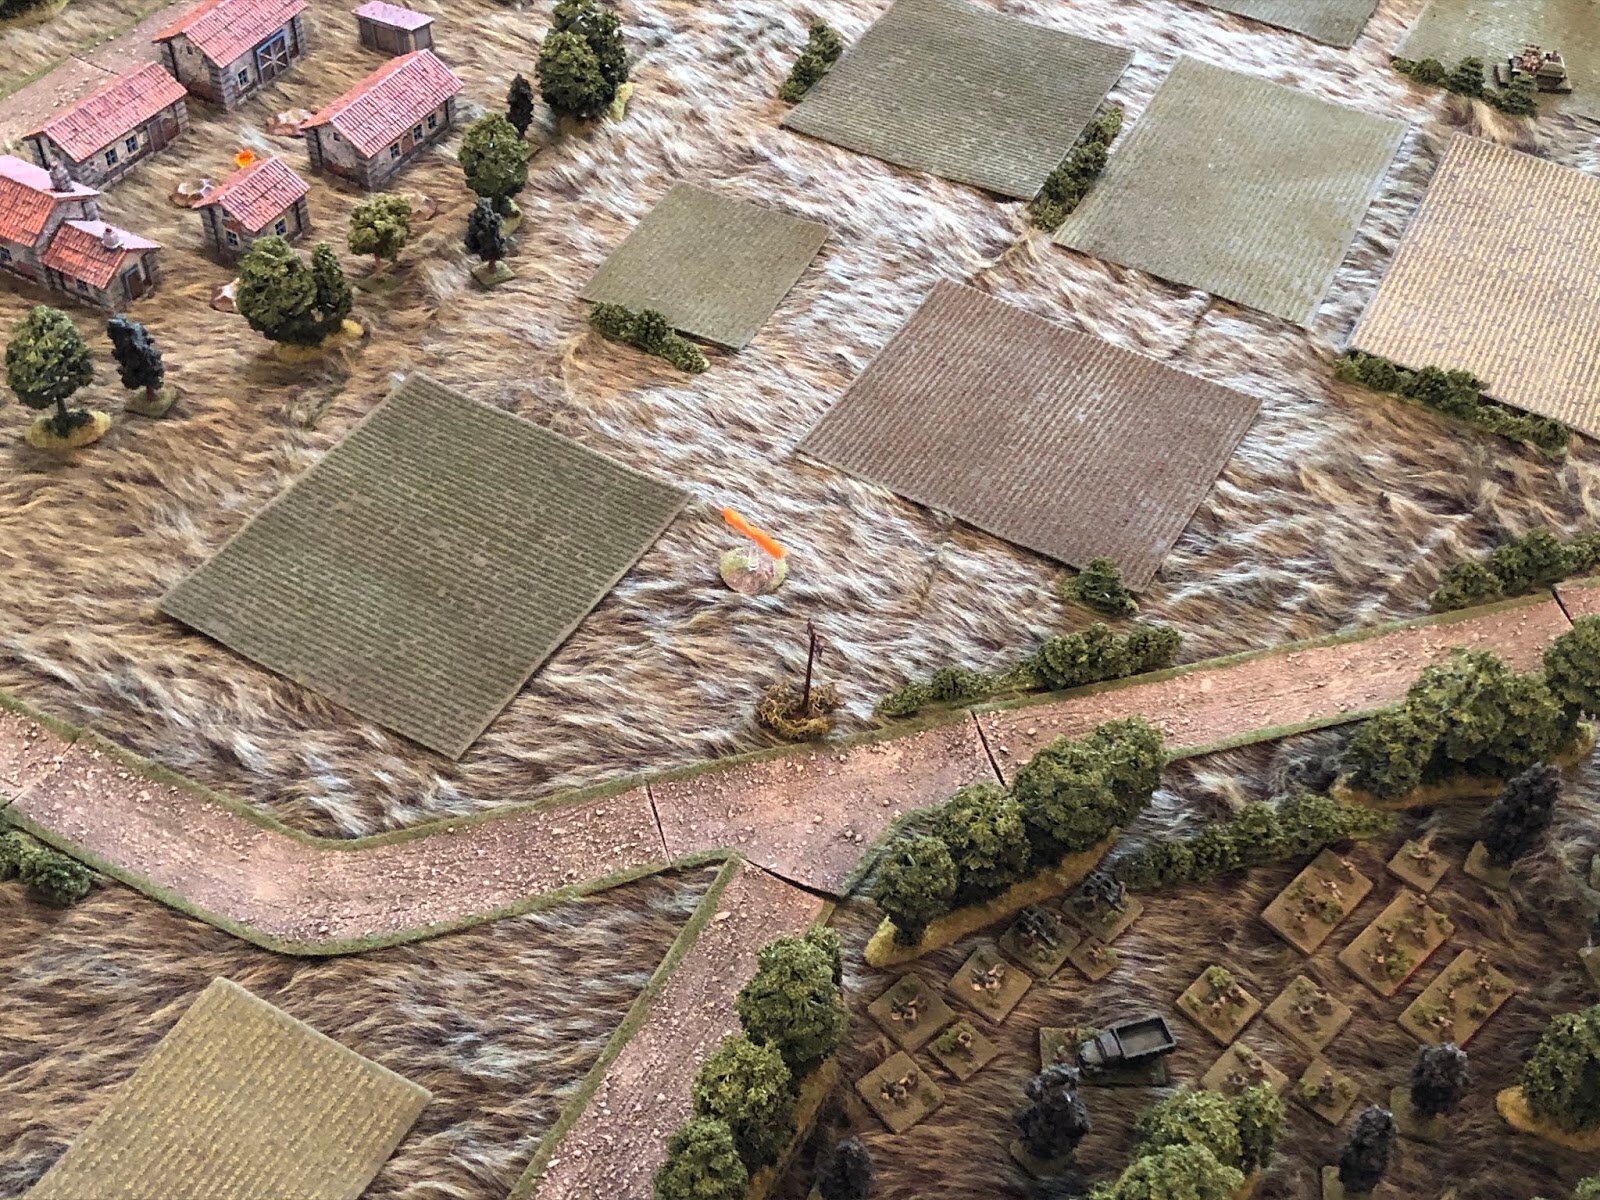
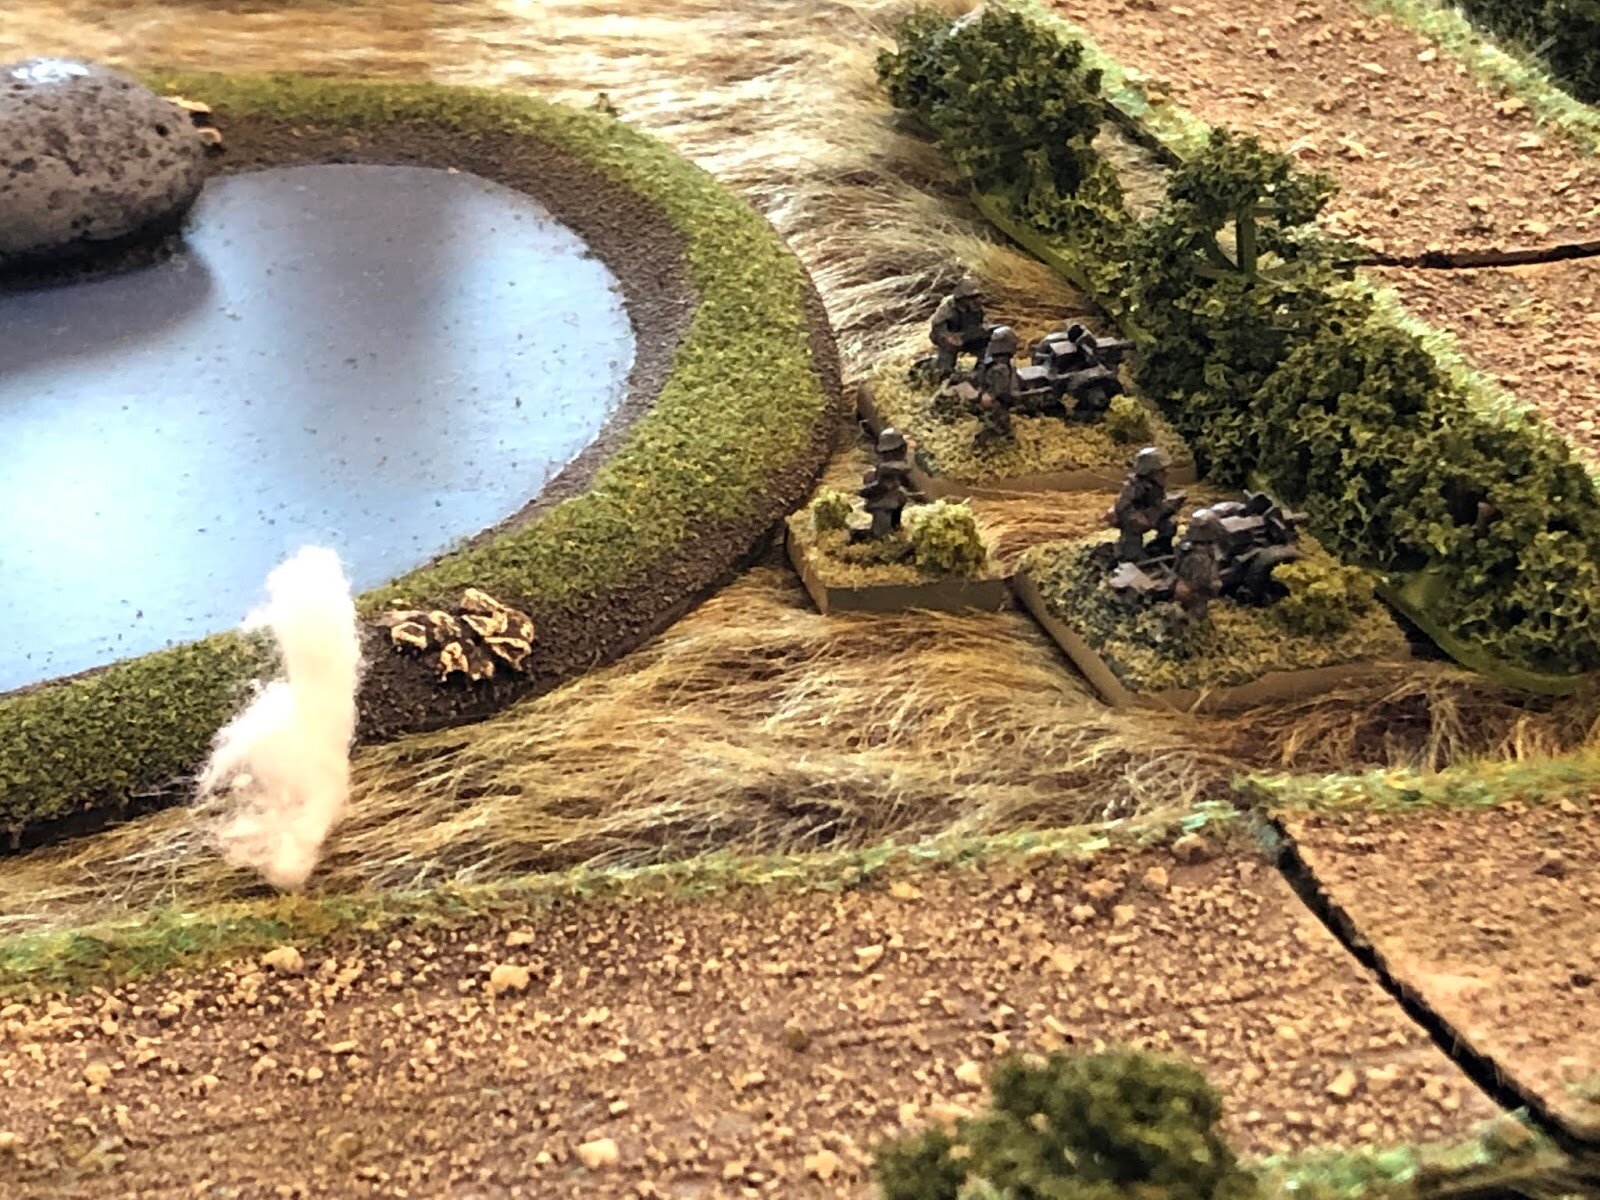
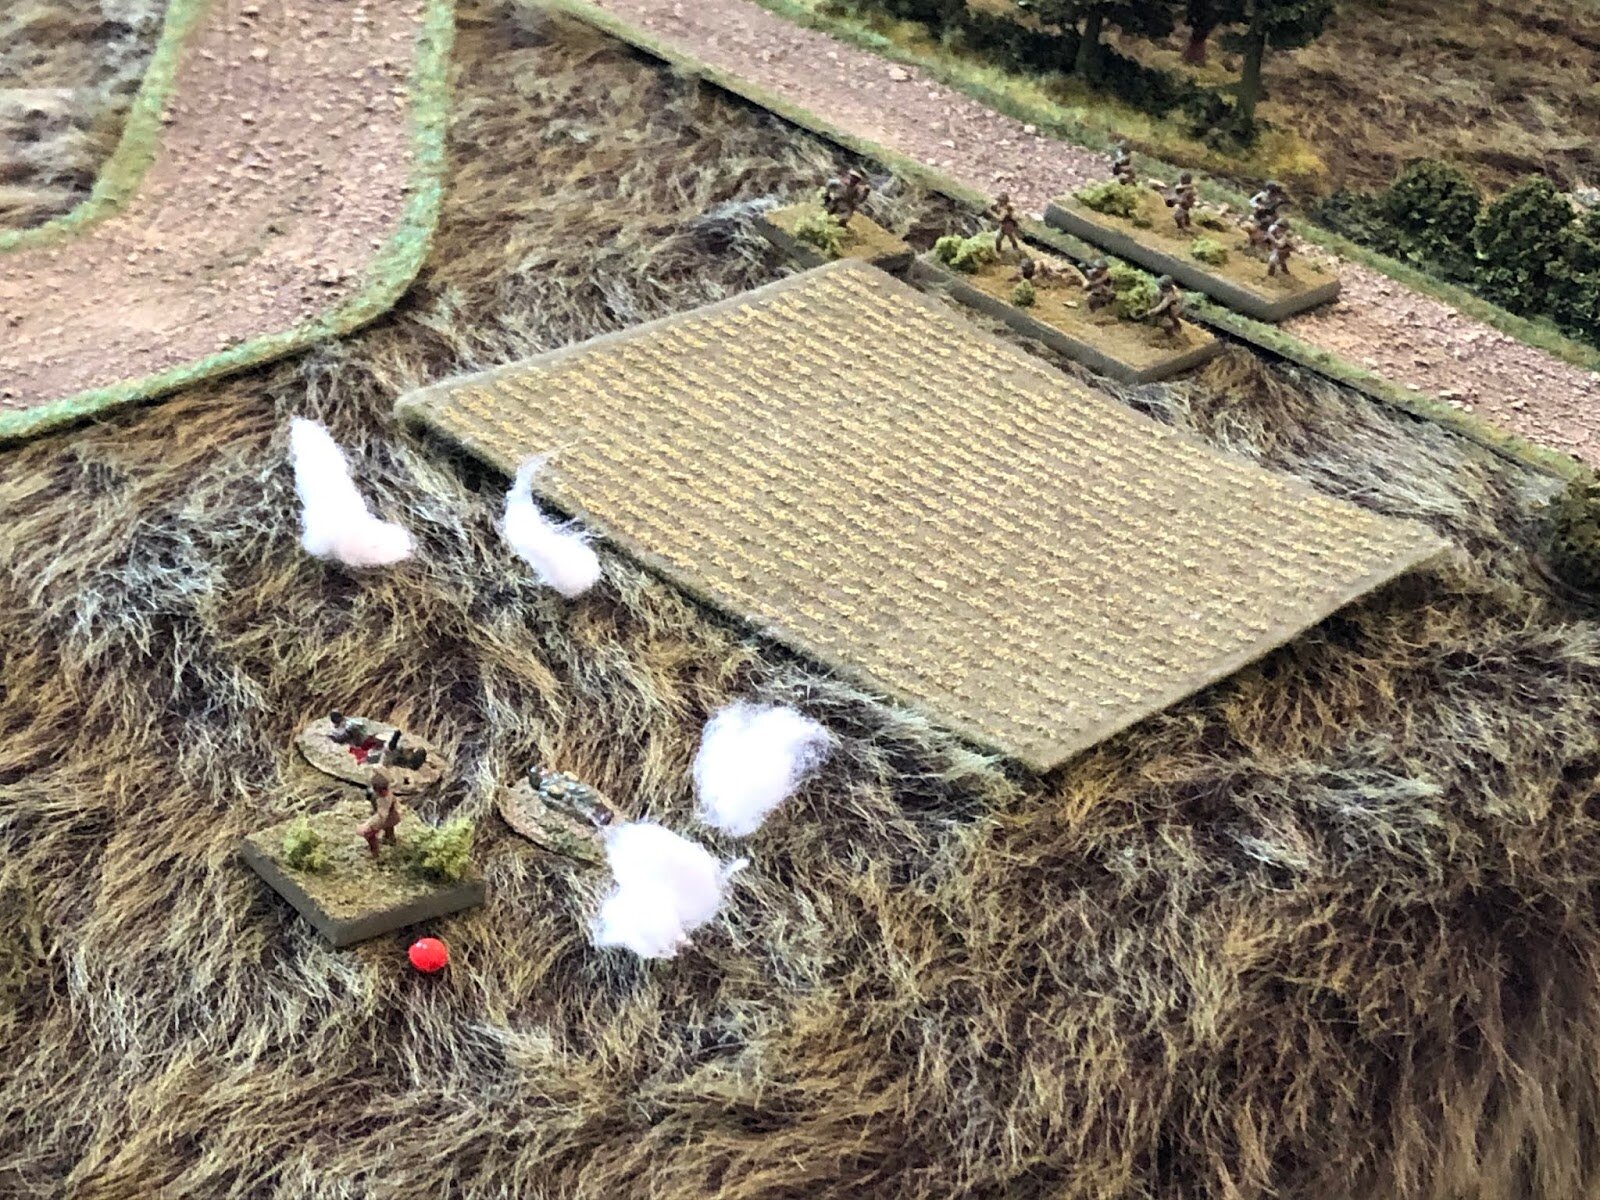
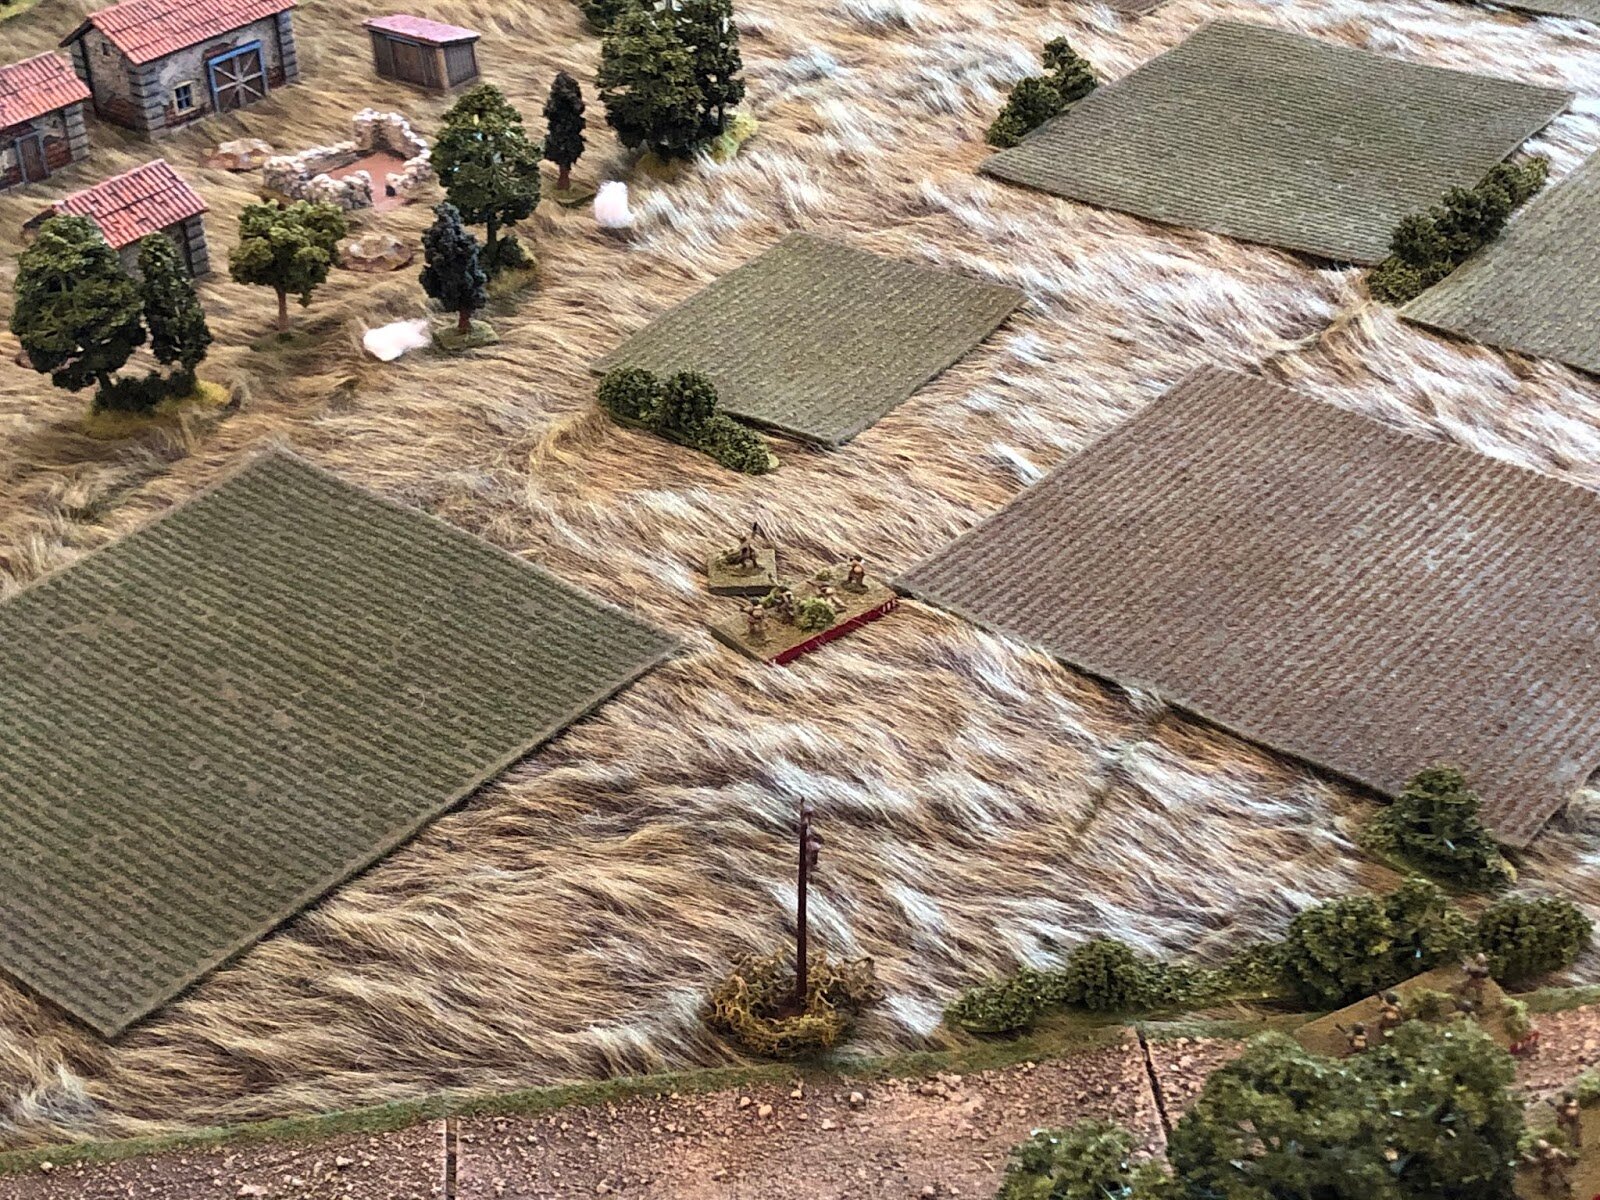
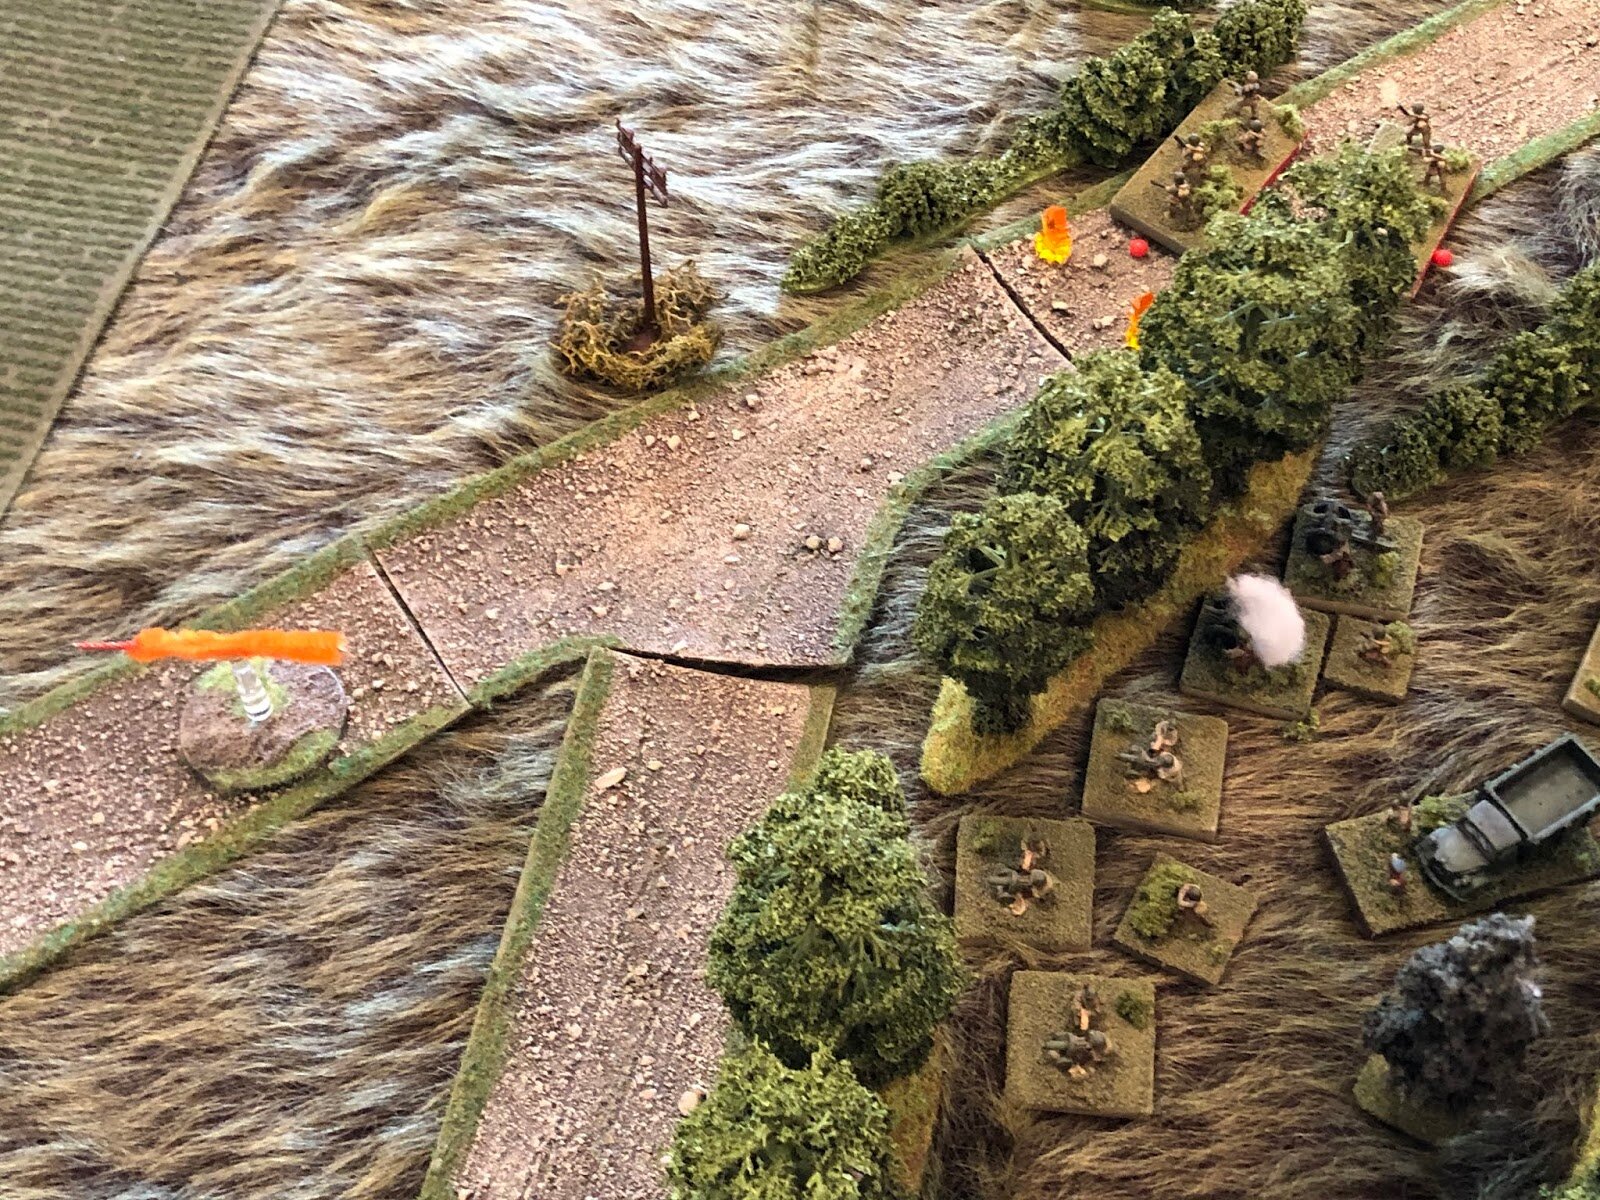
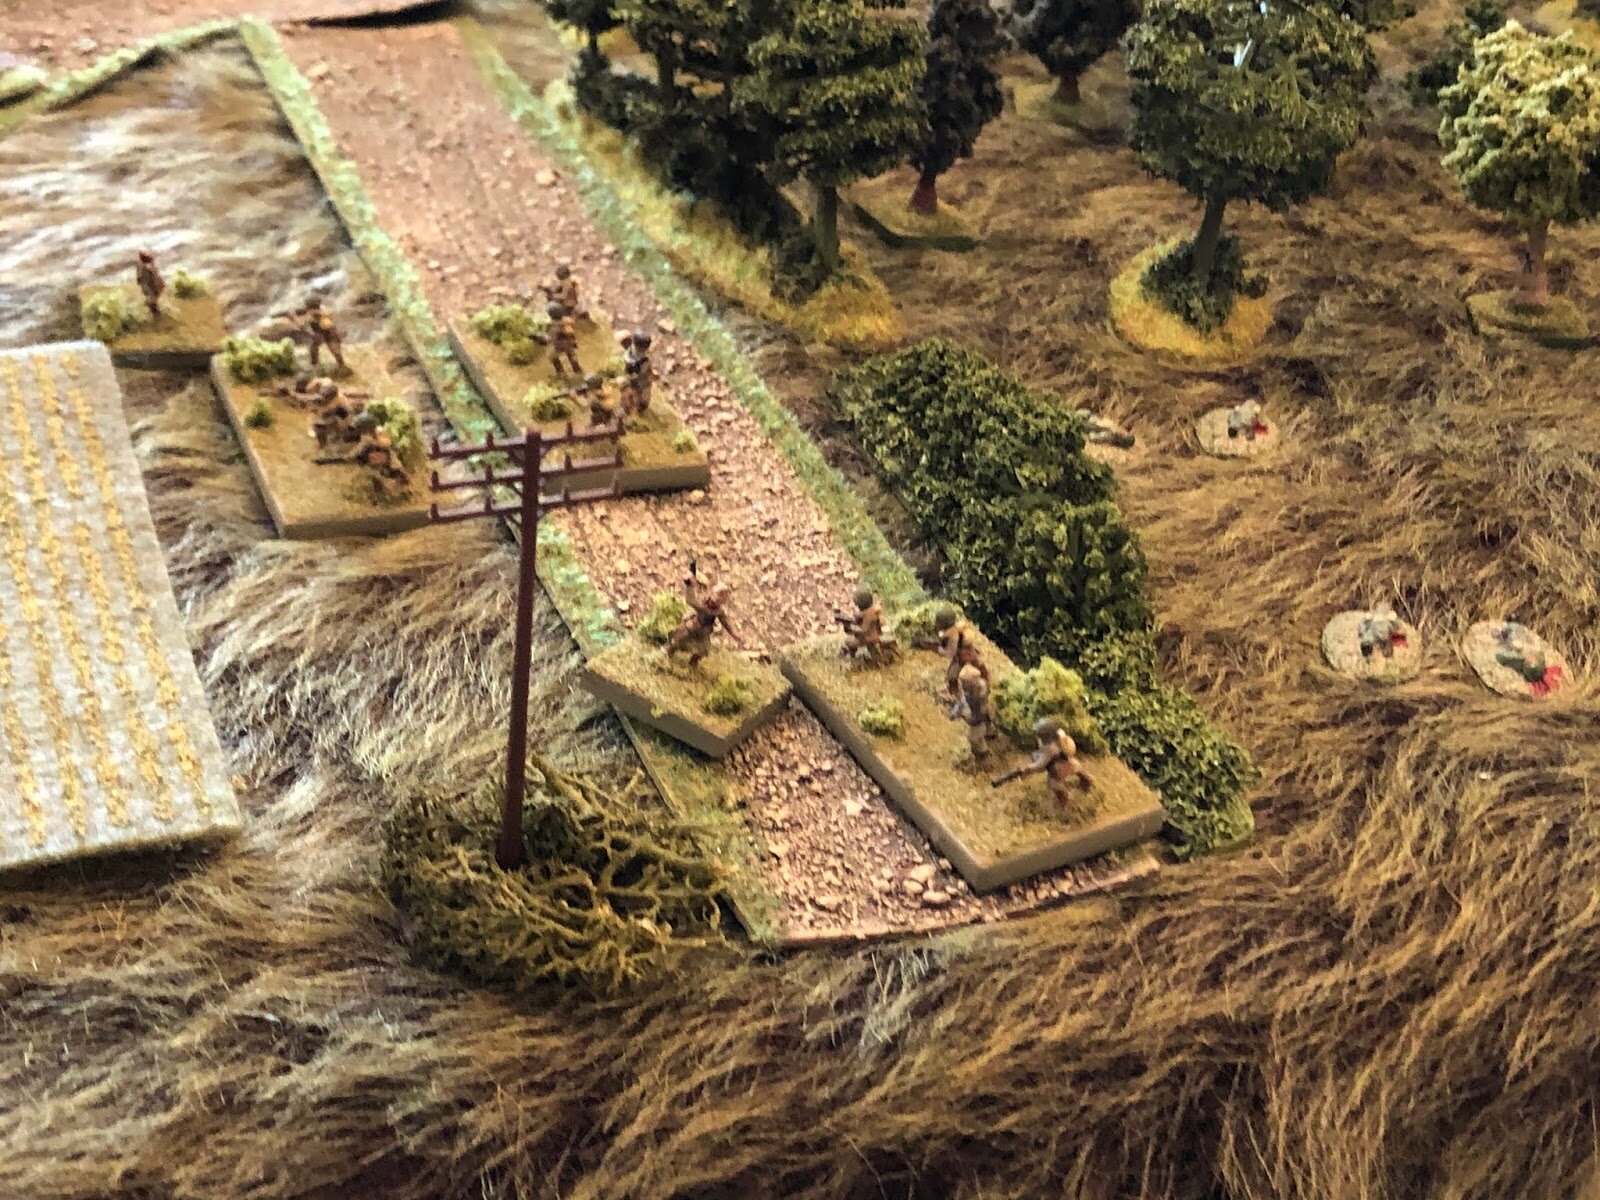
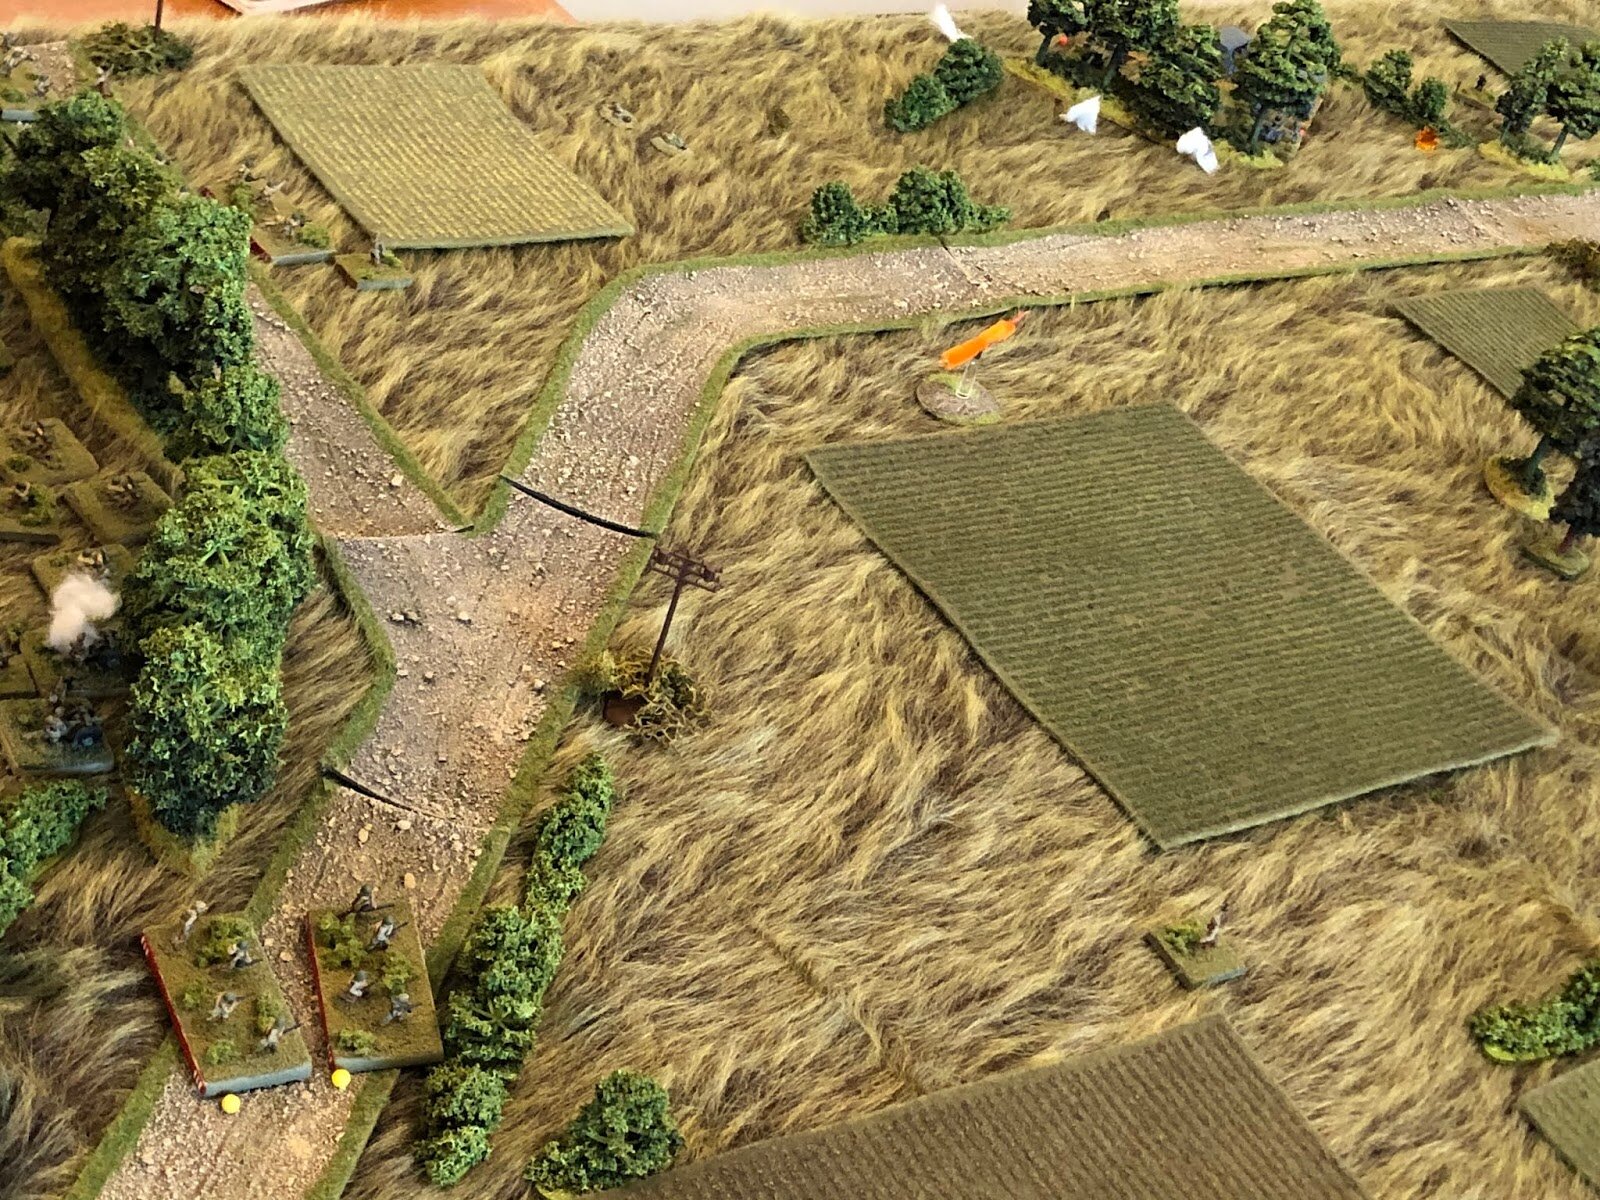
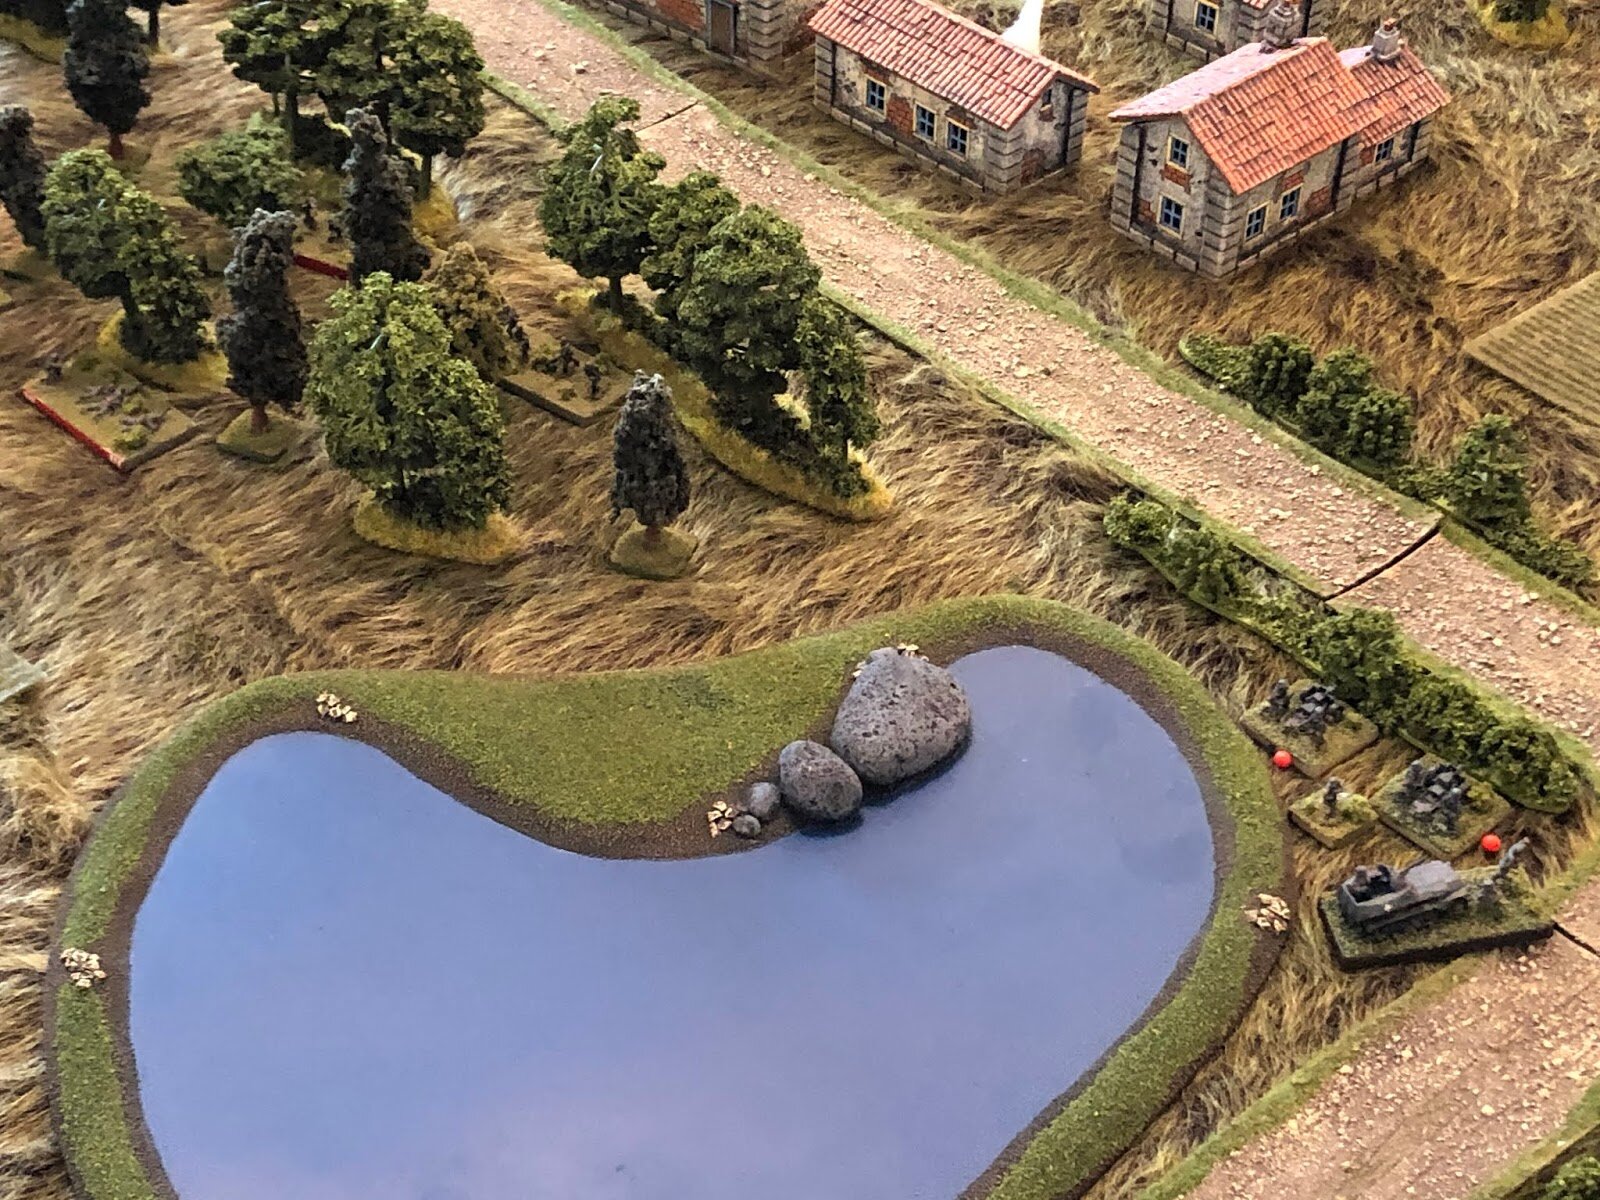
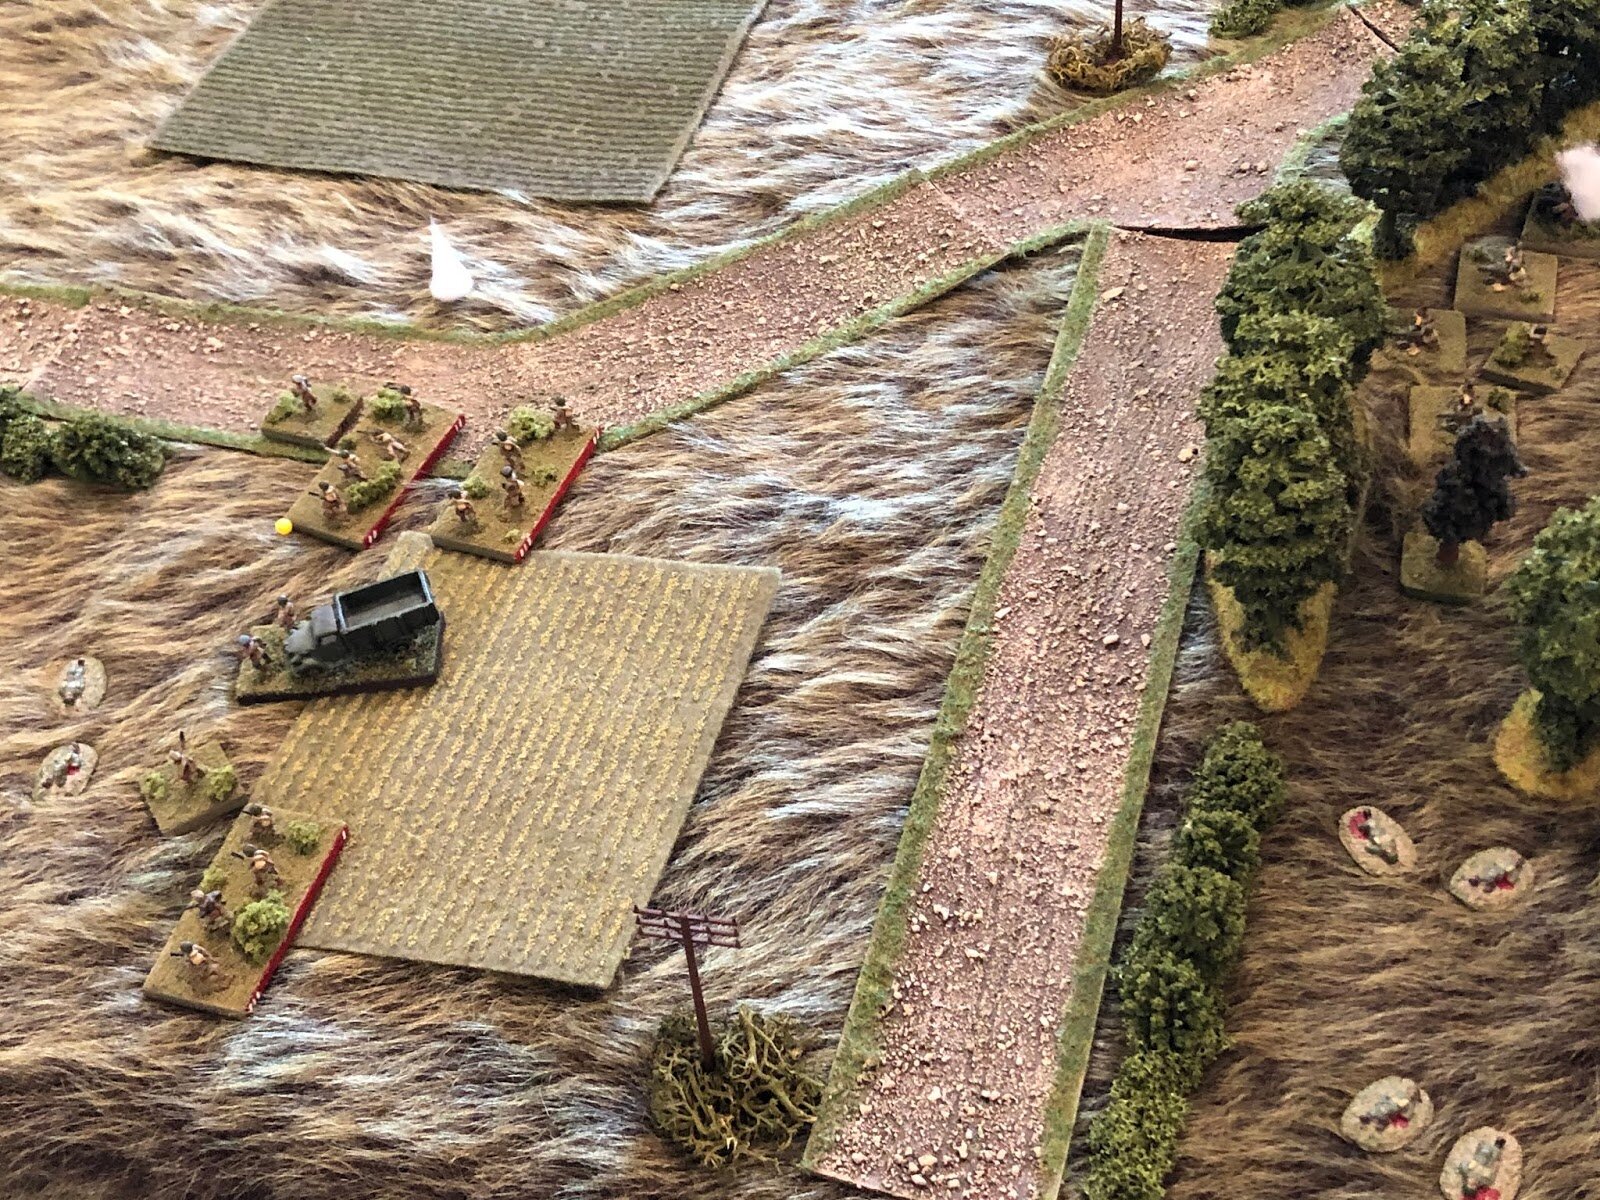
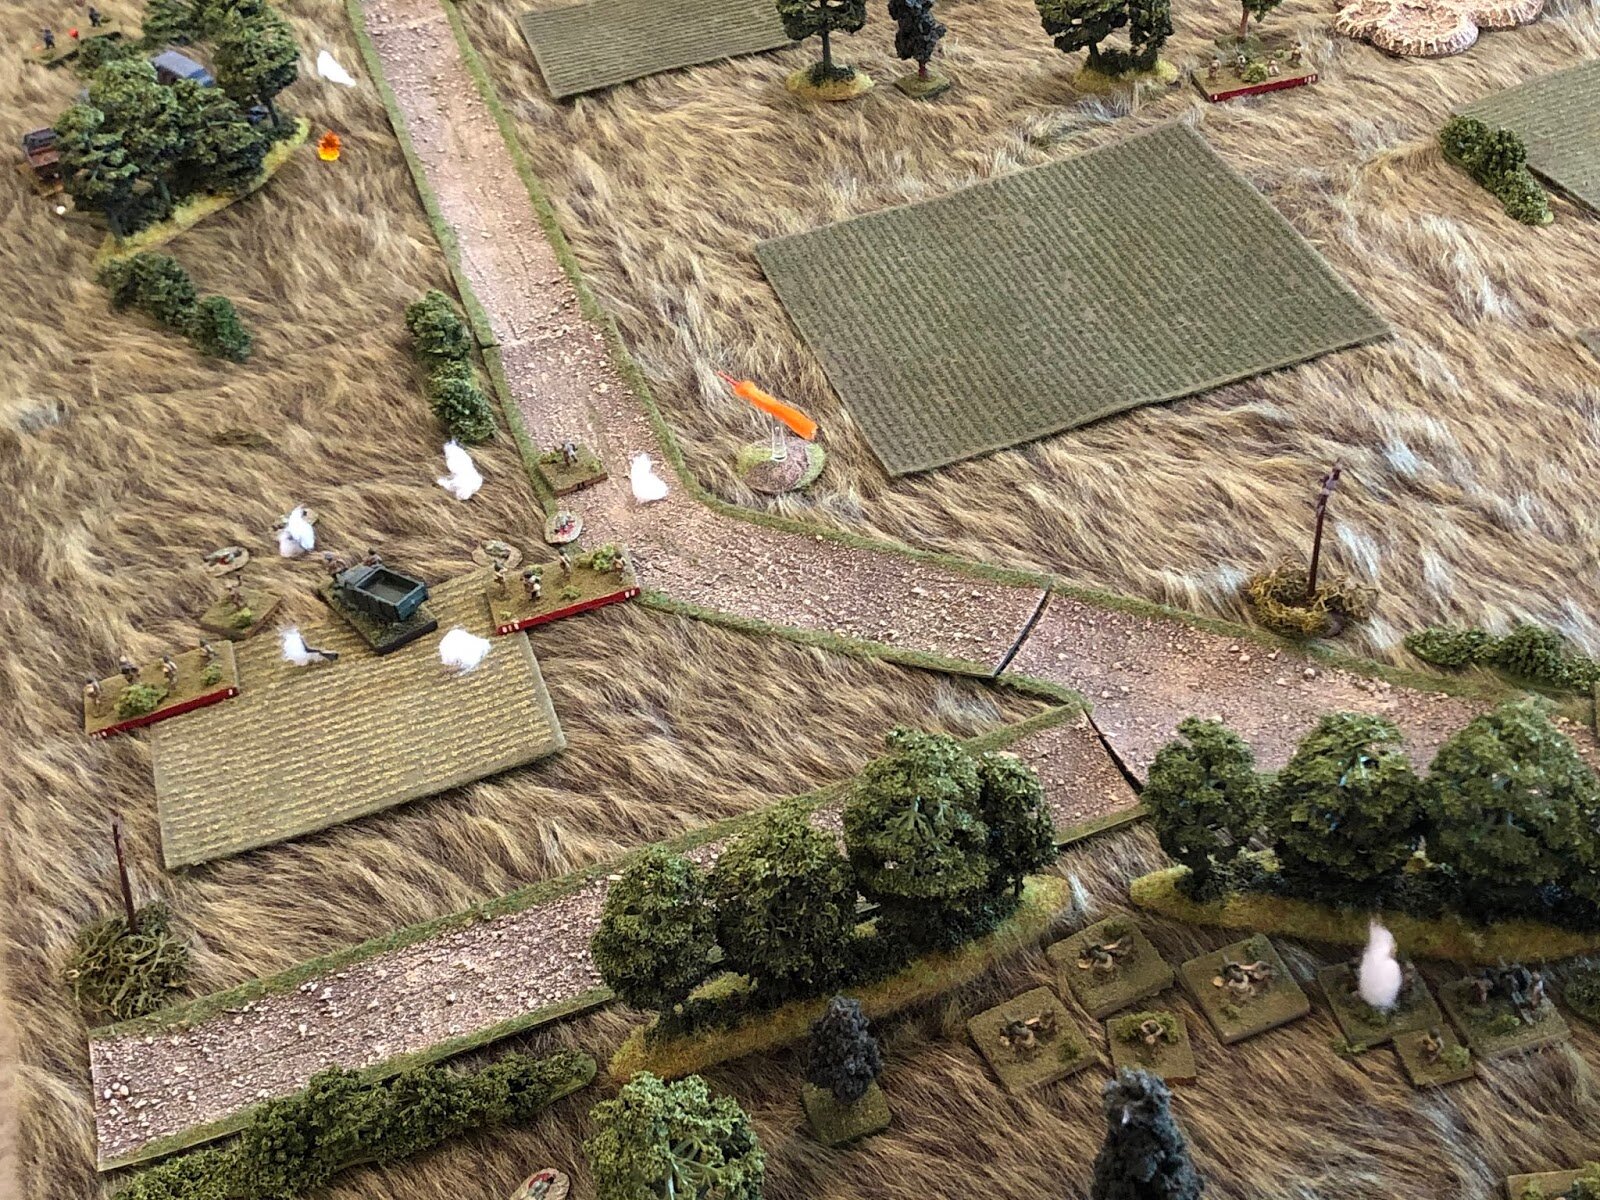
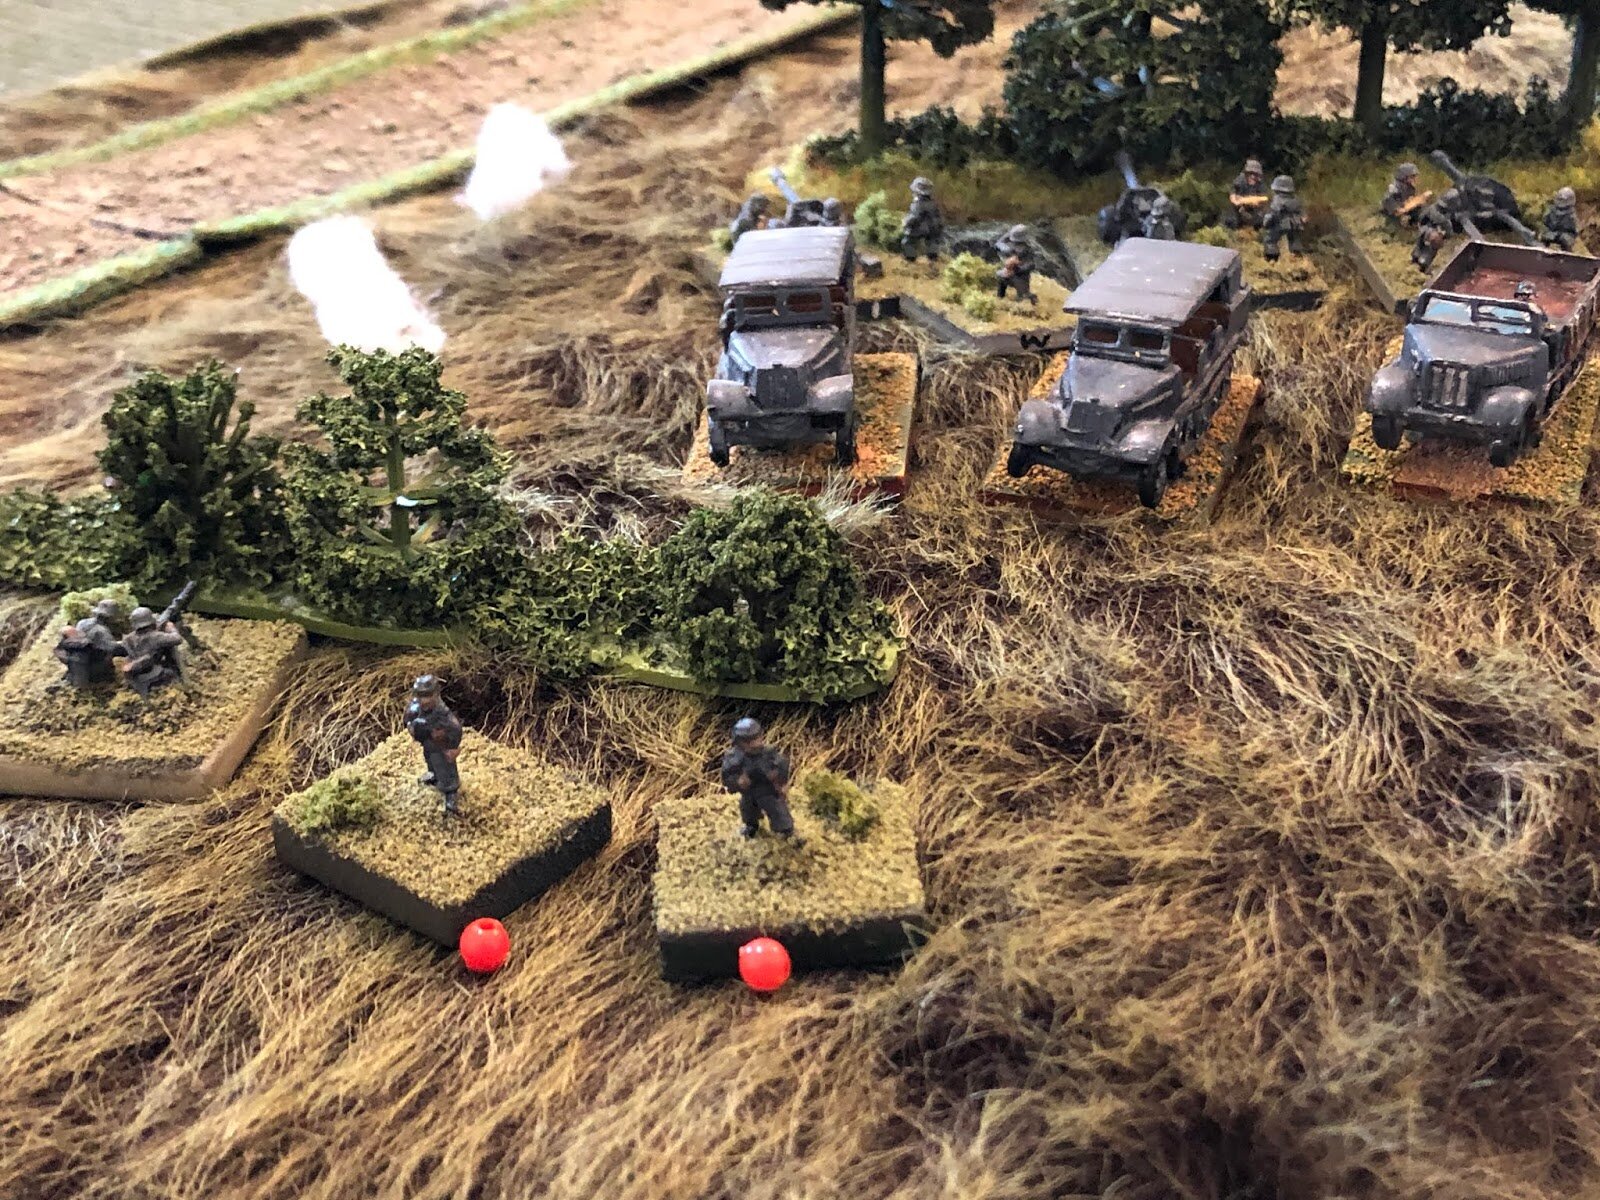
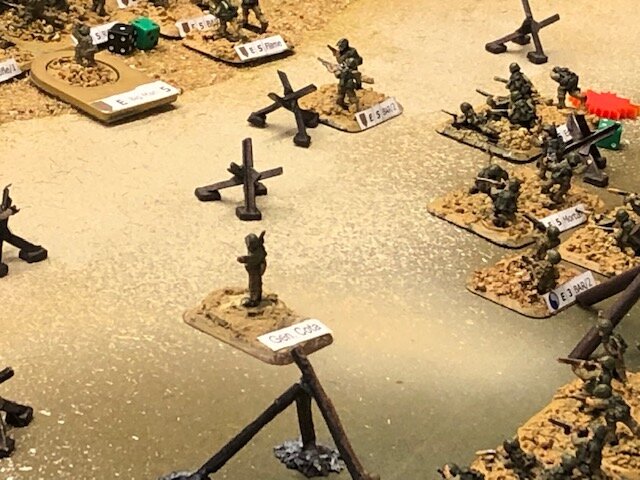
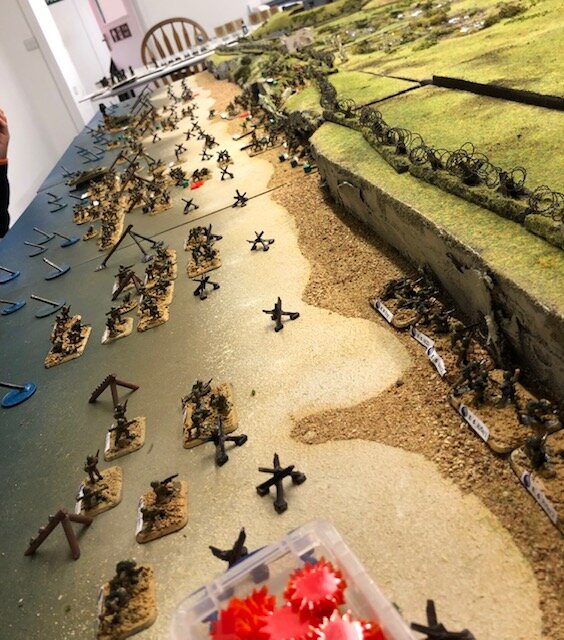
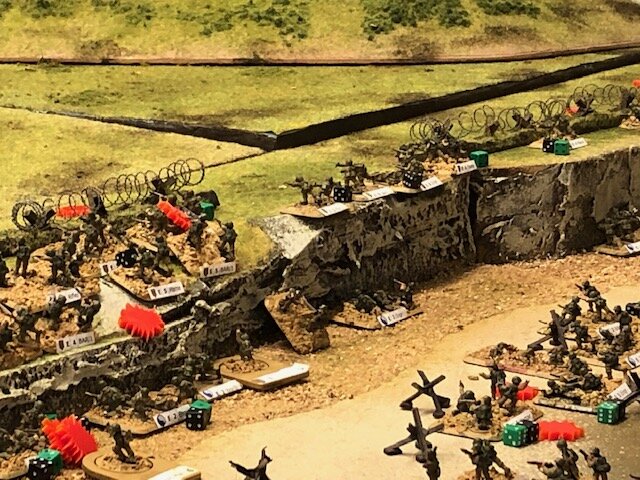
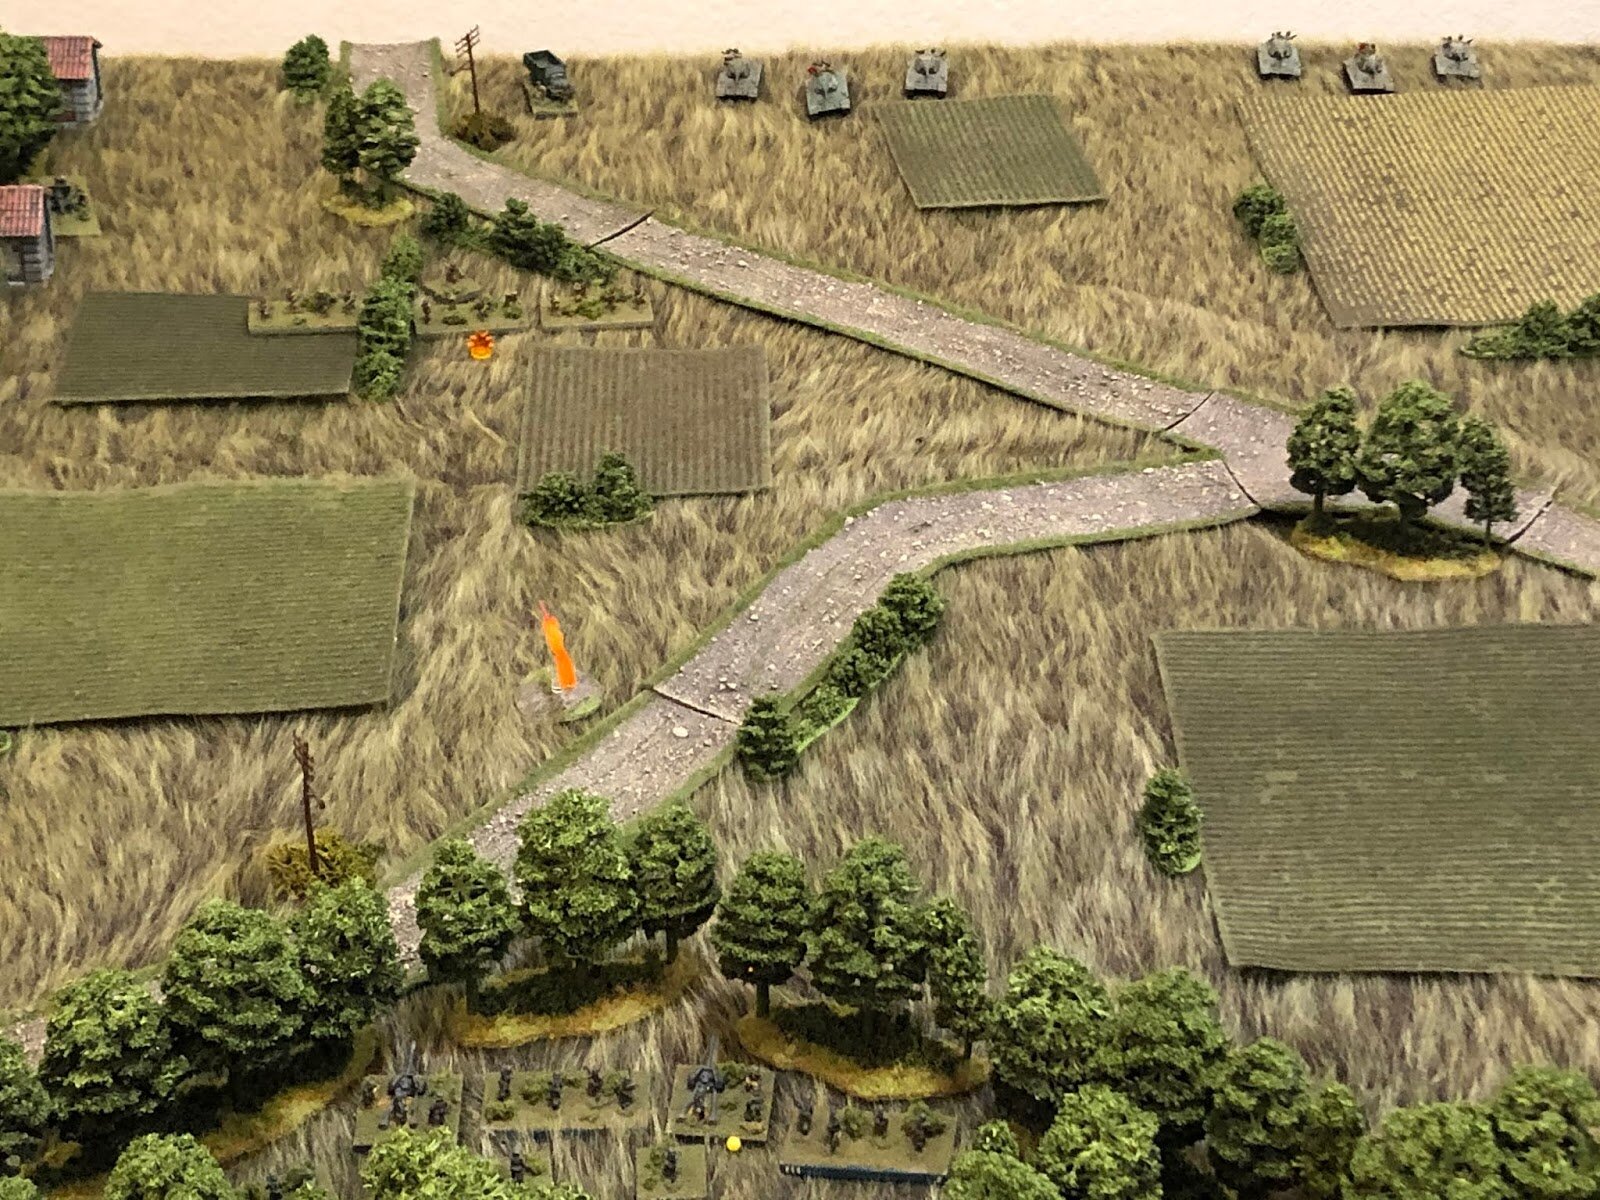
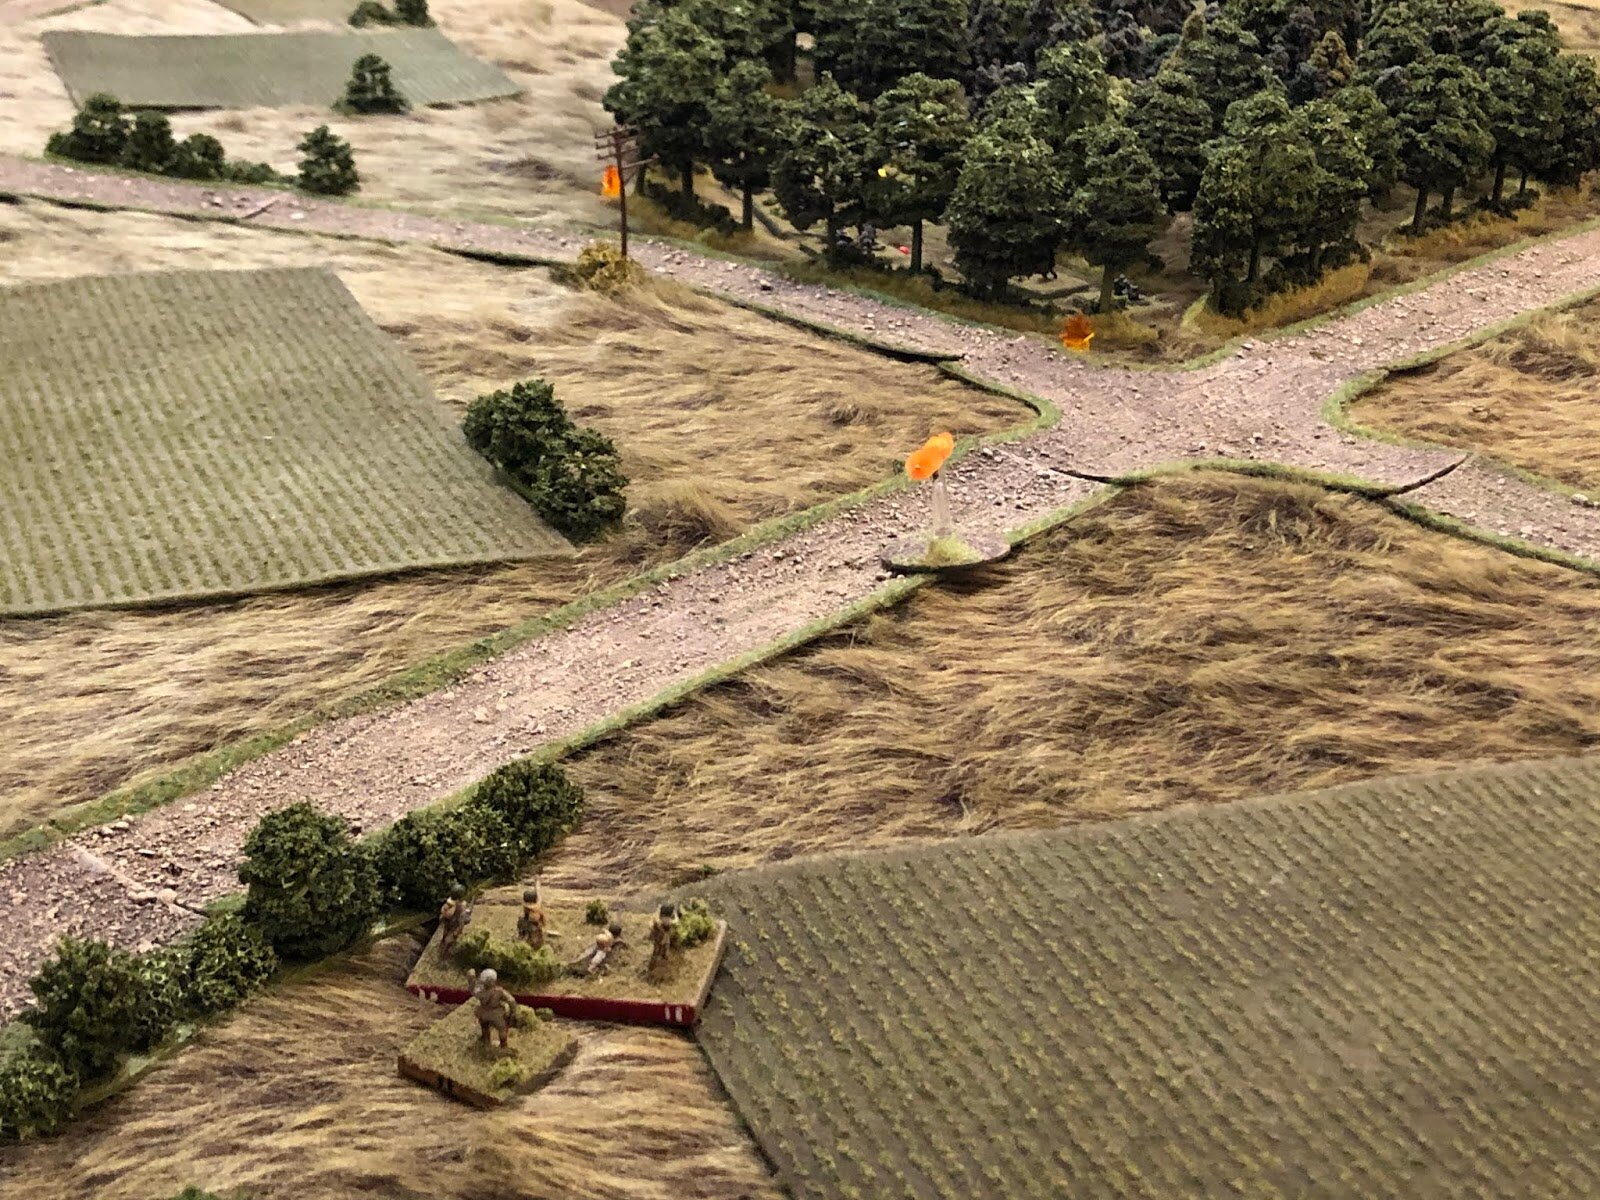
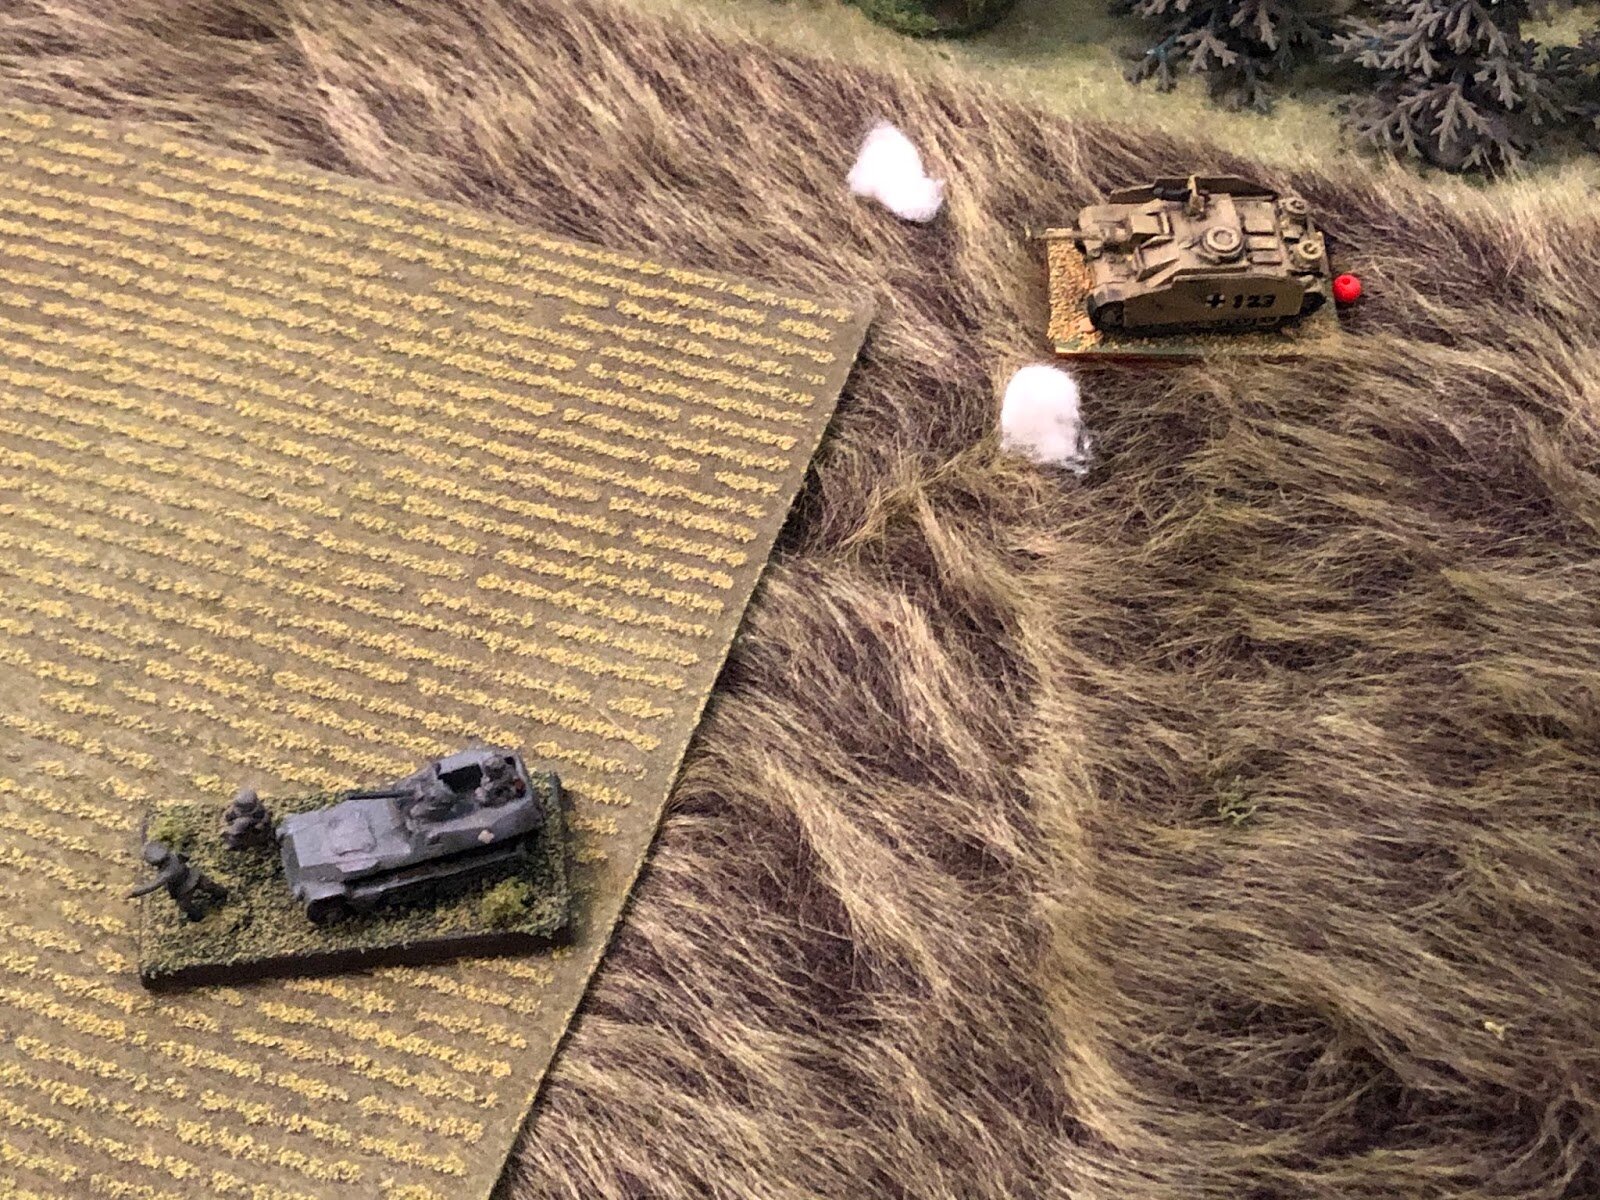
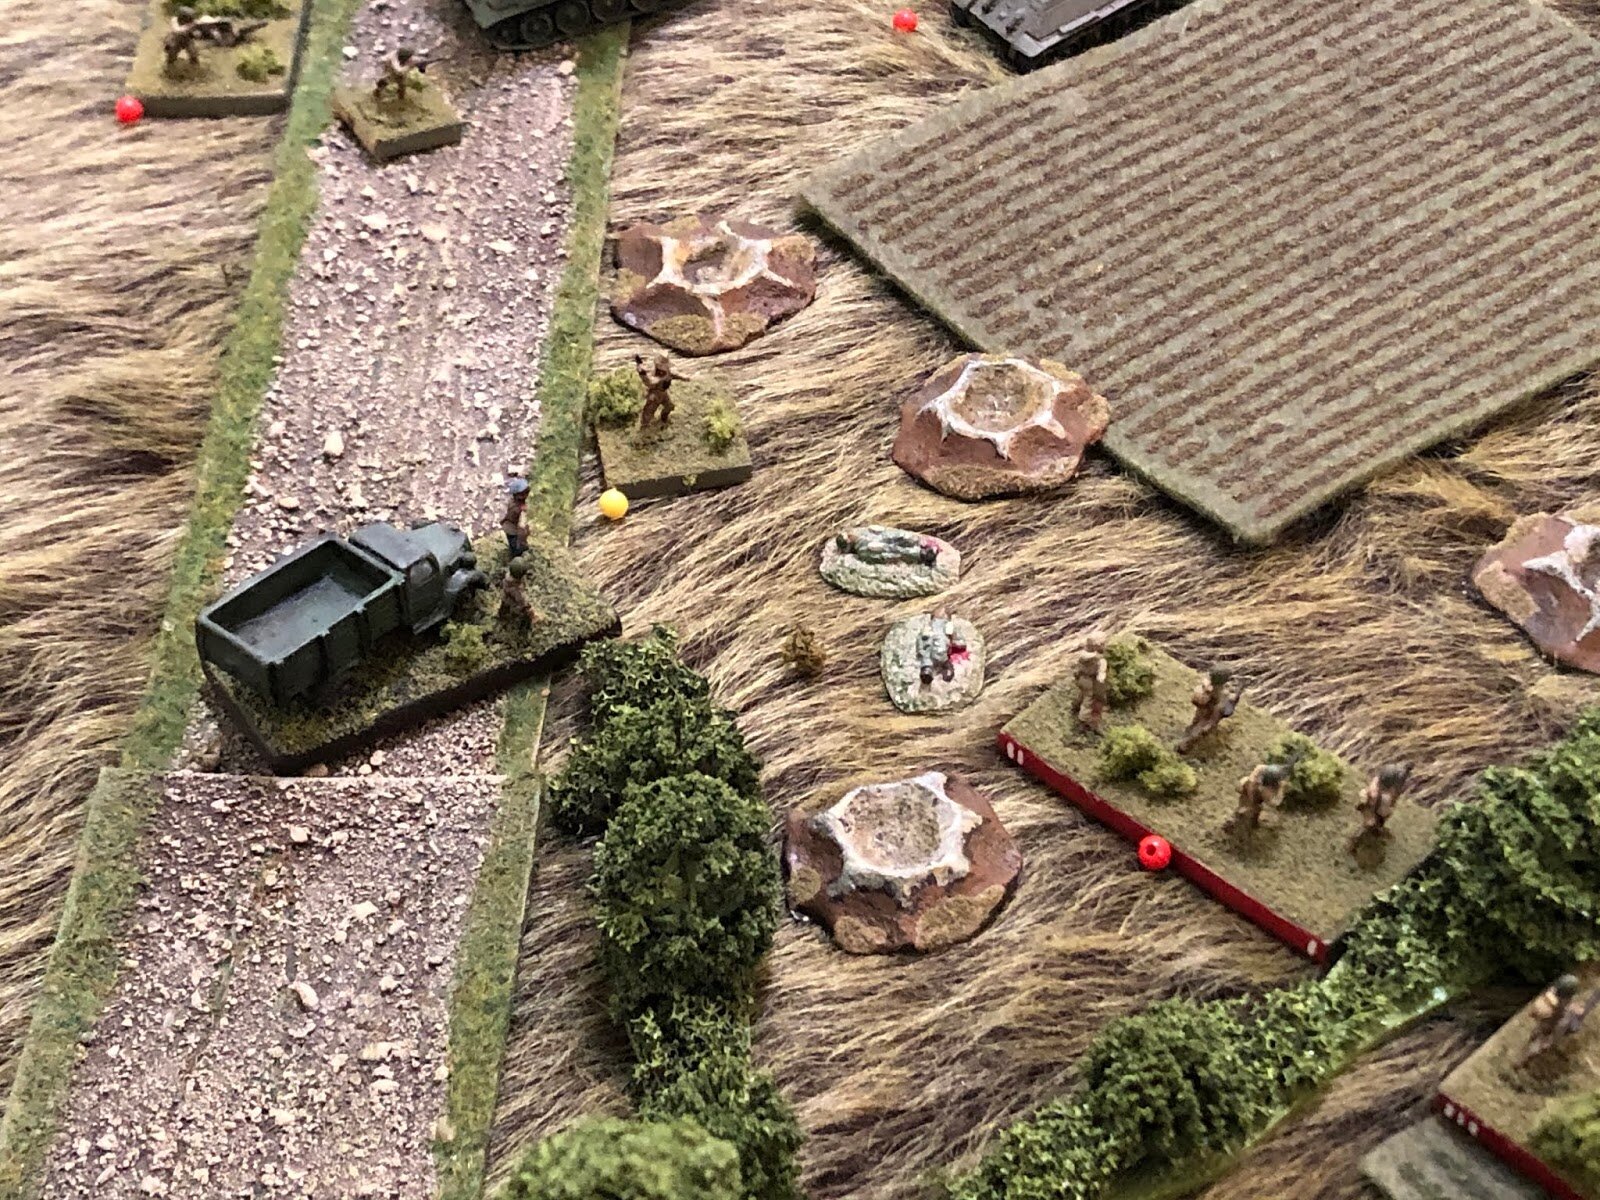
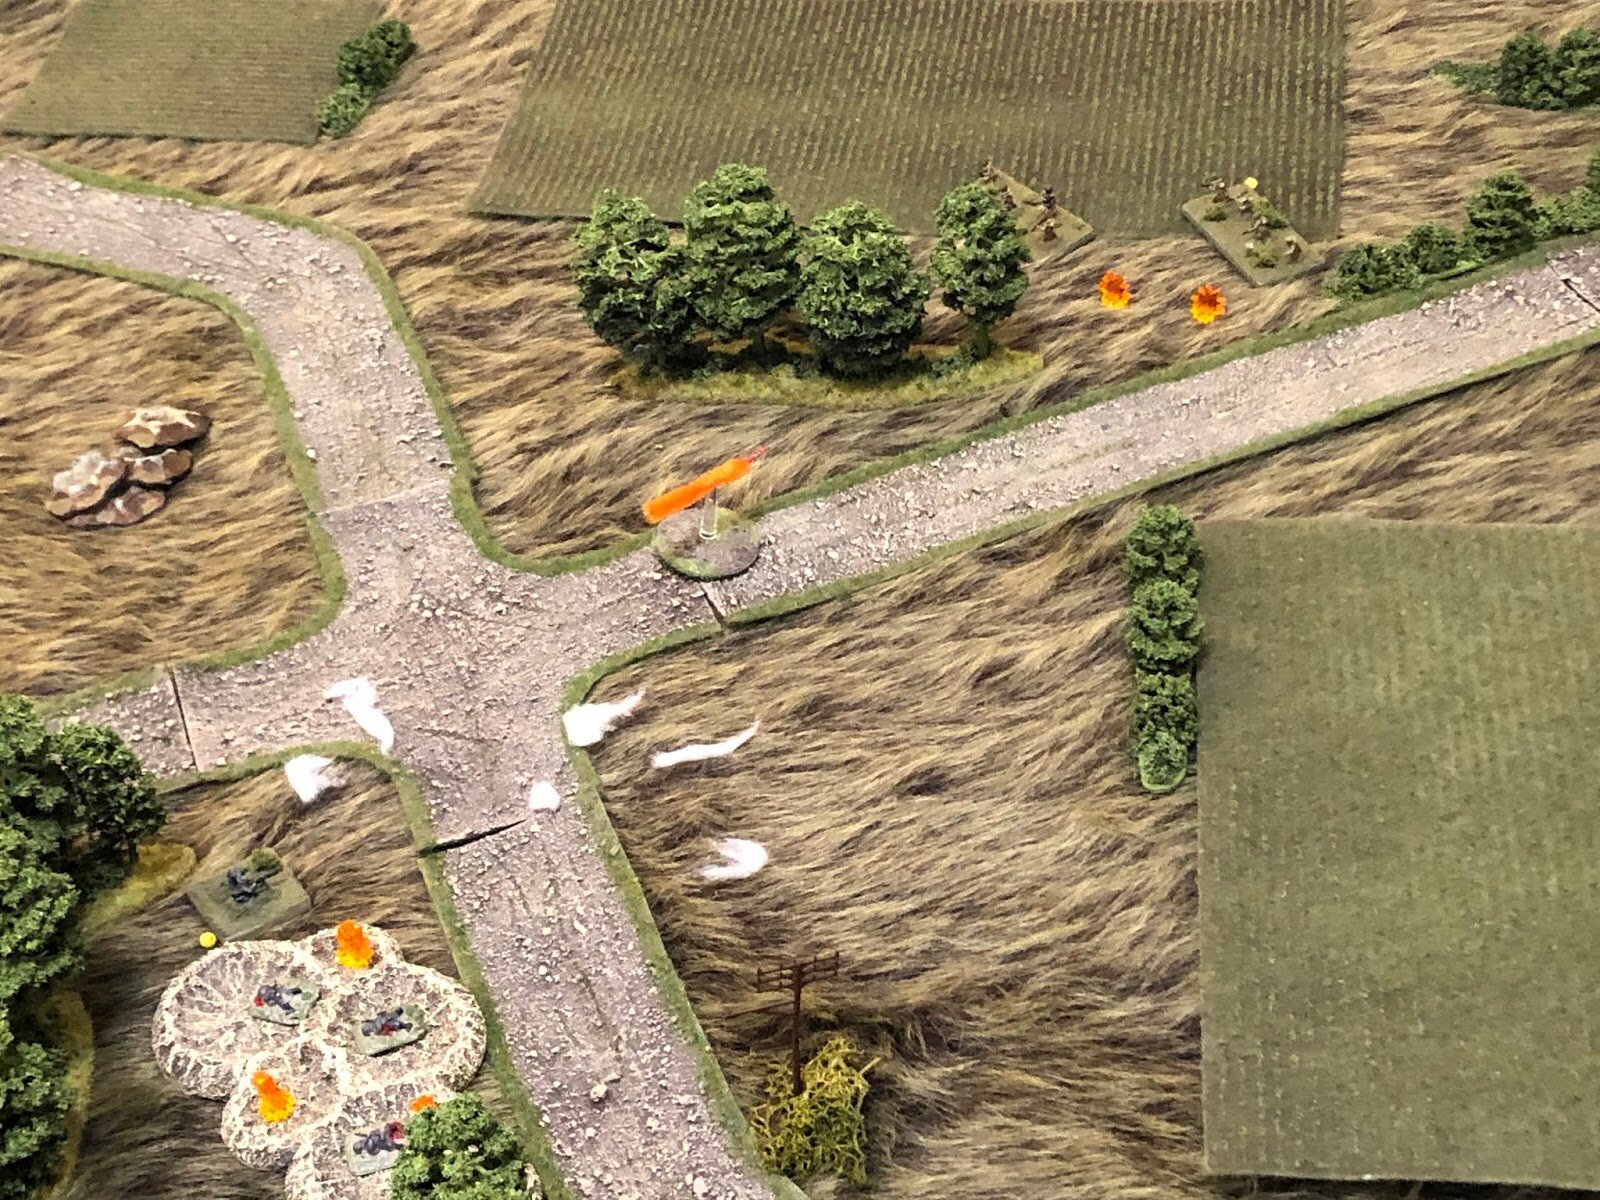
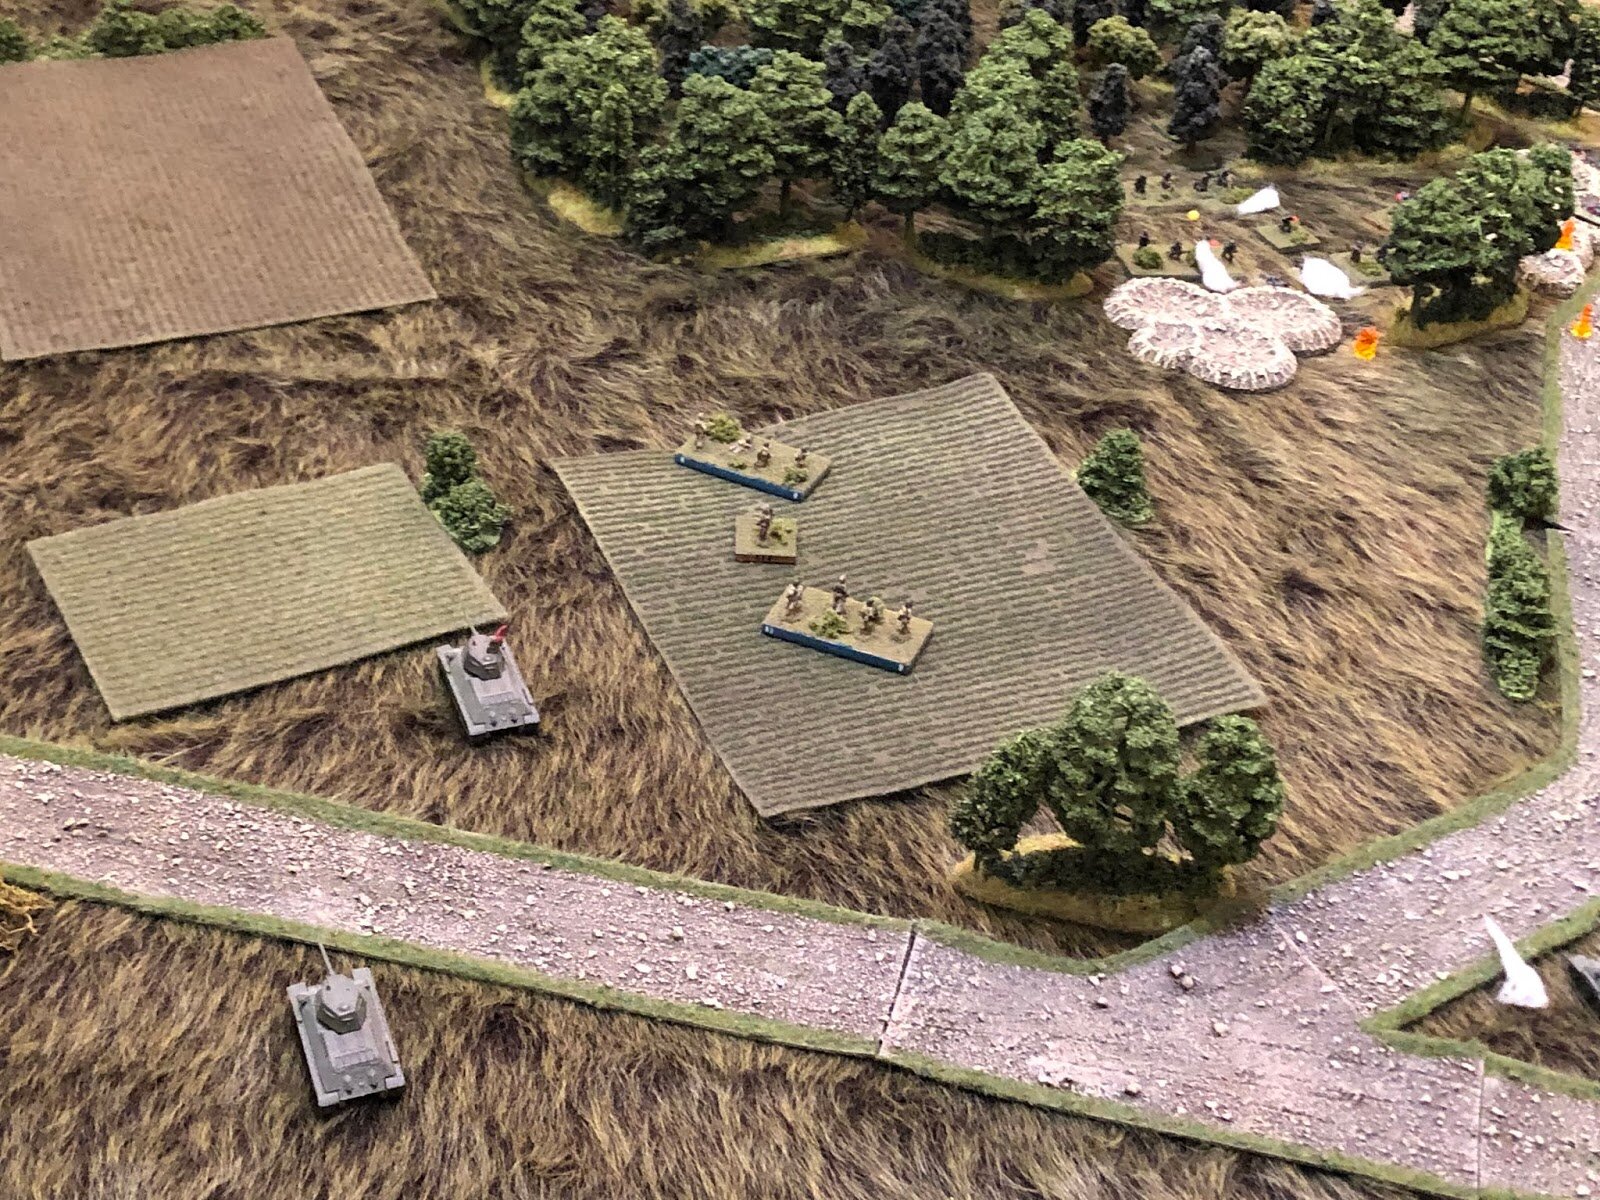
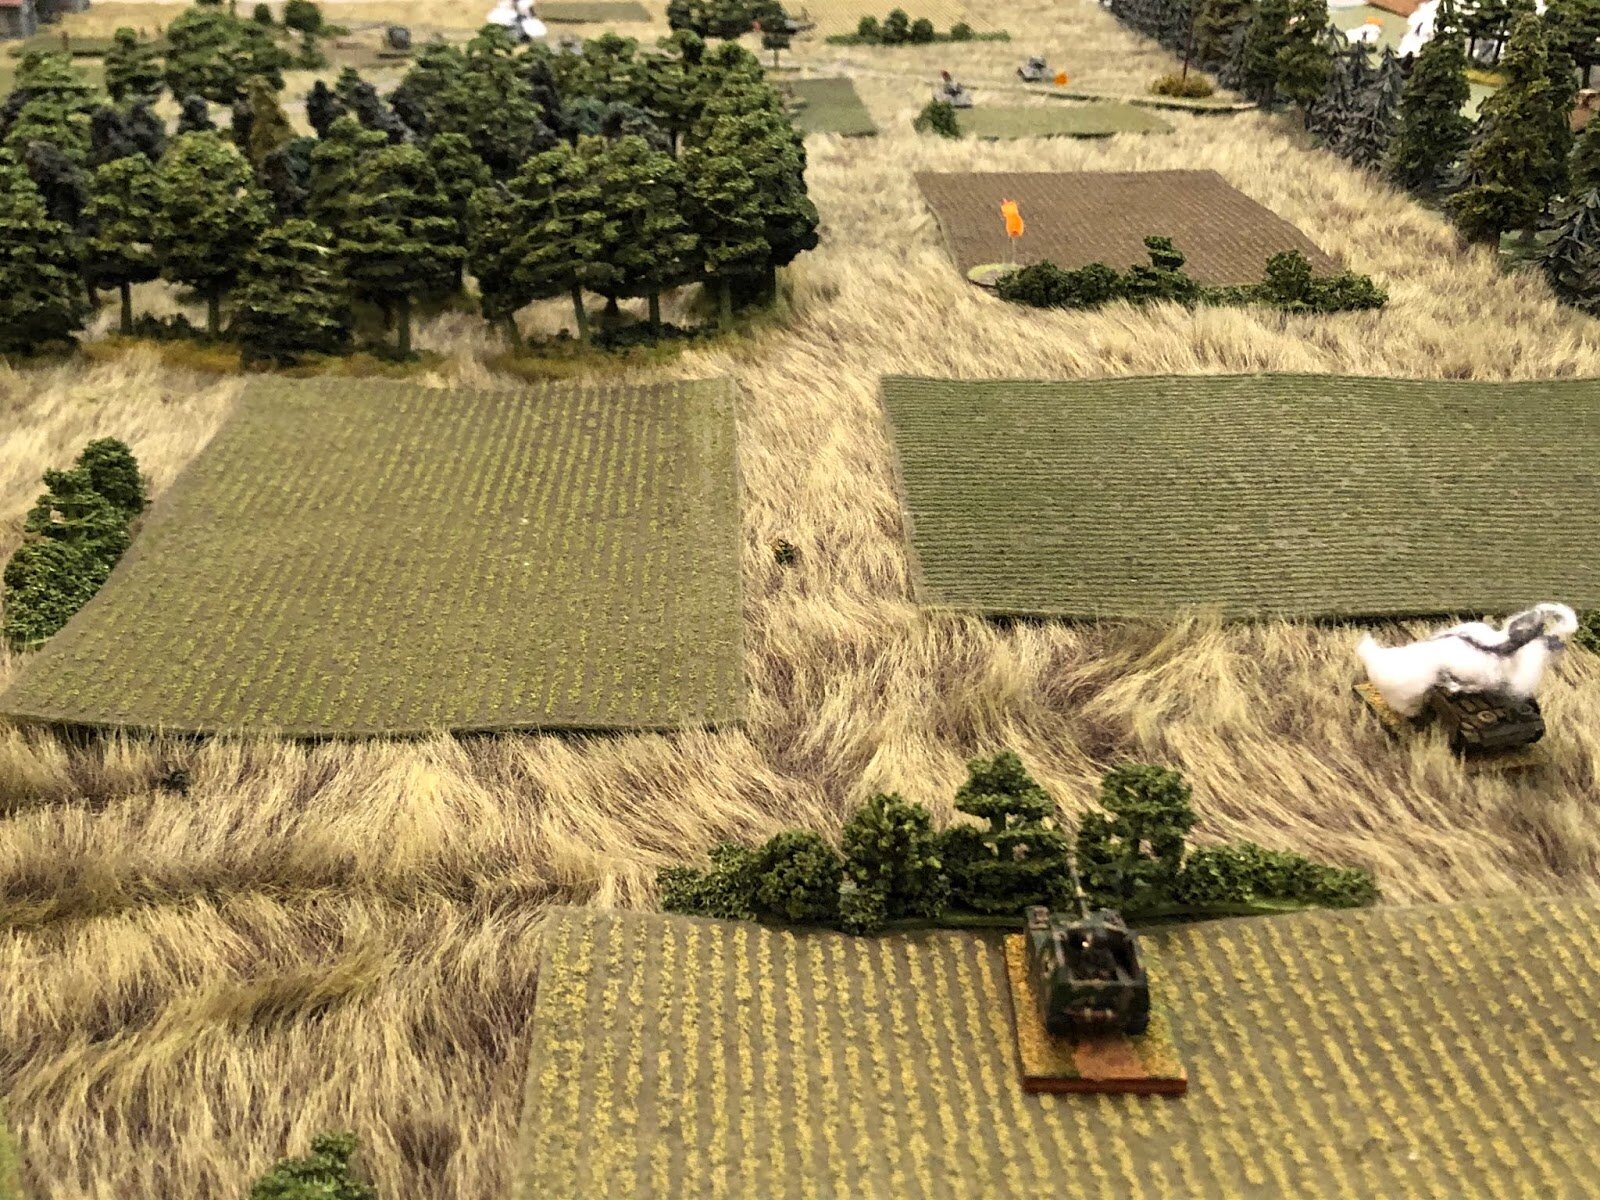
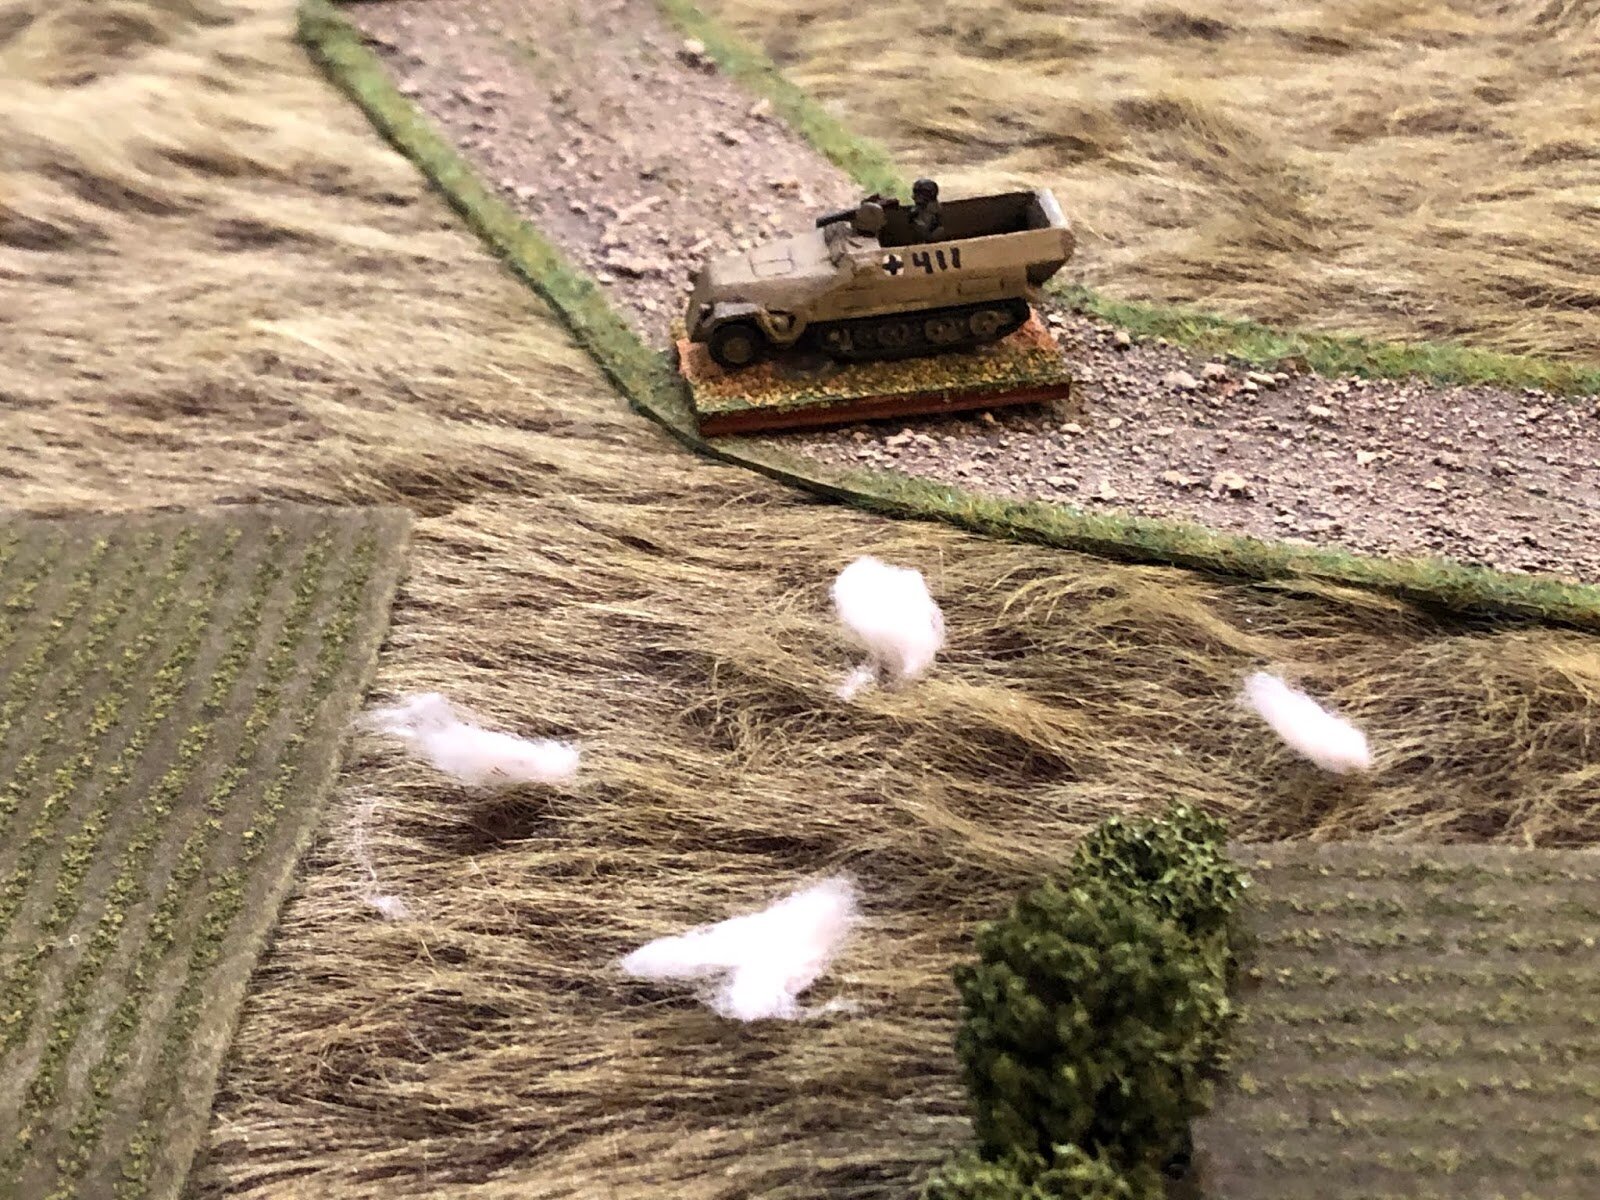
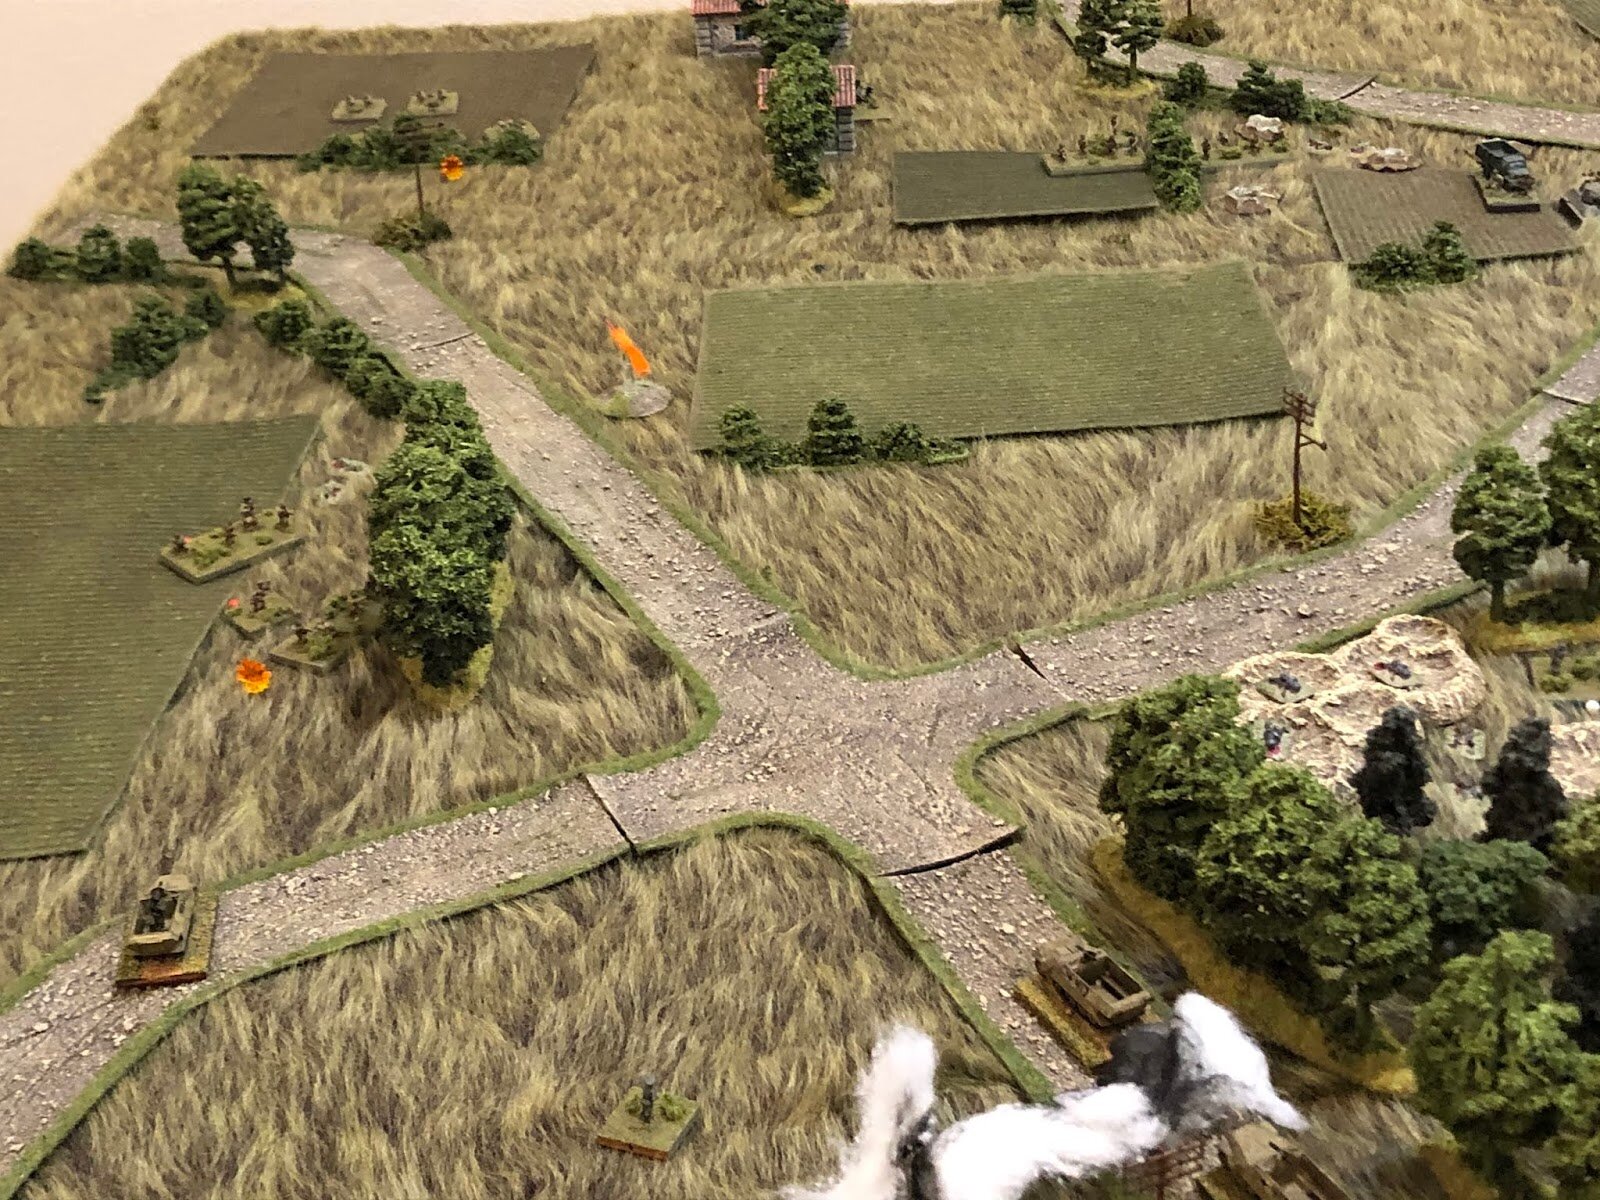
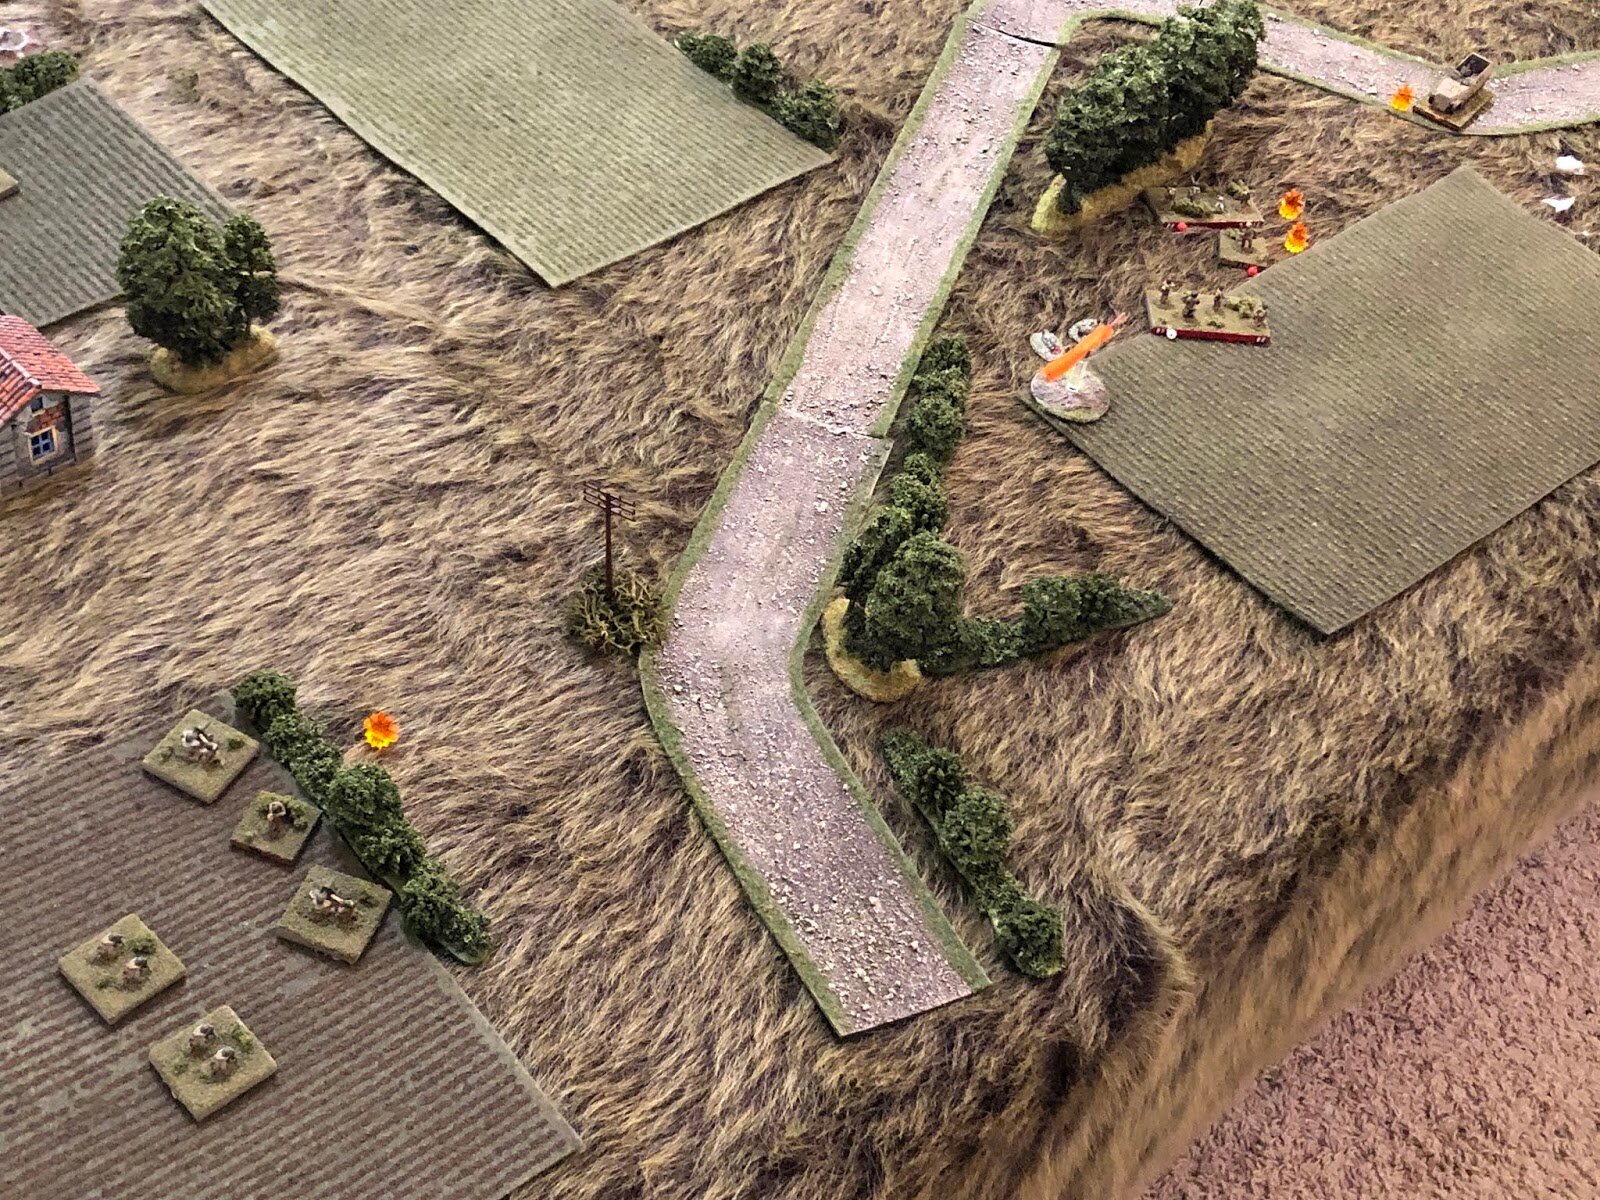
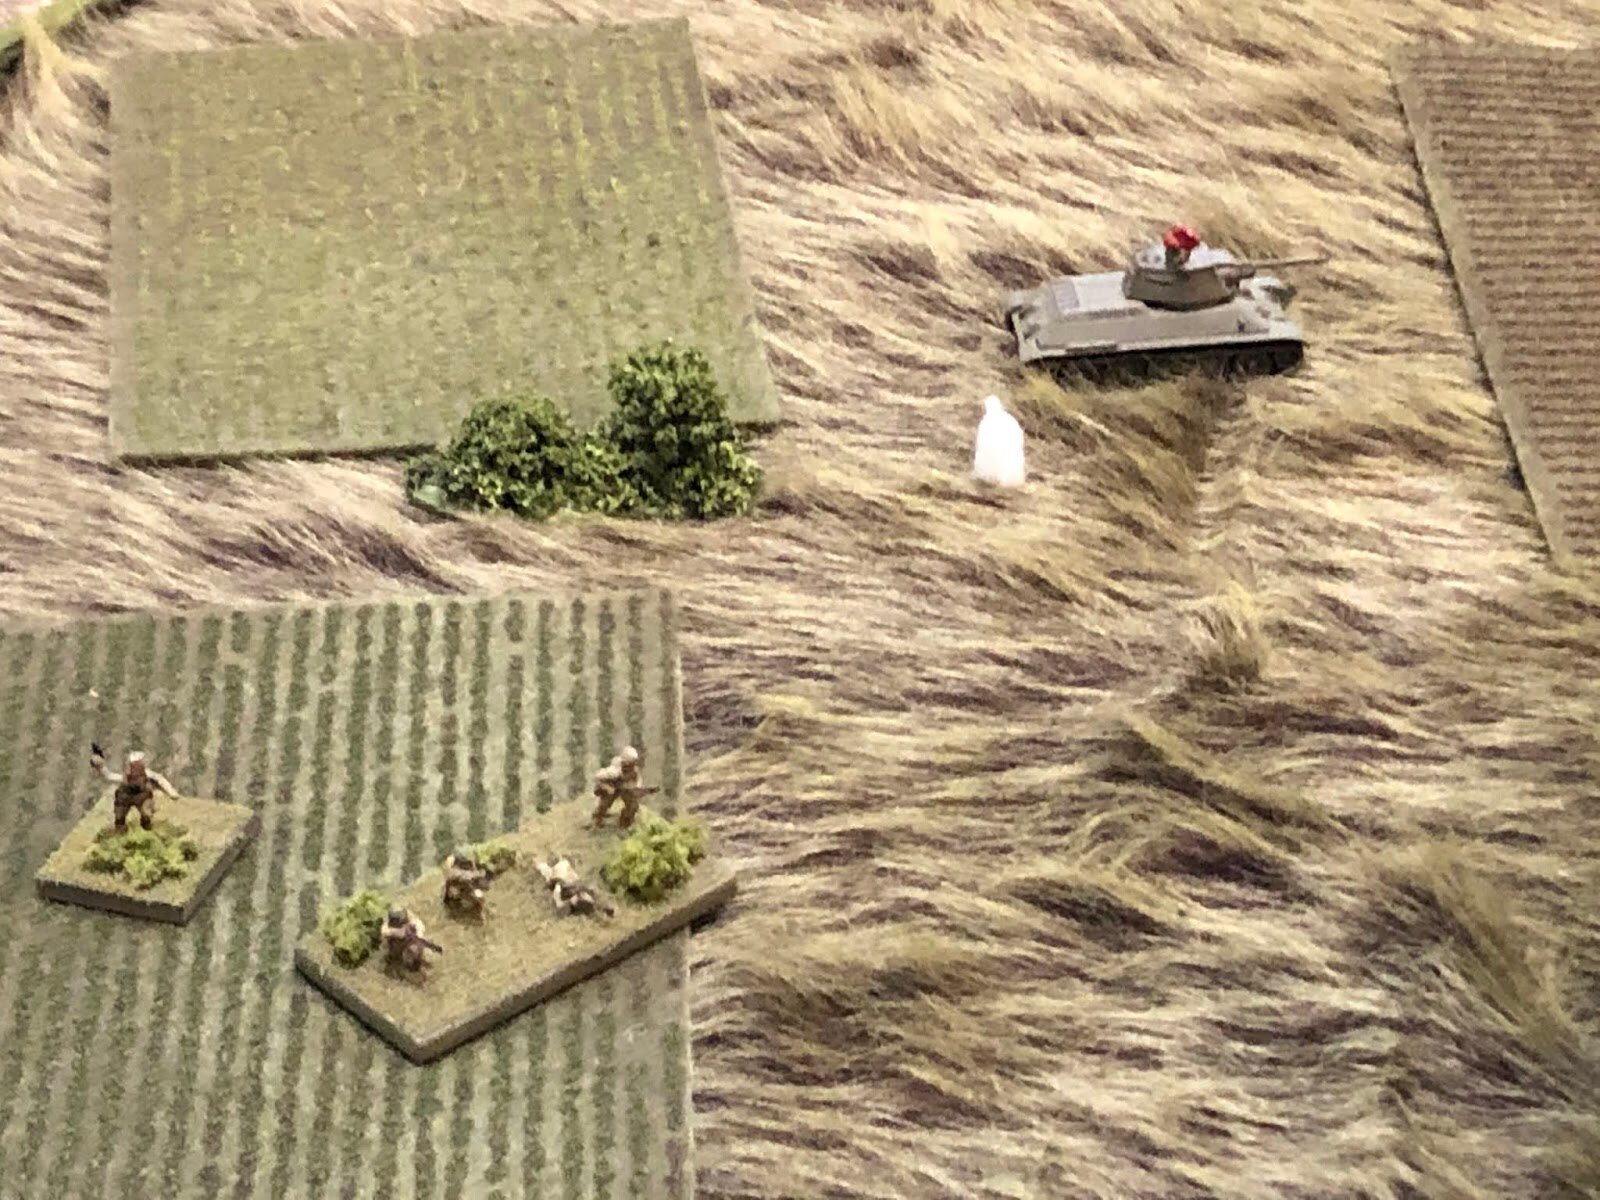
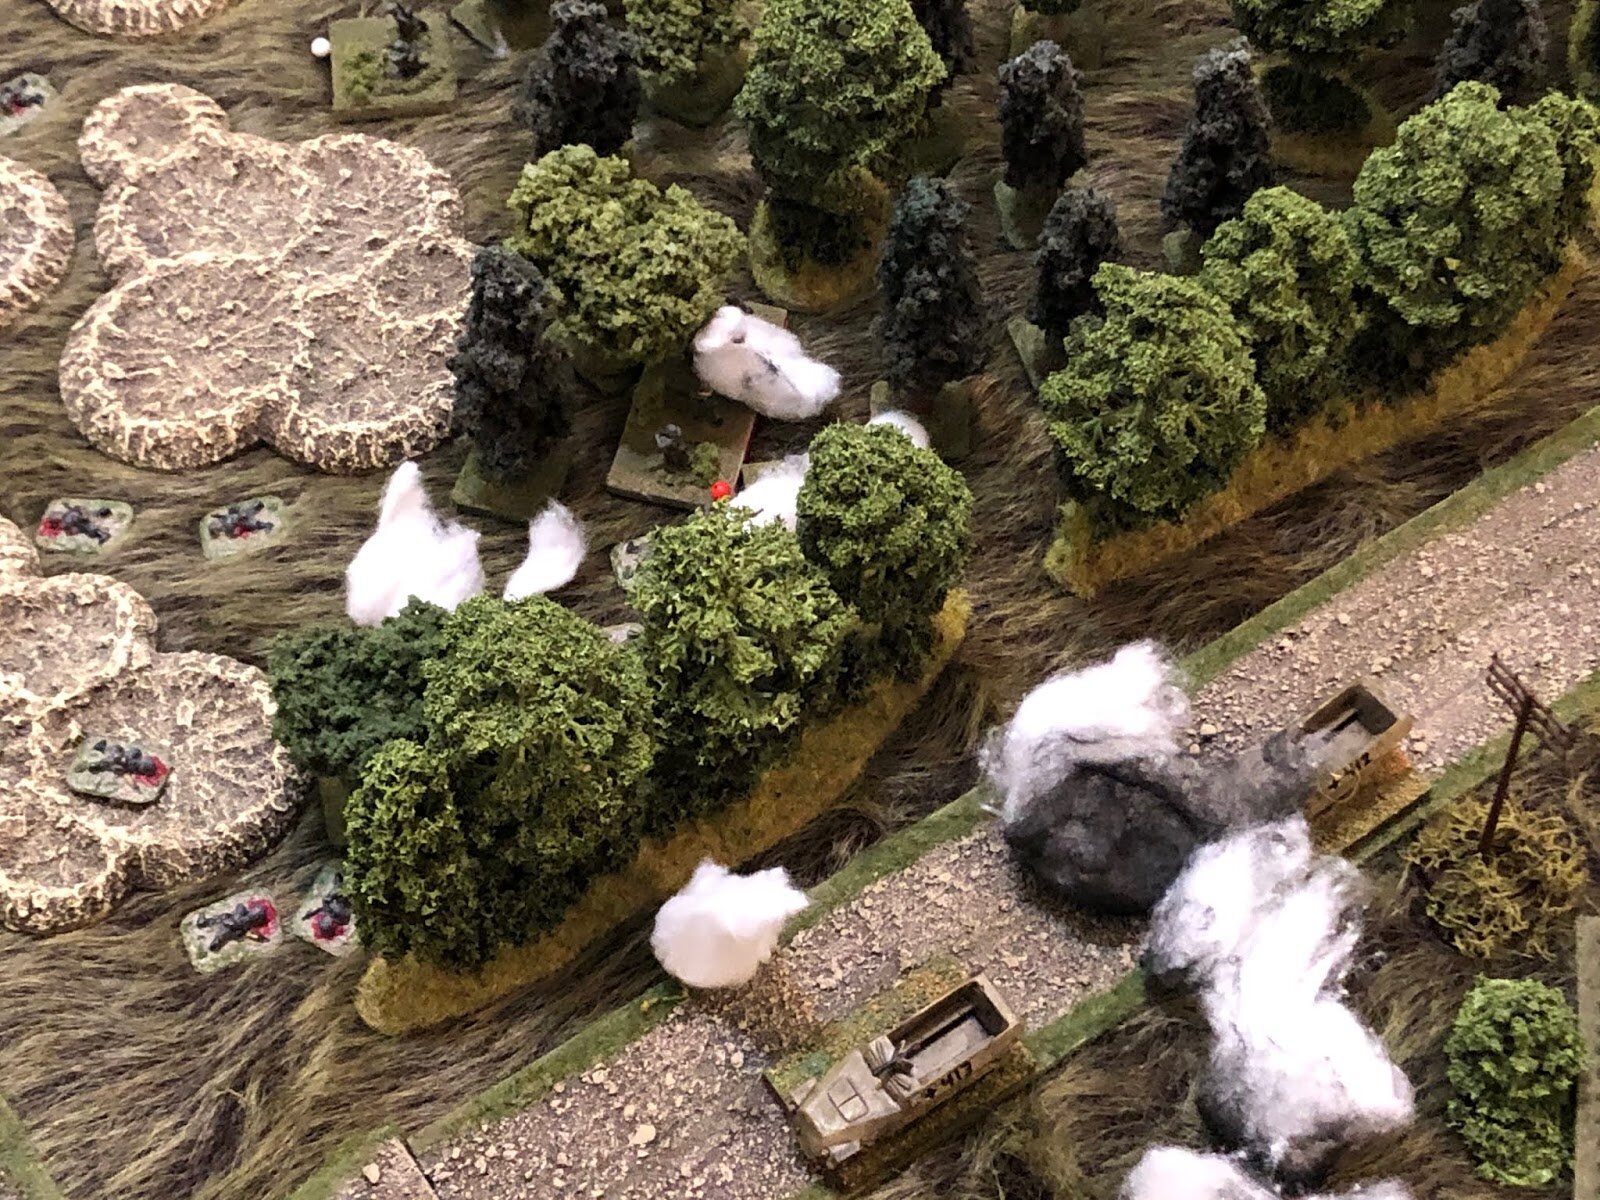
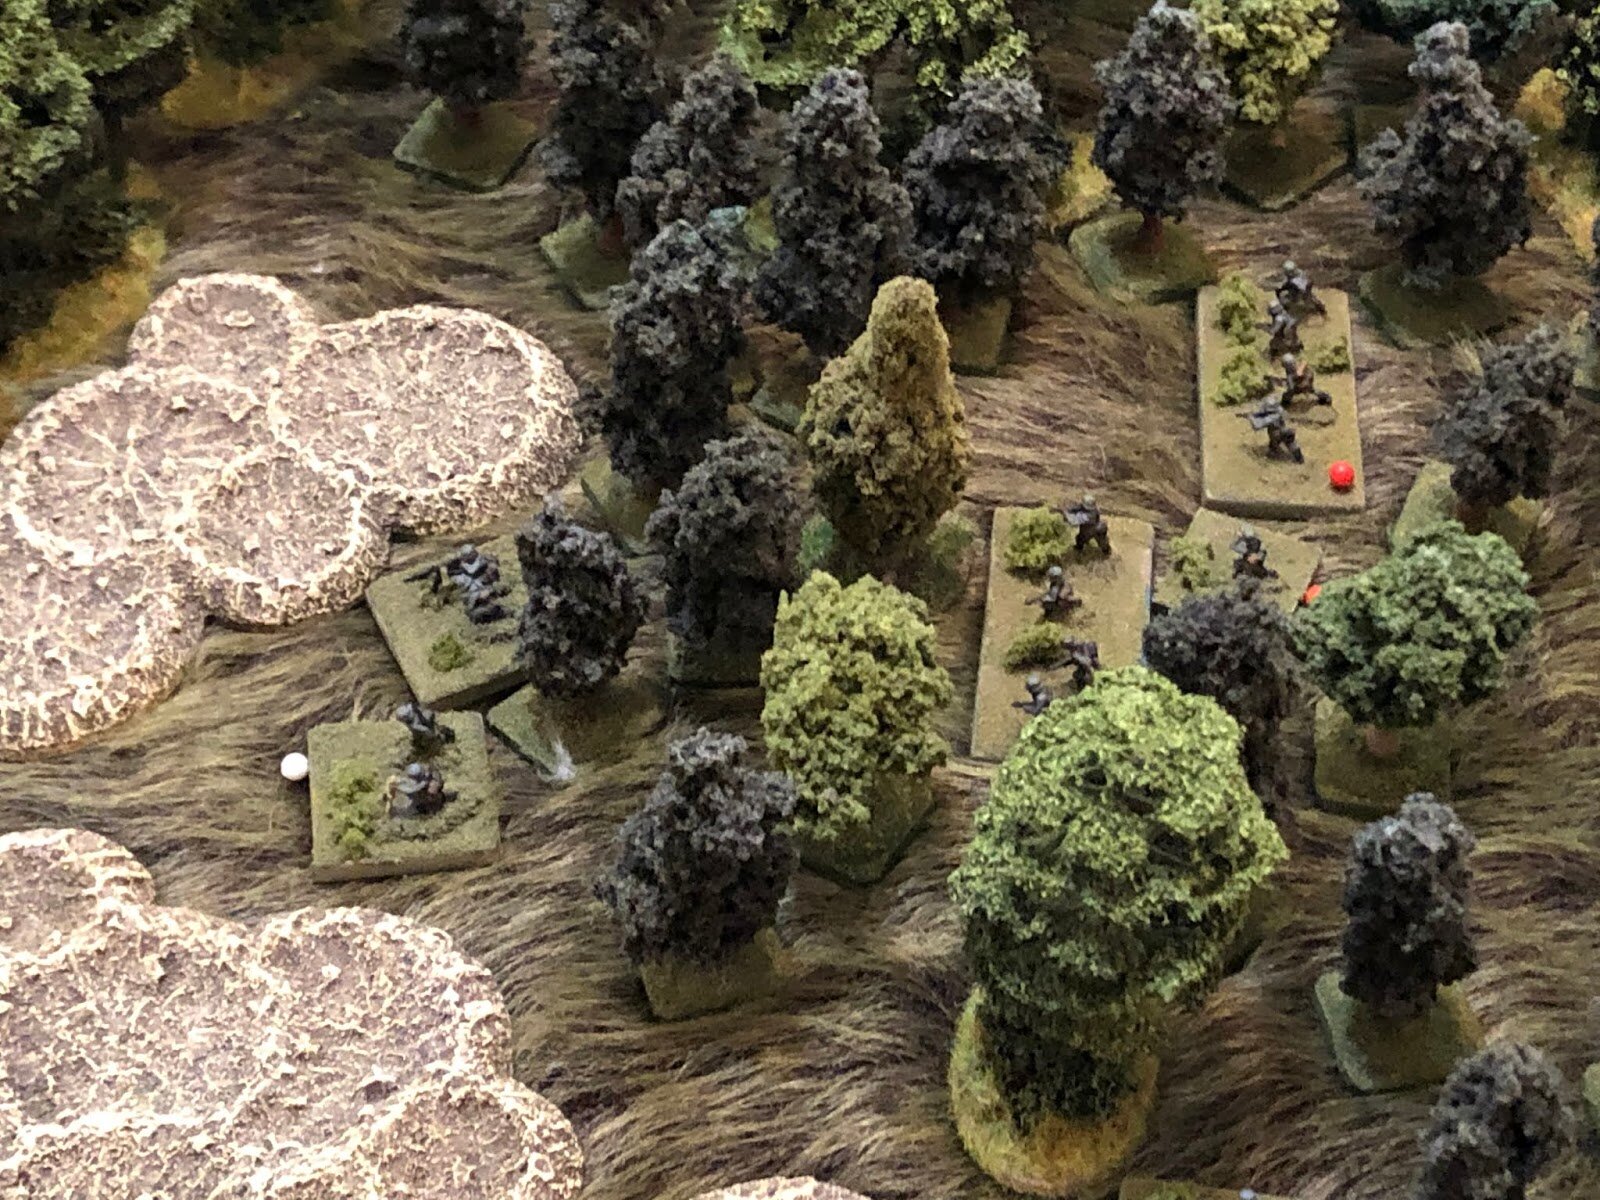
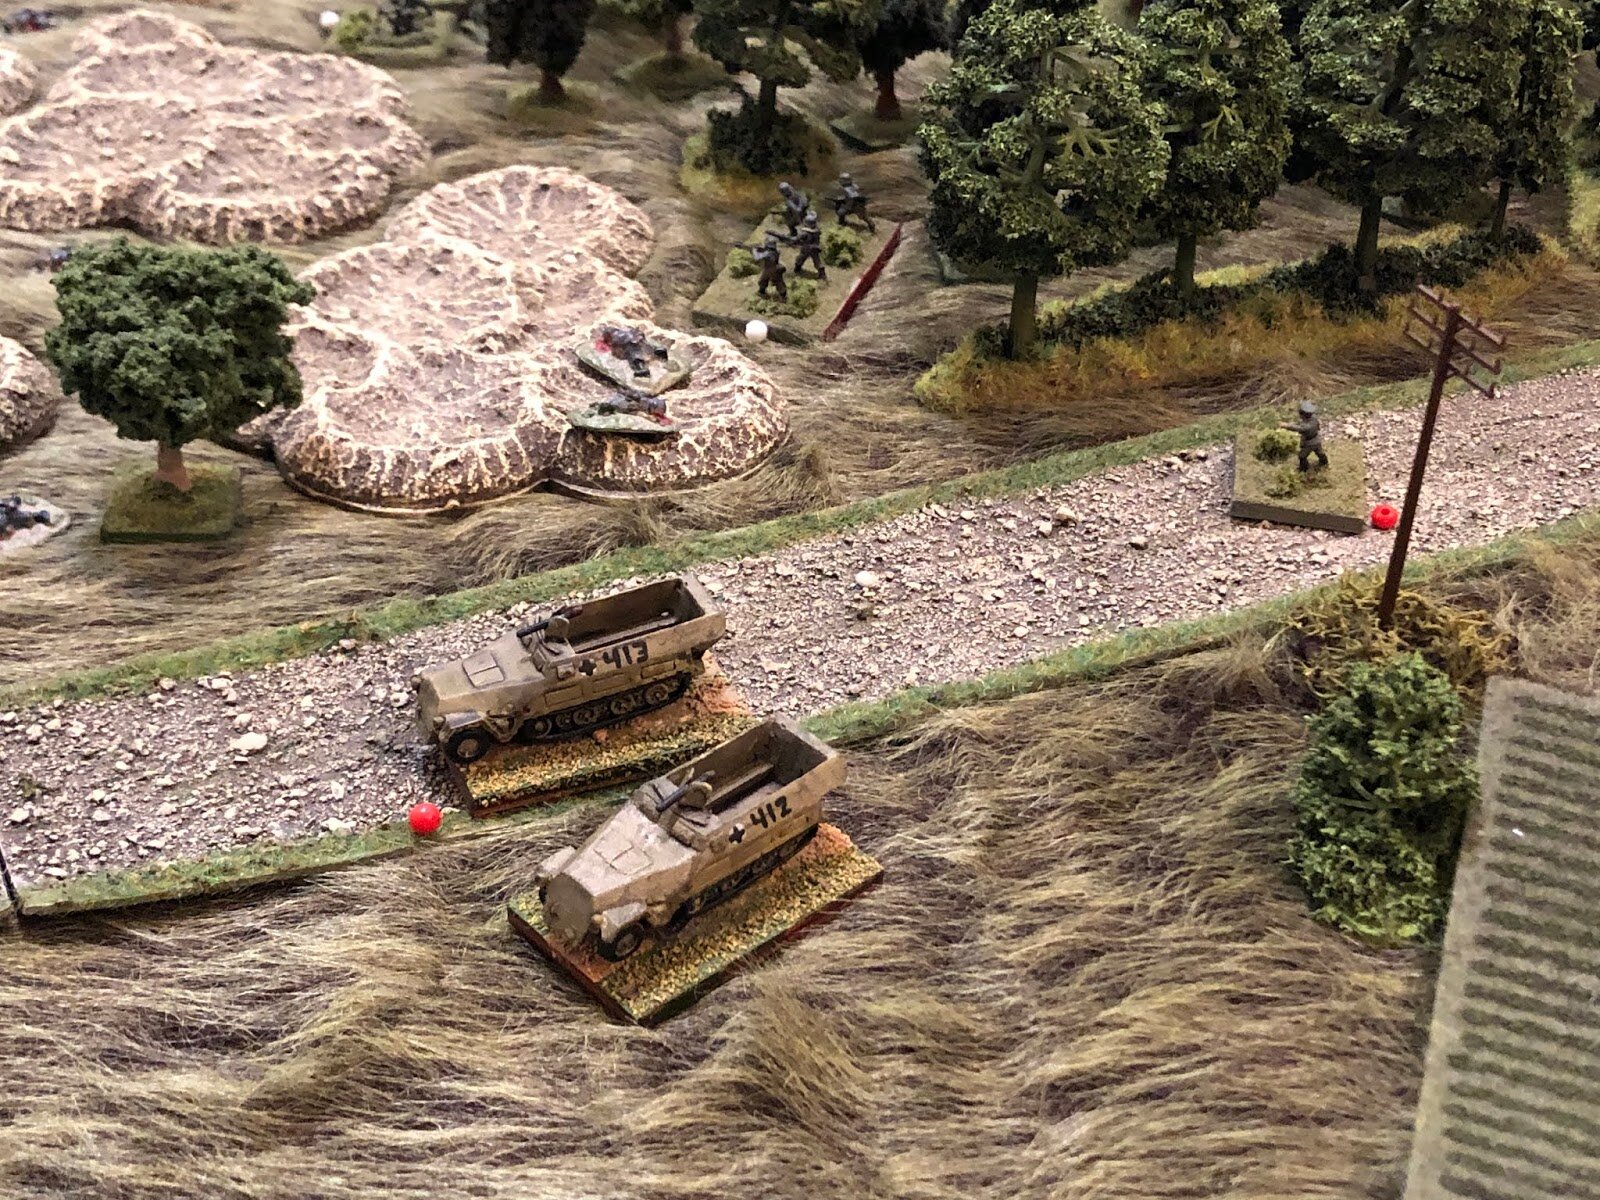
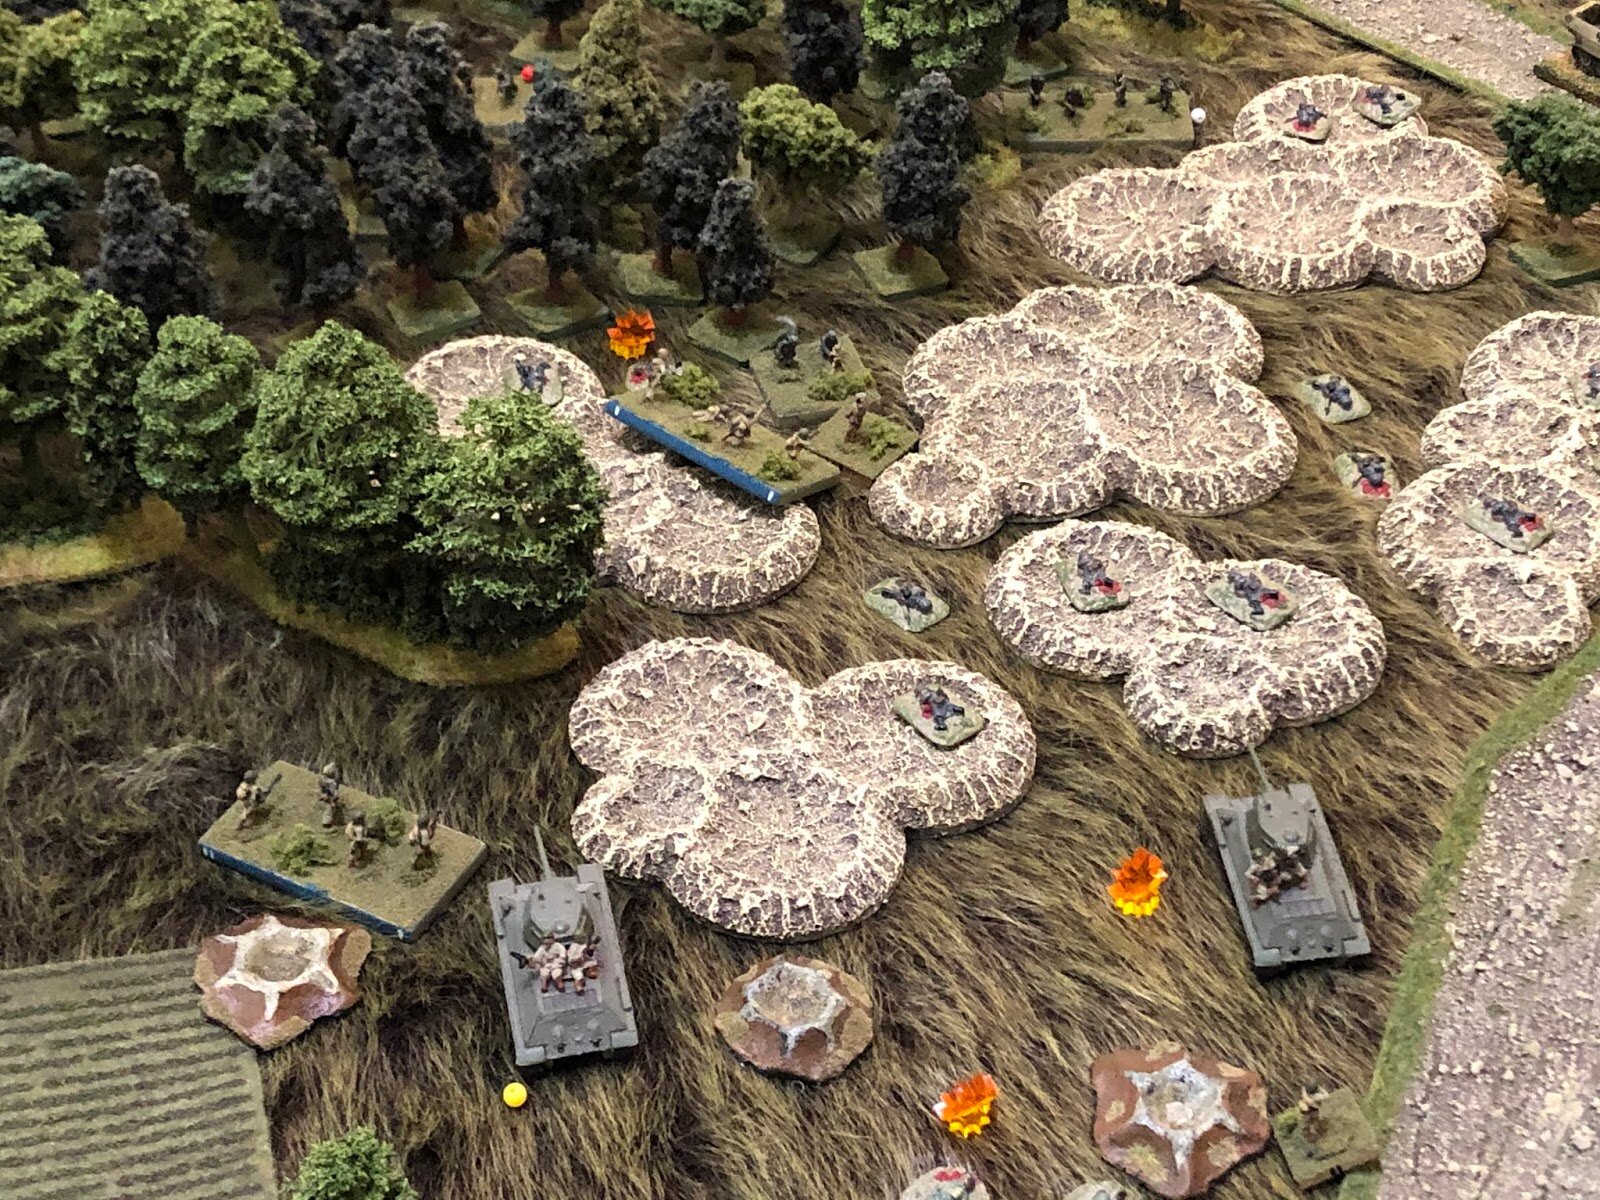
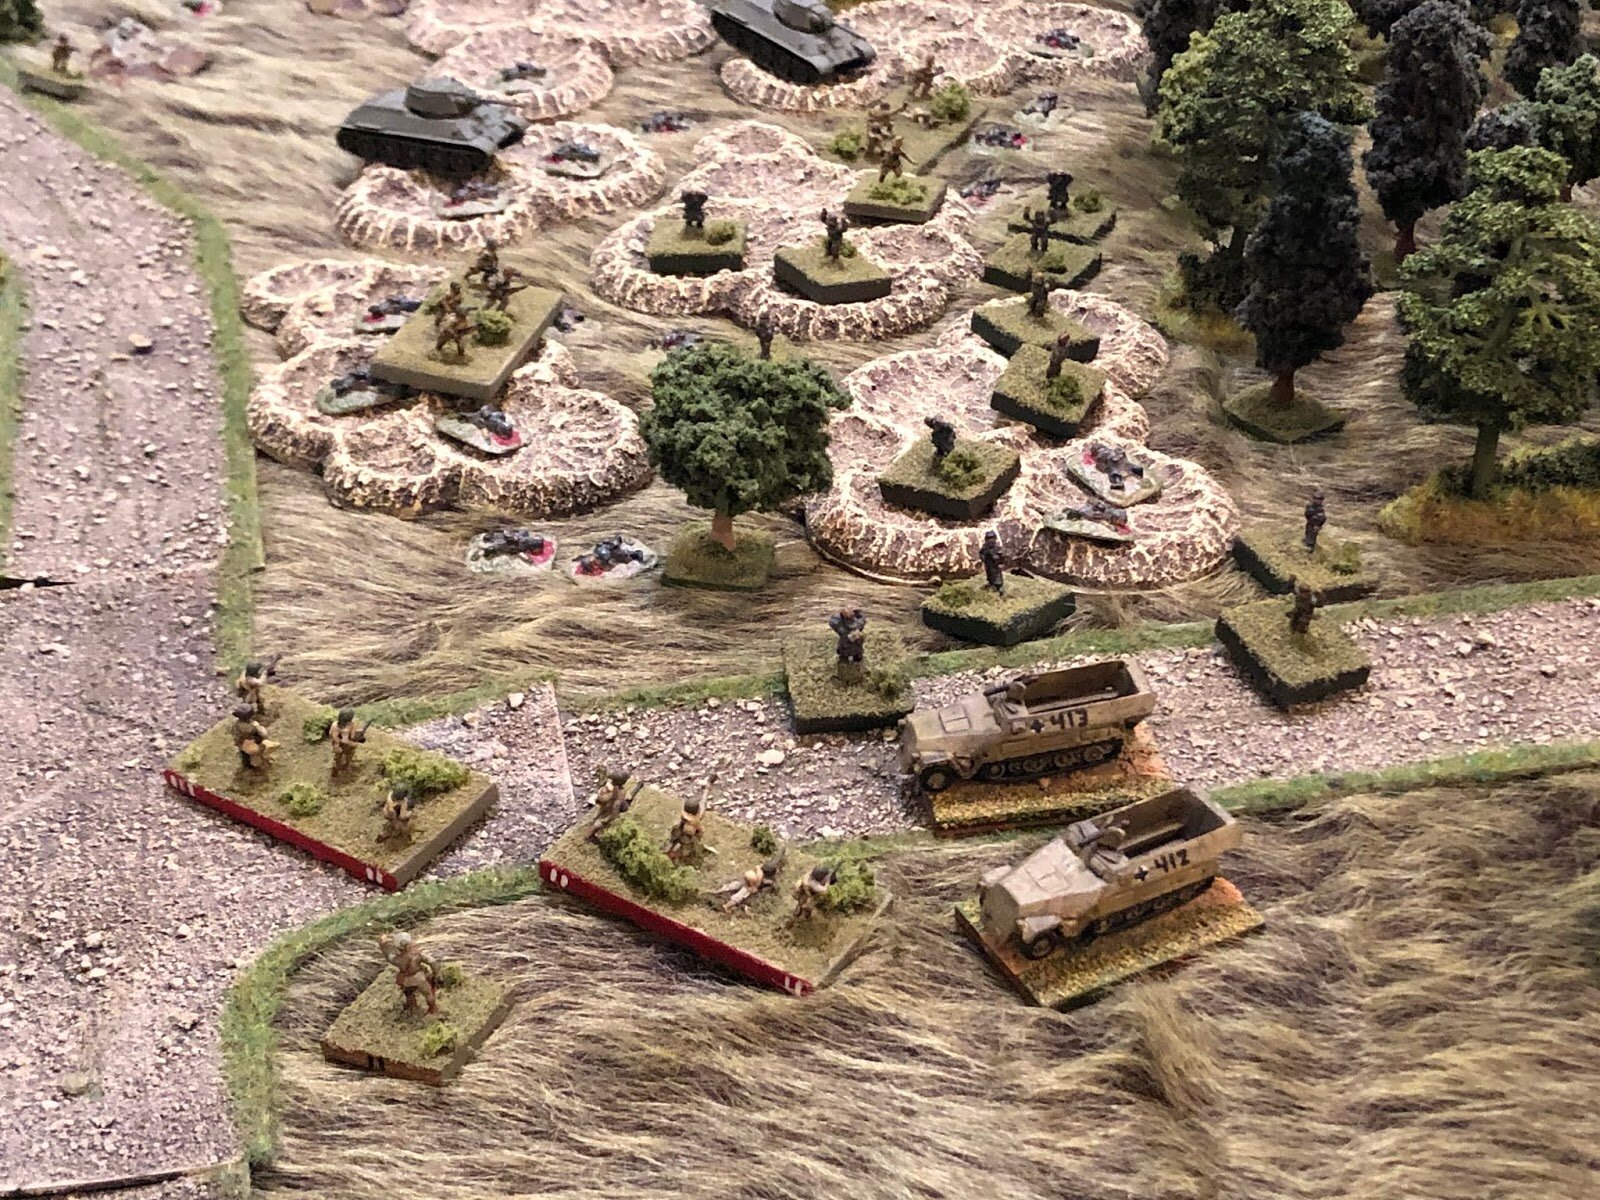
It’s also worth mentioning at this point that other Soviet Blinds were swarming forward. On my right hand side, one Blind headed speedily towards where my anti-tank guns had been; on the left, two Blinds inched their way forward to where one of my infantry platoons and both medium machine guns lay waiting for their arrival. I was in no hurry to spot them off their Blinds: the chip bag was pretty full, so it was going to take quite a lot of game time for the Soviet Blinds chip to arrive!
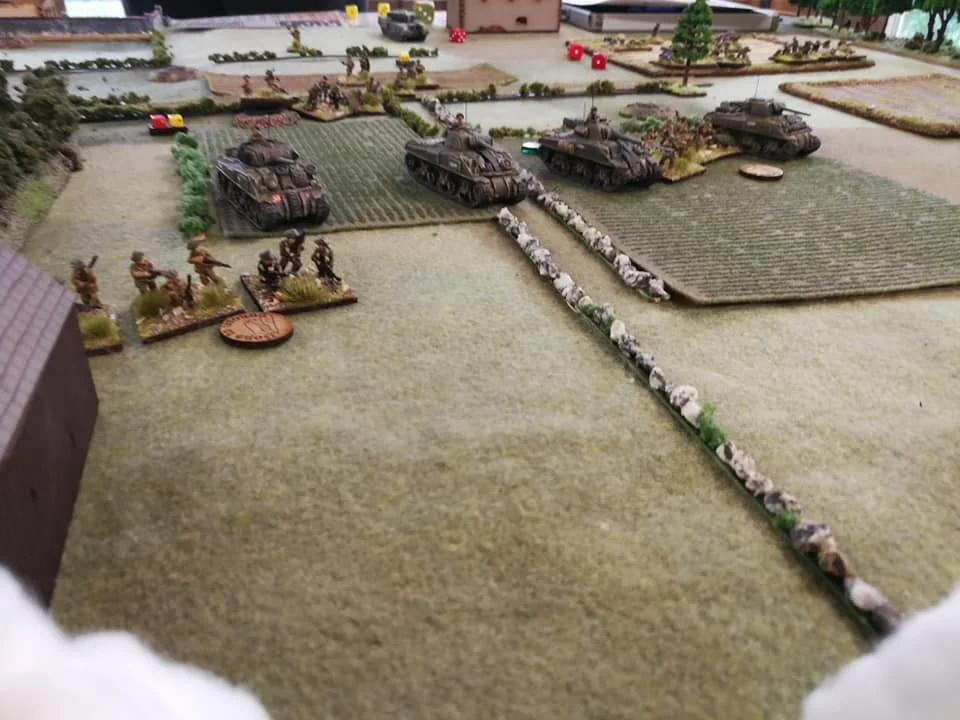
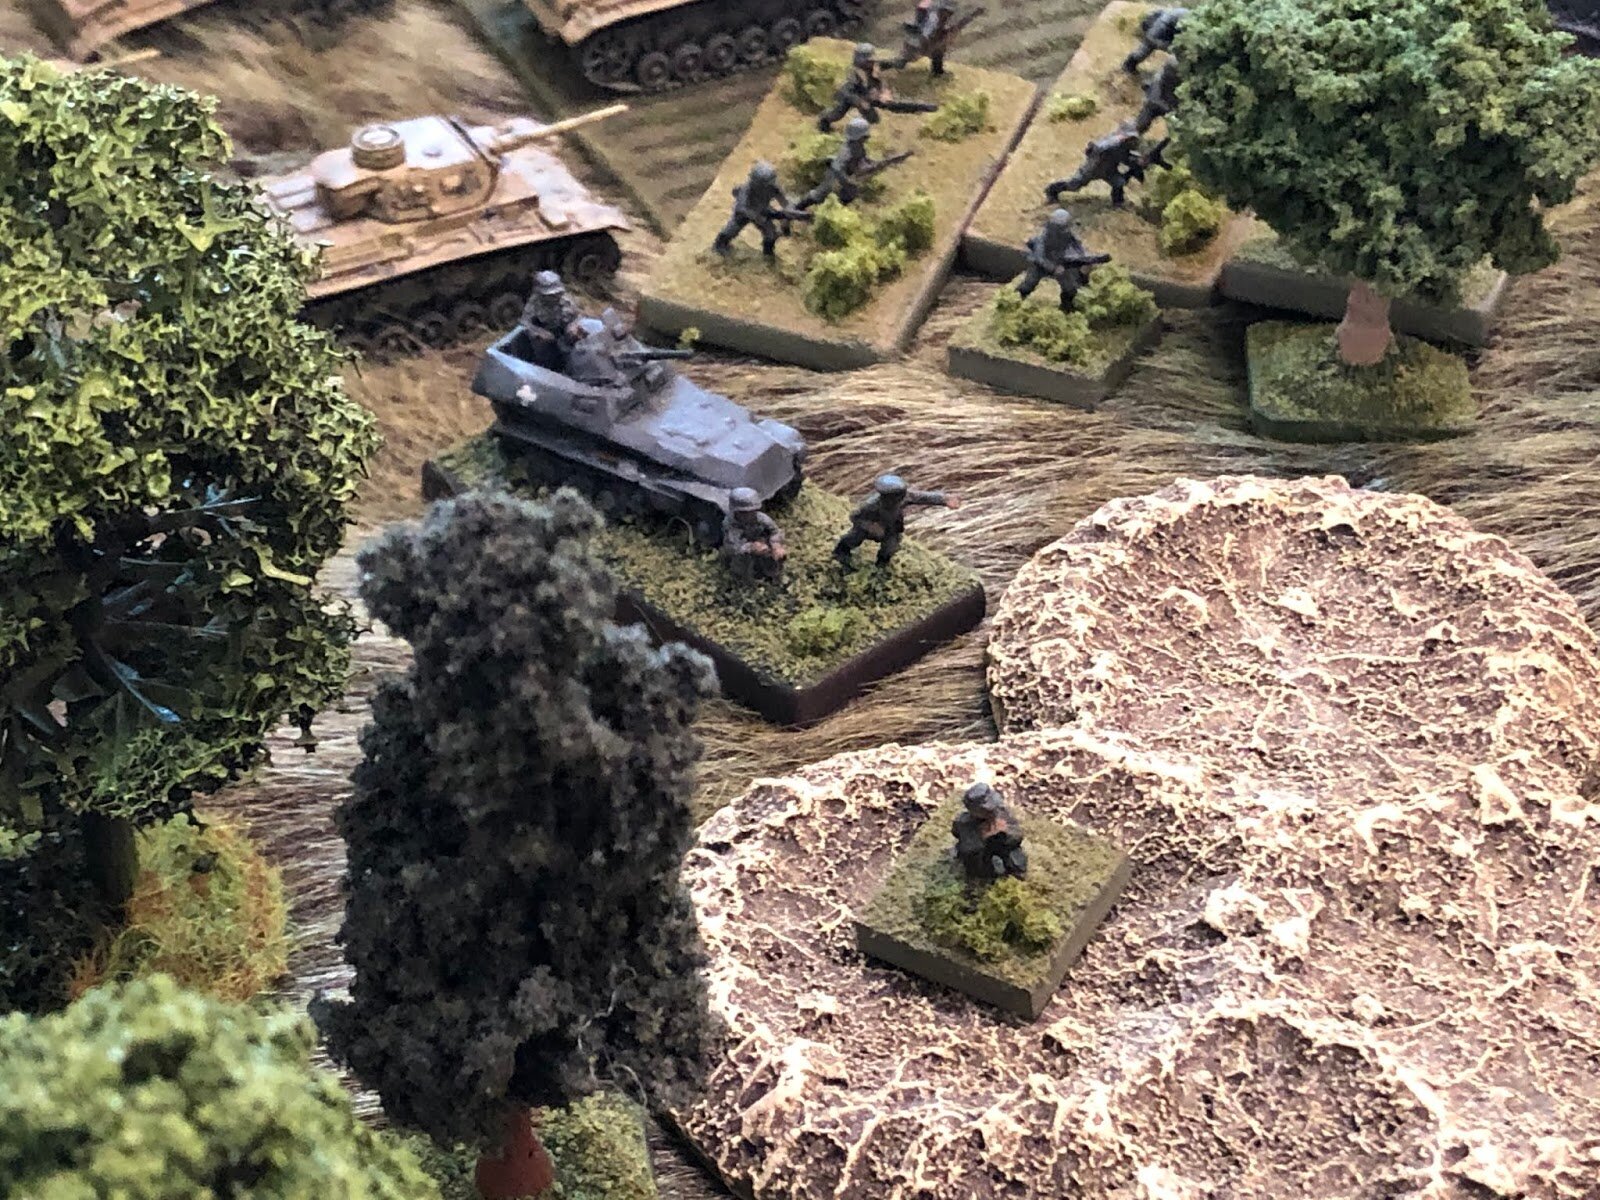
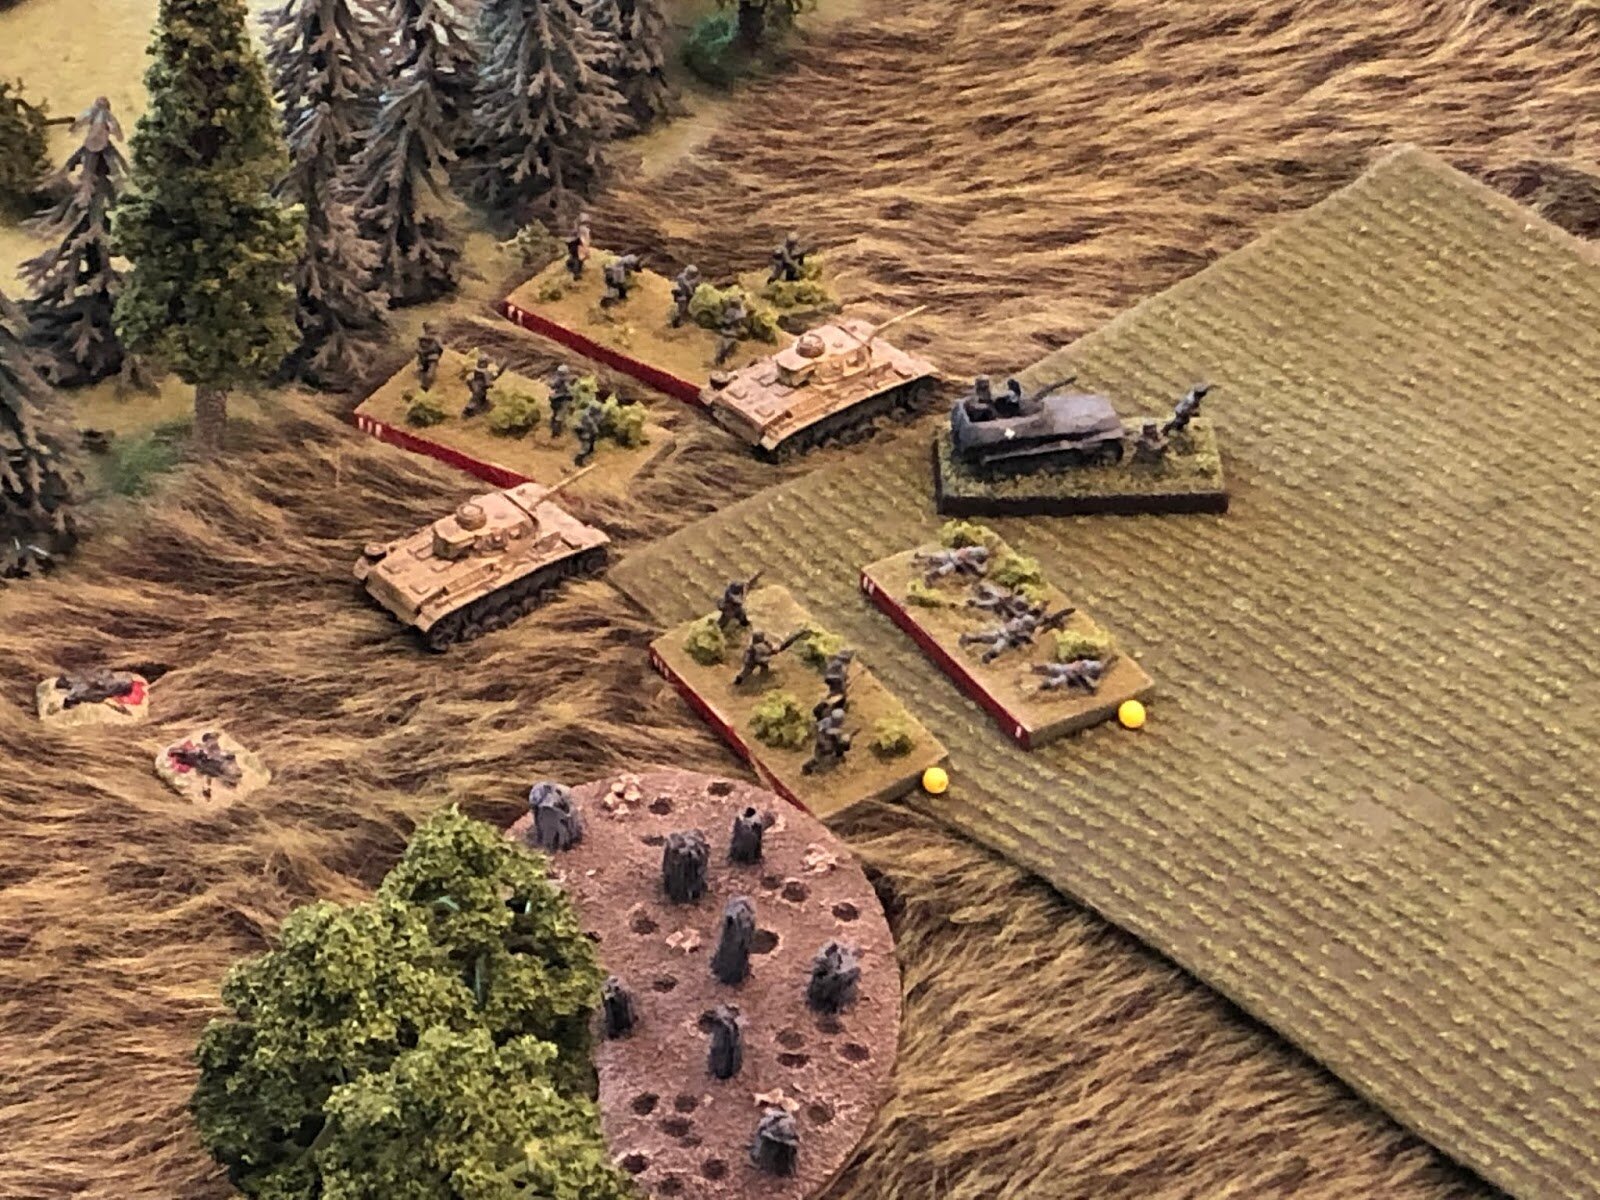
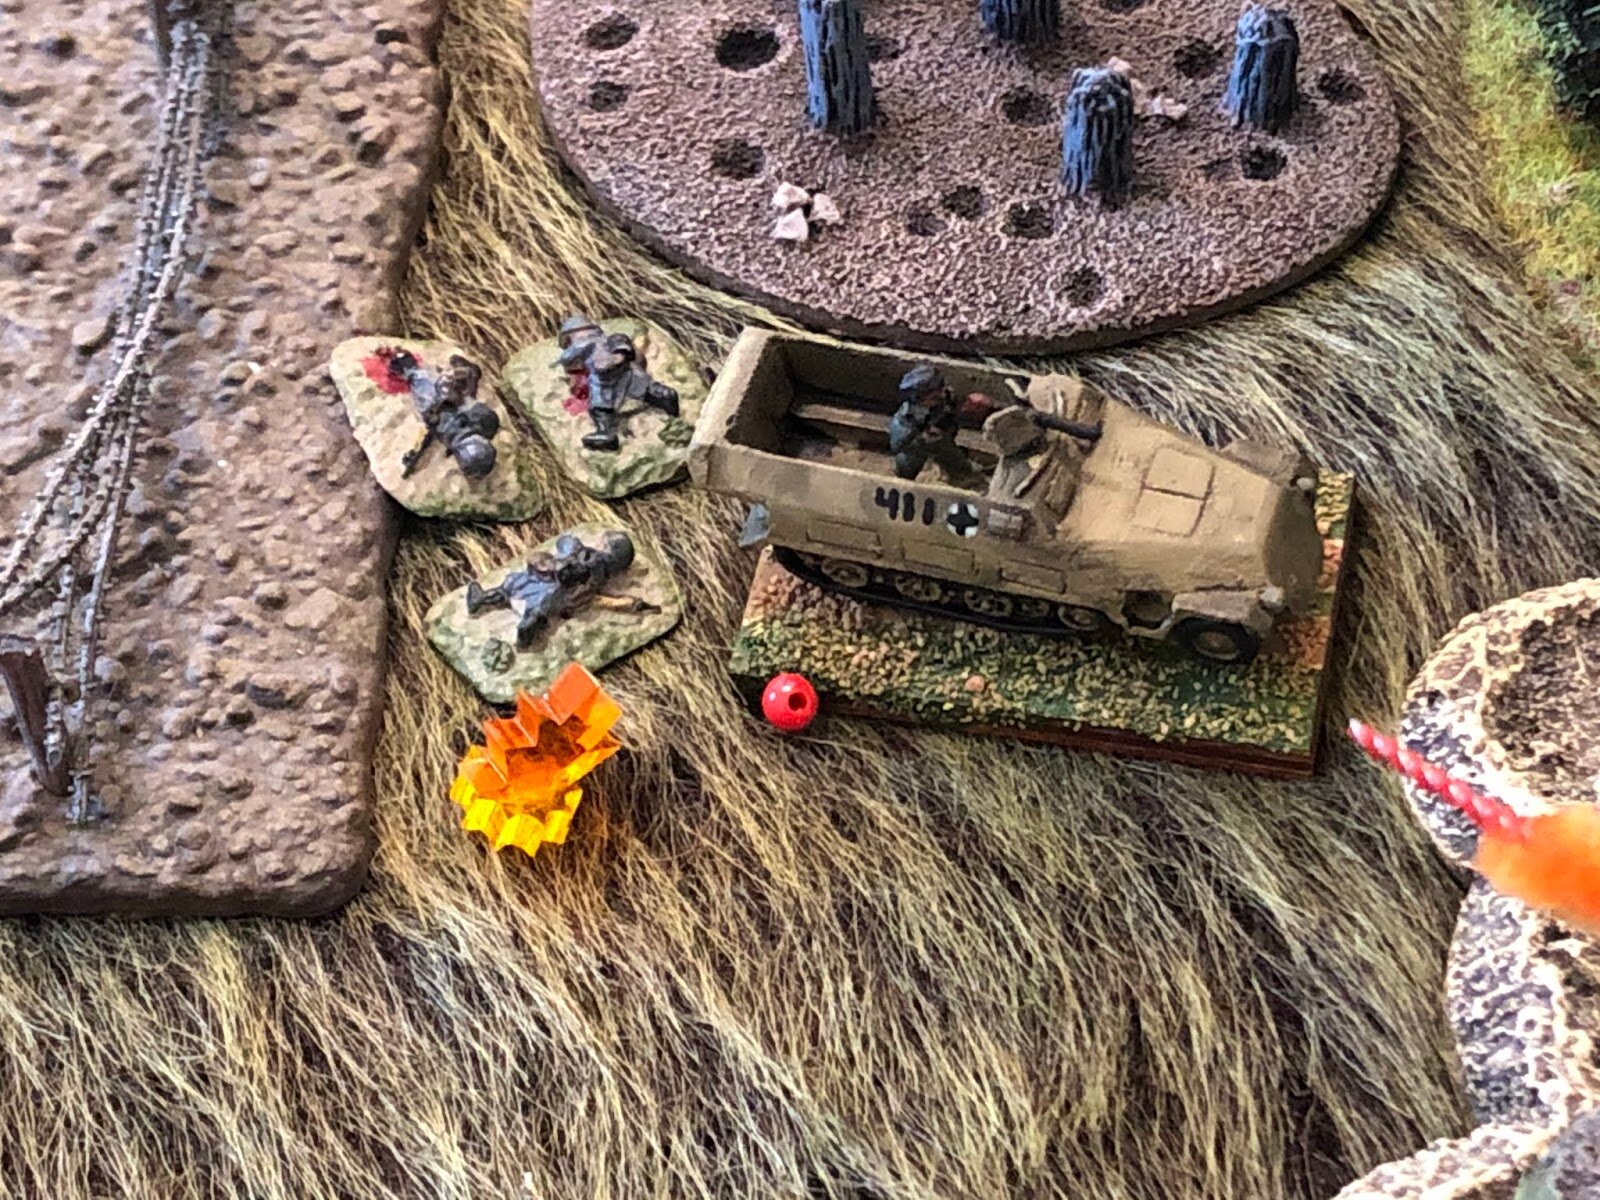
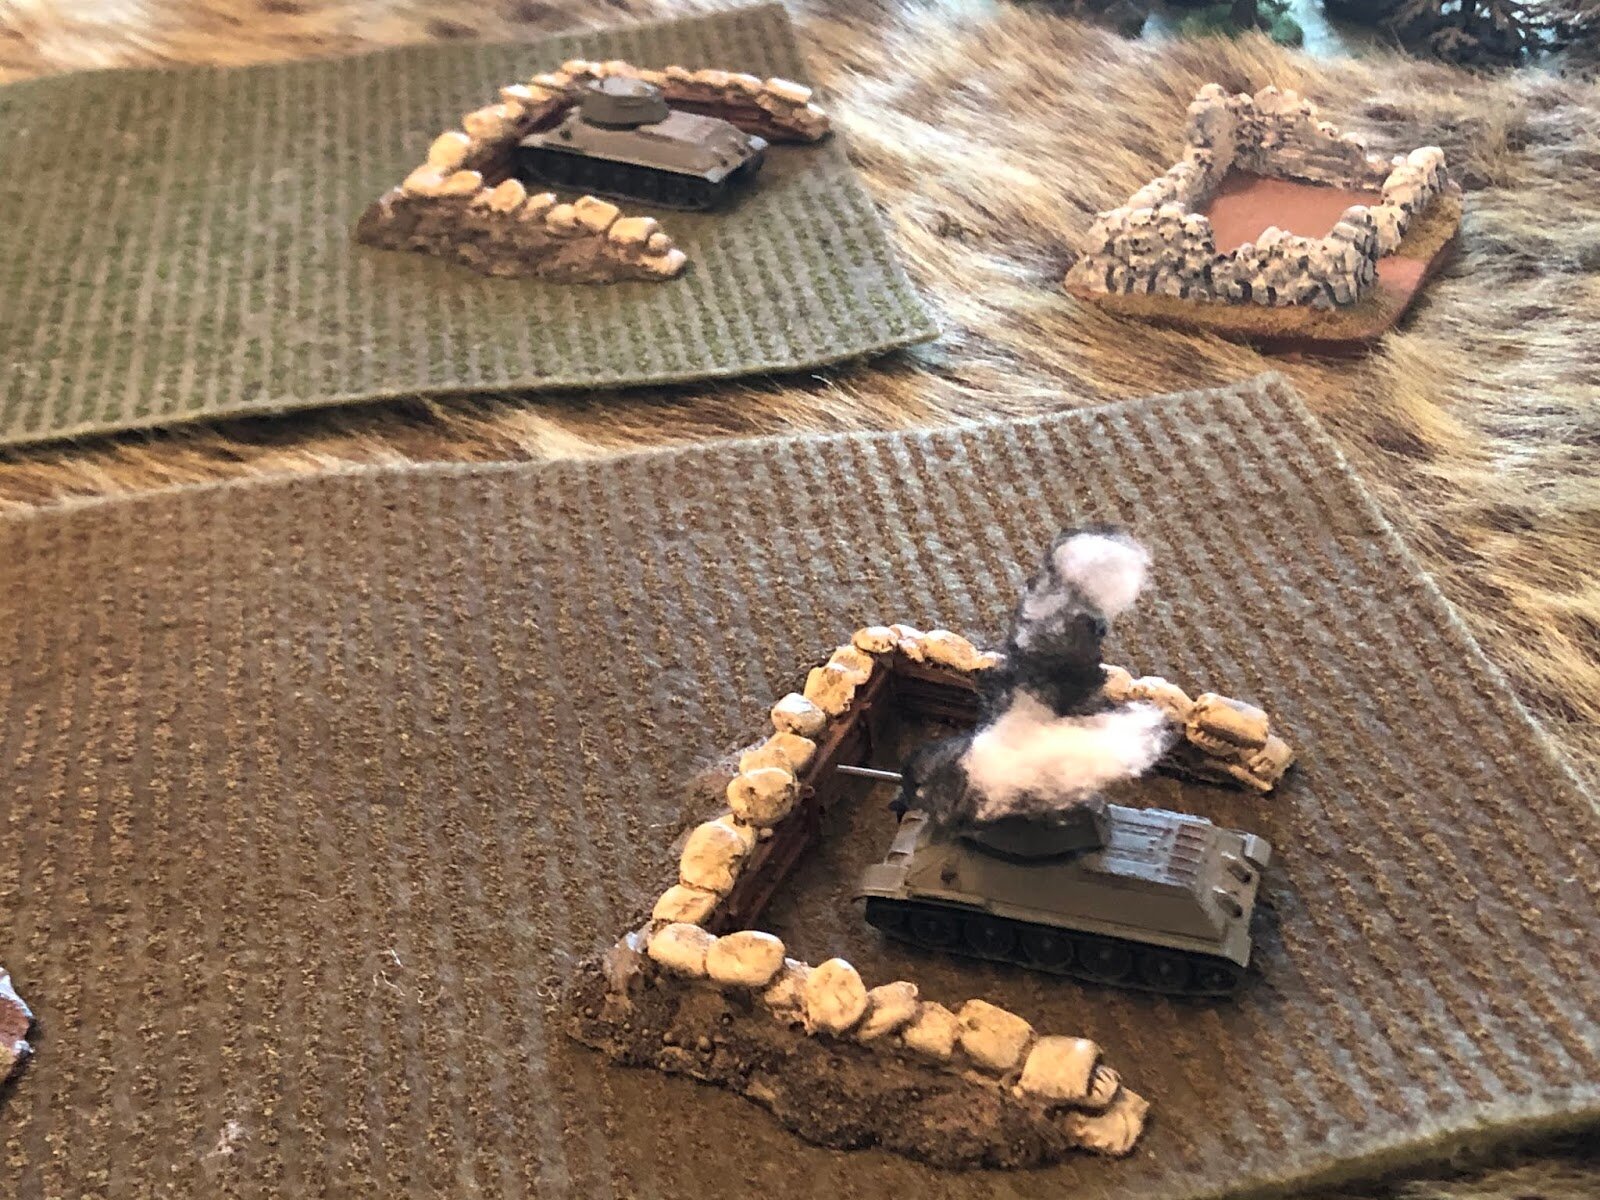
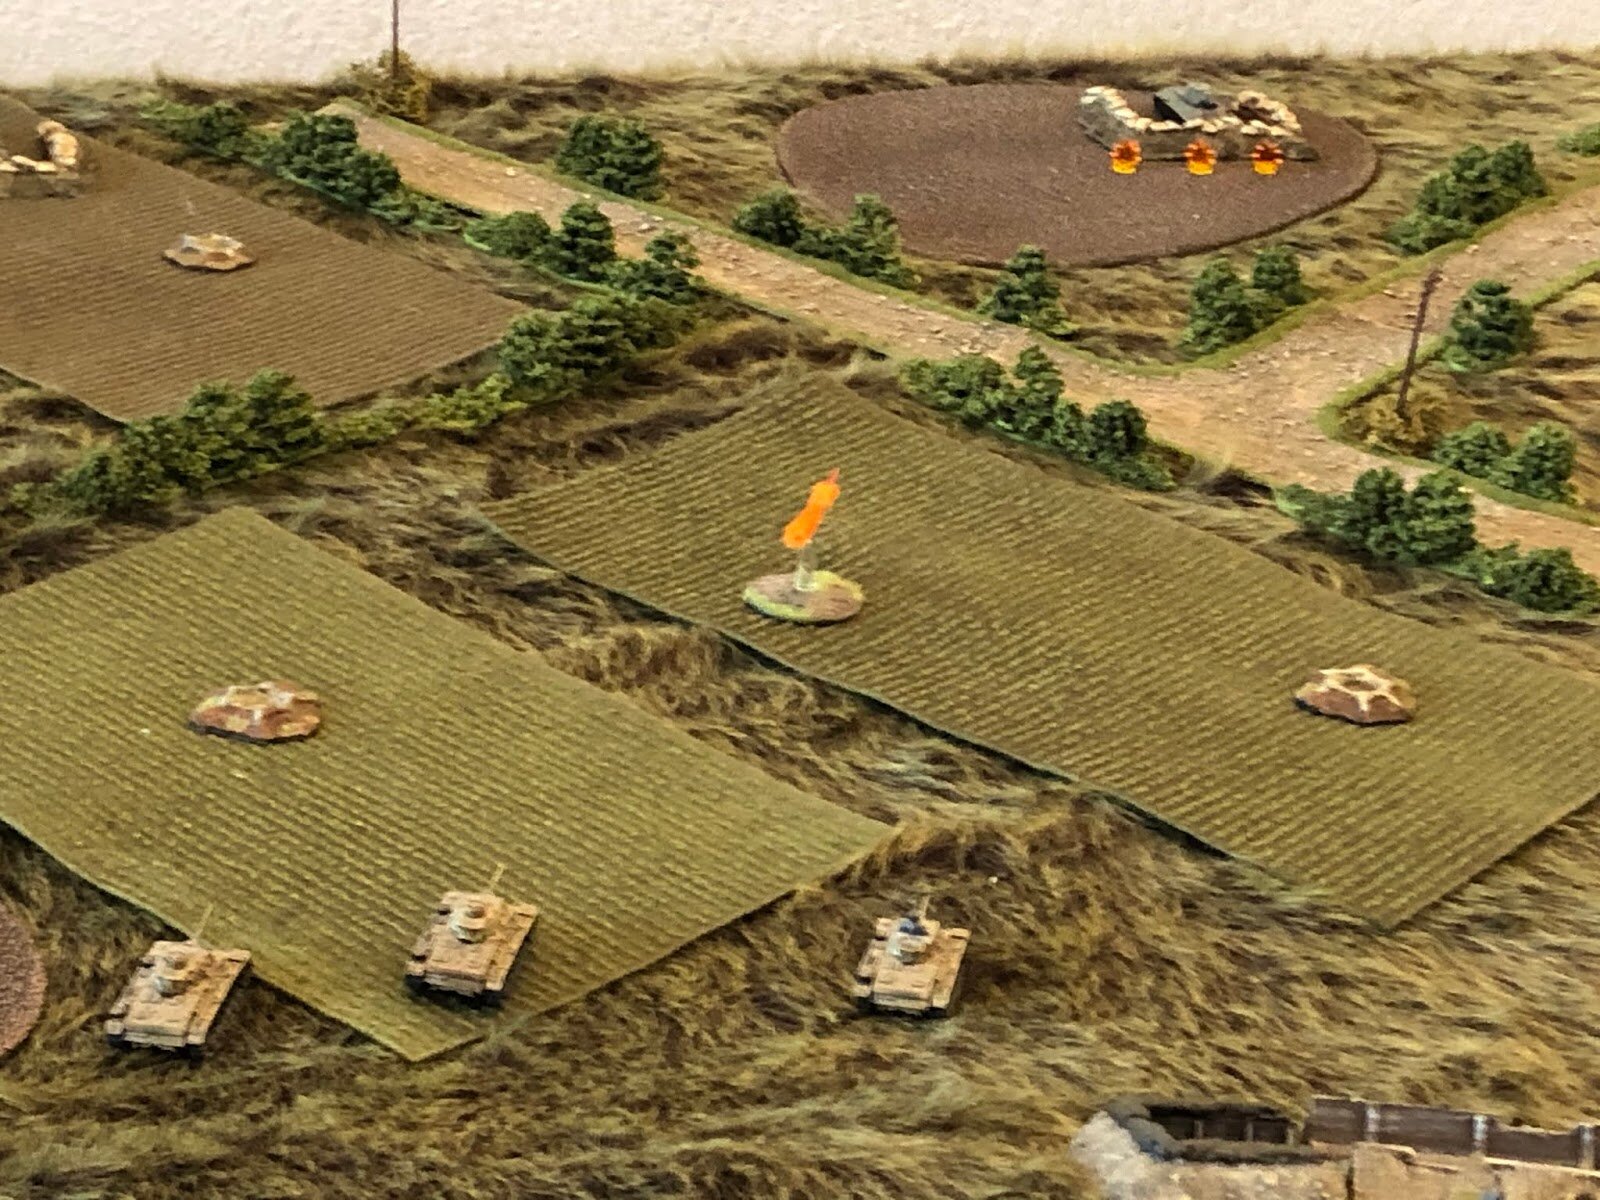
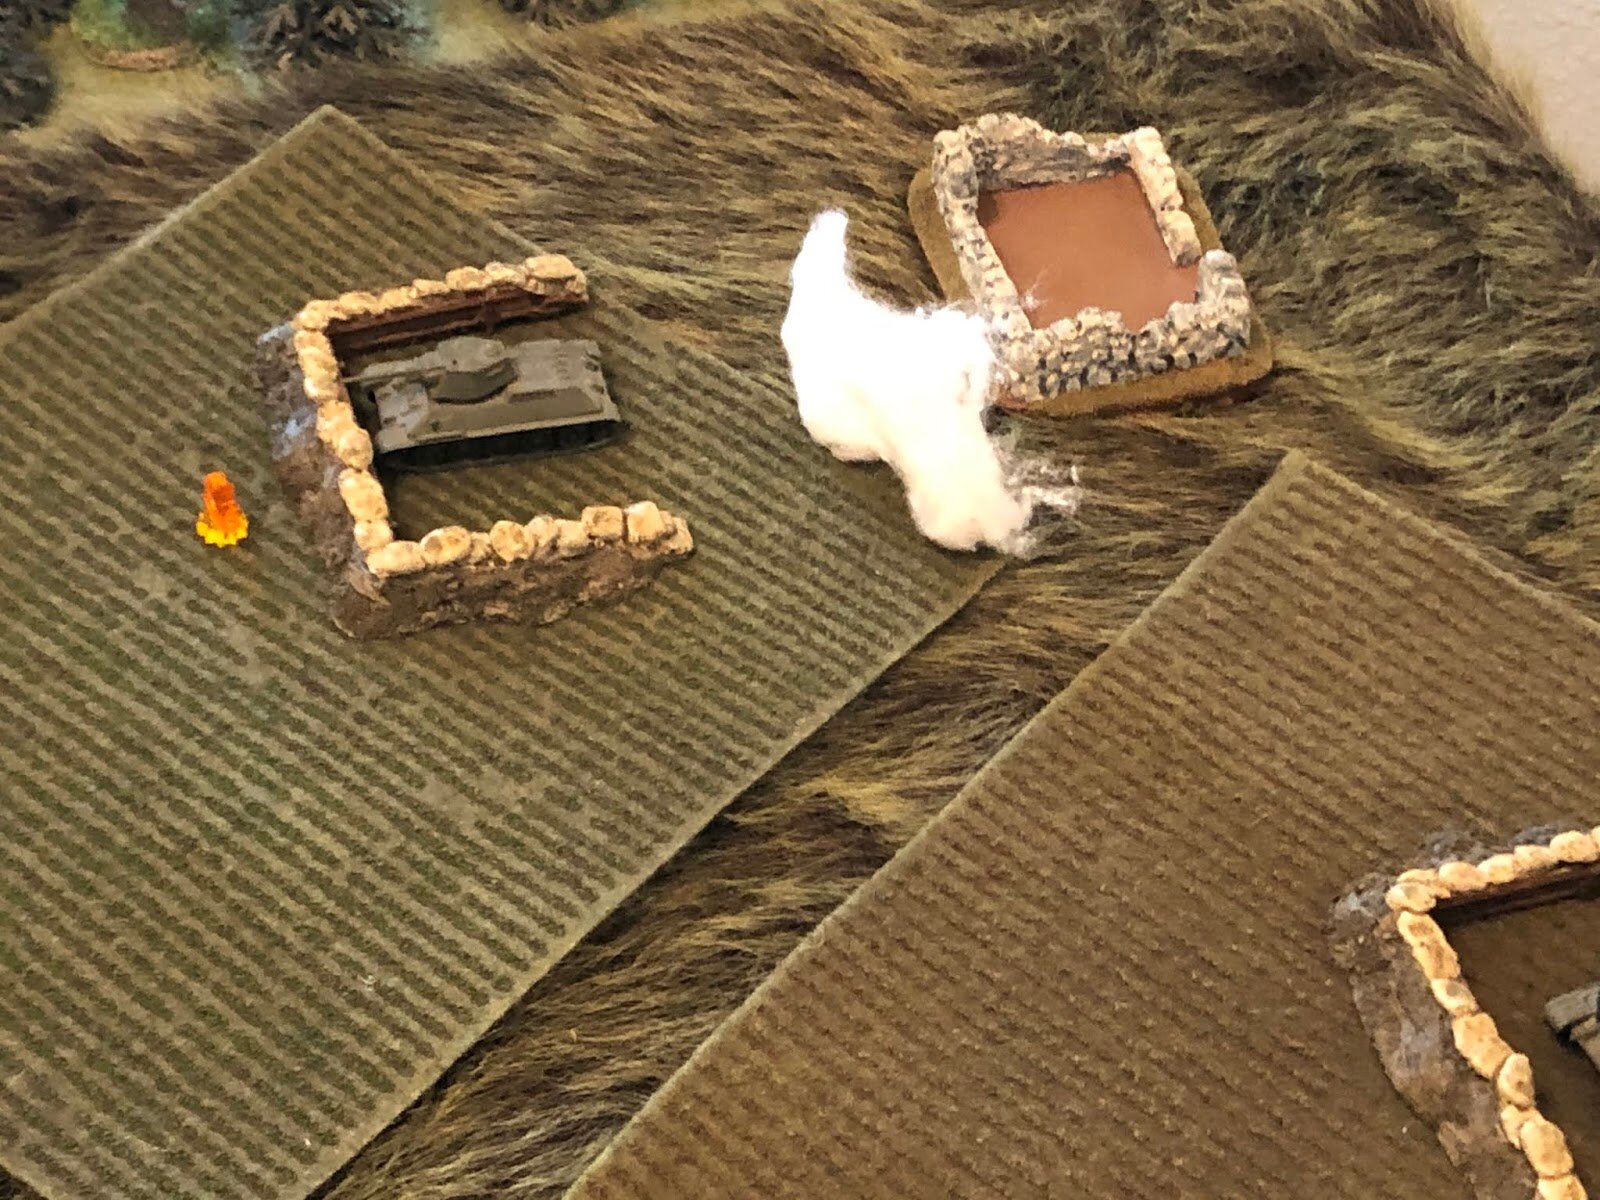
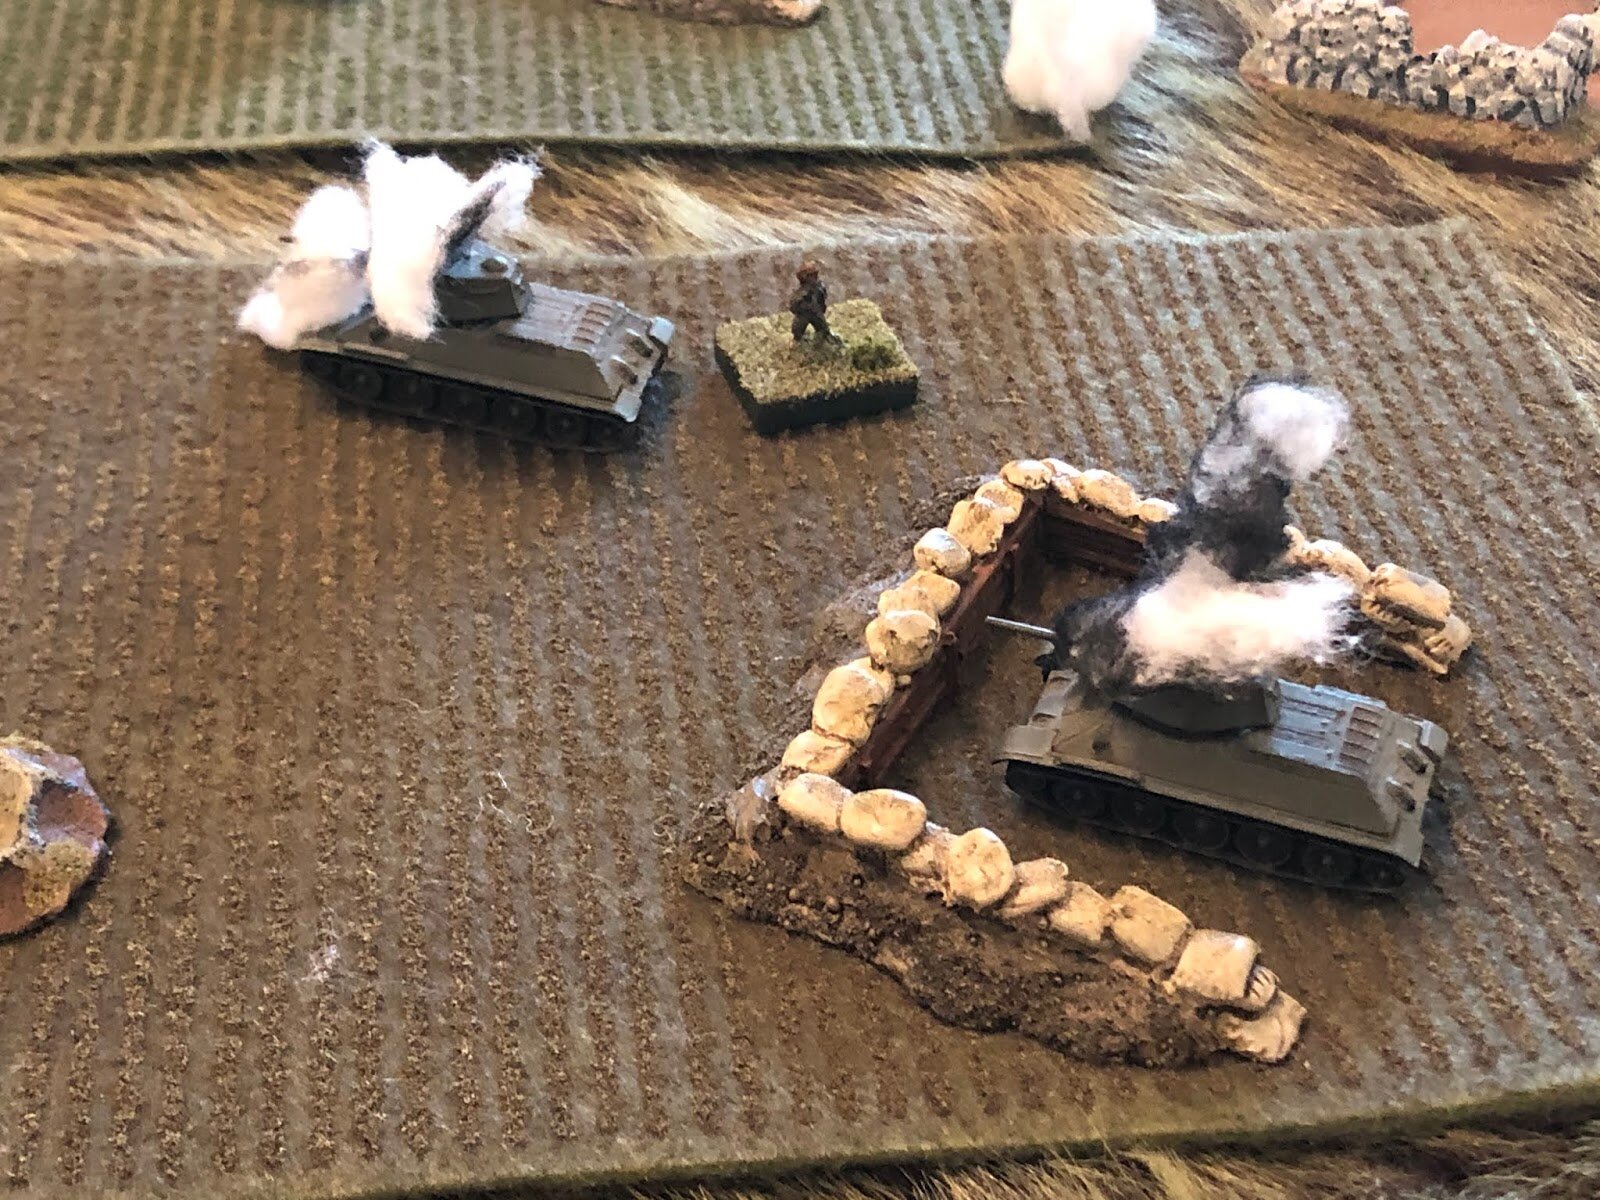
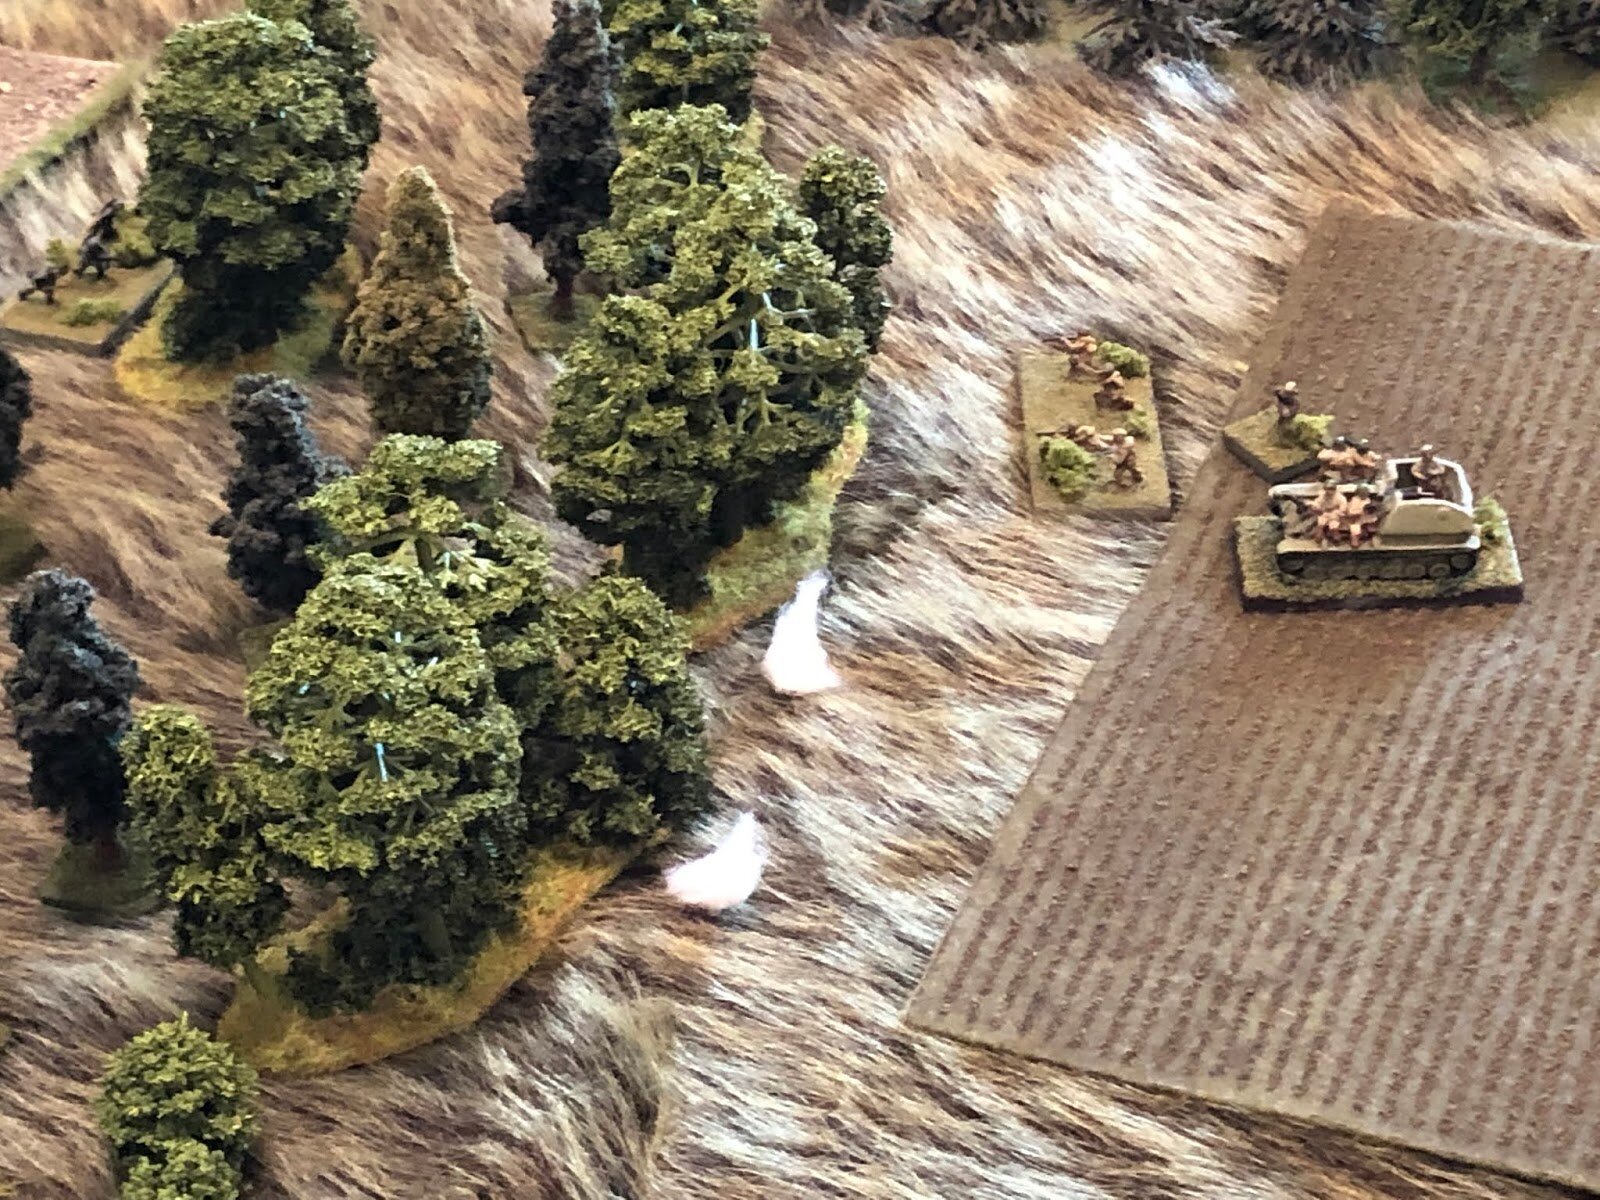
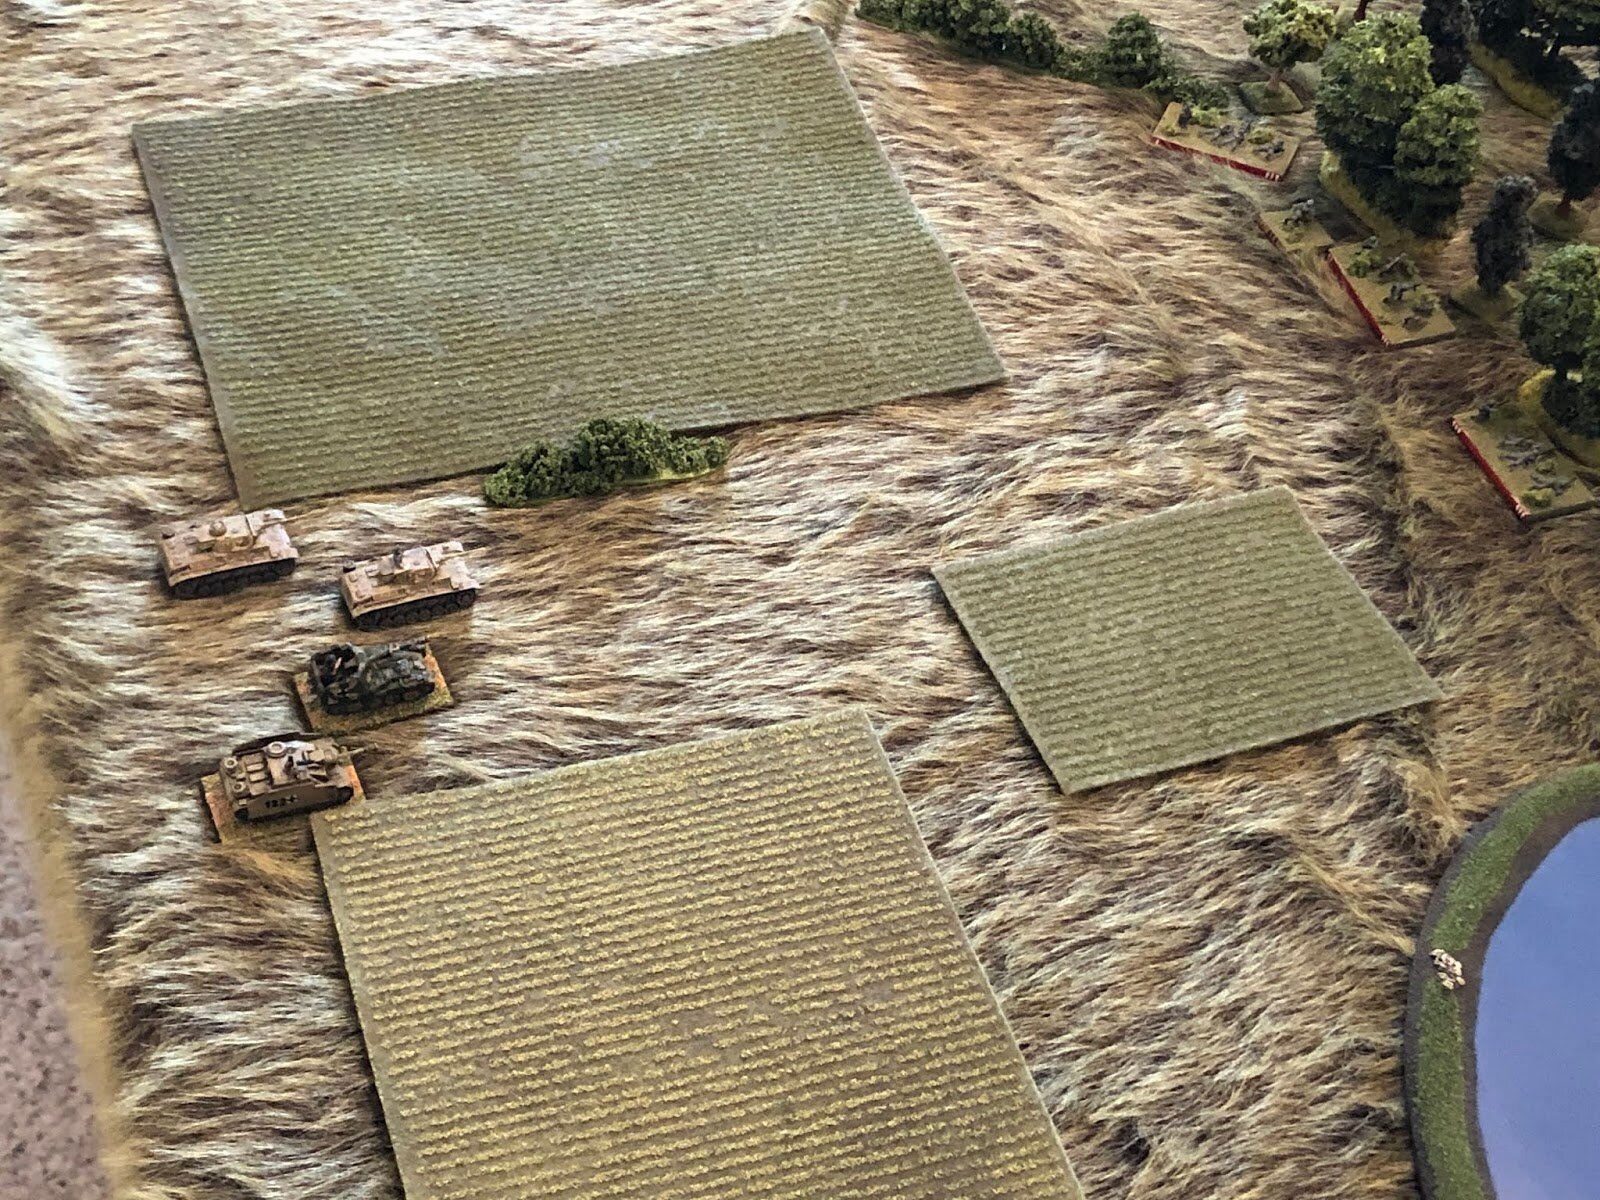
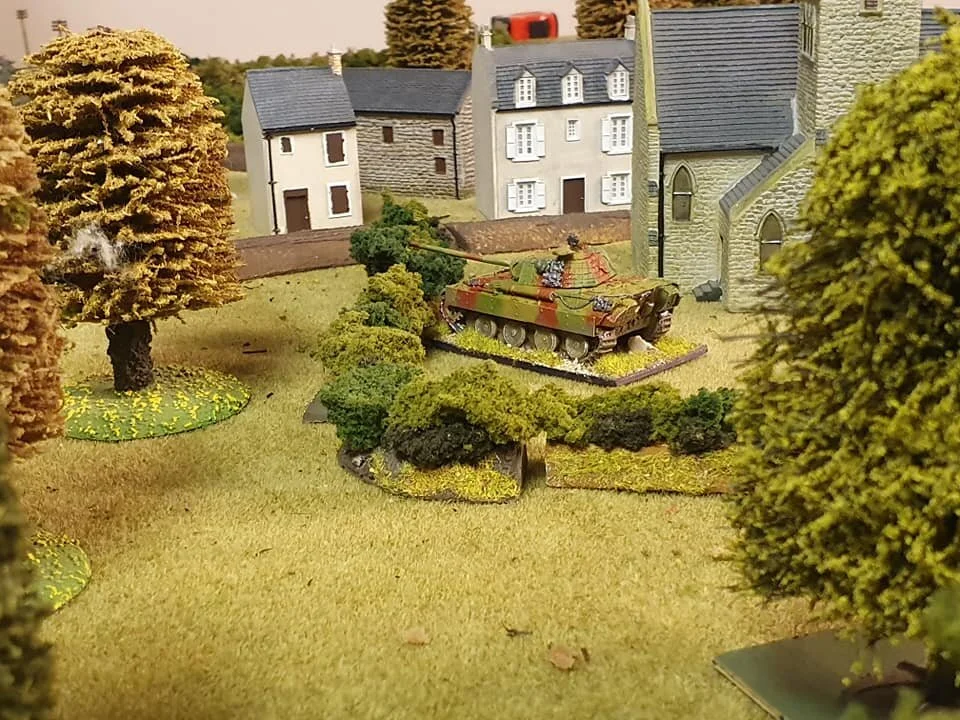
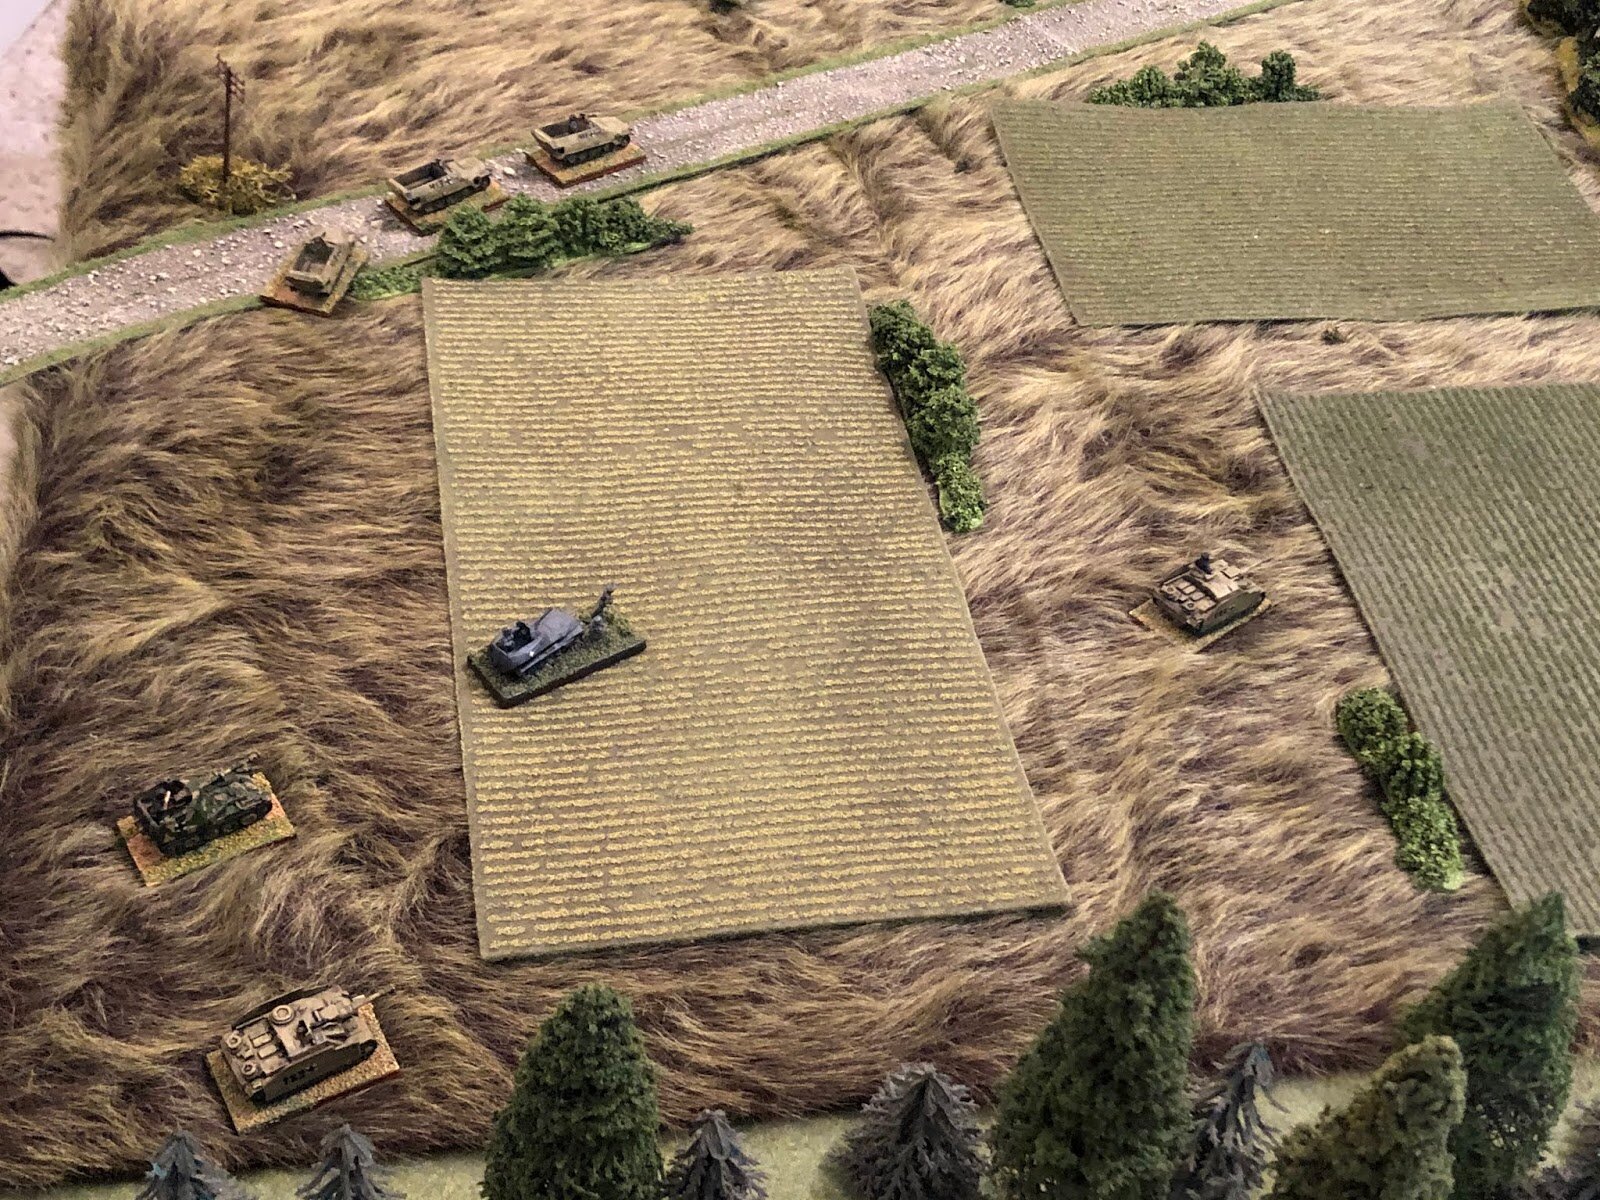
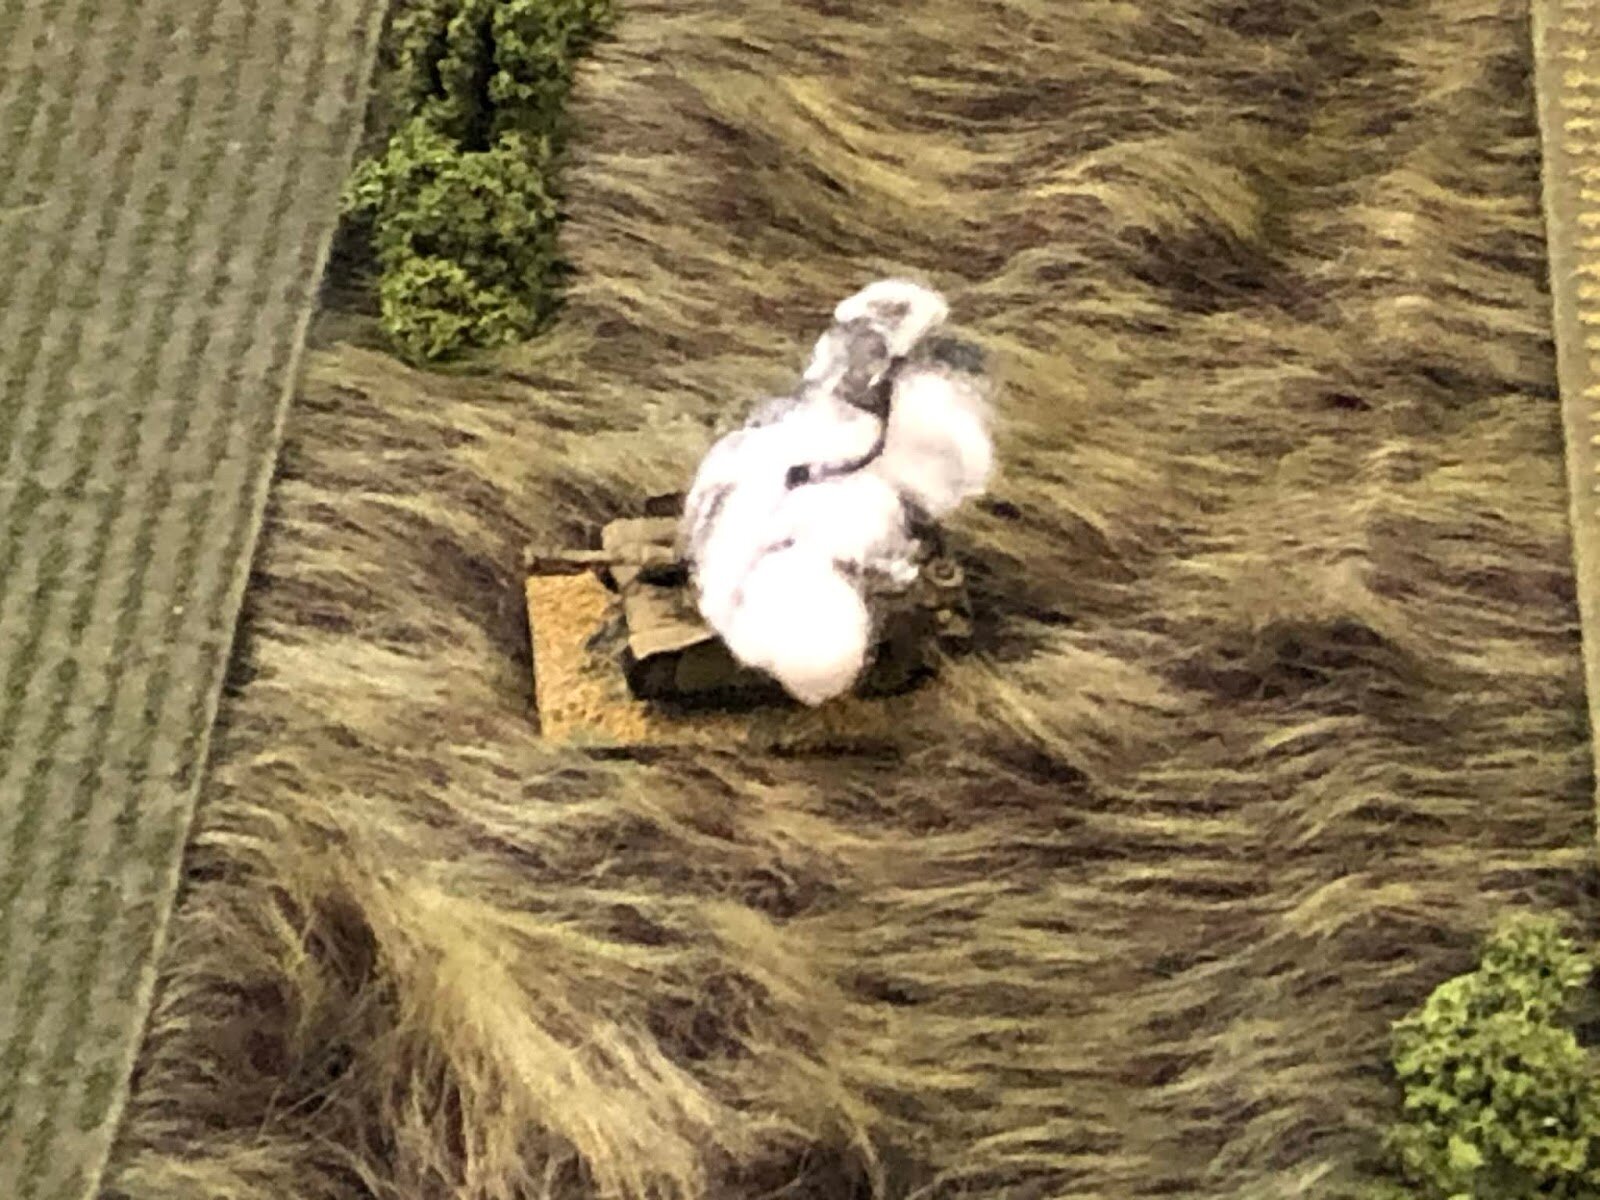
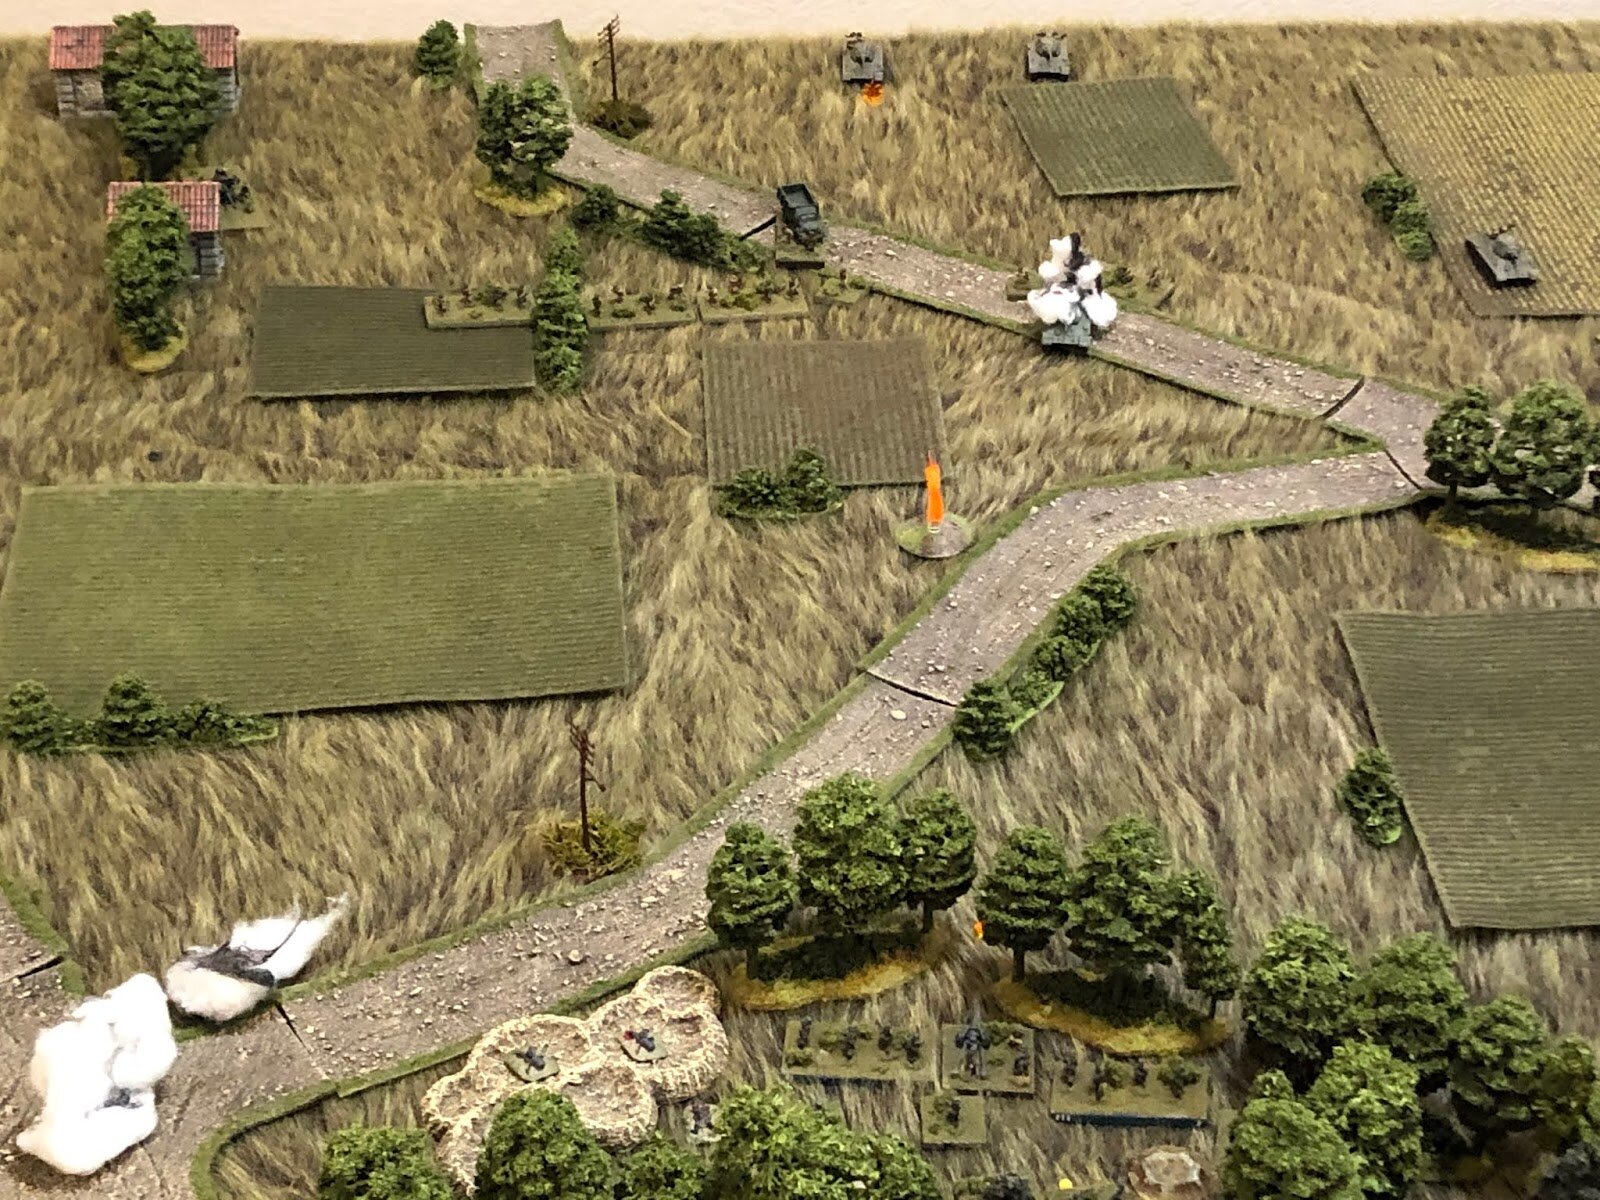
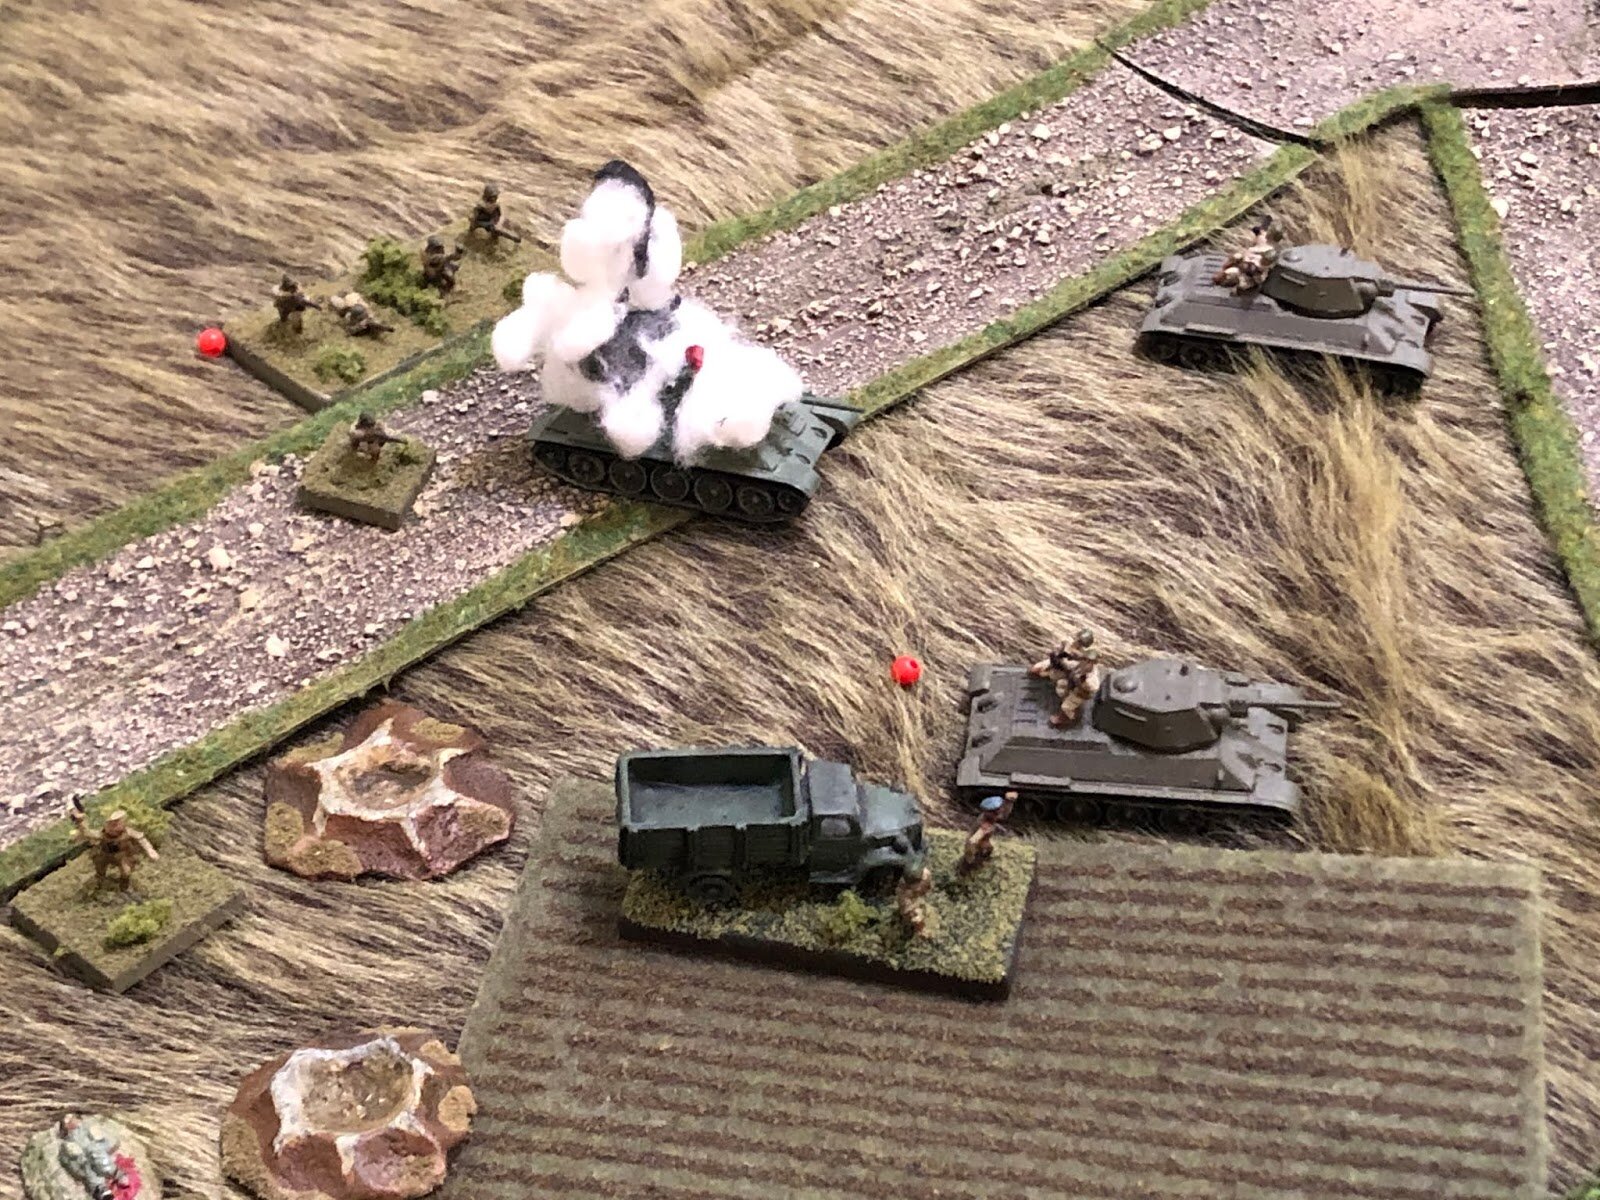
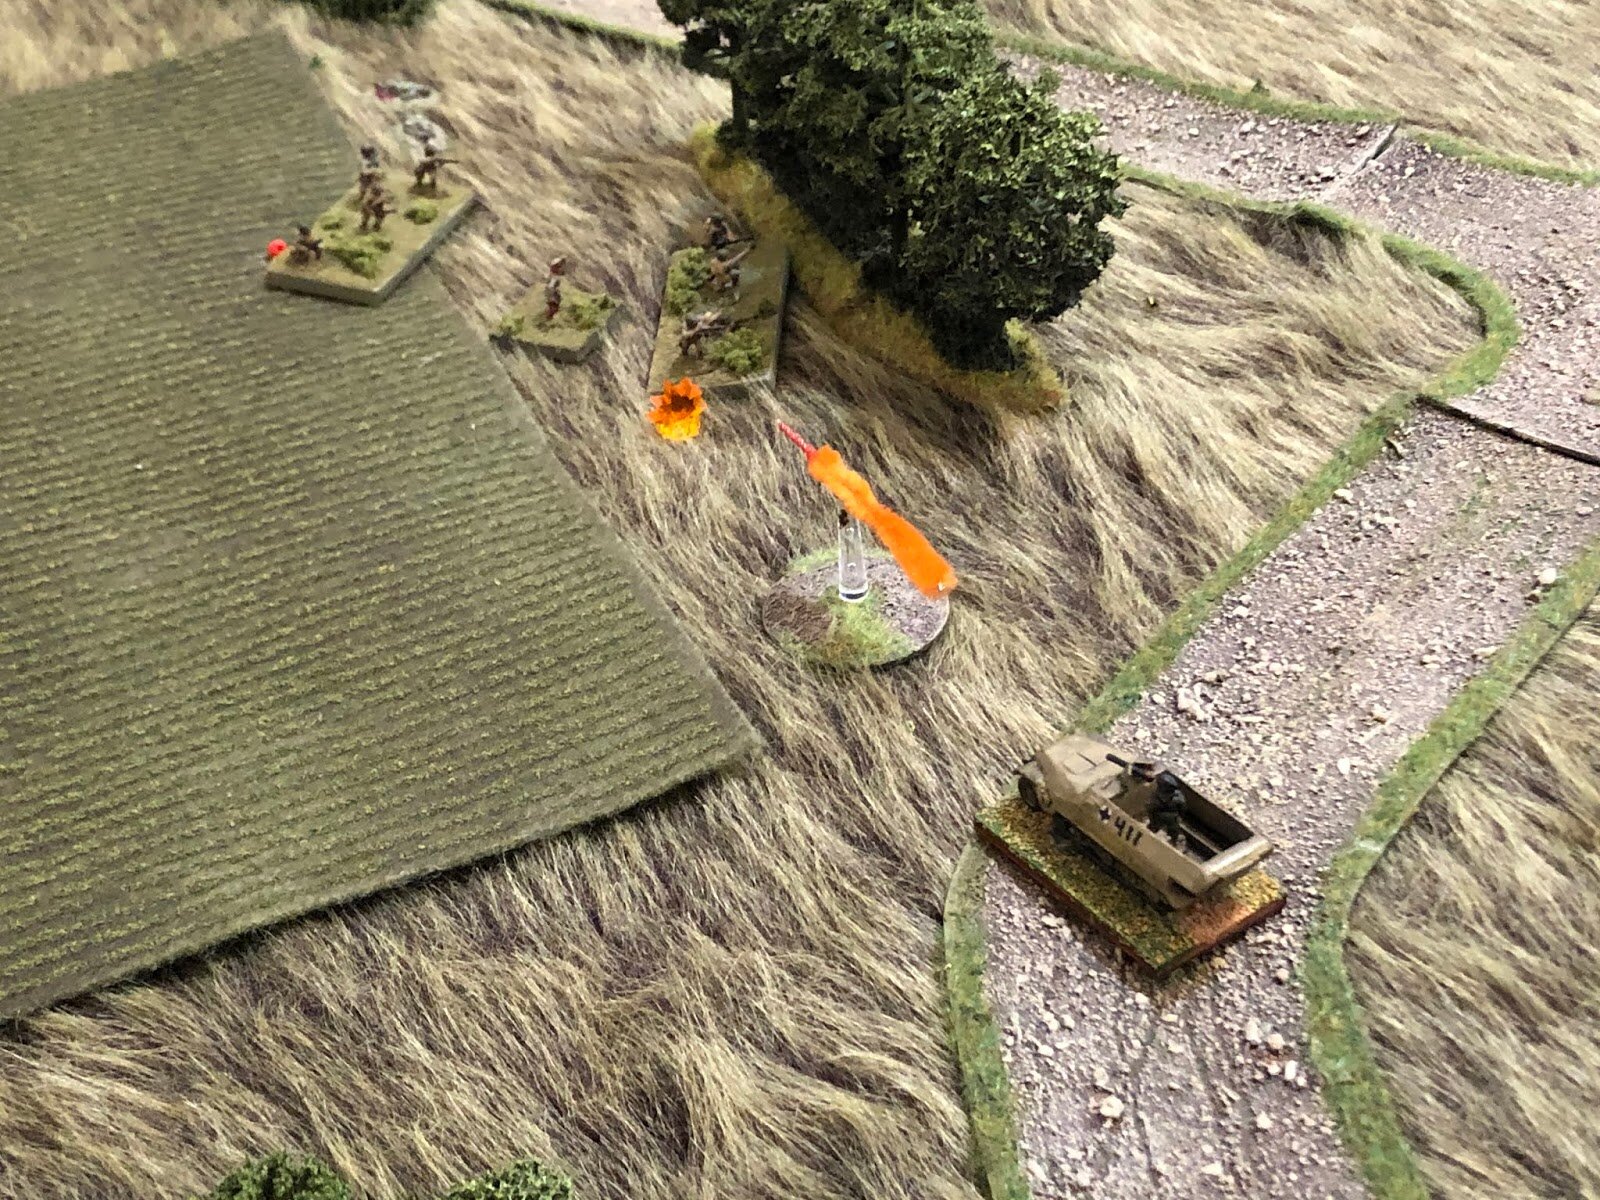
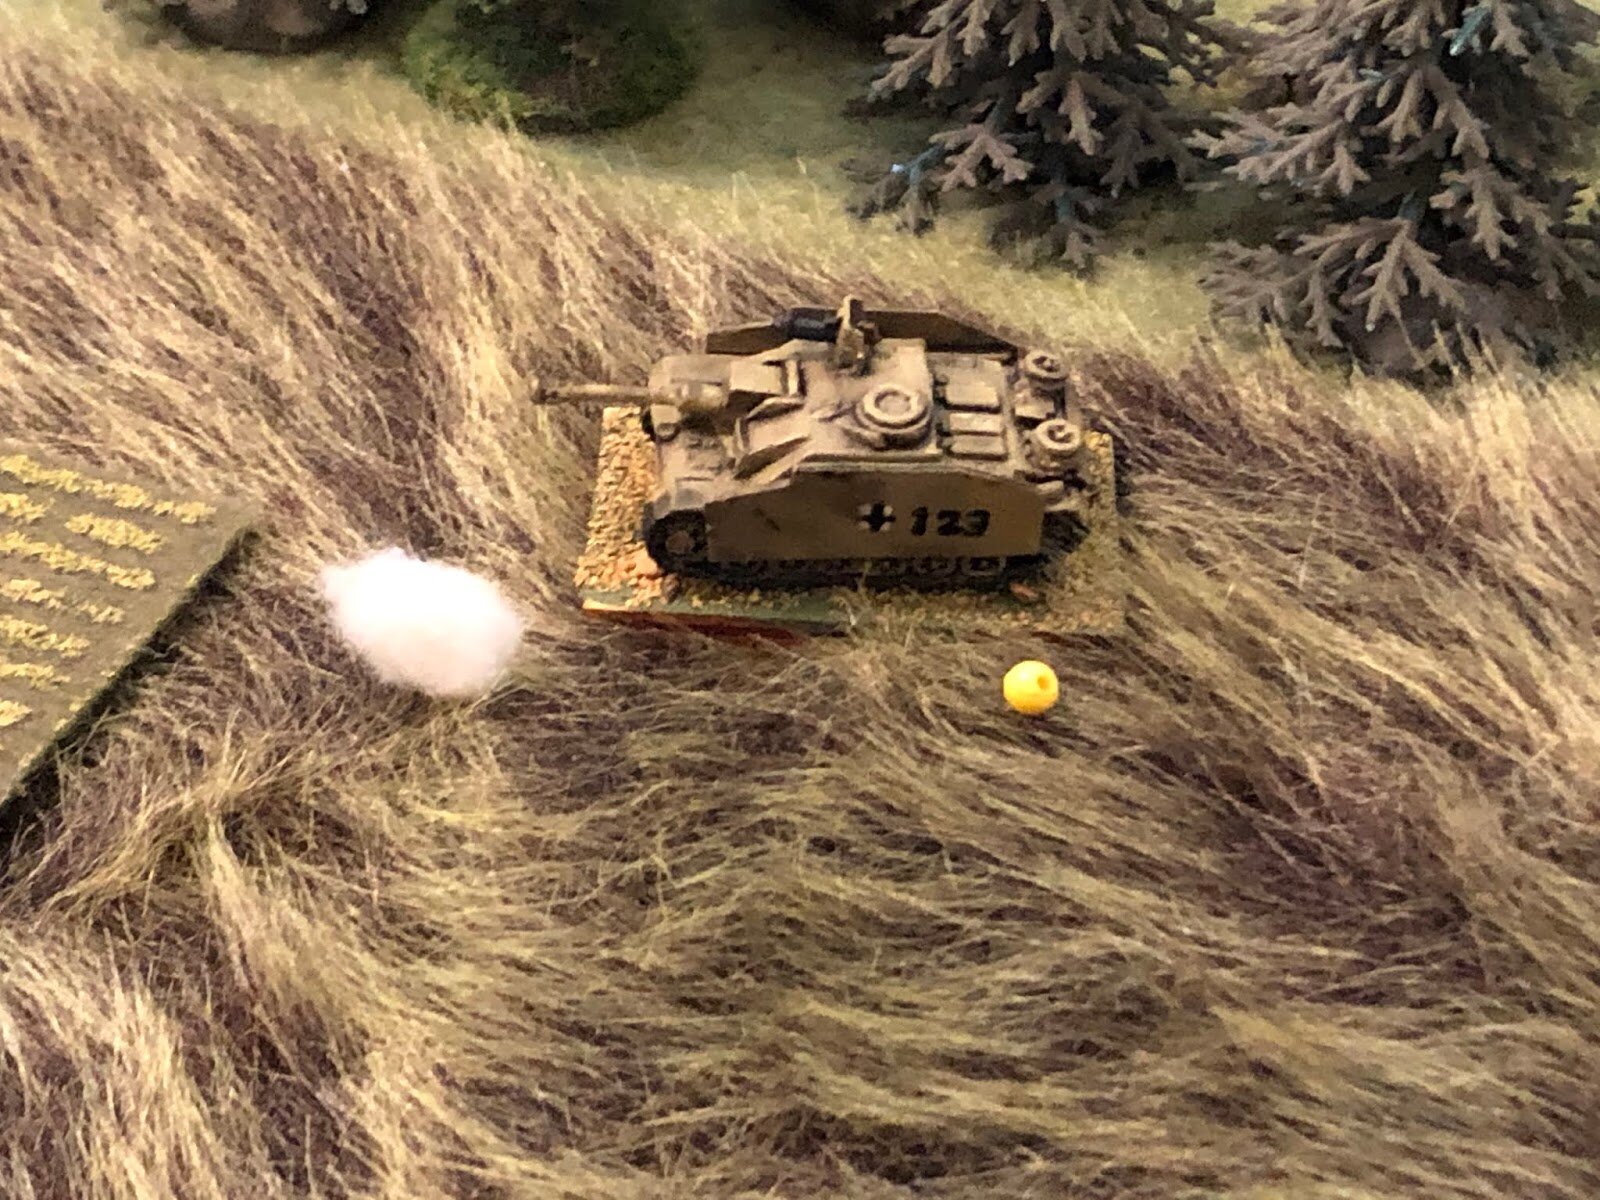
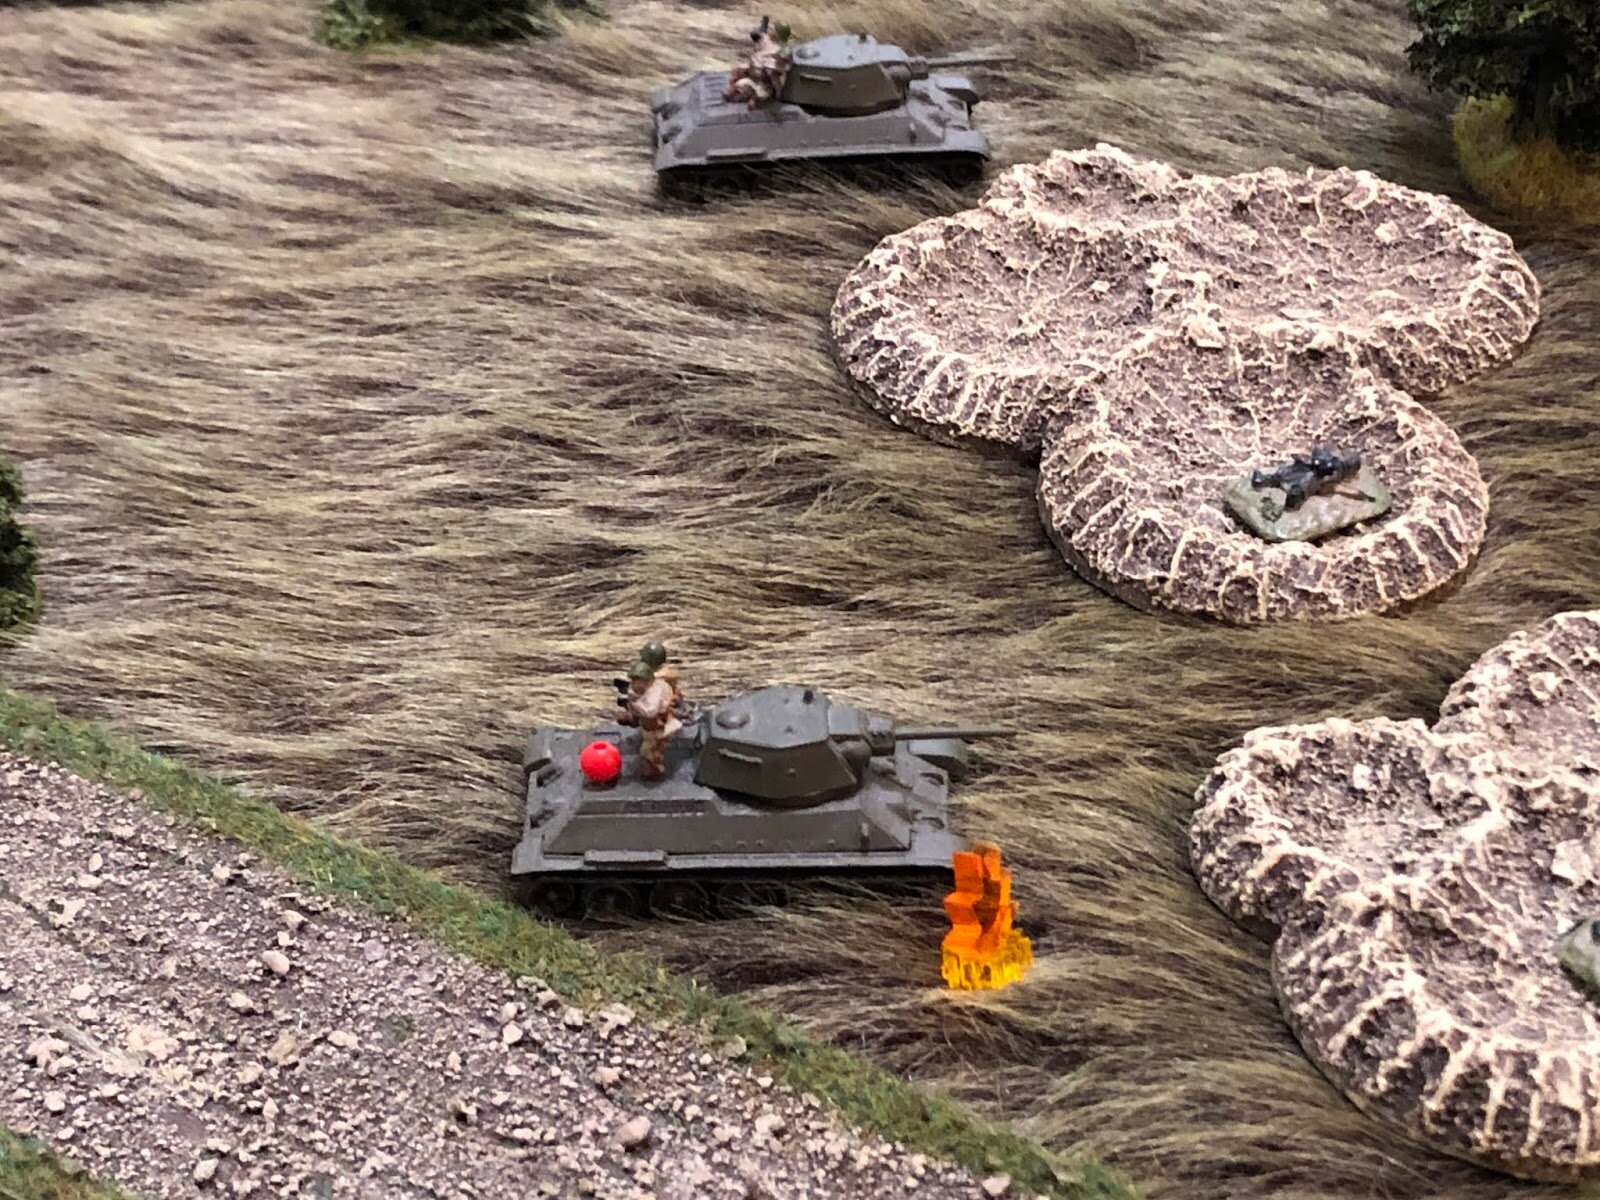
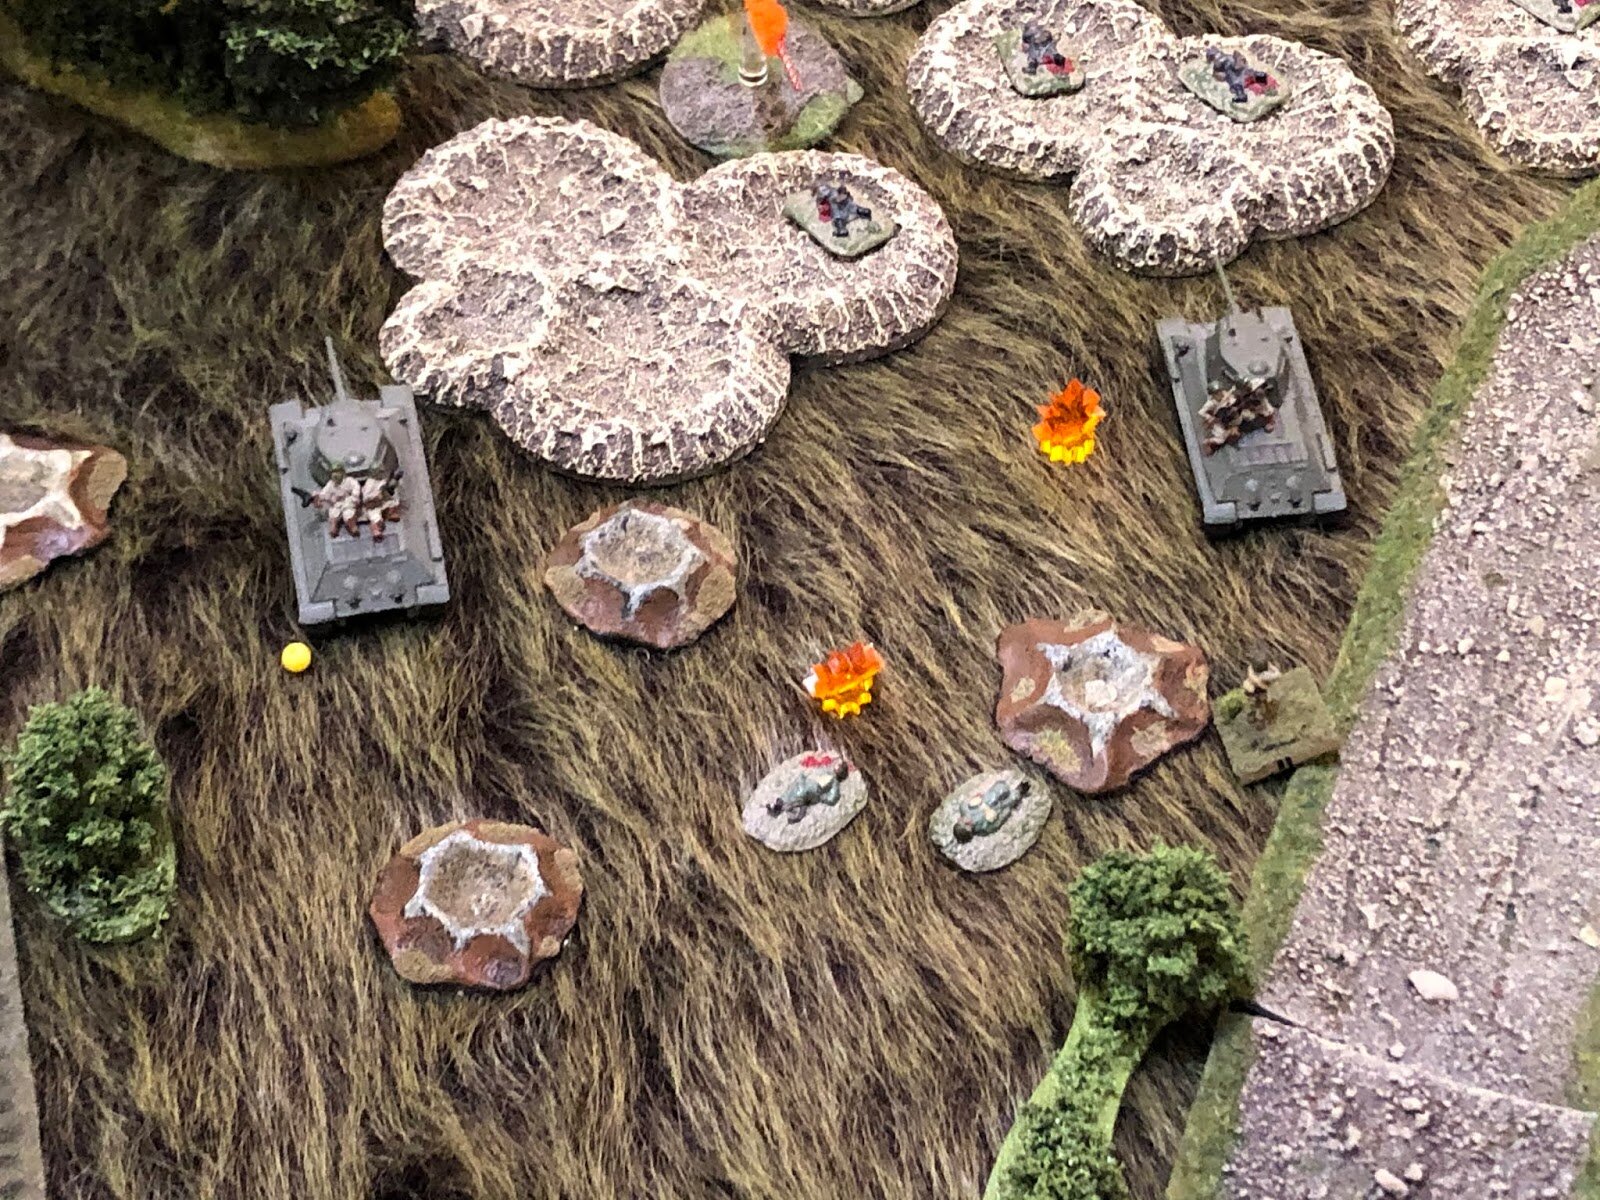
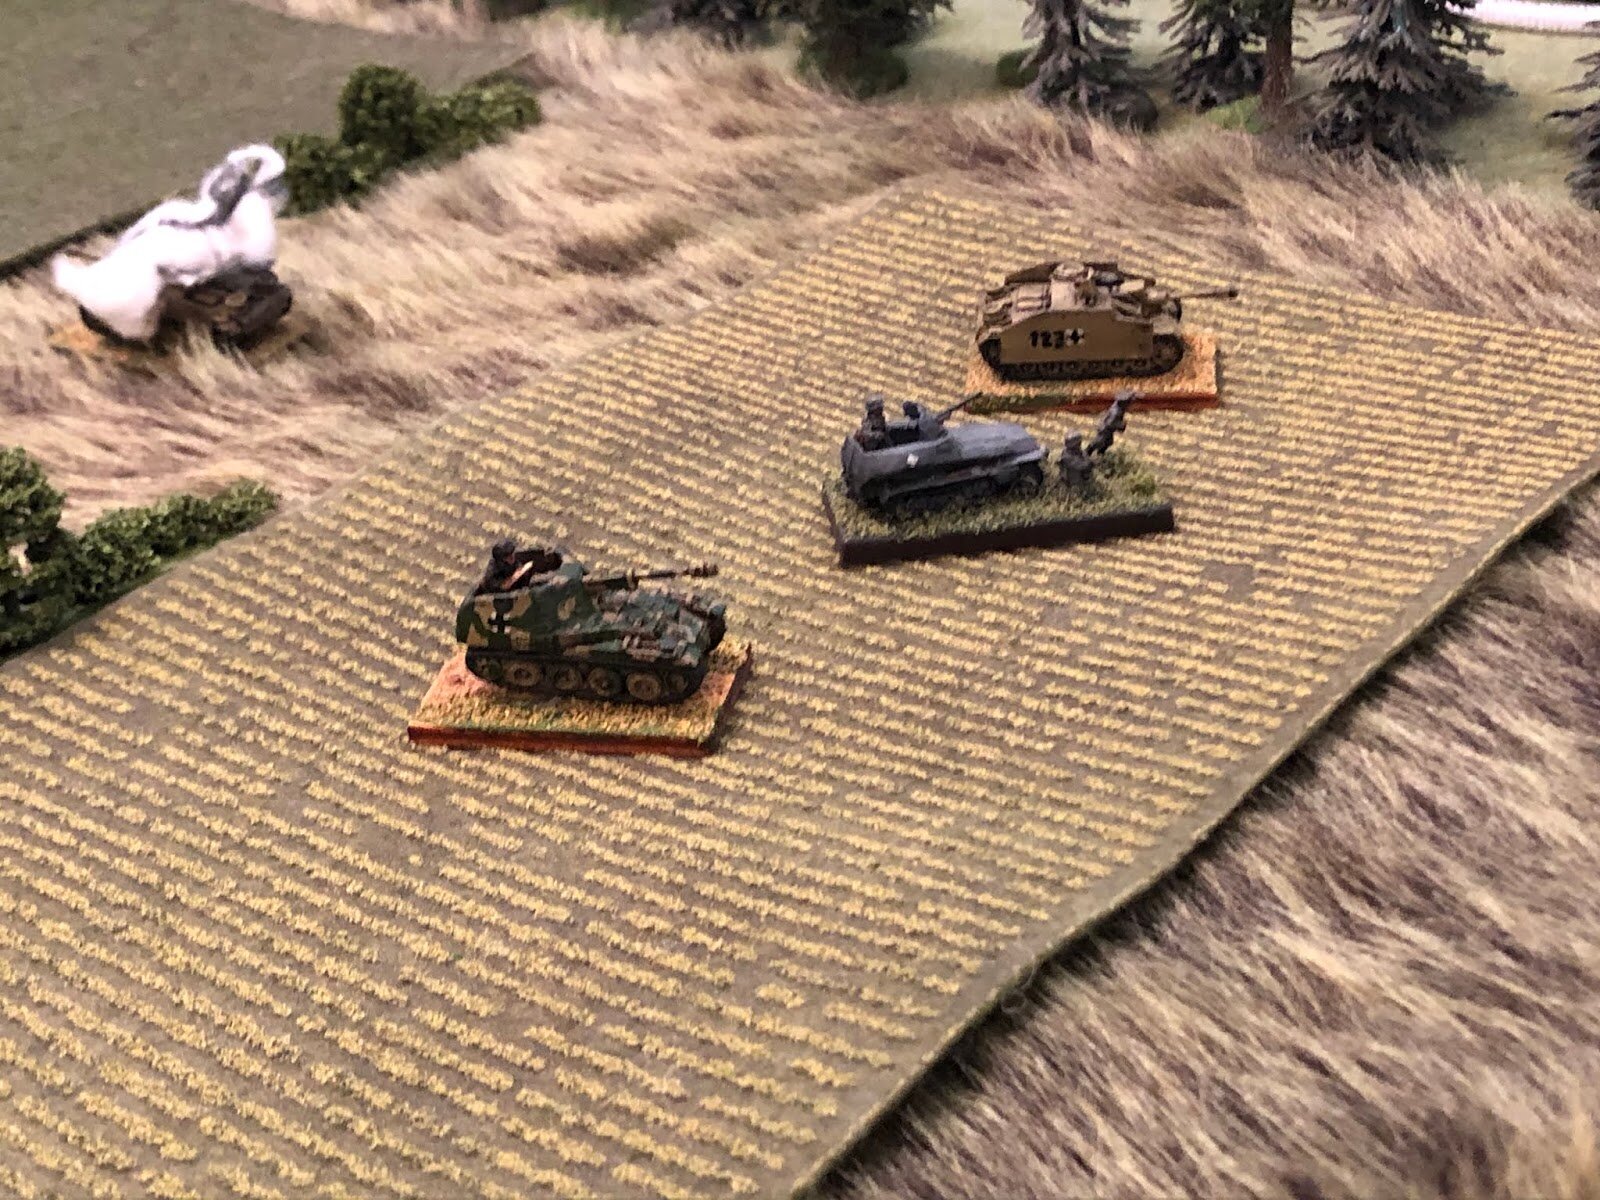
Meanwhile, my Jagdpanzer IVs had revealed themselves and taken a few pot shots at the KV-85s that weren’t covered by our own scouts. One KV-85 was knocked out.
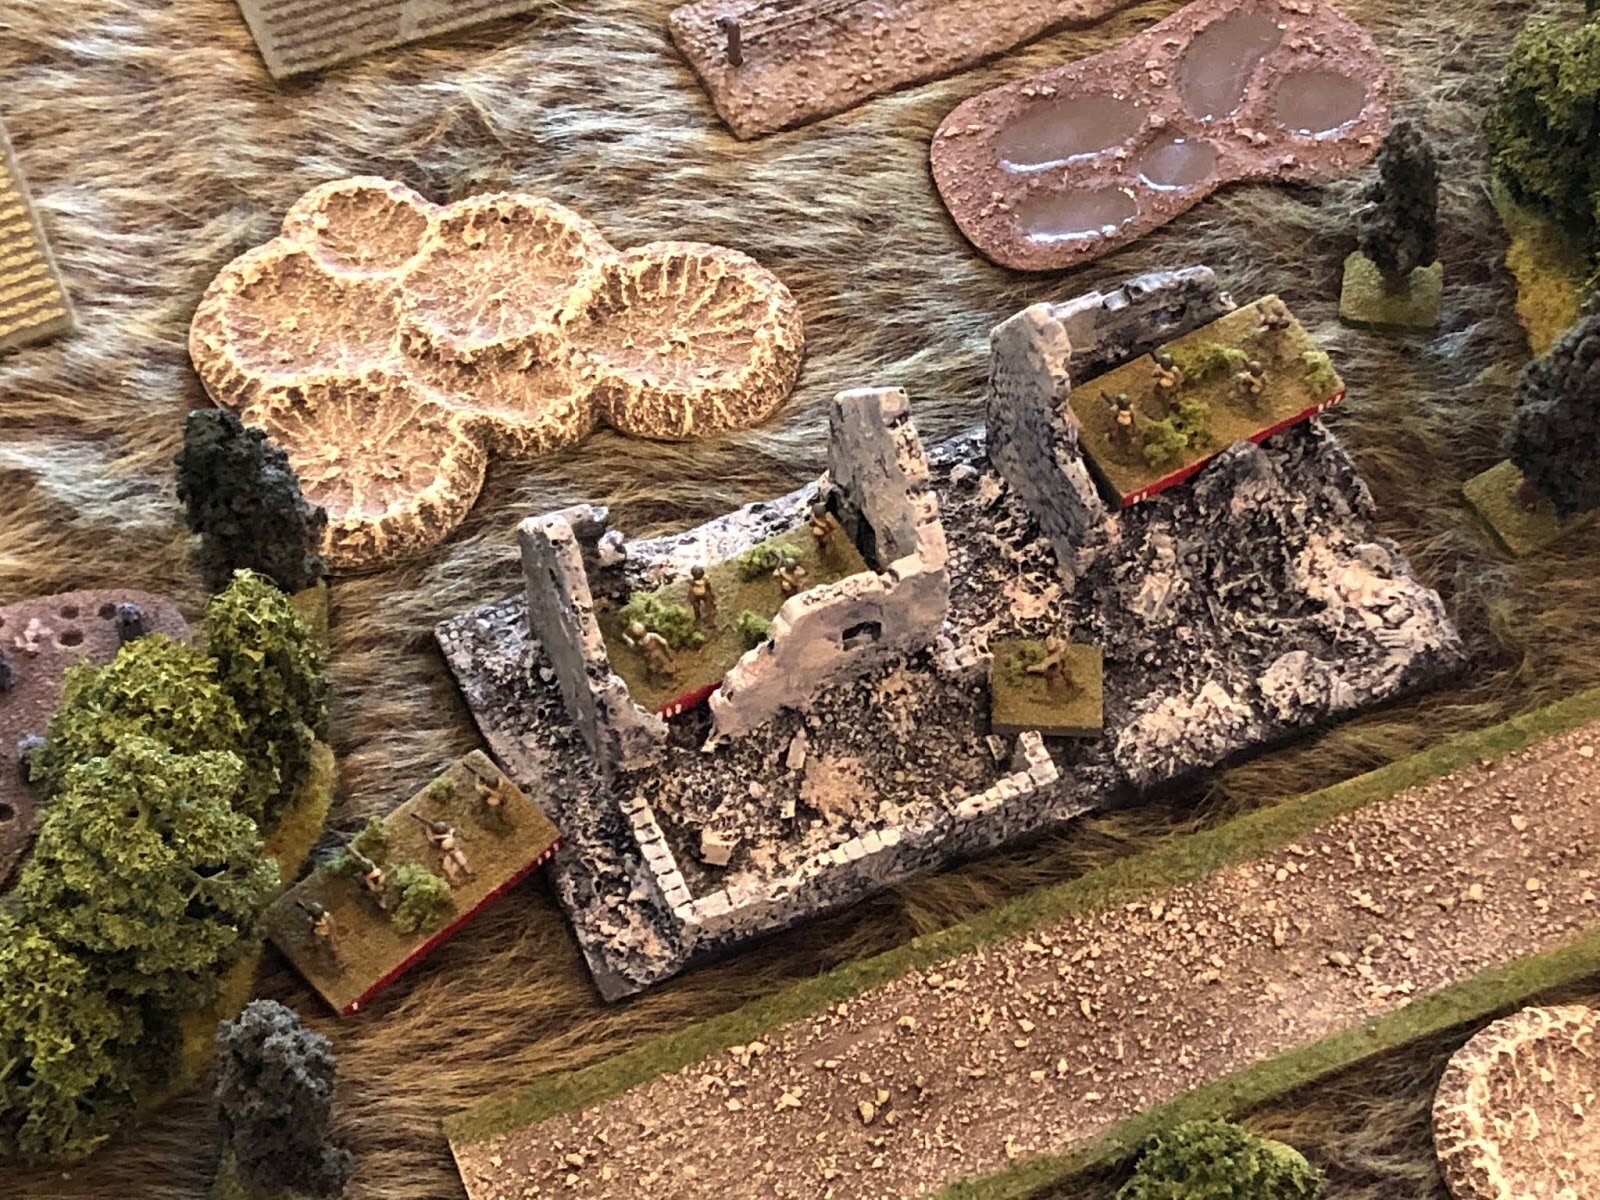
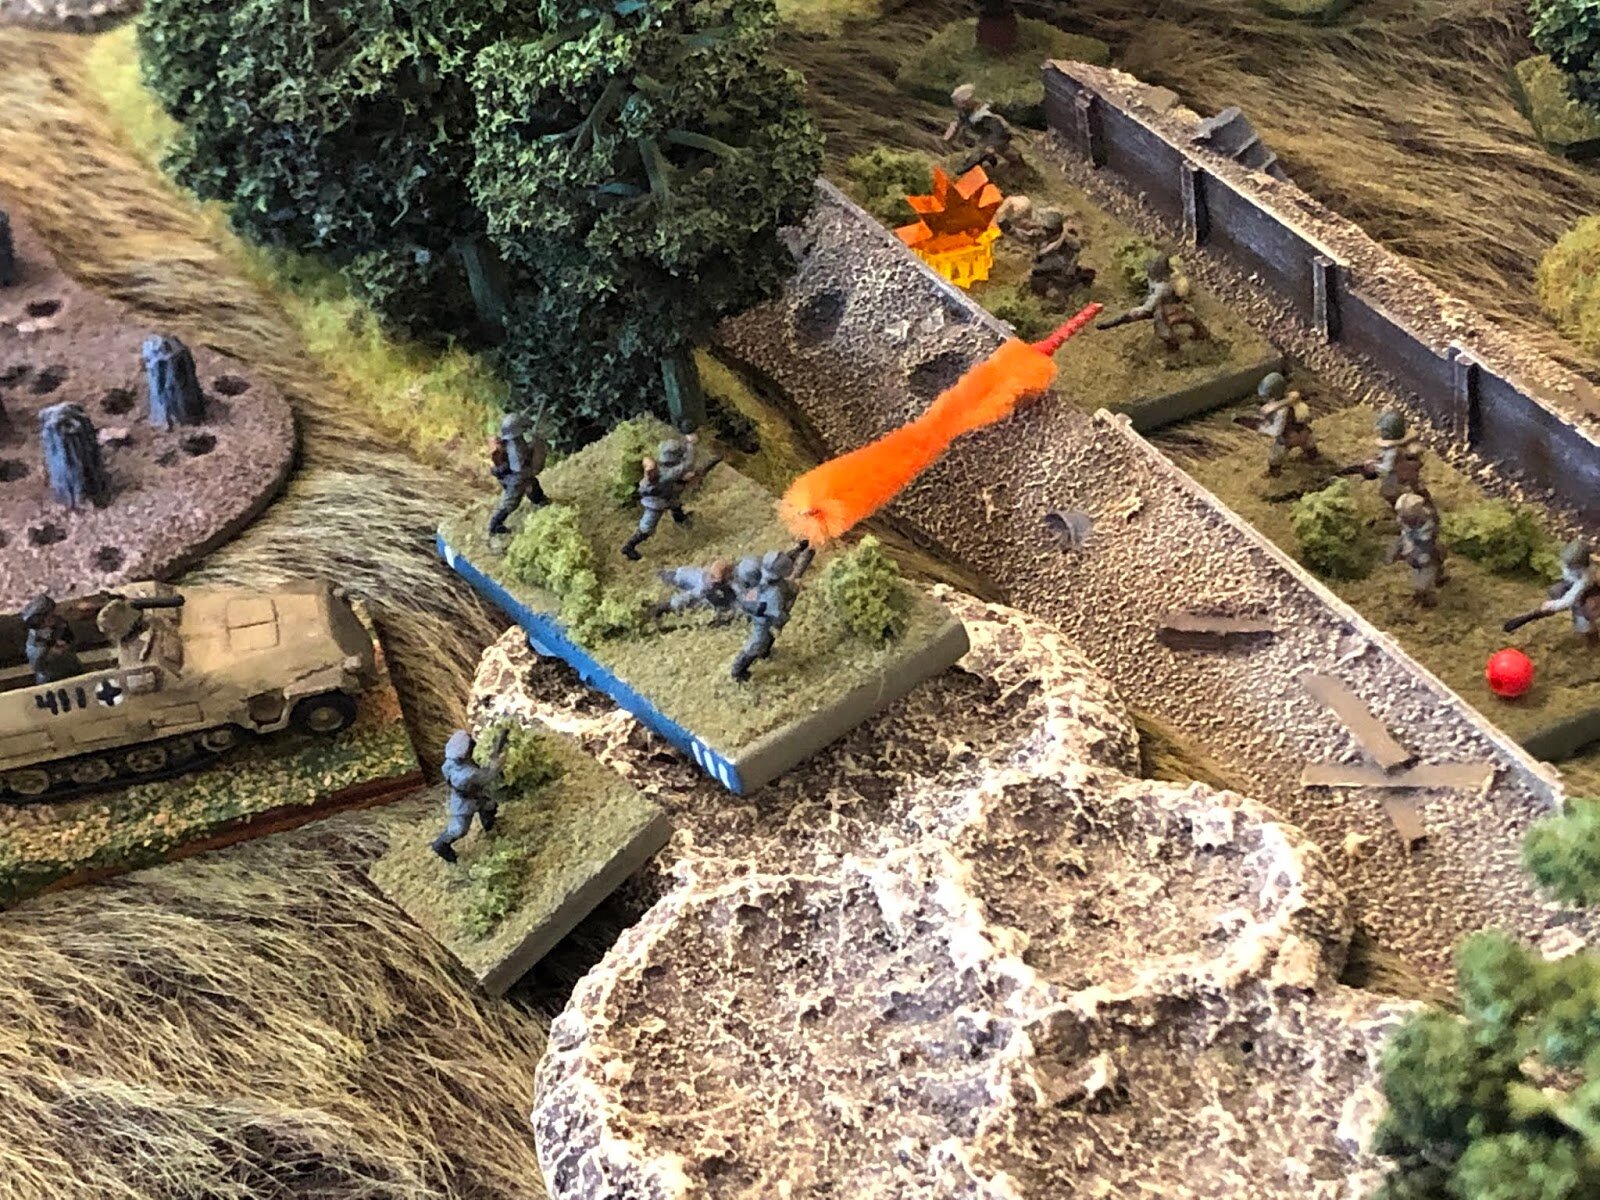
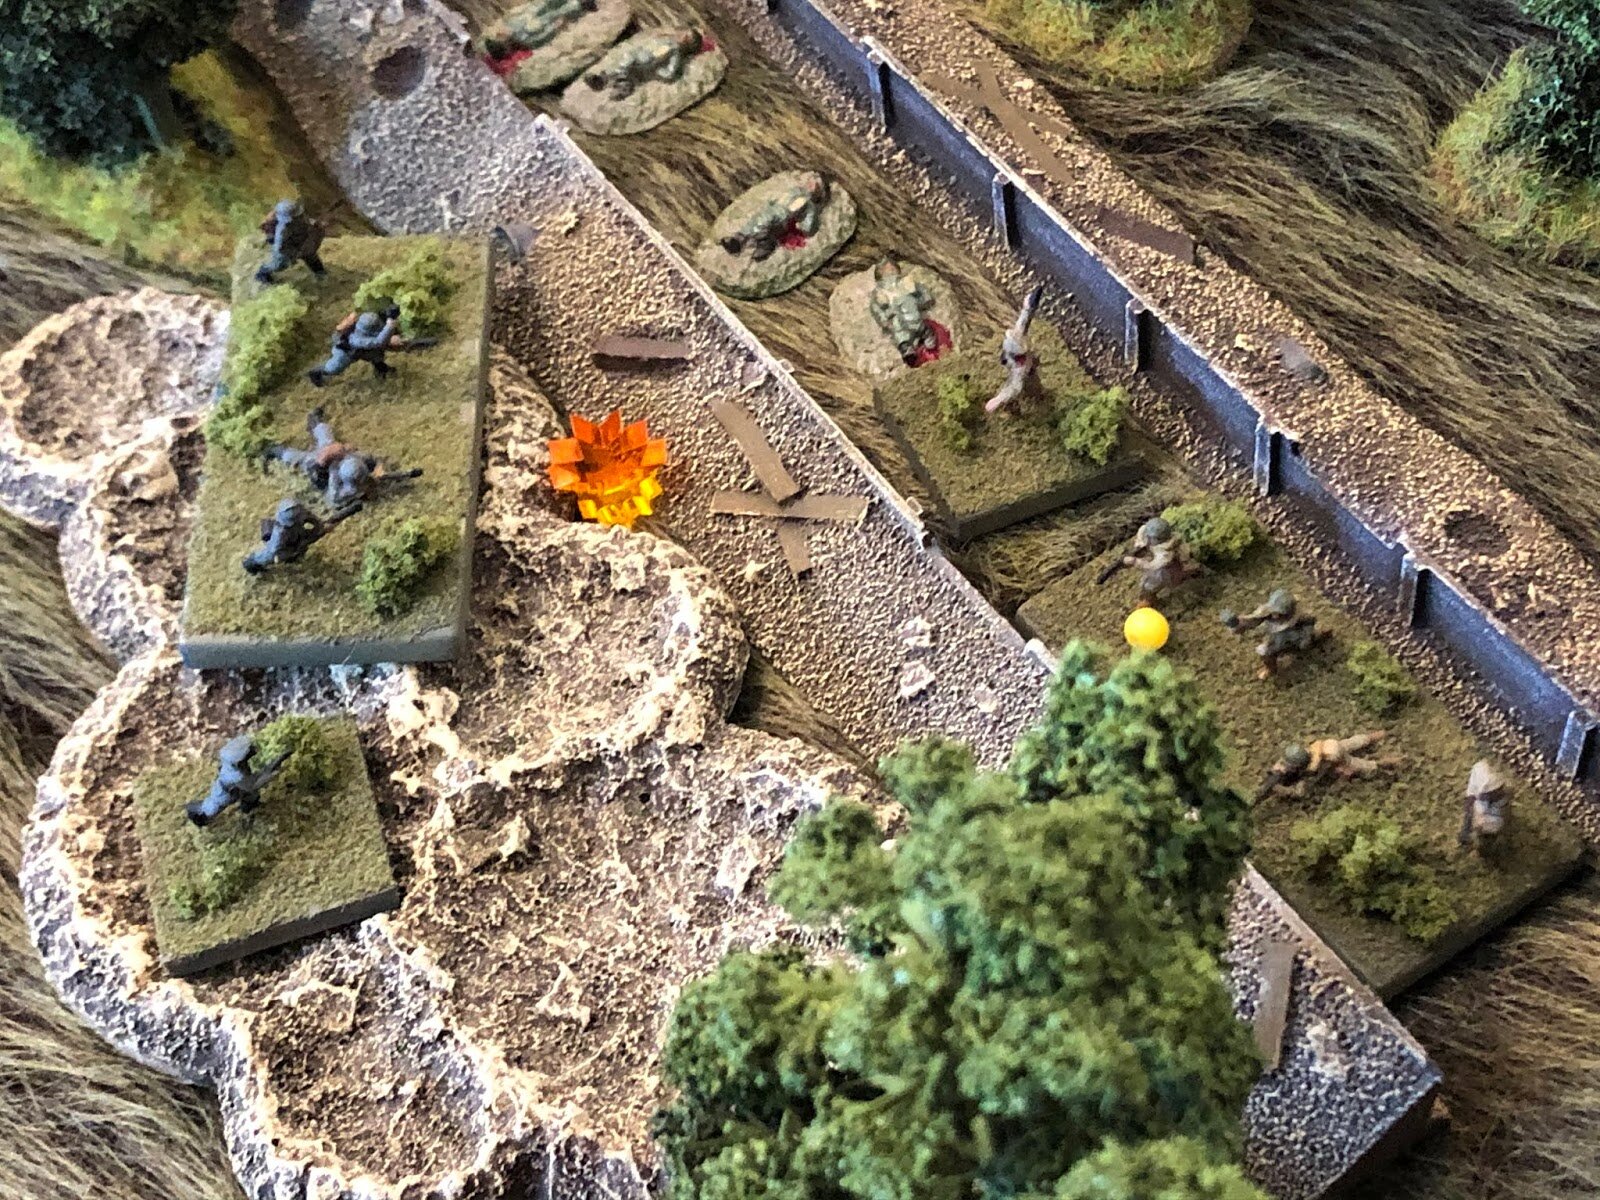
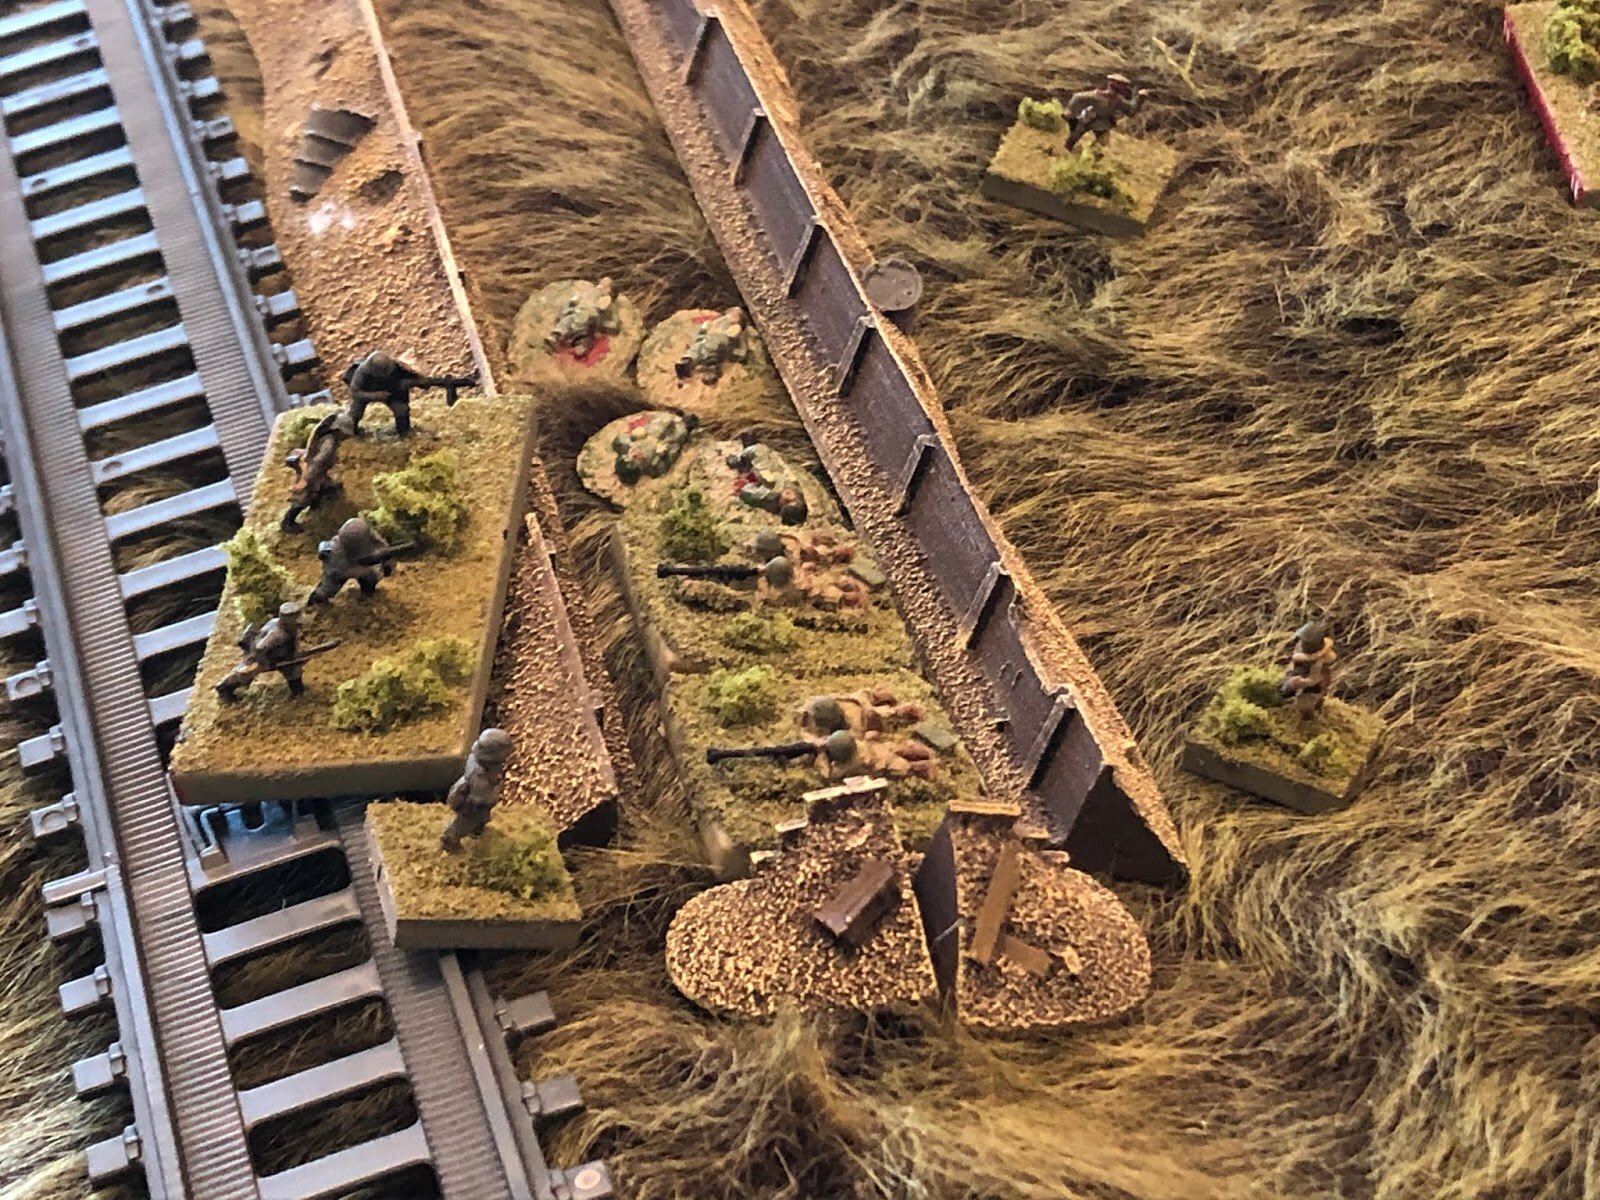
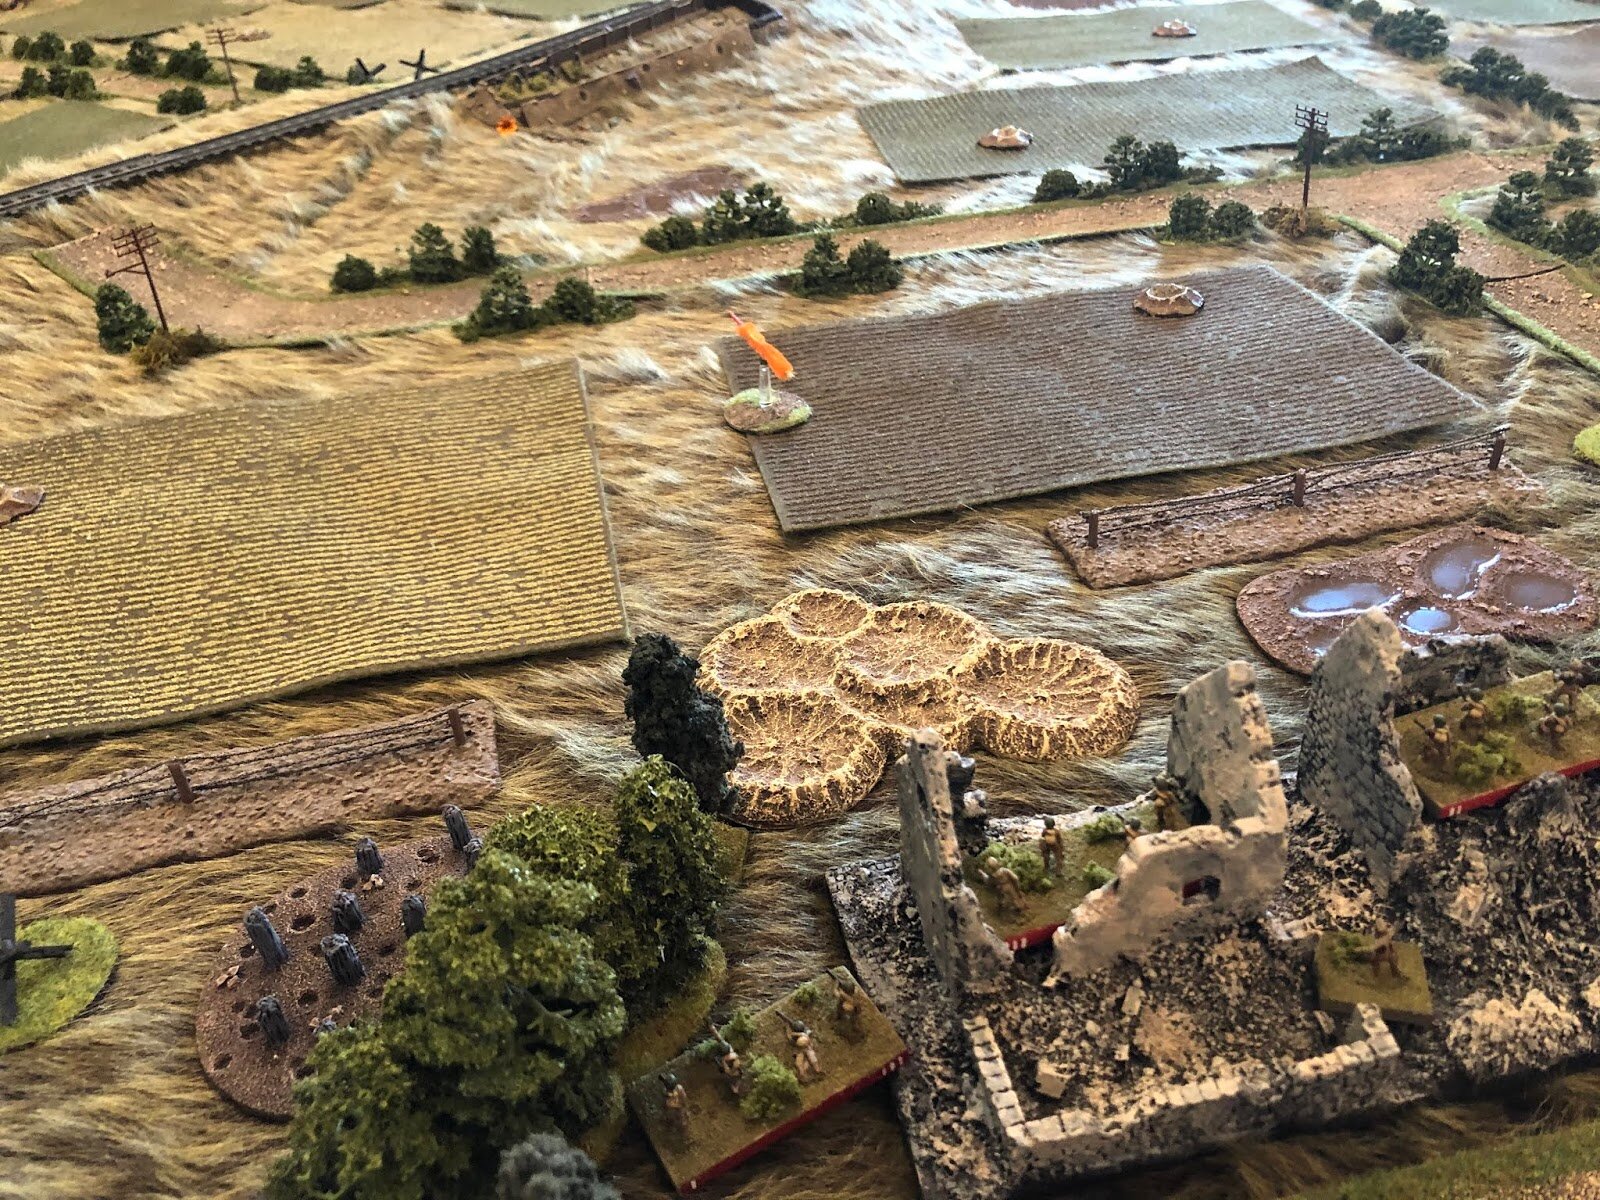
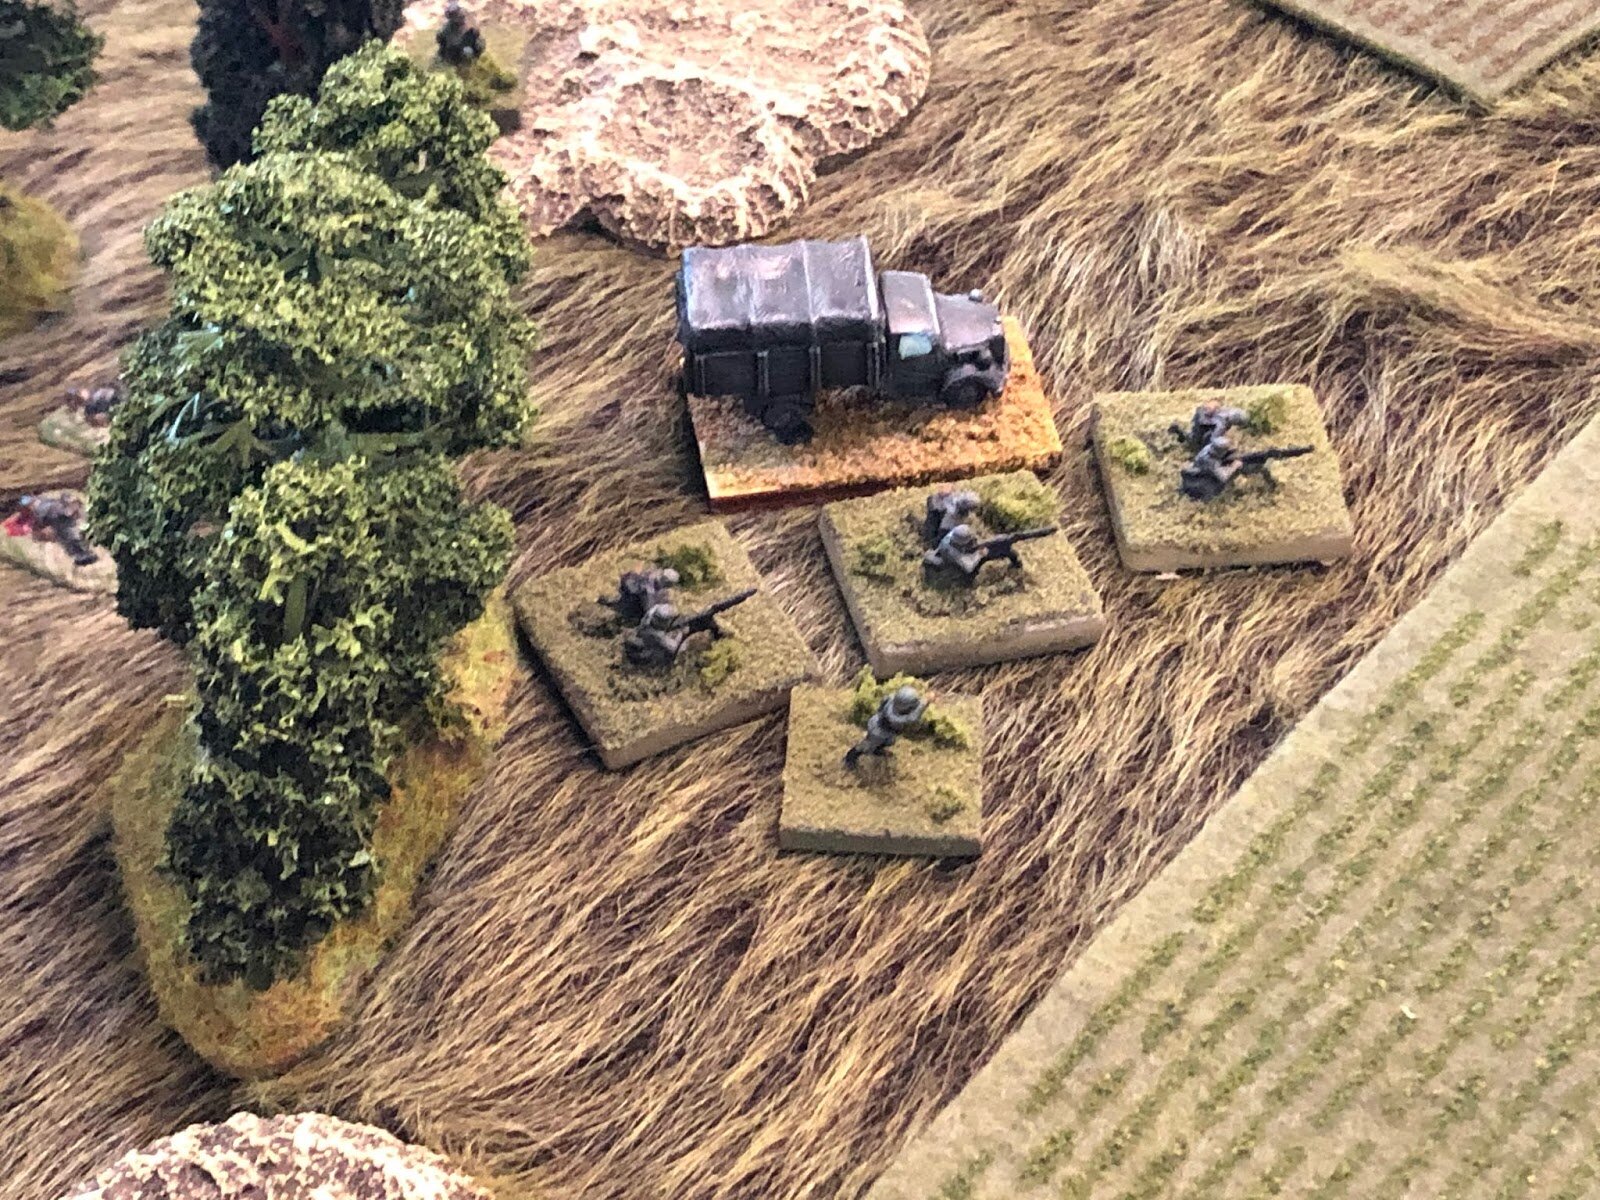
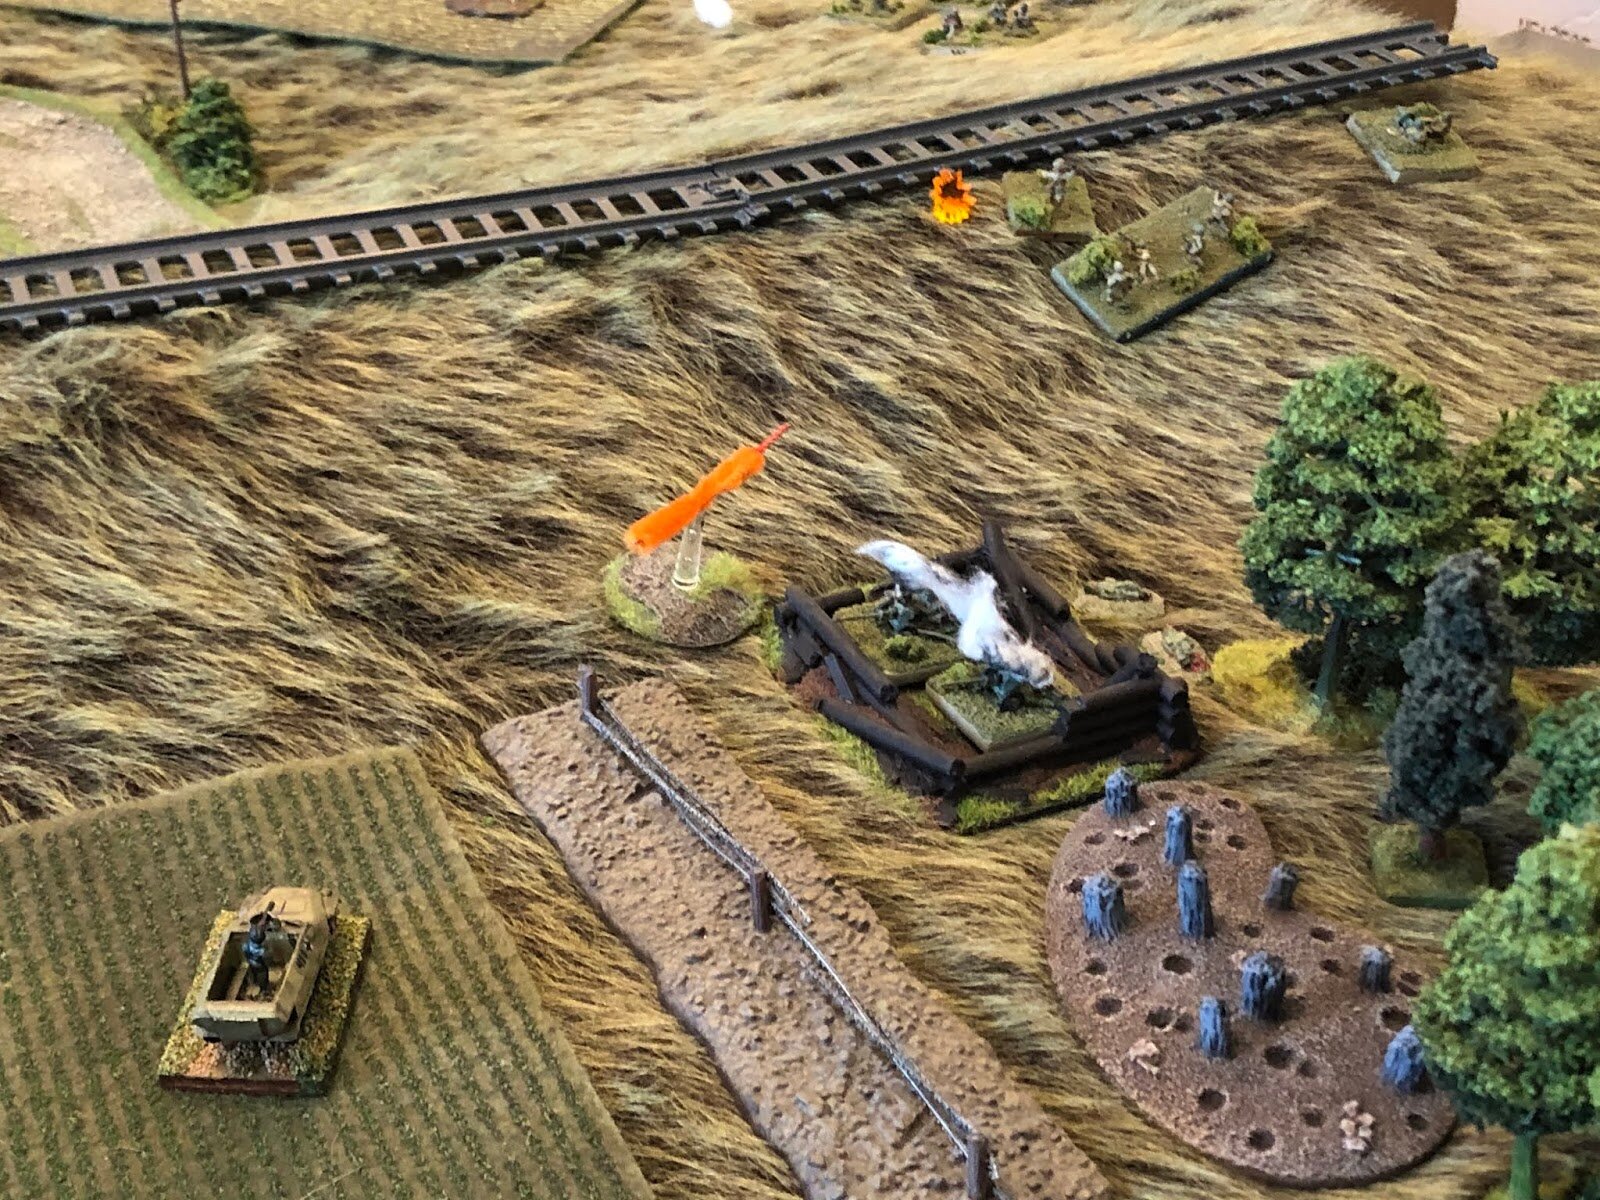
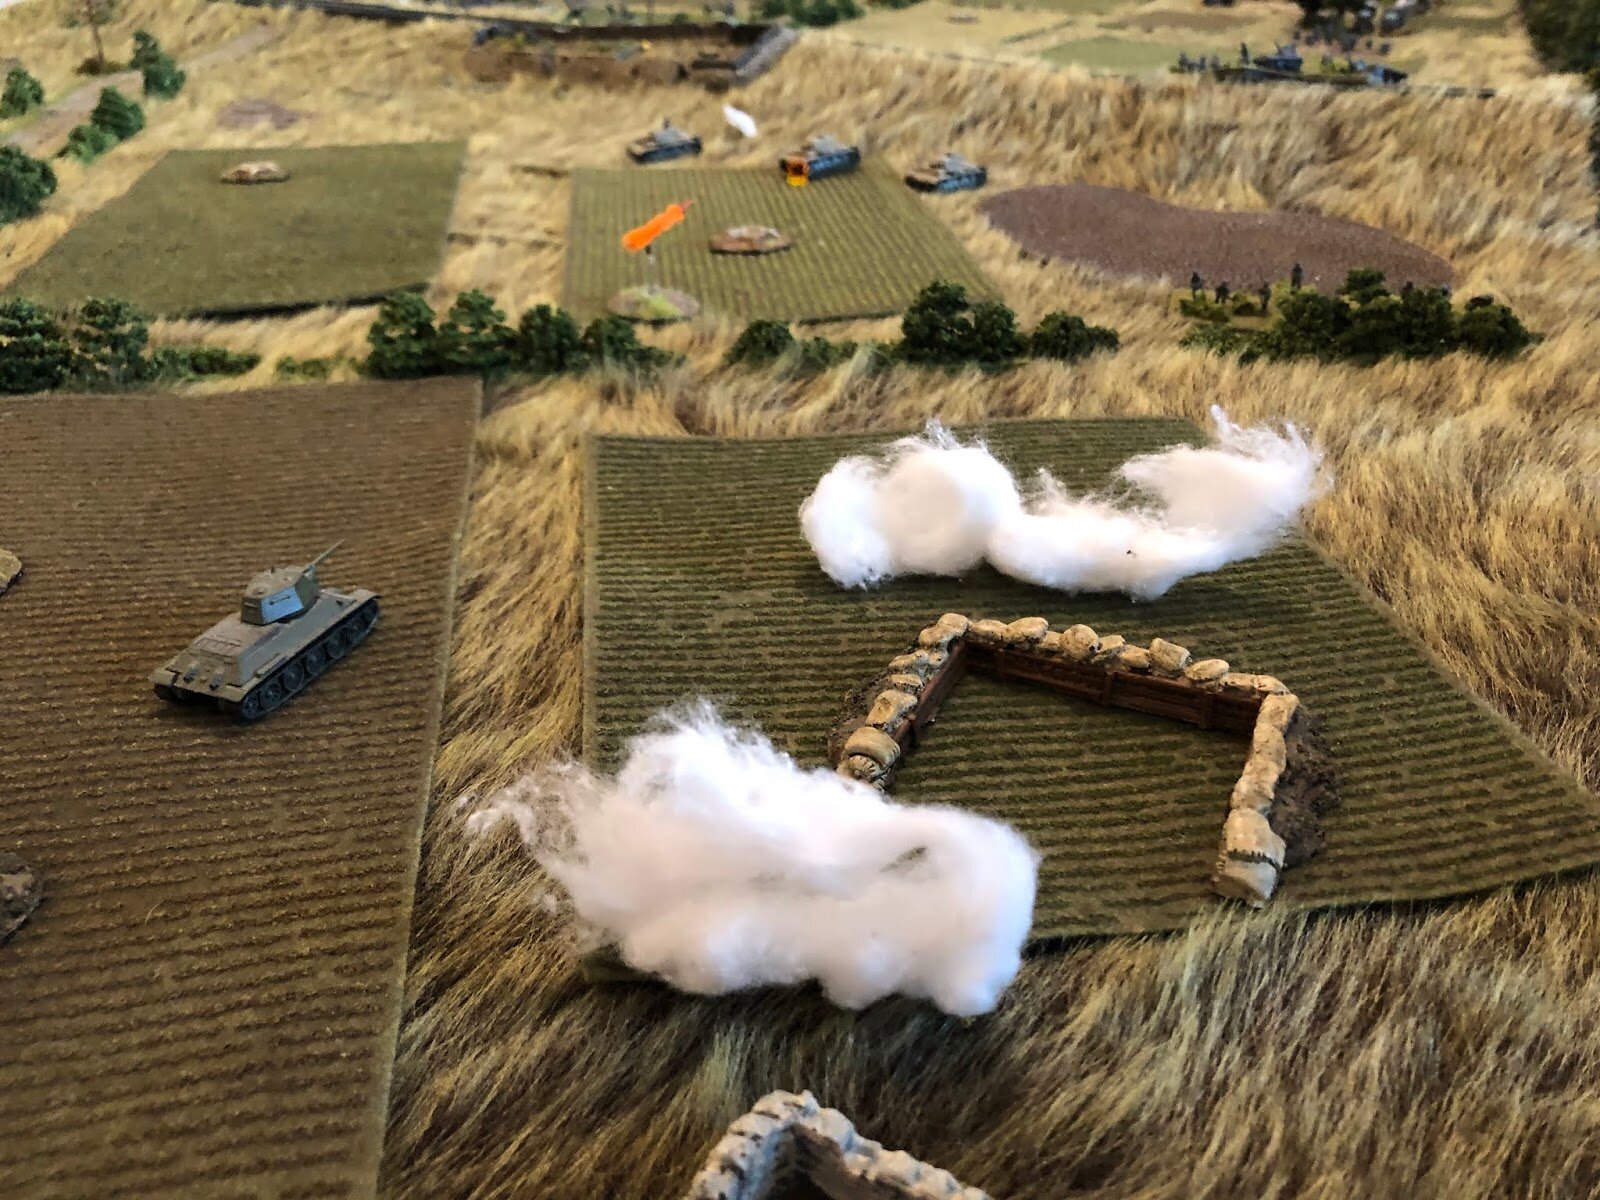
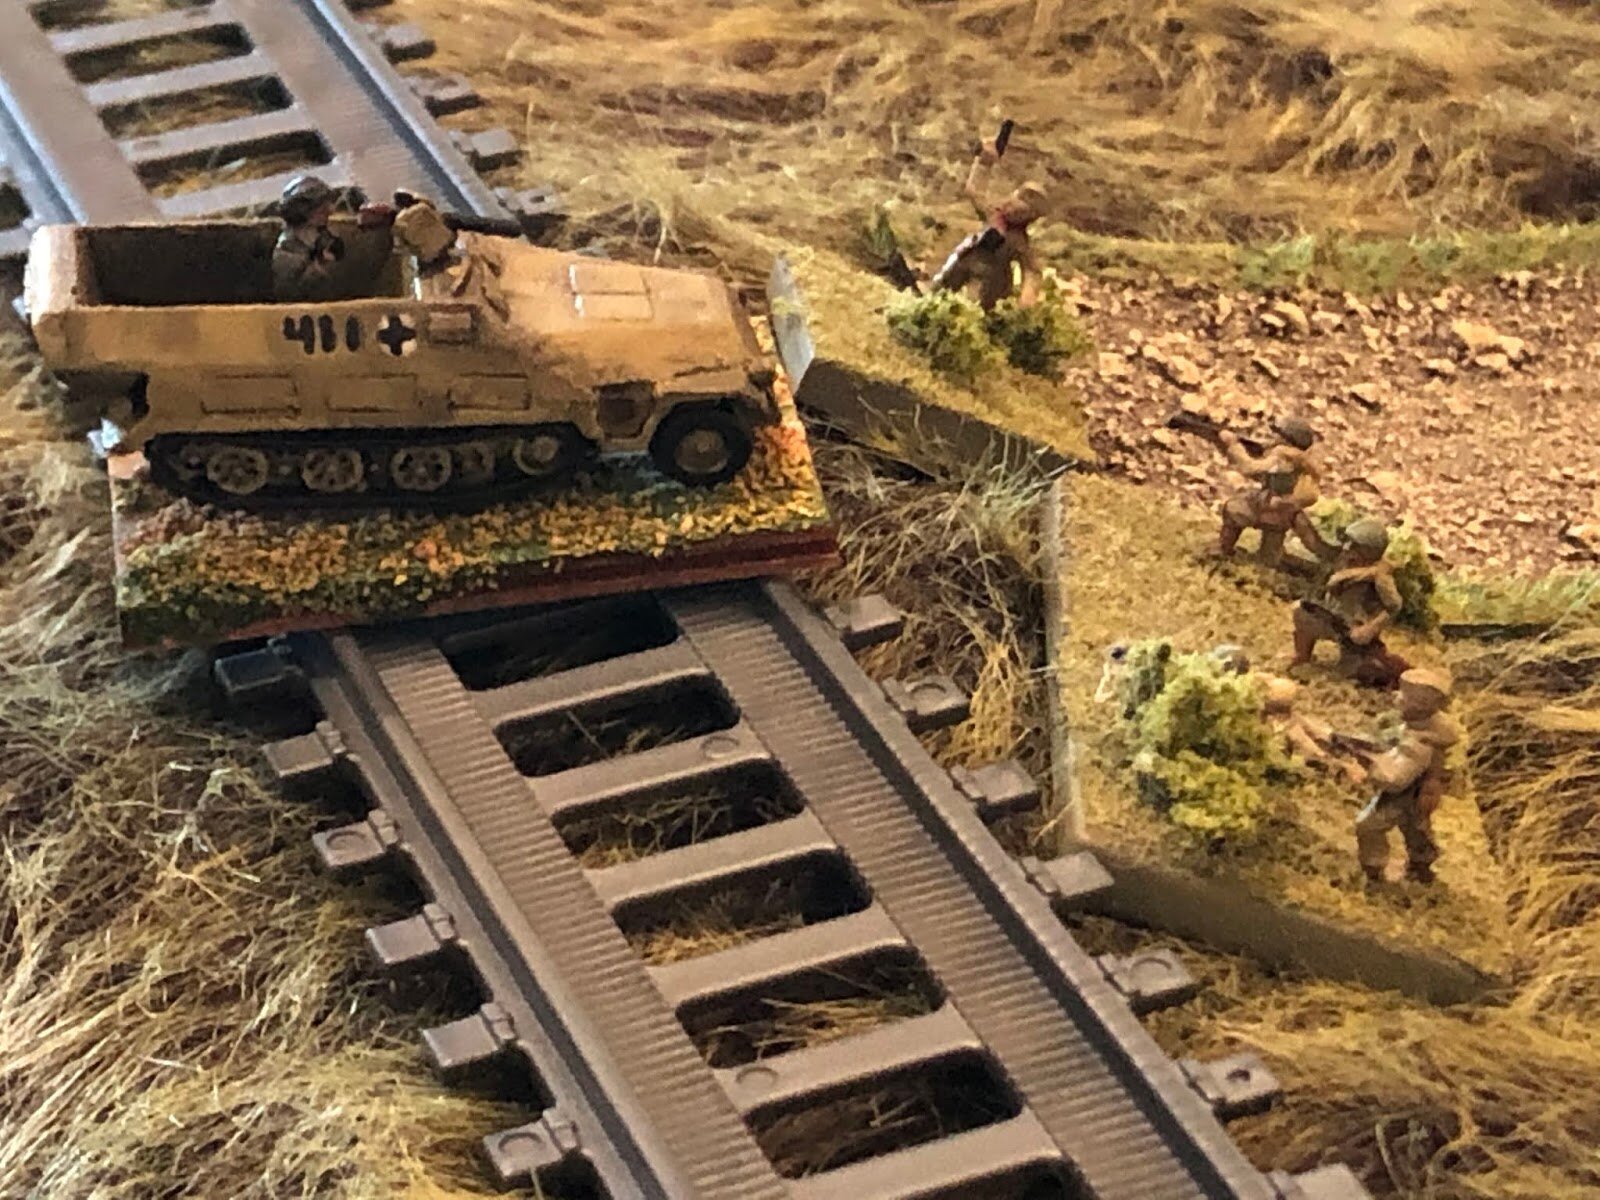
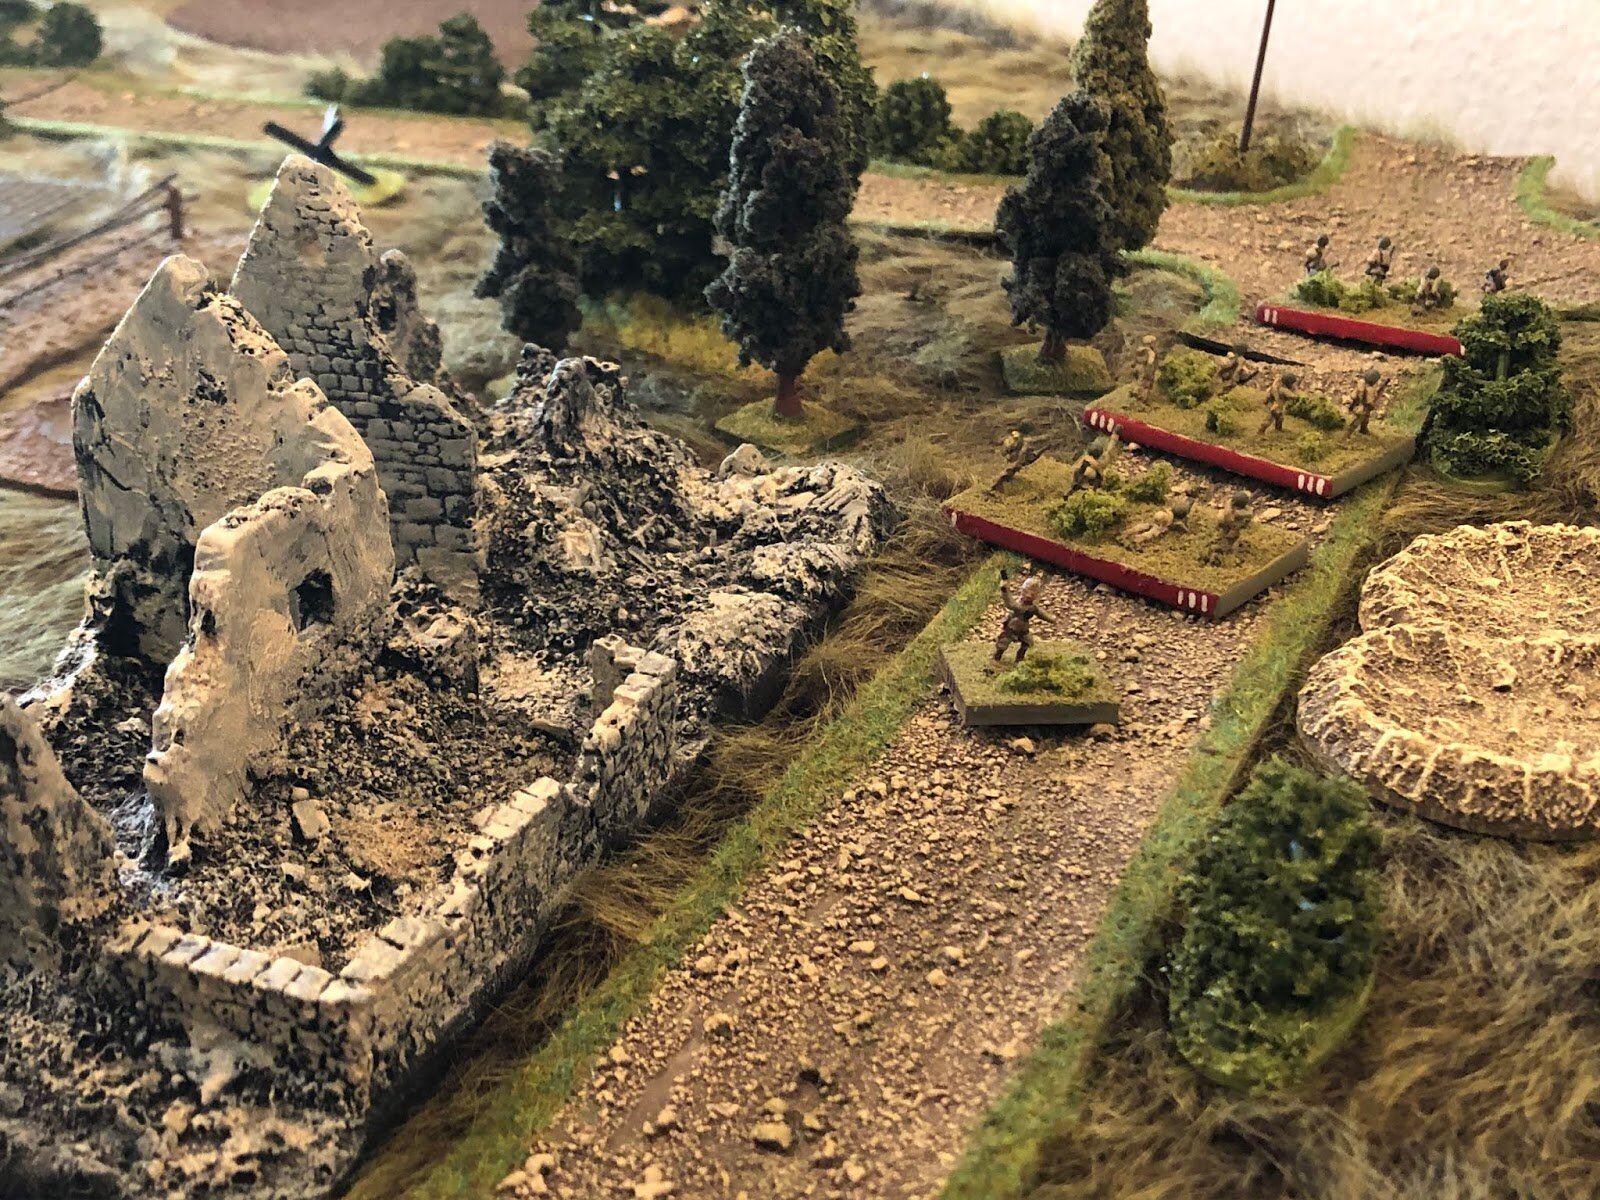
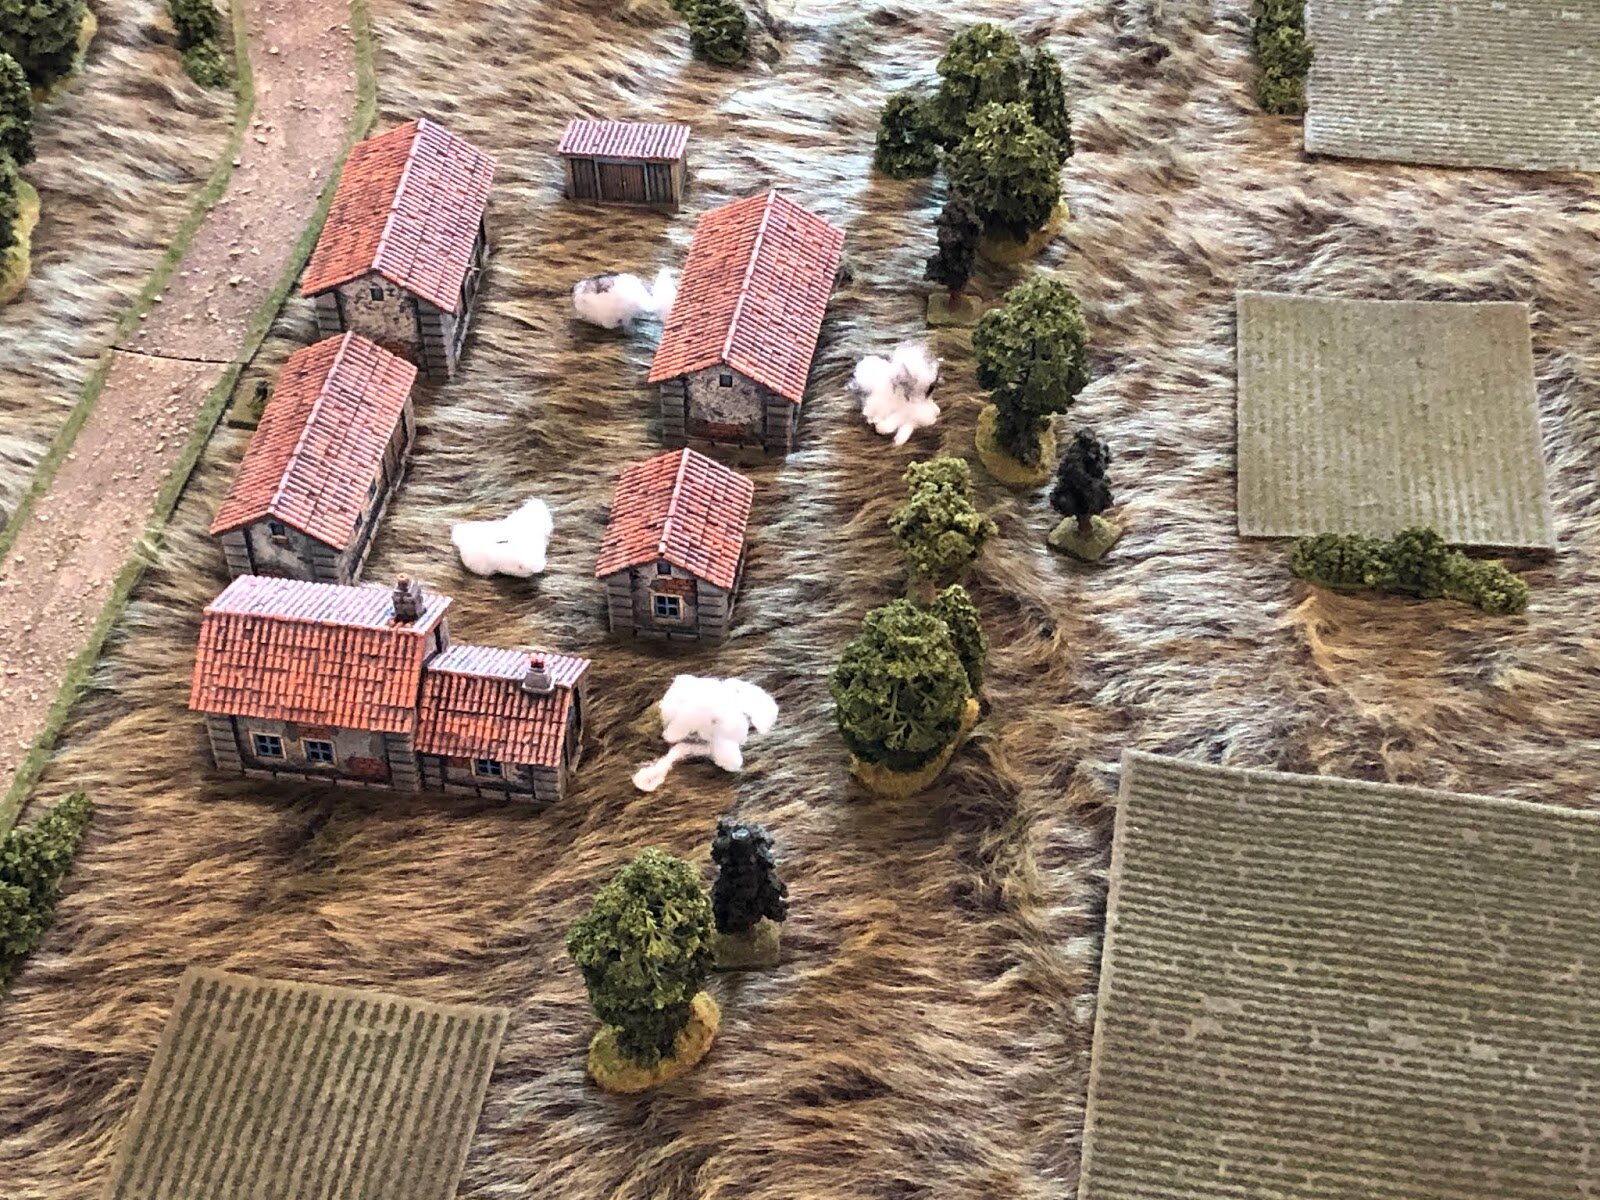
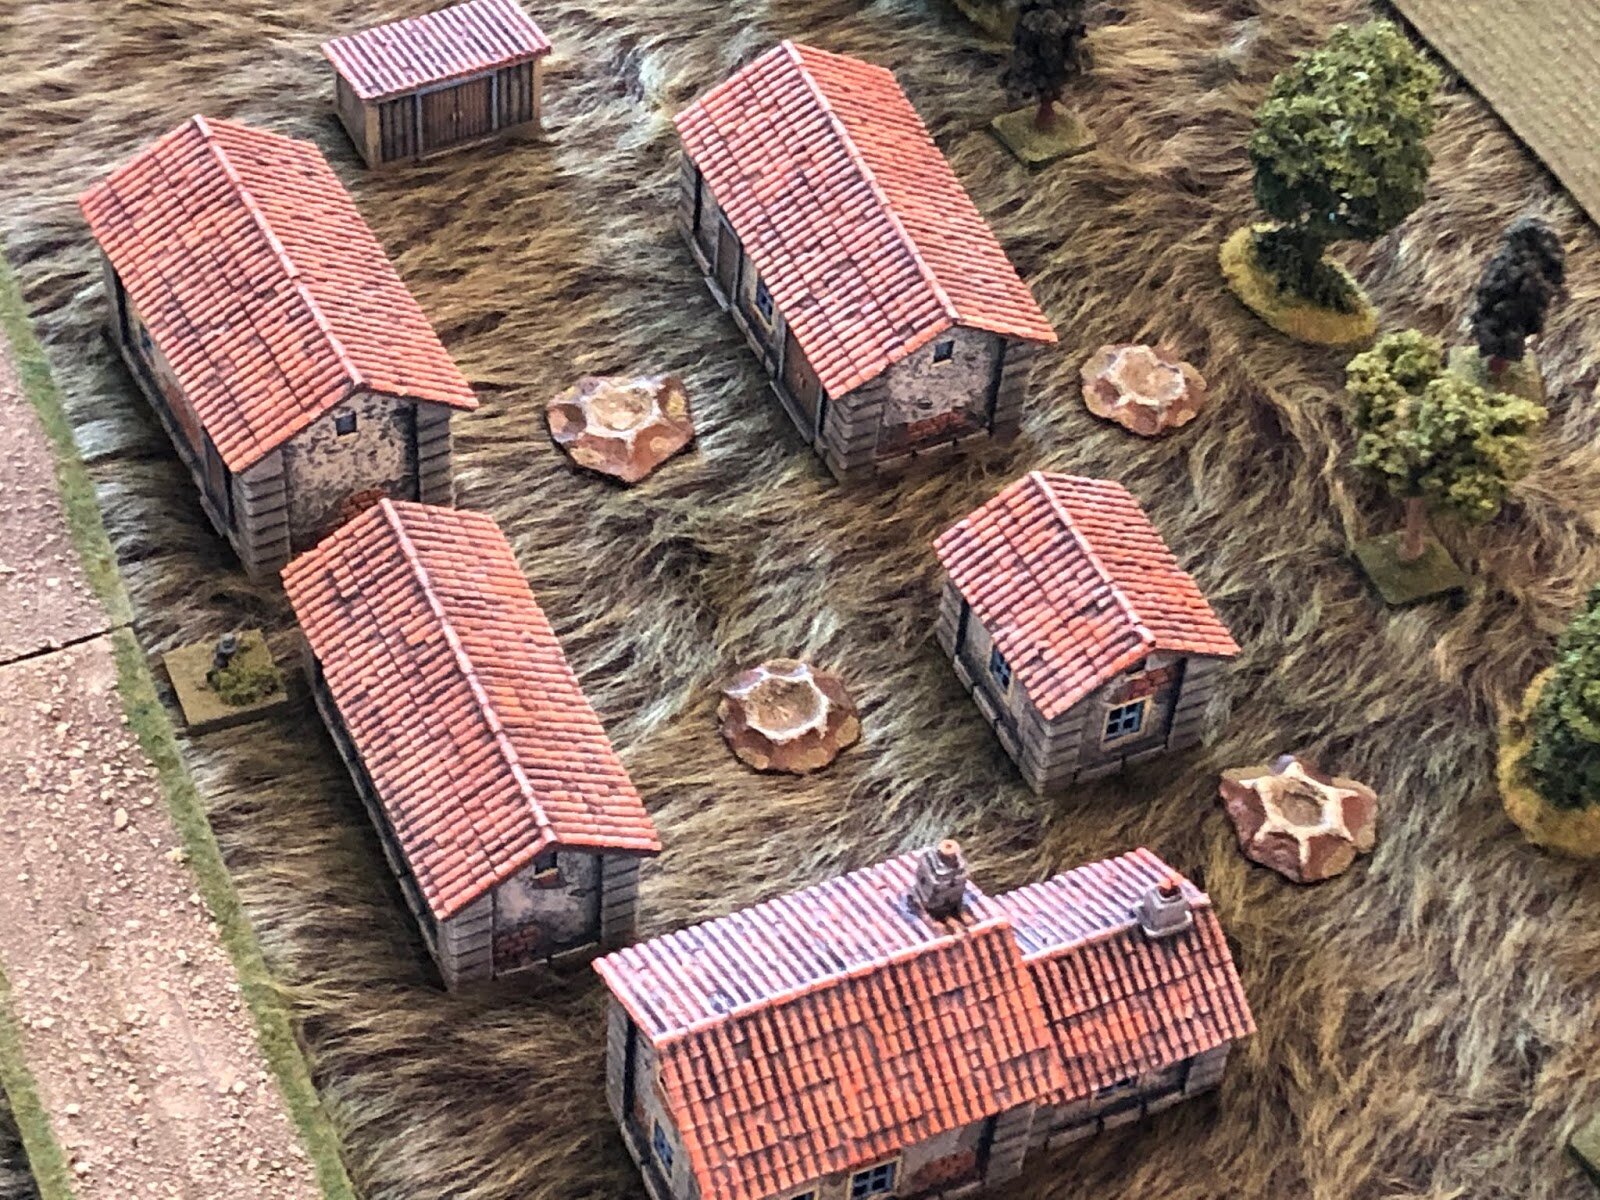
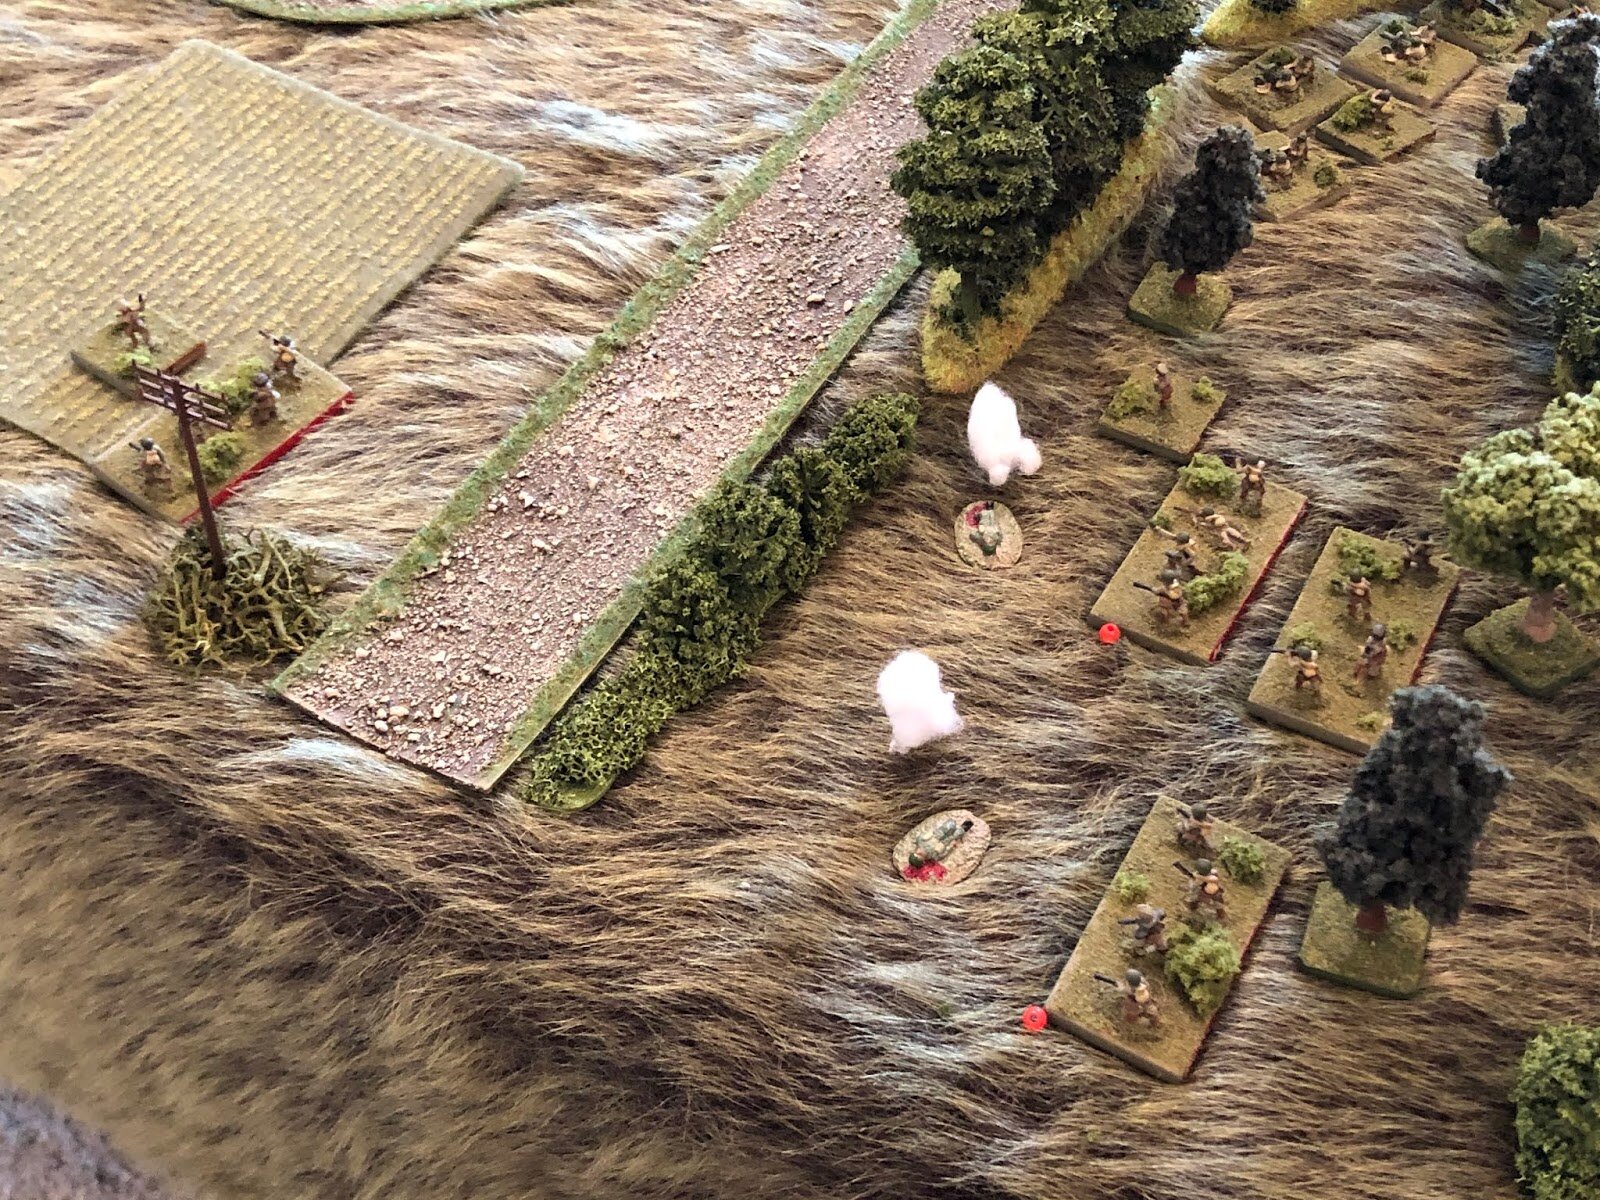
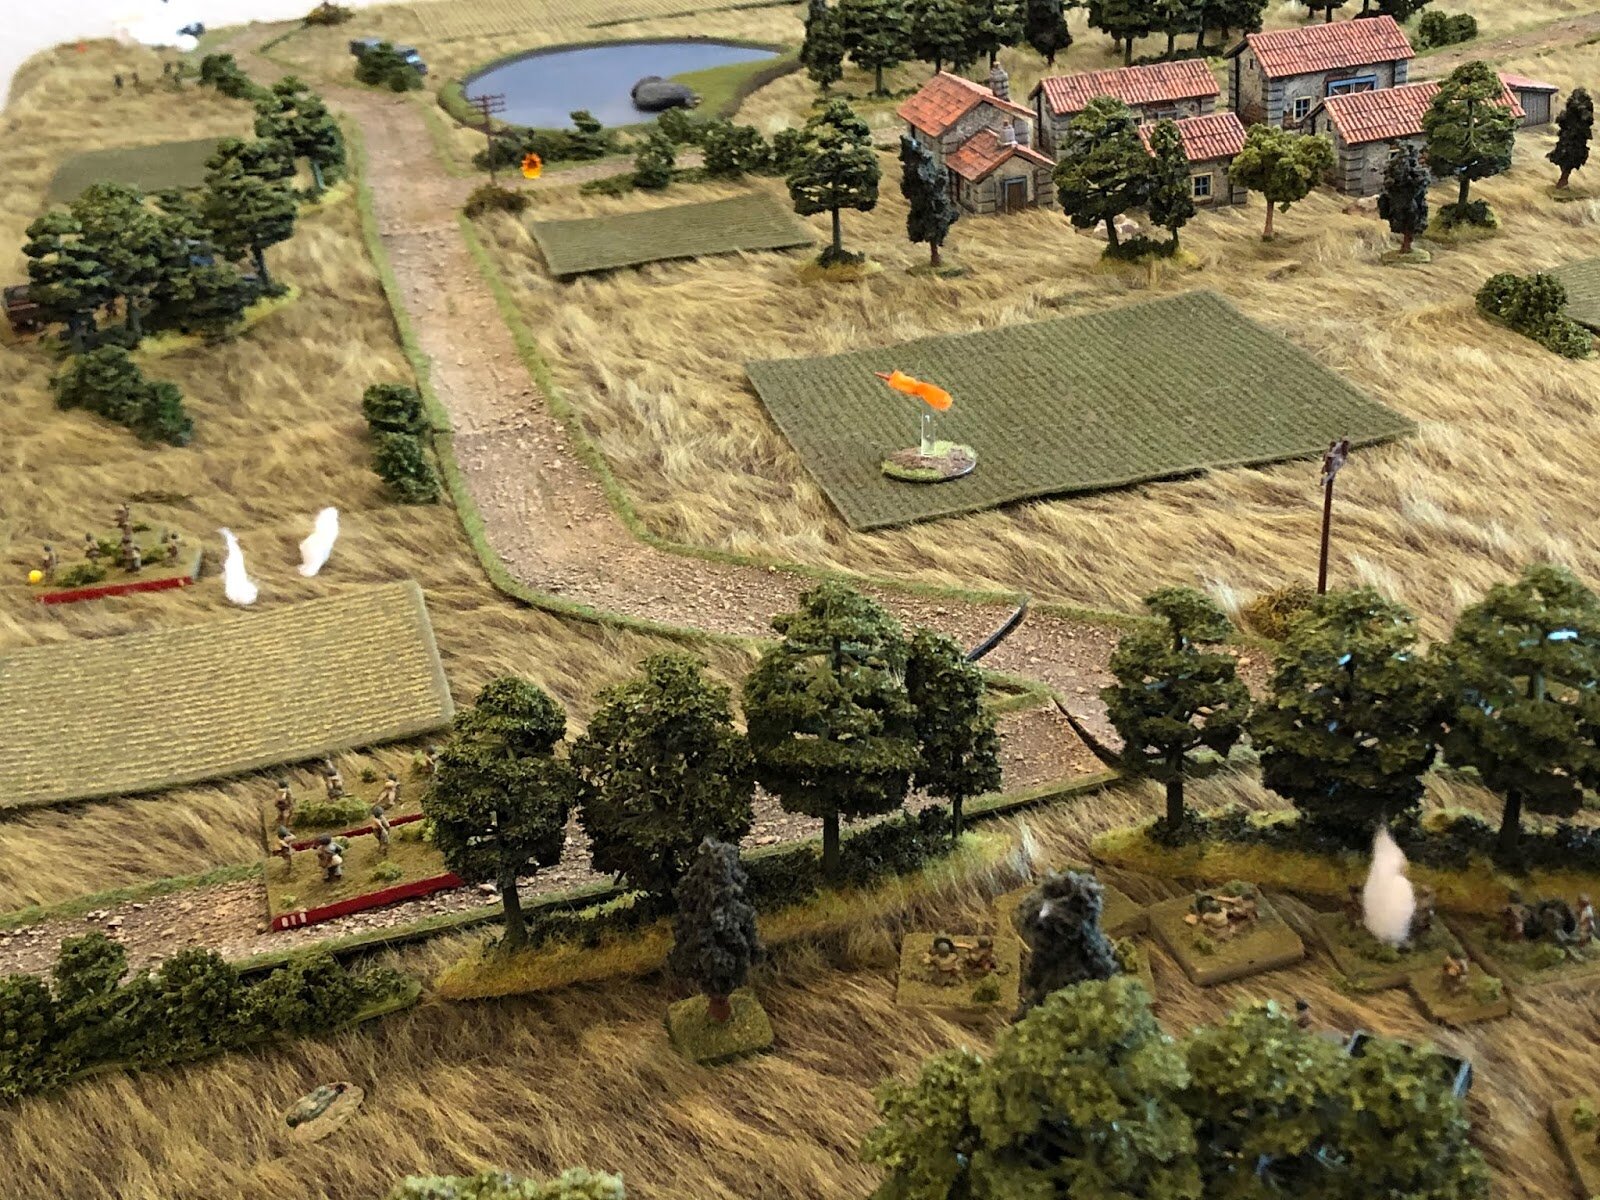
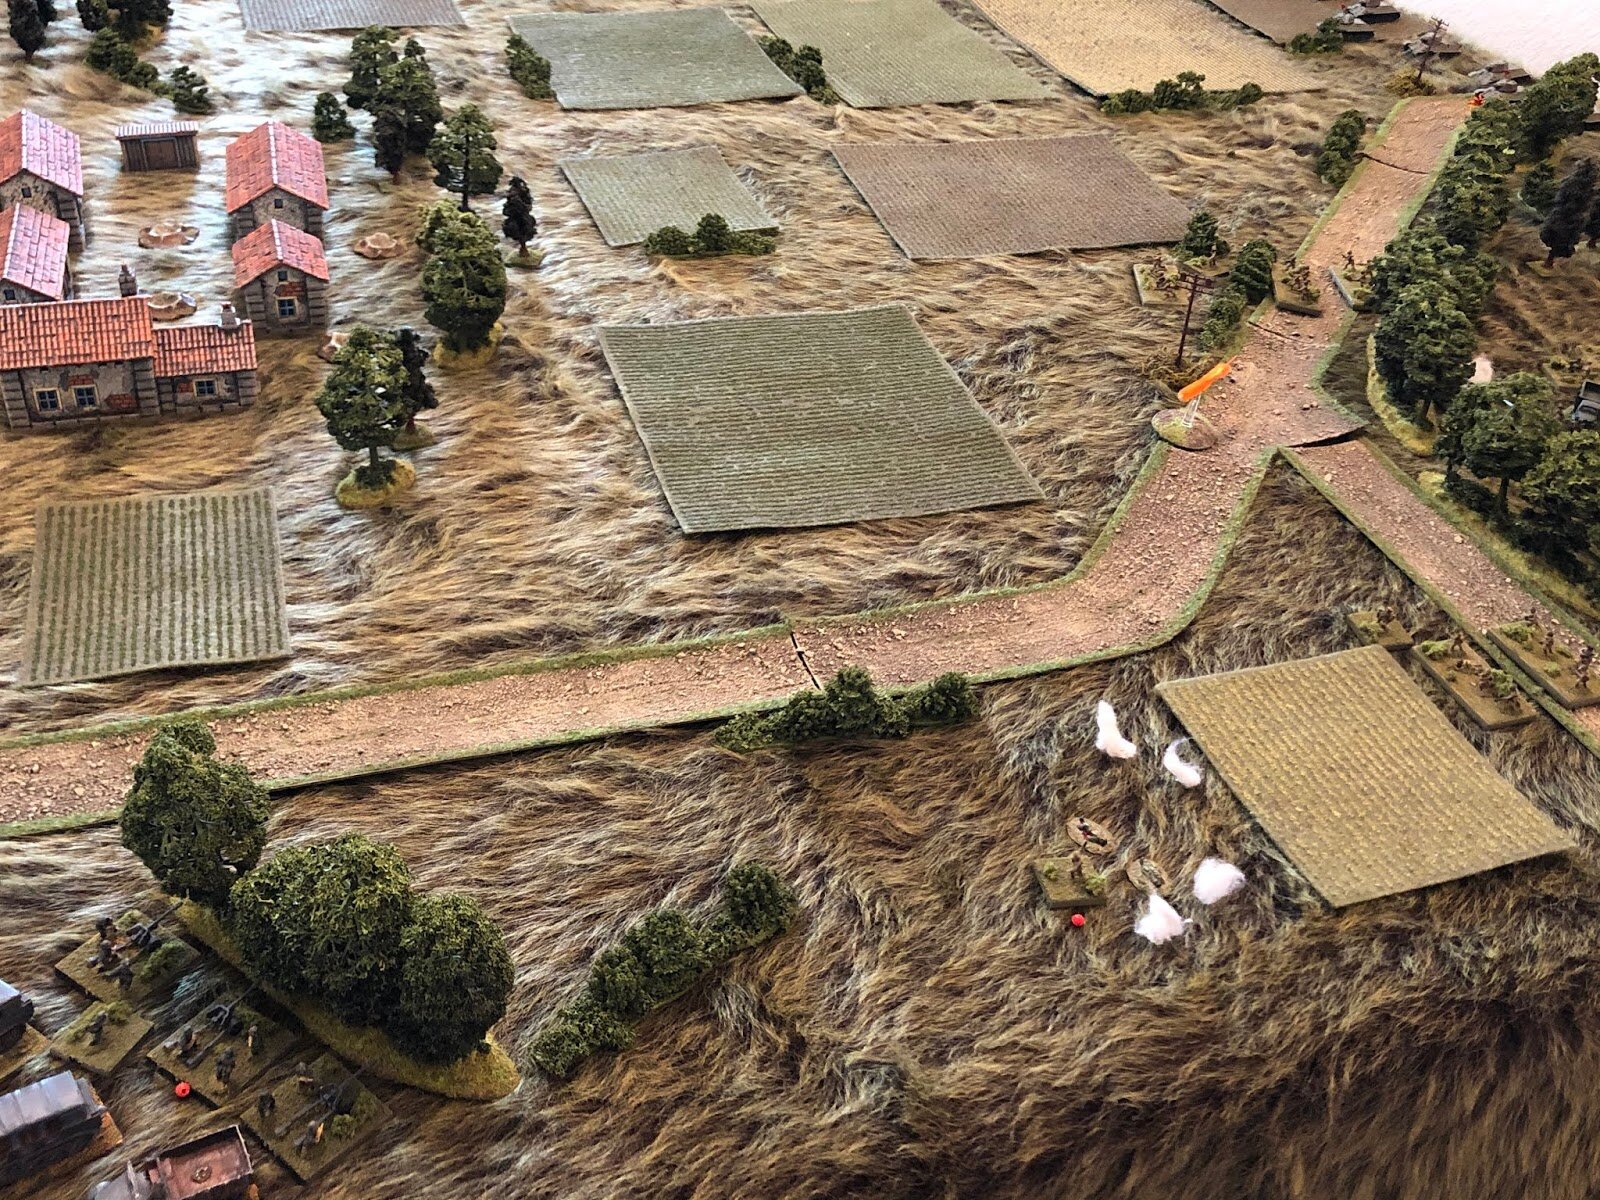
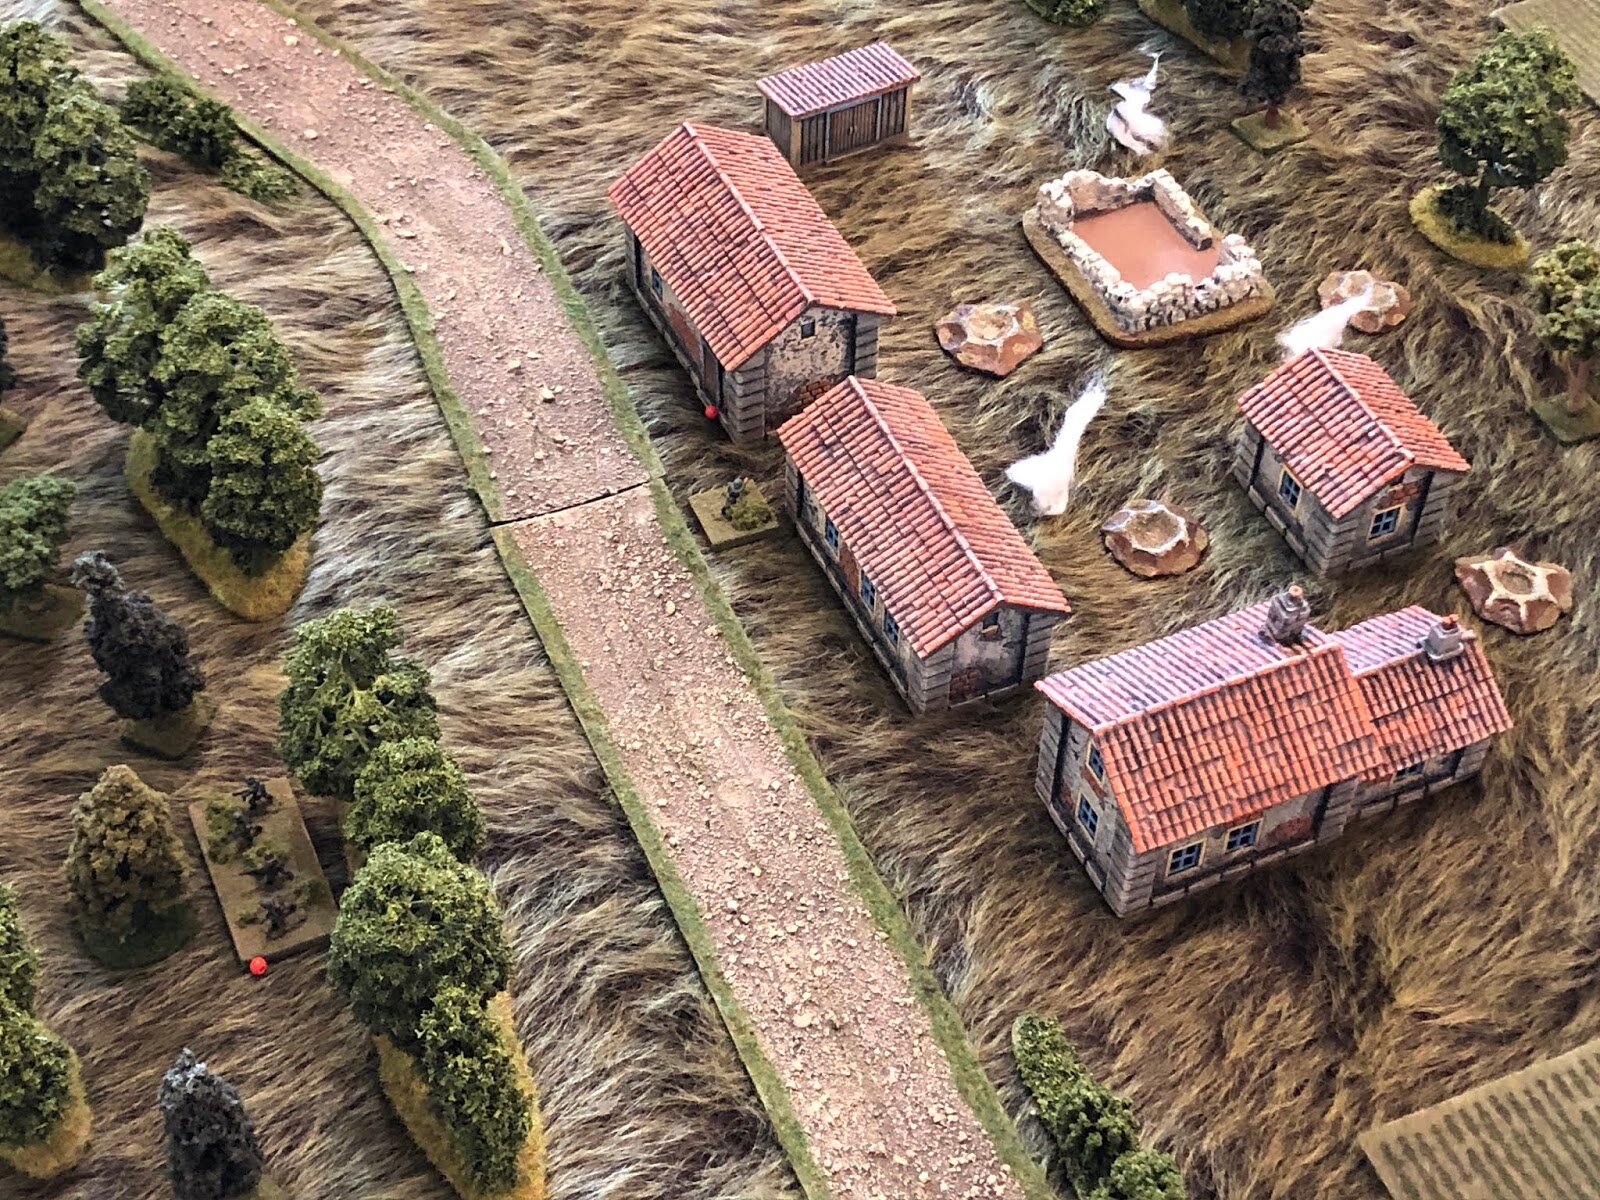
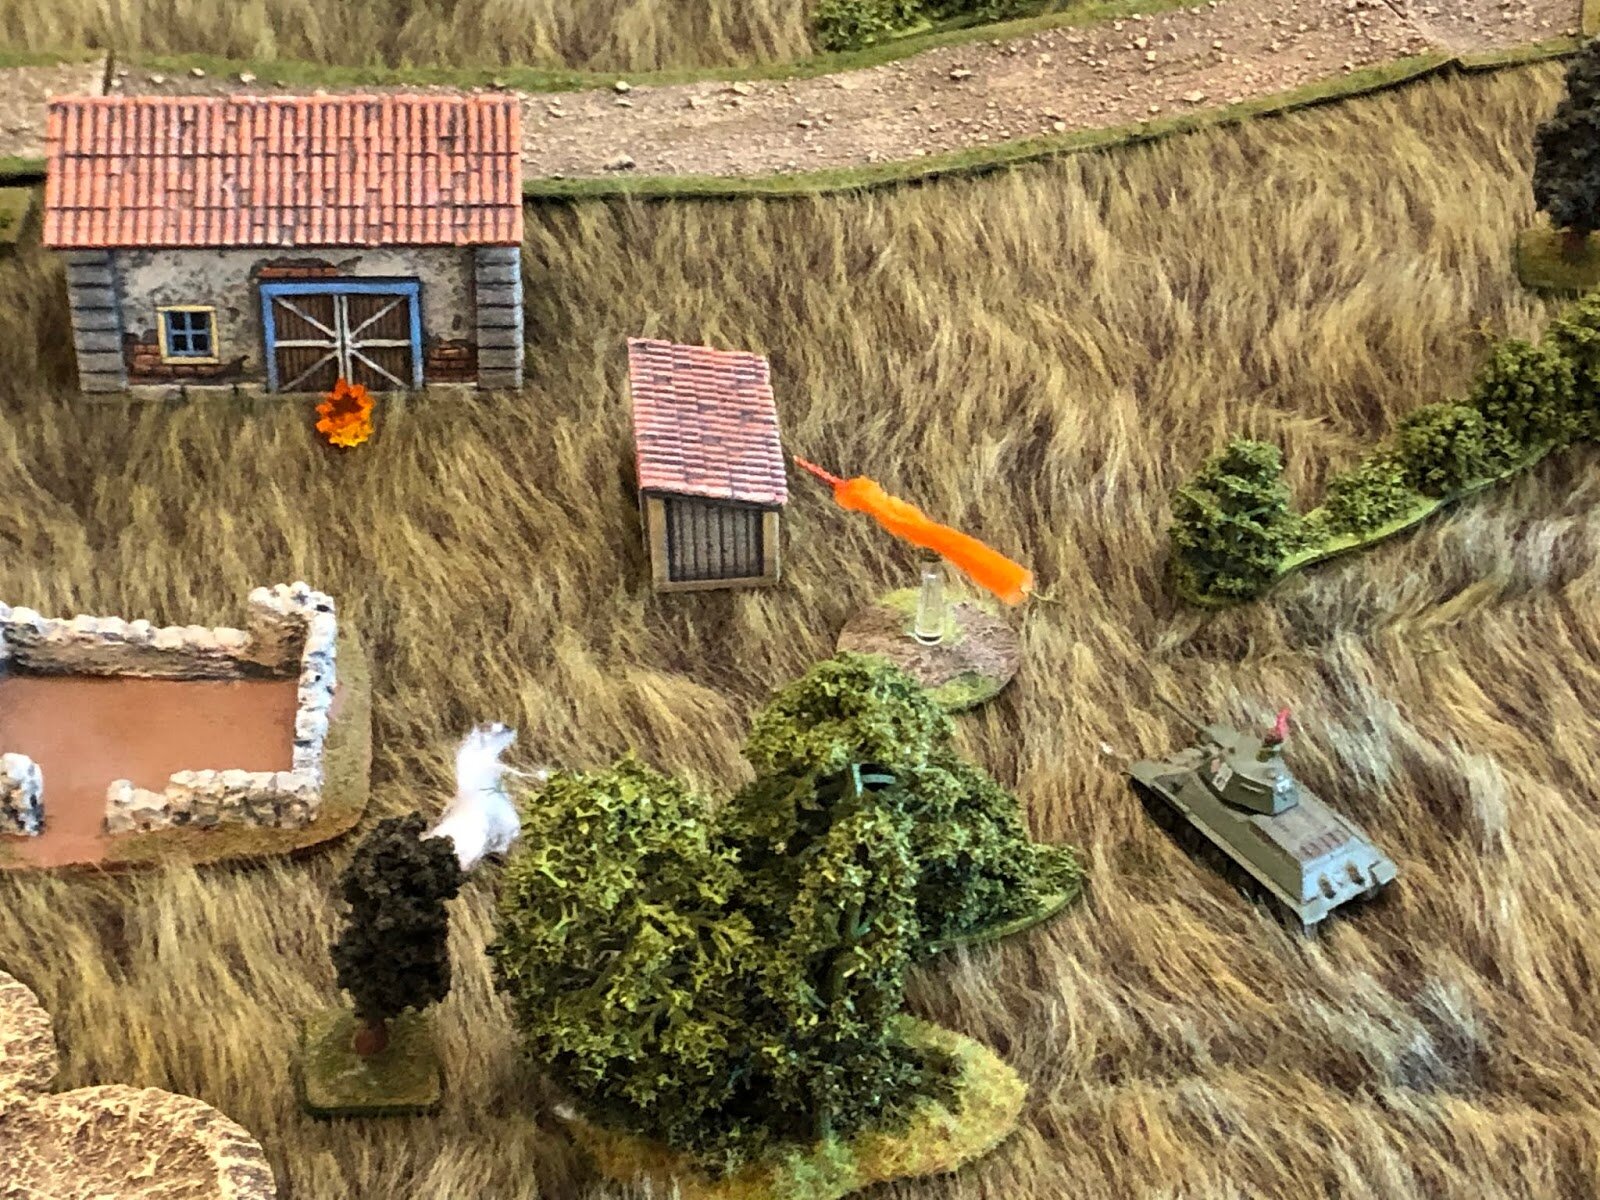
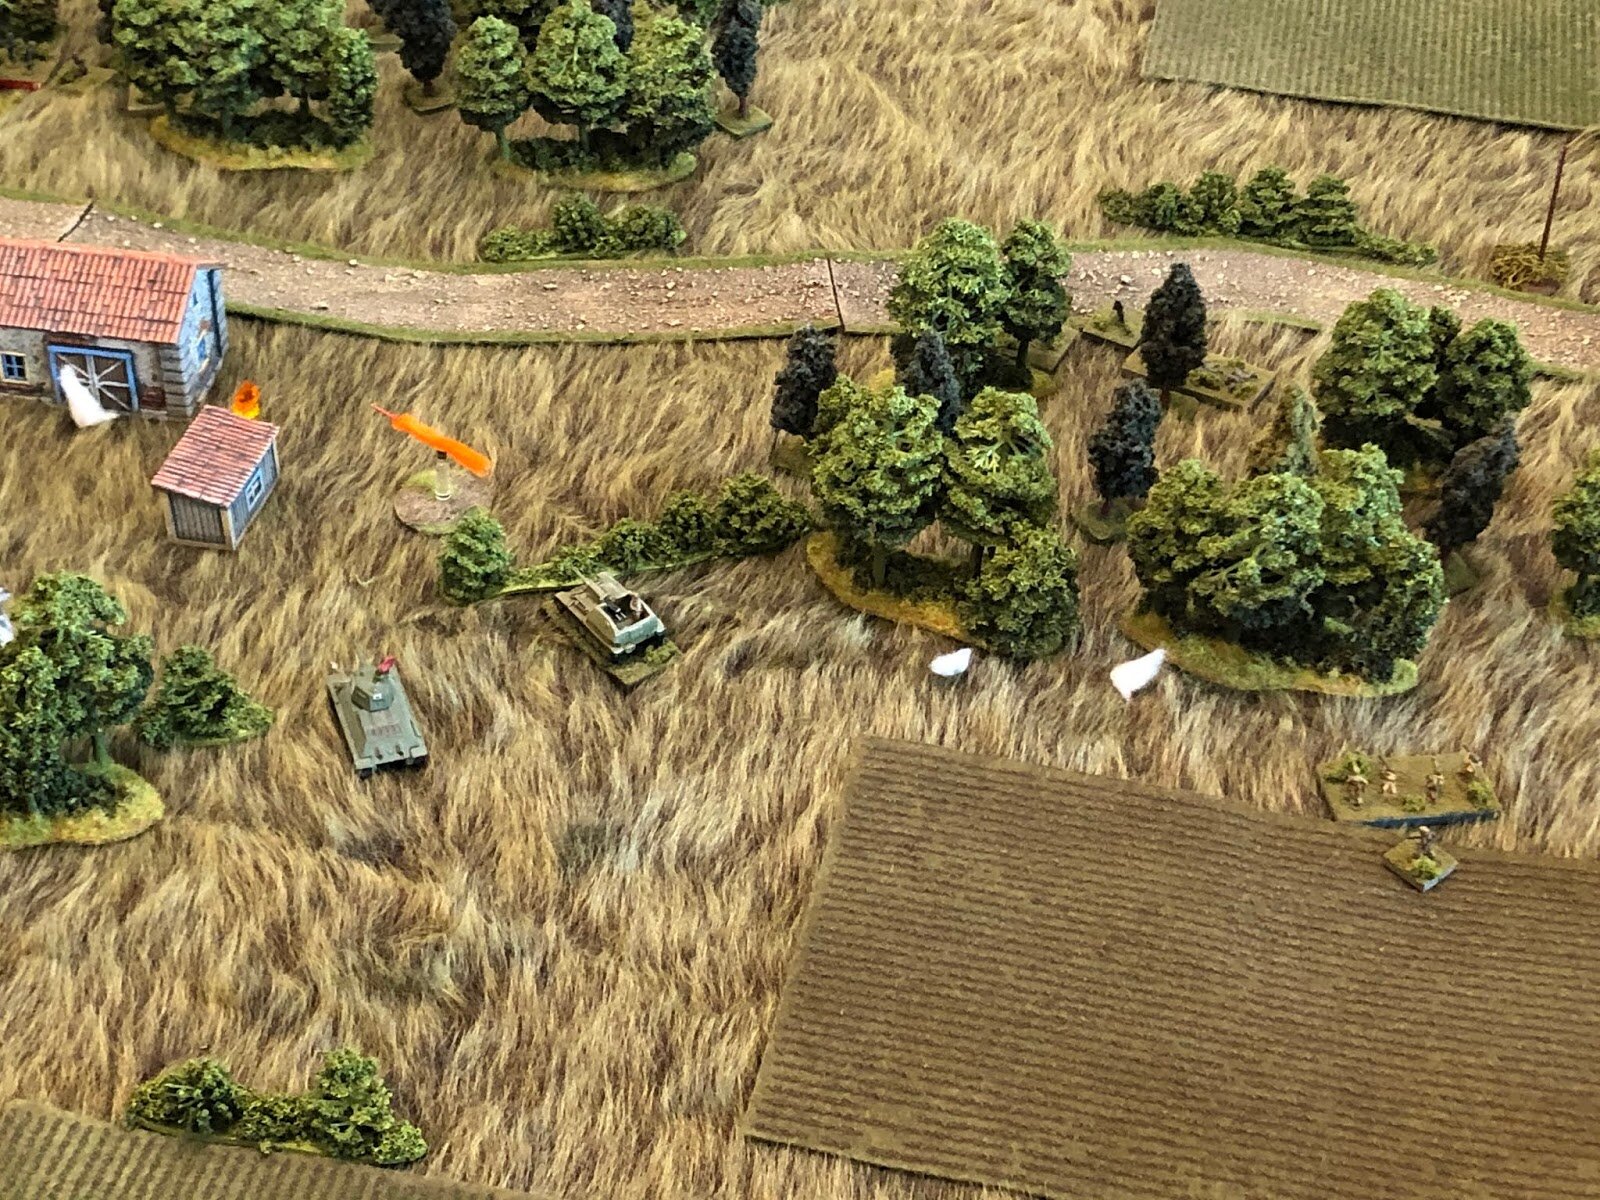
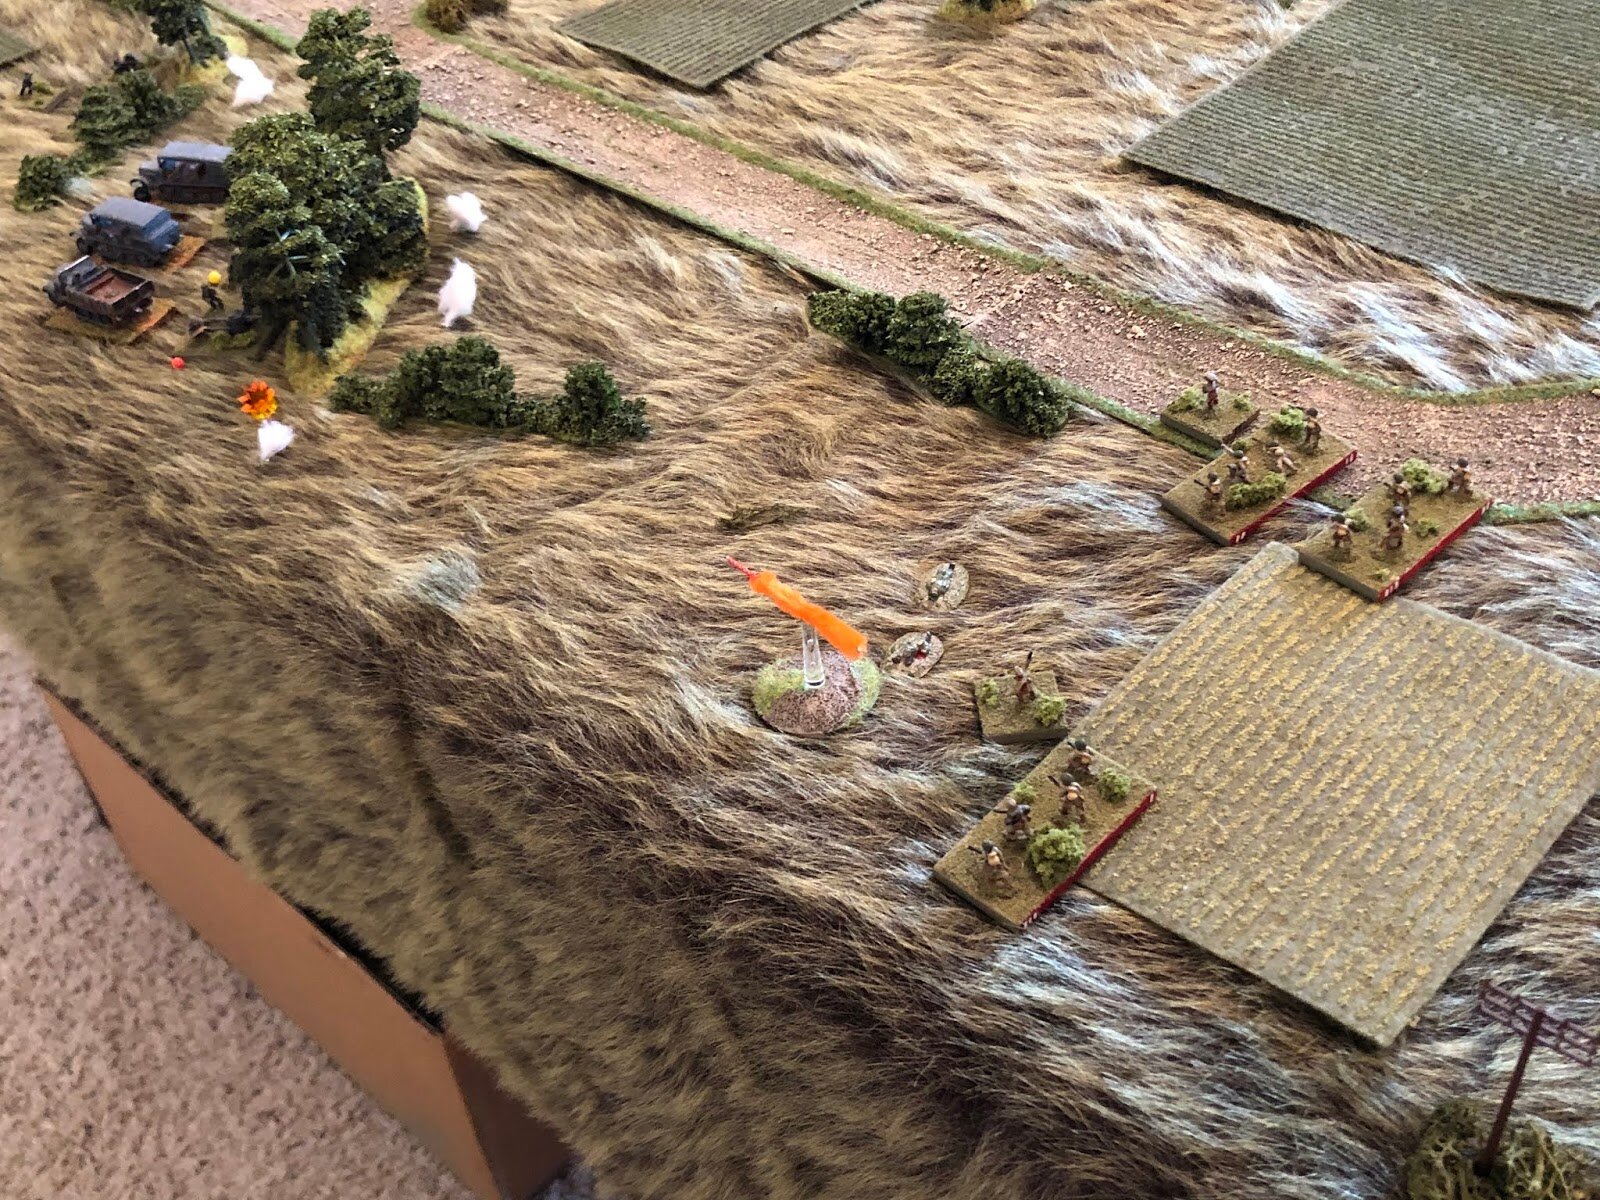
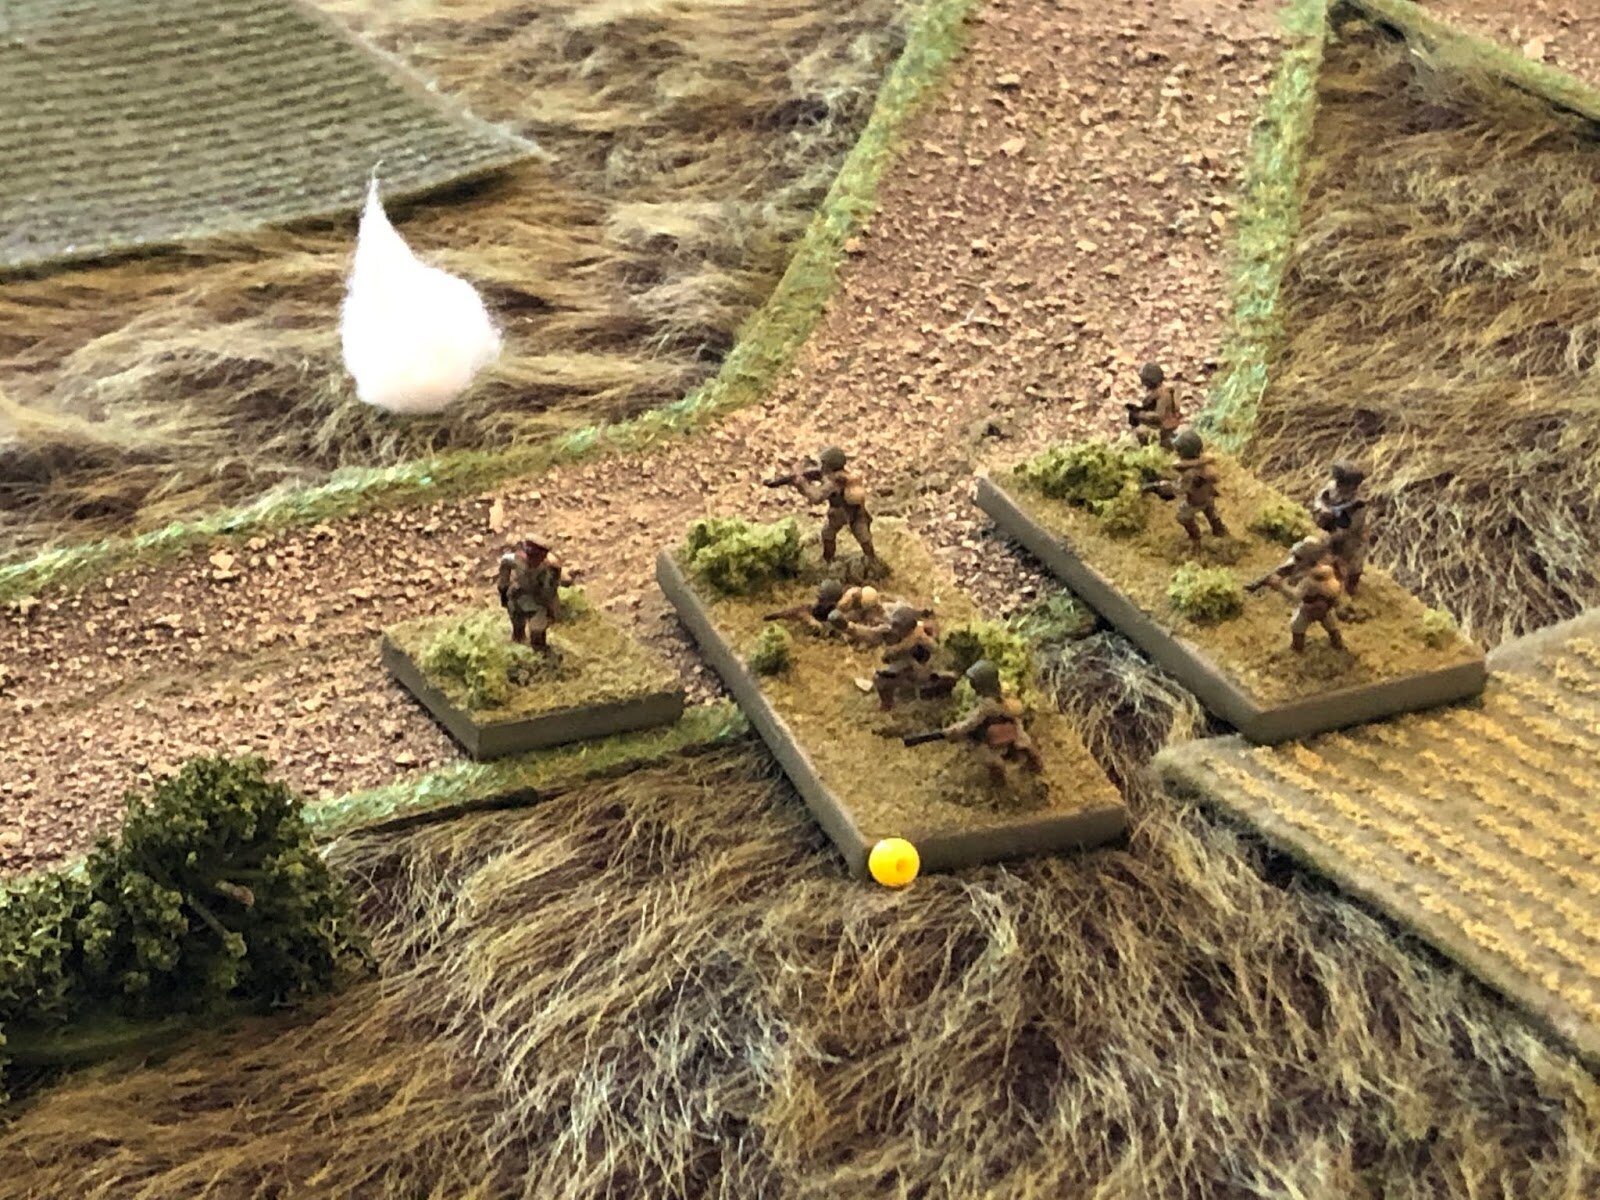
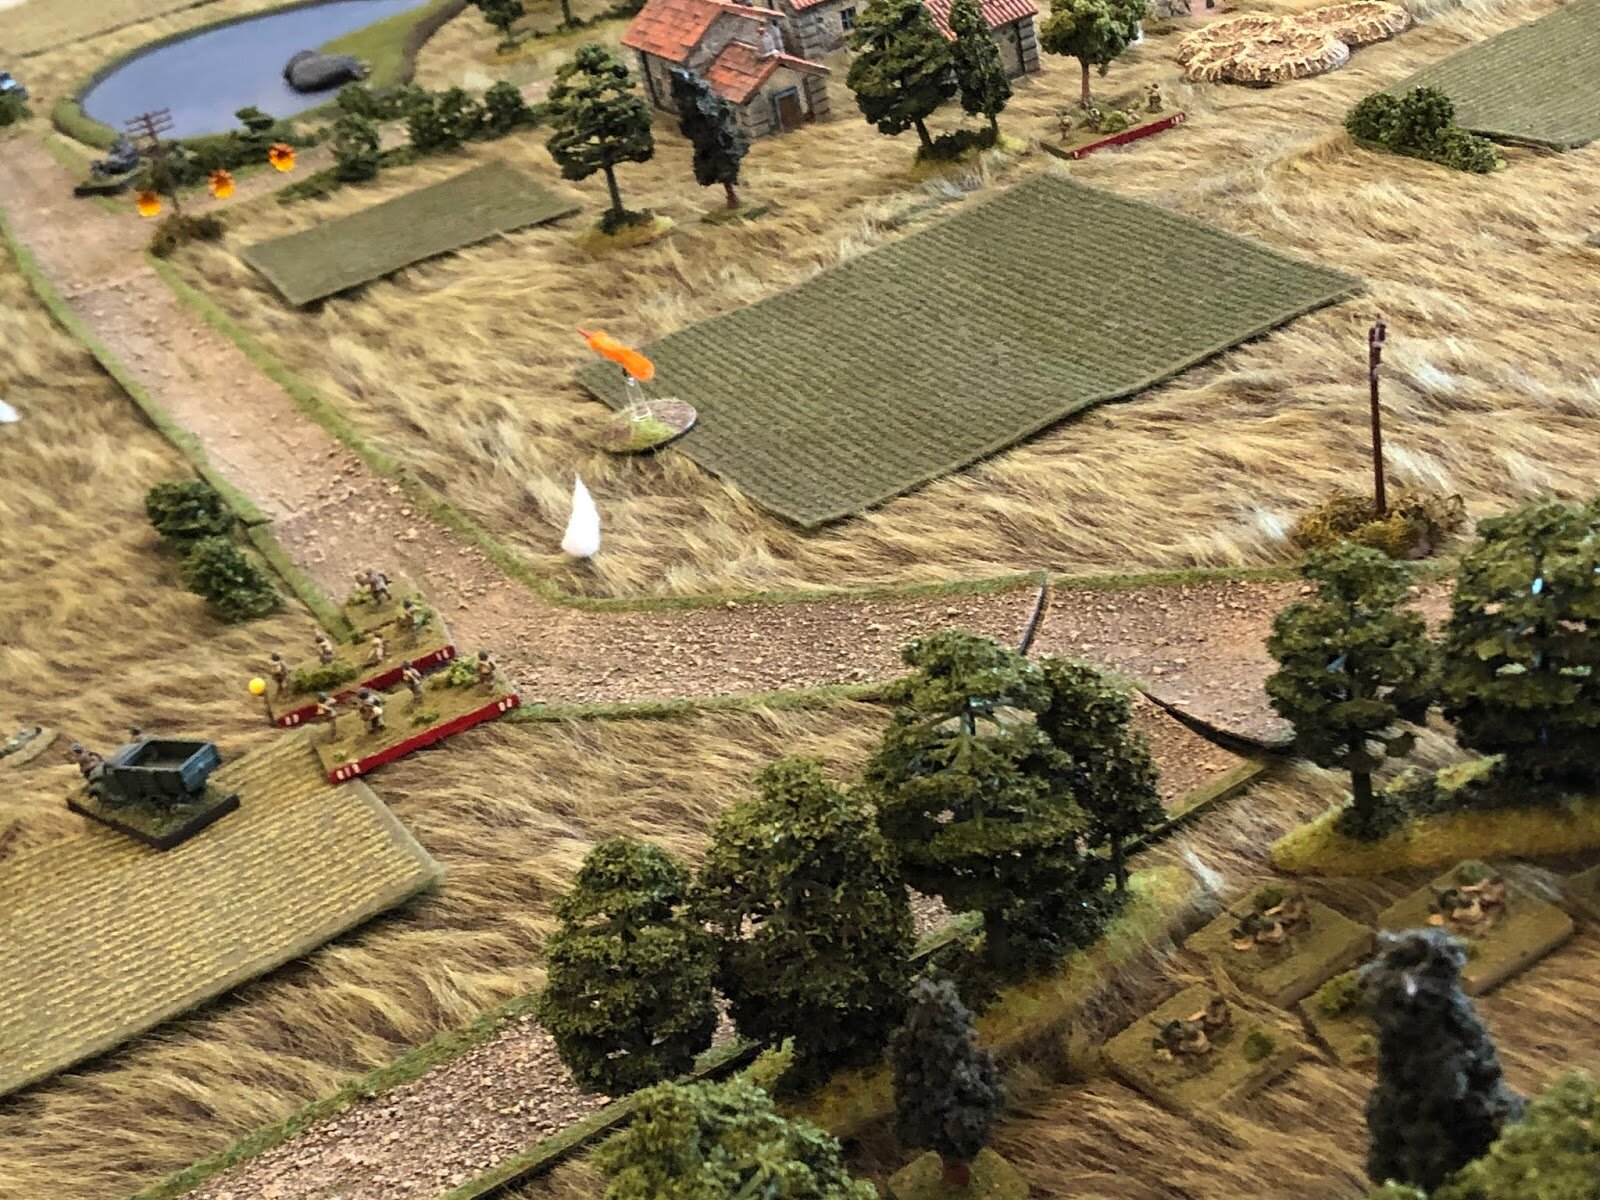
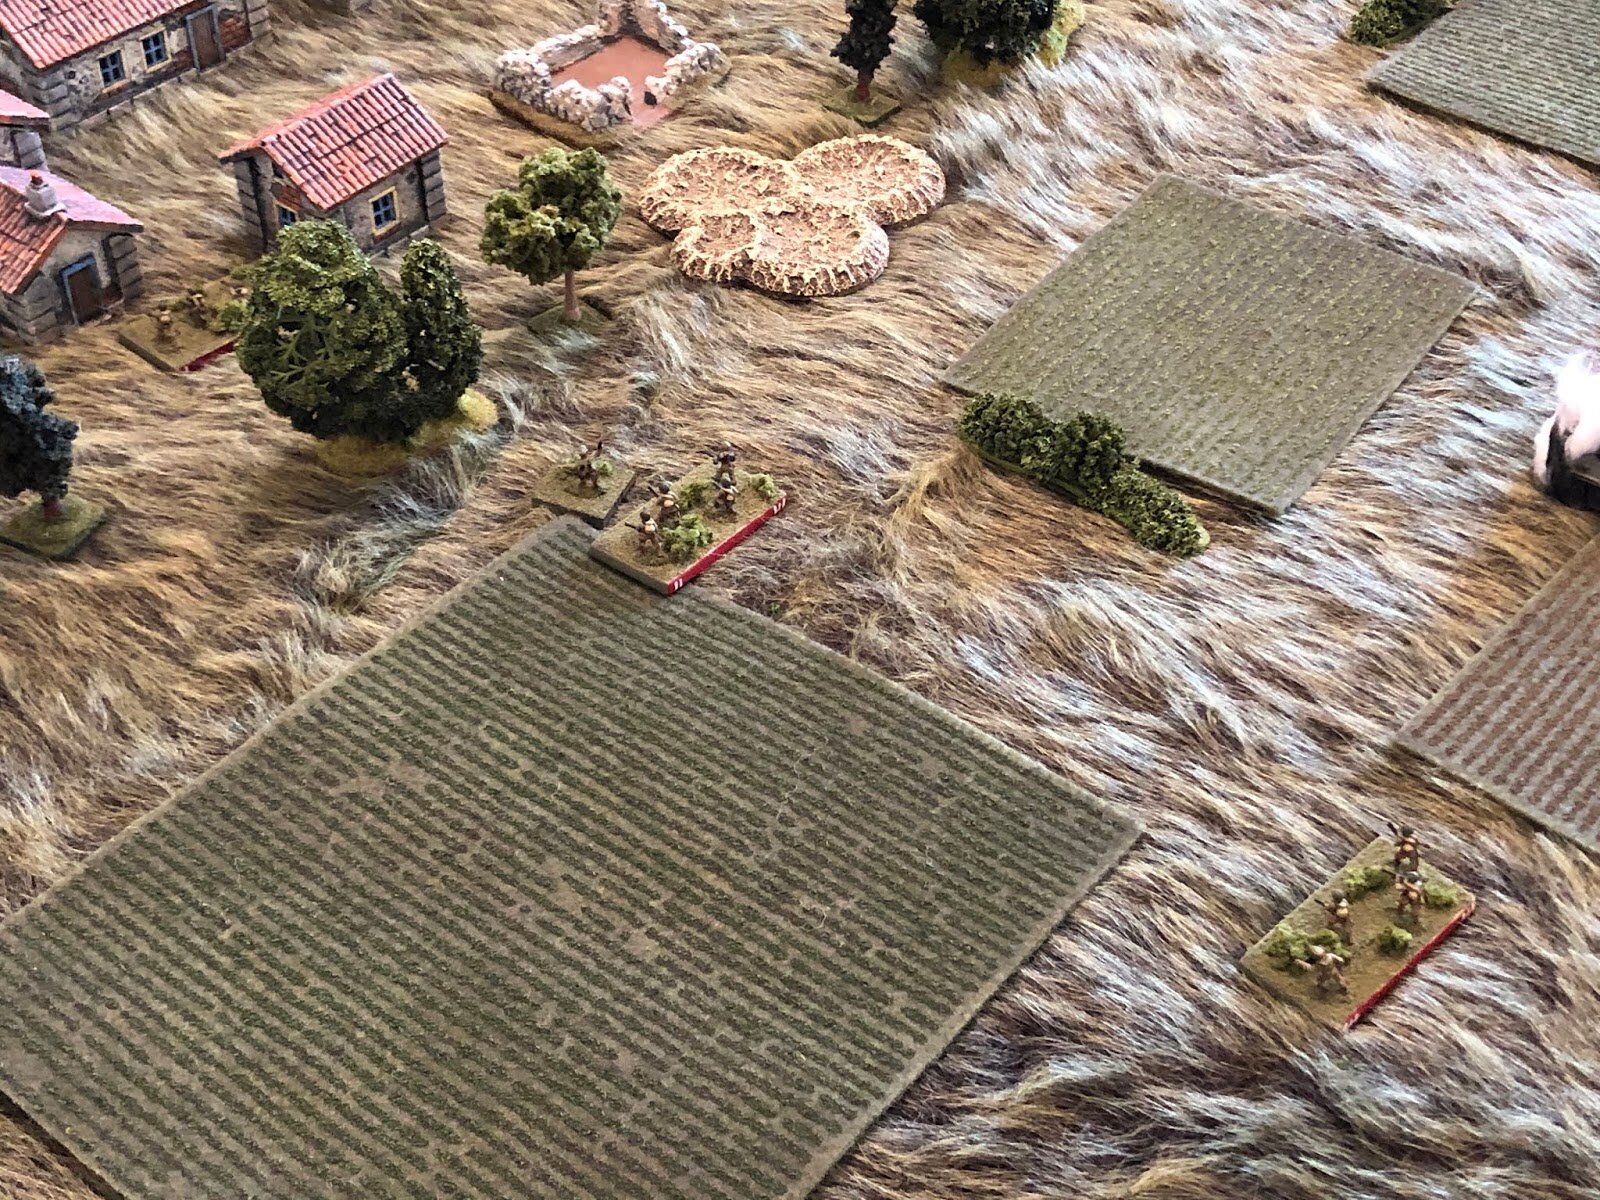
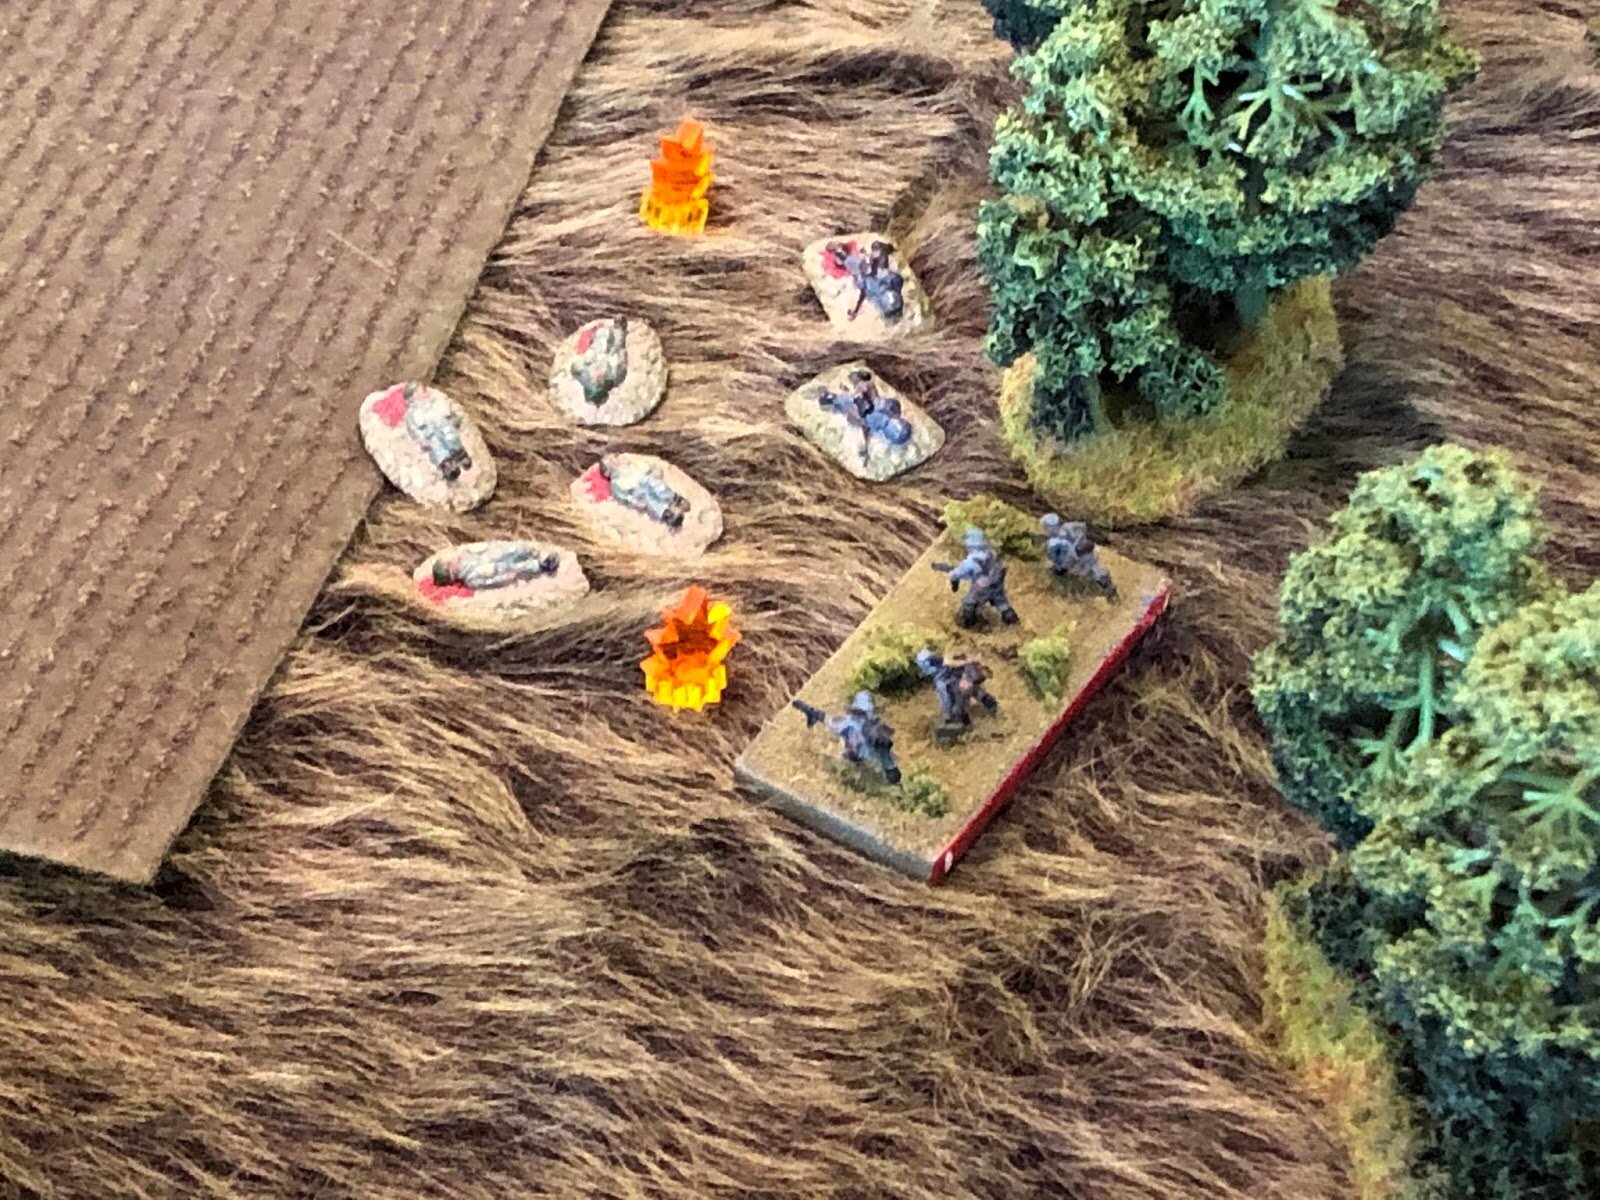
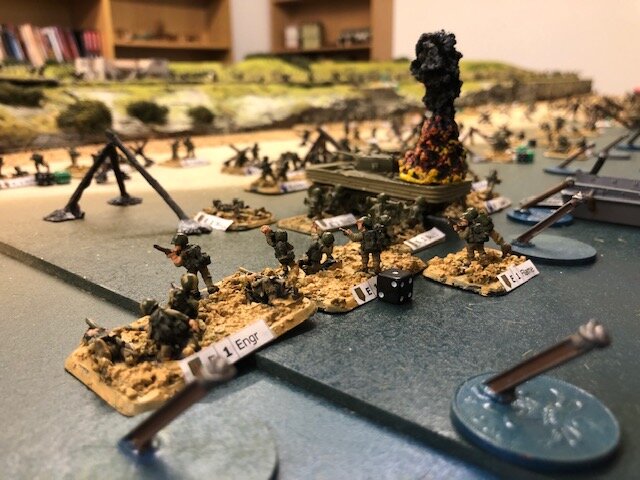
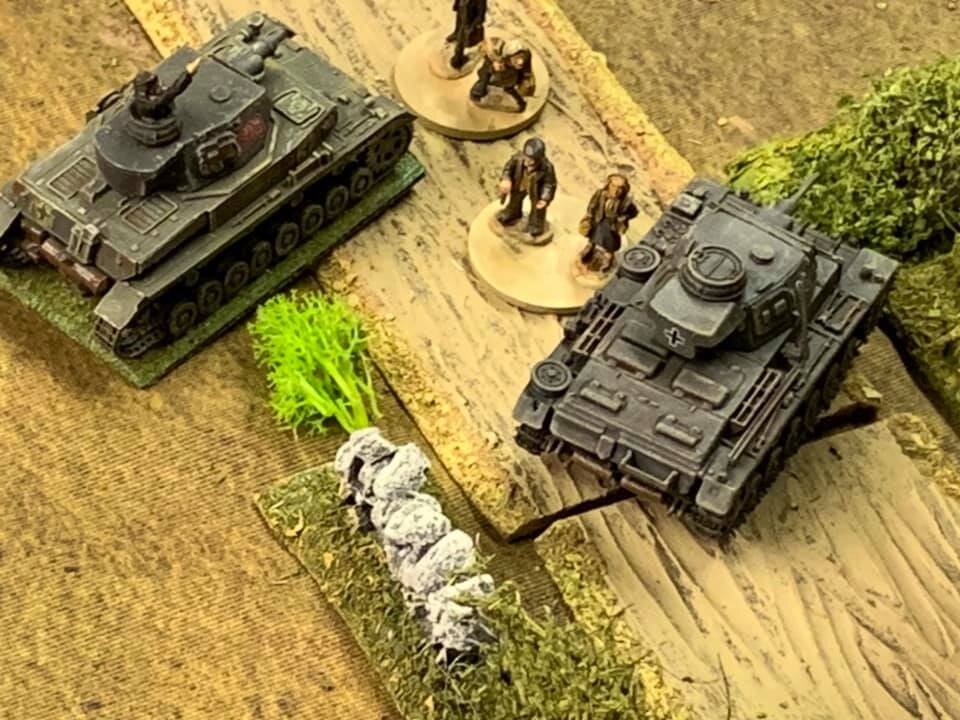
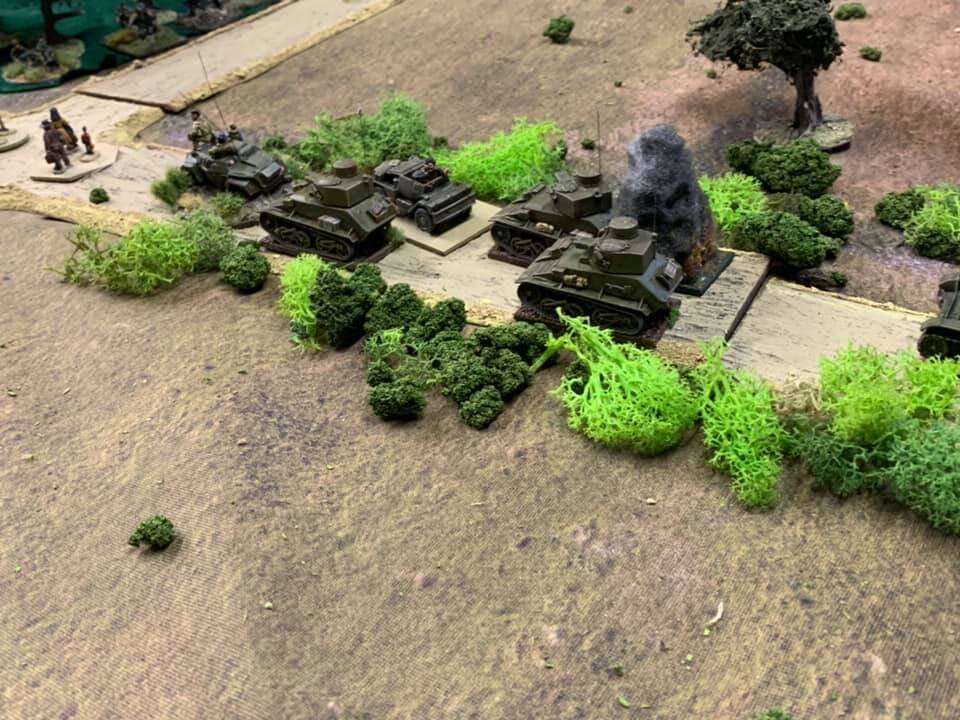
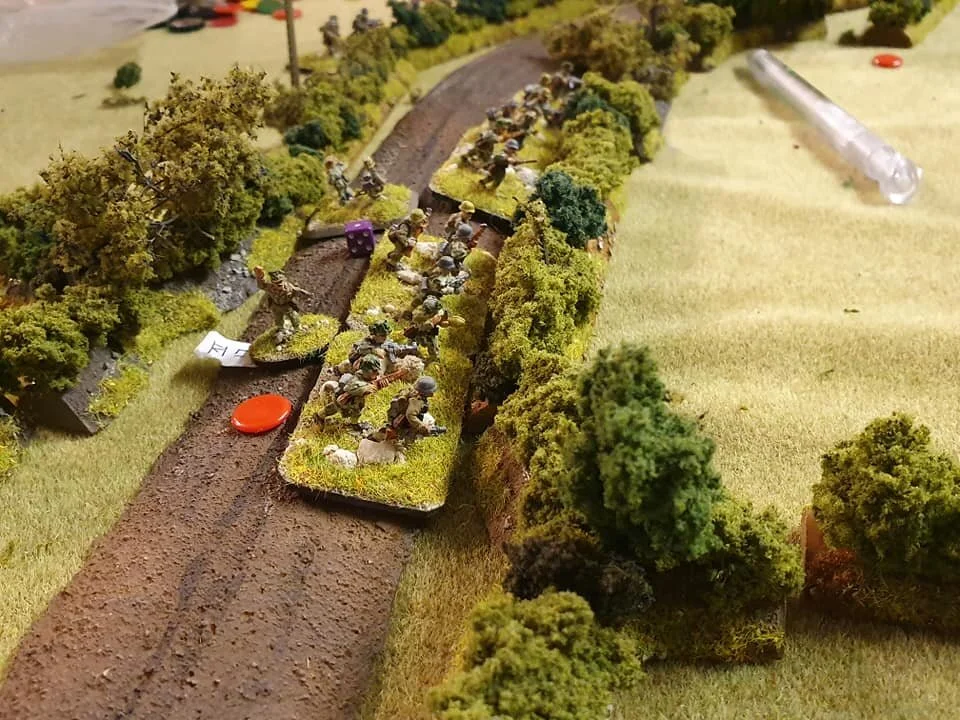
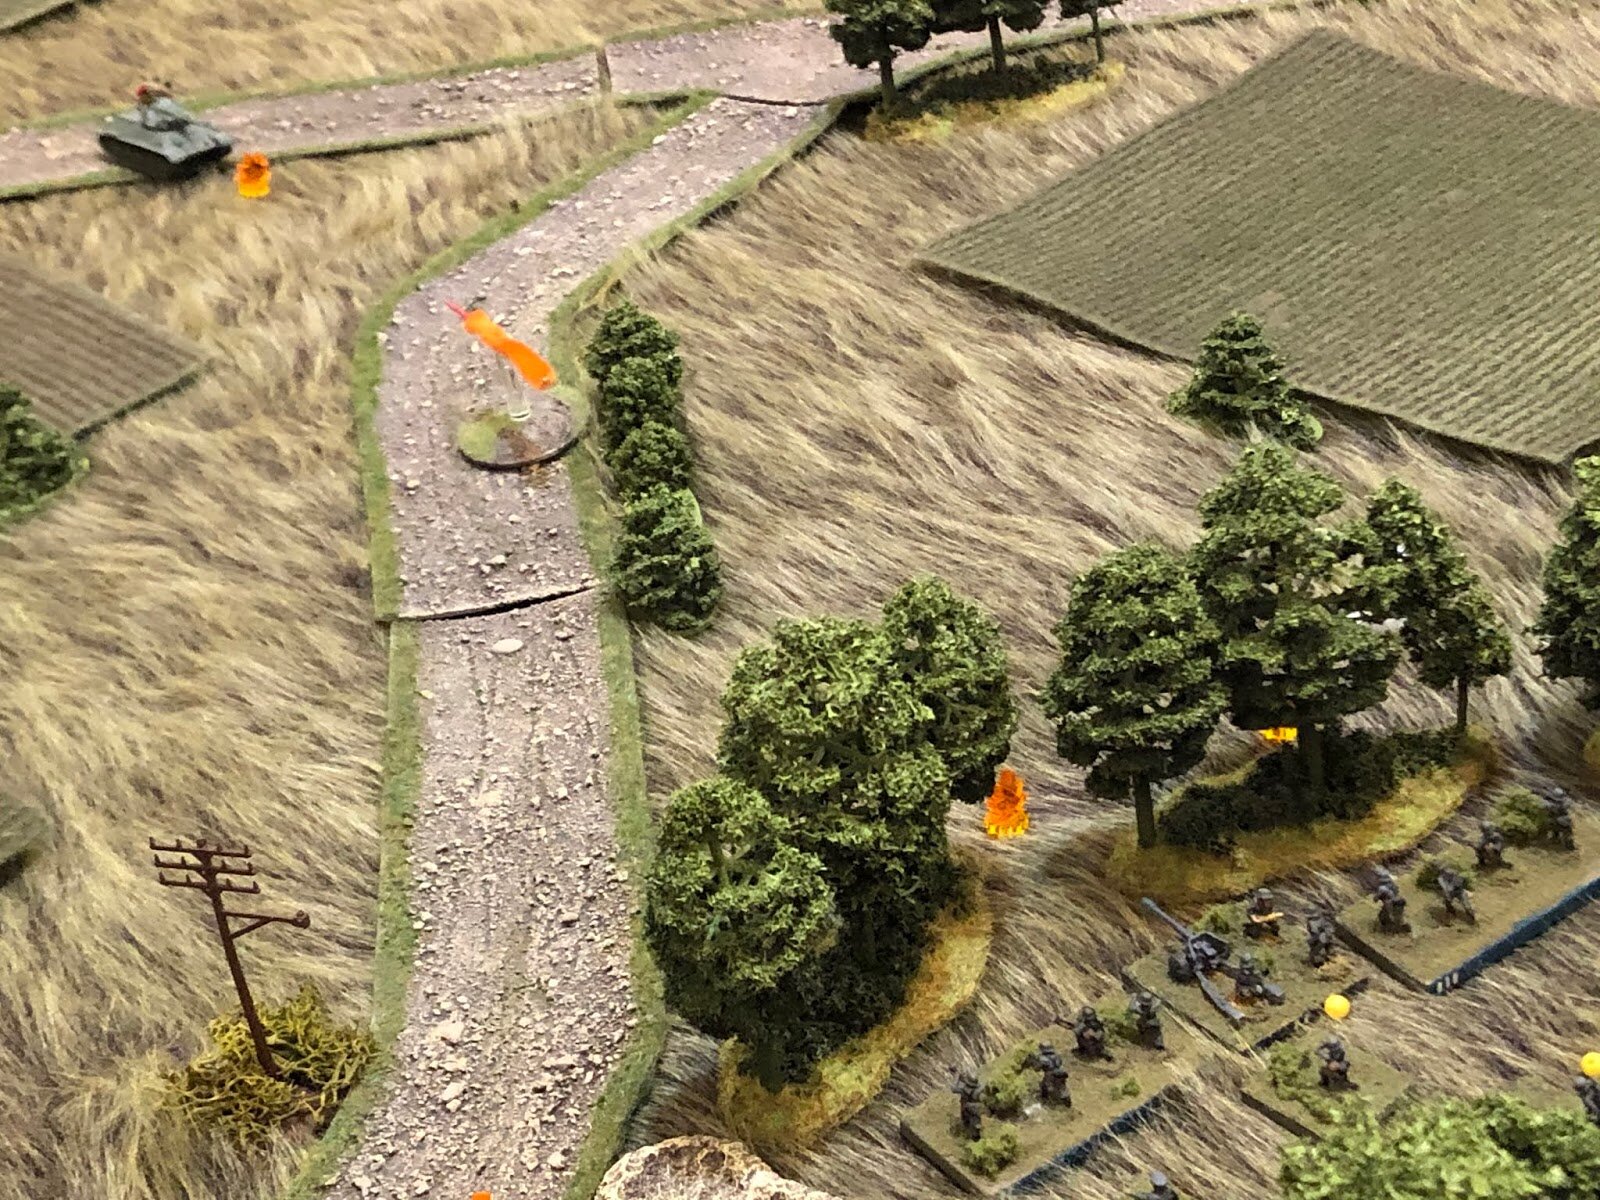
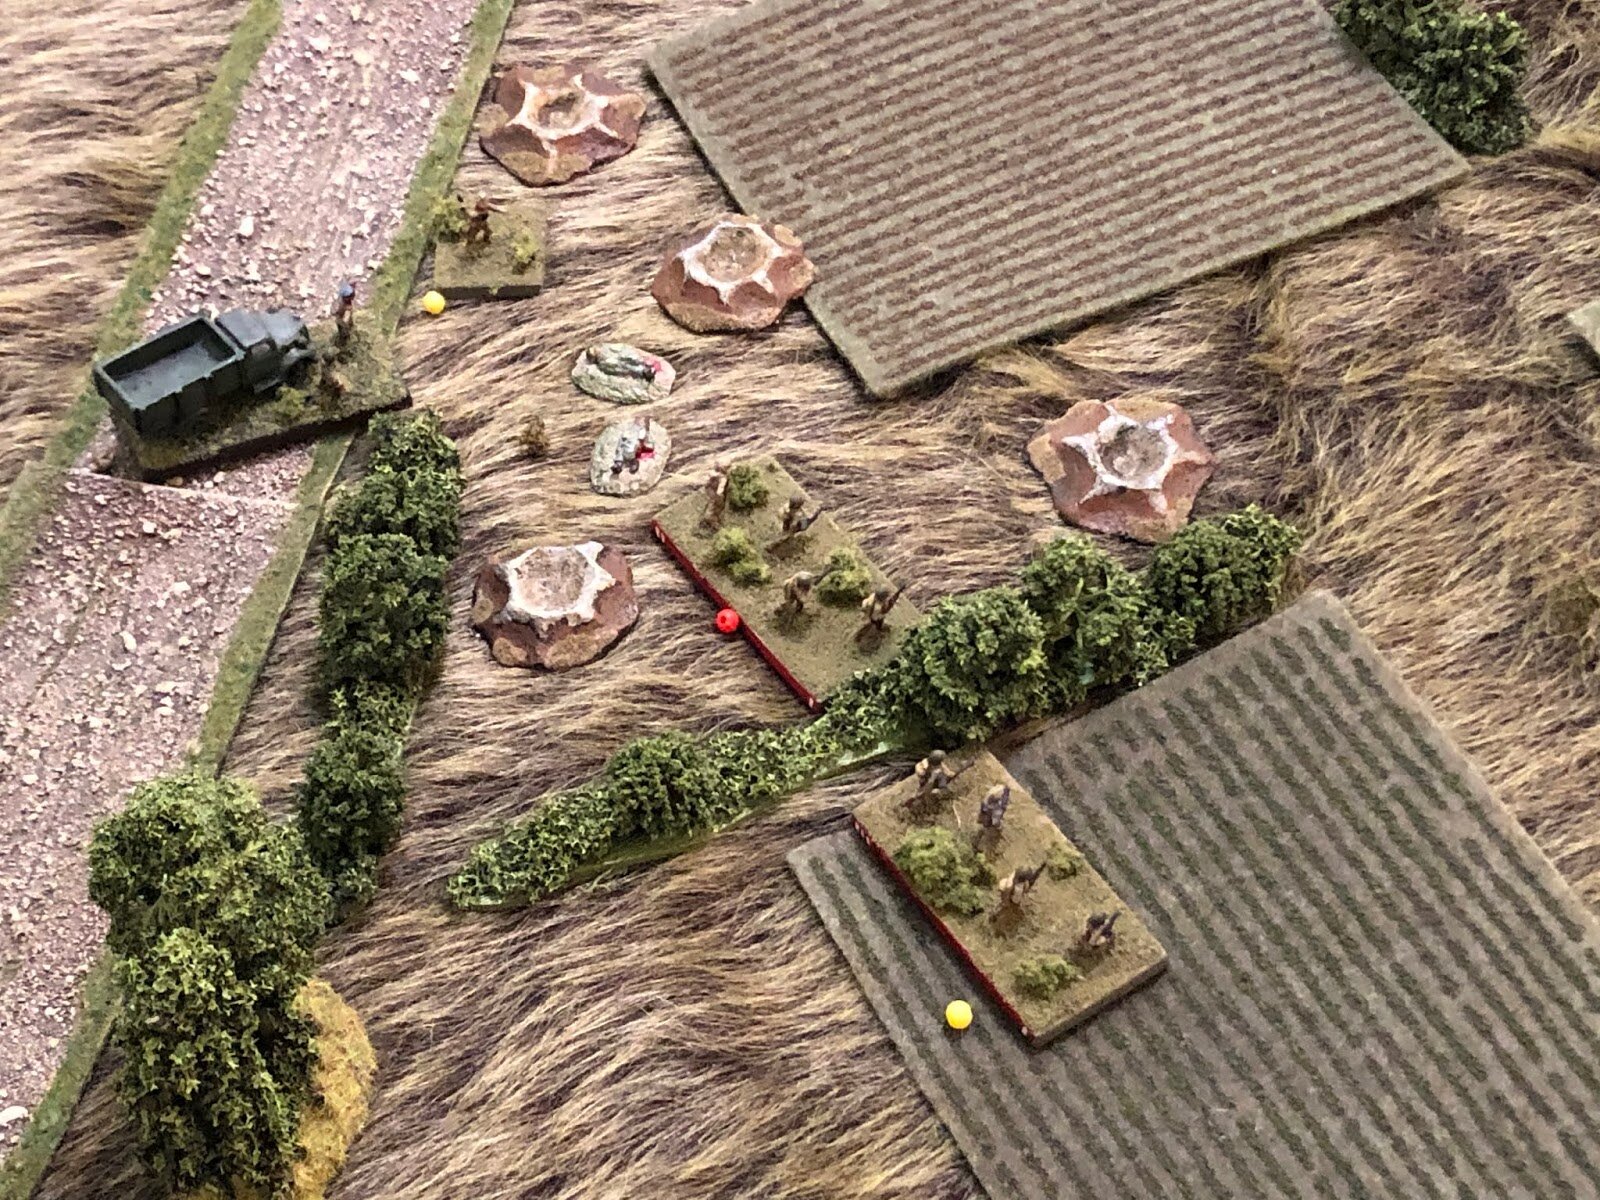
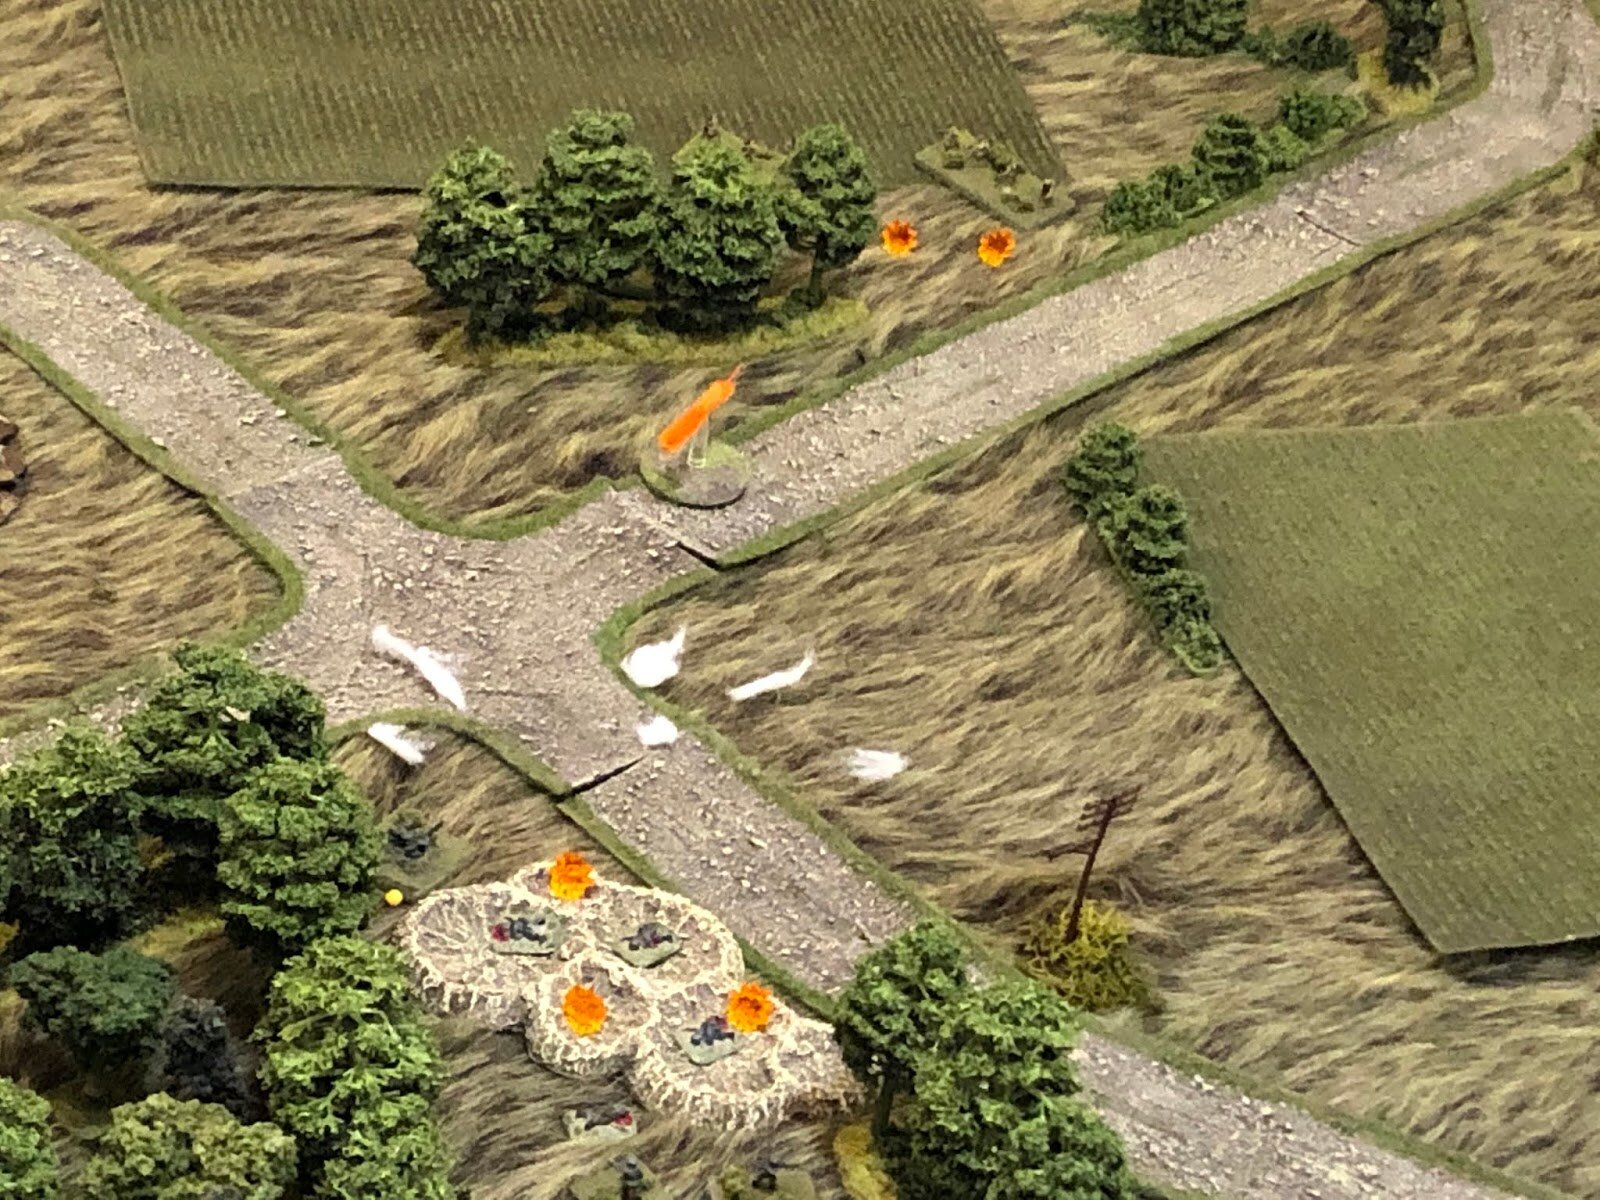
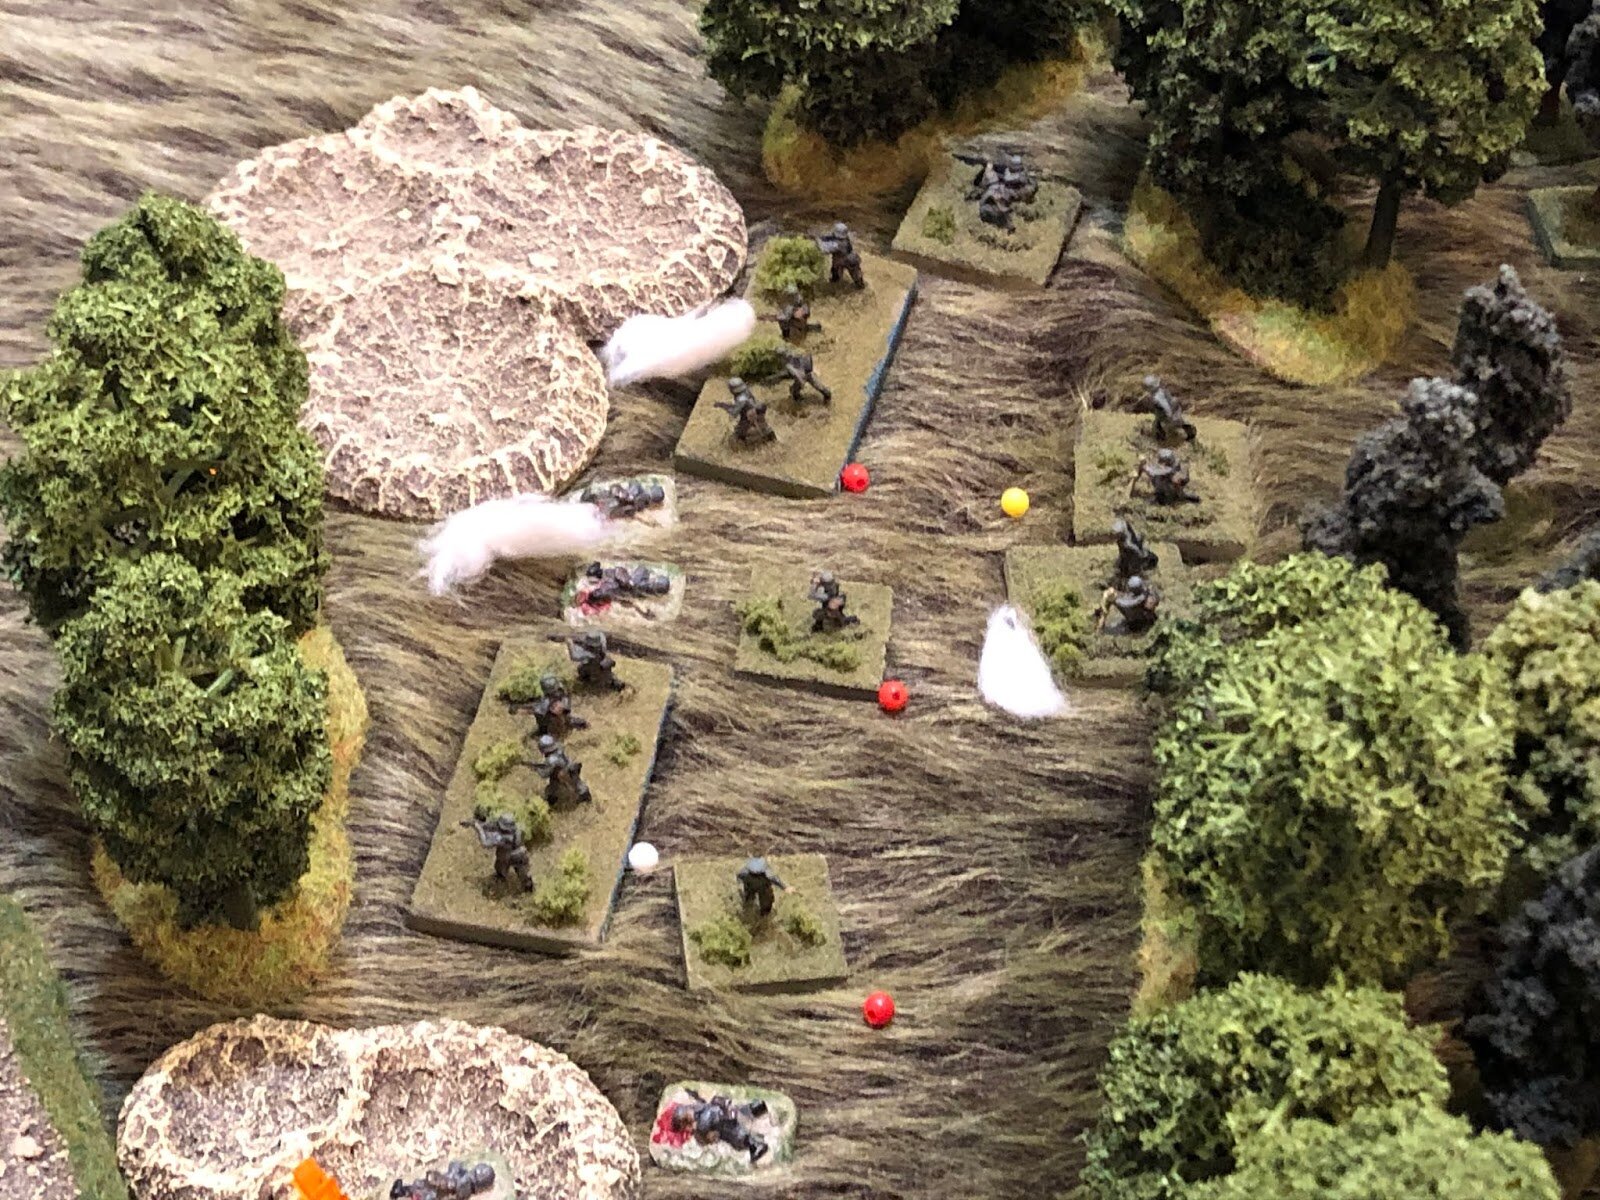
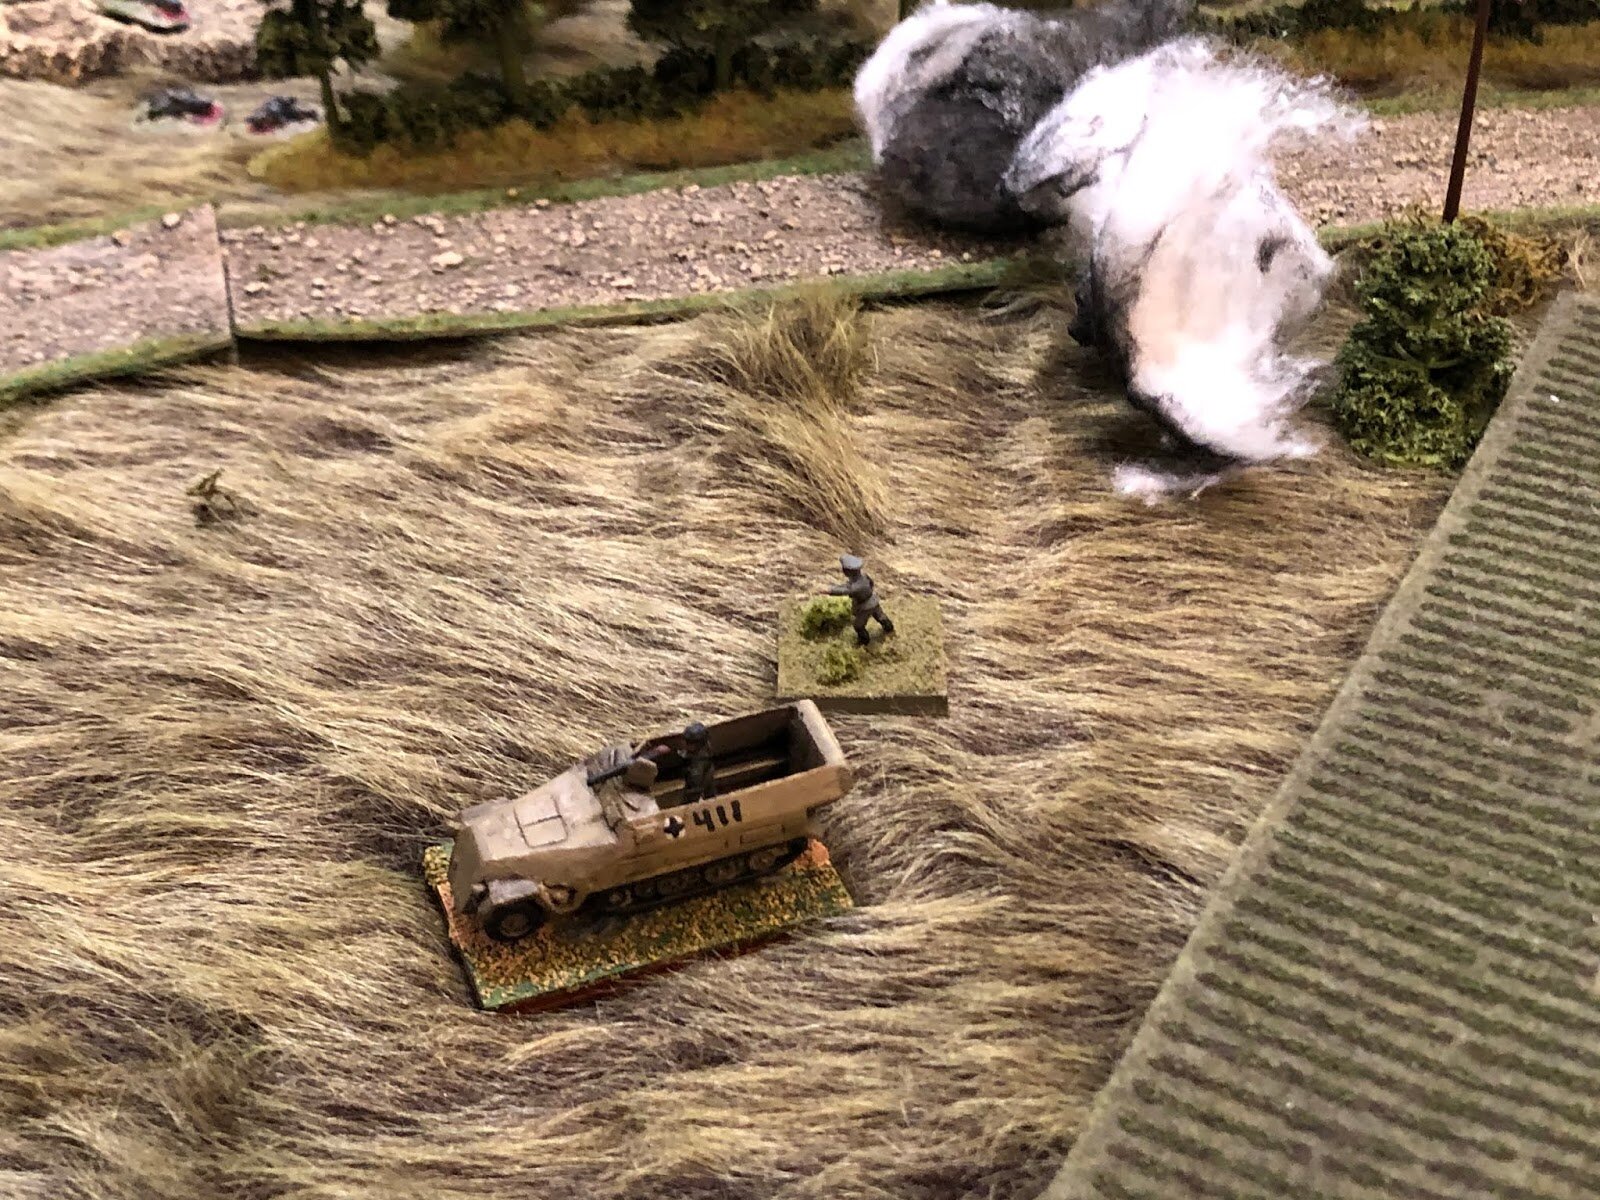
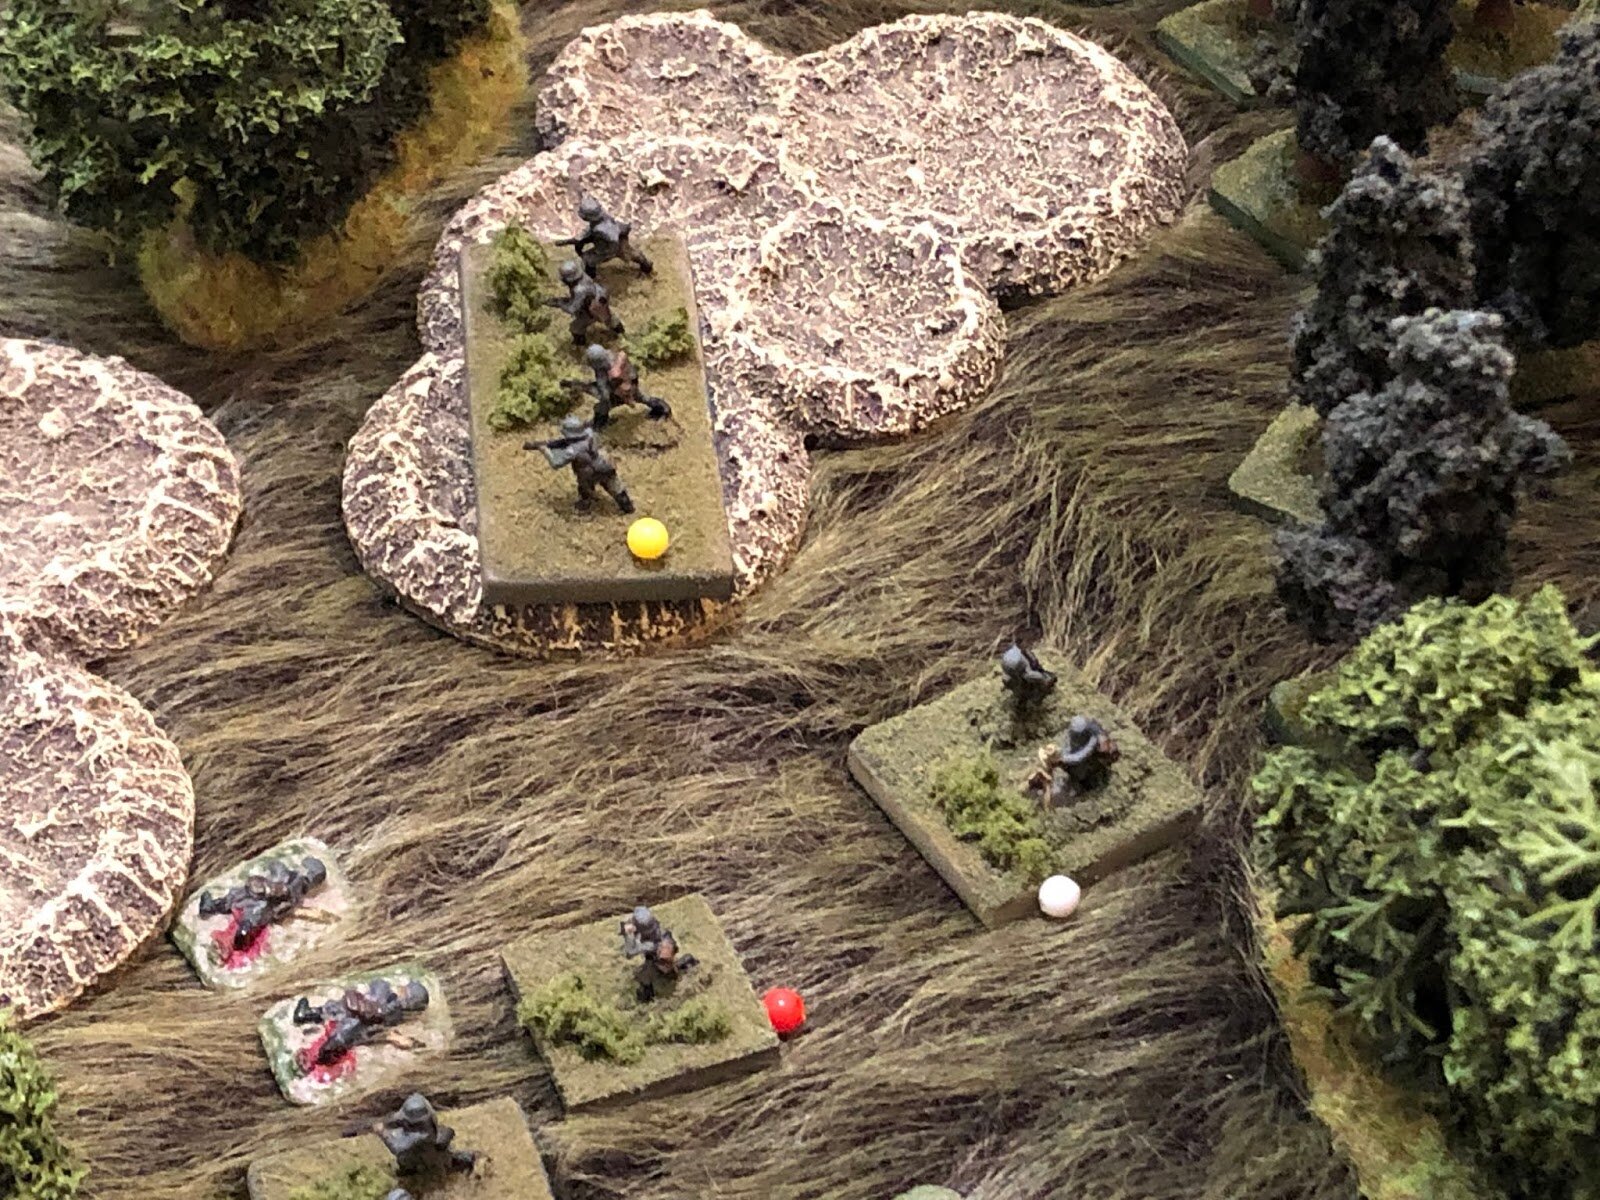
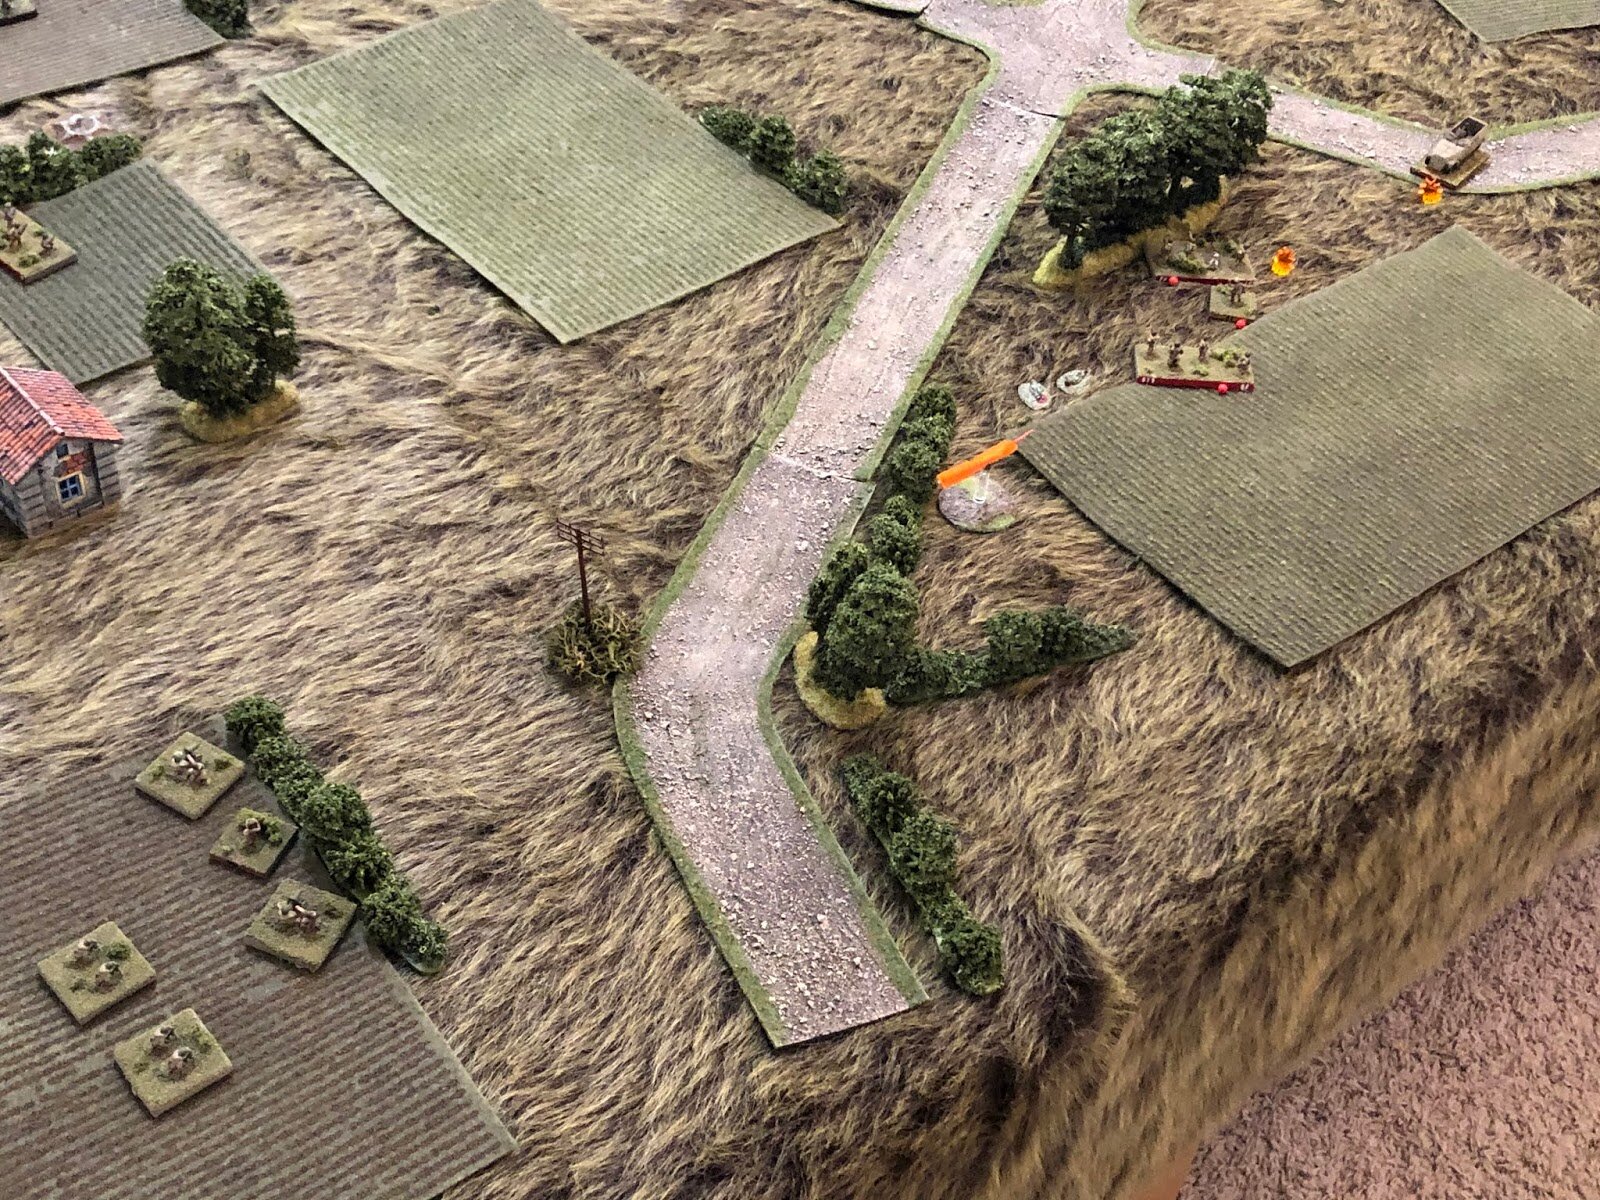
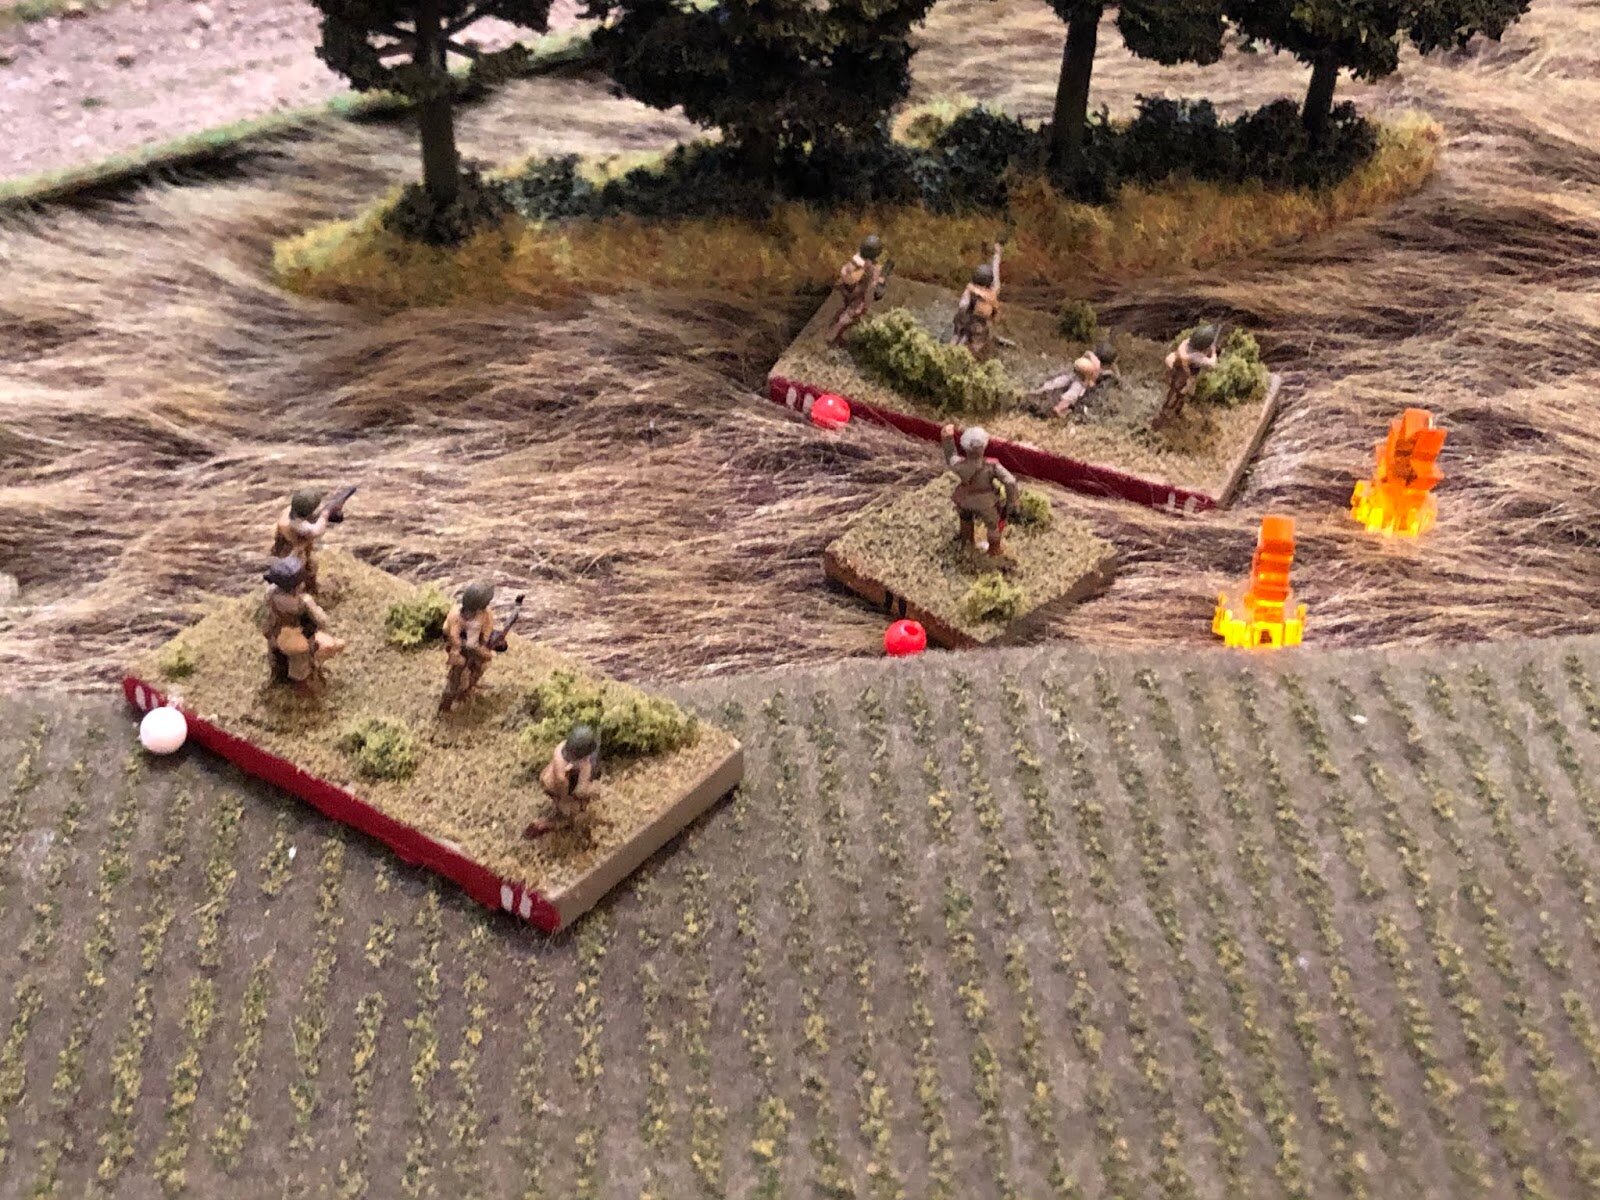
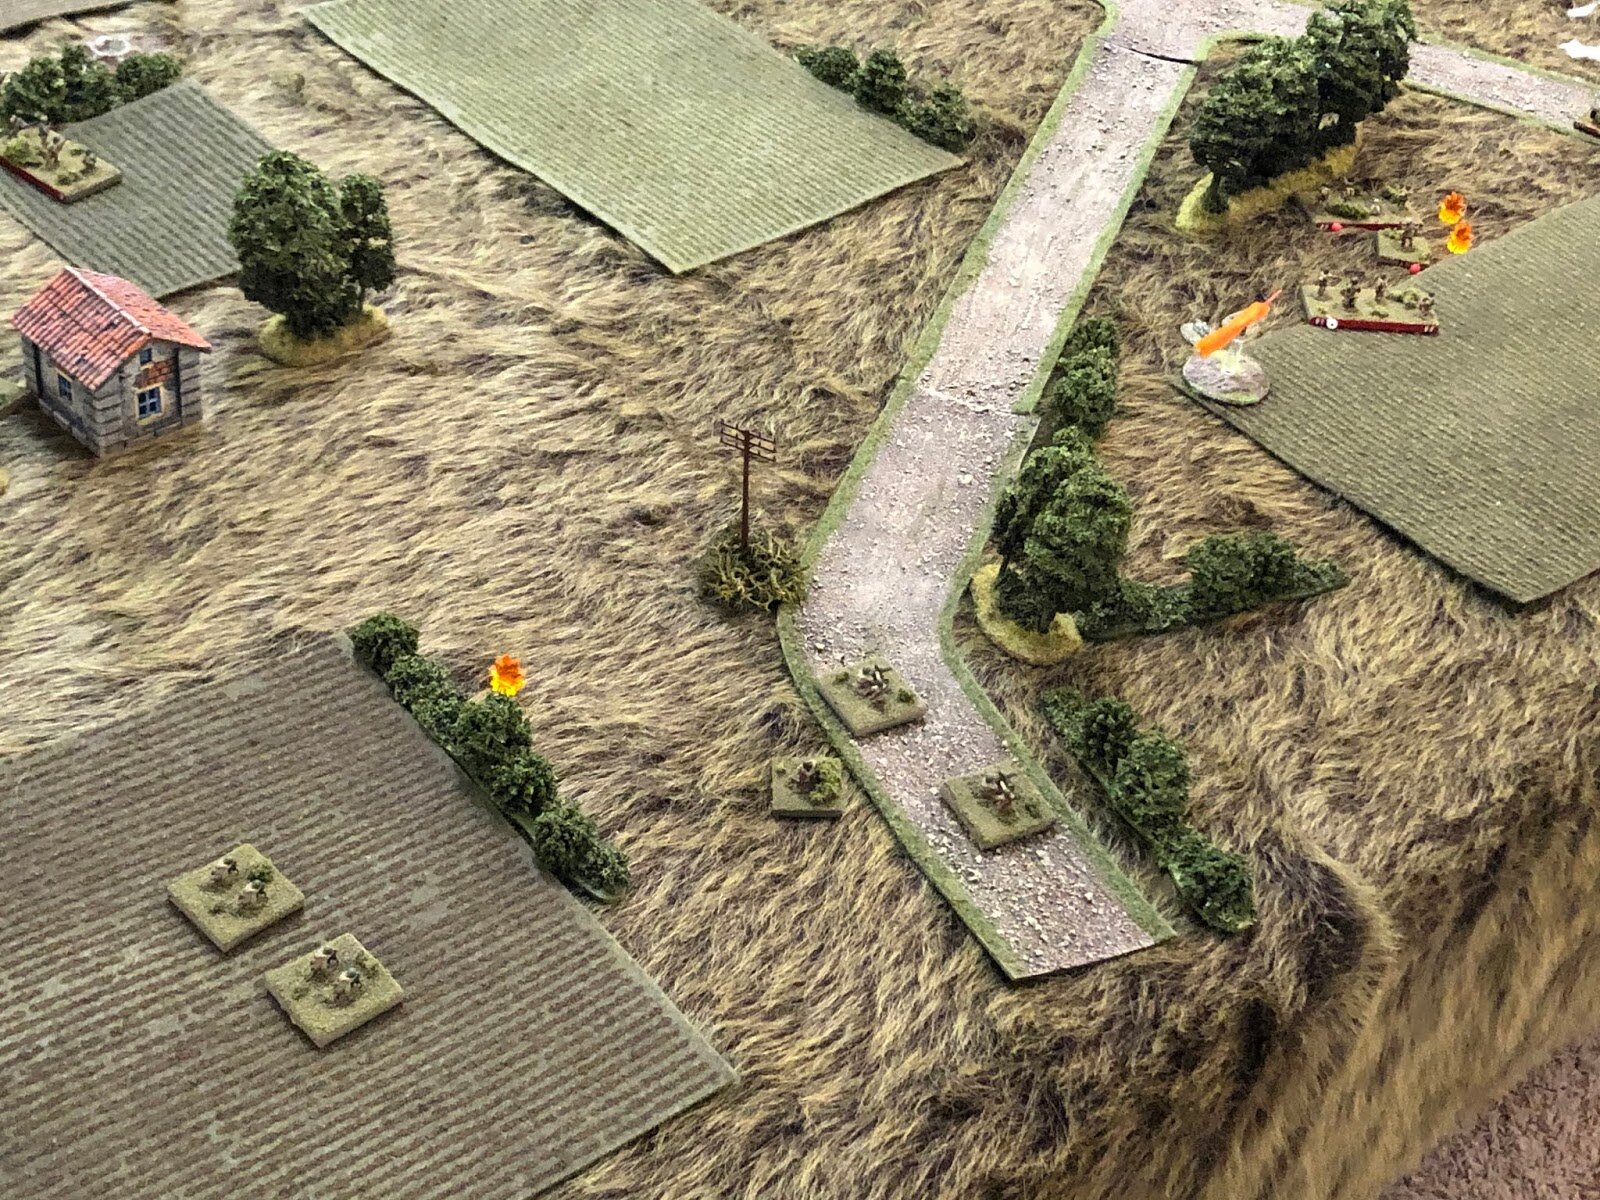
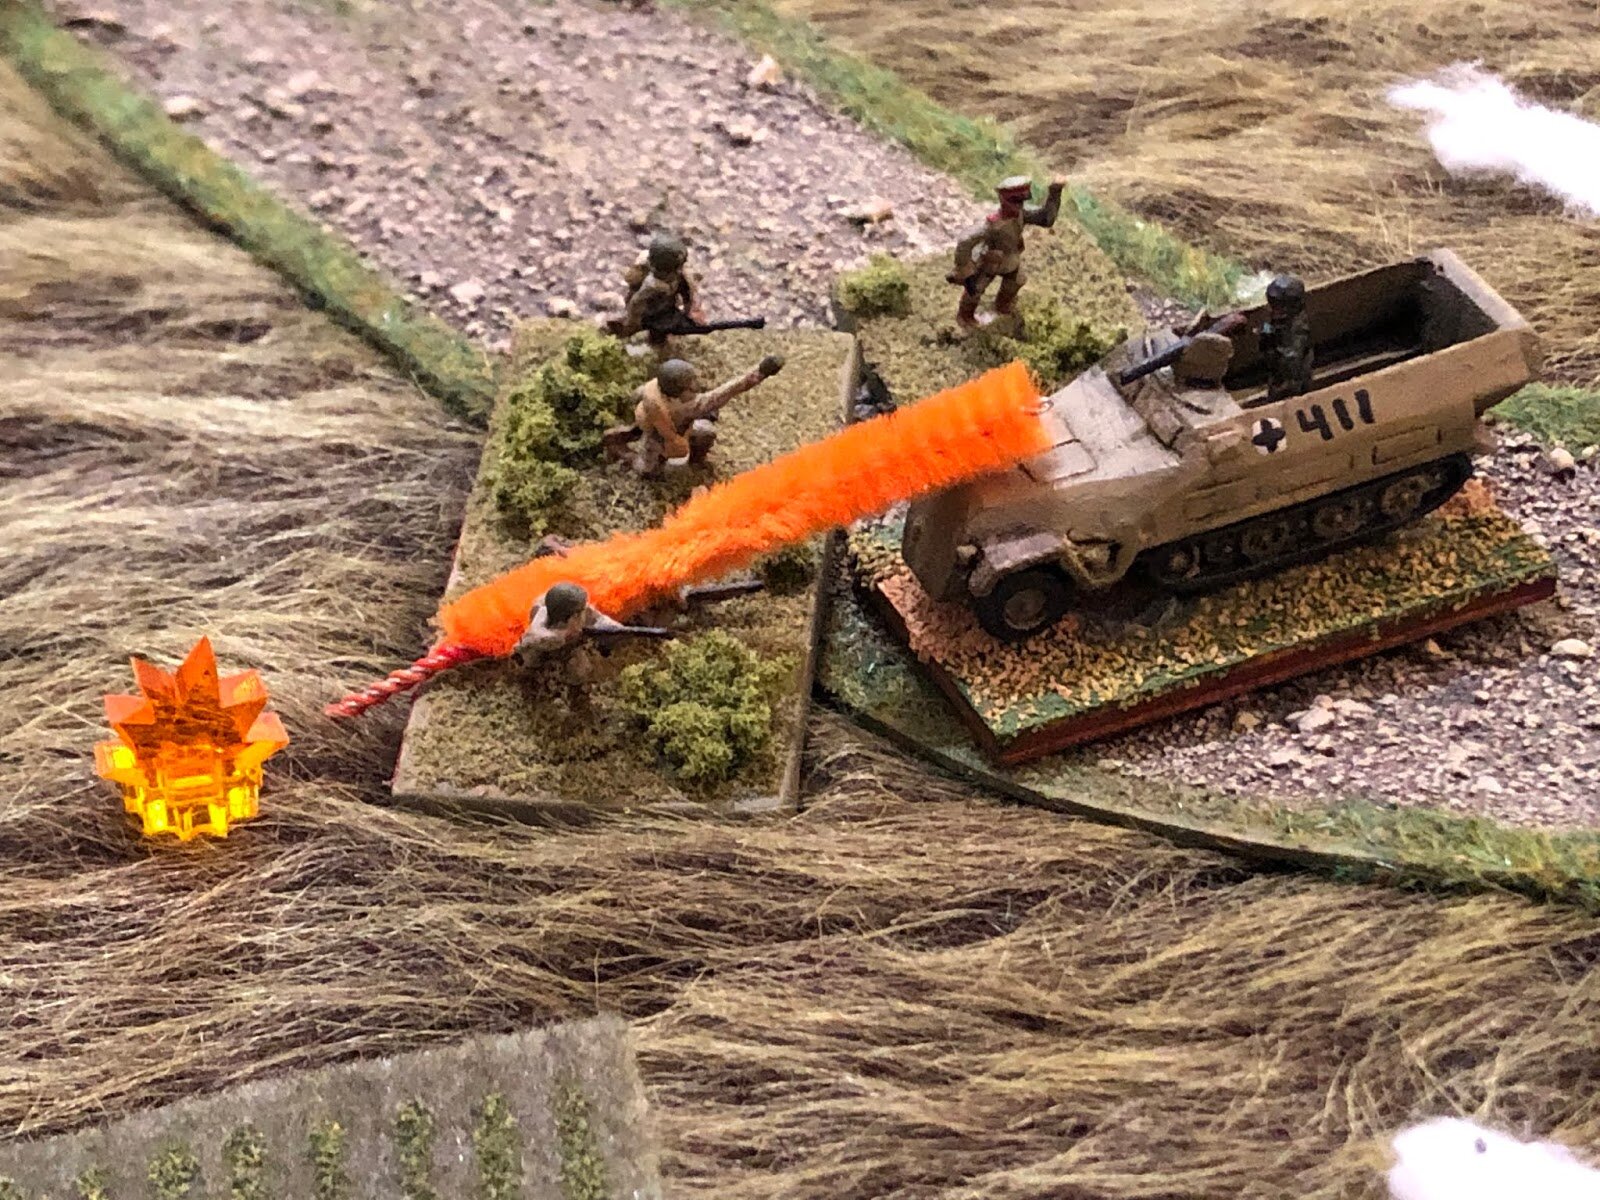
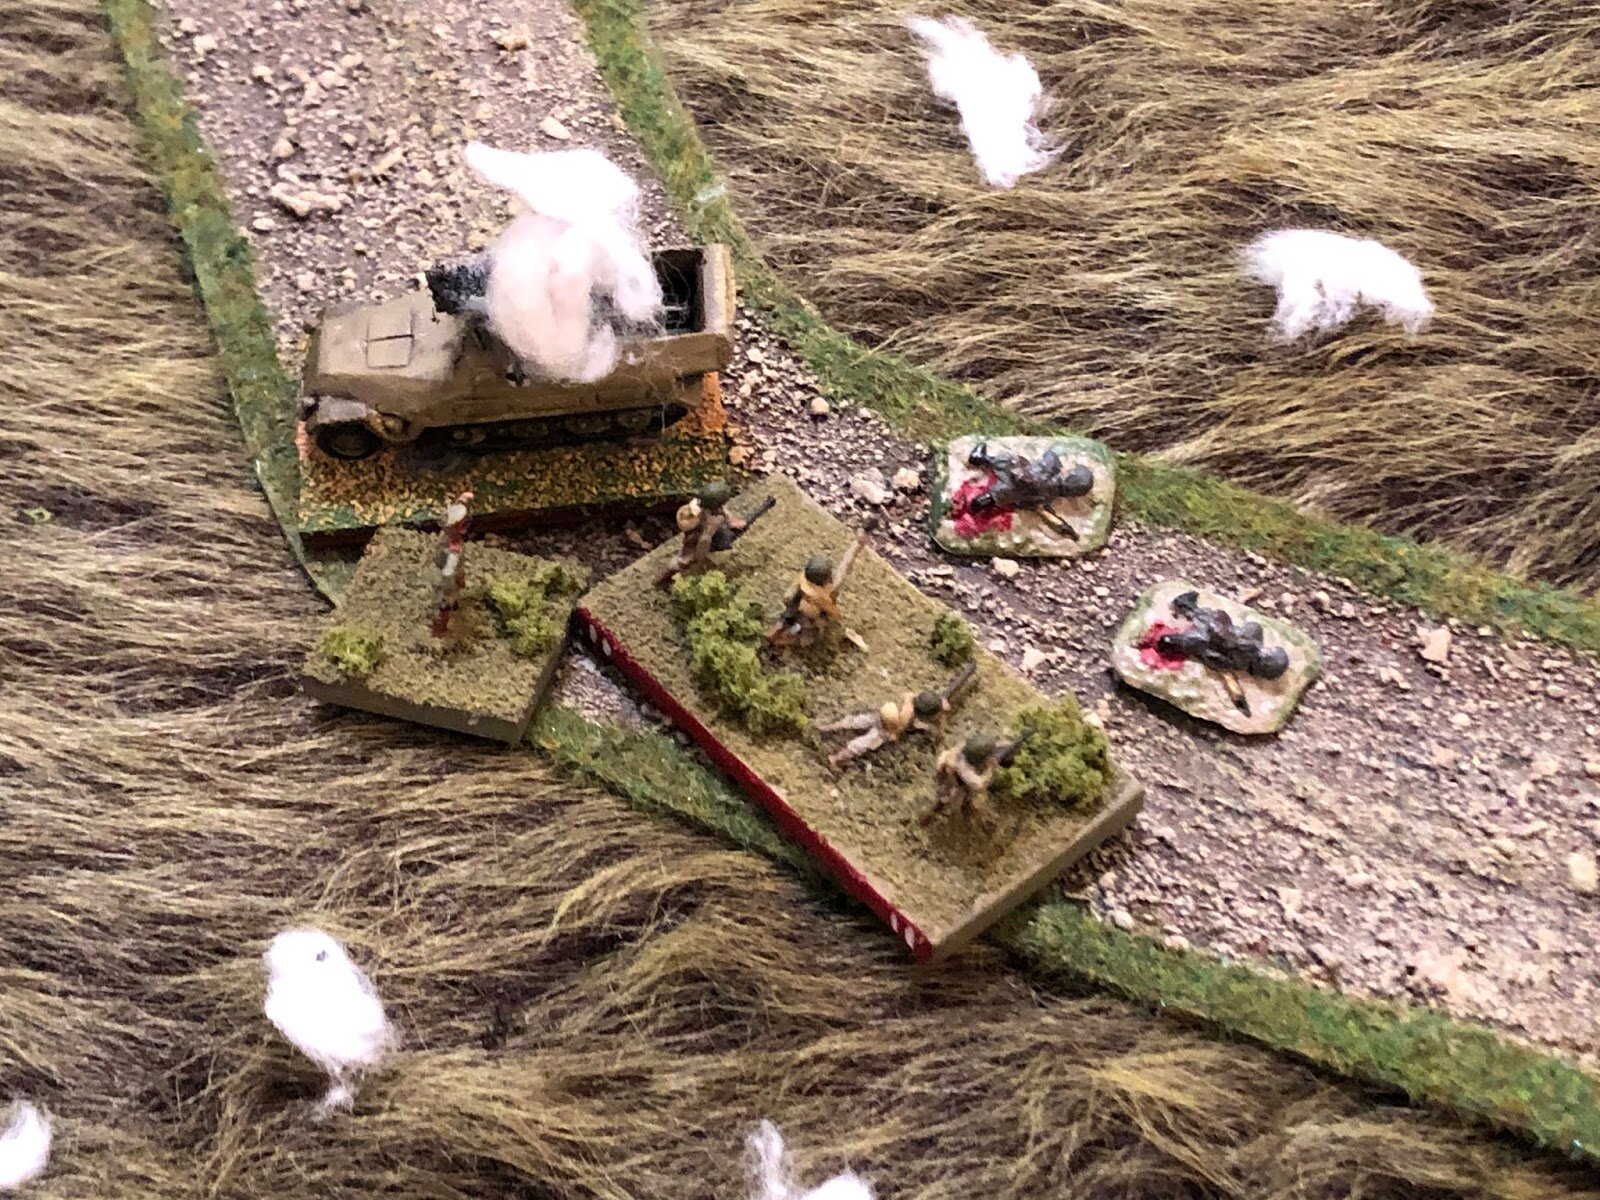
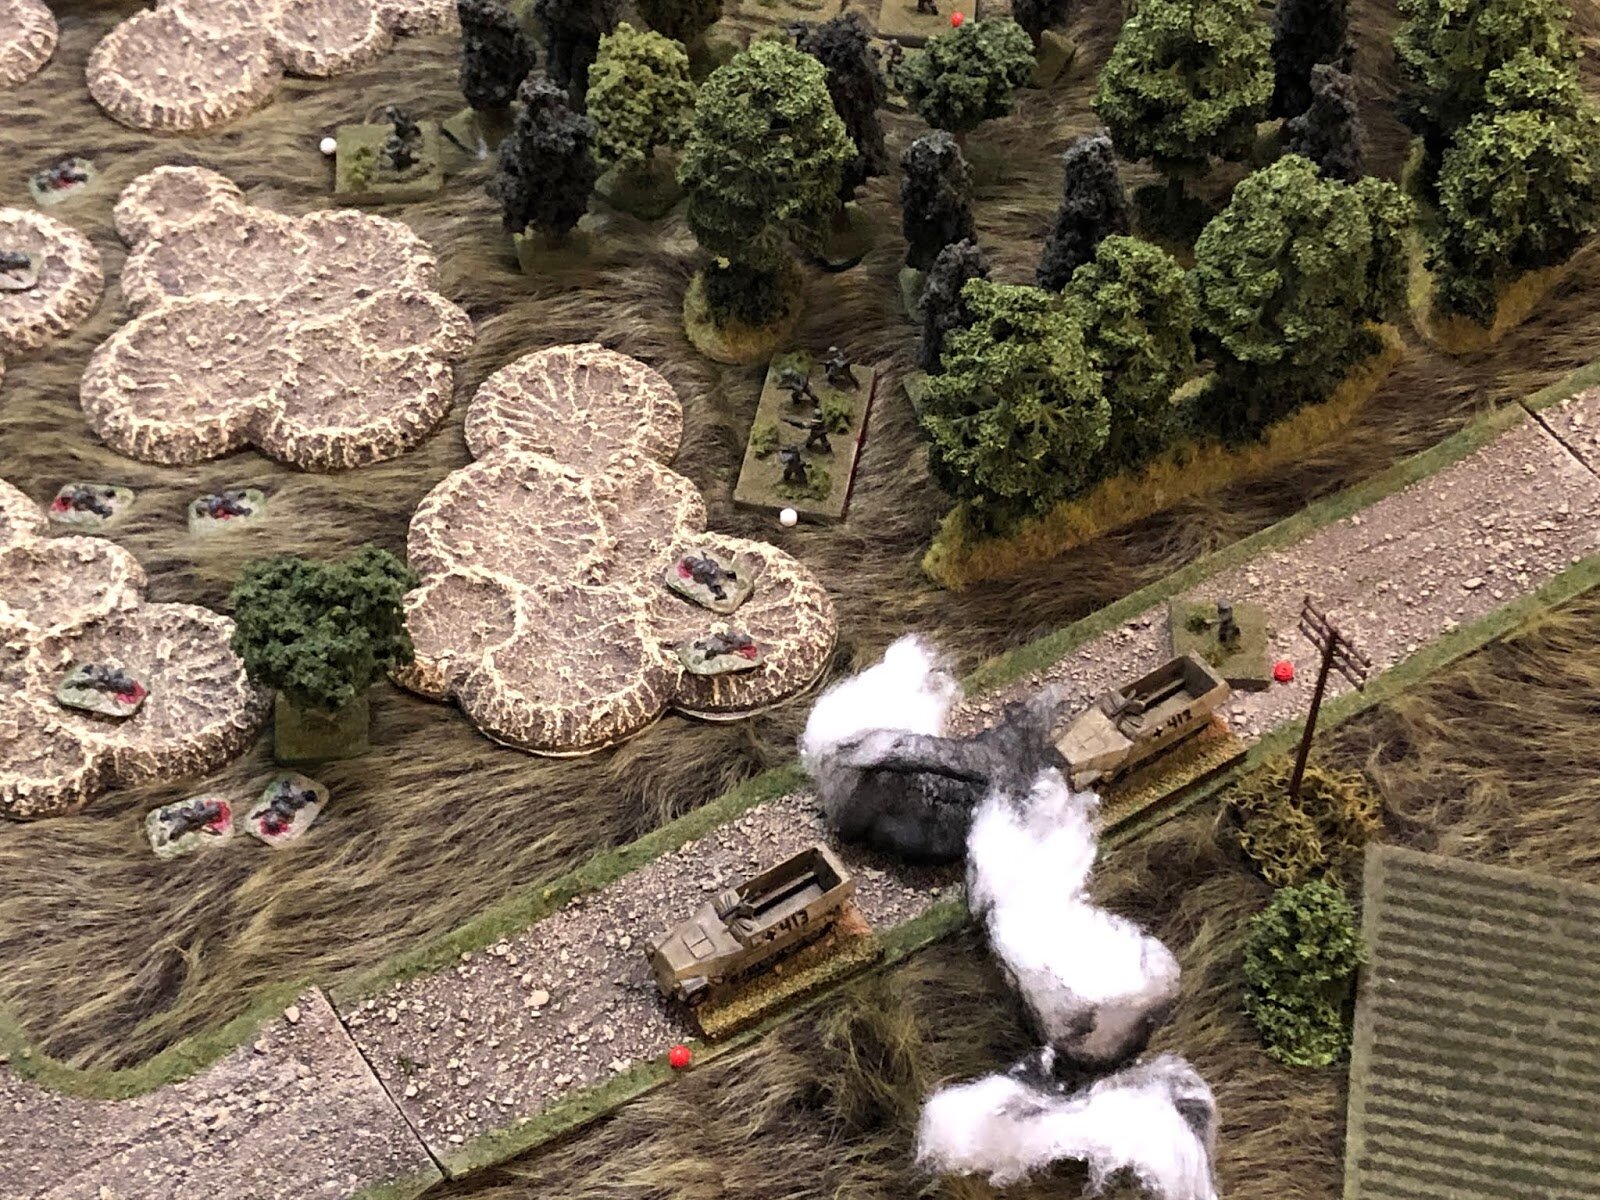
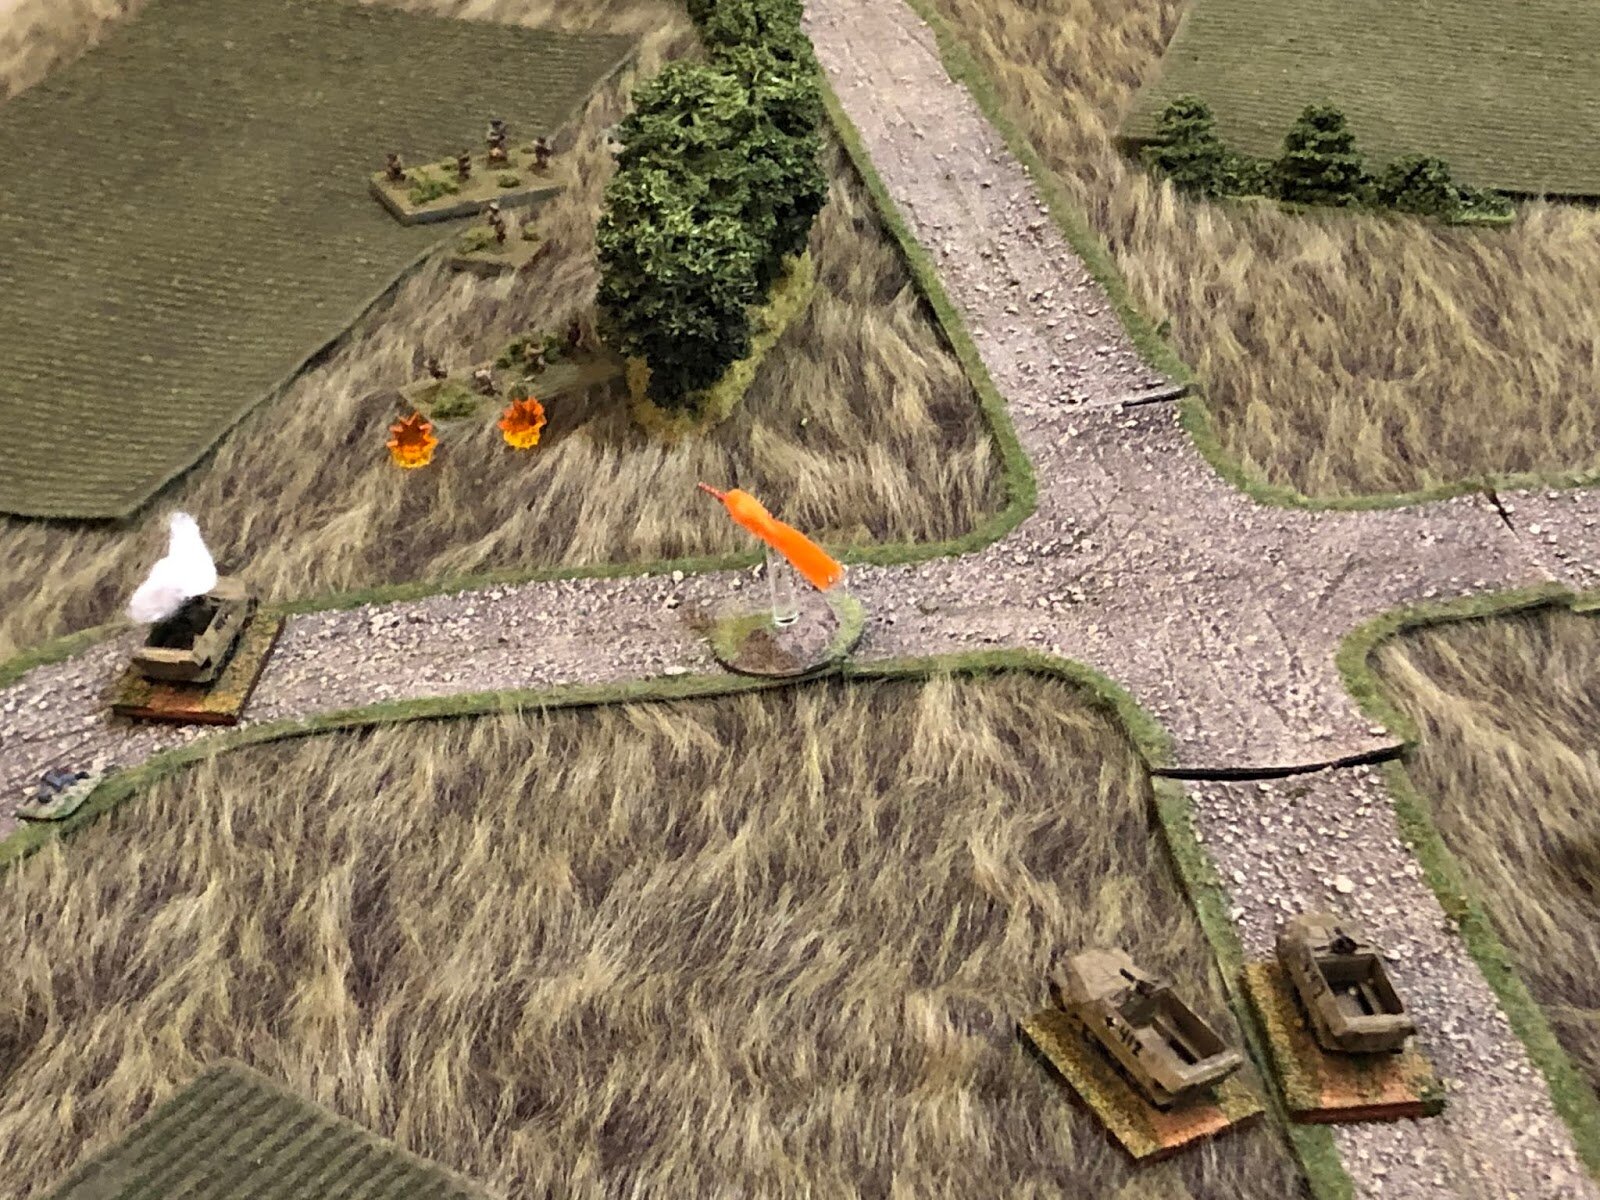
Finally, one Soviet Blind arrived on the right hand side of my line. It revealed itself as an infantry platoon plus a squad of engineers with a flamethrower (yikes!) and swept over what had been my gun line and close assaulted one of the Jagdpanzer IVs.
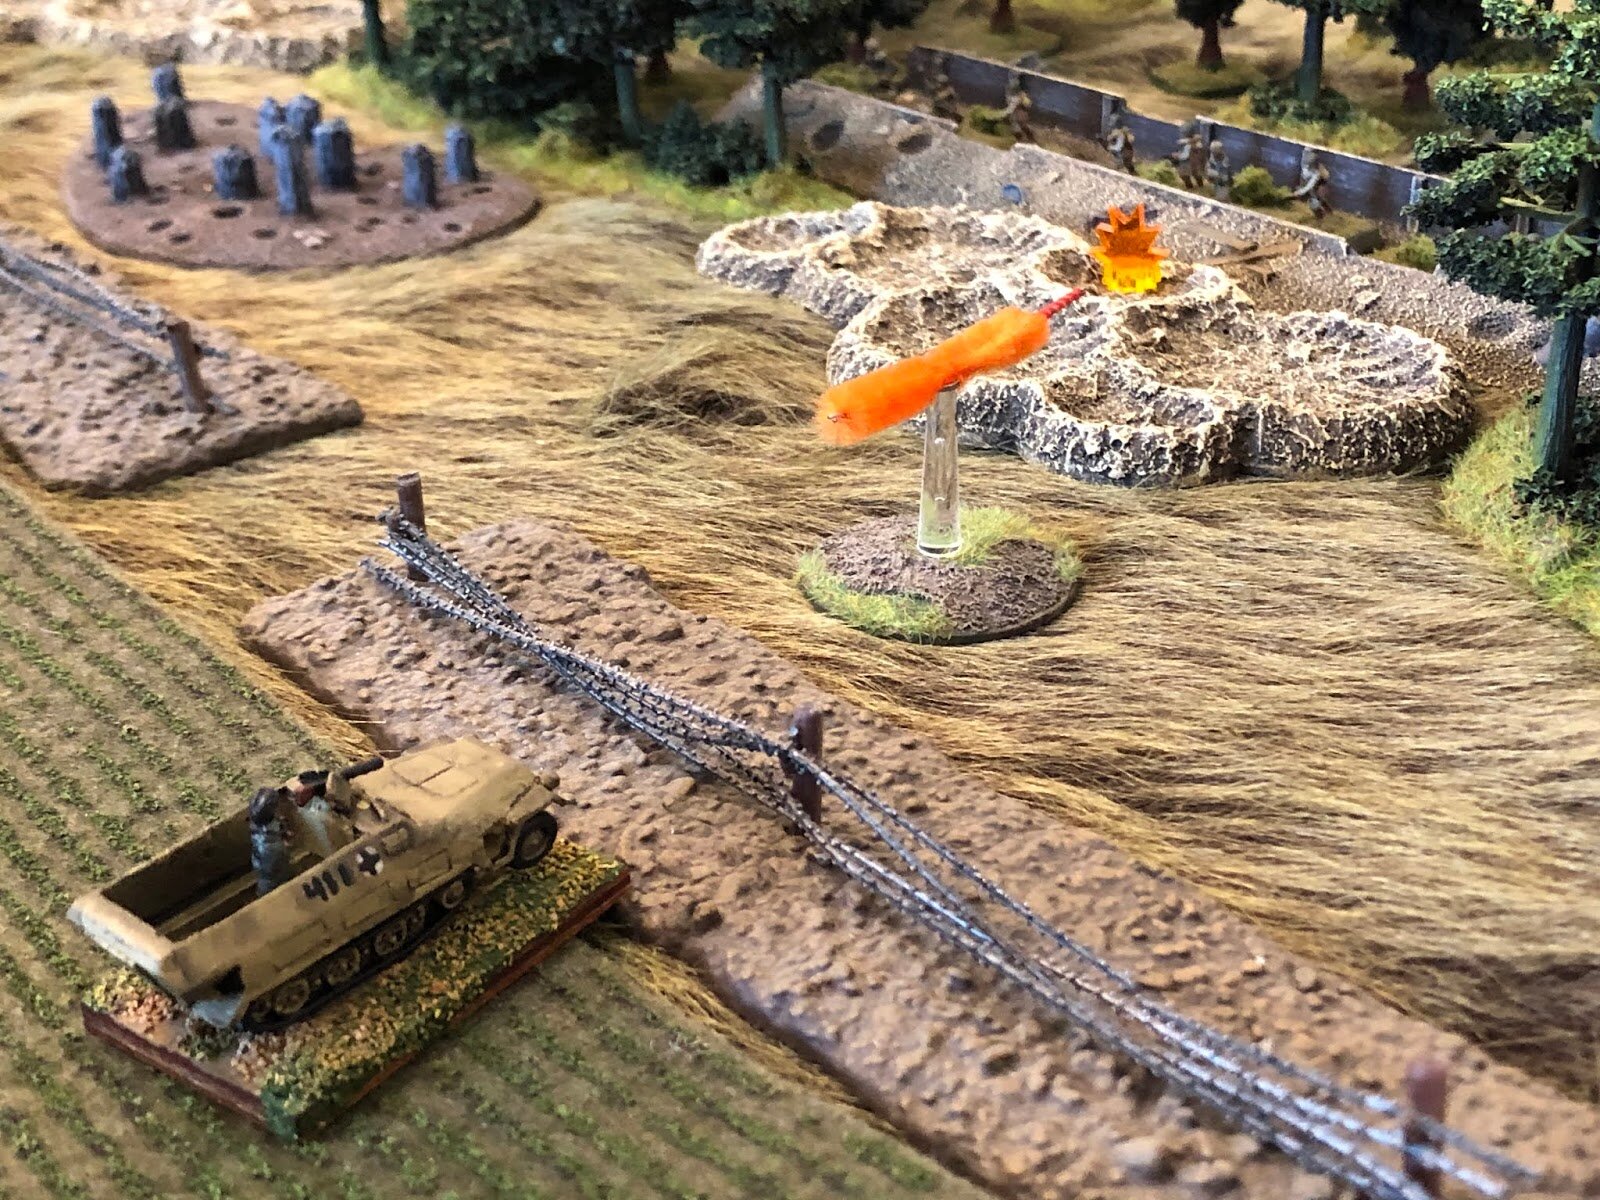
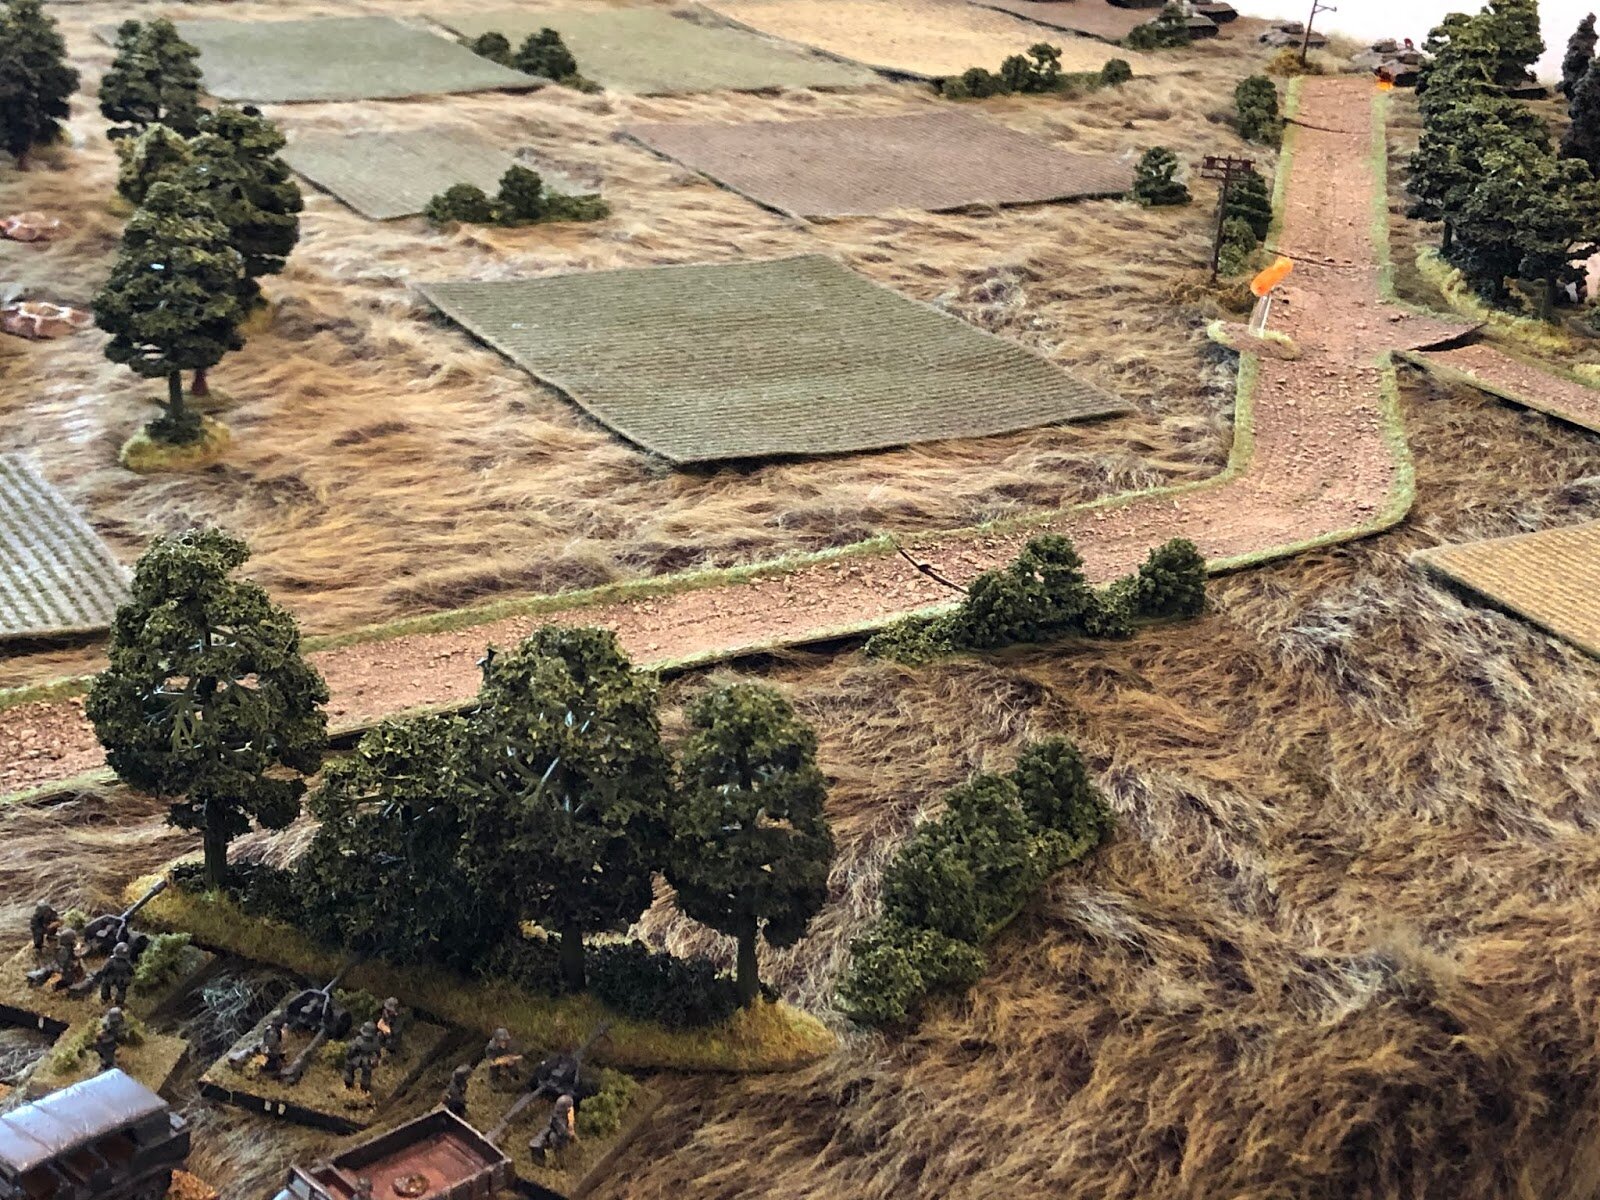
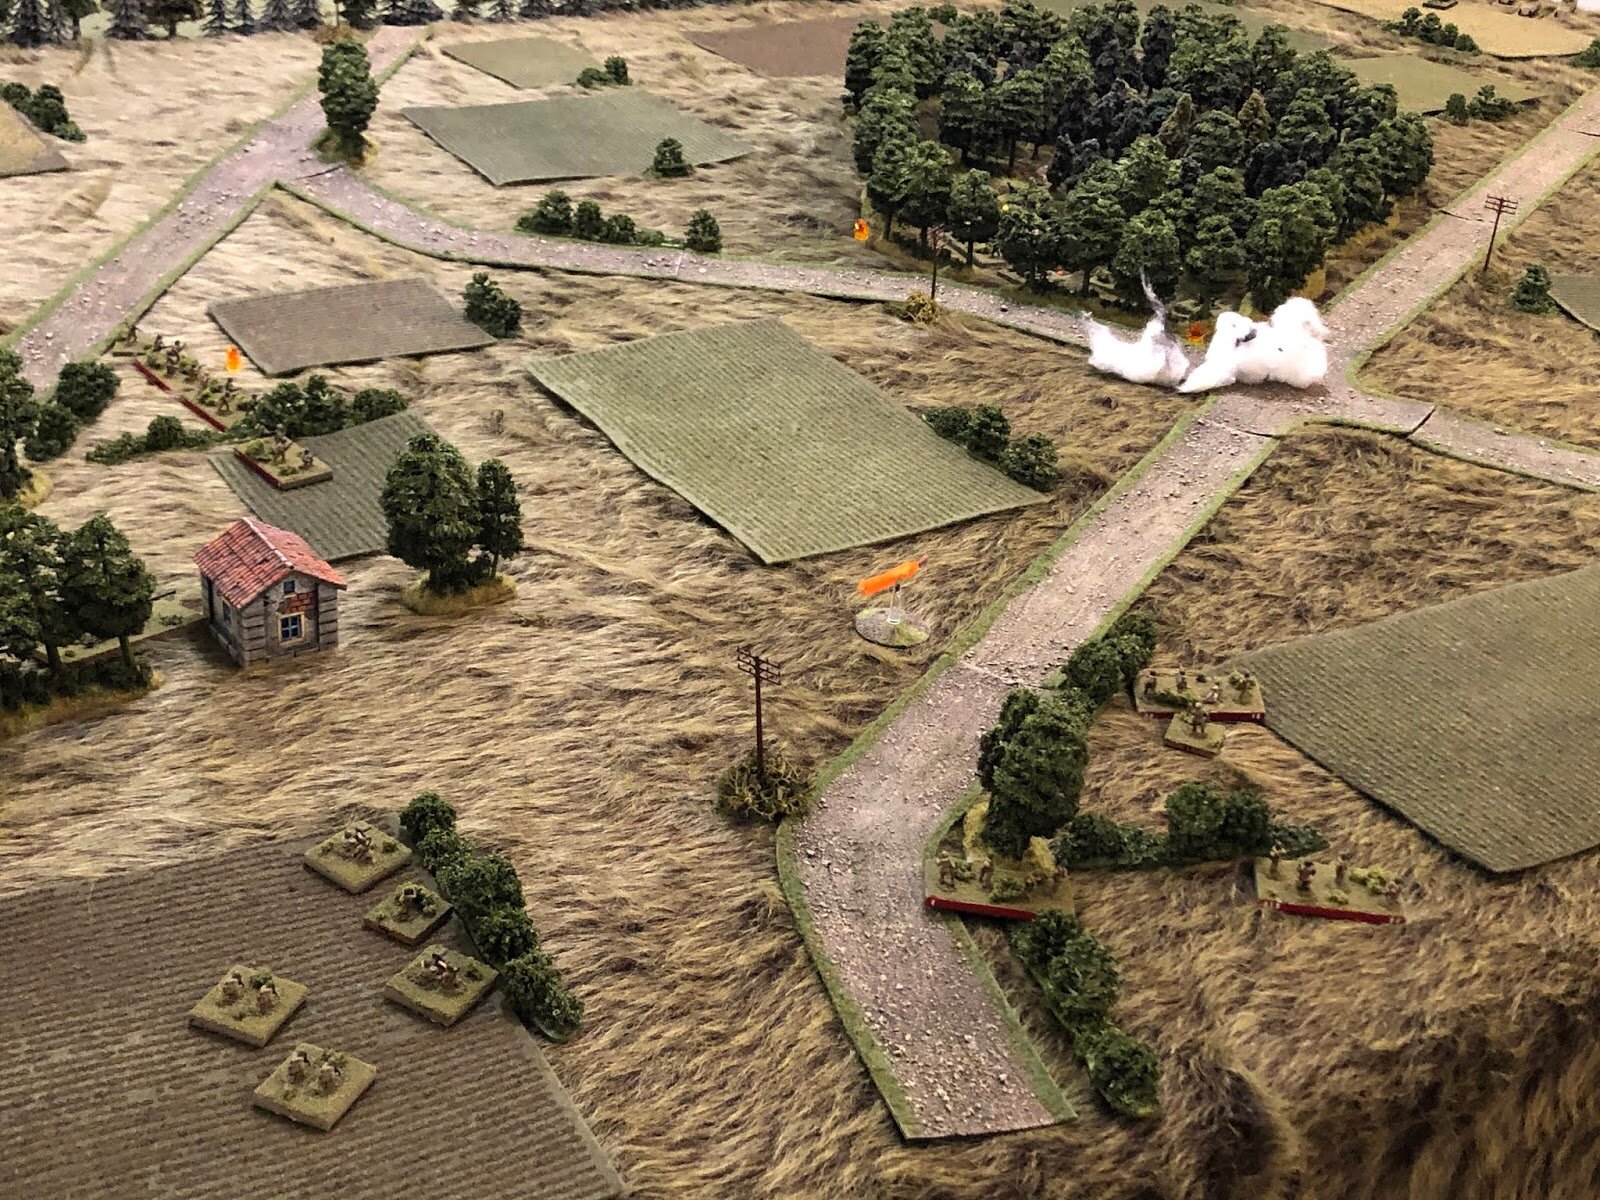
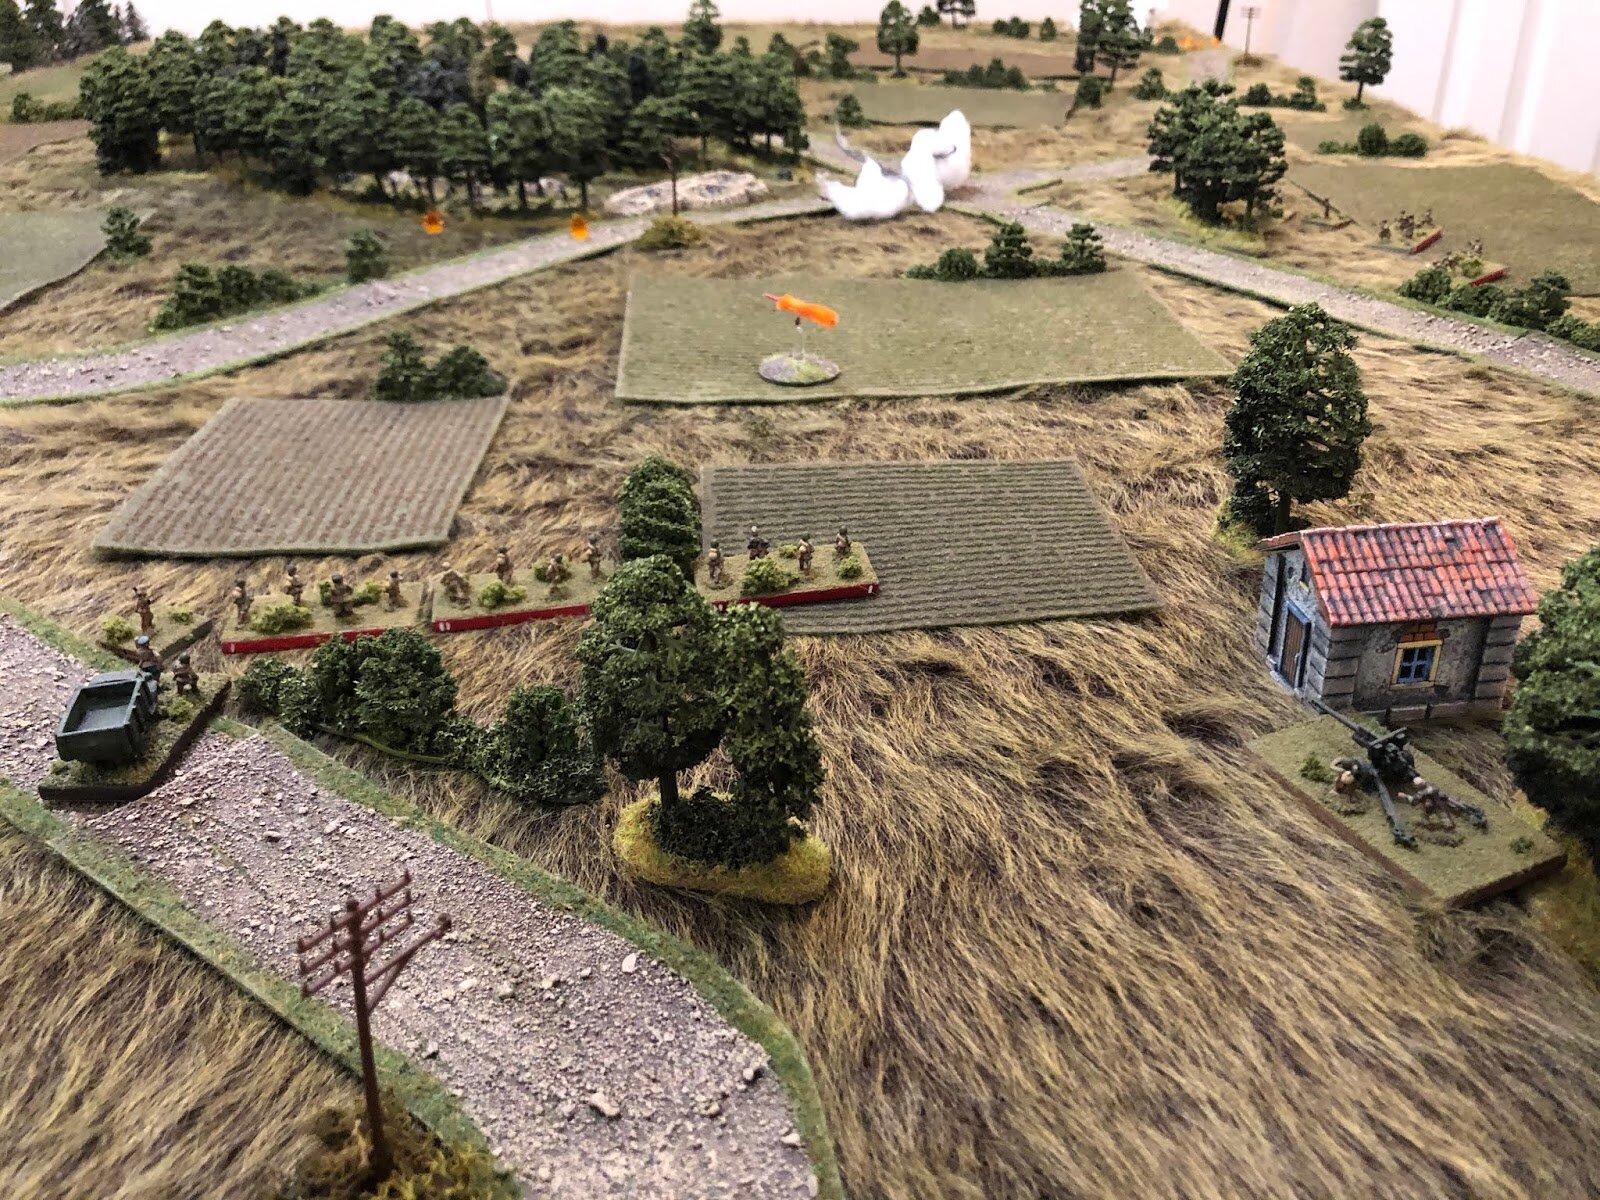
The Jagdpanzer IV survived, reversing away from the Russian at top speed. This allowed me to fire my mortars at the Soviet infantry: neatly framed on the ridgeline against the sky. It was only just outside minimum range, but I was firing directly, and dropped a lovely little barrage right on top of them.
On top of that, I had a platoon of infantry that decimated one Soviet squad, and prepared to the same to the others. Apart from losing my final anti-tank gun to an enemy infantry squad close assault, I reckoned that I probably had that flank held, and would eventually push the few remaining Soviet footsoldiers out.
The Climax of the Battle
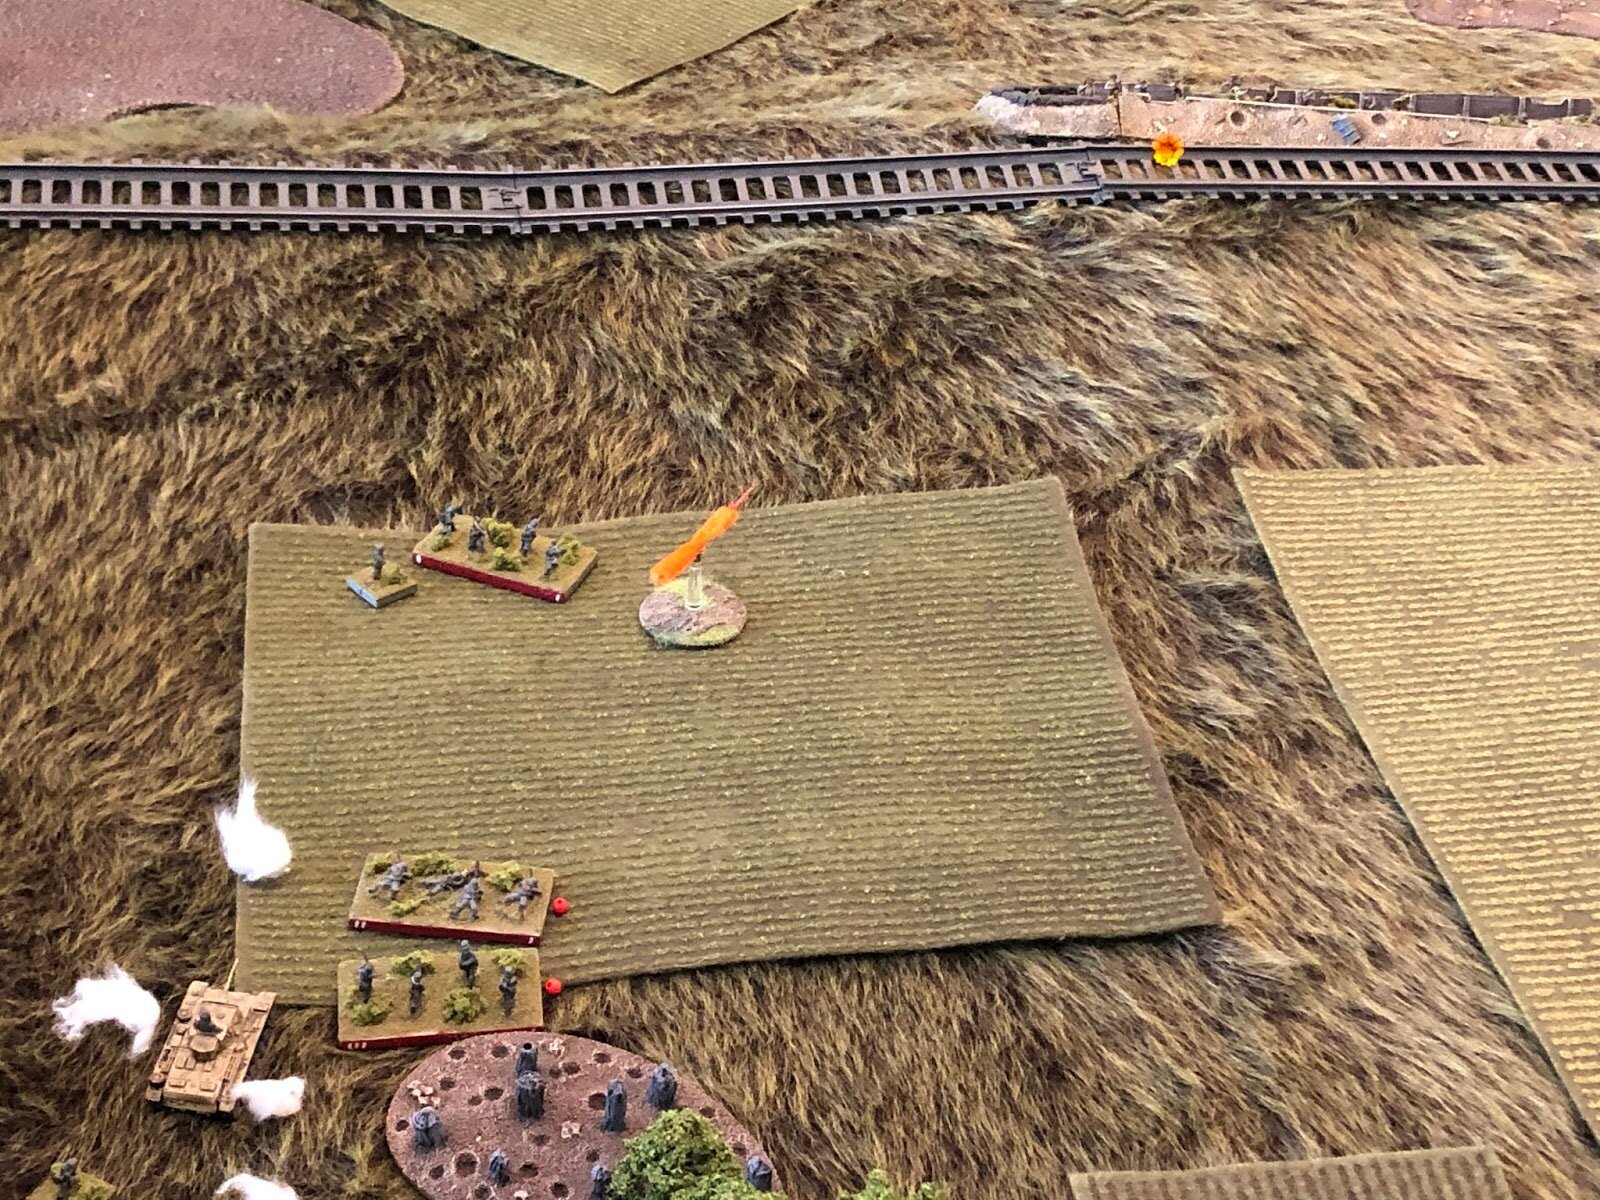
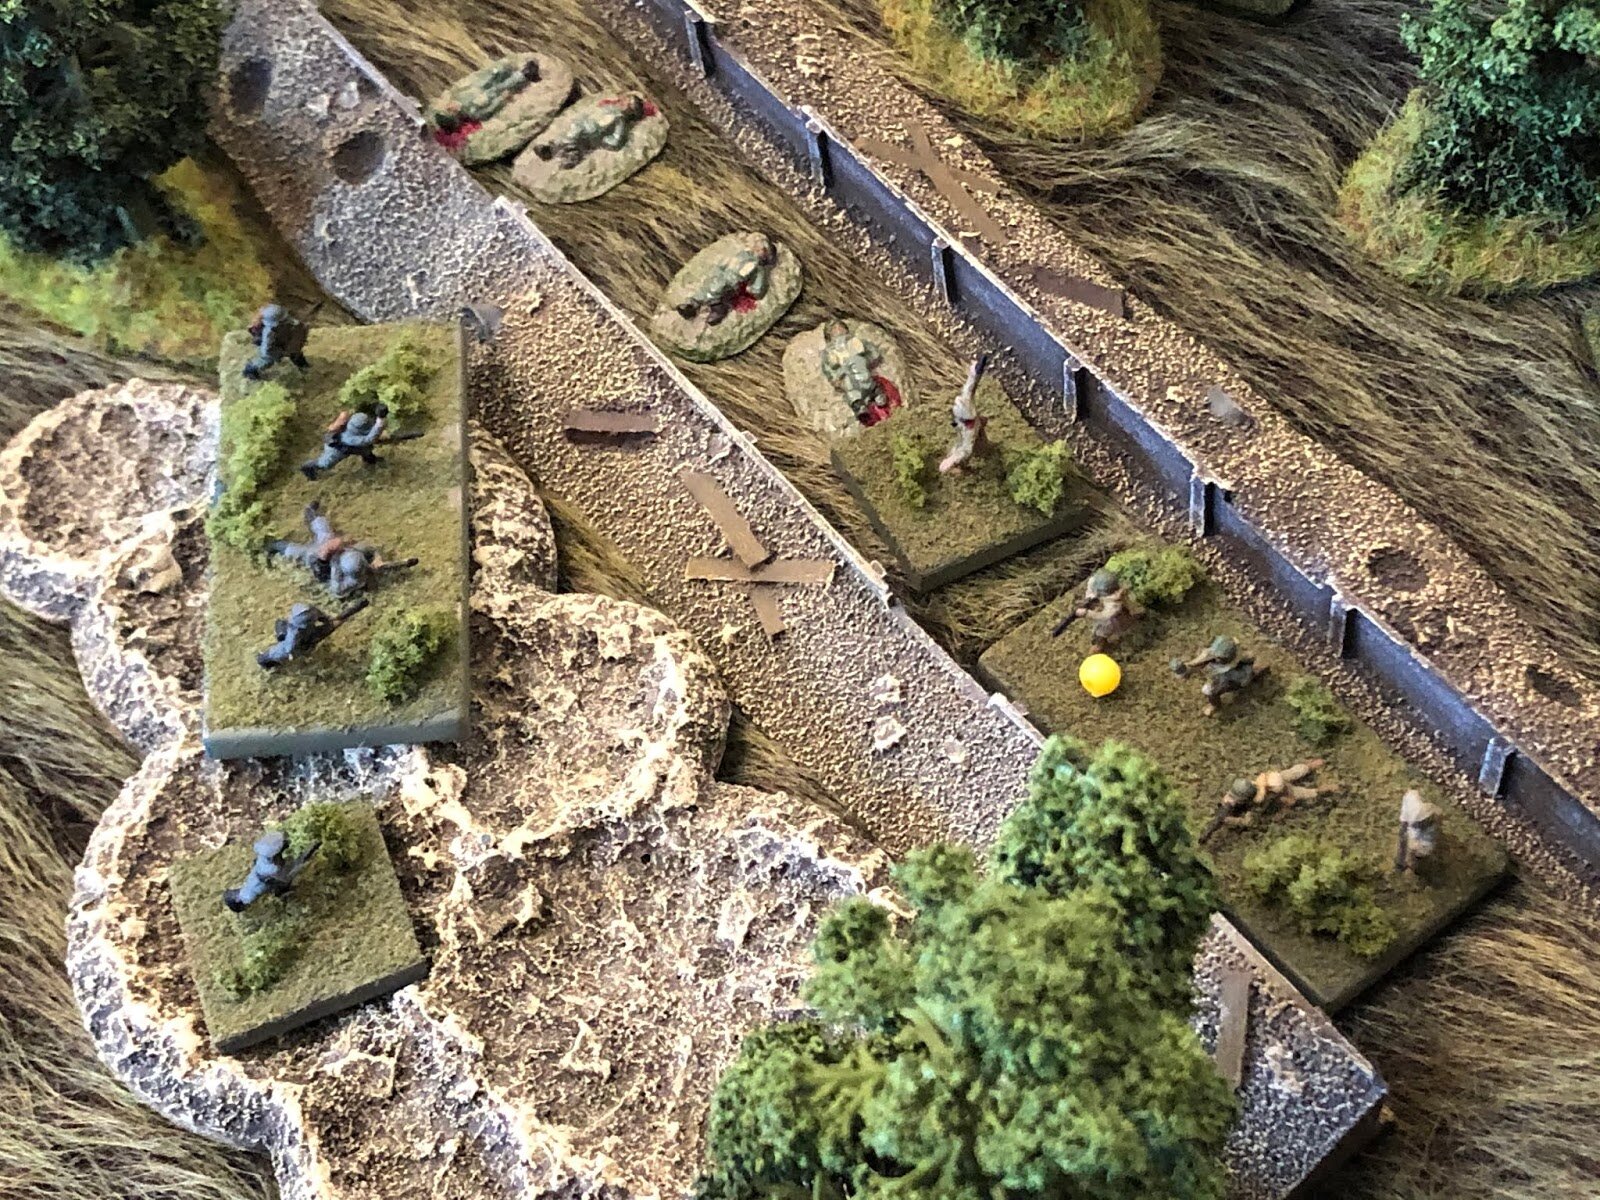
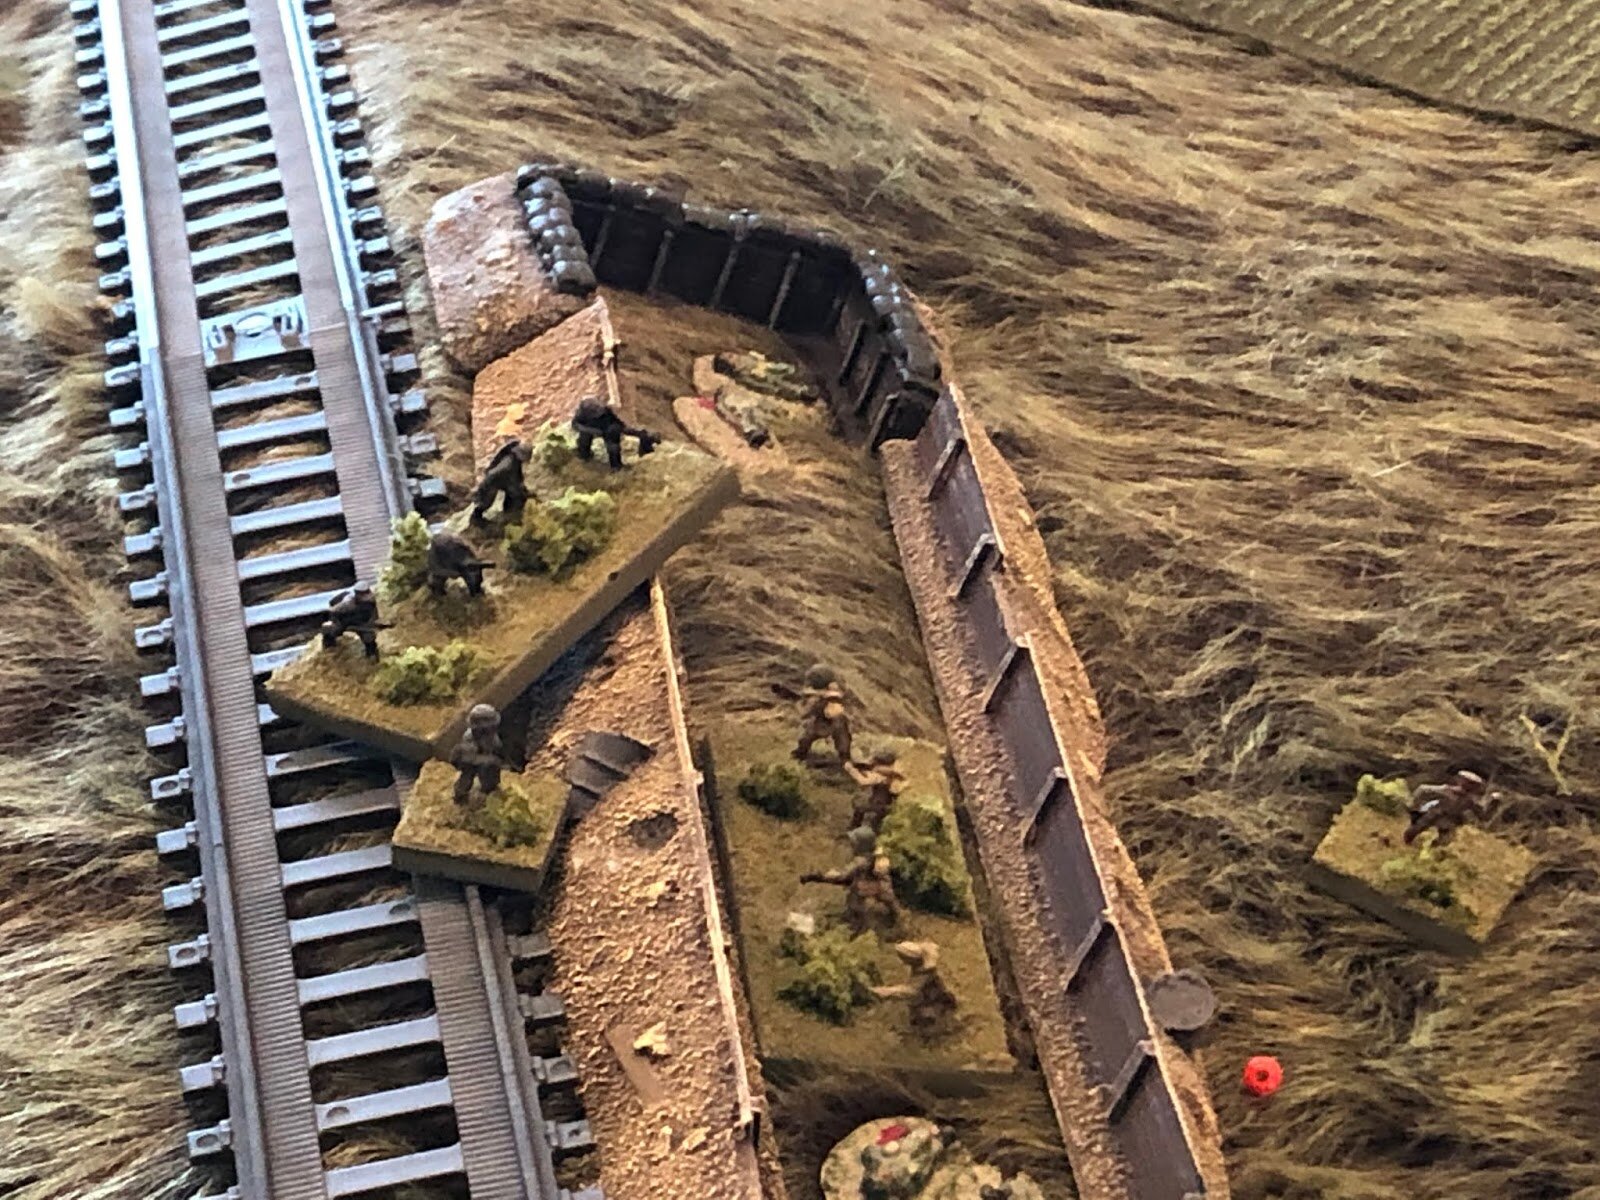
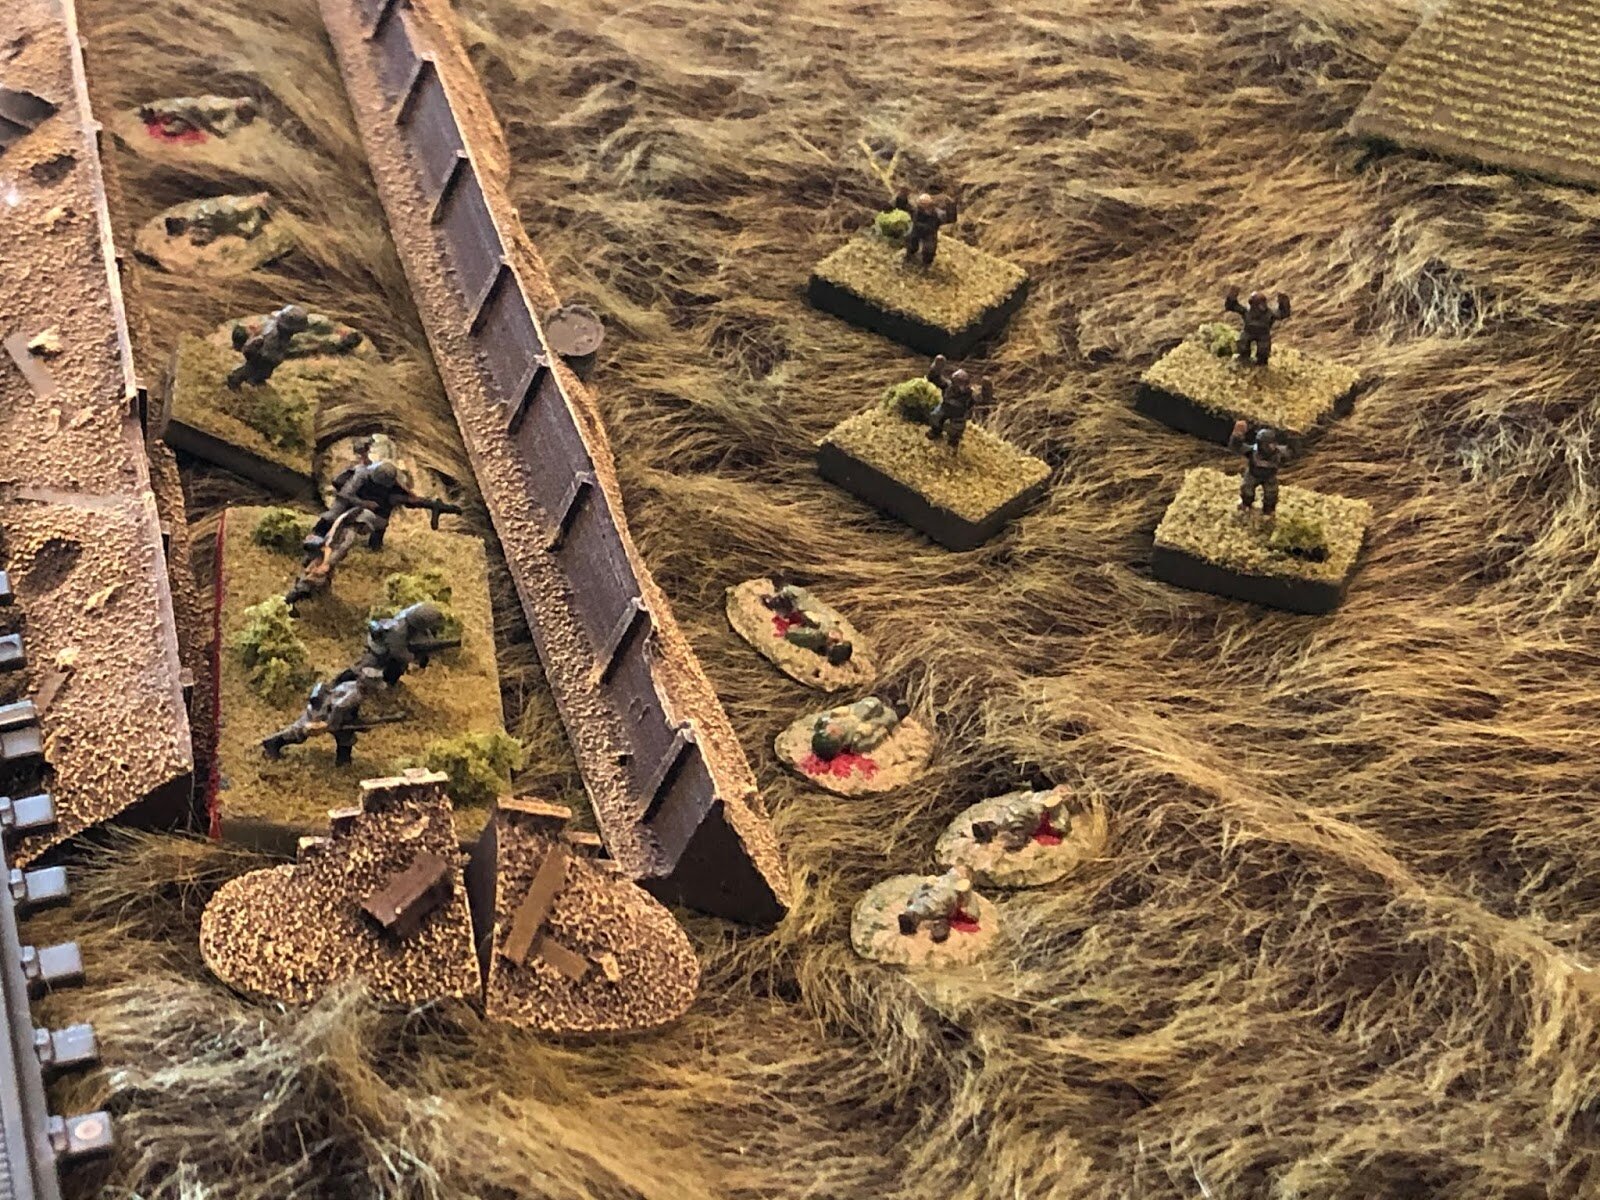
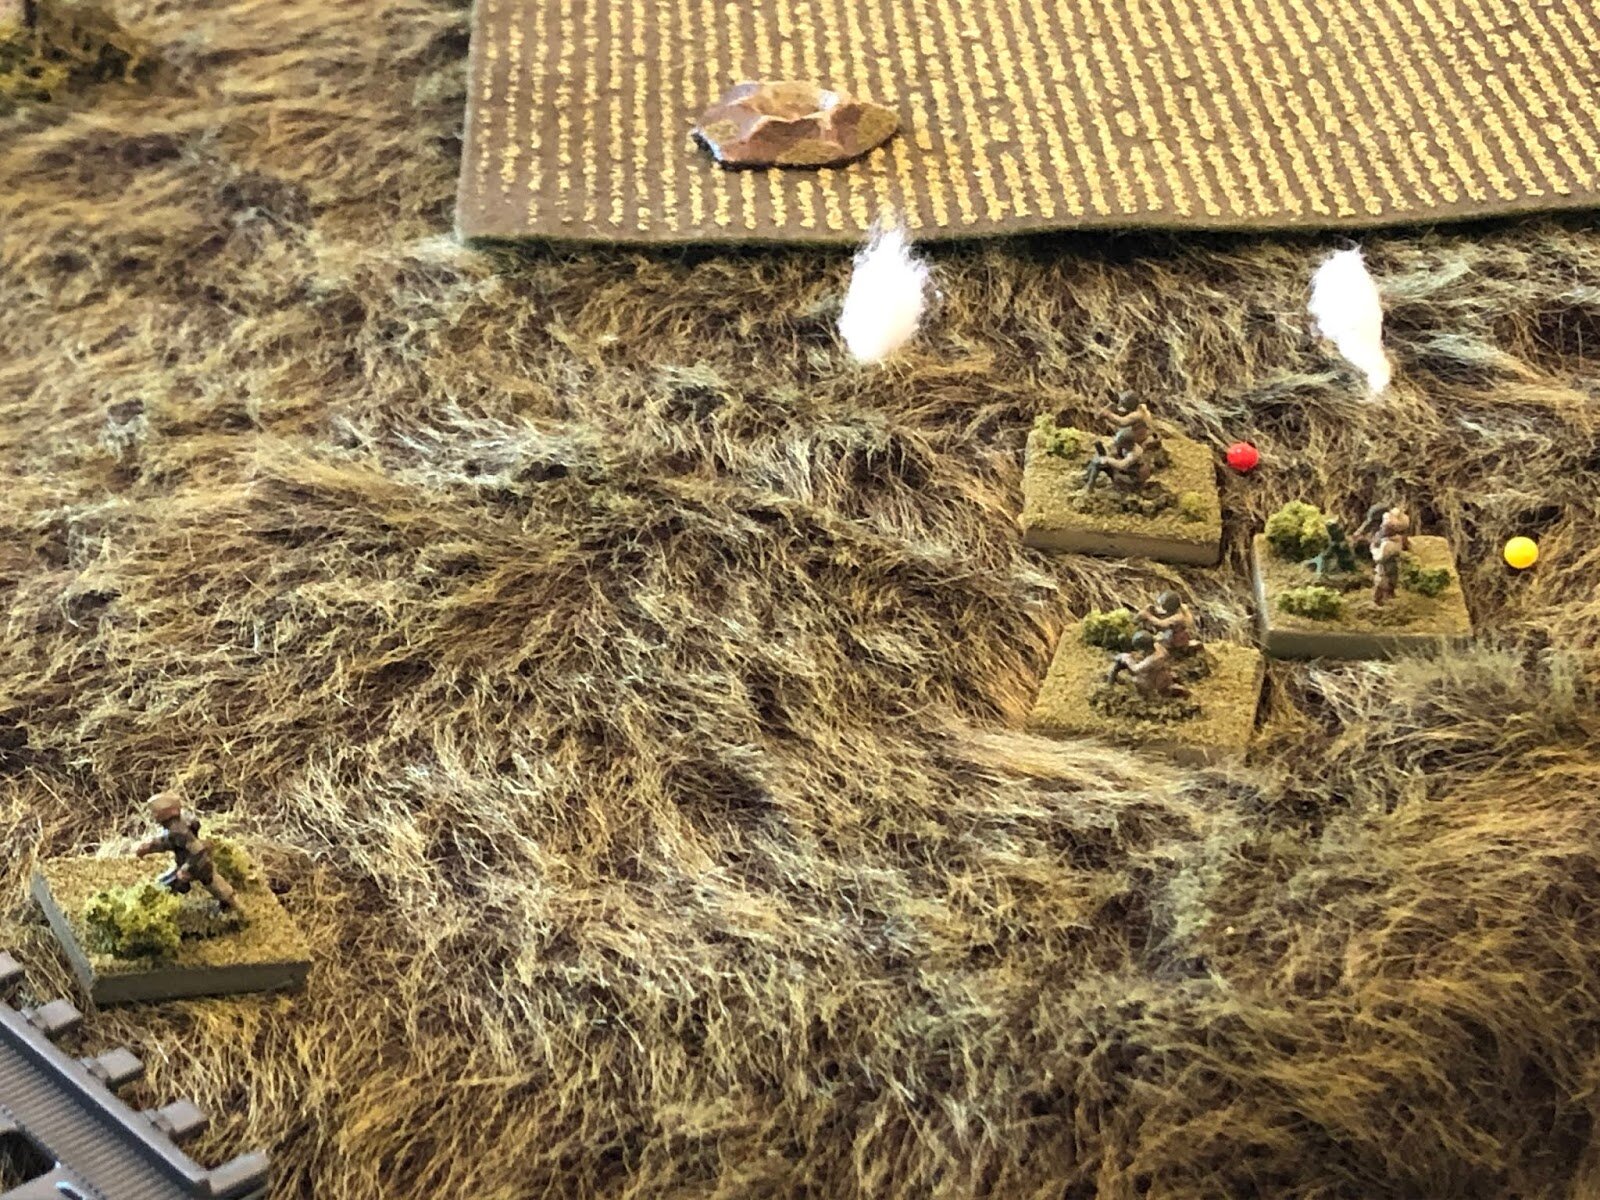
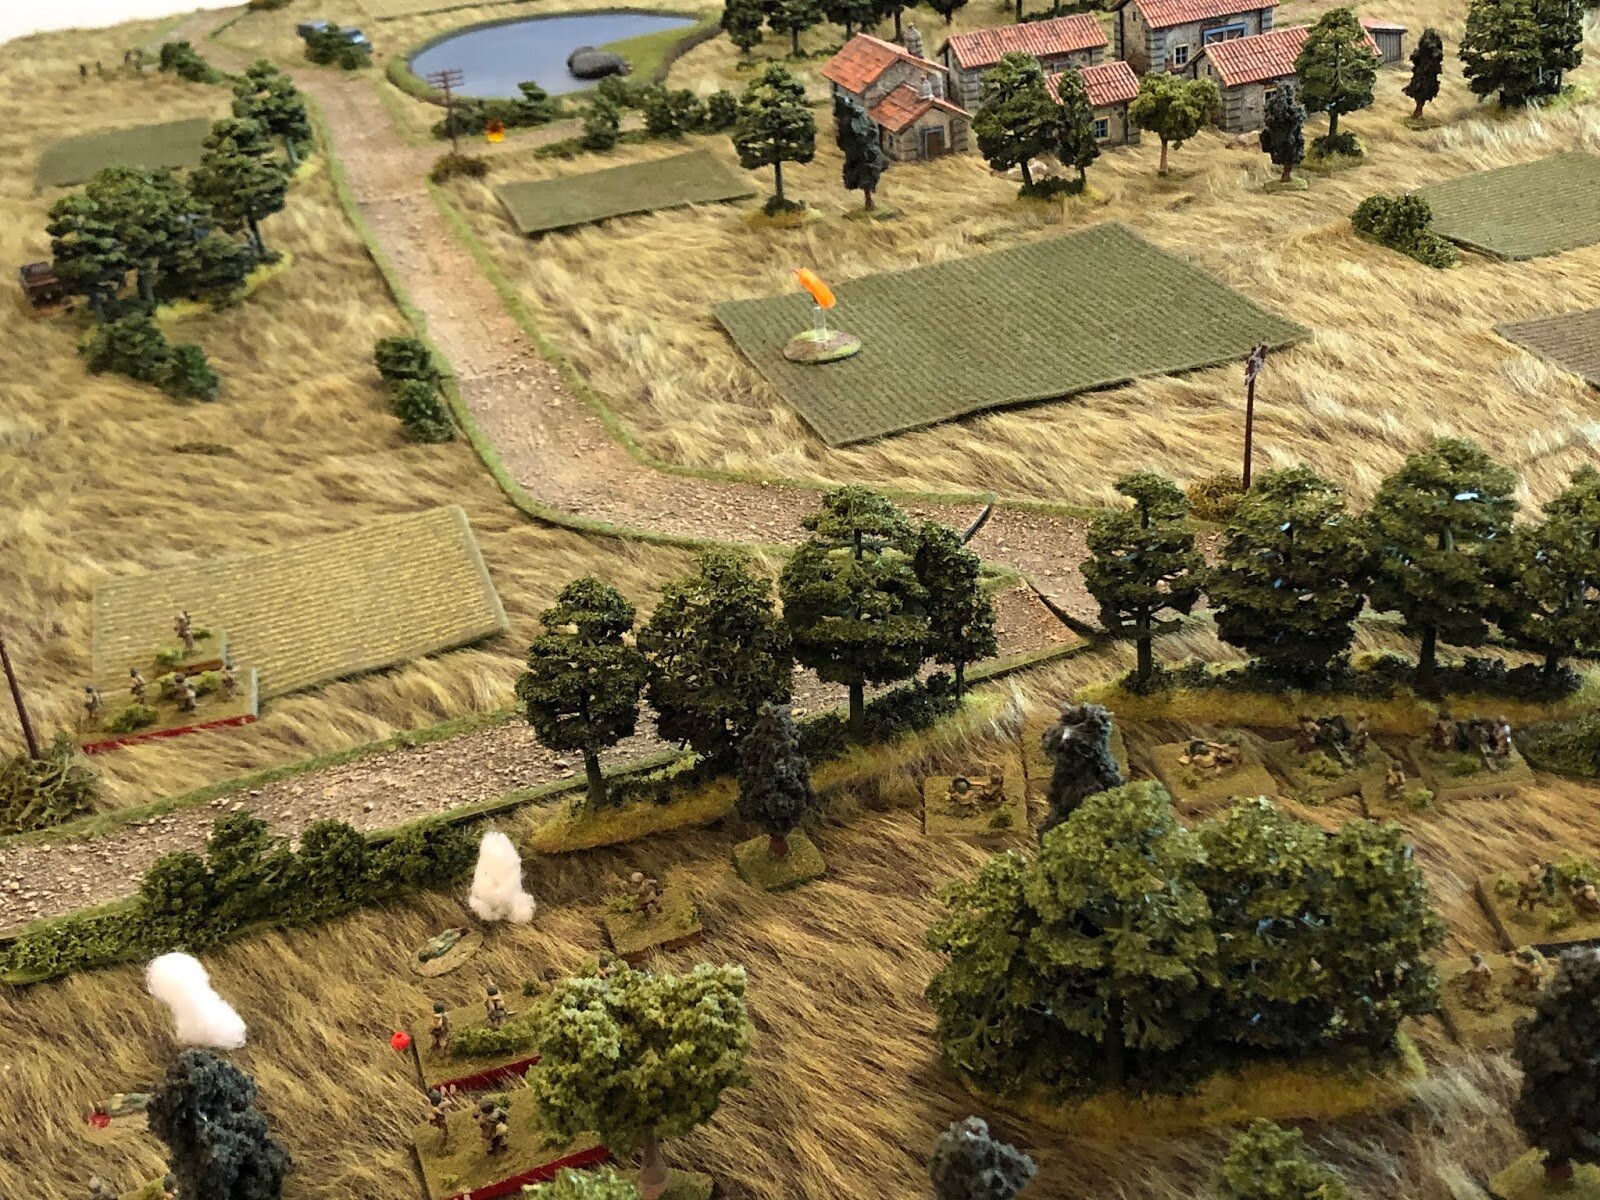
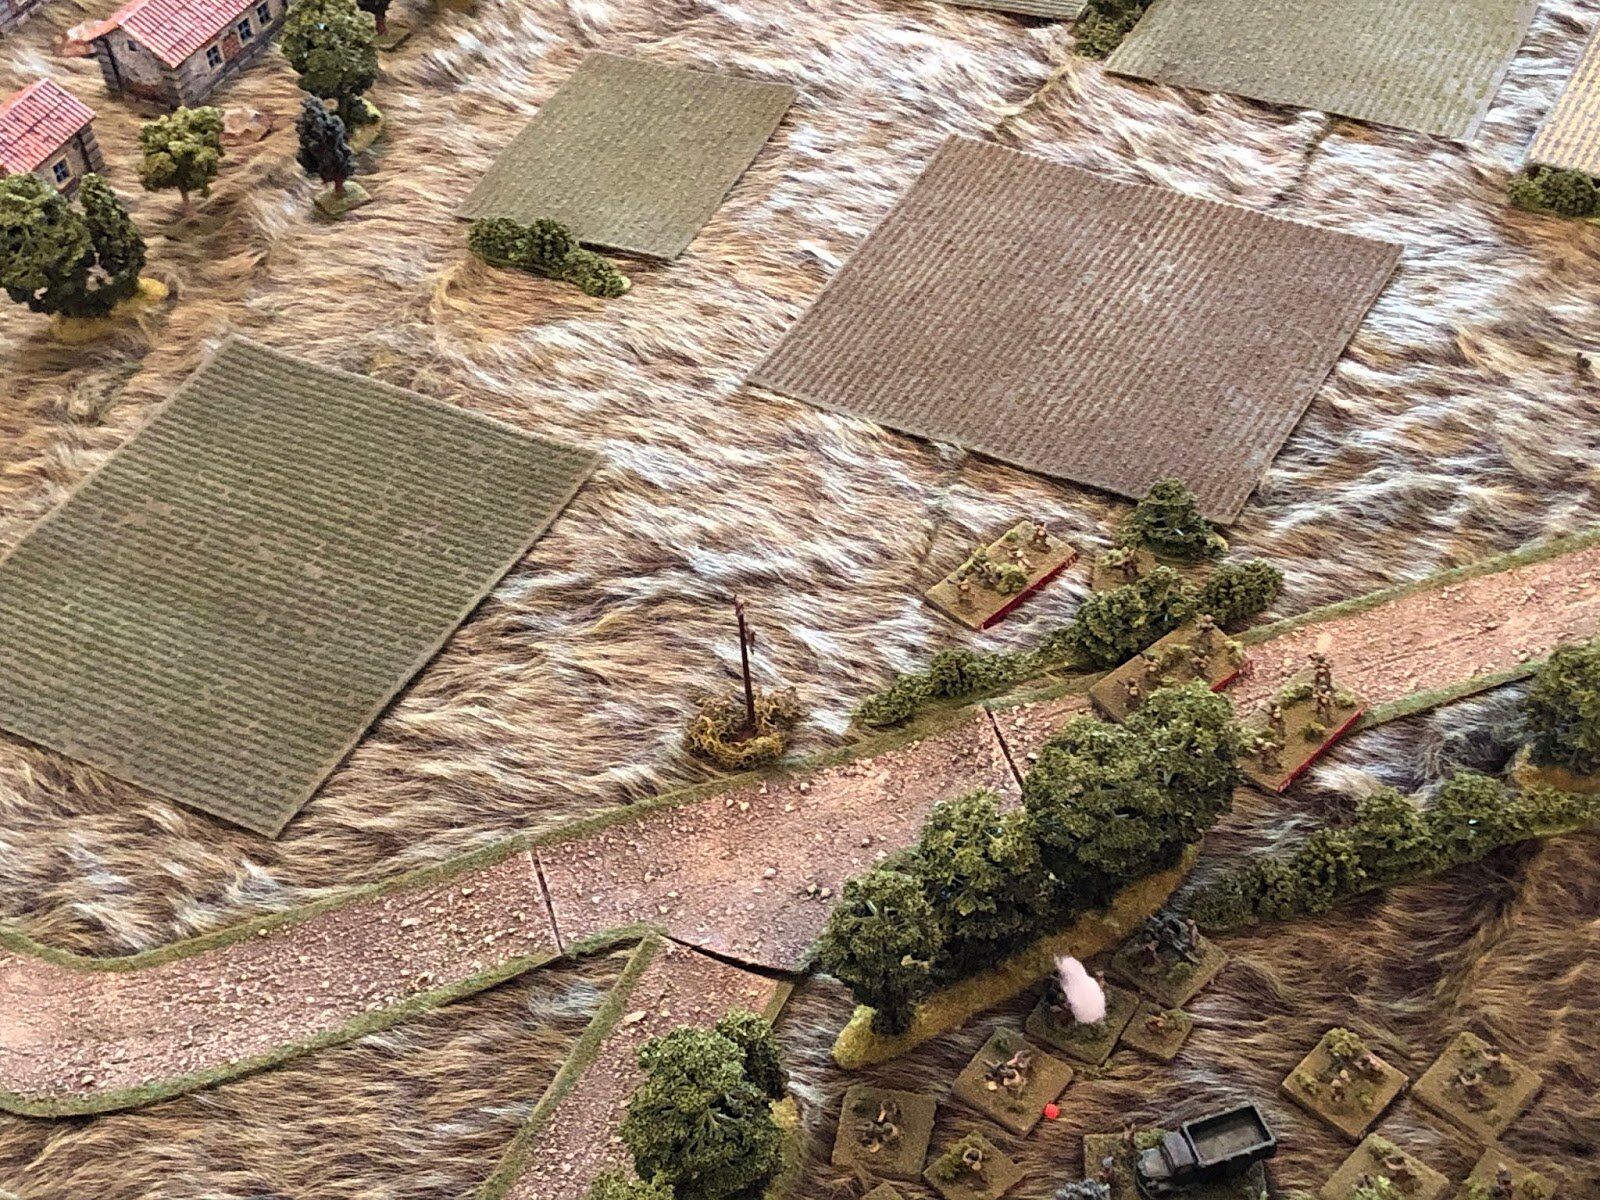
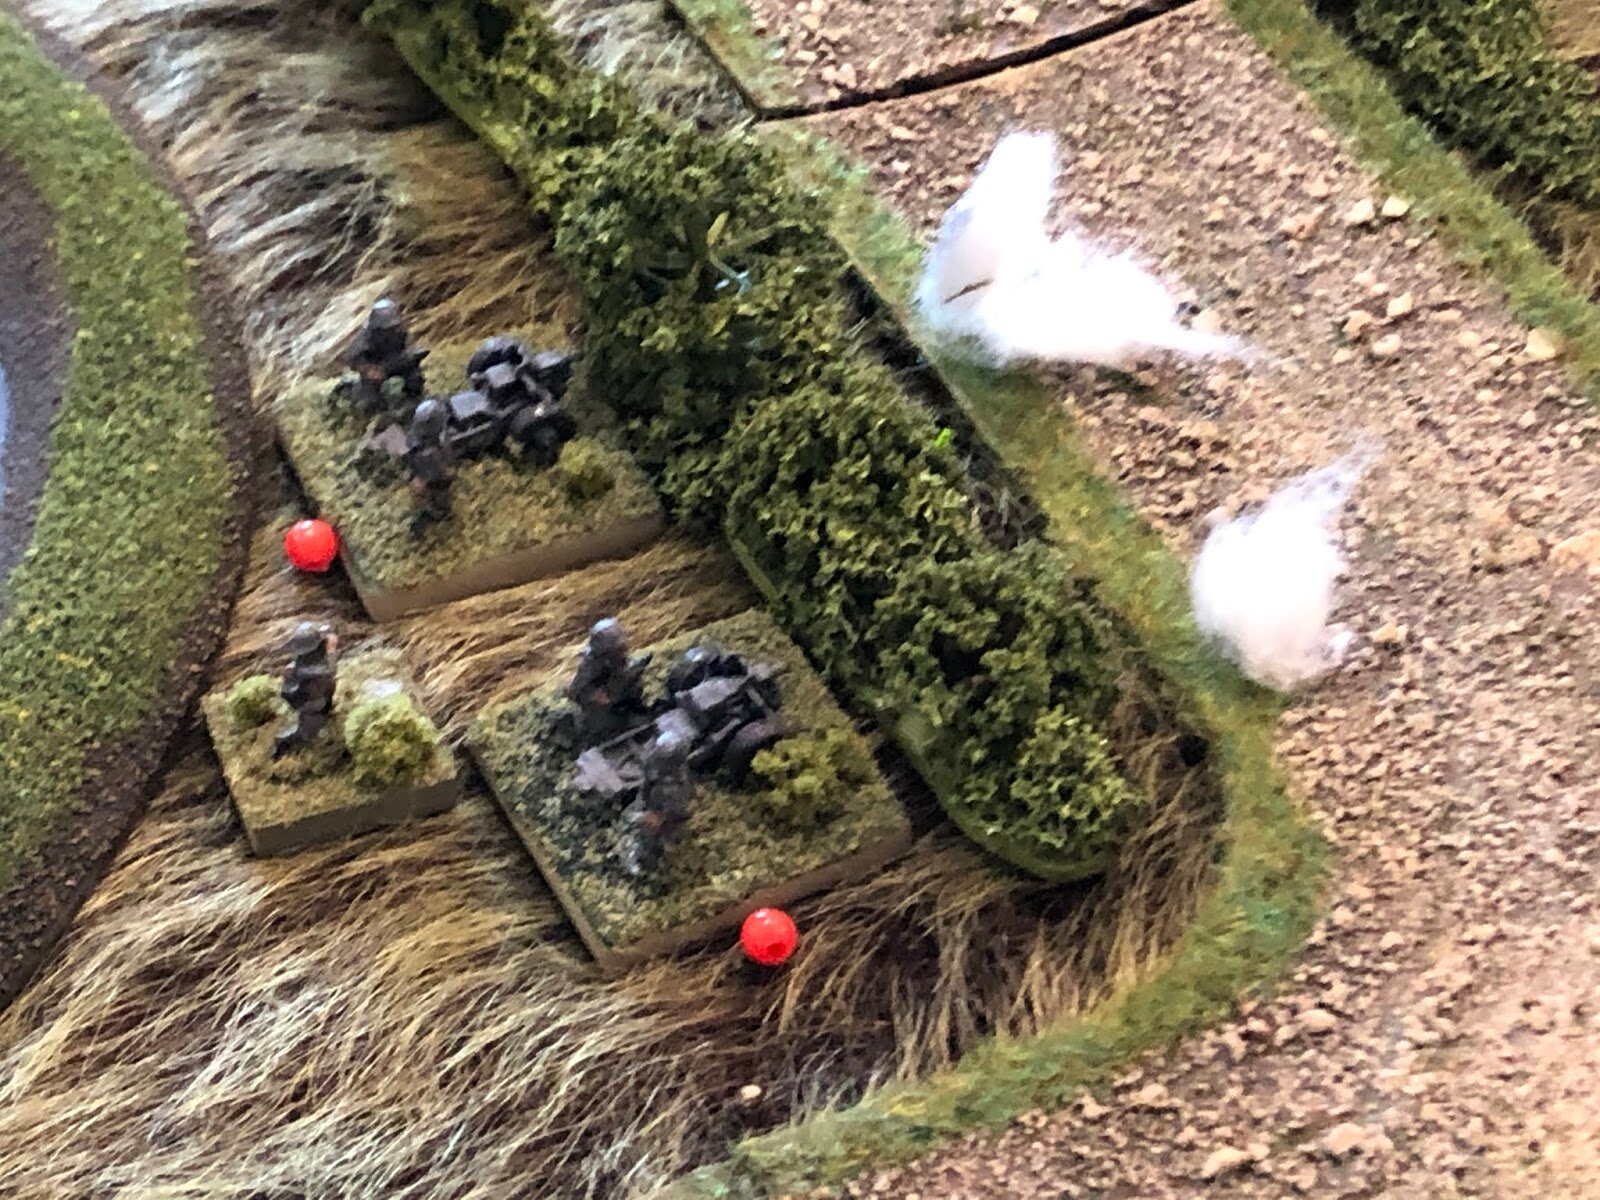
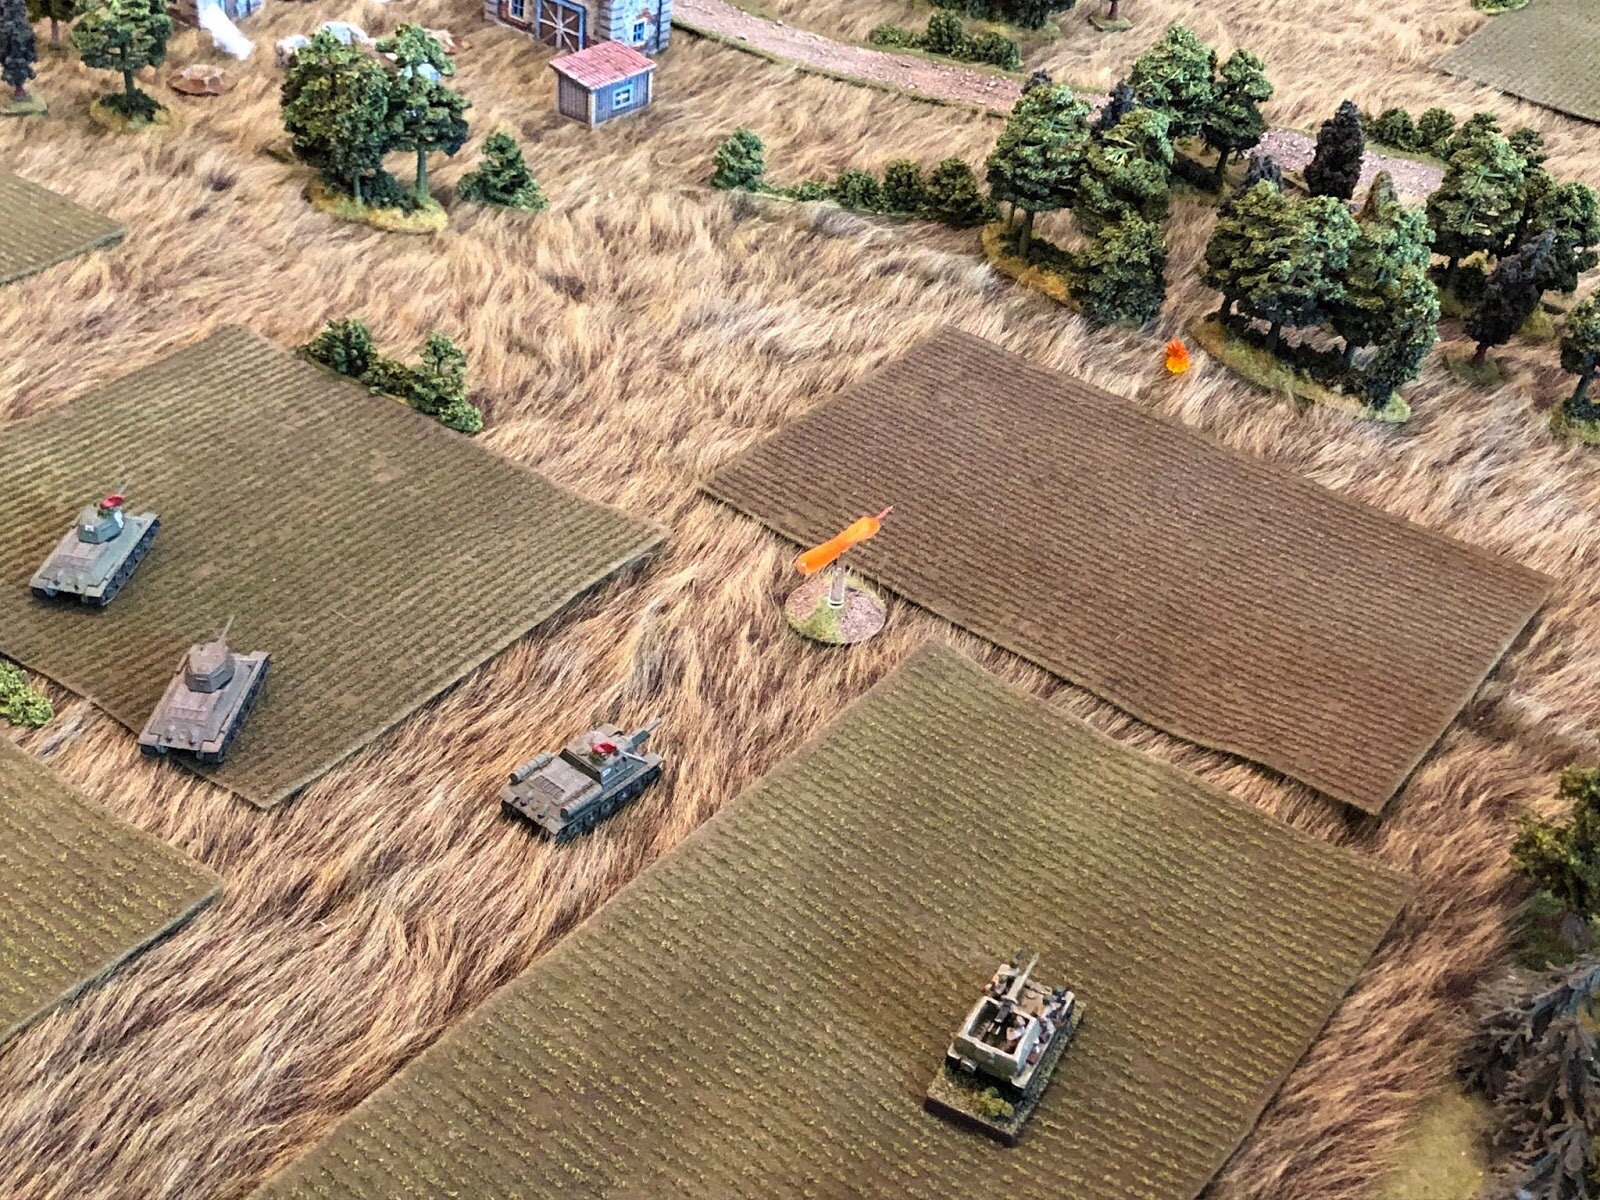
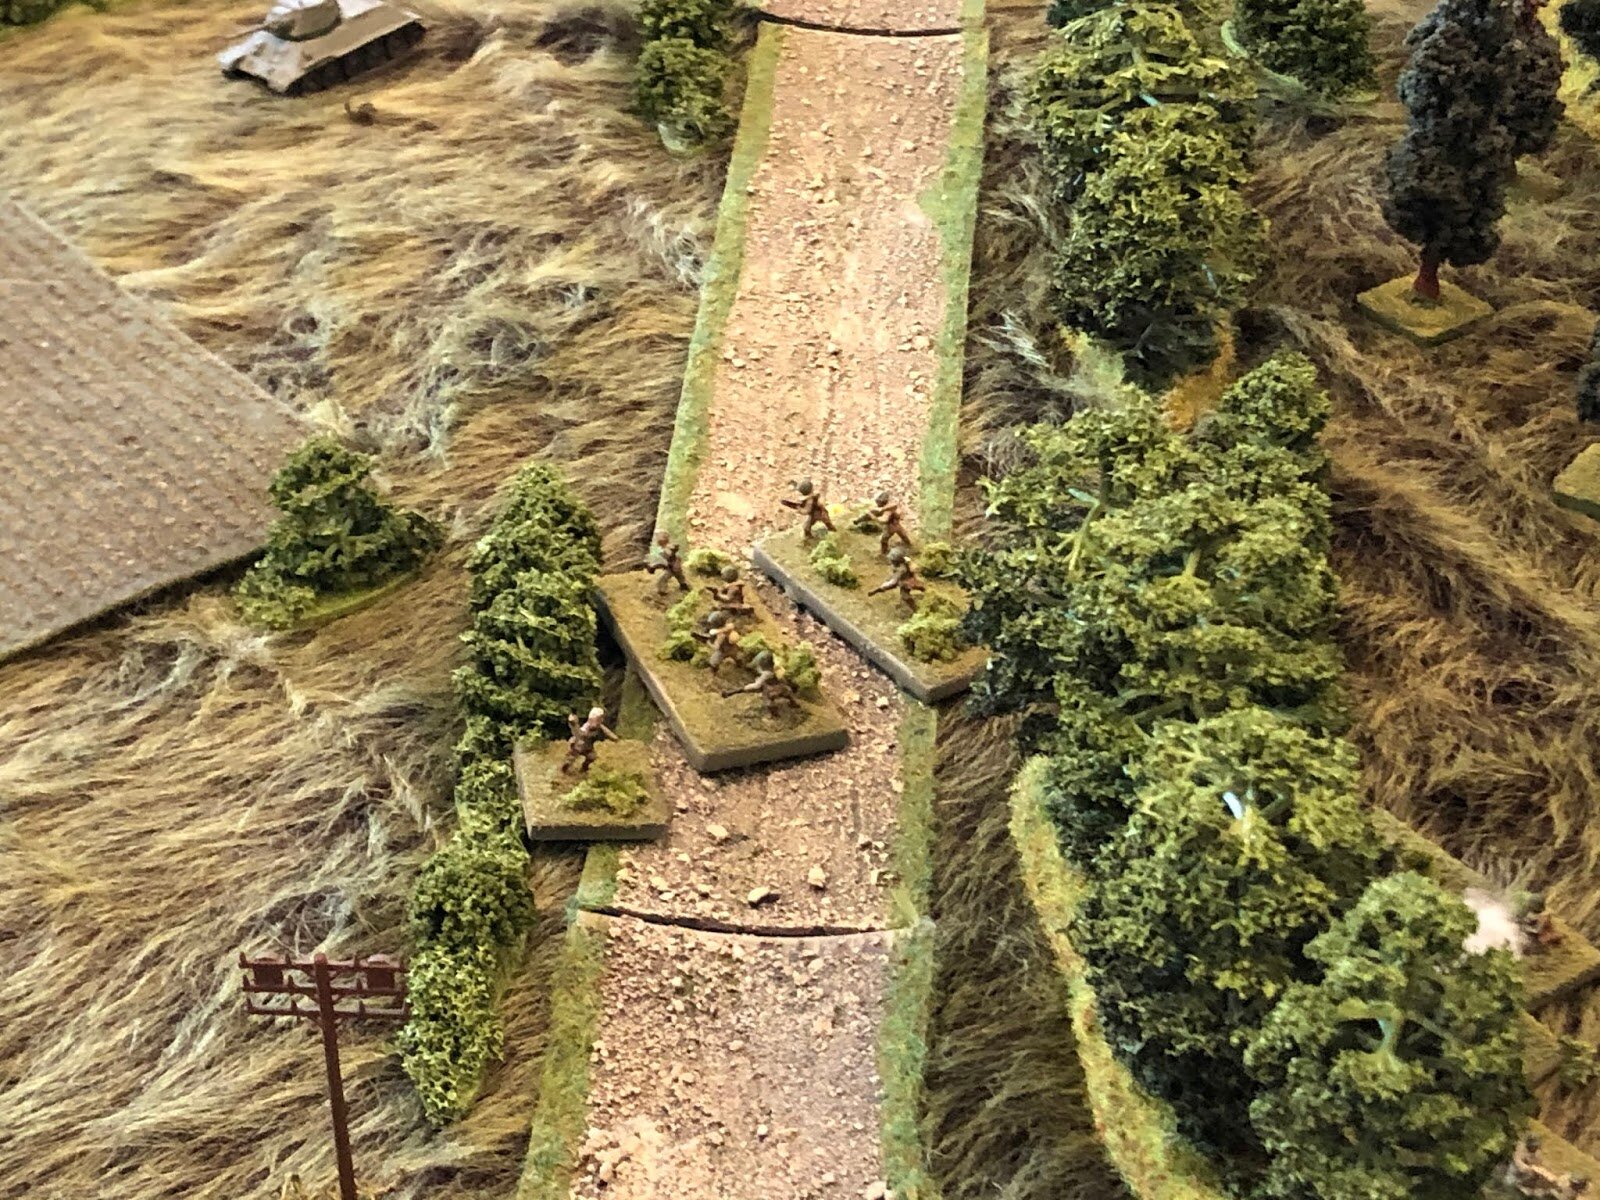
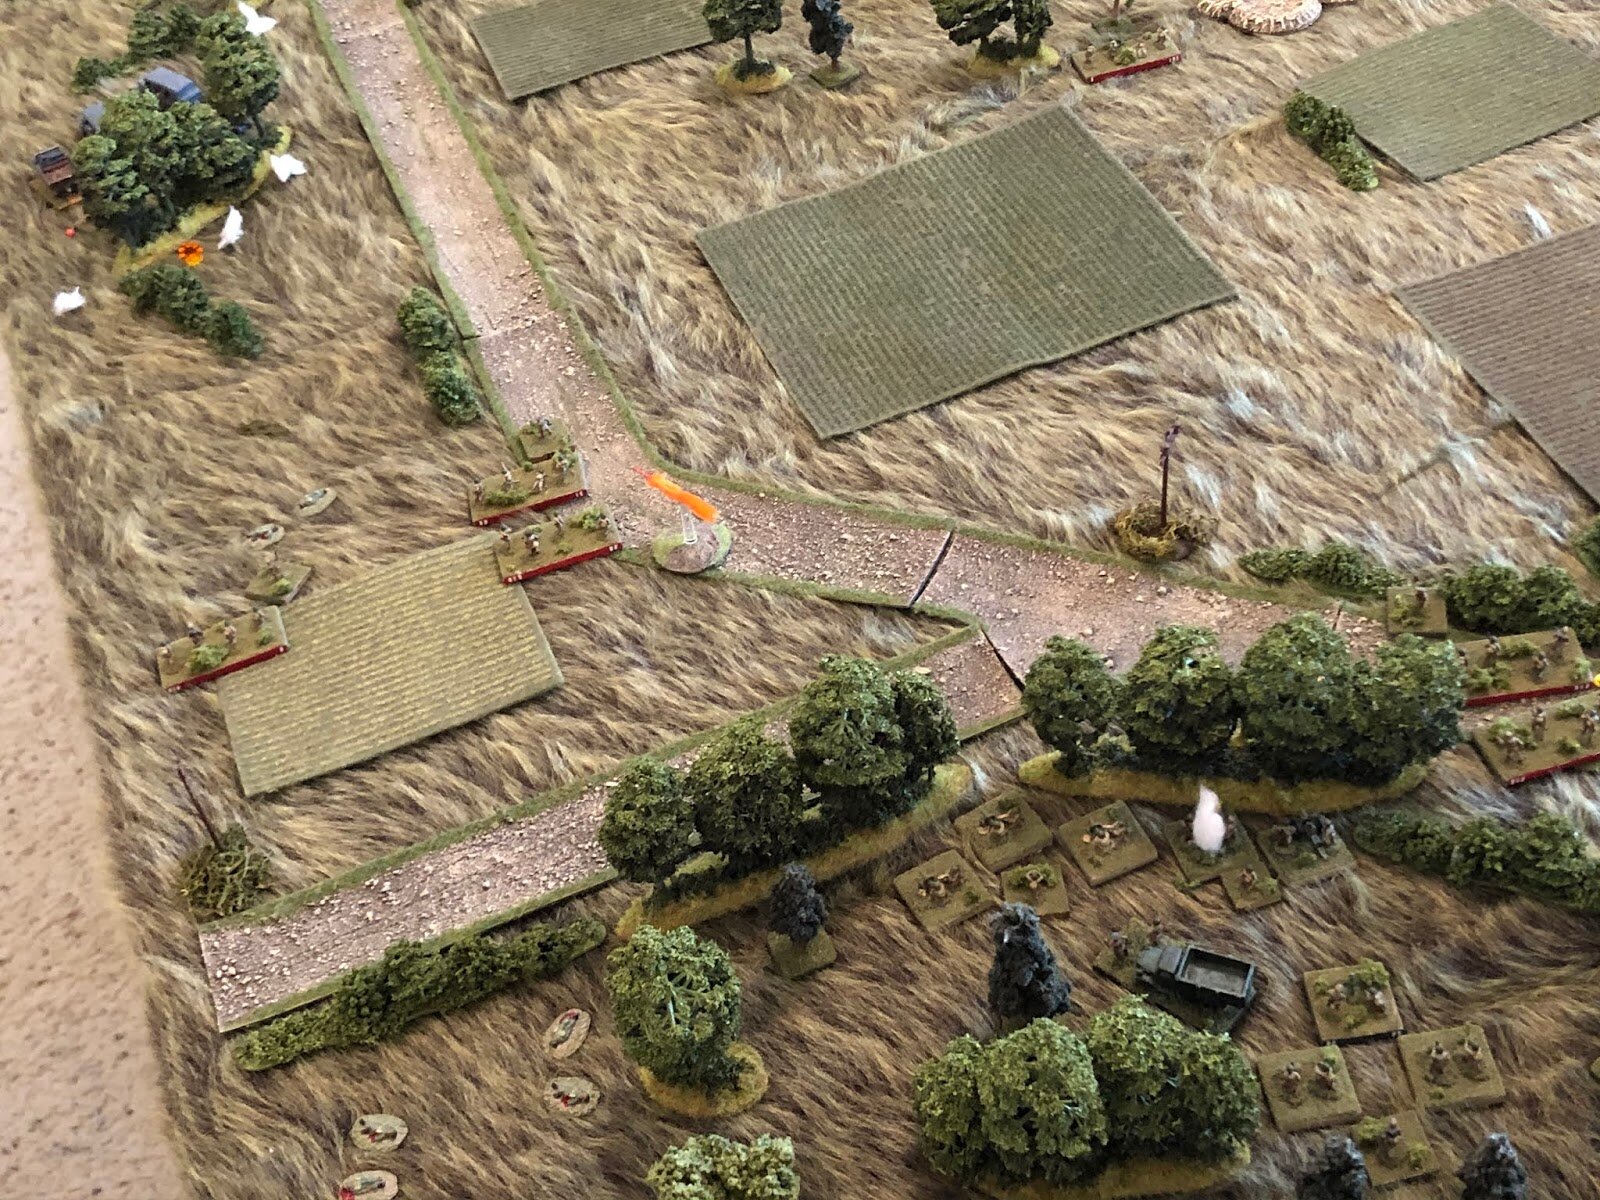
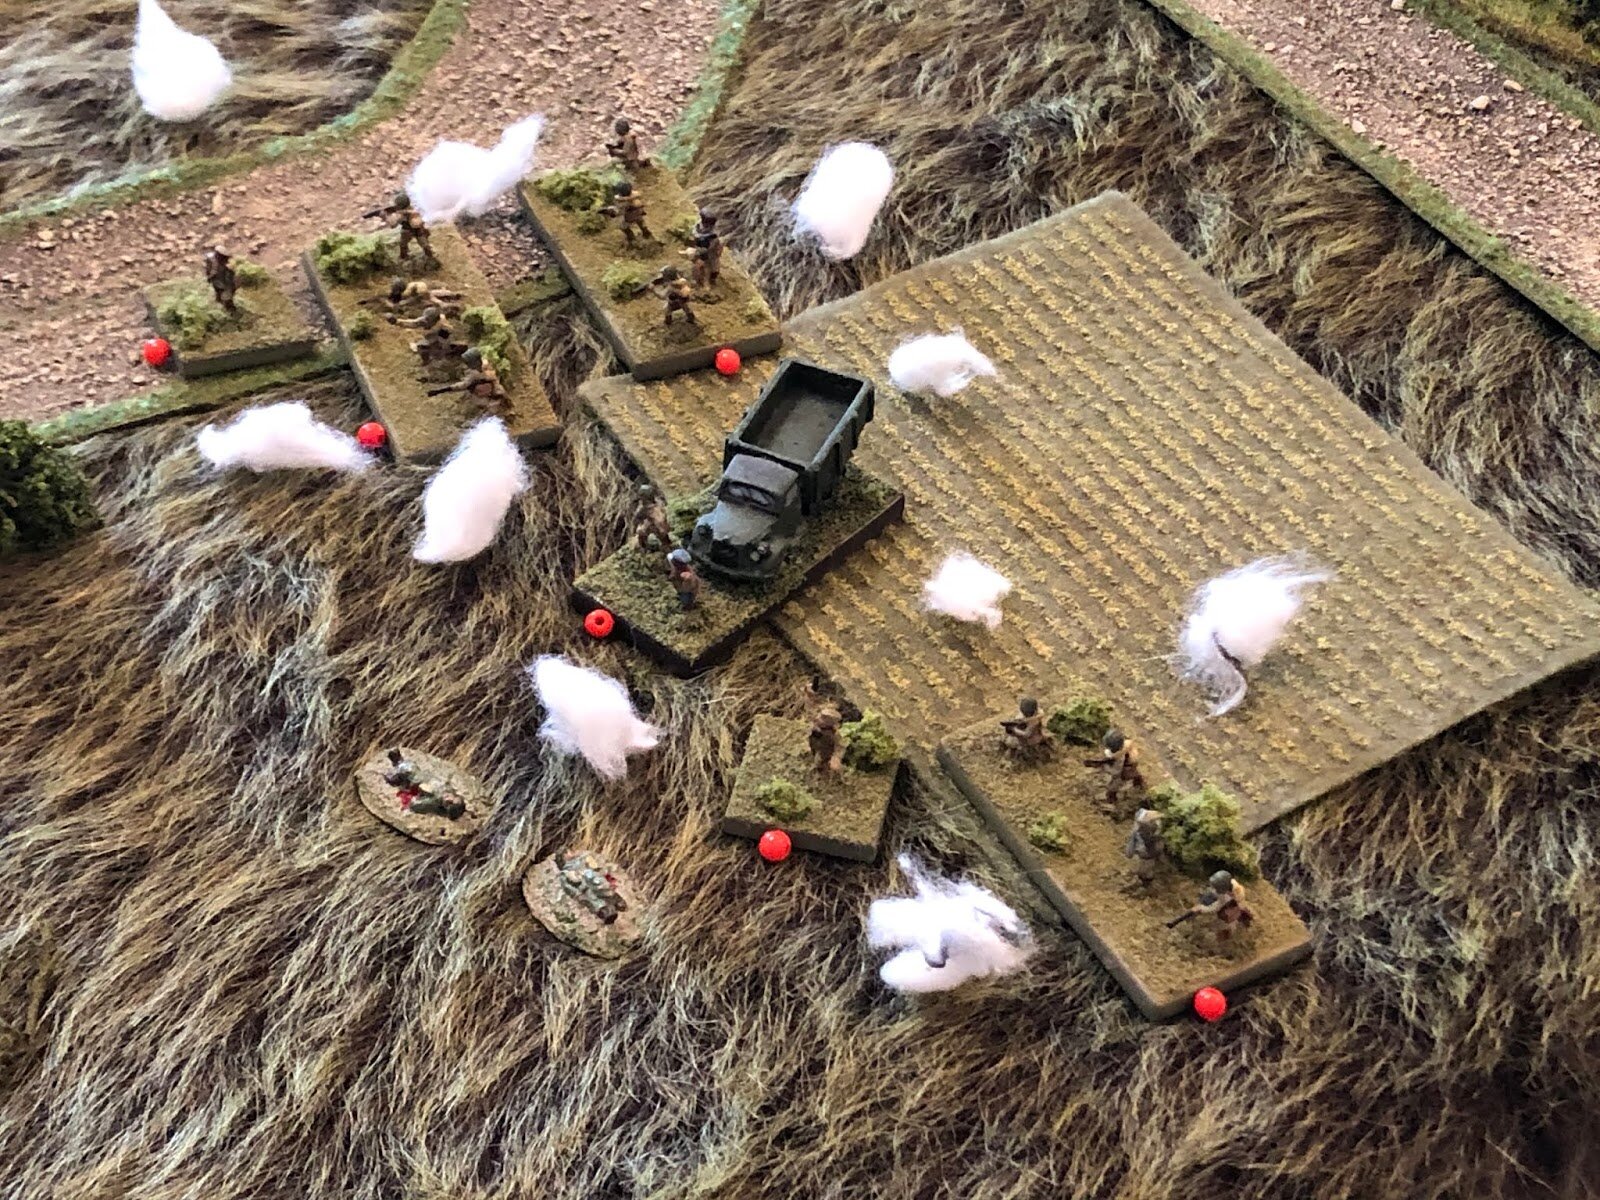
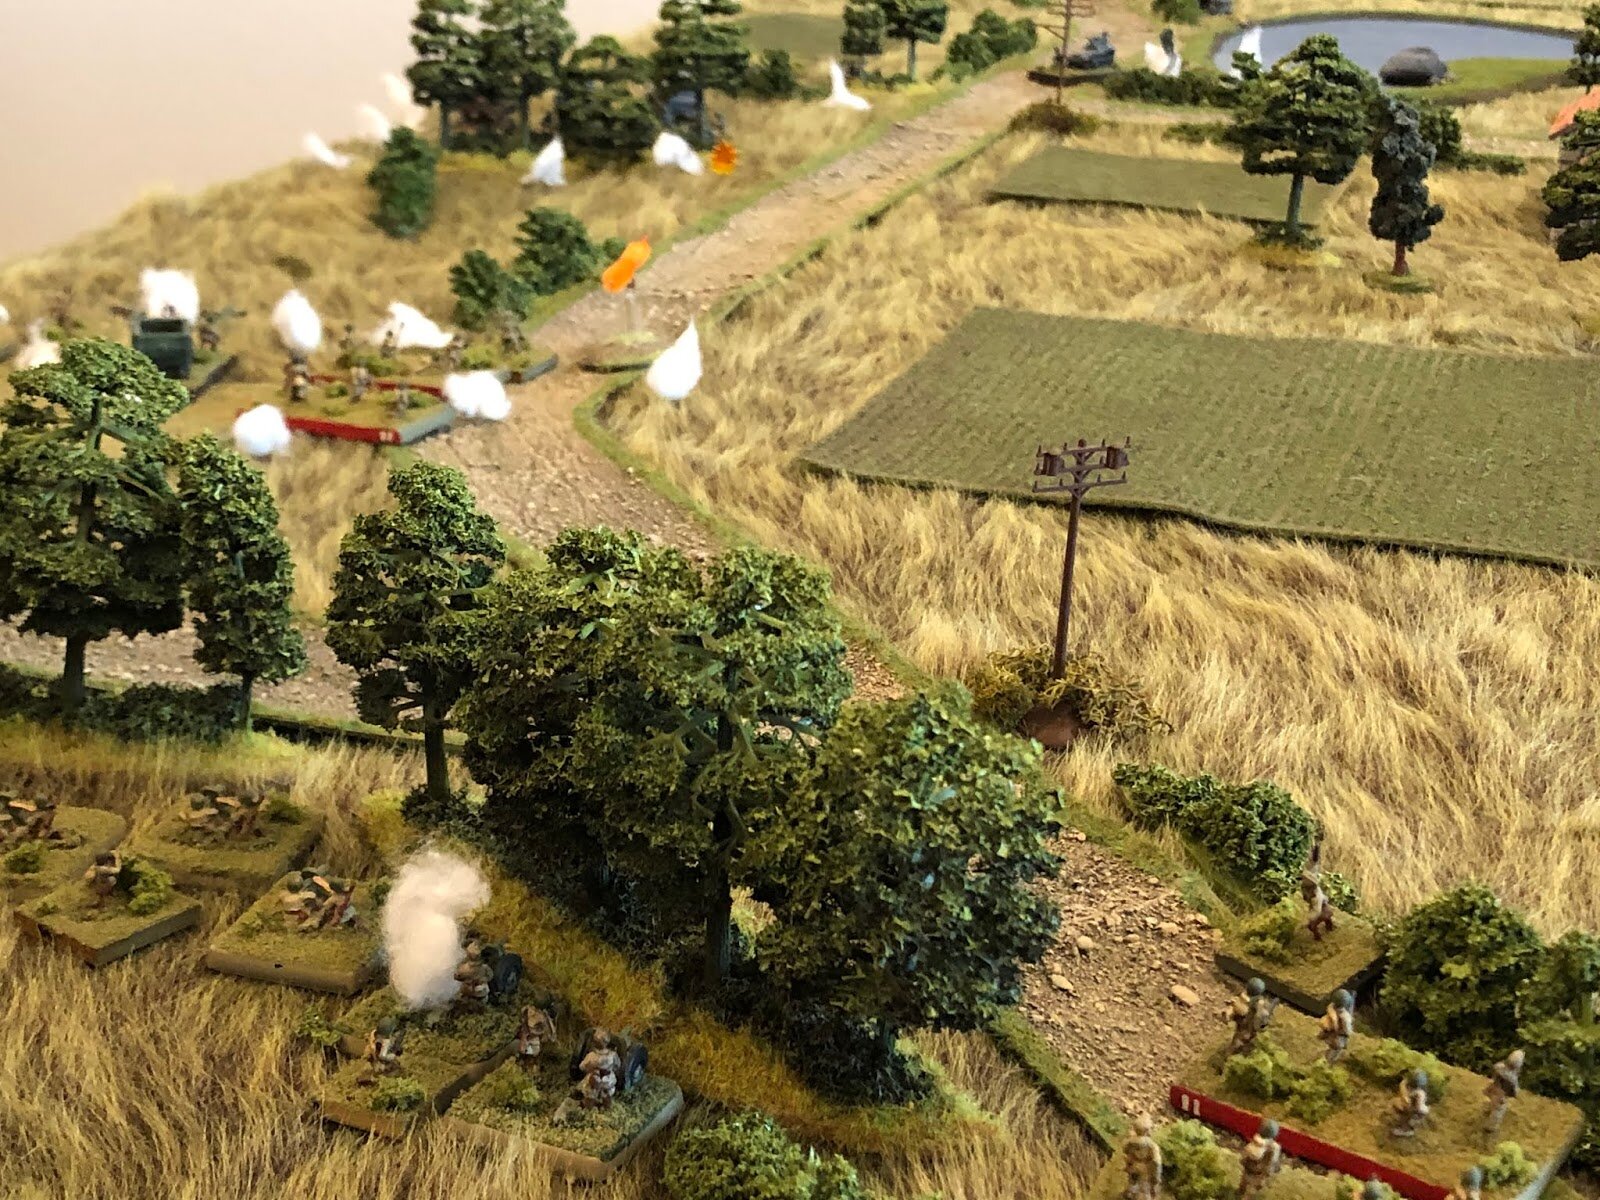
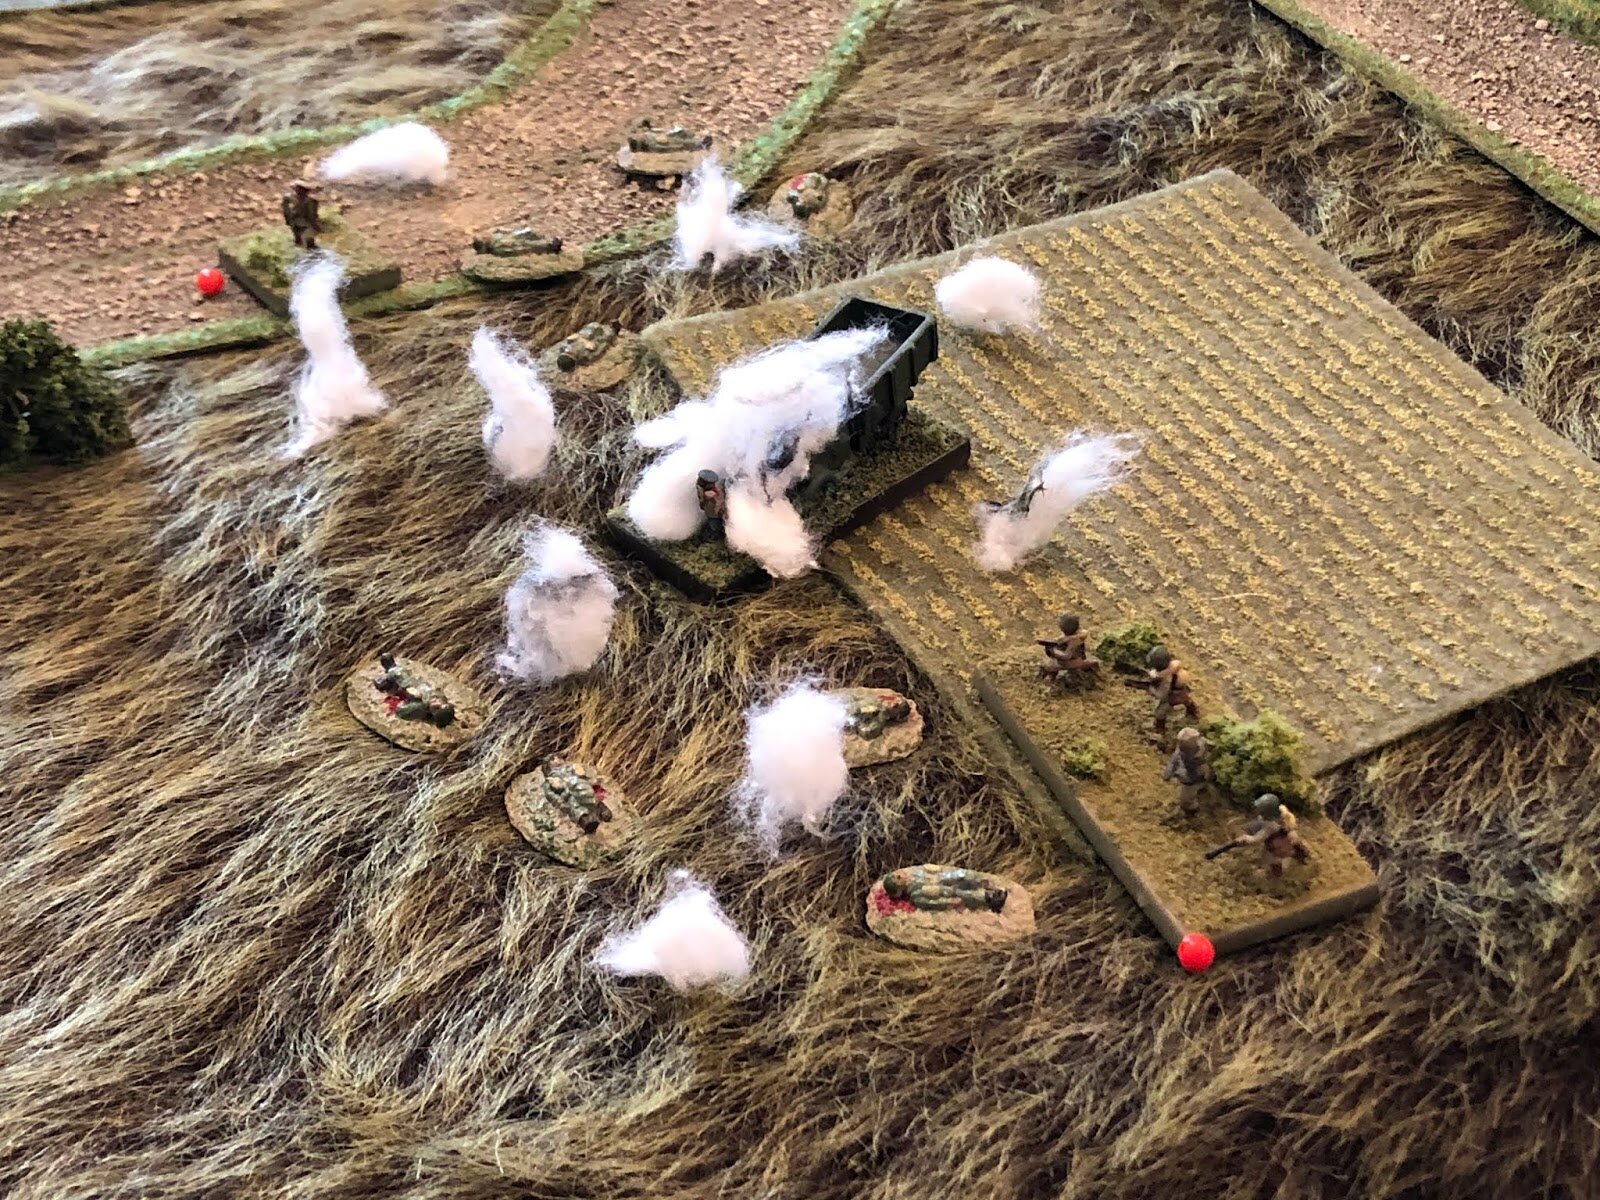
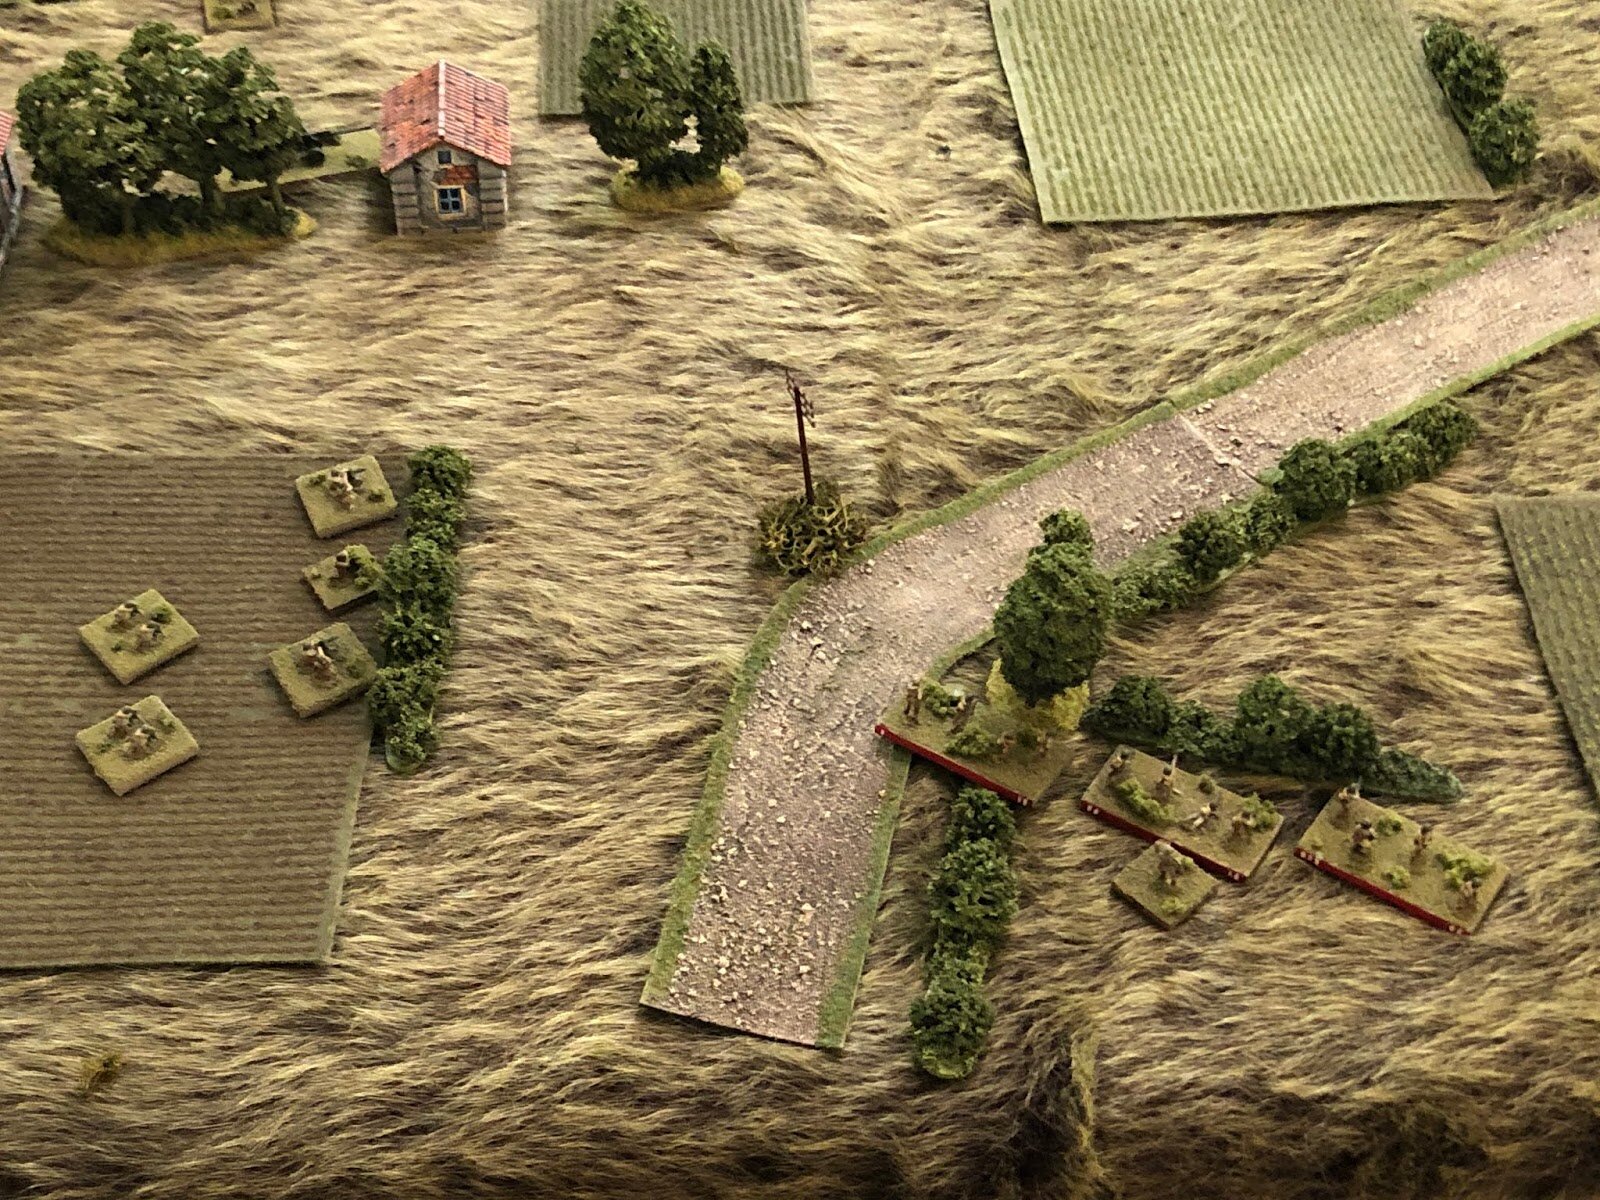
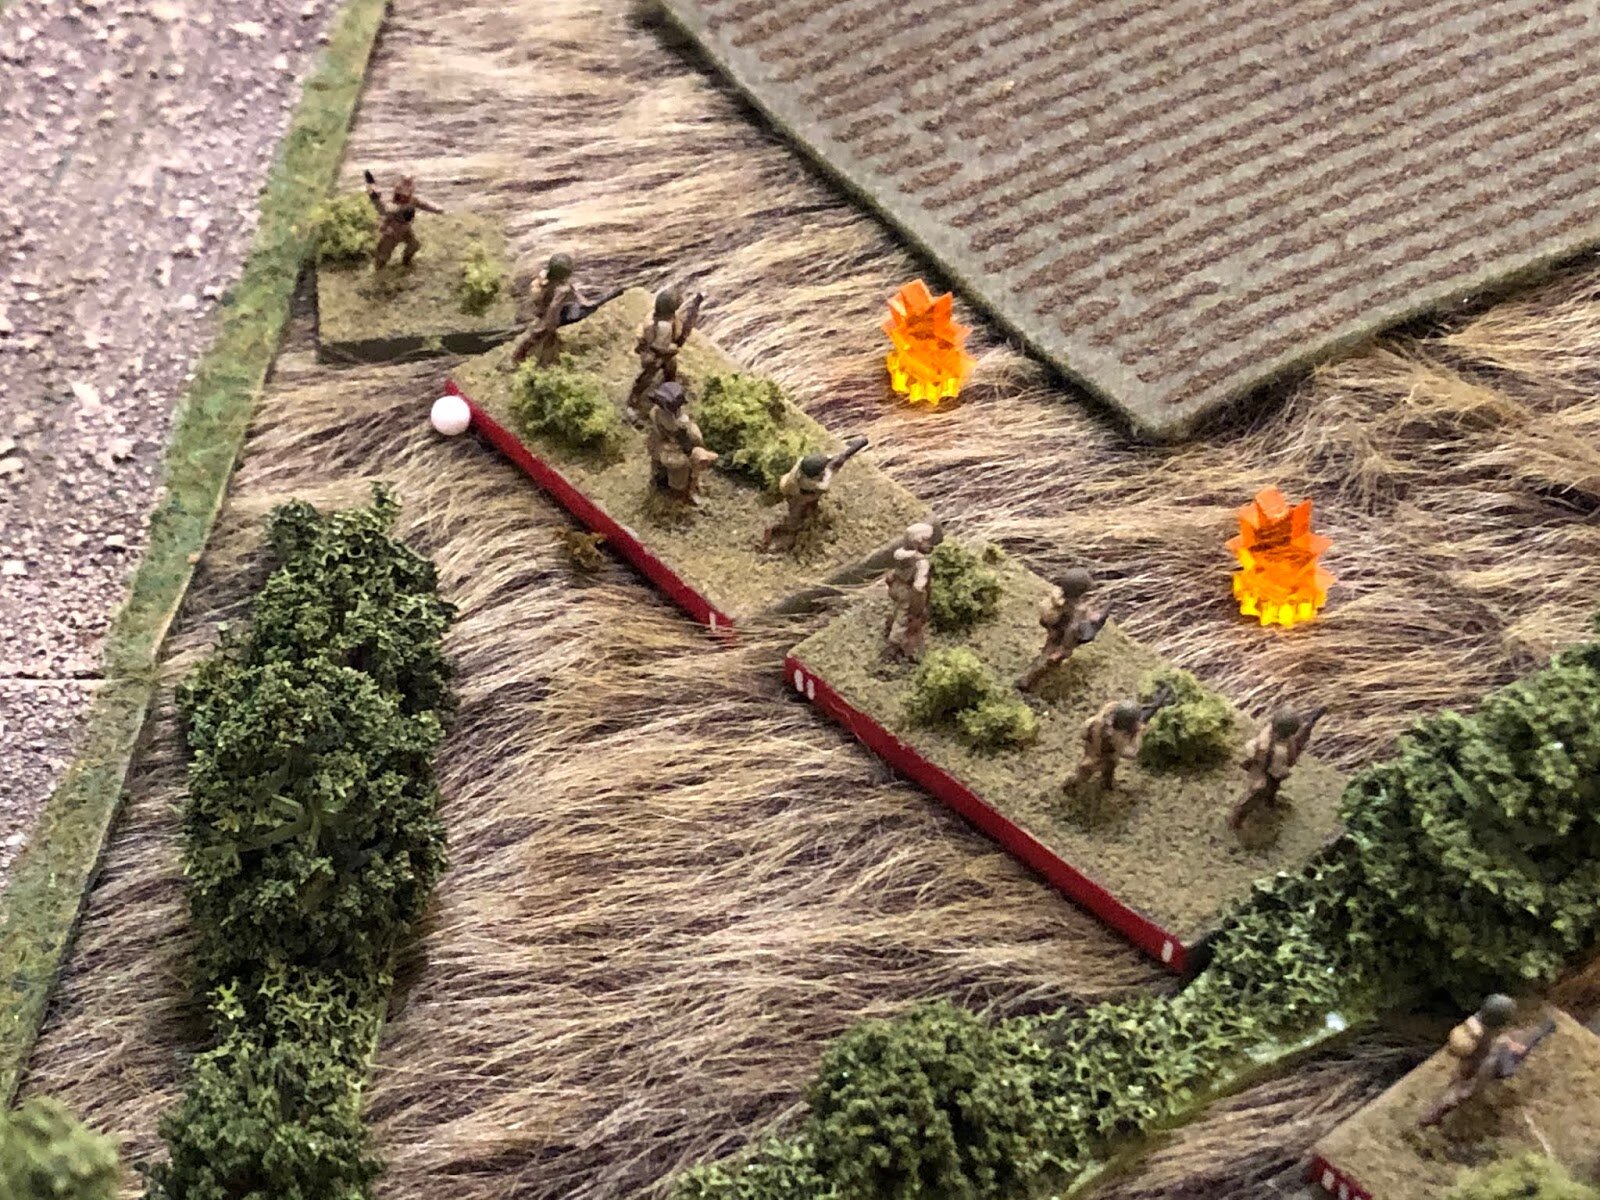
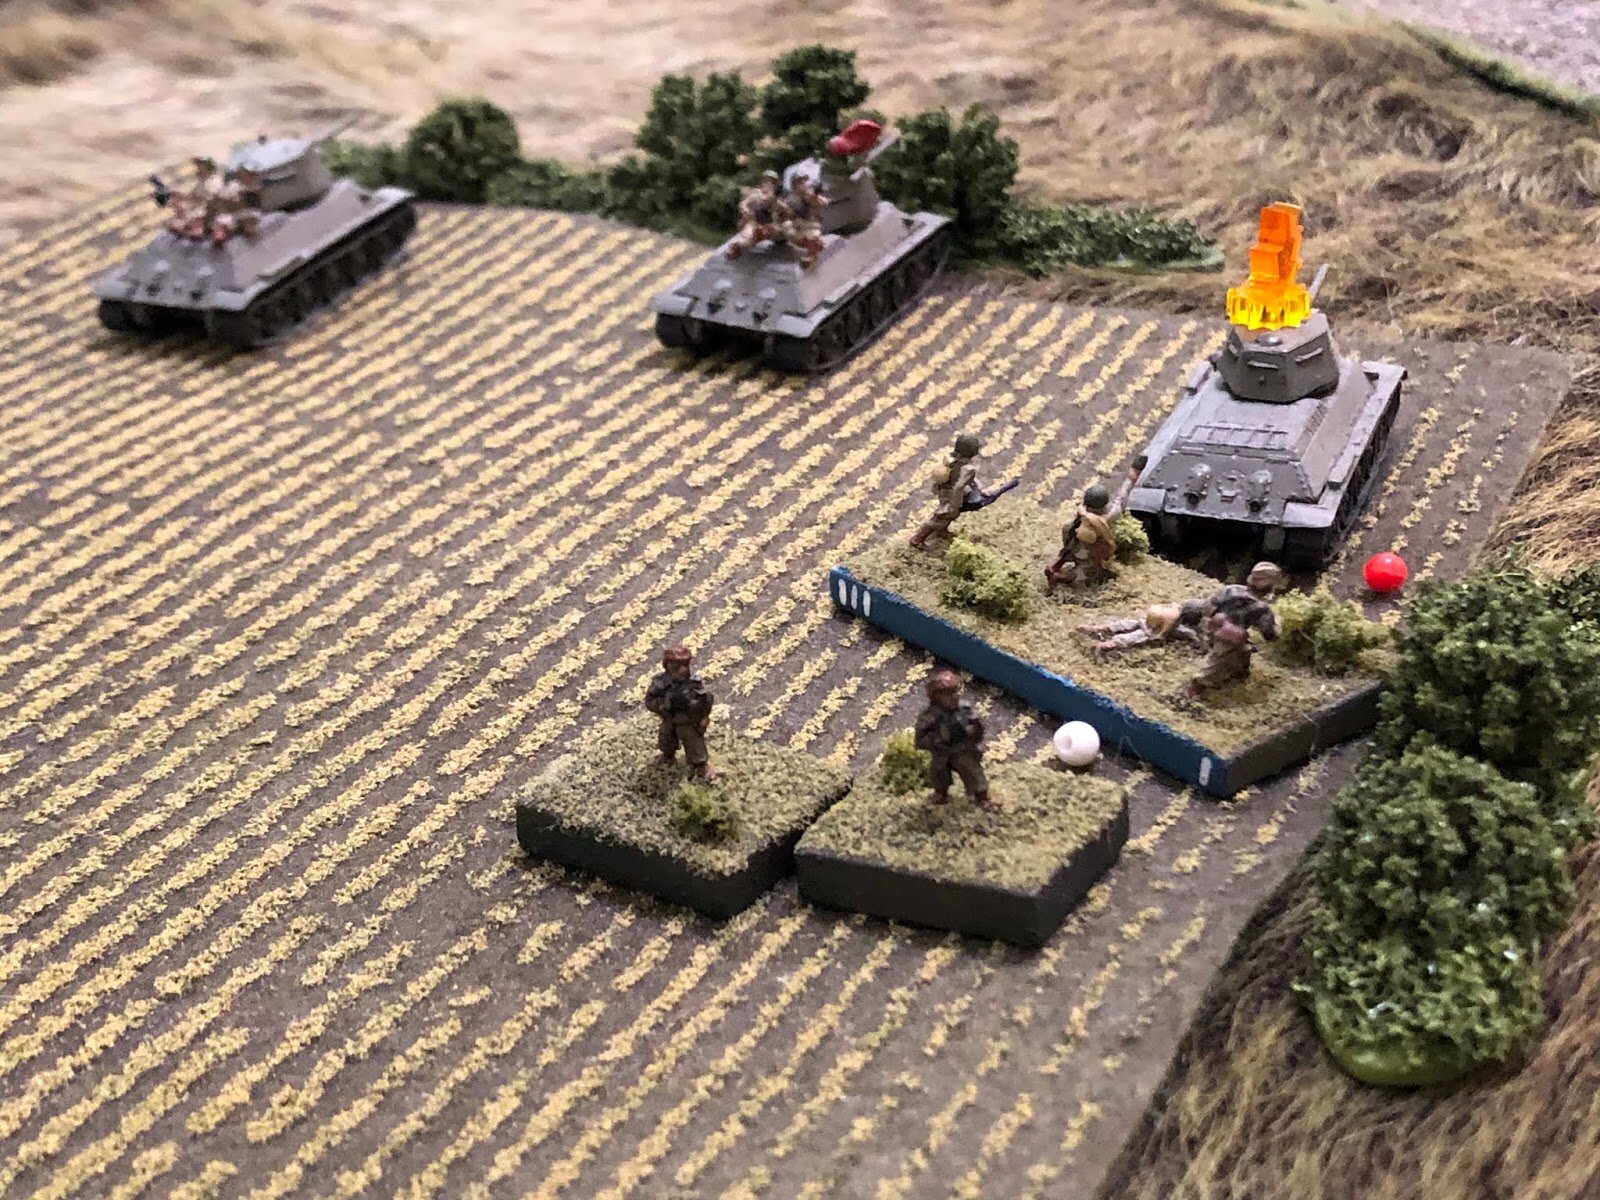
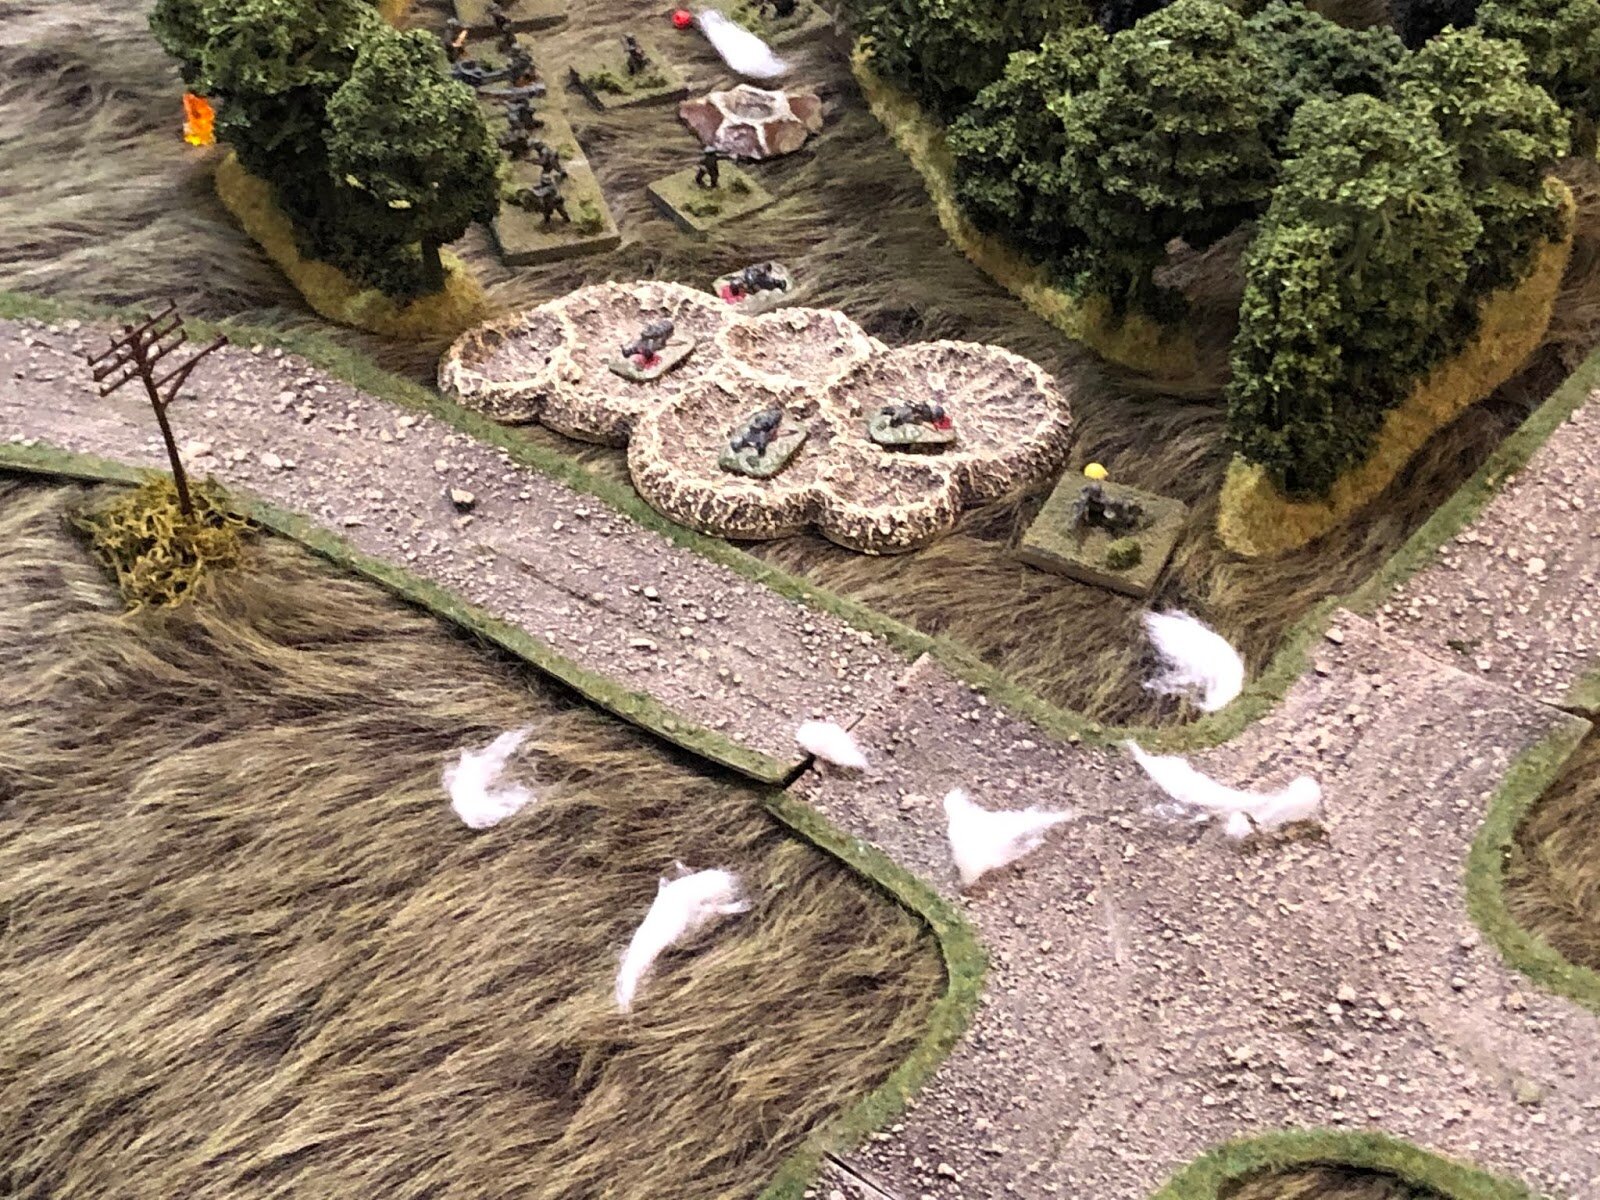
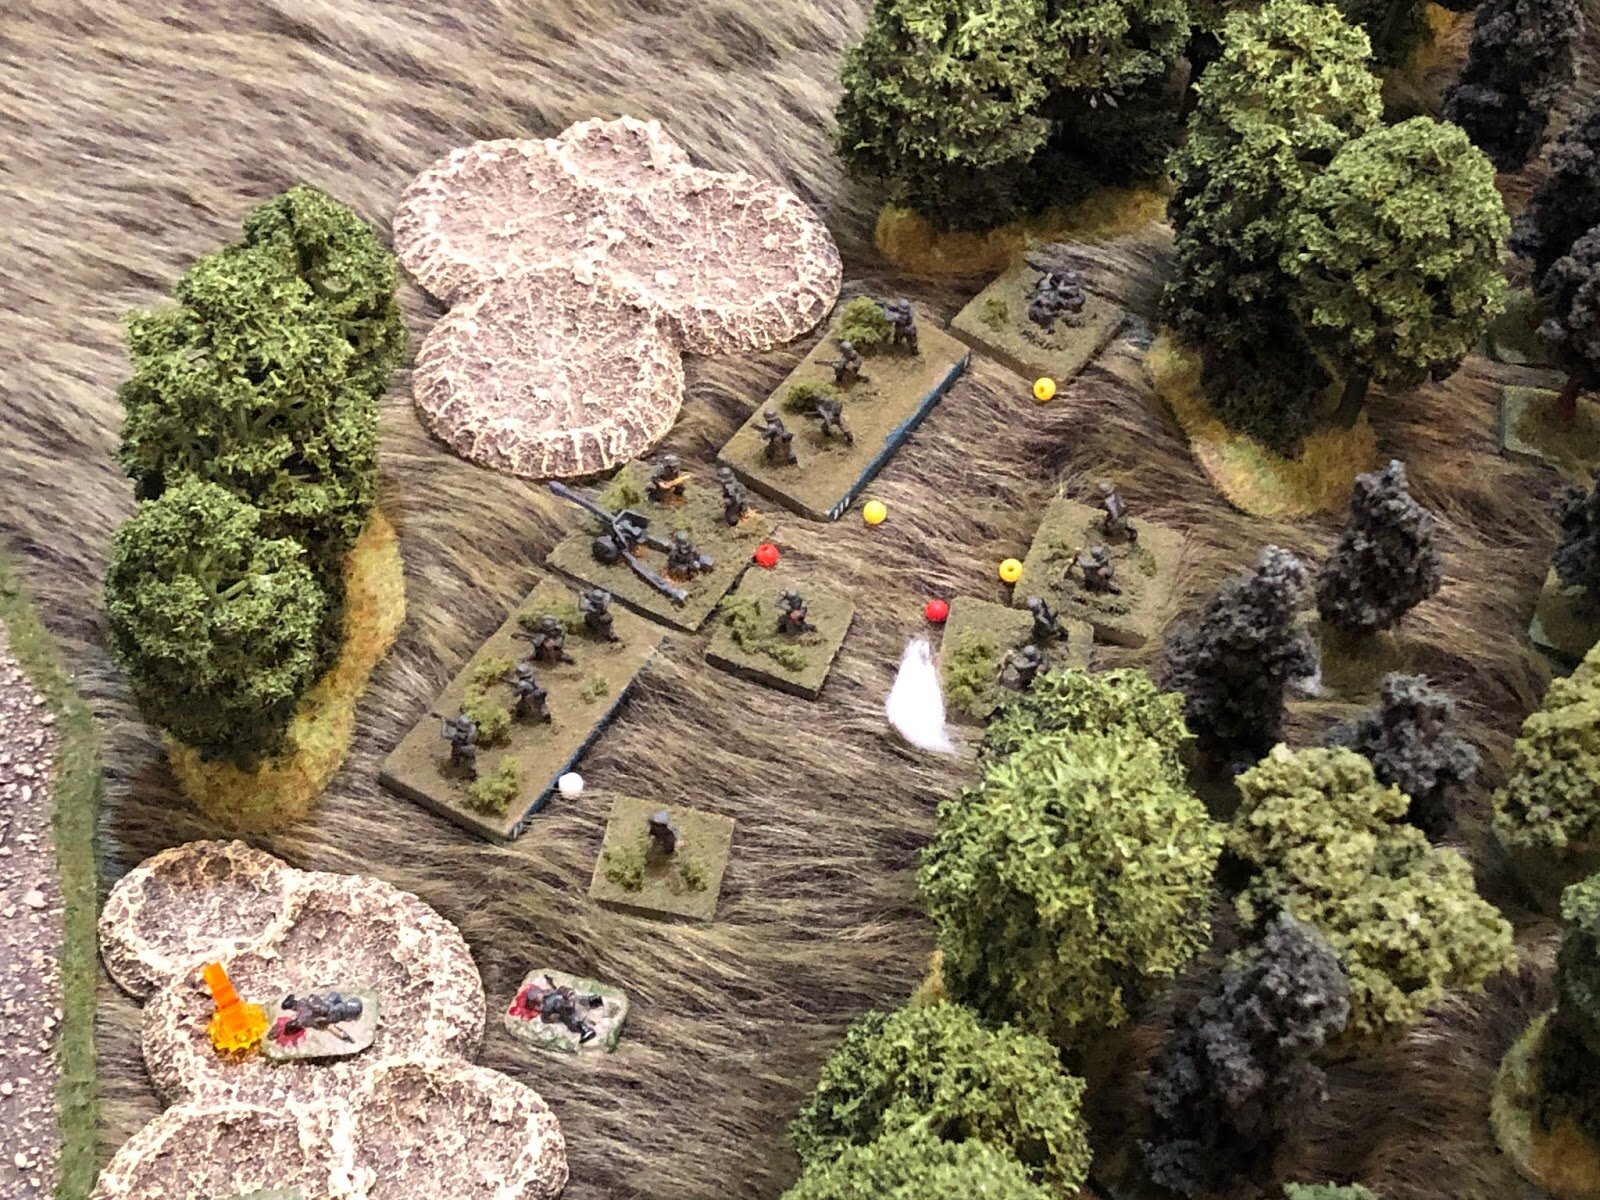
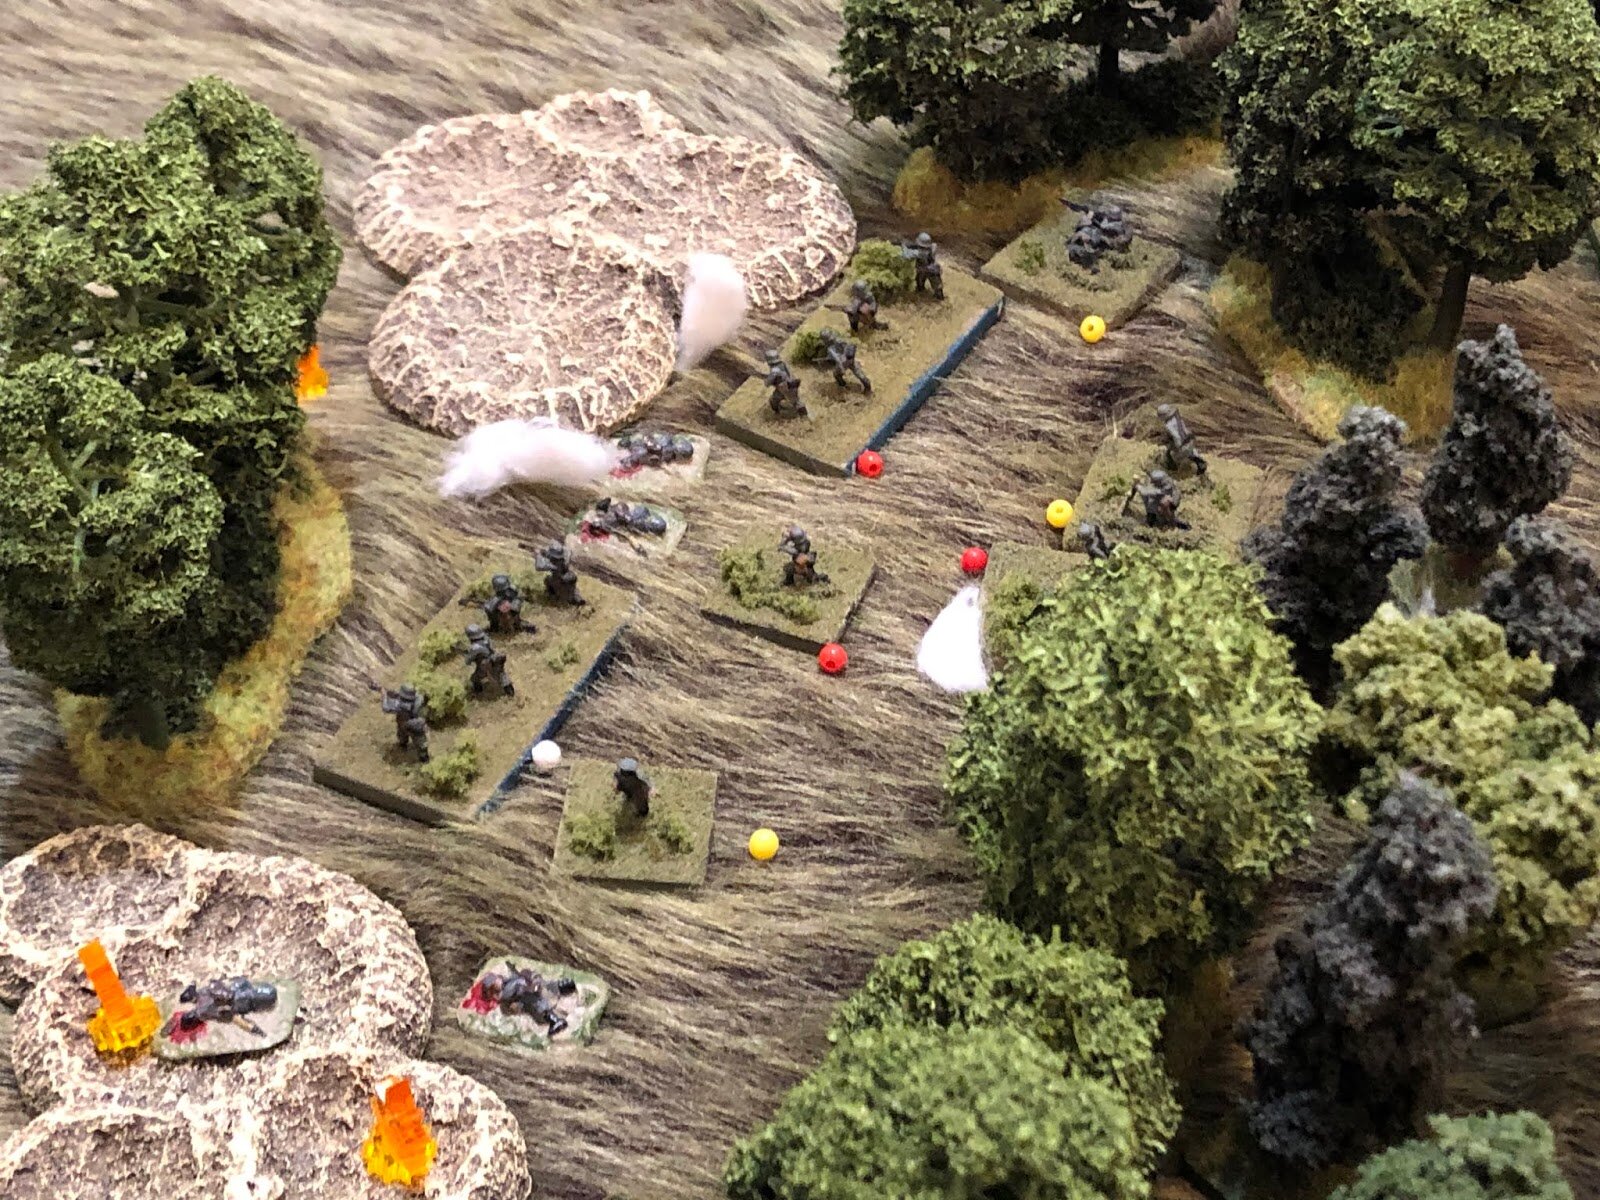
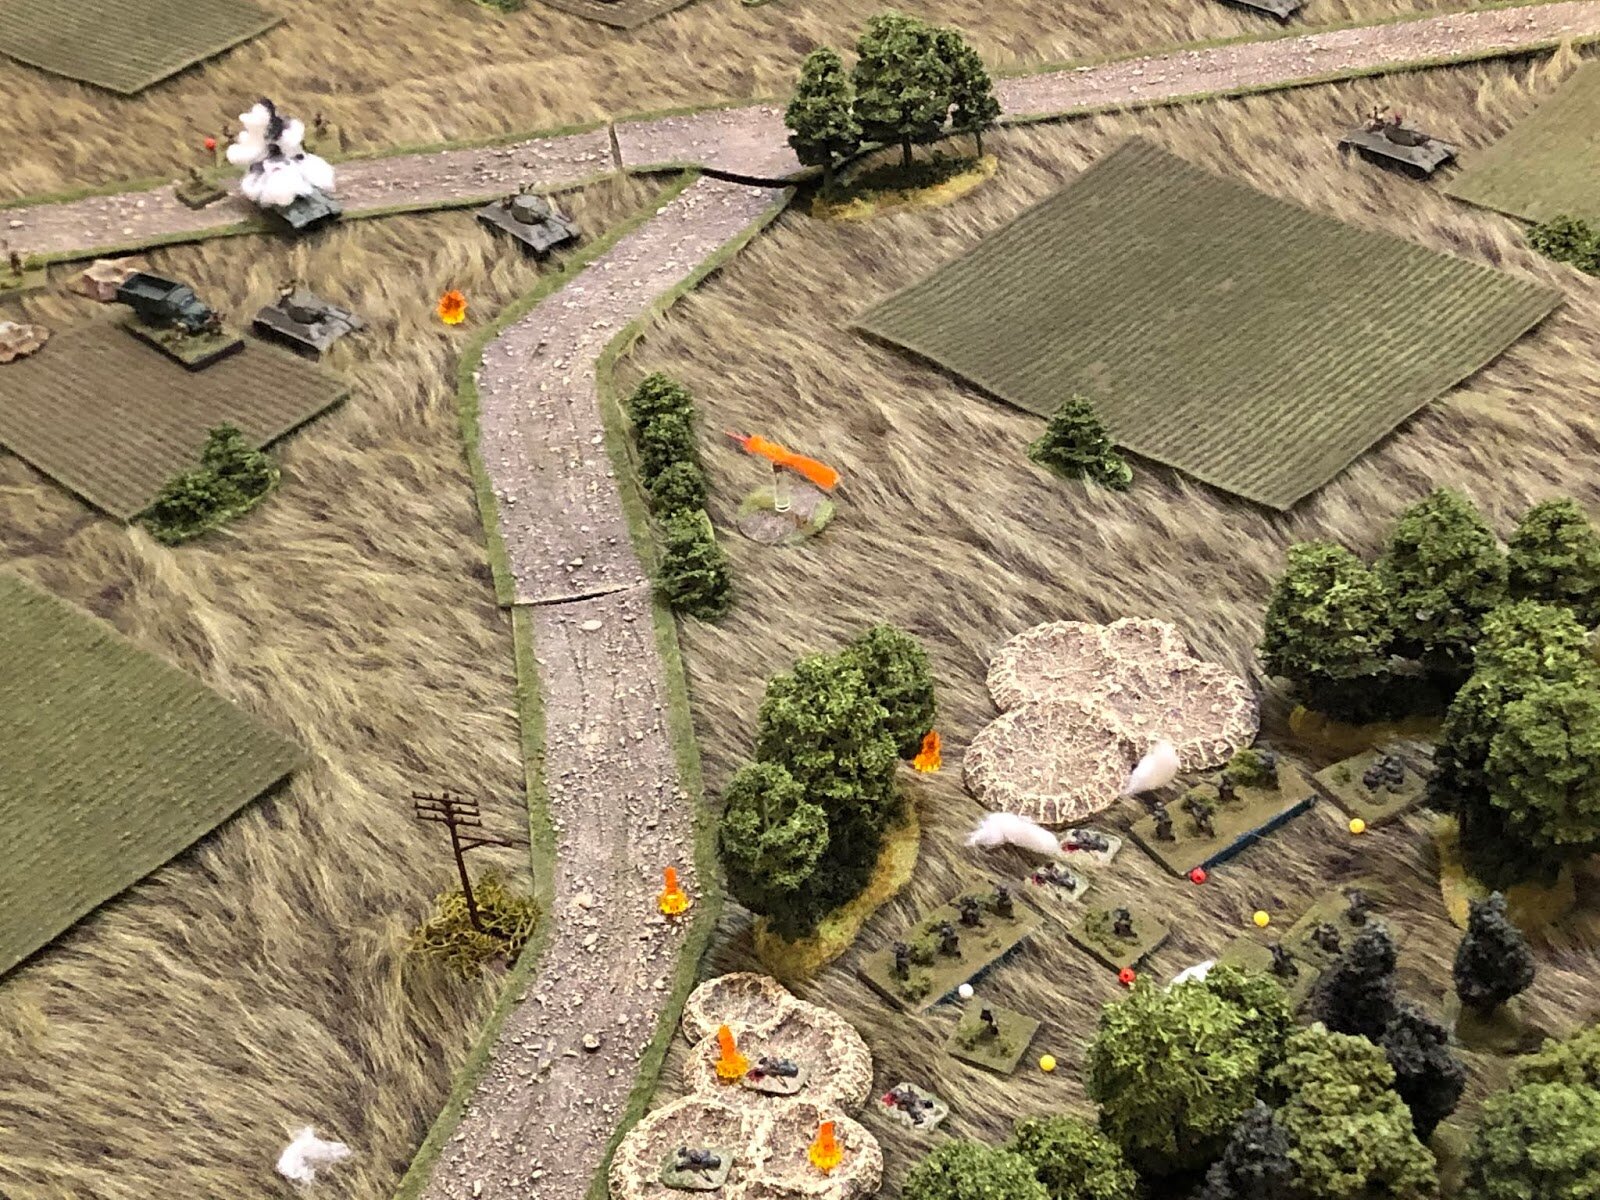
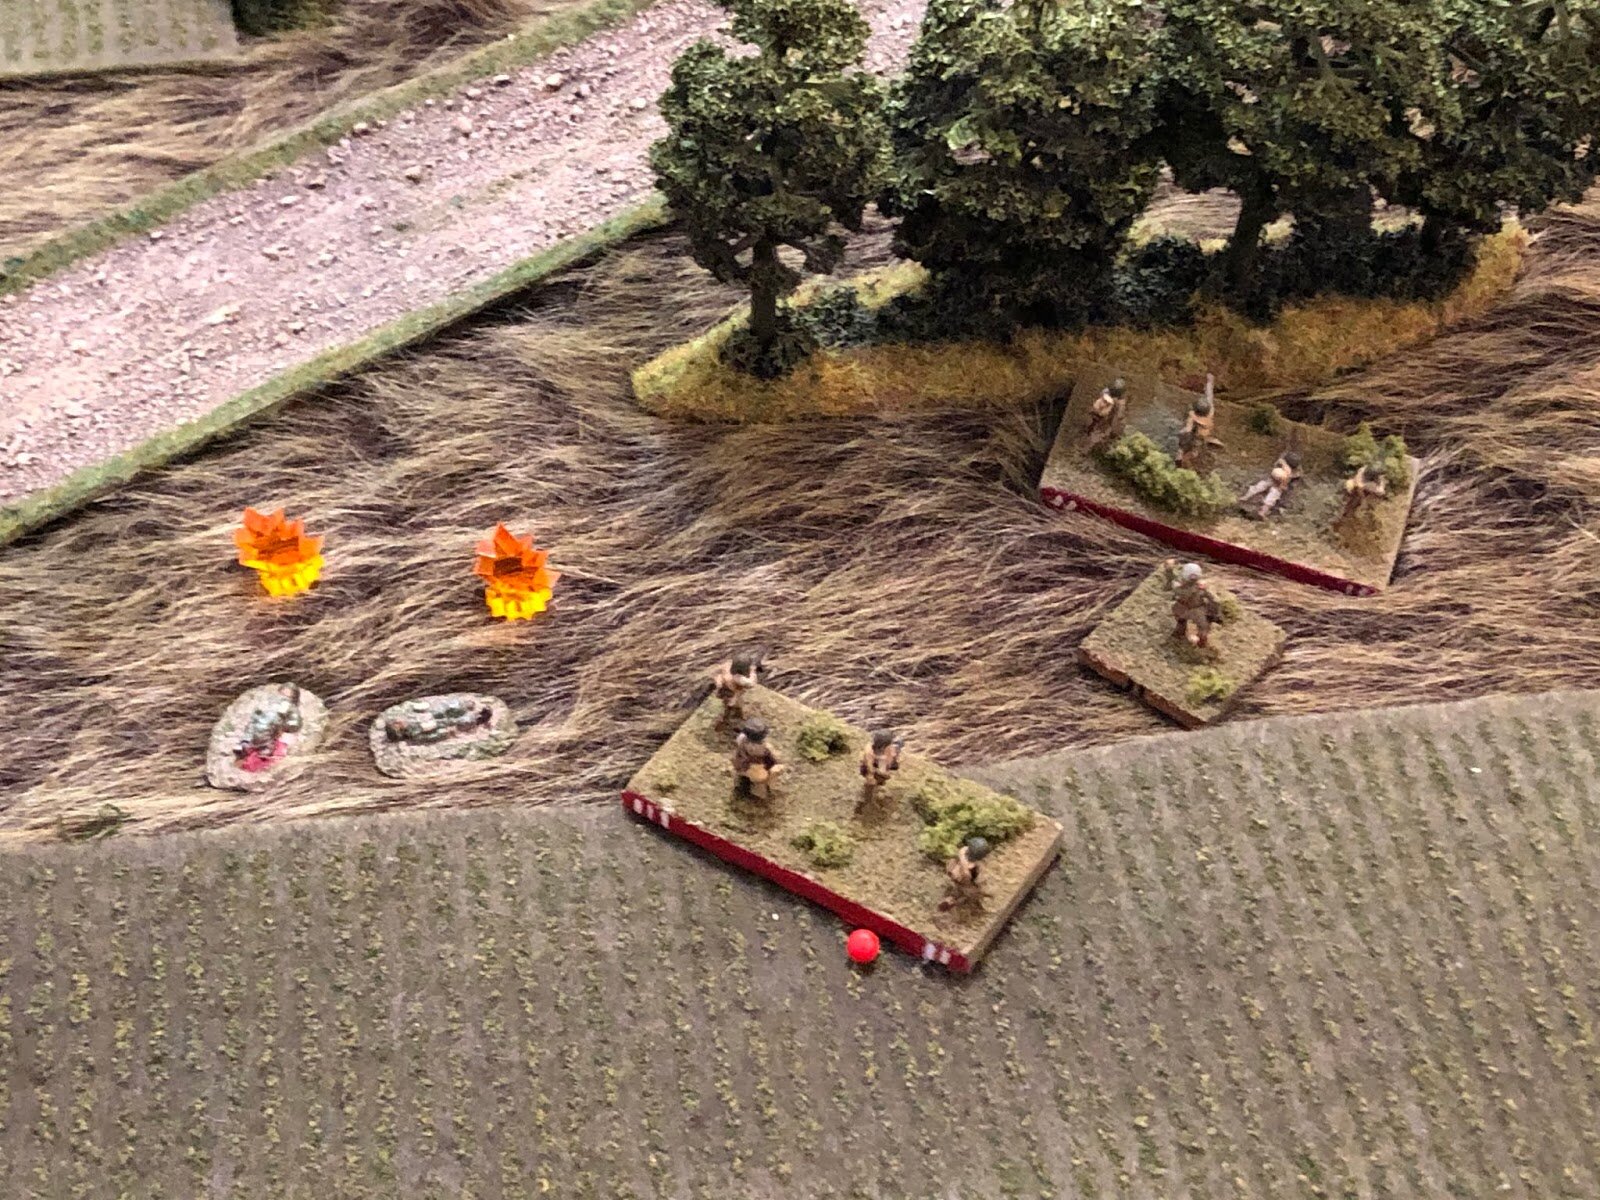
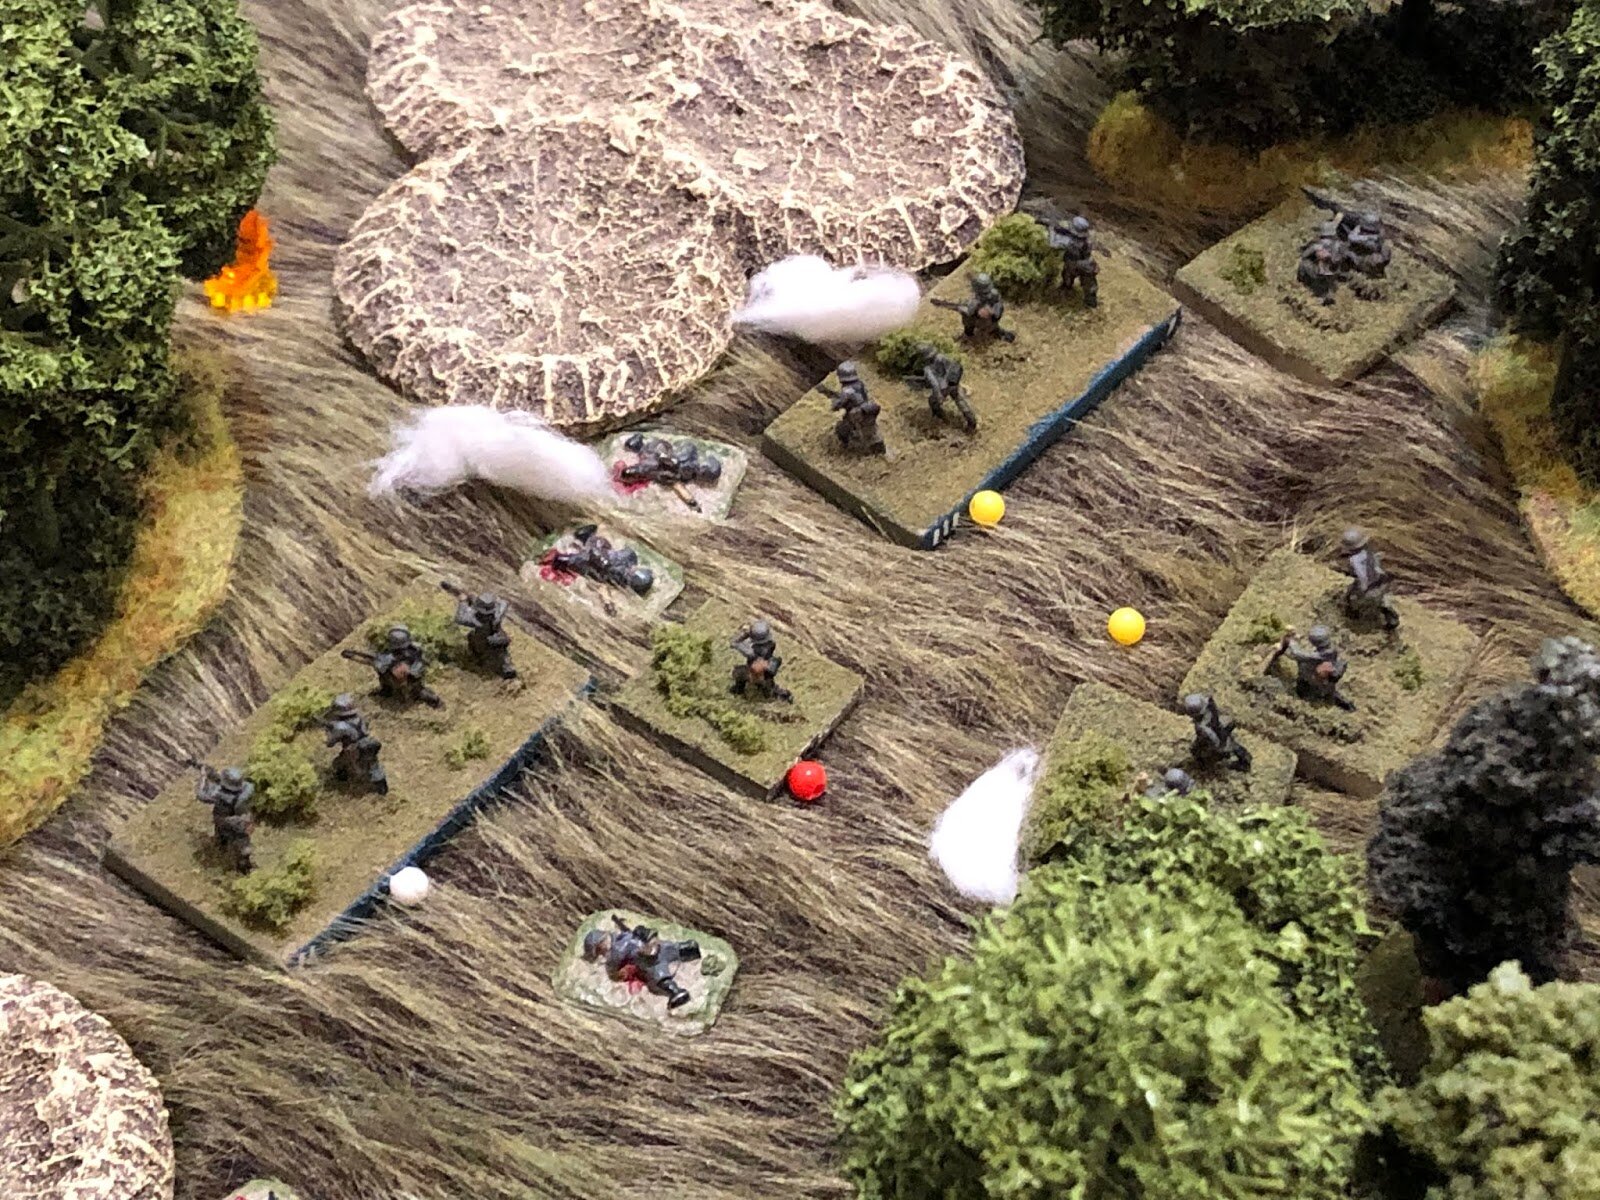
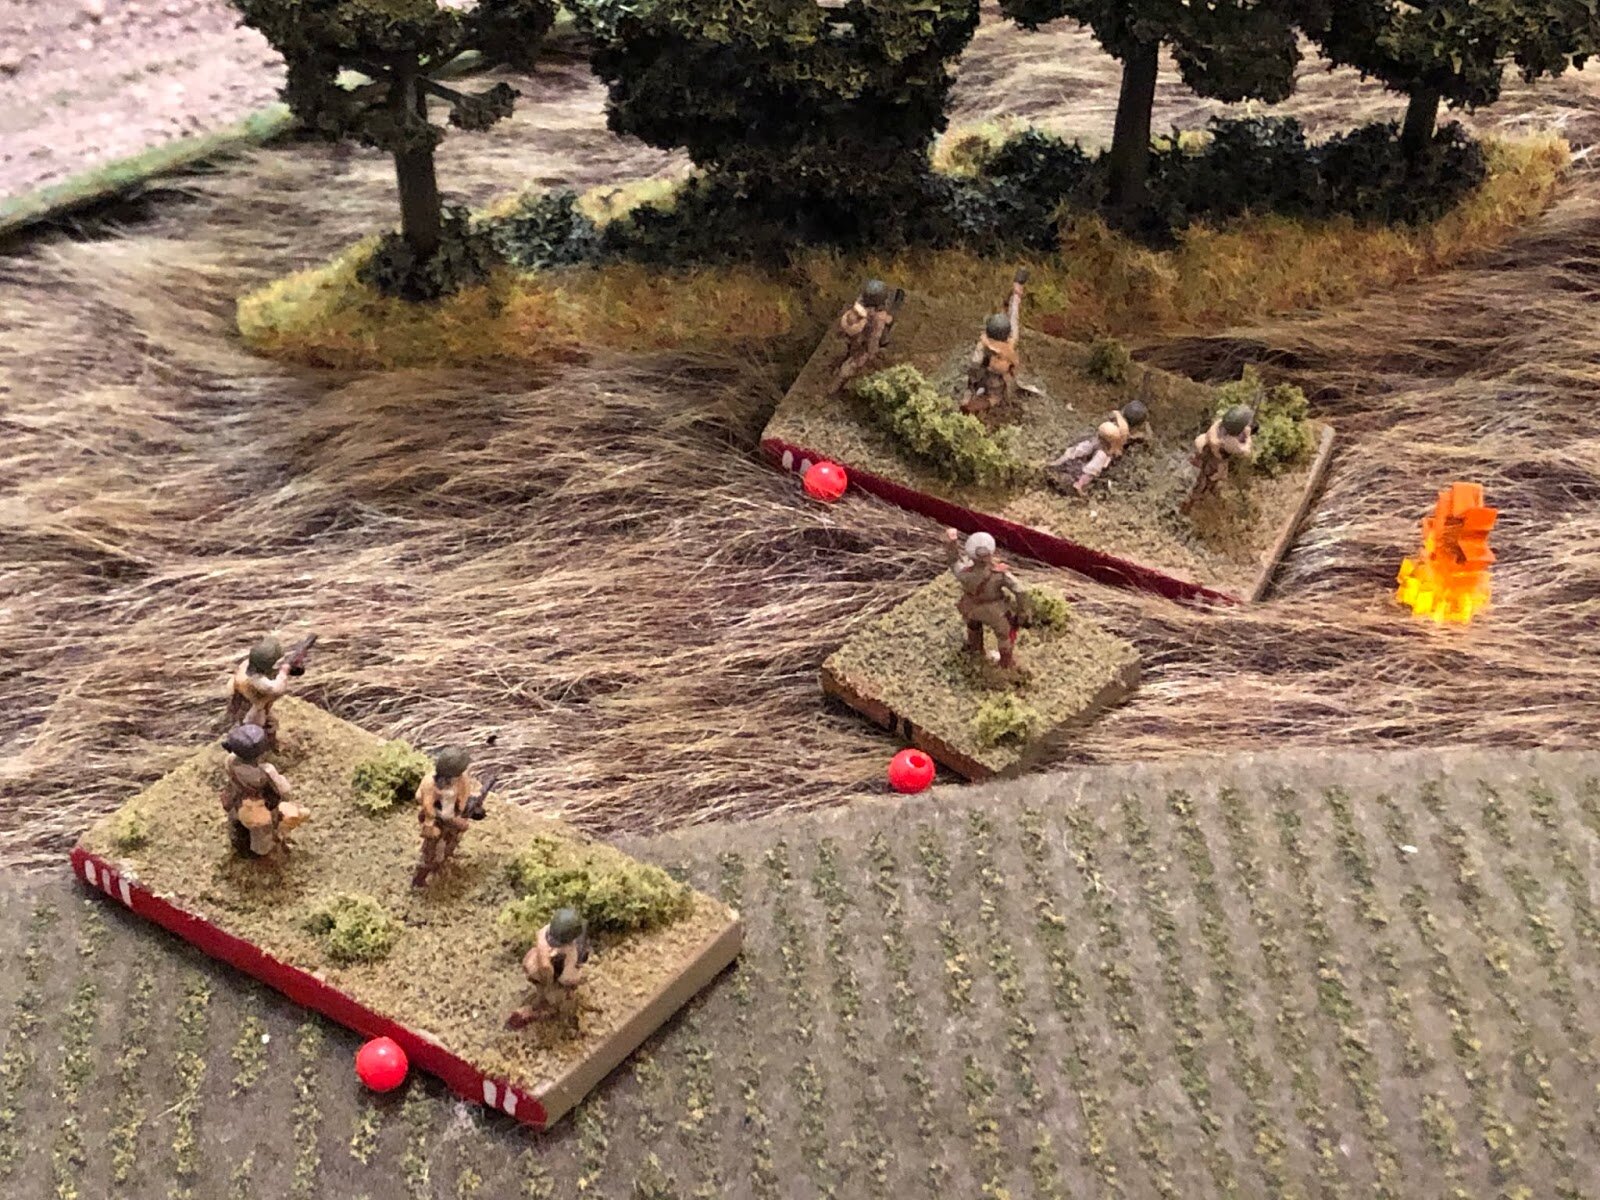
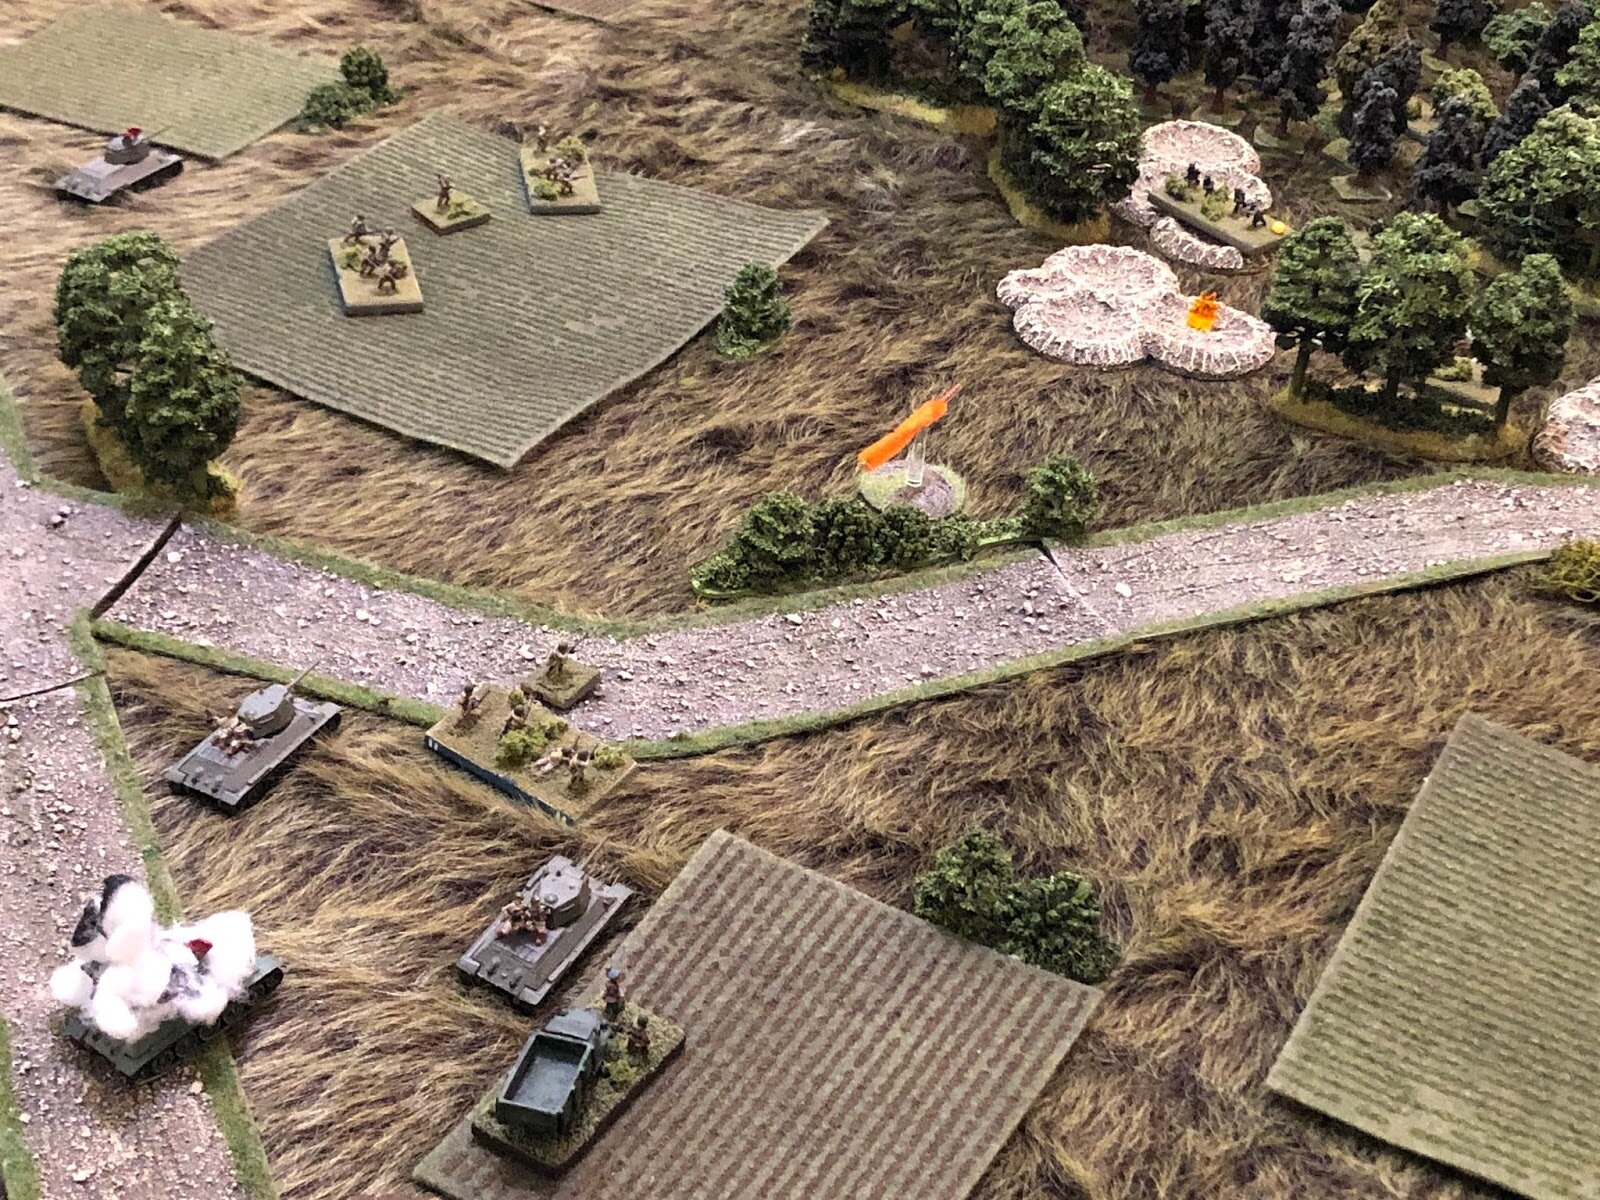
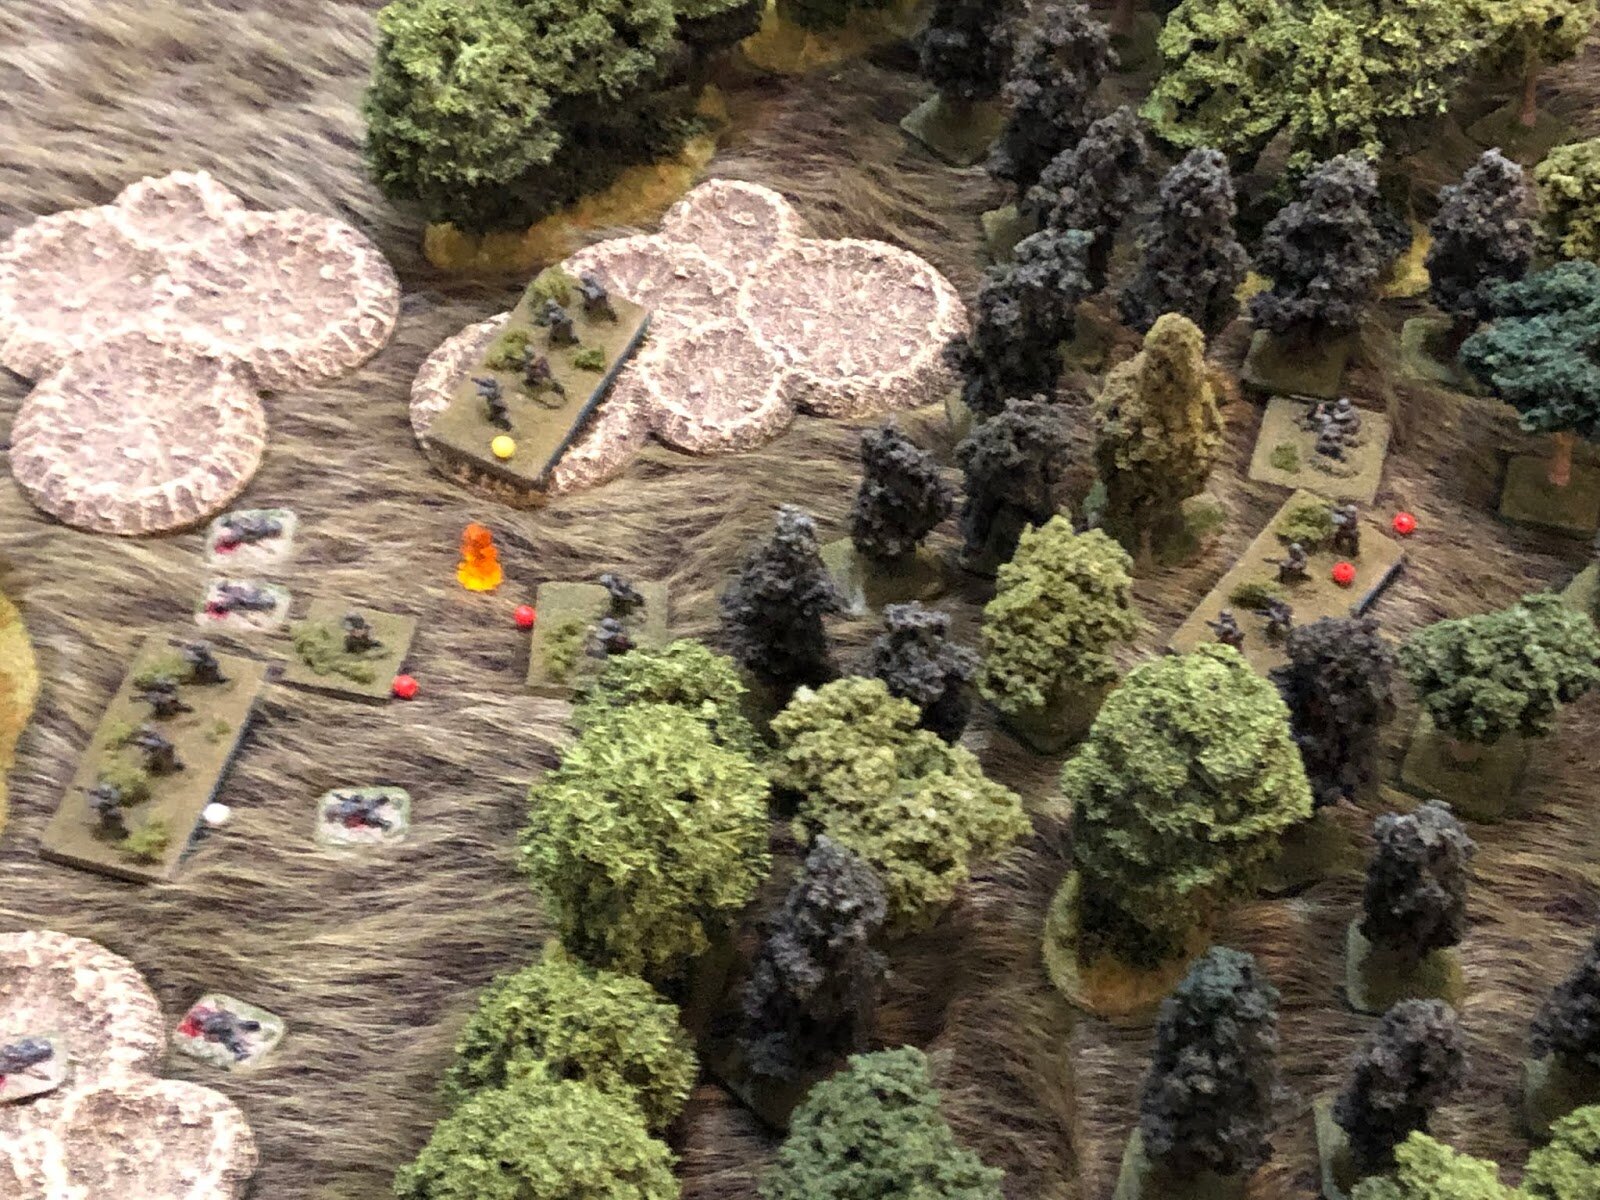
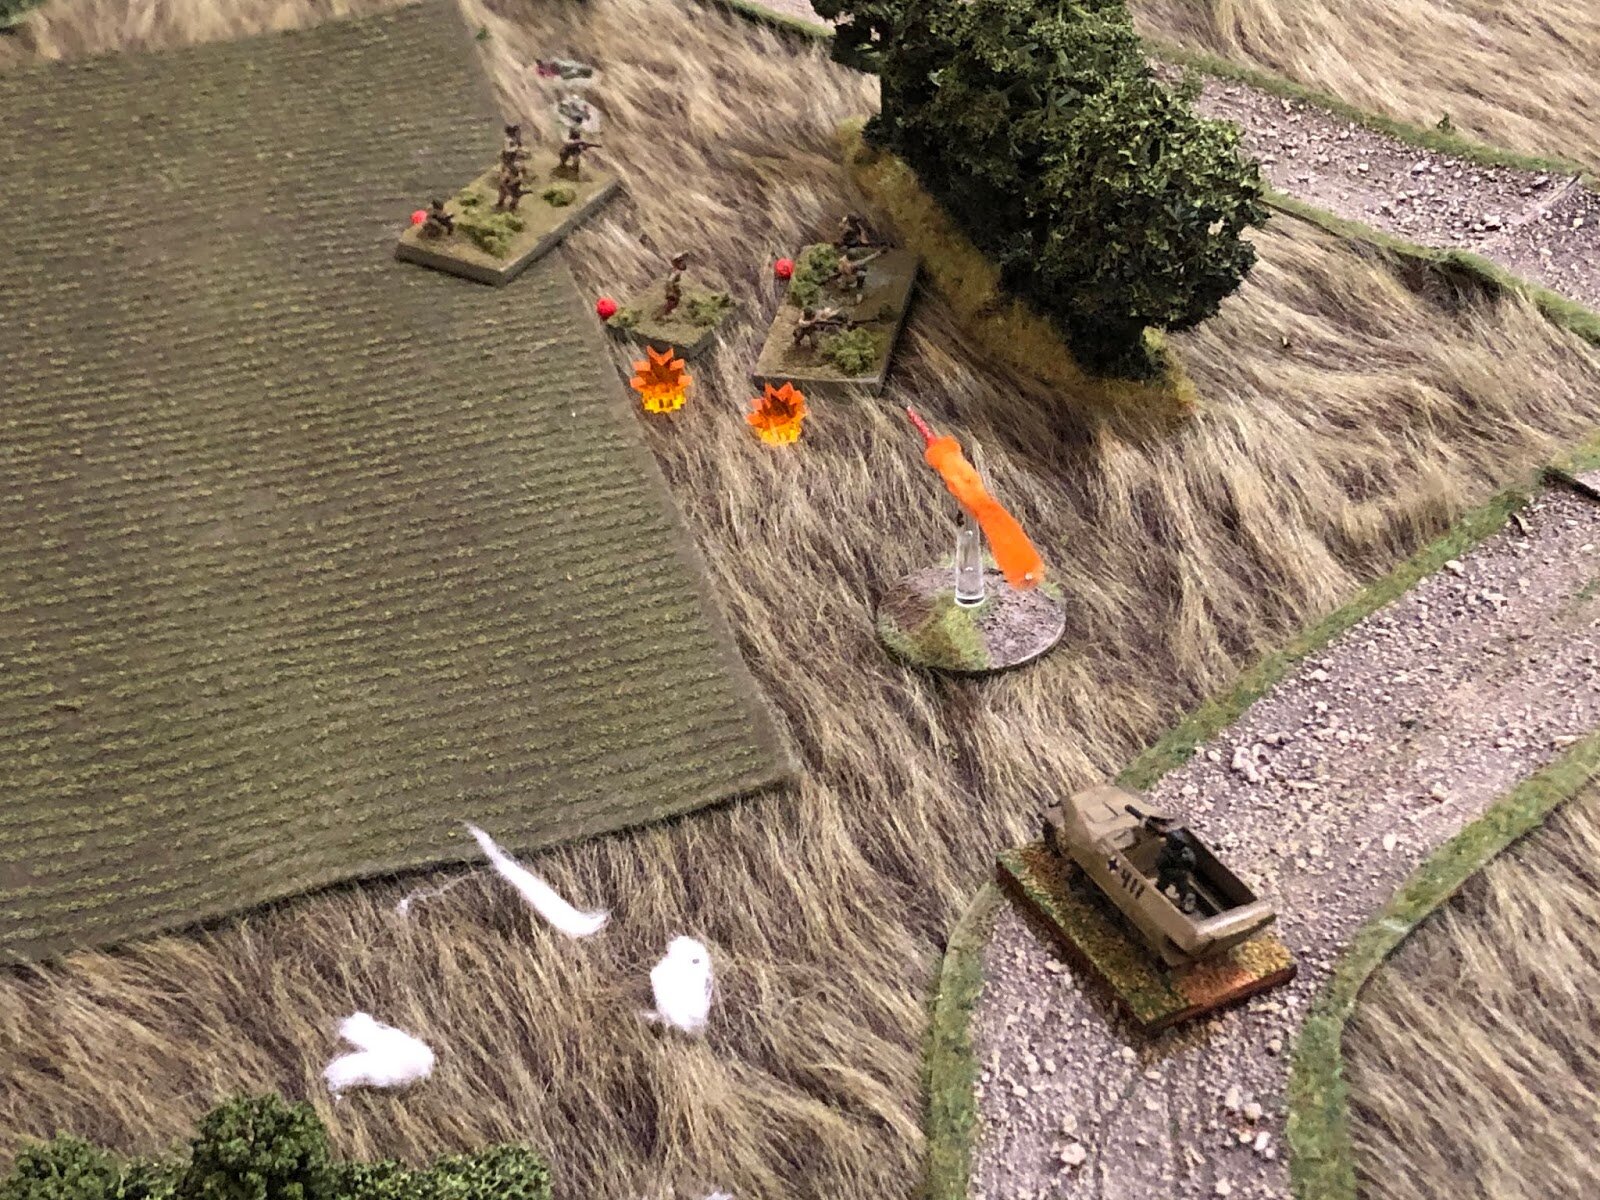
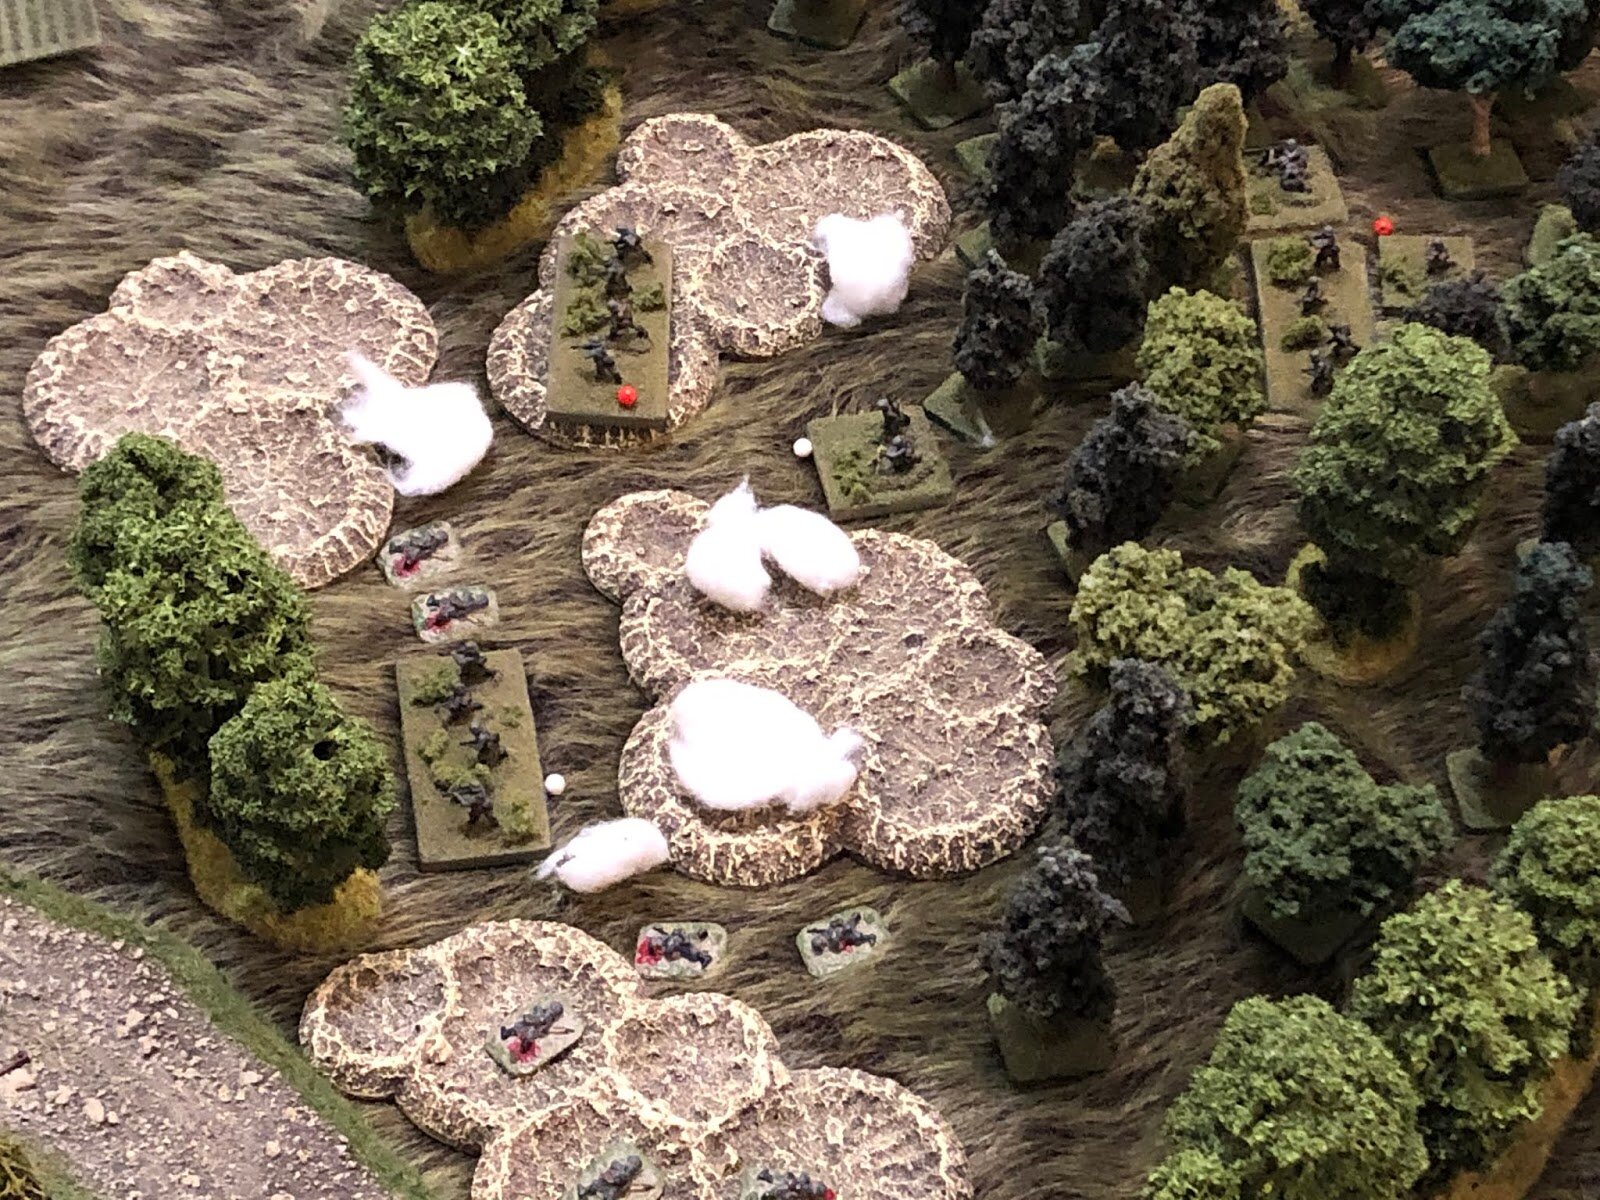
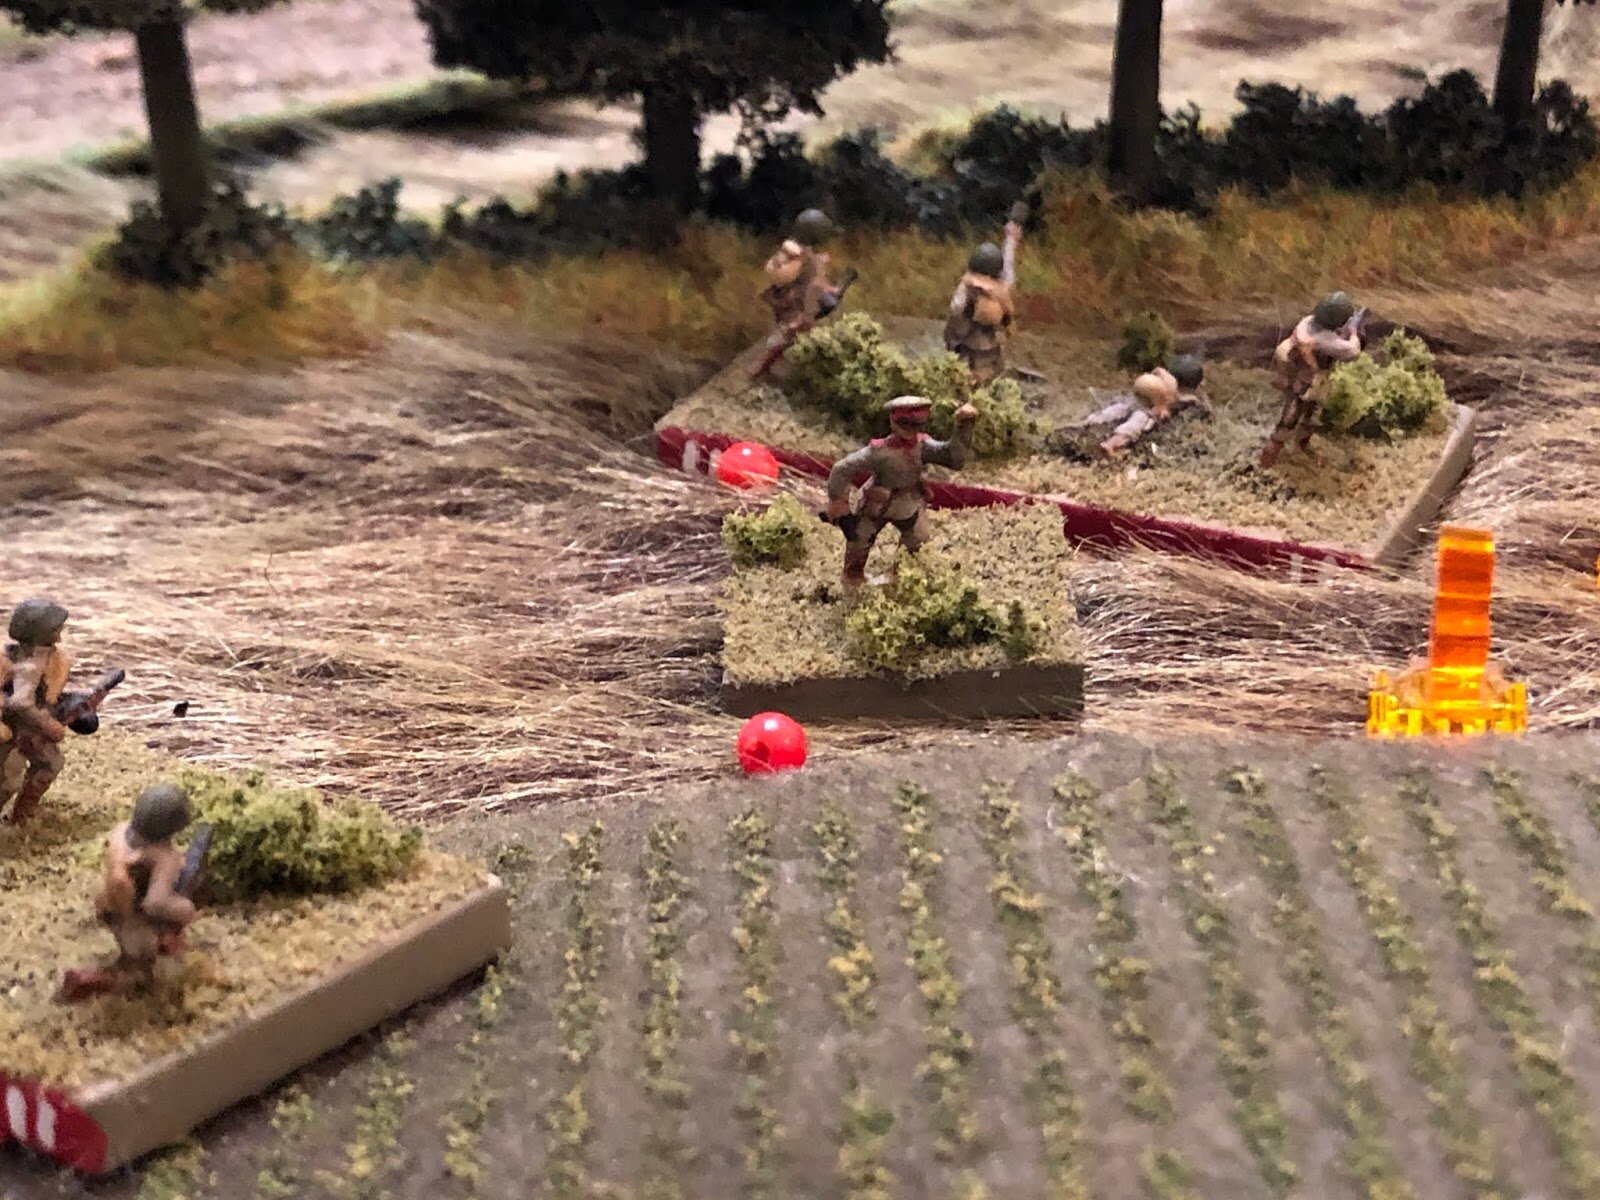
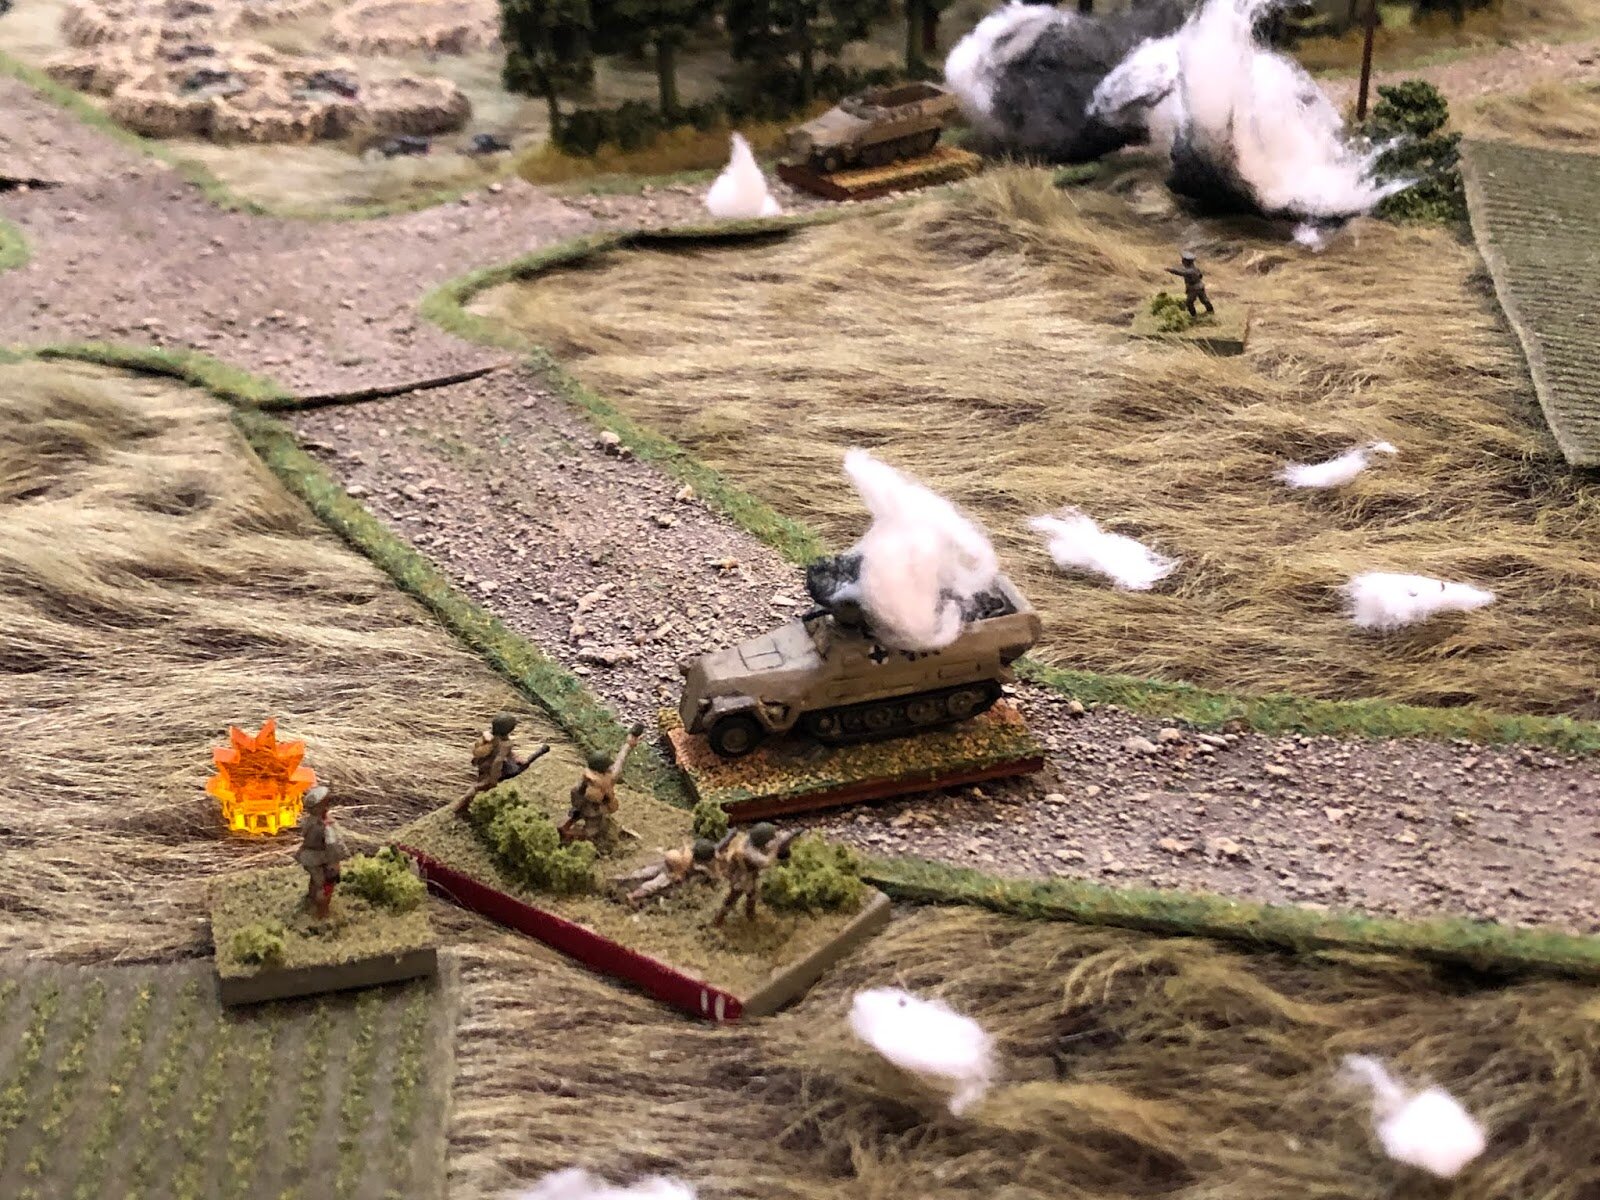
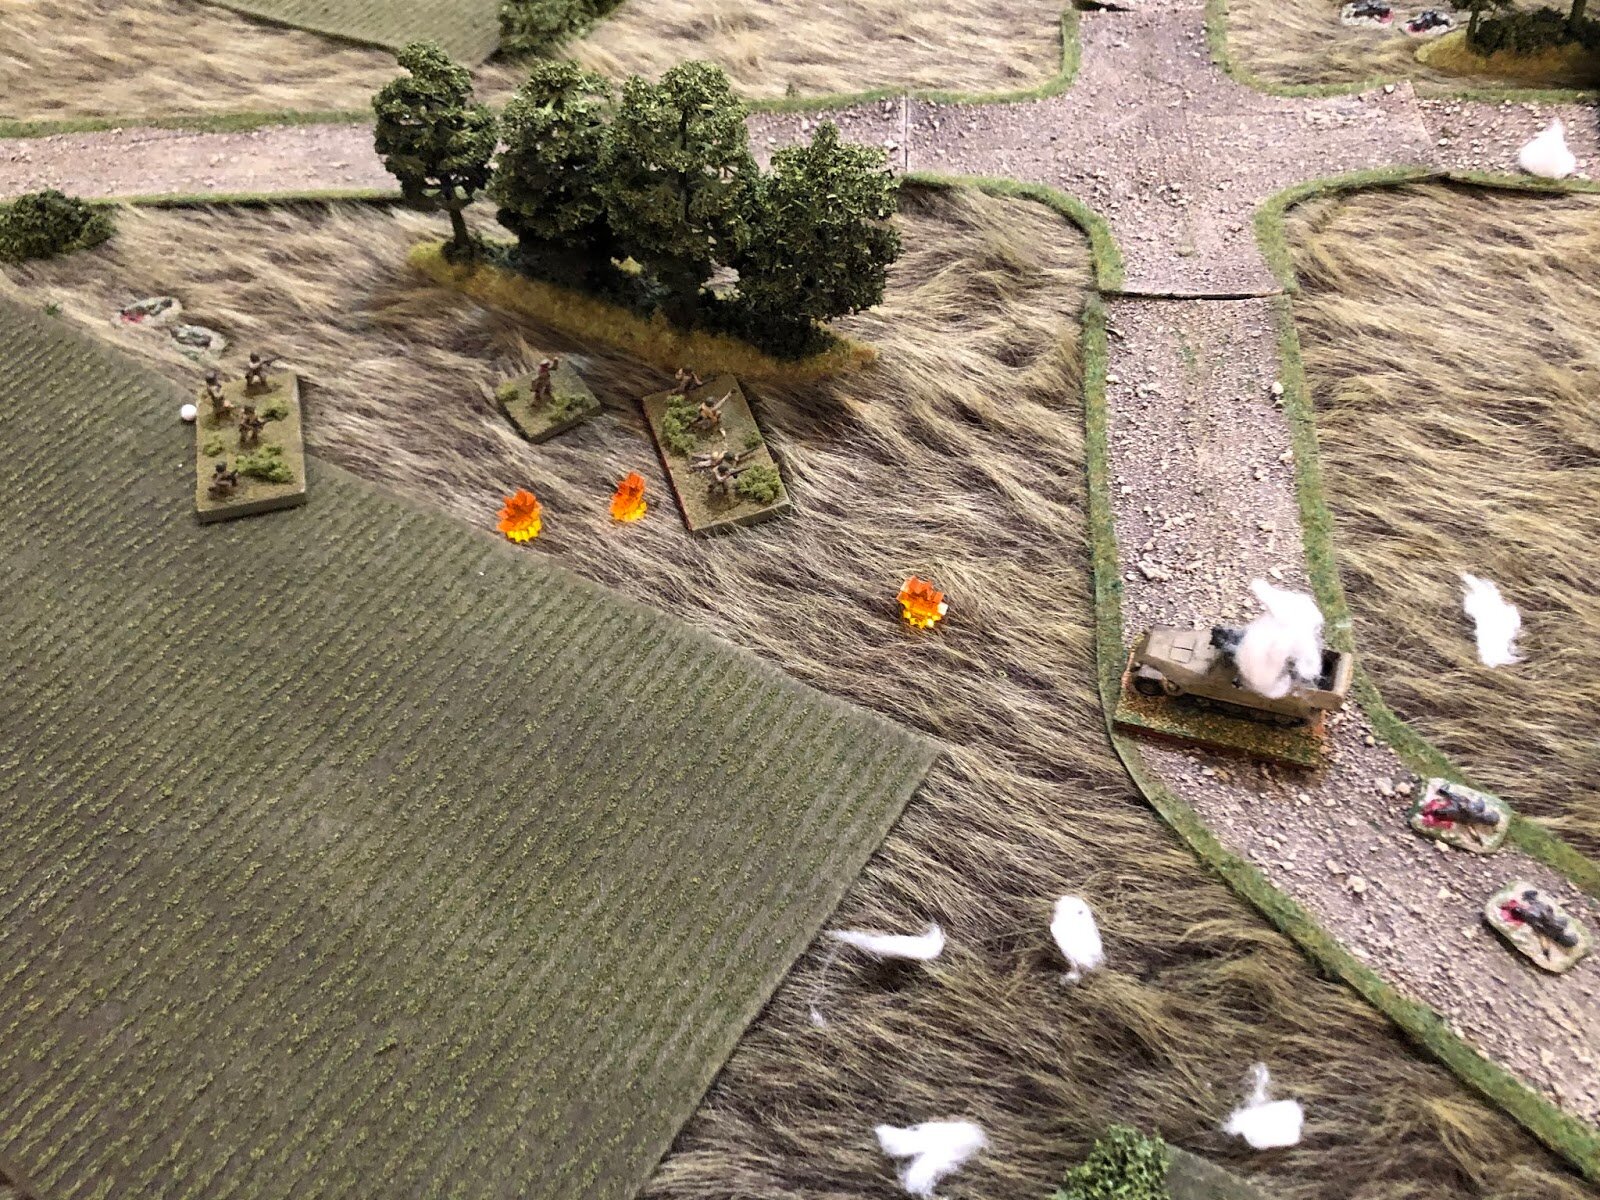
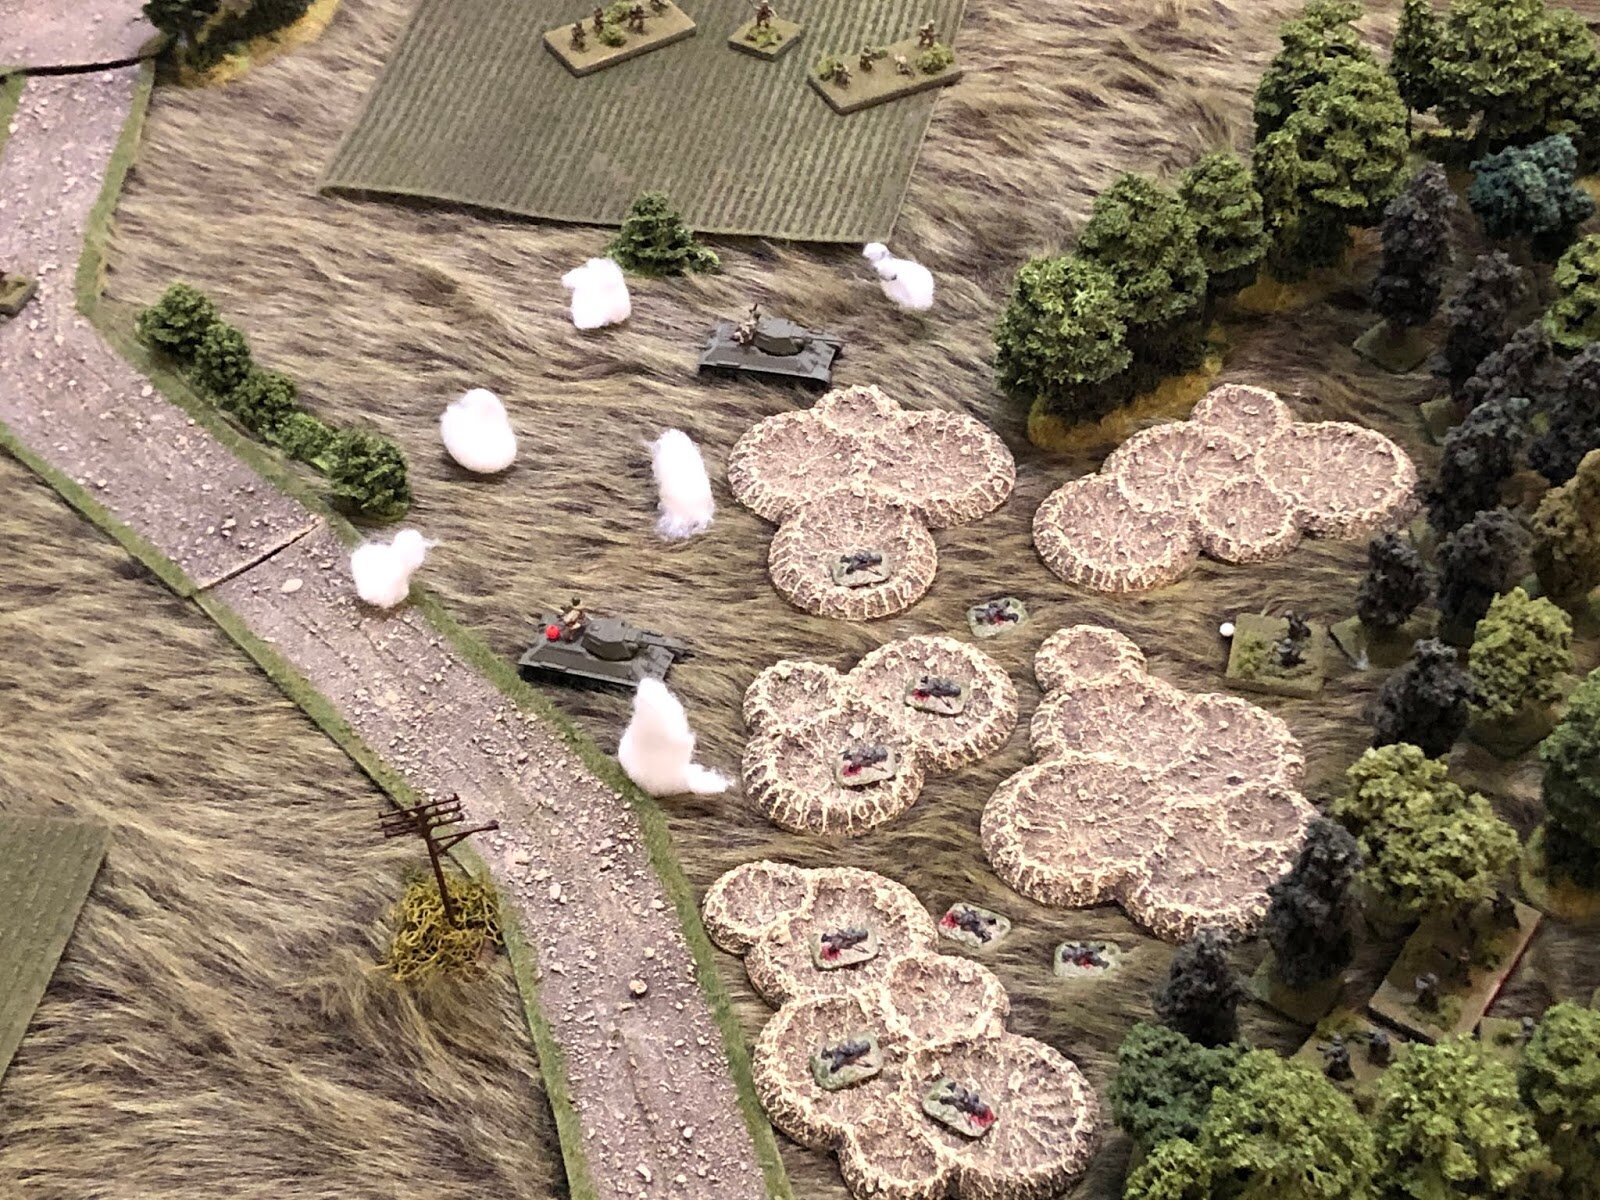
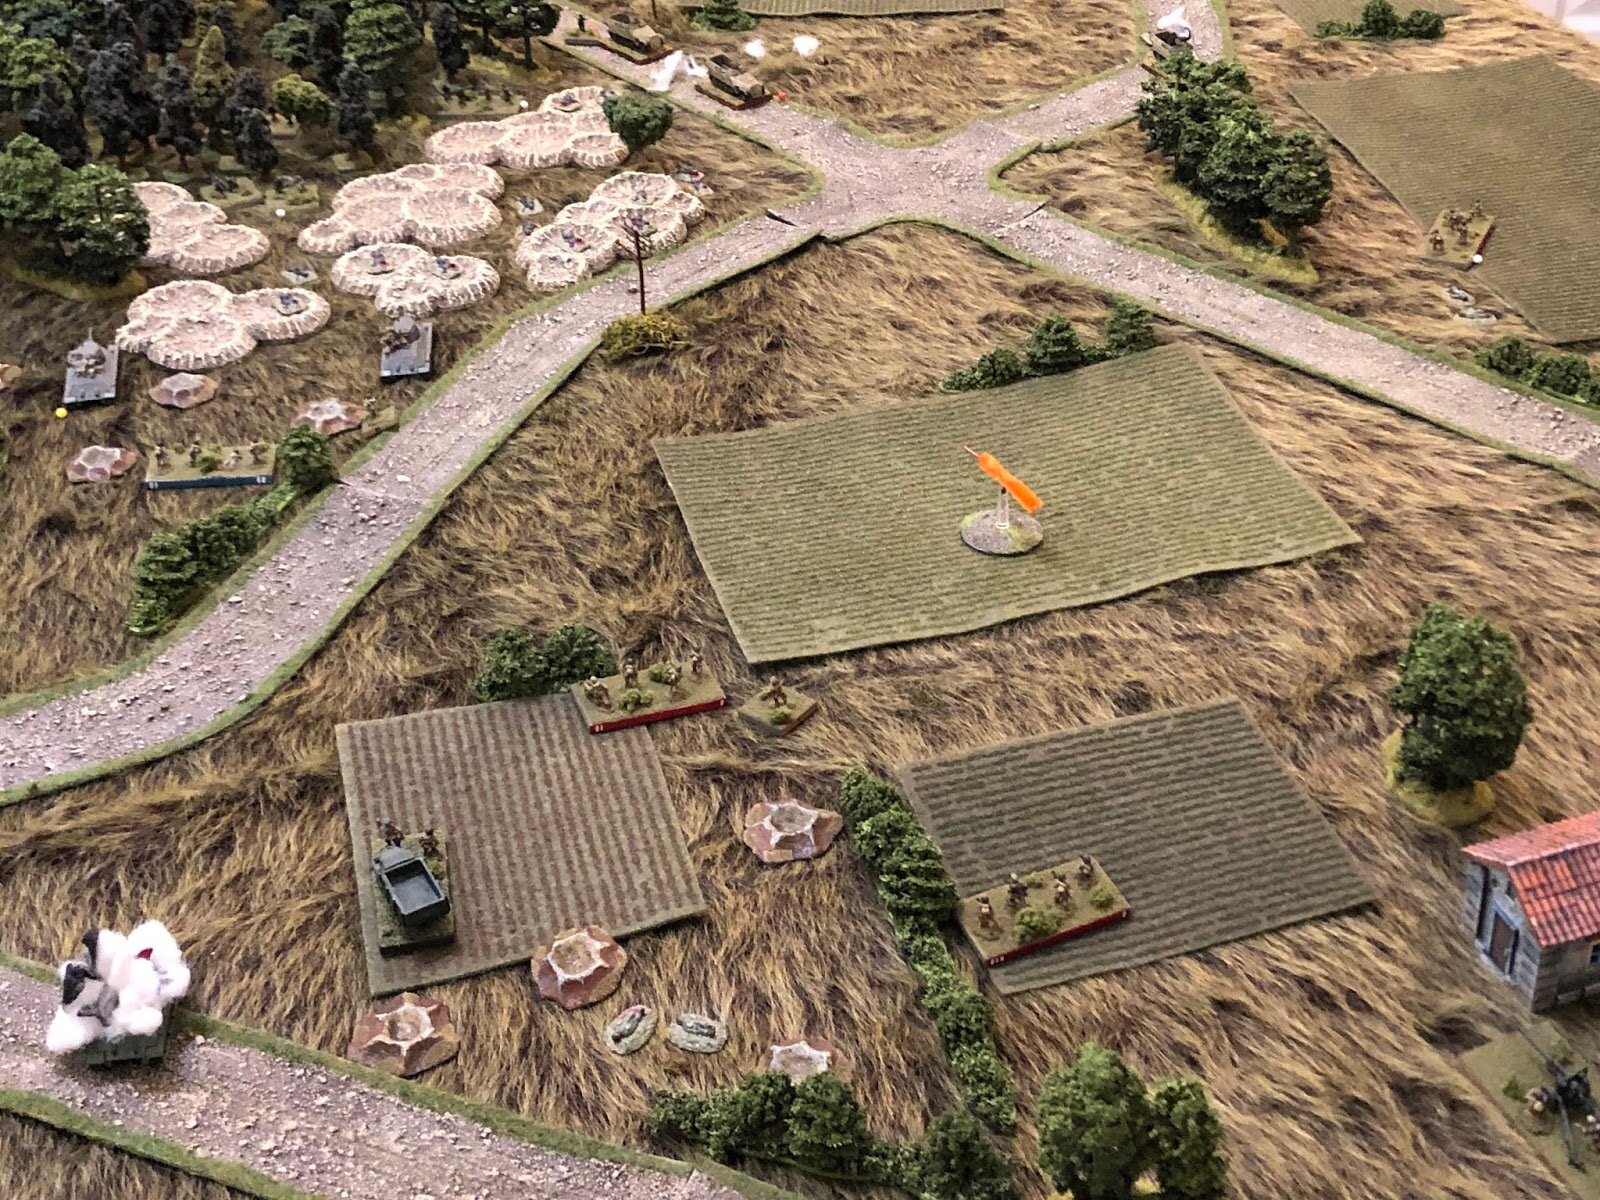
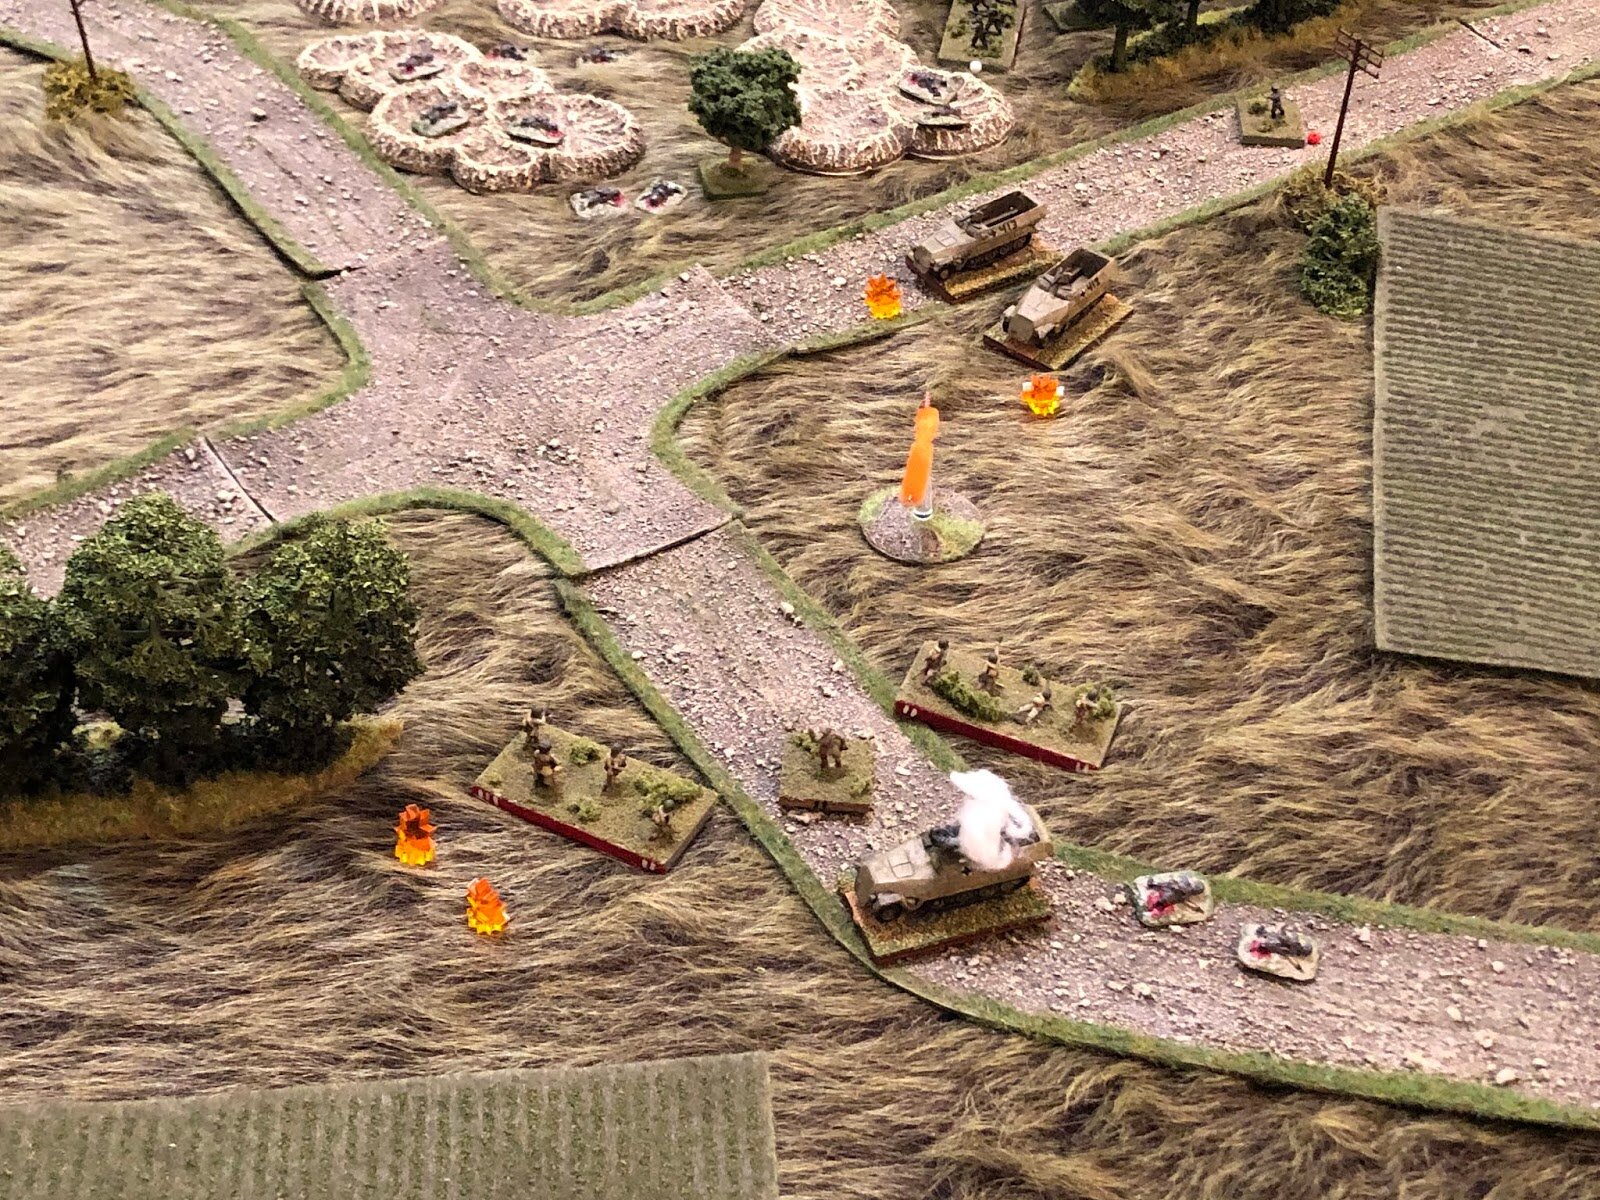
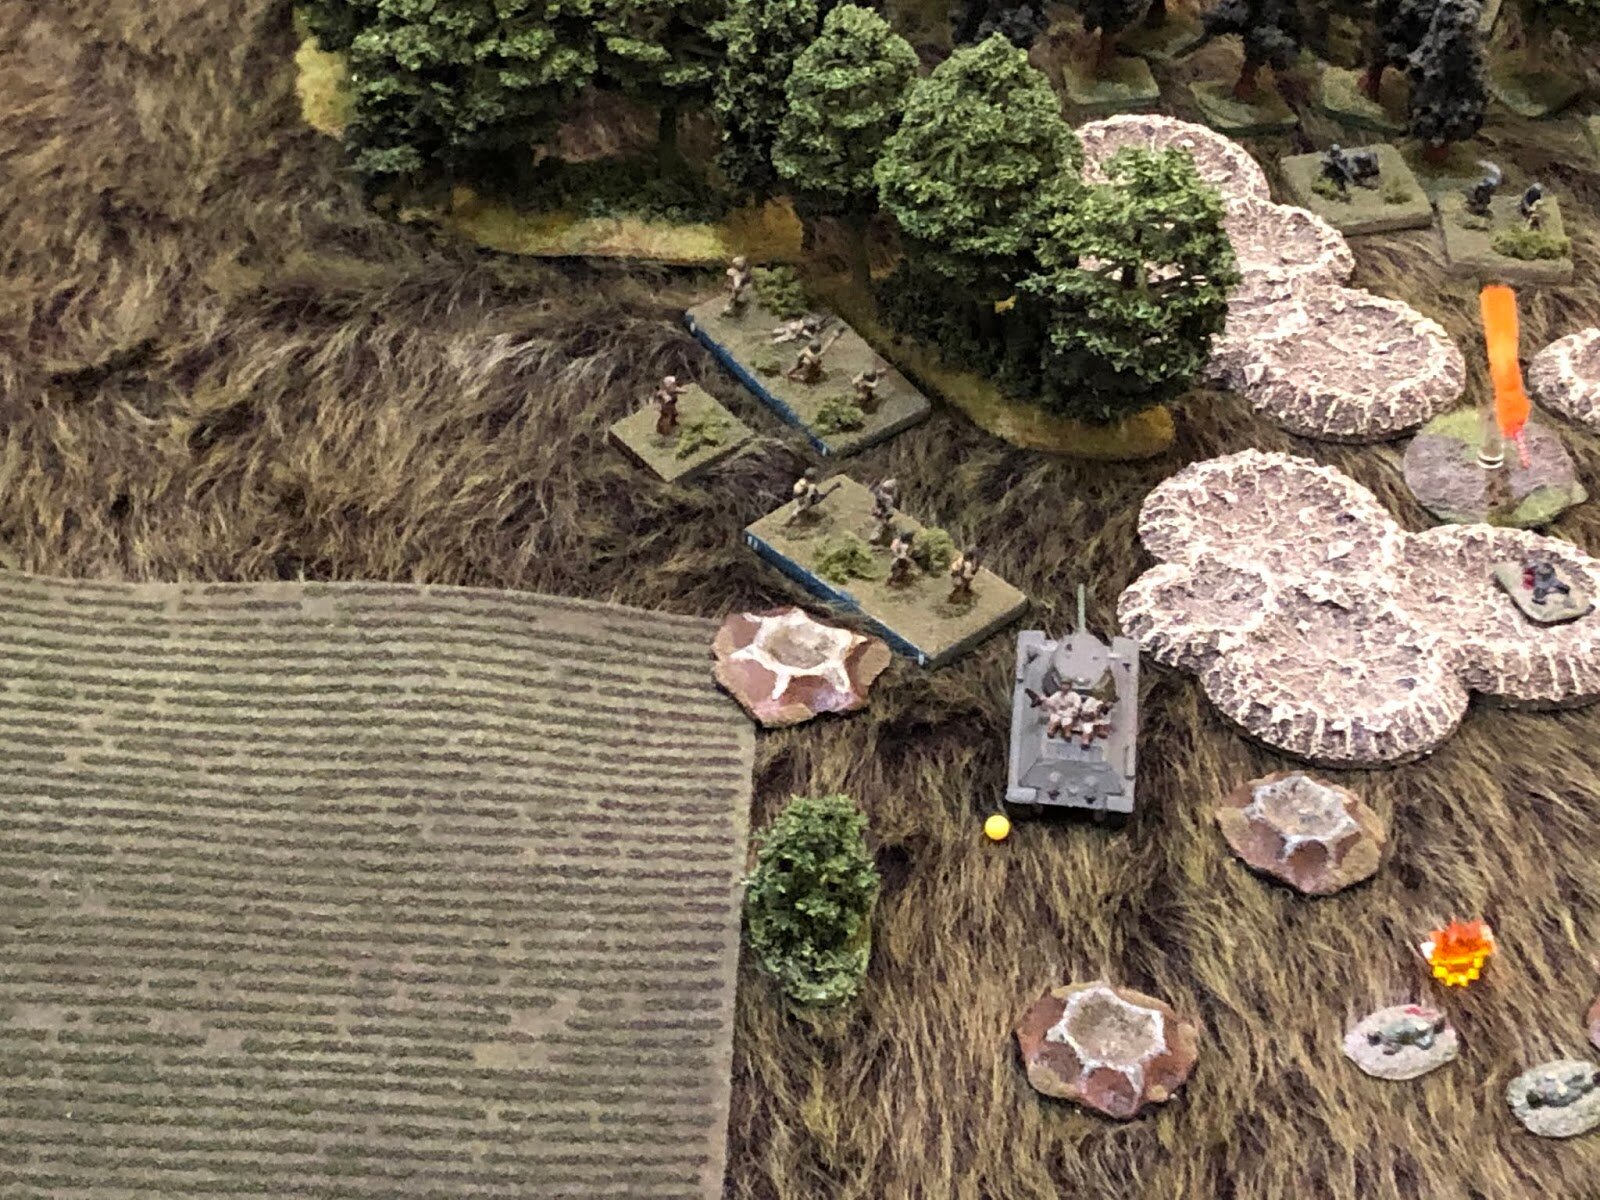
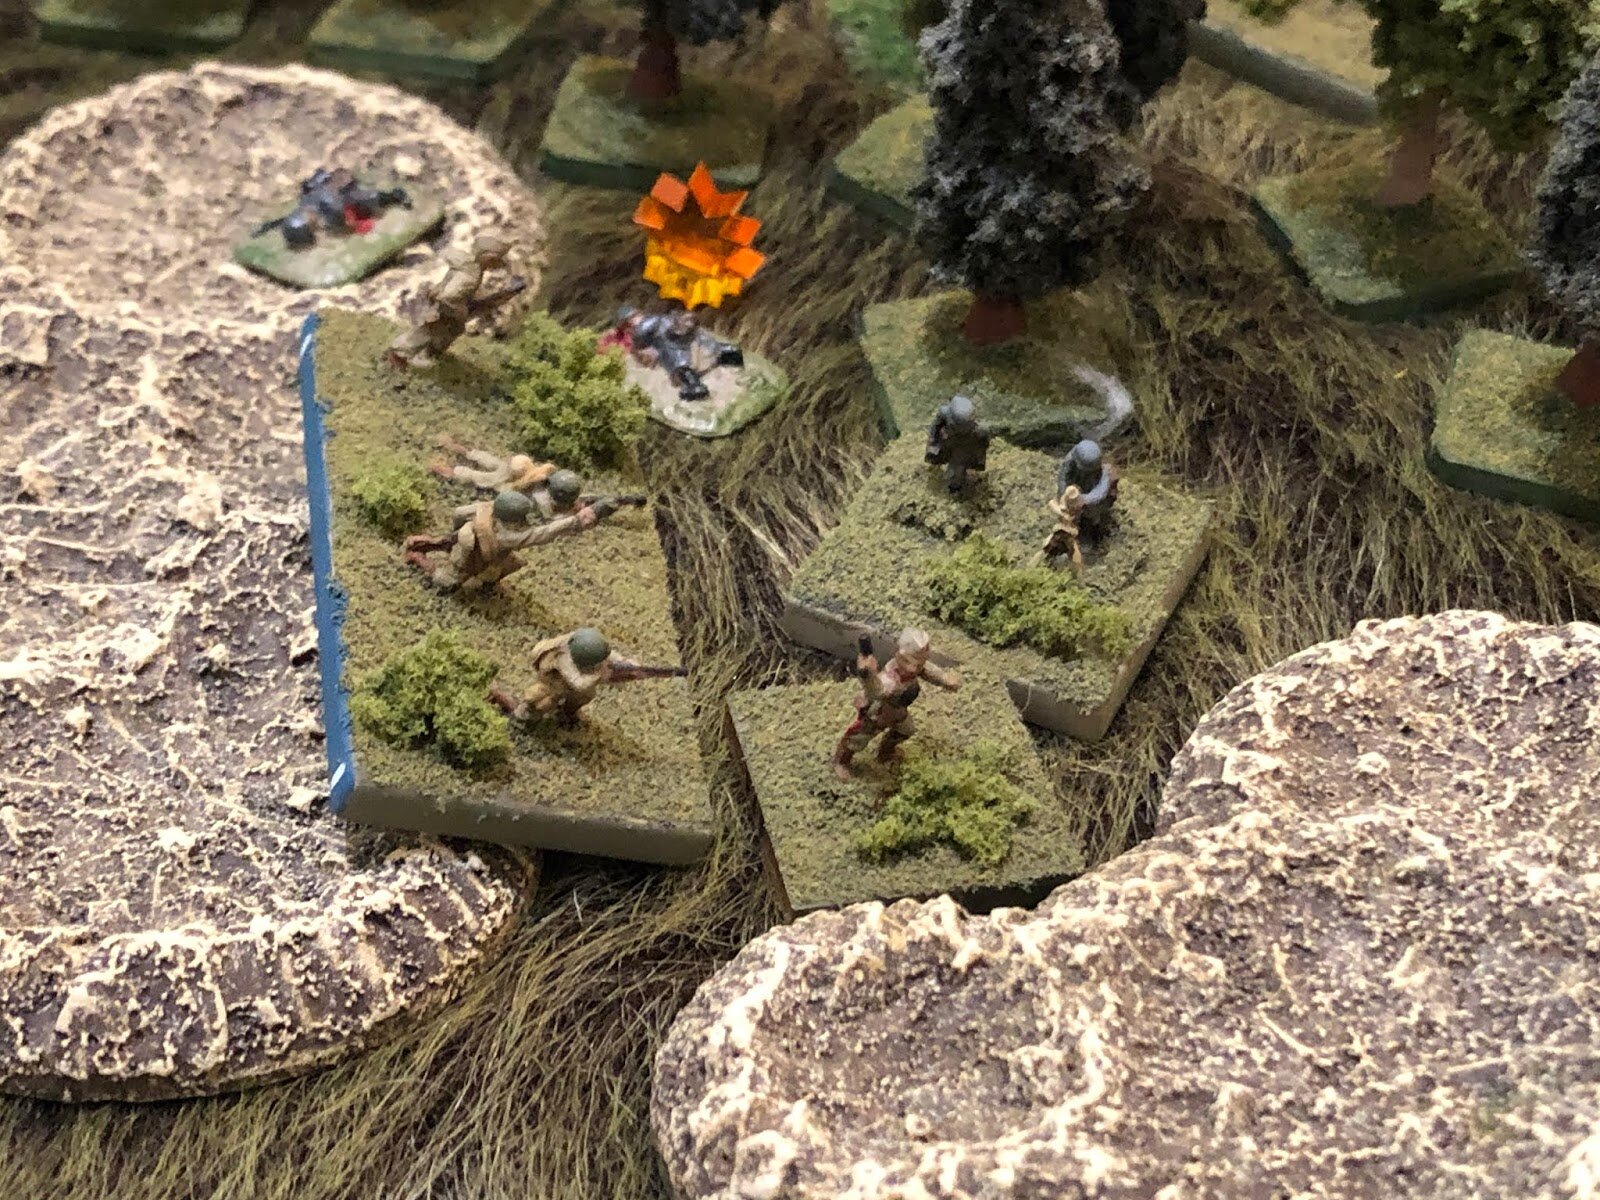
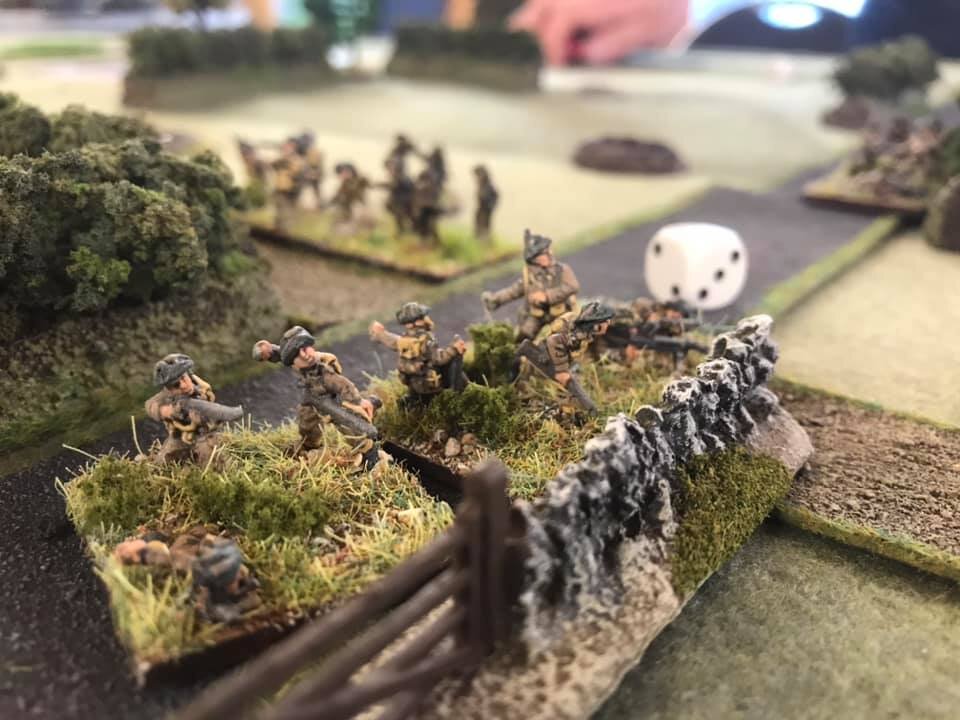
Meanwhile, everyone was screaming at the Russians on the other side of the battlefield to stop dithering around and get moving forward. So incensed by this harassment was the platoon commander under one Soviet Blind that he abandoned all thought and launched an immediate charge forward.
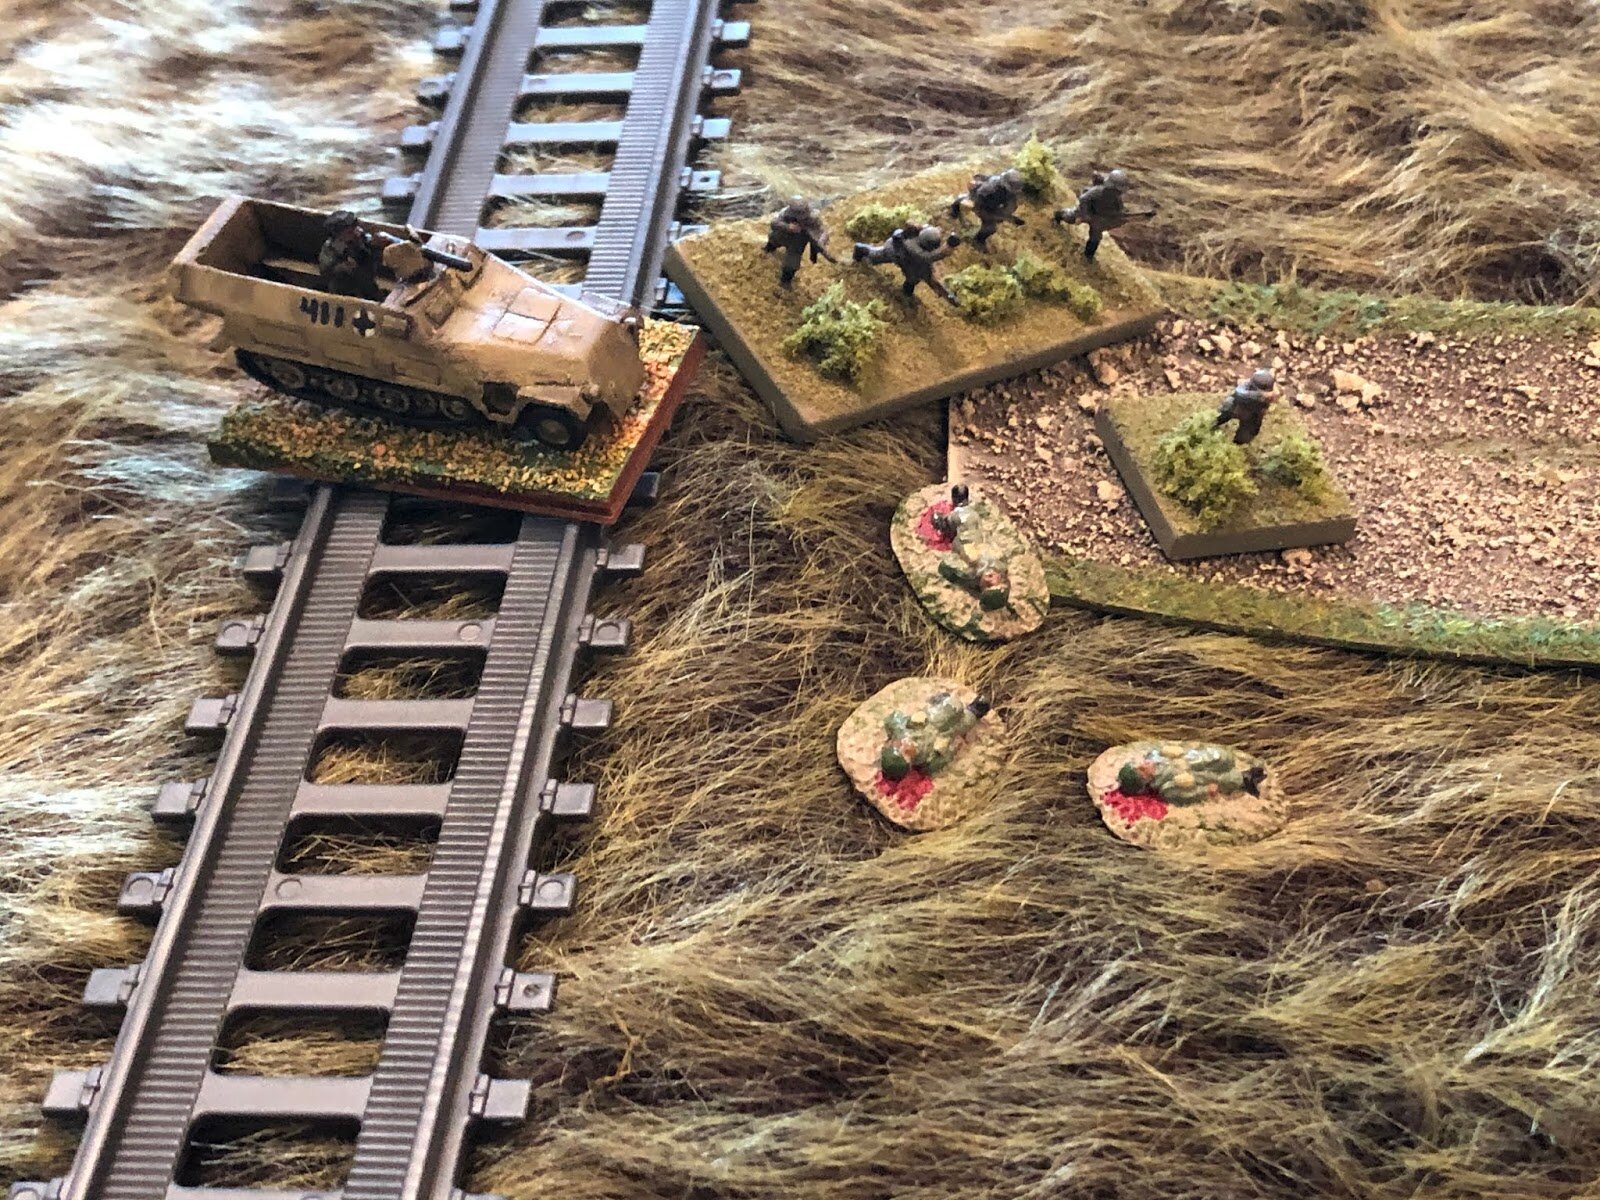
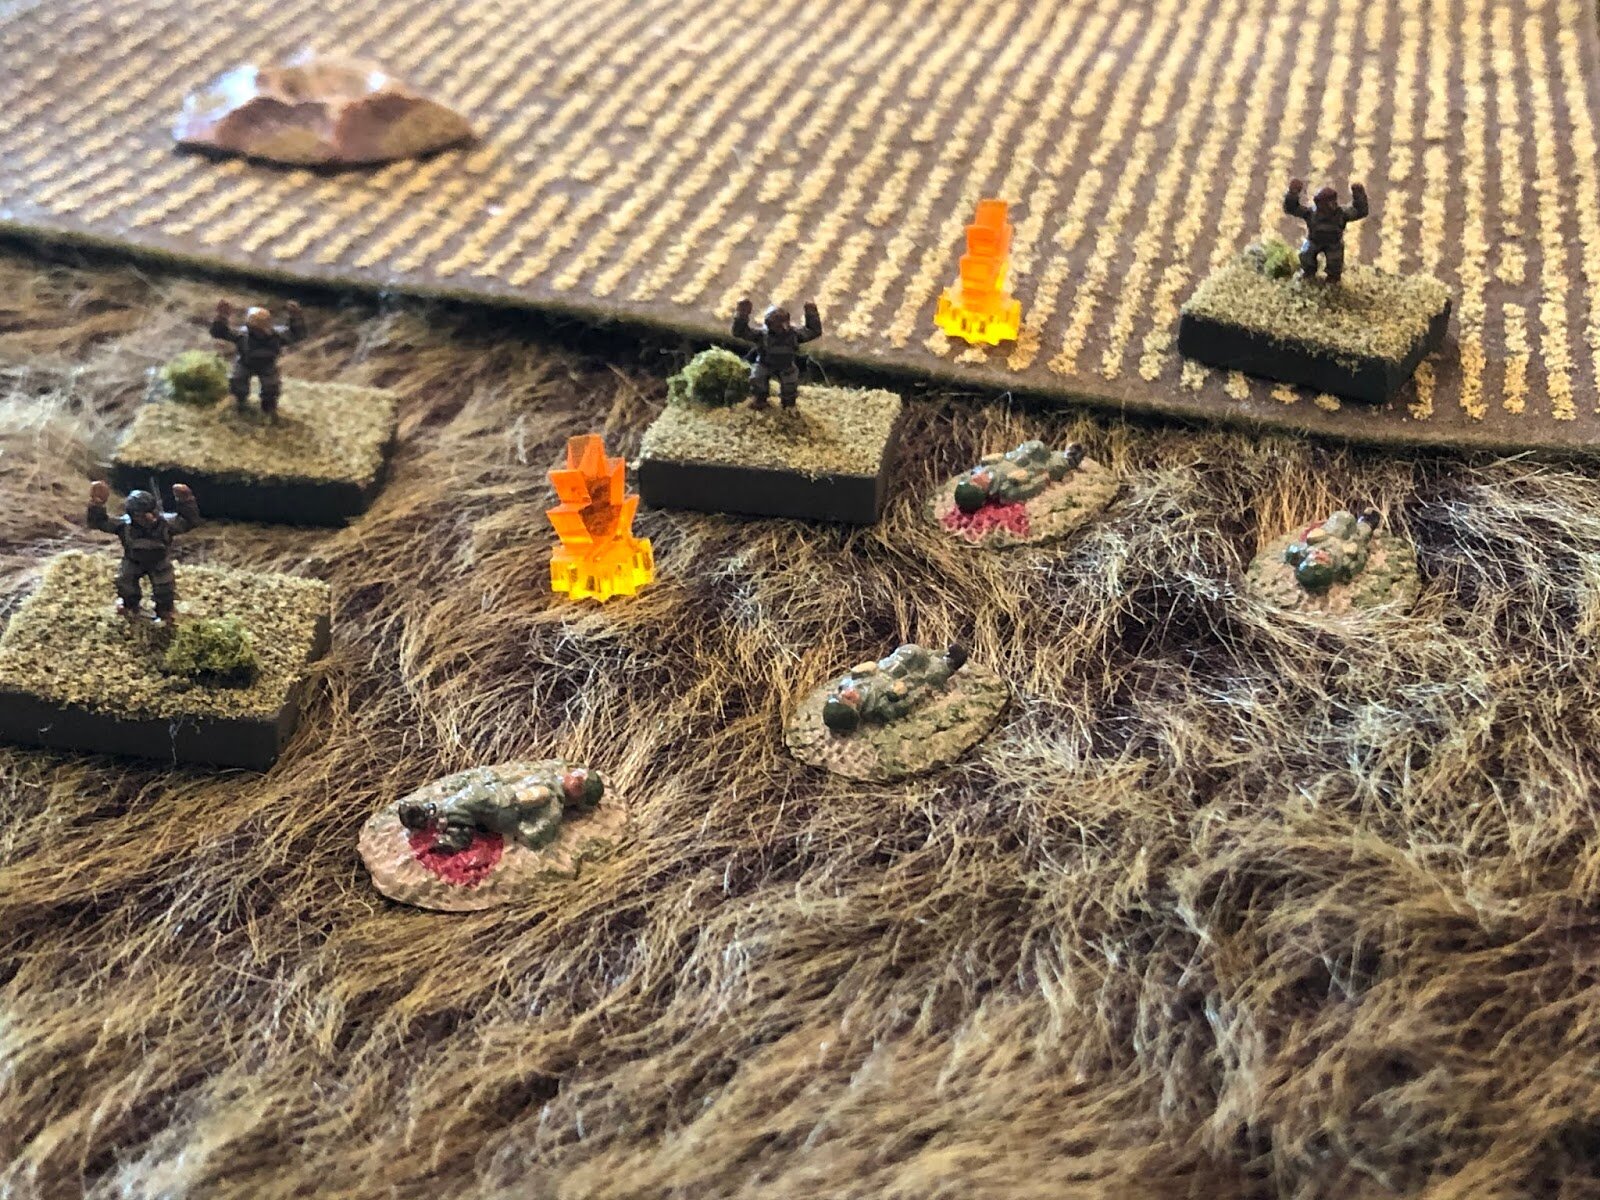
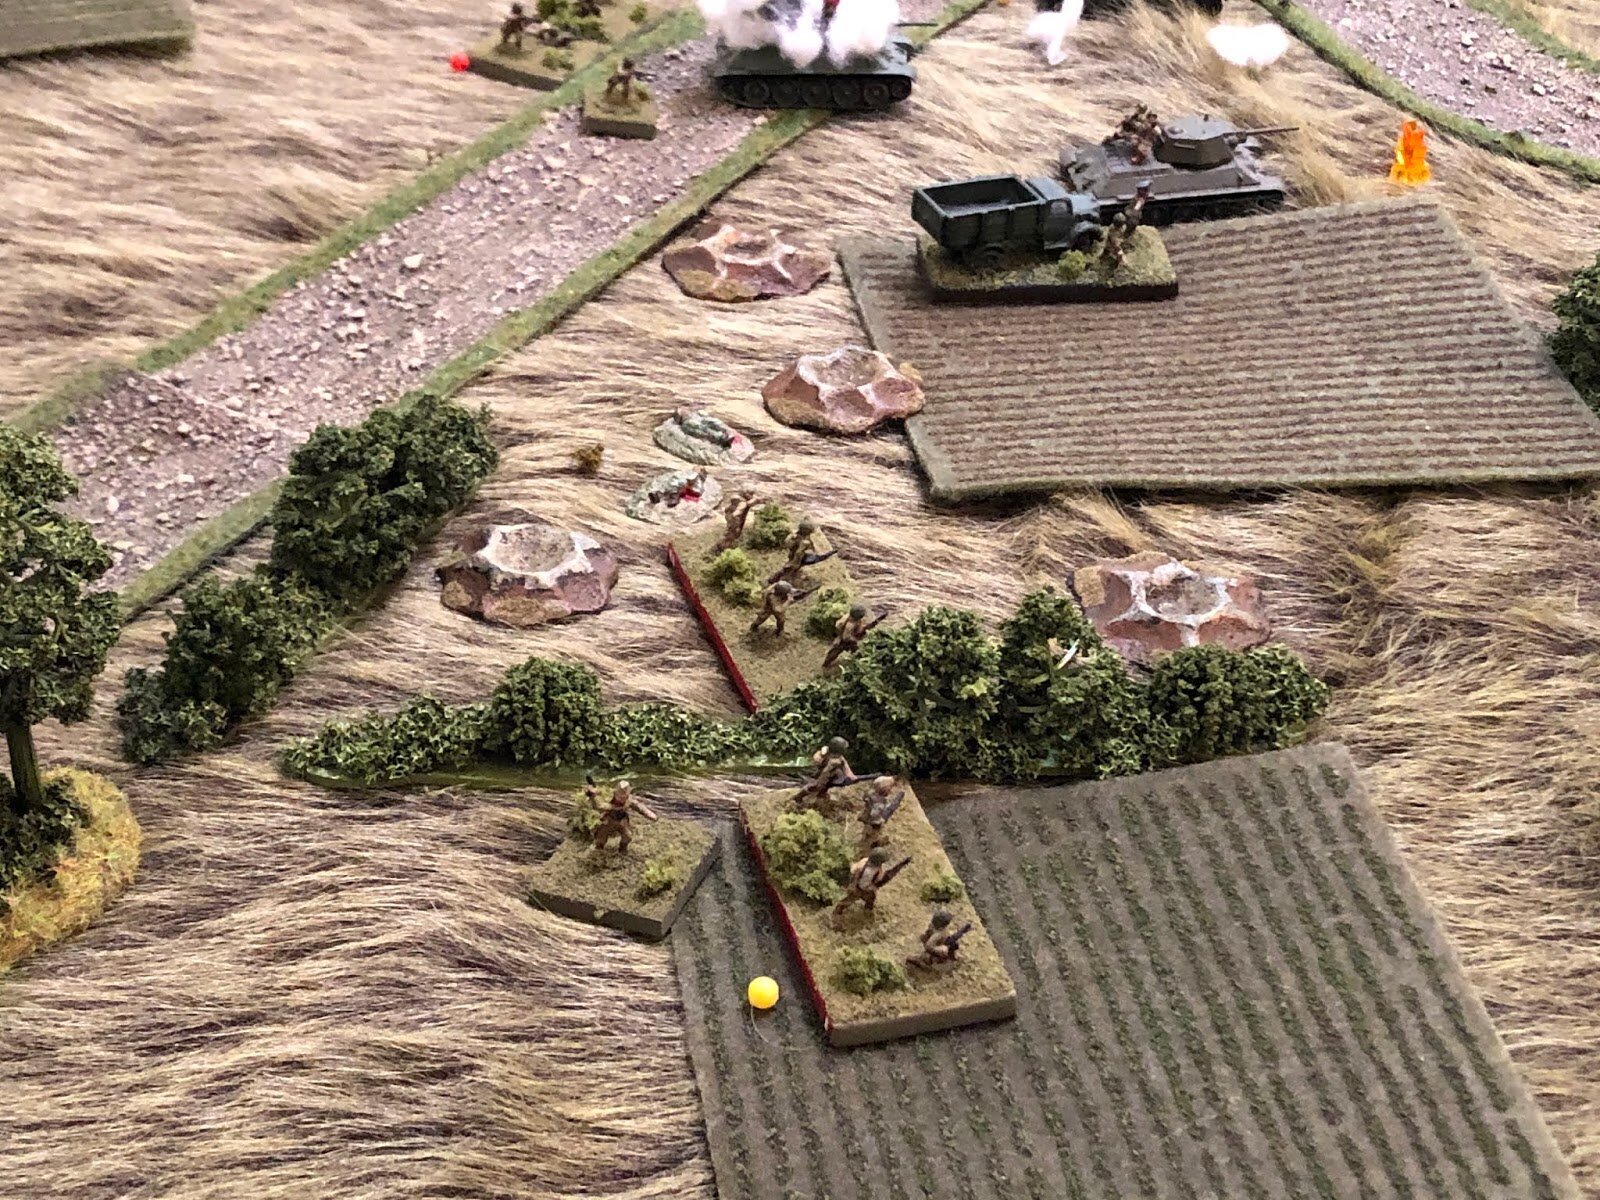
This was a crazy thing to do, as my two machine gun teams were both on overwatch. I waited until I could see the whites of their eyes and opened fire, and the Soviets were slaughtered on the spot, all hope of closing to close combat gone.
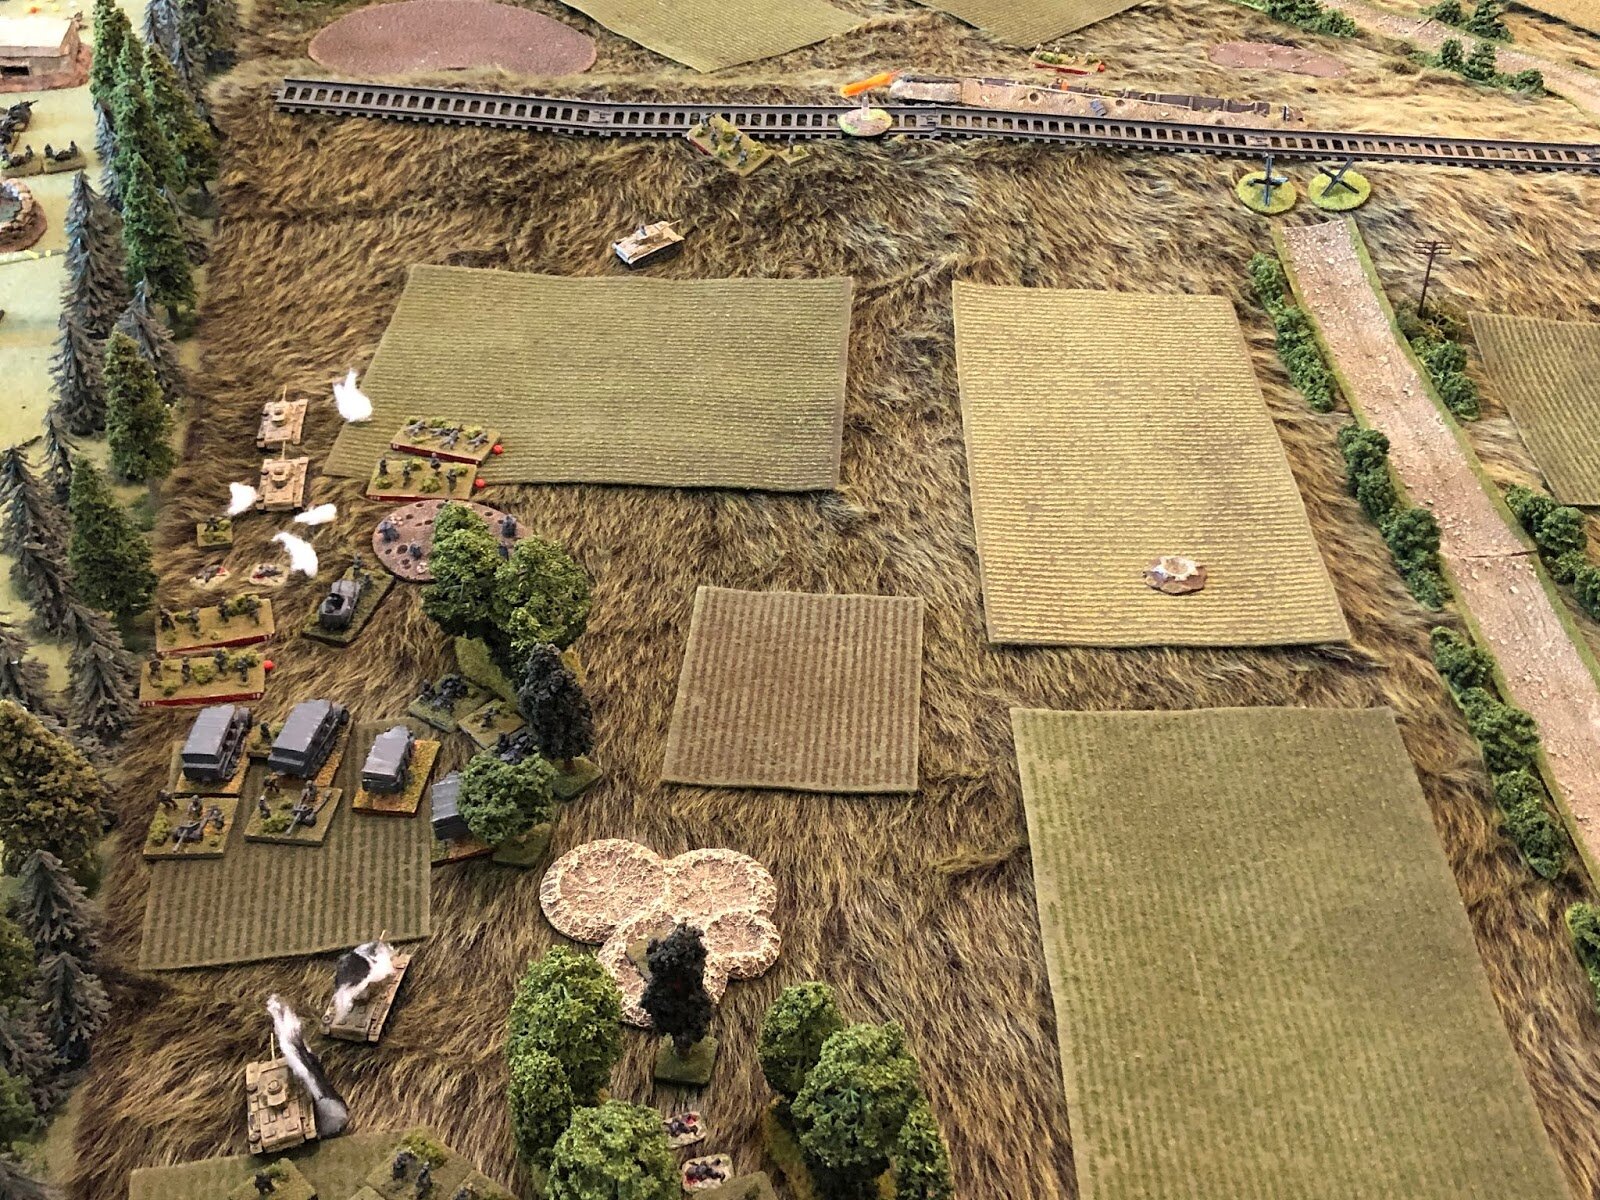
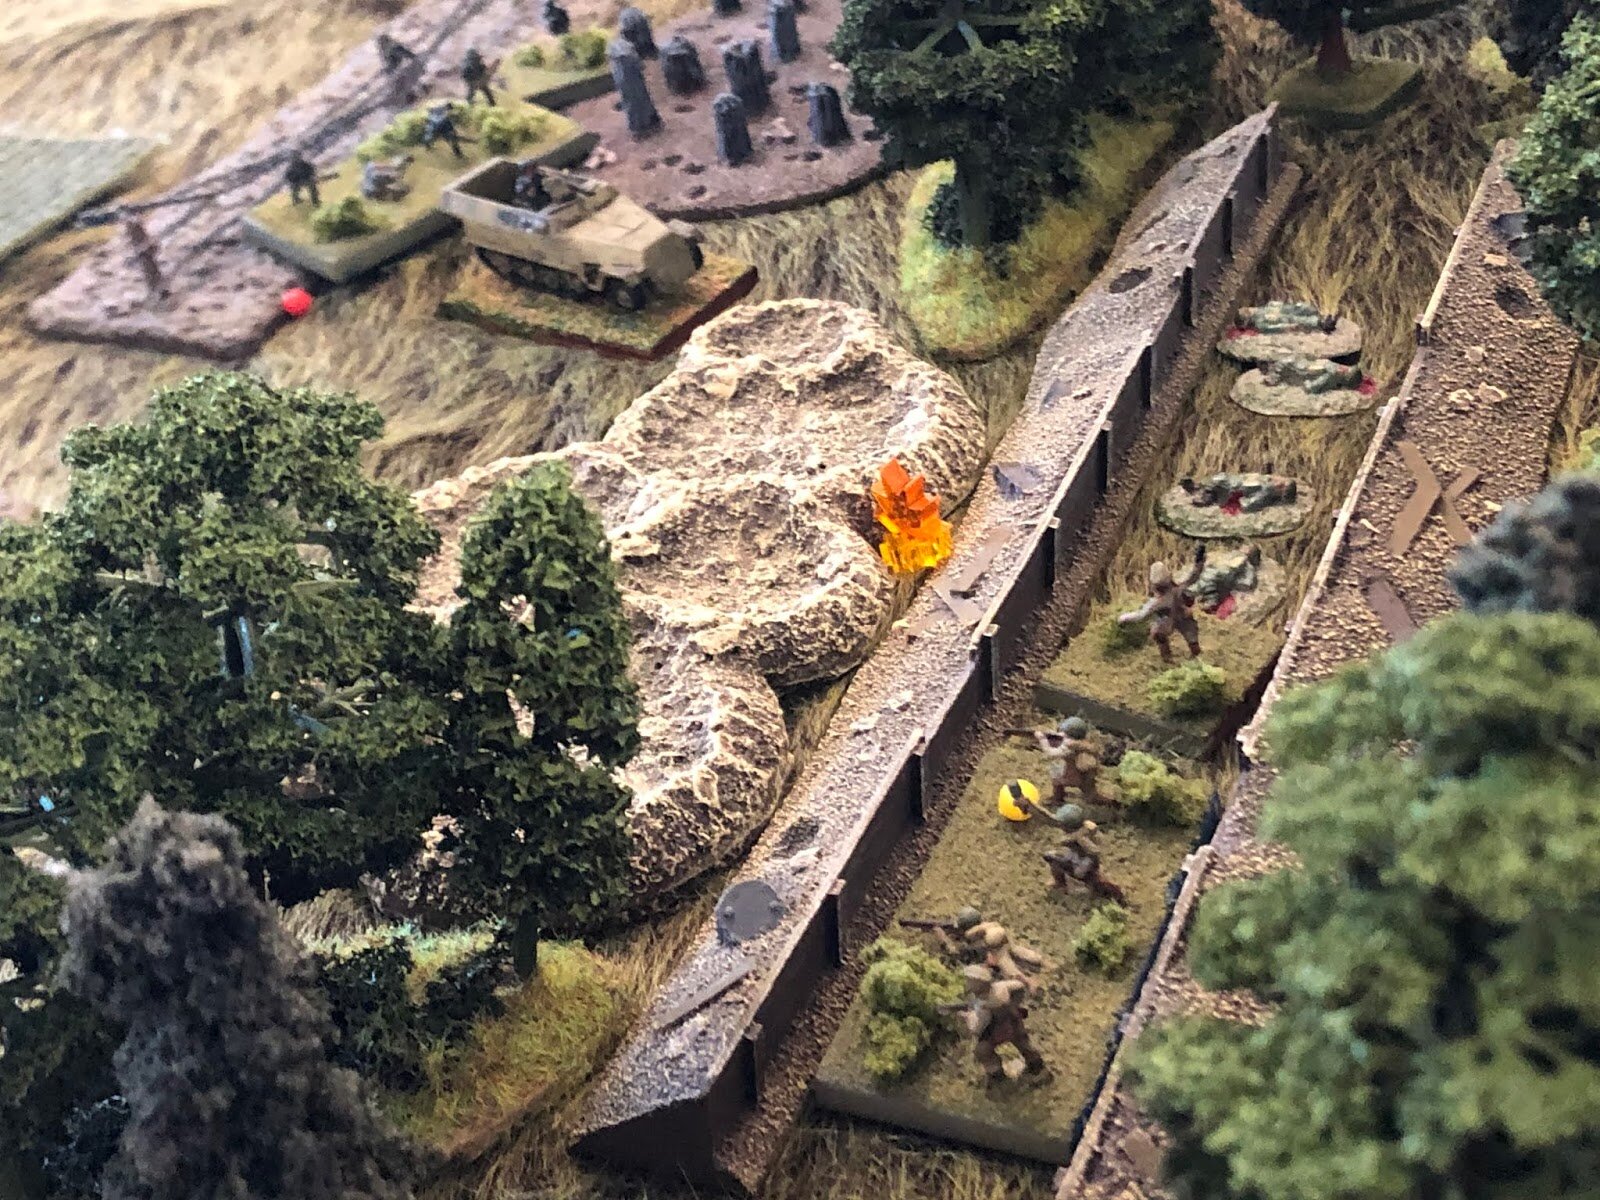
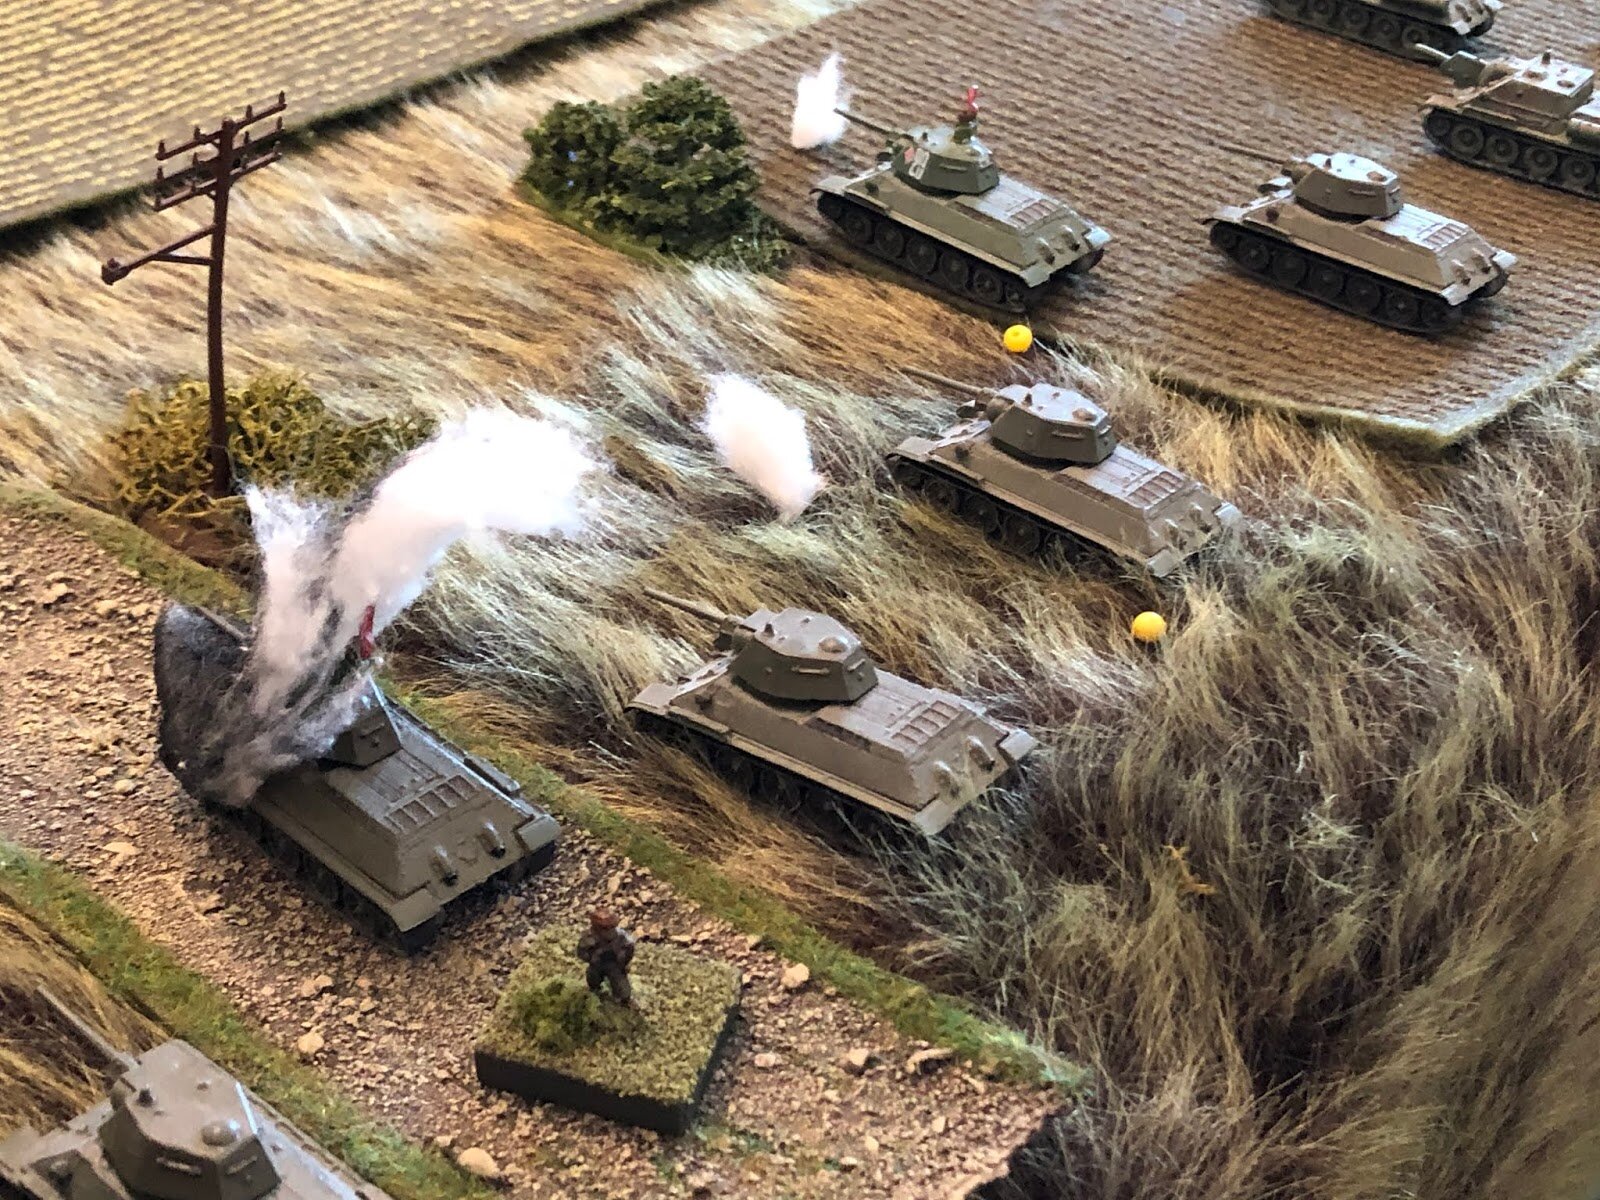
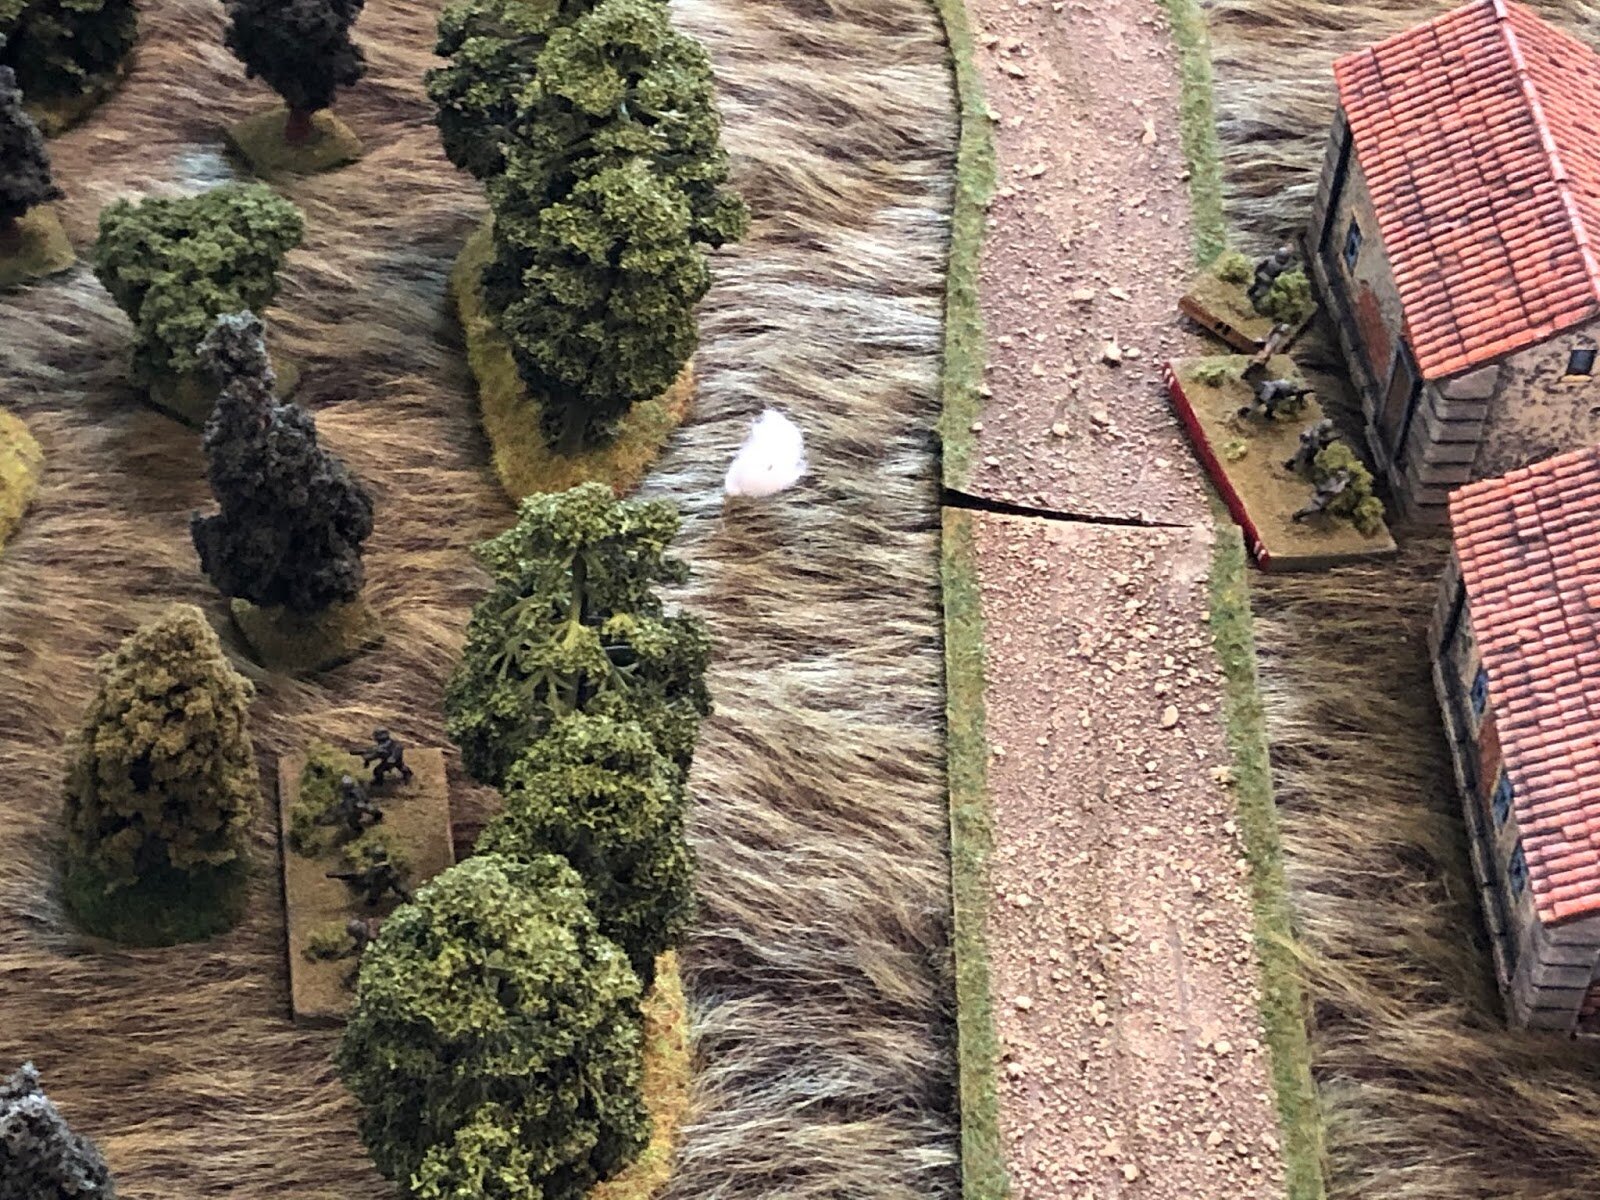
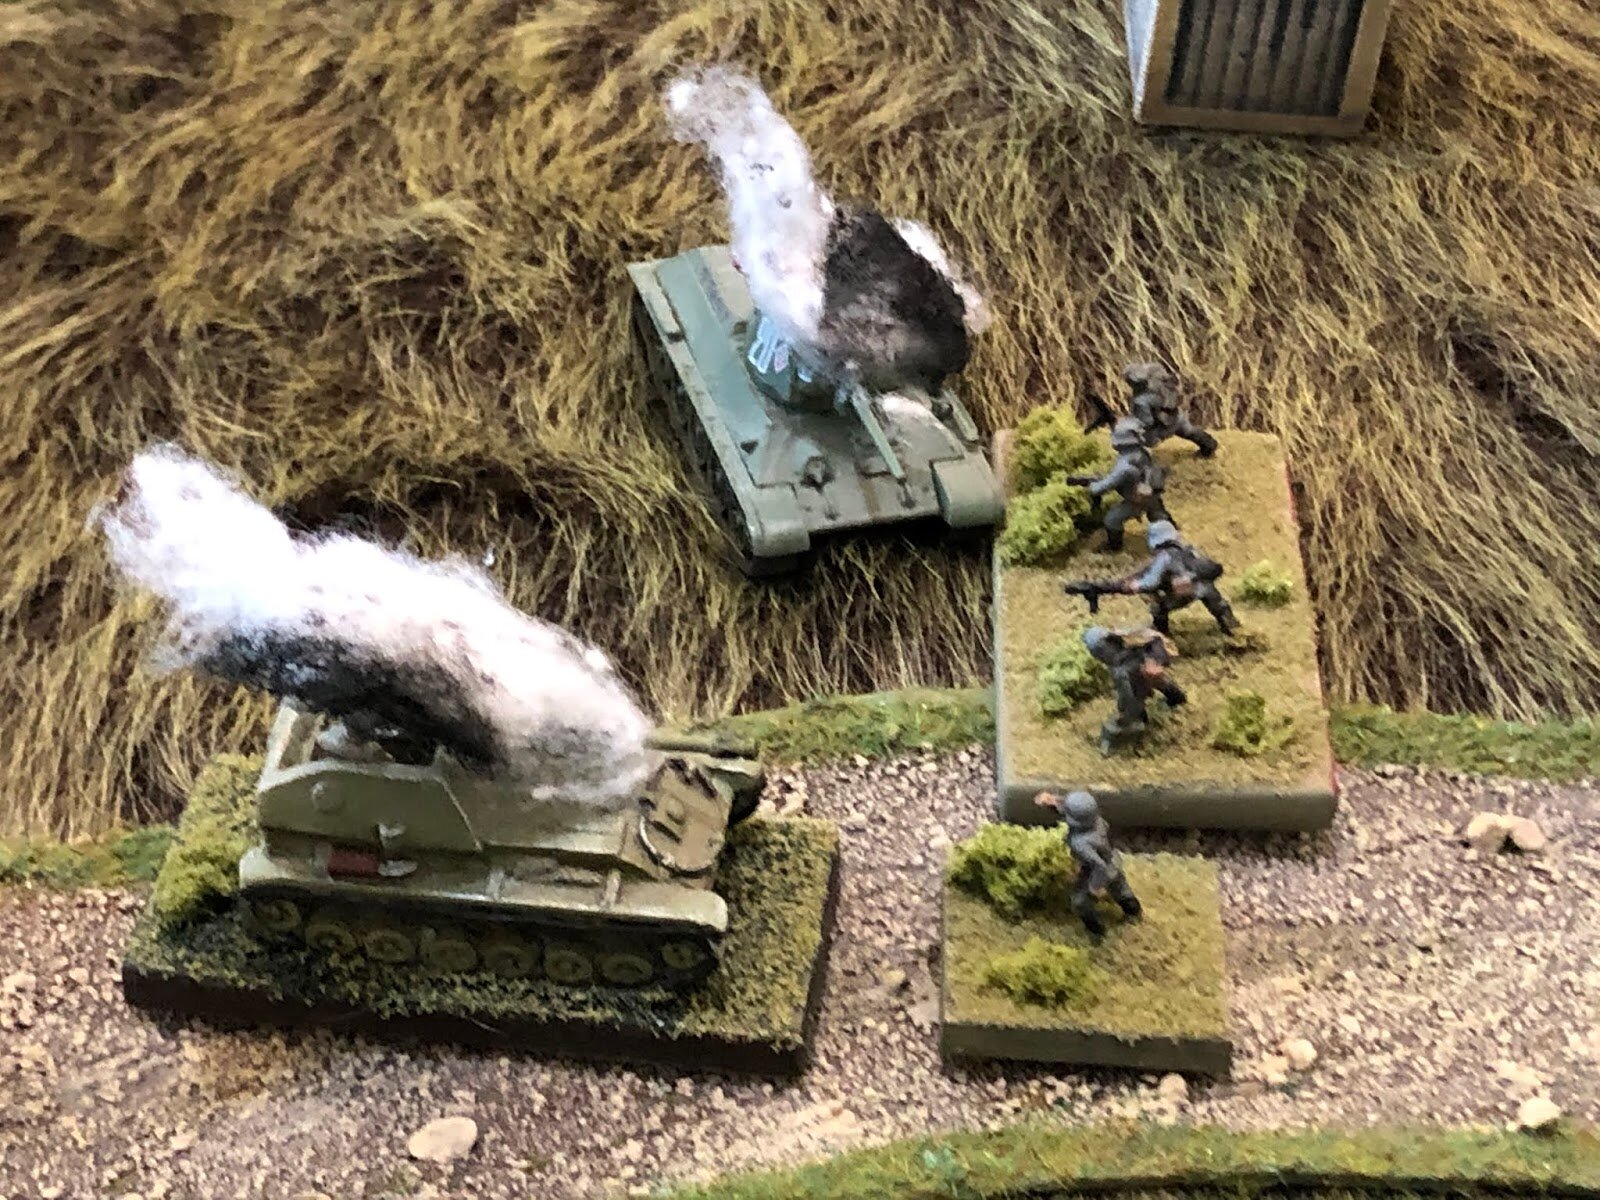
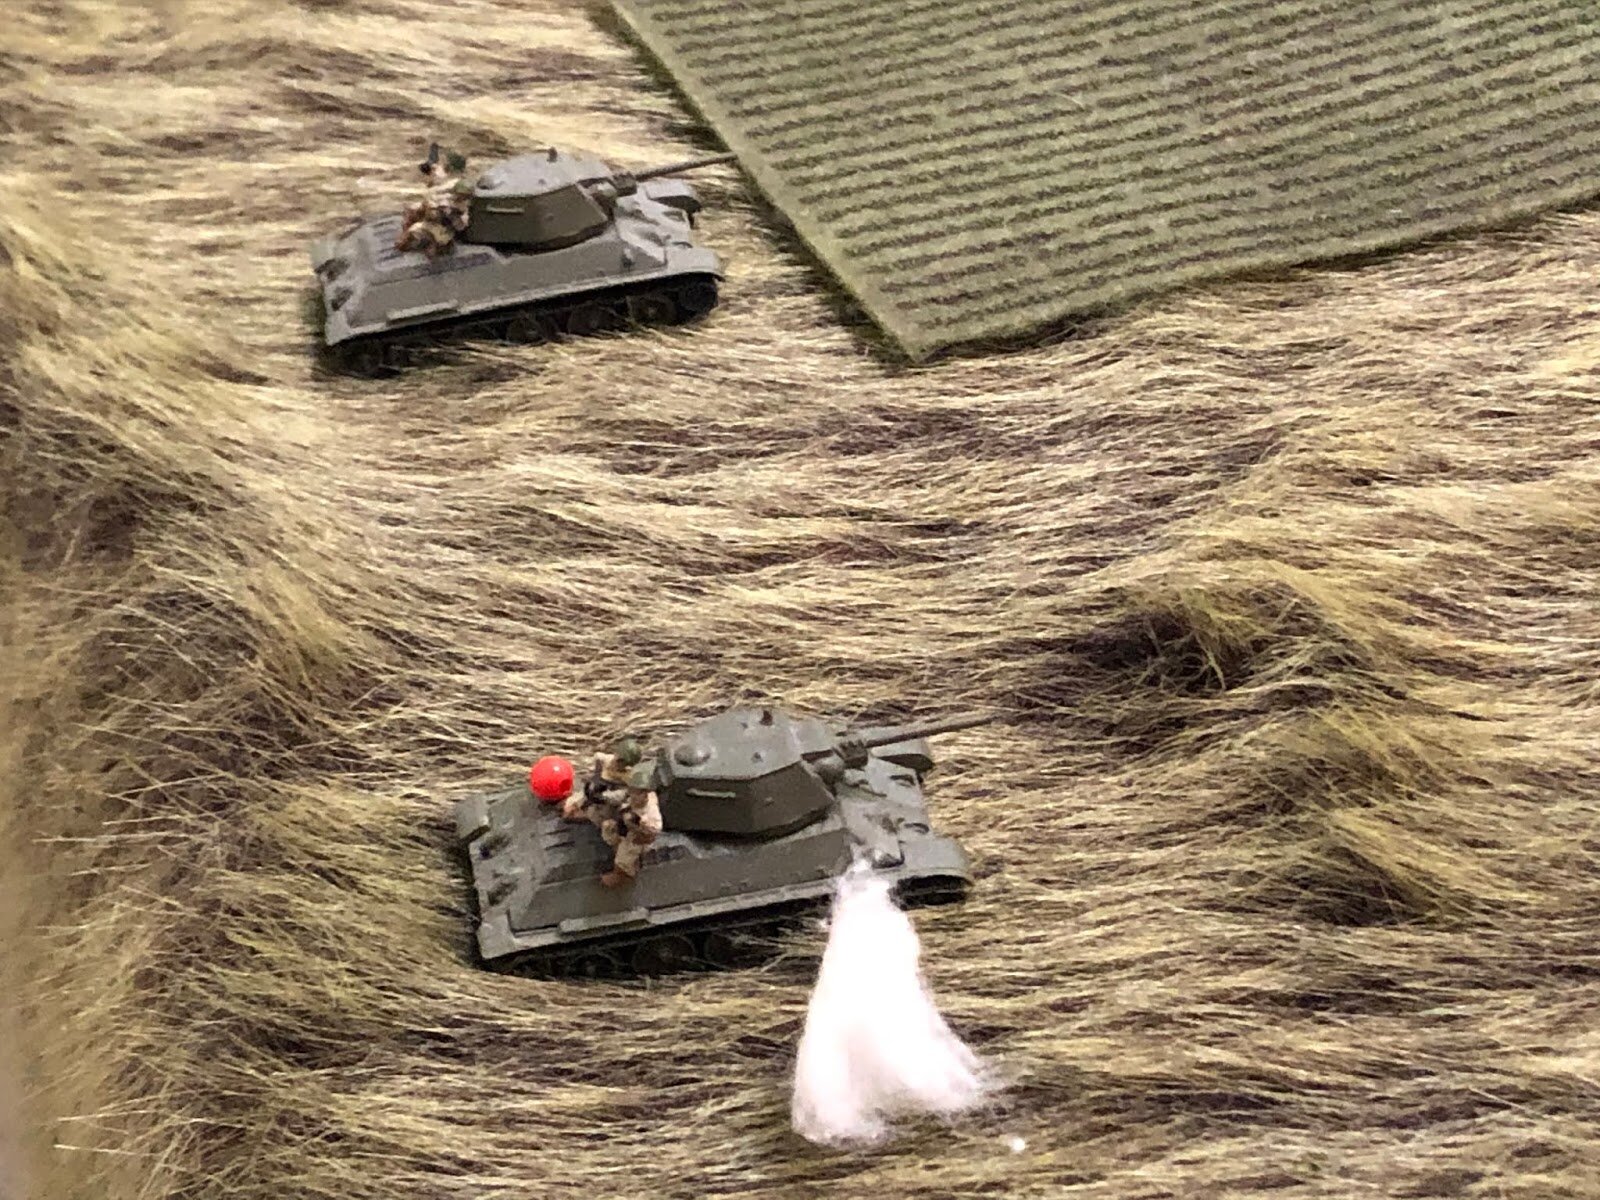
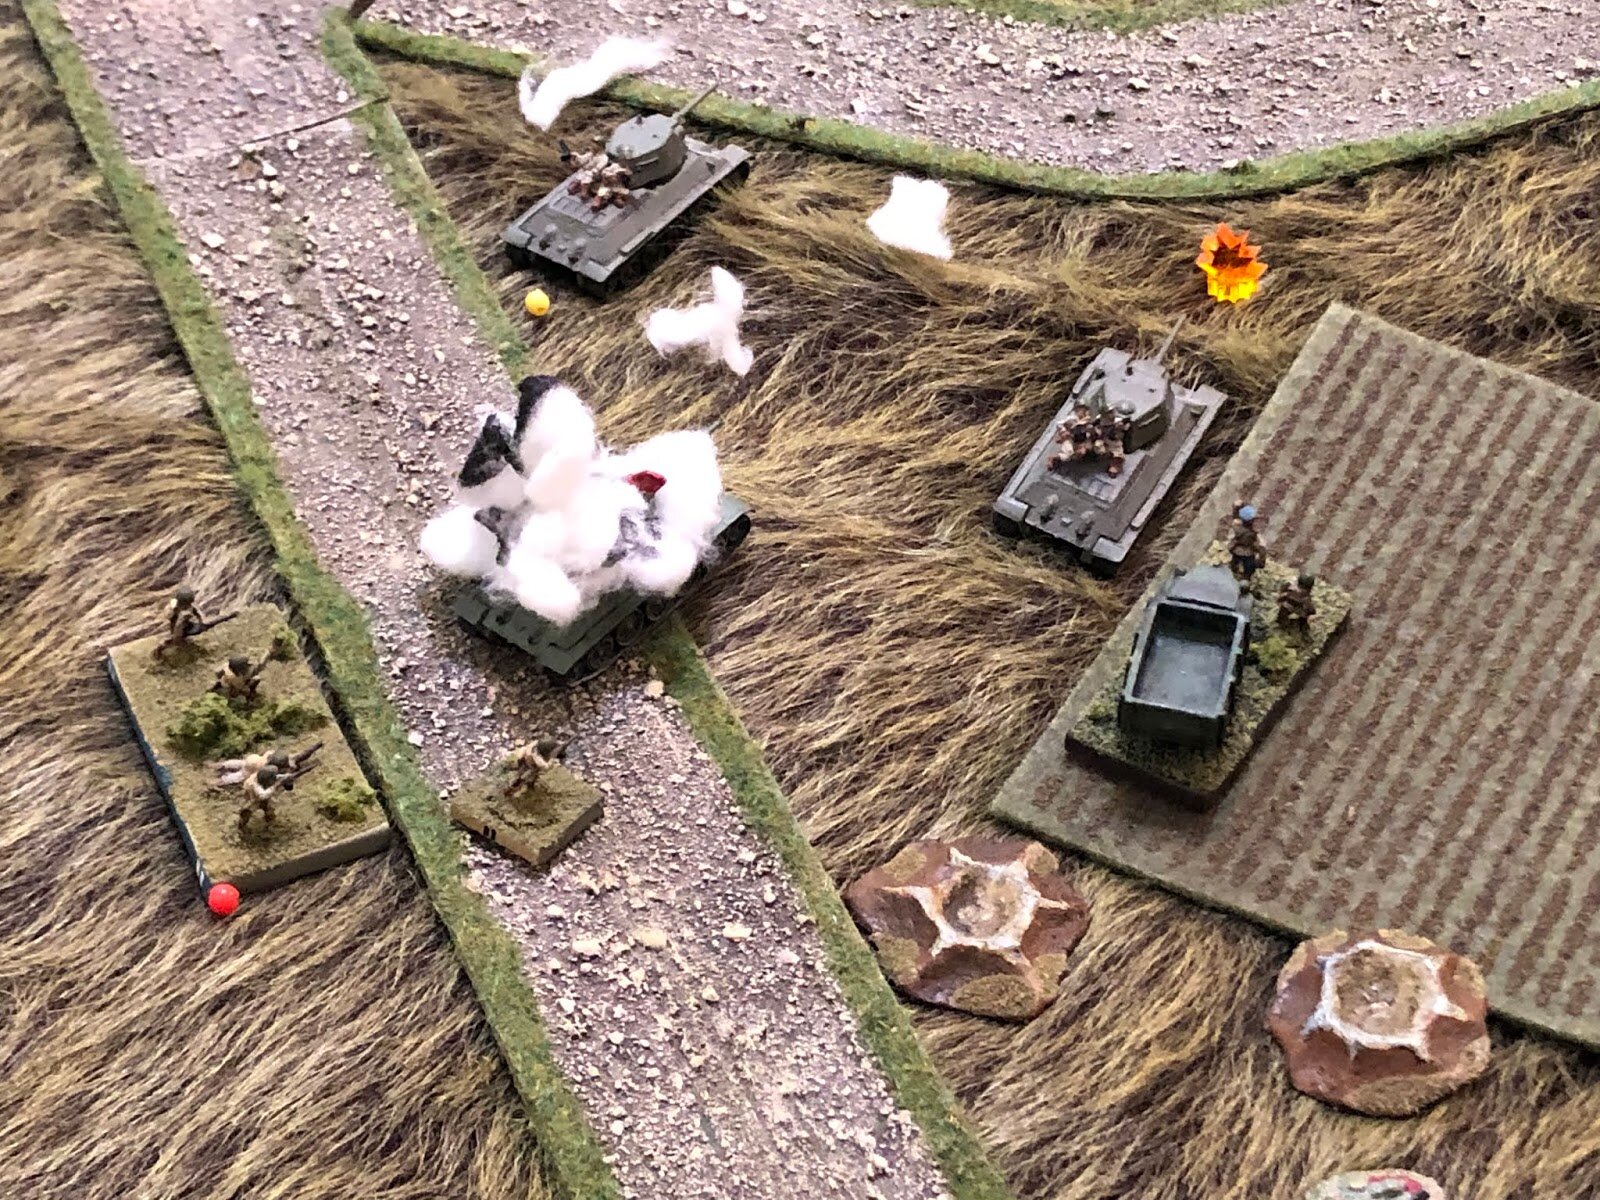
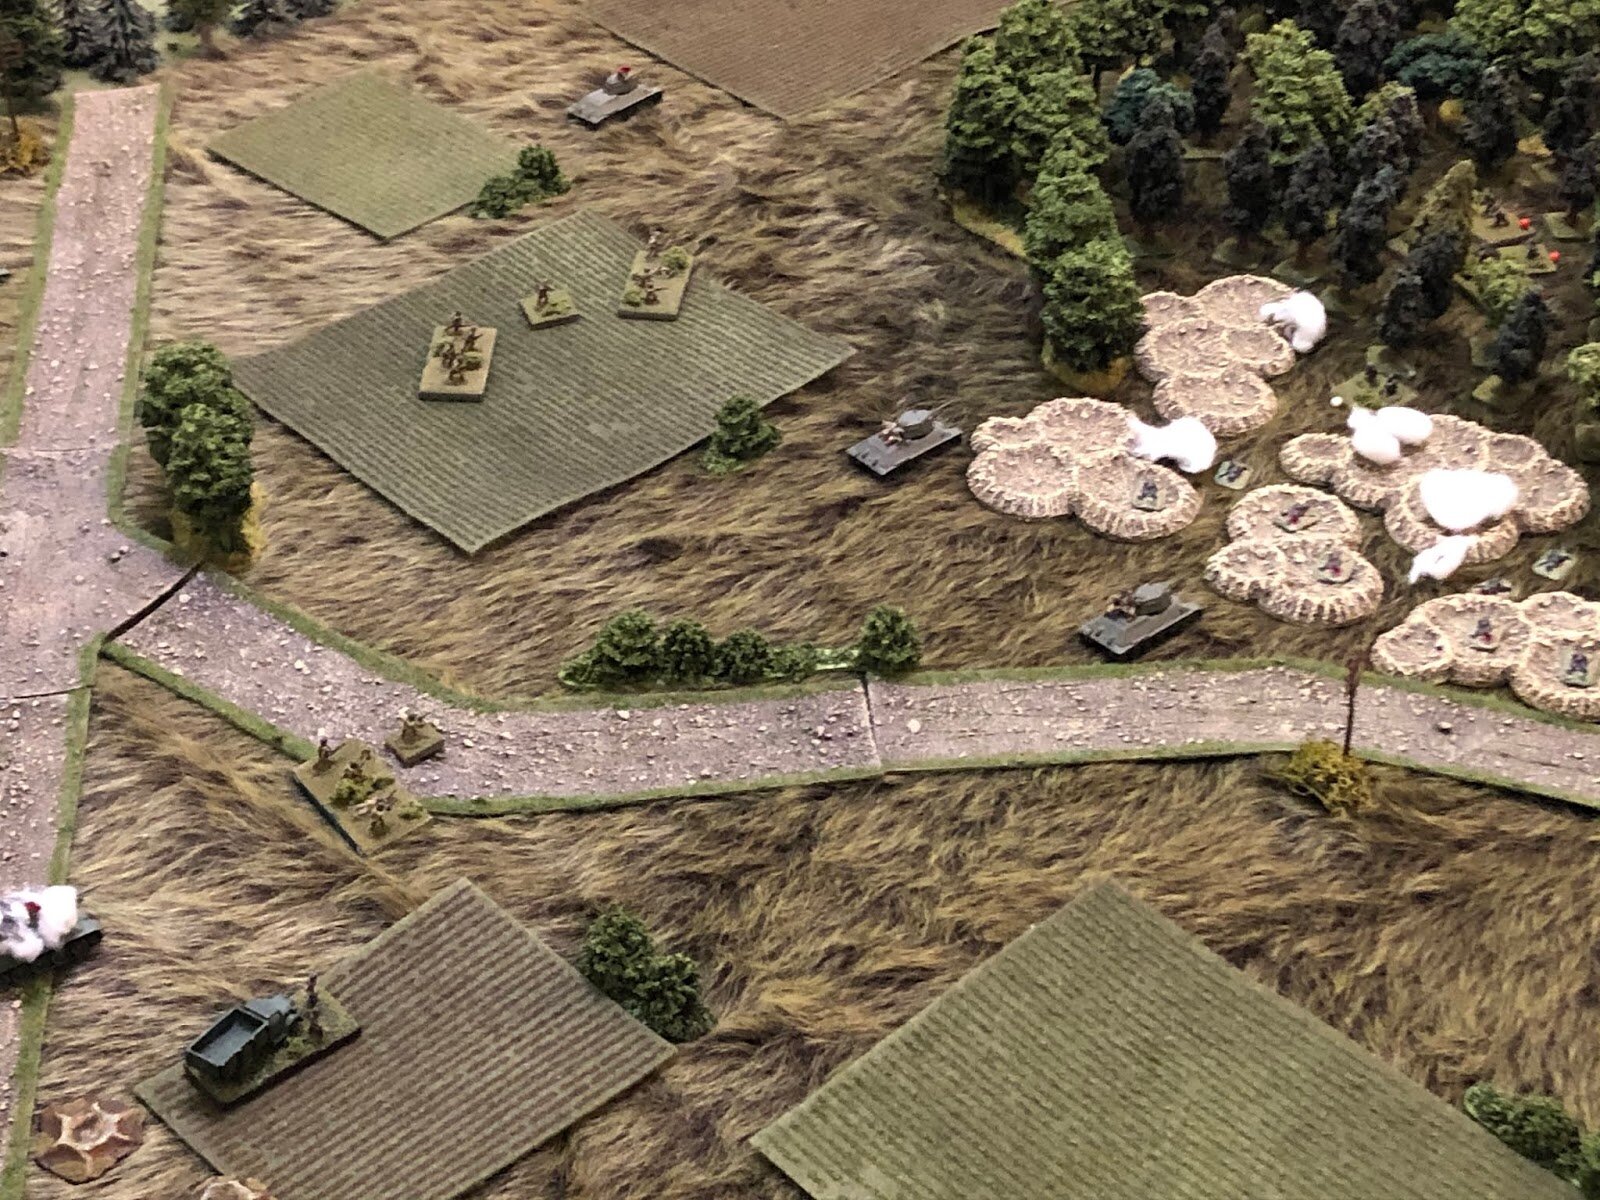
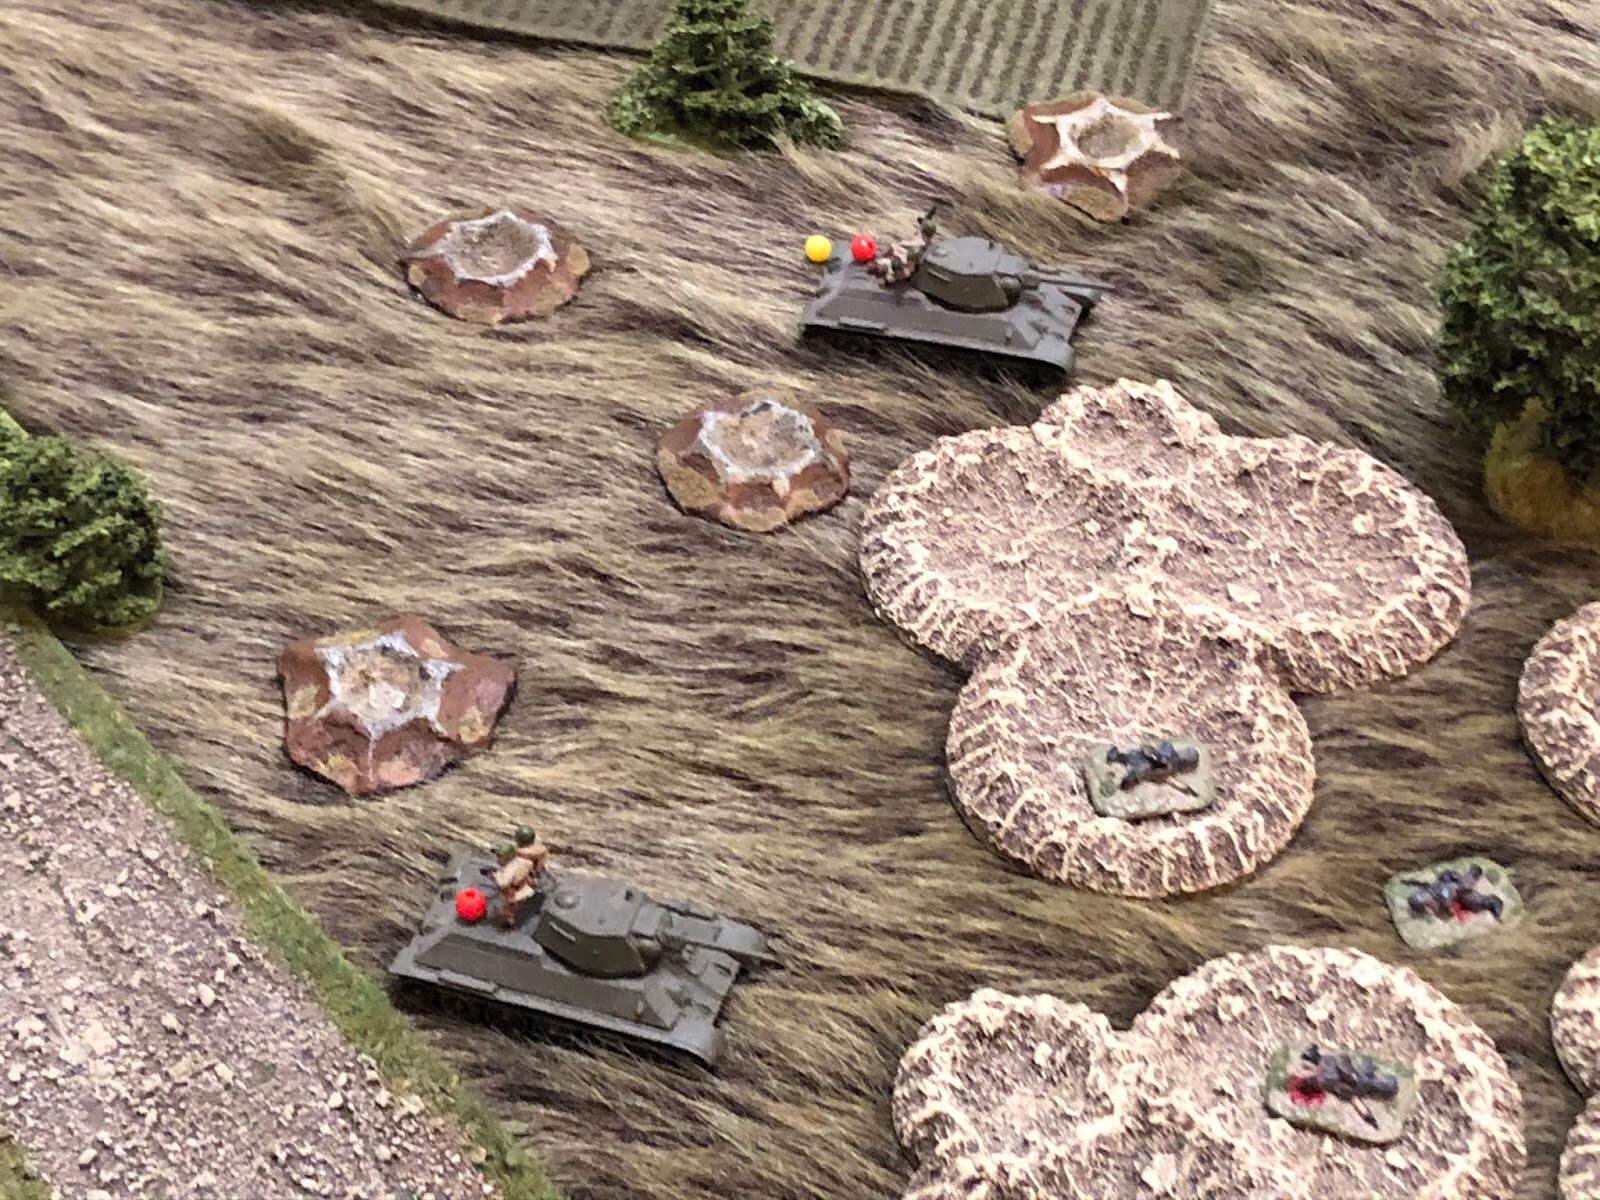
As you can see, the Soviet infantry was so keen to get to grips with me that they rushed straight past one of my Jagdpanzers, which also ignored them!
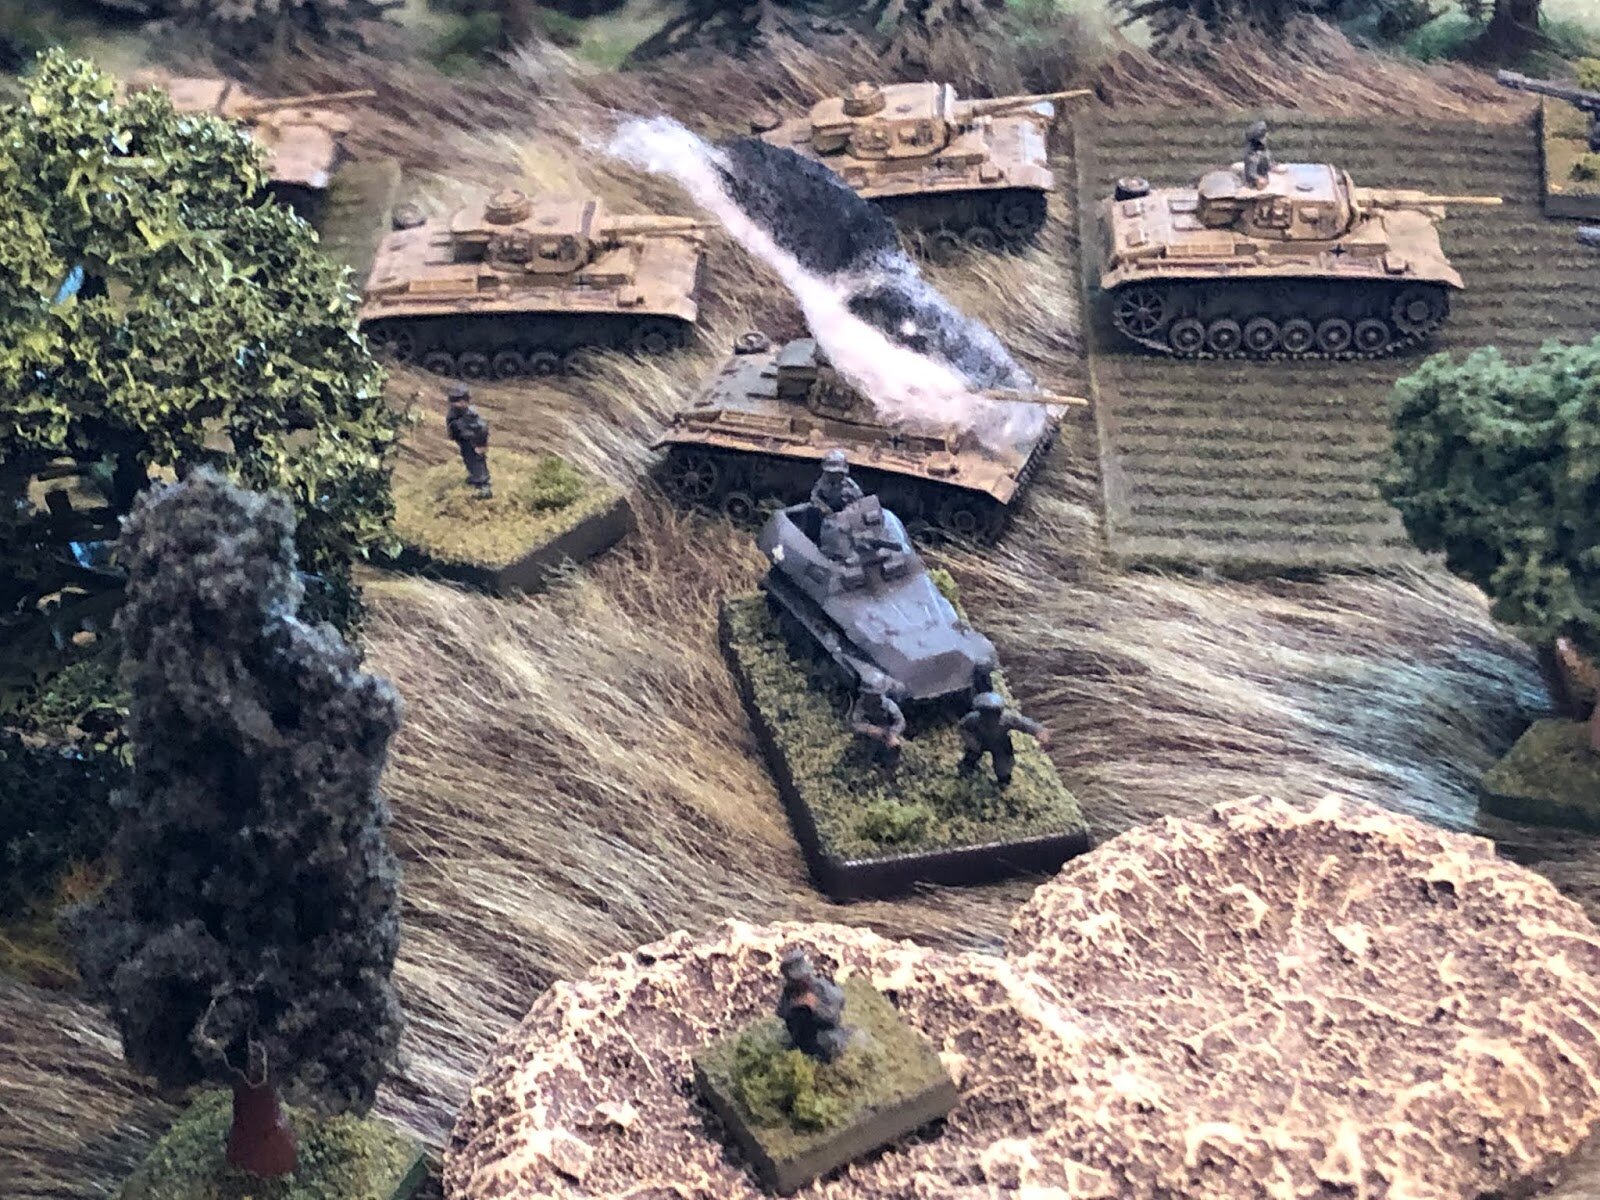
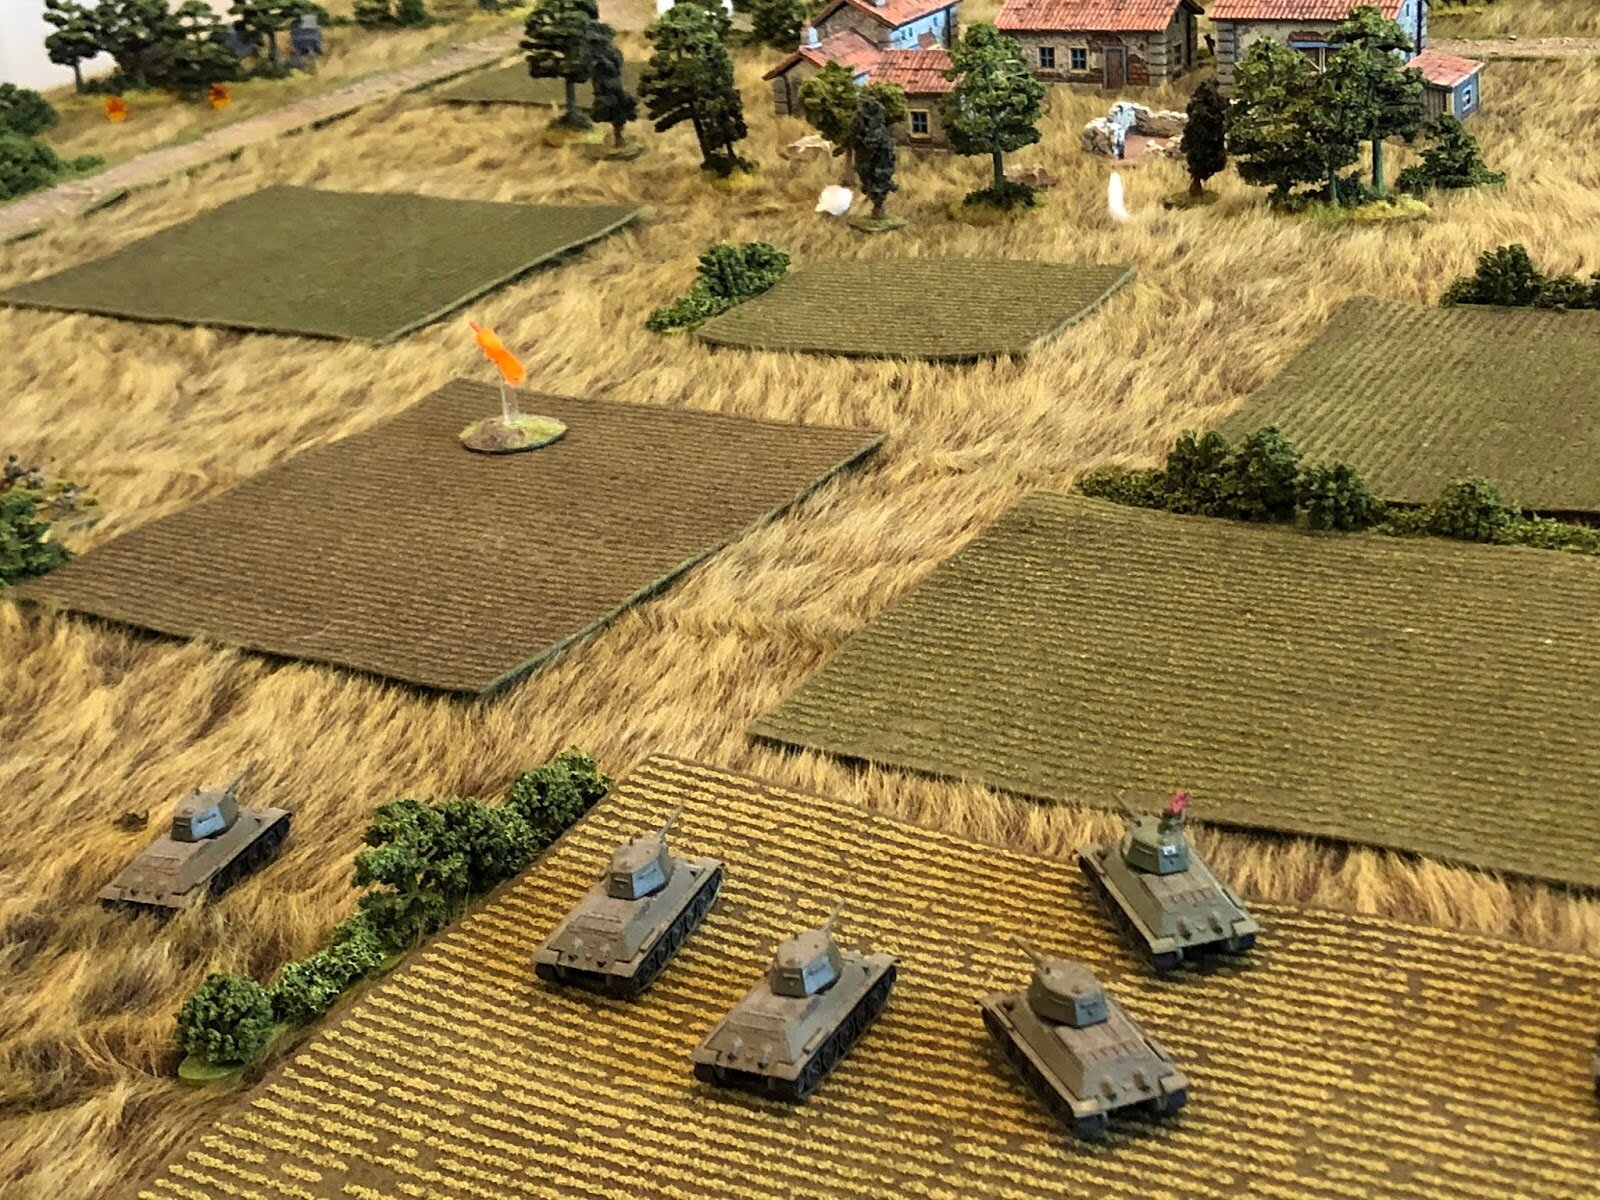
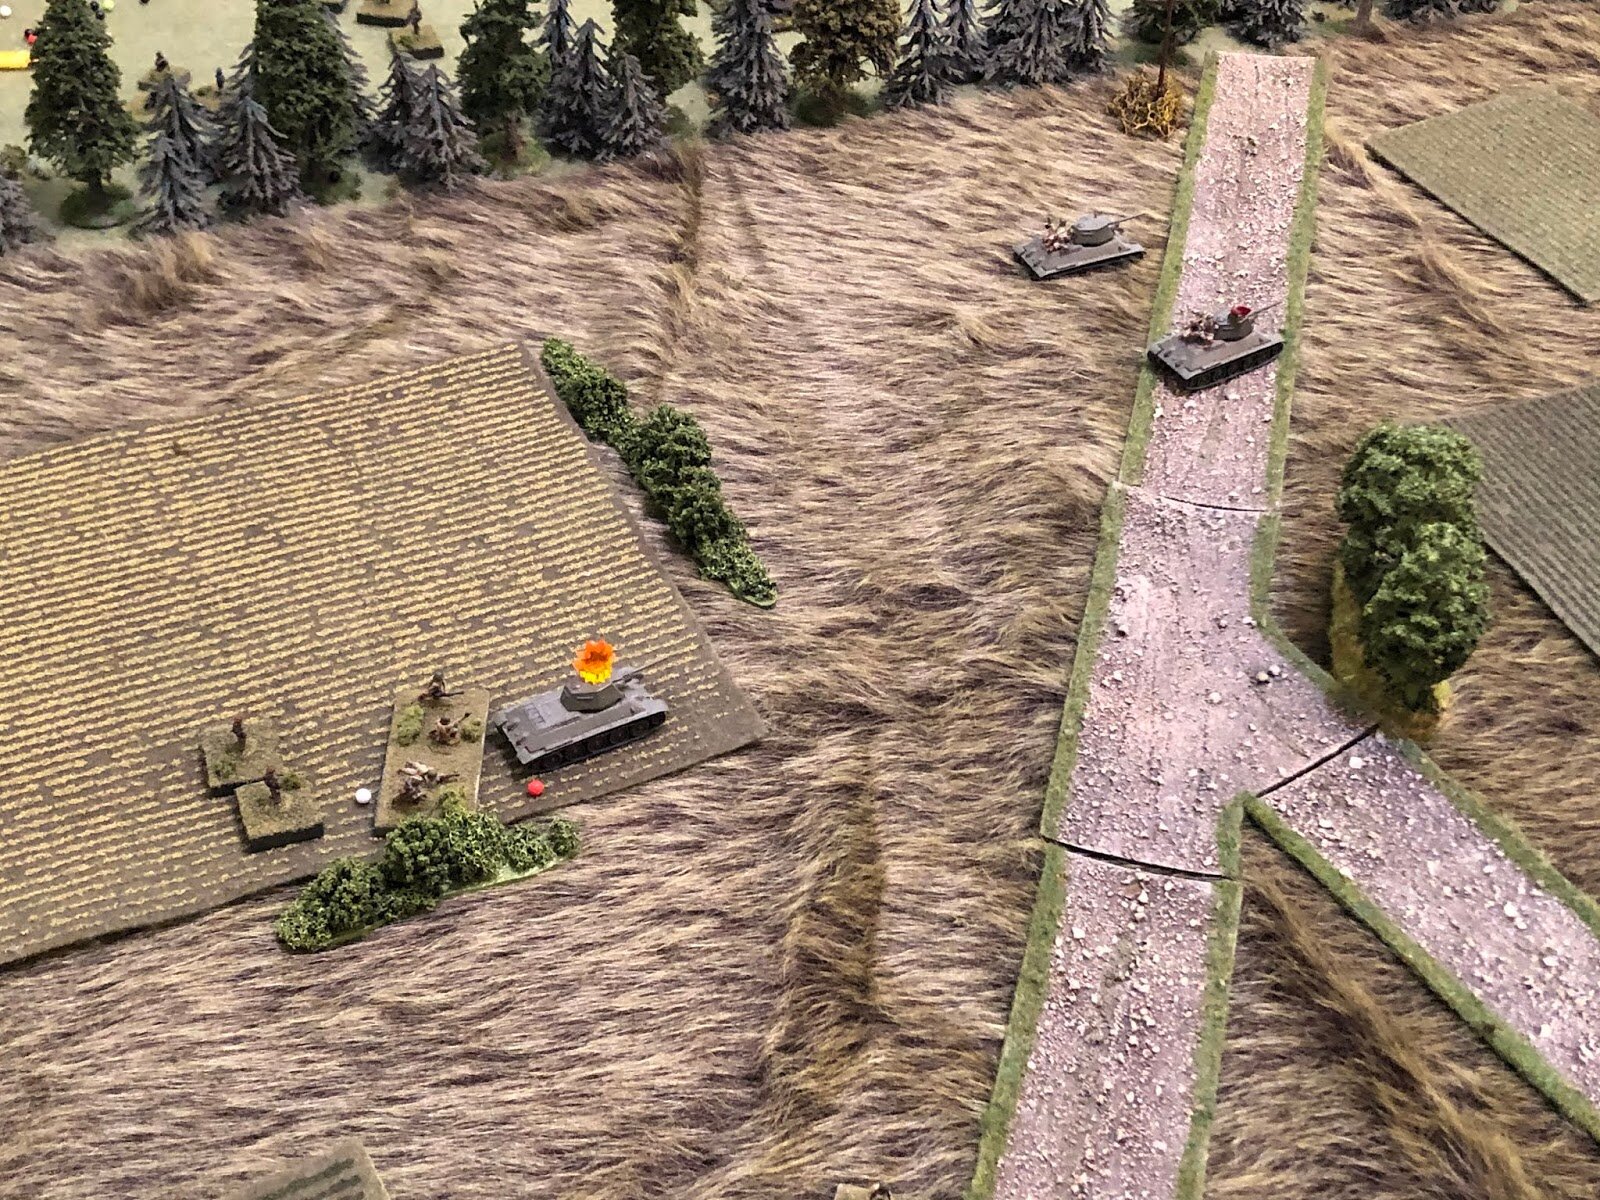
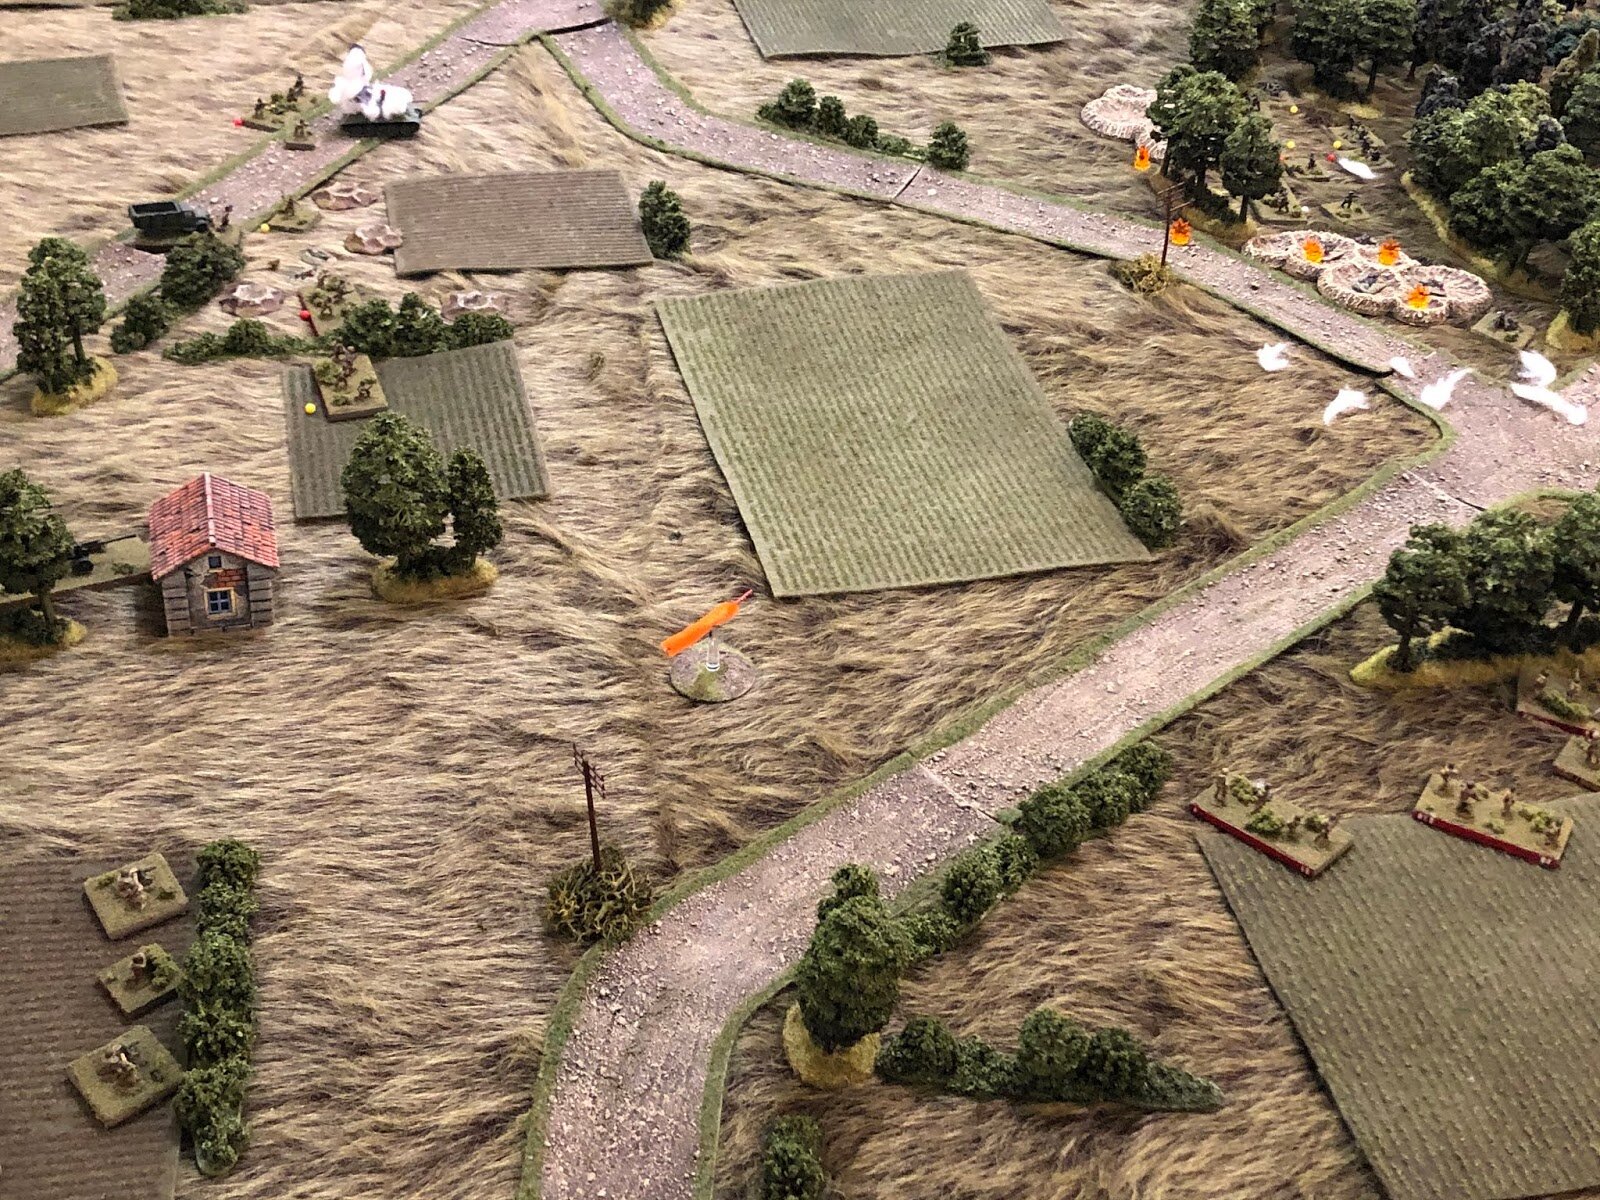
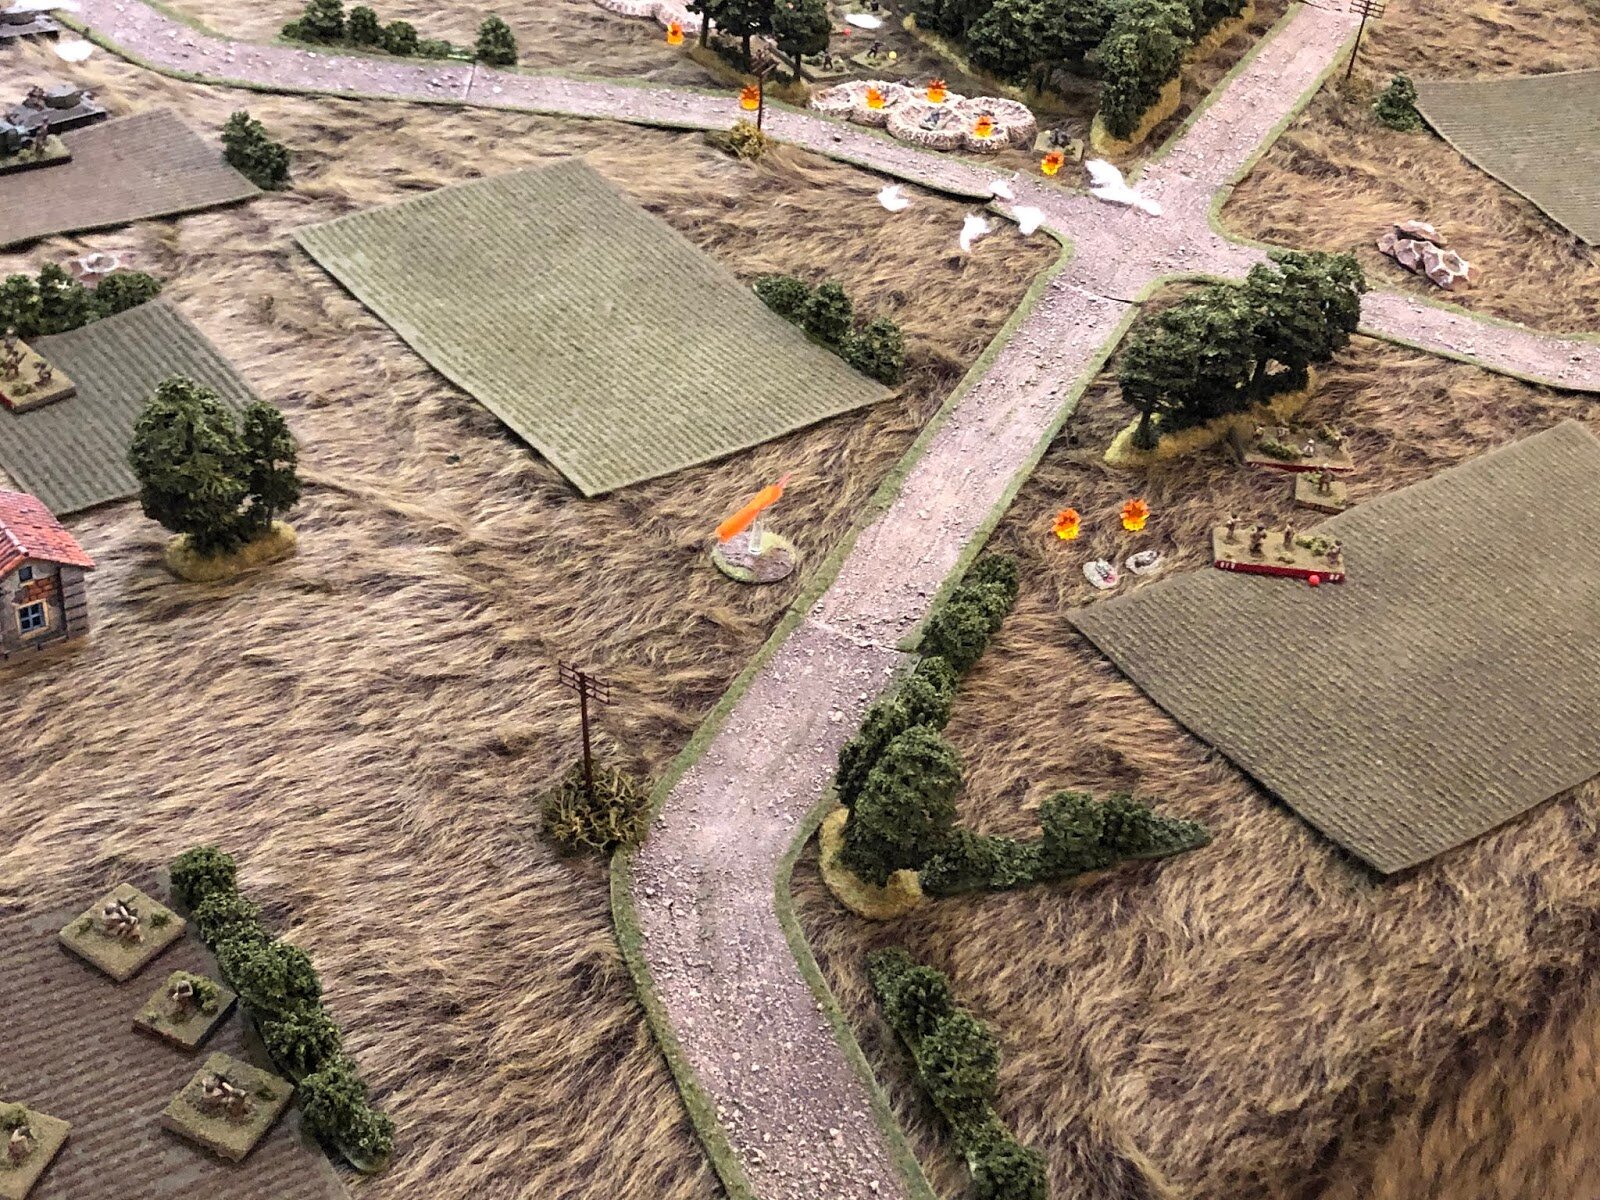
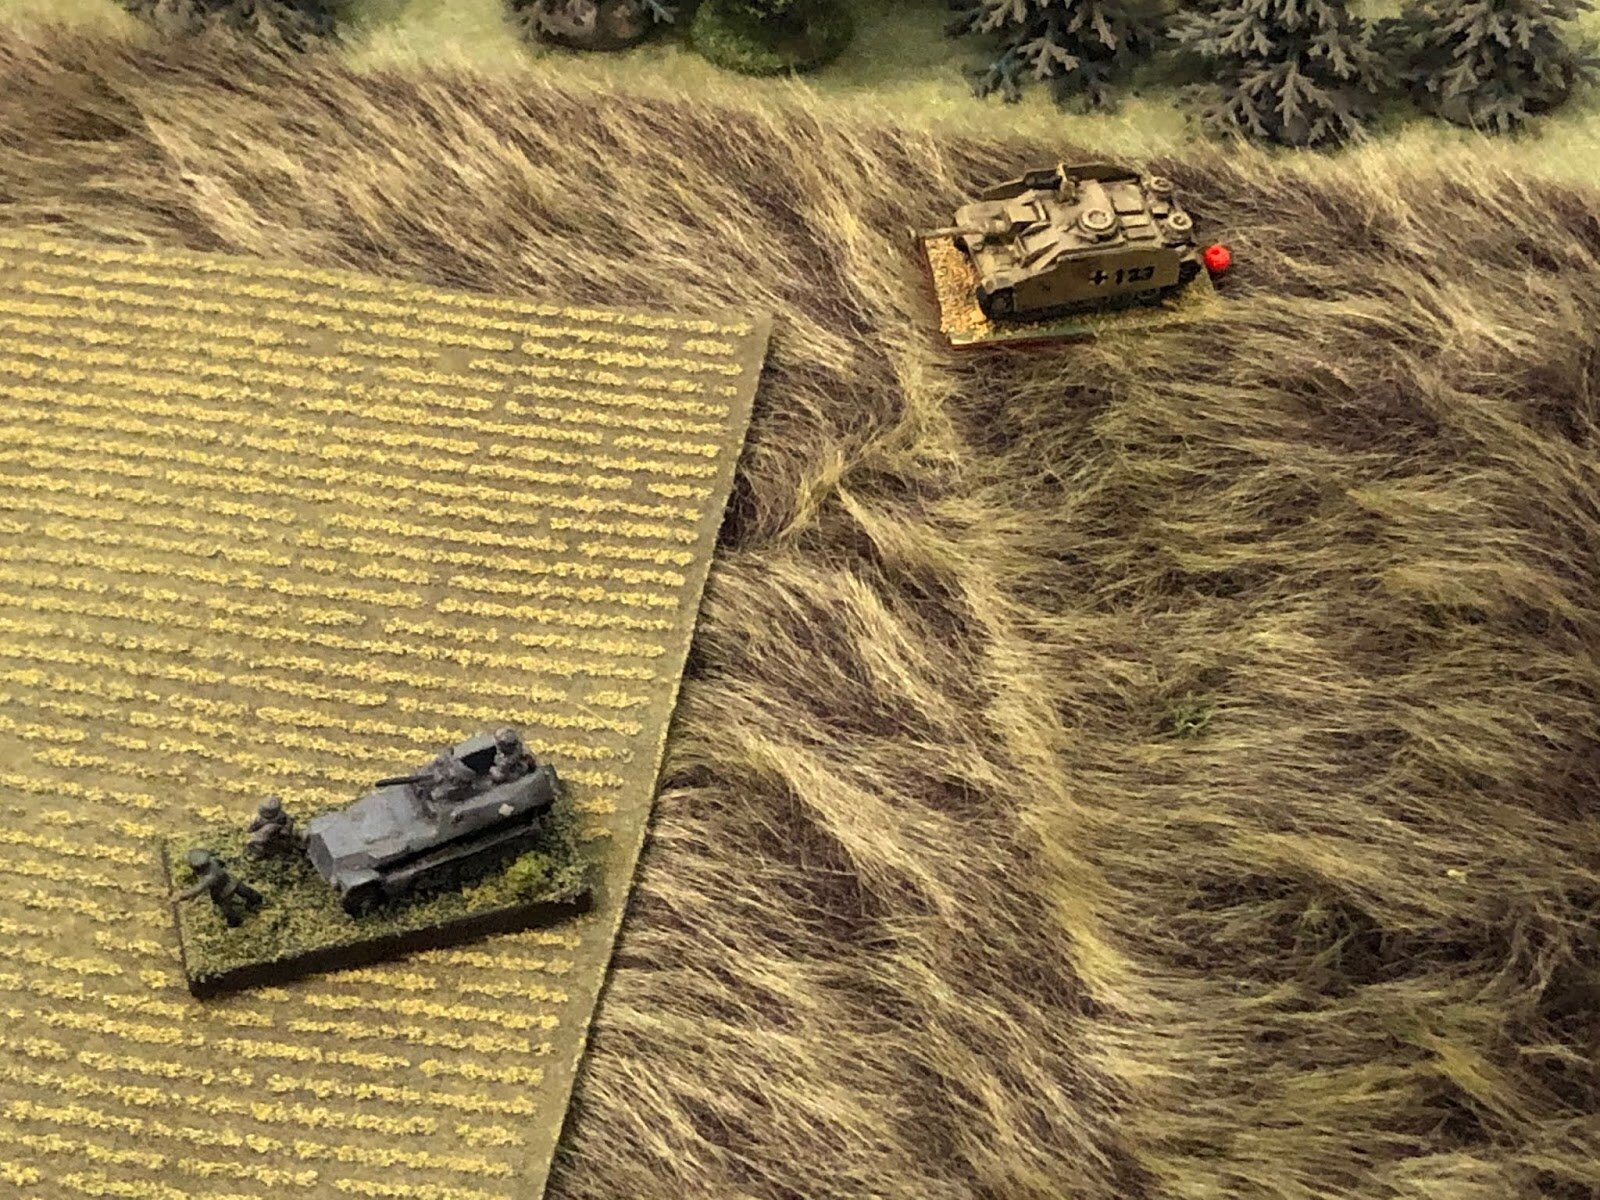
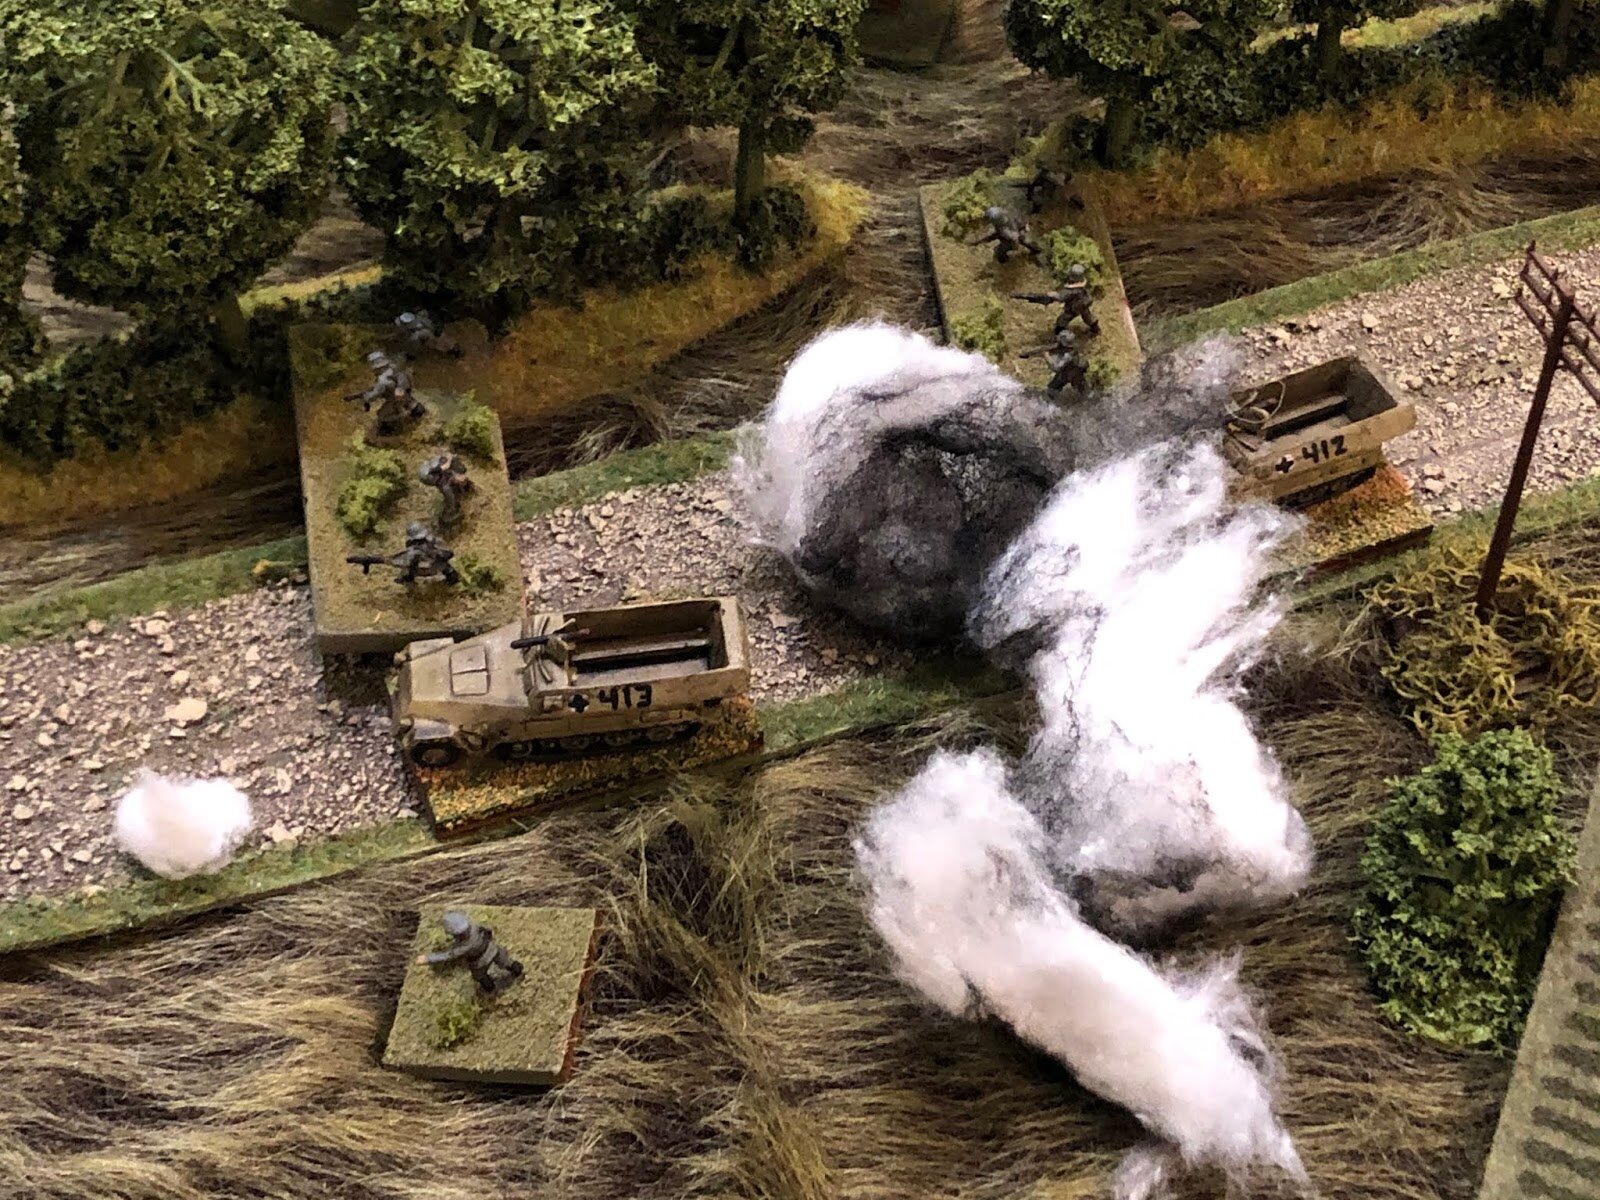
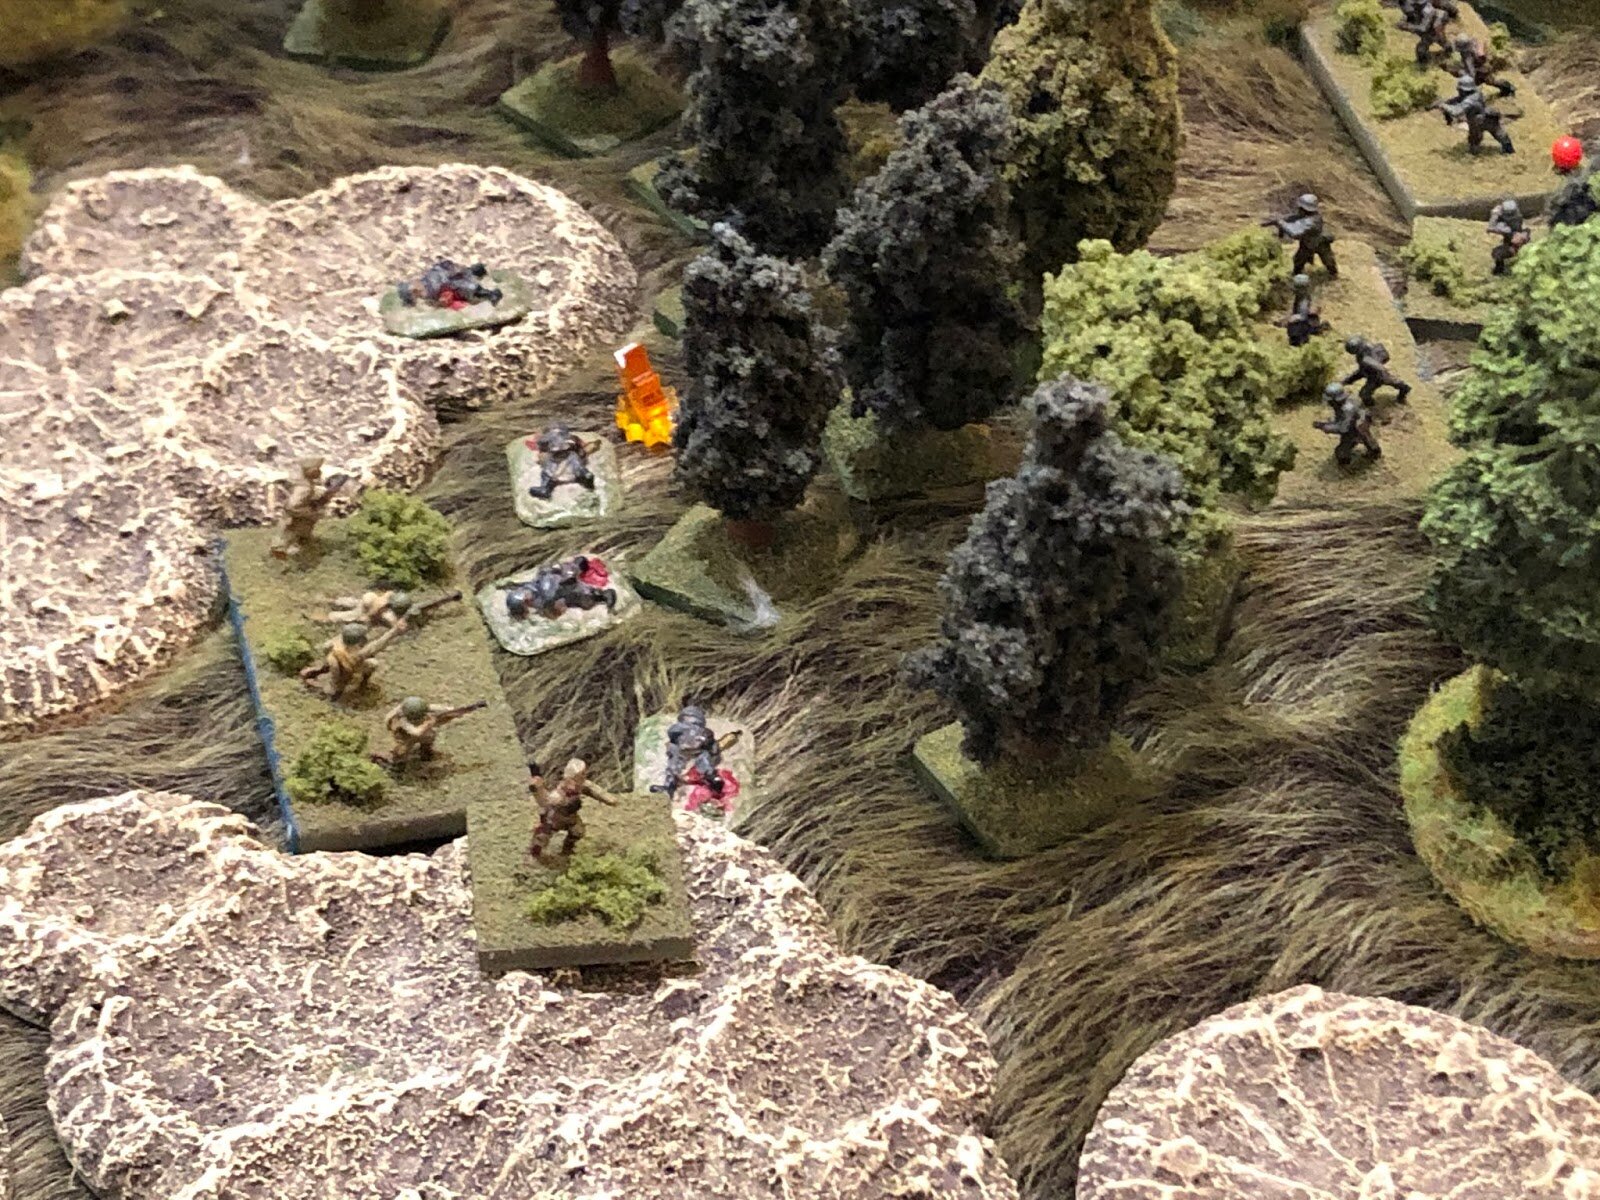
In the centre, as well, the KV-85s moved forward, now deciding just to ignore the scouts in front of them. Two of their number took fatal hits: all from the Jagdpanzer with its backside to the Soviet infantry…it had now taken out three of the hefty beasts. My machine guns then got off another volley, further hammering the unfortunate Soviets, and I reckoned I had the game if not won, then certainly on the way to being won.
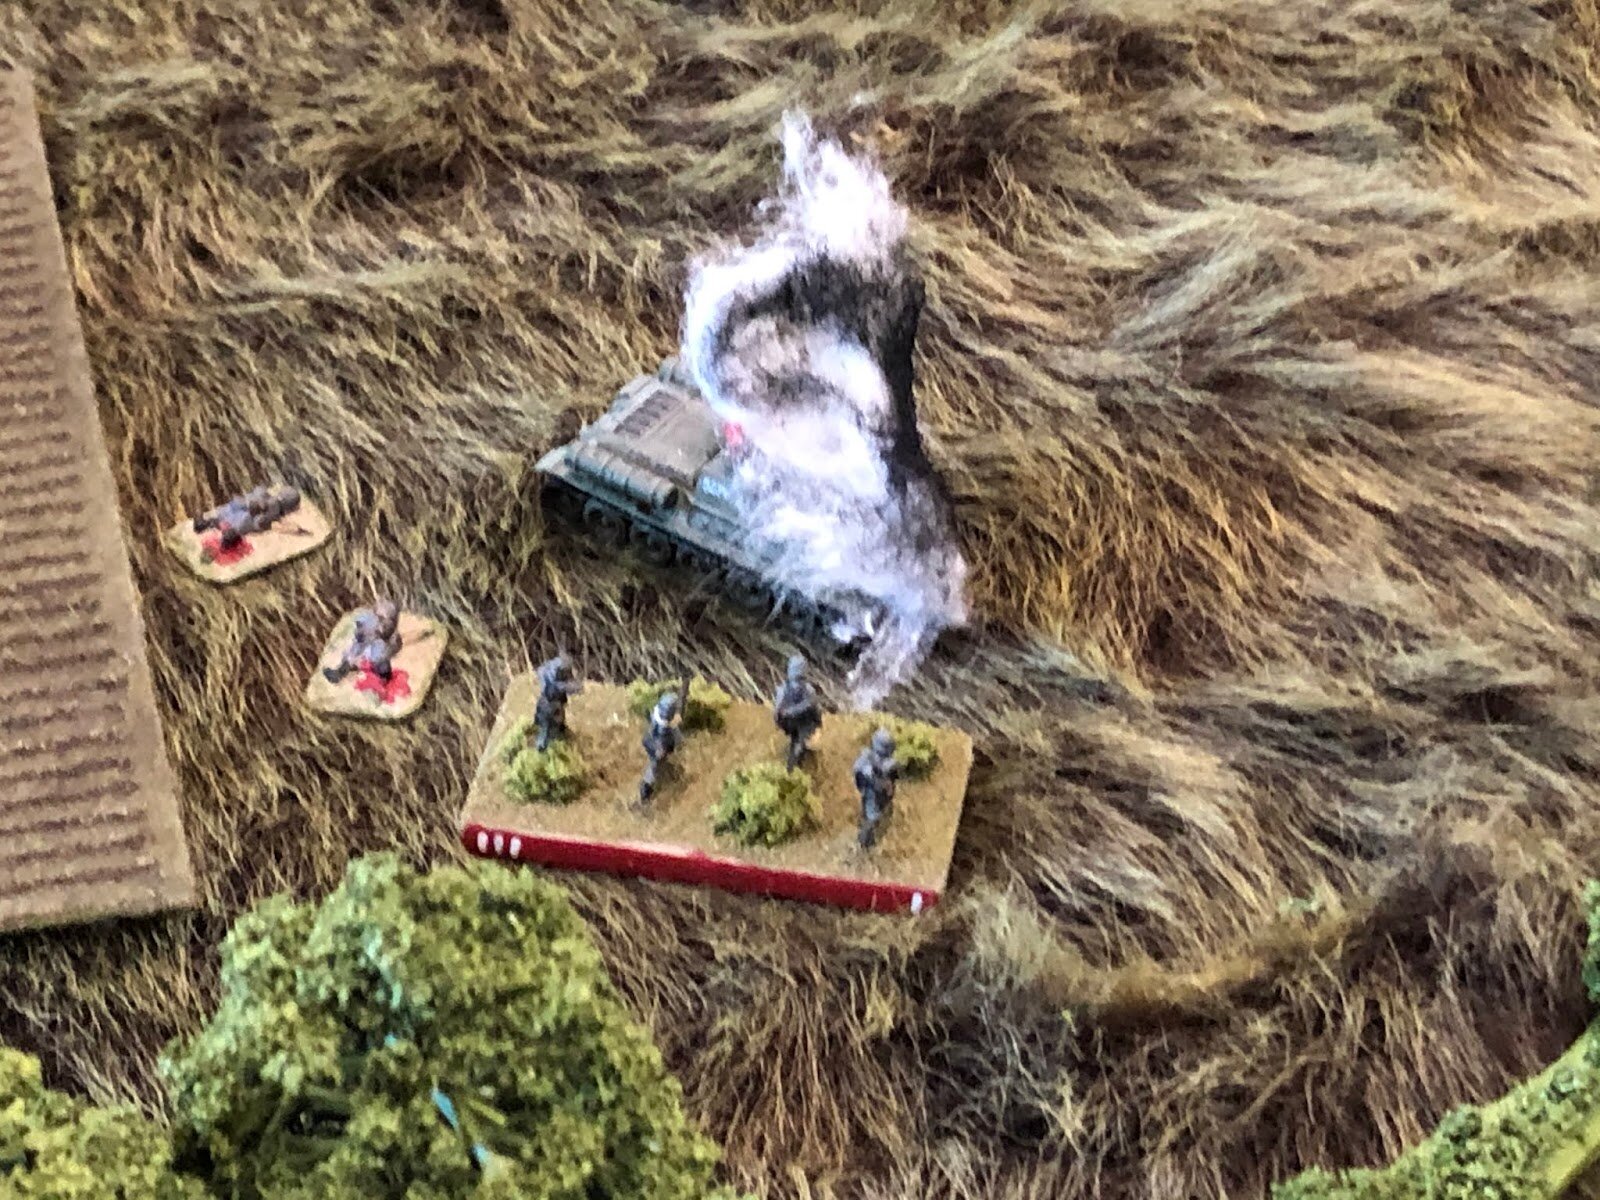
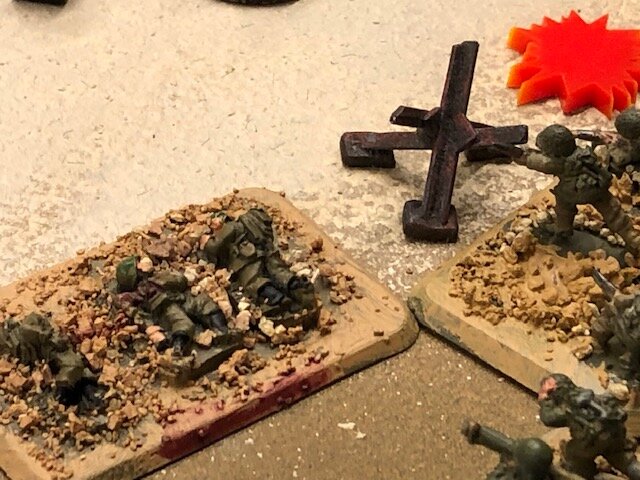
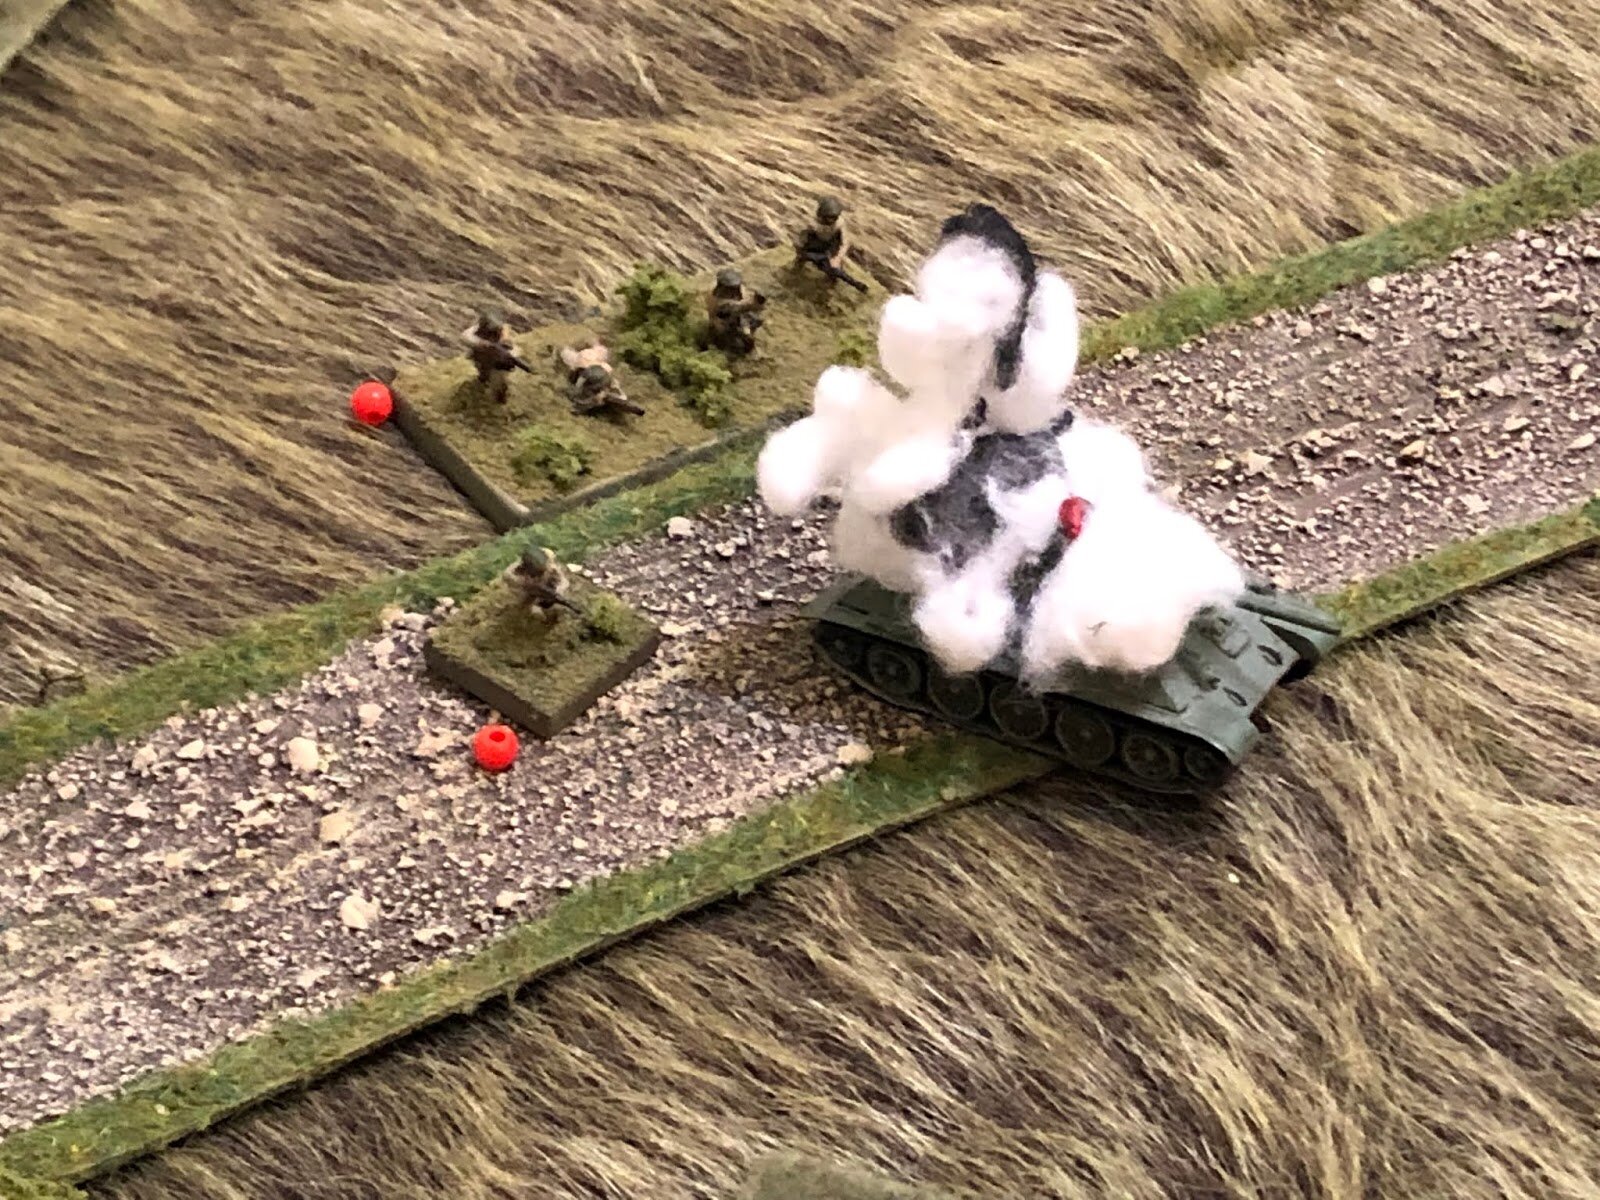
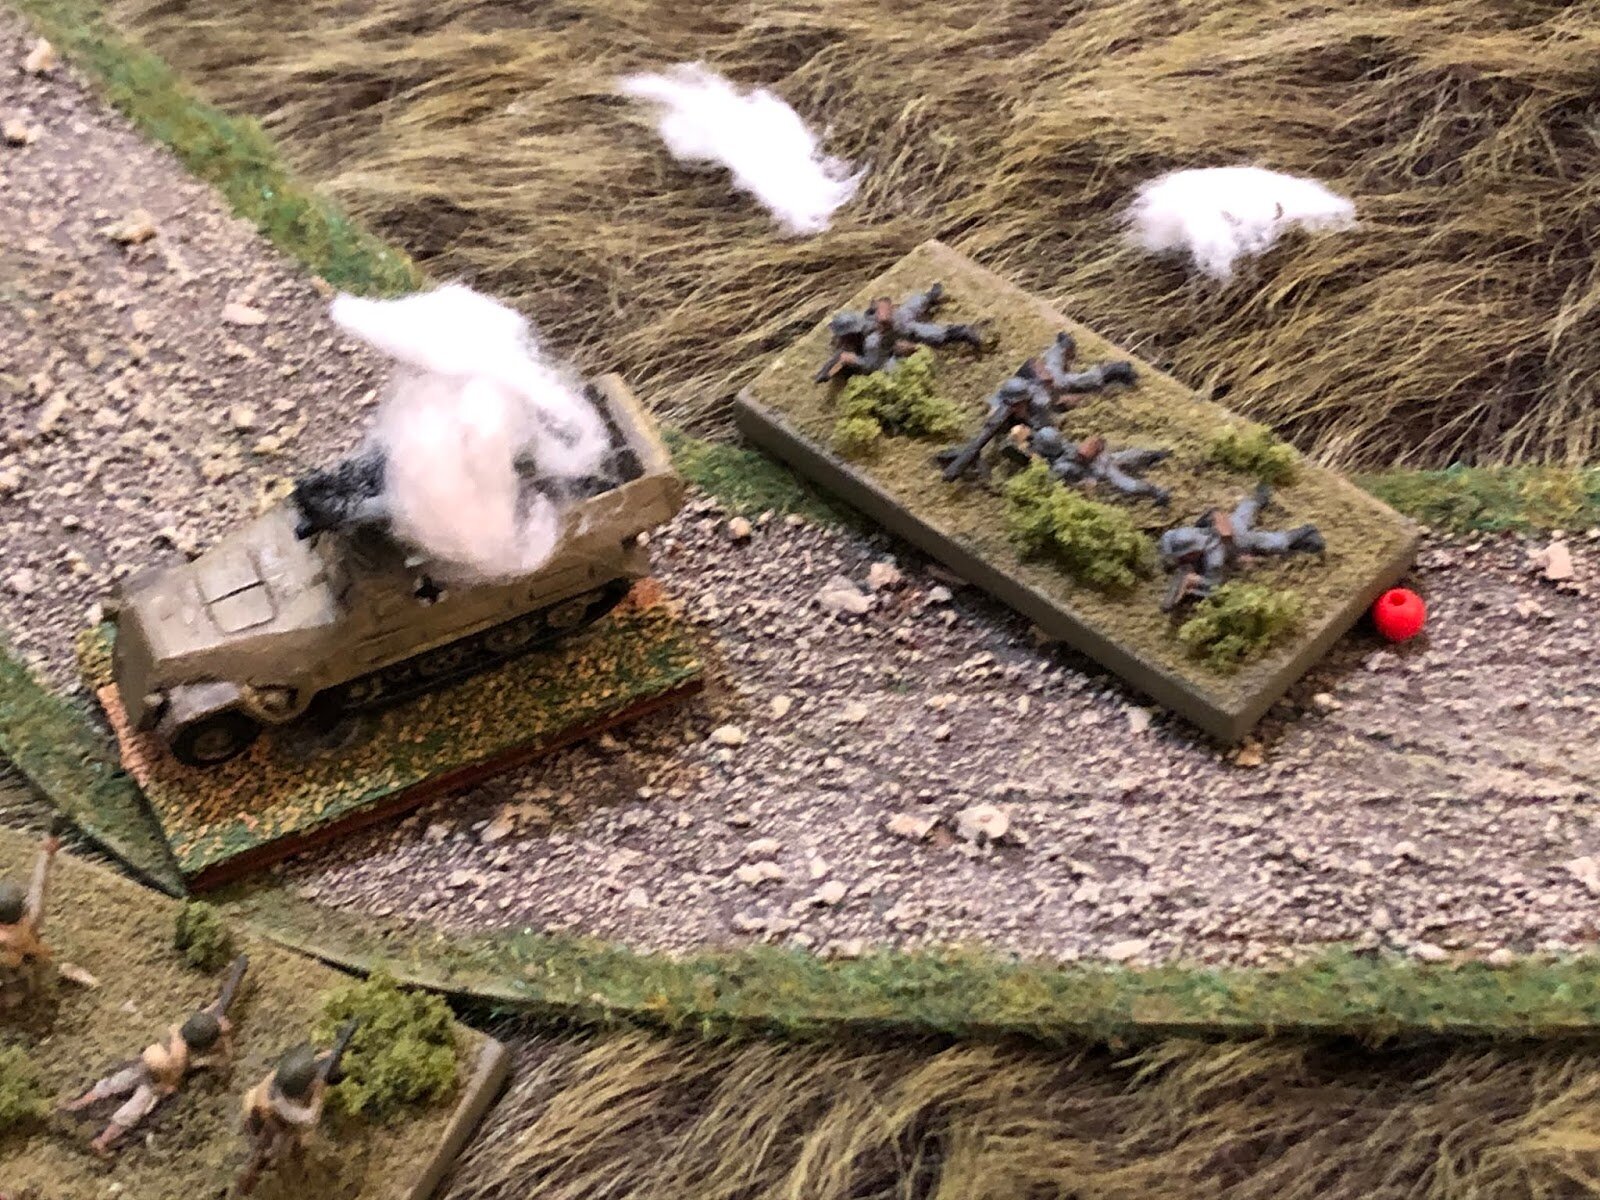
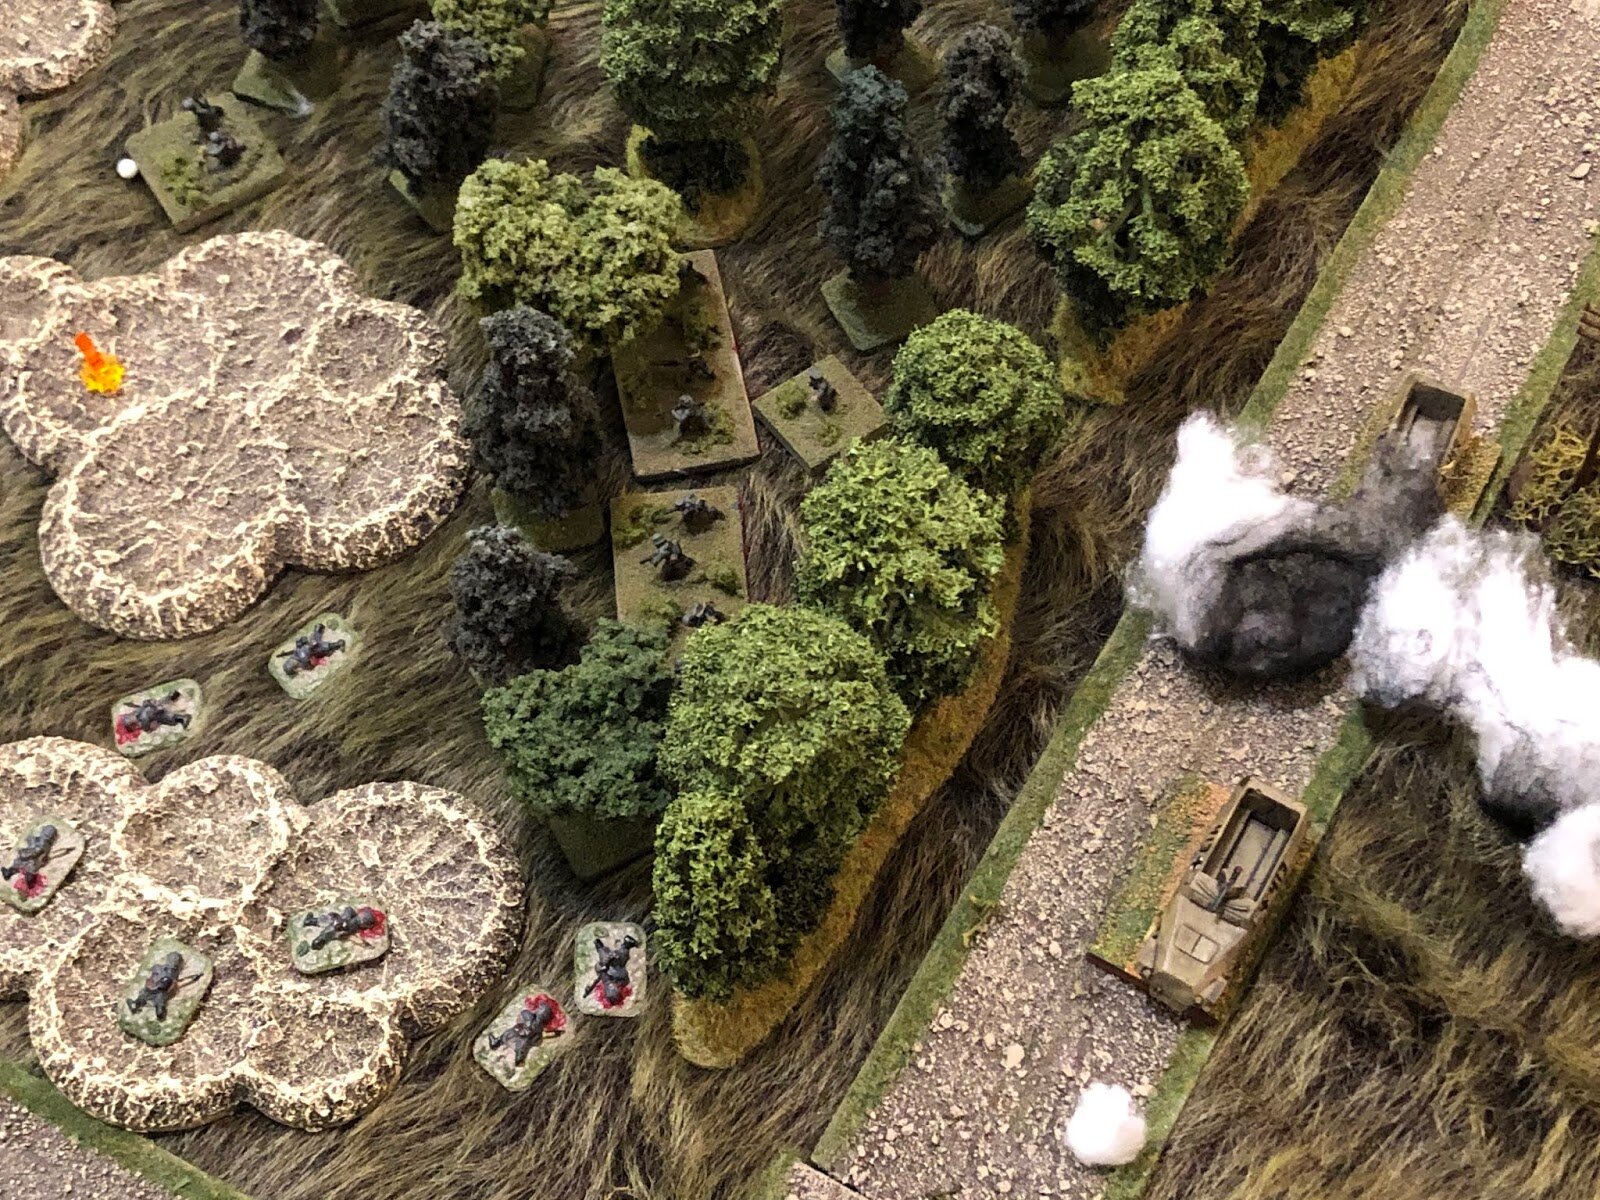
Then disaster struck. Out came the Soviet Heroic Leader chip, and the Soviet platoon leader who had been responsible for the death of so many of his men, shamed by his stupidity, grabbed the flamethrower off the engineer next to him and charged forward on his own, hurling himself into the path of the German machine gun facing him.
He was shot down, but not before taking out the machine gun team in front of him. I was down to one machine gun to hold that flank.
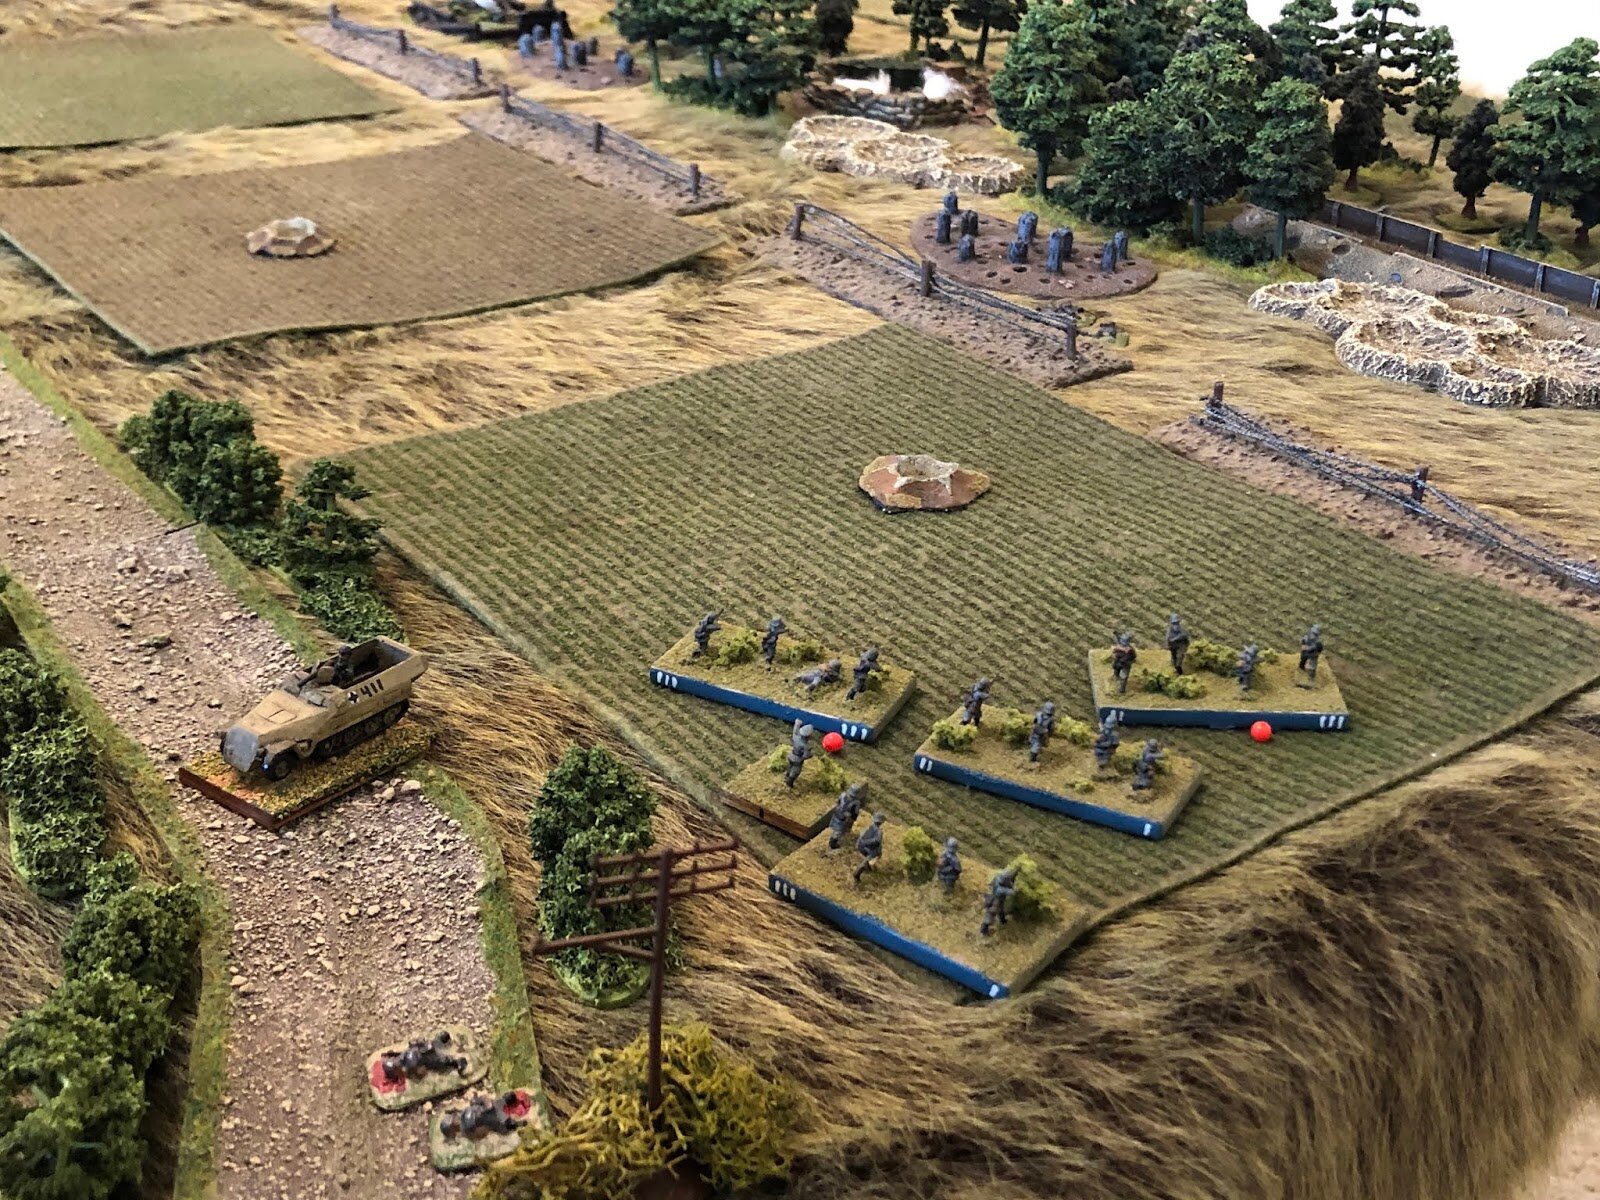
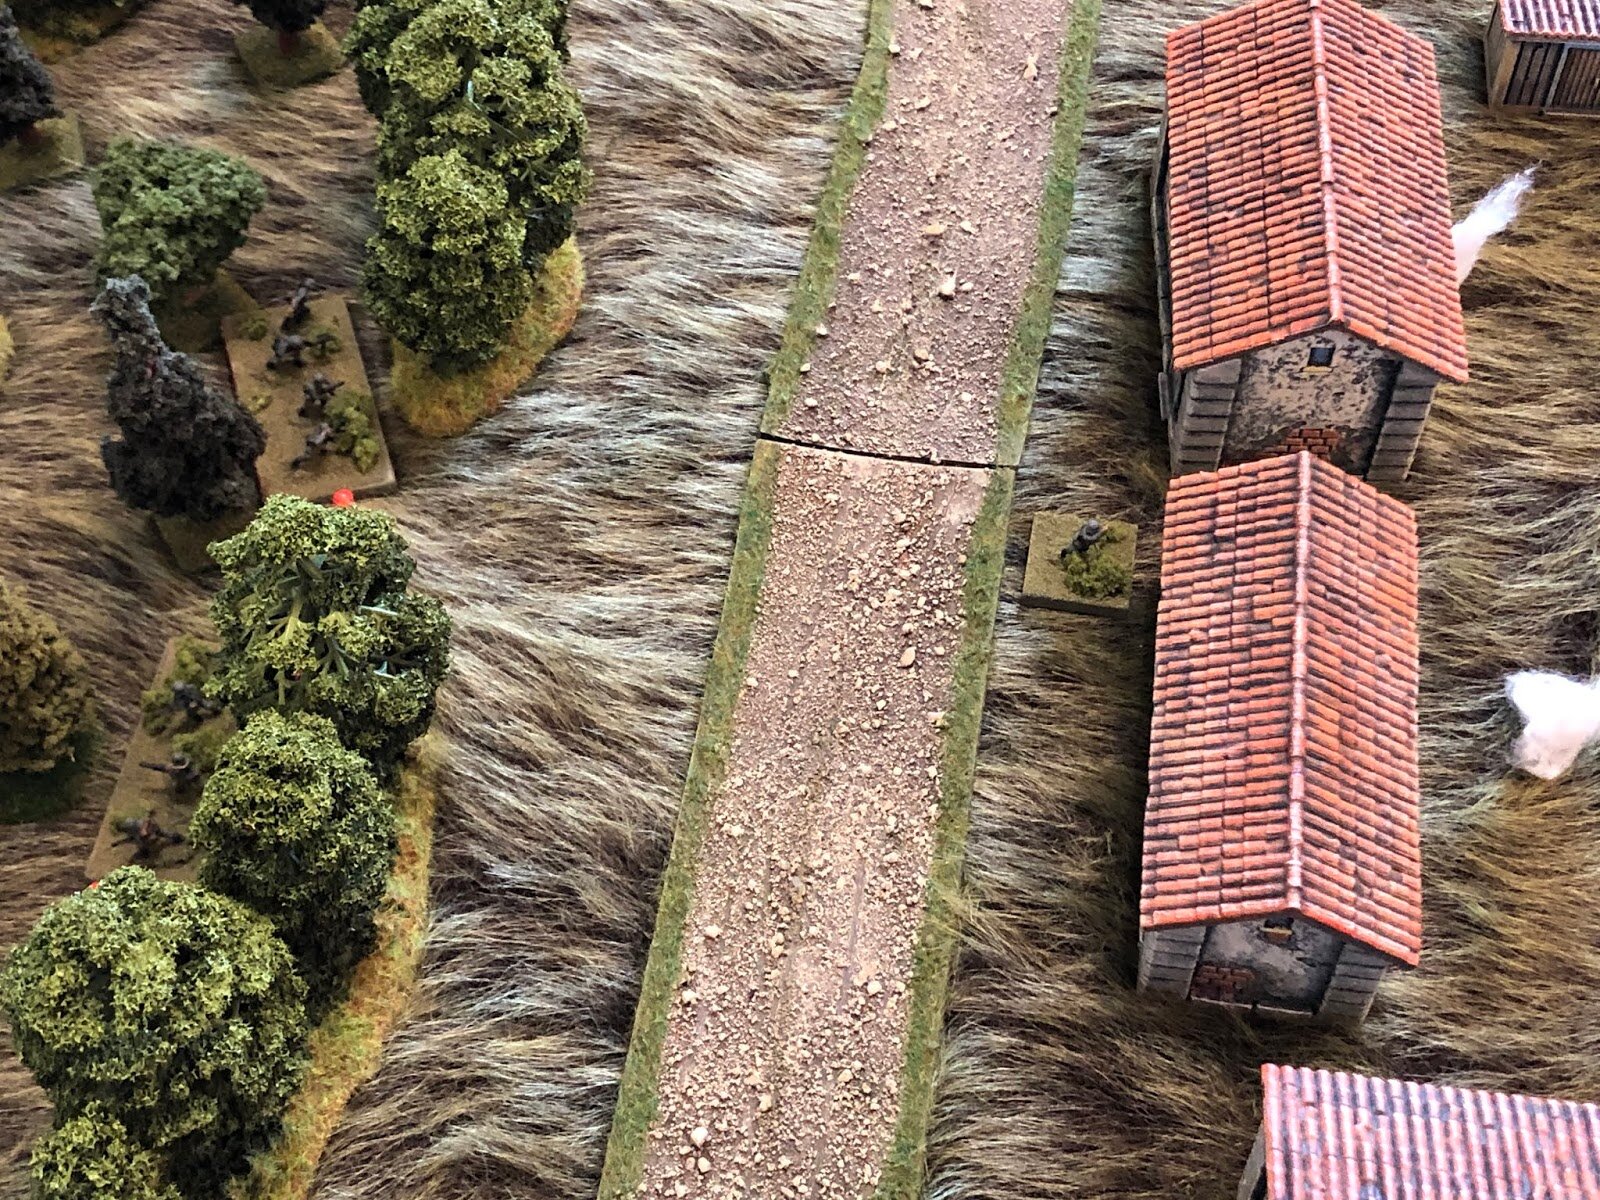
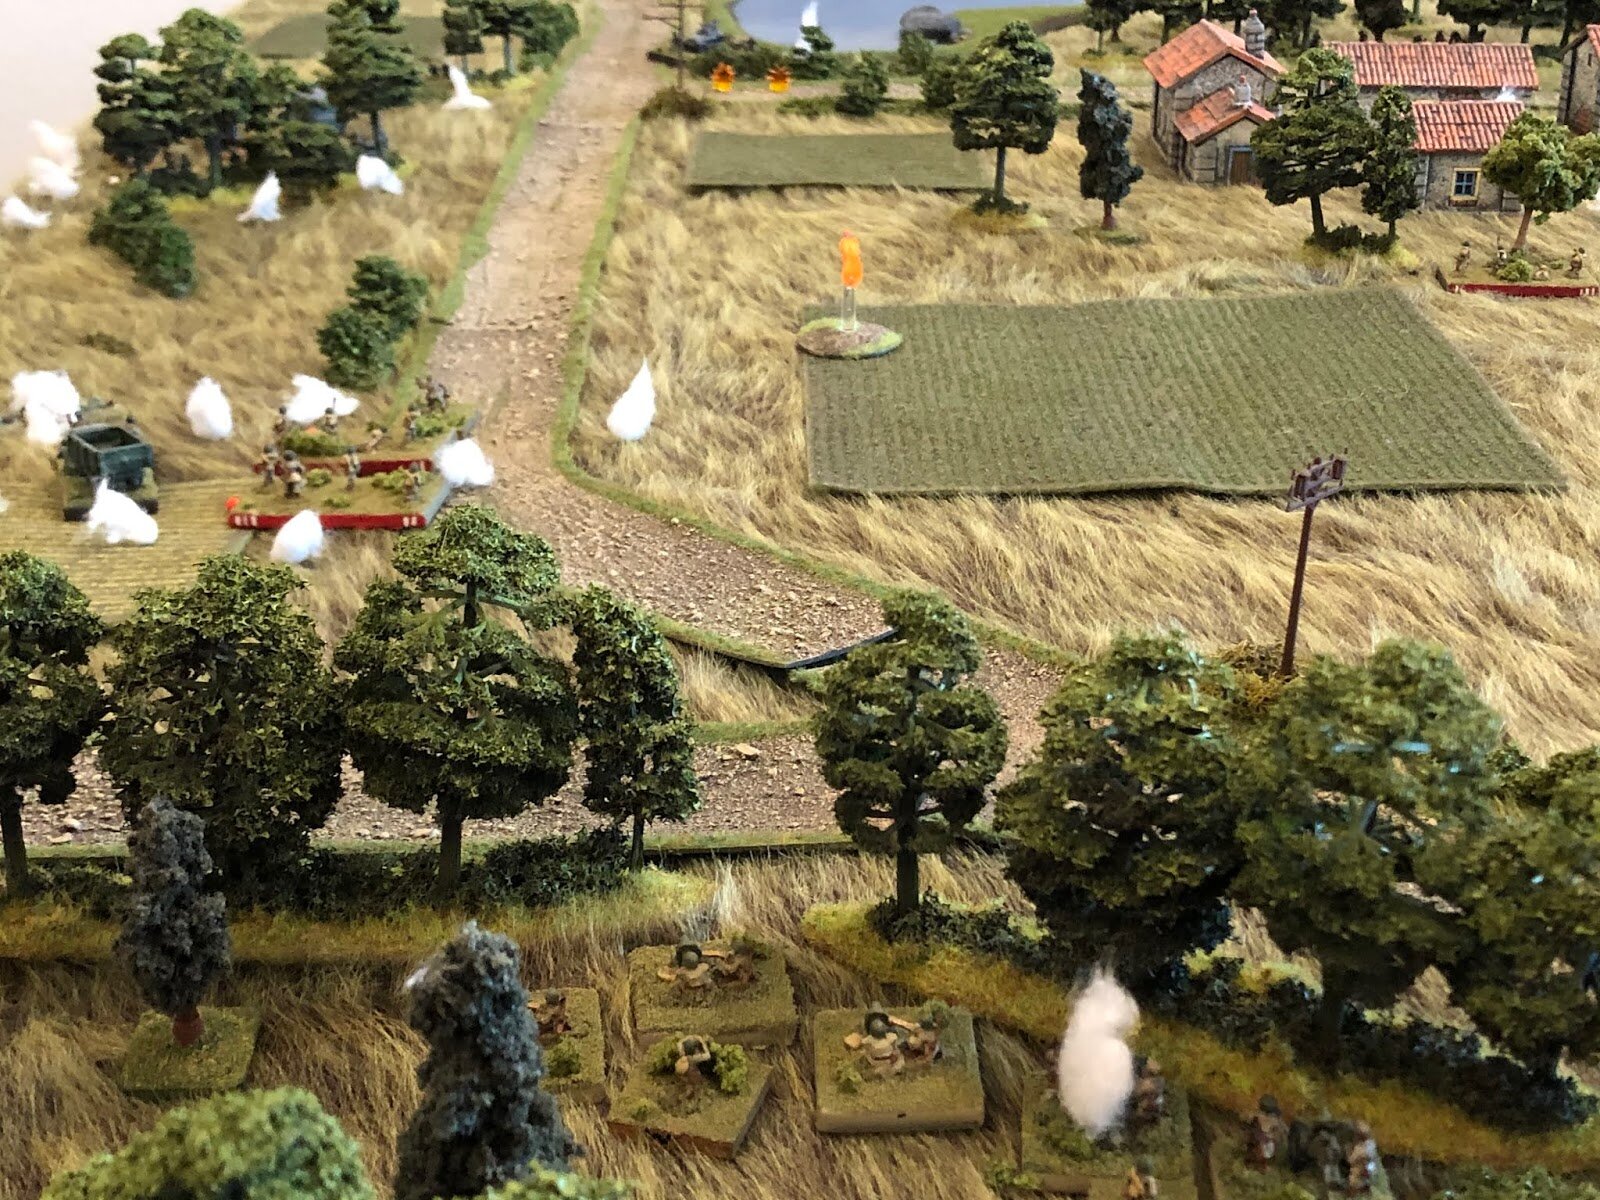
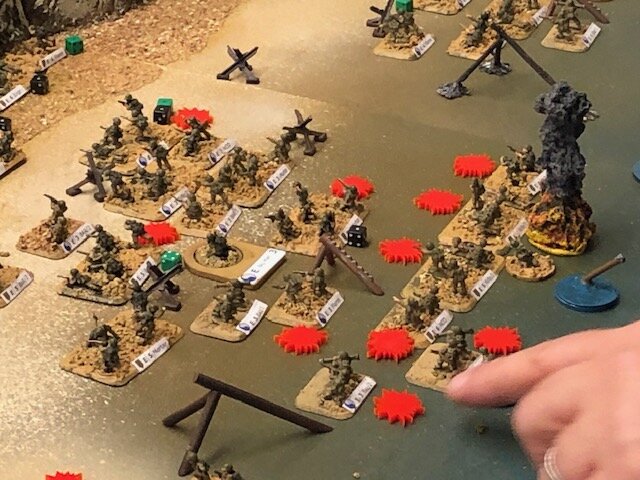
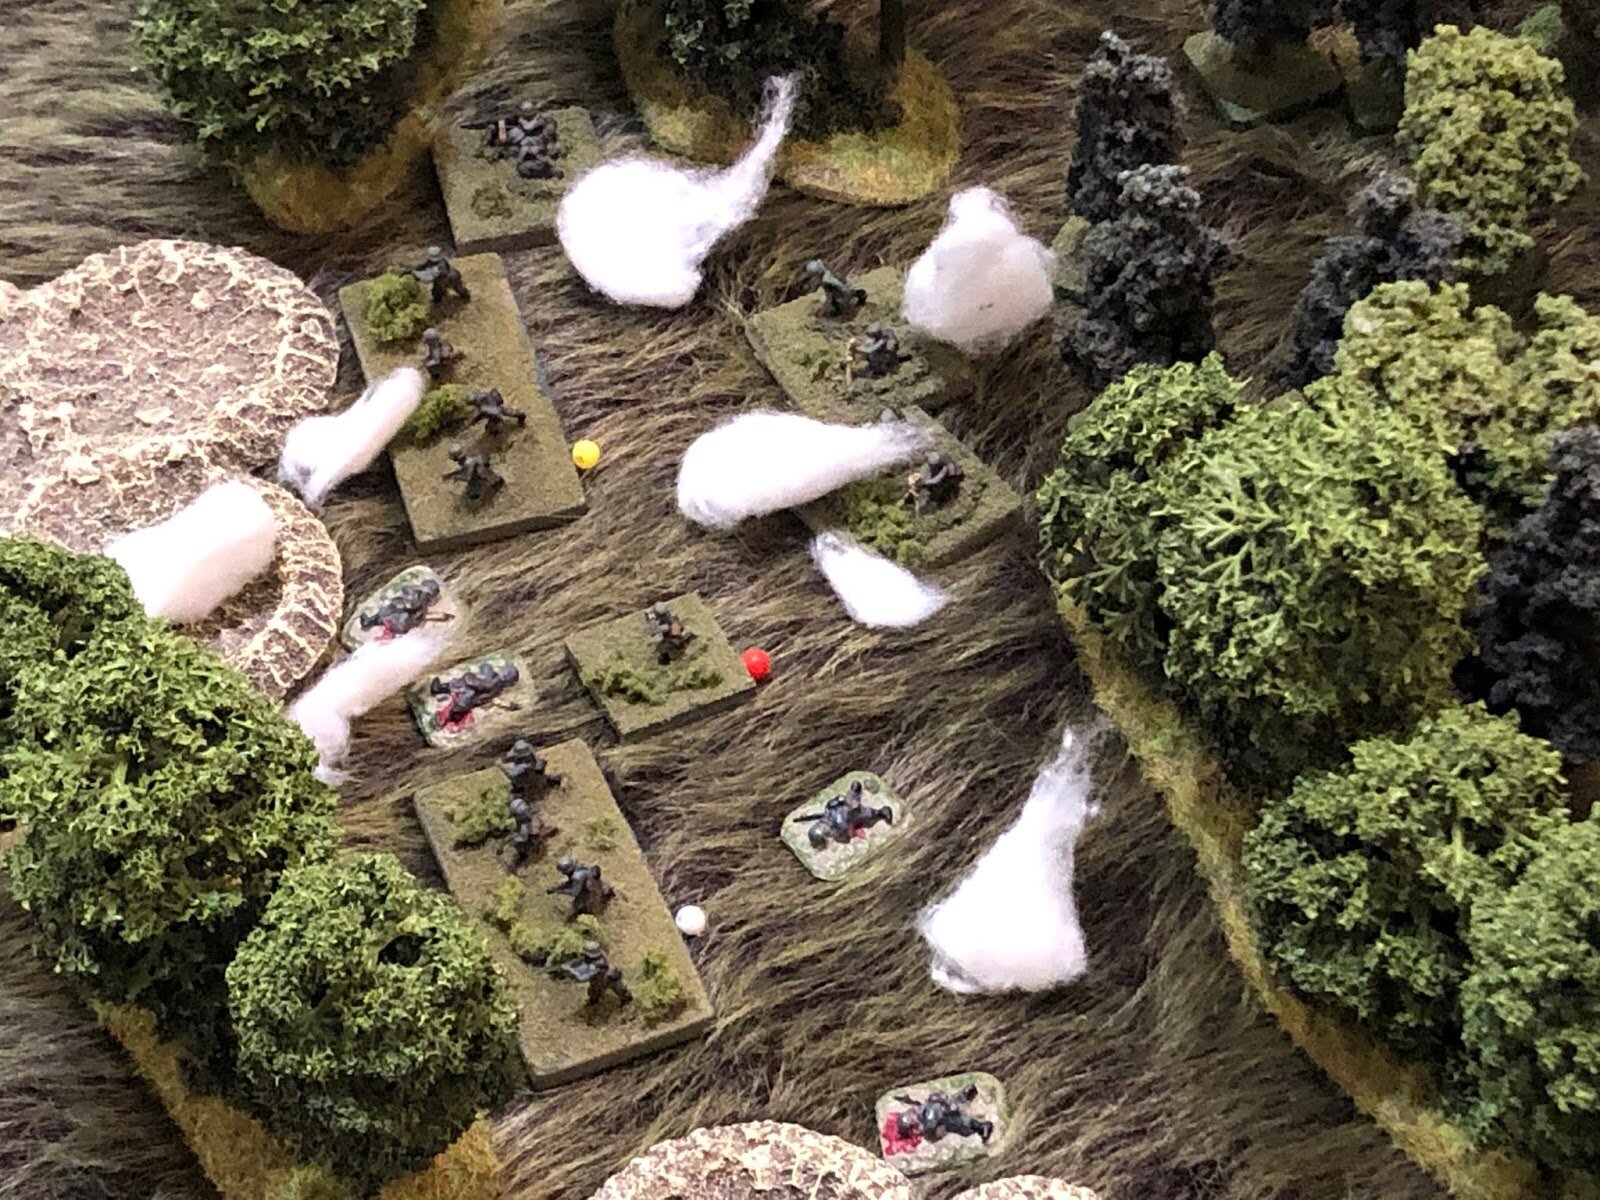
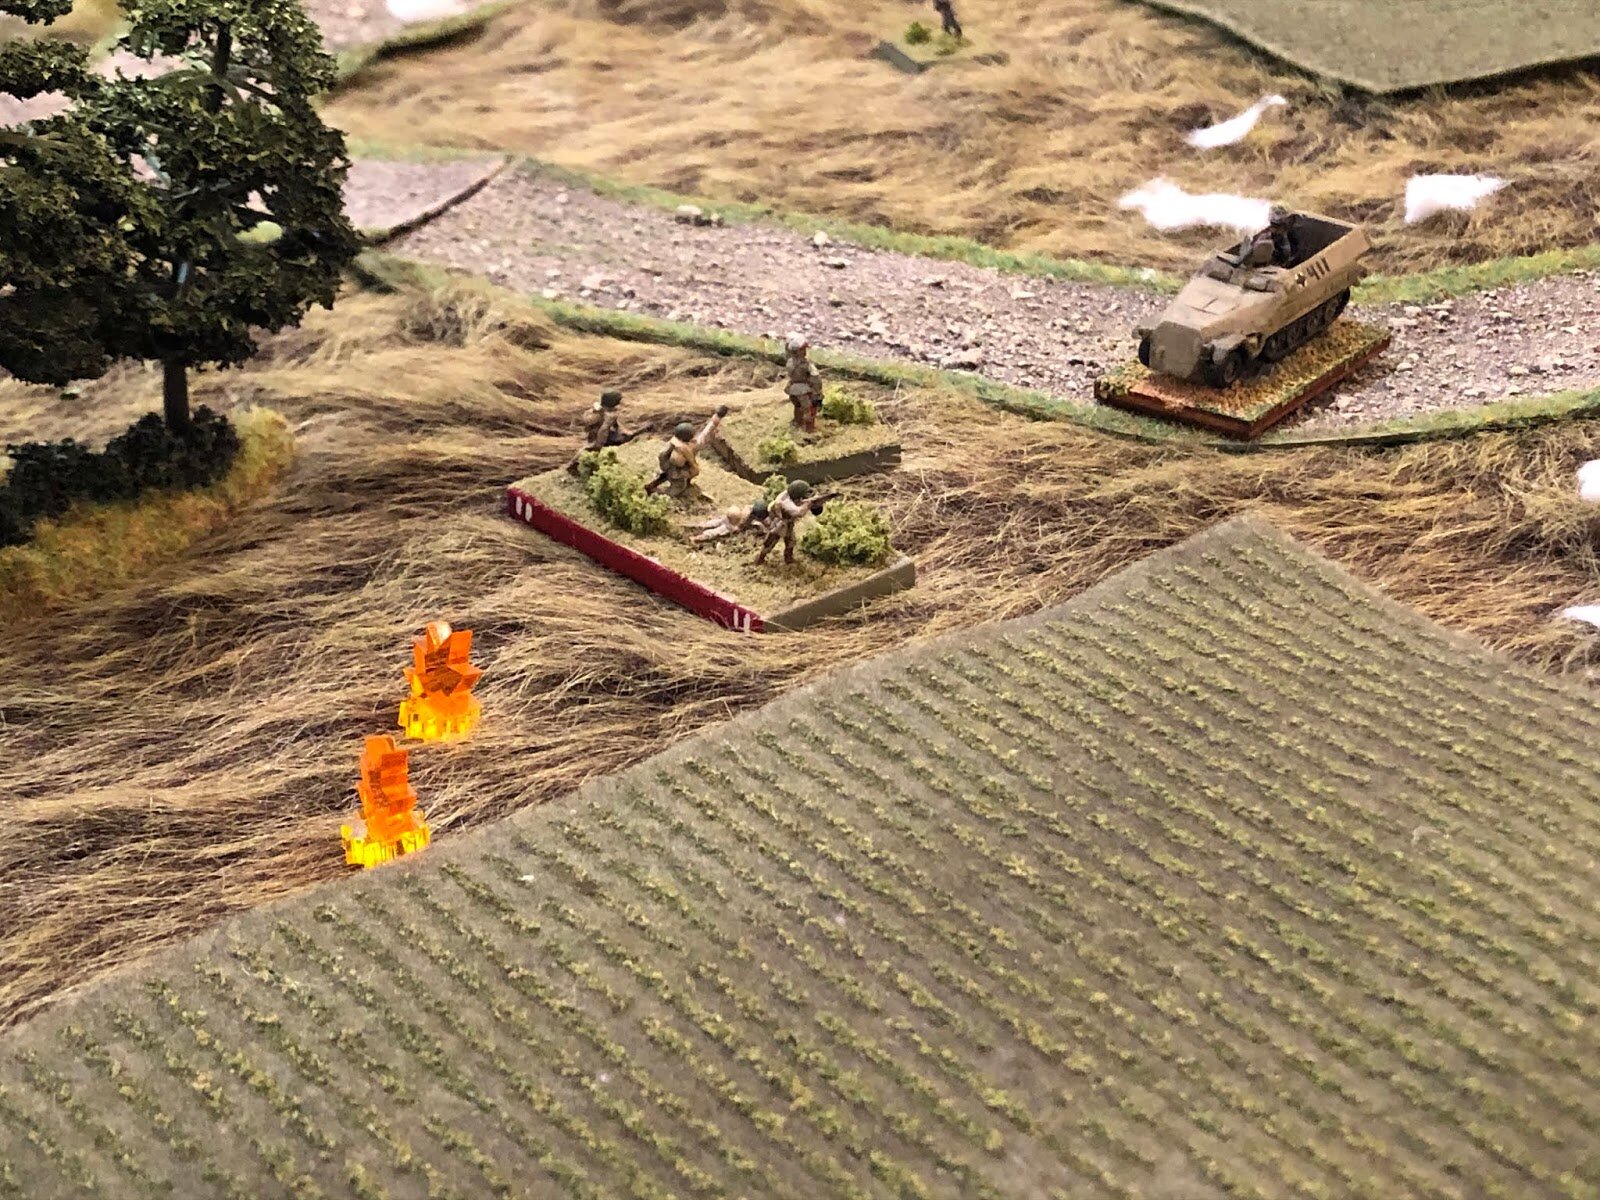
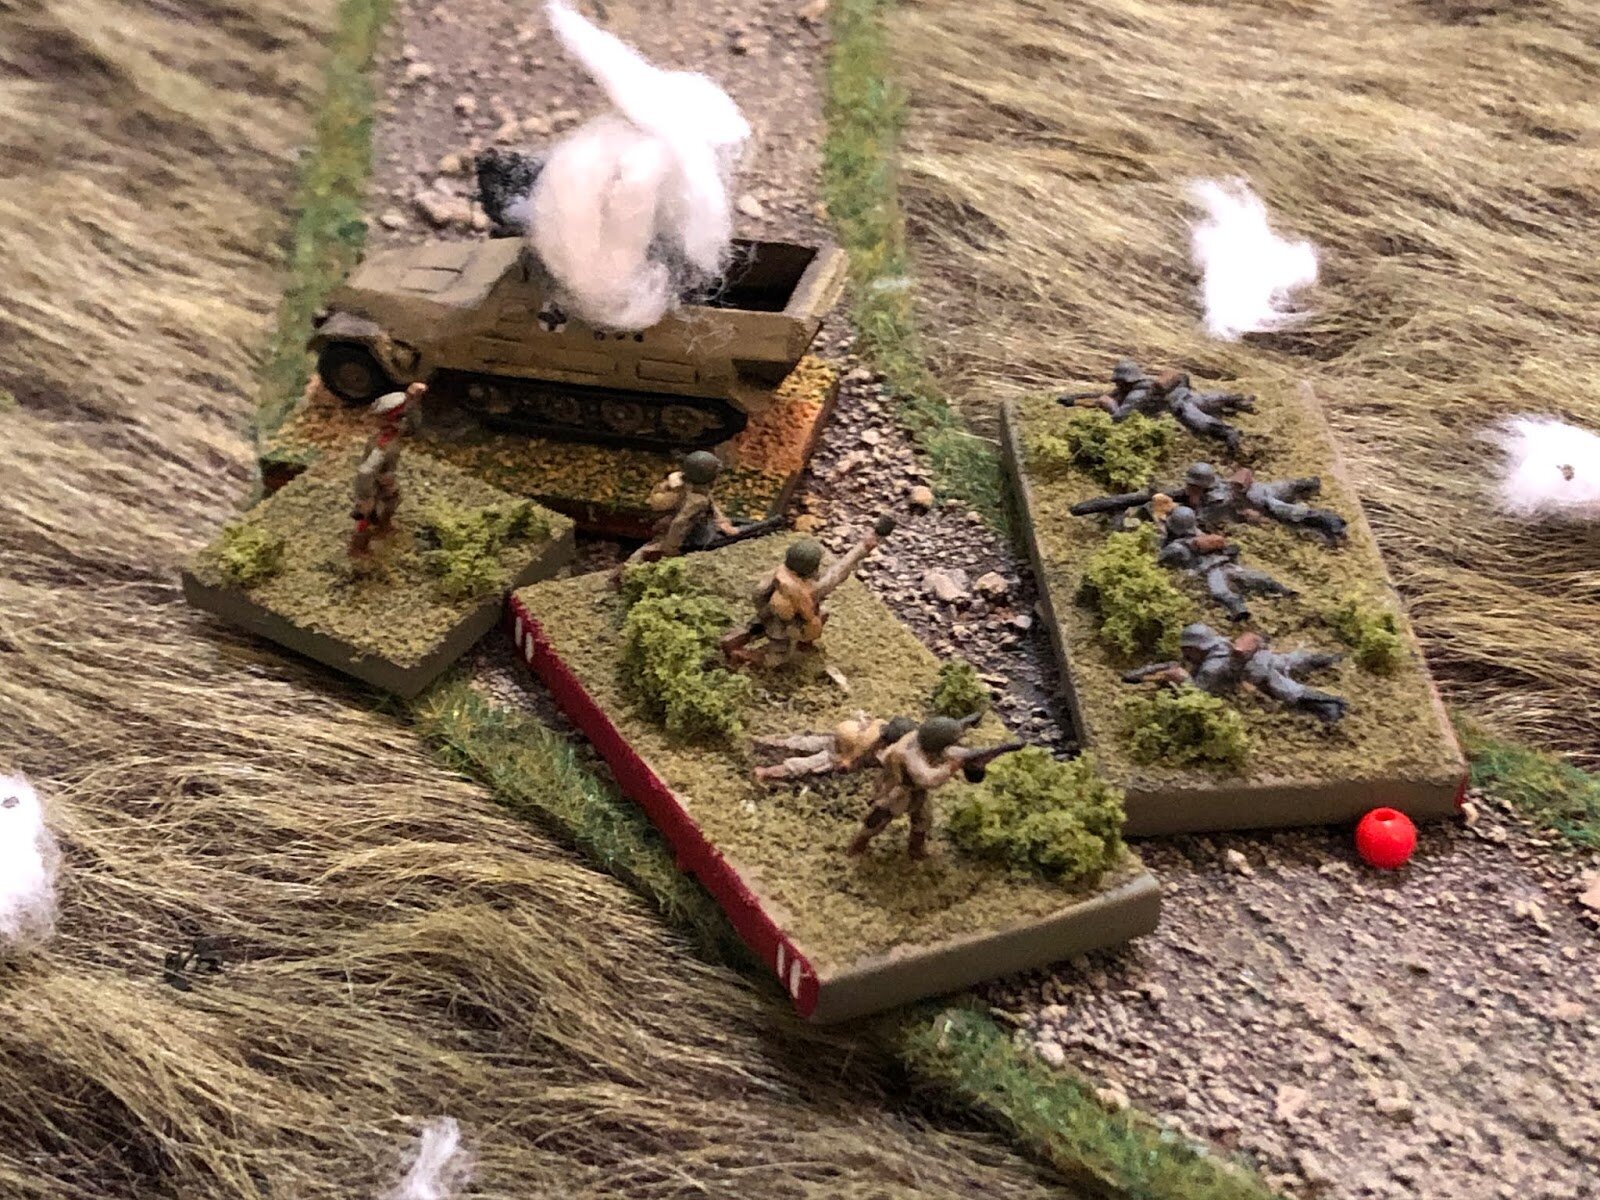
Then in swept the other Spviet platoon, through the gap where the missing machine gun was supposed to be. I had a platoon to hold them off with, and a massive close combat broke out: superior Soviet numbers countered by the fact that I was defending.
The Dice Gods, however, had deserted me. I lost almost half of my men without causing the Soviets a single casualty!
And that, as they say, was that. We were out of time, but the Soviets had smashed in the German line, even if it had been a truly Pyrrhic victory. The Soviets had lost two of their three infantry platoons, three of their five KV-85s and one SU-100. The Germans hadn’t lost any of their Jagdpanzers, but had just run out of infantry to support them with.
Aftermath
It had been a great game, with the Soviets really only able to use their superior numbers right at the very end. As one of the Russian commanders pointed out, he might have lost an infantry platoon charging straight at ready machine guns, but that had turned out to be the right thing to do: without that, his other platoon would have had no gap to charge through.
I could have kept on playing, and might have achieved some kind of a draw, but I’m thinking that at this stage of the war, the Germans would have retreated rather than fighting it out to the last: after all, there are plenty more Soviets on the way!
I also like to think that my scout squad got away!
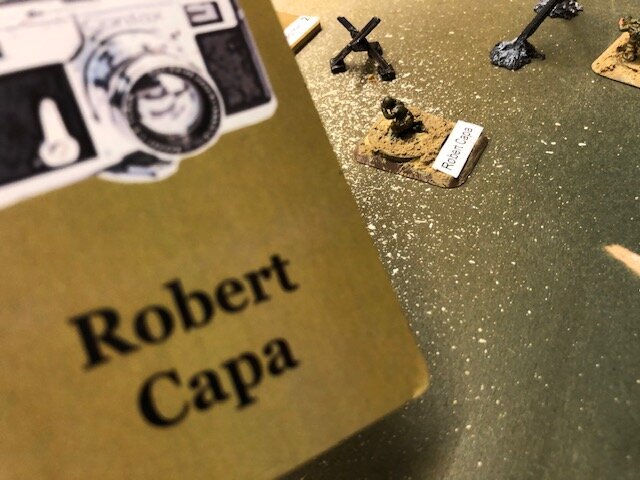
Robert Avery