A fictional scenario set in late May 1940. Using IABSM 3 & Platoon Forward (tweaked for company level ).
Ed's Note: i.e. Tony would play the Germans with the Allied force generated randomly
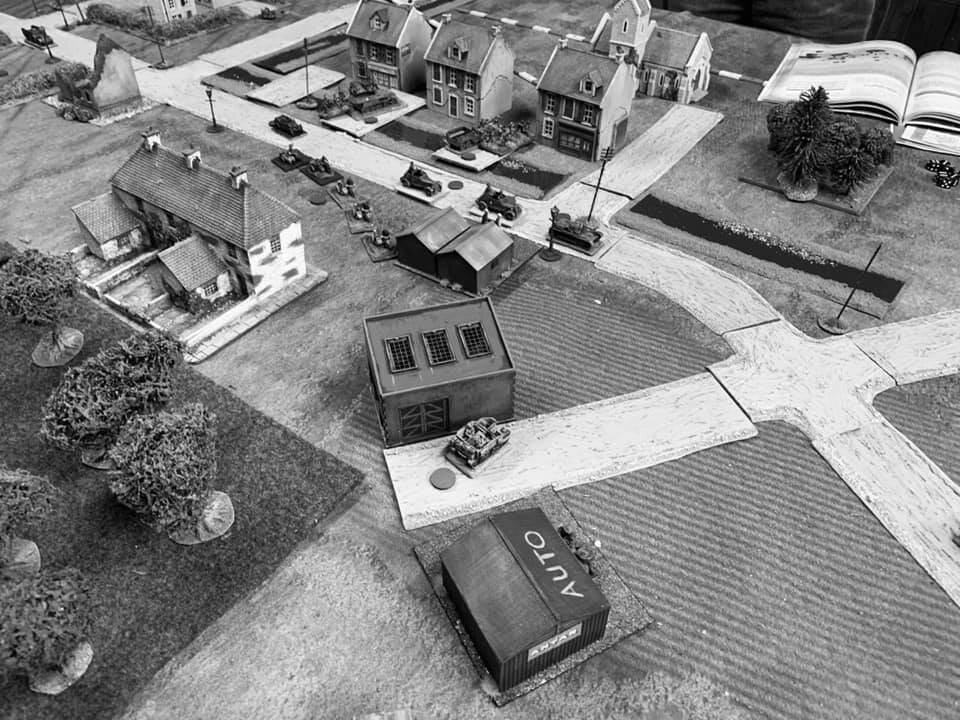
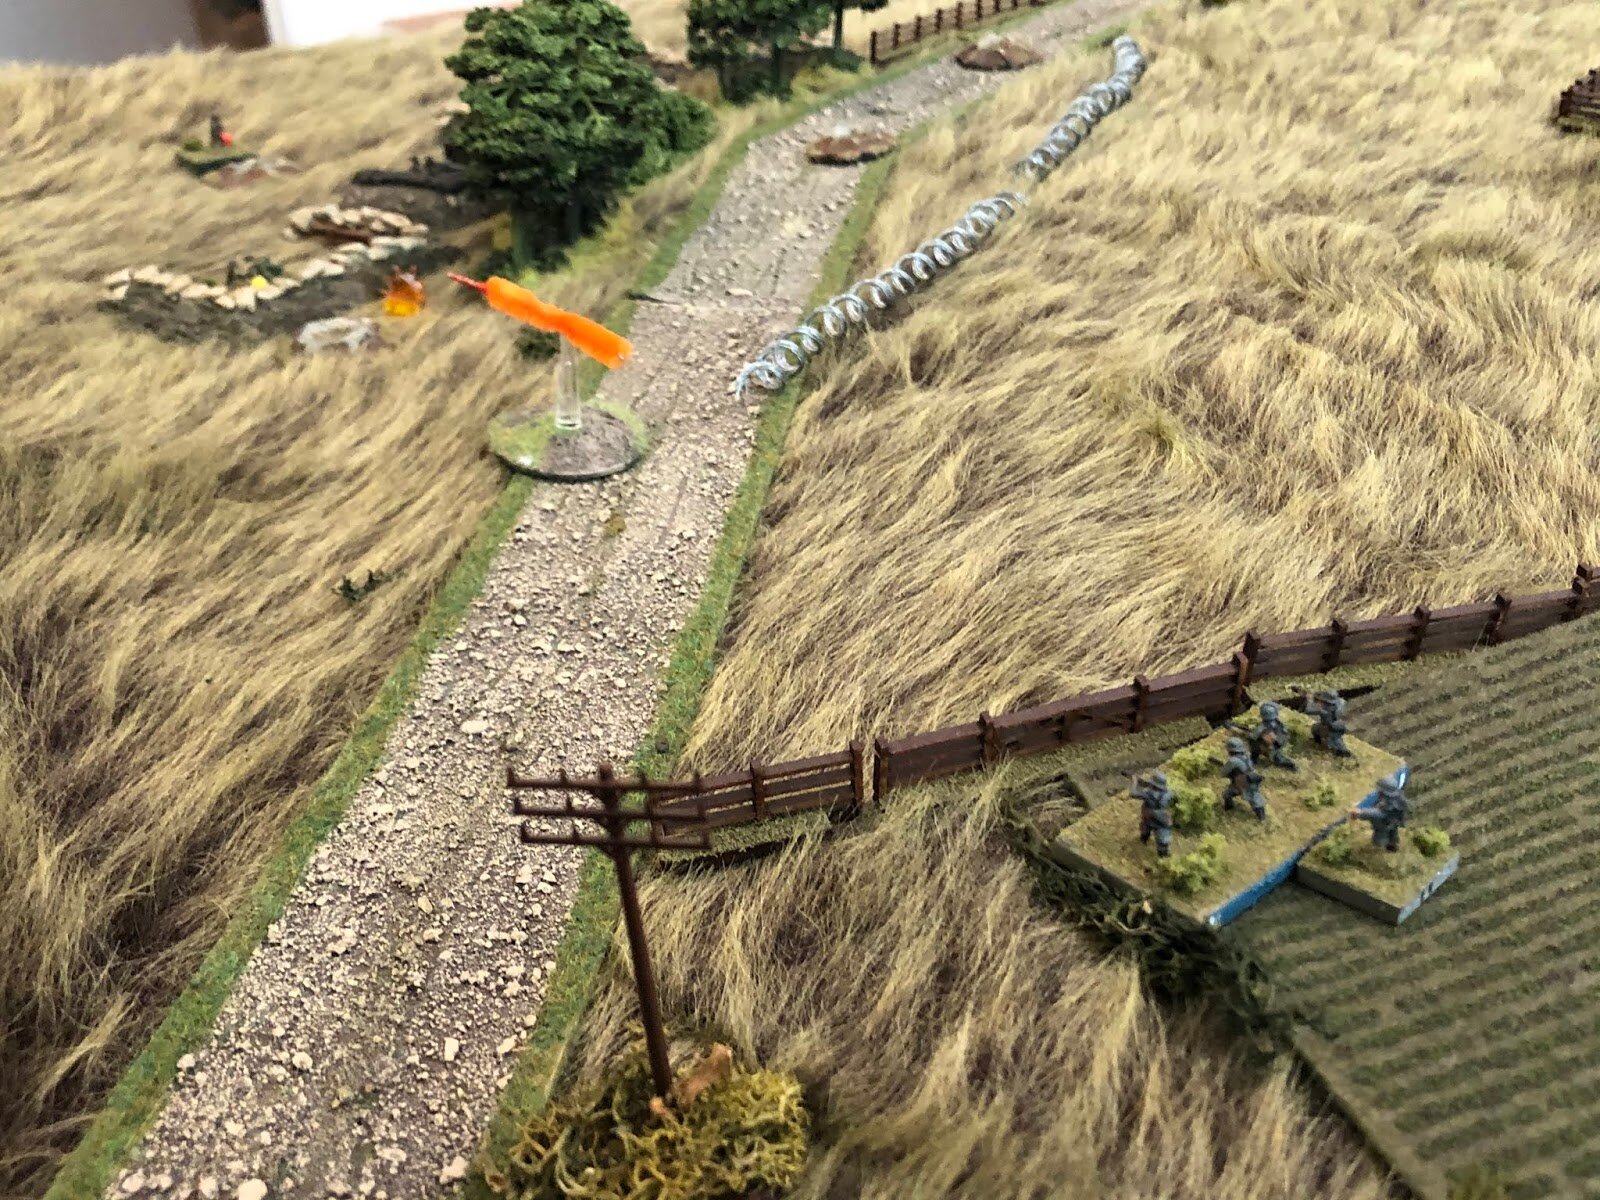
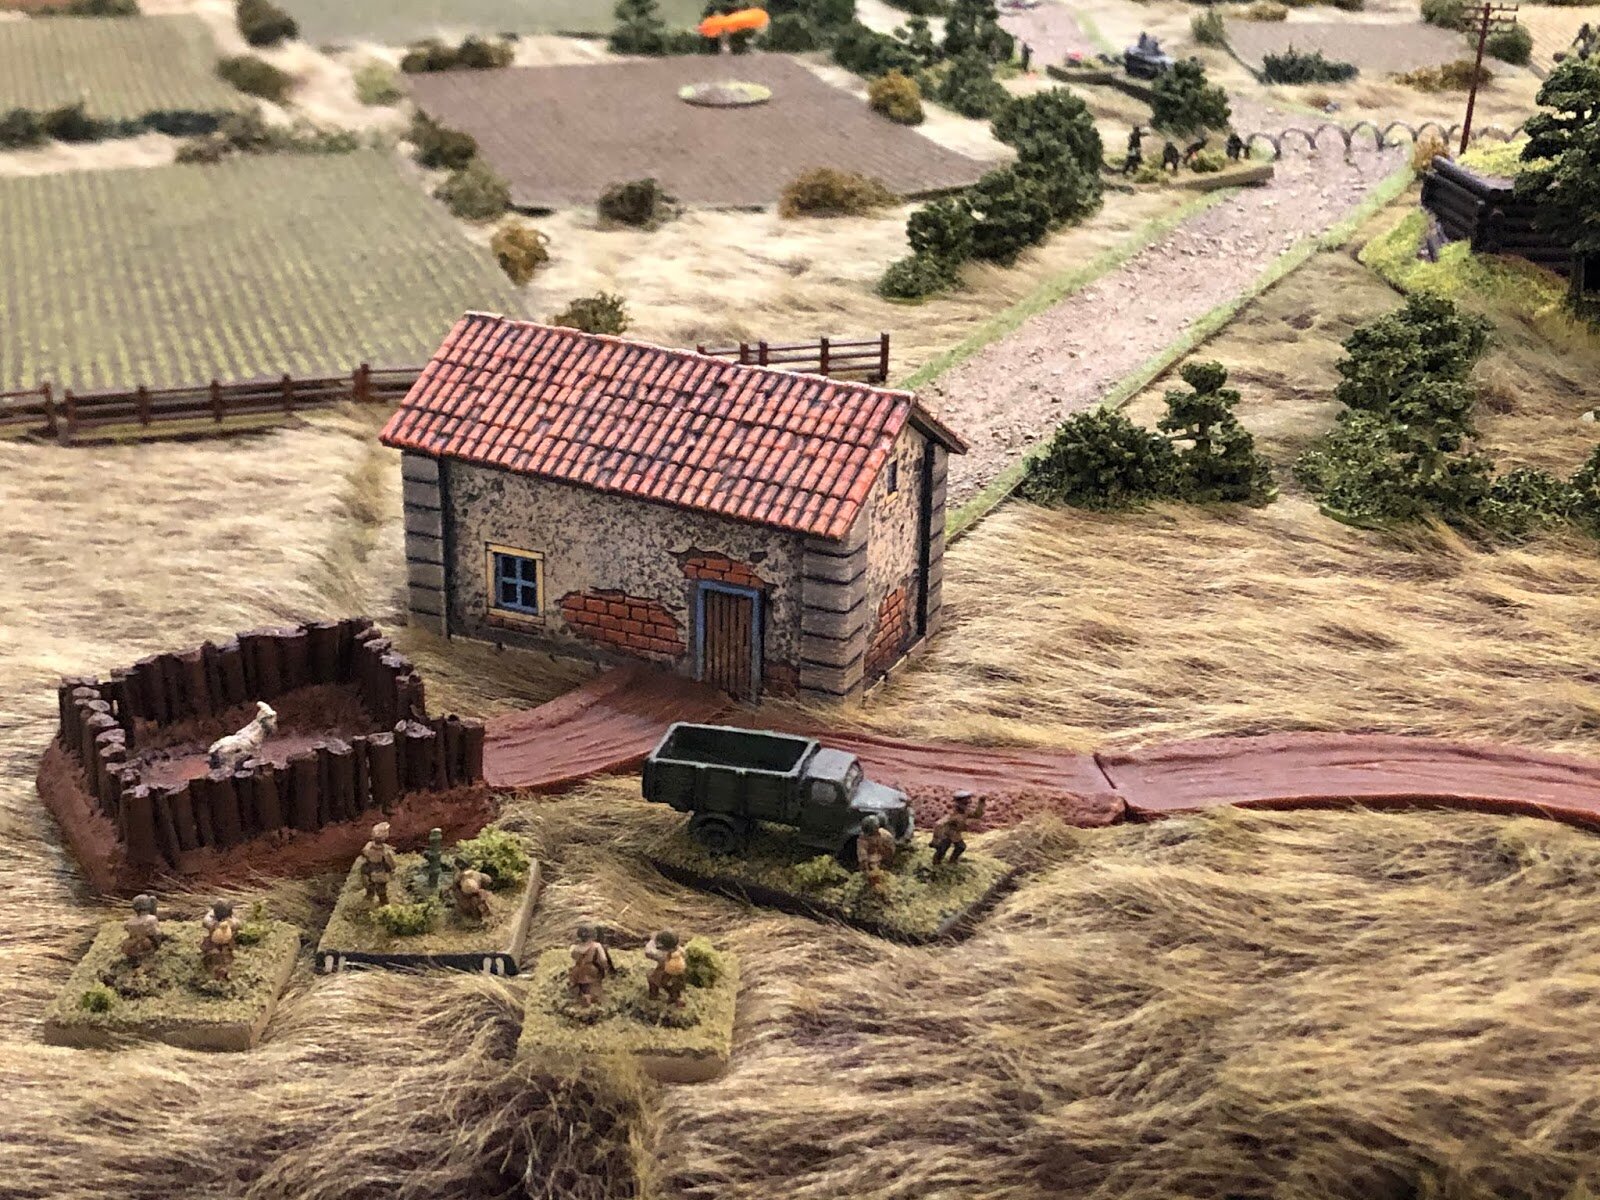
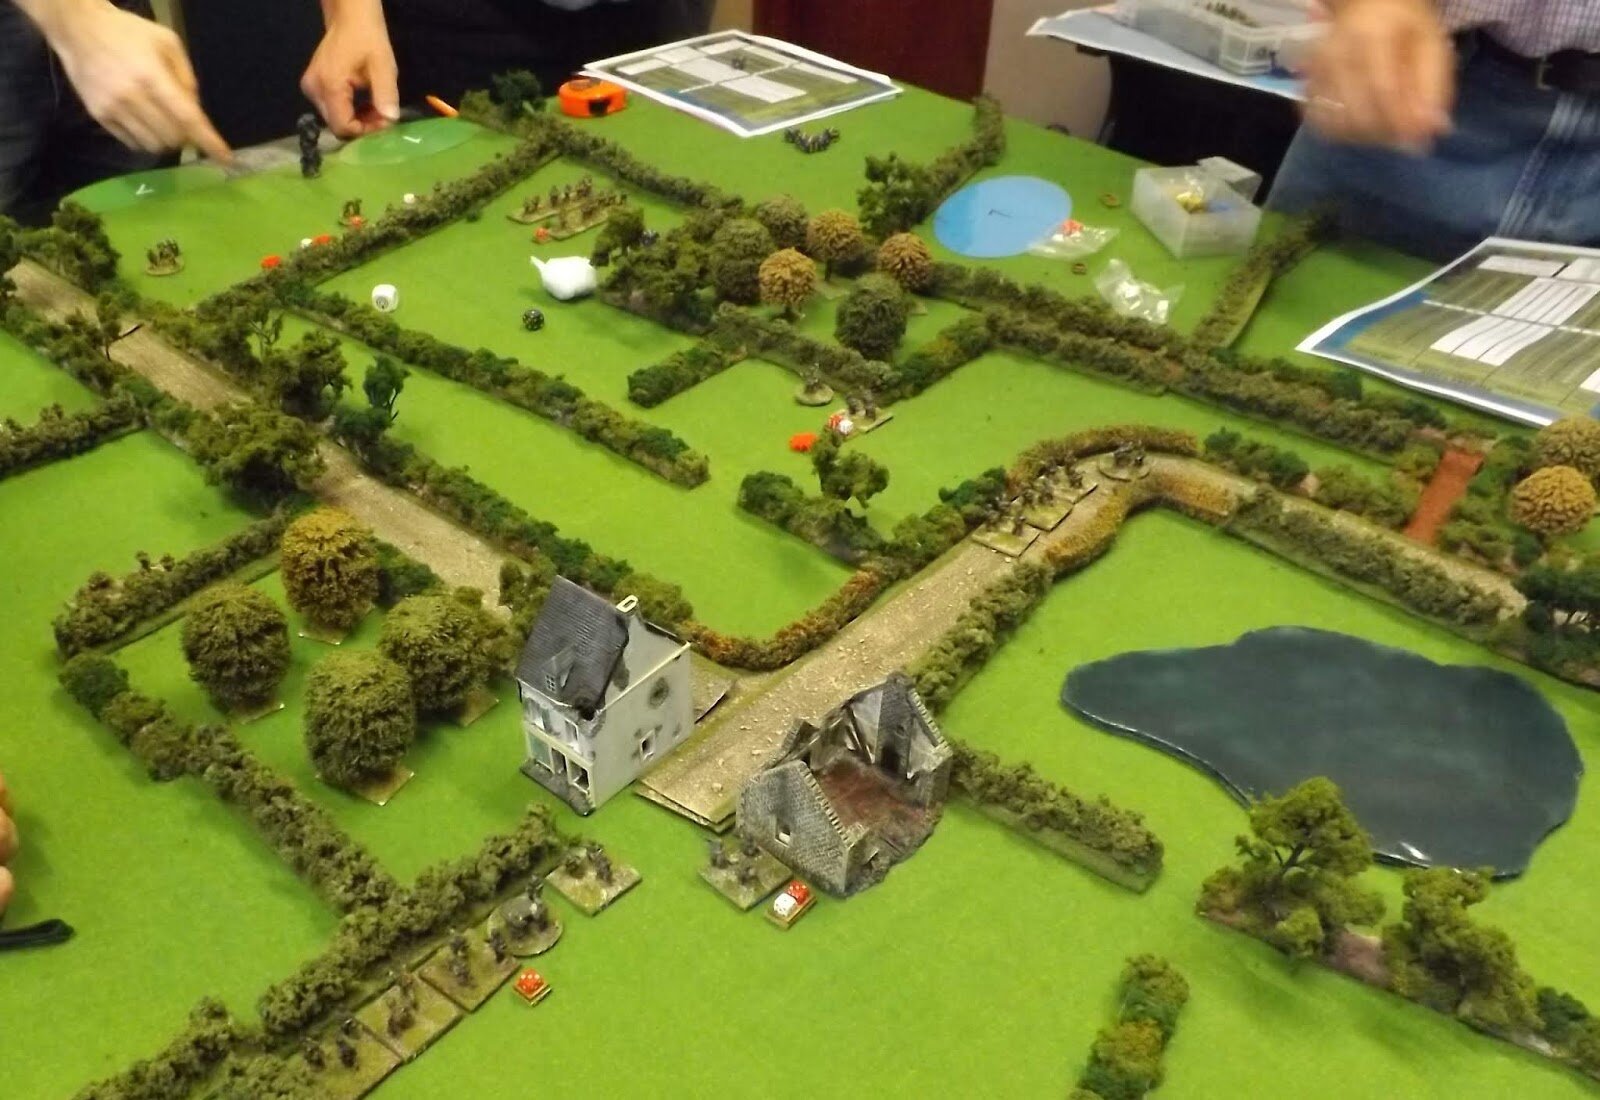
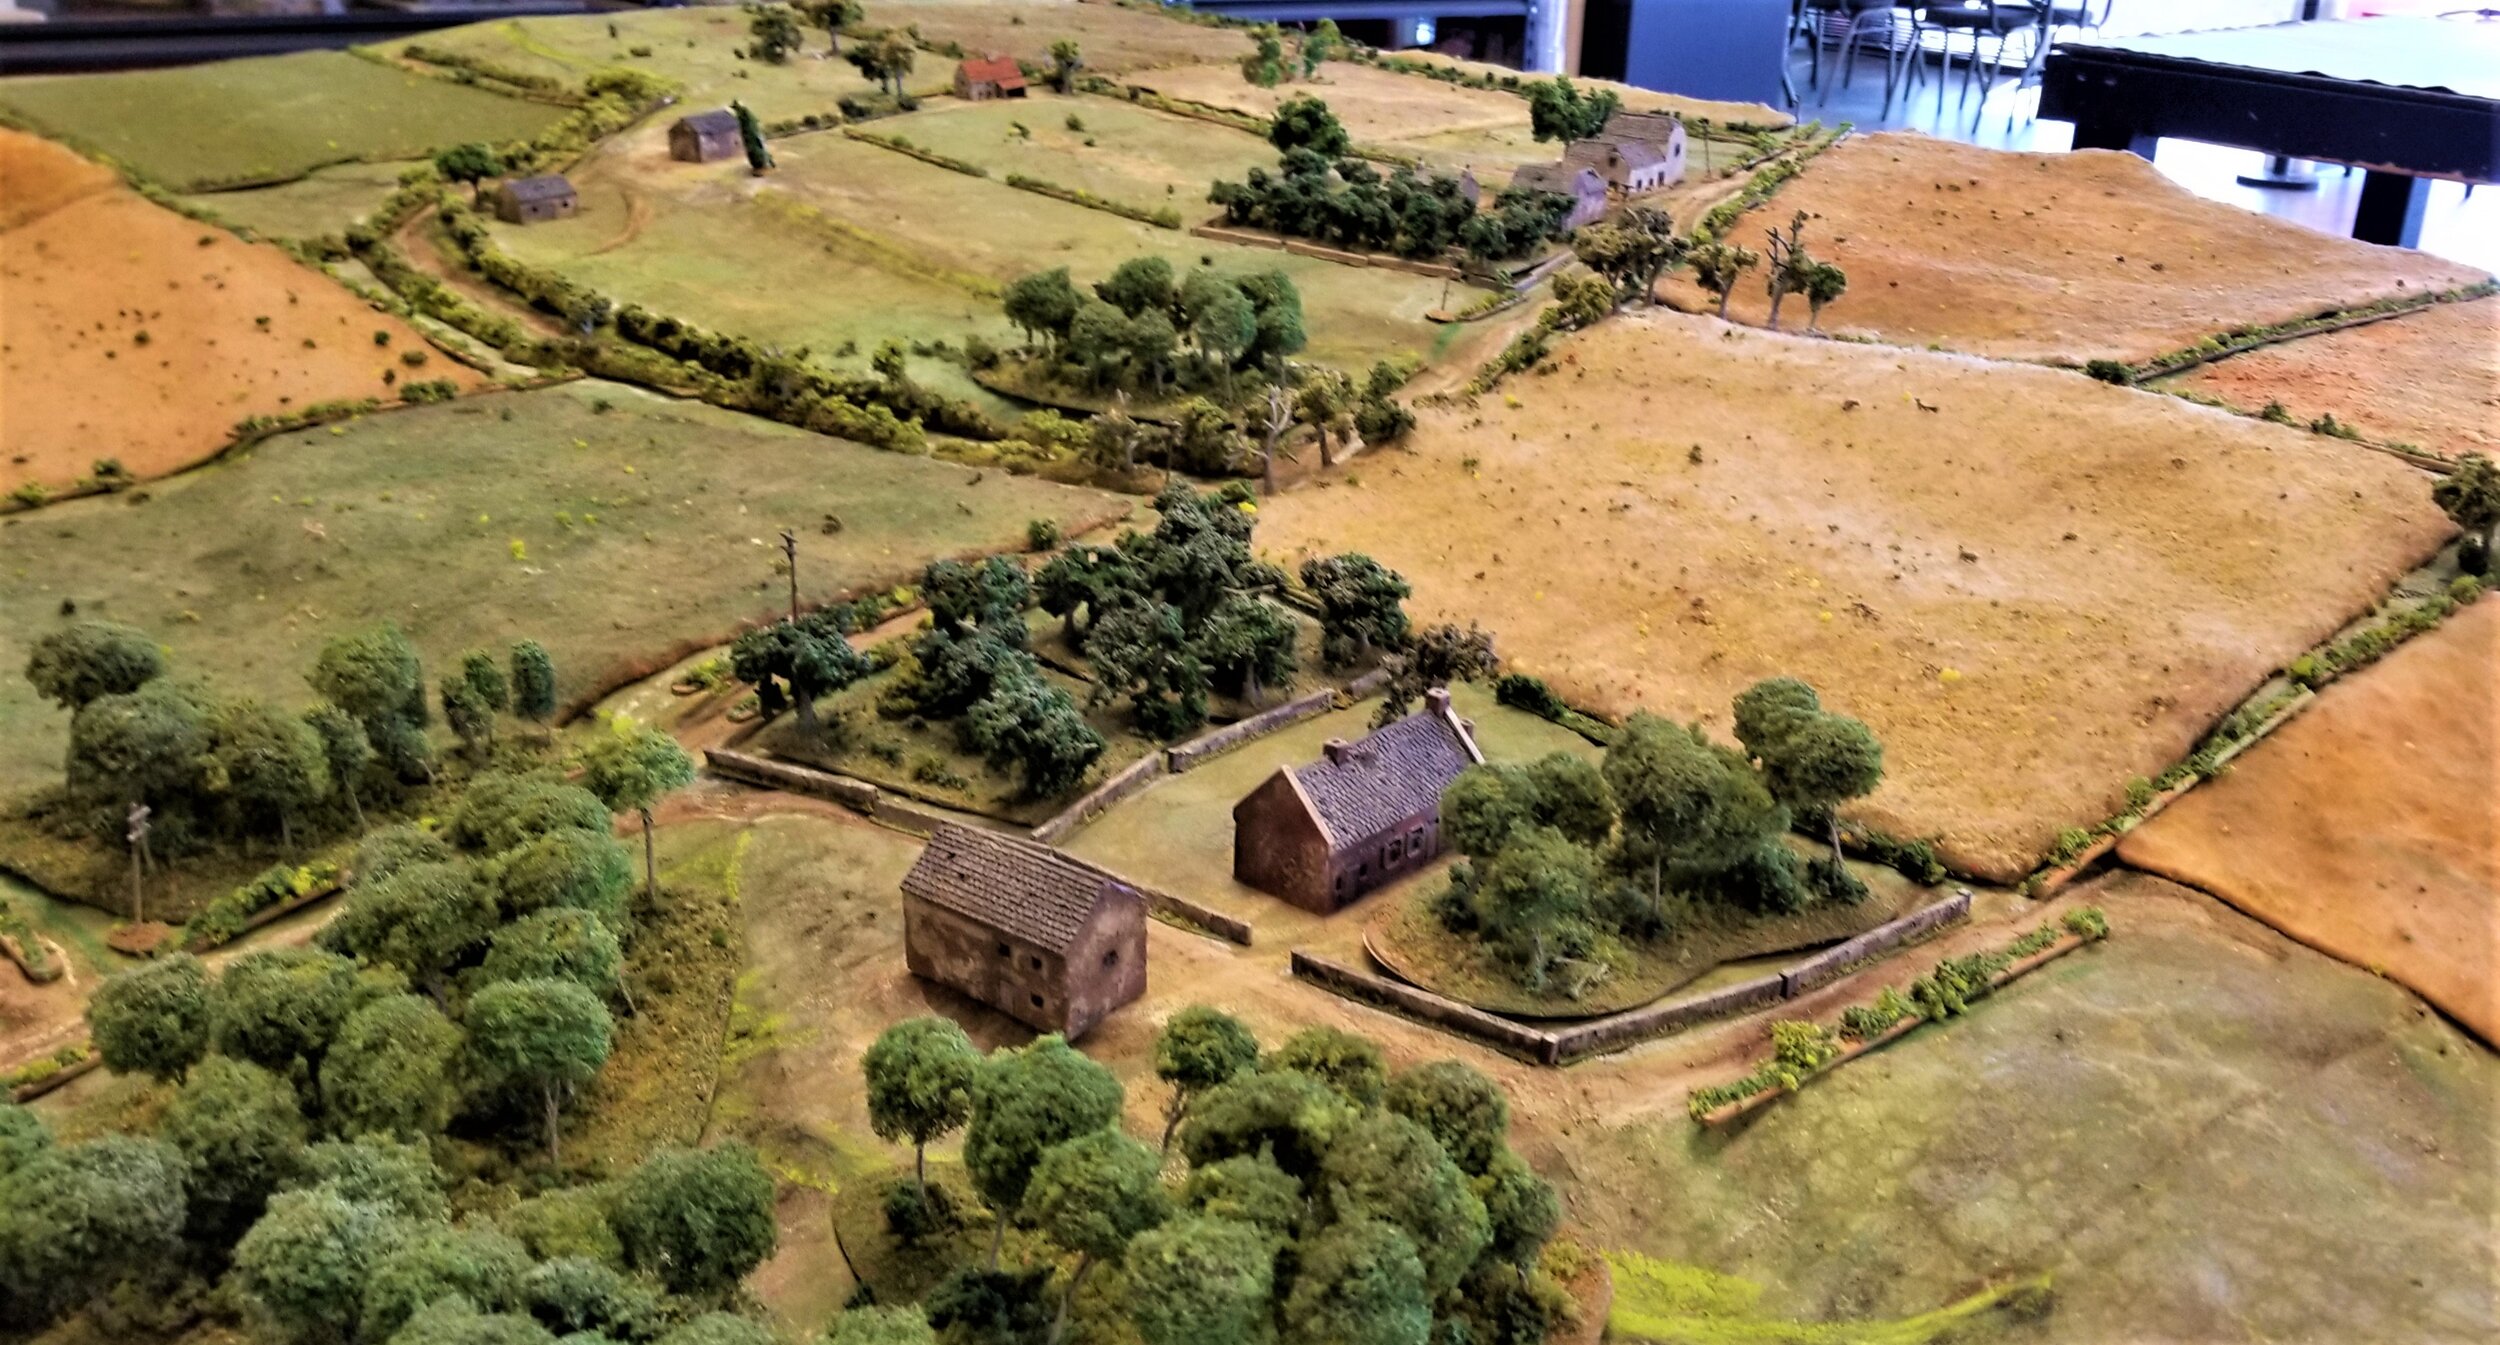
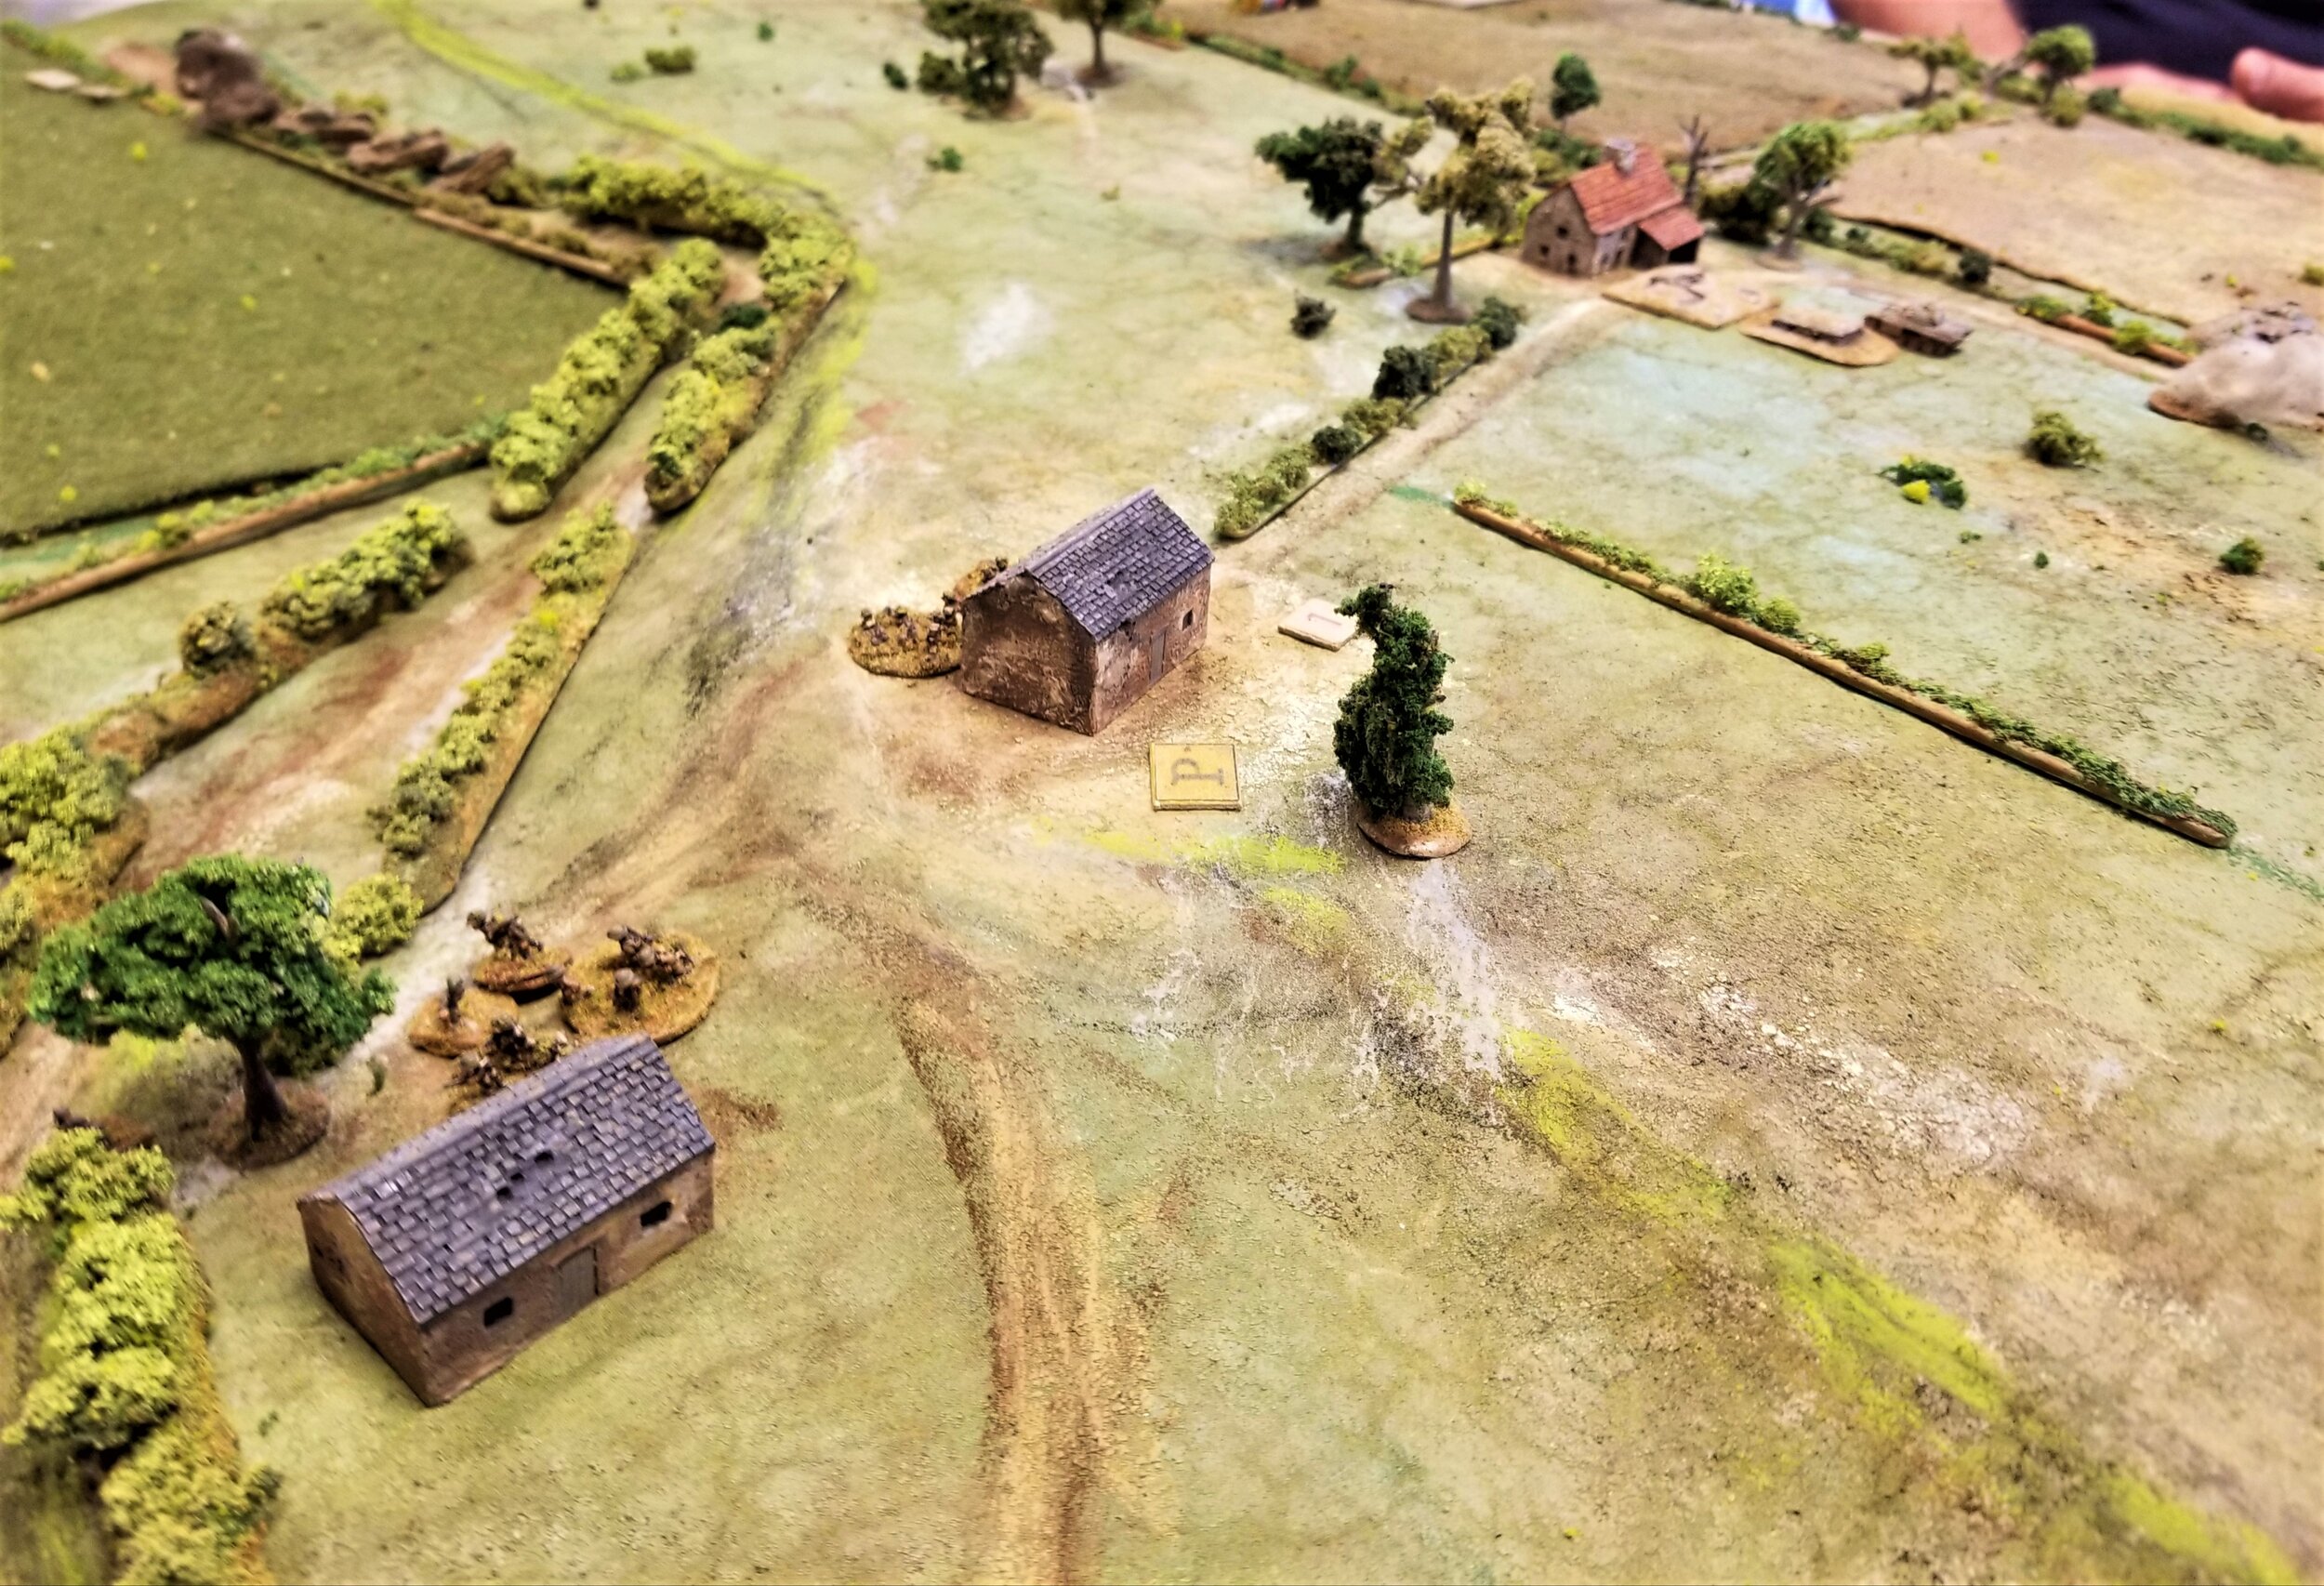
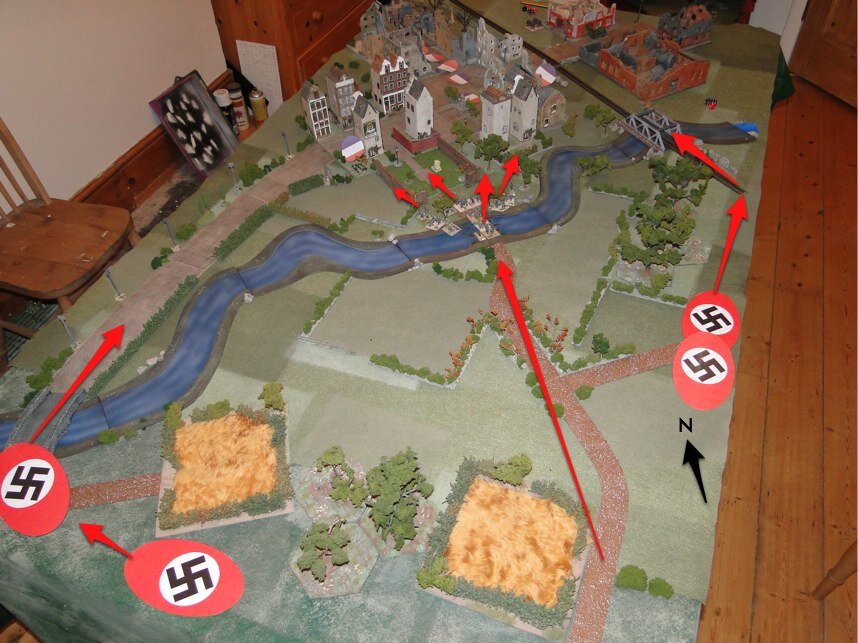
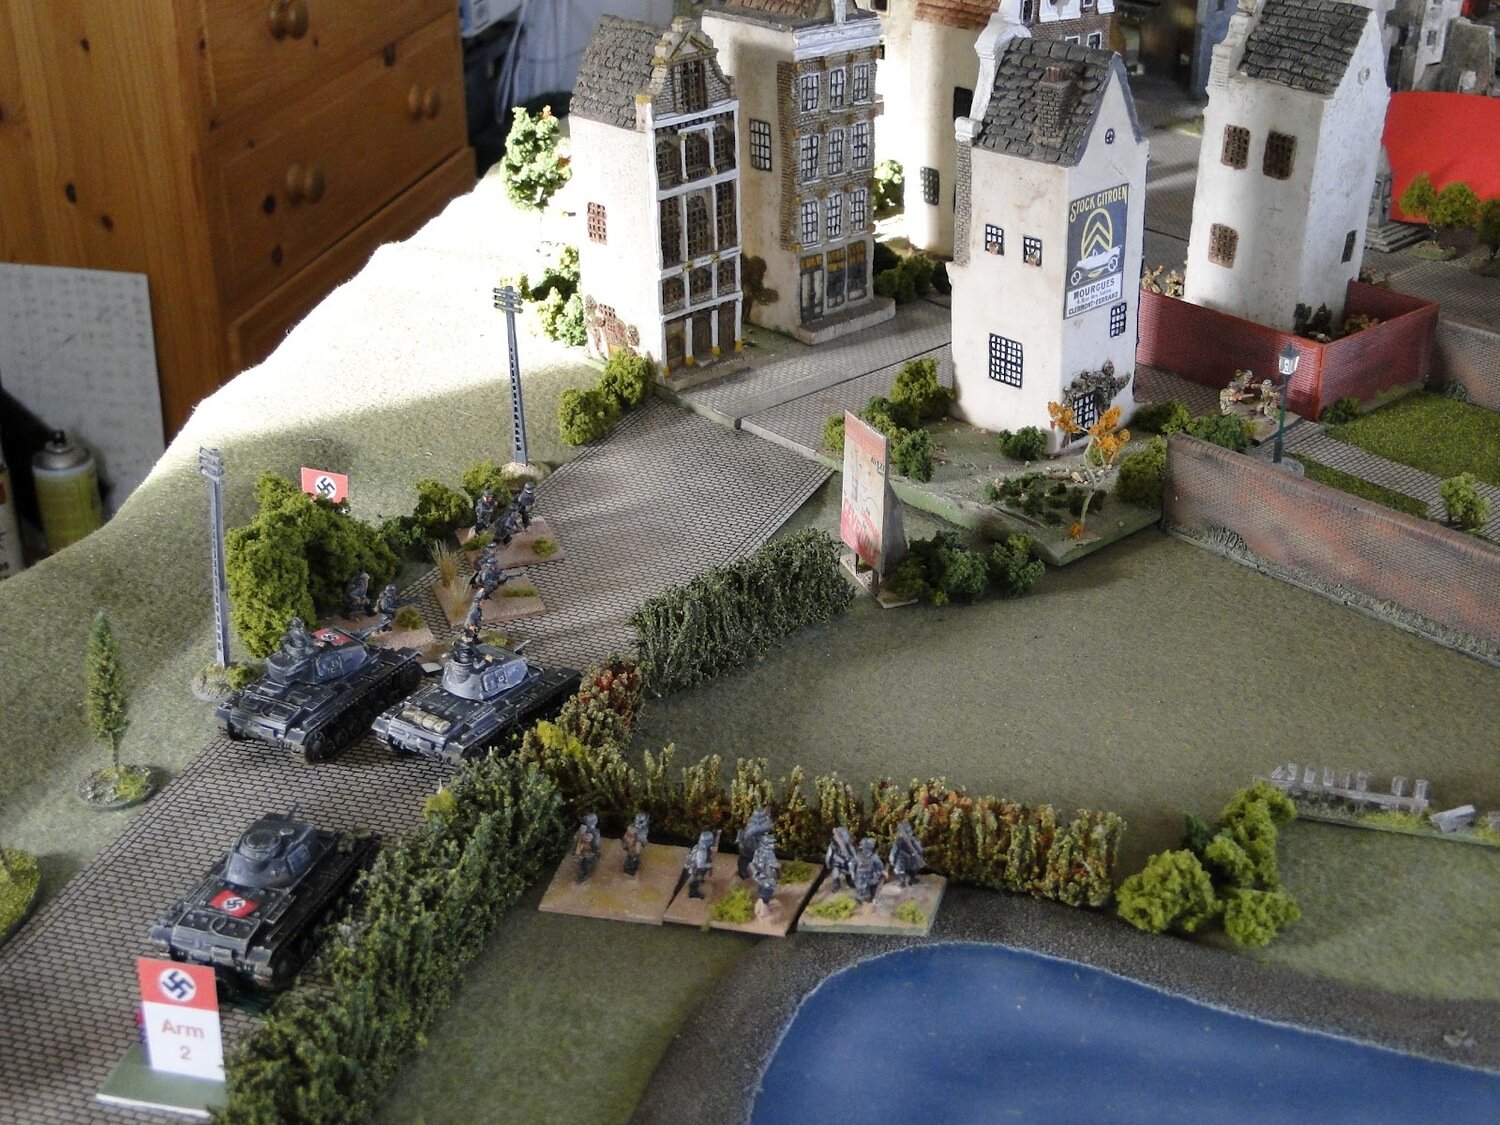
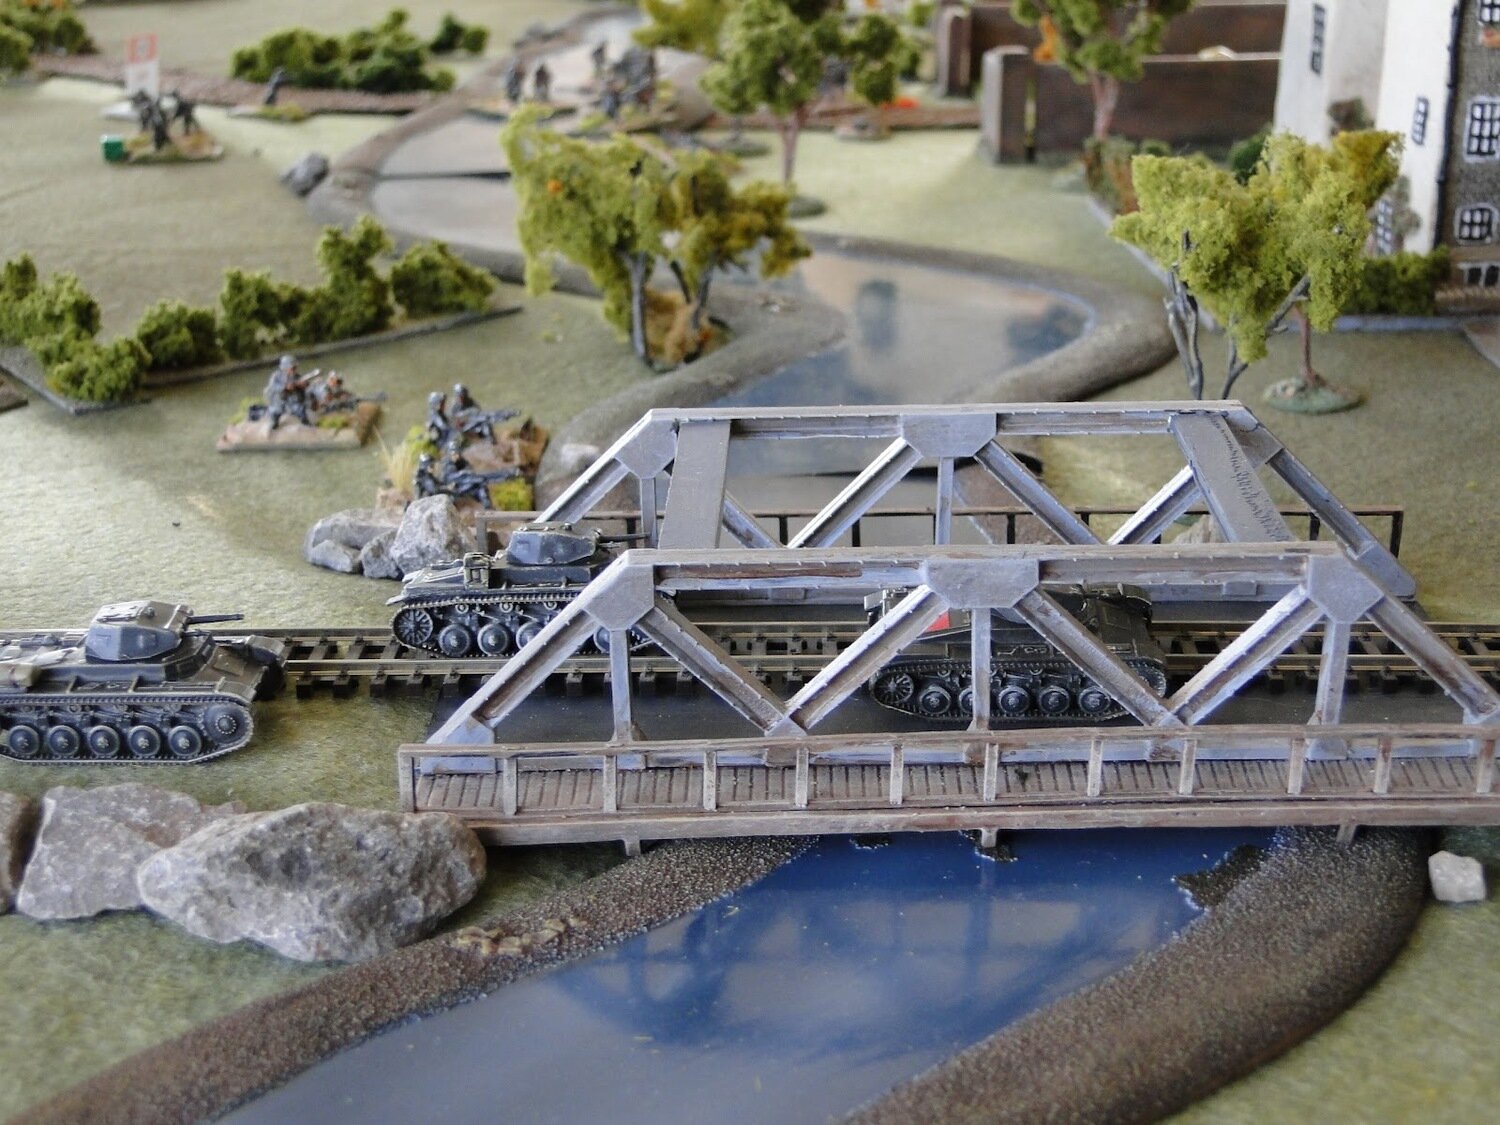
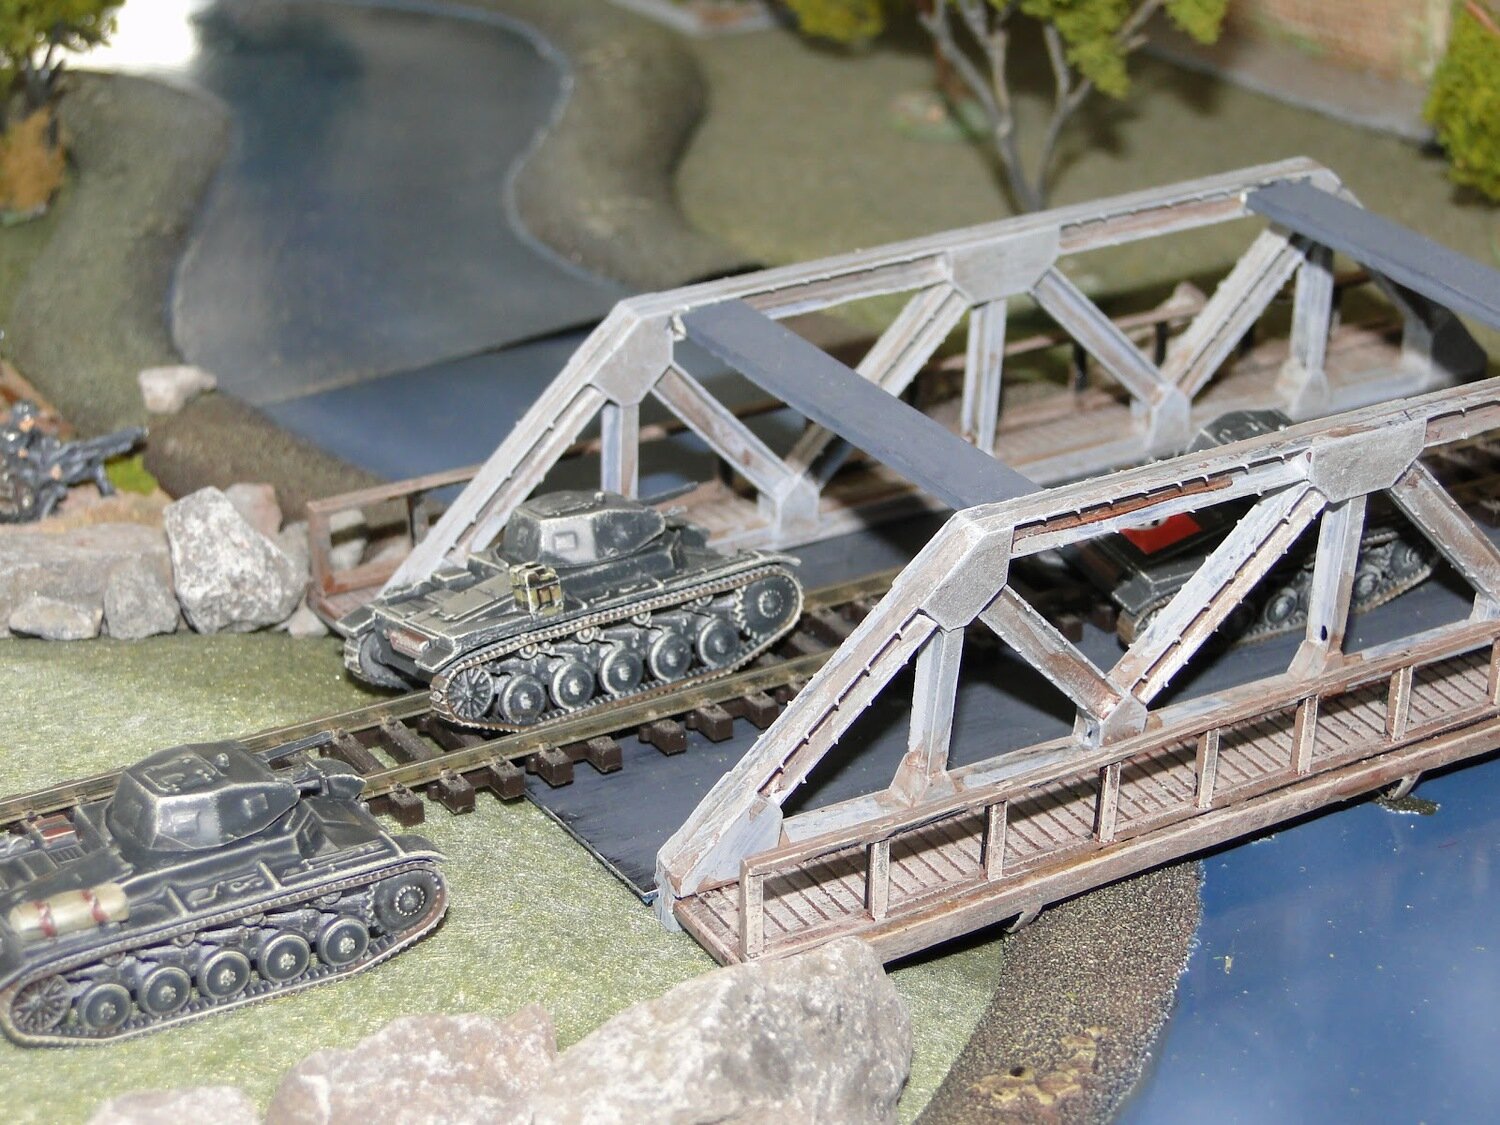
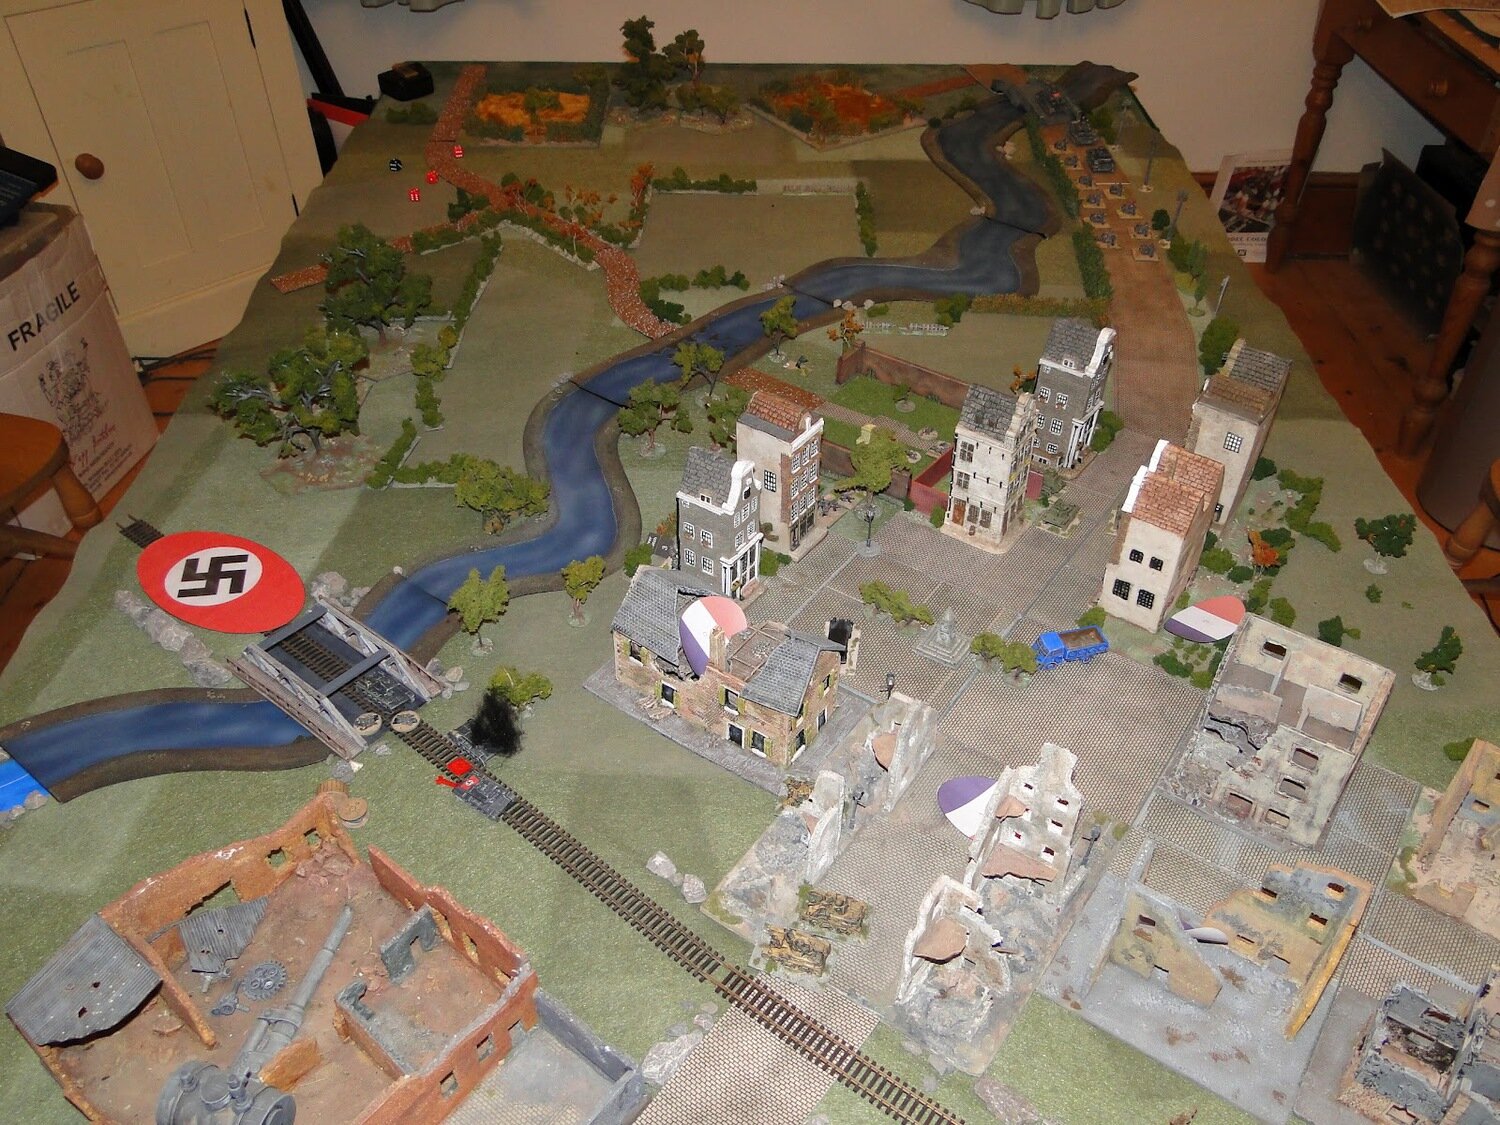
The German forces are heading for the English channel, Luftwaffe reconnaissance have spotted several undefended river crossings in a small market town some miles north. Division have sent you ahead to secure the crossings and town before a coherent defence can be organised.
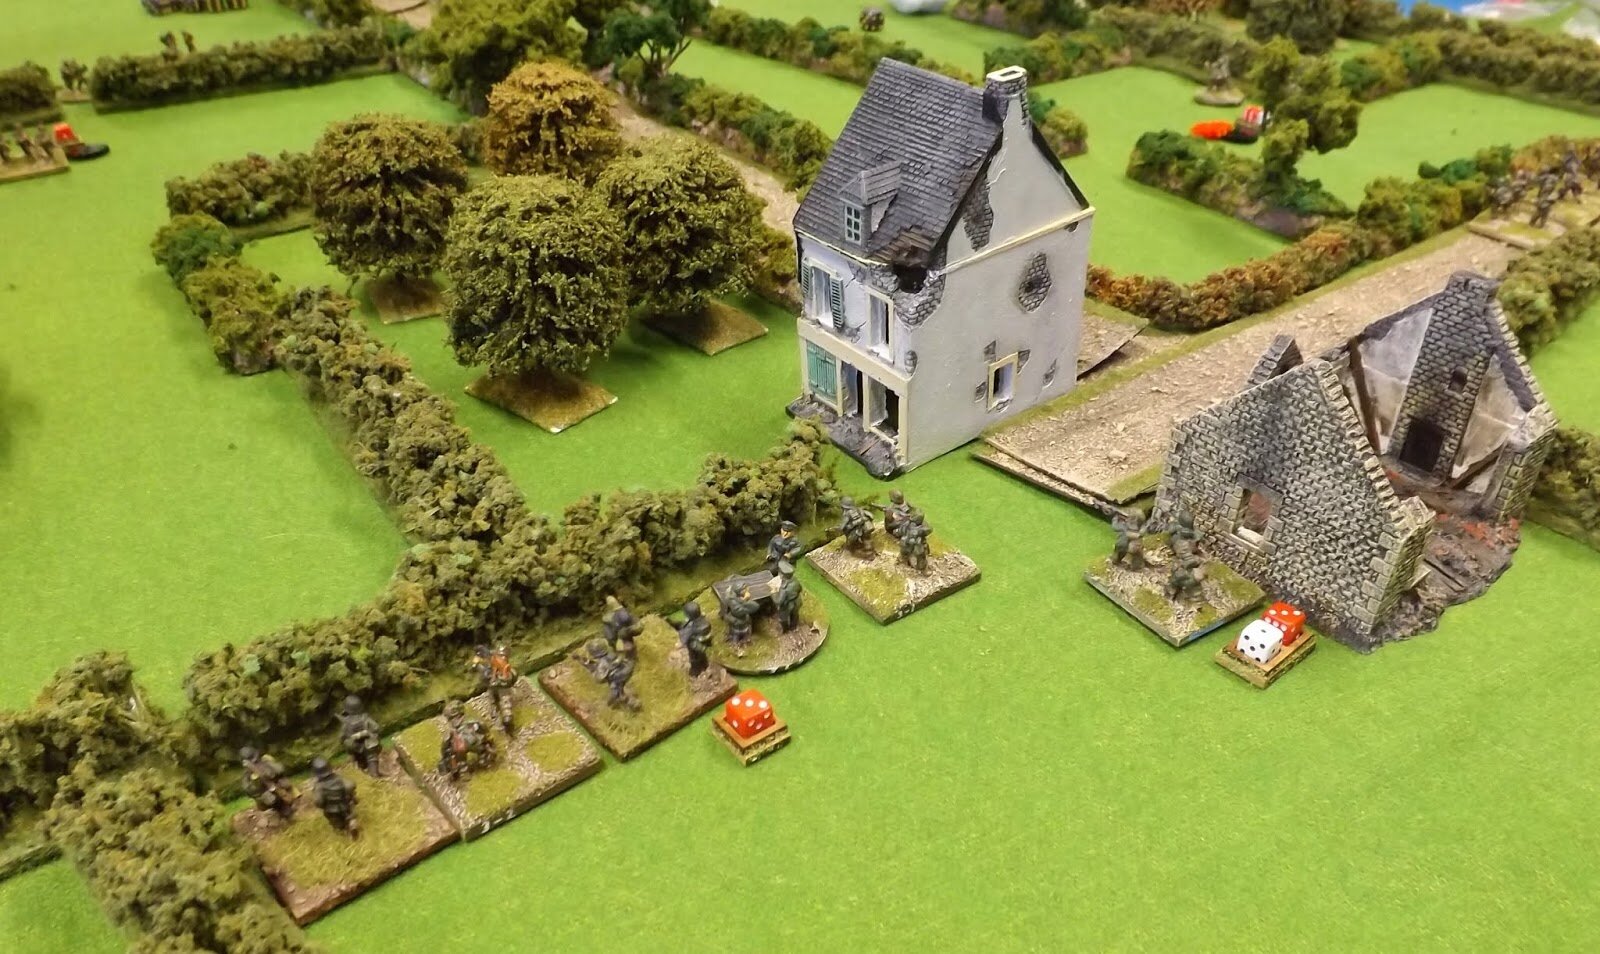
German Force
Company HQ
Big Man Level 3
2 x MMG
1 x ATR
1 x Mortar 50mm
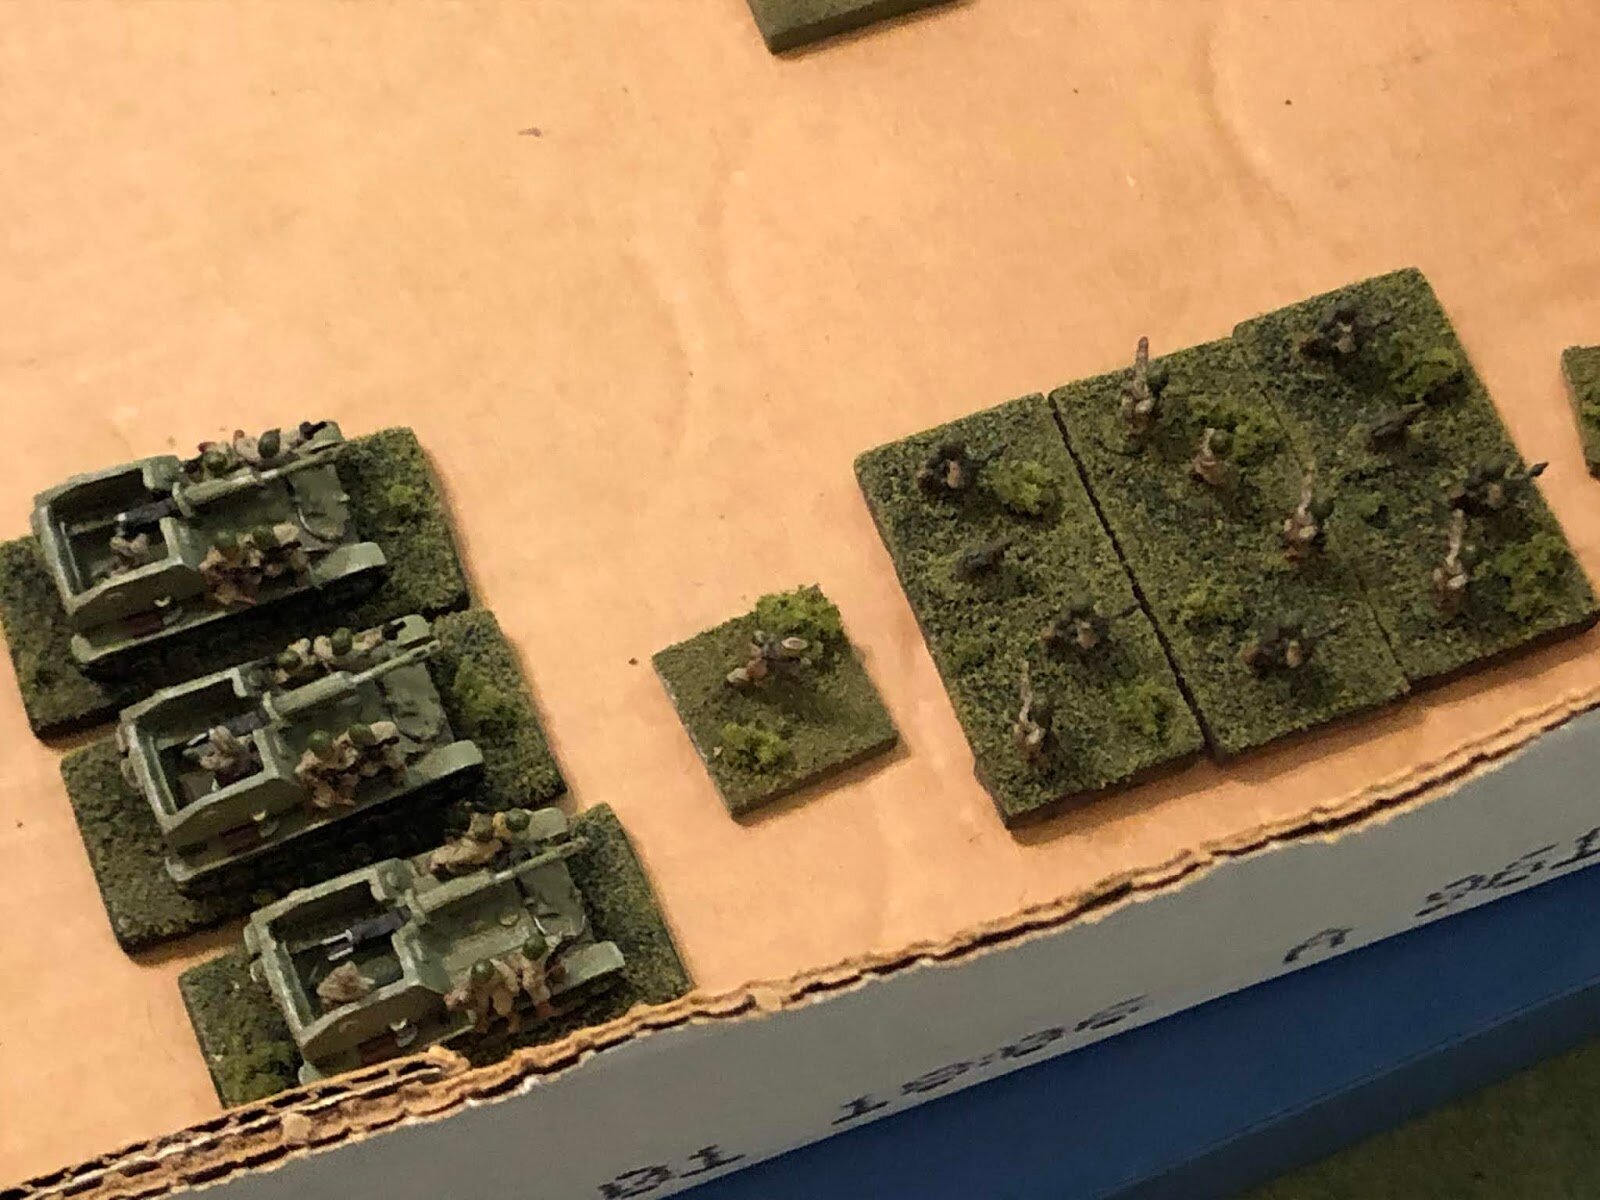
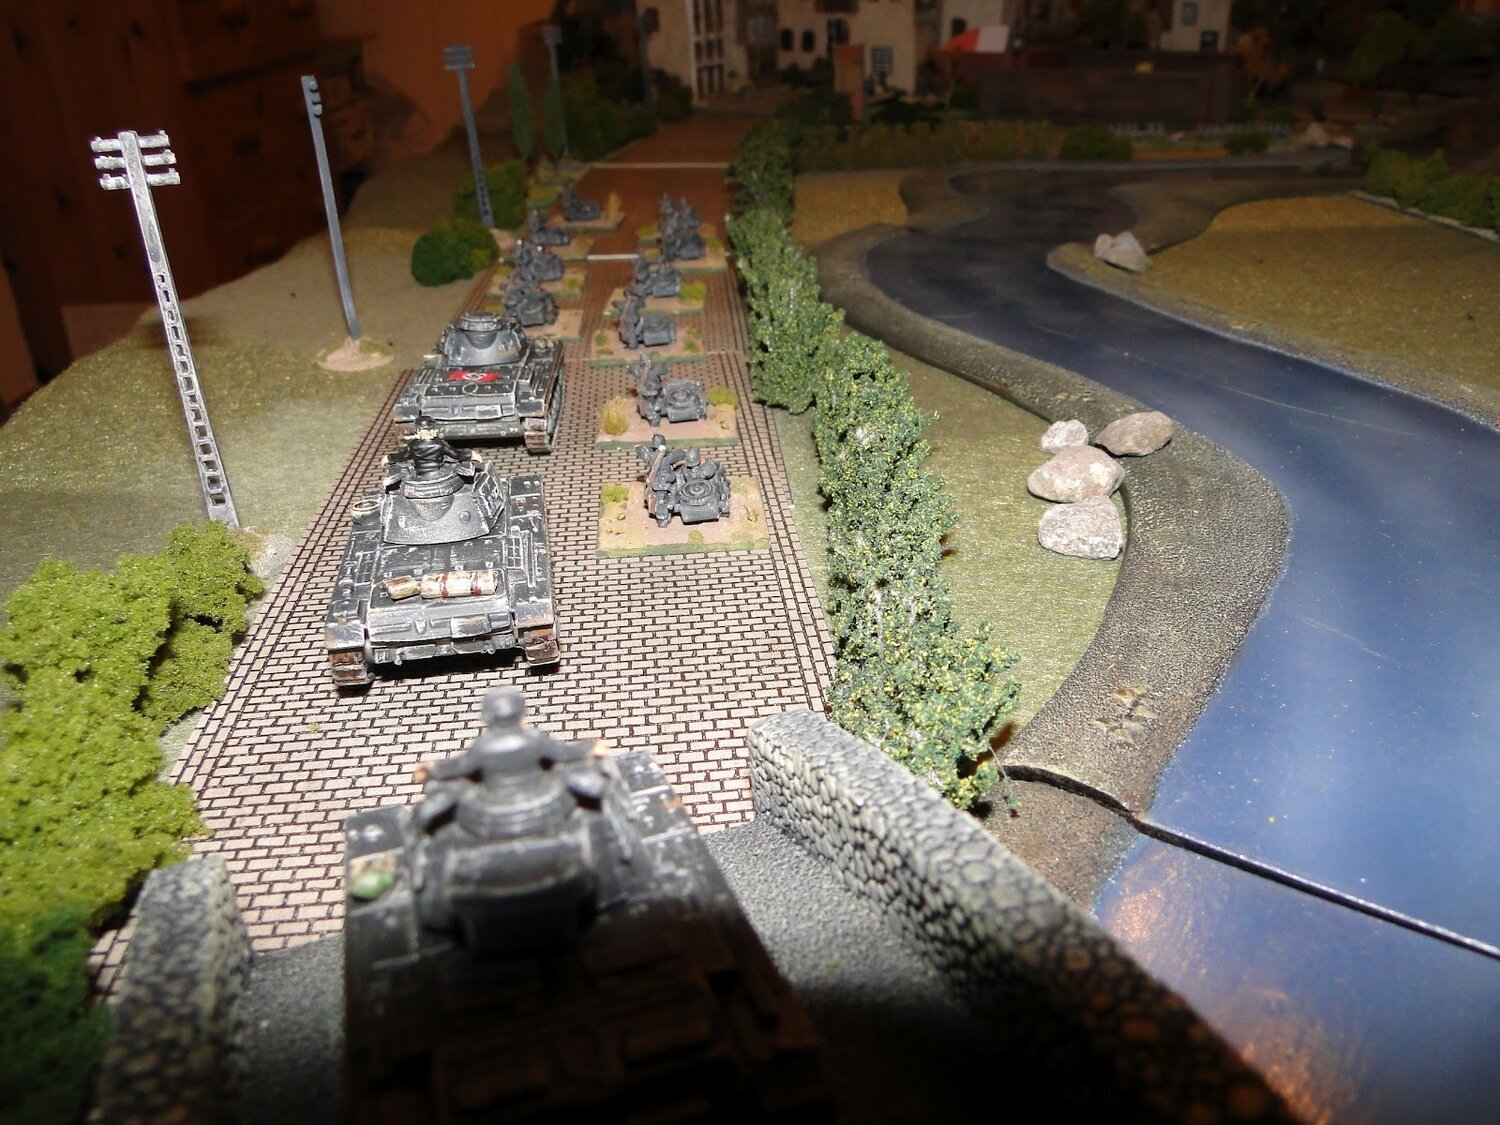
Kradshutzen Platoon
Big Man Level 3
Big Man Level 1
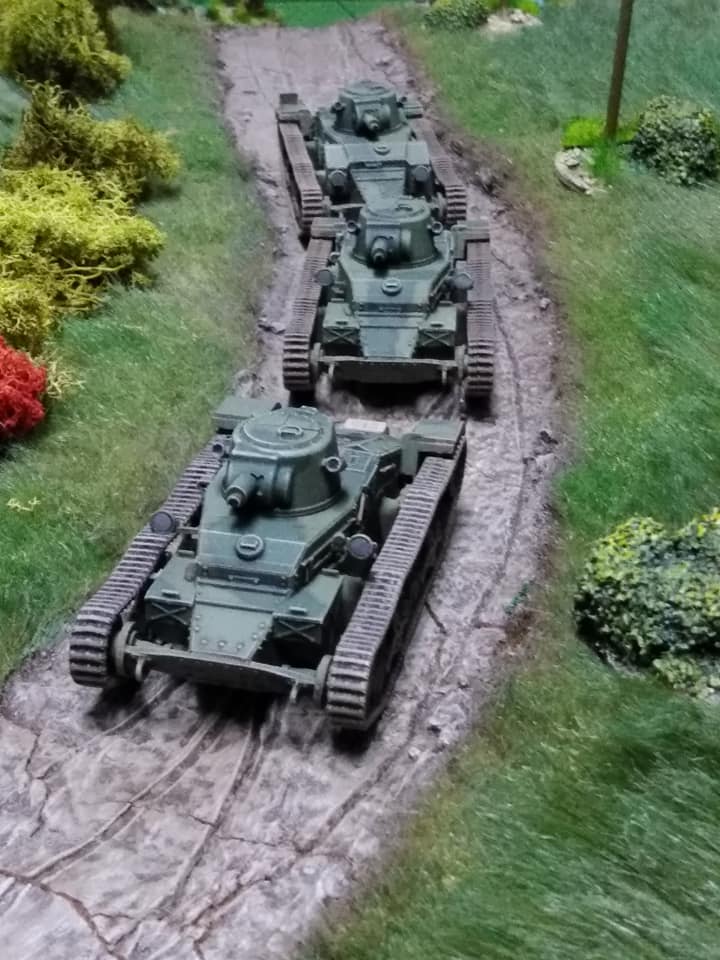
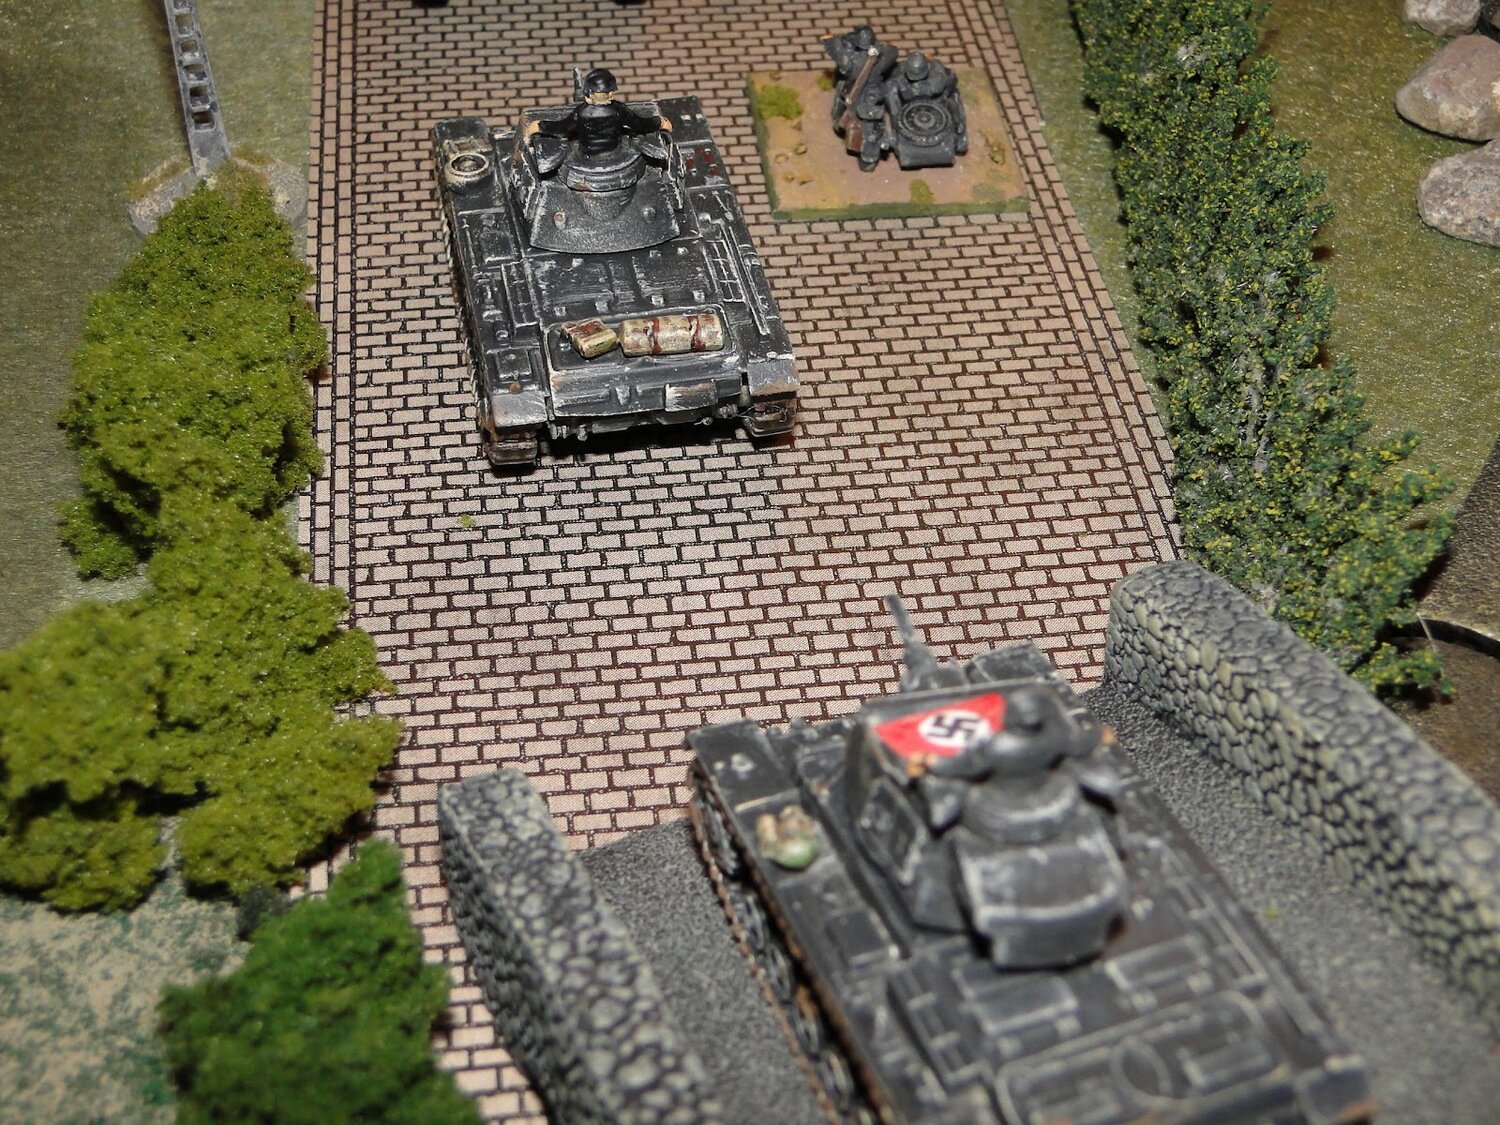
3 x Panzer II
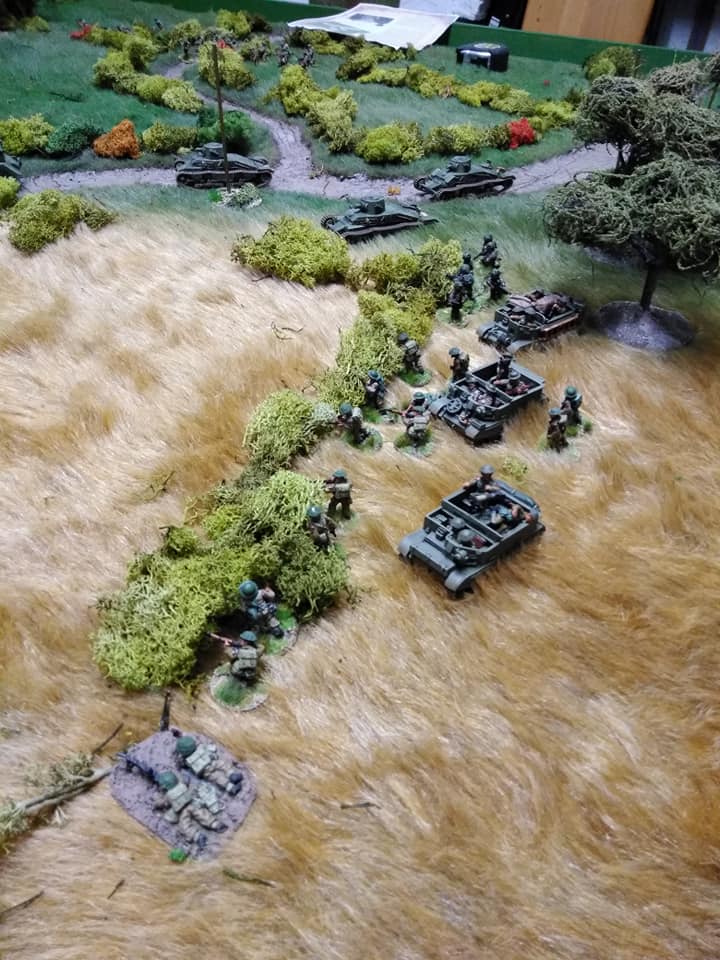
3 x Squads of 8 on Motorcycles
Platoon Two
Big Man Level 3
Big Man level 1
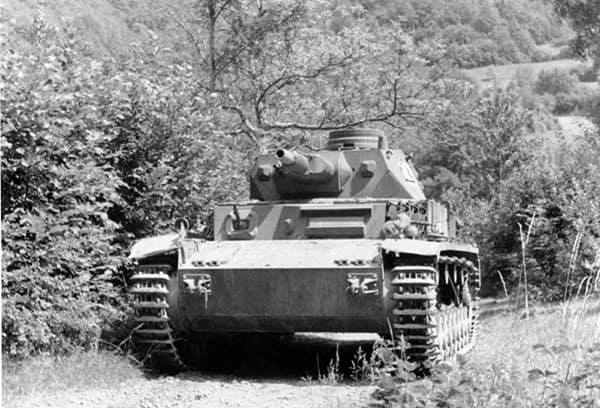
3 x Panzer III
4 x Squads of 8
Air Support
1 x Stuka
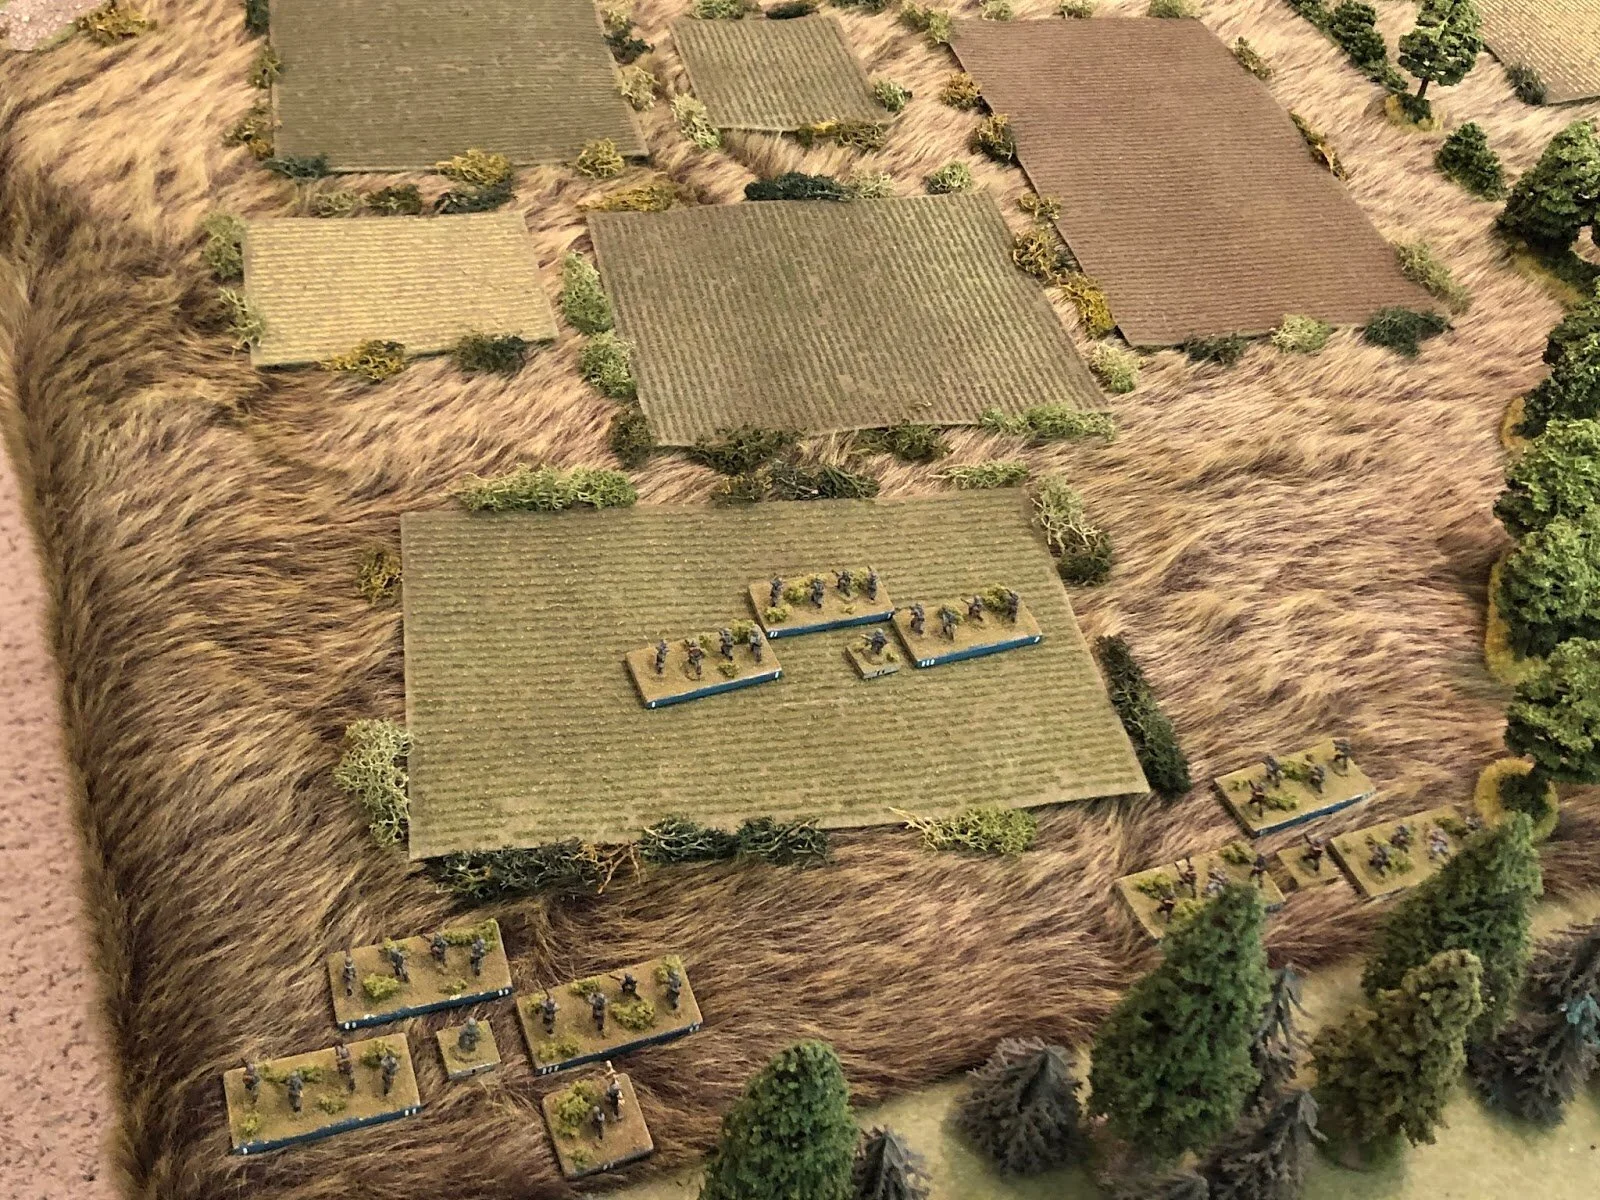
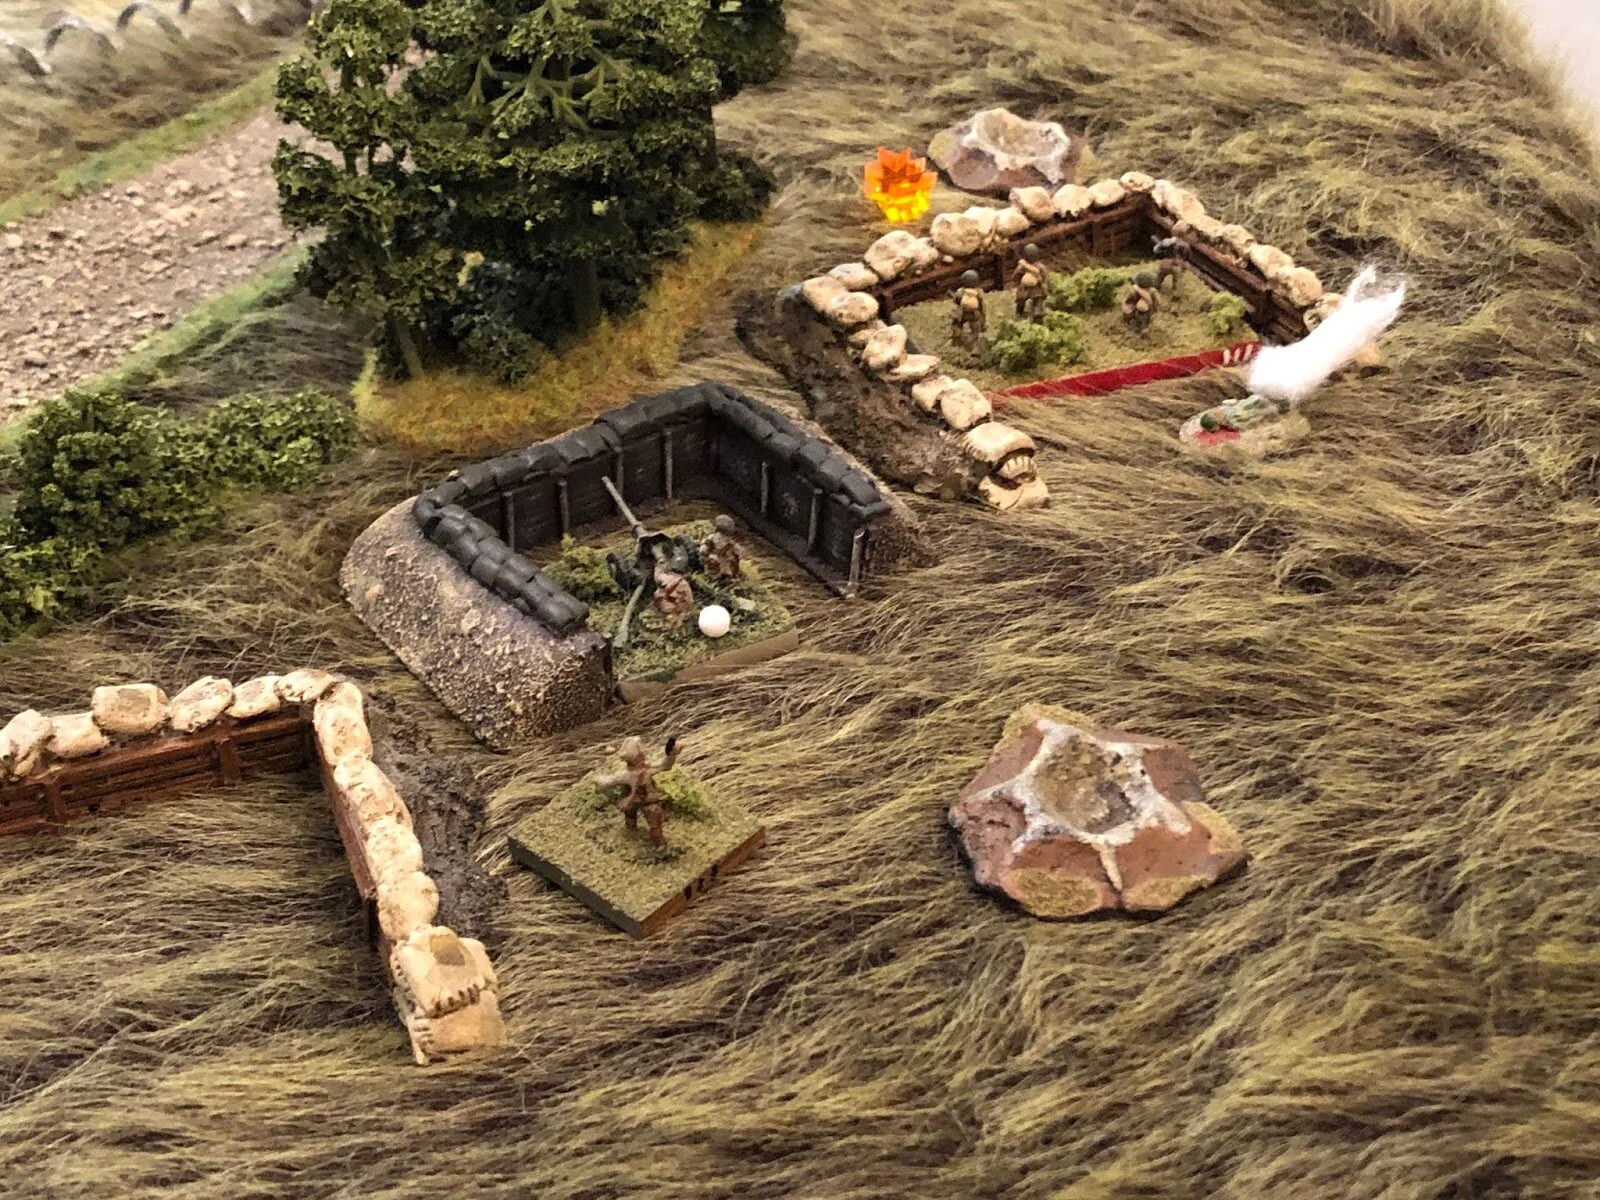
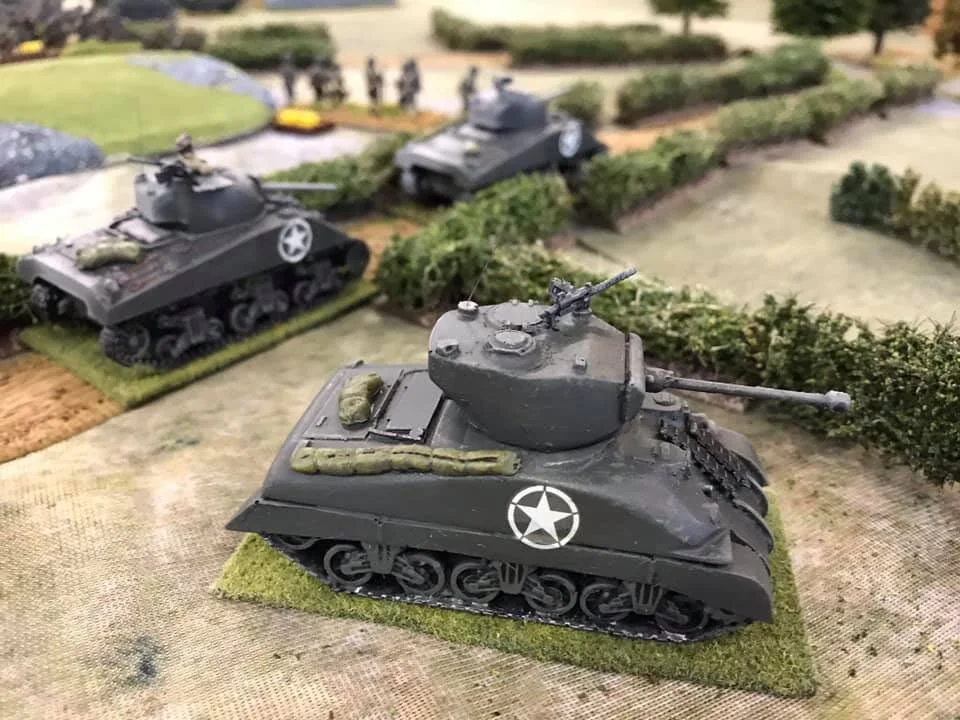
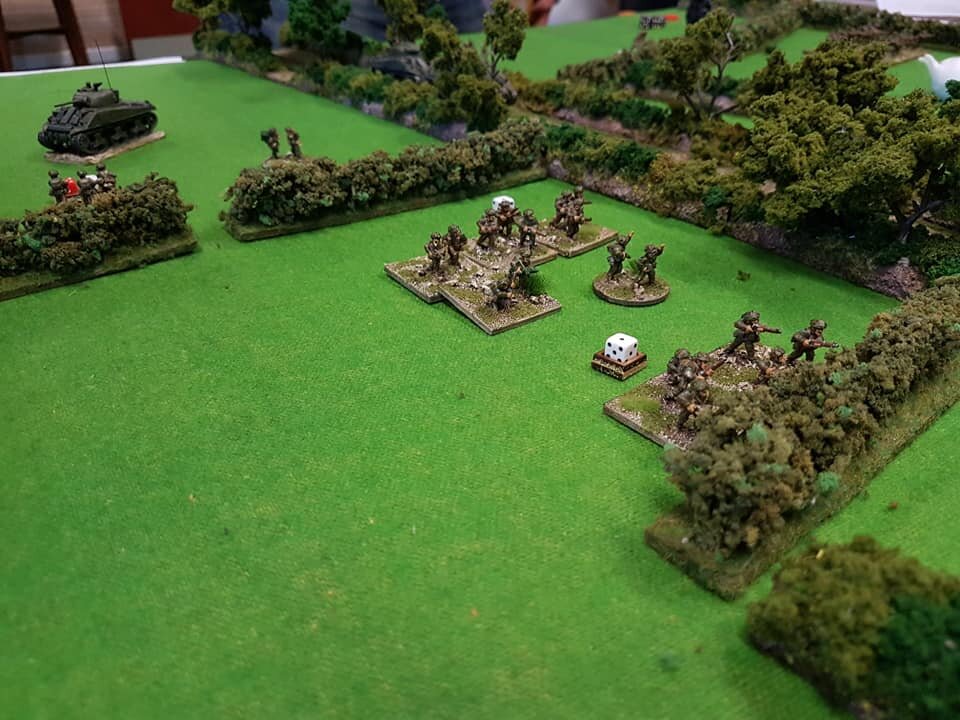
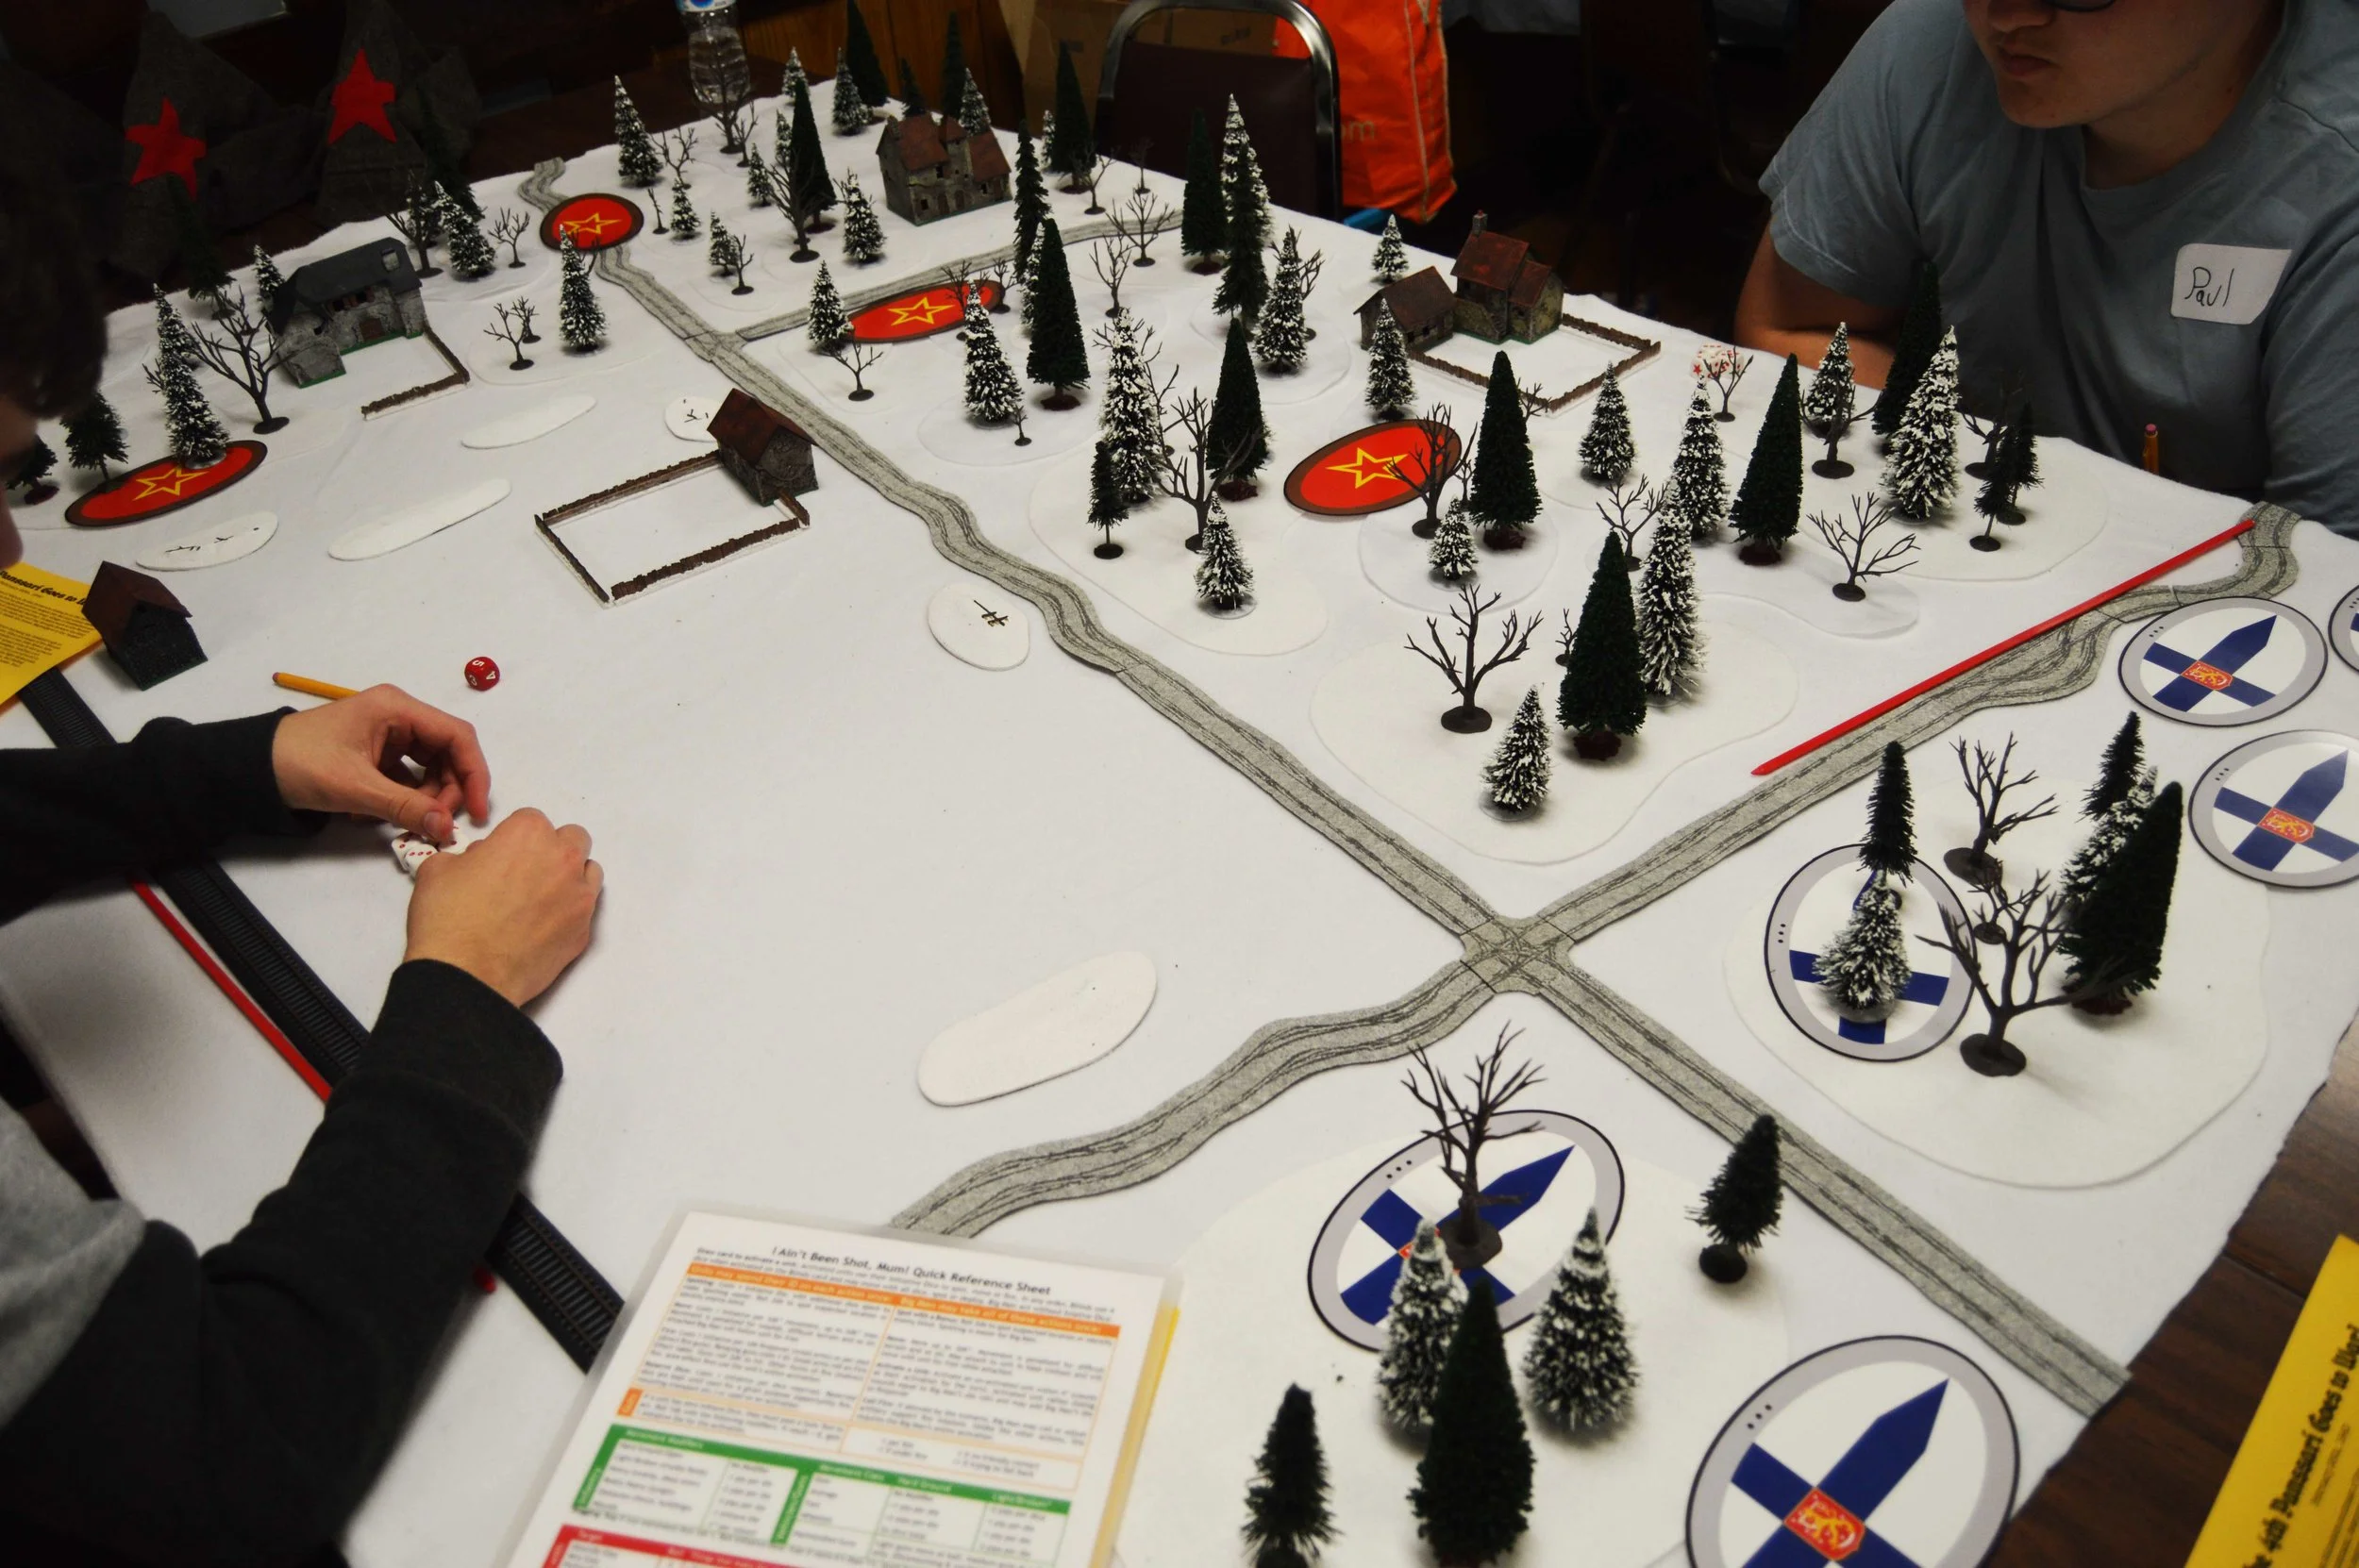
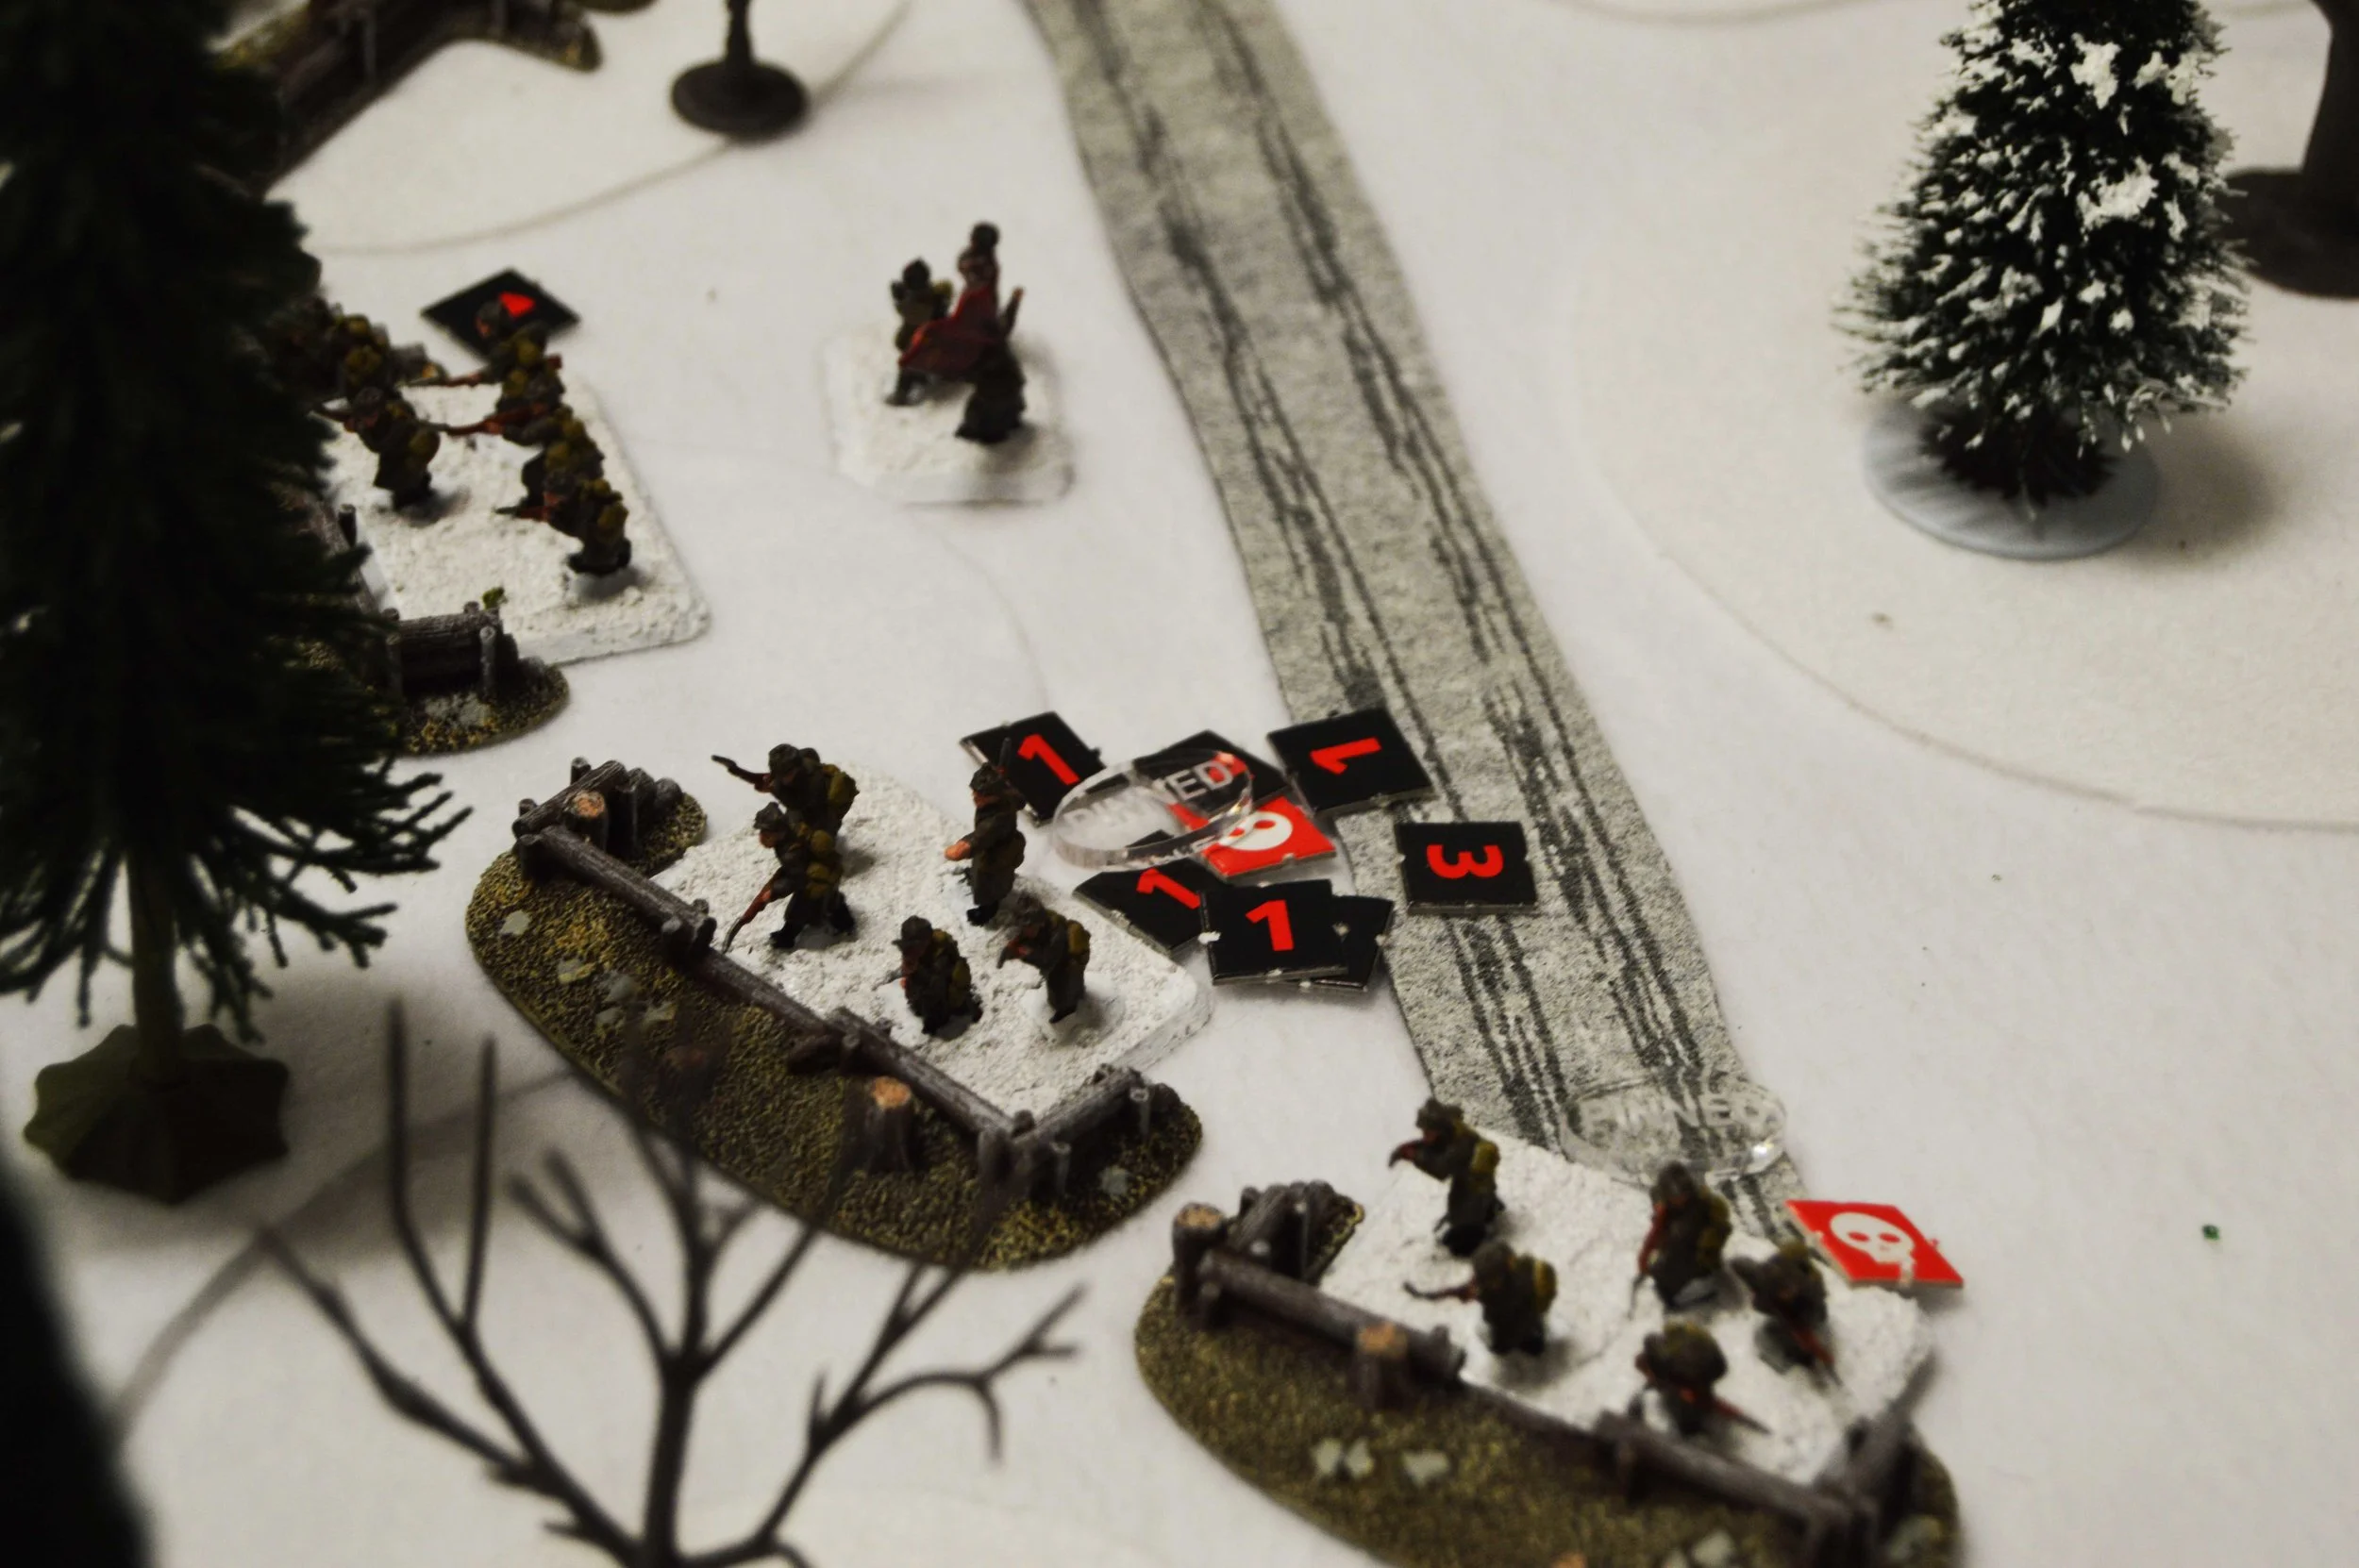
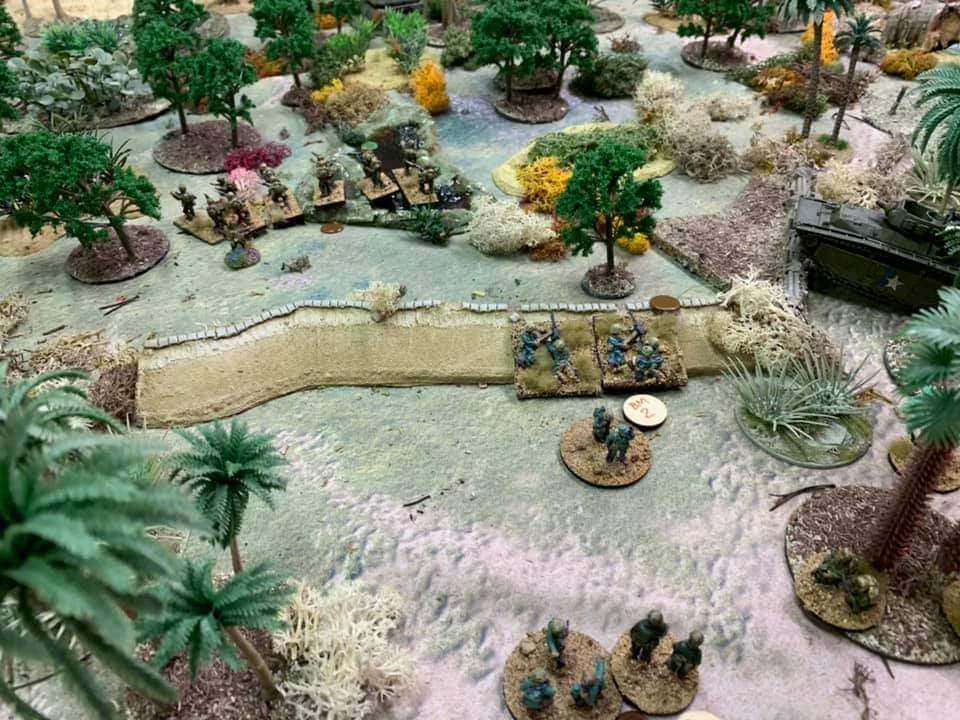
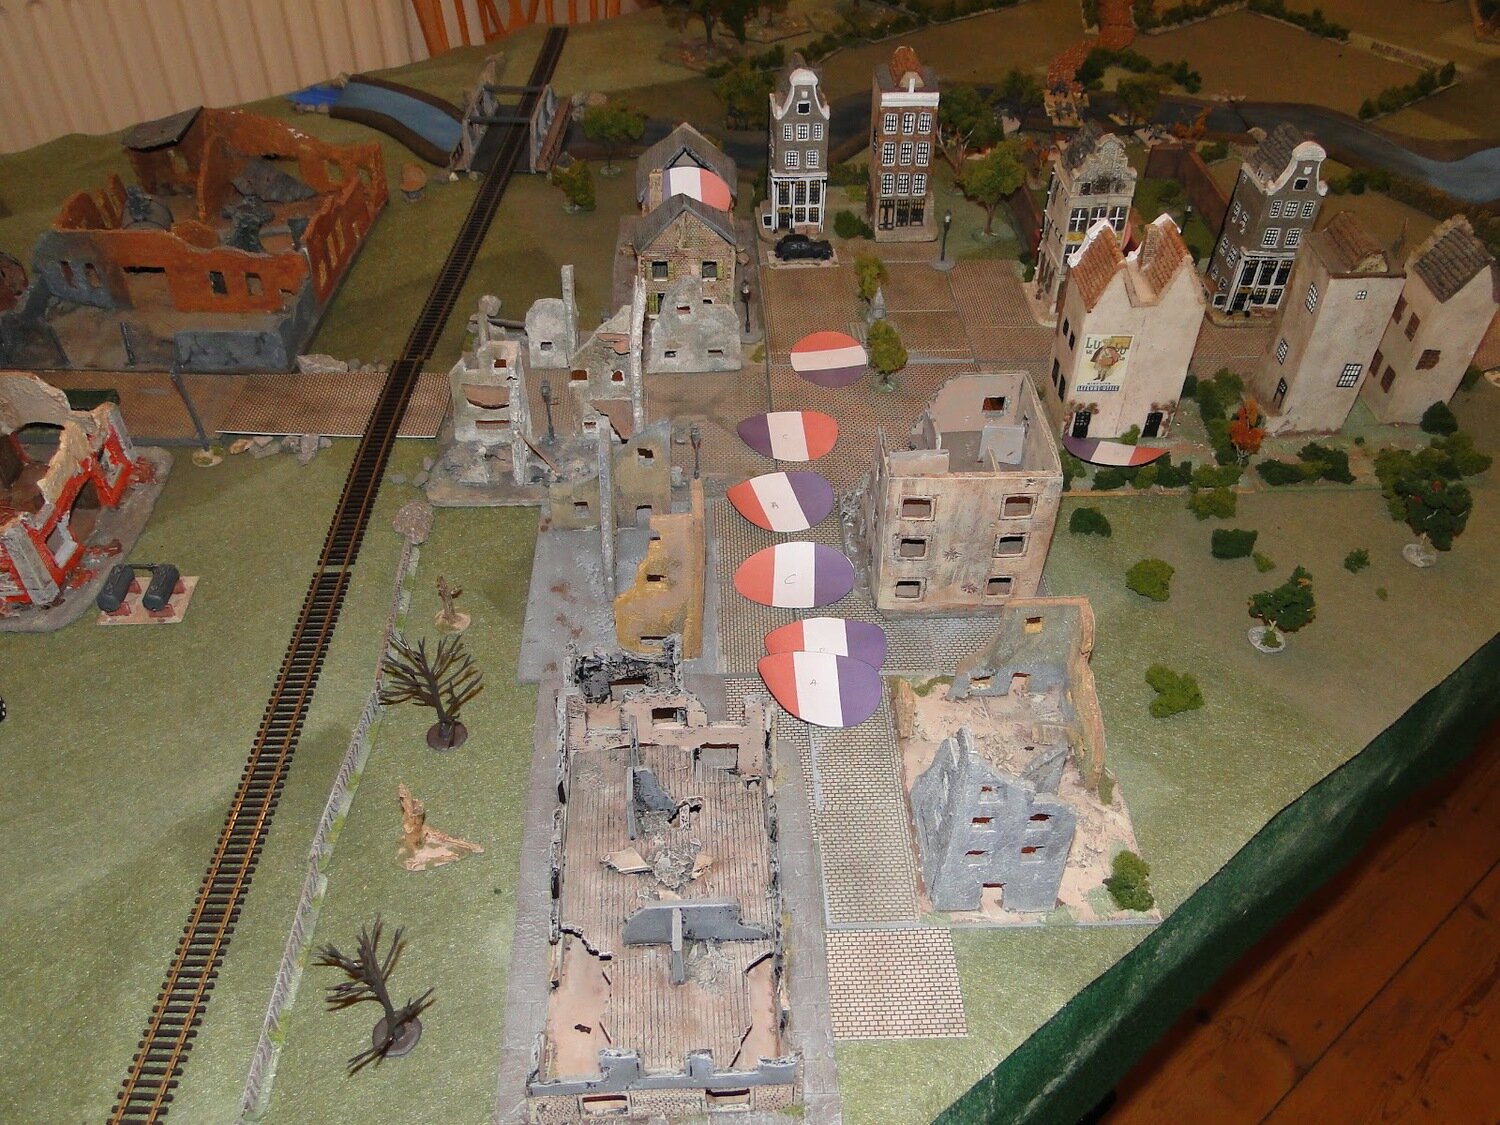
The Allied force Blinds were totalled, then one third were placed on board representing remnants of French units and two thirds would represent a BEF force sent to bolster the defence.
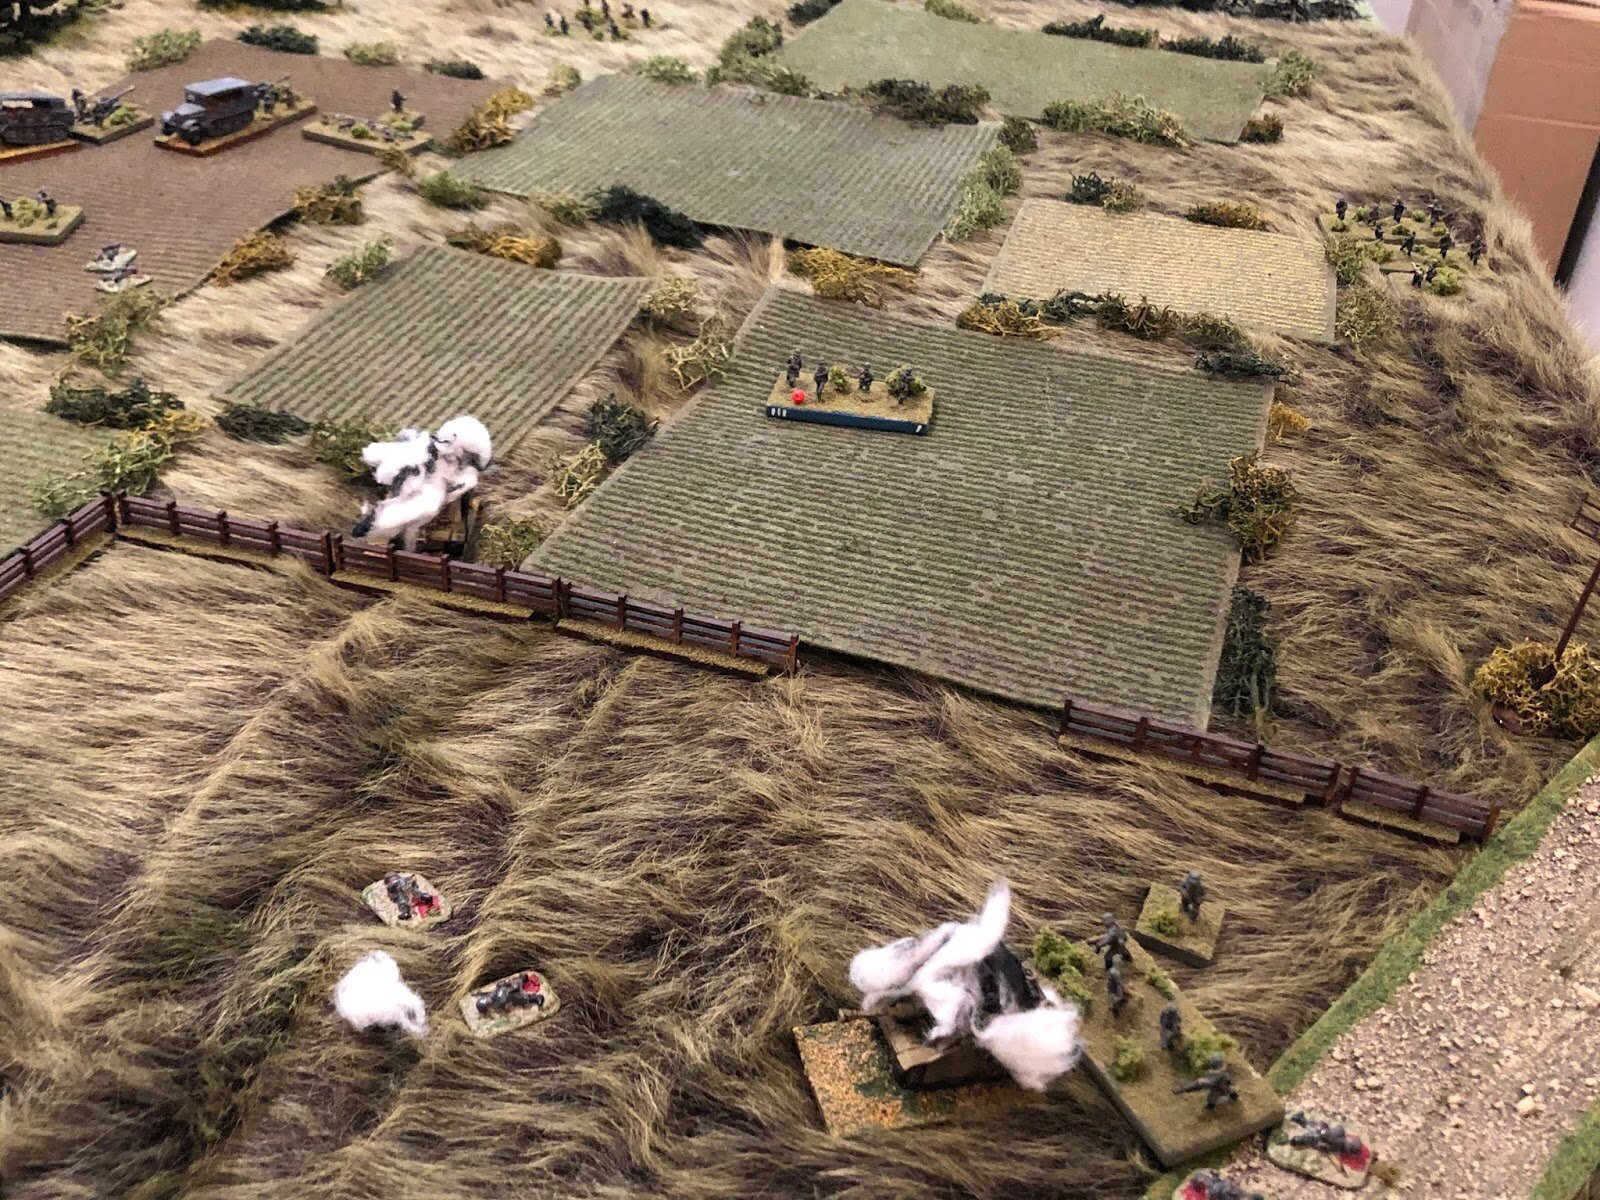
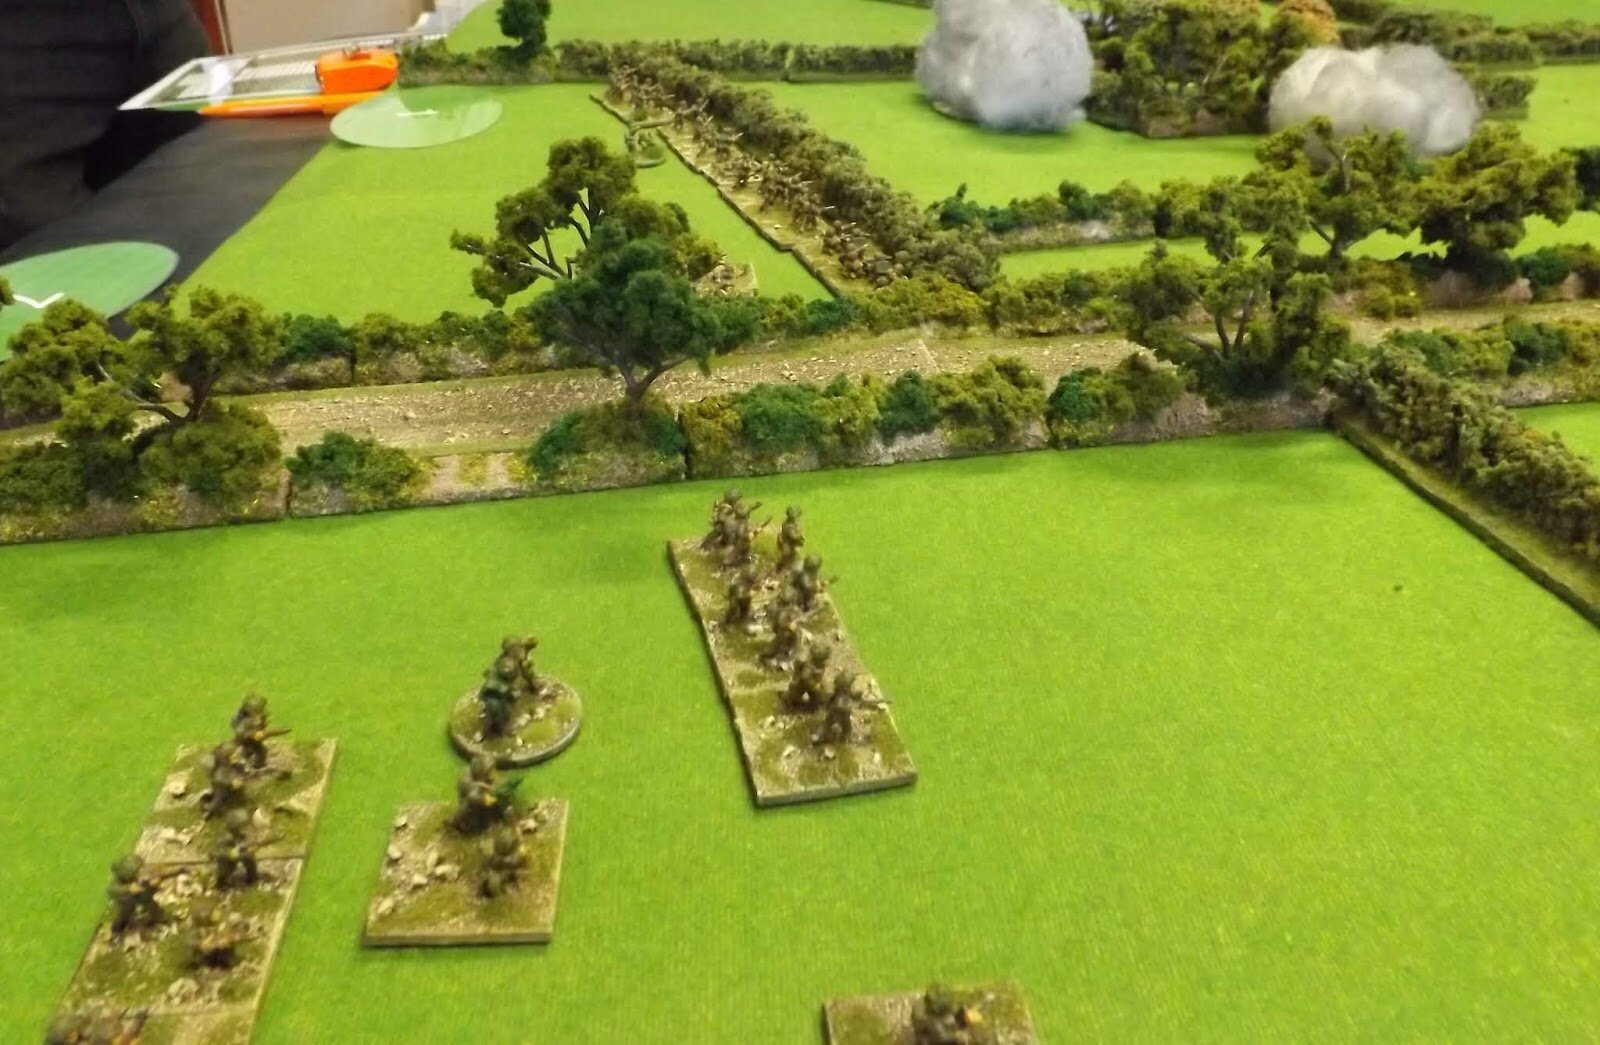
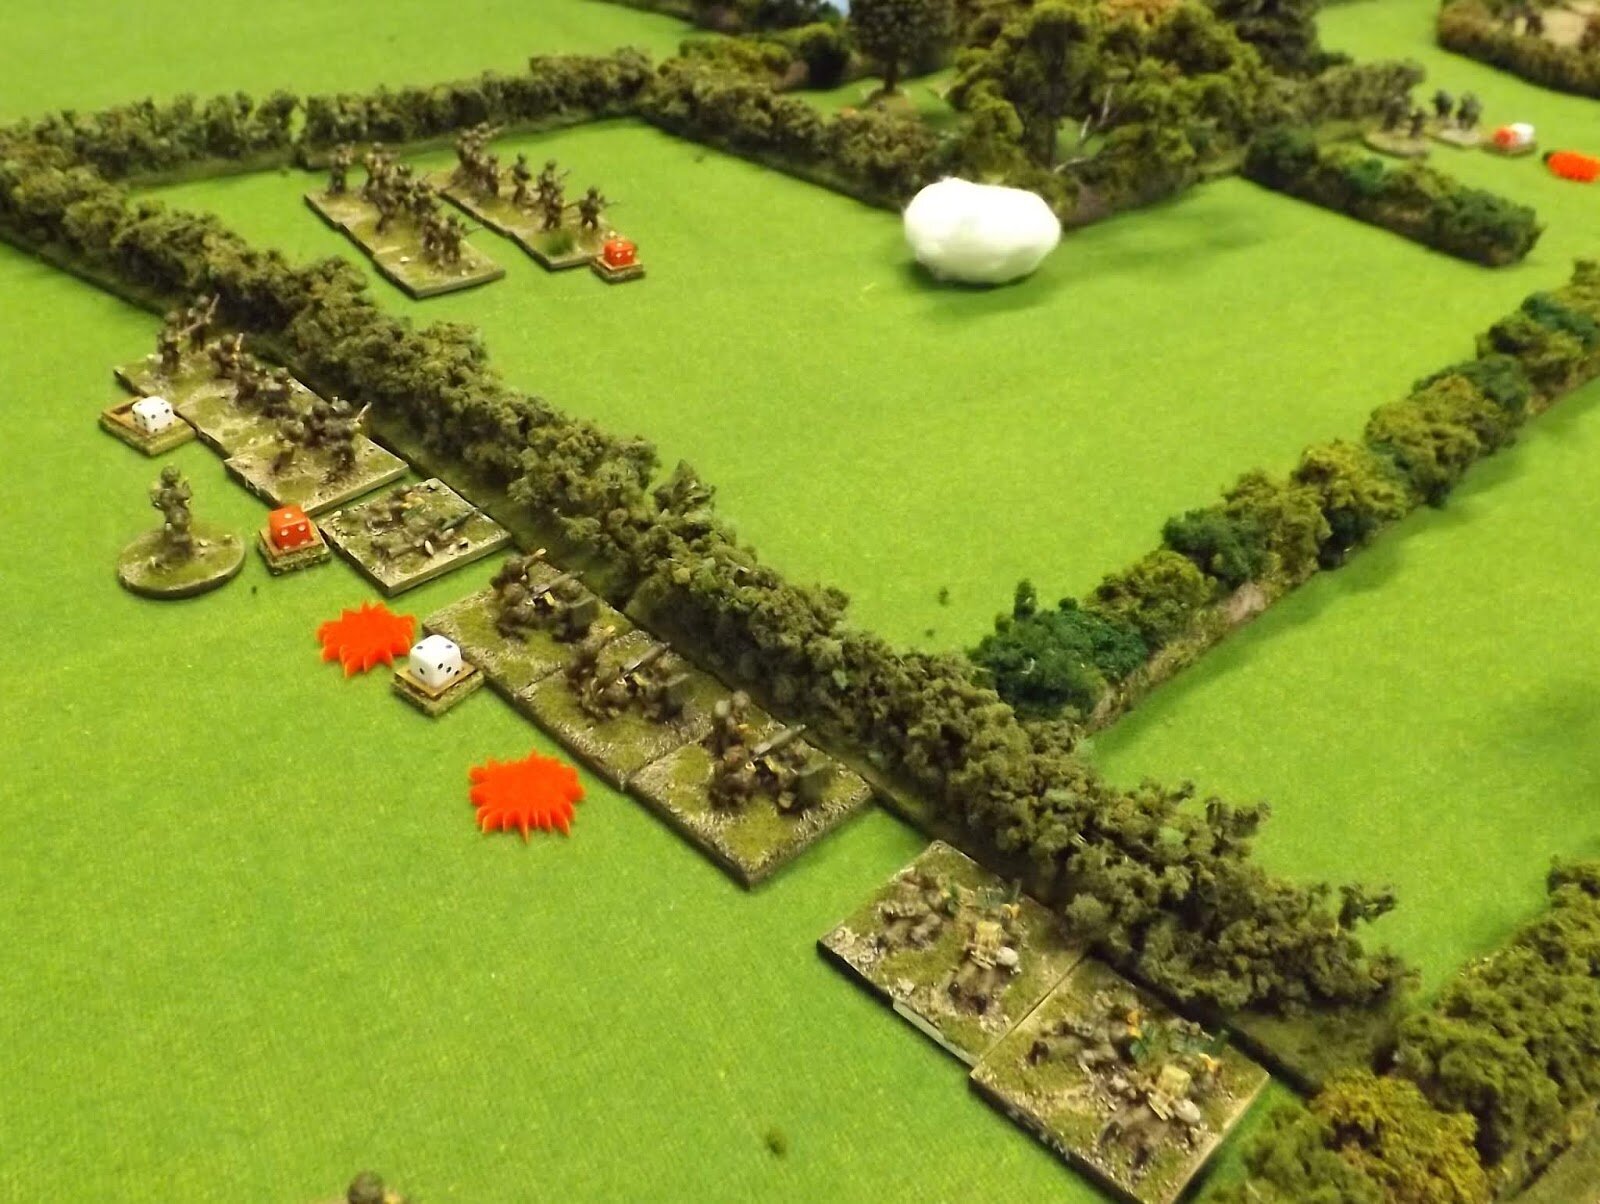
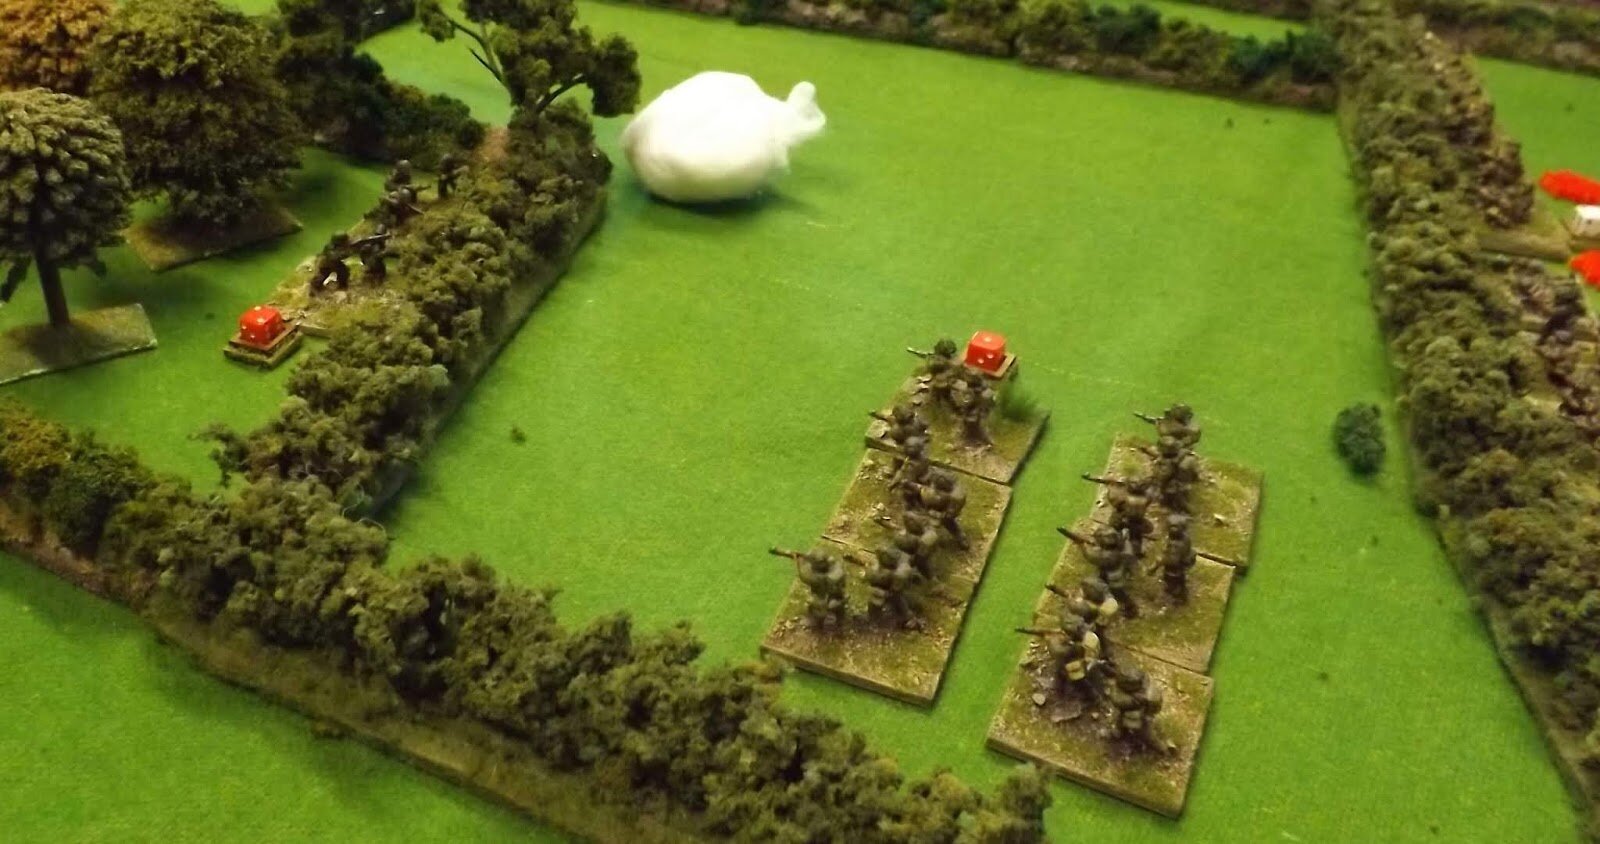
These would arrive on turn one to four diced for at the beginning of the game. It turned out to be move one! In Platoon Forward the blinds are classed A,B or C so that you can deploy them with some degree of knowledge of what type of troops they represent but they are diced for only when they are spotted or deployed. In this game, the dice threw up a few surprises!
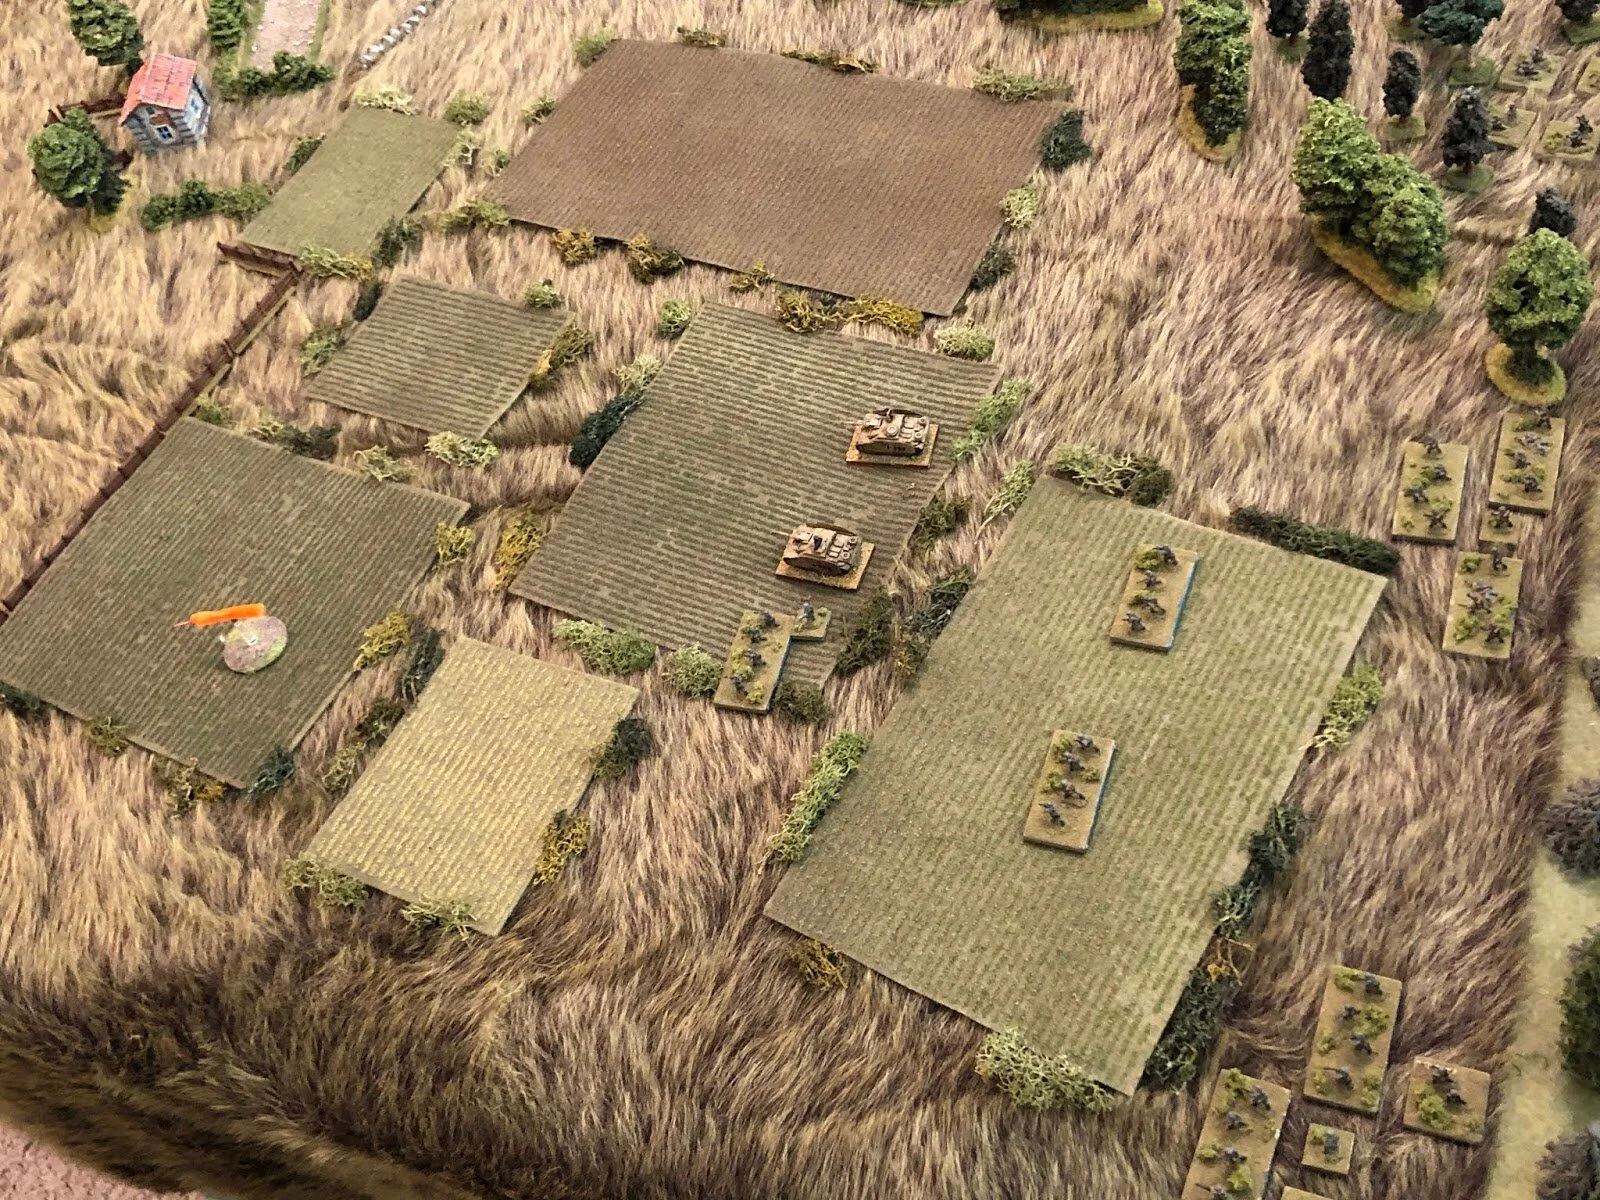
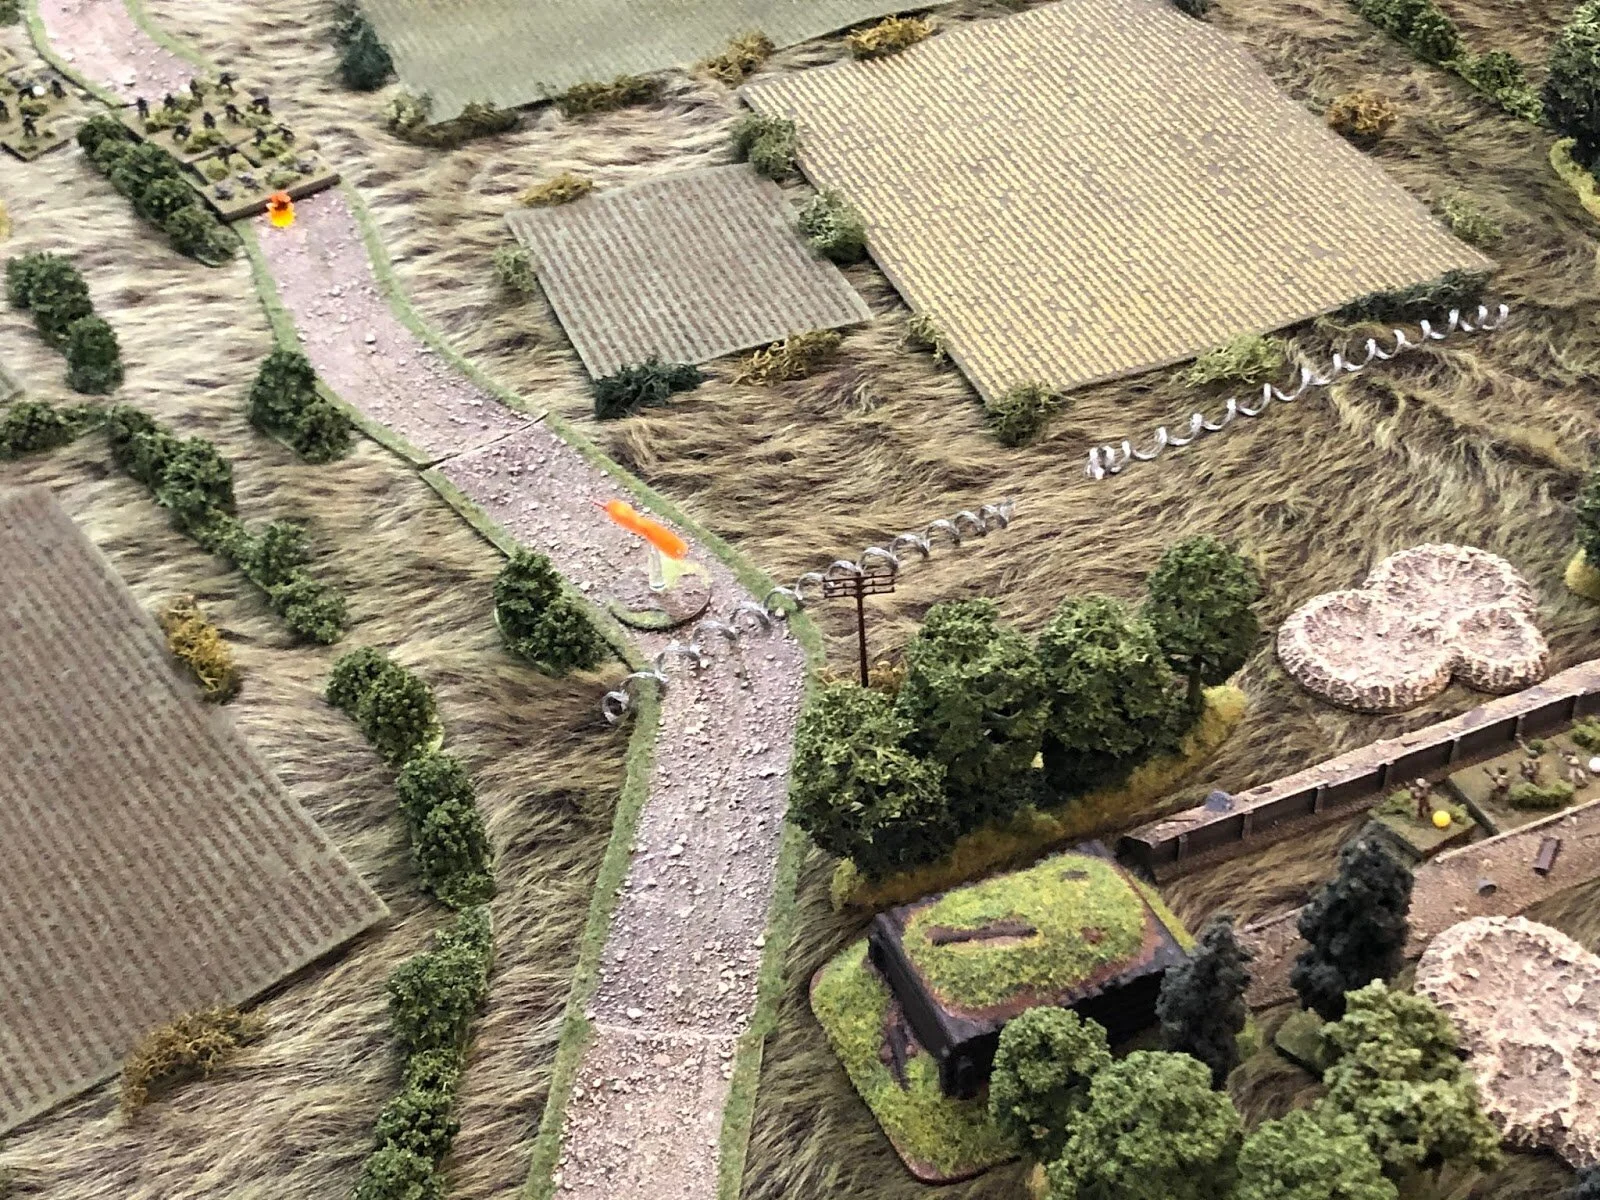
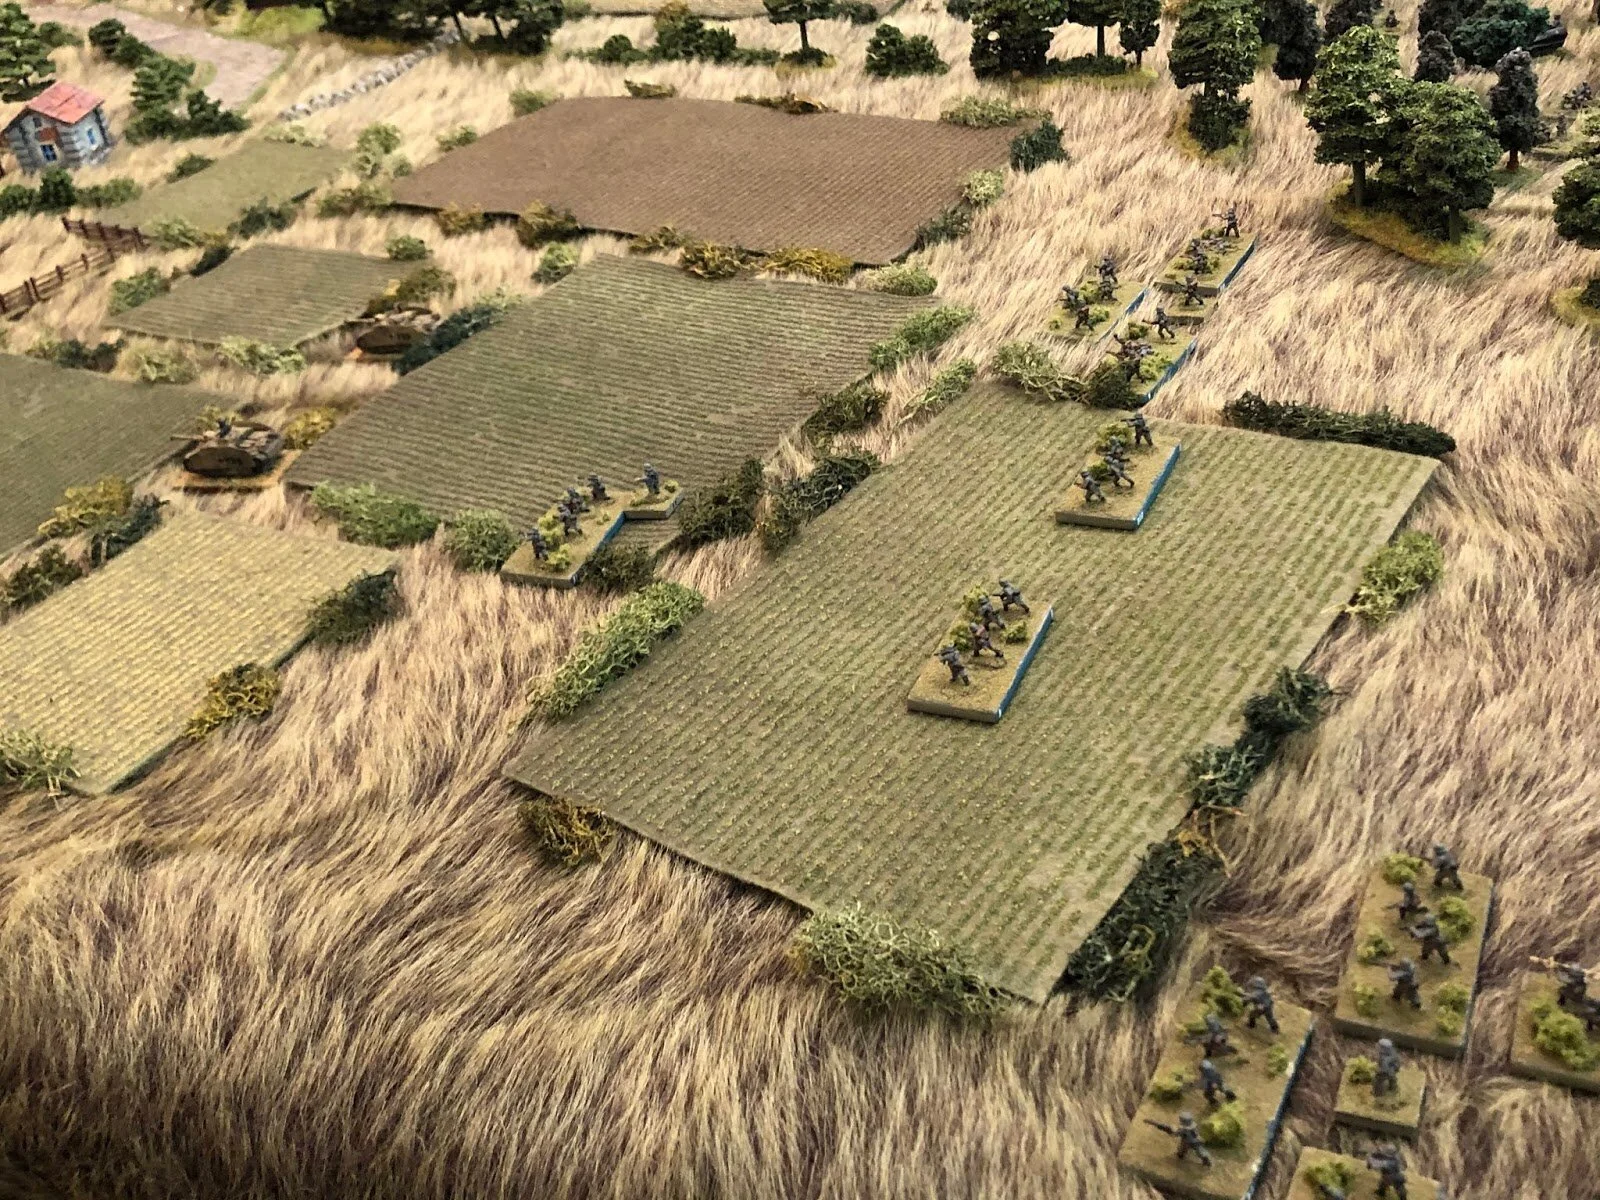
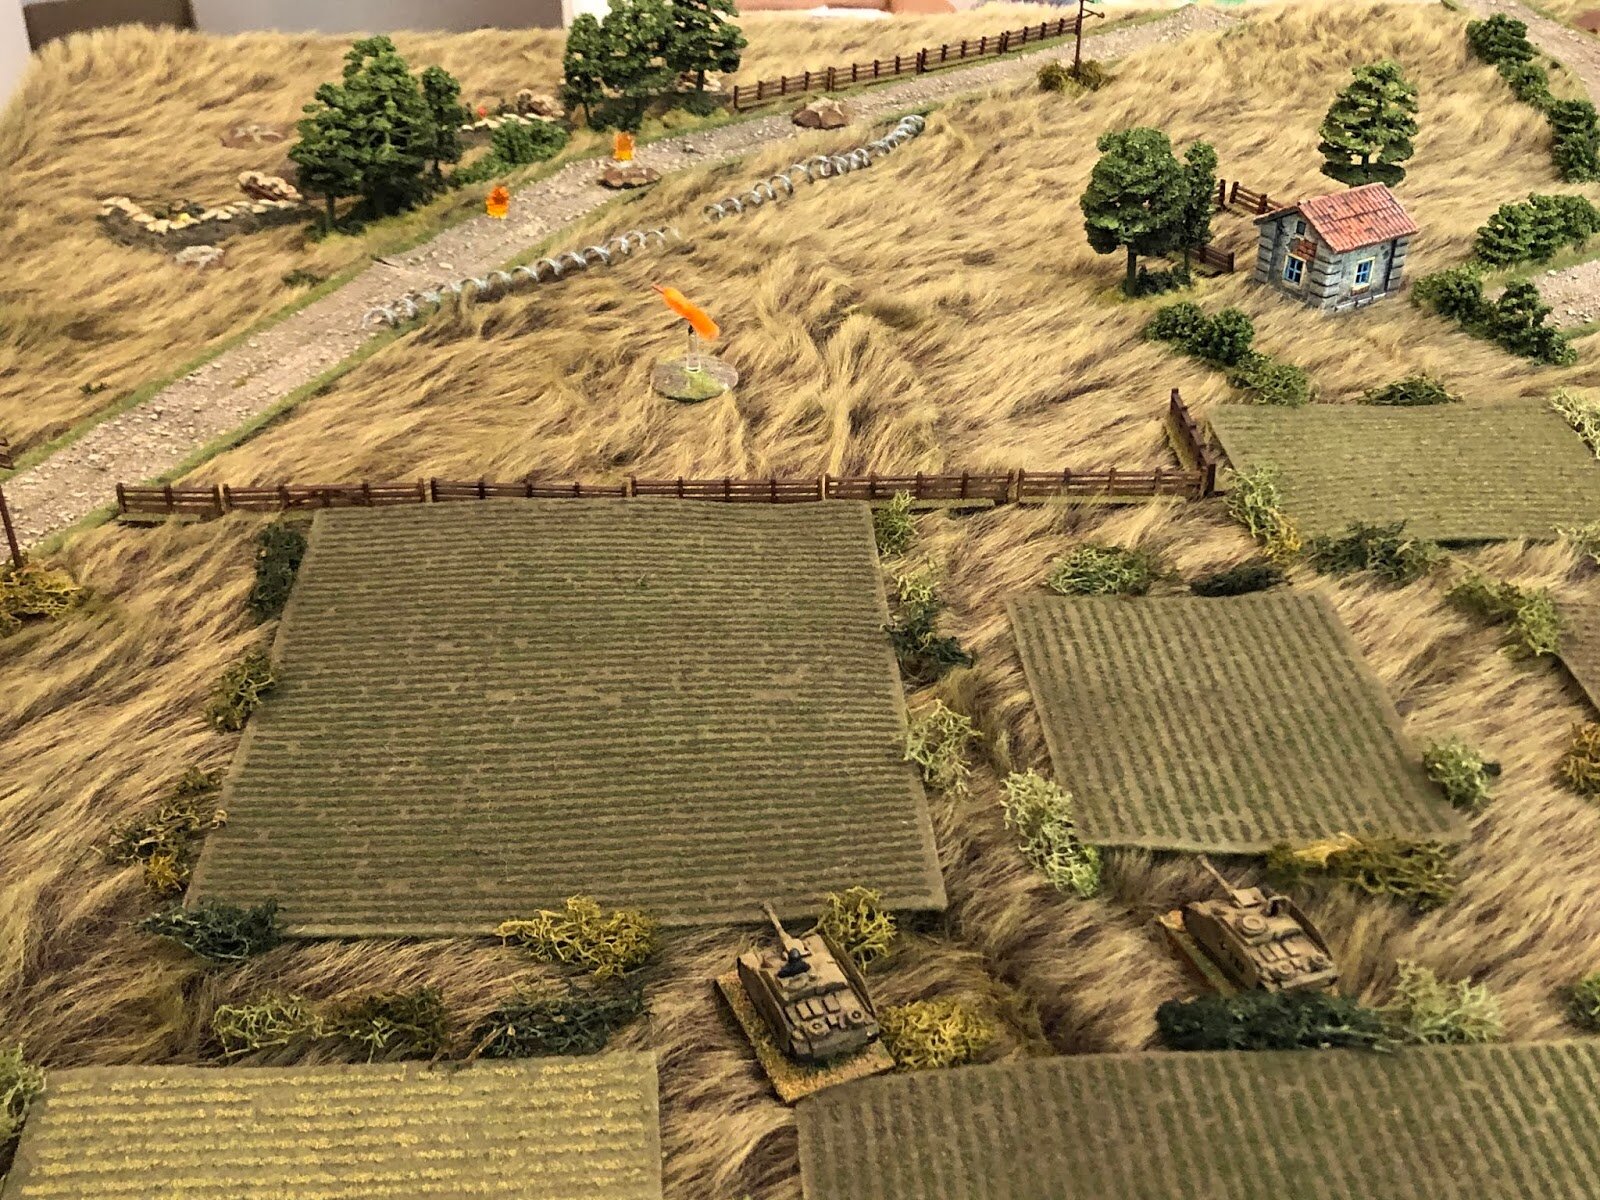
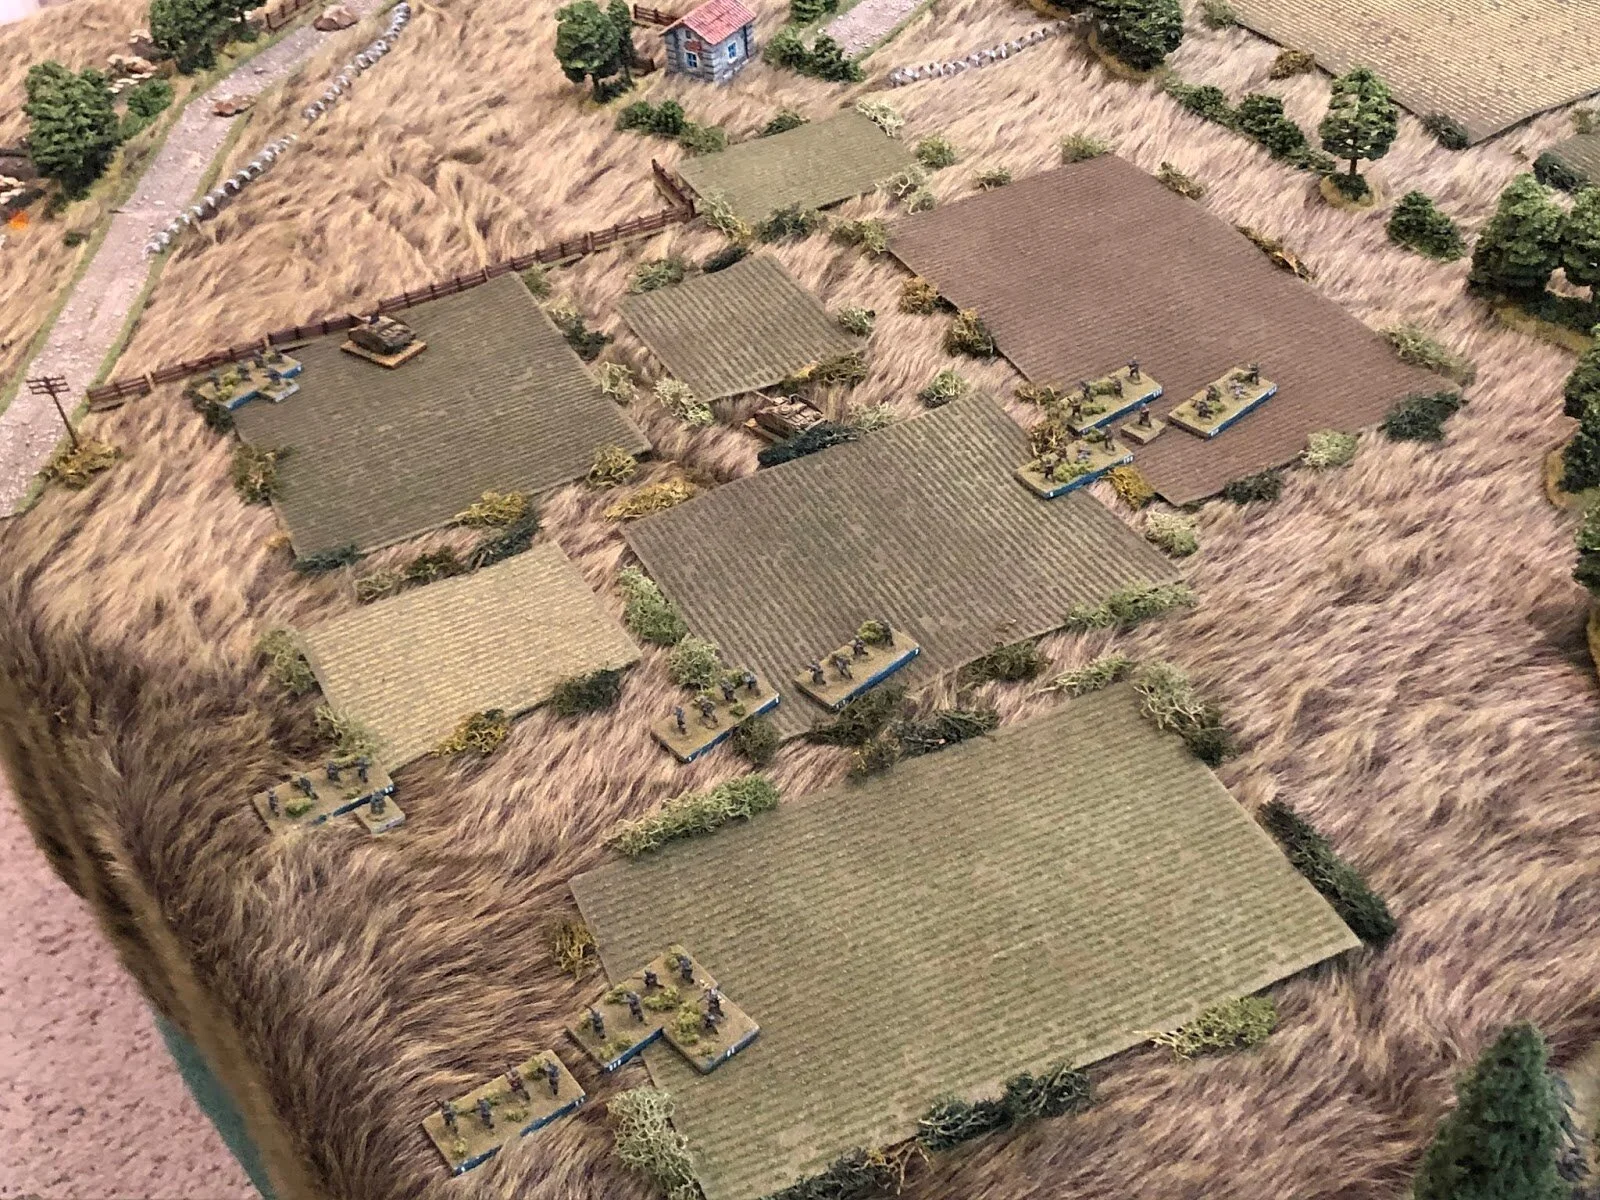
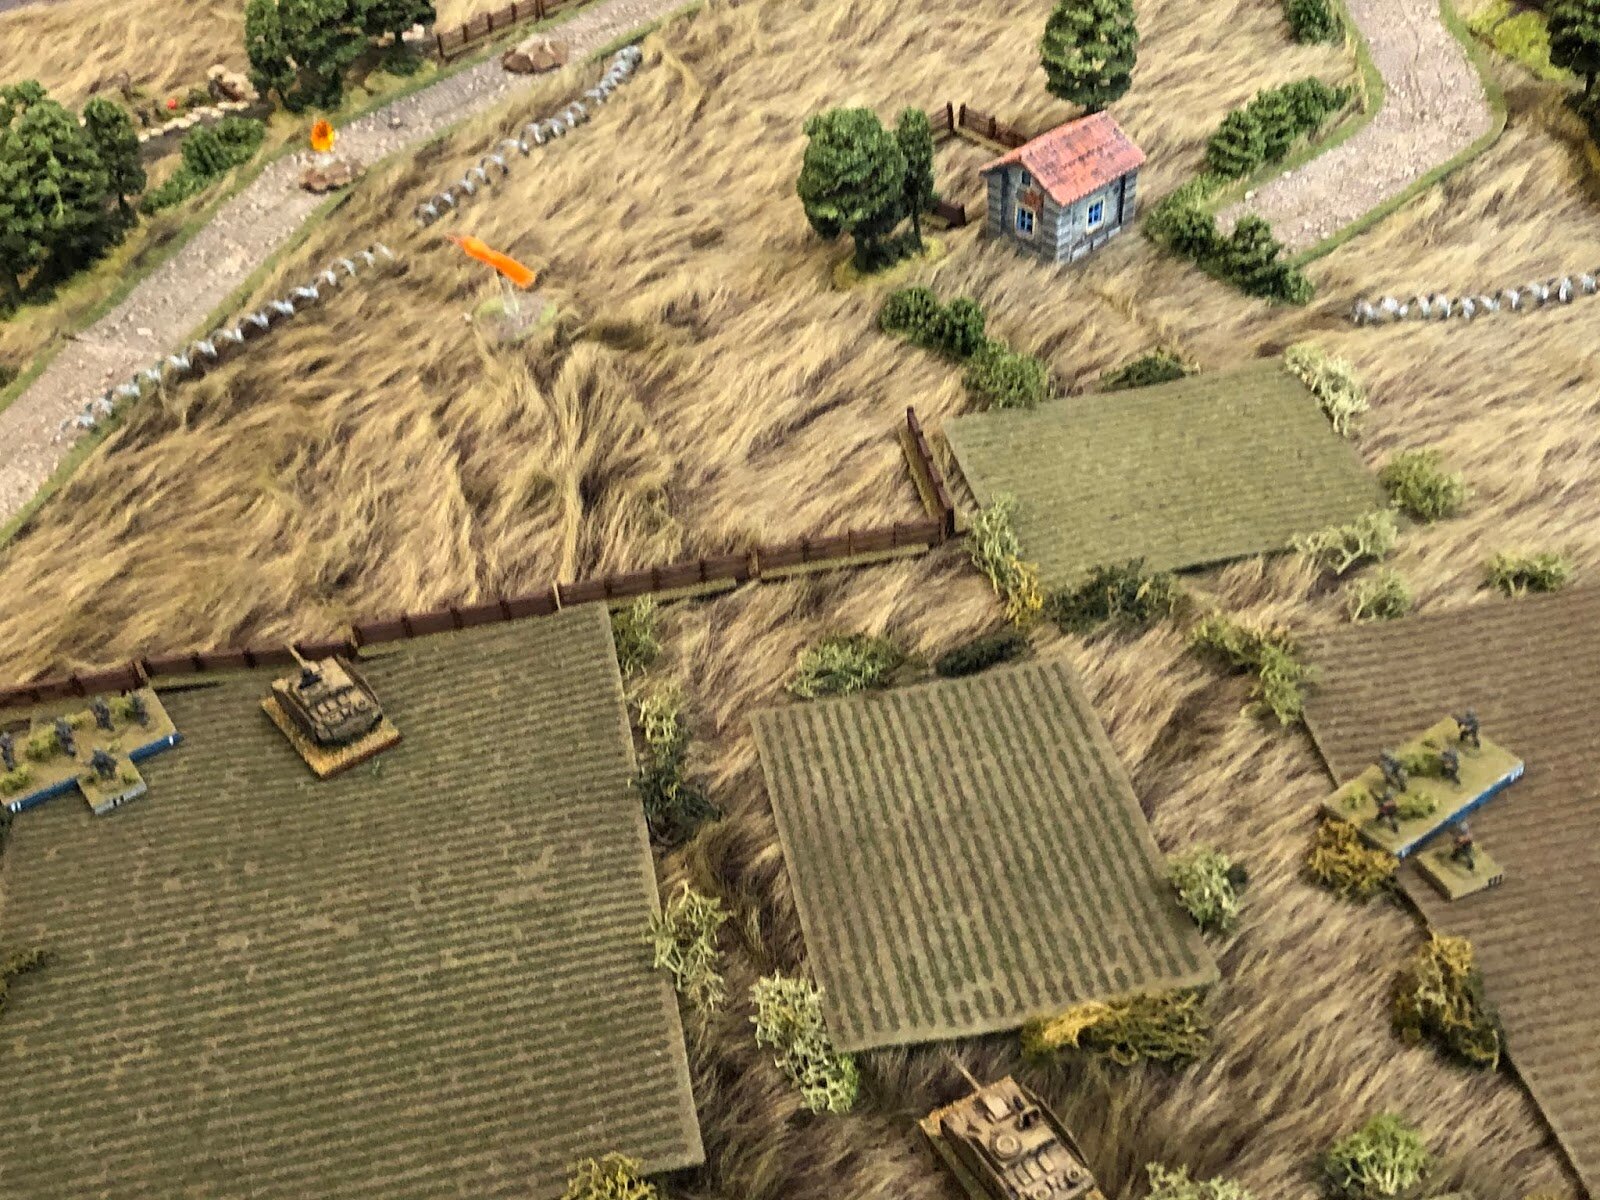
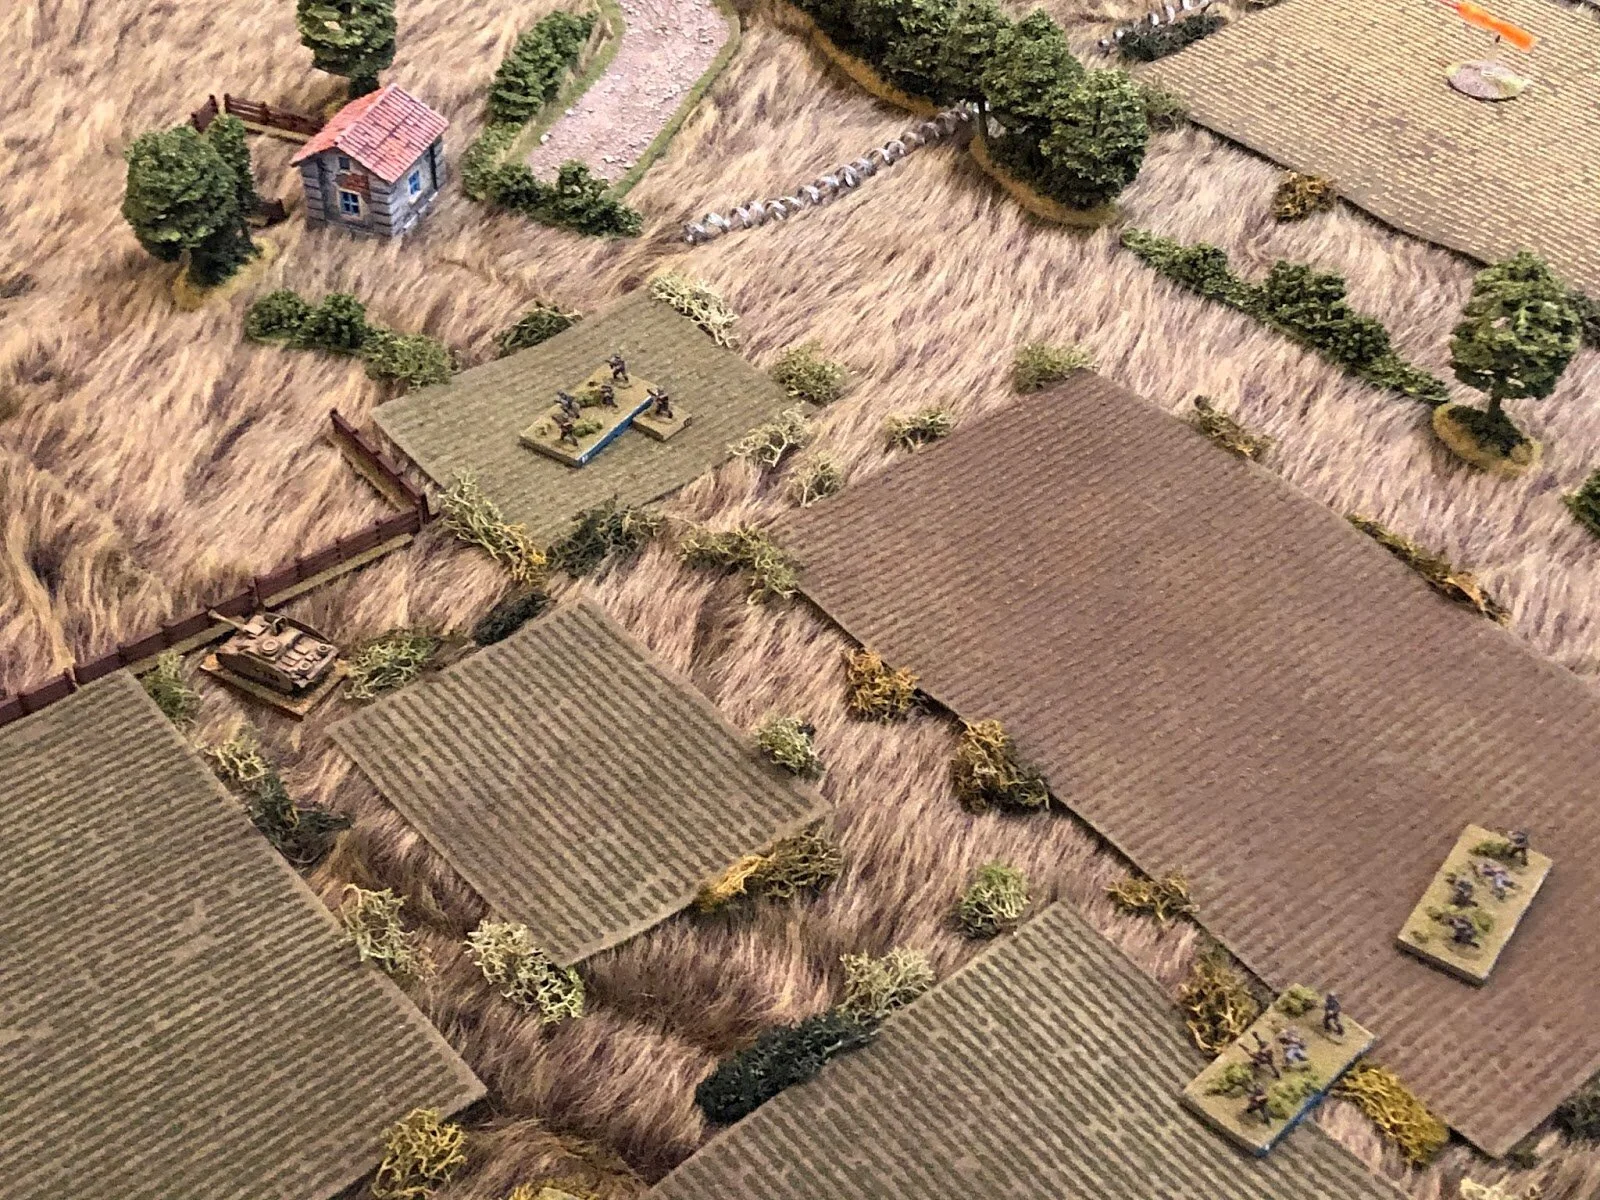
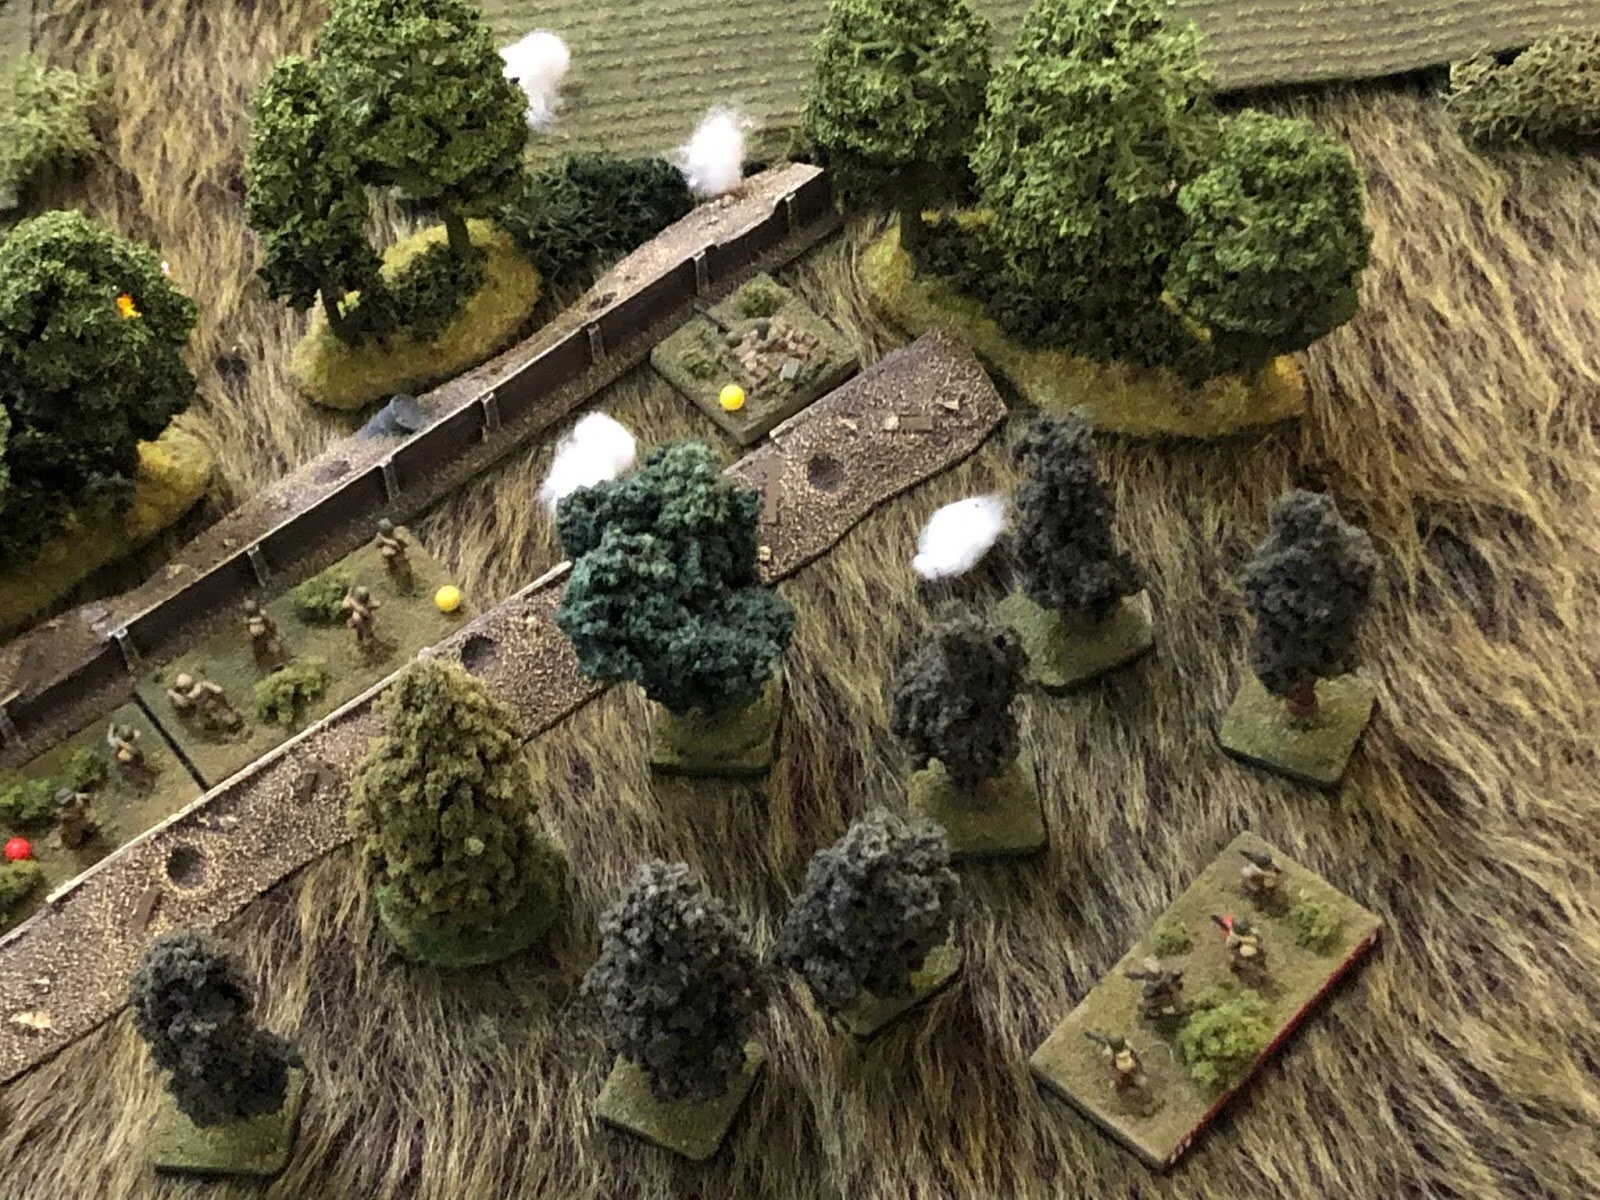
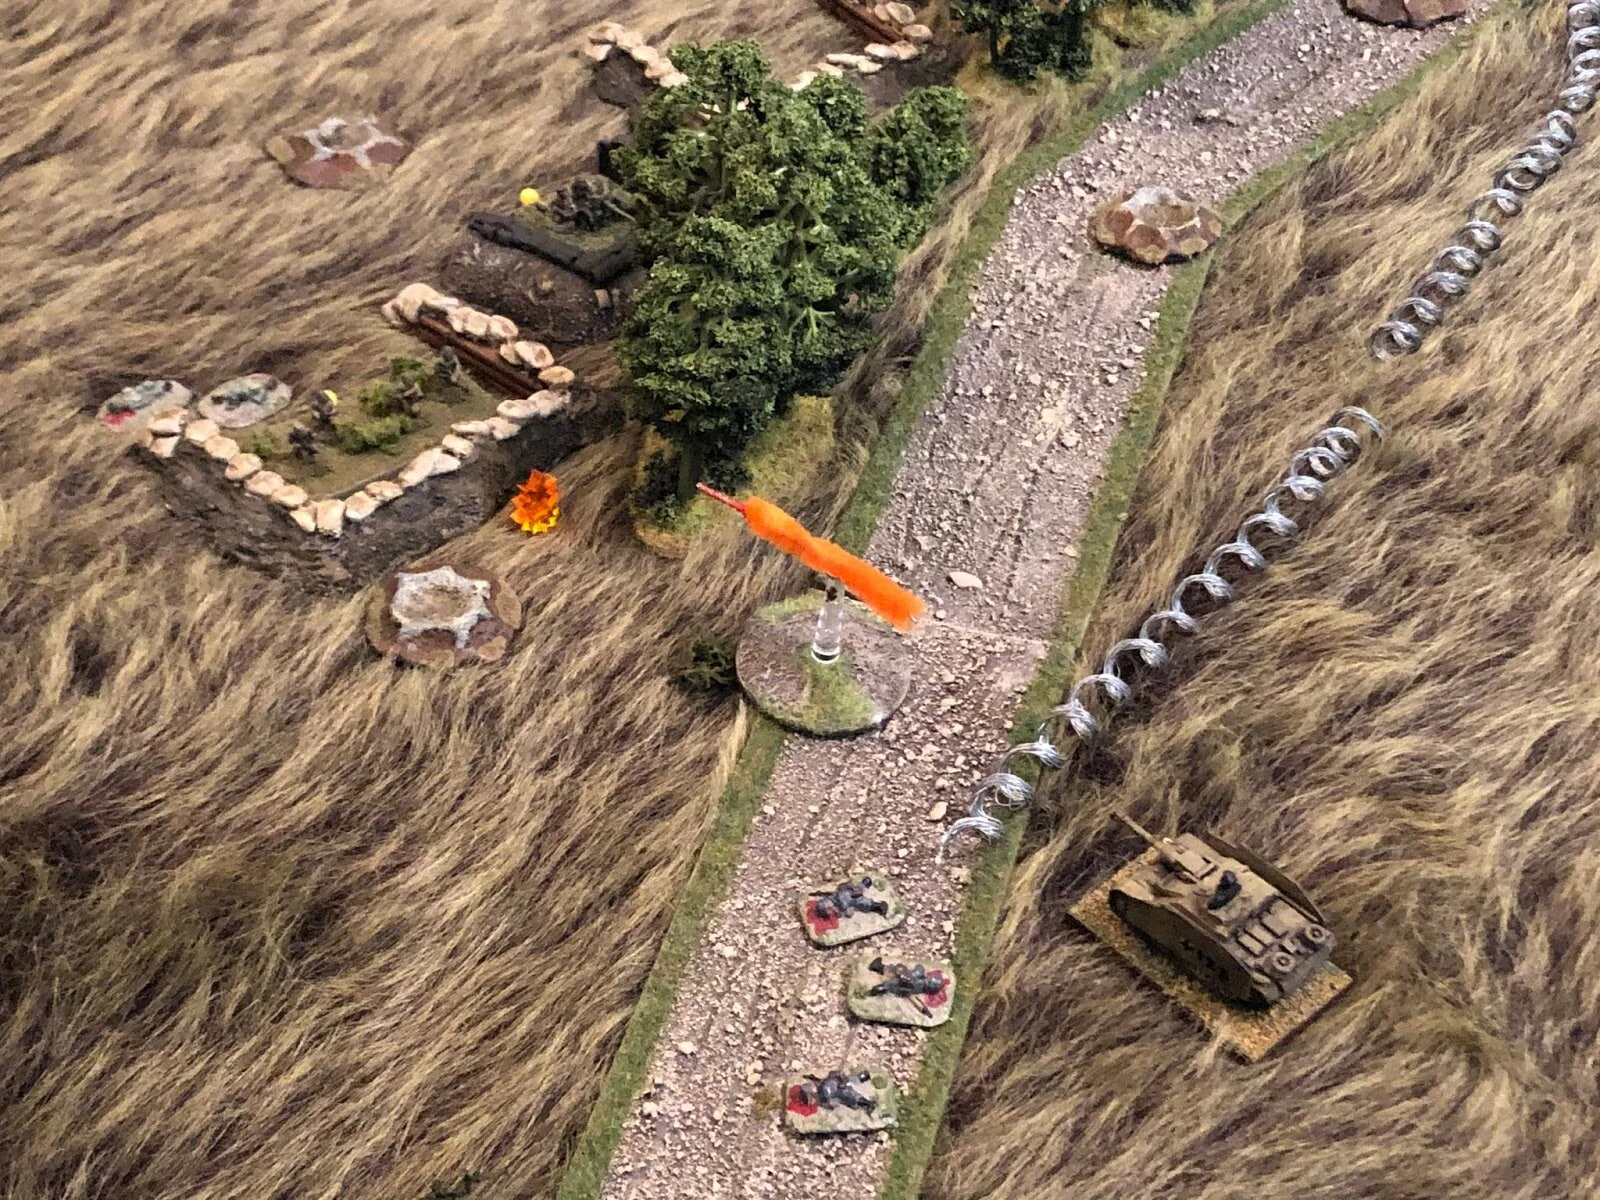
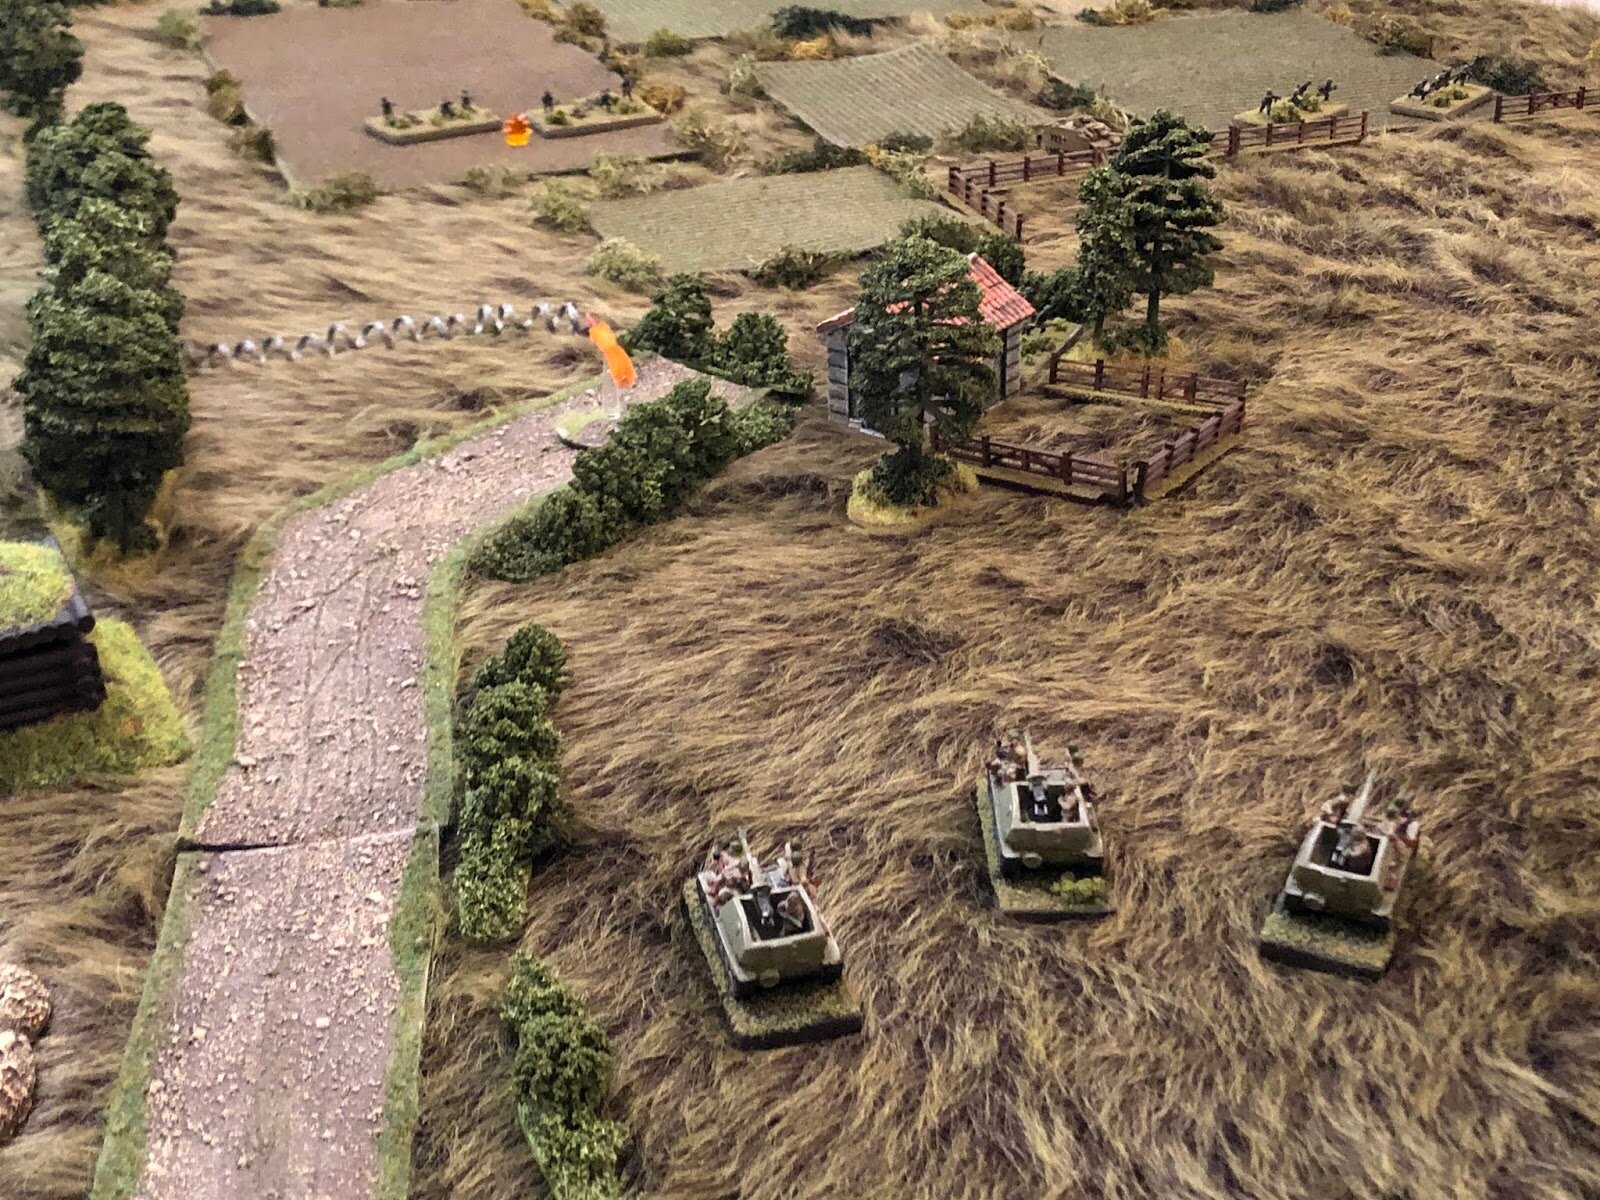
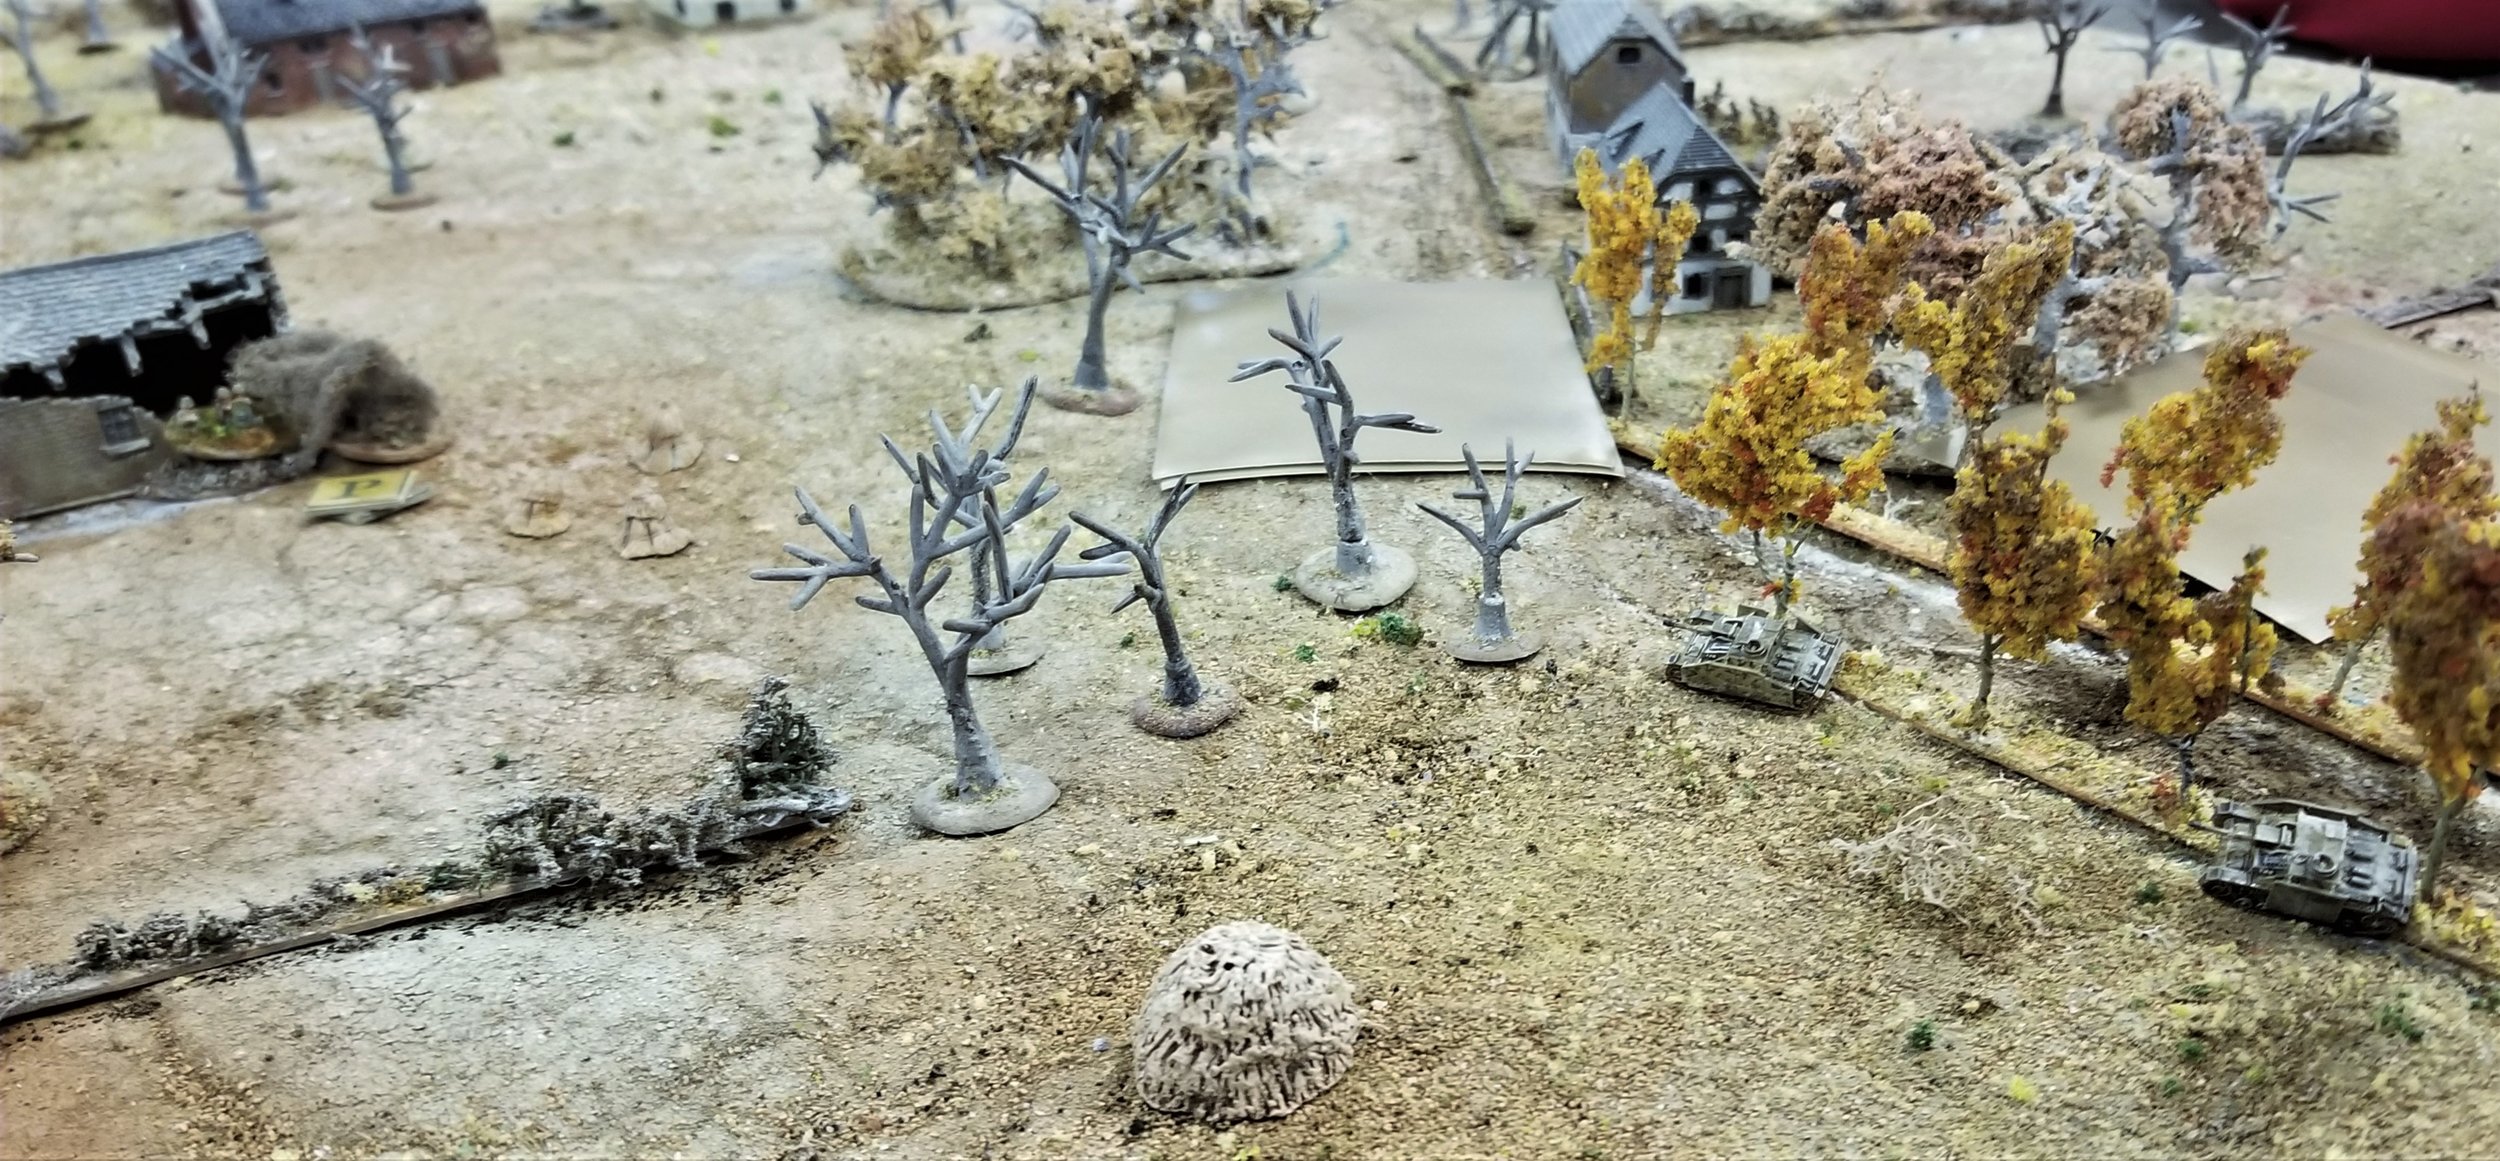
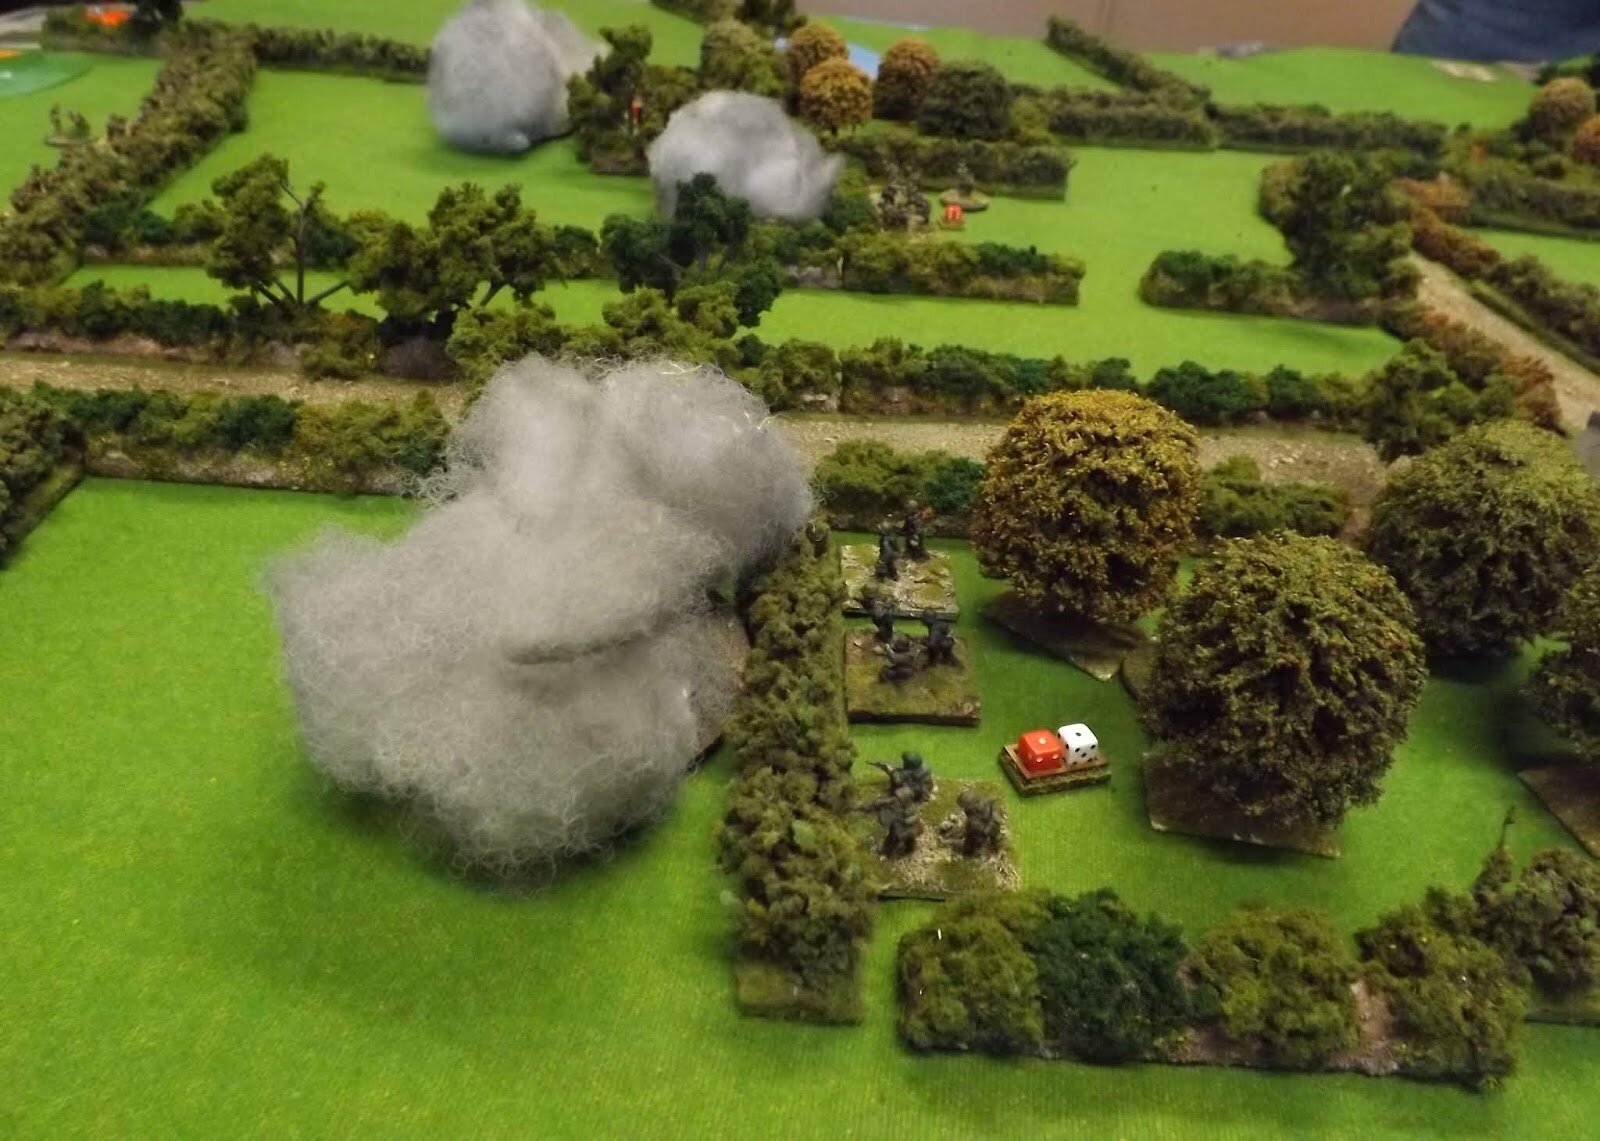
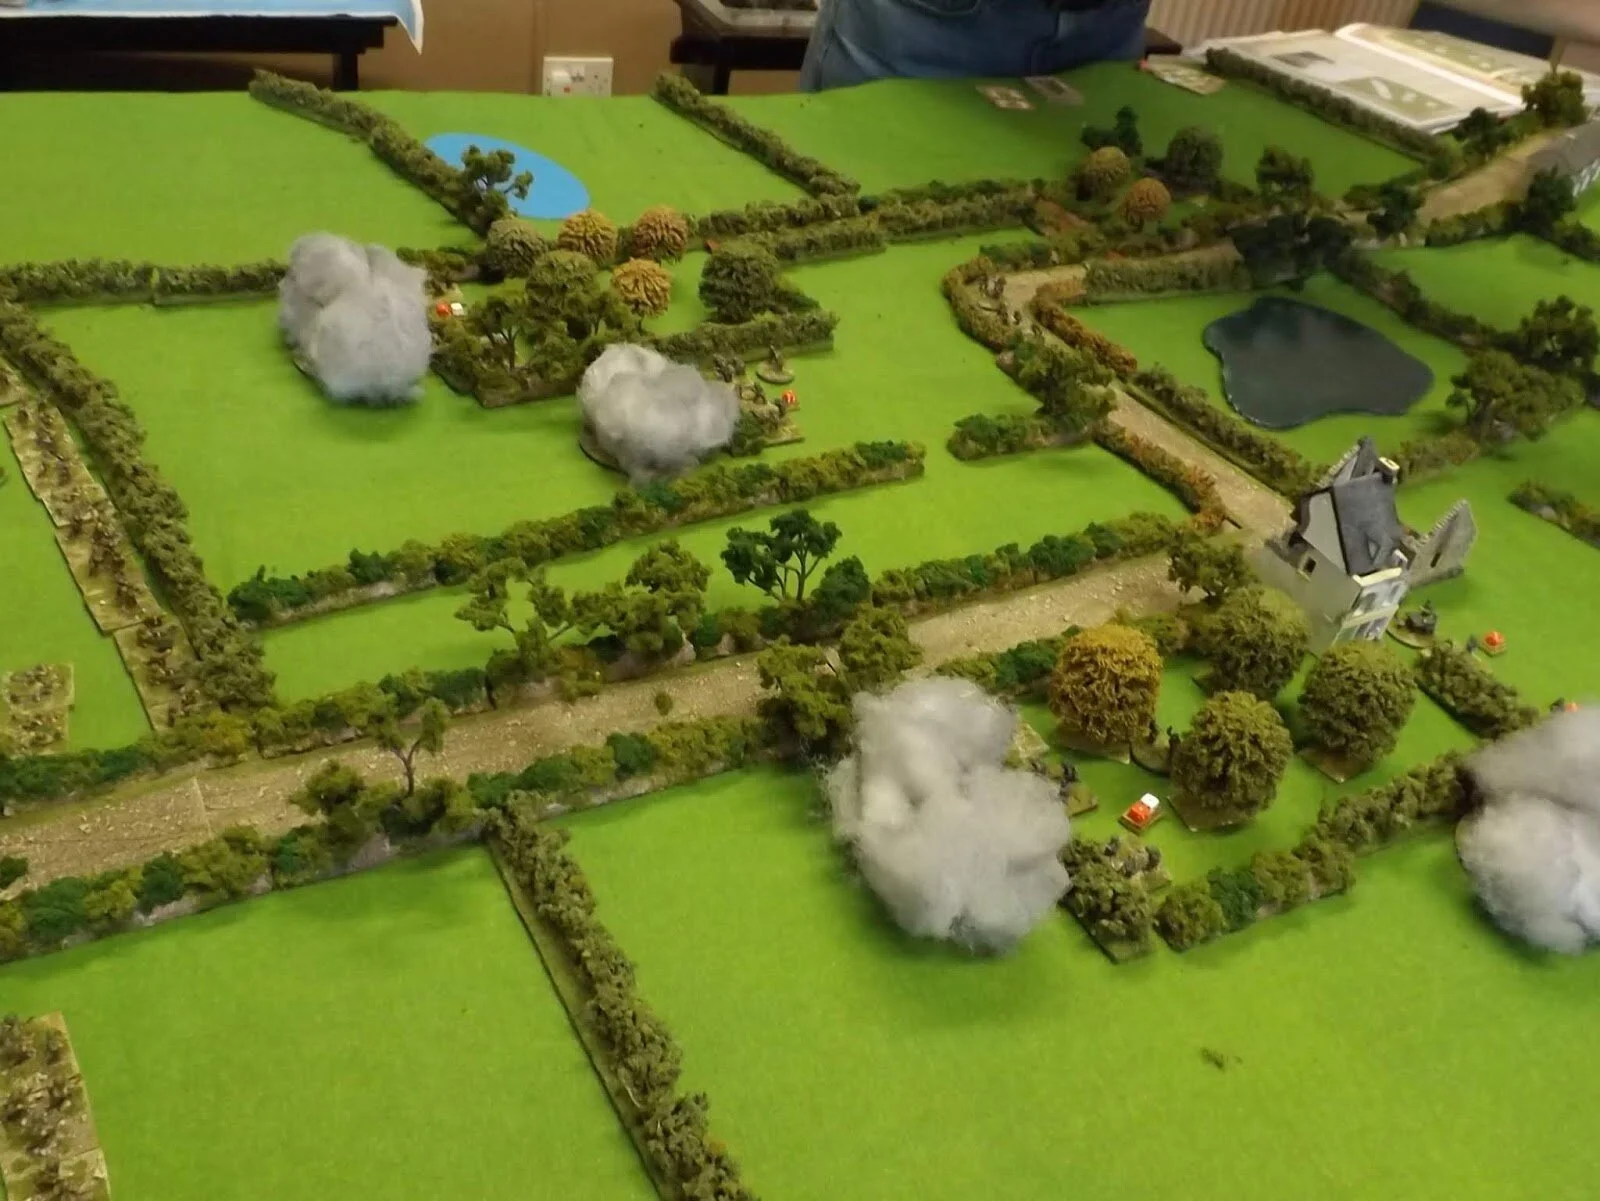
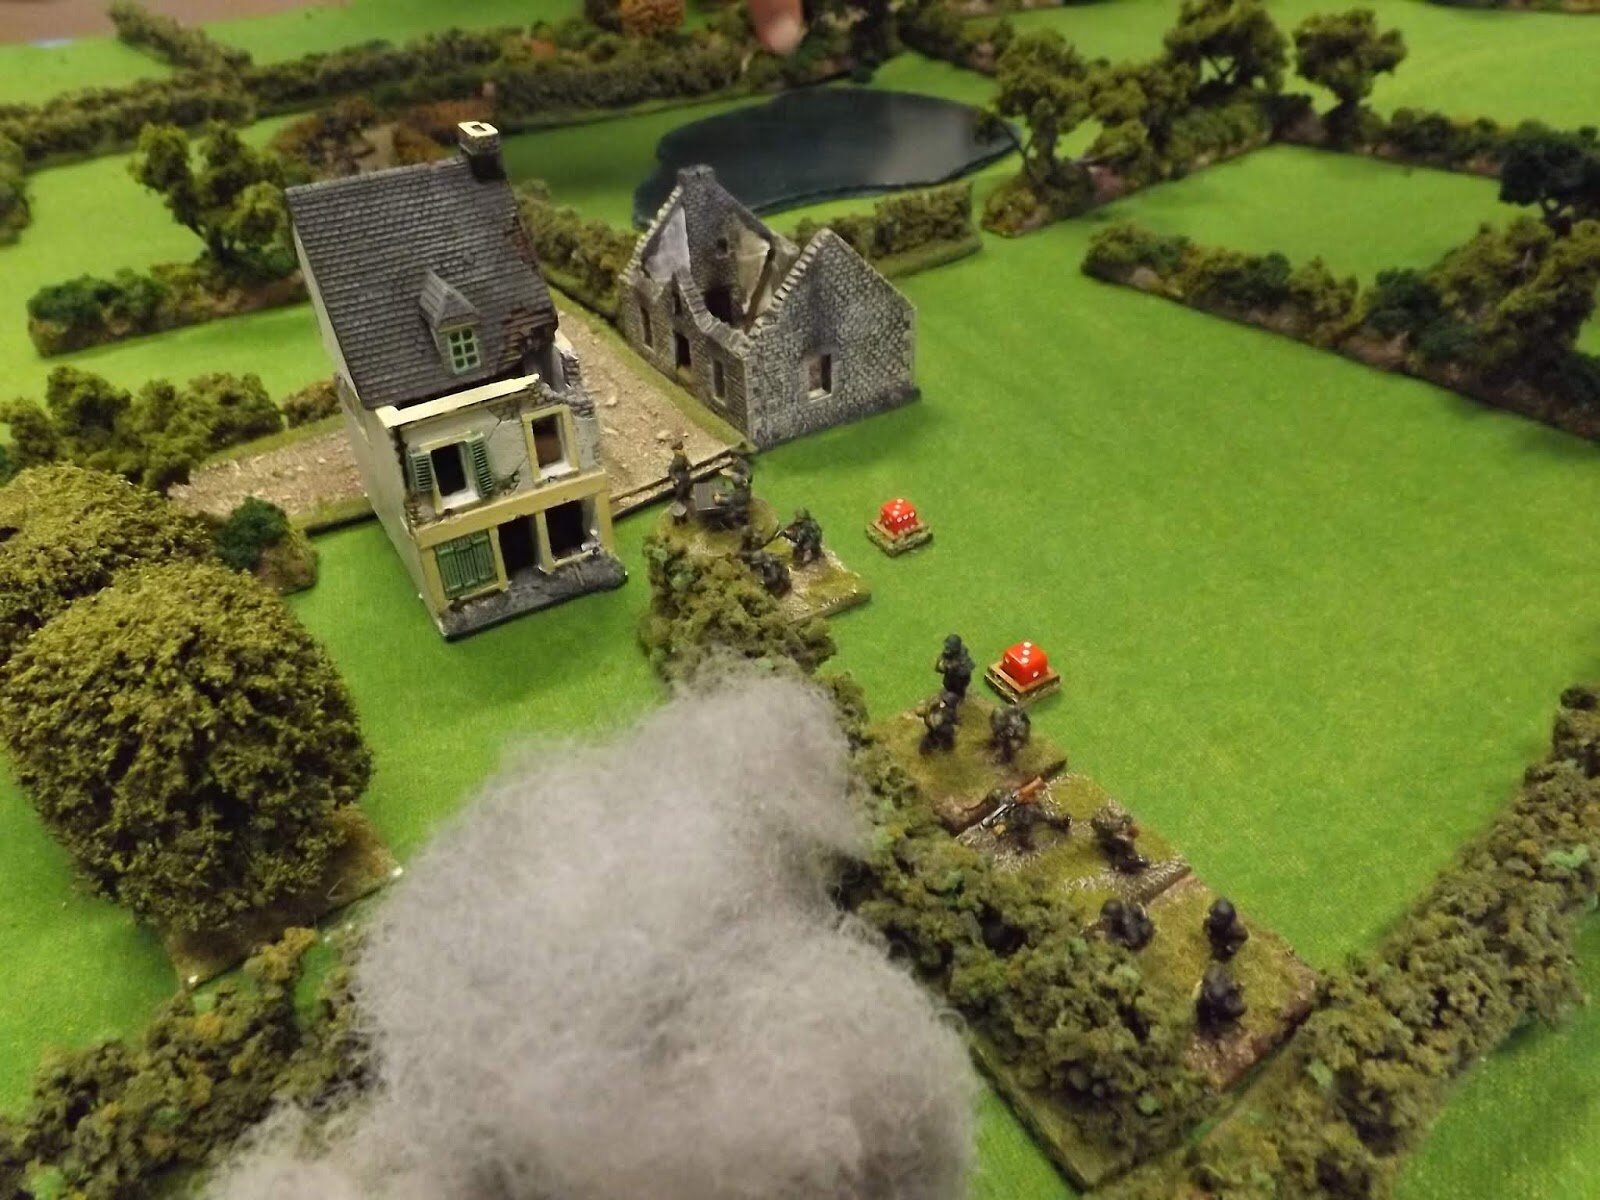
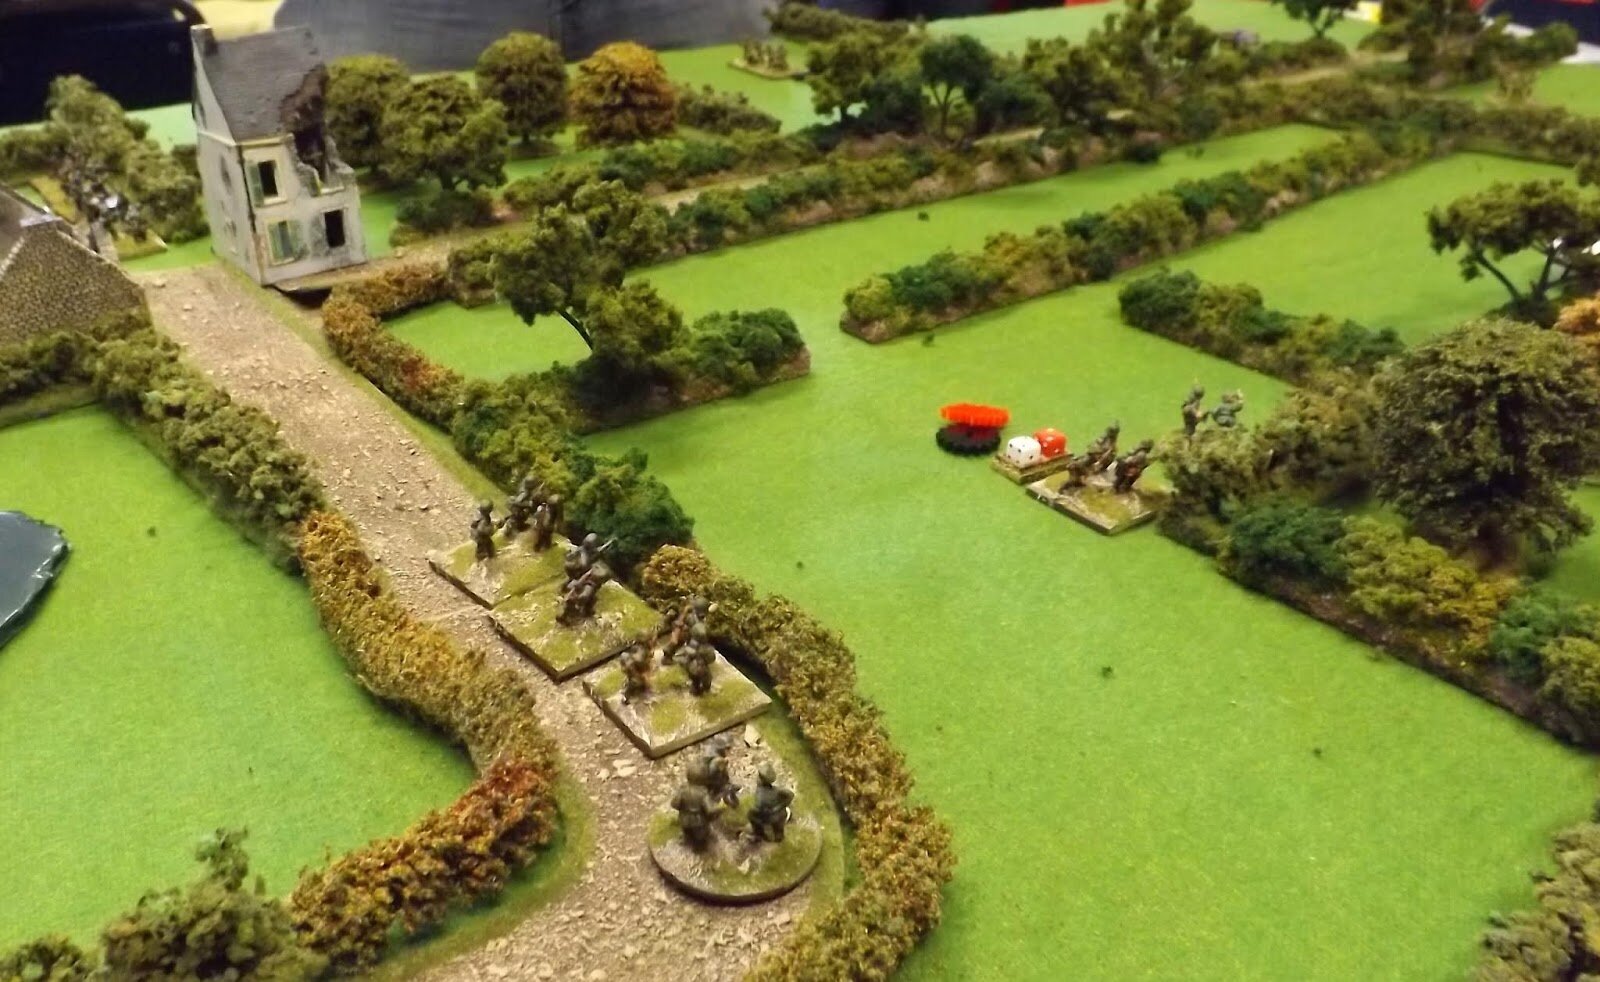
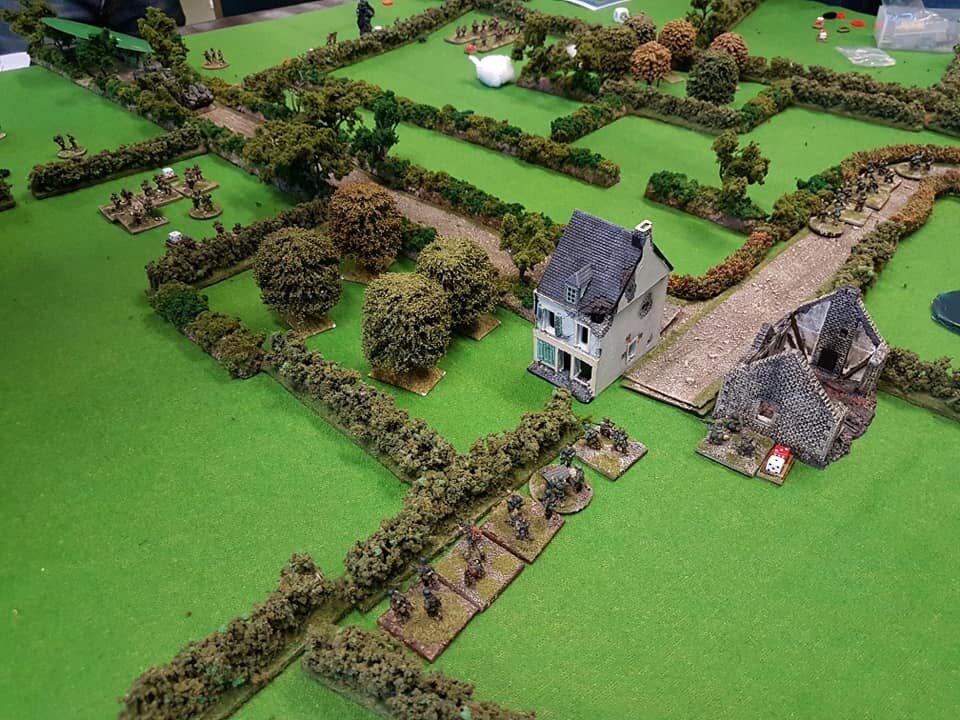
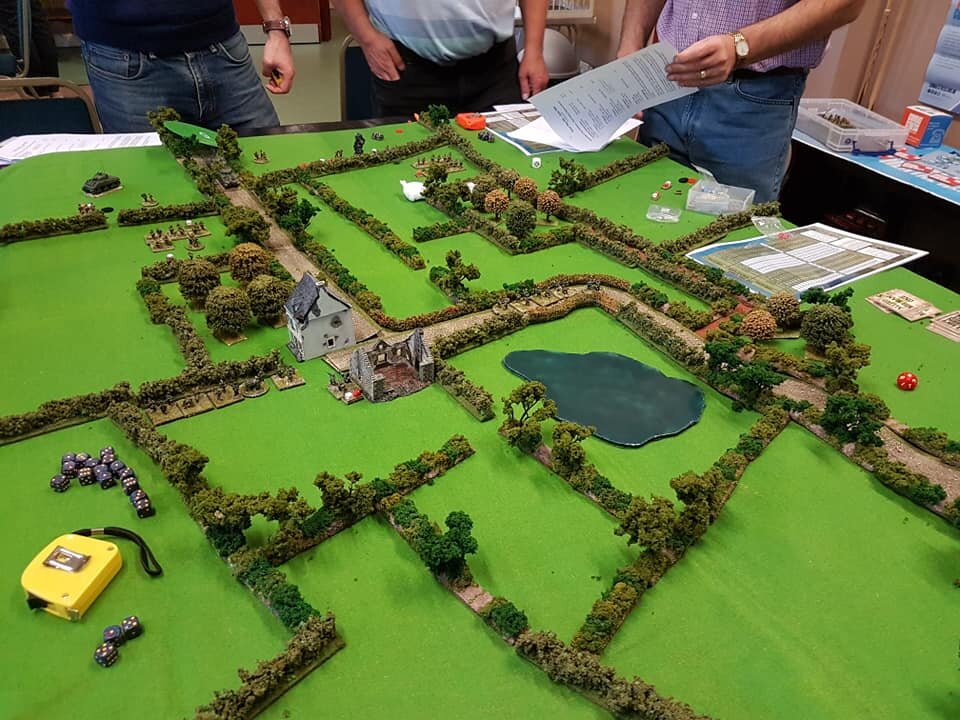
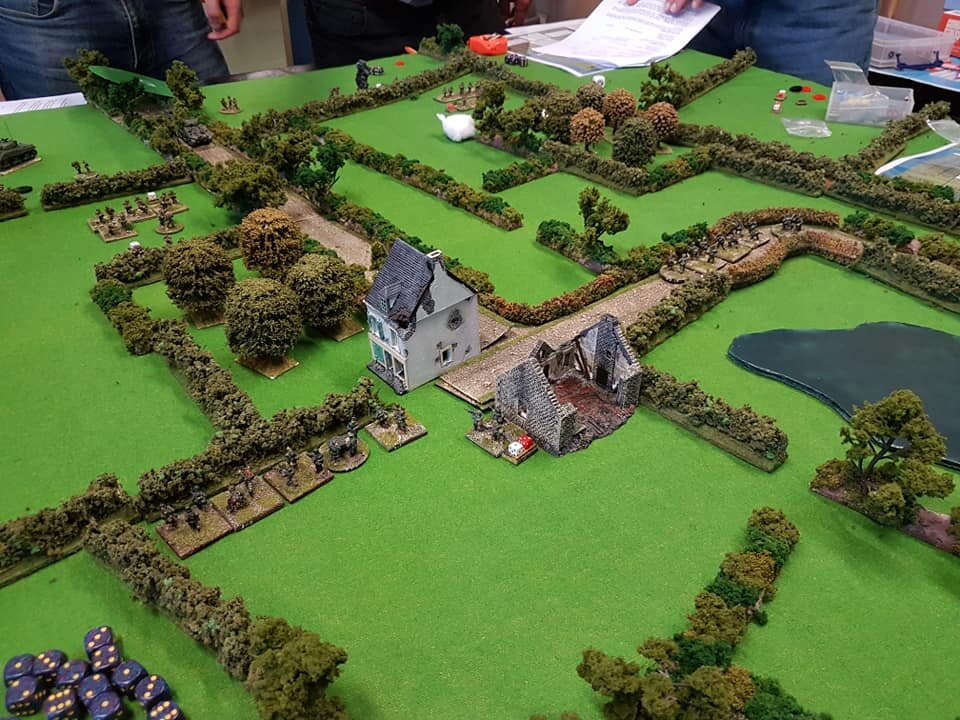
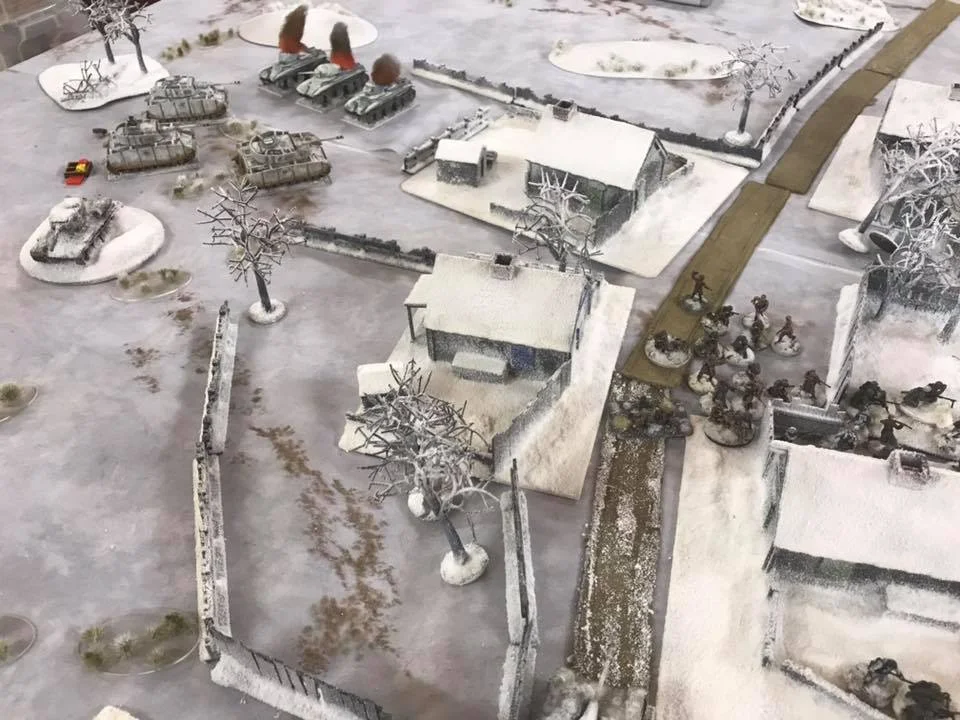
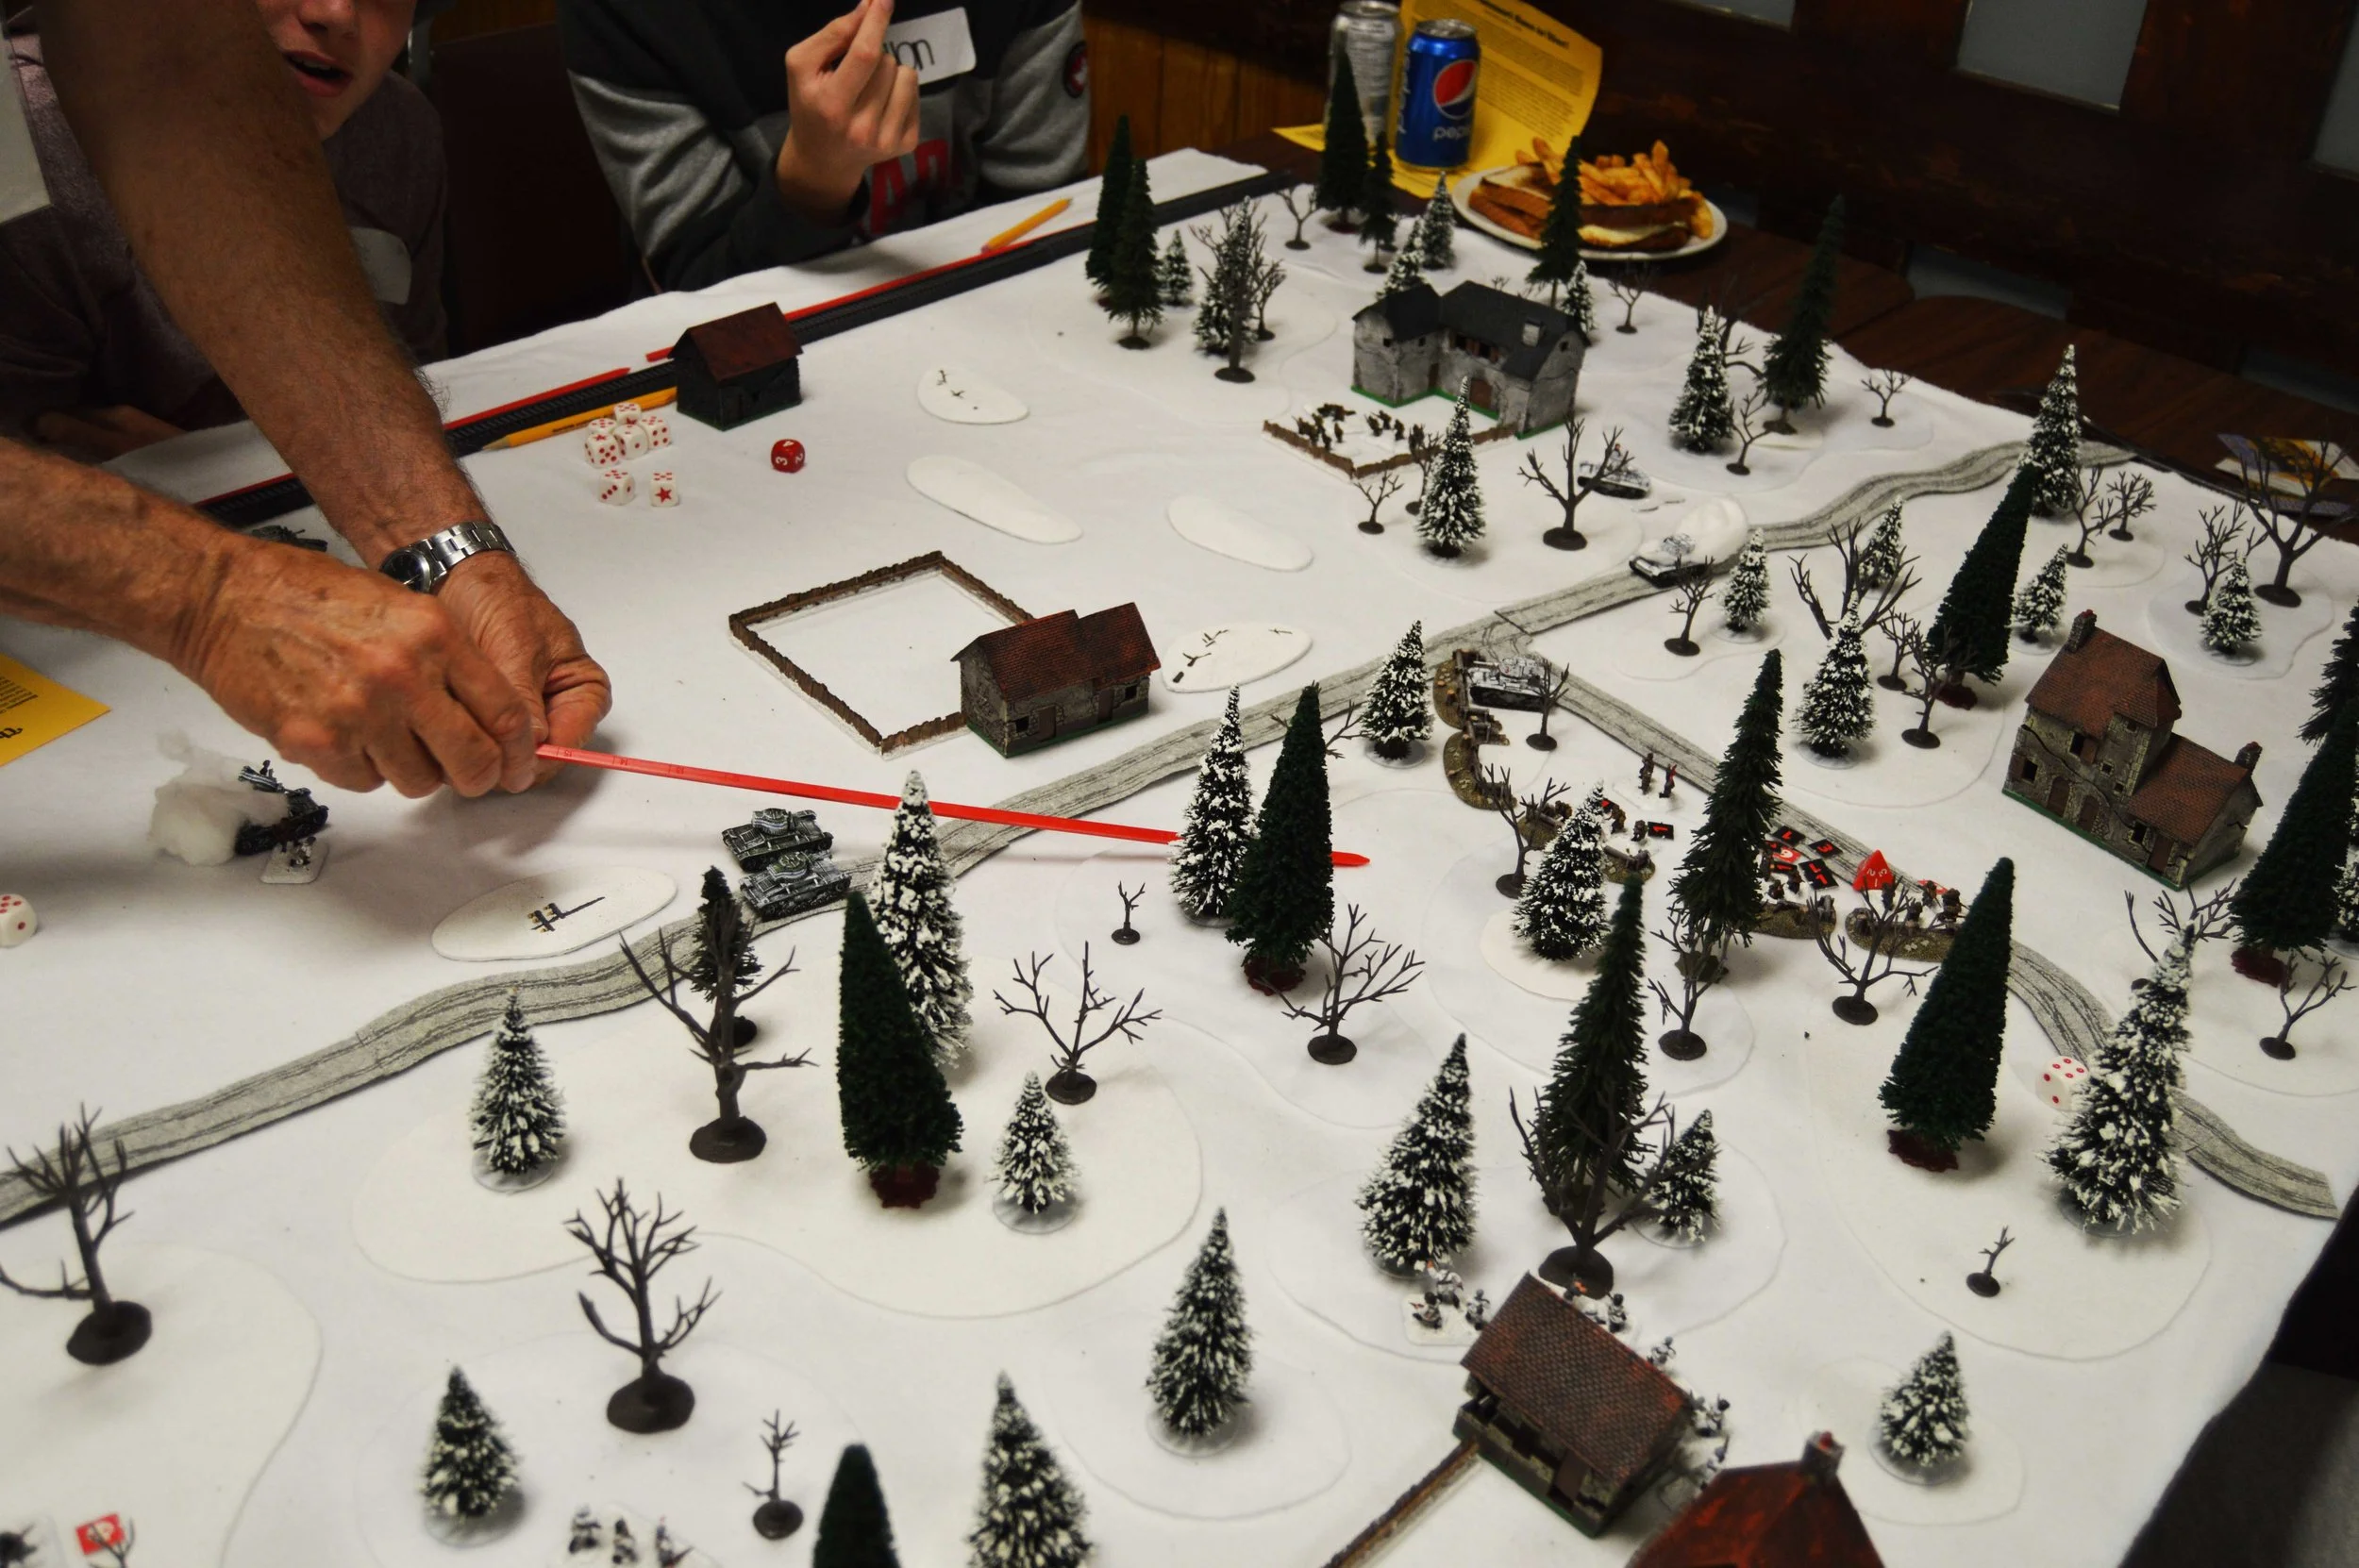
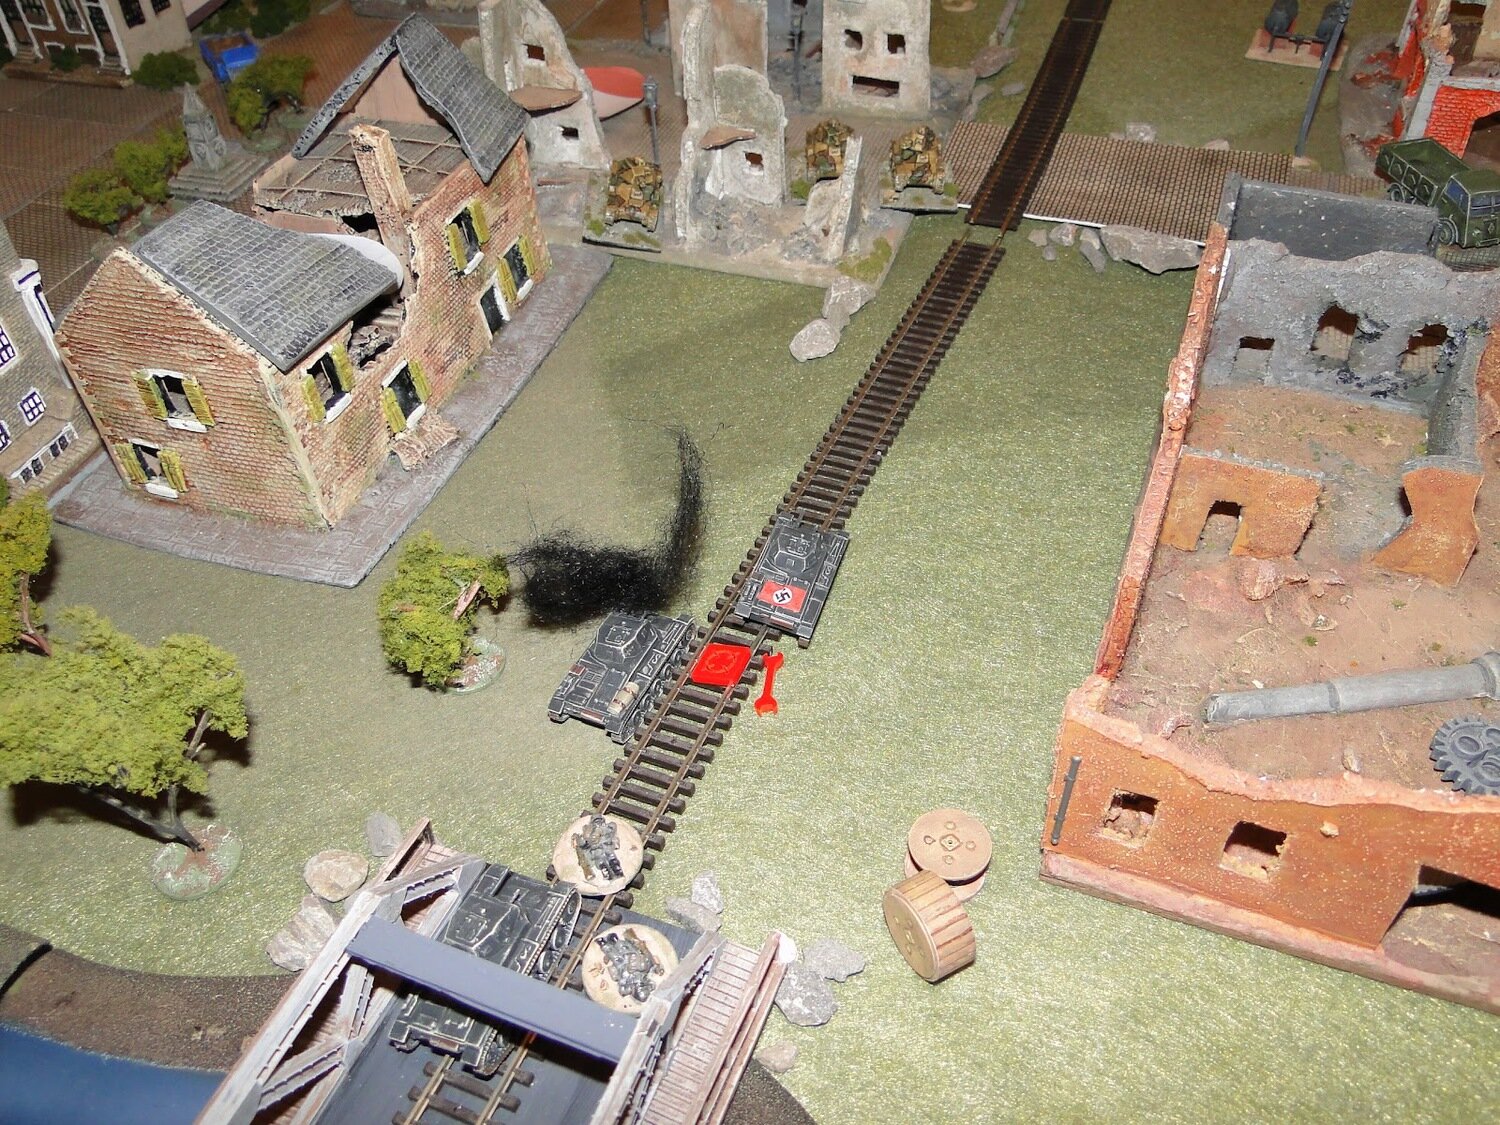
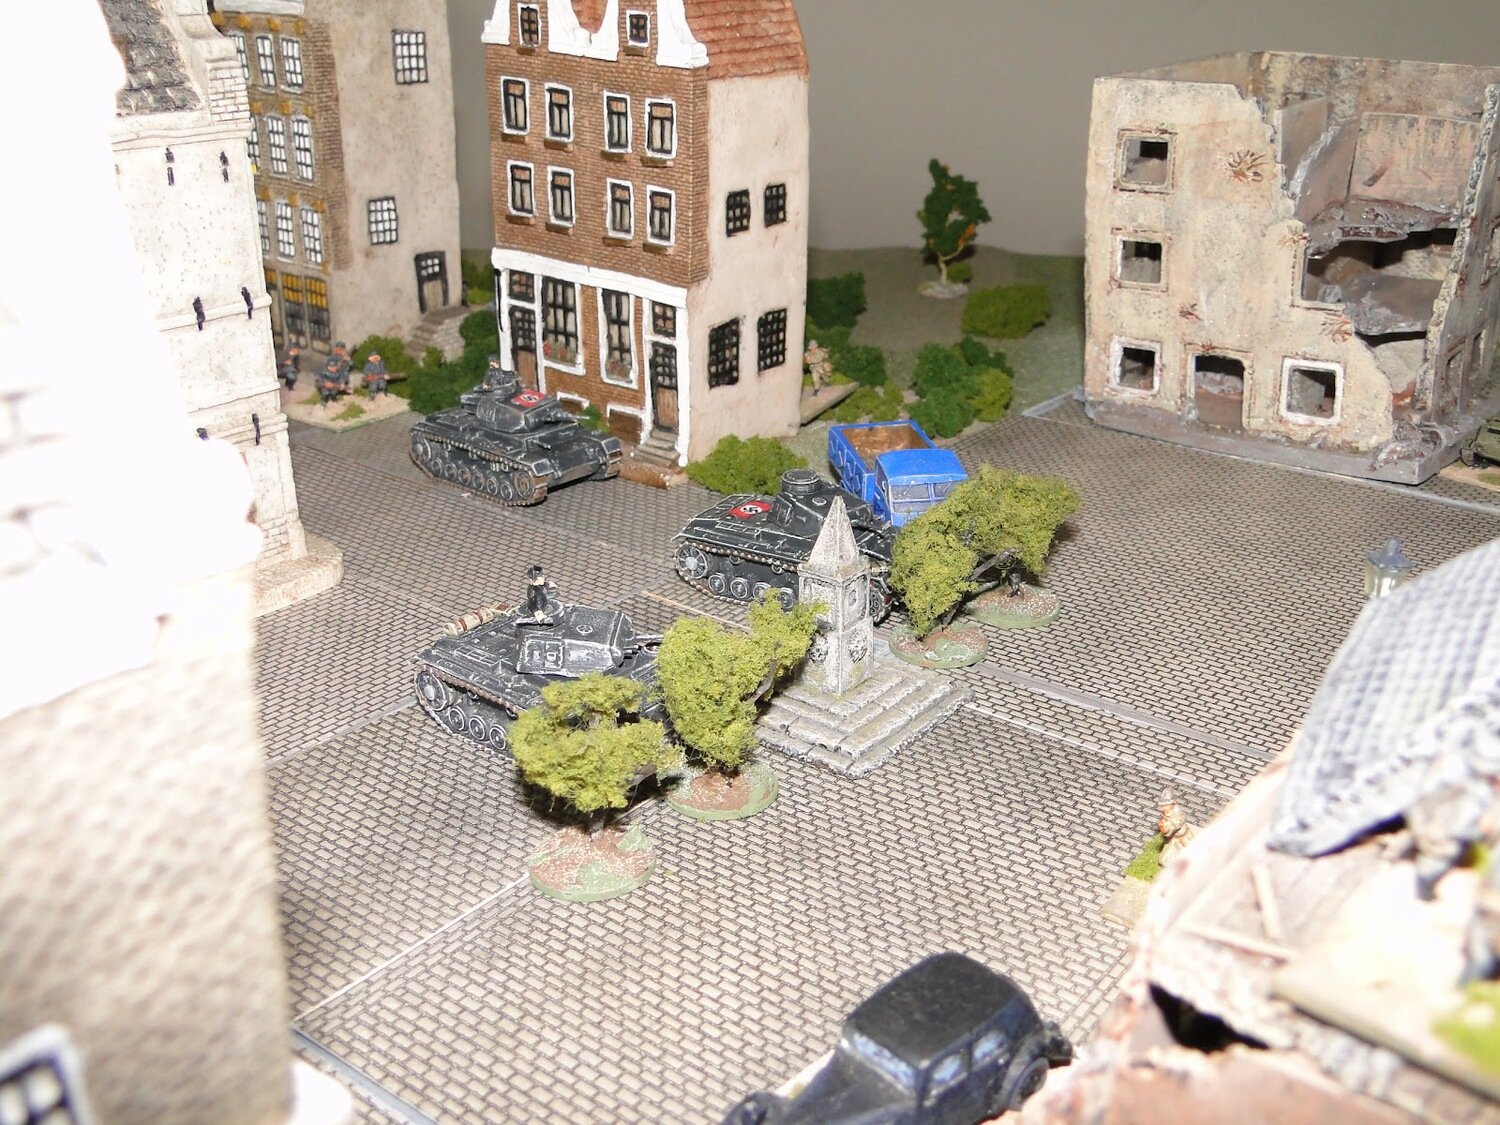
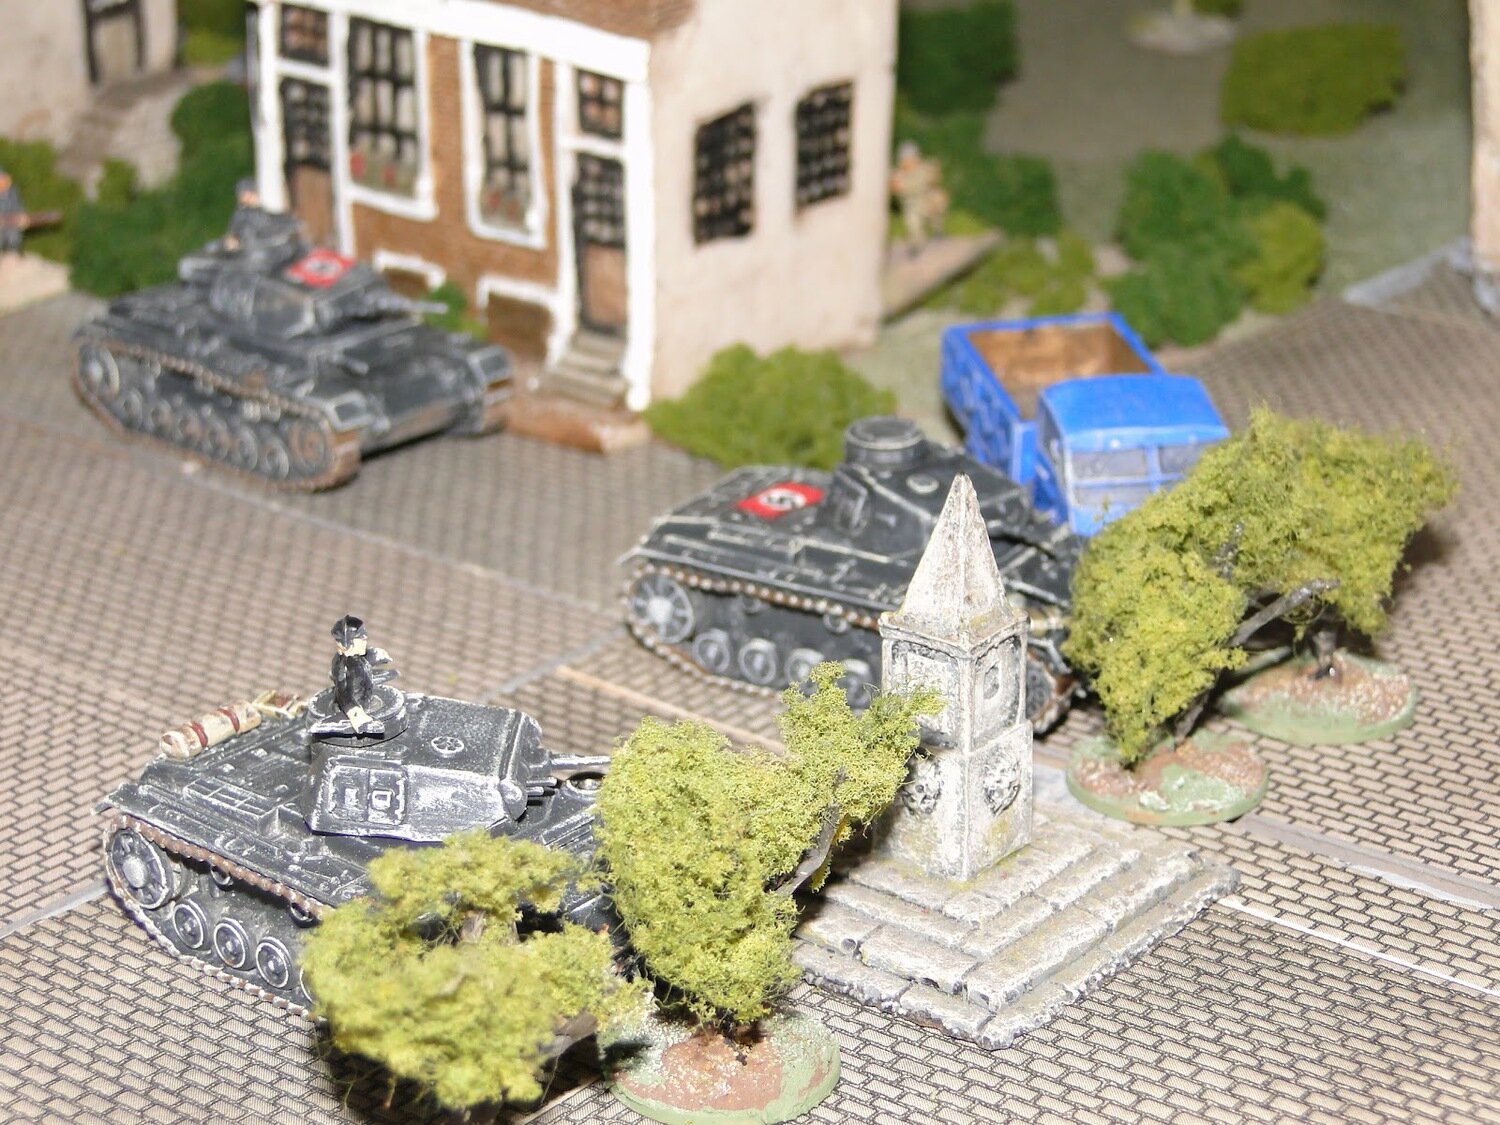
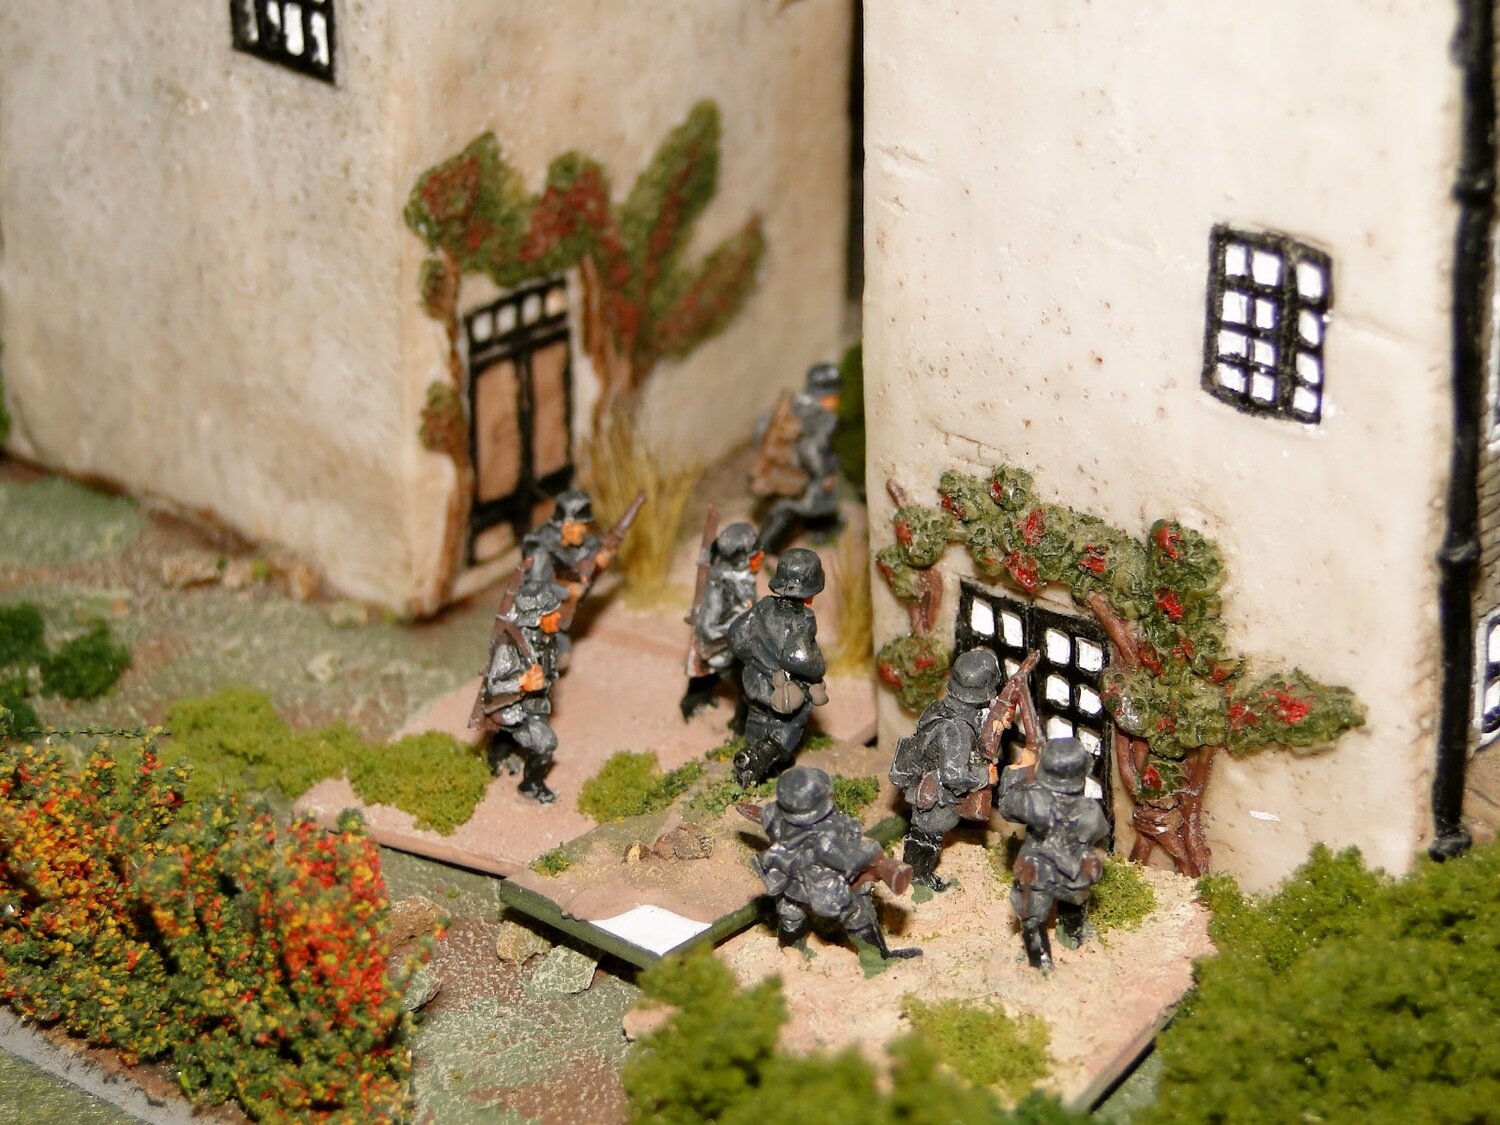
Platoon One with the Panzer IIIs take the left flank bridge; Platoon Two cross the centre ford; and Company HQ and the Panzer IIs head for the rail bridge.
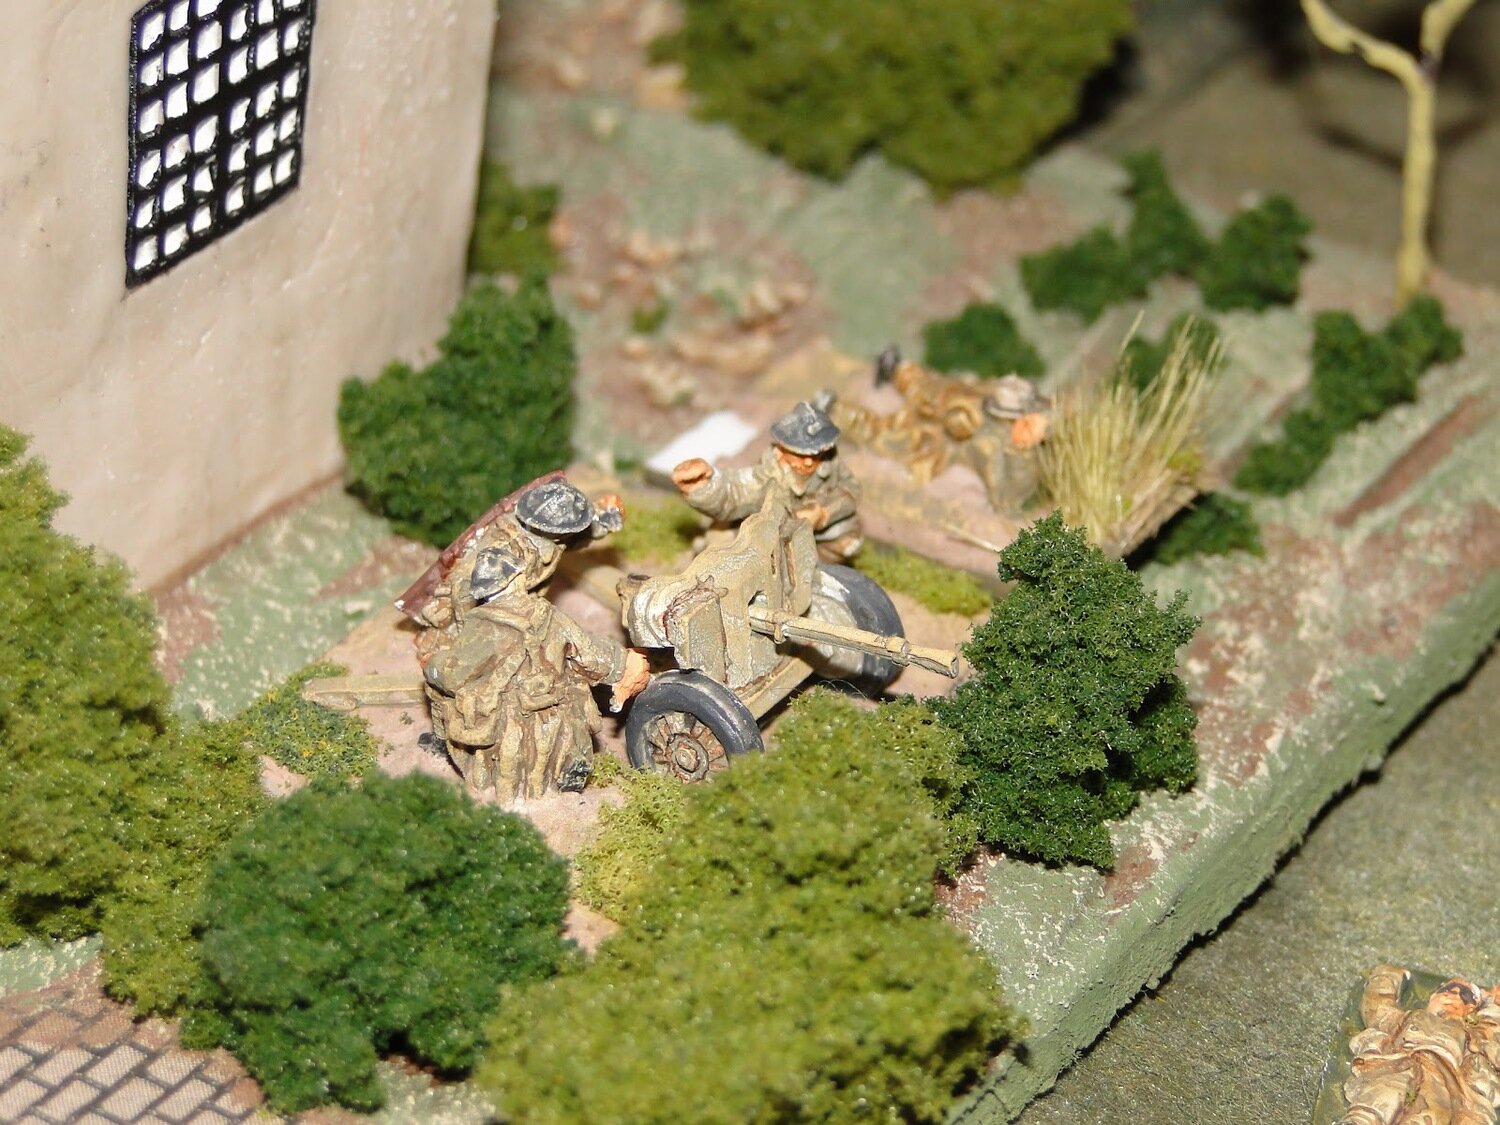
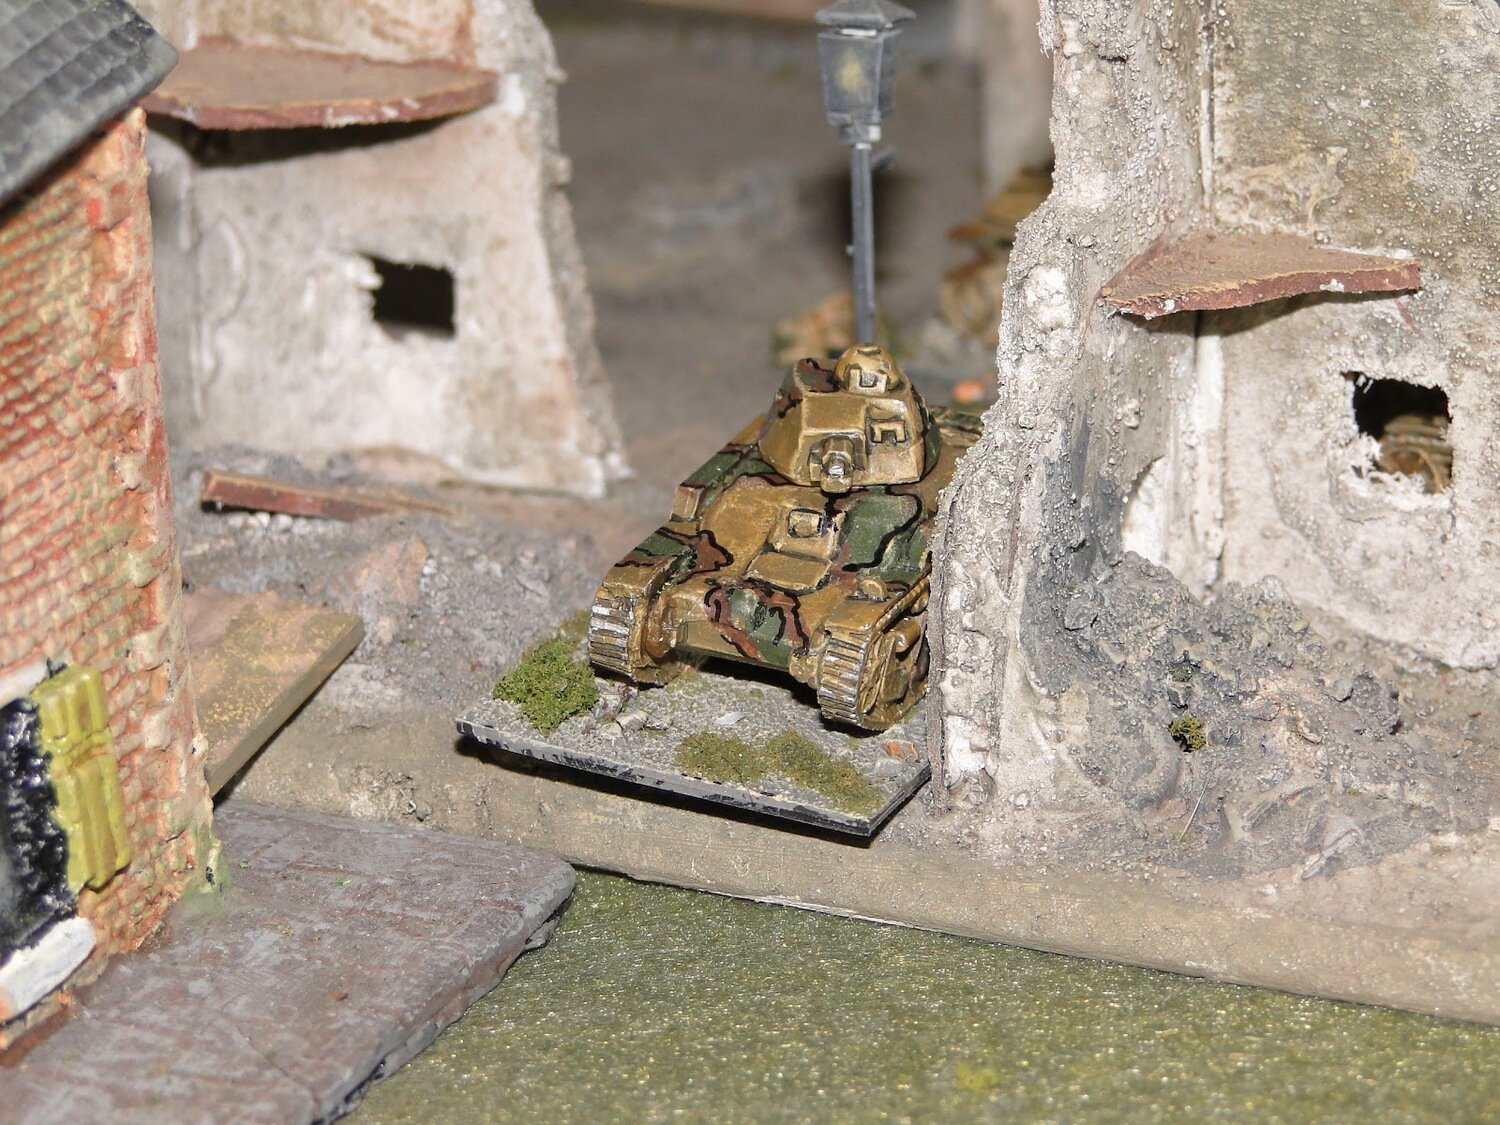
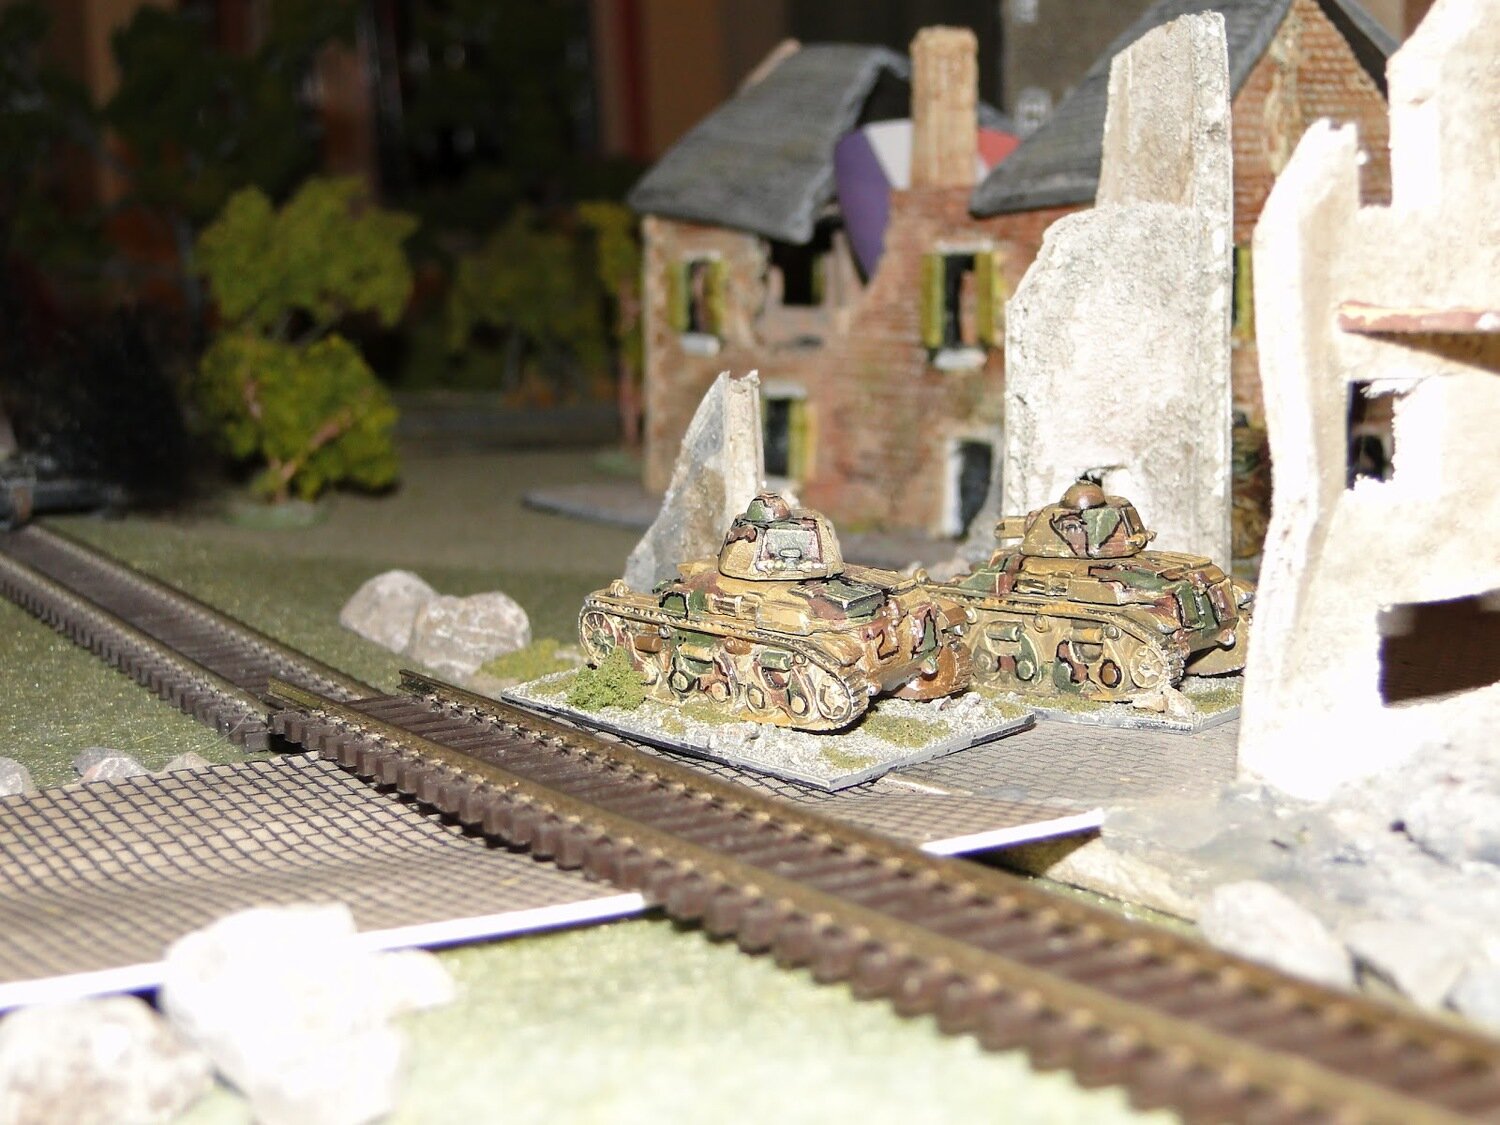
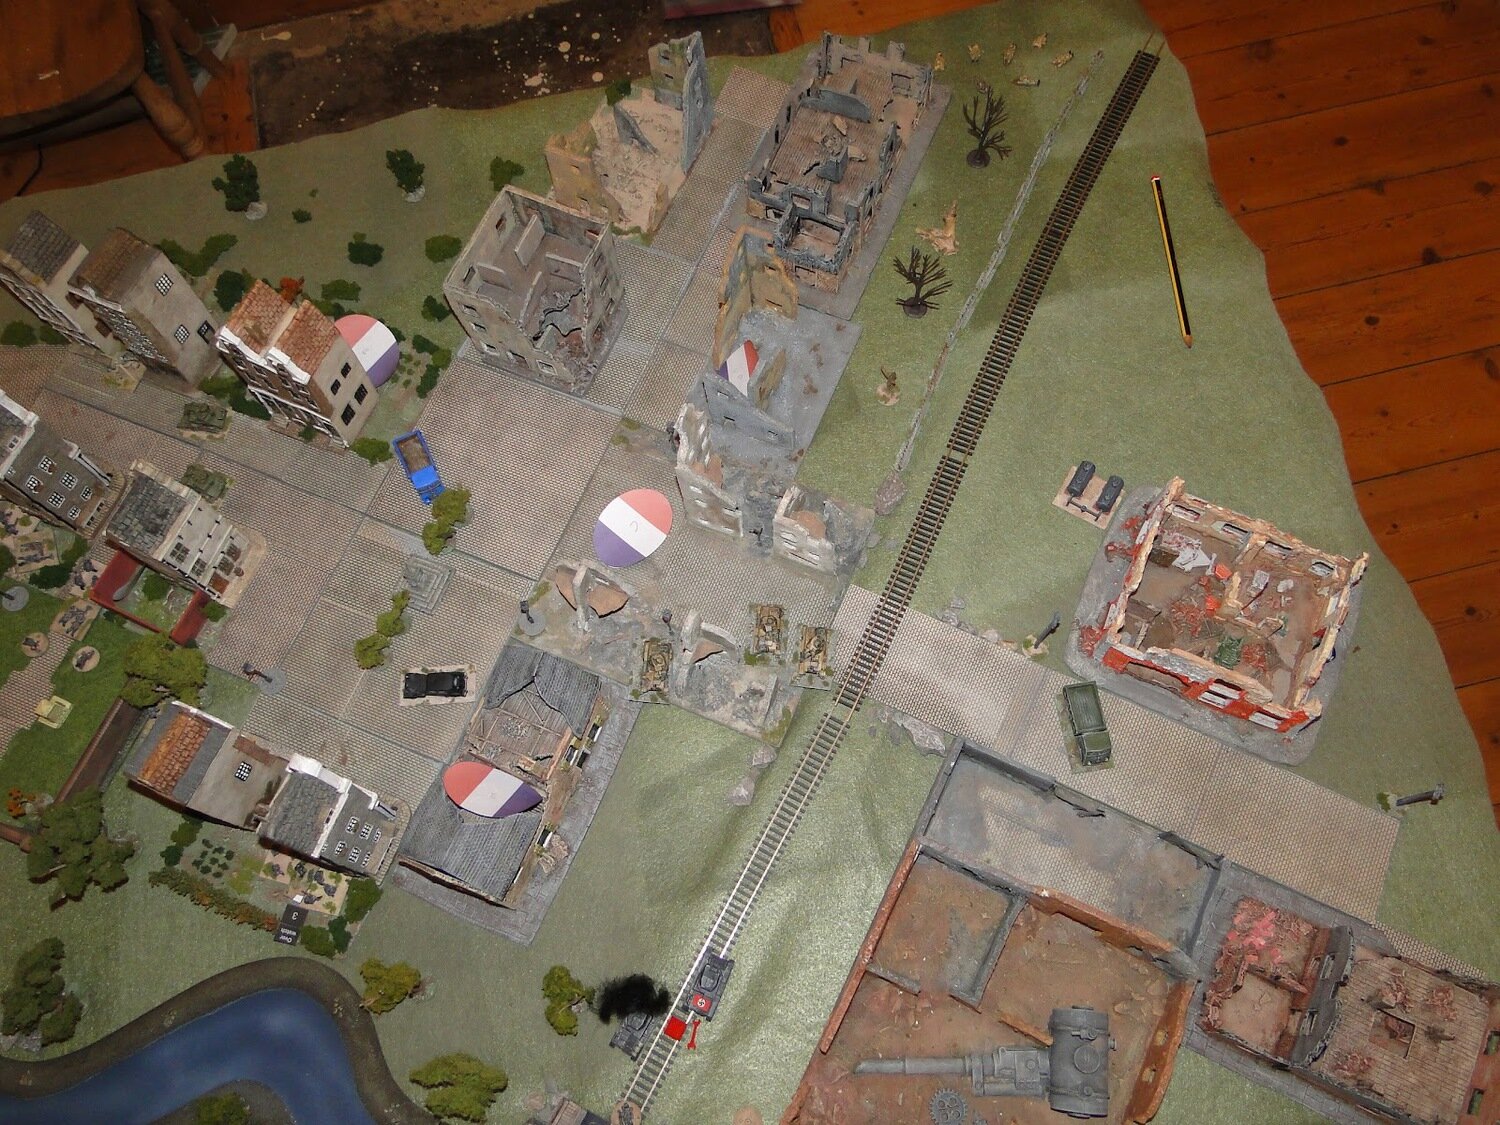
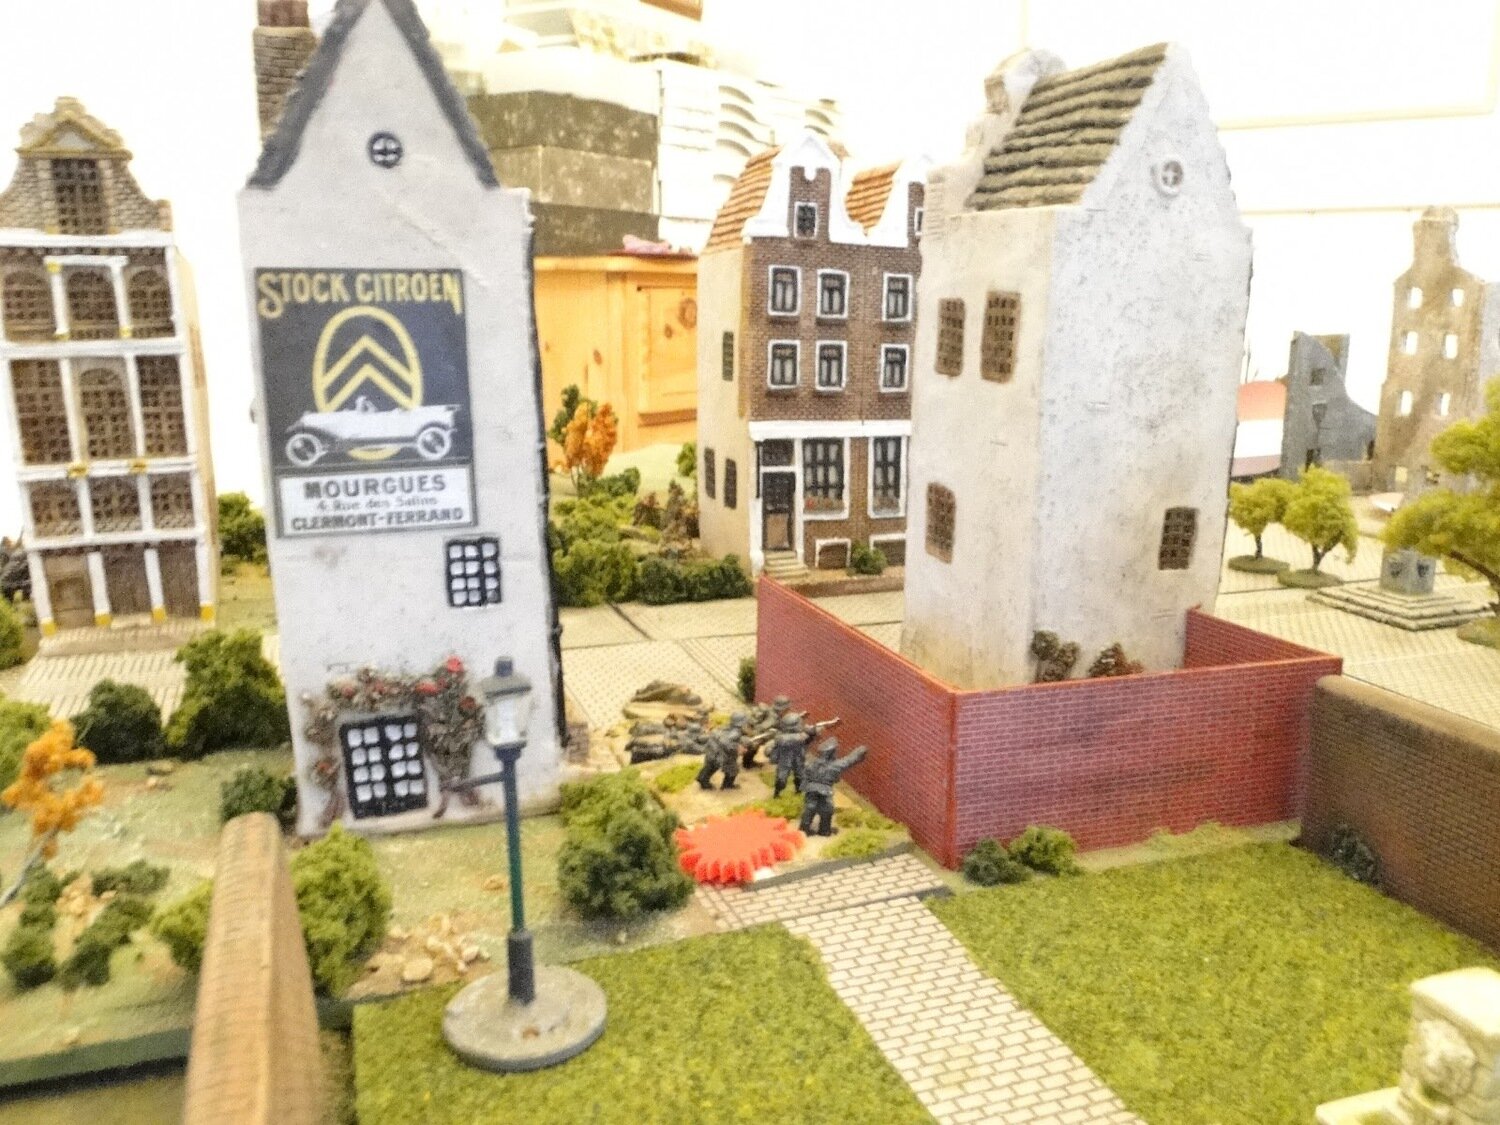
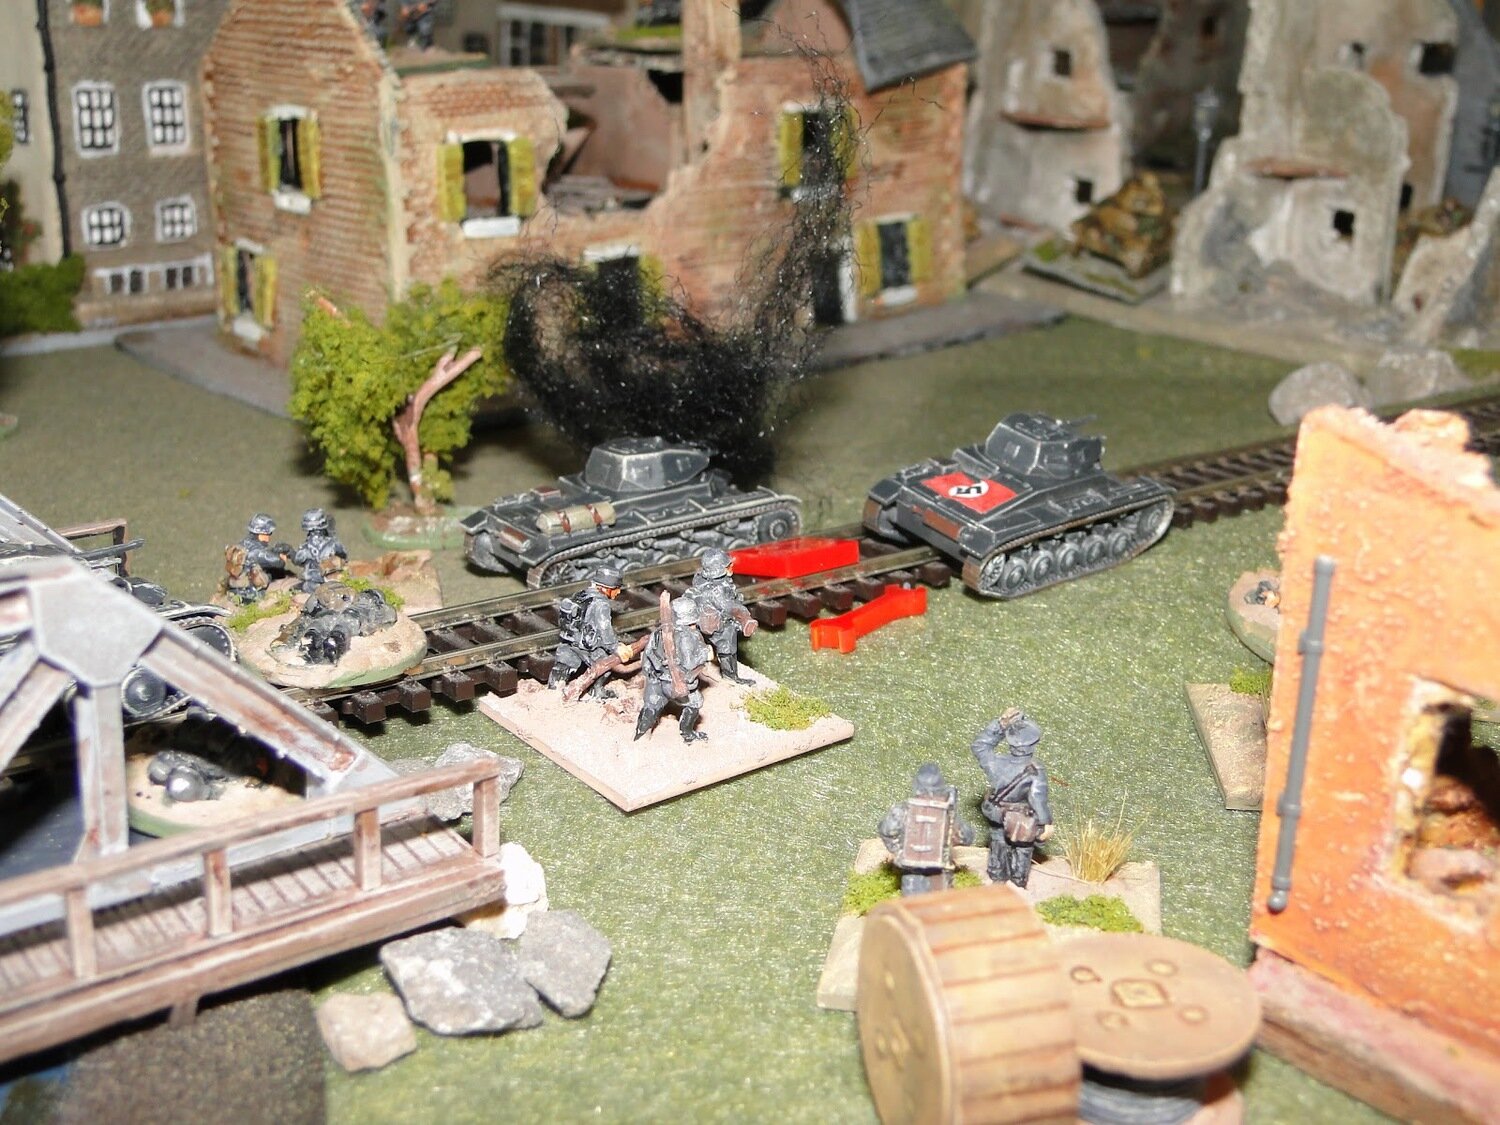
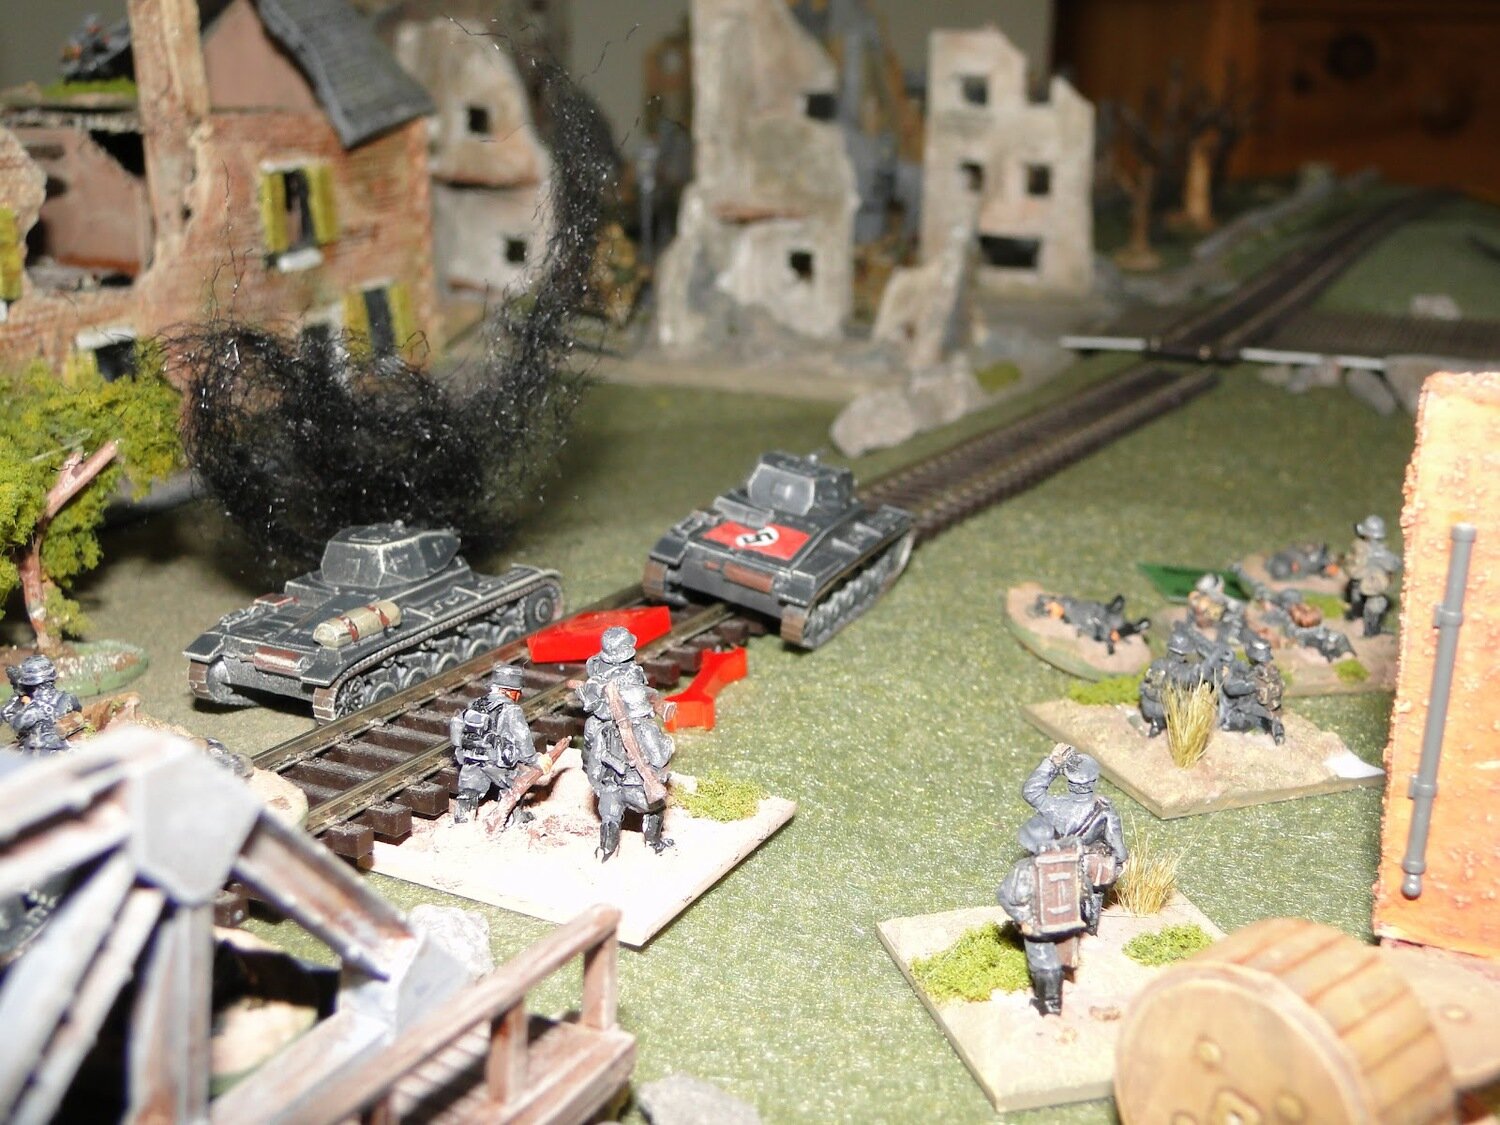

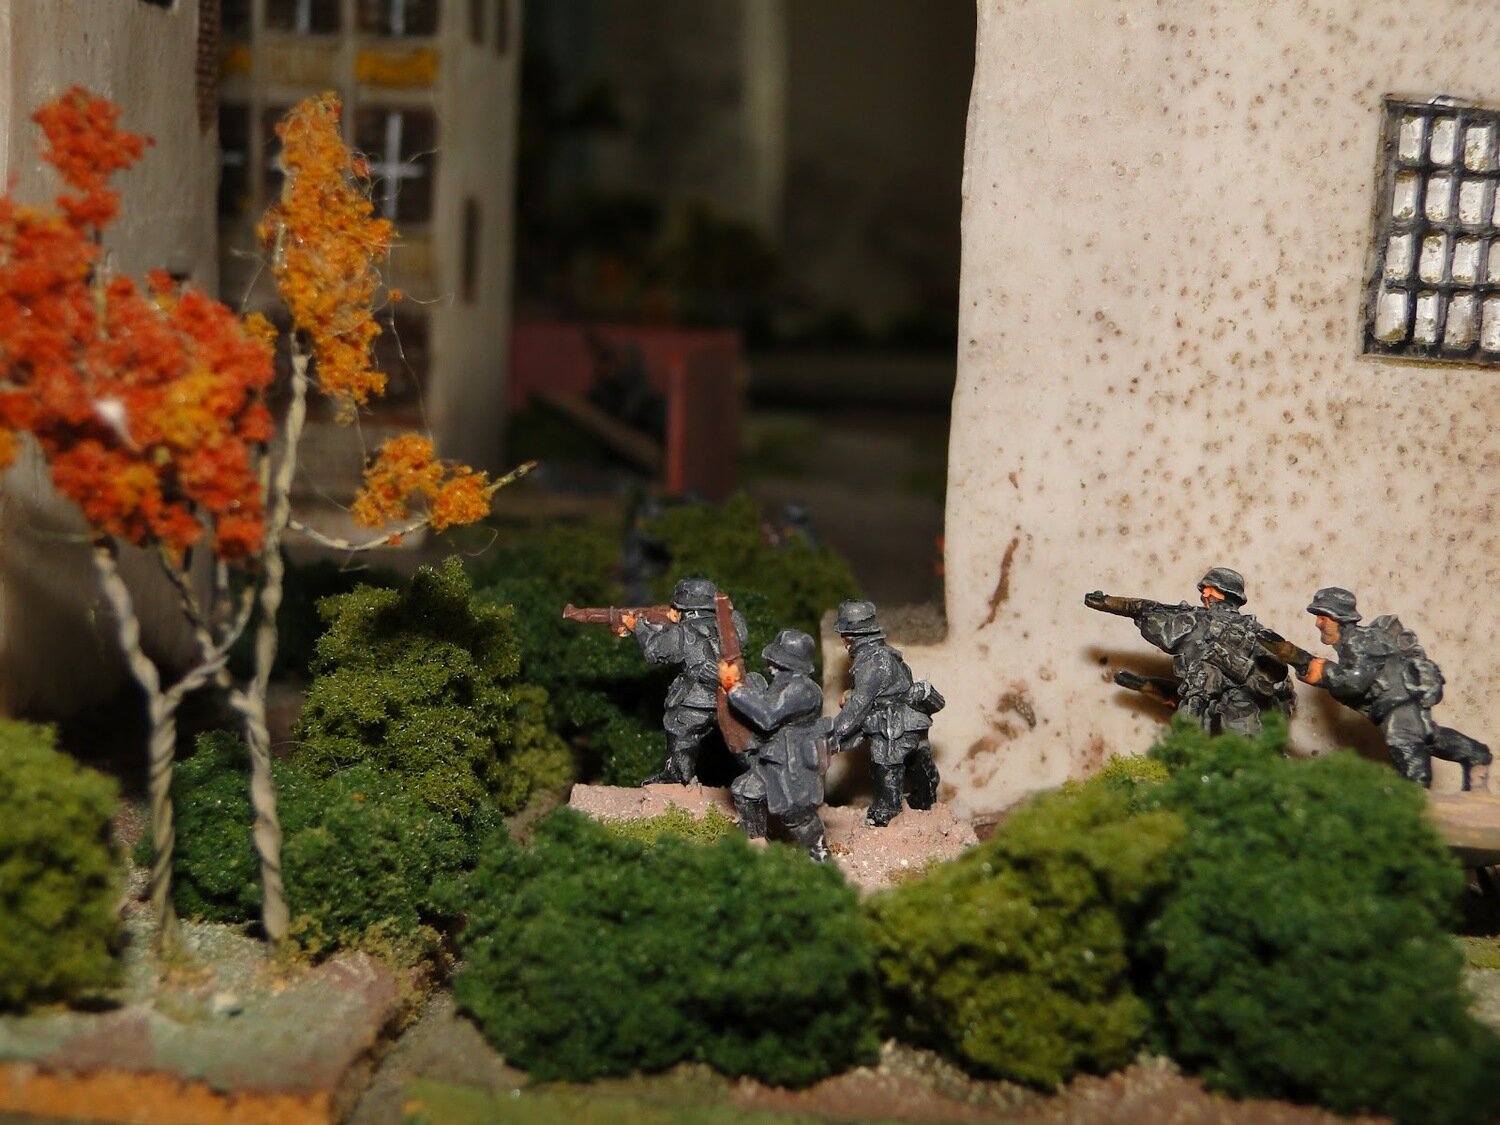

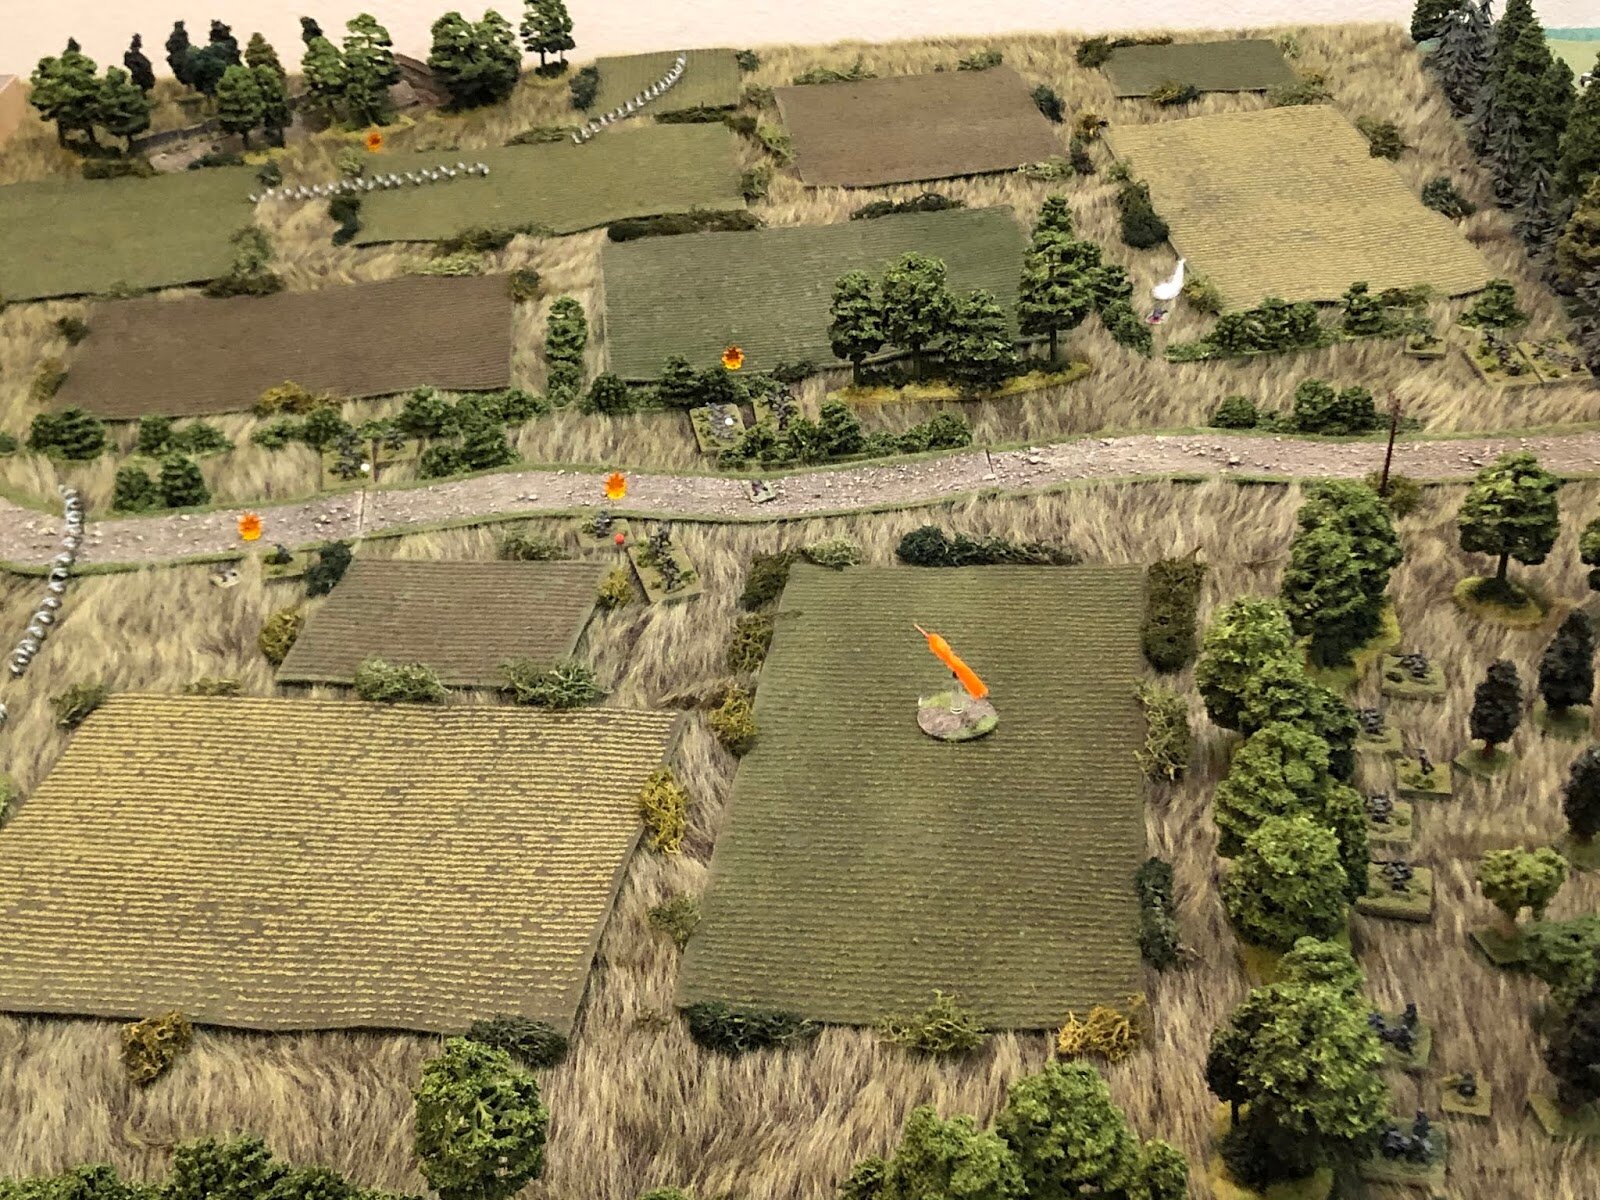
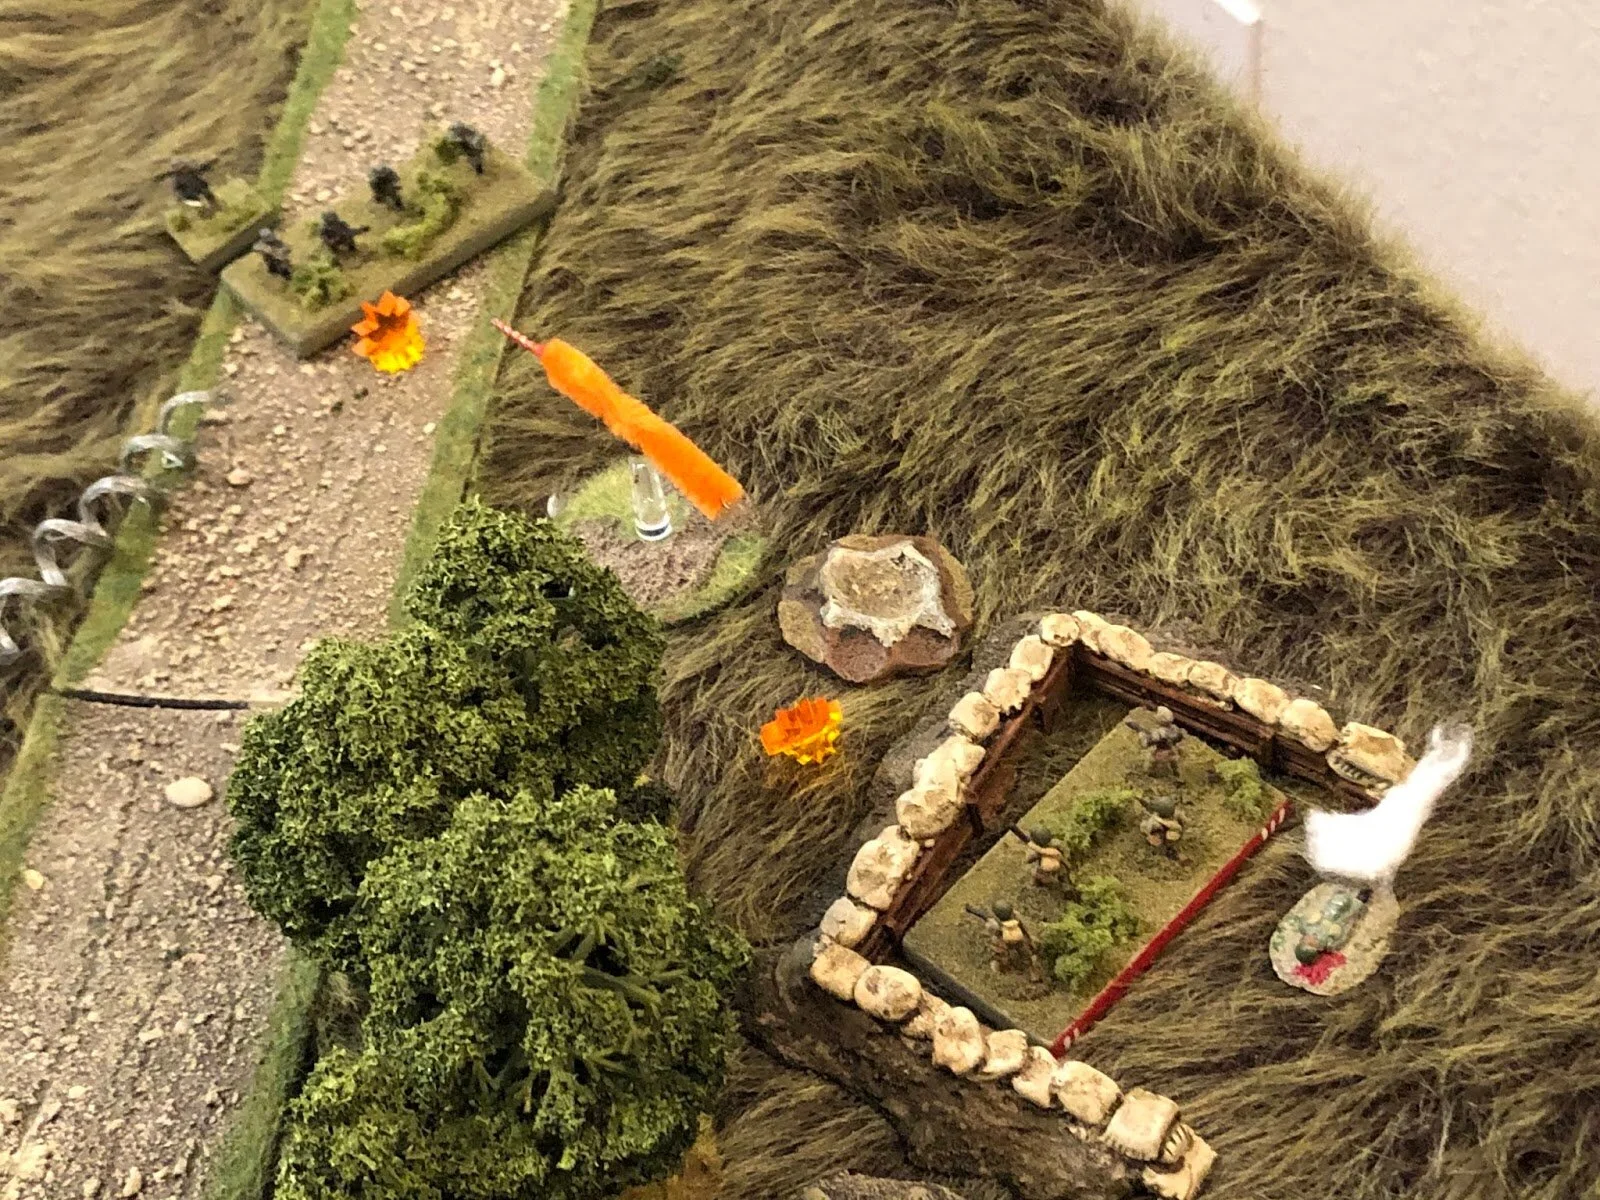
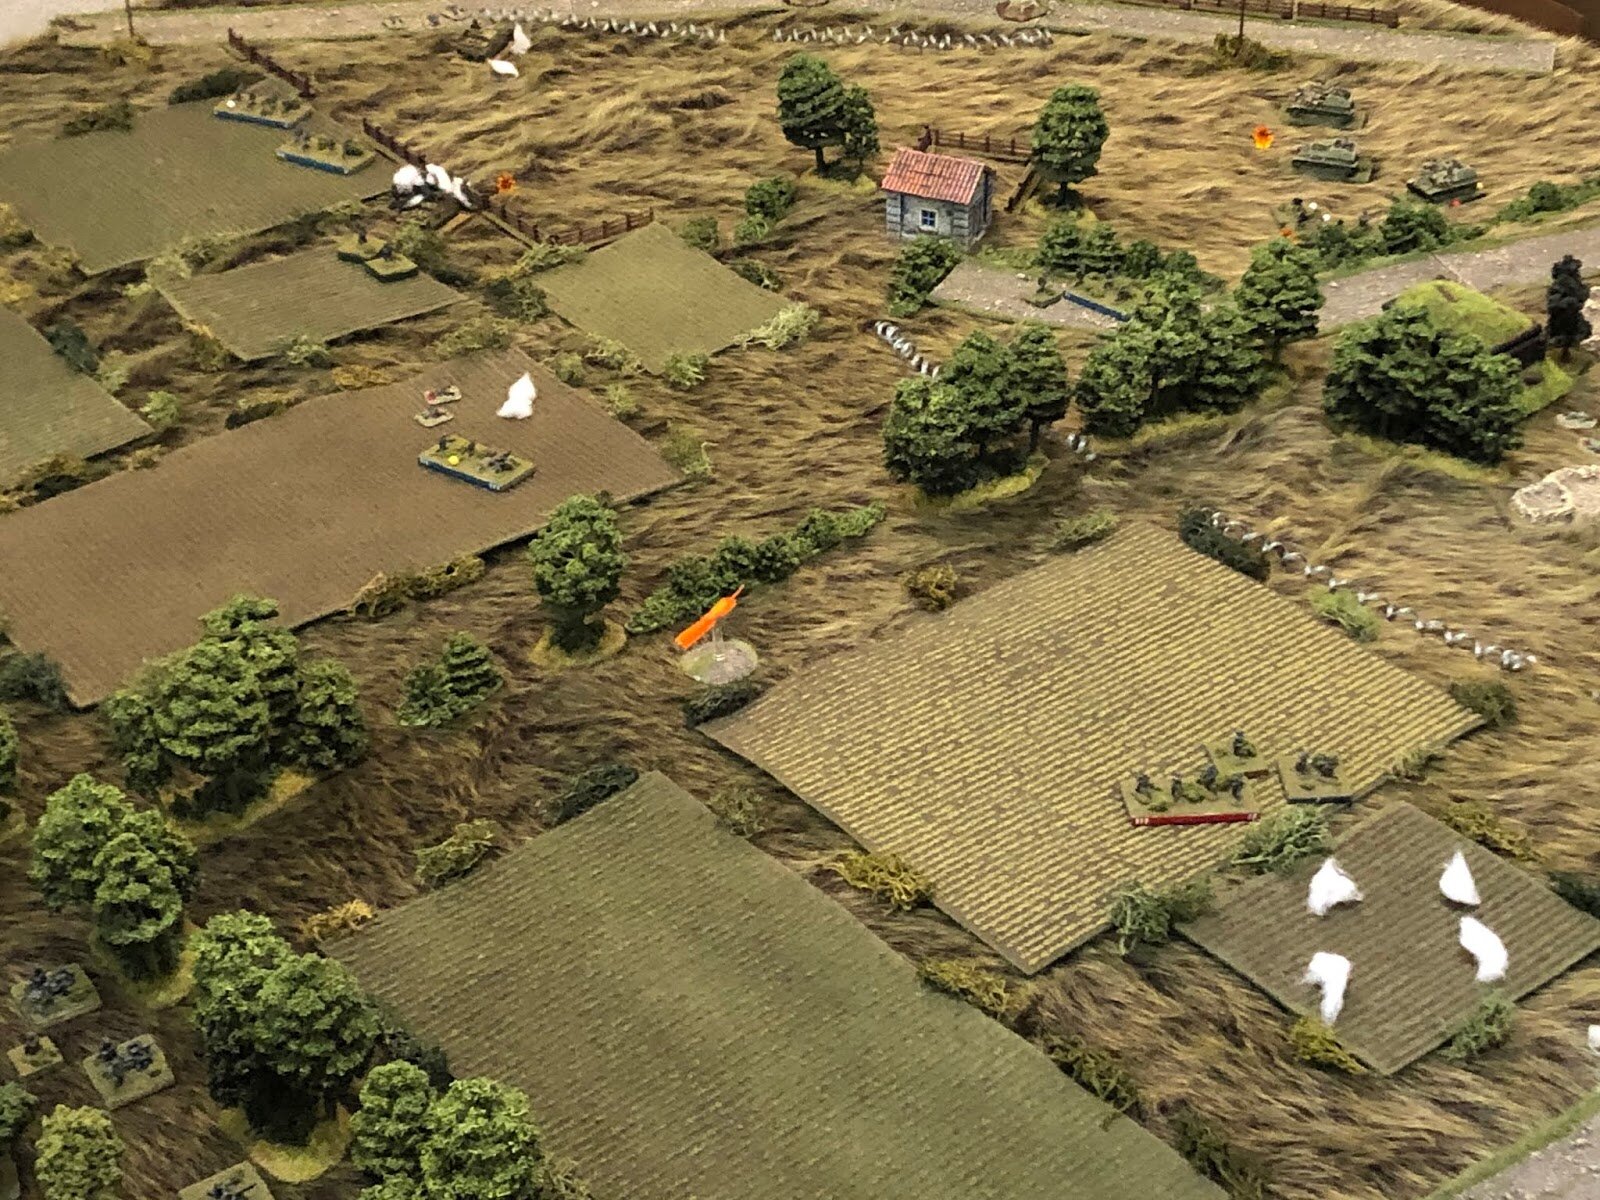
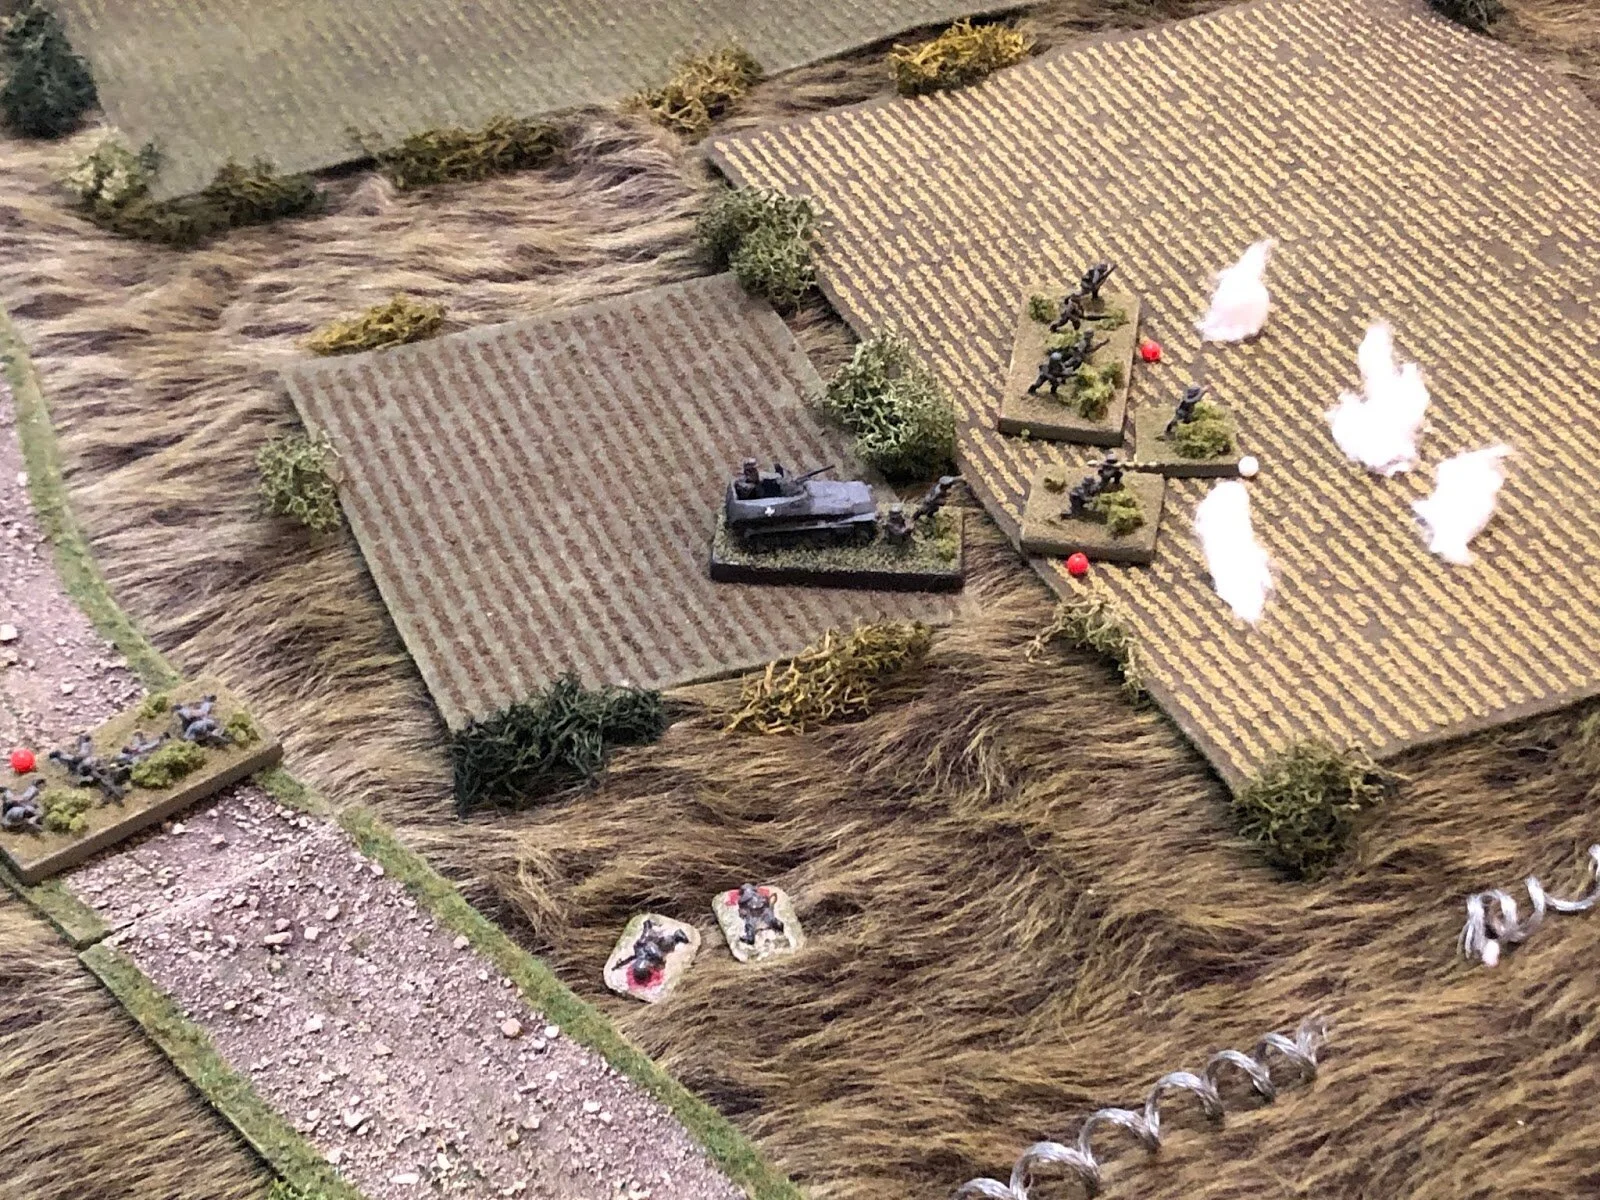
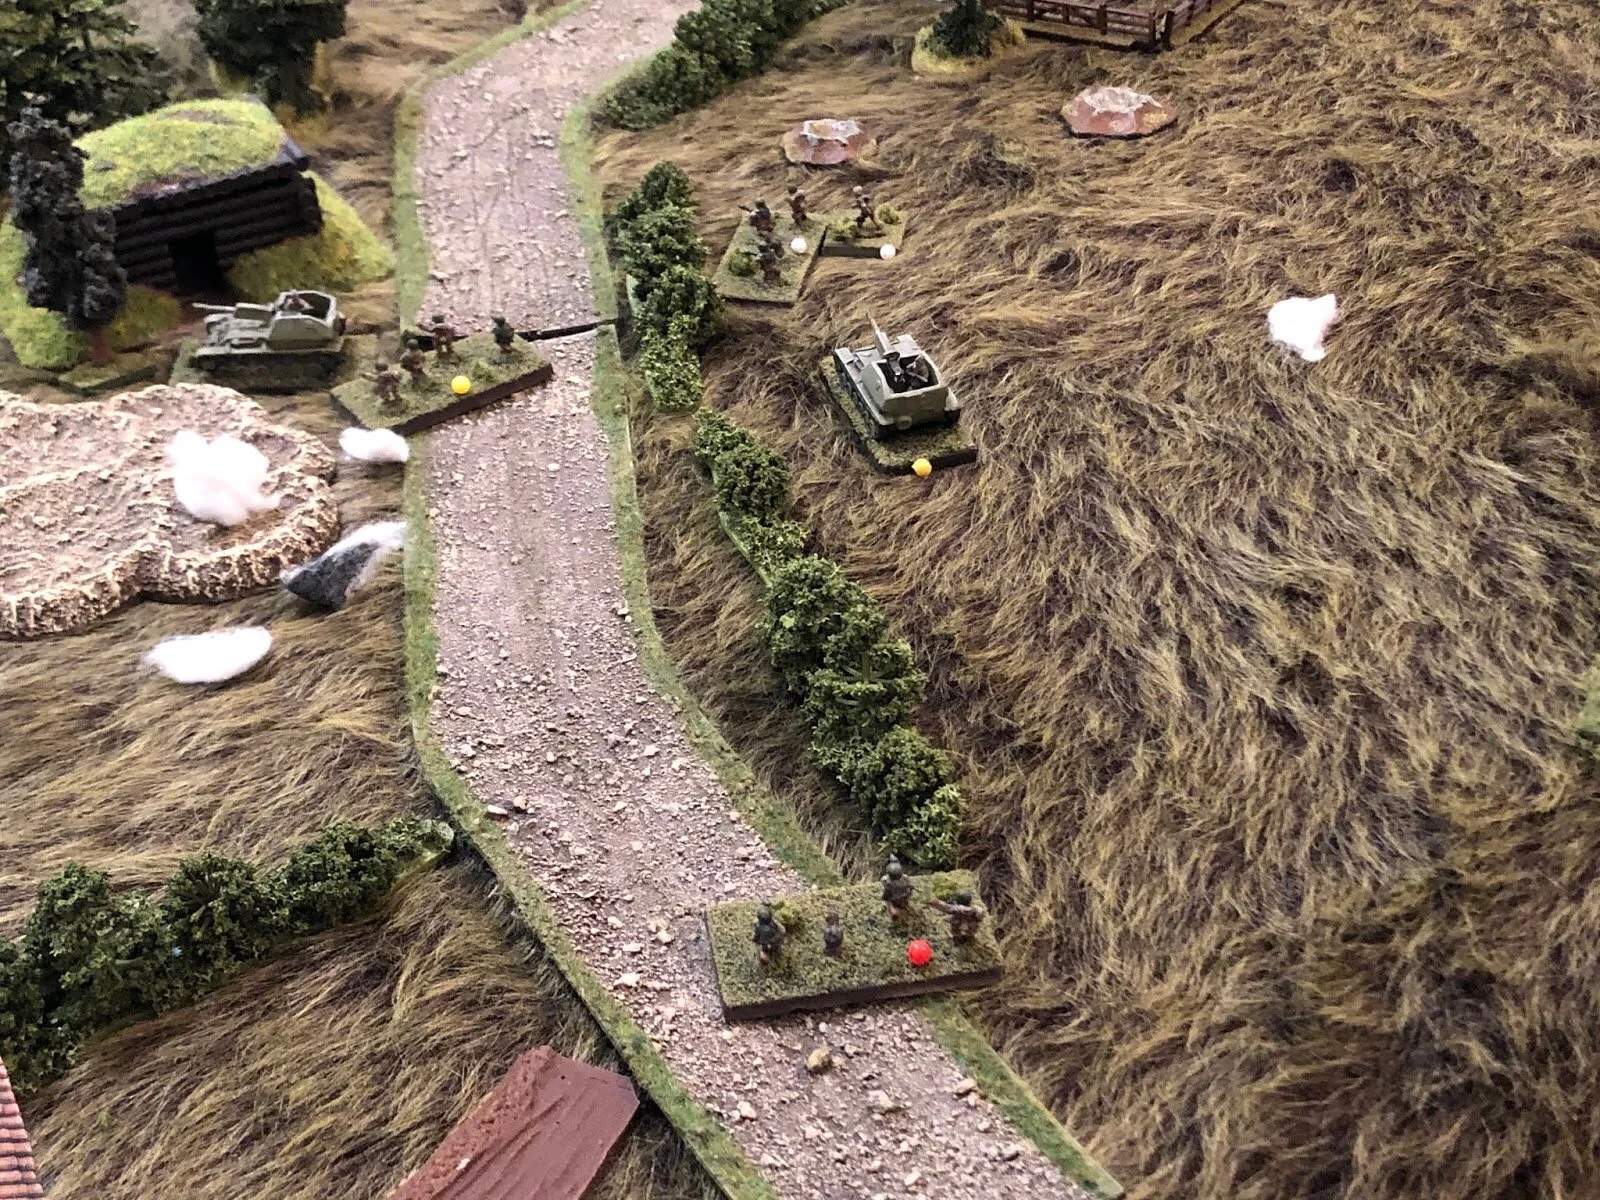
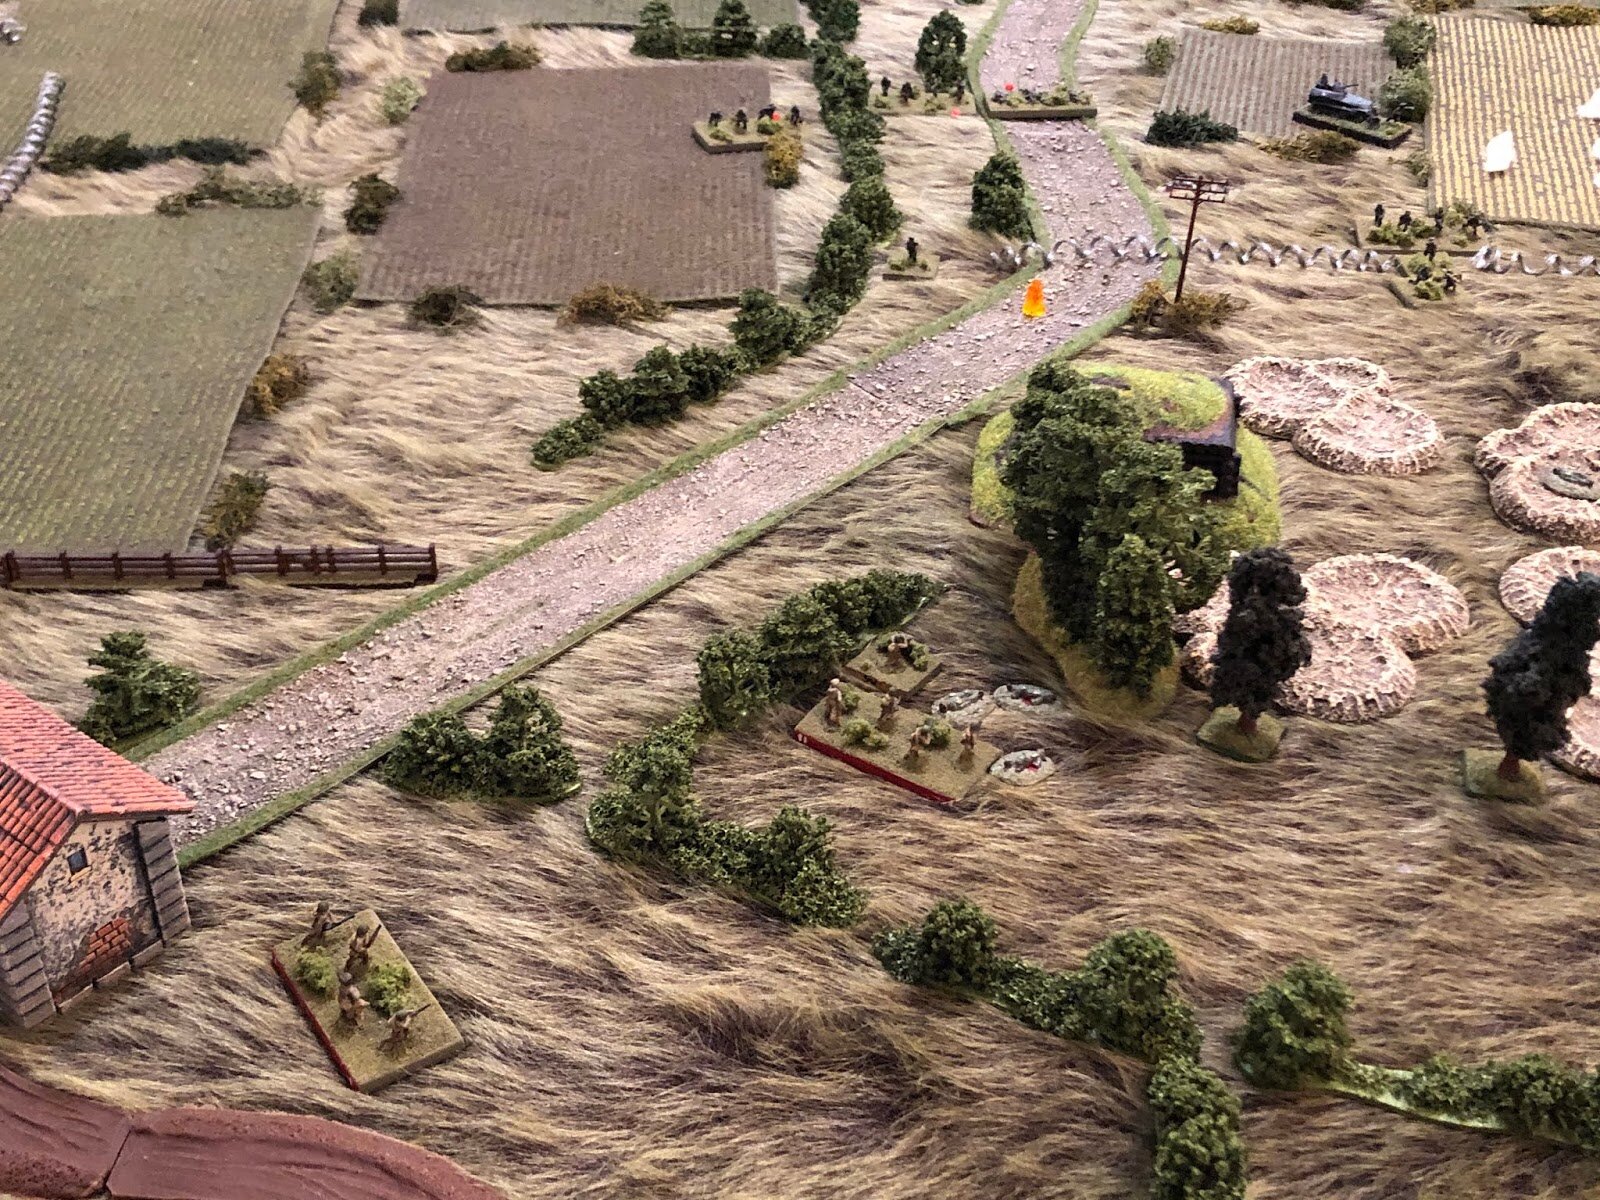
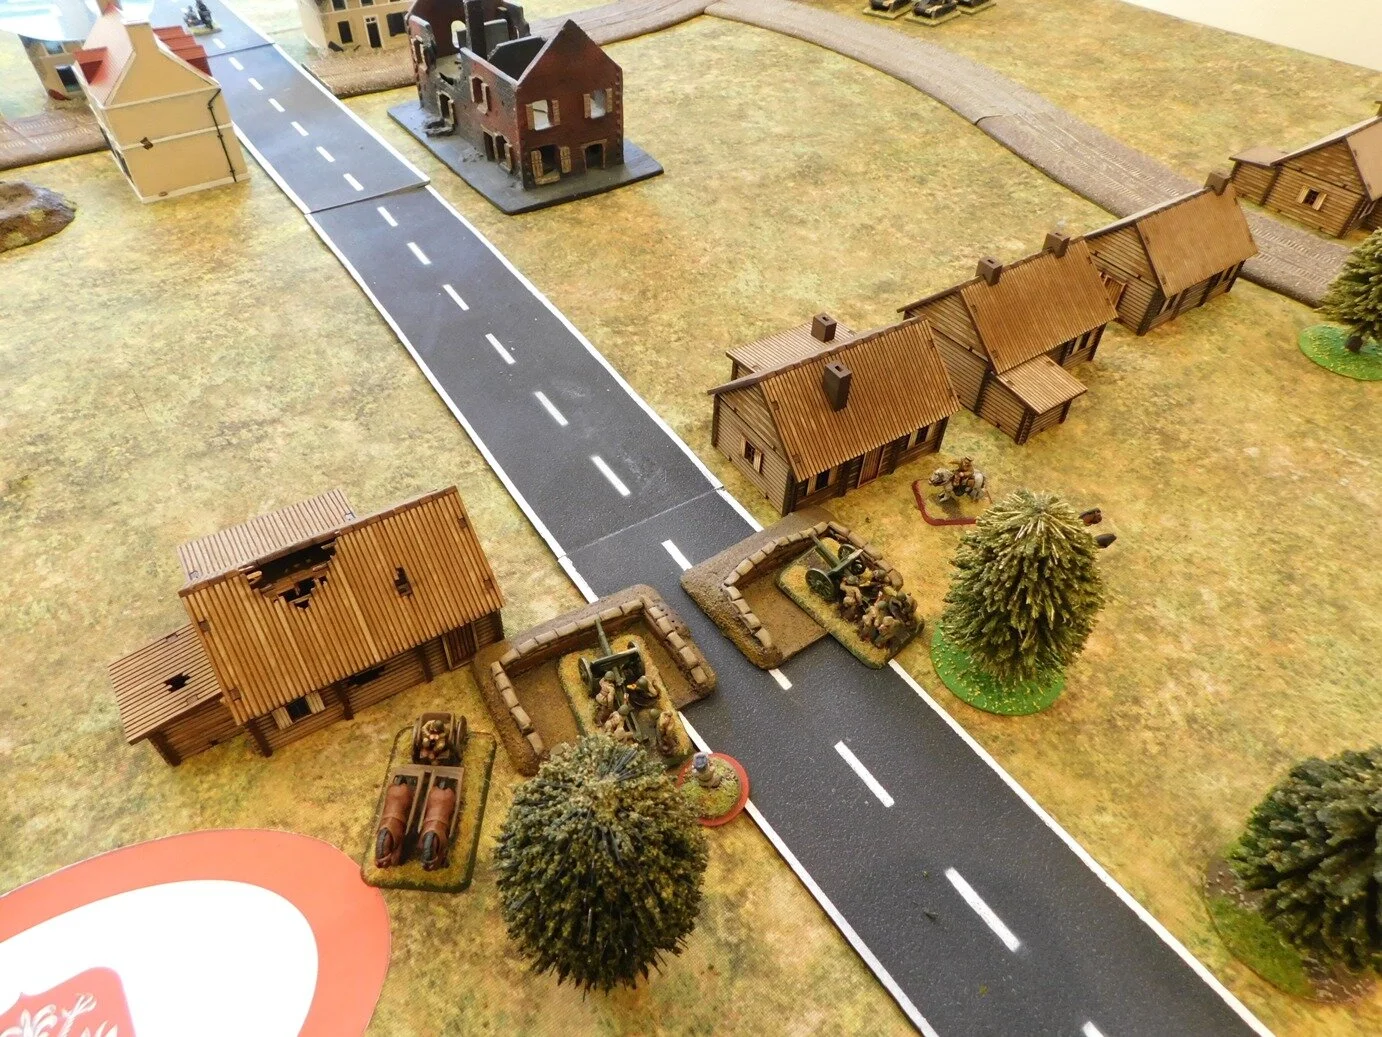
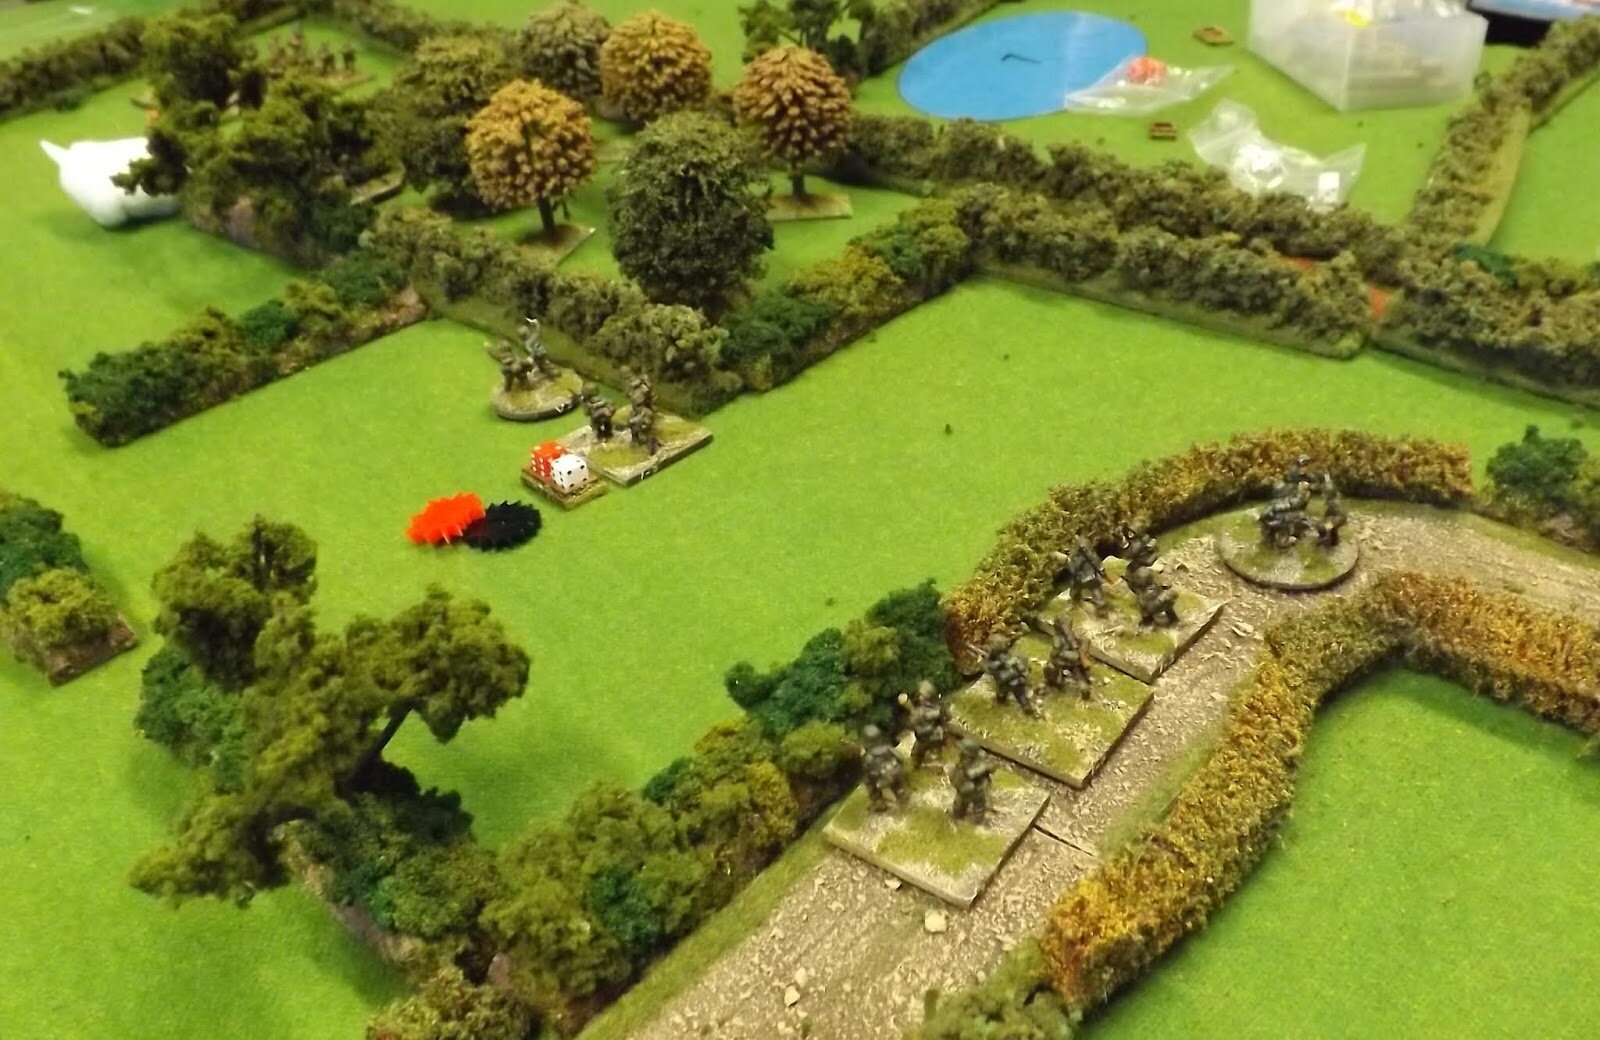
During the game the first few Allied blinds revealed two armoured platoons and an anti tank gun, subsequent blinds melted away revealing little else, just one HMG and an infantry section. Without the poor bloody infantryman the town could not be held, the Germans had won.
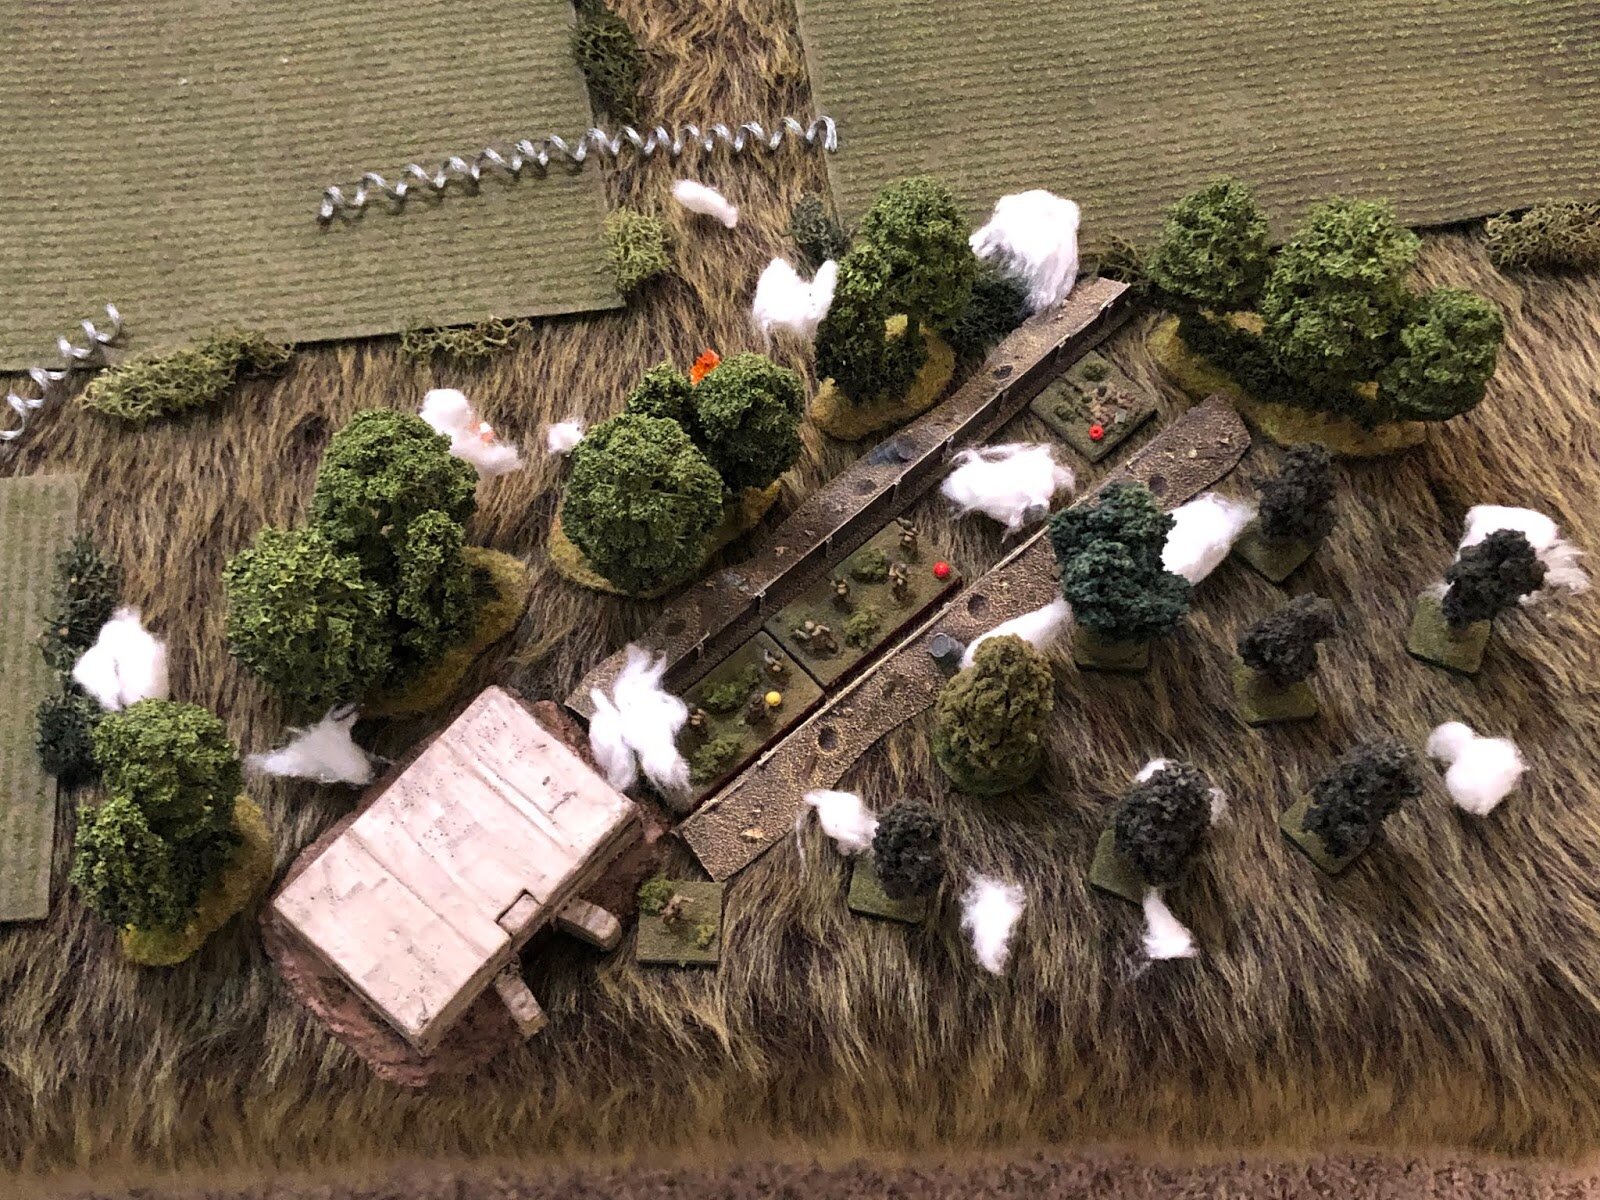
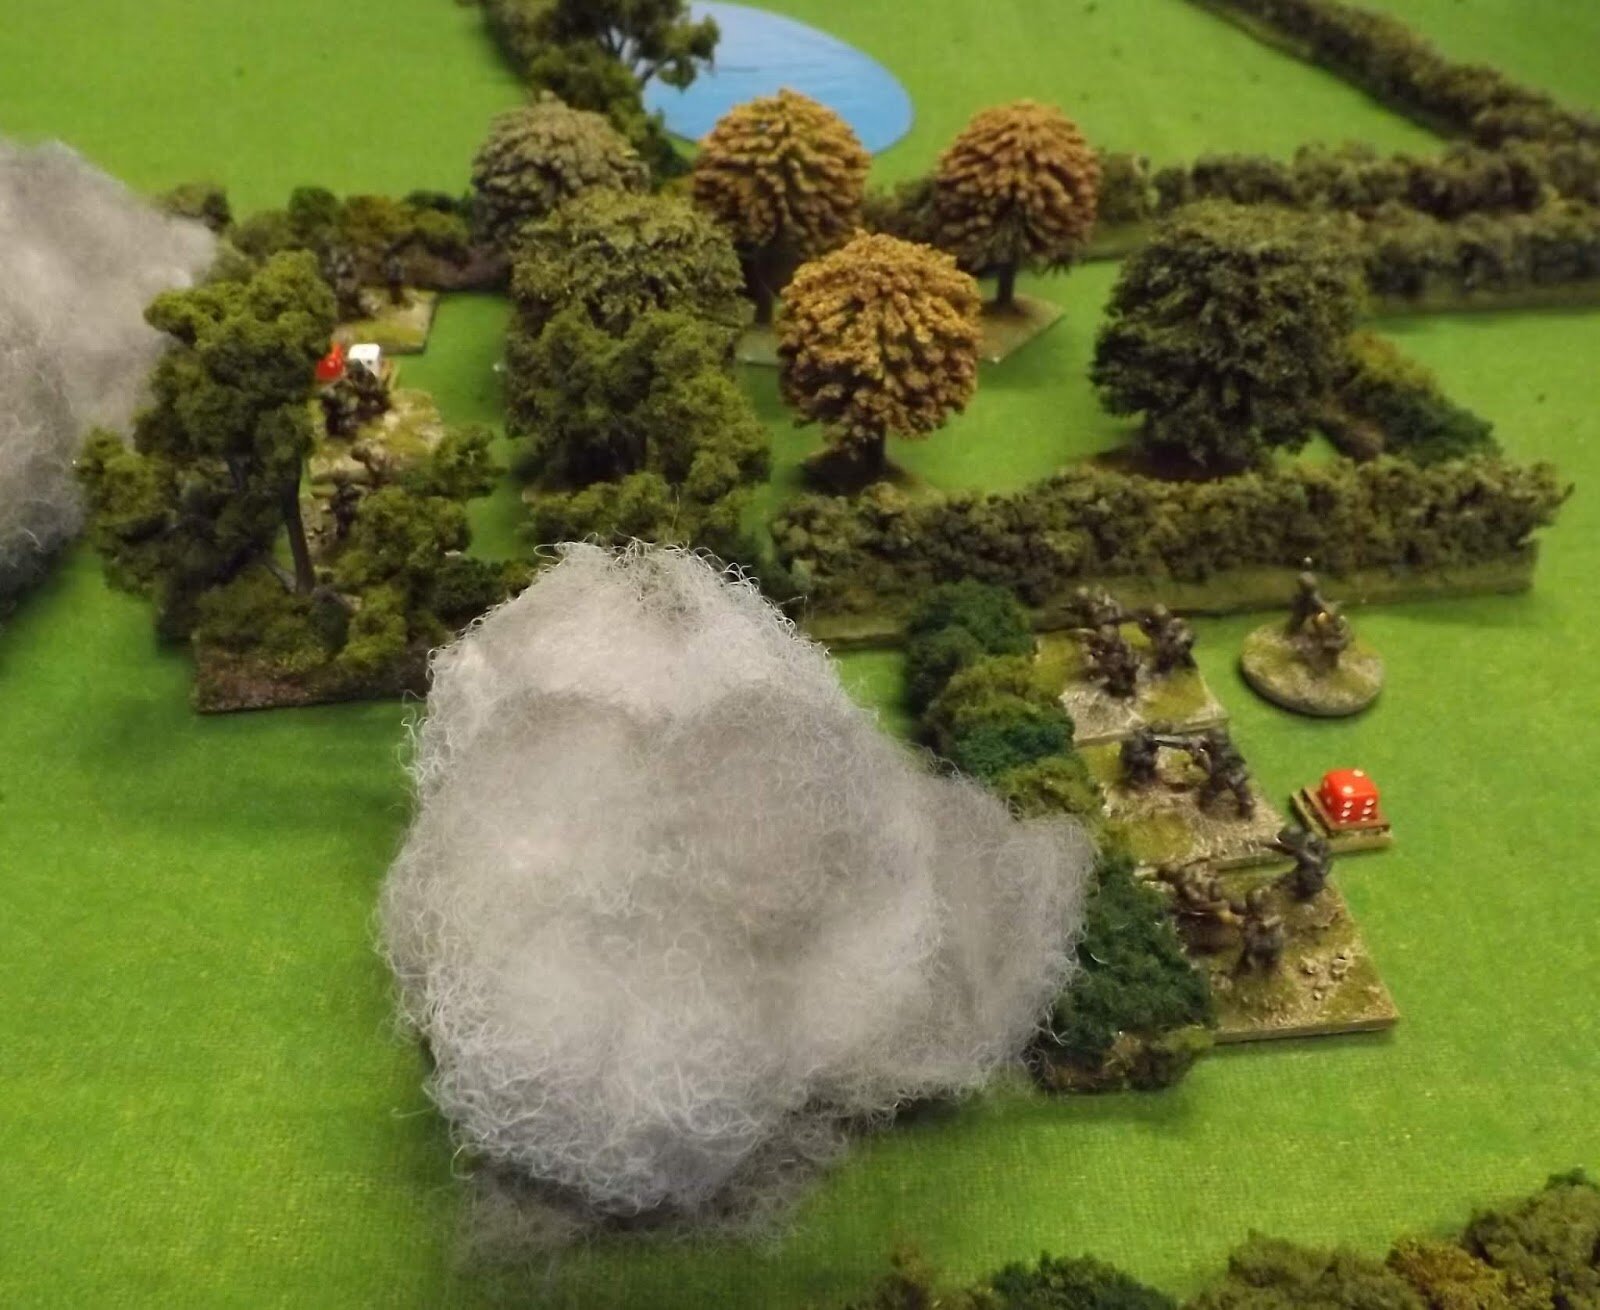
Until the last two blinds melted away the game could have gone either way. It was also unusual to have so many tanks come up on blinds ( in my experience anyway ), but it was an enjoyable solo game playing against the unknown.
Tony Hobbz