Having painted up an entire Battlefront Company of Fallschirmjager, in only three days, I decided in might be nice for Nige to try them out straight away. I set up a nice little game based on Operation Mercury and the Invasion of Crete in 1941.
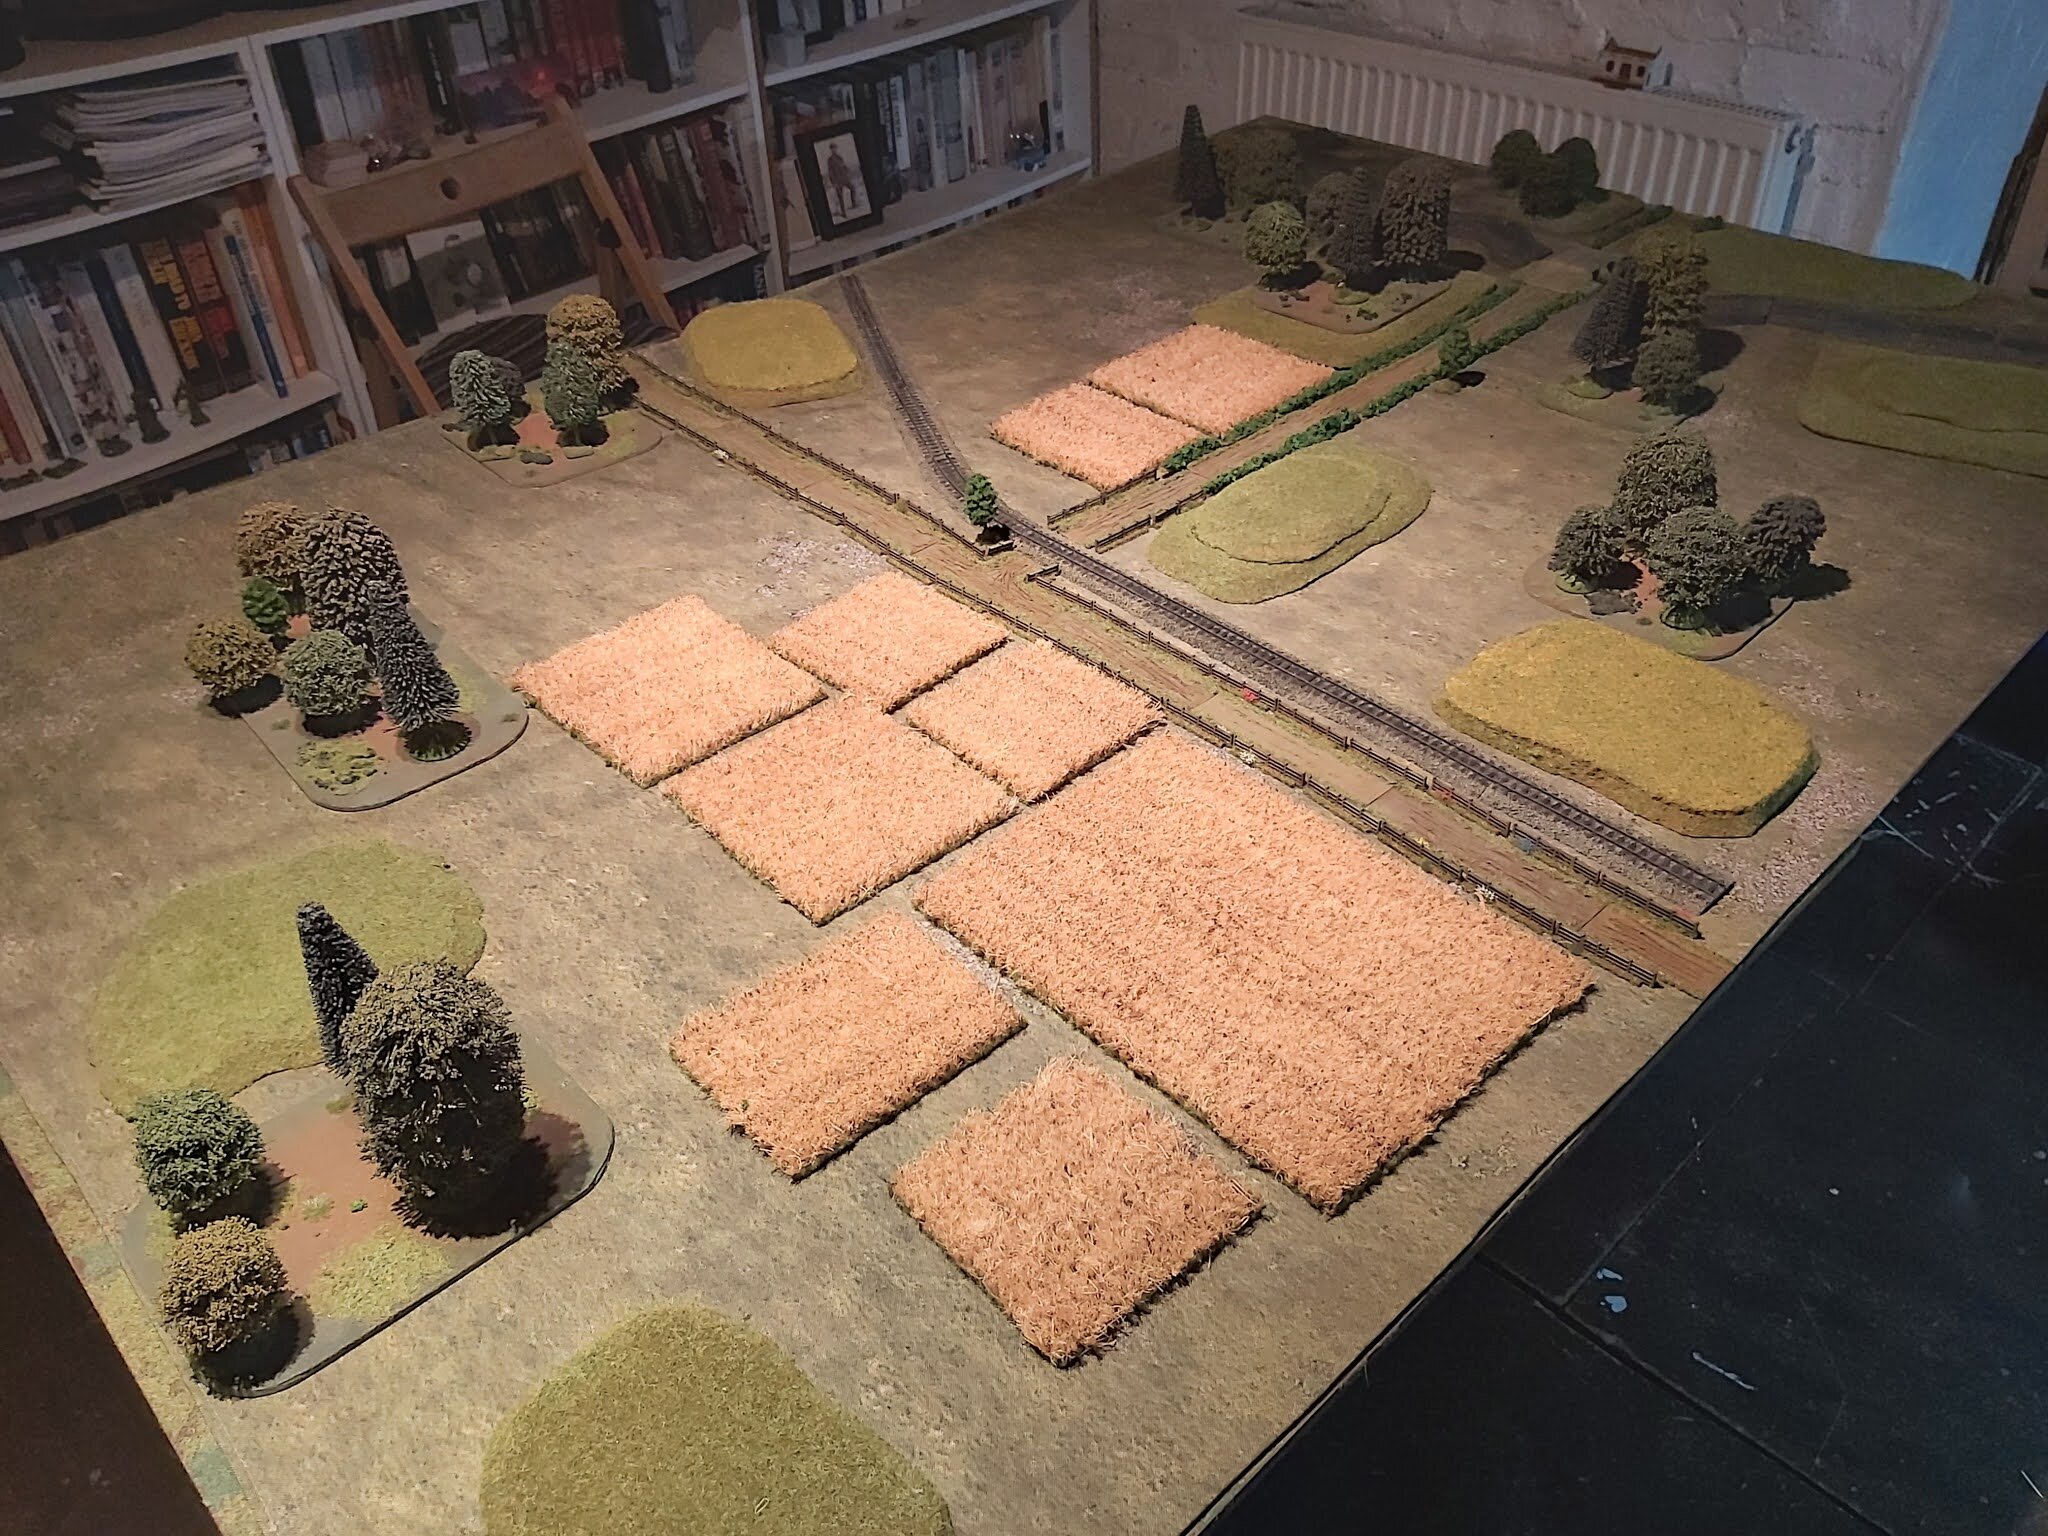
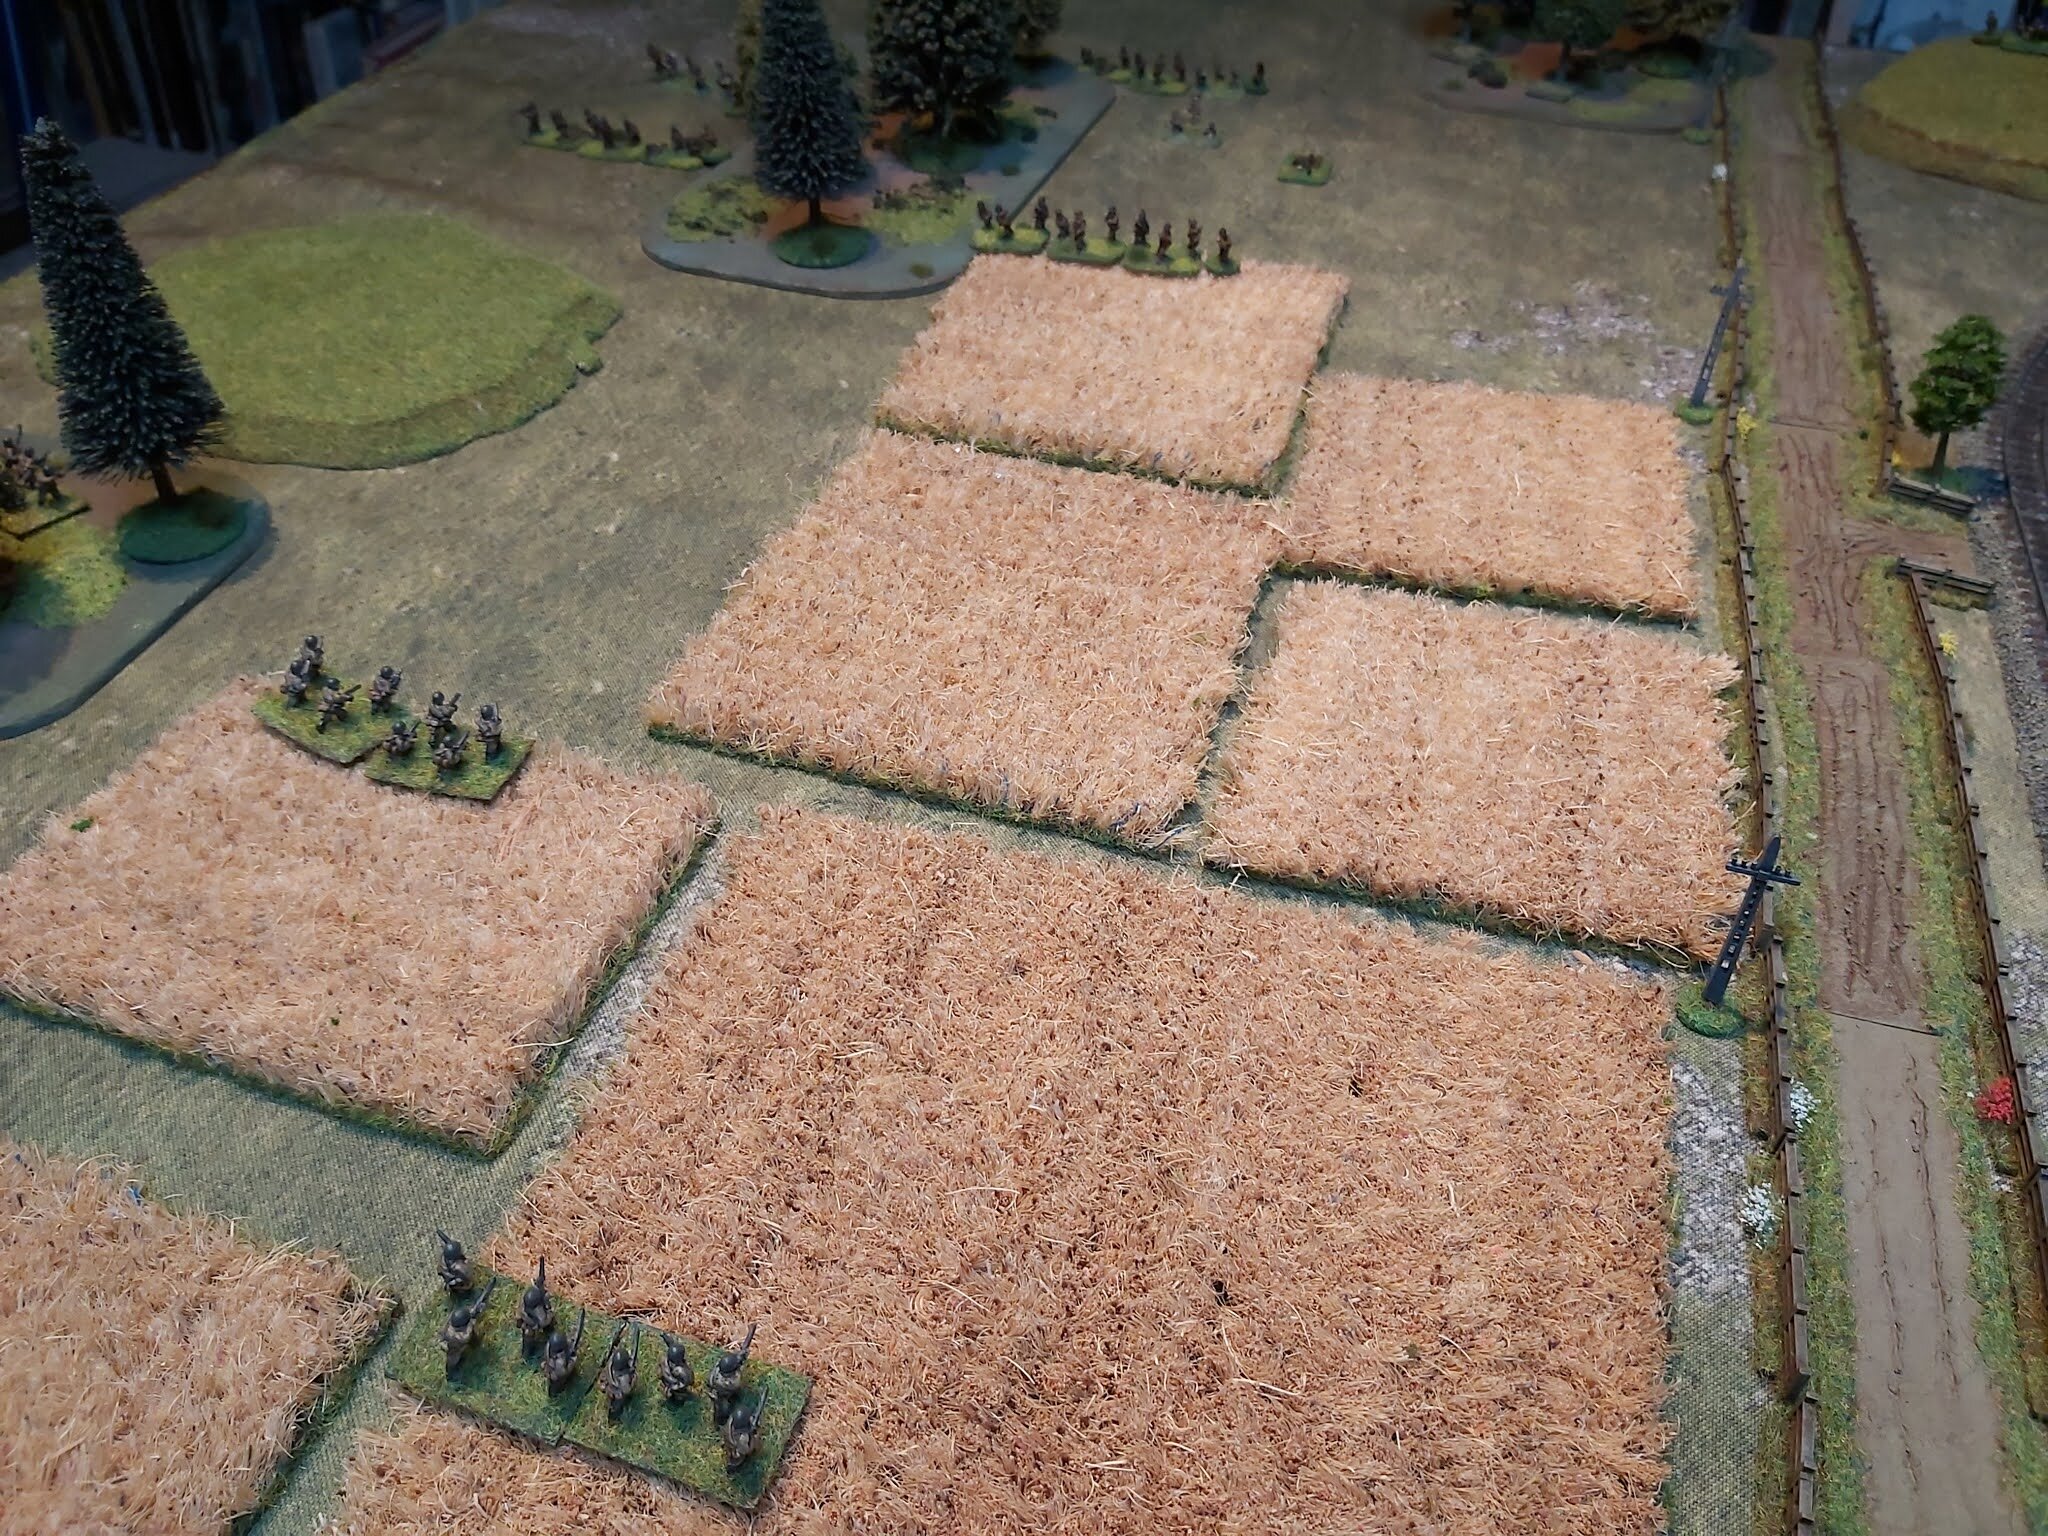
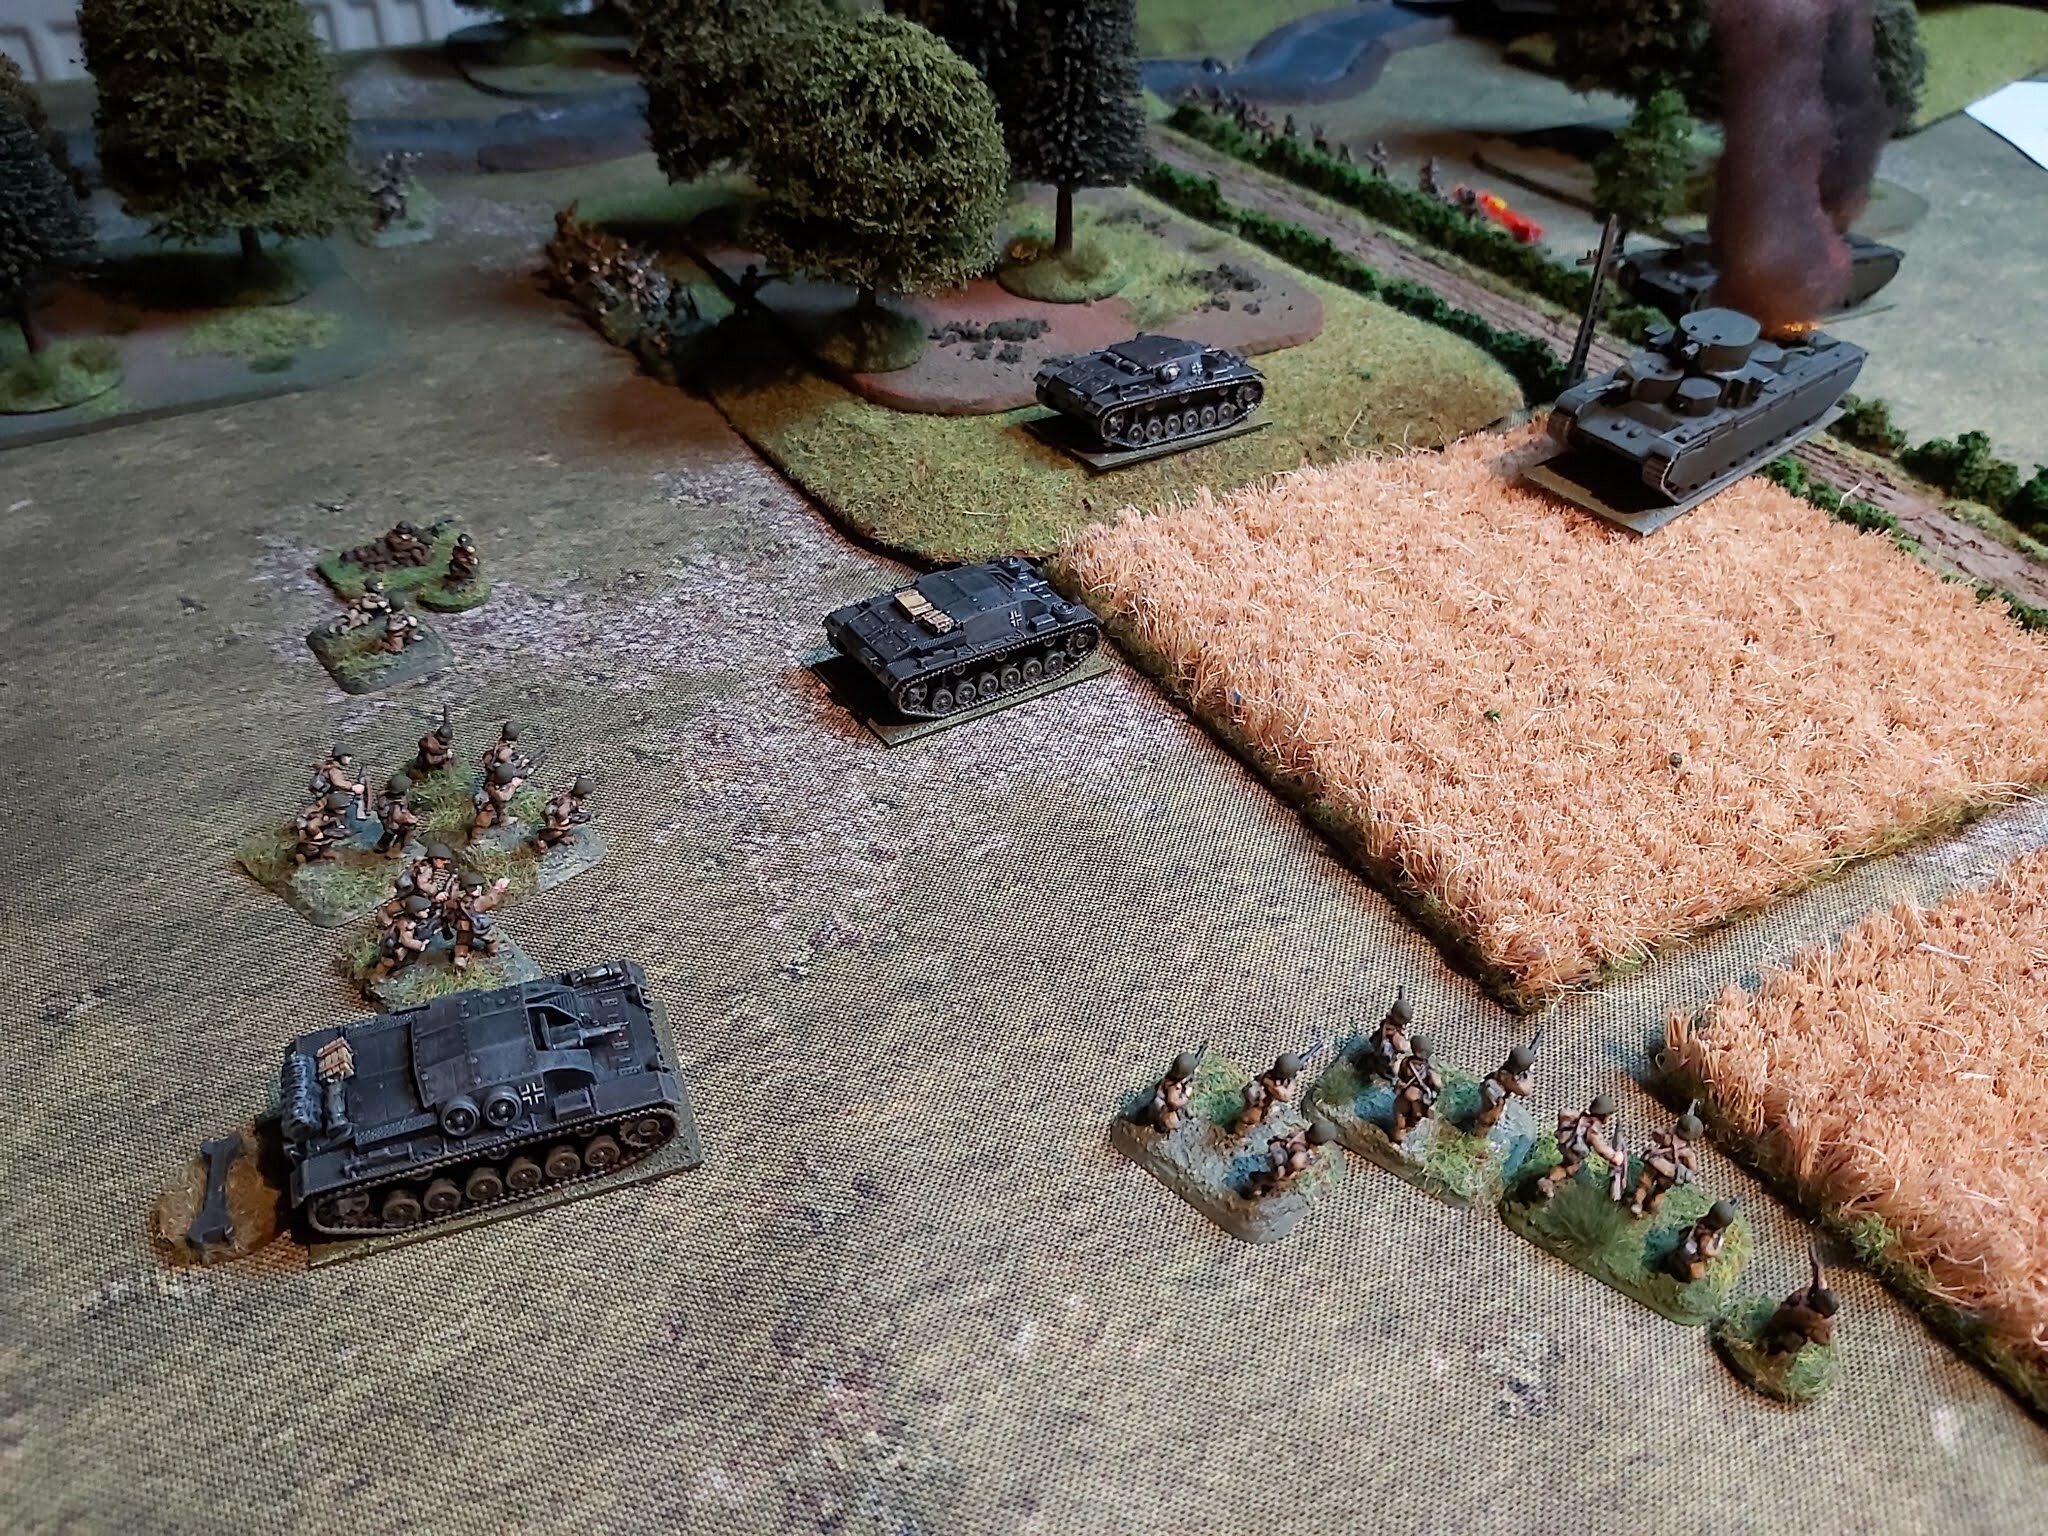
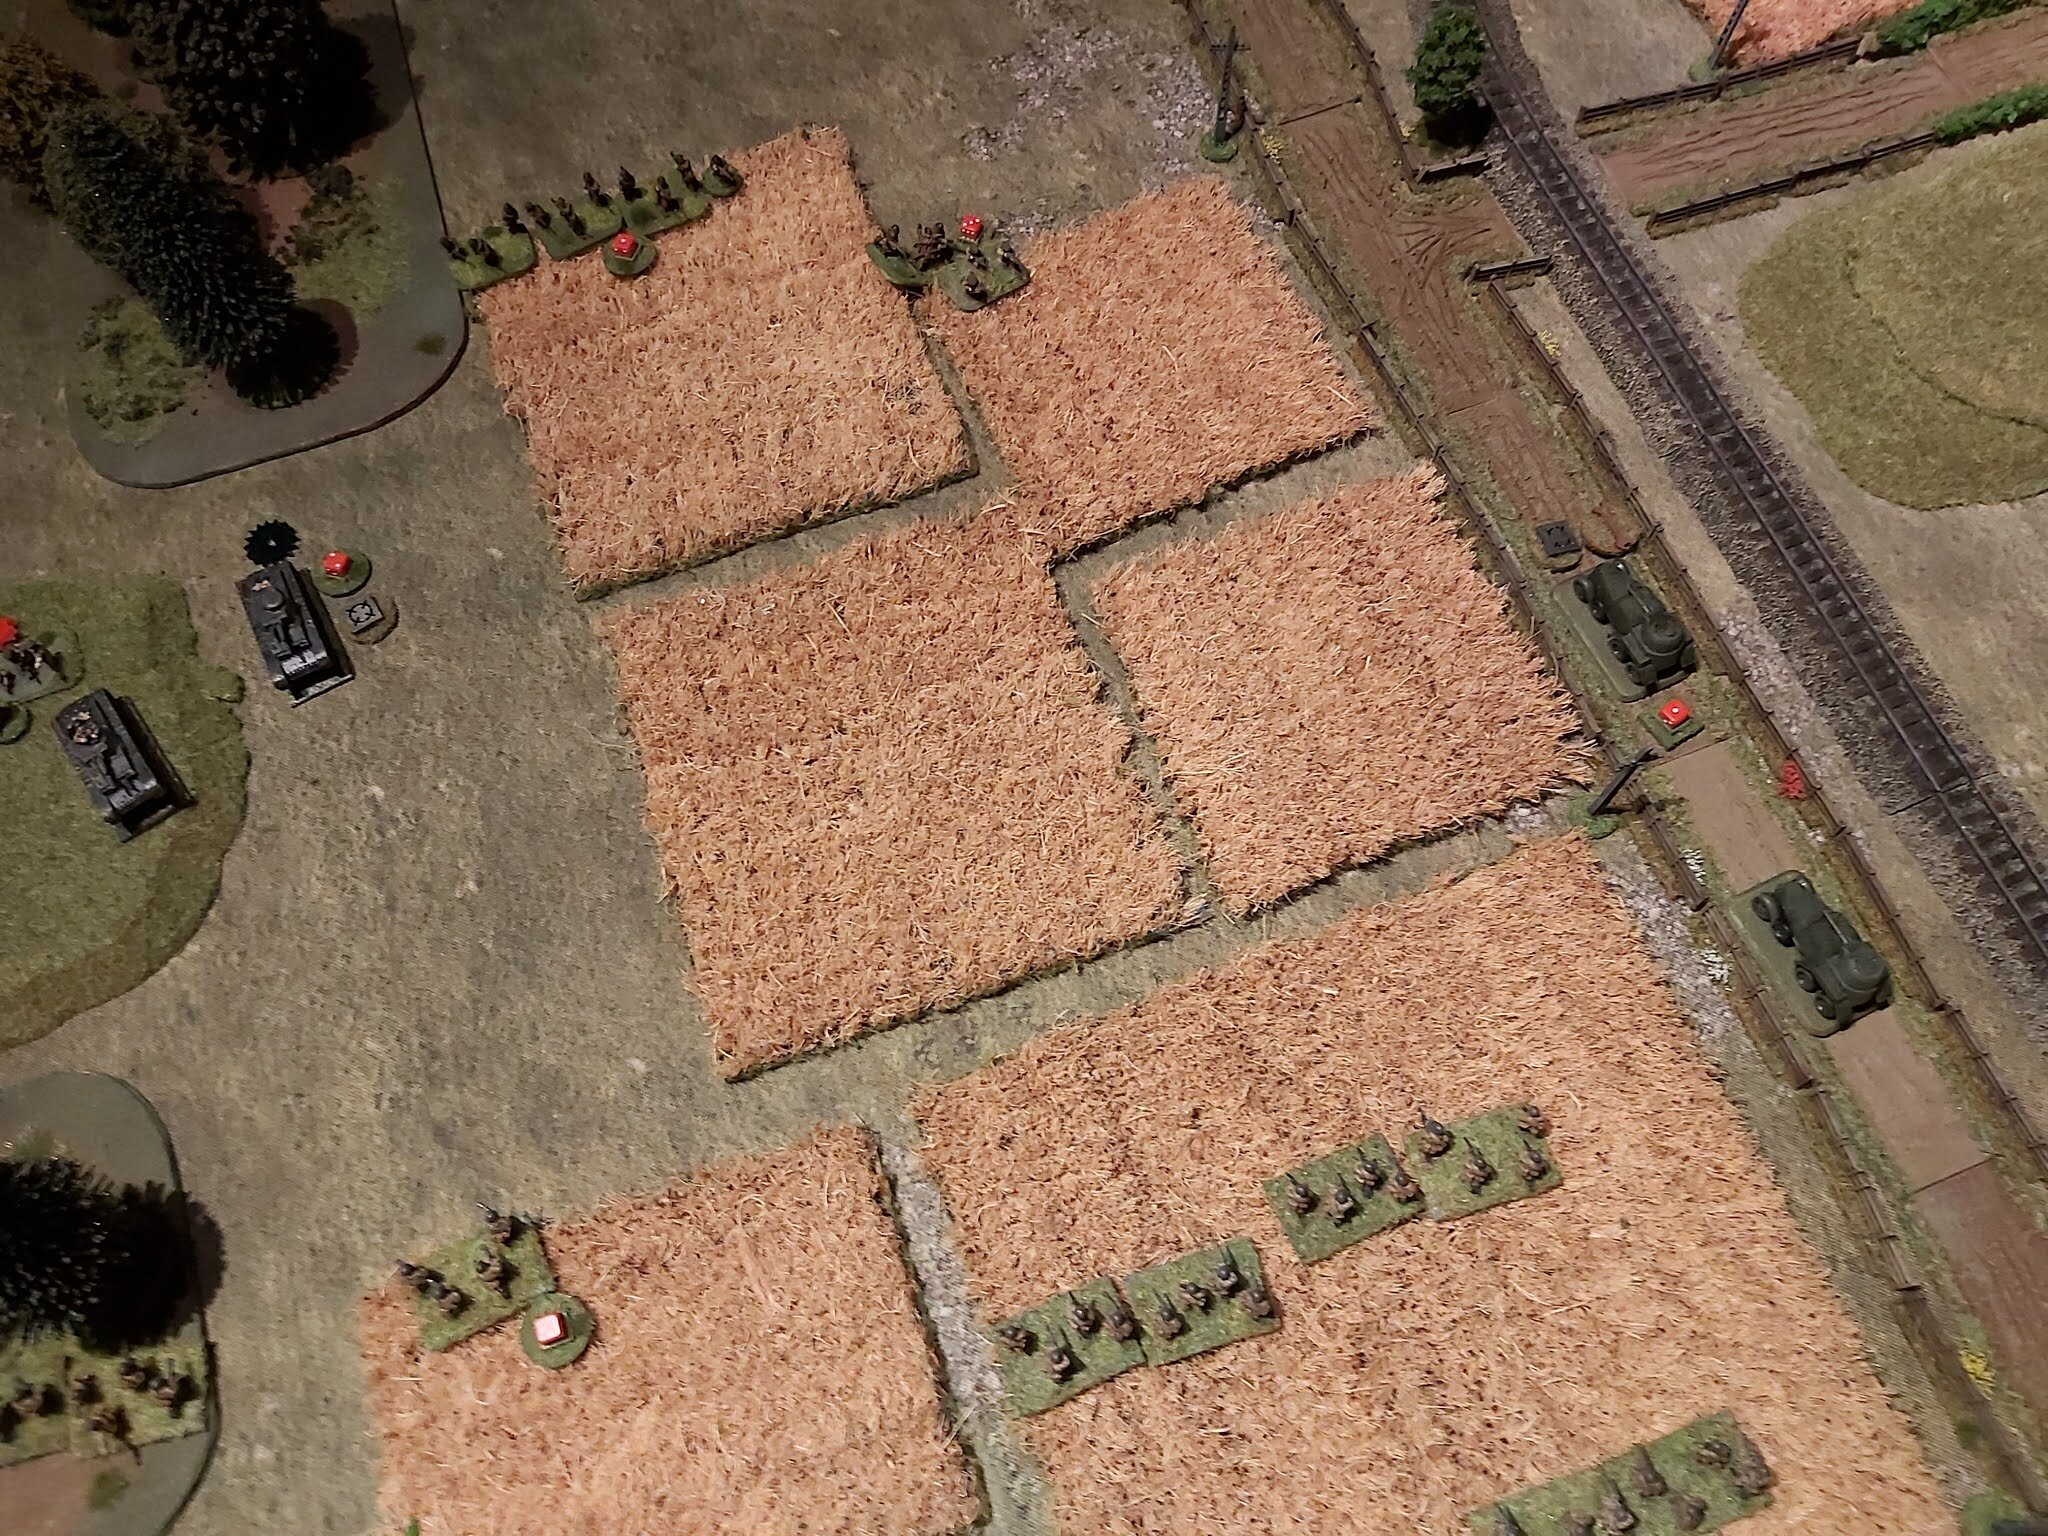
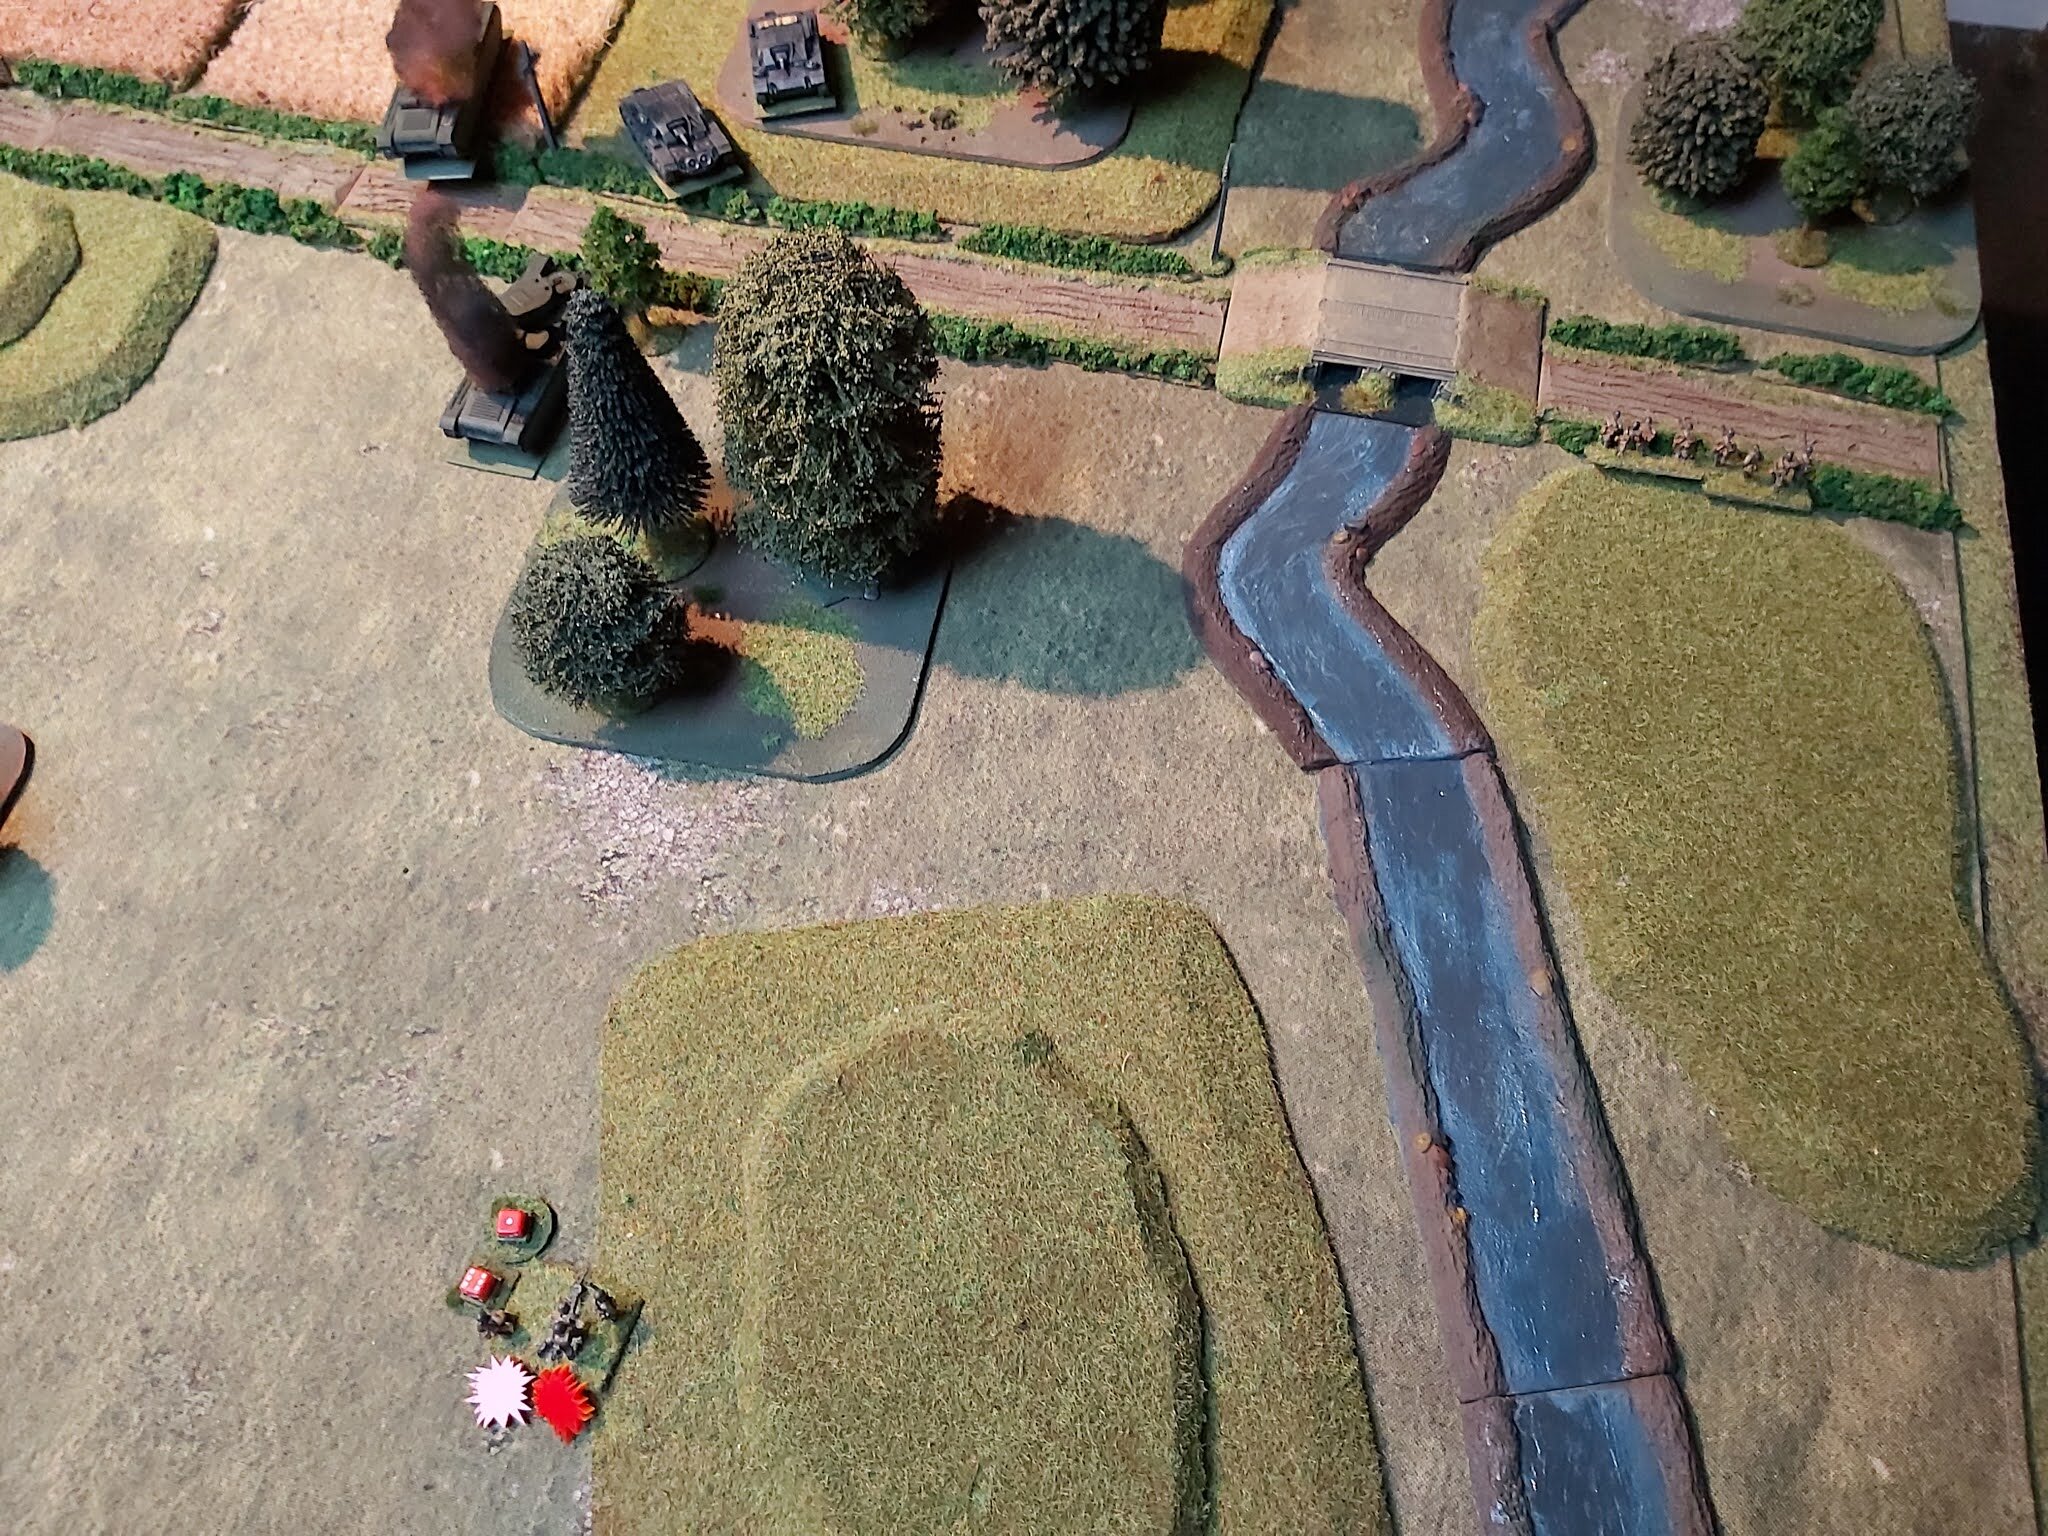
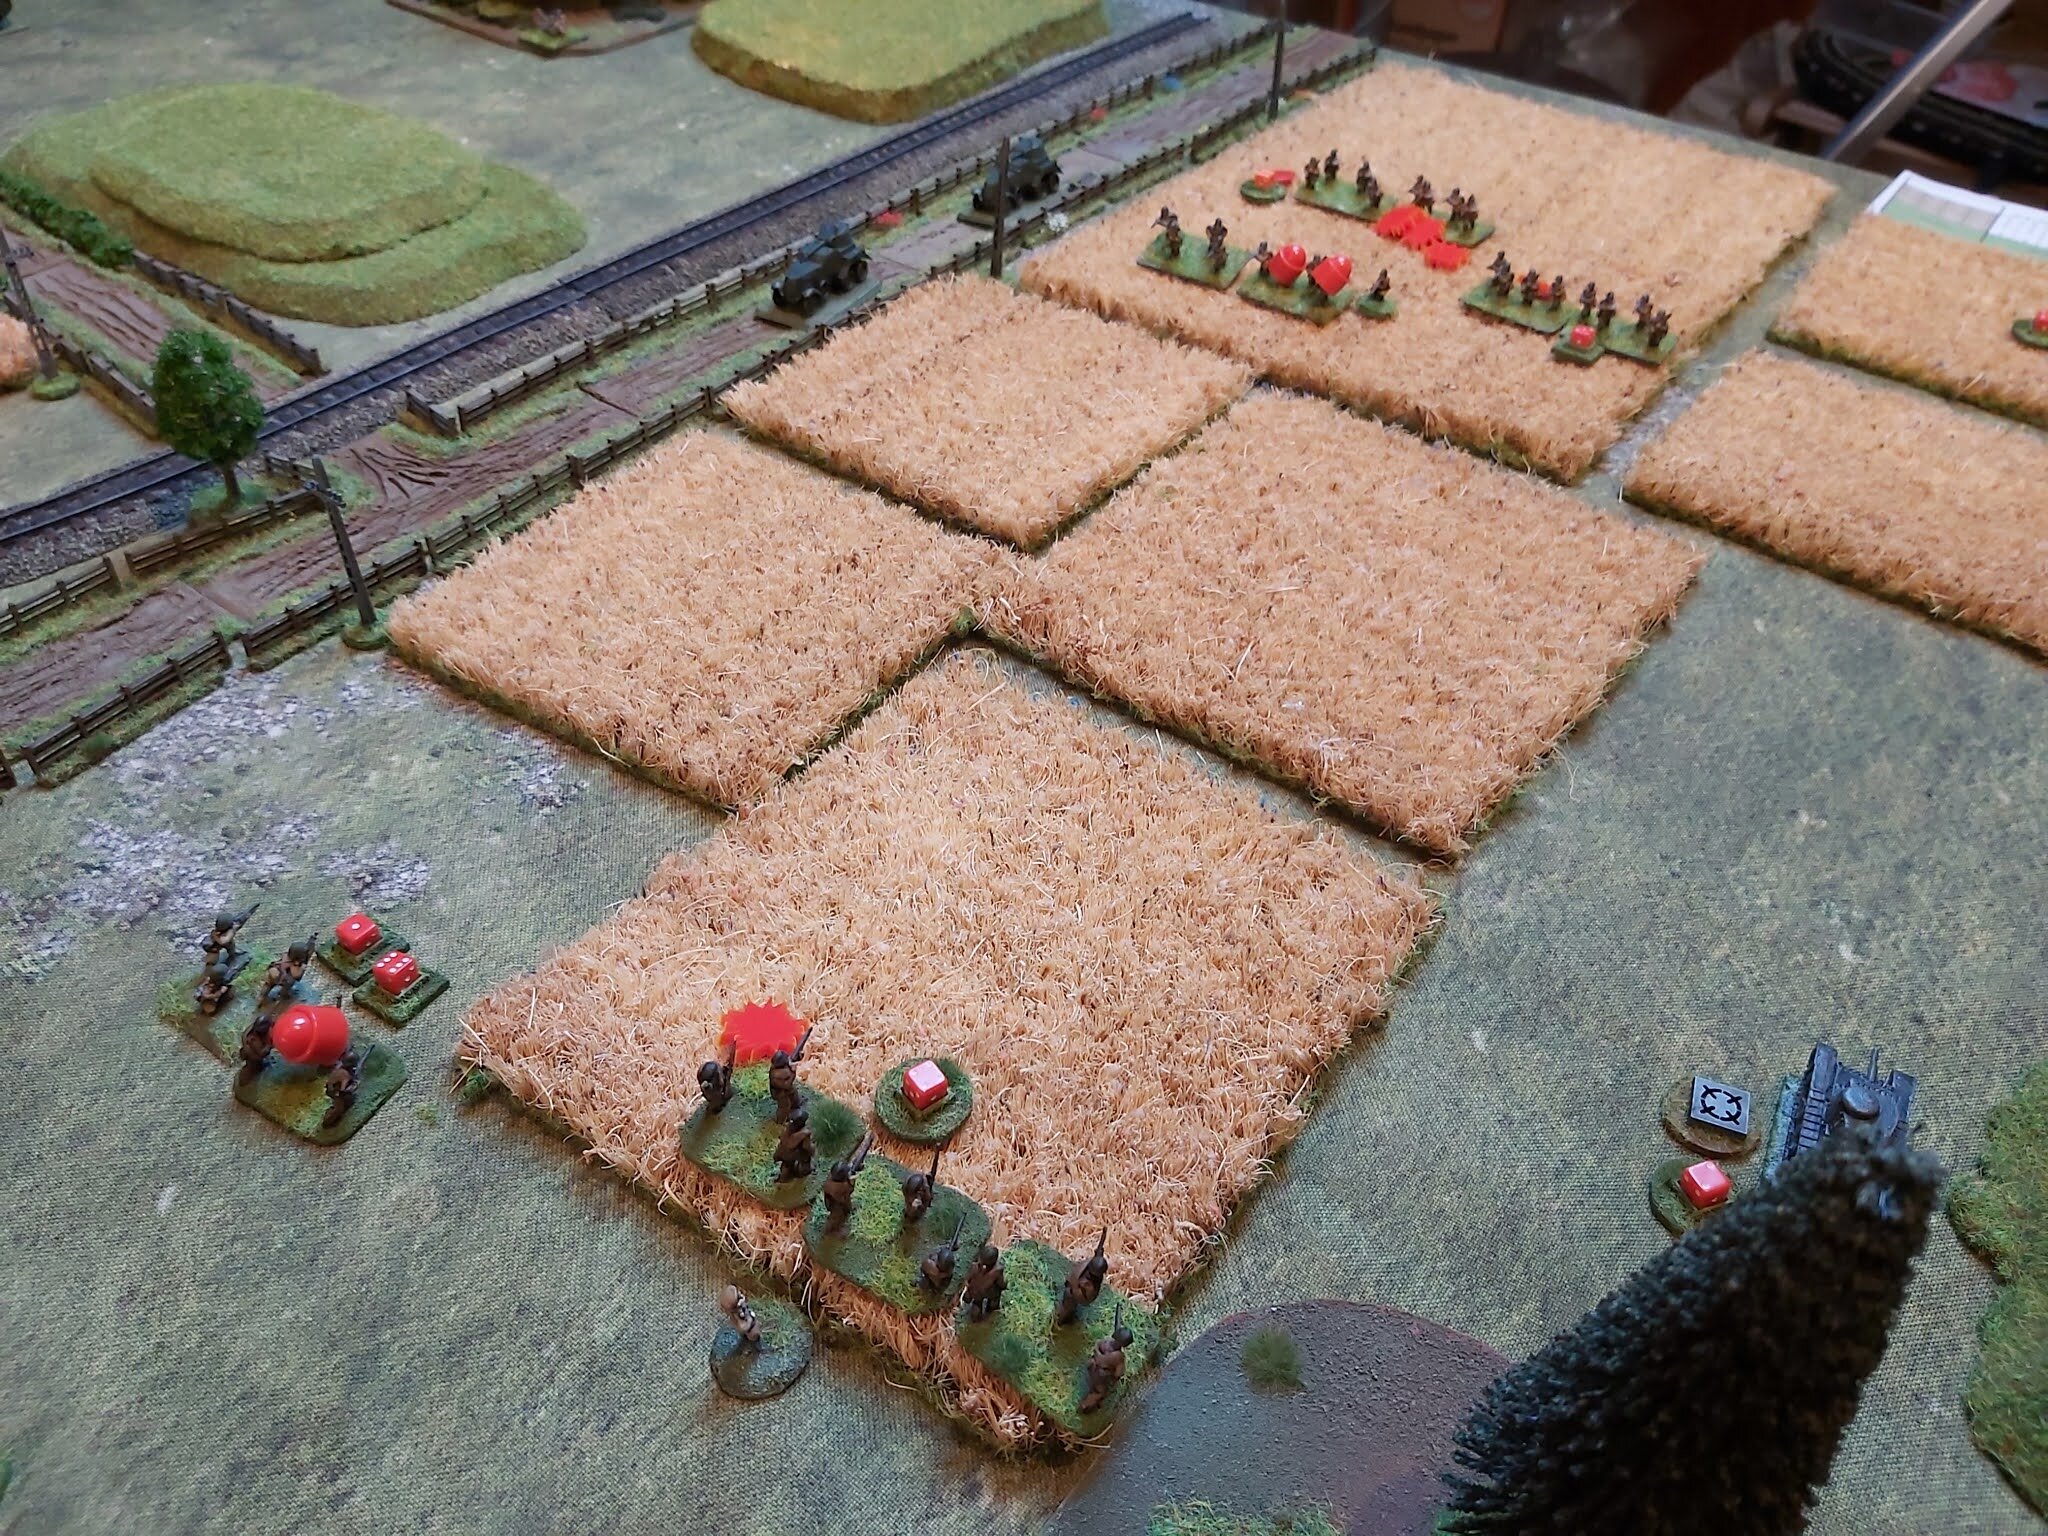
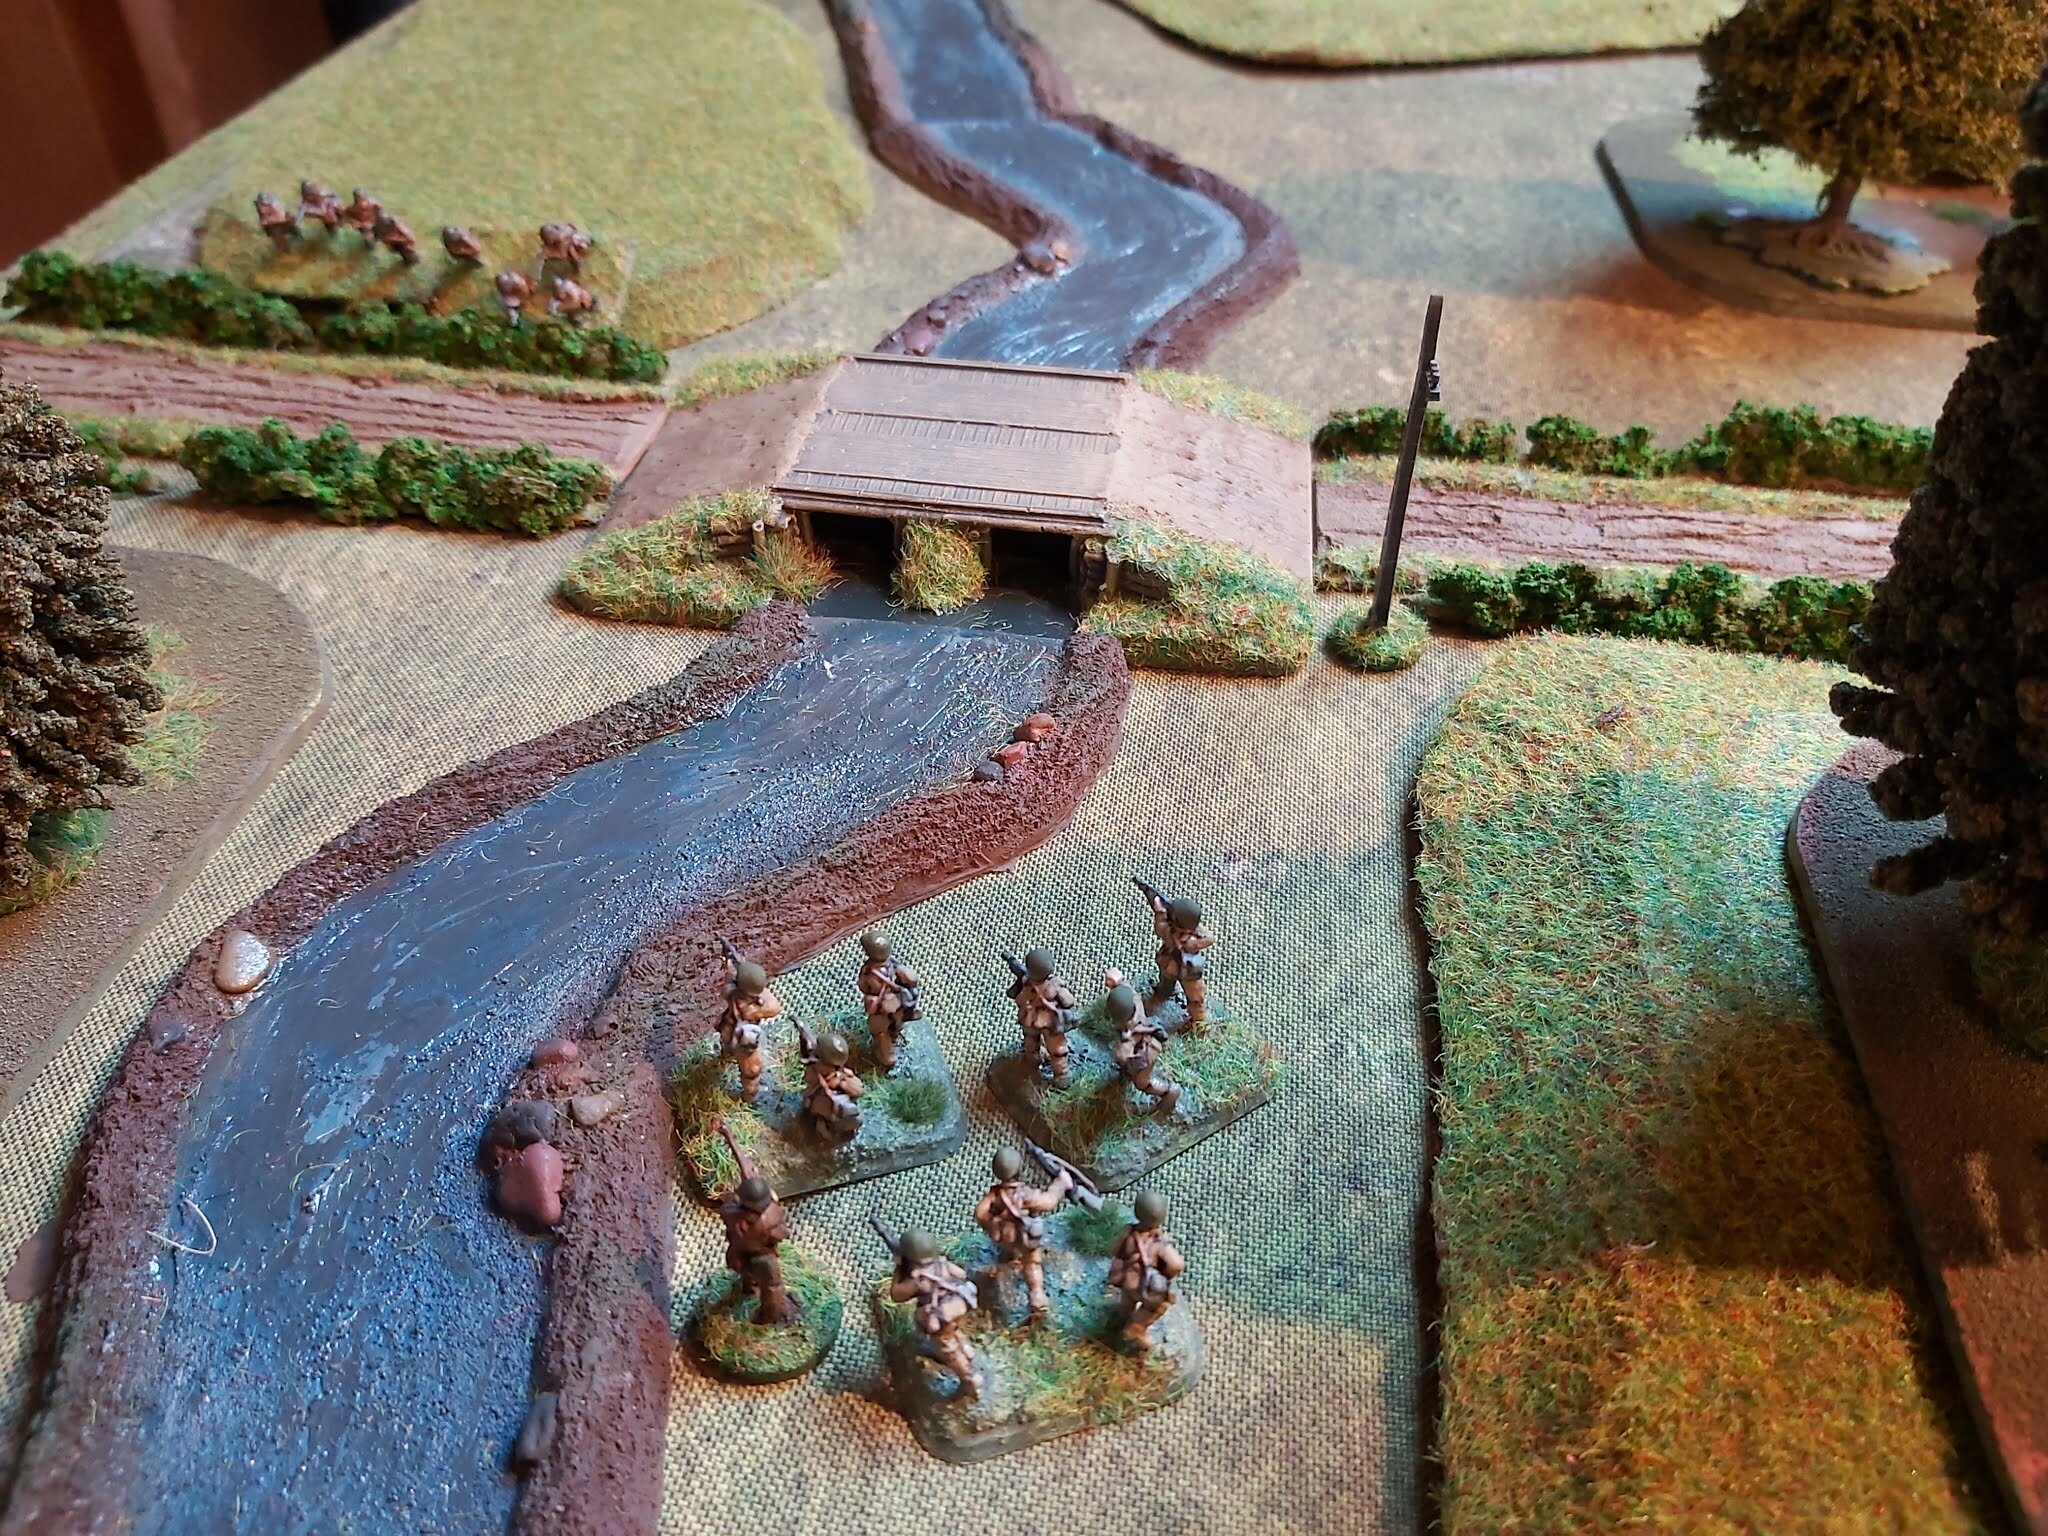
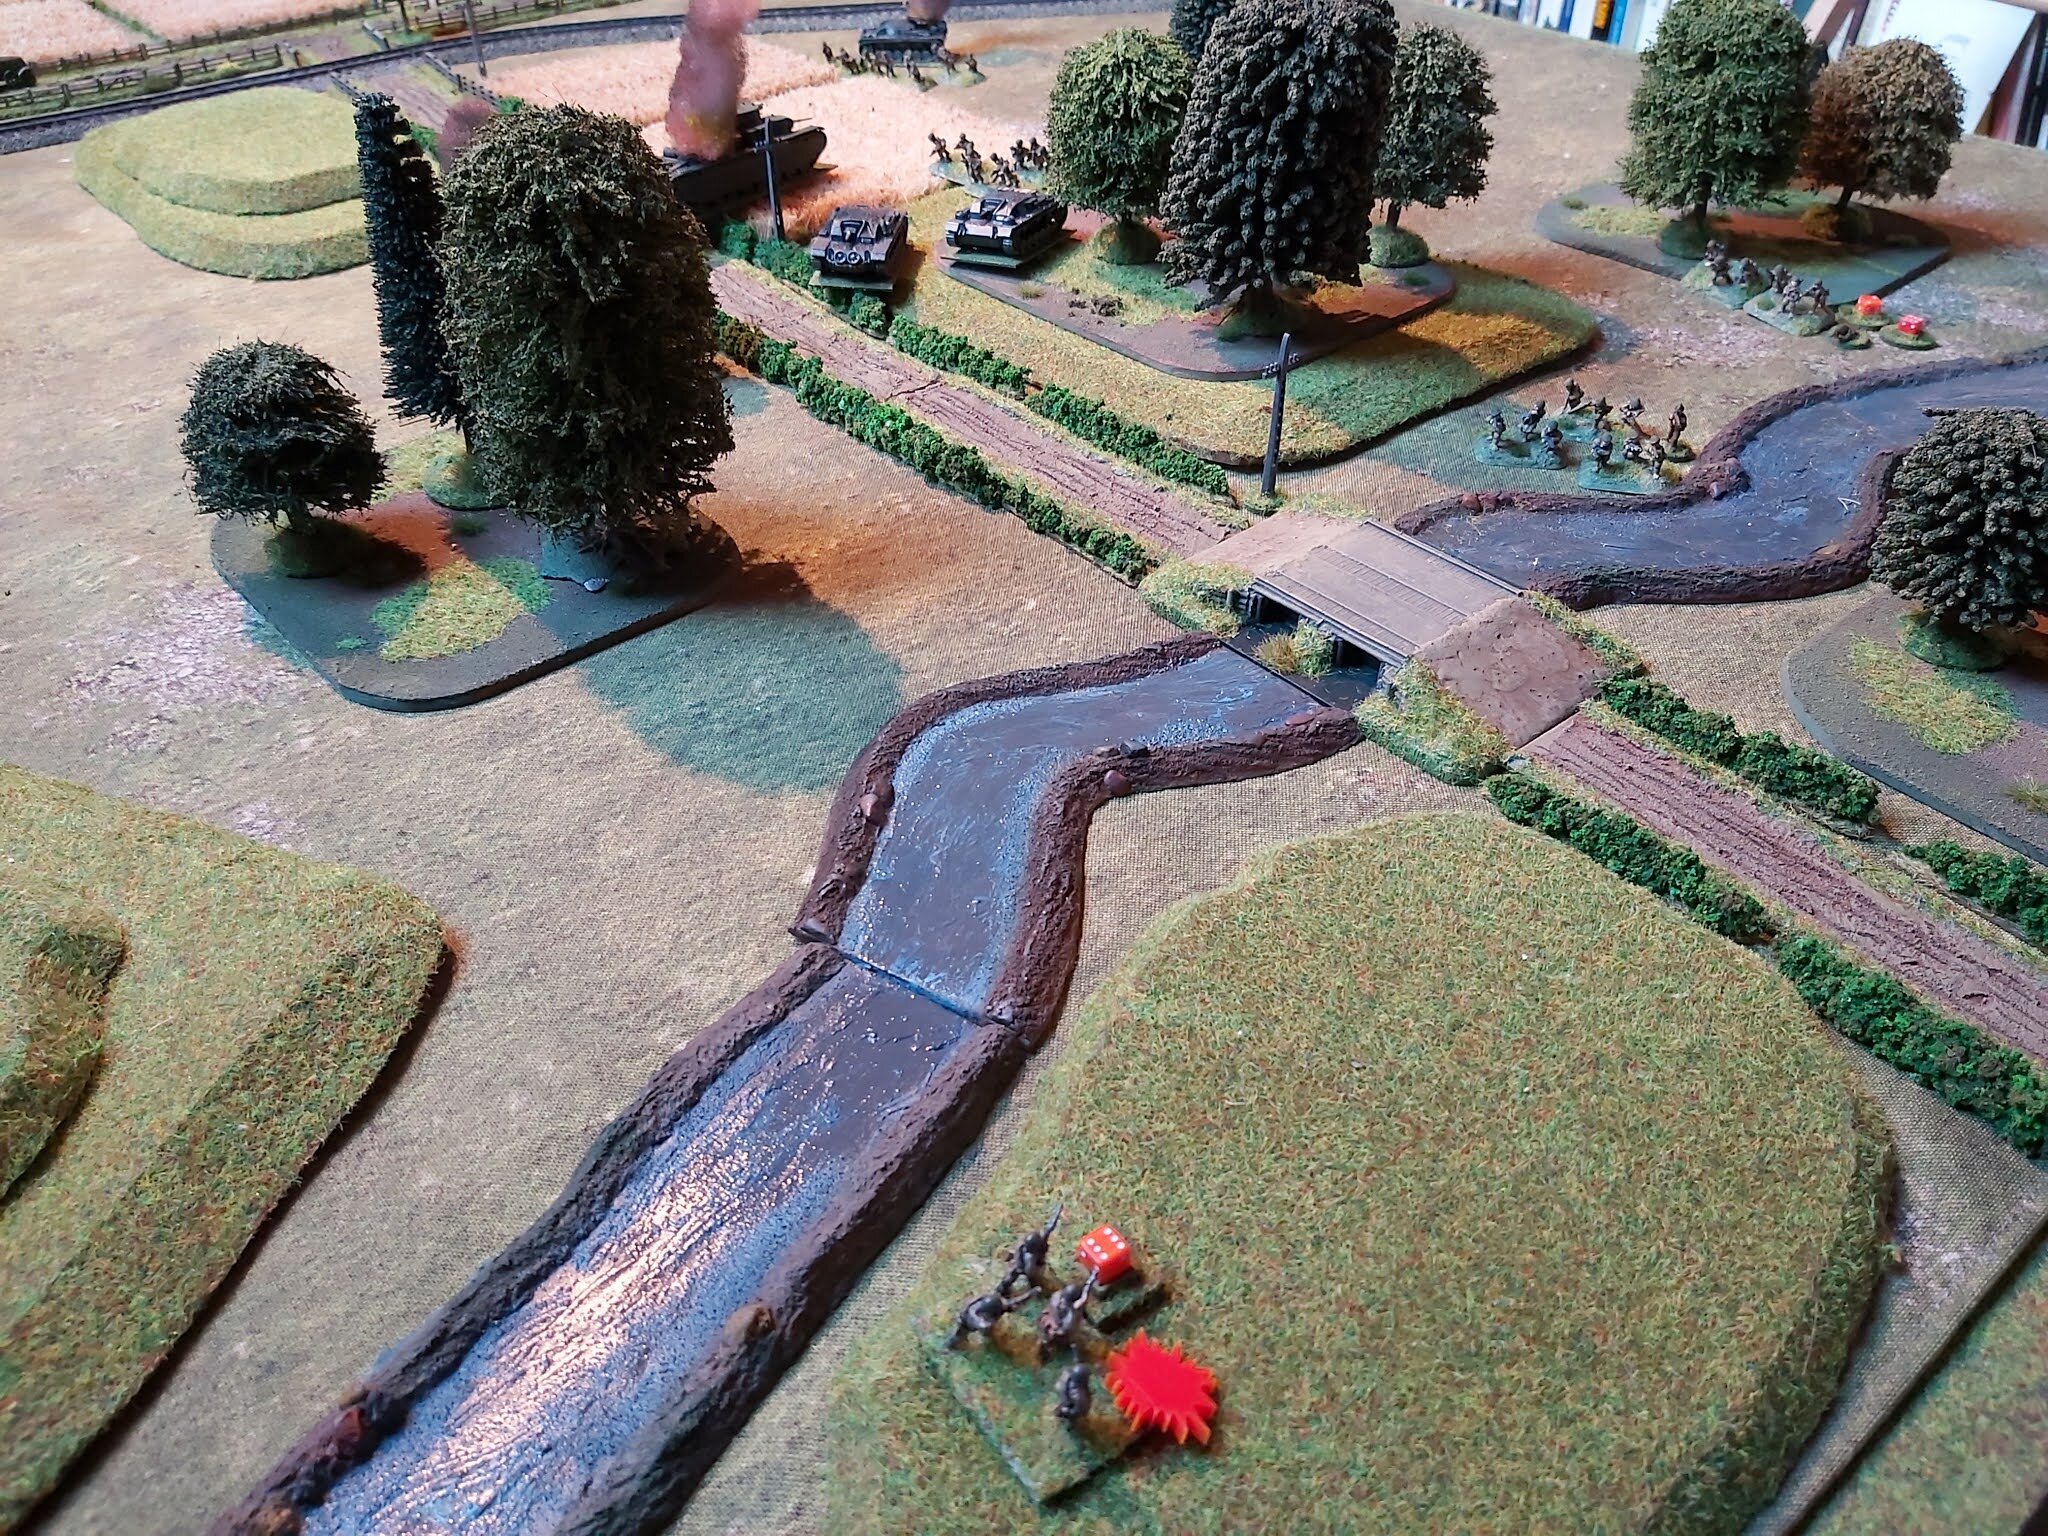
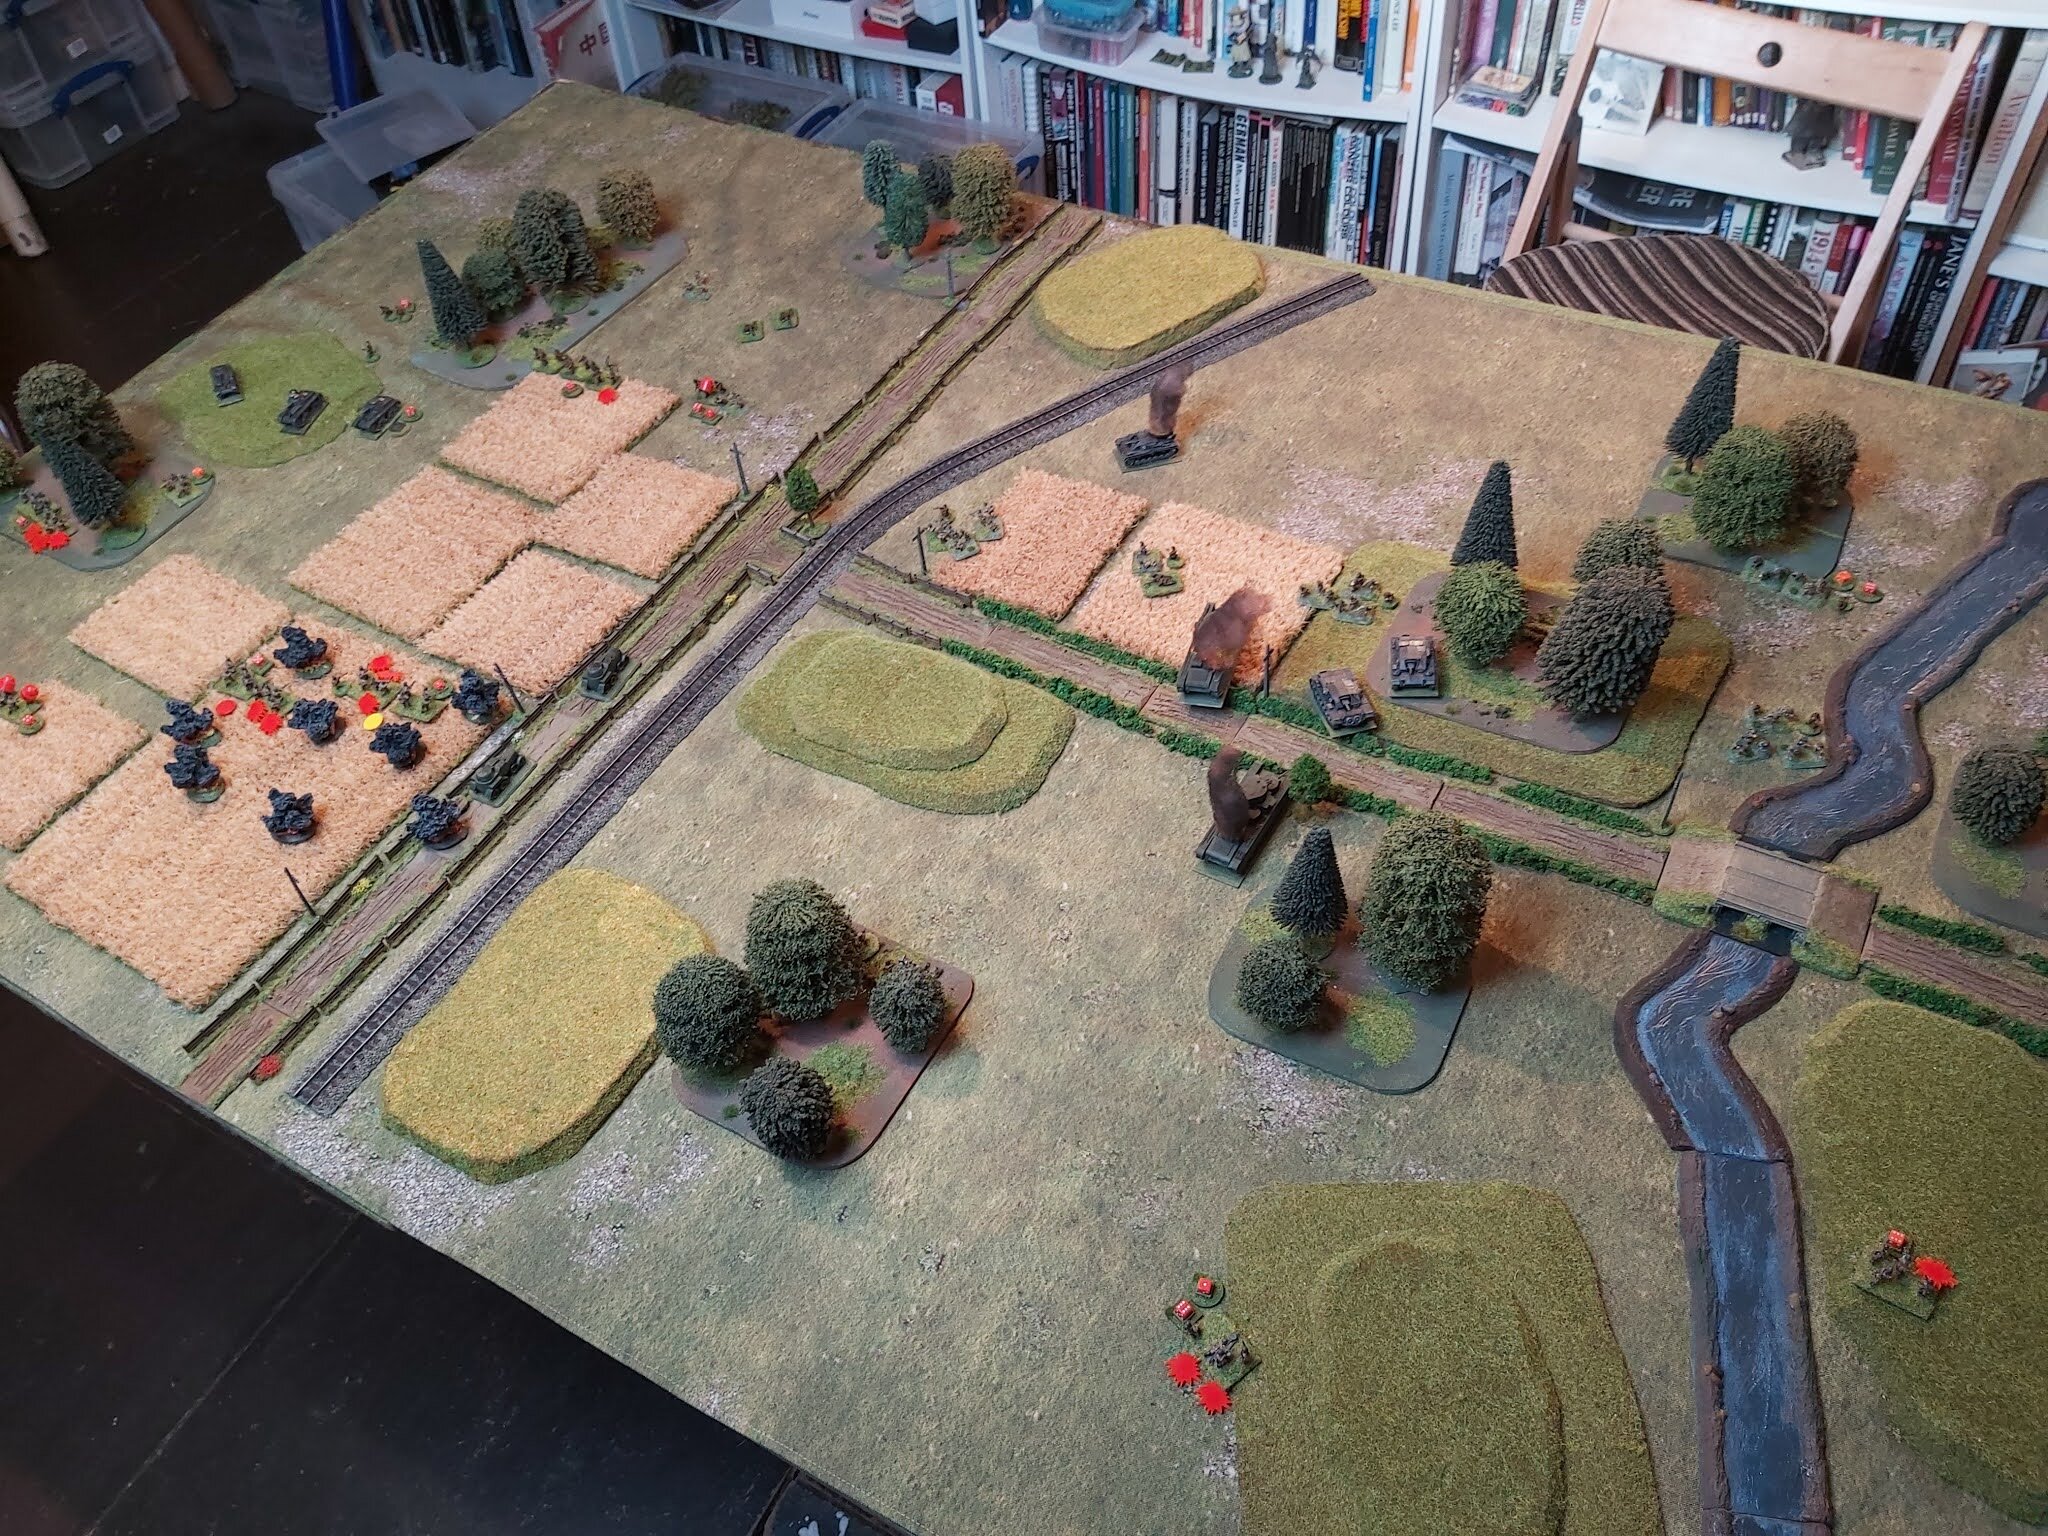
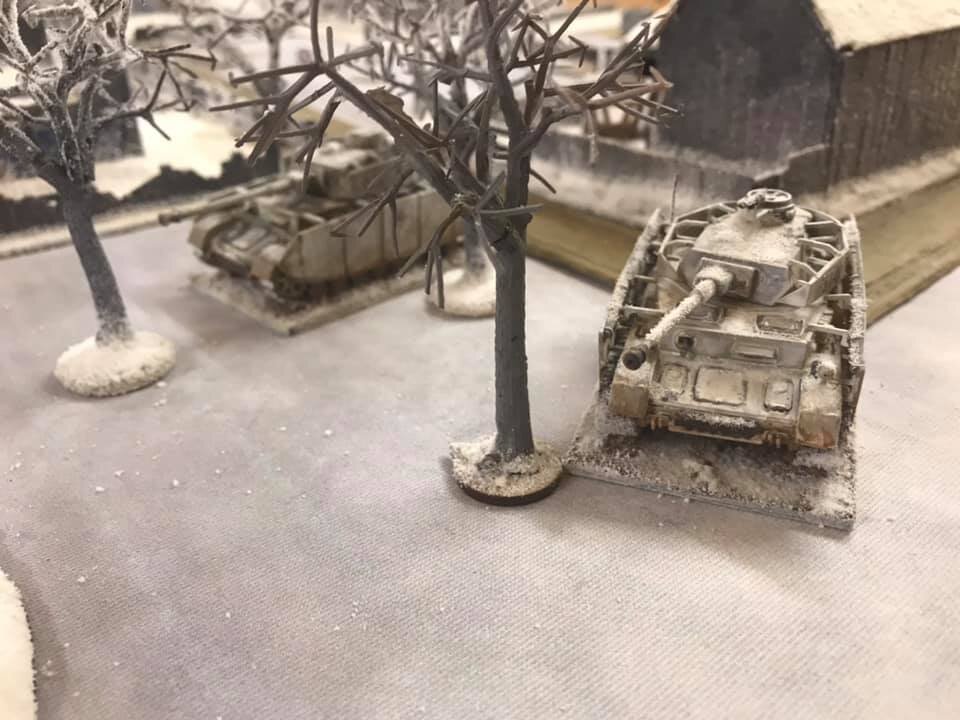
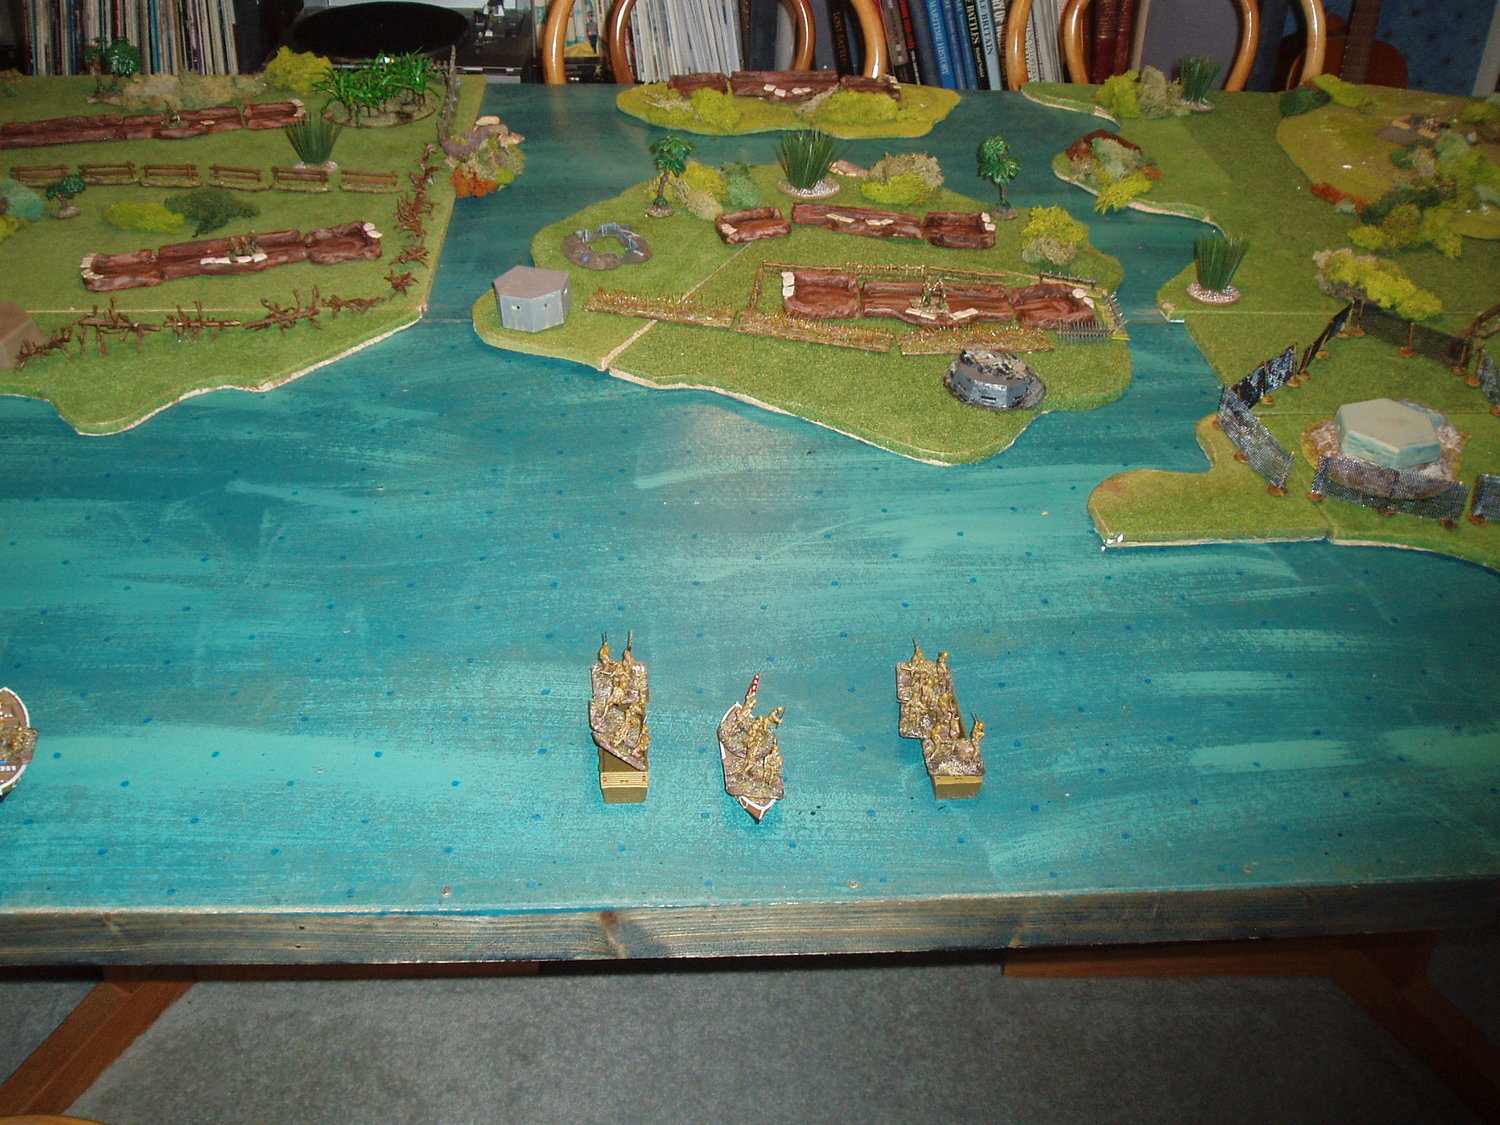
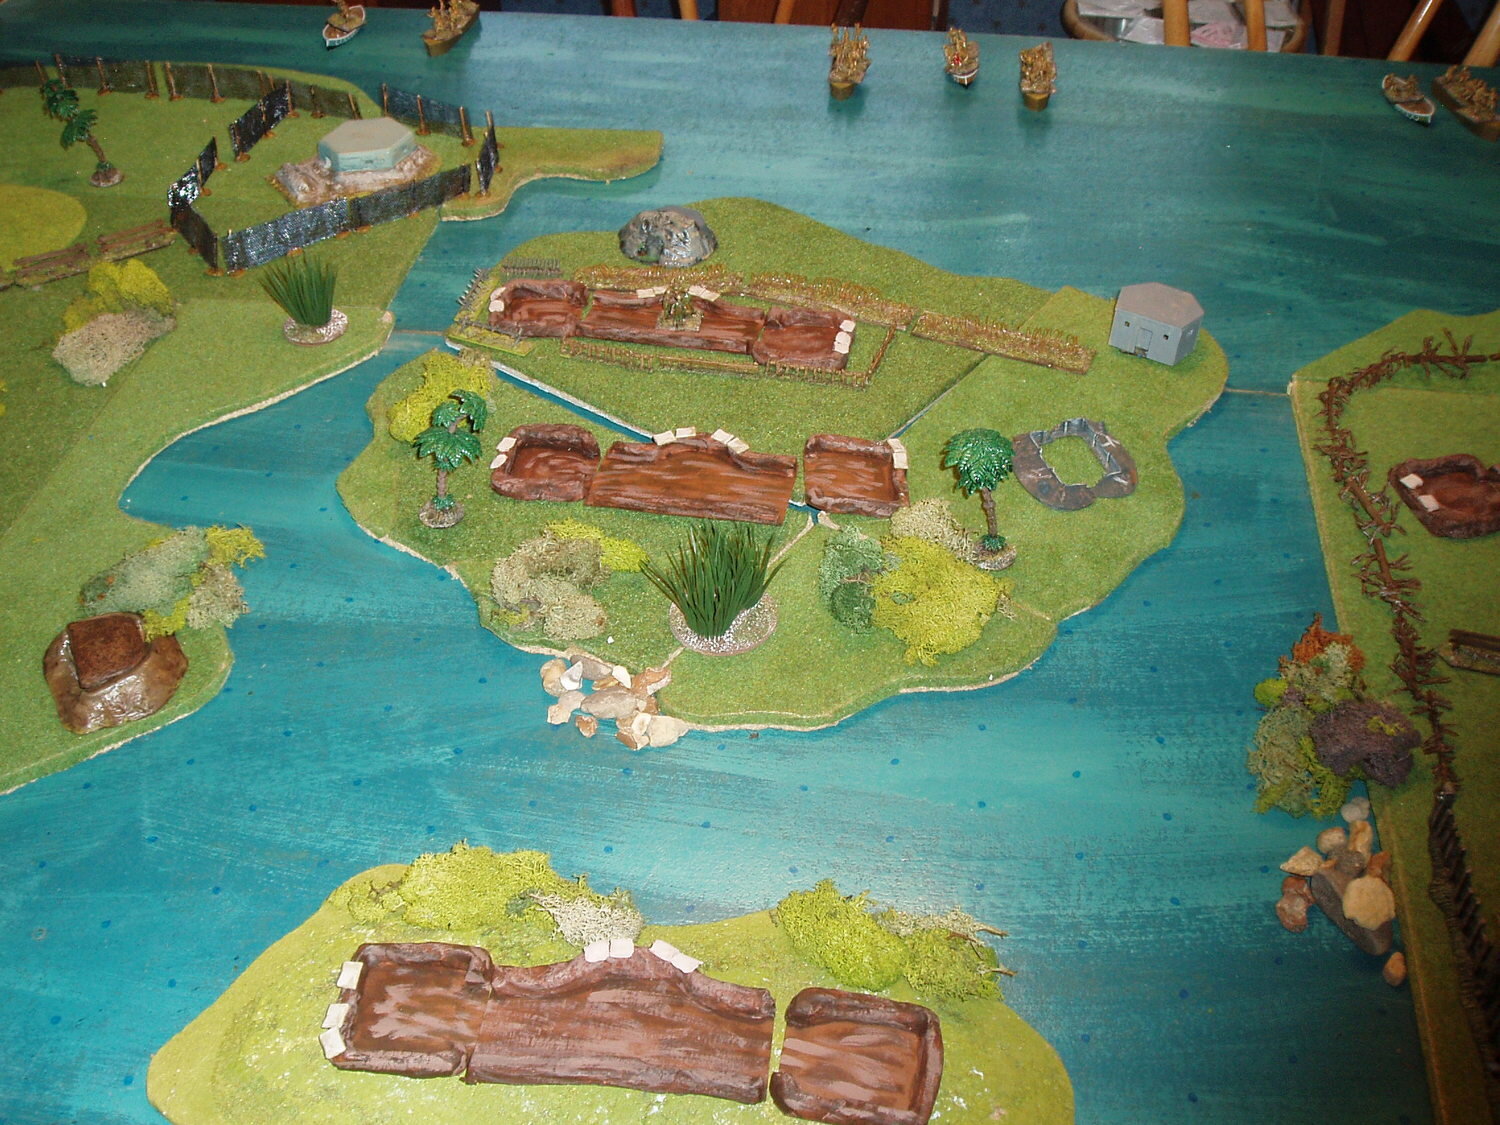
Nige's FJ had to capture a small port facility garrisoned by an unknown force of Kiwis. The table consisted of the outskirts of a typical small Cretan town, located in the SE quarter. The southern table edge was designated as the sea with a quayside laden with empty barrels awaiting a fuel shipment. To the north west of the town lay an area of fields - both corn and vineyards providing much cover. Immediately to the north lay a ridge of high ground, lightly scrubbed and rocky in places. Another features of the table was the predominance of substantial stone walls lining the dirt tracks exiting the town.
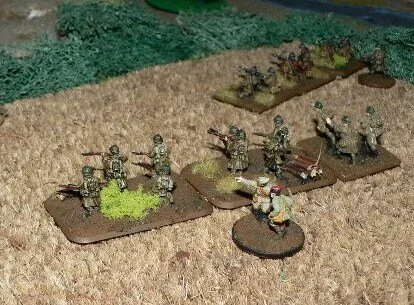
Nige's Fallschirmjagers
HQ Platoon
Hauptmann Bereich (D6)
One Rifle squad (8 men - Automatic Weapons)
Three 50mm mortars (2 men each)
Two MMG’s (3 men each)
Infantry Platoon 1
Leutnant Wutrzgarten (D6)
Feldwebel Pfalz (D6)
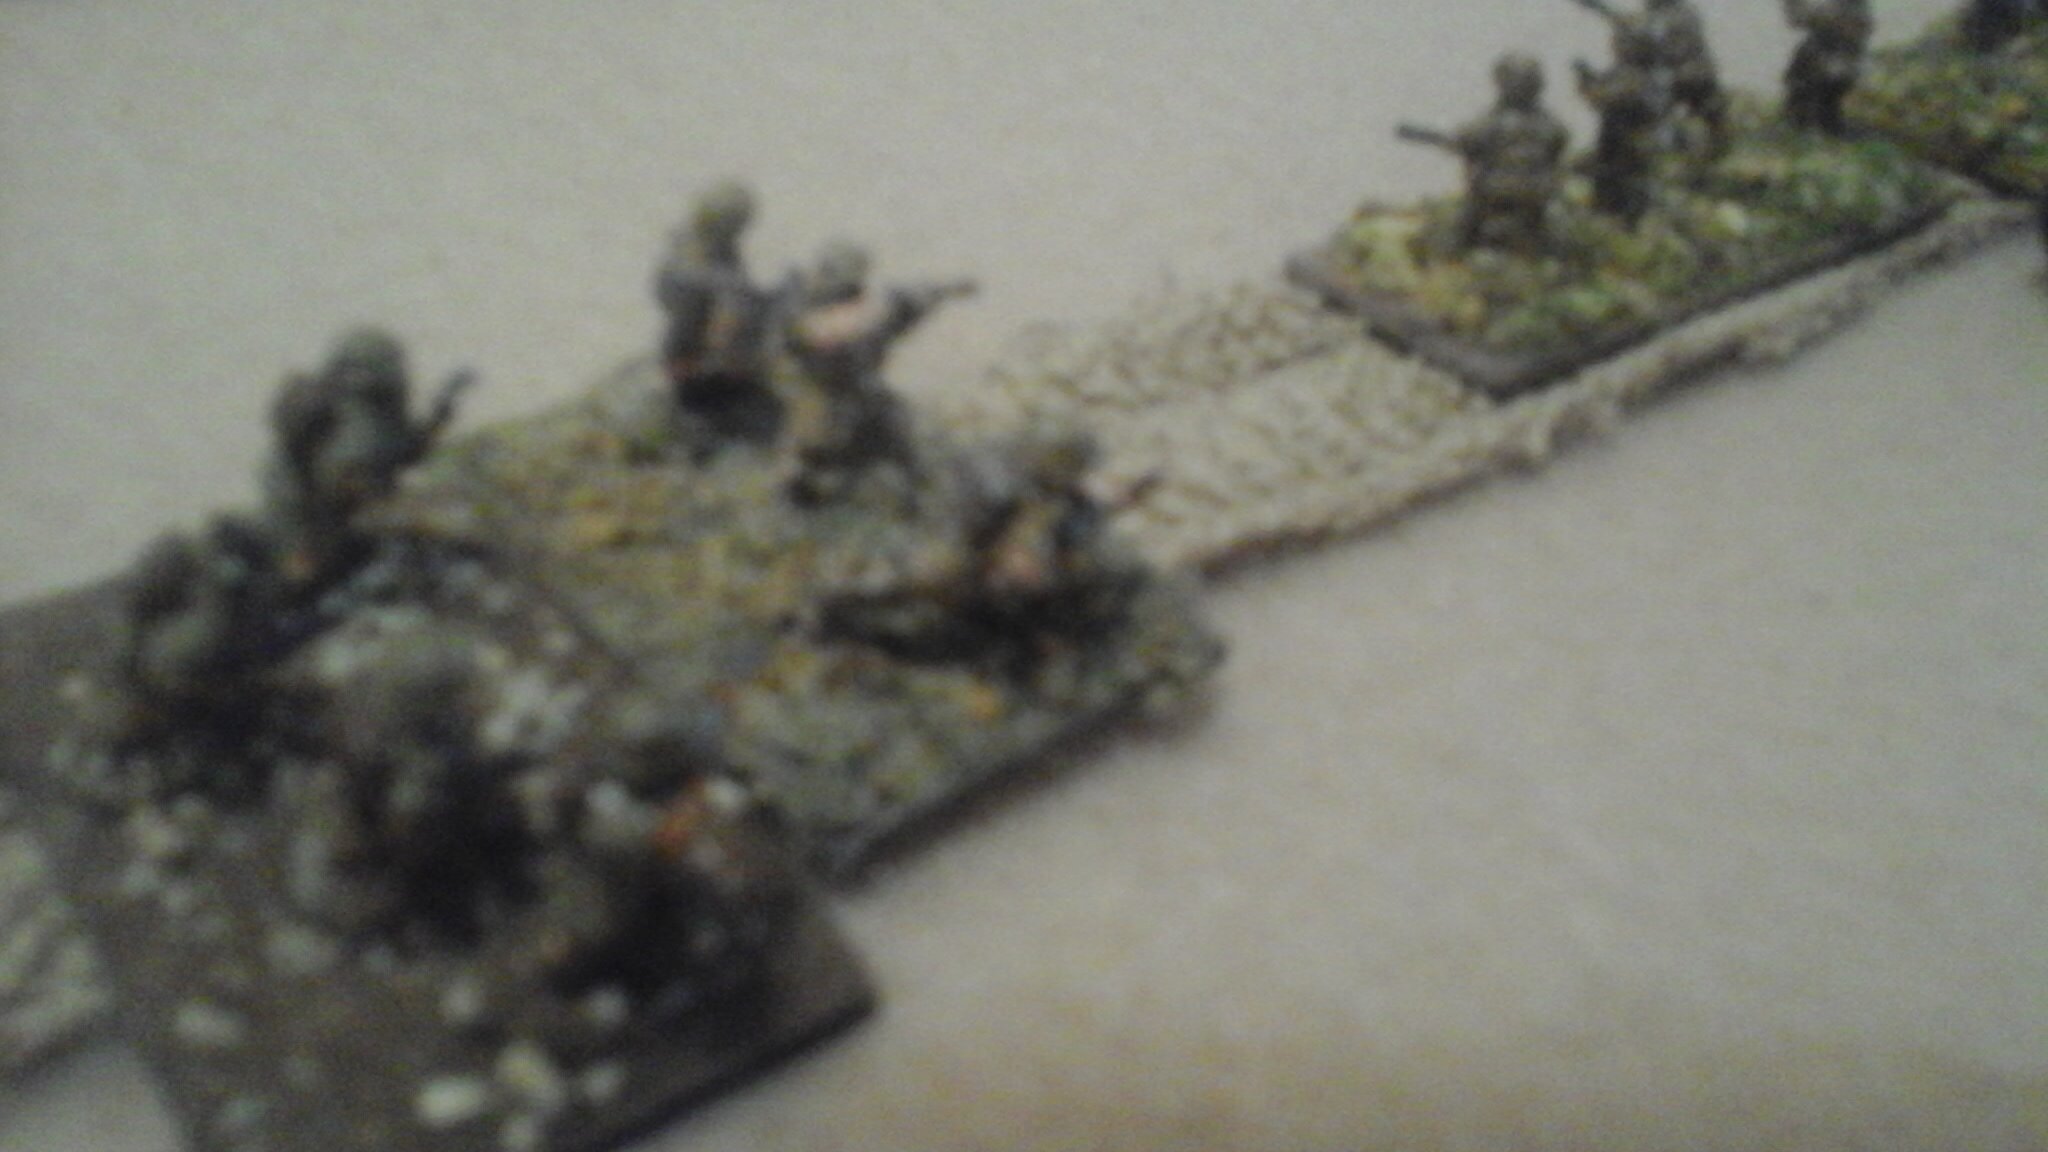
Three Rifle squads (8 men each - Automatic Weapons)
One MMG (3 crew)
Infantry Platoon 2
Unterfeldwebel Ursiger (D6+2)
Three Rifle squads (8 men each - Automatic Weapons)
MMG (3 crew)
Infantry Platoon 3
Obergefreiter Bassermann (D6+1)
Two Rifle squads (8 men each - Automatic Weapons)
MMG (3 crew)
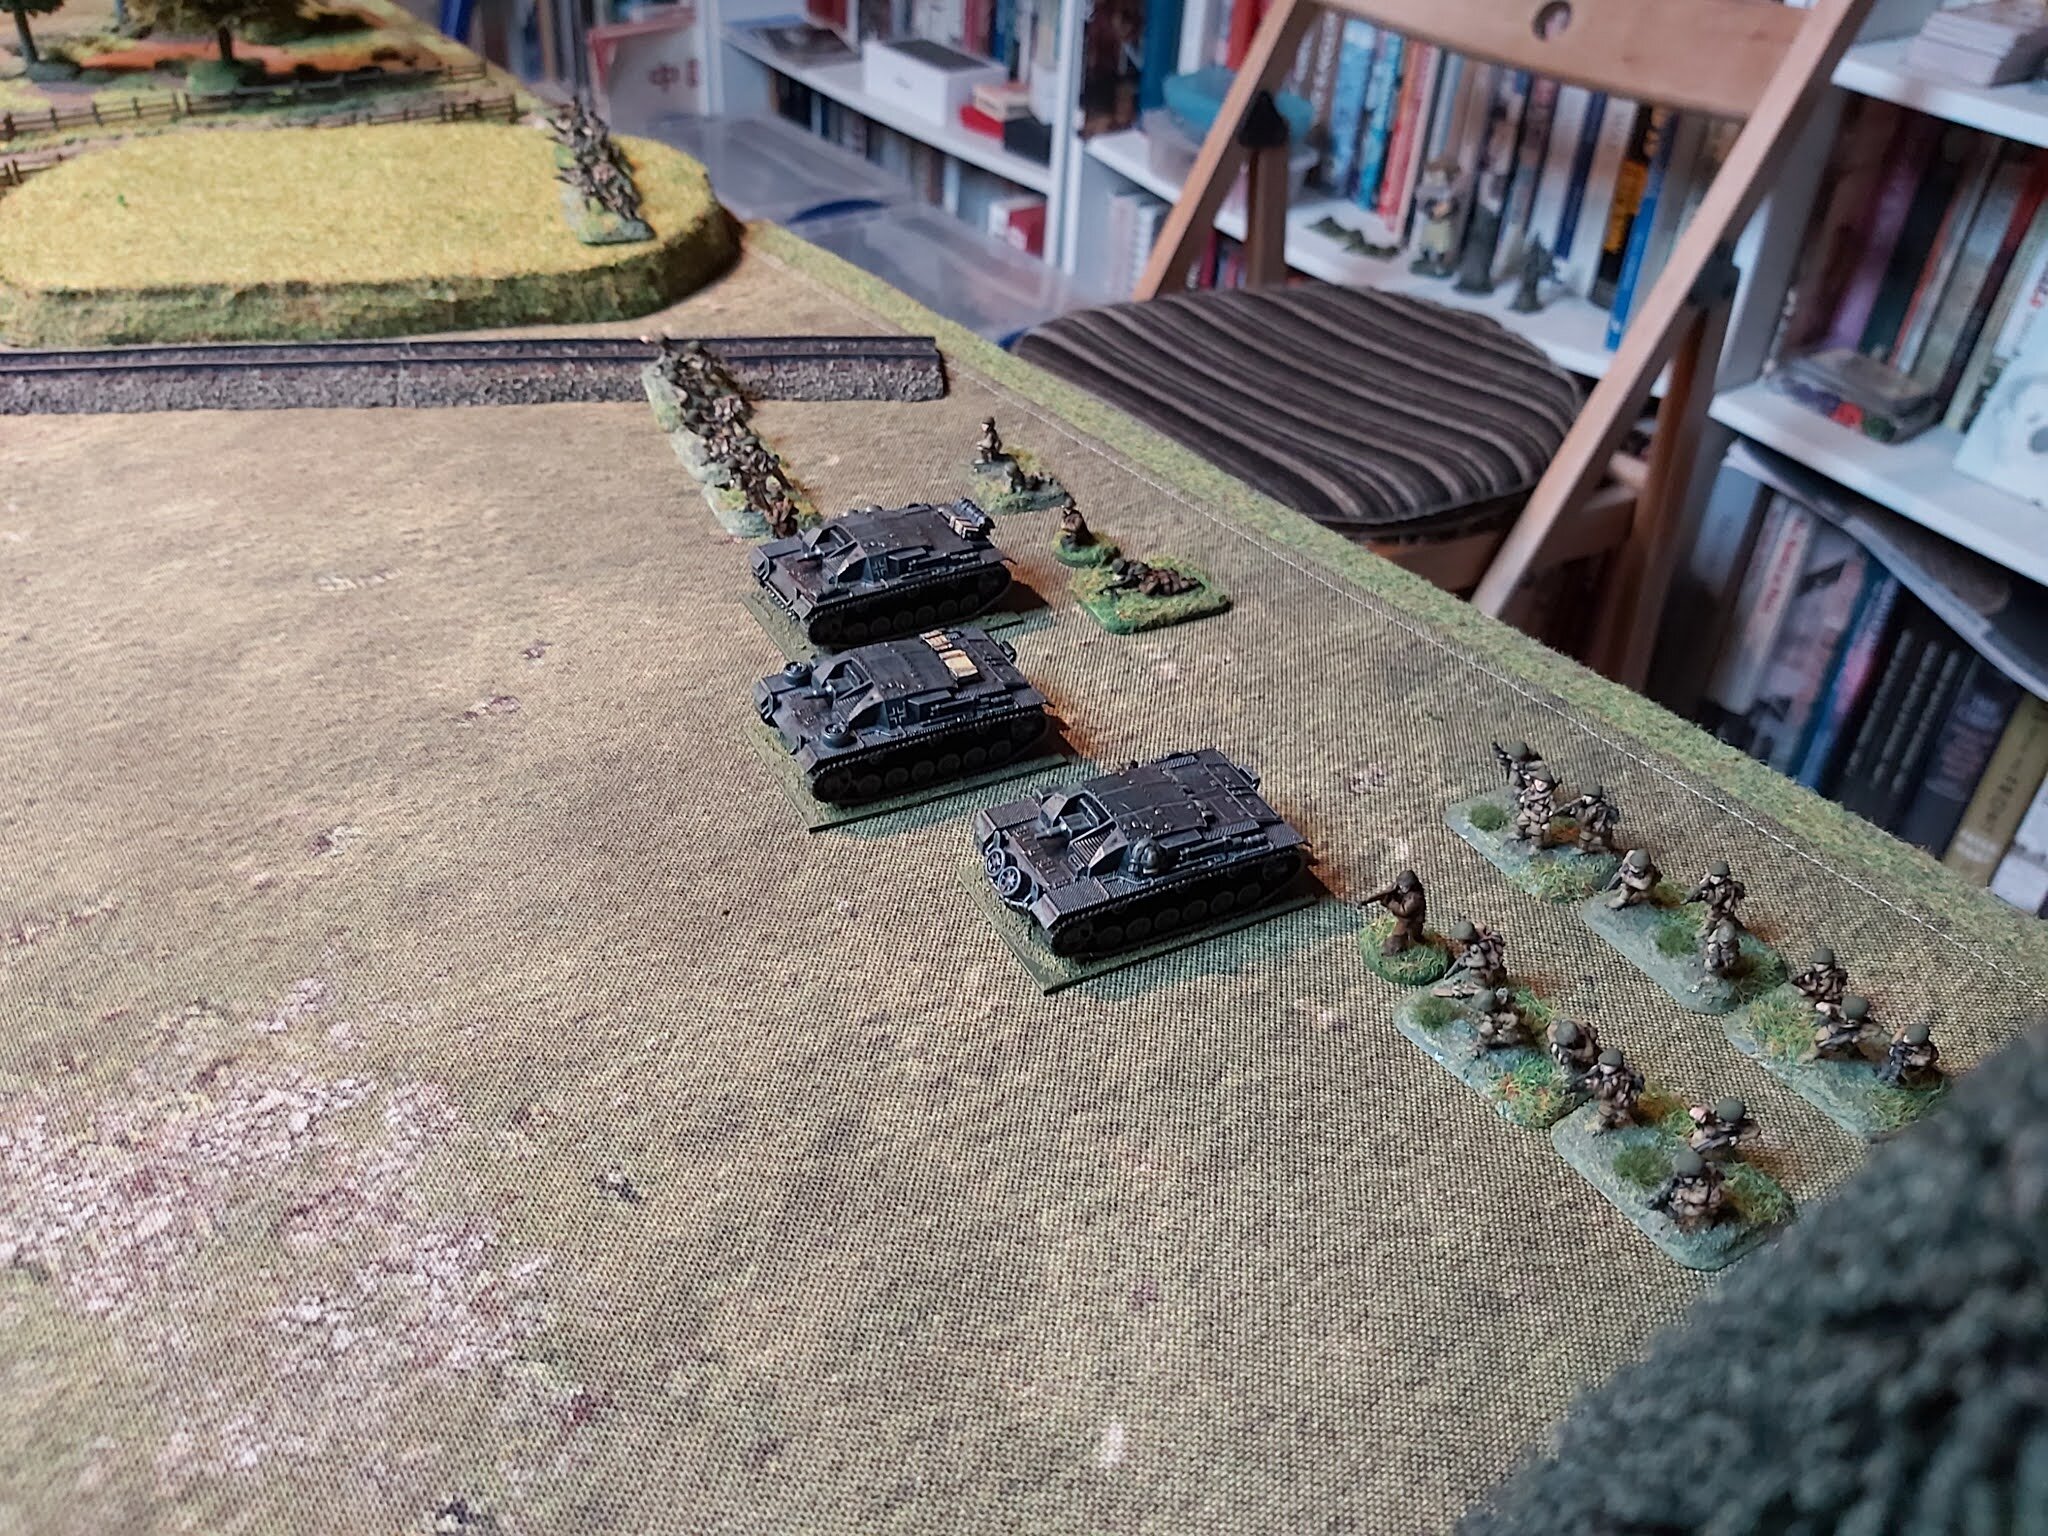
Support 1
Gefreiter Ockfener (D6)
Two 81mm Mortars (3 crew each)
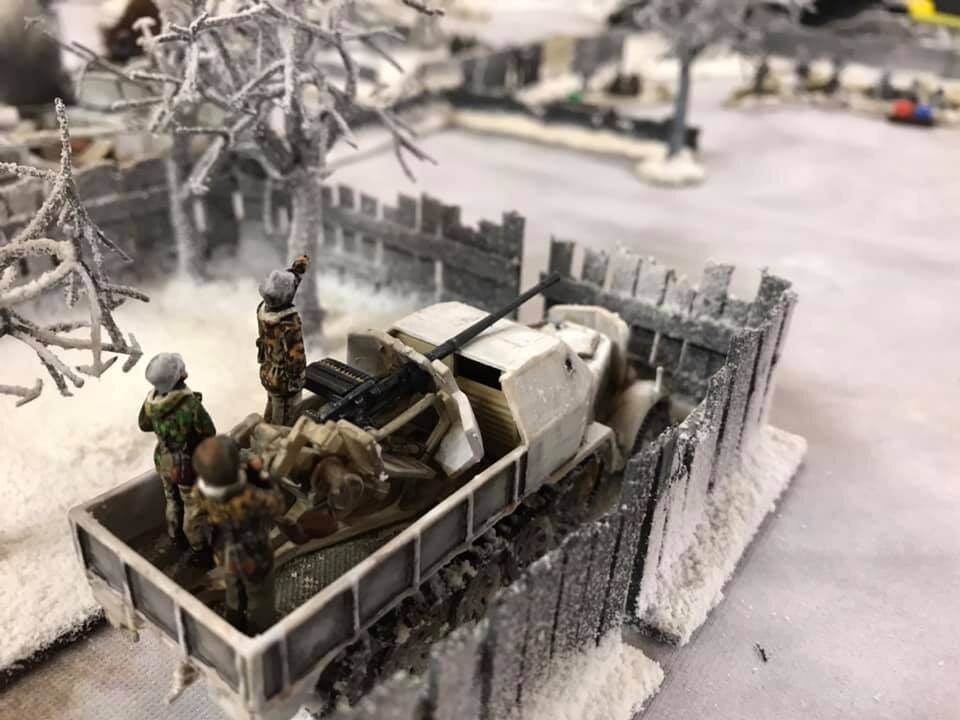
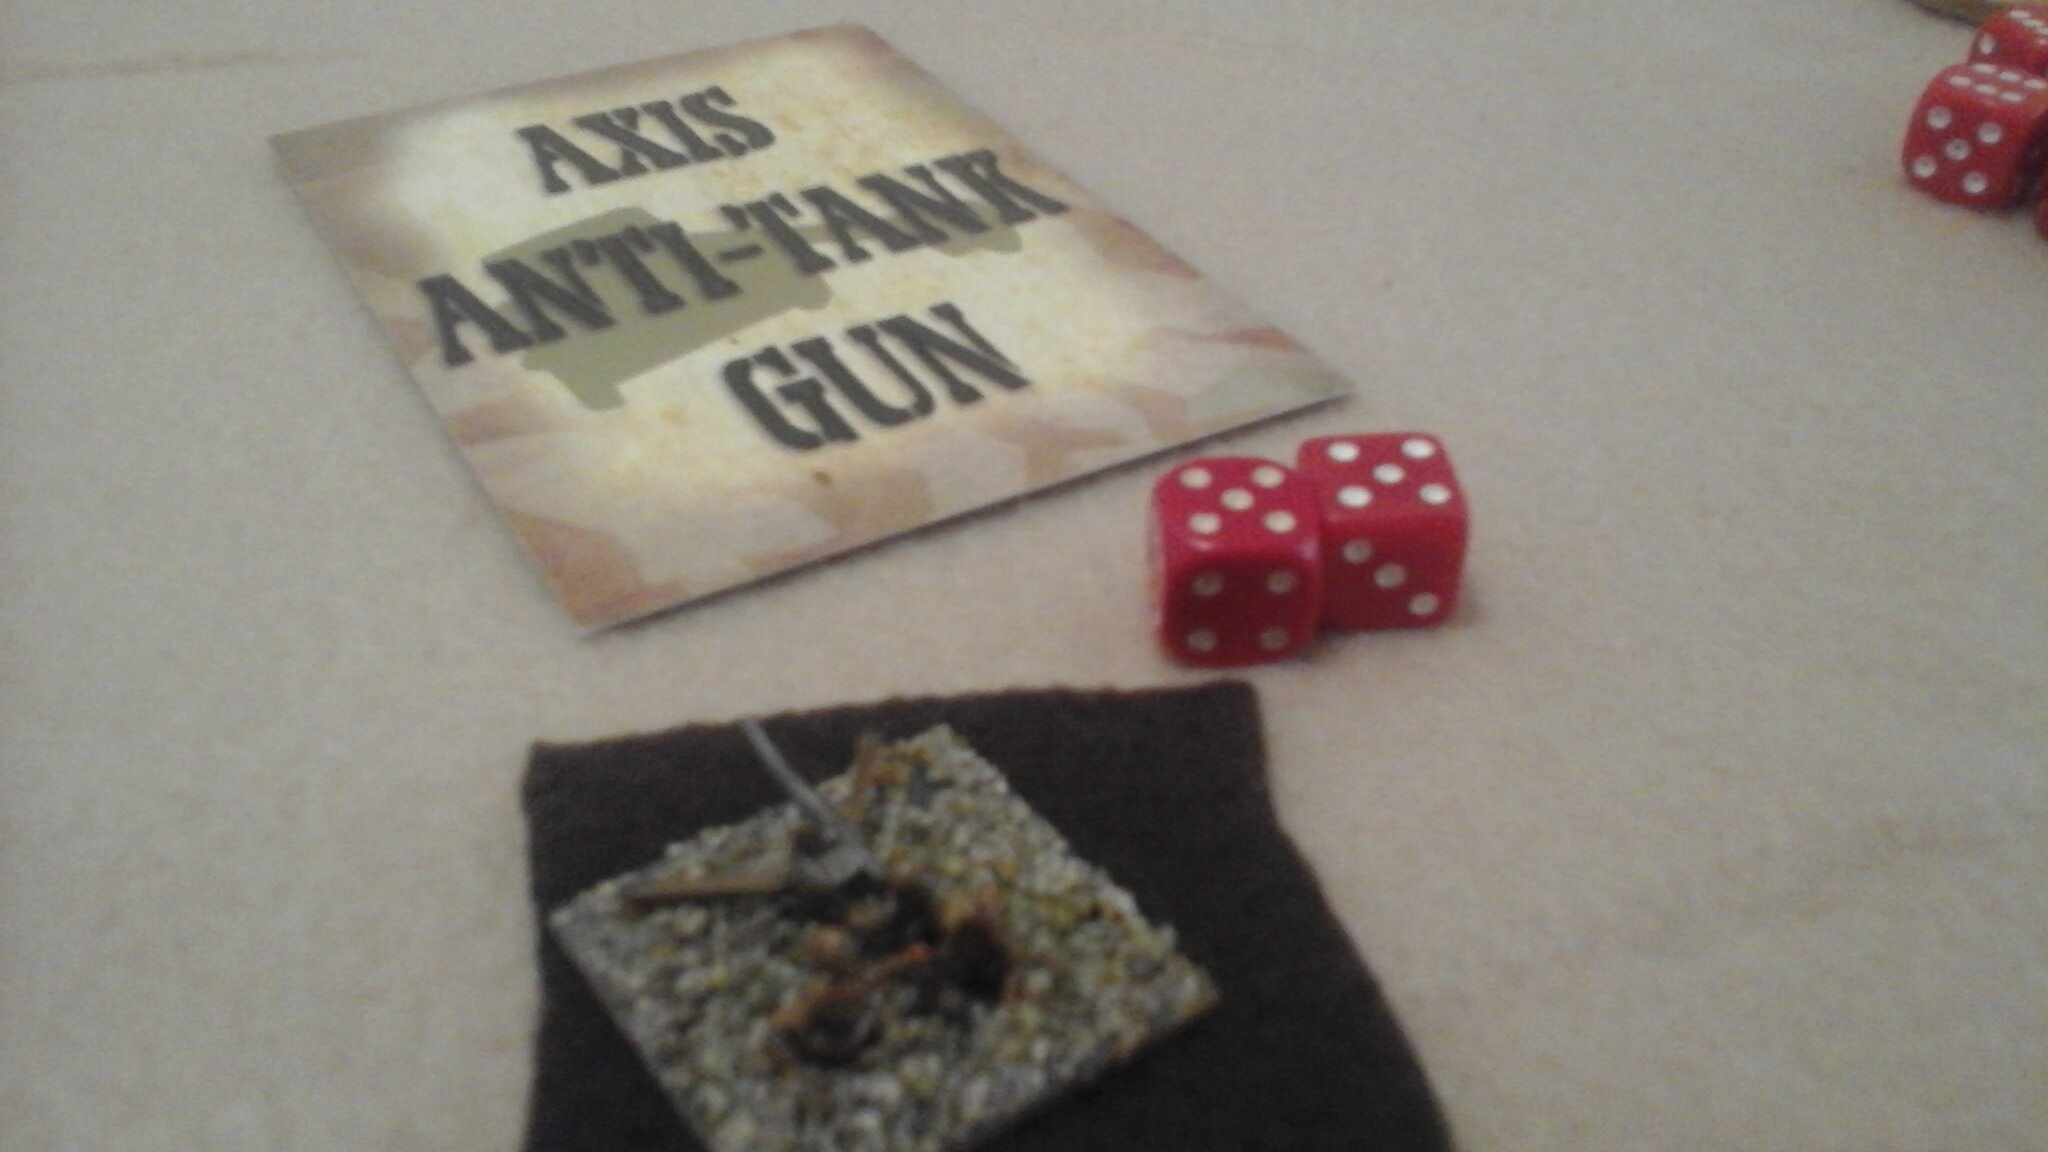
Gun 1
75mm Geb36 Mountain Gun (5 crew)
Gun 2
75mm Geb 36 Mountain Gun (5 crew)
Air Support
x 3 Stuka attack with Bomb
Close support from a Stuka Schwarm flying overhead.
When card is pulled Roll D6
1 = Friendly fire on a visible unit.
2 - 4 = Flies over table but attacks a target off-table
5 or 6 = Attacks a visible enemy target on-table.
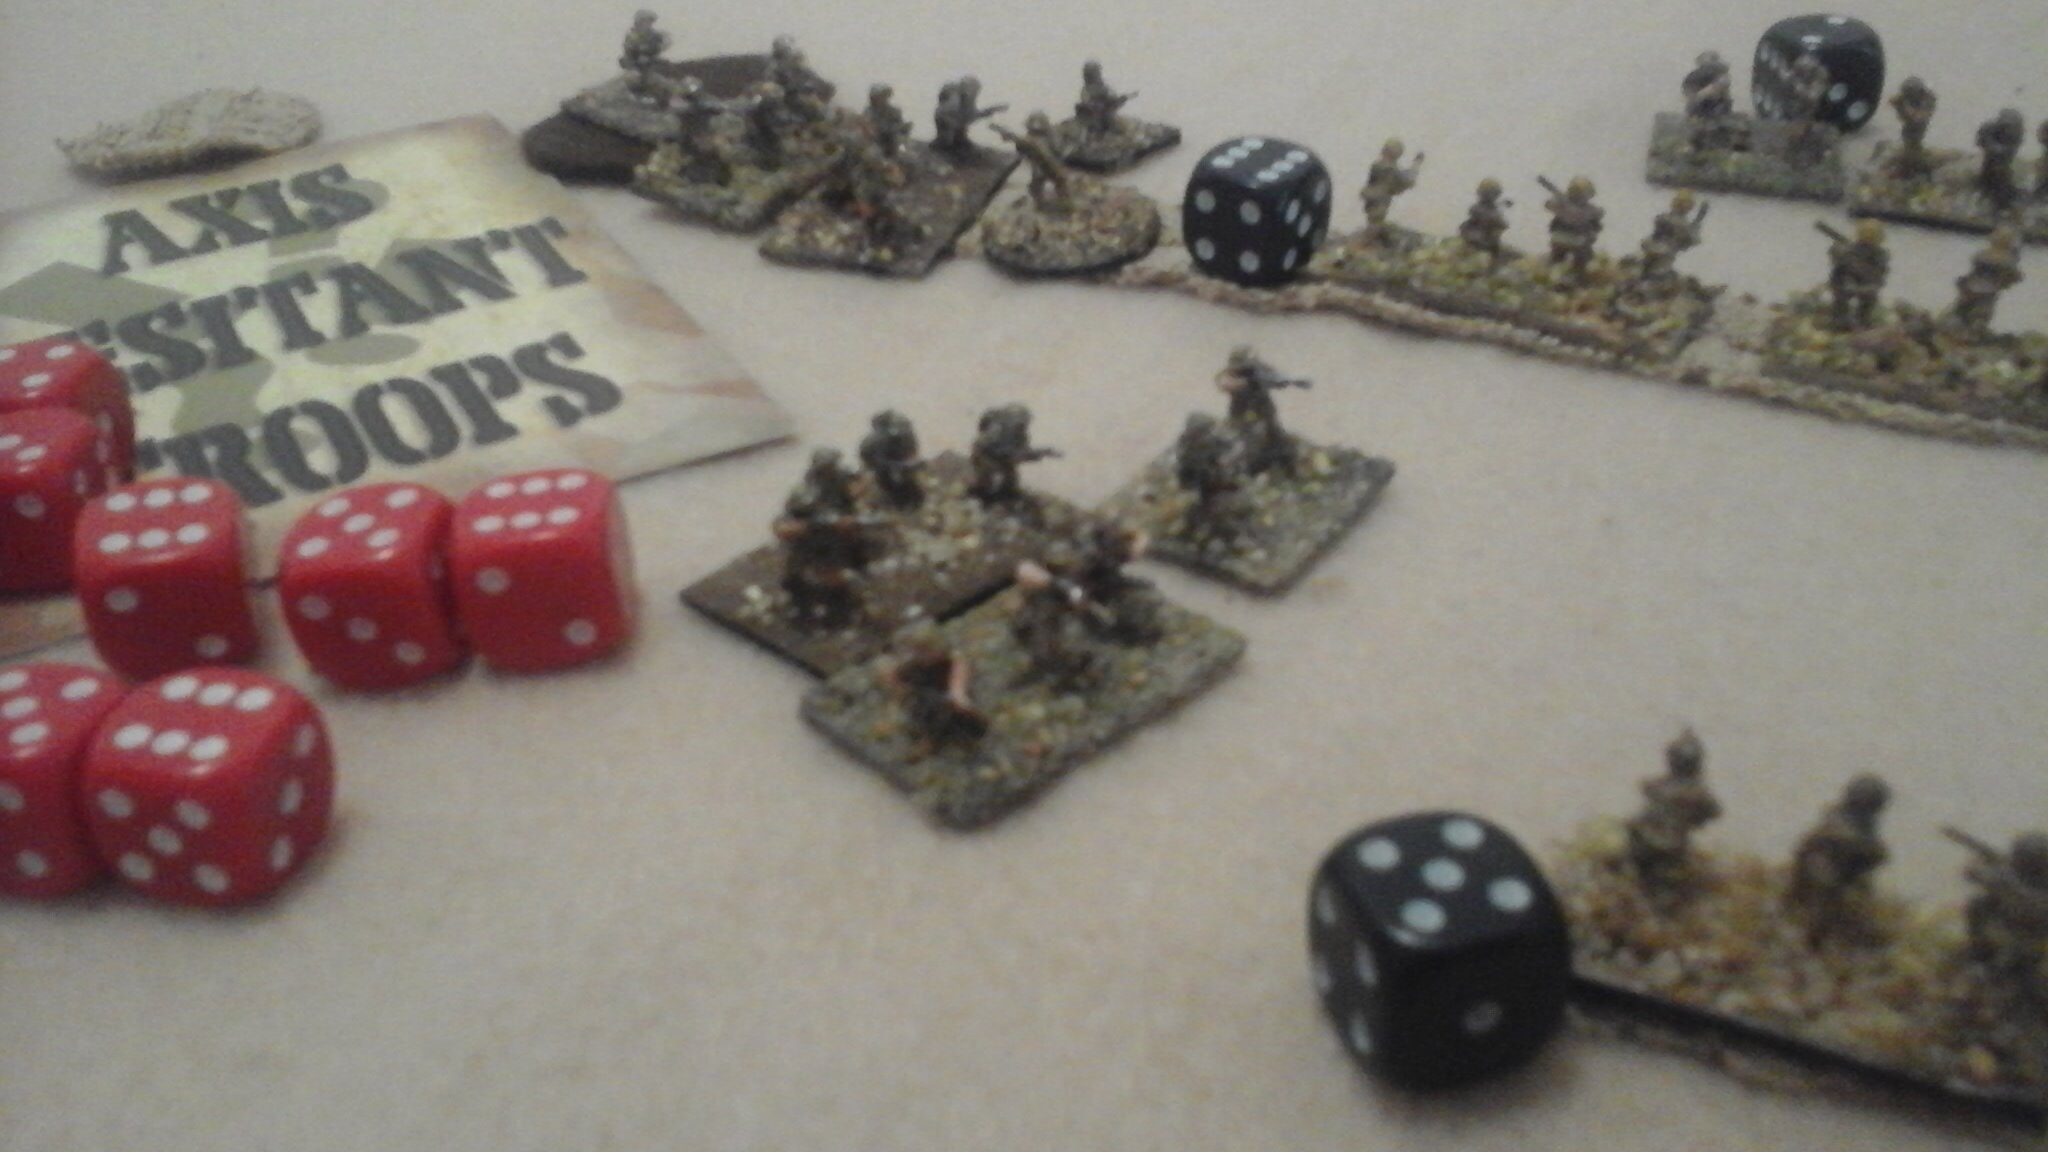
NATIONAL CHARACTERISTICS: Rally; Gun Bonus; MMG Bonus; Air Support 1-3; Dynamic Commander; Mortar Bonus; Heroic Leader; Rapid Deployment; Ammo Shortage.
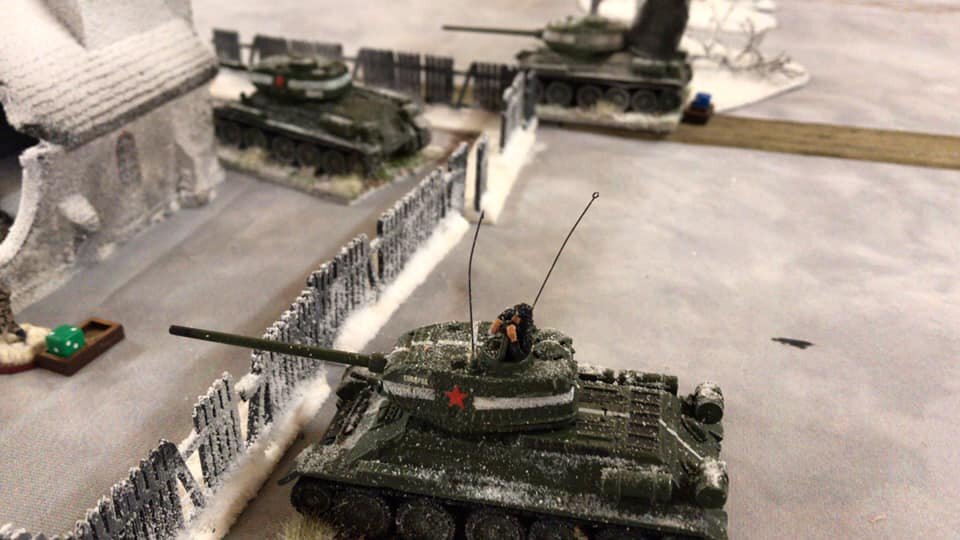
Kev's New Zealanders
HQ Platoon
Major. D. Saster (D4)
One rifle section (8 men)
2” mortar (2 men)
AT Rifle (2 men)
Infantry Platoon 1
Lieutenant Hugh Jego (D6)
Three rifle sections (8 men)
Infantry Platoon 2
Sergeant 'Ripper' Hymen (D6+1)
Two rifle sections (8 men)
Support Weapons 1
Corporal Les Bow (D6)
Two 3” mortar (3 men)
Support Weapons 2
Sergeant Hal I. Tosis (D6+1)
Two MMG’s (3 crew)
Gun 1
Bofors 37mm AA
Gun 2
Bofors 37mm AA
NATIONAL CHARACTERISTICS: Heroic Leader; Gun Bonus; Mortar Bonus; Rally; MG Bonus
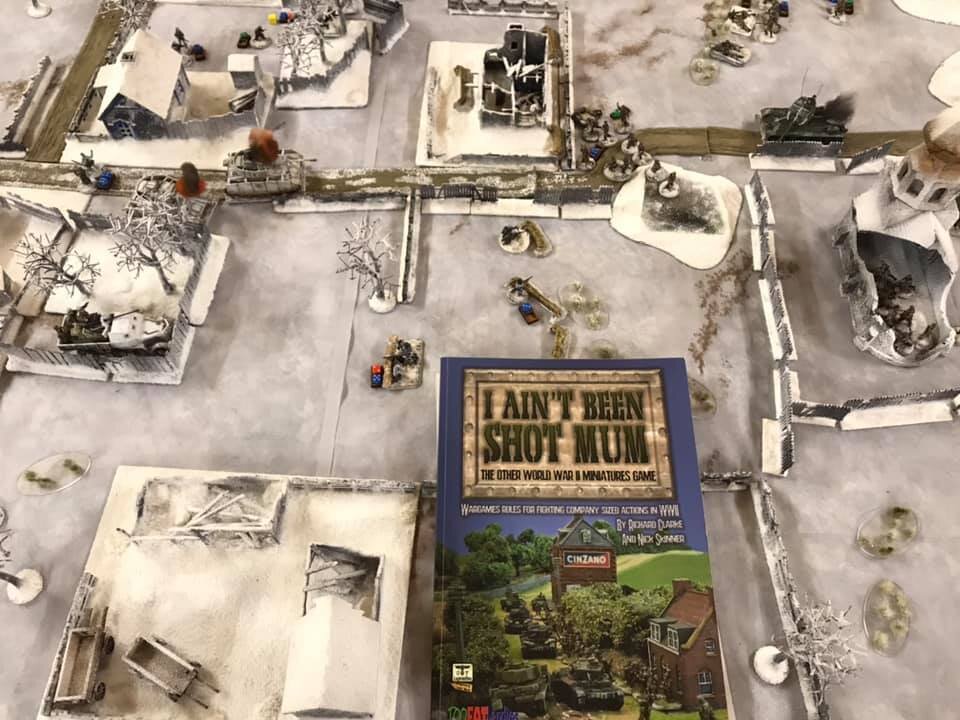
The Battle
Initially I had placed a 'Short on Ammo' chip into the bag to simulate the fact that the Fallschirmjager had limited resources. I explained to Nige that there were several drop canisters containing ammo scattered across the table. To negate a 'Short on Ammo' chip a Platoon needed to spend a full move, in contact with the canister, and perform no other actions with their initiative die.
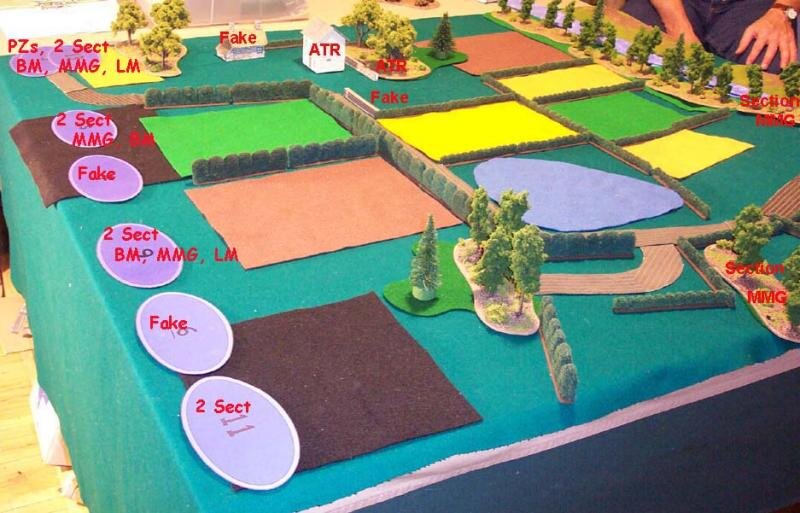
Nige's blinds were permitted to be deployed within 6" of the northern and western table edges.
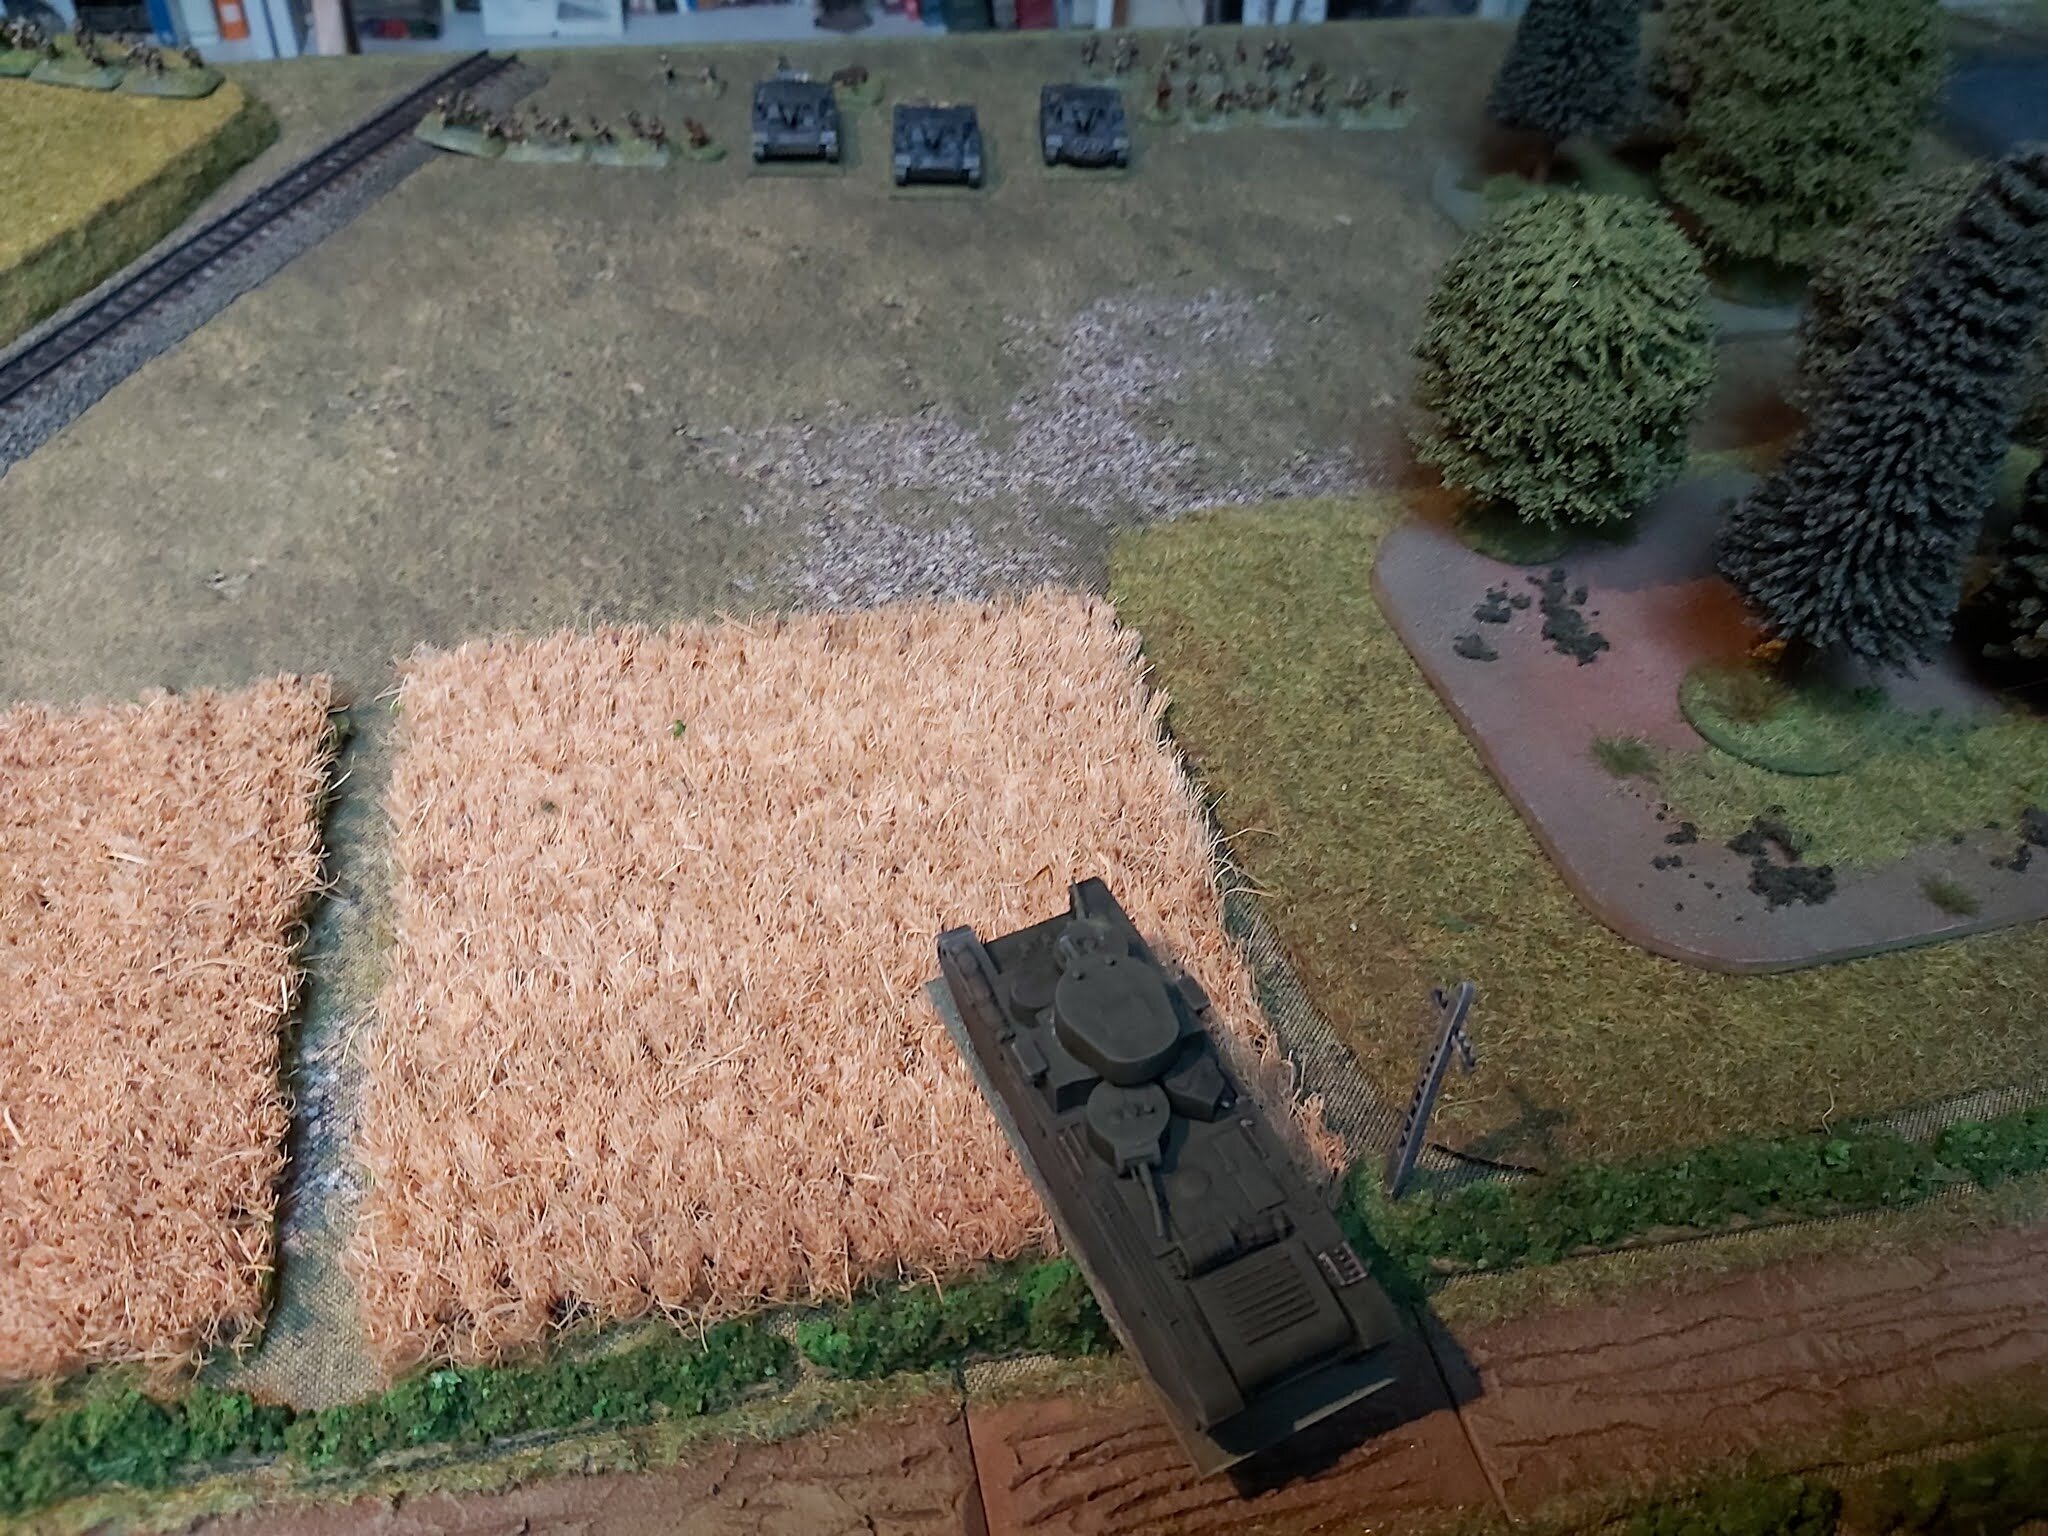
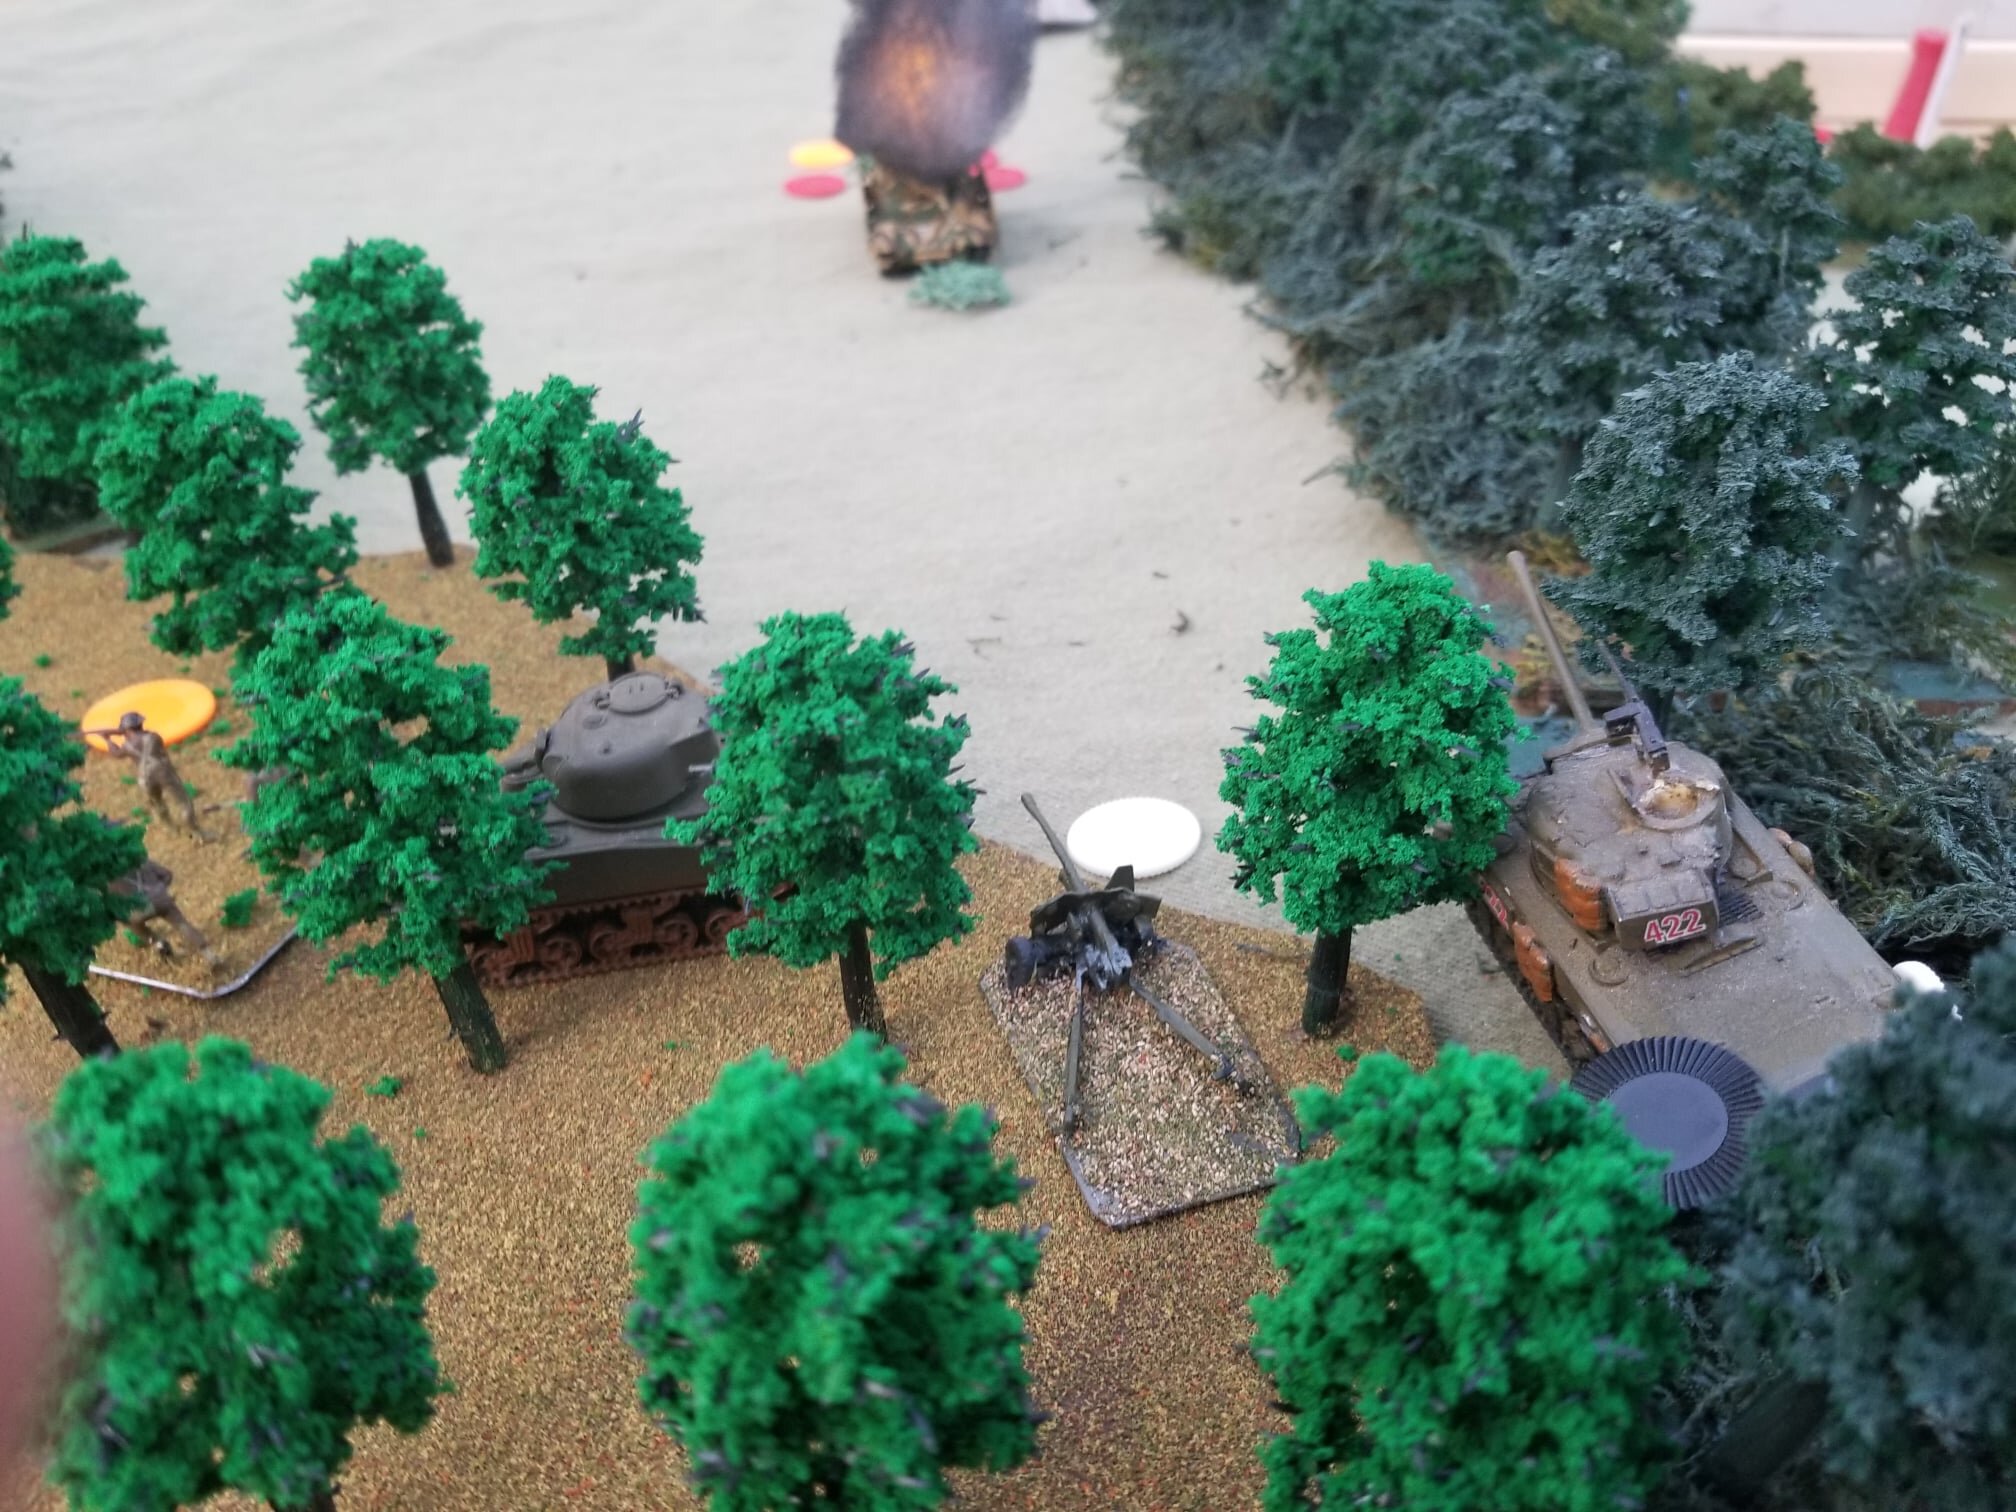
My deployment consisted of a Bofors on the quayside, with another dug in on a small hillock north of the town.
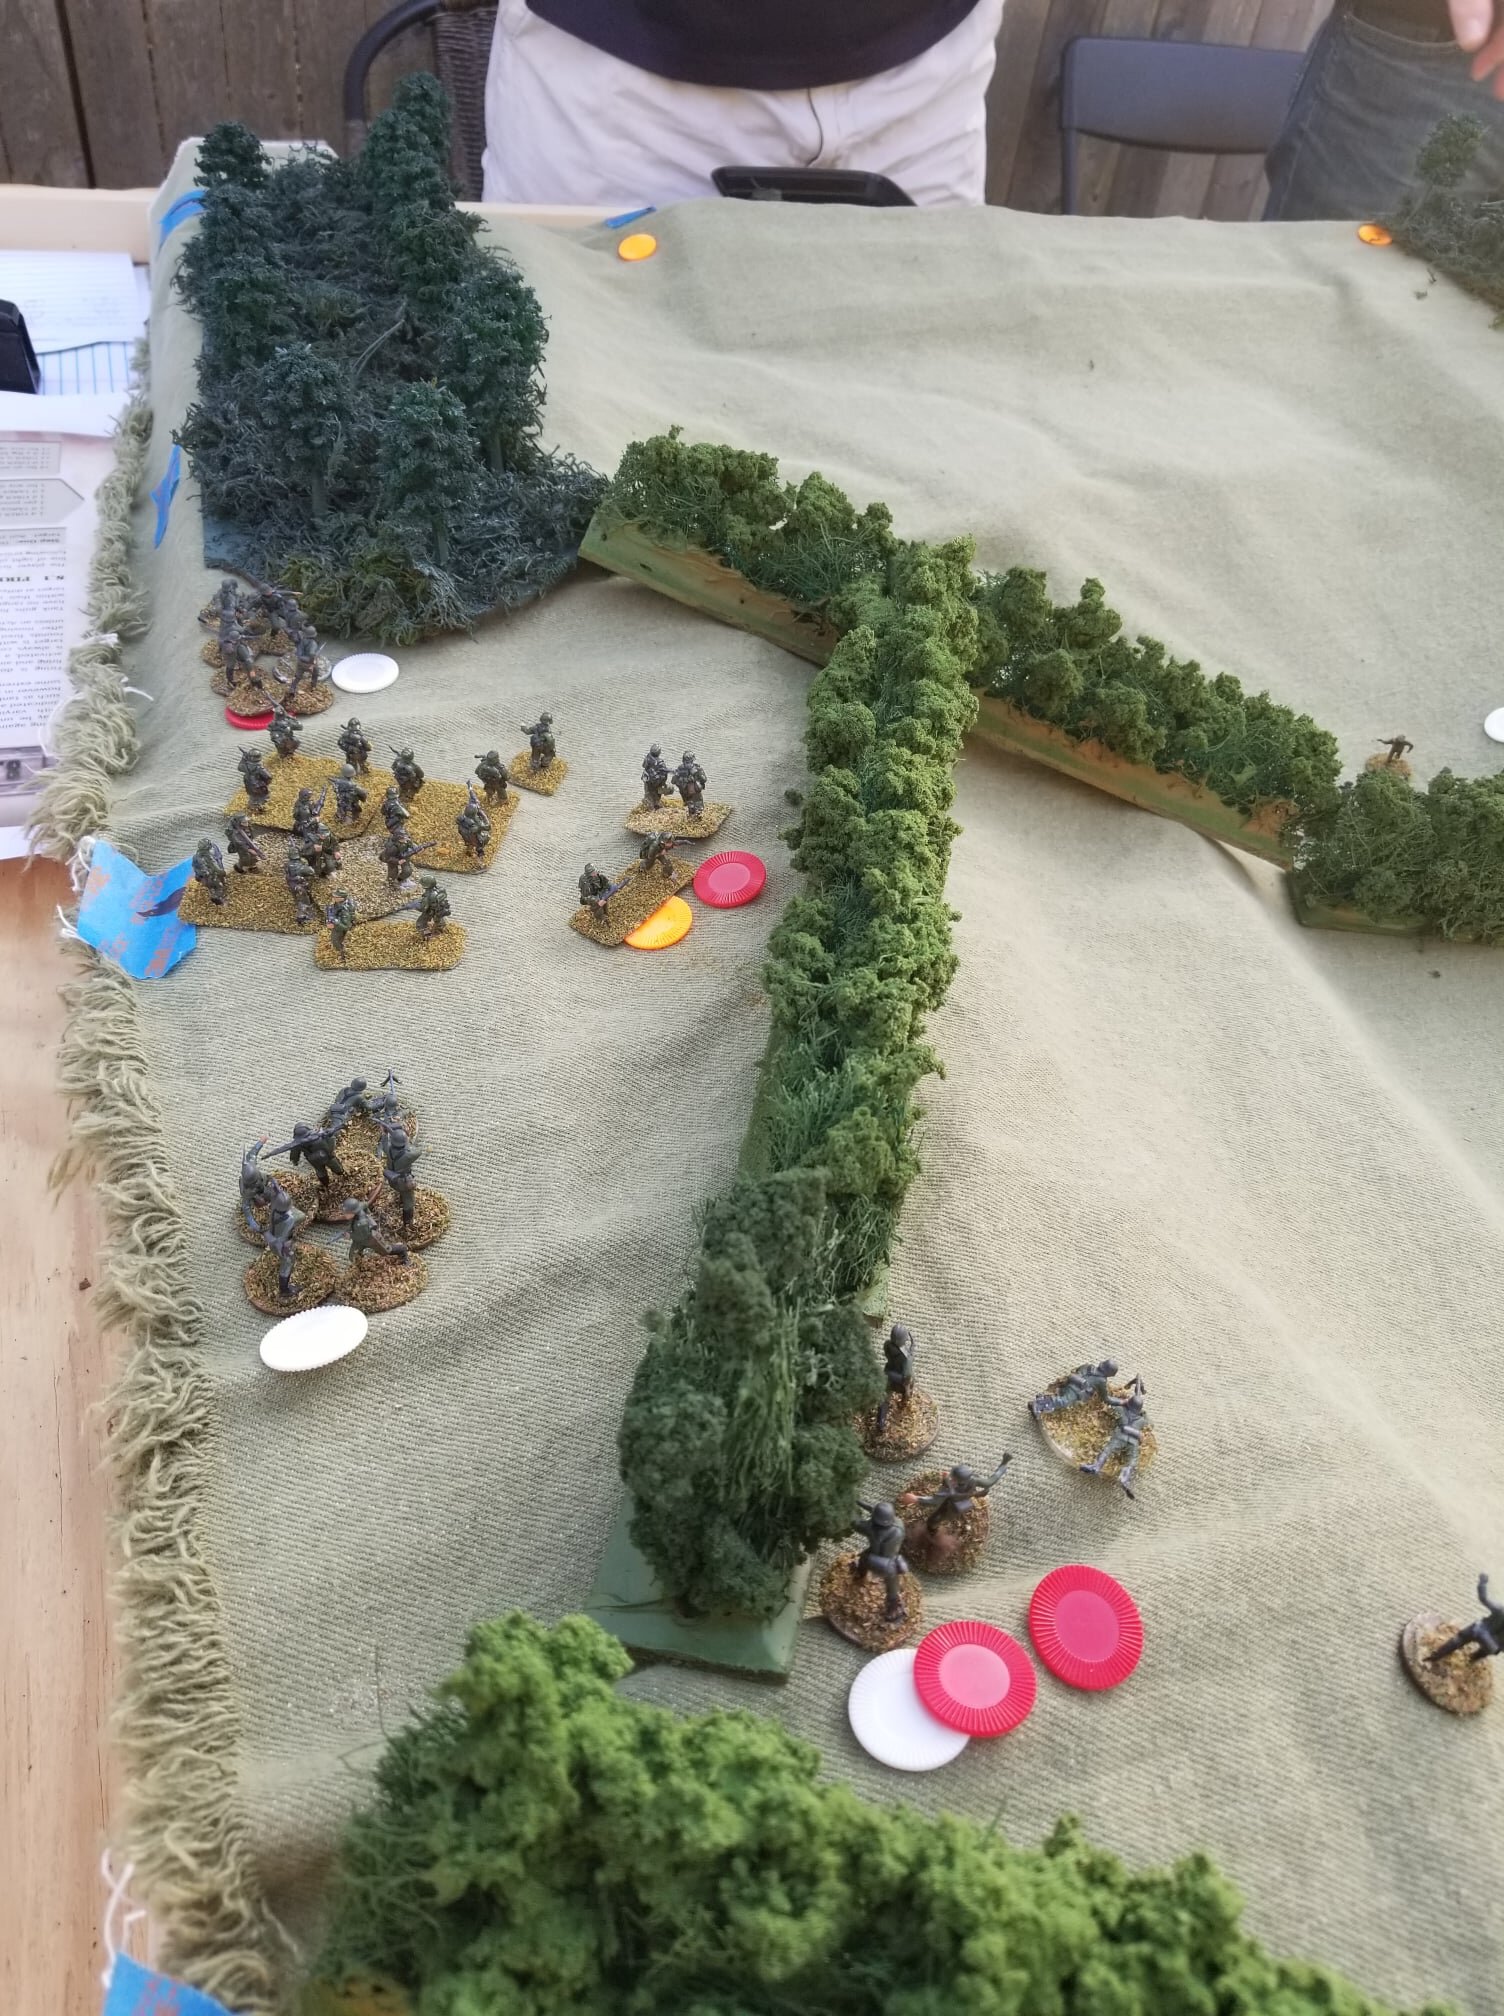
In the eastern half of the town I had deployed my weak second Platoon, of only two squads.
The western extreme of the town was the location for the other stronger Platoon of three squads. I chose to deploy my HQ Platoon also and added a Vickers MMG to it also.
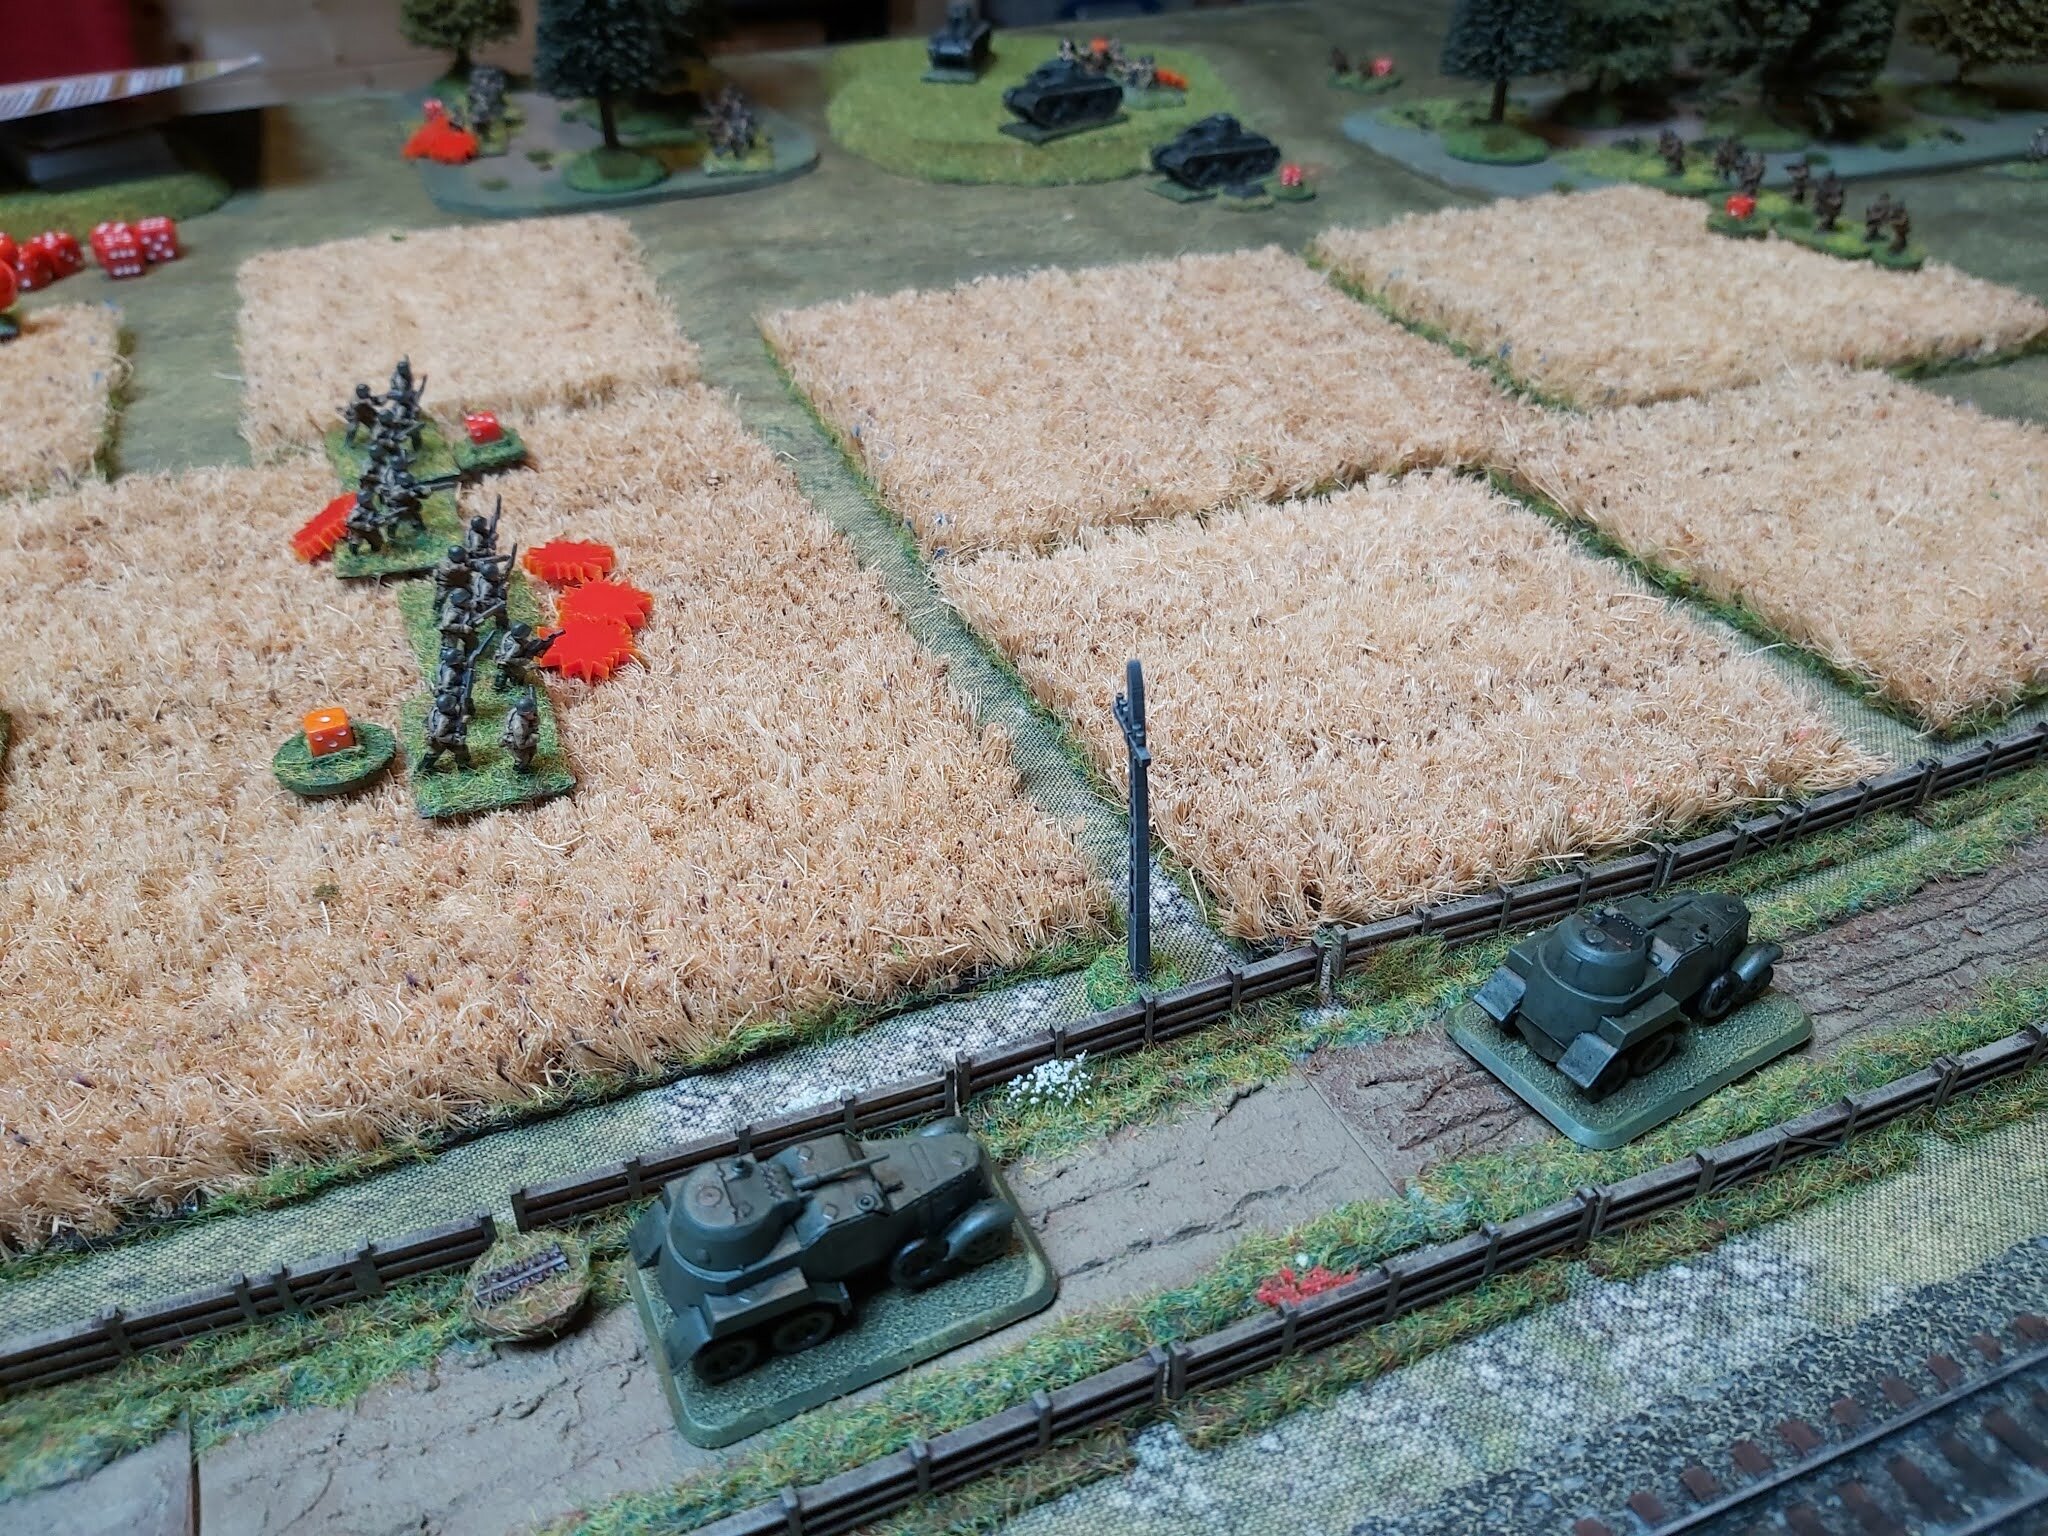
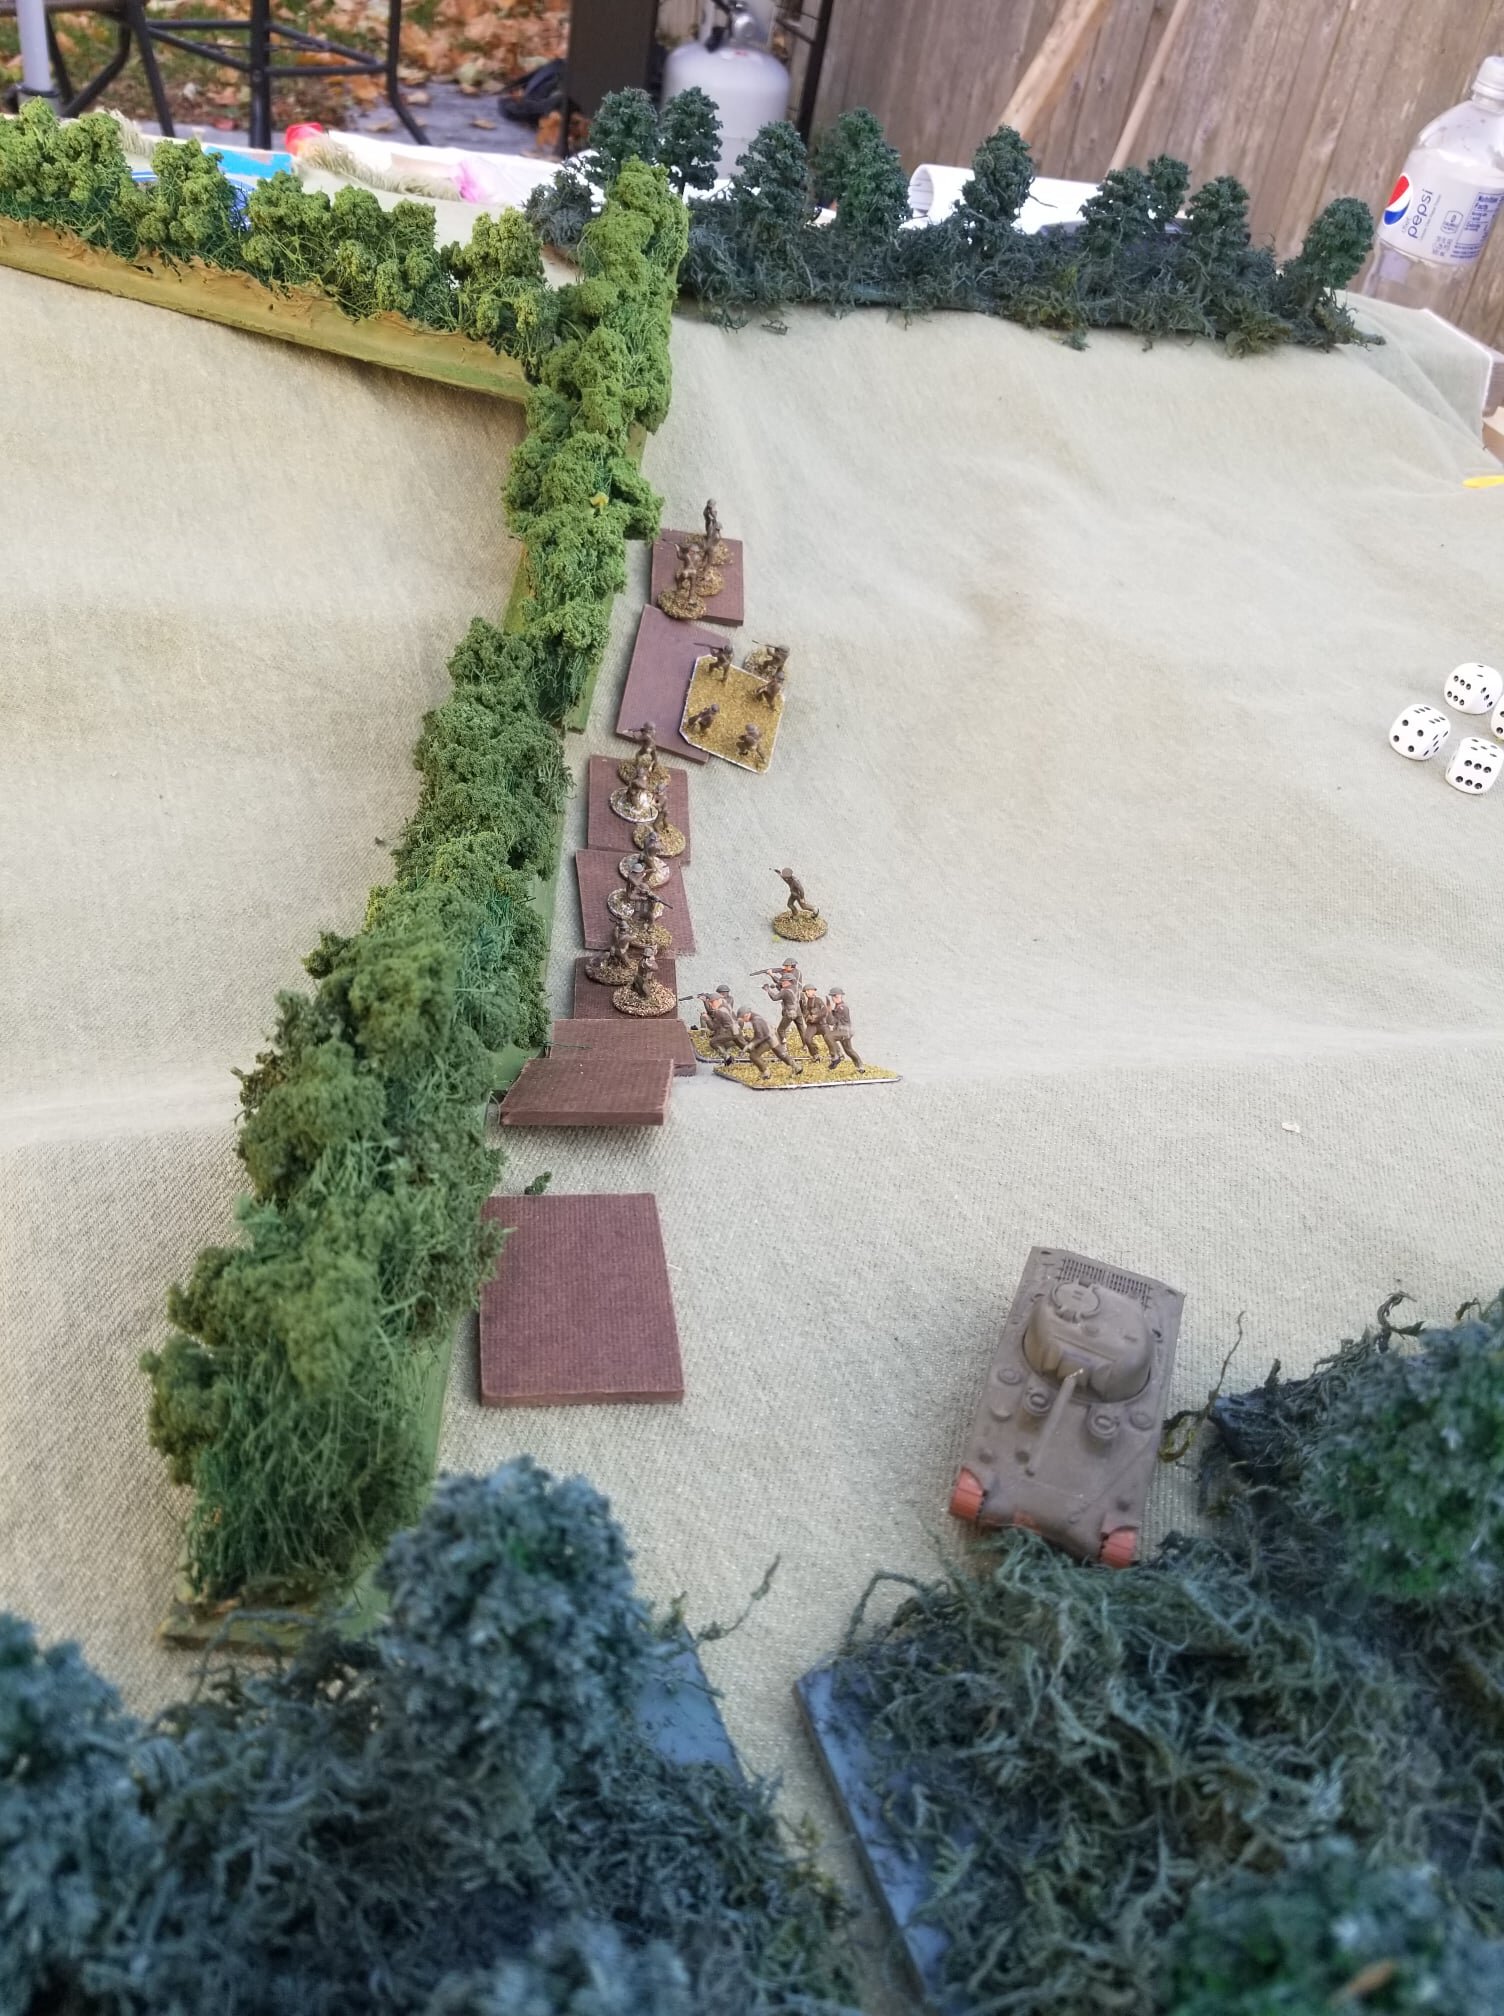
My remaining Vickers crew with Sergeant M Hal I. Tosis were deployed in a pillbox located on the western road where they could command approaches to the town.
Finally I had dug in two 3" mortars due south of the vineyard.
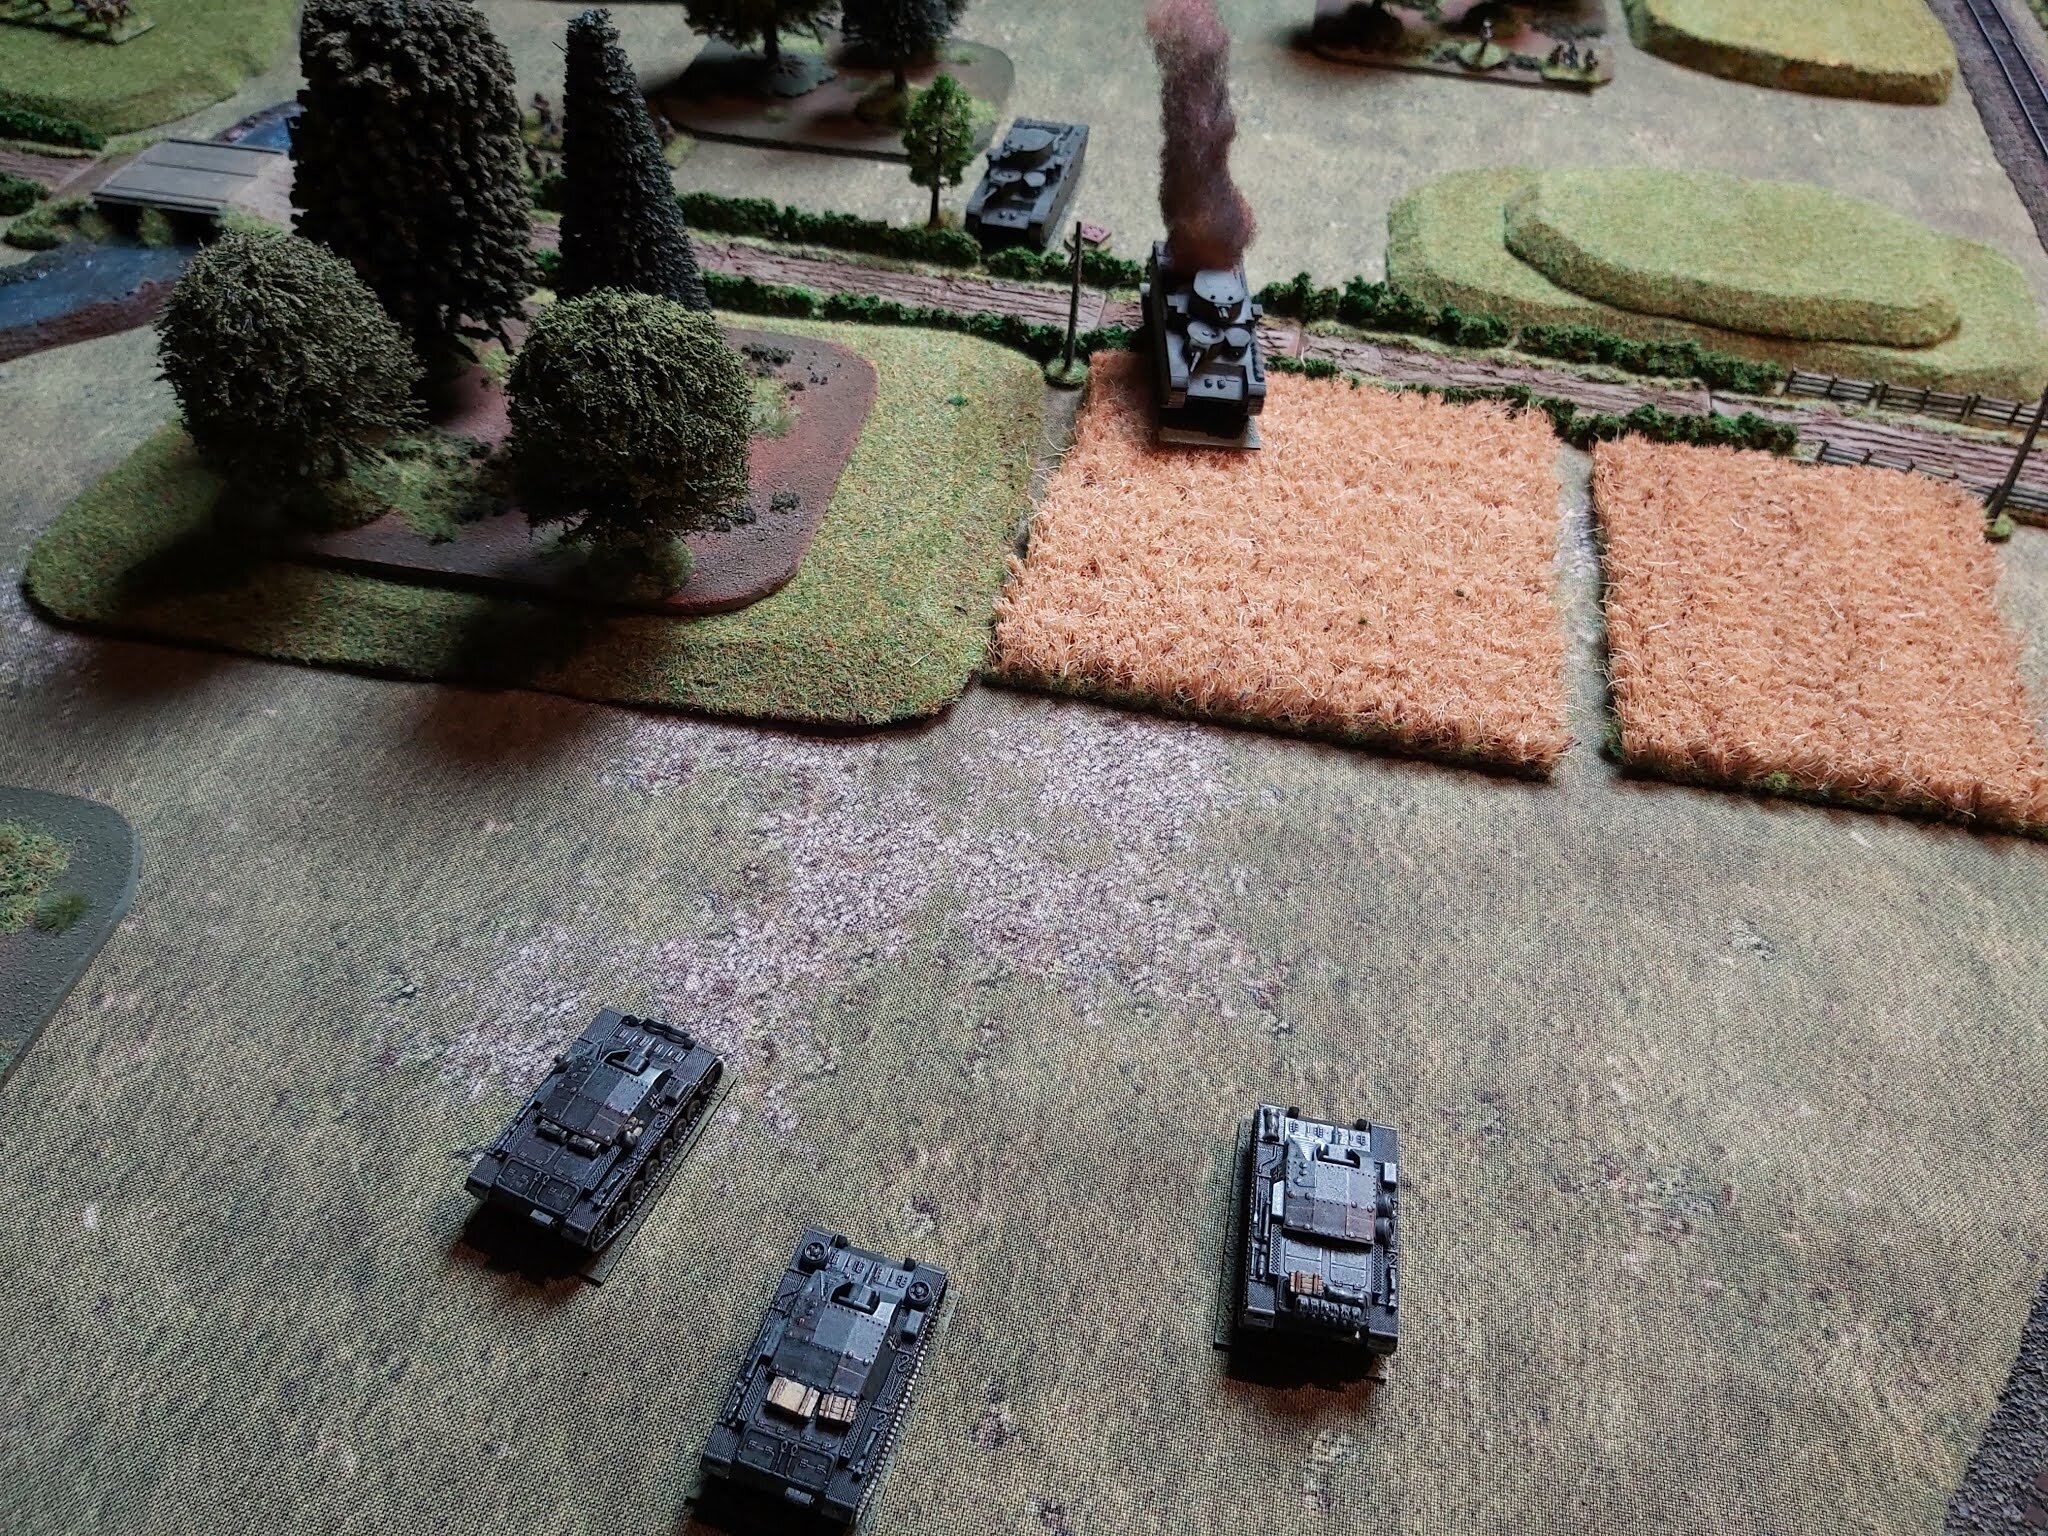
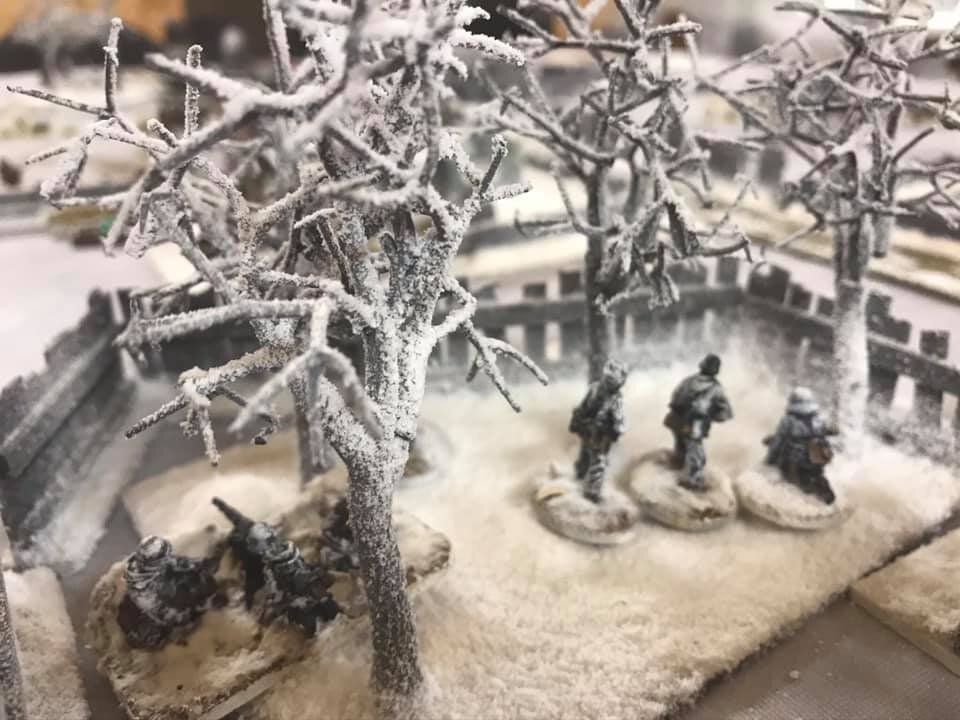
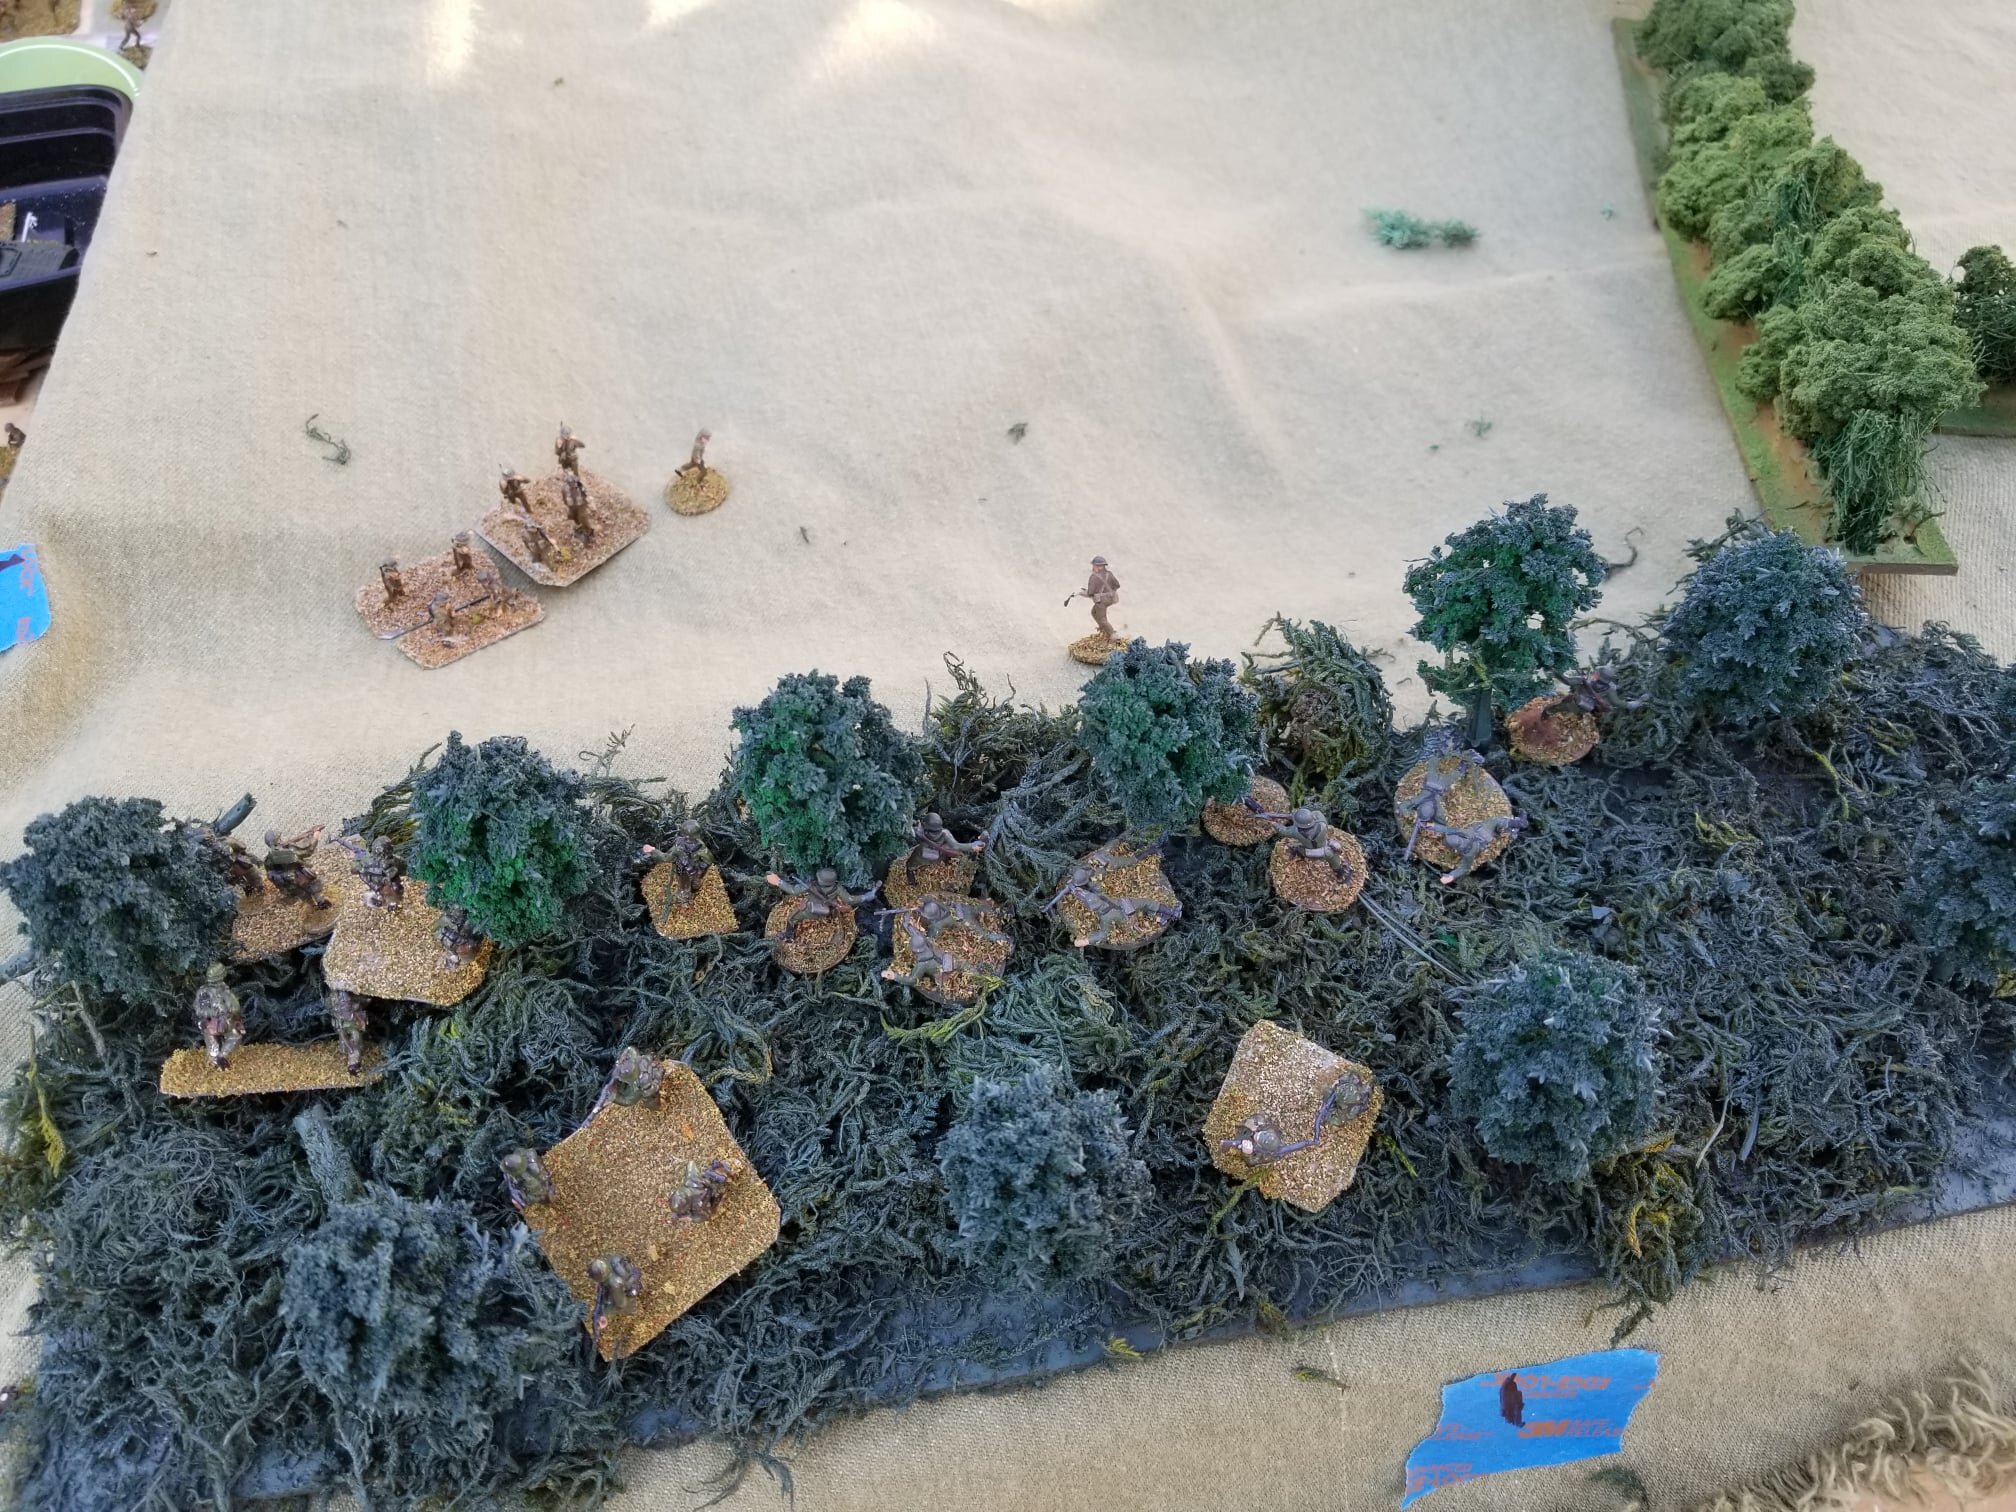
Nige started with blinds making an appearance on the low hills to the north.
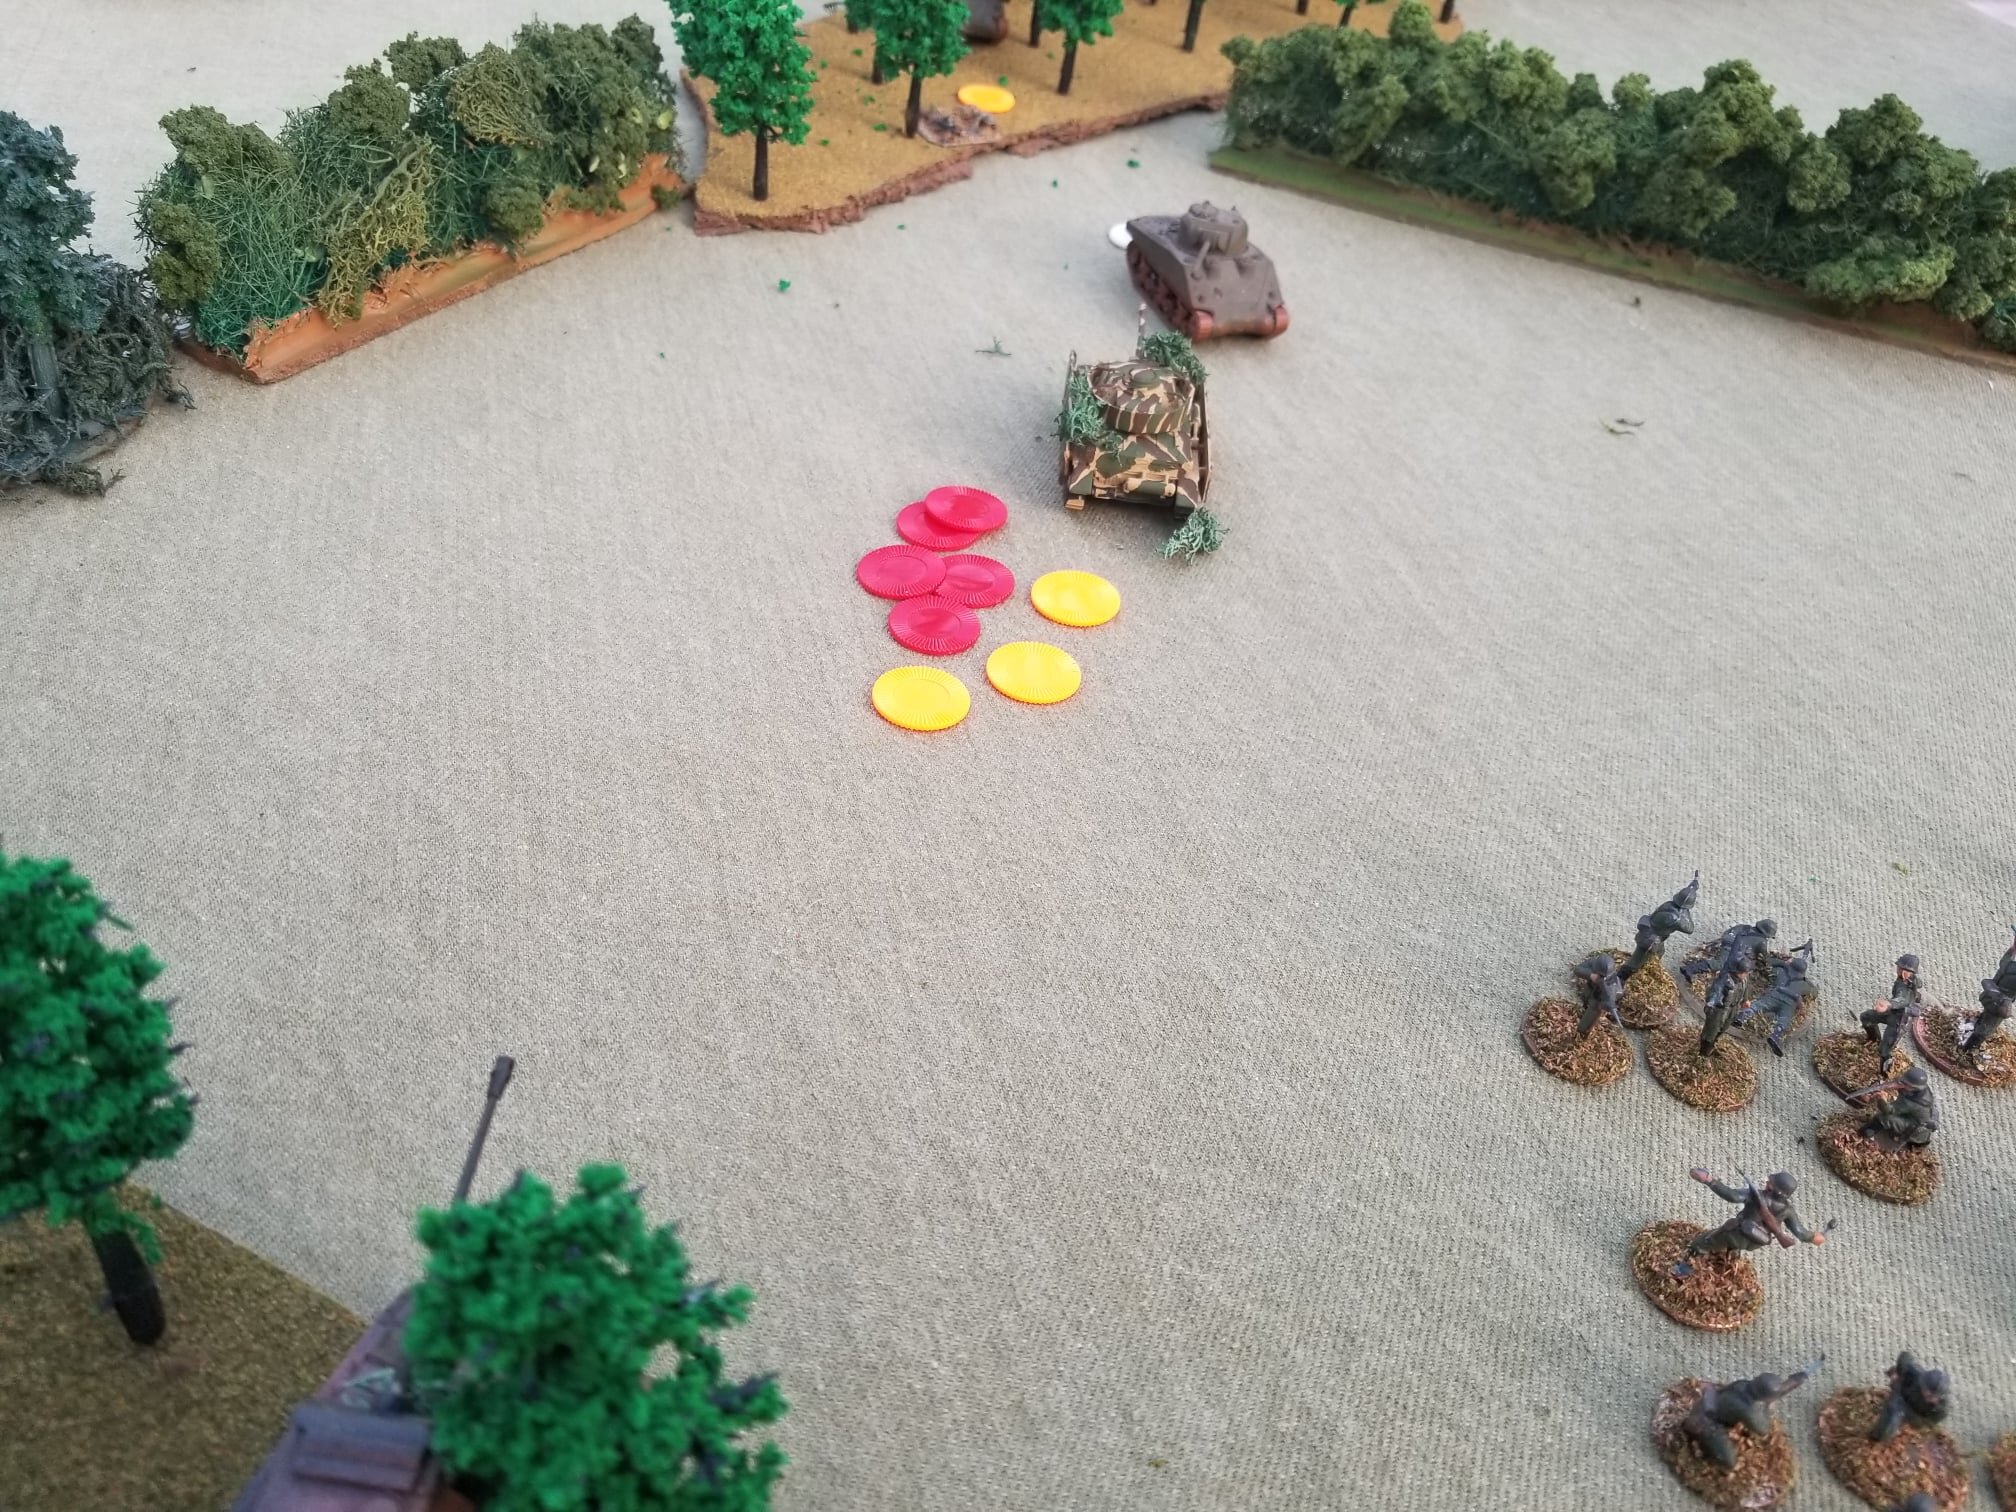
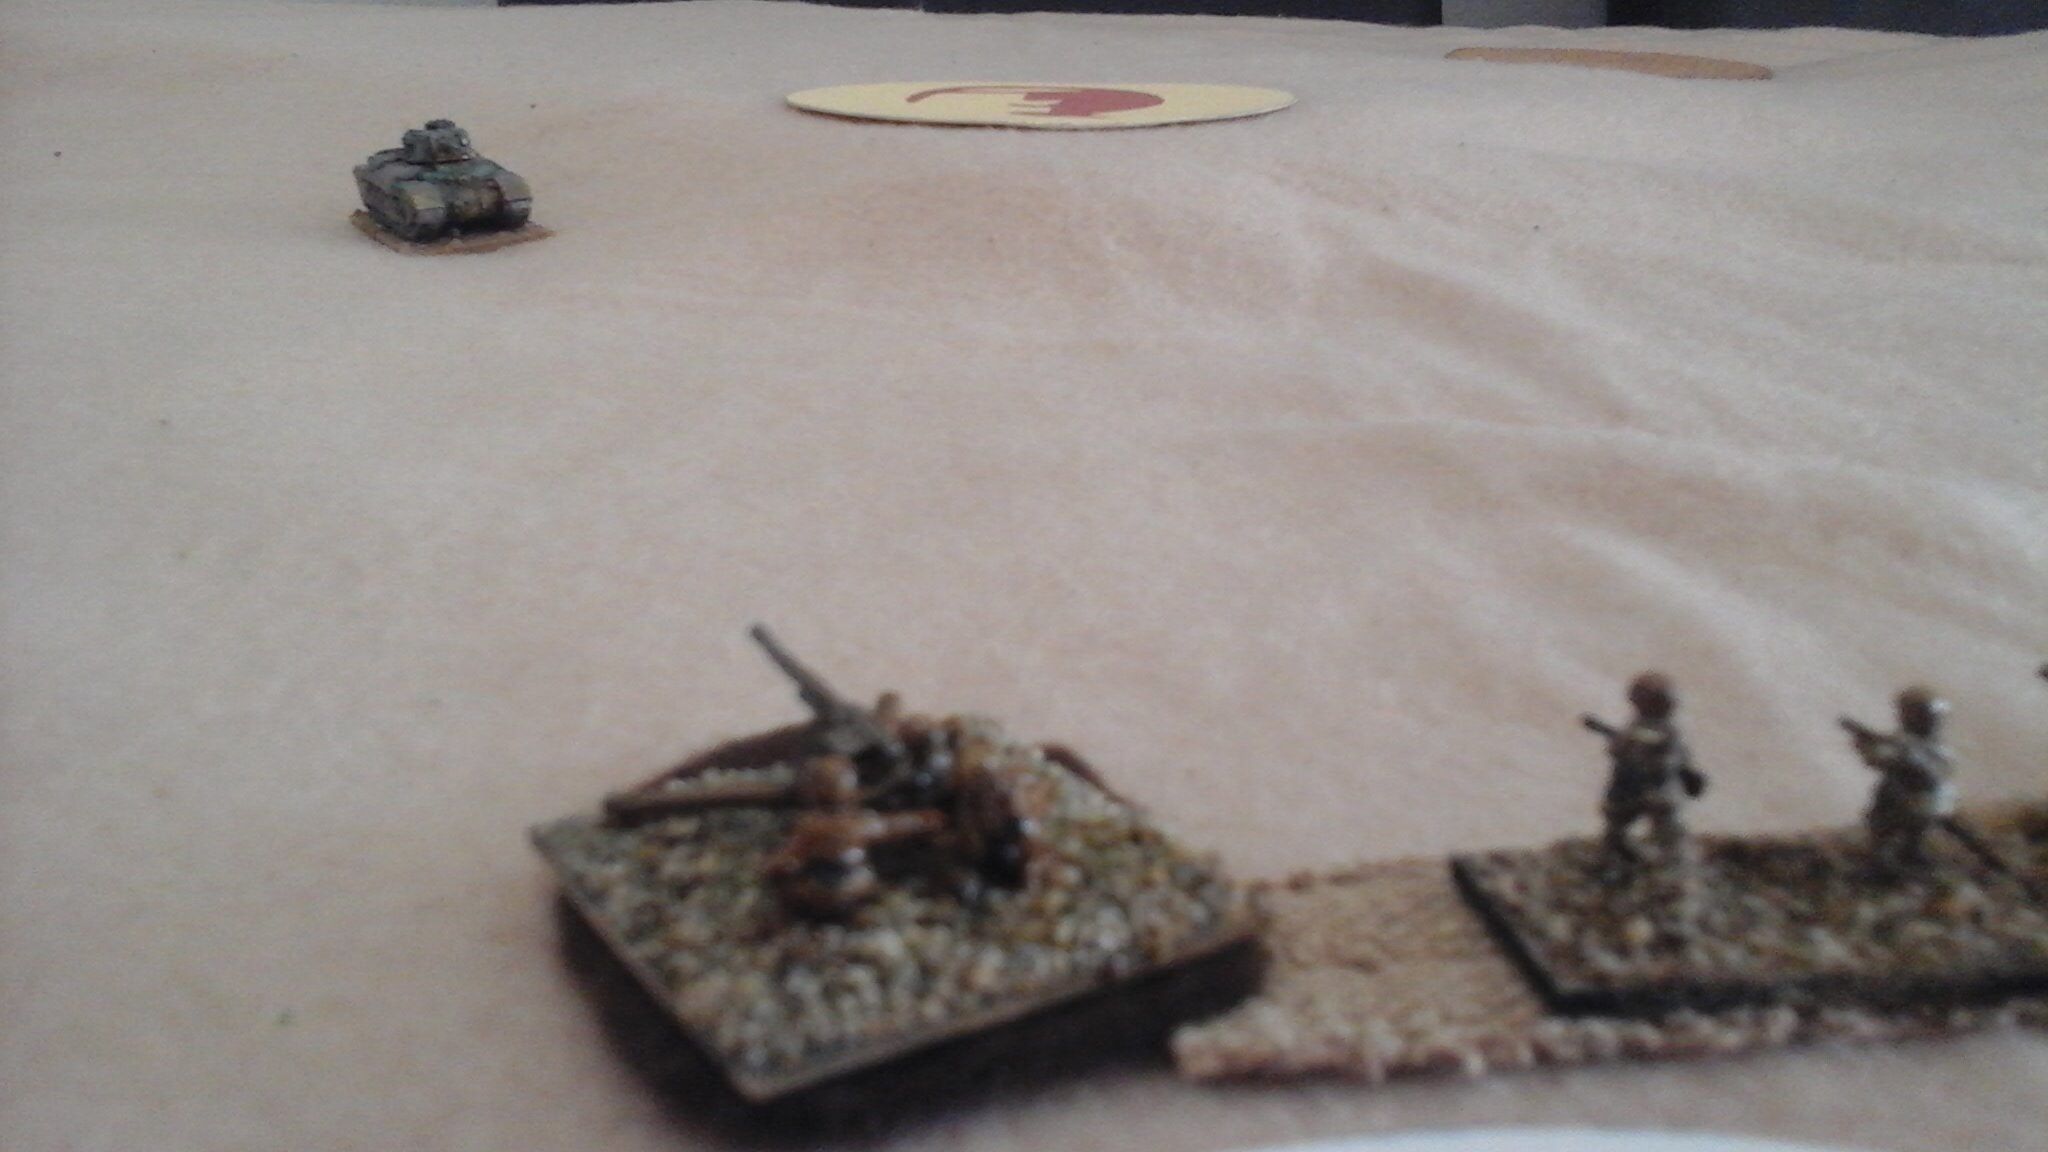
My Bofors was spotted and engaged by the FJ's 81mm mortars, which caused only a wound.
My Bofors proved its worth though by spotting a Platoon of FJ working their way towards the towns northern approach and then firing as an HMG, pinning, and causing heavy casualties on the advancing parachutists, who dived for cover behind a low stone wall.
A Stuka spiralled down in an attack upon the 3" mortars only to be engaged and shot down by my Bofors.
Small arms fire continued to pour forth at the Bofors causing it to be pinned in successive turns and suffer several wounds and kills before eventually its only crew member slumped to the ground exhausted.
However, I decided to activate my 3" mortar squads and with a stunning display of fireworks quickly destoyed one 81mm mortar.
Nigel had been spotting frantically to find my depositions but I had ensured that my forces were not deployed at the towns edge and so had largely remained hidden.
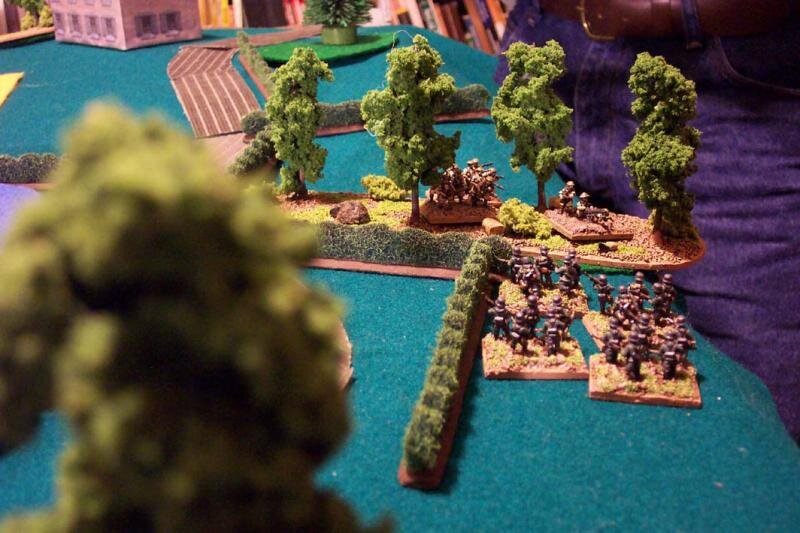
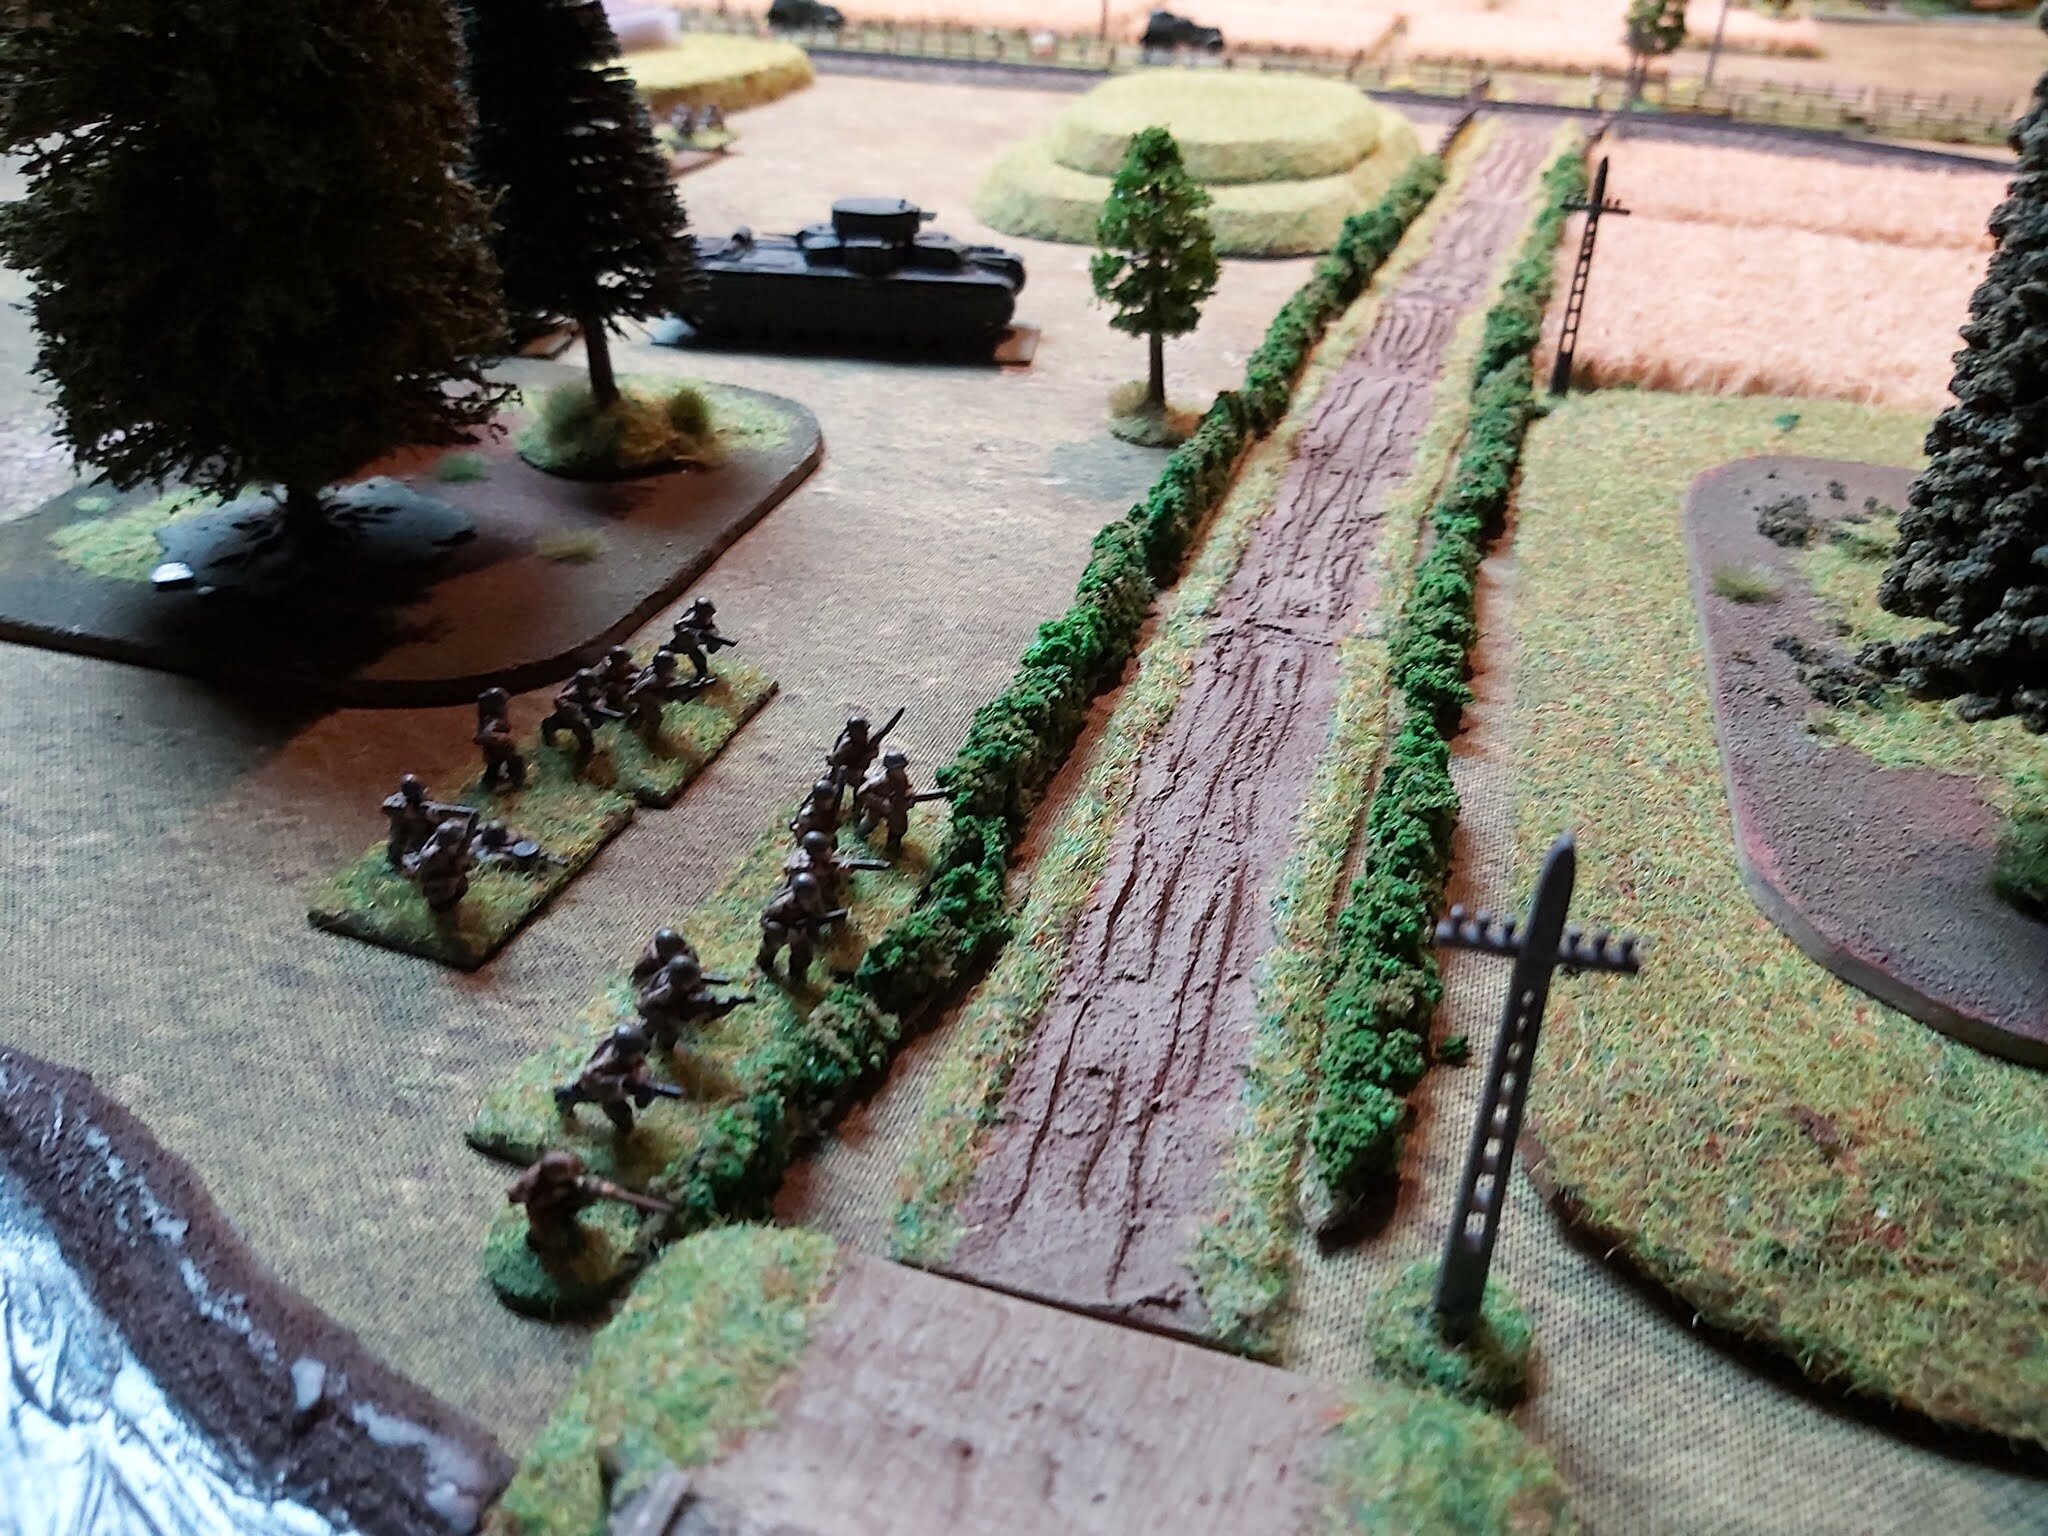
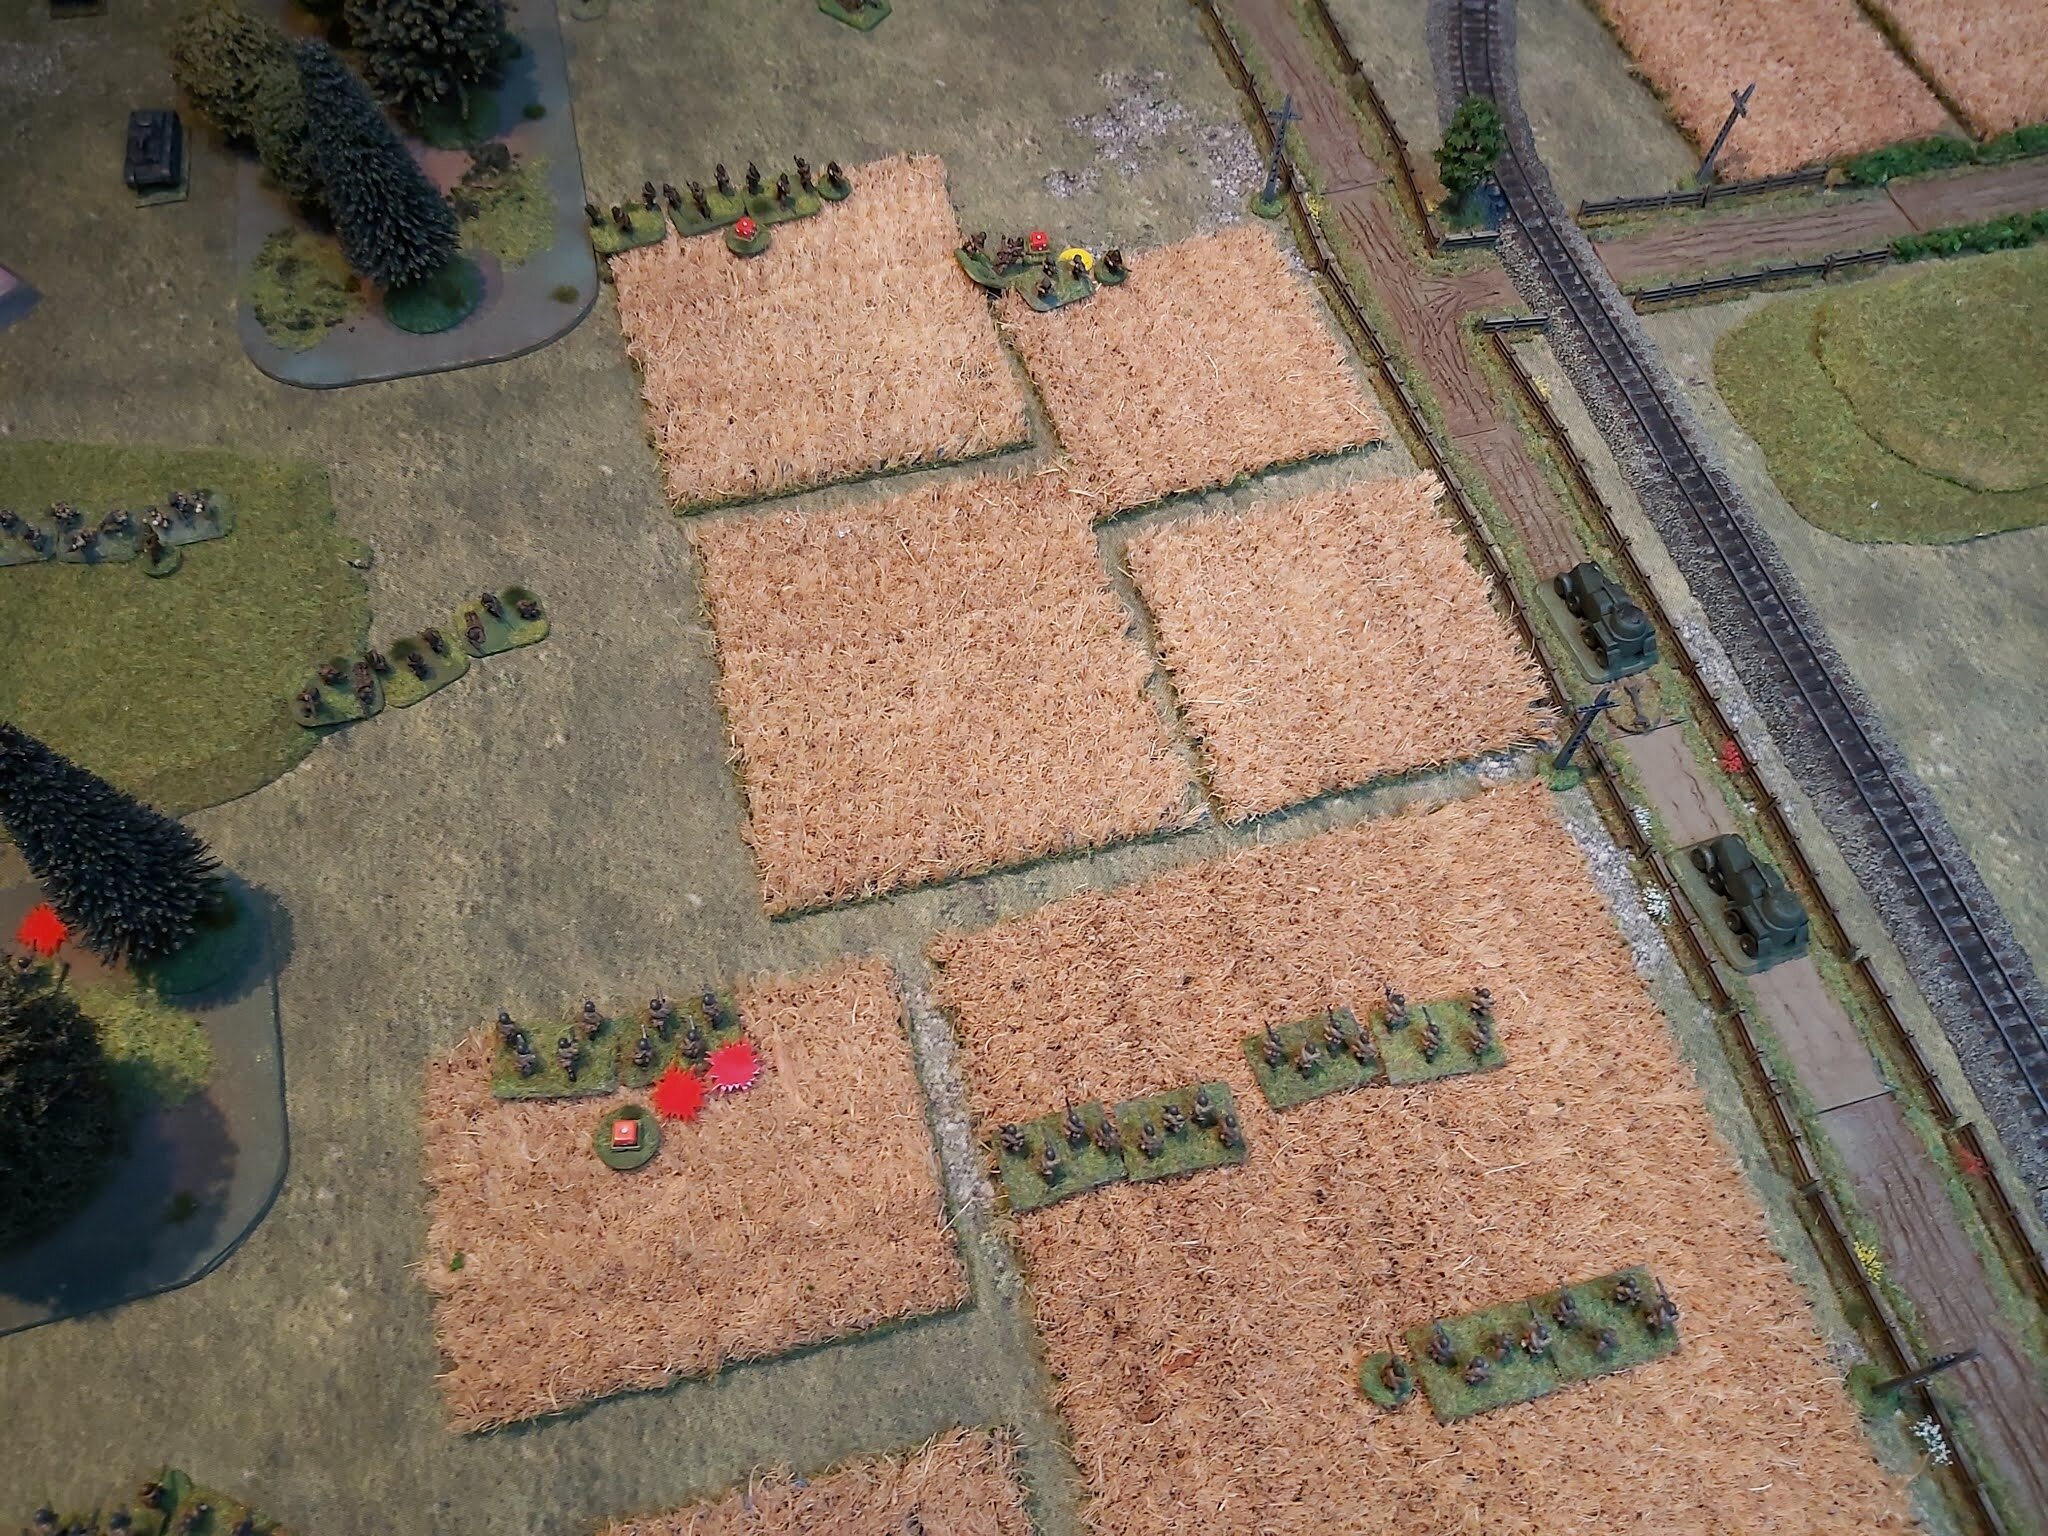
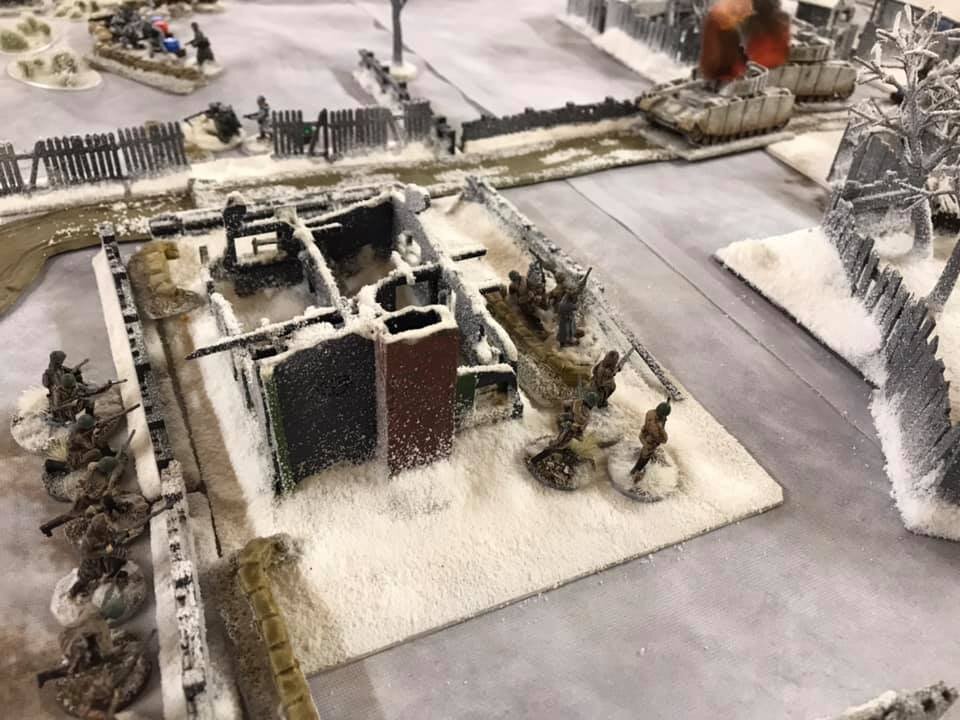
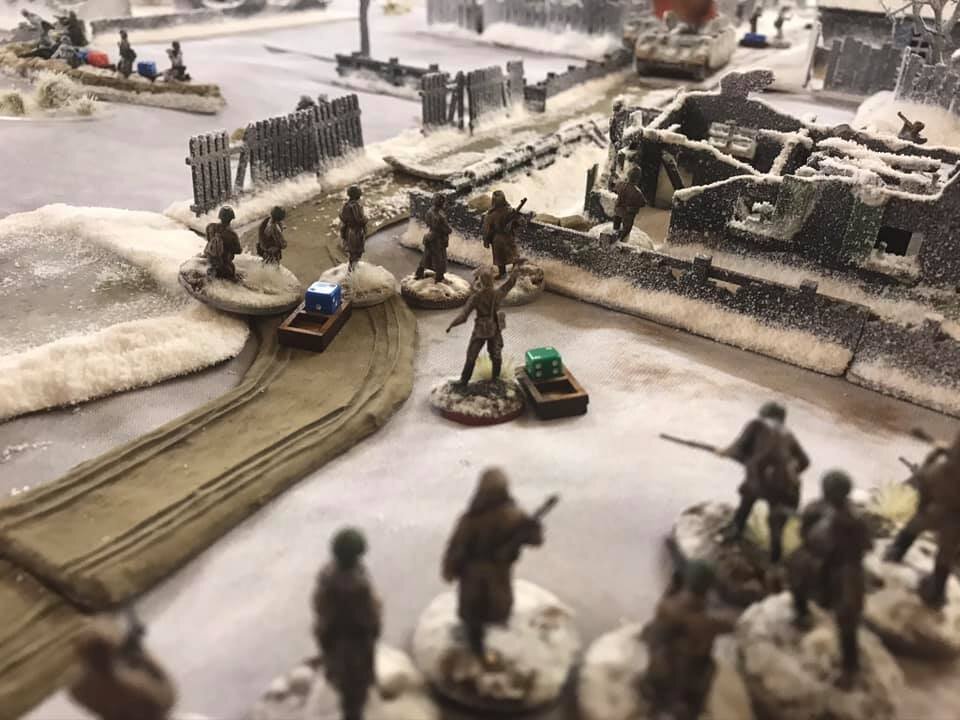
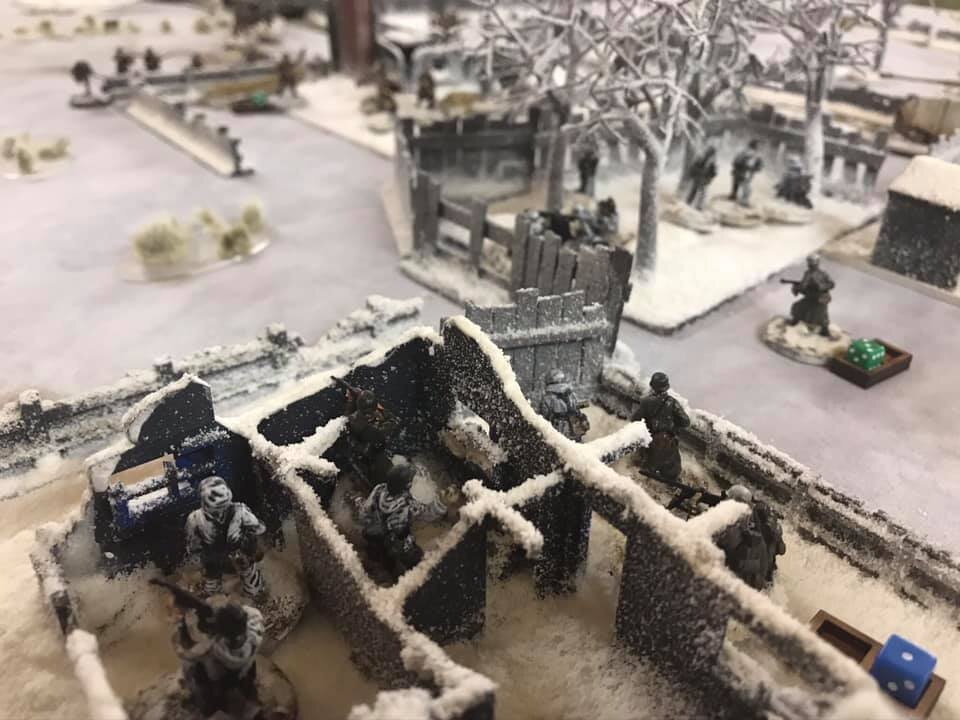
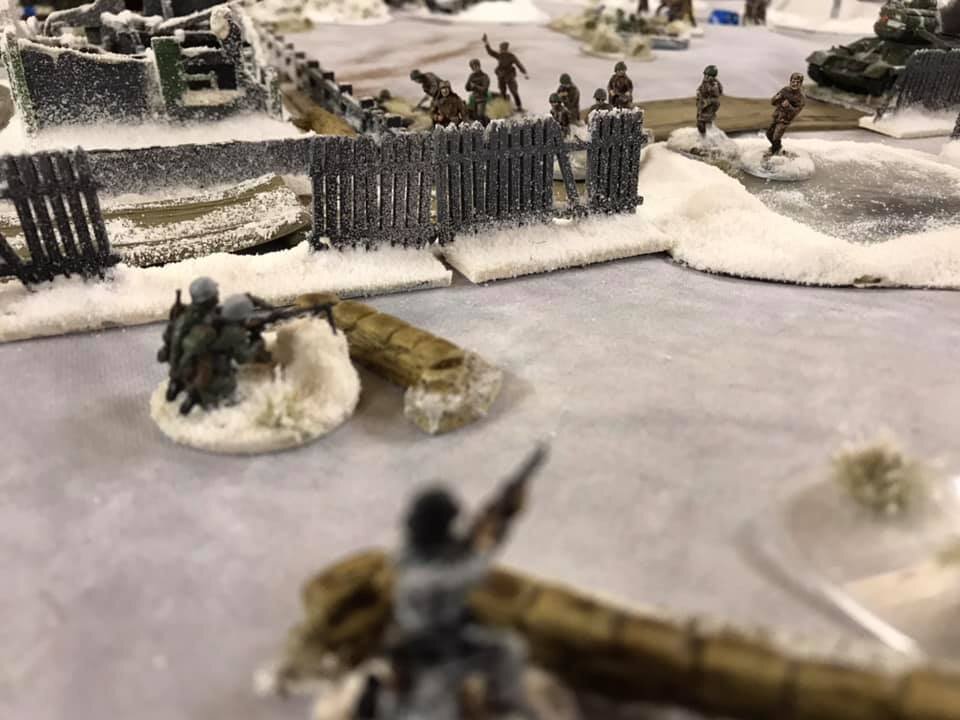
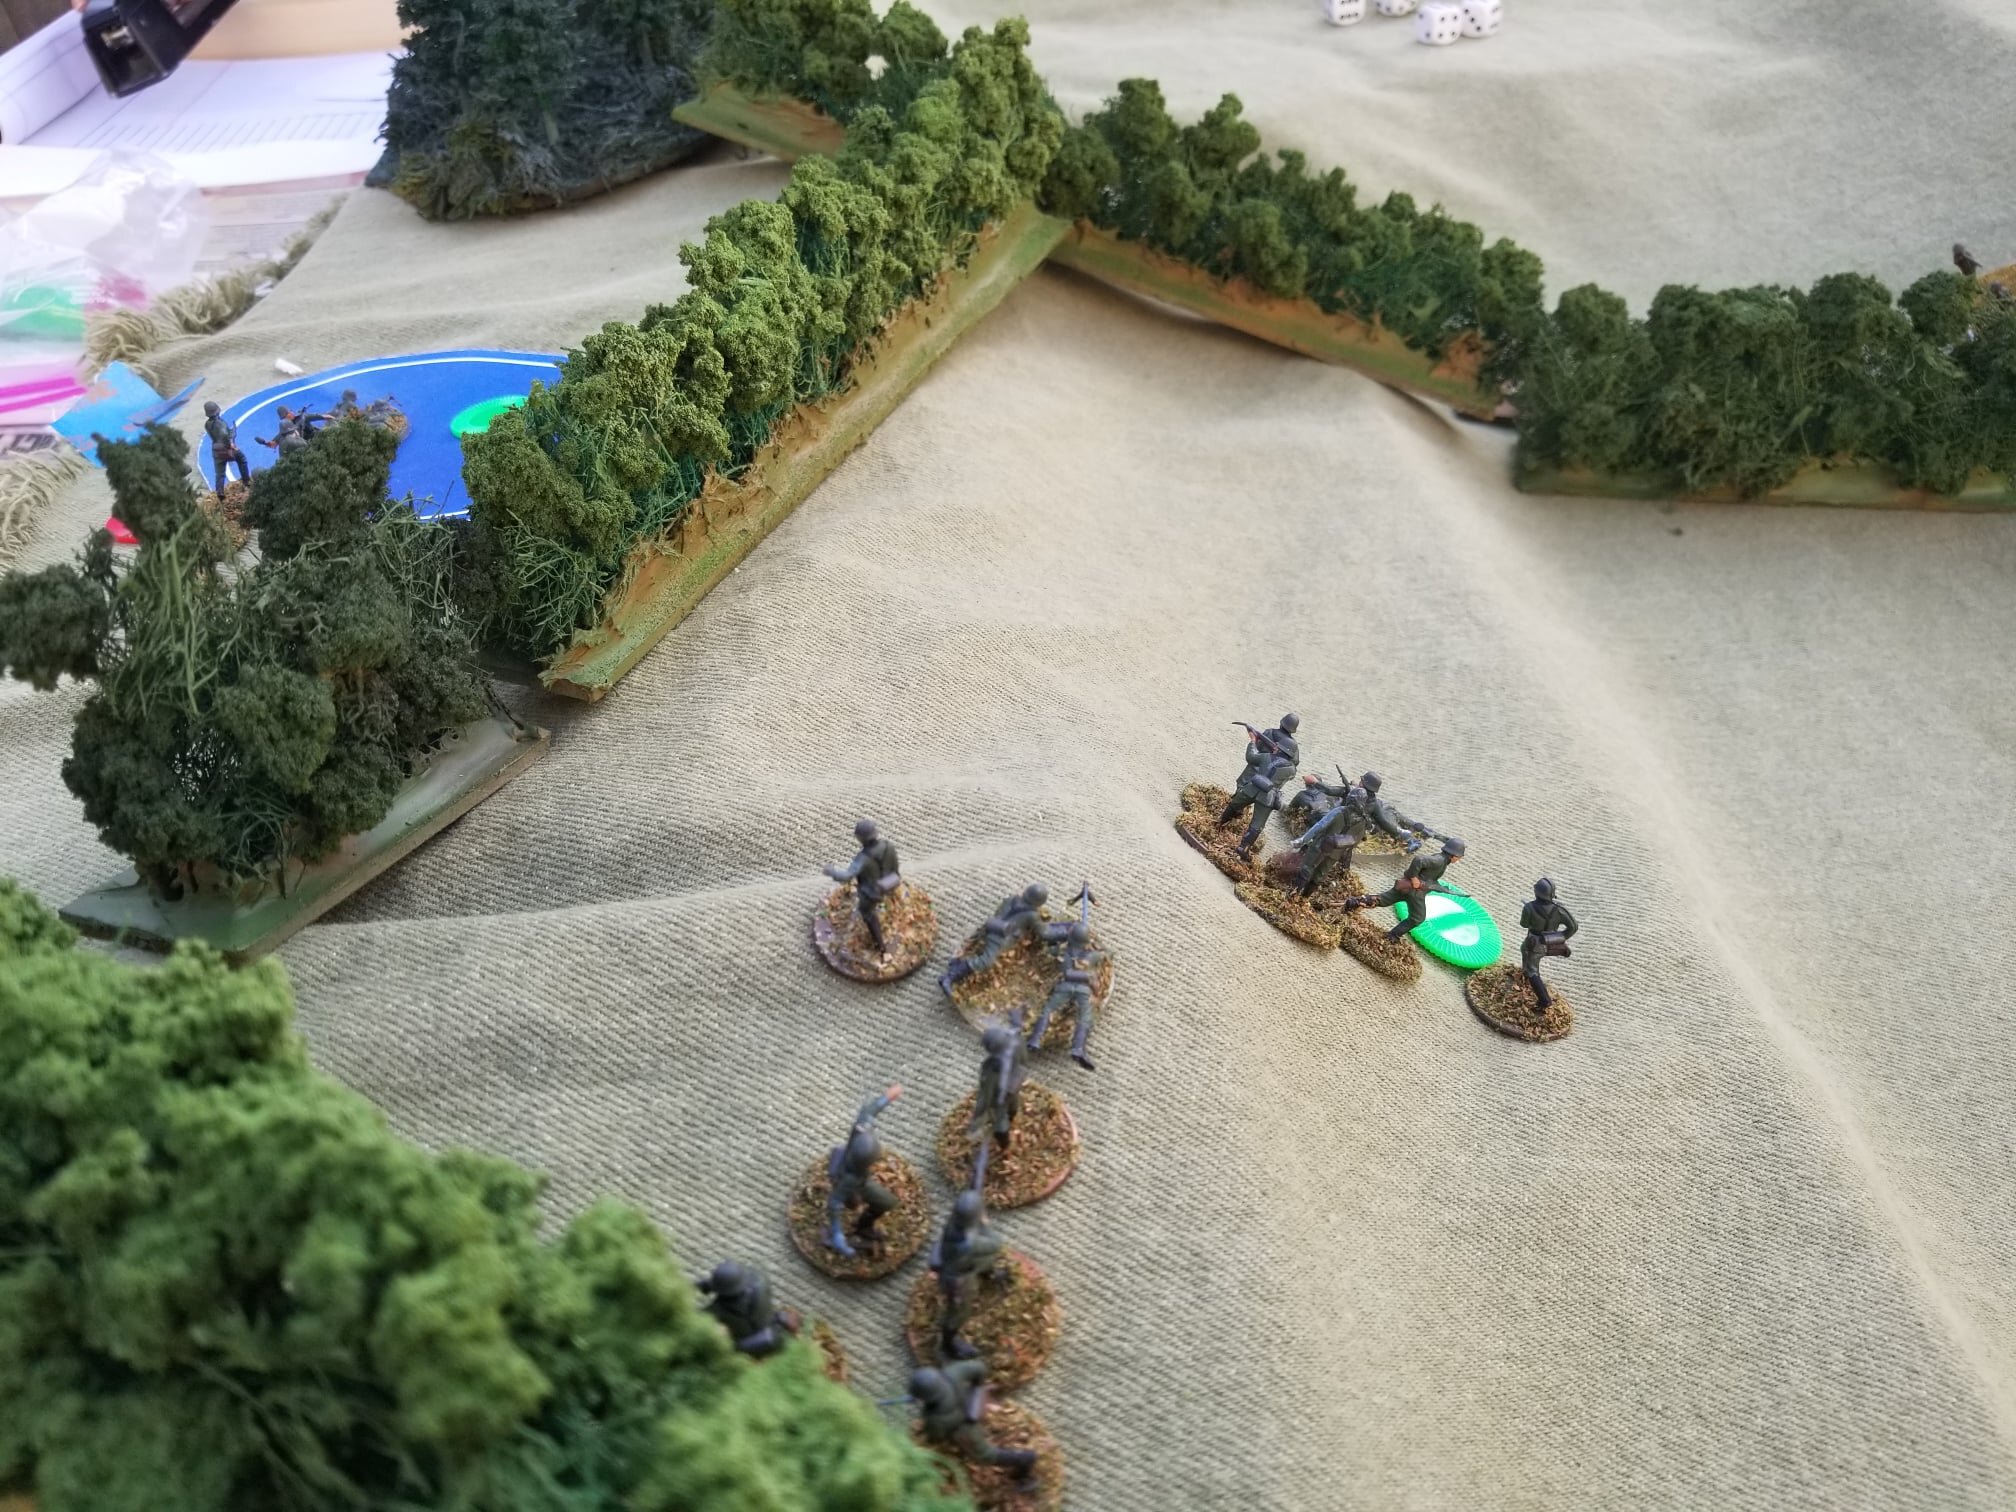
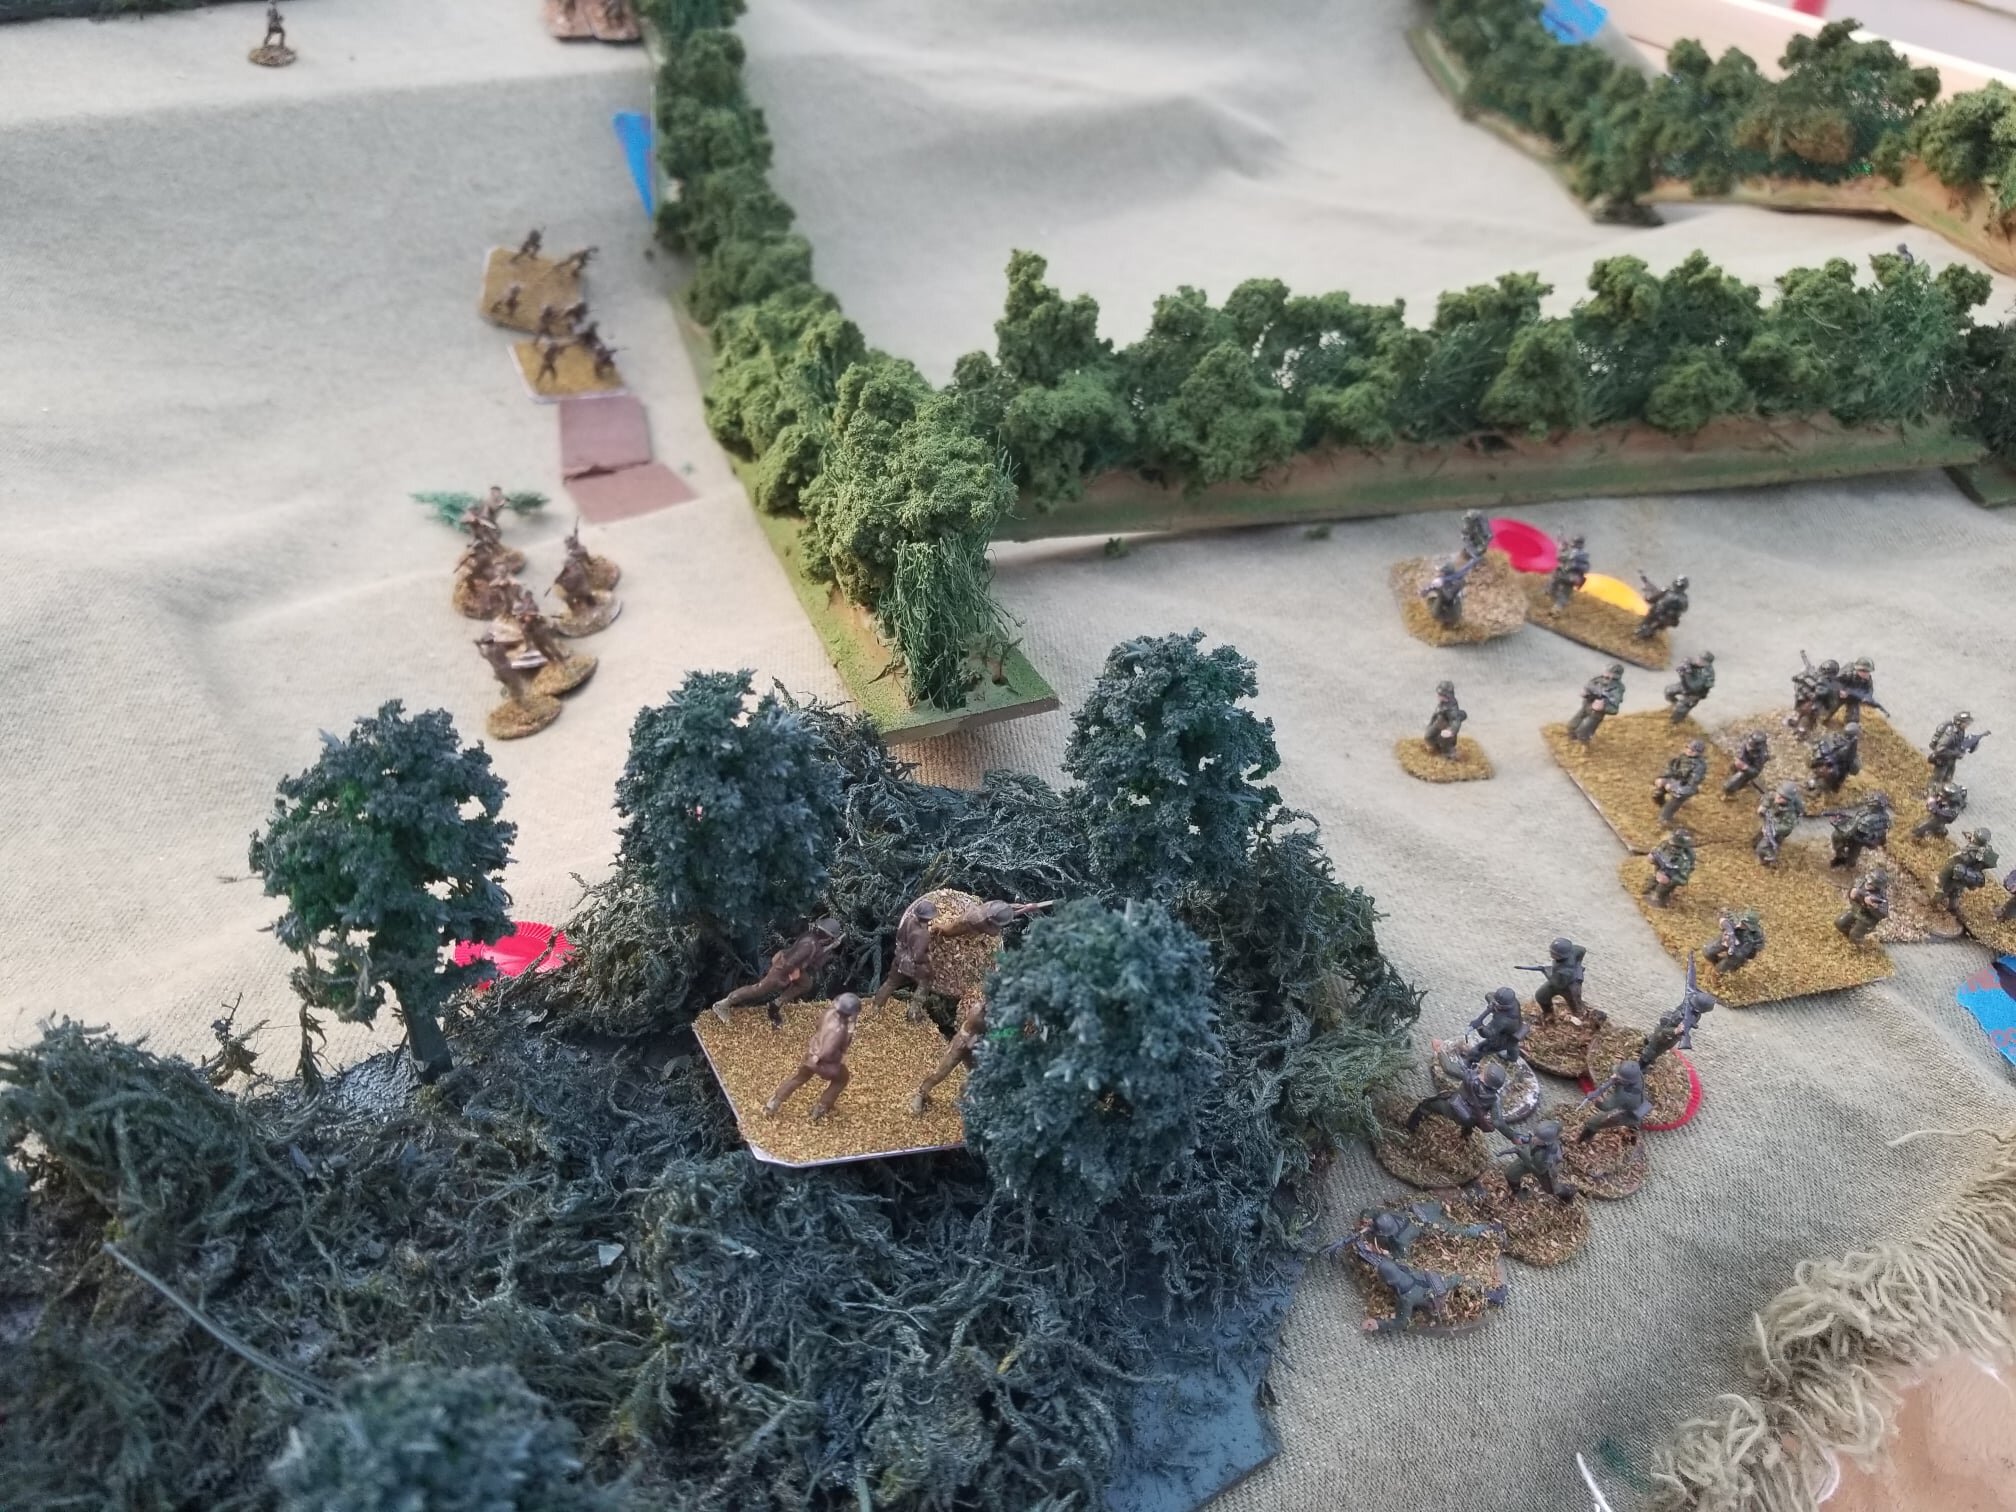
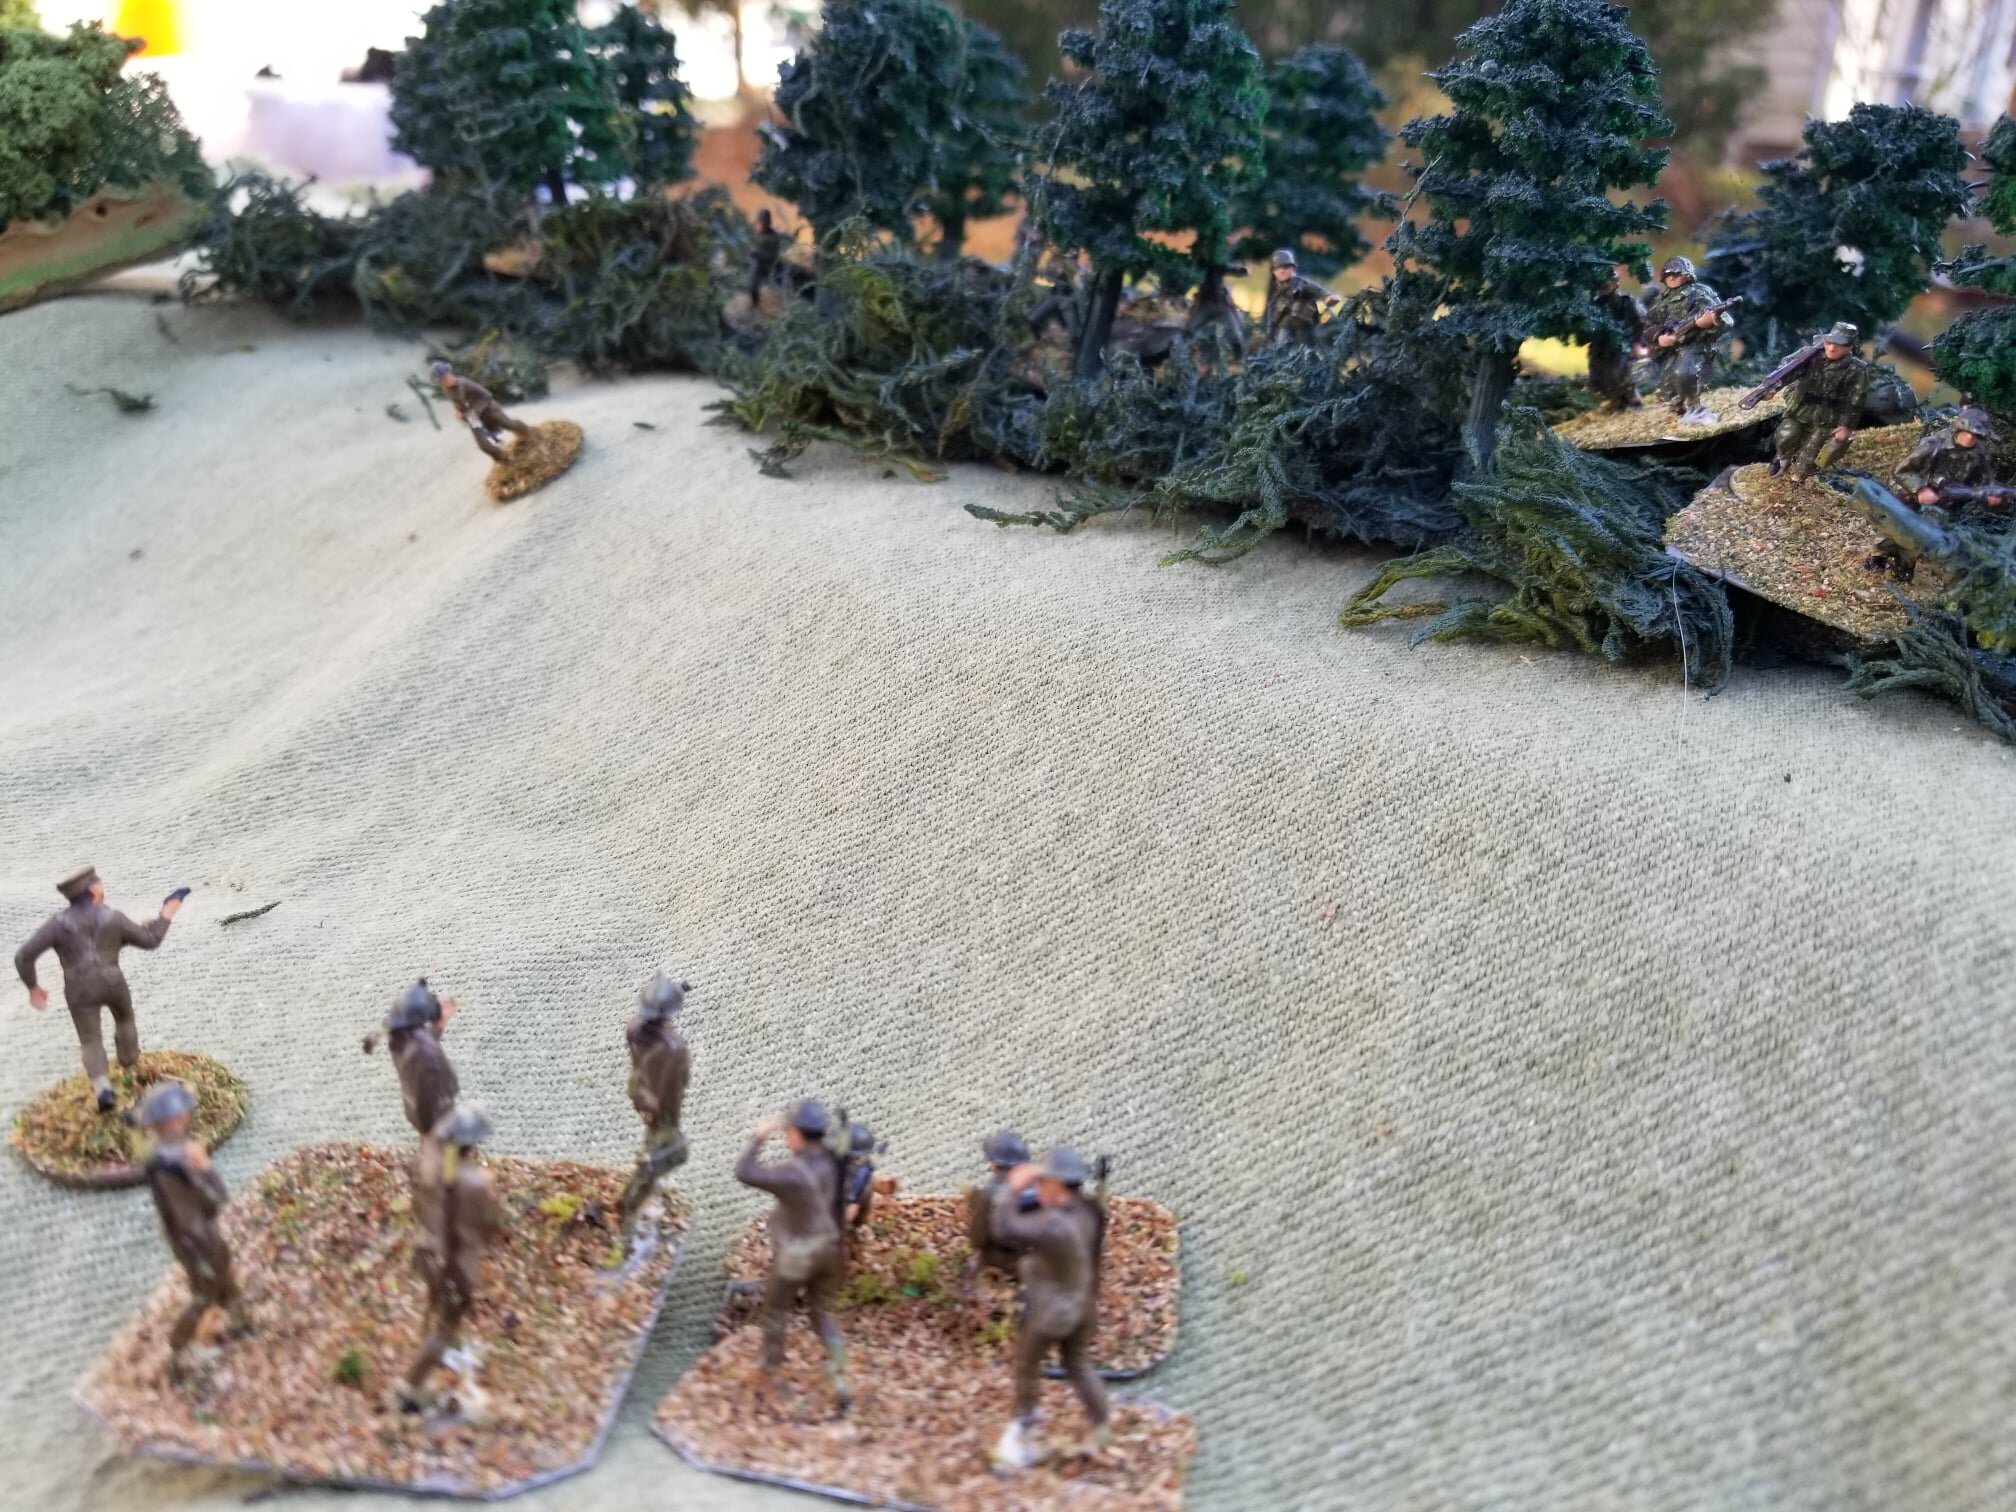
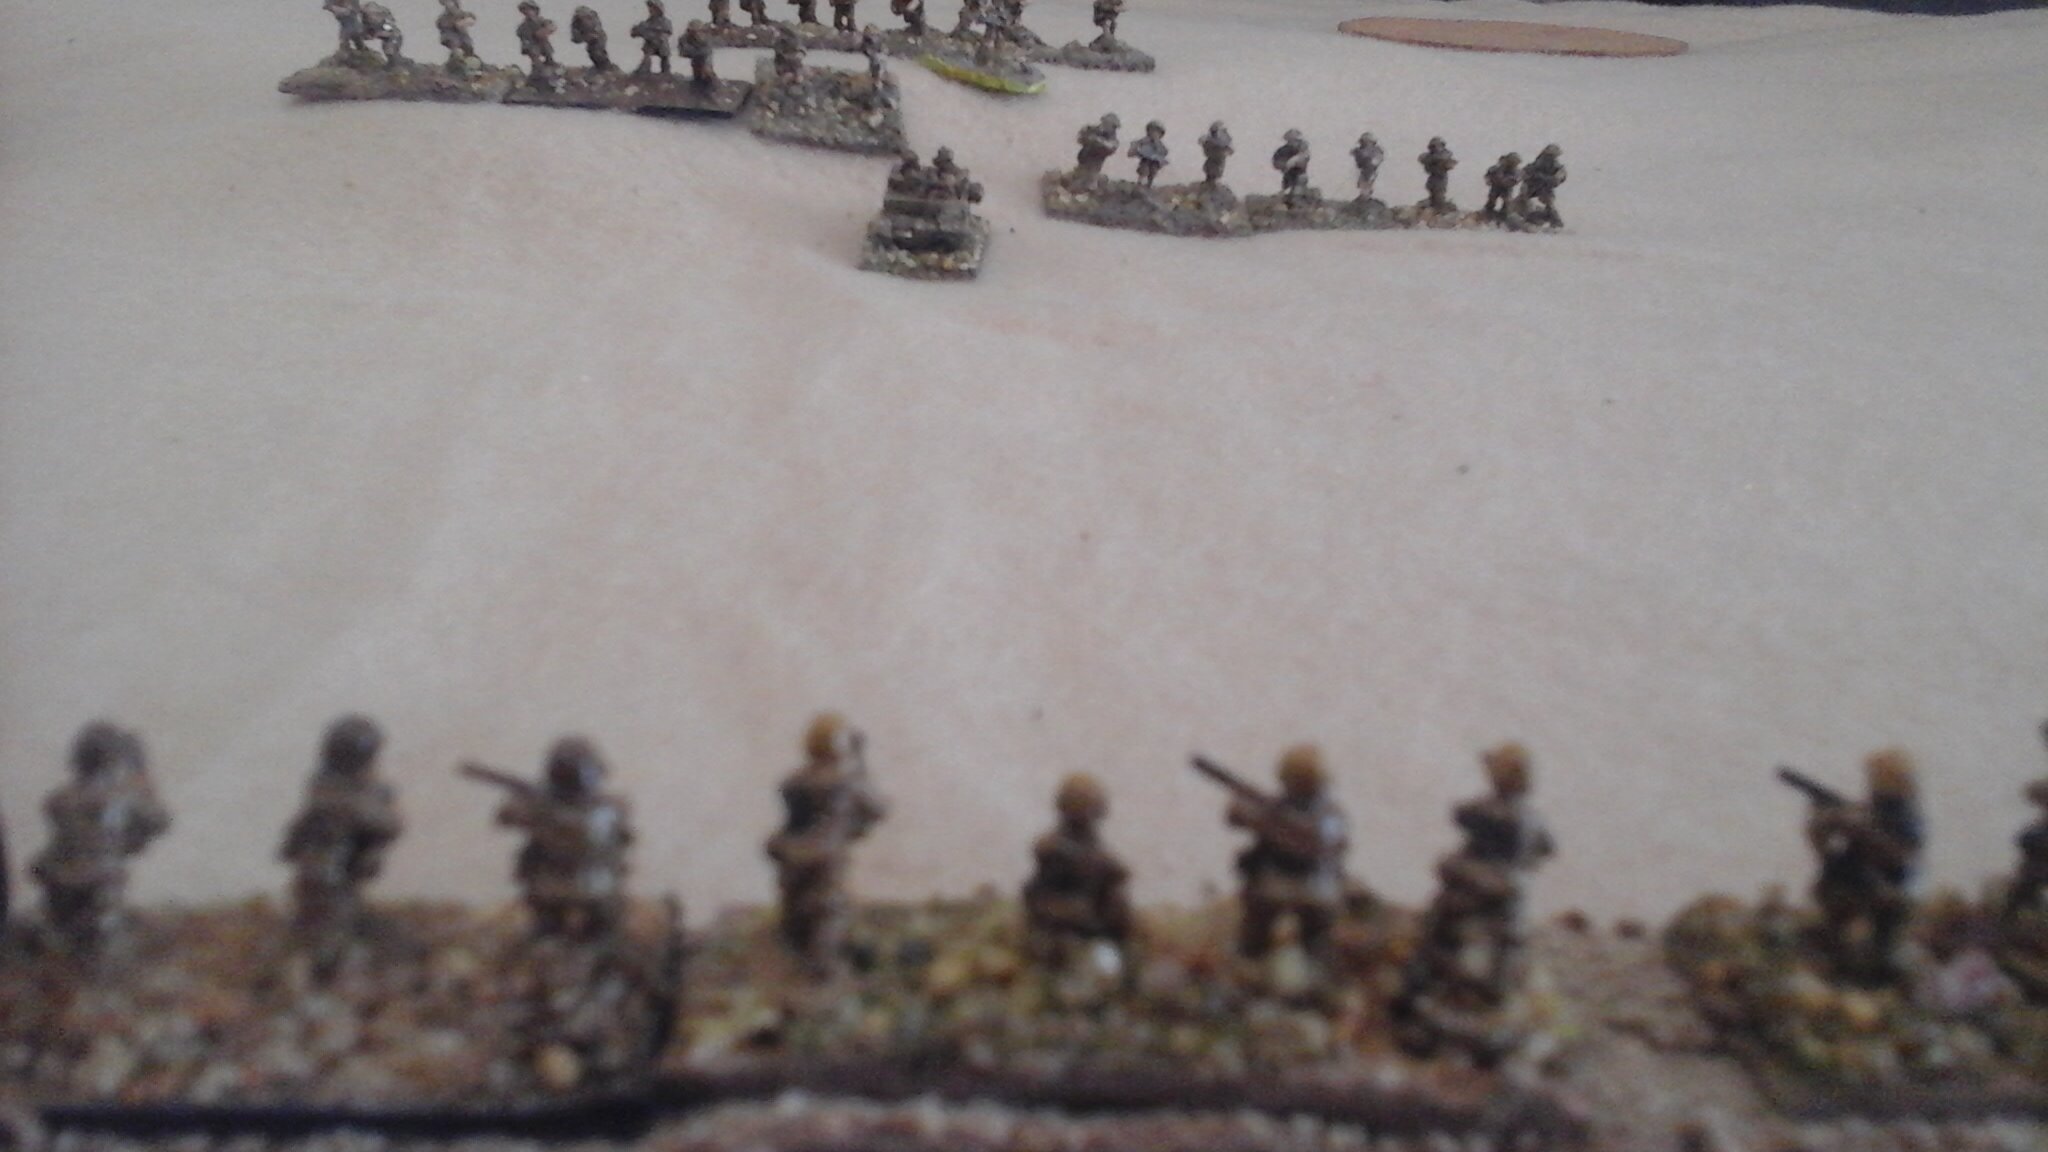
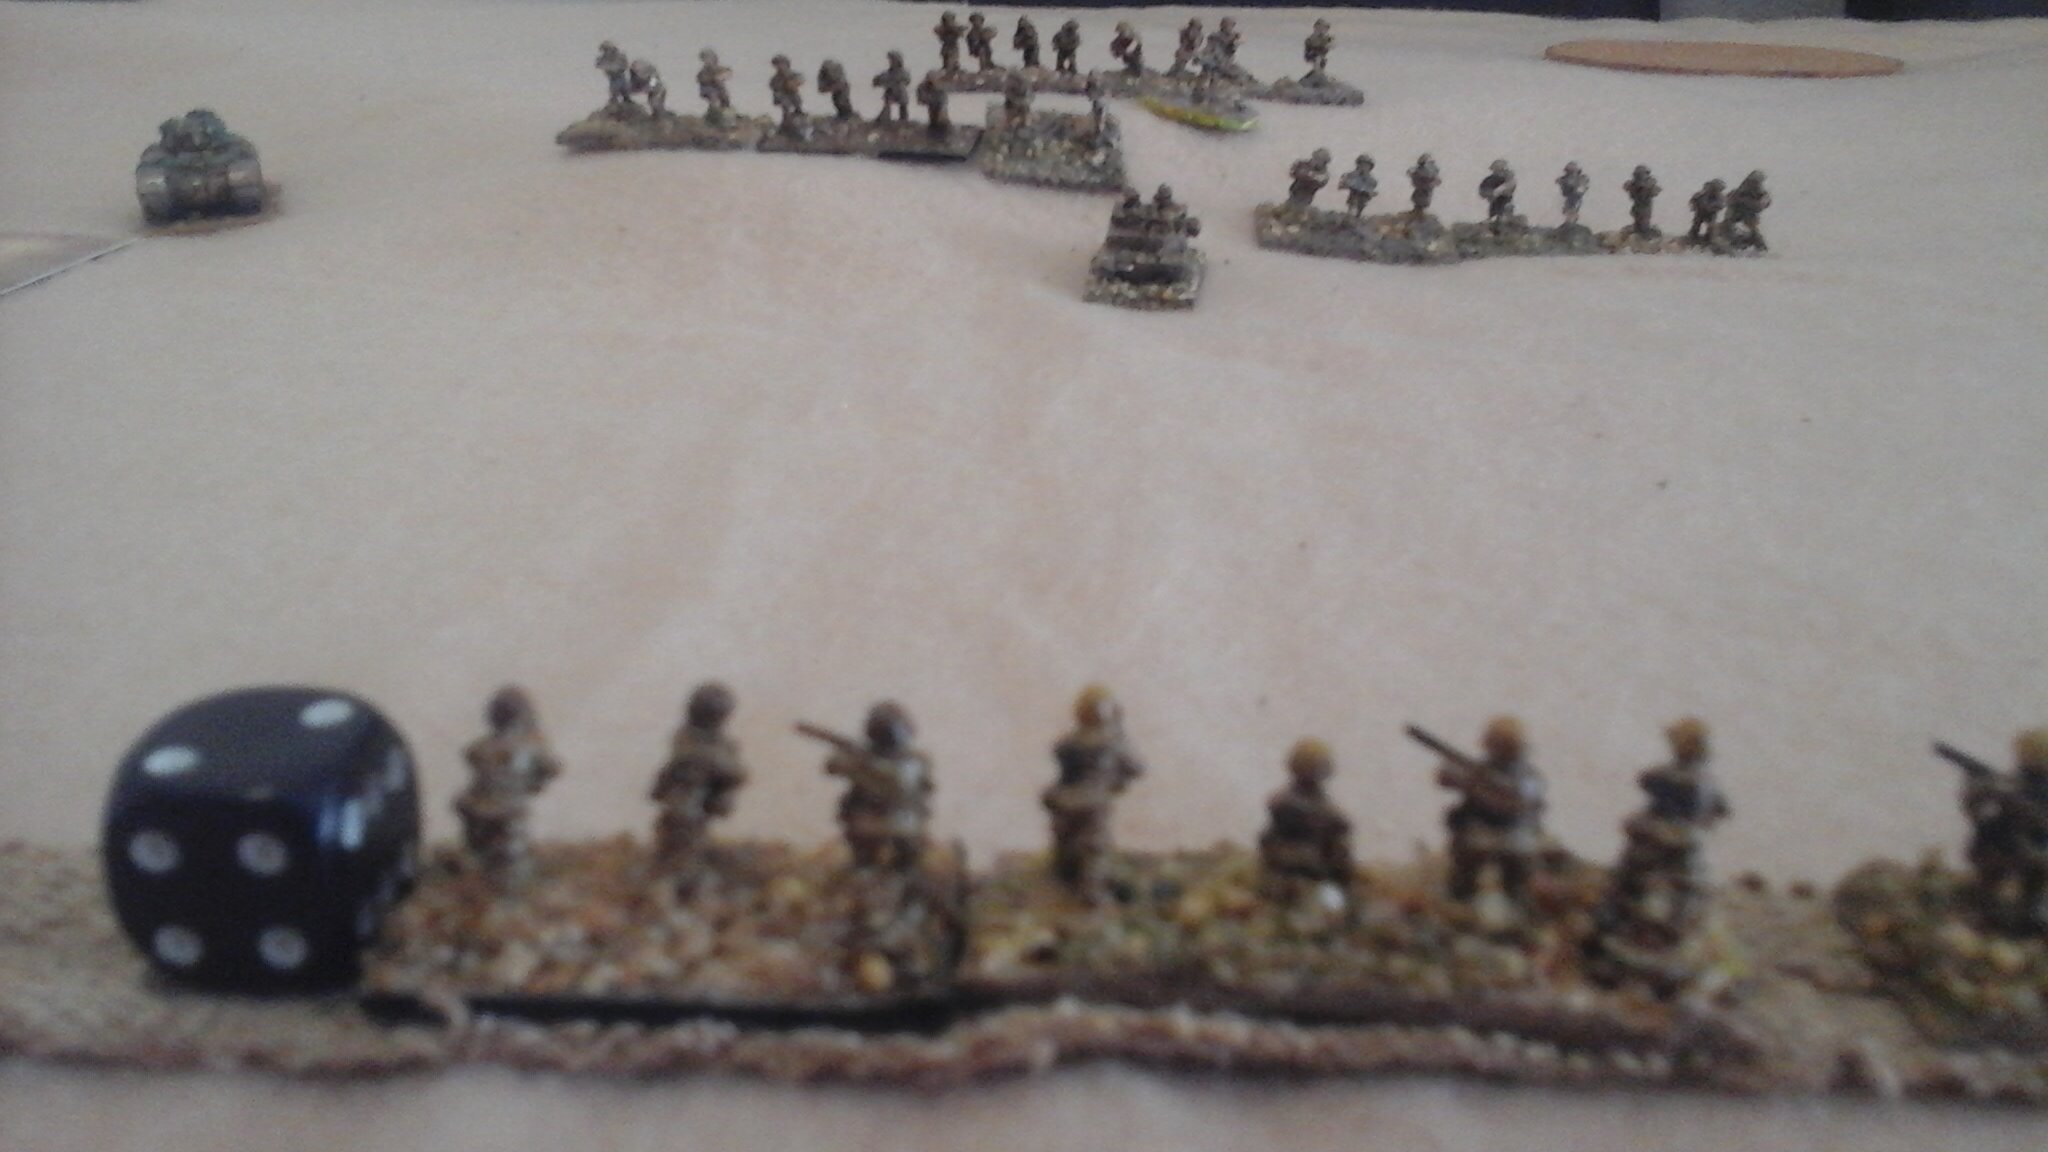
He advanced a section into the north western building of the town, supported by two others.
I opened up with my HQ Platoon and light mortar, my attached Vickers causing real problems as point blank range.
I had now discovered that blinds appearing on the west of the table edge were in fact fakes and realised that Sgt Hal I. Tosis's pillbox outflanked the main German position. Nige realised too and when a Stuka appeared overhead he had hoped that it may target the dug in Vickers. However, the Stuka bombed his infantry Platoon sheltering unconvincingly near a wall hitting two of its sections and causing fearful casualties.
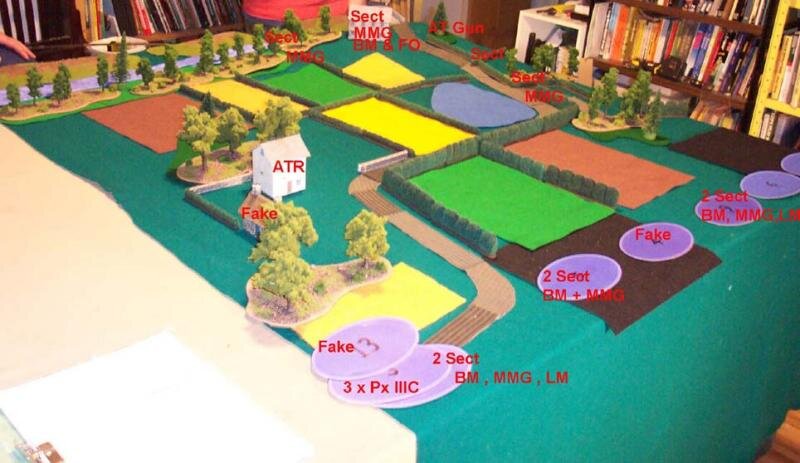
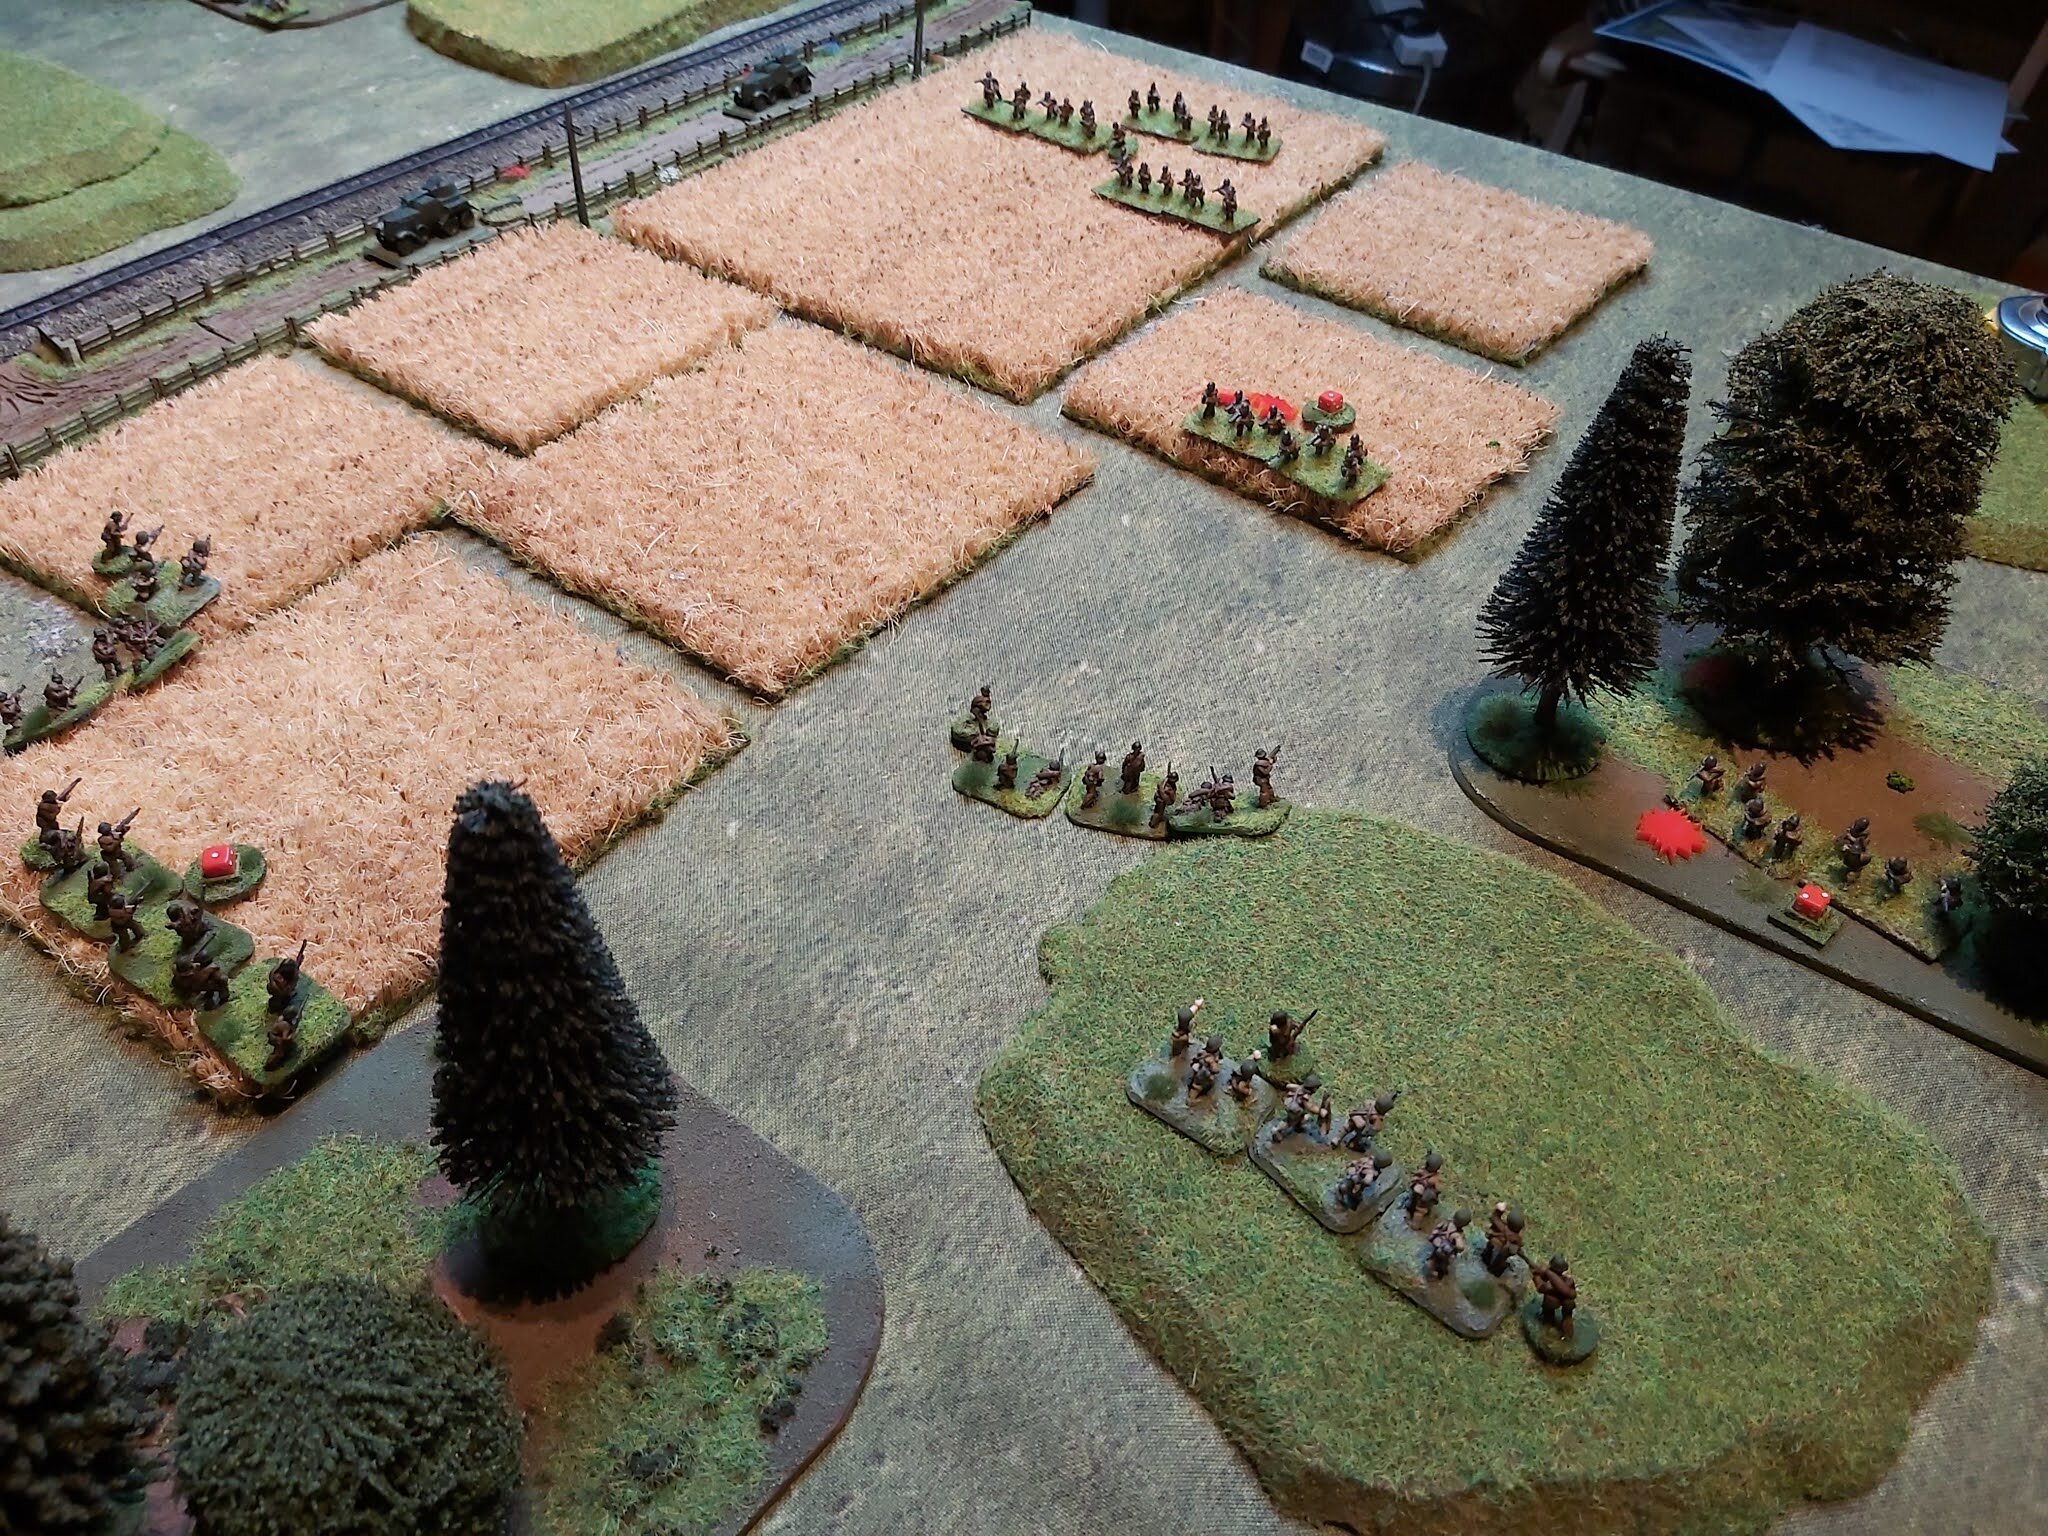
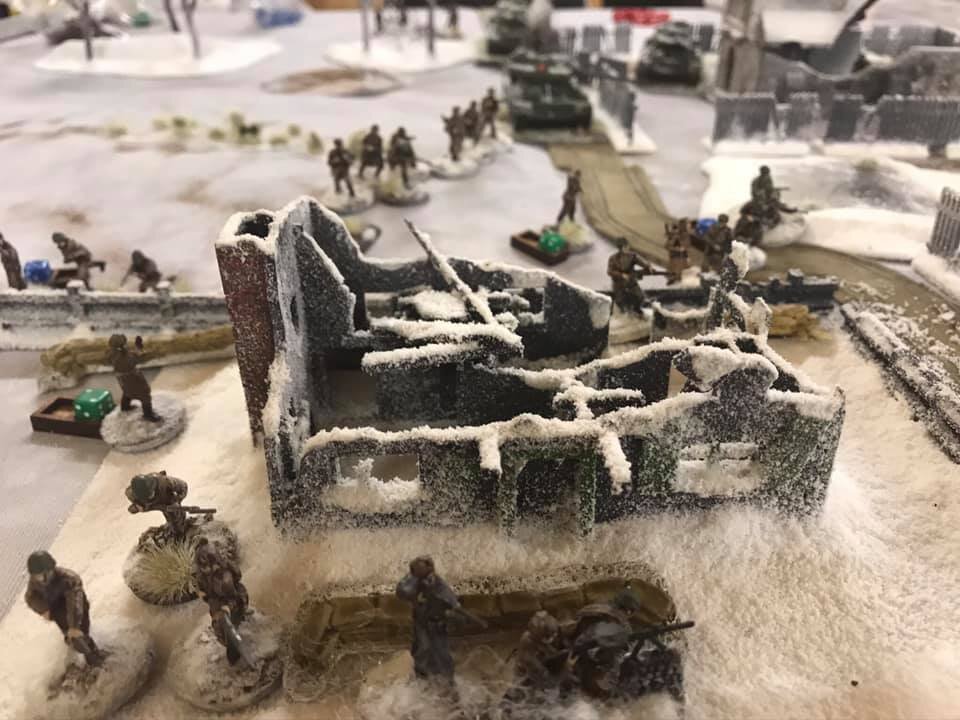
Nigel's HQ Platoon with its two MG34's, three 50mm mortars plus rifle squad and yet another infantry Platoon appeared on the edge of the cropped fields and began to engage my forces in and around the town's northern edge.
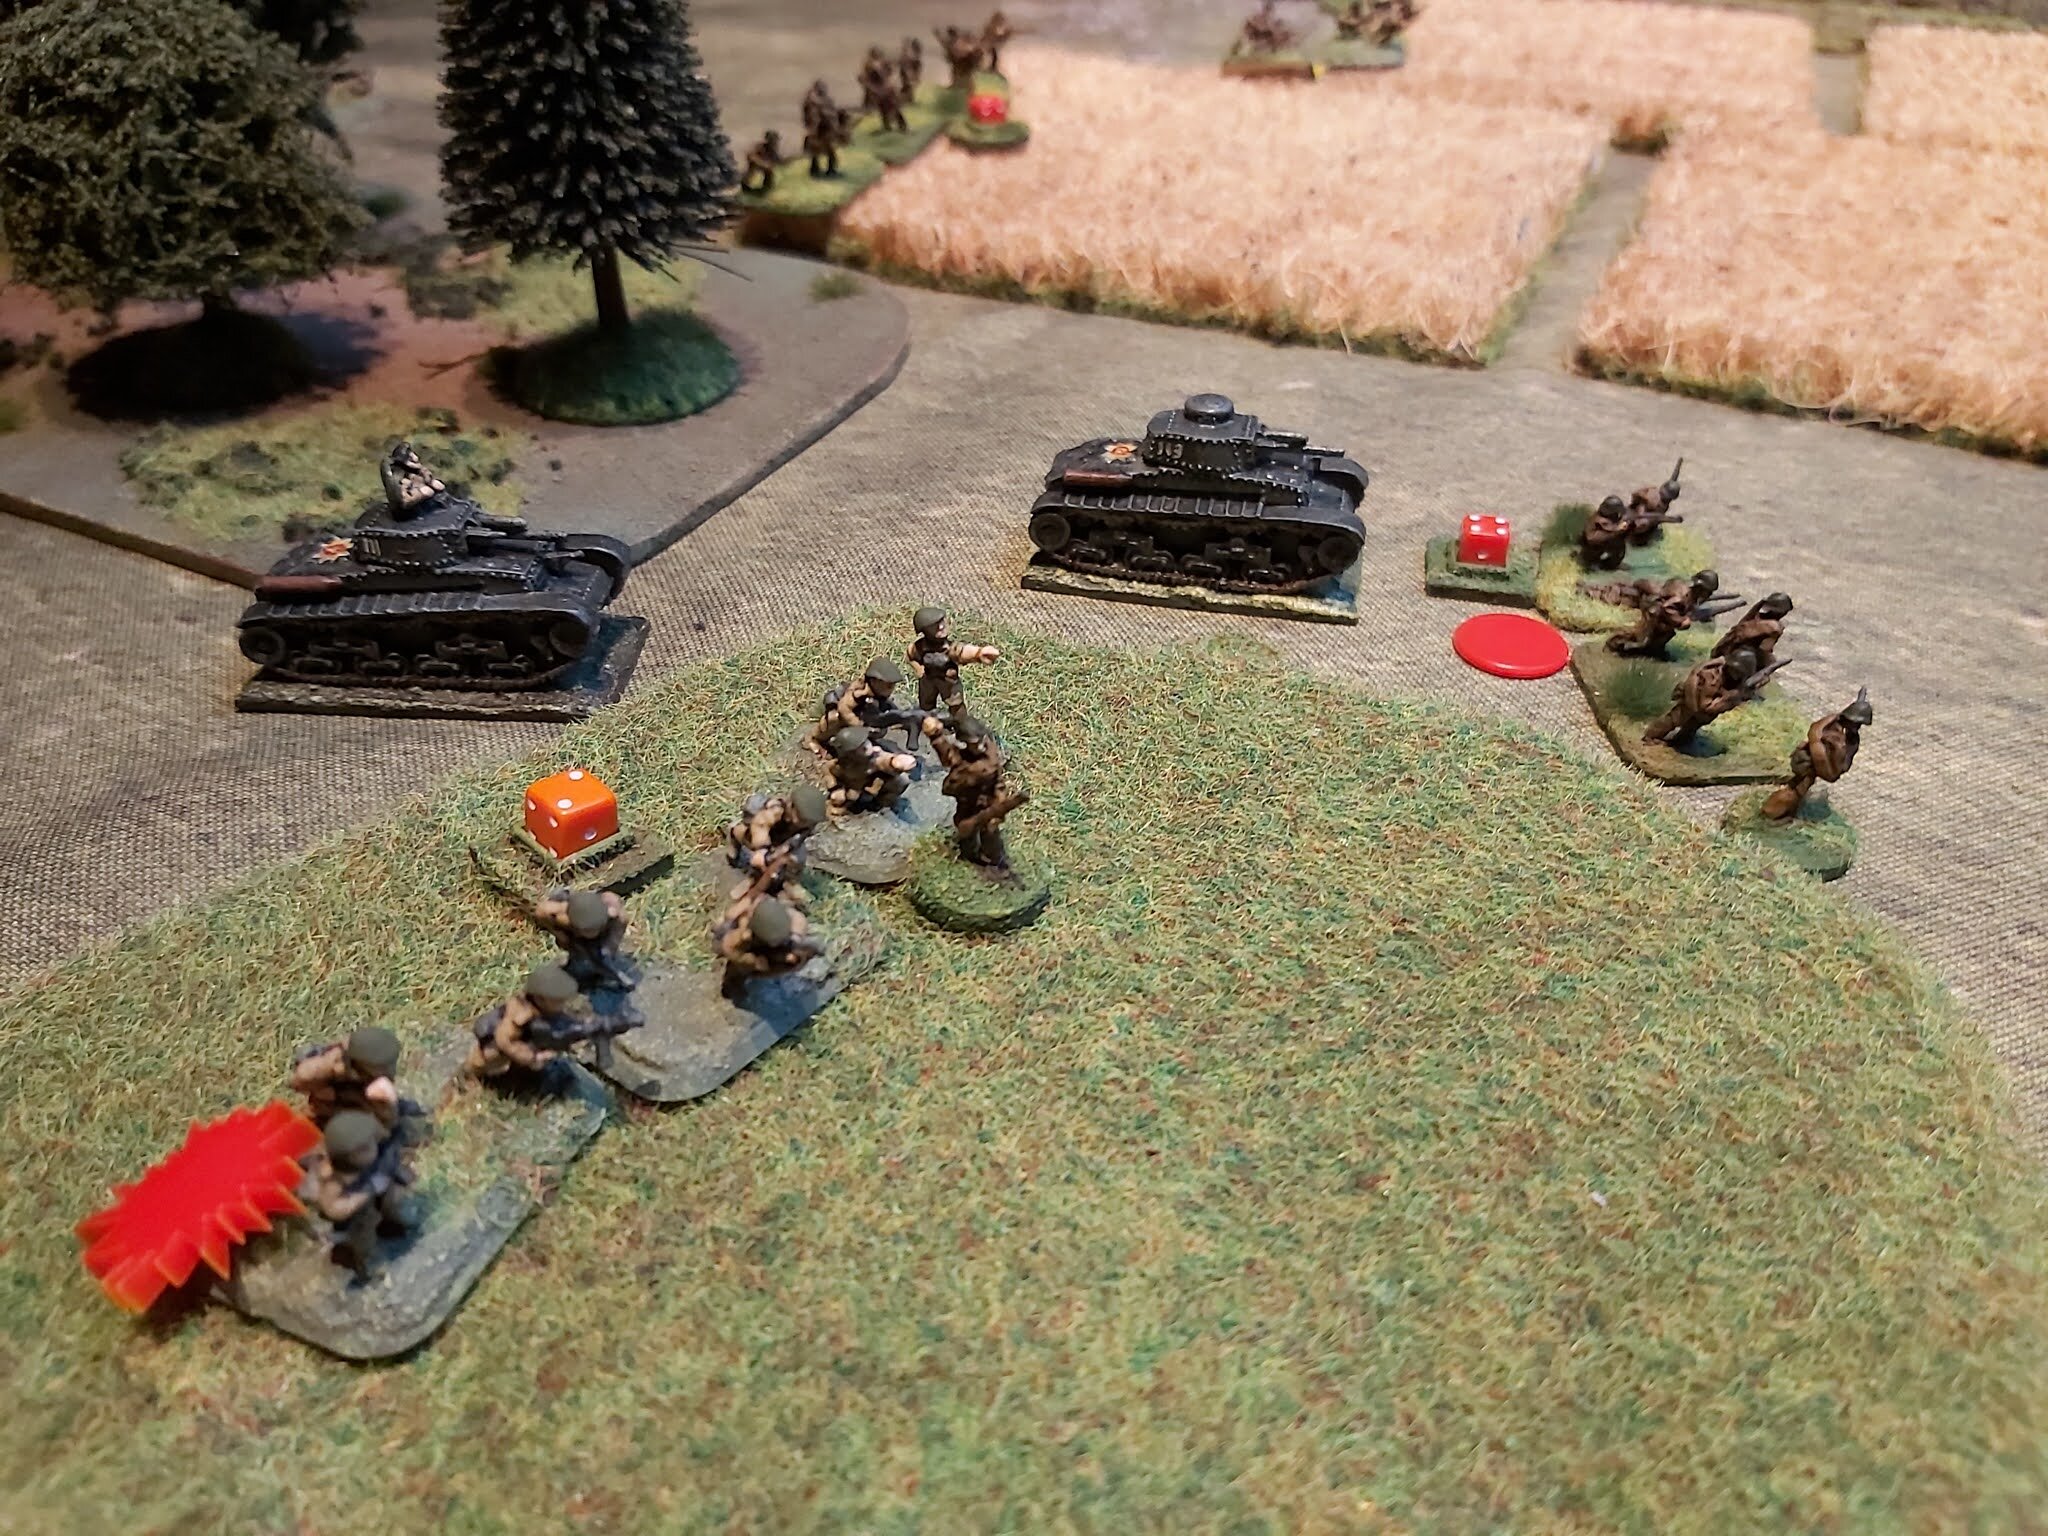
I now revealed my Platoon in the buildings at the western edge of the town, near the sea. These fired into the emerging FJ as did the pillbox Vickers causing them to be pinned and suppressed.
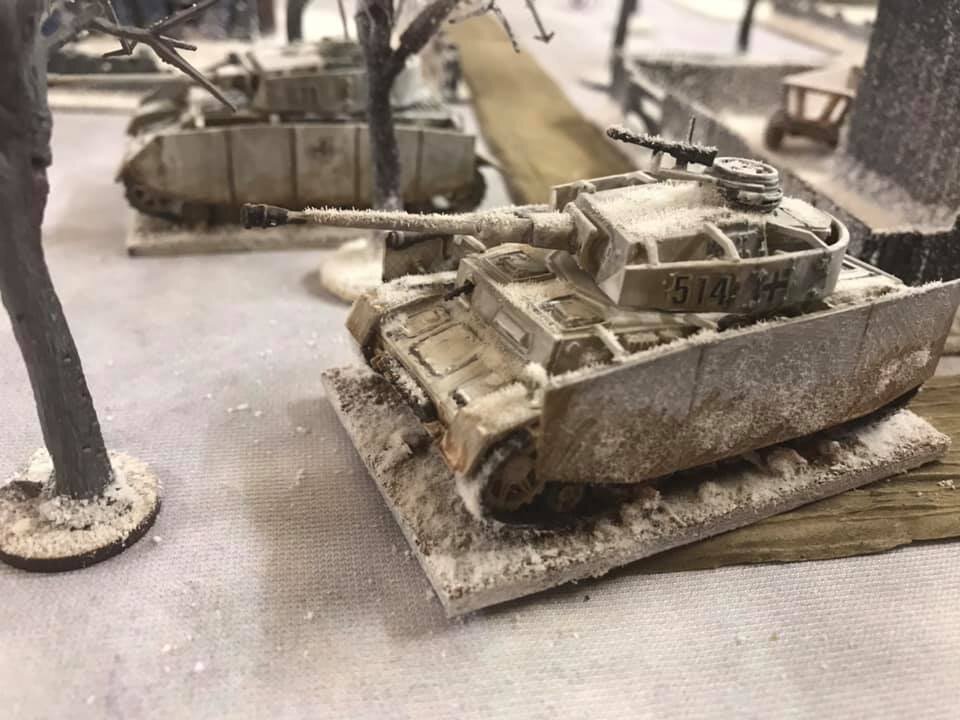
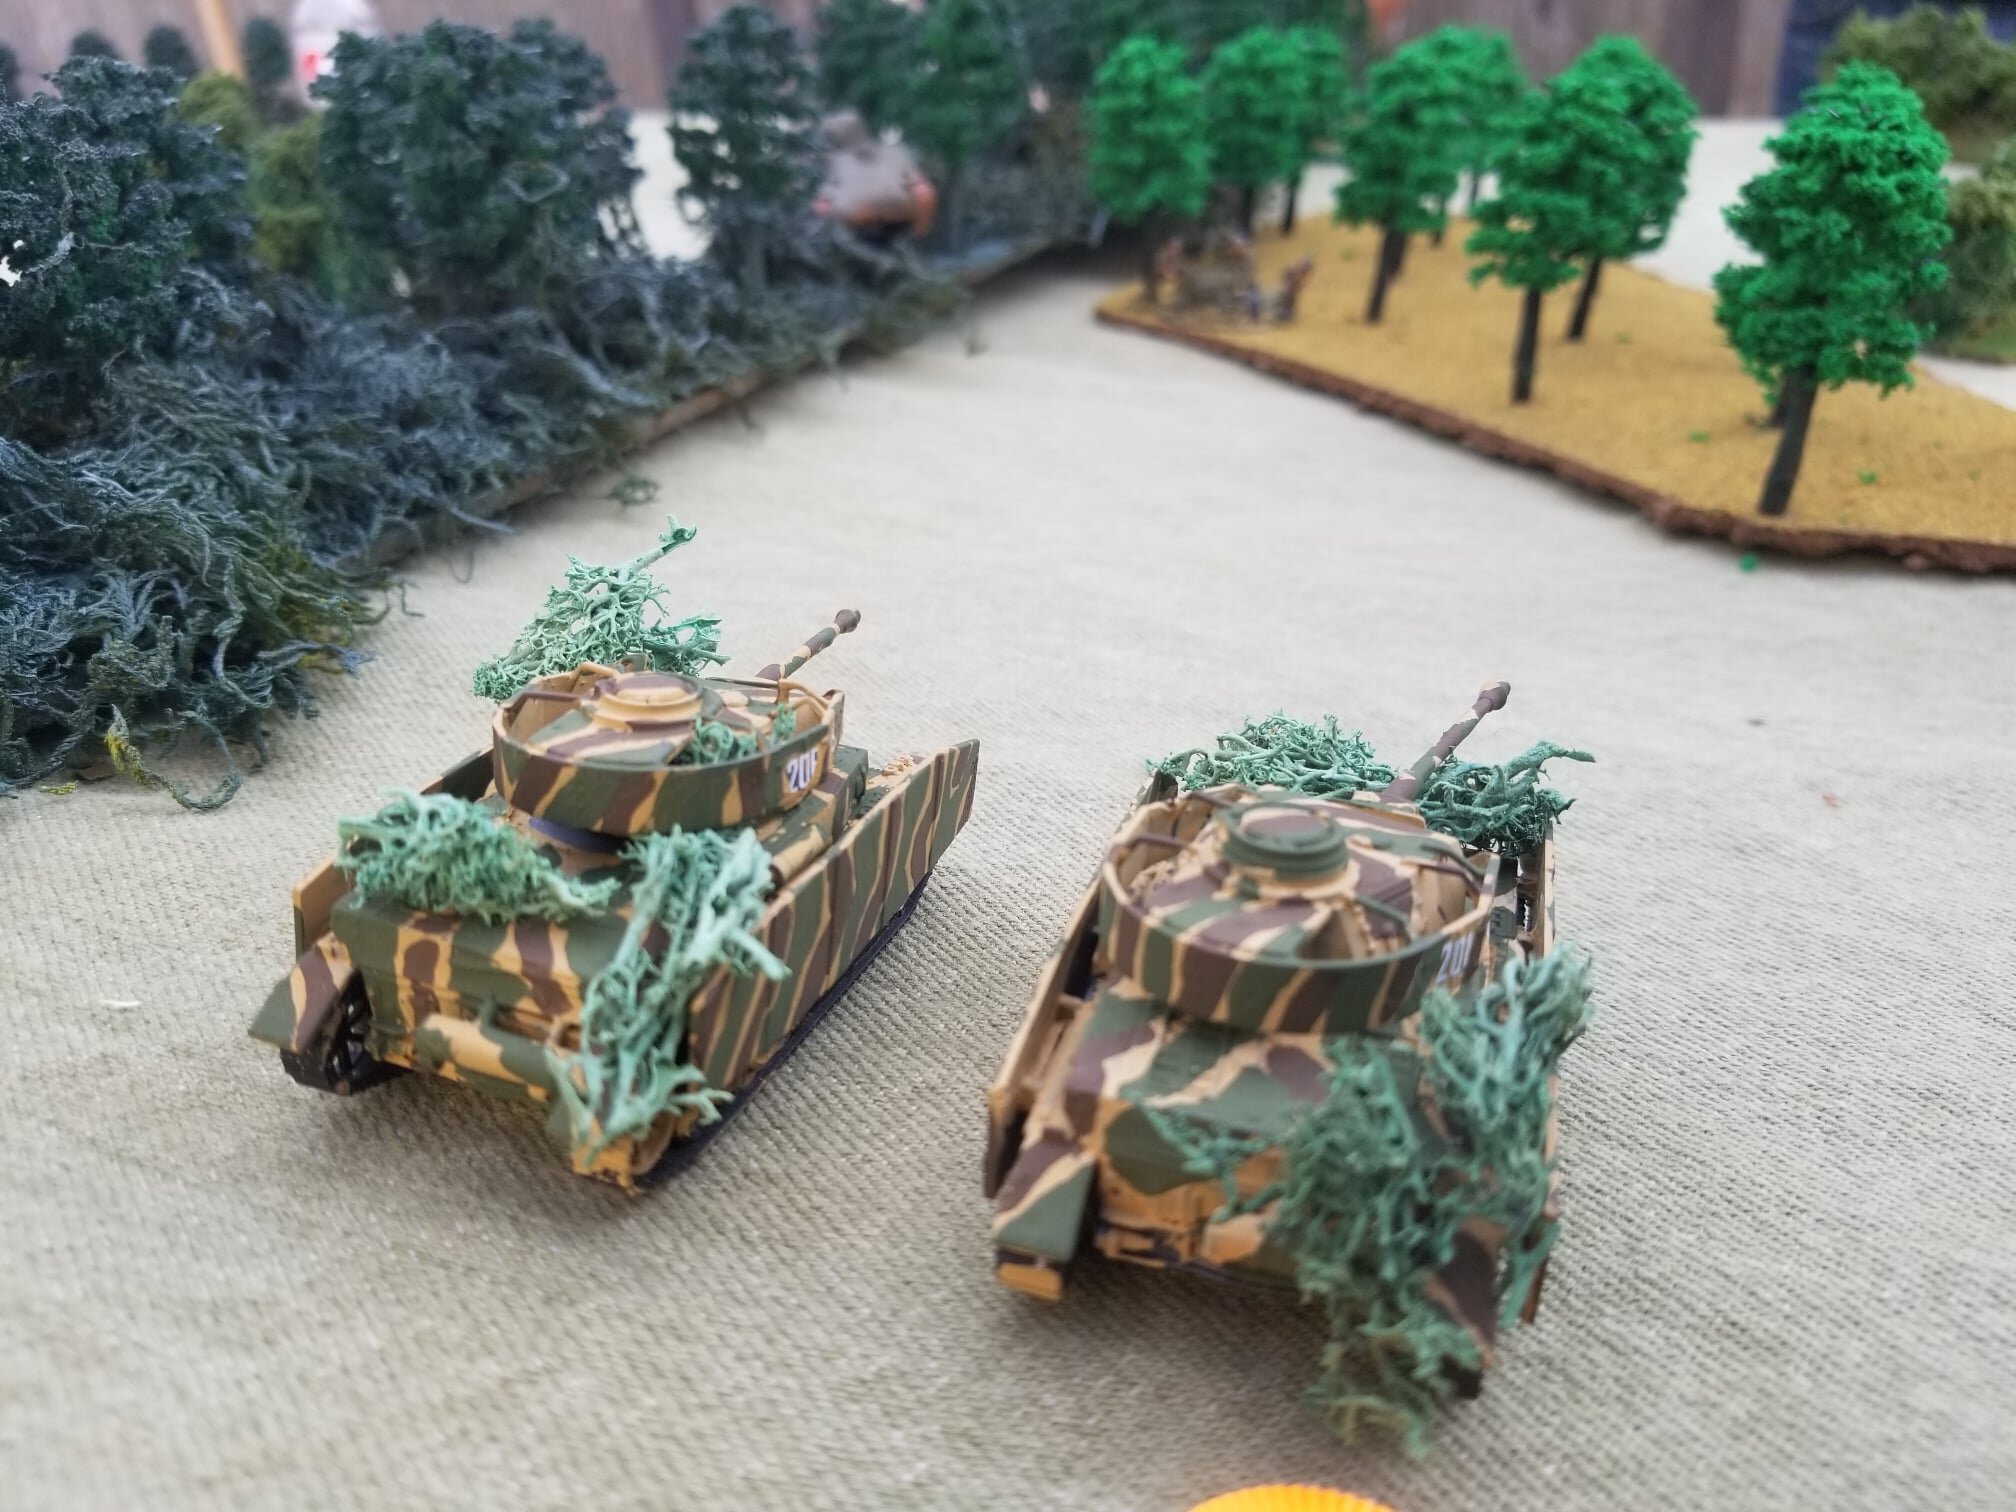
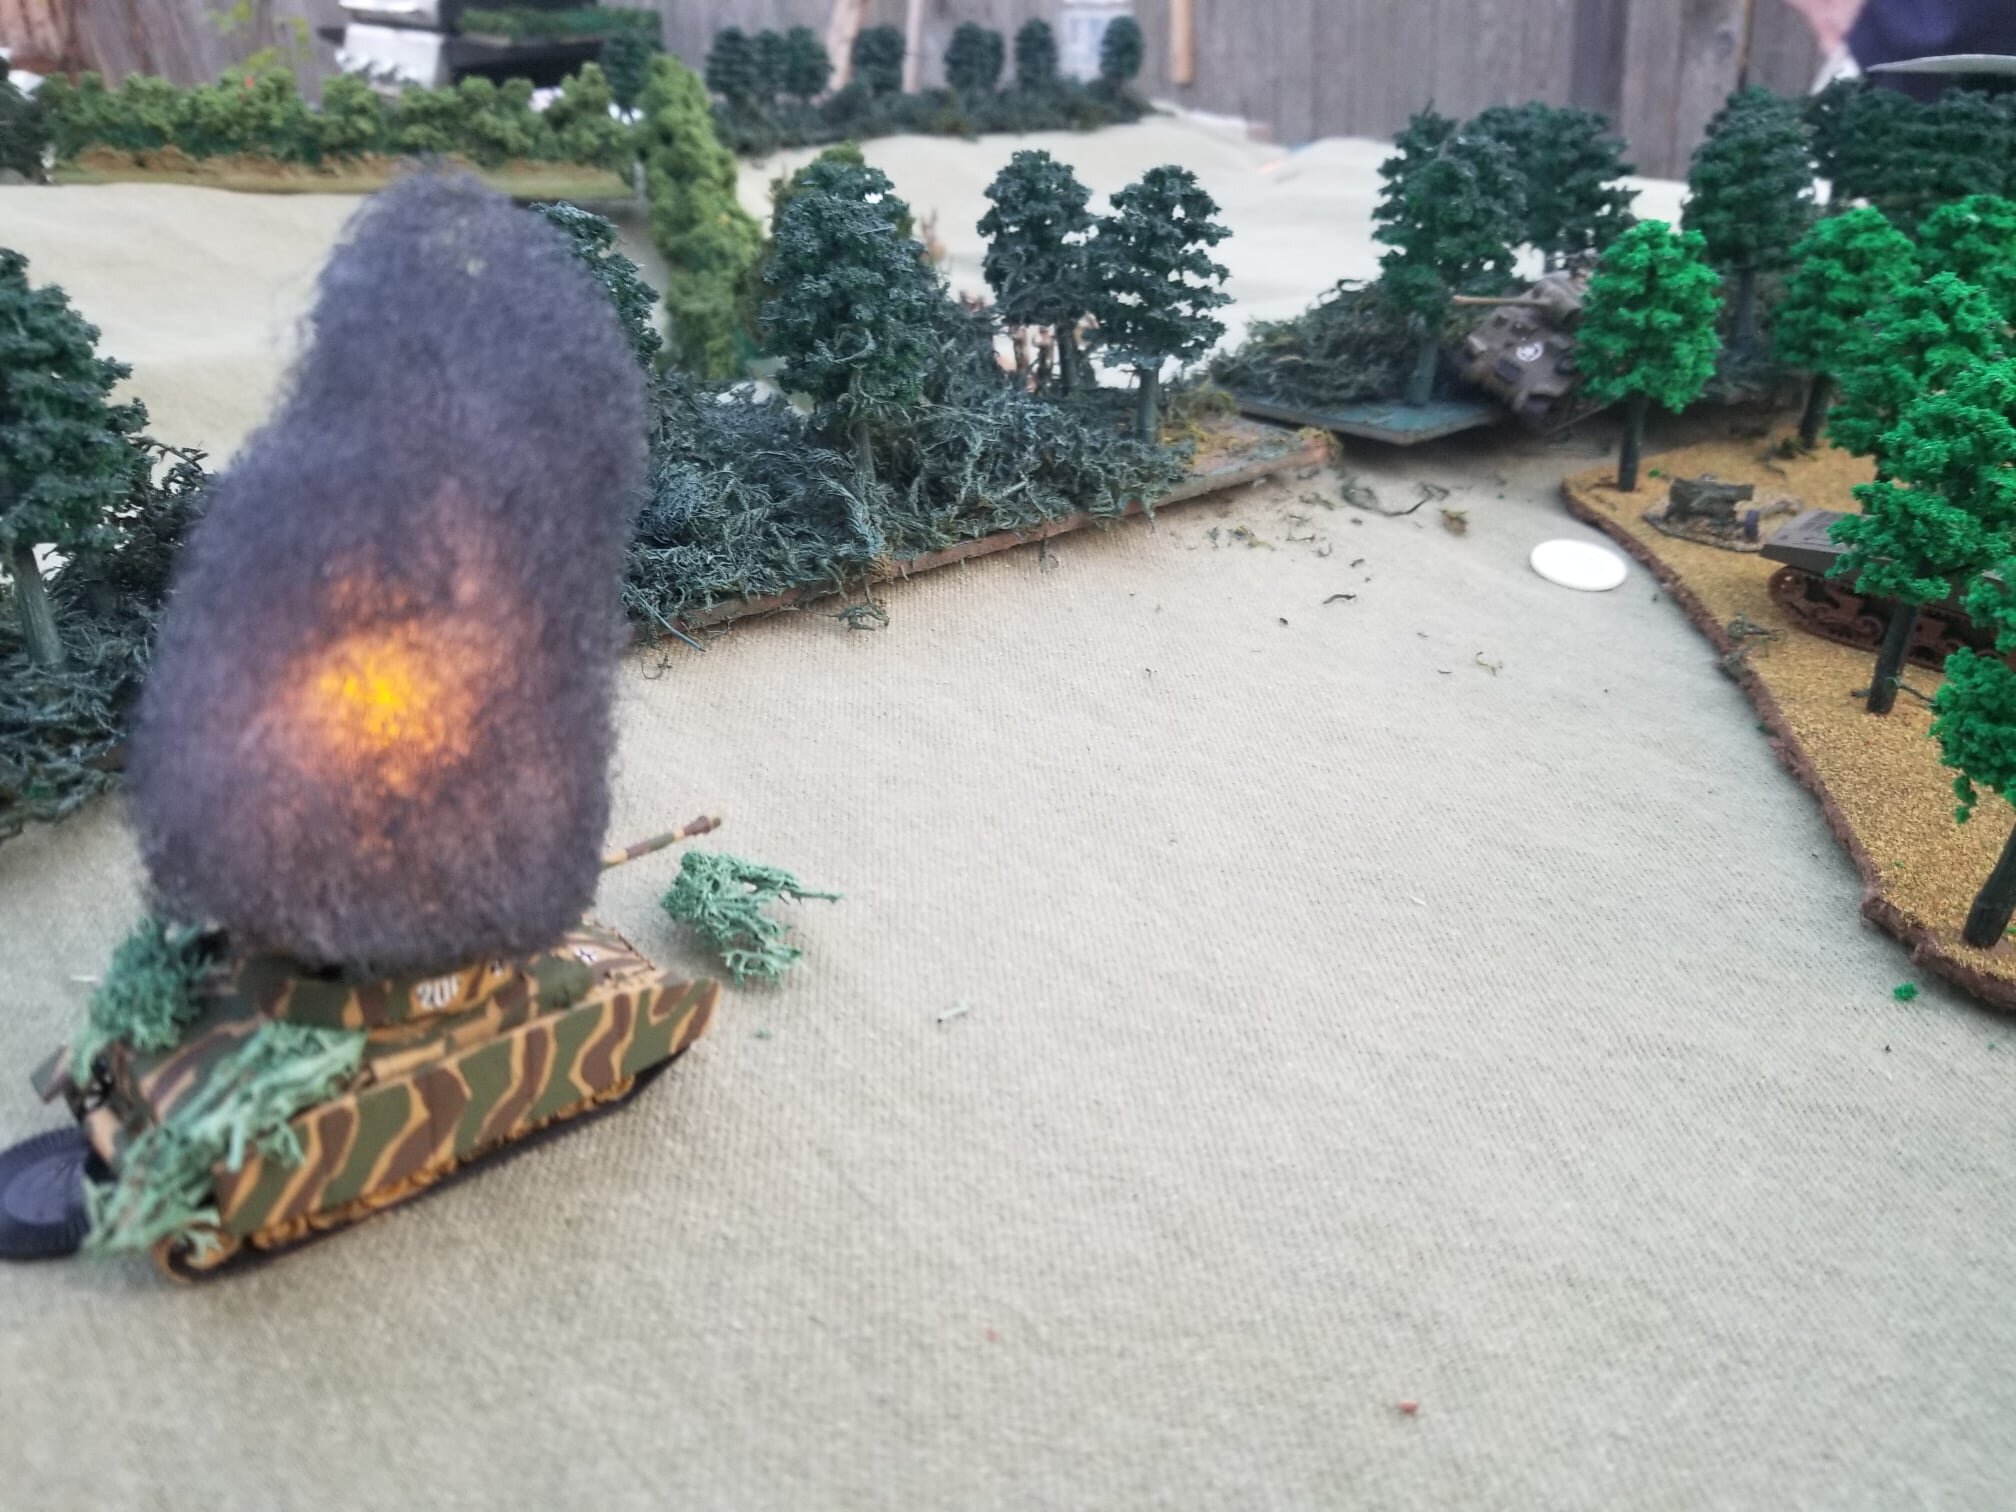
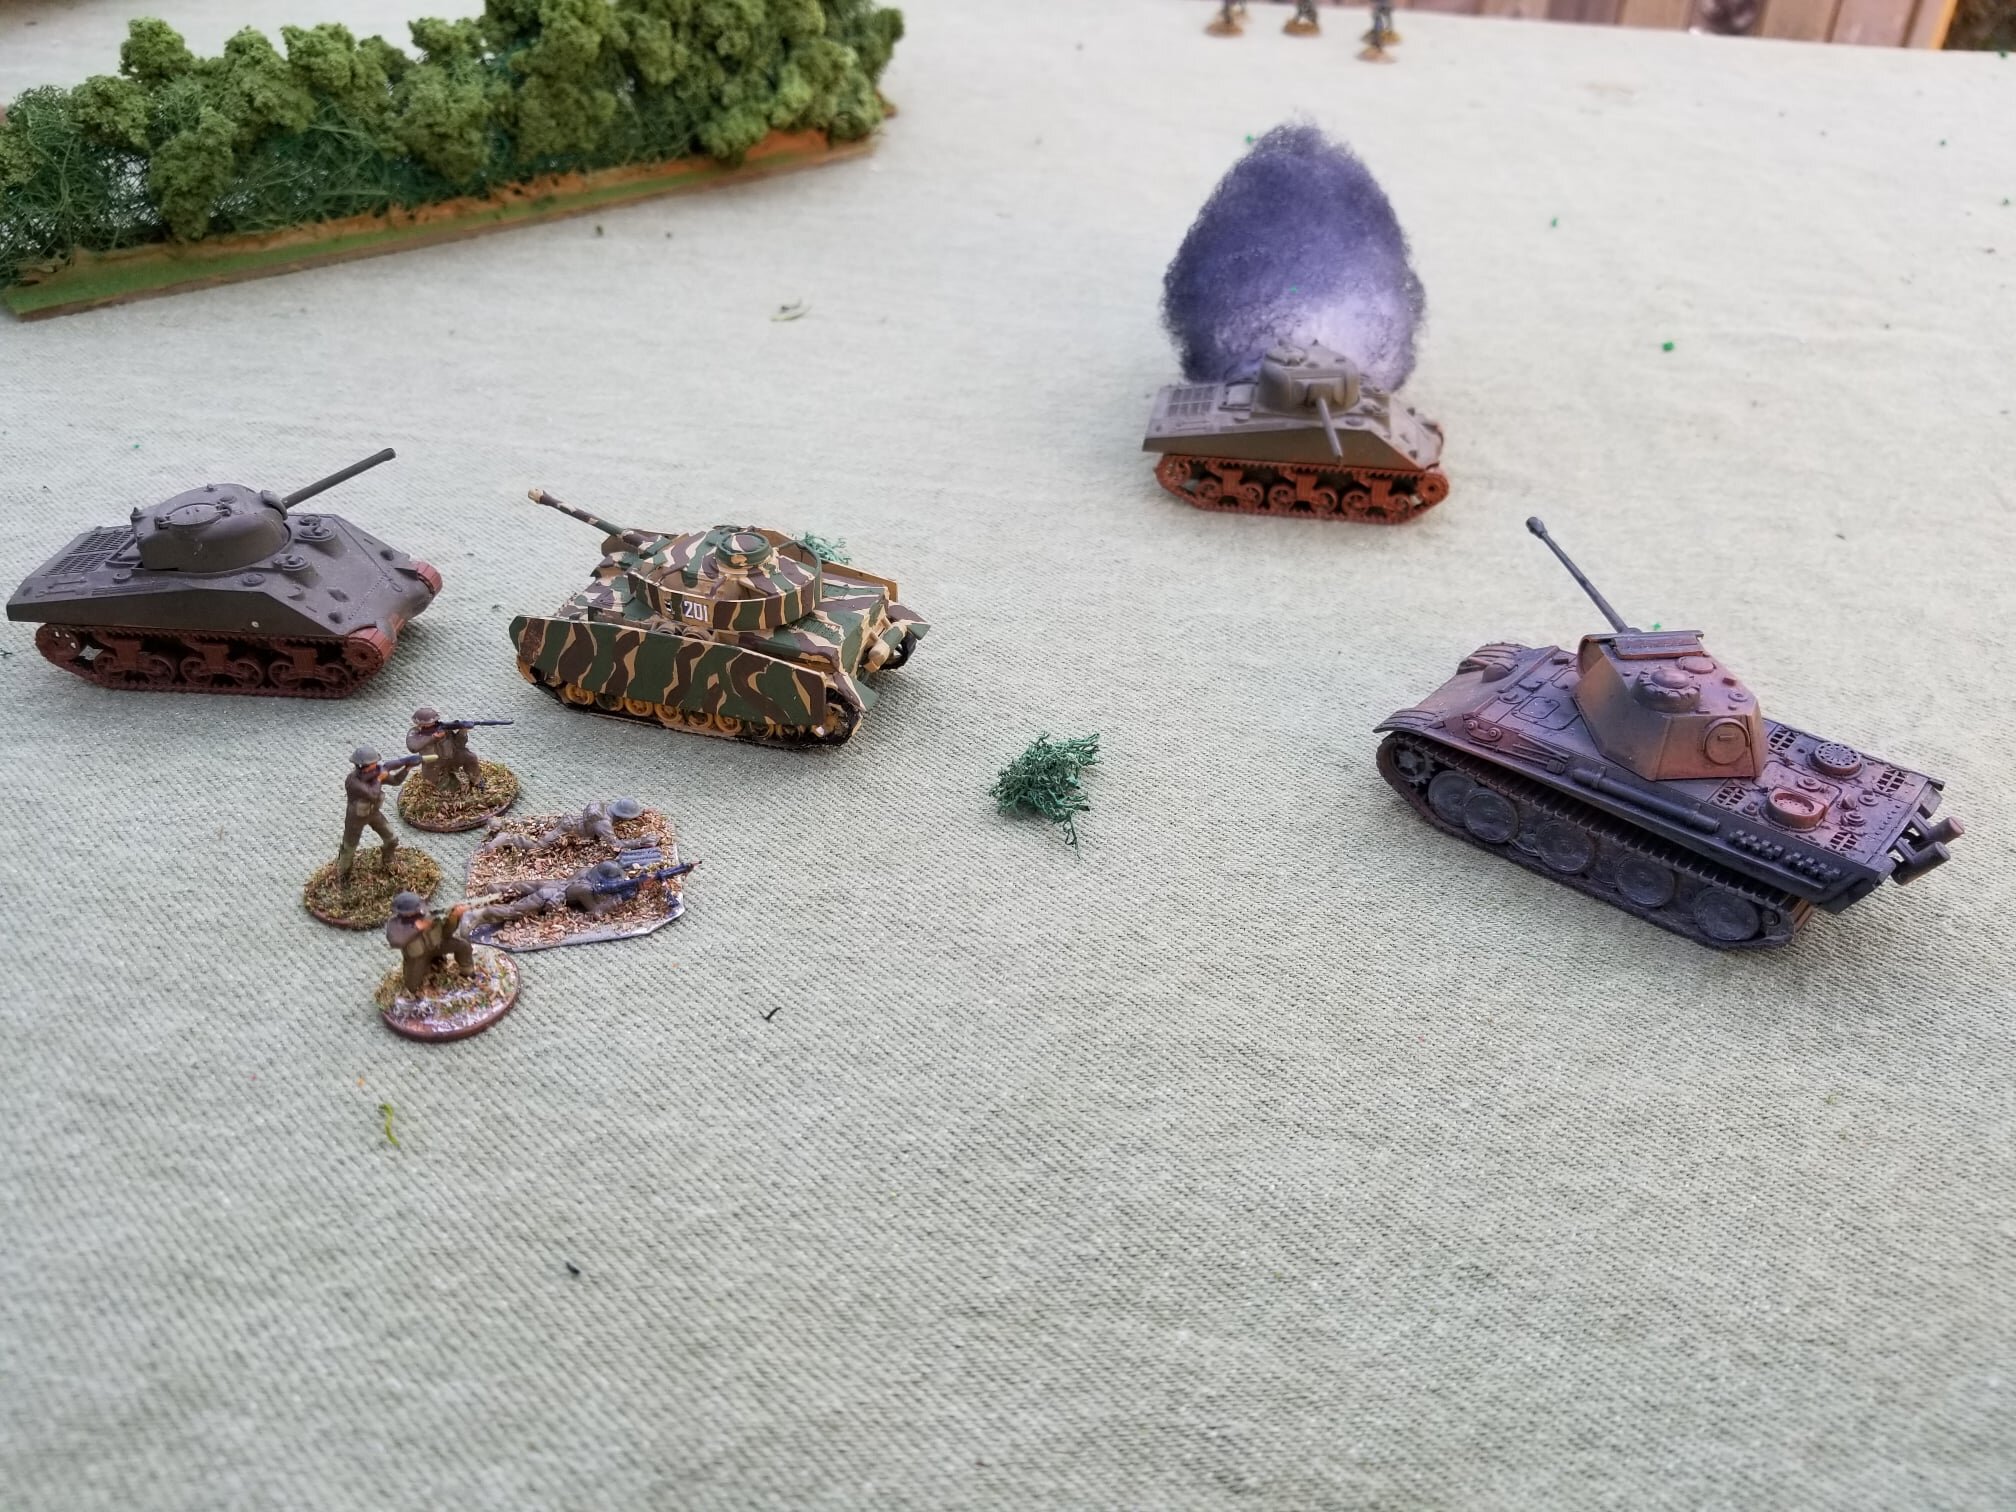
Nige now started to pin down my troops as two Geb.36, 75mm mountain guns, were revealed. One was sited in rocky ground just north of my Bofors and the other in the NW corner of the table. These proved to be very useful in causing a critical hit on a building containing my HQ Platoon and also dropping a couple of shells into my first Platoon.
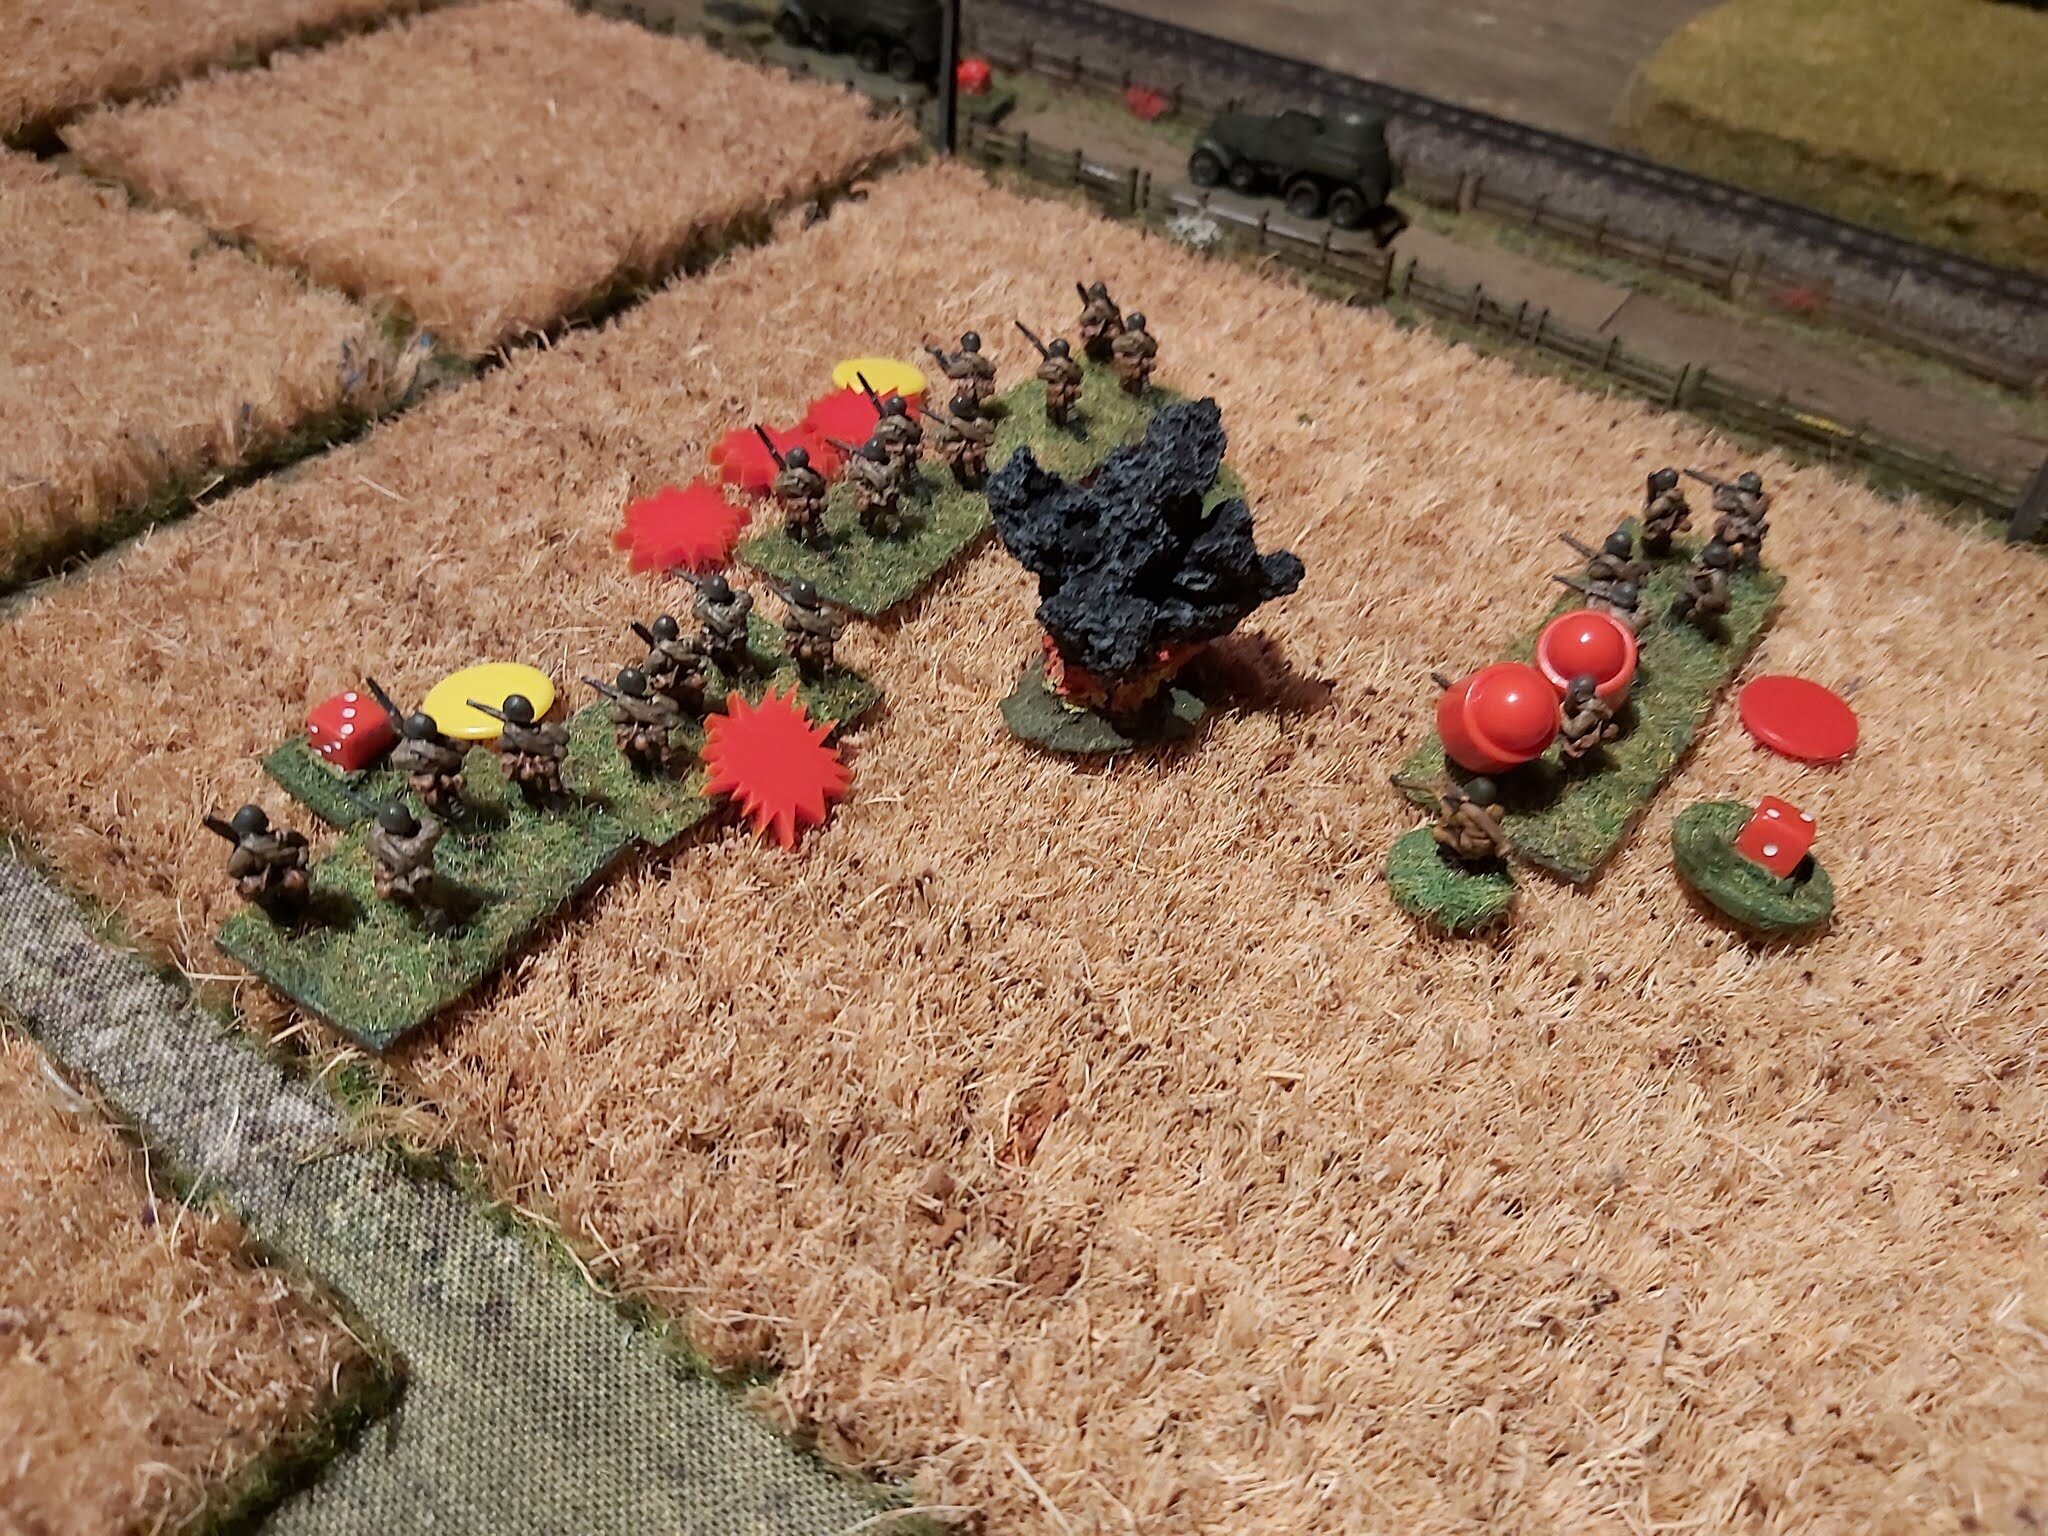
More seriously perhaps, the FJ now penetrated into the northern half of the town but then found themselves pinned down in the buildings with little hope of advancing as wounds mounted up.
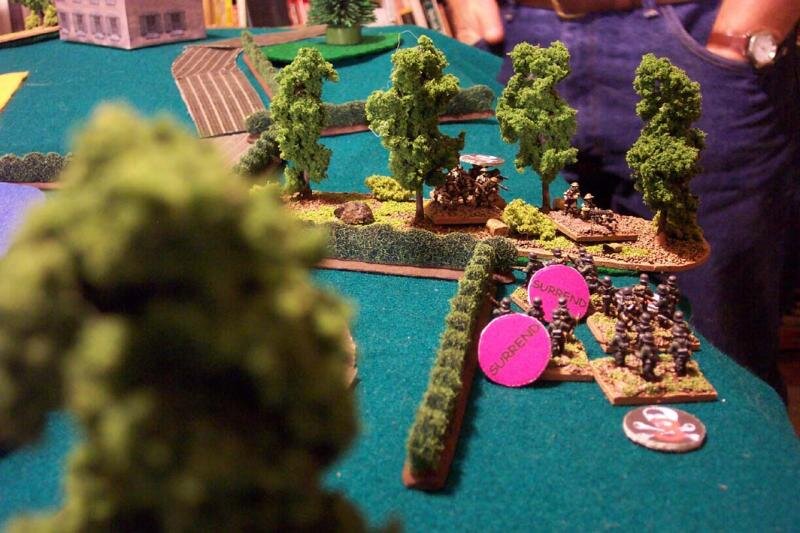
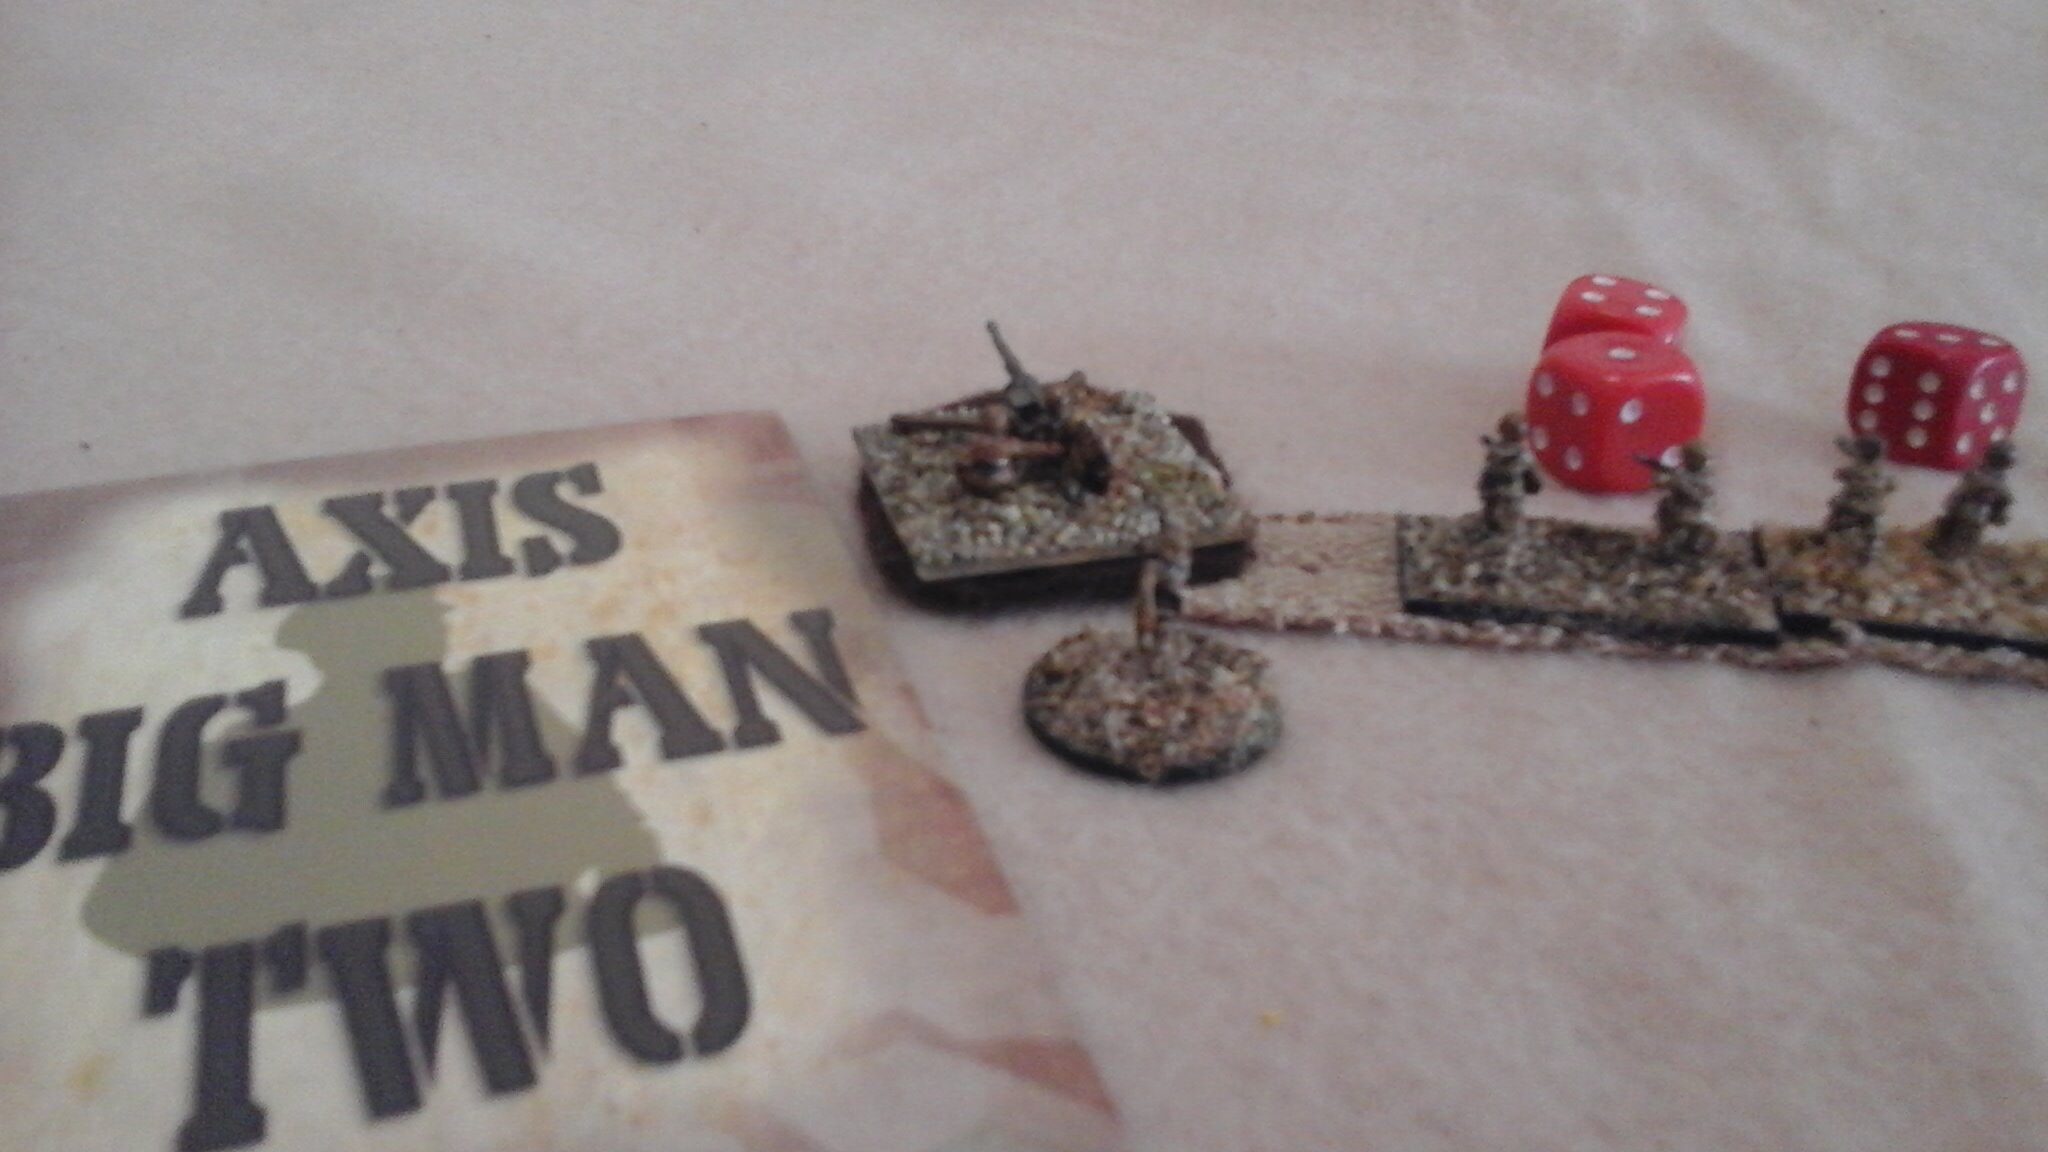
On a 'Heroic Leader' chip, Sgt 'Ripper' Hymen led his section, and a Boys AT rifle crew, into an assault into a building defended by FJ a Big Man AND a MG34. Defeated he was forced to retreat to the church but only just lost as Nige threw lots of bum rolls.
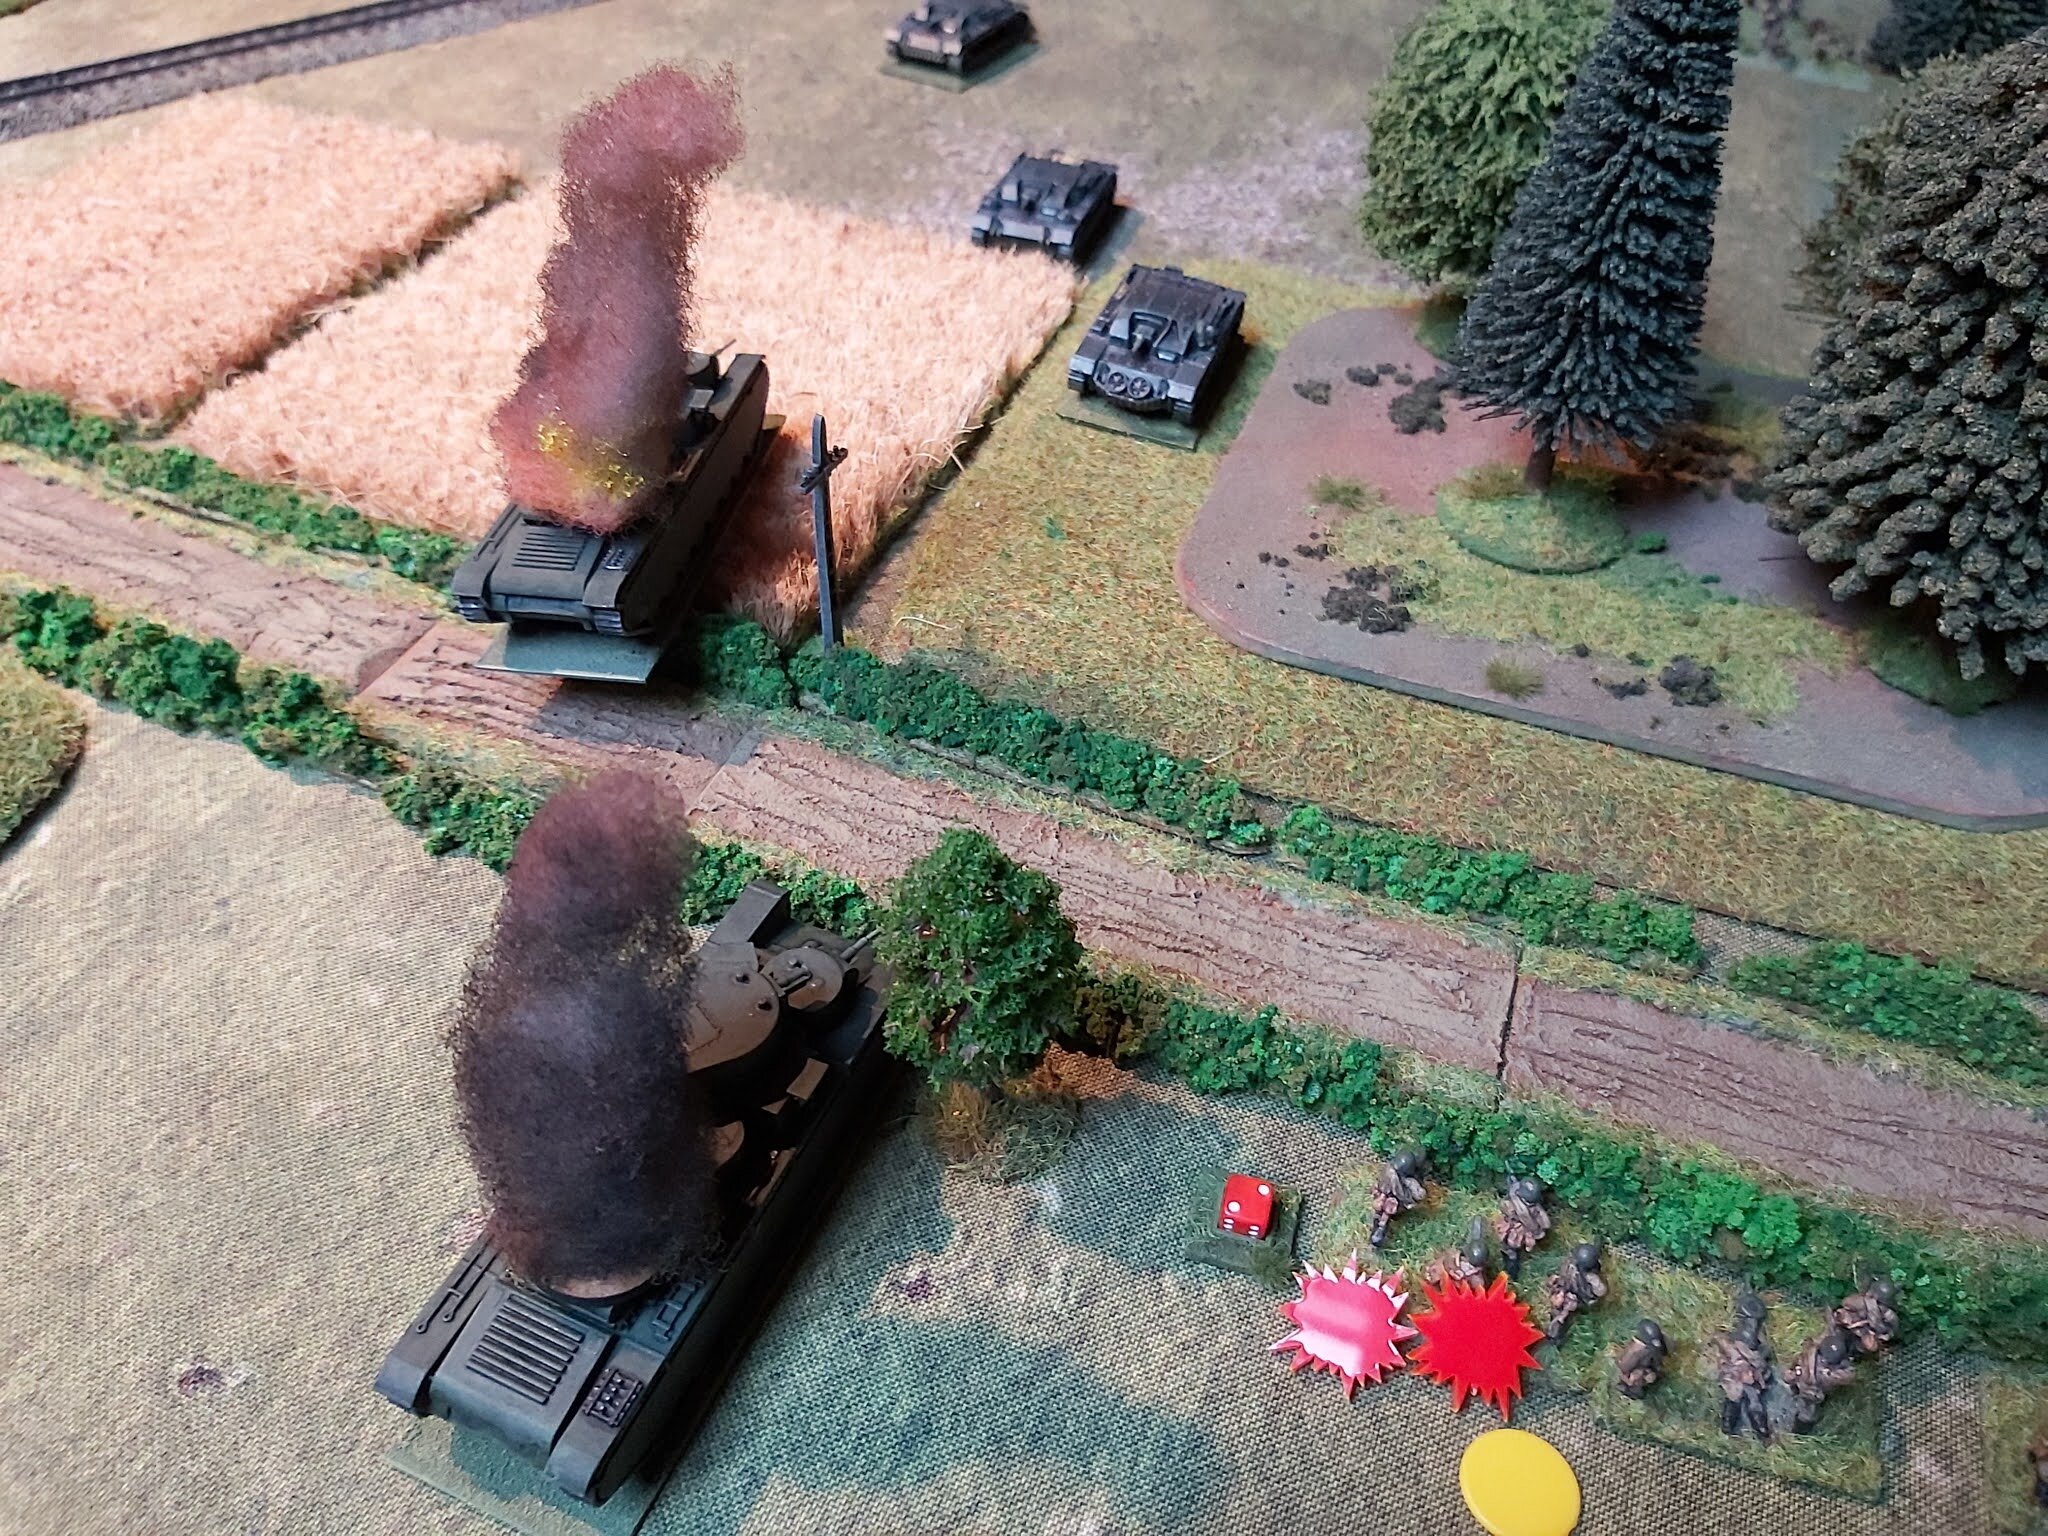
My pillbox Vickers MG had by now forced a FJ Platoon into cover, and had turned the FJ HQ into a ruin of screaming, bleeding remnants. My remaining 3" mortar continued its good service killing the German C-in-C and also knocked out a mountain gun.
I was forced to manoeuvre my first Platoon along the road and into the eastern half of the town to shore up my defences. I was in the process of doing so when they were hit, first by a Geb 36 and then by the surviving 81mm mortar.
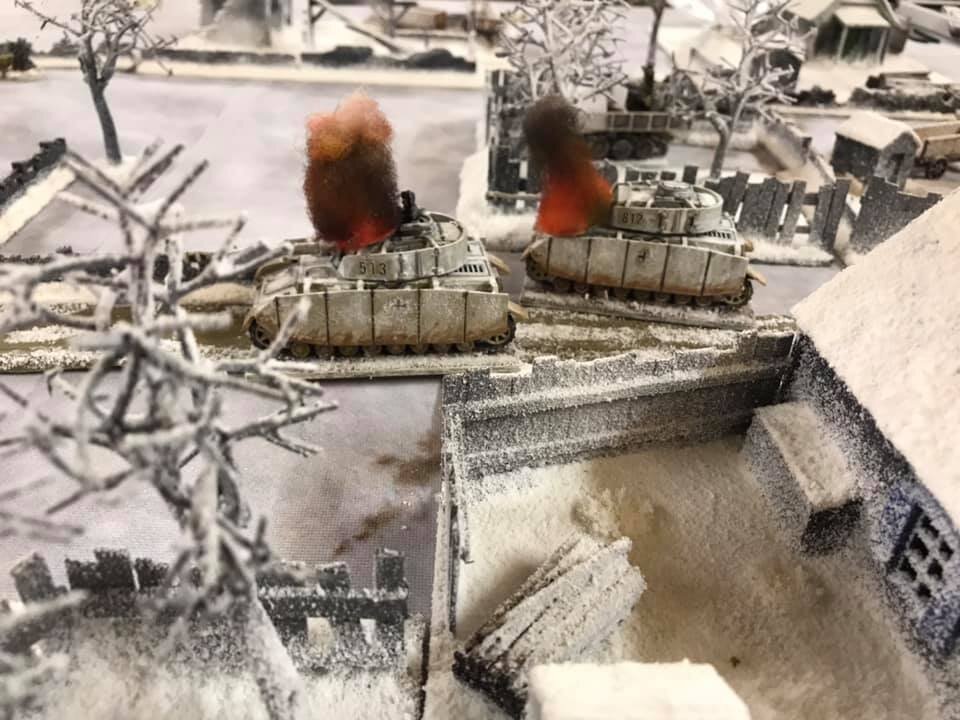
A last act saw my pillbox finally succumb to a Stuka attack but by then it was too late.
My Kiwi's had held the town but had lost almost a full third of their number. The FJ had manoeuvred well and even with their superior firepower had just managed to occupy the northern edge of the town. The cost had been very high though. Over 50% of the FJ would never jump again!
An interesting game involving the very effective FJ. Fielding four initiative dice, and throwing an extra dice at short range, plus one if accompanied by a Big Man, meant that in some cases they could advance three dice and still fire with three.
I managed to hold them up though largely due to my pillbox Vickers MG and Sgt Hal I. Tosis who controlled the entire western flank and centre and my 3" mortars which hit everything they fired at.
Not defending the towns edge meant that the FJ would get bogged down due to their spotting attempts going astray whilst I could defend the perimeter using the advantages of interior lines. This was extremely important when I rushed reserves over to the eastern side of the town after realising that my Pillbox MG could more than keep the FJ occupied.
The Geb. 36 proved to be very useful at engaging my forces and caused far more casualties than their infantry counterparts.
Kev