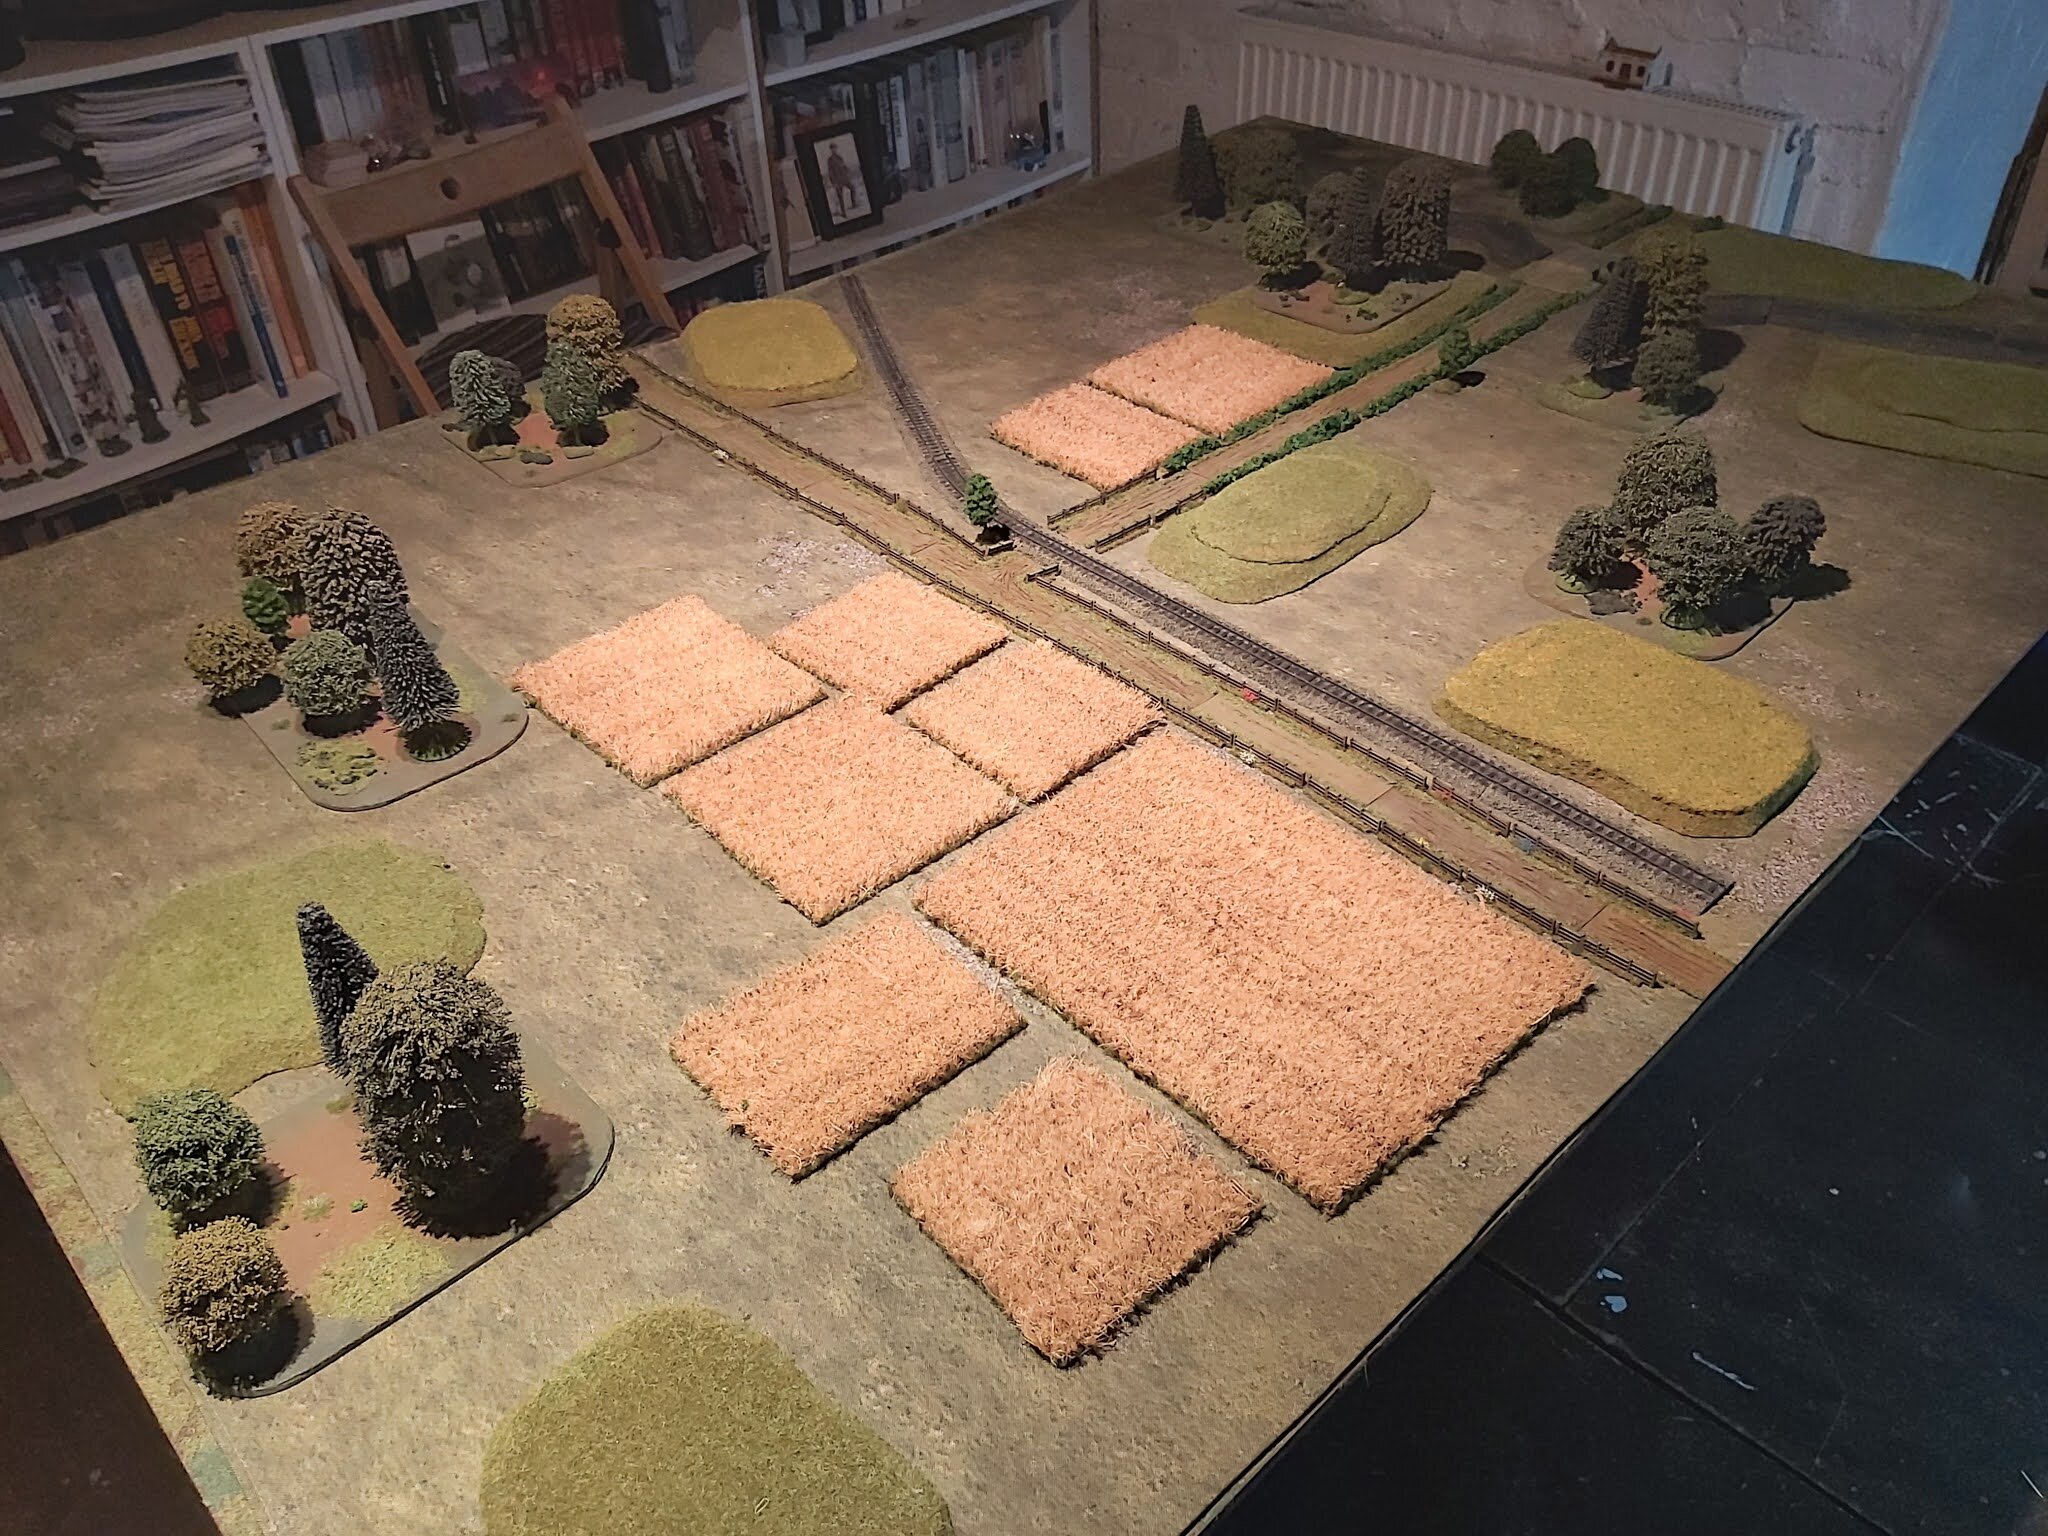
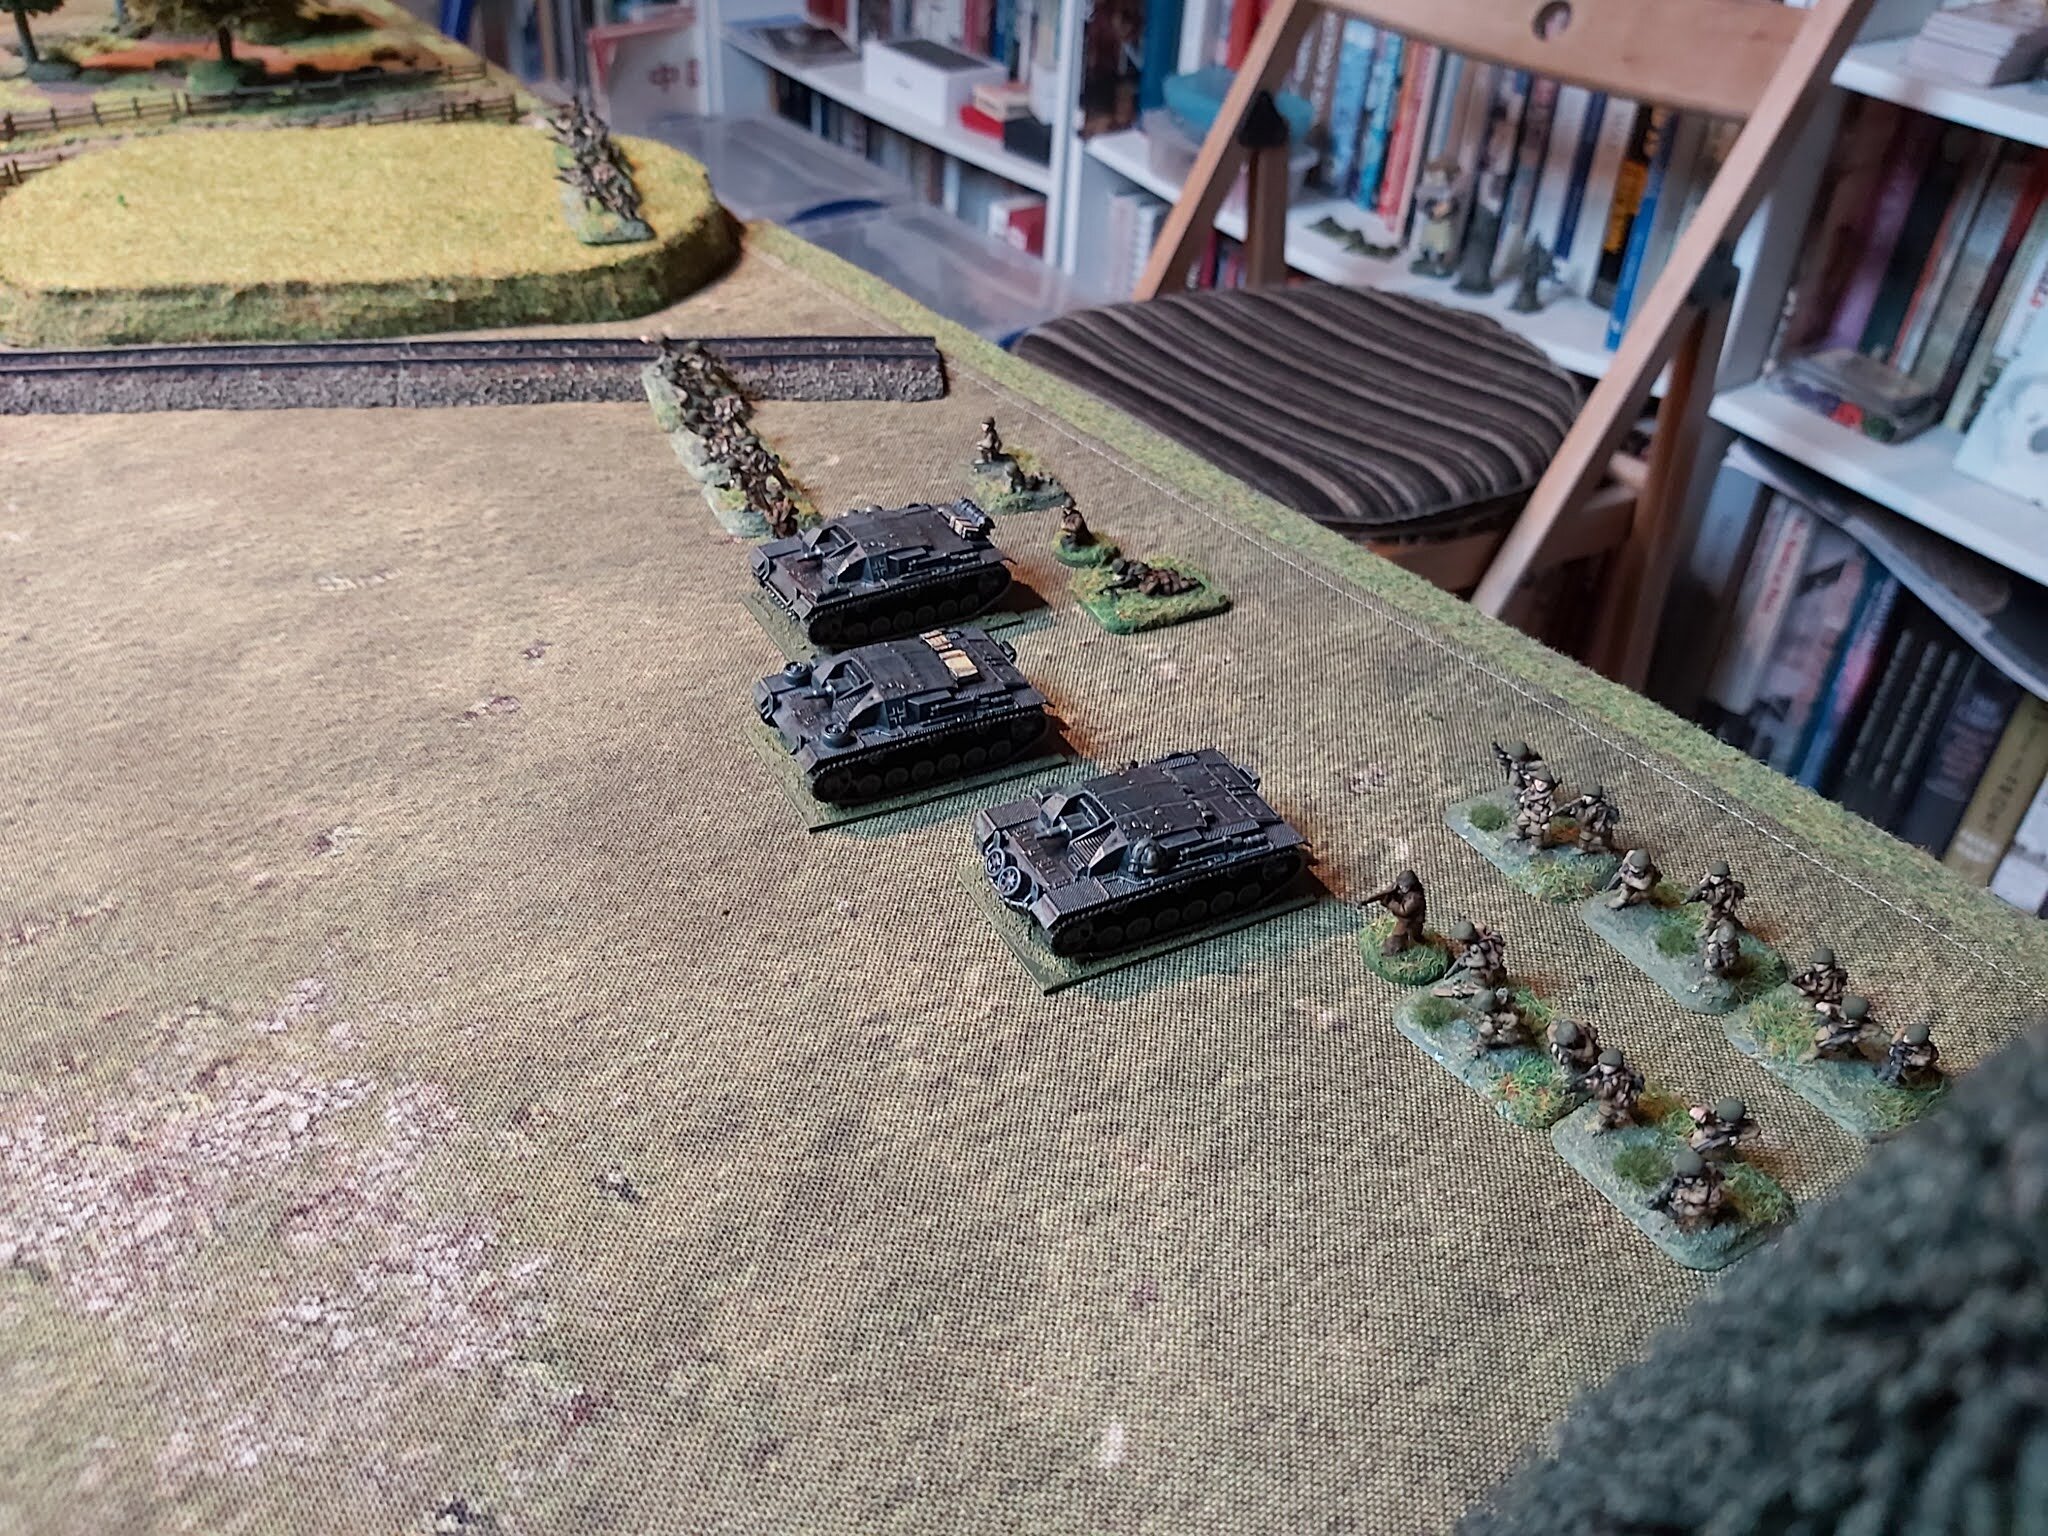
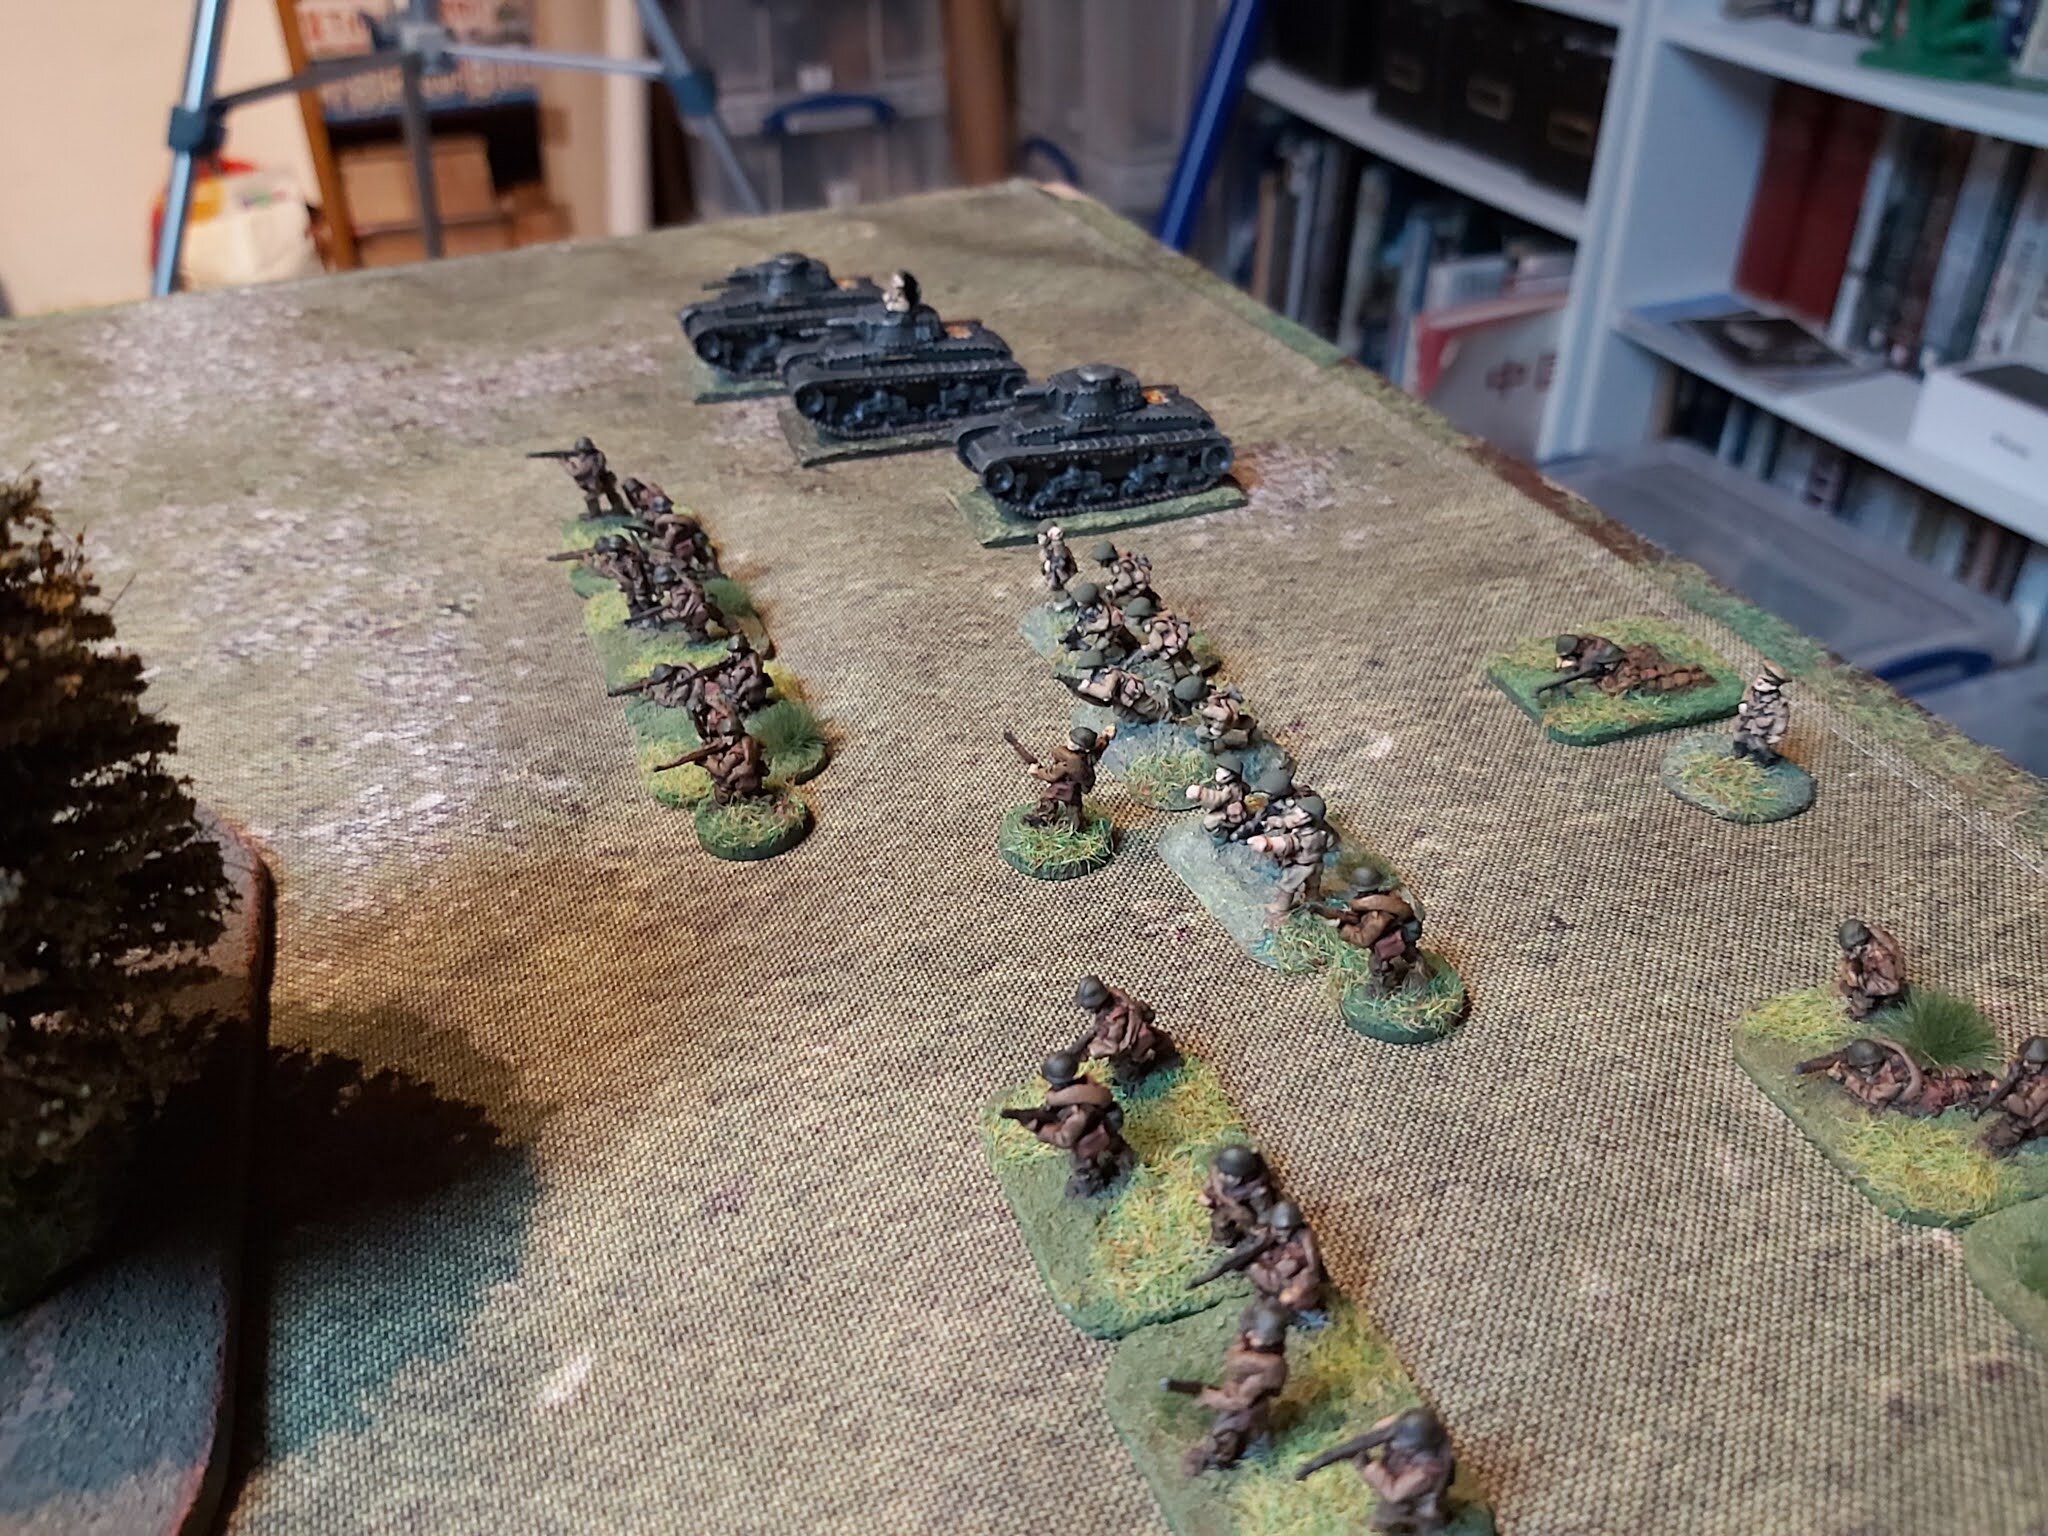
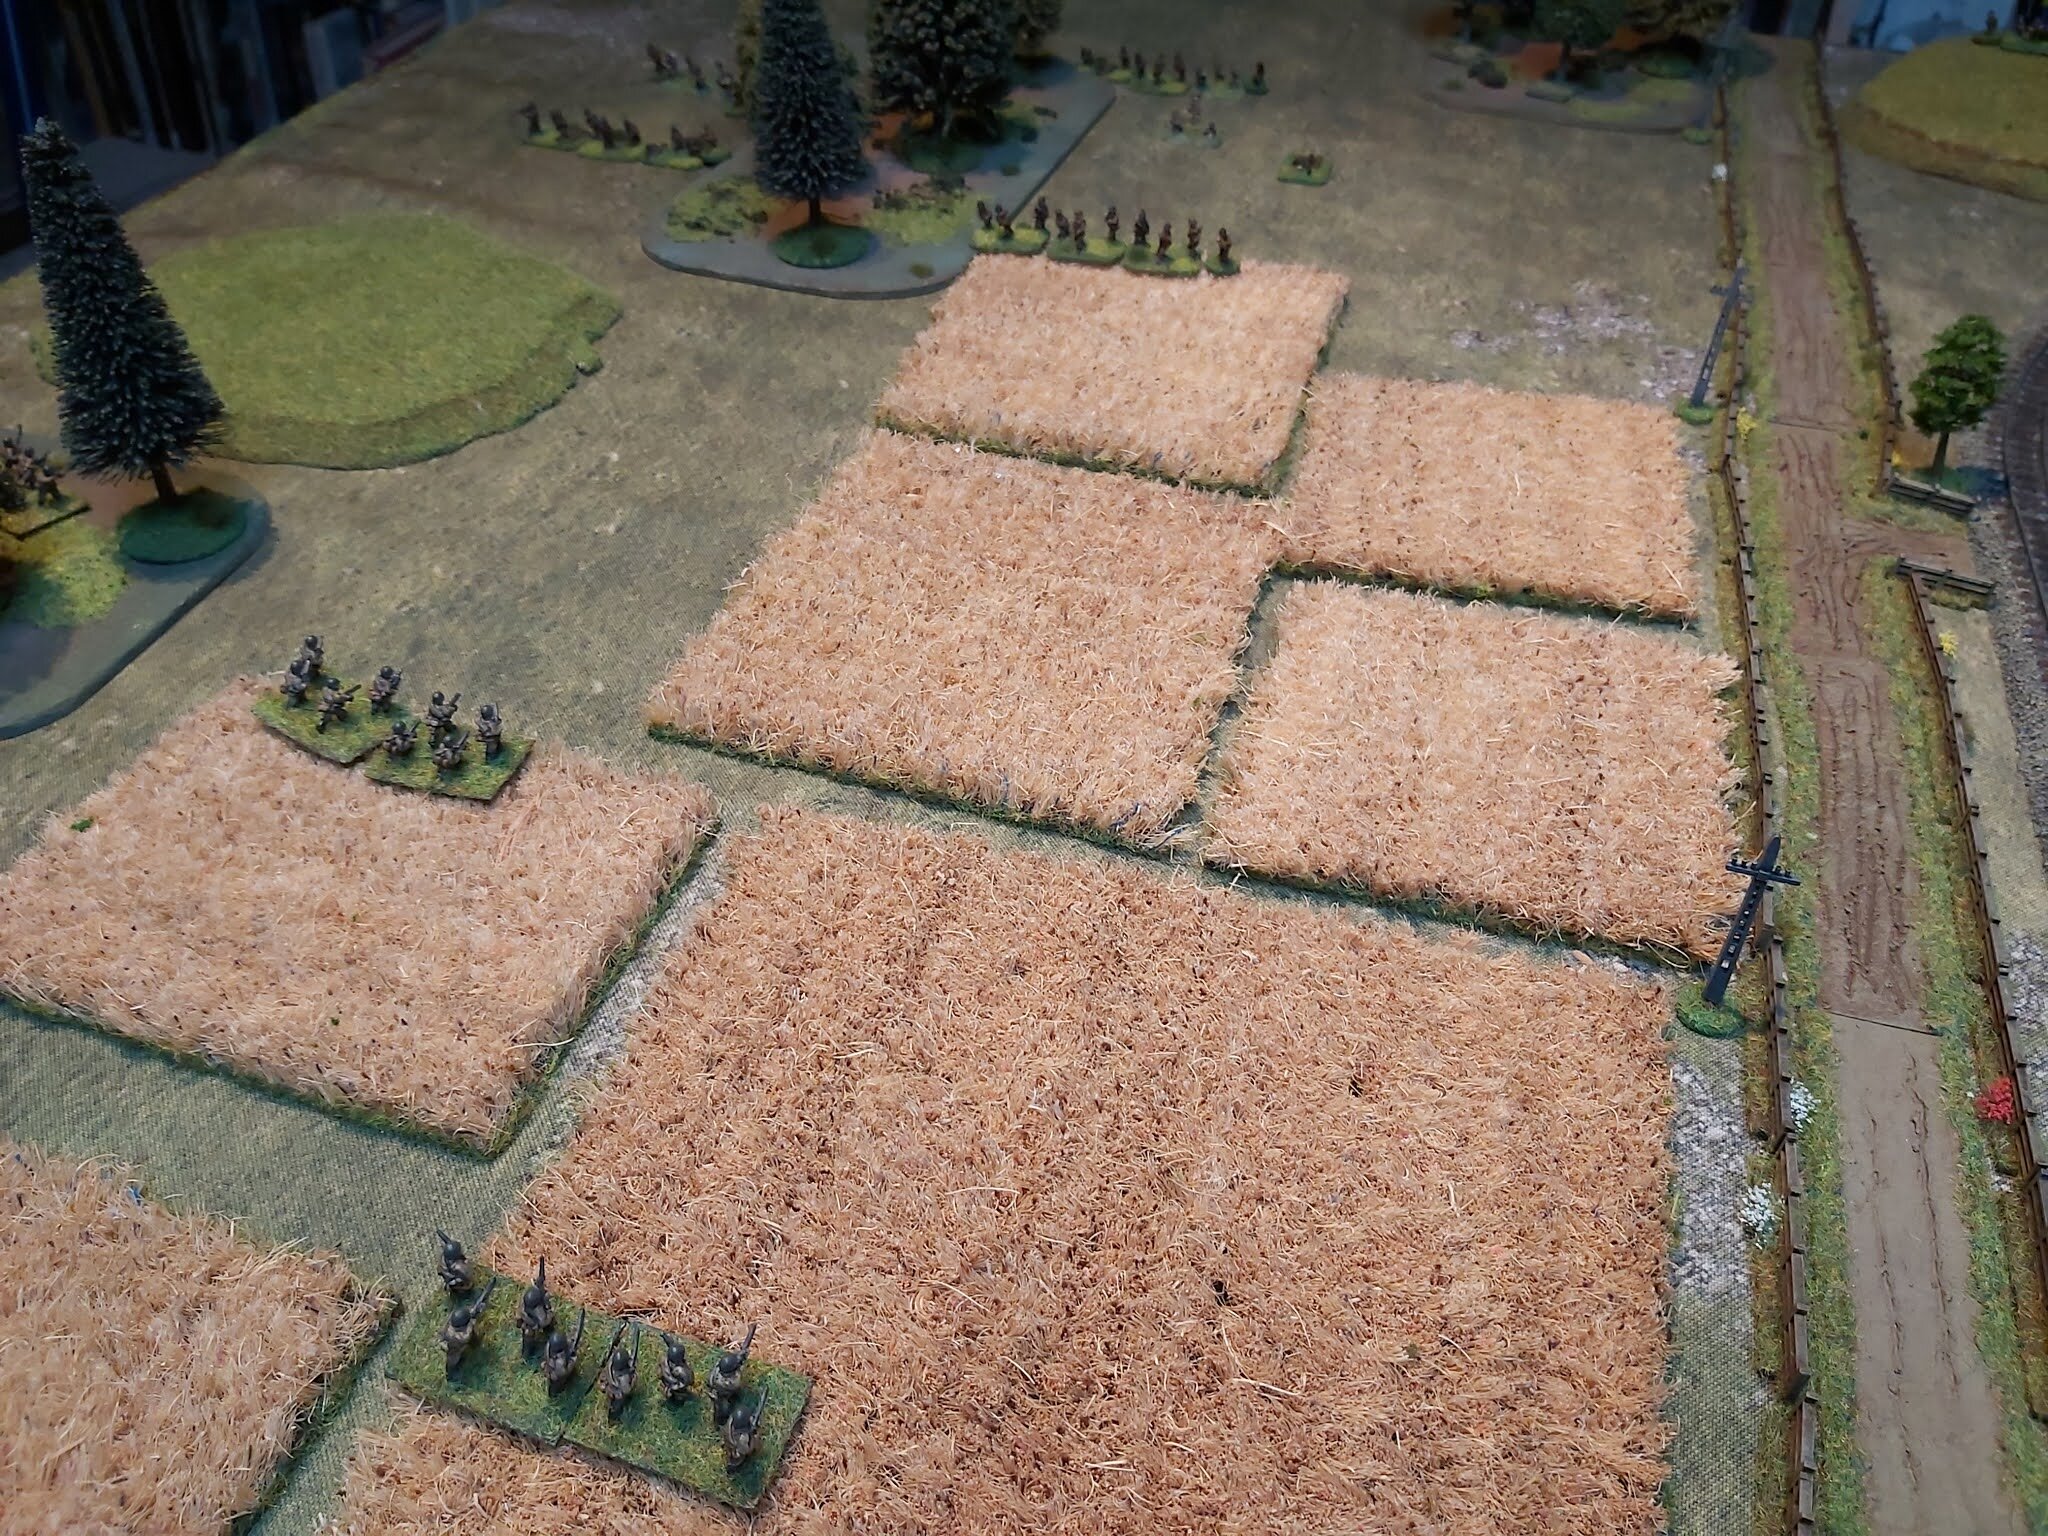
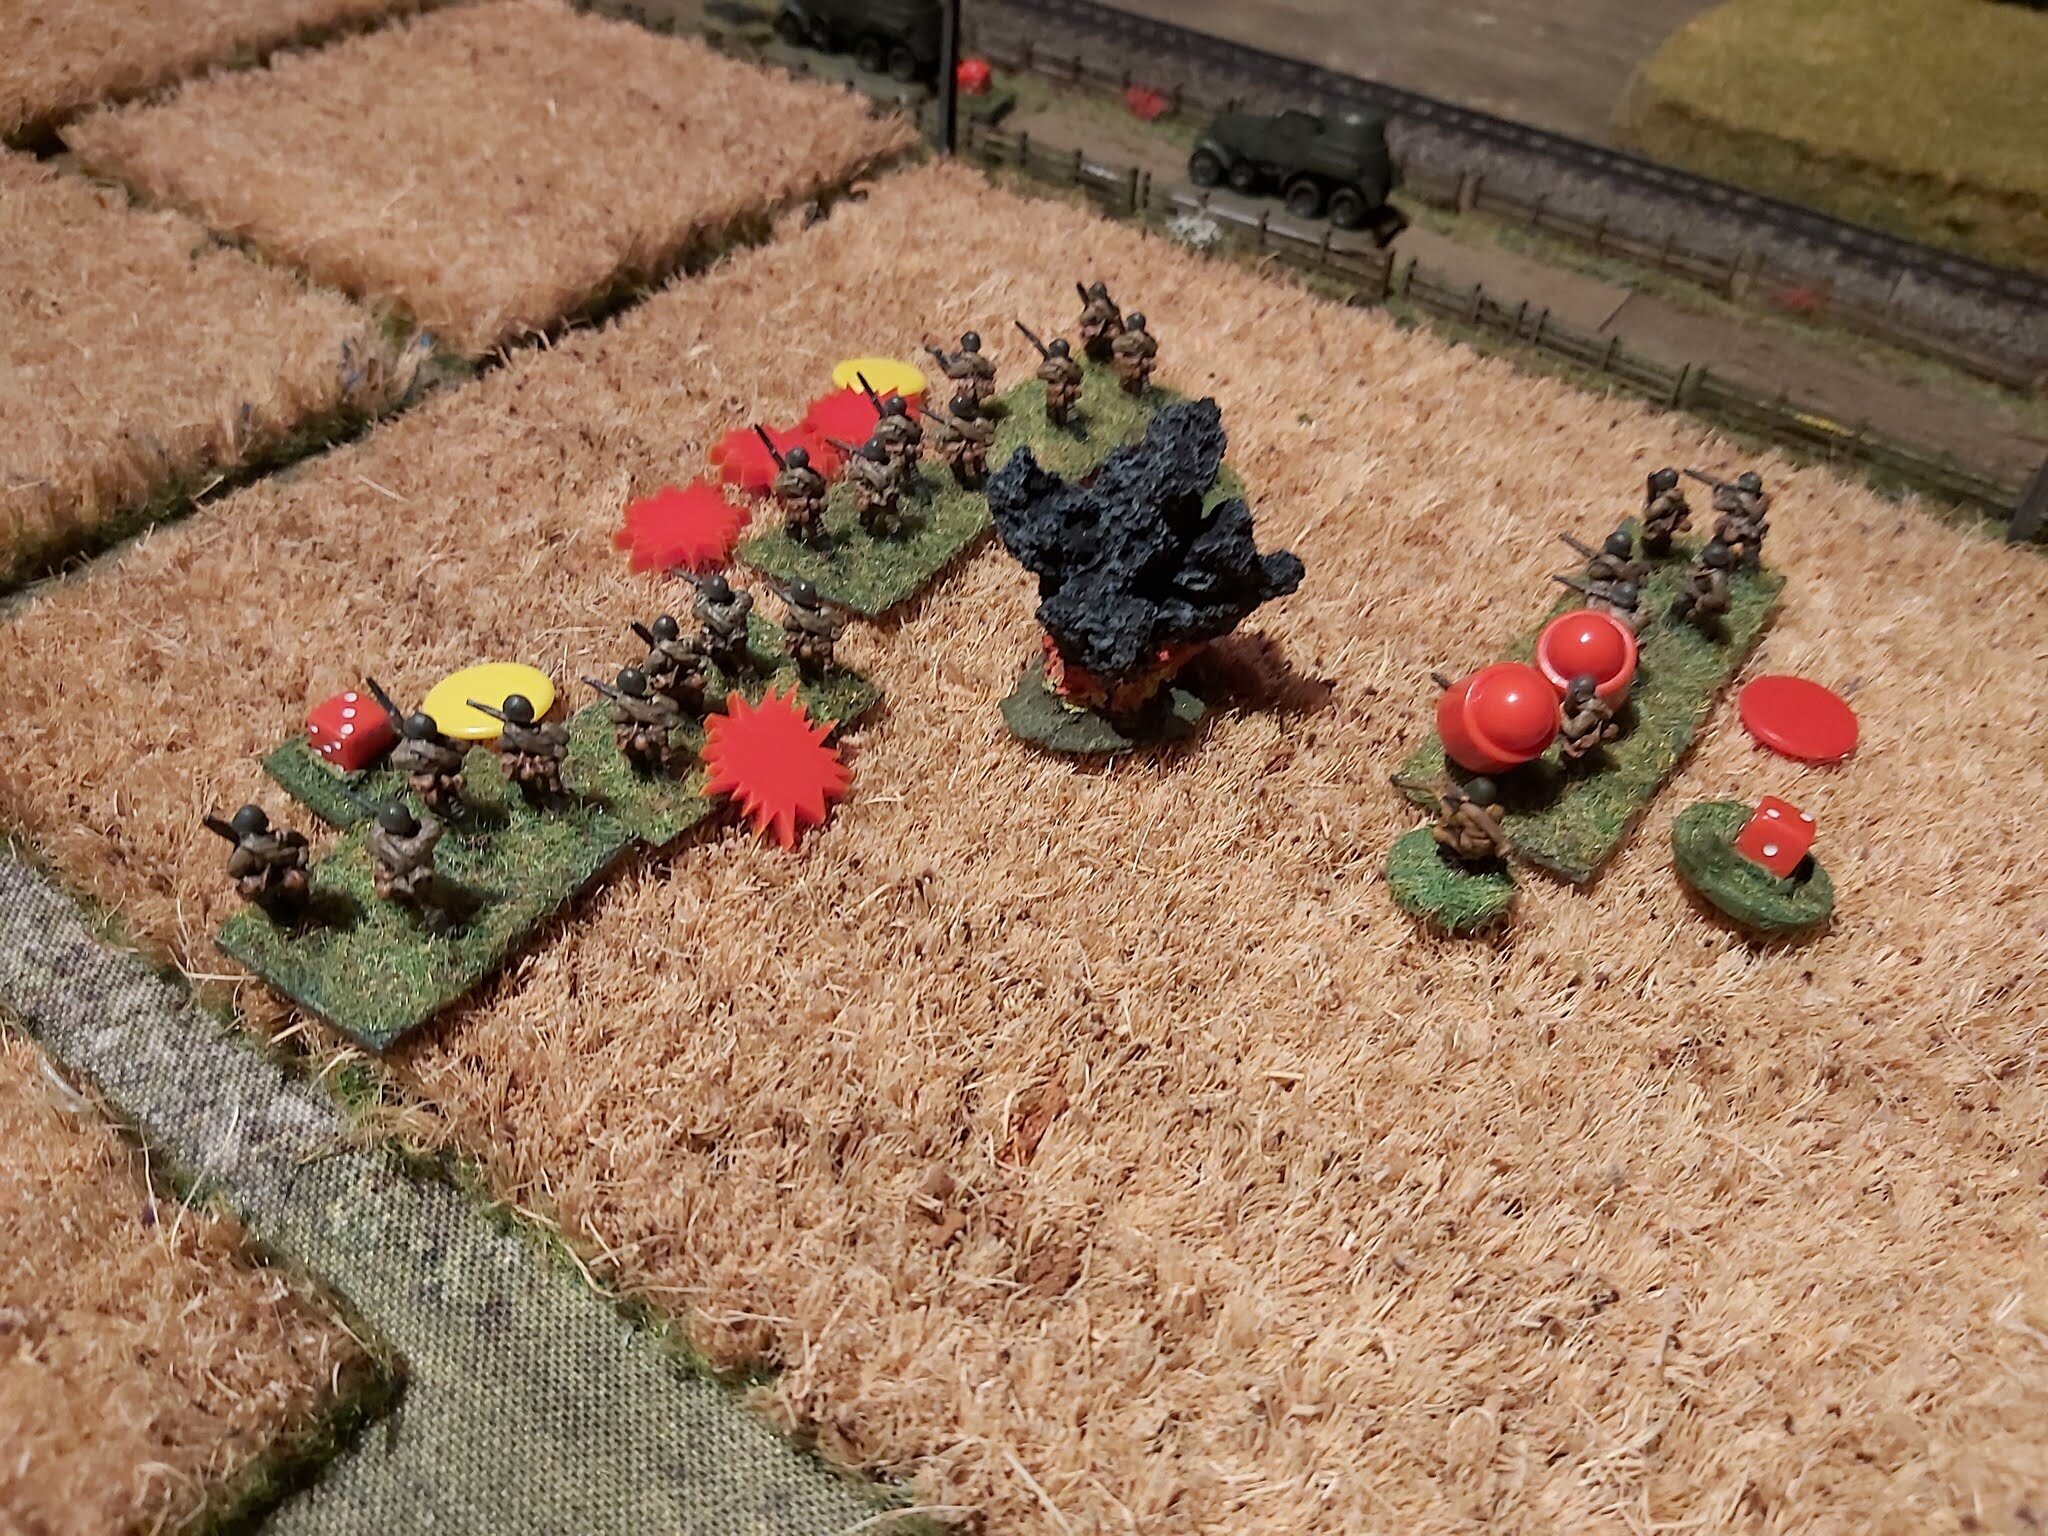
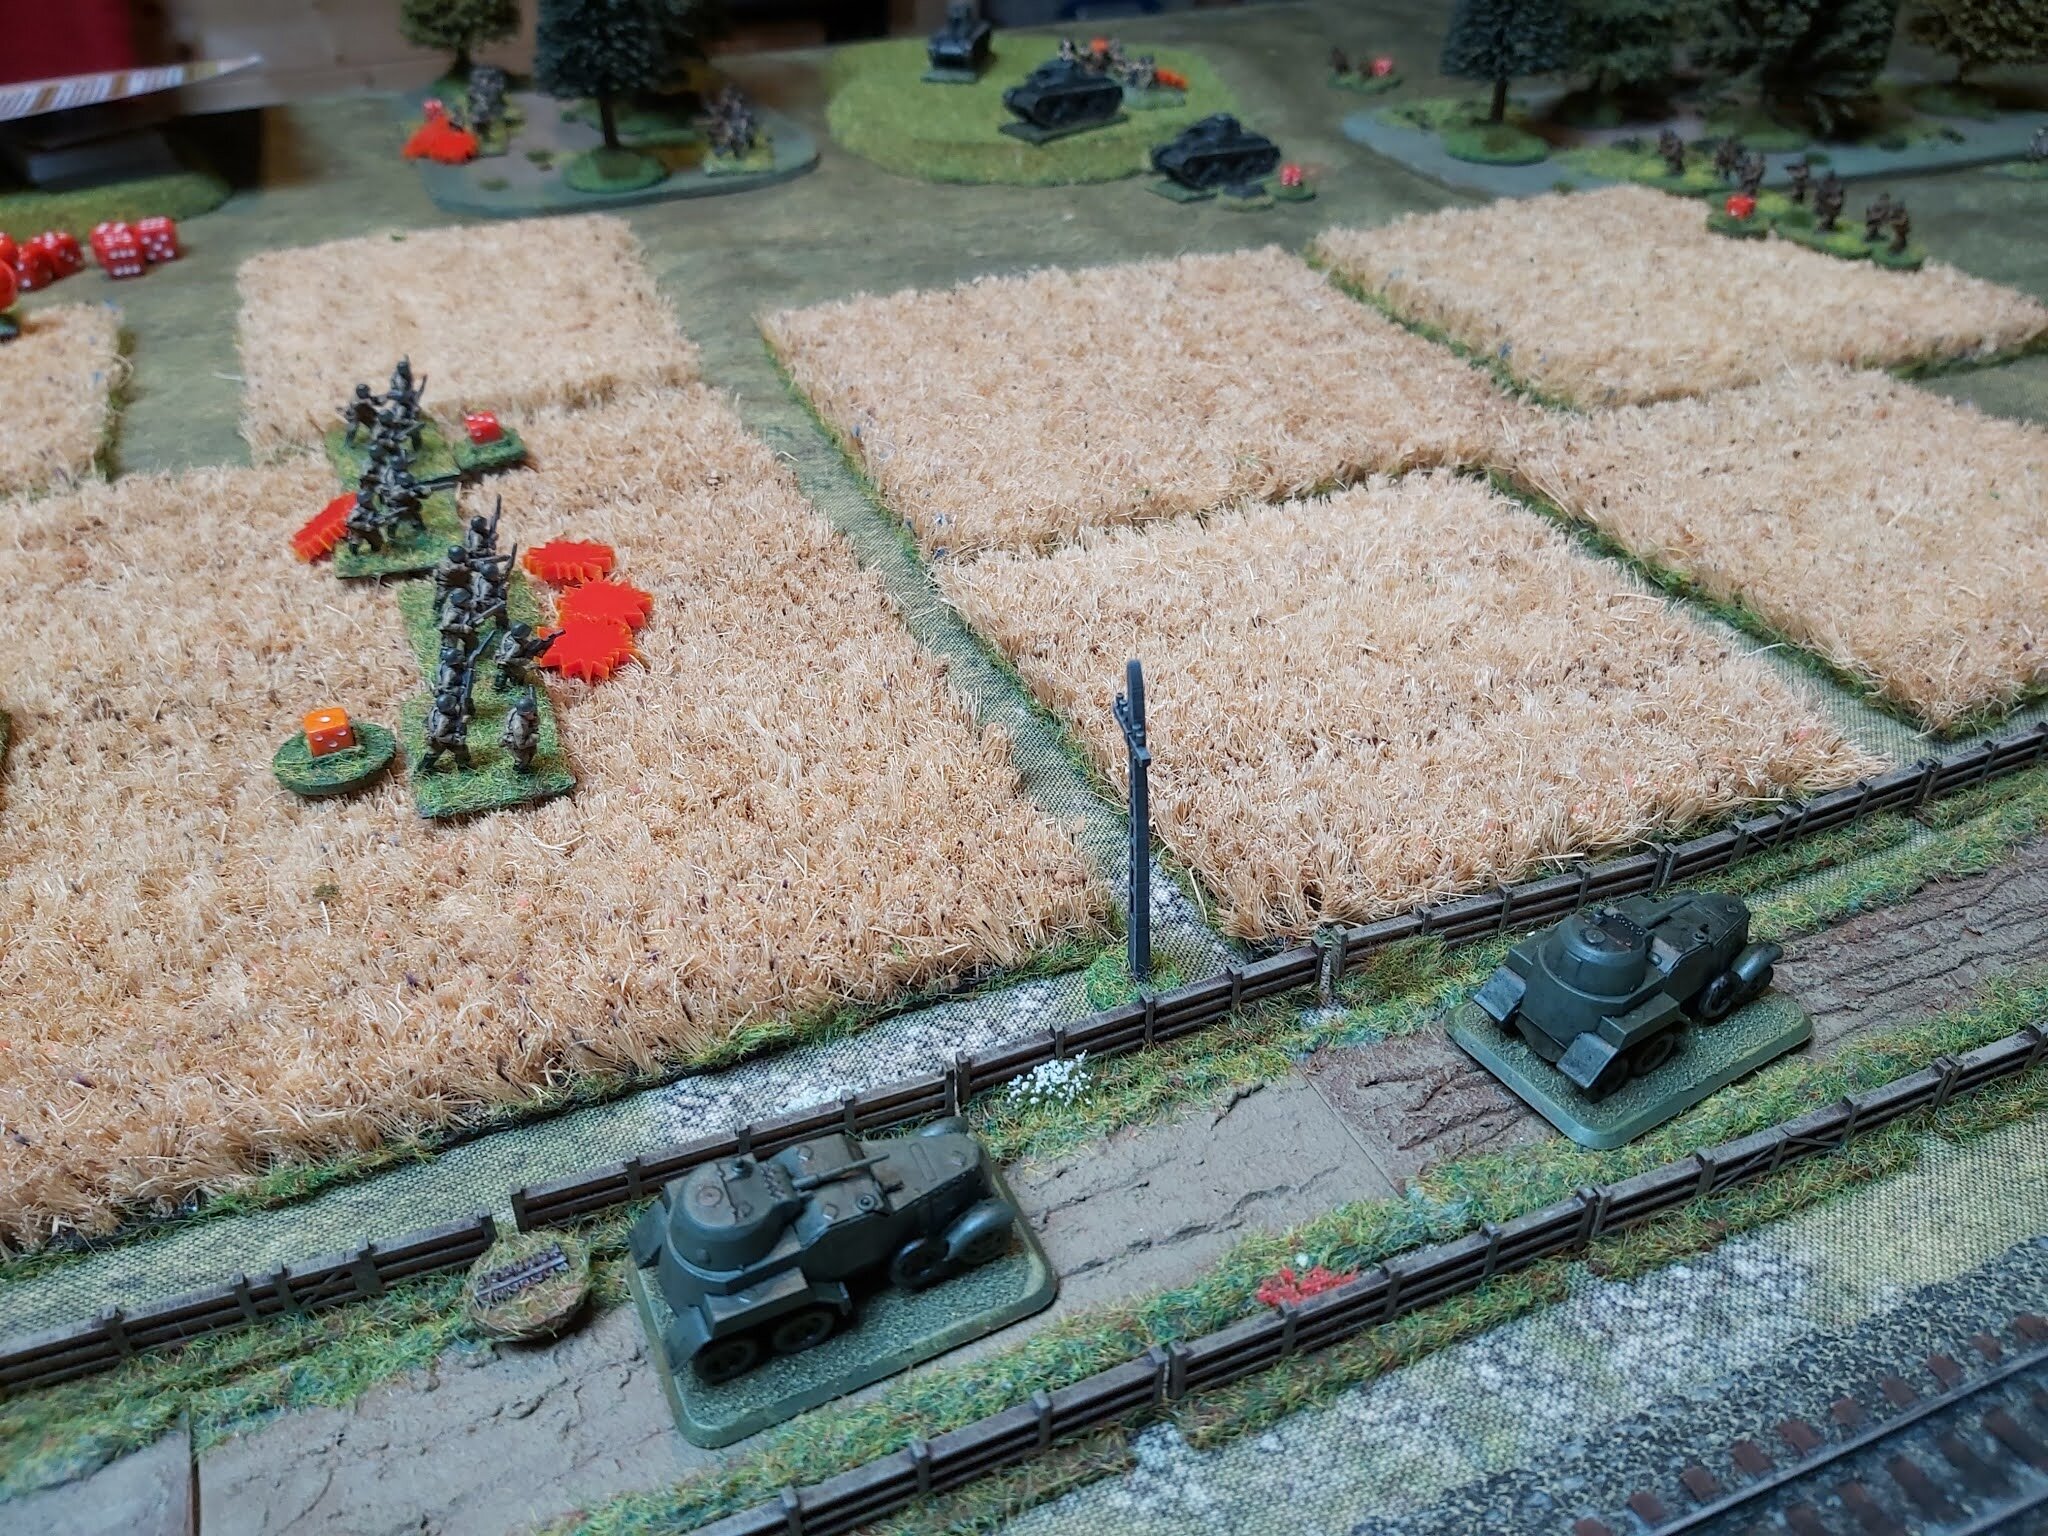
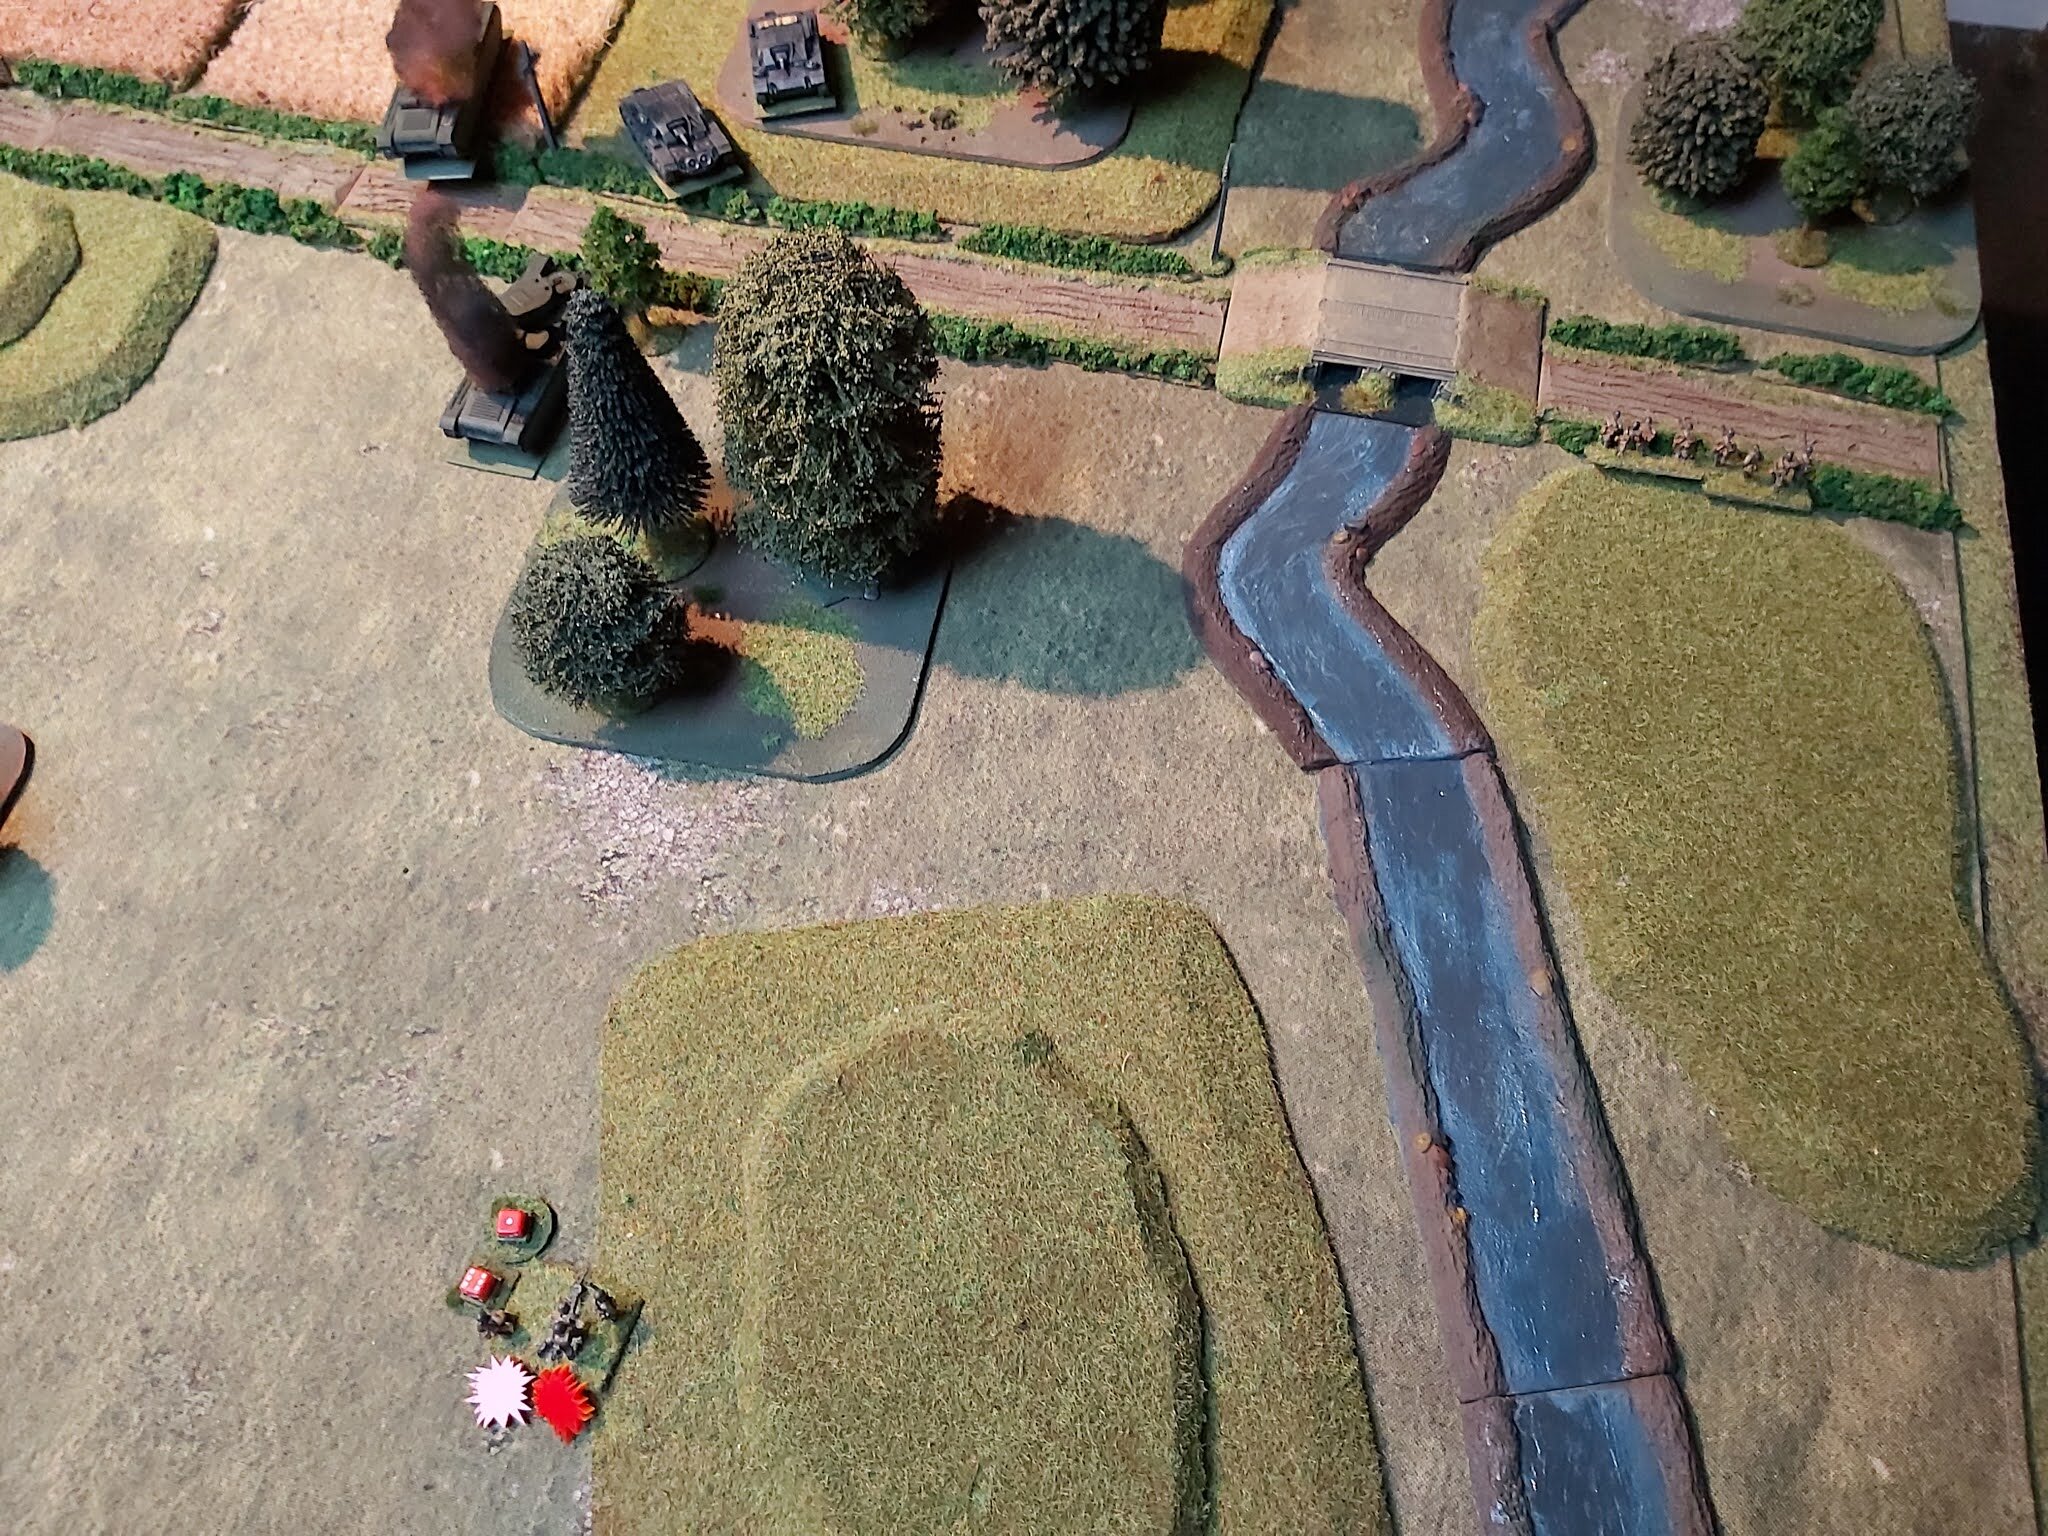
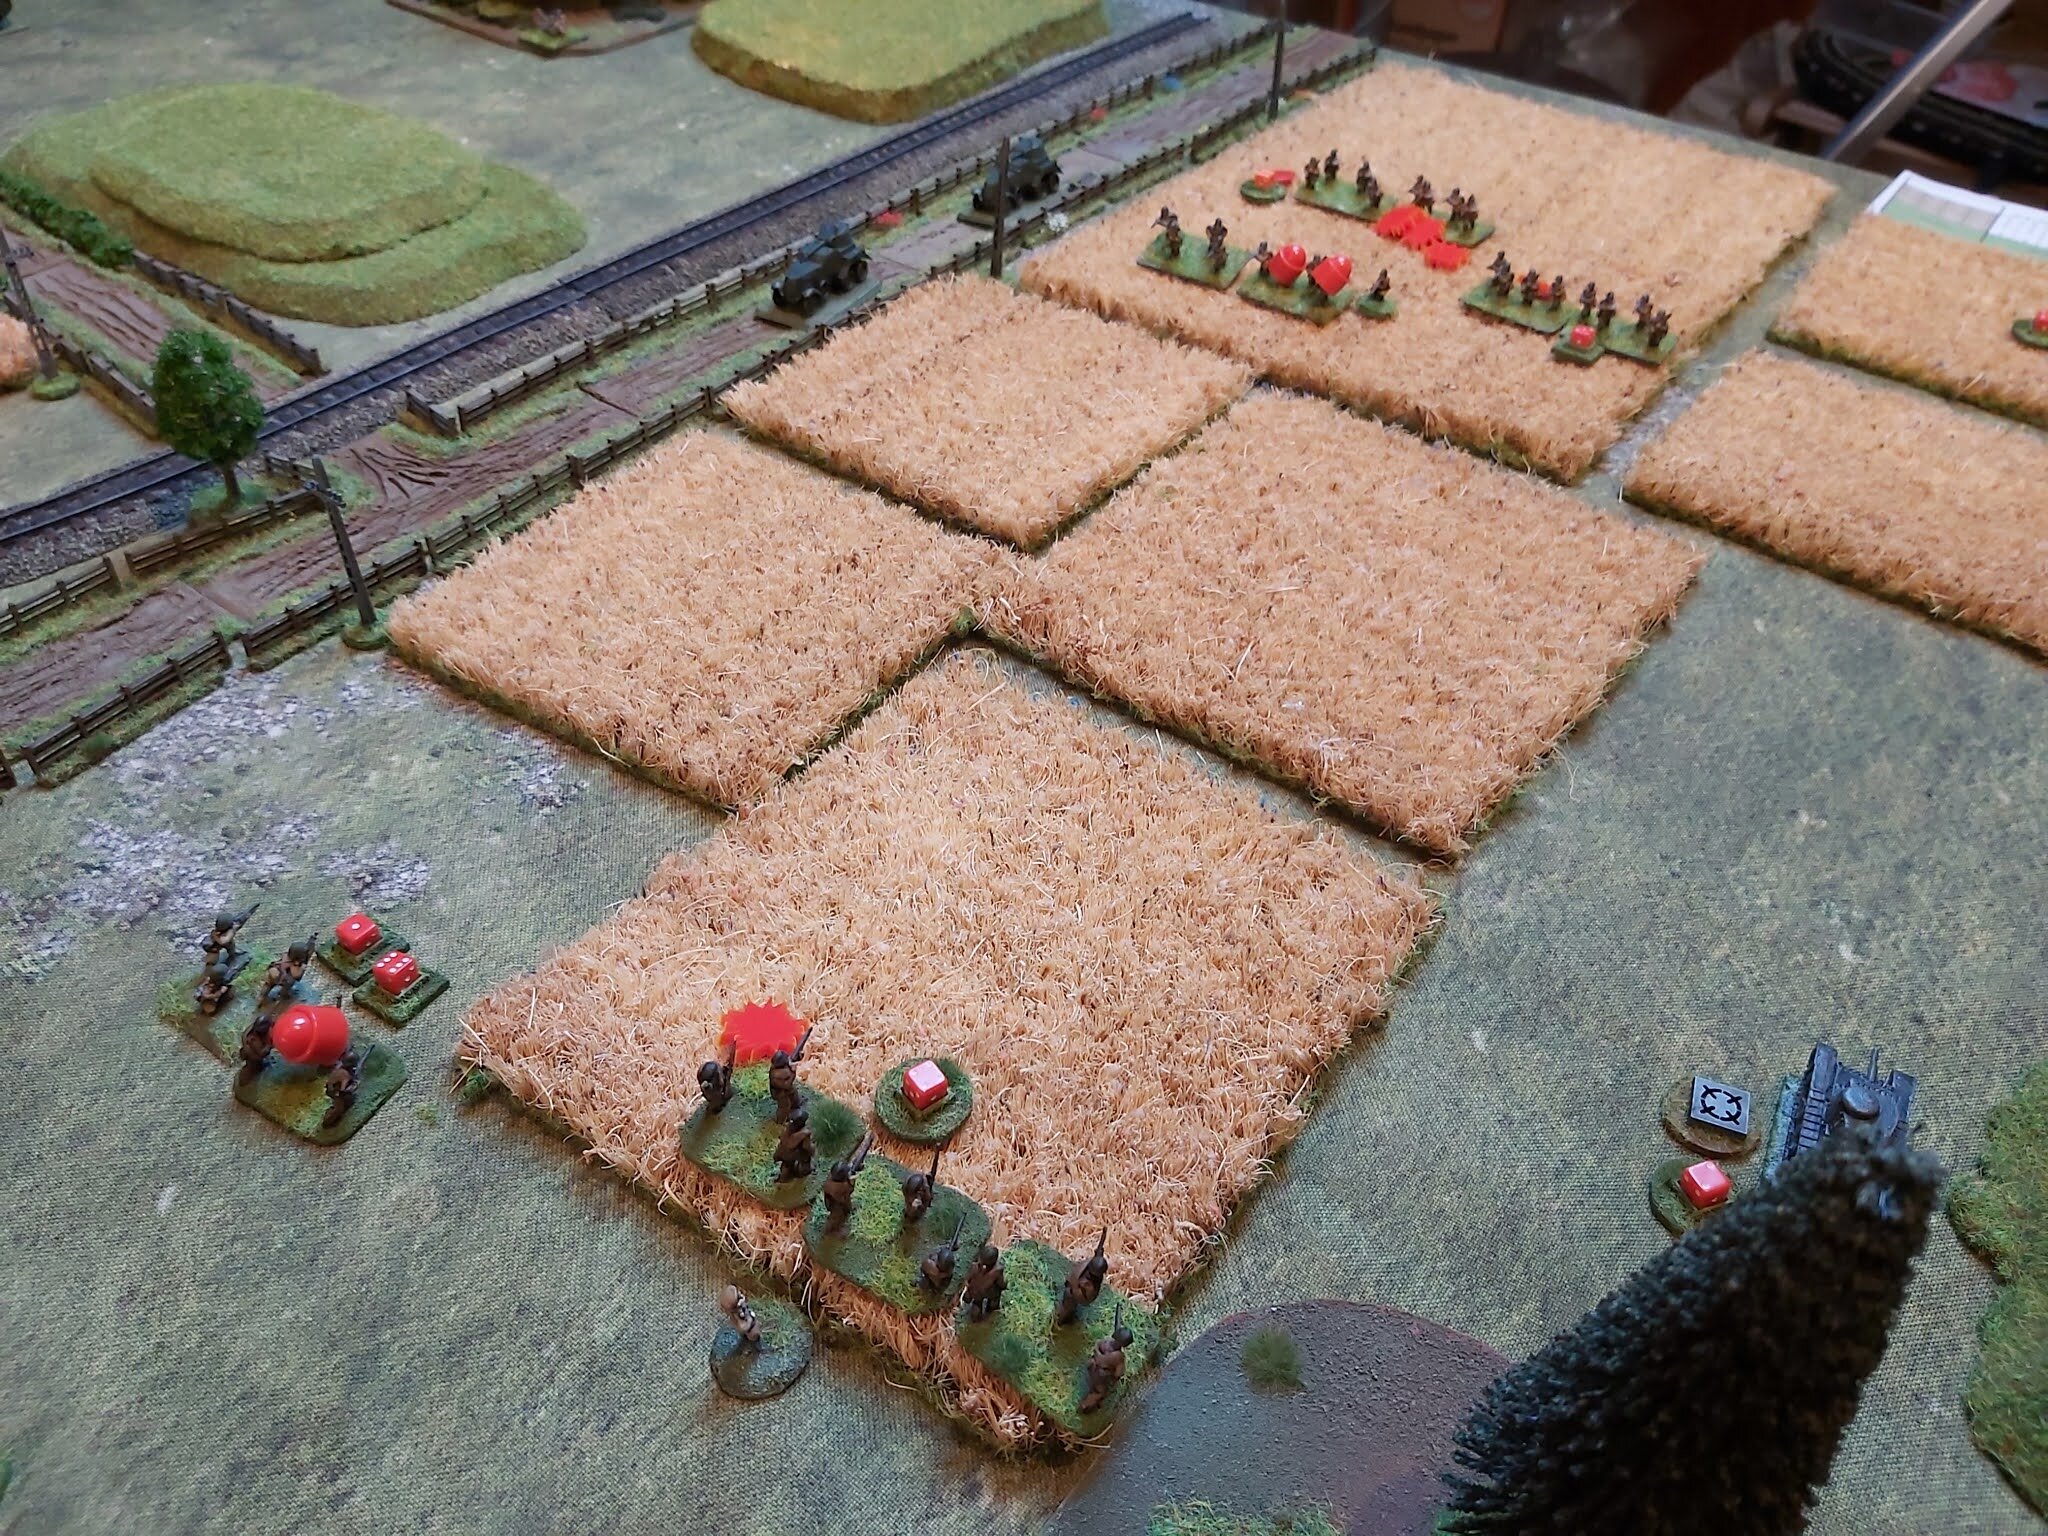
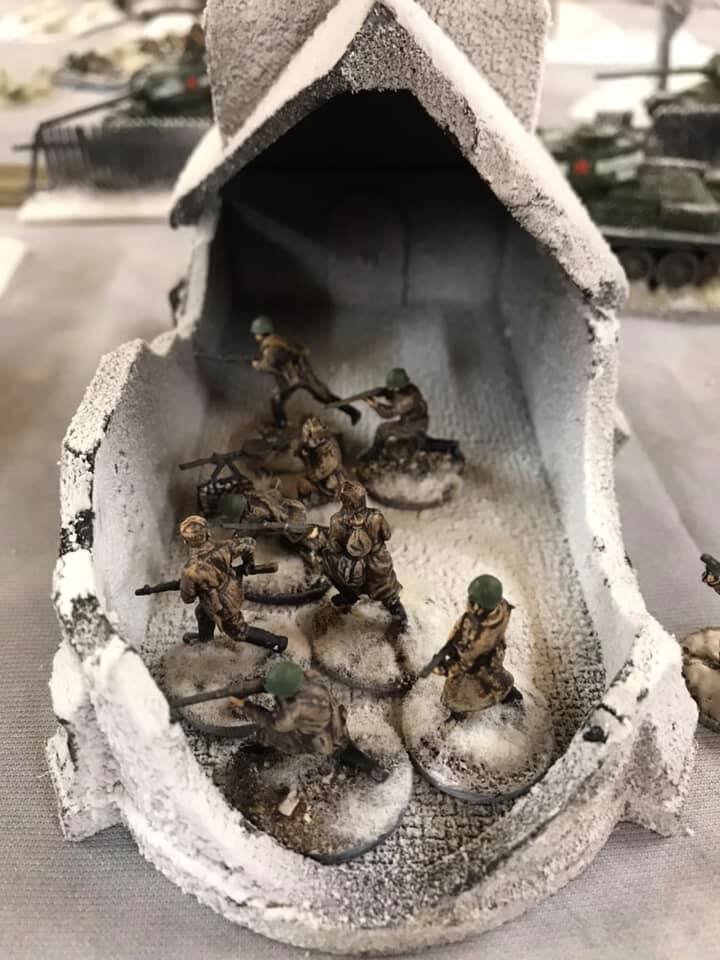
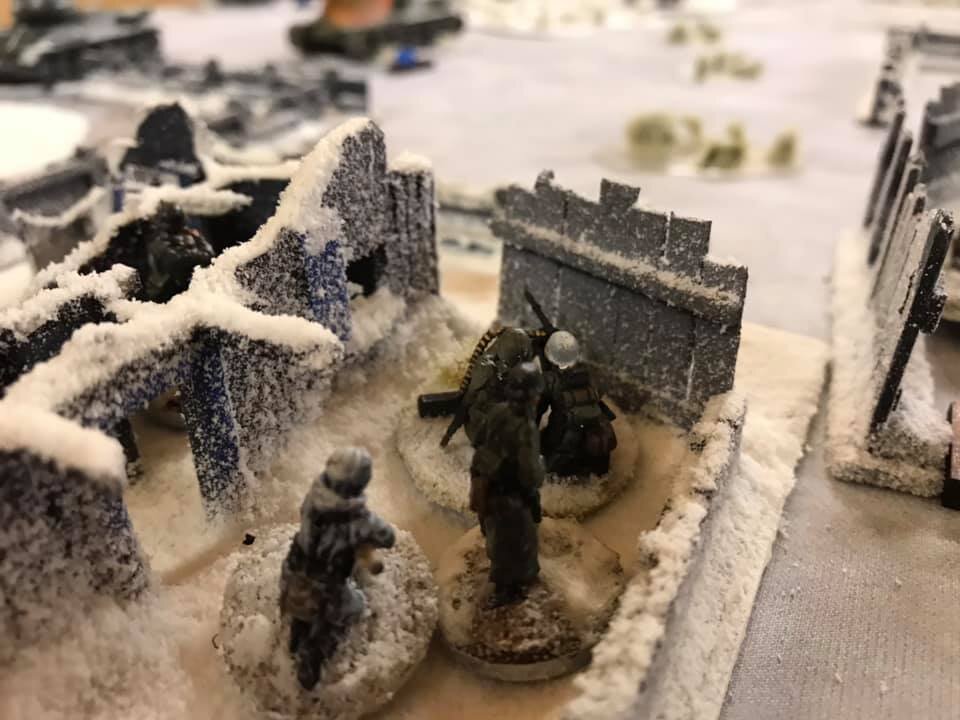
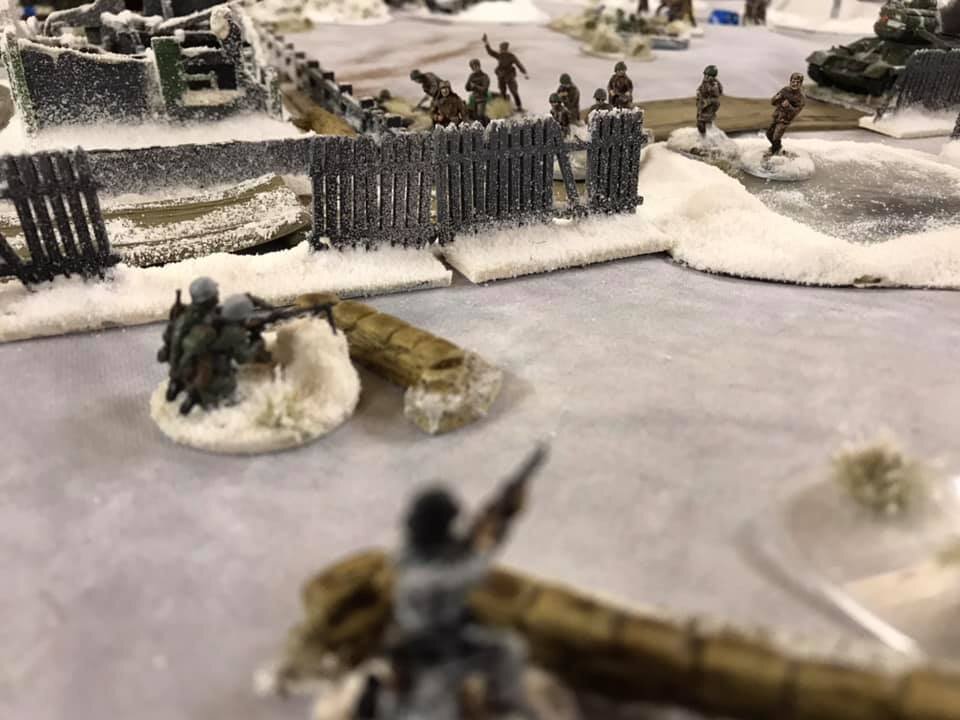
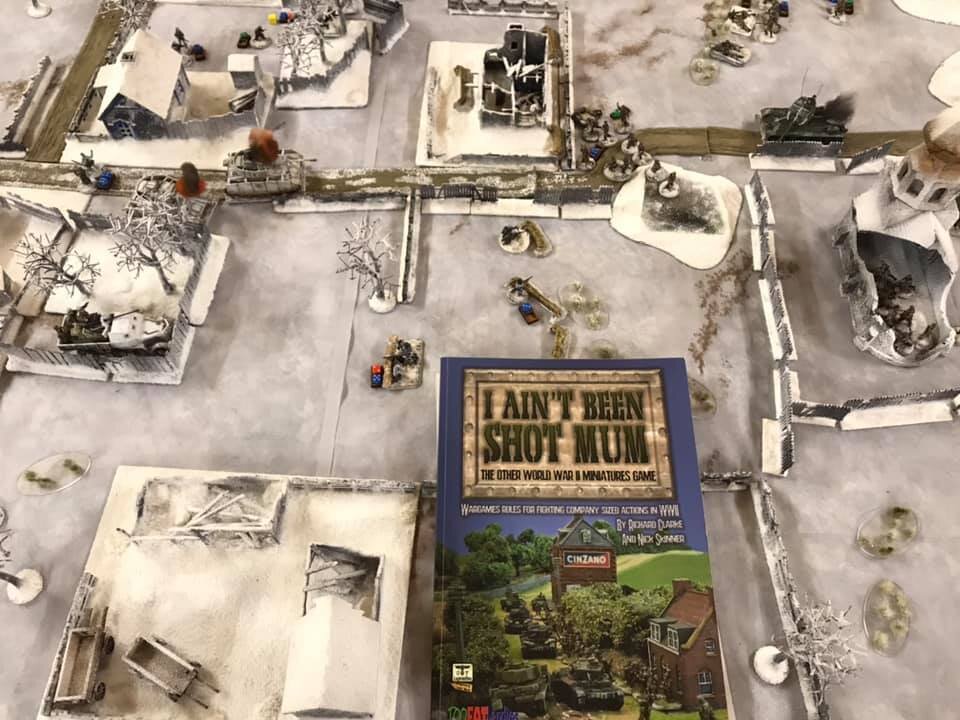
Scenario: May 11, 1940.

Yesterday, the Germans invaded the Netherlands, Belgium, Luxembourg and France. Against all odds and forecasts, they quickly advanced through the Ardennes. The resistance of the Belgian and French troops varies: some units fight hard, some run at the first sight of the enemy. The main problem for the Germans is how to get their thousands of vehicles through the hilly landscape. There are traffic jams as far back as the Rhine.

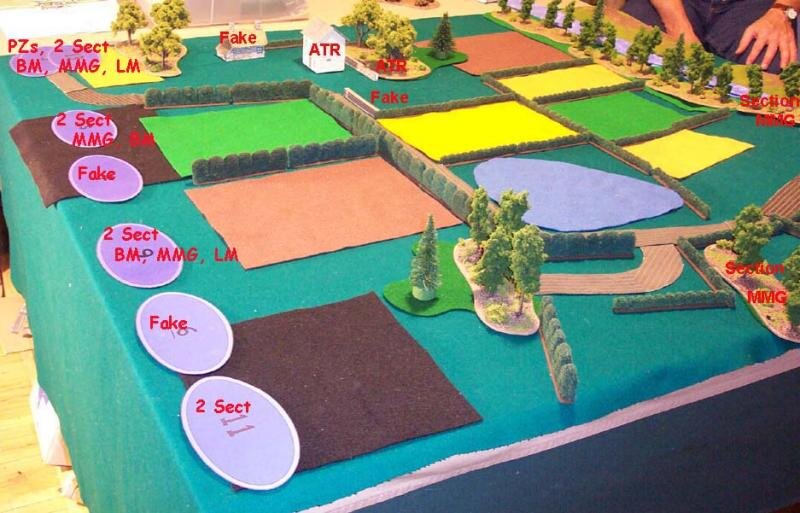
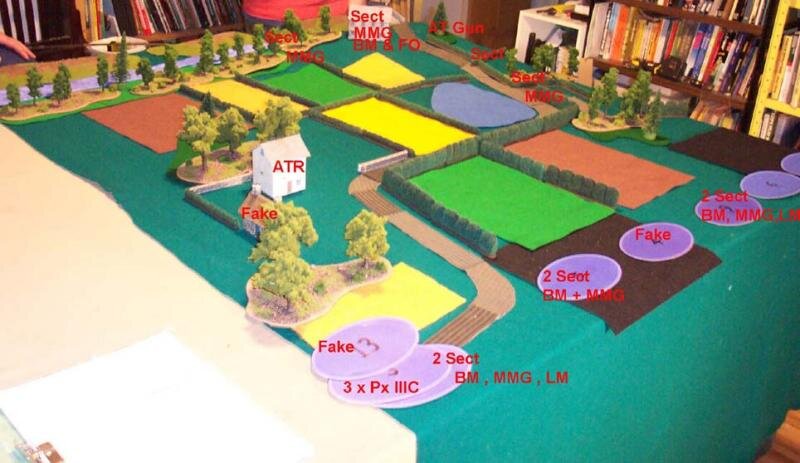
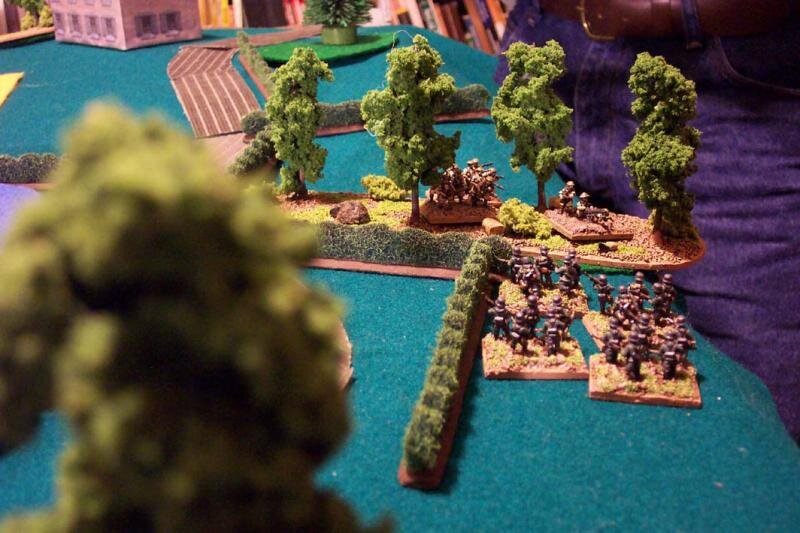
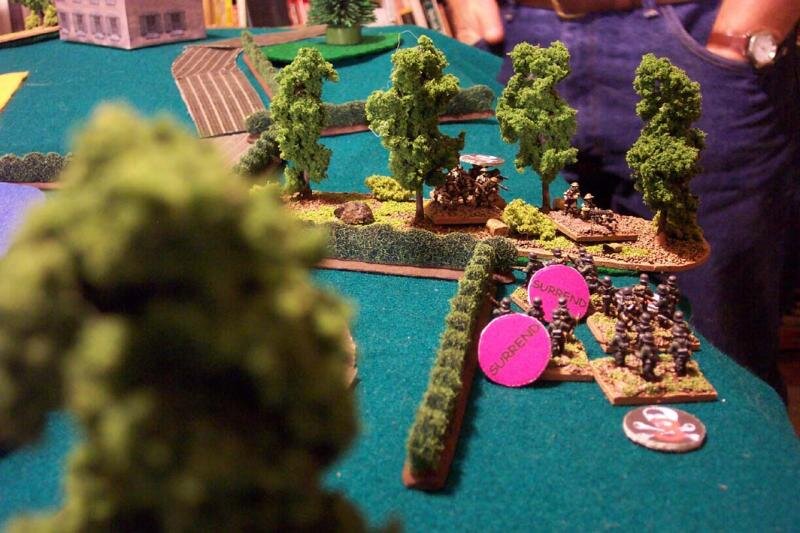
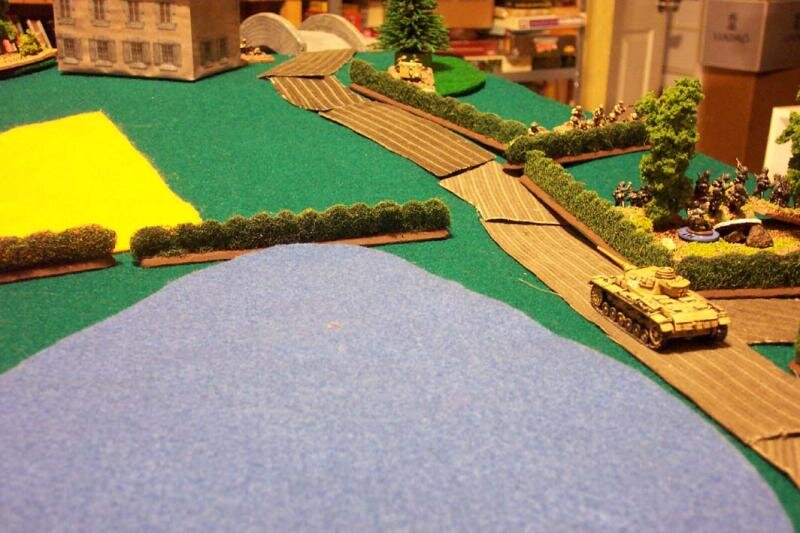
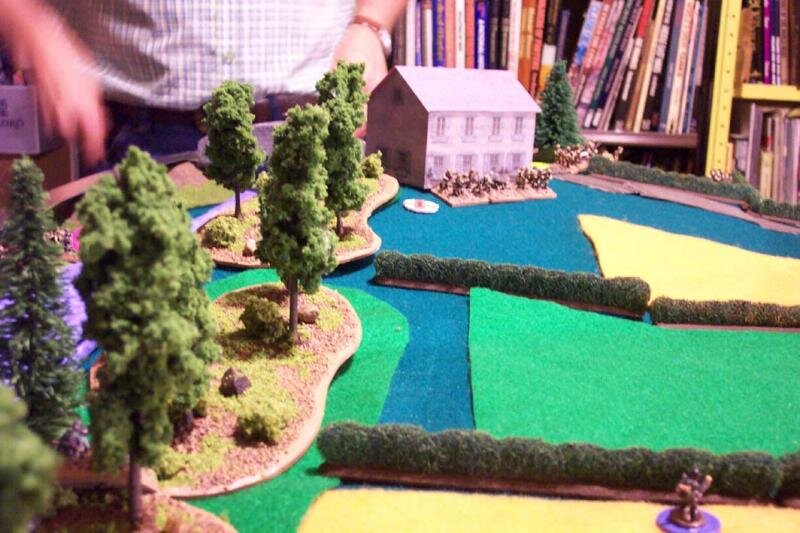
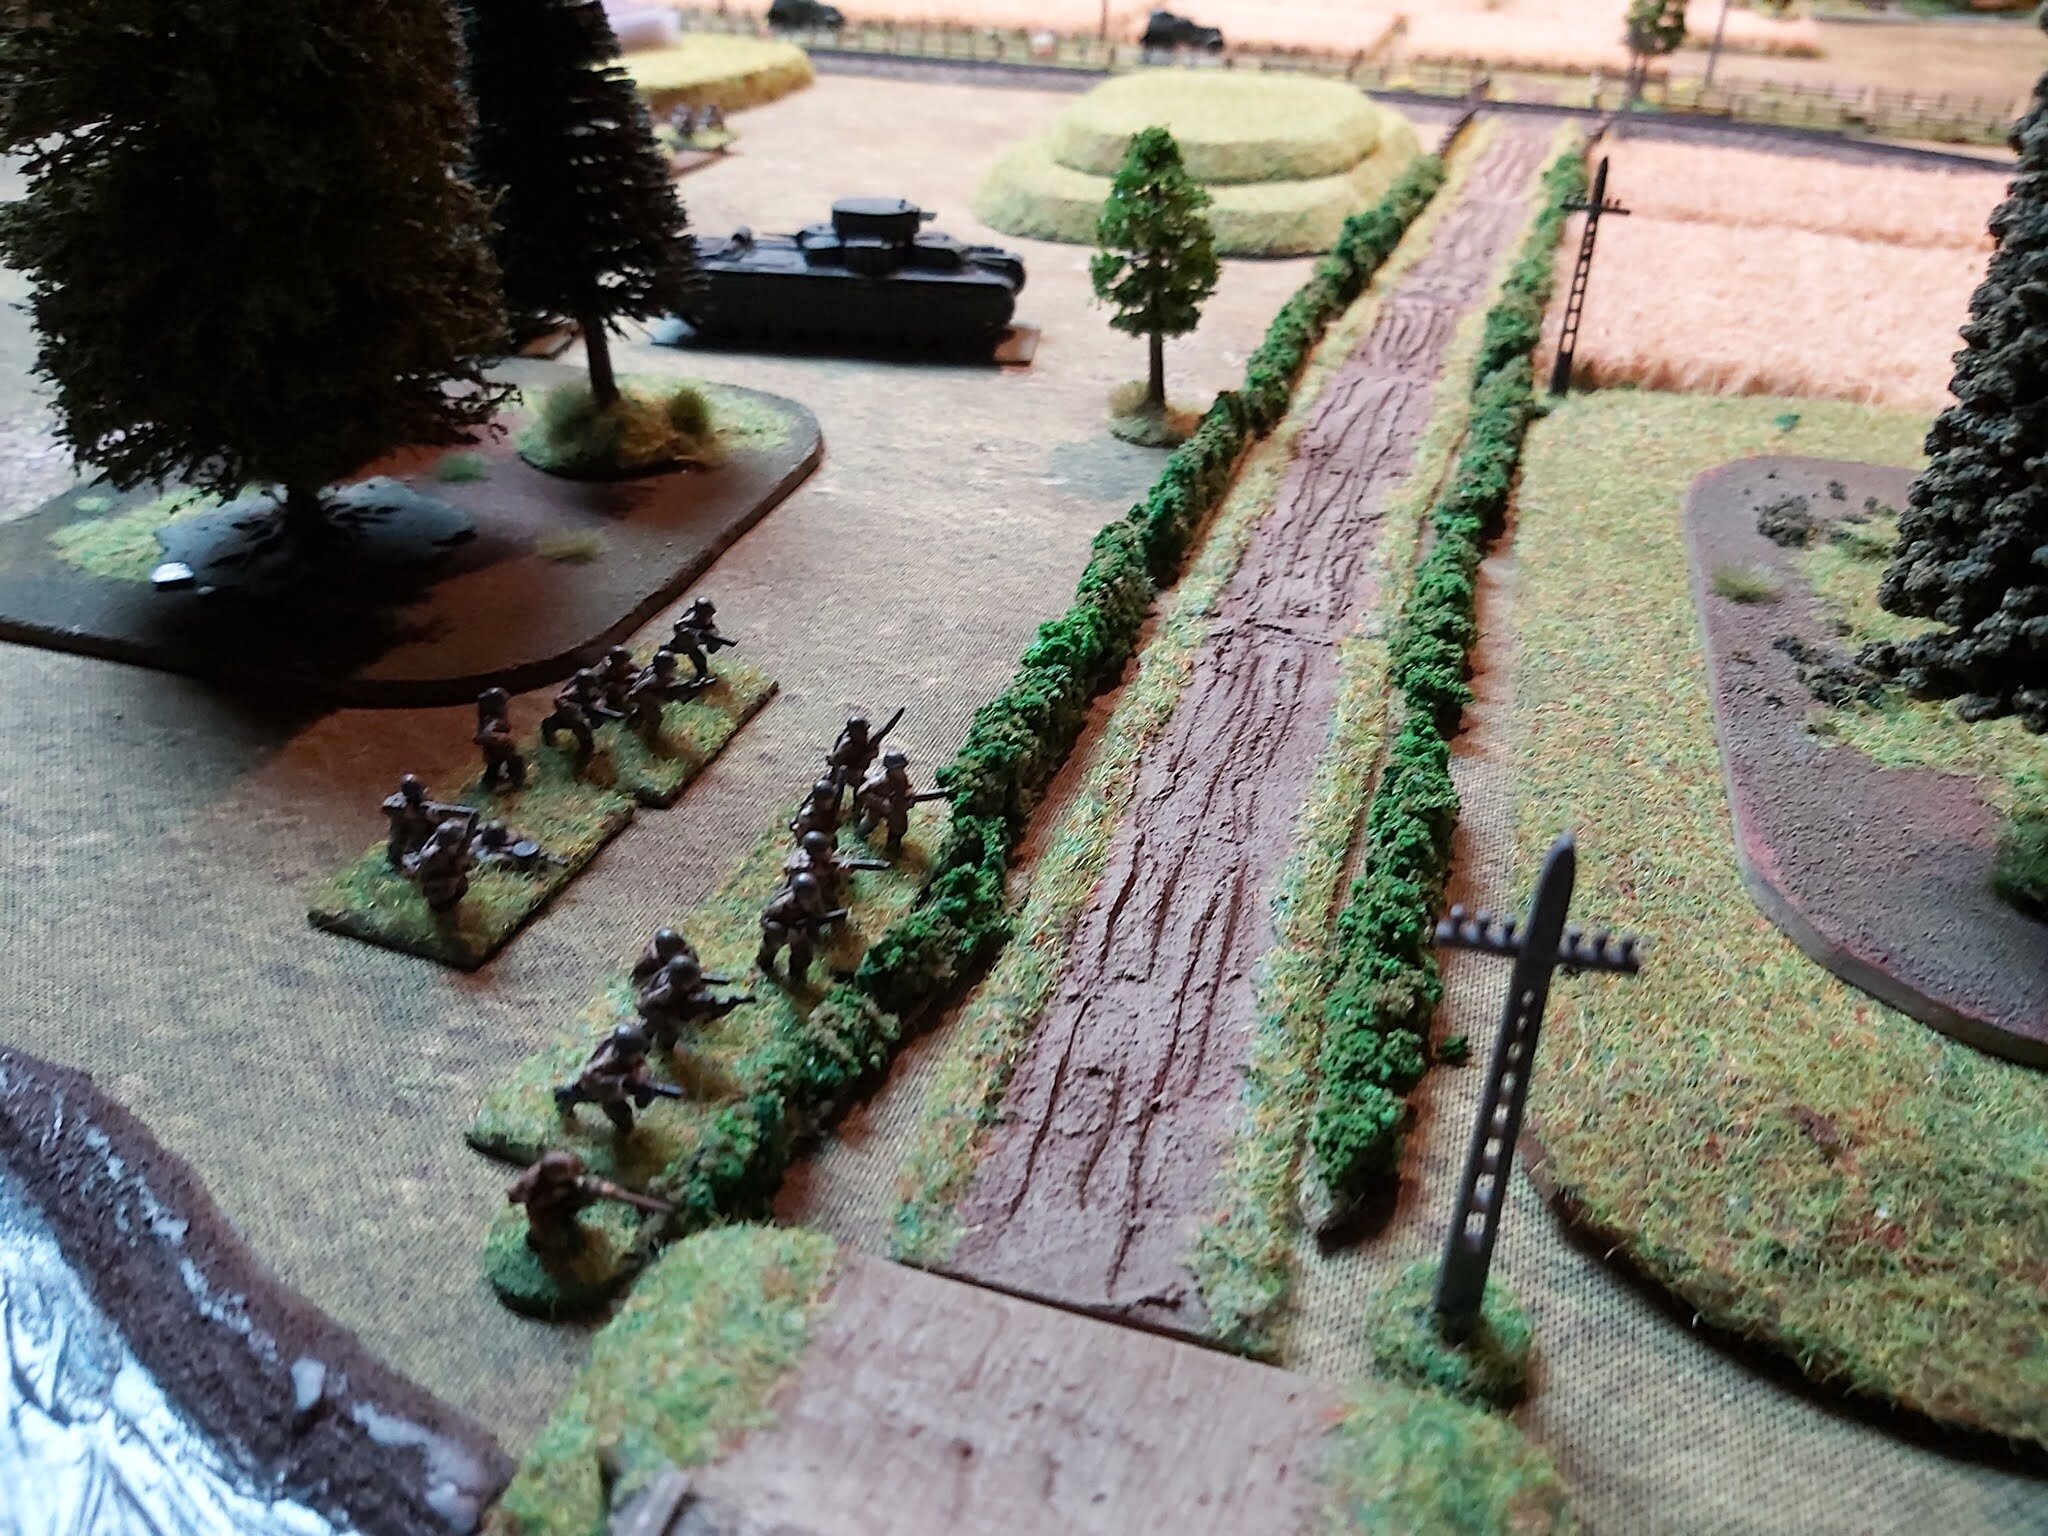
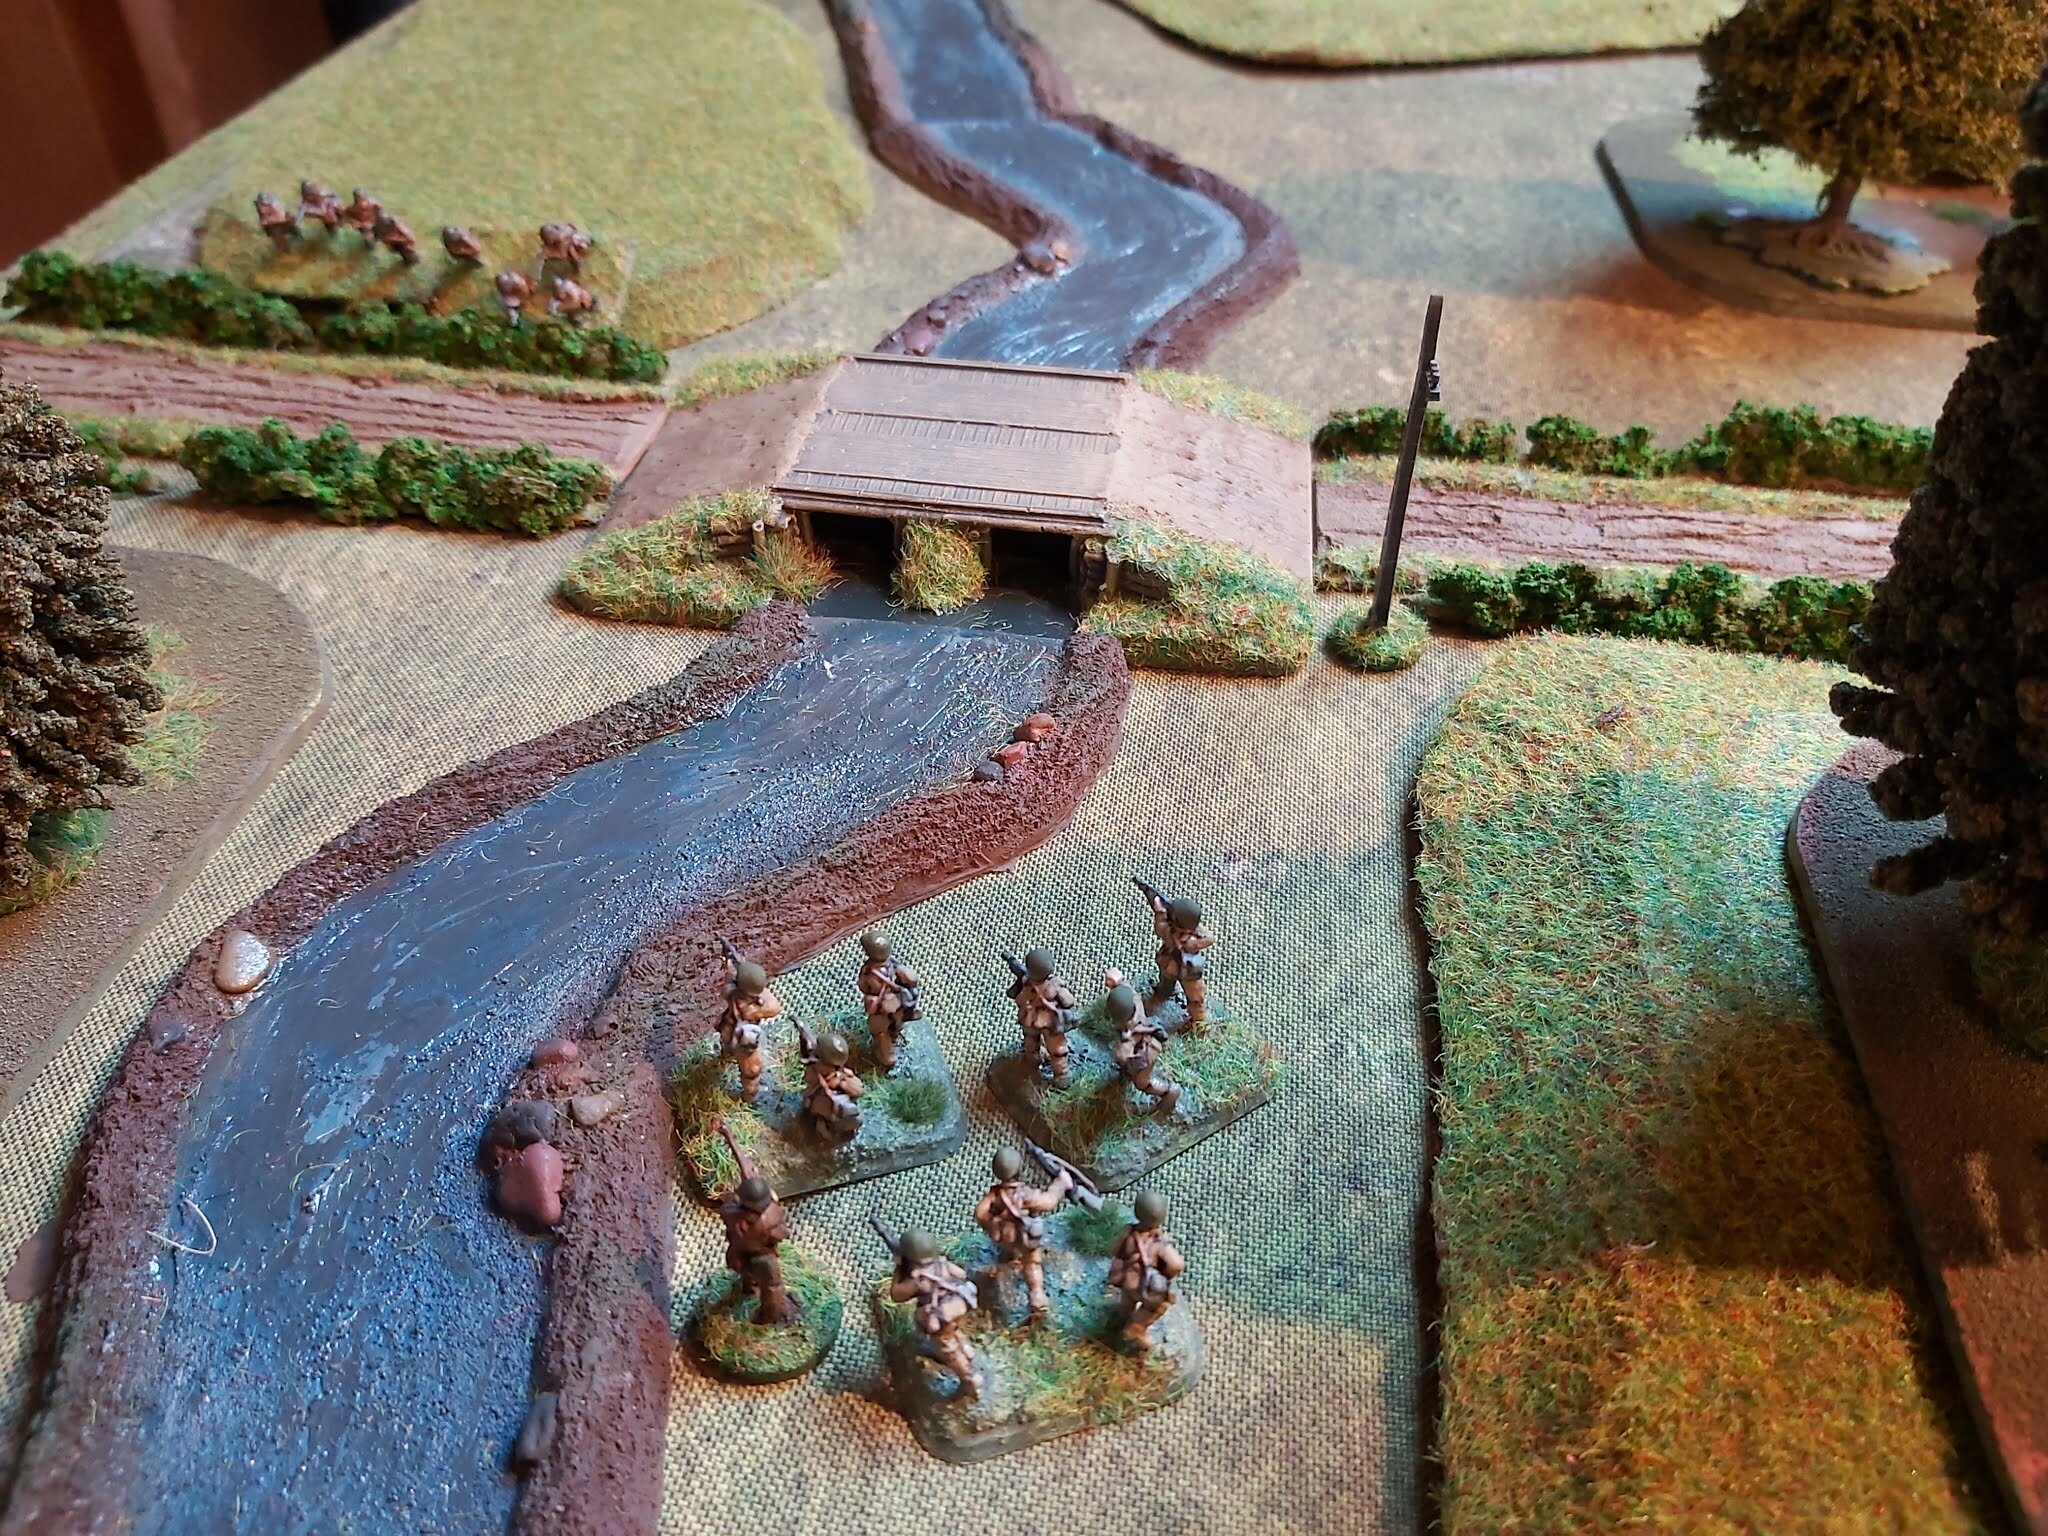
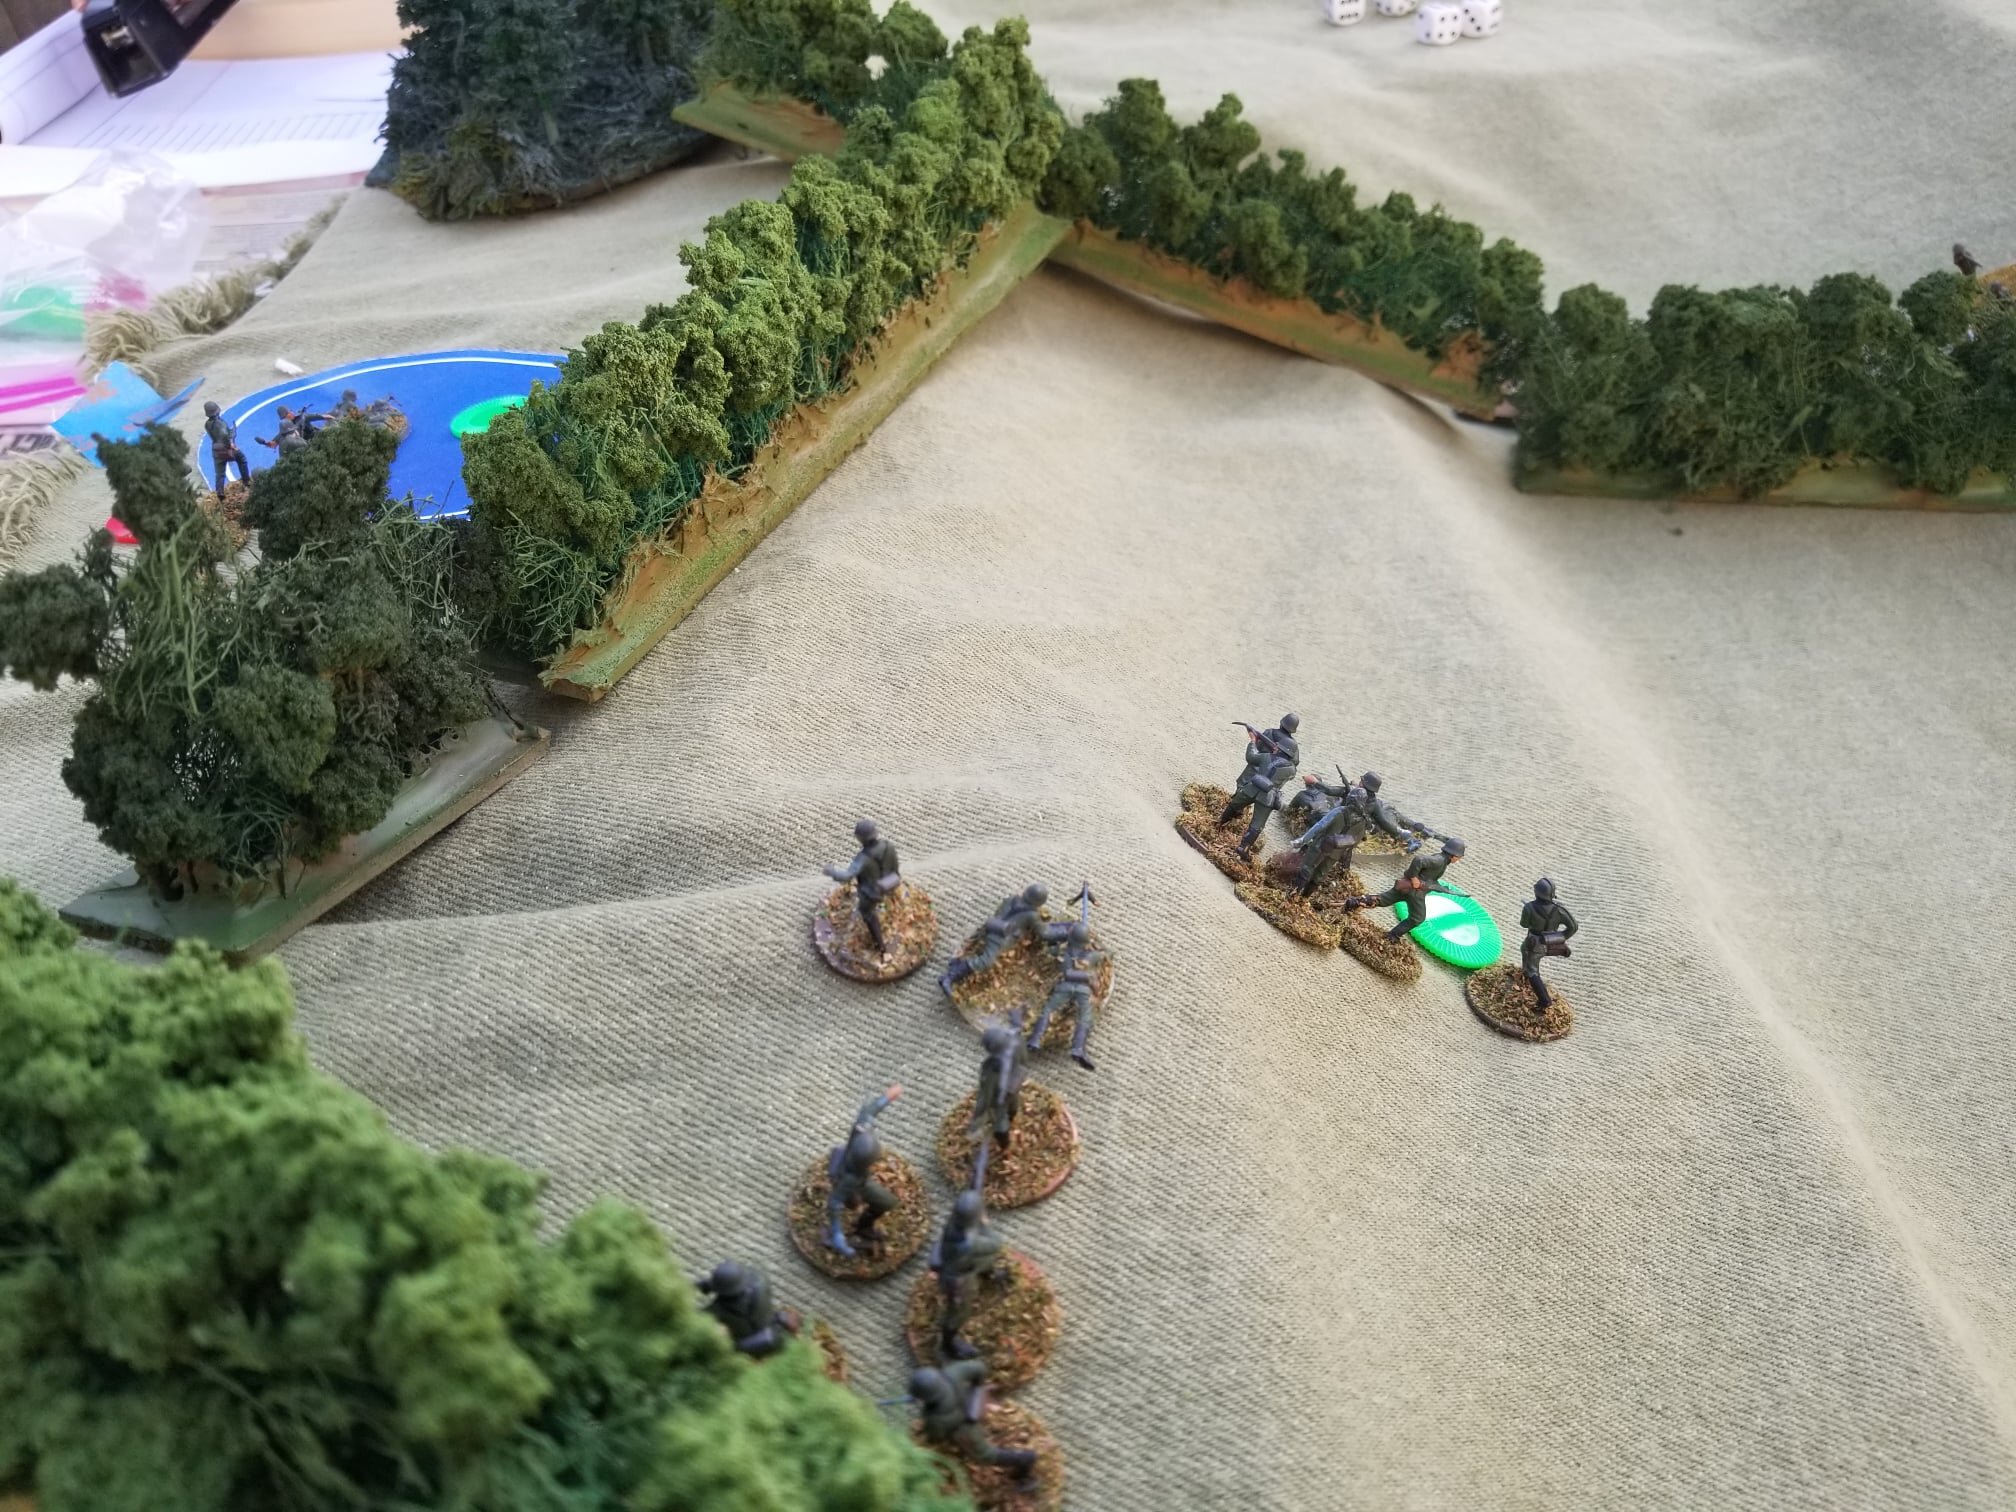
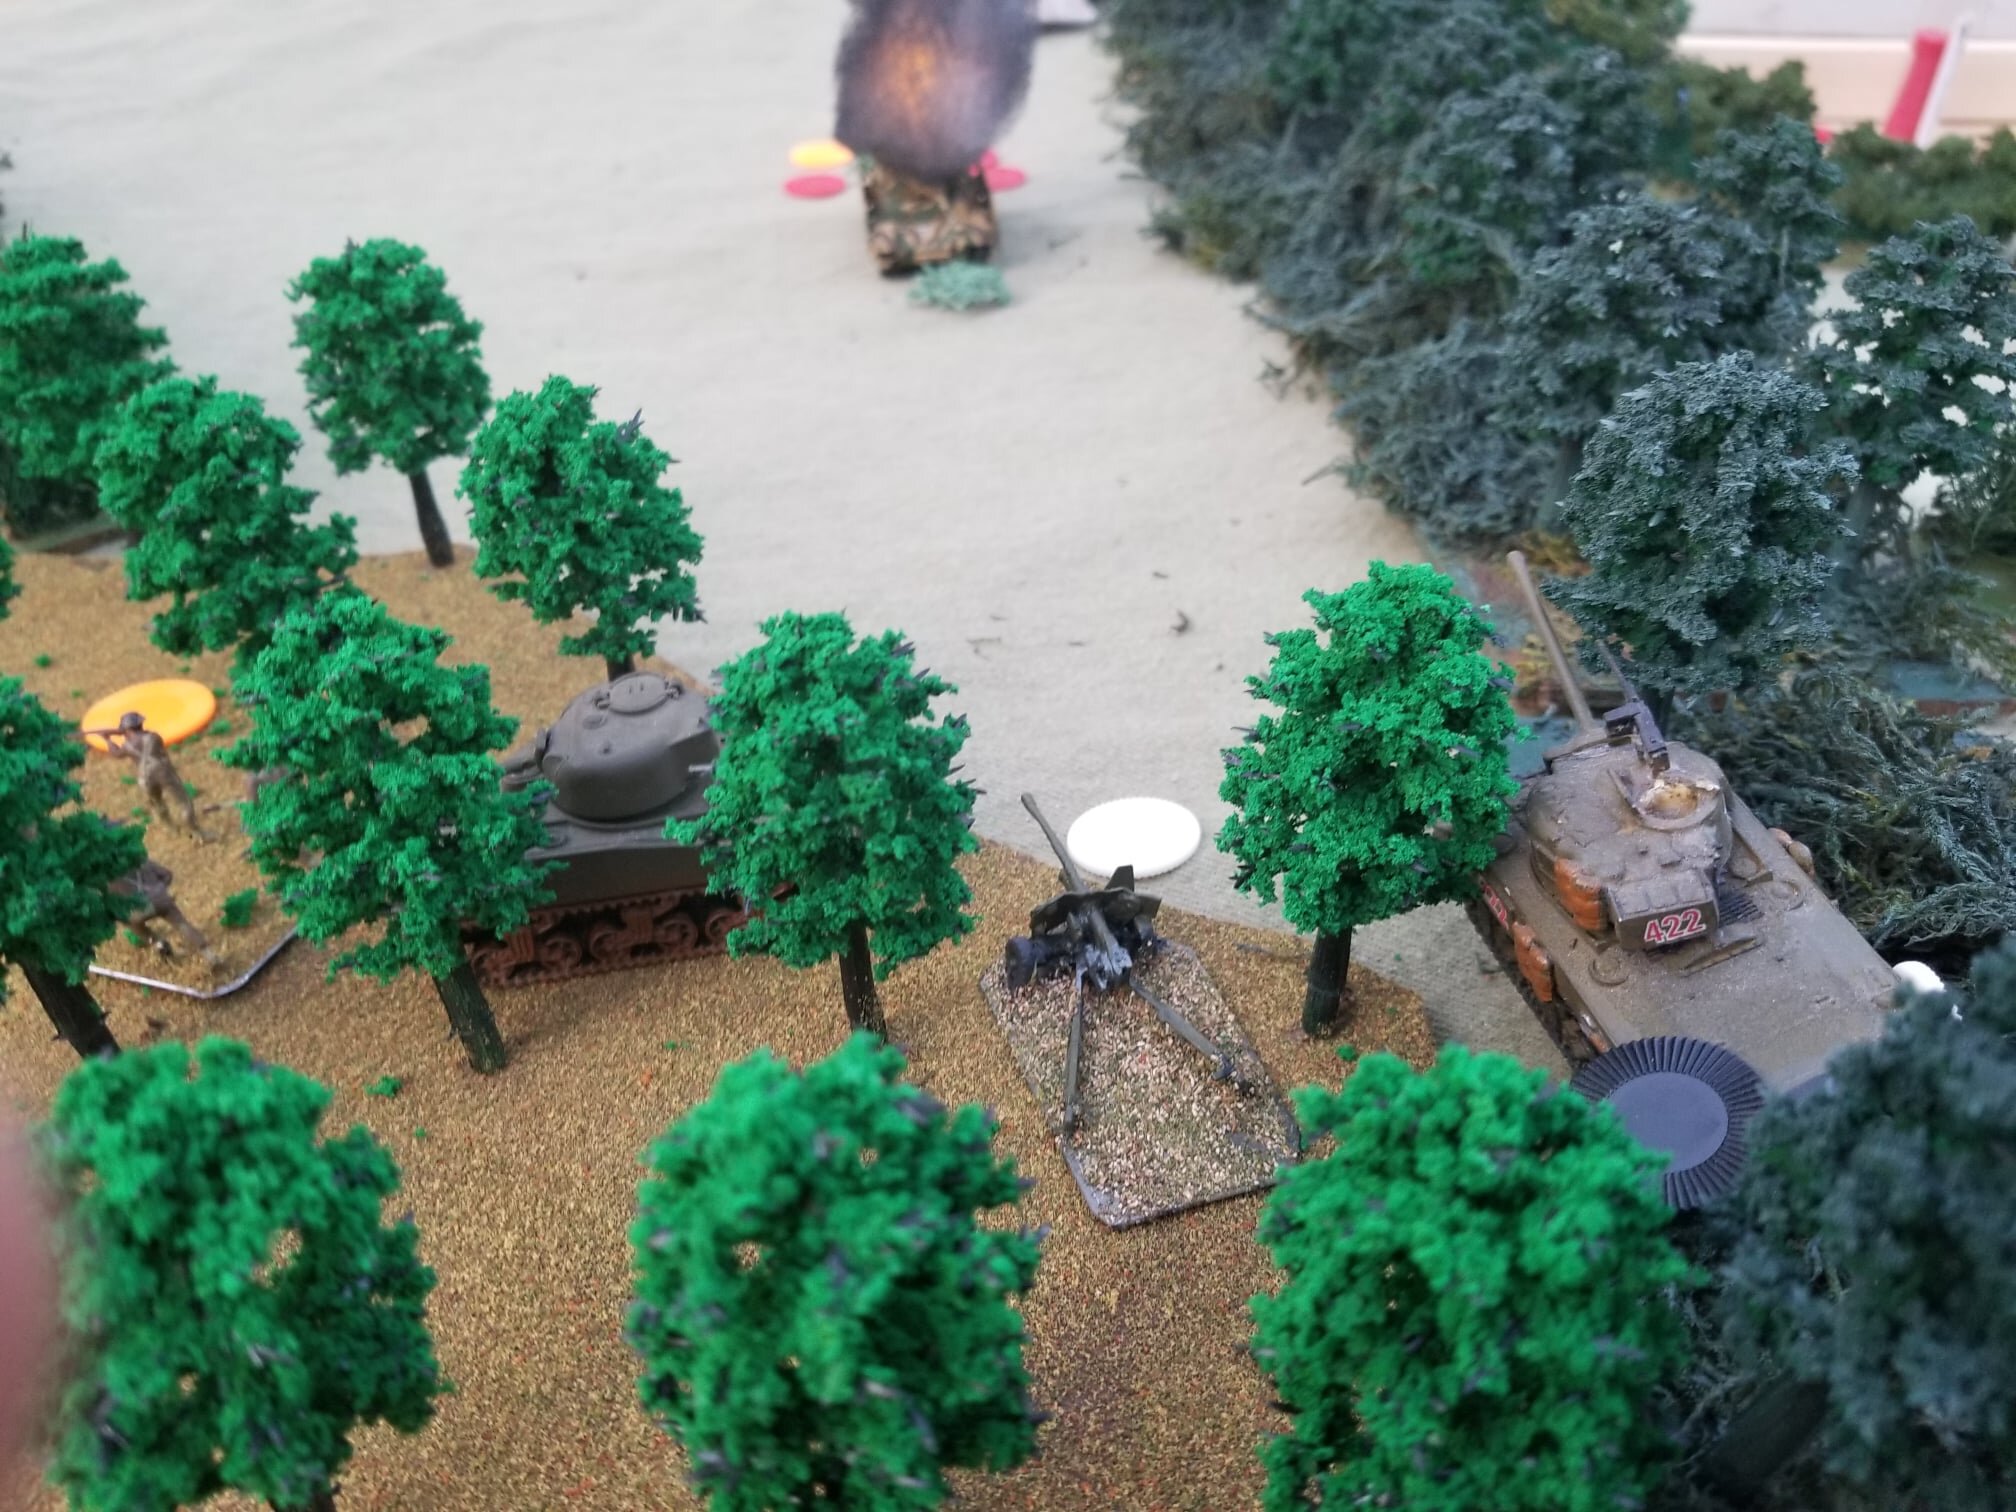
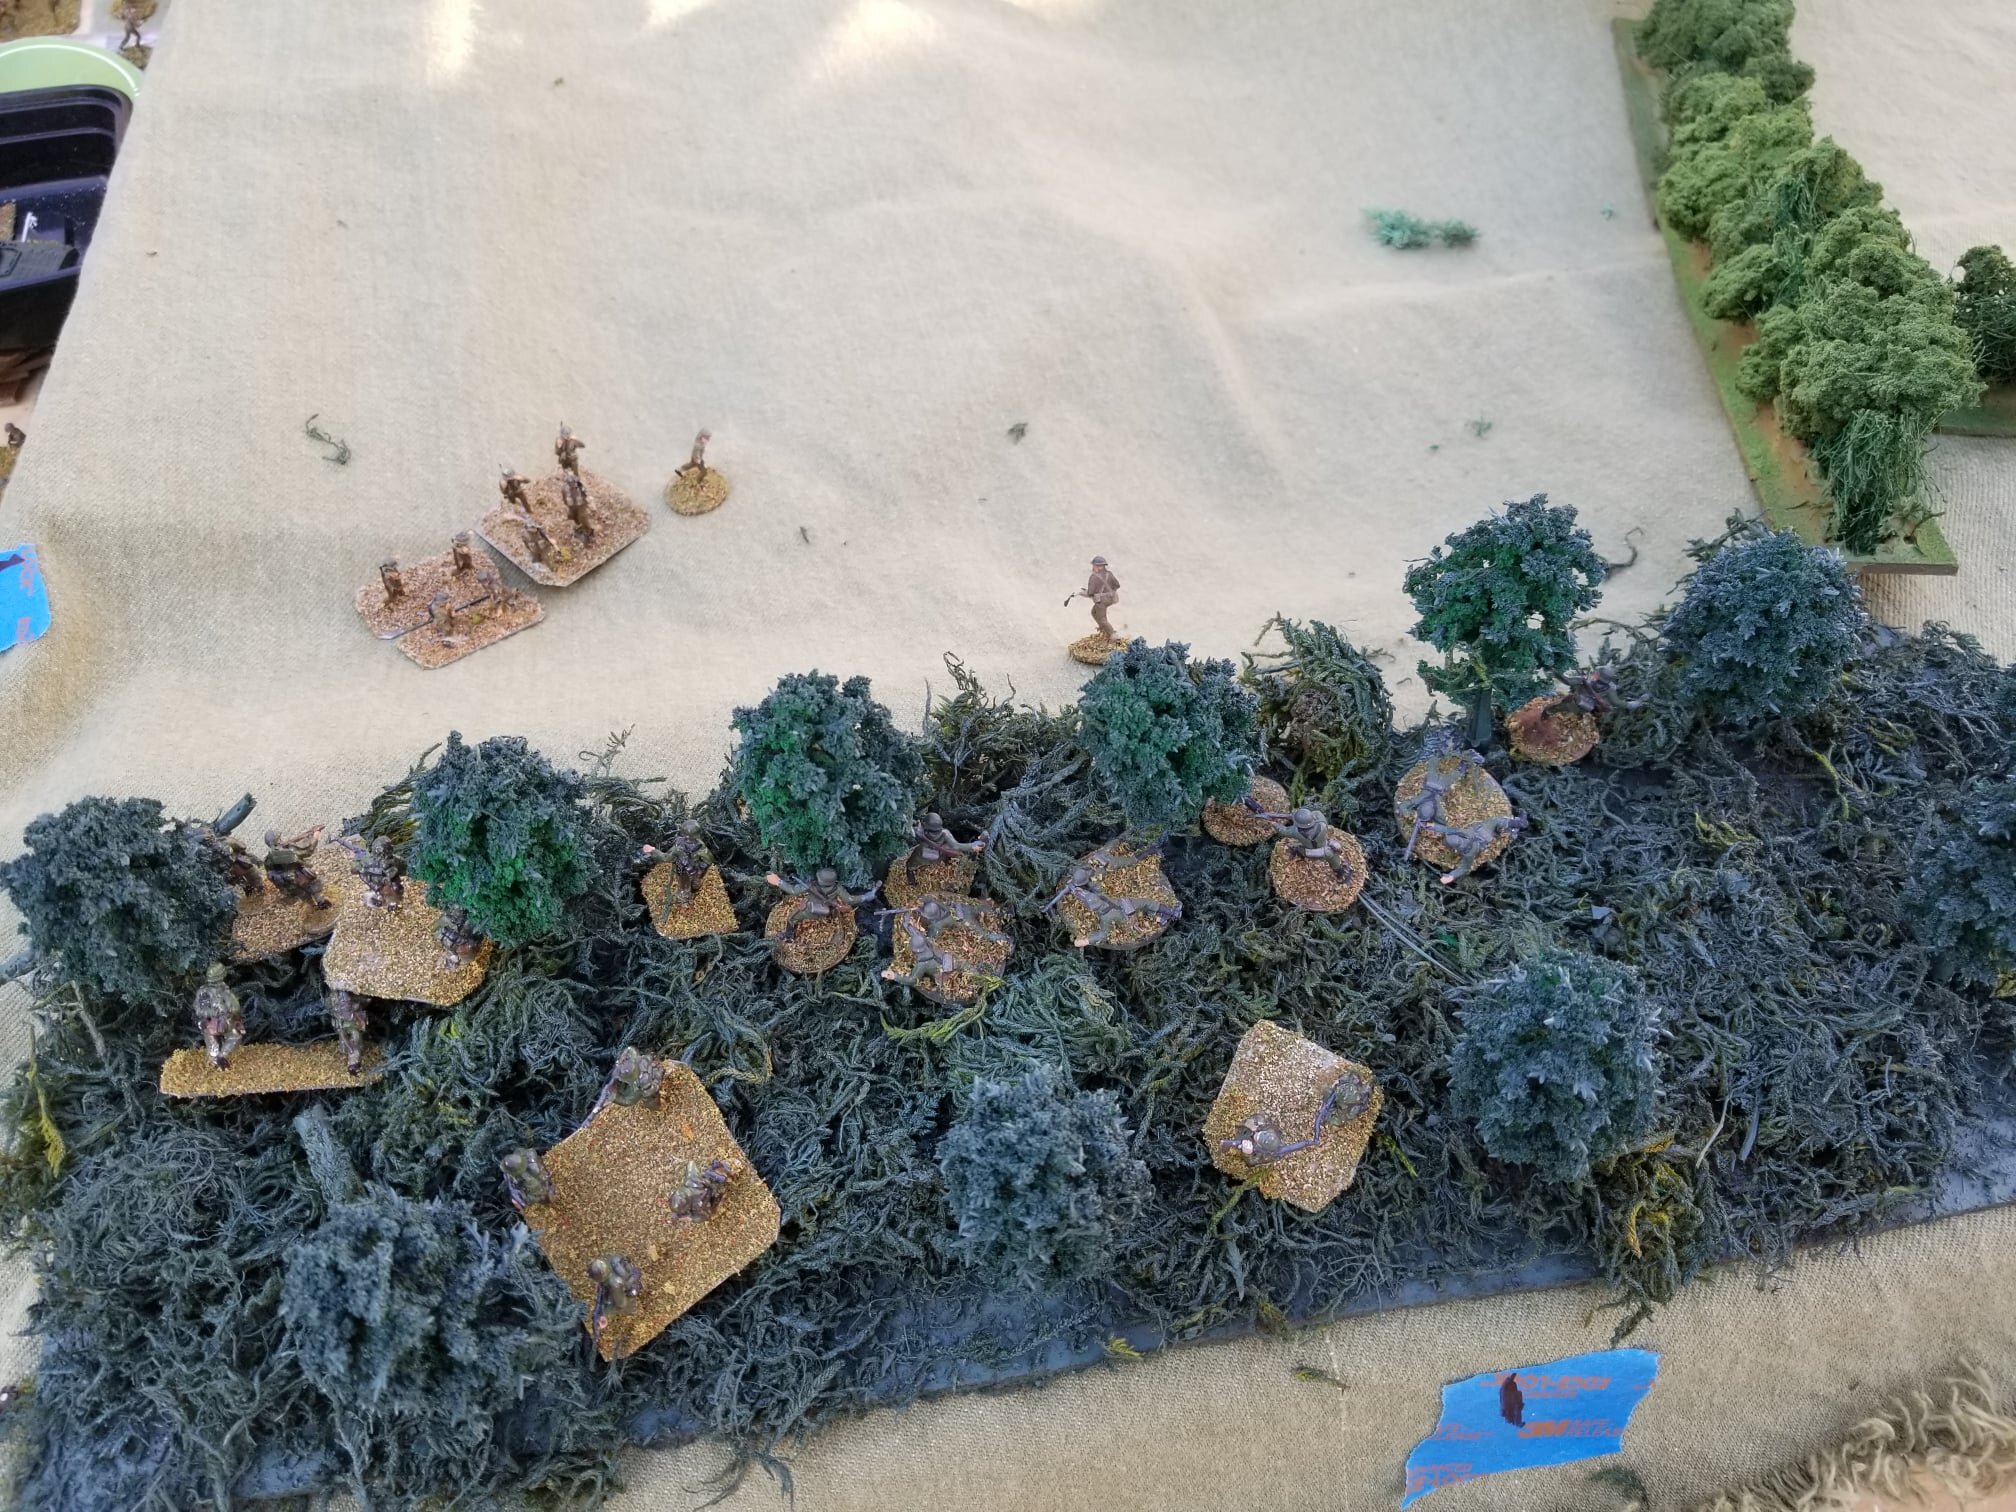
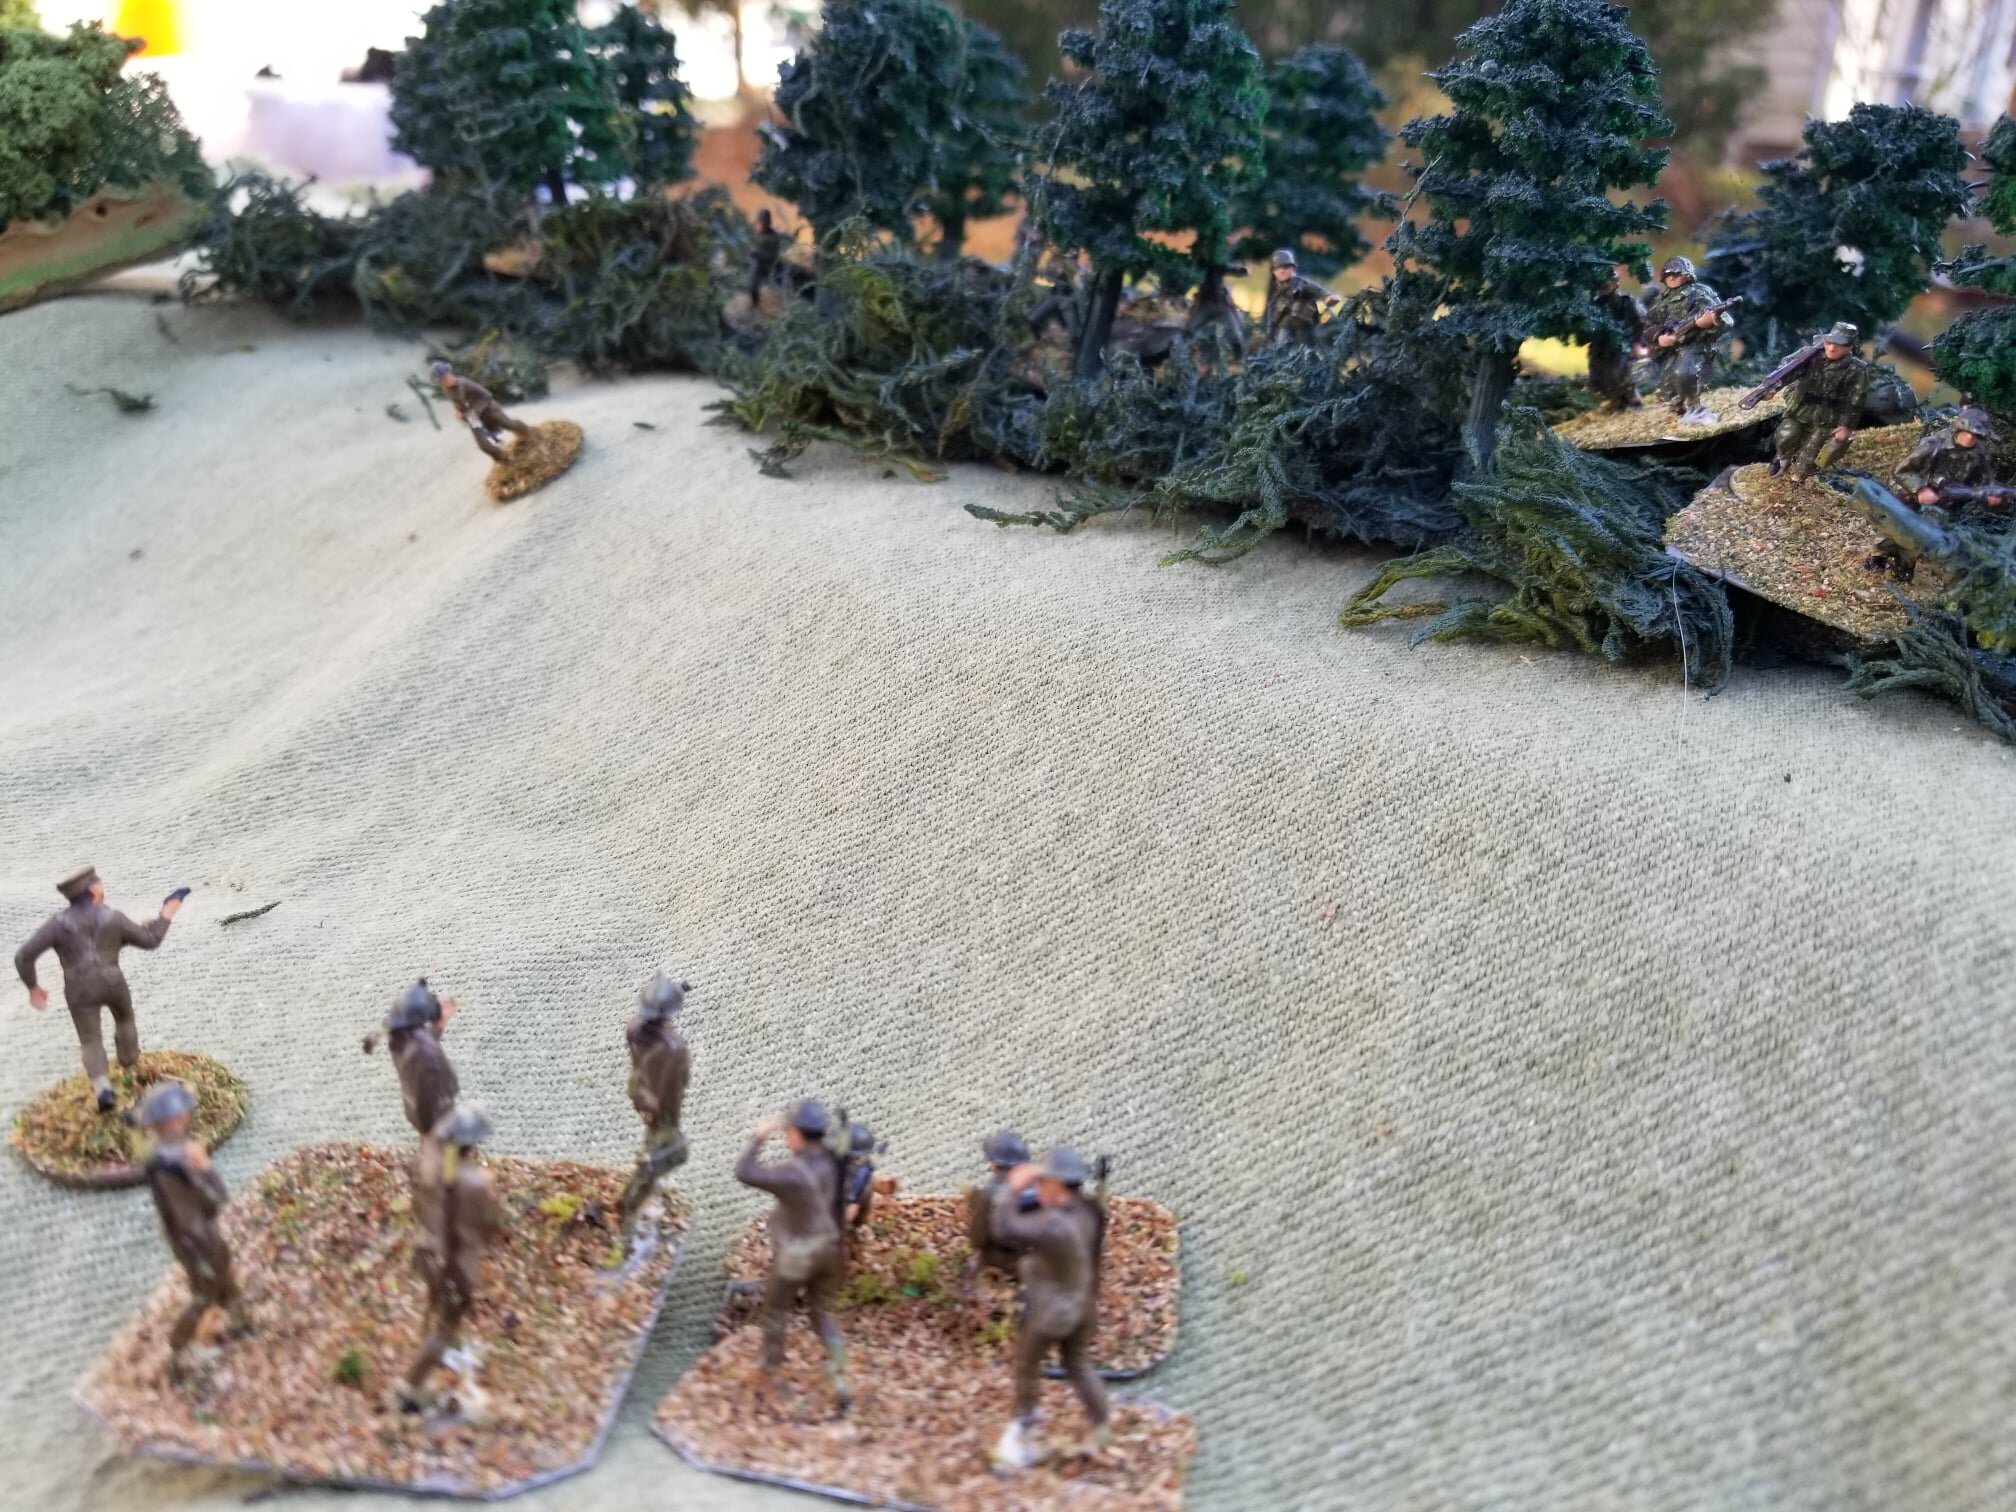
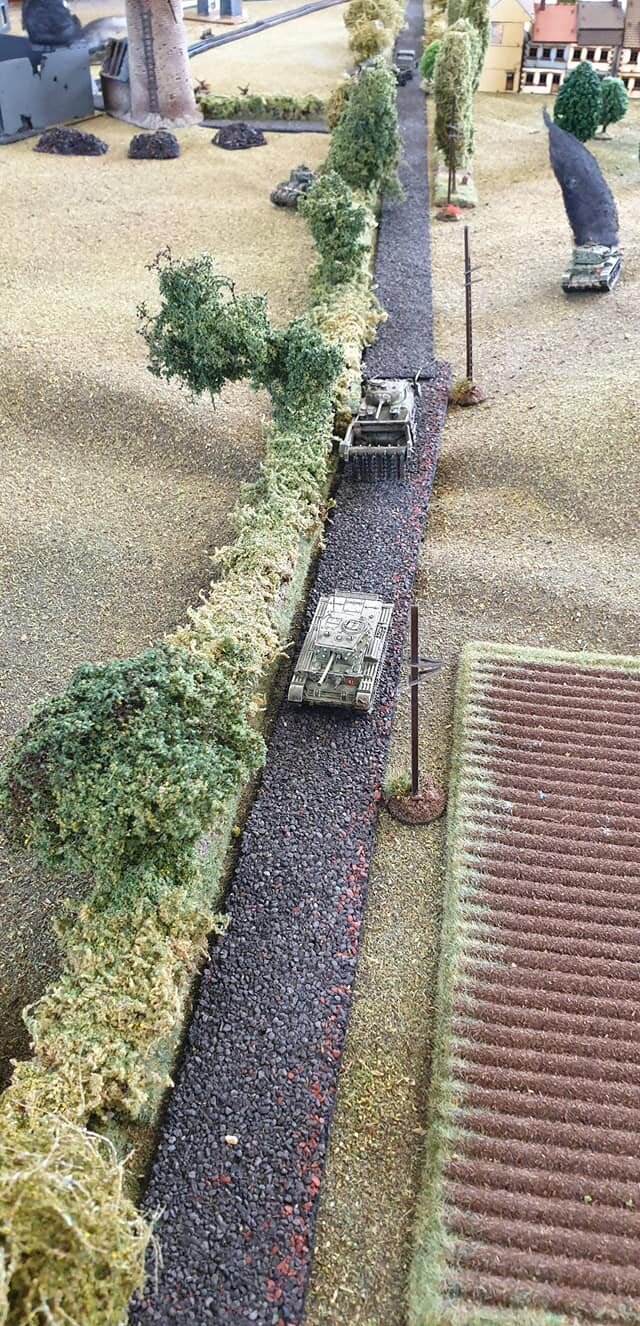
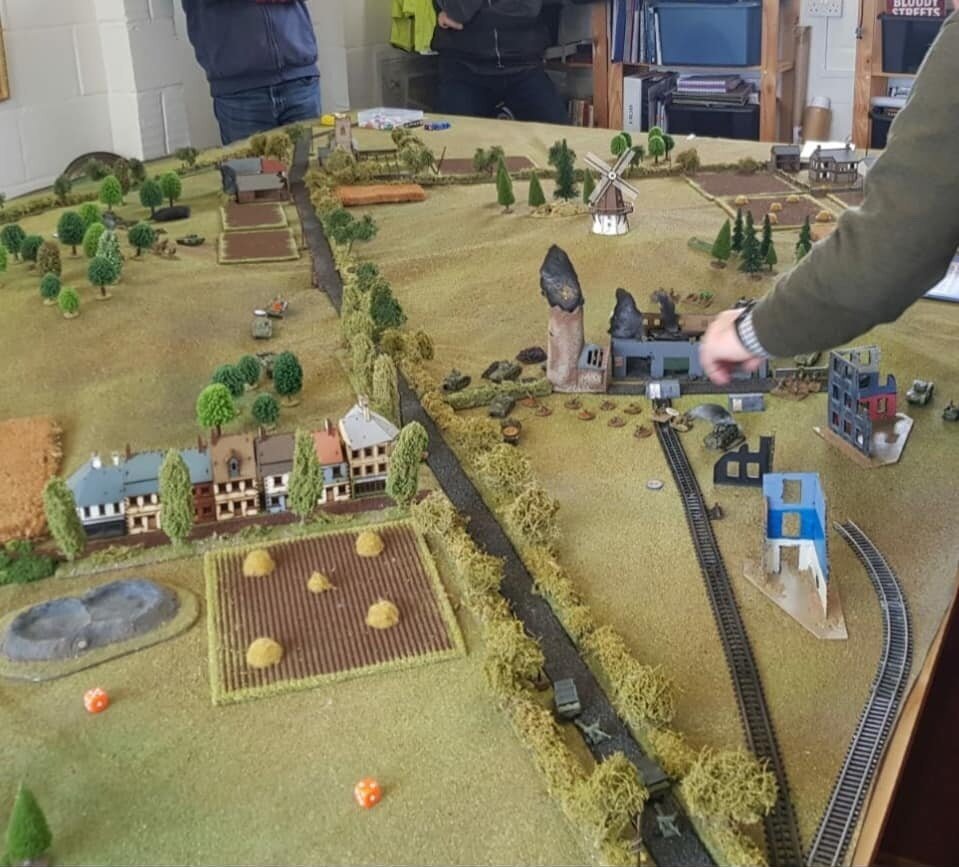
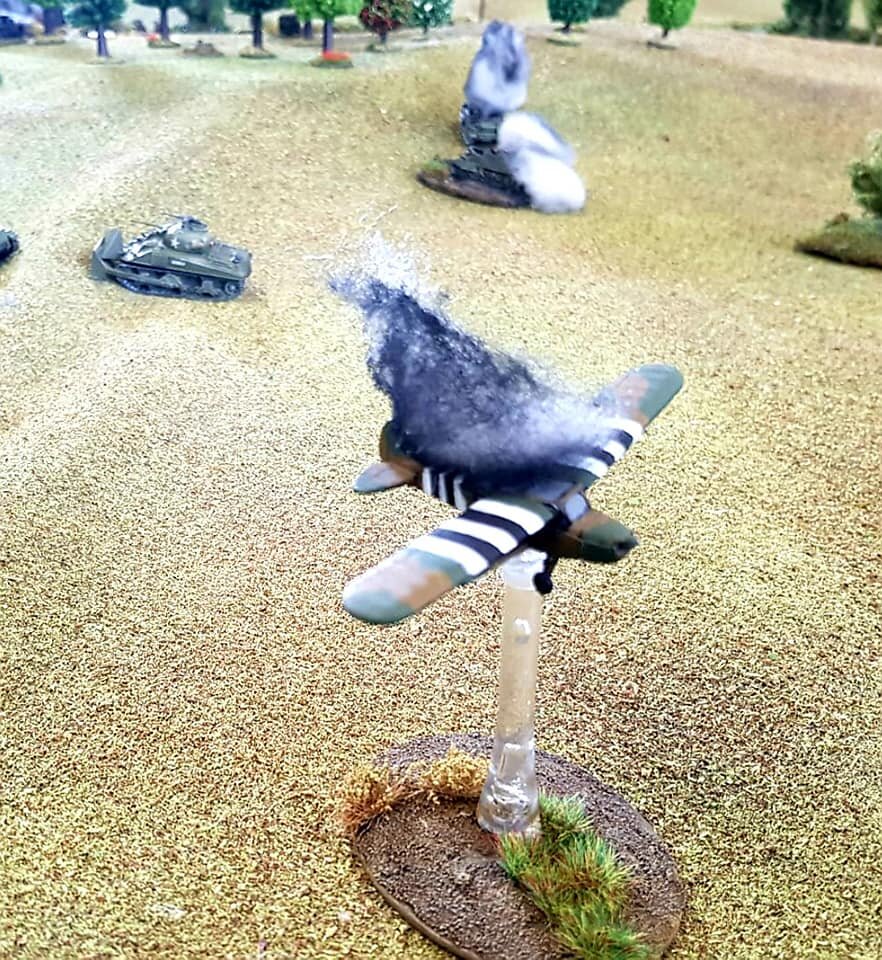
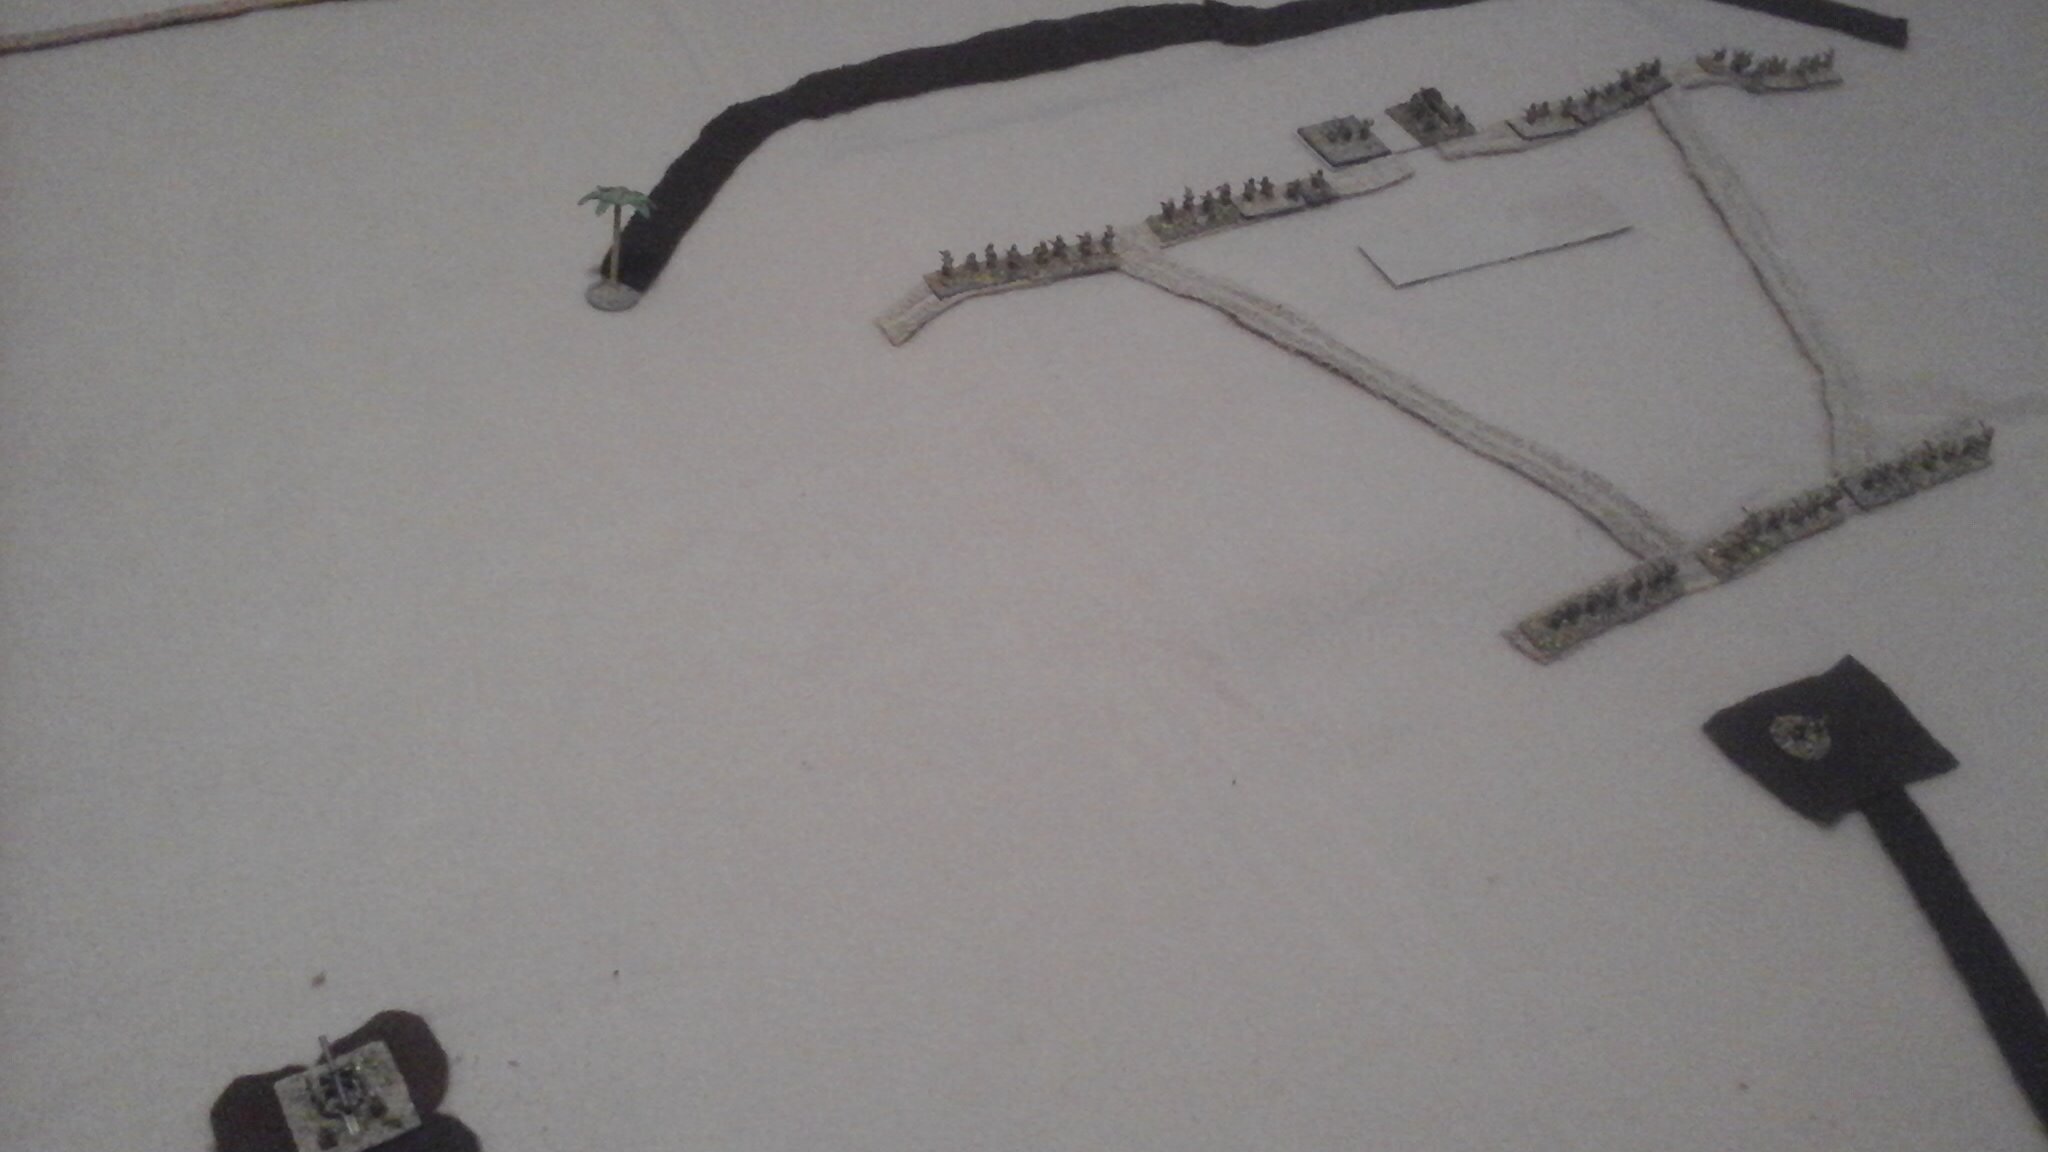
In the late hours of 10 May, German troops capture the town of Auville, and the bridge over the Semois. The Belgian Chasseurs Ardennais offer fanatical resistance, but they are no match for the Stuka divebombers that bombard Auville: the Belgians hastily withdraw to the hills surrounding the bridge.

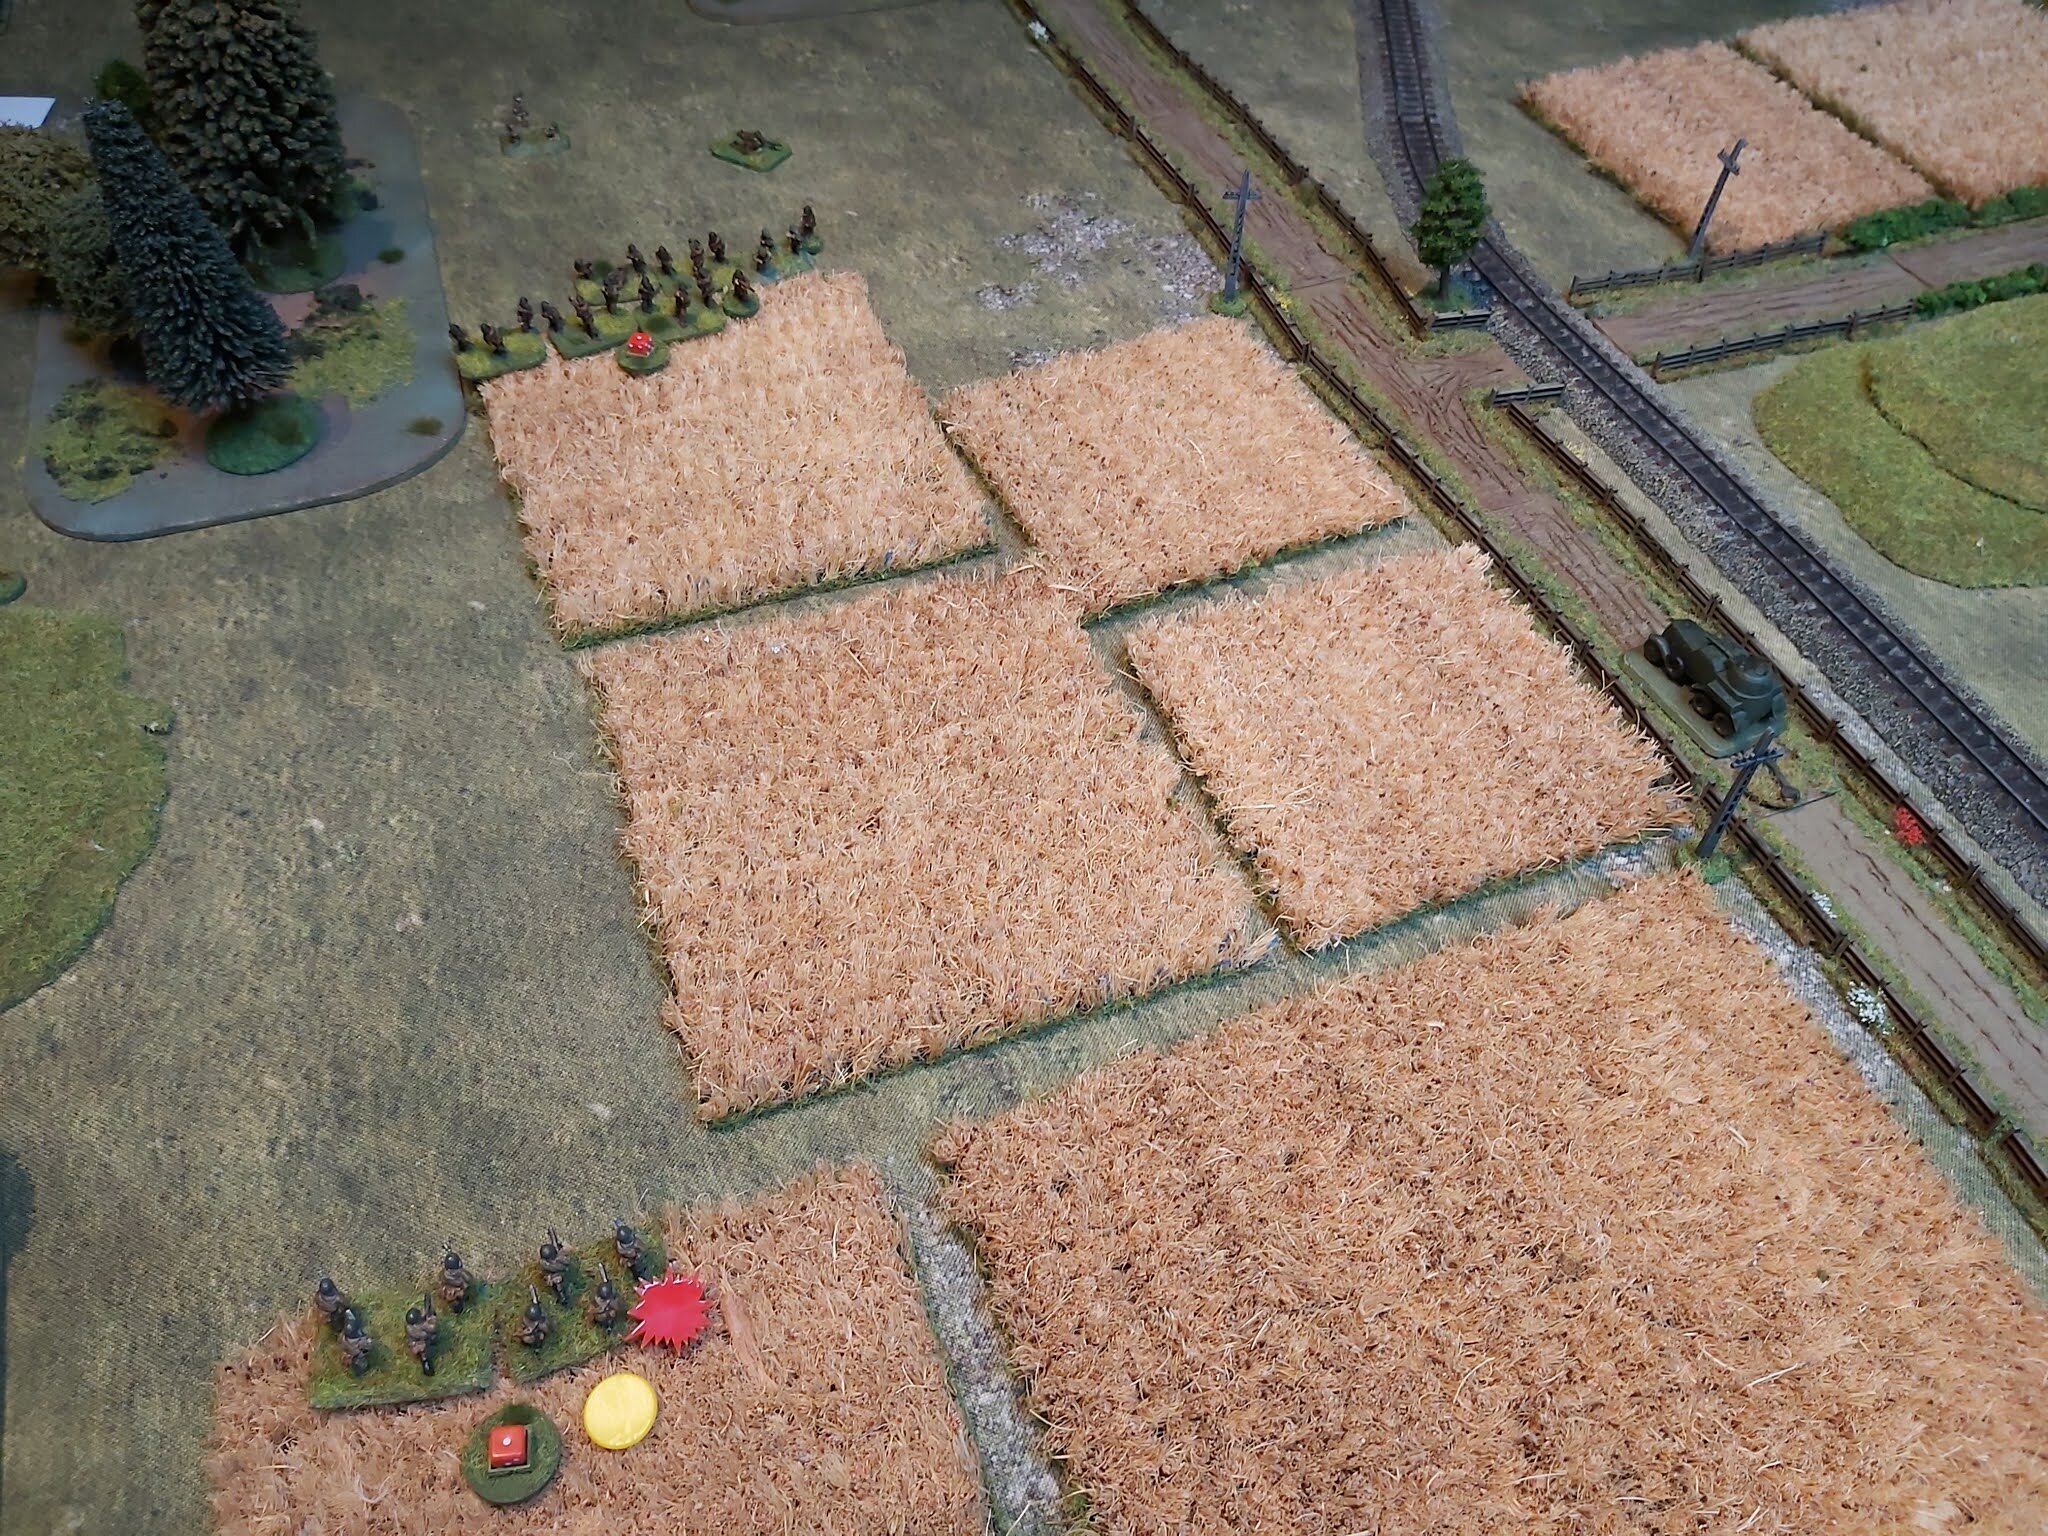
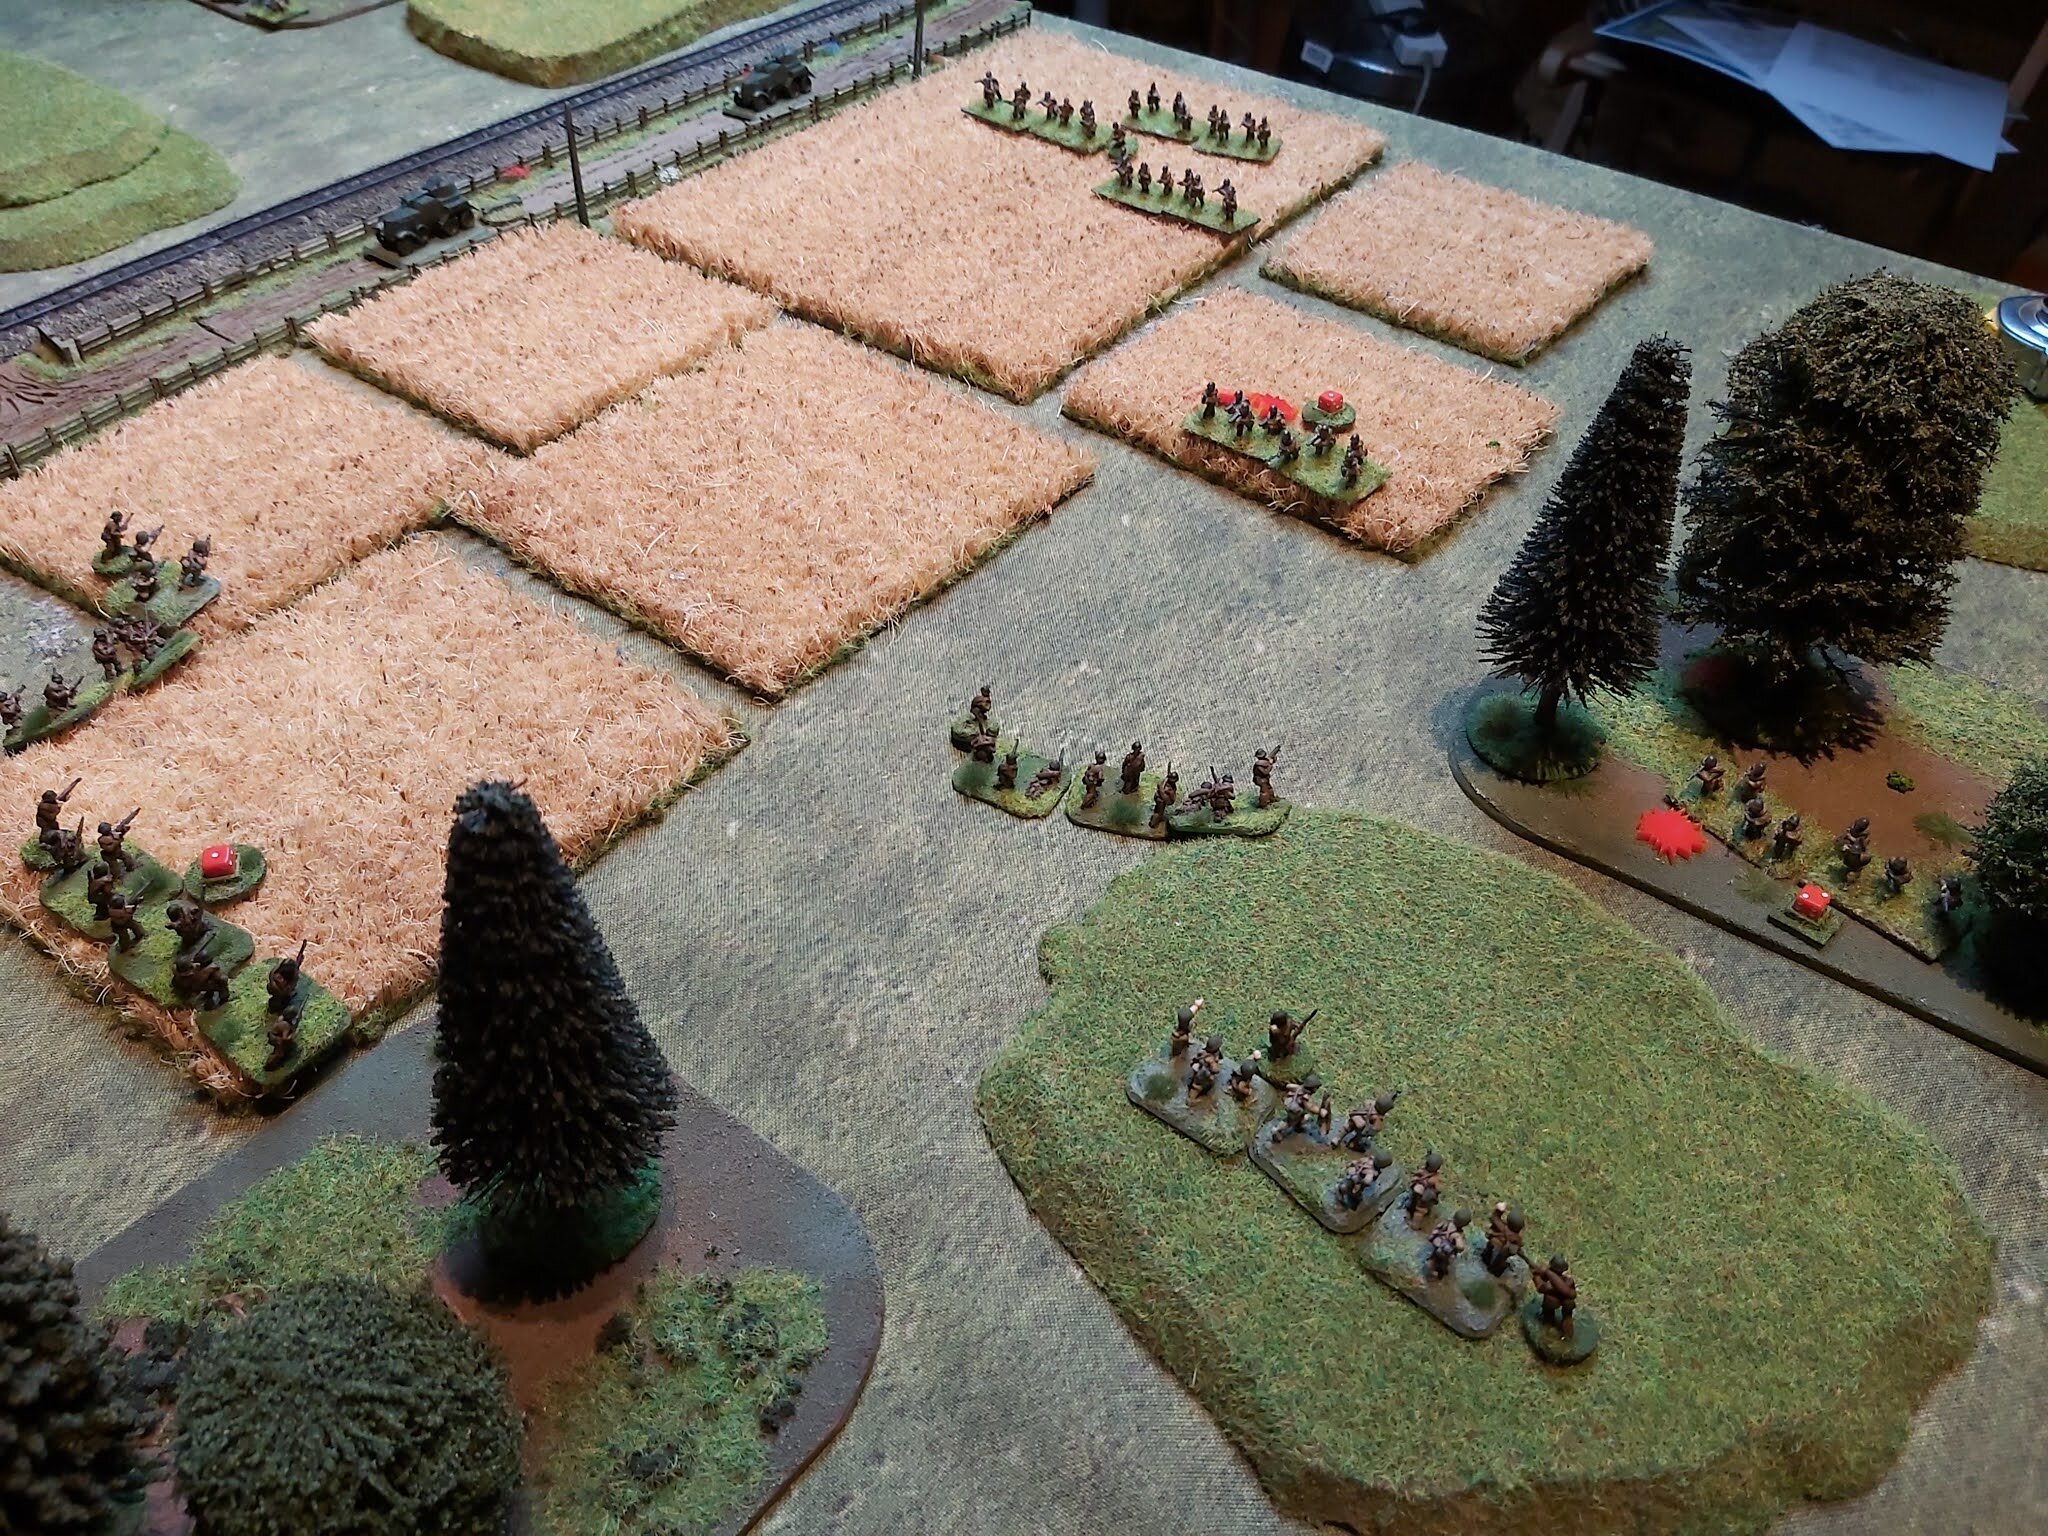
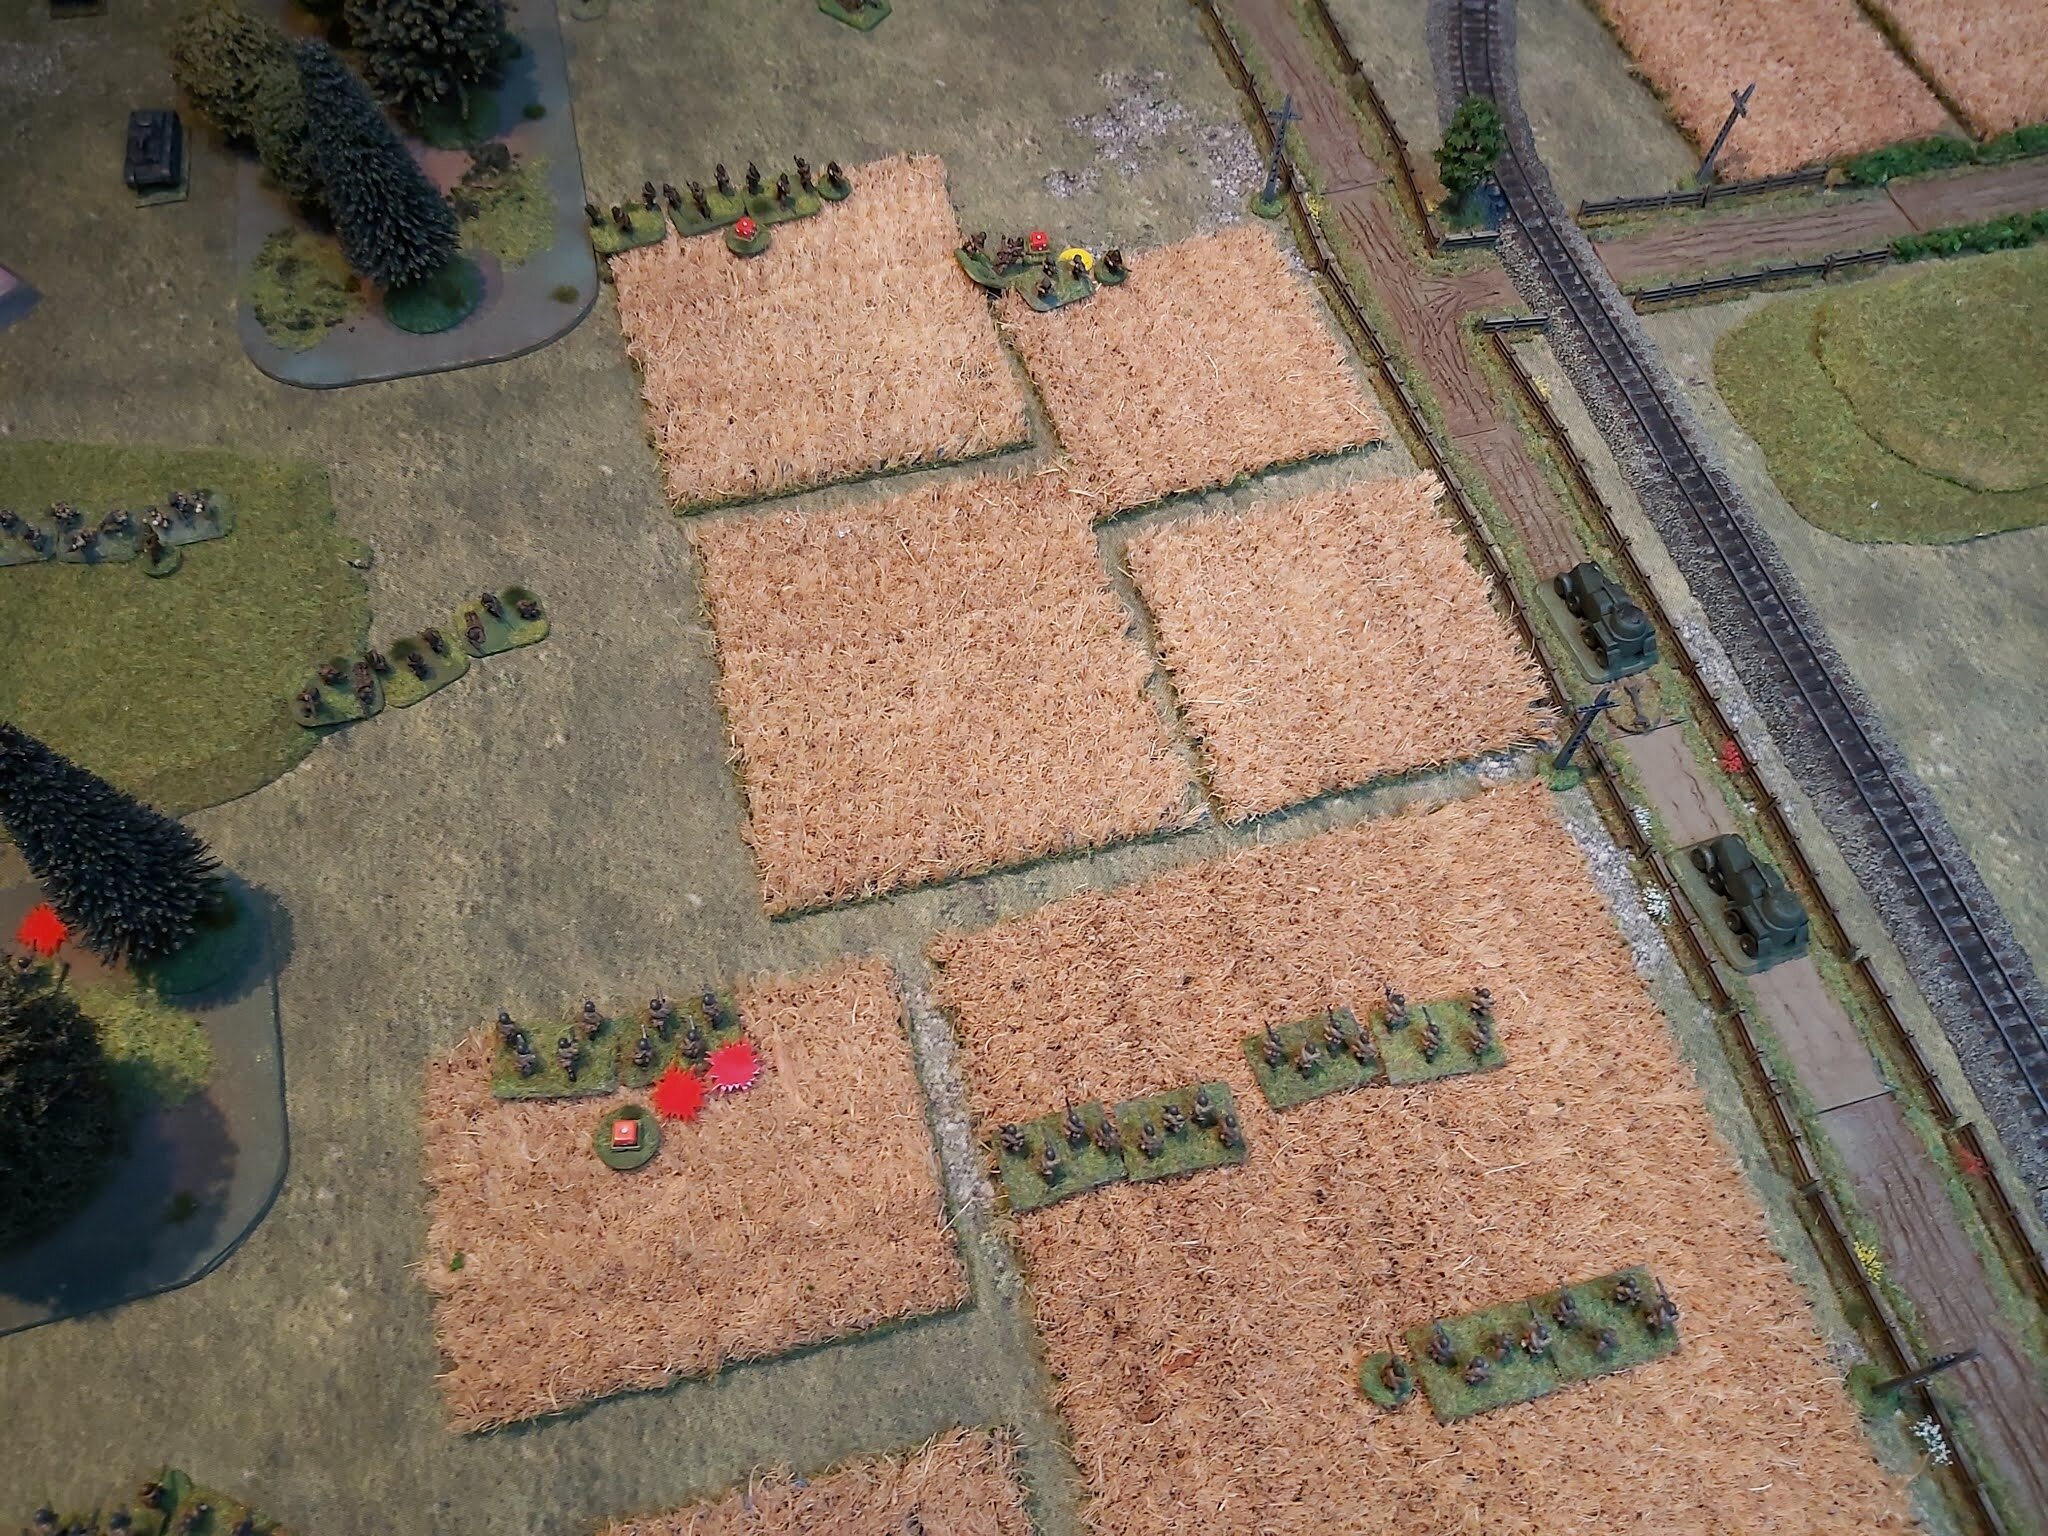
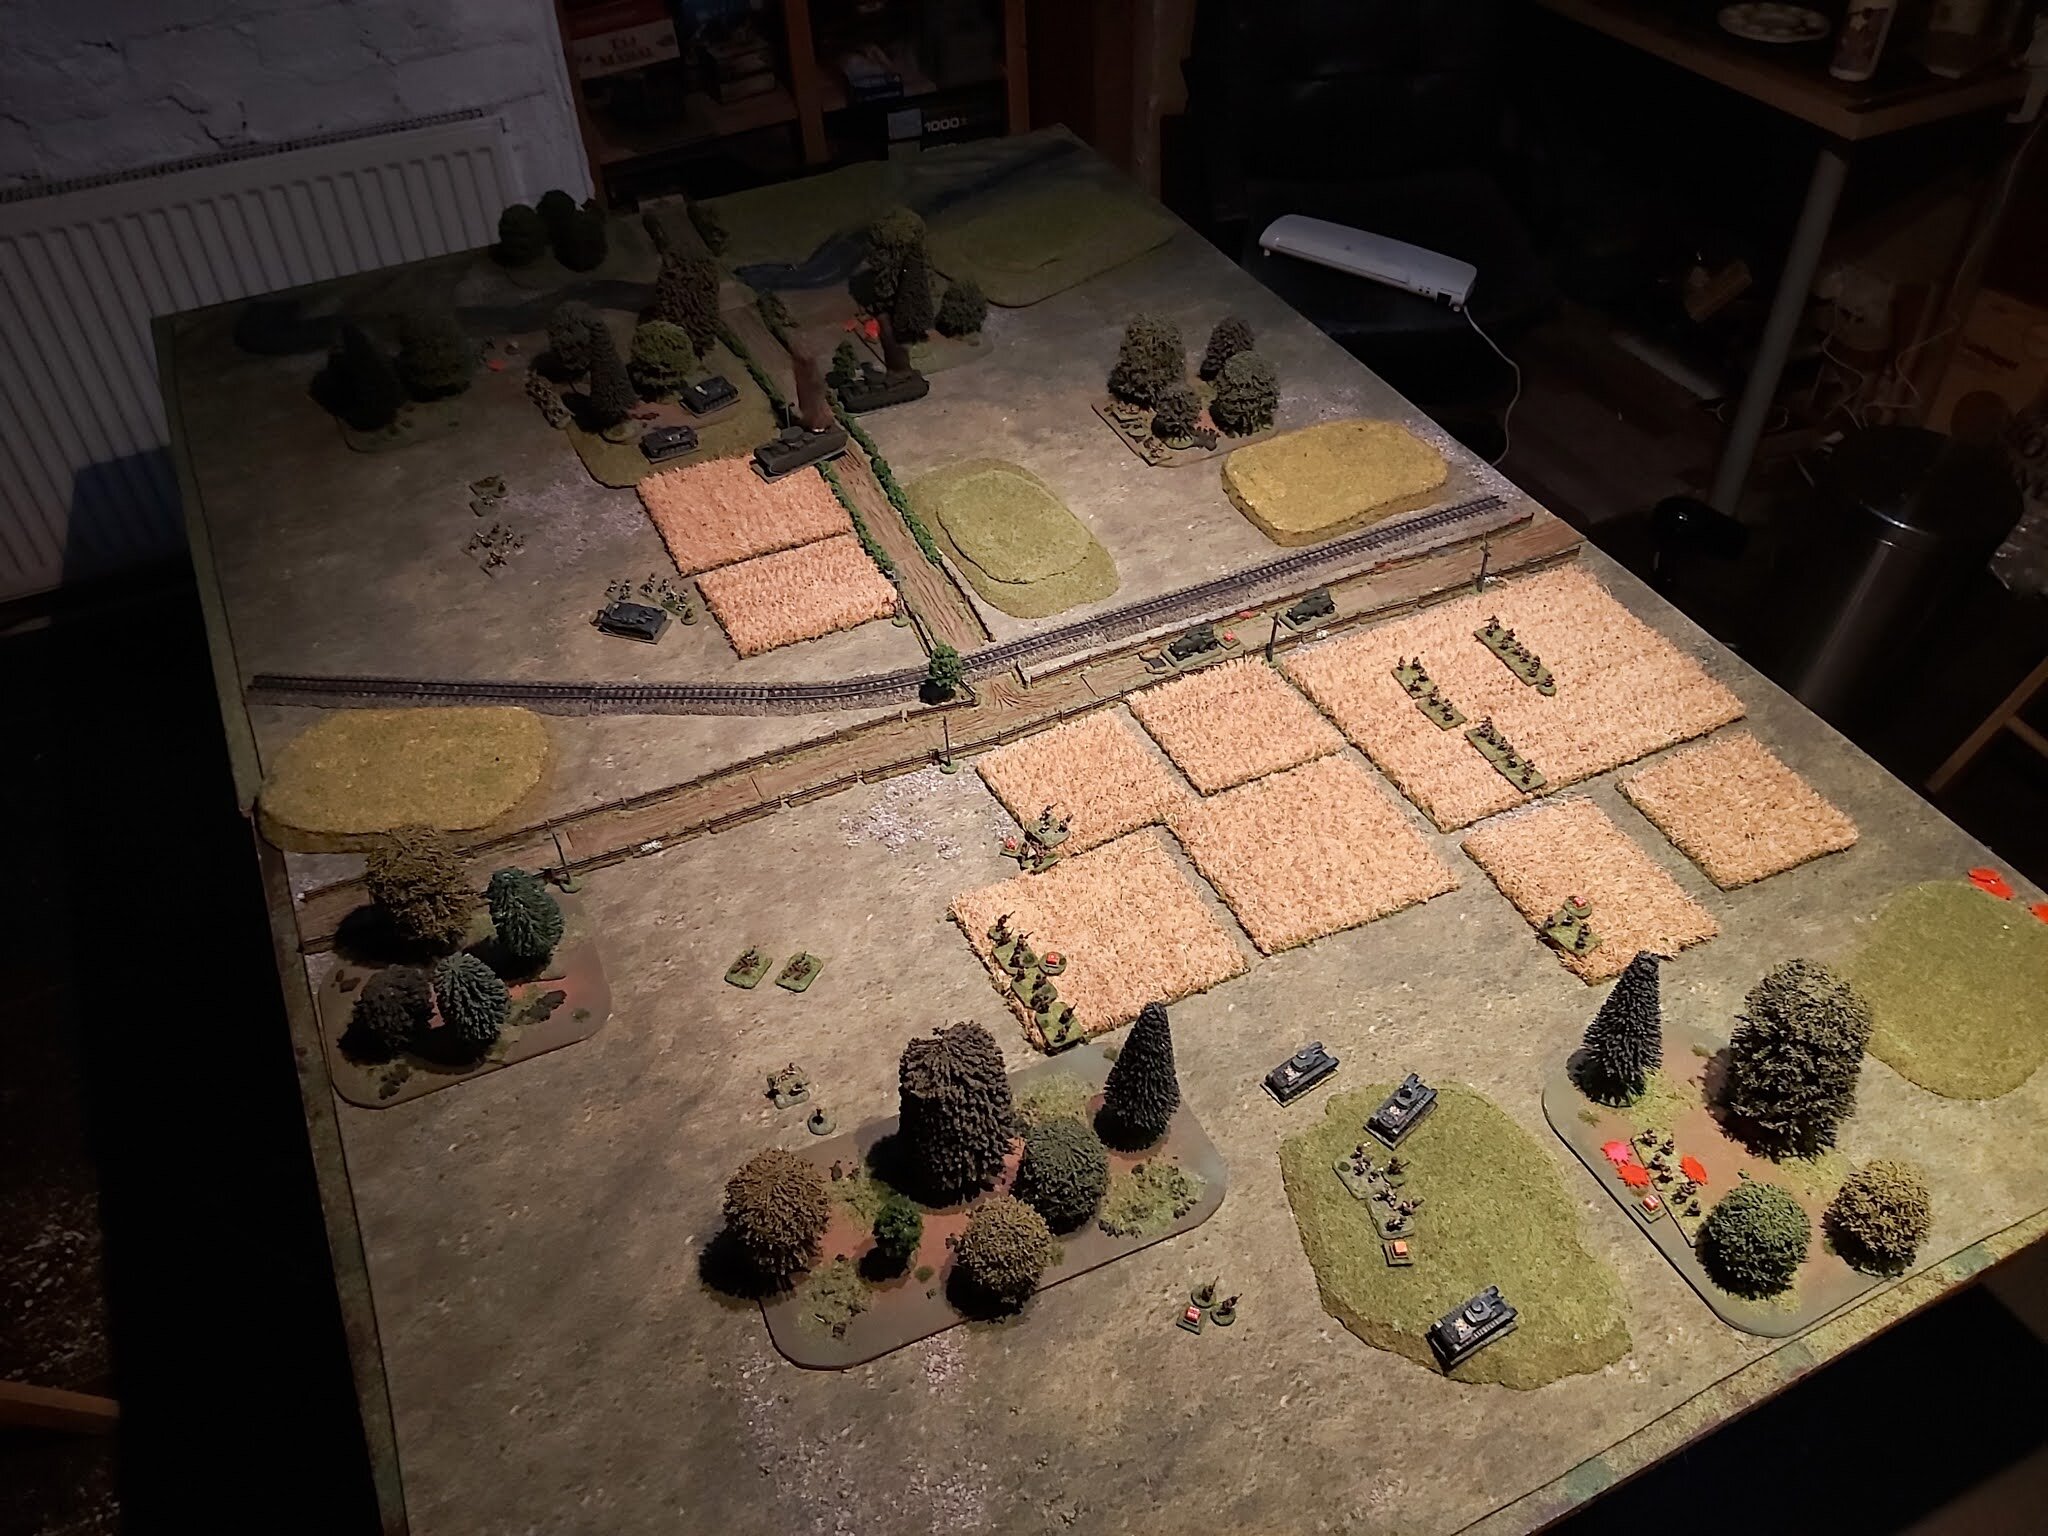
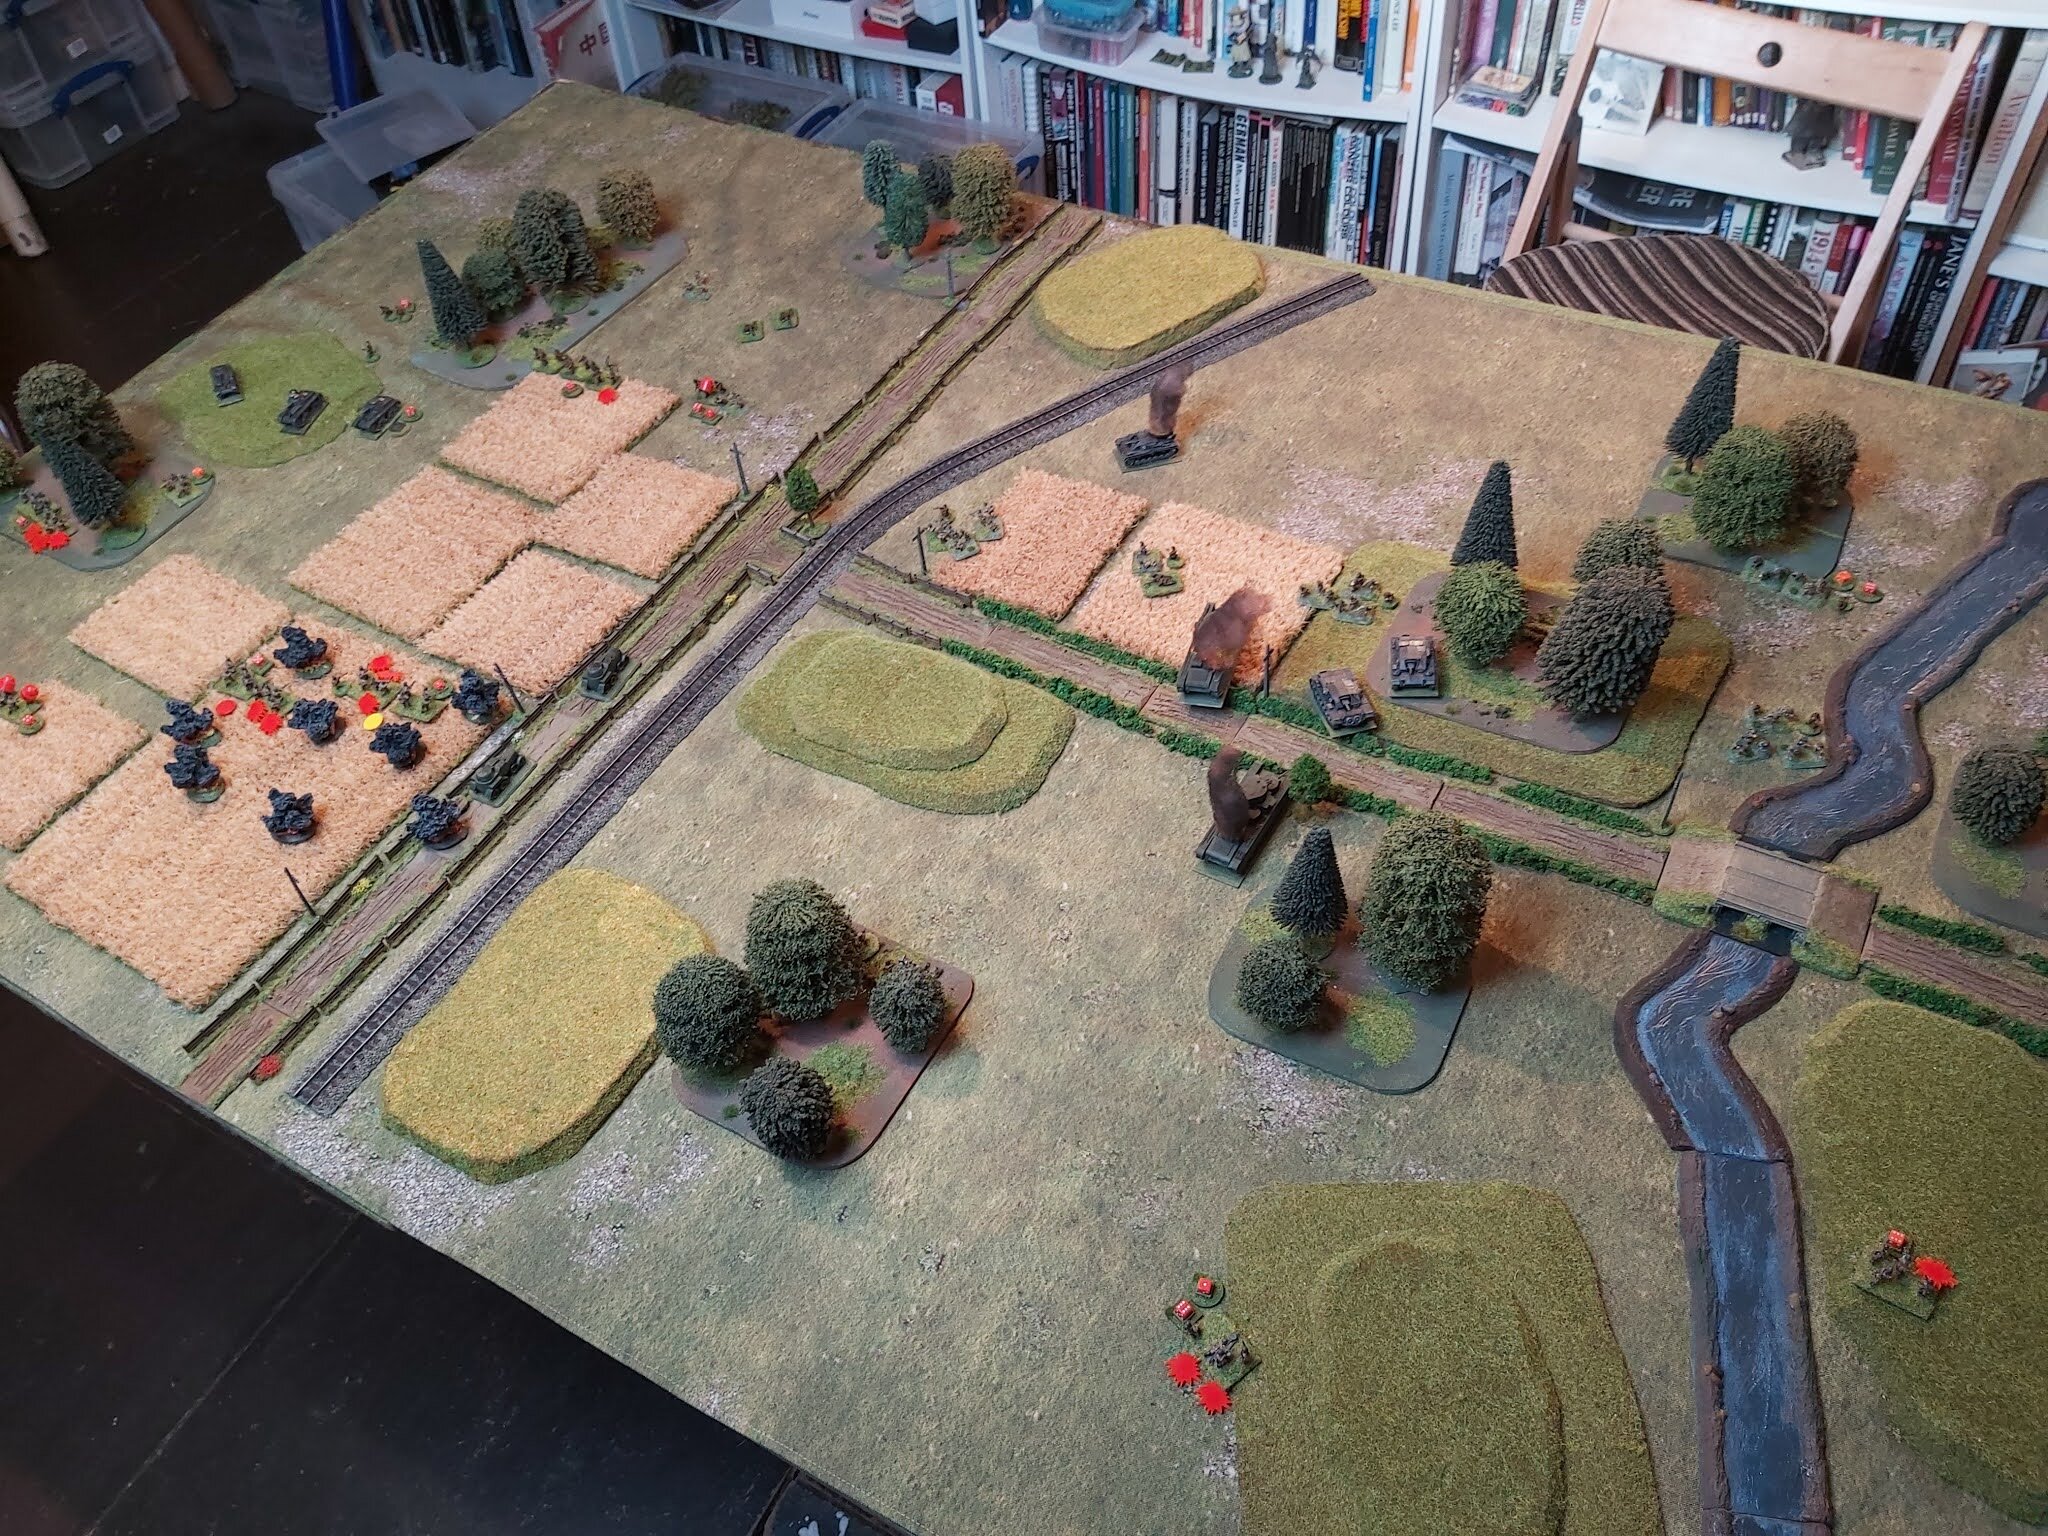
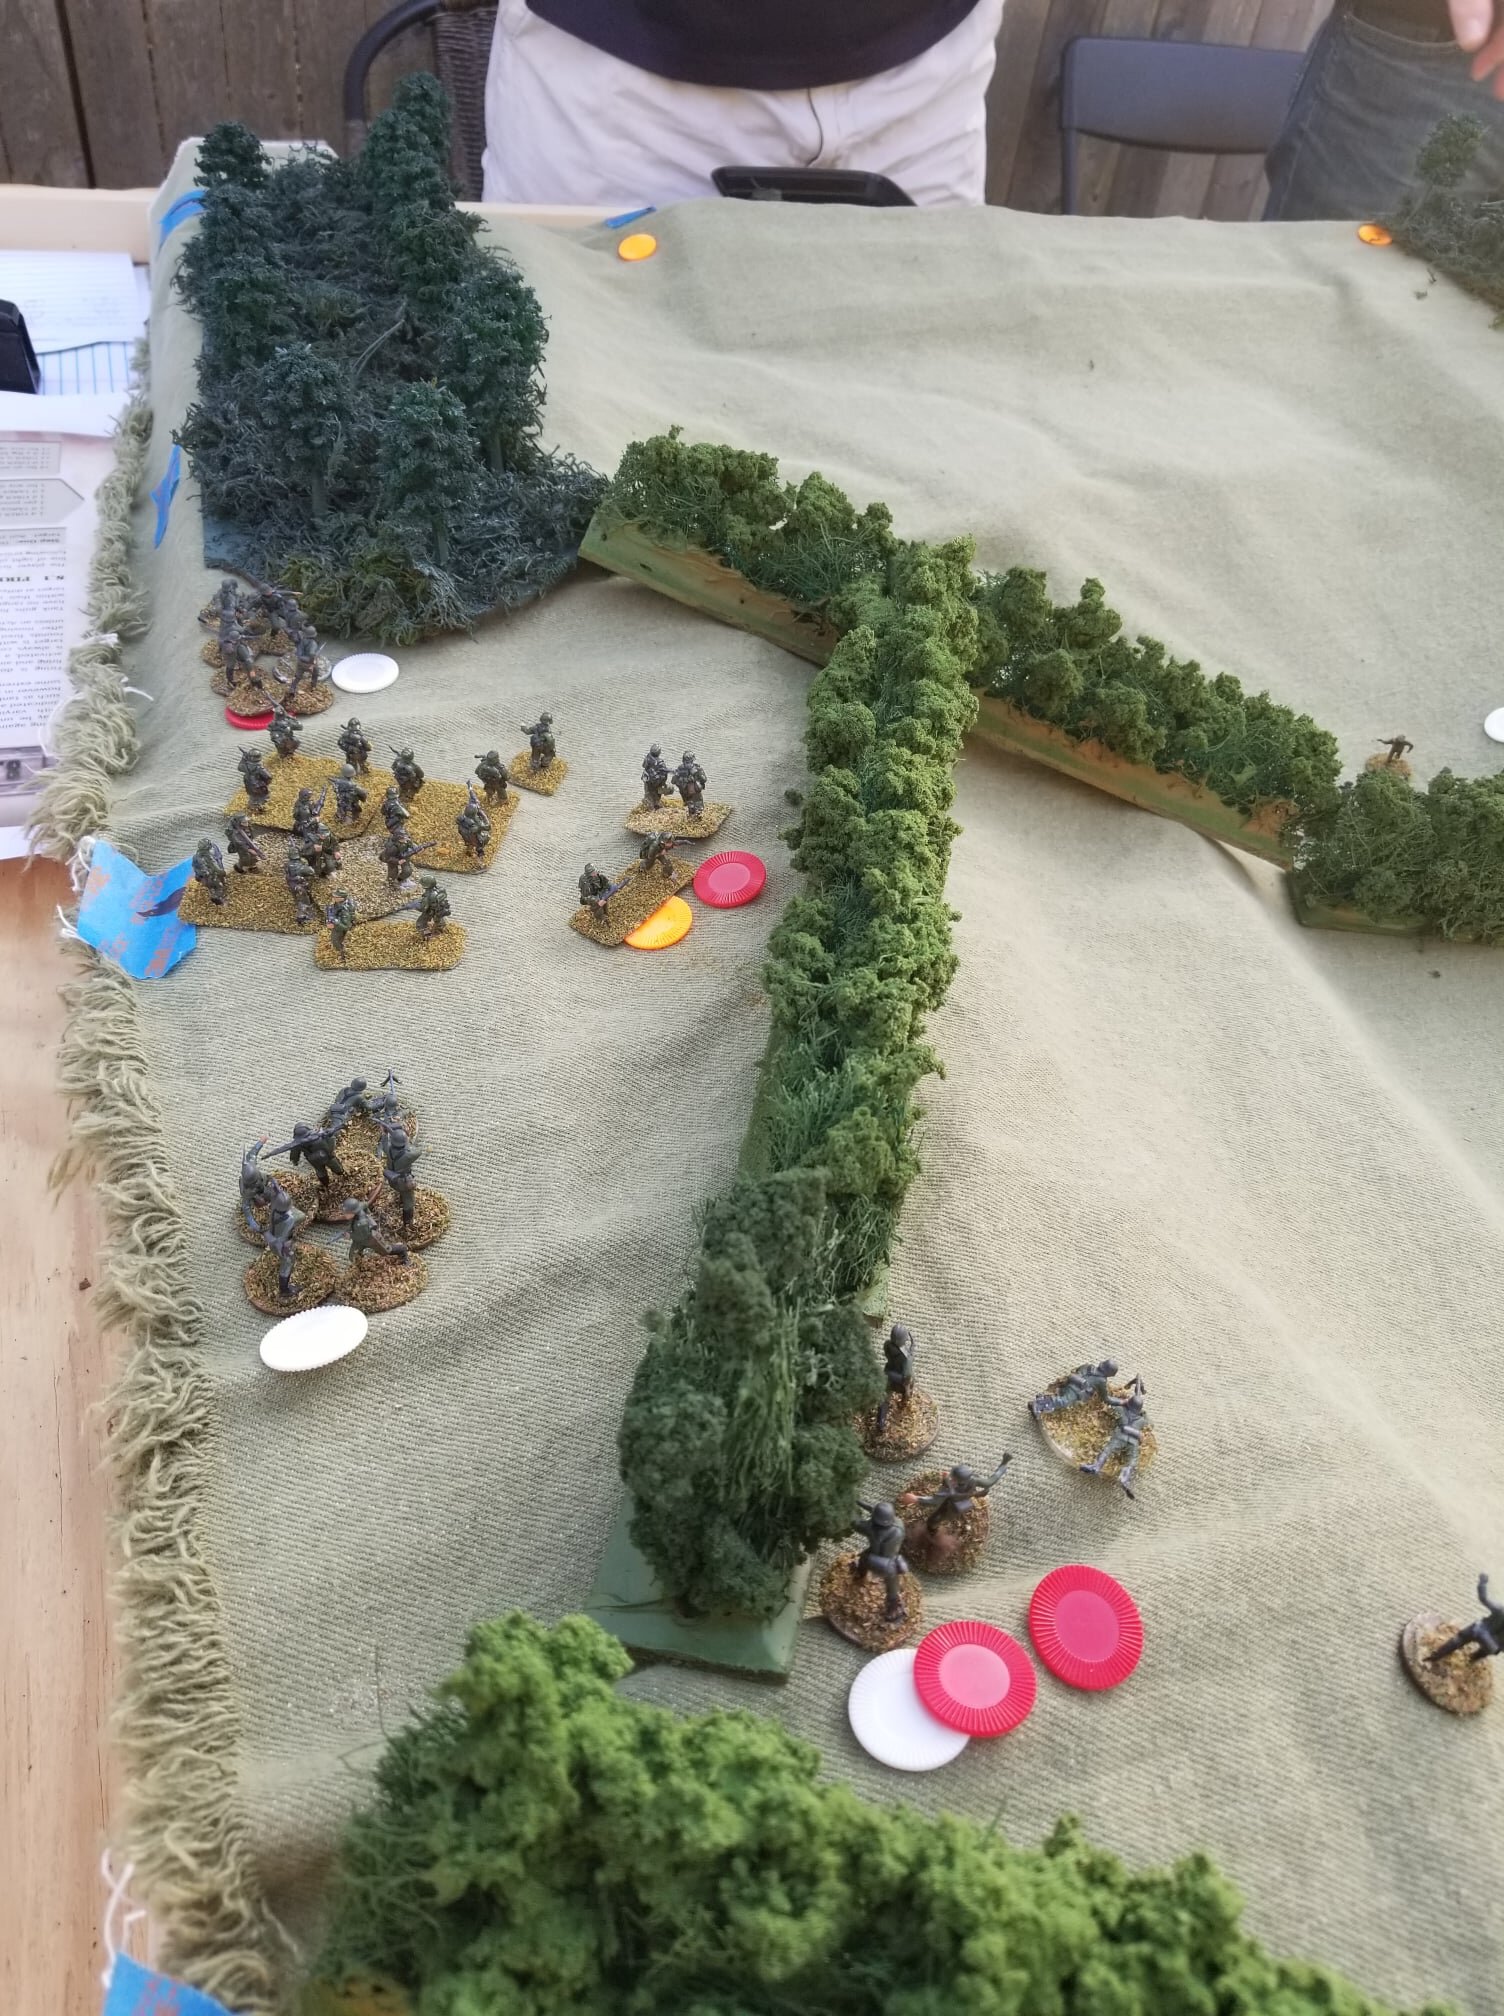
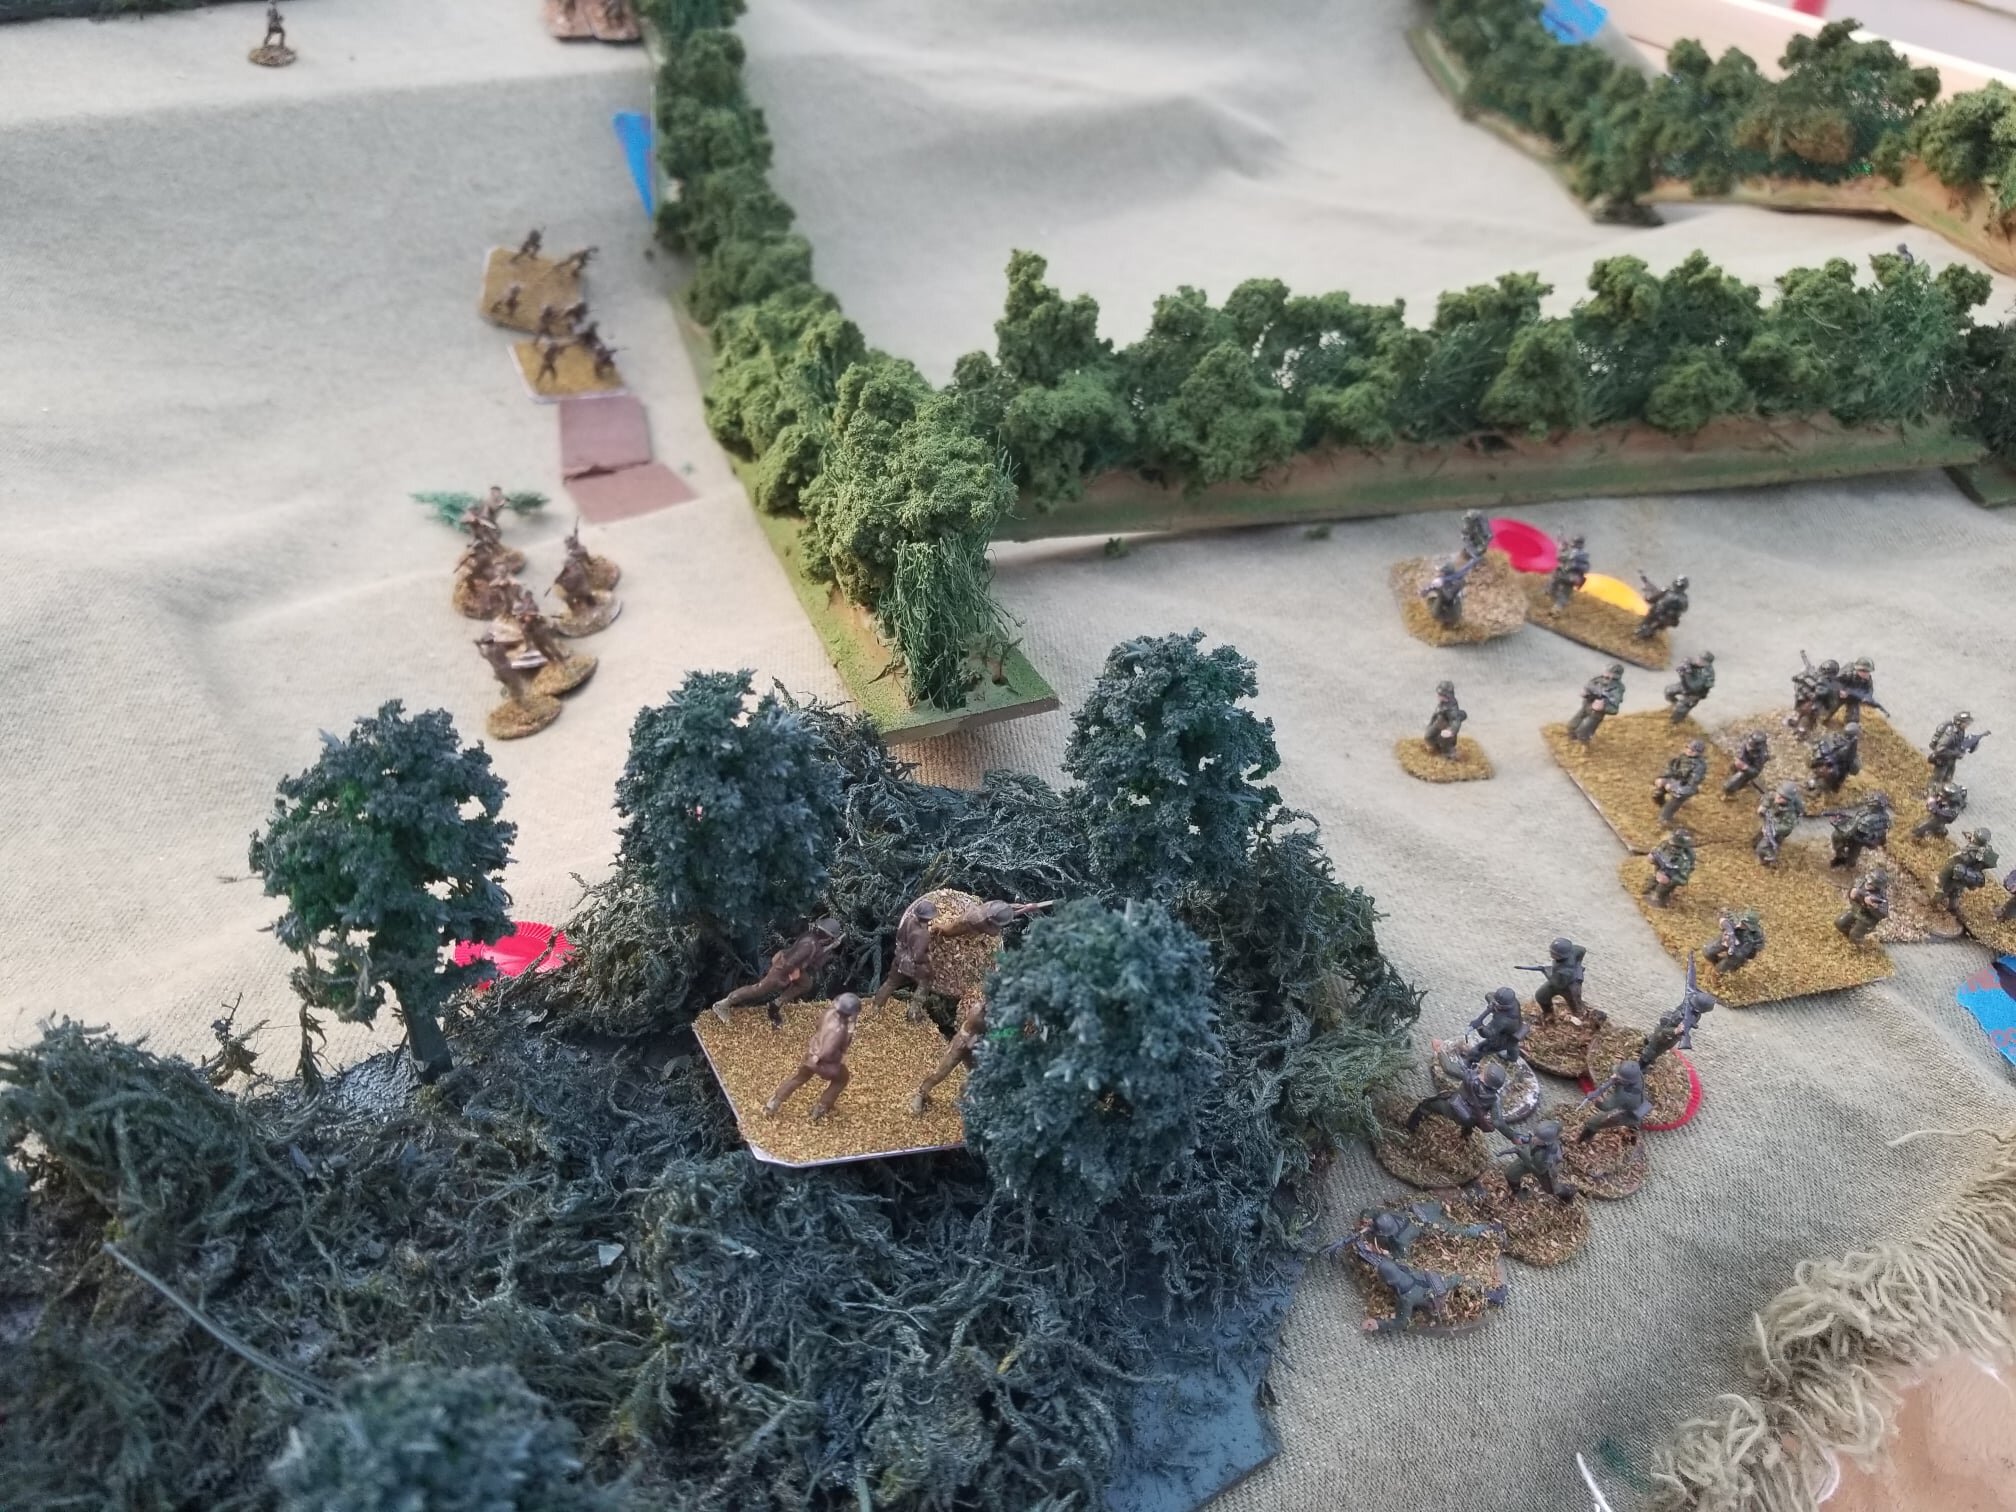
It is now May 11, 6am. The Germans (played by Jürgen C. and newbie Luke) attempt to expand their bridgehead at Auville. The Ardennes Hunters (played by Juvanov) try to stop them, aided by reinforcements in the form of a French armored column (played by Willie).

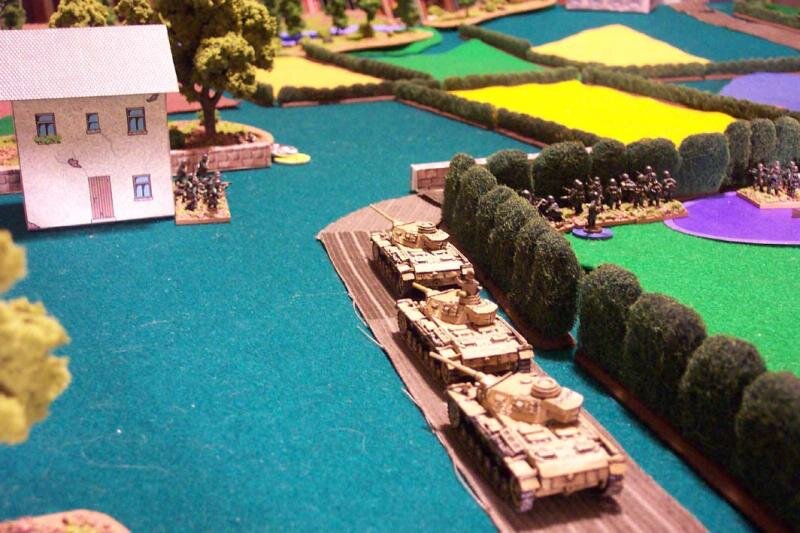
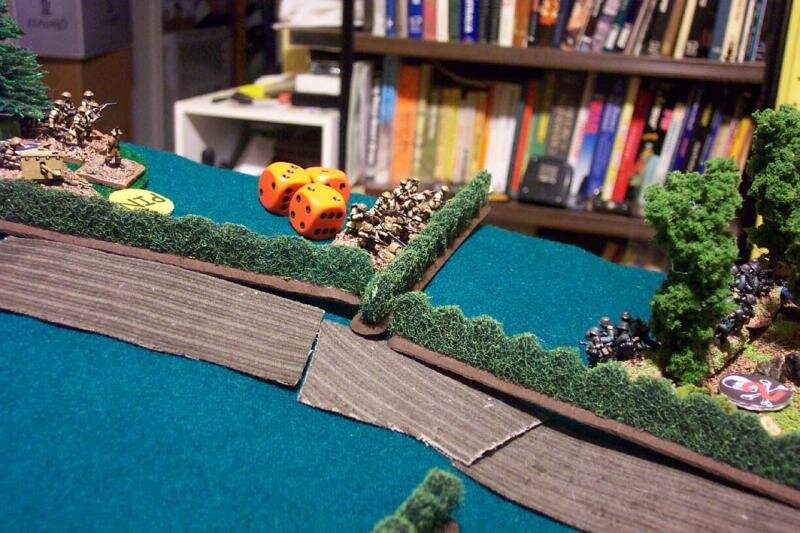
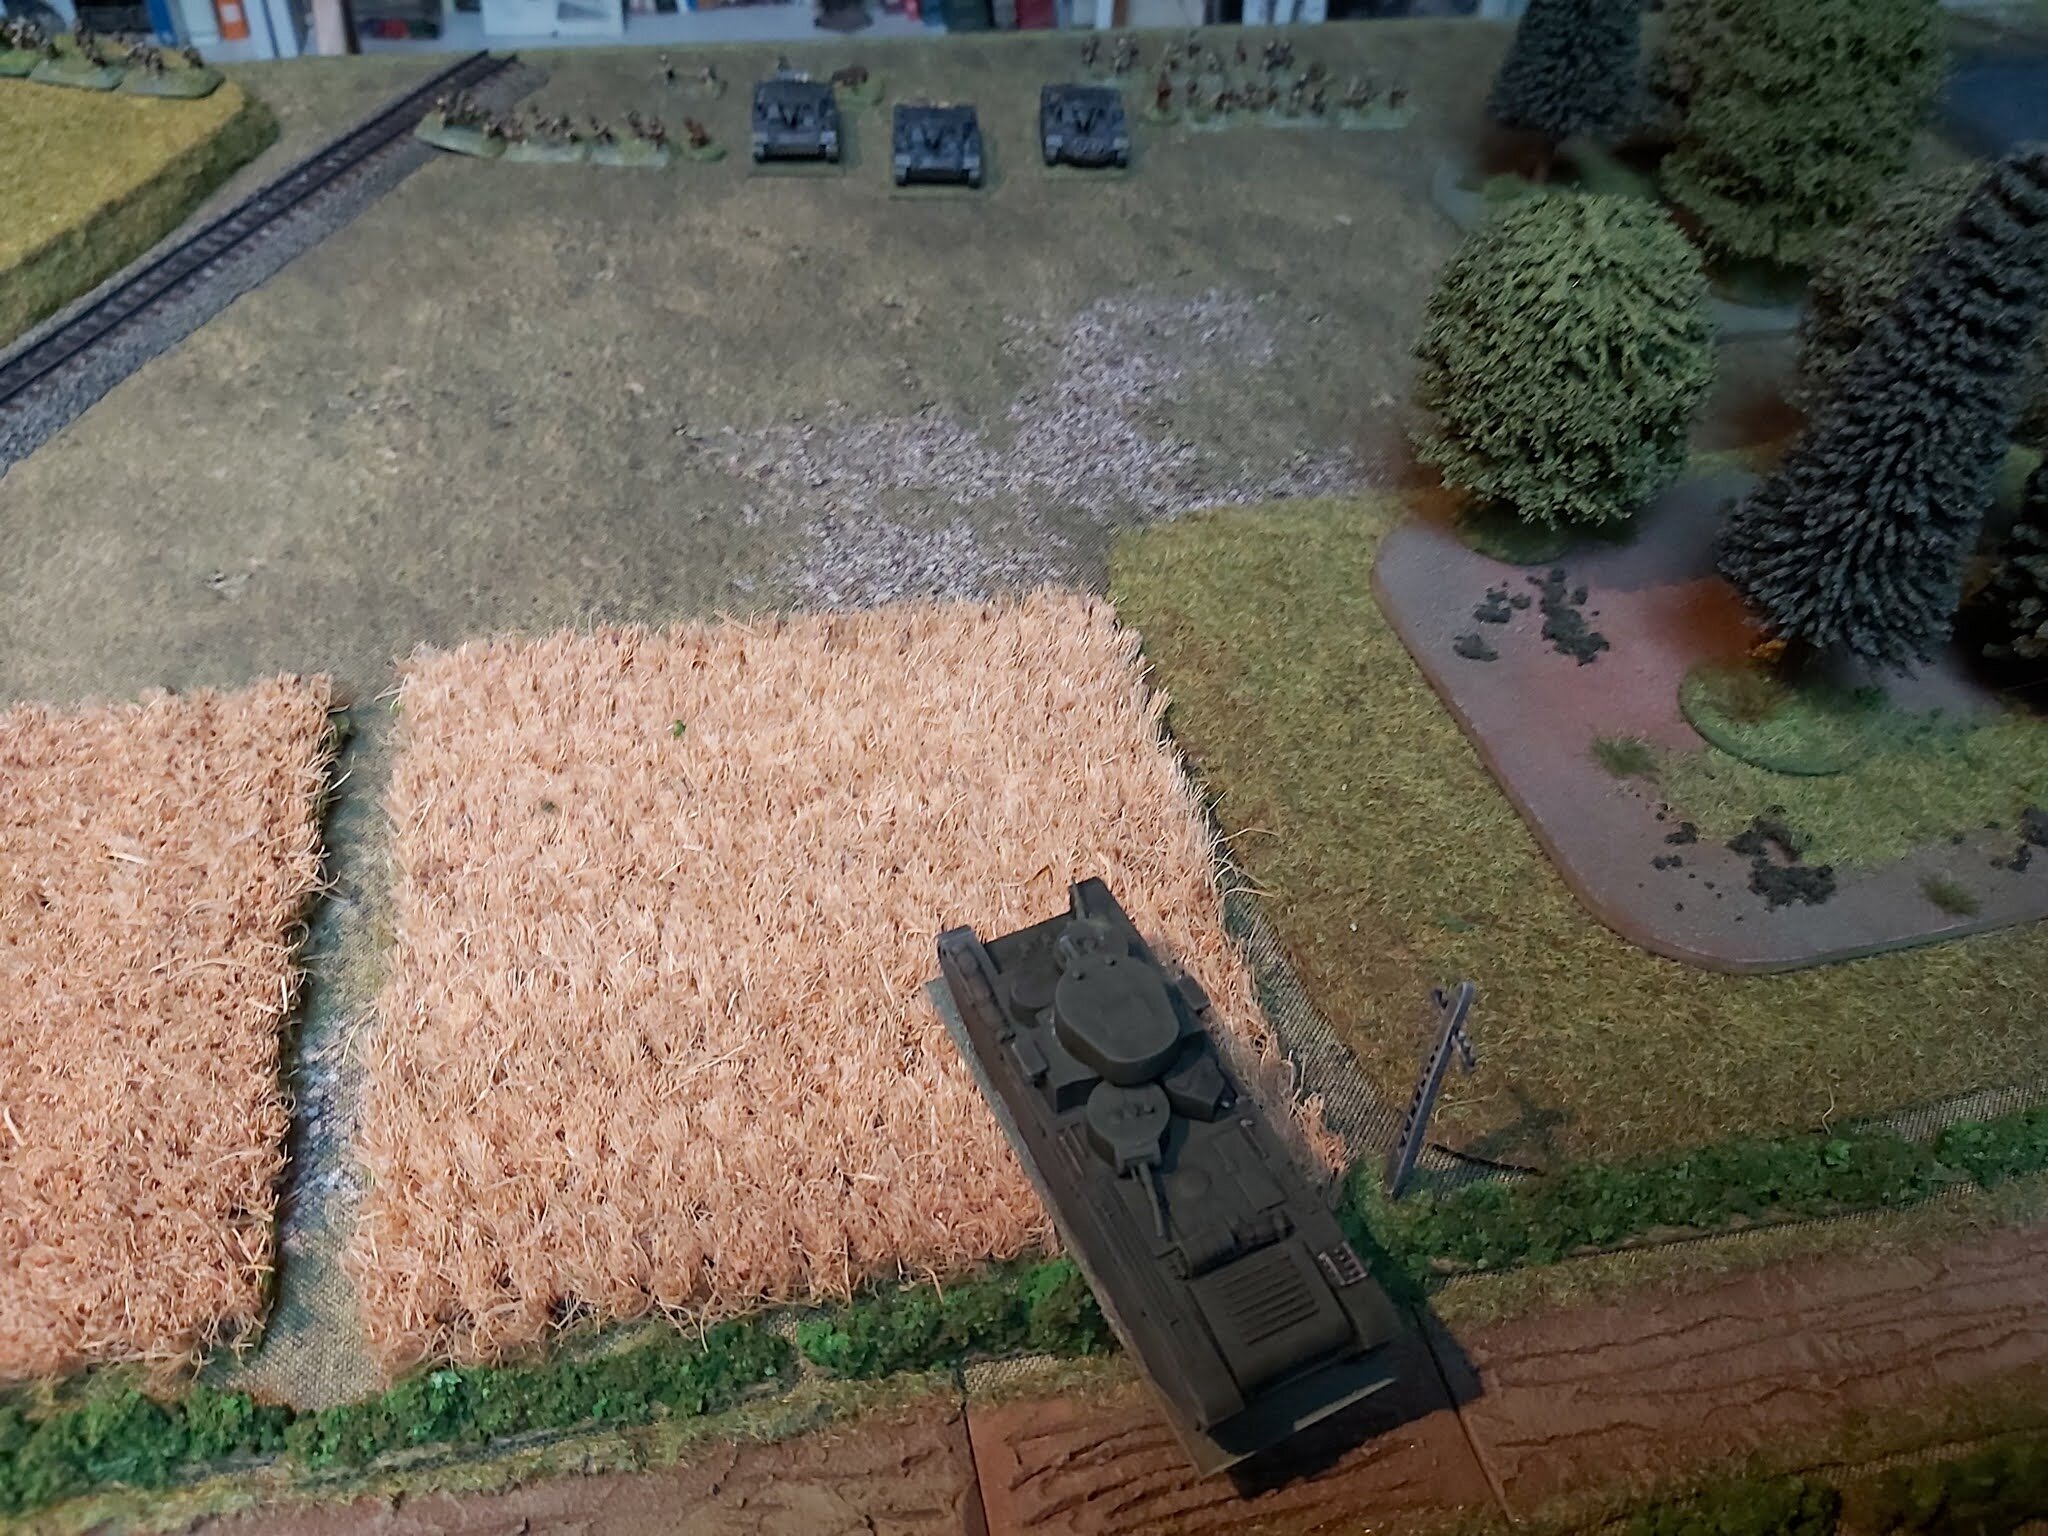
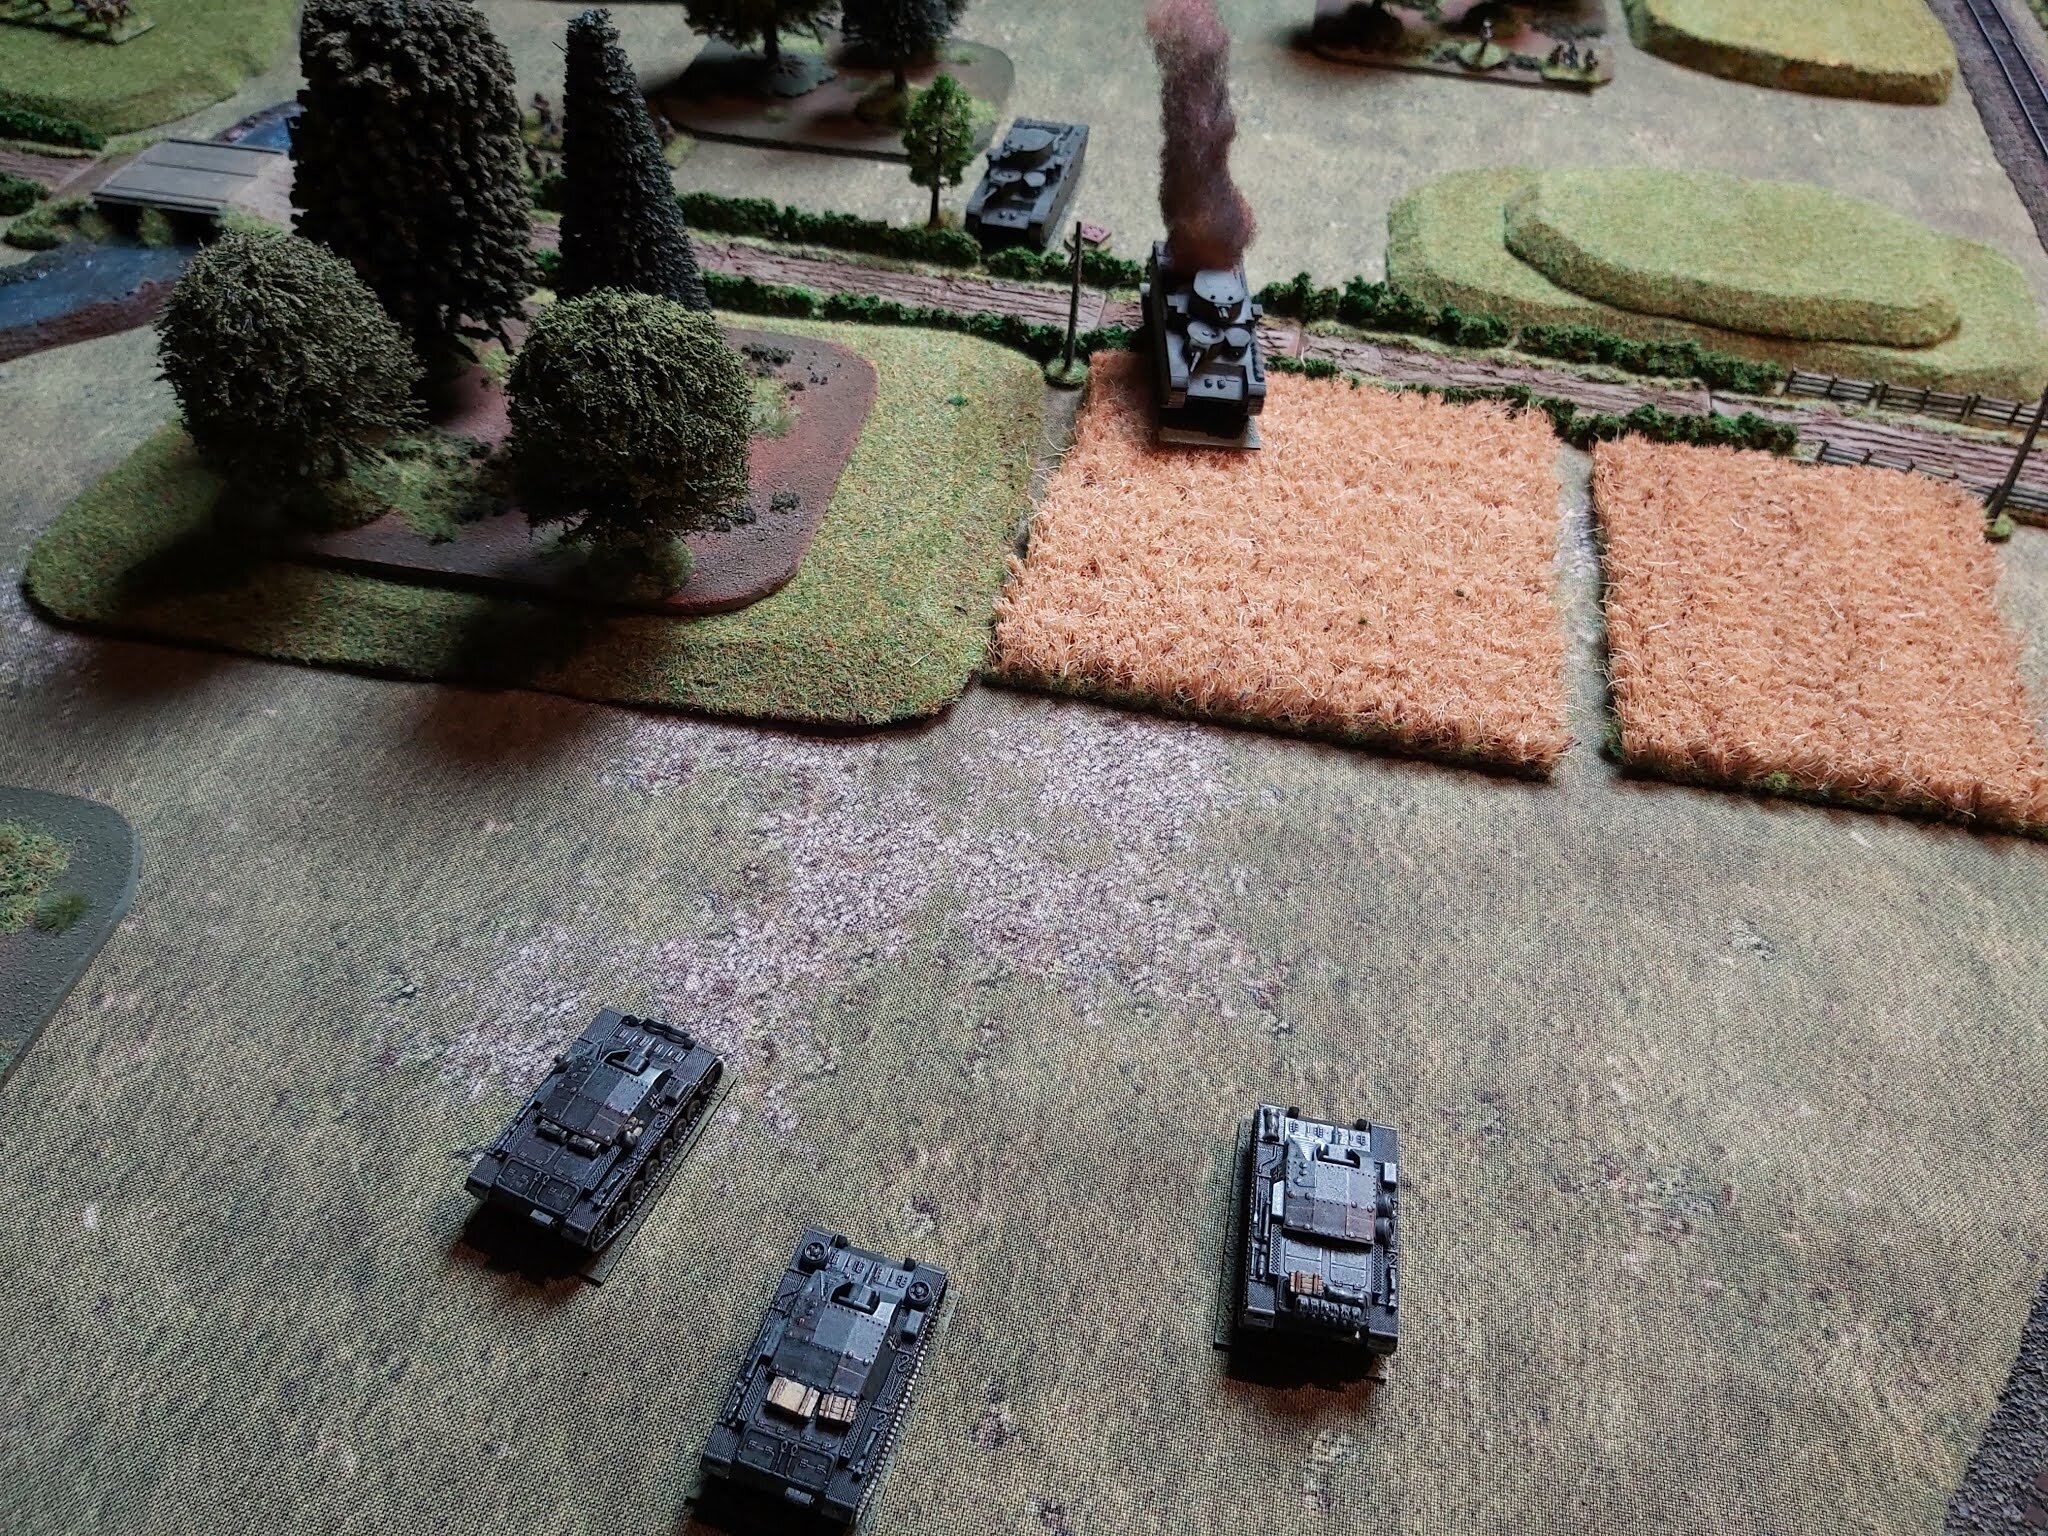
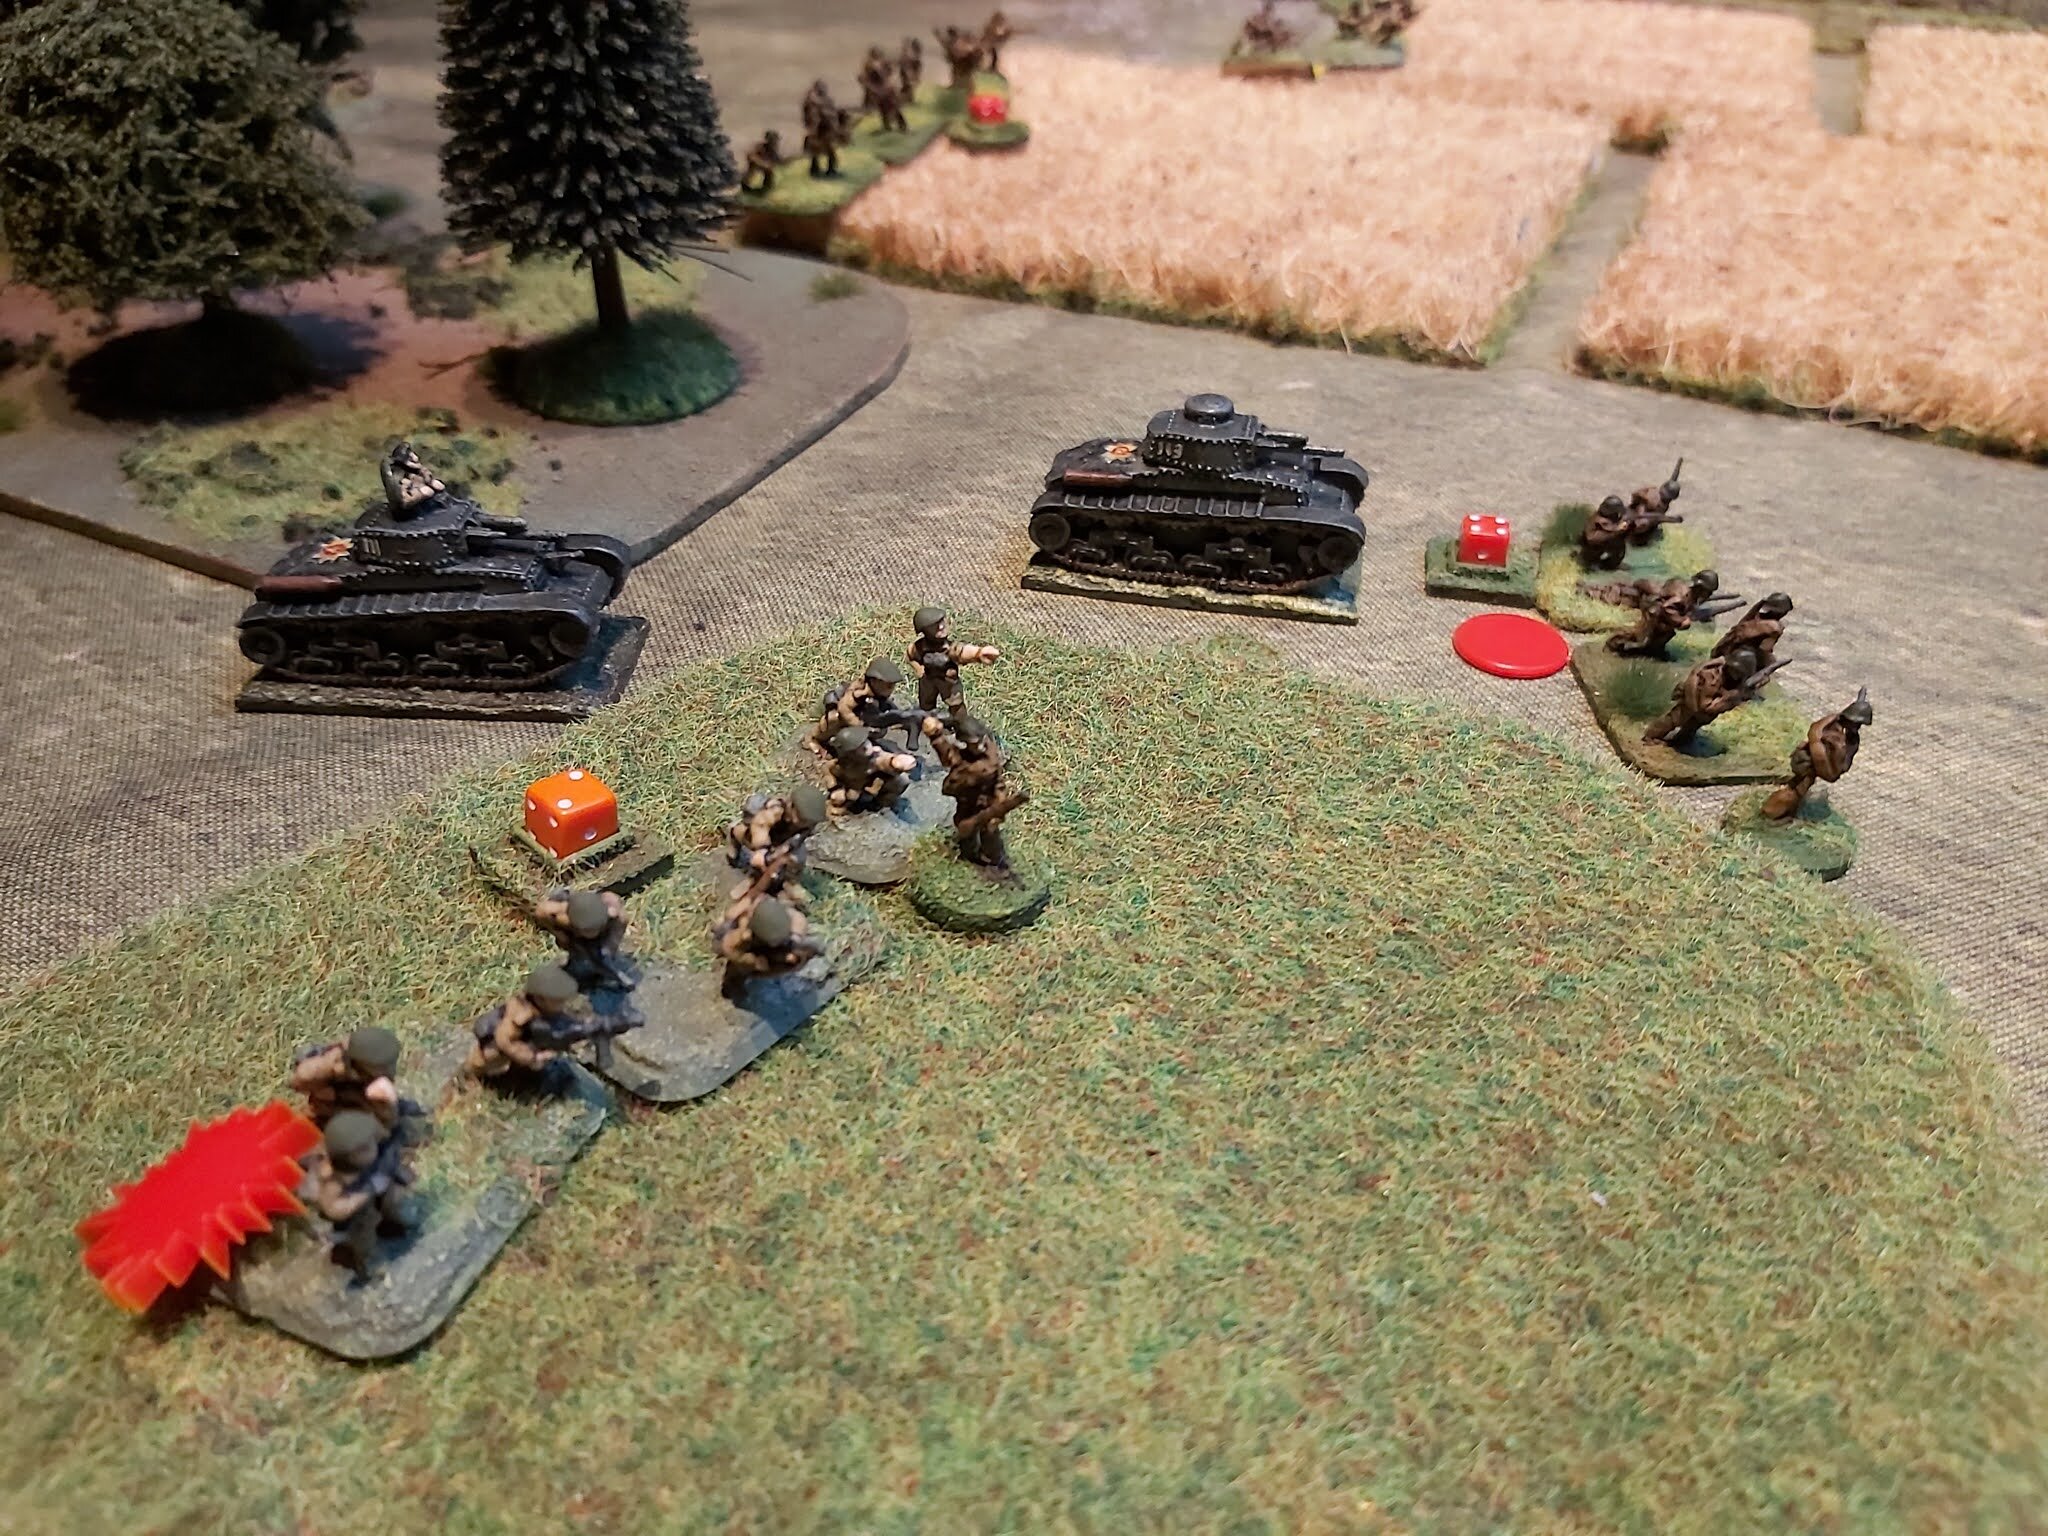
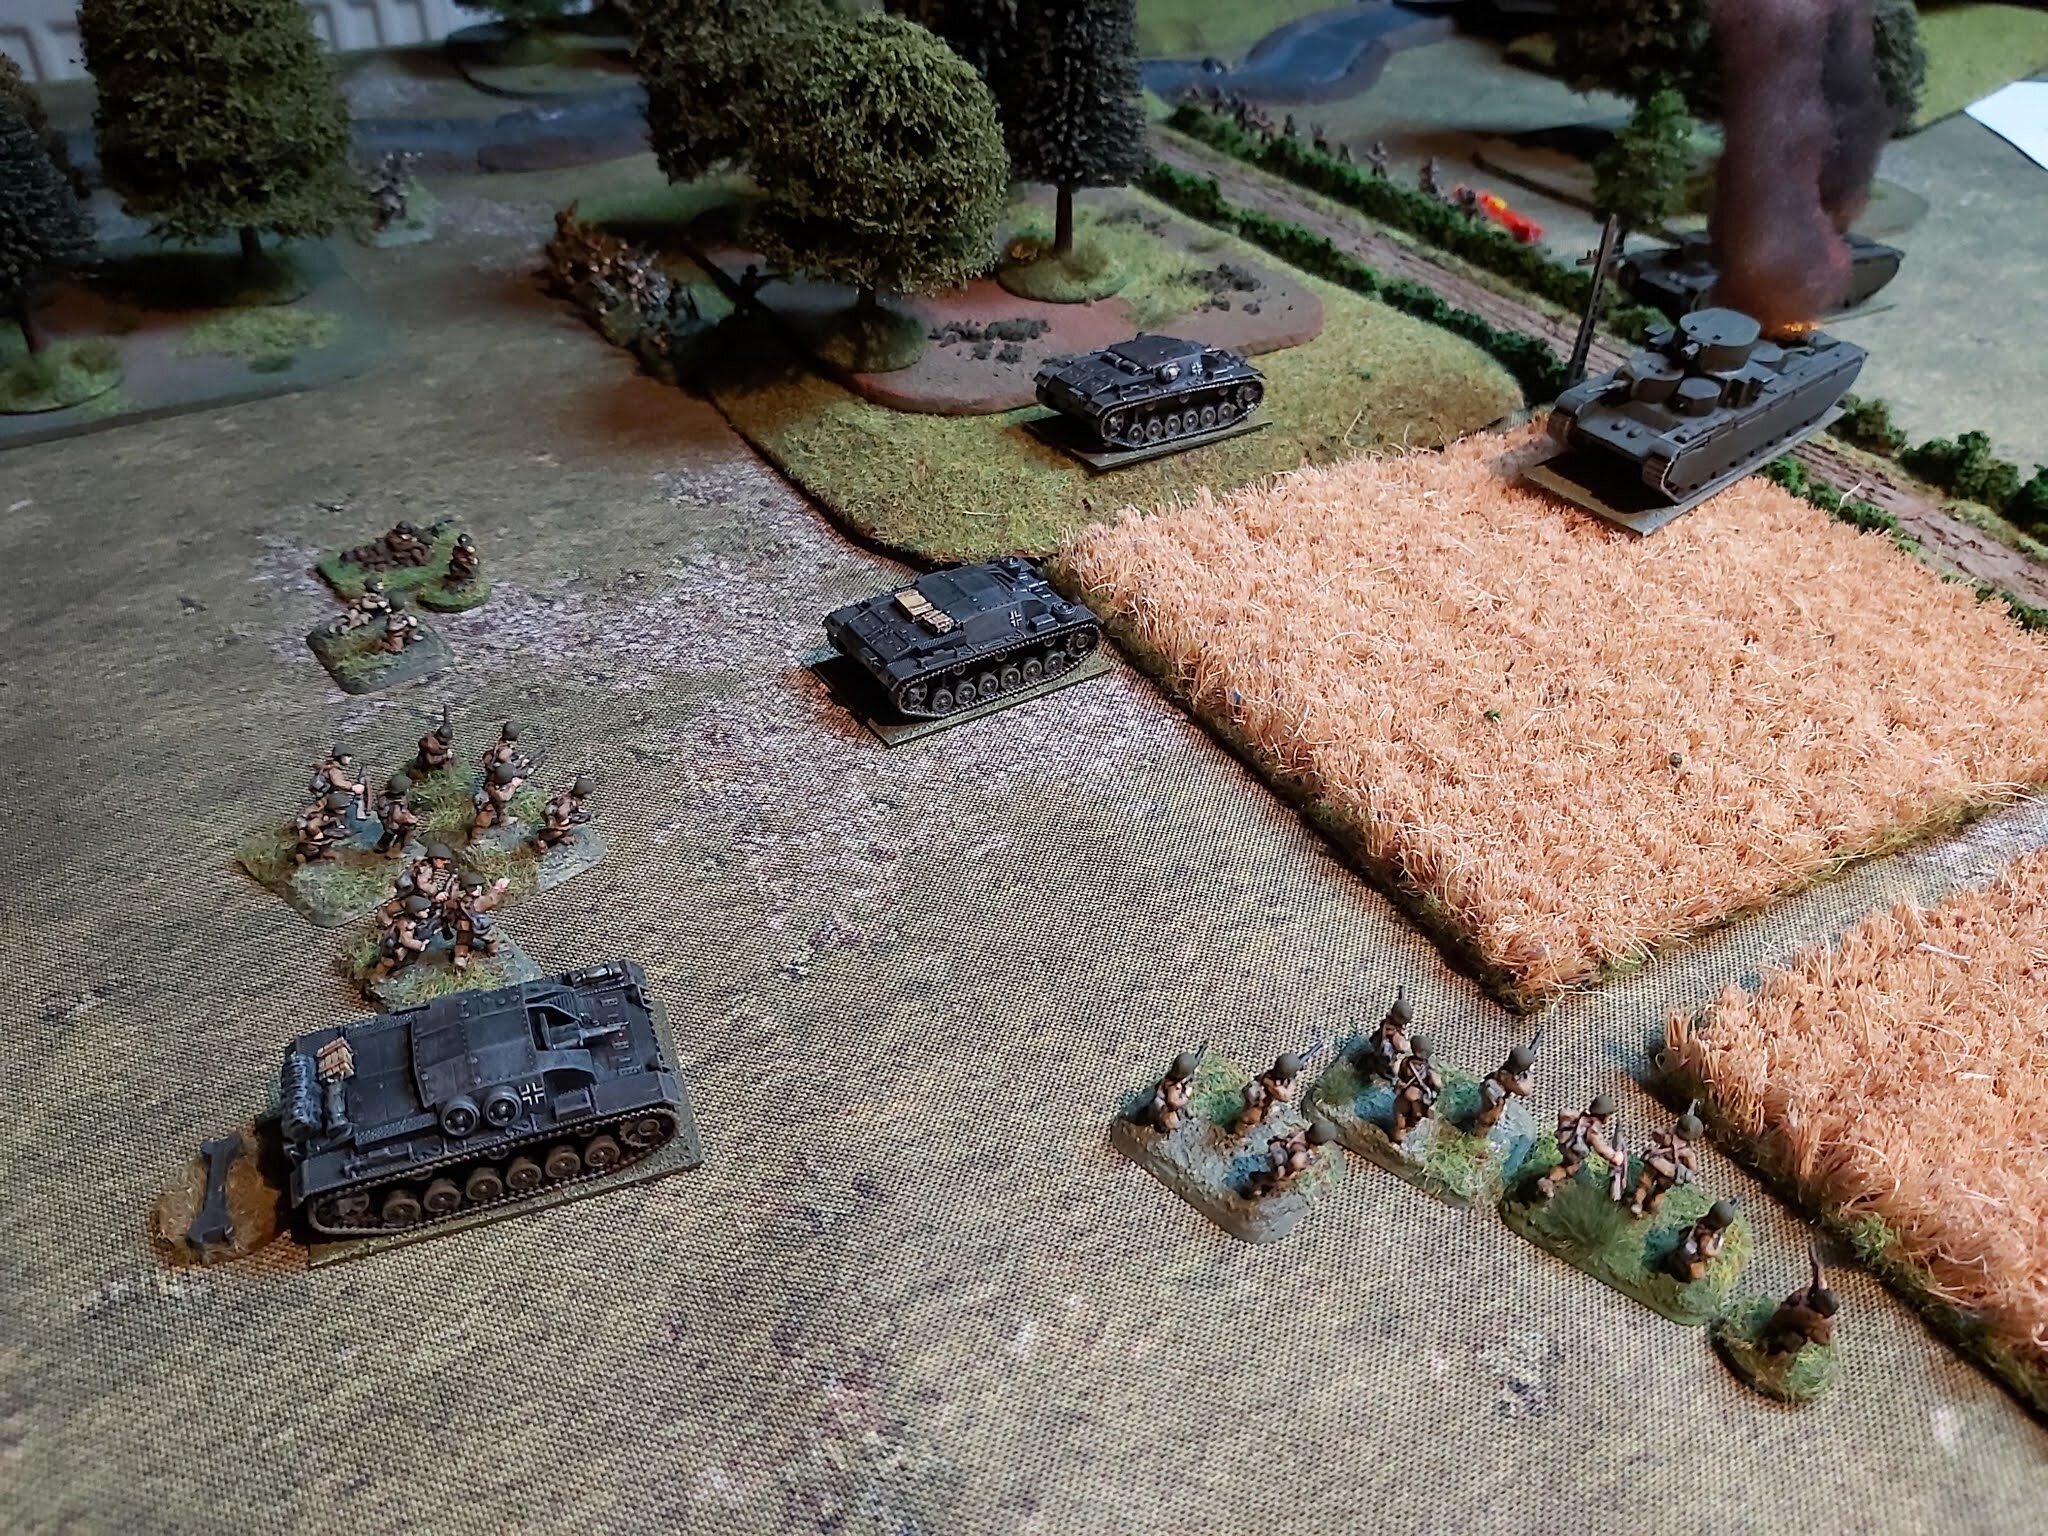
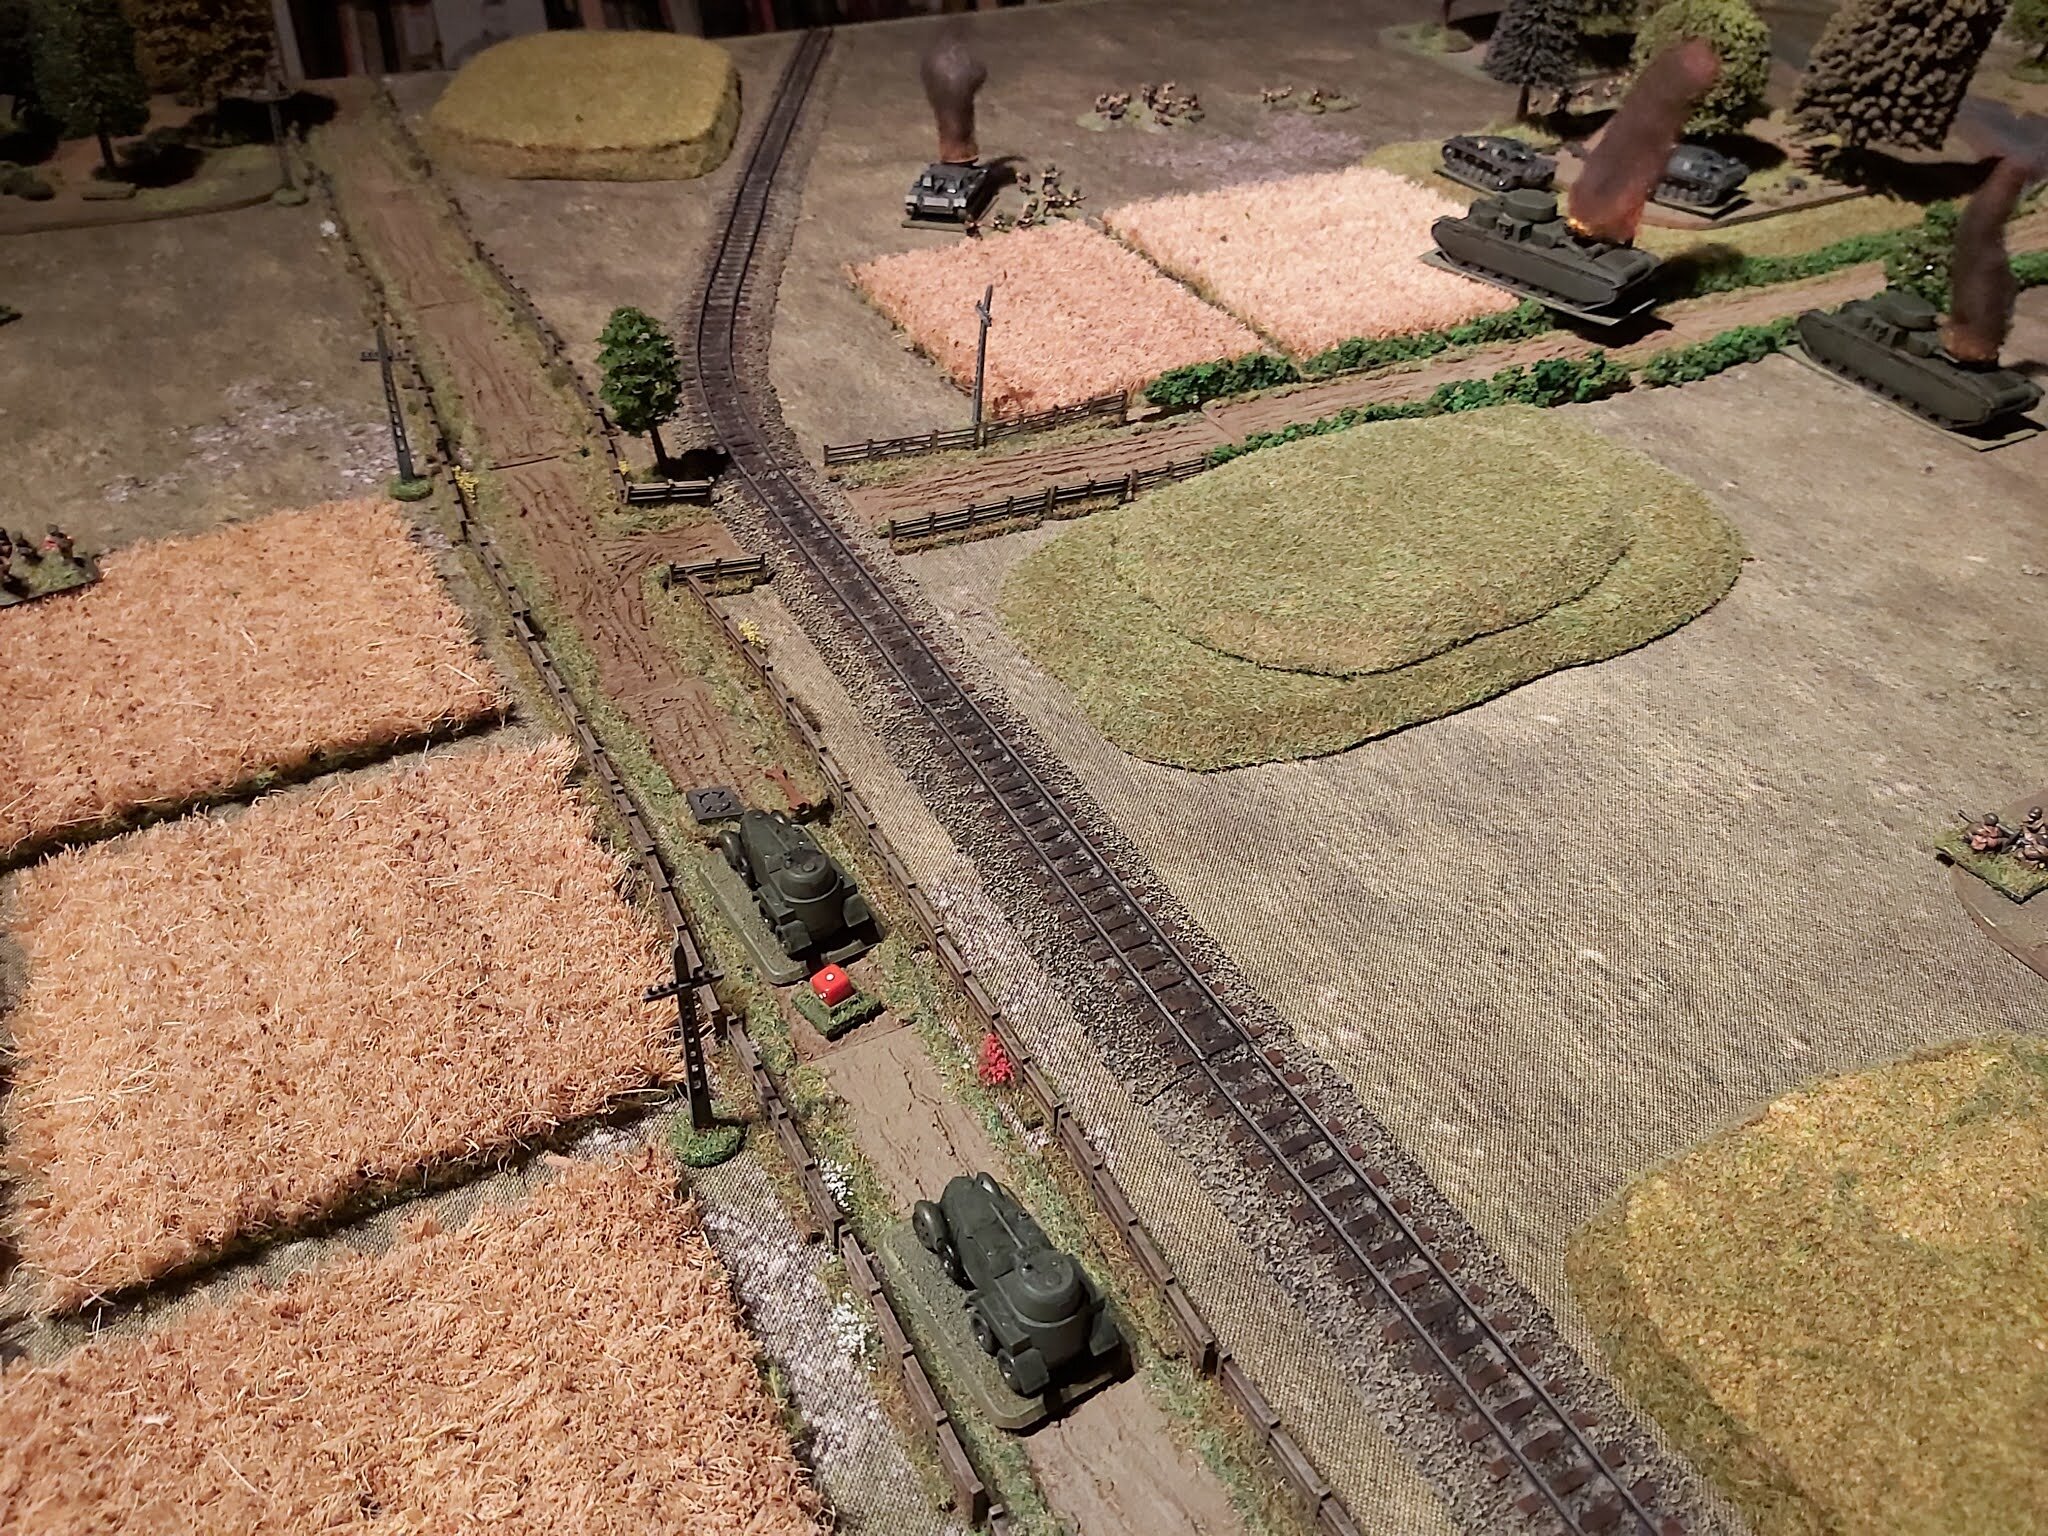
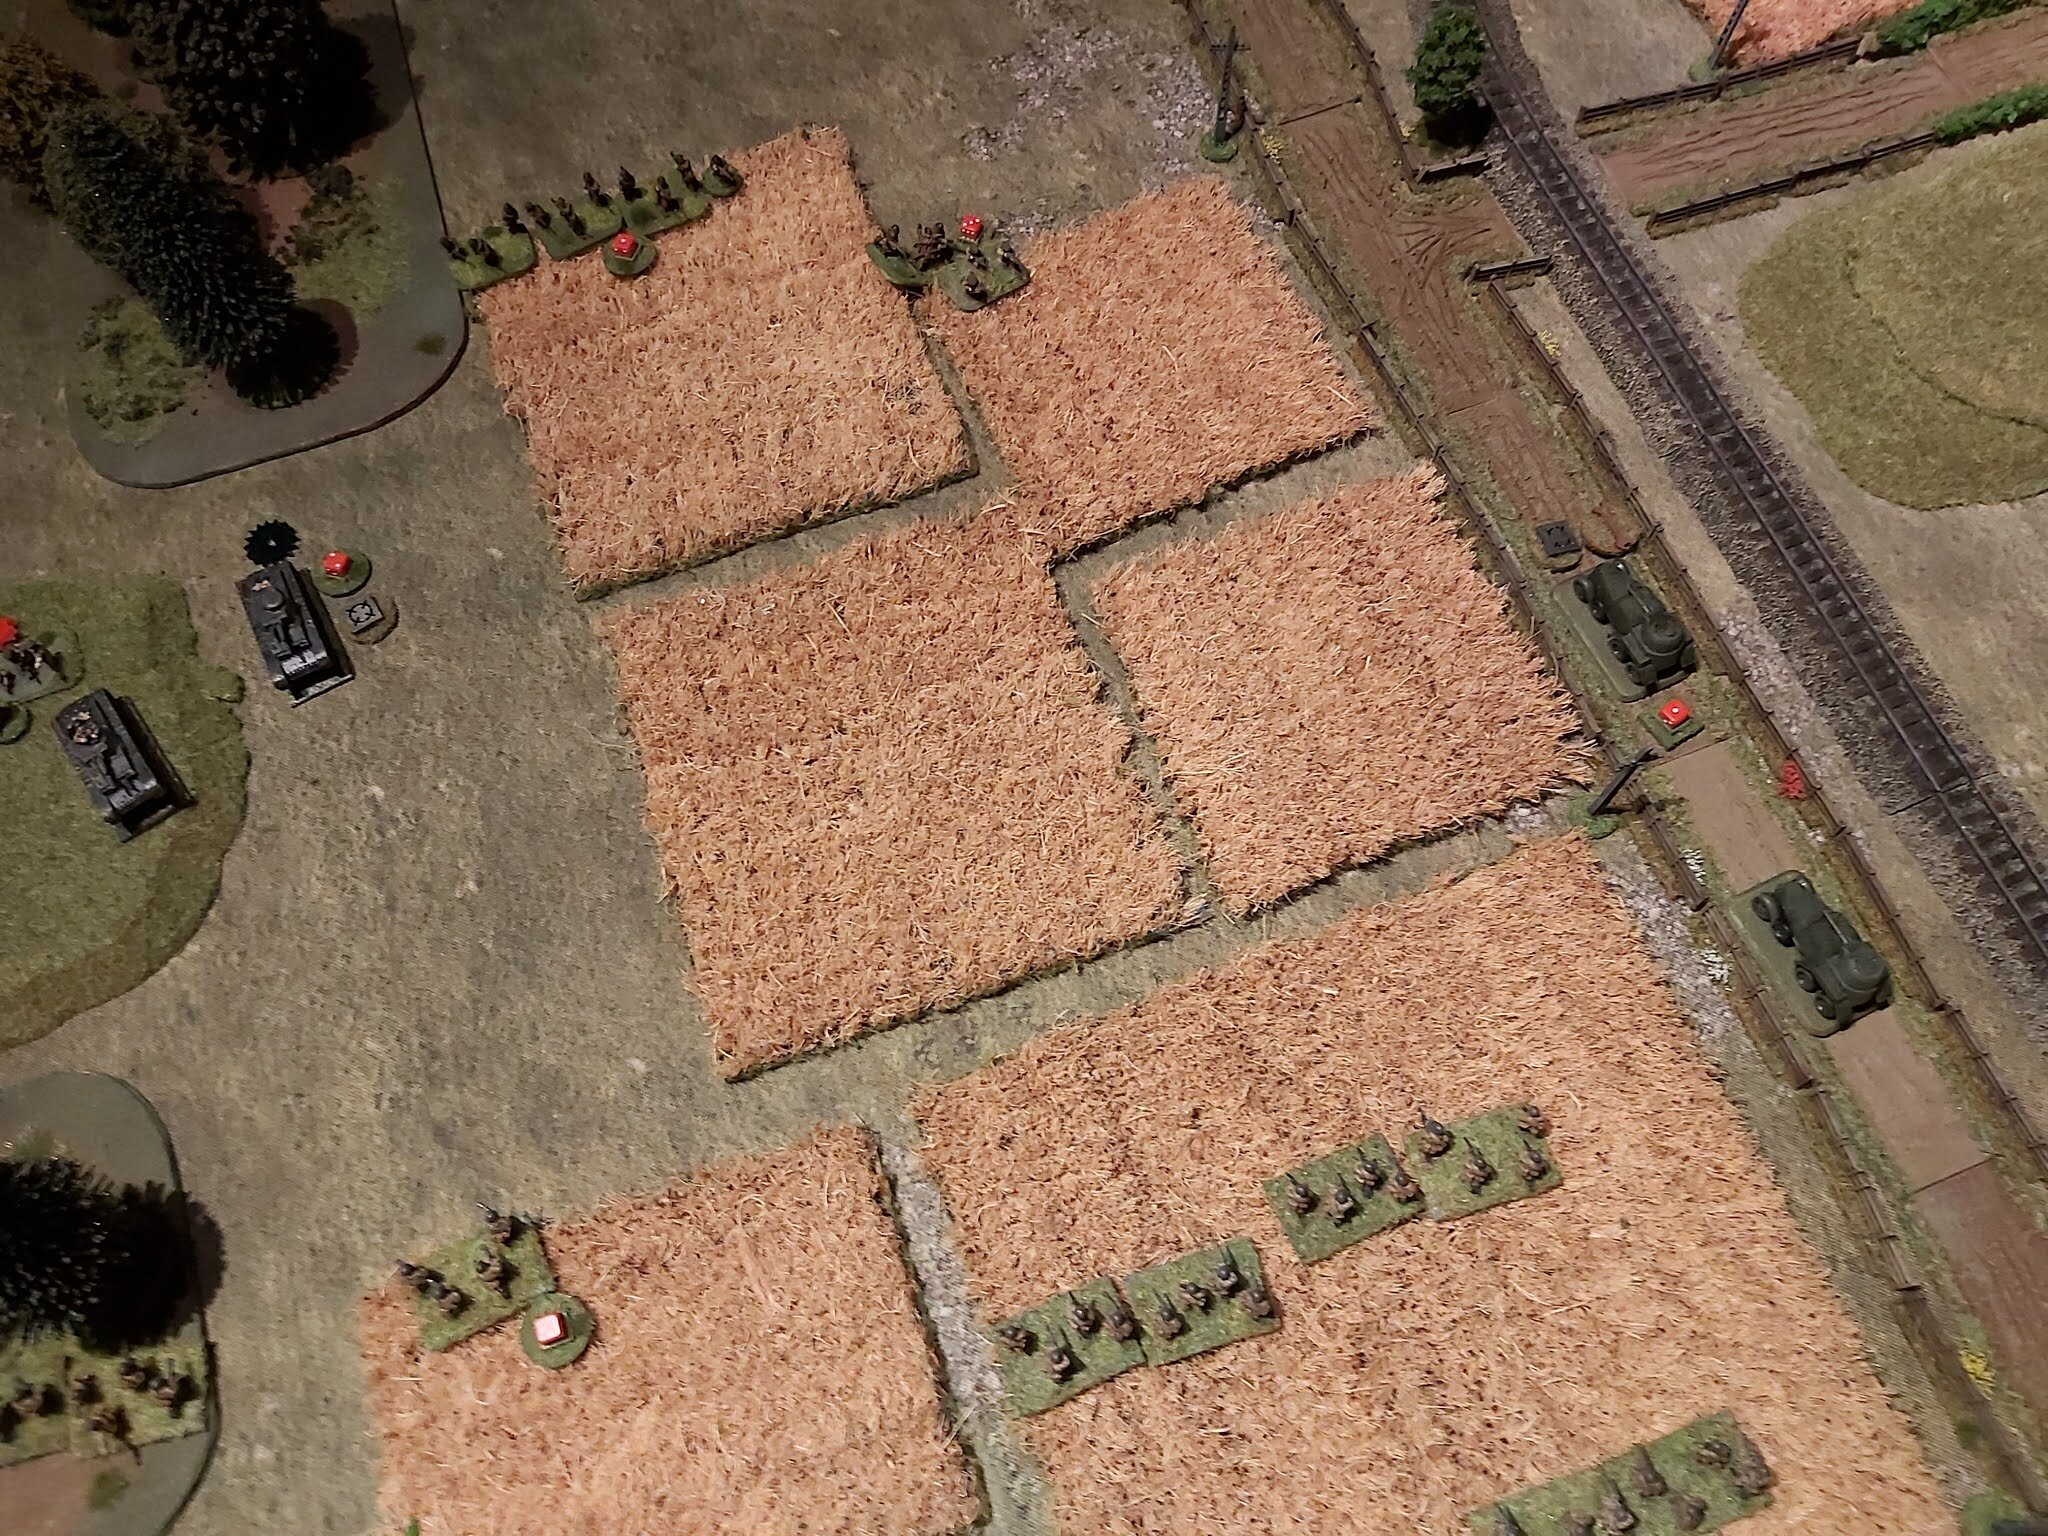
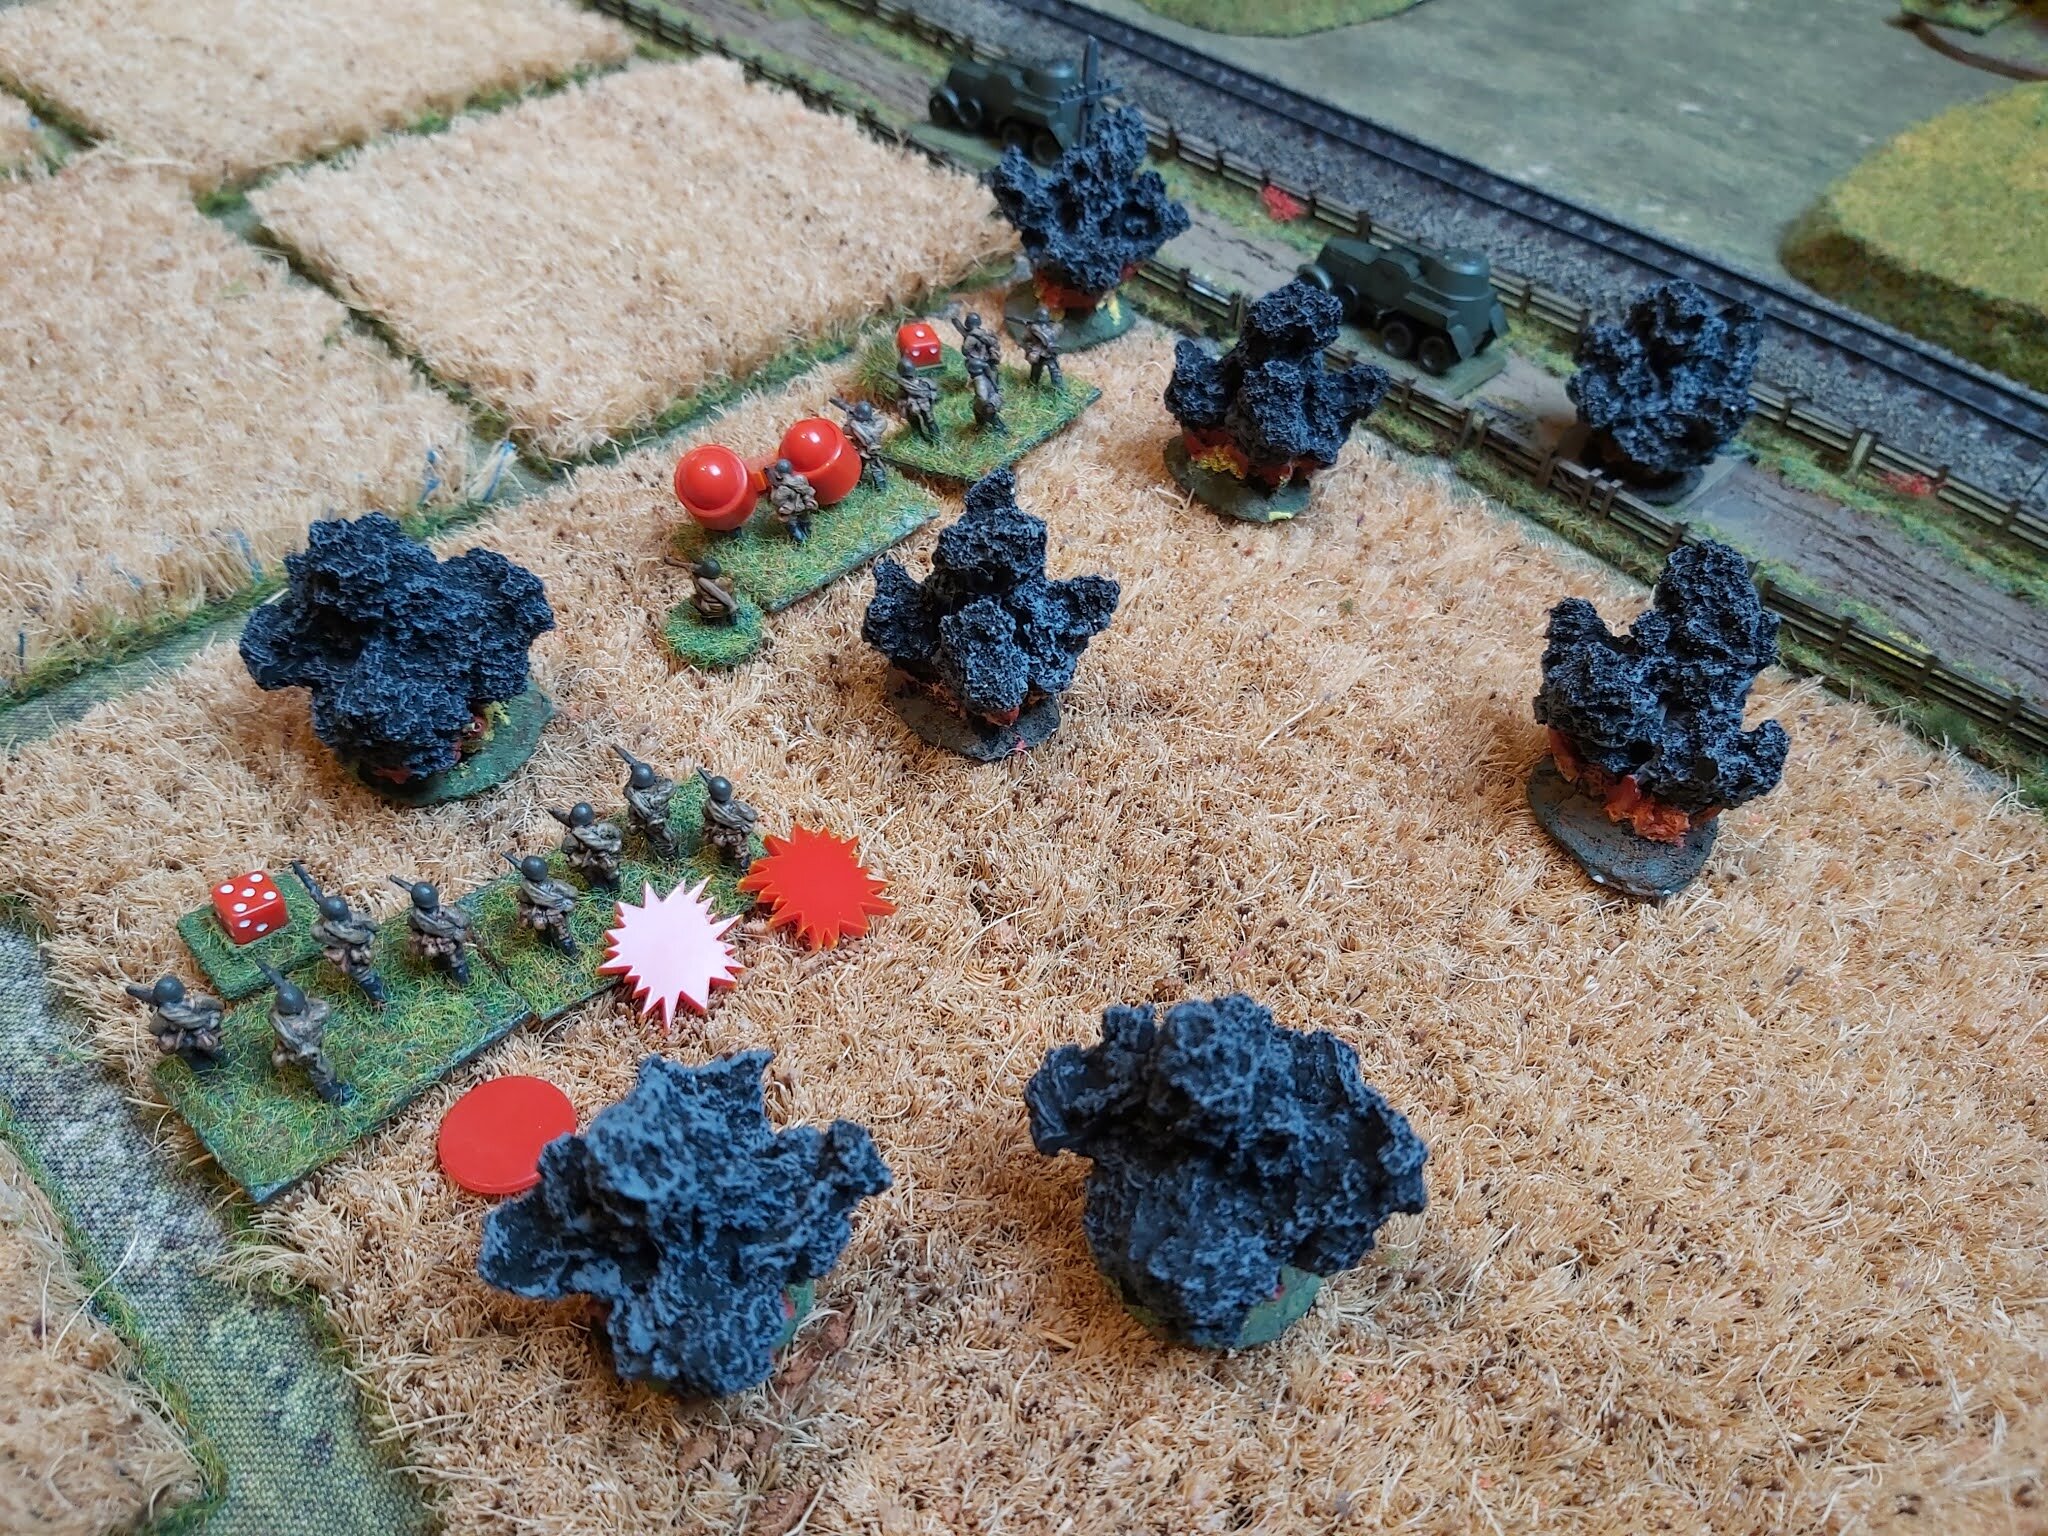
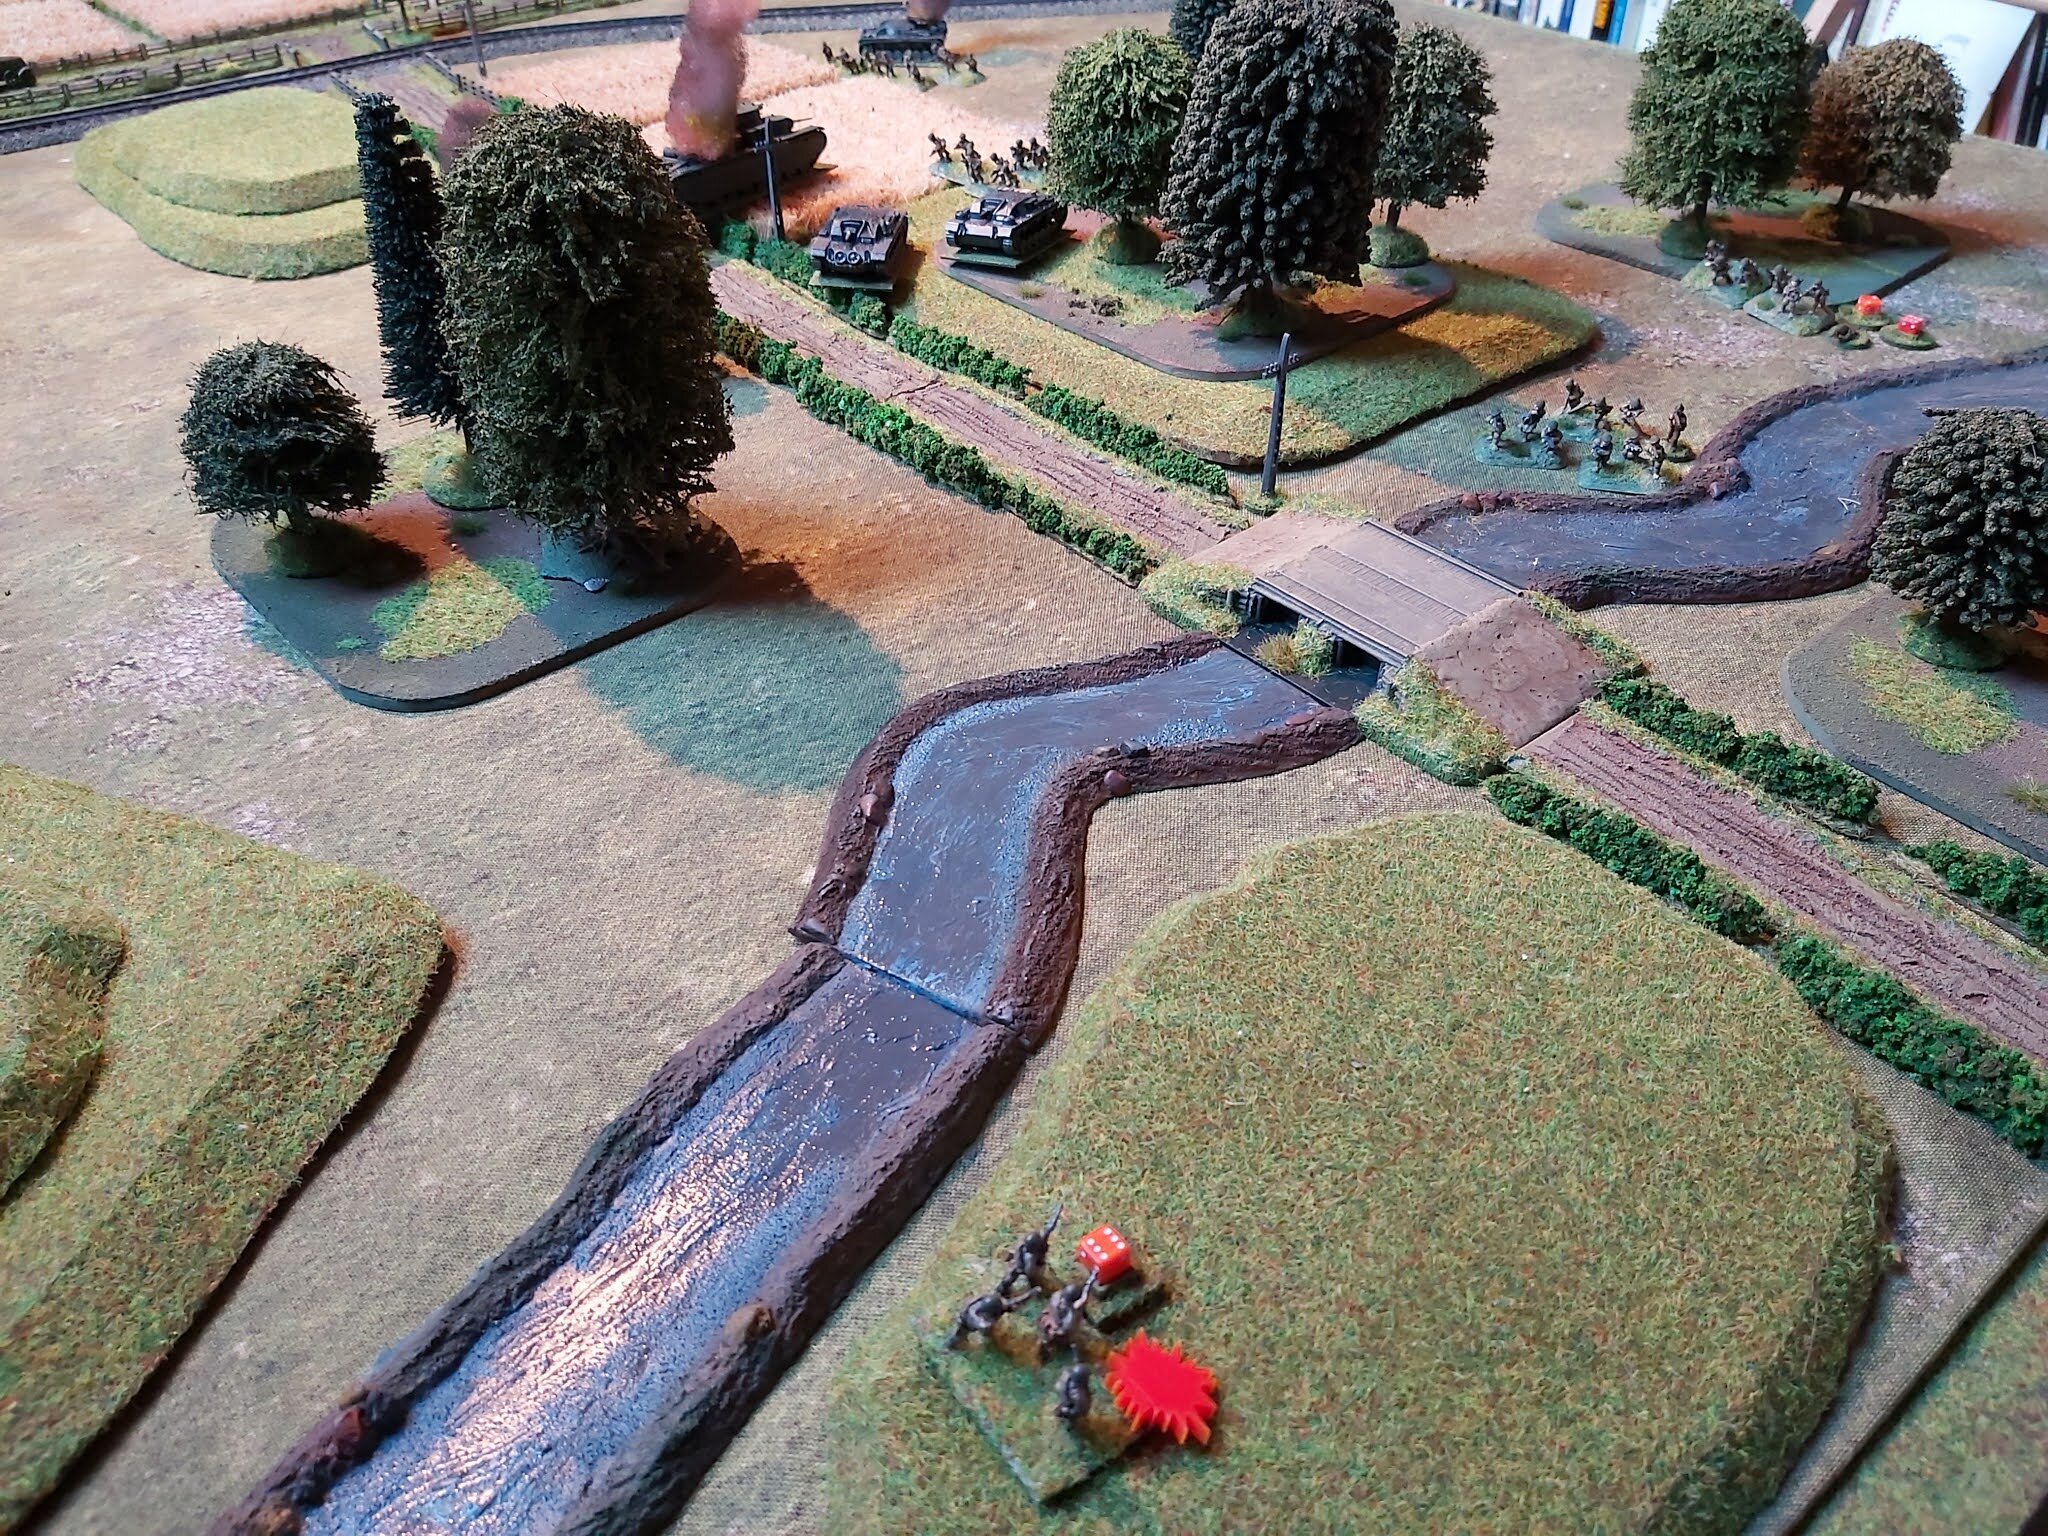
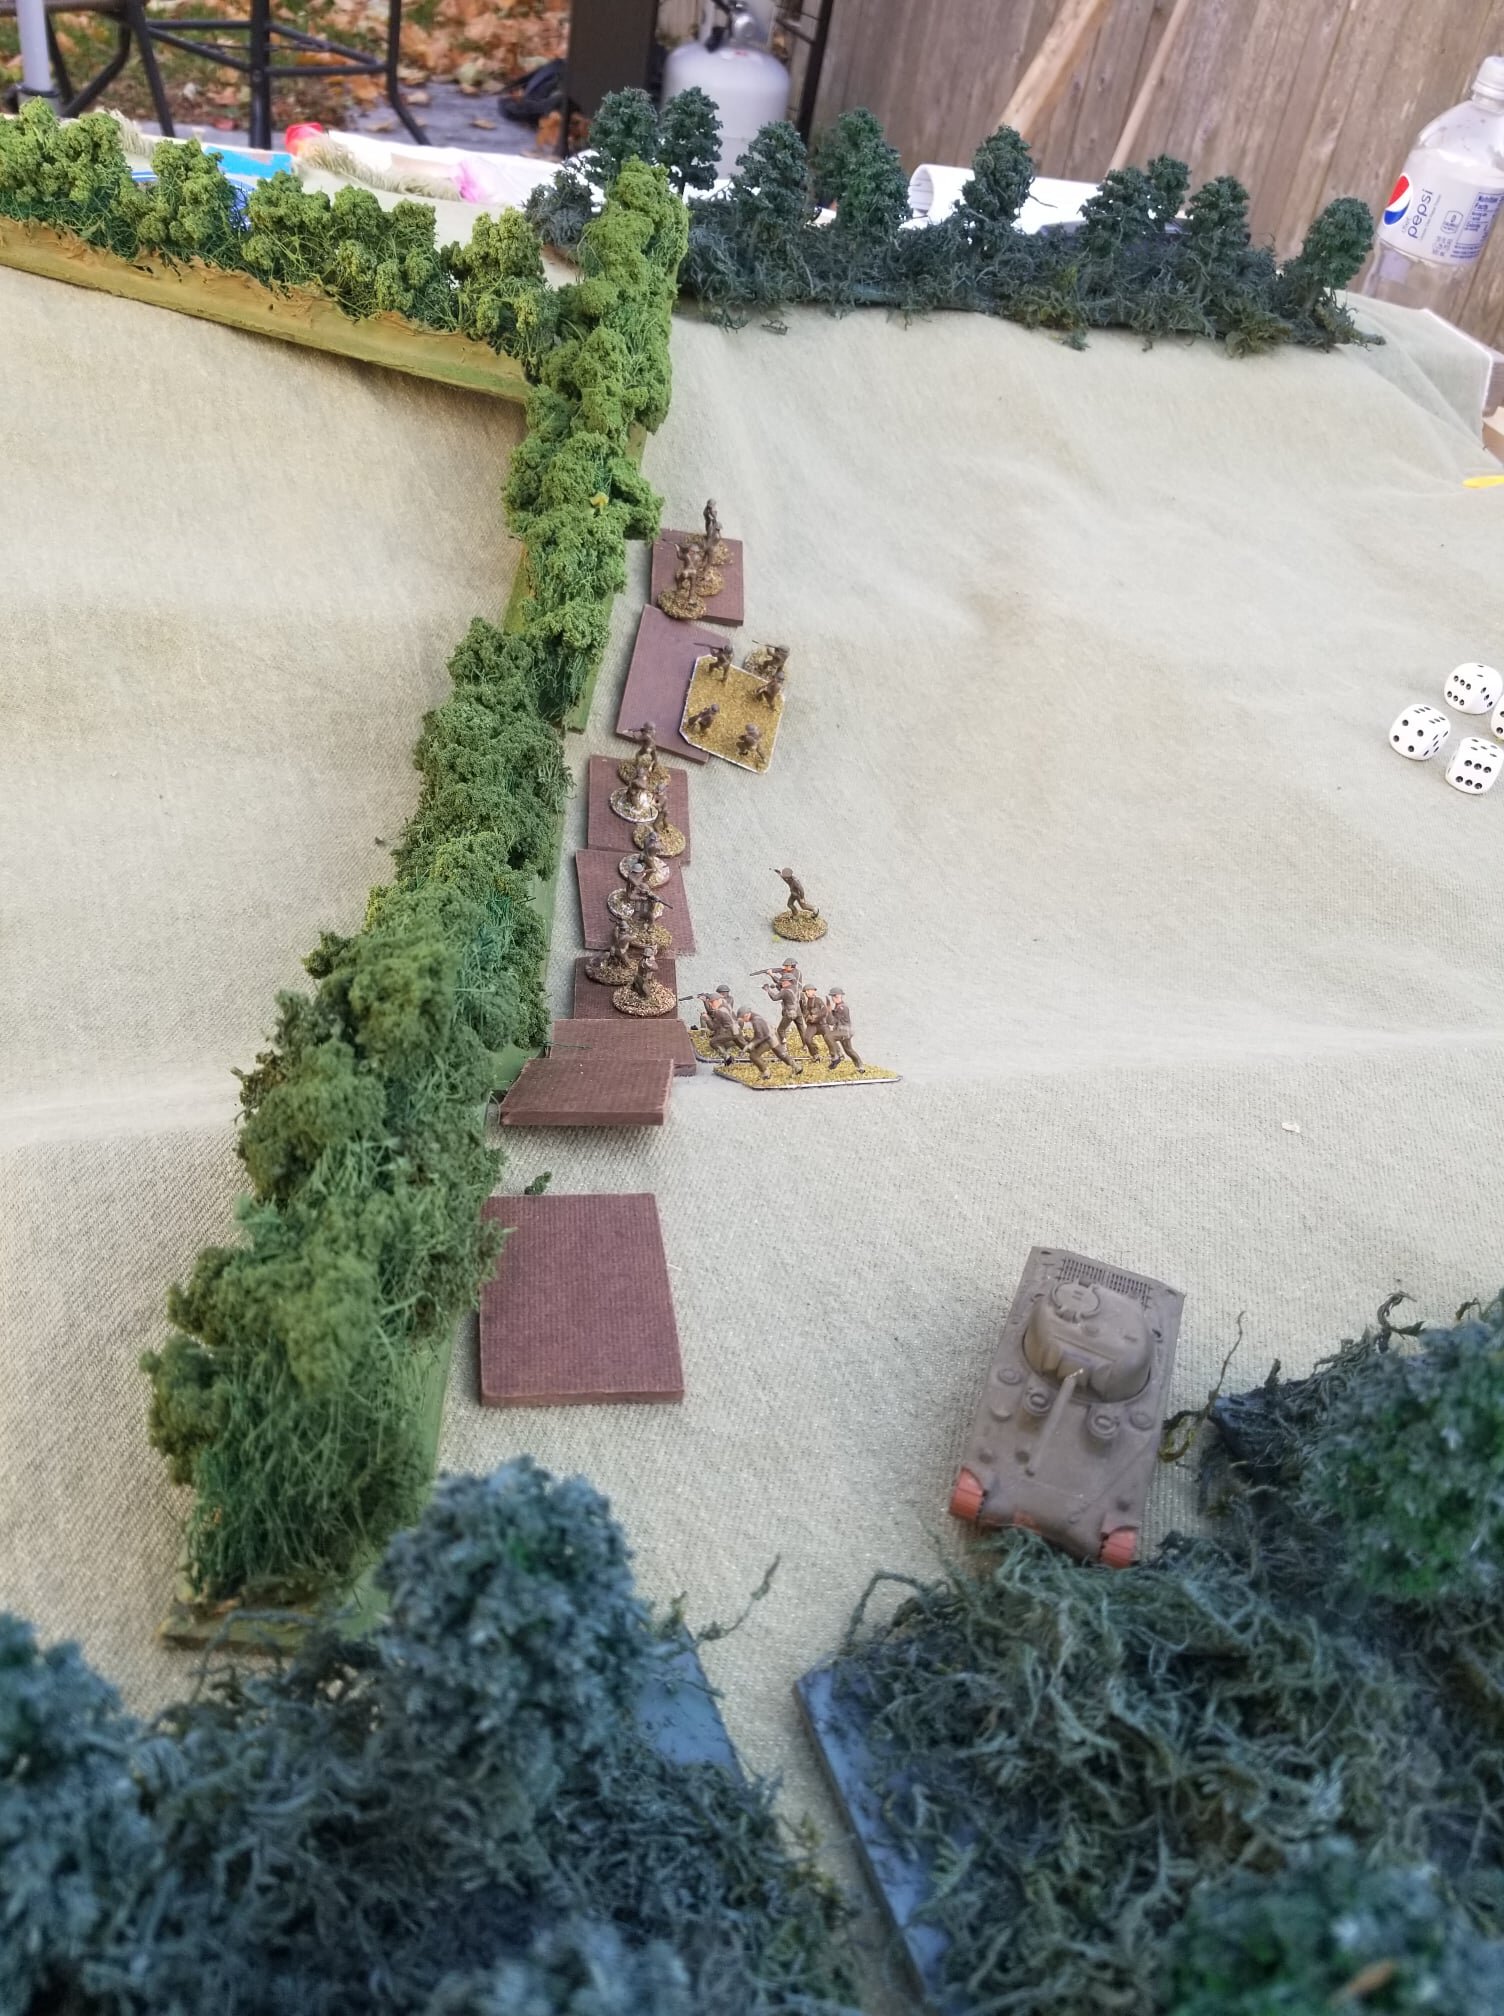
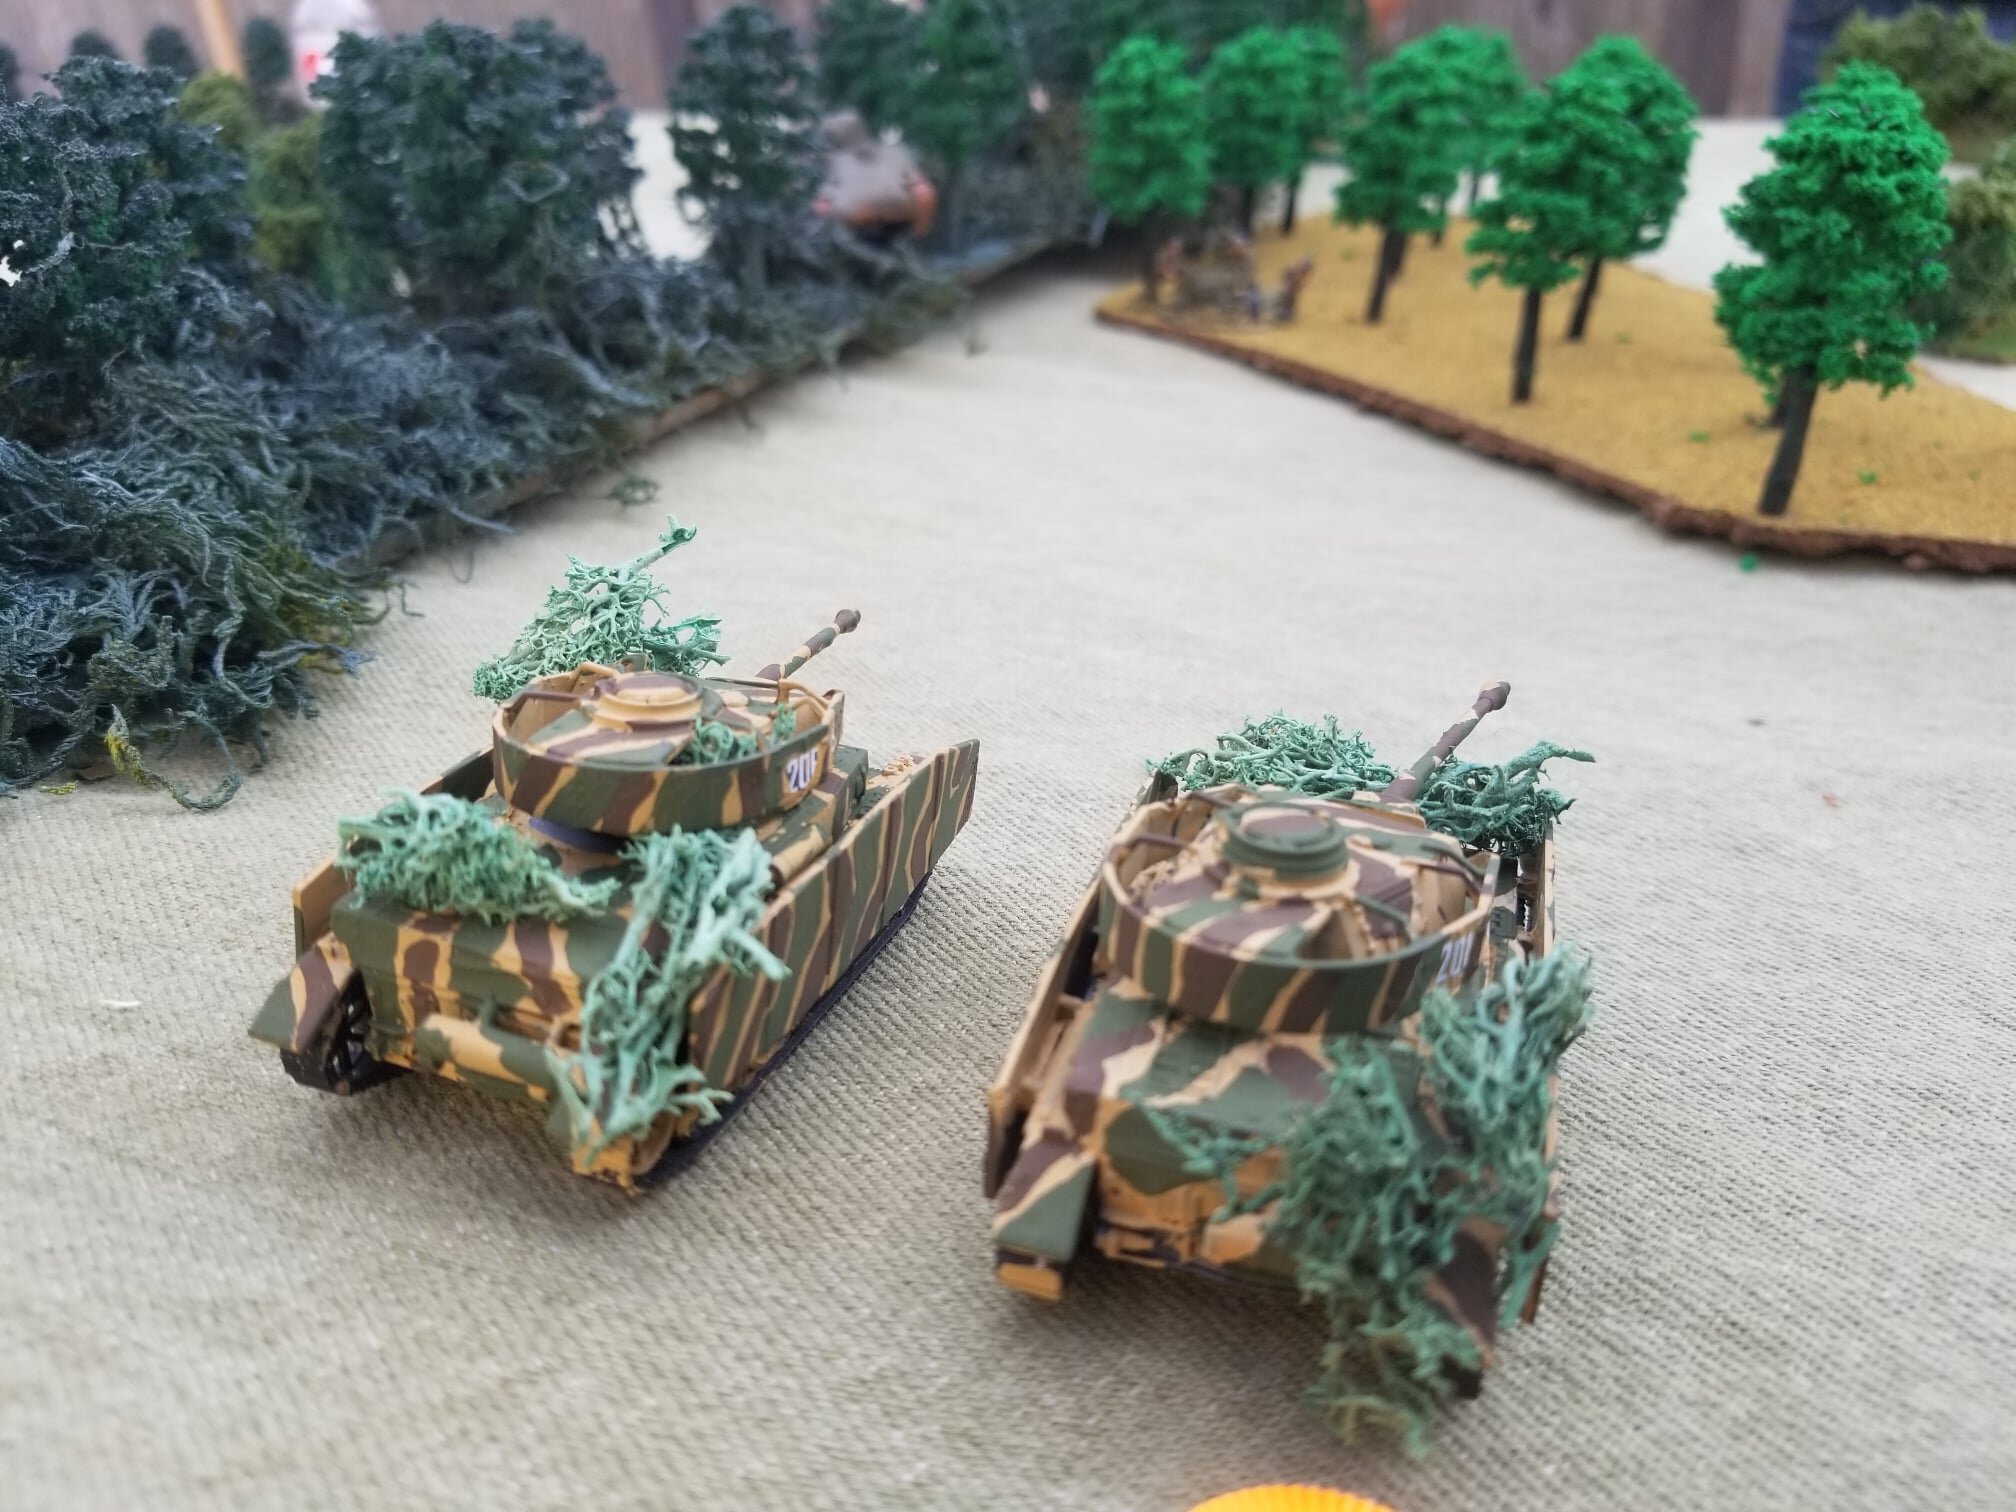
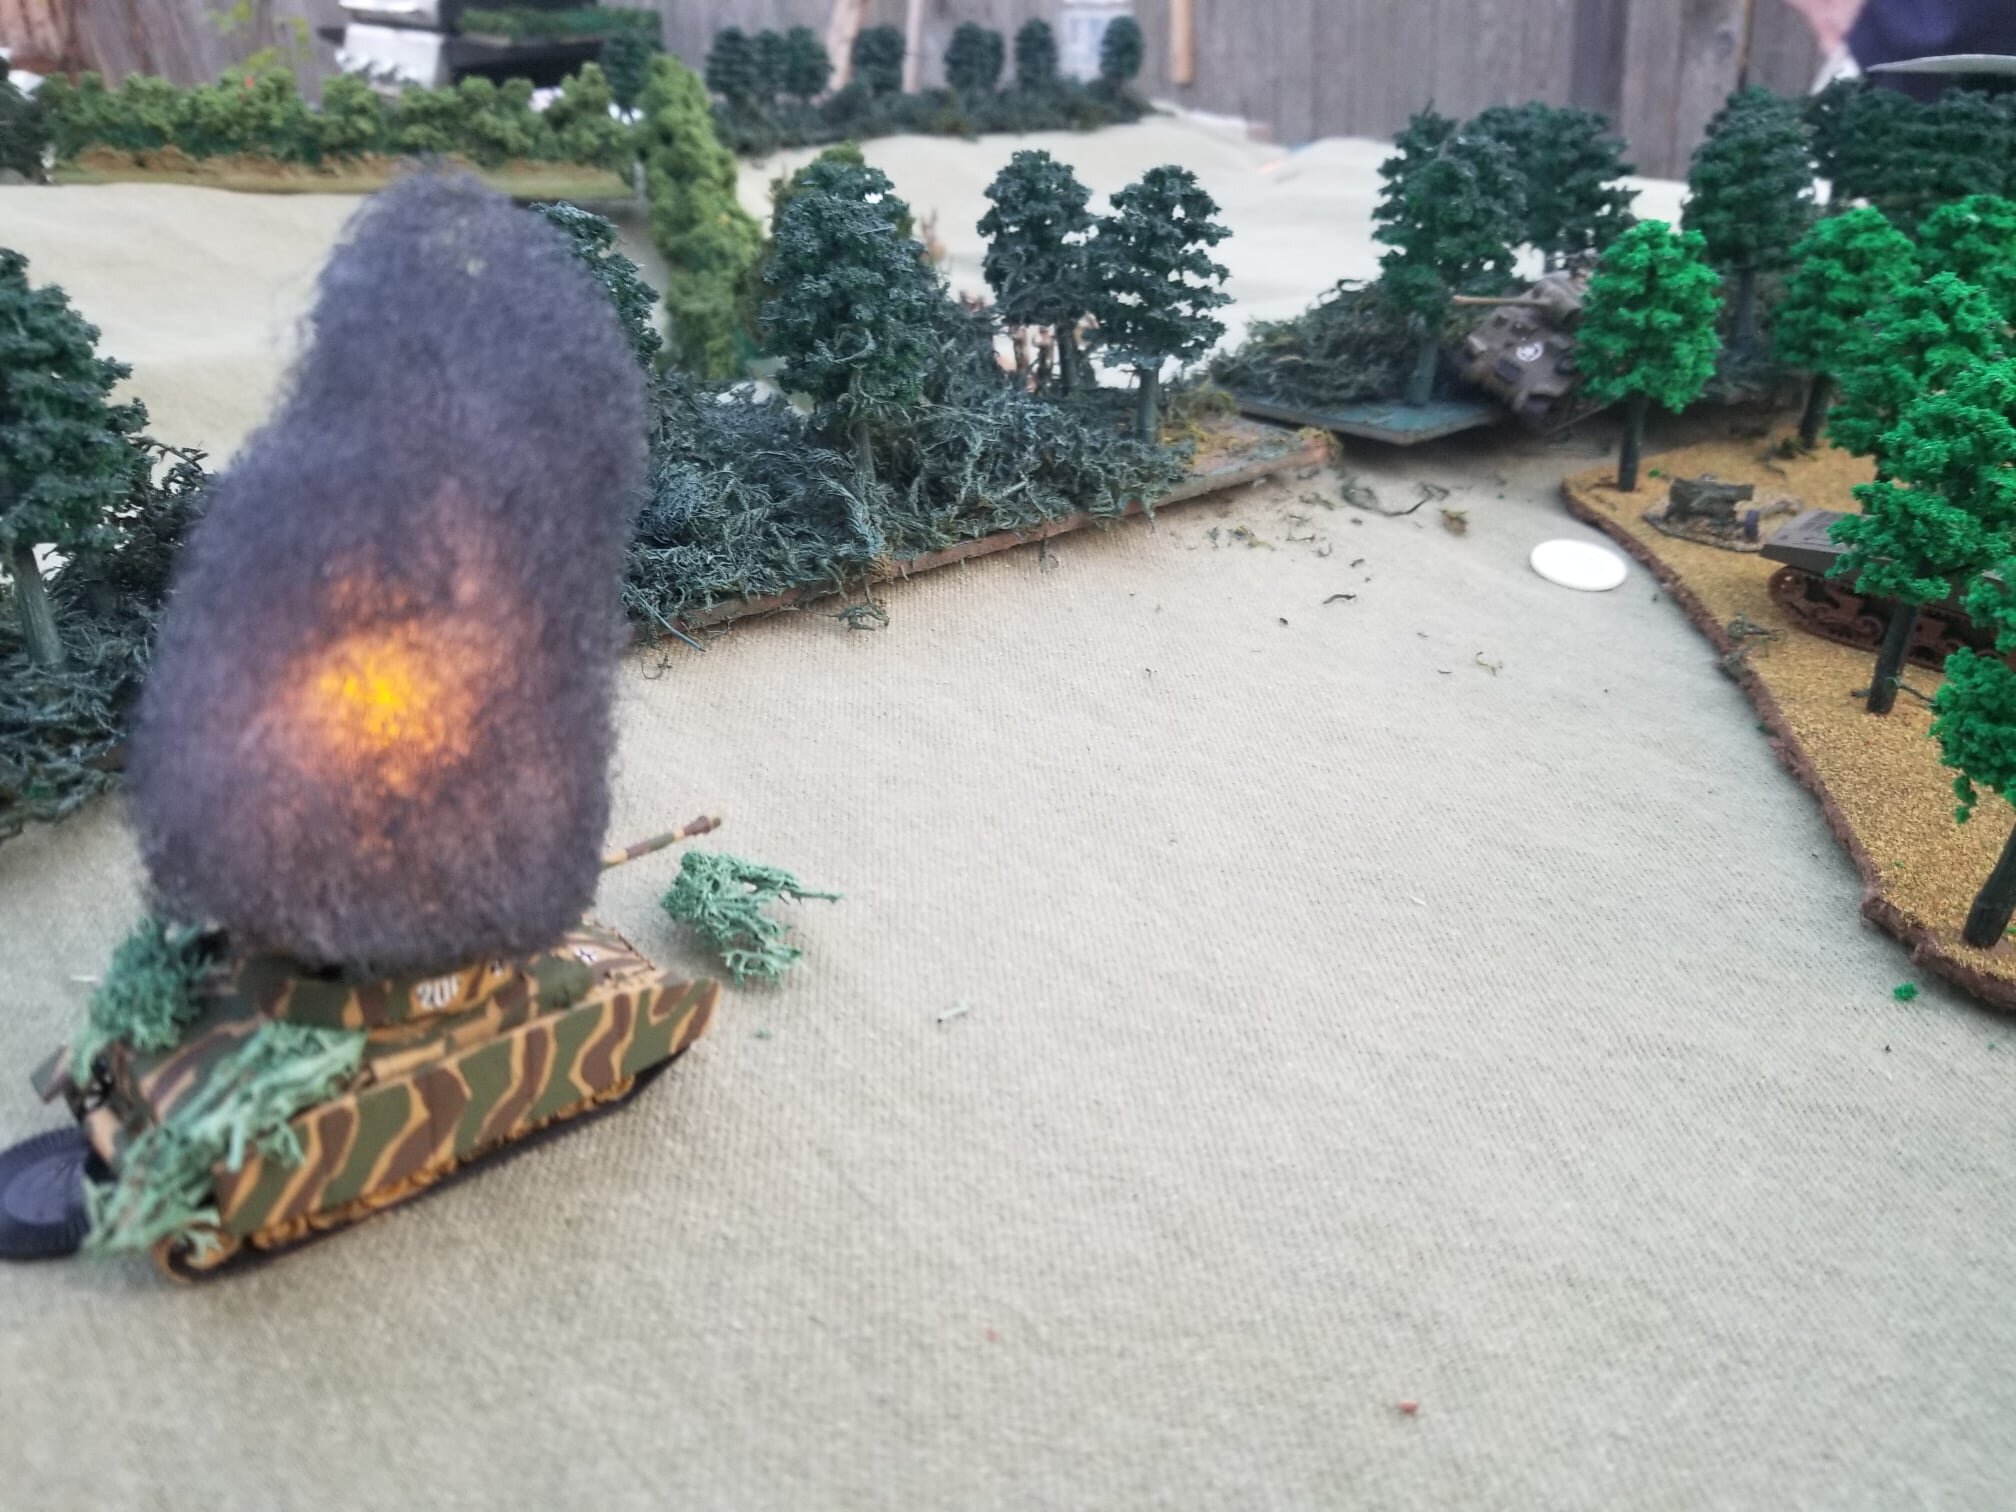
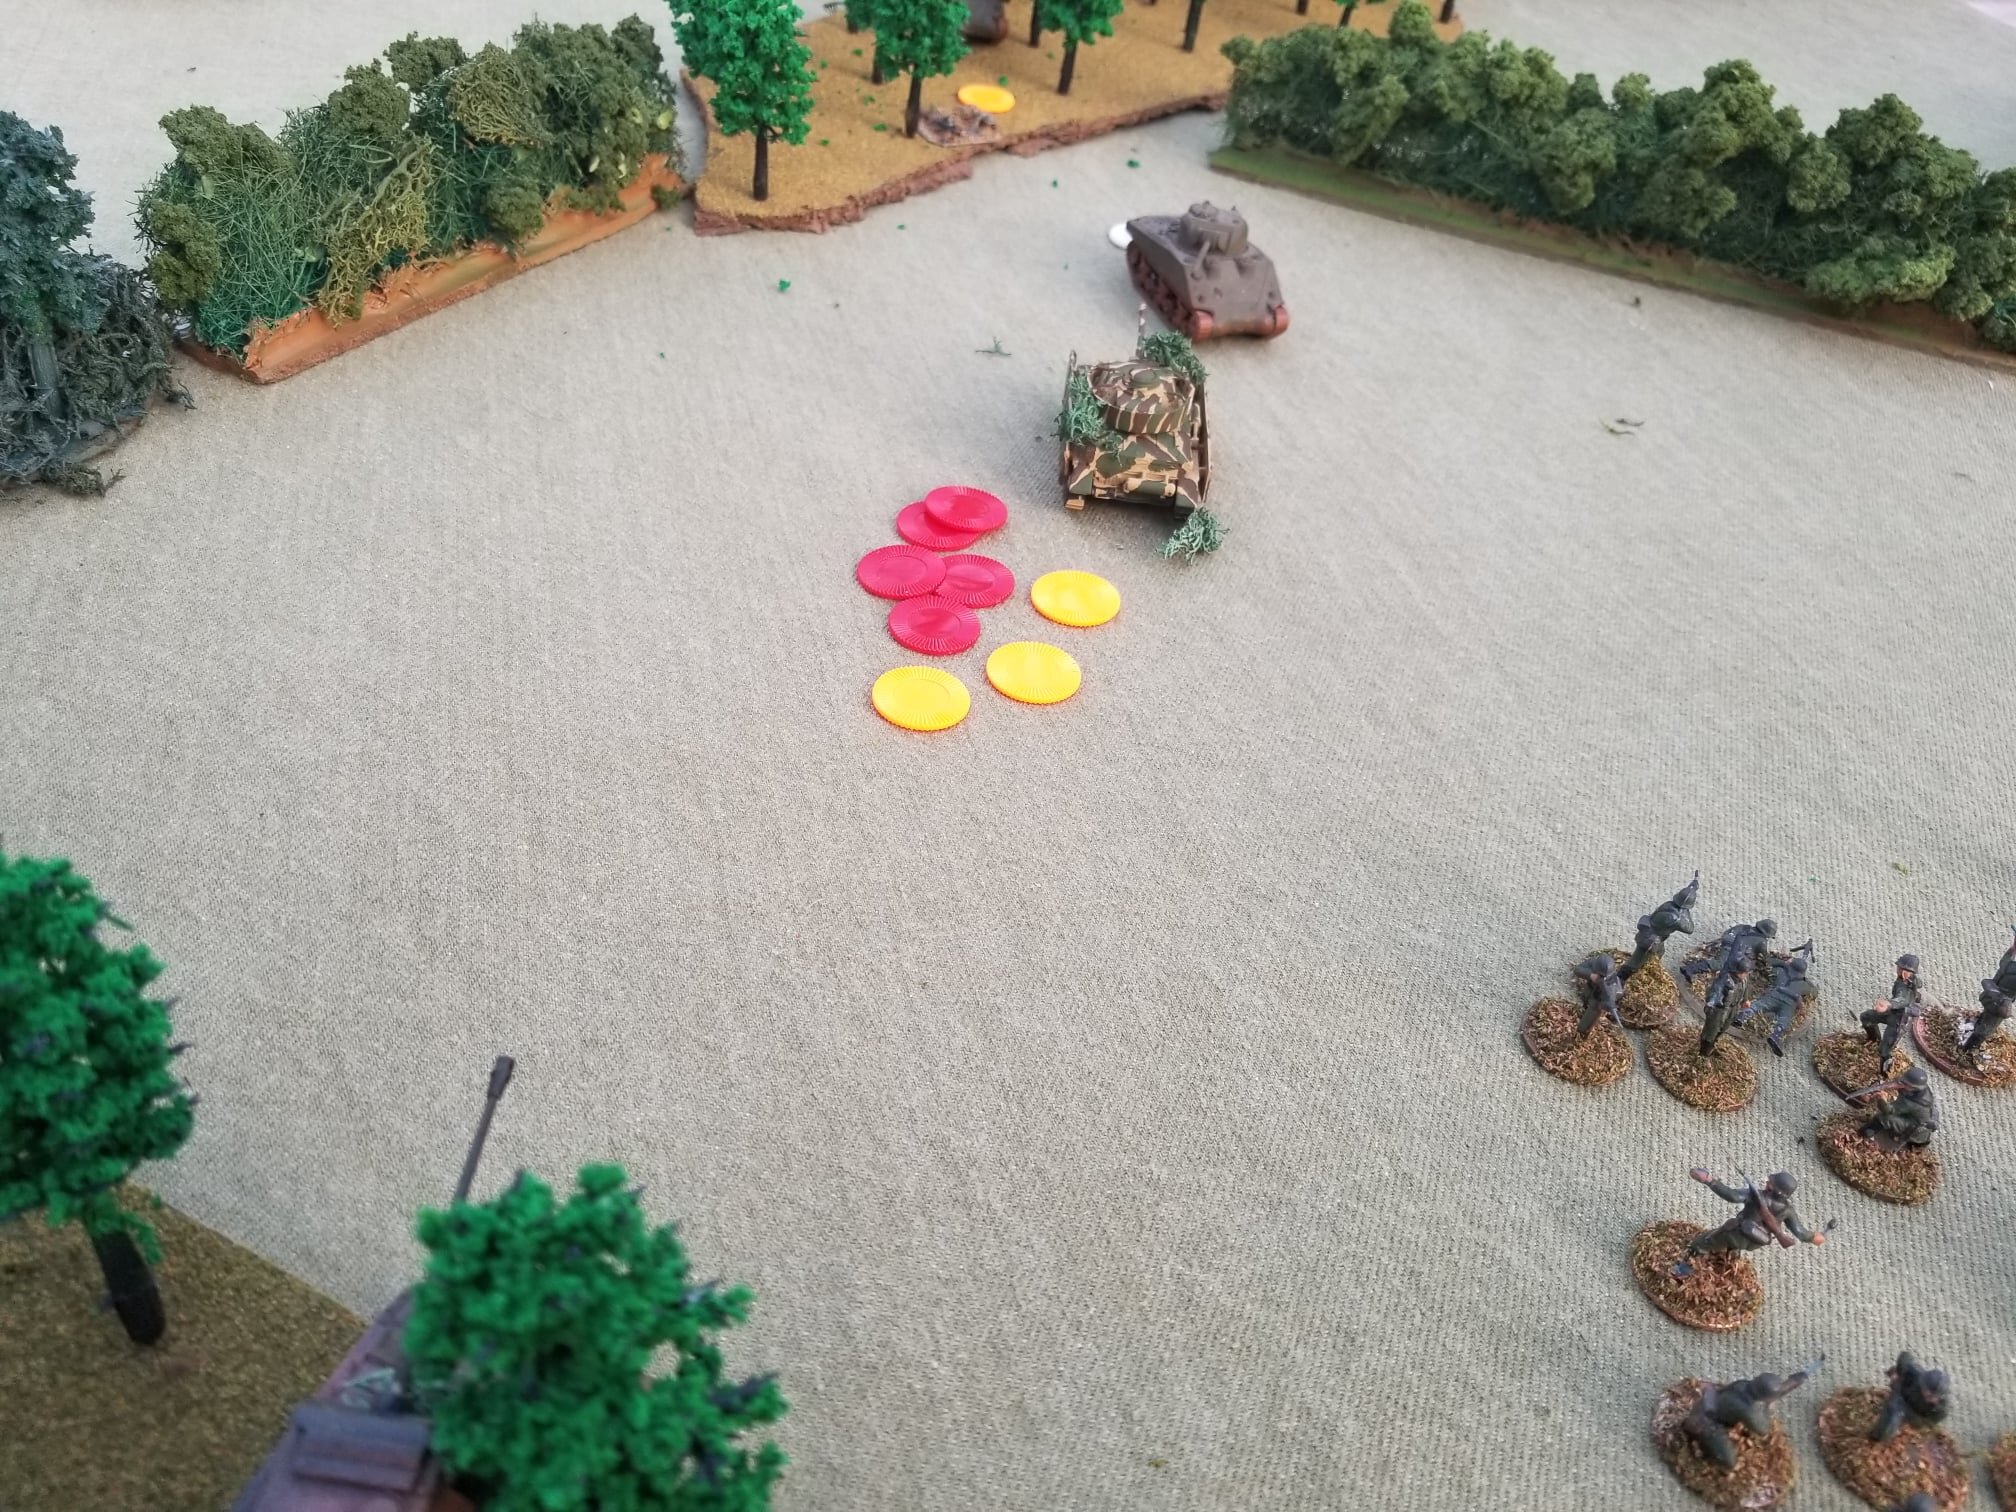
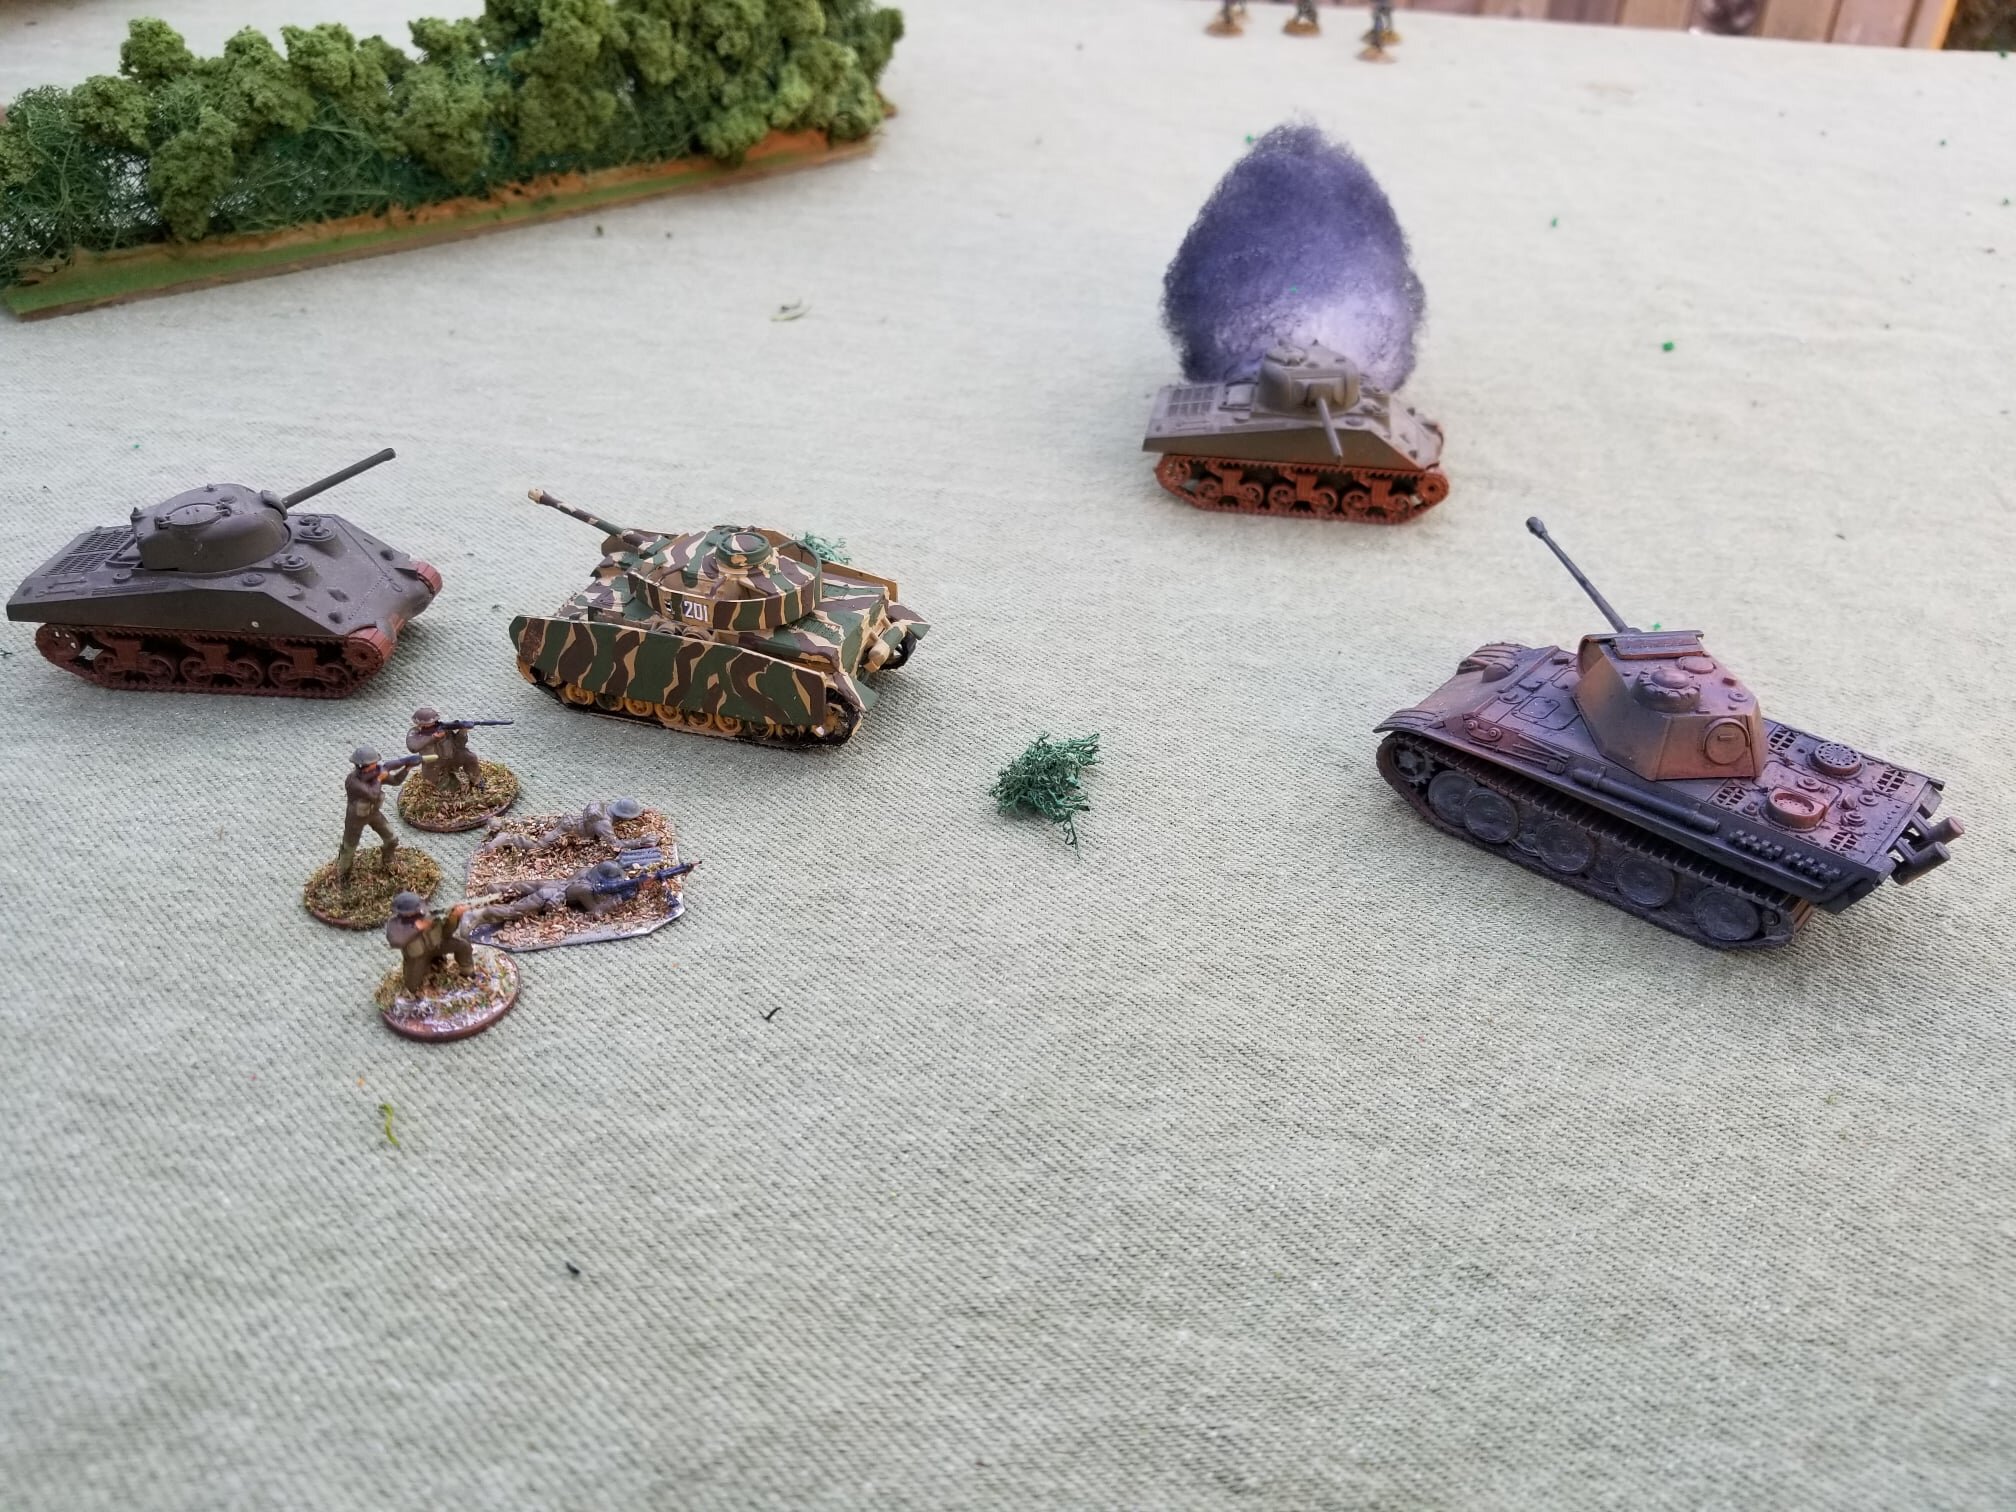
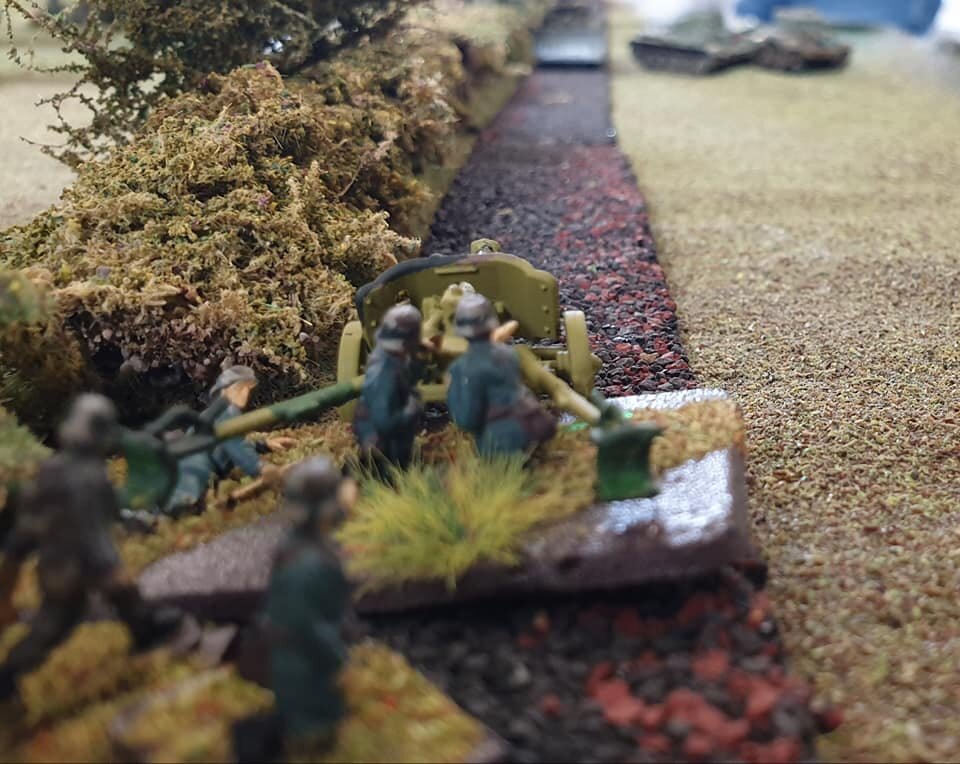
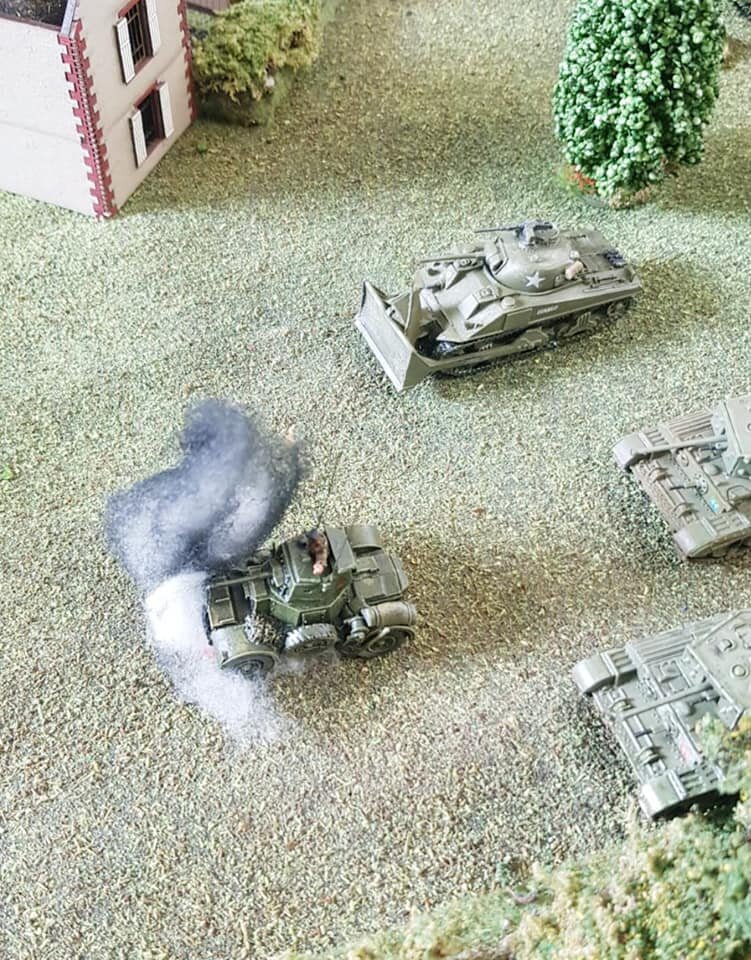
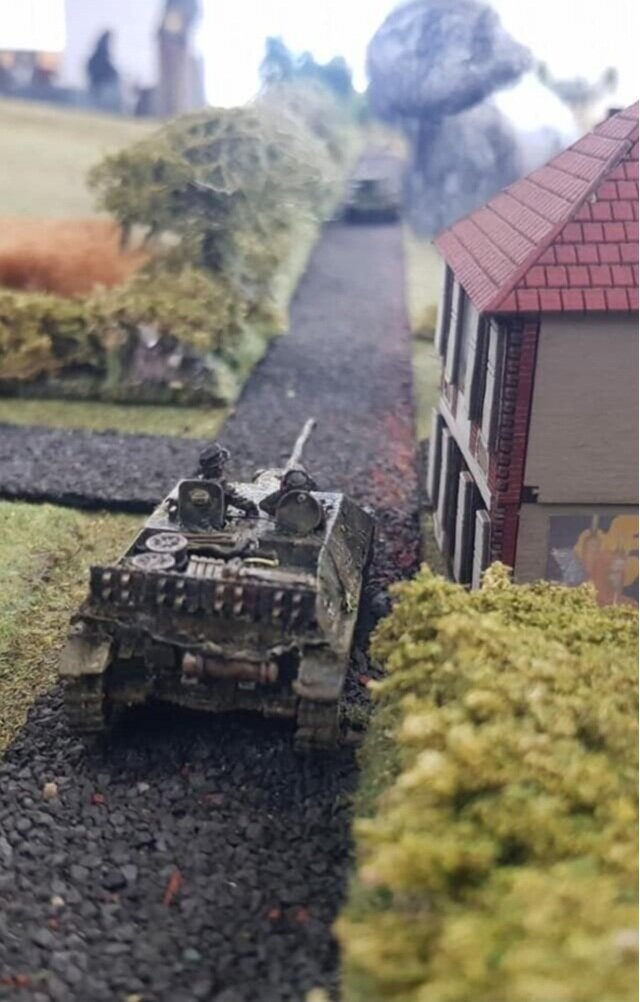
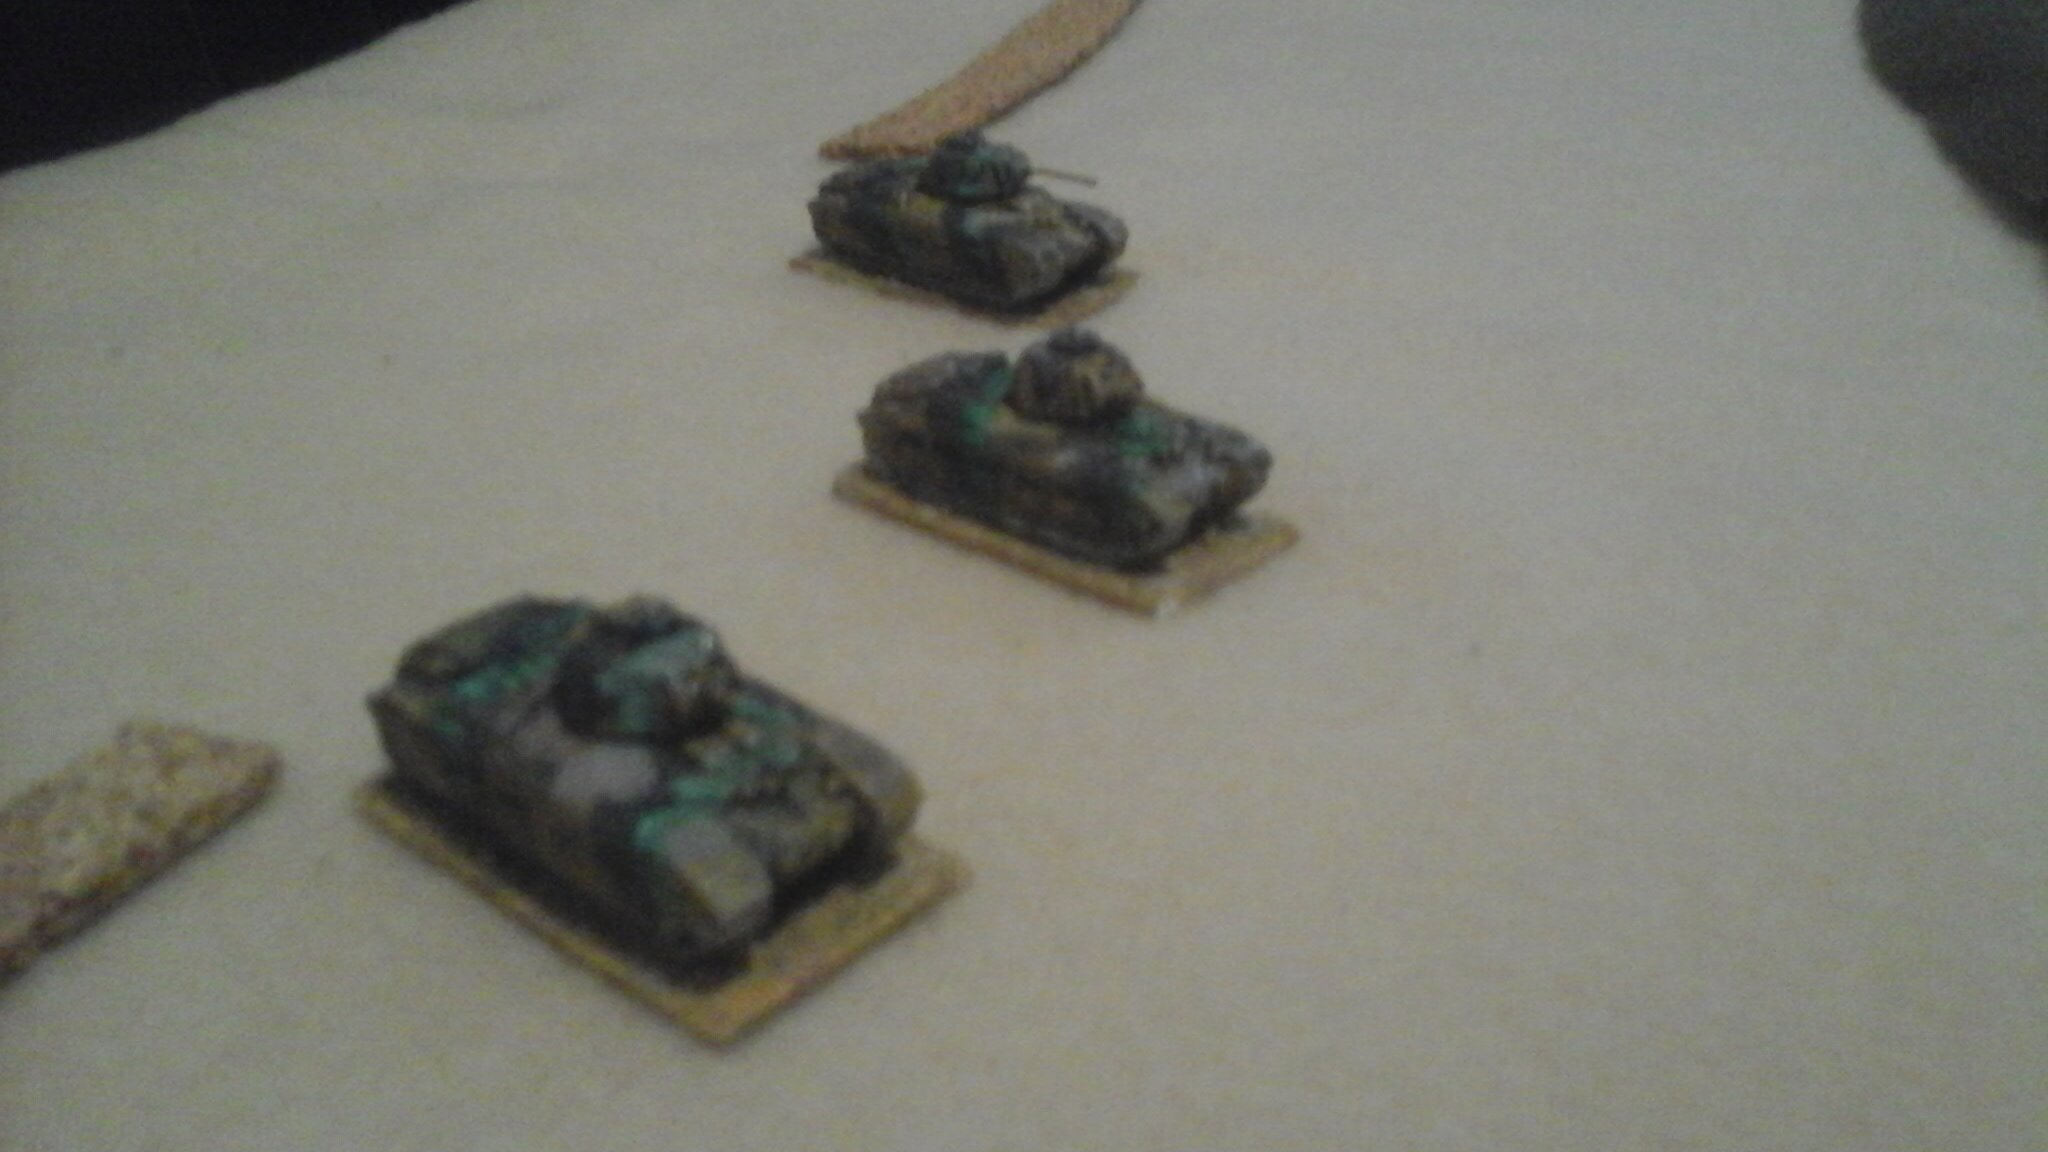
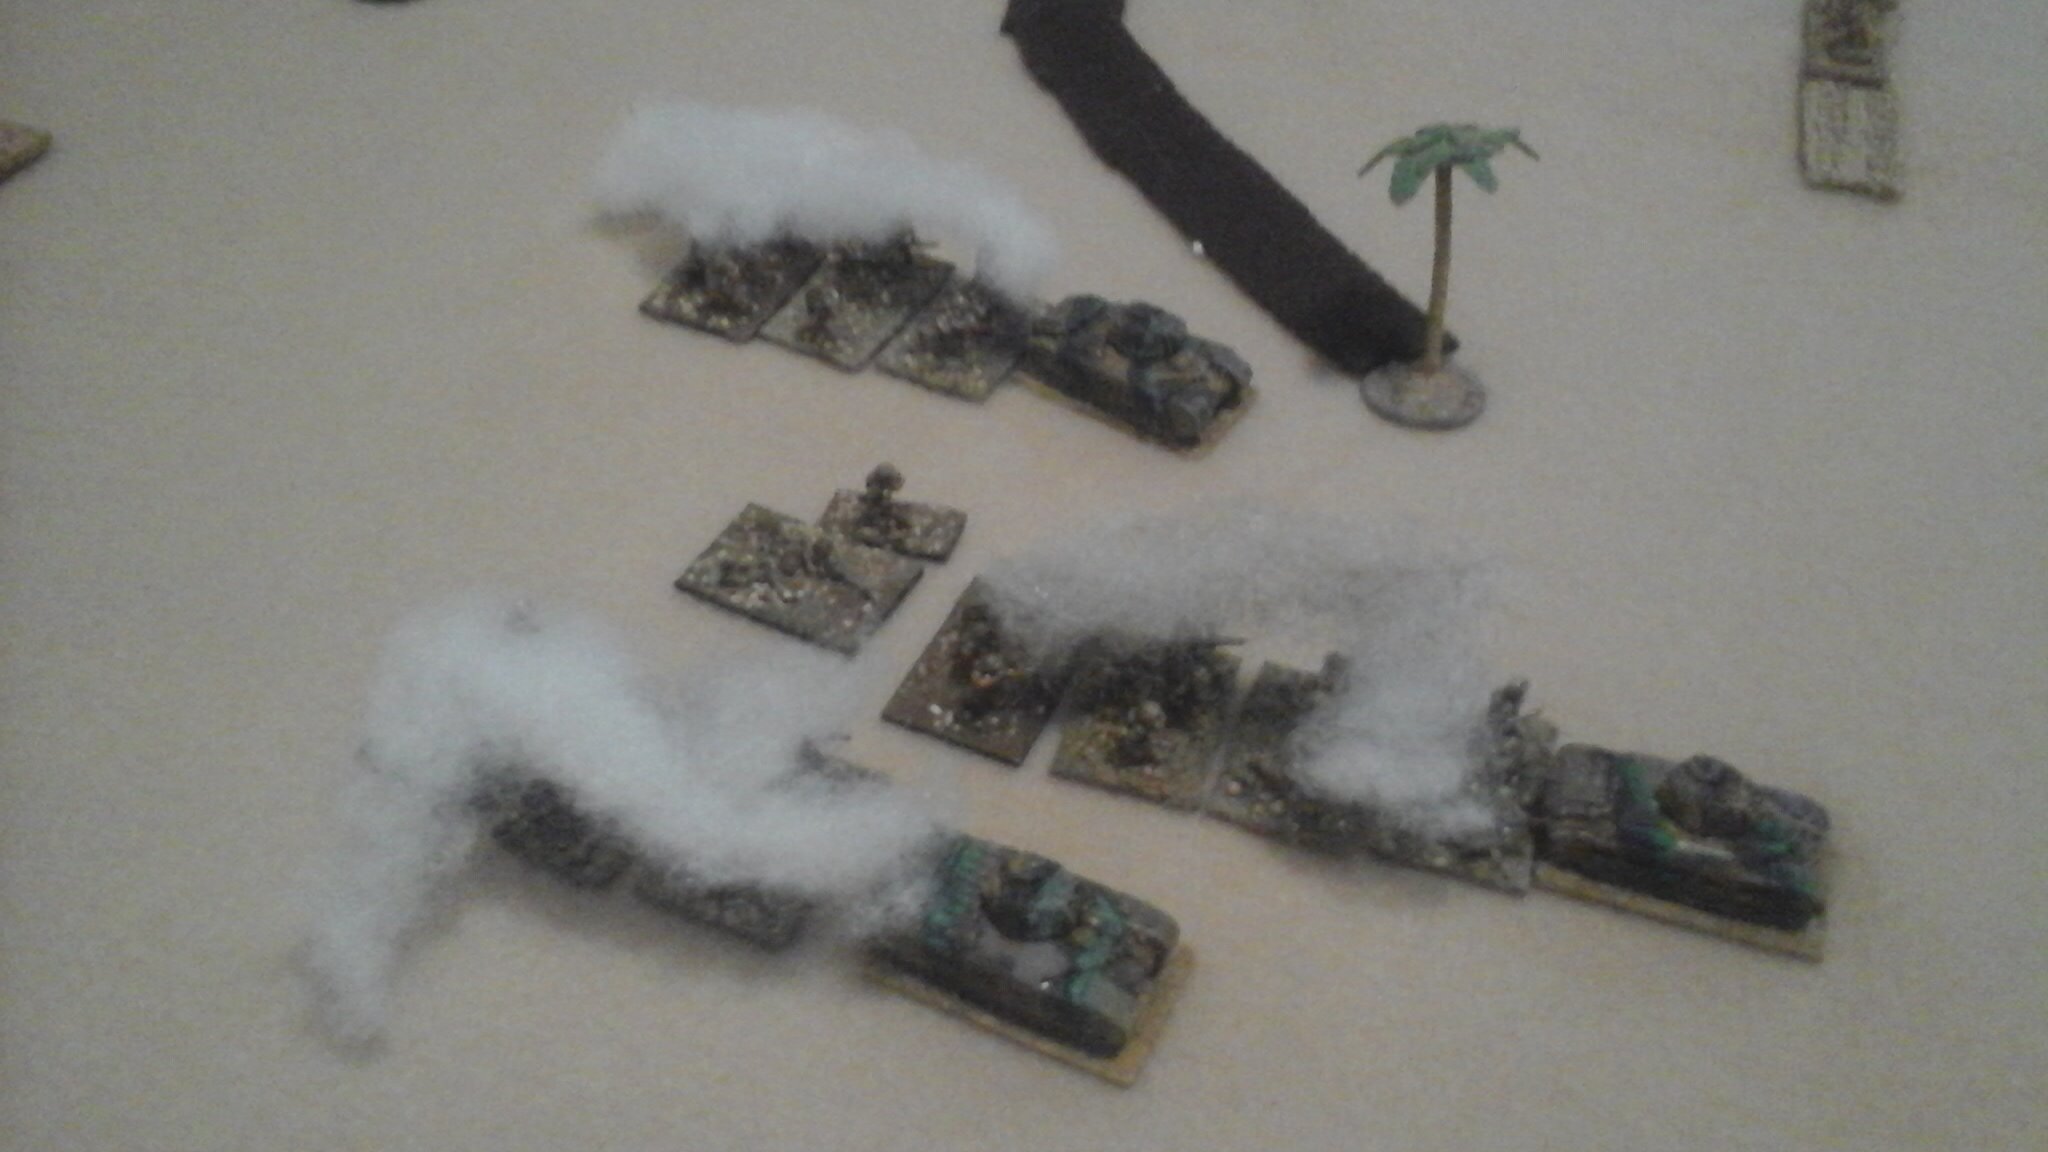
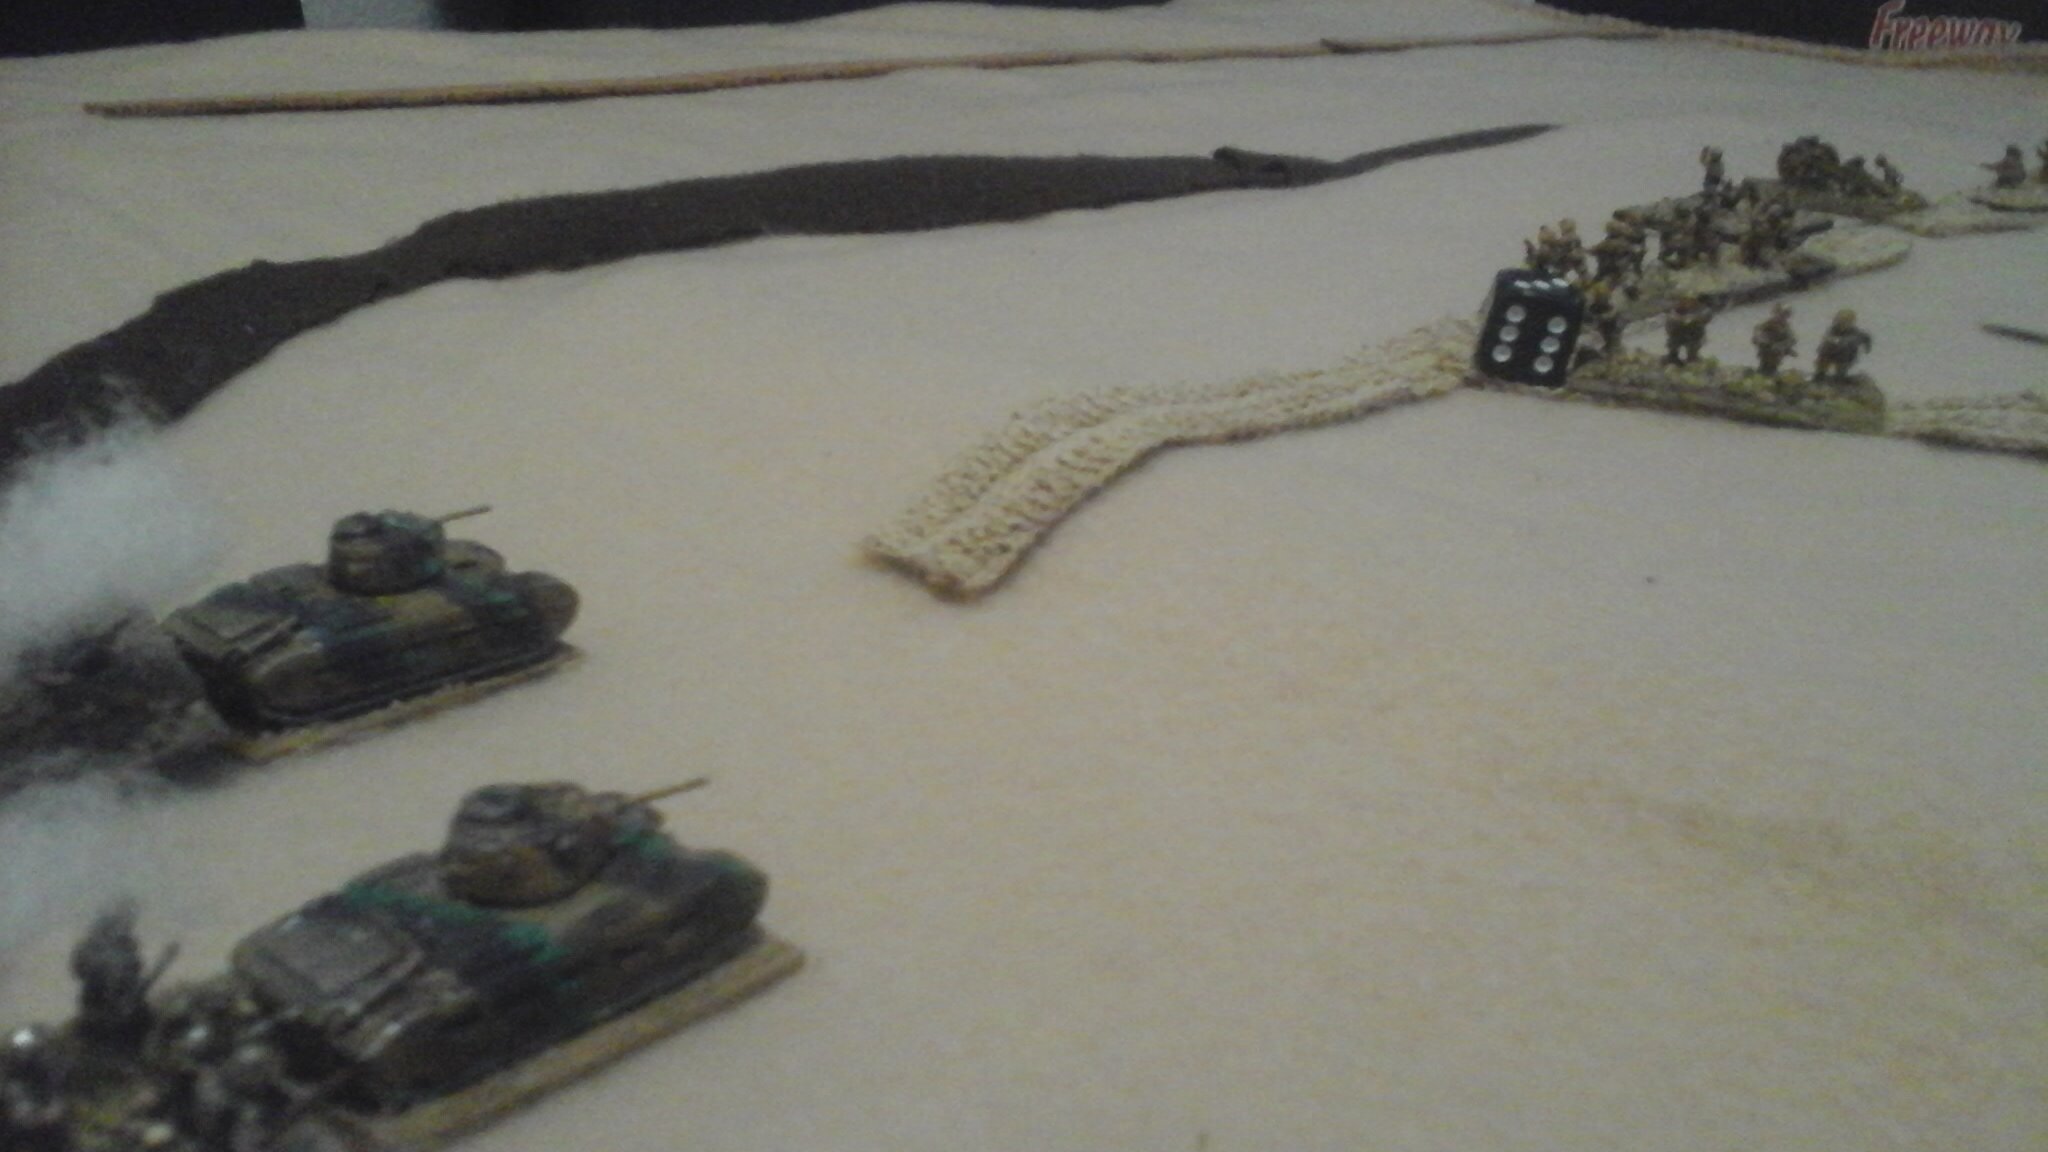
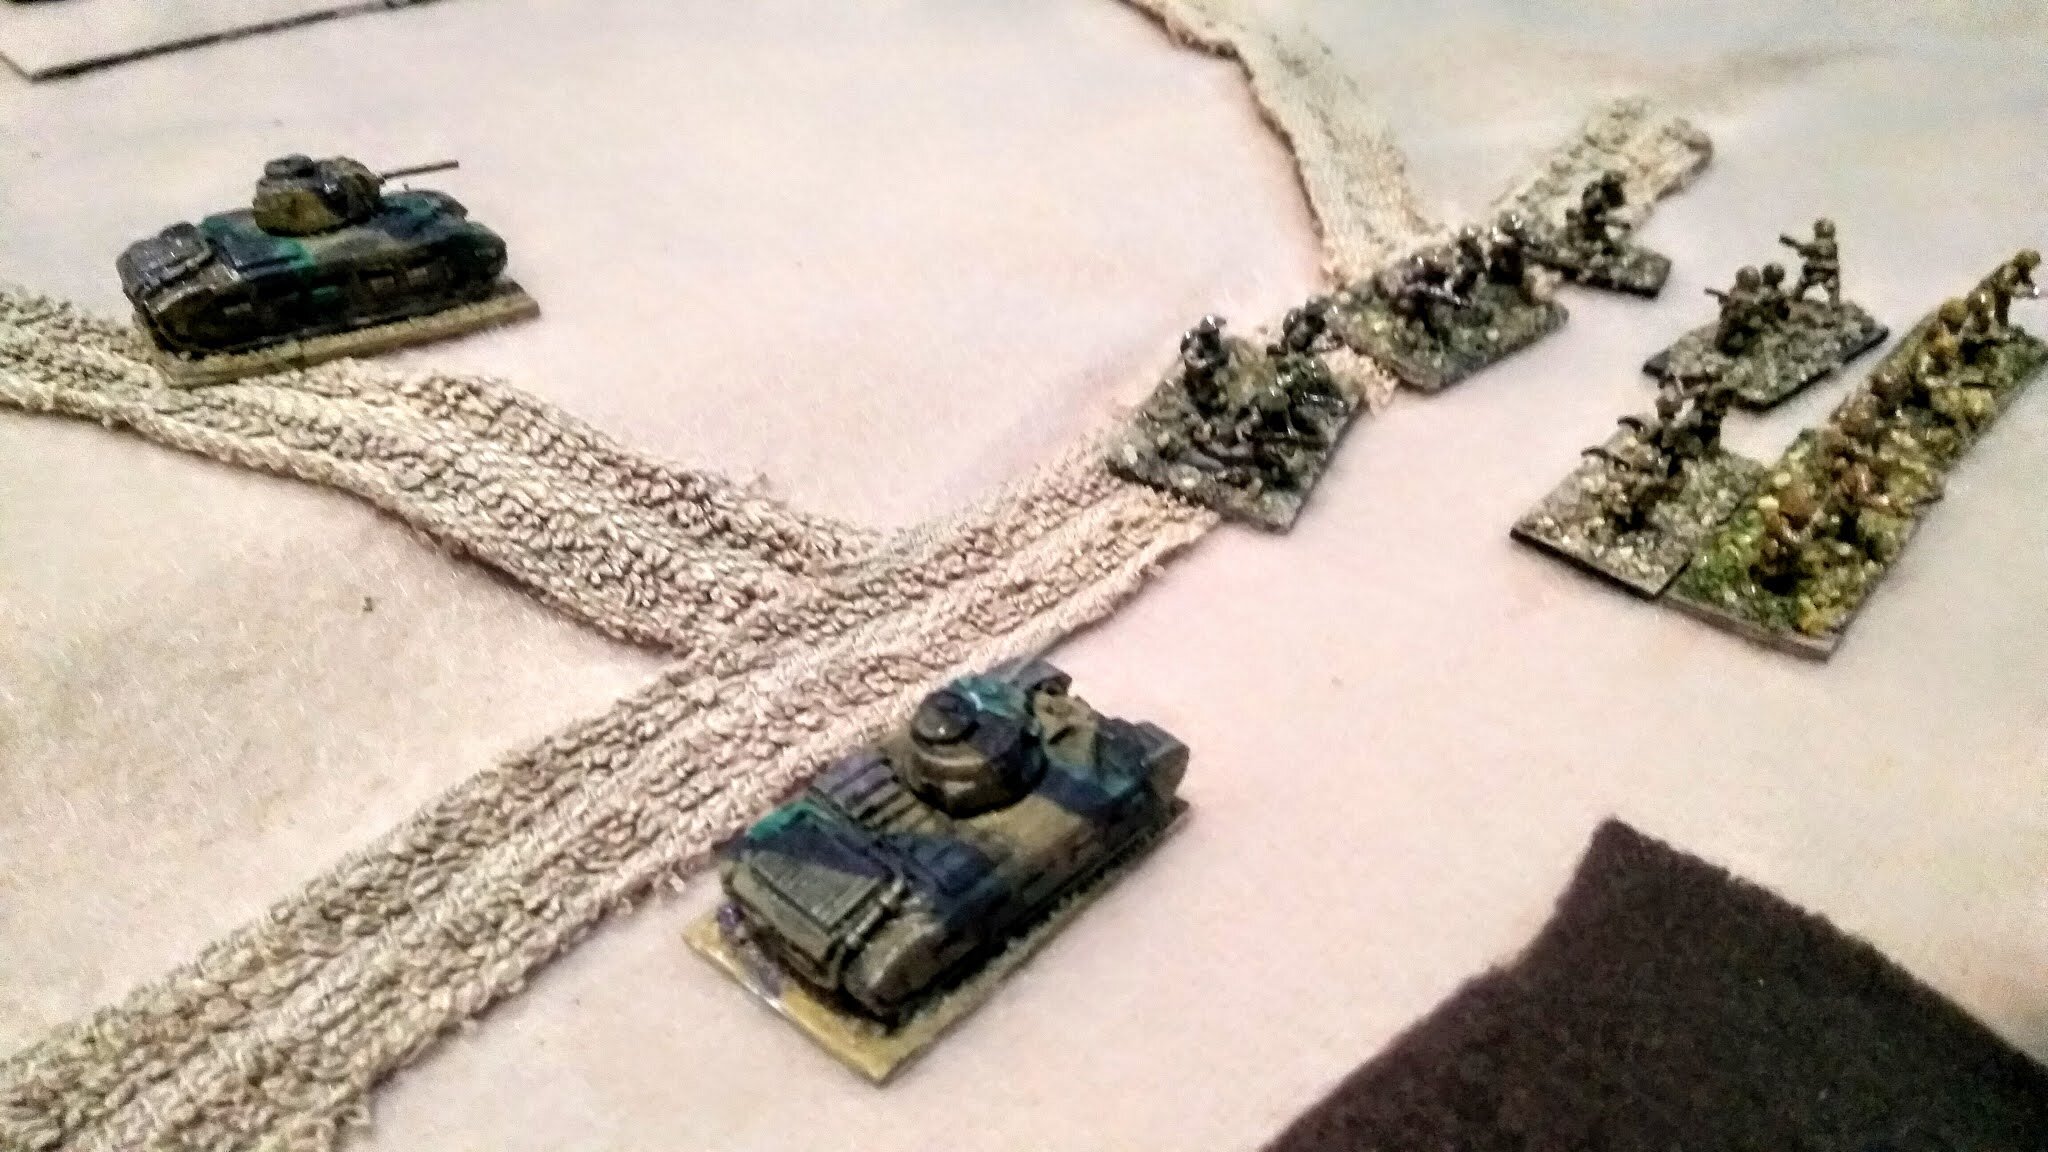
The German tanks move over the bridge, but are stopped by three strategically placed anti-tank guns from the Ardennes Hunters. The Belgians are soon strengthened by French tanks: Somuas and Char B1Ss that the German light tanks (Pz 35t and 38t) have difficulty destroying.

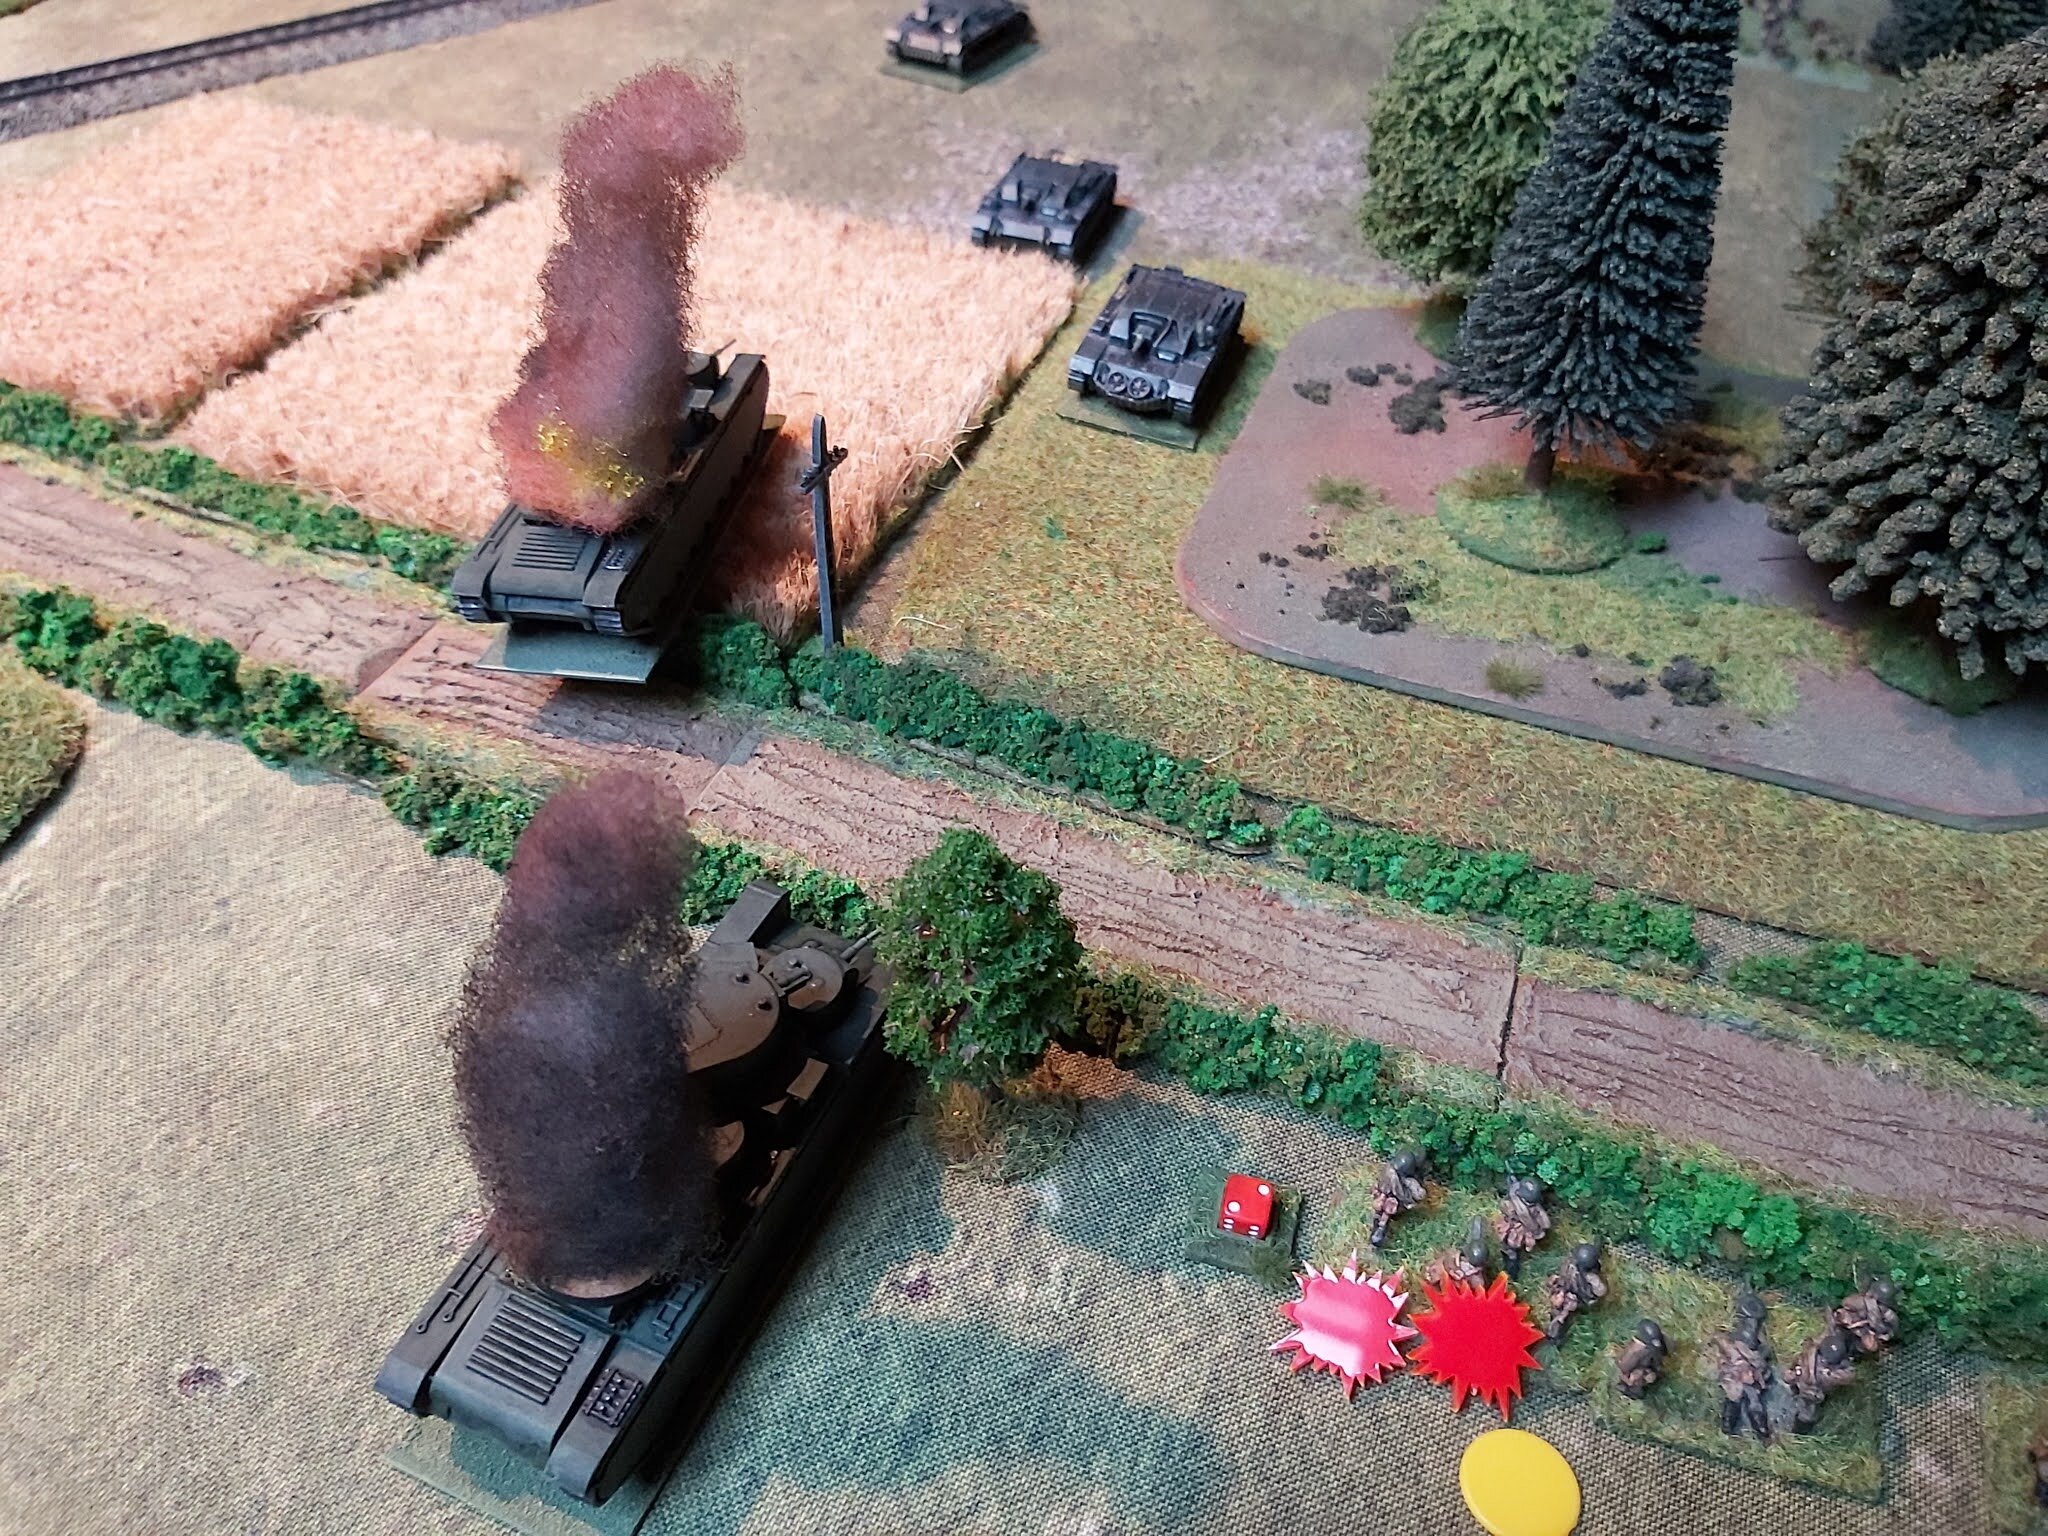
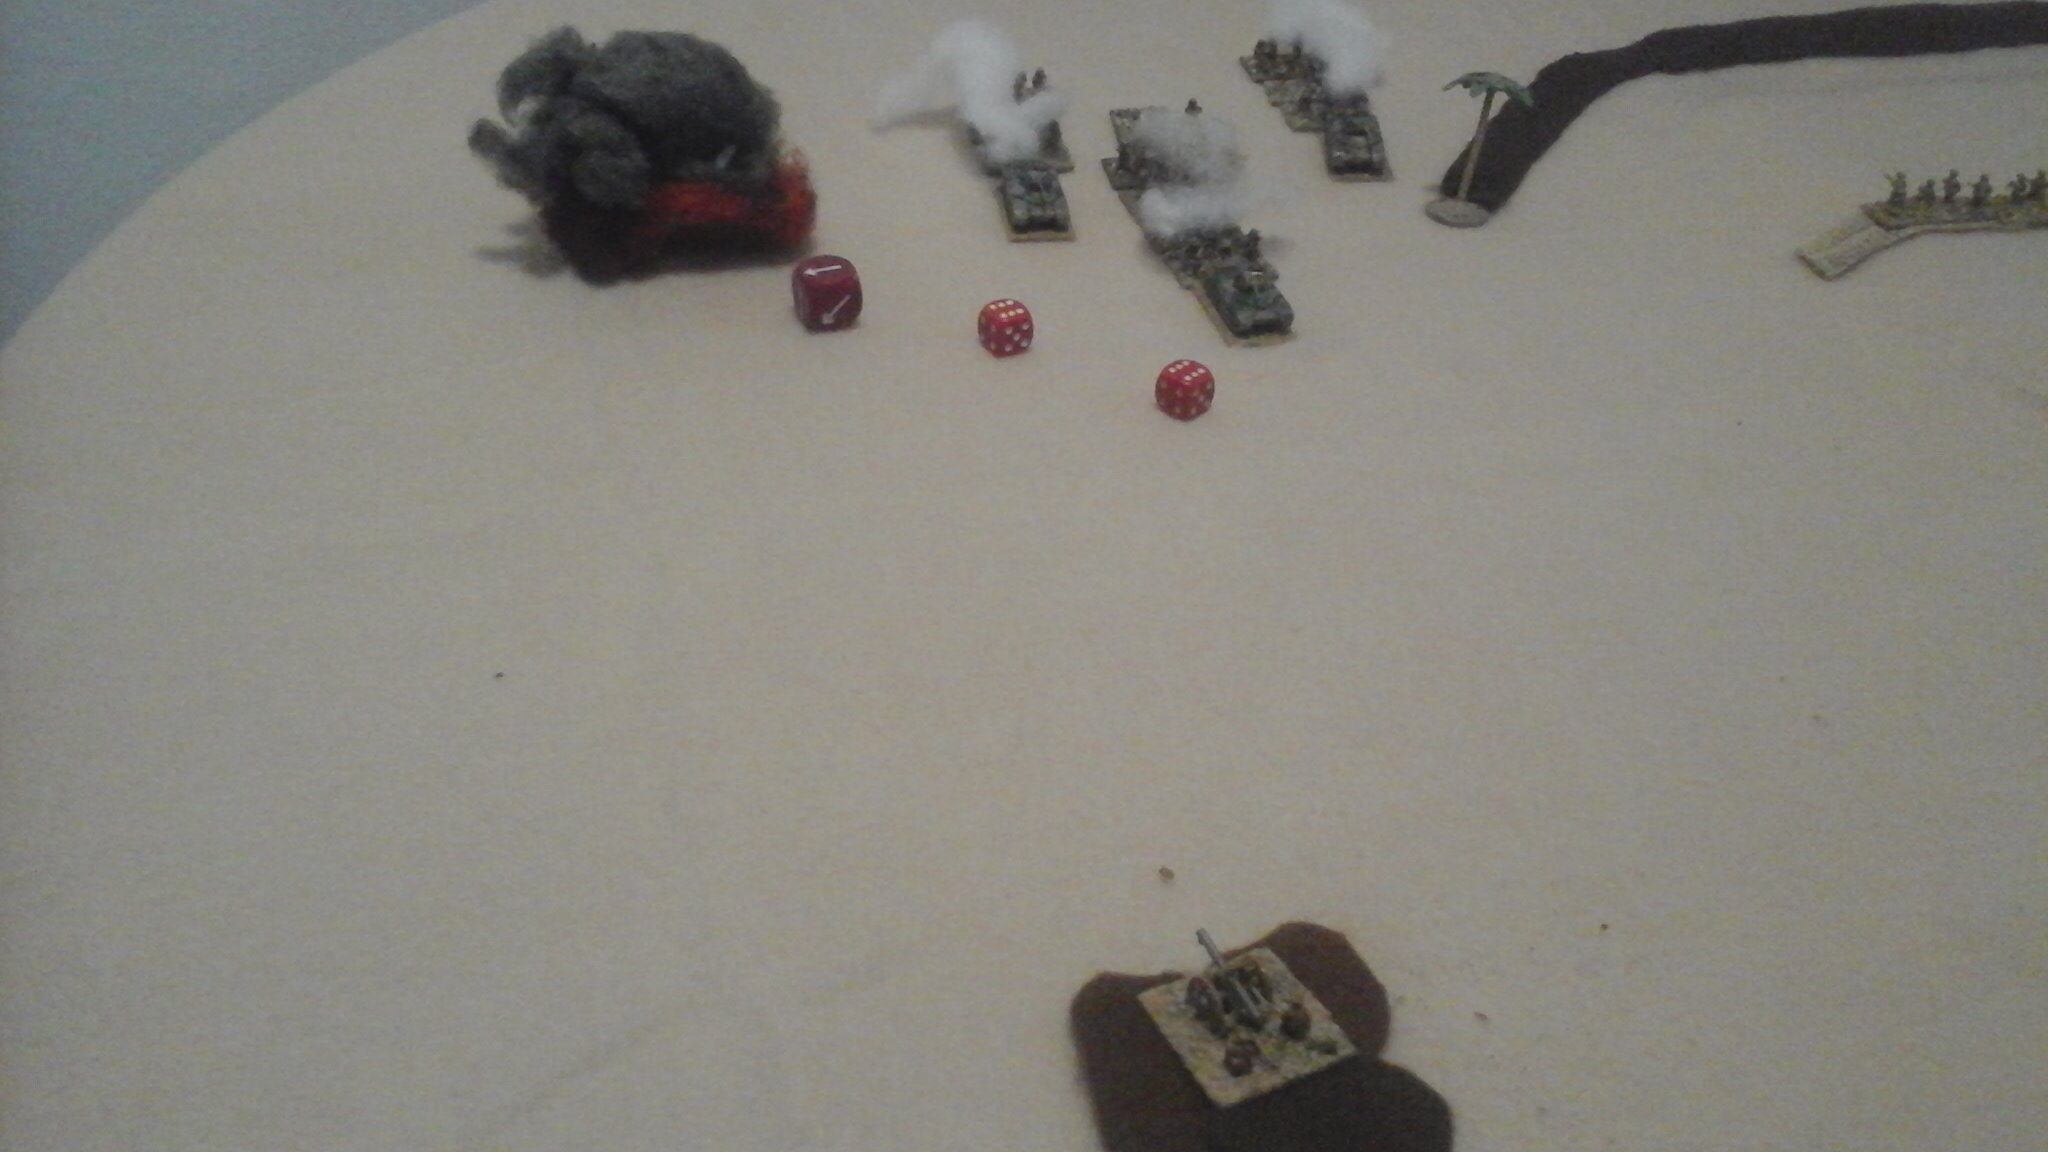
An heroic charge of four Belgian T15 tankettes against a screen of three German 88mms ends predictably in the immediate destruction of the tankettes. A nice story for the history books, but also a pointless waste of life and material. Meanwhile, the Ardennes Hunters evict the German infantry from Auville.

The battle ended in an Allied victory, thanks to:

  1. the clever deployment of the Belgian anti-tank guns

  2. pretty much constant poor dice rolling by the Germans

  3. Willie's luck on rolling to arrive with his reinforcements on the table very quickly

  4. and finally, German nonchalance in not reading the briefing properly!

The Stipsicz Hussars


rasgaan.png


The scout platoon from the 15th Punjab had constructed a hasty forward defence line between sea and dry lagoon in the Ras Gaan narrows. The road has been dug open to make enemy wary of mines; and a platoon, along with a reinforced squad of local infantry, had been dug in. A single Vickers held their seaside flank and an FO with 3" mortar was hidden by the hillside (unfortunately the initial bomb run apparently cut the phone line, as FO never took part in the game. On the other hand, the FO was the reason why the Italians were not allowed any Blinds). 

The Brits had no heavy equipment so their whole AT capacity consisted of one HMG, one ancient Lewis gun LMG and two nearly useless Boyes AT Rifles. Every section also had one grenade bundle prepared. Their enemy had a full autosahariana company with multiple cannons of varying calibres, a platoon of armoured cars, and light bomber, so it was not a fair game at any point. The Brits were tasked to inflict as many casualties as possible and then withdraw before their own casualties became too heavy. Their plan was to stall the Italian attack on both flanks and funnel them to a narrow pass where 3" mortar would wreak havoc amongst the enemy's softskinned vehicles. It almost worked...

Capitano Peppone's personal diary, 9.8.1940, 1435hrs

"After sending the motorcycle messenger back towards battalion, I gave my company a command to advance best possible speed along the shoreline. Afternoon sun from clear African sky was bright and hard. Despite driving as fast as we could, not even wind gave any respite from the heat. But my brave company looked as glorious as ever! On the left side, Dabehshin hills rose sharply and menacingly. I am quite sure that the menace was not only of poetic kind, as occasional movement was reported. It was a perfect spot for an artillery observer and I am quite sure Johnny Englishman was following us while sipping his tea.

SITUATION STILL QUIET, SOME MOVEMENT REPORTED ON FLANKS

SITUATION STILL QUIET, SOME MOVEMENT REPORTED ON FLANKS

"Tenente Albertini's plane came back from the sea on schedule to start the attack with a diversion. Previously reported truck were no longer in sight, but he started a bombing run around the place where infantry was last sighted. Hard to gauge the effect, but at least the dust clouds were impressive and the improvised AA fire stopped as soon as the first bomb detonated.

BOMBS, RUN AWAY! TAKE COVER!

"Terrain along the coastline was broken, with small hills and piles of rock along the tideline. With careful driving my trucks were able to keep up good speed and no problems were reported. It was Masell's platoon at point that had the privilege of reporting finding the enemy dug in along the rocks. Well planned fields of fire, deeply dug positions and sharp fire control told me immediately that these were not some ragged Somaliland volunteers! Based on the volume of fire and availability of support weapons I would say we faced at least a platoon of Indian regulars: our little venture was in danger of stalling even before we were airborne.

CONTACT, CONTACT!

CONTACT, CONTACT!

"Fortunately young Mellini quickly gathered his wits and returned fire with everything and the kitchen sink. 20mm Bredas were reported to be particularly effective in suppressing enemy troops. To be fair, this far I have been quite sceptical about the autoblinda platoon given to me. These things, painted with gaudy colonial police patterns have been shambling along with not a spark of initiative shown this far.. So my surprise was great but welcome when they handled themselves well, charging to fray without second thought! They took position besides Mellini's braves returning fire with the best of my men. They might be good men after all.

"I ordered Viesell's platoon to join the battle from the inland side, with the supply platoon using them as cover. Adriano would cover the road and act as left flank security. I myself stayed slightly back to coordinate fire, acting as a local reserve. Enemy was now receiving fire from a broad front and had to hug their foxholes tightly. I must say that their ability to return fire even against odds was impressive - particularly the Vickers machine gun kept returning fire despite losing several men.

VICKERS OPENS FIRE, SHOCK AND DAMAGE STARTS ACCUMULATING

VICKERS OPENS FIRE, SHOCK AND DAMAGE STARTS ACCUMULATING

NO TRAFFIC JAMS, KEEP ROUTE CLEAR!

NO TRAFFIC JAMS, KEEP ROUTE CLEAR!

"The rocks in the middle created a natural obstacle and despite my best efforts, the traffic jam was soon looking familiarly Roman, with heavy supply trucks  honking horns and gun trucks zigzagging between them. Johnny Englishman did not hesitate to use this to his unfair advantage and light mortar rounds were soon dropping amongst the trucks. Mother of God was favourable towards us and enemy did not have anything heavier, as even a salvo or two from proper artillery section would have ended in tears and blood. Even then, enemy light mortar knocked out AS37 belonging to Giorgi and our radio truck is now very well ventilated - mercifully the precious radio equipment was spared.

NOW, WHAT IS THAT SOUND, INCOMING? INCOMING!!

NOW, WHAT IS THAT SOUND, INCOMING? INCOMING!!

"Along the tideline, our nickel infused lunch was finally convincing the enemy infantry that their position was untenable. We were not able to count their casualties, but I am sure they left as many men behind as we lost. From the roadside we received only sporadic fire from long range, so it looks like the bomb run took their will to fight. Good old Albertini!

LIEUTENANT SINGH SURVEYS THE SITUATION AND DECIDES THAT IT IS TIME TO WITHDRAW. 2" MORTAR FIRES THE LAST GRENADES AND PREPARES TO DROP SMOKE TO COVER WITHDRAWAL.

LIEUTENANT SINGH SURVEYS THE SITUATION AND DECIDES THAT IT IS TIME TO WITHDRAW. 2" MORTAR FIRES THE LAST GRENADES AND PREPARES TO DROP SMOKE TO COVER WITHDRAWAL.

"Price of valour, like always, was heavy. One man paid the heaviest price and four more were injured. Giorgi's truck was a total loss and we had to destroy two more damaged trucks, so that they would not fall to enemy hands, as our own orders were to bypass all defences. We have now passed the purgatory and are heading towards the dark valley, behind the enemy lines. I hope we can keep our cool and keep the Johnny Englishman and has Indian lackeys busy, otherwise everything has been in vain."

Conclusion

It was a unfair game, being part of a campaign. The Italians were trying to break through with minimal casualties while the Sikhs and their supports wanted to cause as much havoc as possible. Small table as defender was in well camouflaged position and waited as long as they could. End result was a minor victory to the Italians, as the British forces were unable to cause many casualties despite a good try. Several trucks were abandoned, but the big men were able to de-suppress the crews and they went on their merry way again. It would have been completely different if the defenders FO card would have come up even once, as their plan otherwise worked well. Oh, the beauty of the card driven system!

Topi


greensmoke.png


Italian military court opens to discuss the failed attack upon enemy position at the well of Bandar Harshau, Somaliland.

Dramatis personae: 

Tenente Adriani - pilot who managed to bomb friendly troops 

Tenente Zepeda - cautious pilot 

Capitan Trouhet - captain of the 1st infantry company 

Tenente Roma - tank platoon leader 

Tenente Frederico - platoon leader of 1st platoon

image-asset (7).jpeg

Initial setups:

Two tank platoons and an improvised infantry company attacking the British position directly, while three infantry platoons flank it. Attack starts with two stonks and light fighter-bombers.

The Action:

"At 12.00 hours, after the initial barrage, I initiated a bombing run towards Bandar Harshau with Tenente Zepeda. Artillery had completely failed to suppress enemy anti-aircraft weapons, so we had to turn back and attack along the road. As we approached the target, green smoke went up as promised. Enemy was not supposed to have armoured assets, but seeing how ground based recon had failed time after time during this campaign, I assumed it was another recon snafu and initiated bombing run against marked target. I am very happy to report that first run left two smoking tank wrecks and platoon worth of infantry destroyed, while the second run bagged another enemy tank and another squad of infantry. After this, I headed back to home, leaving Tenente Zepeda to finish of the enemy. Tenente Andriani."

"Tenene Andriani, will you in front of this gathered court martial and your peers swear upon you honour that this is your truthful report about the attack upon Bandar Harshau 11th August 1940?" "Yes, sir."

"Capitano Trouhet, would you please give your own account about the event on said day?"

"Sir, 1st company of the Grande Gruppo Speciale di Africa Orientale Italiana was reinforced with the battalion recon and combat engineer assets and two platoons of tanks were attached. Tanks supported by one platoon of infantry were to pin the enemy with a frontal attack over the wadi, while two bersaglieri platoon and motorcycle recon troops were to flank the enemy position from south. 100mm artillery strike was to land 12:00 sharp on the suspected main enemy AA position and 81mm mortars were to strike enemy rear assets - as soon as the barrage was lifted, air force was to hit the village after which the main attack started. The artillery hit on time, but went wide and the aircraft turned back as soon as enemy directed AA fire at them. The intel we had said enemy had at most two dug in platoons and some sandbagged bunkers with light AT assets. While the flanking force was getting into position, Tenente Roma spearheaded the attack clearing path through the barbed wire. Enemy machine gun position on the hill caused light casualties, but was quickly suppressed and eliminated by our combined firepower. Likewise for the enemy platoon protecting the mouth of the wadi. At that point a green smoke popped amidst our formation and.."

"Captain, where did this smoke originate from?"

"Sir, I would say it was fired from the enemy position, as it landed along several light calibre mortar rounds. As soon as the green smoke popped, we launched our own marker smoke towards the enemy position. At this moment, Tenente Zepeda had gathered his courage and made a bombing run at us, despite frantic waving and all tanks marked by our own flags. I hoped that he was diving for the enemy, as all pilots were specifically briefed that enemy had no tanks. He dropped bombs directly on our position and after that I woke at battalion hospital a few days later."

AFTER A BOMBING RUN, TWO SQUADS AND COMPANY COMMANDER ARE DOWN, TANKS ESCAPED WITH SCRATCHES.

"Tenente Andriani, were you briefed about the tanks?"

"Sir, yes, I was. But it was also a known fact that ground troops security was very lax and enemy had stolen several trucks from them. I assumed that the FO on ground knew what he was doing and tanks were captured equipment. After.."

"Tenente, you know that trucks being stolen was malicious rumour spread to confuse our troops?"

"Eh, sir, I.."

"Tenente Zepeda, you did not attack our own troops, why?"

"Sir, As soon as I saw several green smokes, I assumed a trap. I made a fly by and saw that at least one smoke was amongst own tanks. So I made another pass, identified another target and bombed them. I also tried to signal to Andri that he would abort the attack."

"Was it obvious that tanks were friendly?"

"Sir, they had all our own air ID flags and did not fire back. Plus they were attacking from the direction our own troops were supposed to come from. So I just assumed there was a SNAFU."

"Tenente Roma, you assumed the command of the pinning force after captain went down. Would you please tell us what happened then?"

"Sir, the blasted plane made few more passed at us, wiping out most of our infantry support. As the command was to advance at all cost, I pushed a half platoon forward after our mortar barrage had landed and used the rest of the tanks to keep enemy heads down. As expected, enemy infantry counterattacked the exposed half platoon and managed to damage both tanks, so they had to withdraw. At this point Tenente Frederico signaled a general withdrawal, so I pulled my tanks back and kept enemy down with machine gun fire."

HALF PLATOON TRIES TO OVERRUN INFANTRY, WITHDRAWS AFTER A RAIN OF GRENADES. BRITISH PLAYS COMMIT RESERVES FROM THE FLANK.

"Tenente Frederic, would you please let us know what happened to the flanking force?"

RECONS FINDS A CONCEALED AA POSITION.

"Sir, we took the force over the wadi via the route marked by the recon. The recon then mounted again and covered our left flank, while we pushed towards the low hill overlooking enemy position. At some point recon uncovered enemy AA position and for some reason charged it directly. This worked as well as could be expected and the AA gun cut them to ribbons, fortunately the survivors were able to suppress the gun from a safe position. Meanwhile, my men knocked out enemy AT gun with some damn nice long range rifle fire and then advanced to the hill crest. We uncovered an enemy dug in platoon - quite many of them in the area, particularly as enemy was supposed to have 2 platoons in the area. We gave as good as we took, waiting for the 100mm to land. At this point the battalion gave the signal to abort the attack. Impossible to say if we could have taken the enemy position, but at least the follow-up attack by the 2nd company reported that enemy position was well and truly hammered by us and arty by the time they arrived."

YET ANOTHER PLATOON OF SIKHS.

"Thank you, gentlemen."

the end

Like one participant said, Italian air force guaranteed that both sides won a bloody victory. British forces stopped the Italian advance and Italian air superiority stopped Italian tanks cold. This was due to two things happening in the campaign:  (a) the British player acquired information that Italians used green smoke to denote priority air targets and (b) Italian recon did not communicate very well to higher ups. So an enemy position with two identified dug in platoons and some AT assets, plus two inbound truck borne platoons became two platoons in total. This led to situation that in manpower alone defender actually outmanned attacker. Of course he was still sorely lacking in AT power.

Attacker had a reasonably solid plan of utilizing air assets to maximum and then pinning the enemy from front while rolling up the flank. This failed as the pinning force got a bit too greedy and advanced after losing the infantry cover - two lead tanks had to withdraw after a spirited close assault by the Sikhs. Few more rounds of mg fire and this probably would have fared much better - time was on the Italian side, as British player had no AT assets to speak of.

On the flank, the recon platoon was bit to eager for glory and frontally charged enemy AA position without any suppressive fire. They were cut to ribbons, as expected by everybody else. Otherwise the flank attack worked ok, they took more damage than they dished out, but the arty was hitting squarely on the defenders when command to abort came.

This time the Brits had a more forward defence and it cost them dearly, as infantry had very few tools to deal with even light armoured cars, let alone tanks. The lone AT gun made a brave effort, but was knocked out by a lucky 17 almost immediately.

Brits are still holding their position, but Italians are launching another attack to turn the flank.

Topi


10th August 1940
Orders from the battalion commander had reached Capitano Trouhet an hour before the noon. As the point of spearhead, he was expecting to meet the enemy at some point, but a prepared position came as a surprise: "Advance to the village of Las Khoreh. Envelop the enemy and destroy or capture them. It is imperative that they do not stay operational, as this is the main supply route for us. Avanti! Avanti!" Enemy was expected to be Somaliland militia, but some recon reports spoke of regular Commonwealth troops.

By the midday, the first company of bersaglieri and their supporting tanks had cleared way through yet another dummy minefield and navigated the wadi bottom so that the opposing side was visible. Recon teams had confirmed that the wadi wall held at least two enemy bunkers, one with a machine gun, one with a probable AT weapon. Team on the left side was still trying to find a way through the rockier part of the dry riverbed, so a frontal attack commenced with a cry of "Avanti! Savoia!". The 1st Platoon under Tenente Frederico would lead the main thrust at the right flank, while the autoblindas would probe at the left, with tanks at reserve. Capitano Trouhet would himself oversee the covering heavy weapons and join the fray later. As expected the opening stonk went wide, but the attack commenced anyways.

ITALIANS ADVANCE TOWARDS THE SIDE OF WADI, ONLY TWO SANDBAGGED BUNKERS IN SIGHT. CAMOUFLAGE OF THE BUNKERS WORKED REASONABLY WELL, TRY TO SPOT BOTH OF THEM. YELLOW SAND FOR THE SEASIDE WHERE WHEELED VEHICLES COULD GET STUCK. SUSPECTED MINEFIELD IN THE MIDDLE OF THE ROAD. STONK WAS SUPPOSED TO HIT THE HILL ON THE FAR SIDE, BUT WENT MILES OVER IT. VERY LUCKILY, AS WE WILL LATER SEE.

After the first dash, 1st Platoon got pinned by a single shot from unseen sniper, men taking cover in the rough terrain. That gave the British FO ample time to radio for a mortar round or two and soon the 1st Platoon was truly pinned by 3" mortar section and sniper. If the first "fire for effect" had hit the mark, effects would have been truly horrific for the brave attacker, but now first salvo went wide and most sections got to at least some cover. Even then, this badly delayed the 1st Platoon and cost the attacker quite a few men. It was nice to see that even a section of 3" mortars had quite an effect when used skillfully.

SNIPER OPENS FIRE, 3" MORTARS WITH DARK ORANGE MARKER GO WIDE AT TOP RIGHT

SNIPER OPENS FIRE, 3" MORTARS WITH DARK ORANGE MARKER GO WIDE AT TOP RIGHT

Meanwhile on the Italian left flank a truly lopsided firefight was ongoing. Three autoblindas and a section of 45mm AT guns were trying to smoke a lone Somali militia ATR from his bunker. They would pour everything they had at the feeble sandbagged bunker and after a moment of silence a whiplash bang would announce that the Boyes rifle was still functional. The ATR was also always firing under a "poor fire discipline" card, so miles out of range. And close to the bunker, a well camouflaged and dug in Vickers team was waiting for prey. As soon as the autoblindas would advance, they would present a flank to these predators. The terrain was quite open but multiple small rough patches meant that a defender could hide anywhere.

THE UNFAIR GUNFIGHT. VICKERS HIDING IN THE GREEN BRUSH BY THE WHITE DICE.

At this point, the second platoon, led by Tenente Massimo, took the lead and passed the pinned first at a brisk jog. Their attack only stalled for a moment after someone noticed that the 4th squads from both platoons were still sipping their coffee around the jump-off line (the Italian player was used to having only three squads to a platoon!).  A moment of hand waving and yelling remedied the situation, and soon the 2nd Platoon was safely hugging the hill guarding British left/Italian right flank.

2ND PLATOON ADVANCES, FIRST SQUAD REACHES THE HILL

At this point Capitano Trouhet decided that it was time to join the attacking infantry. As soon as he took few steps to open, sniper fired again and to the horror of the Italians, the brave Capitano fell. Cheers from the British lines were short lived, as he would soon roll over and hide behind a large rock (Pinned and lots of shock does not a Big Man faze). He would spend several minutes there before a passing machine gunner from support platoon stopped by to inquire if Capitano wanted help.

After a short rest, the lead squad of 2nd Platoon climbed the hill to take a peek around. They found the first British platoon well hidden and dug in on the reverse slope and never truly recovered from the initial warm greeting! This saw the beginning of a prolonged firefight: the Sikhs were well dug in and veterans, whereas Italians had a 4:1 numeric advantage and given the protection of the hill, could flank the defenders. Even then, Italians had to commit their medium tanks as two Sikh squads proved to be quite a challenge to a full Italian platoon and several machine guns. The Italians were quite lucky: their initial pre-battle stonk went badly wide, but hit the hidden defenders, destroying 2" mortar, ATR and attached LMG team. These might have actually turned the tables.

sikhs open fire

DEFENDER IS FLANKED, ENTER TANKS. RED FOR SHOCK, BLACK FOR PIN/SUPPRESSION.

Meanwhile on the other flank the ATR bunker had finally fallen silent (with Italians suspecting a trap), so autoblinda platoon went forward. Only to be ambushed by the hidden Vickers. Initial burst took out the lead armoured card. Remaining two autoblindas returned fire, but it was soon obvious that the five Sikhs and their MMG were more than a match for the armoured cars, even when they were able to present frontal armour. They were not outright destroyed, but slowly shocked into oblivion while their guns and engines deteriorated sharply.

The stalemate at the Italian right flank was finally broken when a platoon of M13/39 tanks entered. They were greeted by a lone 2-pounder and the Sikh reserve platoon, with the fire from both sides reaching a crescendo. The turret front of the lead tank held, but Tenente Roma of the support platoon was not as lucky, his chest pierced by a well-placed rifle round. The first Sikh squad just refused to die, returning fire with only few men remaining, shielding other squads. The 2-pounder was well dug in and out of the reach for most infantry, so the few MGs able to target it were not having much effect - the situation started to look grim for the attacker.

REST OF THE DEFENDERS REVEAL THEMSELVES. 2 POUNDER FIRES AND DIES.

Until one of the Bredas manning the crest of the hill finally saw something through the 2" smoke and a lucky burst took out the 2 pounder. The dice were truly against the Italians for most of the game, but a lucky "17" arrived just when it was needed. At this point the tanks had free reign and British commander gave order to fall back:  the remaining troops from the mauled 1st Sikh platoon would cover the retreat, others got out intact.

Conclusion

This was somewhat larger game than before, with a well supported Italian company against two platoons of Sikhs and their support. Neither of the players had actually played IABSM before, but learned the ropes quickly enough. Both committed to their plans early on and were able to play accordingly, even when situations changed rapidly. British defence was a classic reverse slope, somewhat hampered by the fact that the attacker came from unexpected direction. And attacker refused one flank with mobile troops, commanded the centre with heavy support weapons (as the Brit guessed, thus reverse slope) and them put all his weight on one flank. A nail-biter of a game, once again. Tactically an Italian victory, whereas for the campaign probably a draw: Italians won, but lost one of the precious armoured (in the loosest possible sense of the word) units and Brits were able to withdraw at least some assets, even if valuable Vickers and 2-pounder had to be abandoned.

Also, being part of a campaign, neither player knew what the other was bringing to play. Attacker actually had quite good recon, but most of that was lost in the chain of command, so only knew to expect maybe two infantry platoons, who were not supposed to have any heavy support, instead of knowing the rough location of the ATG and main line of defence. And defender knew roughly a battalion of motorized infantry was heading their way, with tanks leading. For most of the game, attacker had no idea what to expect, as trap upon a trap was sprung.

BRAVE ATTACKERS (SOME ARMOURED CARS BORROWED FROM BRITS, AS SOMEHOW LOCAL SUPPLIER THINKS 1940 ITALIAN ARMOURED CARS SHOULD NOT NORMALLY BE AVAILABLE OFF THE SHELF)

THE WHOLE DEFENDING FORCE

Topi


A smallish test game of "I Ain't Been Shot, Mum!" by Too Fat Lardies, a company-level WWII game which features a card-driven activation system and has gotten quite favourable reviews over the years. It also helps that it contains a source book for the early war in Africa. This time Italian forces were starting their invasion of the British Somaliland. 

In reality the British force had no armoured vehicles, but we wanted to test them. And the invasion was mainly handled by colonial troops, even if Italian East African Empire did have bersaglieri available. To this end, there will be a fourth attack column, its' mission so secret that no mention remains in history books. So there. British Indian troops (Sikhs of the Punjab regiment) were considered elite and bersaglieri as good. Terrain is almost non-existent, as we just wanted a quick test game (and game boards were in wrong place): thus very few pics.

British defender had an infantry company depleted down to two undersized platoons, two Vickers MMGs, and two 2pdr AT guns in support. In addition, his force was joined by a small mobile task force consisting of a section of Indian-pattern carriers, two sections of armoured cars (Marmont-Herrington and Rolls Royce), and one Matilda II. Finally, a battery of 25pdrs were on call, as the area was assumed to be the target of the enemy's main force. His orders were to delay enemy as long as possible and then withdraw in good order. British Big Men: the company commander (level IV), two platoon leaders (level III), and a tank leader (level III).

The Italians on the other hand had two full bersaglieri infantry platoons and a weapons platoon; a platoon of M13/40 medium tanks; and a section of Autosahariana scouts. A battery of 81mm mortars, pregame barrage (stonk) of 105mm artillery and Fiat CR.42 fighter providing air cover and ad hoc ground support. Their task was to capture some nameless village along the main axis of attack, so the main force could pass through.

British troops were covering the road and village, while Italians threw the bulk of their troops on the right flank, with tanks in the centre and saharianas handing the open left.

JUST BEFORE THE STONK ARRIVES, ITALIAN TROOPS PREPARE TO LAUNCH THEIR ATTACK FROM RELATIVE SAFETY OF DRY BRUSHES. BRITS KNOW SOMETHING IS ABOUT TO HAPPEN AS TANKS ARE REPORTED ALONG THE MUDDY ROAD.

JUST BEFORE THE STONK ARRIVES, ITALIAN TROOPS PREPARE TO LAUNCH THEIR ATTACK FROM RELATIVE SAFETY OF DRY BRUSHES. BRITS KNOW SOMETHING IS ABOUT TO HAPPEN AS TANKS ARE REPORTED ALONG THE MUDDY ROAD.

Italian infantry had the orders to wait until the artillery barrage had landed at 07:00 sharp and then claim what was left of the mud and brick houses on the right. This was to be the jump off point. At 07:08:30 105mm finally opened fire with barrage going wide, catching only one squad. Italian lead platoon immediately opened fire on the defenders while 2nd platoon waited for the order to advance. Unfortunately the brave defenders were able to return fire and a lopsided firefight developed. This would take a few minutes, but brought the Brits enough time to bring the armoured cars into the game.

In the middle, the lead Italian tank received light damage from hidden 2pdr, but was able to silence it. For several minutes tanks were pondering what to do, as any avenue of attack would present flank to at least one enemy AT weapon. Finally they decided to silence them all and advance only then. This decision saved steel, but would cost them lots of blood on the flank, where infantry was getting cut down by massed machinegun fire.

2 PDR OPENS FIRE. BOYS ATR IS STILL OUT OF RANGE, HIDING BY THE WALL

2 PDR OPENS FIRE. BOYS ATR IS STILL OUT OF RANGE, HIDING BY THE WALL

Autosahariana and Marmont Herringtons were playing cat and mouse on the other flank, nothing to report. And above everything circled a lone bi-winged plane, desperately trying to identify targets - not an easy task, when dust is covering everything.

After few minutes, the Sikhs and their supporting Vickers were either dead or pinned on the Italian right flank and squads started leap frogging forwards. Not a moment too soon, as the Brens and machine guns from carriers and Rolls Royces were starting to take their toll. A lone Solothurn ATR tried to keep them at bay, but was forced to seek cover. Unfortunately this assault stalled, as the FO has ordered the regimental 81s to bombard houses between the hill and village proper, but nothing was happening - no one dared to charge through the gap, as risk of getting hit by own artillery was not a nice prospect.

ITALIANS LEAP FROGGING TO HILL, WHILE ATR DESPERATELY TRIES TO KEEP THE CARRIERS AWAY. INFANTRY SQUADS MOSTLY MADE IT, ATR DID NOT. BREDA MMG IN THE MIDDLE MADE A VALIANT EFFORT TO FLANK THE ACS BUT WAS UNCEREMONIOUSLY CUT DOWN.

ITALIANS LEAP FROGGING TO HILL, WHILE ATR DESPERATELY TRIES TO KEEP THE CARRIERS AWAY. INFANTRY SQUADS MOSTLY MADE IT, ATR DID NOT. BREDA MMG IN THE MIDDLE MADE A VALIANT EFFORT TO FLANK THE ACS BUT WAS UNCEREMONIOUSLY CUT DOWN.

In the middle, the lone 2" mortar had smoked the Italian tank platoon, making sure they could not fire at armoured cars chasing saharianas, but simultaneously making sure that company commander could not start shelling them with 25pdrs that were just waiting for orders. After the smoke cleared, Italian tanks quickly destroyed the other 2pdr and then scattered. The lead tank with Big Man headed to help the infantry against carriers, the damaged one engaged in a mutually futile long range firefight against the Matilda II. The Matilda has almost invulnerable armour, but is also armed with a veritable pea shooter. And the remaining two tanks tried to achieve a break though in the middle, hoping to catch the Matilda on the flank.

The end of game saw Saharianas catching the armoured cars and quickly shocking them out of action, while the remaining Sikh squad on the Italian right gunned down one squad of bersaglieri before being silenced. And despite all the Italian tricks of flanking Breda MGs and using terrain to cut LOS, the carriers extracted a toll, severely mauling many squads. Tanks and ACs waltzed here and there along the British baseline, hence the title.

At this point it was nearing silly o'clock, so we called it a day. Italian infantry was hurting, but probably had enough oomph to force an entrance to the village, while the British had lost quite a few men, but could still make an orderly withdrawal, so a draw was called.

Overall it was nice little game. IABSM was very easy to learn and the hyperlinked book should be an example to all game designers - most of them don't have even a good index, whereas this on provides hyperlink to everything you'll need. It will take a good few games more to actually learn the rules, but thus far IABSM looks like a keeper. FoF with WWII modifications is nice for a small infantry engagement, whereas this one seems to shine in somewhat bigger engagement. Blinds system seem to be very interesting too. For this game we just agreed that small teams (AT guns) could deploy hidden and cherry picking targets like FOs or single Big Men was not allowed, unless they moved or fired.

Compared to Piquet, Fog of War, command and friction work differently, but are there. Particularly artillery was a pleasure to use, it is reasonably efficient and area is ok'ish, but takes time to arrive and is not too accurate. Much more realistic than say the surgical scalpel of FoF. Main complaint seemed to be that this system takes quite a lot book keeping by our standards - actions left when Big Men activate one section of platoon, pinned/supressed, shock and damage. But that is probably just a matter of learning or making enough of suitable markers. Looks like I need more casualty bases for shock markers!

Topi


winter.png


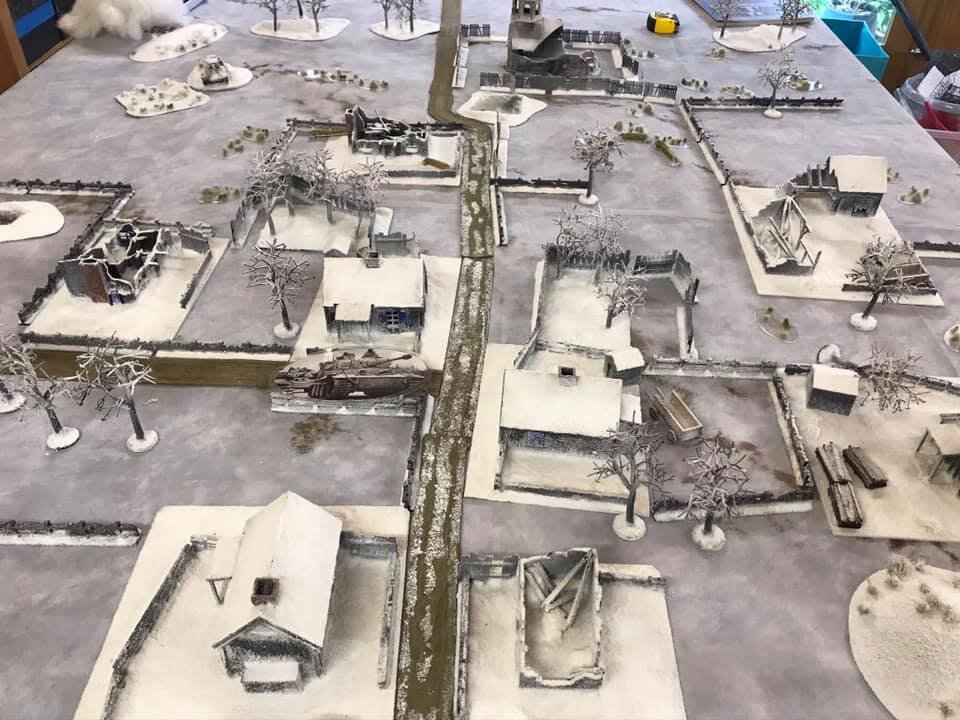
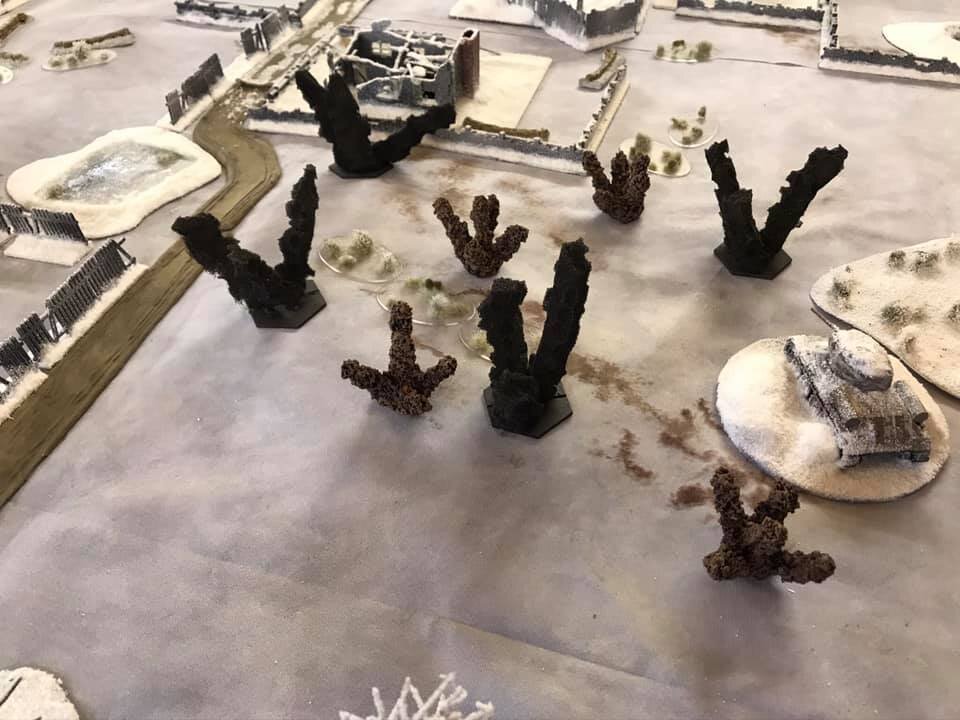
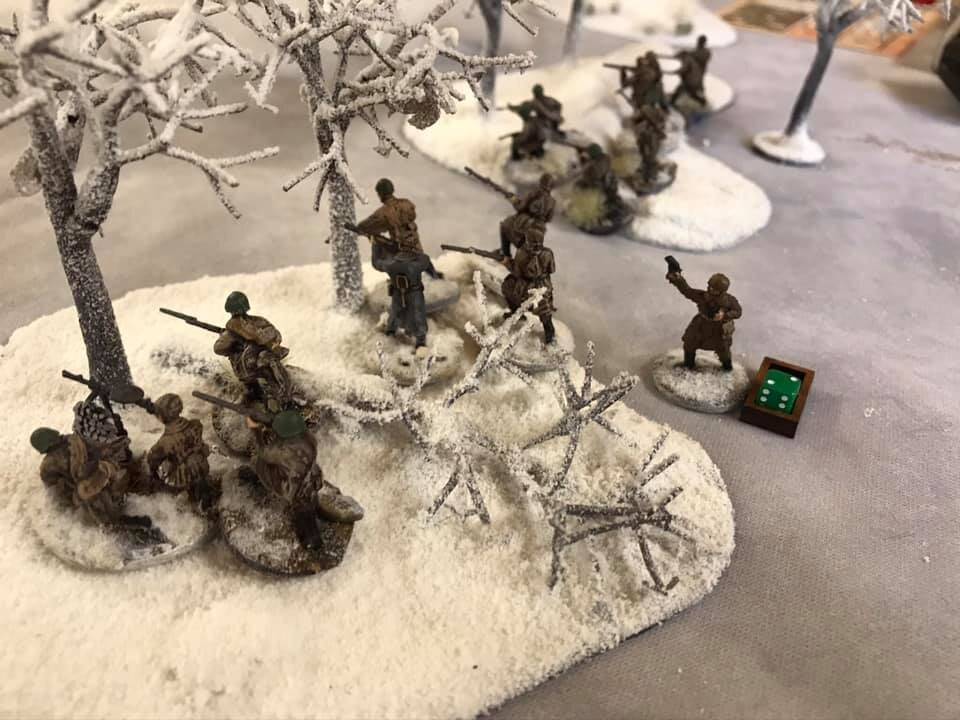
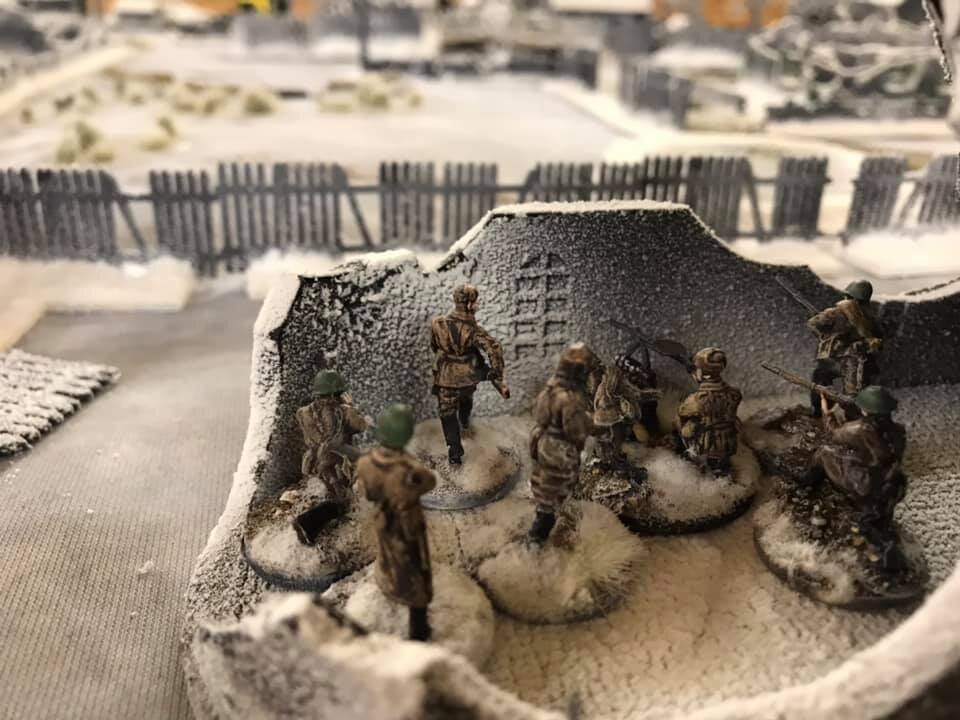
We, Scandinavian Lardies, met on one of last year’s last days. Winter is a good time to game the Finnish Winter War, but so far this winter has been a joke. That was not the case in 1939. We use the new IABSM v3 rules, and as were still not fully proficient with them we do make mistakes…

We gamed in a conference room this time, which helped when our umpire and Winter War-scenario writer Thomas showed us where we were using Google Earth.

It’s a day or so after we, the Russians, started our glorious liberation of the oppressed Finnish workers and farmers. The imperialistic White Finns are fleeing, and we drive west, pretty much unopposed, along a small Finnish road. South of us, and parallel to this road, other Russian troops attack along the Raate Road… Where are the oppressed farmers who should be standing by the road cheering us?

Our objective: Drive through and exit along the road as fast as possible. Near us a deep forest with light snow on the ground (-1 pip moving without skis) and beyond the village open ground with a few scattered birches. There the snow is deep (-2 pips without skis).

Gallery Part One:

What's this?

About this time we agree that the Russian advance goes a bit too fast, so we ditch the Russian Recce card (this was a recce unit, but that doesn’t necessarily means it must have a recce card) and we remove quite a few Russian leaders, a slight glitch made them far to numerous.

Gallery Part Two:

The advance continues.

 The Finnish objective was to slow us down as much as possible, and then withdraw. That they say they did. A platoon of Finns slowed down a company of Russians (marginally we say, we had to take a break anyway). We, the Russians, drove the imperialist away and liberated even more pine forest and burnt down peasant houses. We all felt like winners (especially when we reported back to HQ).

We plan to continue our adventures during the Winter War, with more fighting around the Raate Road, so we’ll probably see a motti next time (we were rather afraid of this actually, now it was a delaying action instead). Lessons learned for next Winter War-time. Some we discussed, some I have thought of afterwards: -

  • Less Russian leaders

  • Nothing to help the Russians advancing, like bonus cards

  • I think the Russians should come in on board as they are, i.e. not under blinds. That will give the Finns the advantage they need.

  • Finnish troops should be able to go back under blinds, something like in Charlie Don’t Surf.

  • Finns should be able to stay concealed at shorter ranges.

  • More?

The Miniatures Man


My men and I had been ordered to go to the outskirts of the village Neunkirchen and assist the engineers there in setting up defences along the new Siegfried line. With all the going on in Poland, it didn't feel like winning the lottery.

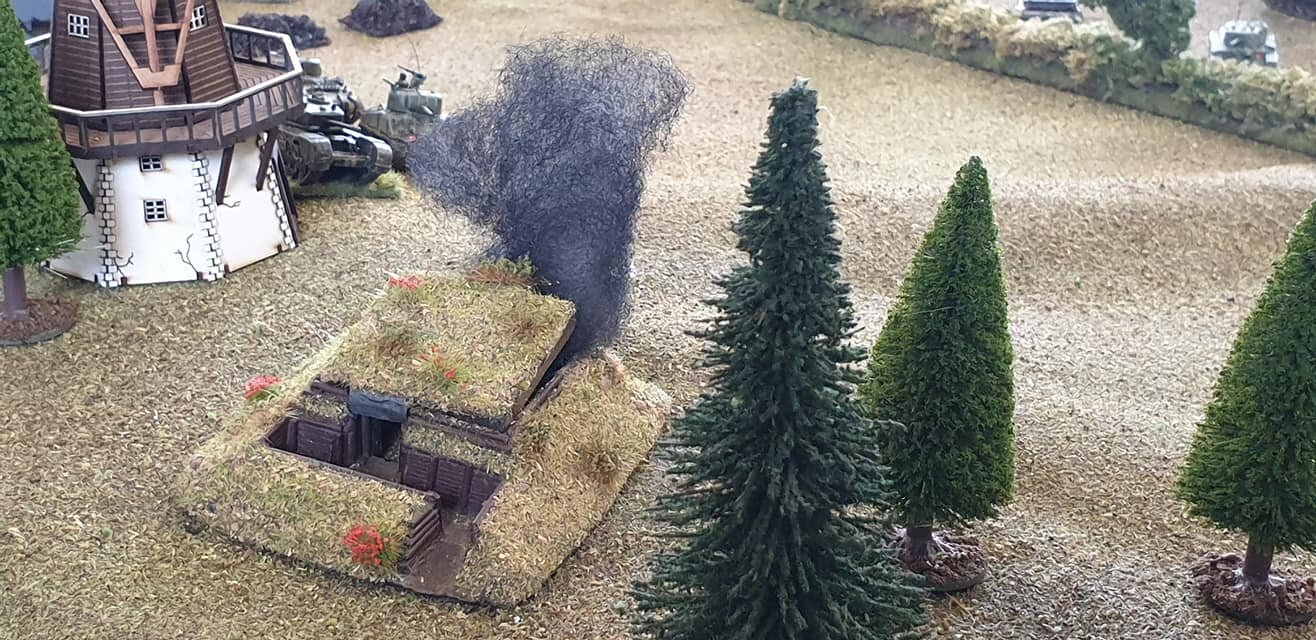
So far a minefield had been laid and two bunkers had been set up. For some reason the trees in front of one of the bunkers hadn't been cleared yet, so there was a very limited use for it. The mines had been laid in large parts of the open area west of us and only the road was kept free so far.

A small hilltop in the near of the first bunker had been designated by the engineers as the best place to build the next bunker. I had ordered two sections out to help assist in clearing the hill. Another section was helping out by the first two bunkers in loading ammo and setting up MMG's. Rest of the company had been sent to Neunkirchen town on other duties or leave.

At 8.40 AM out of the blue shells started landing on our bunkers. I didn't last long, and caused no real damaged. We had all fallen flat to the hill not knowing what had been happening.

At 9 AM – 2 hours into our work – a body of enemy troops were spotted in front of the hill top. This came quite unexpected and again we fell flat on the hill, not knowing whether we had been spotted or not. After trying to grasp the size of the enemy force – concluding that it was no more than a section at best – we opened fire hoping to scare them off. My initial thought was that a scouting party was trying to get the whereabouts of our new defences.

download.jpg

This soon turned out to be a grievous misunderstanding. The ”scouts” opened fire with at least three machineguns inflicting many casualties. These guys didn't shoot to wound...

Wild panic spread through the two sections on the hilltop, and strangely no counterfire was coming from our own MG's. I tried to get the men to their senses but I wasn't easy.

I got hold of my communications officer and tried to make contact with Neunkirchen. I requested that the whole garrison be sent immediately. Further more I enquired about the three 75mm infantry guns I knew was there. Thankfully they were able to support us without further ado.

It was obvious now that my platoon was facing at least two enemy platoons. A third enemy platoon gave notice of itself when it waltzed directly into our freshly laid mines. Somehow this must have woken up our MG's as they started – at last – to pour some lead over the Frenchies.

download (2).jpg

A ranging shot from the artillery was way off mark and the Hauptmann directing it was furious. Meanwhile it didn't matter much as the enemy forces had left the area originally designated. We discussed it briefly and decided to land the artillery about 75 yards from the hill denying the enemy an easy advance towards us from at least one direction.

Soon afterwards the ranging shot landed again, this time spot on! A barrage commenced and to our surprise the enemy was already there. They must have been taking heavy tolls as only little or no protection was at hand some the shelling. A short halt in the firing let through the echoes of soldiers screaming their lungs out in pain. Then the barrage continued and nothing more could be heard.

On the hill things looked bad. The French shooters hardly caused anything but straight out kills. Morale was in free fall. Still we held our position in hope that reinforcements would soon reach us.

When the reinforcements actually got to us it turned out rather disappointing. Instead of the expected two platoons, and that turned up was a scouting vehicle and a single infantry section. ”Madness” I thought. While the 20mm gun of the scout car would definitely come in handy it just wasn't enough. Especially not as the appeared to have a tiny little tank with them! I'm no expert on French armour but I believe it to have been a Hotchkiss H-39.

download (4).jpg

Suddenly things went very fast. The Hauptmann directing the artillery took a bullet in the head, causing a minor lapse in the barrage, which again was enough for the French platoon to get on their feet and storm the hill. We were surrounded. I myself must have taken a bullet too, as the last thing I remember is lying on the ground watching our Sd.Kfz 222 firing relentlessly at the French tank.

When I woke up a few hours later I was told that I had been taken for dead and that we had managed to beat off the French. But just barely. The rest of the reinforcements had indeed arrived and the French had seemed to stop going for it. Just as if their near breakthrough had been unexpected.

download (5).jpg

Forces used:

German: one Sd Kfz 222 in reserve, four infantry sections (all German line, one in reserve), three MMG's, one 50mm mortar, one anti tank rifle, four Big Men (all d4), one forward observer and three infantry guns off table. Two bunkers were available.

French: one H-39, one HQ squad (Good+), three platoons (good), four 81mm mortars (off table), three MMG's, five Big Men.

French had orders to take the bunkers. Both players were promised large amounts of reinforcements that never turned up.

Amokfigur


Picture3.png


Editor’s Note: I’m afraid the pictures that should accompany this AAR have been lost in the mists of time.

This AAR blog entry is different than my previous ones in that this was not a ‘proper’ game, but a play test of Too Fat Lardies’ new third edition of “I Ain’t Been Shot, Mum!” with Steve H. (Combat Colours) , Curtis T., and myself. Both Steve and I have played the previous editions of IABSM, but both of us have not played IABSM for a few years due to various reasons, mainly the lack of my free time and trying Blitzkrieg Commander/Cold War Commander and Force on Force systems instead. Needless to say, it was like coming back home to a long lost love by using these rules! I enjoy them greatly!

First, both Steve and I bought the IABSM3 bundle, a hard copy and a PDF version of the rules, a pack of cards for game sequence, a pack of tokens, and finally a limited edition 28mm figure of one of Too Fat Lardies’ Big Men characters, Hugh Jarce.

The Book / PDF

I really like the quality of the printed book and find it easy to read. Too Fat Lardies have come a long way since their first printed materials, and I know that they will only improve in the future. I have become a big fan of PDF’s for the last few of years. I really like the lack of physical space needed for storage of tomes of books or other printed material. With PDF’s , I am more willing to make impulse buys on different rules, books, etc. of systems I am not familiar with or periods that I would not be normally be interested in since they take up space on my bookshelves. The only problem that I have with PDF’s is not been able to use them at games, except if I printed them off before a game. (Note: Up to now I didn’t have an iPad or E-reader, but I got a Kindle Fire for Xmas so this issue is now moot.)

Cards / Tokens

The cards are huge! That is not a bad thing, but will take a bit of getting use to shuffling cards that are bigger than traditional playing card size. Quality is good with a heavy stock and simple, but easy to read writing on them. The tokens are the only thing that I am not super please with (Sorry, Richard!) I think that some of them are too small, thin, and fiddly for fat fingers, especially the “wrenches.” I have not measured them, but they seem smaller then the Litko tokens which I am use to using. It probably is just me. Of course, I am planning to use 7mm dice to keep track of shock and kills on my infantry squads…so just ignore my comments on the tokens being too small.

Hugh Jarce

I like the figure! Great sculpt and casting, but it is in 28mm. I don’t game WWII in 28mm. But that has not stopped me from buying 28mm before. I plan to paint it up and I might use it somehow with the game – maybe a counter to keep track of how many Tea Breaks have occurred.

The Game Mechanics

As the gaming system is a proprietary item, I will not go into detail of it, but I will explain the rudimentary system of it. First, this is a game built heavily on the idea of “Friction” in the battlefield as explained in Carl von Clausewitz’s book, On War. A great article on the theory of friction in war was done by Richard Clarke on his blog. Secondly, the system is also built around the idea of “Big Men” or leaders influencing their men to go beyond what would be expected of them in battle. Finally, the other core element is the cards which randomize the sequence of play. Just look up some of the other blog entries at “Lard Island News” to see them give AAR’s of their past games to get a better idea of the system as well. One final note about the system, it encourages gamers to know about the period, tactics, and to have an understanding how to properly Kriegsspiel certain events or conditions that might occur in a game.

Our Play Test

As this was our first IABSM game in a few years, it did move rather slow at spots as we double checked certain things in the book, but once we got a few rounds in, it was all clicking back. We stuck with the core rules and did not use artillery, engineering, or Aces.

The game was using Steve’s 10mm late war WWII Germans and Soviets from various manufacturers. He did not have any German infantry, so my 10mm WWII US infantry stands stood in for the Germans. This specific game was armor heavy, by pretty much all standards and especially IABSM standards. Steve was Game Mastering it, Curtis T. was running the Soviets, and I was running the Germans.

The Location / Store

We meet at the Wargamer’s Cave in Granite City, Illinois to do the play test. Great place to deal with.

The Forces

The overall objective of the game was to have the Soviets advance across the board and capture the supply dump on the opposite site of the board and the Germans trying to stop them

They Soviets had two JS-2 tanks, five T-35/76 tanks, six M4 (76) tanks; three platoons of infantry, three platoon ‘Big Men’, one company ‘Big Man’, and four blinds + two dummy blinds.

The Germans had three Tiger I tanks, three Pz IVH tanks, two Marder III SPAT’s, two platoons of infantry, two platoon ‘Big Men’, one company ‘Big Man’, and three blinds + two hidden groups on the board.

Instead of using the blinds as described in the rules, we used the unit’s cards to represent their blinds on the table until proper blinds are made.

The Action

Ok, I did not take notes as this was a play test or a lot of pictures as I did not have a camera and my cell phone does not do good quality pictures. Plus, I really did not get to debrief Curtis about his actions after the game as I had to leave pretty fast at the end of the play test. So this AAR is very German player (me) focus and just comments on the pictures instead of the game as a whole as I would normally do.

This is a picture of the part of the store, with Curtis and Steve in it as well. Most of the board can be seen in the picture. The Soviets were advancing from the table edge near the lime green tape measure. One hidden German infantry platoon is entrenched along the road in the wheat fields near the village. In the village is the second German infantry platoon on a blind. This picture was taken after some action already had happen. The two burning markers almost center of the picture at the bottom near the farm complex are my two Marders. I had them set up in a blind that was partly hidden by the forest. They both got a couple of shots on the lead JS-2 and did hit it for some minor damage, but they were quickly destroyed before they got another action. The JS-2s and some tank riders are in the wheat field near the burning Marders.

Curtis is pointing to the farm complex as his attempt to spot any hidden units. It was vacant. This also is a better picture of the burning Marders and JS-2’s. If you look at the JS-2 unit, you will see a red chit out in front of one of the JS-2’s. This is a marker to help keep track of what unit that is for players to remember that group is “Armour One” (A1 on the chit) for when cards are drawn. Behind the other JS-2 is a dark color token that is a “Loss of Action” token that comes with the IABSM3 bundle. That was being used to represent the one level of shock that I did to that tank from my Marders. The three “I Ain’t Been Shot, Mum” cards around the group are being used for three Soviet blinds.

This is a better view of the table as a whole. The German blind of the infantry in the village can be seen in the crossroads and on the far bottom left is the blind for the platoon of PZ IVH. On the only hill is my remaining German unit hidden, the Tiger I platoon. I was holding off on firing them until I had the JS-2’s within close range.

Curtis drove his Shermans down the road without any recon. Prior to that, the German Blind card came up, so I had all of my blinds / hidden units on over watch, so when Curtis’ tanks drove past me, I started letting loose with Panzerfausts and machine gun fire, from both the hidden infantry in the wheat fields, the infantry in the village that was set up to provide supporting fire with range for their Panzerfausts, and my Pz IVH that where set up on the other side of the board for side shots on armor. As you can see, it was pretty deadly with taking out three and crippling a fourth of the six tanks and almost eliminating one Soviet squad to the man, but it could have been worst for Curtis. I decided not to use my Tigers as I was still waiting for the JS-2’s to get closer.

I took these after the game was called, so some of the tokens were already picked up by then. In the last turn, Curtis could not sort my entrenched infantry out as I keep shooting and hunkering down. The T-34’s drove around and hit my Pz IVH’s in the flank and killed one and damaged a second. The JS-2’s never did move, so I elected to open up with my Tigers on the JS-2’s. I killed one outright with my first shot (hint, it is nice to be shooting down from hill!). The other JS-2 took the brunt of the remaining Tigers, but I was never able to really damage it. It had in returned destroyed one of the Tigers.

Overall

The Germans blocked the Soviet advance temporary, but the Soviet would have eventually put enough pressure on both of my flanks that I would have to pull out. The Soviets lost five tanks and two squads of infantry by the end of the game, which was about a third of his total force. I lost two tanks and two SPATs, which was half of my armor, but only about a third of my total force.

The game went really good and we all had fun with the system again. Even though this was a lot of tanks on the table for an IABSM game, it ran very smoothly and we can easily run this much again. It was really nice to be able to sit down again and to have good discussions on proper tactics, the period in general, and general comradeship as a whole.

I know Steve is going back to his roots of IABSM by painting up 15mm WWII figures again for the 1941 Russia. Hopefully he will get that running soon again. I am planning to redo my 10mm Vietnam figures and start running Too Fat Lardies’ “Charlie Don’t Surf” soon, as well as push for some 20mm Falklands games in 2011 using either IABSM3 for company actions or Too Fat Lardies’, “Troops, Weapons, & Tactics” for platoon actions.

Sapper Joe


Picture1.png
 
 
Steve reviewing the charts

Steve reviewing the charts

Over the weekend of March 3-4, I got to enjoy another game play test of IABSM3. Steve was trying out a scenario for playability and wanted to see if the scenario was too unbalanced. Steve ran the game, Curtis was playing the Germans, and I was running the Russians. The scenario was set in 1941 with a Russian armor force attacking a German armor force. I don’t want to give too much detail, as there some scenario specific events/conditions that in the game and I don’t want to ruin anything for the actual players when this game is run officially. Later, when the game is actually played as an event, I will give a proper AAR.

An End to an Ace

An End to an Ace

The system went rather smoothly, even with the amount of armor on the table. The Russians have a major disadvantage of be poorly lead and trained, but have numbers and decent guns for anti-tank abilities. The Germans are better lead and trained, but lack numbers. I played a rather brash leader and failed to do over watches, as I was hoping that a continuous rolling push would get me to the objective and then I would sit it out for a gun battle with the Germans. I could have worked, but cards came up right for the Germans and they successful destroyed the armor unit that came close to seizing the objective. The battle shift heavily towards the Germans then, but by then I had stopped my advance with the remaining forces and battled it out with the Germans. In that aspect, the trade off was more even with the loss in vehicles. But I could not make up for the loss of my lead force, so it was a hands down German victory. But I could take some pleasure in knowing that the German tank ace was killed by the Russian Big Man, who was still alive at the time the game was called. But he ended in a dangerous spot, so it was very possible that I could have lost him in another couple of turns of combat as well.

Well painted Panzers

Well painted Panzers

Anyway, Steve was fairly happy with the scenario, but plans to tweak a couple of things before we run the game officially at a specific upcoming event. Once the officially game is run, I will hopefully get a bunch of pictures and will write up a better AAR on it.

Sapper Joe


Picture1.png


With the second UK lockdown still in full swing, I went back to playing a solo game of I Ain't Been Shot, Mum. This is an excellent set of rules which works really well in solo as I've shown before with the recent game set in Kursk and the one set in Stalingrad.
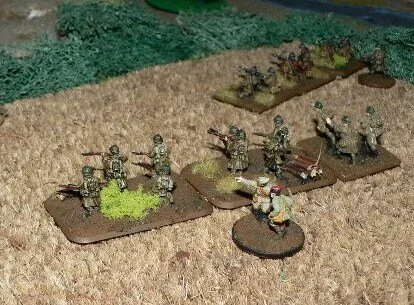
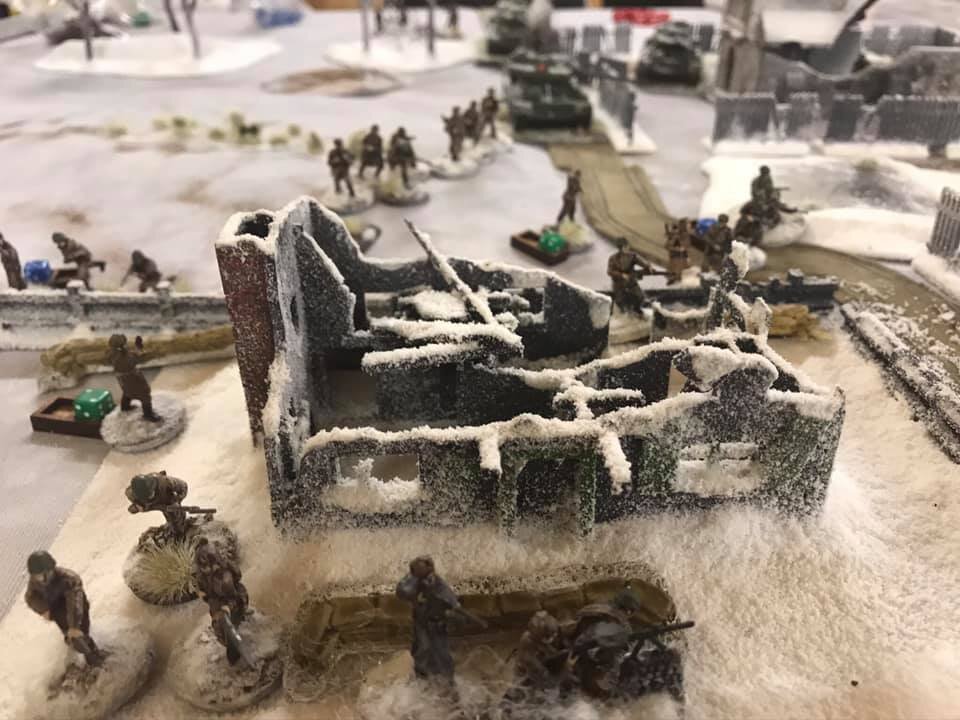
This time, I dialled the clock back to 1941 and the invasion of Russia by Germany, AKA Operation Barbarossa. I set it in the southern sector with a Romanian force pressing forward the attack.

The Soviets had lost their AT capabilities after the BAs were abandoned and were faced by two StuGs, two R-2s, along with a pretty fresh platoon. It would have only been a matter of time before they were either destroyed to a man or driven from the field. It was another excellent game of IABSM, with more twists than the last game I played and about half way through it could have genuinely gone either way. The friction caused by drawing cards really helps to make IABSM a great solo game as you have to react to the next card you draw.

As with other games, I also filmed this and you can watch the AAR here:

Alex Sotheran


Picture1.png


A little while ago I took some time off work and decided that I would revisit I Ain't Been Shot, Mum, as I have not played the game for a while. I also wanted to get some big German cats on the tabletop for the first time in ages. As good as Chain of Command is, the use of armour is quite low, but IABSM will allow for numerous vehicles. Also, I was playing this solo and controlling the Germans in an attack during the Kursk operations of 1943. I went with the scenario from the rule book: attack from a column.

Controlling the Germans meant that I deployed them on the tabletop immediately as there was no need for Blinds. Their forces consisted of 1 x Company HQ (2 x Big Men, 2 x MG34 teams), 2 x Platoons, (3 x 8 Man sections, 3 x Big Men), 1 x Platoon of Panthers (5 tanks), 1 x Platoon of Tigers (4 tanks), each with a Big Man.

The Soviets were deployed on Blinds, and consisted of 1 x Company HQ (2 x Big Men & 2 x Maxim MMG teams). 2 x Infantry Platoons (3 x 8 Man Sections & 3 x Big Men), 2 x 76mm AT Guns (attached to each Platoon), 1 x T-34 Platoon (3 tanks) & 1 x Big Man. I added two Blinds to the platoon Blinds for the Soviets and shuffled them all together. These were then laid out on the table in a reasonable defence position. I took the HQ Blind and a dummy, and shuffled these together separately and put these randomly towards the rear of the Soviet position so that the HQ wouldn't end up under the tracks of the German armour immediately.

In the first moves the Germans moved their Panthers forward, unfortunately one of them broke down. True to form for the Panthers at Kursk!

As they pushed forward they revealed one of the Soviet Platoons gathered around the edge of the village. The attached AT gun fired but caused no damage on the German tanks.

Meanwhile, the slower Tigers got moving forward, supported by a platoon of infantry.

It was taking a while to get the foot soldiers and the heavy tanks across the table, but they were slowly making progress.

Meanwhile, the Panthers were still duelling with the AT guns in the village.

Another Soviet Platoon appeared in the cornfields on the left flank of the village, with another AT gun, which began firing at the German armour.

On the other side of the village, three T-34s joined the defence.

German infantry attempted to flank the Soviet positions by heading down the train tracks.

Heavy fire was coming from the T-34s and the AT guns, so the Tiger commander moved his tank forward...

And BOOM! the 88mm gun shredded a Soviet tank! The vehicle exploded in a ball of flame and smoke!

Almost immediately a second T-34 was brewed up by a Panther and the third one damaged. The Soviet defence was getting battered!

At this point in the game the German advance had stalled slightly in the centre, but they were chewing up the Soviet tanks.

Then another T-34 blew up under fire from a Tiger! All the Soviet armour was out of action having barely fired a shot!

A Tiger was able to get forward and began laying fire down on the Soviet AT gun, whilst the German infantry fired on the Soviet infantry.

One AT gun was completely knocked out, whilst the second was abandoned due to loss of bottle of the crew. With the Soviets having no further anti-tank capabilities they decided to withdraw the remaining infantry off the table giving the Germans a win.

The attack had been incredibly successful, the Germans had lost about four casualties and a broken down Panther. I had added the AT guns thinking they may have balanced the Soviet defence up against the German tanks. I guess it was just bad dice rolls on the day! Using the blinds and having dummies works very well for solo IABSM, it adds a certain amount of unpredictability to the attack and makes you think about where to commit your forces. I also filmed this encounter and you can watch this AAR here:

Alex Sotheran


11th Armoured Division with 1st Airborne support takes on 2nd SS Division Belgium November 1944:

Rod Redden


Picture1.png


Game of I Ain’t Been Shot Yet Mum using the dice-driven version I Ain’t Been CoC’d Mum Yet rather than cards. Germans have to keep the road junction open as an escape route, Soviets need to take it quickly.

Hotting up now with losses on both sides. The Germans still hold St Peters Hill, but lost Auntie Vanya’s House, and are faced by a flank attack. But lurking in the village are blinds and hidden units..... going to be tricky clearing this....

More action with the Soviet assault on the main St Peters Hill position failing.

To counter that, the Germans deployed their last armour only to do nothing on the T34’s that were pouring on HE onto the village defenders.

Last photos of the game. German morale was on the verge of collapsing so Kompanie commander pulled the remaining troops out and the exhausted Russians gingerly occupied the crossroads. Great to play some WW2 again.

Des Darkin


Picture1.png


The Battle for Mount Ormel, Falaise Pocket, August 20, 1944

An epic game played outdoors this past Saturday on an unexpectedly warm November day here in Vermont. Outdoors on my patio, super safe from COVID!

In my backyard in South Burlington, Vermont. Brett McLay helped me command the Germans while Steve Smith and Mason Roberson commanded the Poles.

In my backyard in South Burlington, Vermont. Brett McLay helped me command the Germans while Steve Smith and Mason Roberson commanded the Poles.

Available through skirmishcampaigns.com

Available through skirmishcampaigns.com

Scenario from Falaise Firestorm by Skirmish Campaigns. Translated to three platoons of 2nd SS Panzergrenadiers plus two PzIV-Hs and one panther vs two platoons of Polish Infantry plus HQ squad, PIAT team and one 6-pounder, two Sherman M4s and one Sherman firefly. Germans had to exit at least figures or tanks off the board for victory.

The Game

On German left, two platoons attacked hard on their left flank and after taking some hits were able to gain the woods and drive off one platoon of Poles. In German center, one Pz IV was brewed up and the other tried to flee after its main gun was knocked out. German Panther on right able to draw attention of two M4s while 3rd full platoon (on Blind most of game) was able to exit the board.

On account of darkness we called the game and on the last turn, on the draw of the Tea Break card we resolved simultaneous tank duel. A sherman and PIAT team engaged the Panther but his thick armor was able to shrug off the hits. On the last roll of the game the Panther brewed up the Sherman. Great game!

Love the detail in the Skirmish Campaigns books. I highly recommend them. See photos for detailed AAR.

Dan Albrecht


Picture1.png


On the Front Line of Op Compass Major Mick Dundee of 2/2nd Australian Infantry had been in action all of yesterday, but today 4th January 1941, is the day that Bardia falls!

16th Australian Infantry Brigade with Dundee in the lead are within the Italian perimeter and have made some progress against a fairly irresolute defence.  The Aussies have followed a wadi and discovered a second line of Italian defences ready for them.  

During his attack on Post 41 yesterday Dundee rescued Lt Bumfluff Farthingdale, 11th Hussars, from the Italian command bunker where he was being tortured with Italian wine and Cheeses.  Bumfluff has somehow ended up commanding a Matlida II tank attached to Dundee's force.

1.png

The Aussies

In front of the Aussies is a low hill that looks as if it will provide some protection from the Italian artillery. Dundee's plan is to advance to the dead ground behind the hill and then work out the best way of taking the guns!

"Right, Cobbers, let’s kick their arses, eh mates?" 

Map & Terrain

The terrain is flat, dusty and stony, with the occasional patch of shrub and gentle undulation that might give a prone man some cover. 

Initial Deployment

The Aussies enter the table from the north-west table edge behind the major hill there i.e. they enter the table under cover from fire from the Italian position. They enter the table under Blinds, being able to enter up to three available Blinds each time your Australian Blinds card appears. One Blind per platoon available, with no False Blinds. 

Objectives & Victory Conditions

The objective is simple: neutralise the Italian position. You win a victory if, at the end of the game, there are no Italian troops on the table offering any kind of resistance. 

Special Rules

Your accompanying tank (which has only just turned up: late again!) has no HE ammunition, only solid shot.

Major Dundee’s Company, 2/2nd Australian Infantry Battalion

Company HQ 

  • Major Mick Dundee

  • 2 x 3” Mortar 

1st Platoon

  • Lieutenant Eddie Everage

  • 3 x Rifle Section (6 men each) 

2nd Platoon

  • Lieutenant Kev Blanchett 

  • 3 x Rifle Section (6 men each) 

3rd Platoon

  • Sergeant "Little" Wally Little

  • 3 x Rifle Section (6 men each) 

Tank from 7th Royal Tank Regiment

  • 1 x Matilda II 

The Italians

All troops start the game in their position under on-table Blinds. You have one Blind available per platoon, plus an extra three False Blinds that can be placed anywhere on the table at the start of the game. 

Objectives & Victory Conditions

Hold your position at all costs. Failing that, try and remain as some kind of offensive force 

Elements of 62nd “Marmarica” Division

Company HQ

  • Tenente Raymondo Liotta

  • 2 x MMG (3 crew each) 

1st Platoon

  • 4 x Rifle Squad (8 men each) 

2nd Platoon

  • 4 x Rifle Squad (8 men each) 

3rd Platoon

  • 4 x Rifle Squad (8 men each) 

Battery from 44th Artillery Regiment

  • Tenente Paulo Sorvino 

  • 3 x 75/27 guns (5 crew each) 

The Game

Next up, Mick Dundee slaps on a band aid and joins the siege of Tobruk, whilst Bumfluff's Colonel desperately tries to keep him with 7 RTR rather than see him back with the 11th Hussars.  Ever popular that boy. 

A Wargamer in Cyprus


Picture3.png
 

The attack on the railway station at Carrocetta, near Anzio, Italy during late January 1944.

The British were played by Martin and Togs The Germans were played by Barry with a little help from me and then, when he arrived, Mac settling on the British side.

A difficult nut to crack this scenario by Robert Avery.

The Outskirts of Campoleone

The Outskirts of Campoleone

The British comprised a full strength company of the Grenadier Guards with a recce carrier section and a Sherman troop from 46 RTR in support.

They were to advance from the southern edge of the table and attempt to capture both the village of Carracetto and the local fascist party headquarters, some way off on the other side of the table.

Whilst there was very little cover about and the Germans occupied the high ground to the north and western edges of the table the guards benefited from conducting their advance in the cover of a 9 feet high disused Railway embankment that ran across the SW corner of the table.

The arrival of 46RTR

The arrival of 46RTR

They were allowed a pre-assault stonk which they used to target the southern edge of the village. It did minimal damage and was almost as poor as the smoke screen that followed it.

The British attempted to smoke out the defenders and blanket their advance towards the village but quick turns in succession of the tea break card was enough to see that advantage removed from them further quickly. They were on their own with no further artillery support and any smoke they required would have to come from their 2 inch mortars.

The railway station. The piece of wood represents the platform.

The railway station. The piece of wood represents the platform.

It was getting more and more difficult by the moment but as the lead platoons made a dash to the village and stormed two buildings they were greeted by small arms fire from the buildings and MMG fire from the high ground. Choosing to close assault the buildings the Guards met strong resistance from within. Although they cleared the premises the action lost them two of the already scarce Big Men.

The Guards slowly picked their way from building to building, receiving accurate fire from further infantry sections in the railway station and from Heavy support weapons teams, all of whom were fully dug into the fortified houses.

Eventually the Sherman support was brought up to deal with the increasing long ranged but deadly machine gun barrage. They were surprised by an infantry gun team dug into the ground floor of a house adjacent to the bridge. Would they survive the close range challenge?

The Germans luck, if indeed they ever possessed any, abandoned them and despite all of their shots hitting the lead tank they failed to damage it.

As their on table mortar fire continued to rain down on the Guards, the Germans were mindful that the British were gaining a strong foothold in Carracetto as their own casualties mounted. Oh dear.

With the British managing to advance a spare platoon around the western flank they managed to drive off a German machine gun through the clever use of smoke and fire and movement. It became obvious that the German position was helpless and after 12 tea break cards had been exhausted it was decided that the British had got the upper hand. With the village almost entirely captured it was only a matter of time before the advance would see them take the second objective and win the game out right.

Yet another wonderful scenario from the pen of Mr Avery and again almost executed all the lines of the actual historical event.

Mac was an instant convert to the rules. So much so that we expect to see him after Covid restrictions back in the War Office for another game.

Tim Whitworth


Goodwood.png


Amongst the chaos and crap of COVID, we gathered for (secure) gaming and what an utterly brilliant day we had.

It was actually day 2 of an Op Goodwood type of 1944 scenario. Armour Heavy Brits, with Typhoons, AVRE and Funnies pushed against PAK front and Heavy Tank support (PzVIs ).

On a lovely, and huge 12 ft x 8 ft table Germans were forced back to literally the final 18" of board, that included the objective, but just held on as dusk fell on our day.


Julian Whippy


bardiaOne.png


Post 41, Bumfluff at Bardia

By 15th December the Italian army was out of Egypt and the British paused to count their gains, with both sides holding their positions. The Division, less 4th Armoured Brigade, surrounded Bardia waiting for the 6th Australian Division to be brought up to prepare for an assault on Bardia and for supplies to be brought up.

1.png

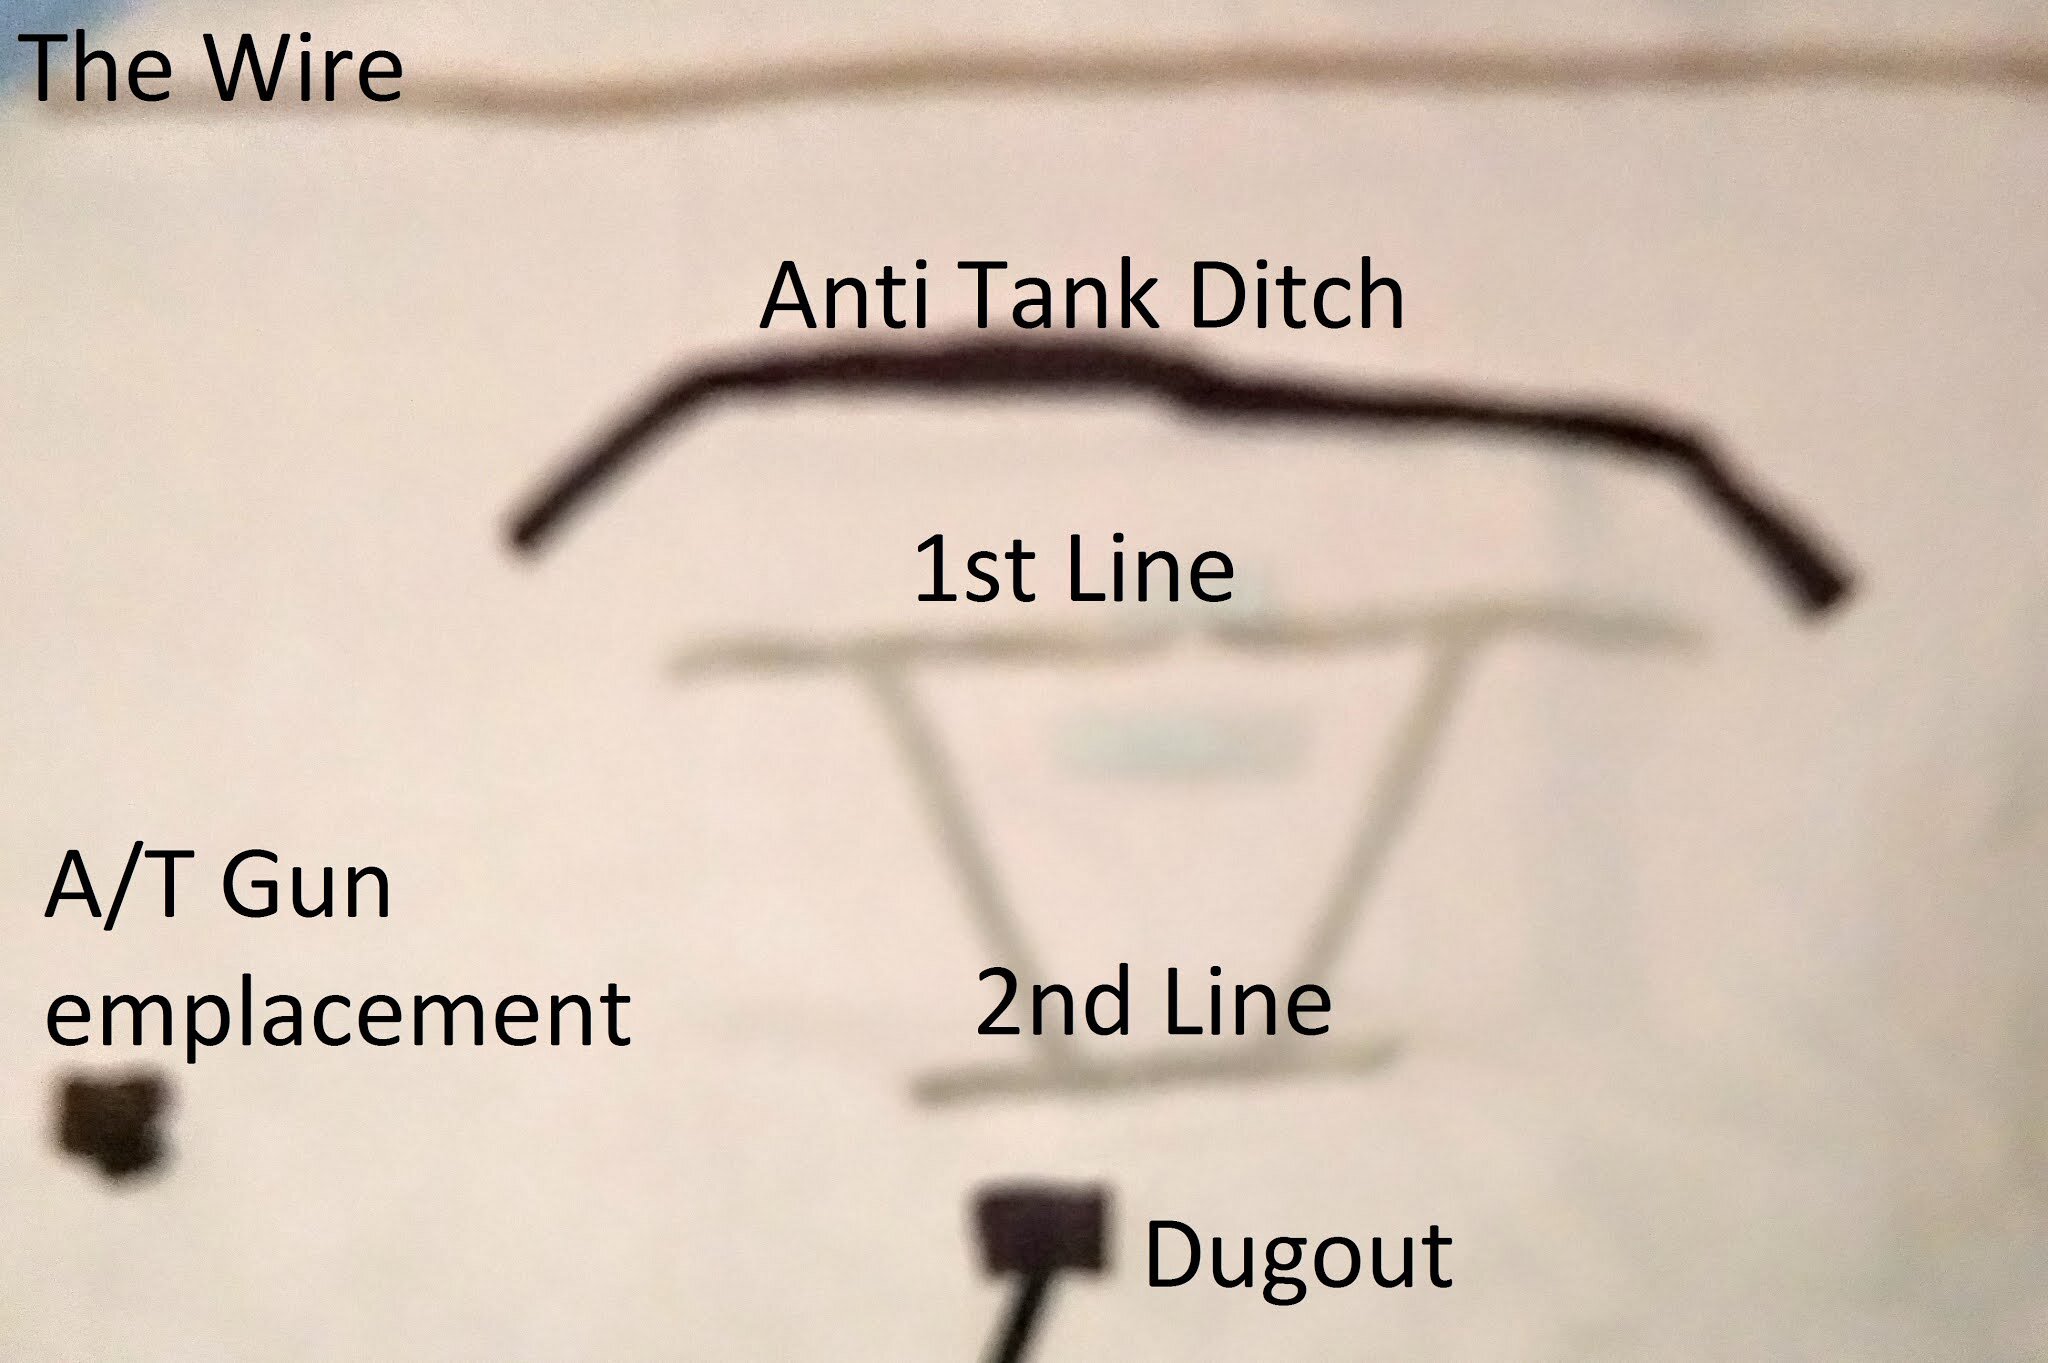
The enemy positions around Bardia, which was garrisoned by 45,000 men and over 400 guns (off all types), 12 M-13 Tanks and a Hundred L-3 Tankettes. consisted of a 18 mile long perimeter, with double barbed wire, a four foot anti-tank ditch, many natural wadis and scores of artillery and MG positions, plus six well dispersed minefields.

Having captured plans of these defences back in June, the defences were probed for weakness for a while. There was also a need to re-equip as the strength of 7th Armoured had dropped to 108 light tanks and 59 Cruiser tanks, of which many had outrun the designed track mileage.

While the Italians in Bardia enjoyed every luxury, the Australians and 7th Armoured Division settled down outside the perimeter for their Christmas lunch, waiting for the main assault in the new year.

Major Mick Dundee of 2/2nd Australians has the task of capturing Post 41 and allowing passage of Matilda tanks from 7RTR. The Aussies are green but keen, having replaced the veteran 4th Indian Division up the Blue.

Major Mick Dundee with one of his mates, in happier times.

Major Mick Dundee with one of his mates, in happier times.

The Regimental diary of the 11th Hussars records that Lt Bumfluff Farthingdale was captured by the enemy on the night of 2nd January 1940. The Colonel was not too upset. Bumfluff`s armoured car was reported to have become "lost" in the area between post 41 and the Australian lines. As Major Dundee and his men prepared their attack on the post Bumfluff was being royally entertained by the Italians, and regaling them with tales of his time at Eton, don`t you know...

Clearly Mick's mission is not just to capture Post 41. He must also rescue that 11th Hussars idiot. It's not going to be easy.

The Forces

Elements of Major Dundee’s Company, 2/2nd Australian Infantry Battalion

Company HQ

  • Captain Mick Dundee

  • 1 x Boys Anti-Tank Rifle Team (2 crew)

1st Platoon

  • Sergeant "Little" Wally Little

  • 4 x Rifle Section (8 men each)

Supporting Tank Troop from 7th Royal Tank Regiment

  • 2 x A12 Infantry Tank Mk II “Matilda” tanks

1 (2).png

Defenders of Post 41

Headquarters Element [in easternmost bunker]

  • Tenente Giuseppe Pesci

  • 2 x Rifle Squad (8 men each)

1st Platoon [in westernmost trenches, either side of gun pits]

  • 4 x Rifle Squad (8 men each)

2nd Platoon [in easternmost trenches]

  • 4 x Rifle Squad (8 men each)

Weapons Platoon [in guns pits]

  • 1 x 65/17 Field Gun (4 crew)

  • 1 x MMG (3 crew)

In The Gun Pit At The South-East Corner Of The Map

Elements of 45th Artillery Regiment

  • 1 x 75/27 Field Gun (5 crew)

The Game

A win for the Aussies, who must now continue with the assault and take the town.  Major Dundee won`t have a chance to send Bumfluff back, so he has in effect been temporarily drafted into 7RTR for the second game.

A Wargamer in Cyprus