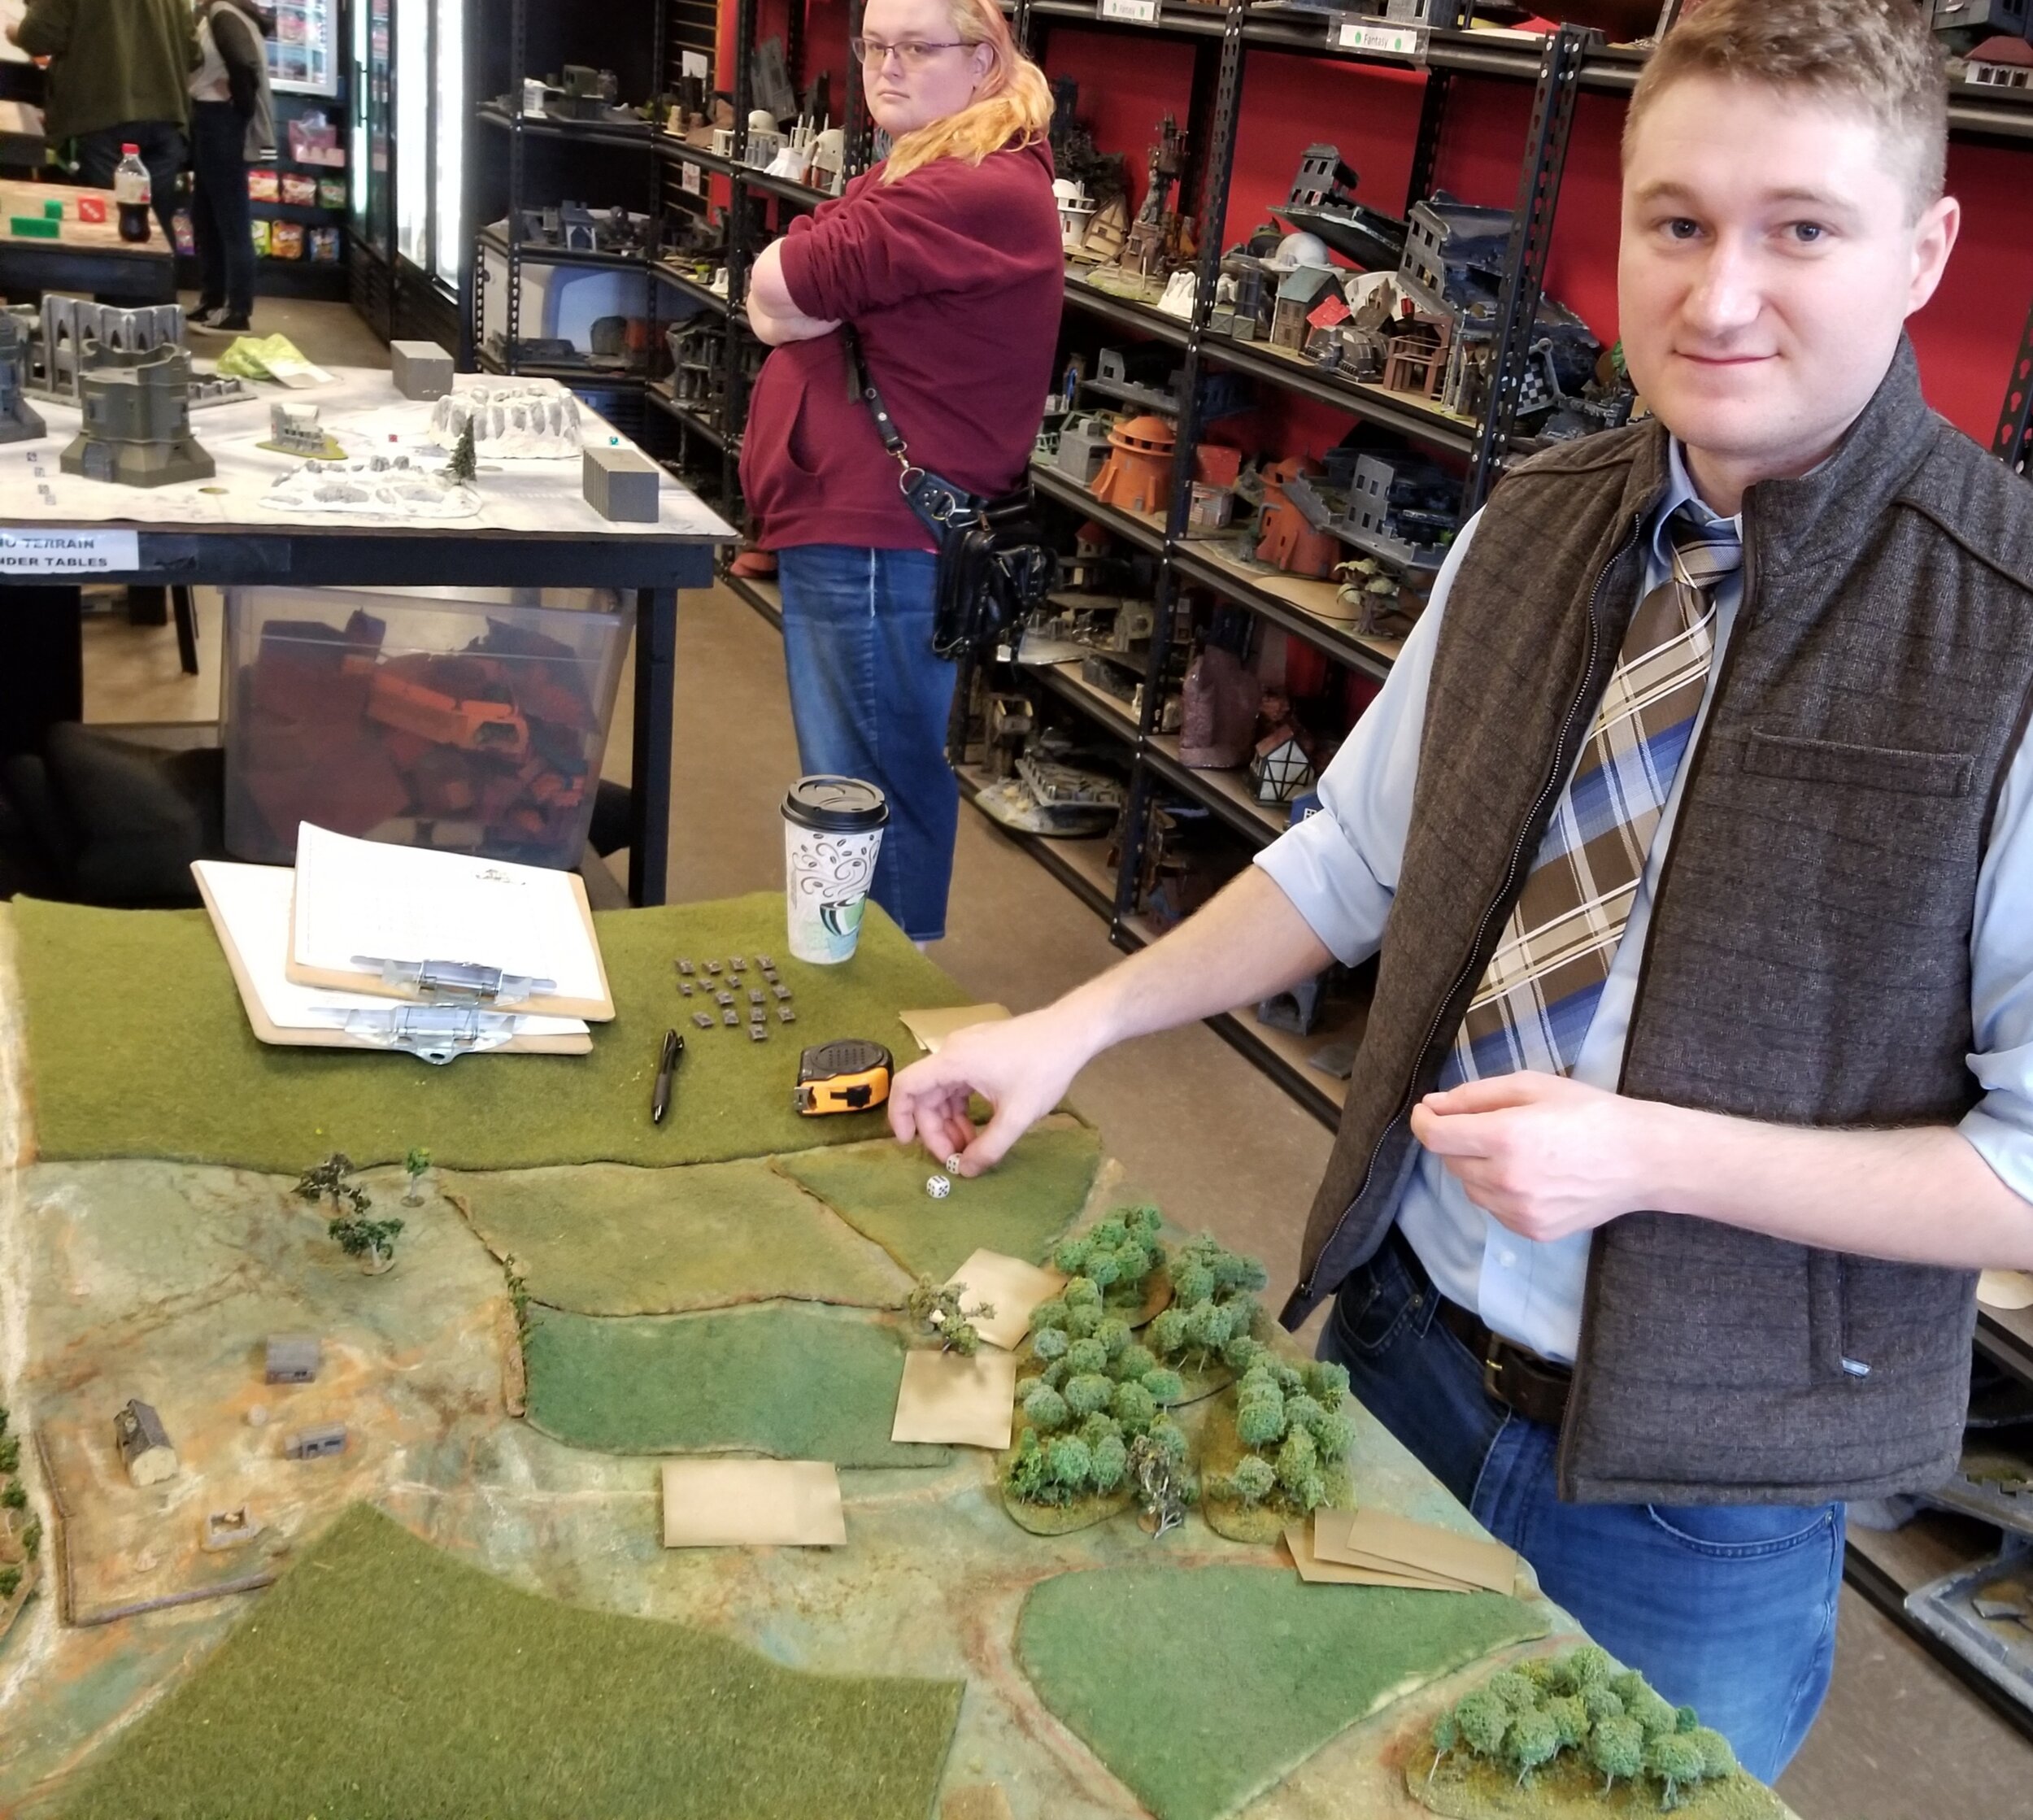
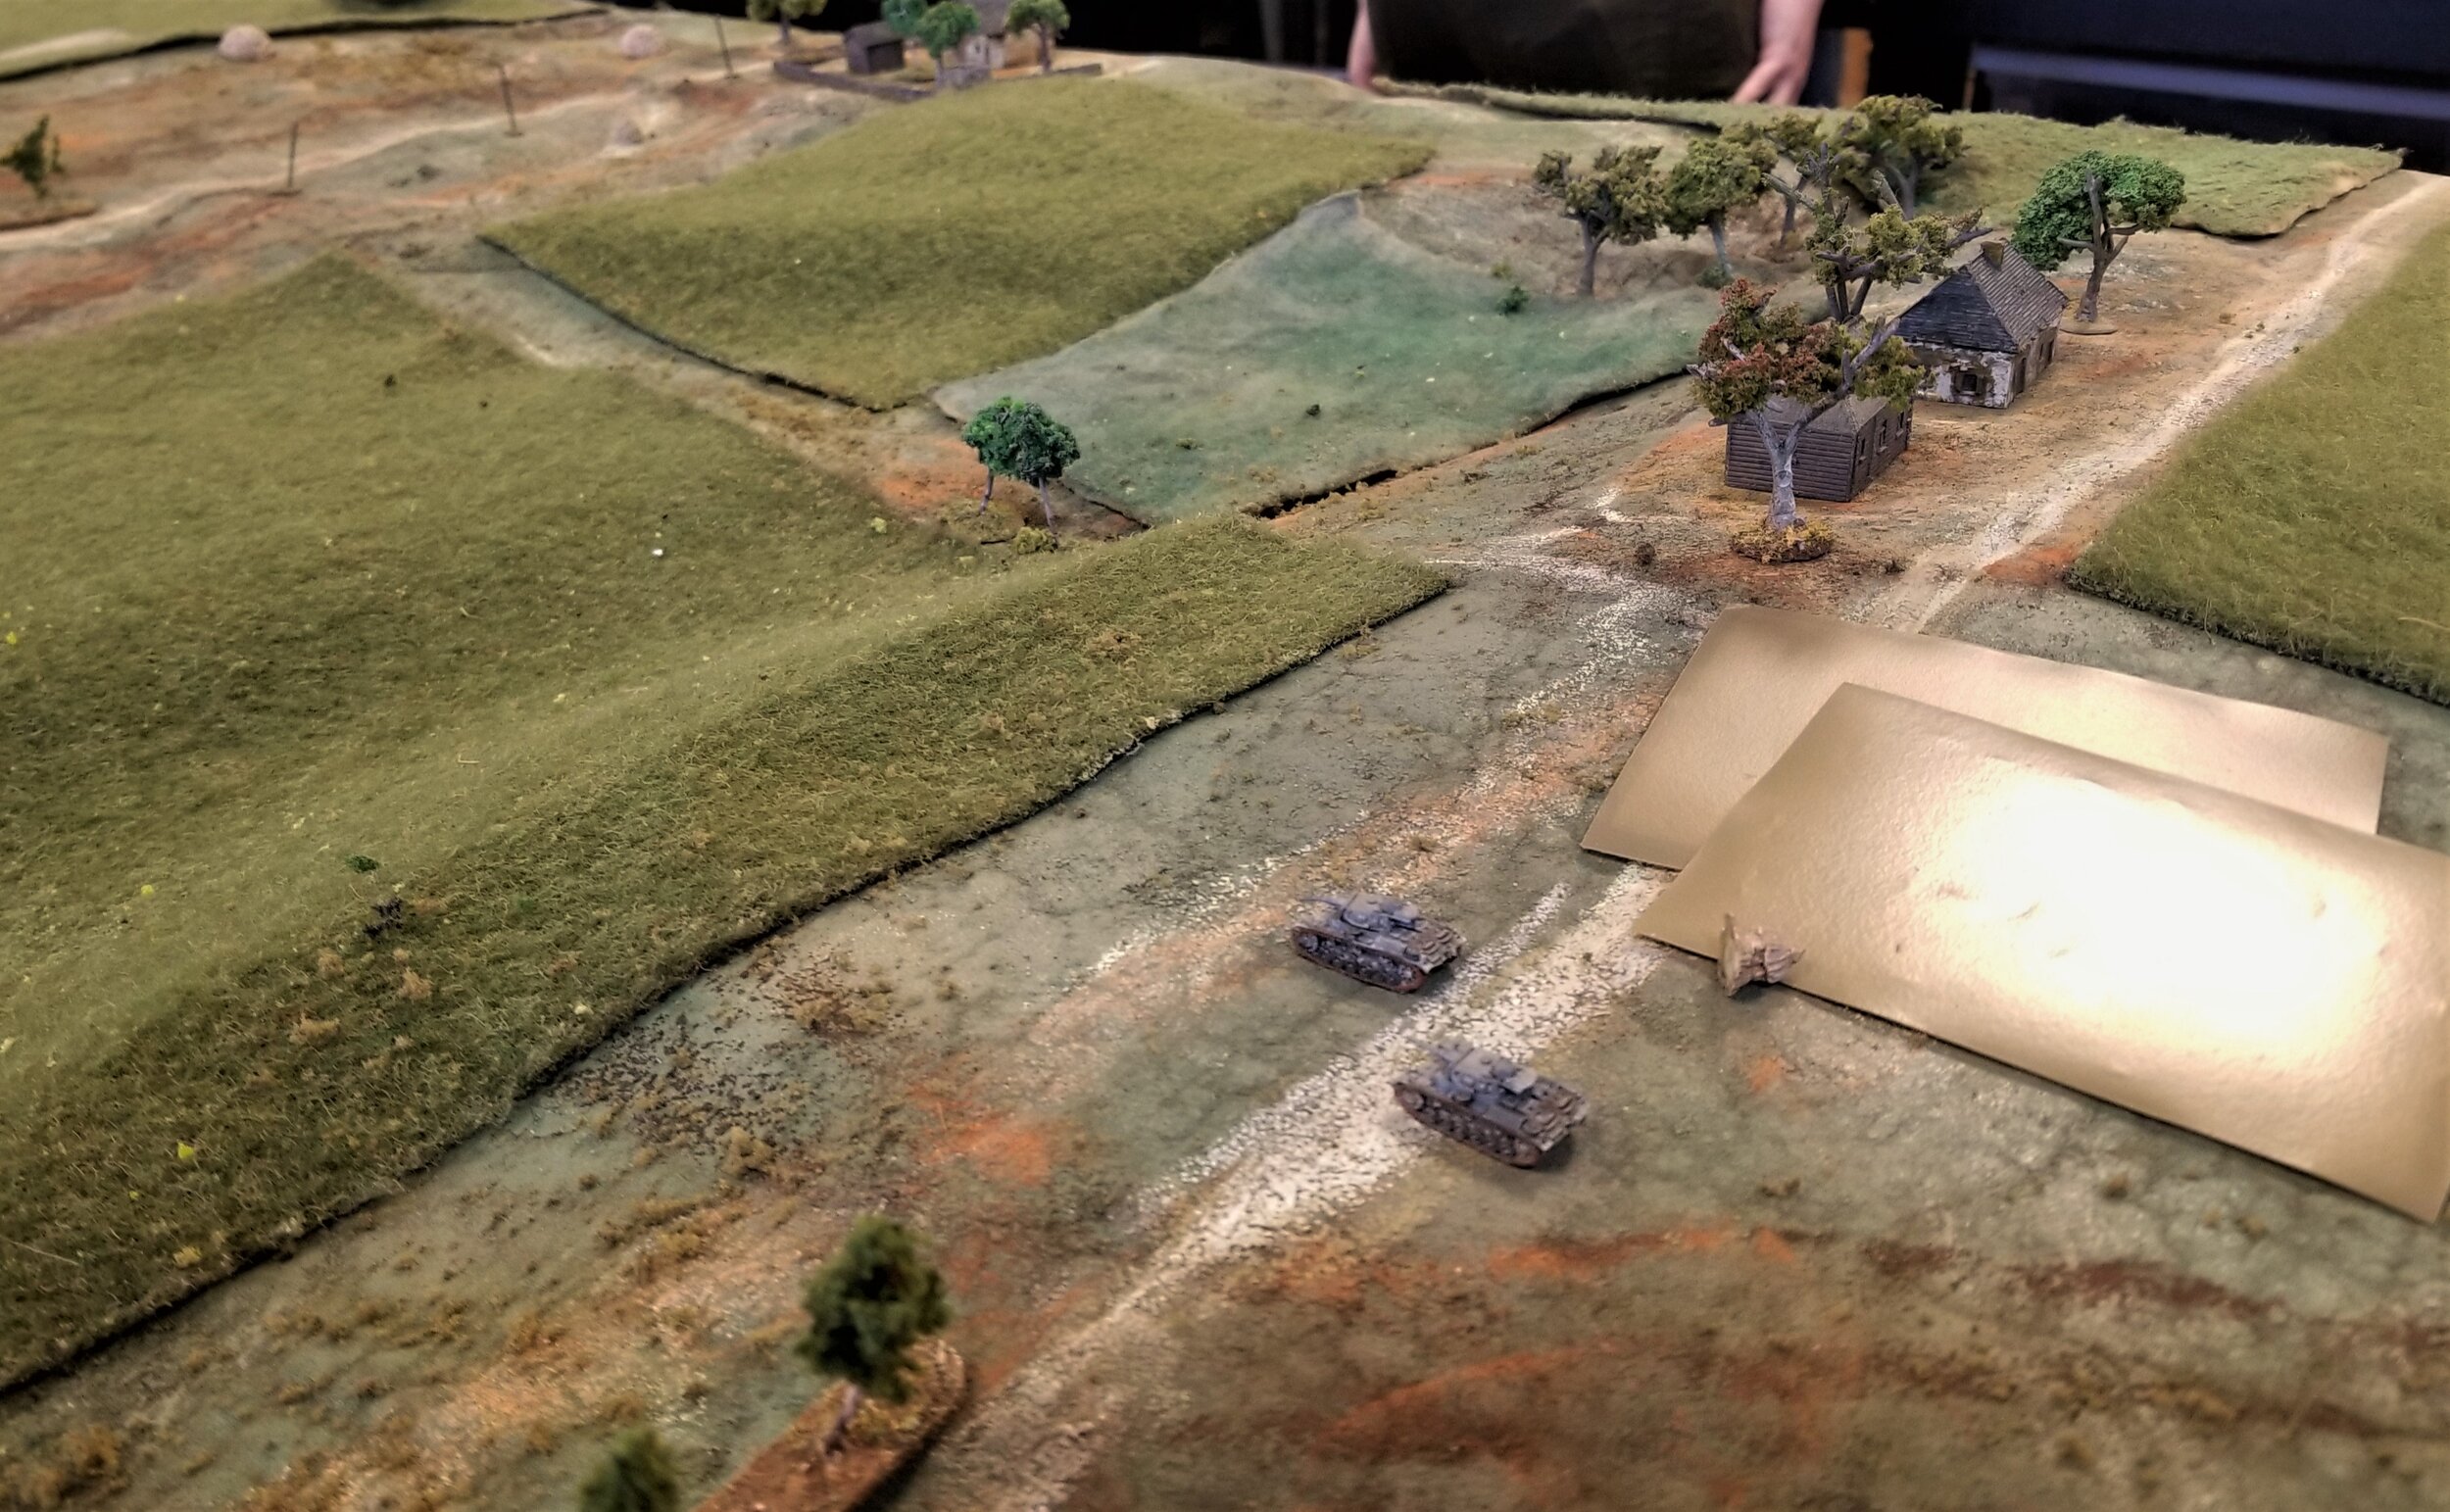
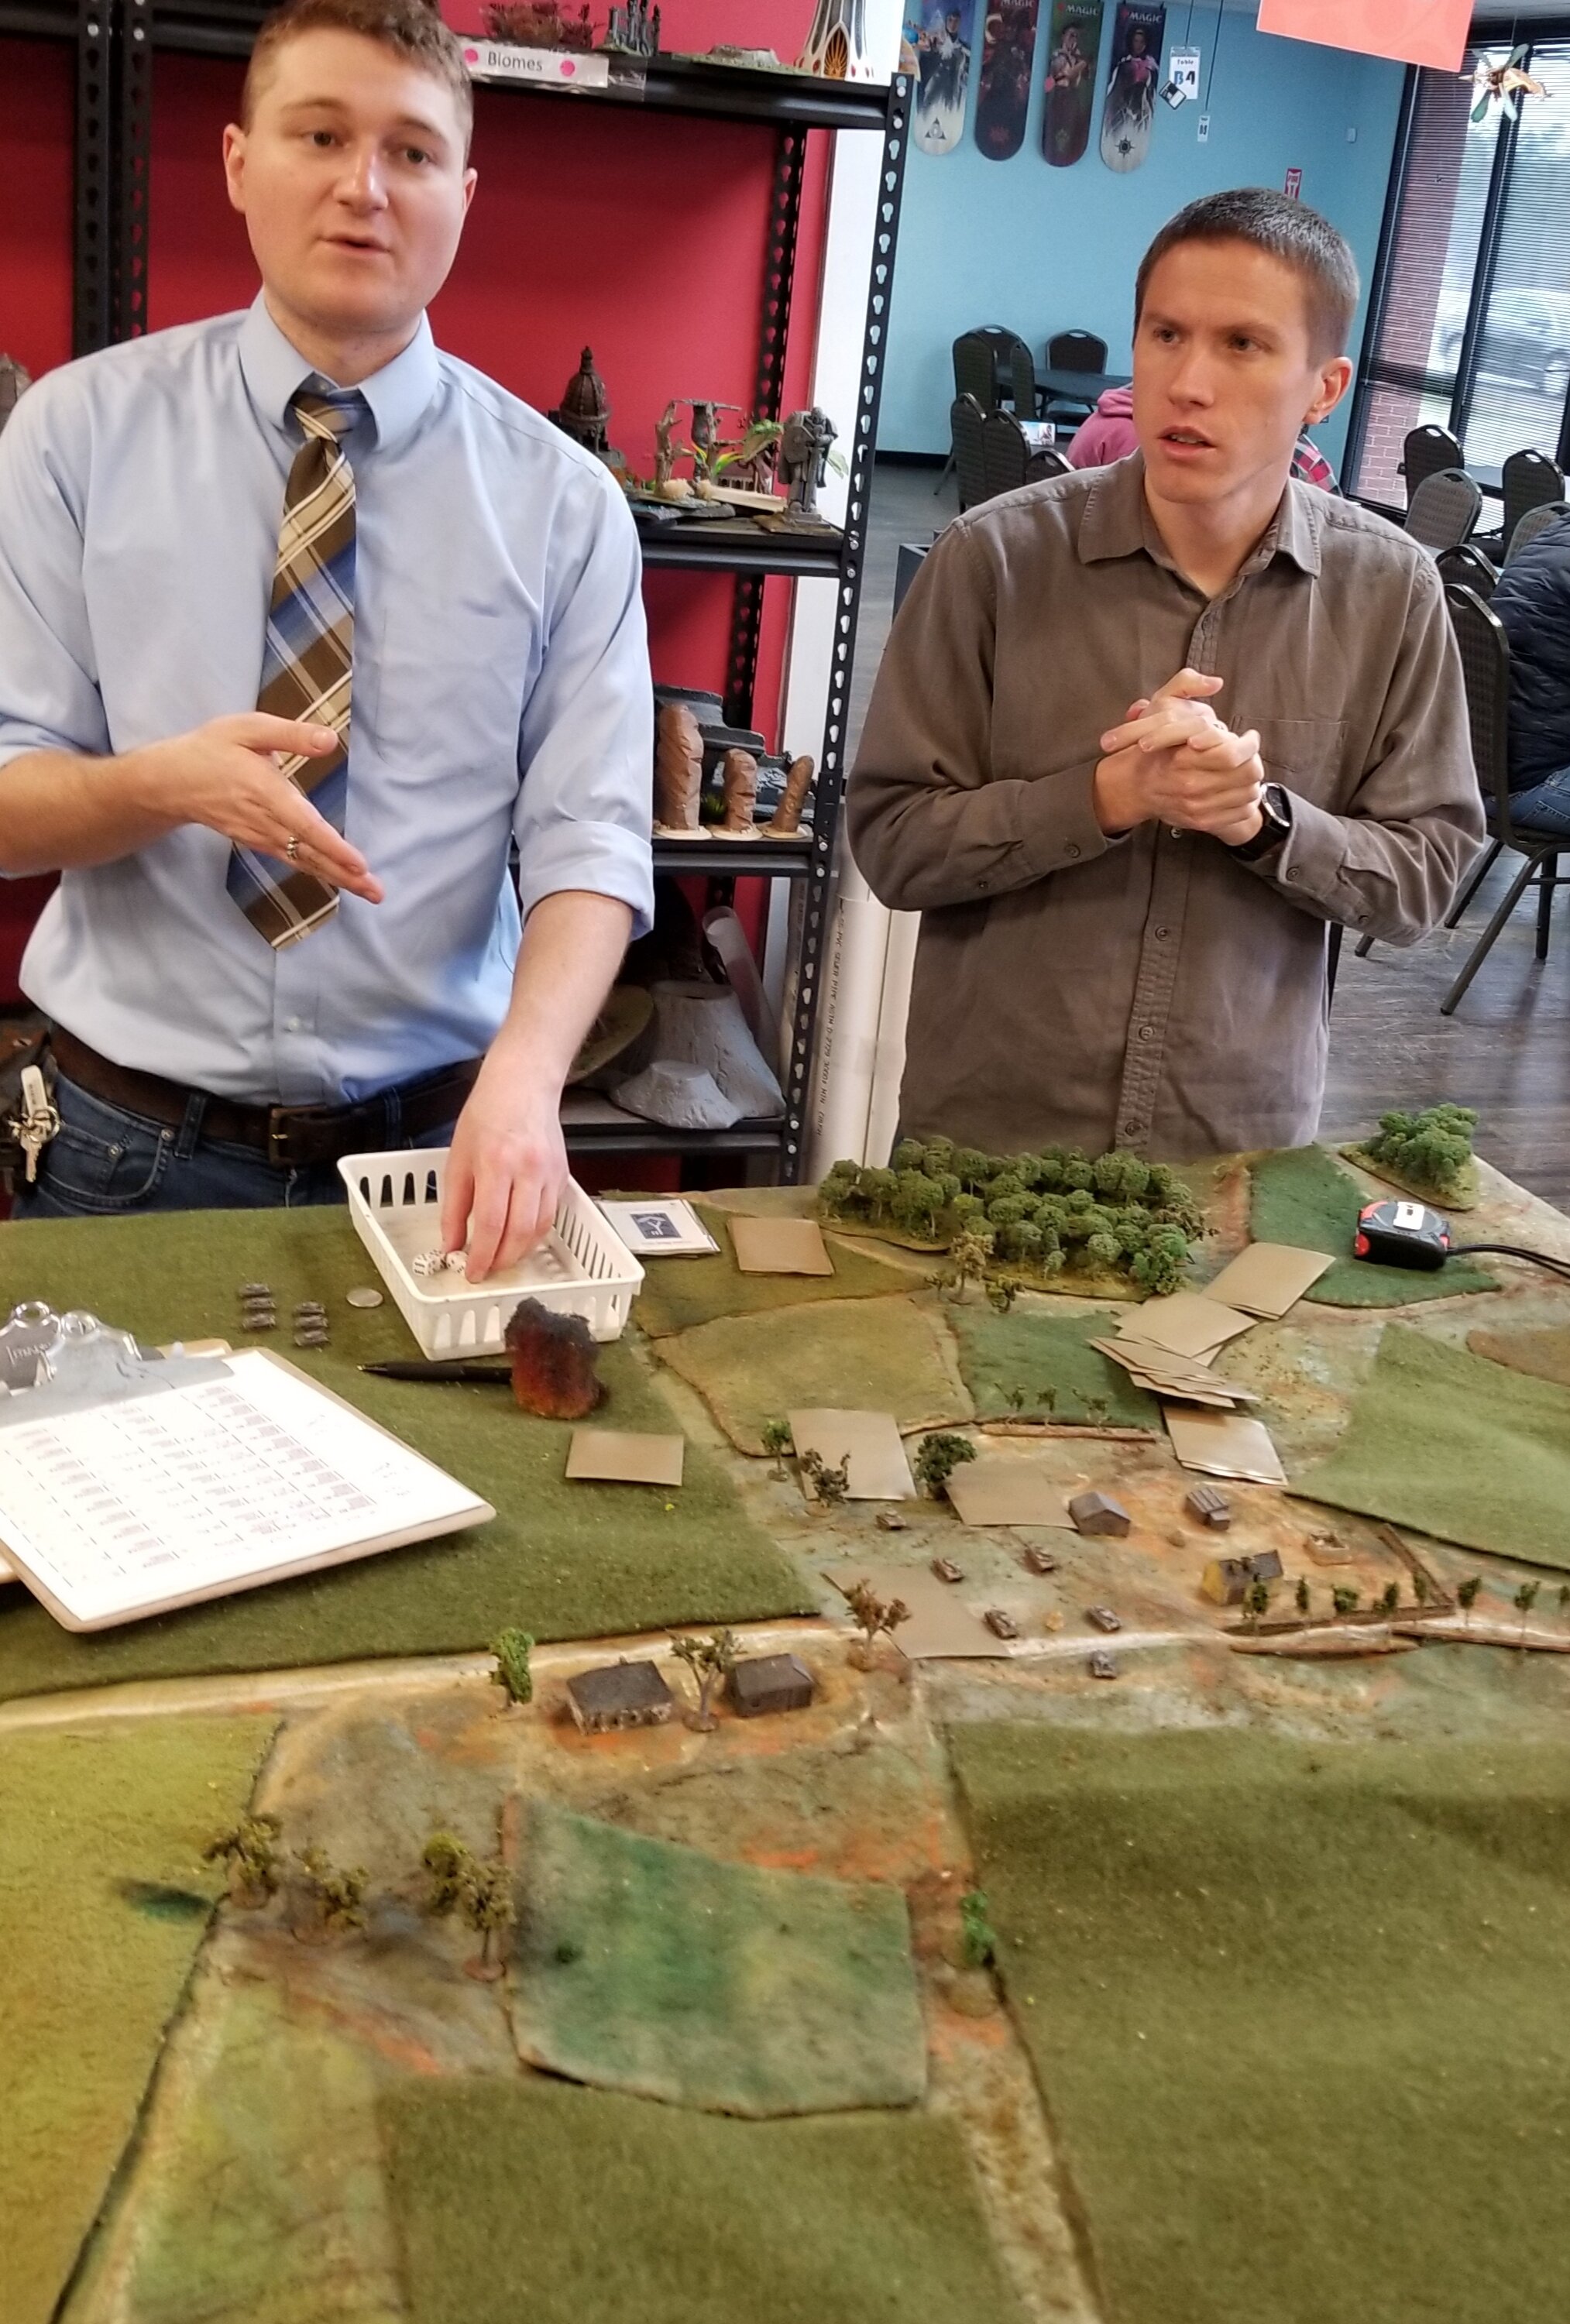
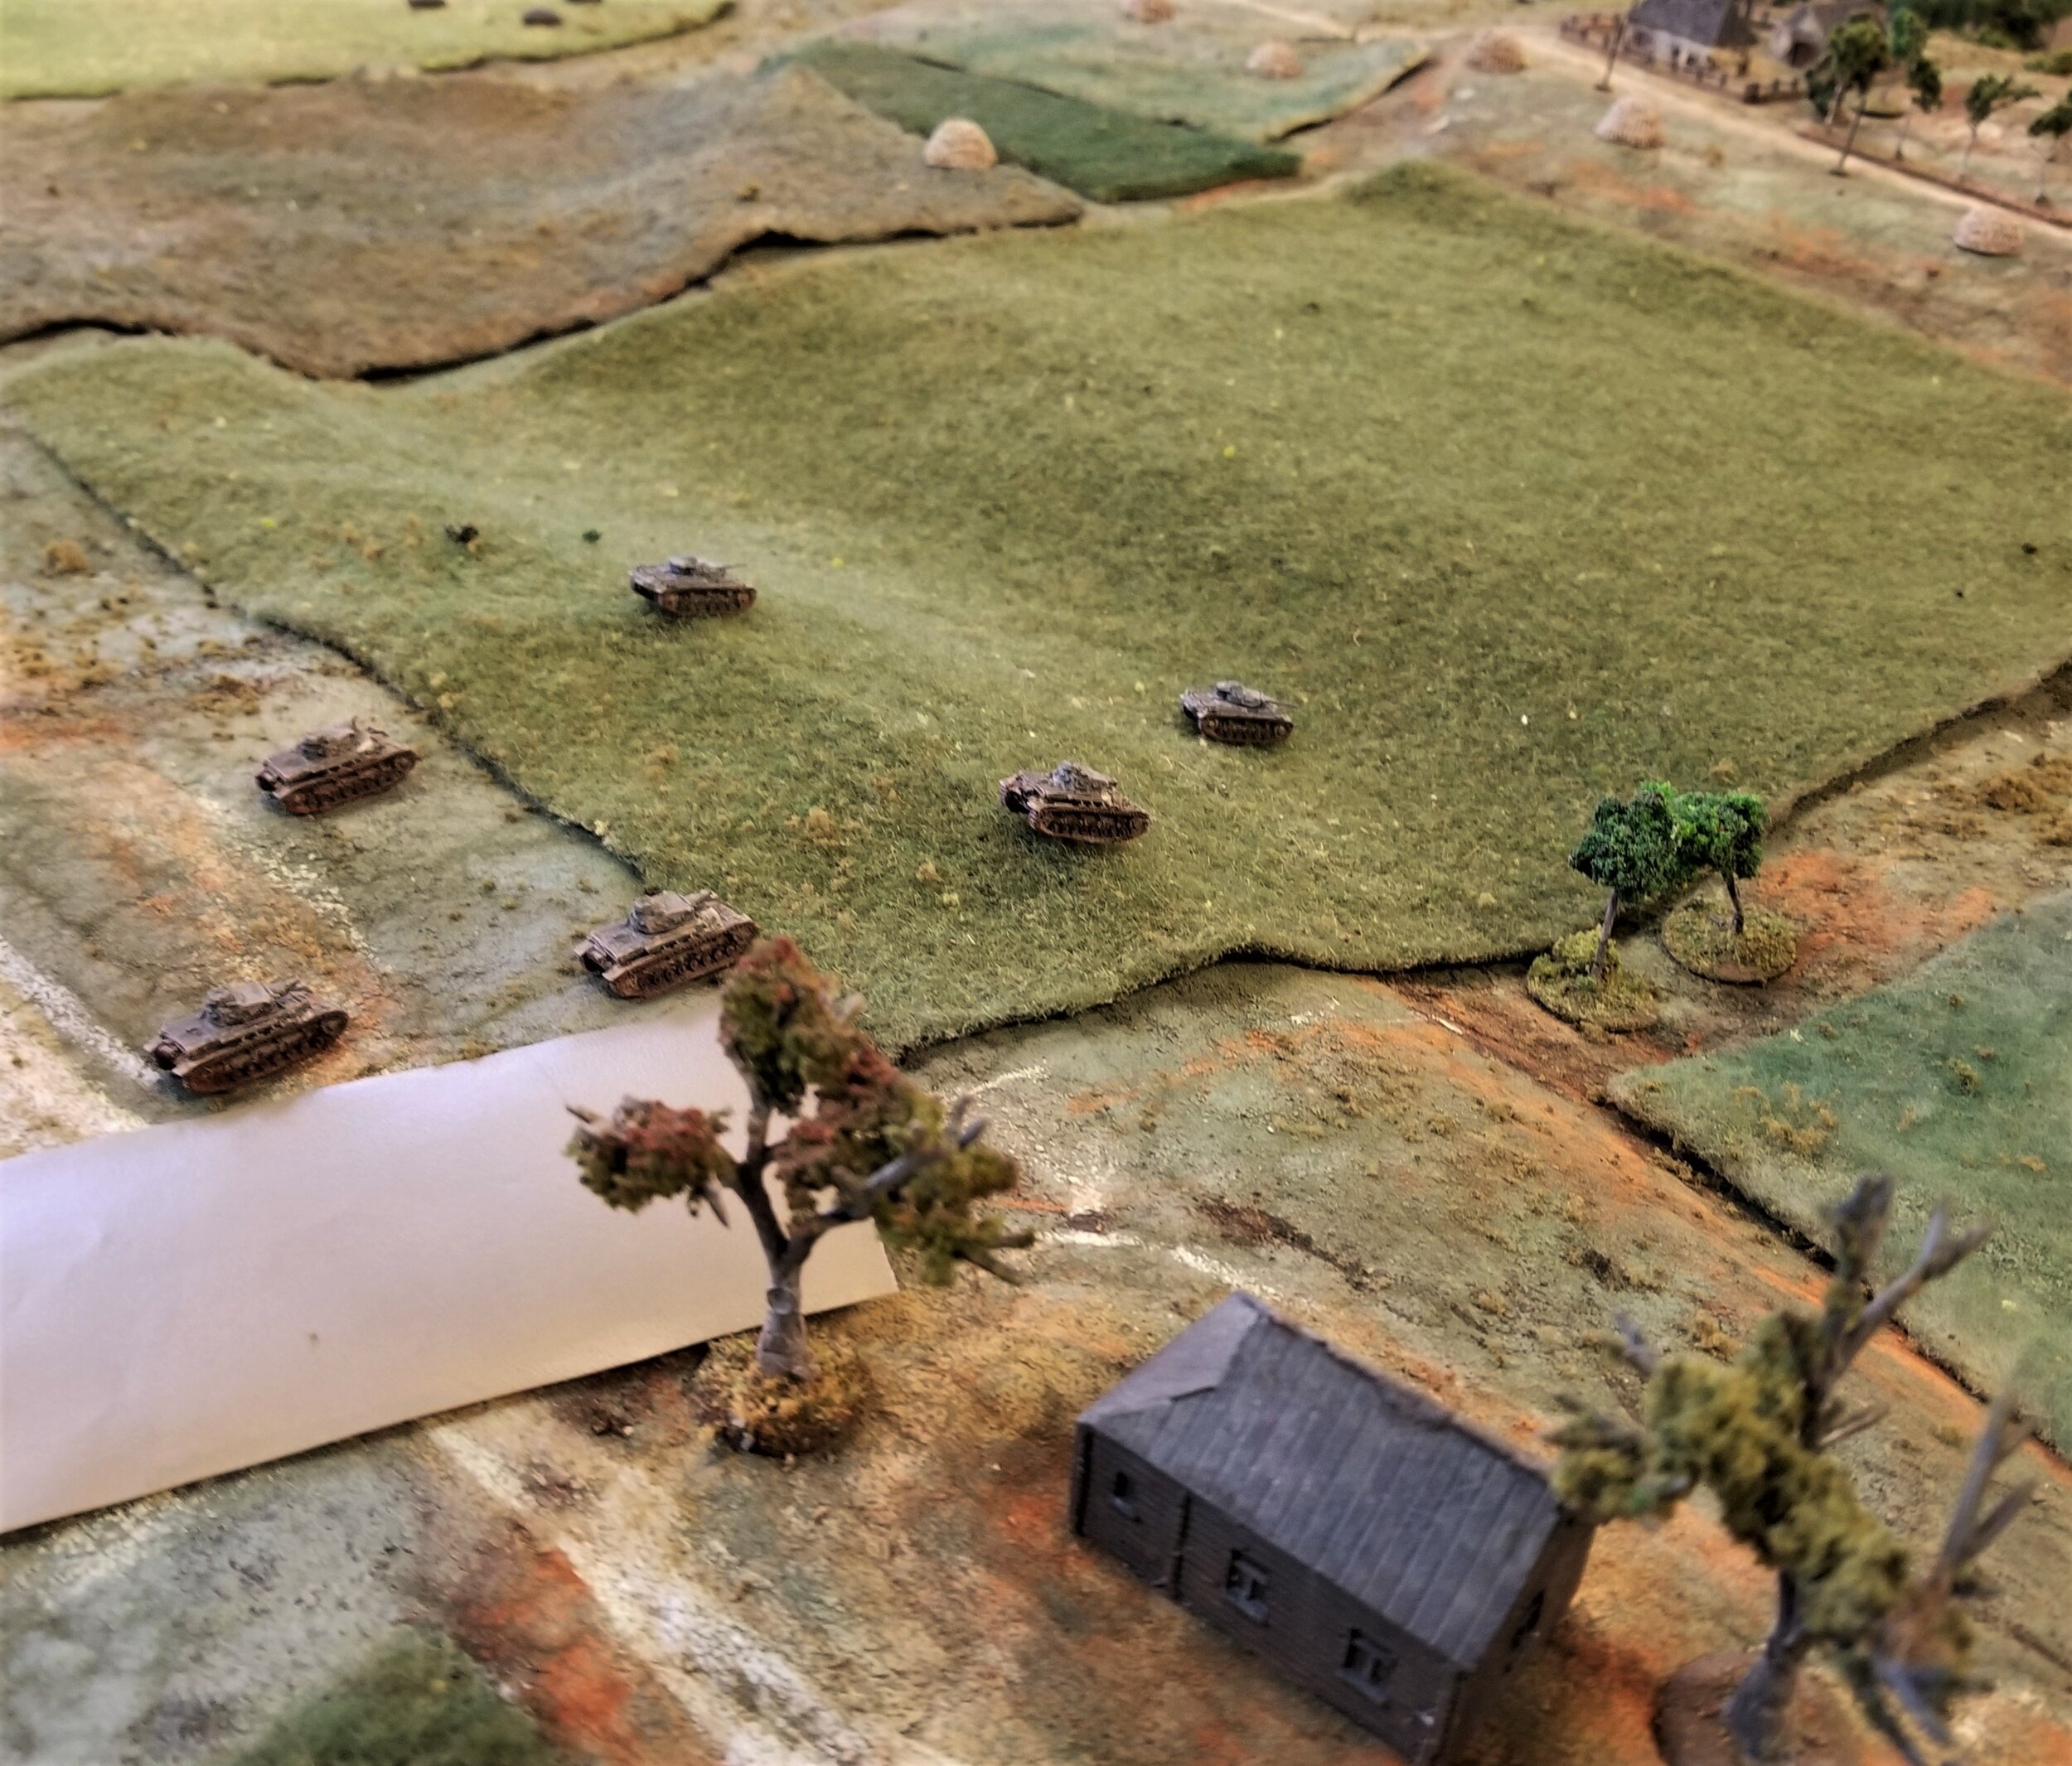
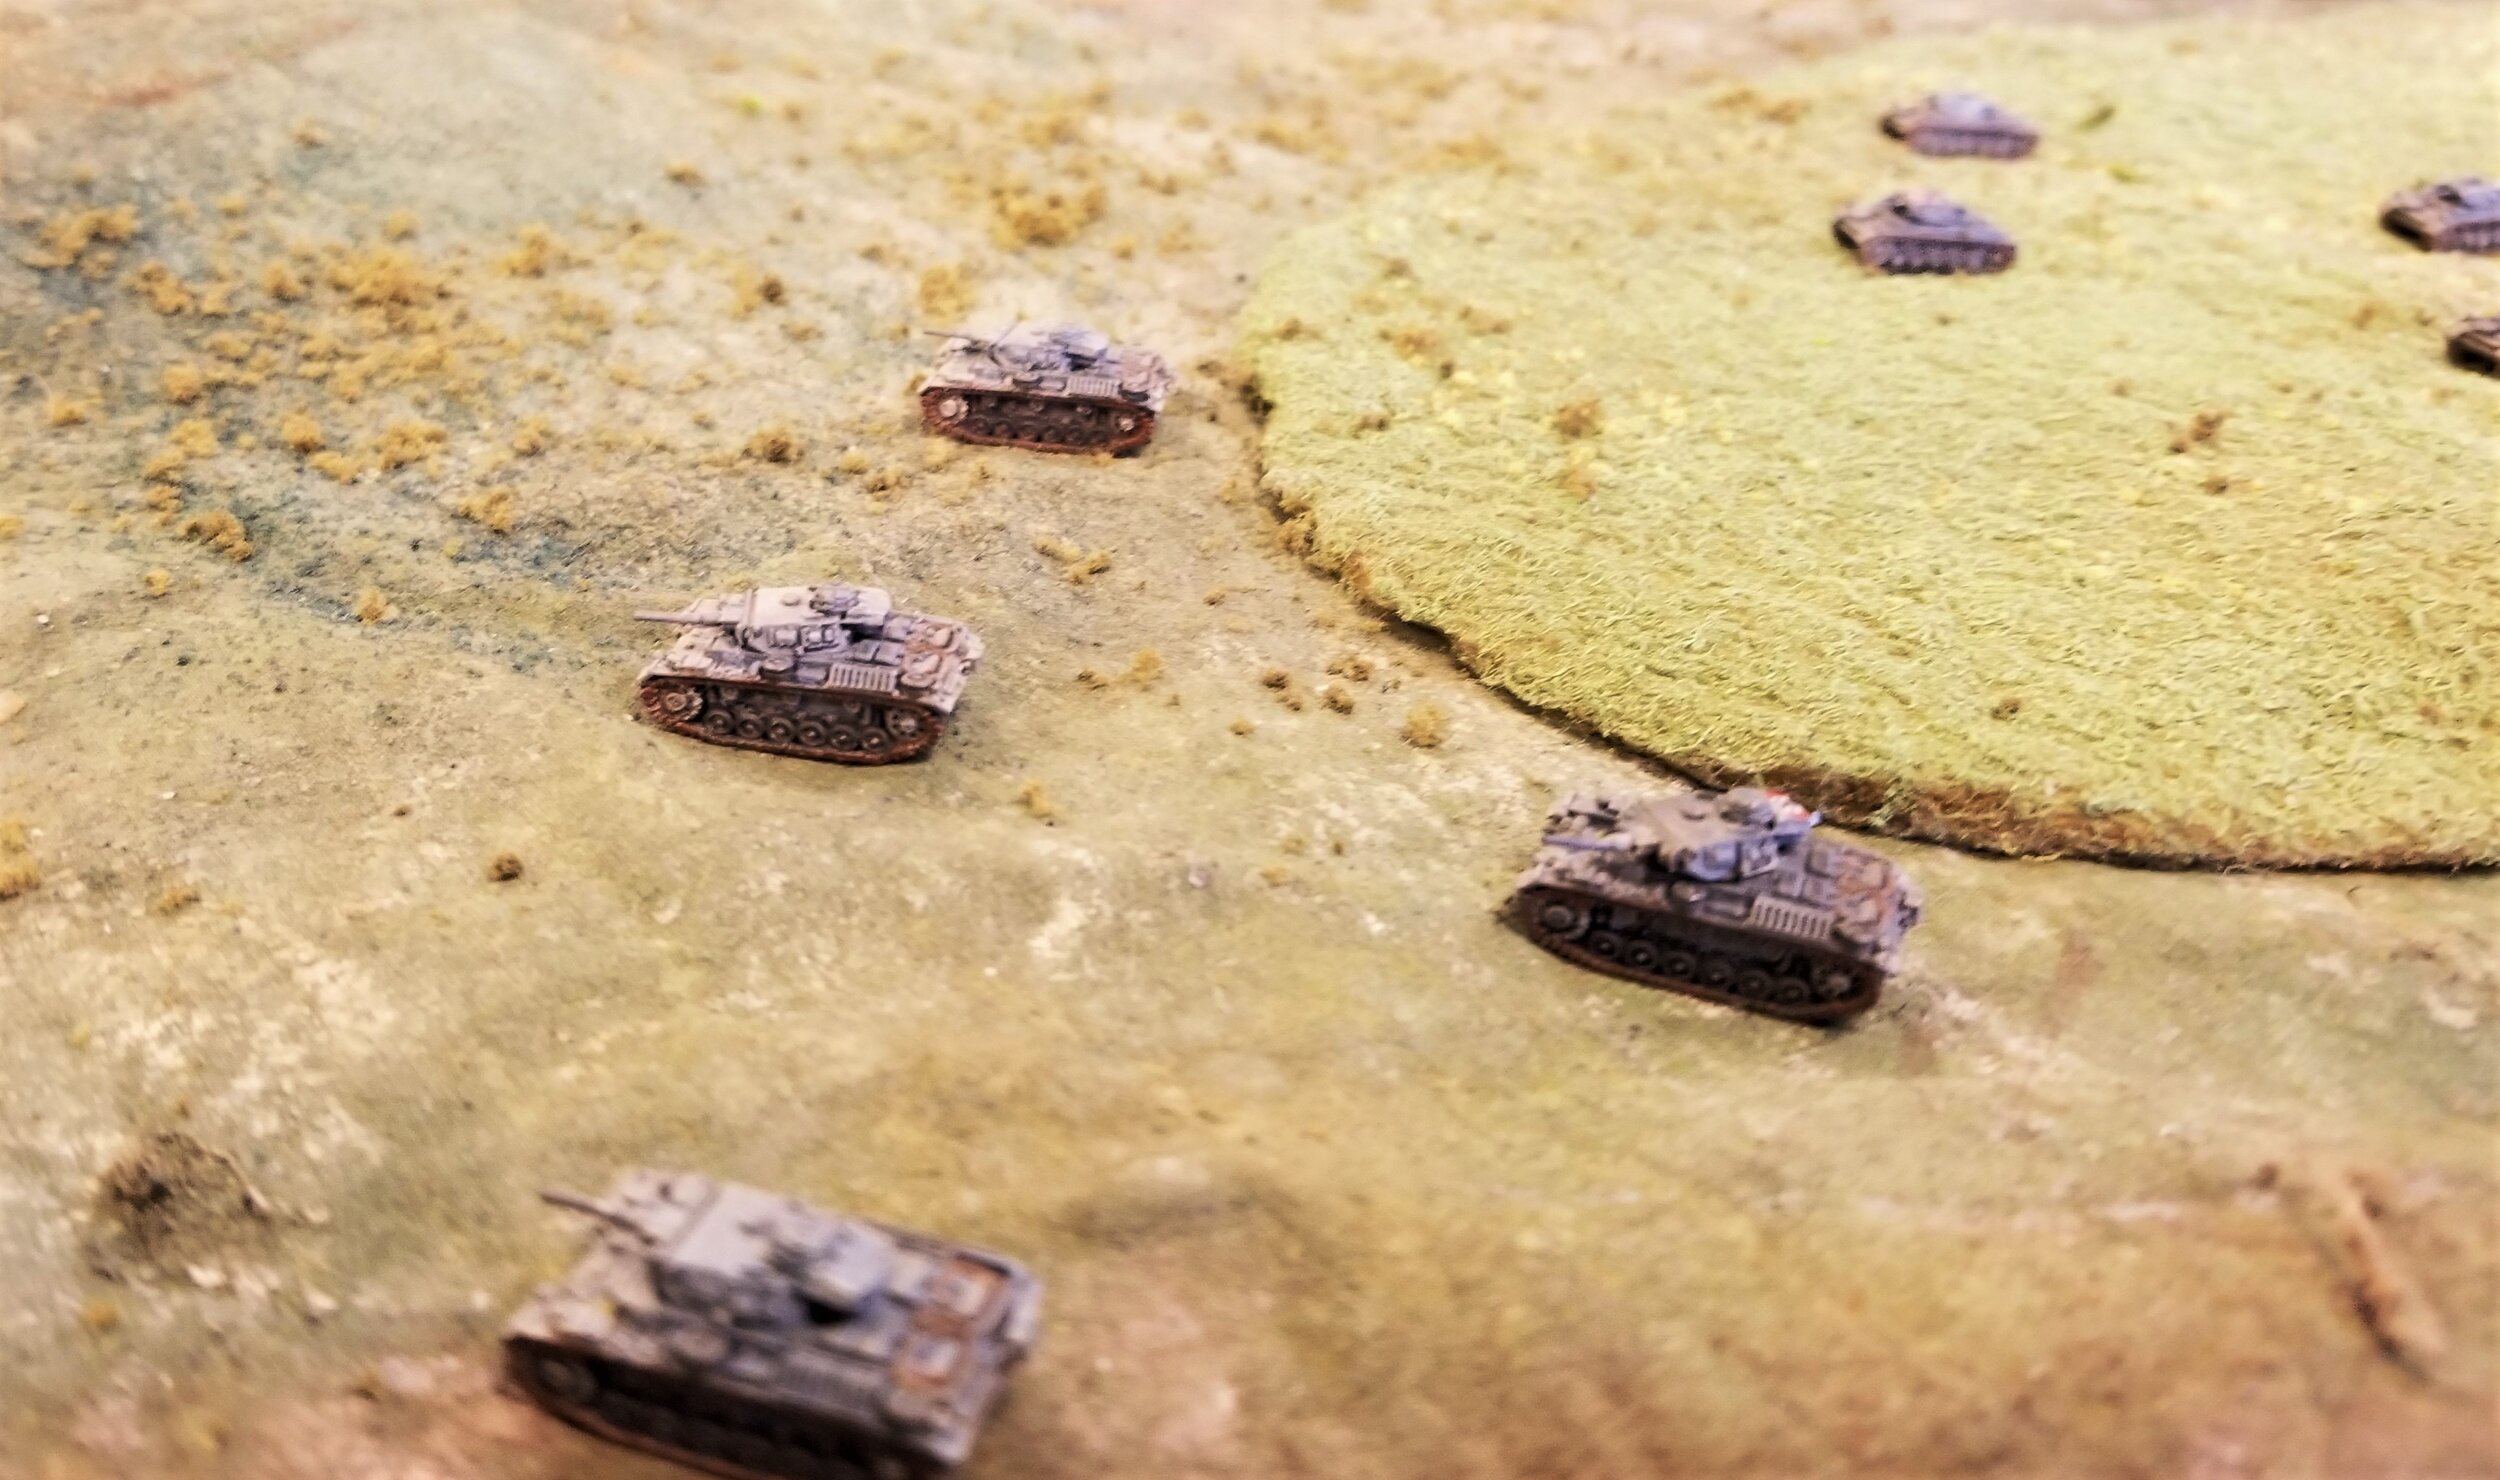
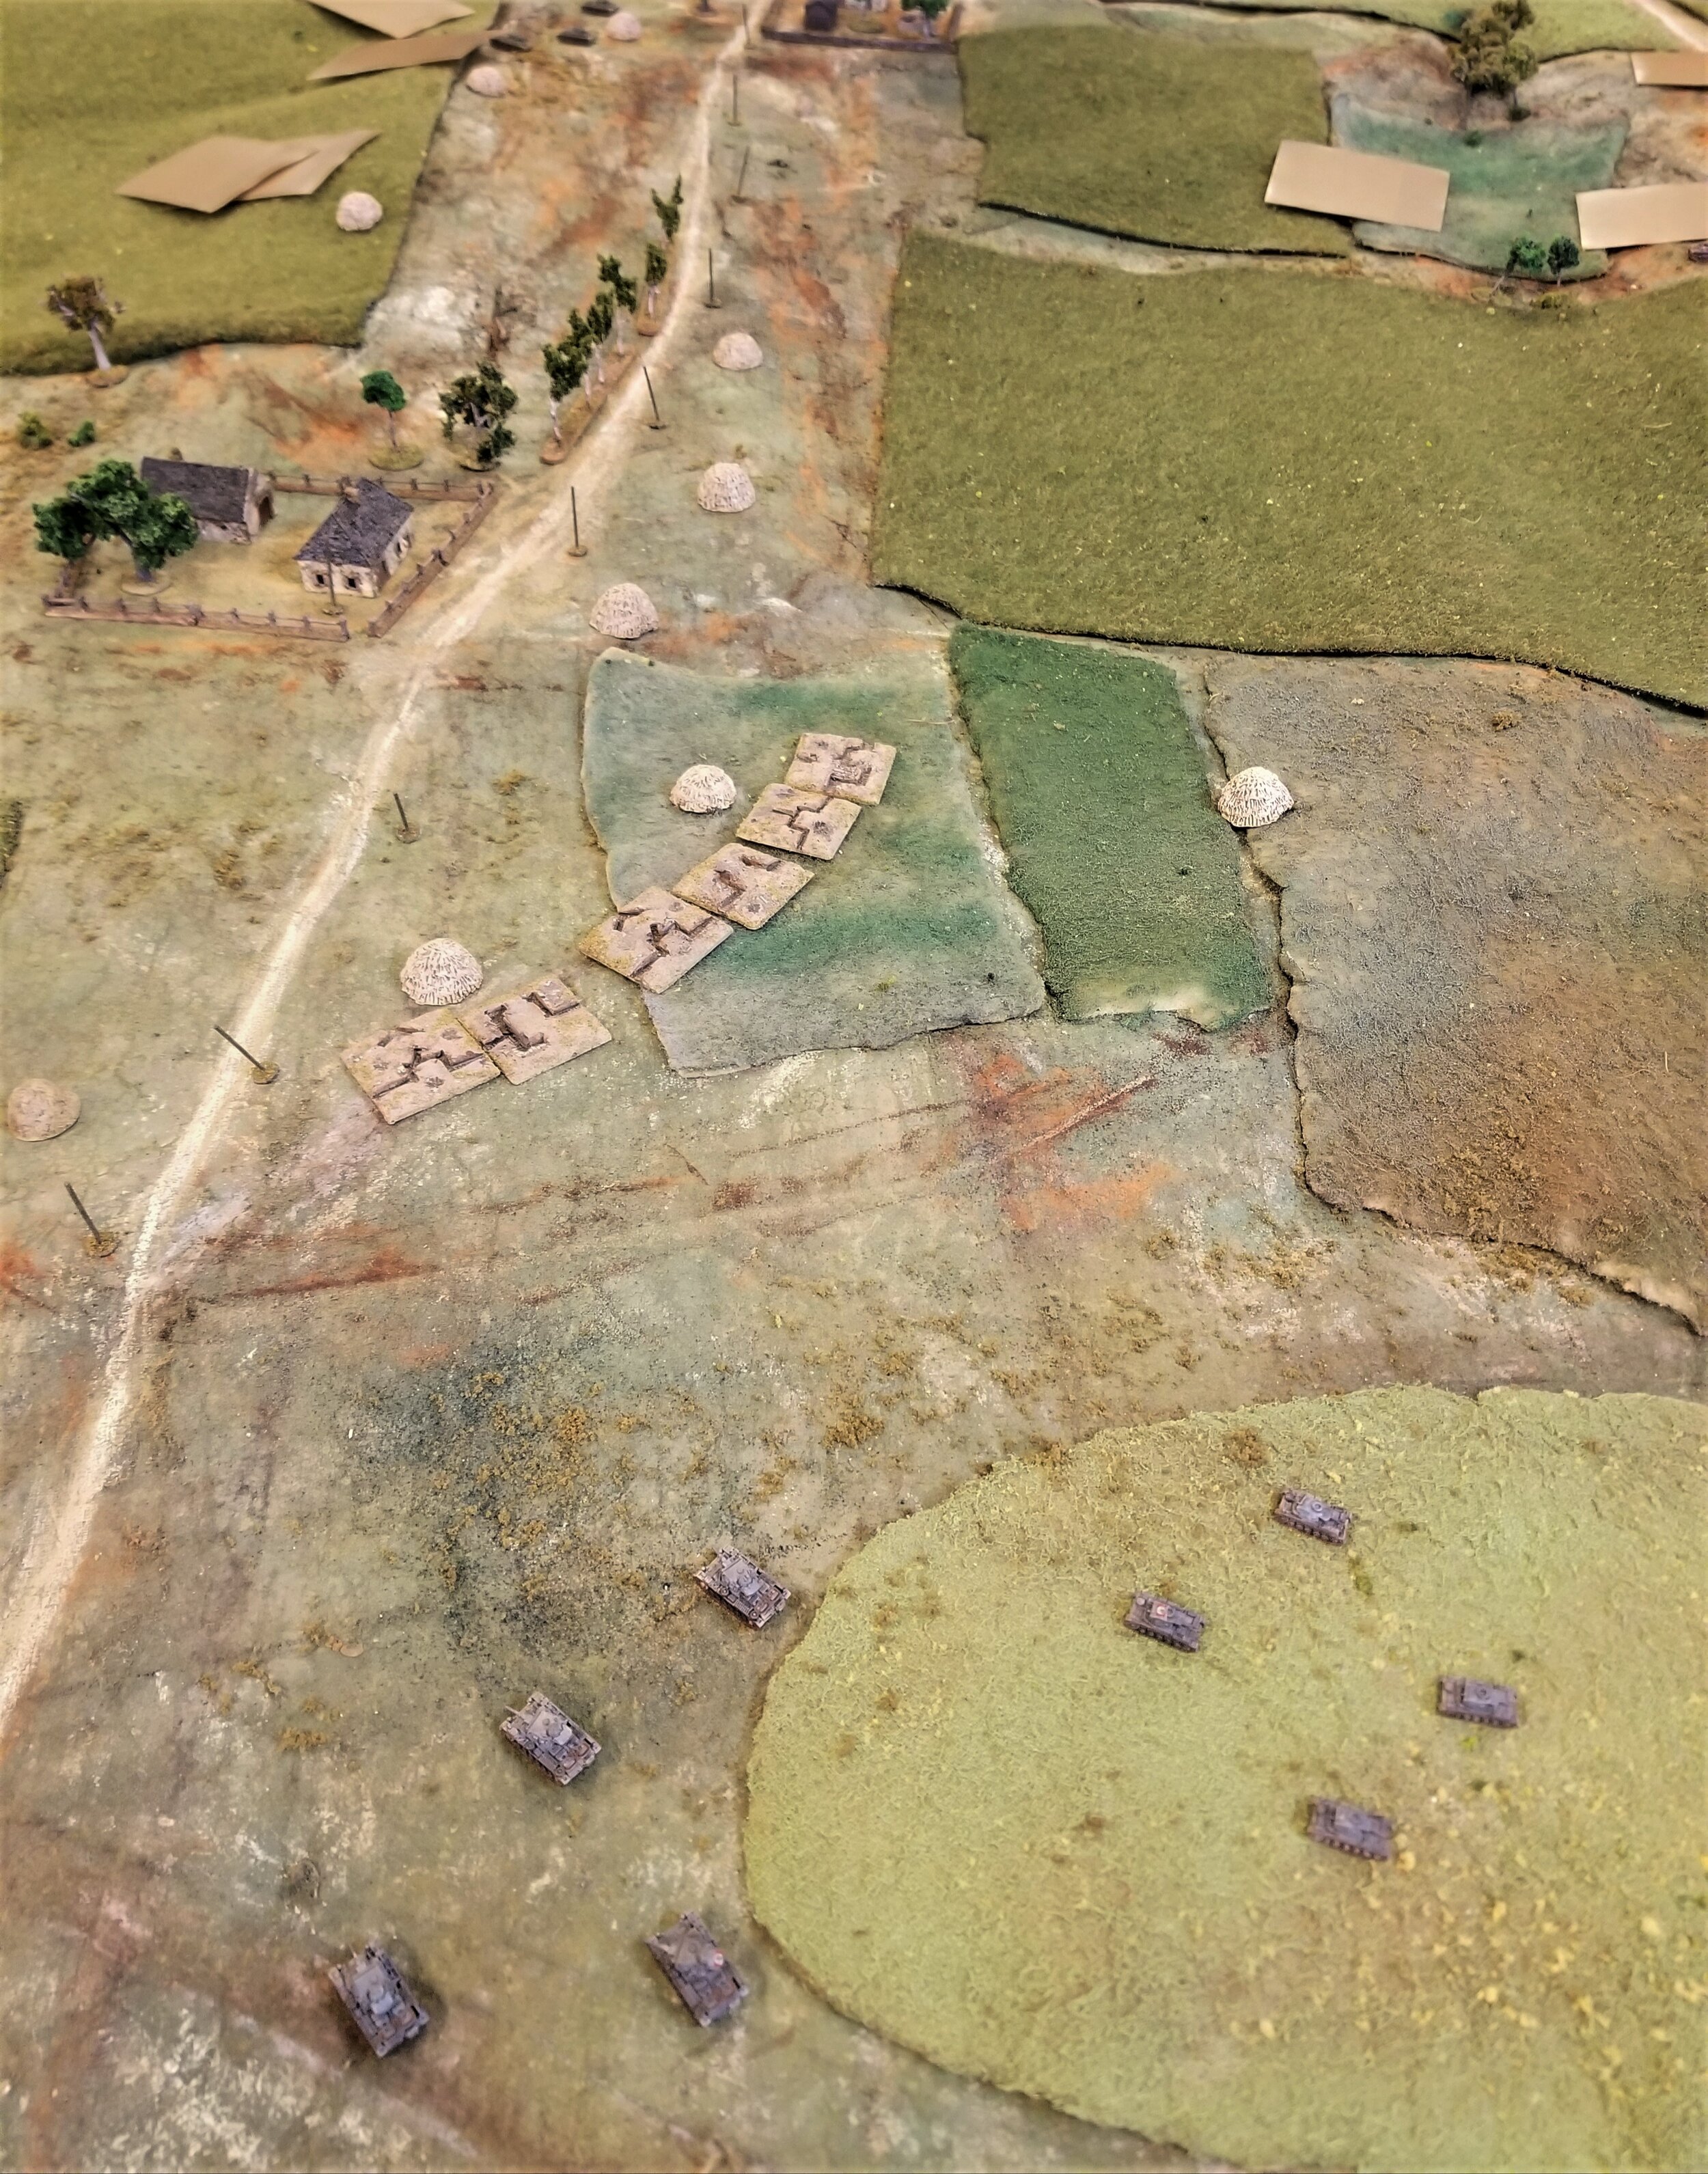
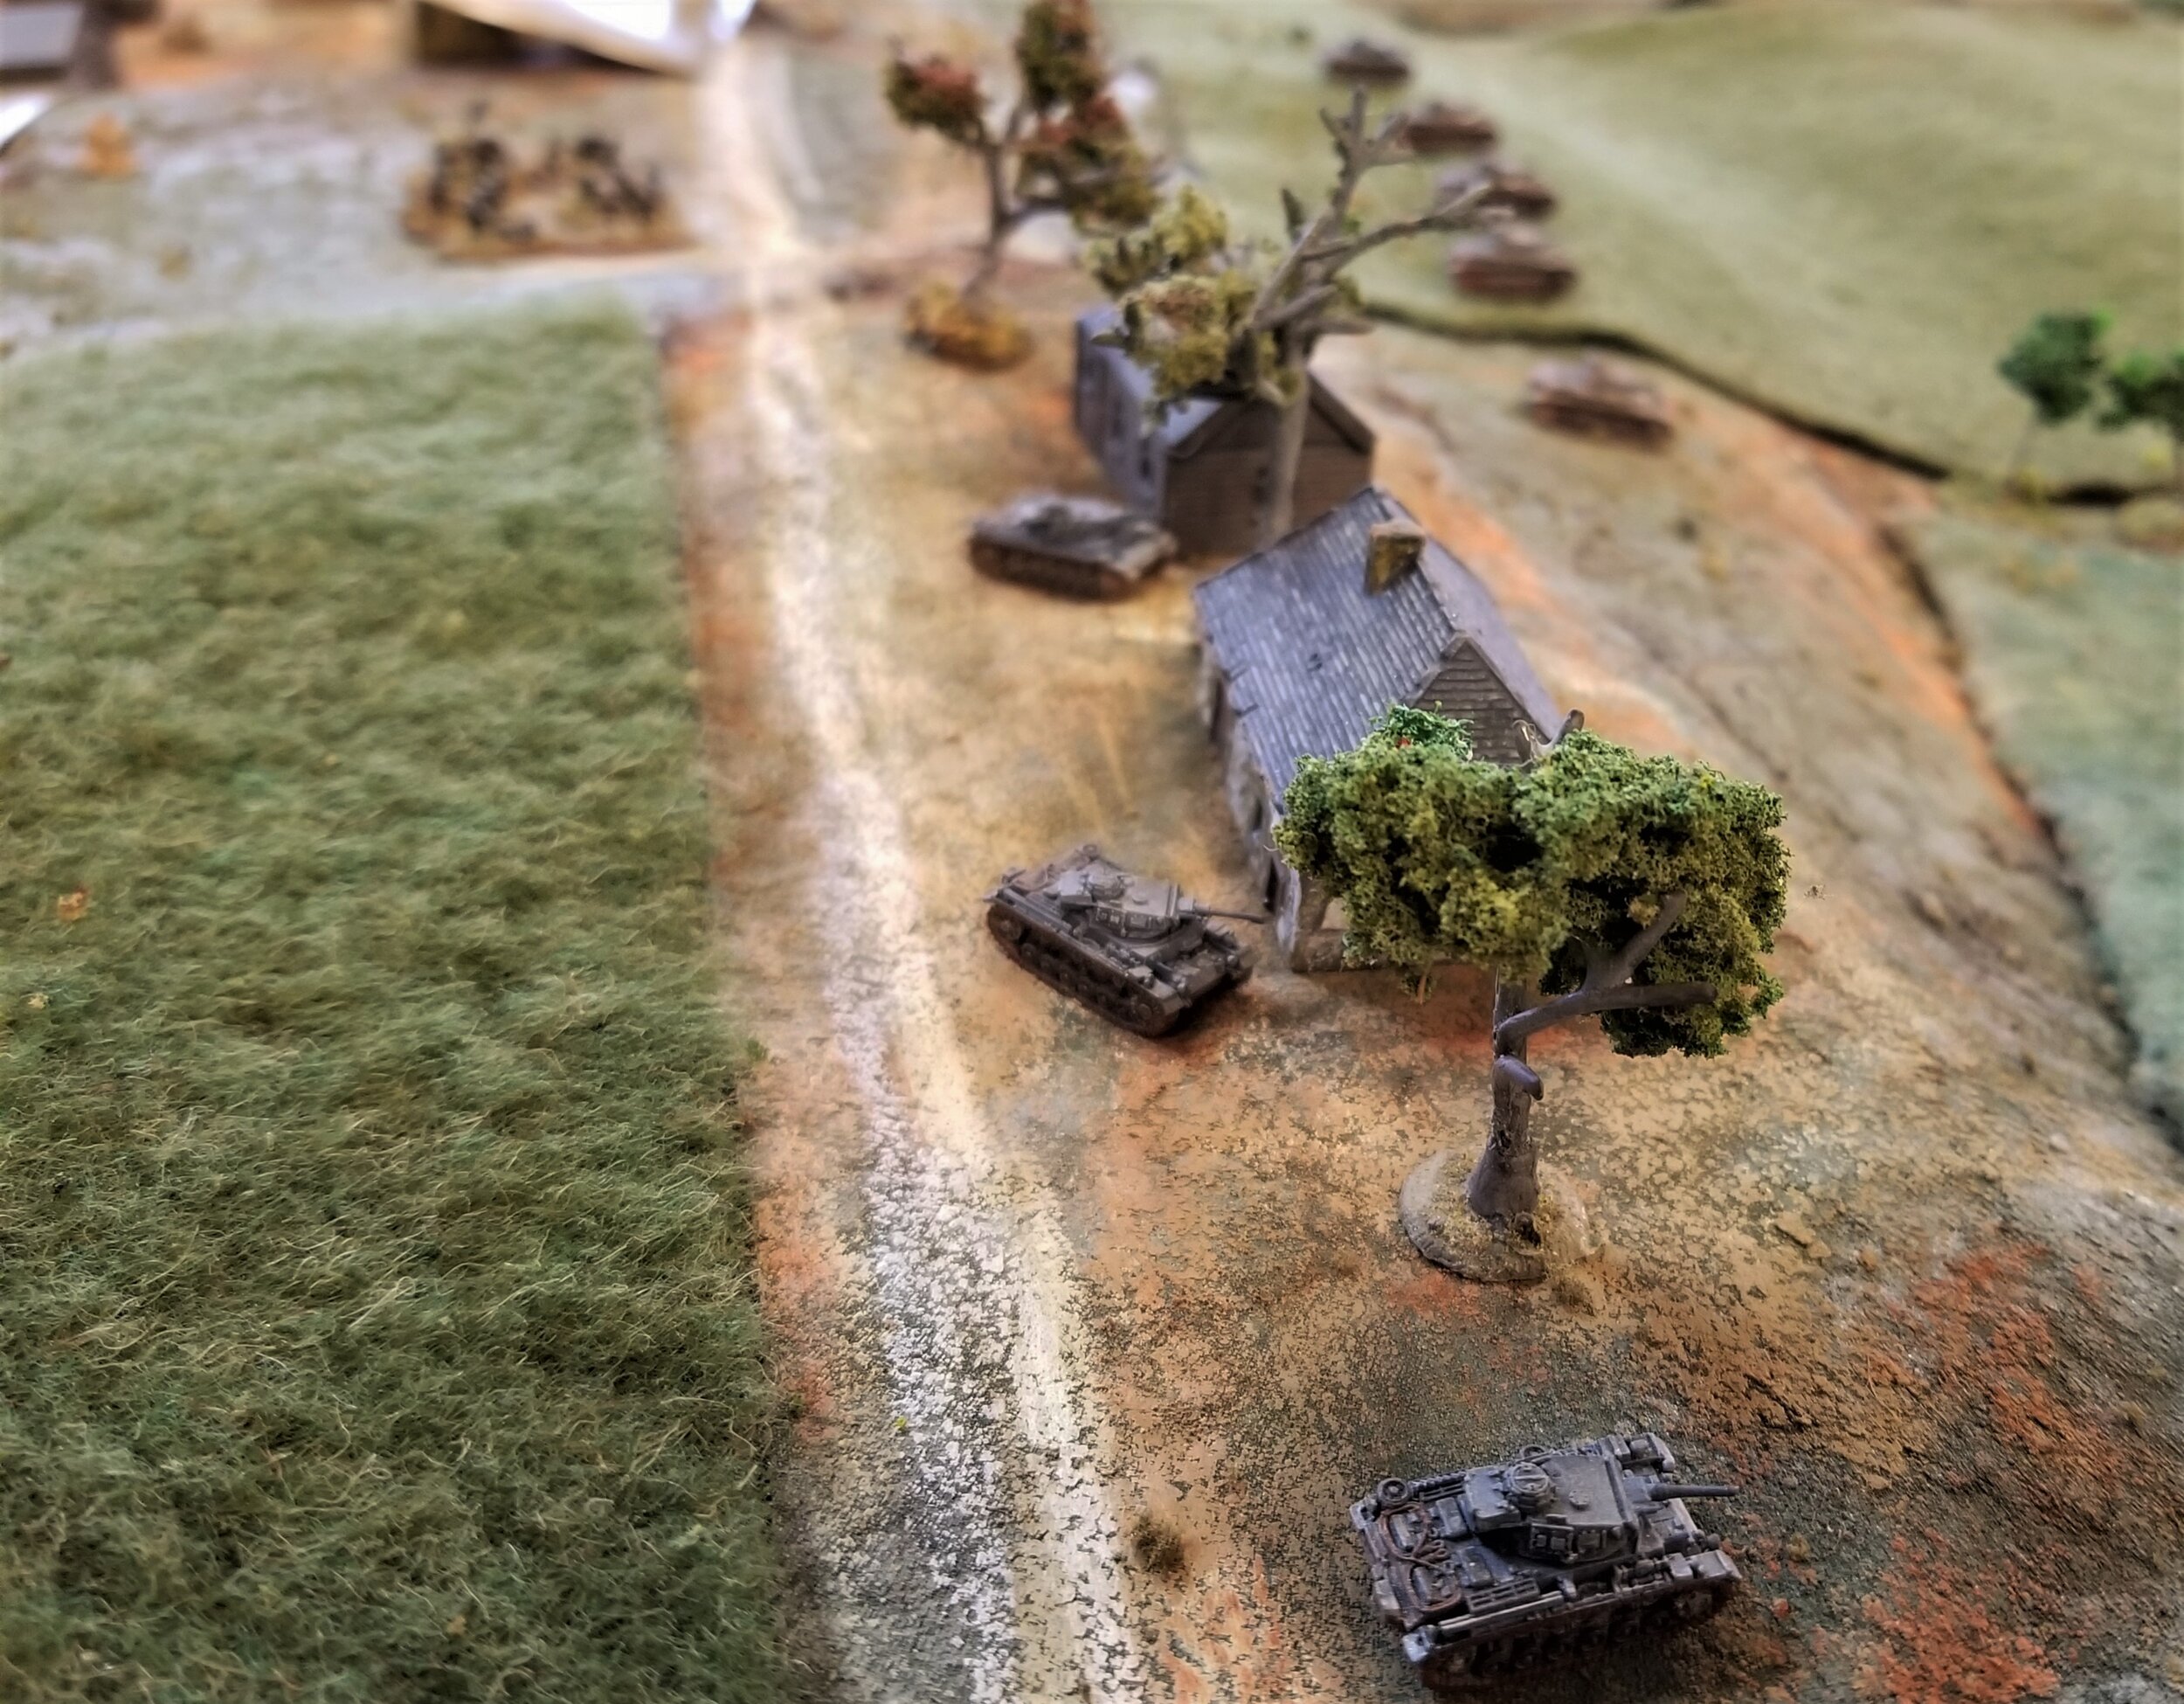
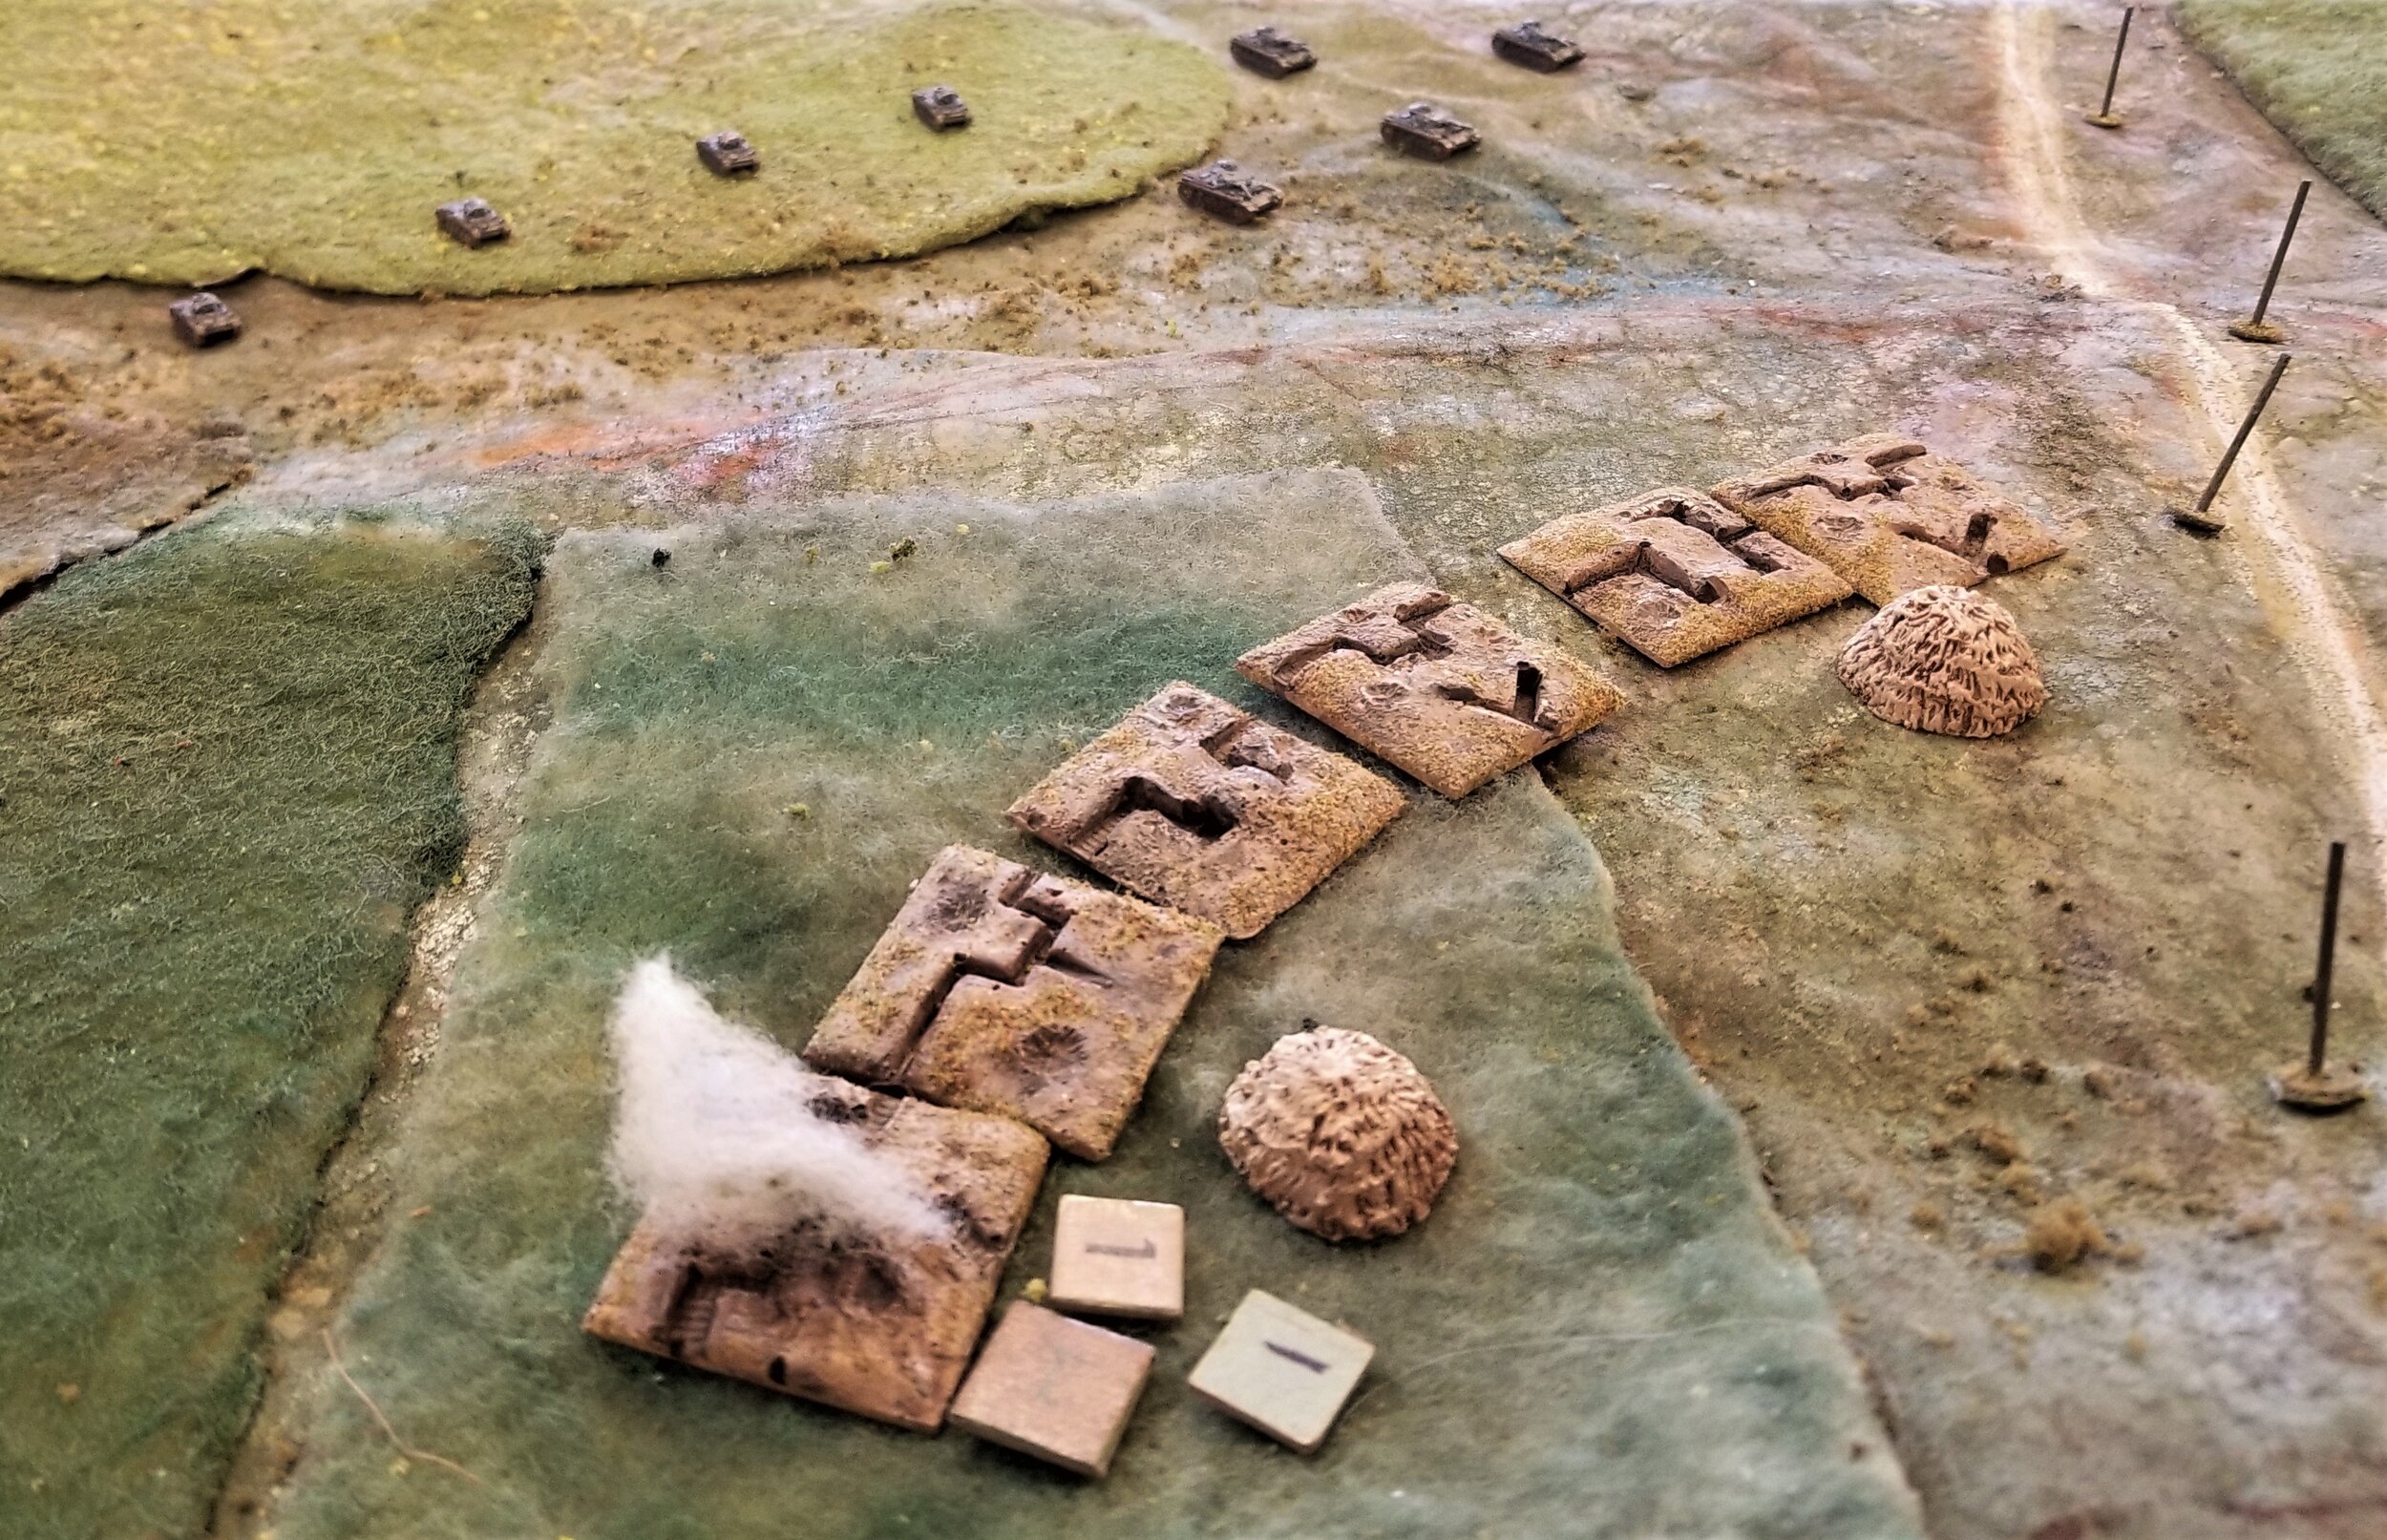
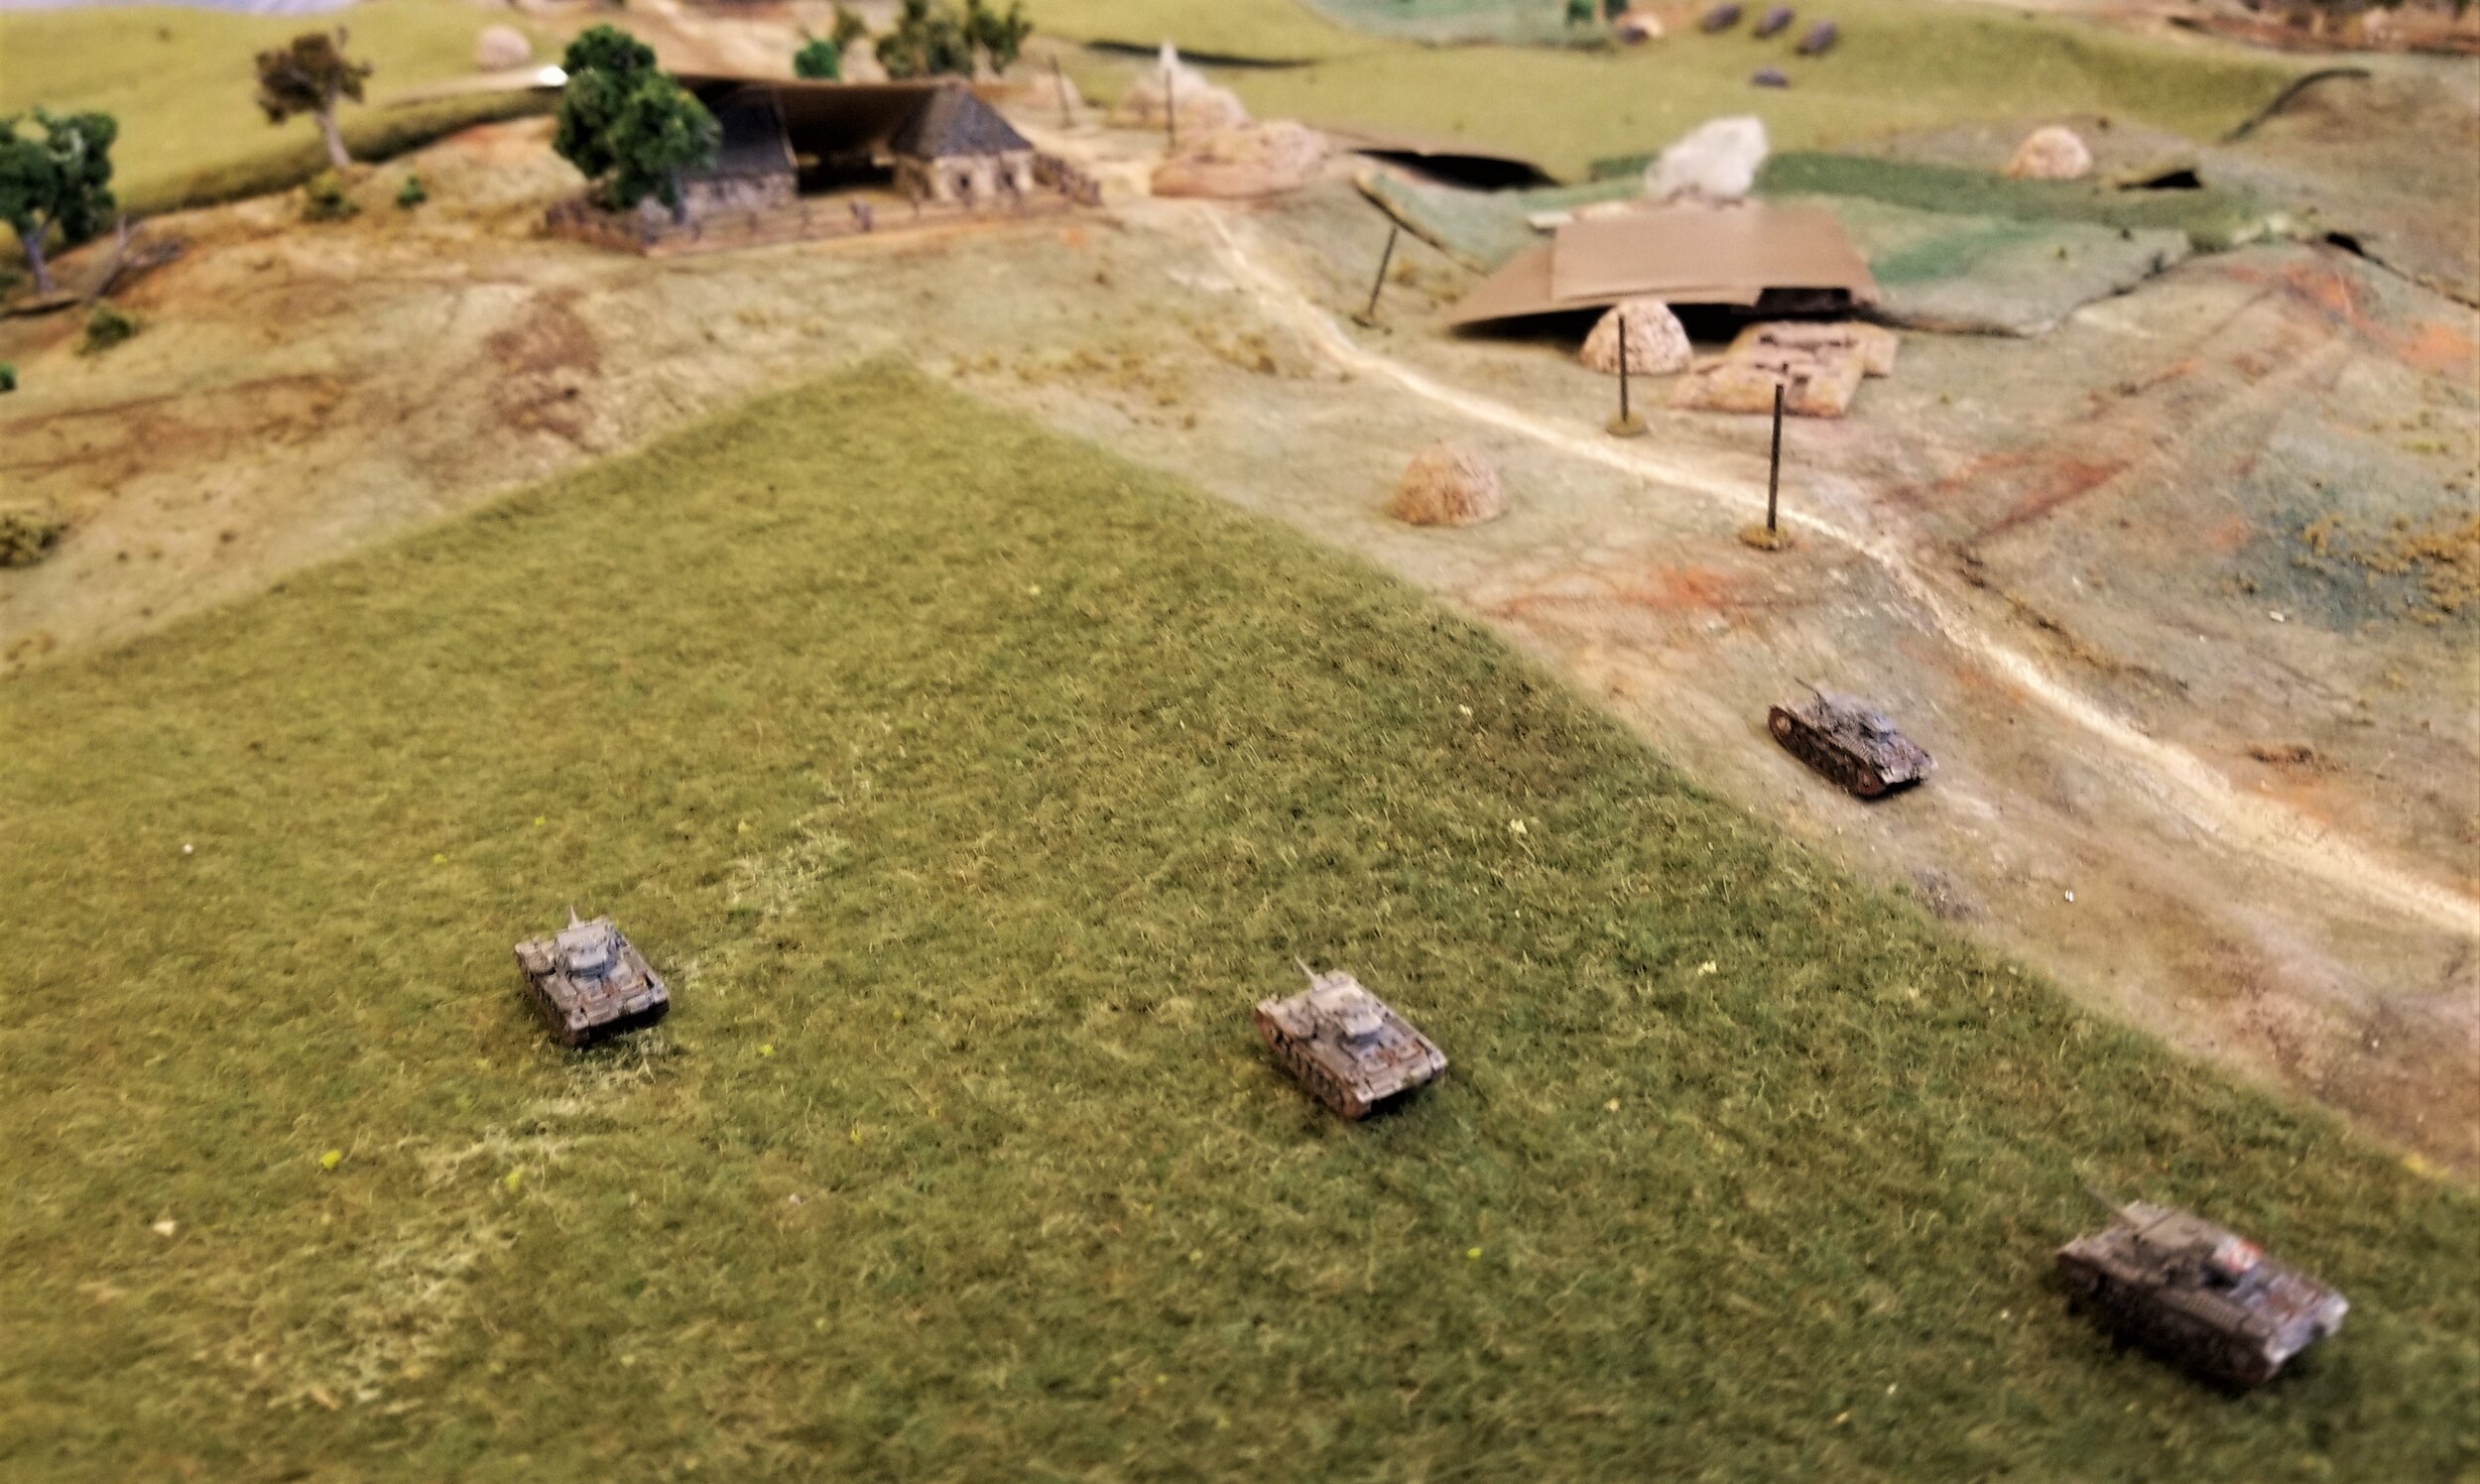
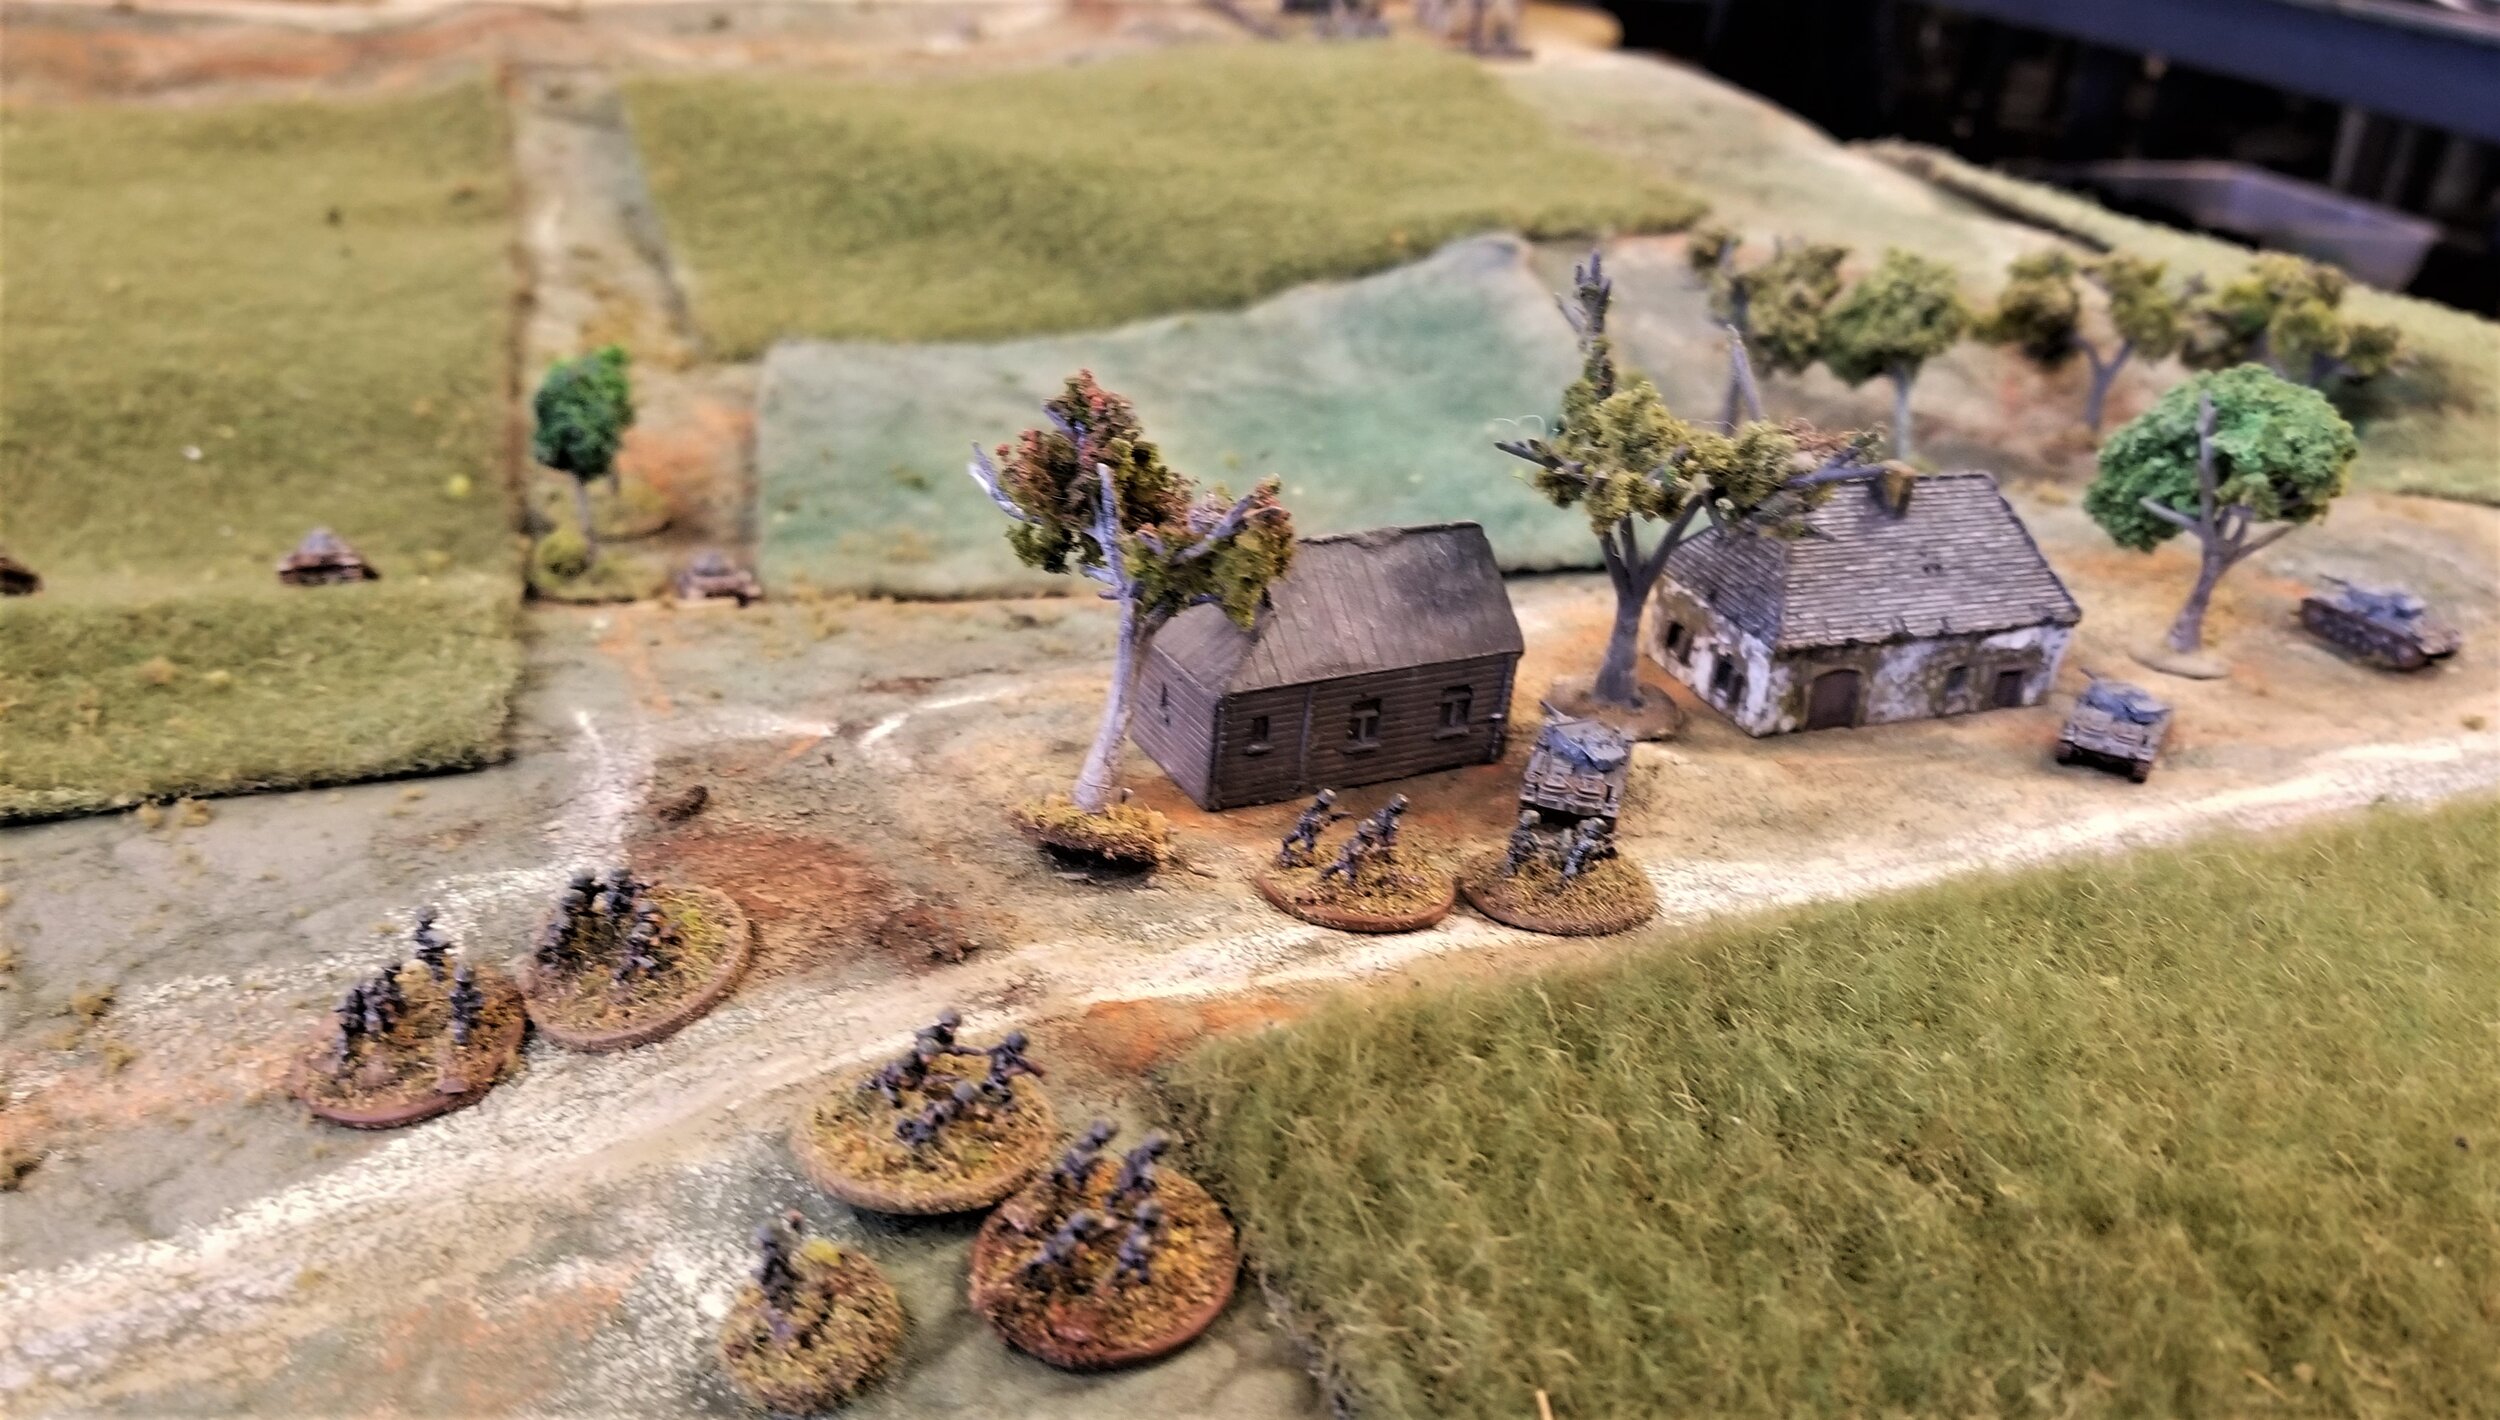
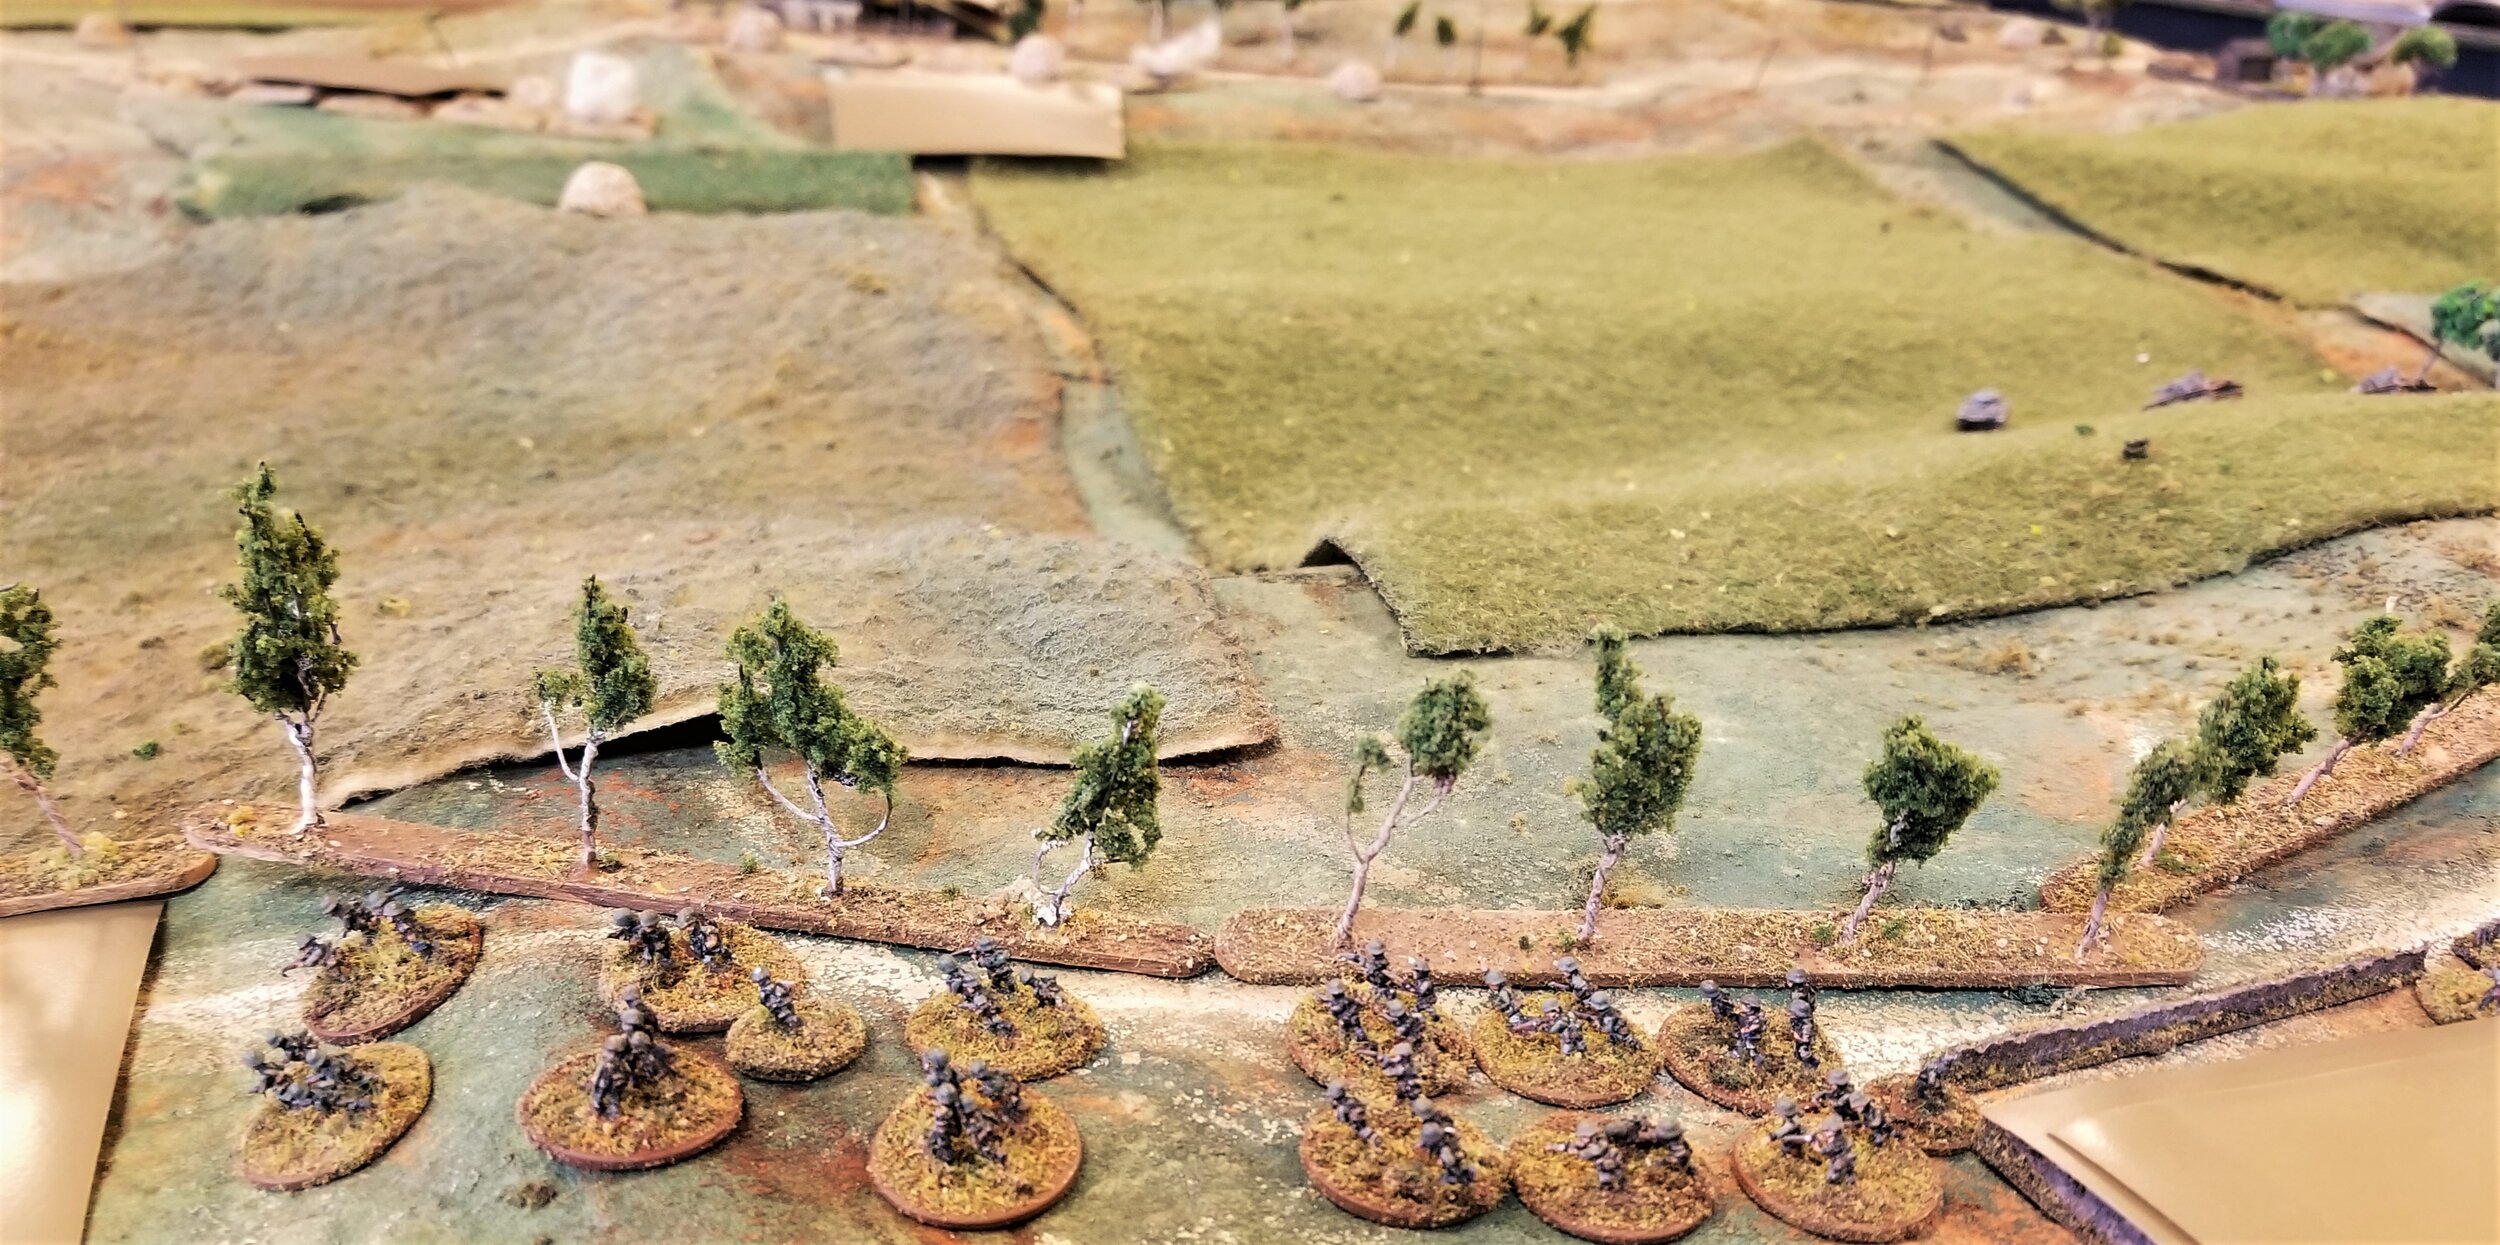
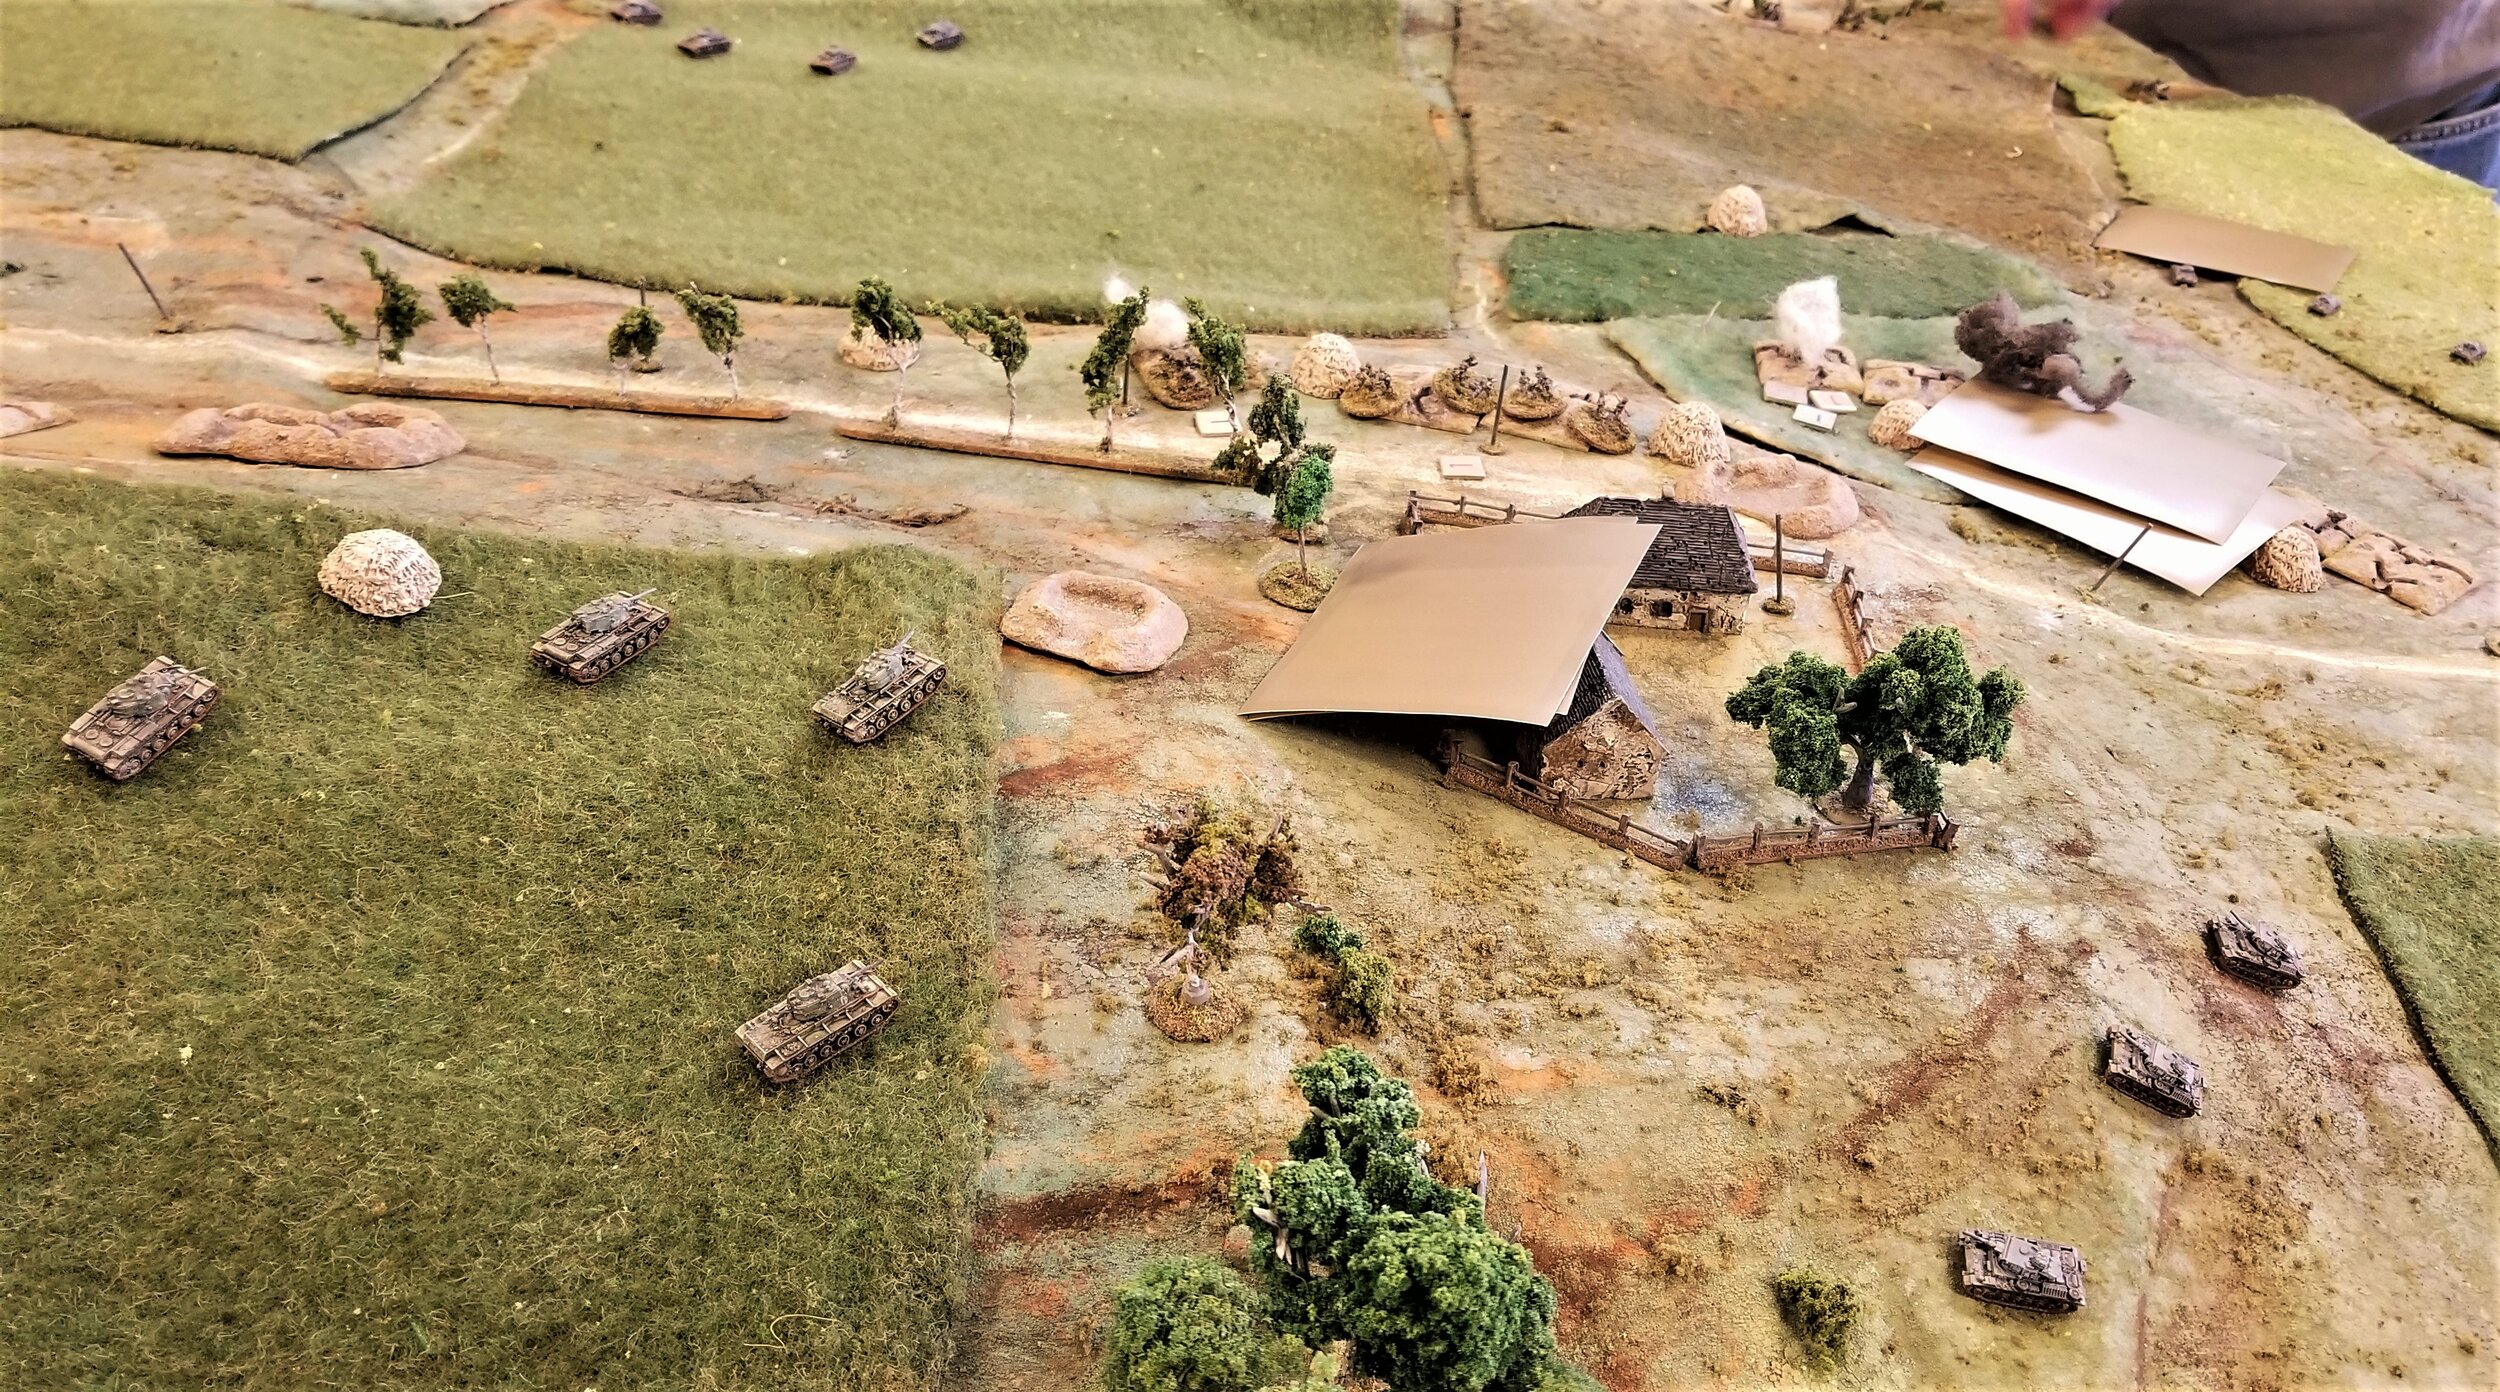
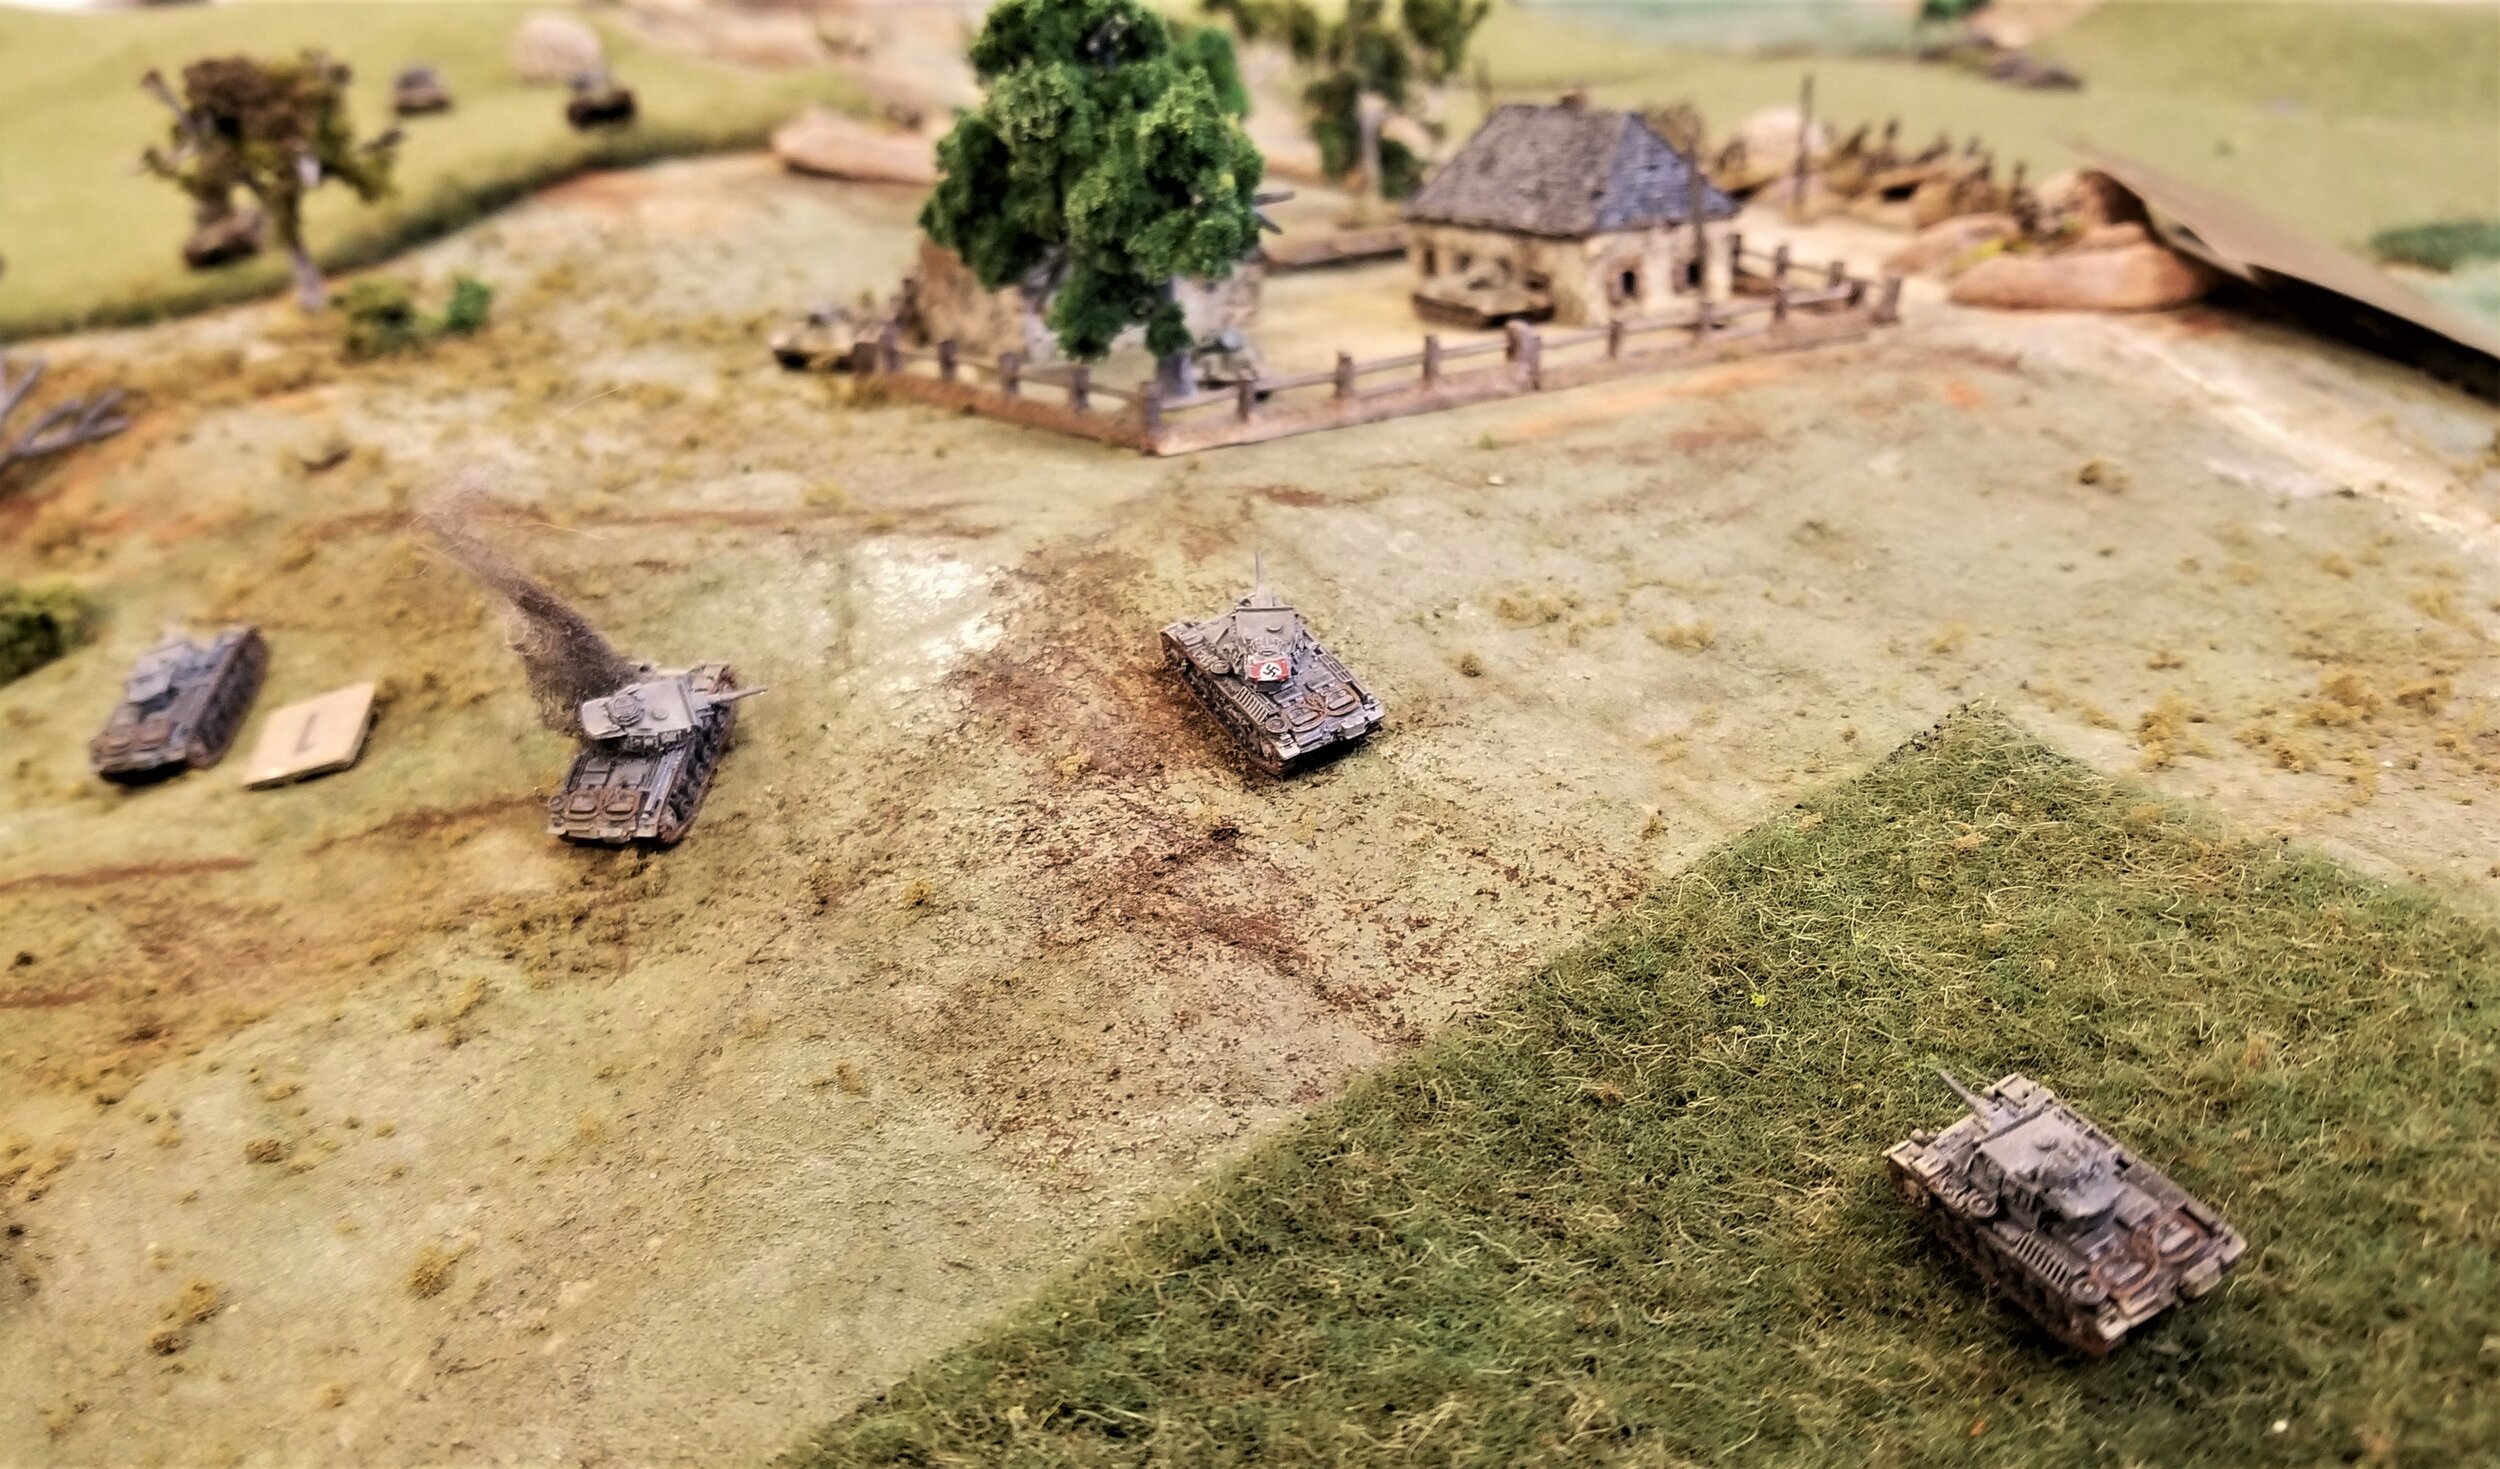
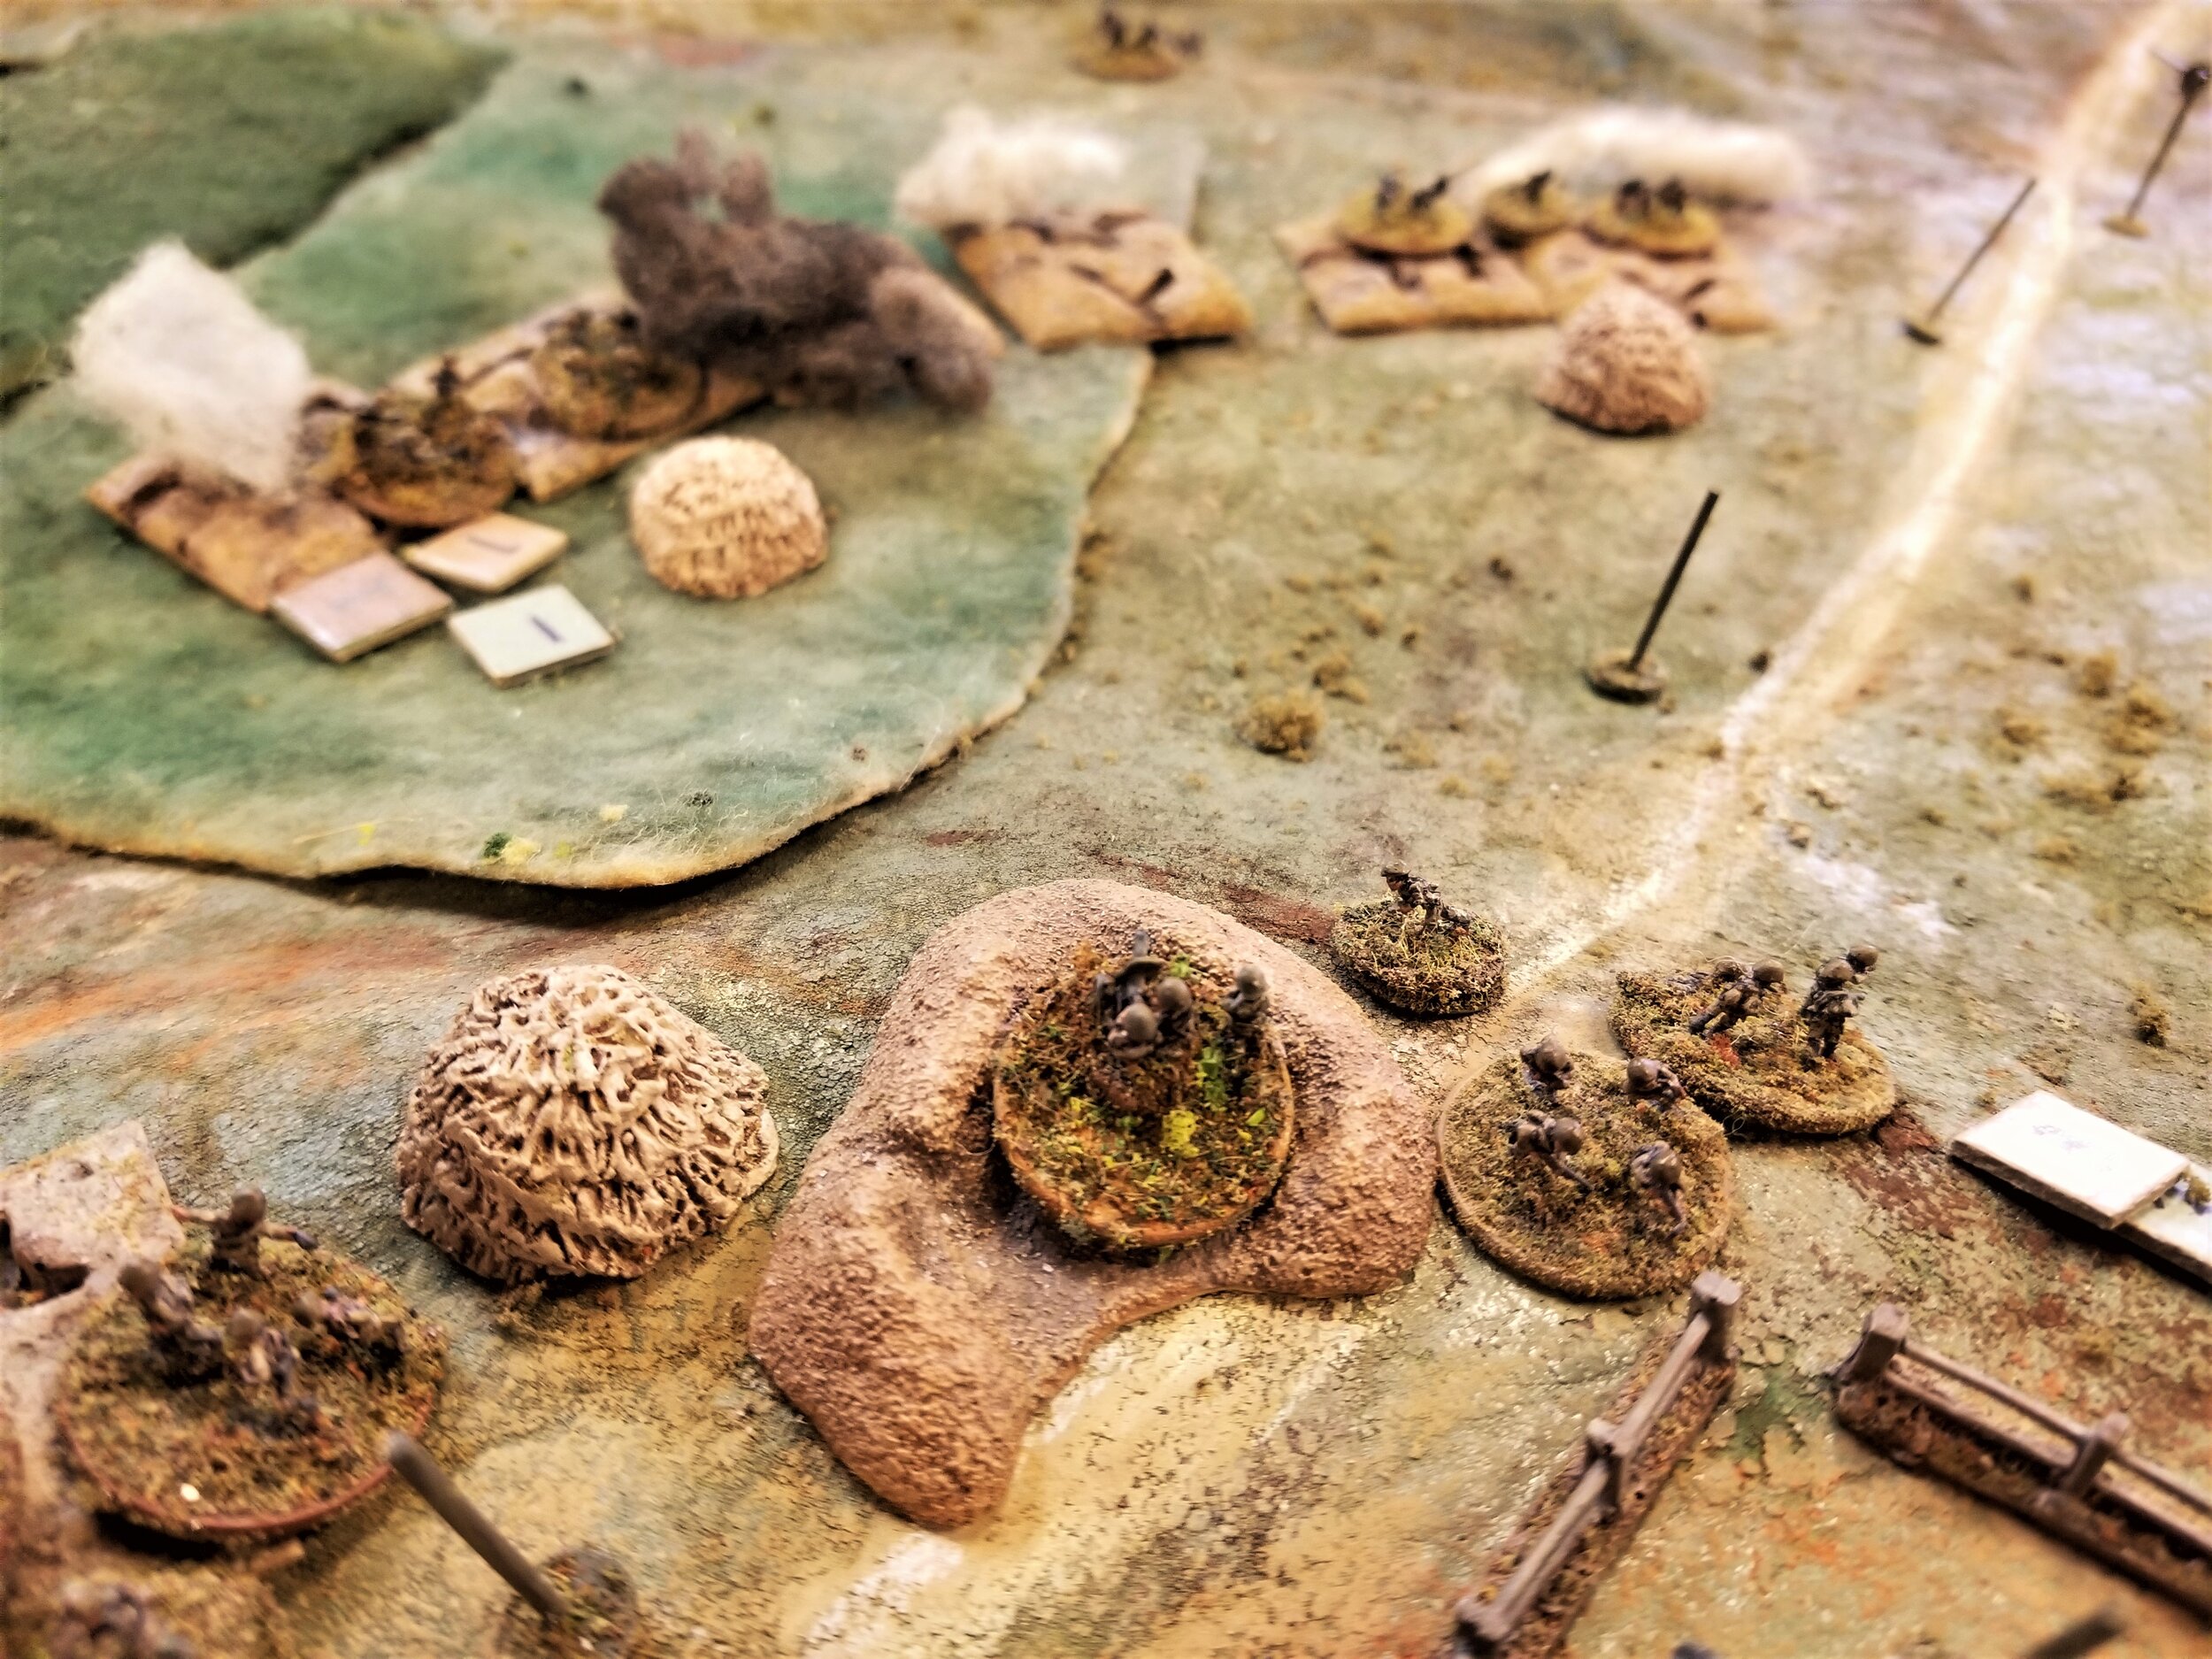
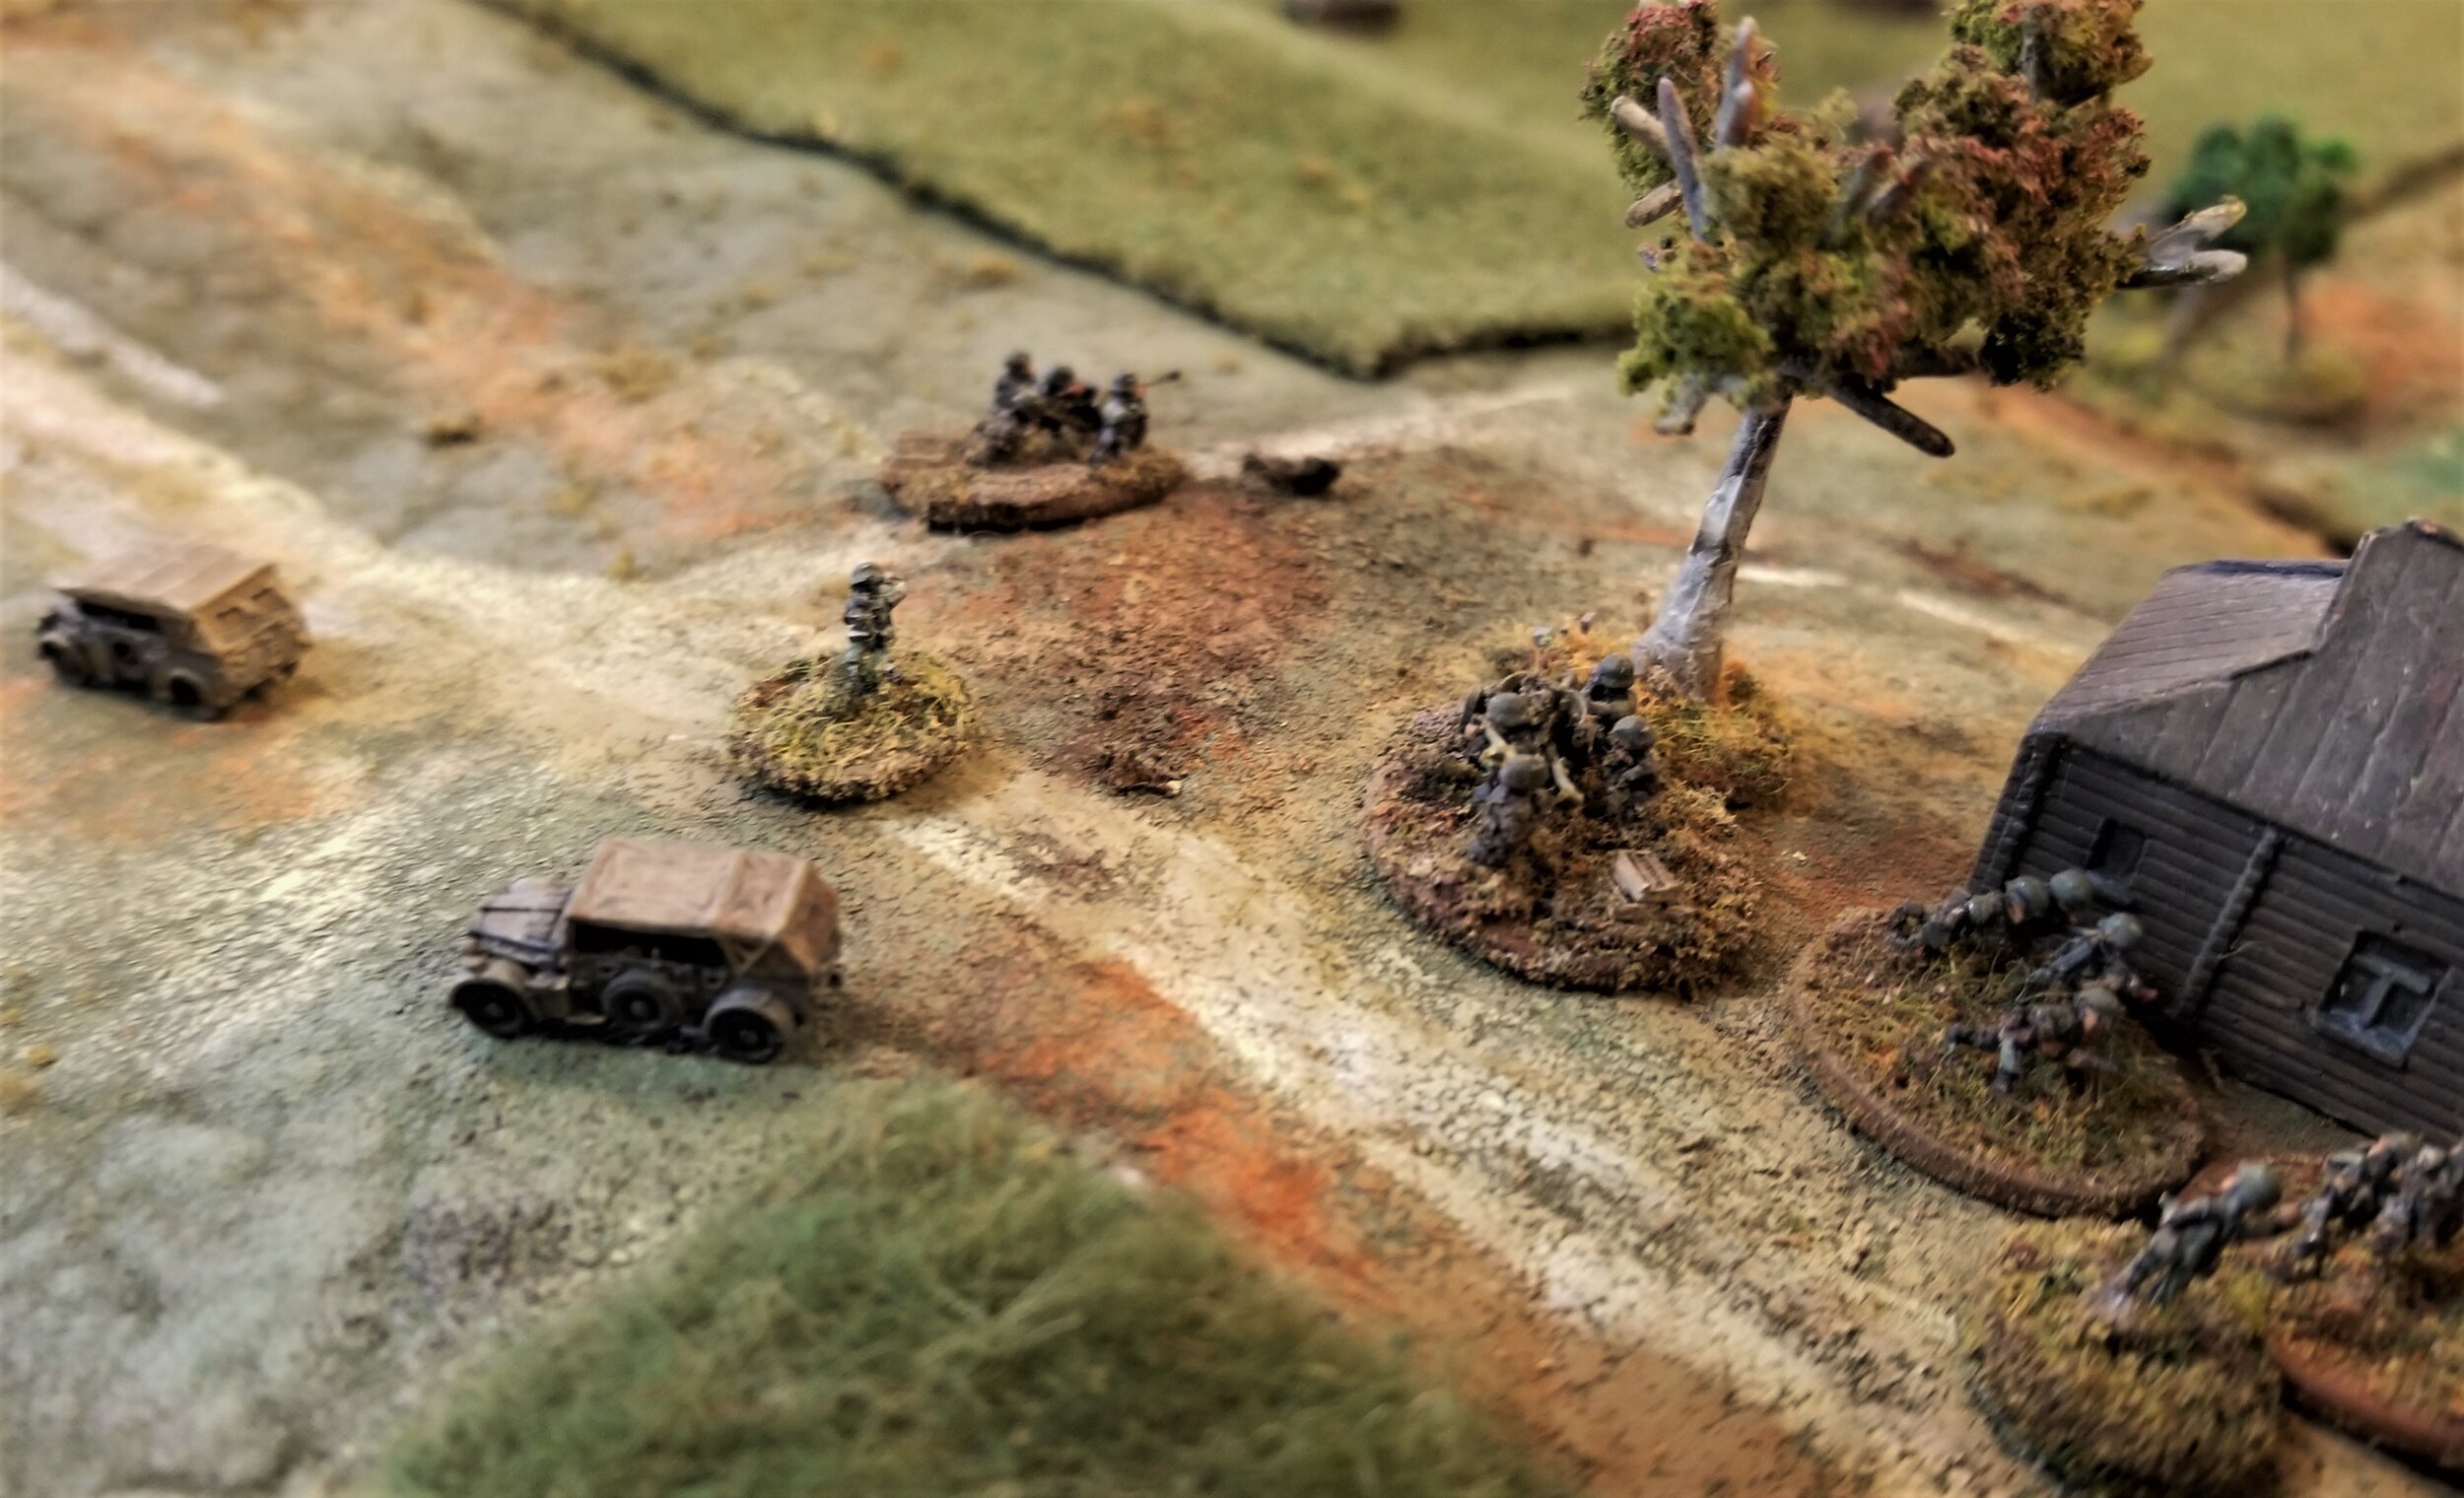
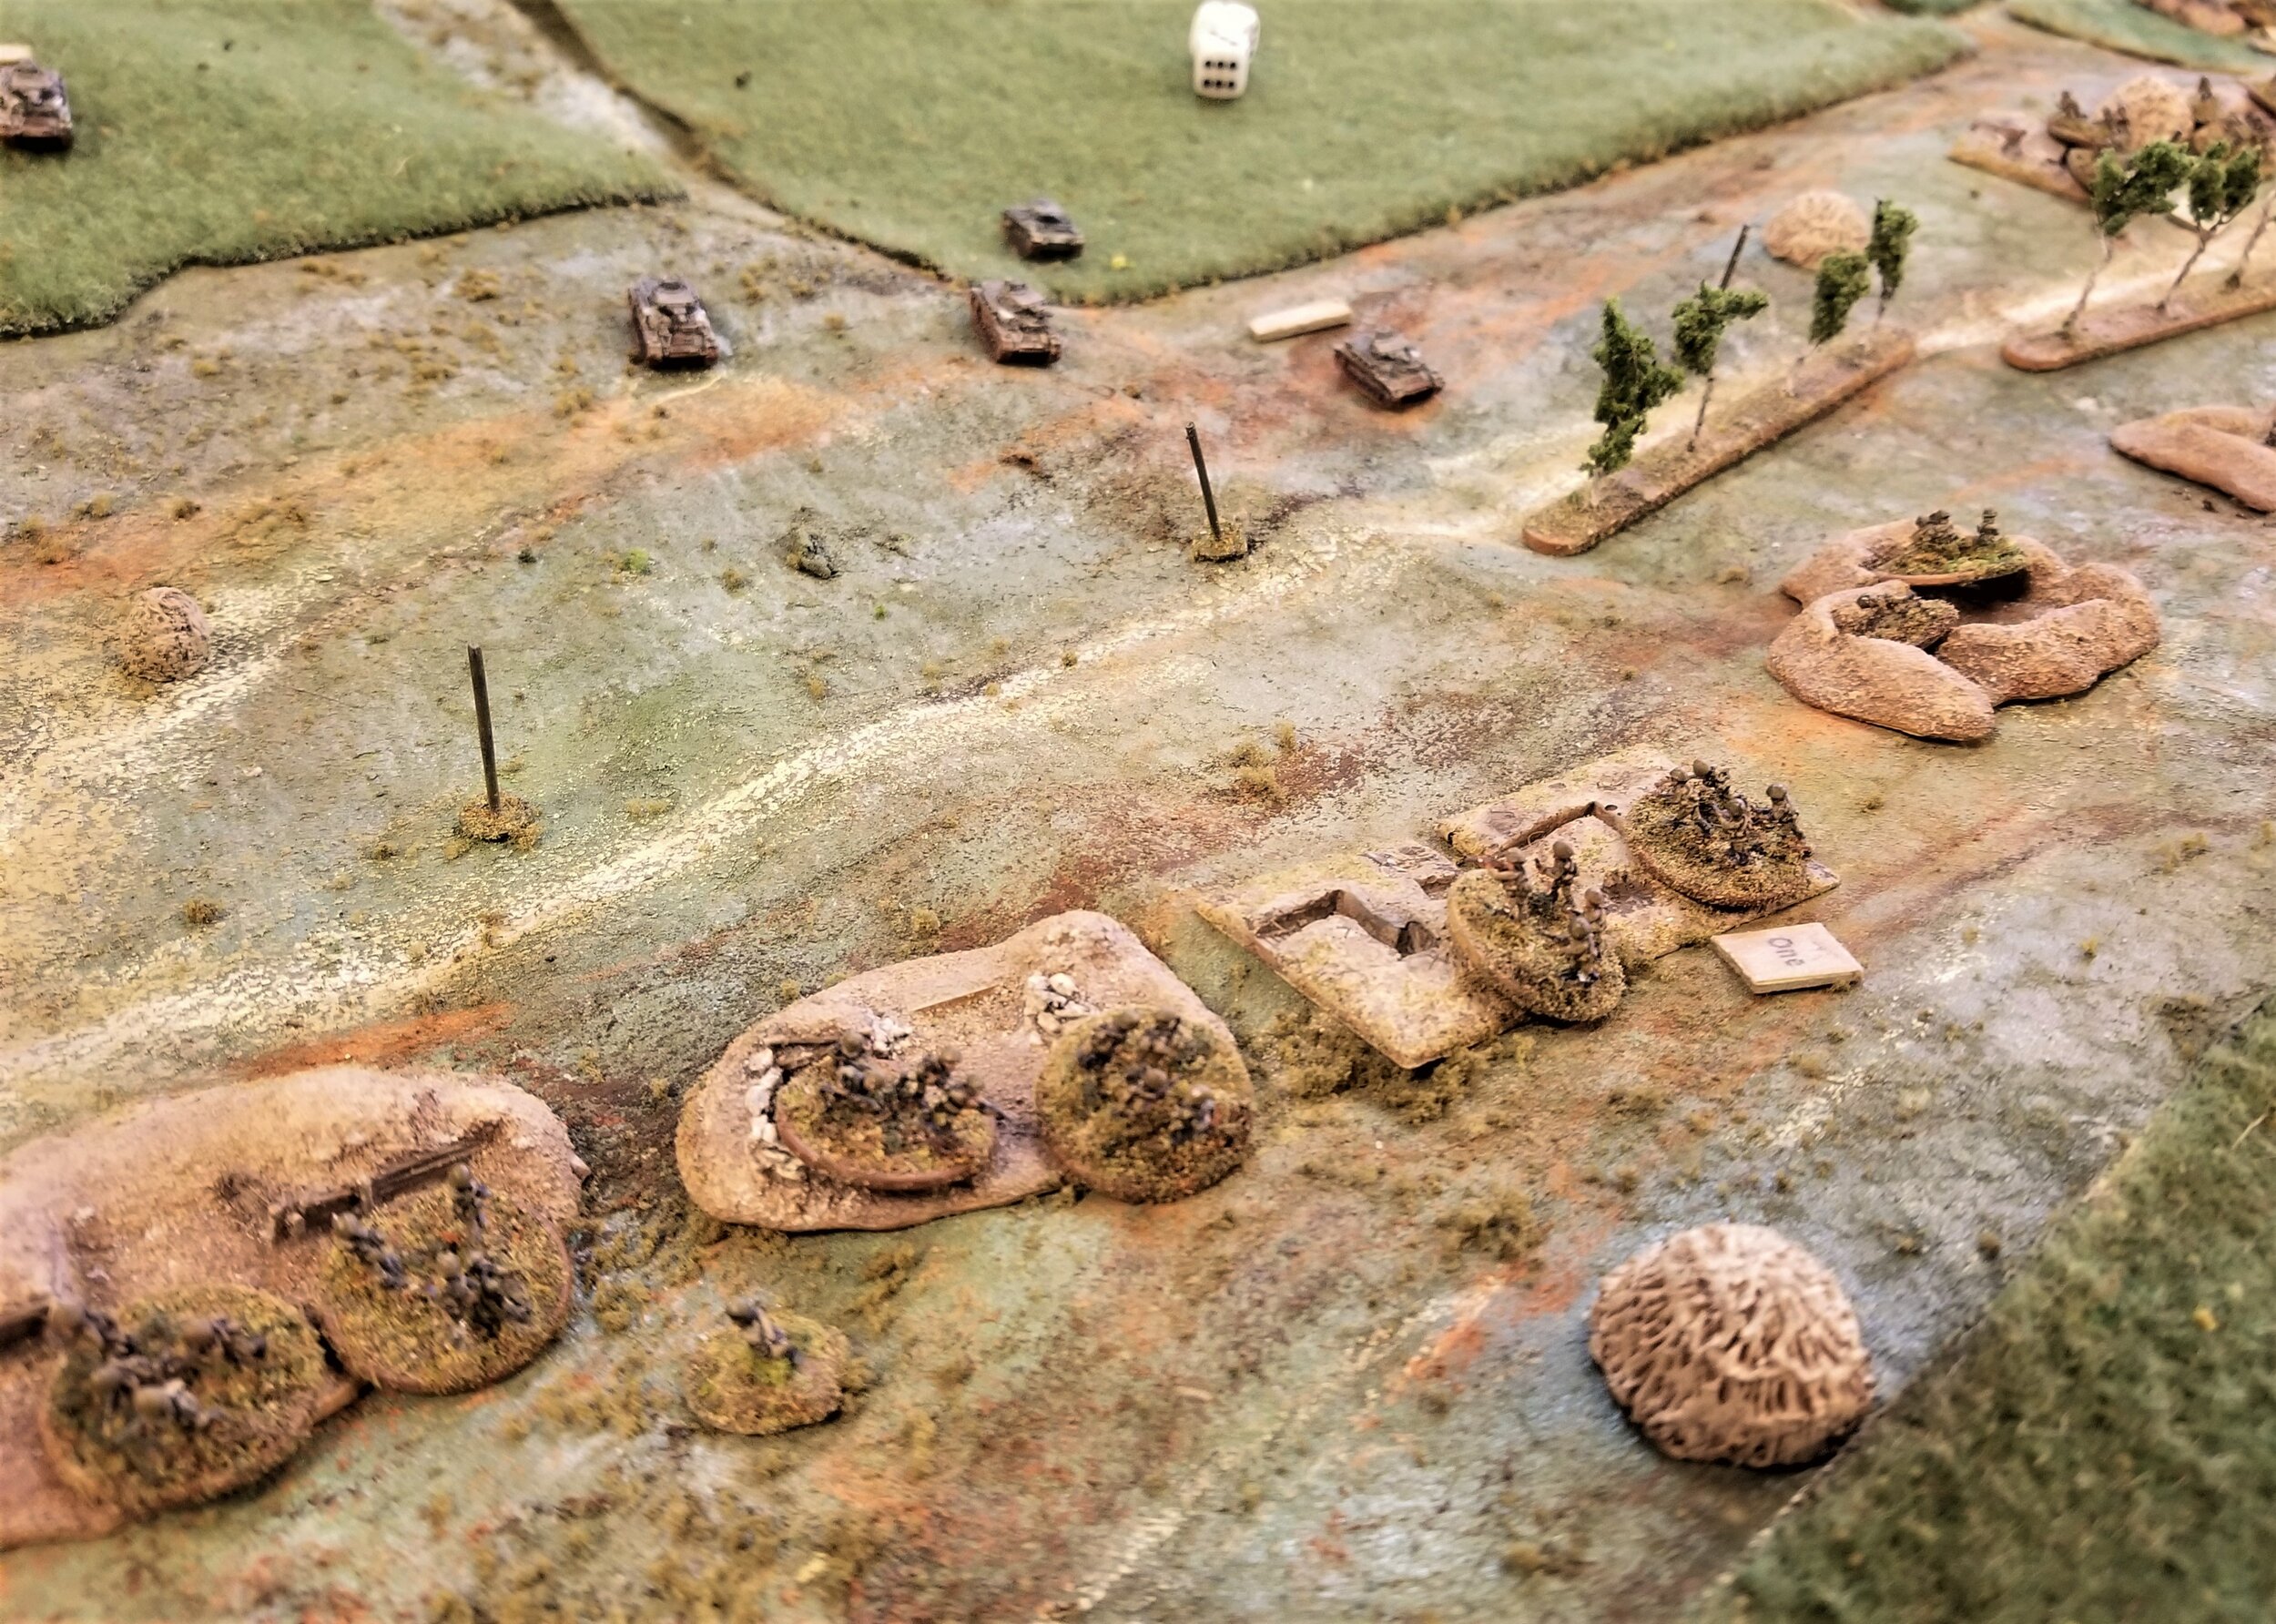
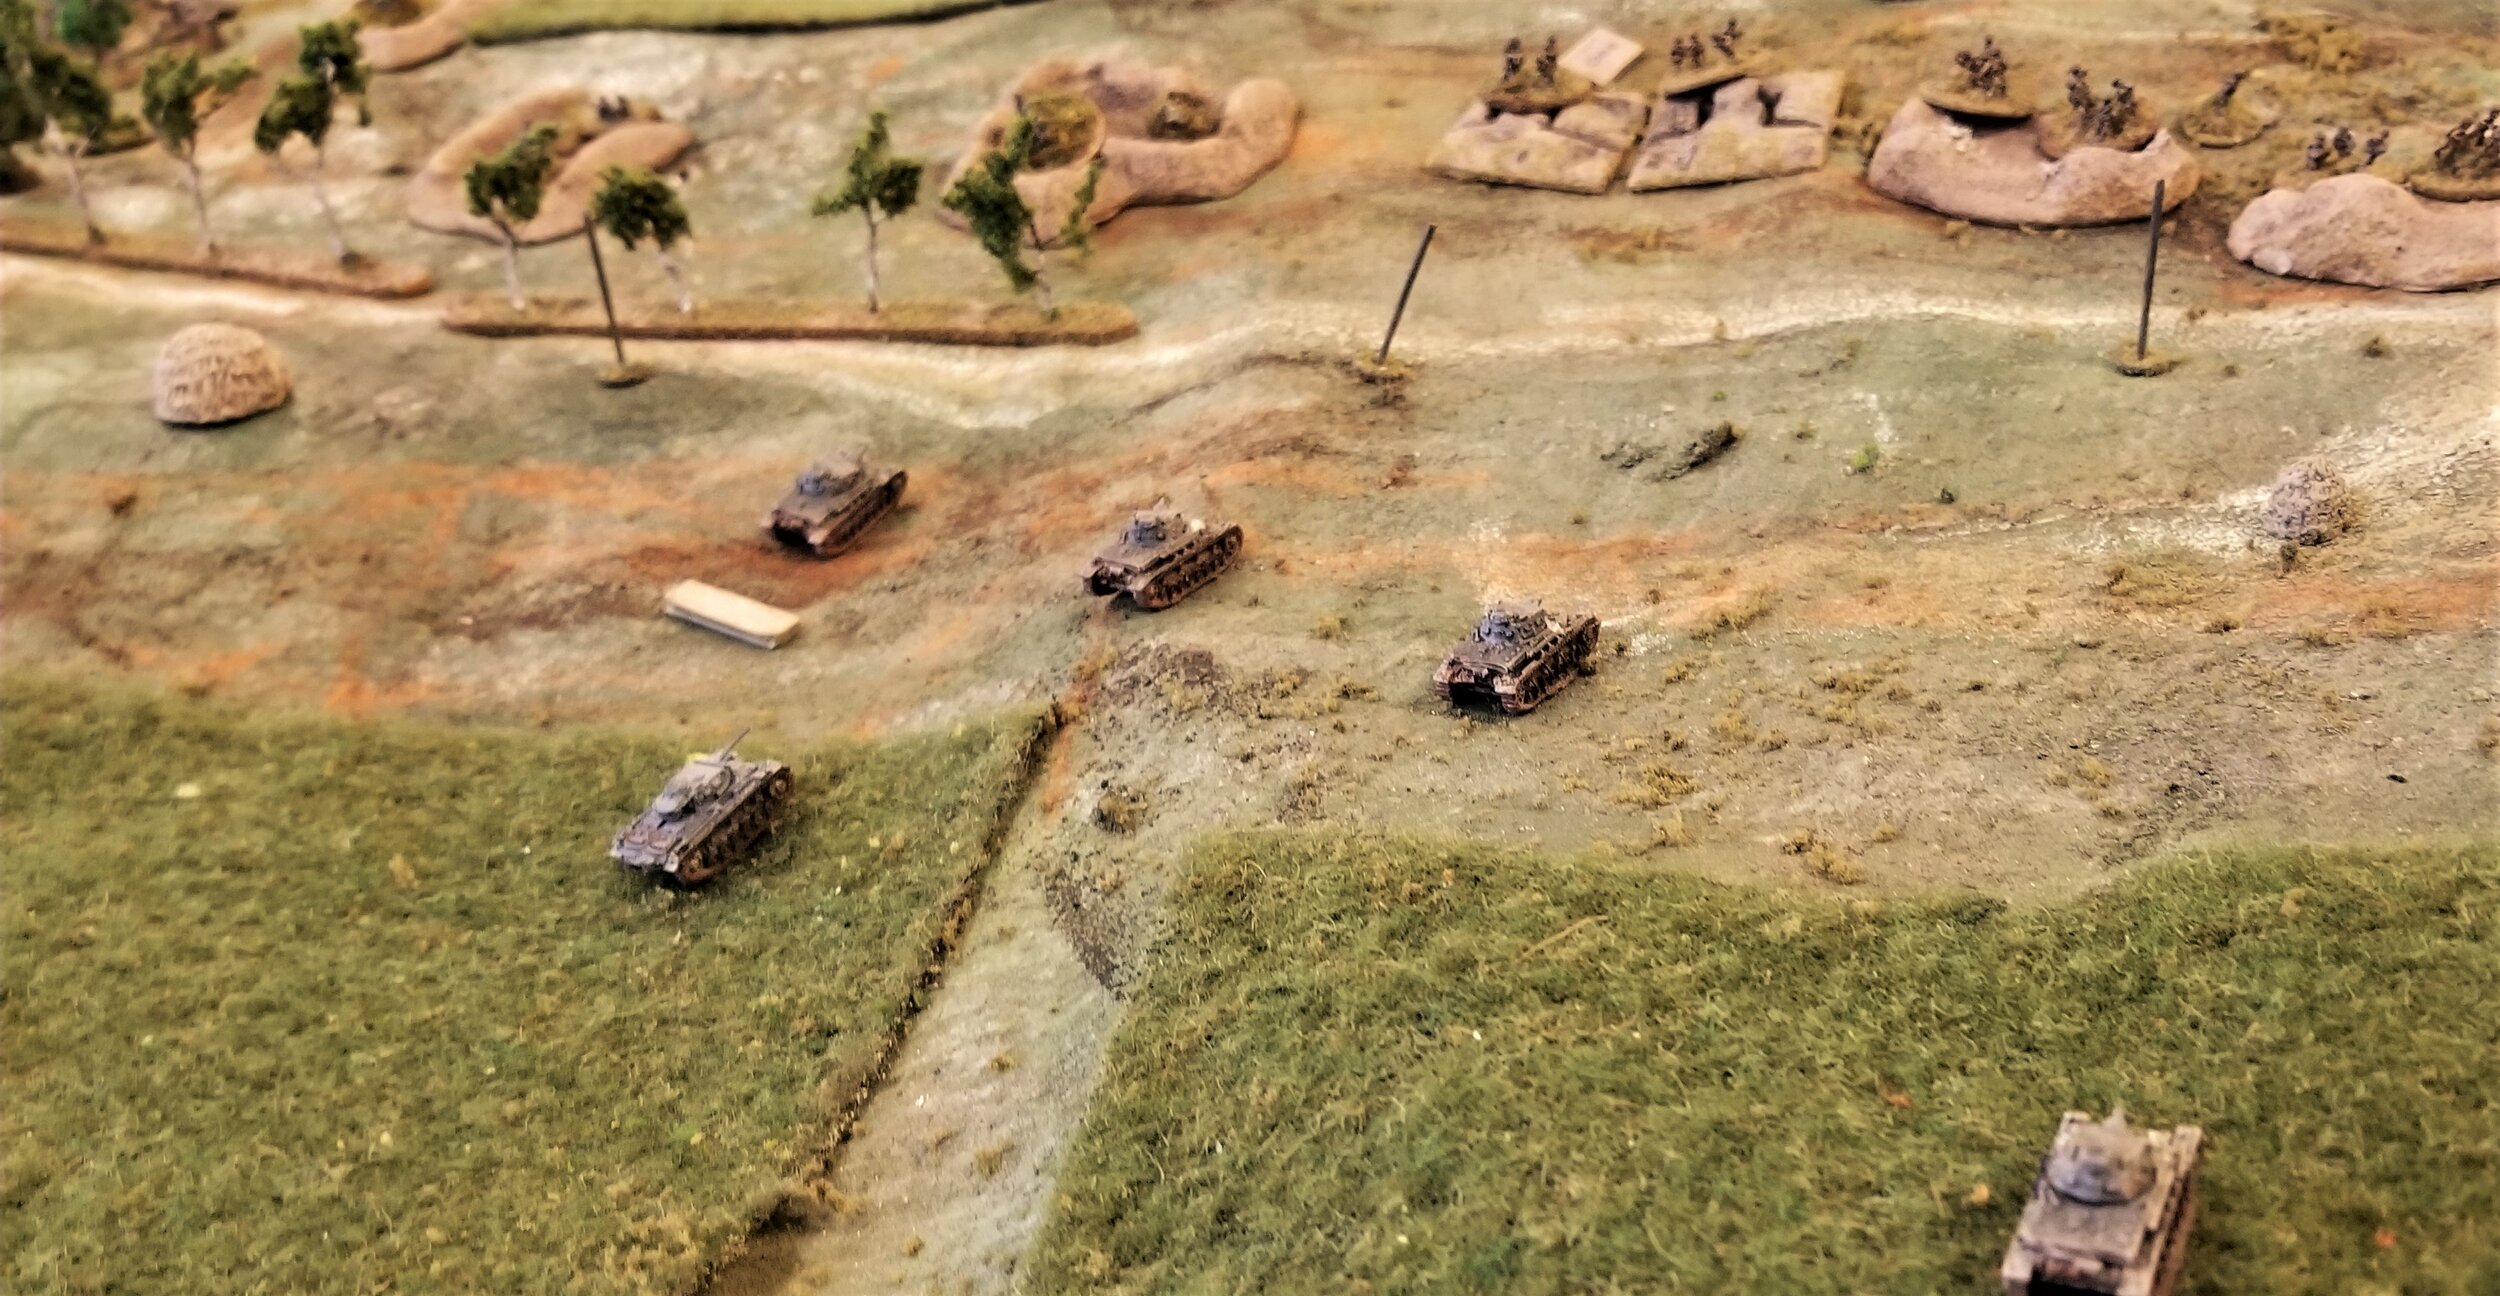
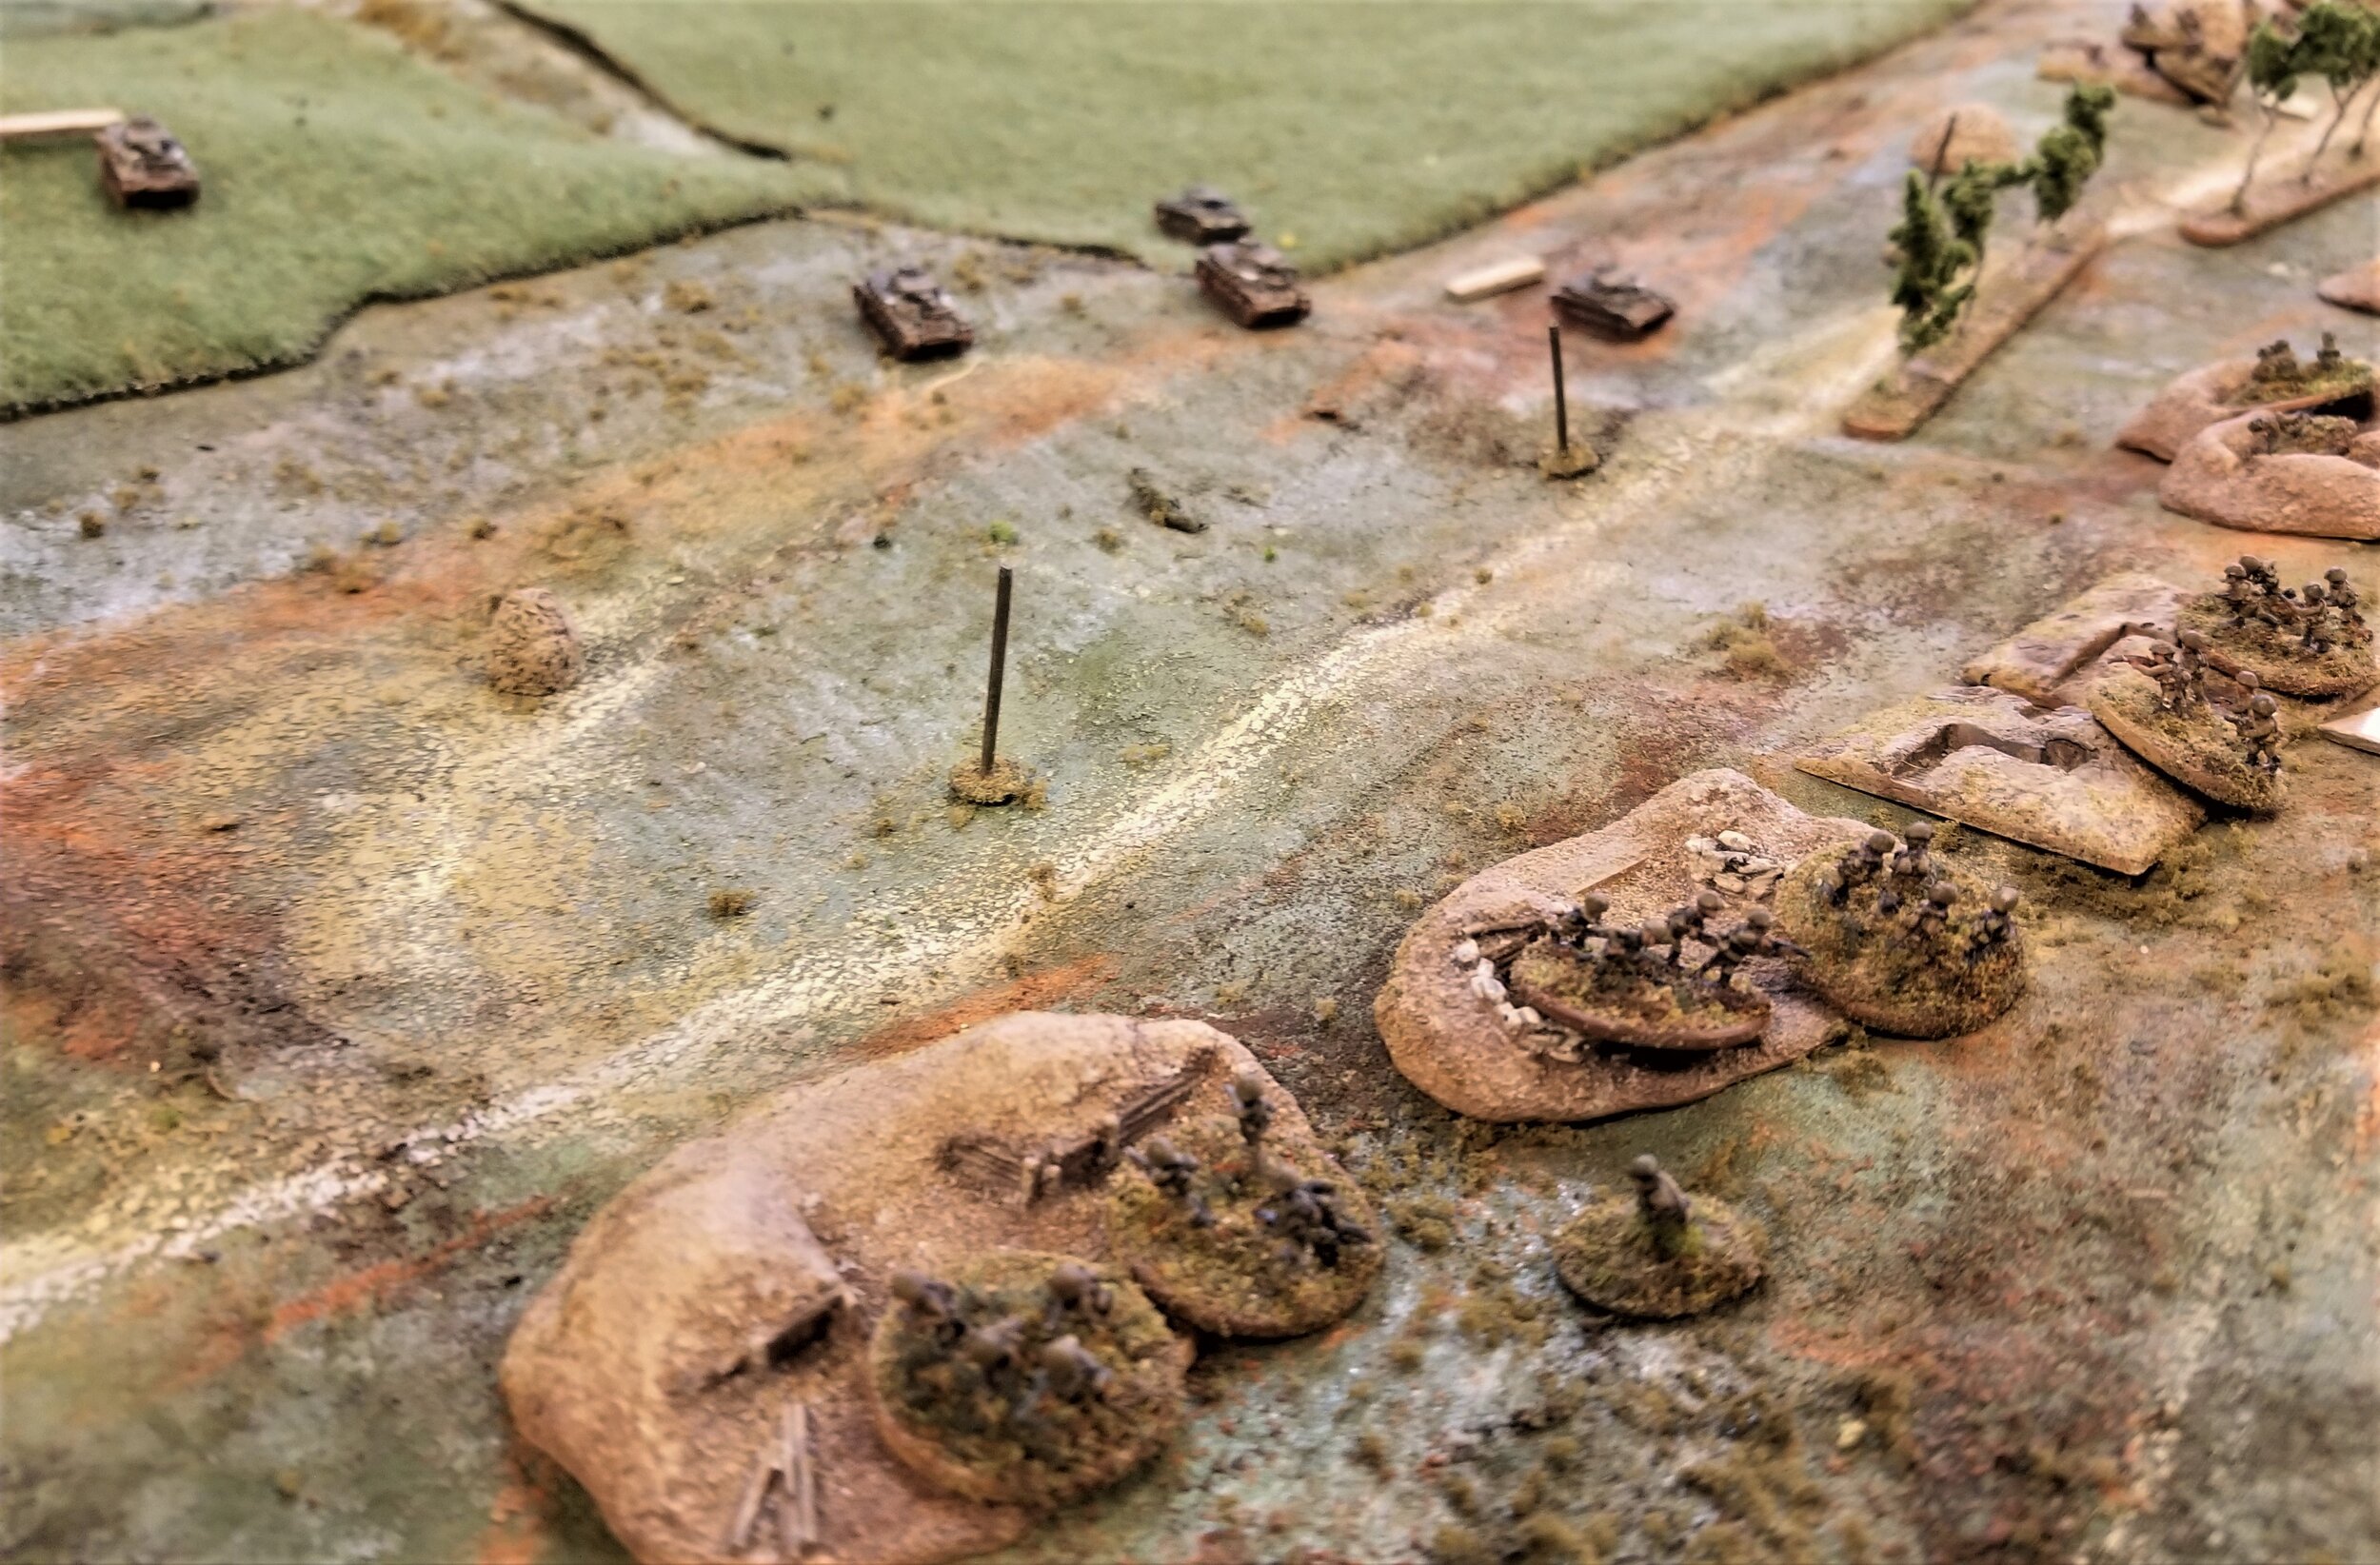
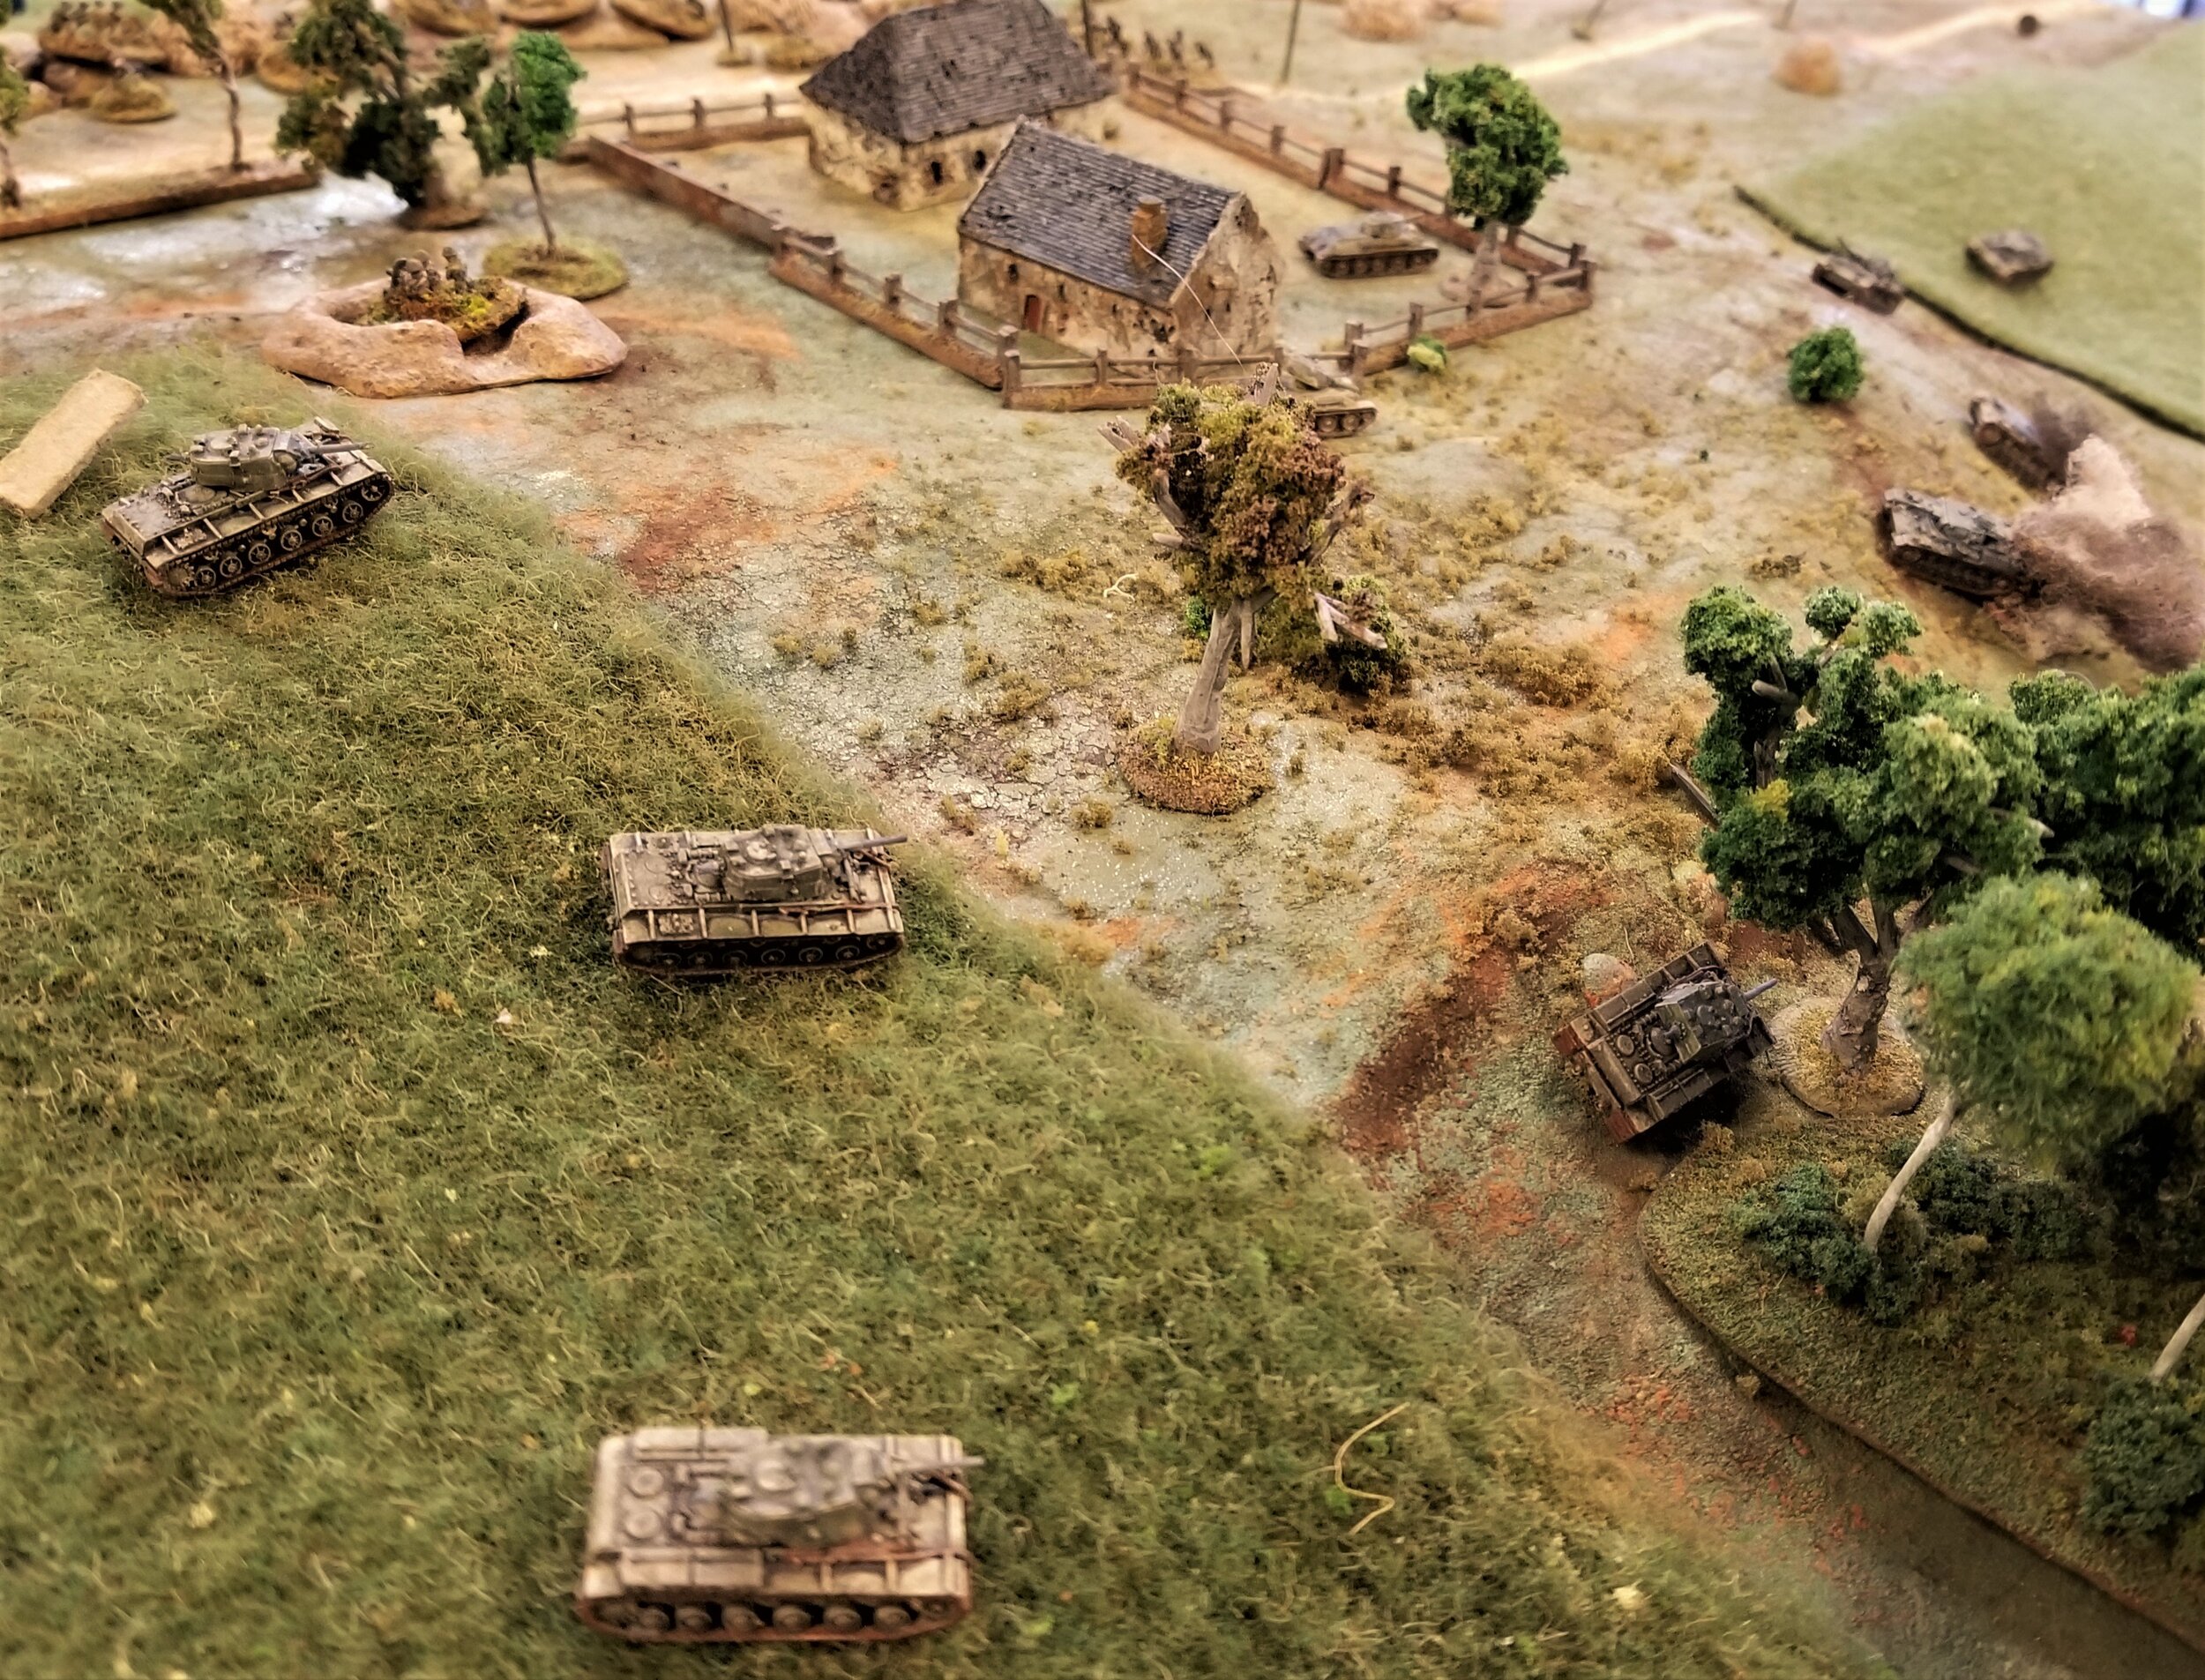
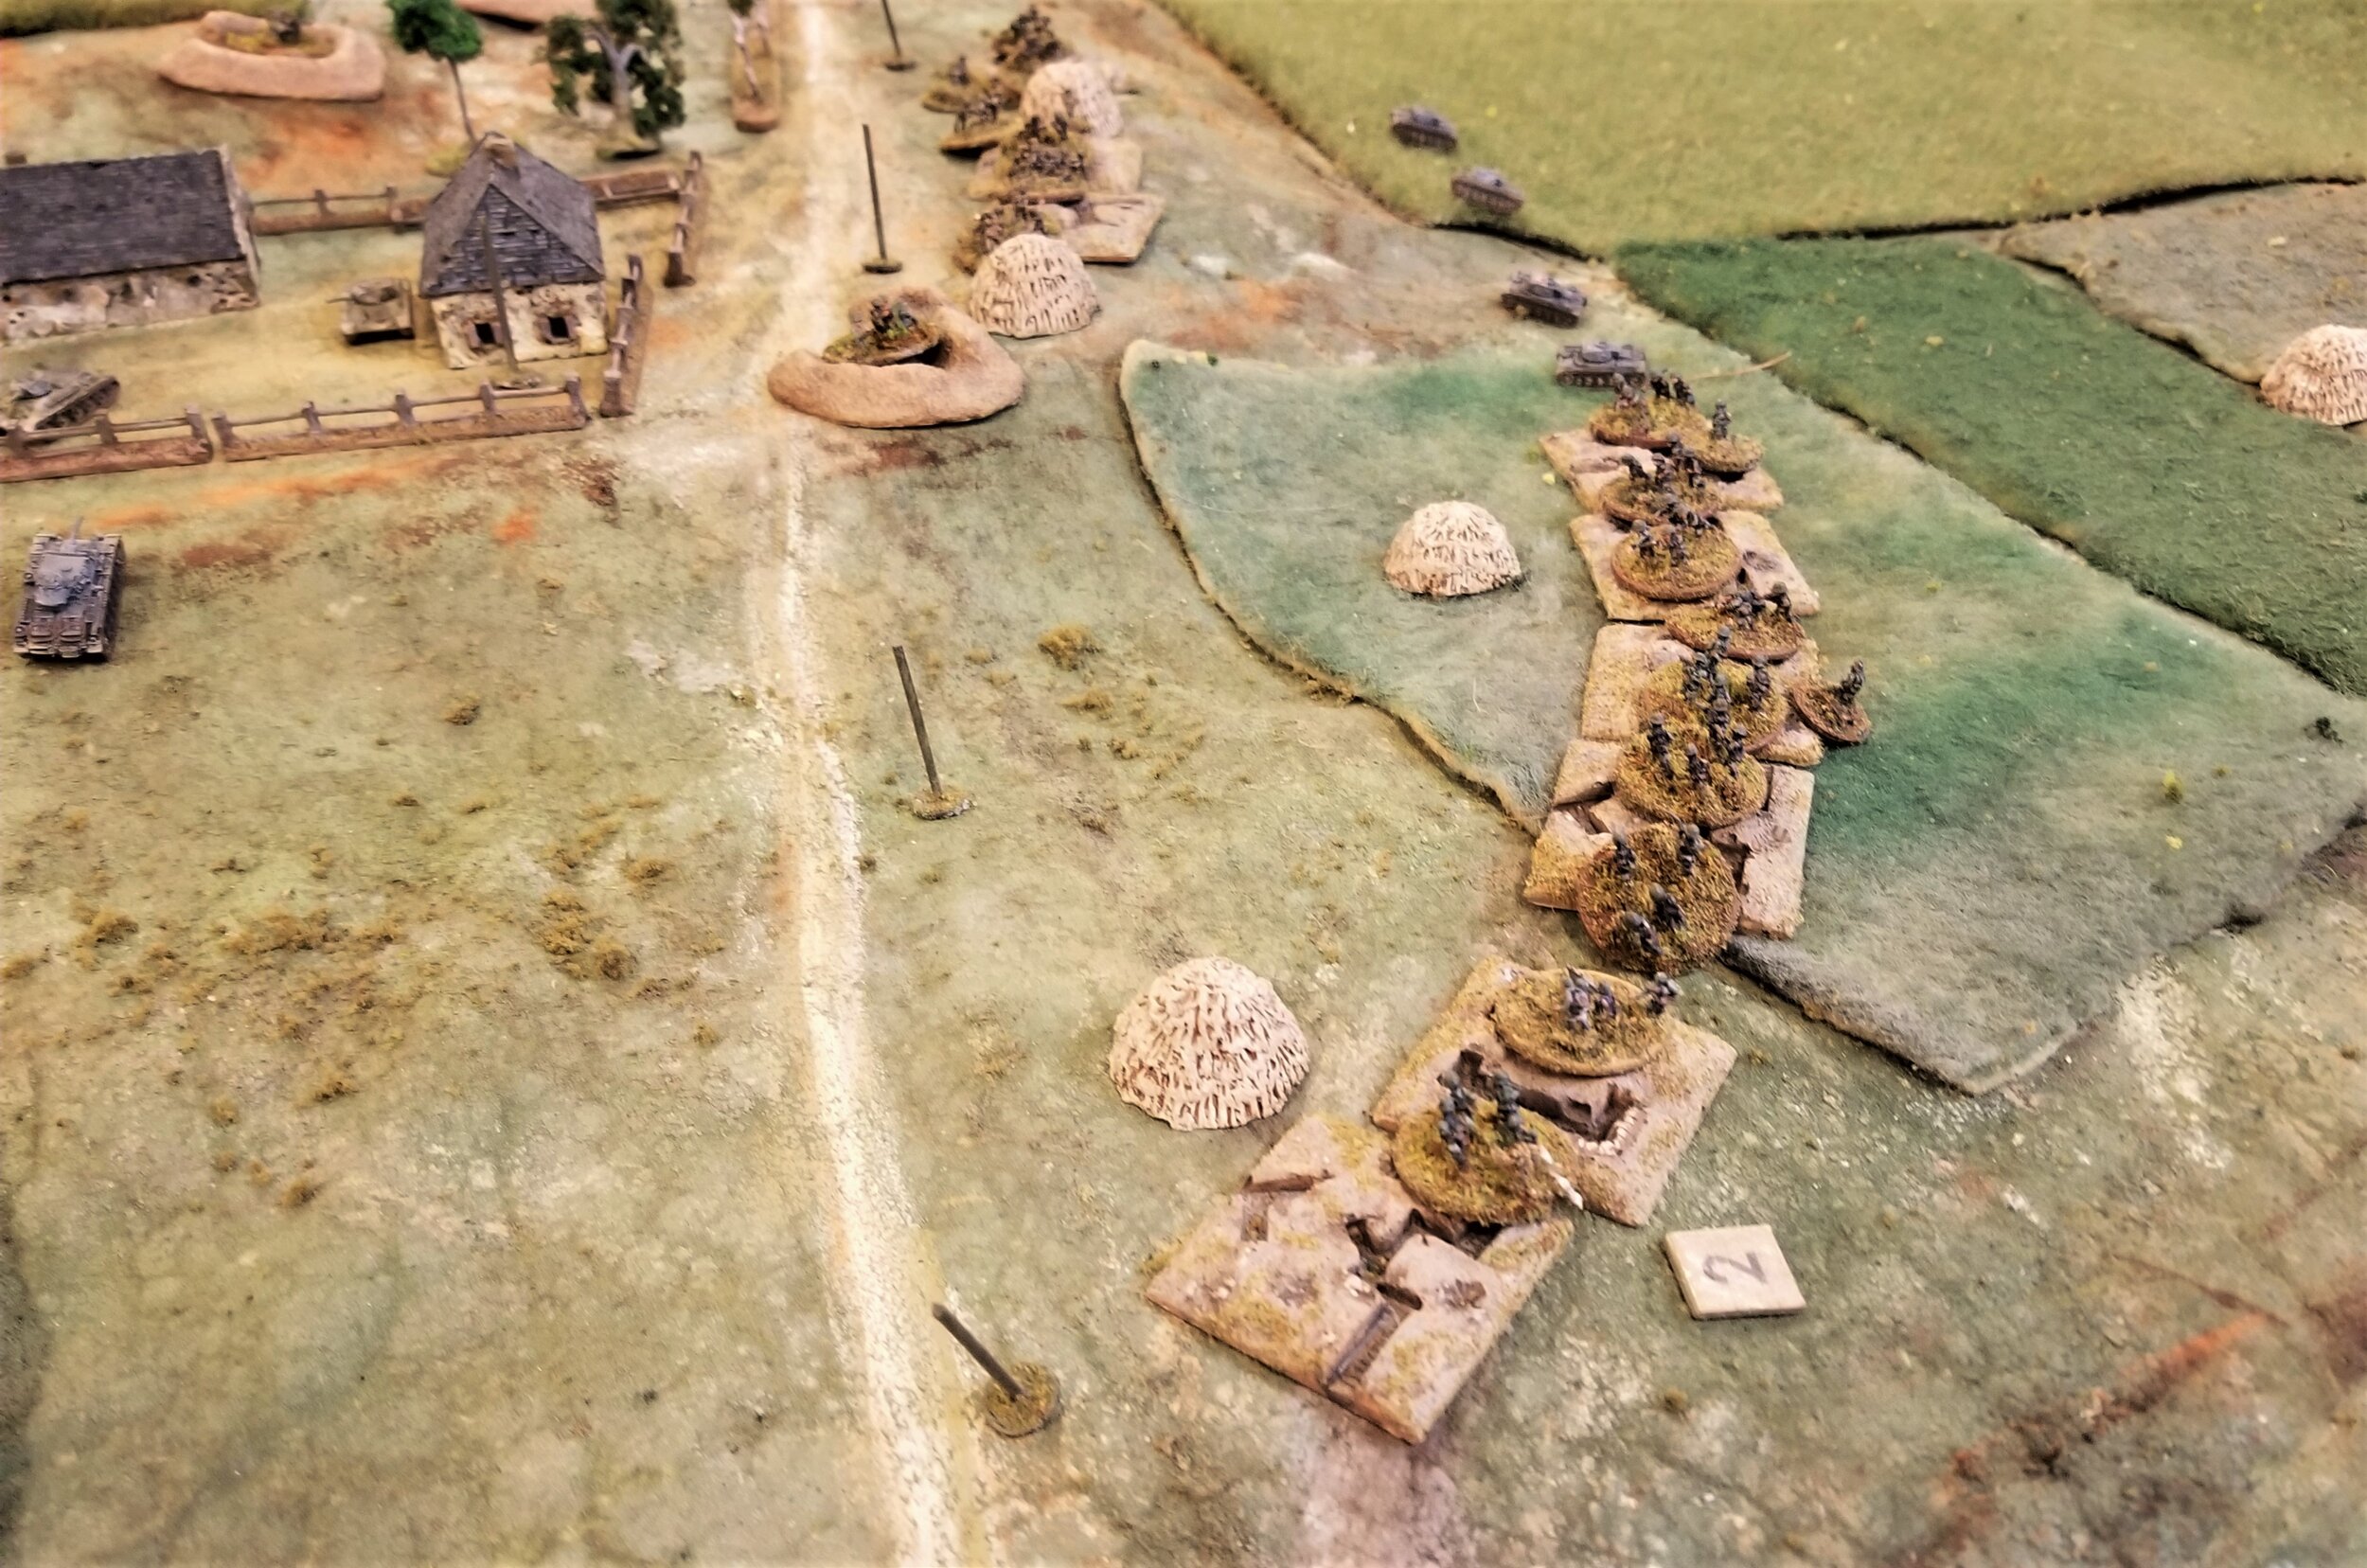
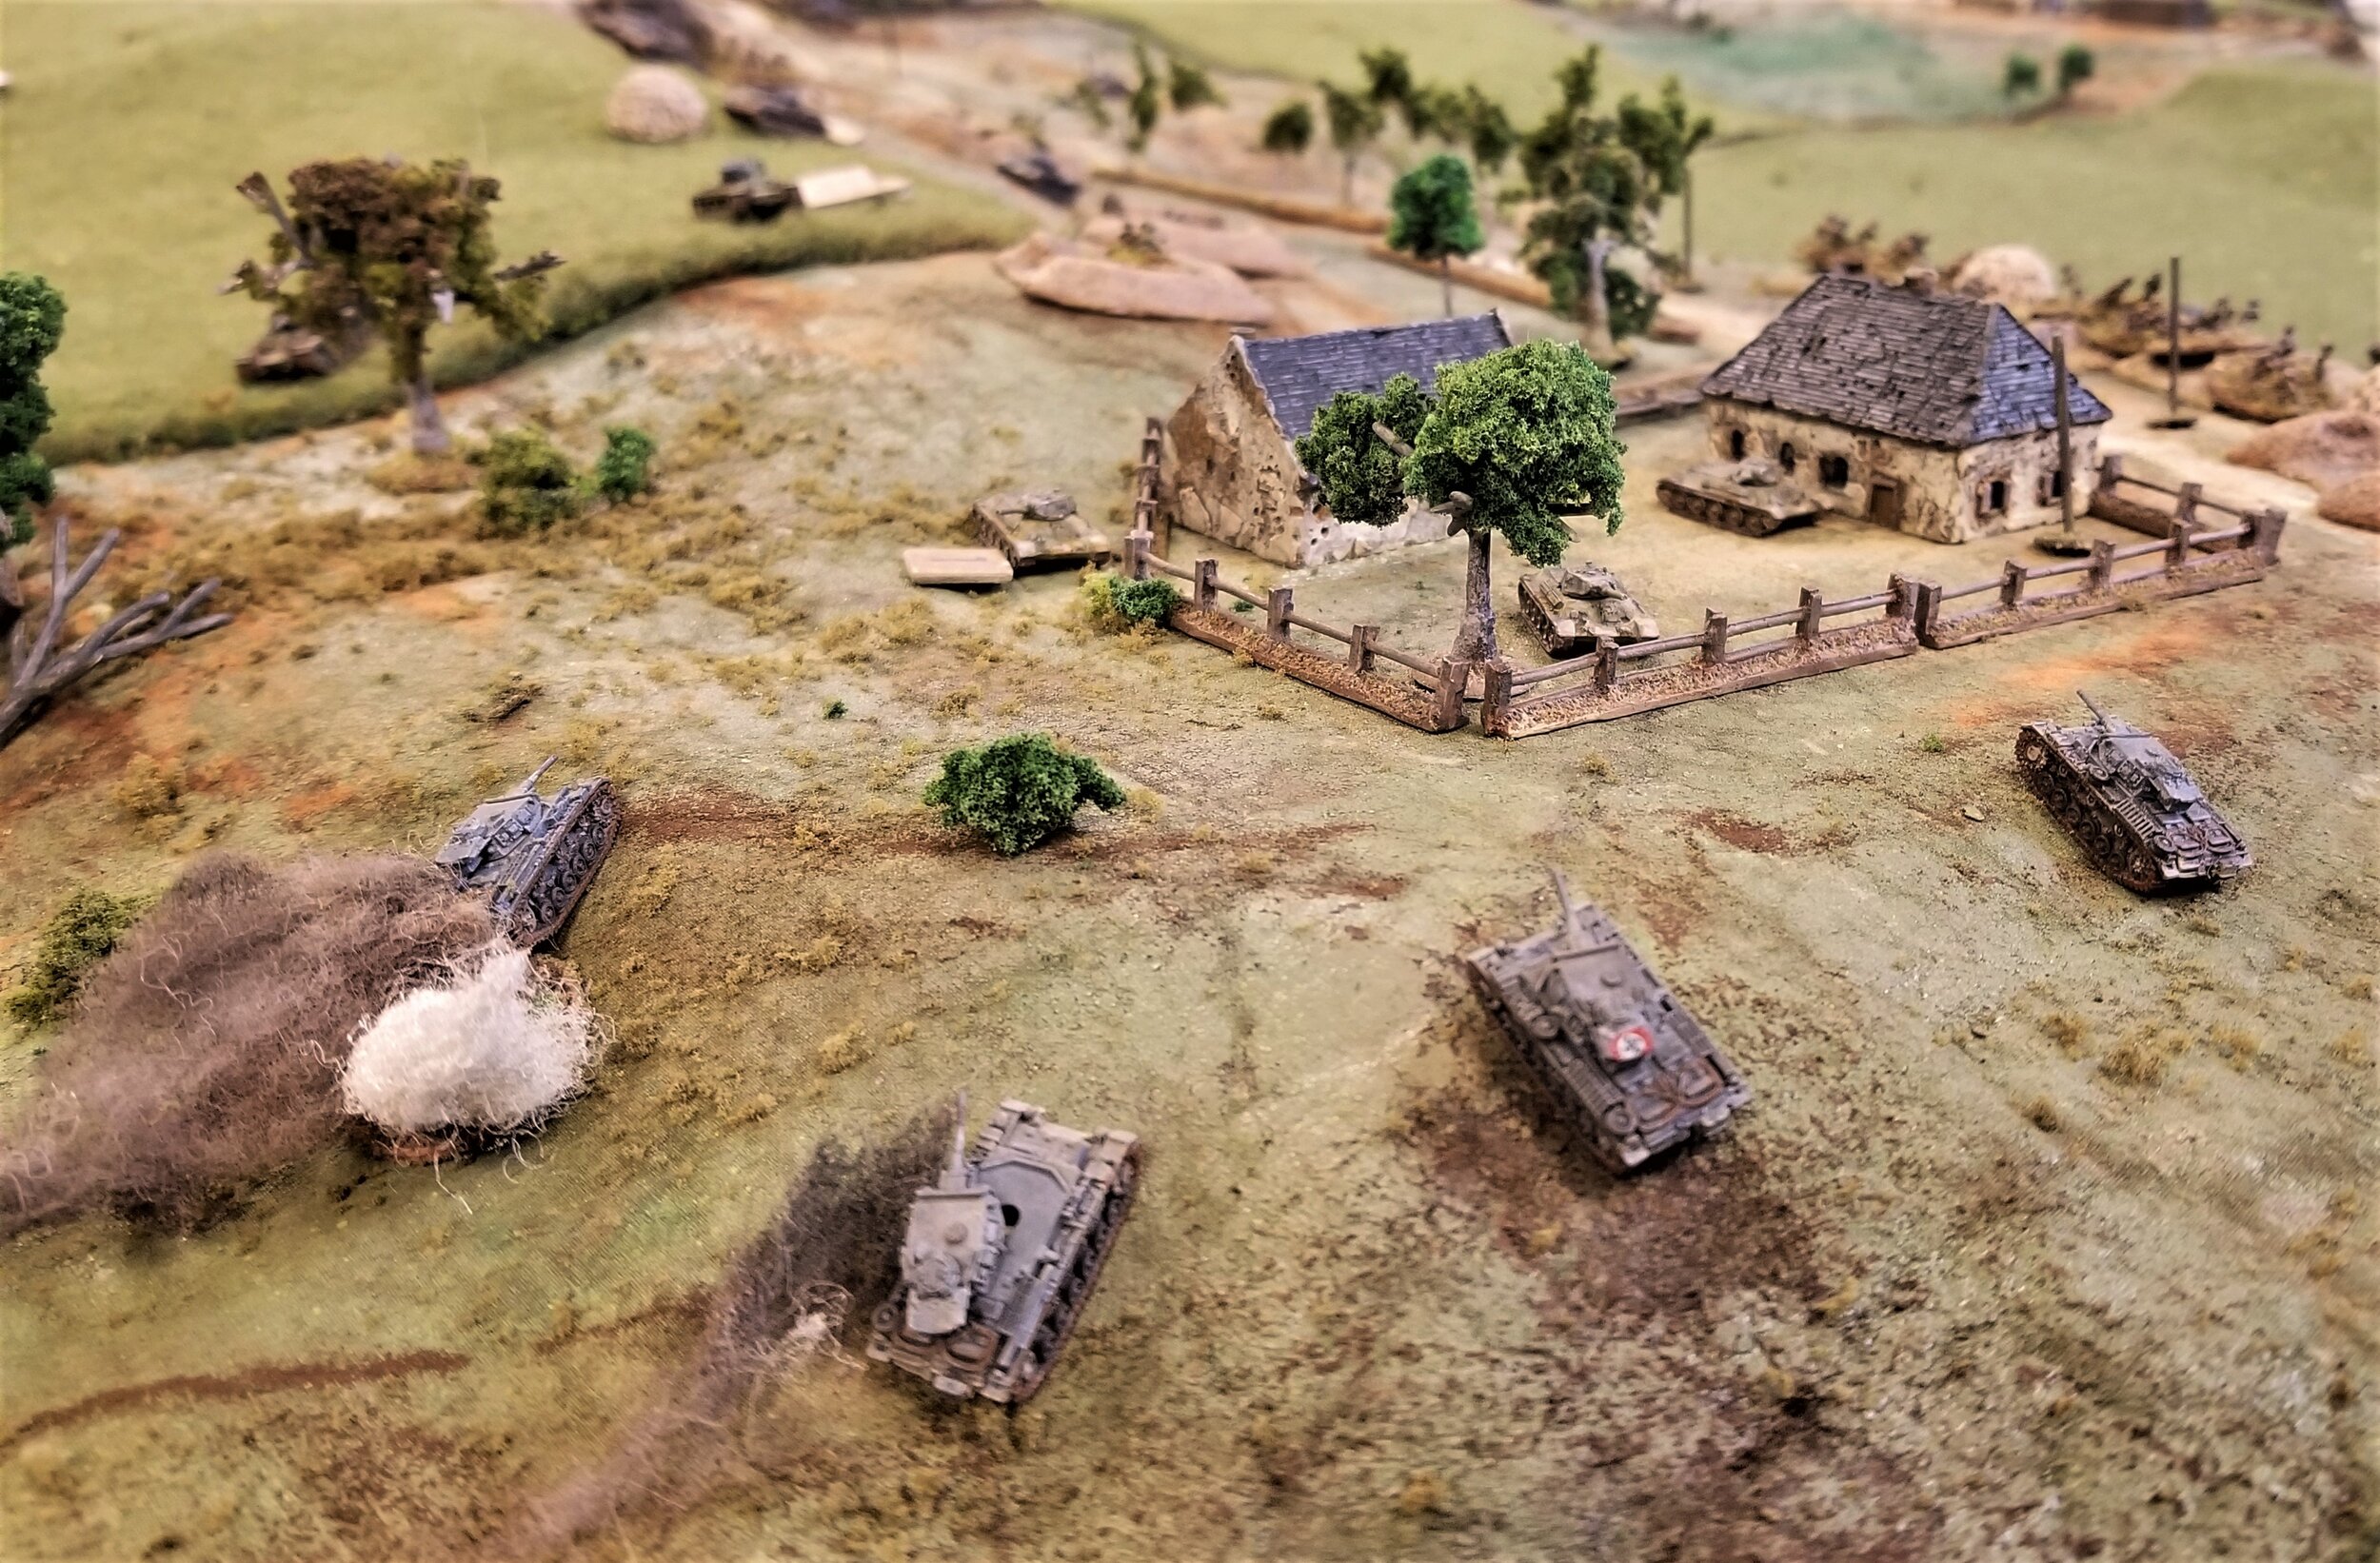
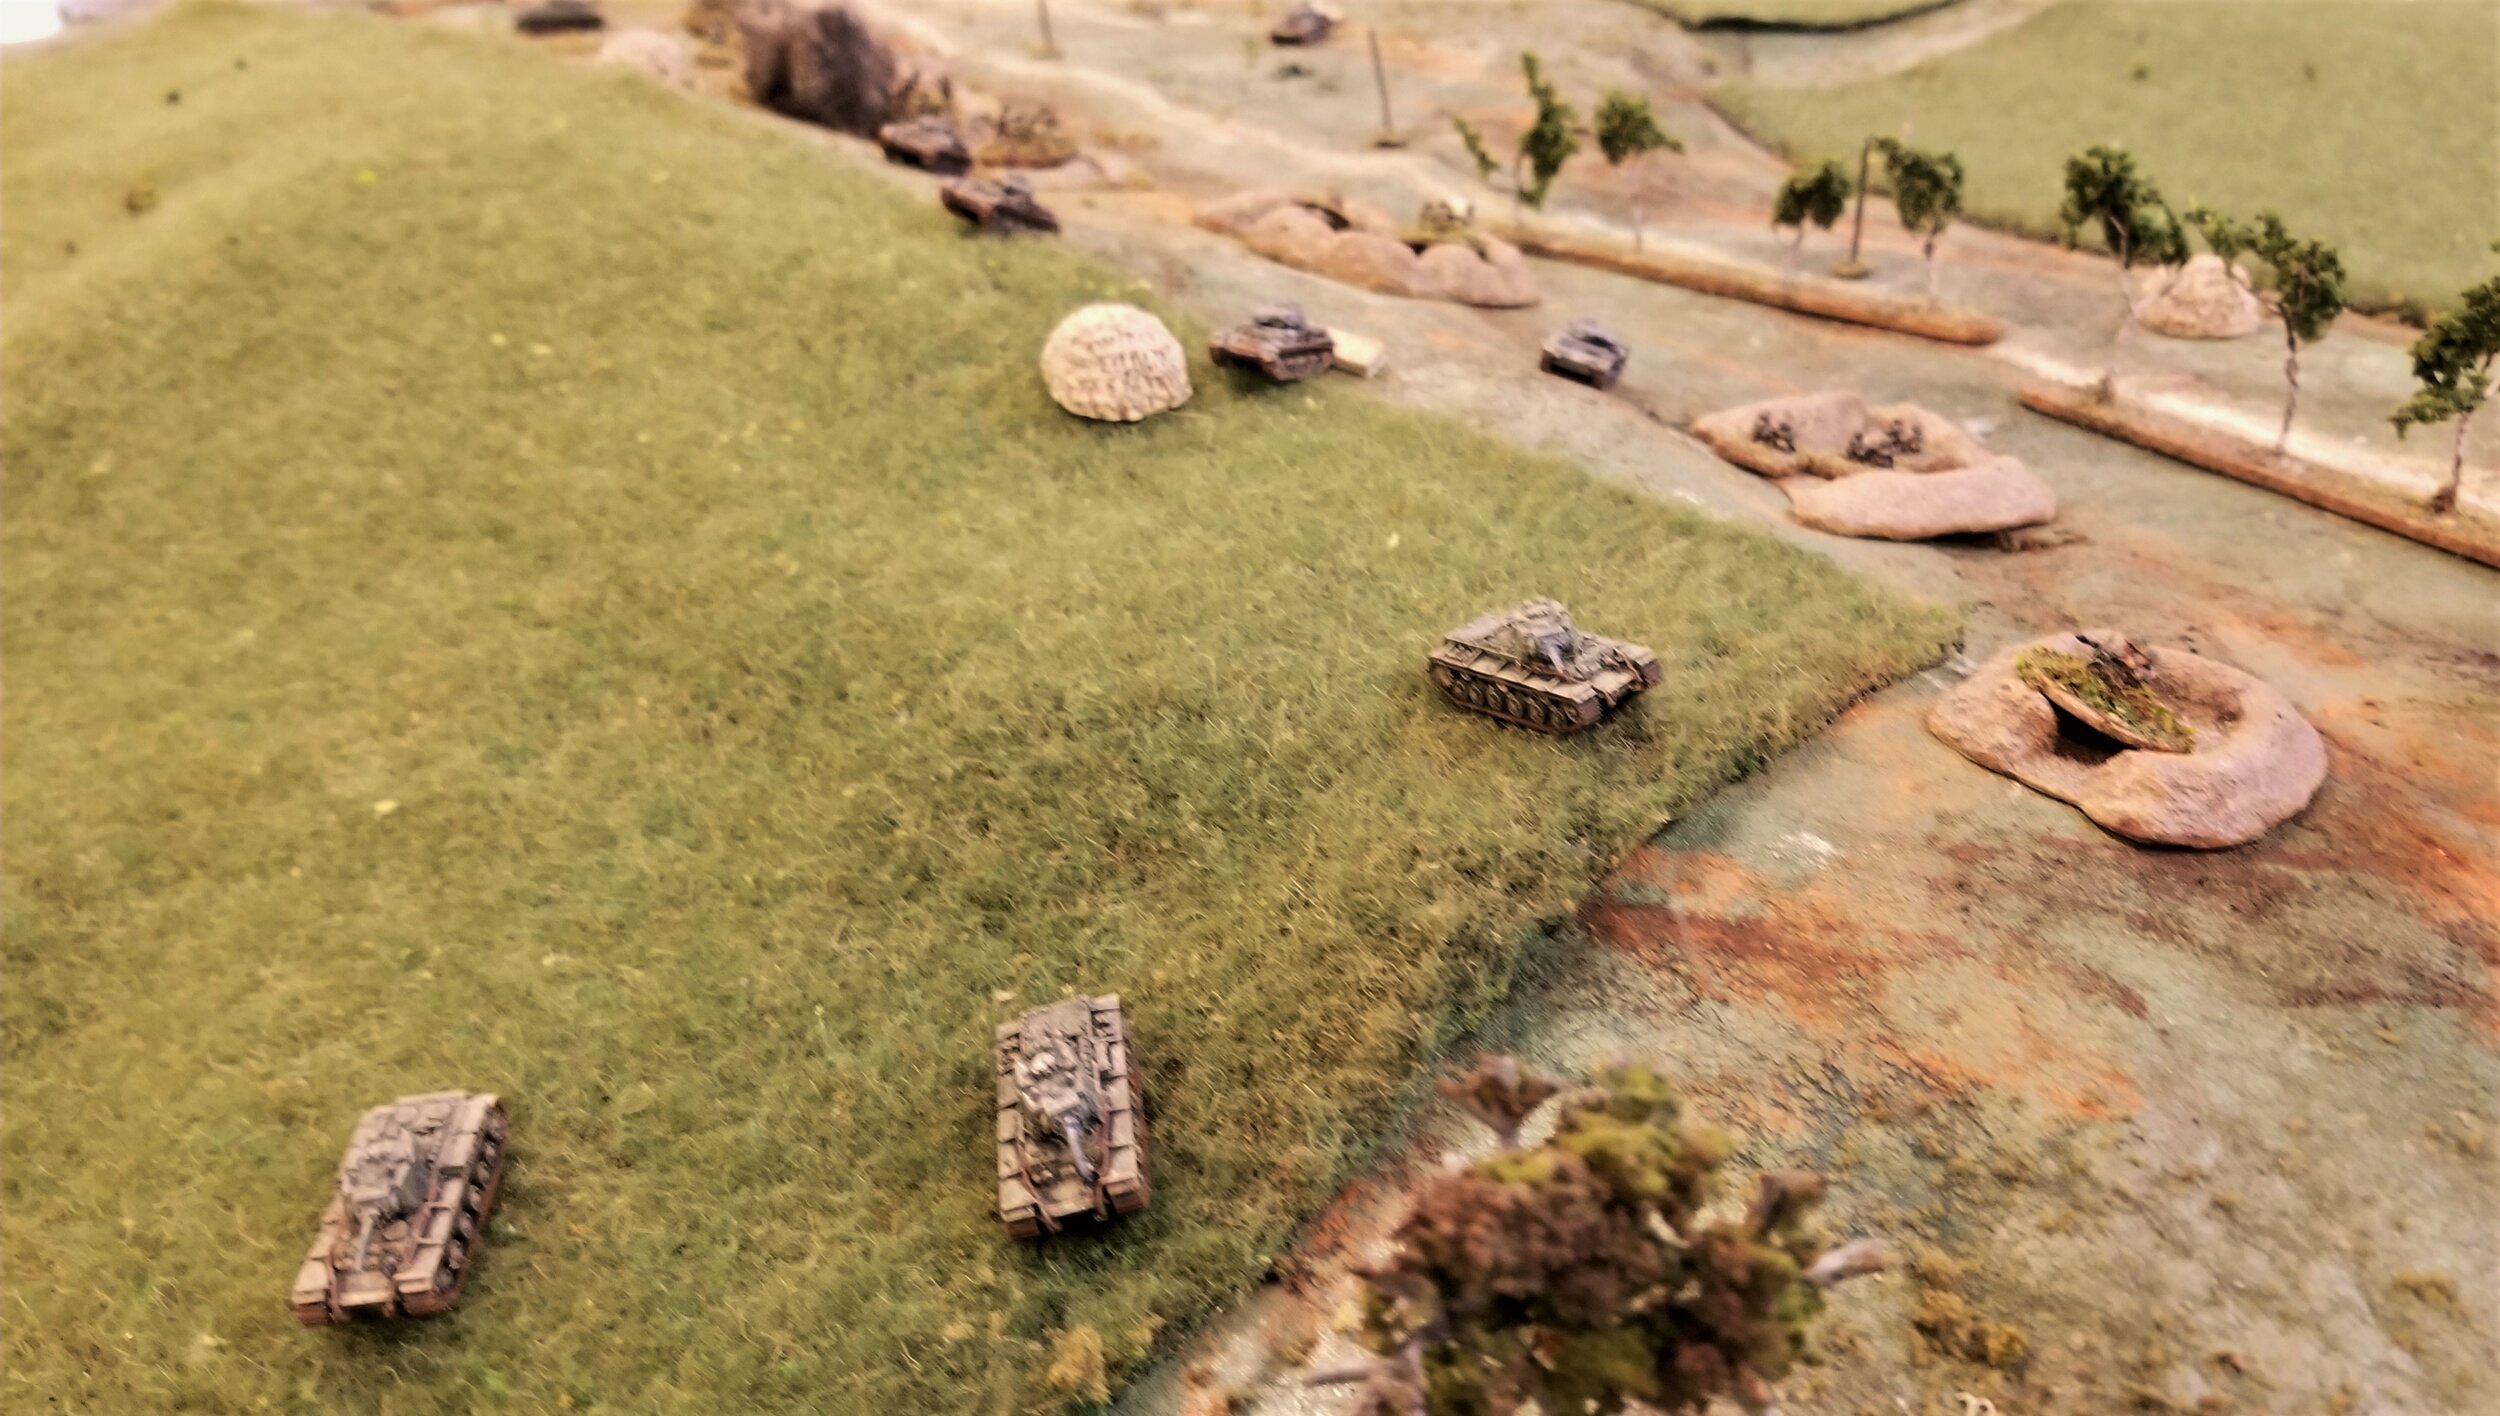
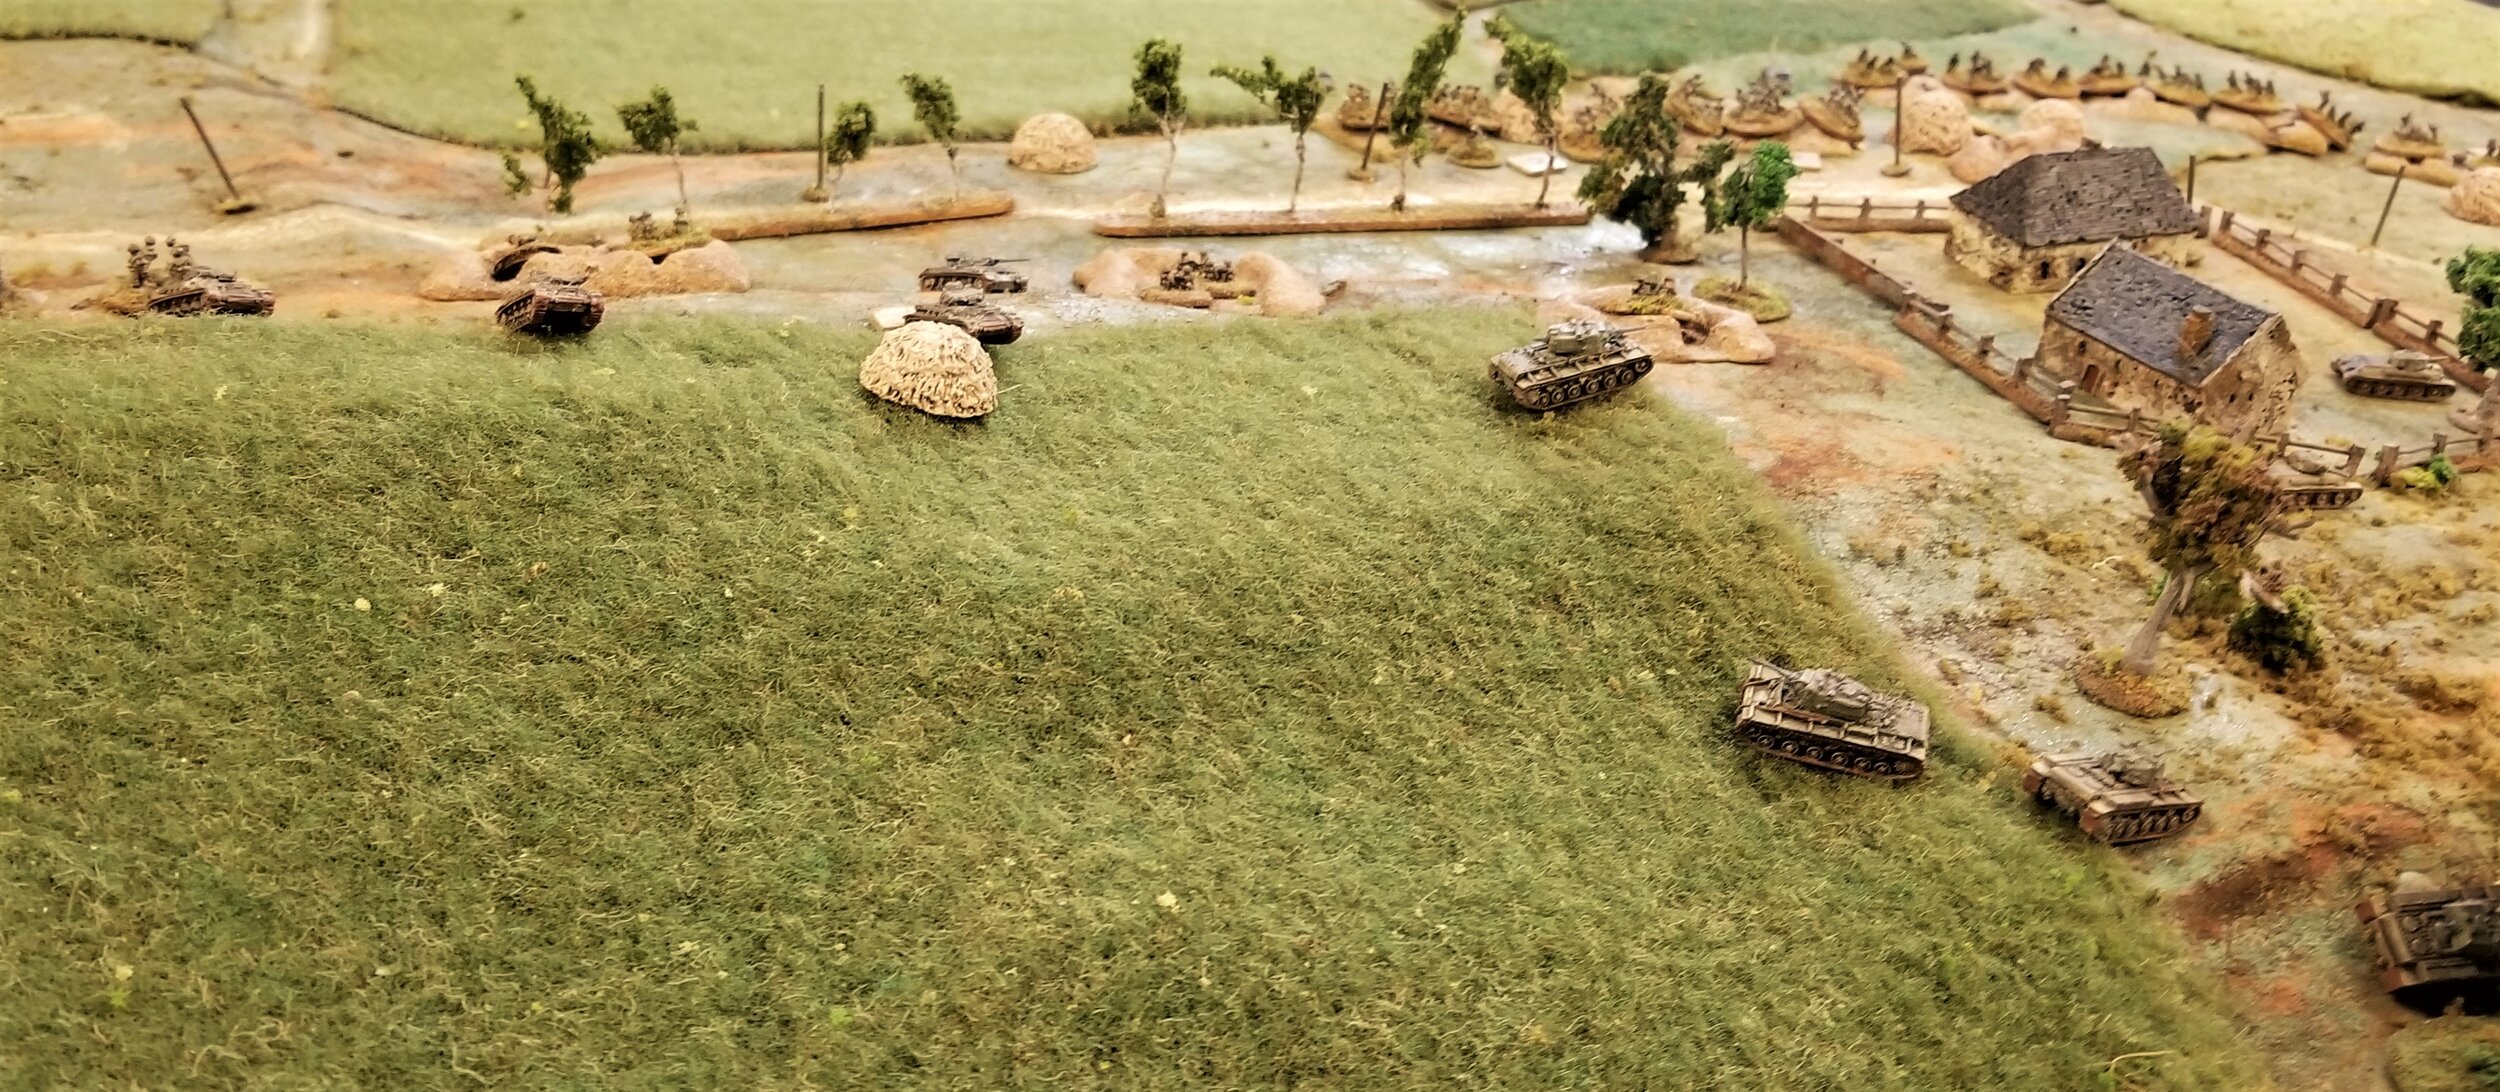
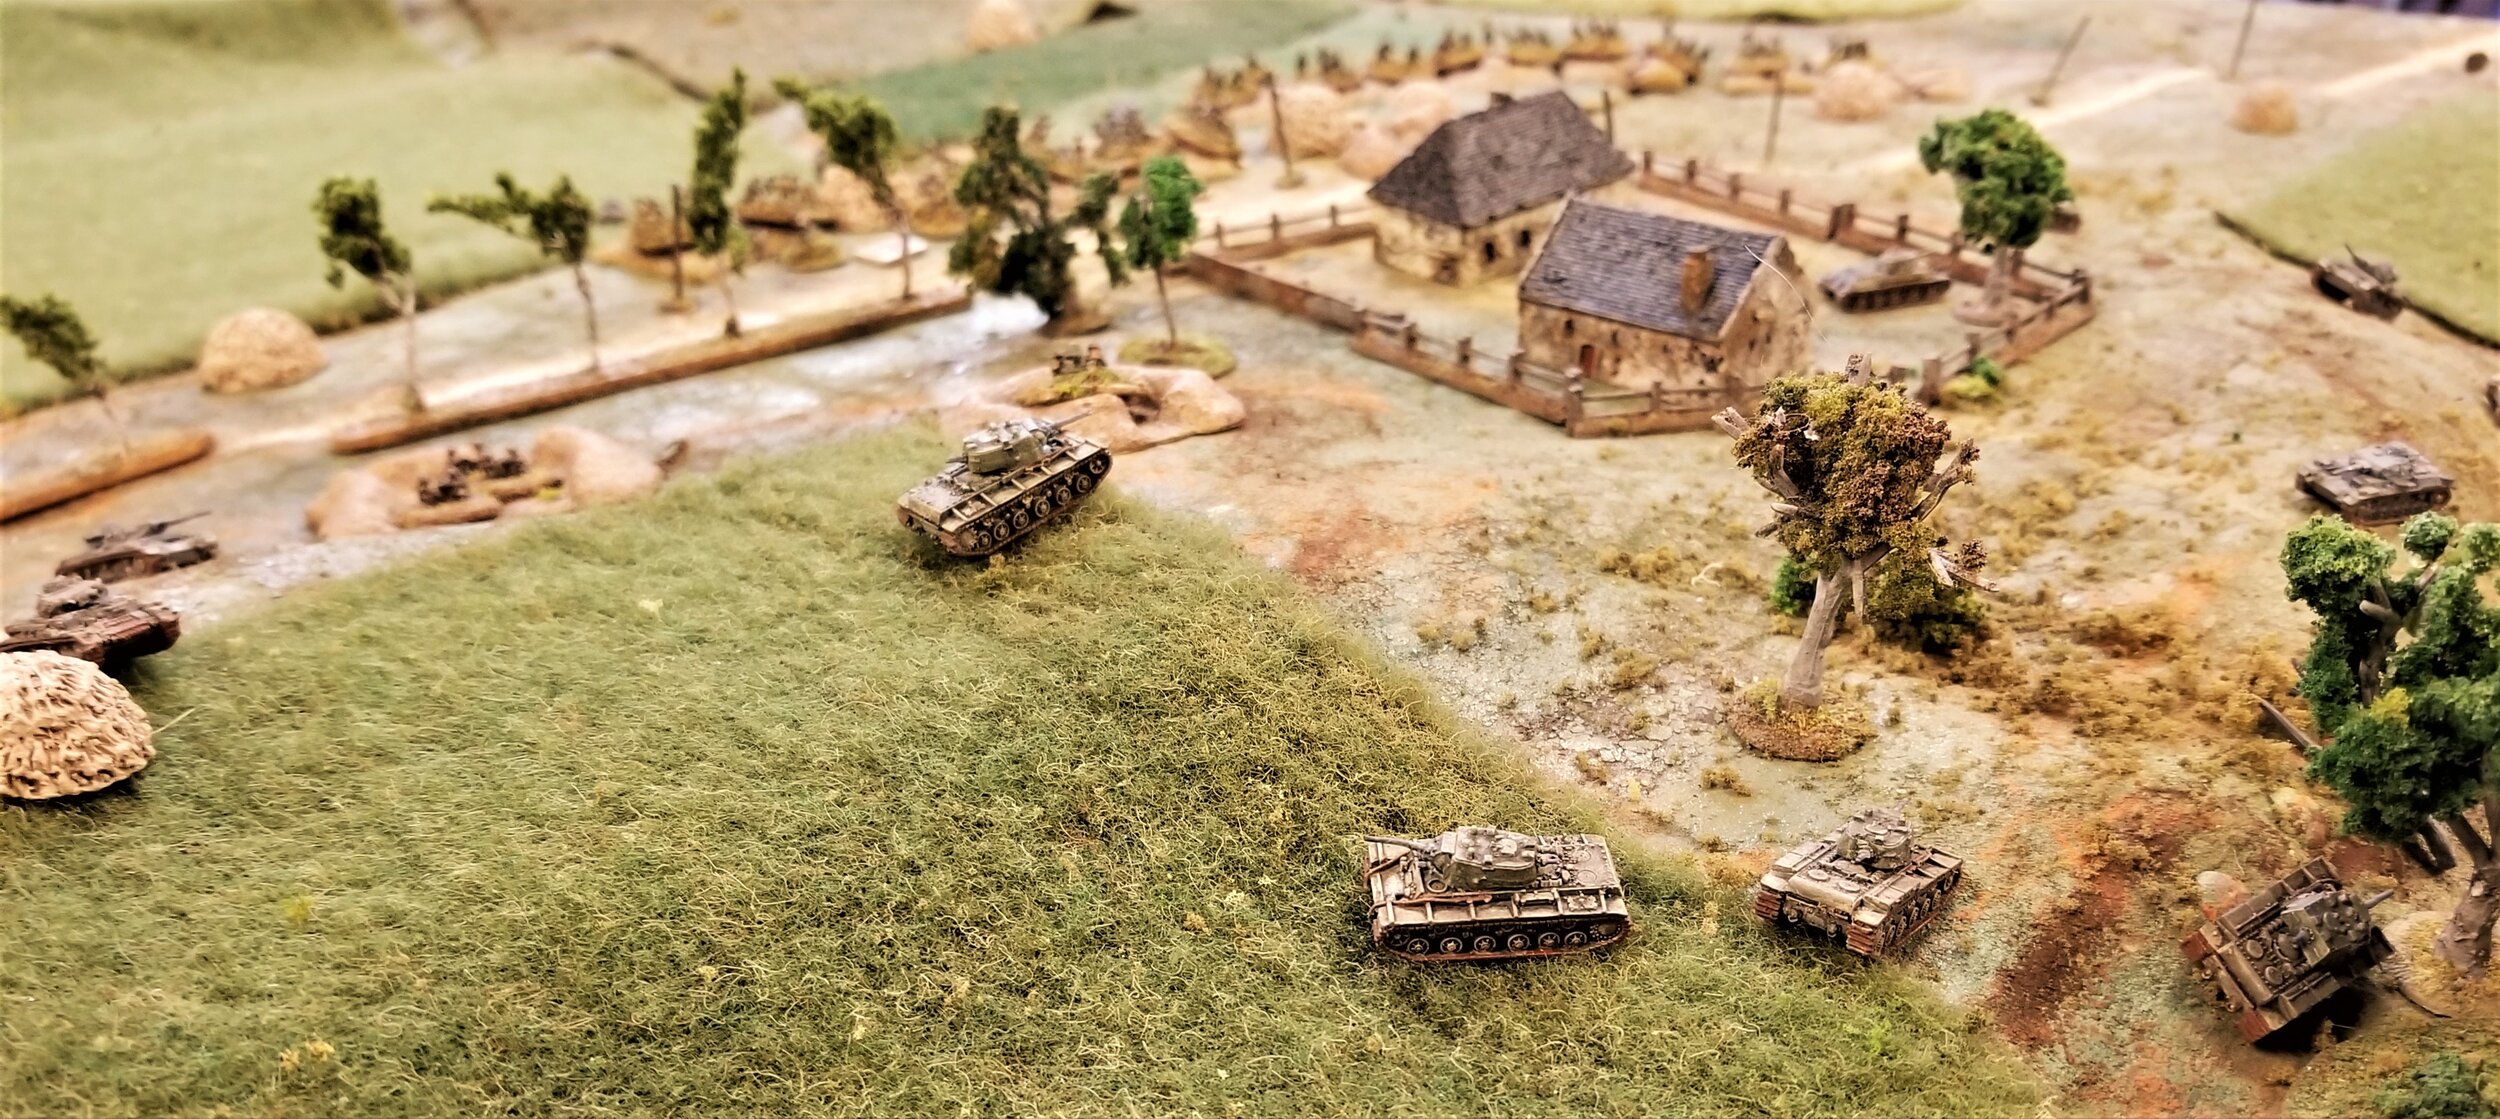
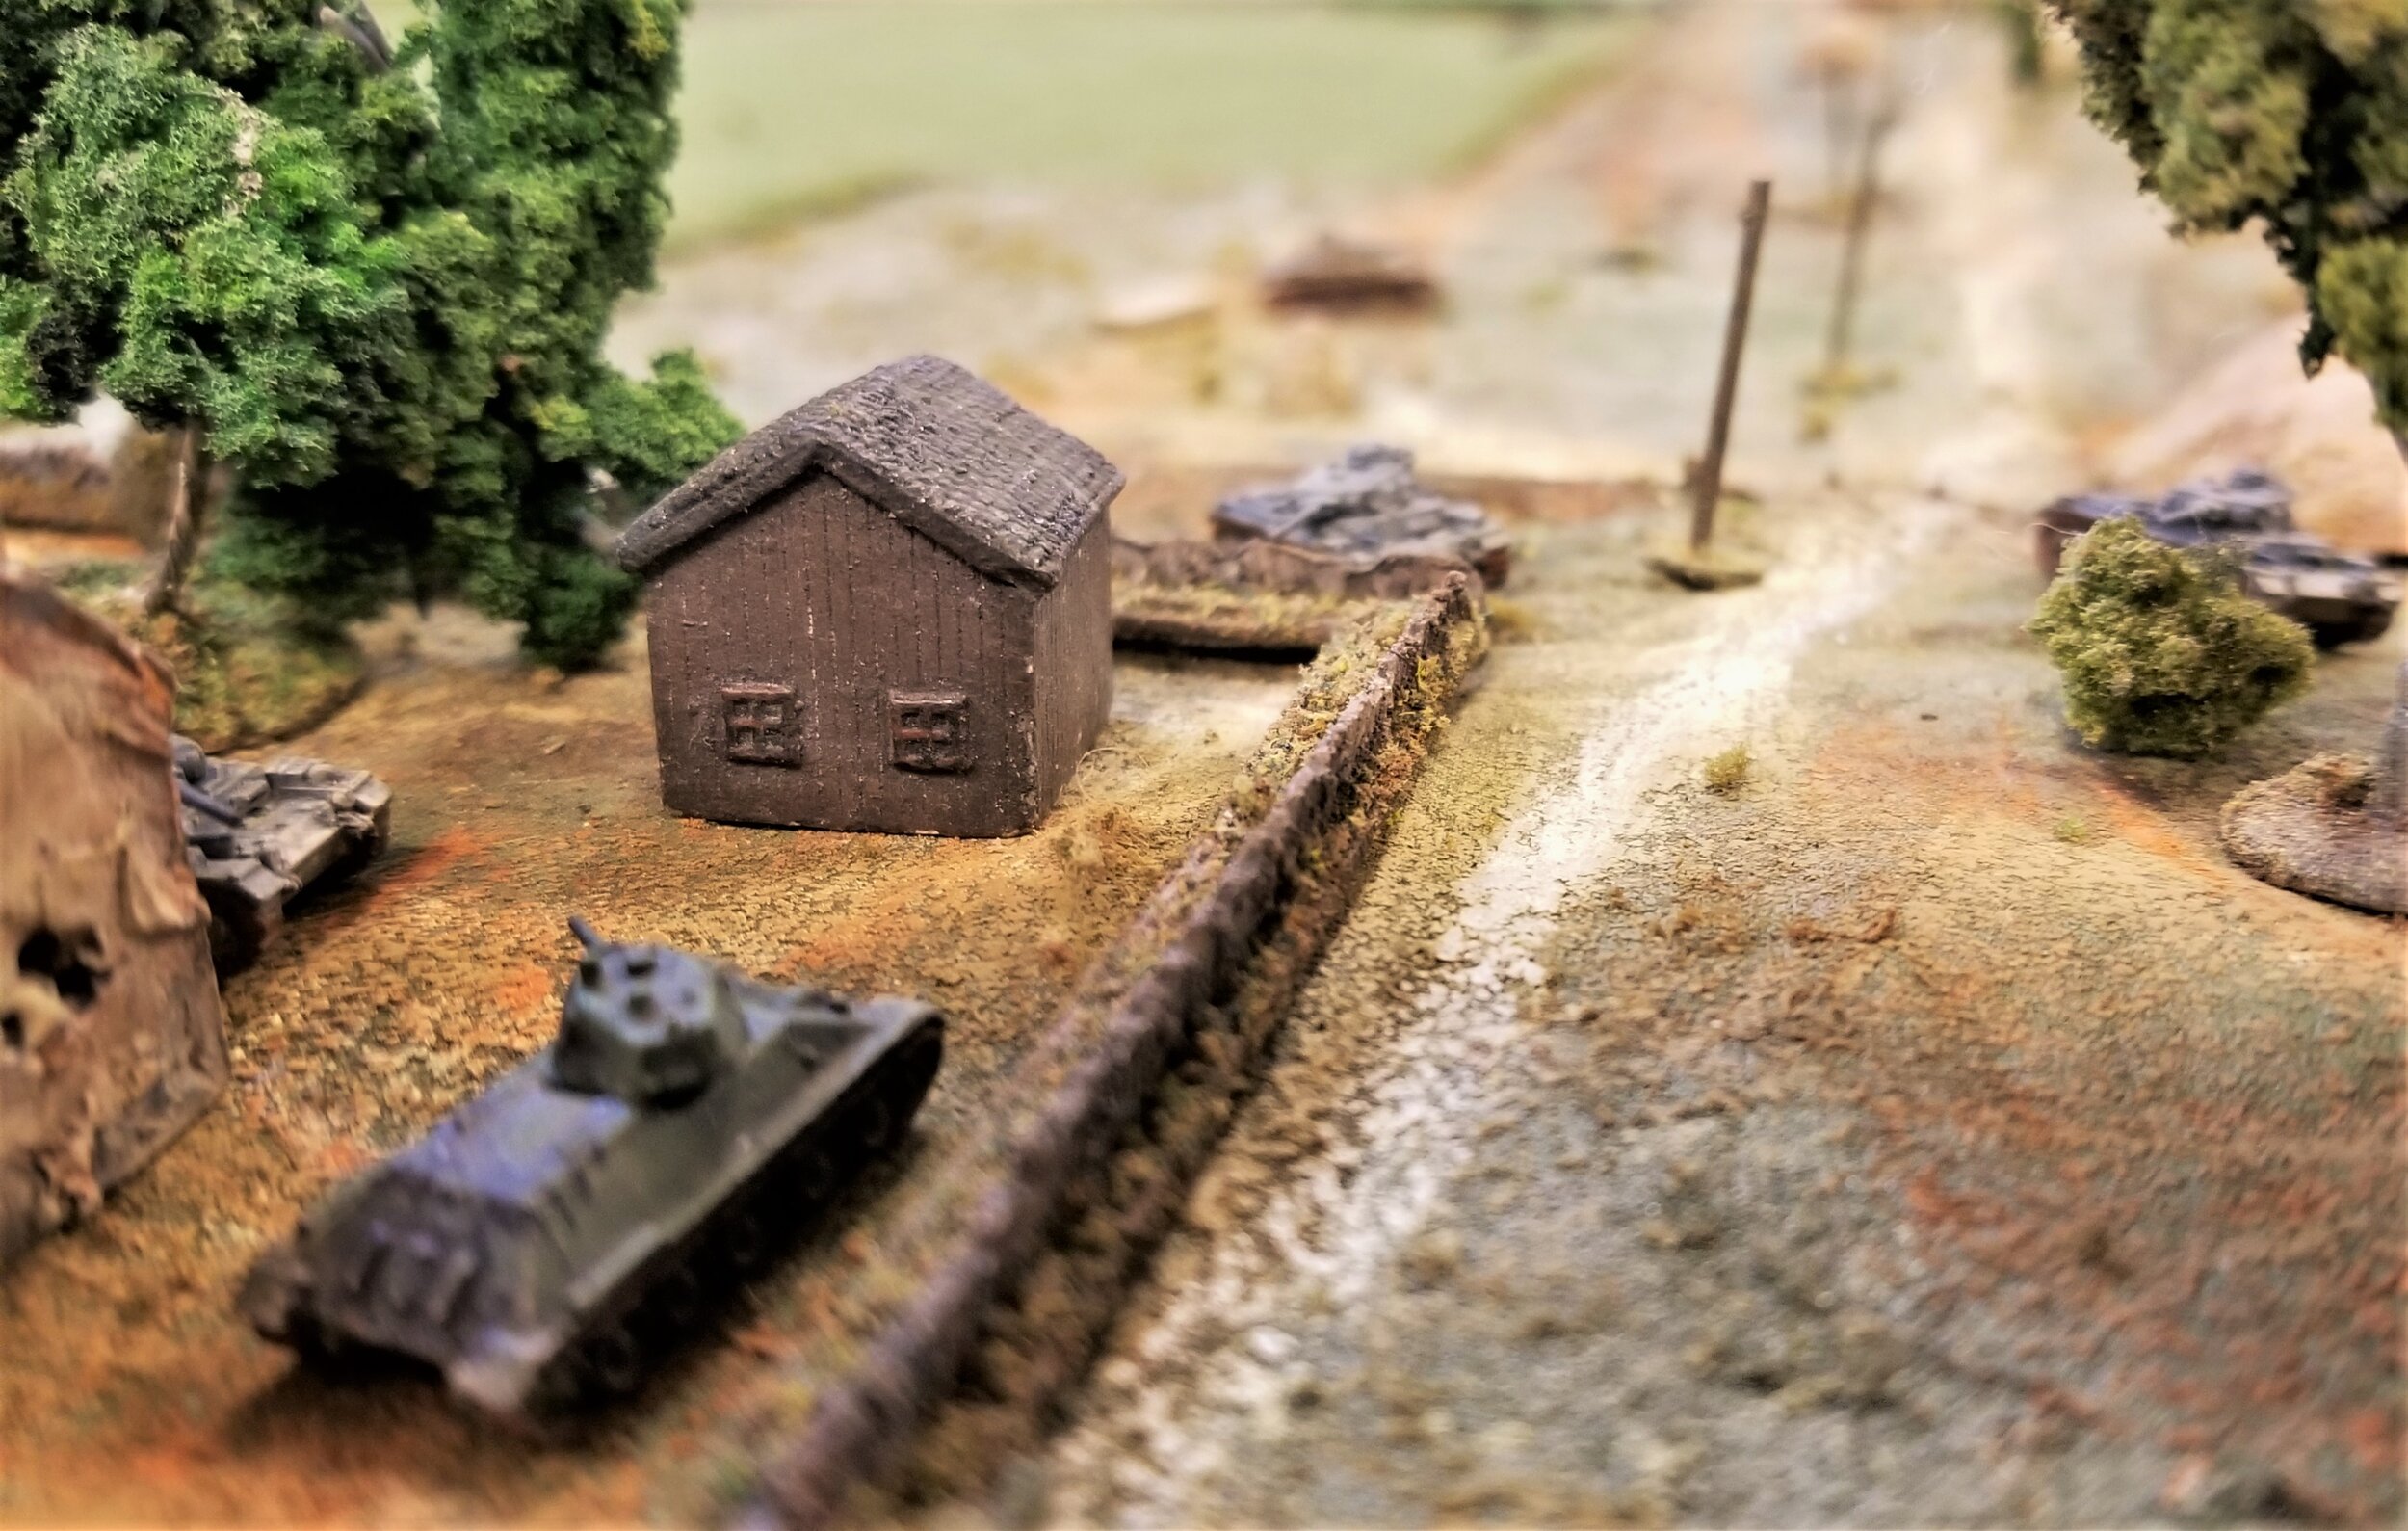
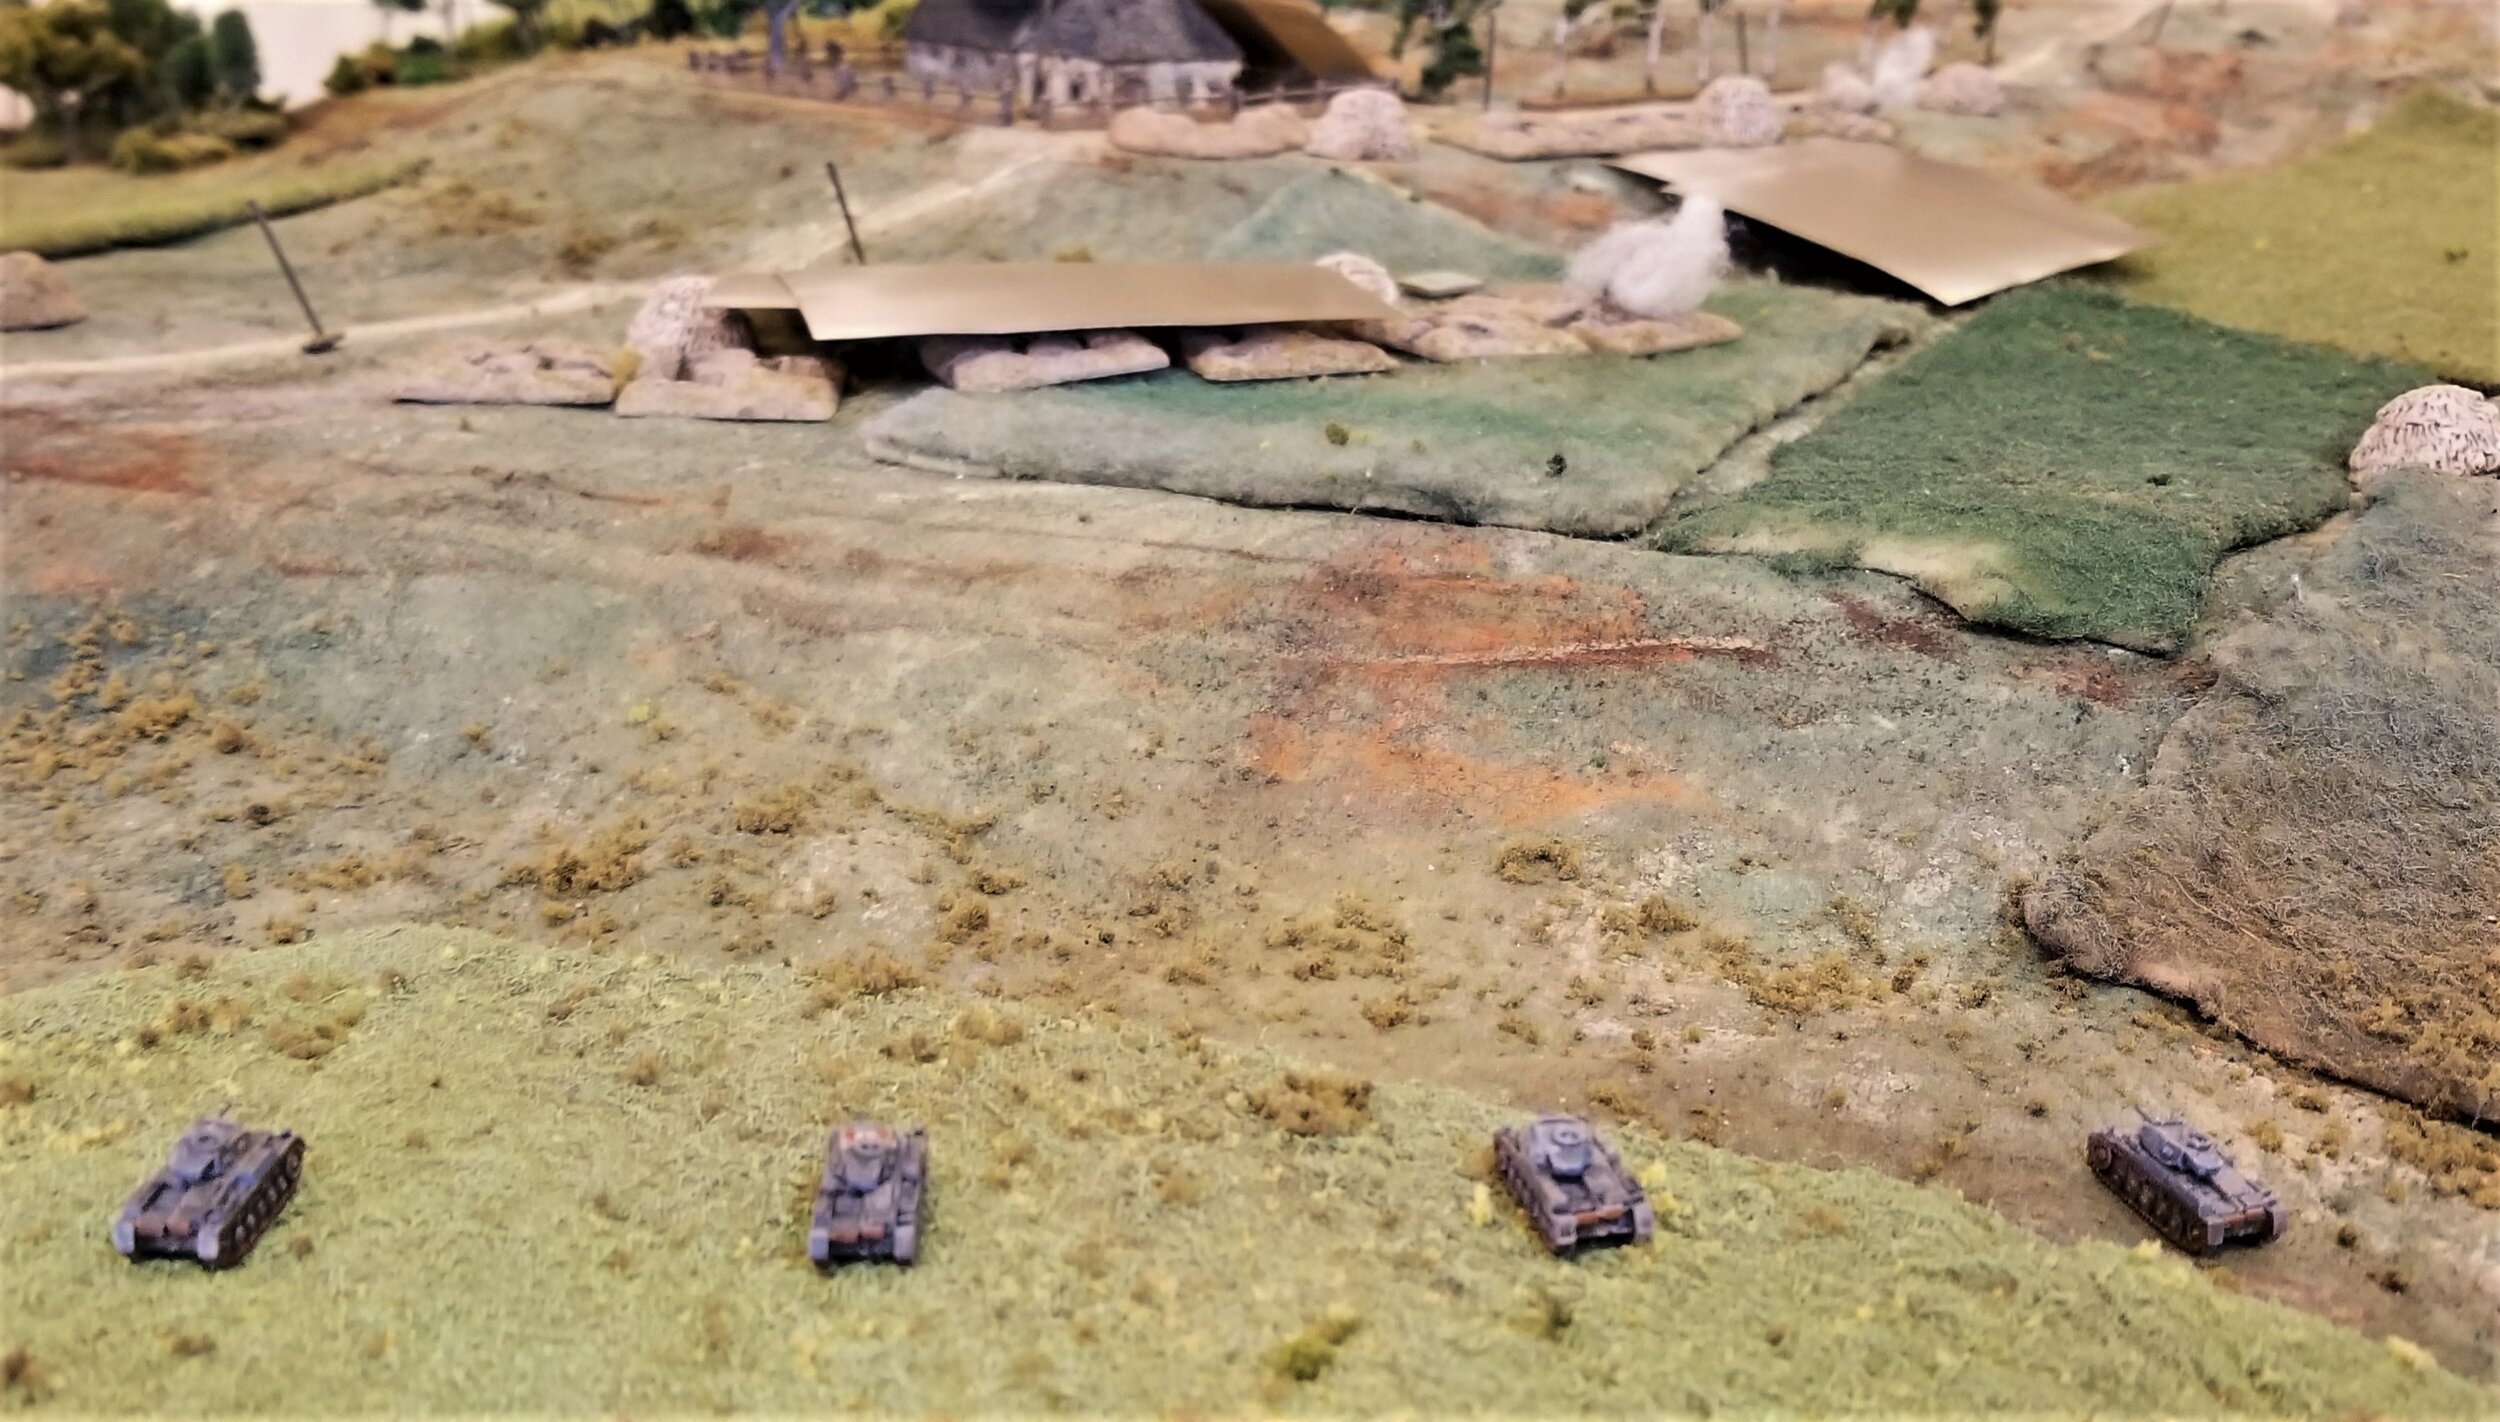
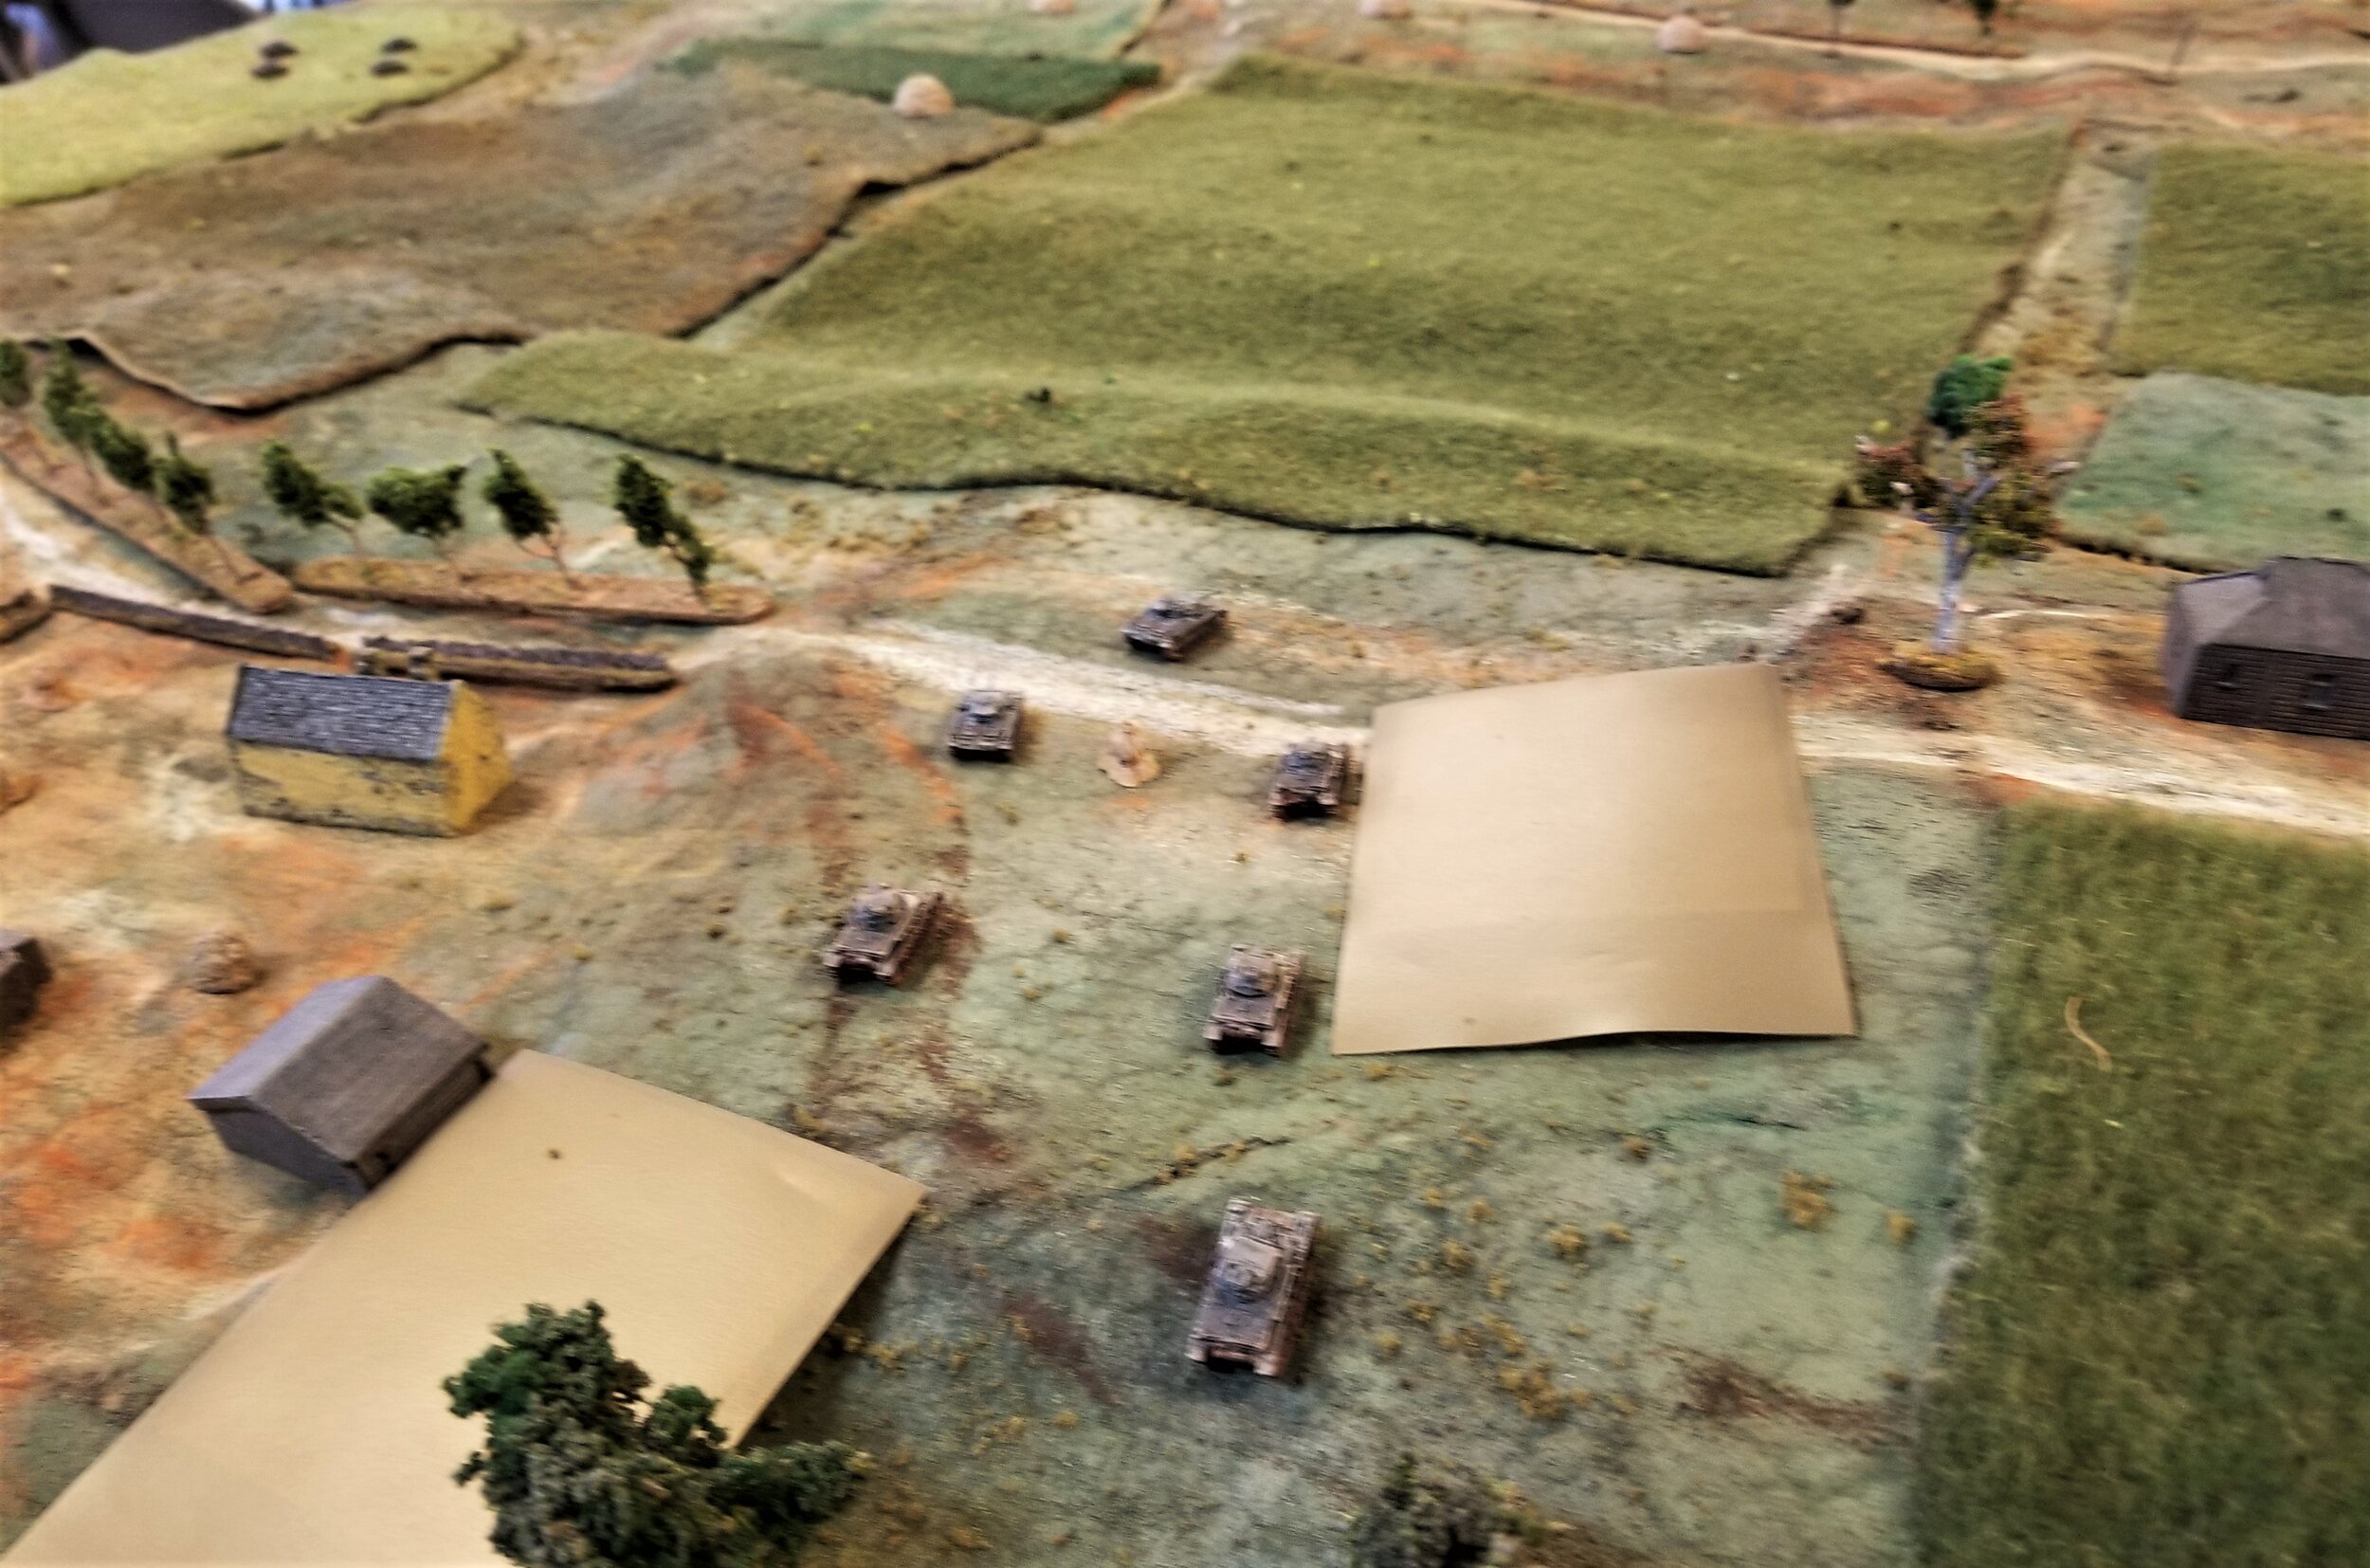
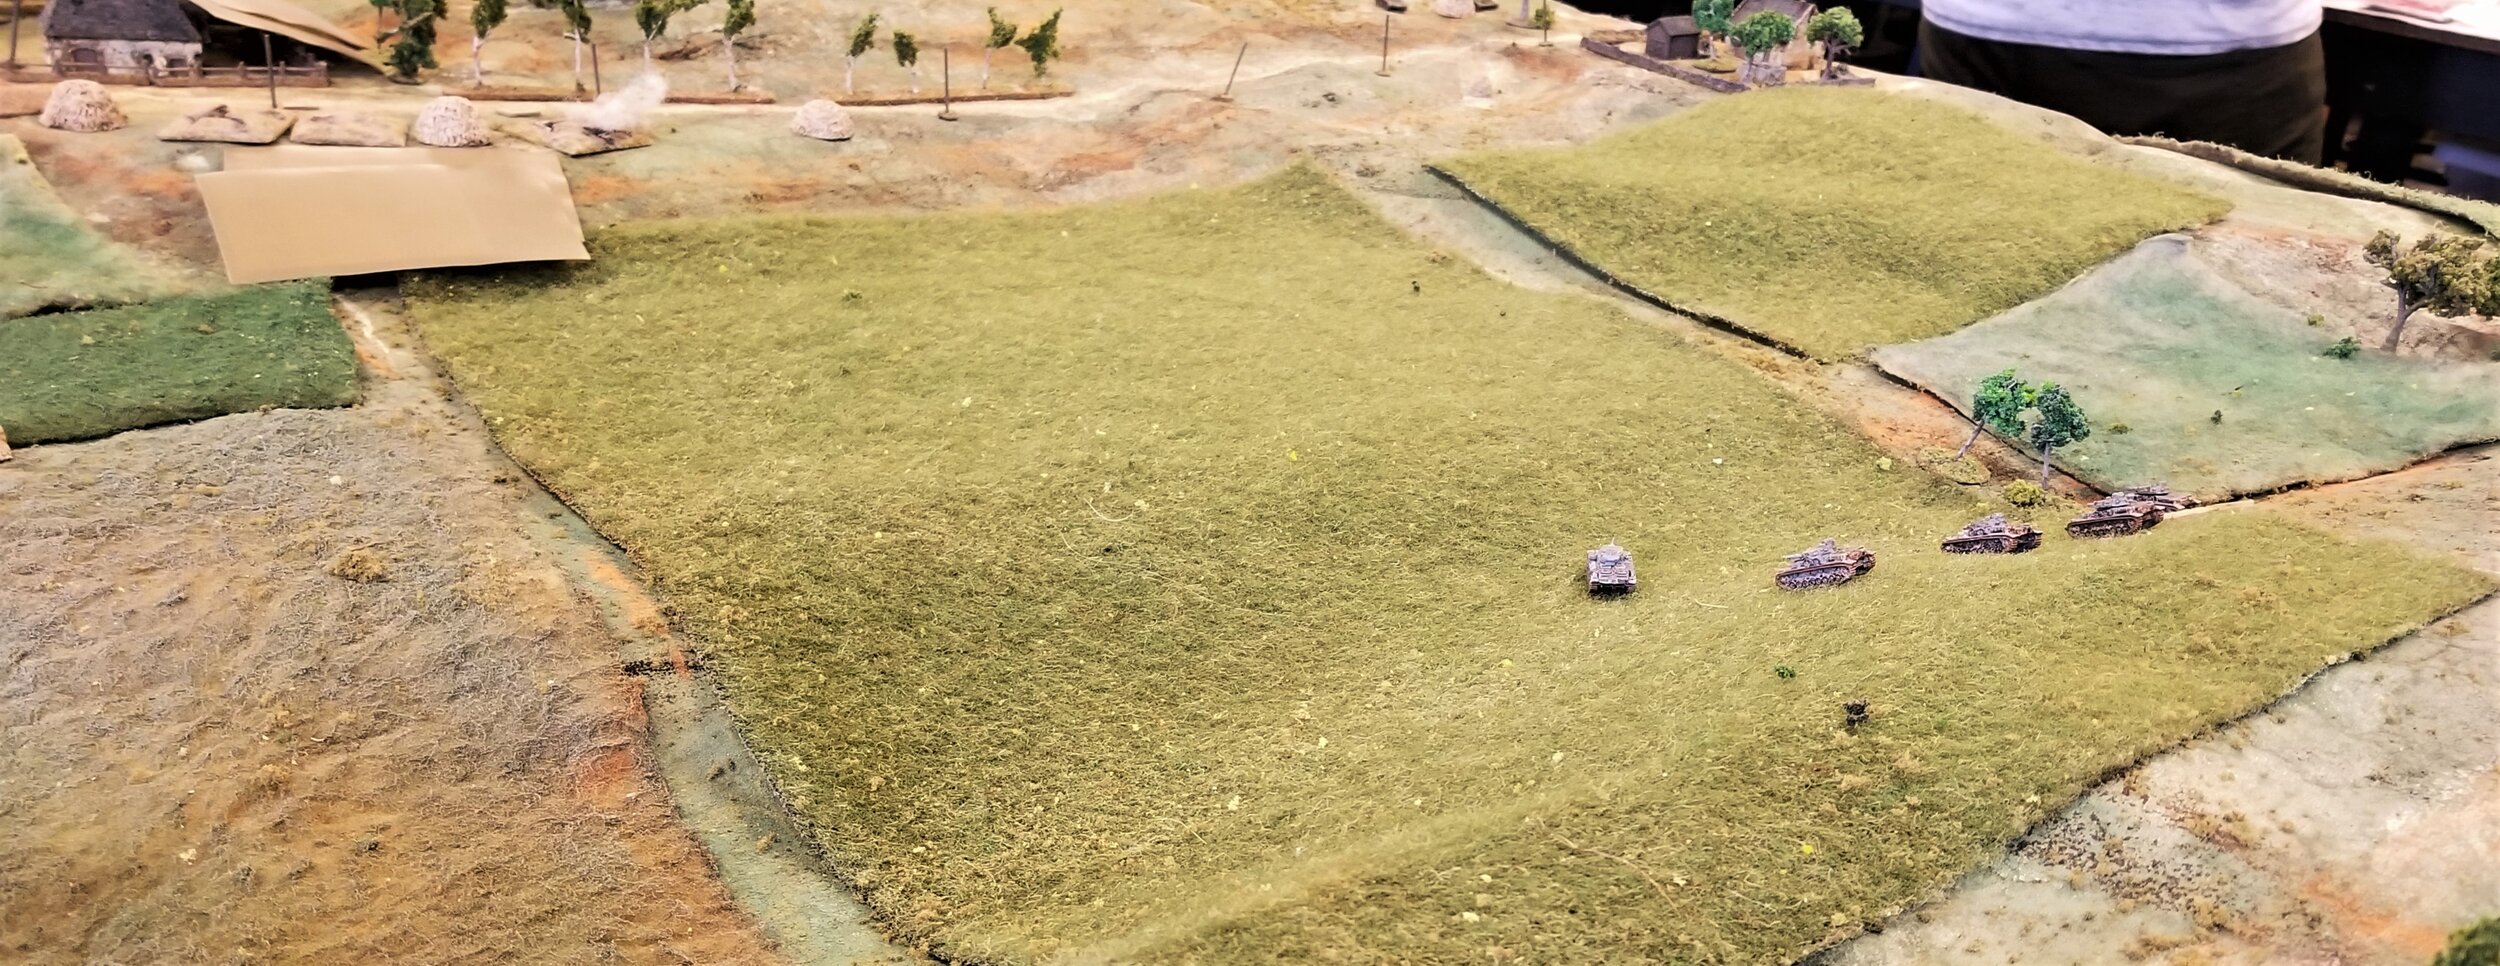
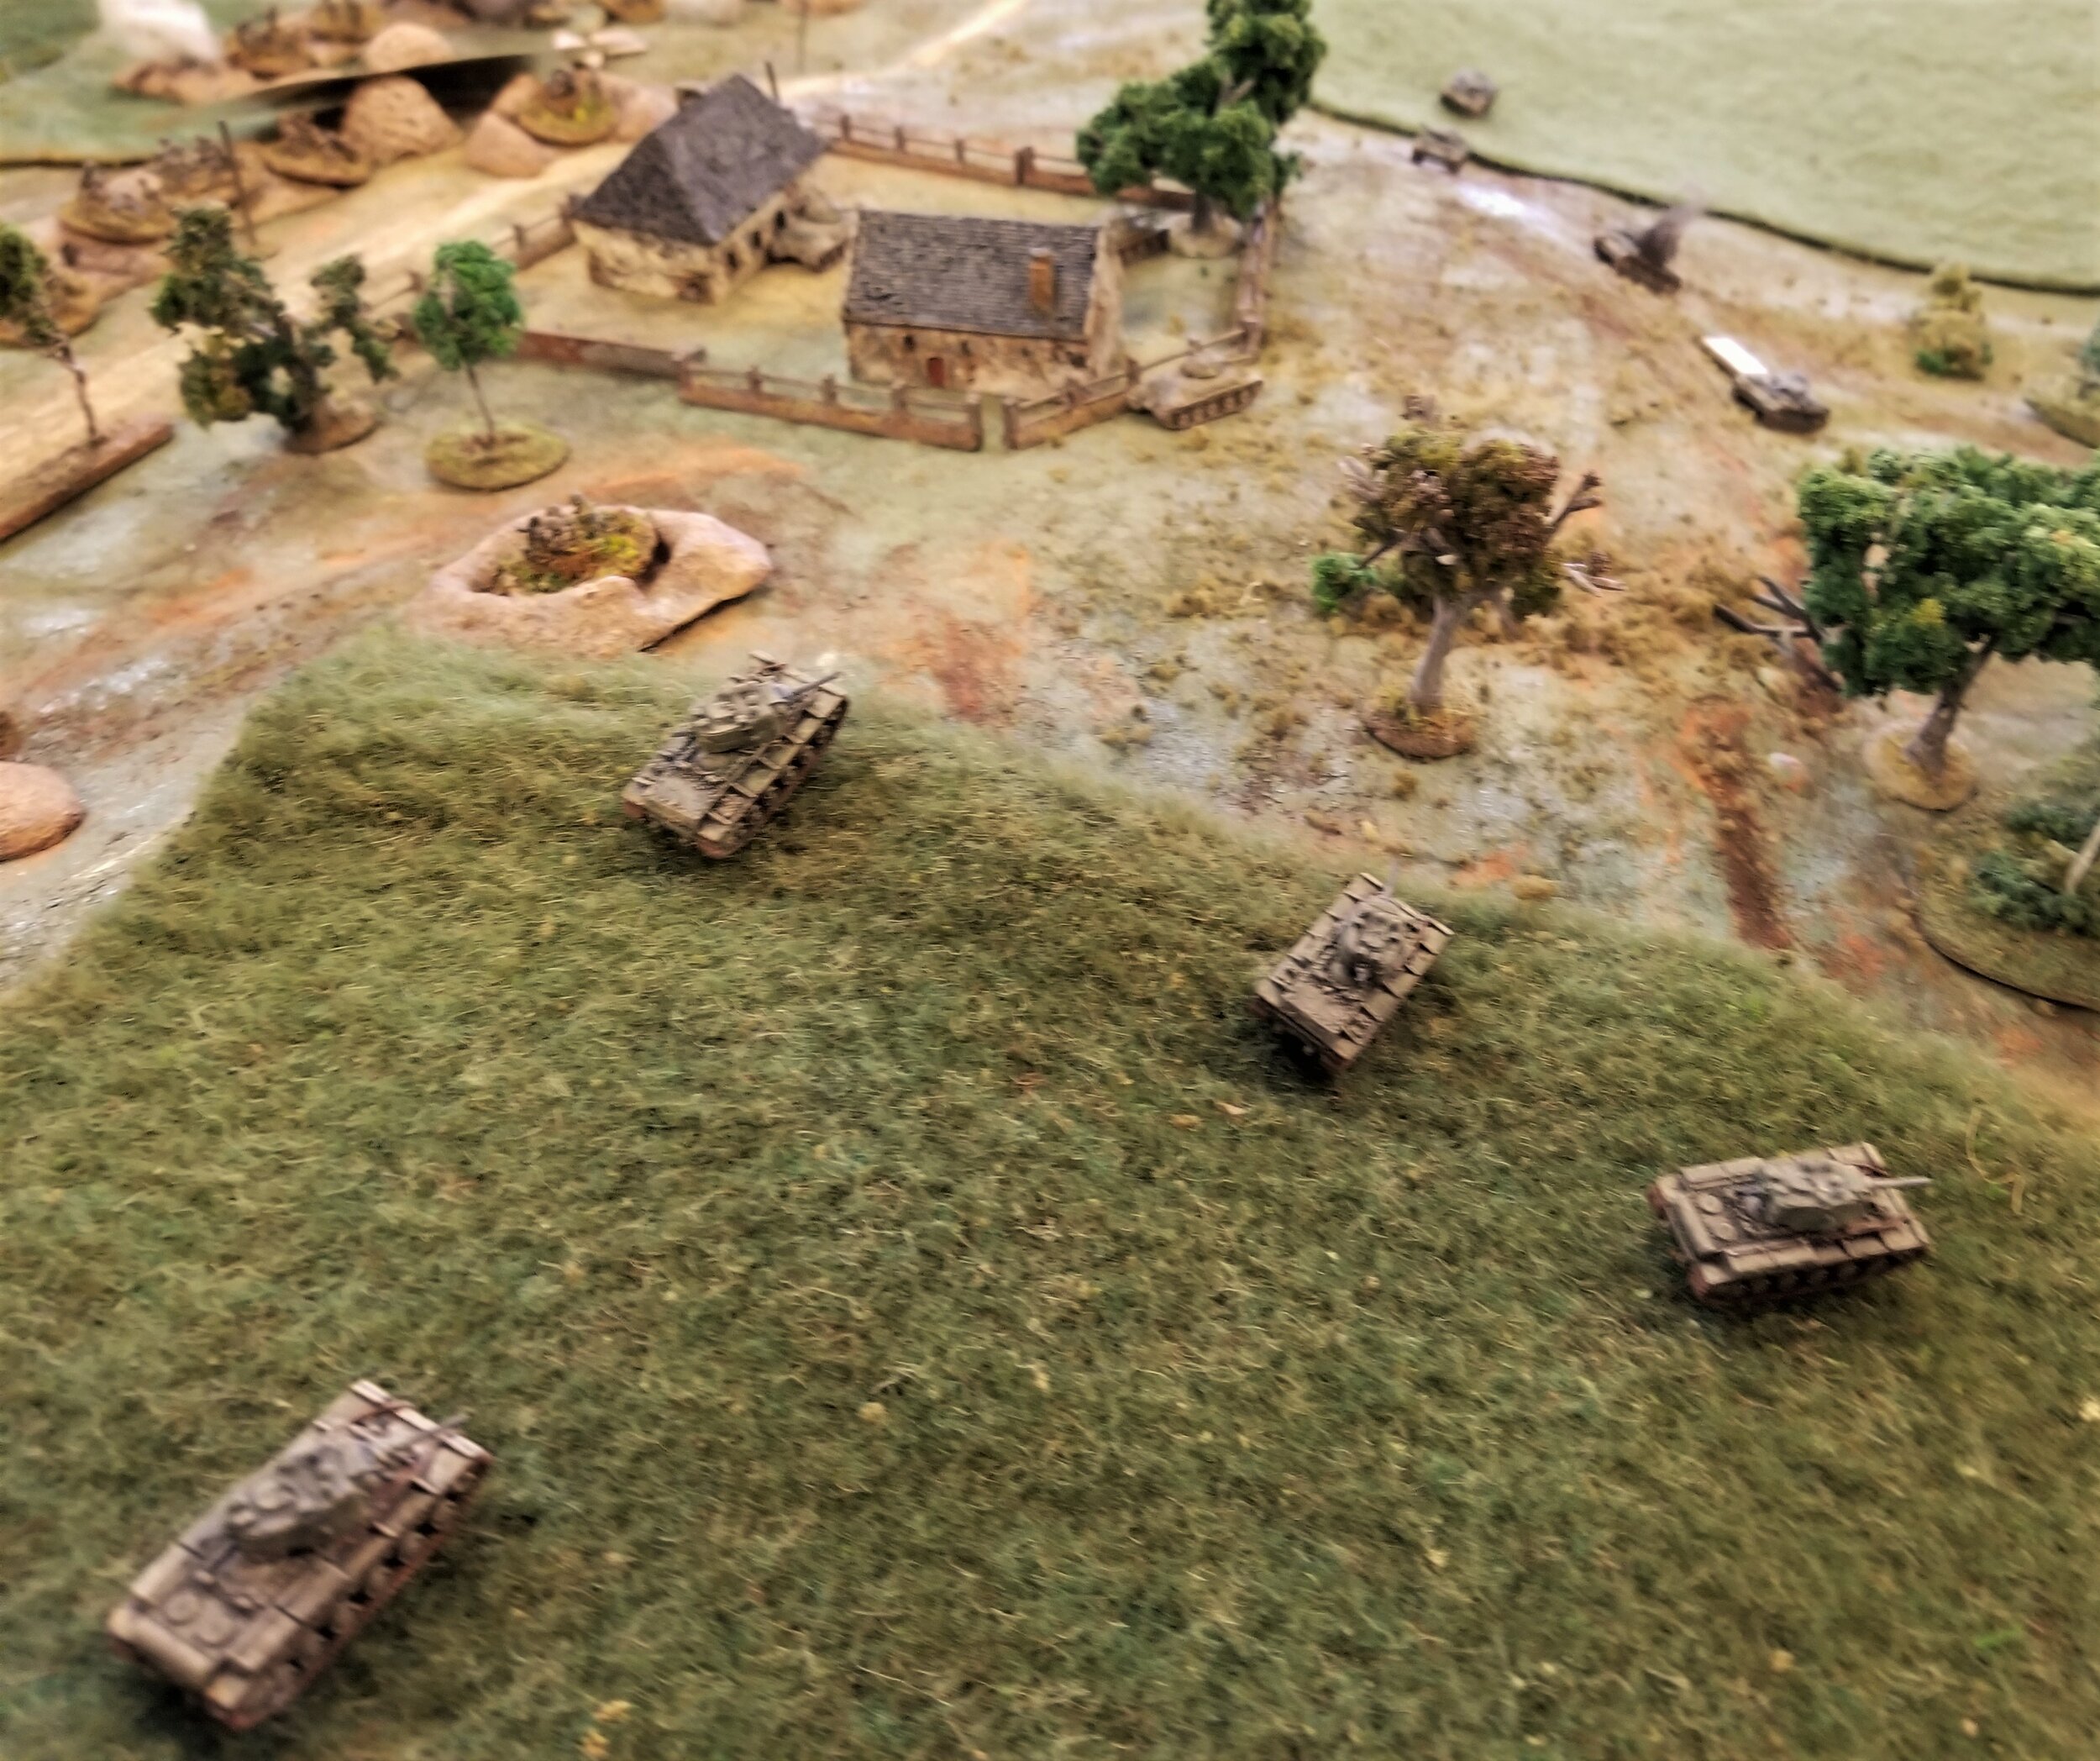
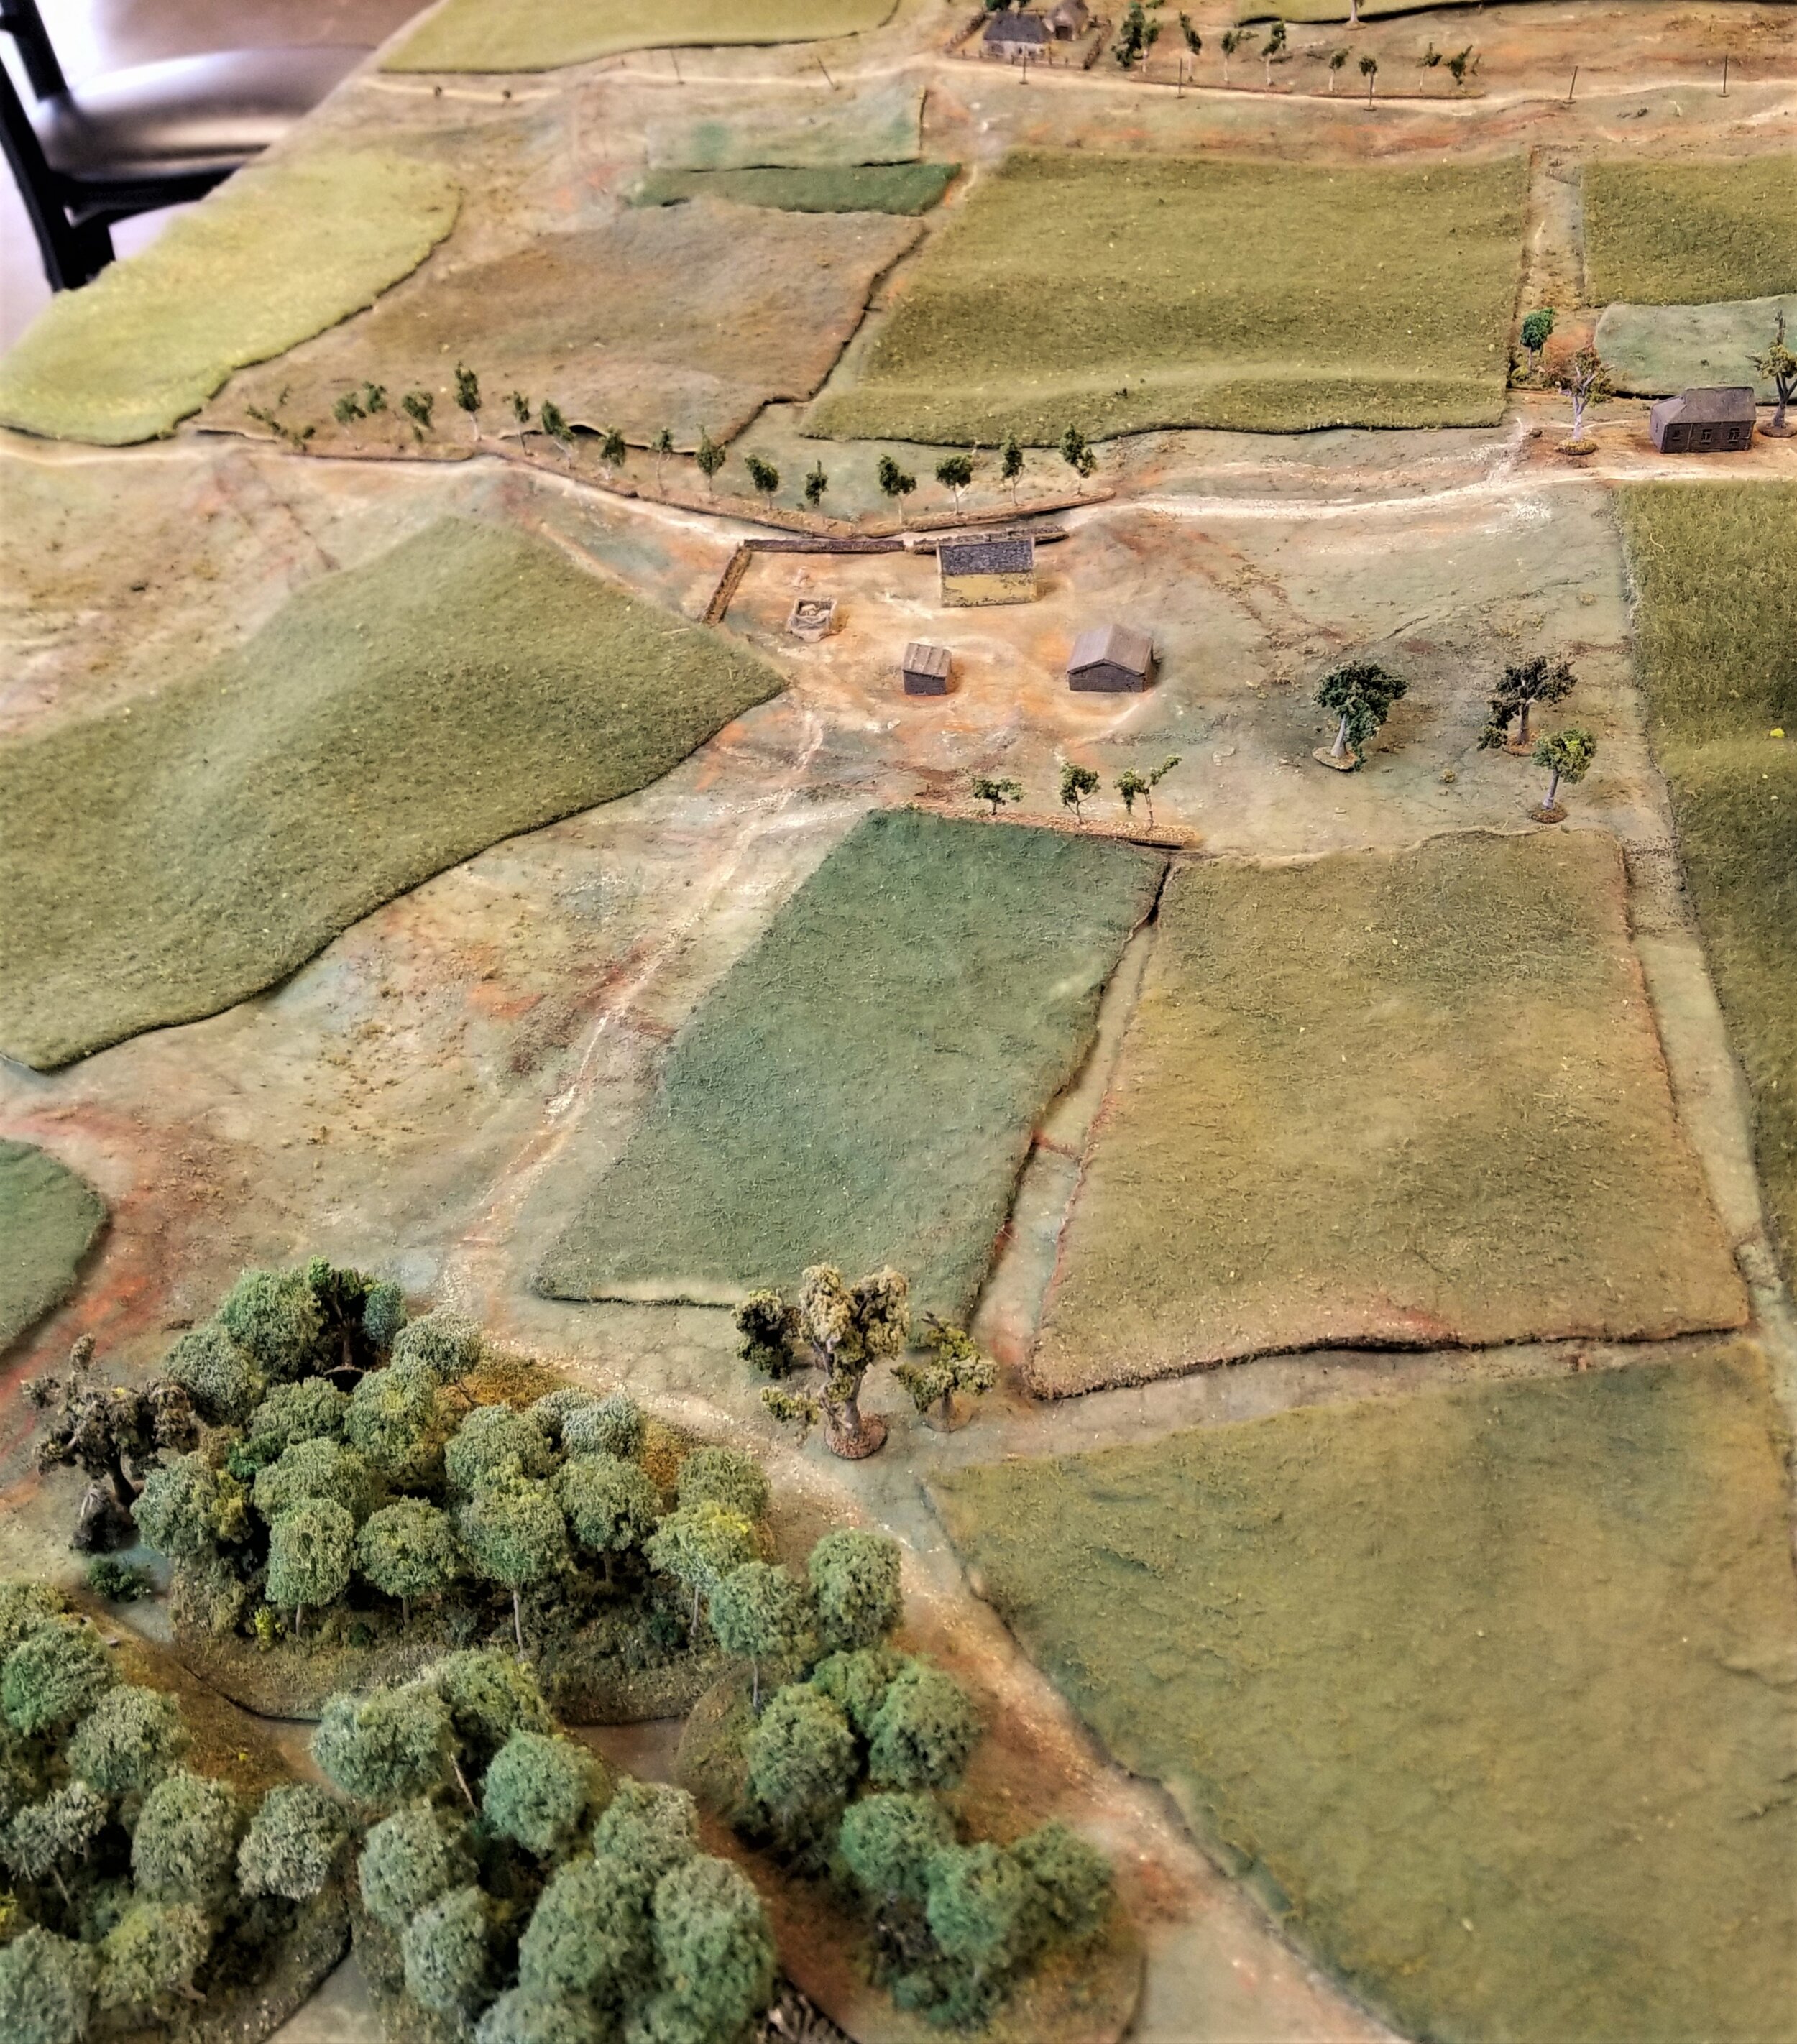
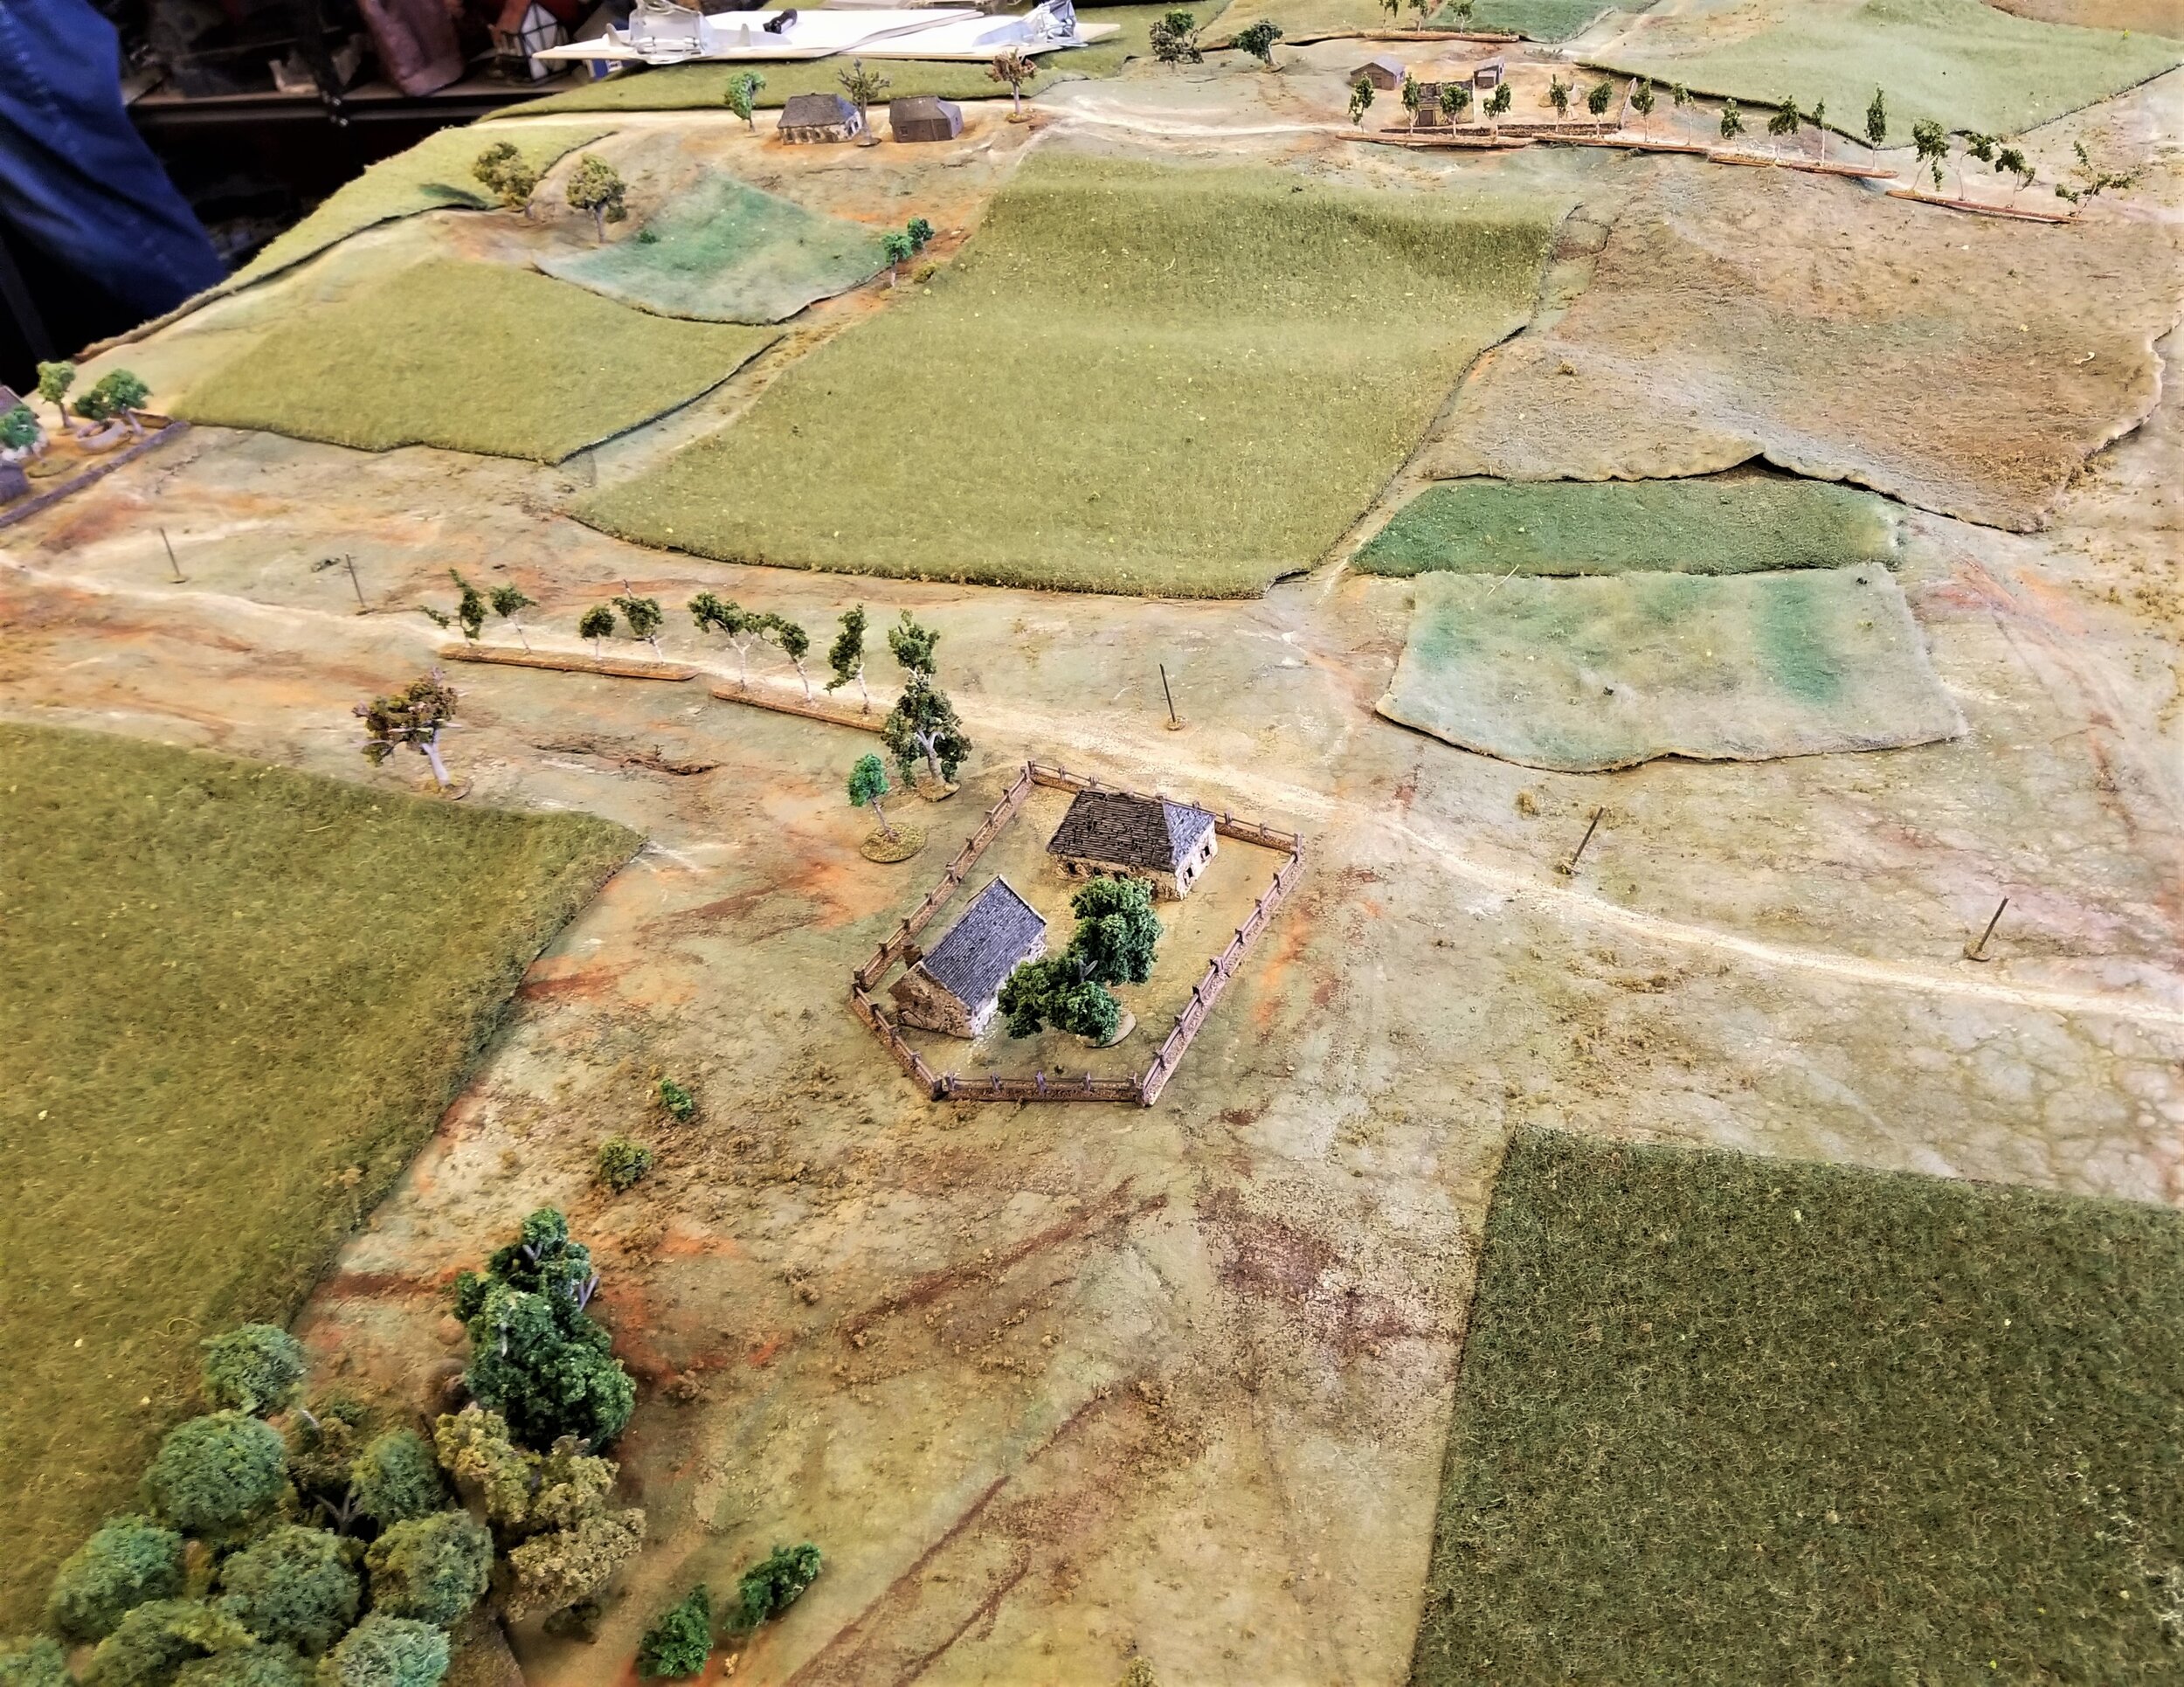
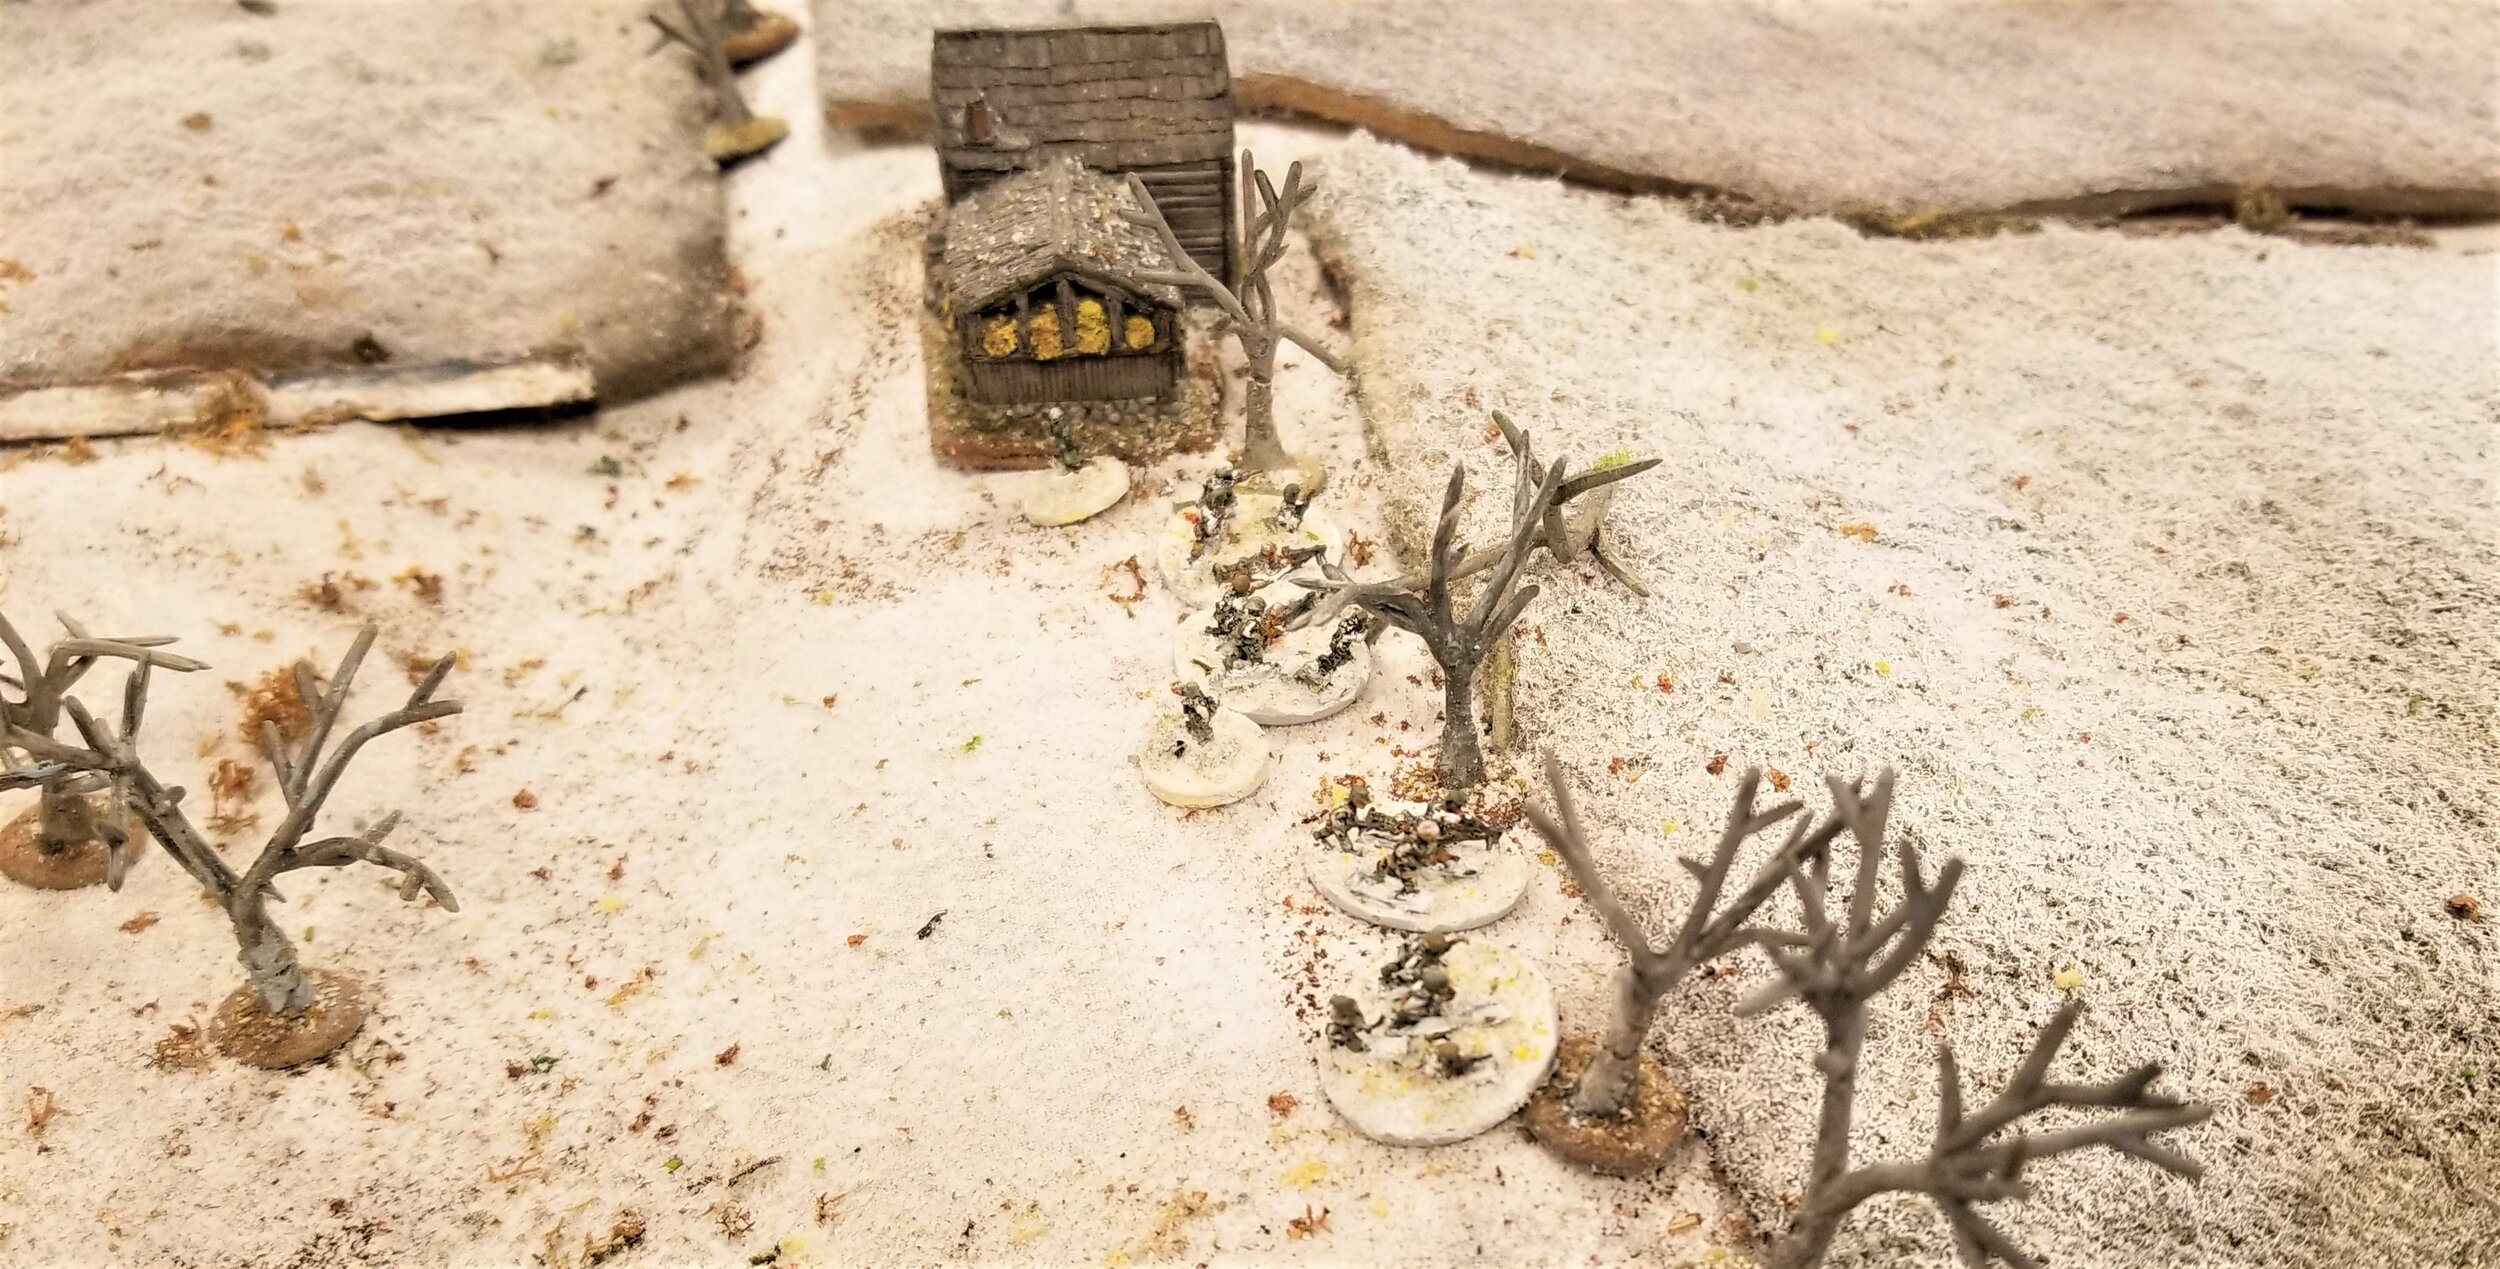
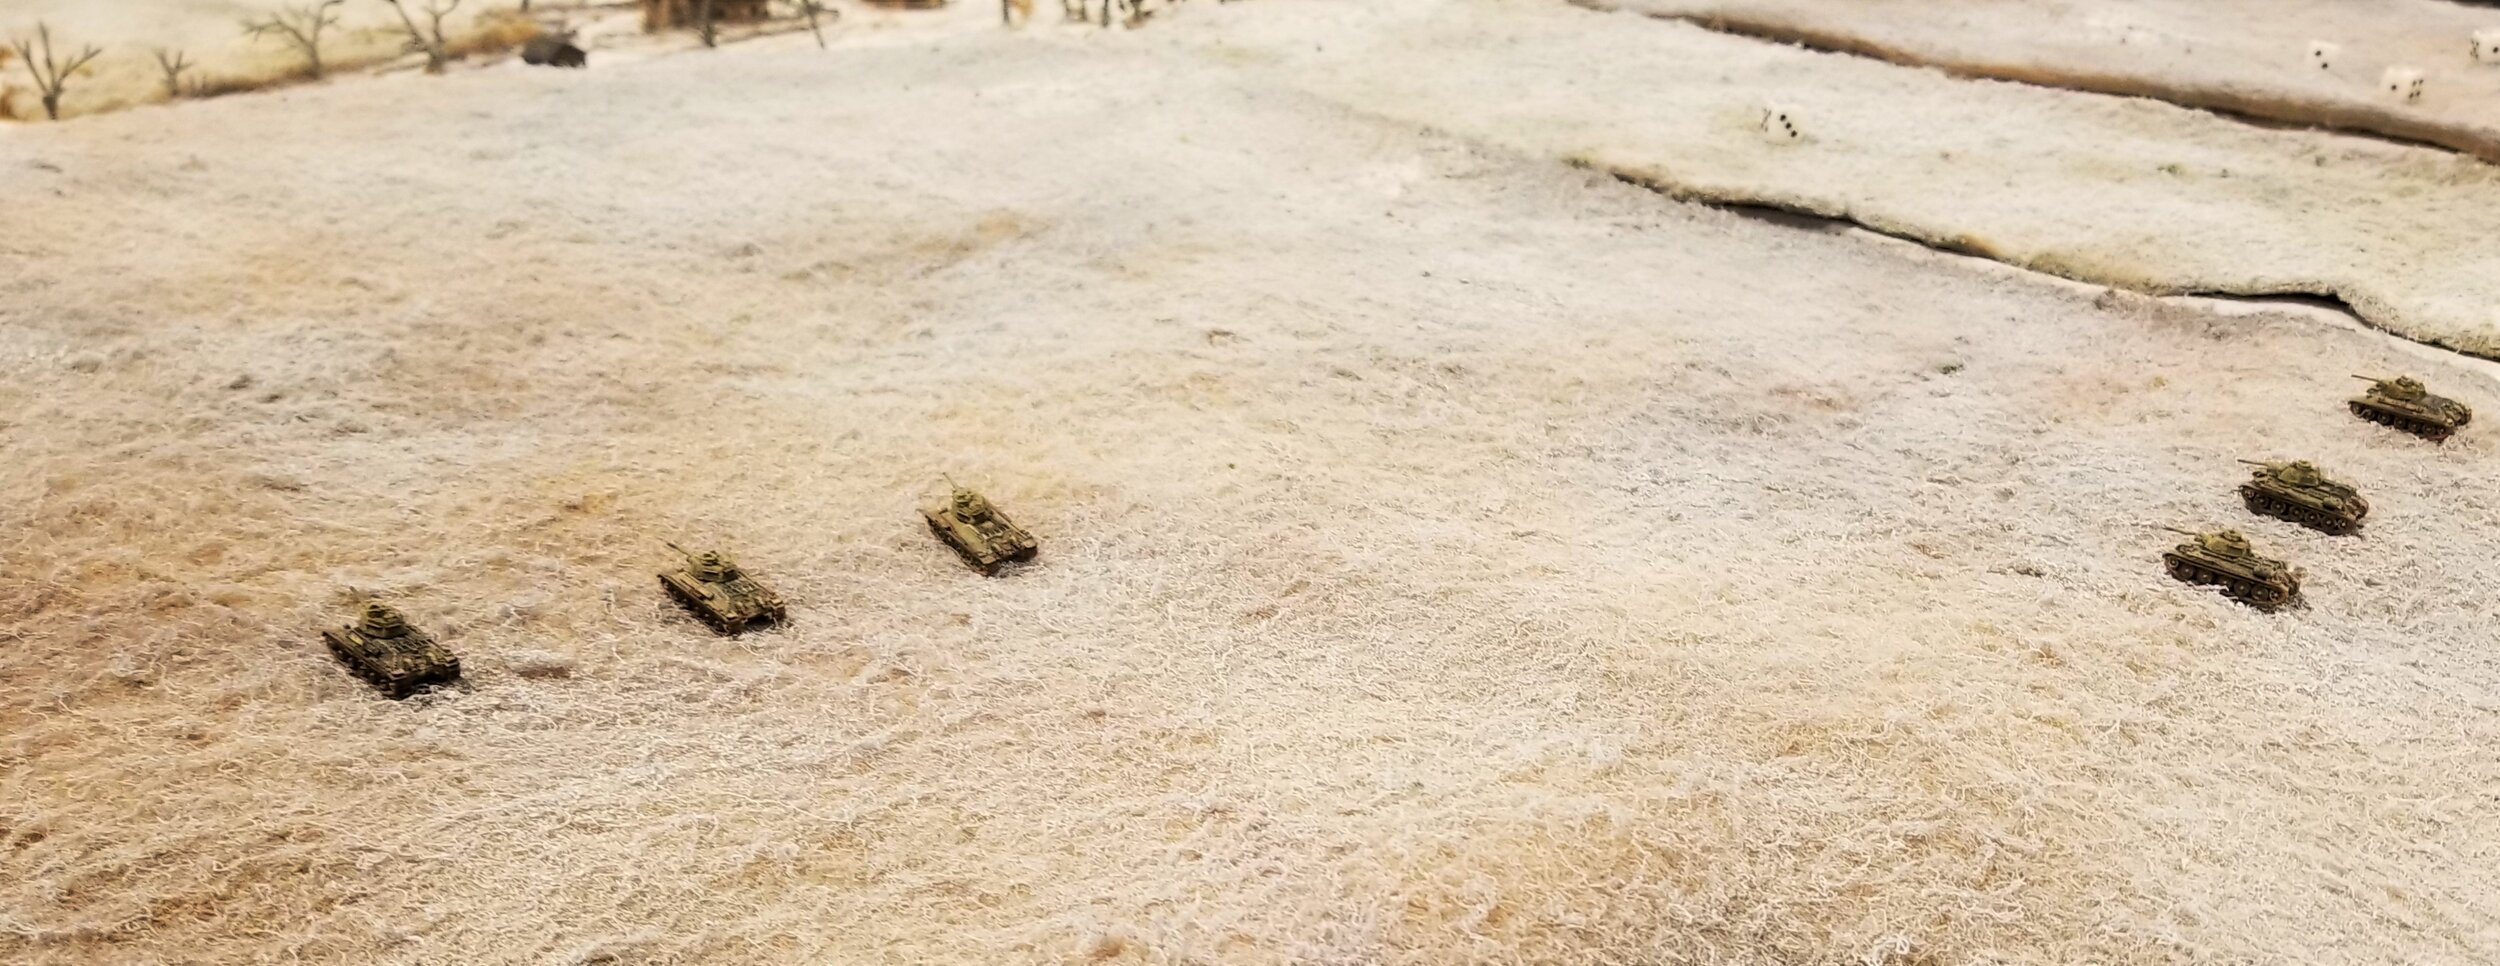
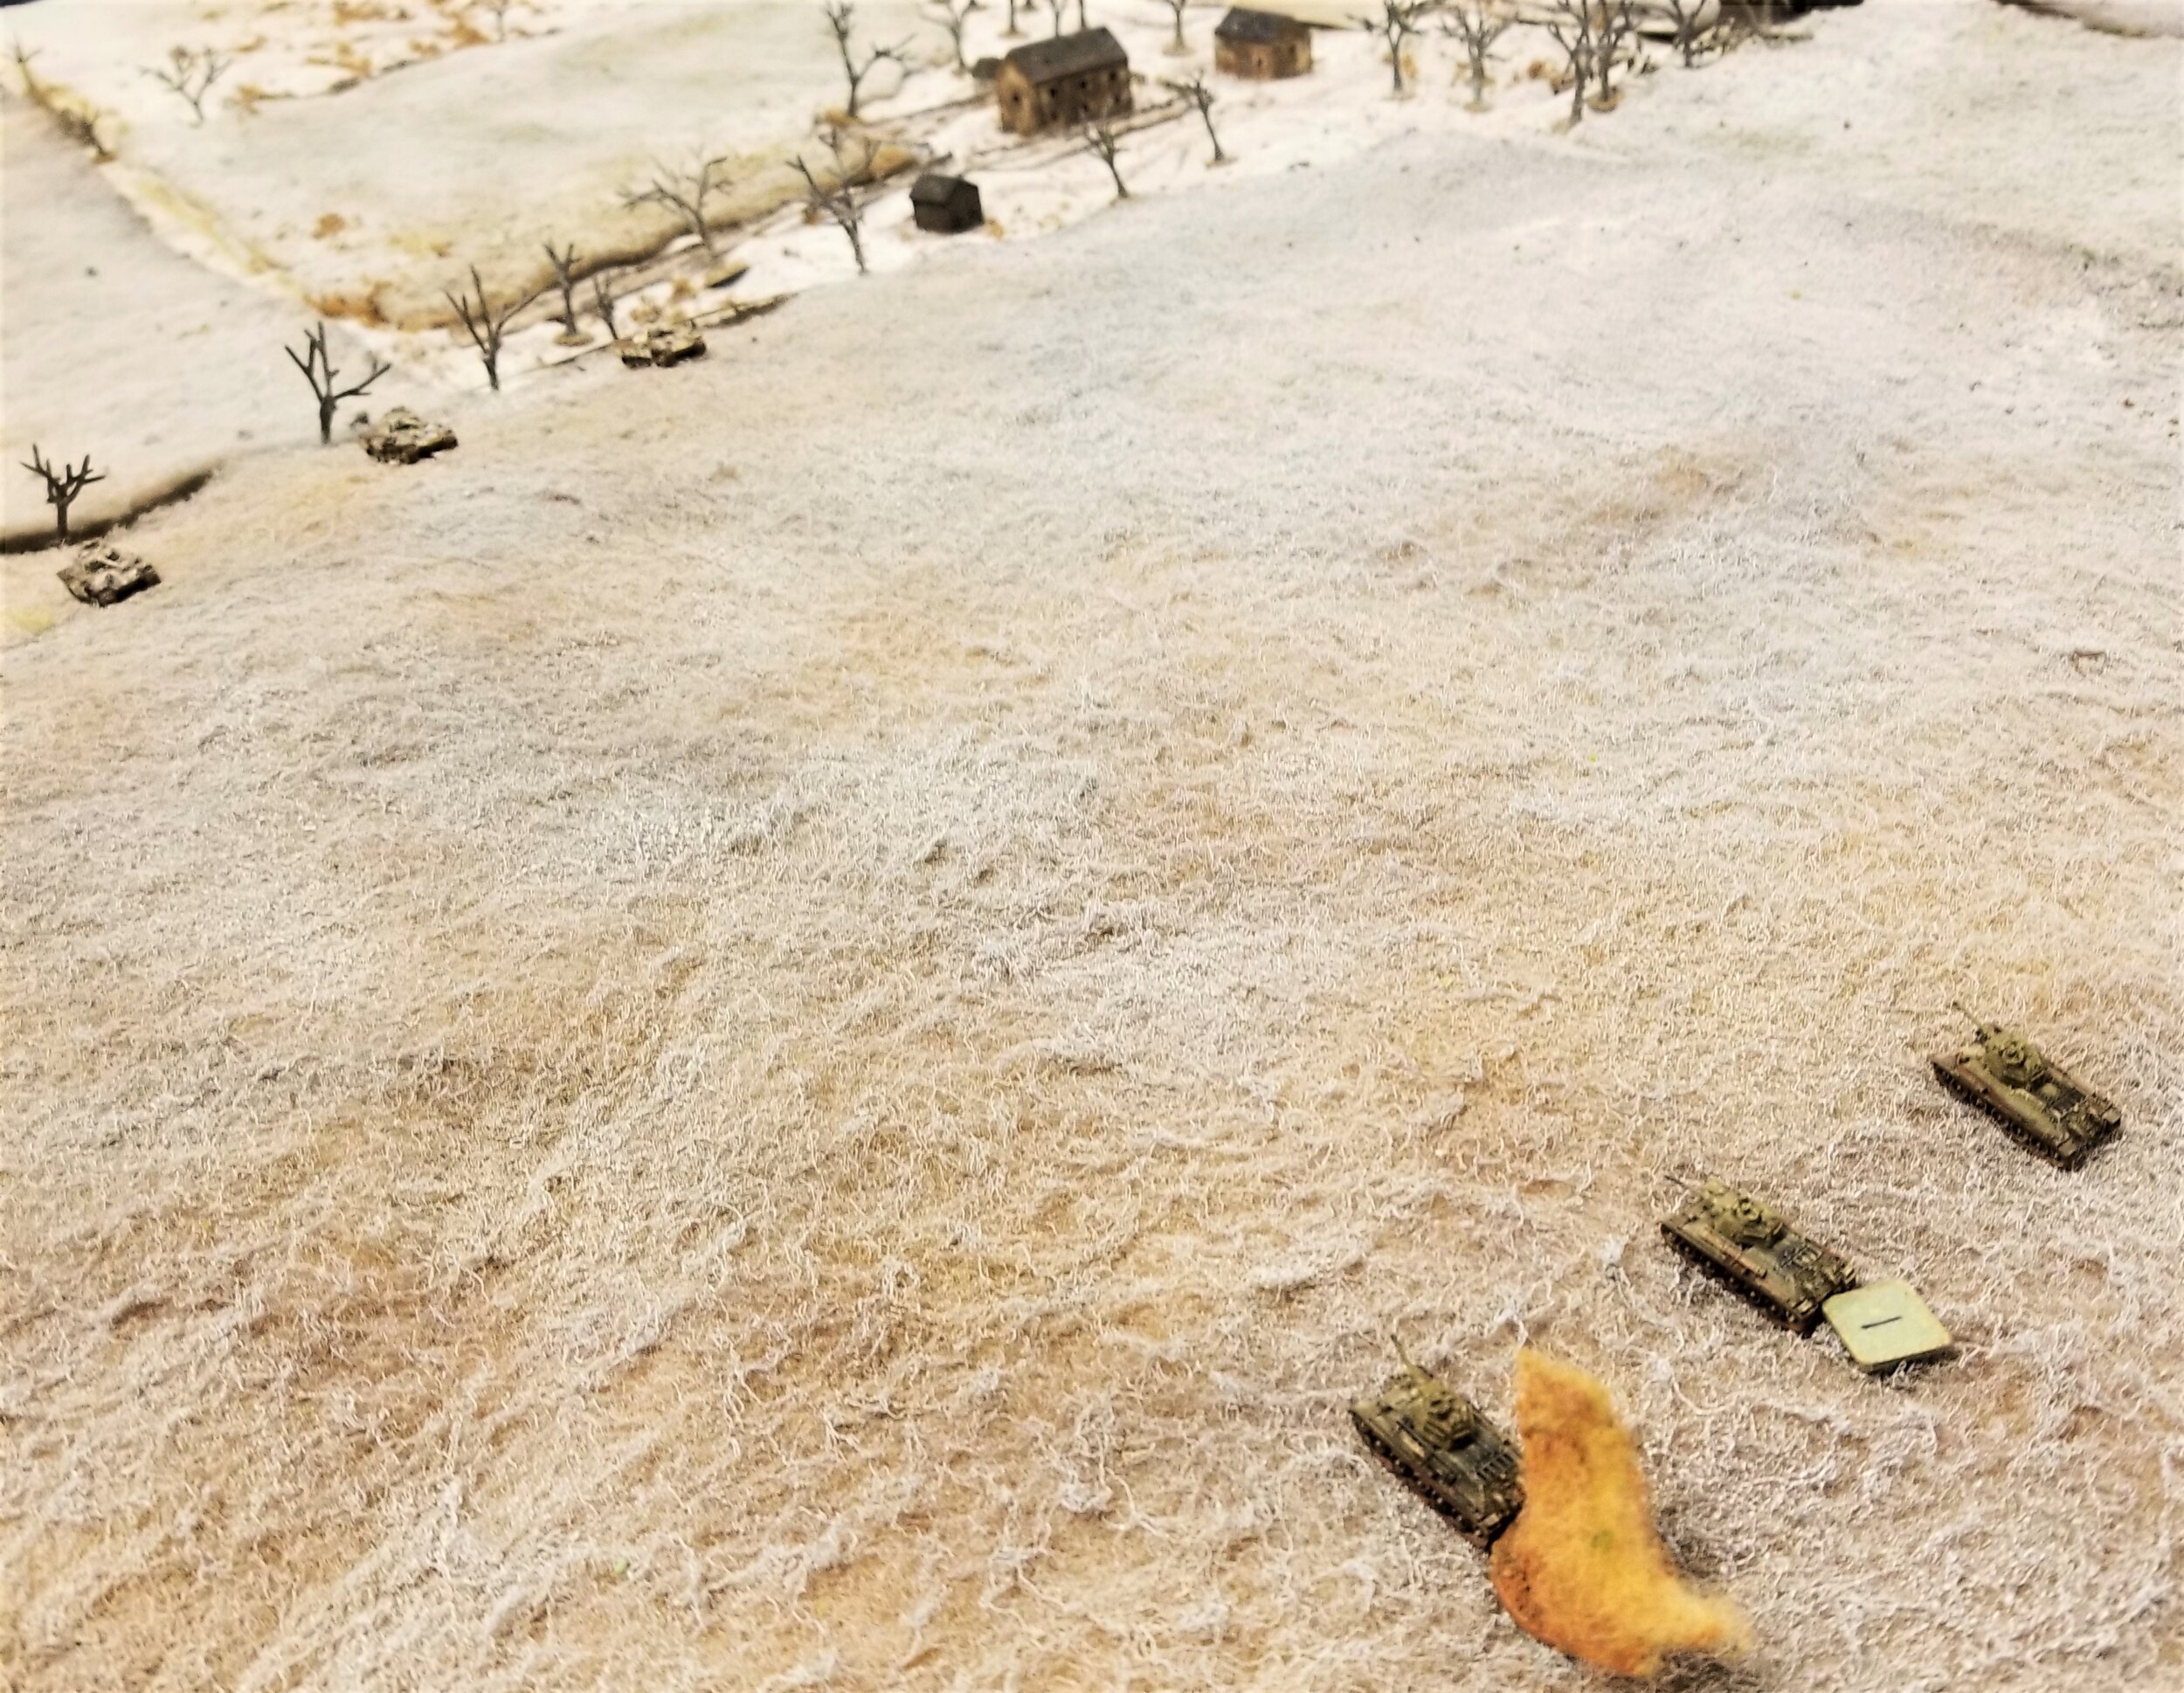
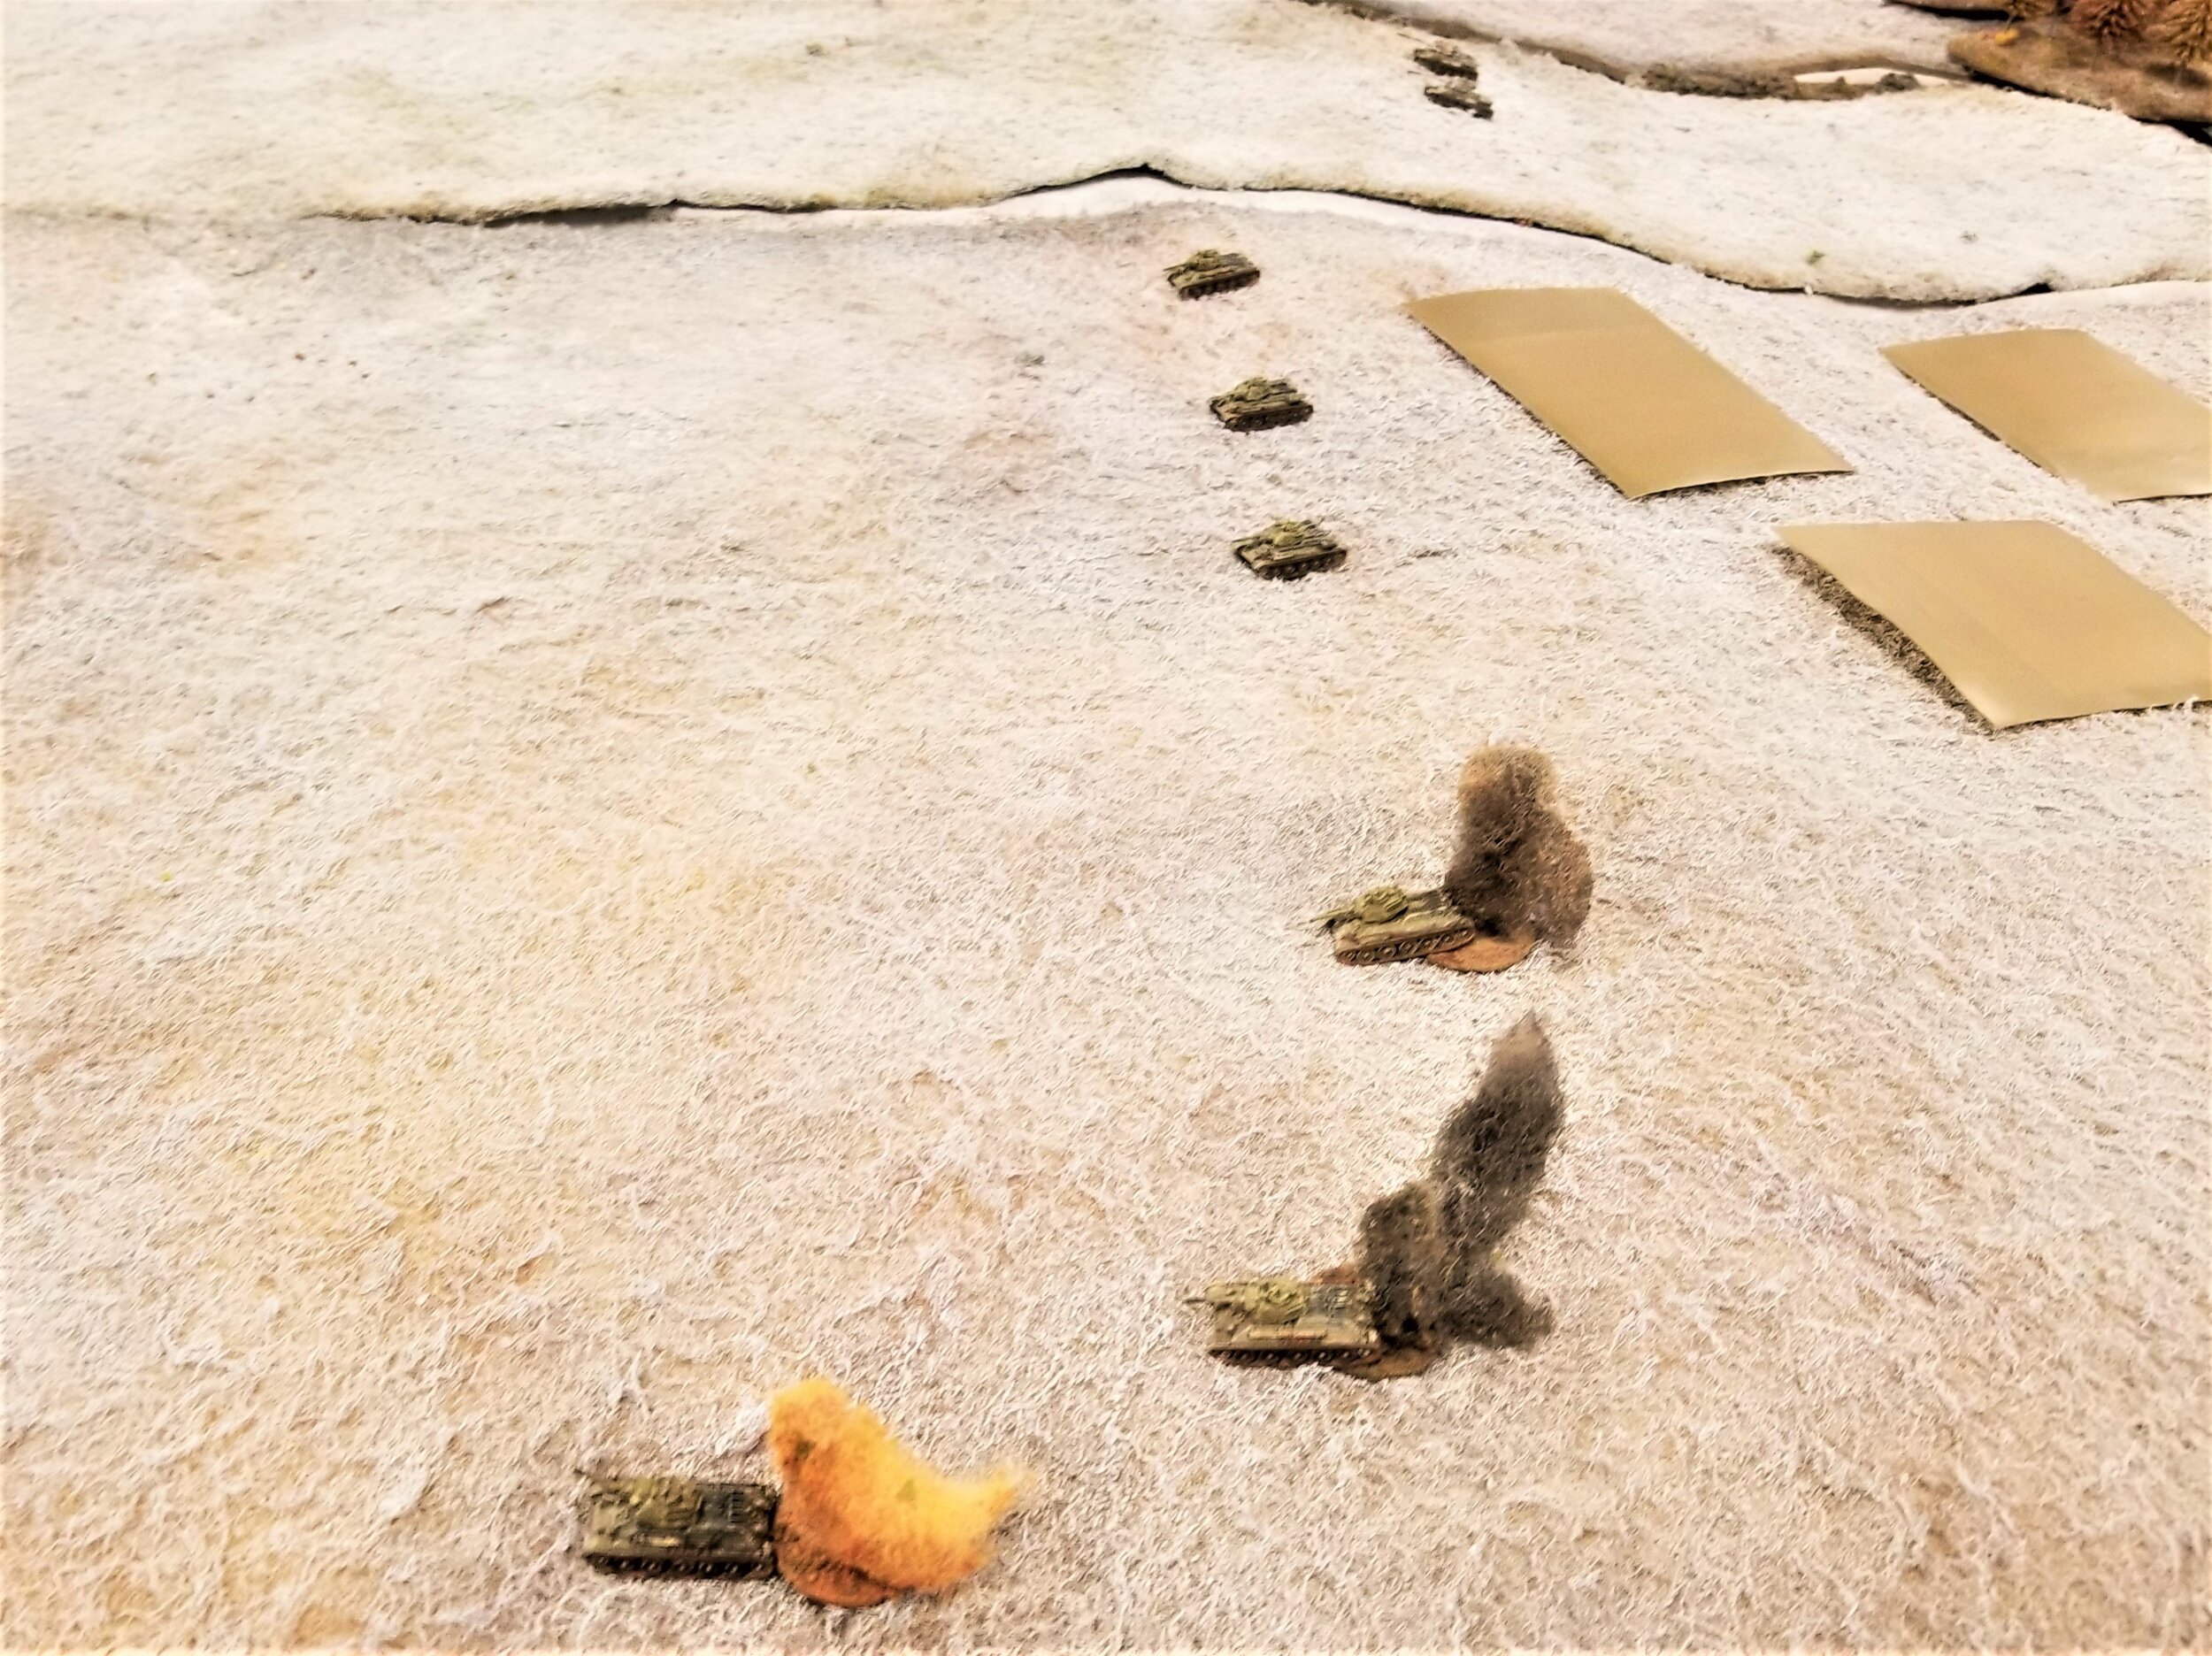
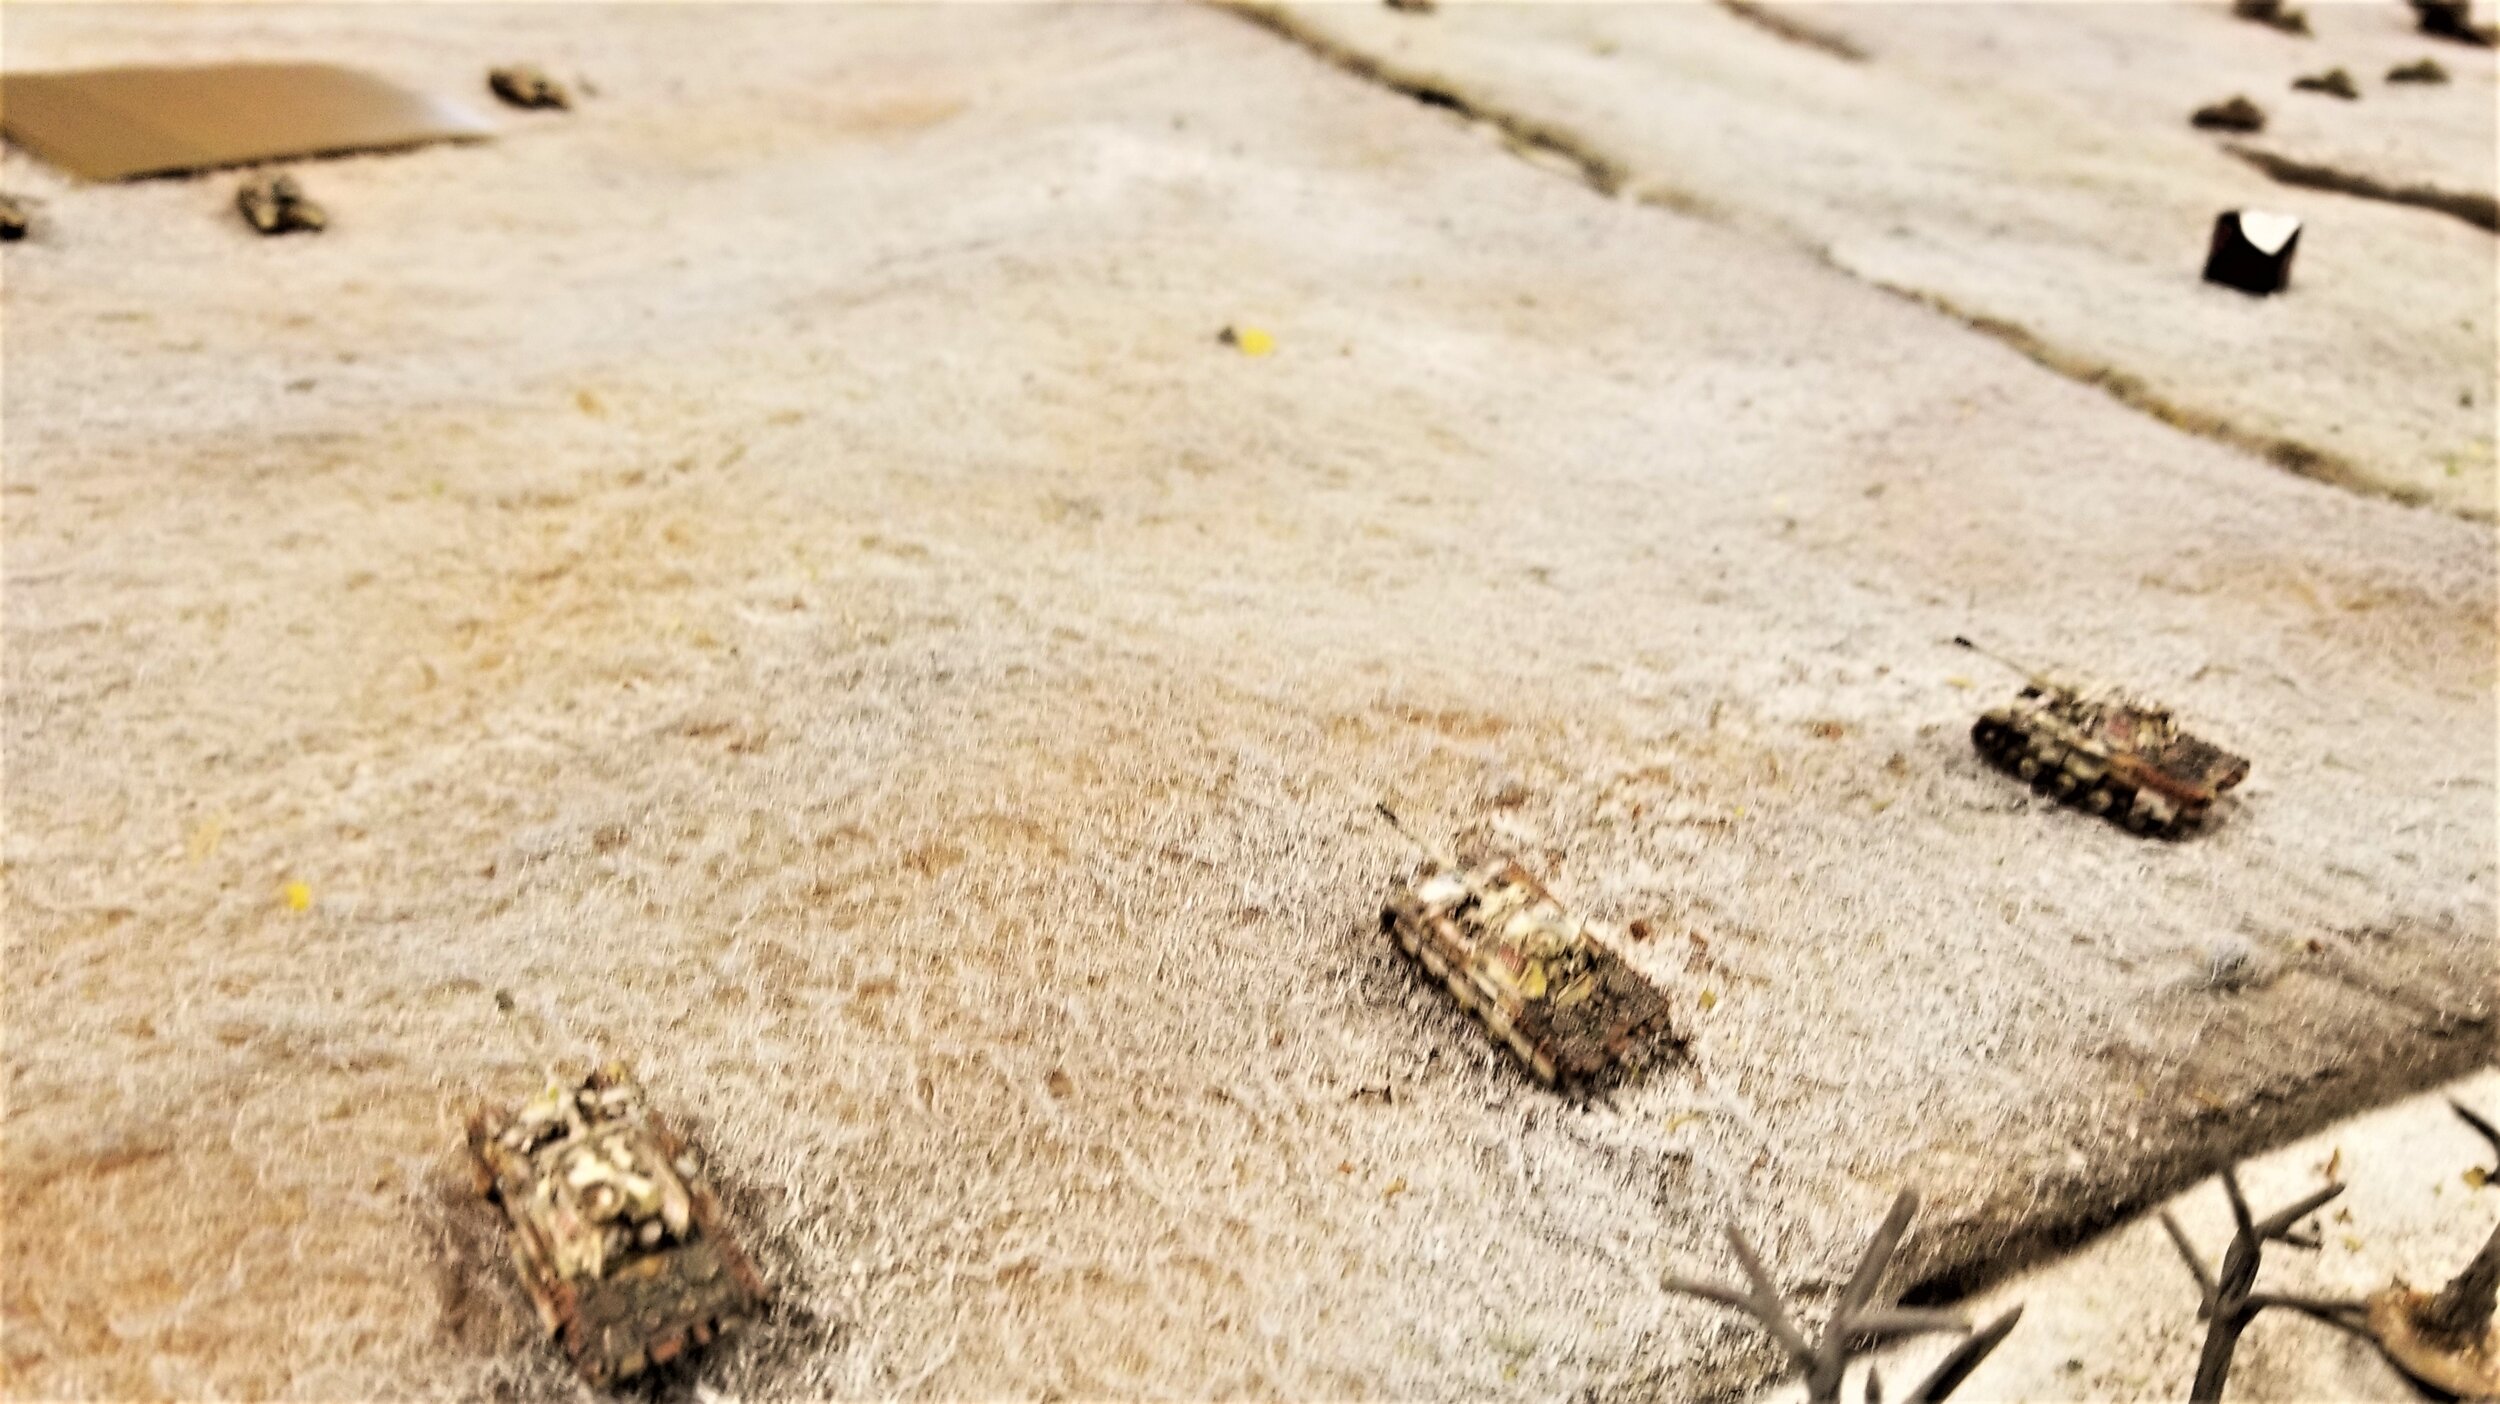
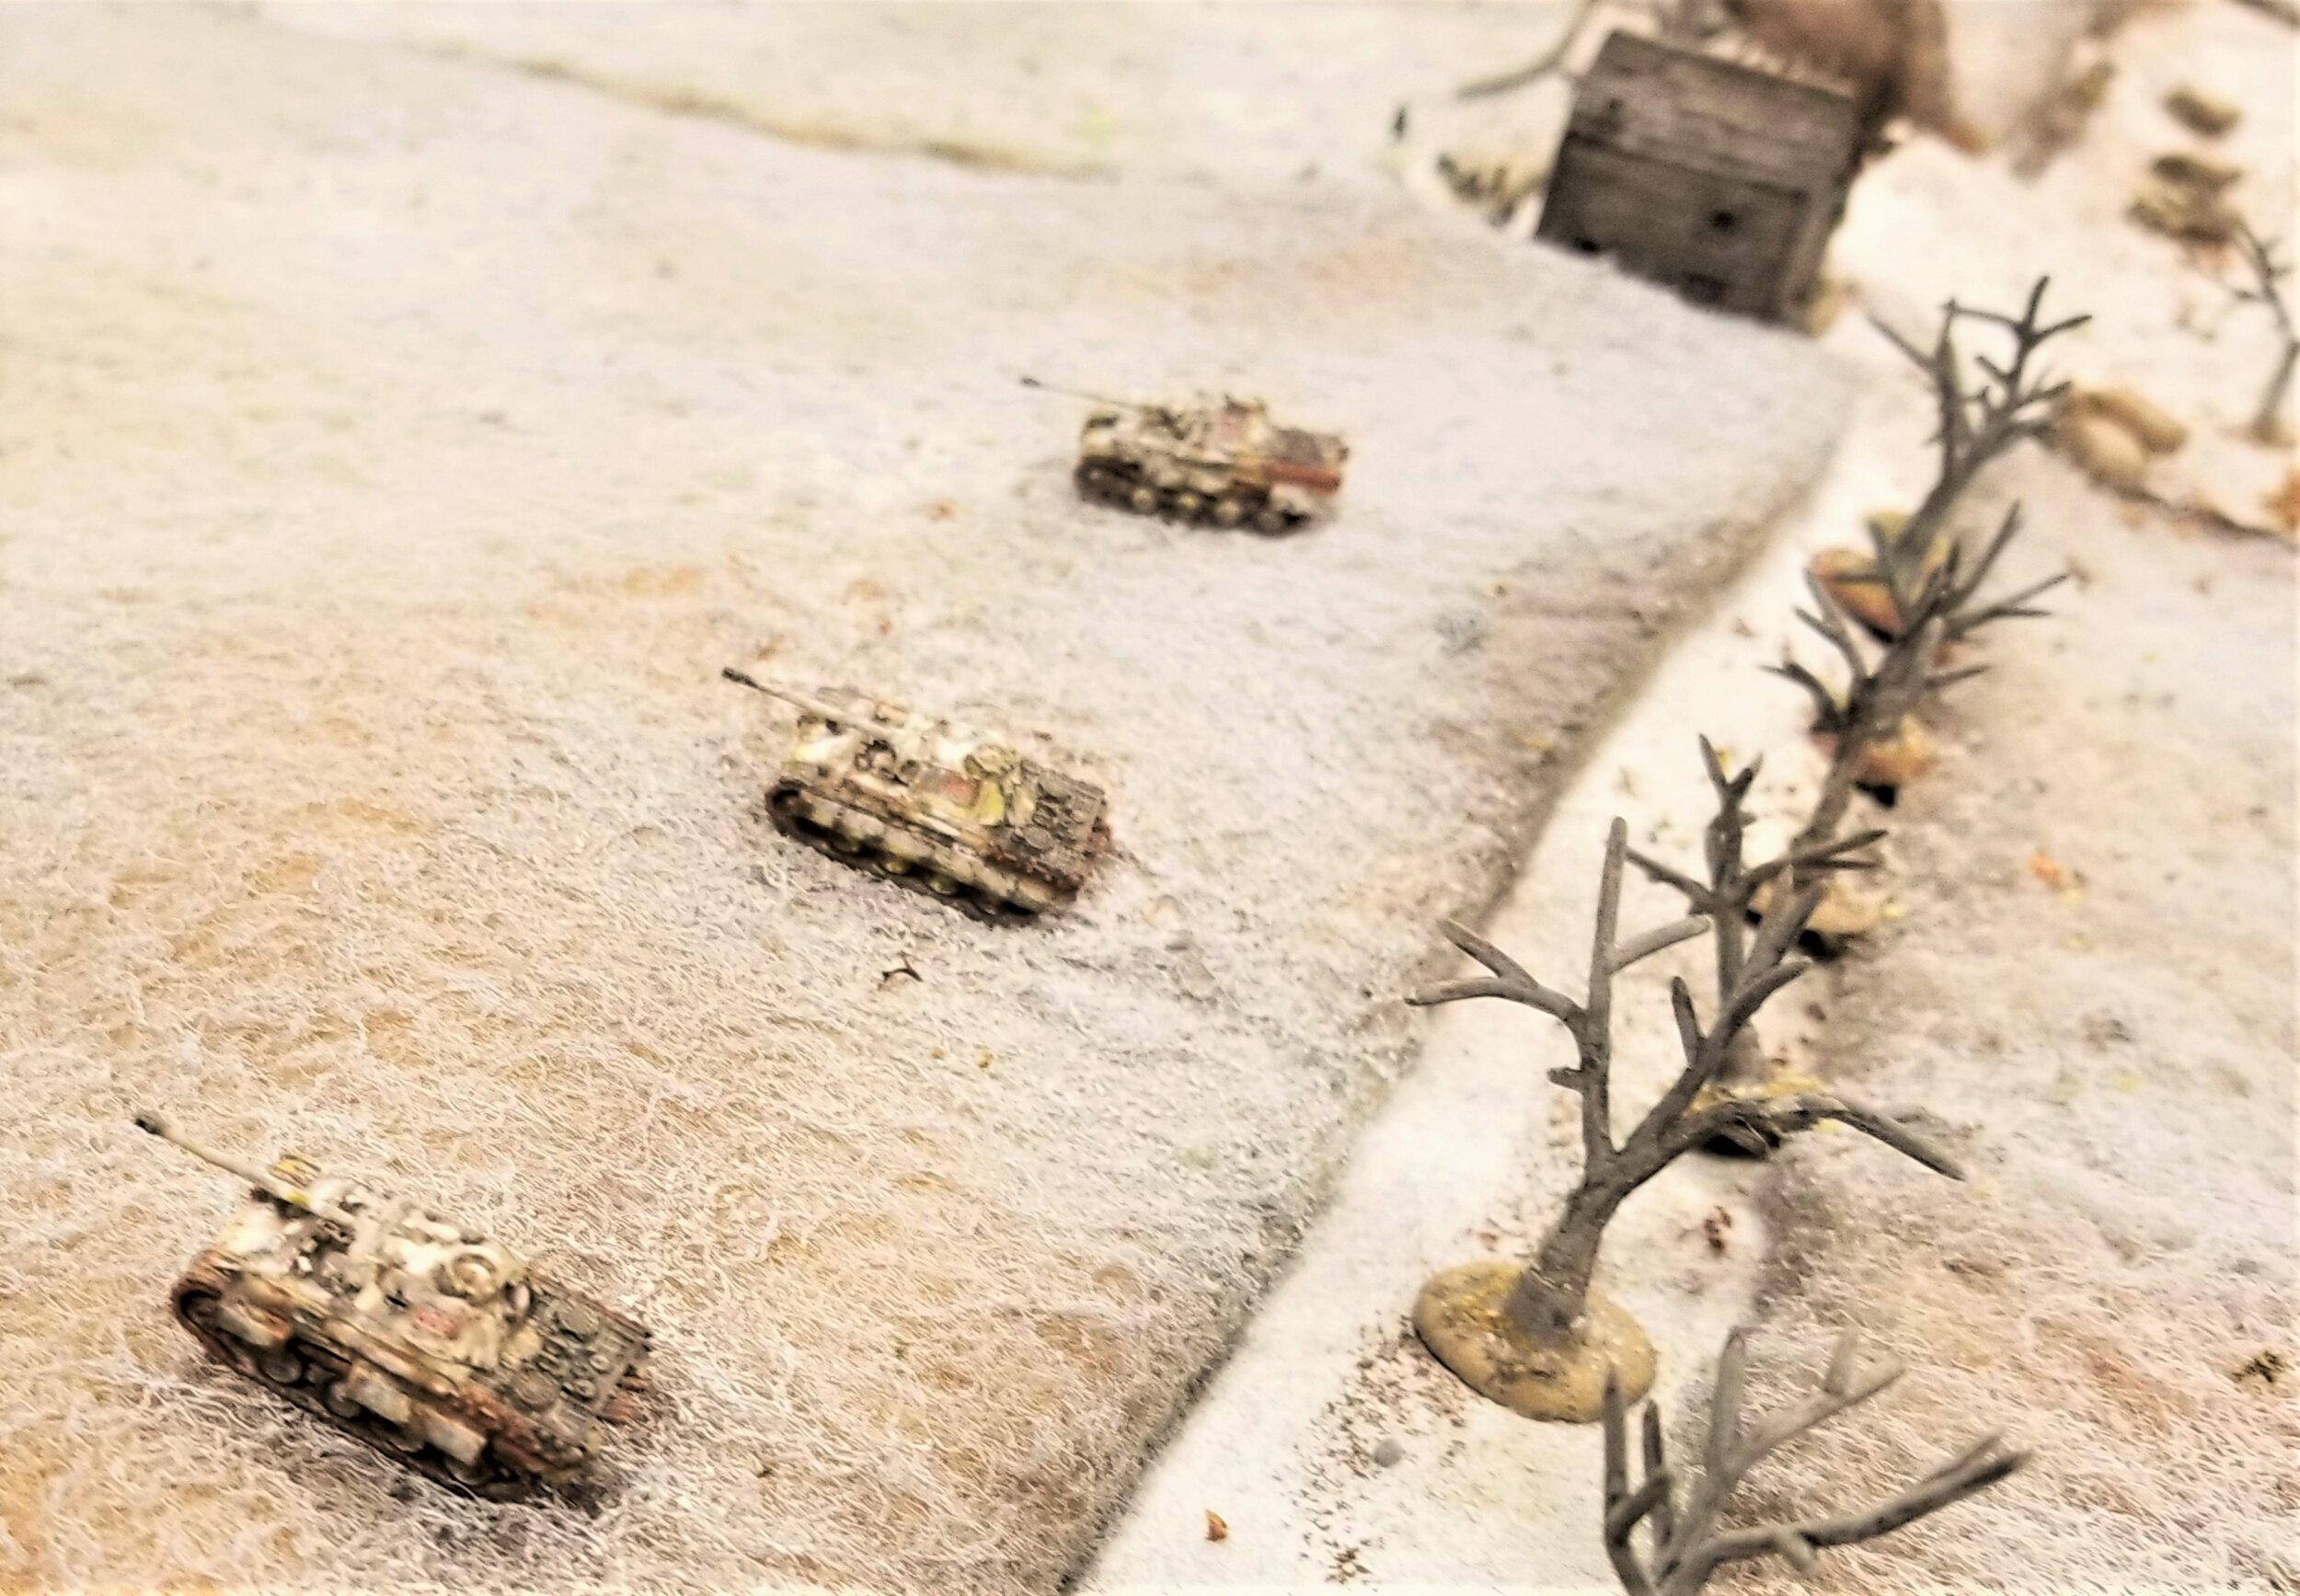
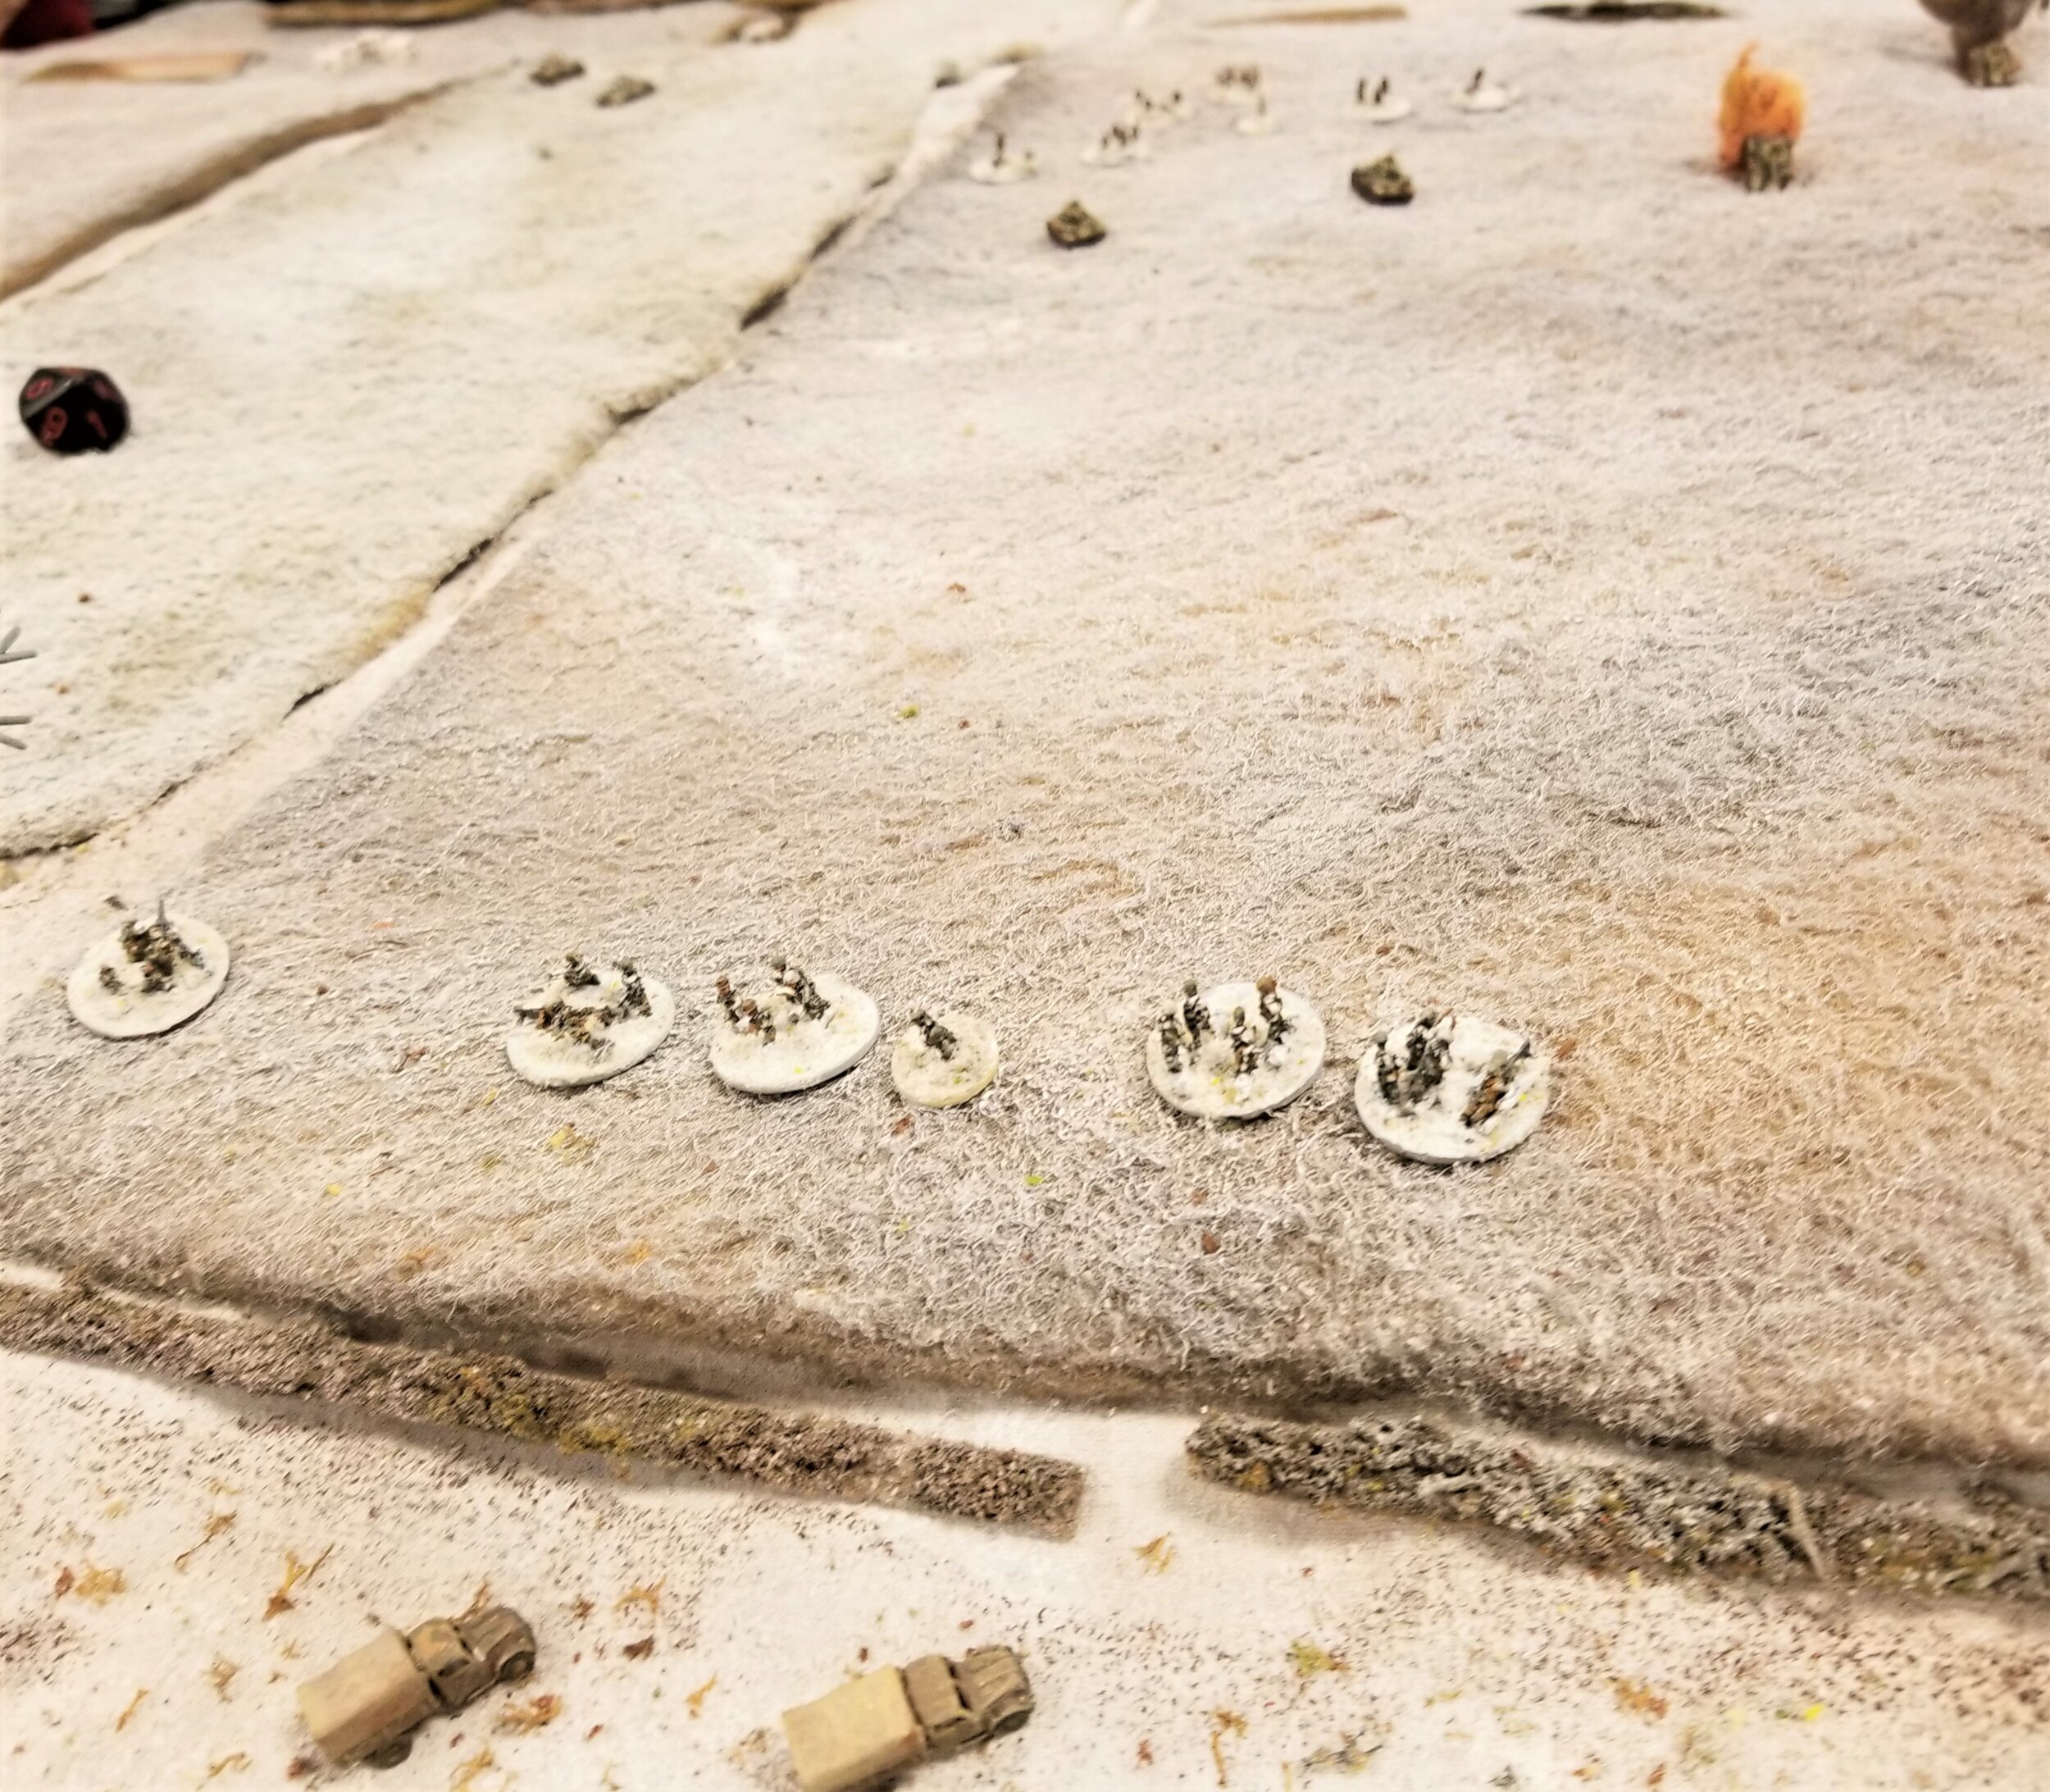
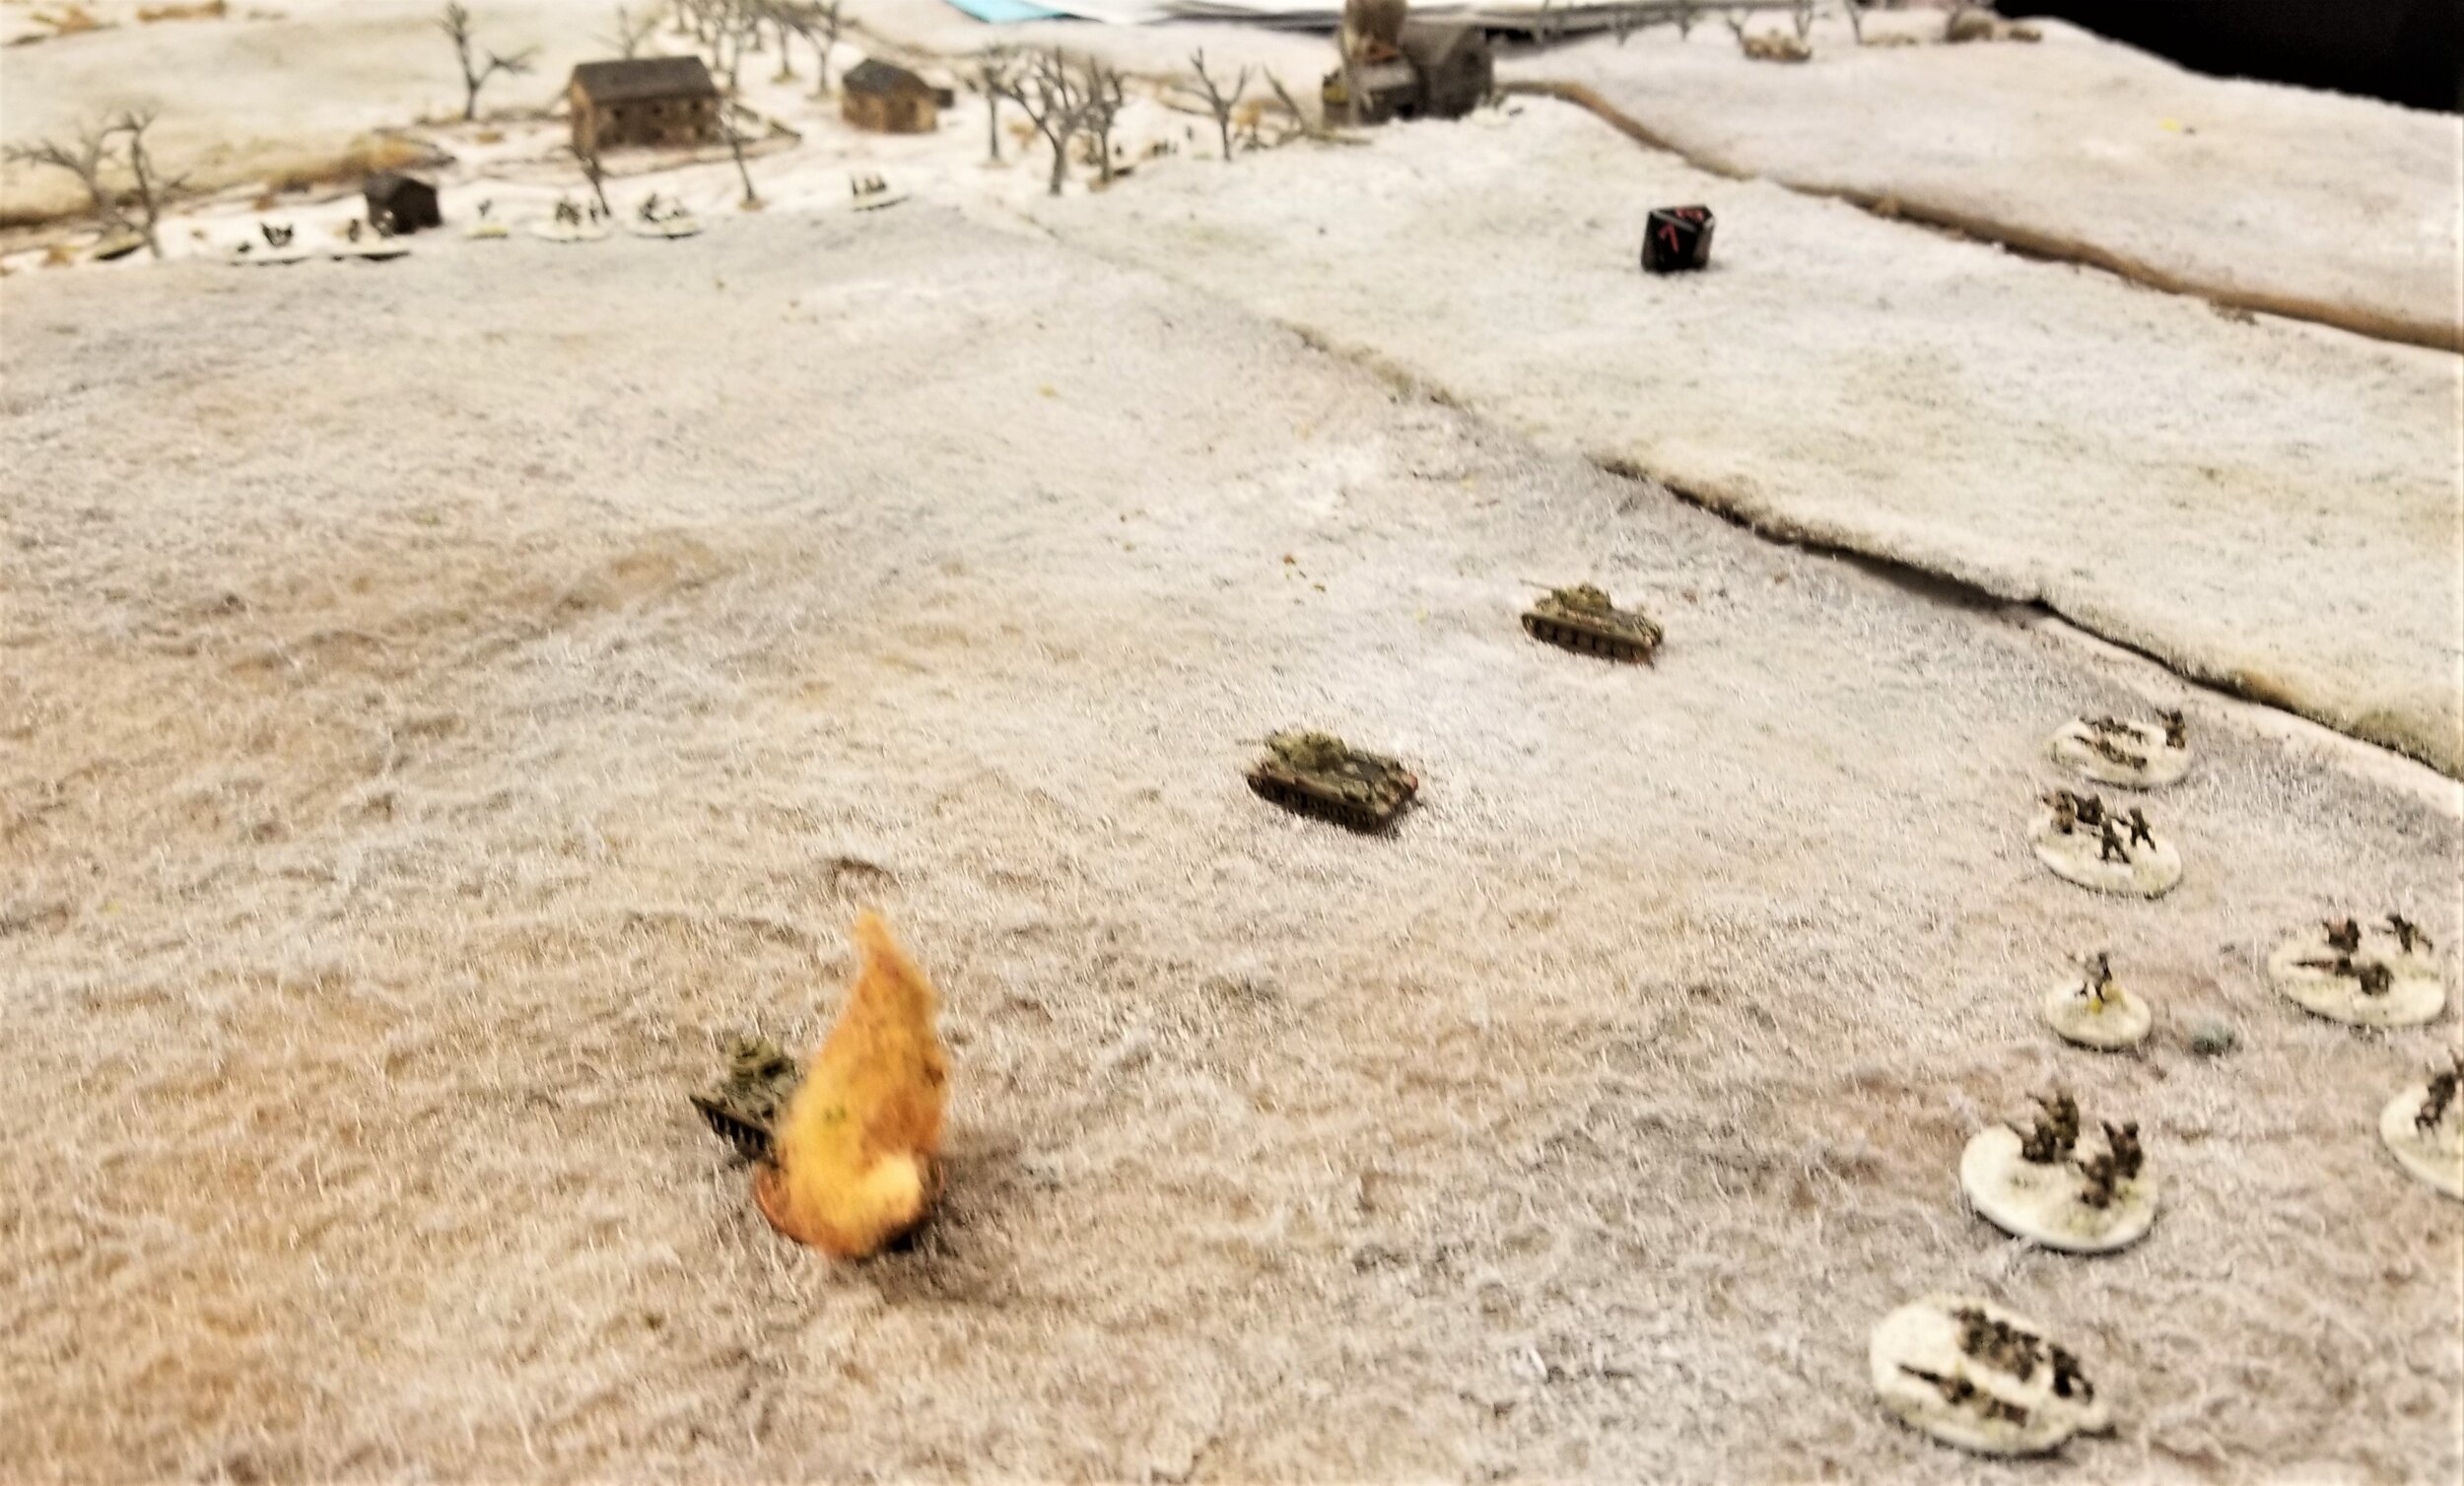
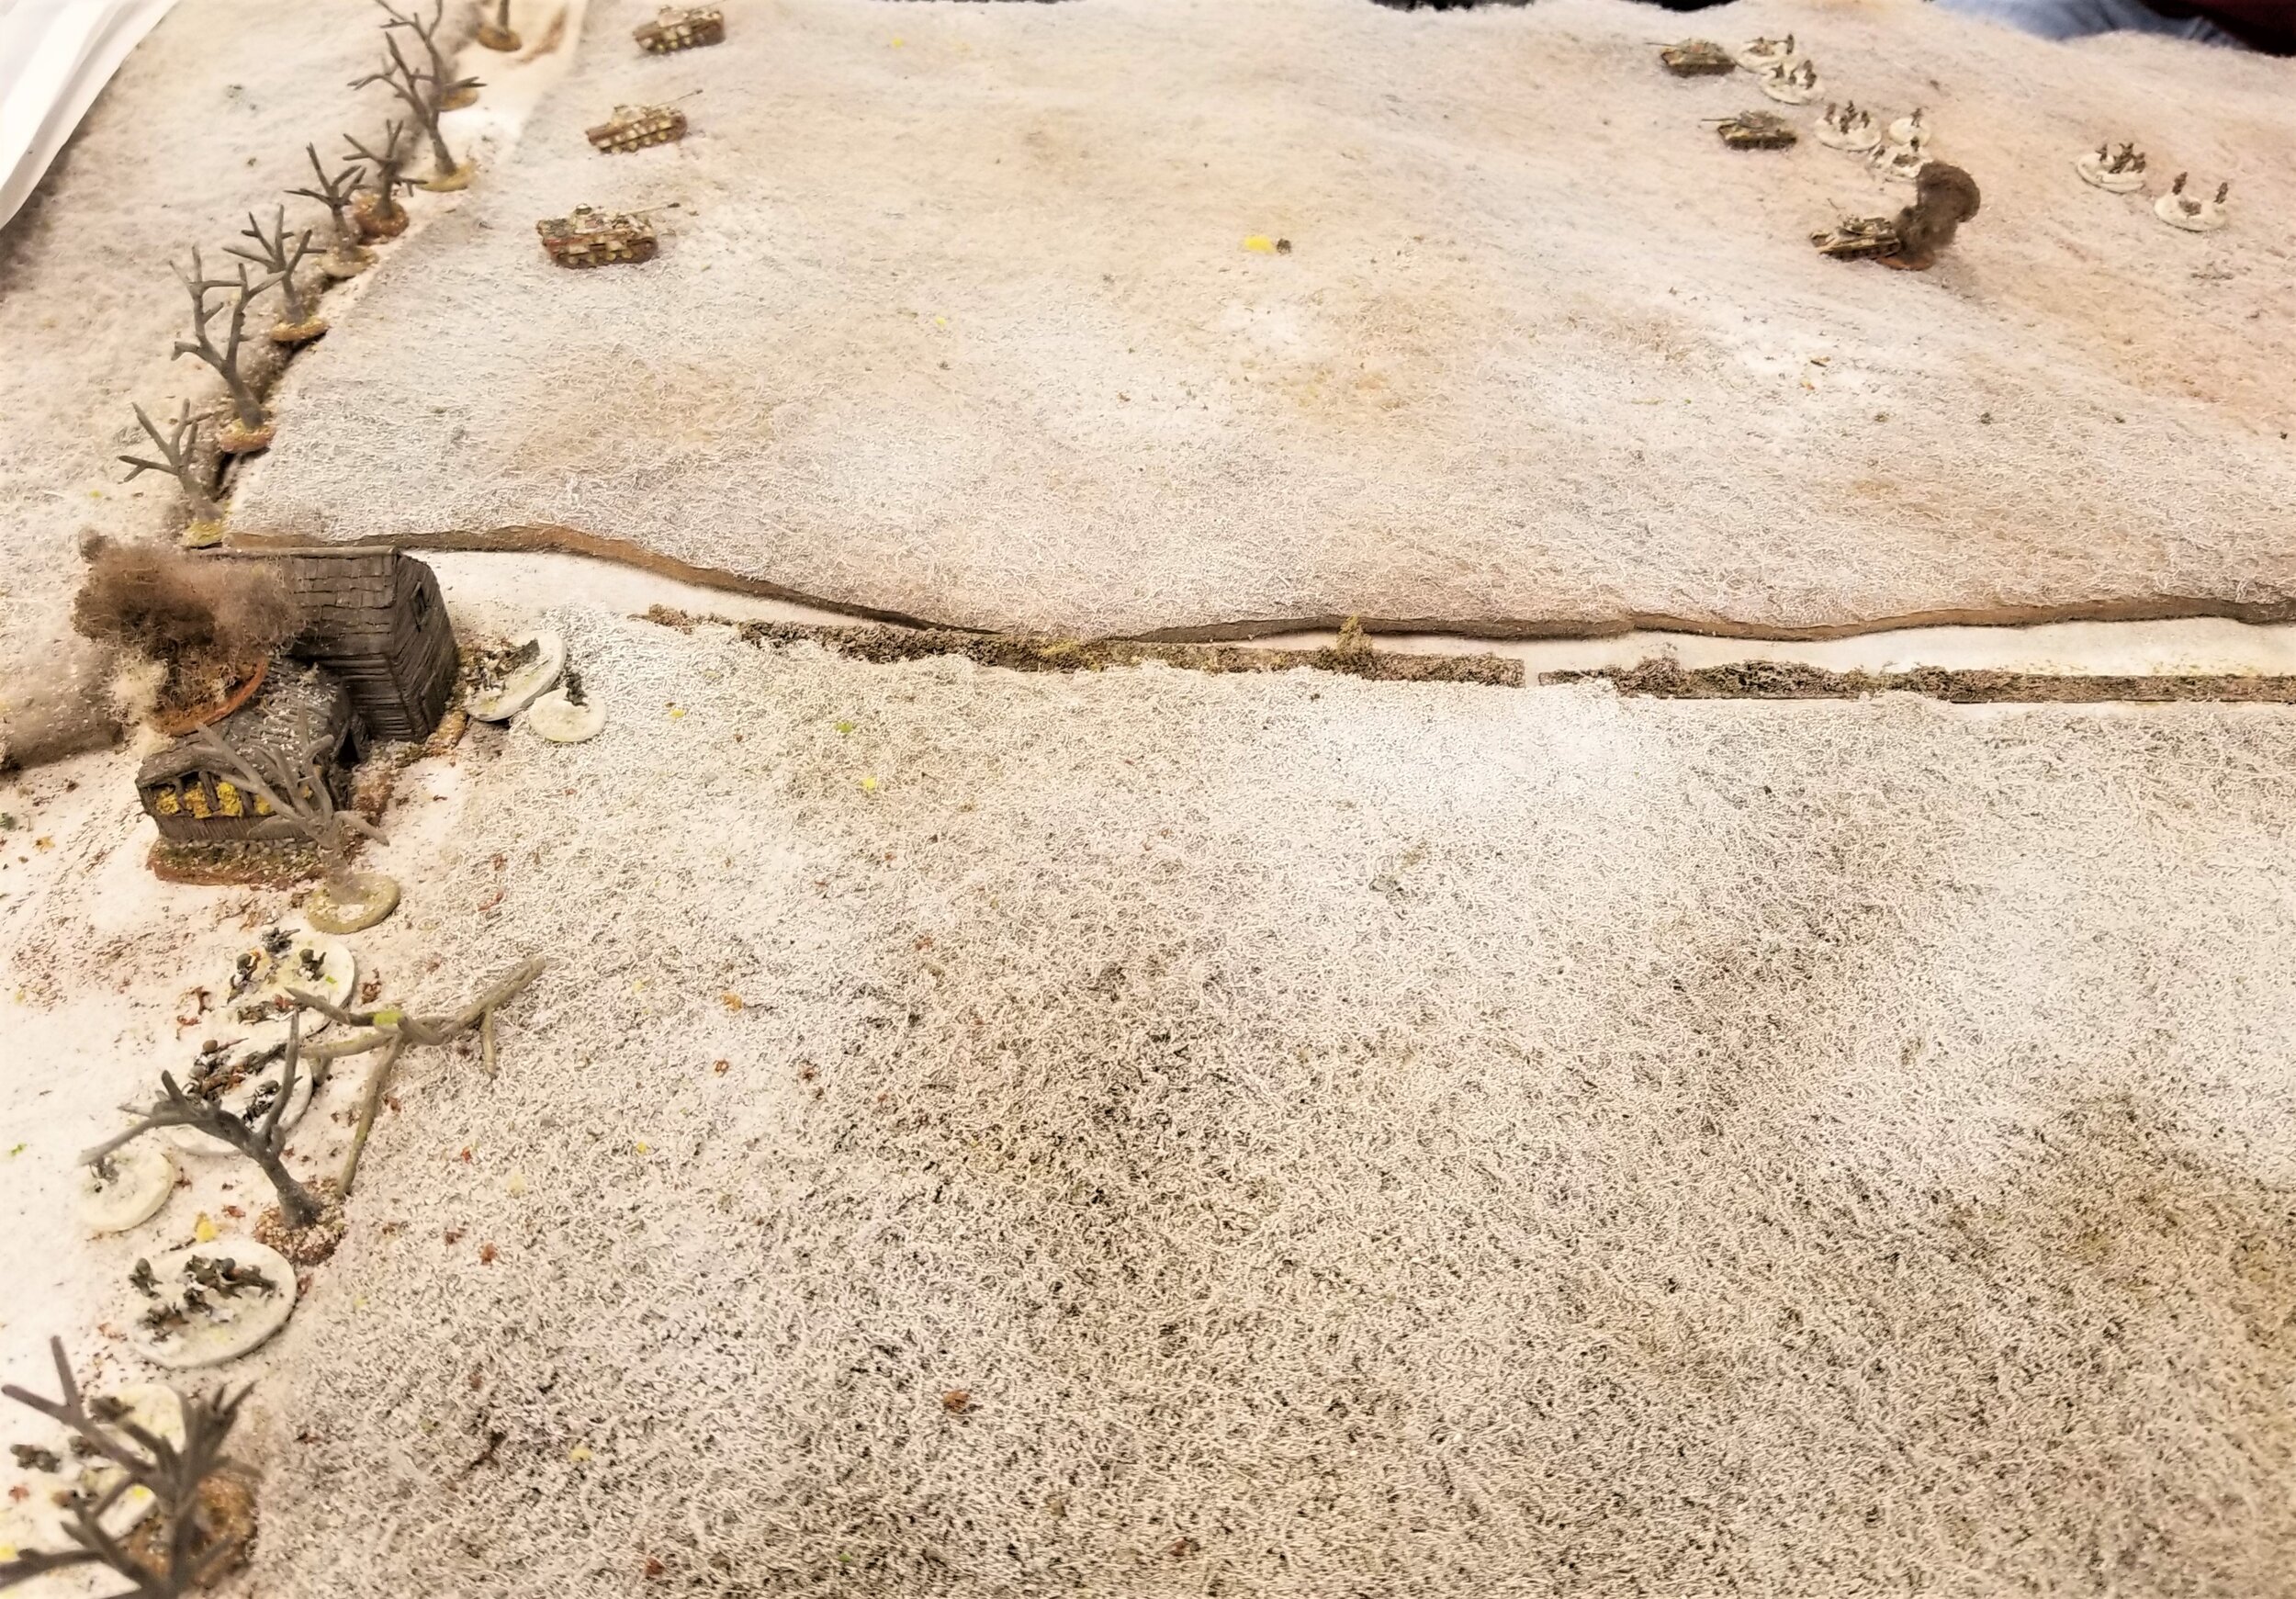
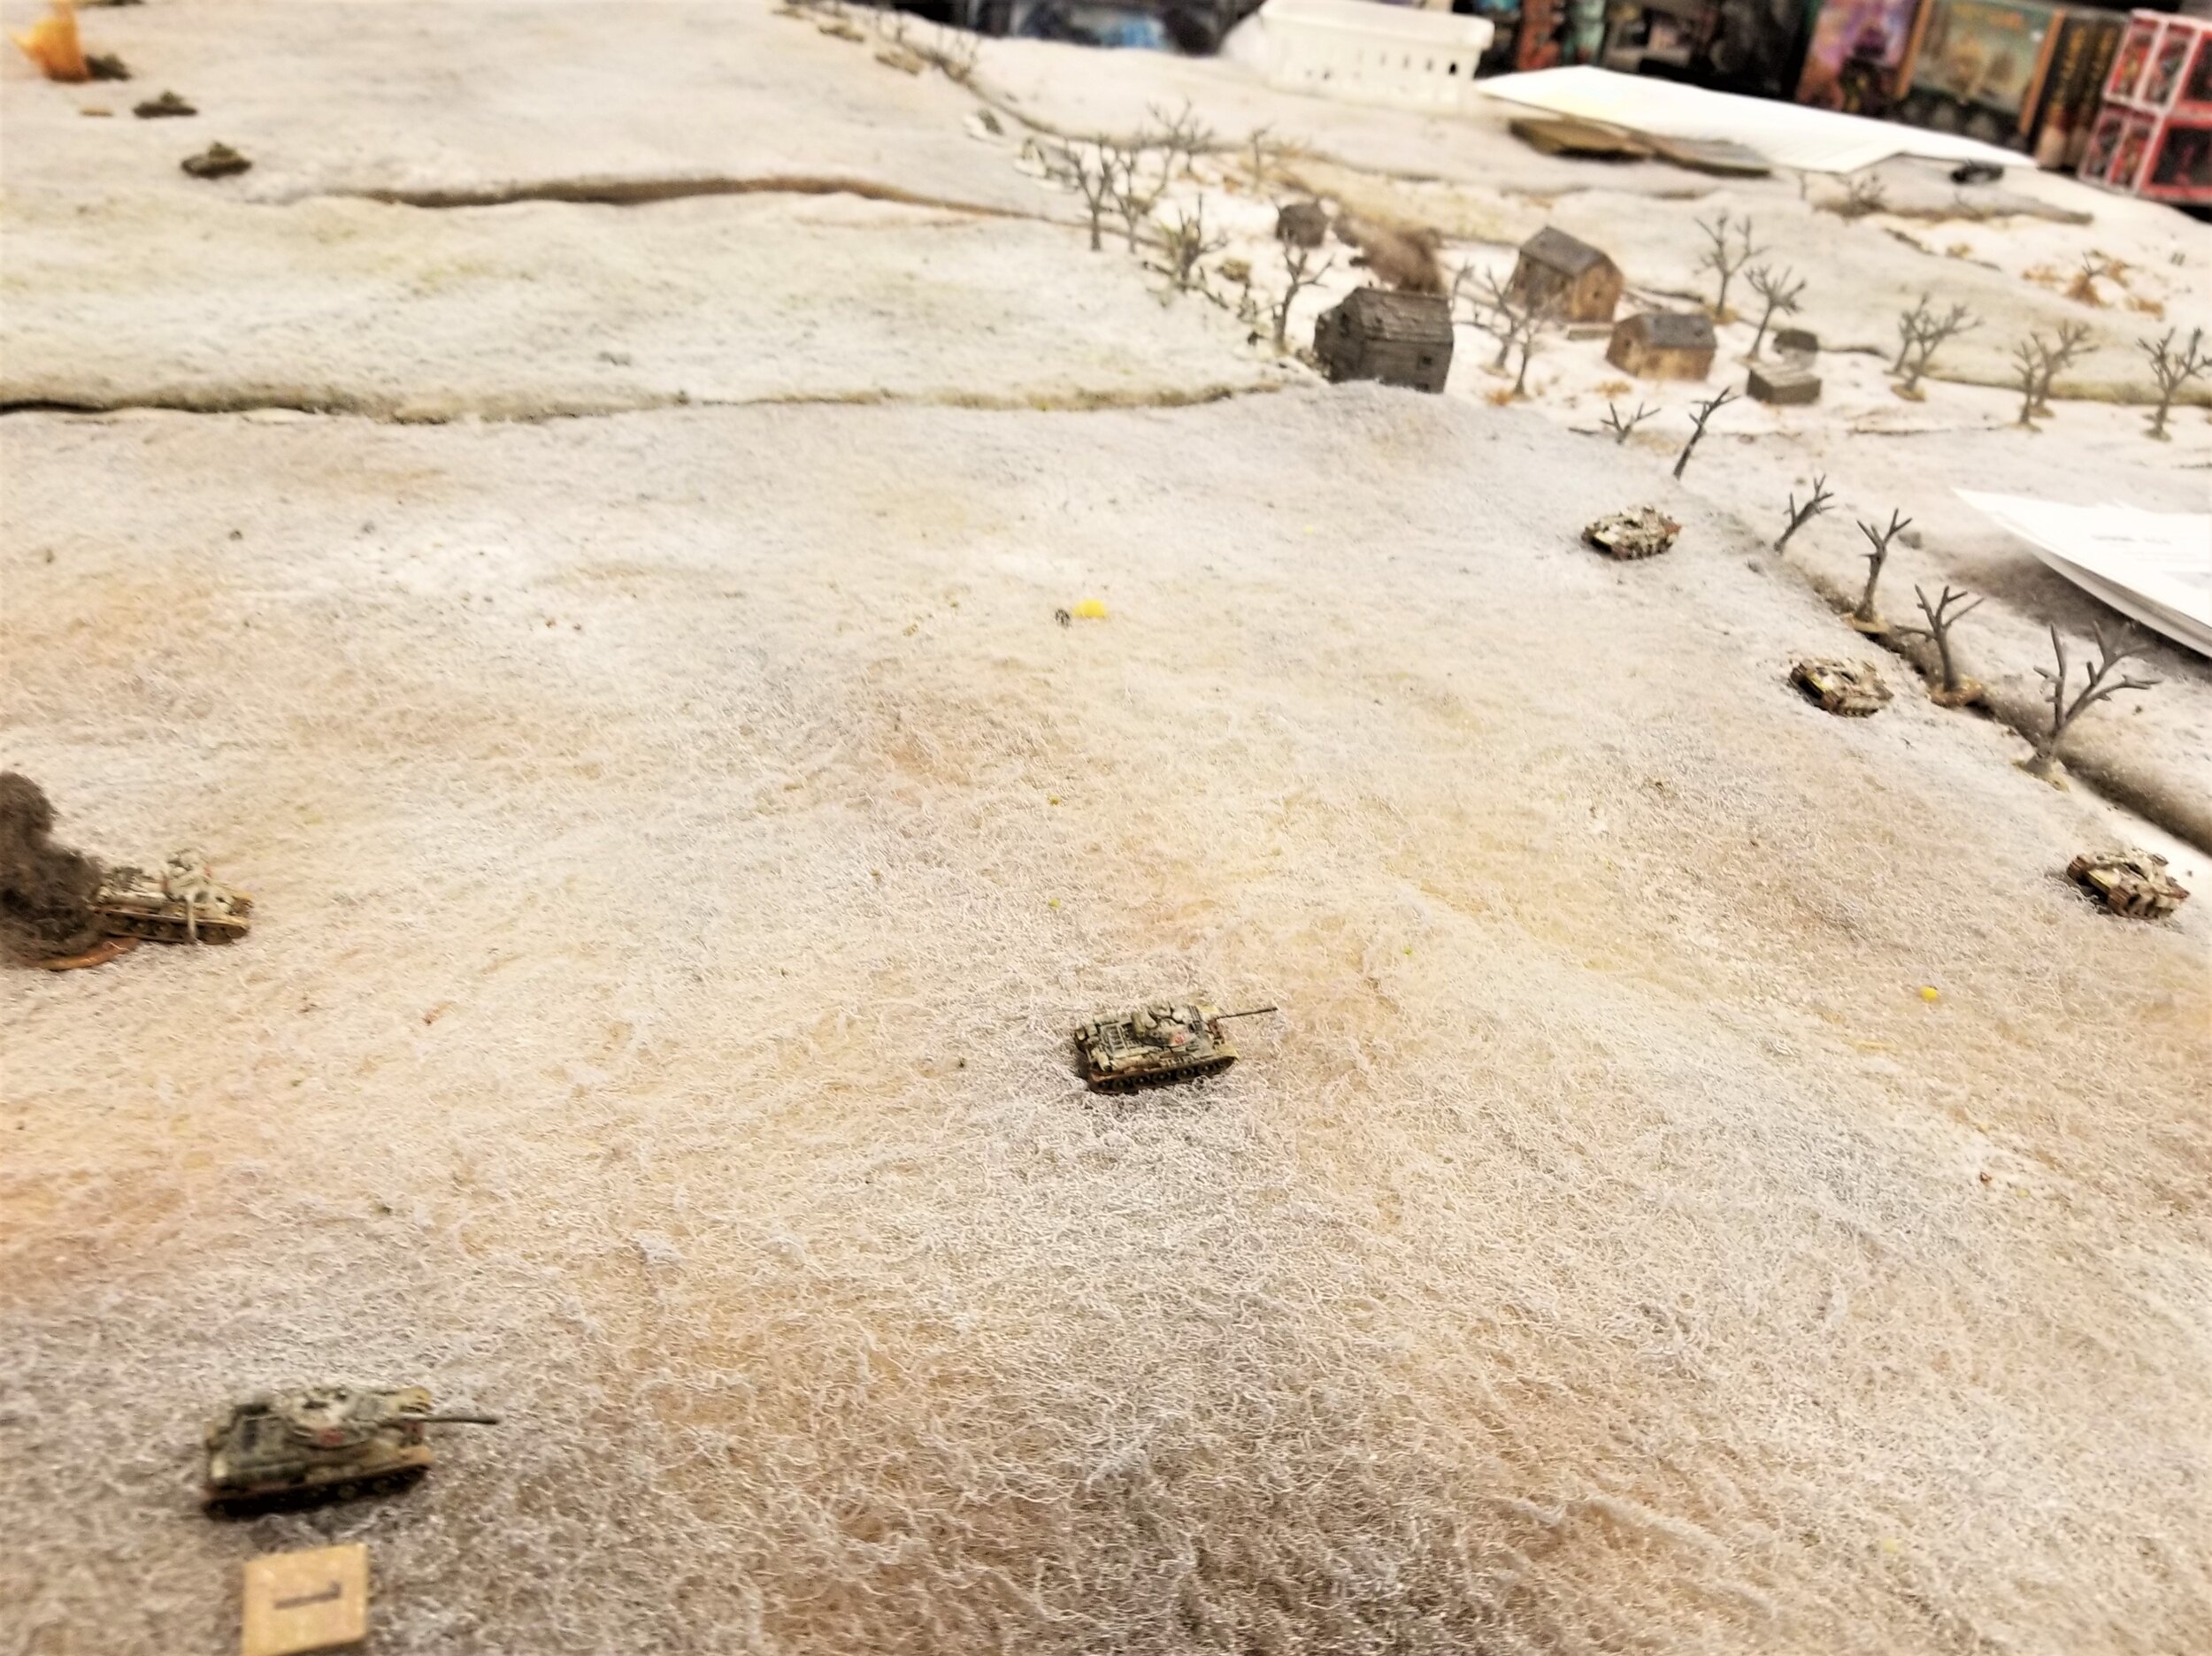
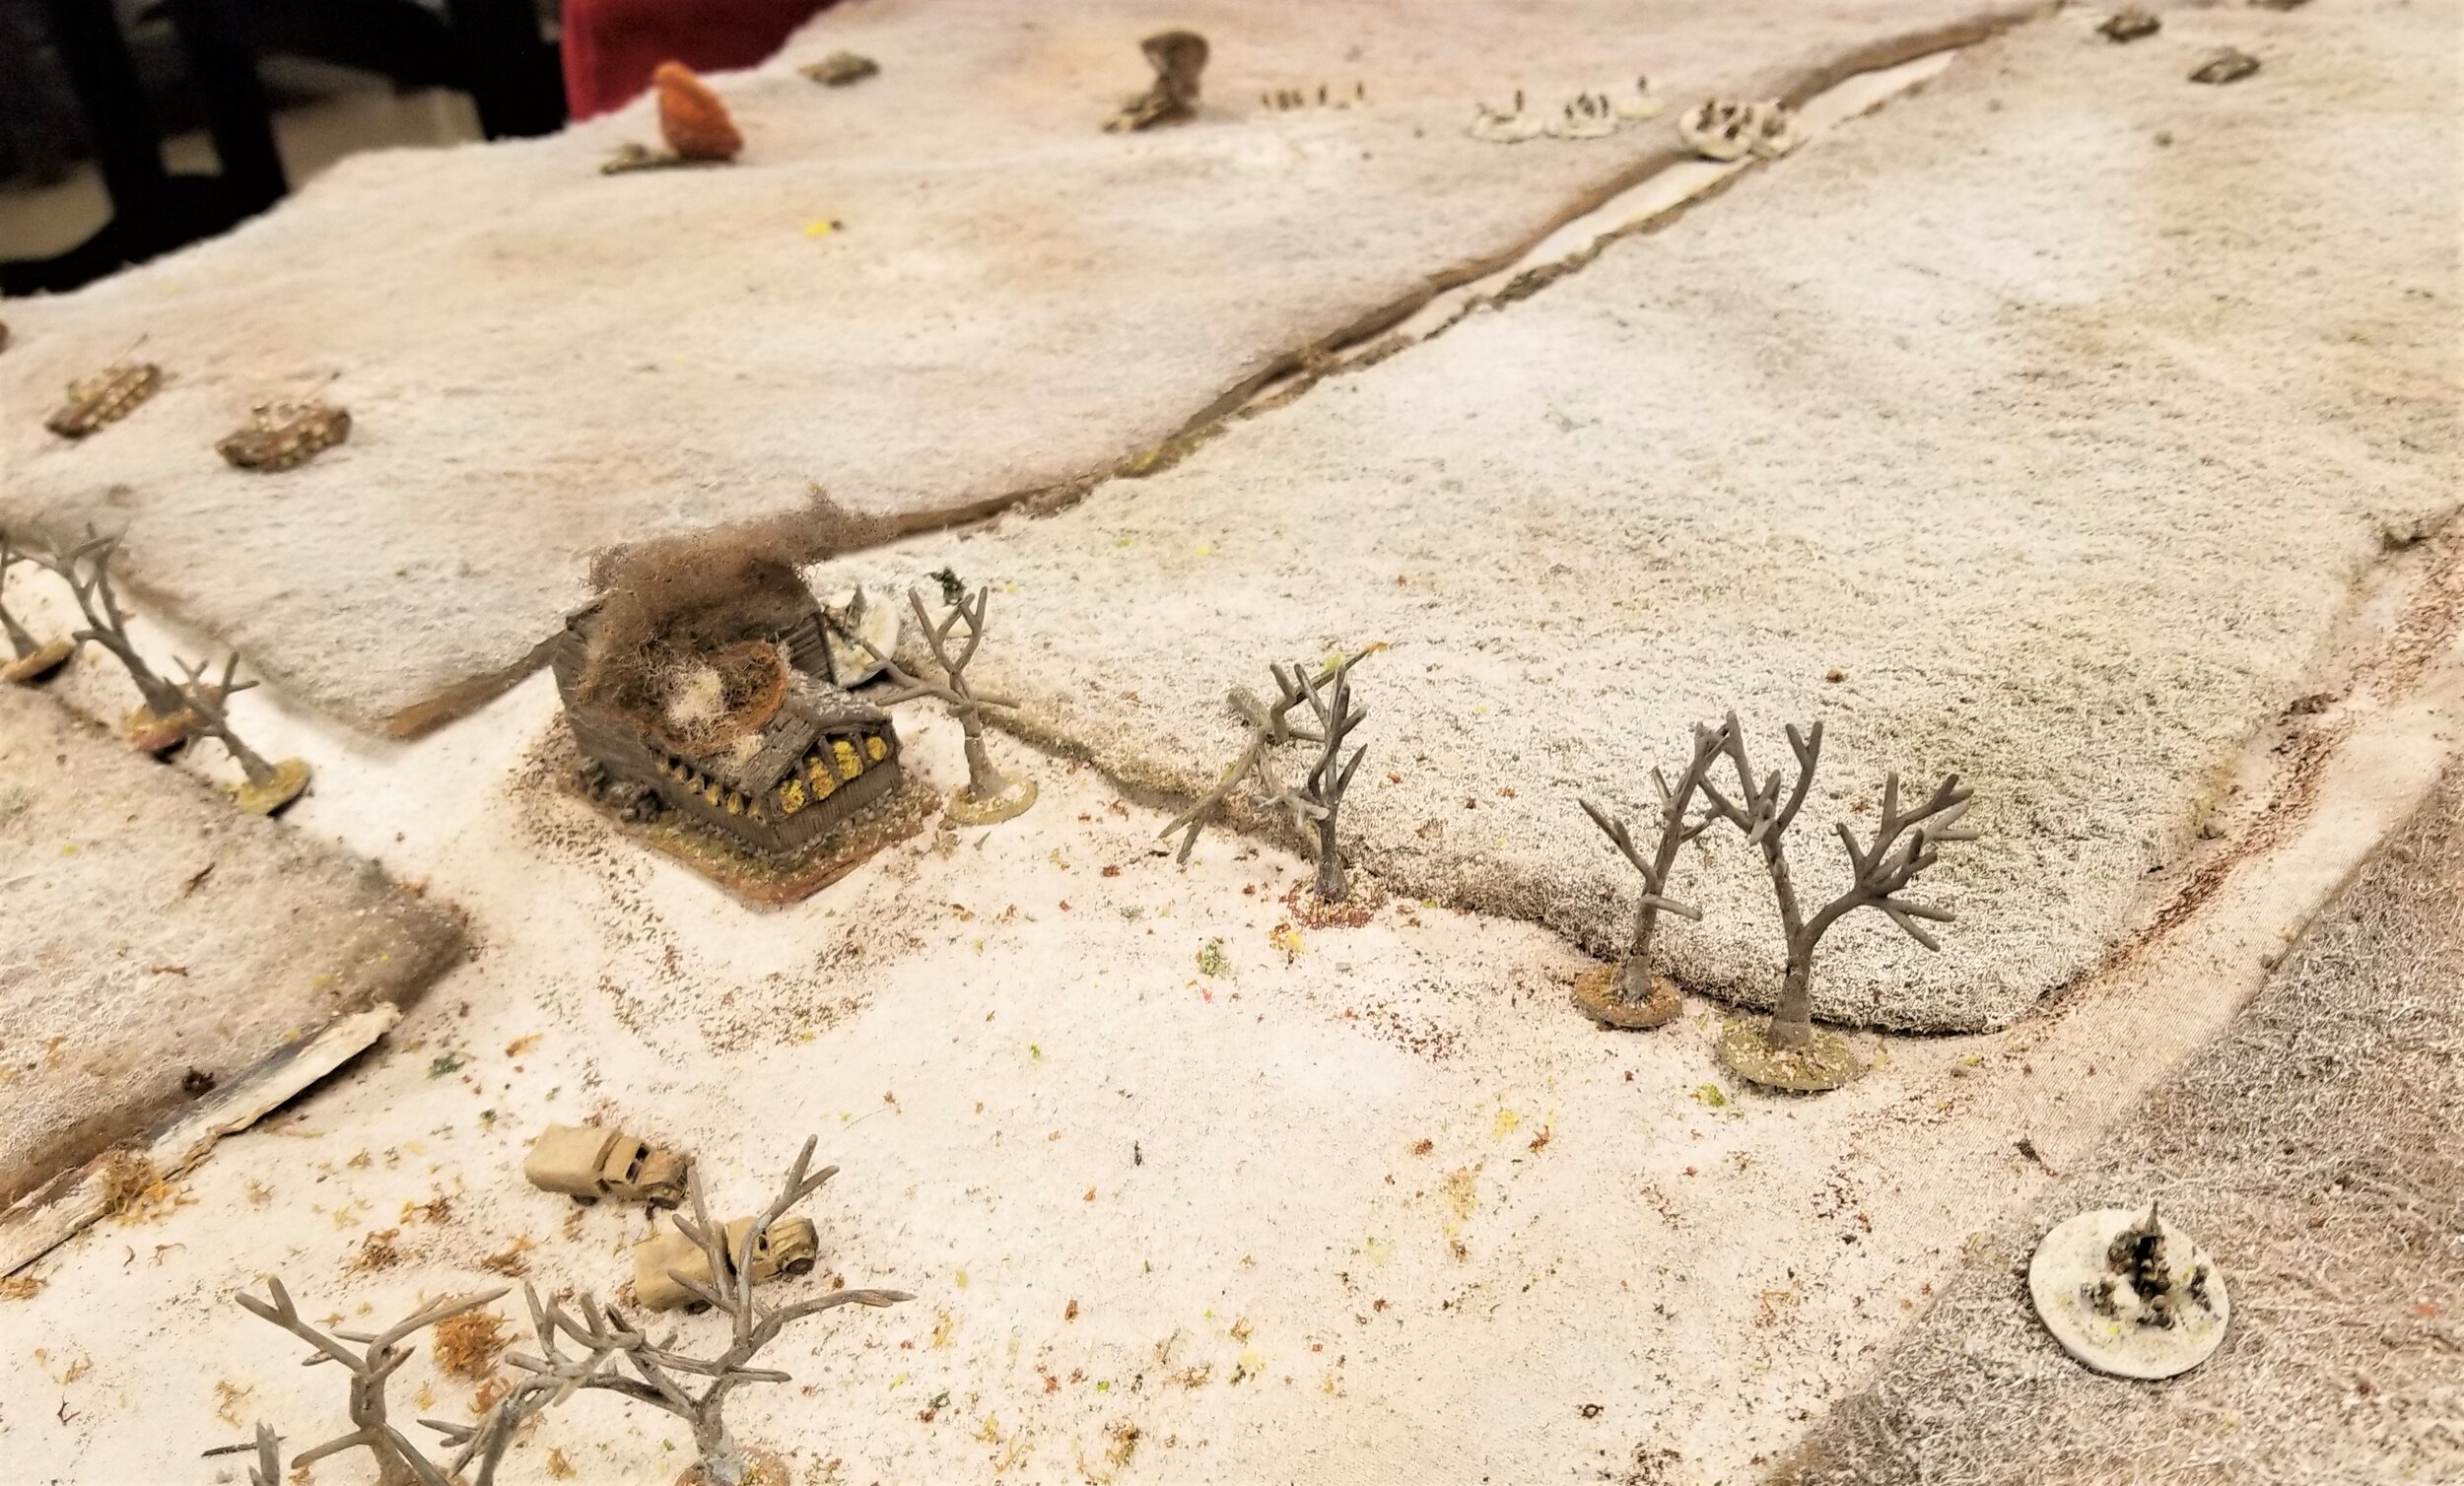
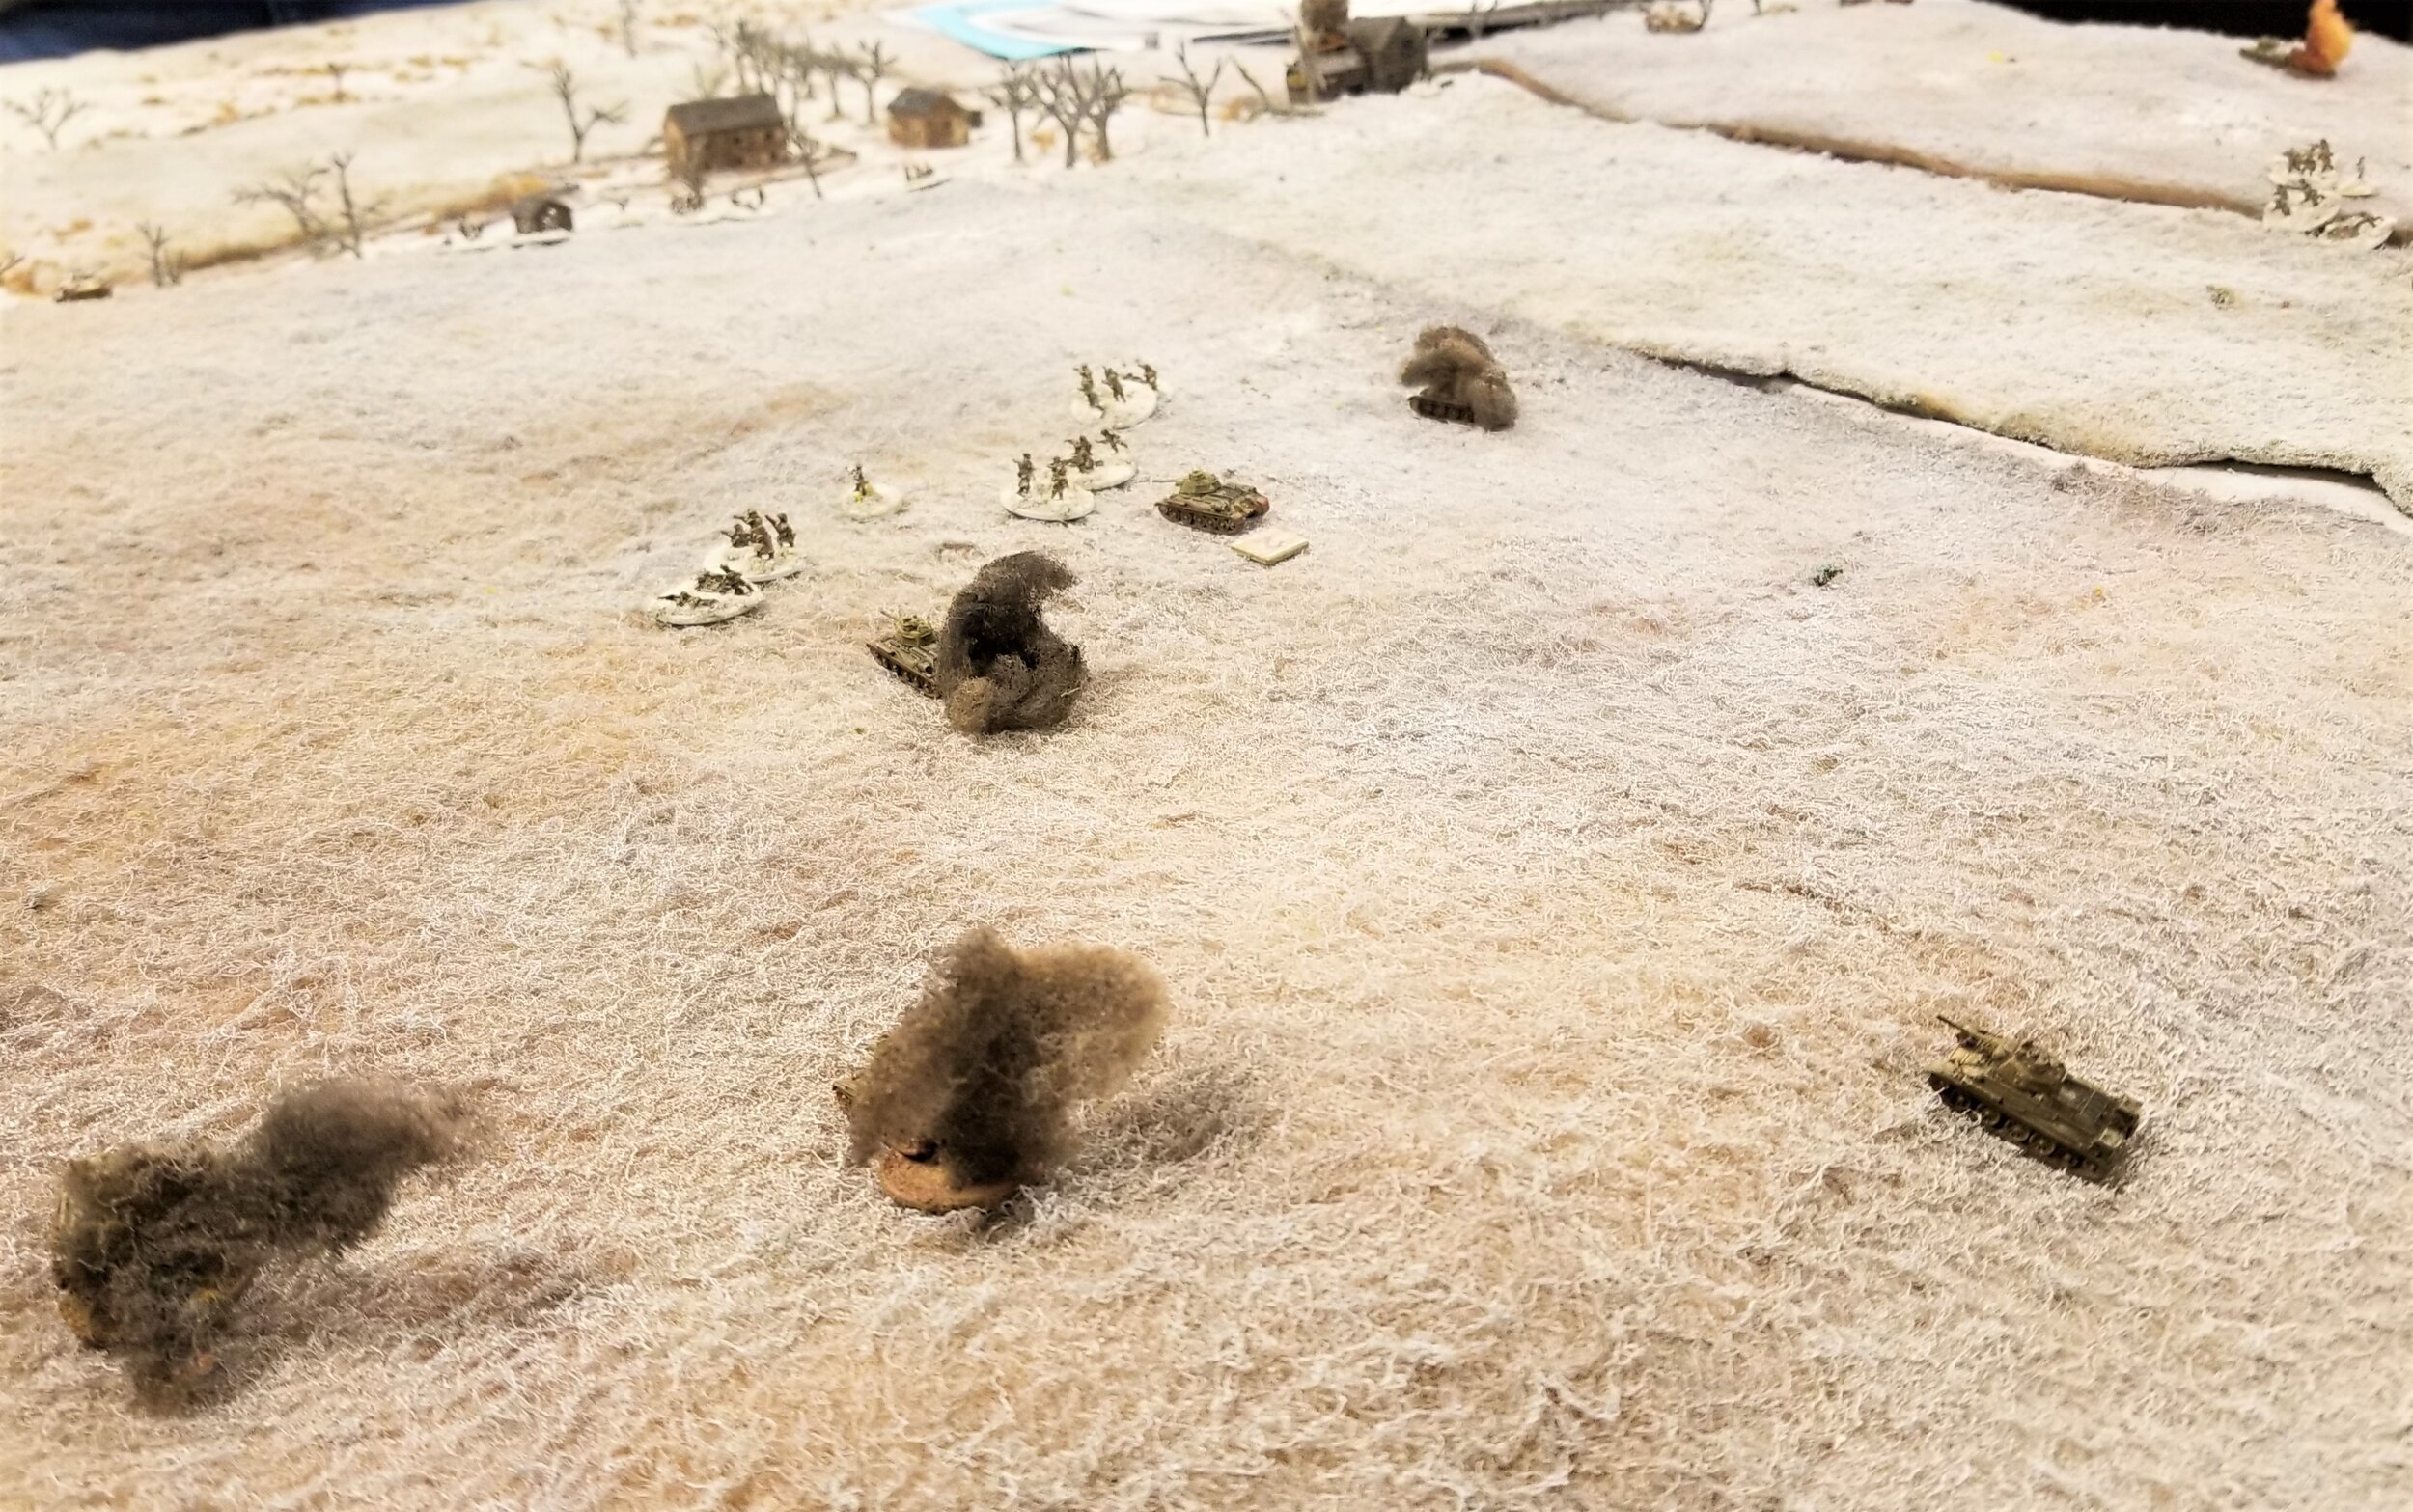
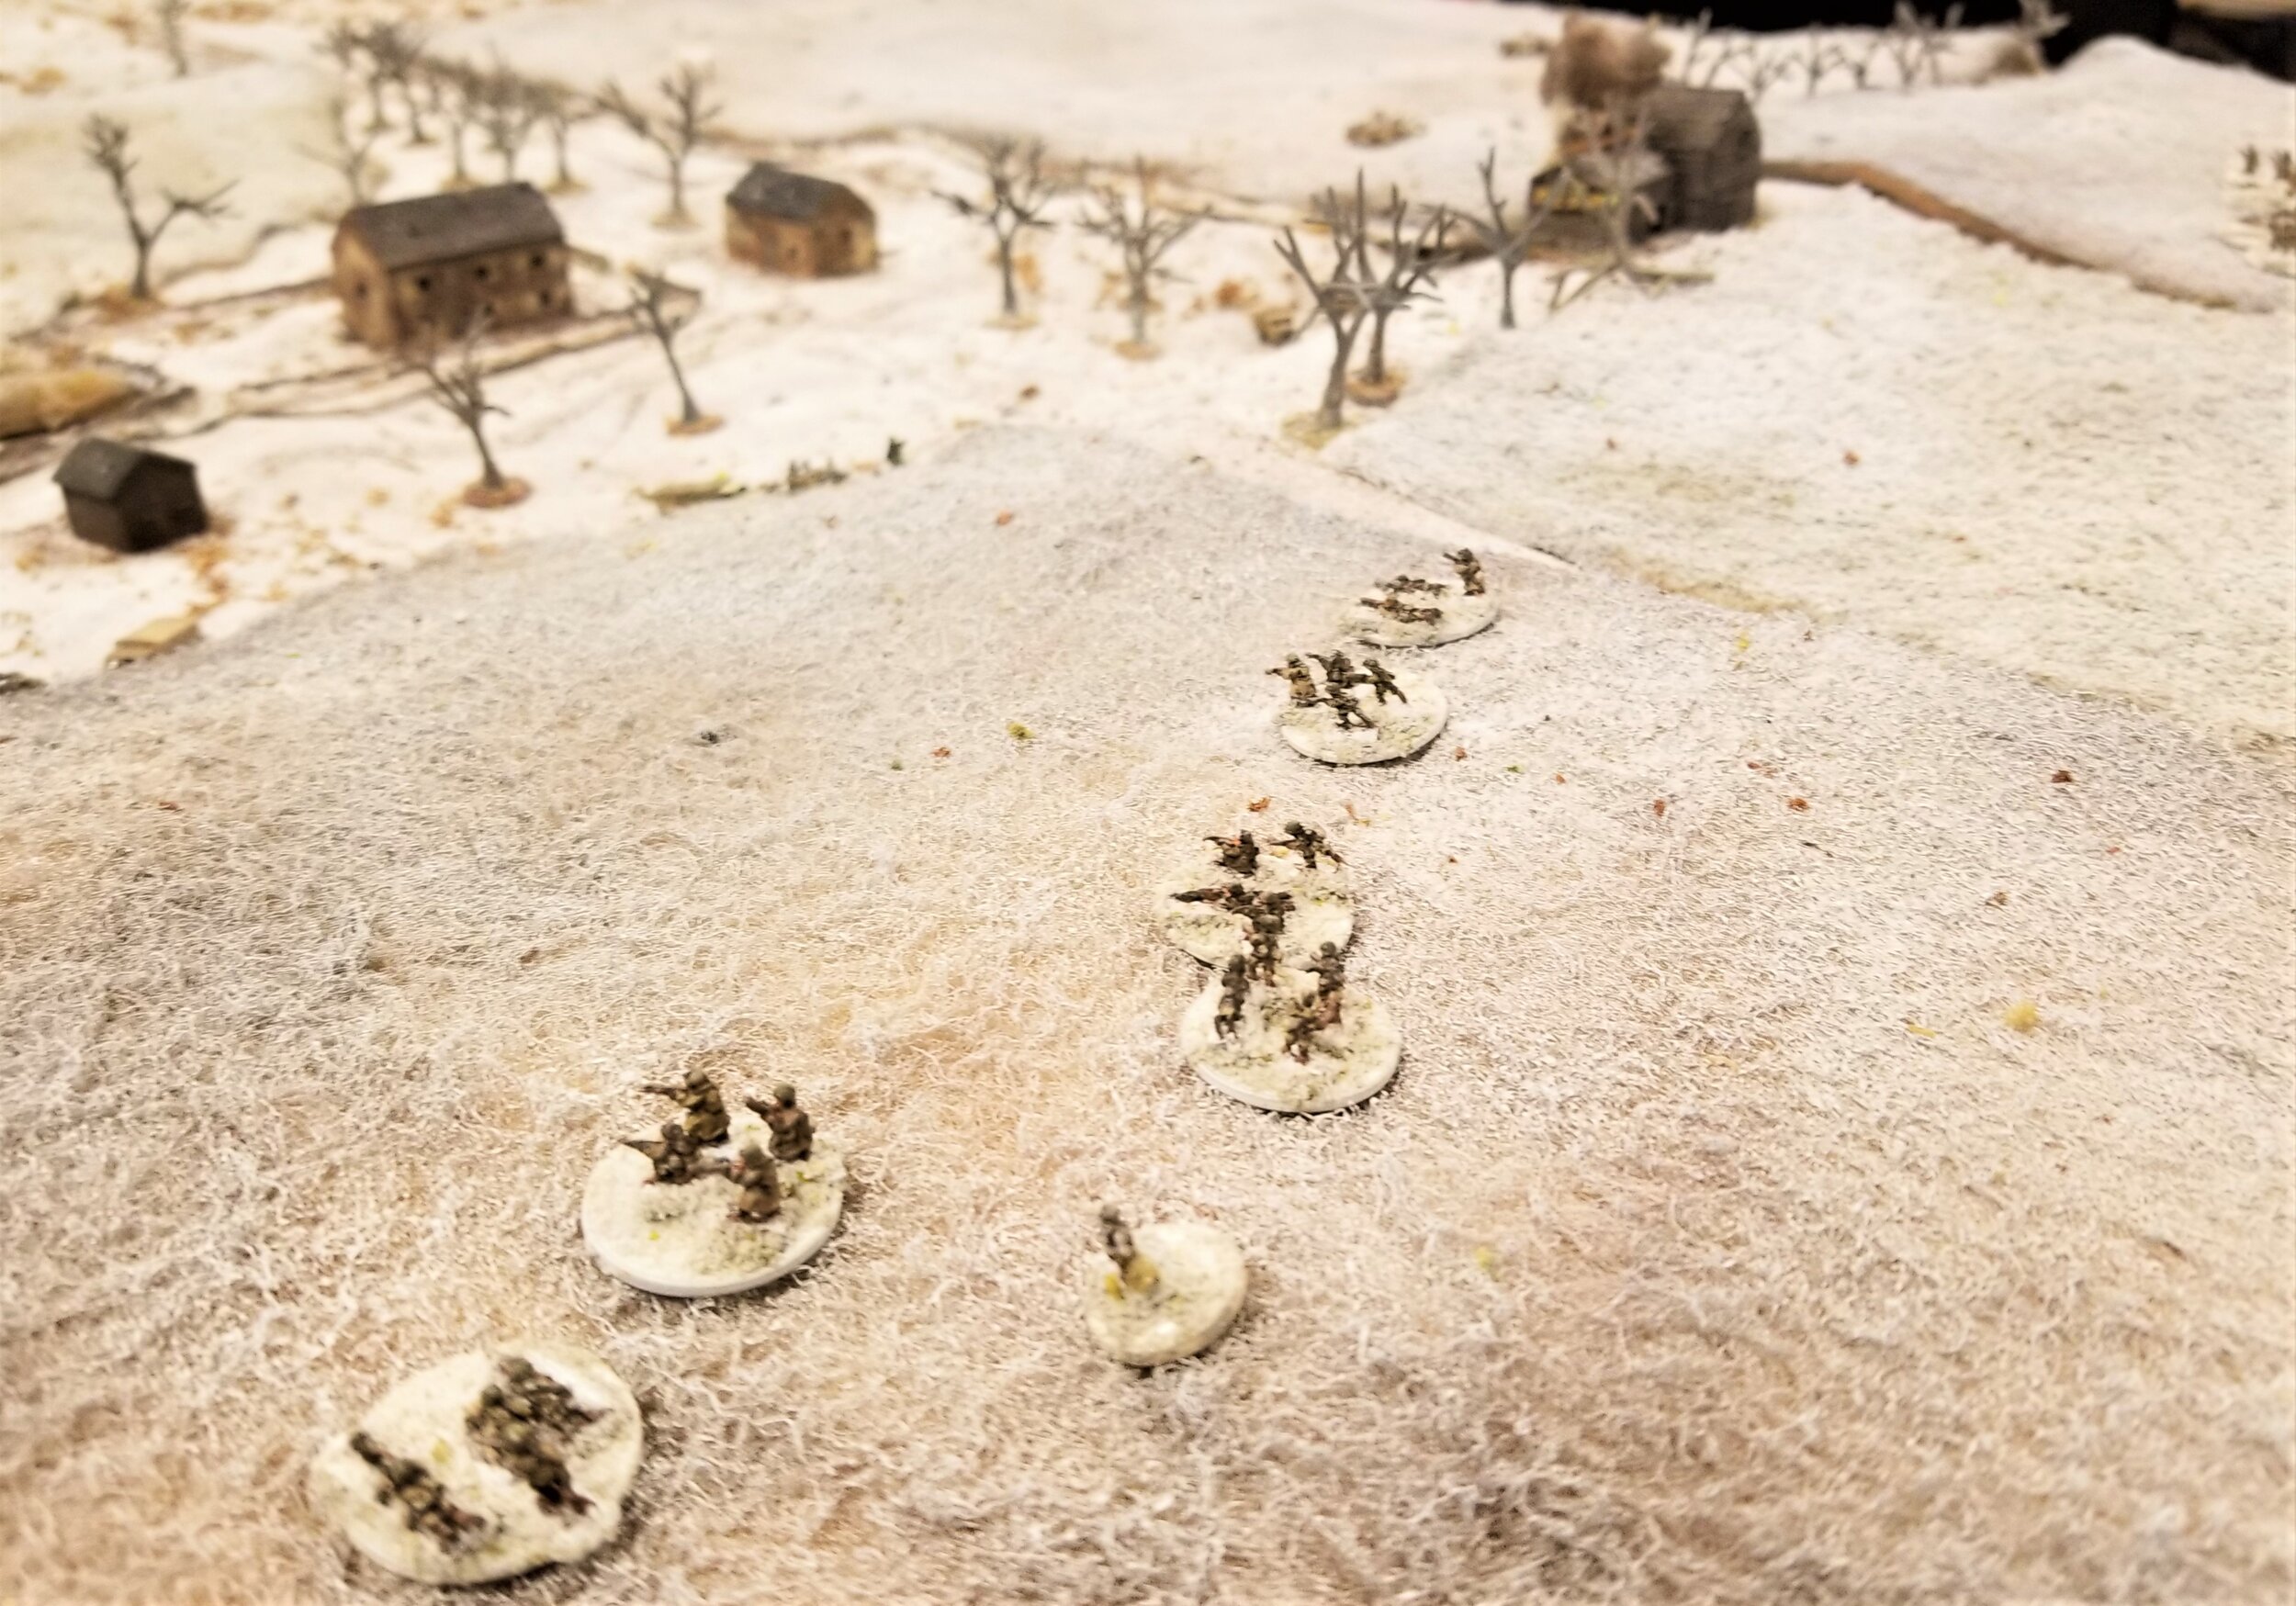
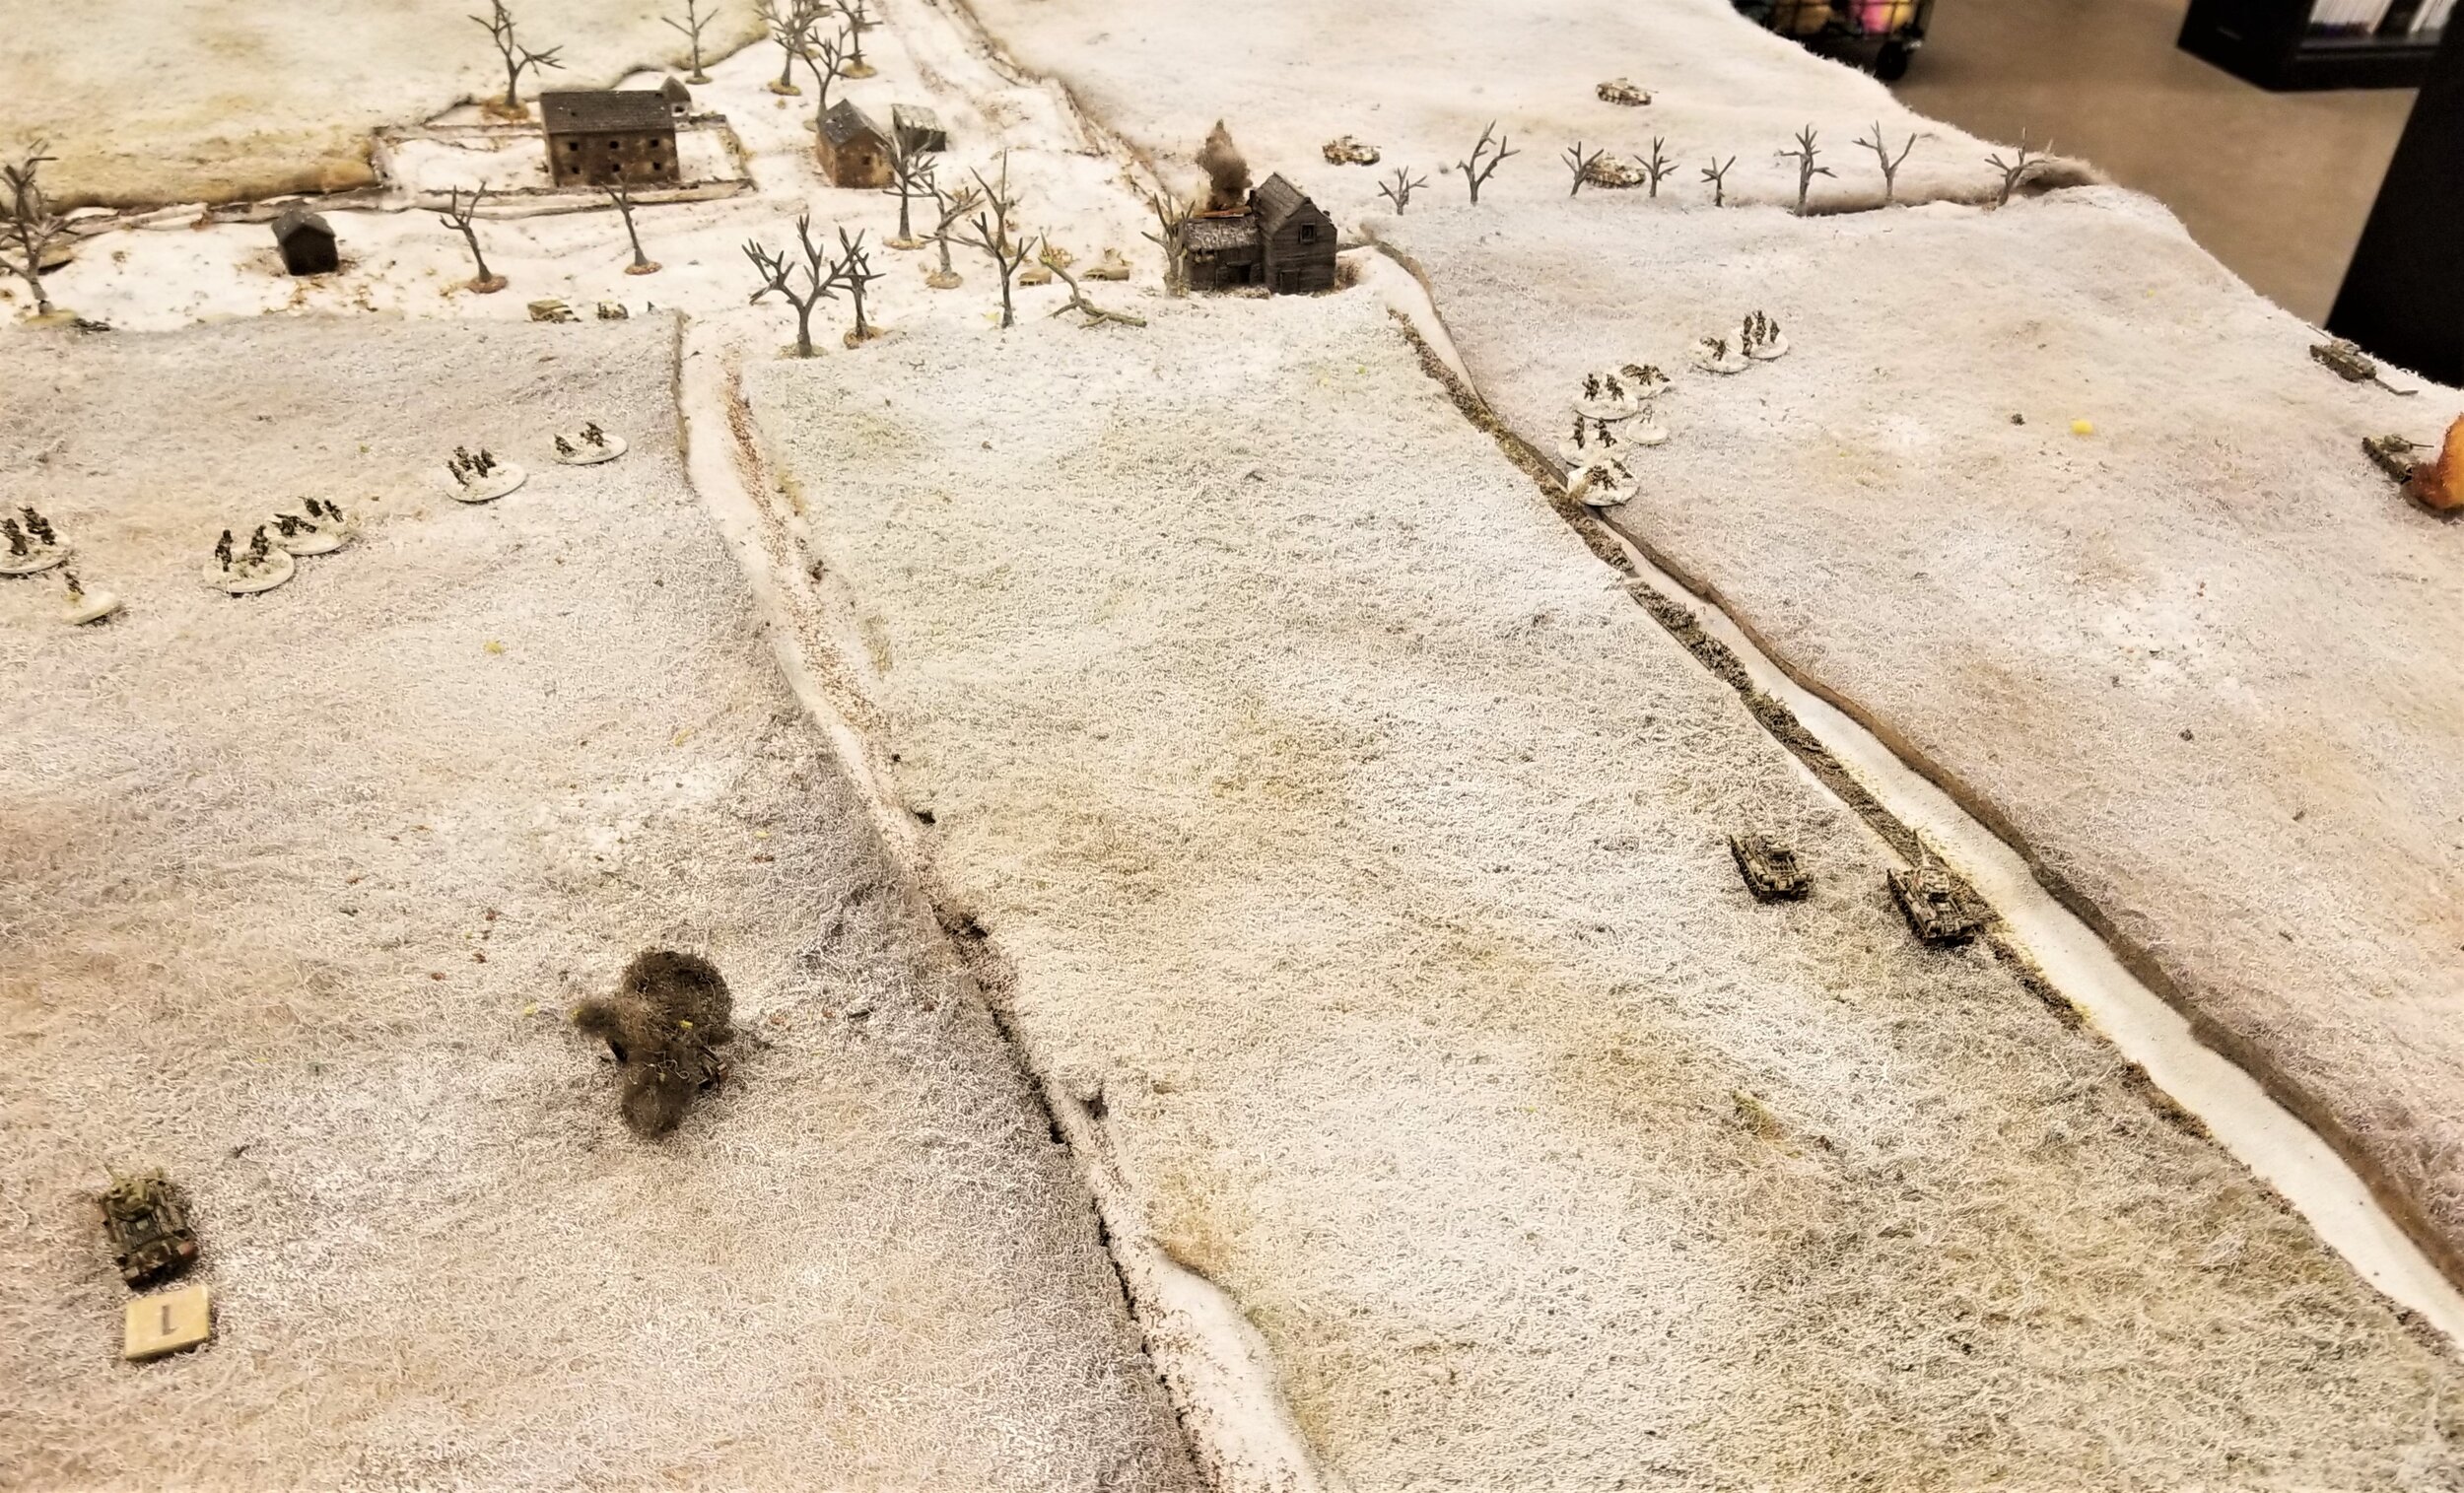
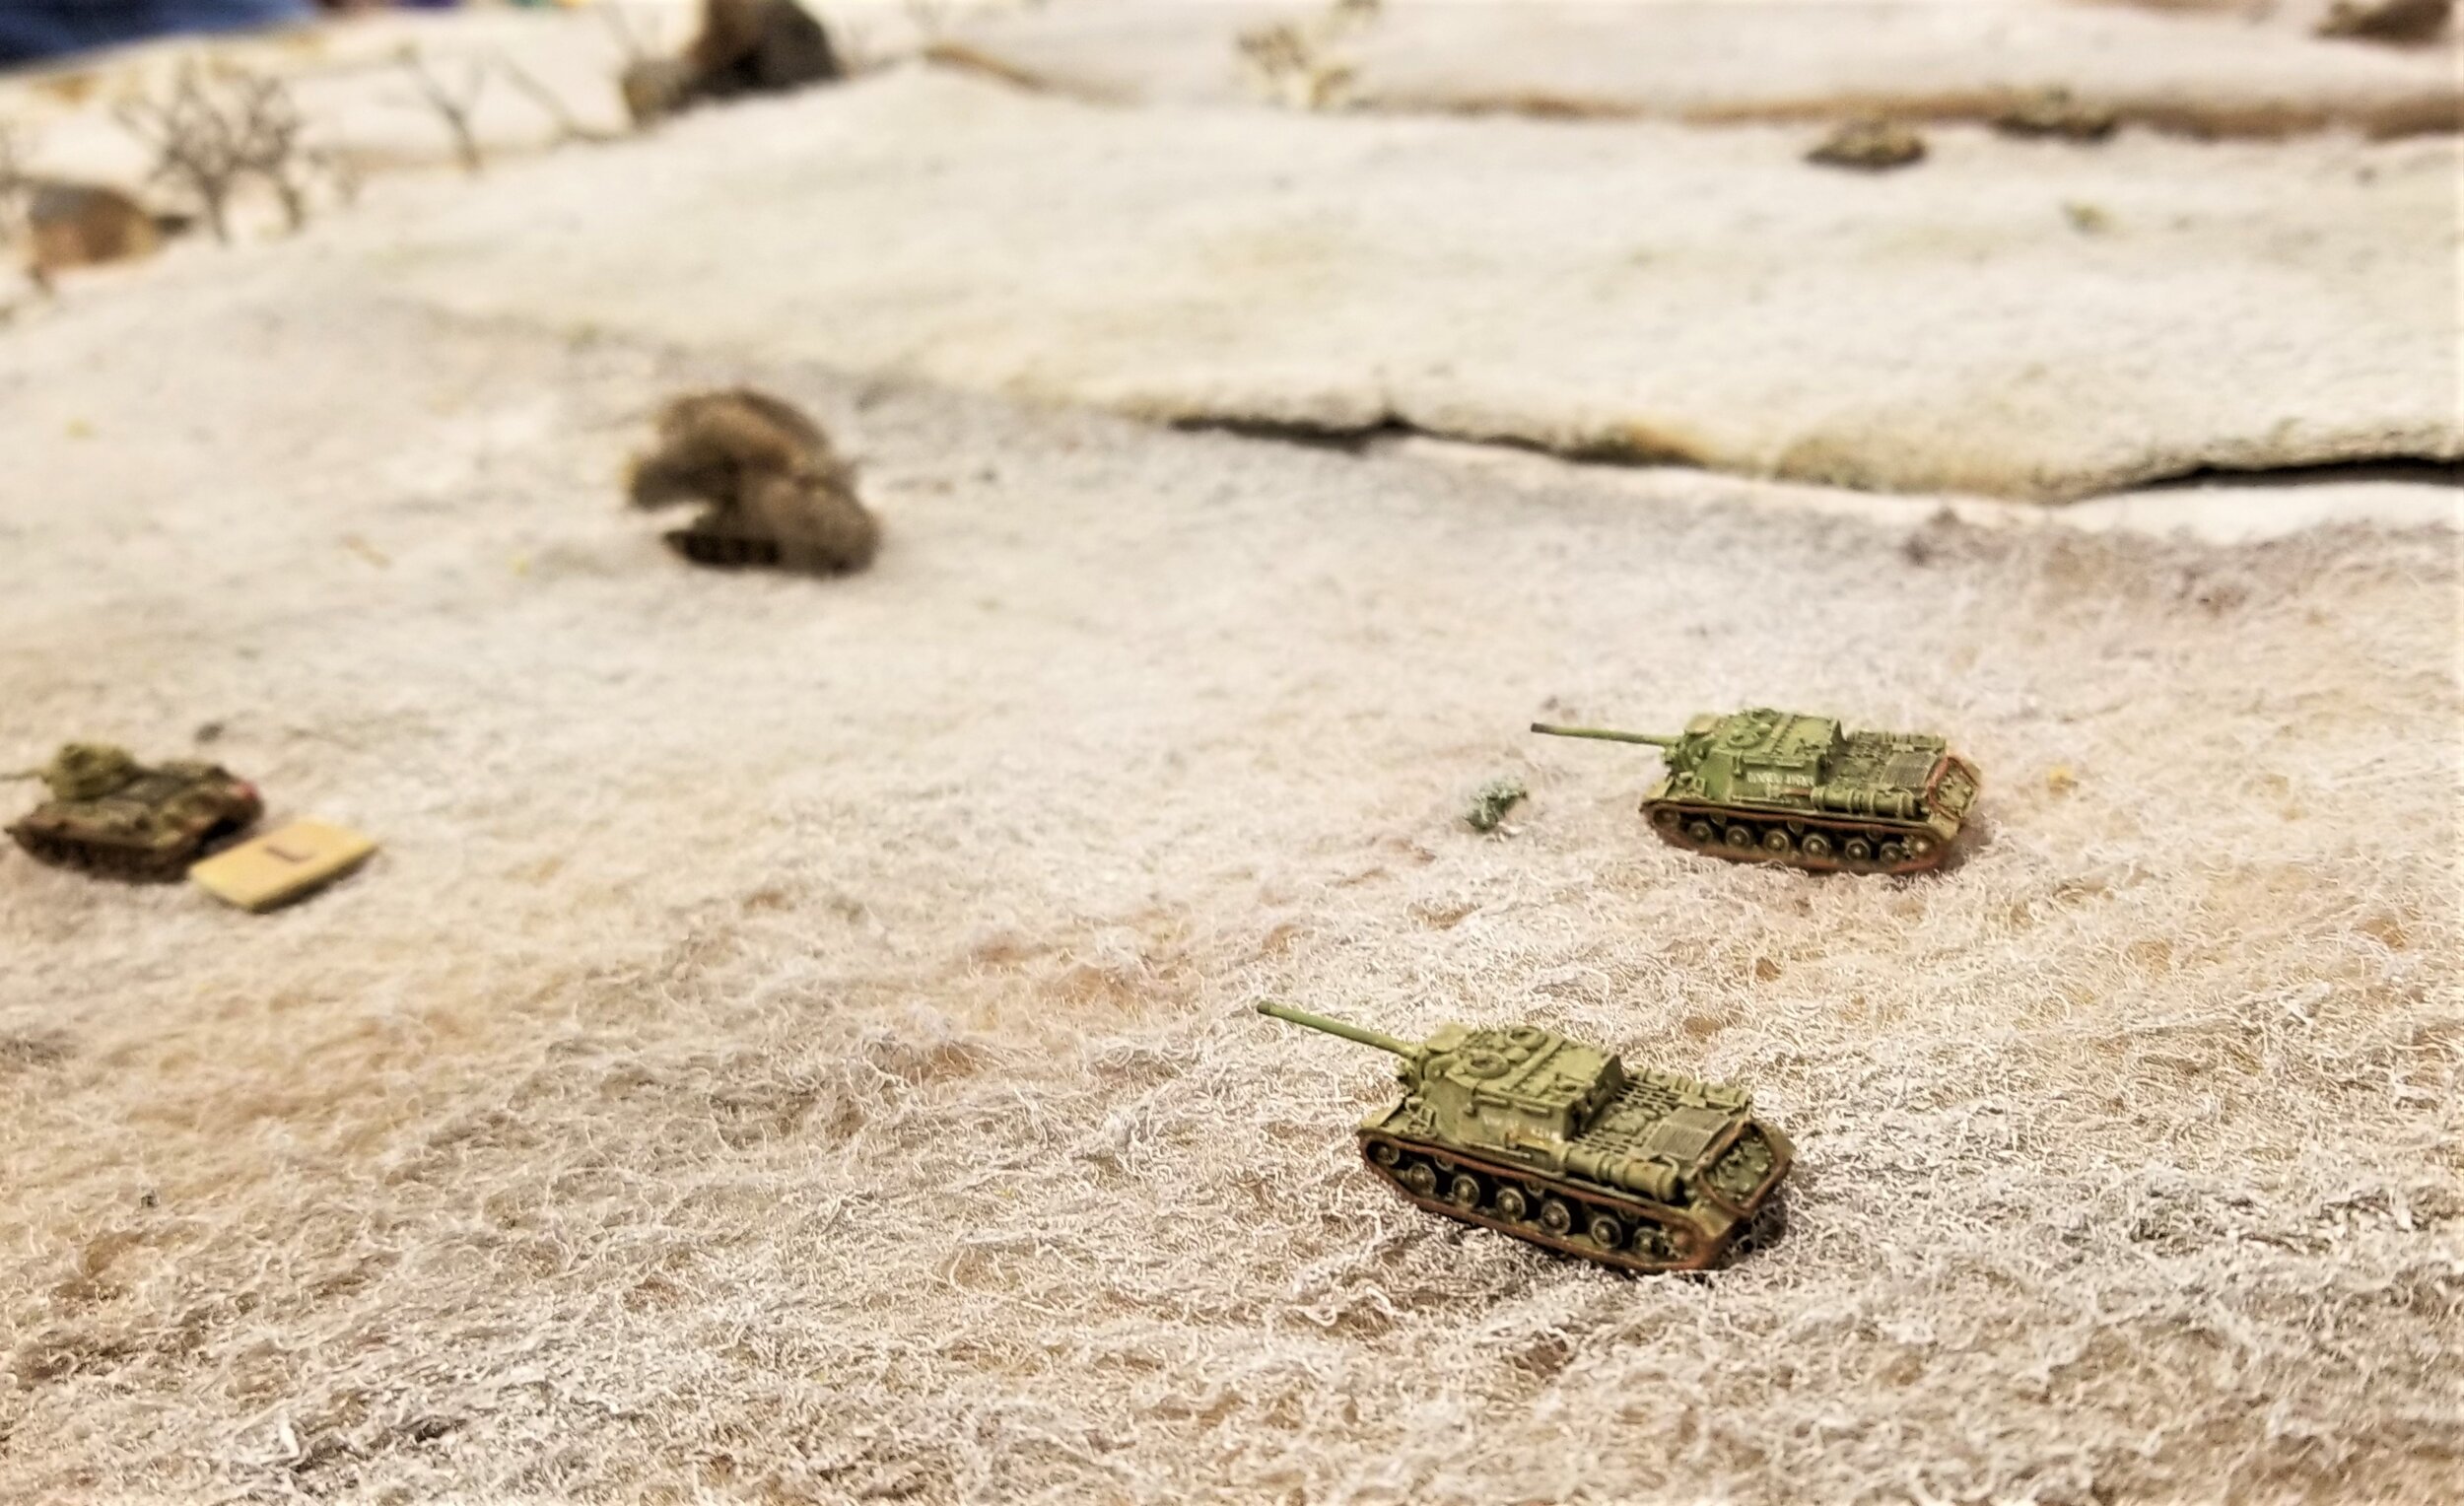
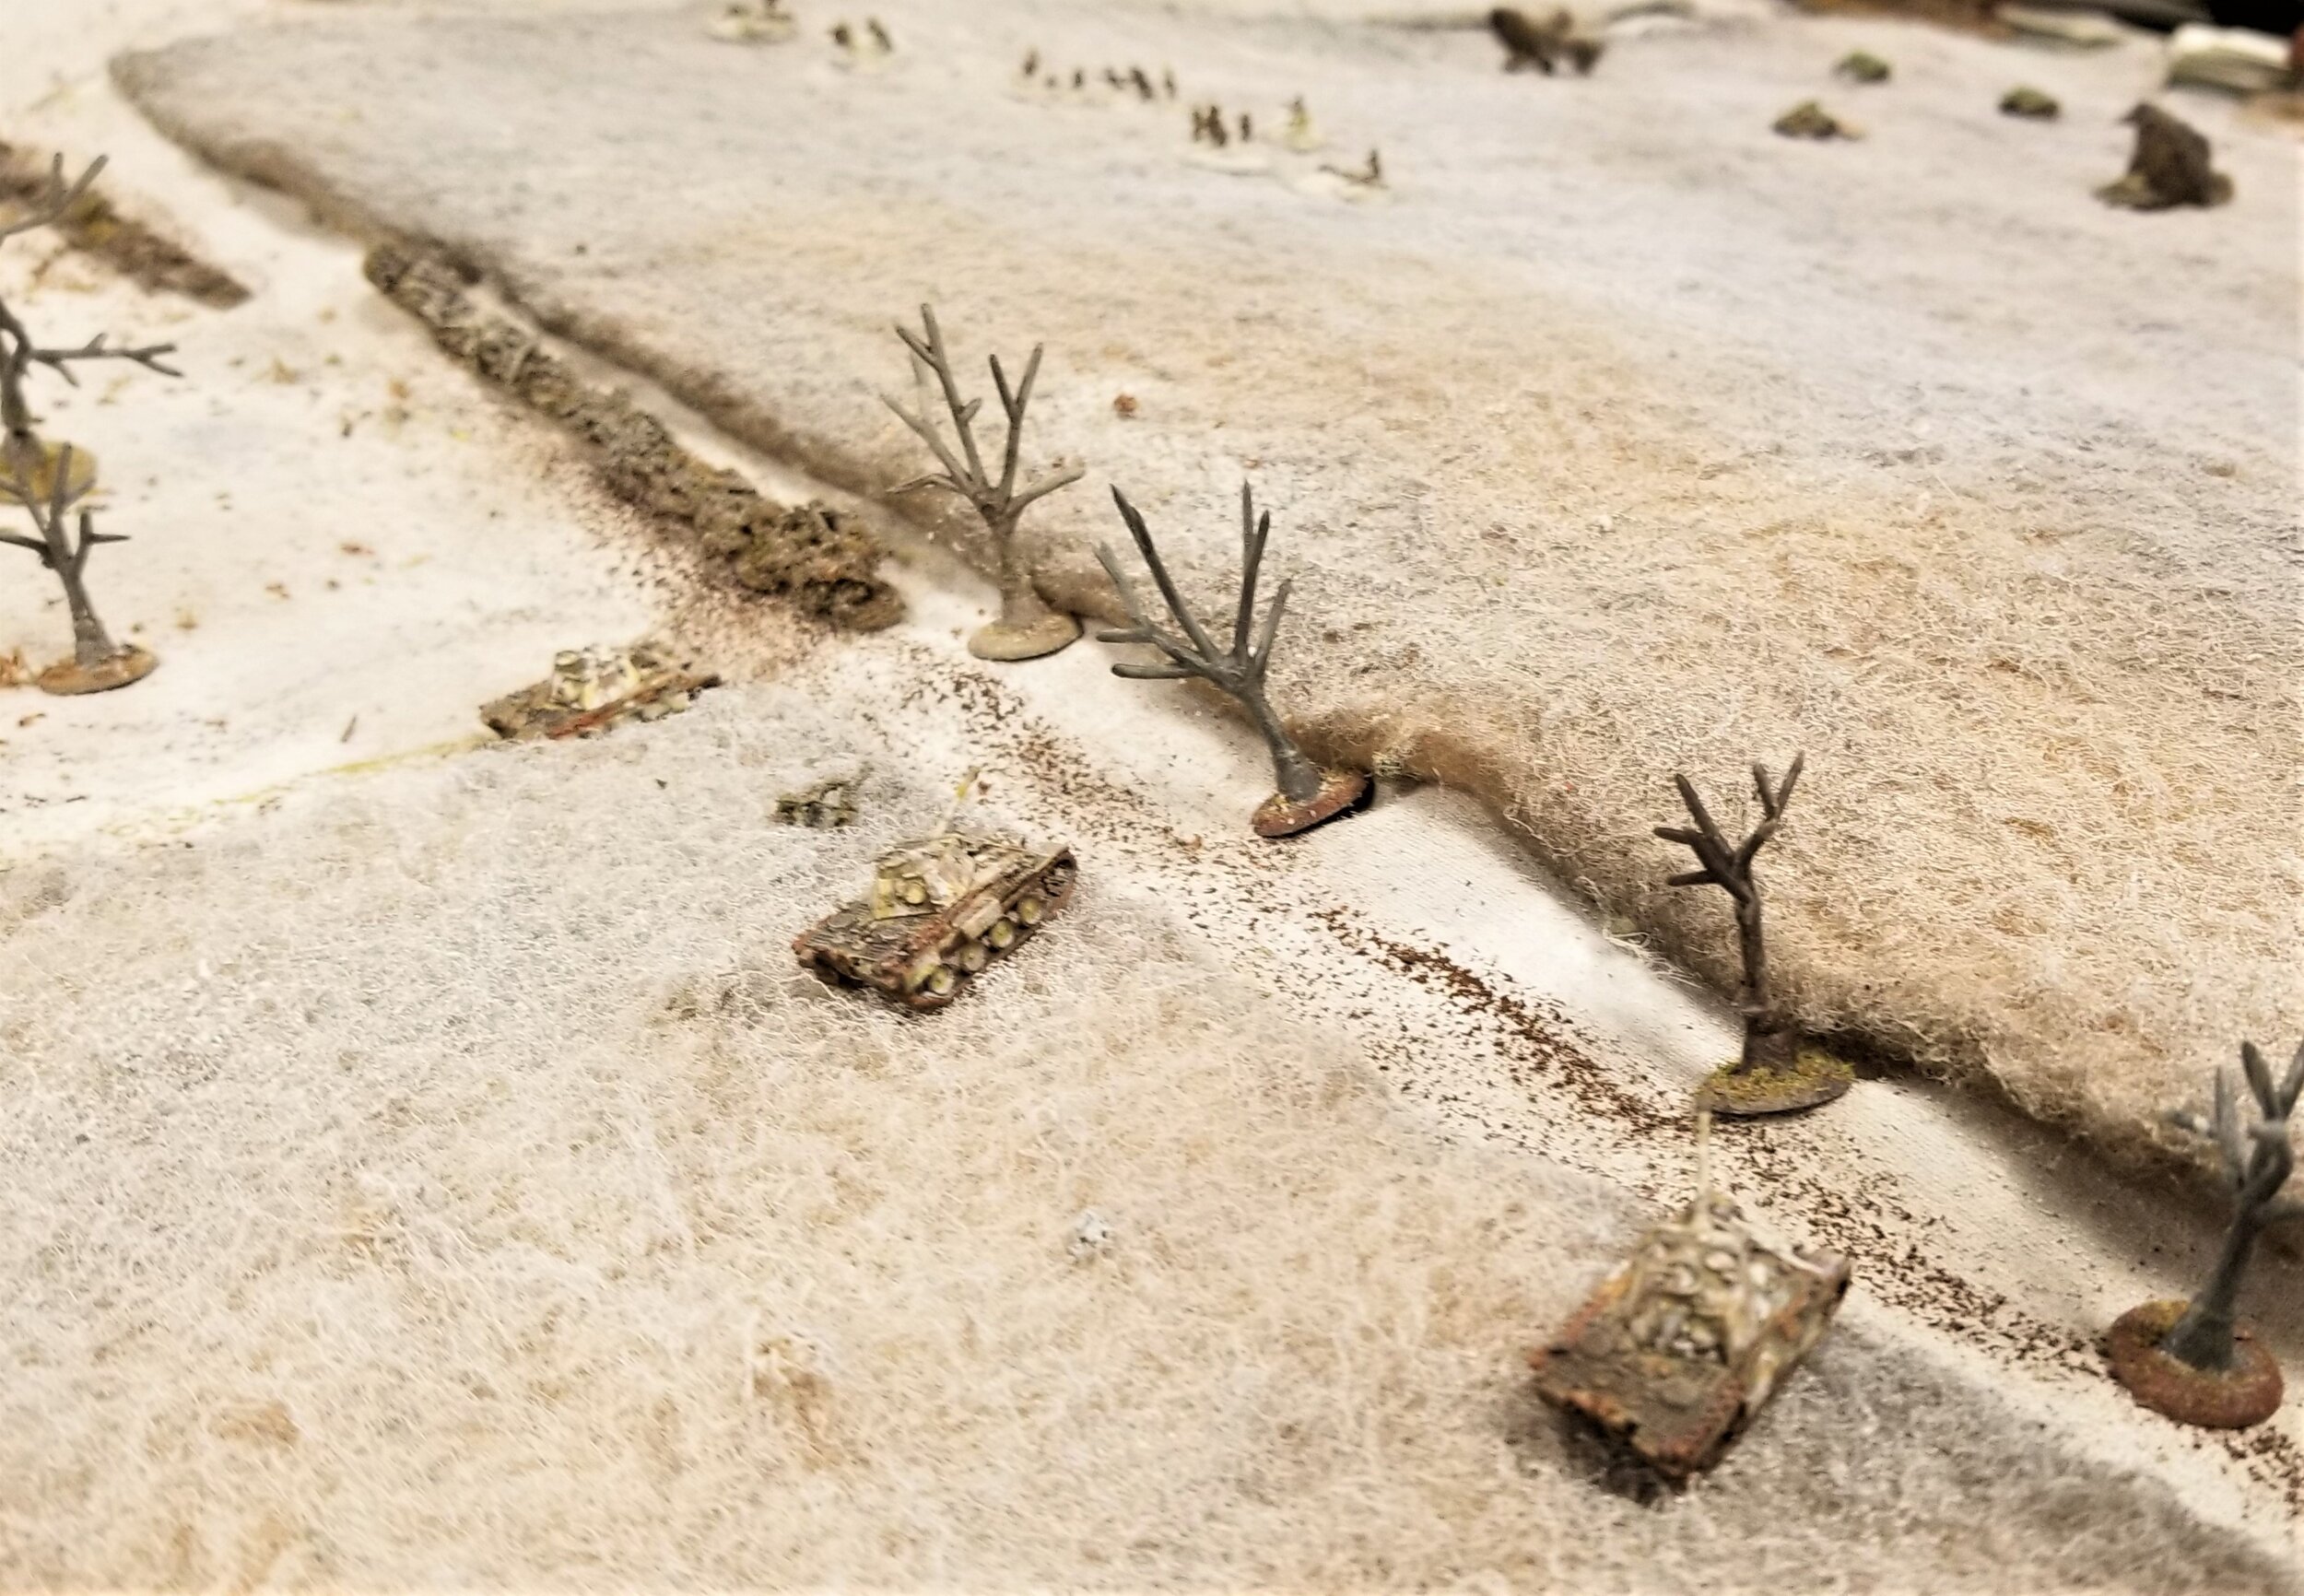
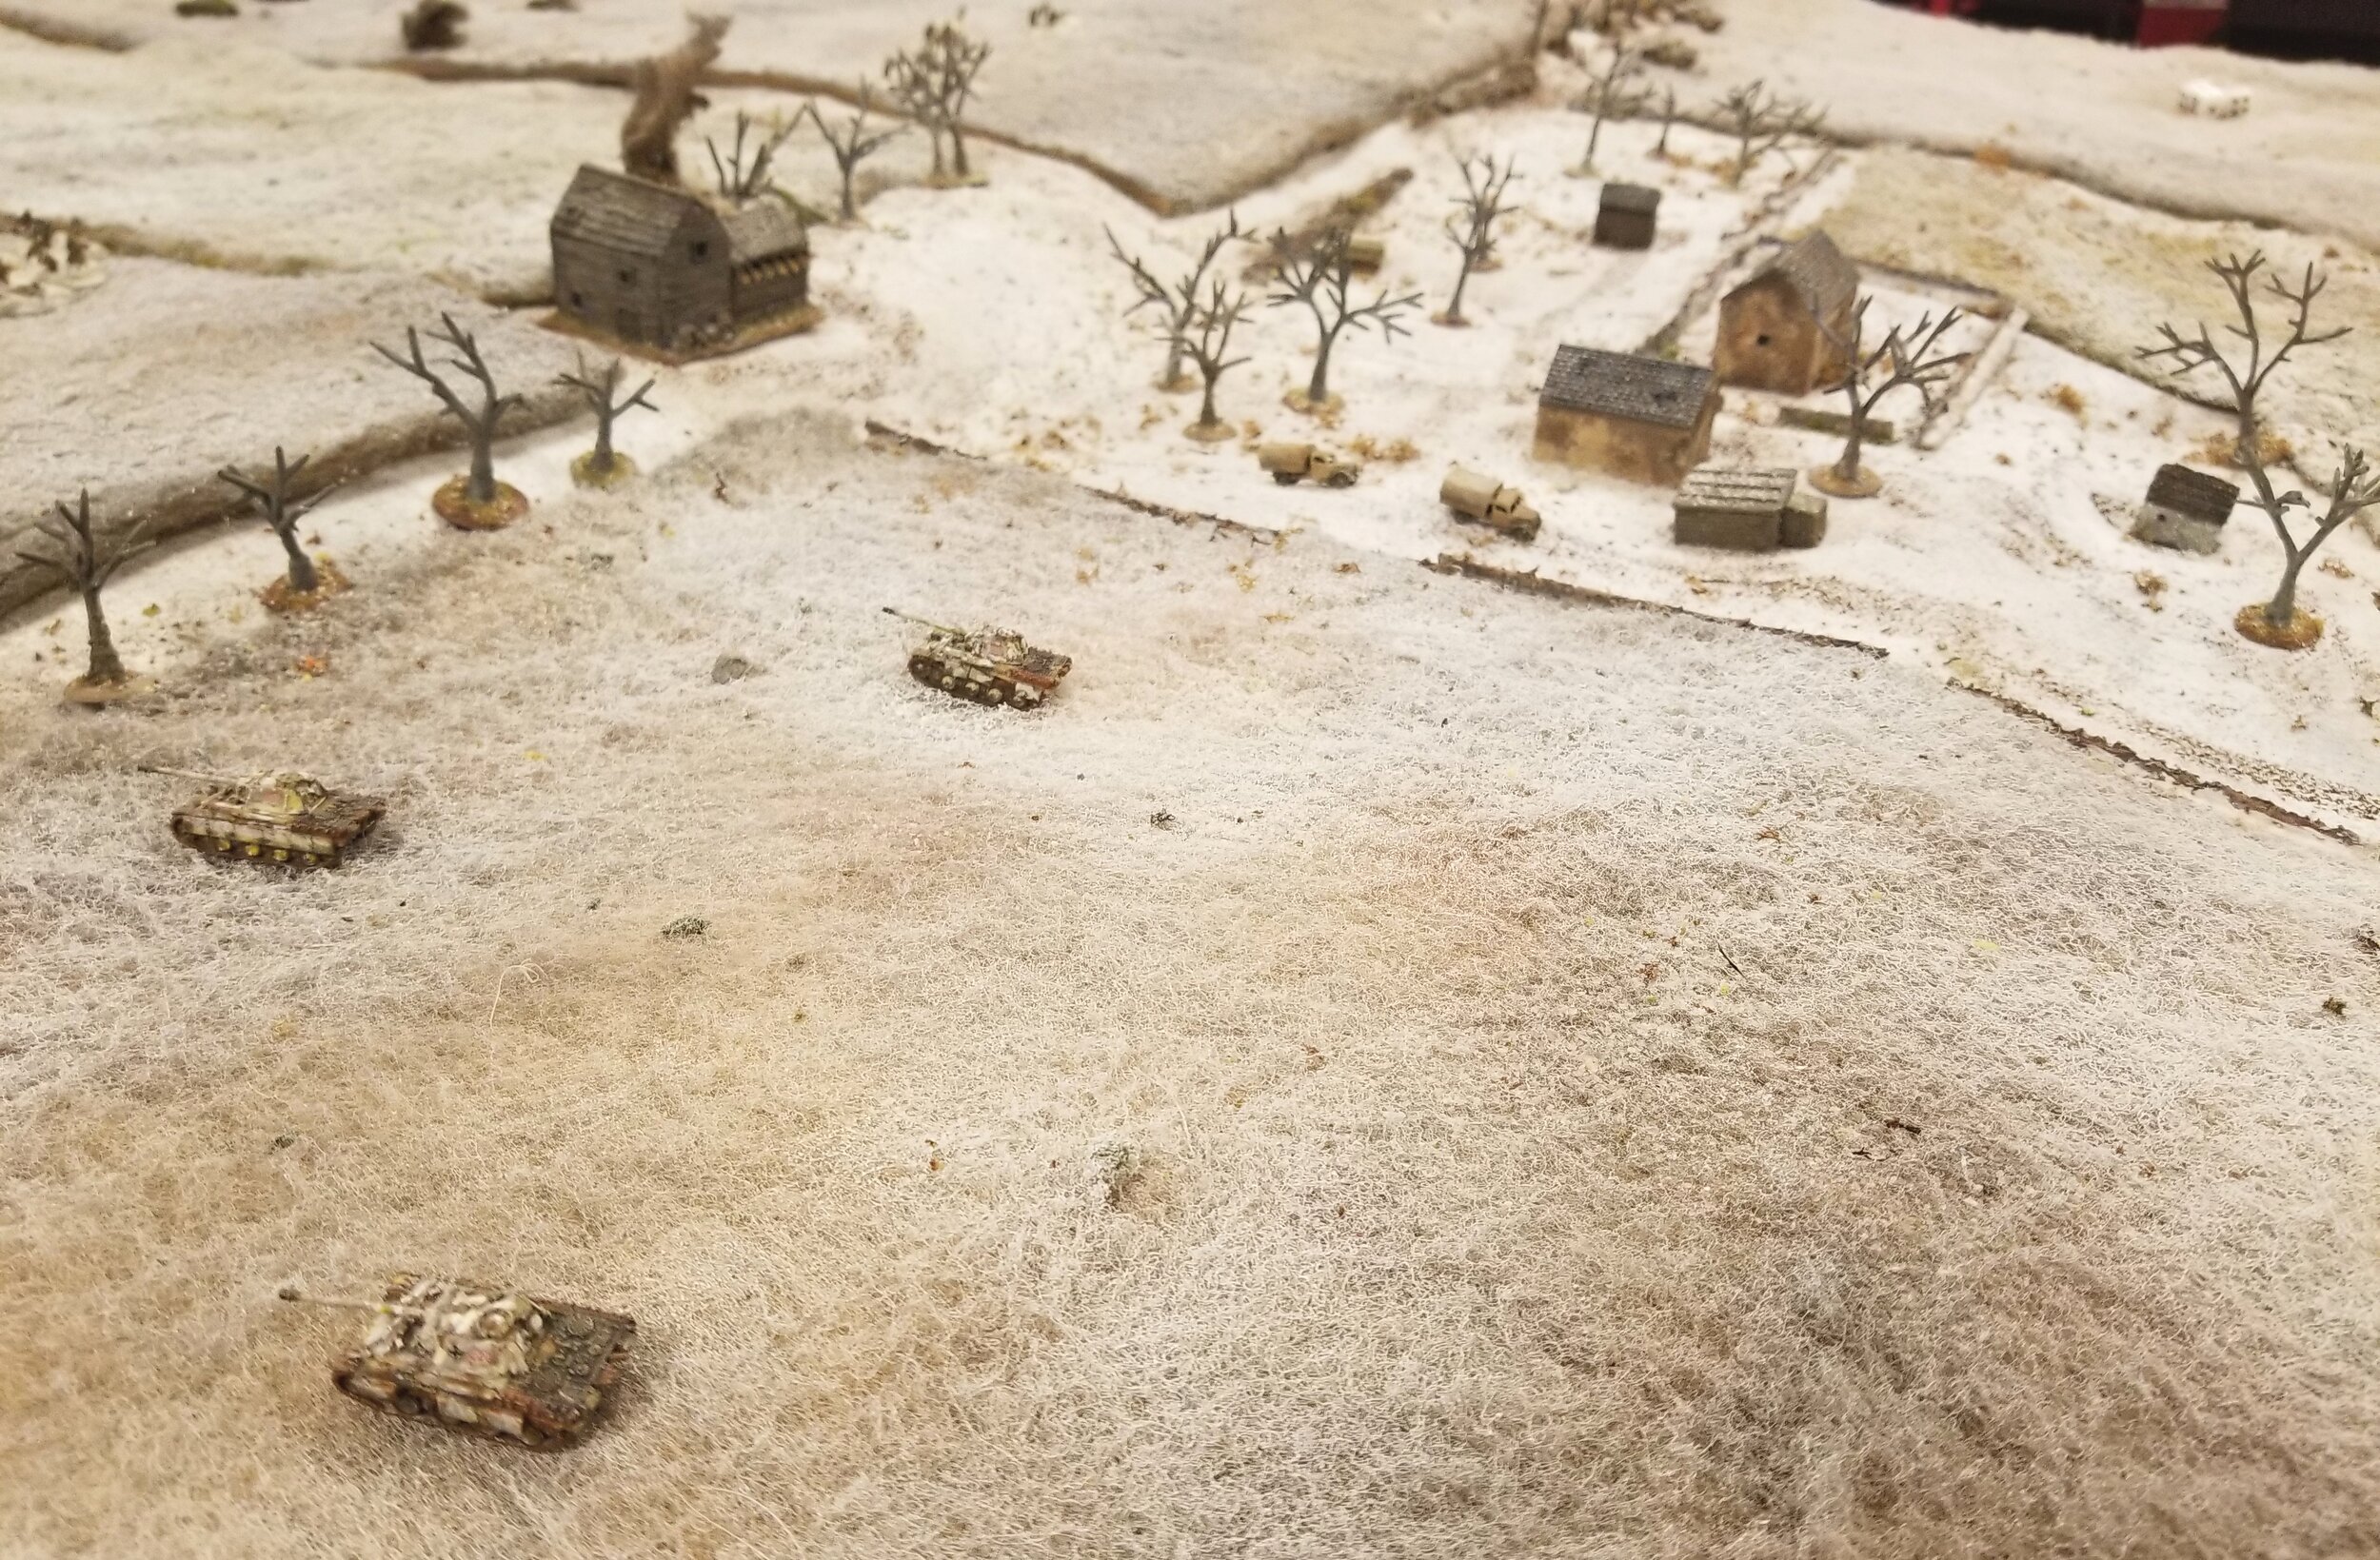
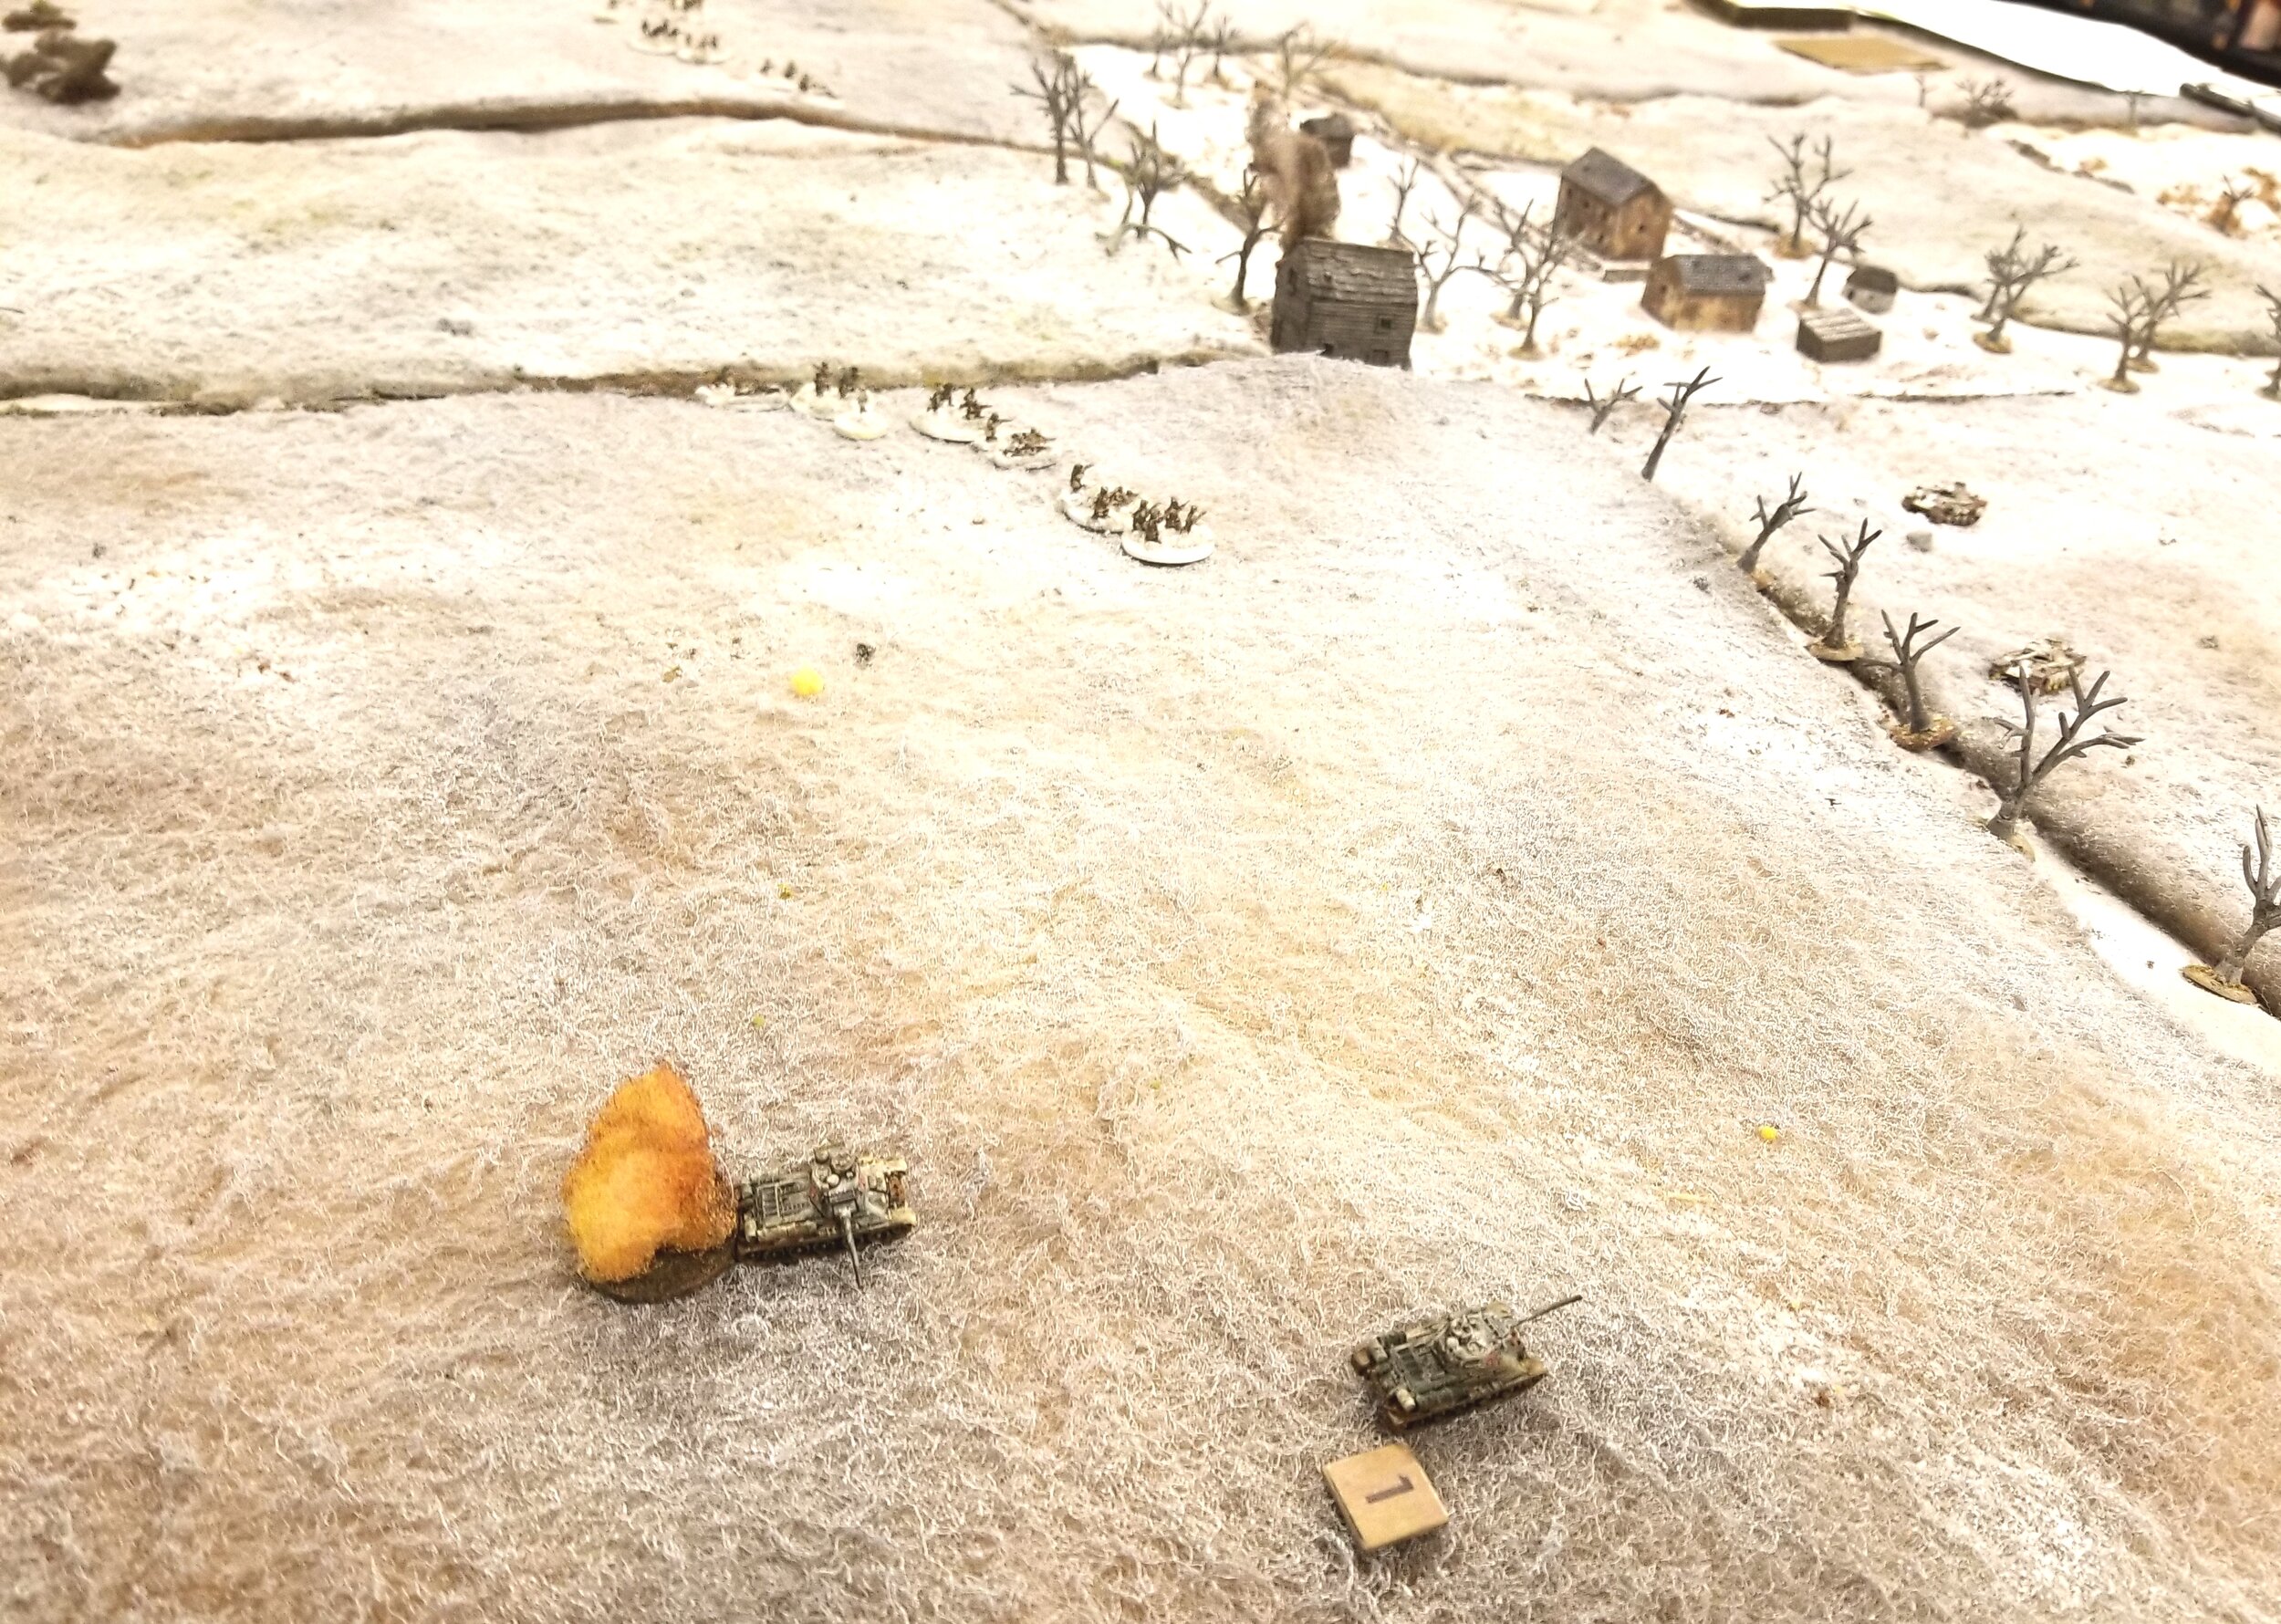
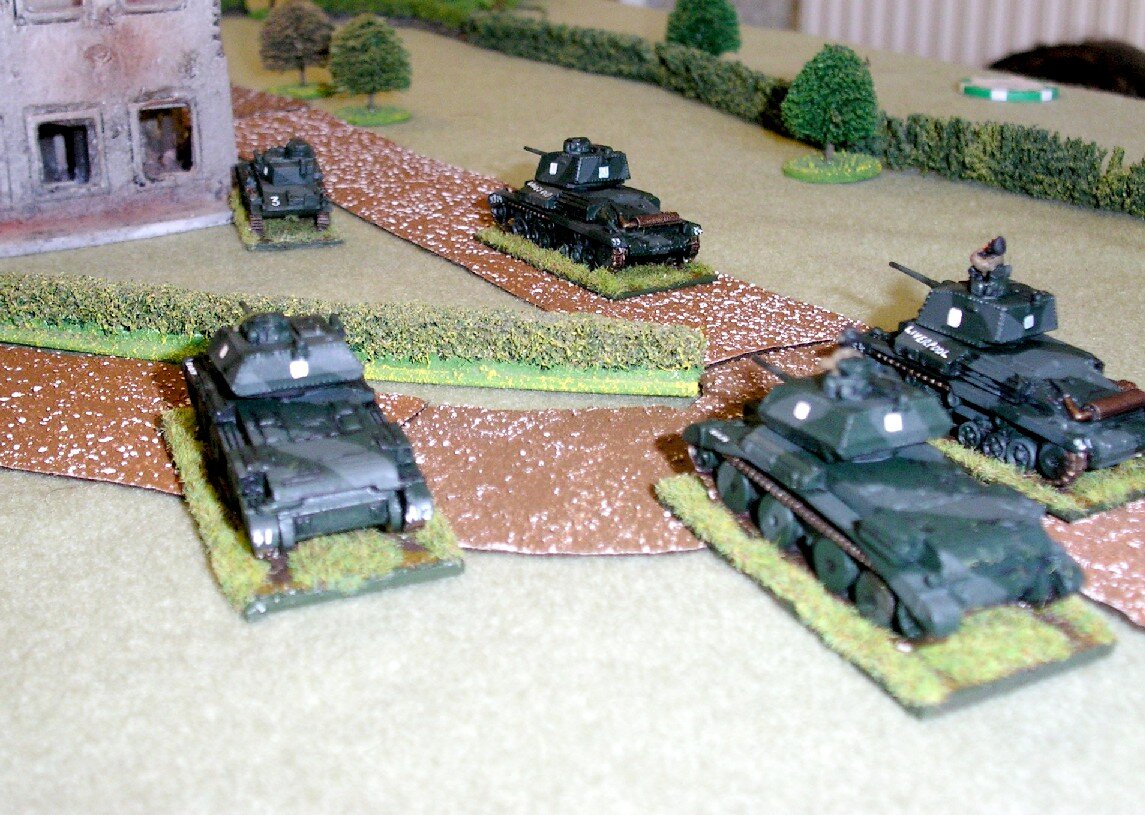
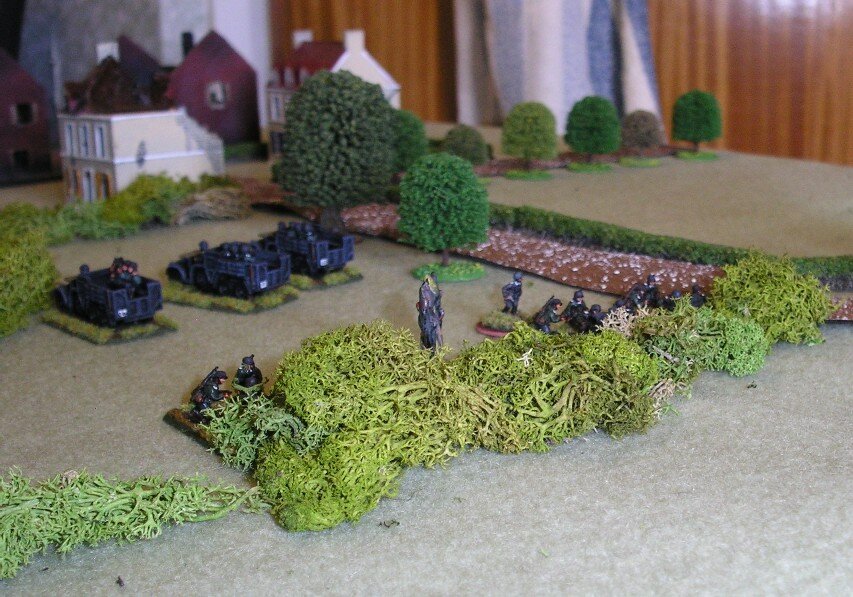
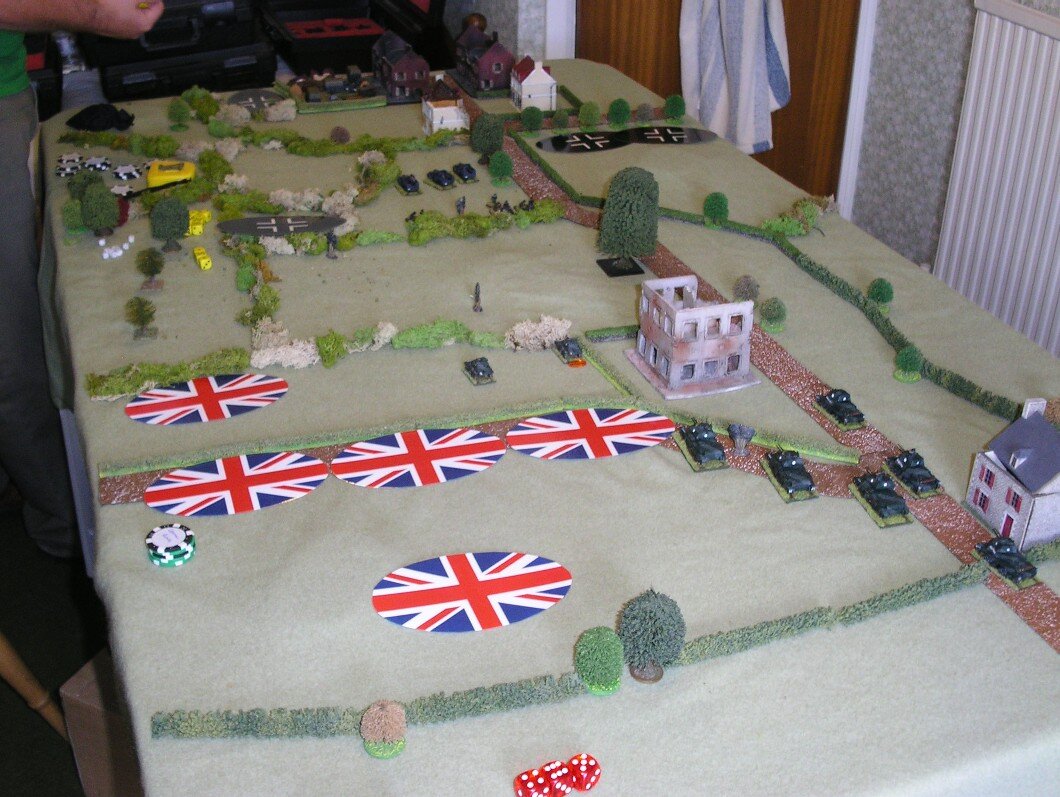
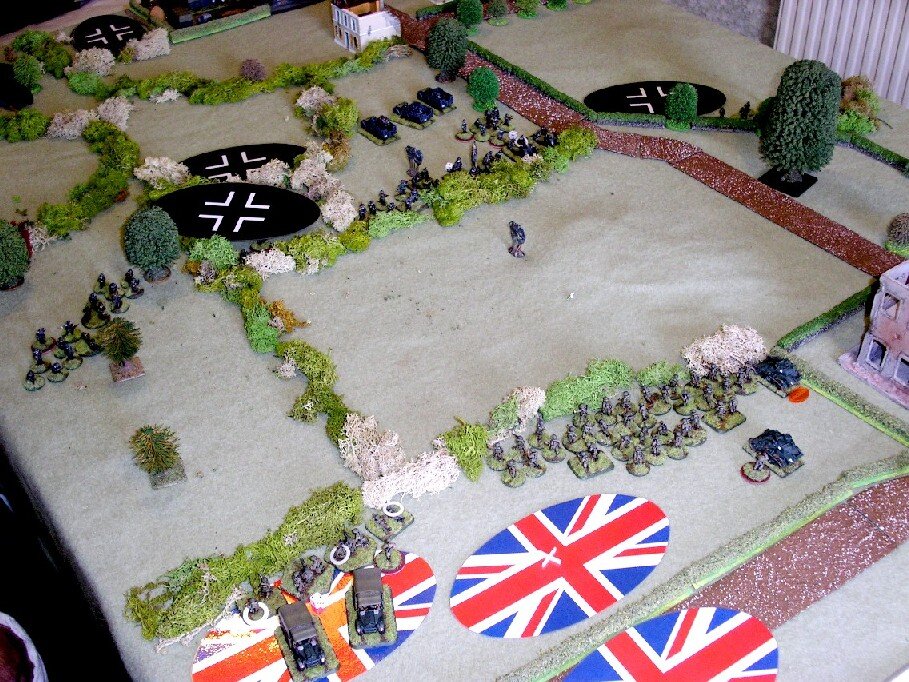
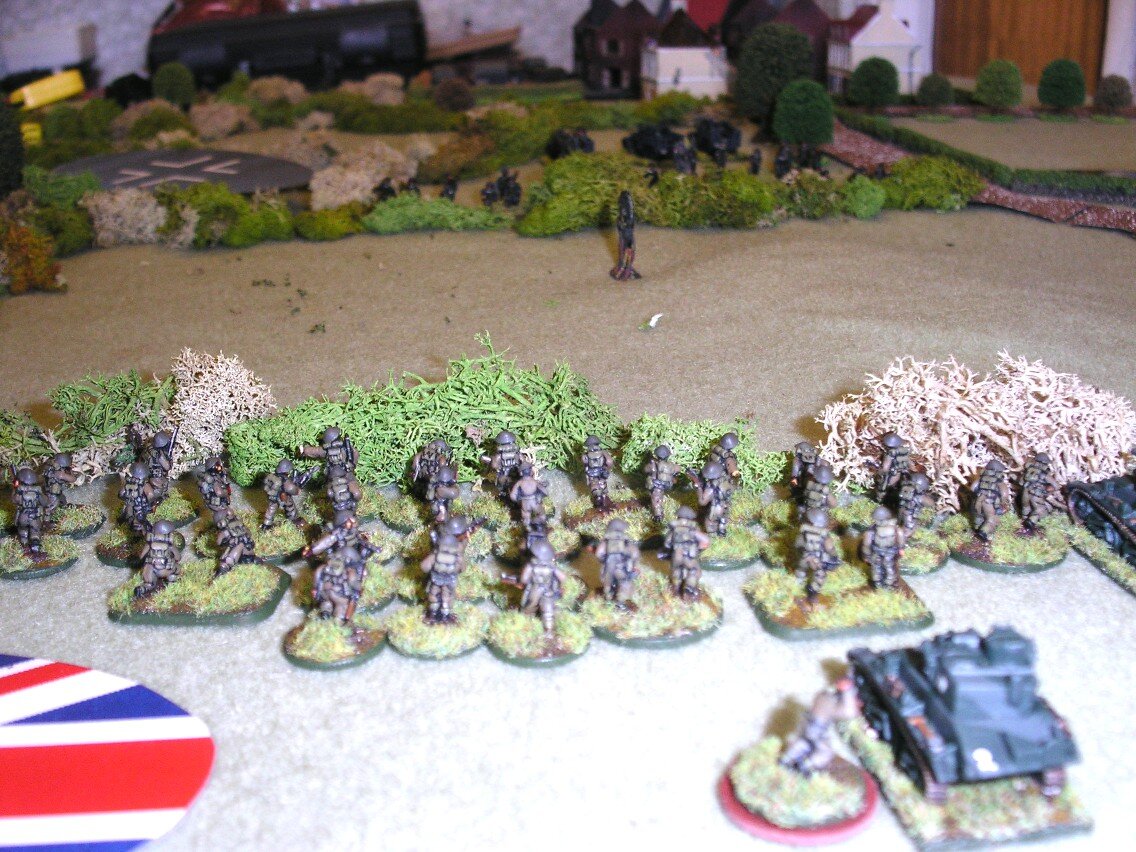
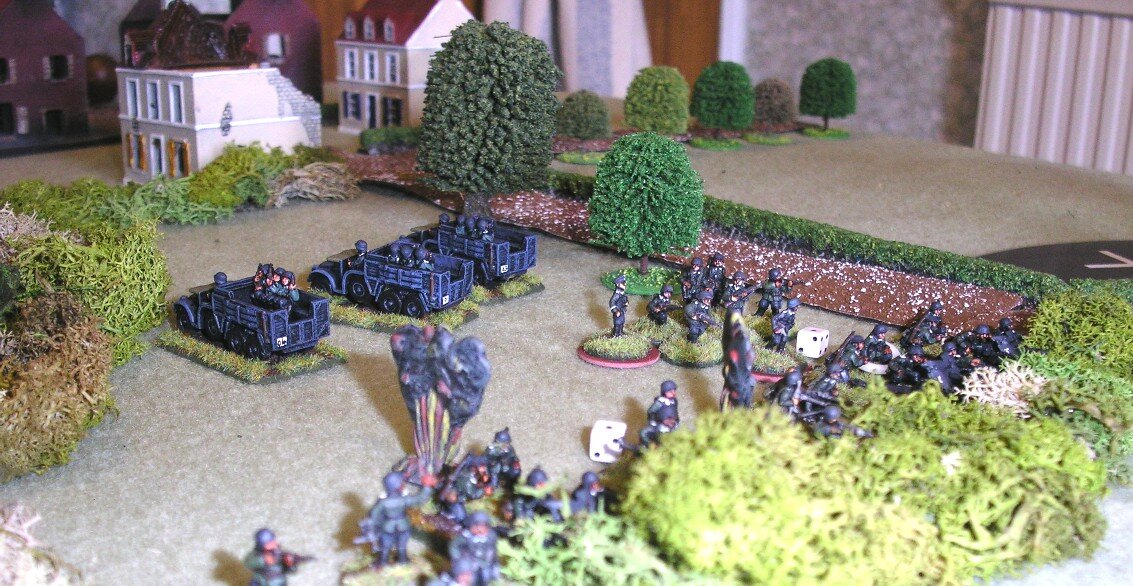
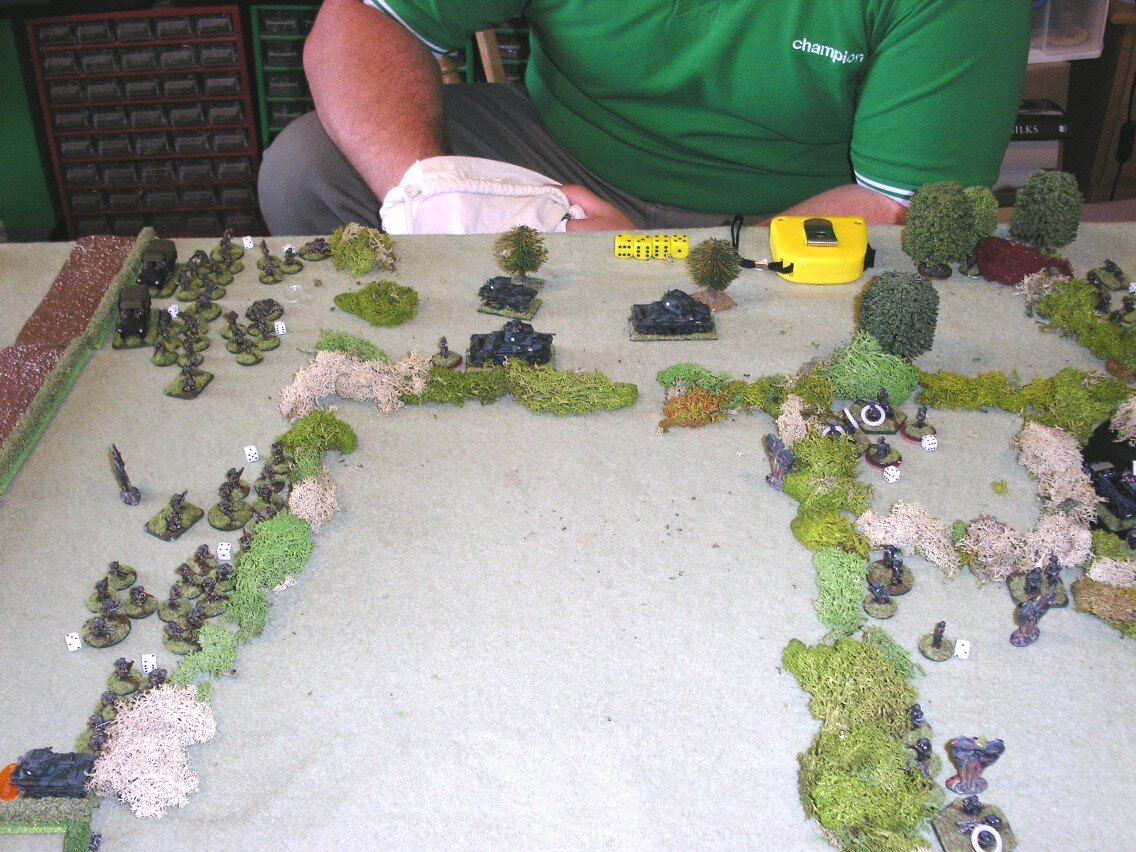
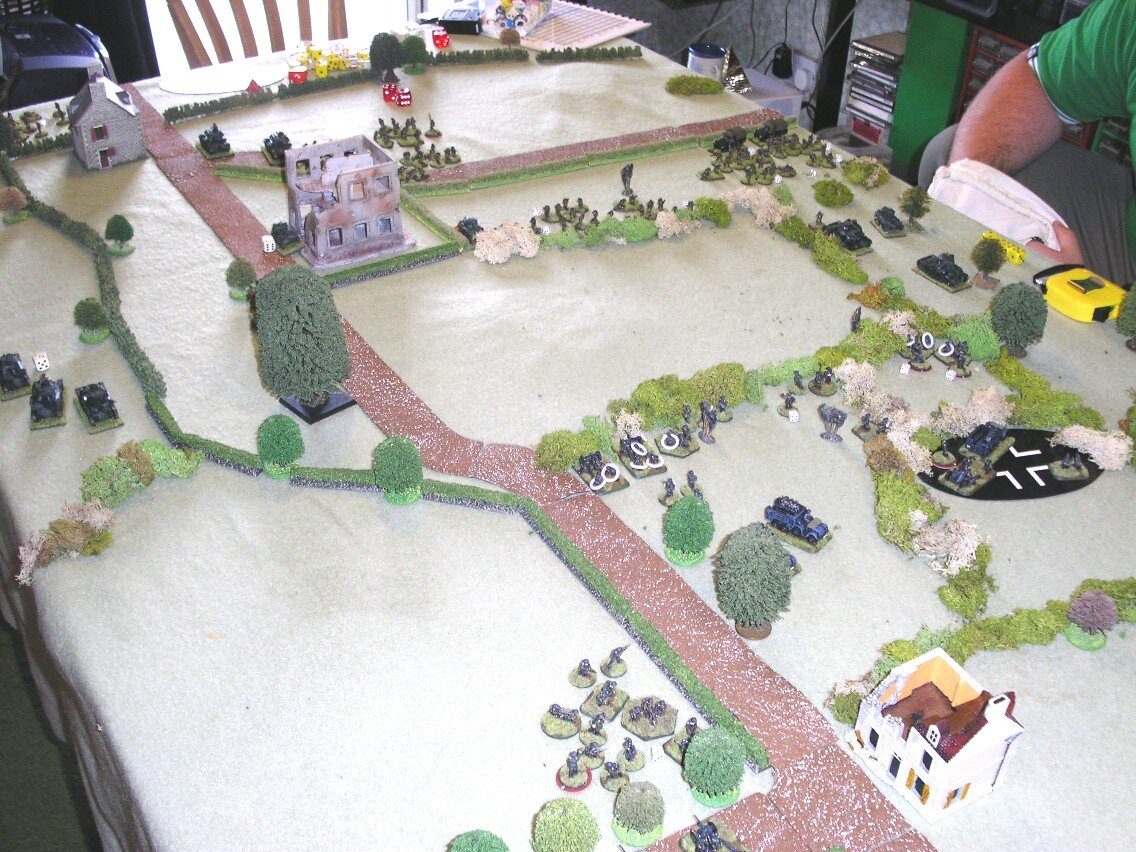
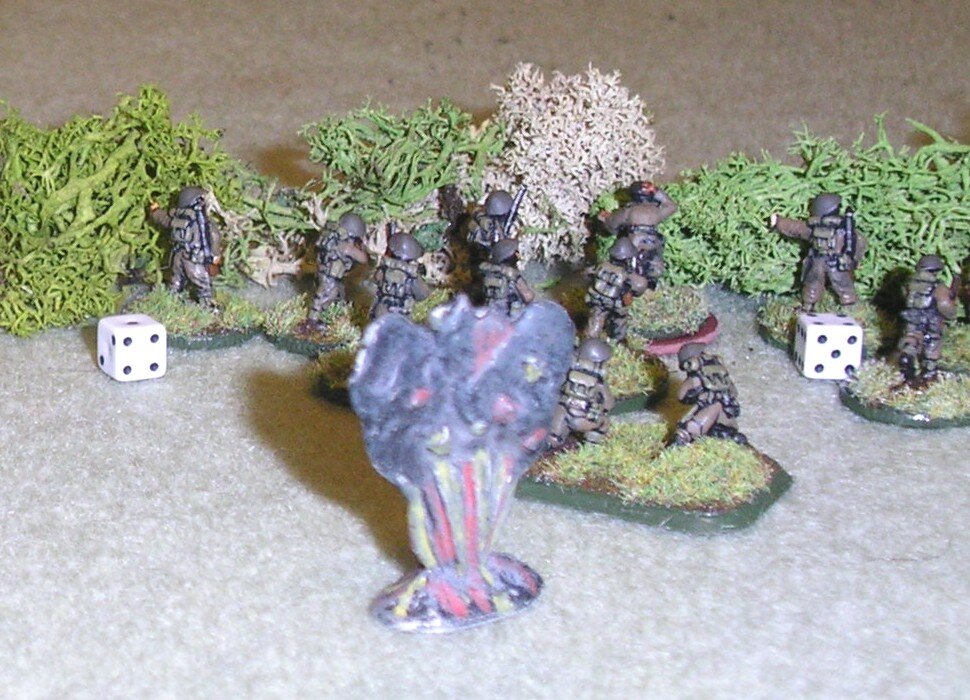
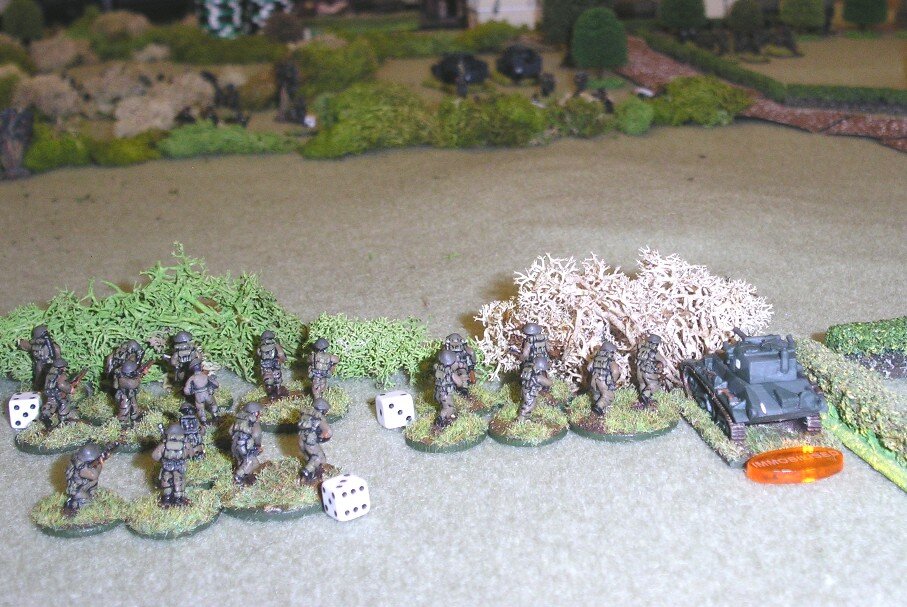
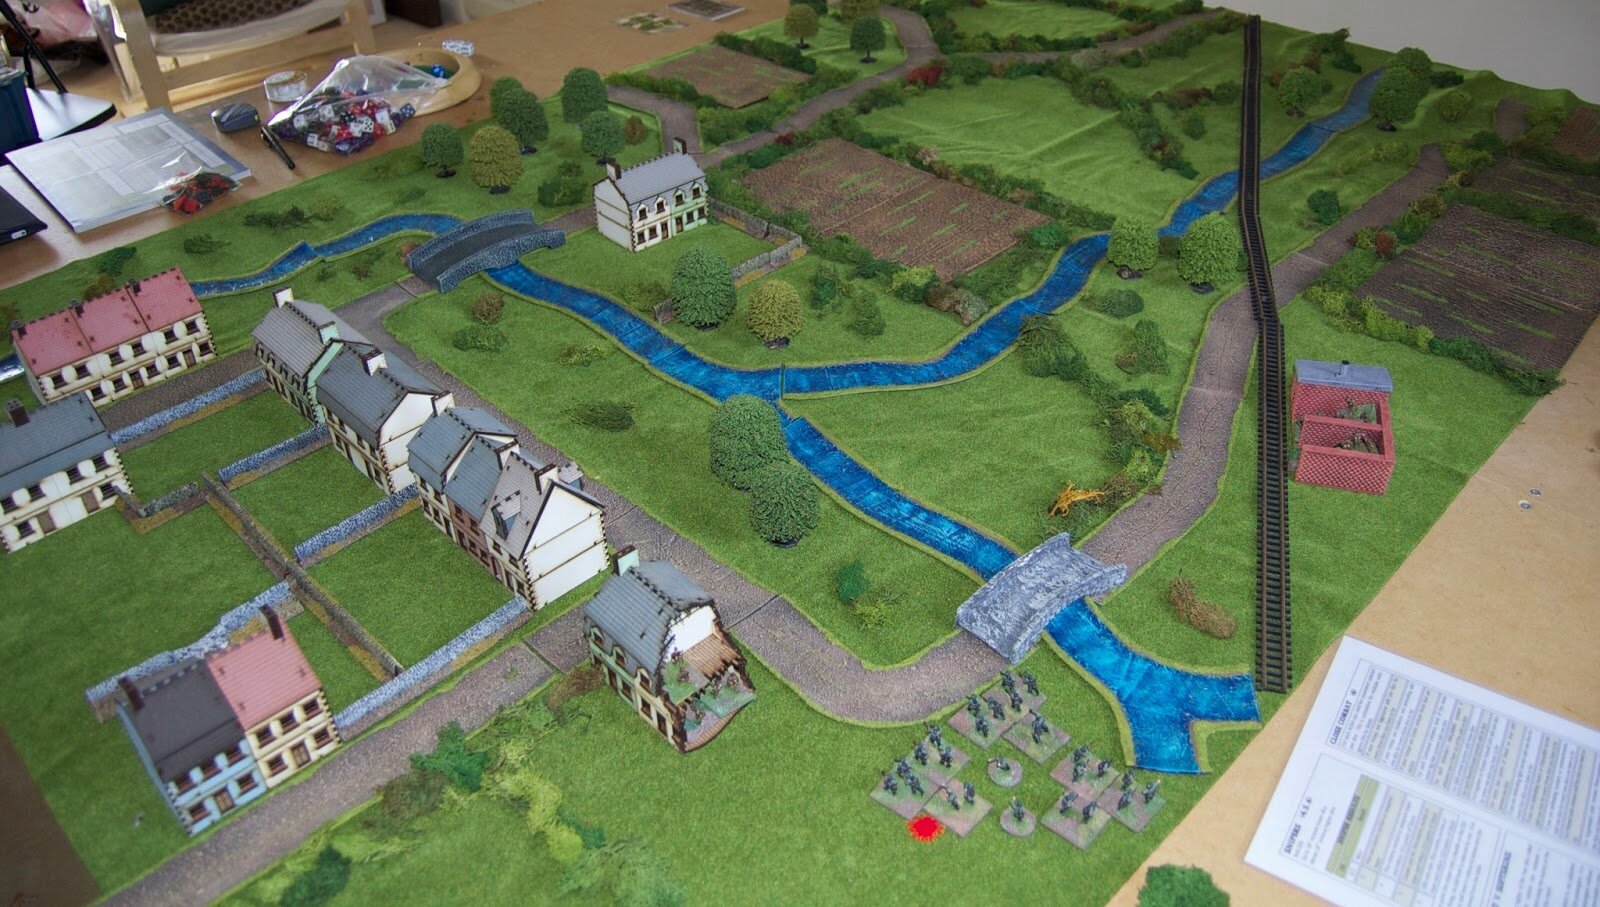
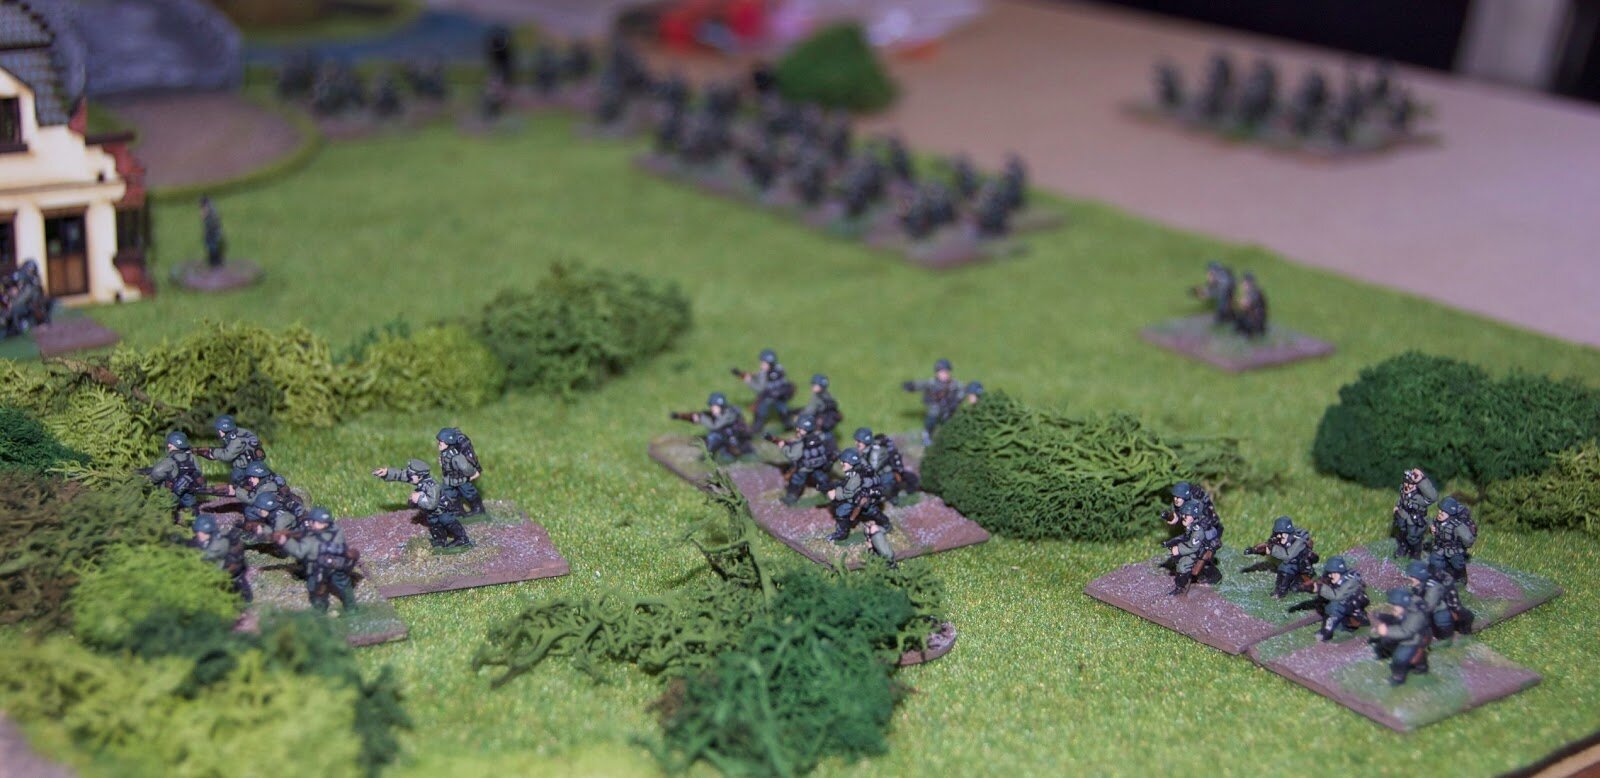
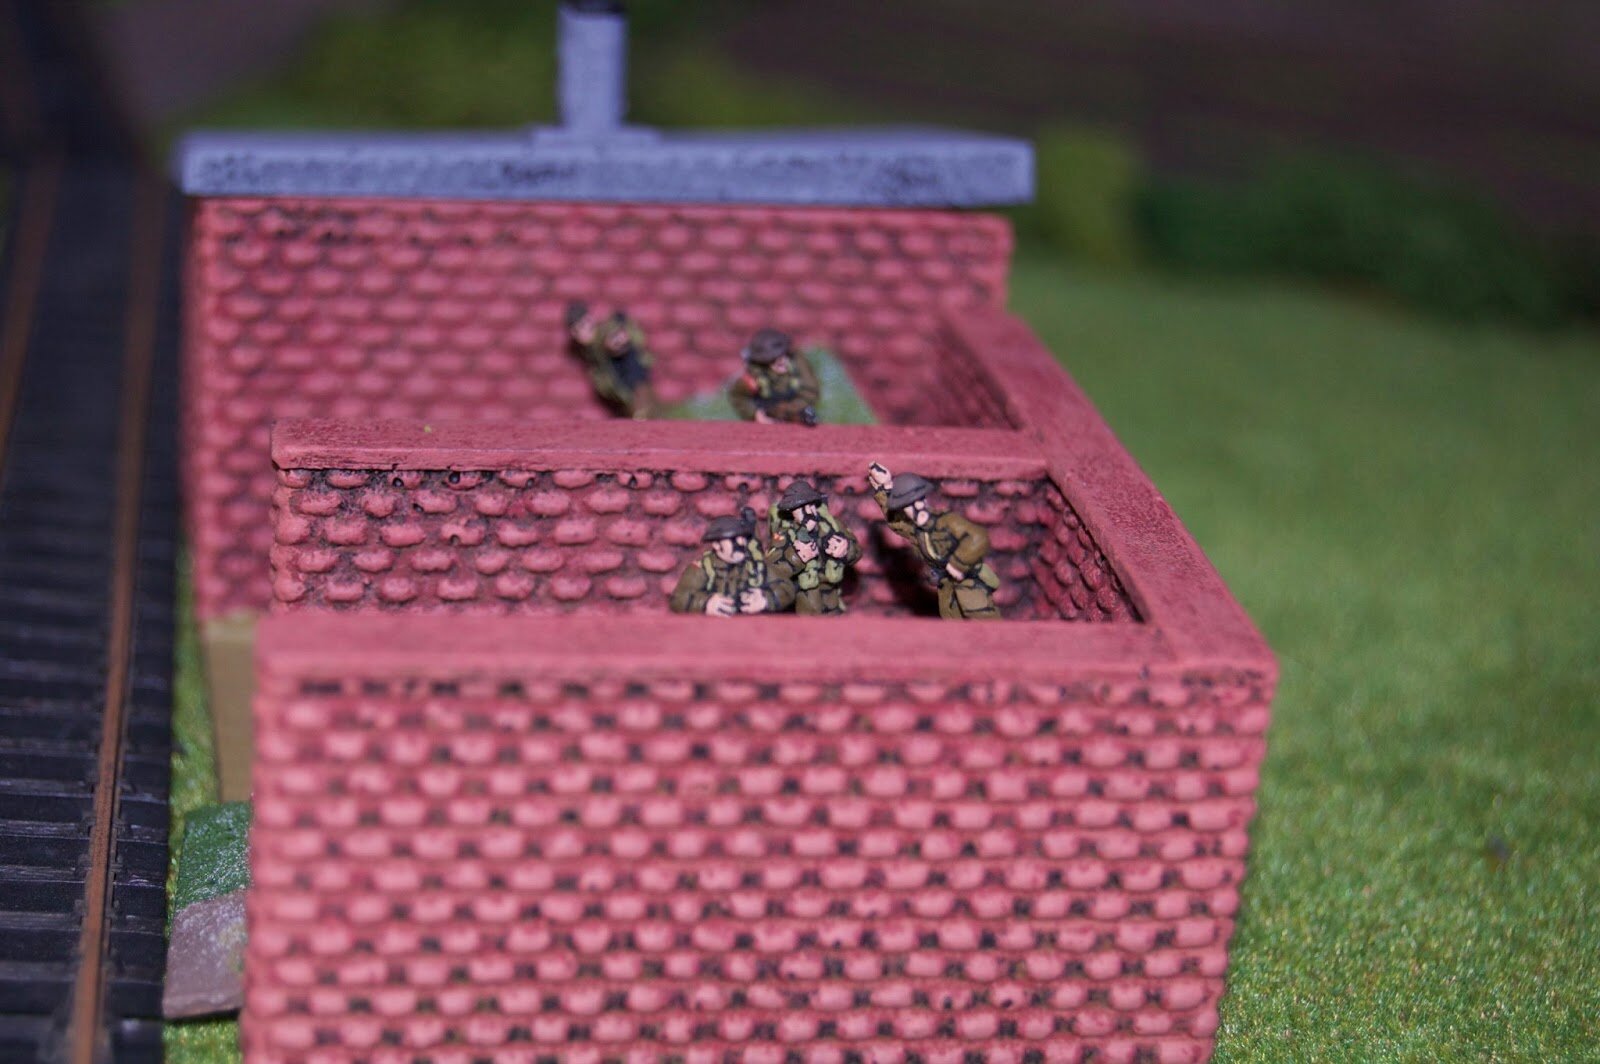
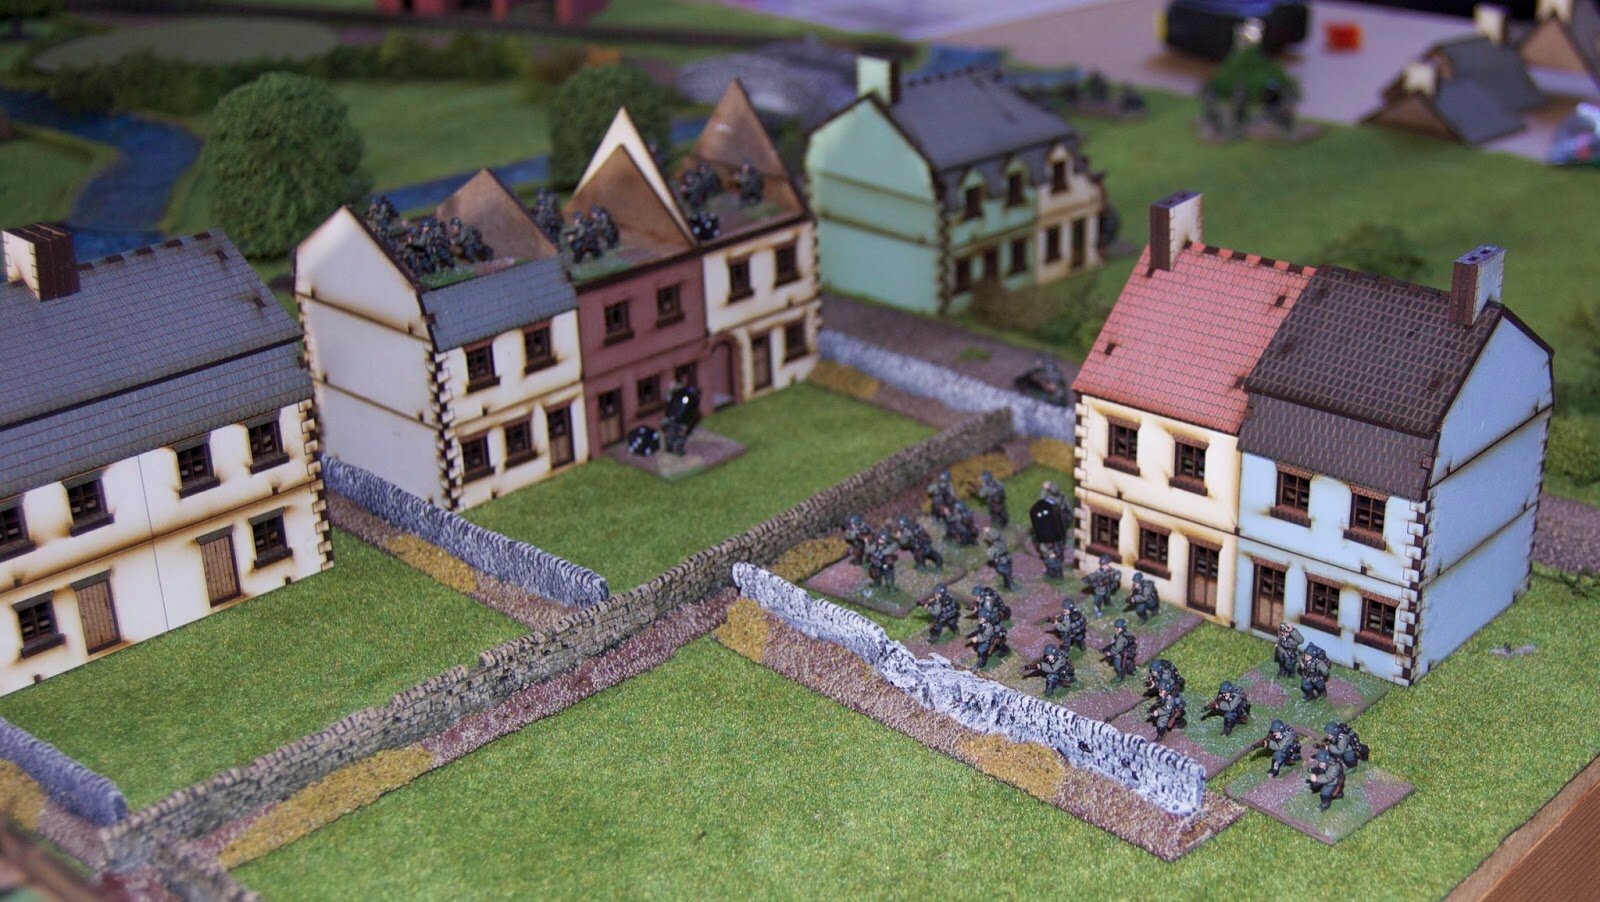
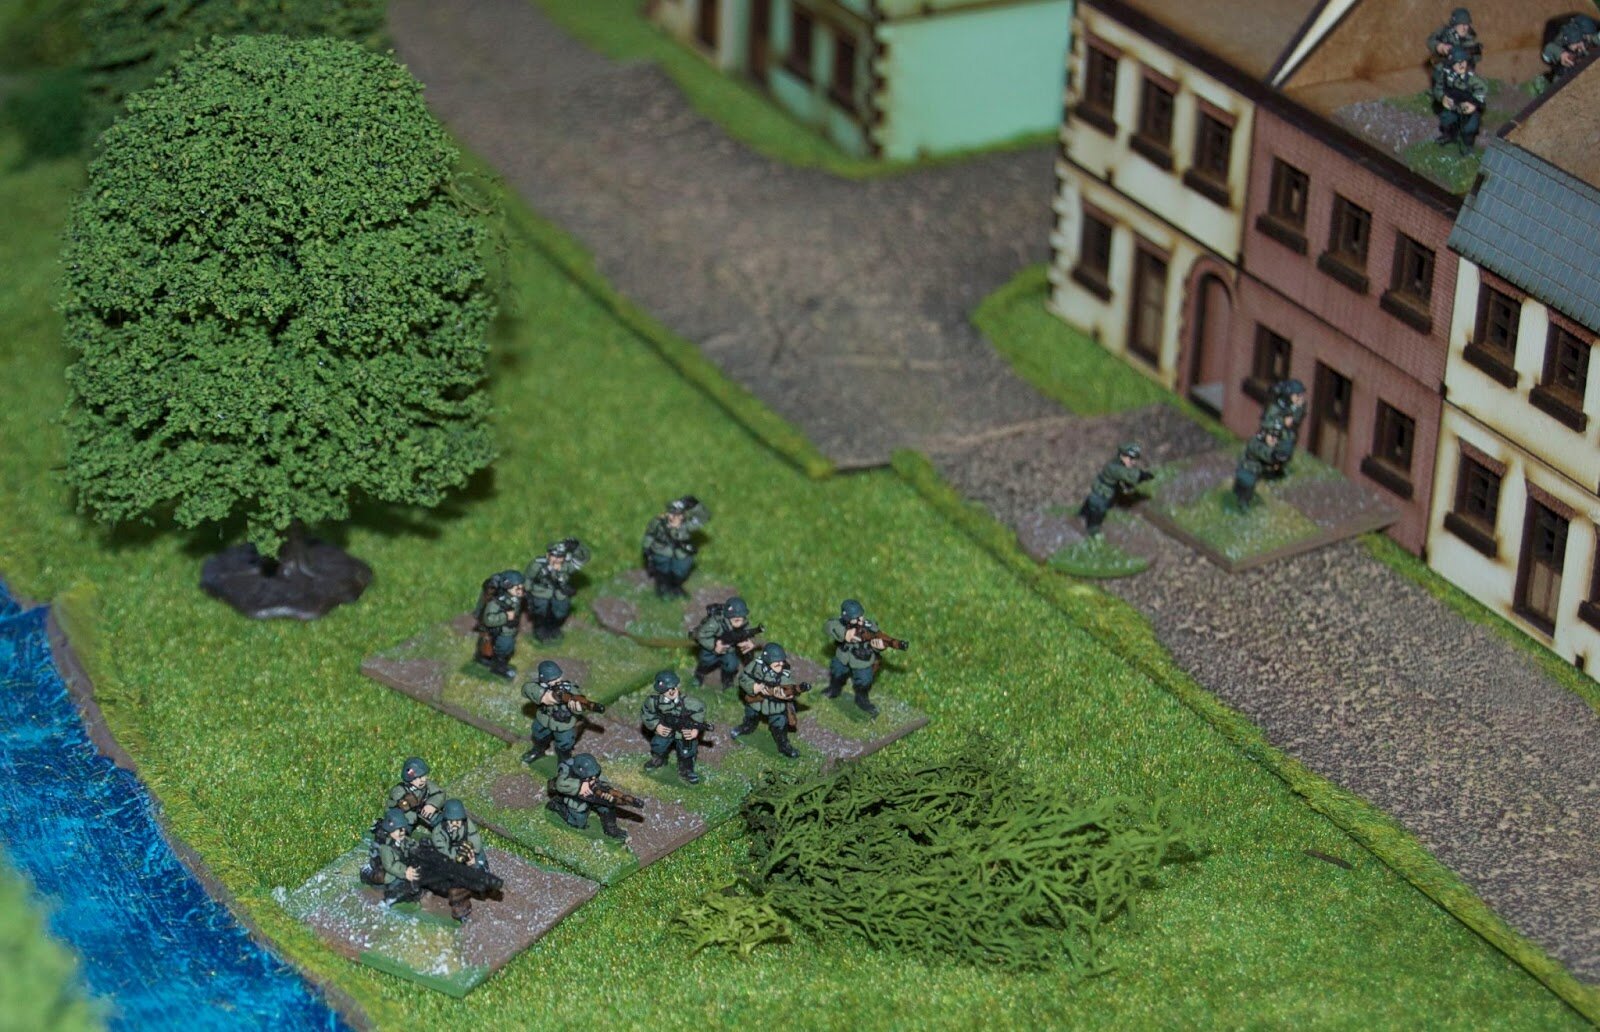
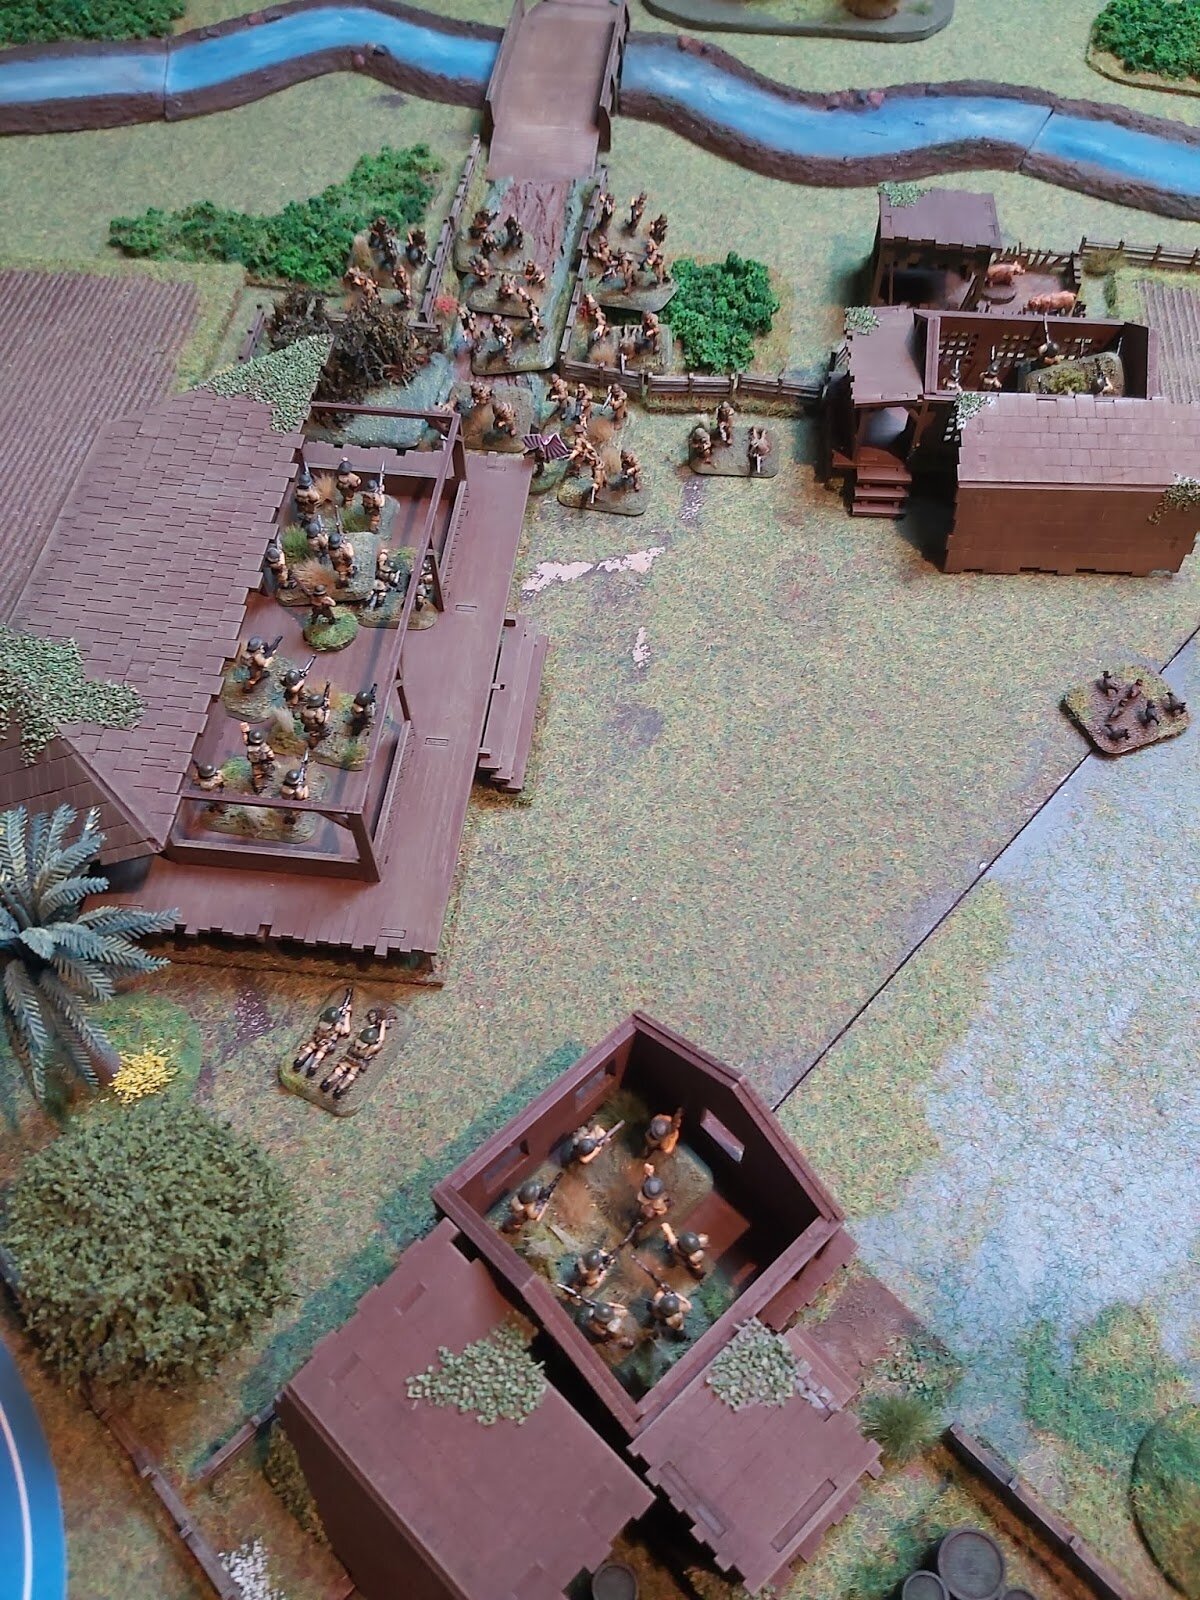
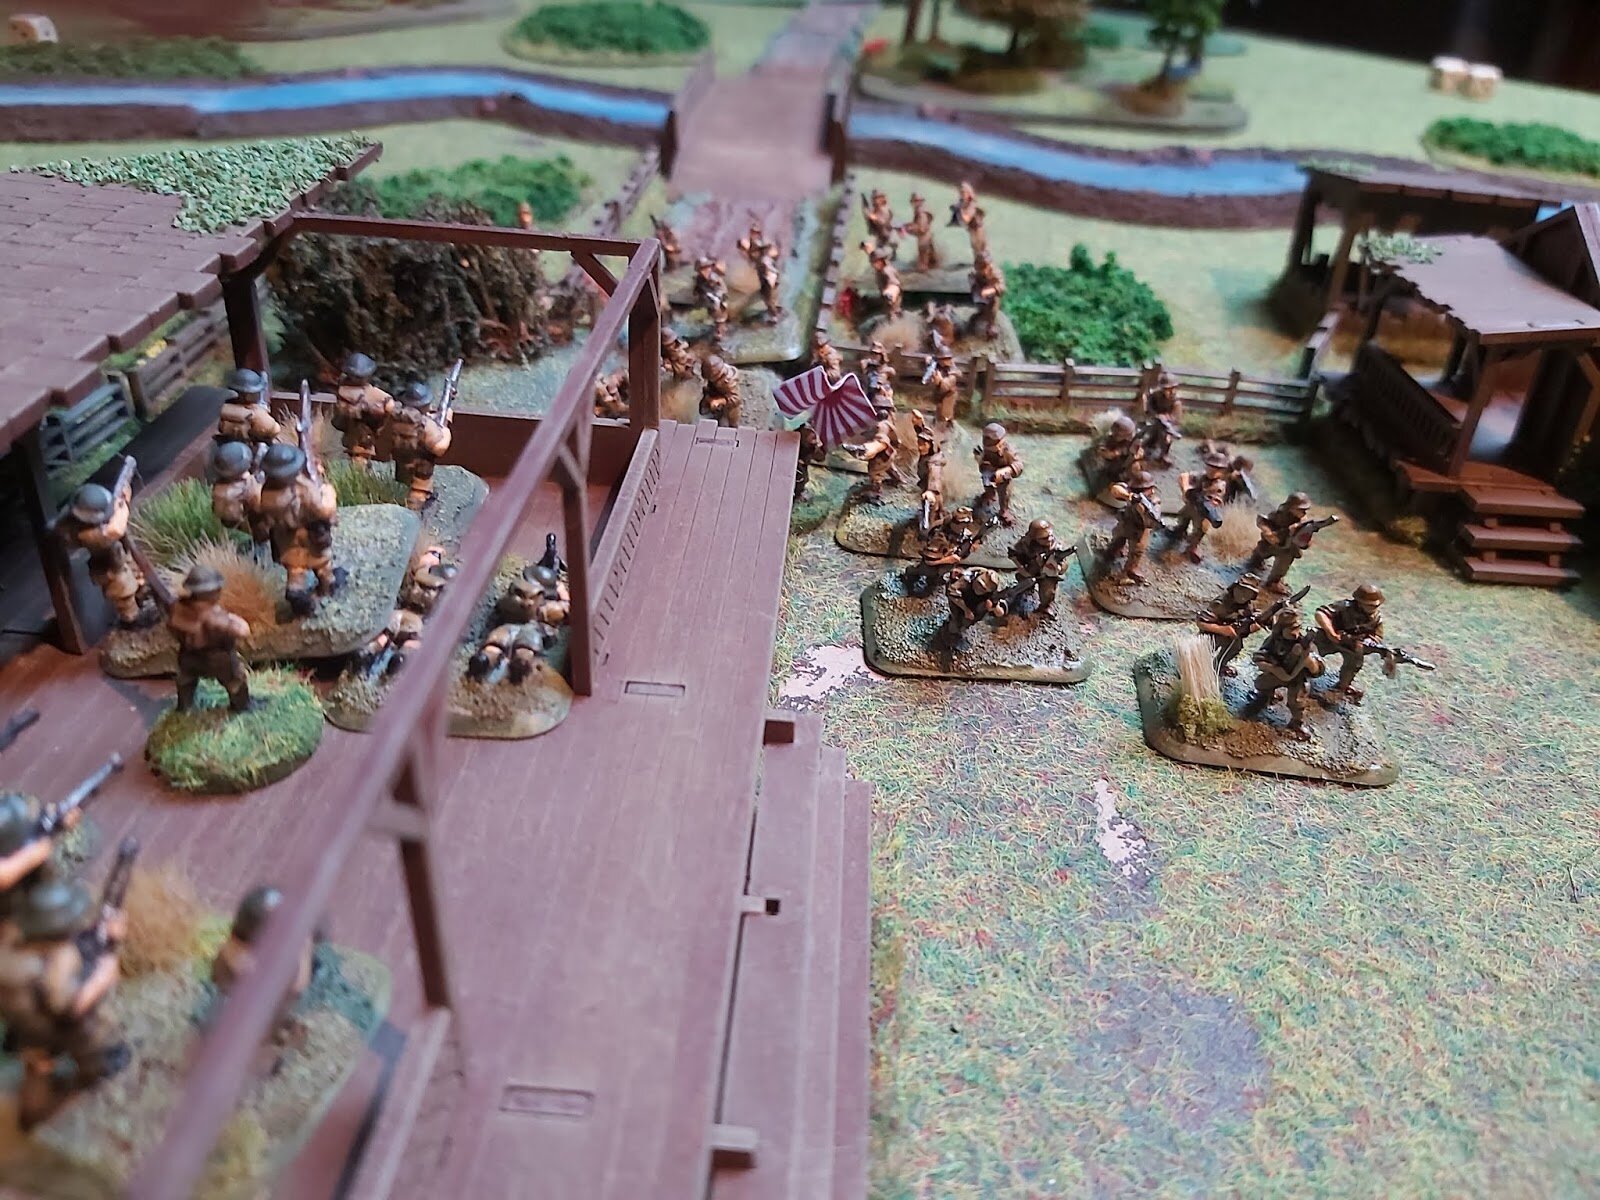
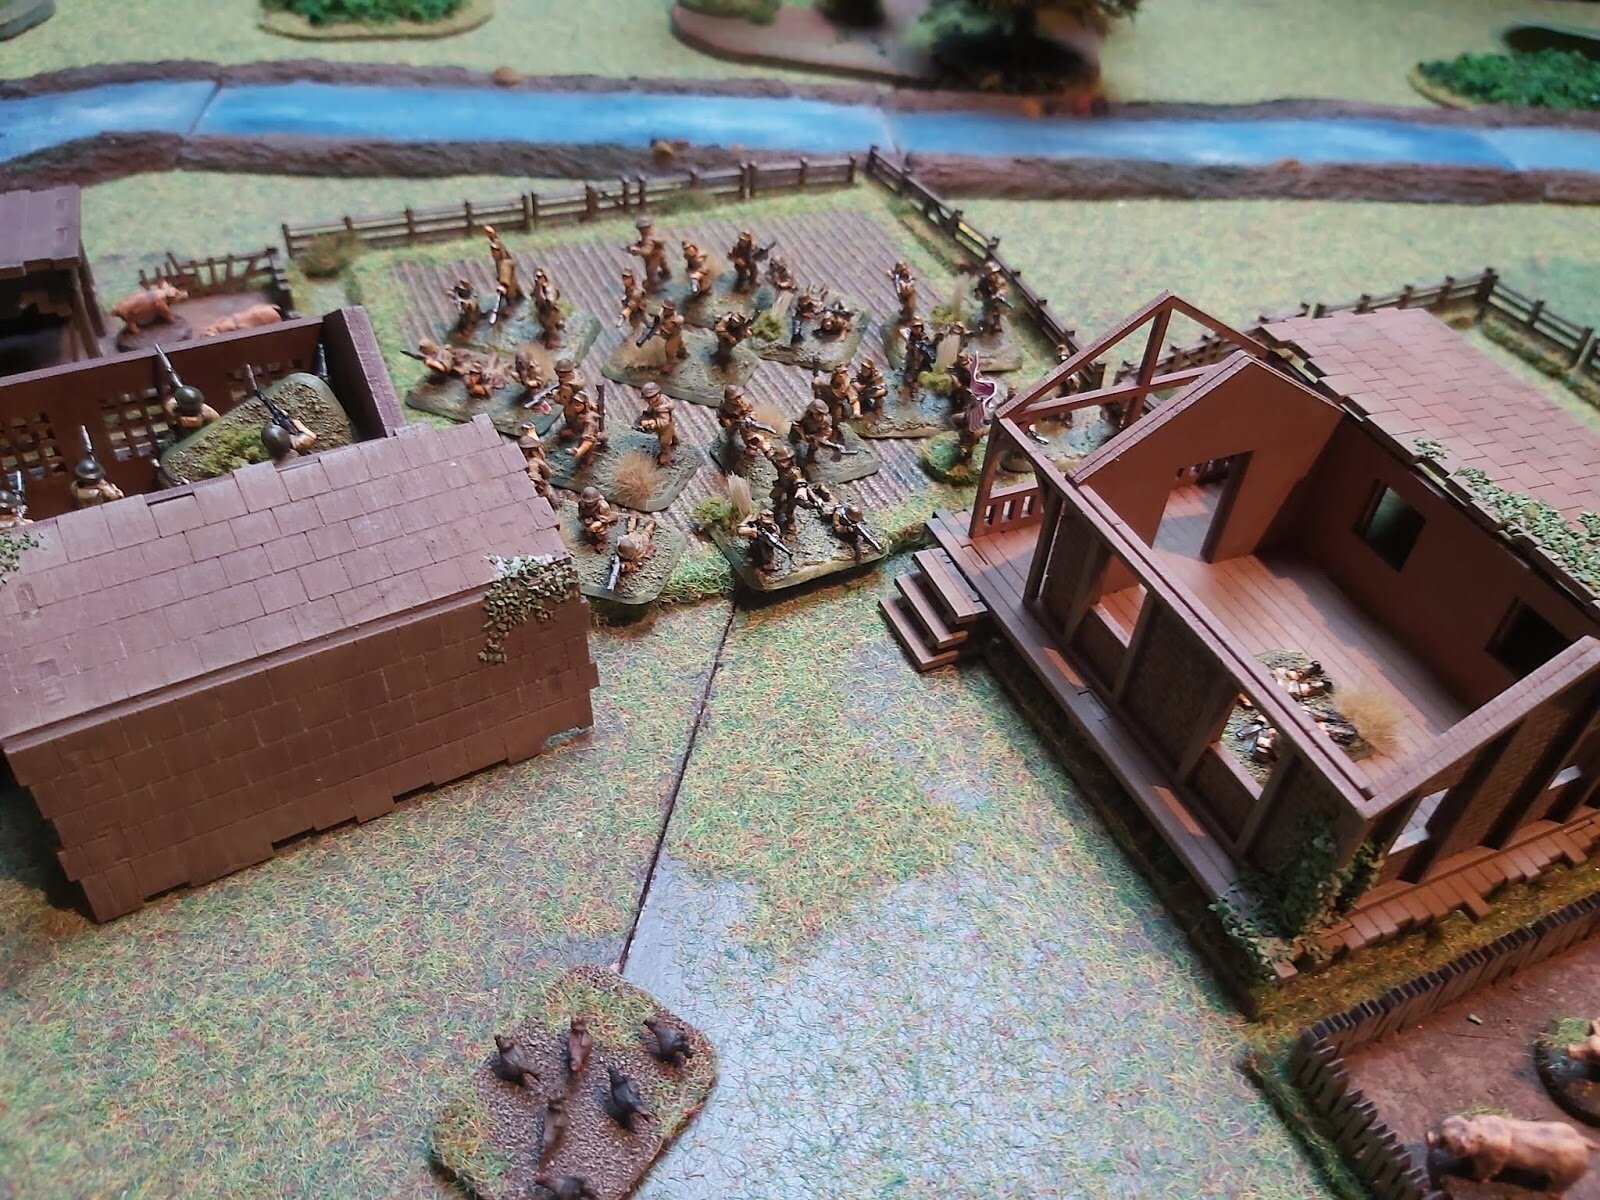
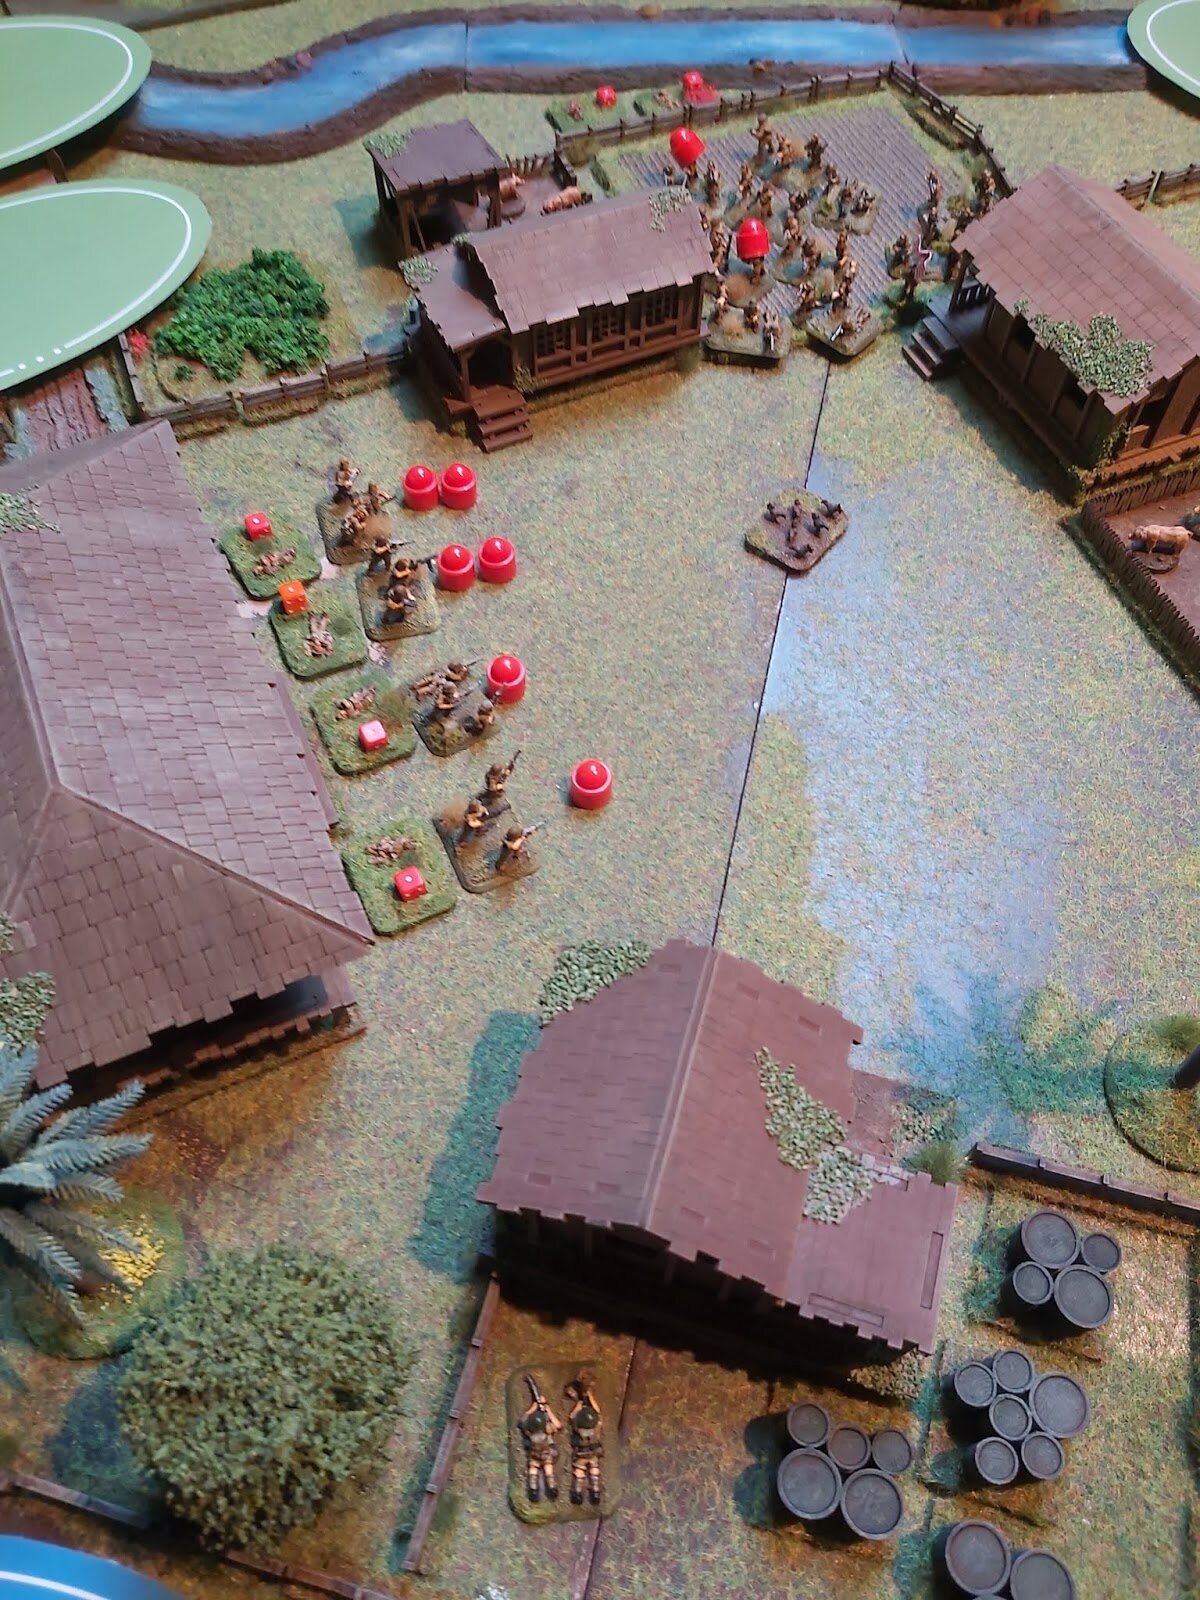
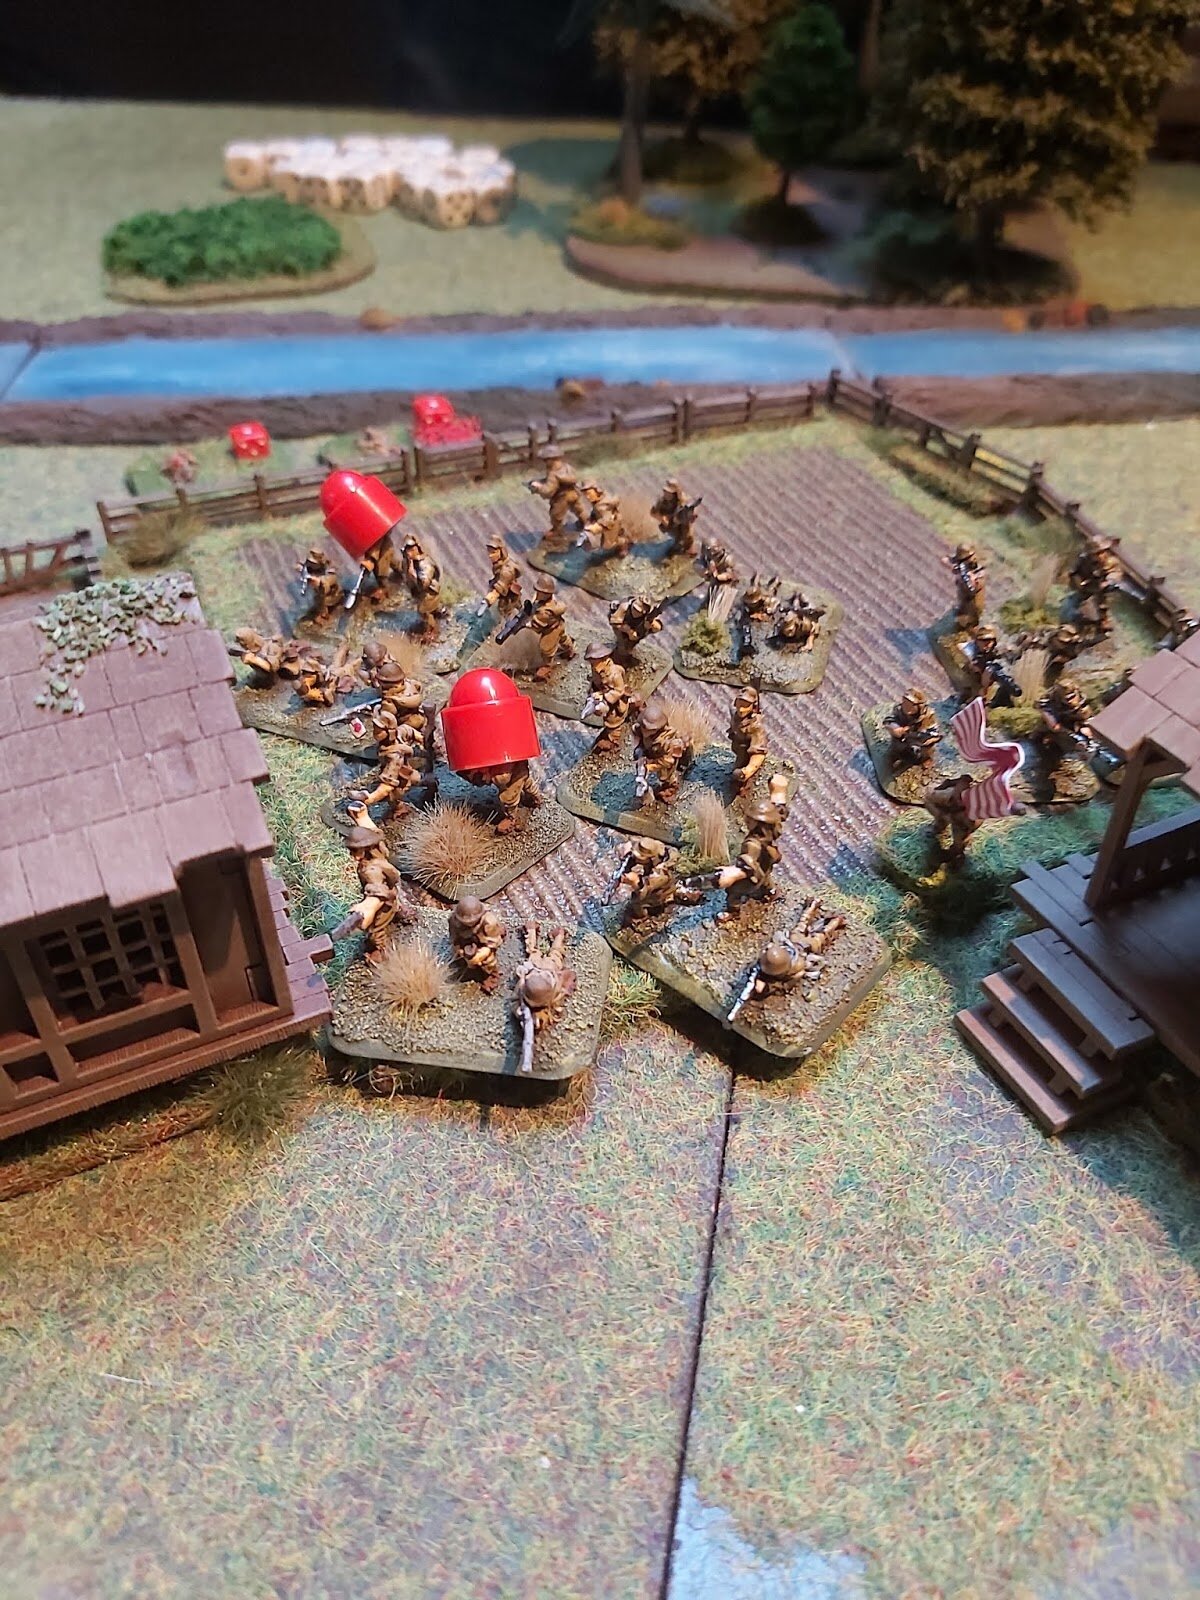
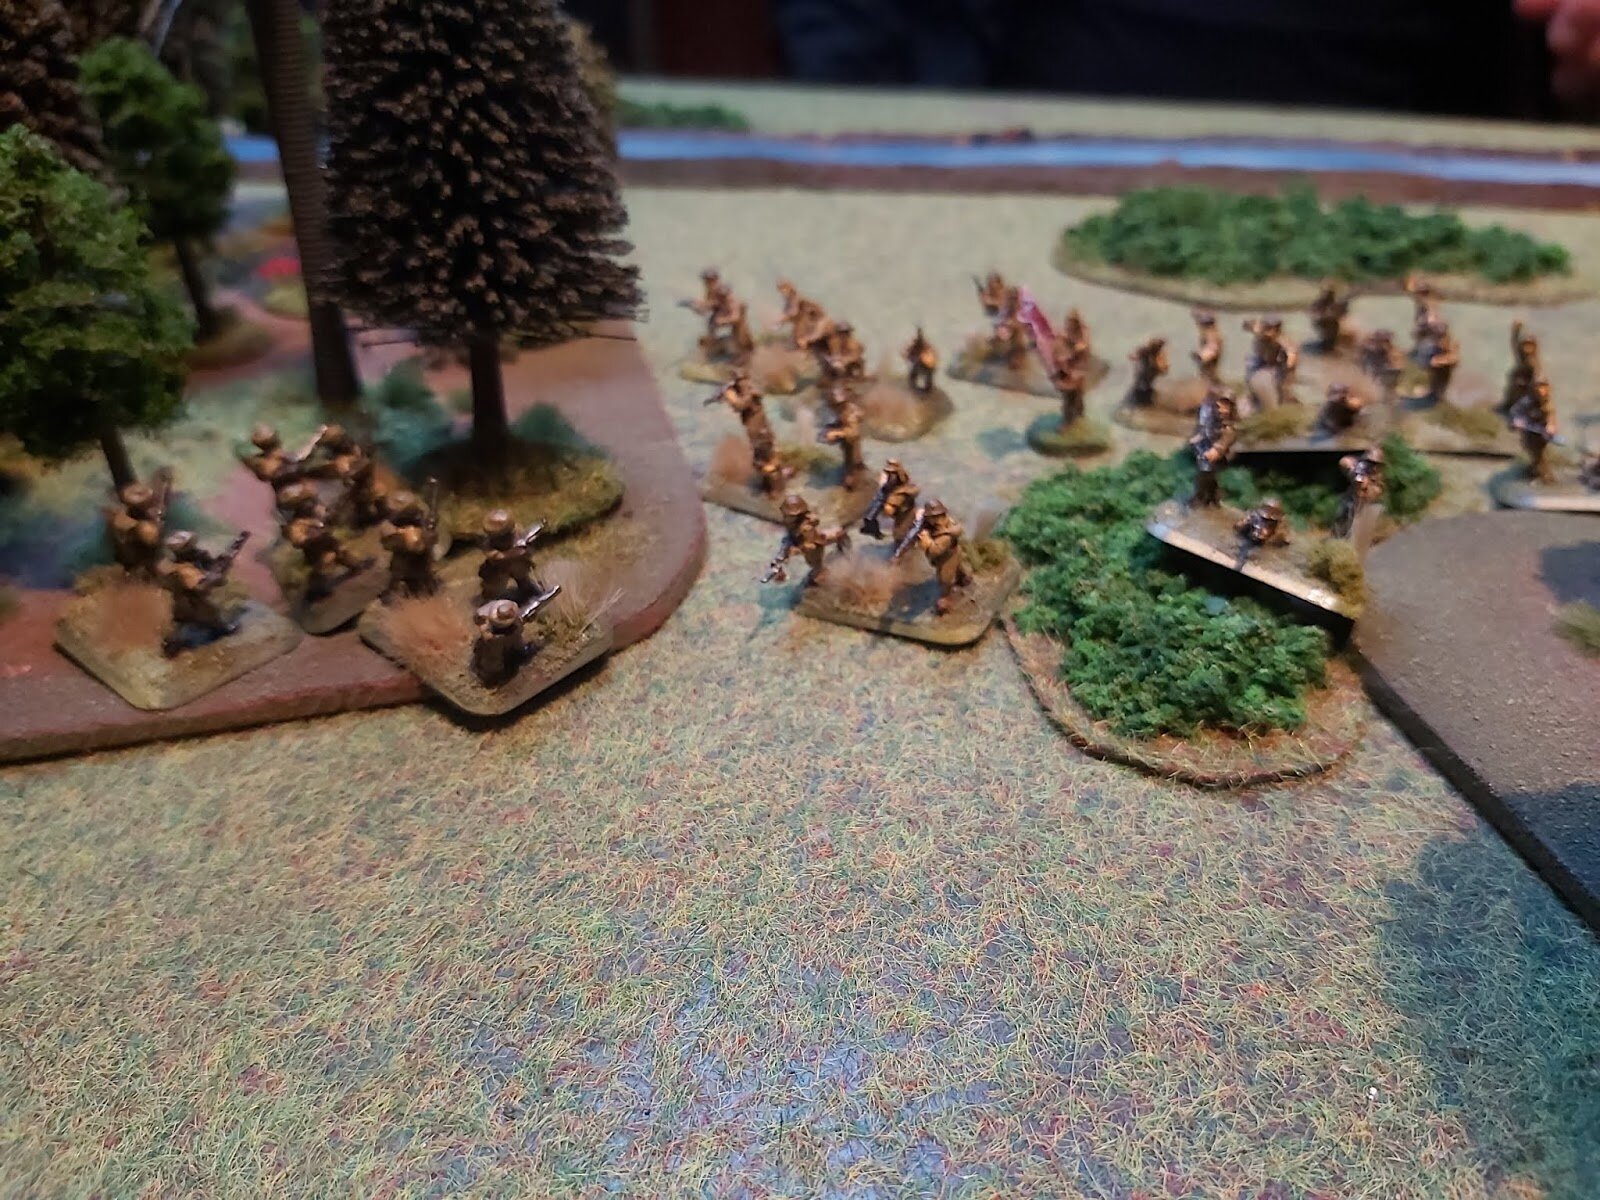
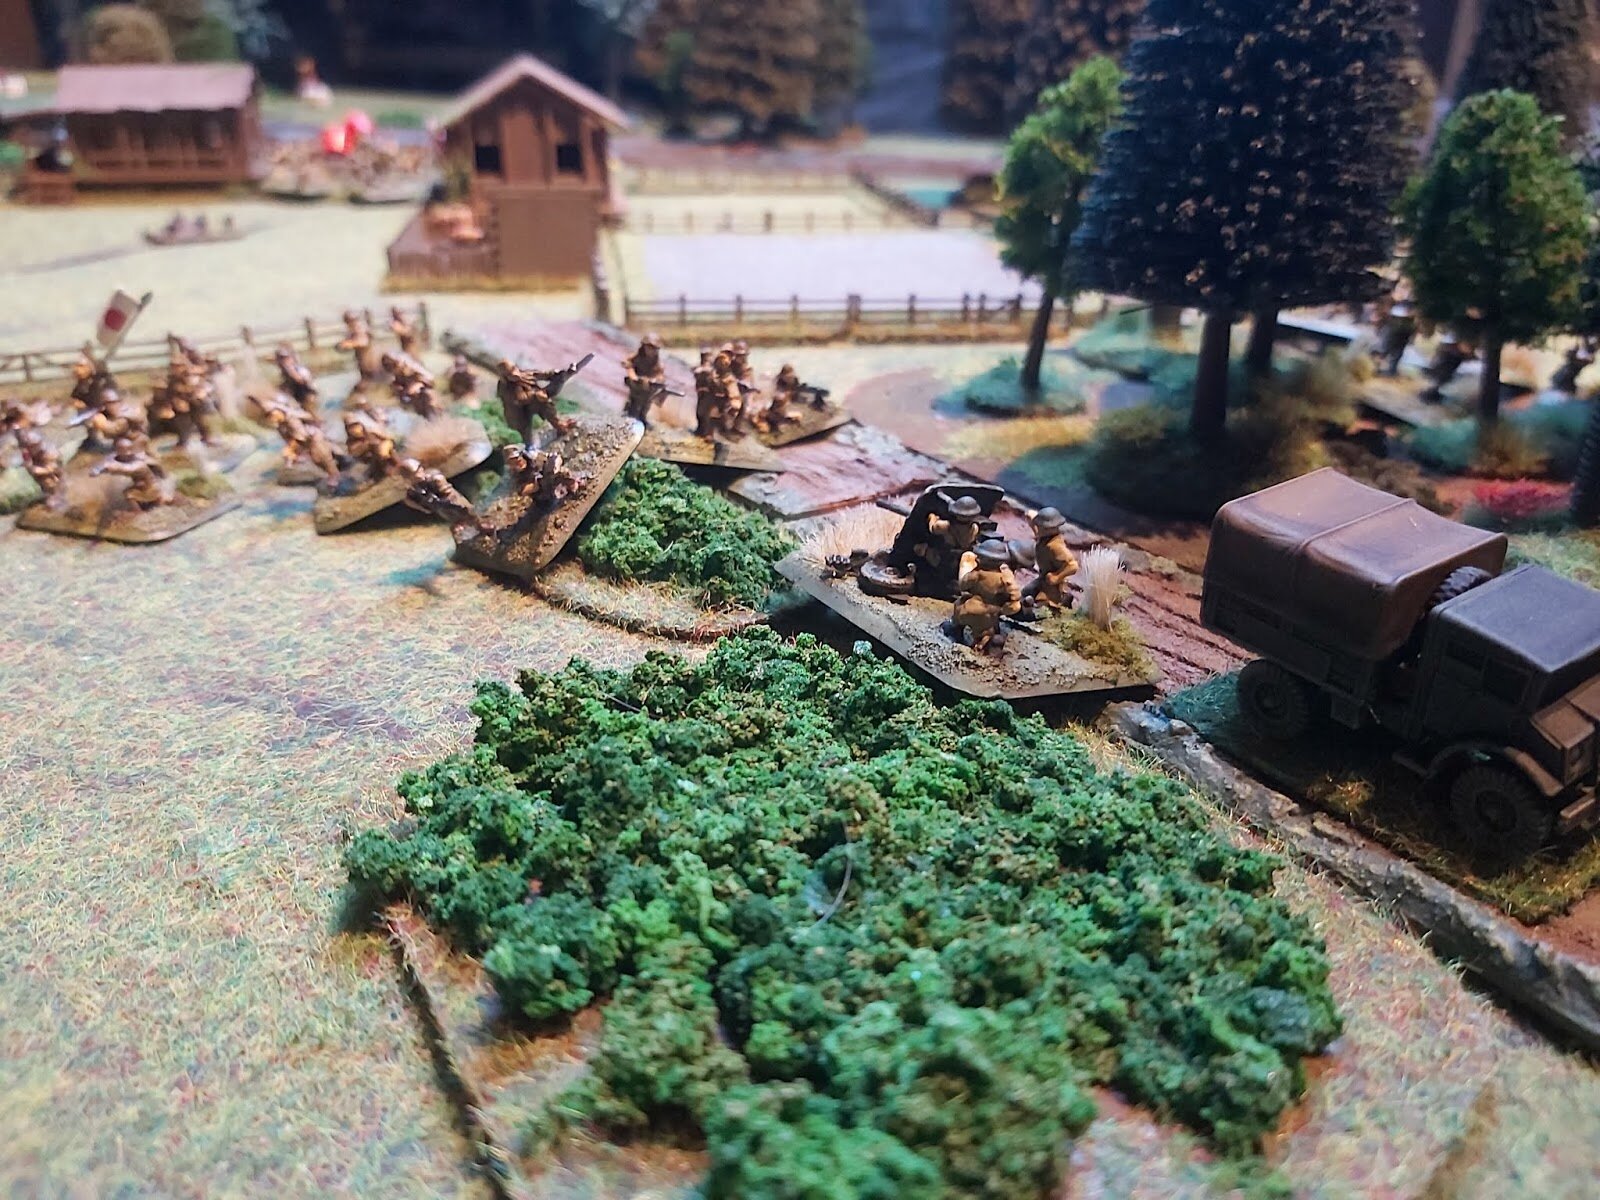
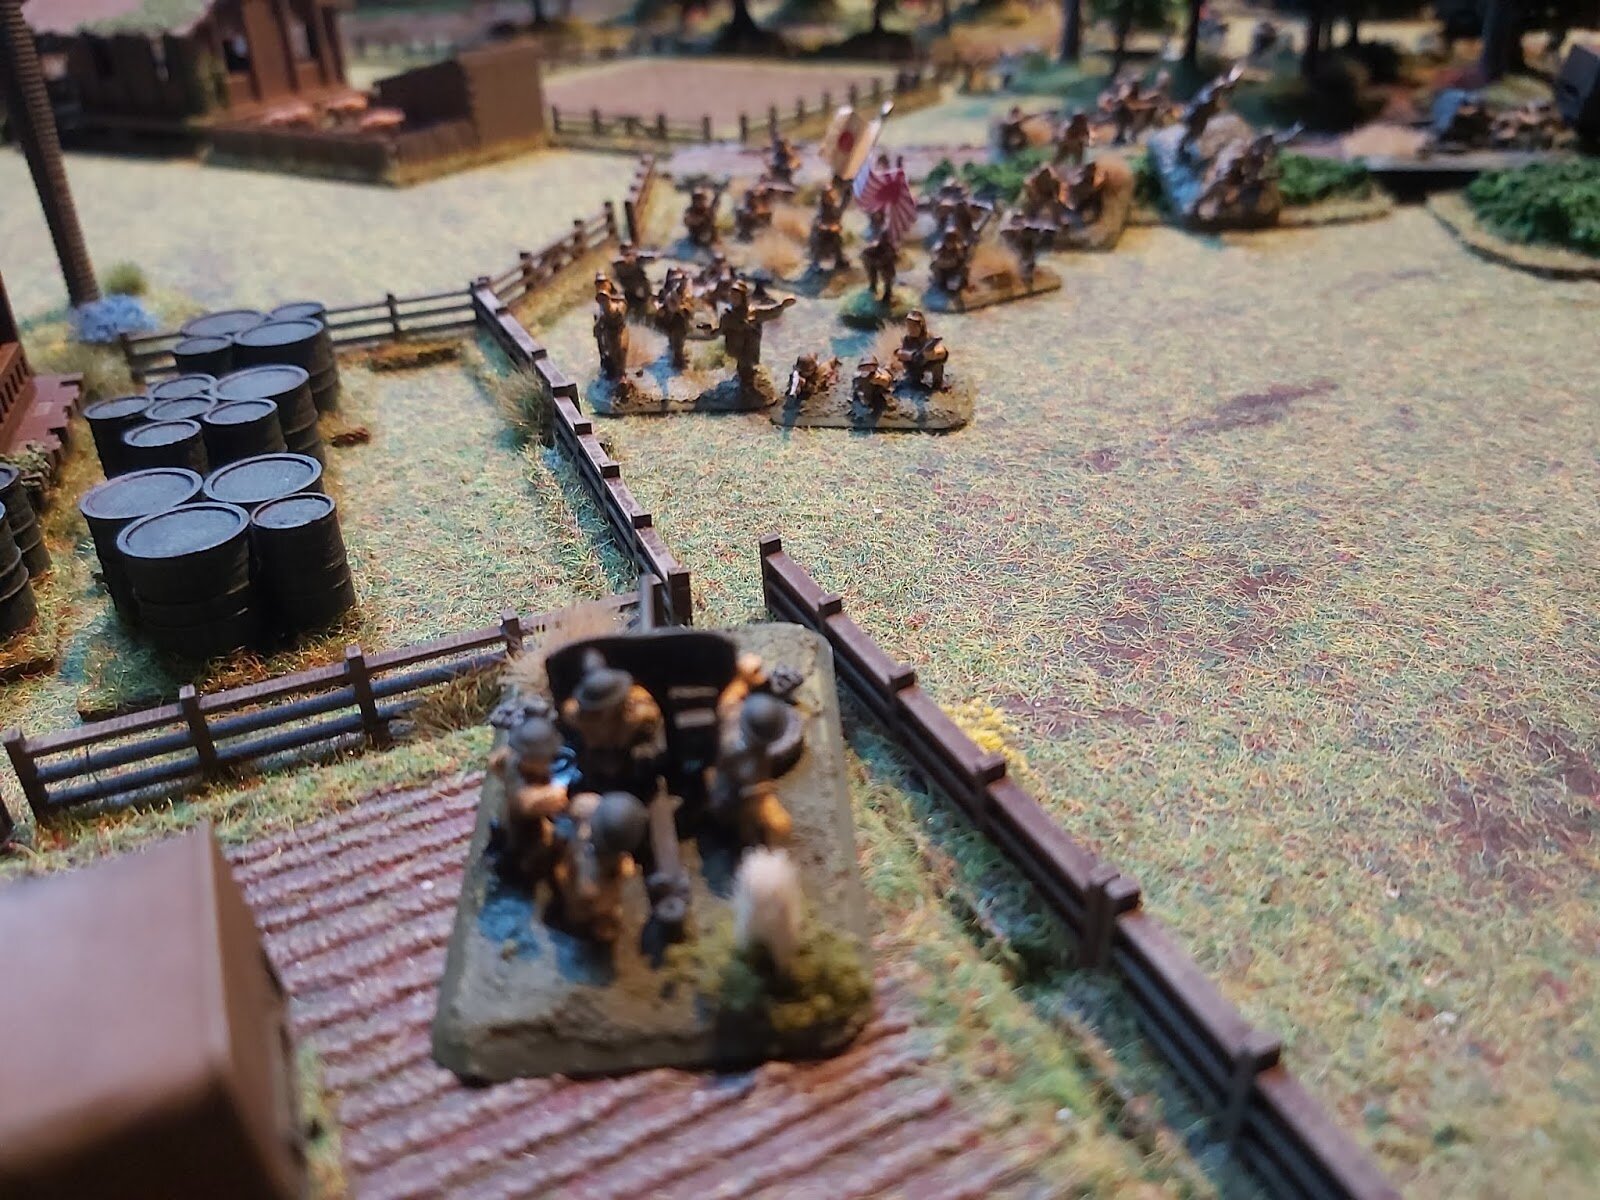
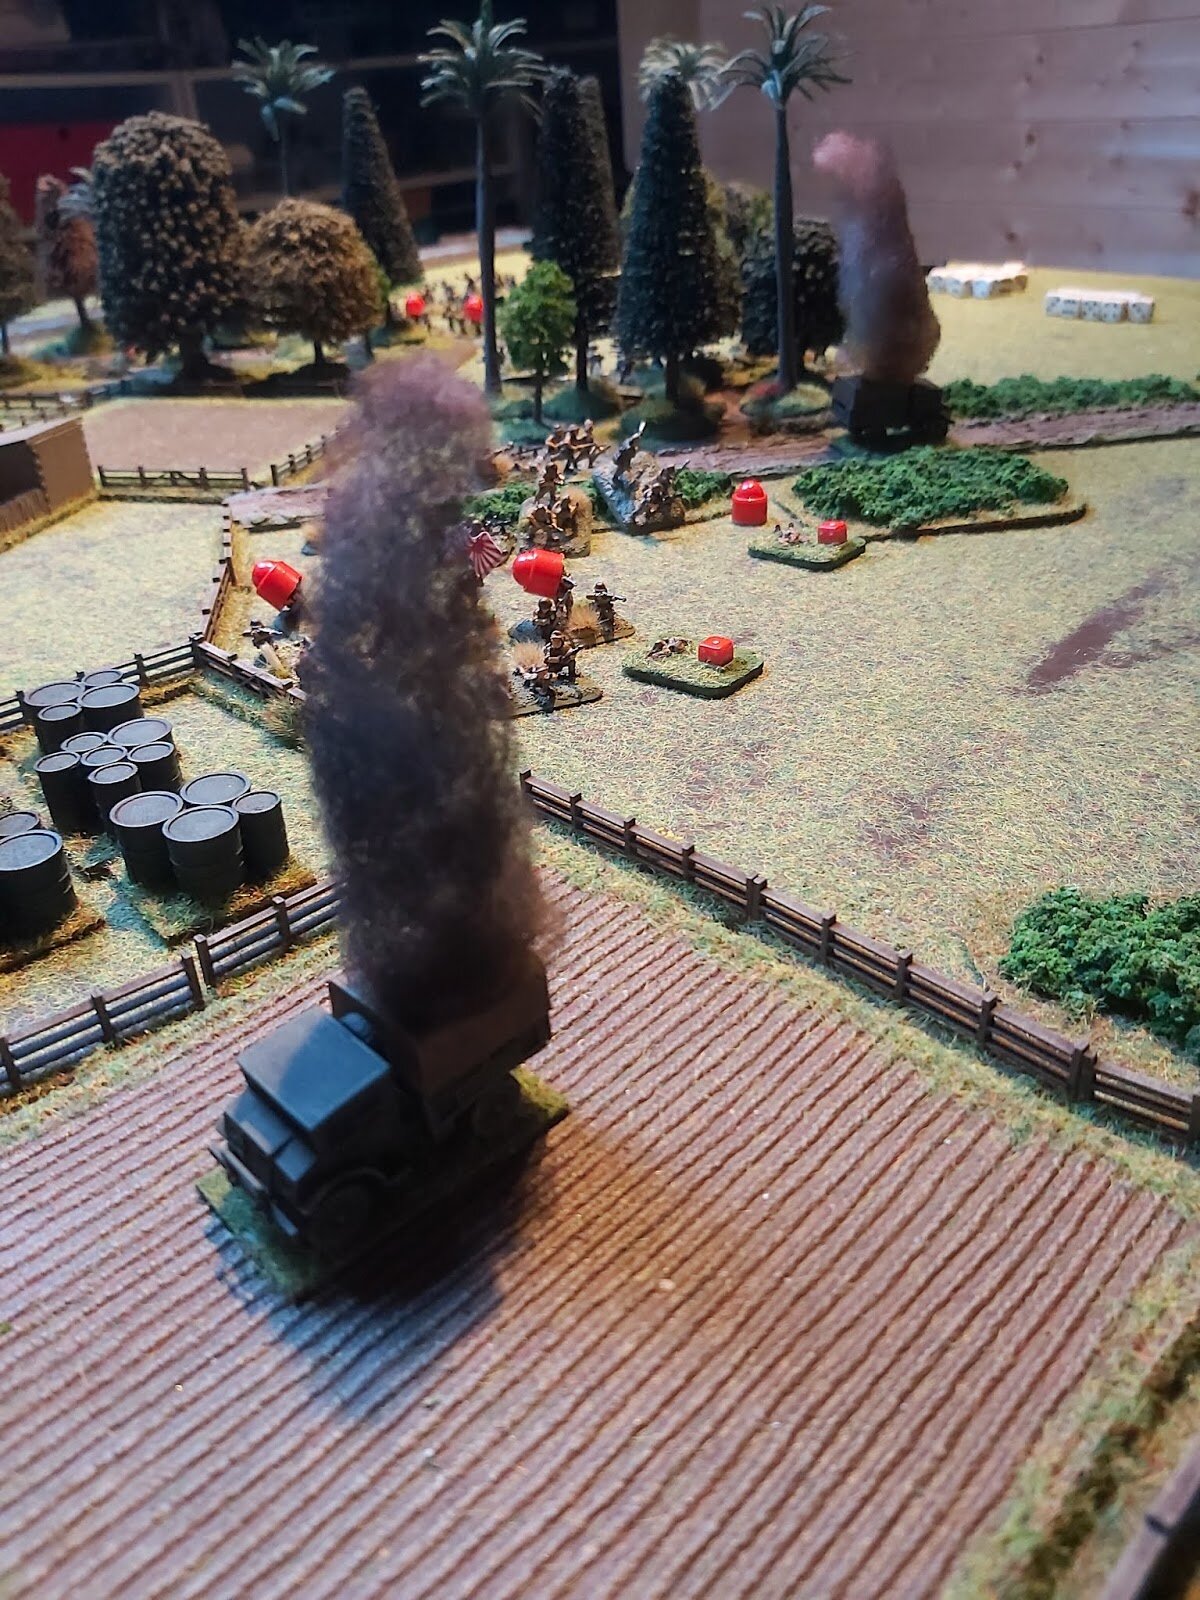
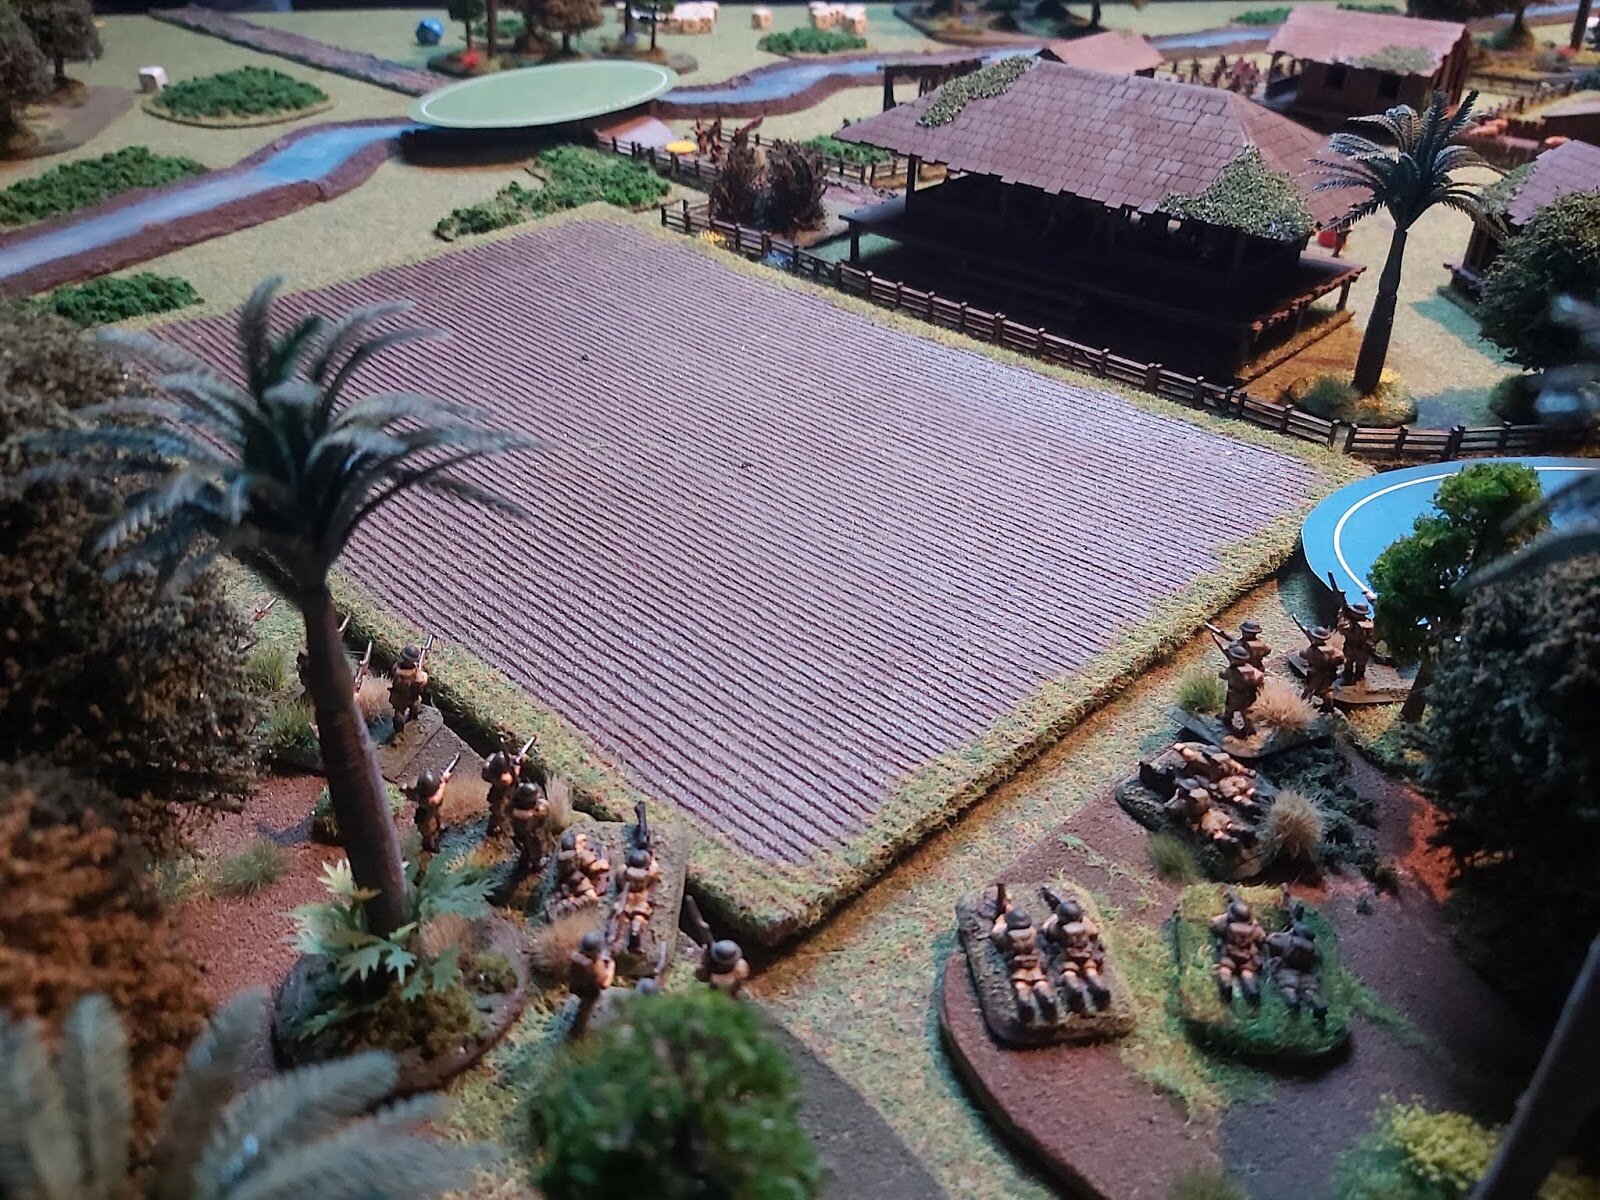
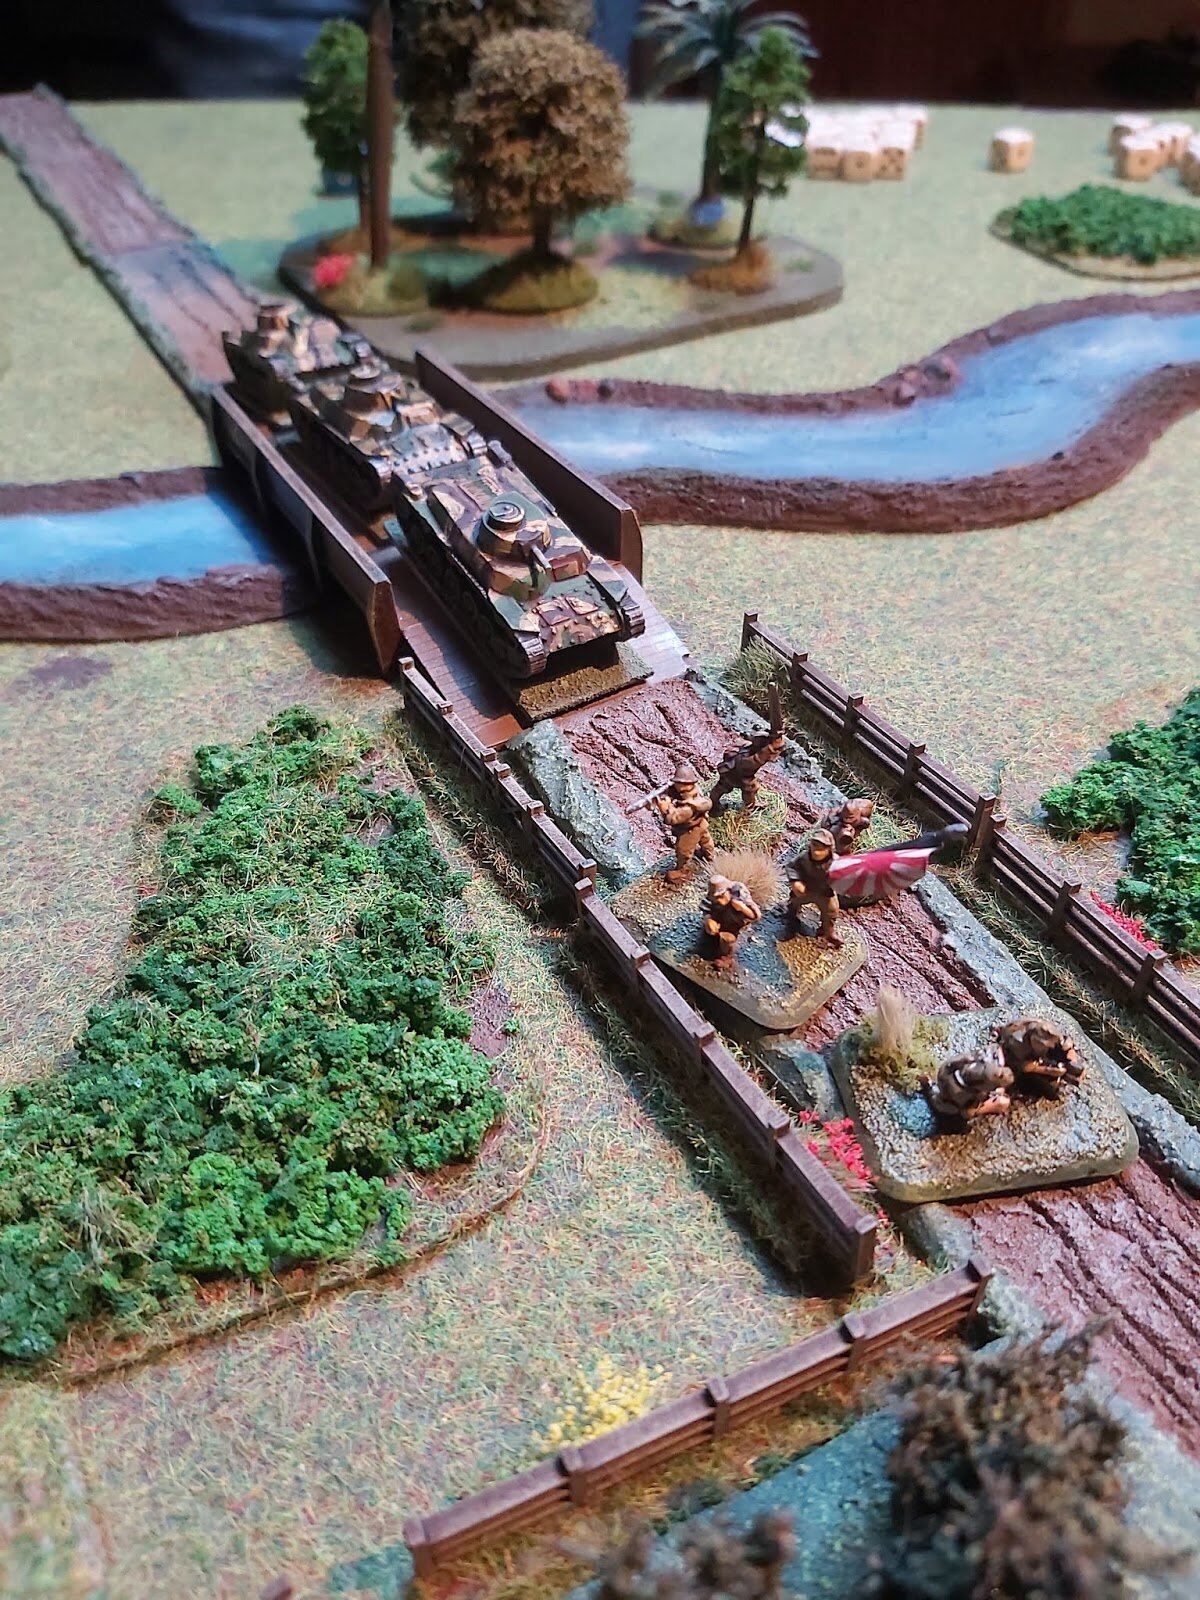
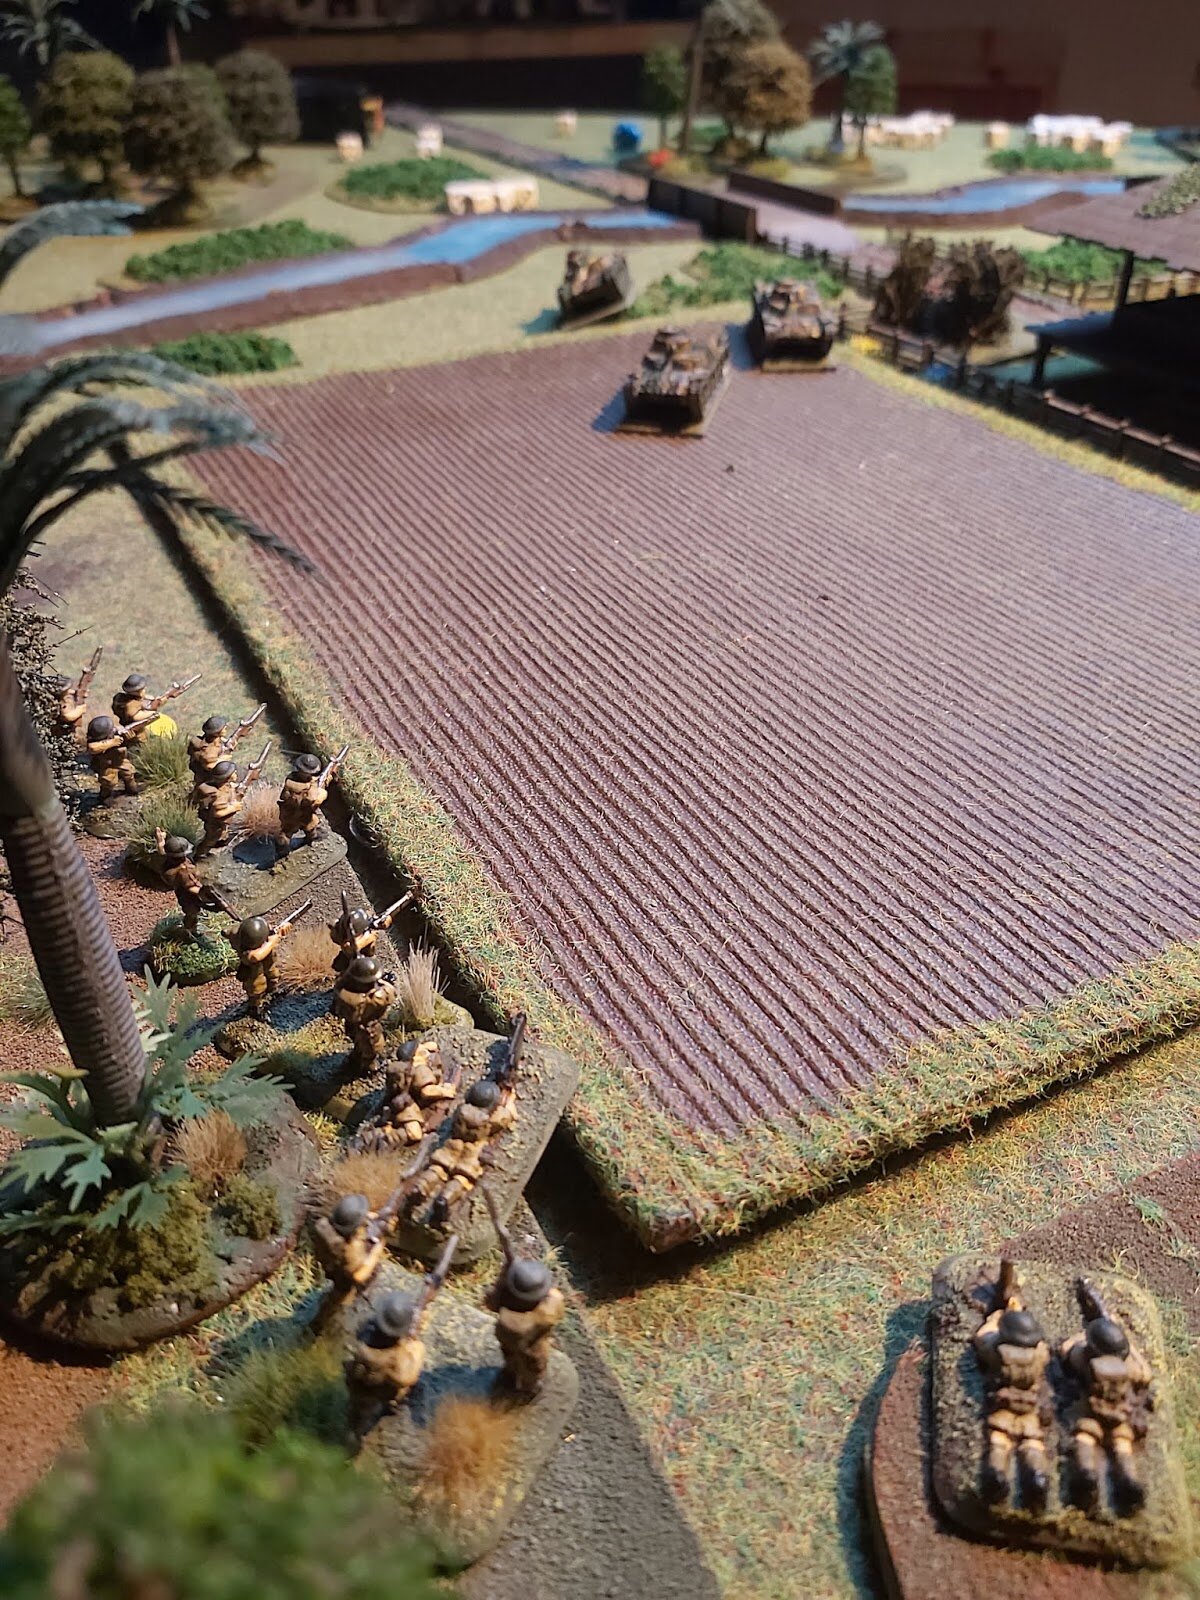
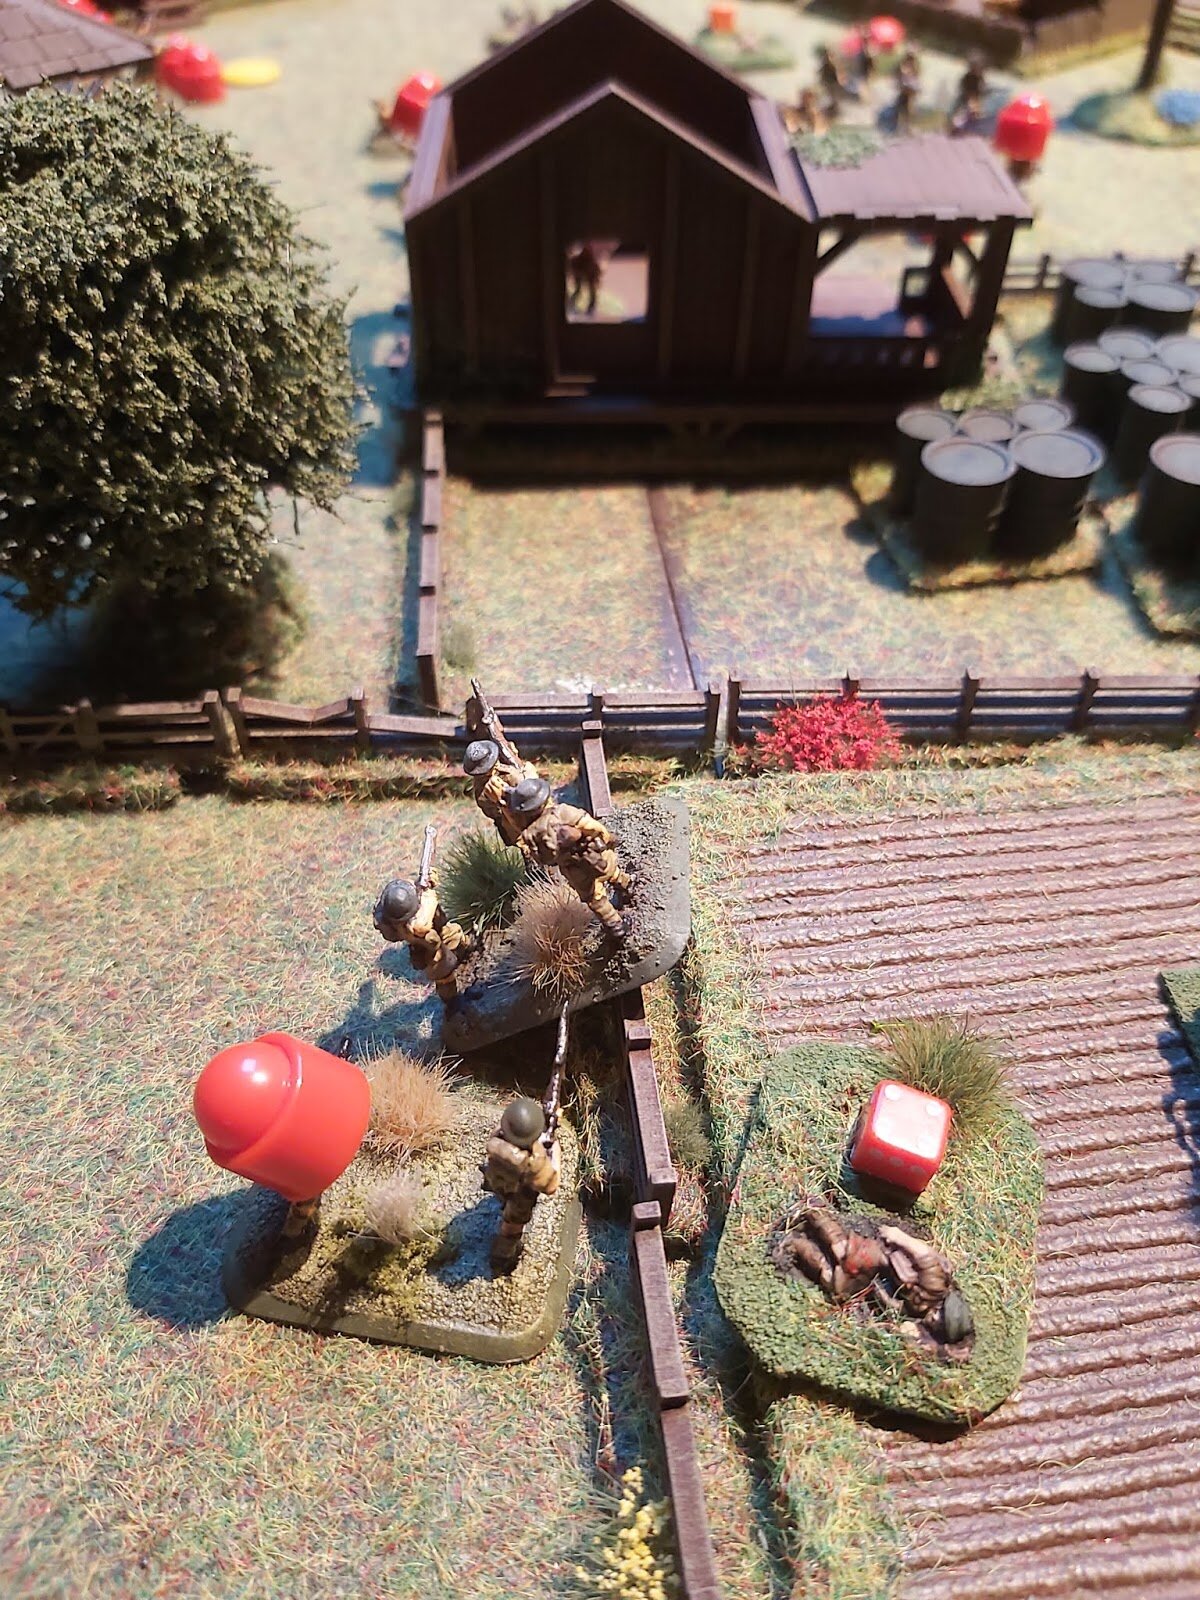
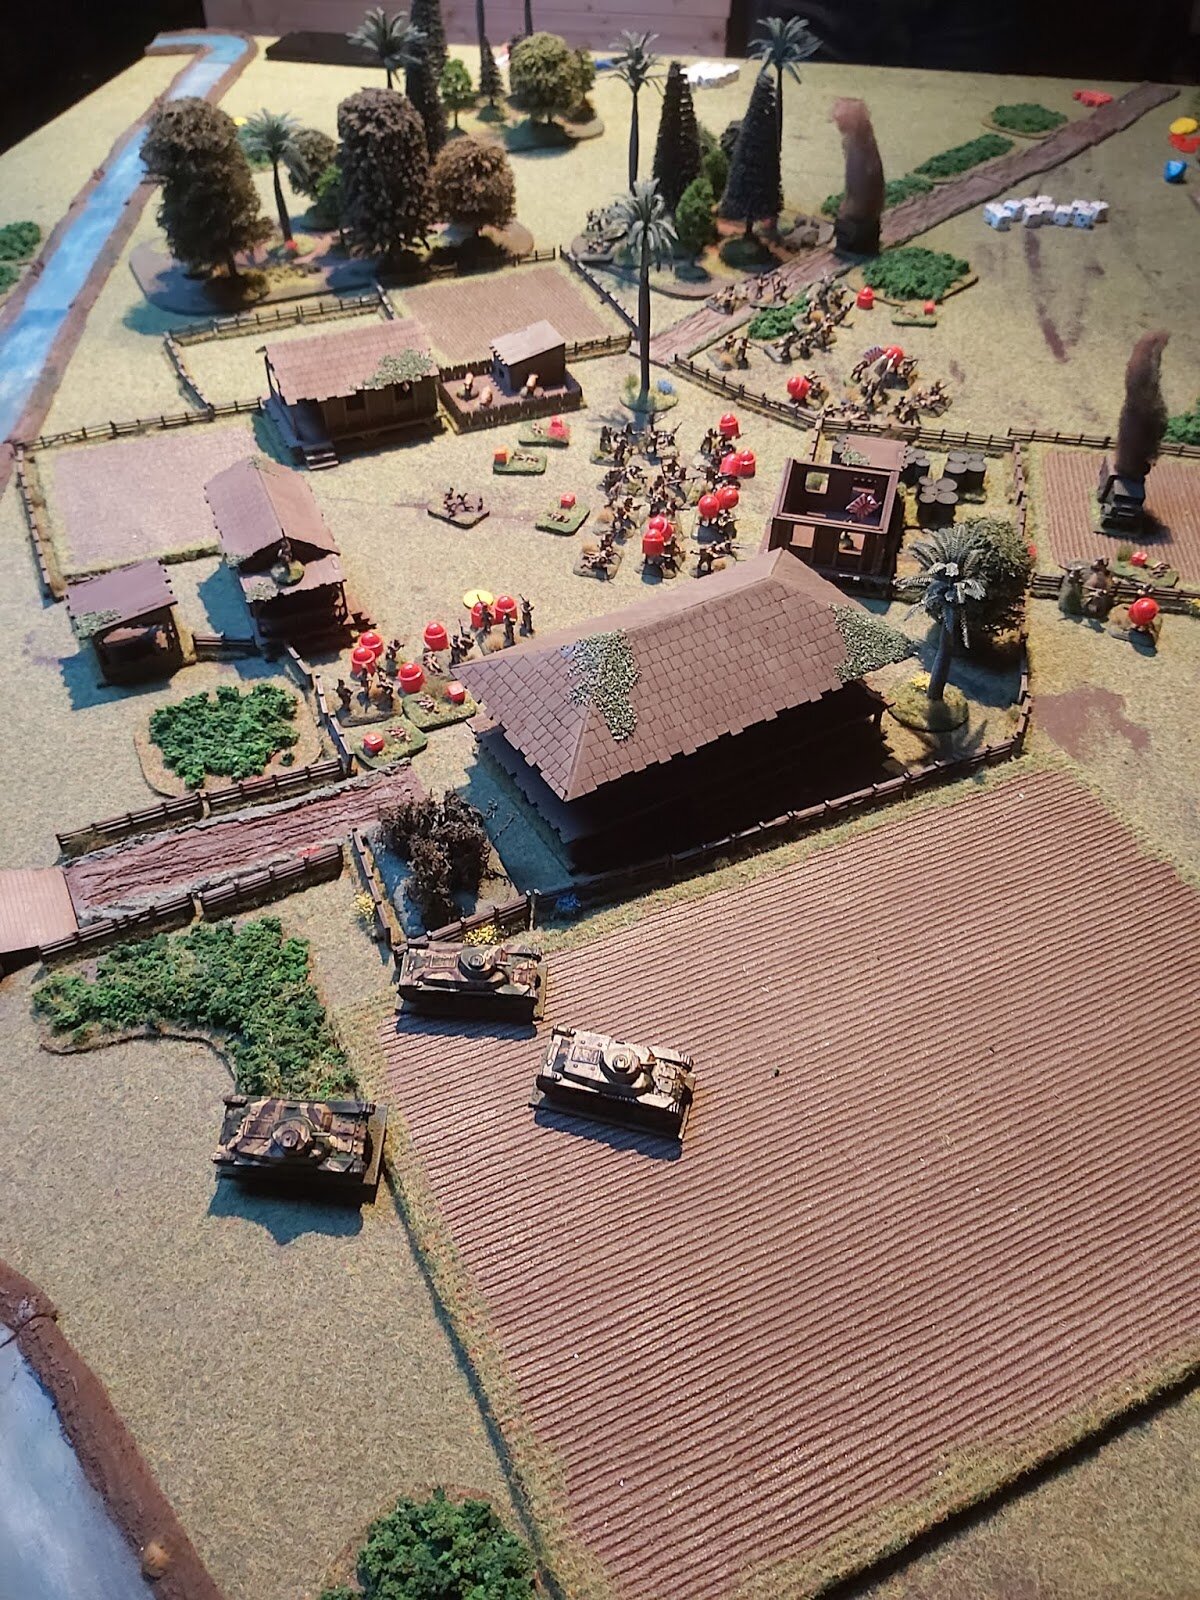
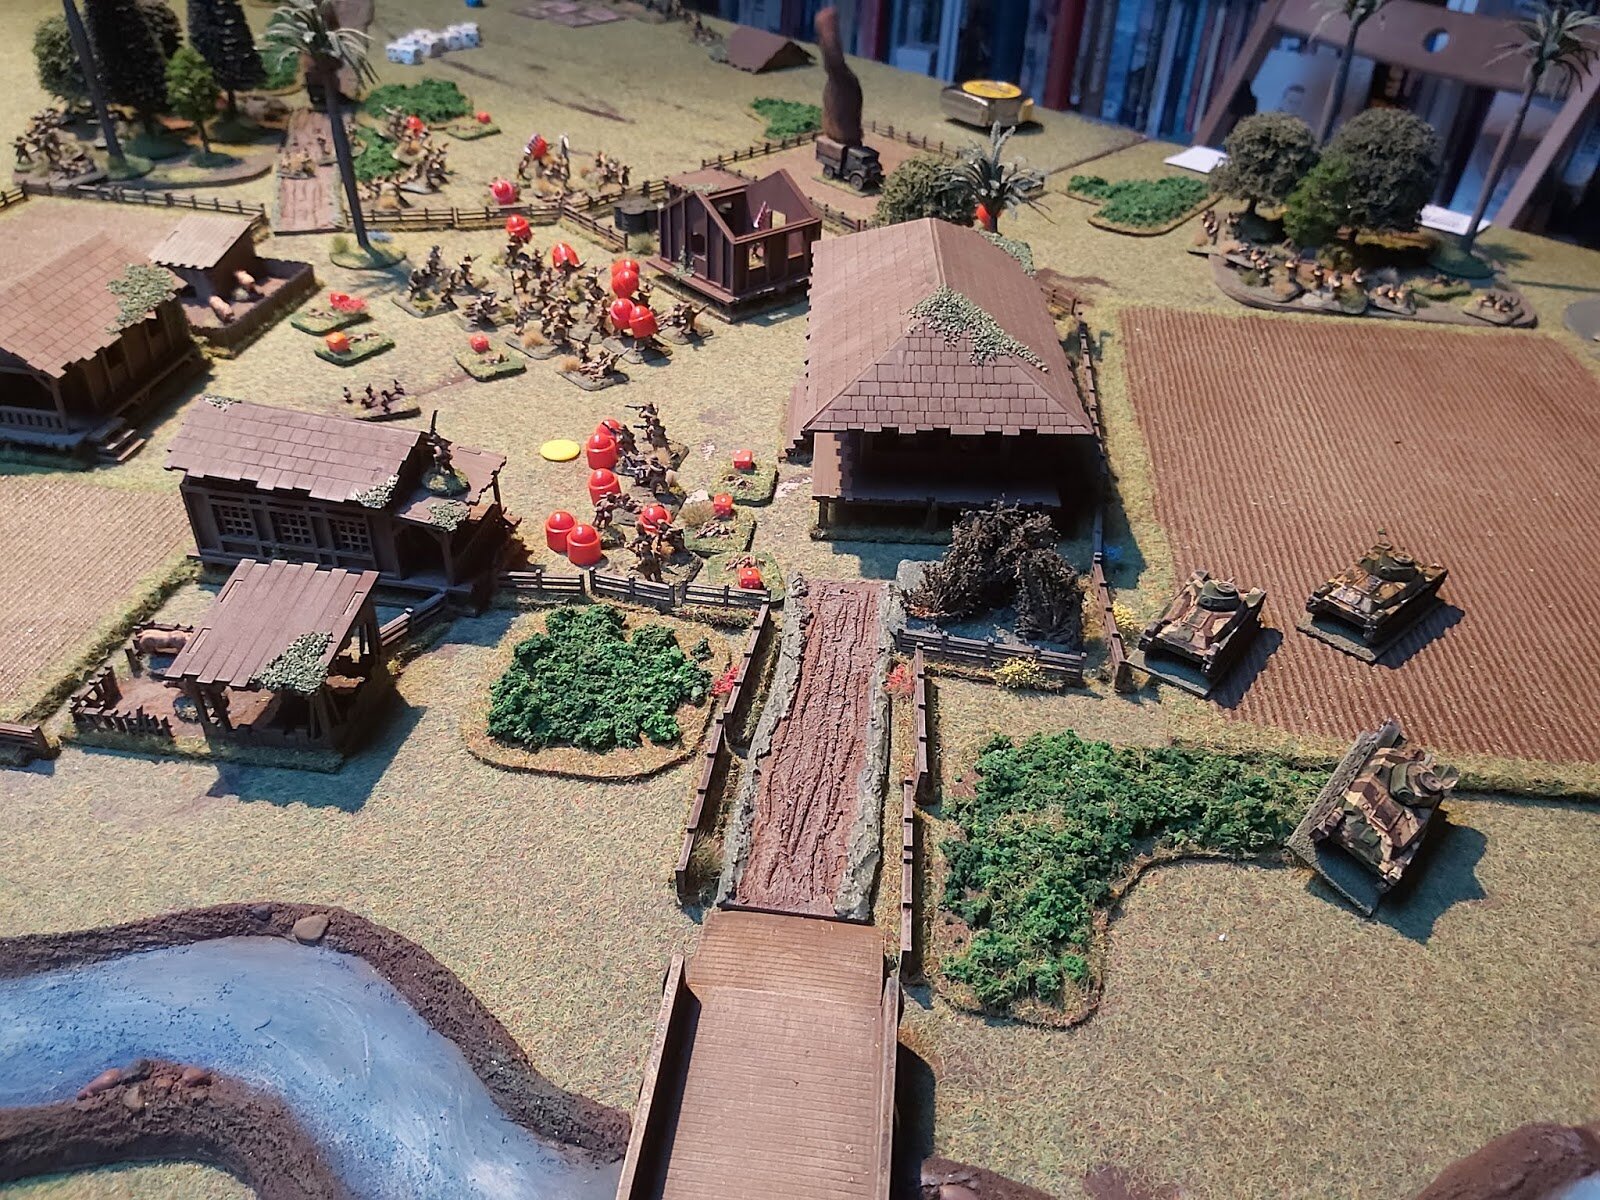
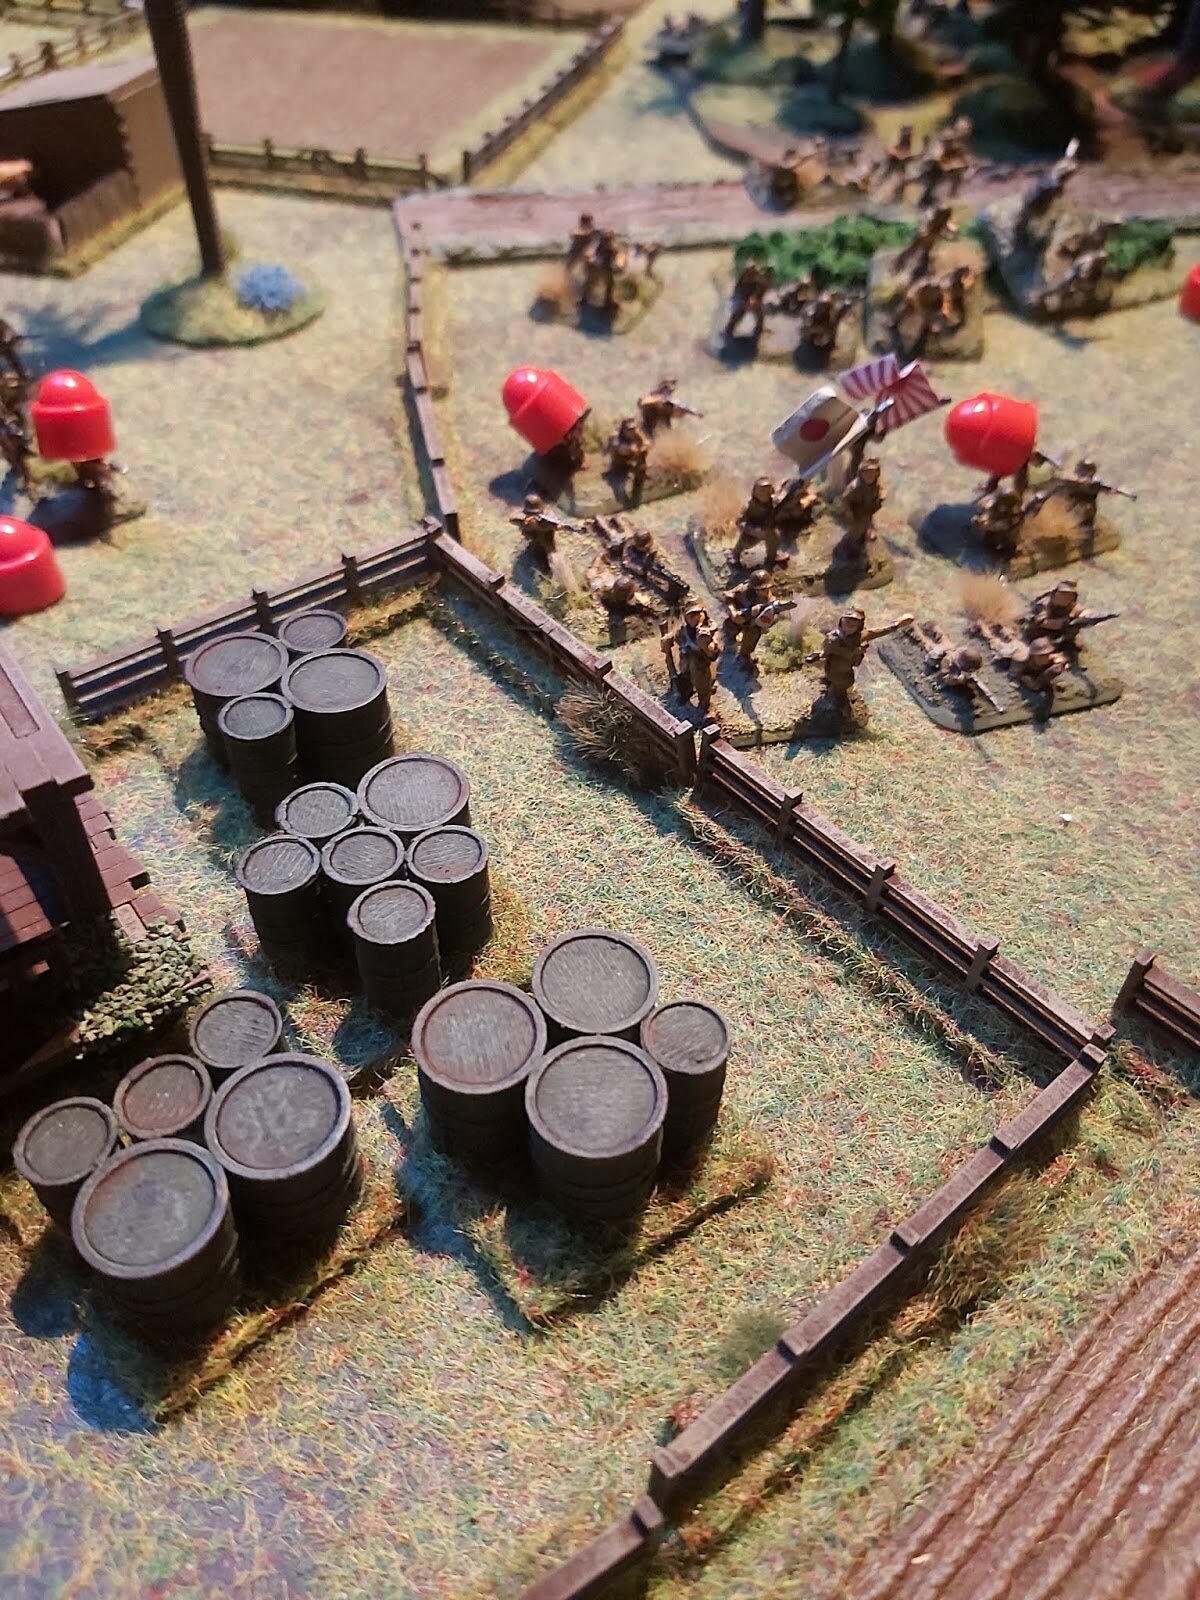
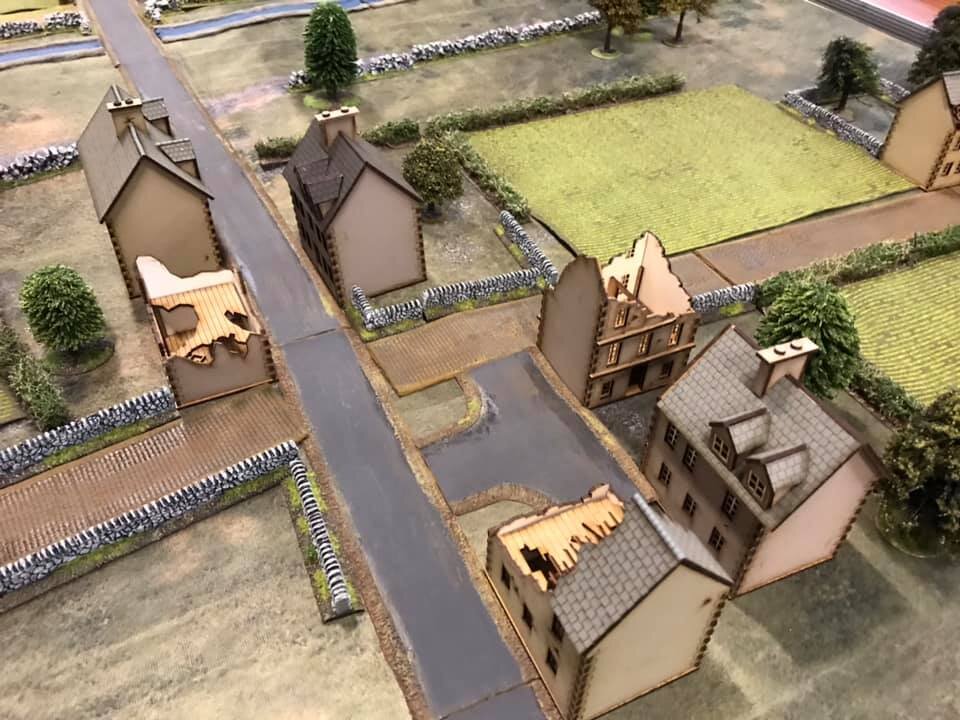
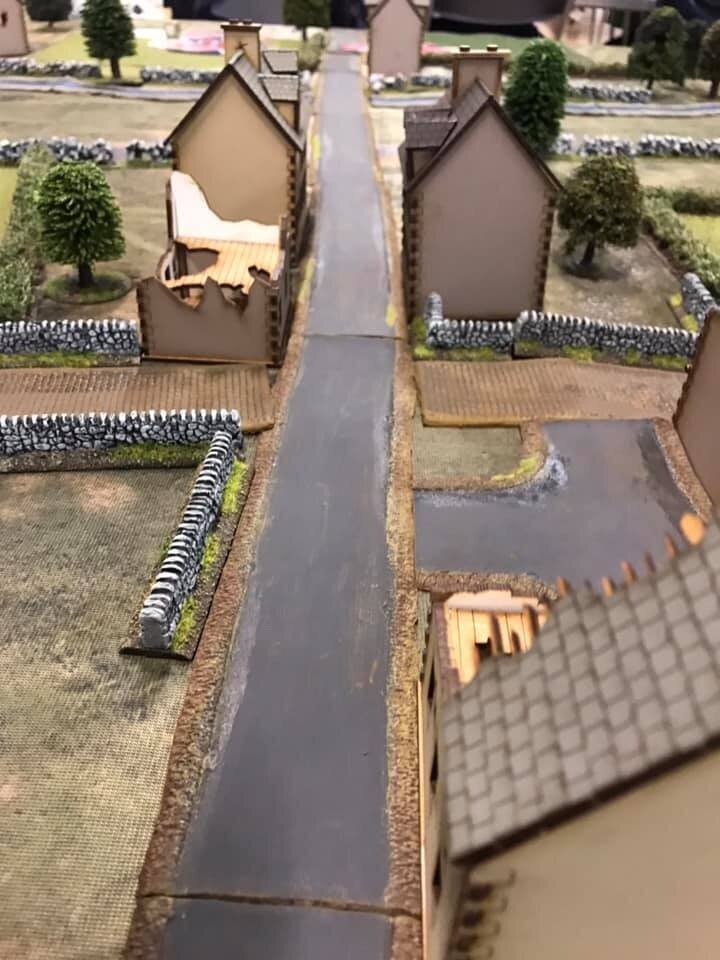
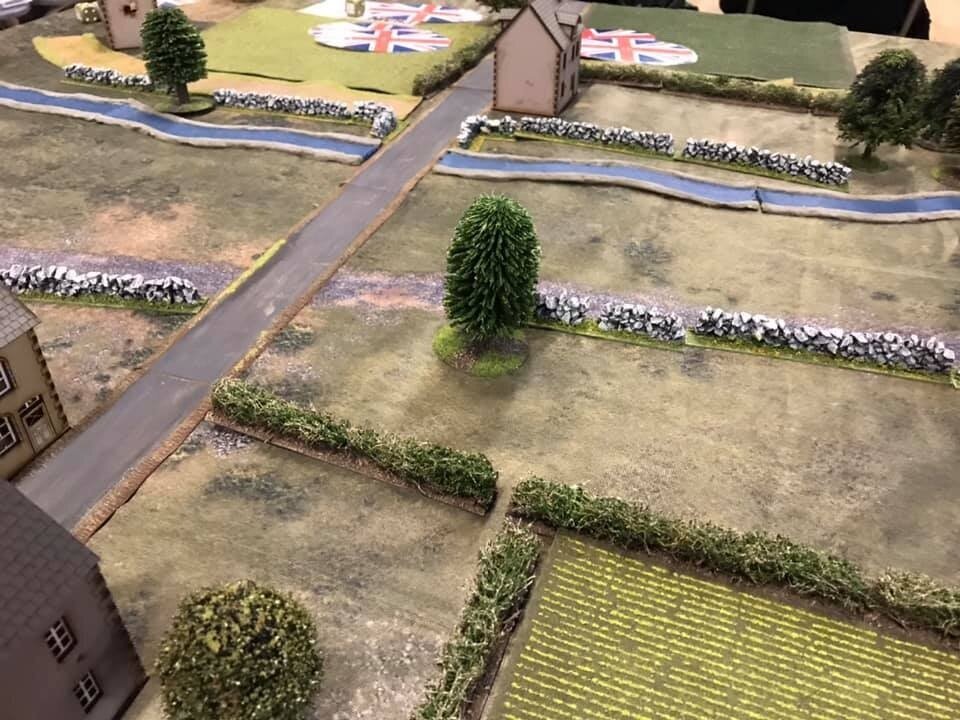
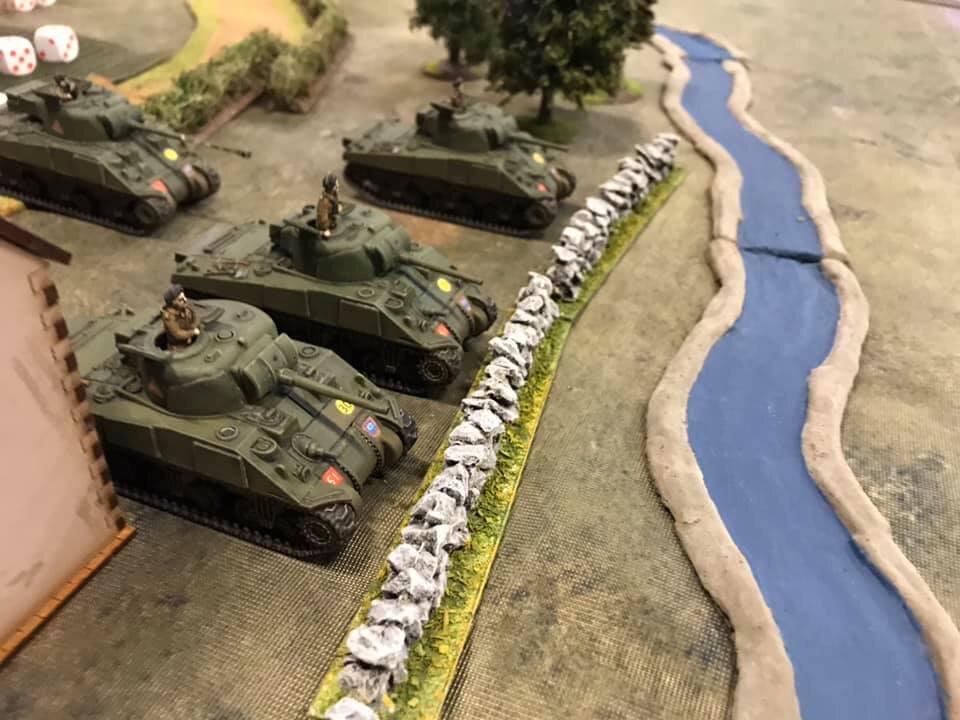
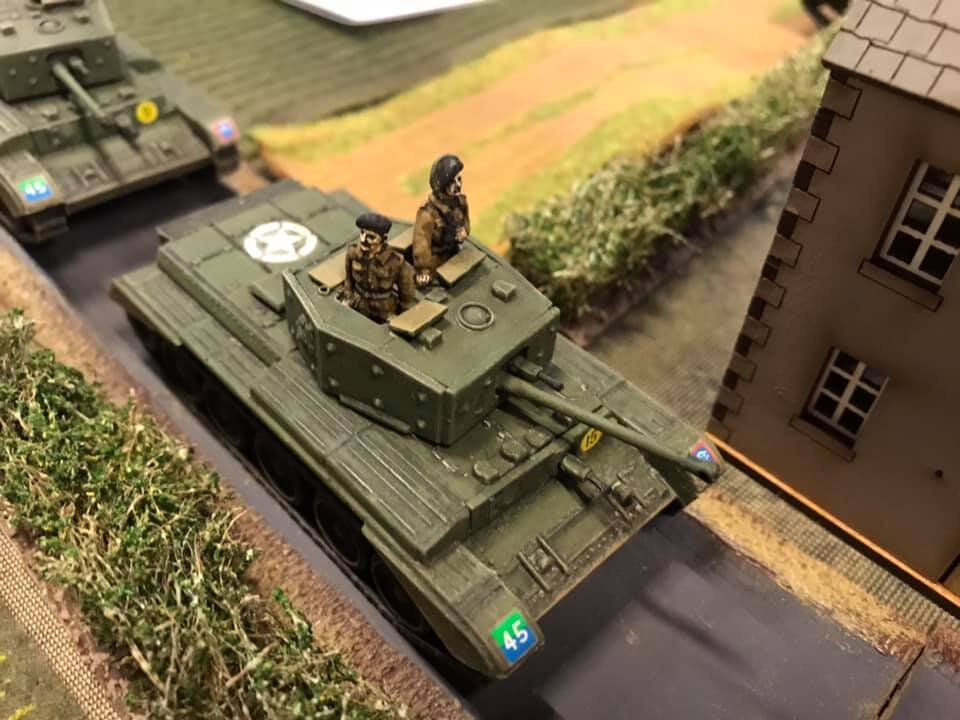
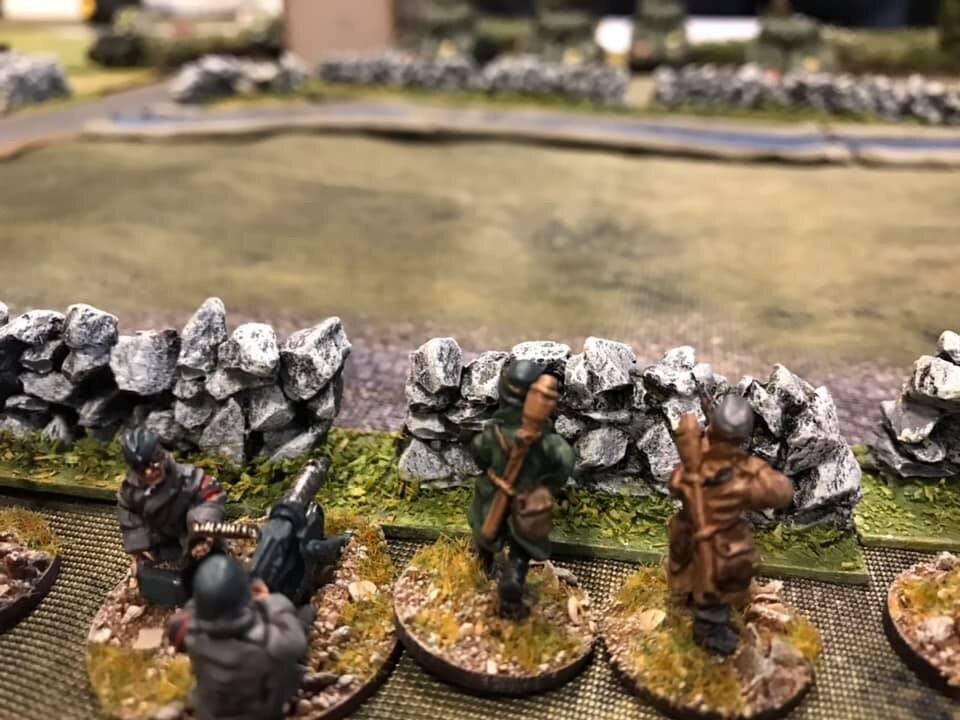
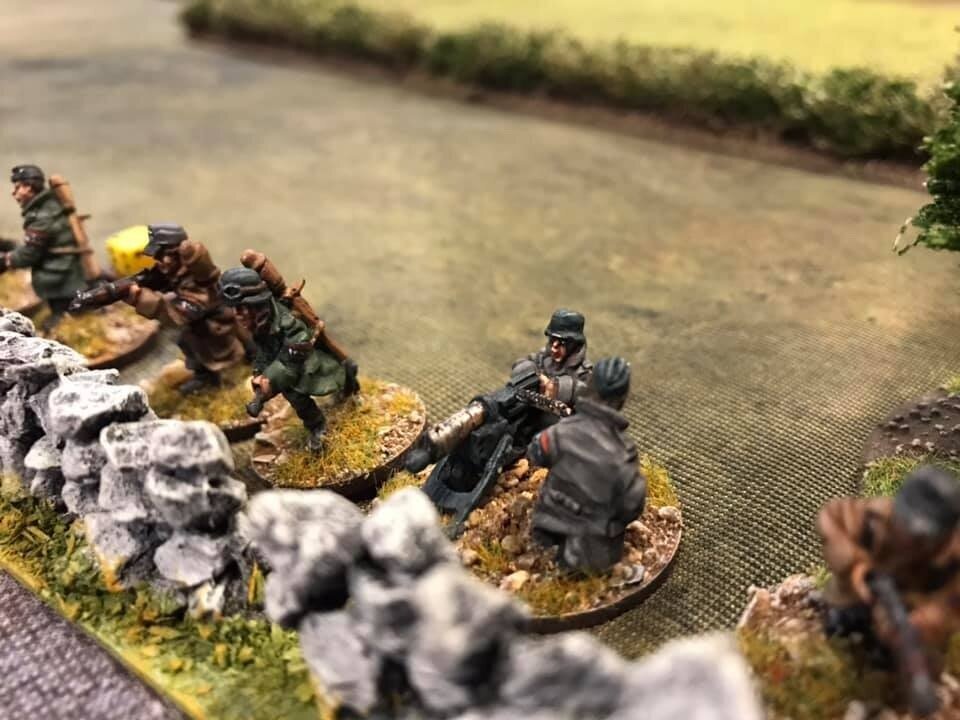
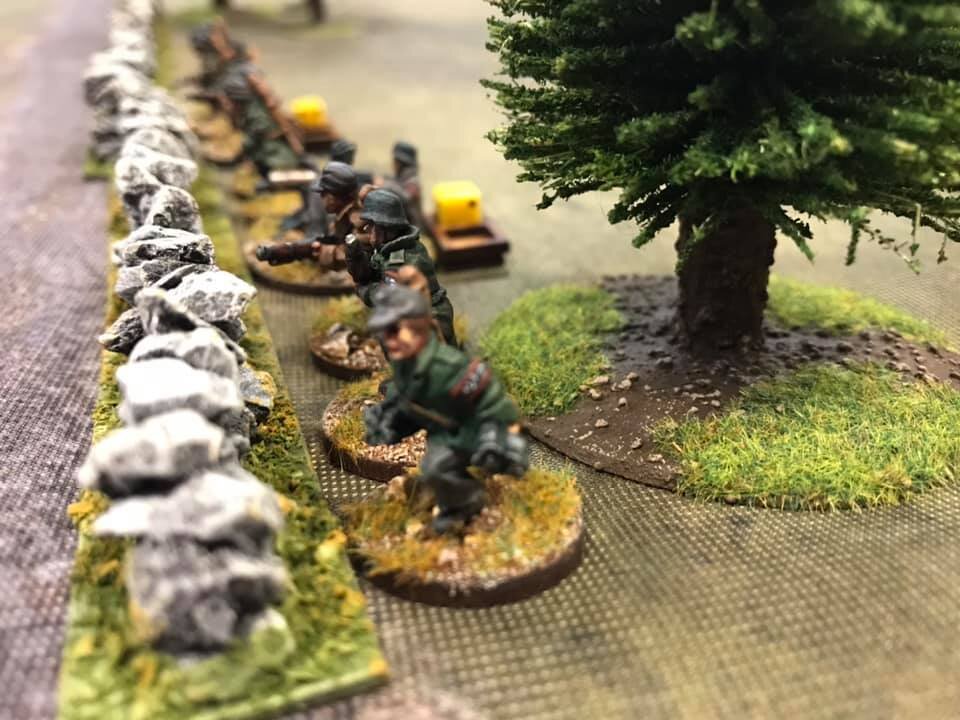
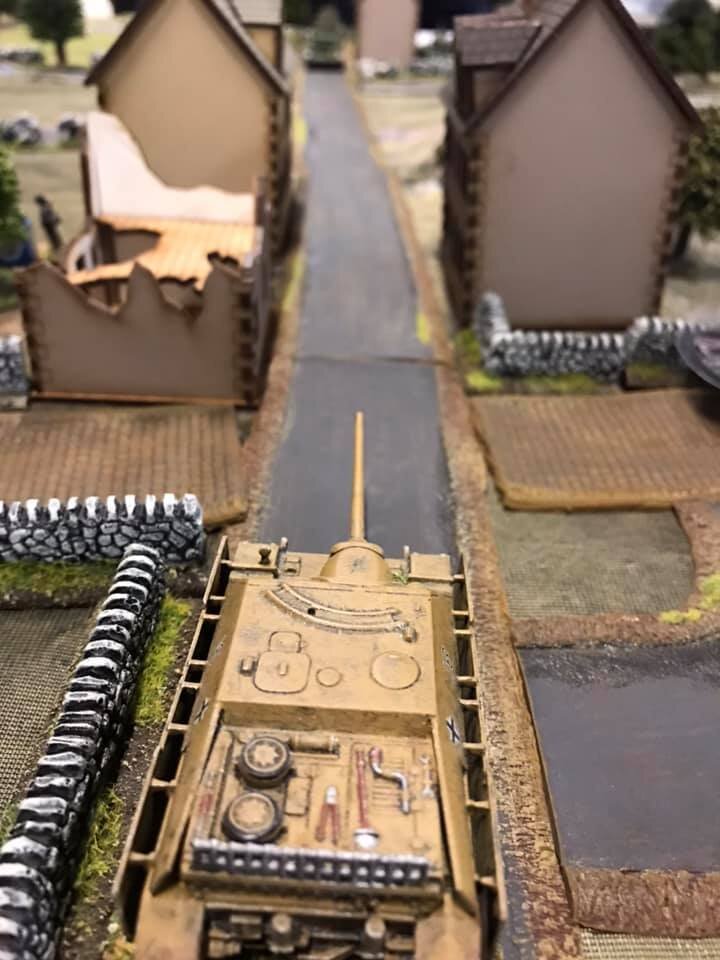
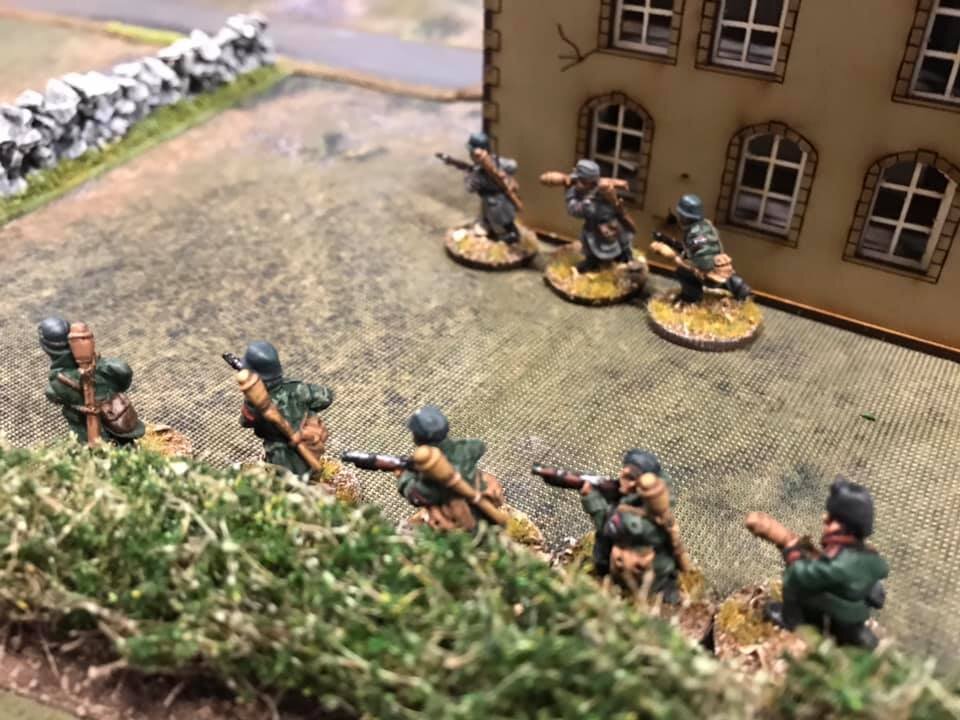
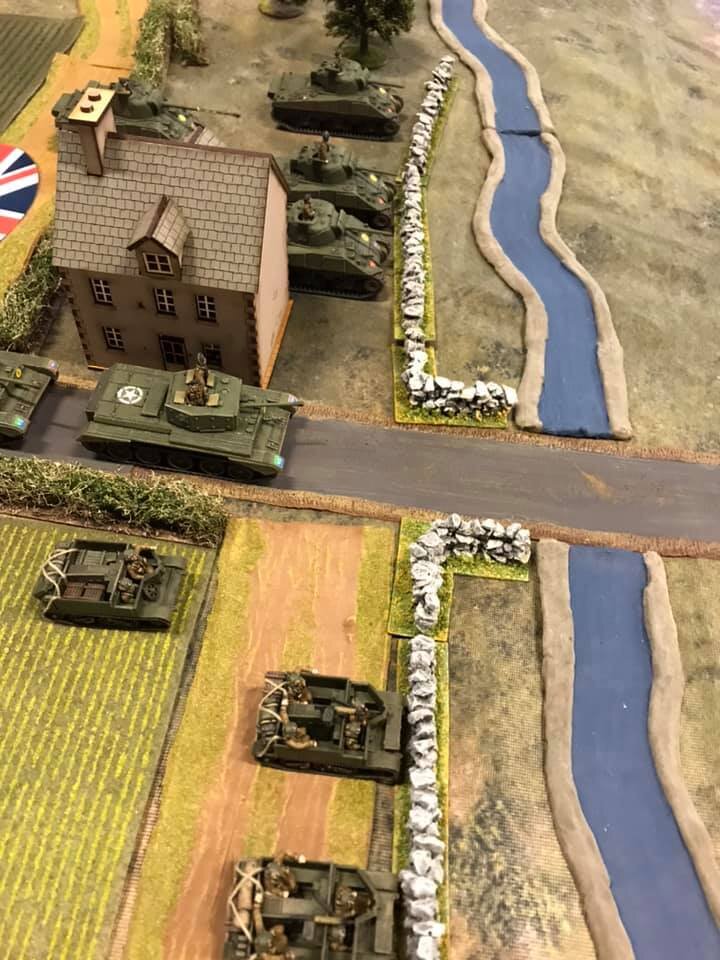
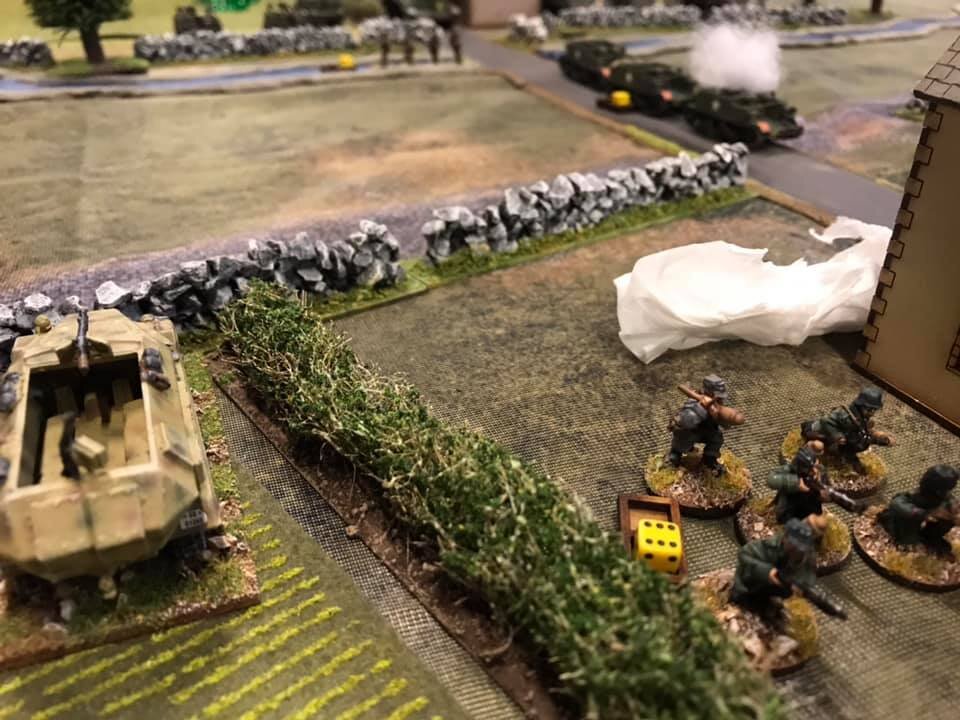
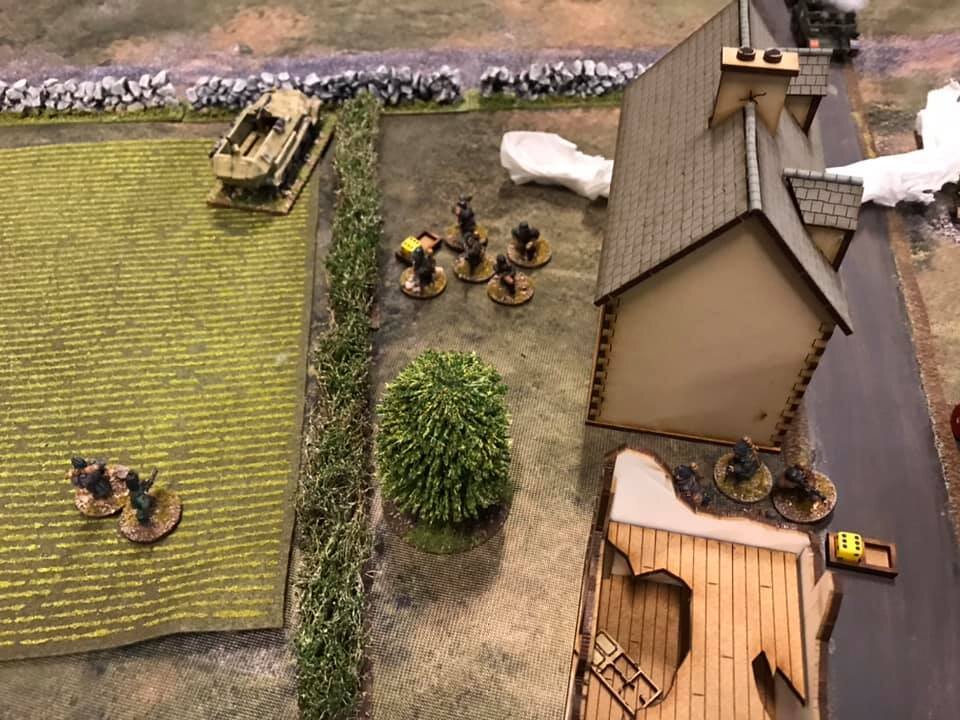
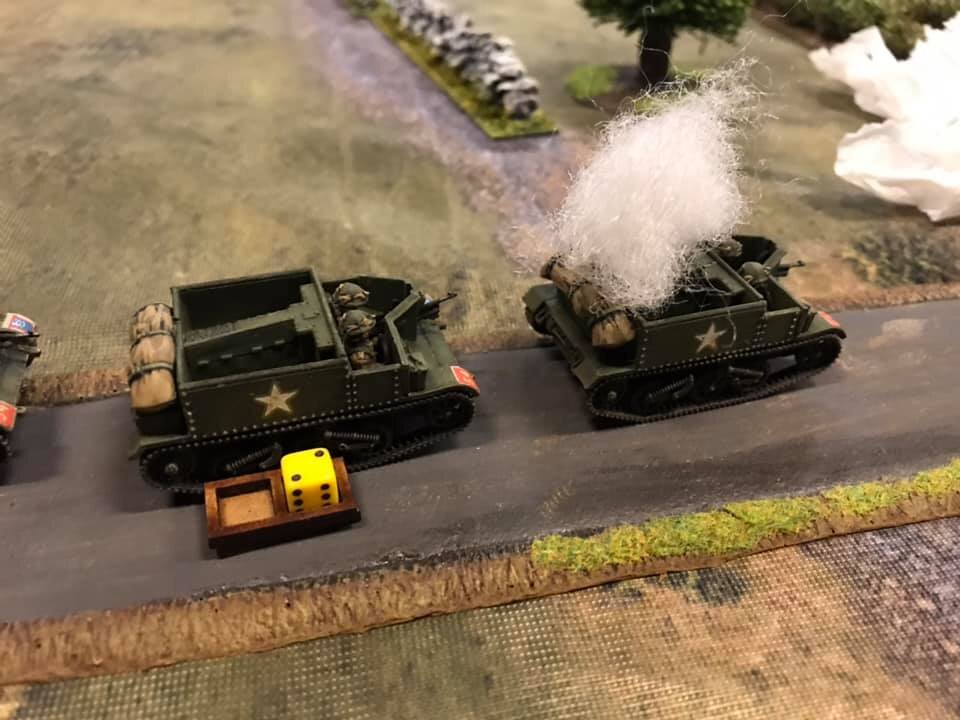
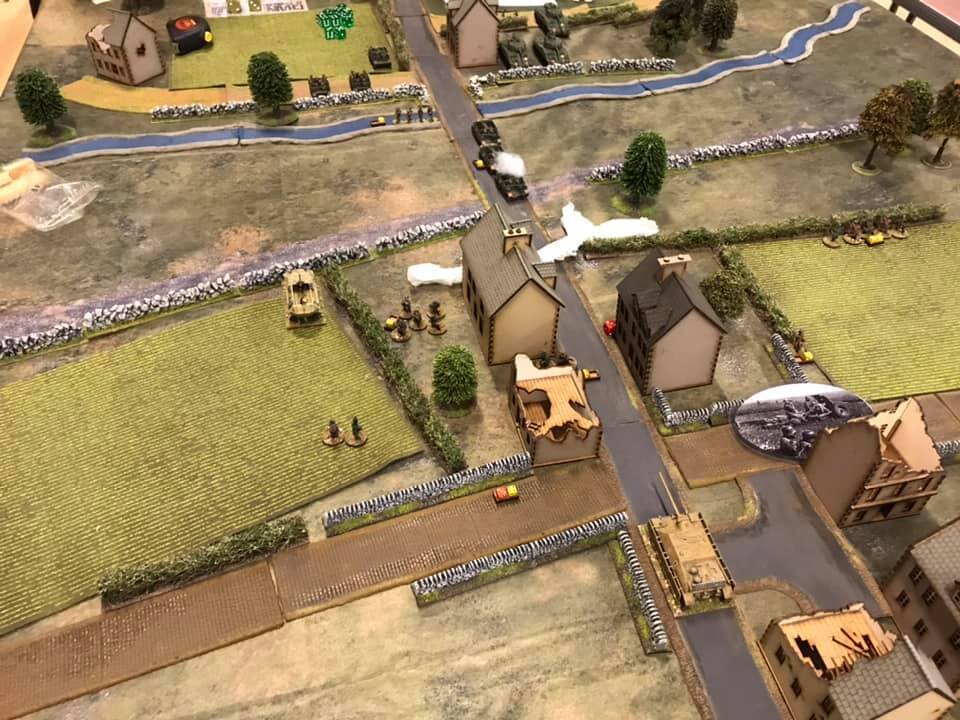
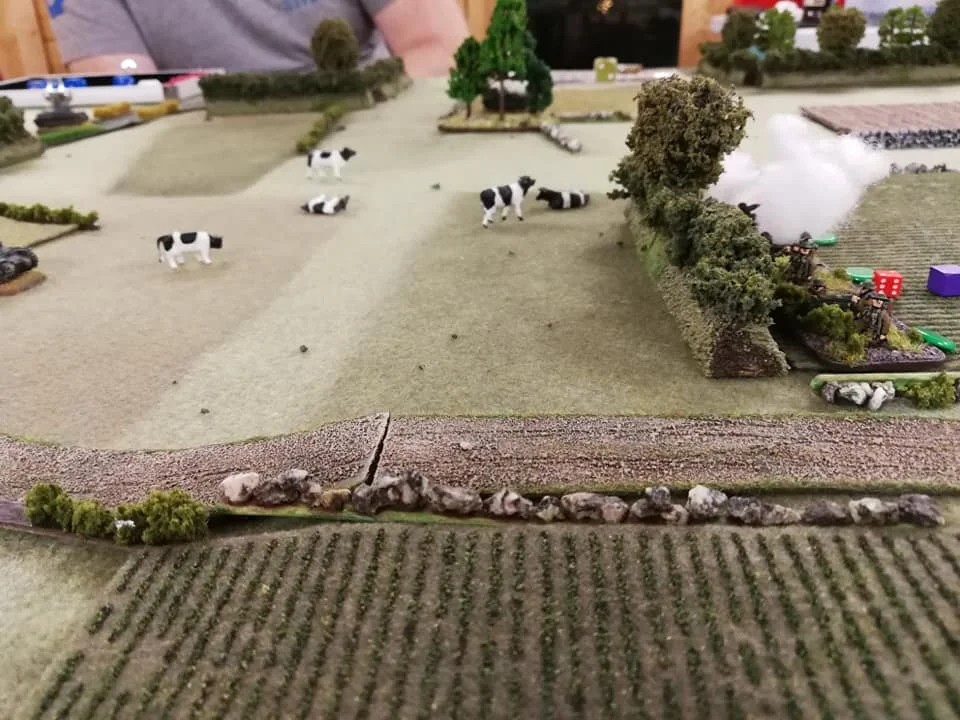
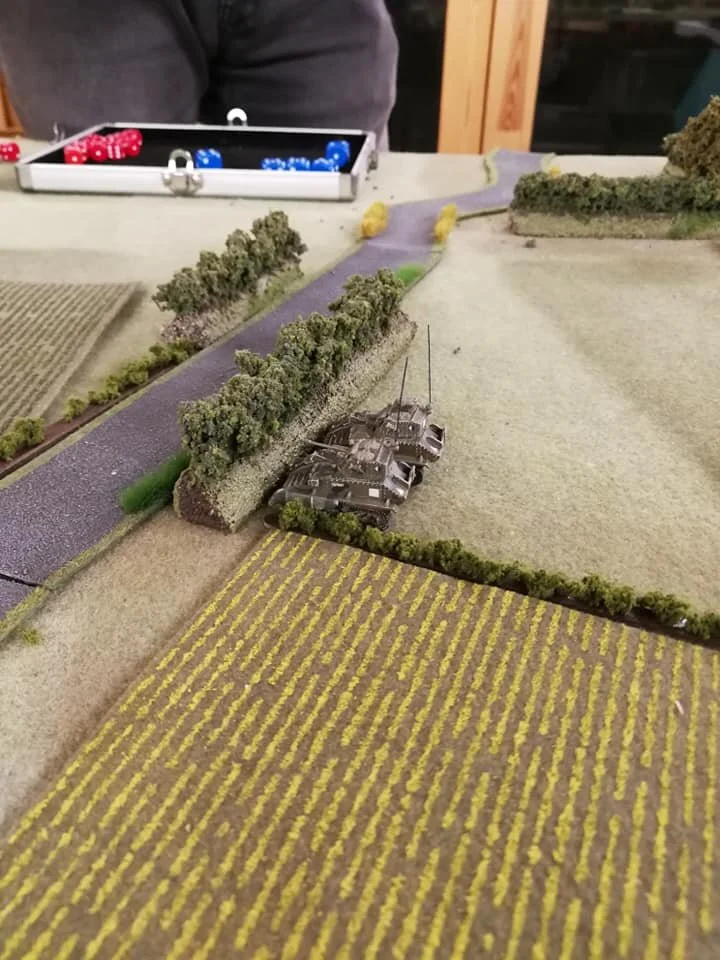
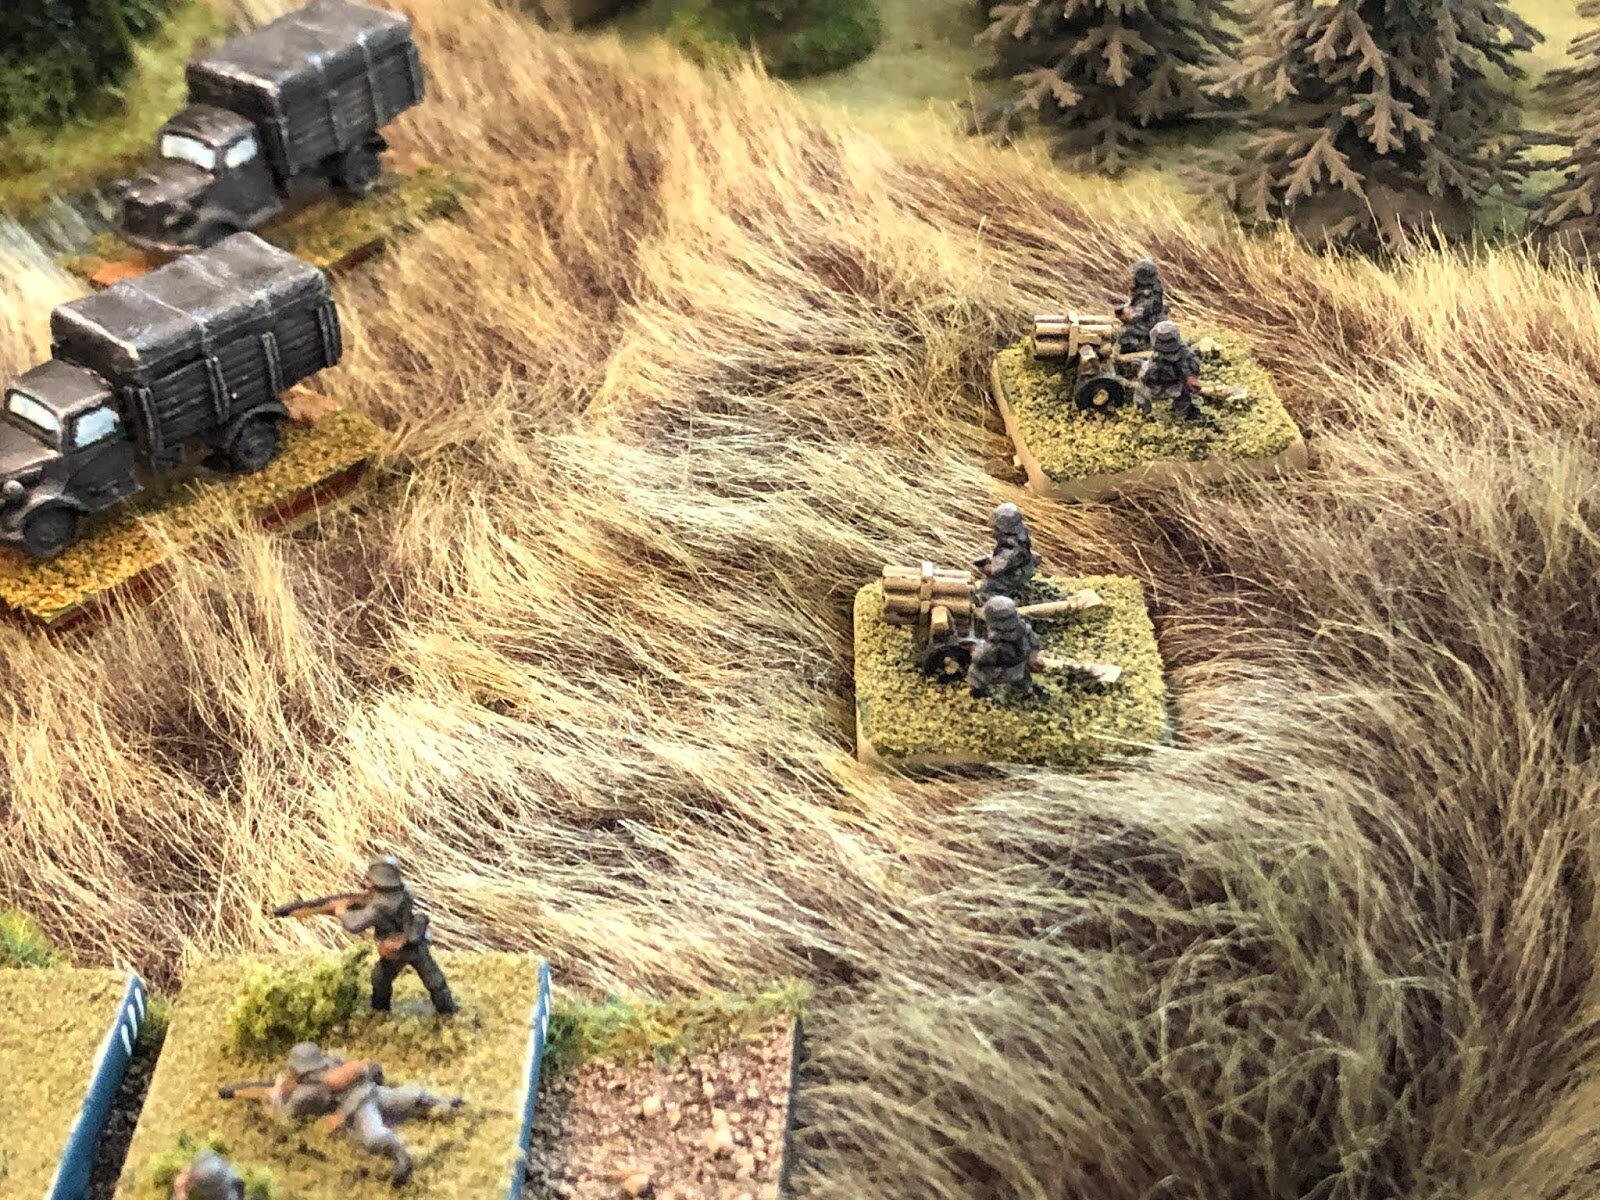
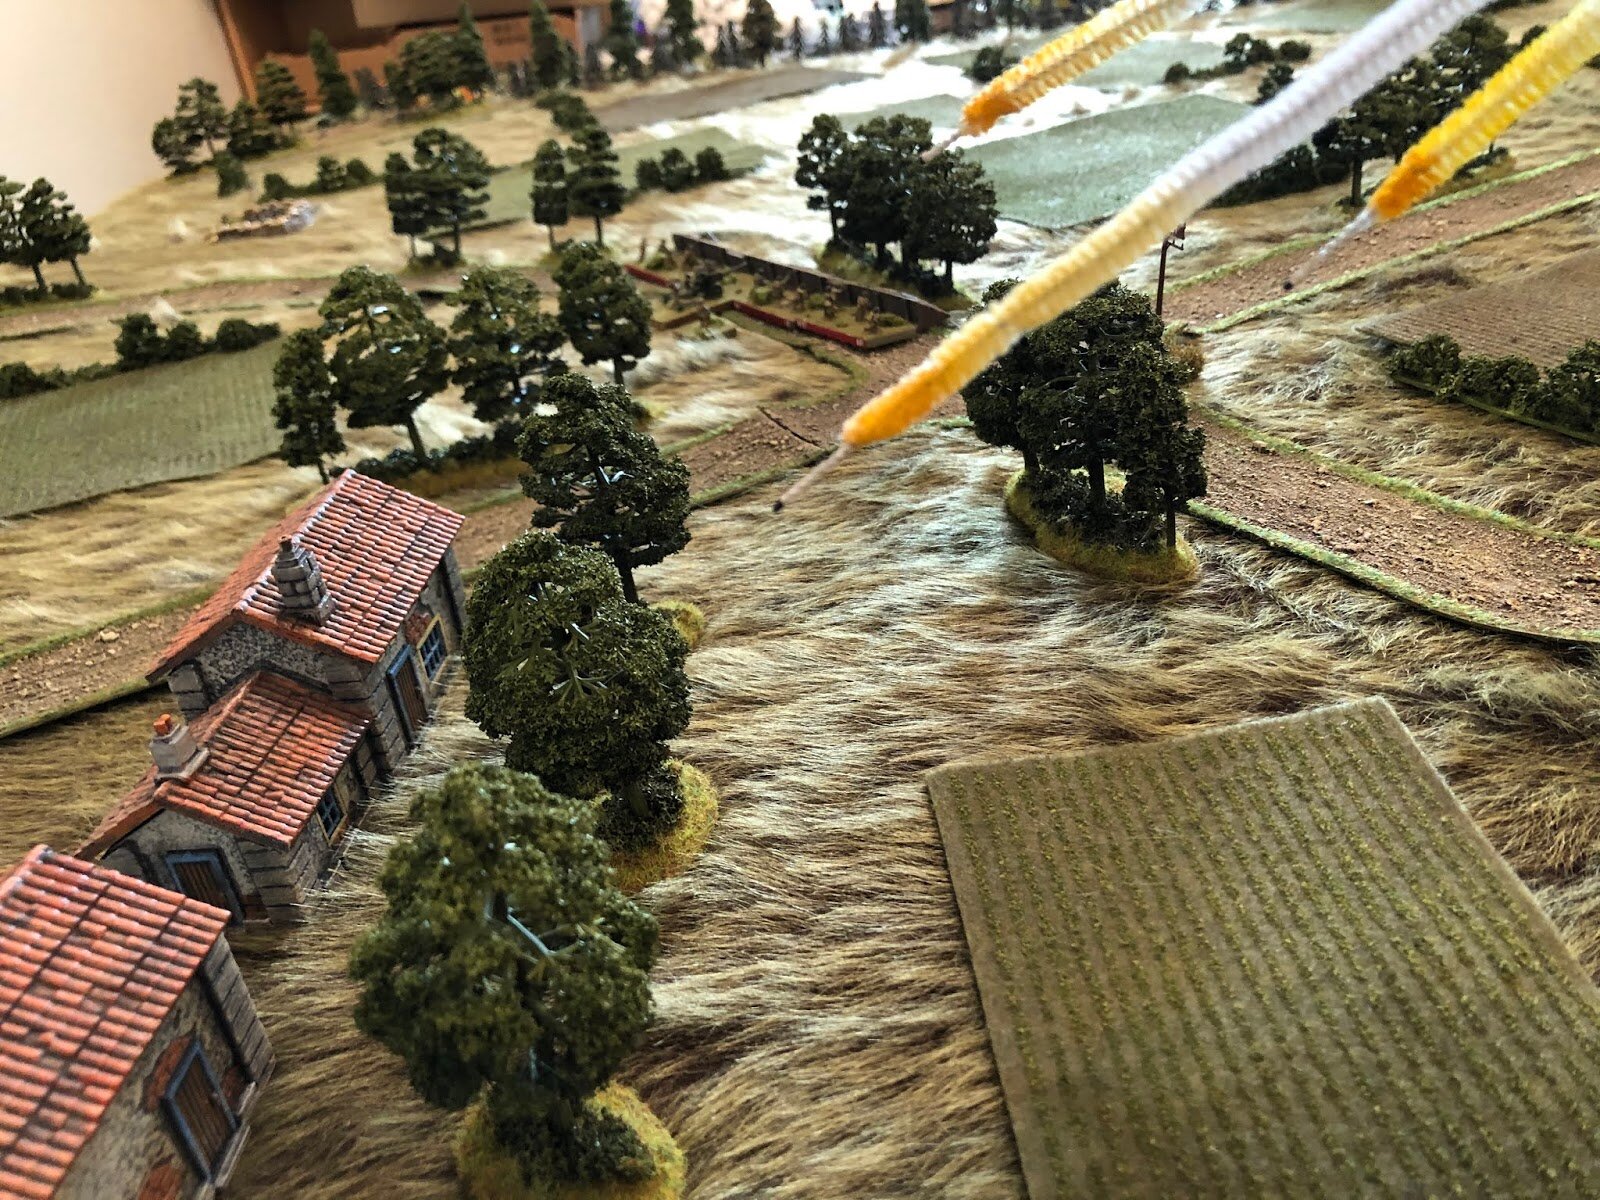
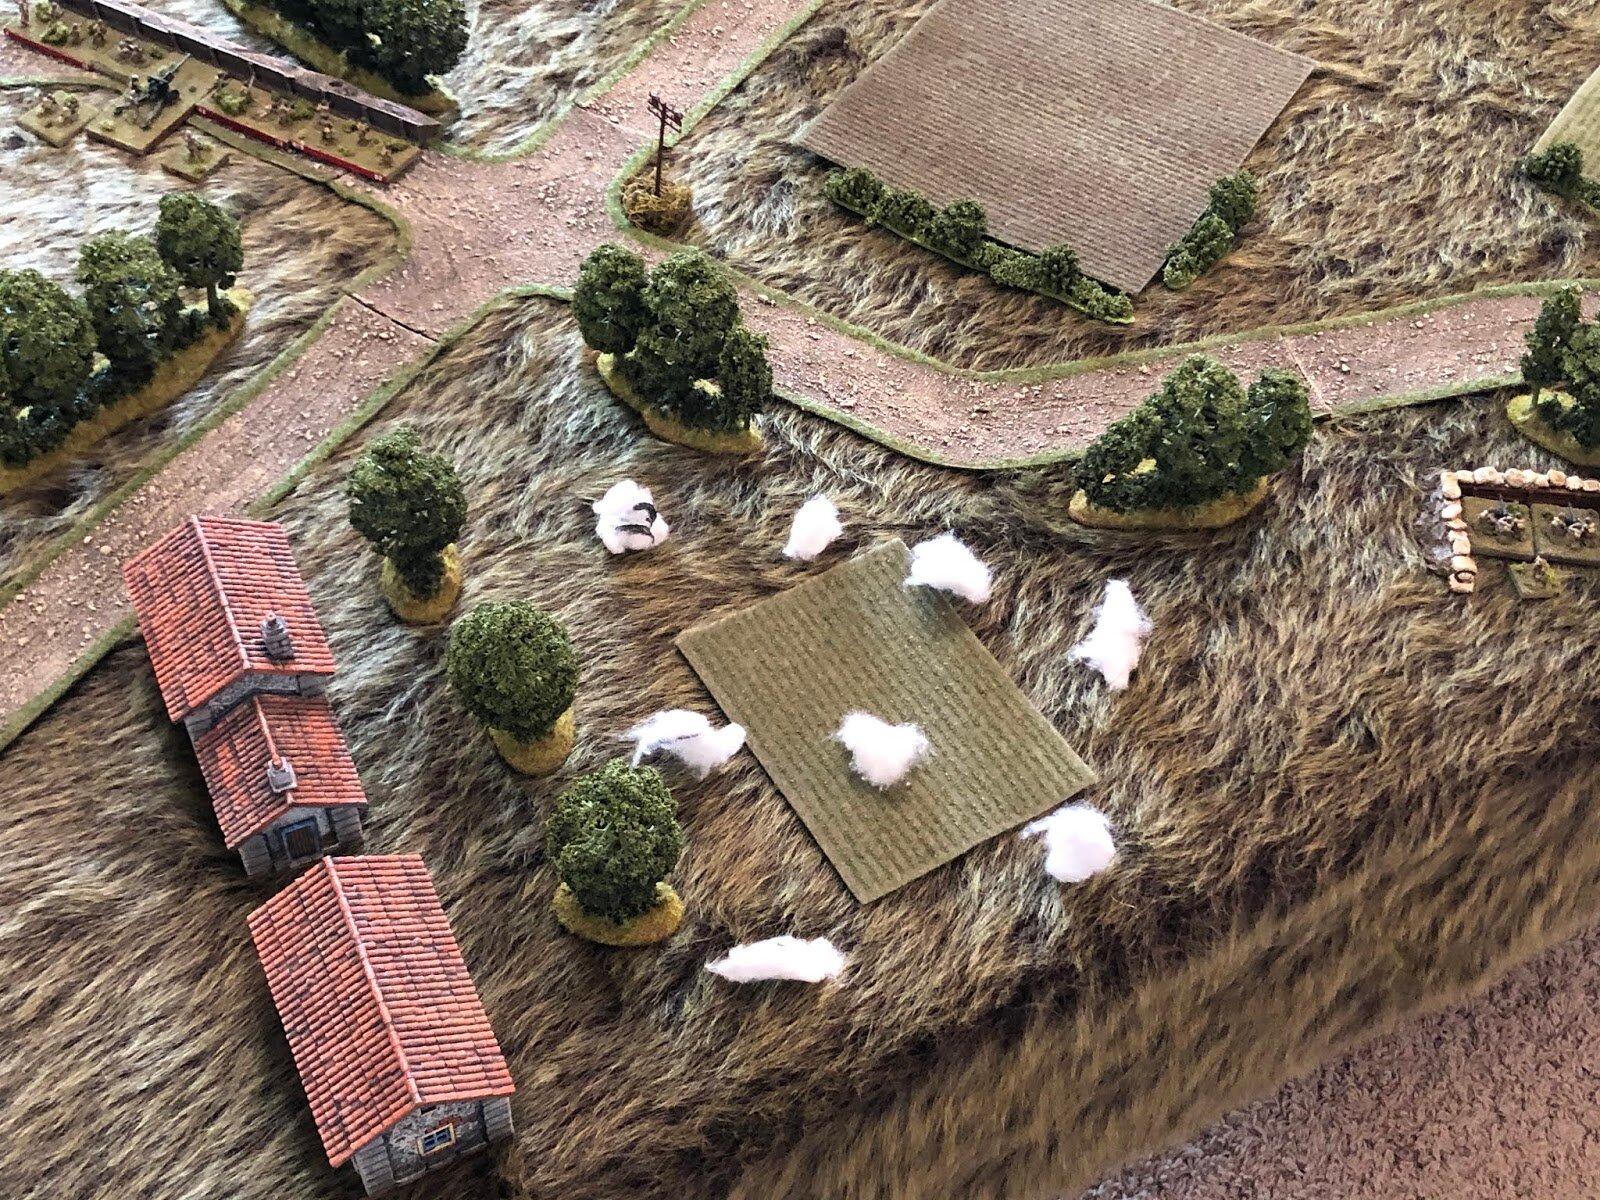
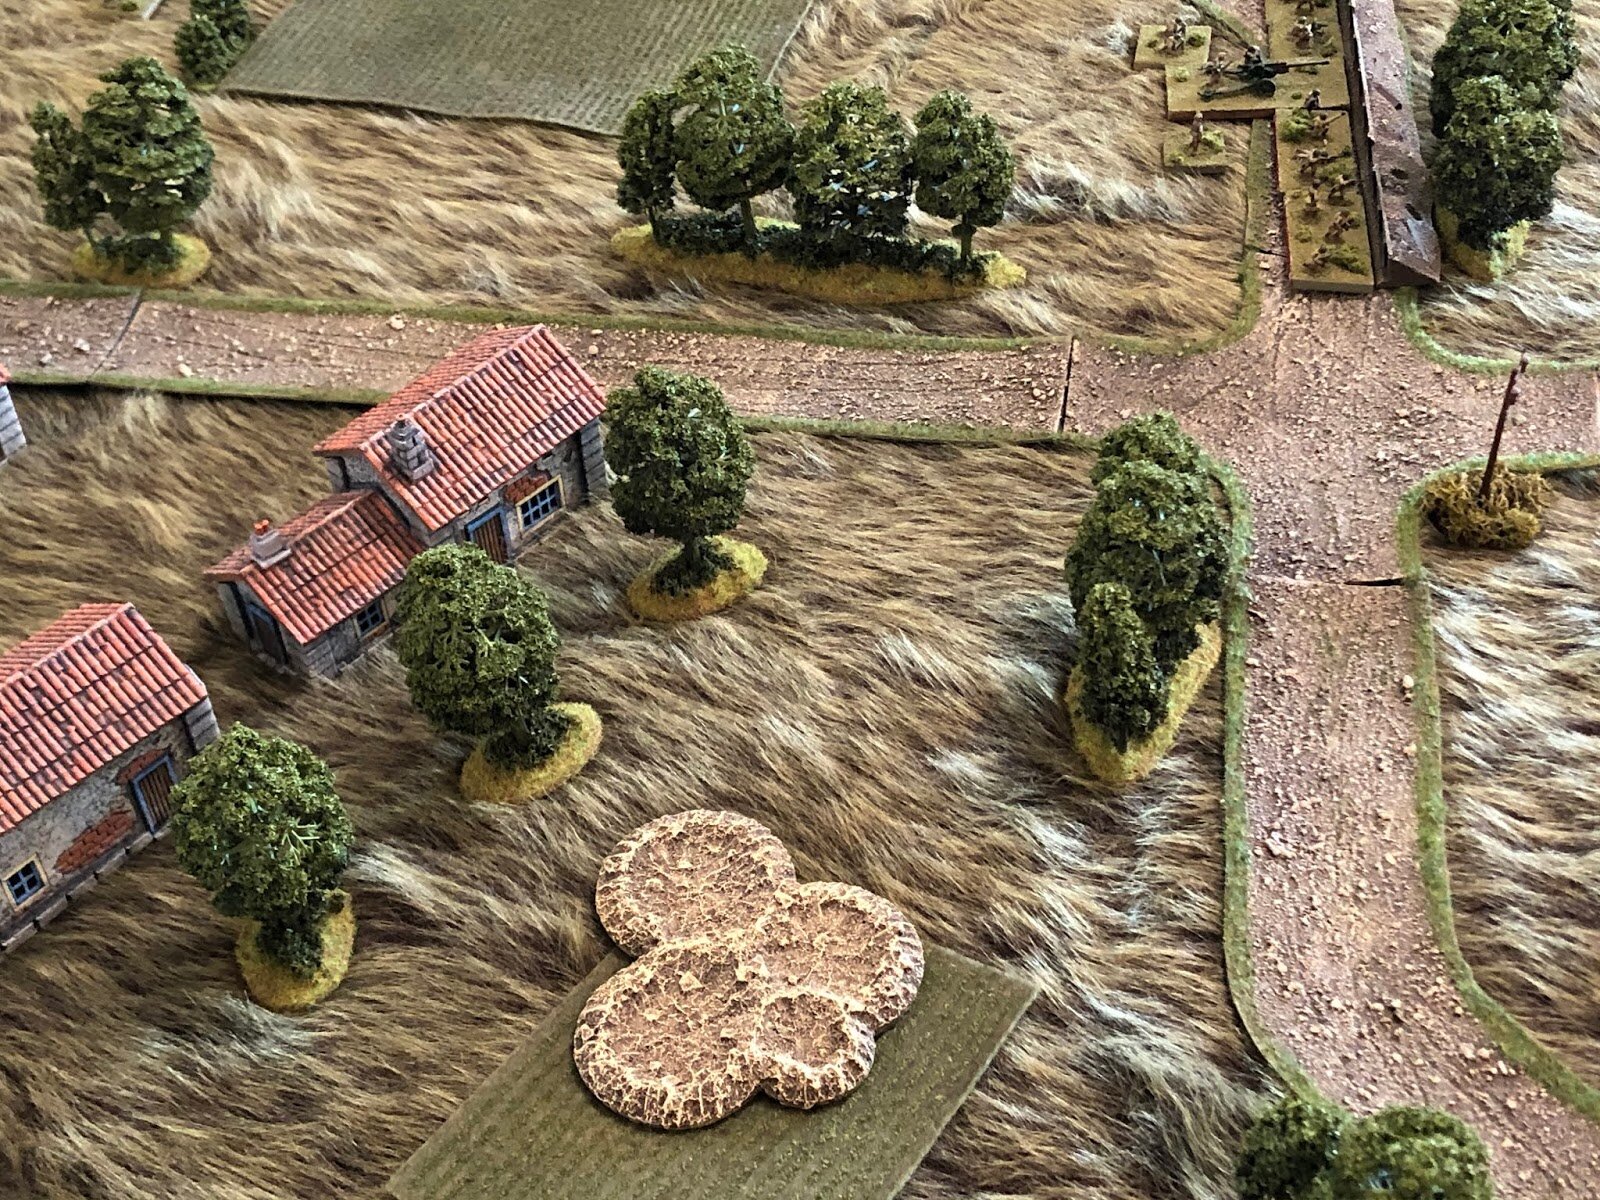
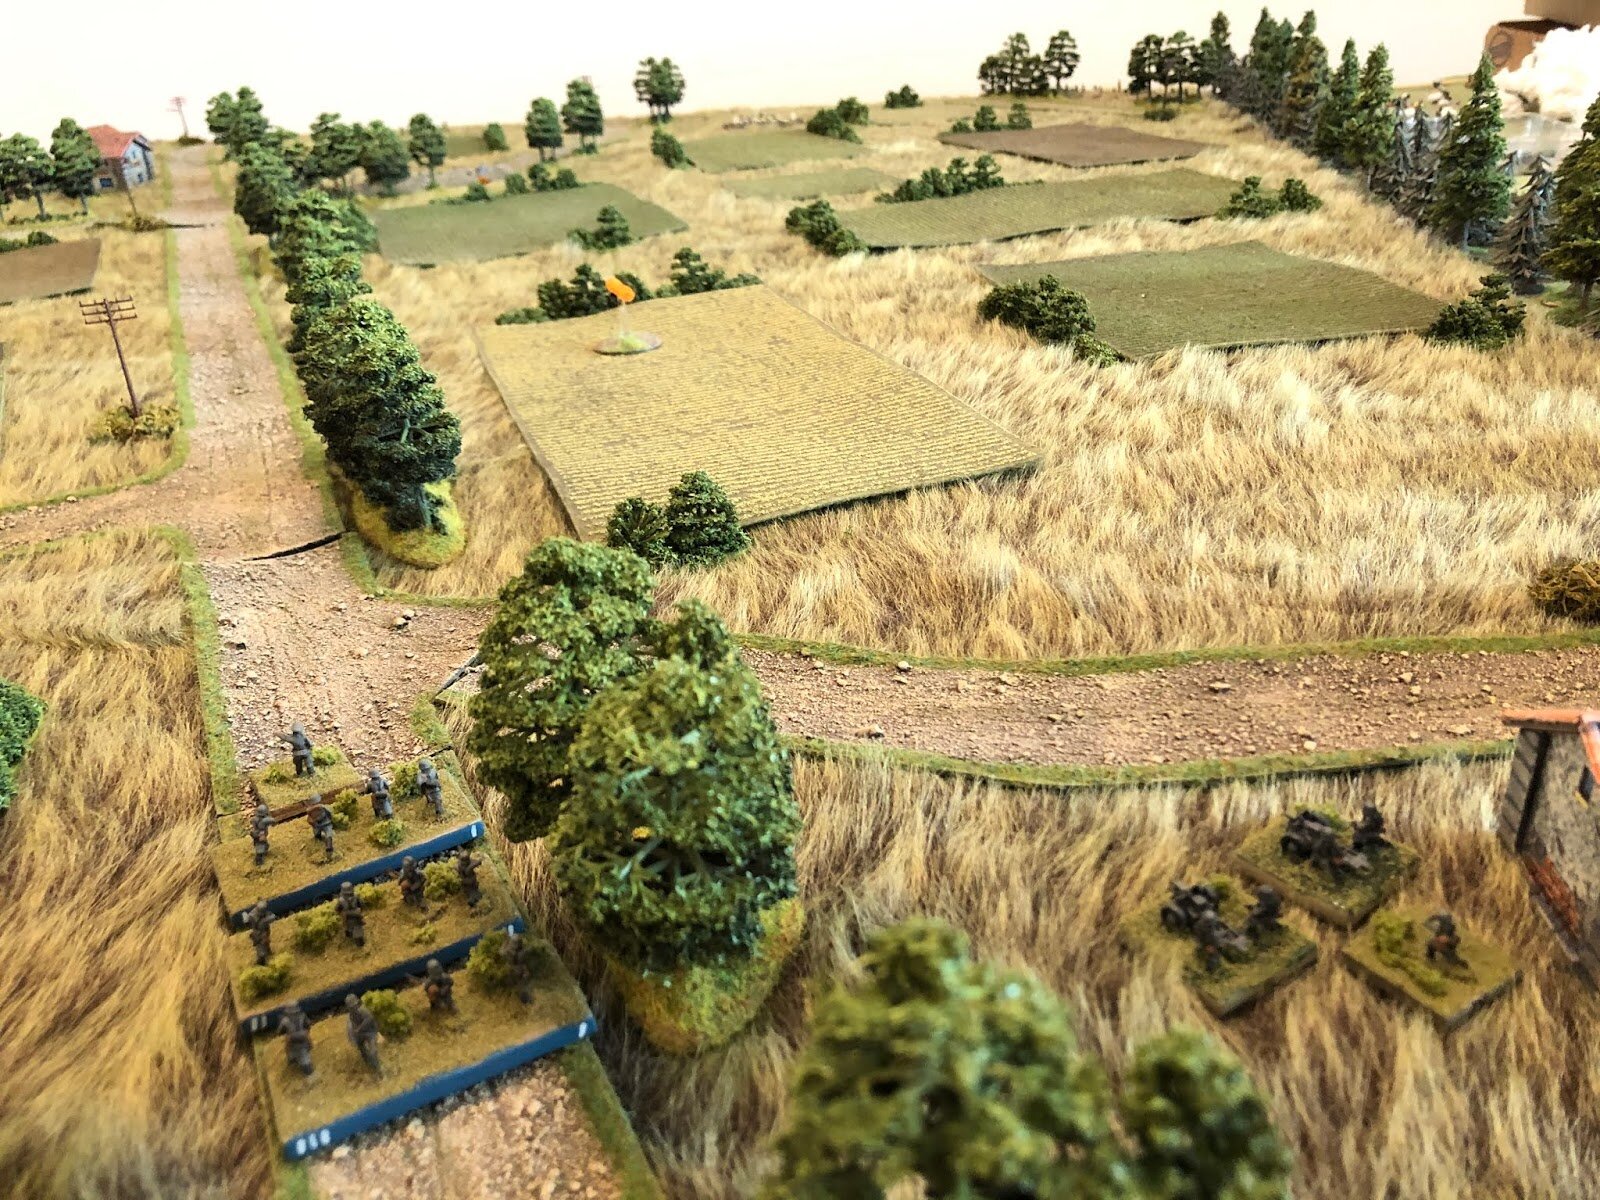
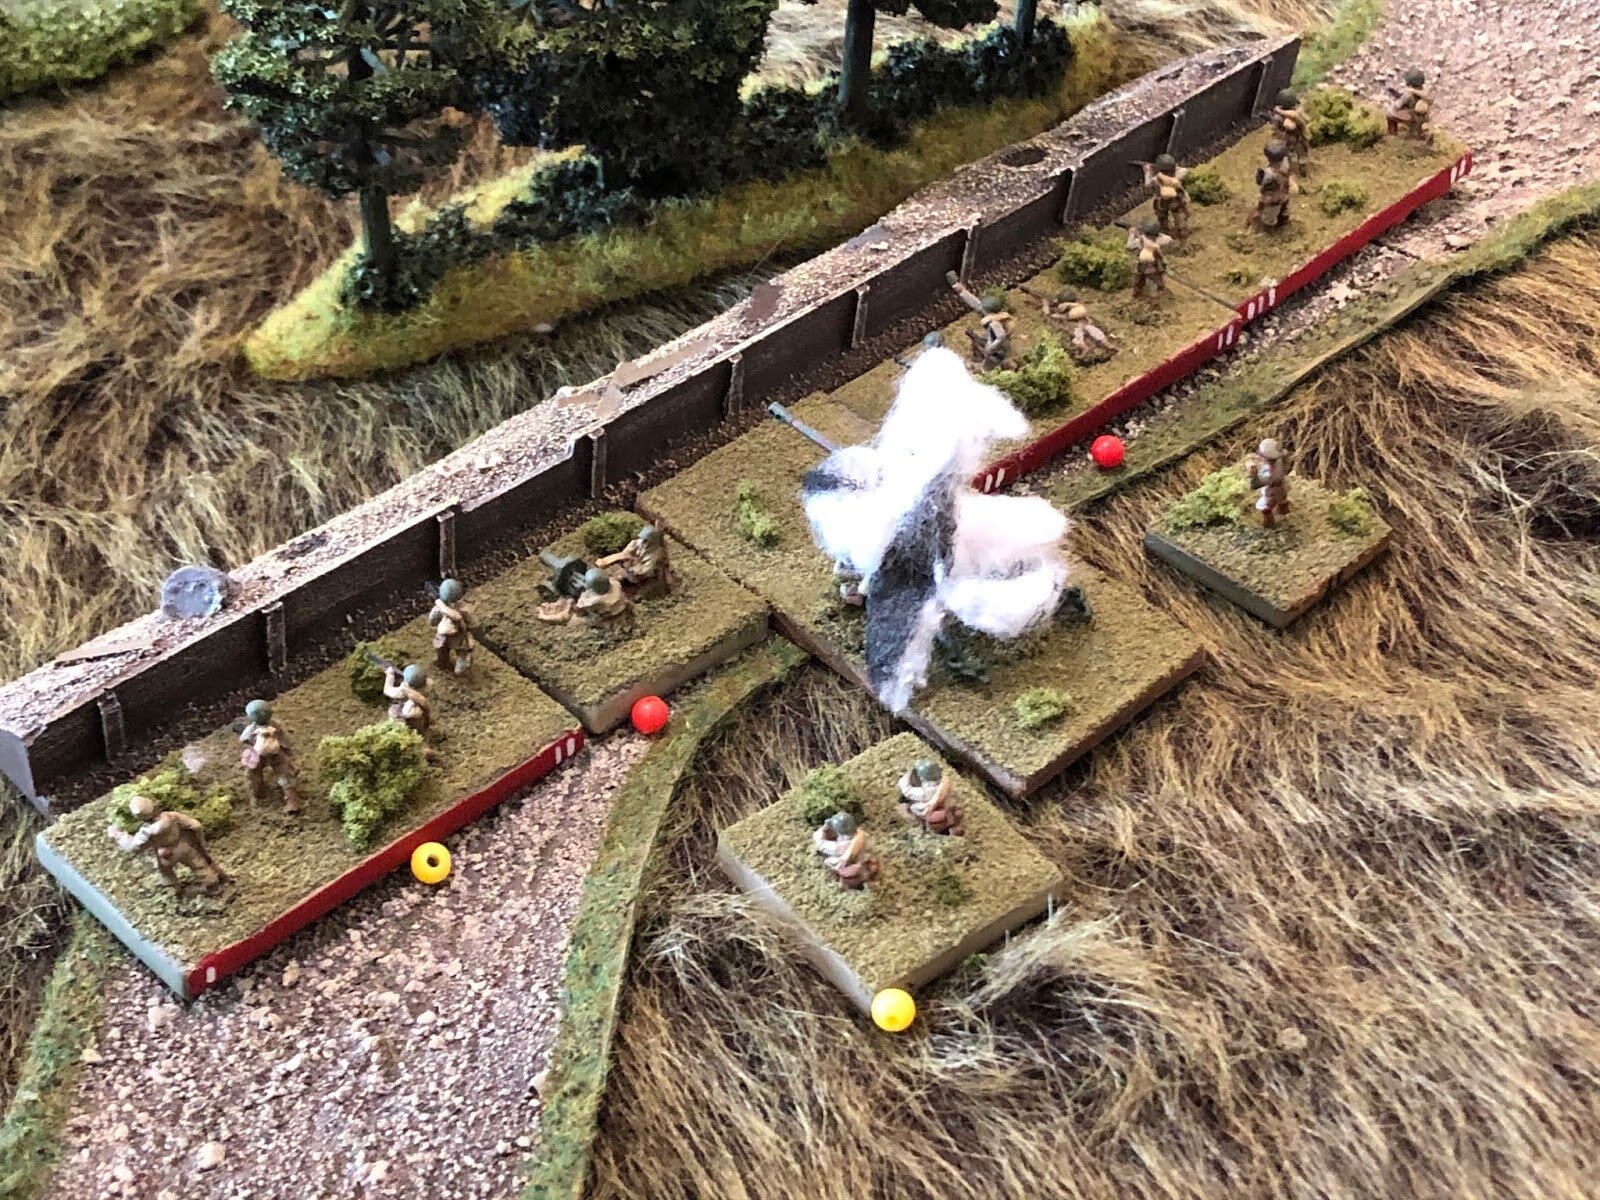
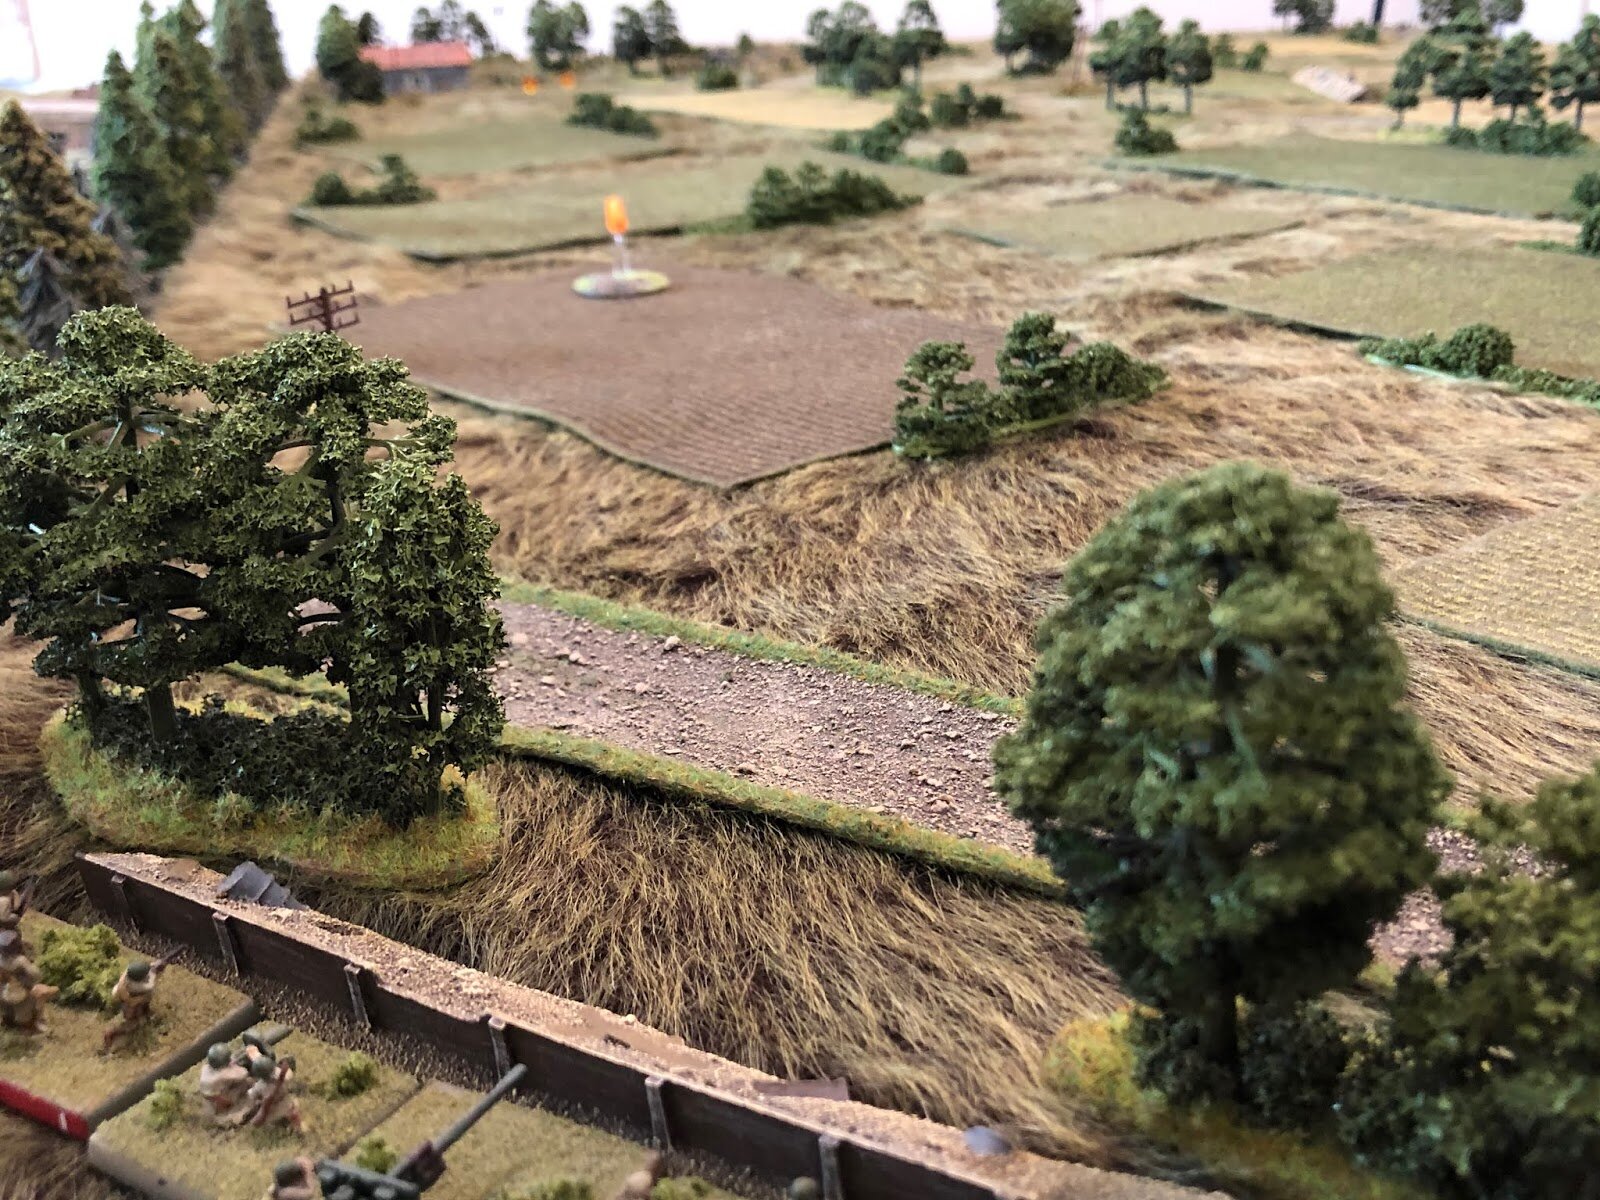
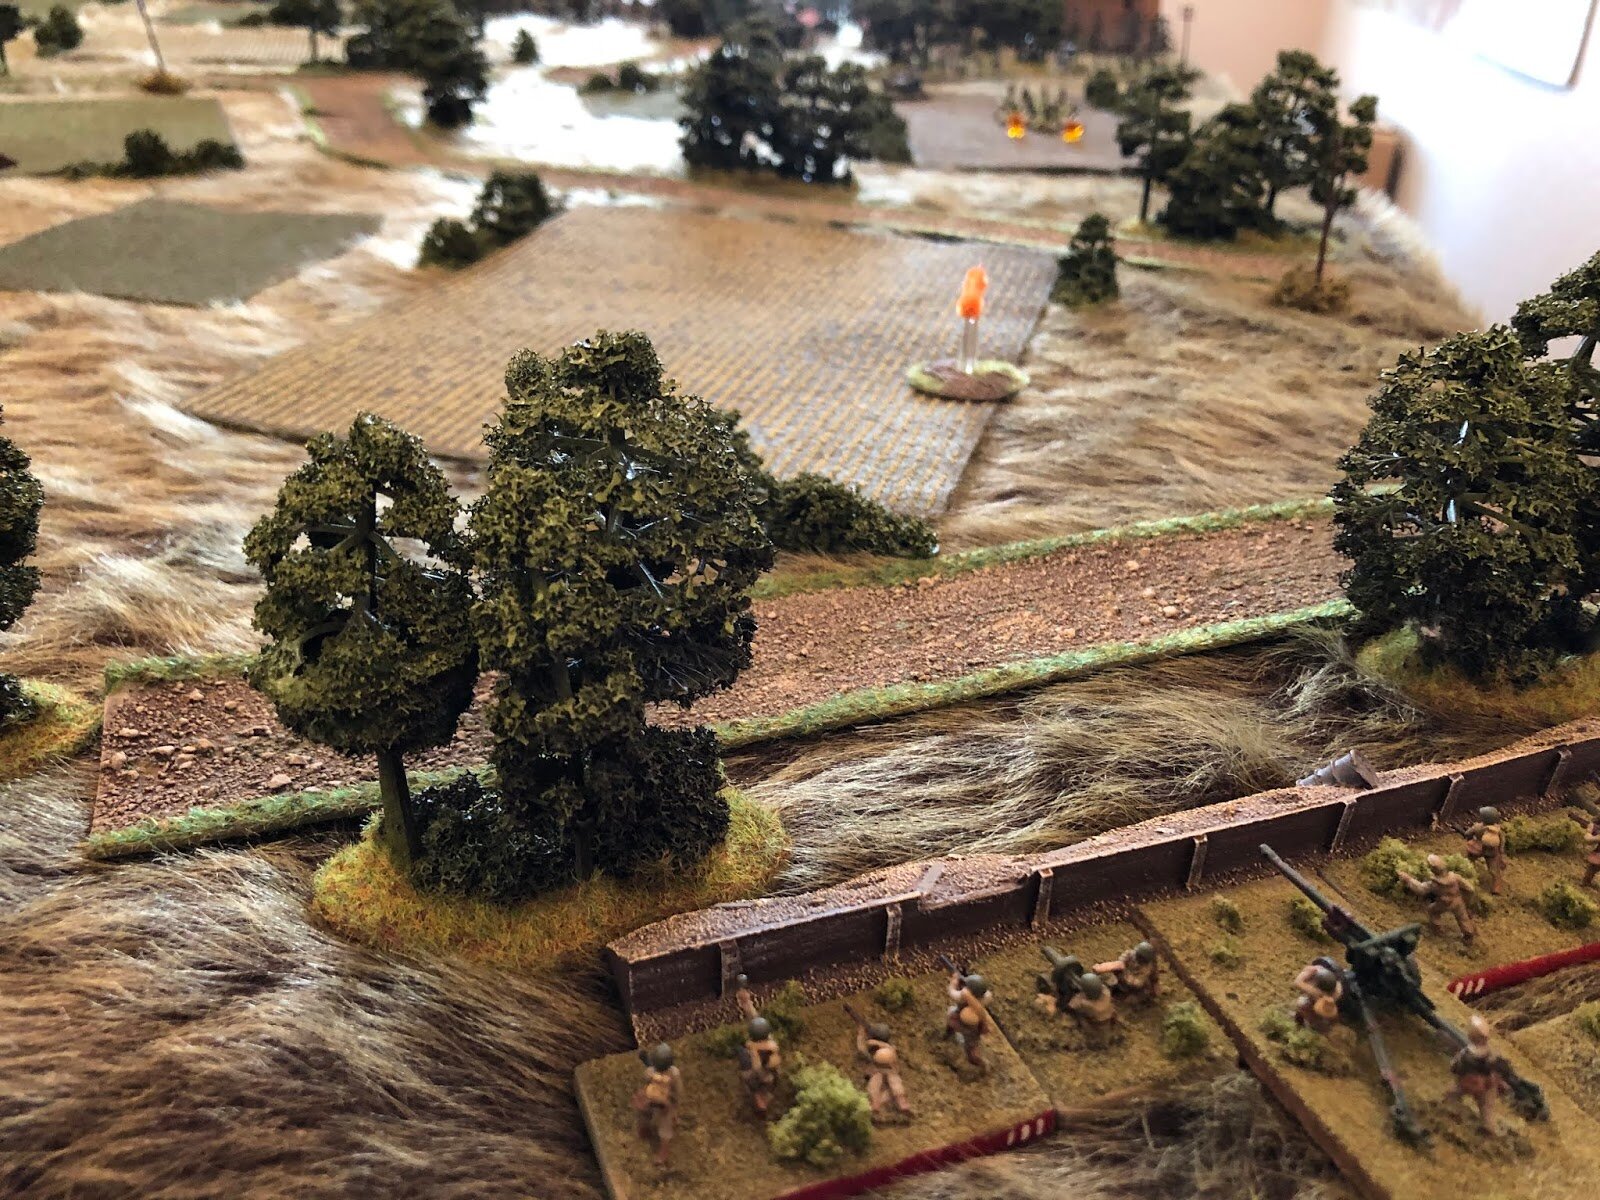
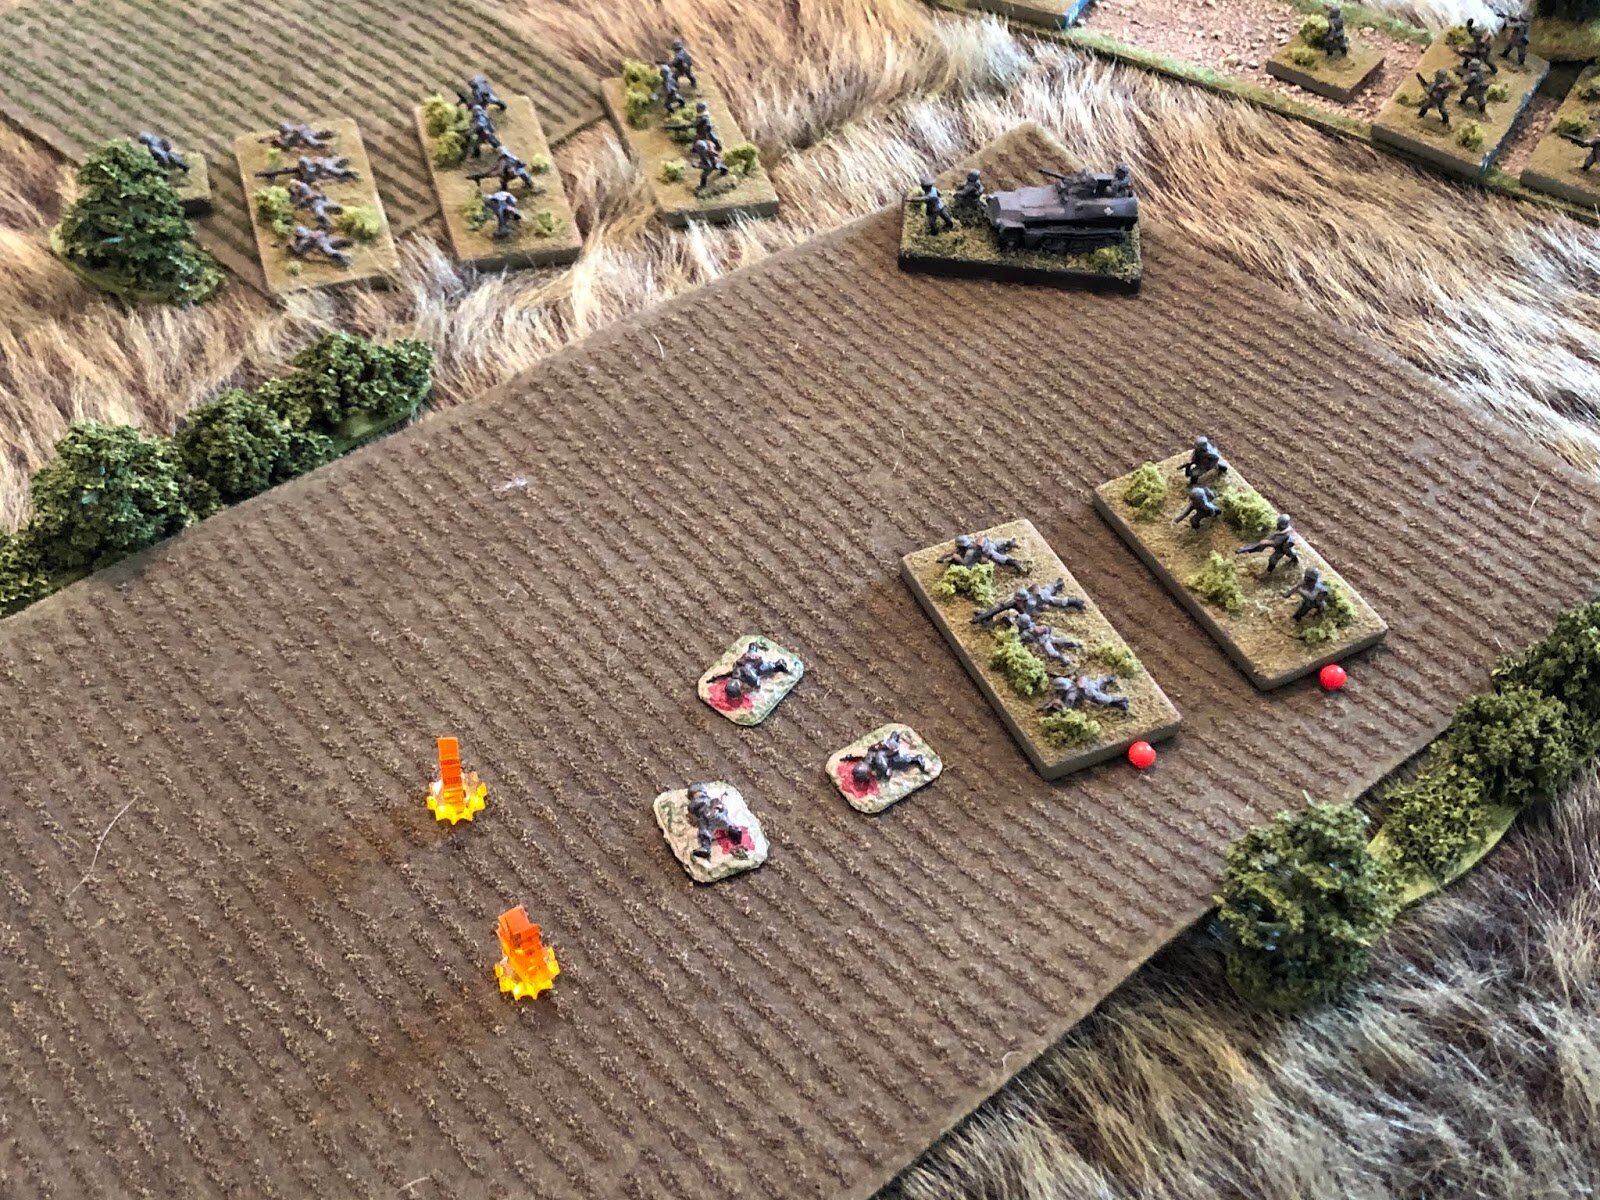
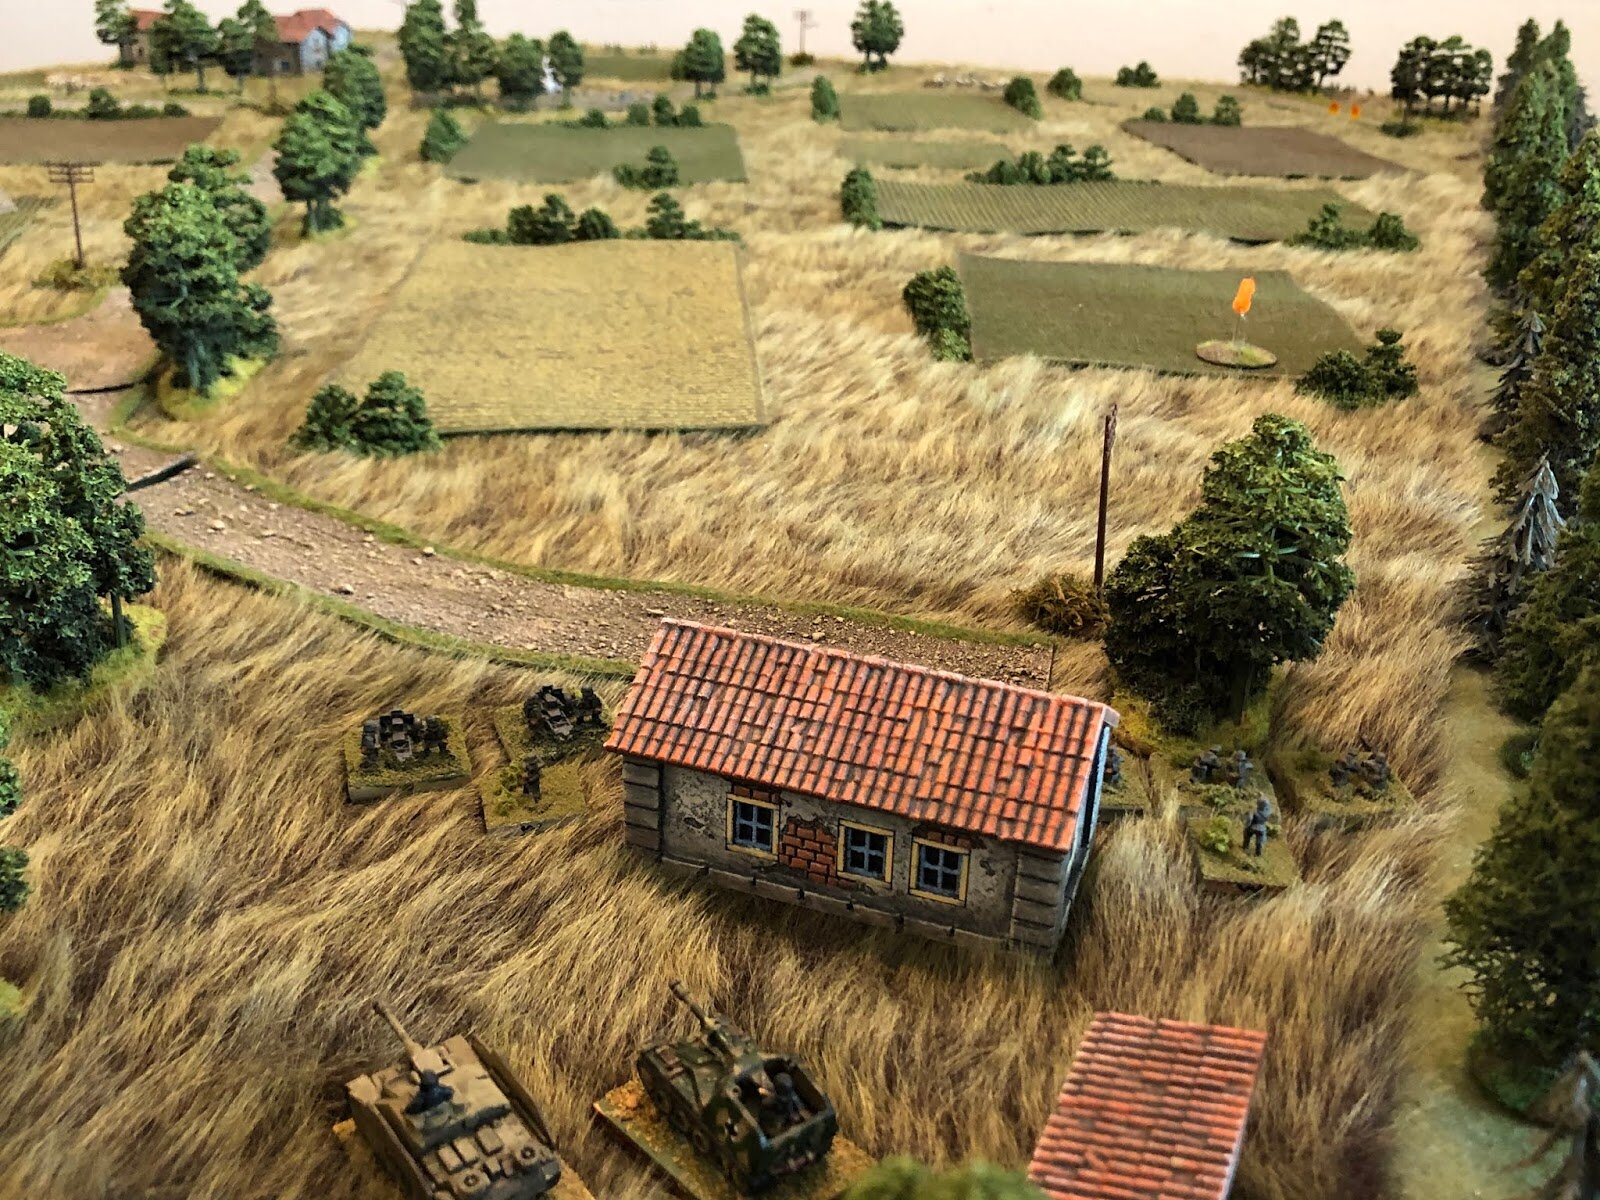
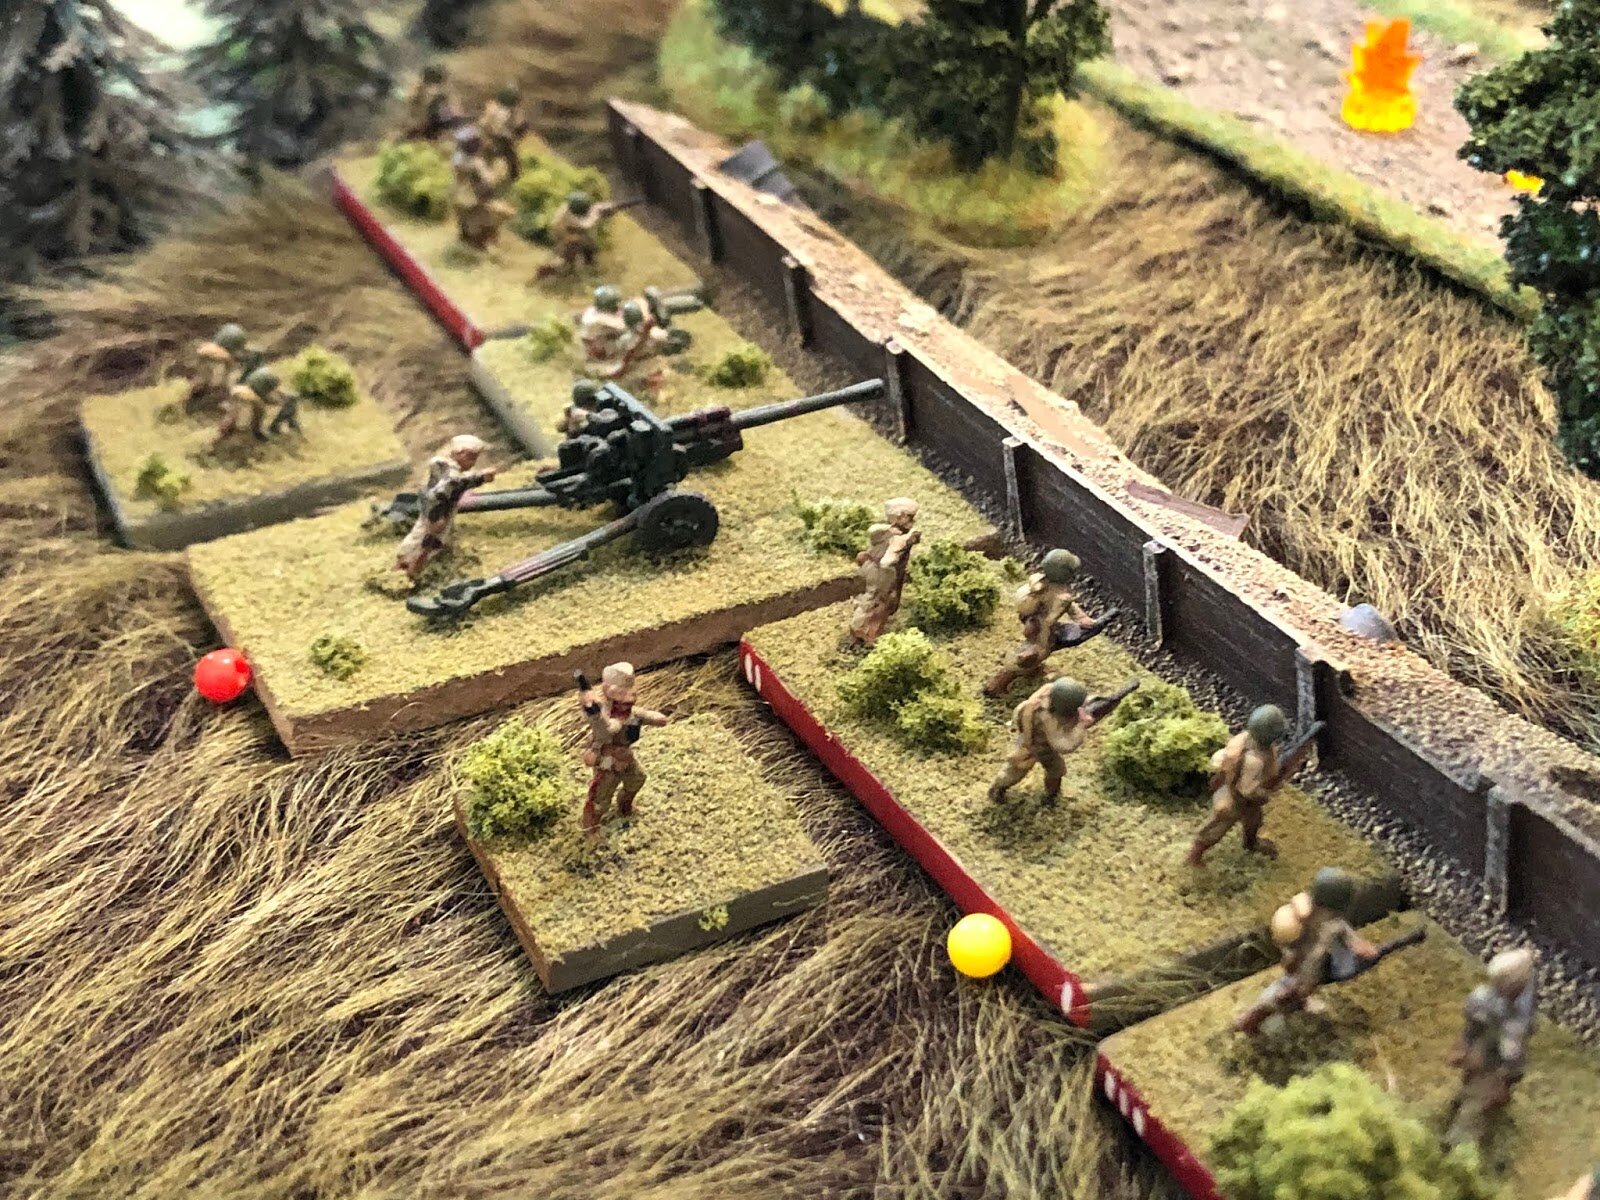
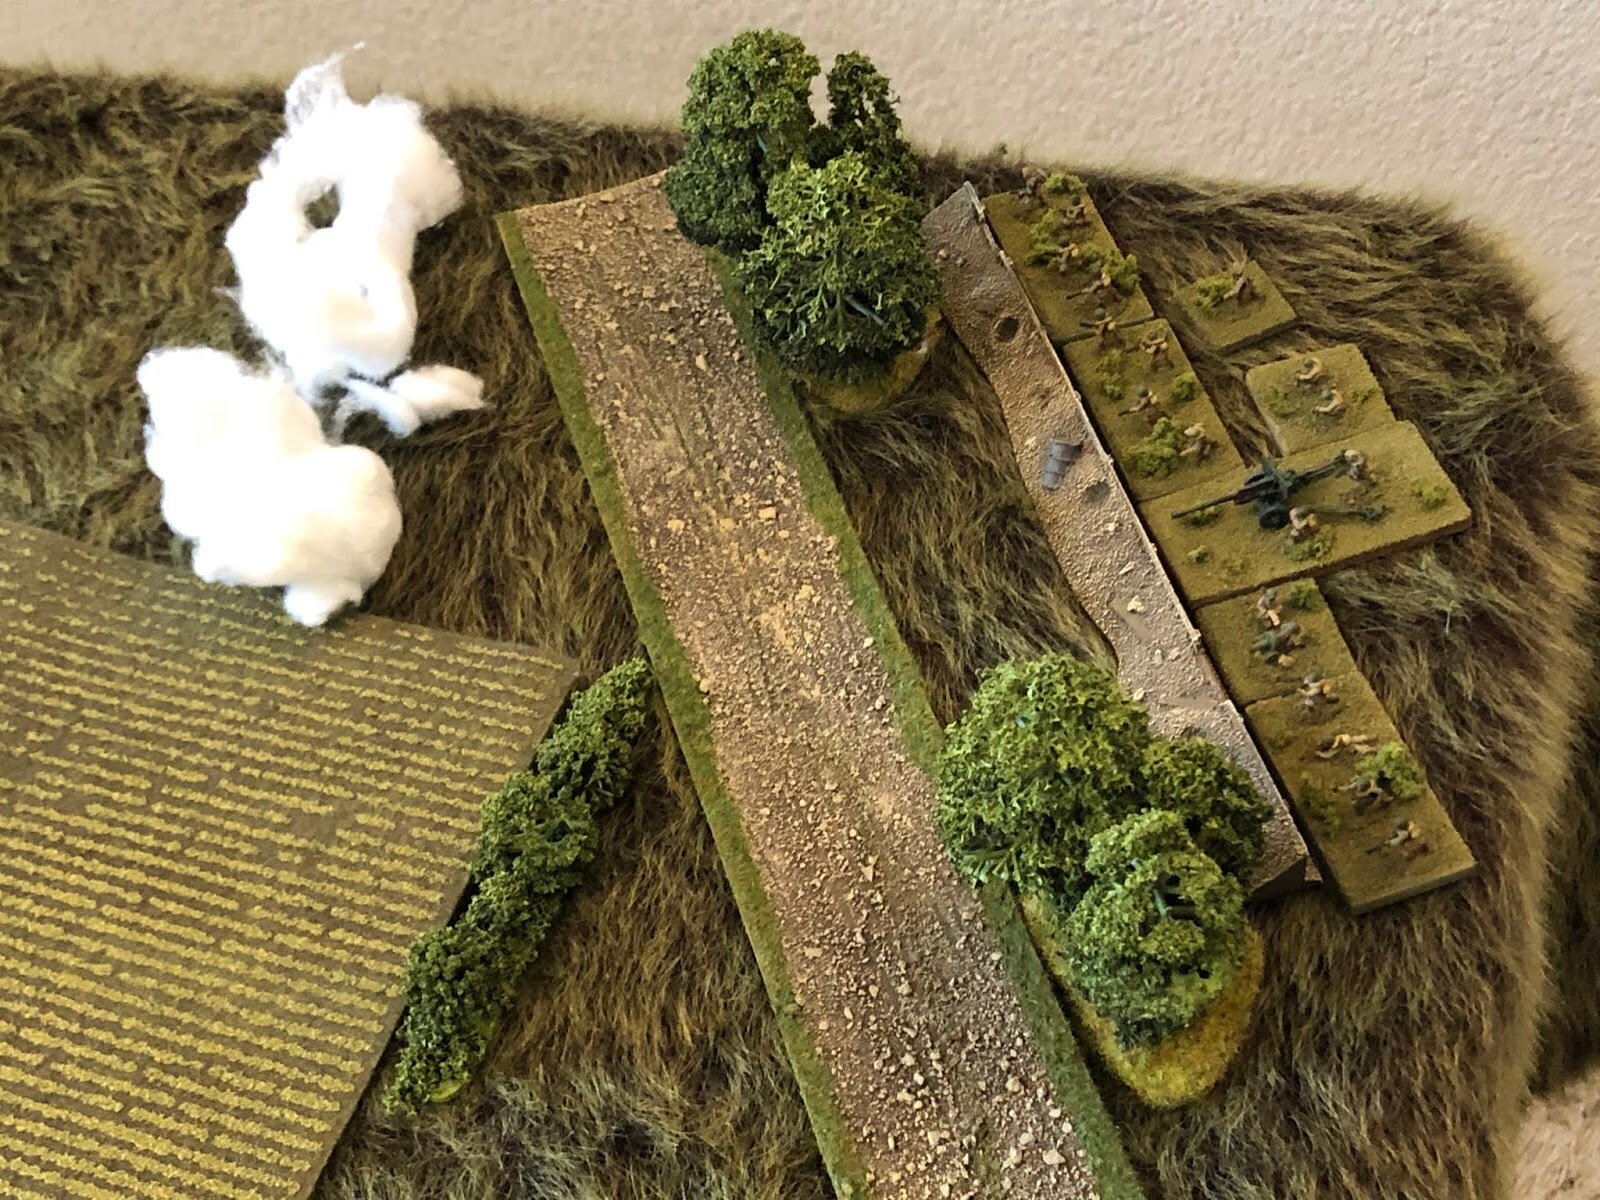
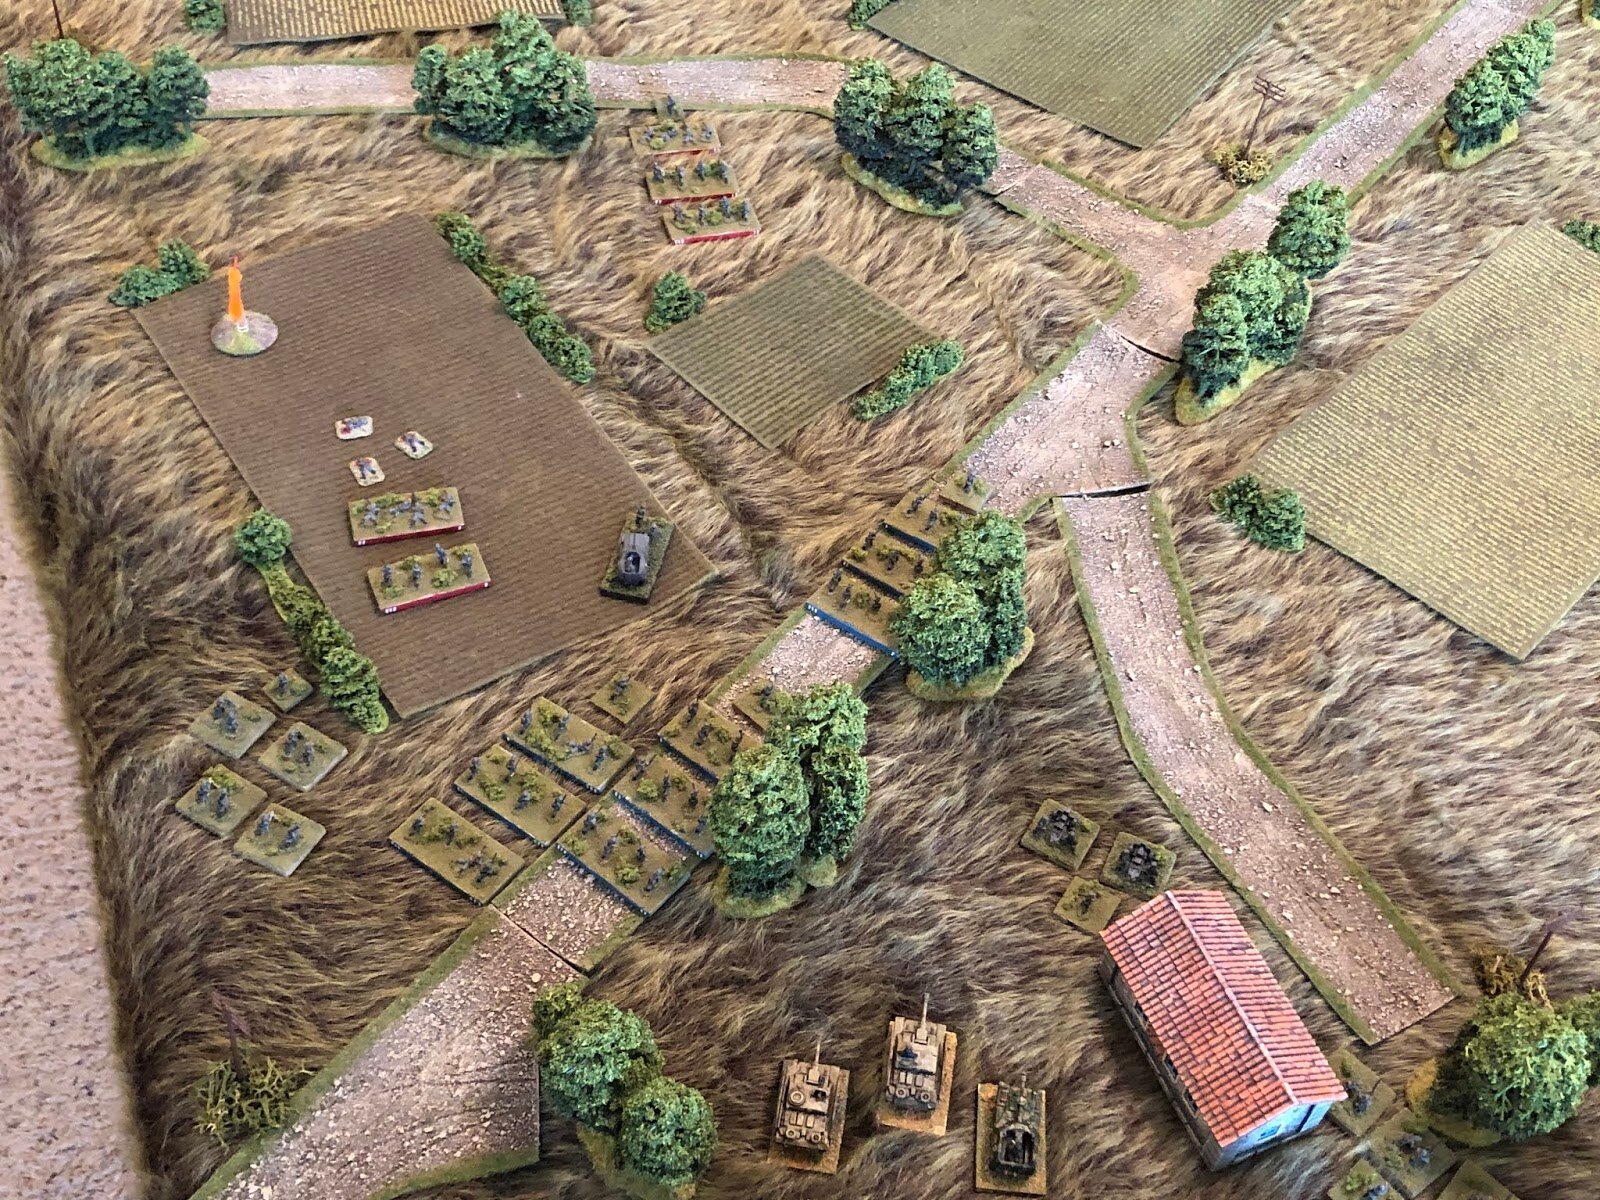
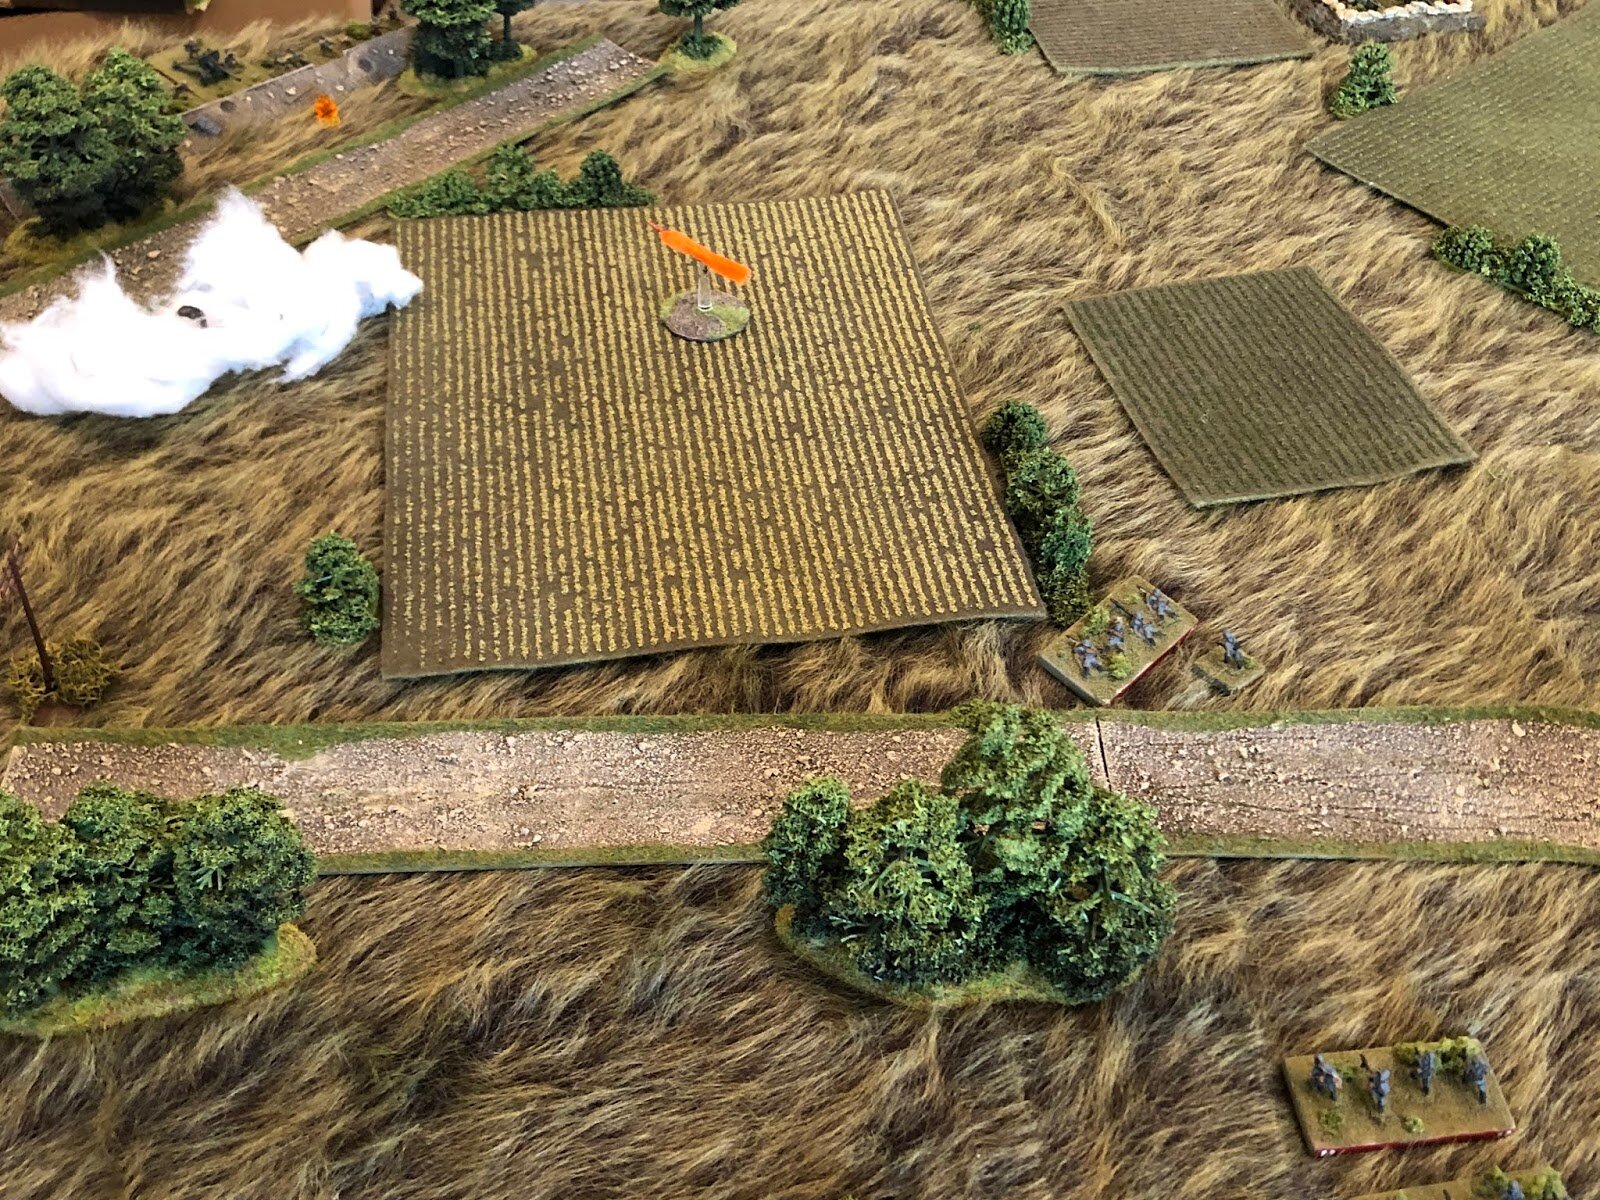
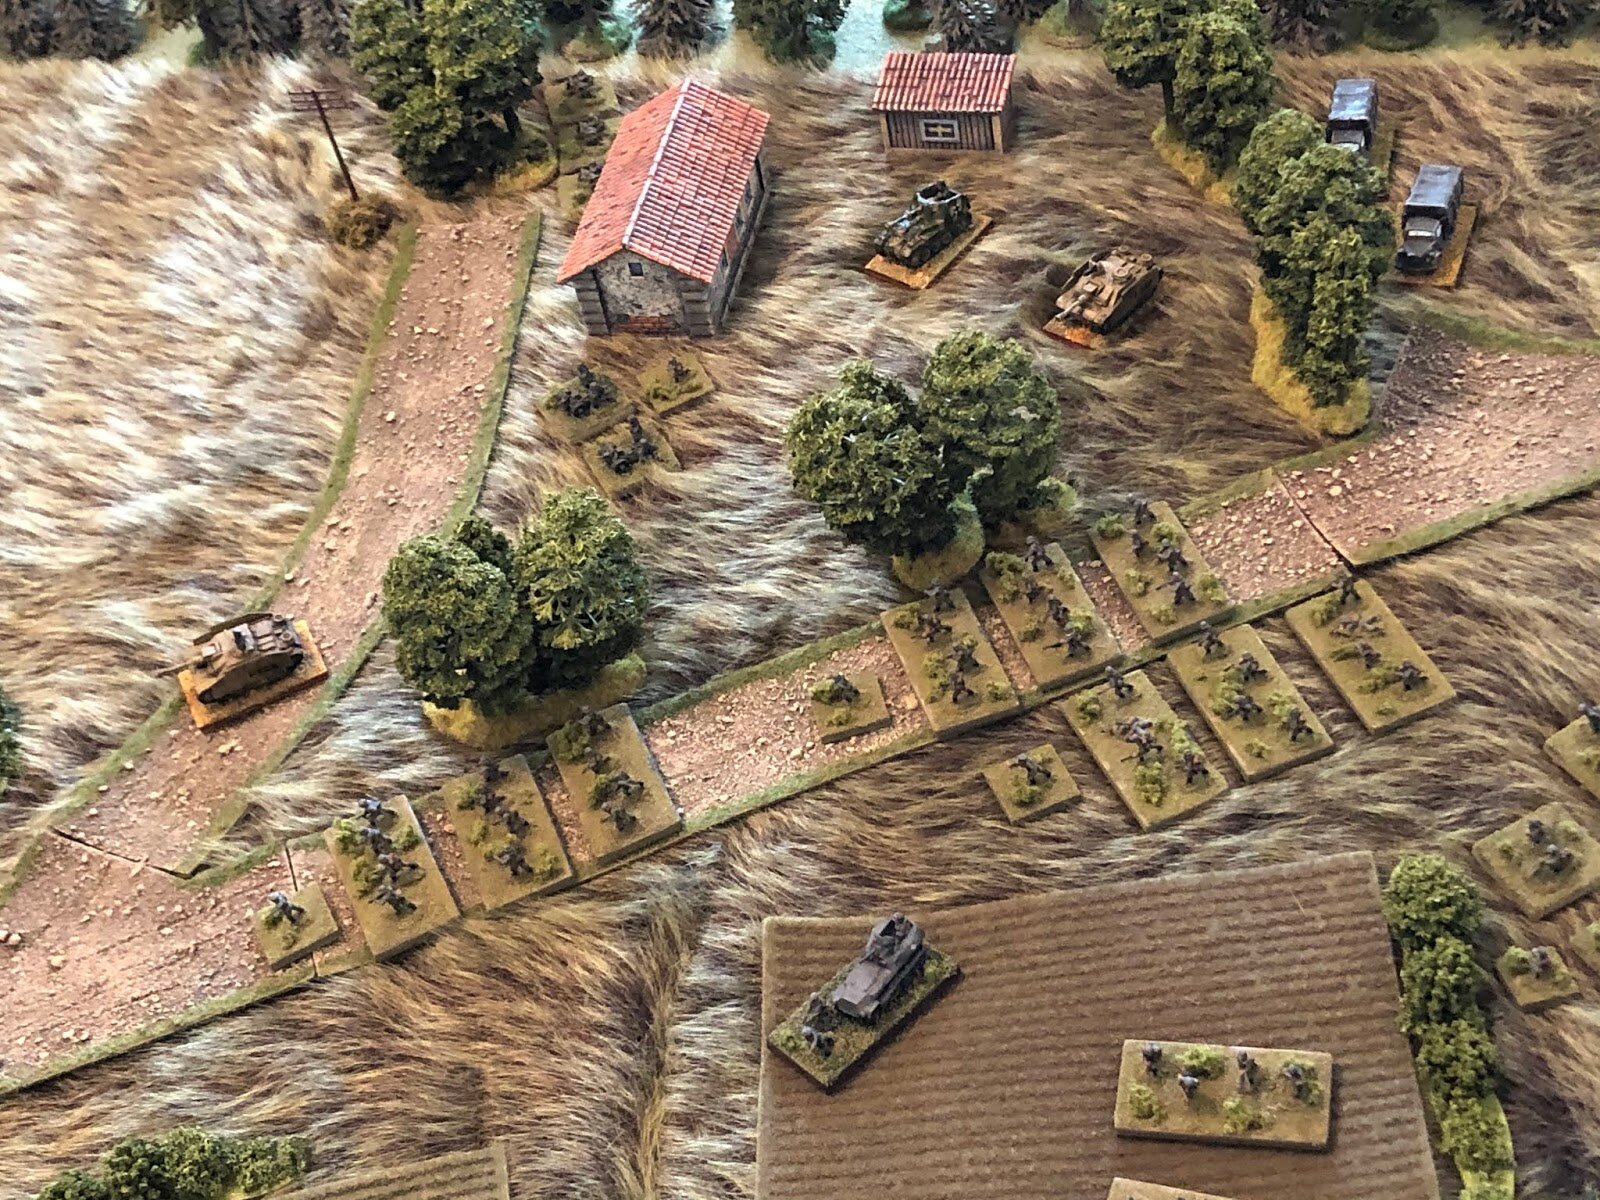
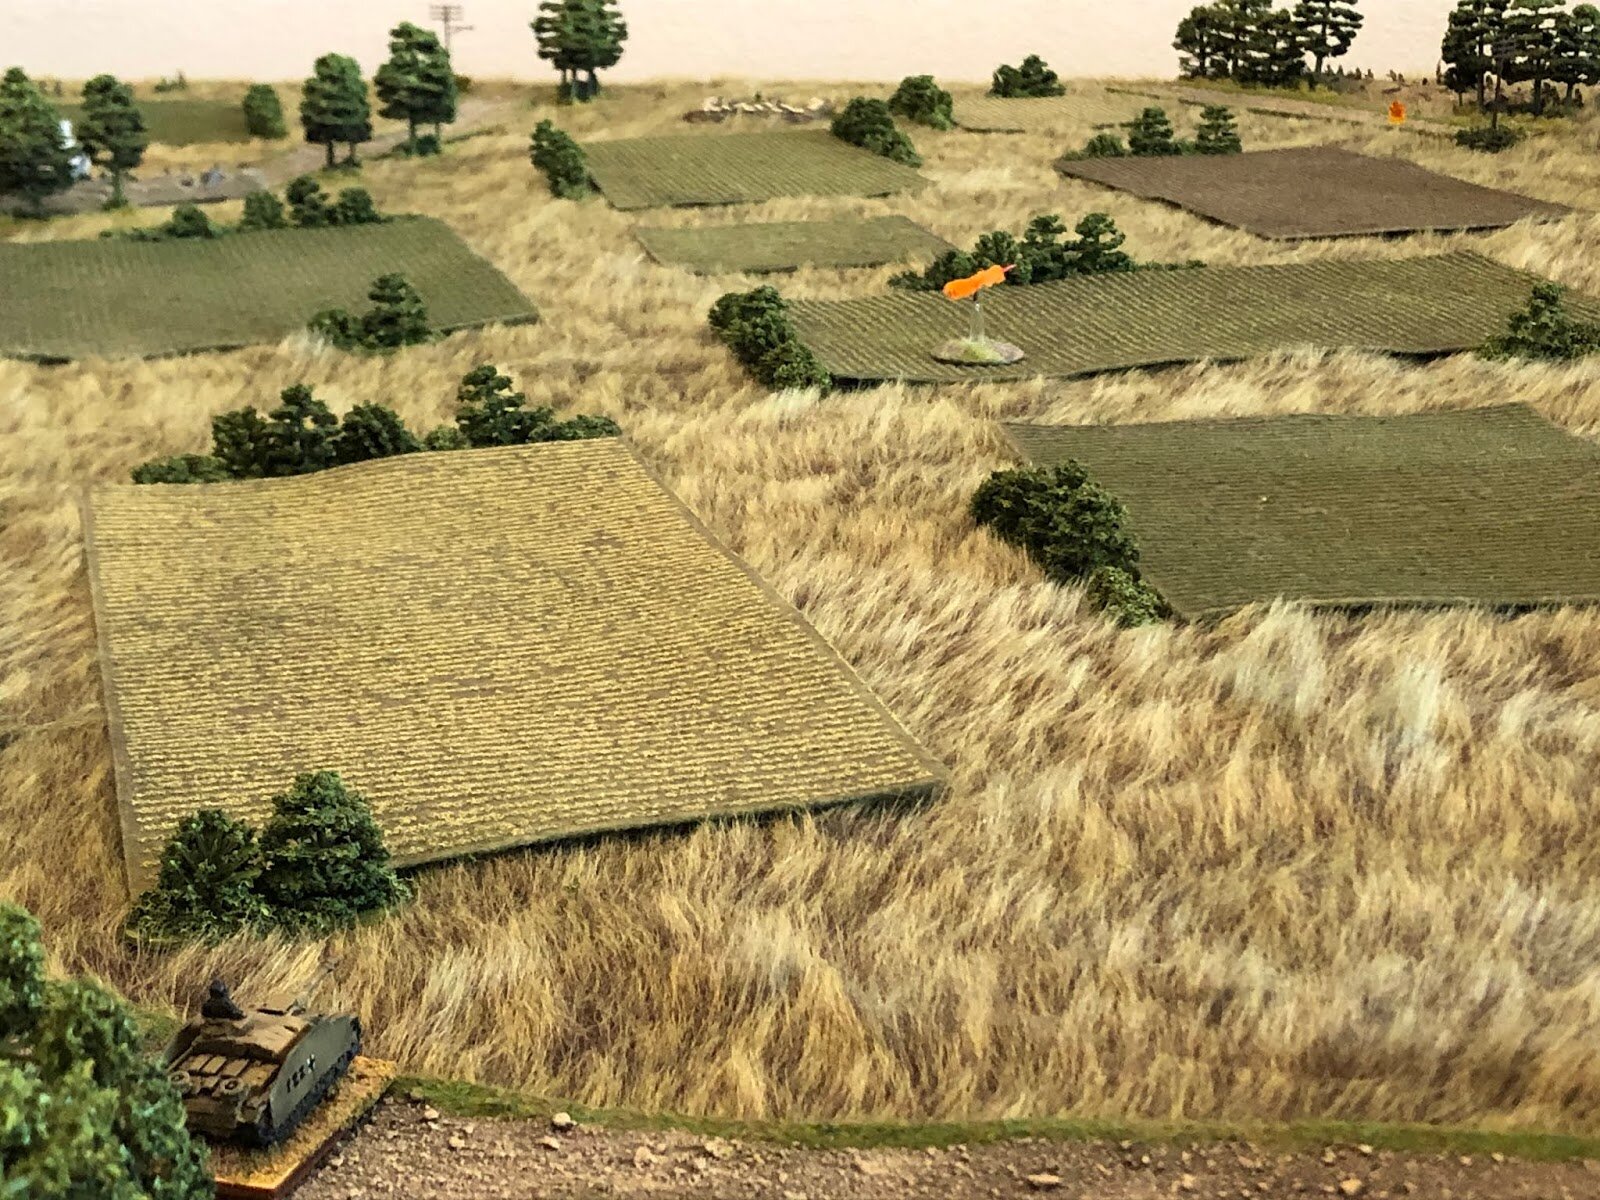
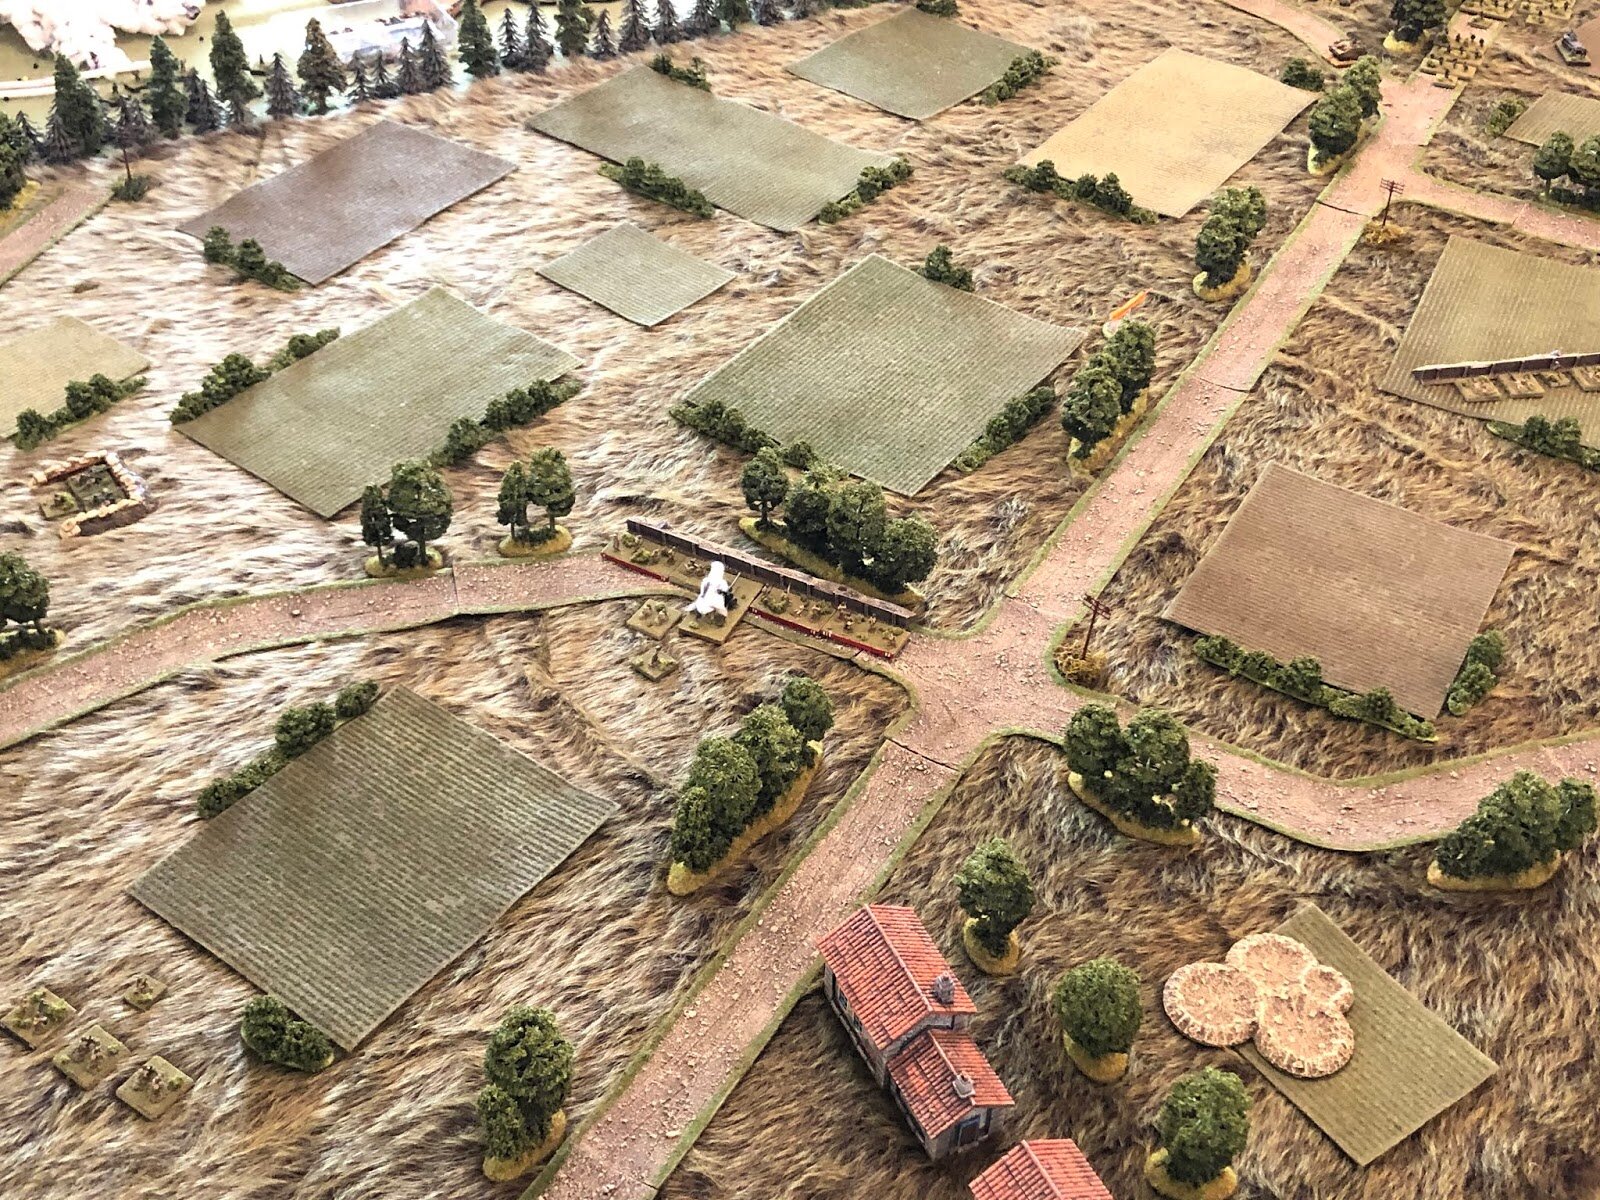
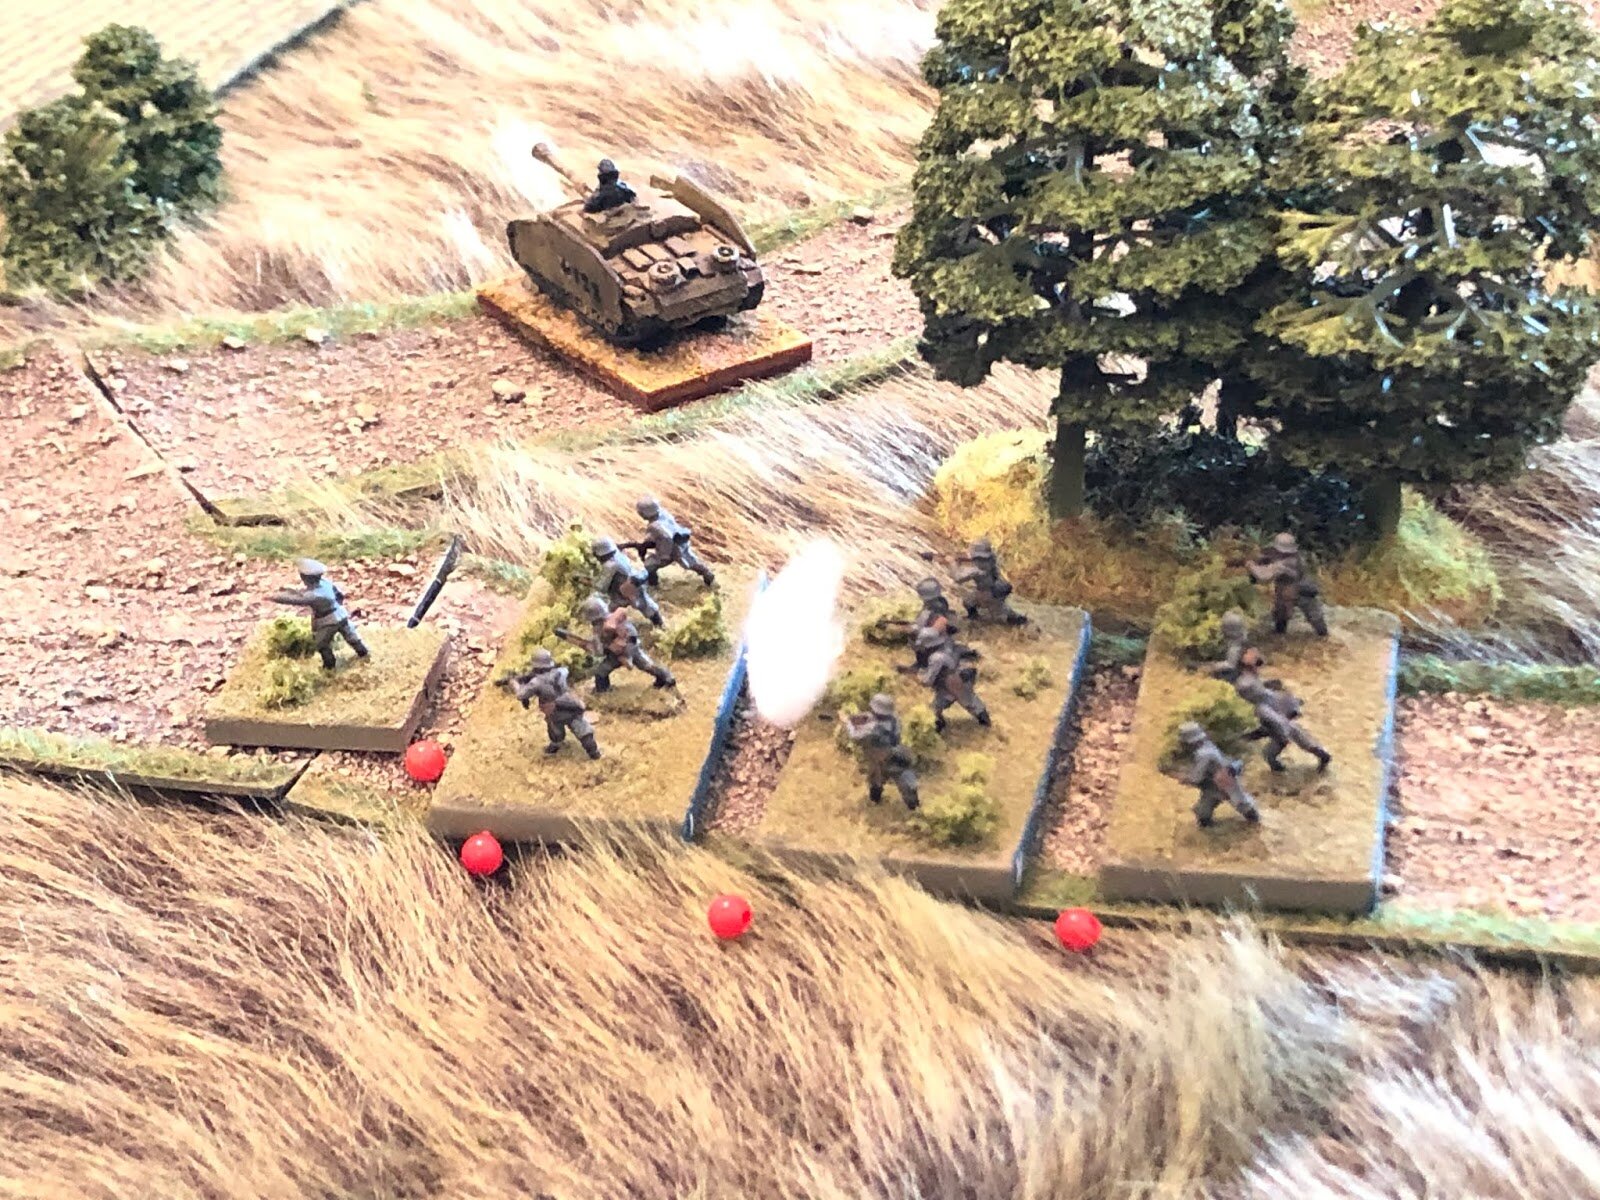
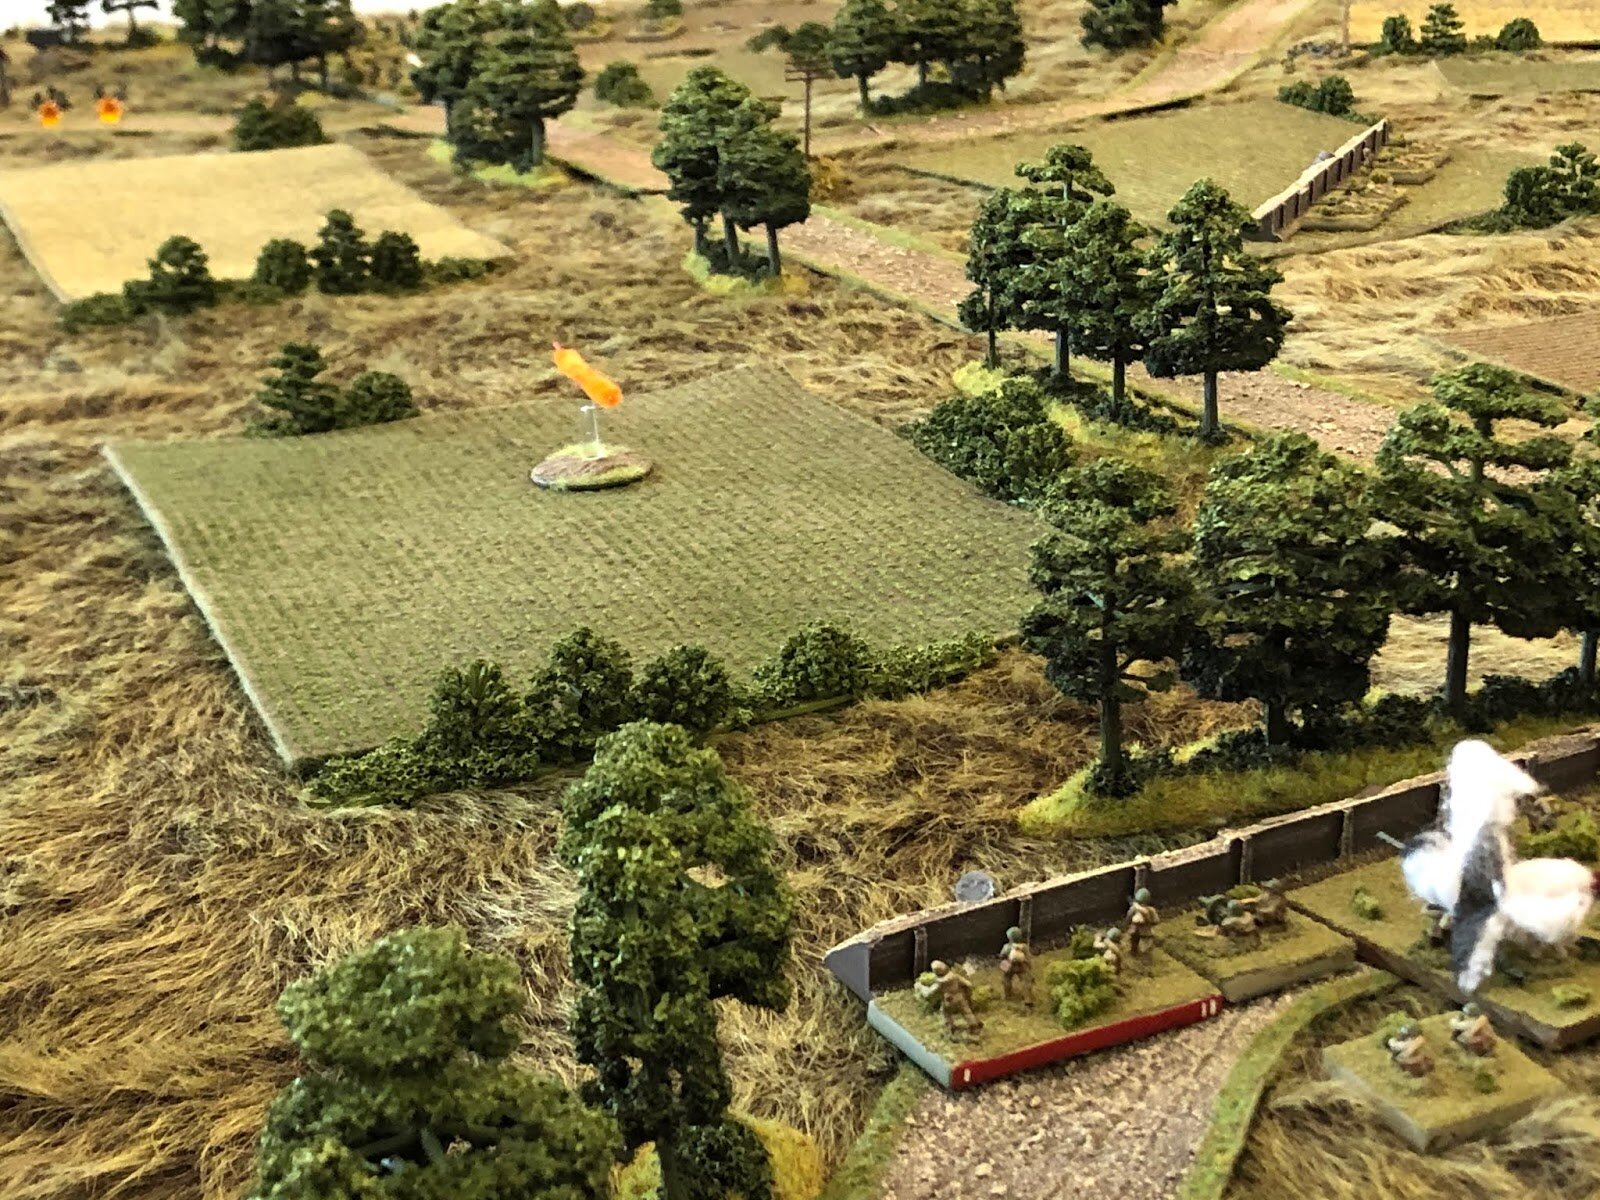
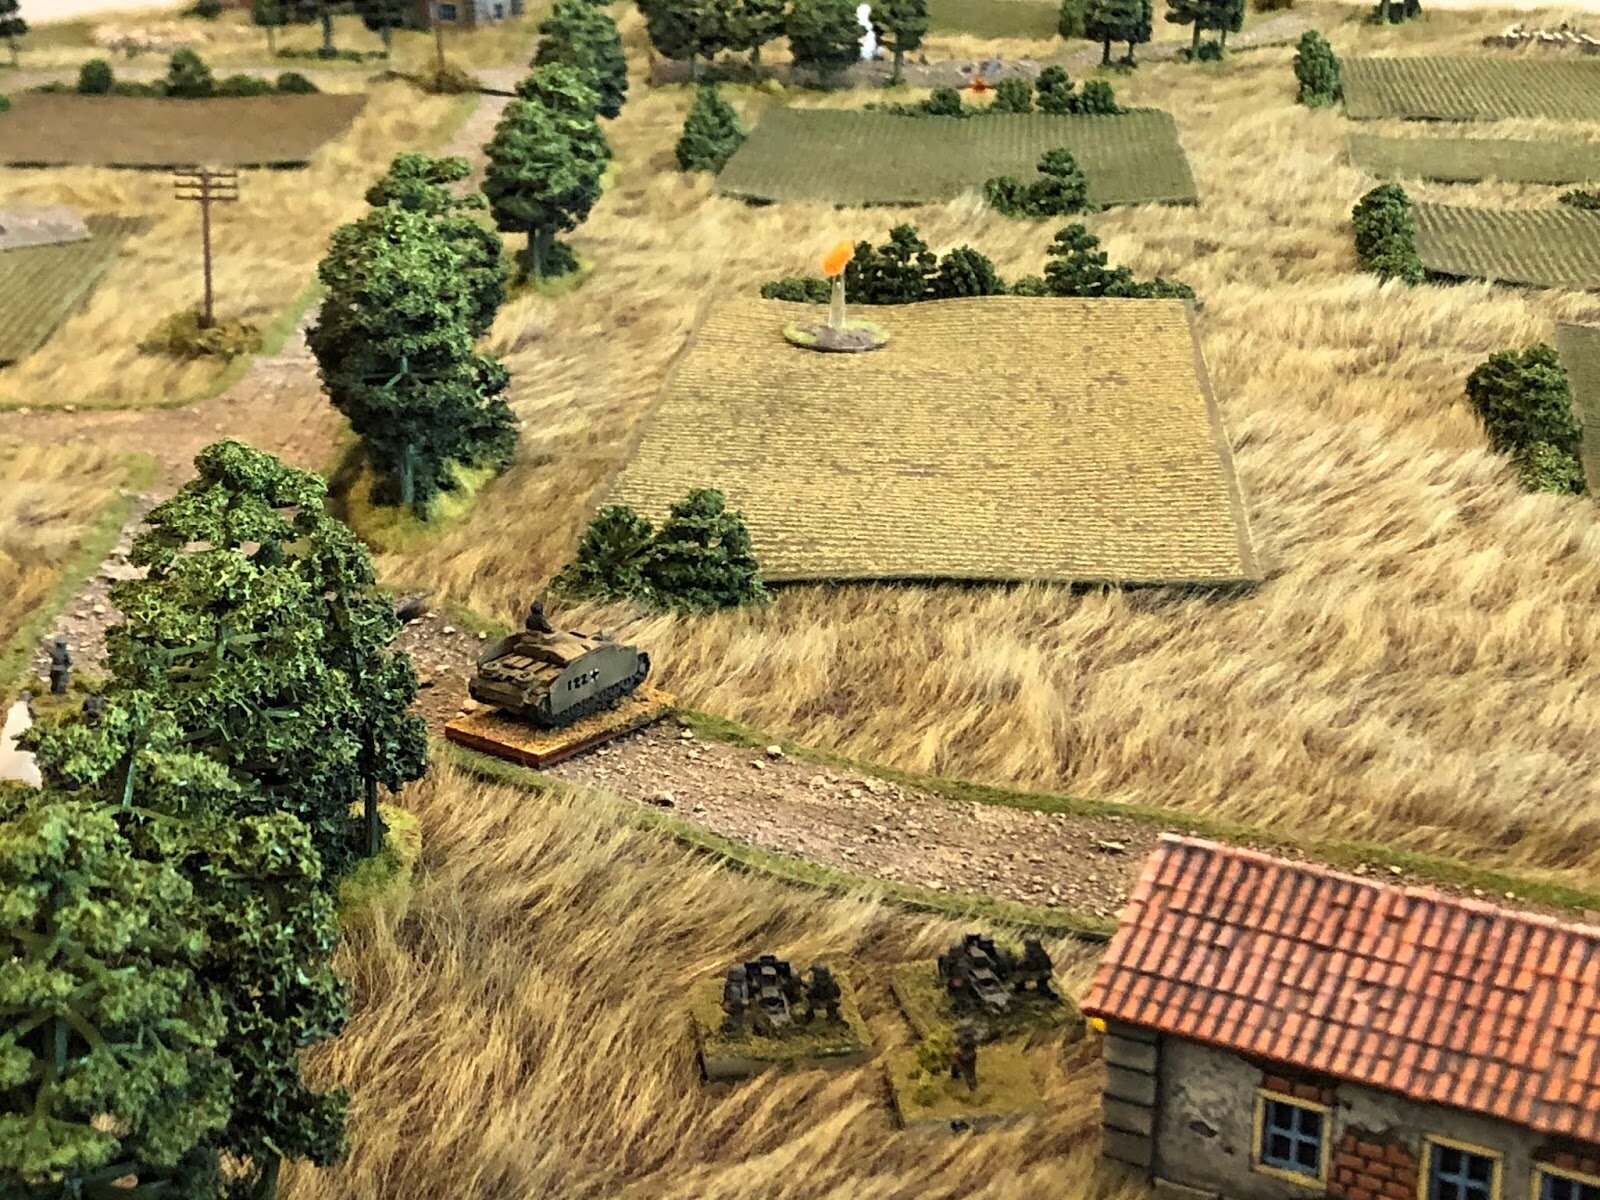
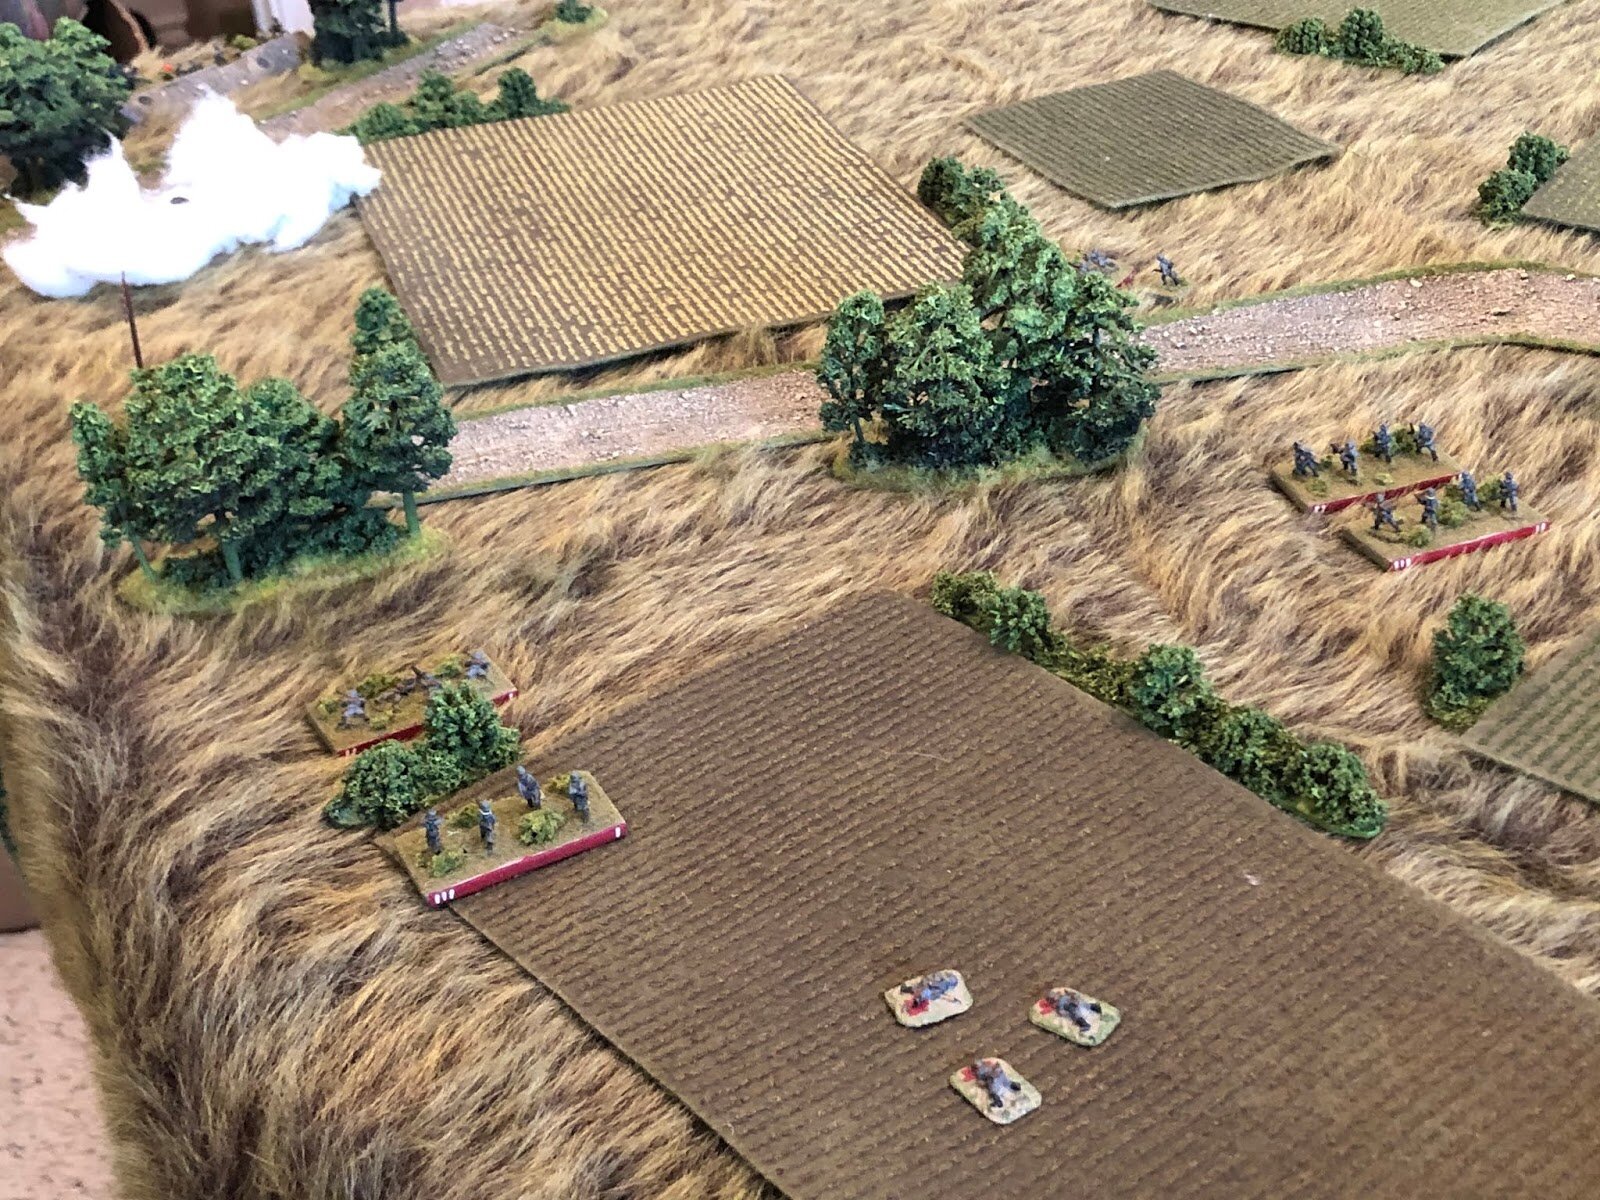
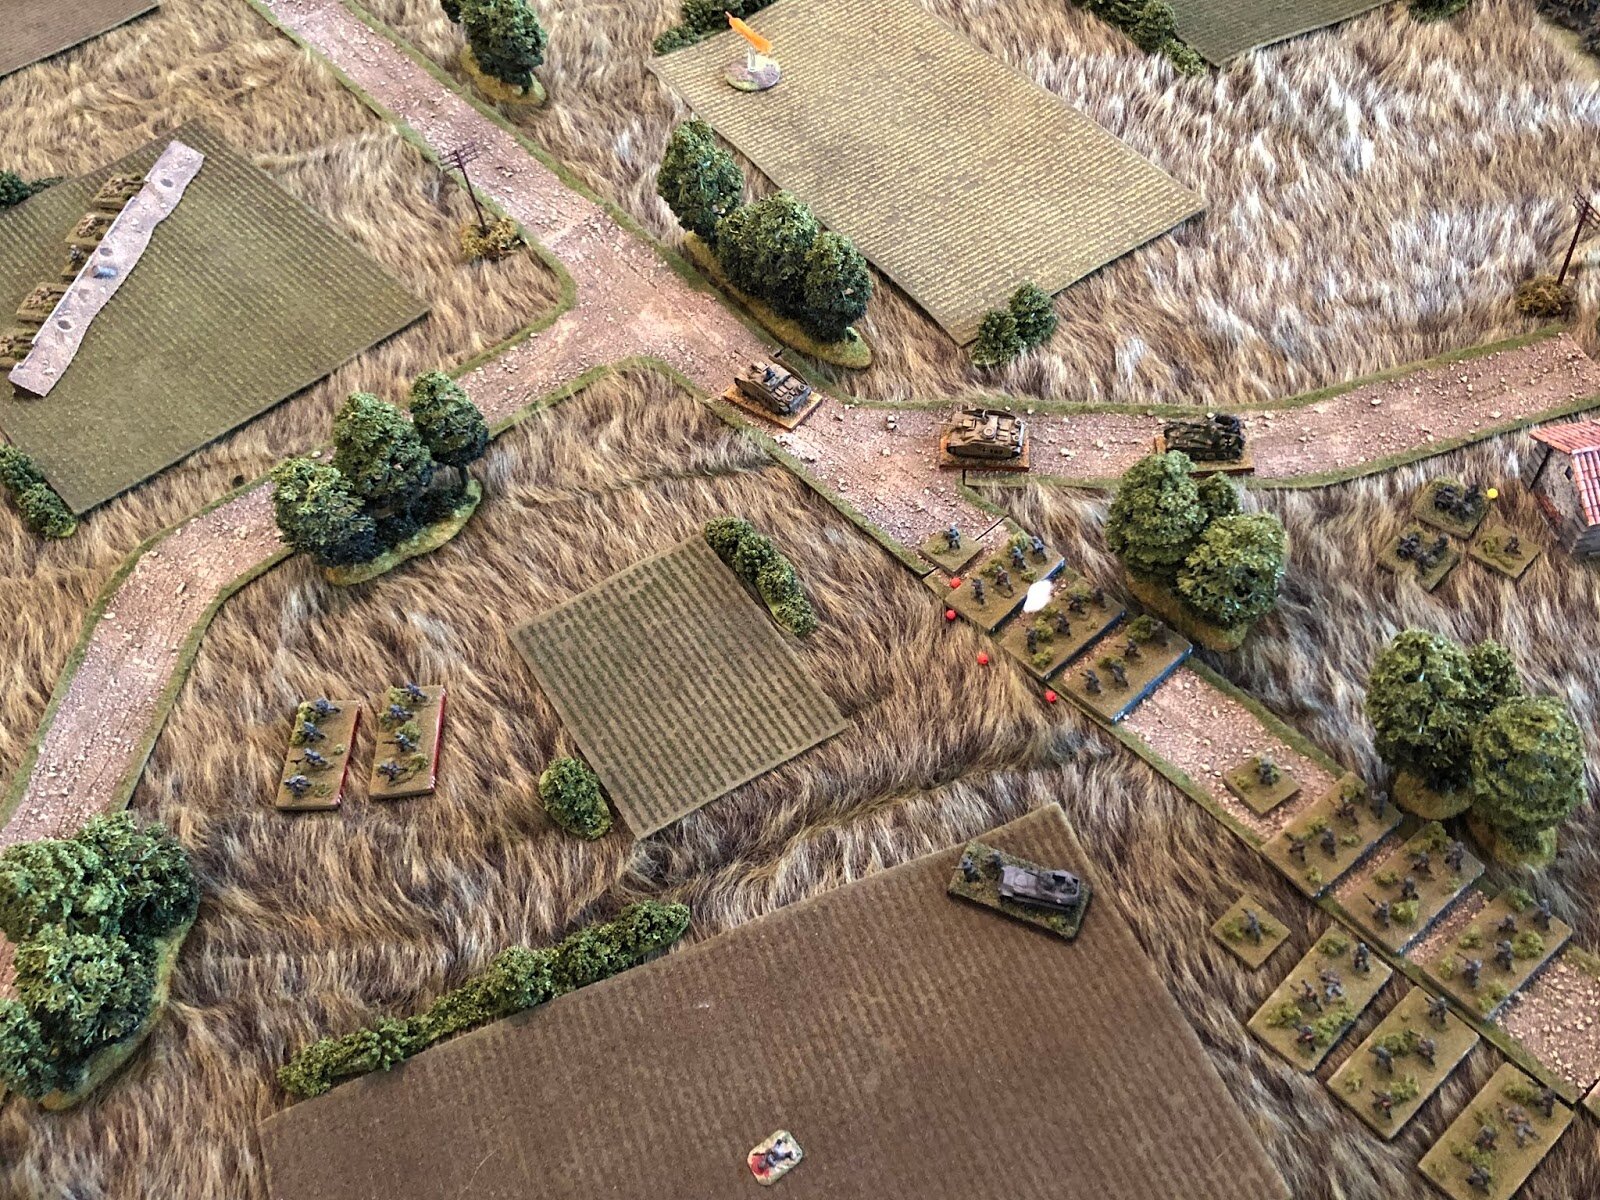
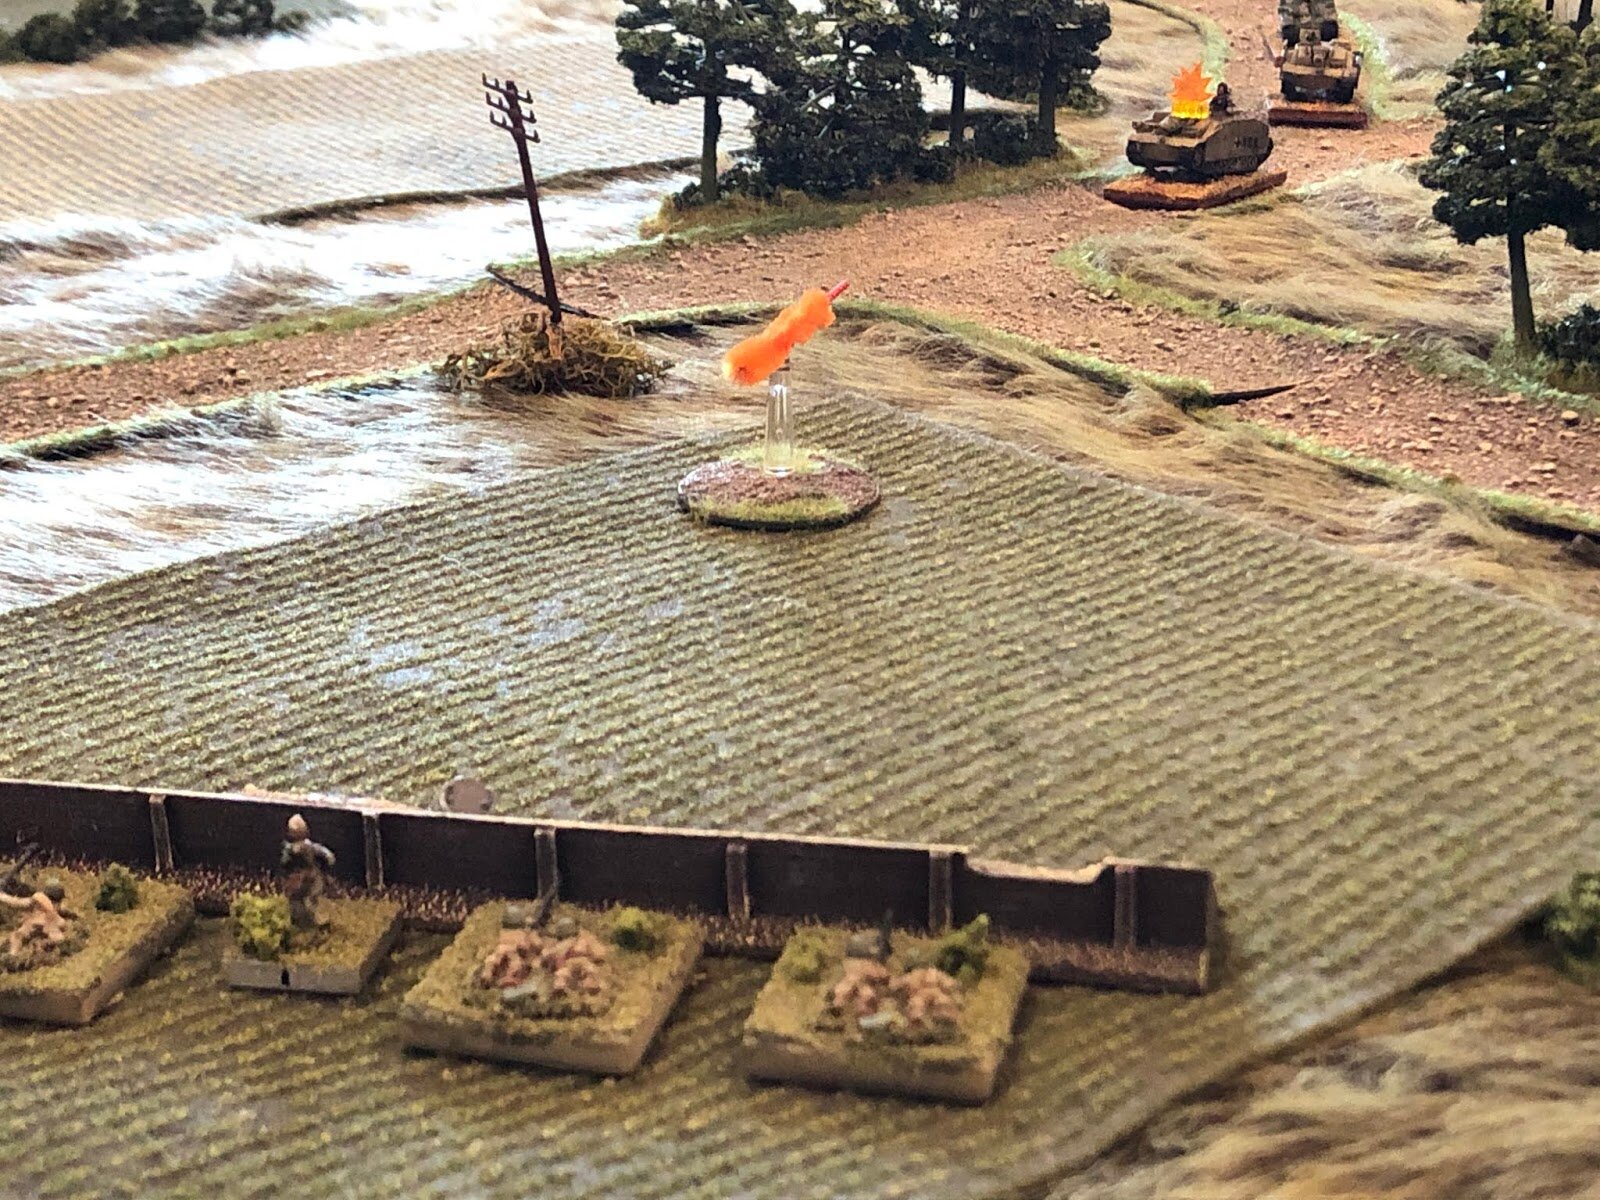
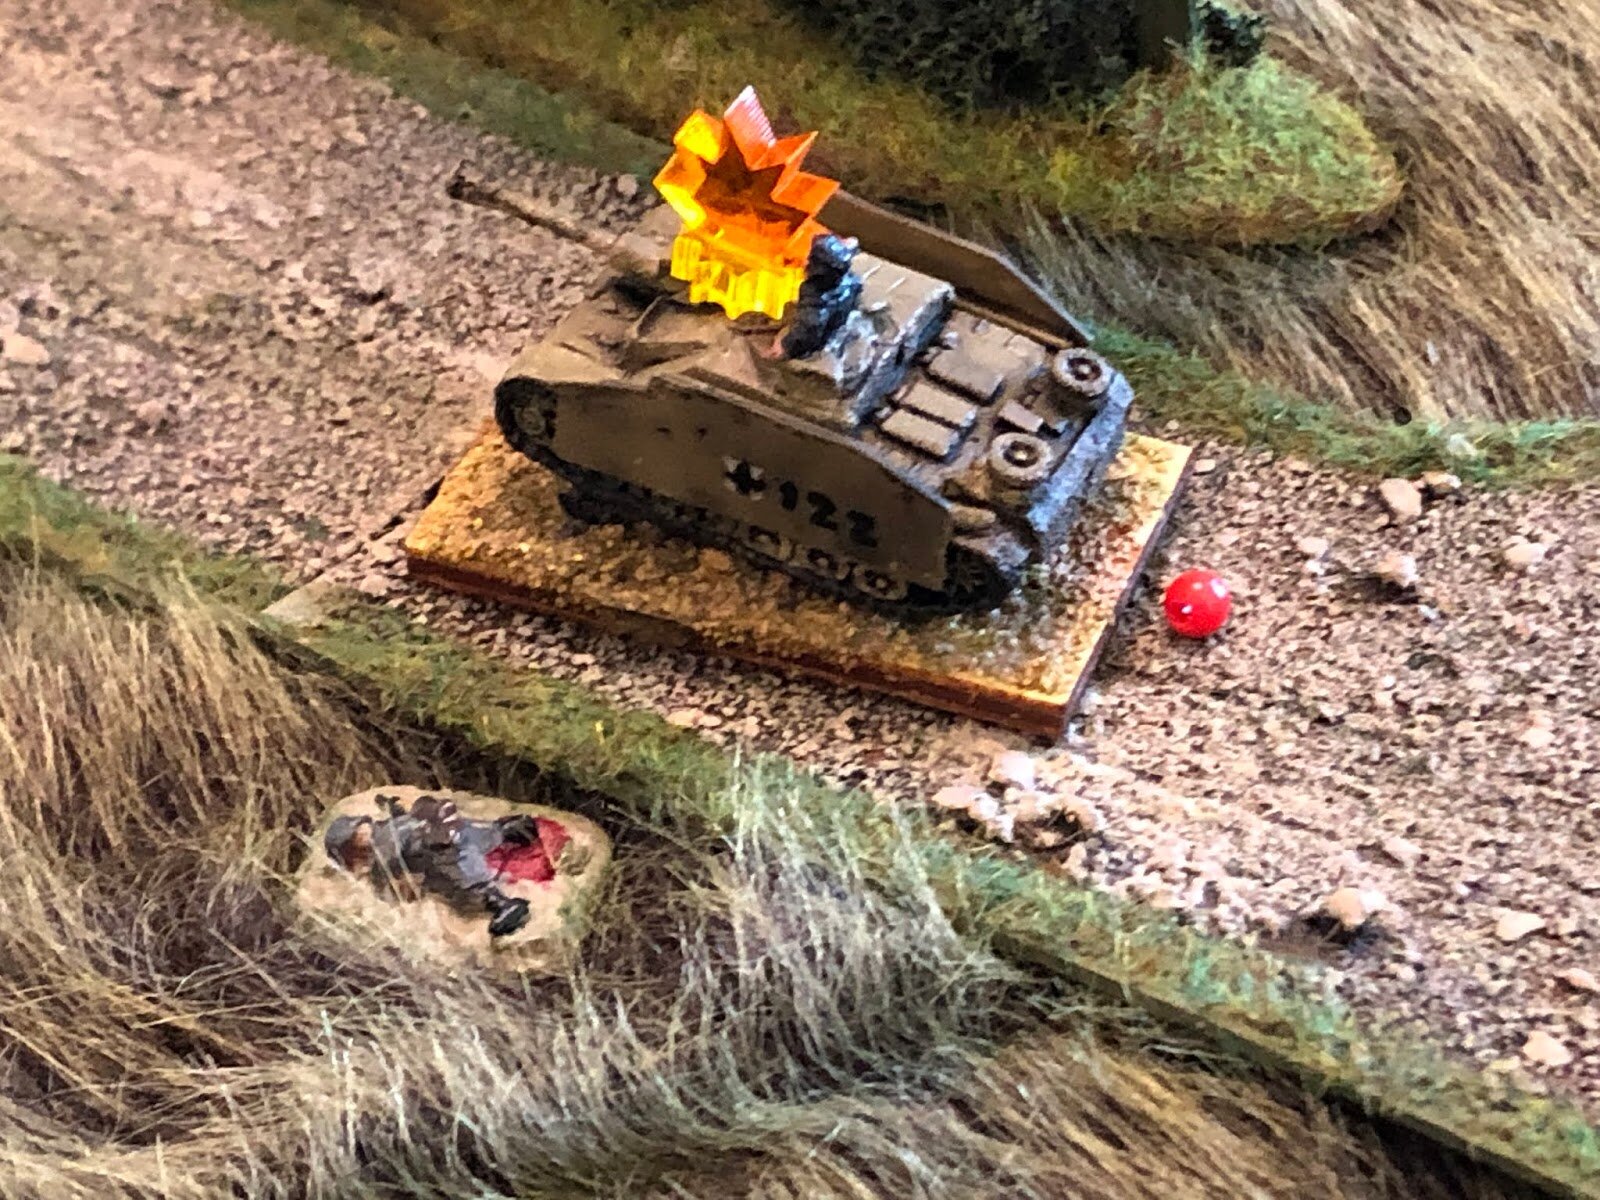
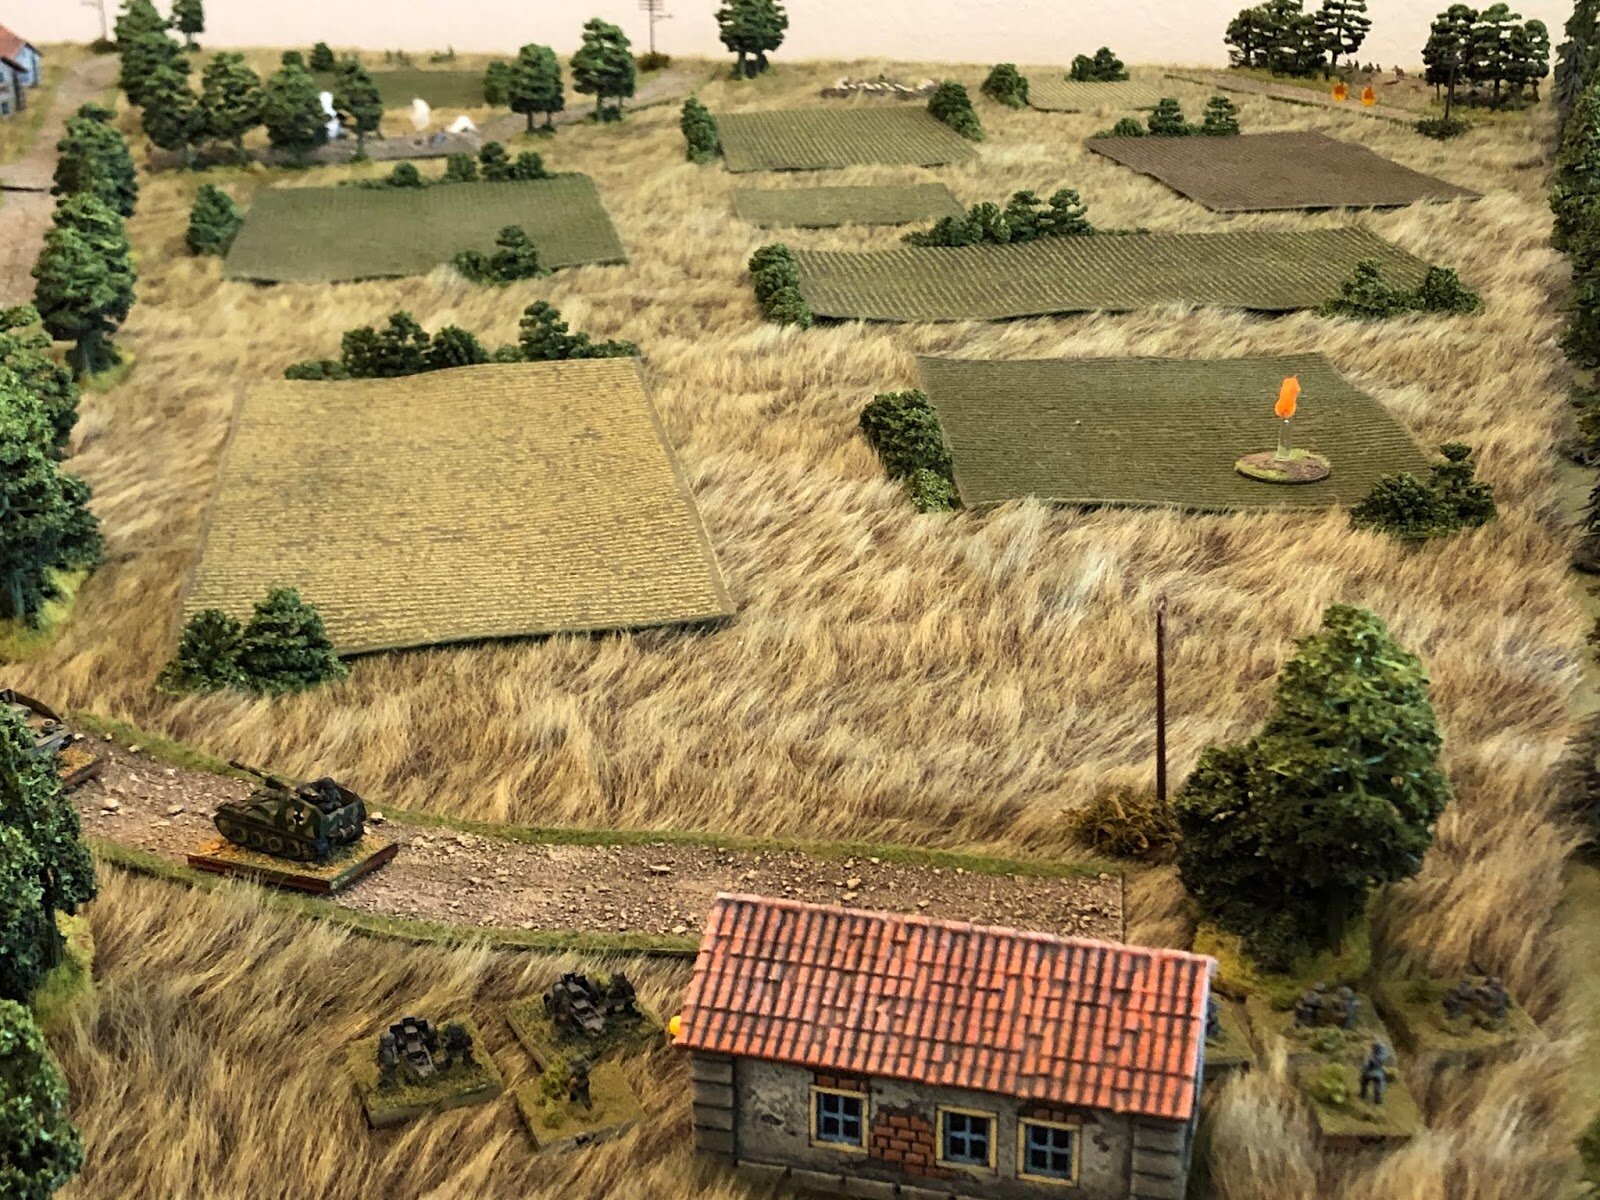
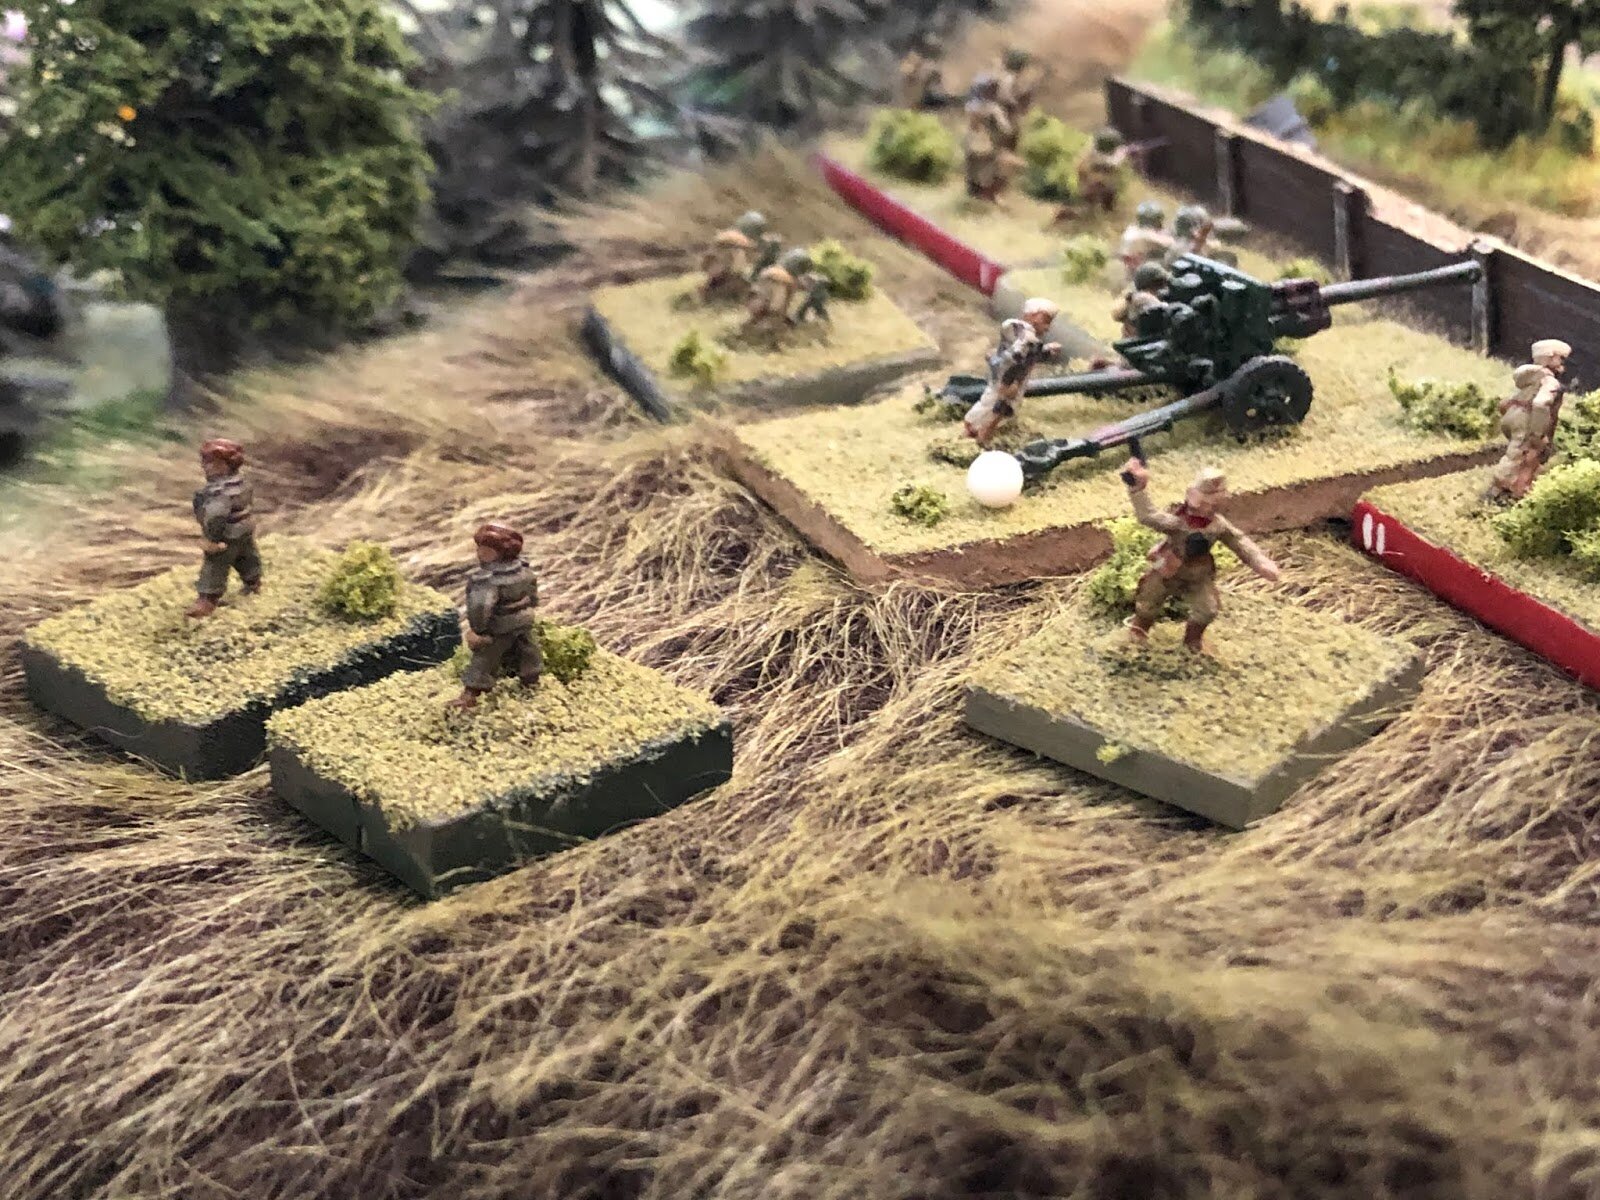
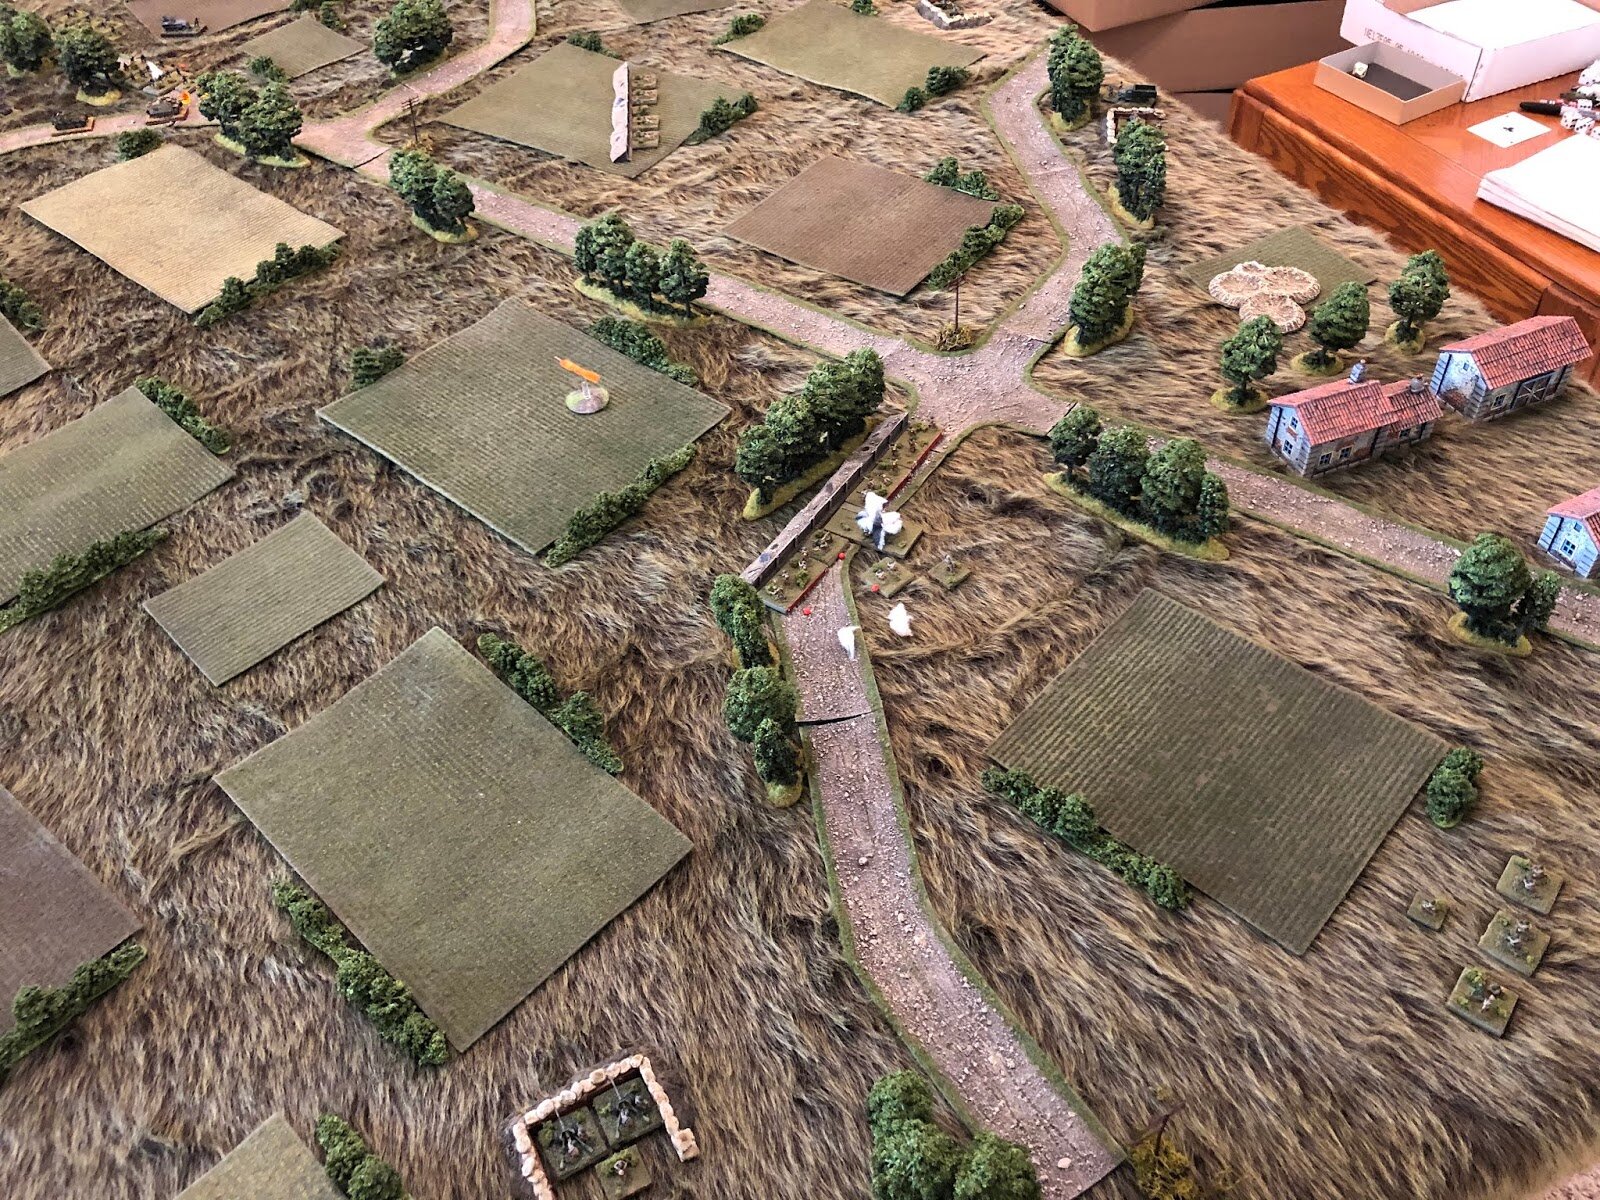
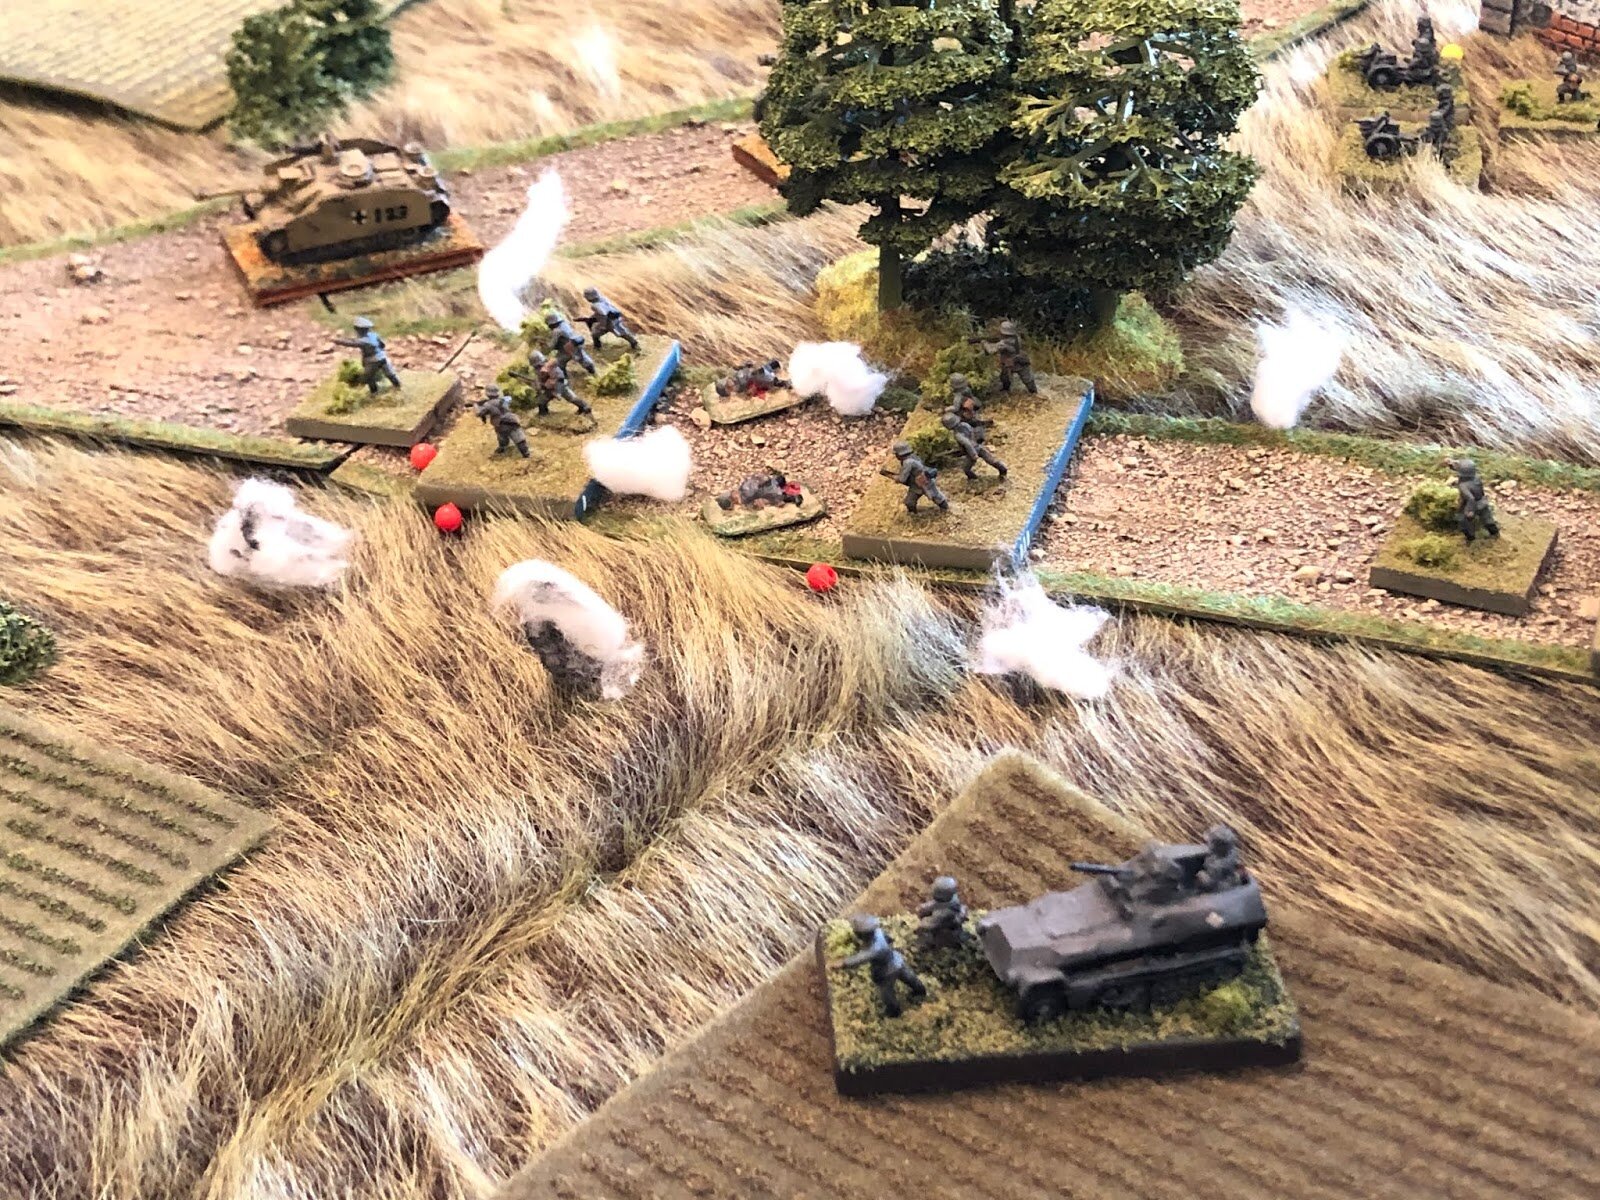
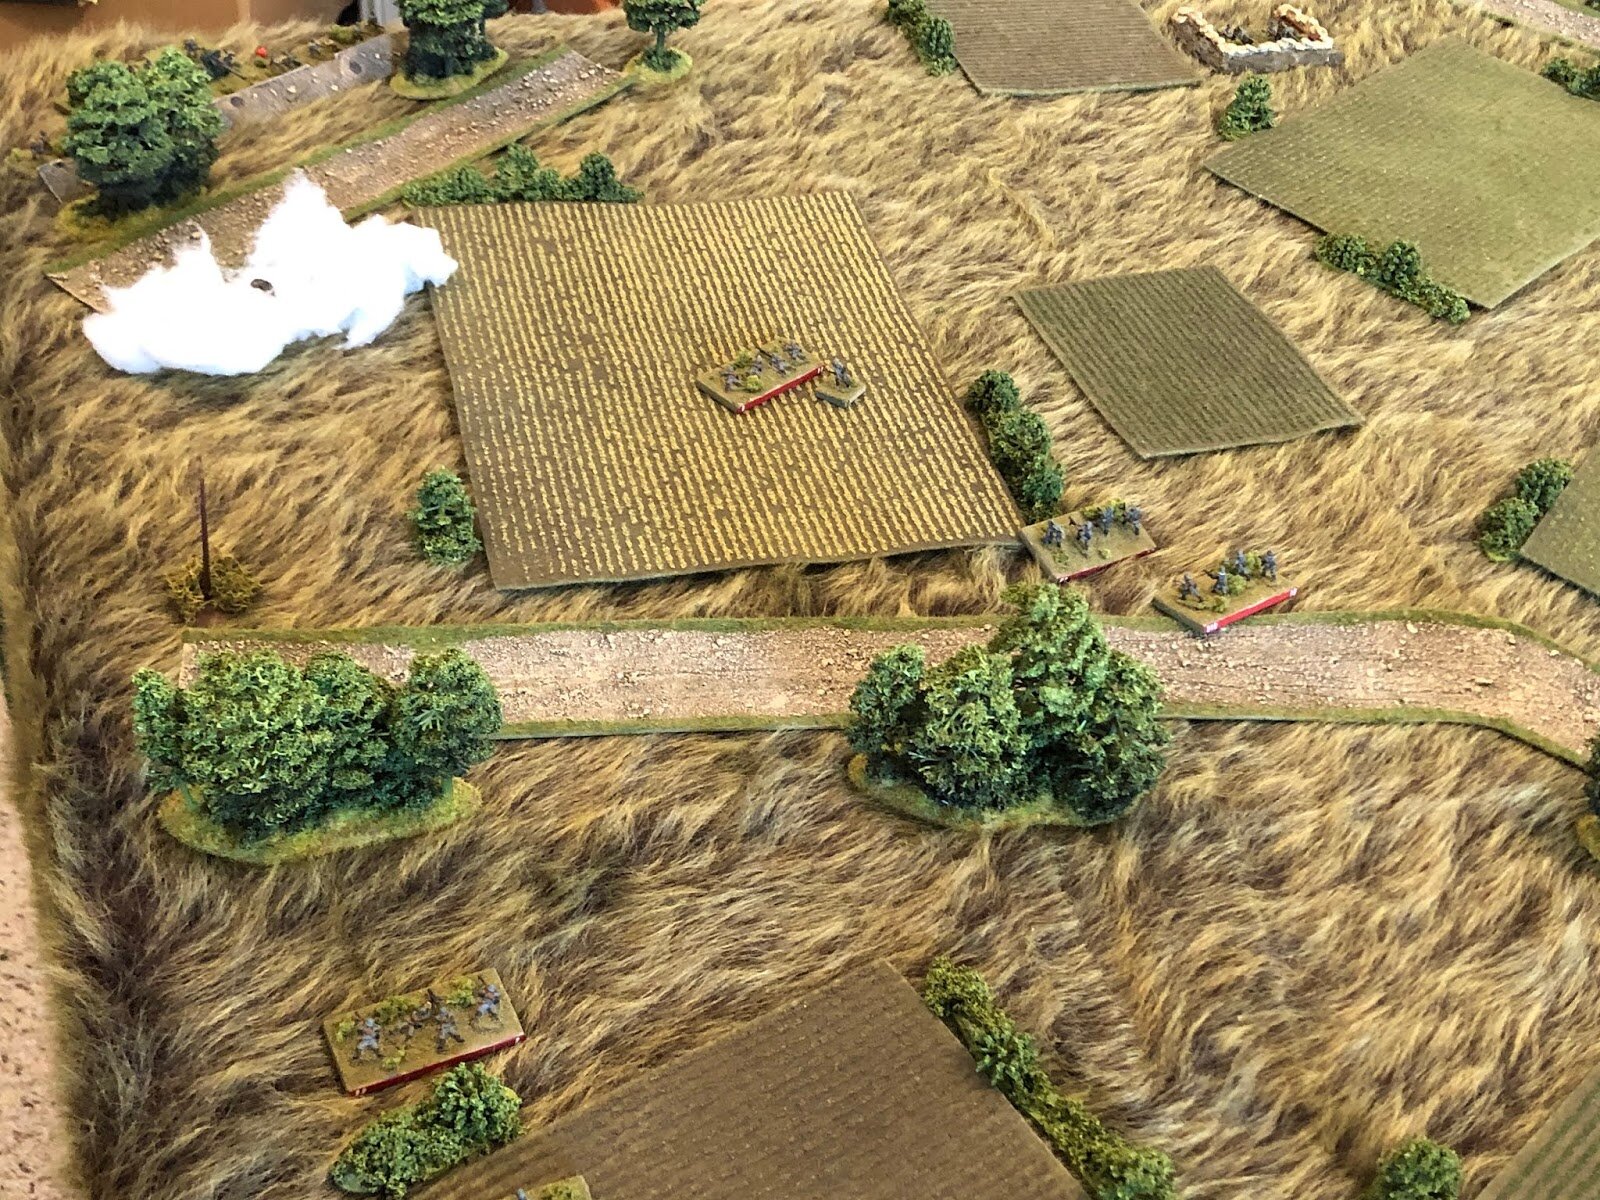
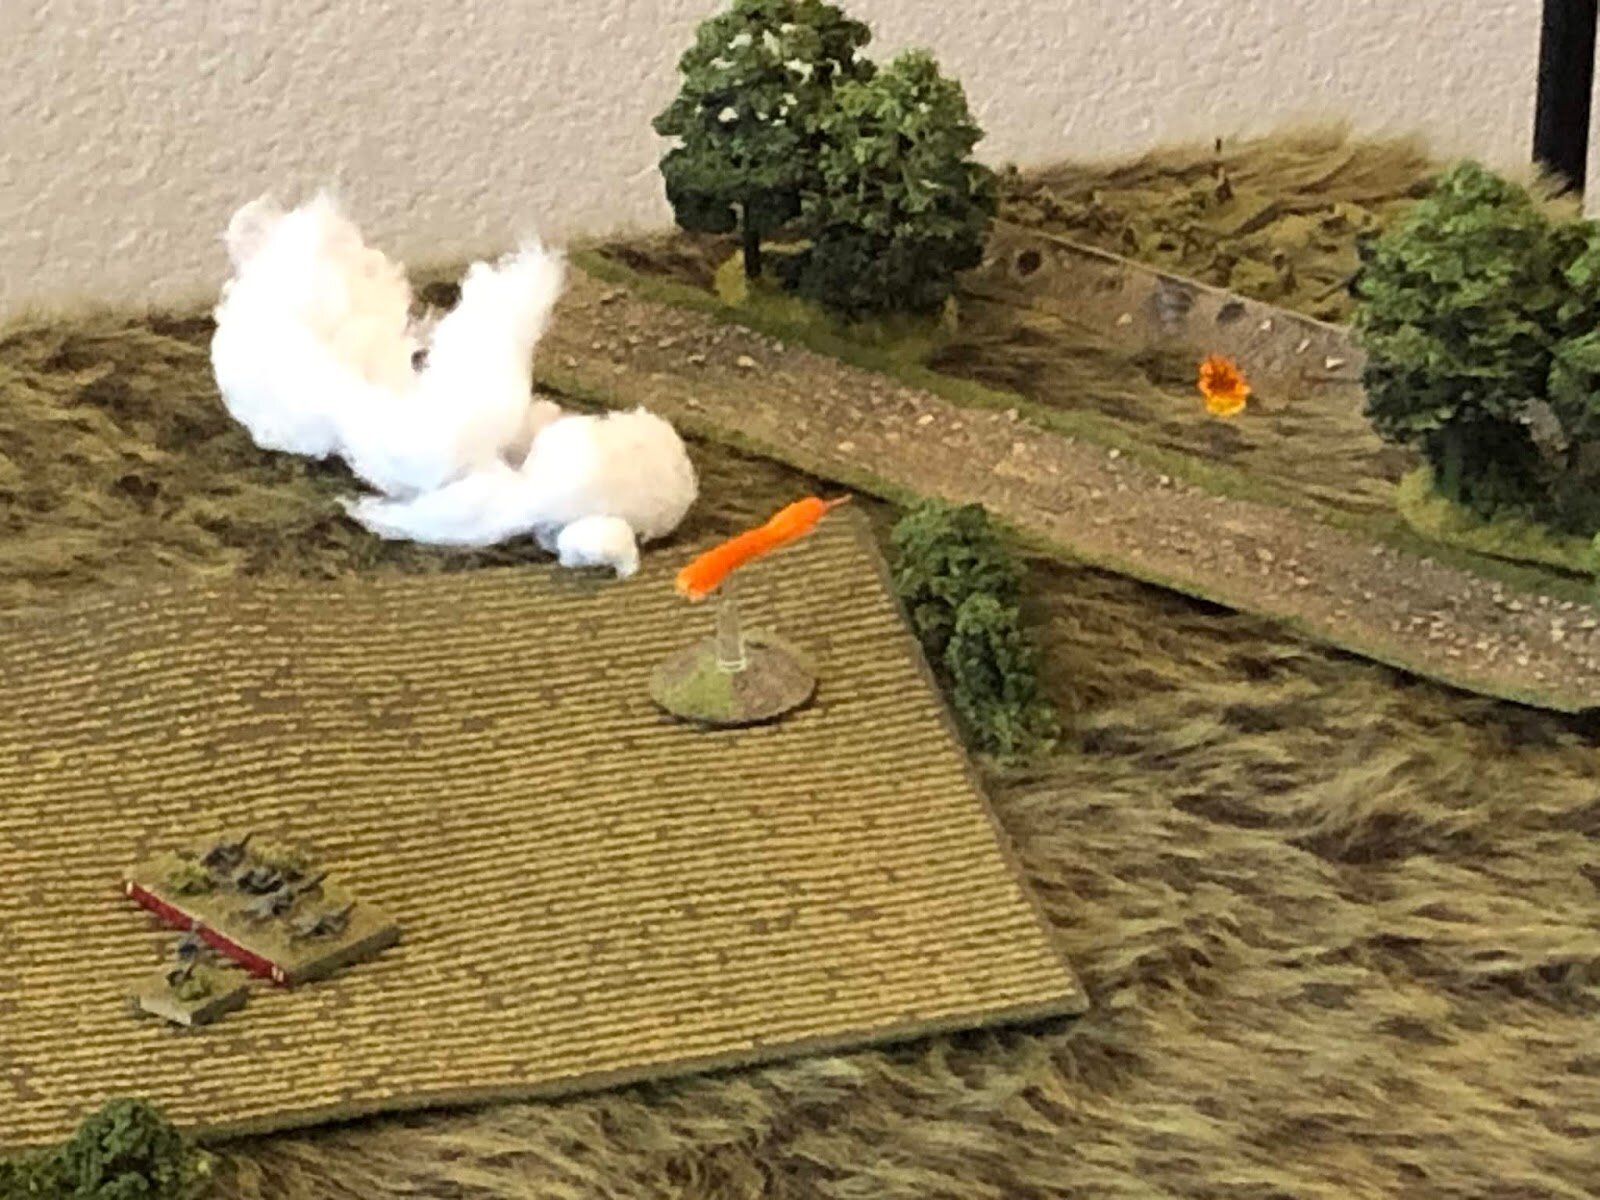
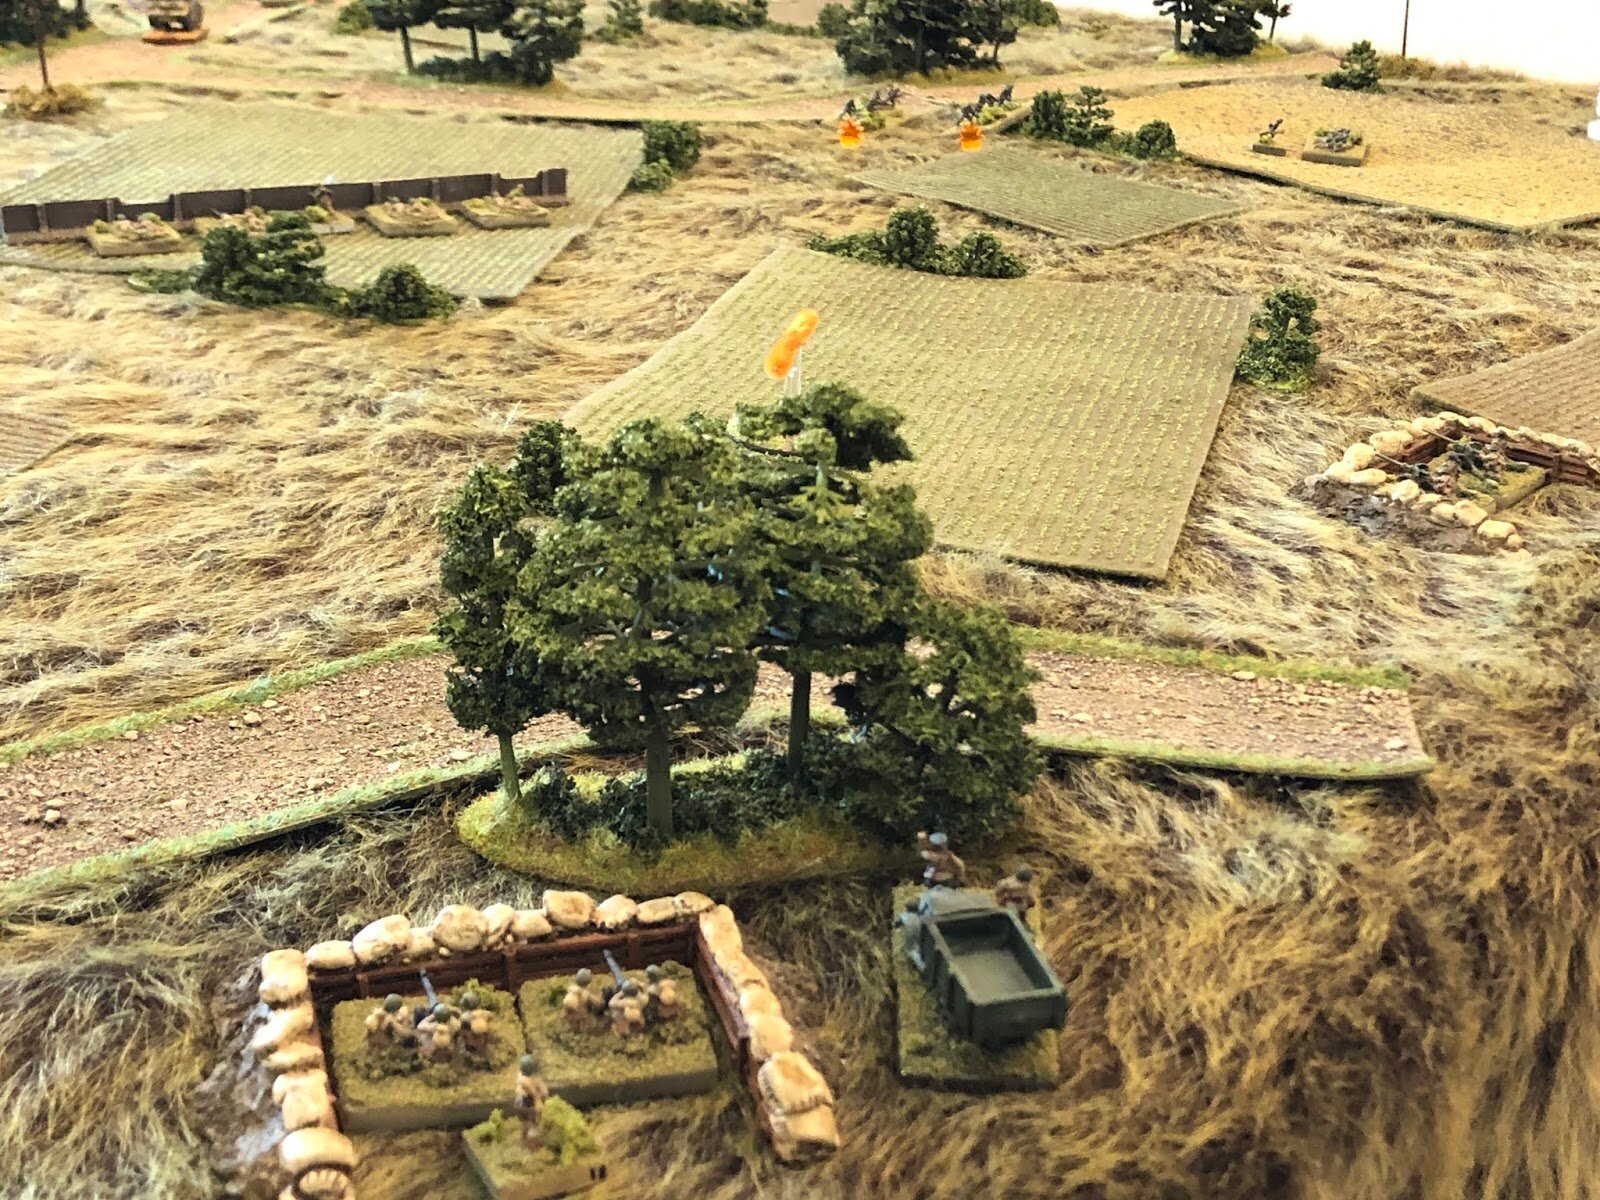
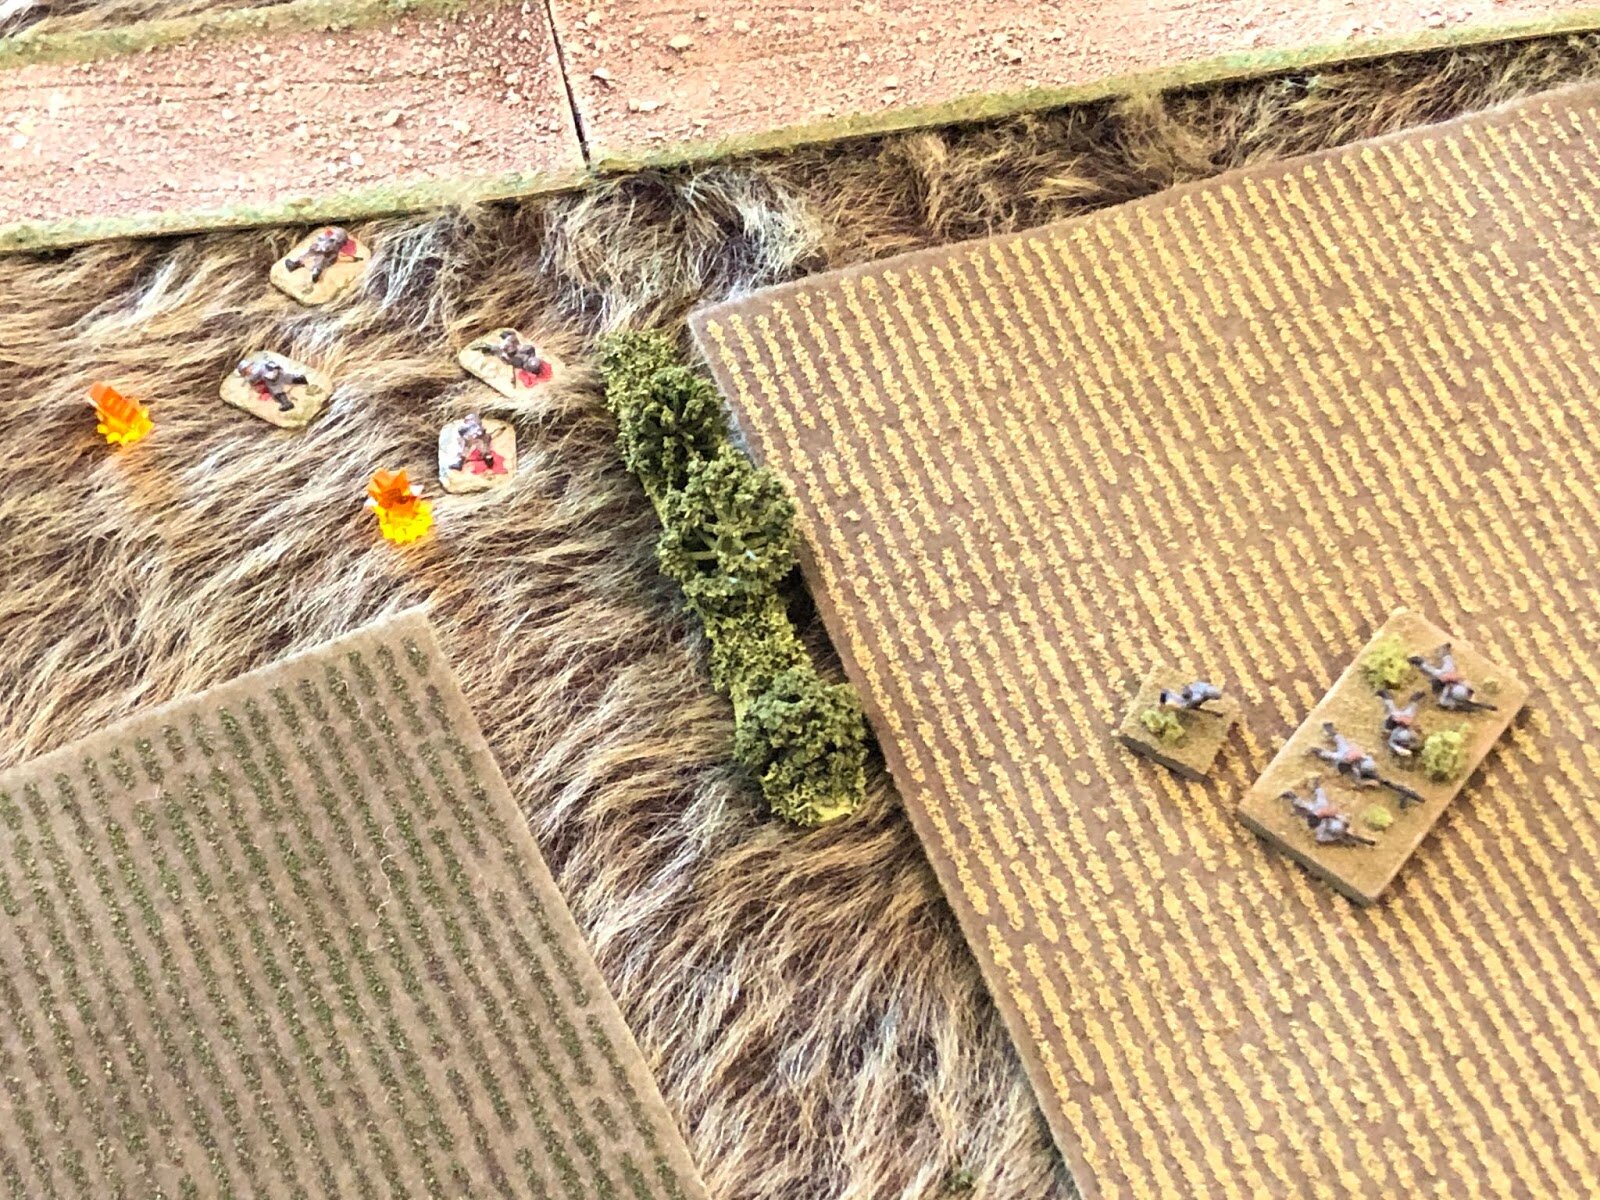
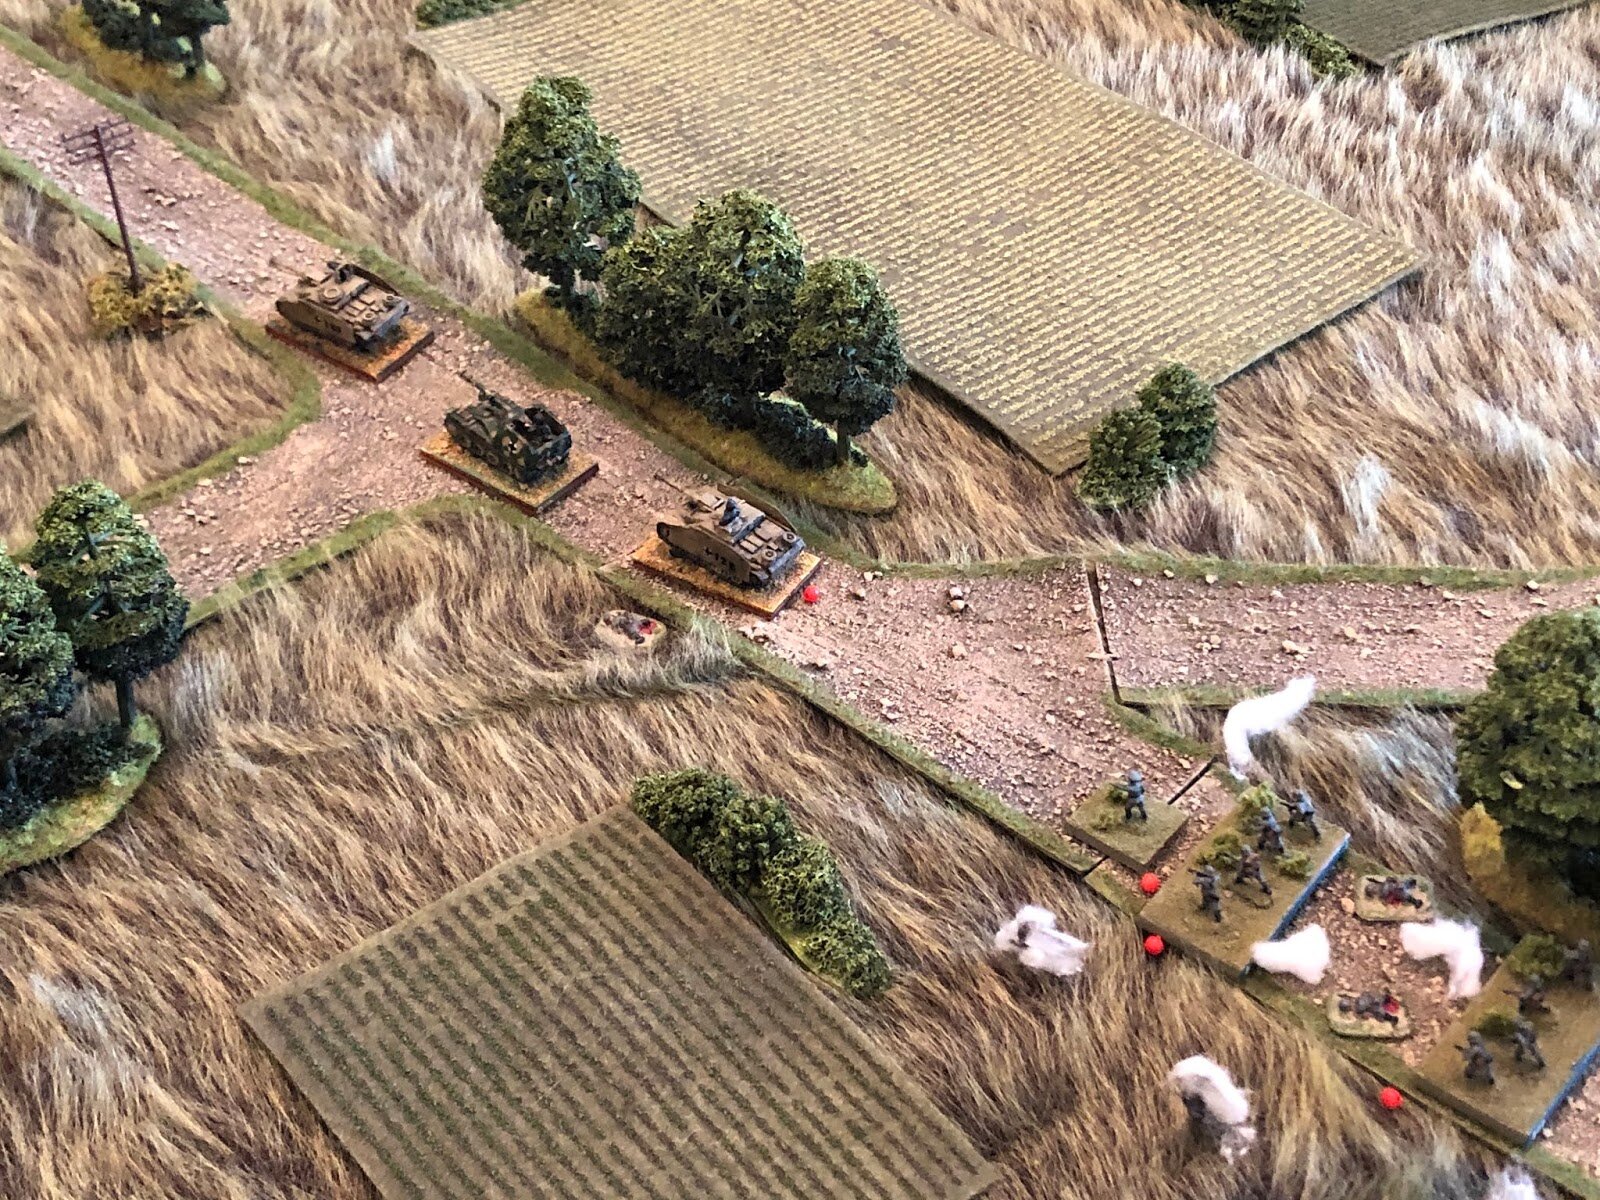
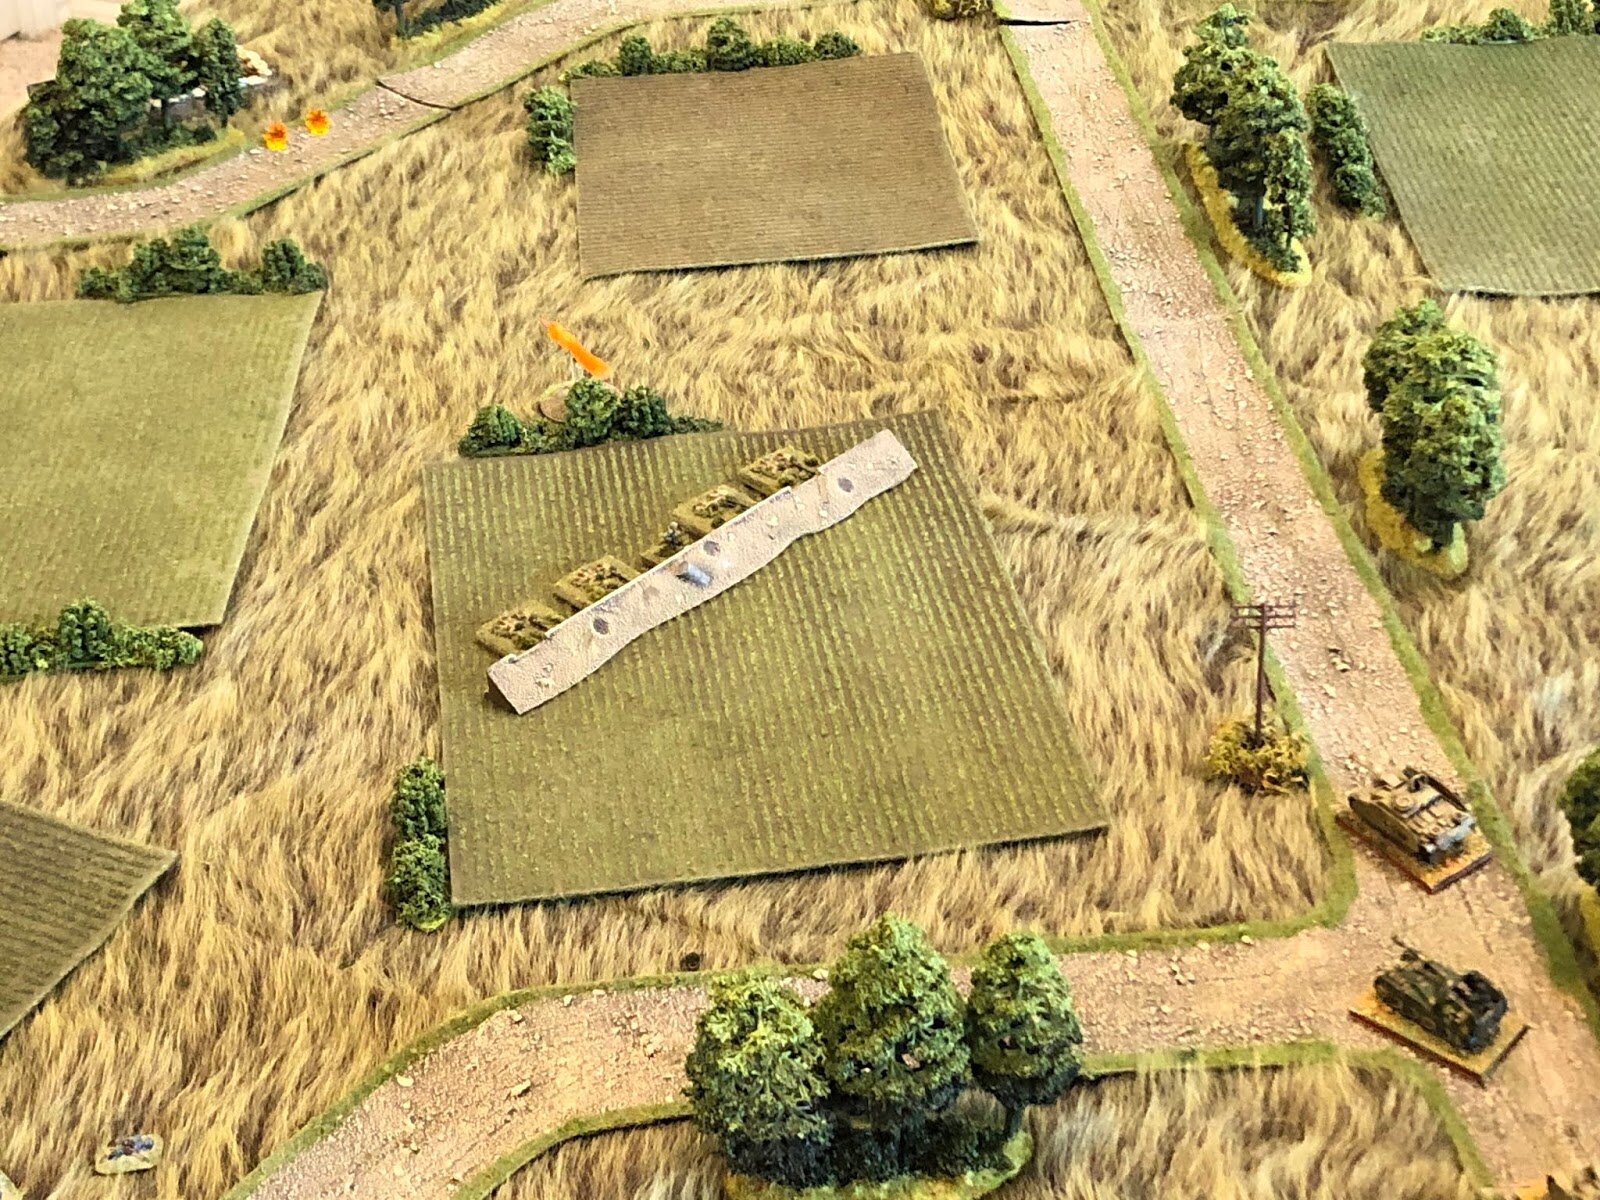
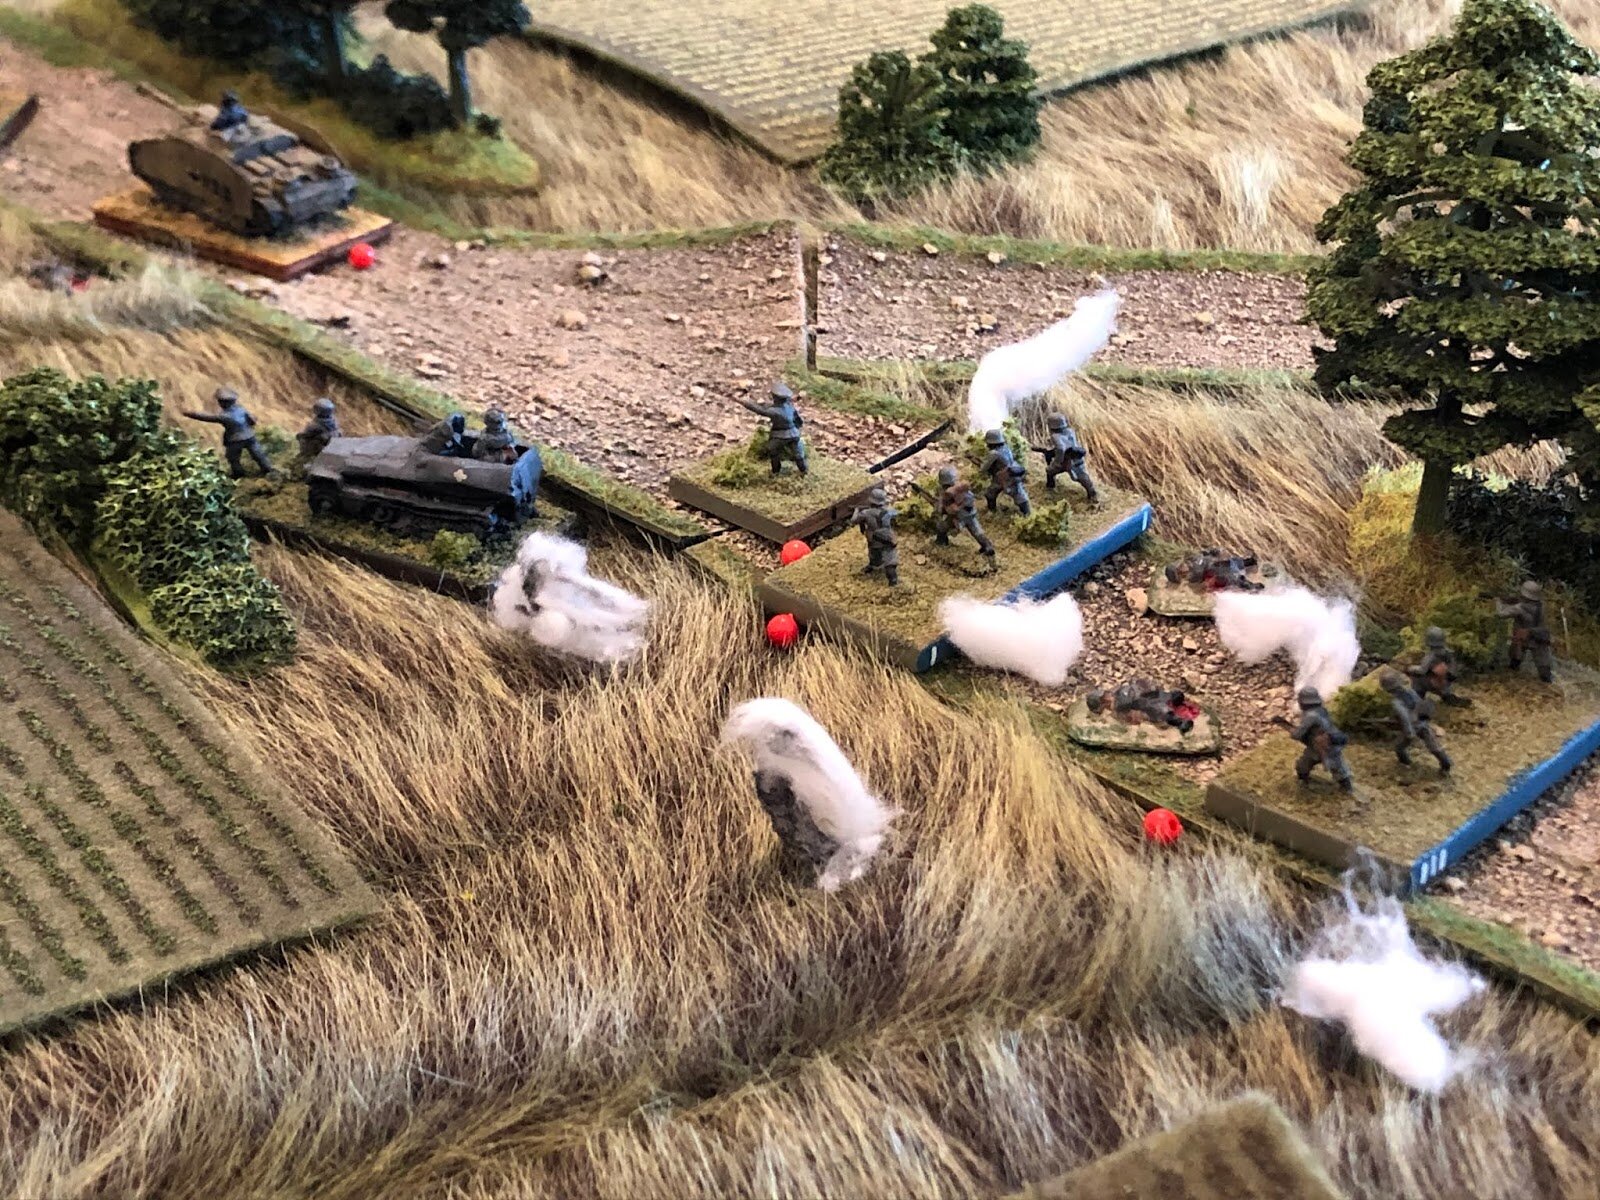
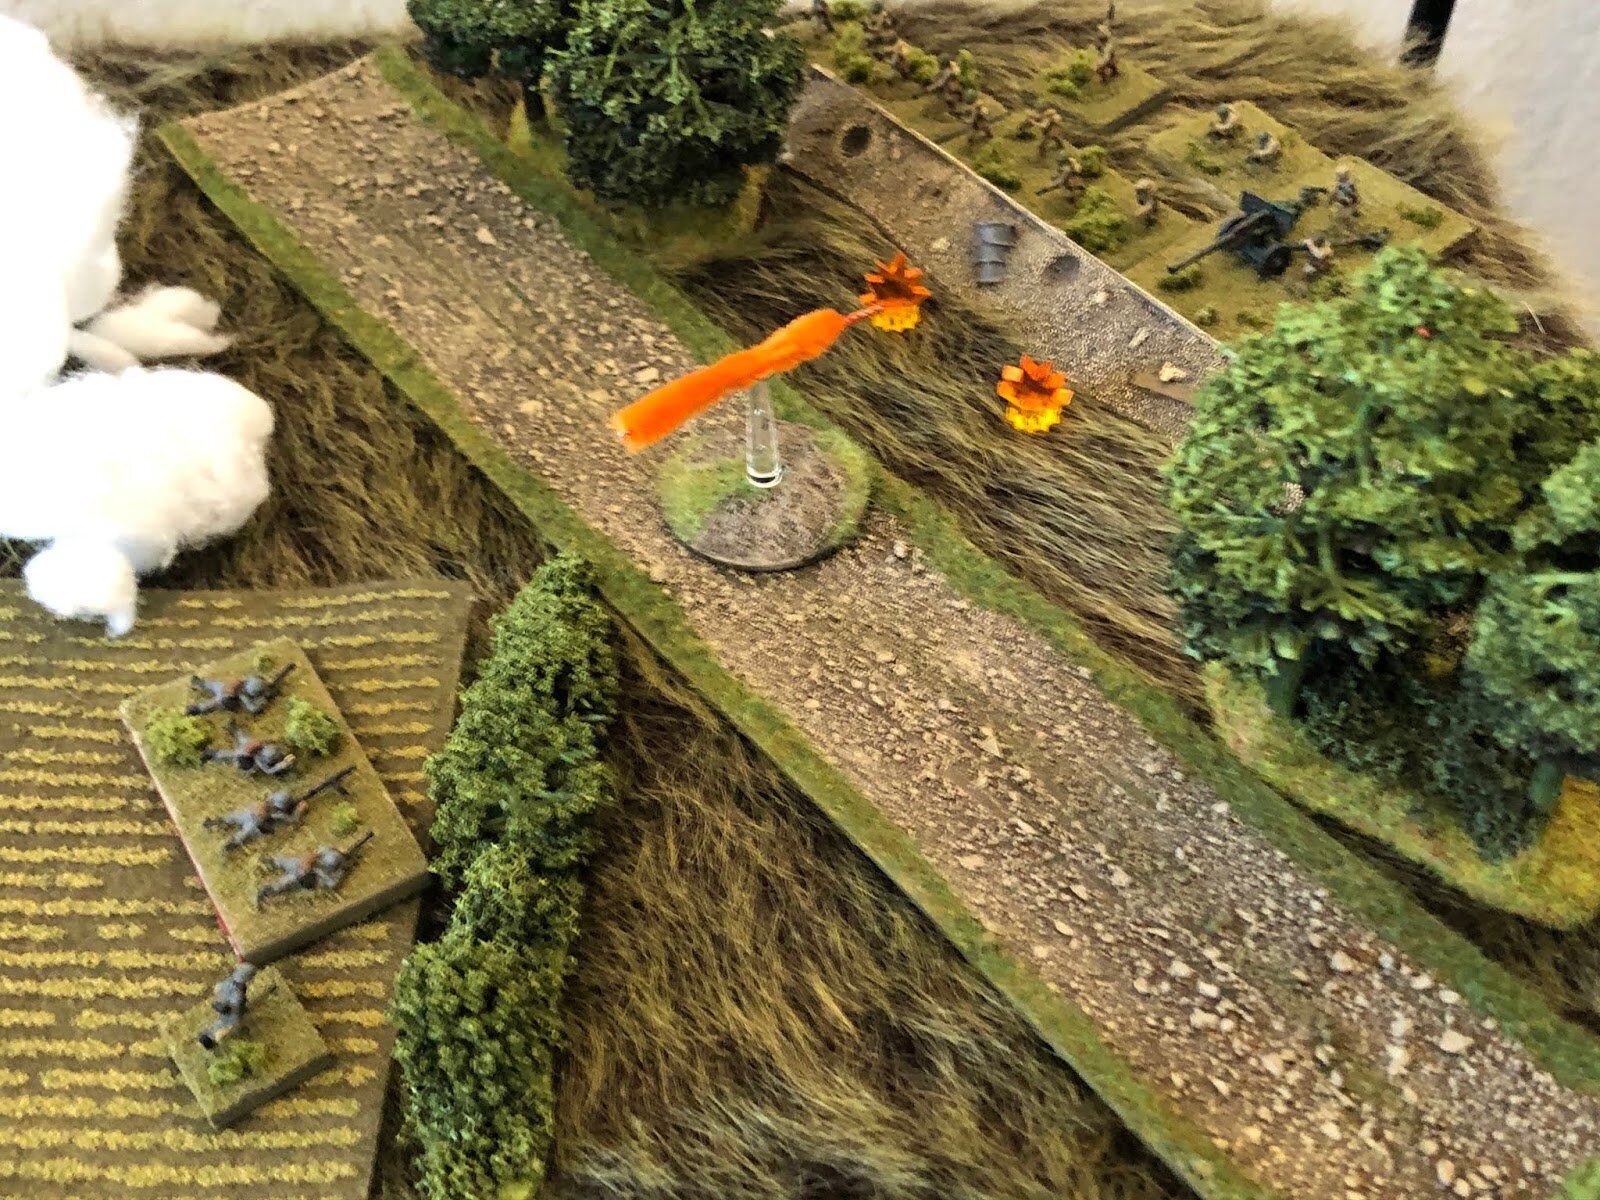
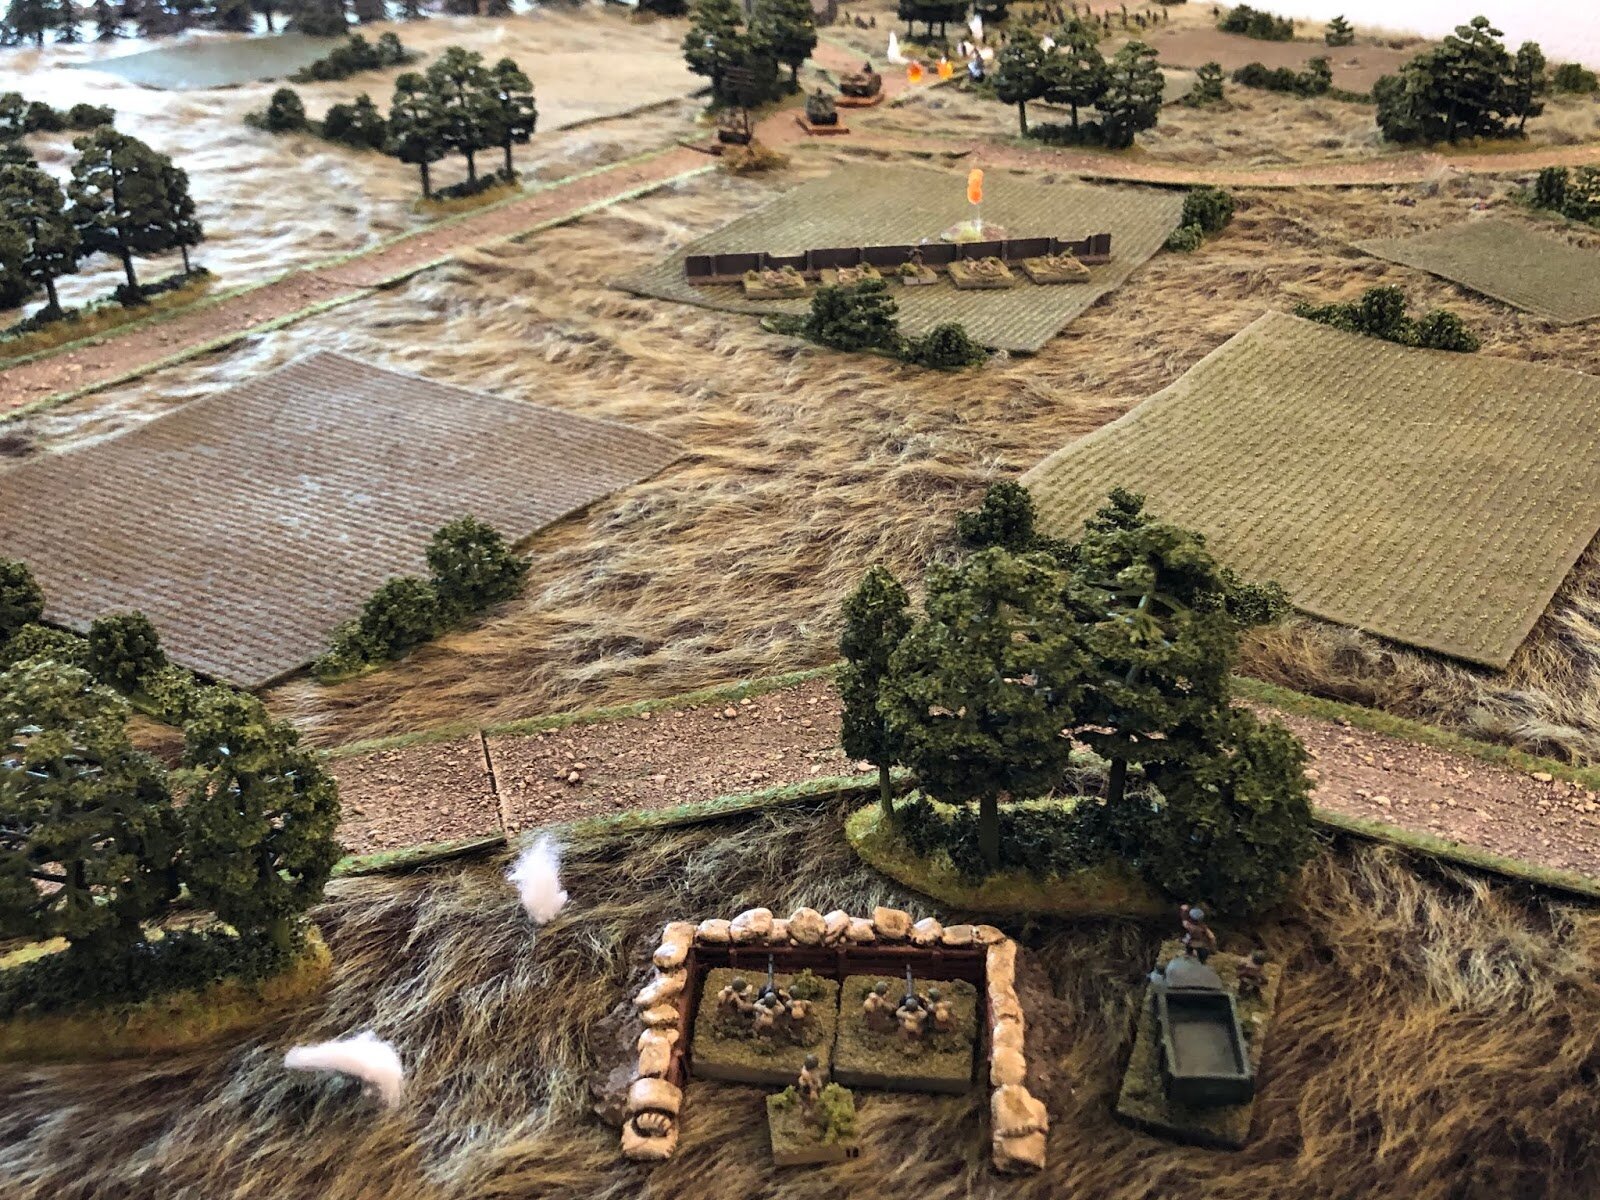
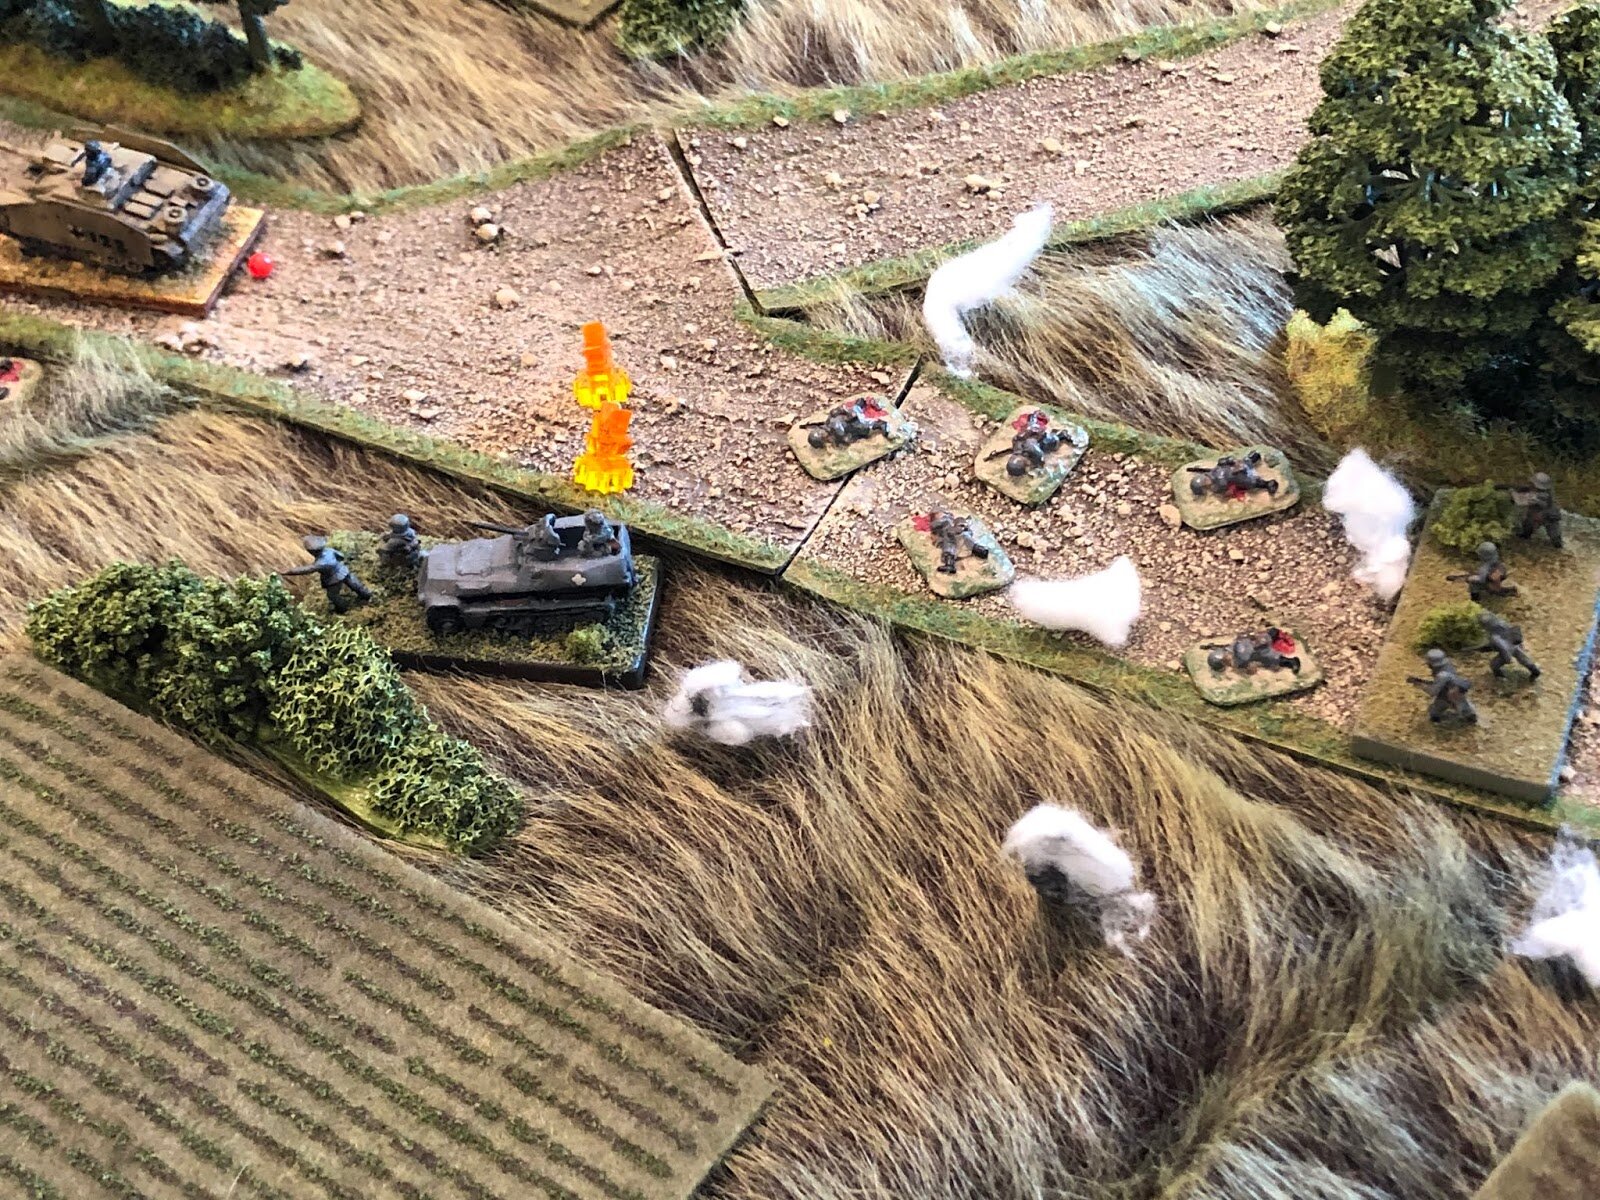
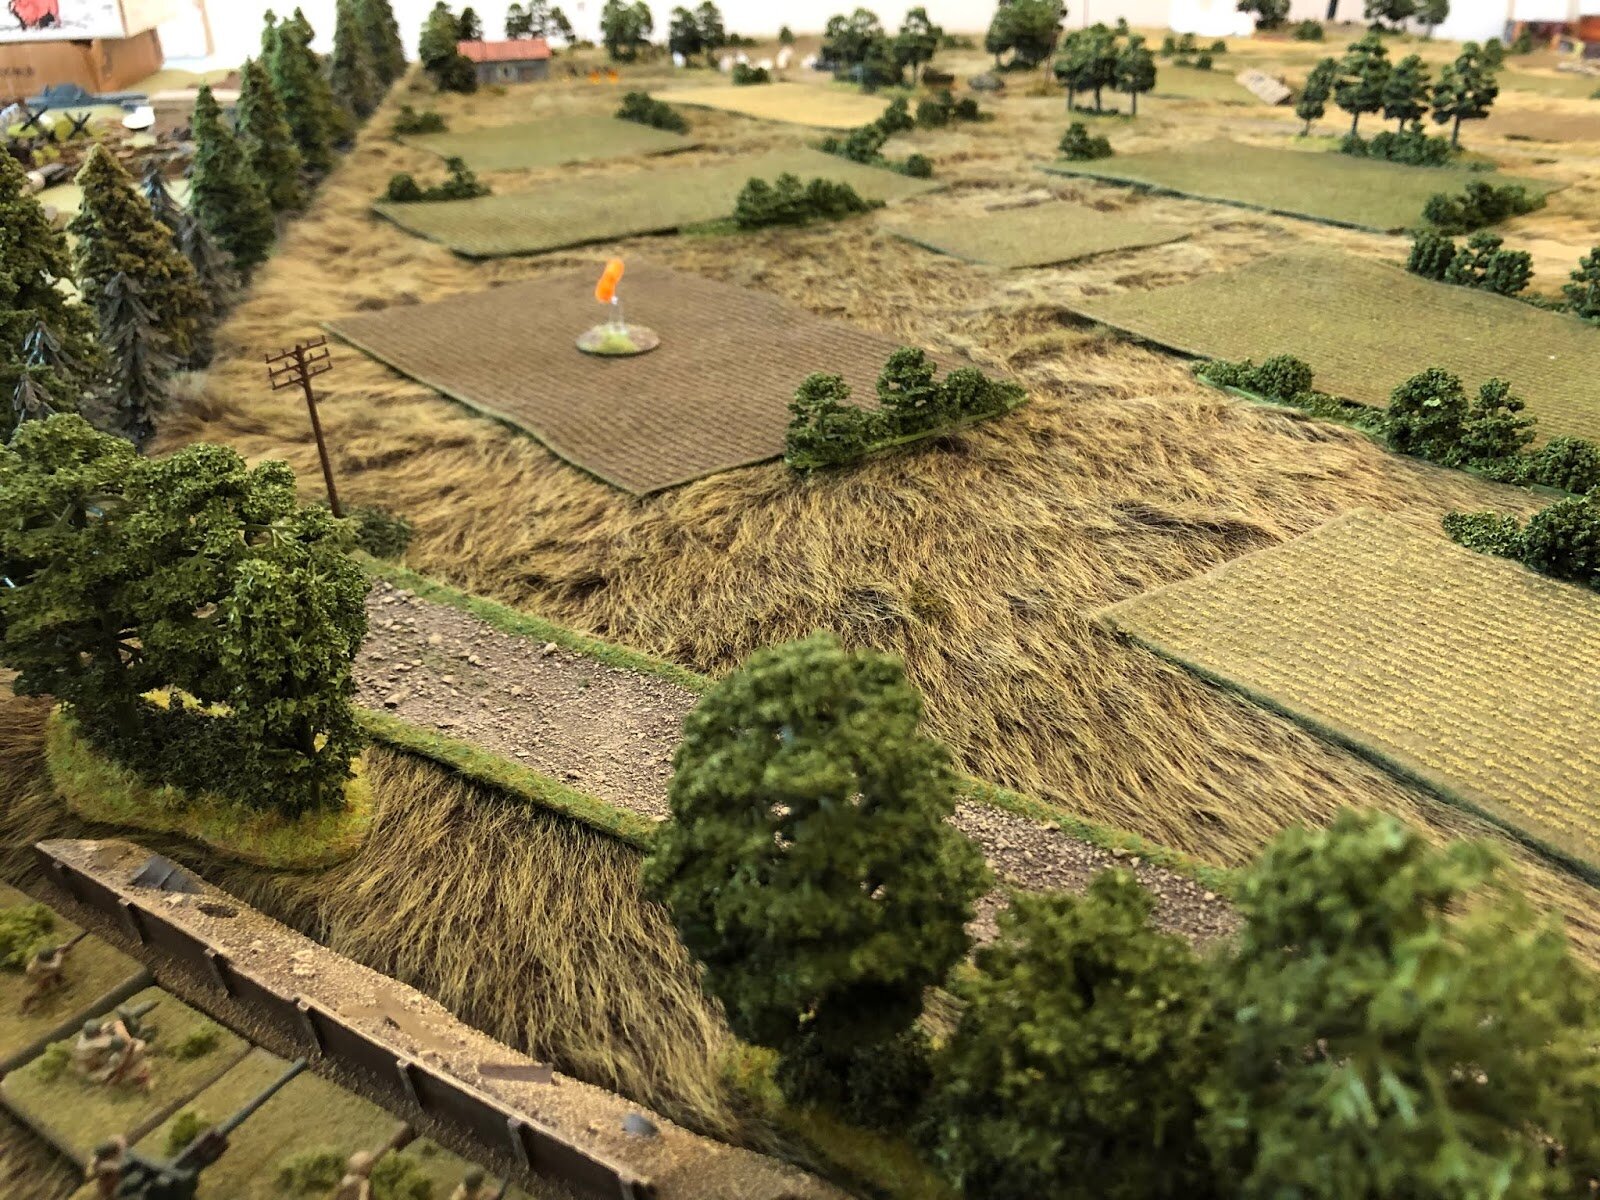
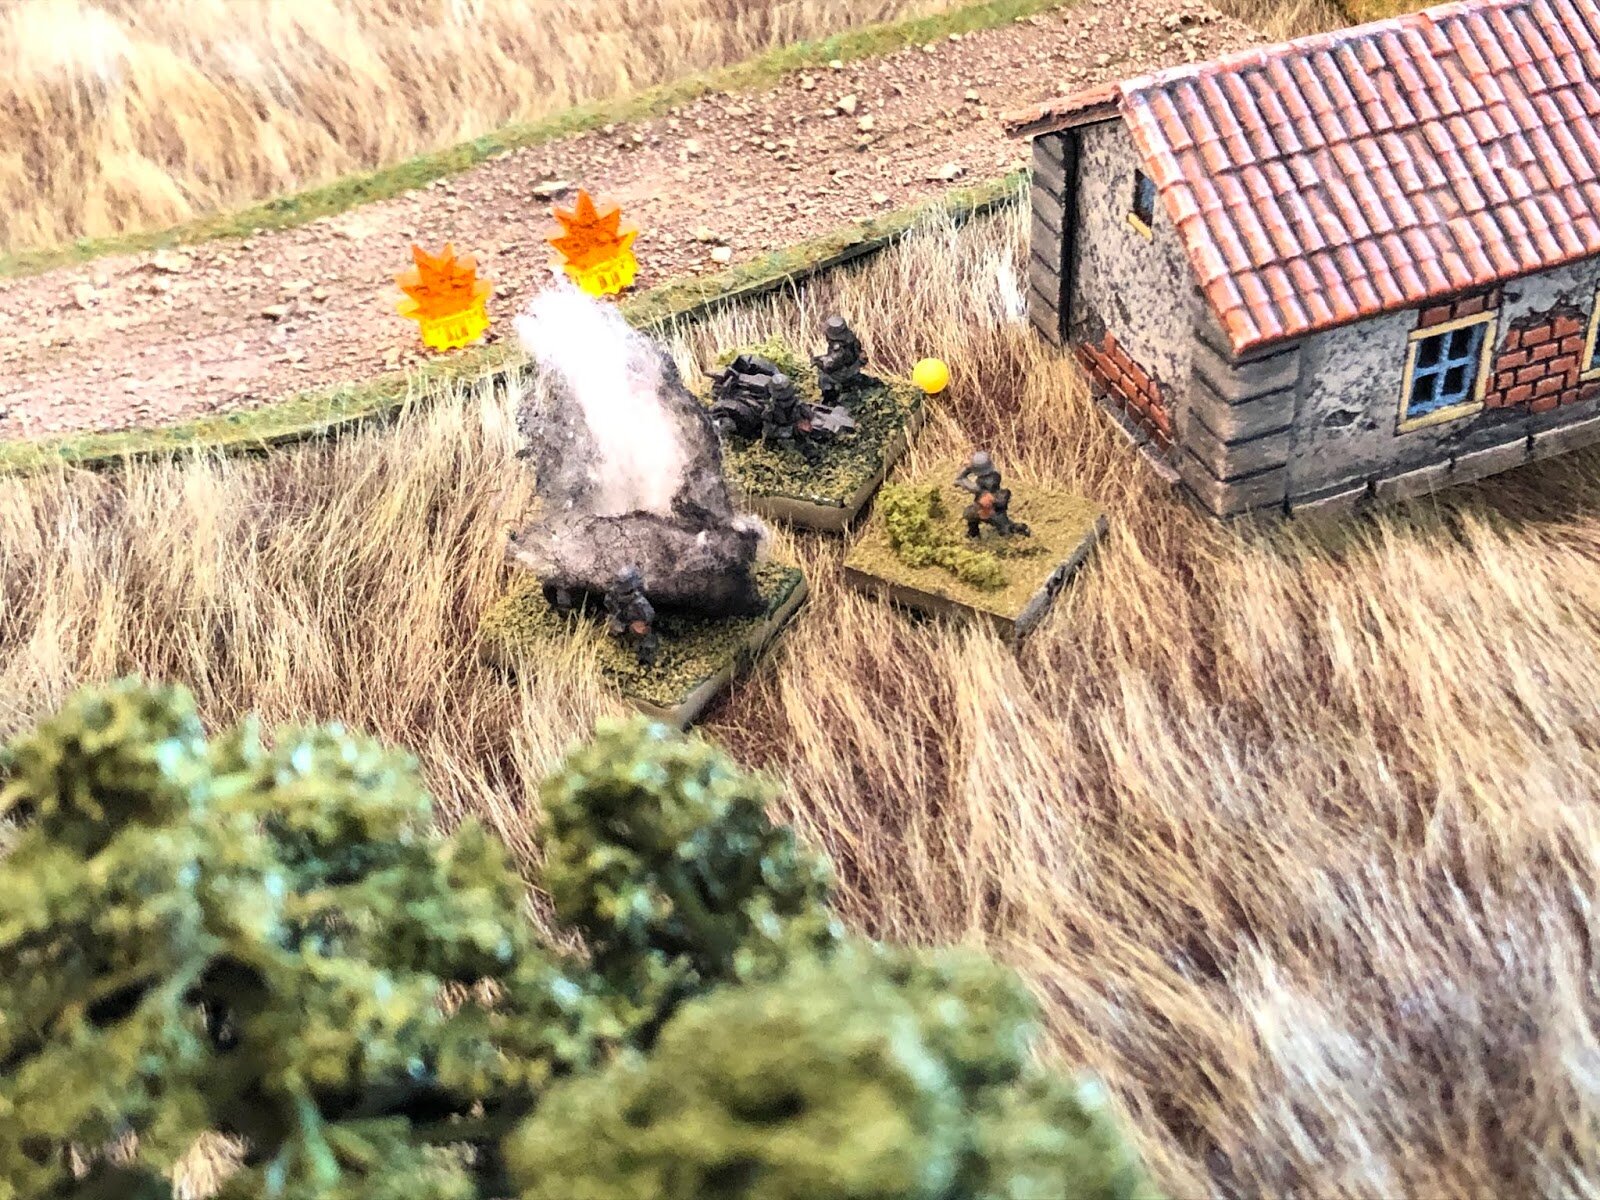
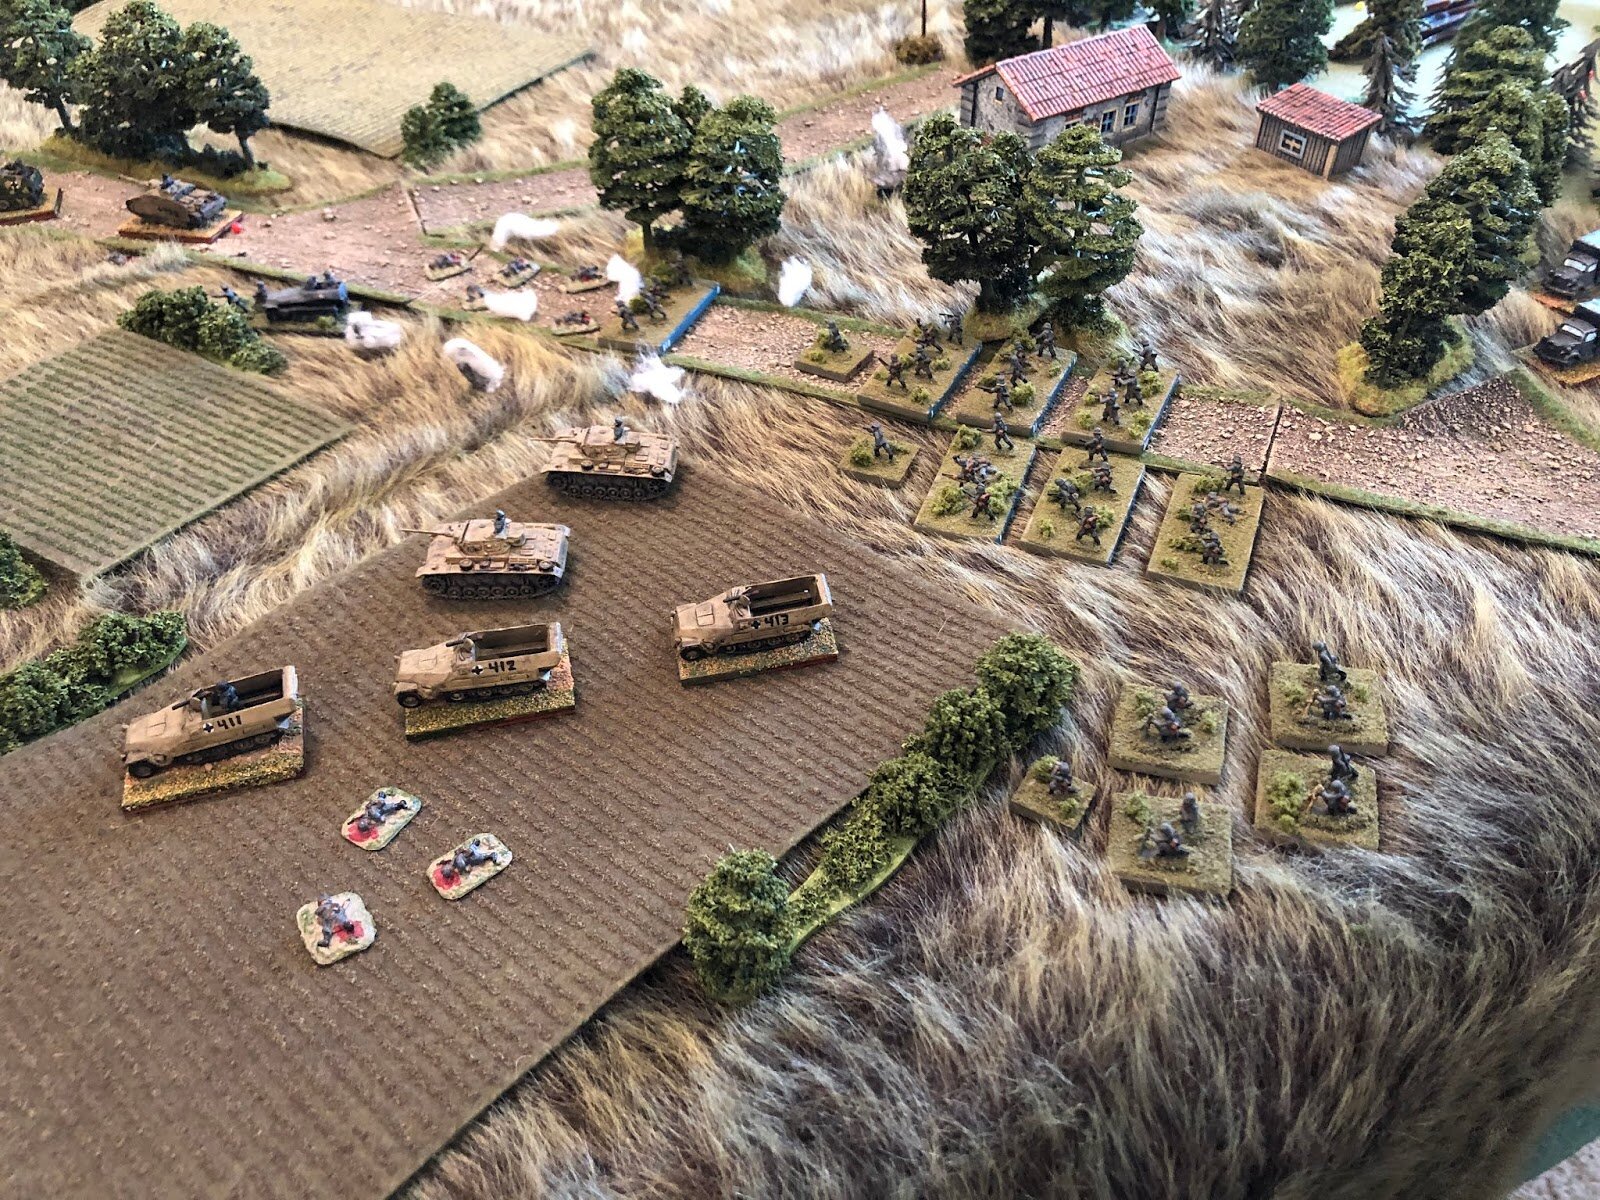
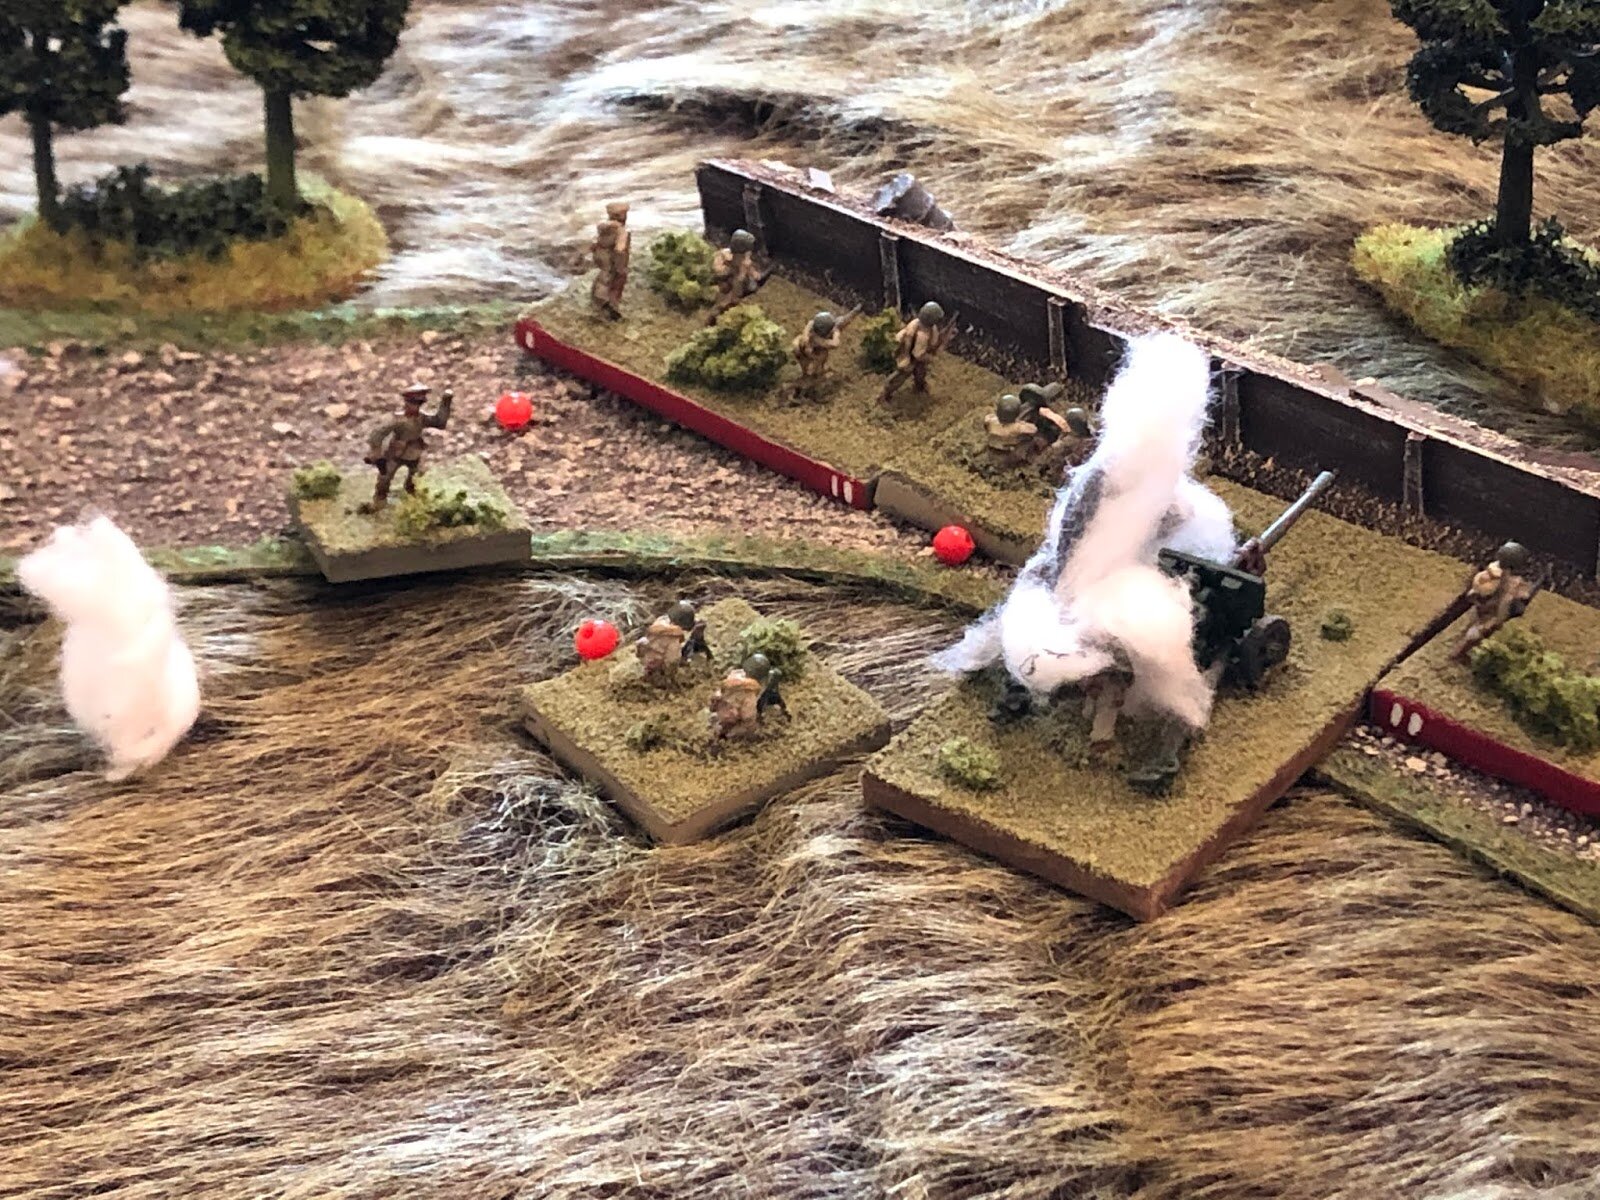
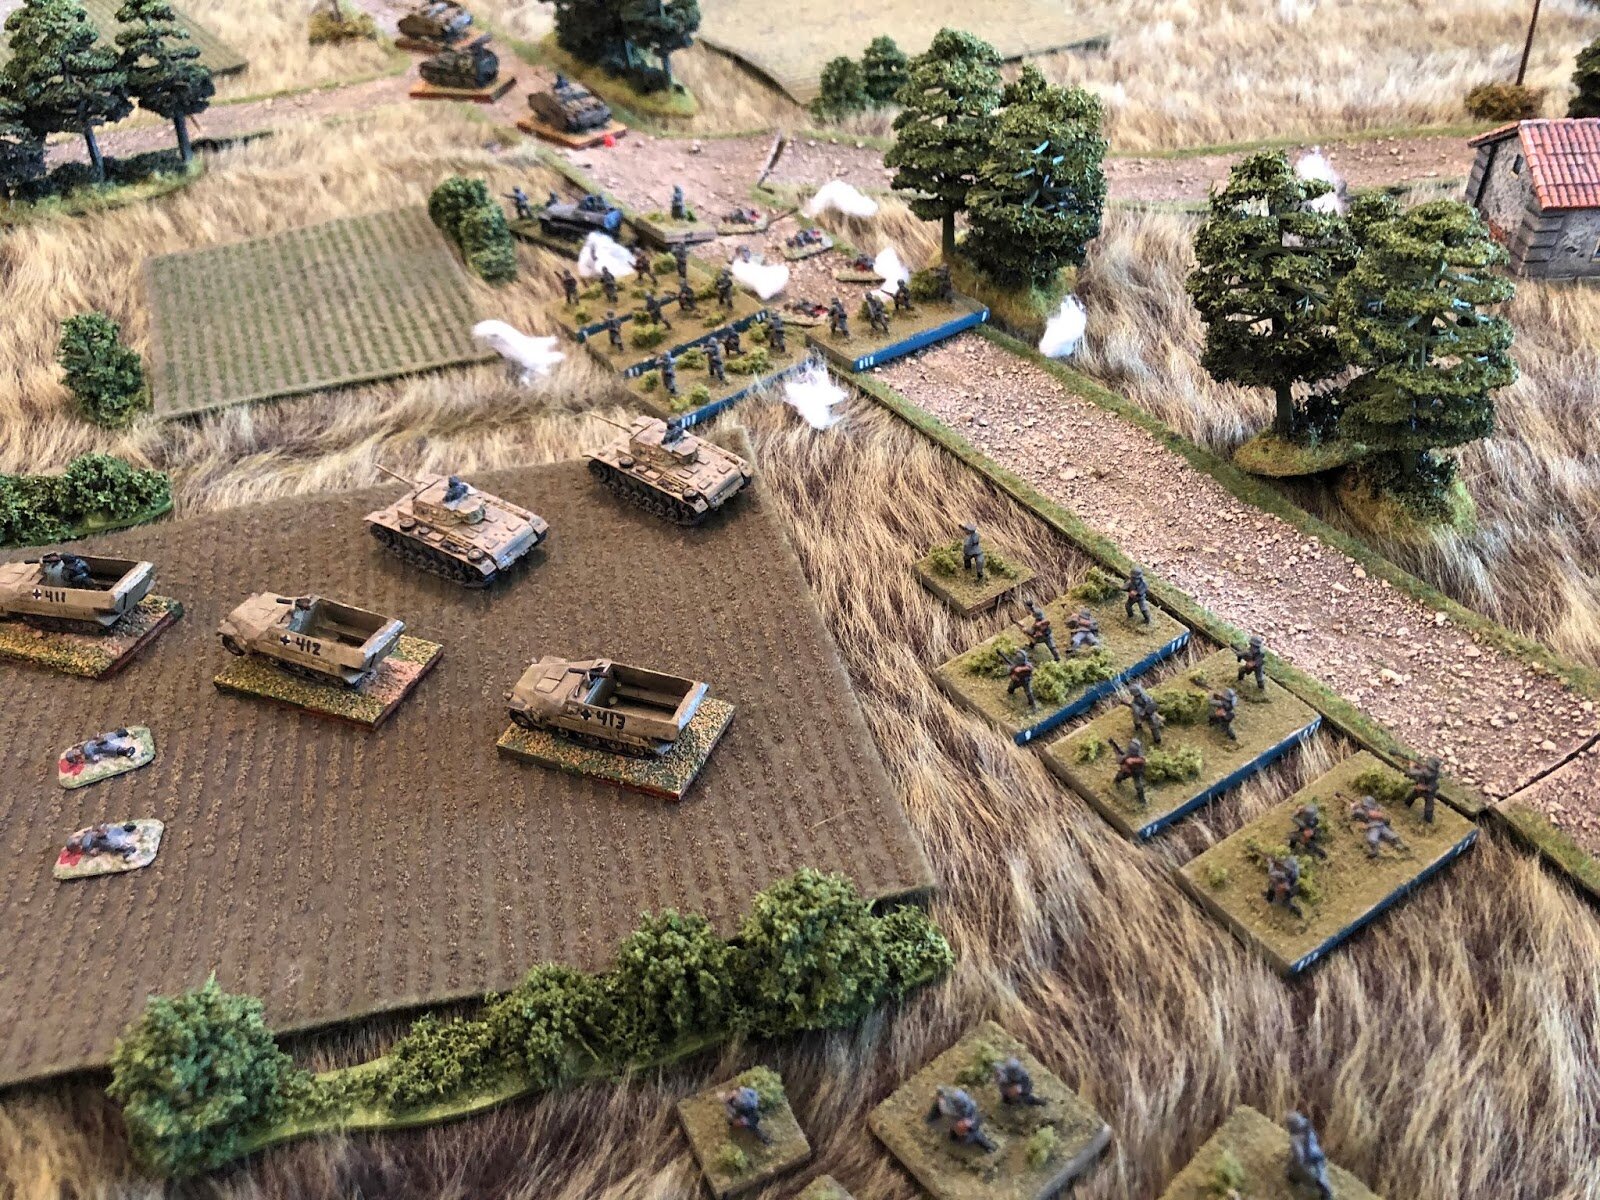
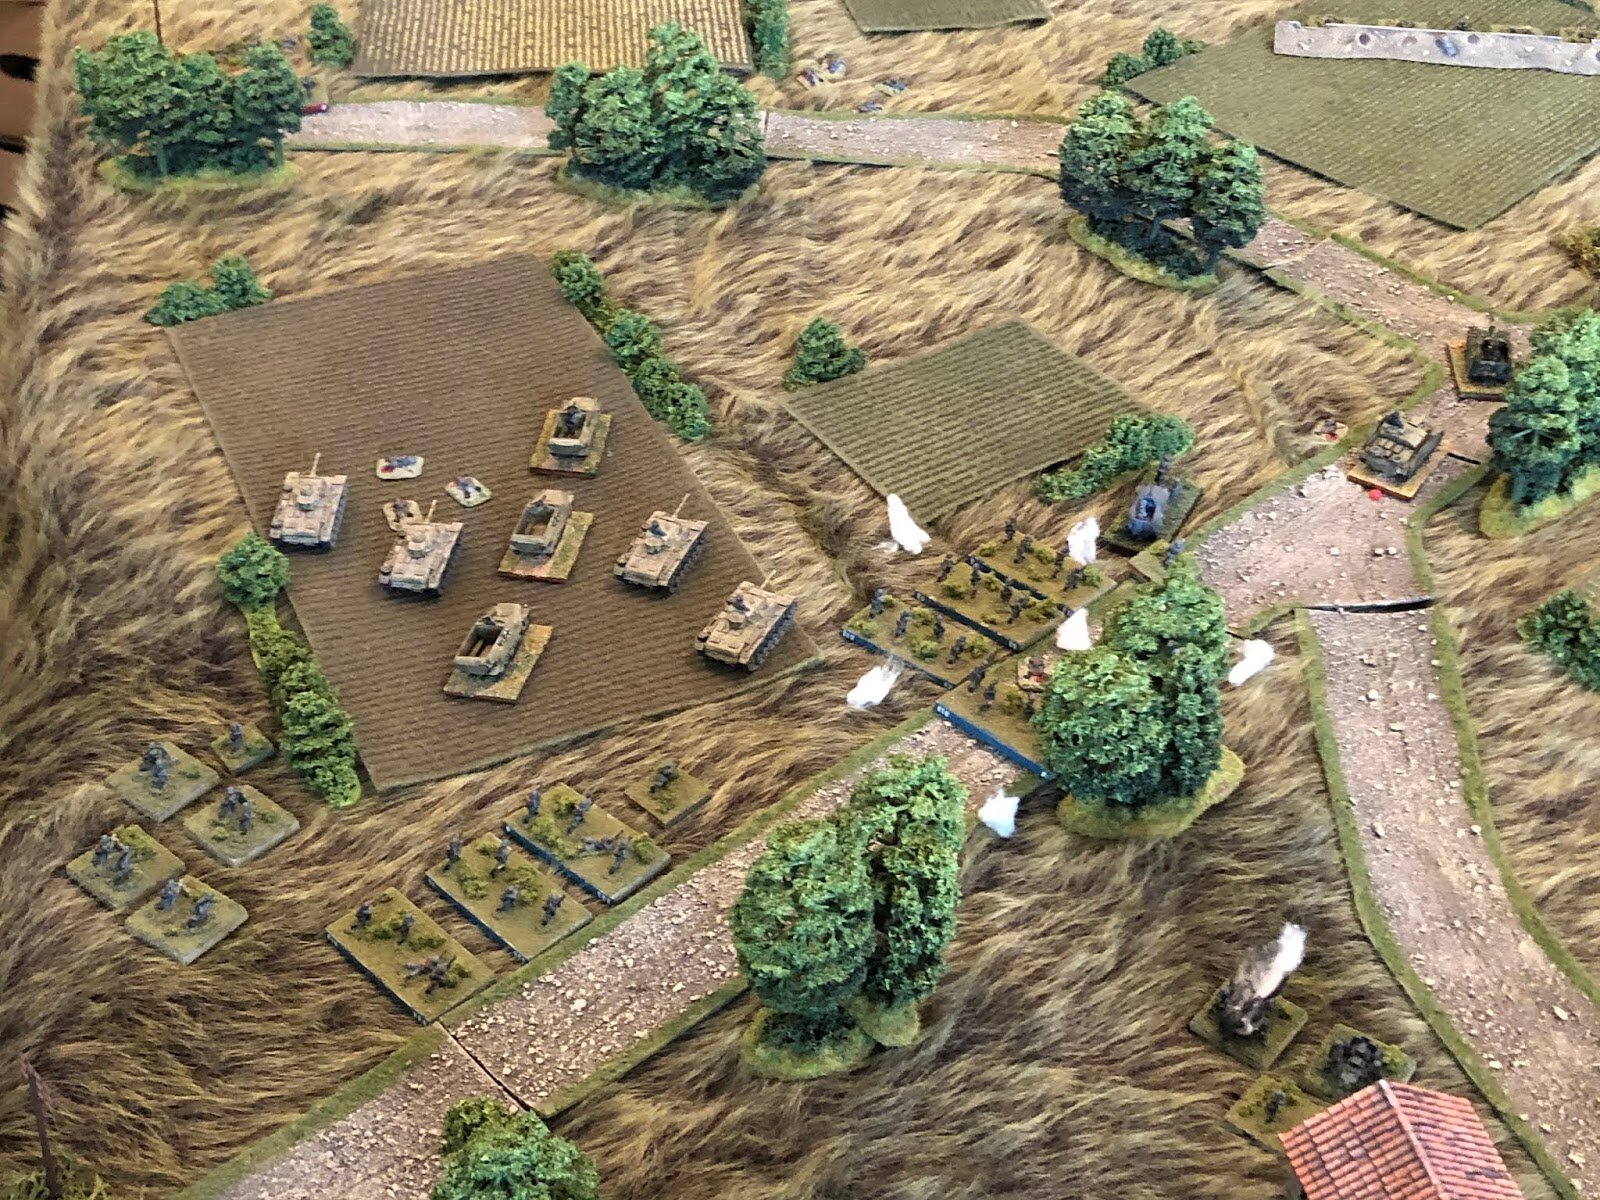
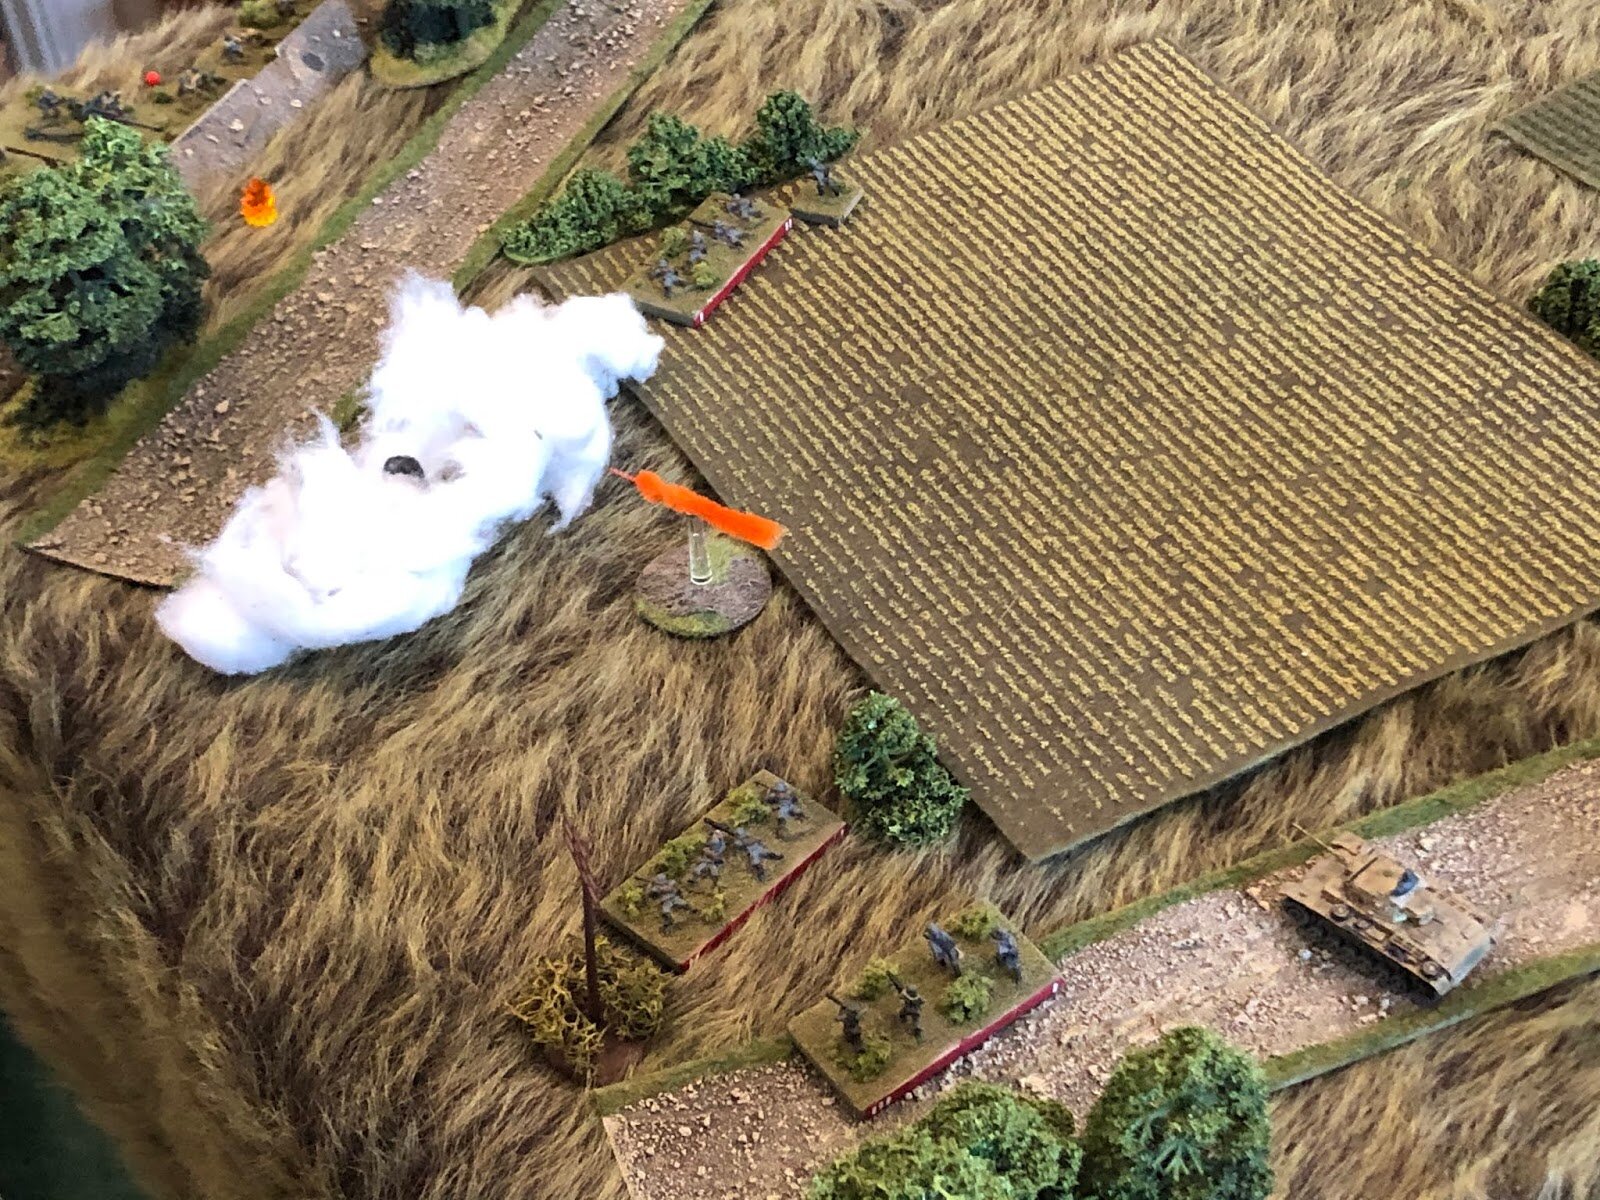
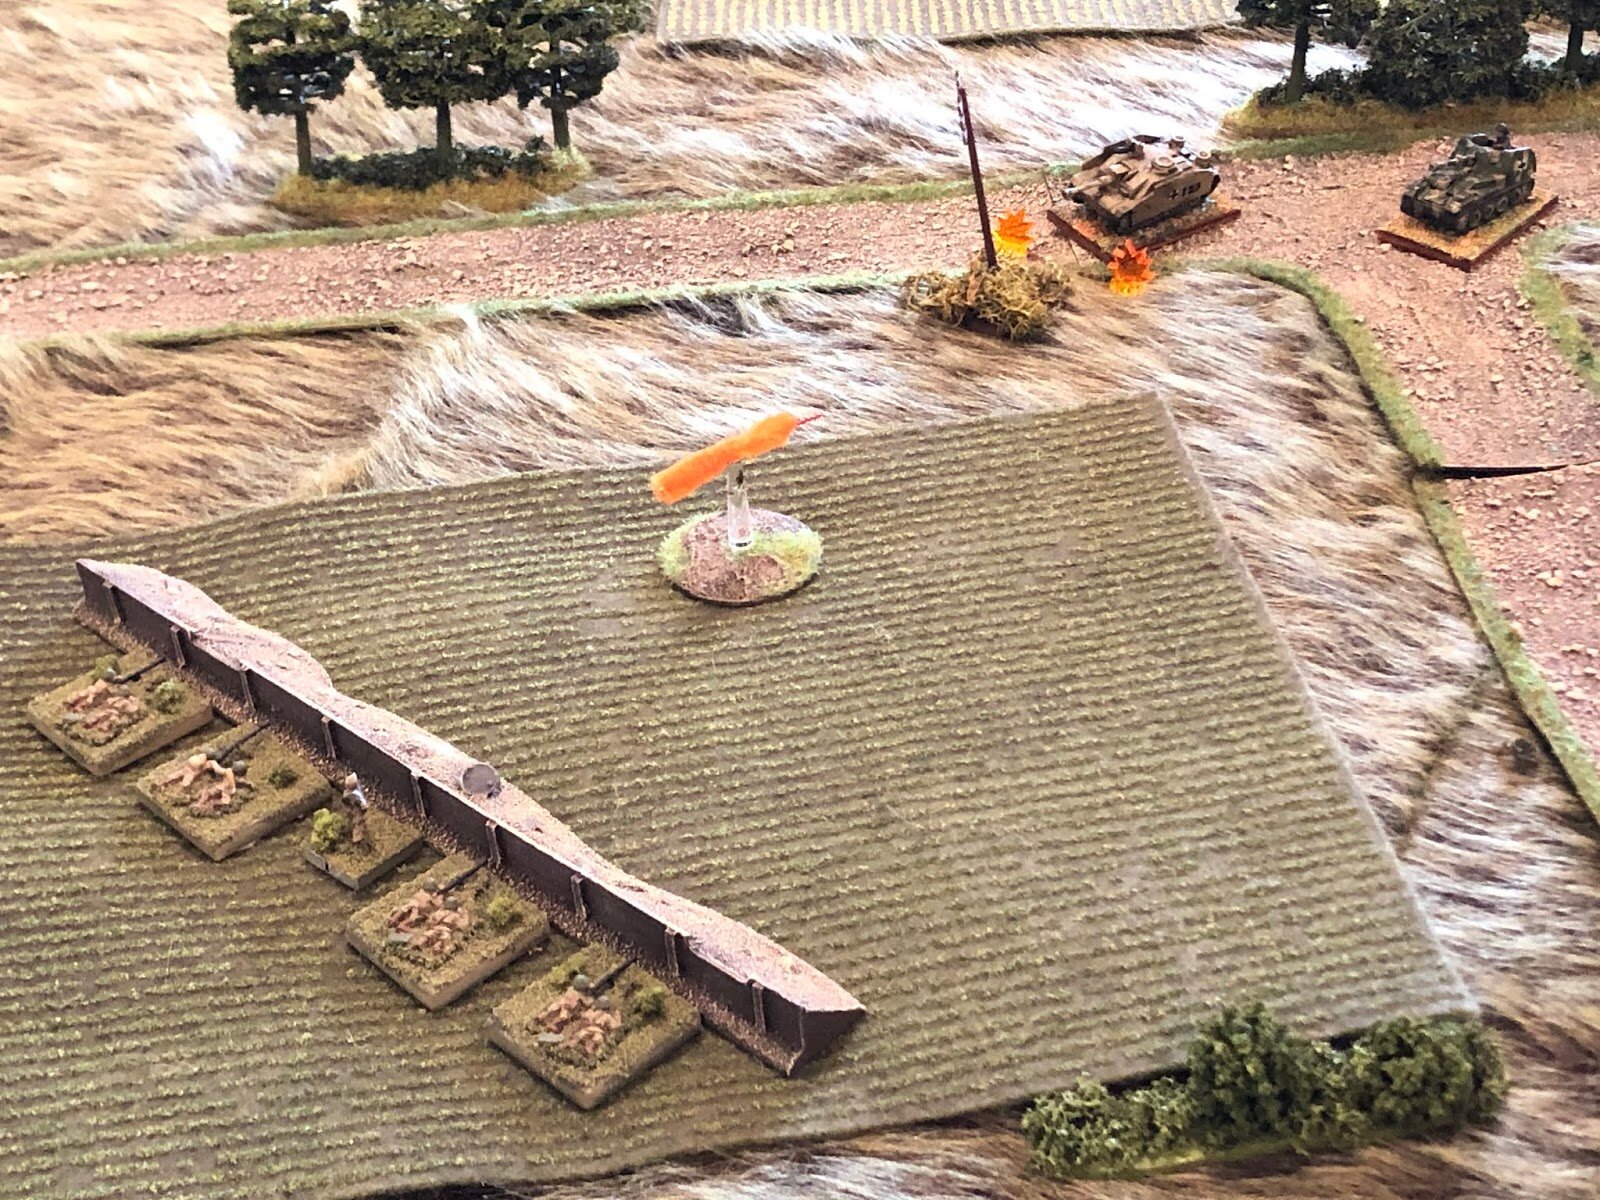
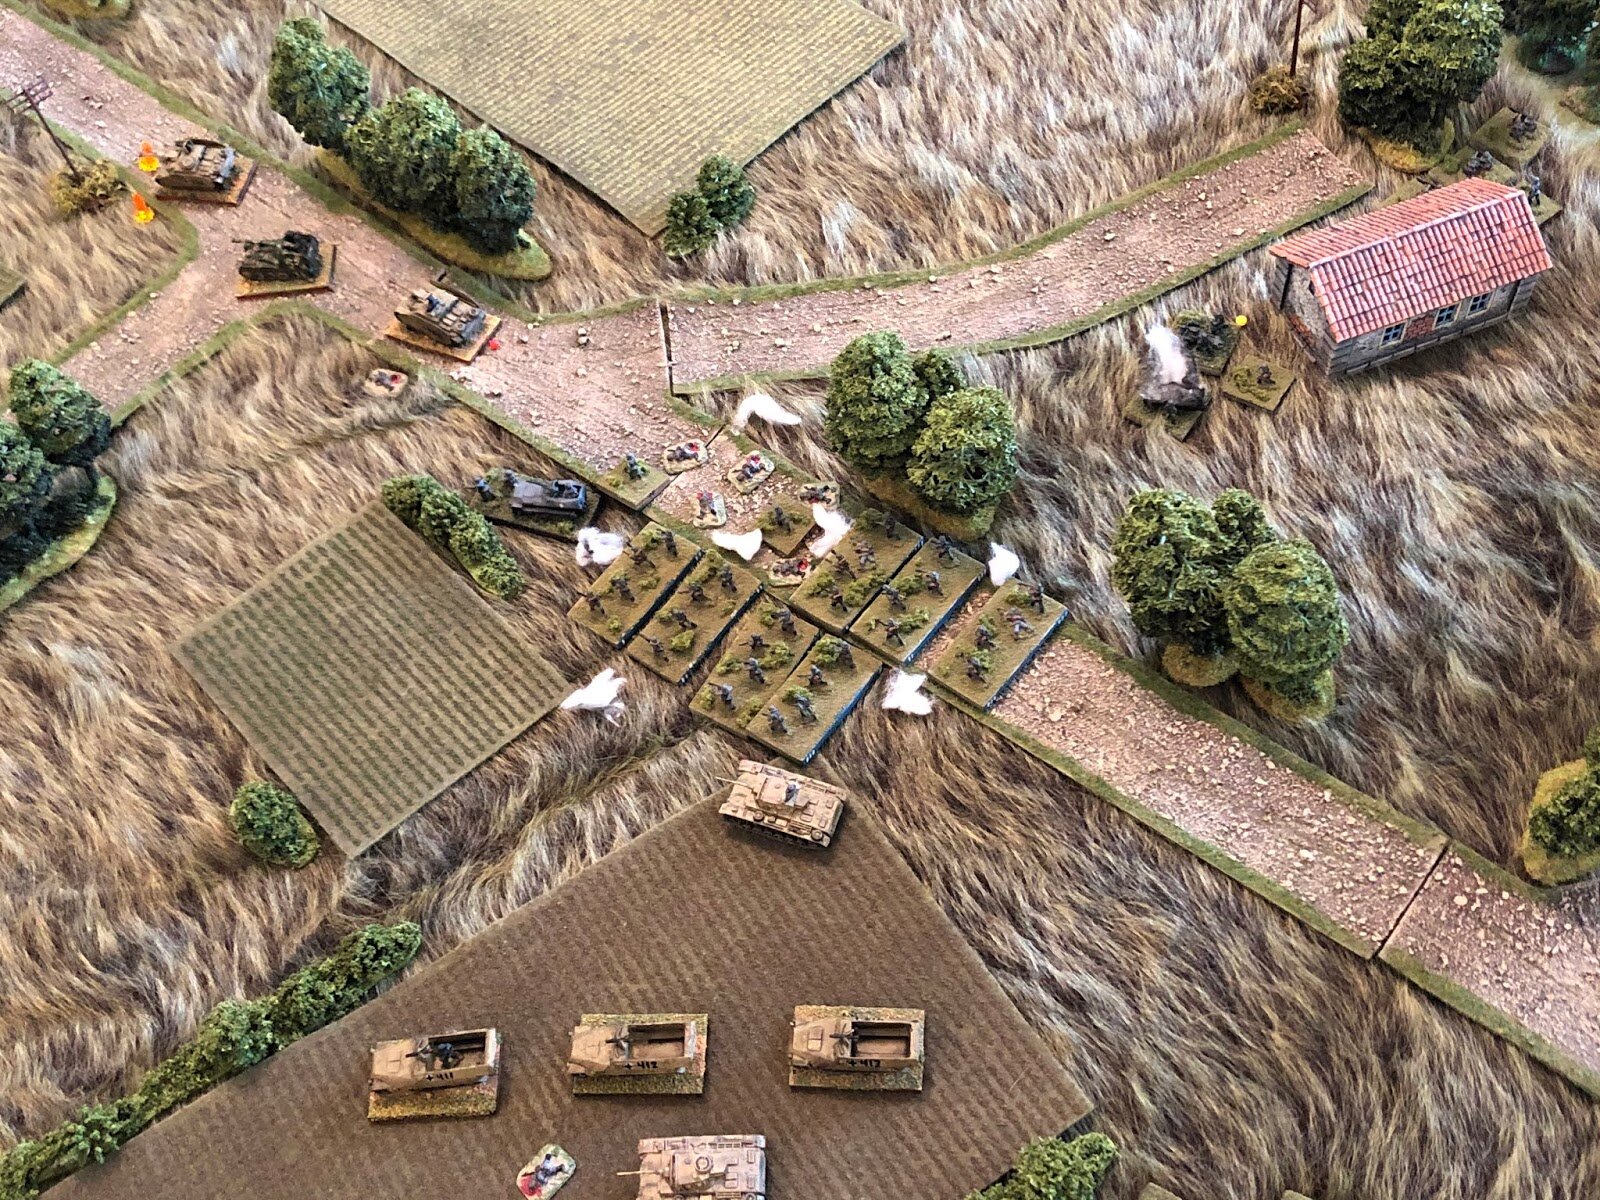
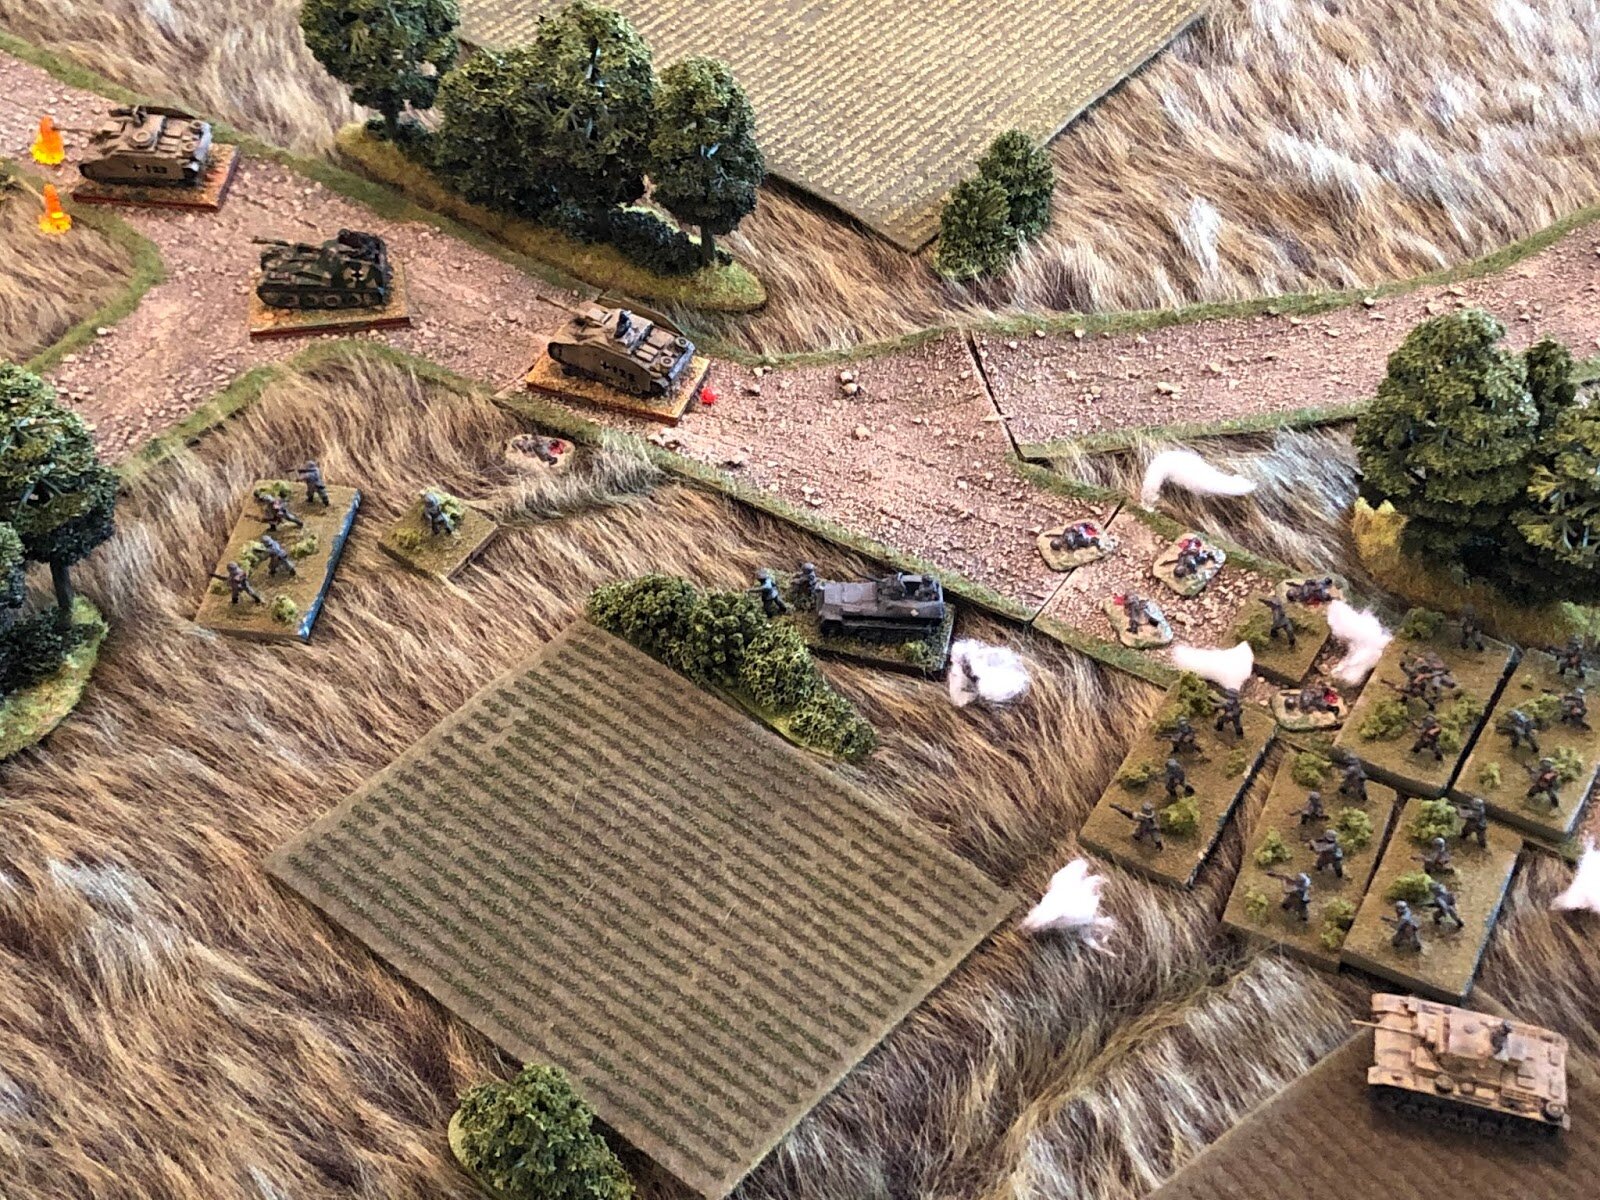
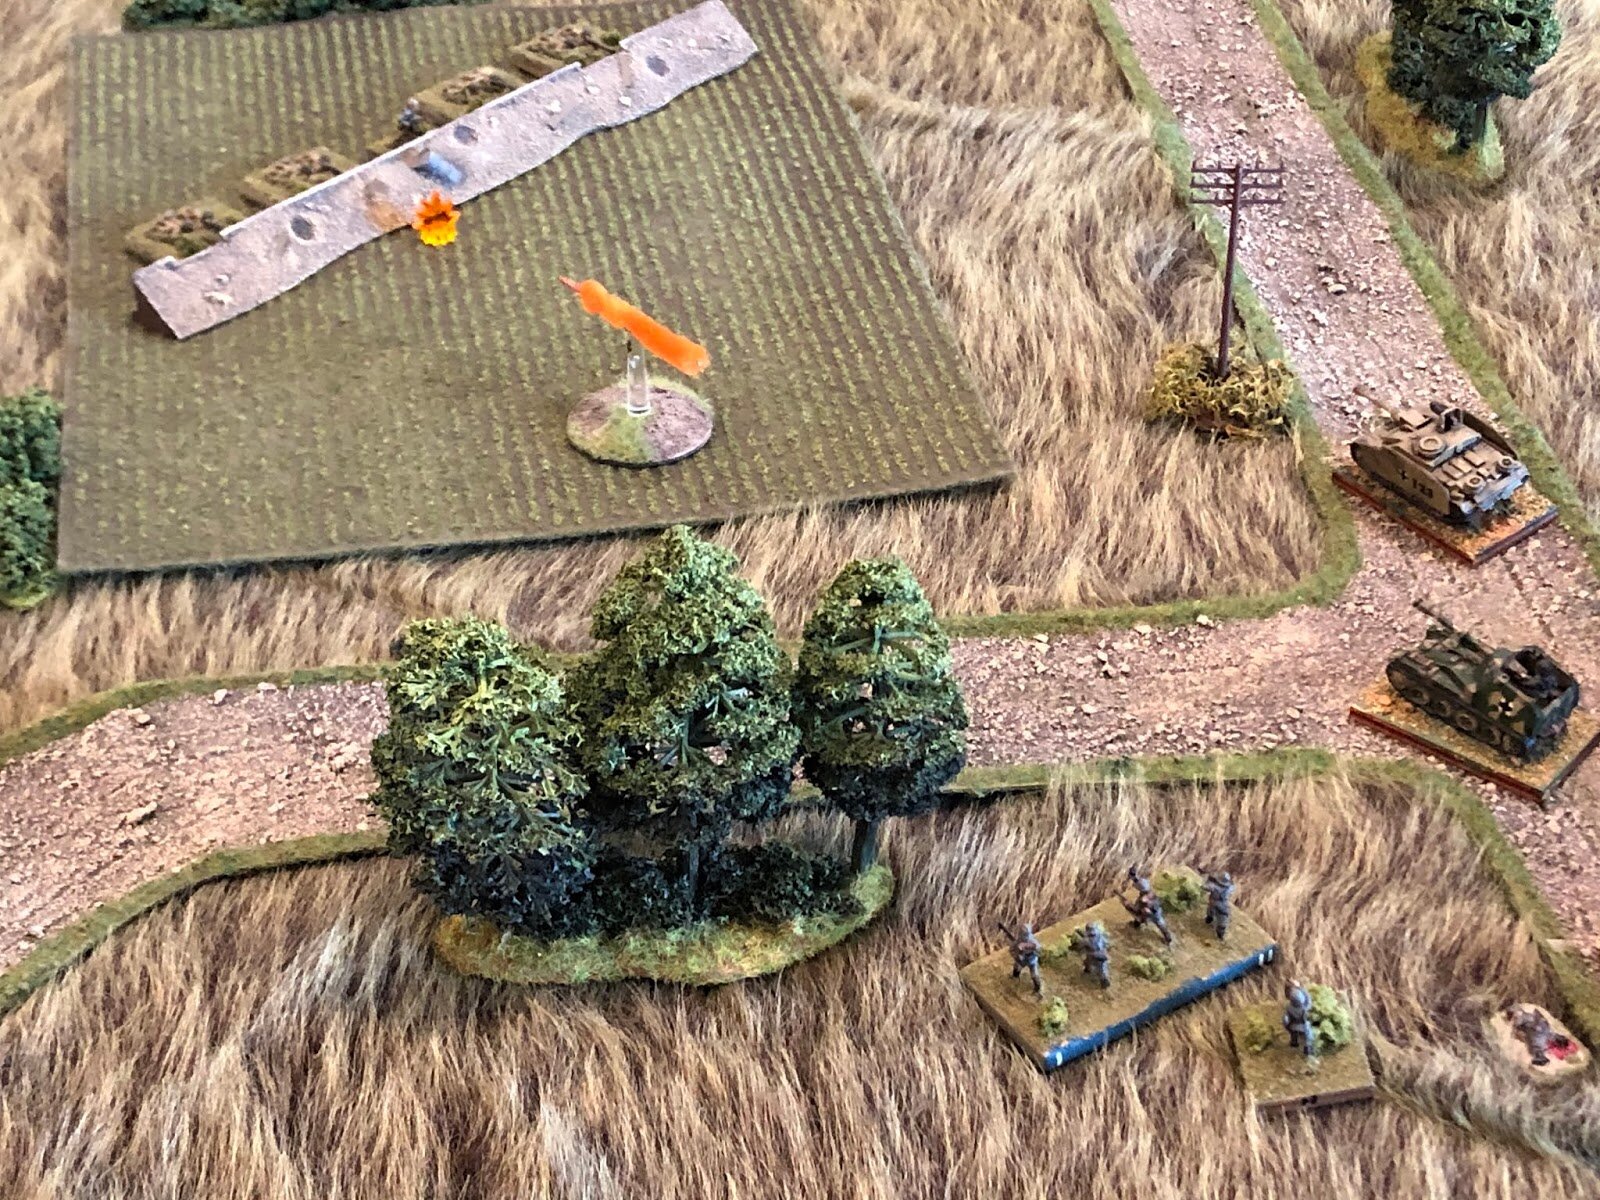
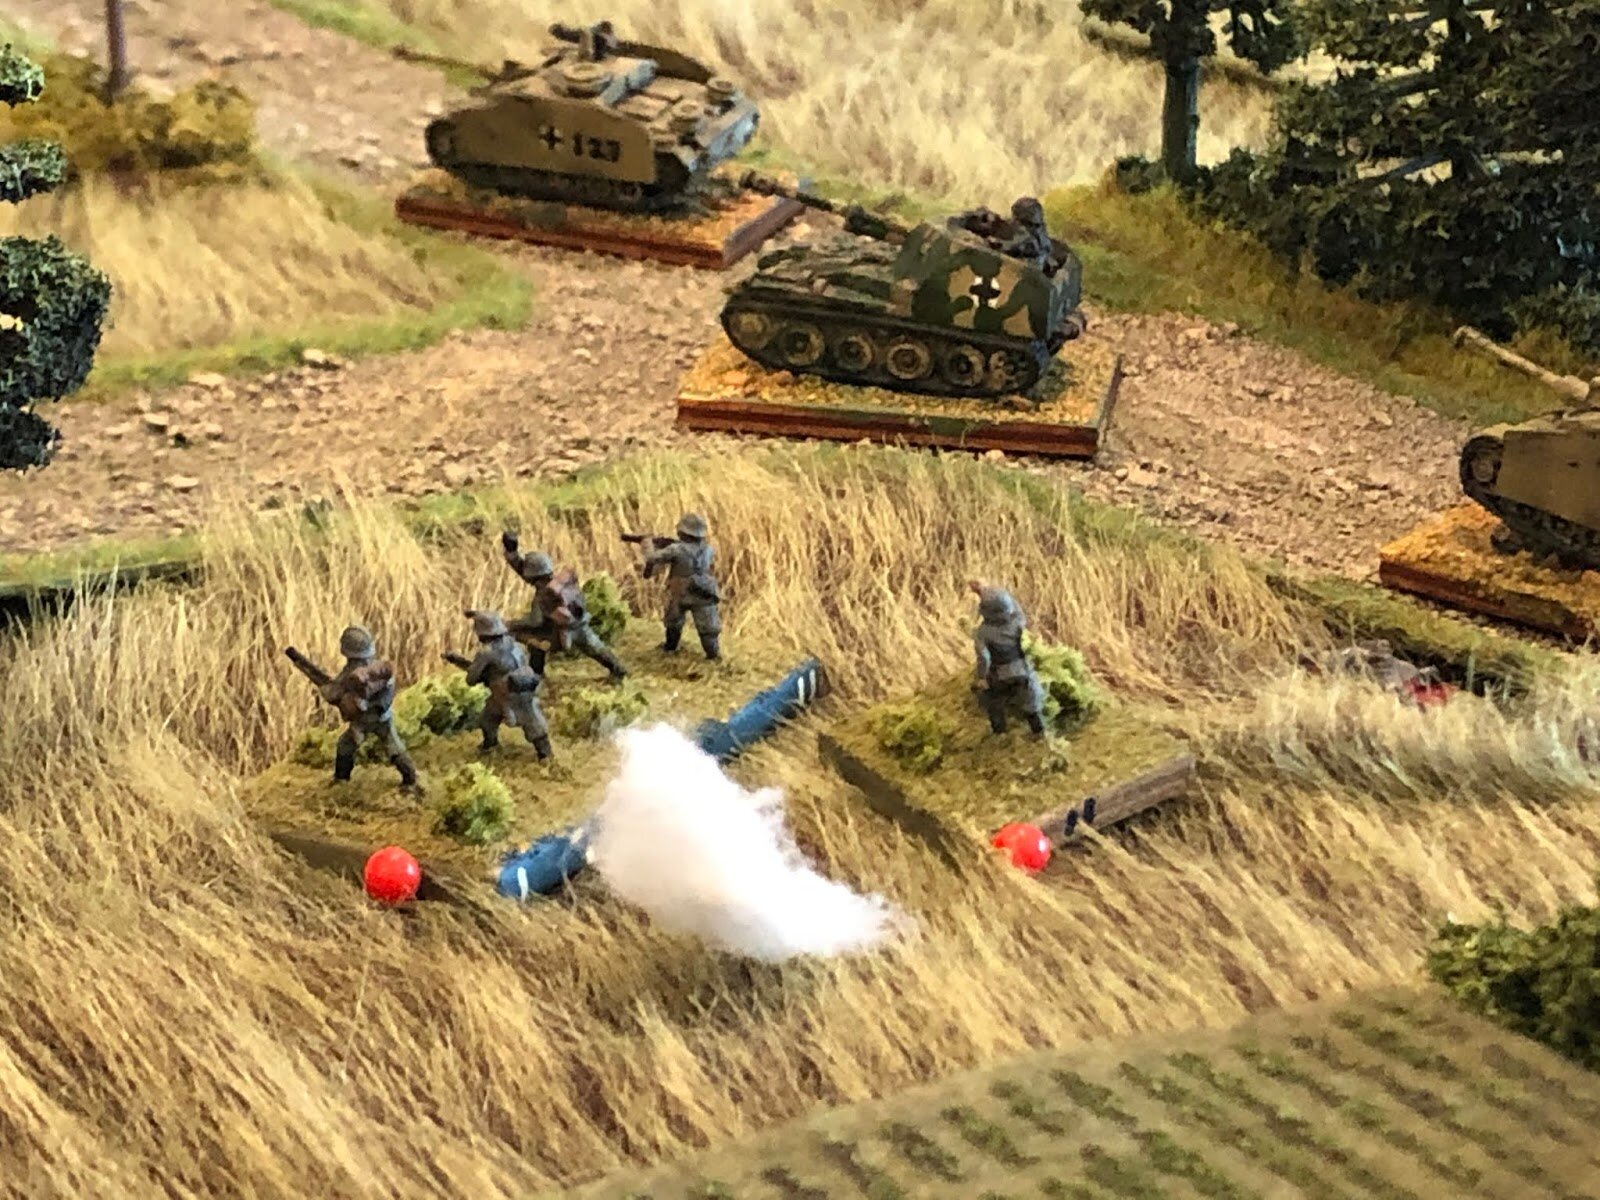
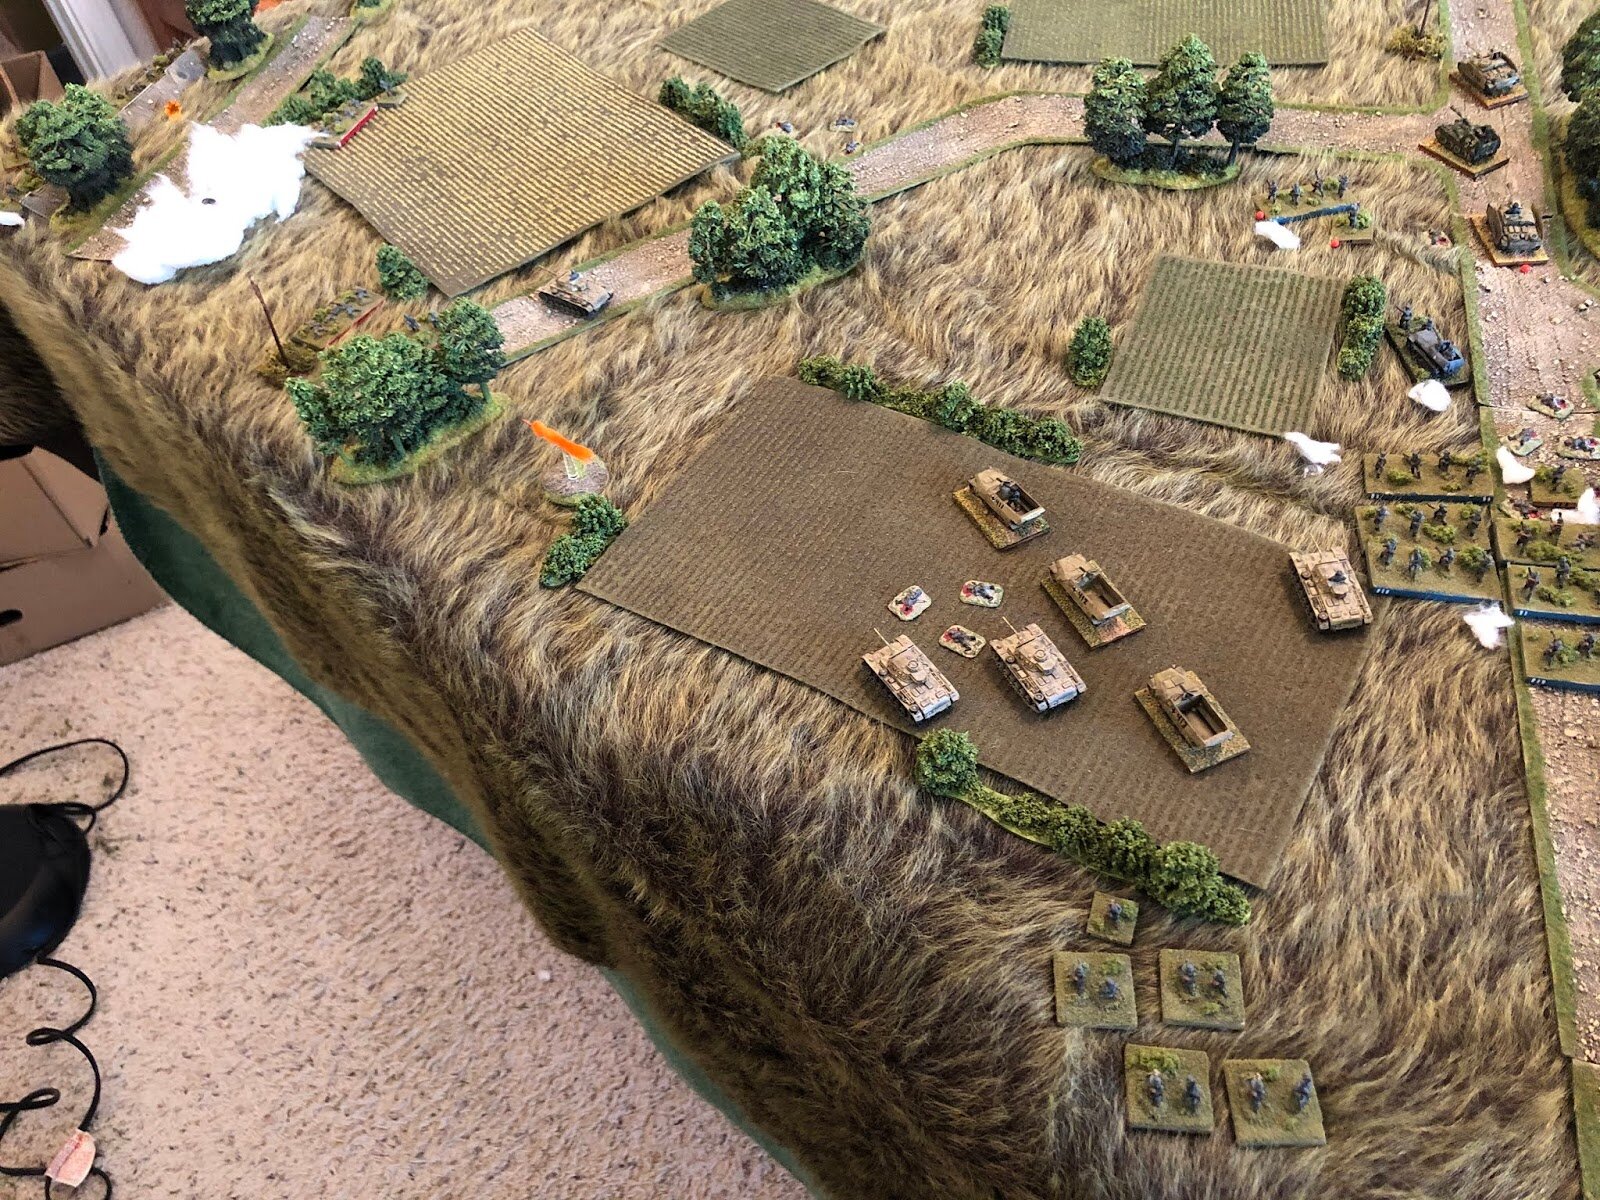
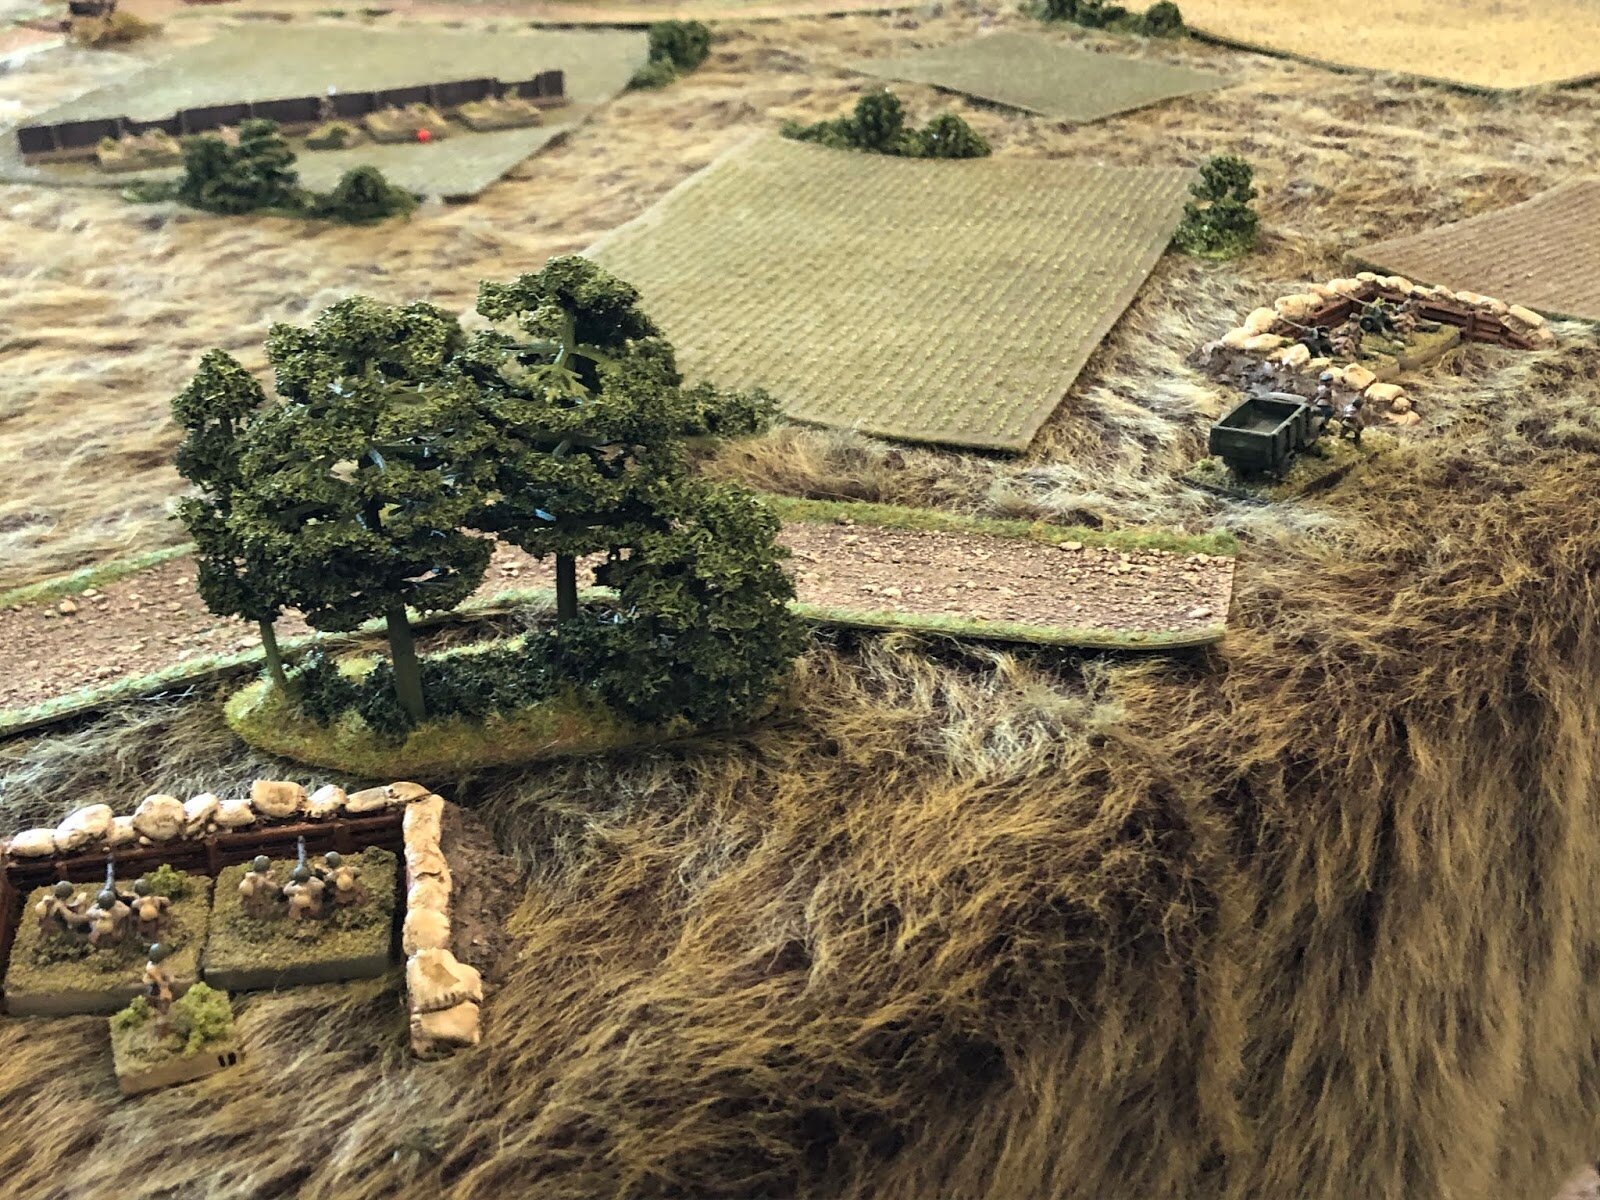
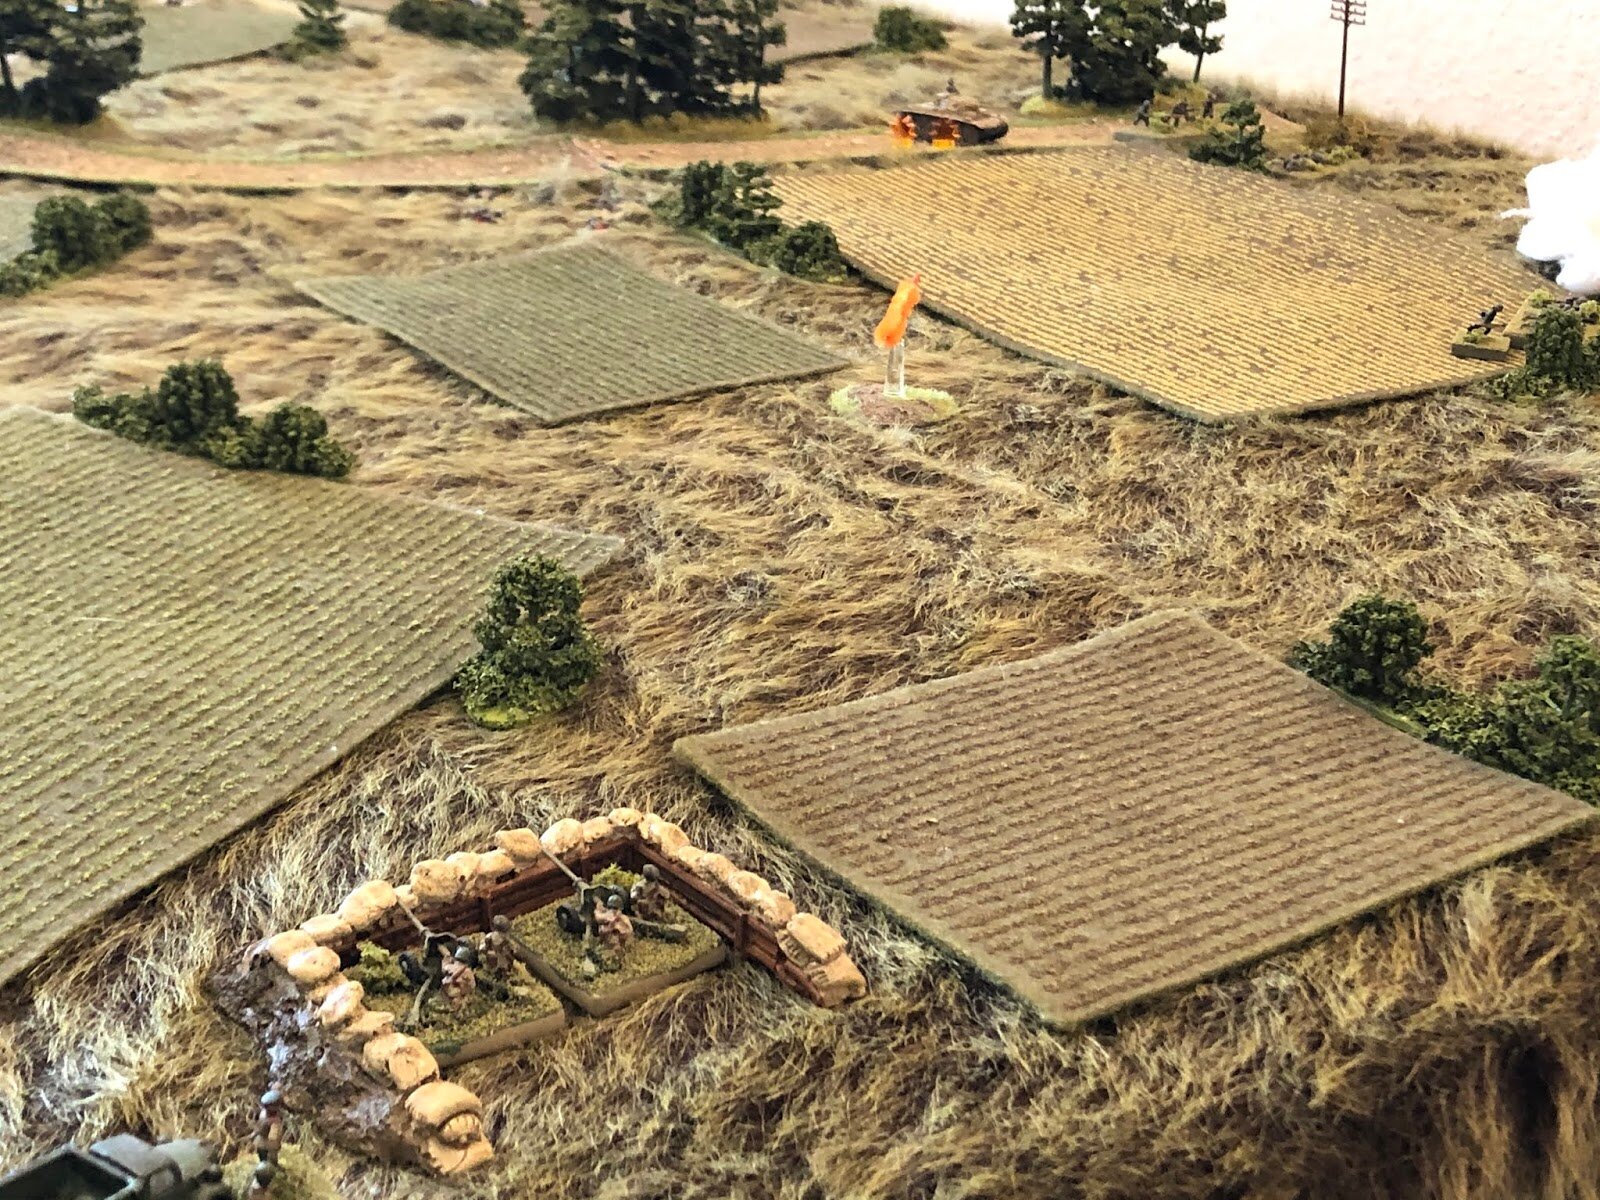
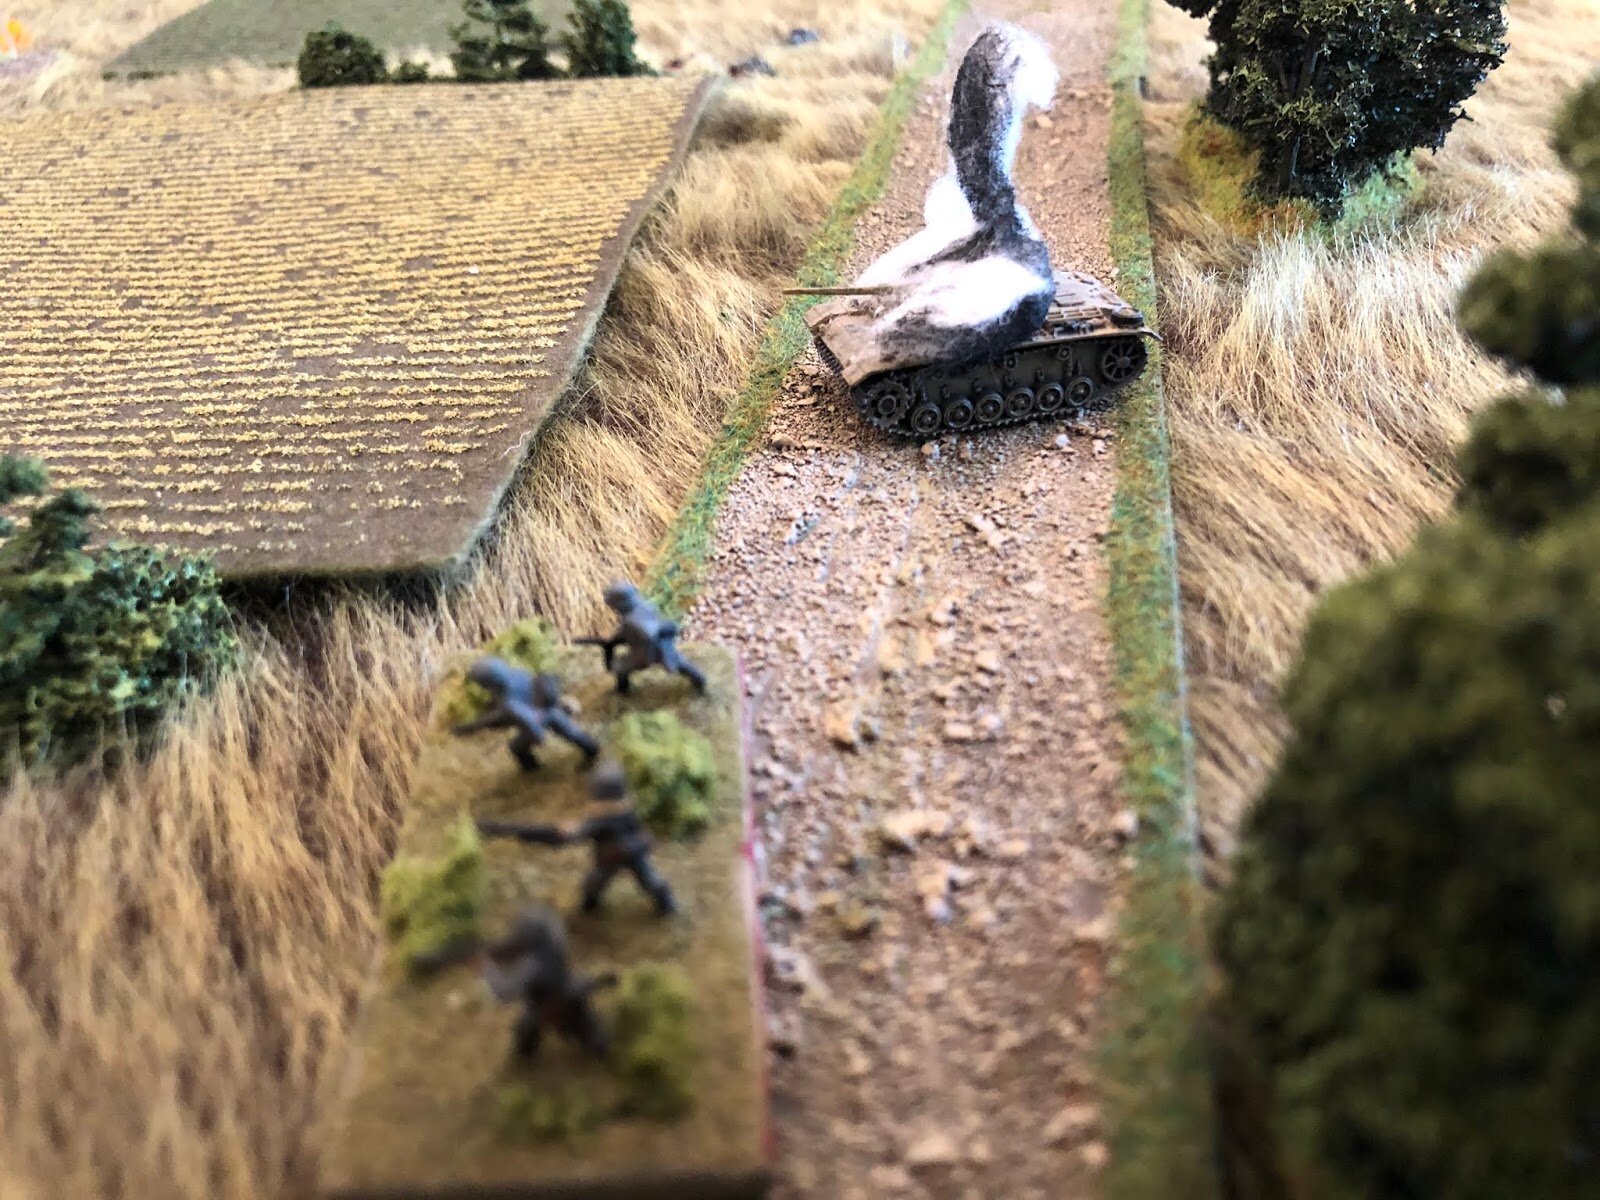
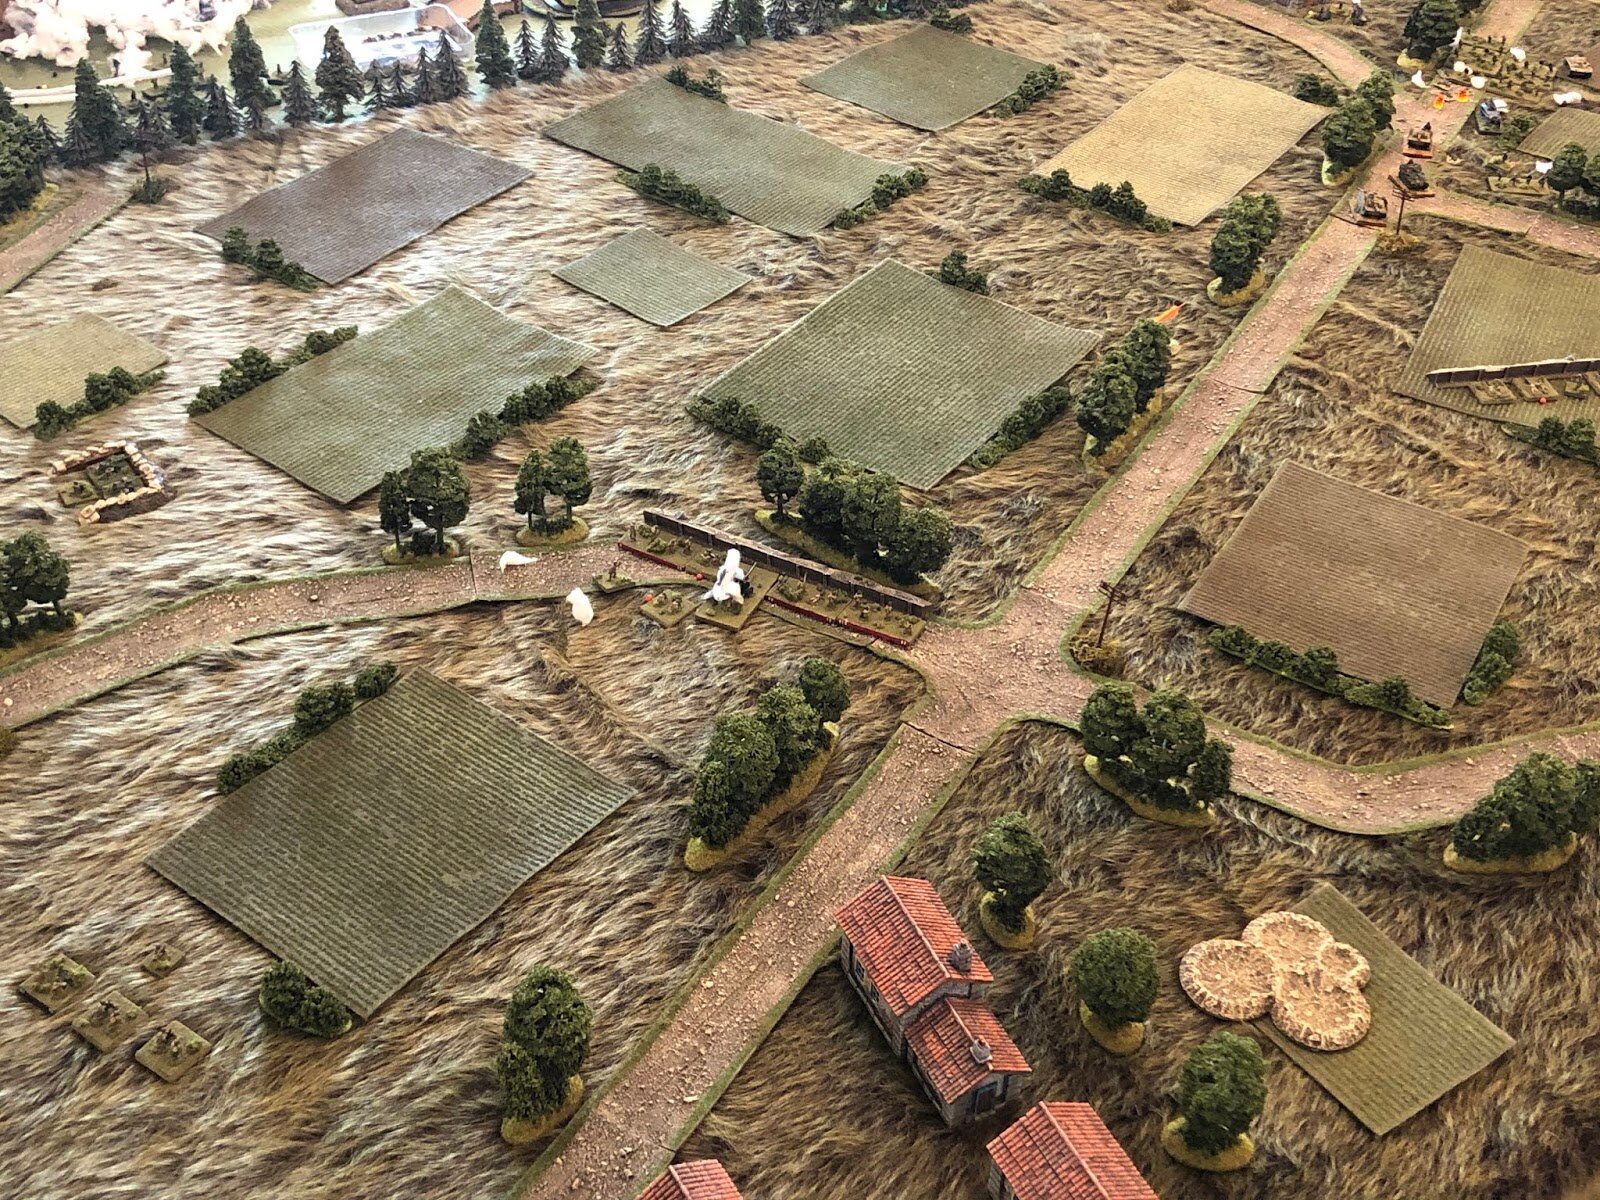
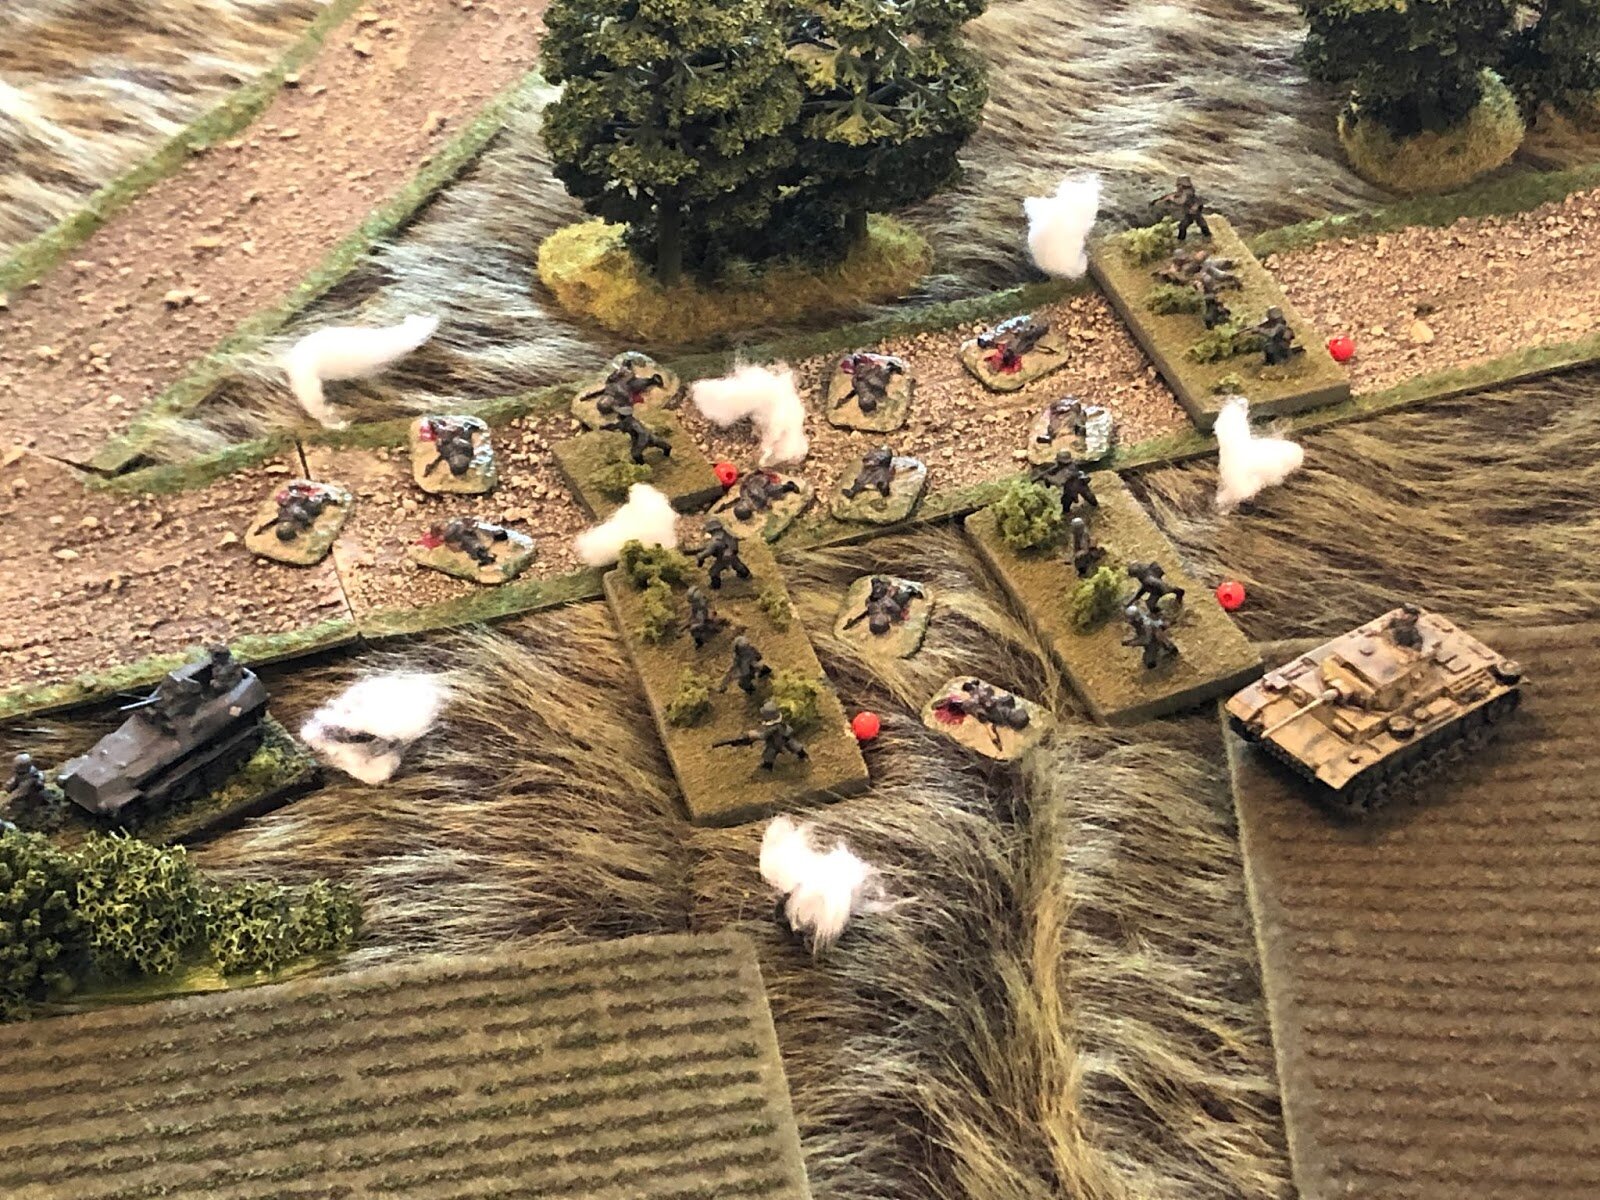
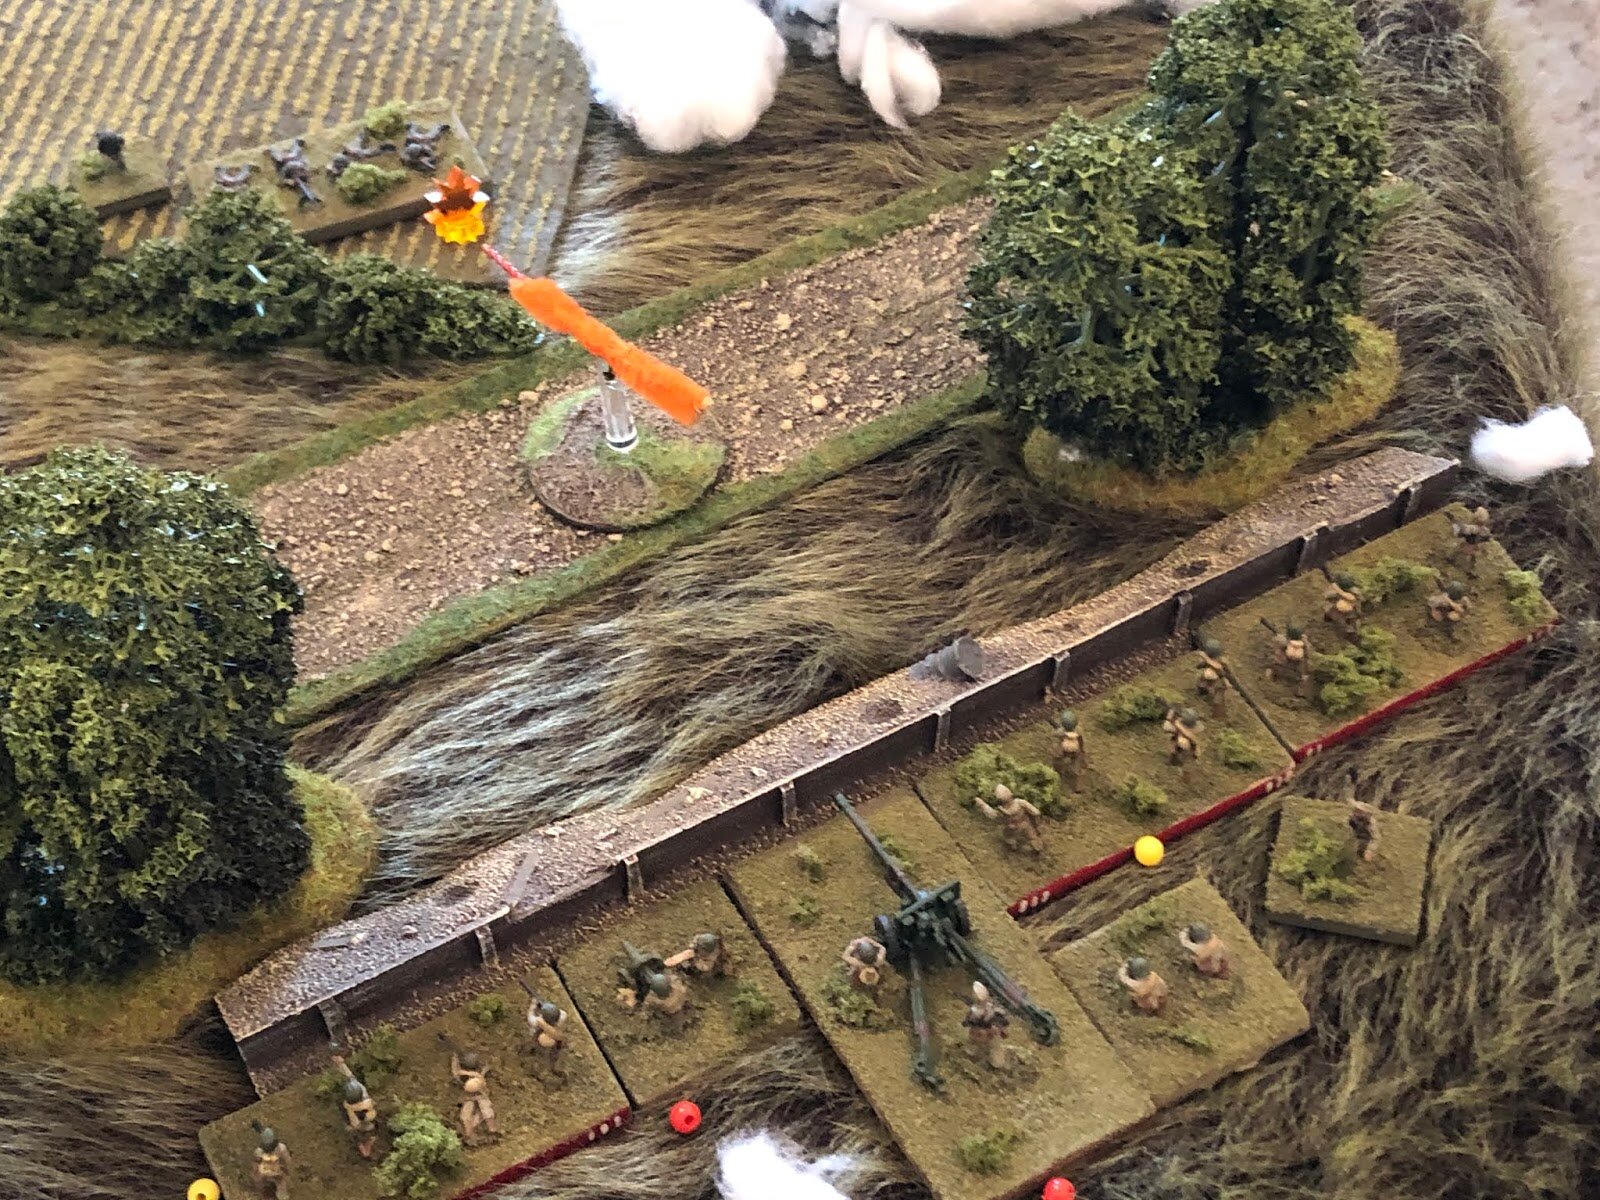
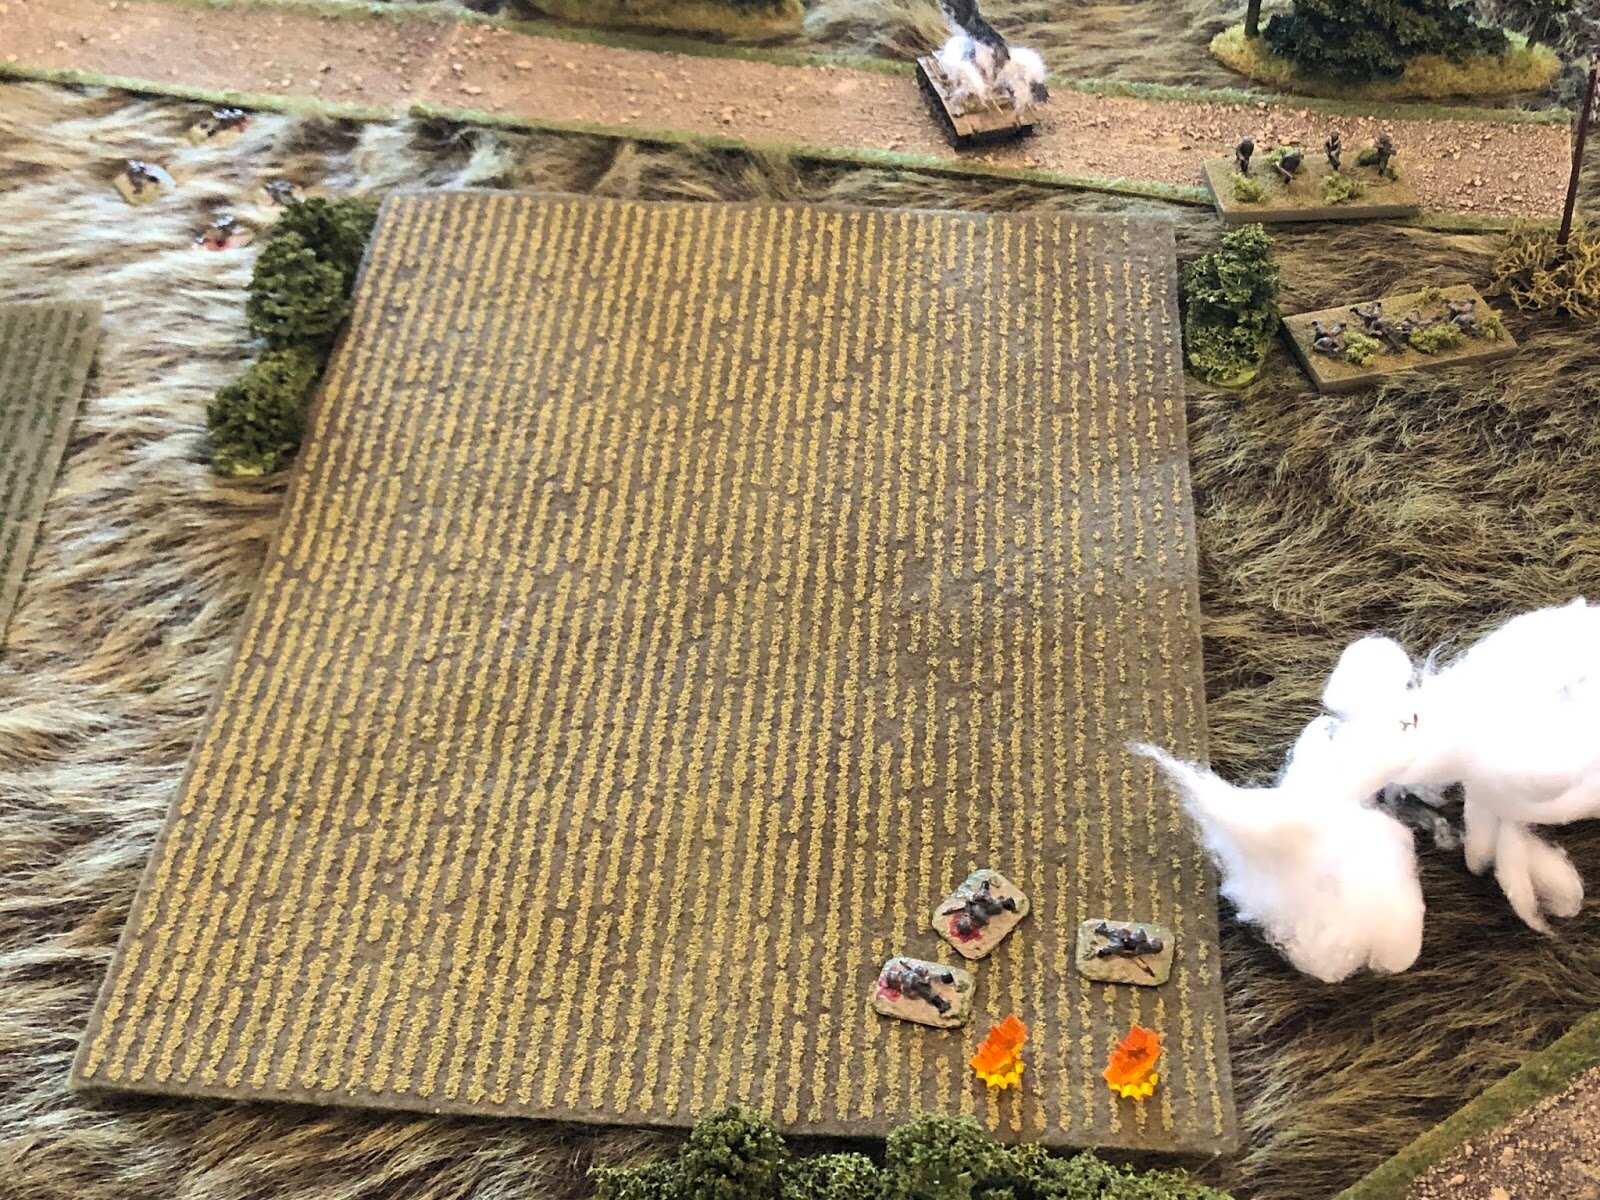
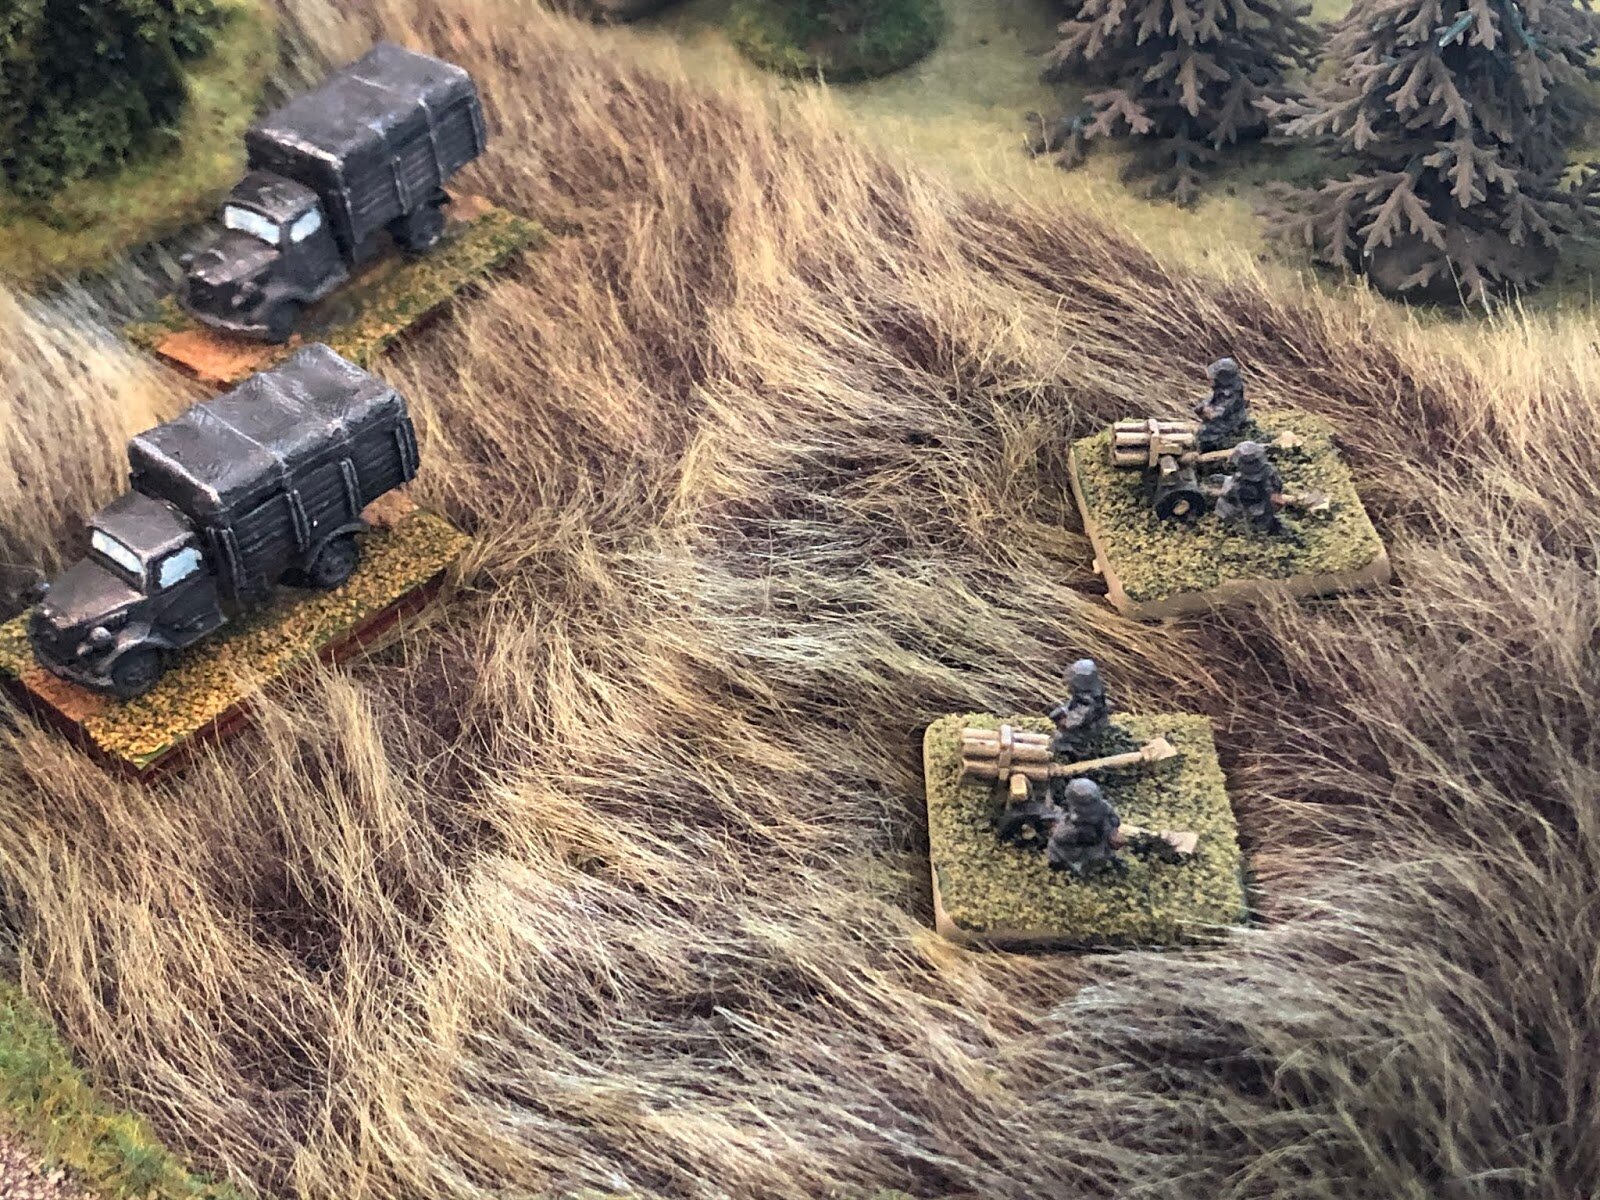
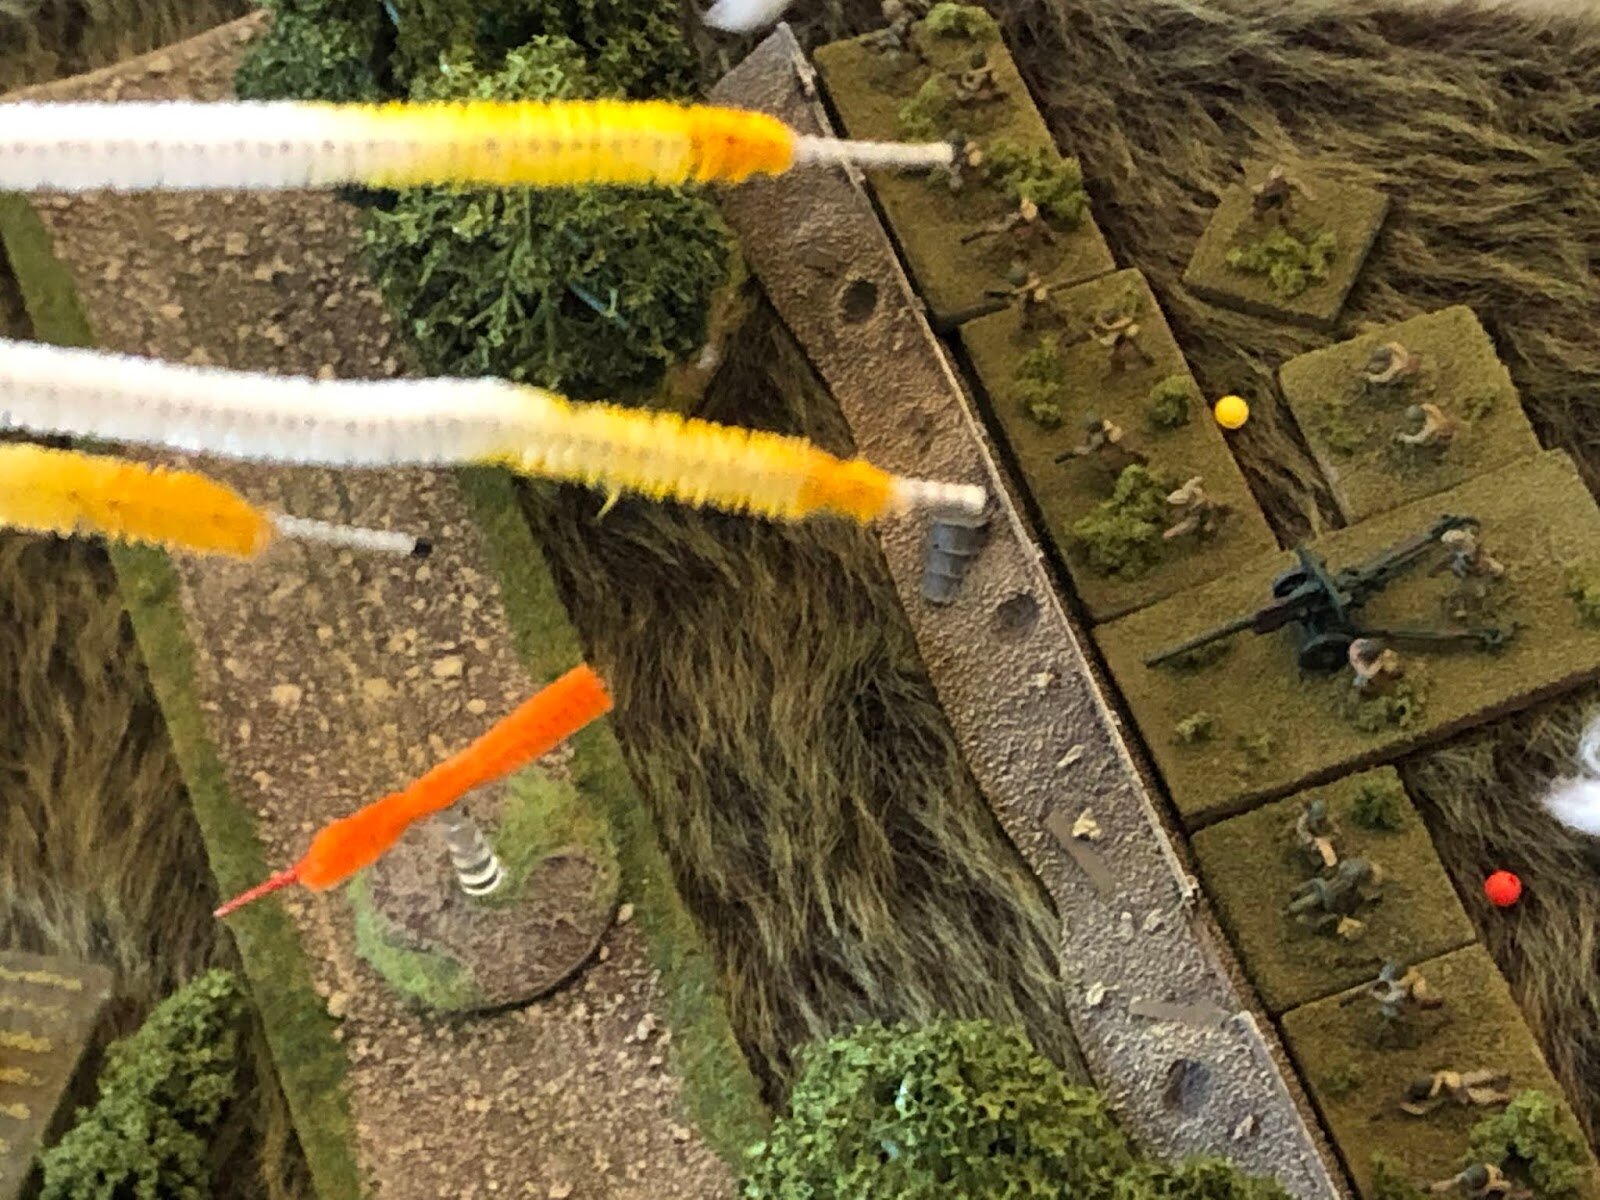
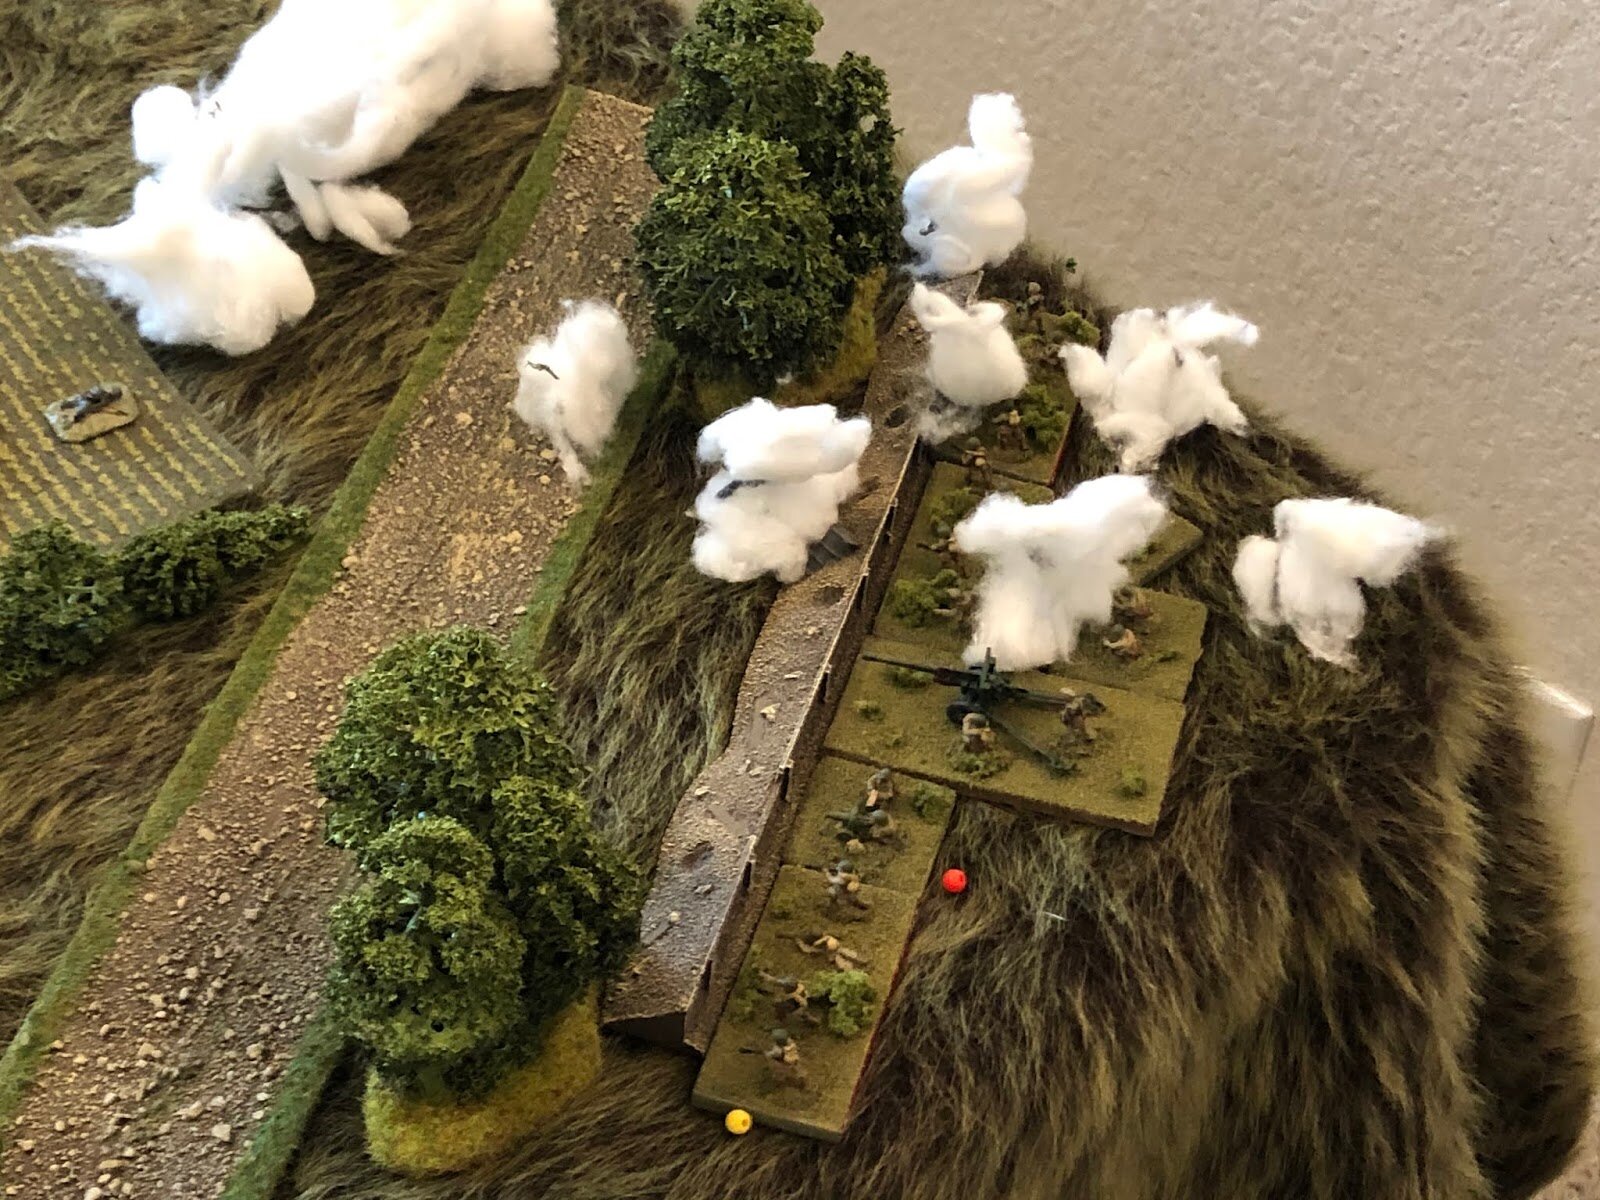
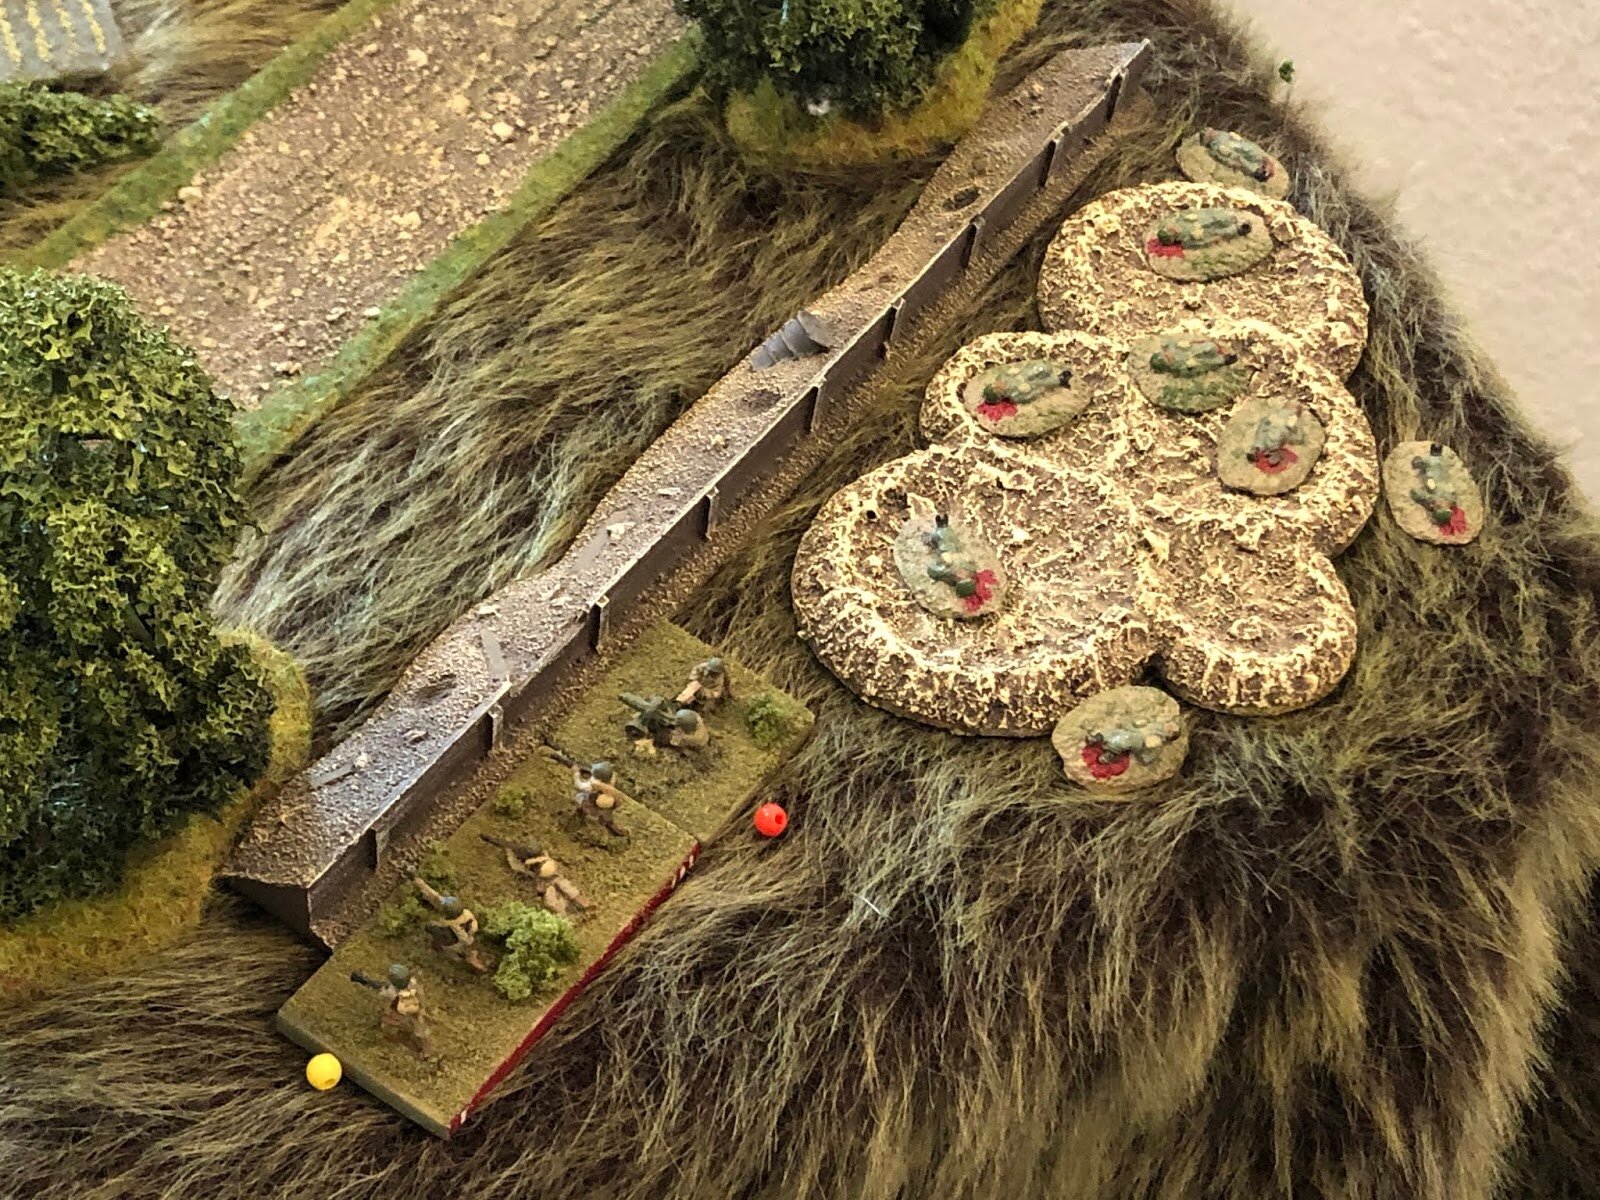
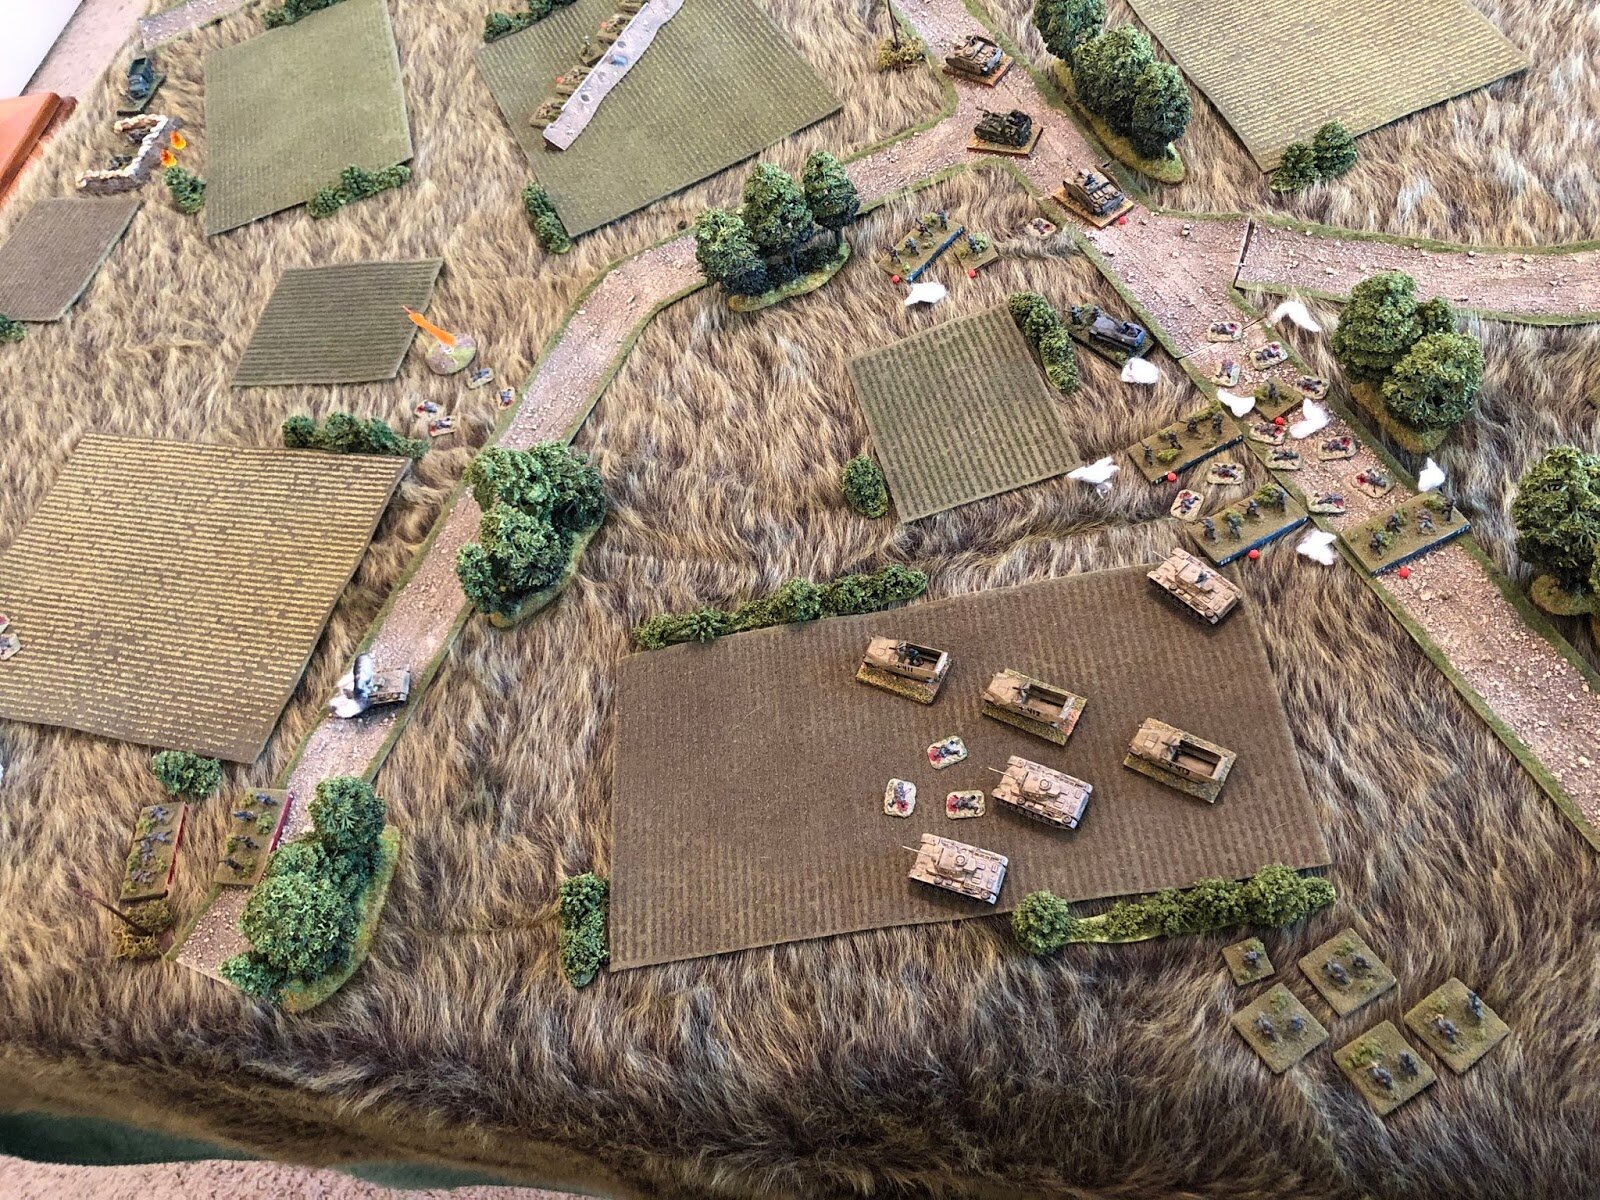
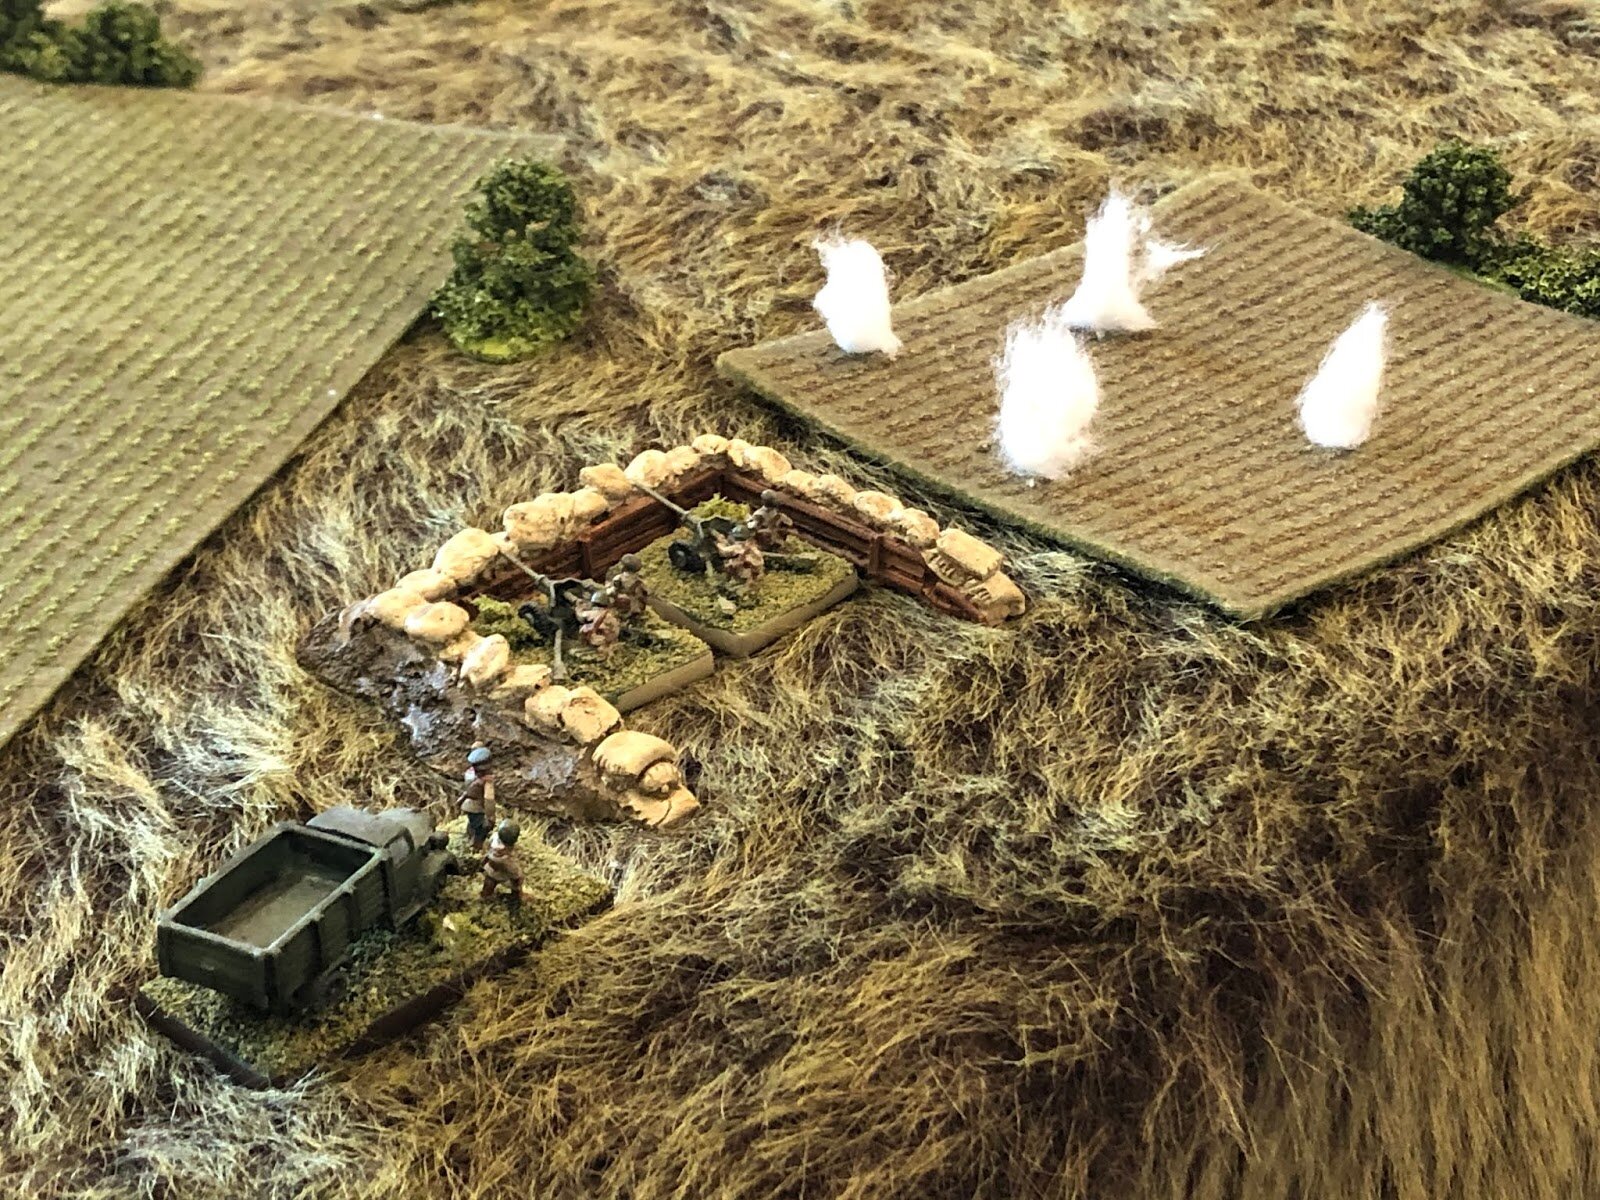
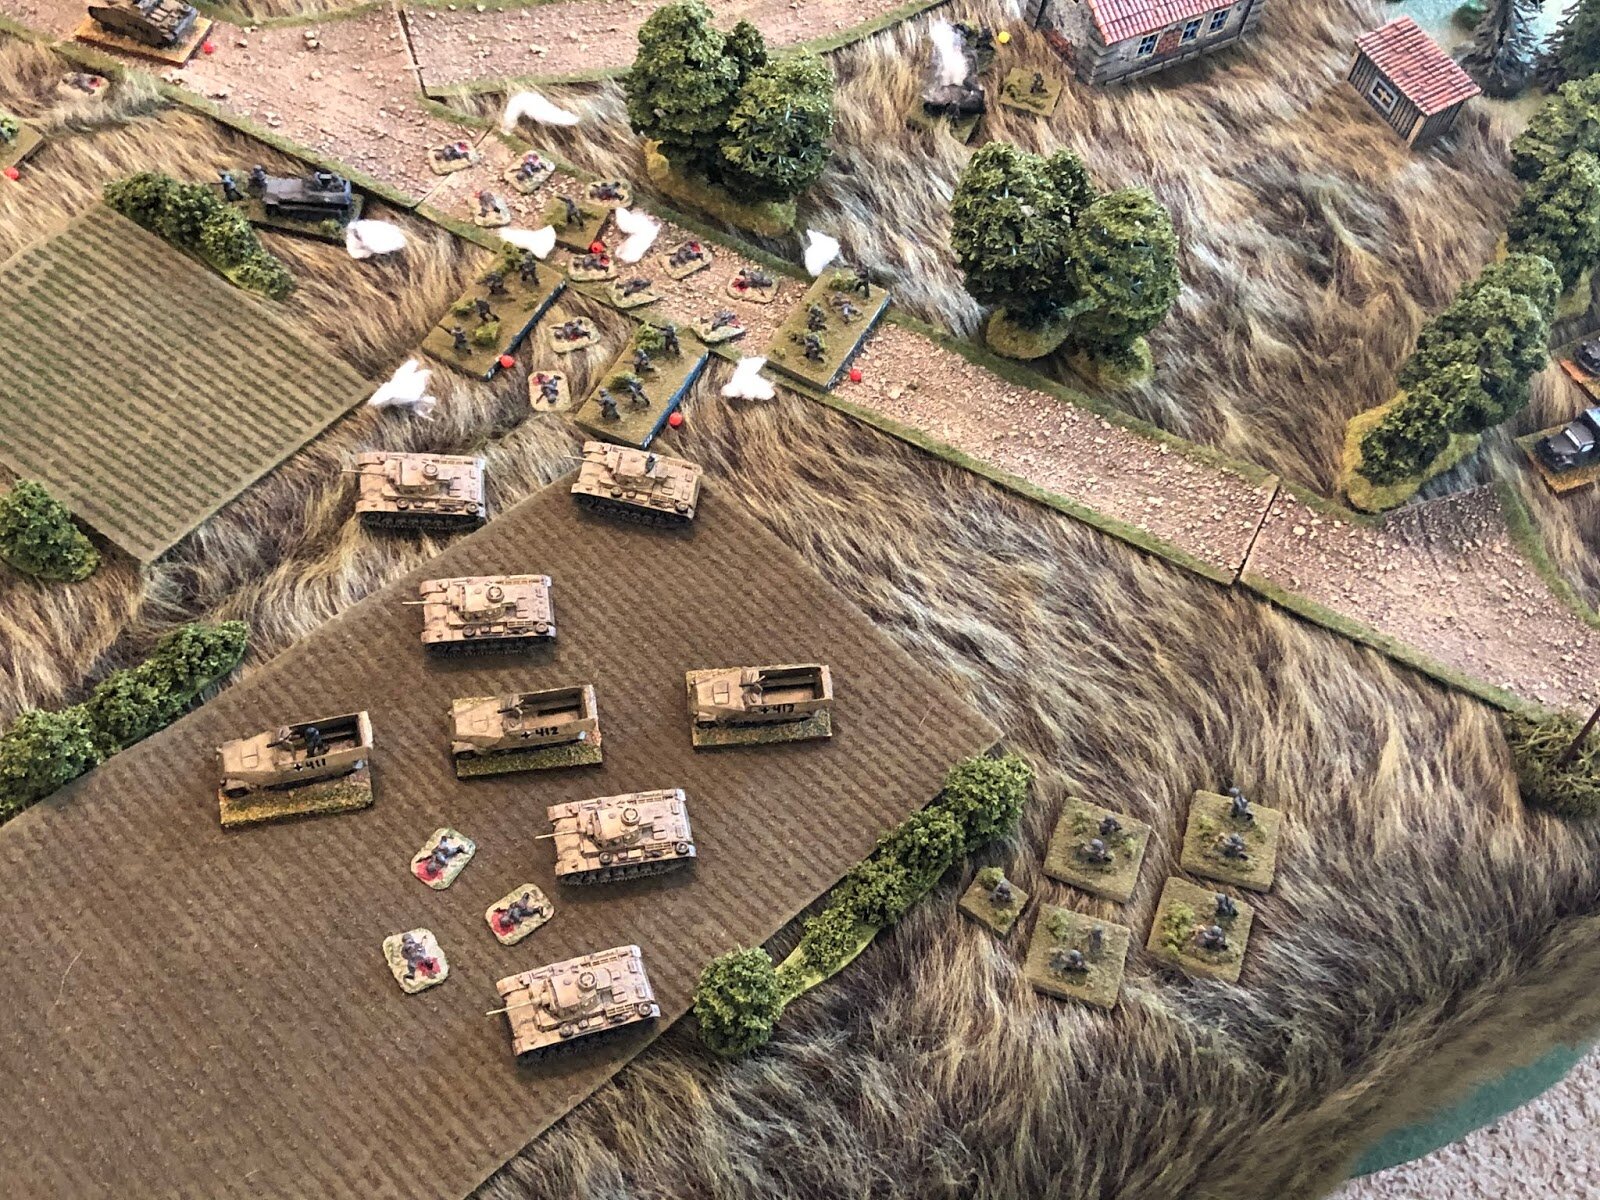
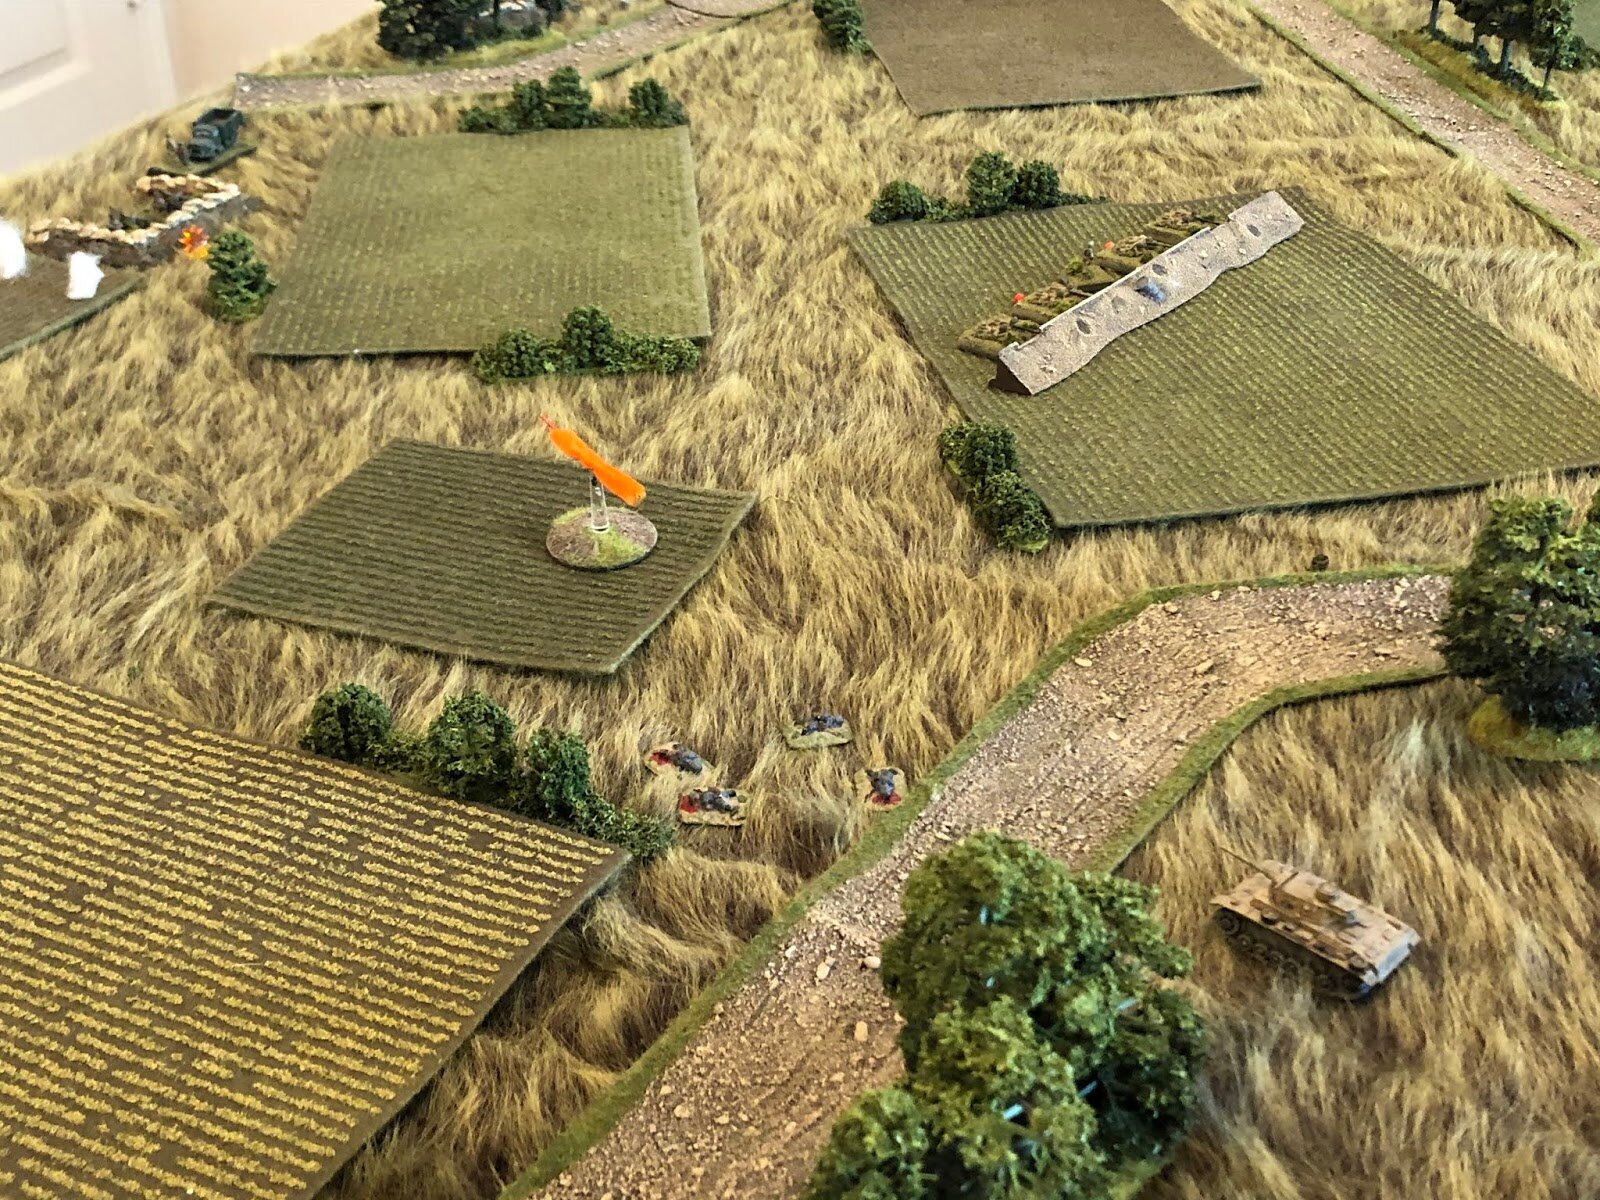
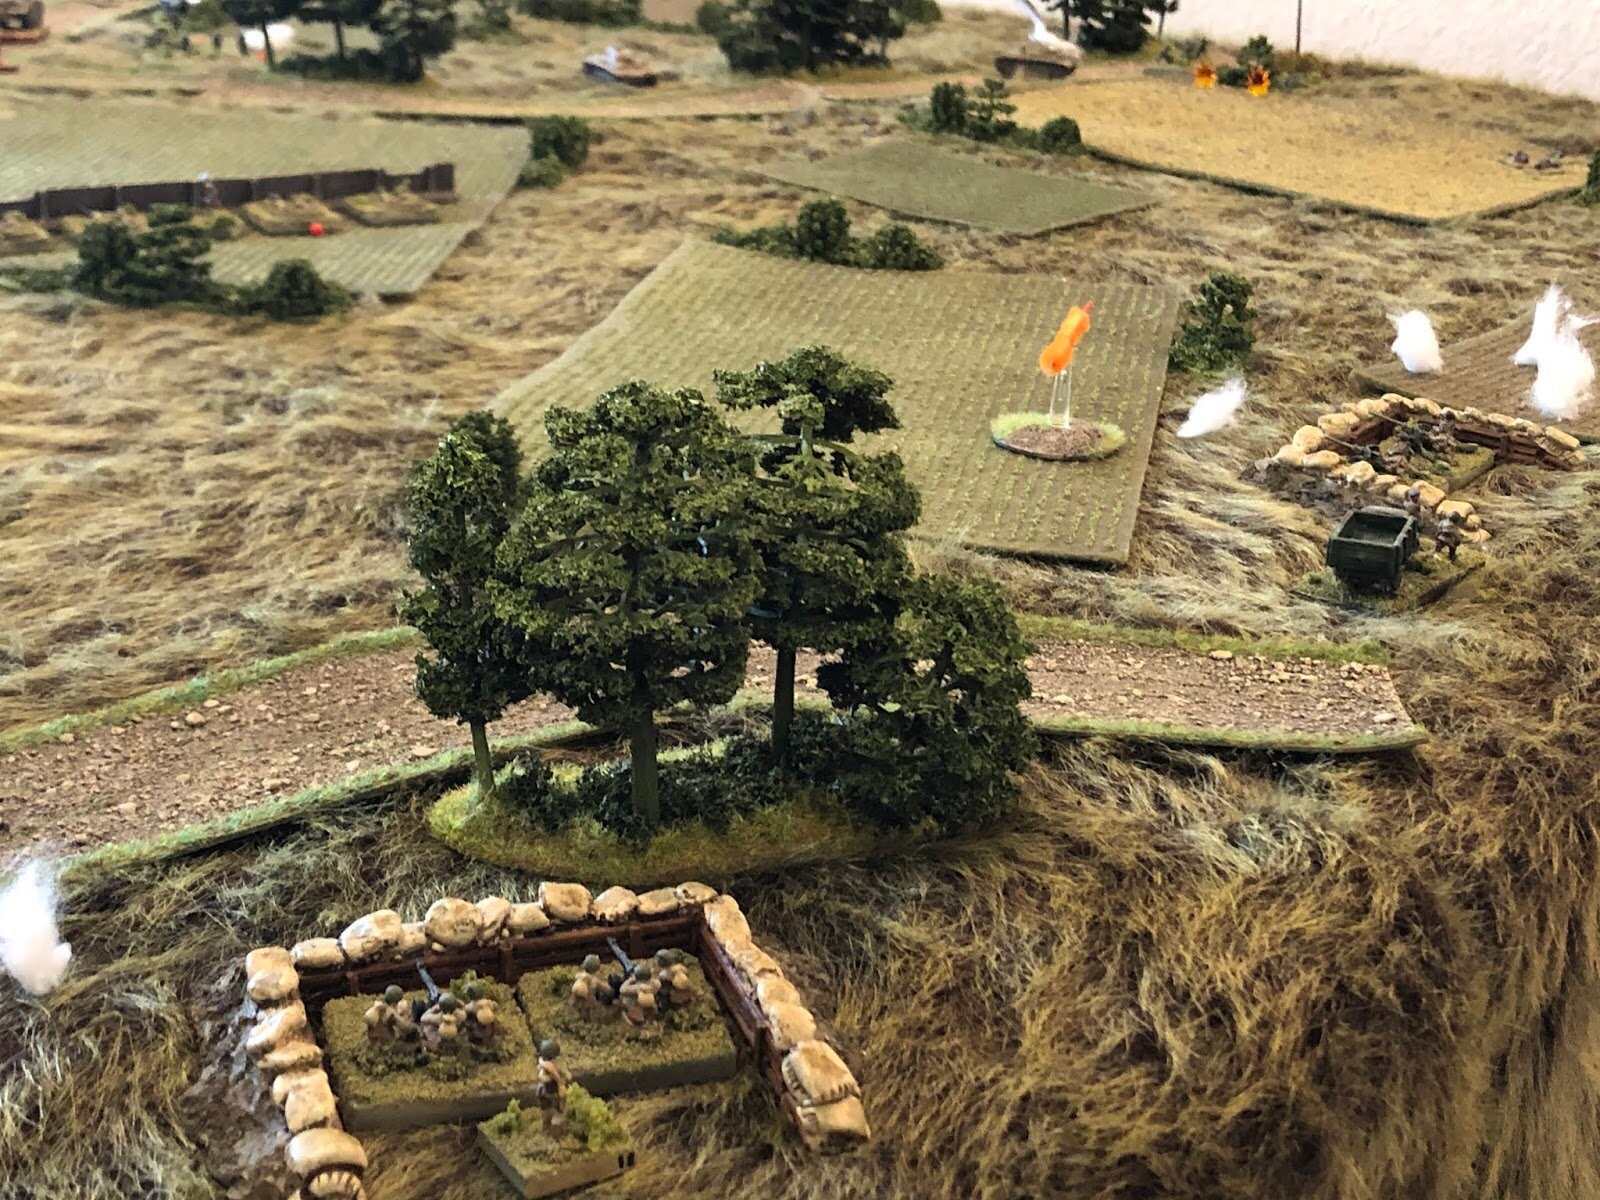
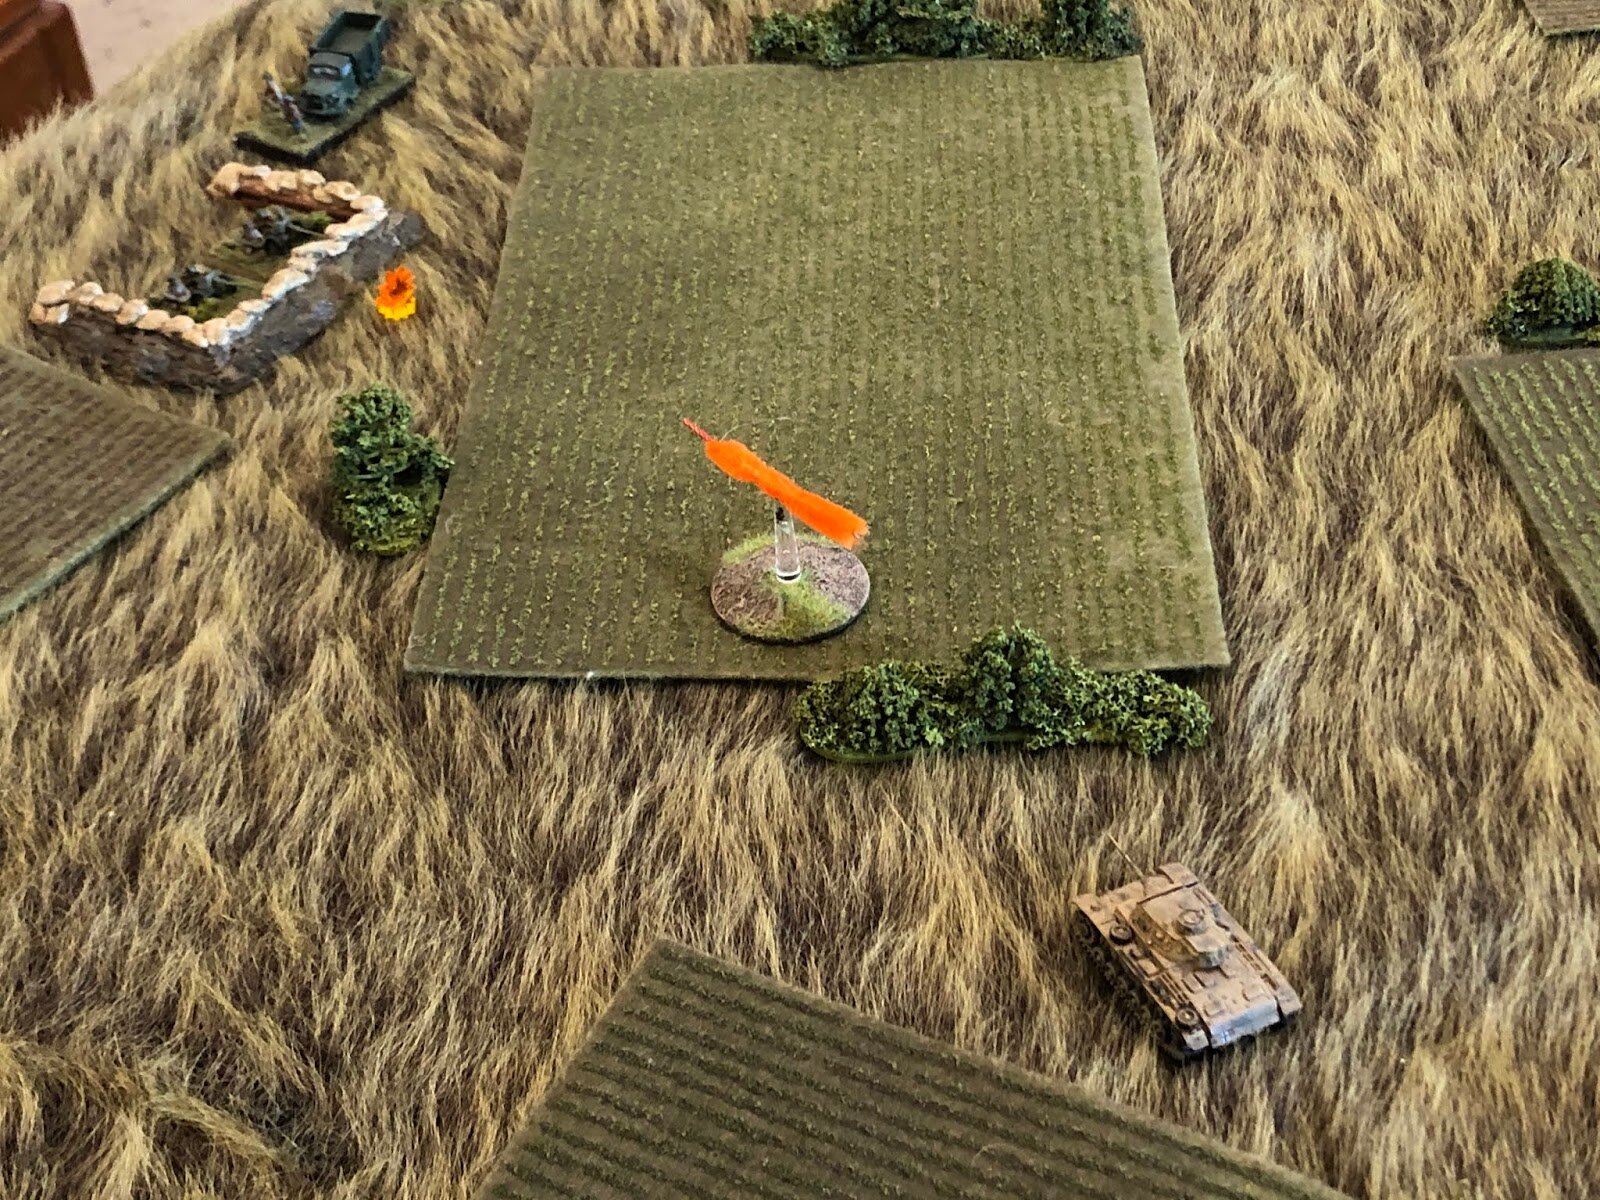
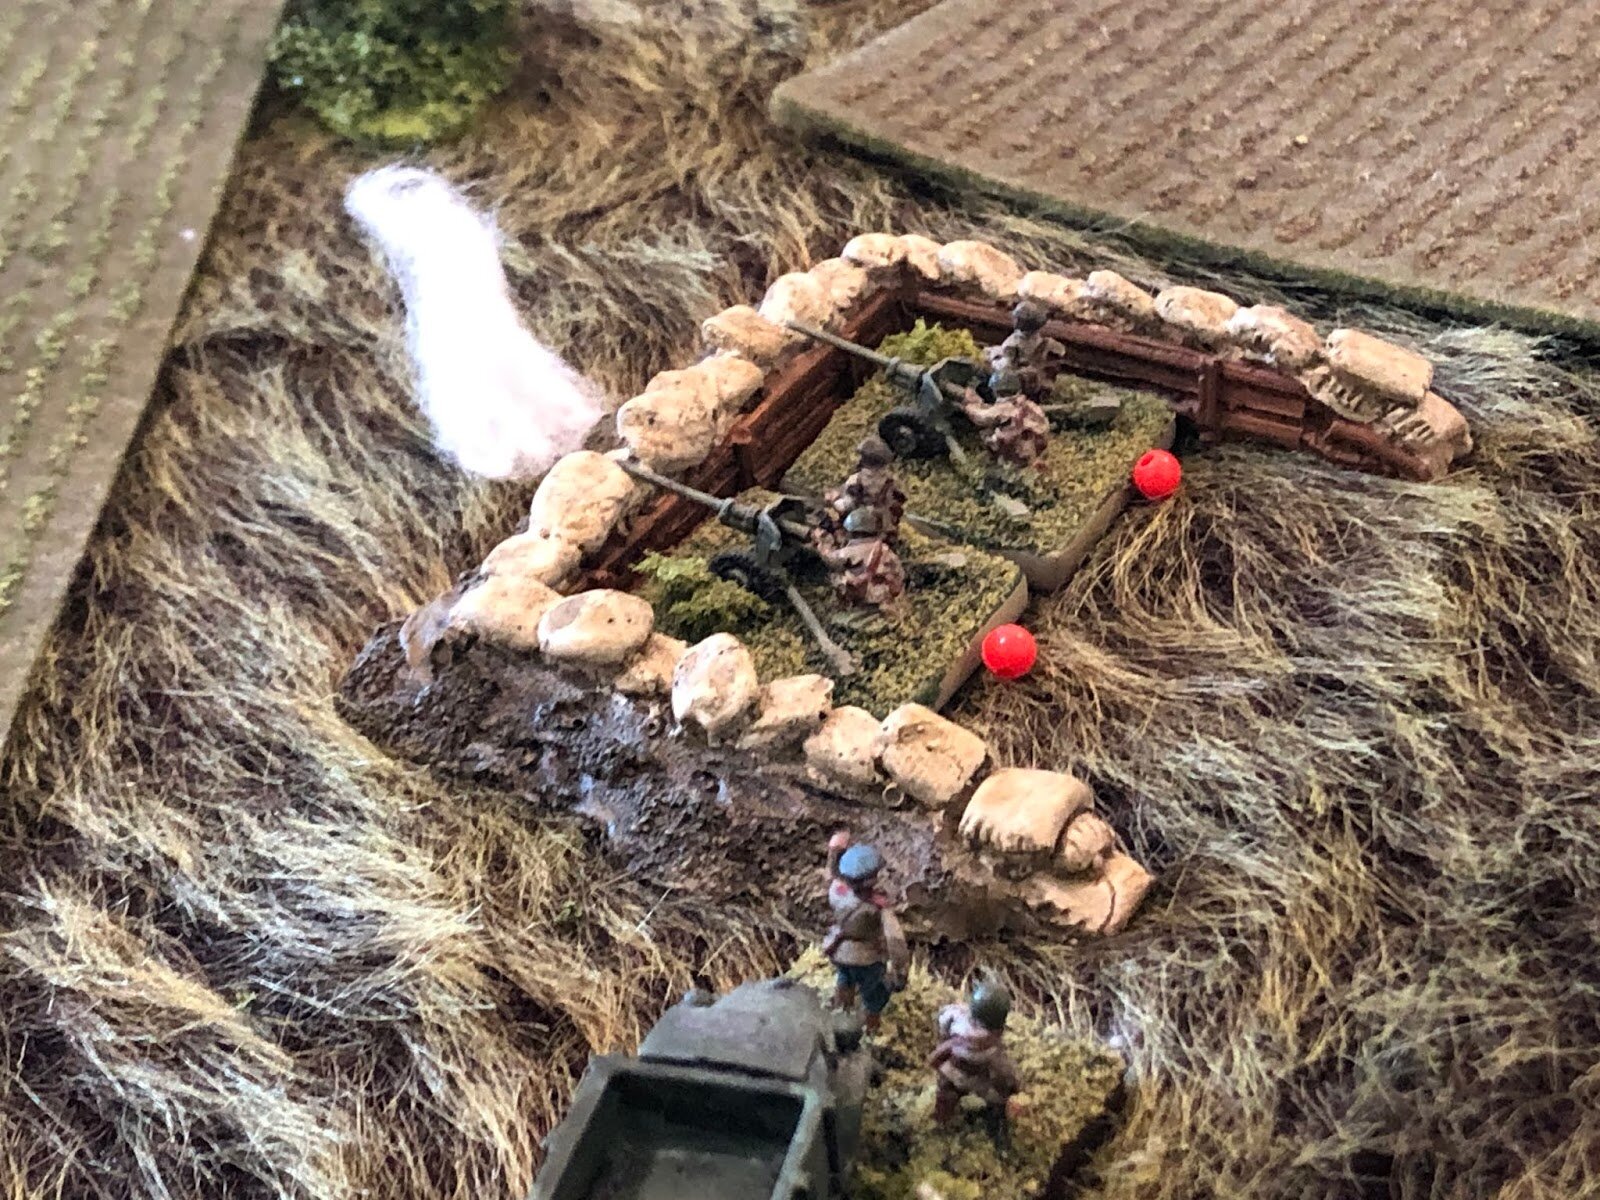
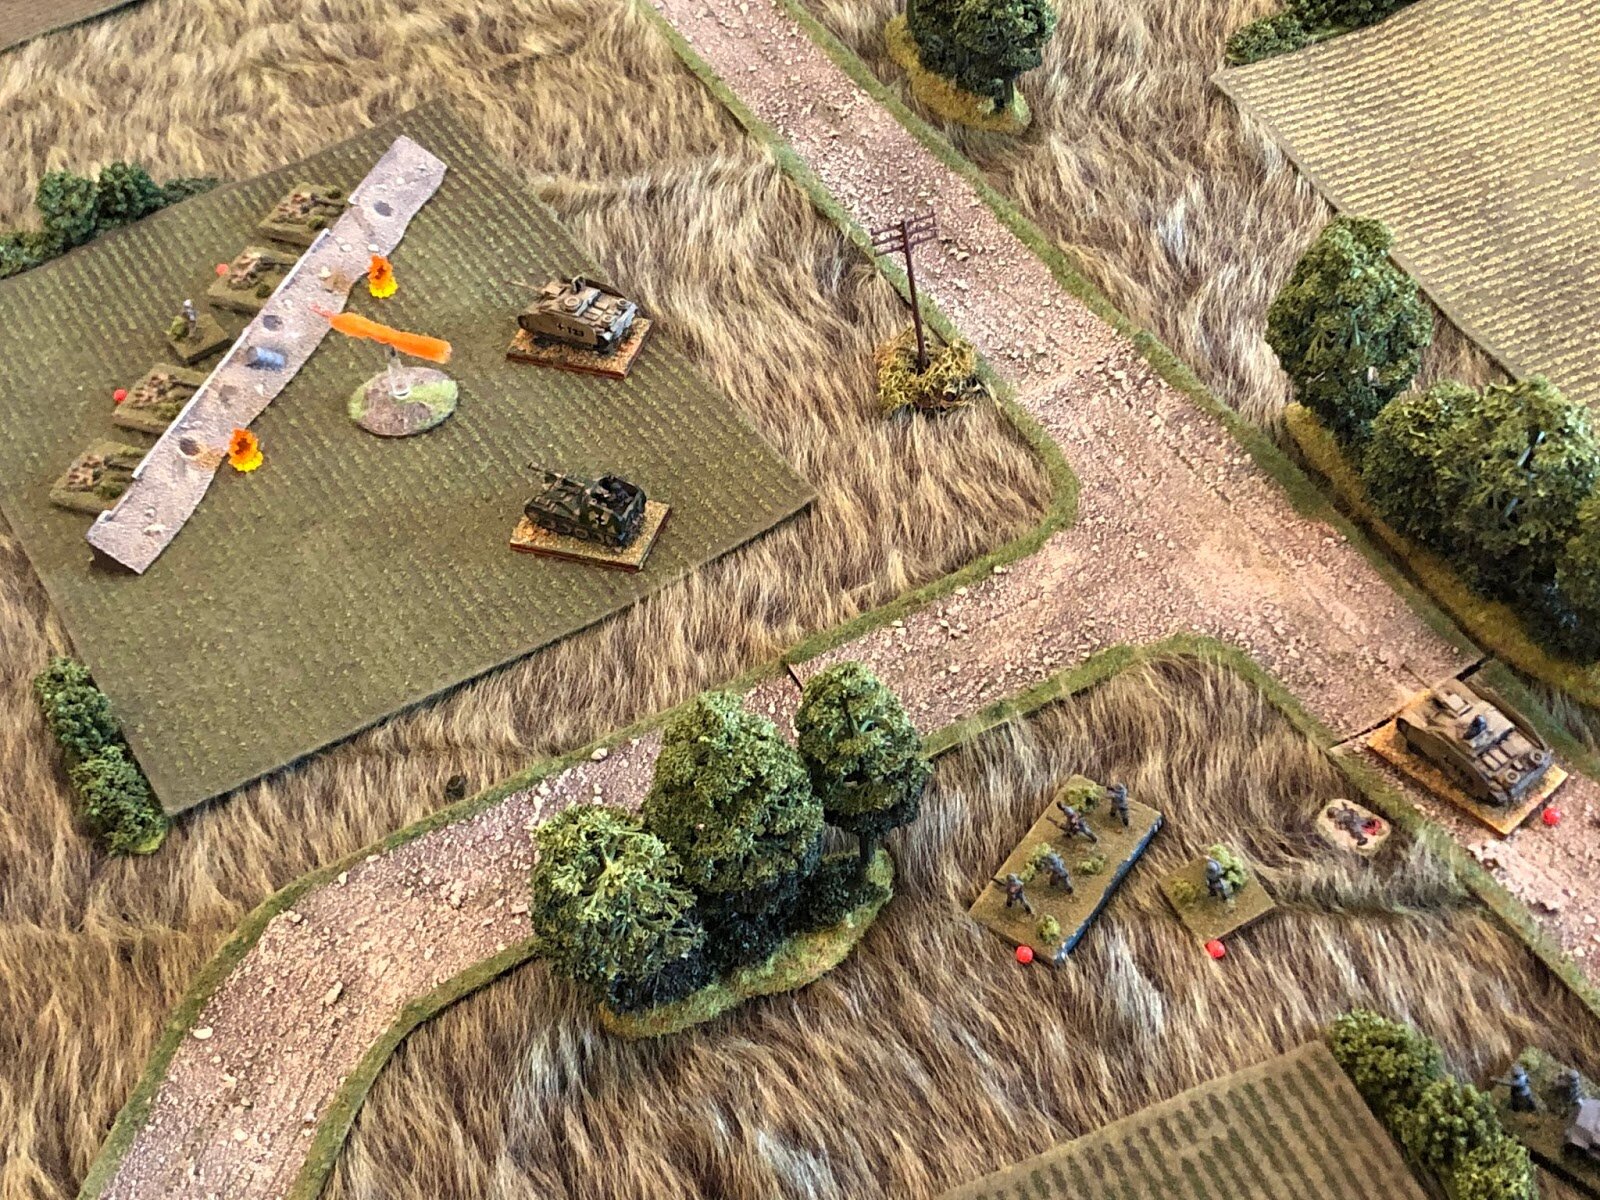
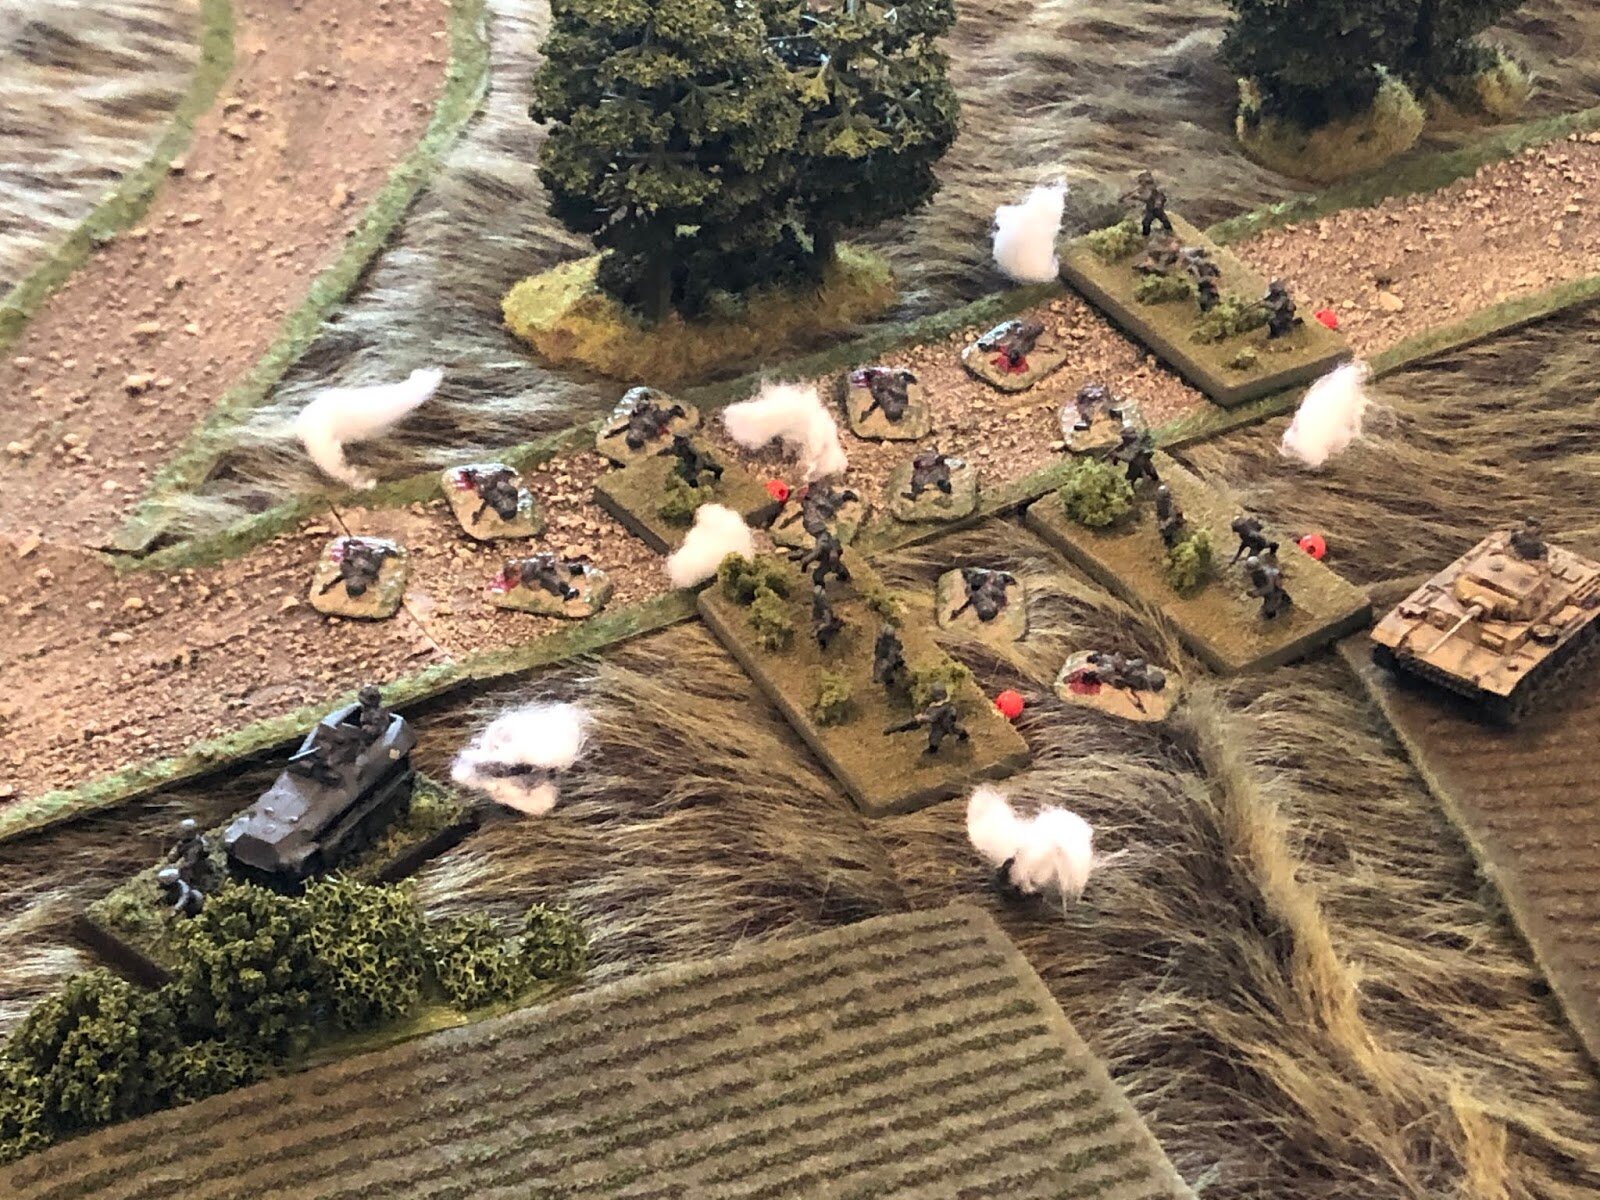
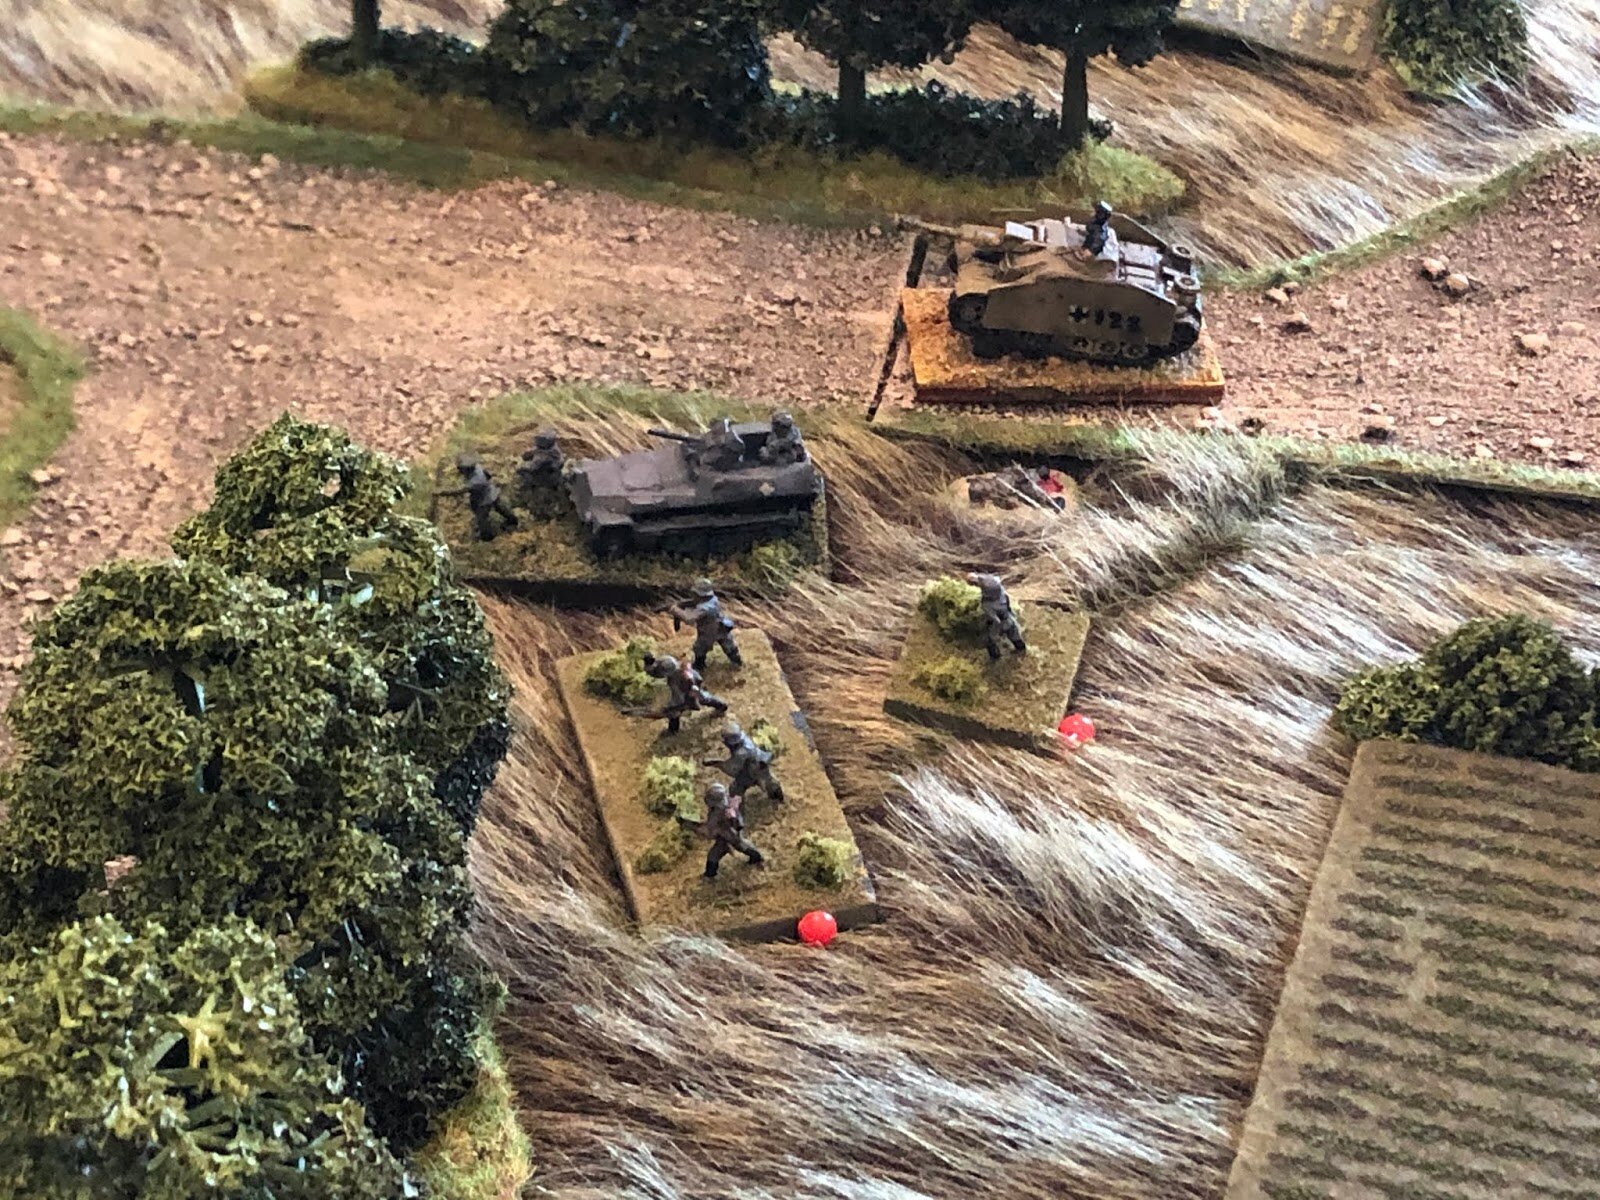
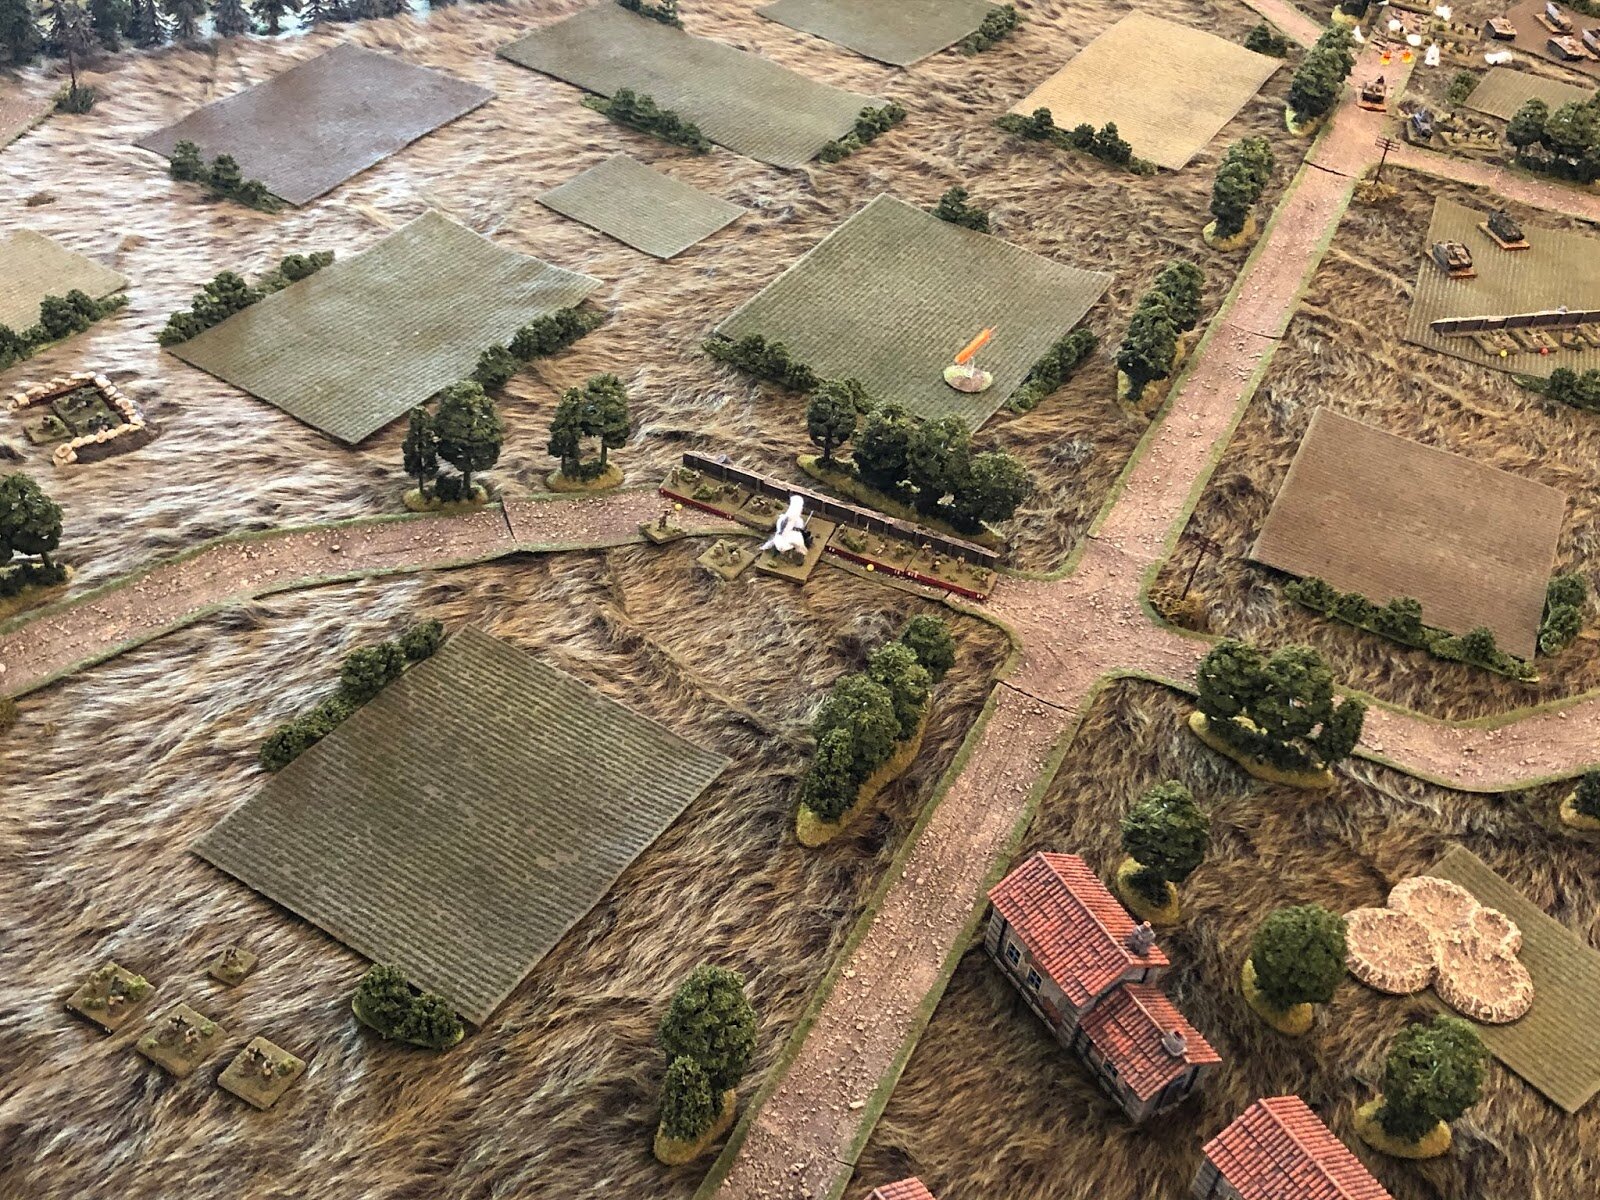
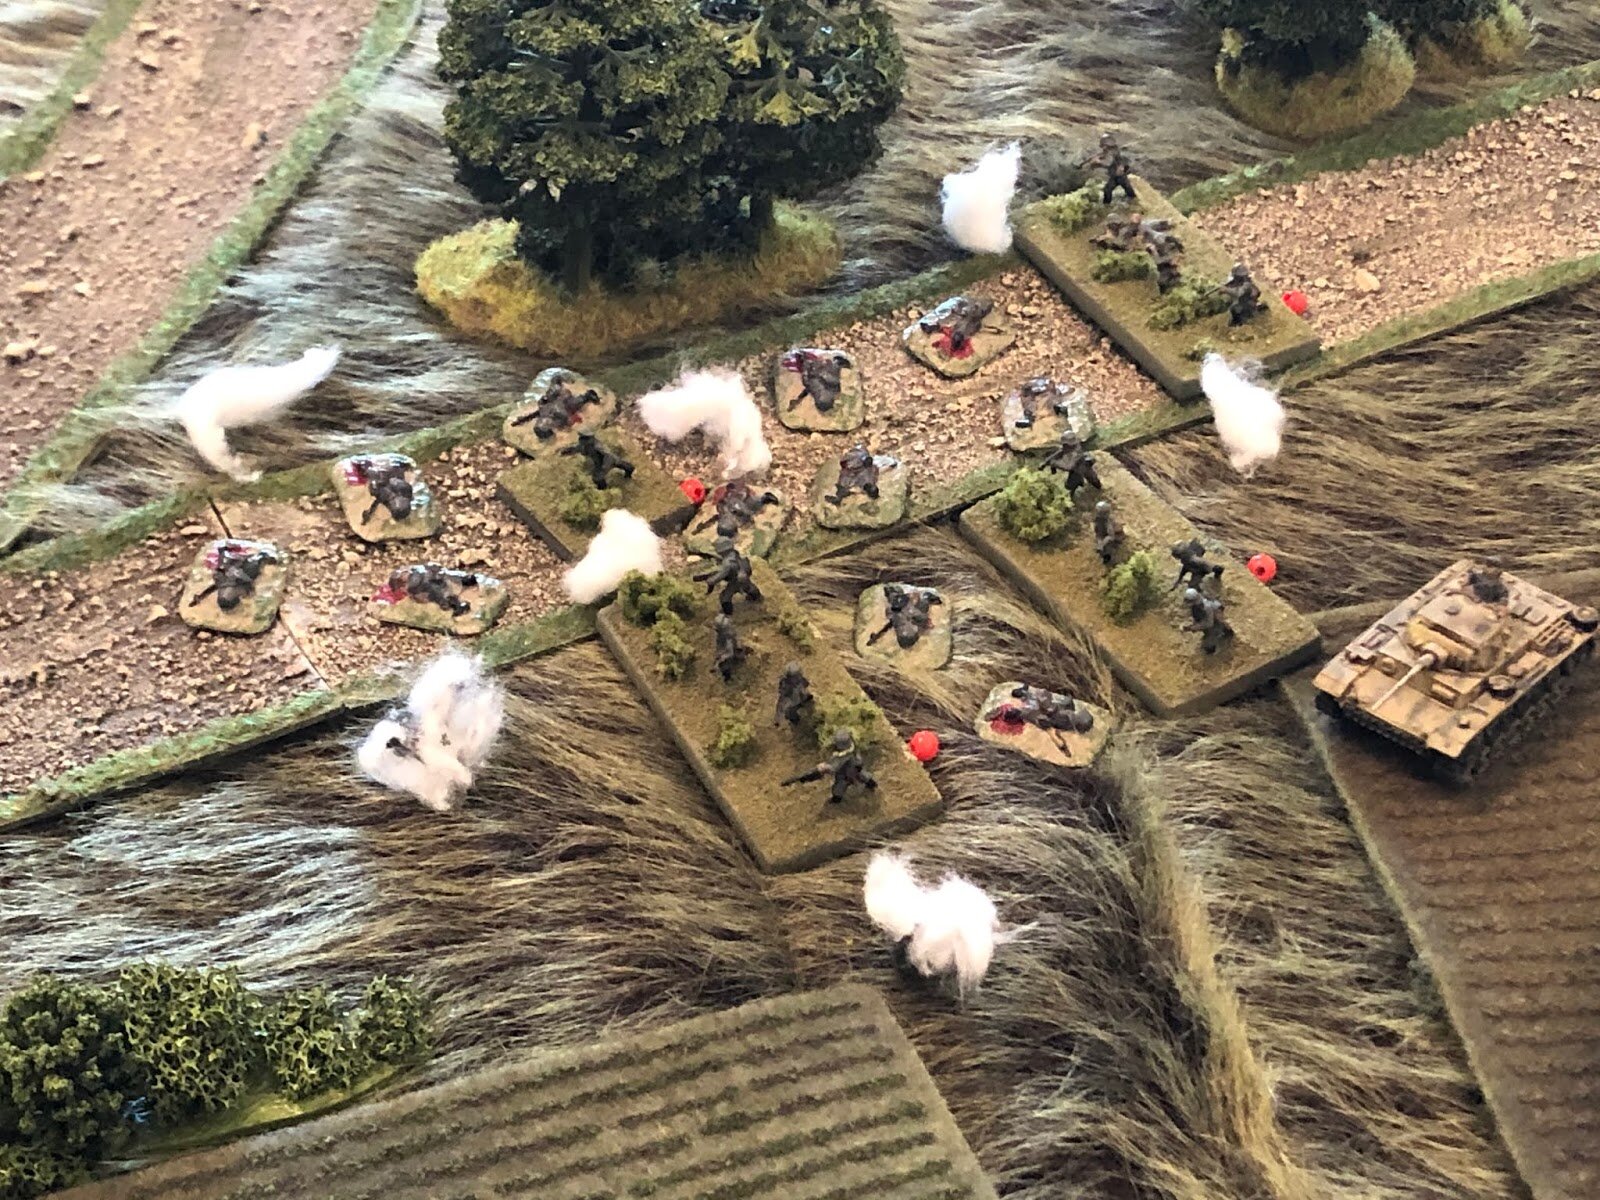
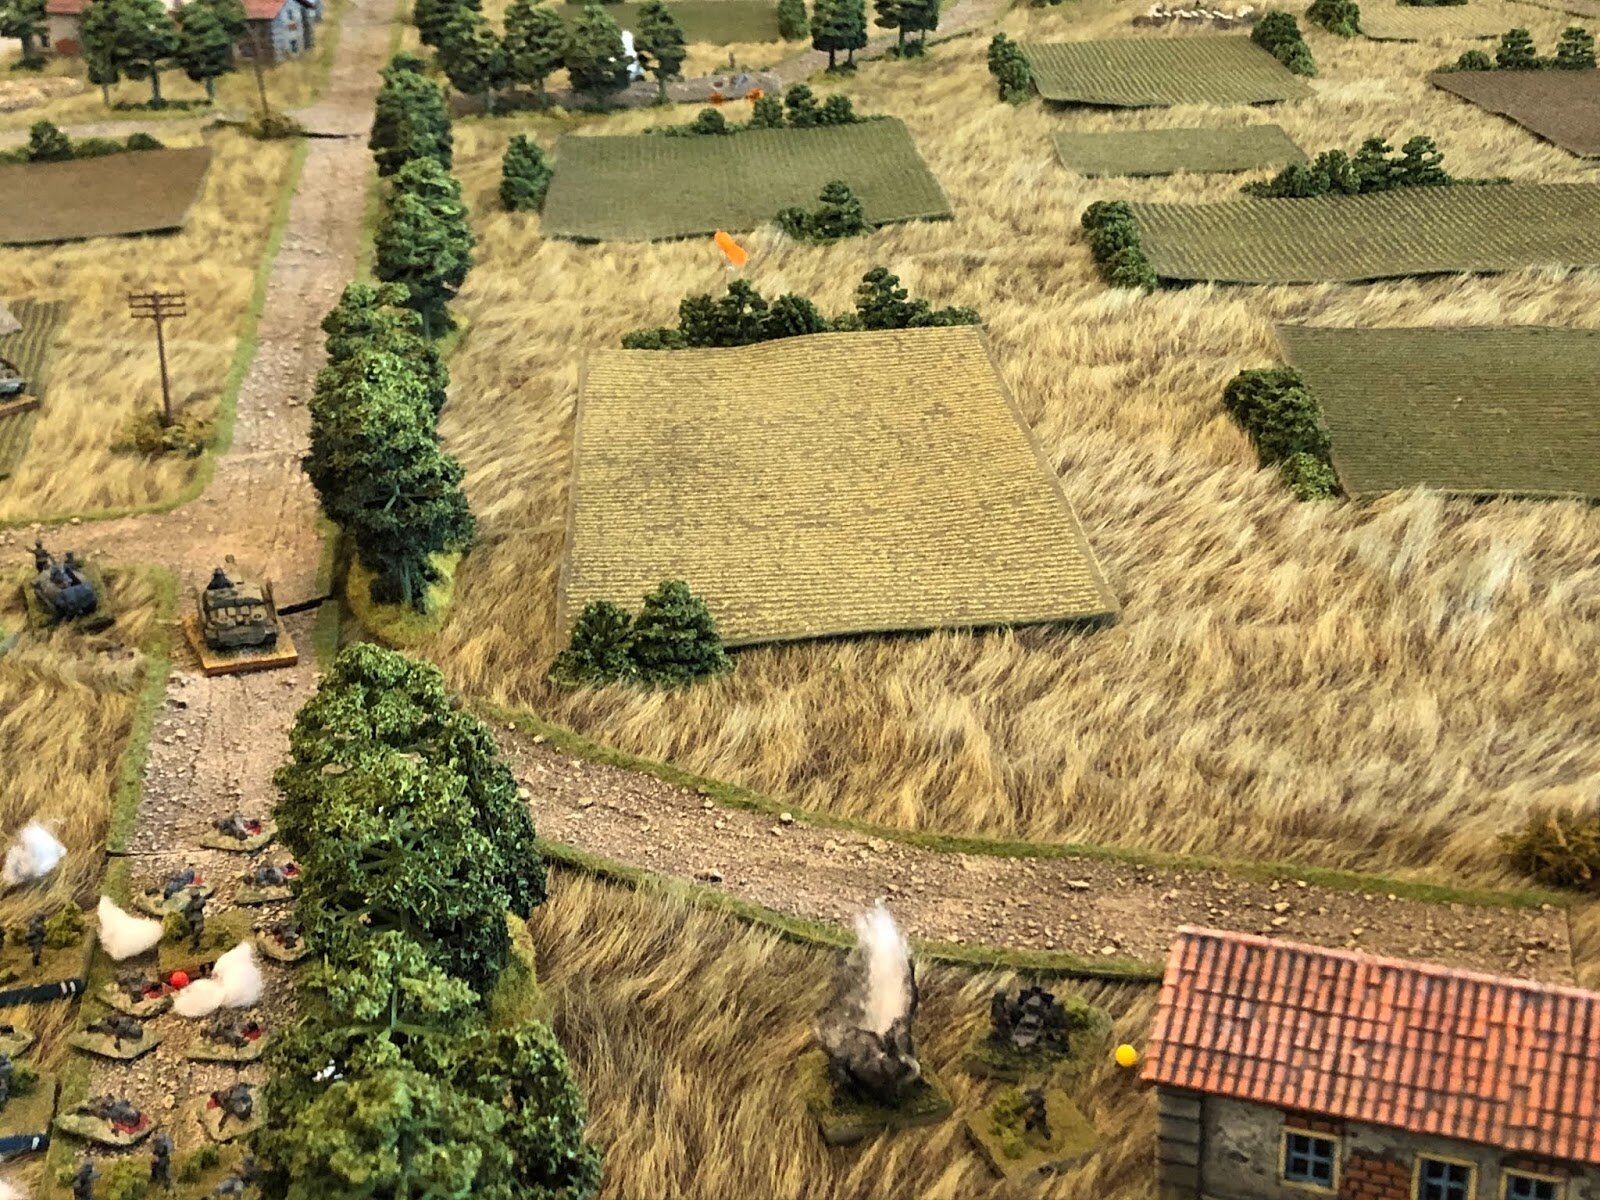
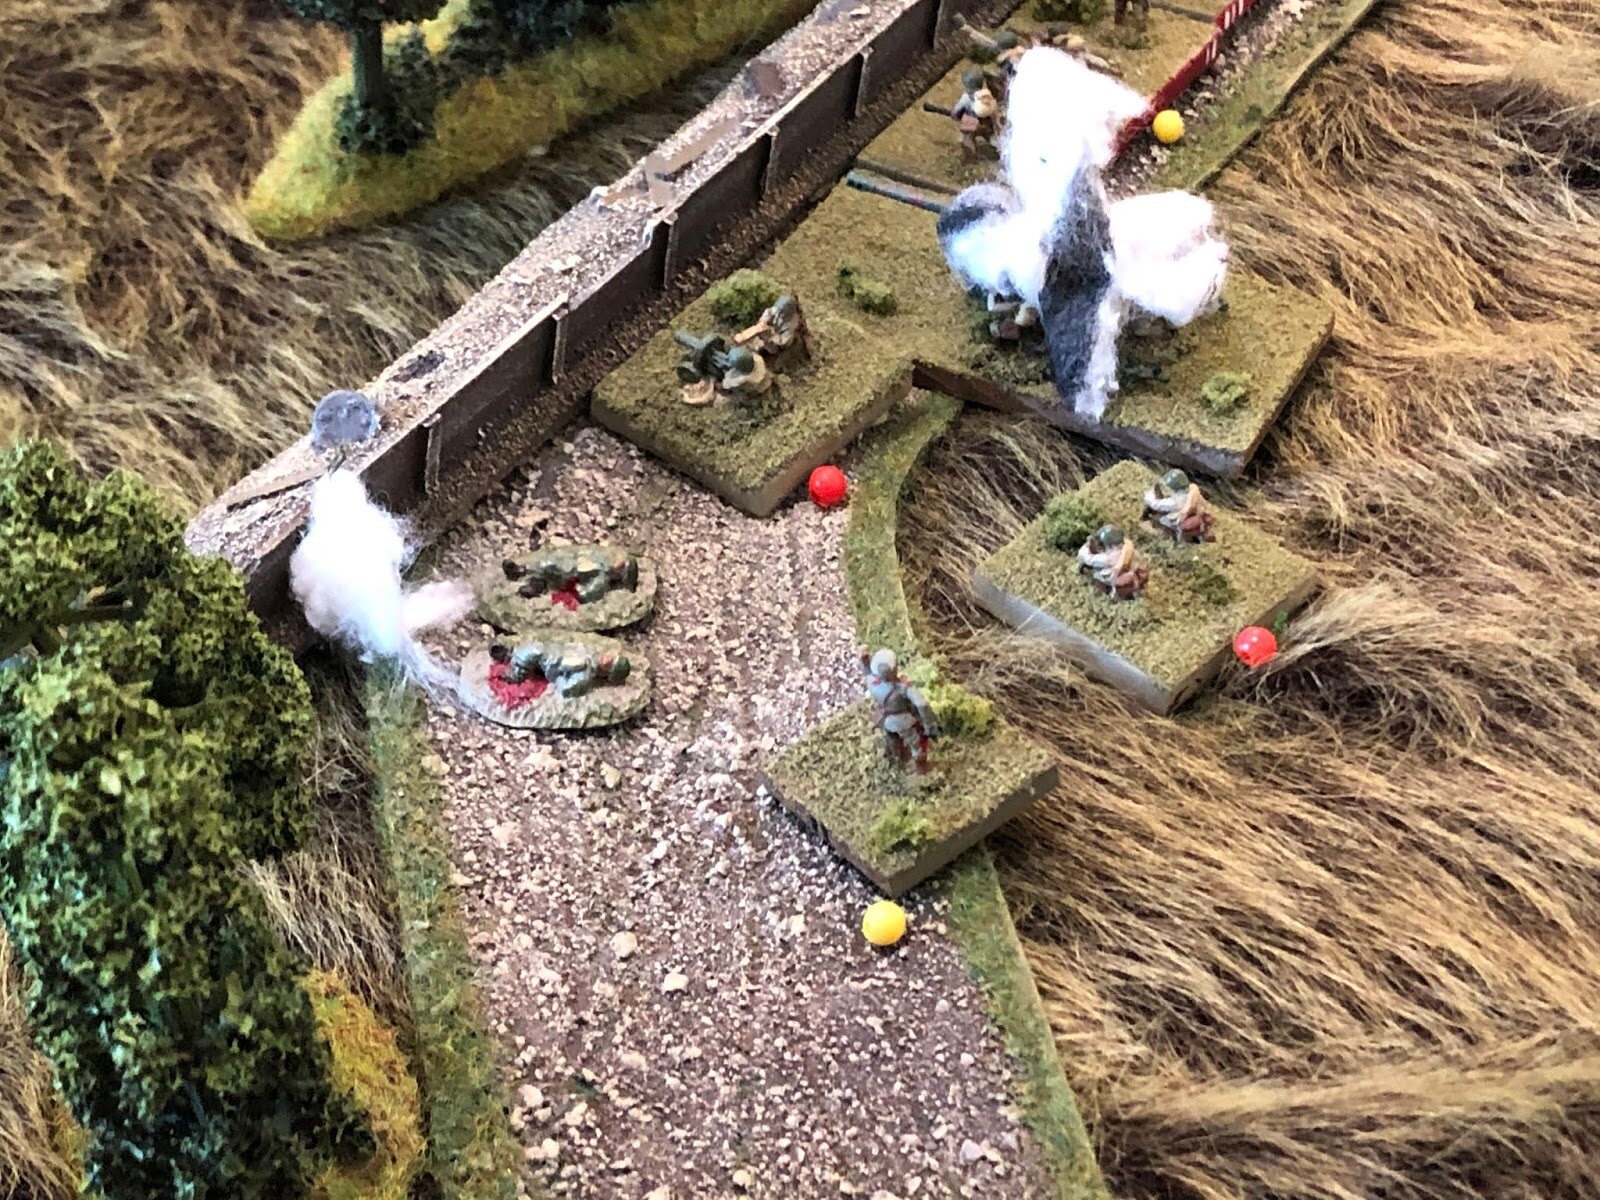
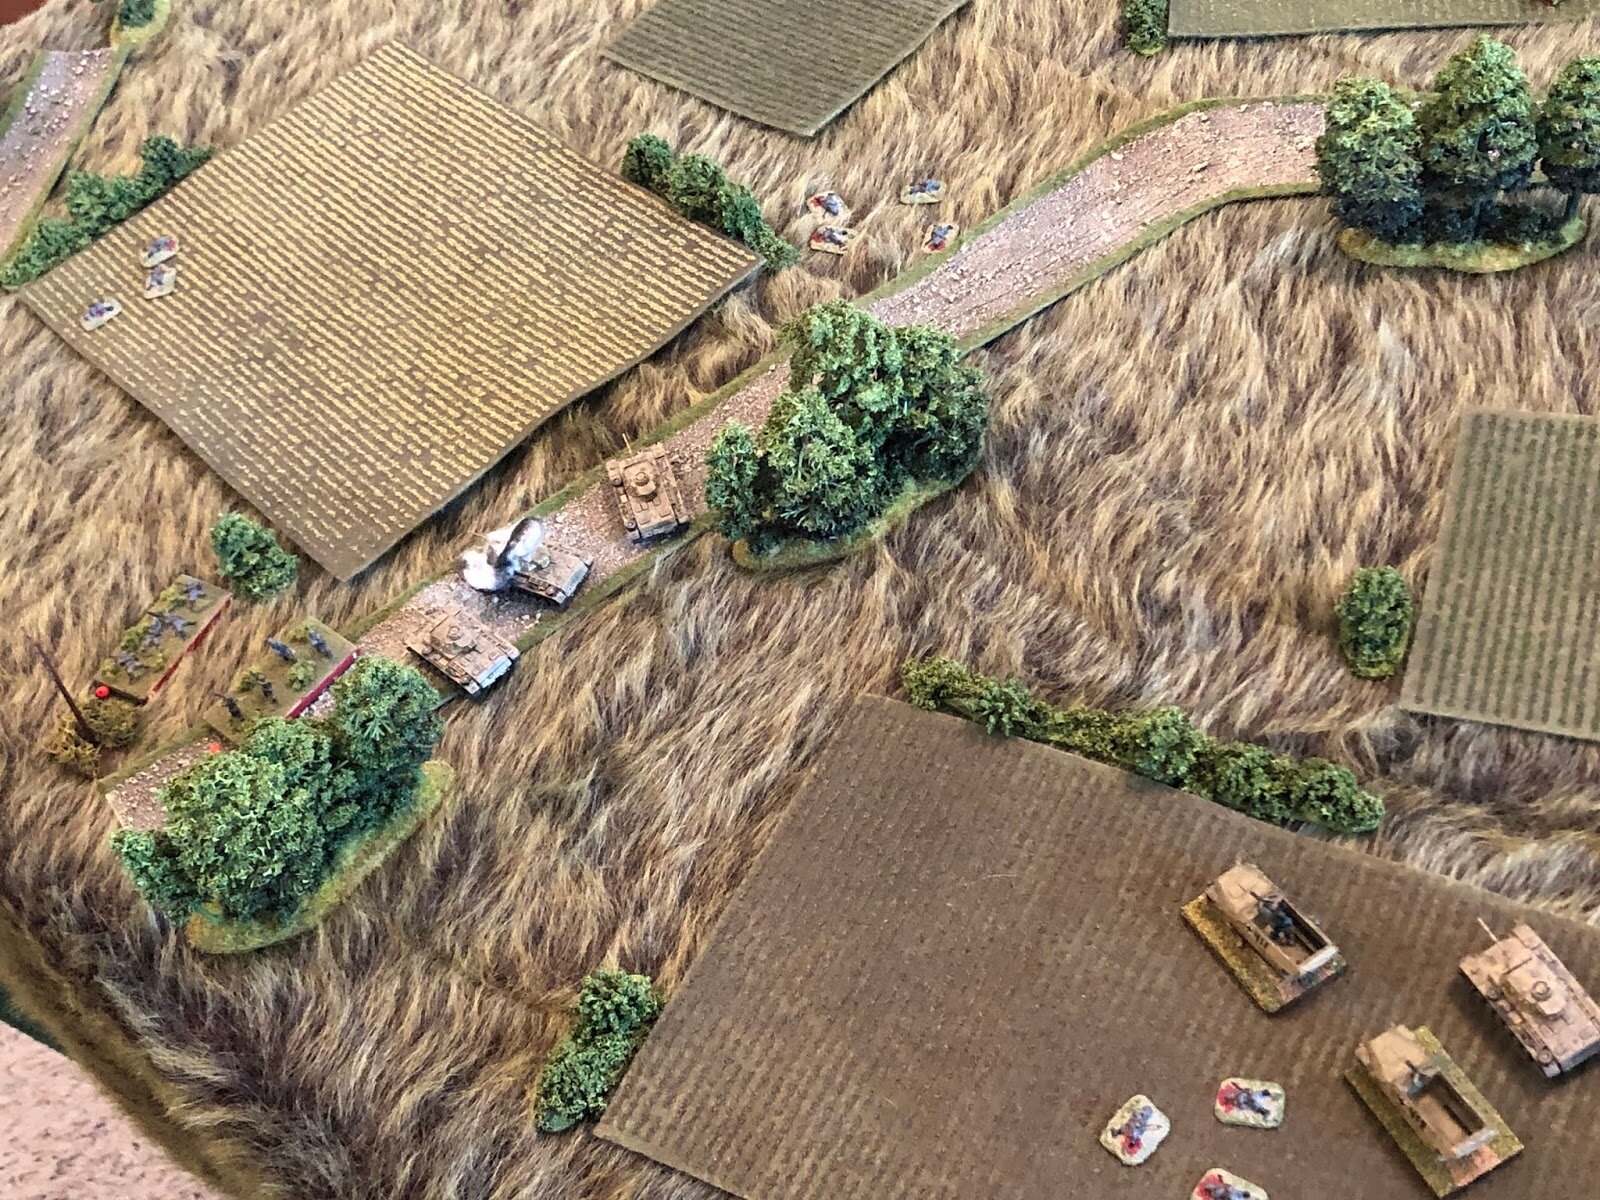
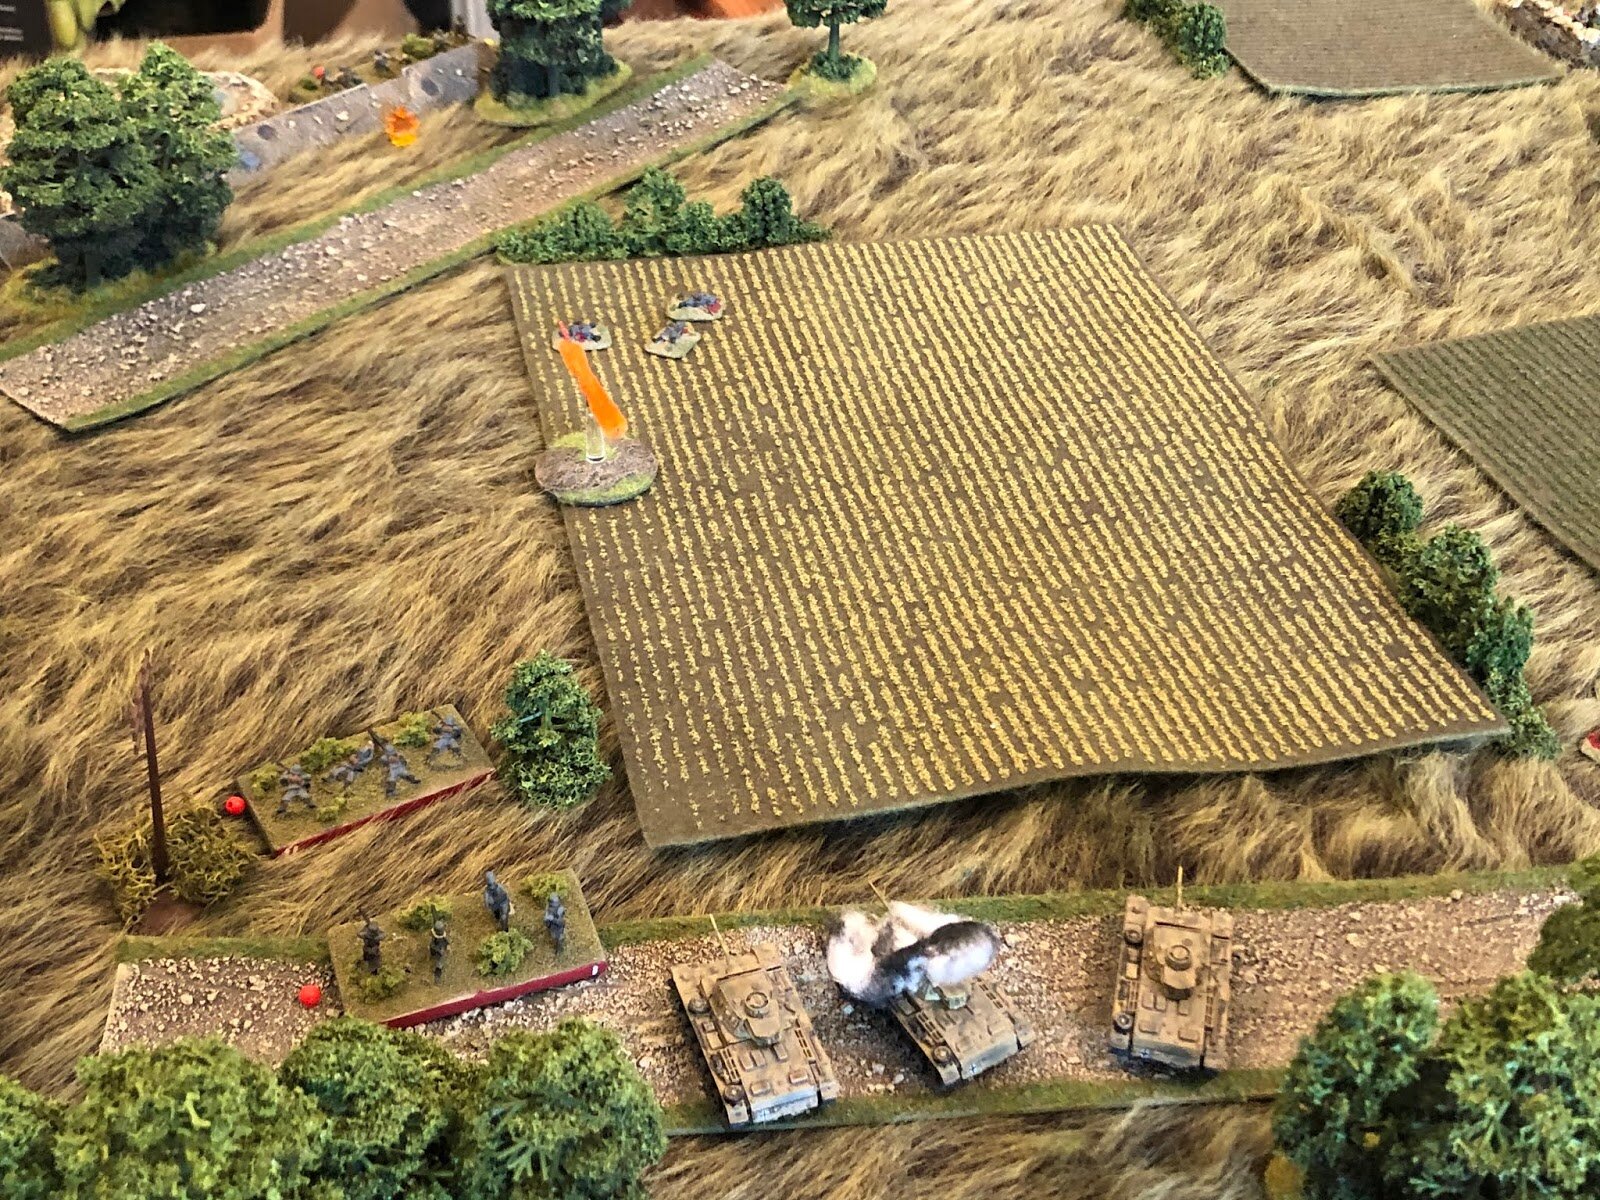
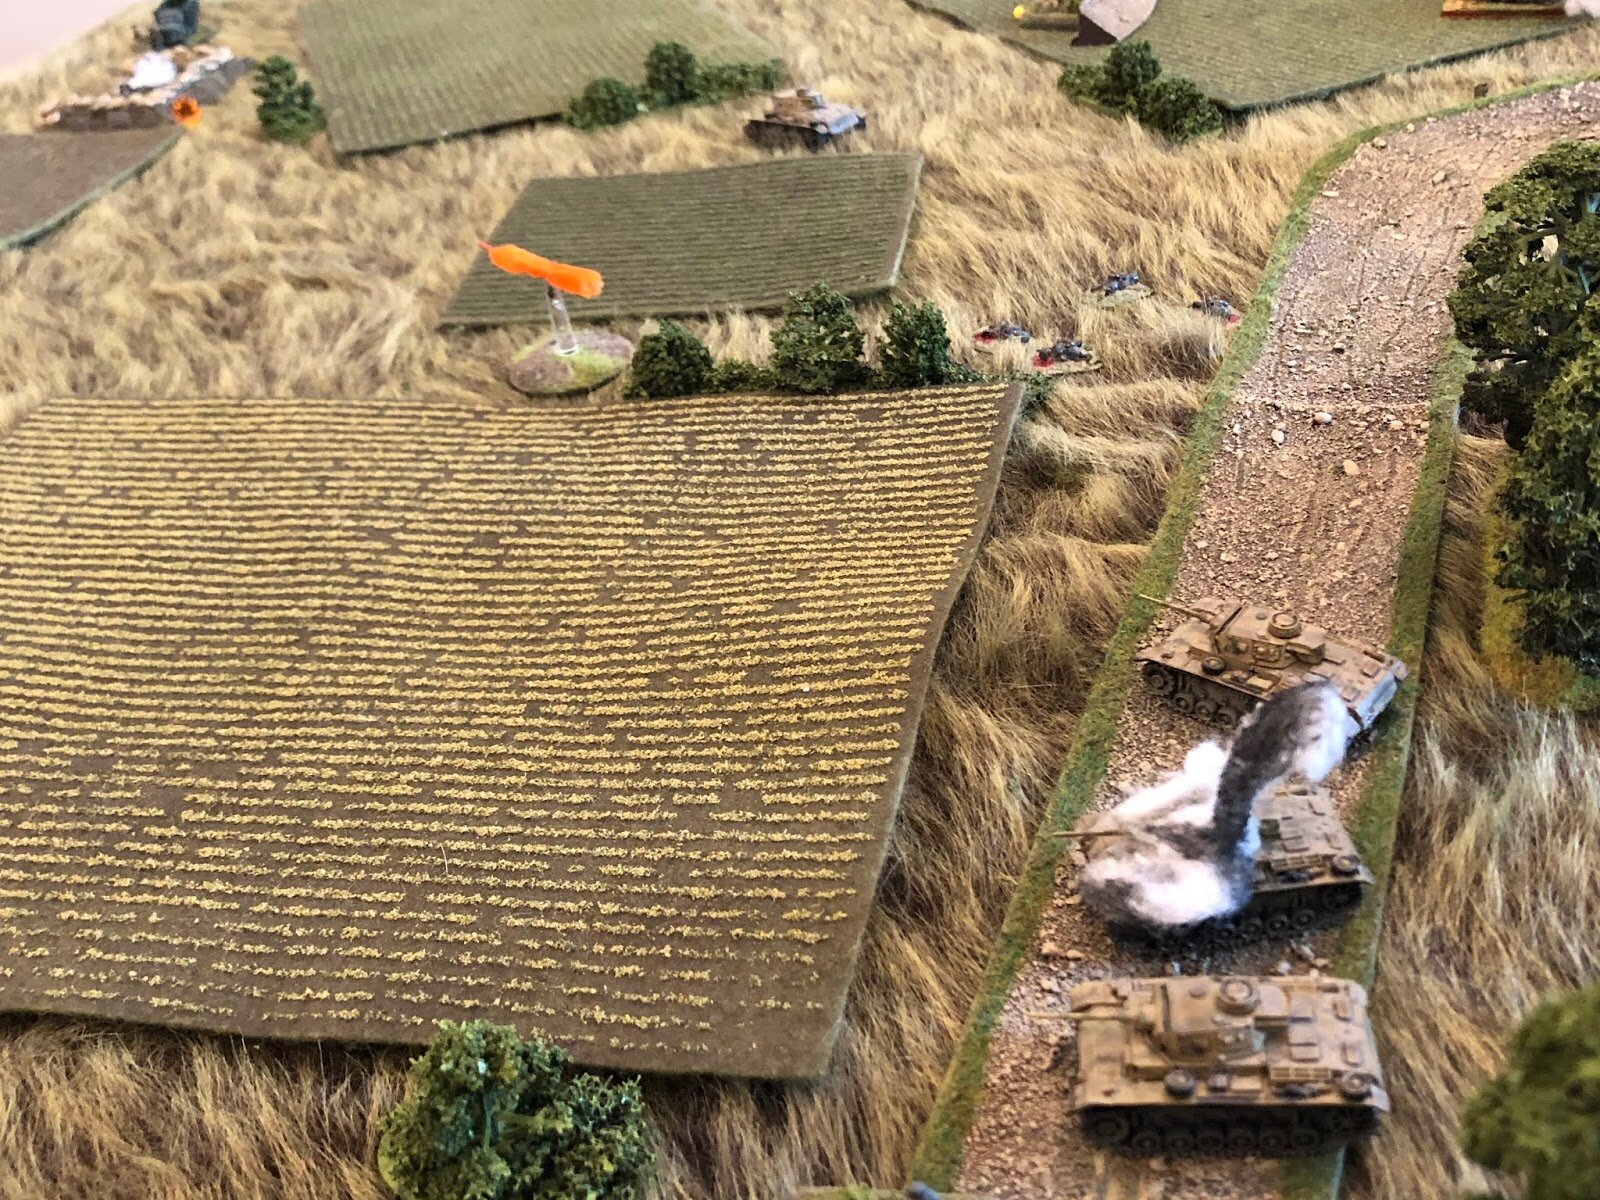
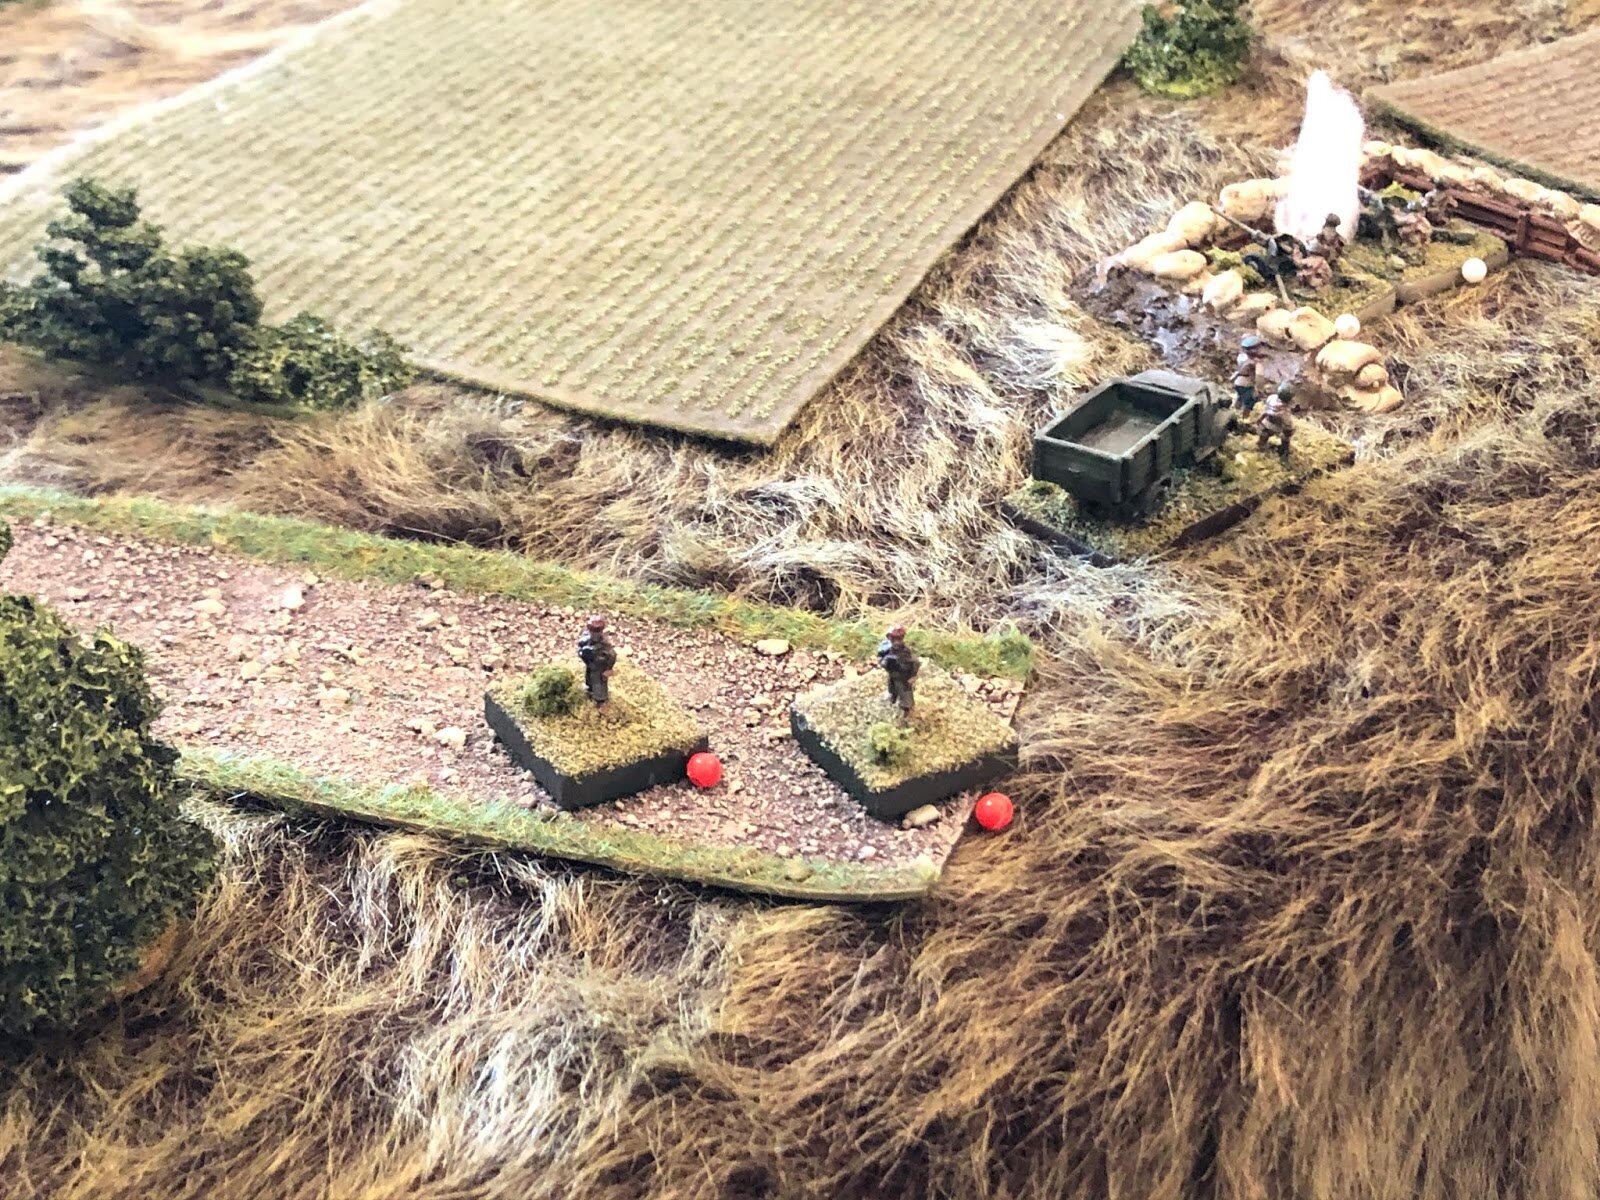
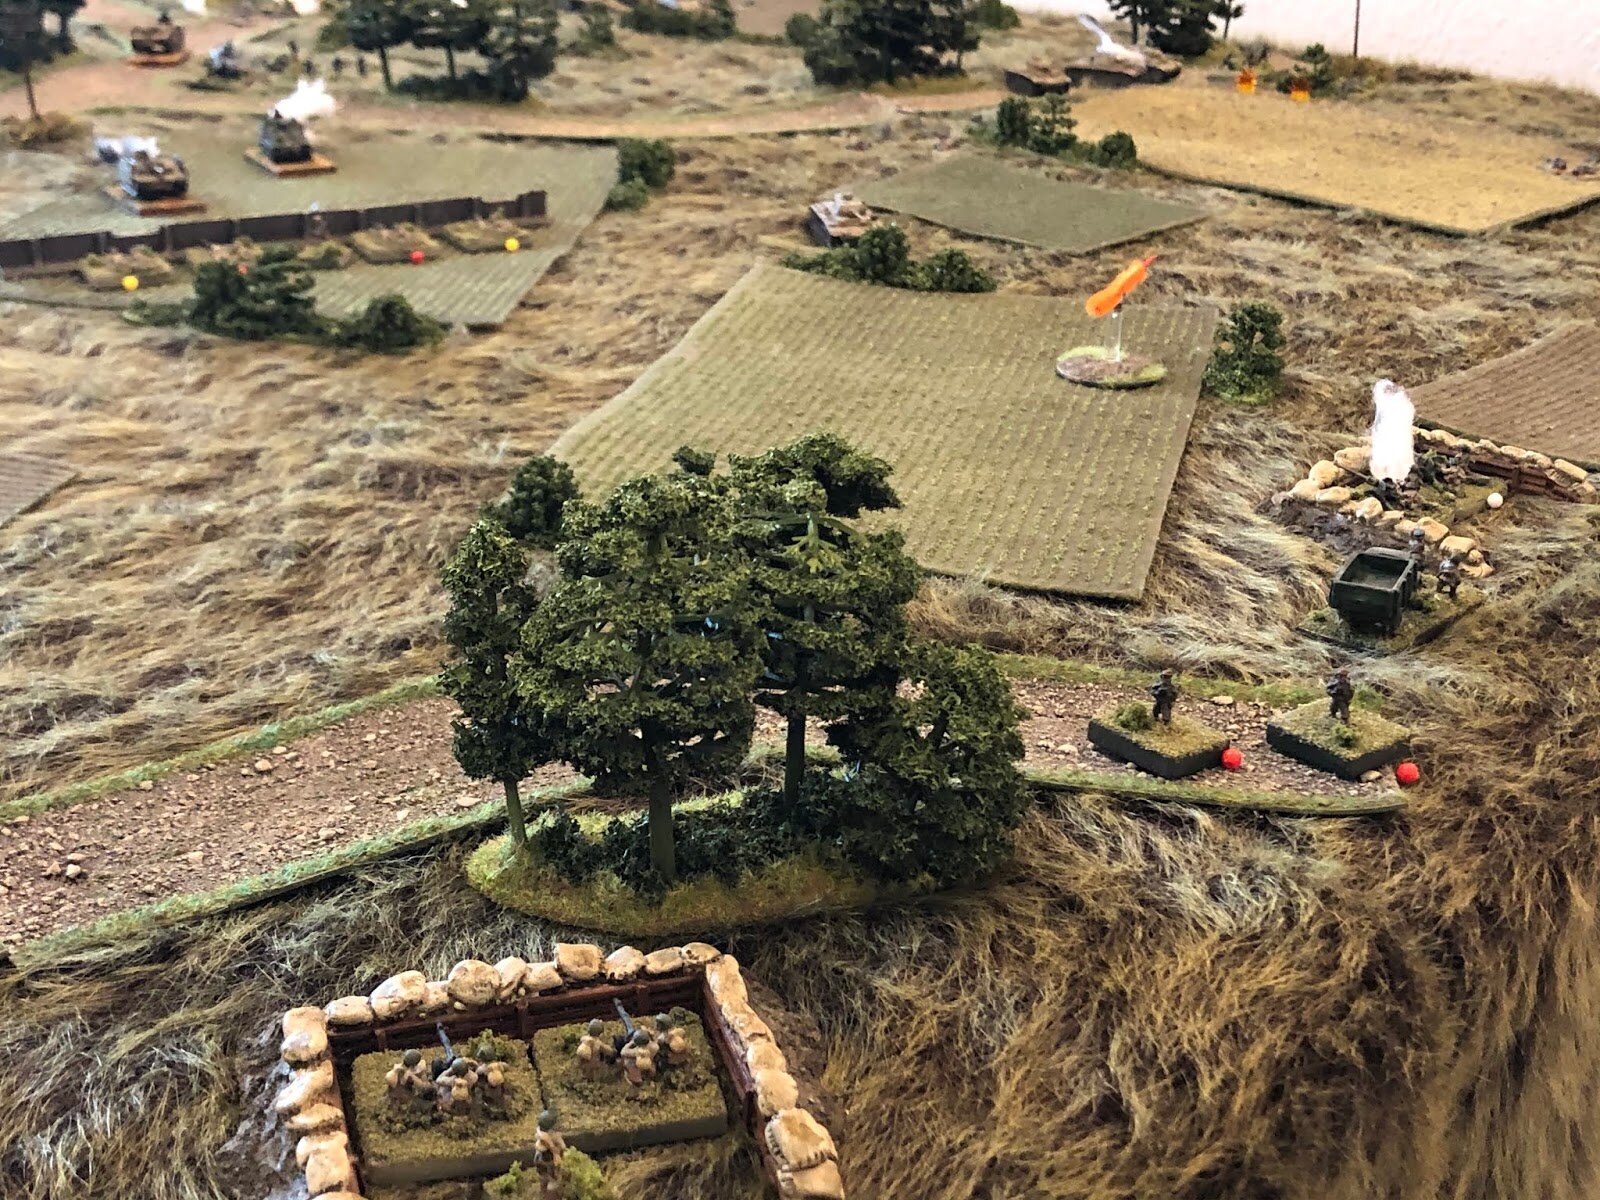
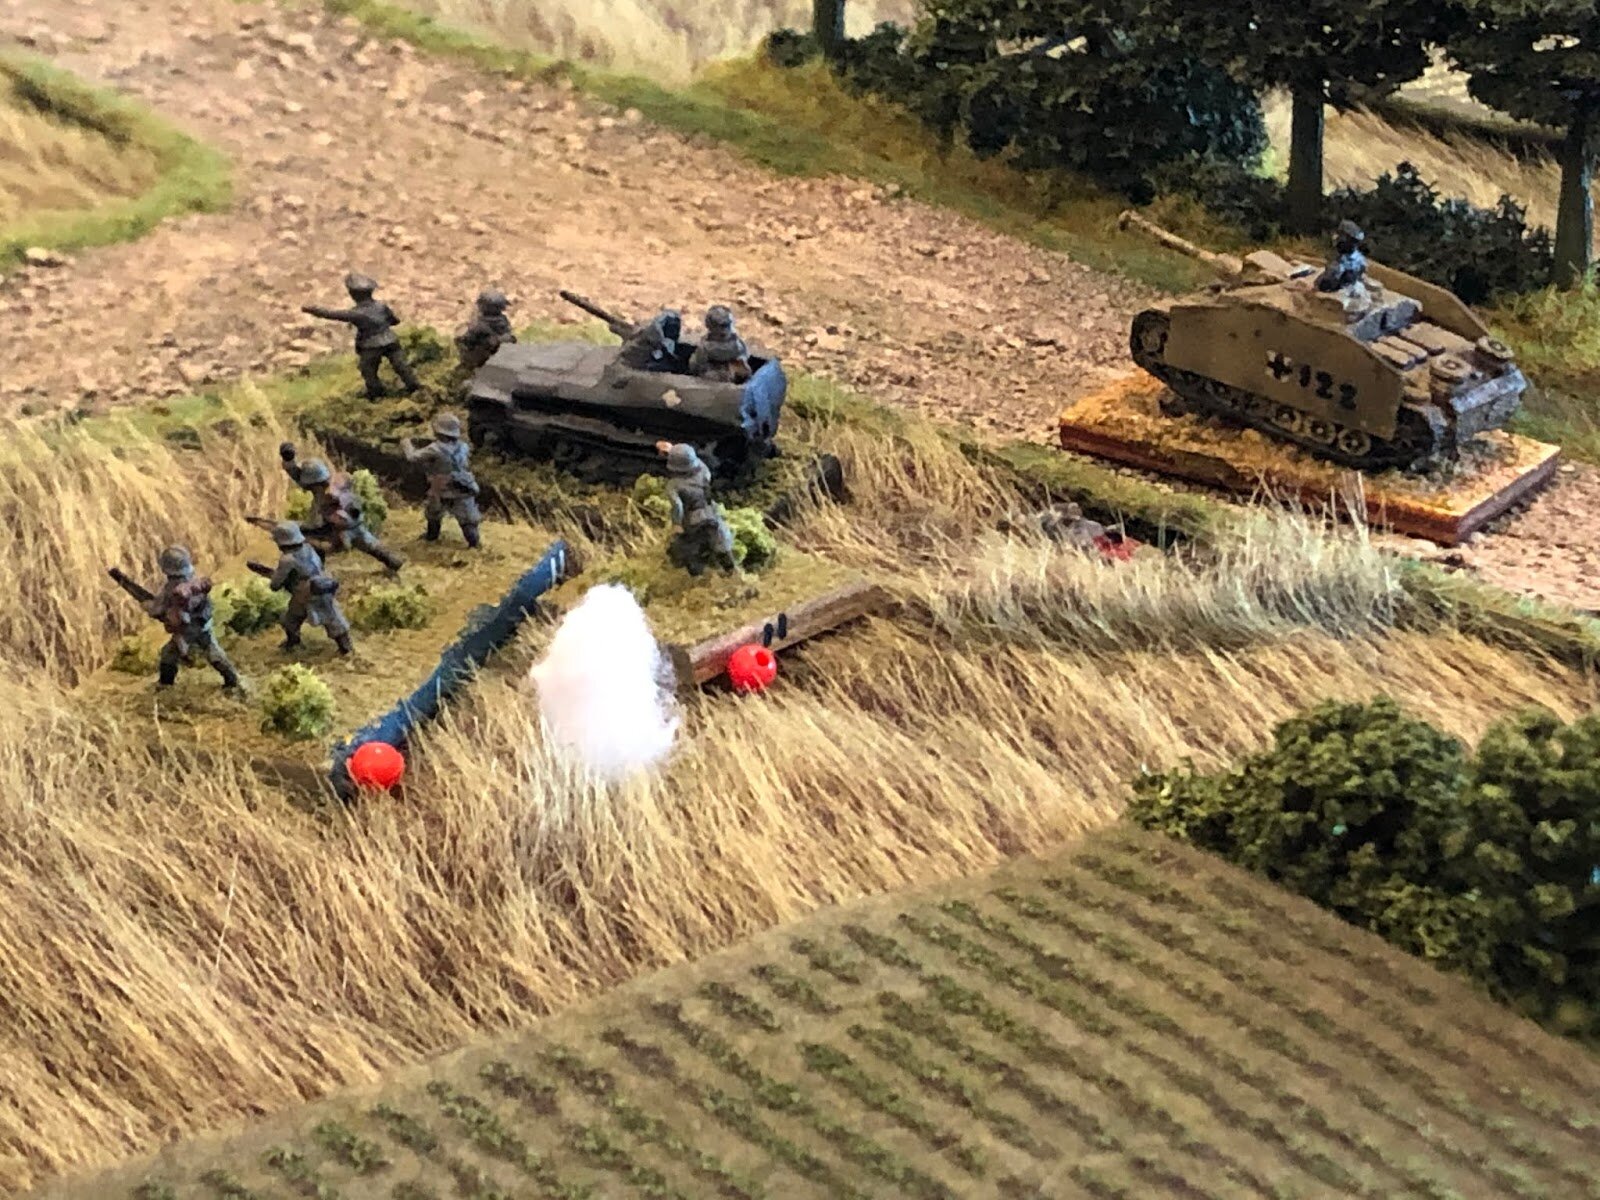
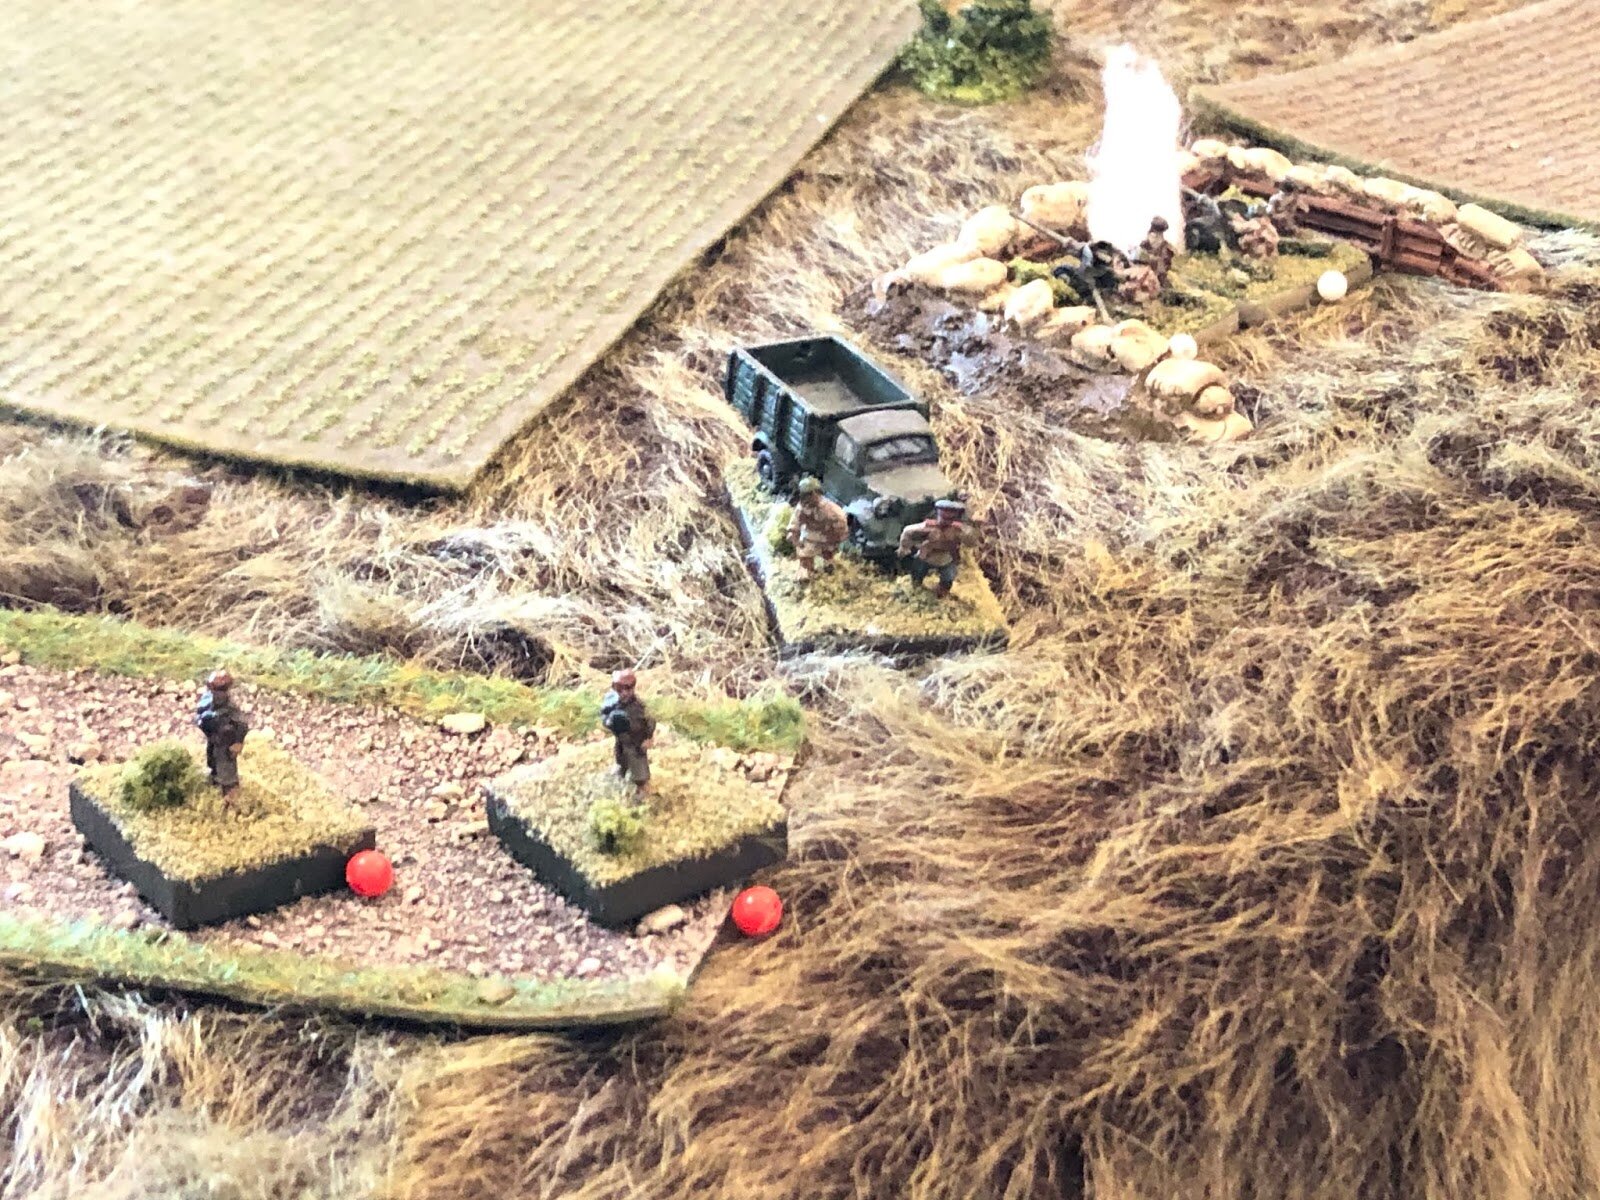
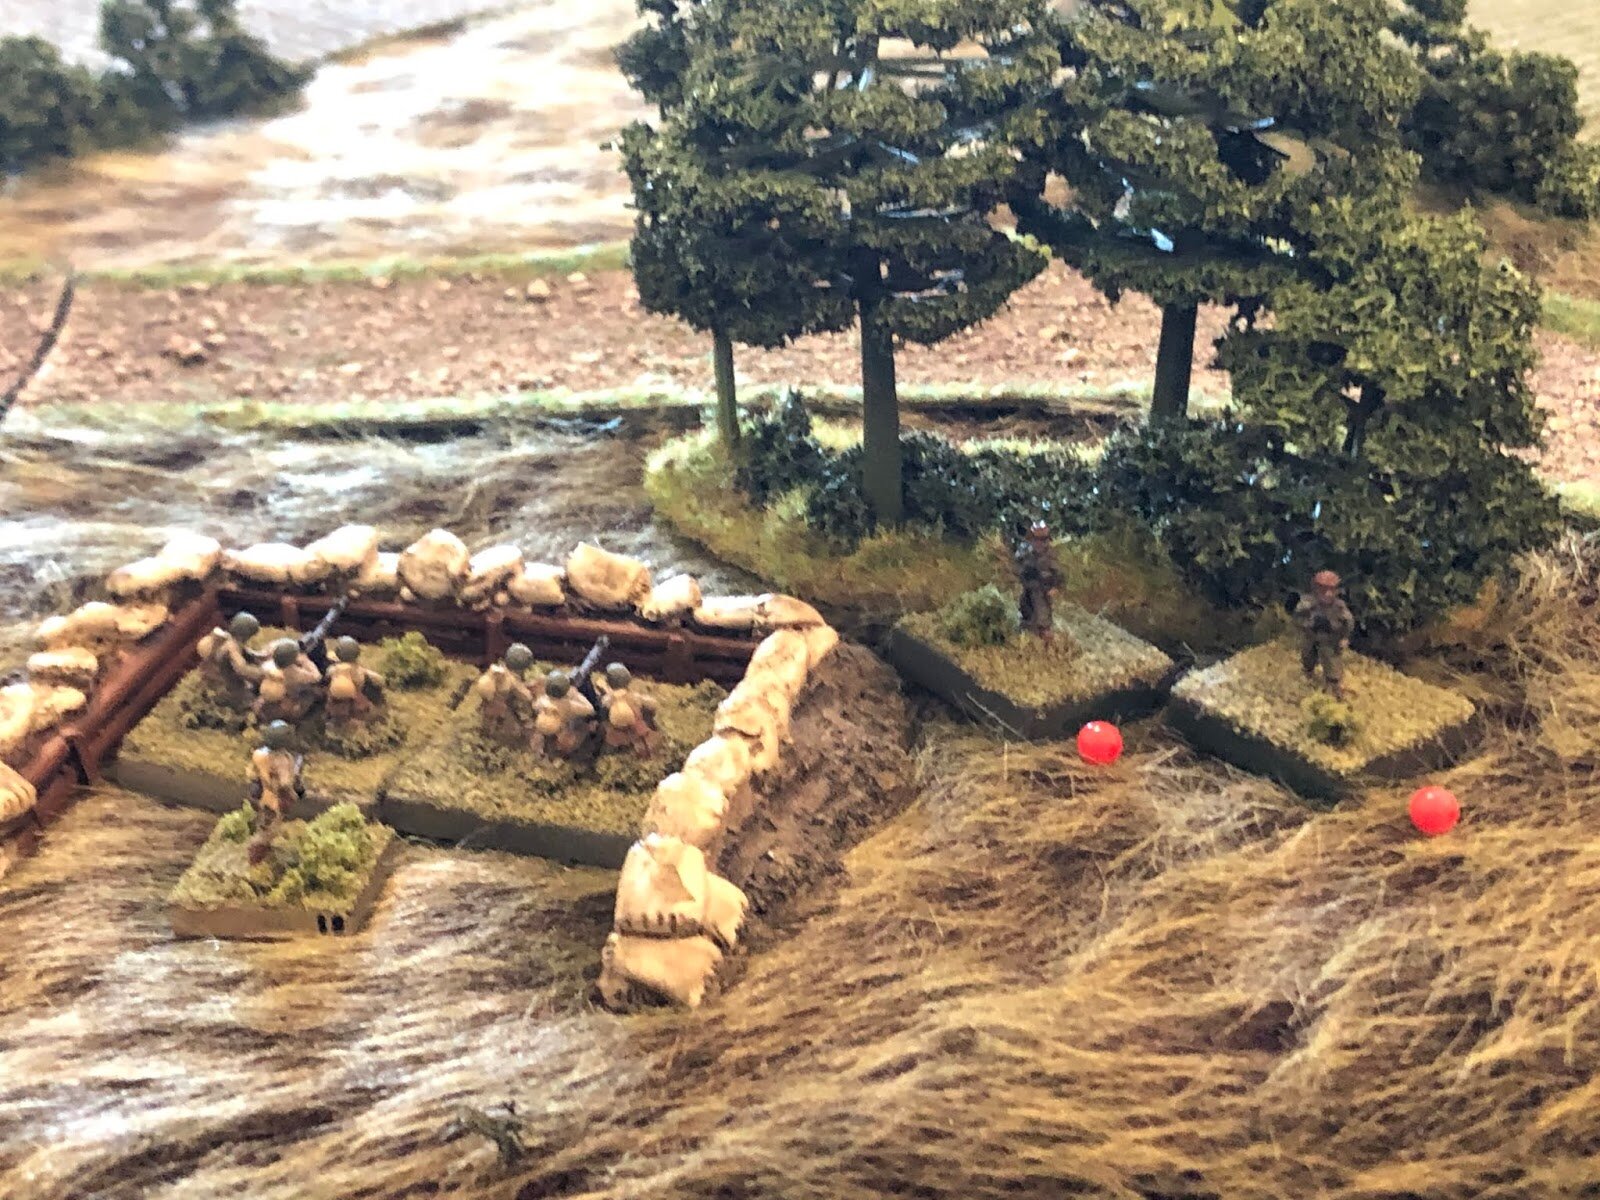
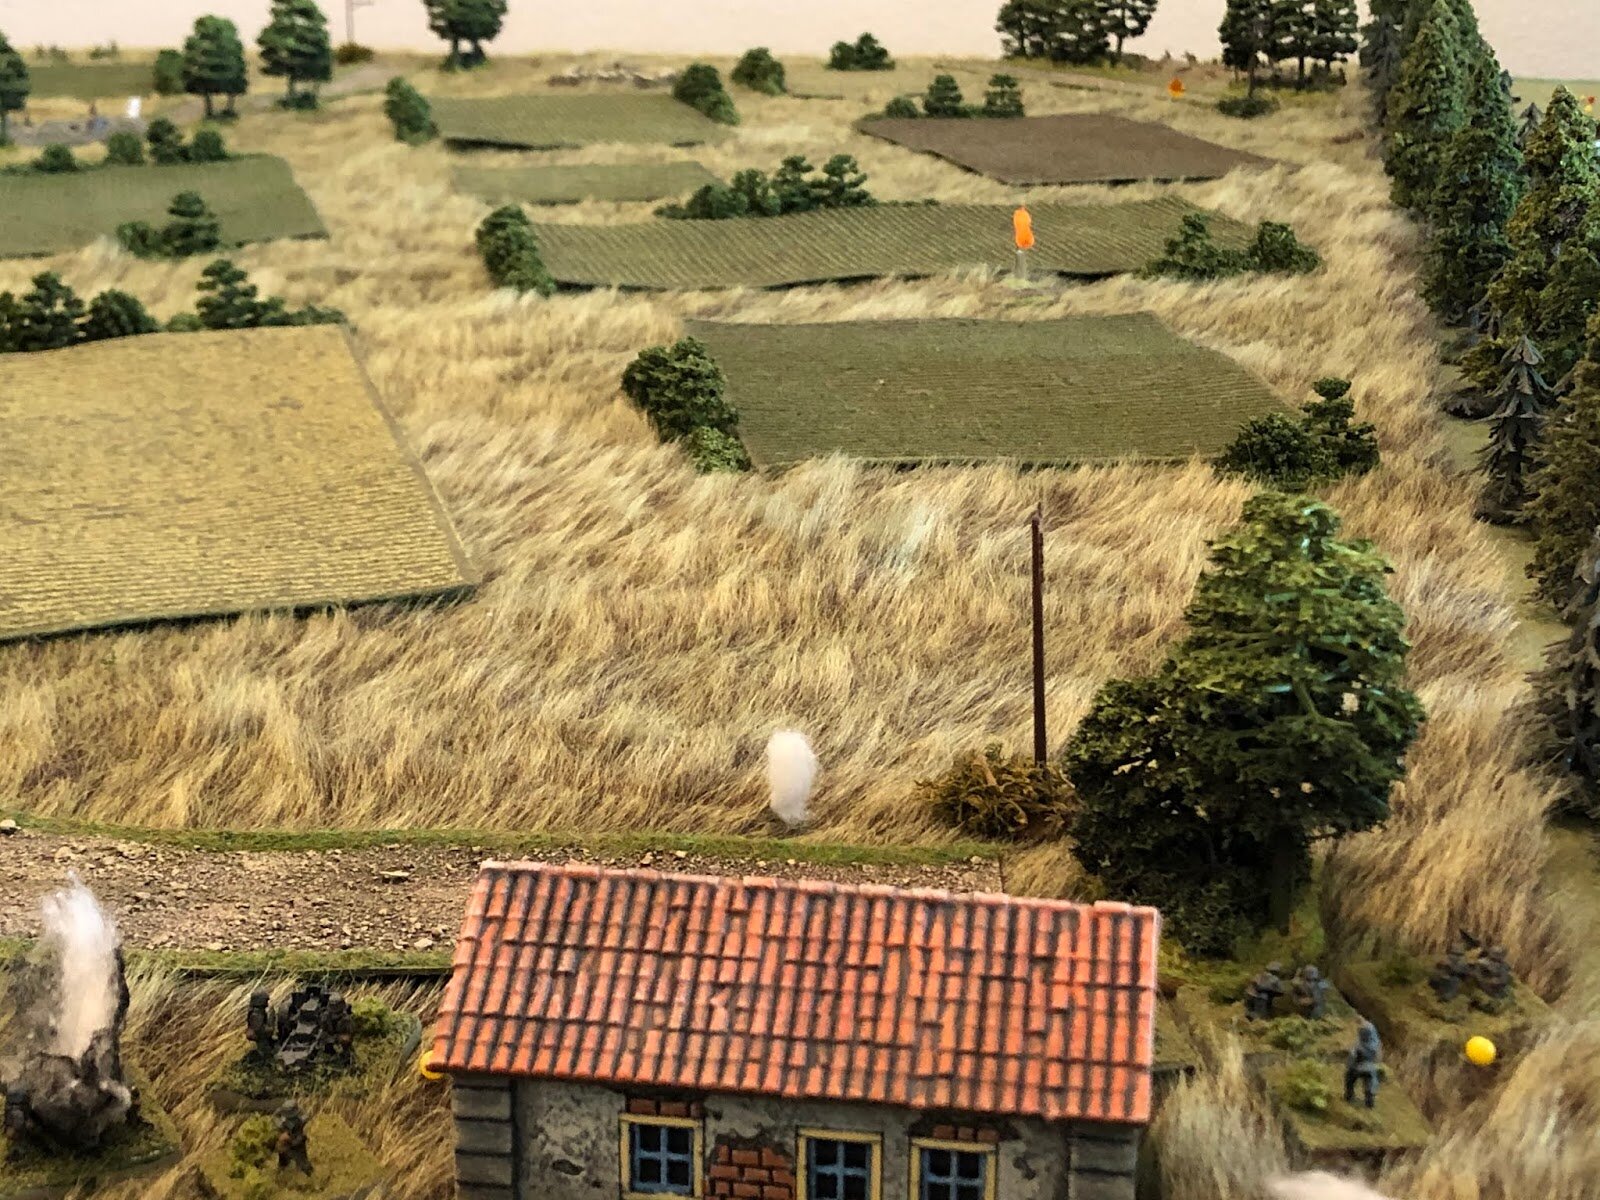
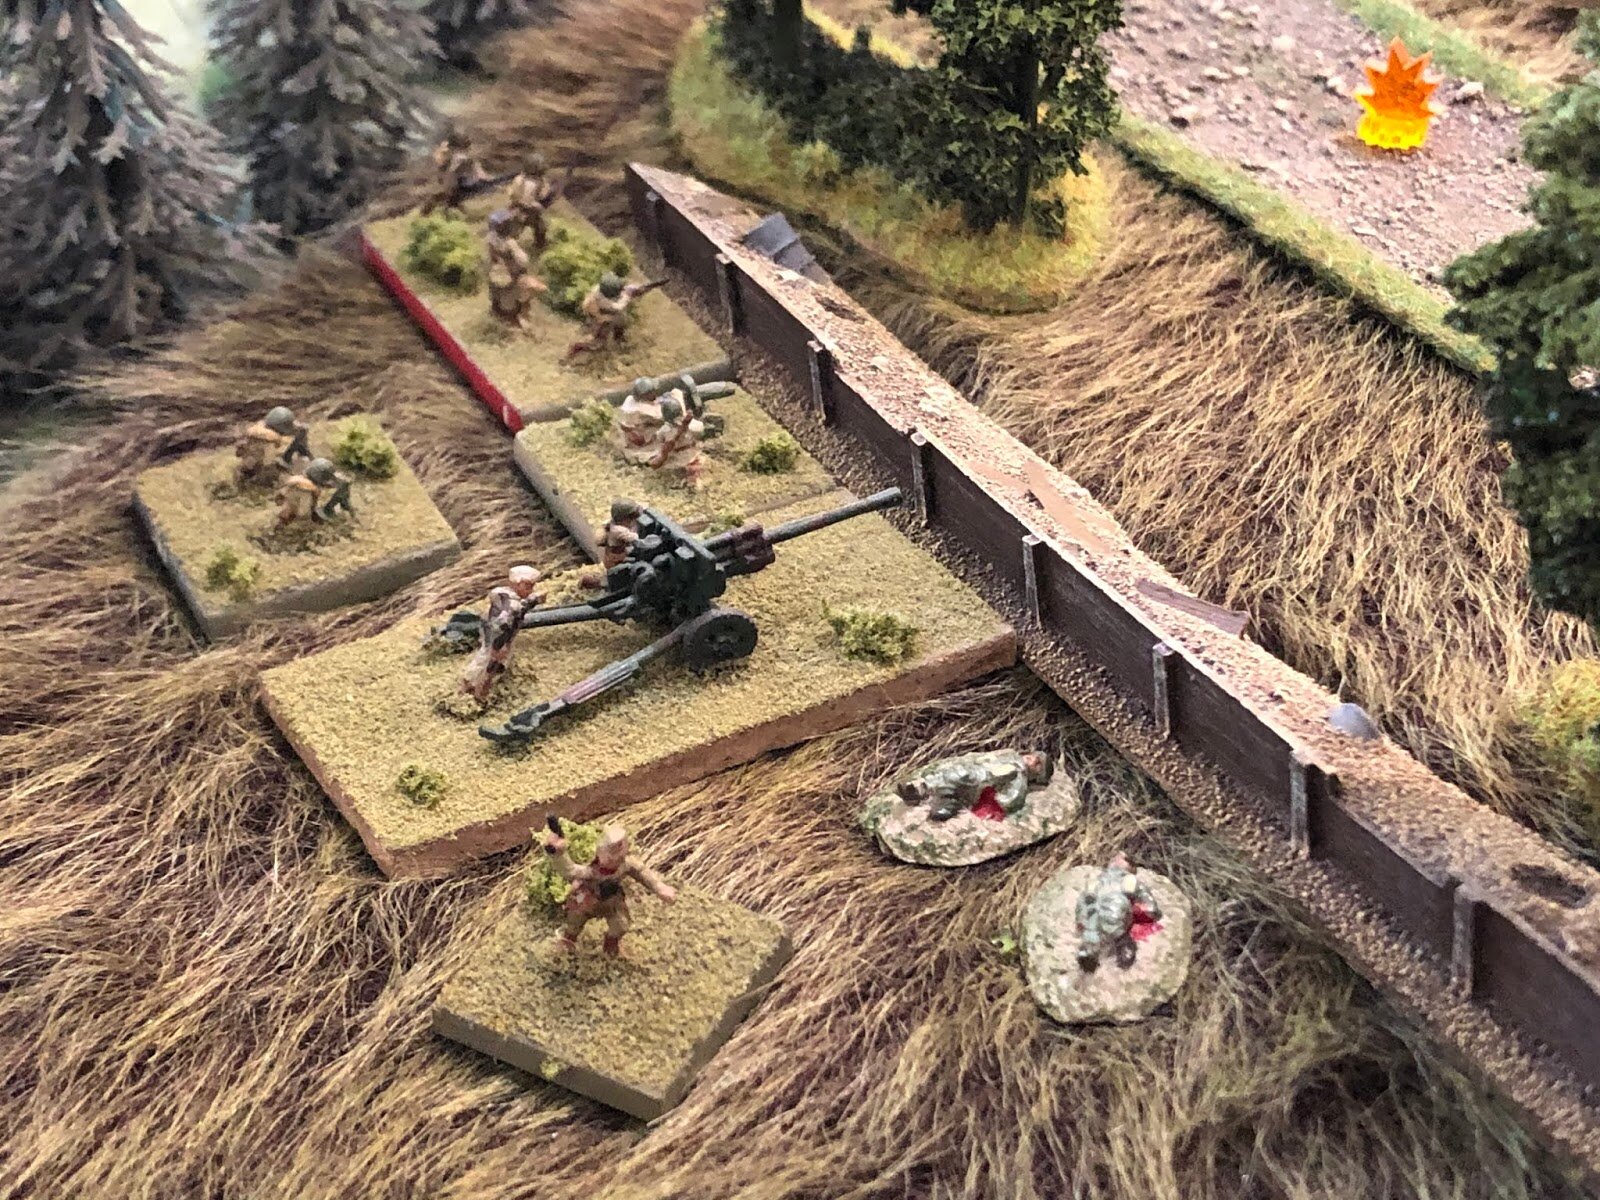
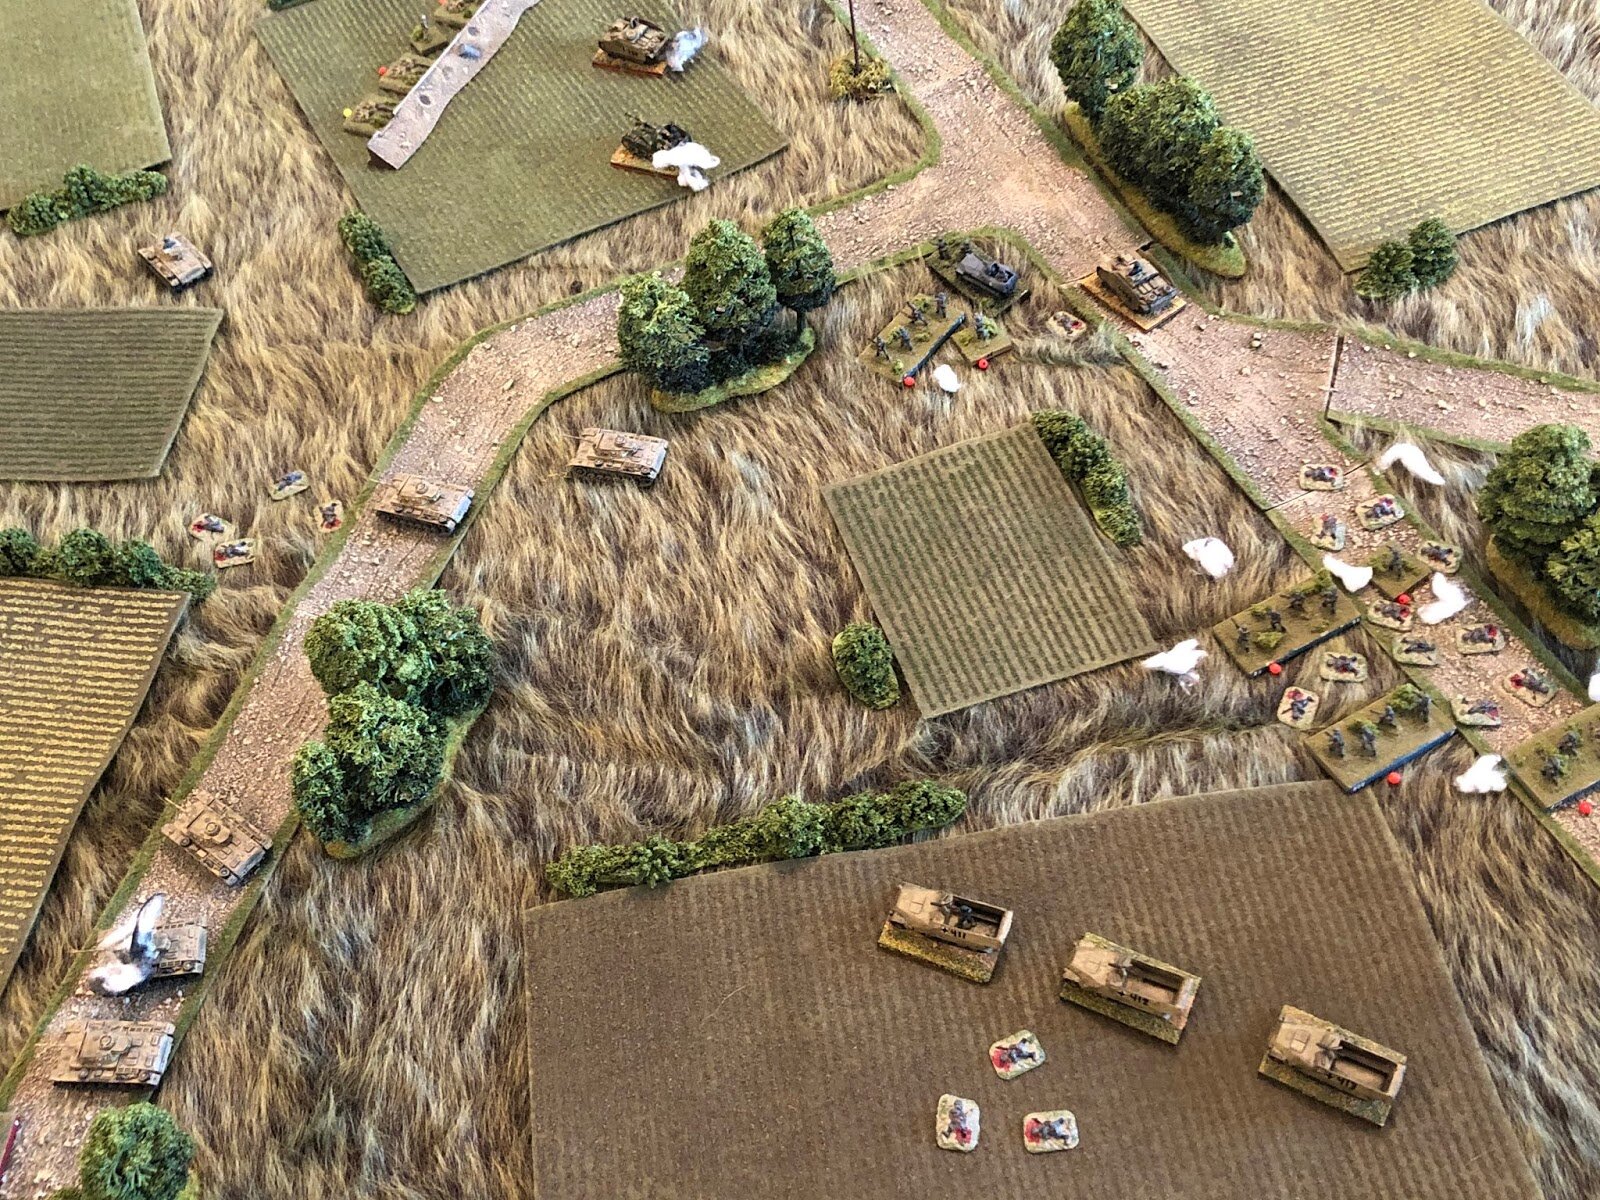
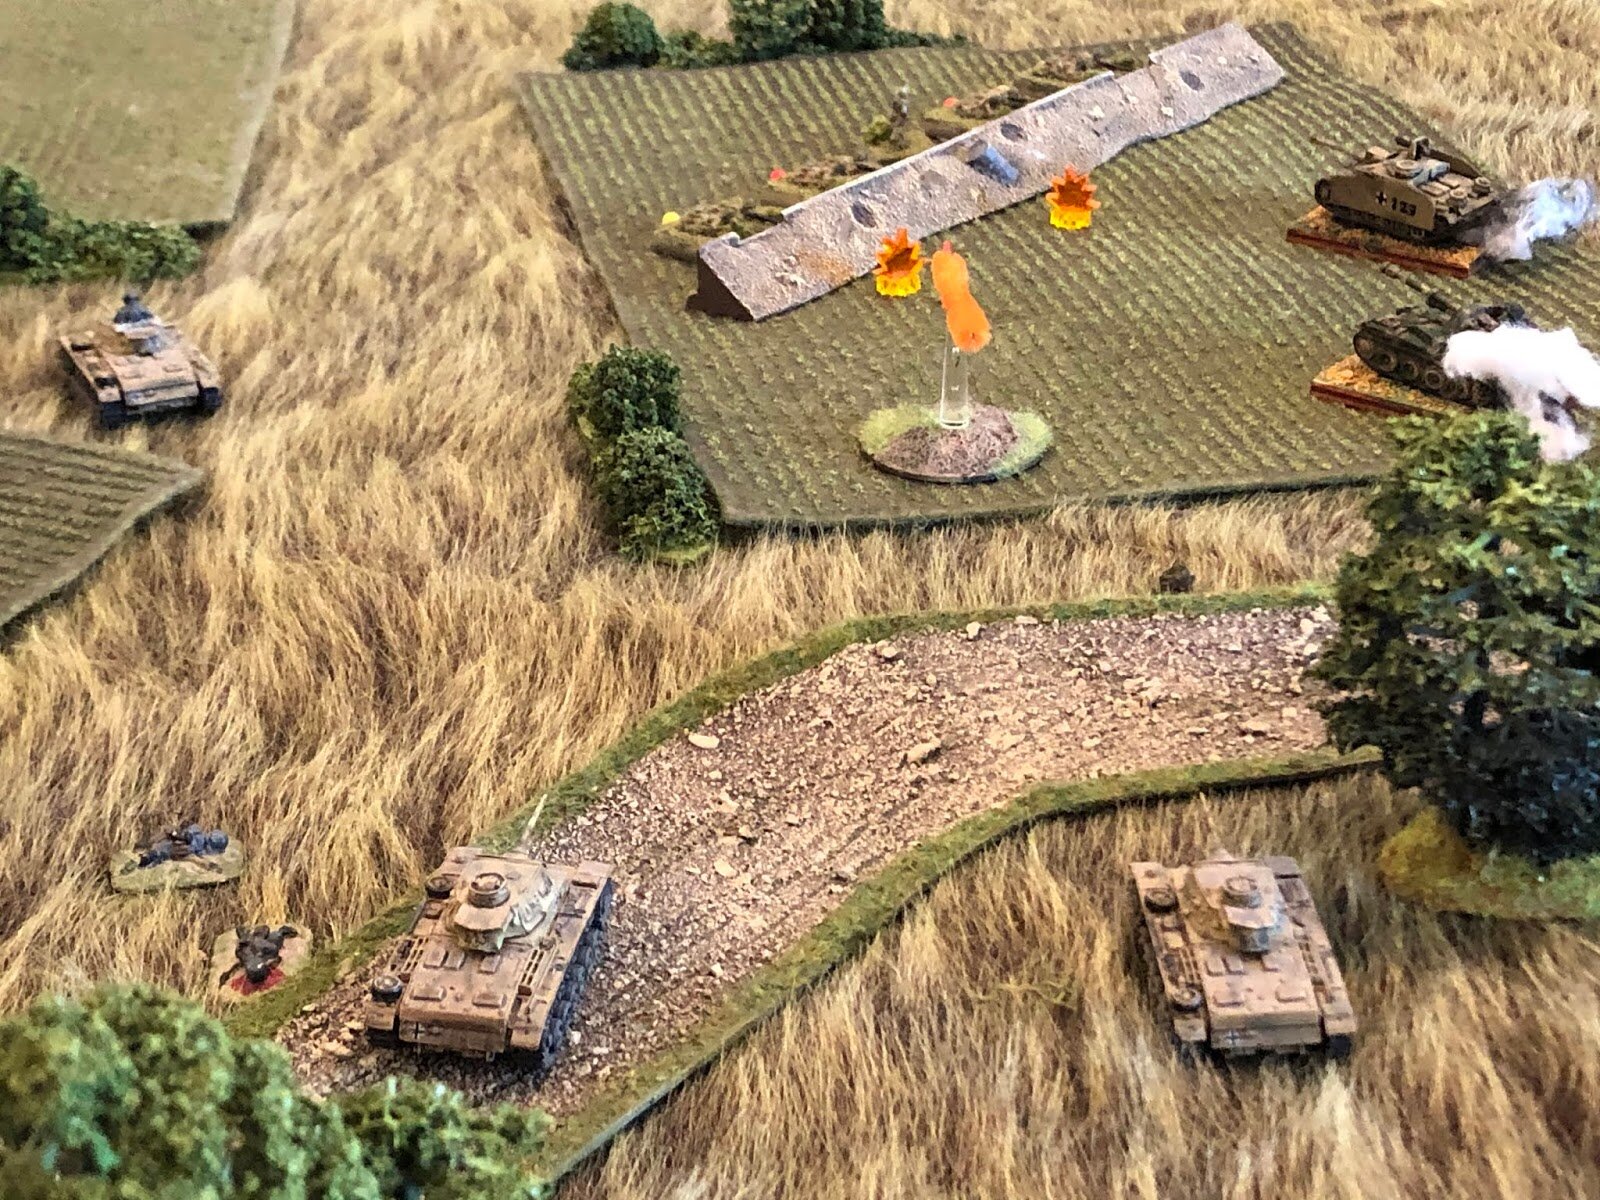
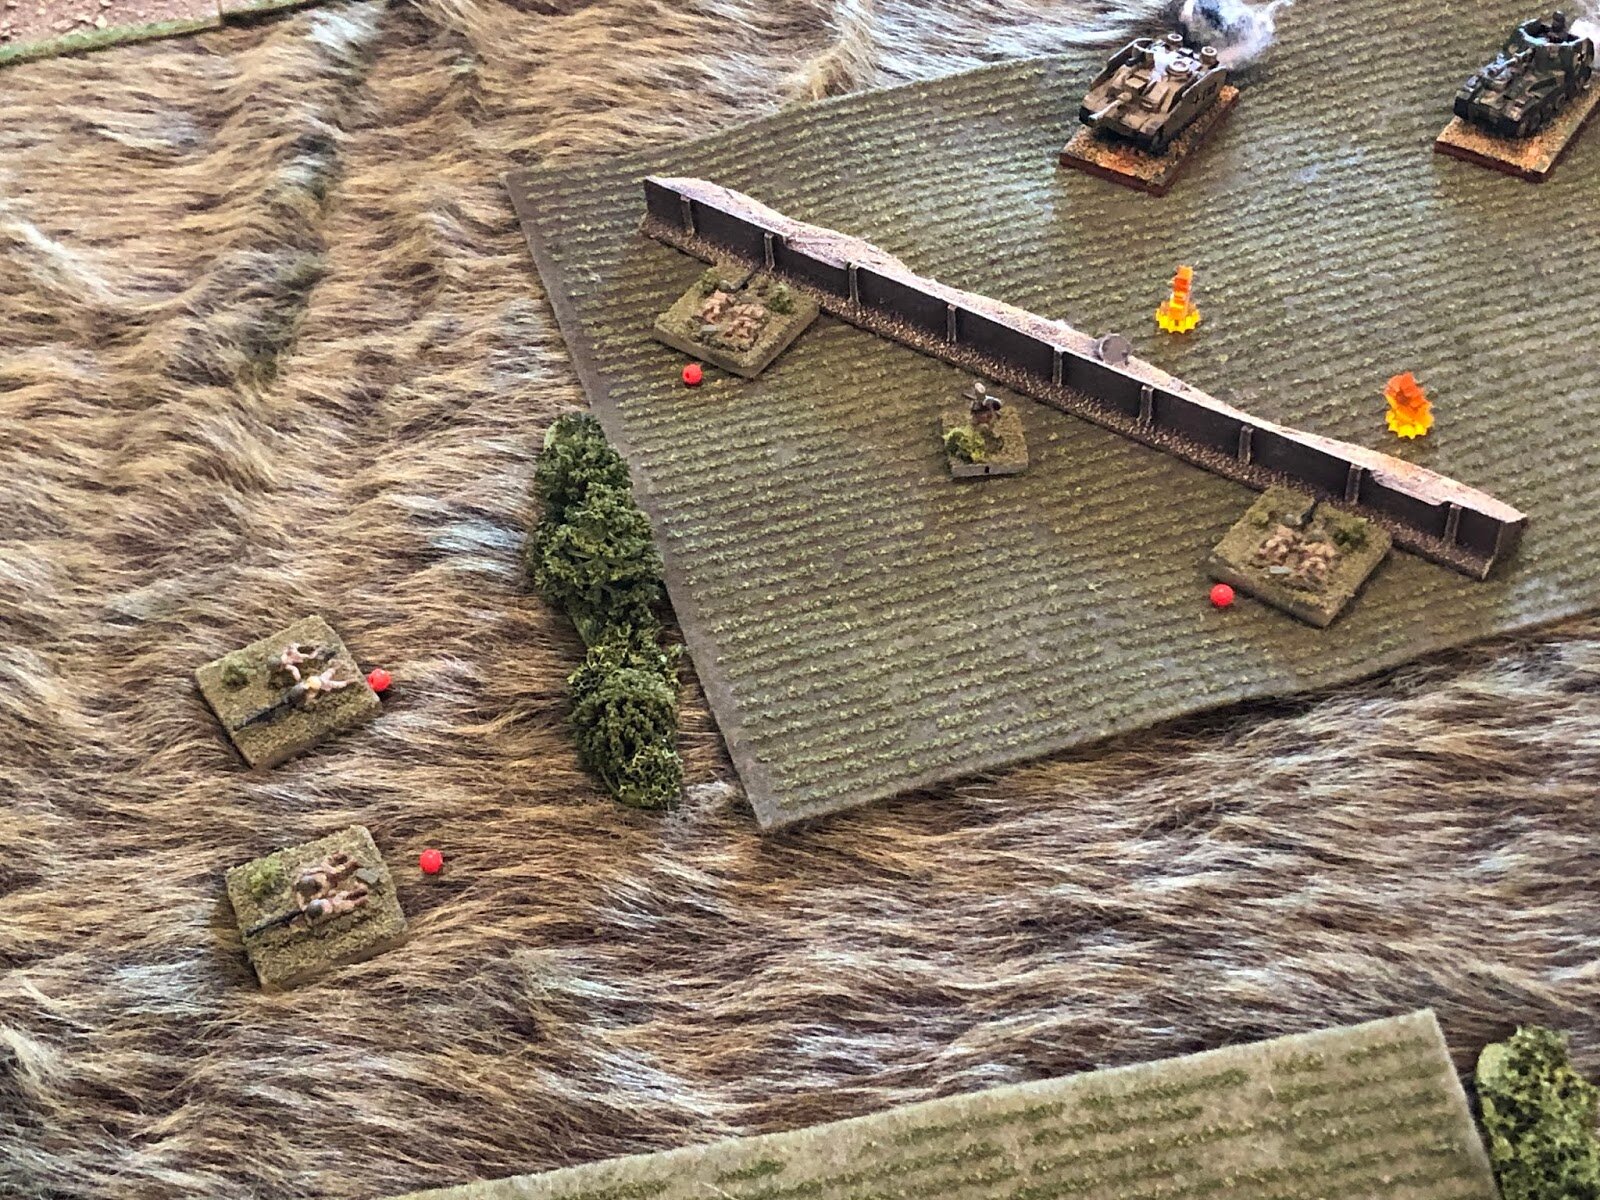
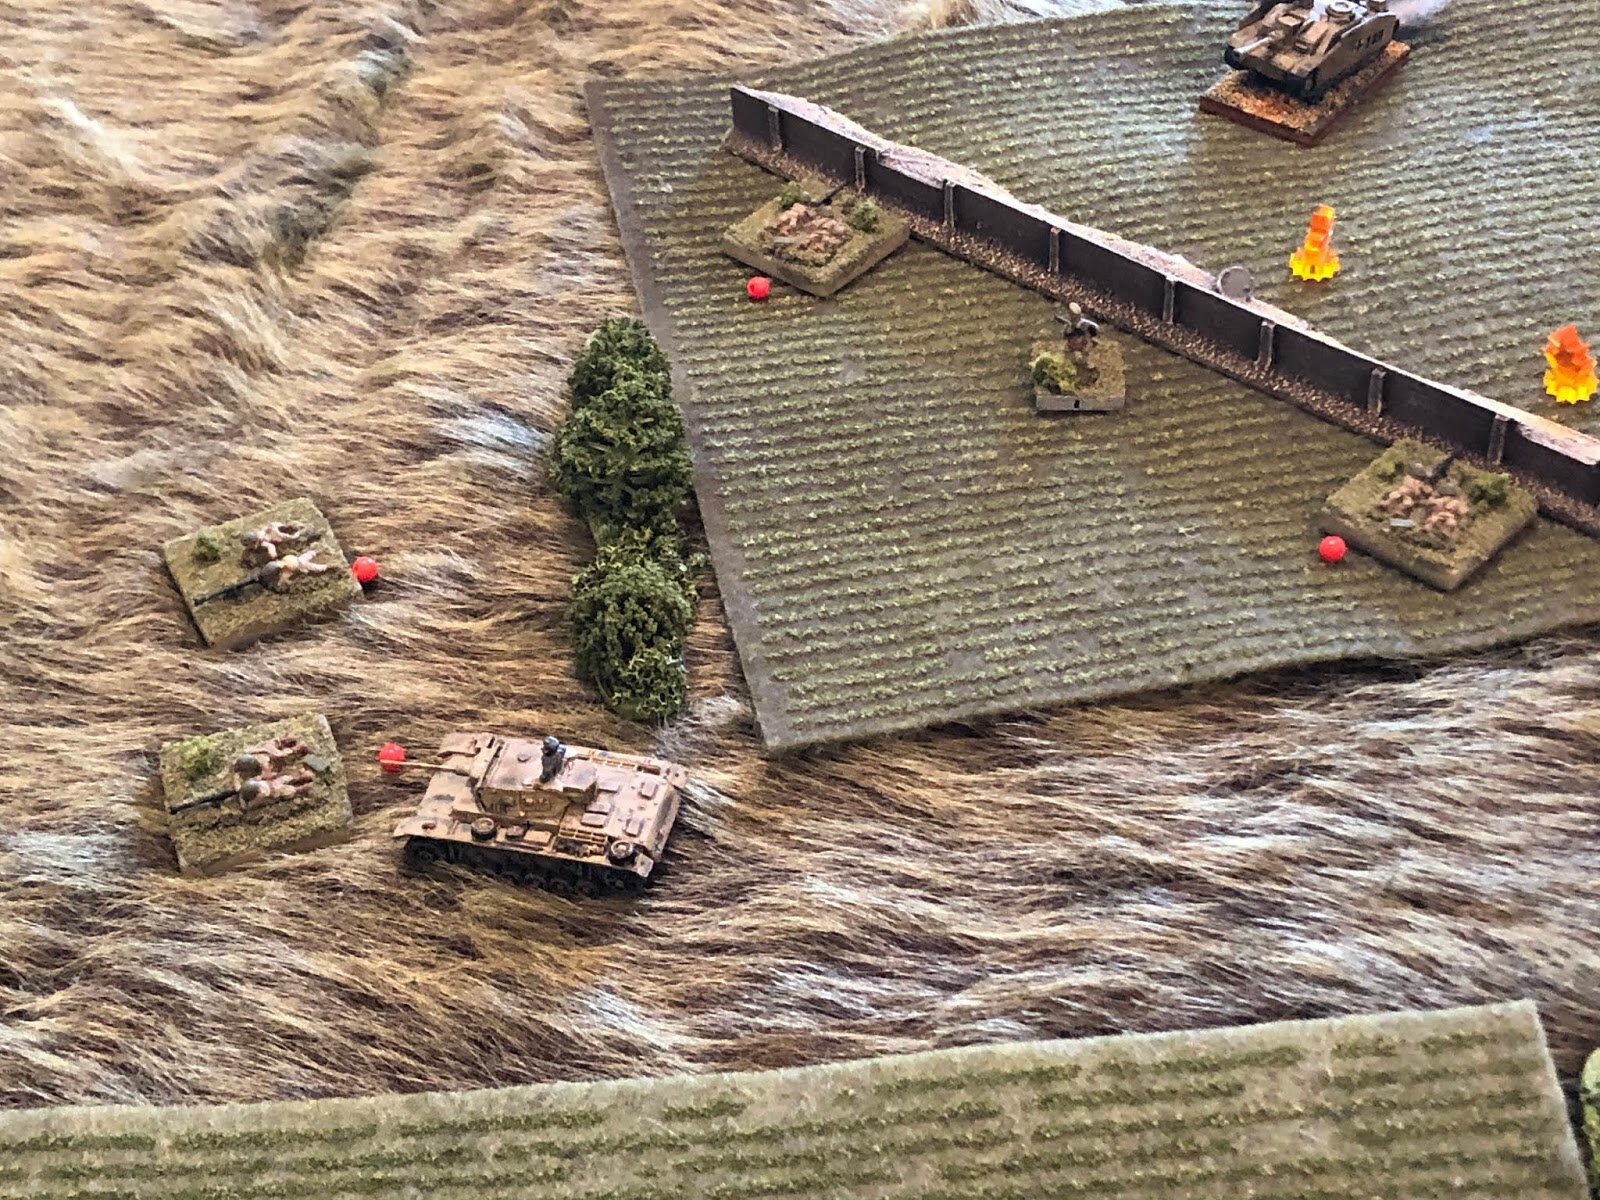
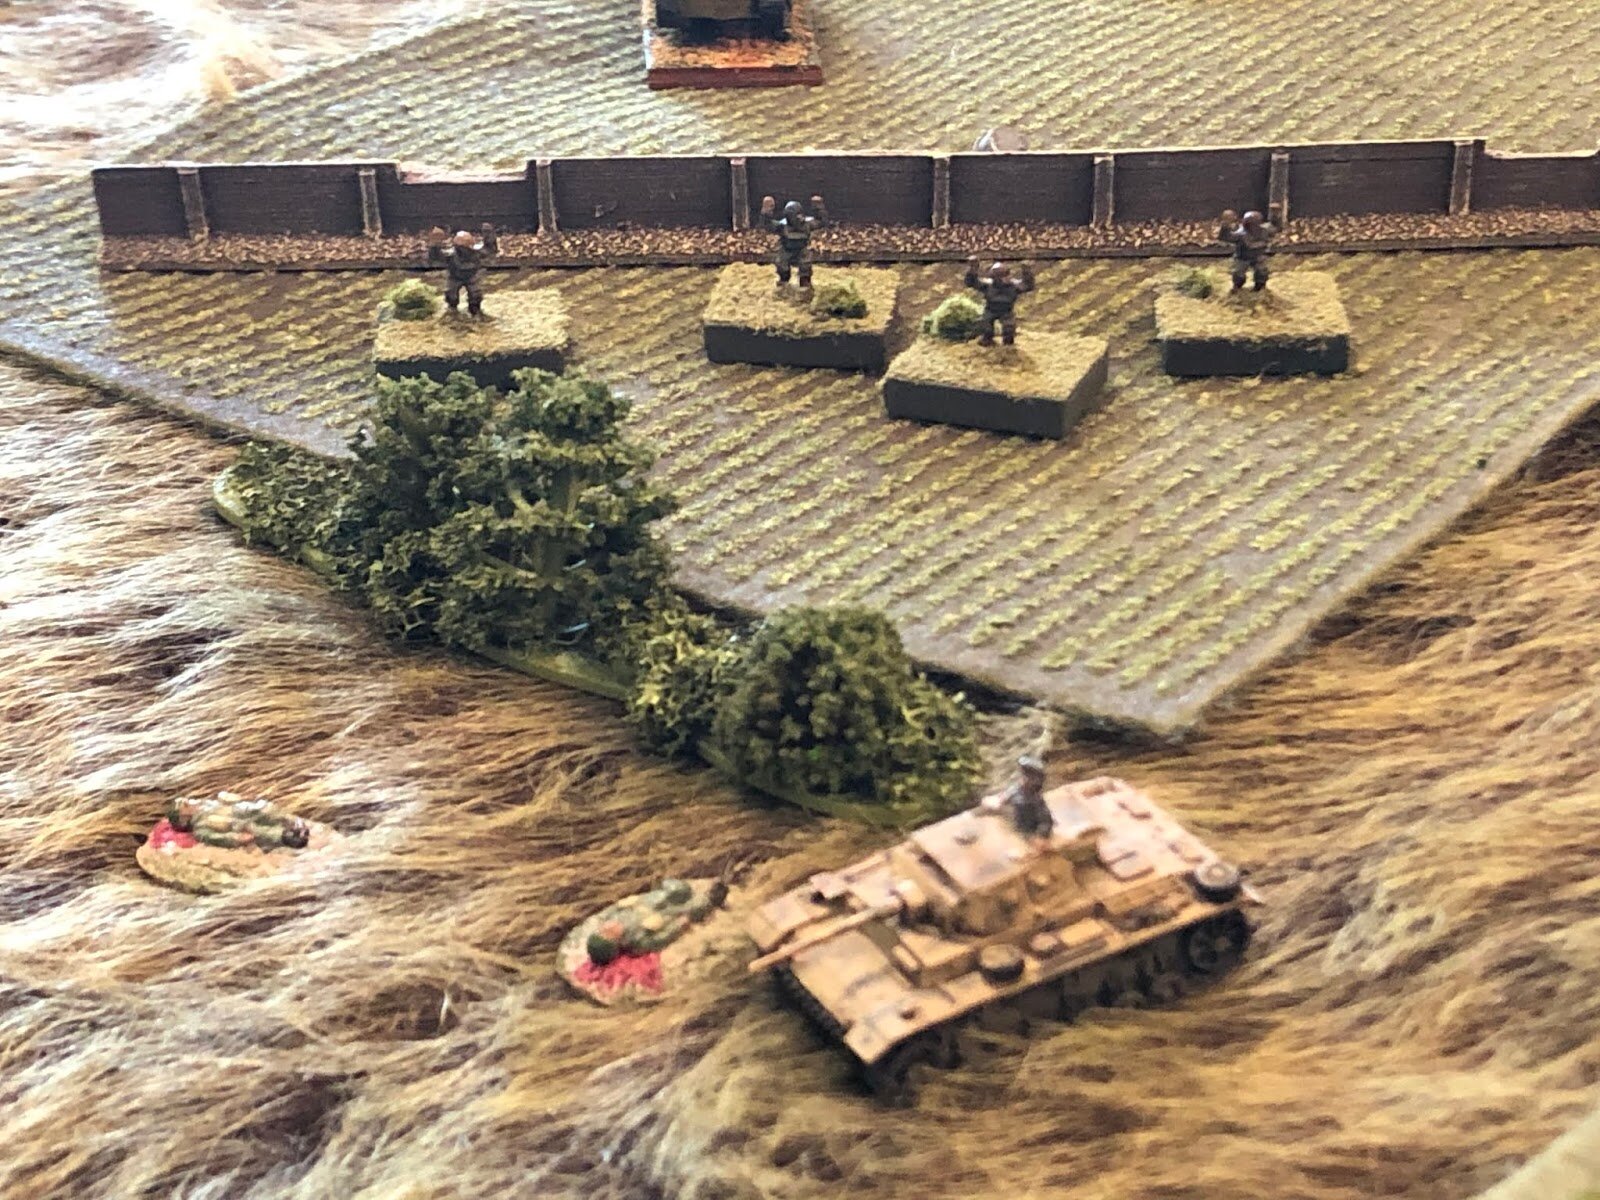
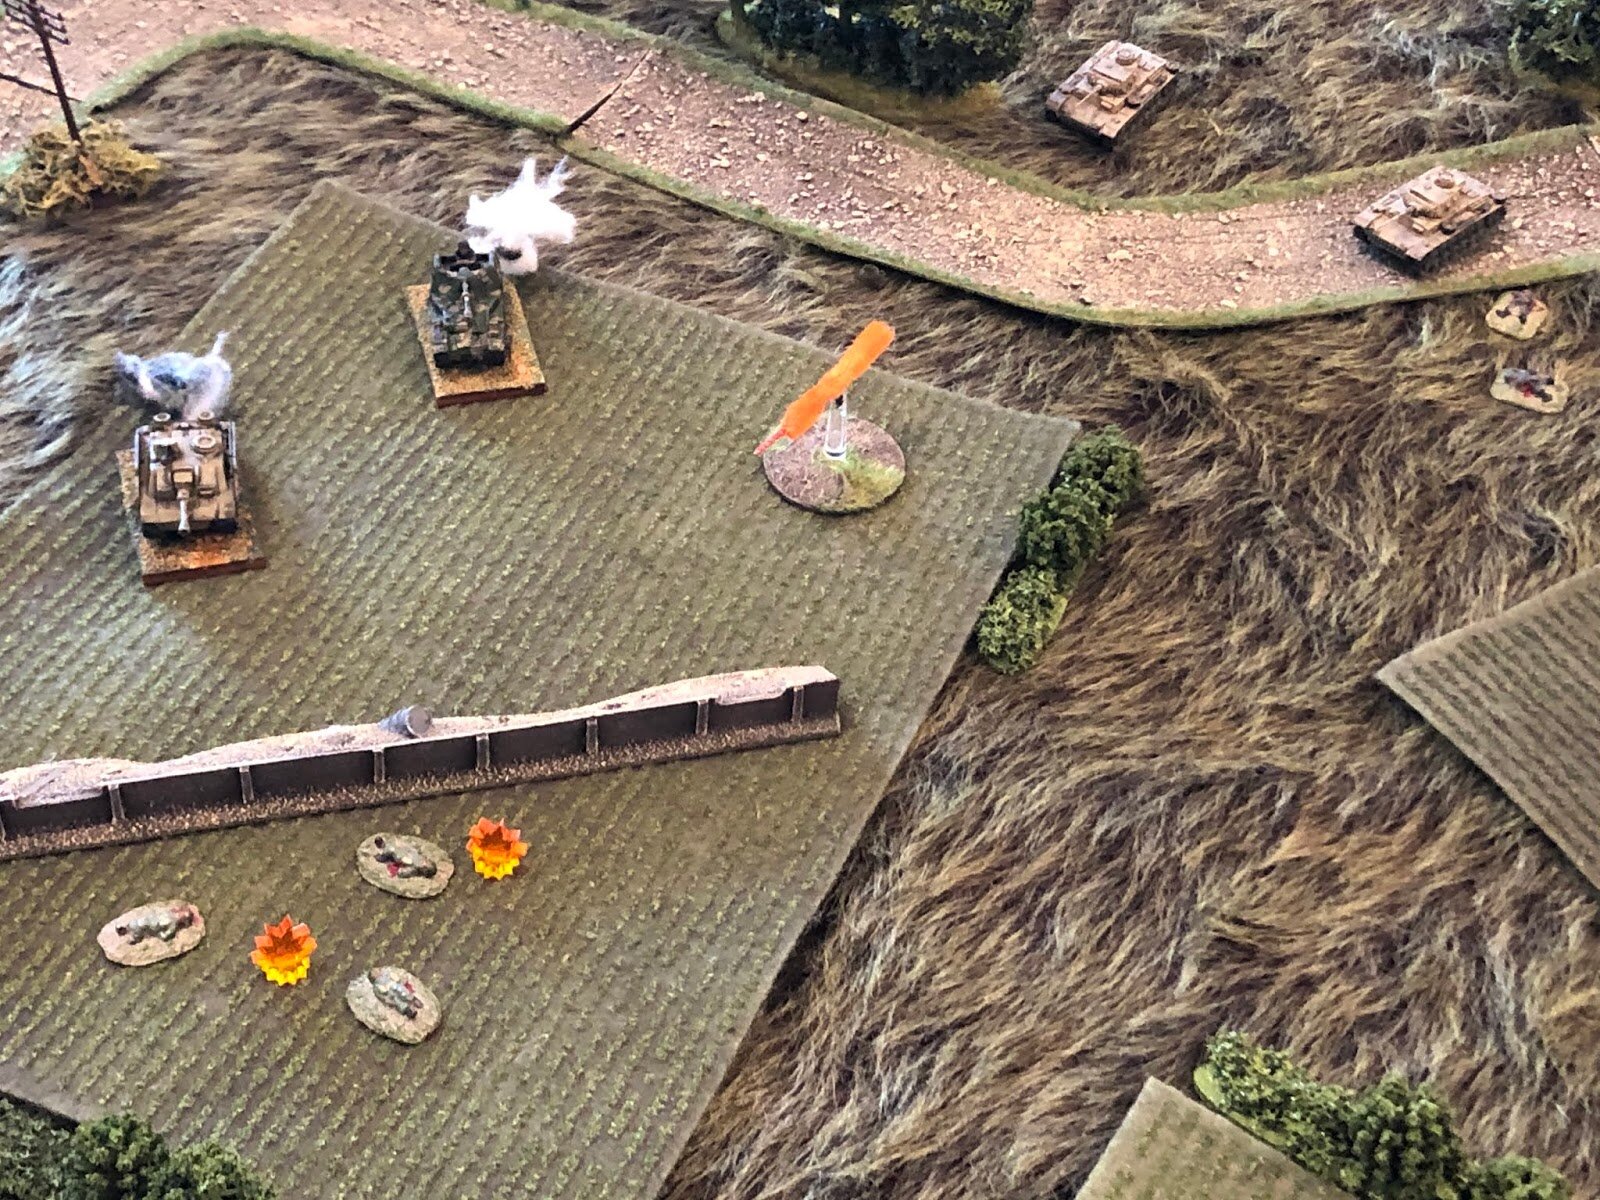
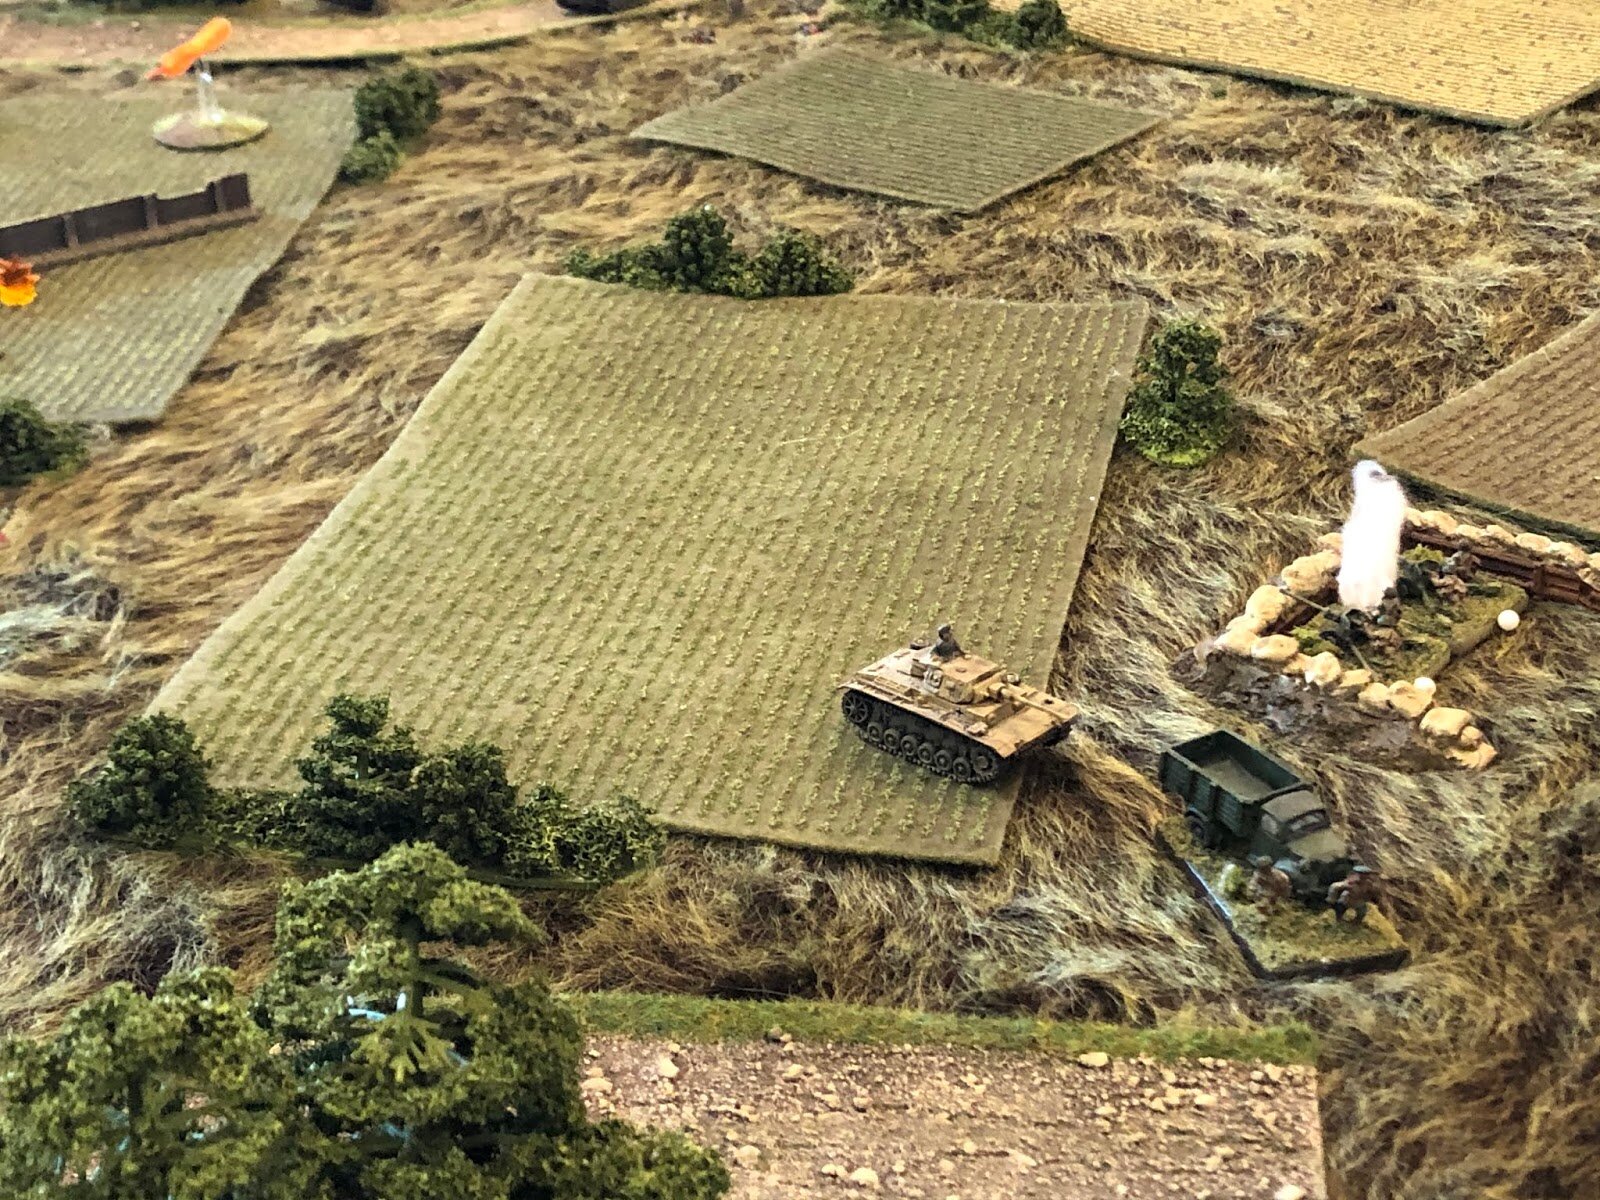
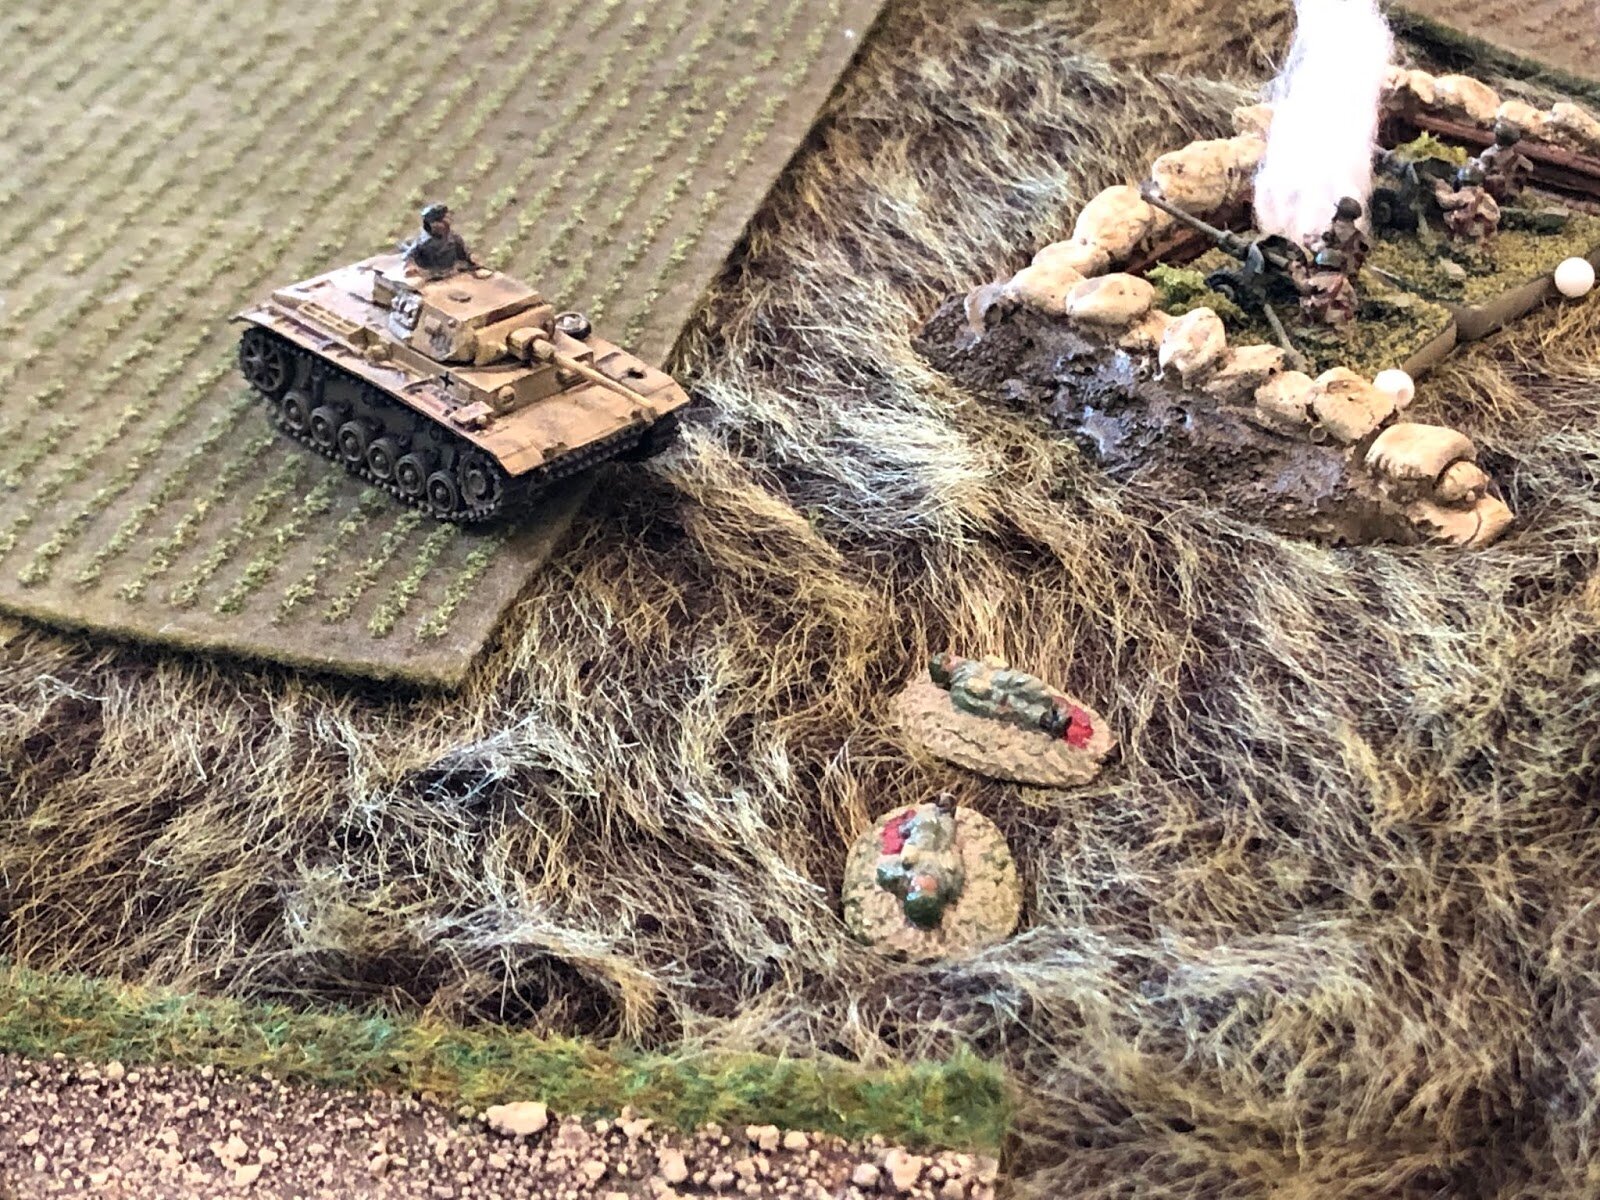
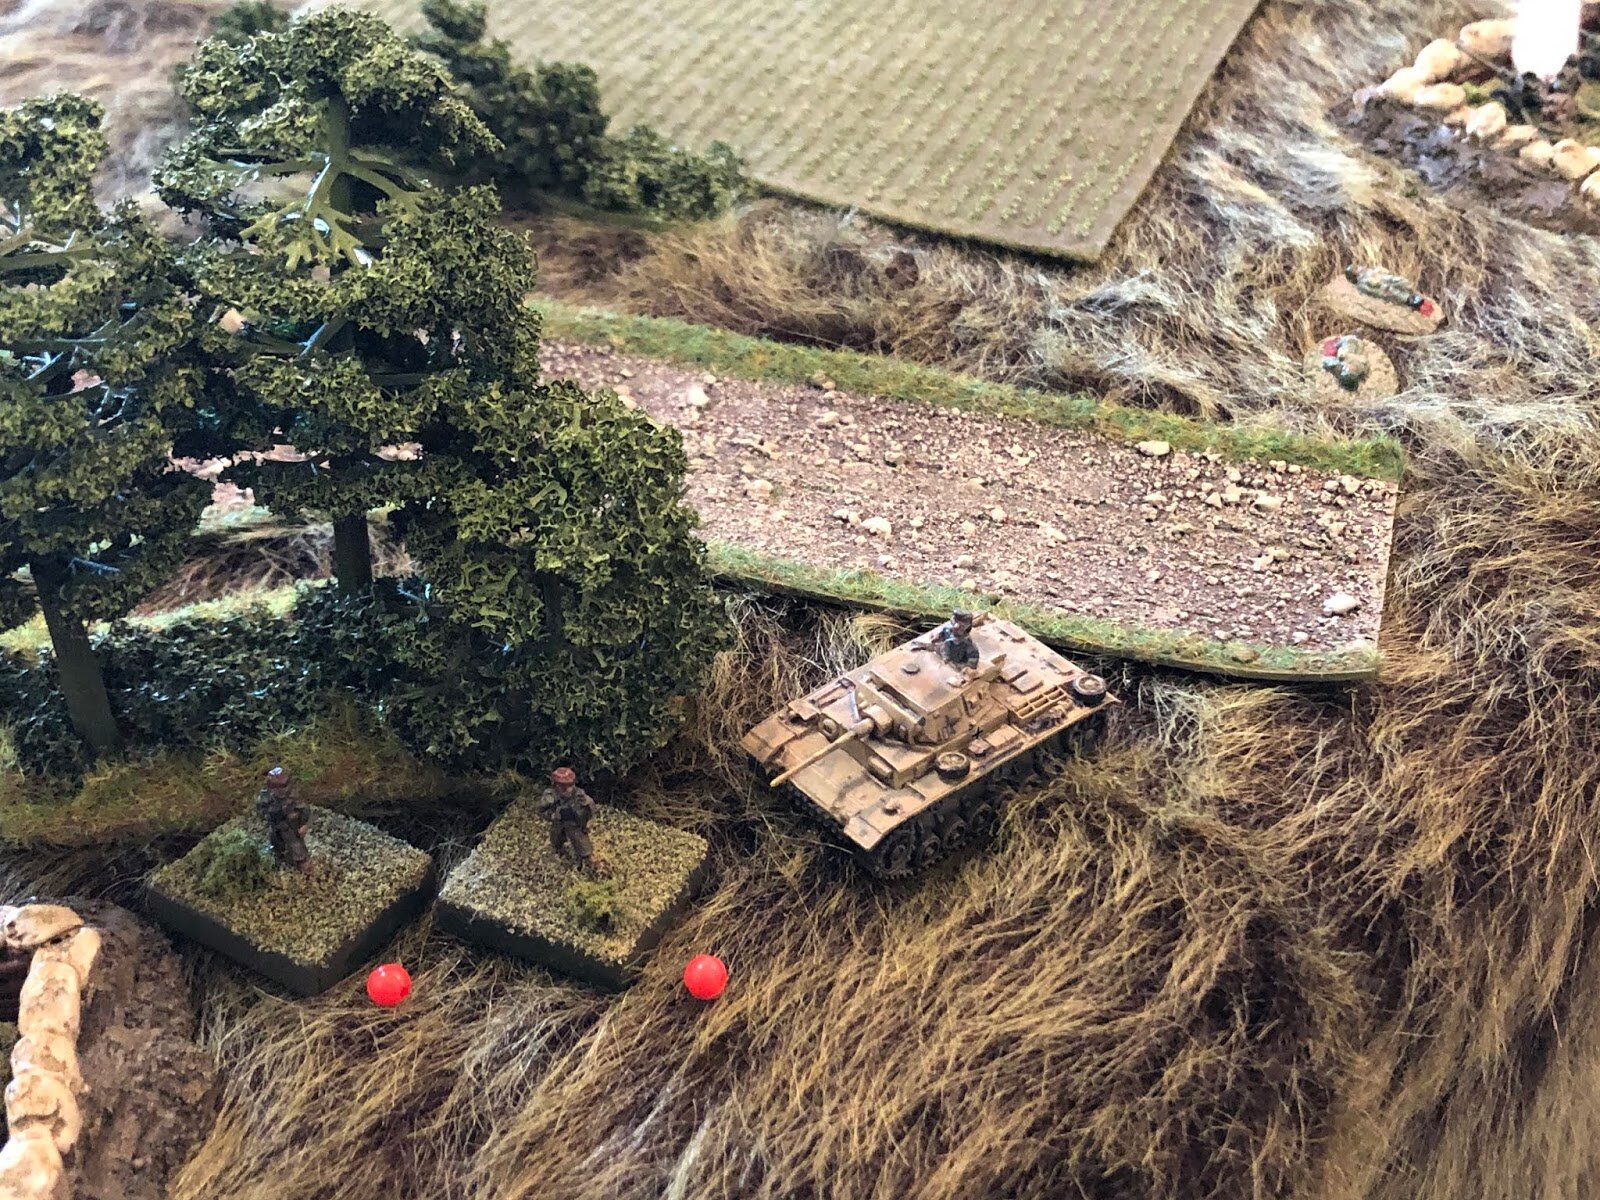
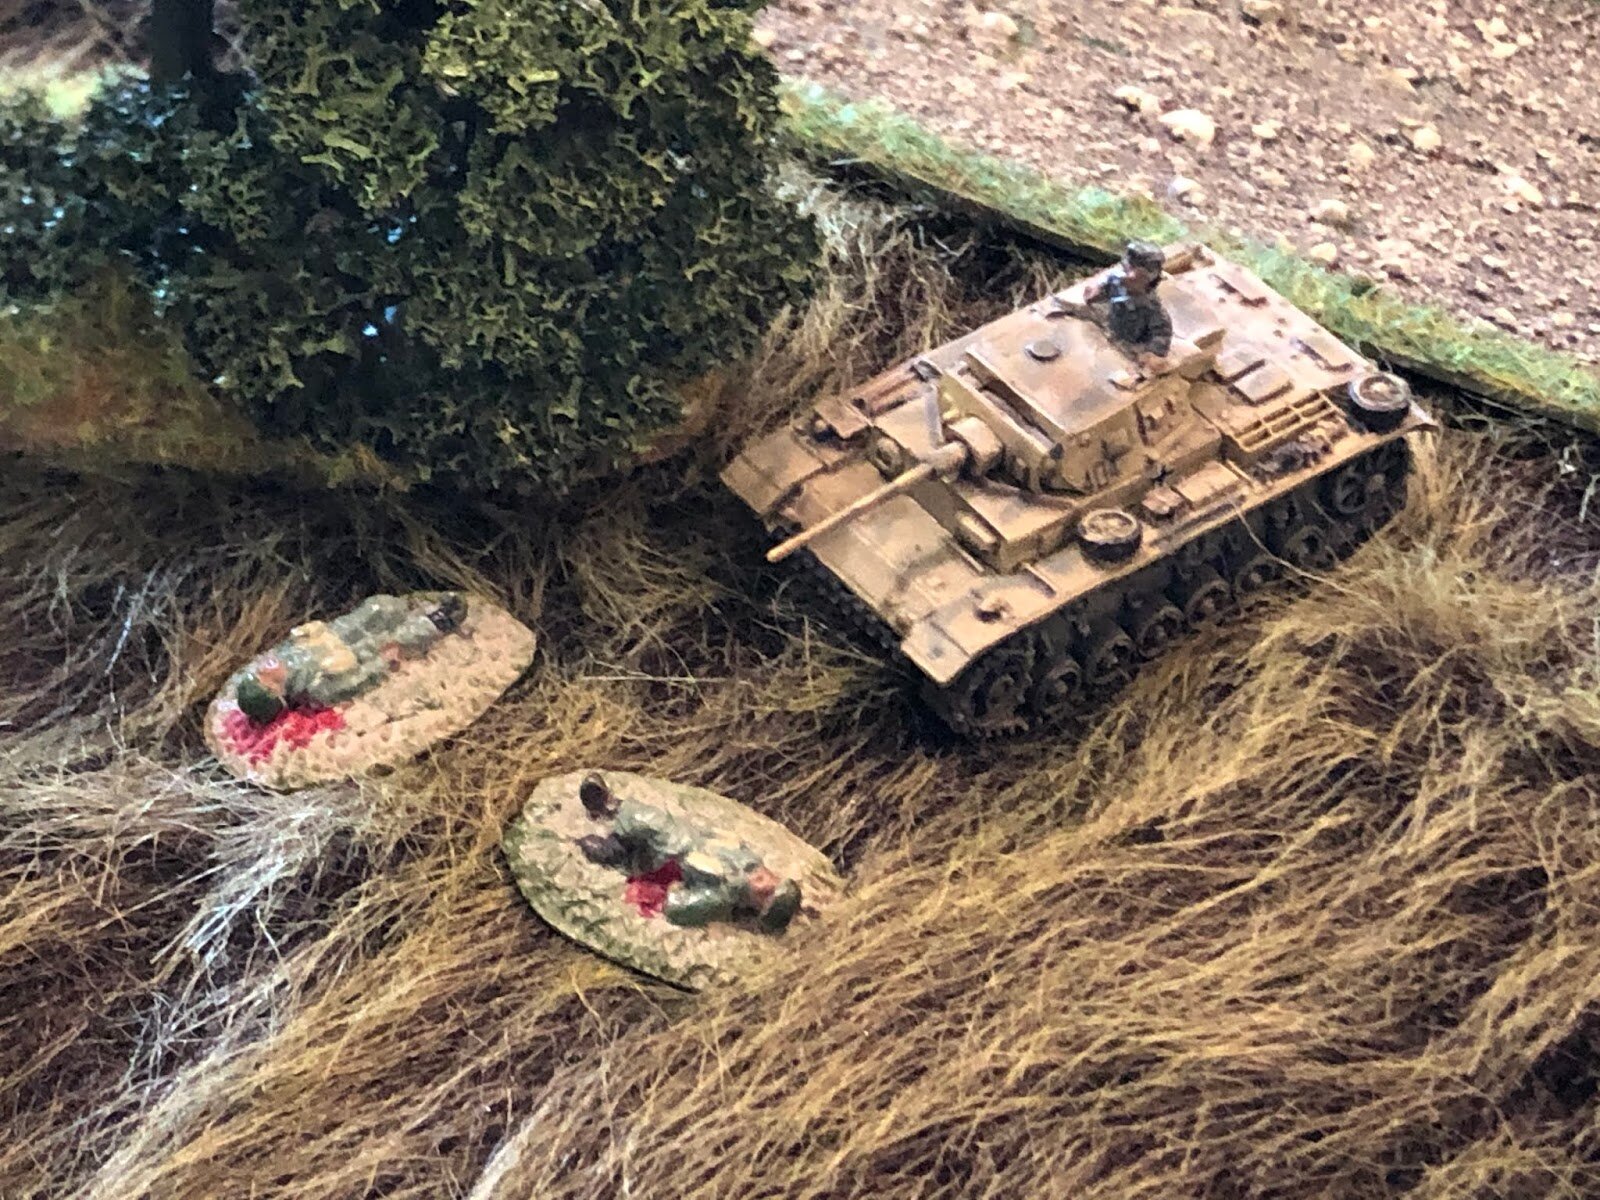
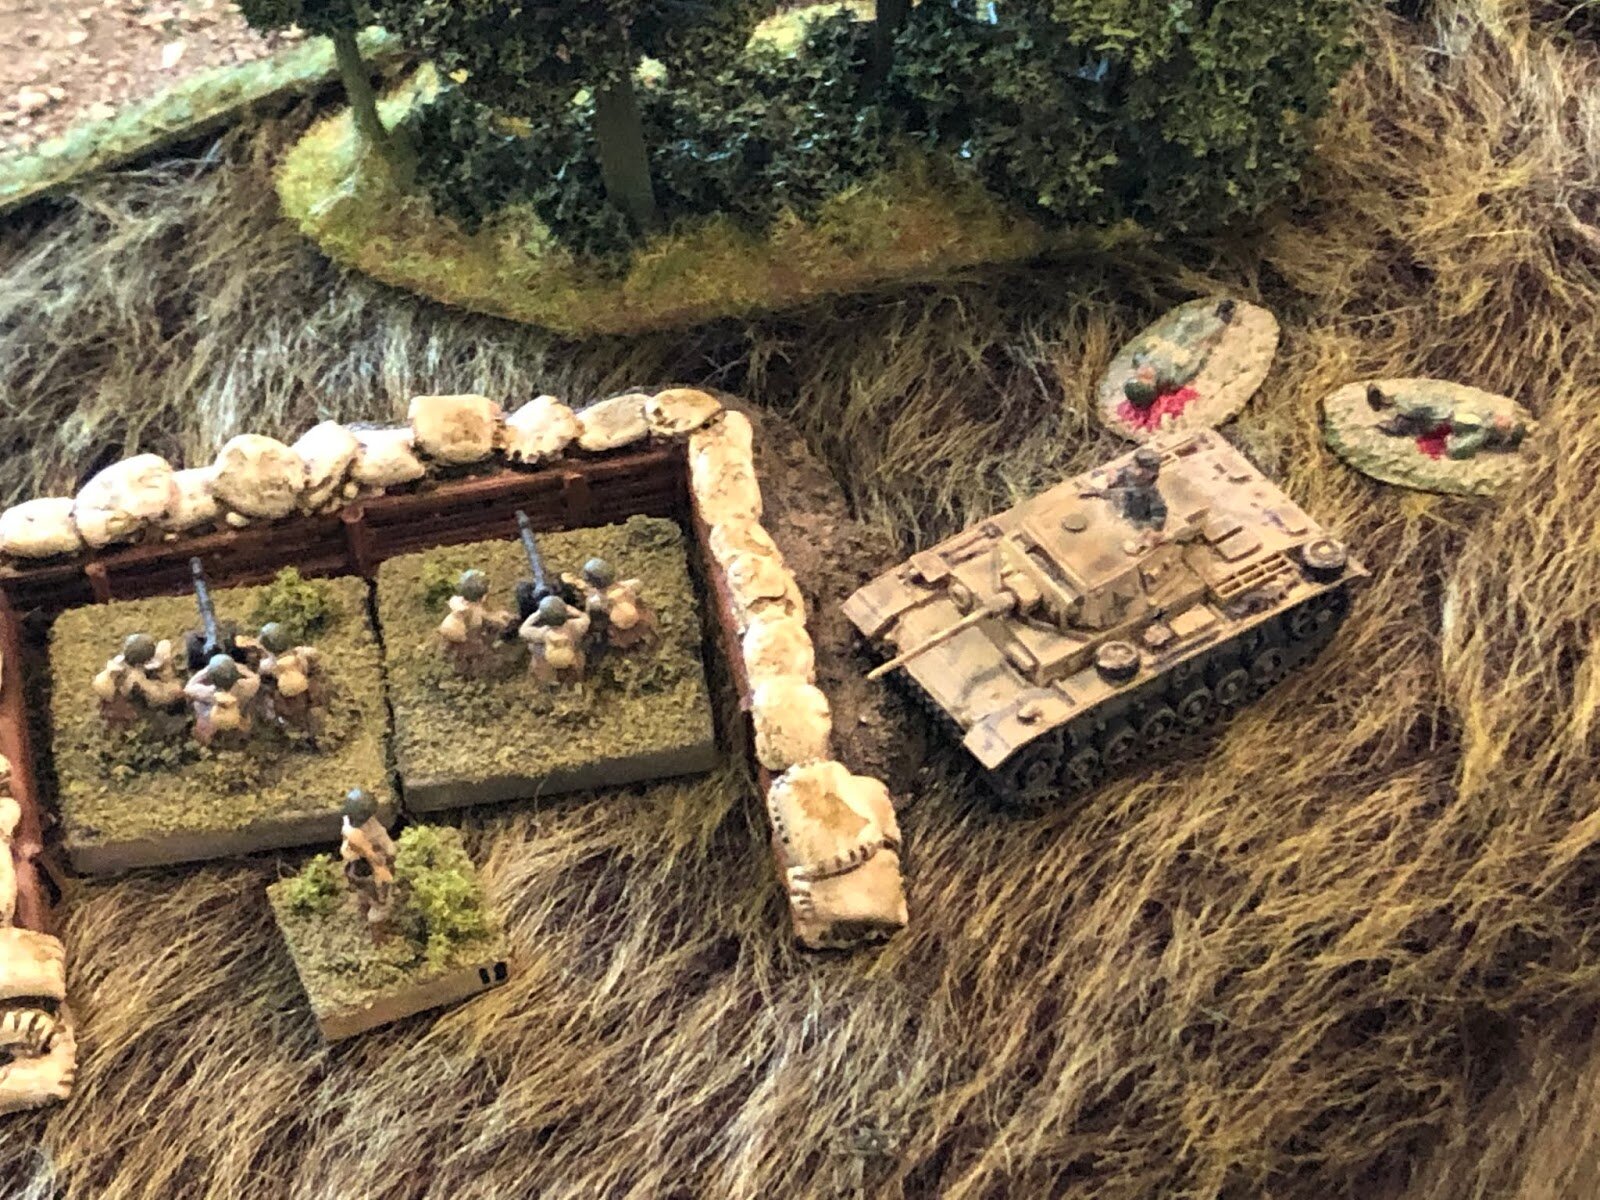
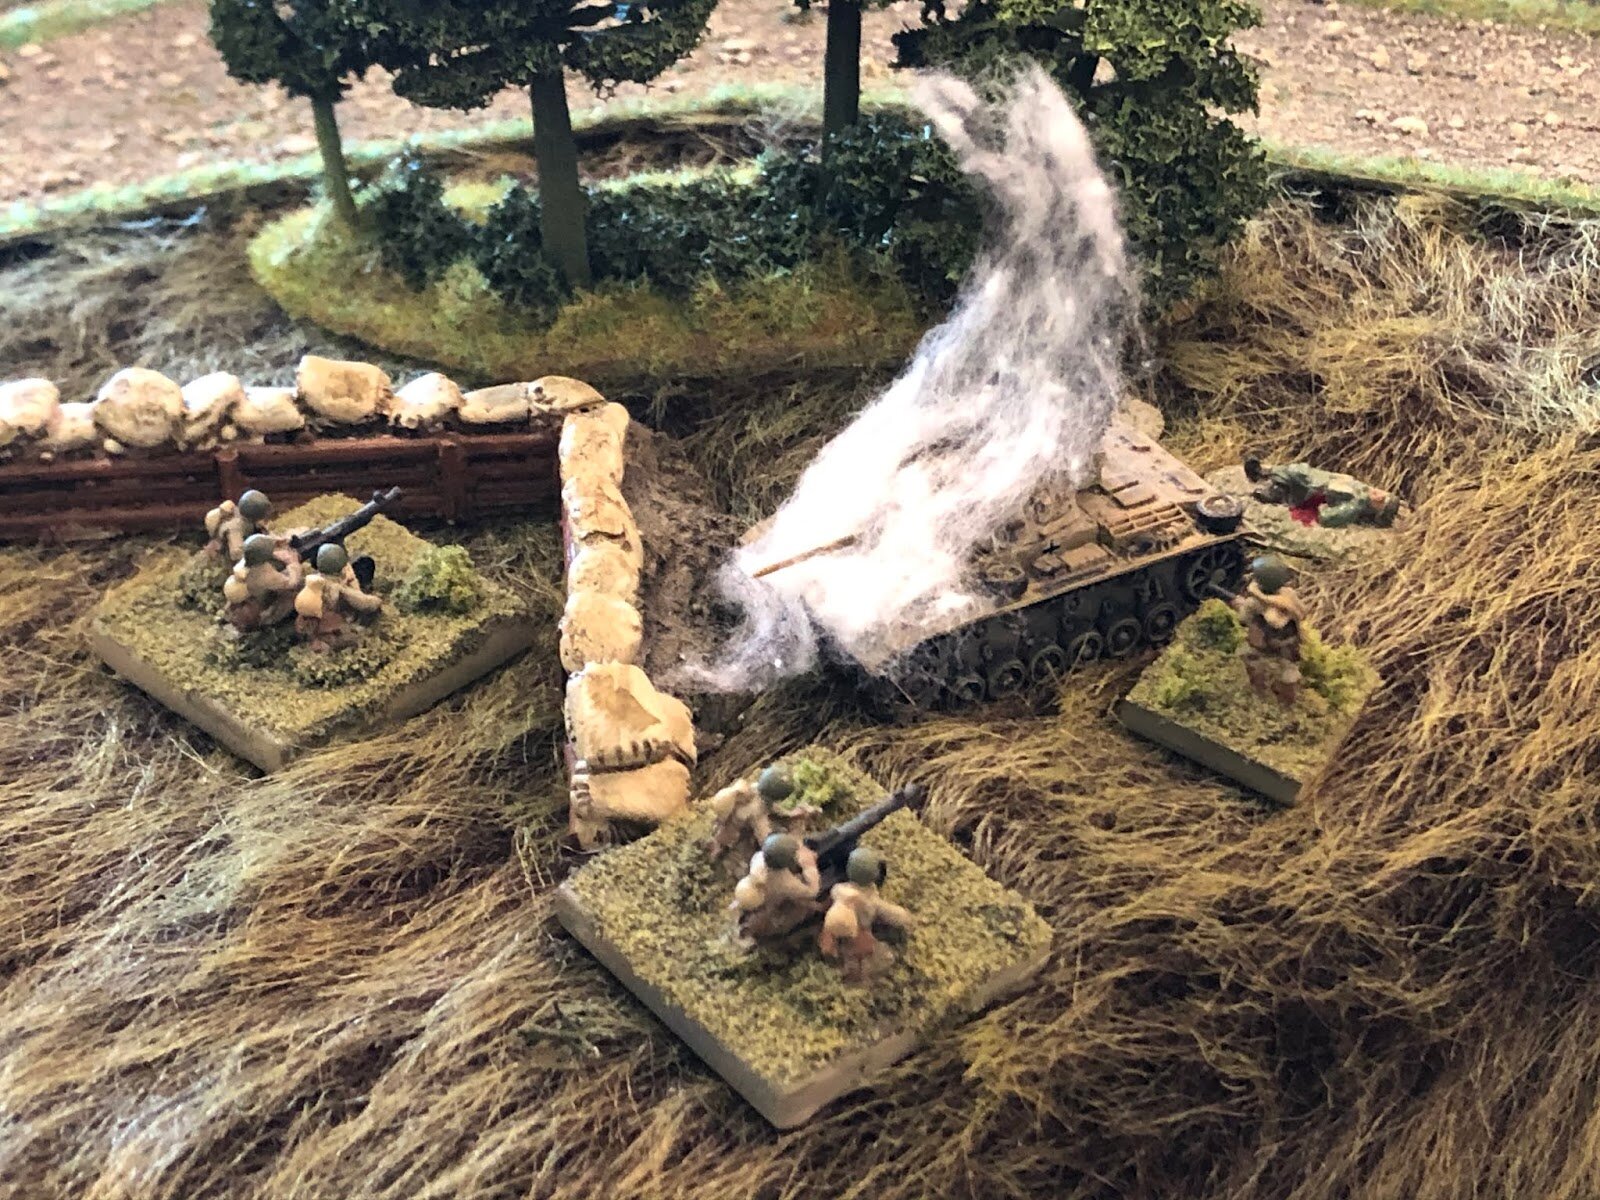
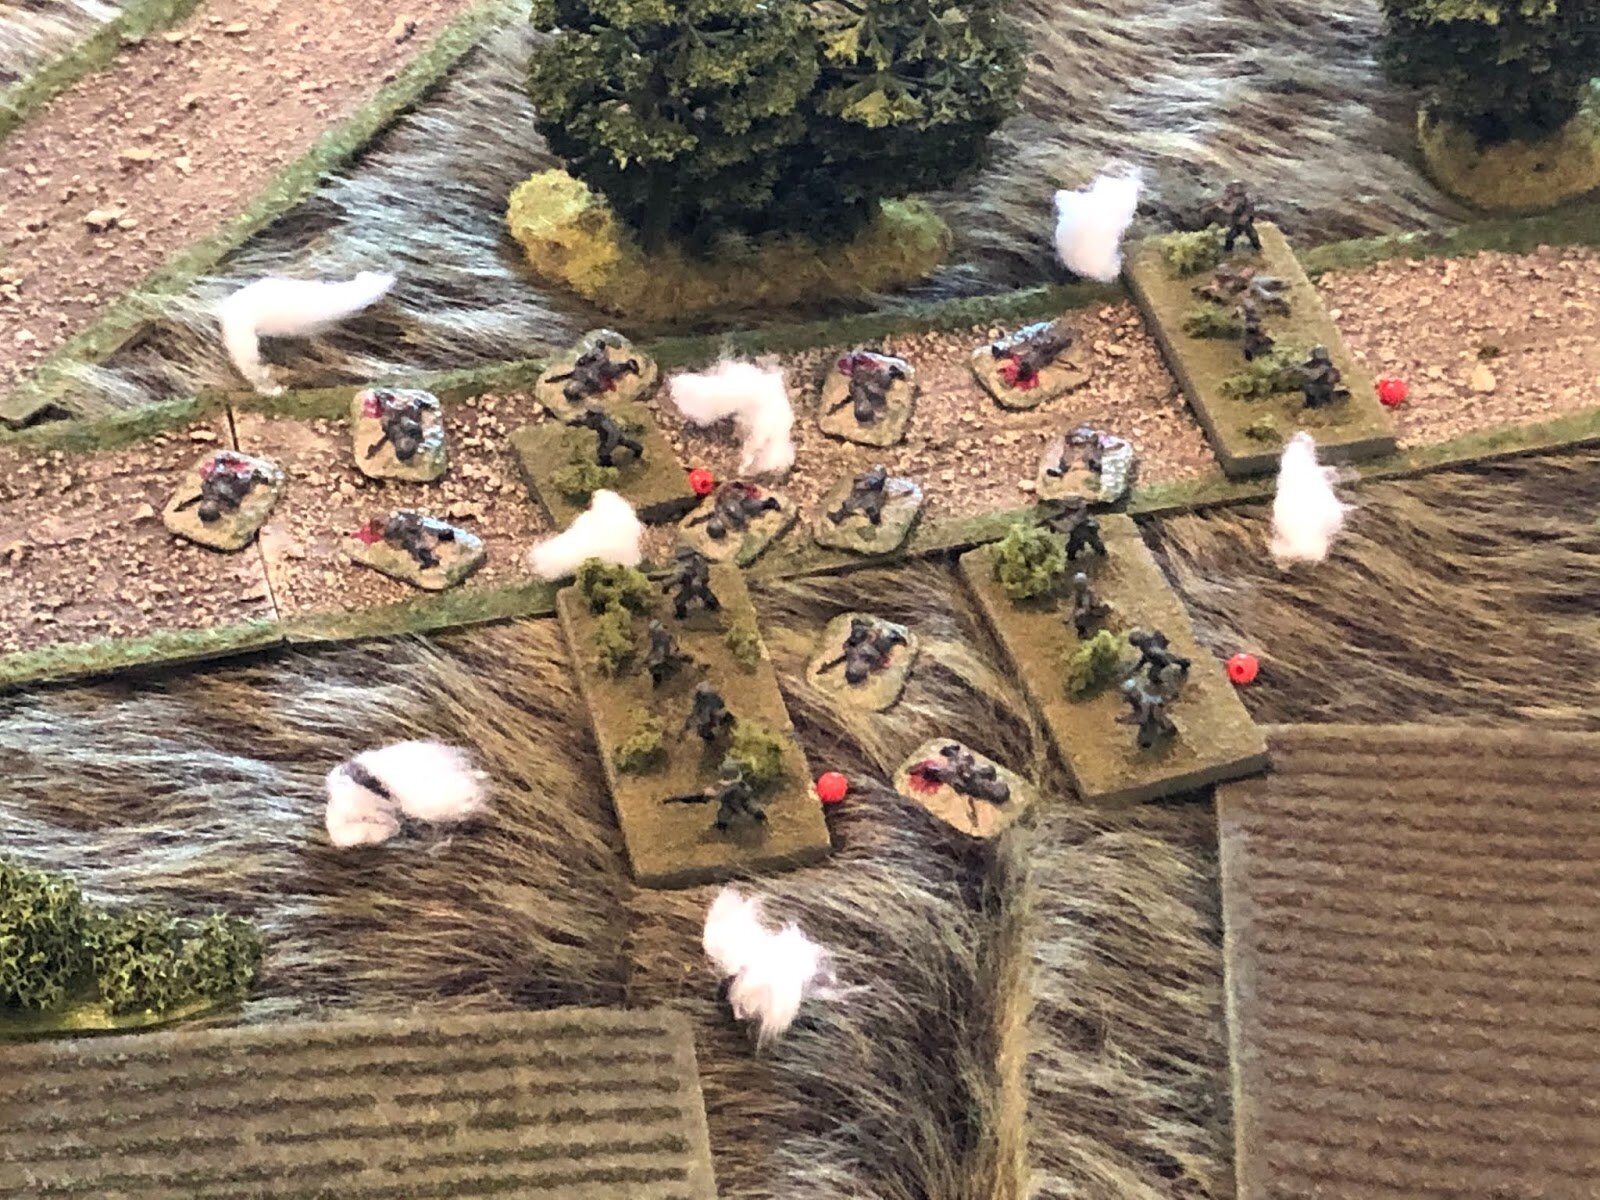
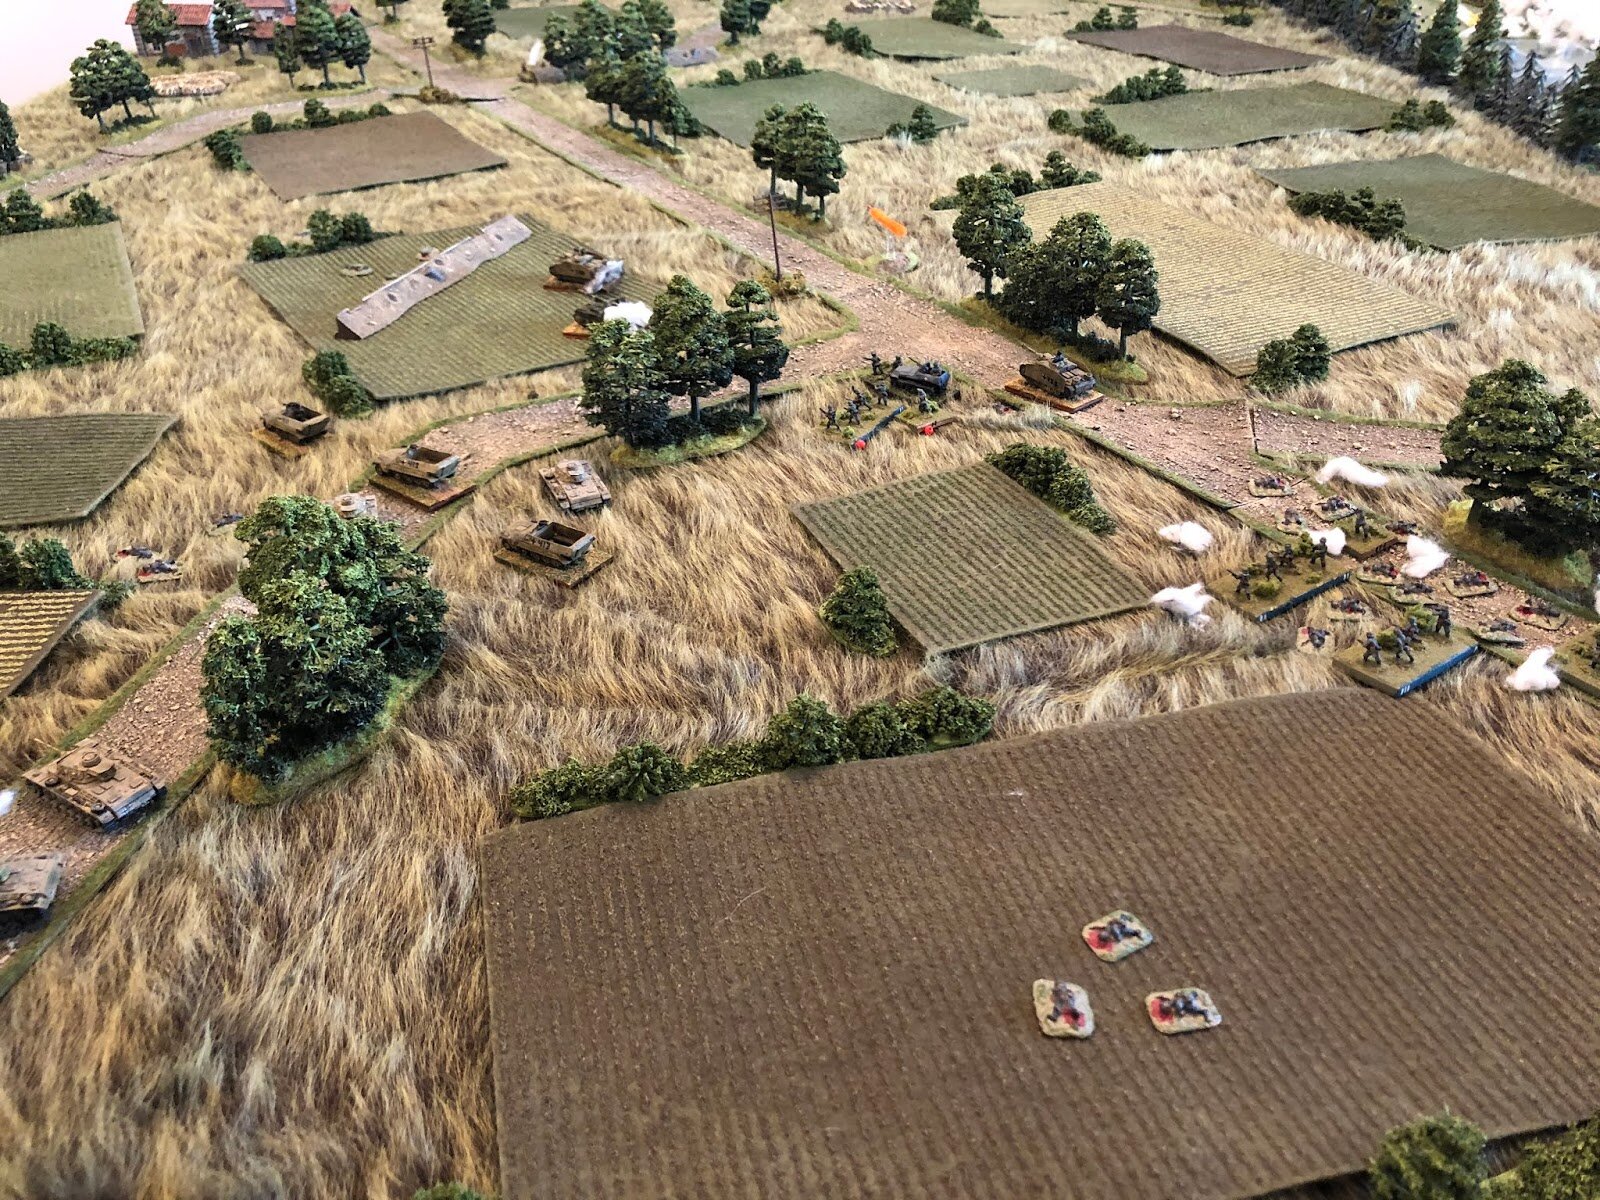
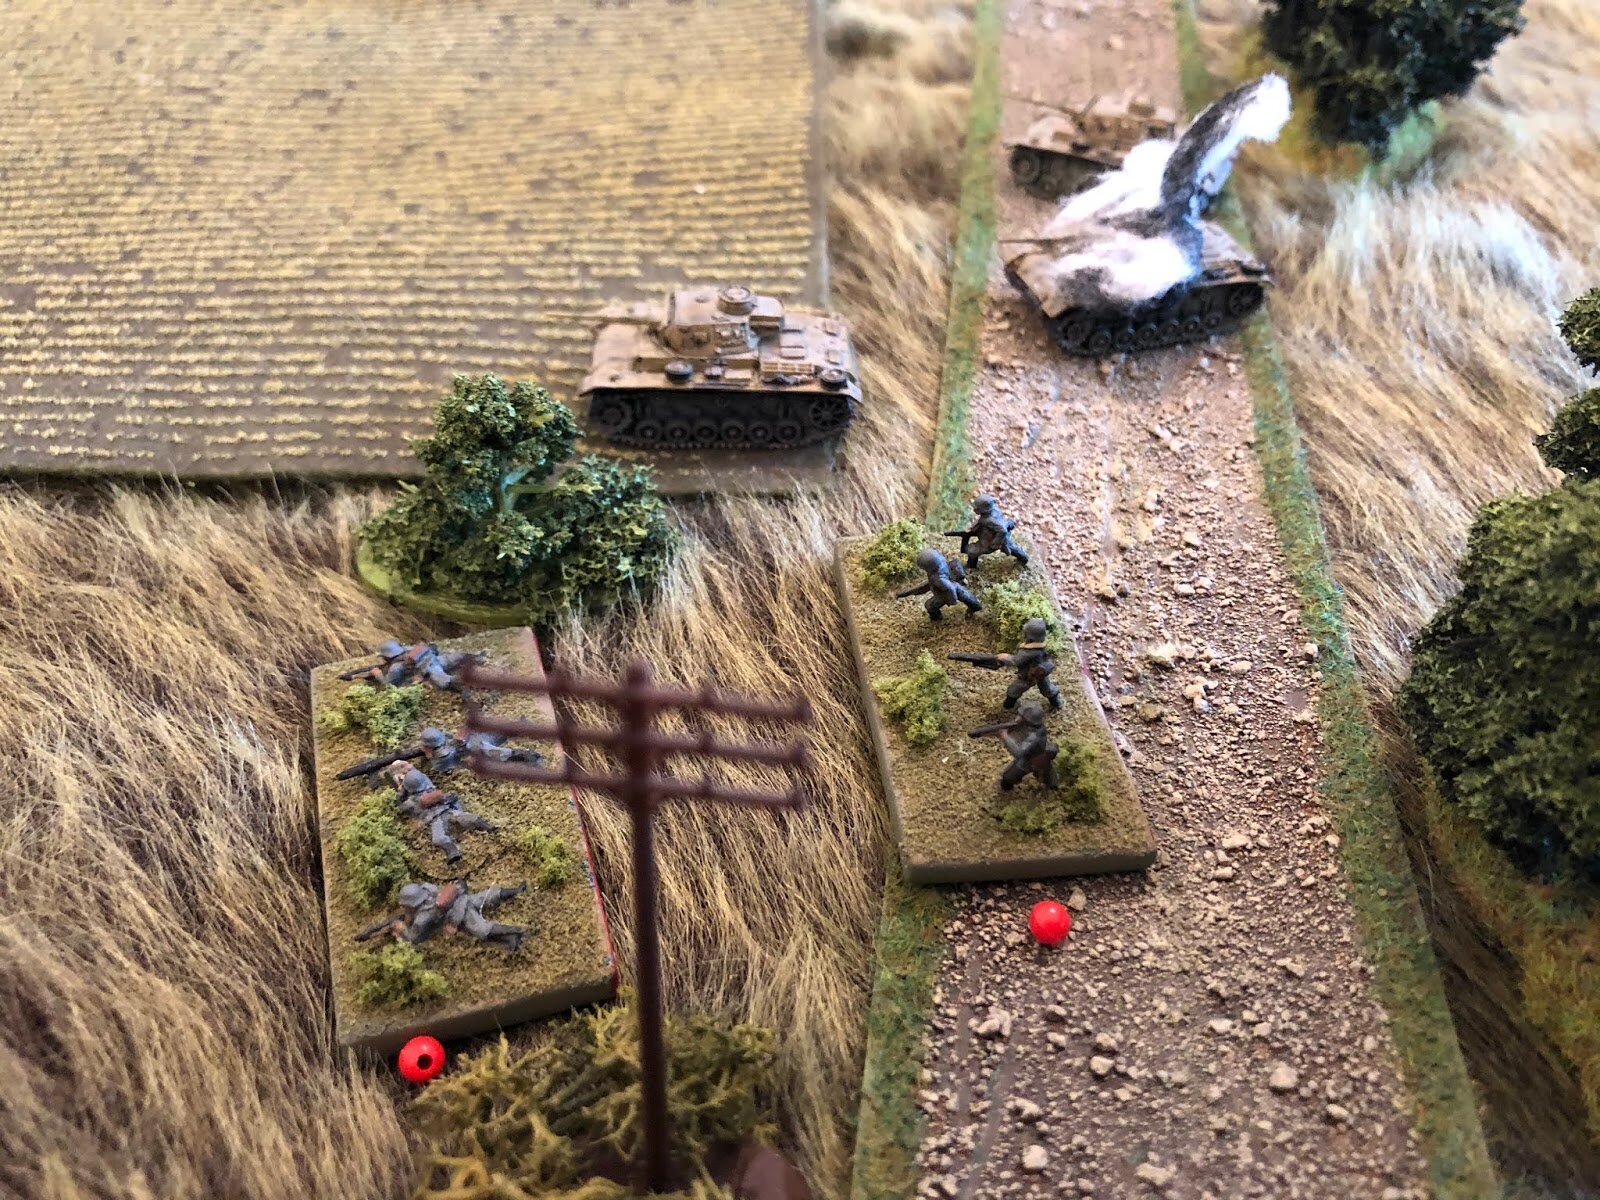
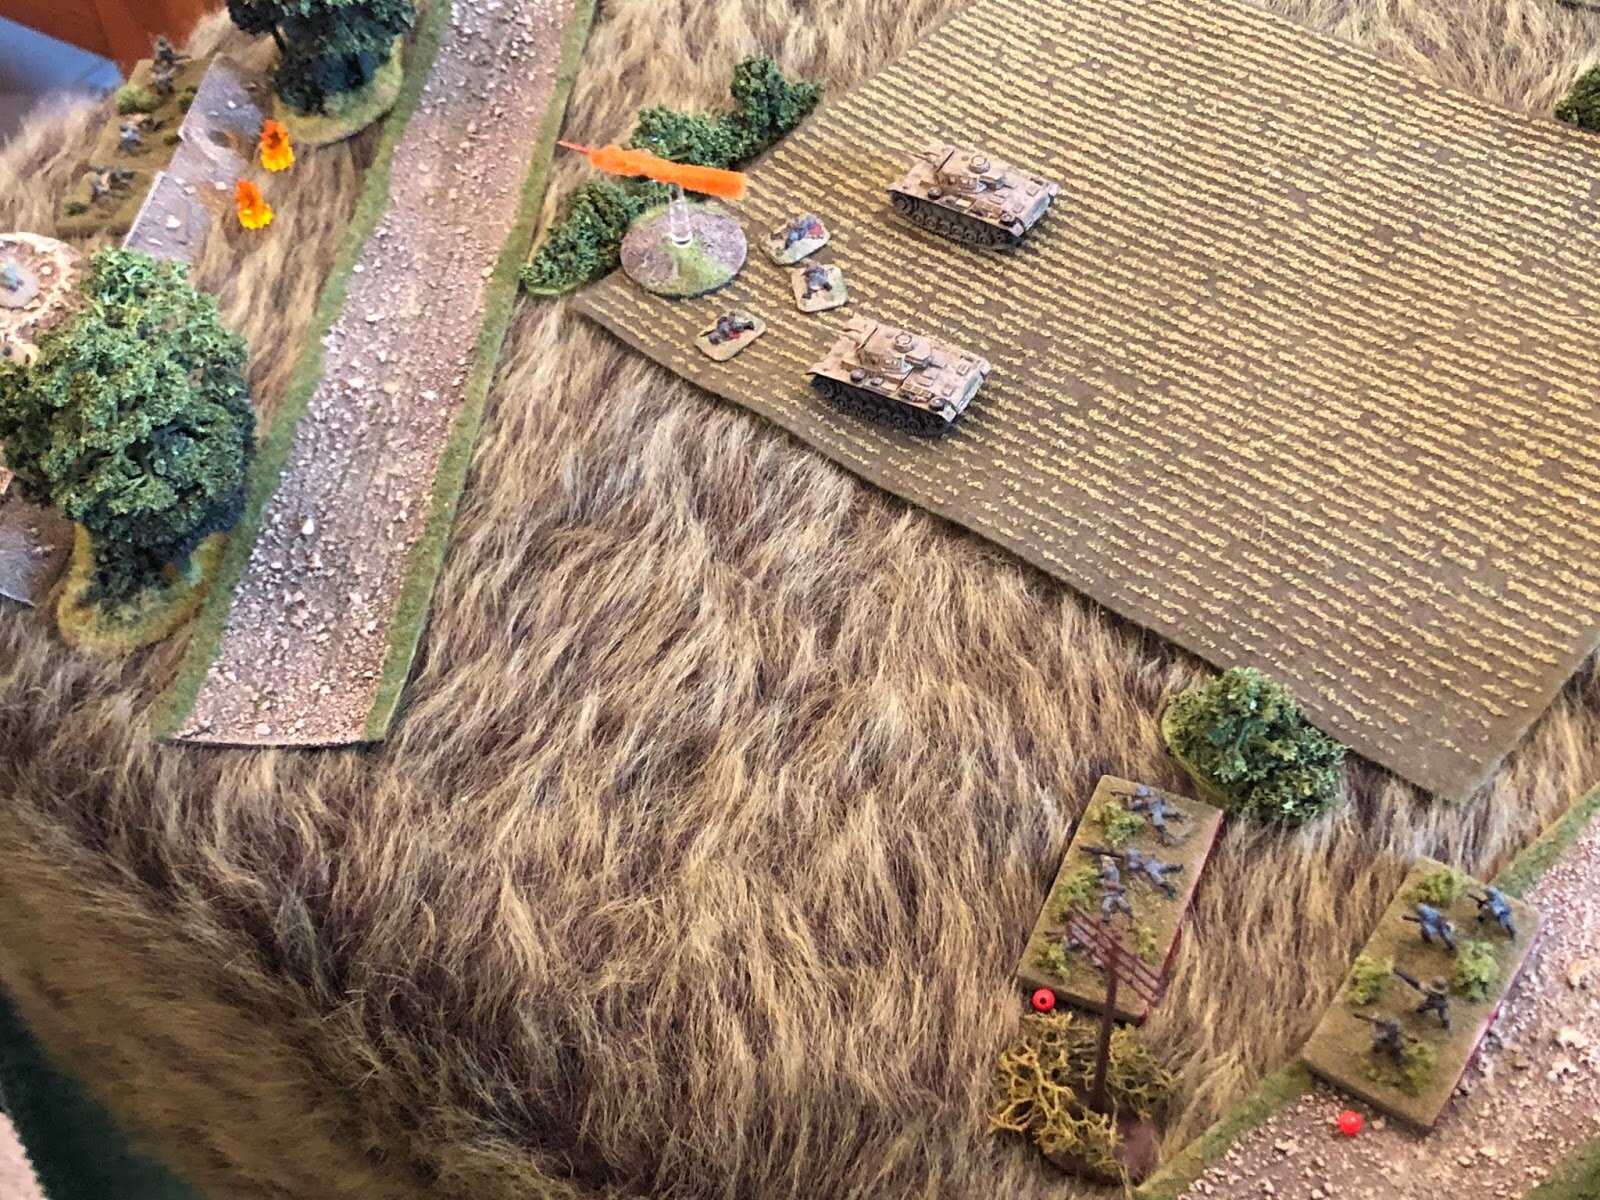
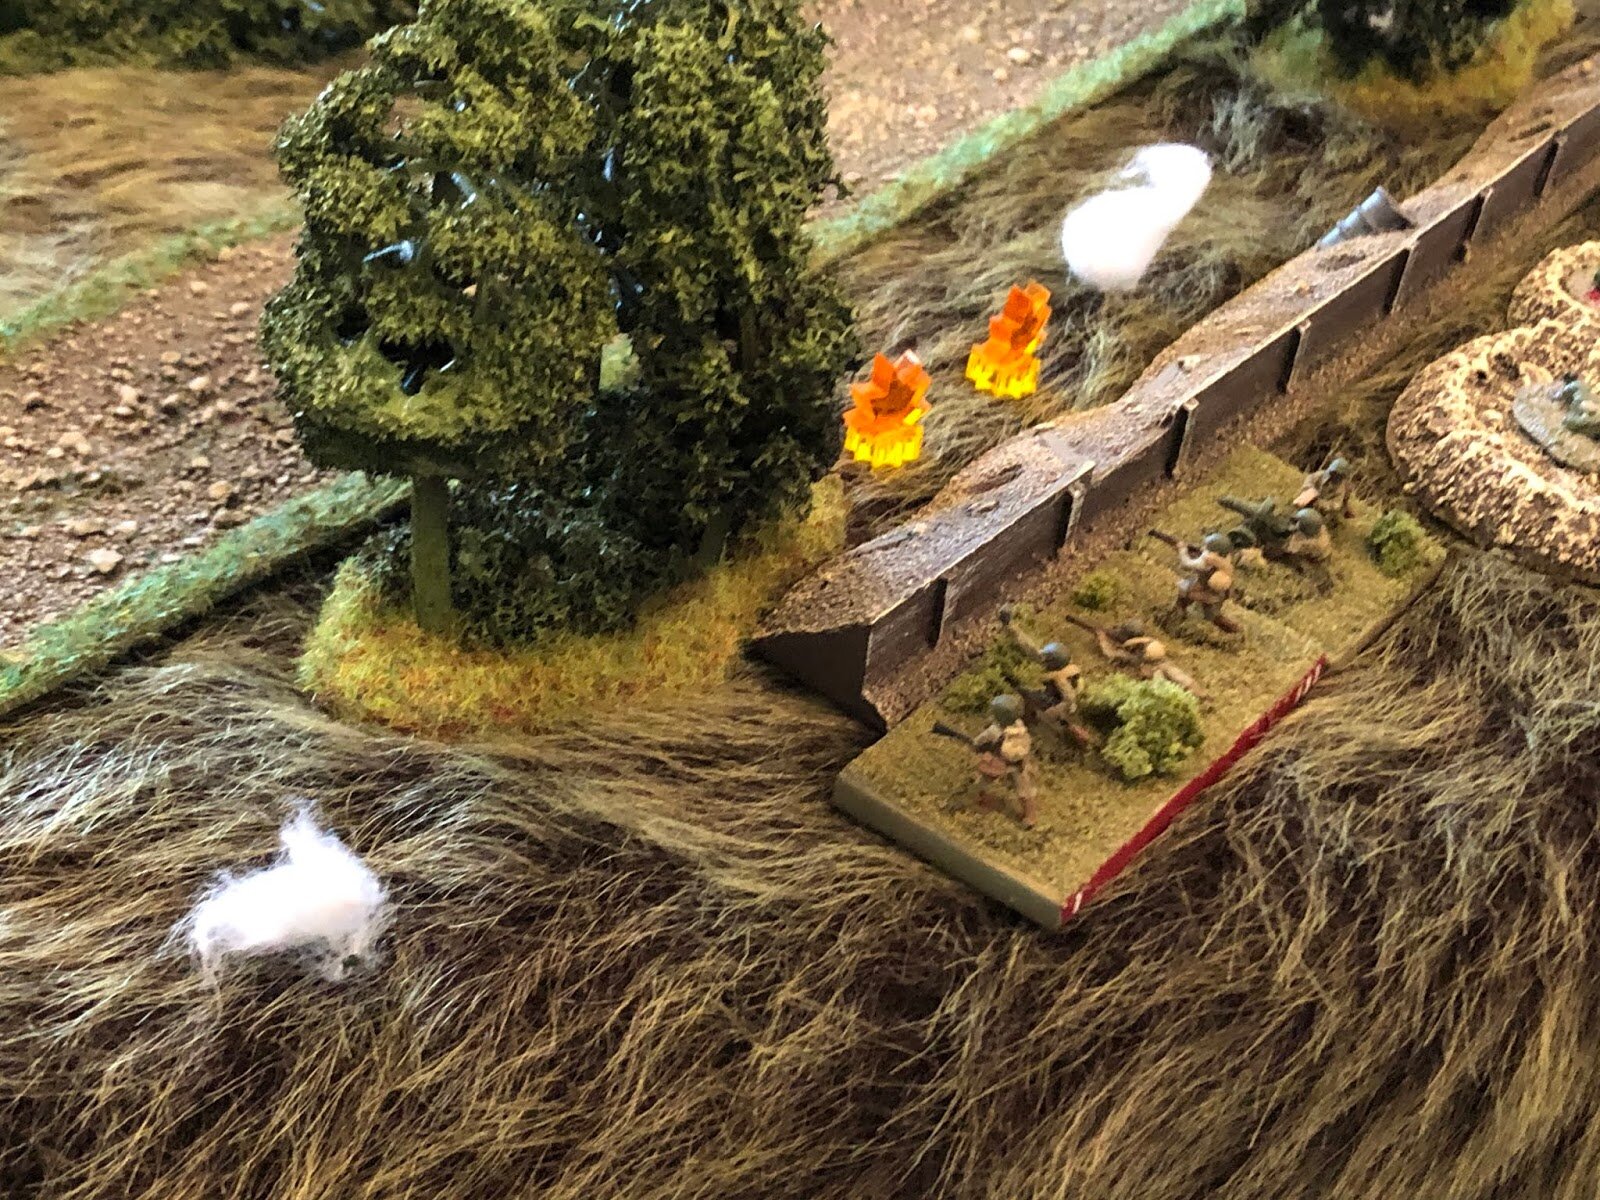
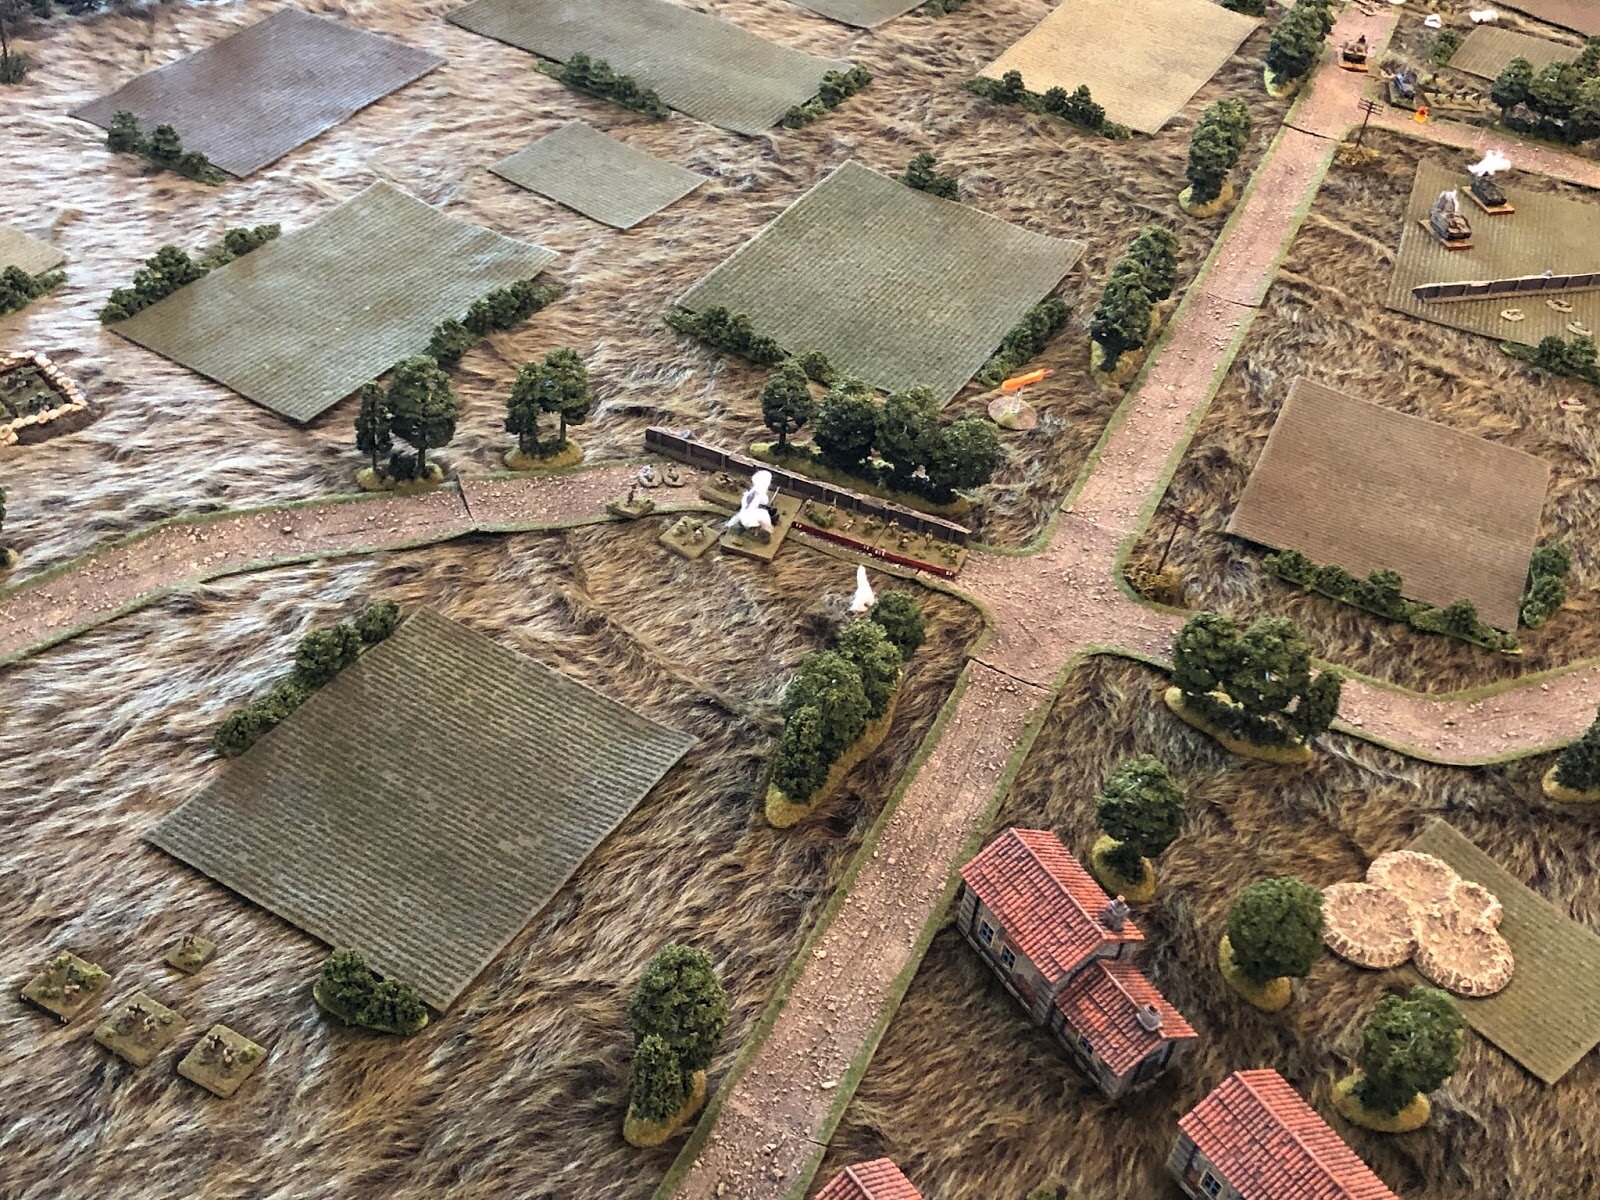
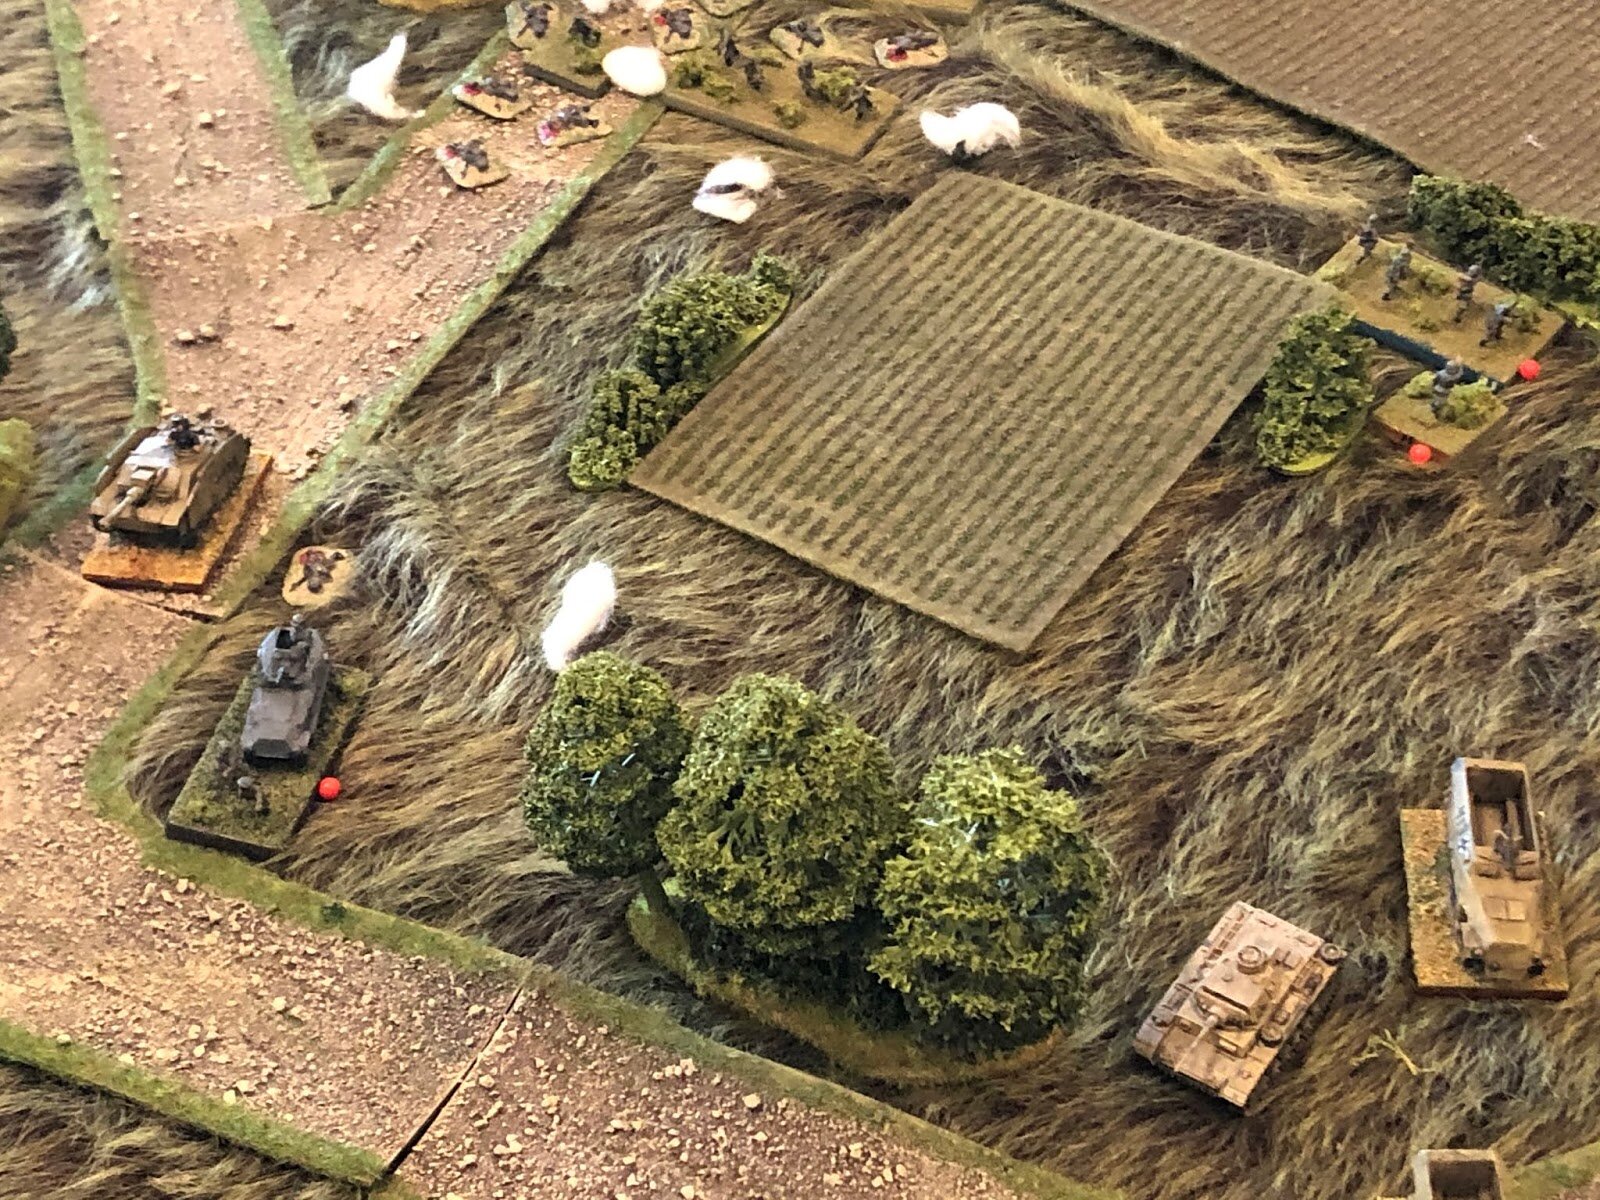
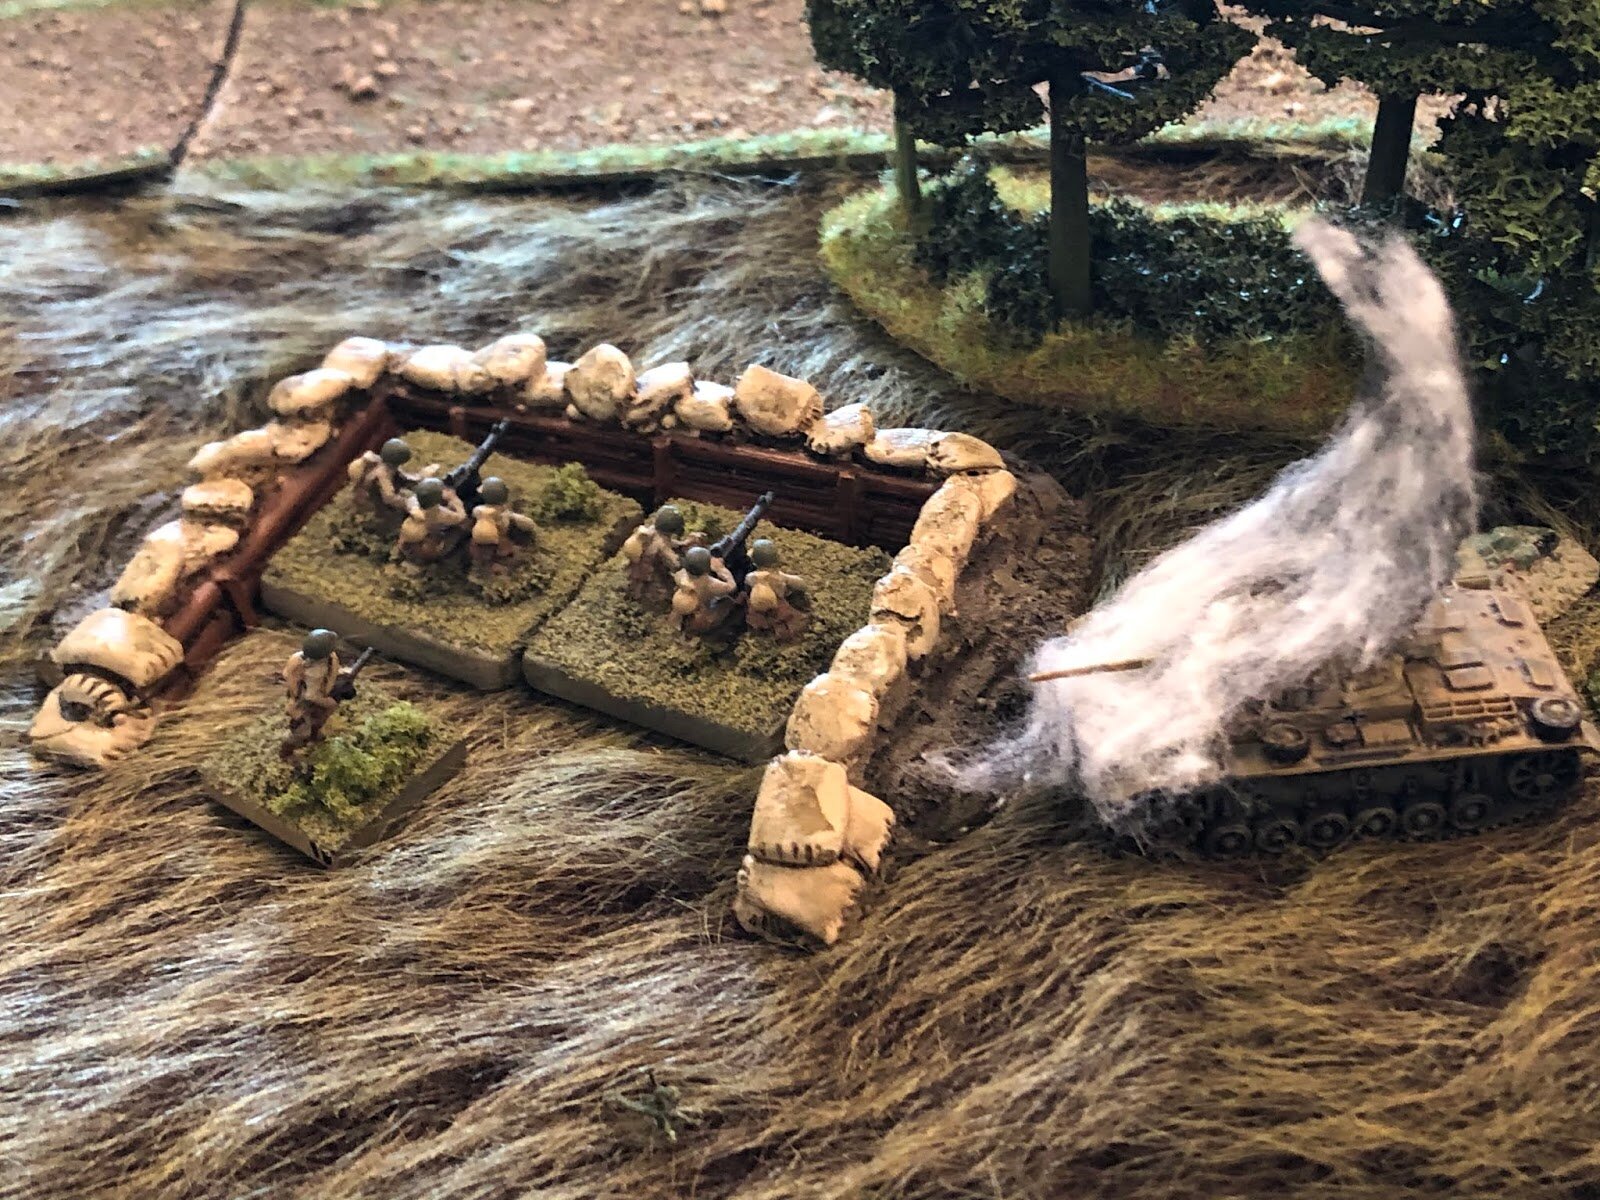
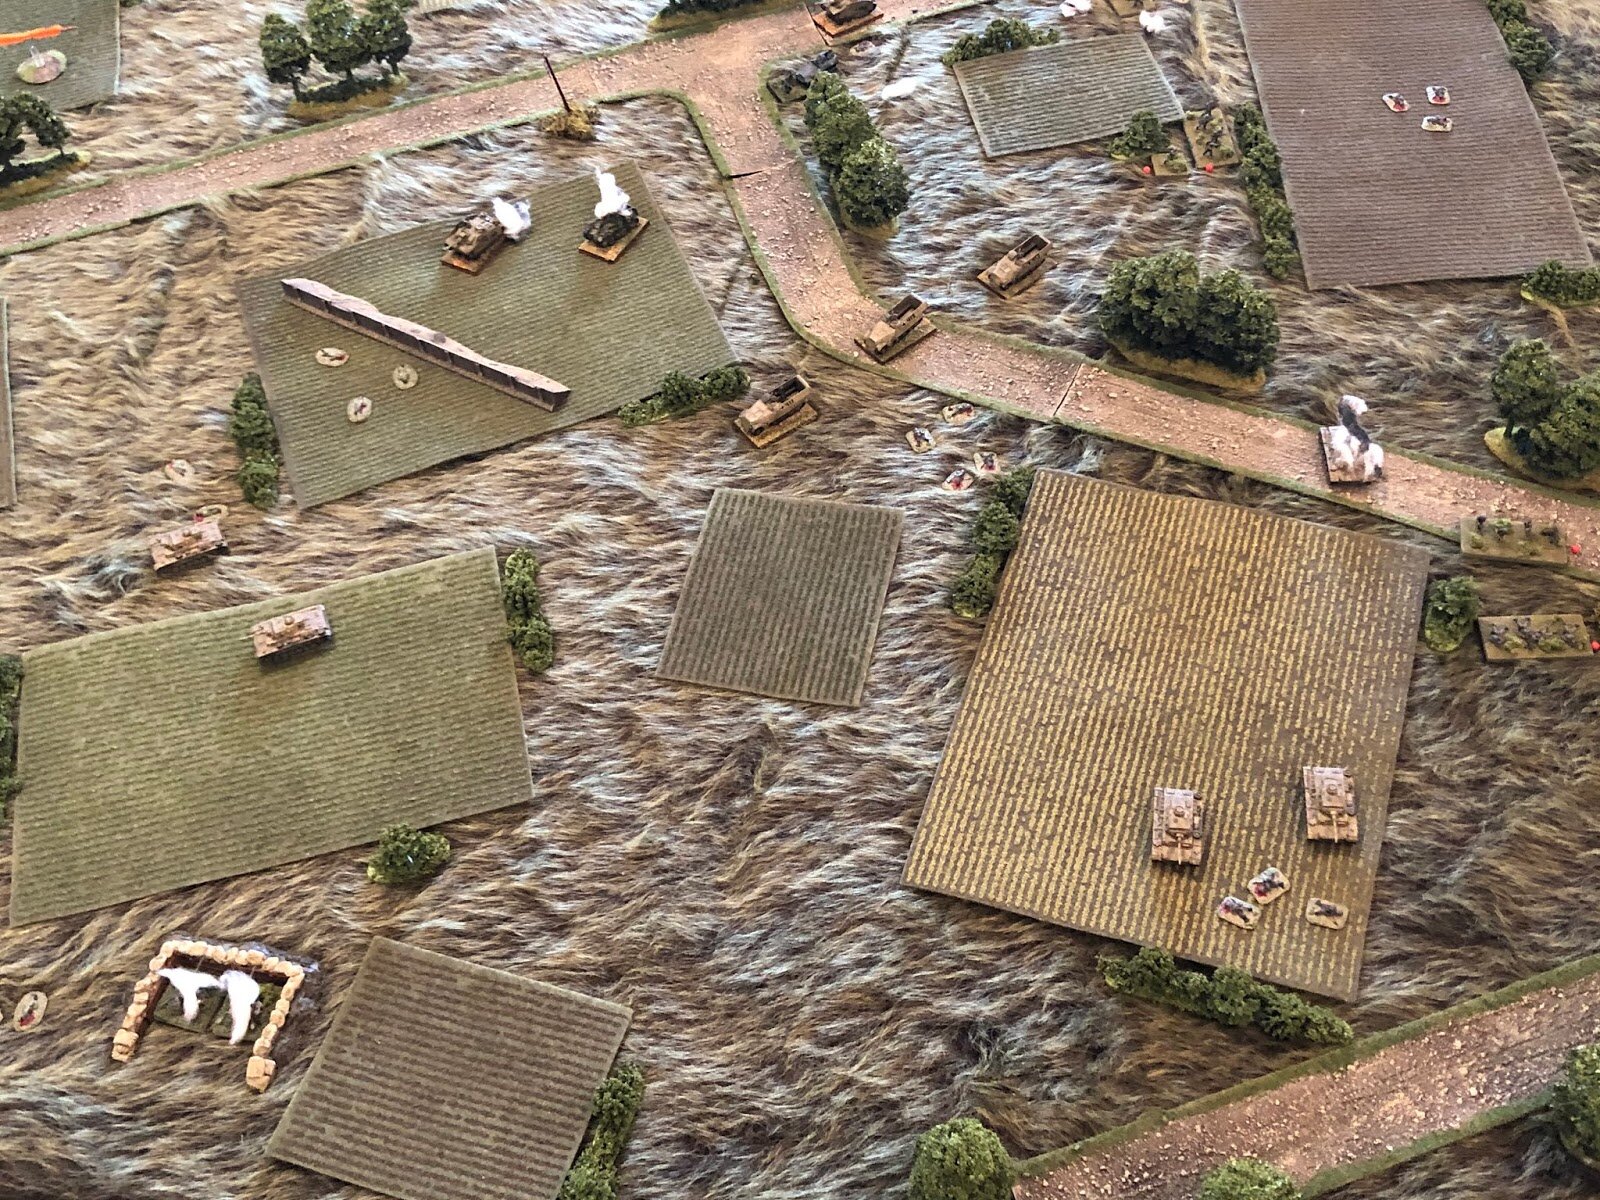
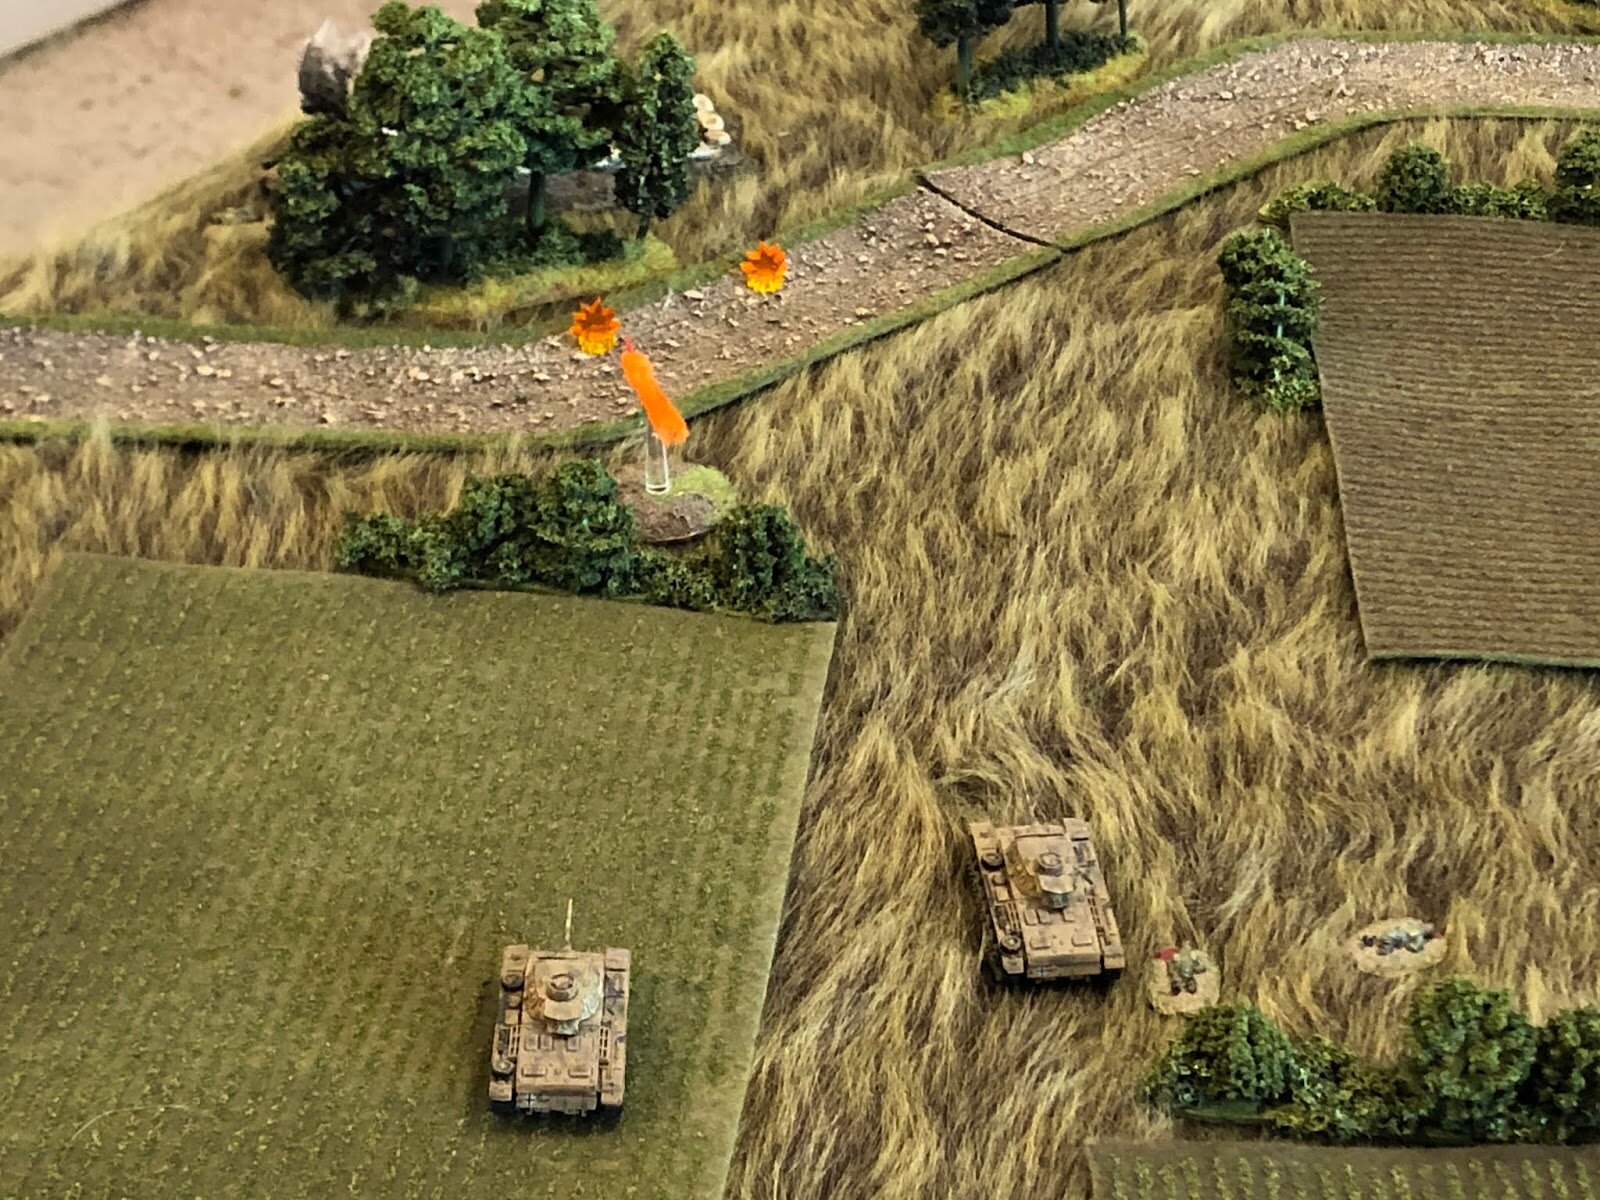
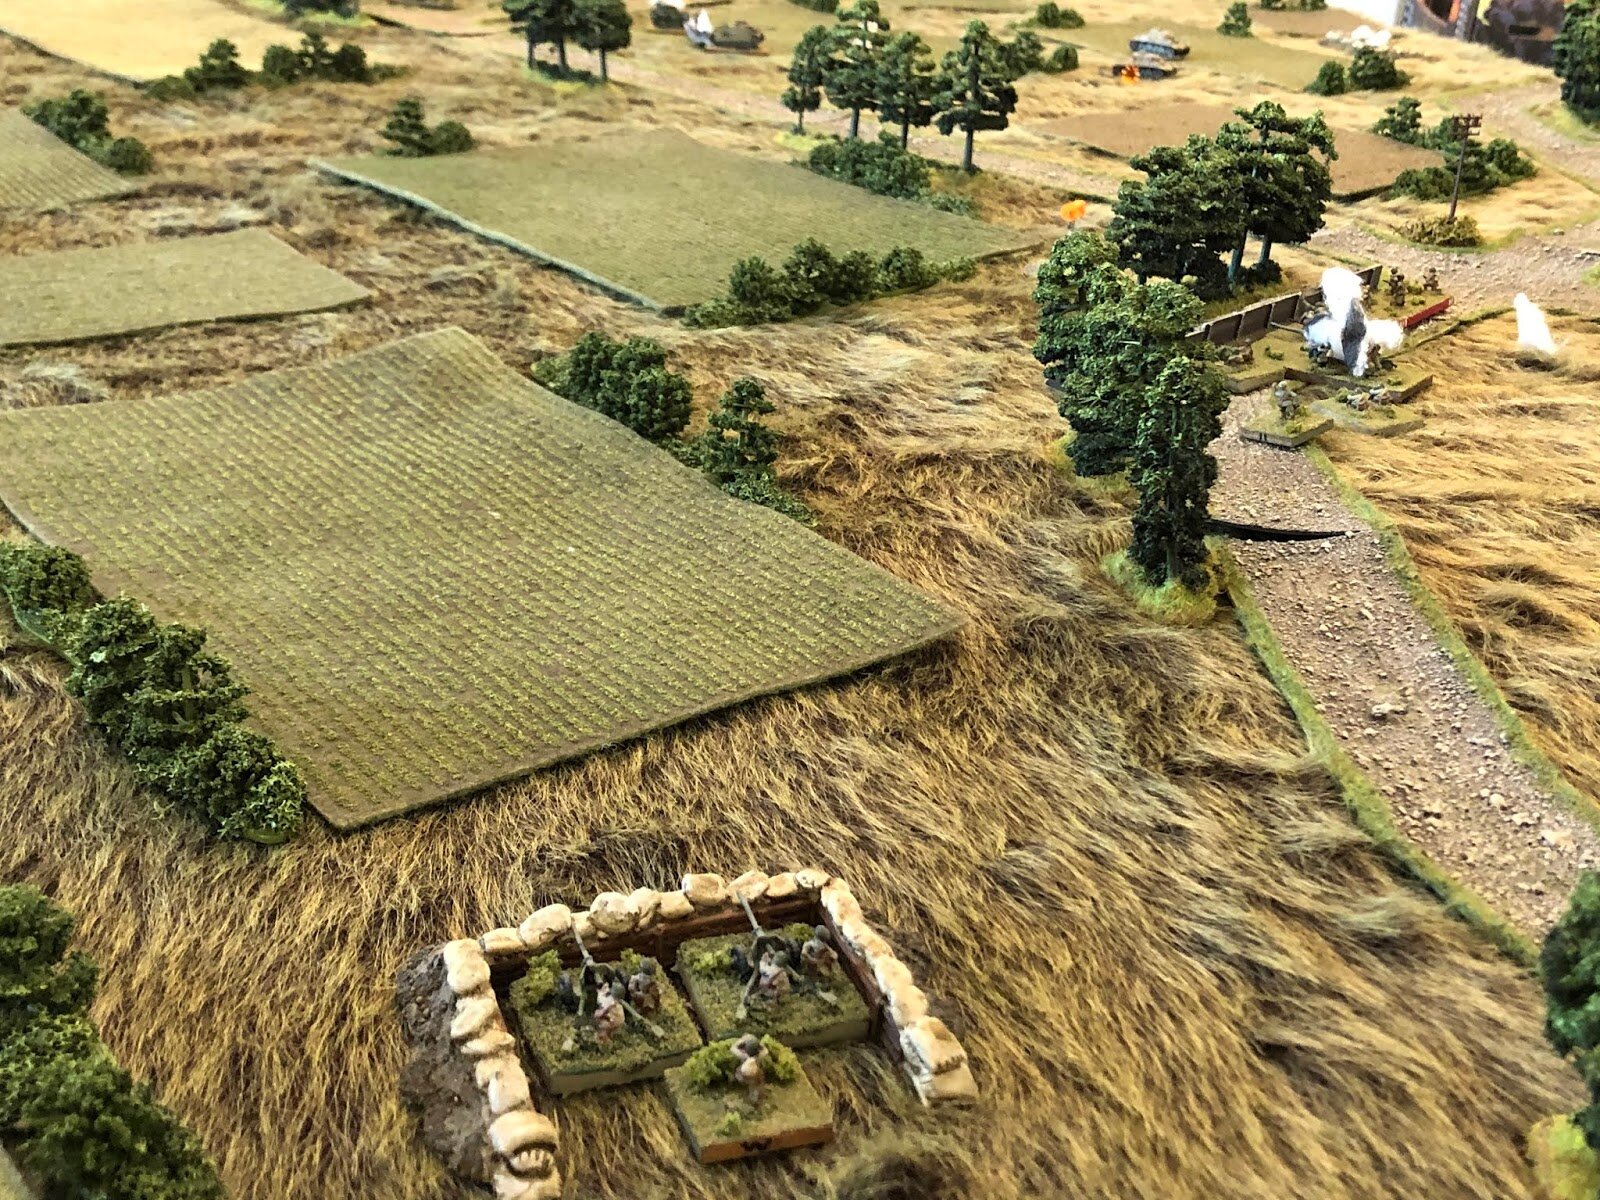
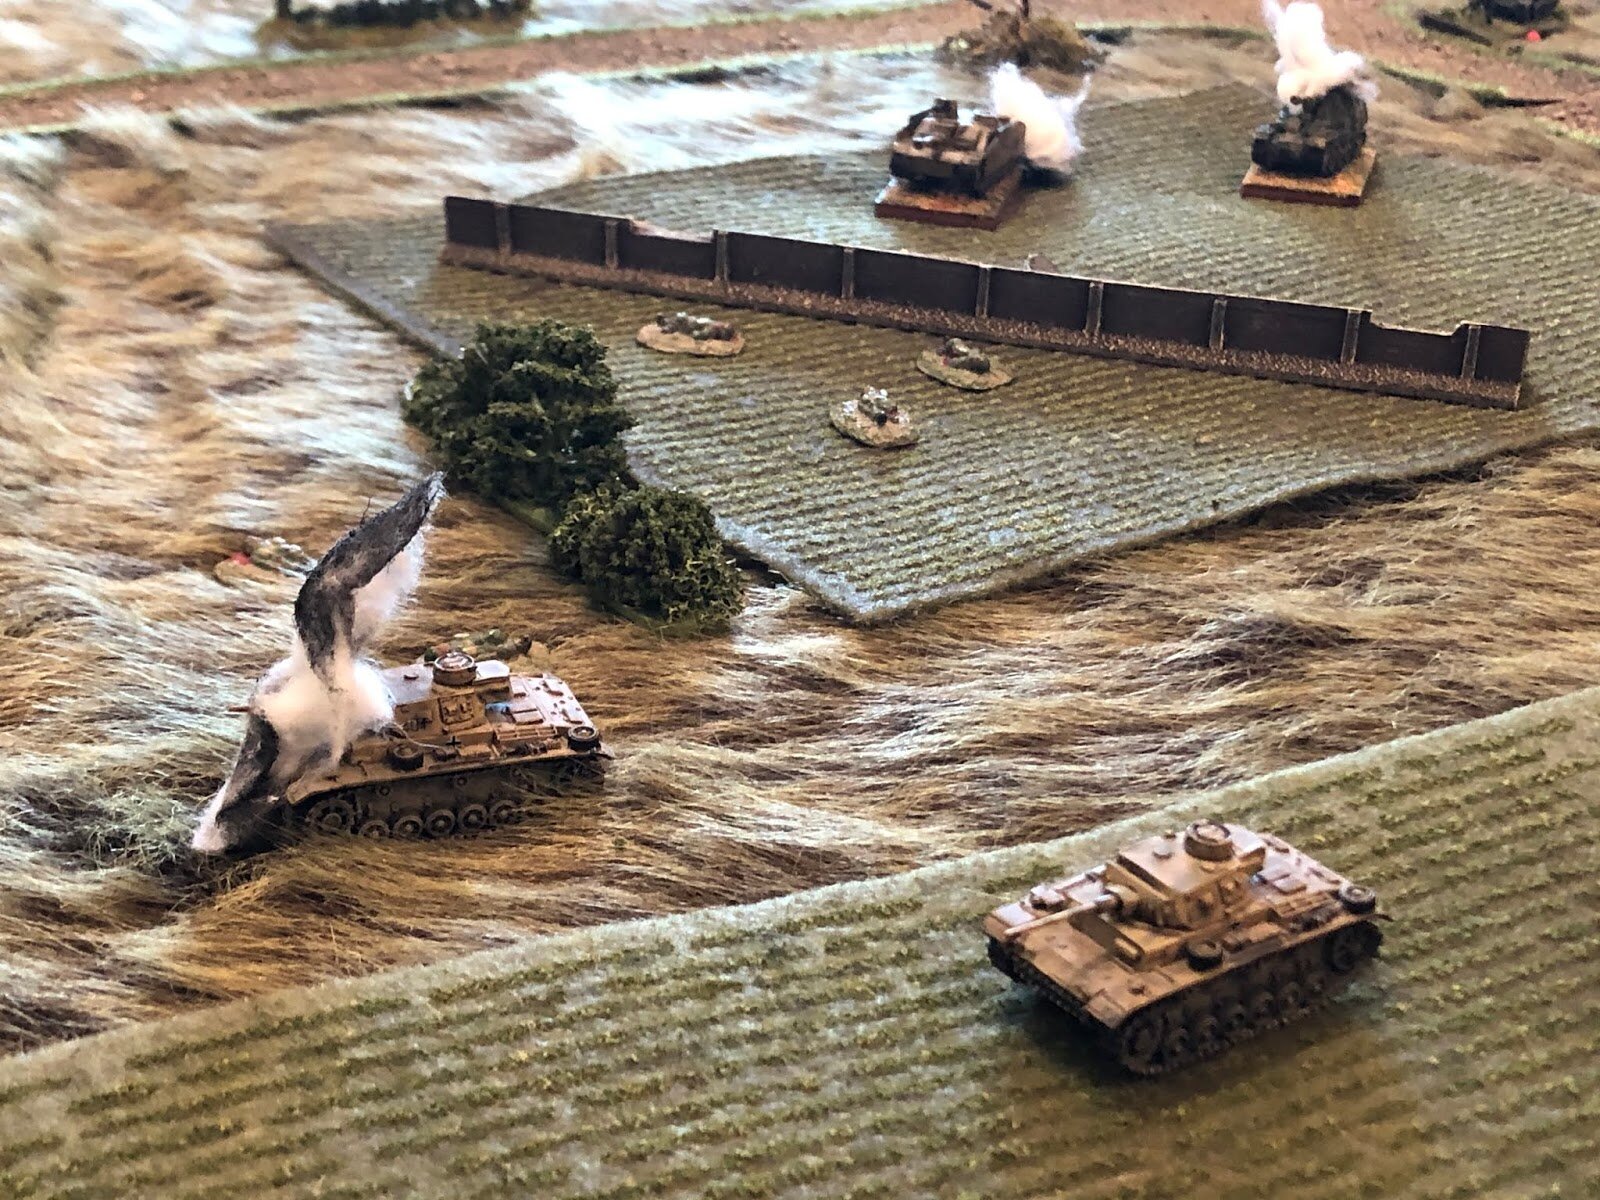
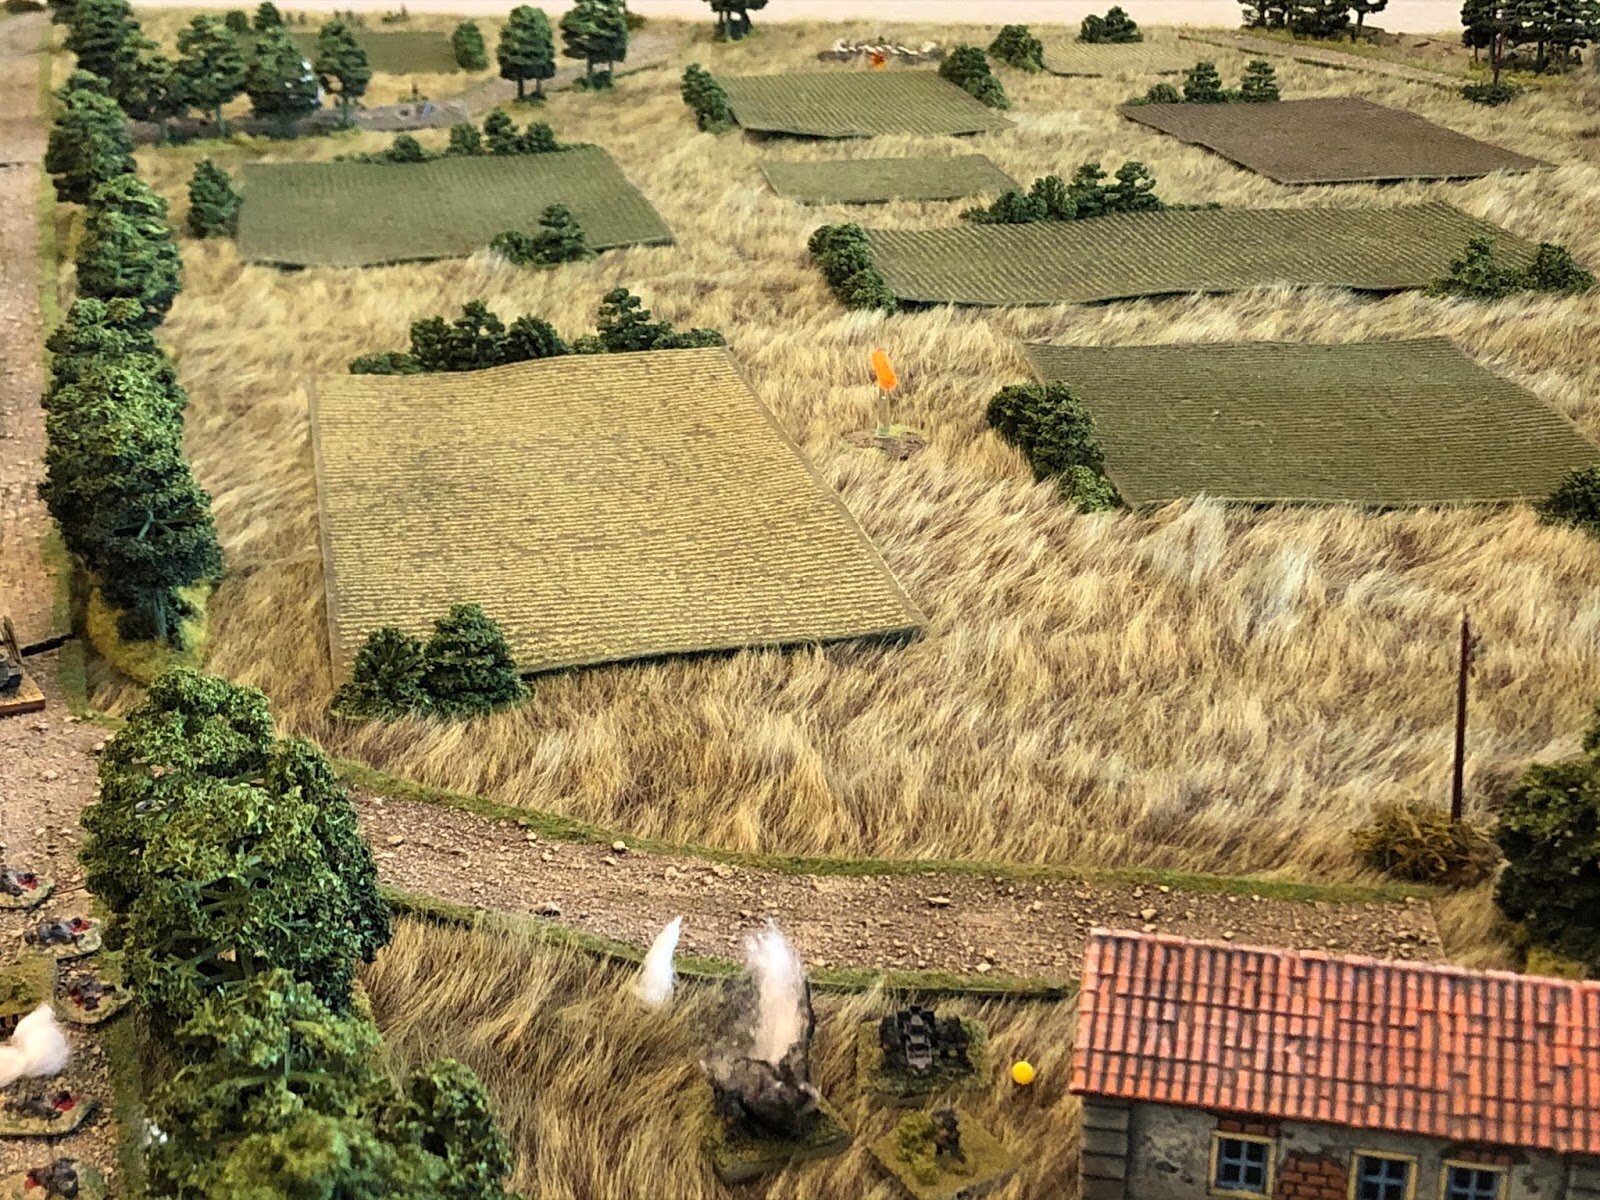
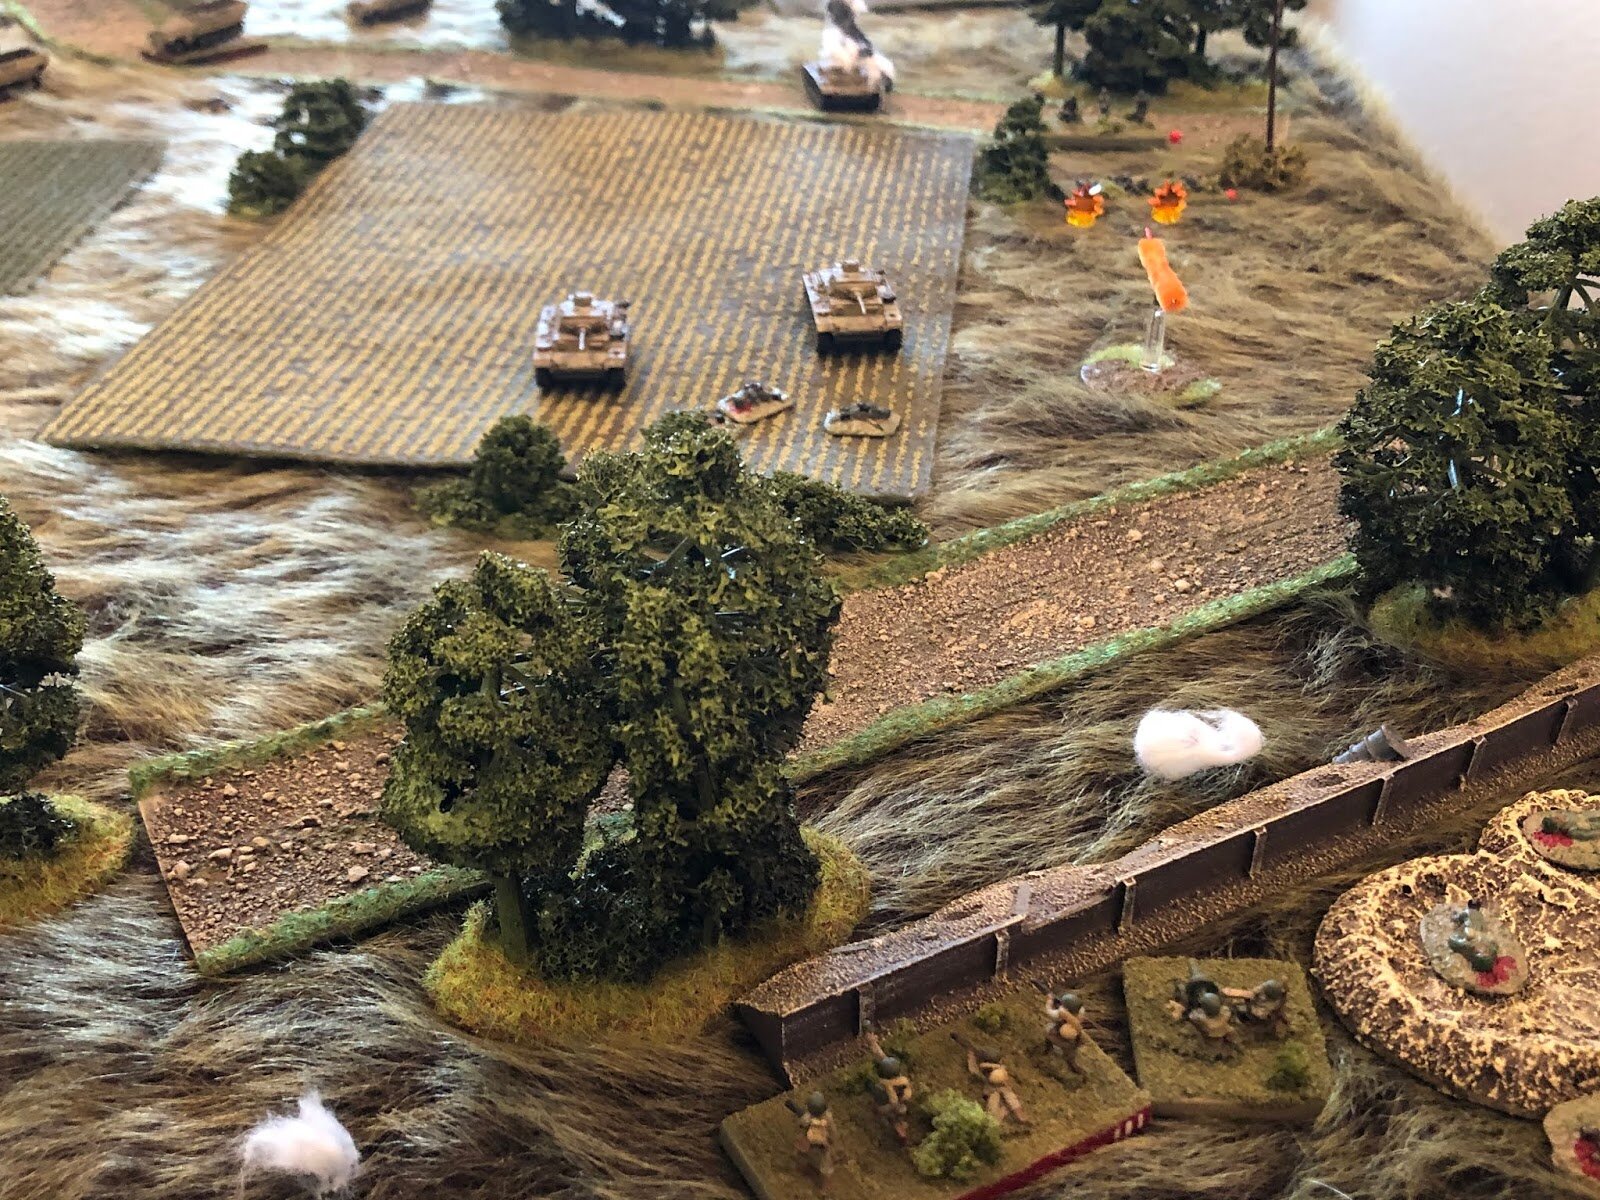
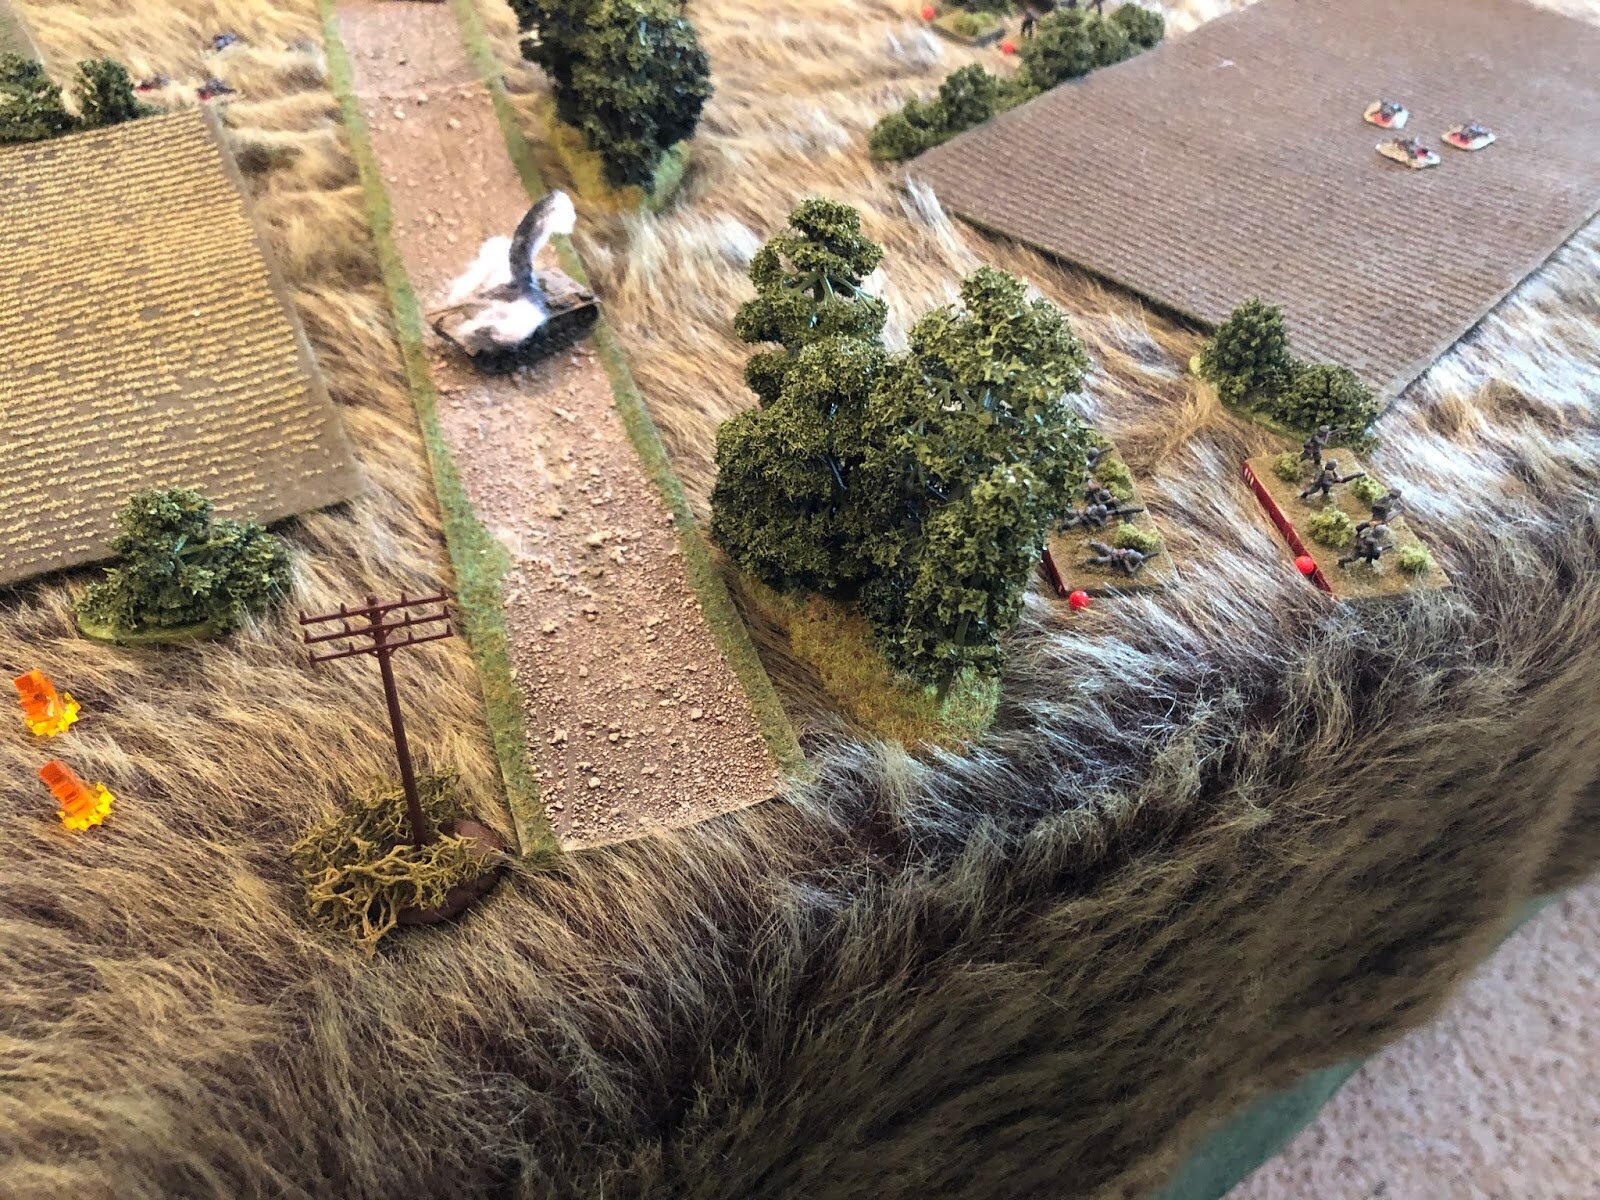
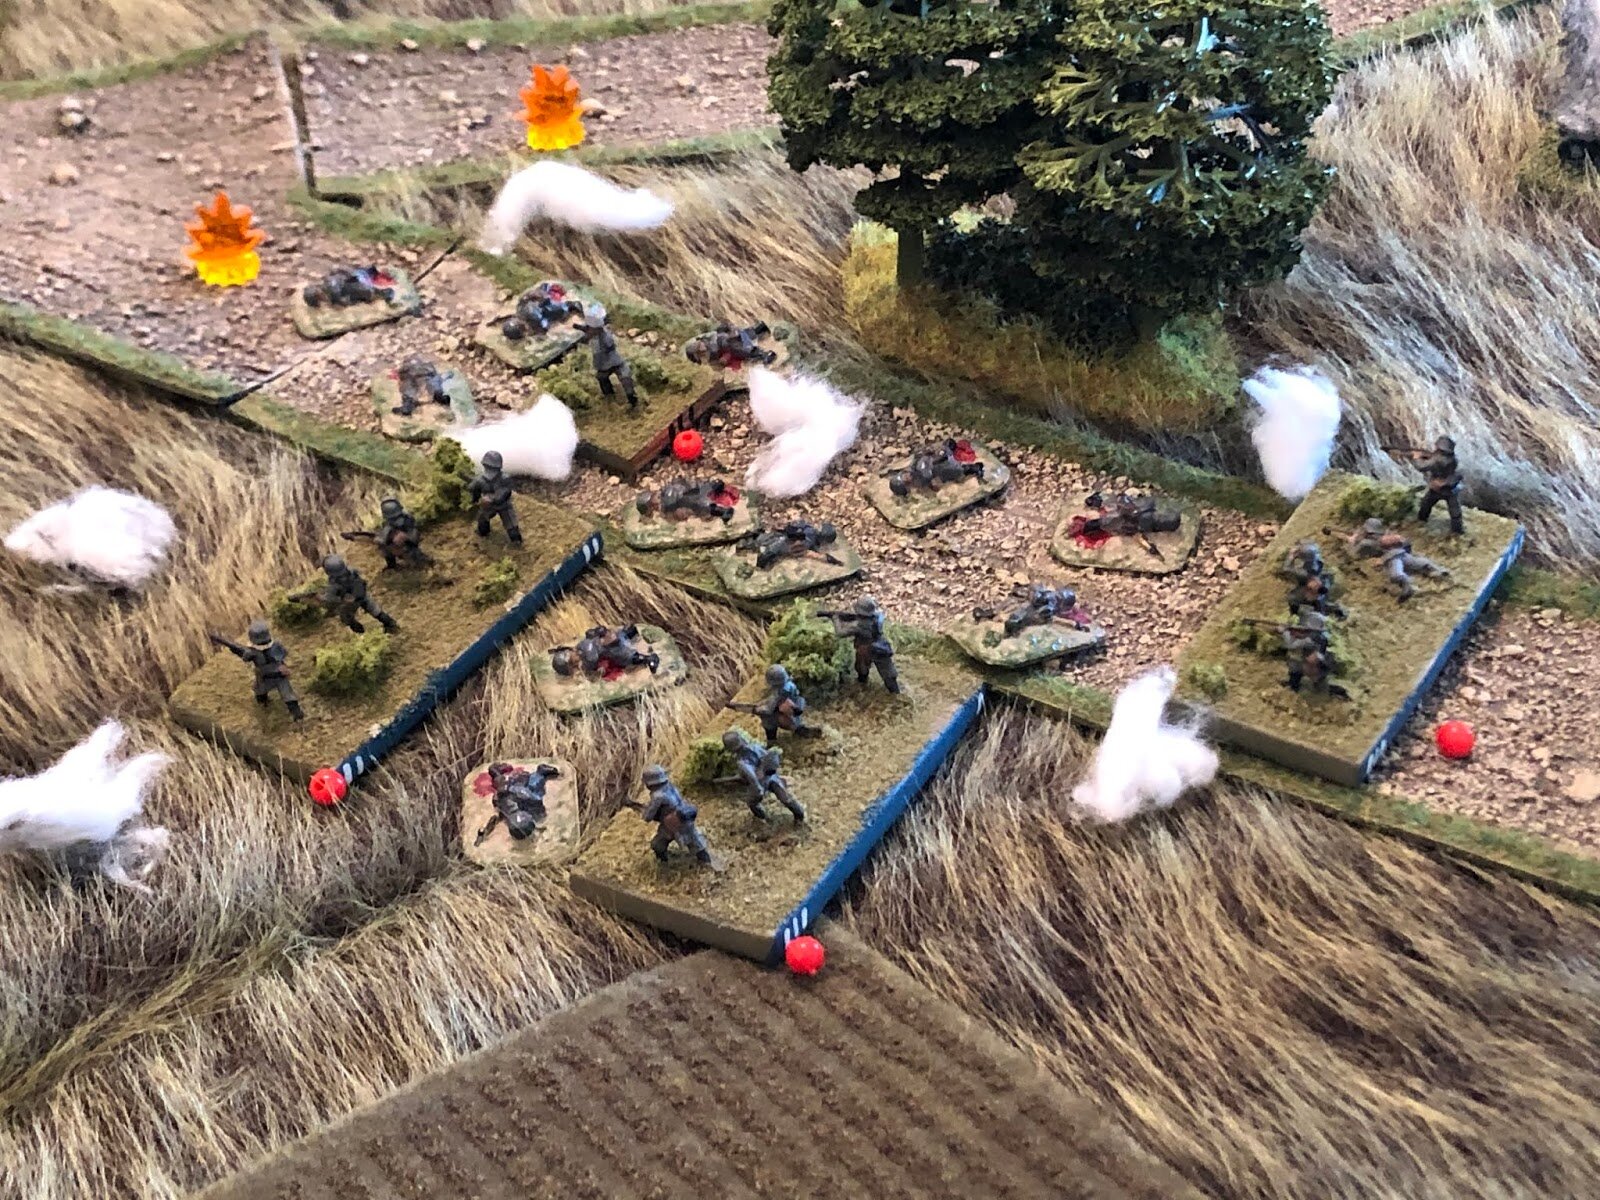
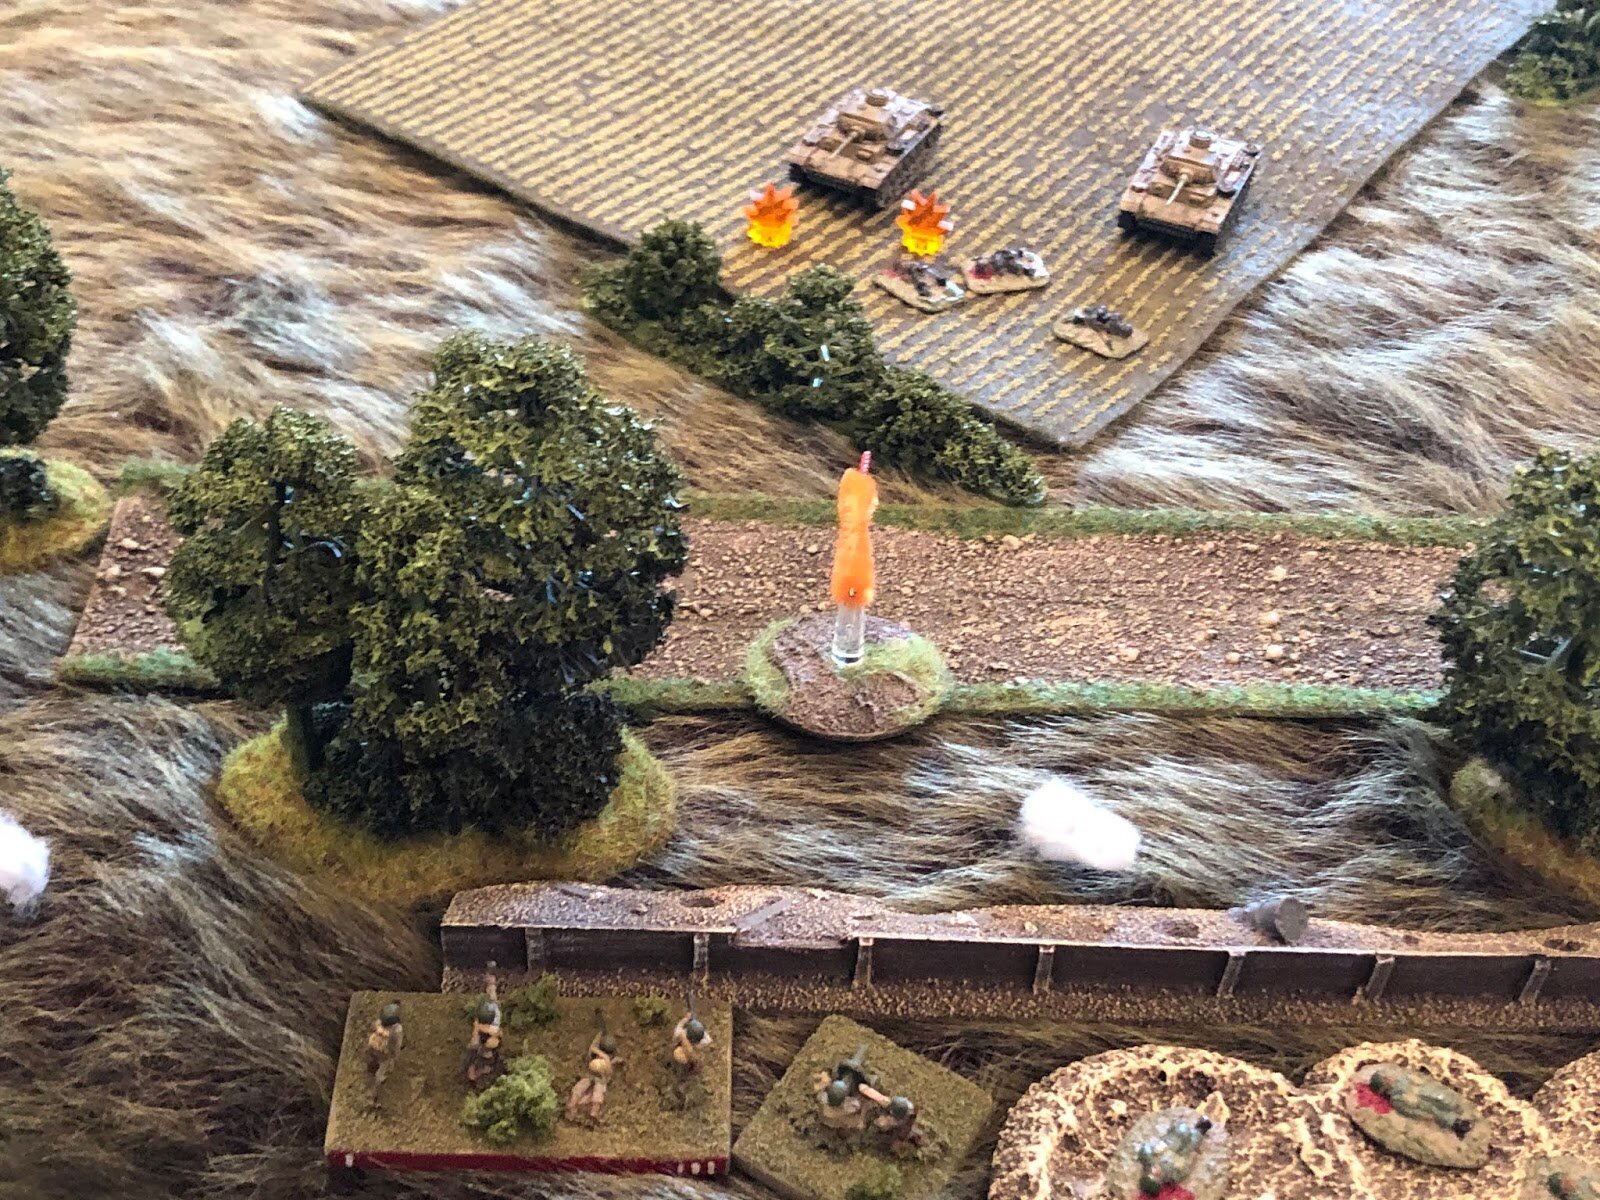
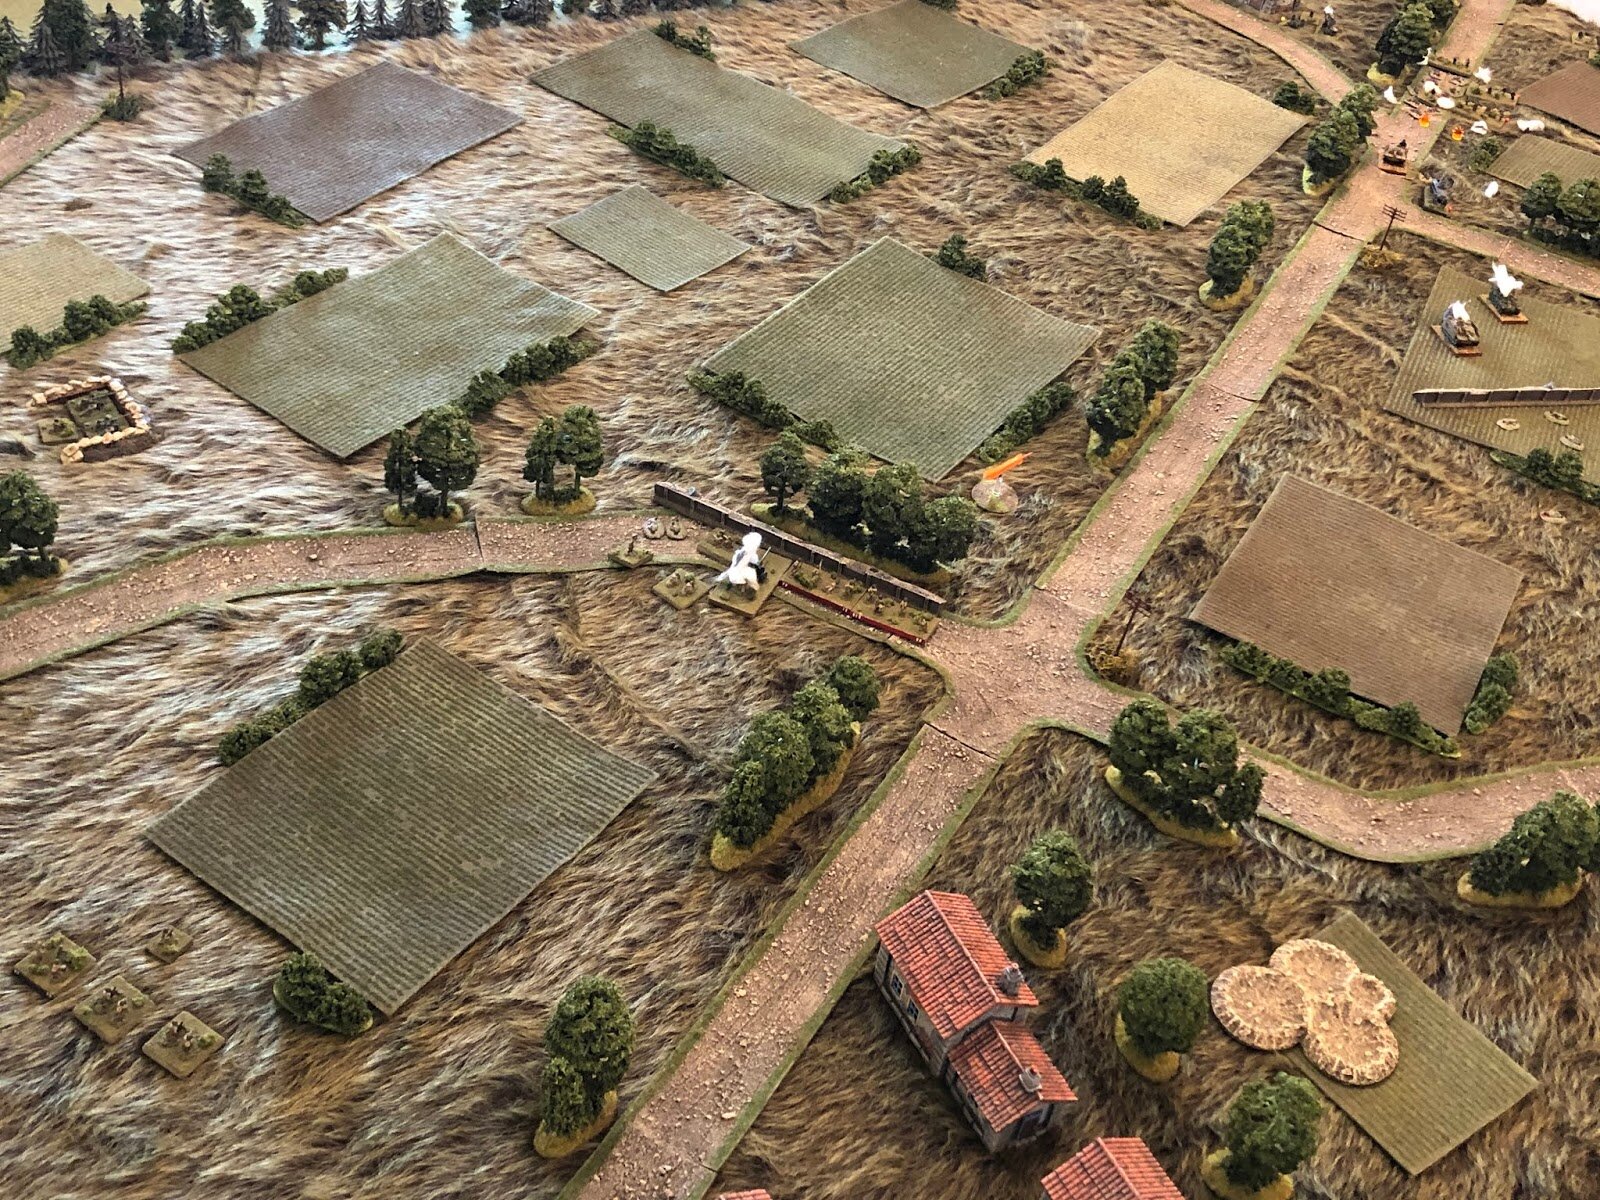
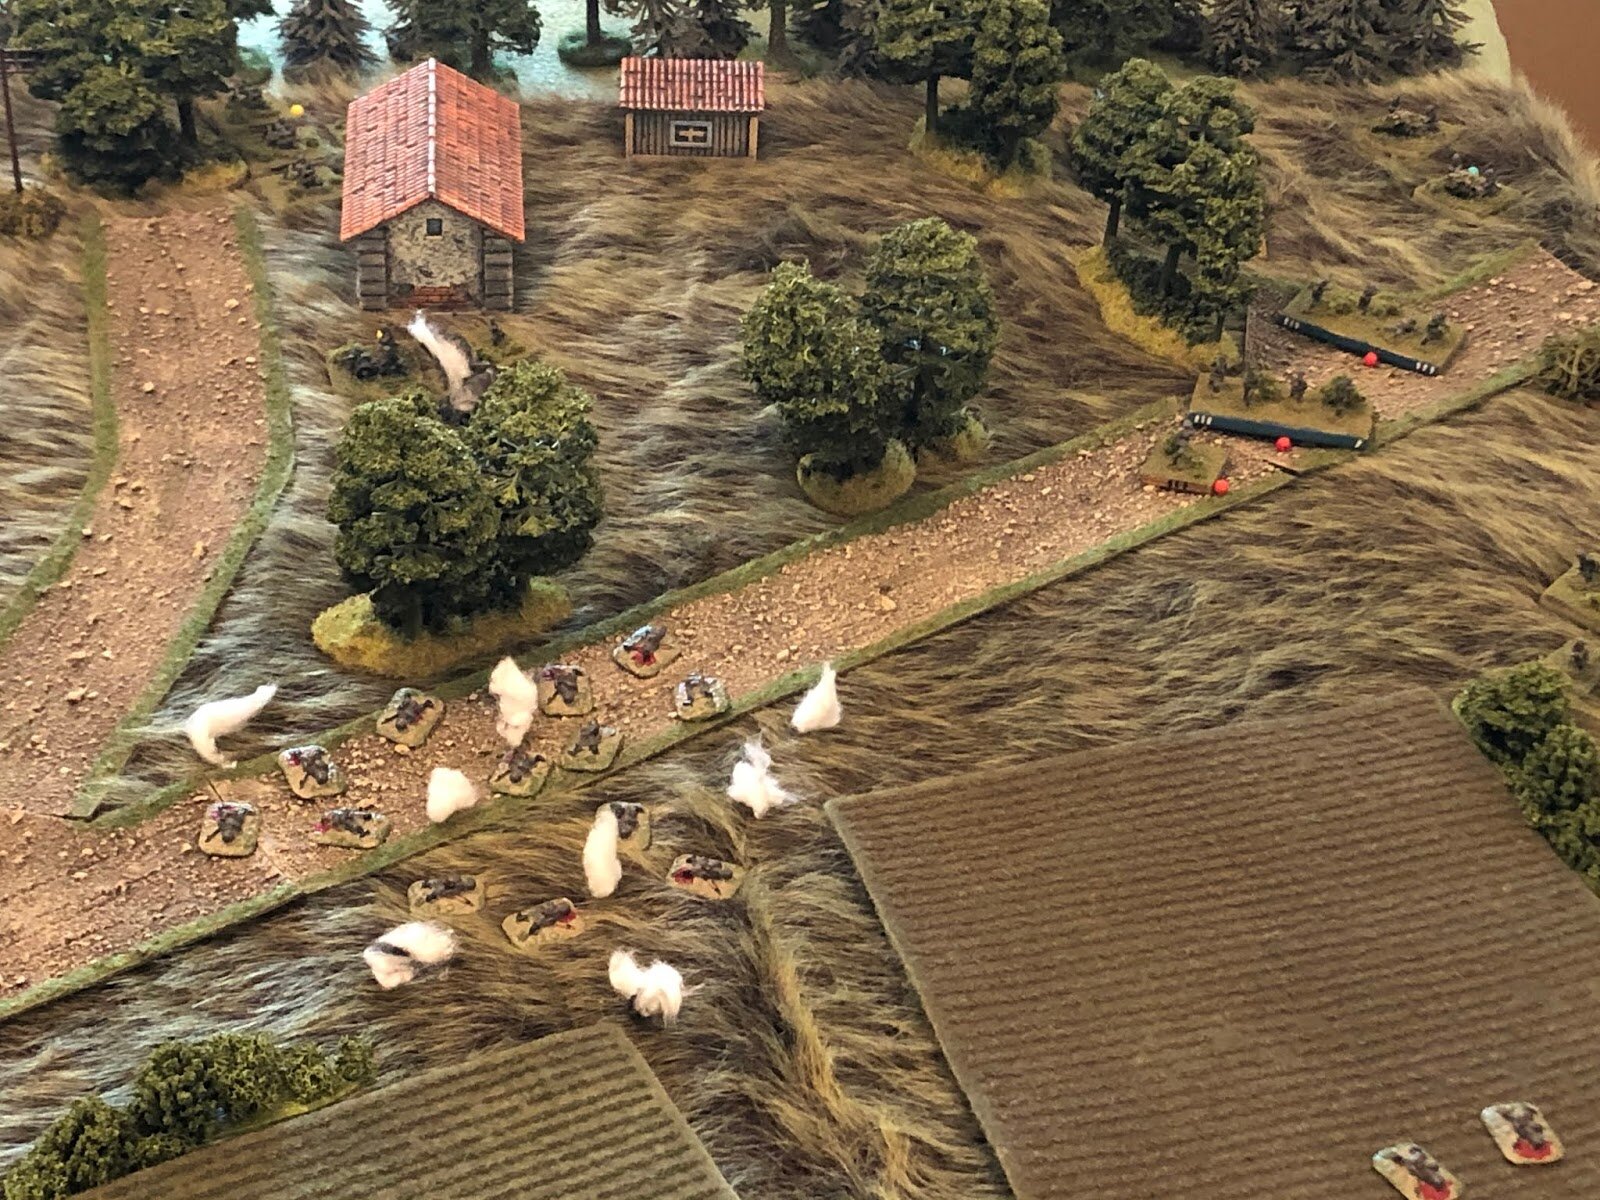
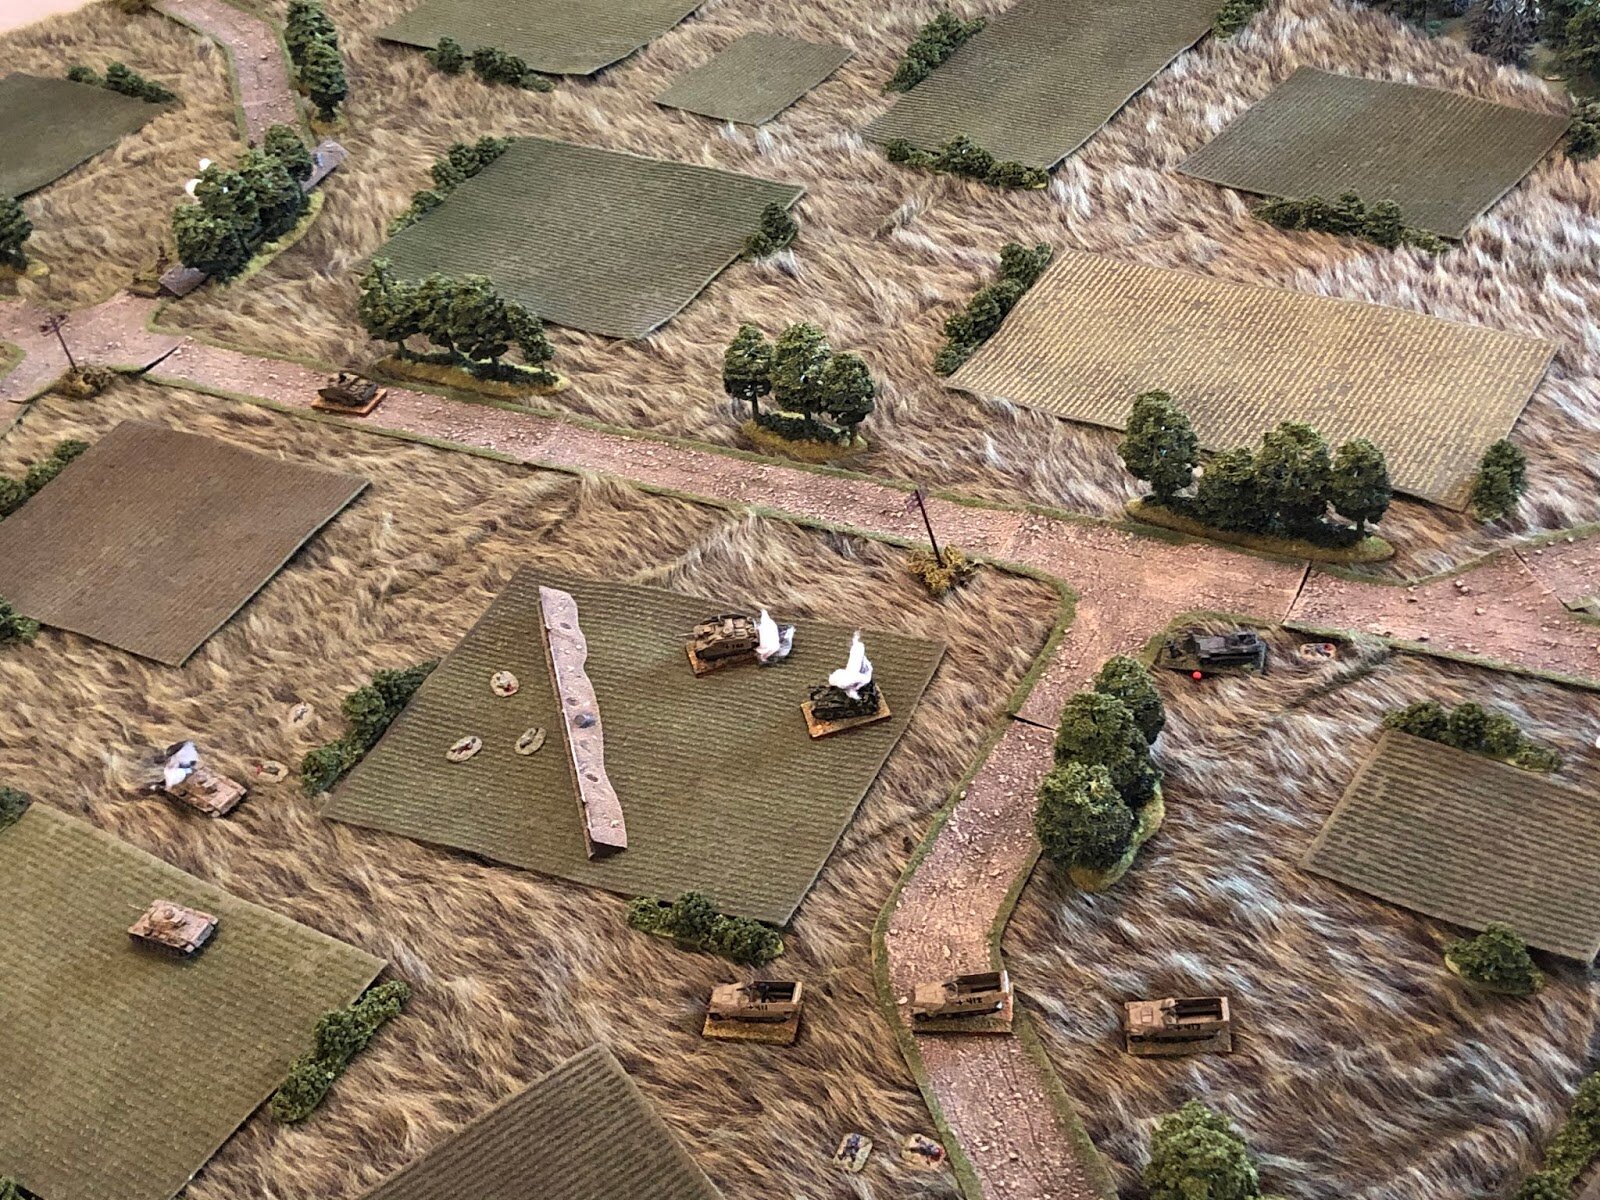
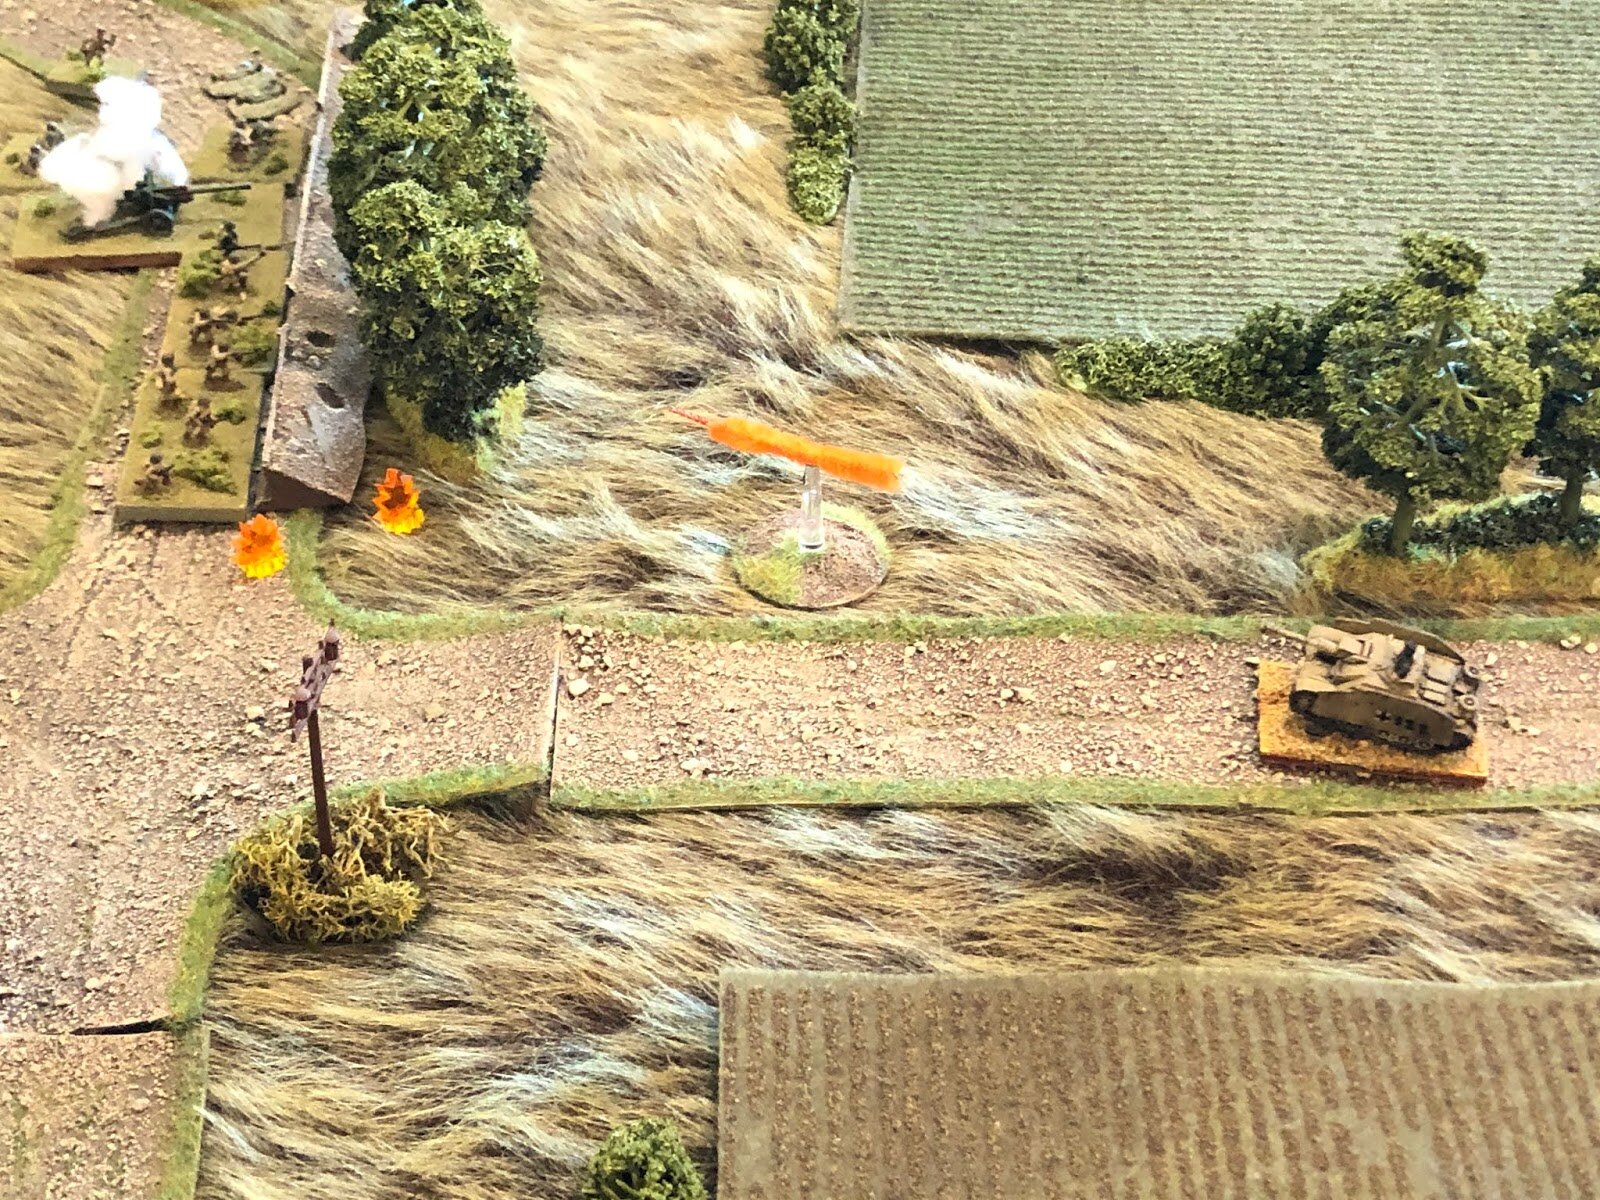
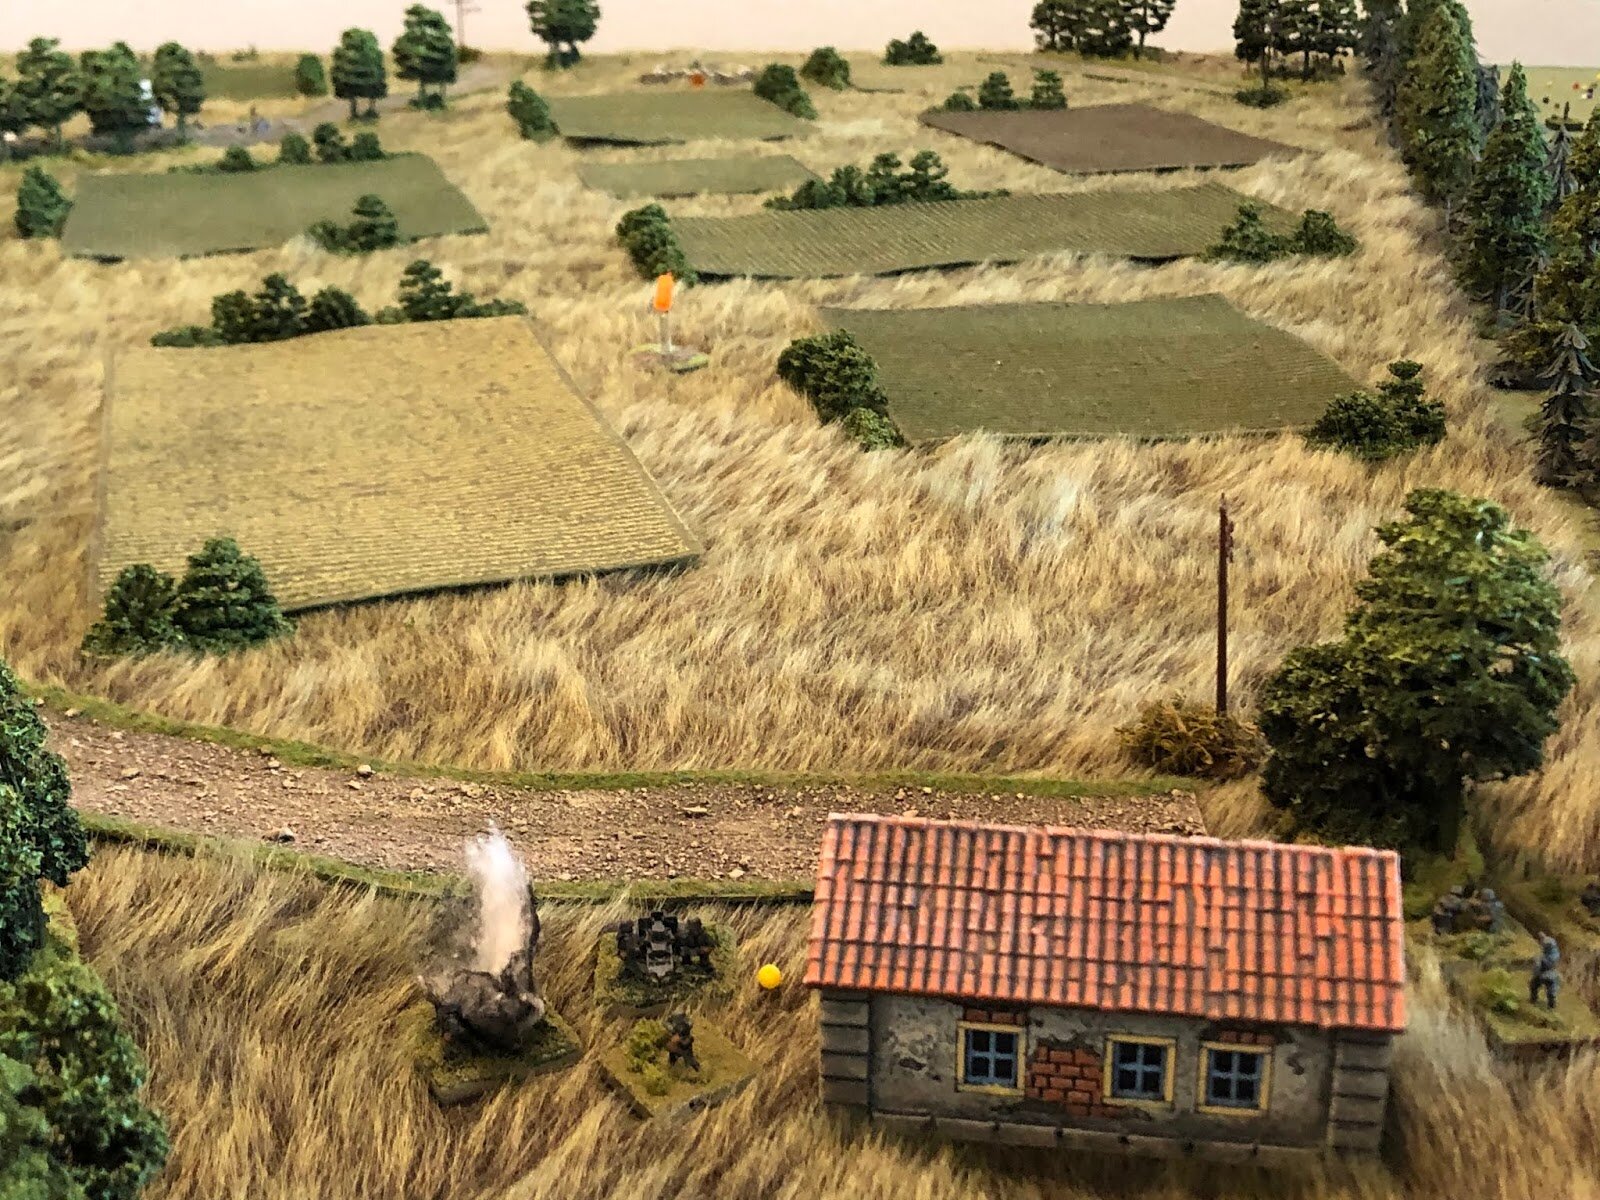
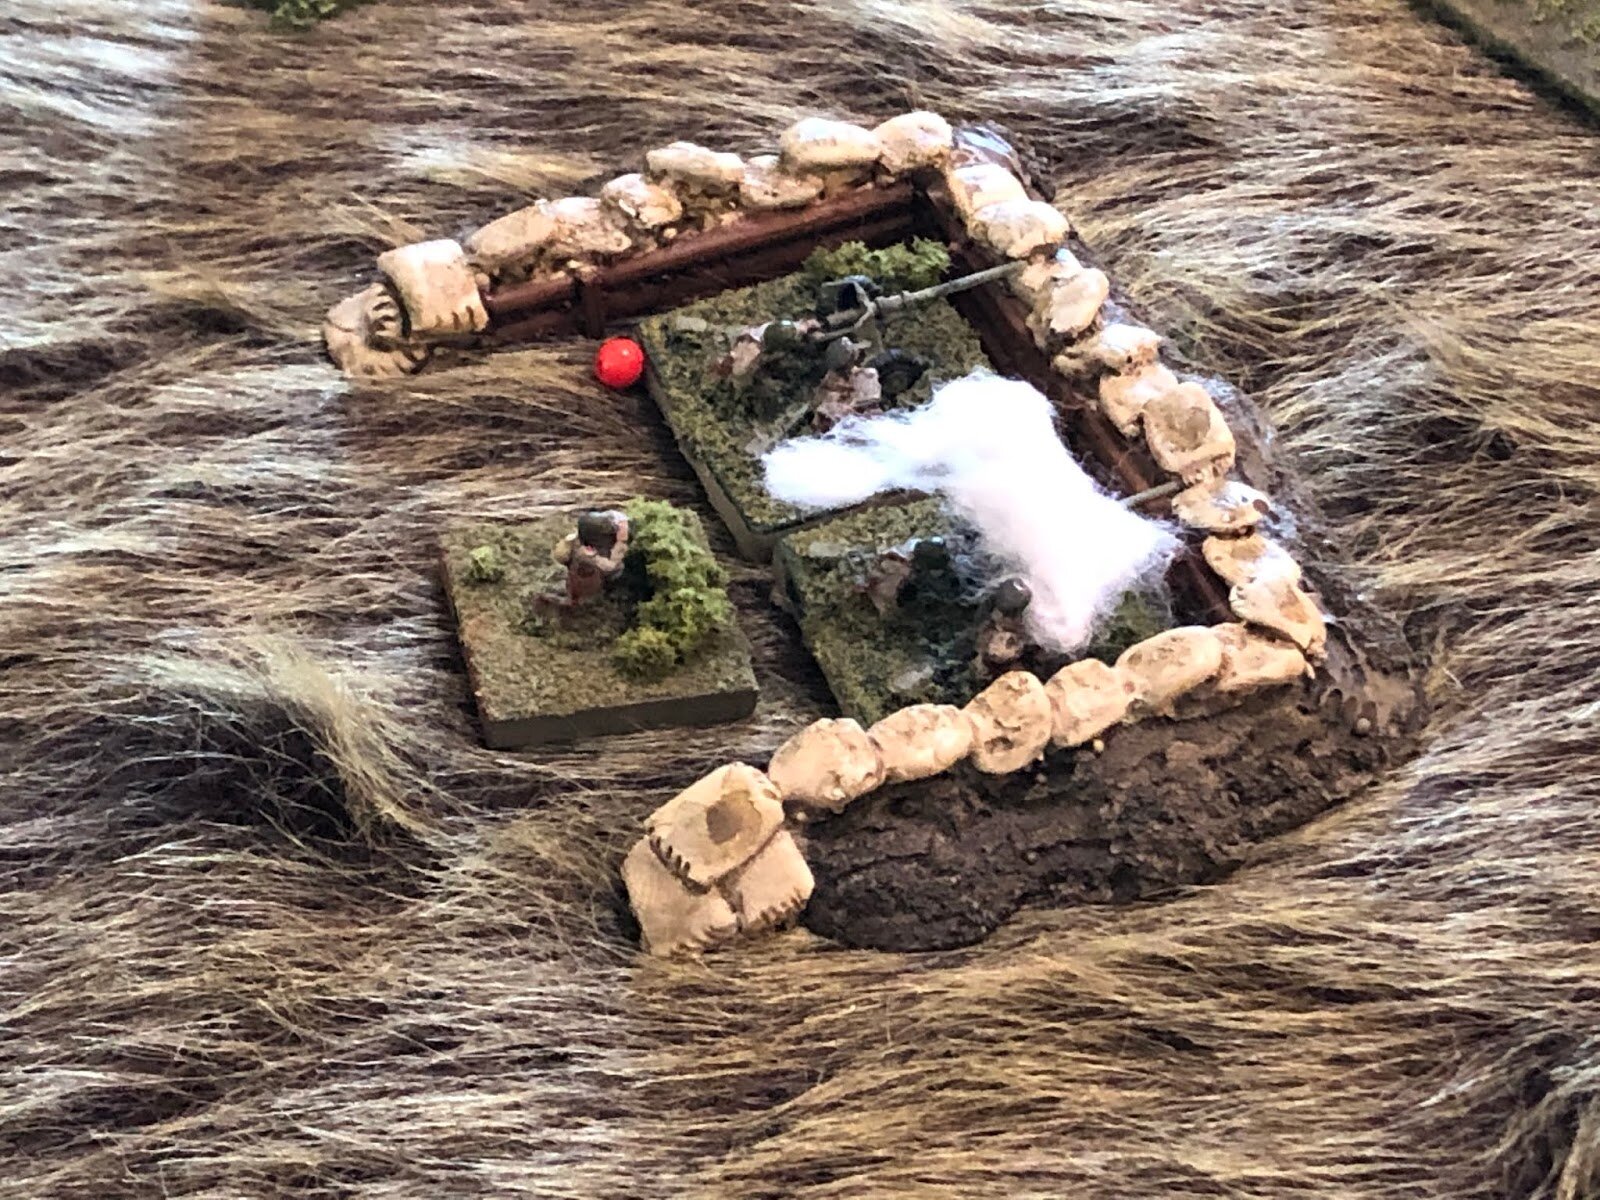
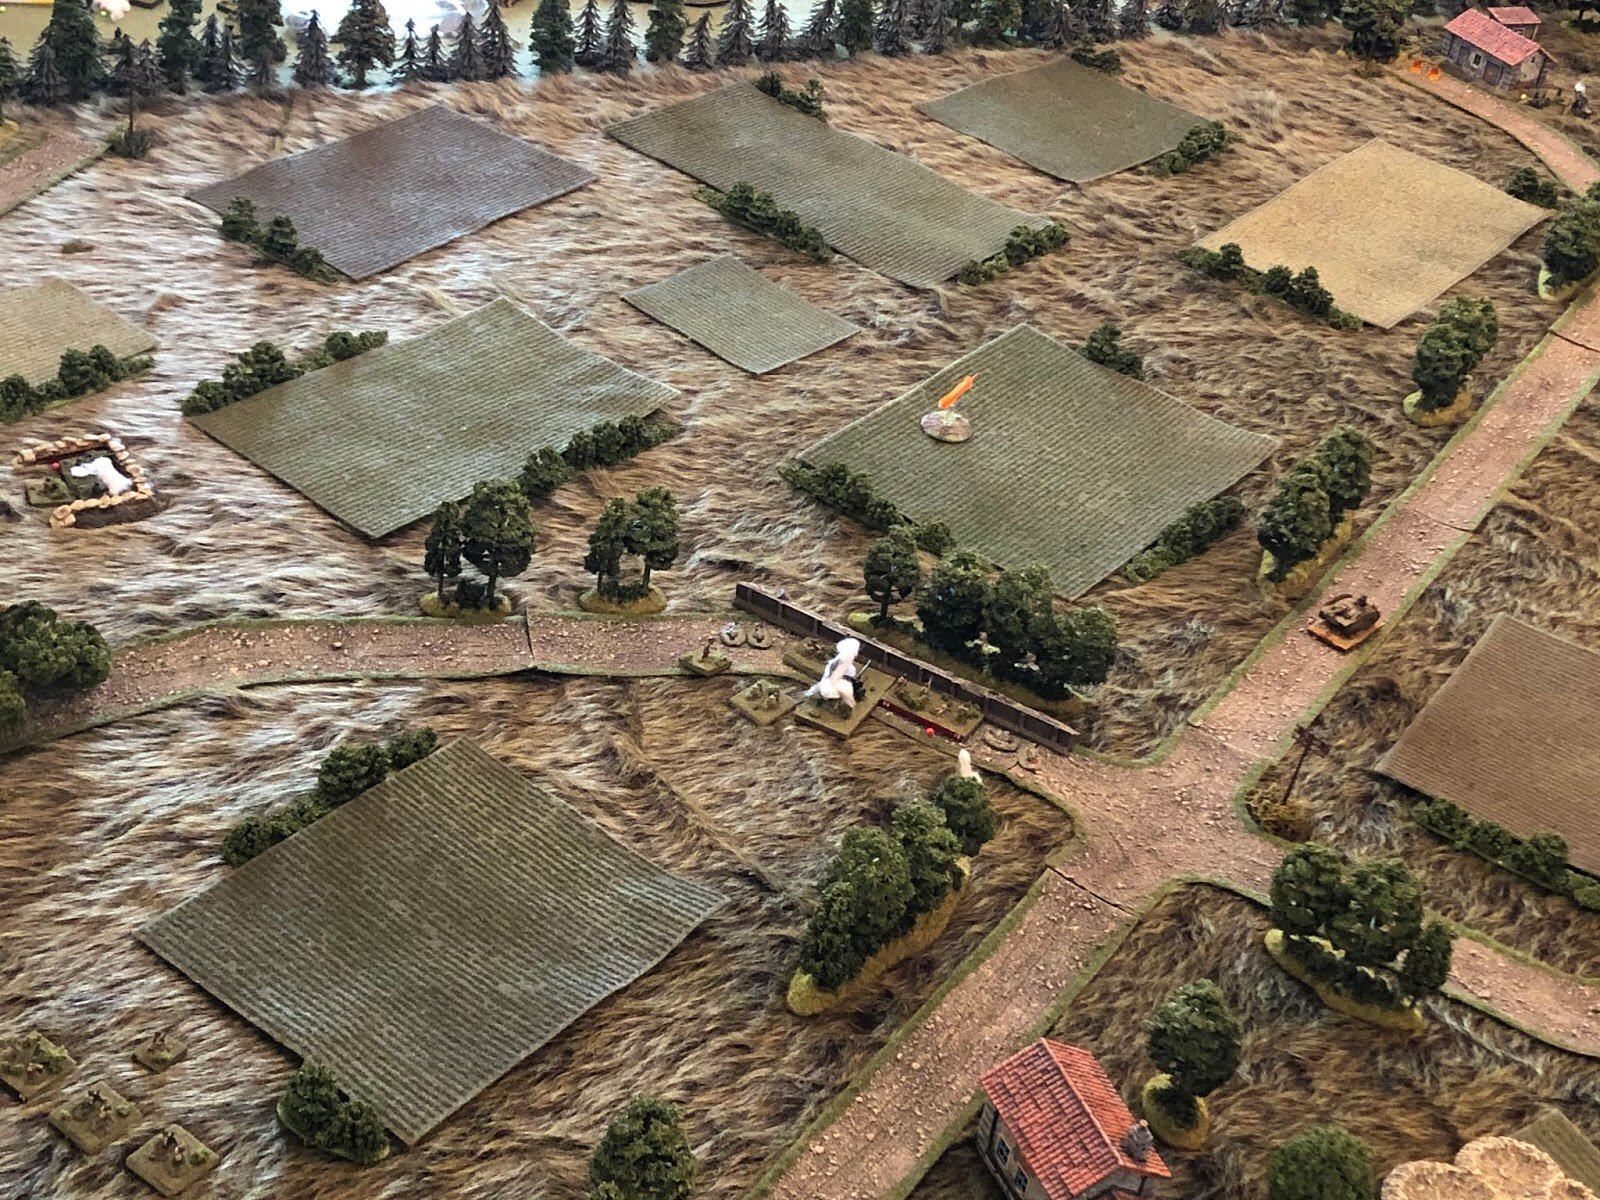
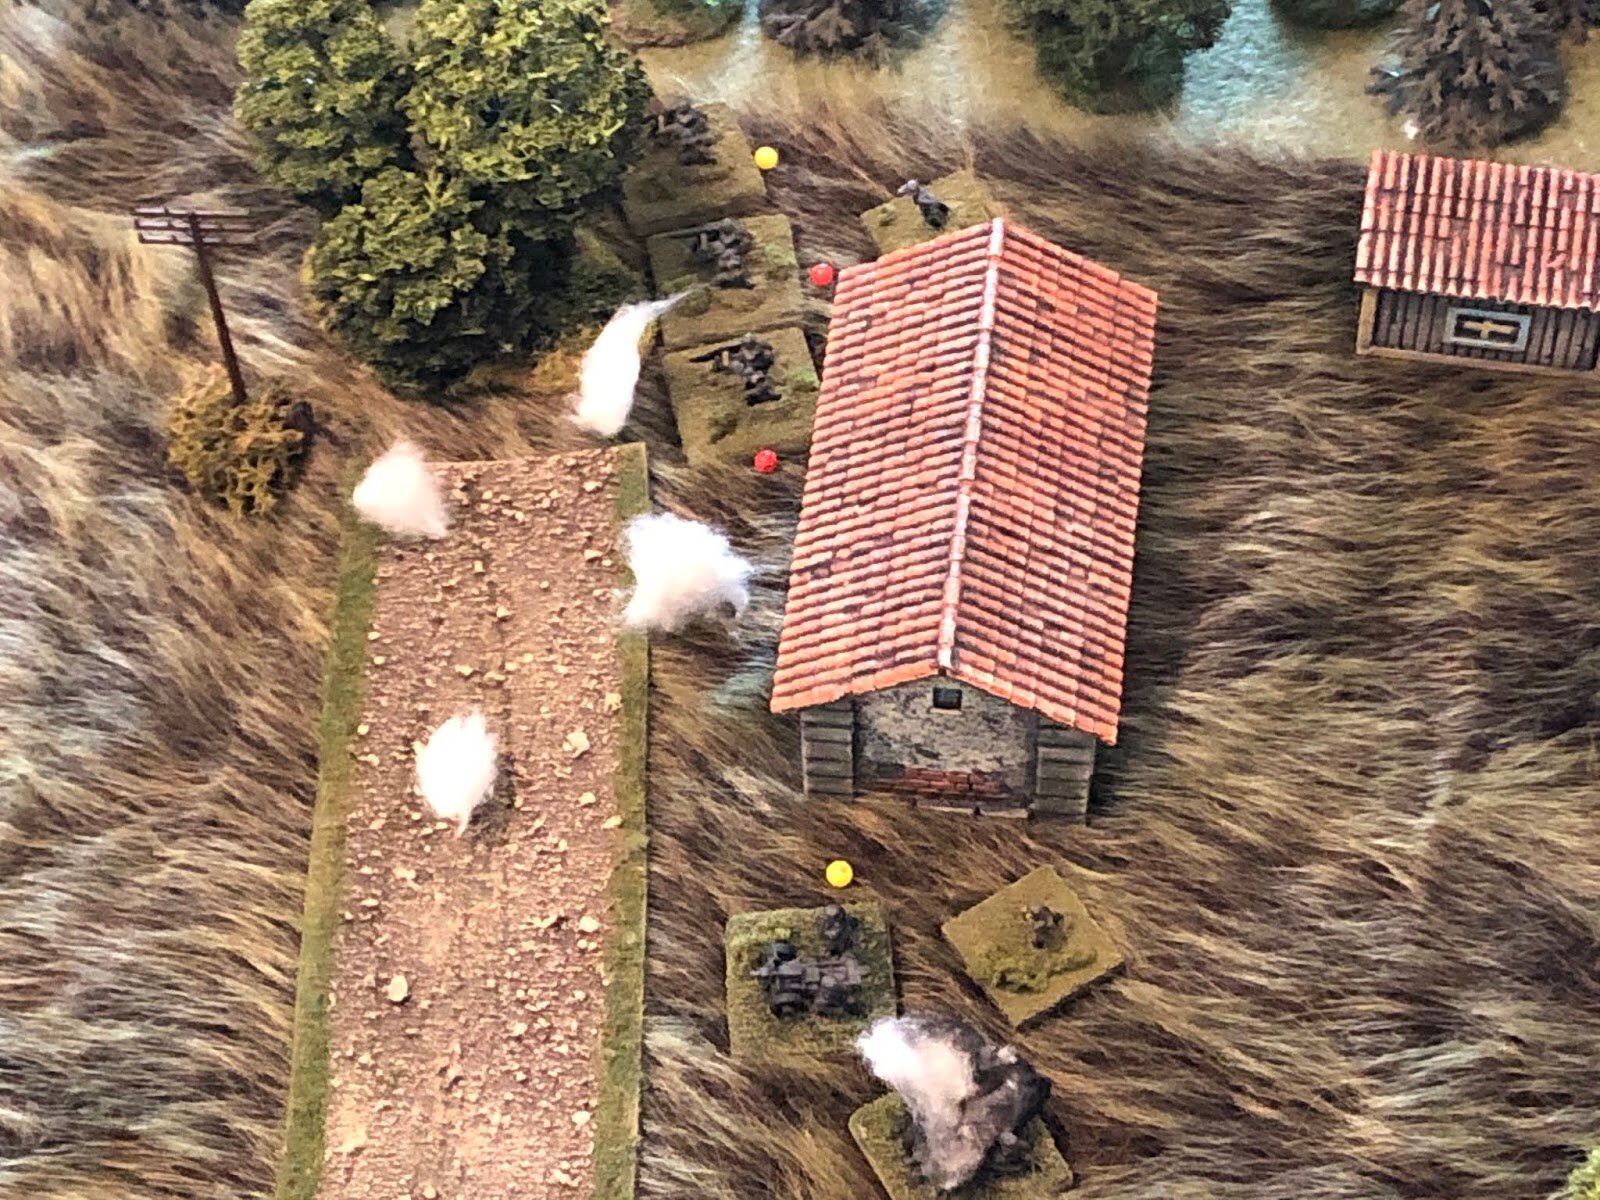
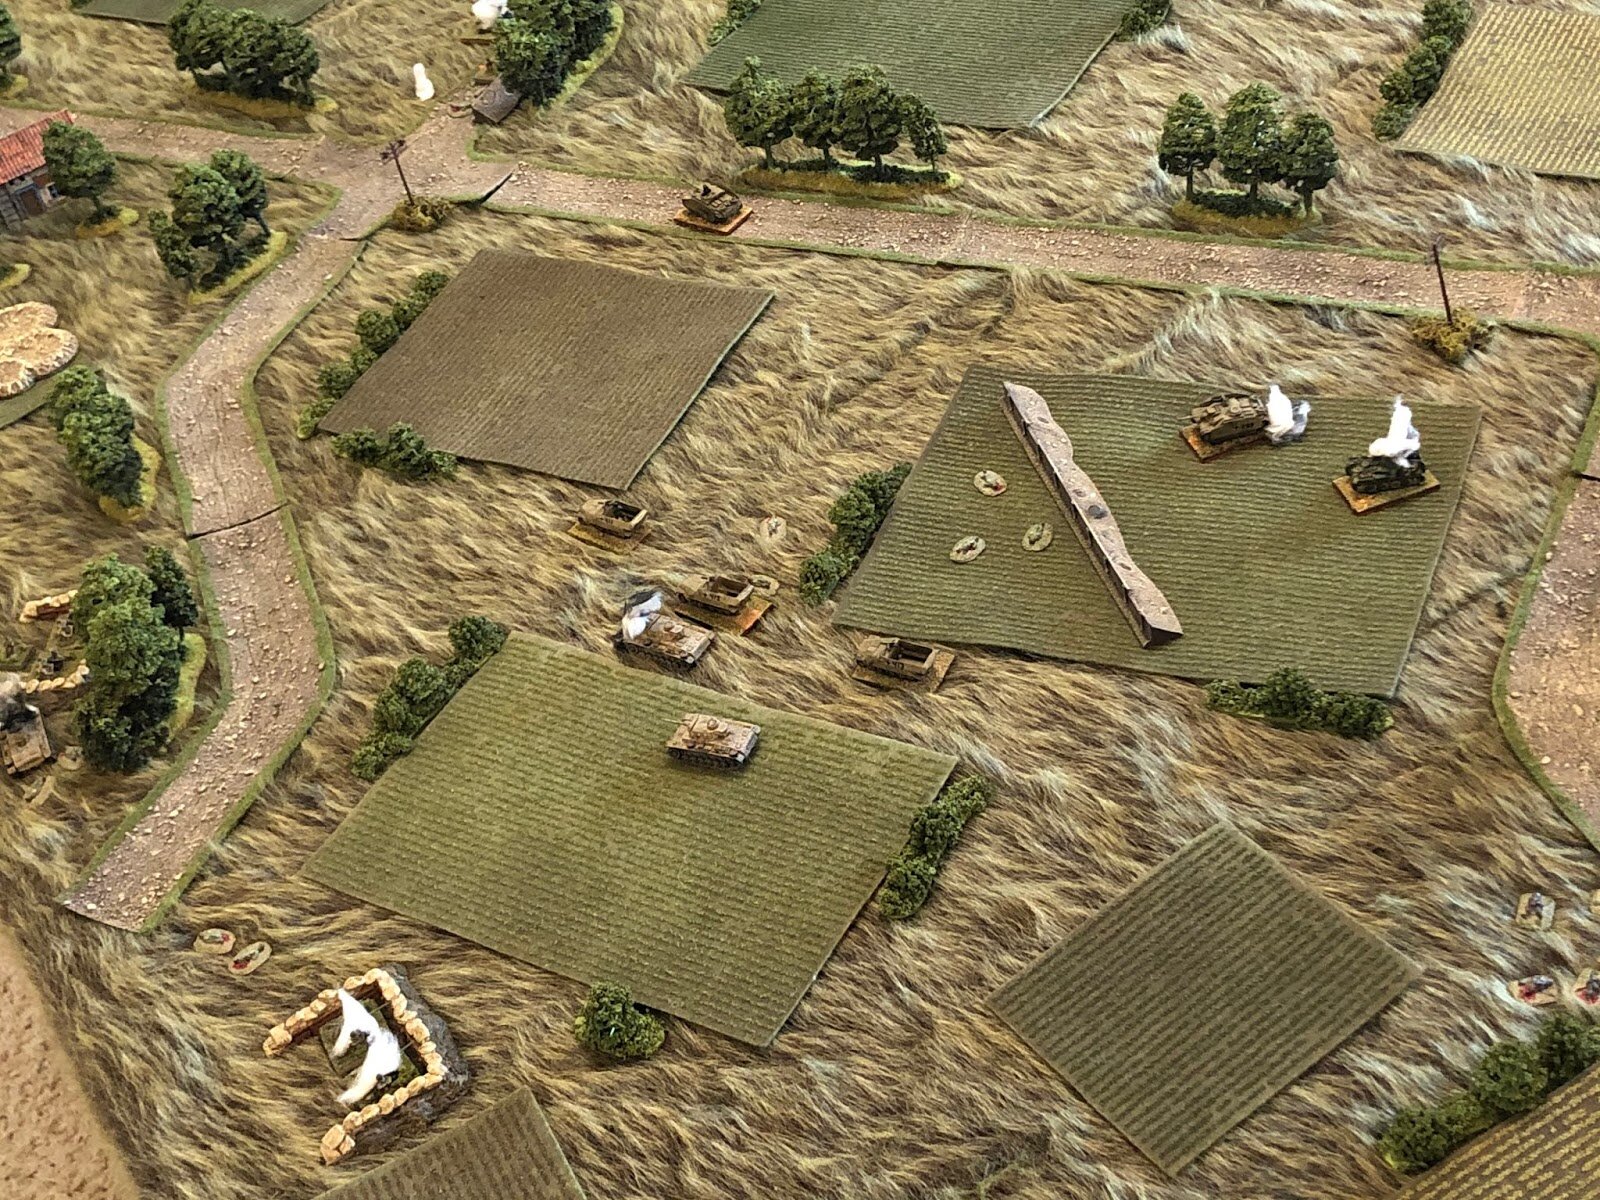
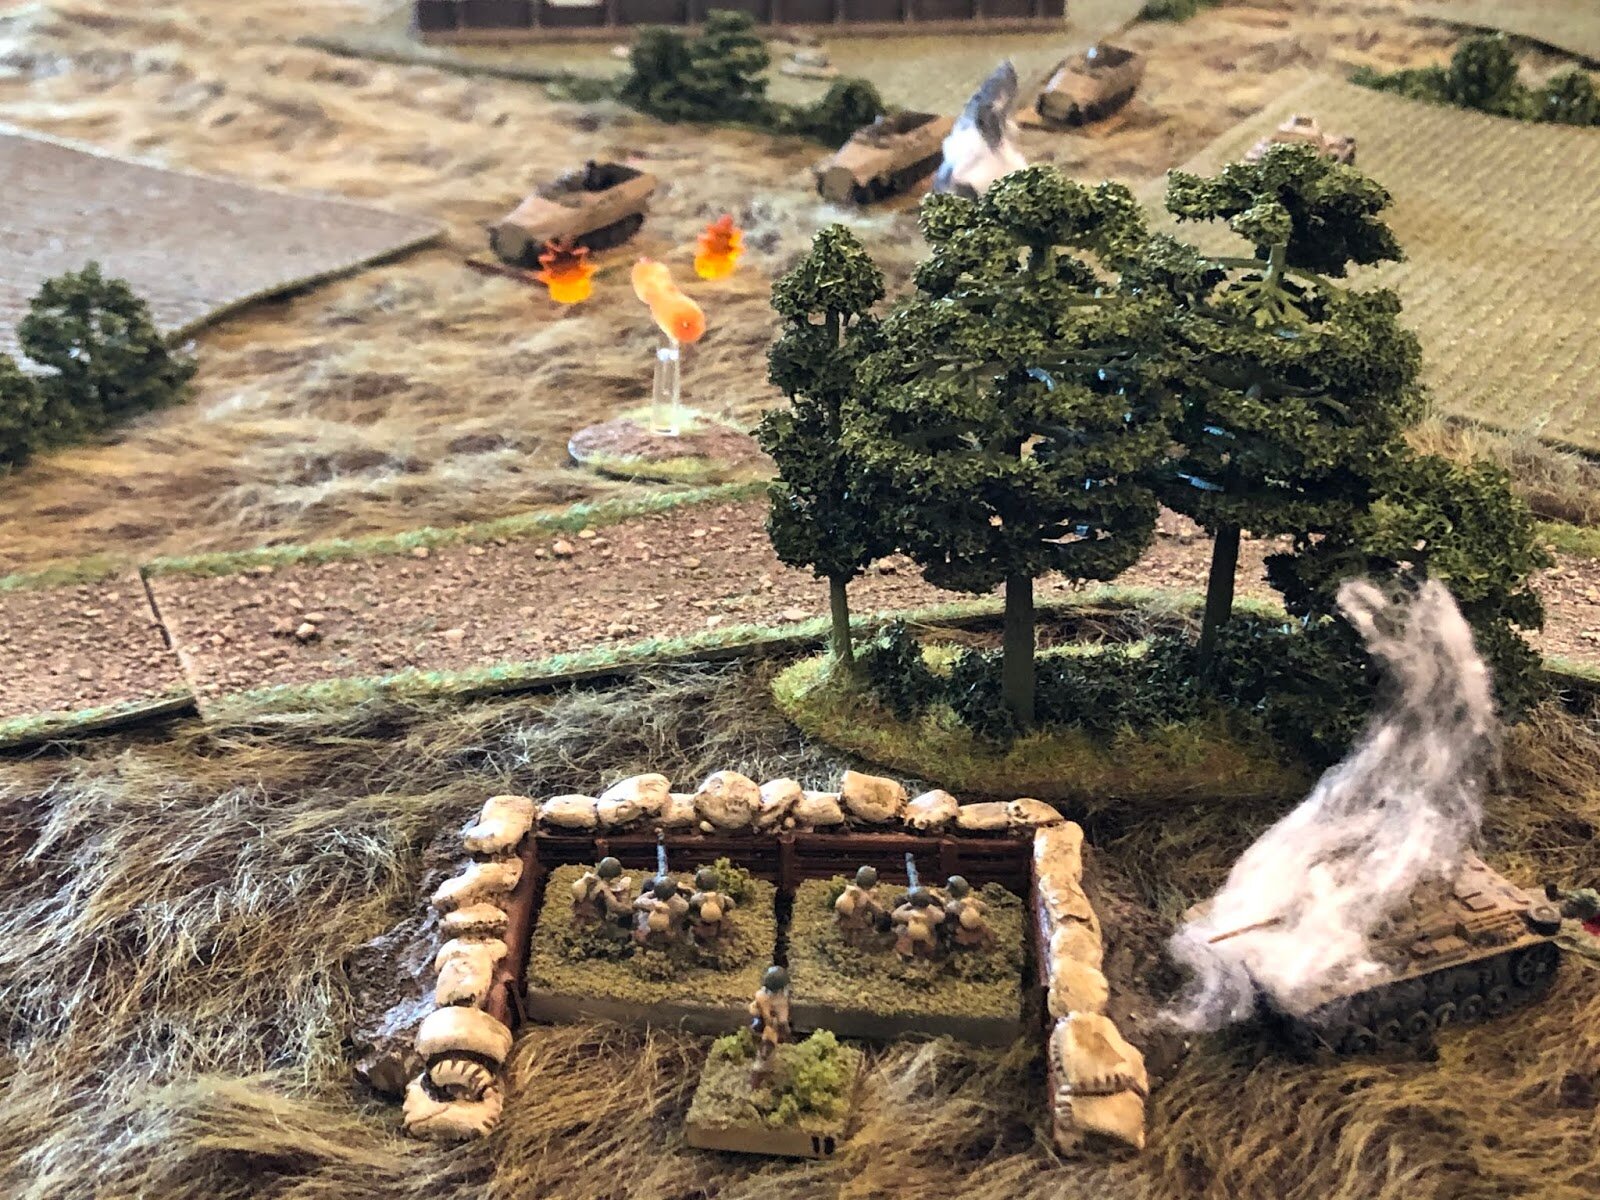
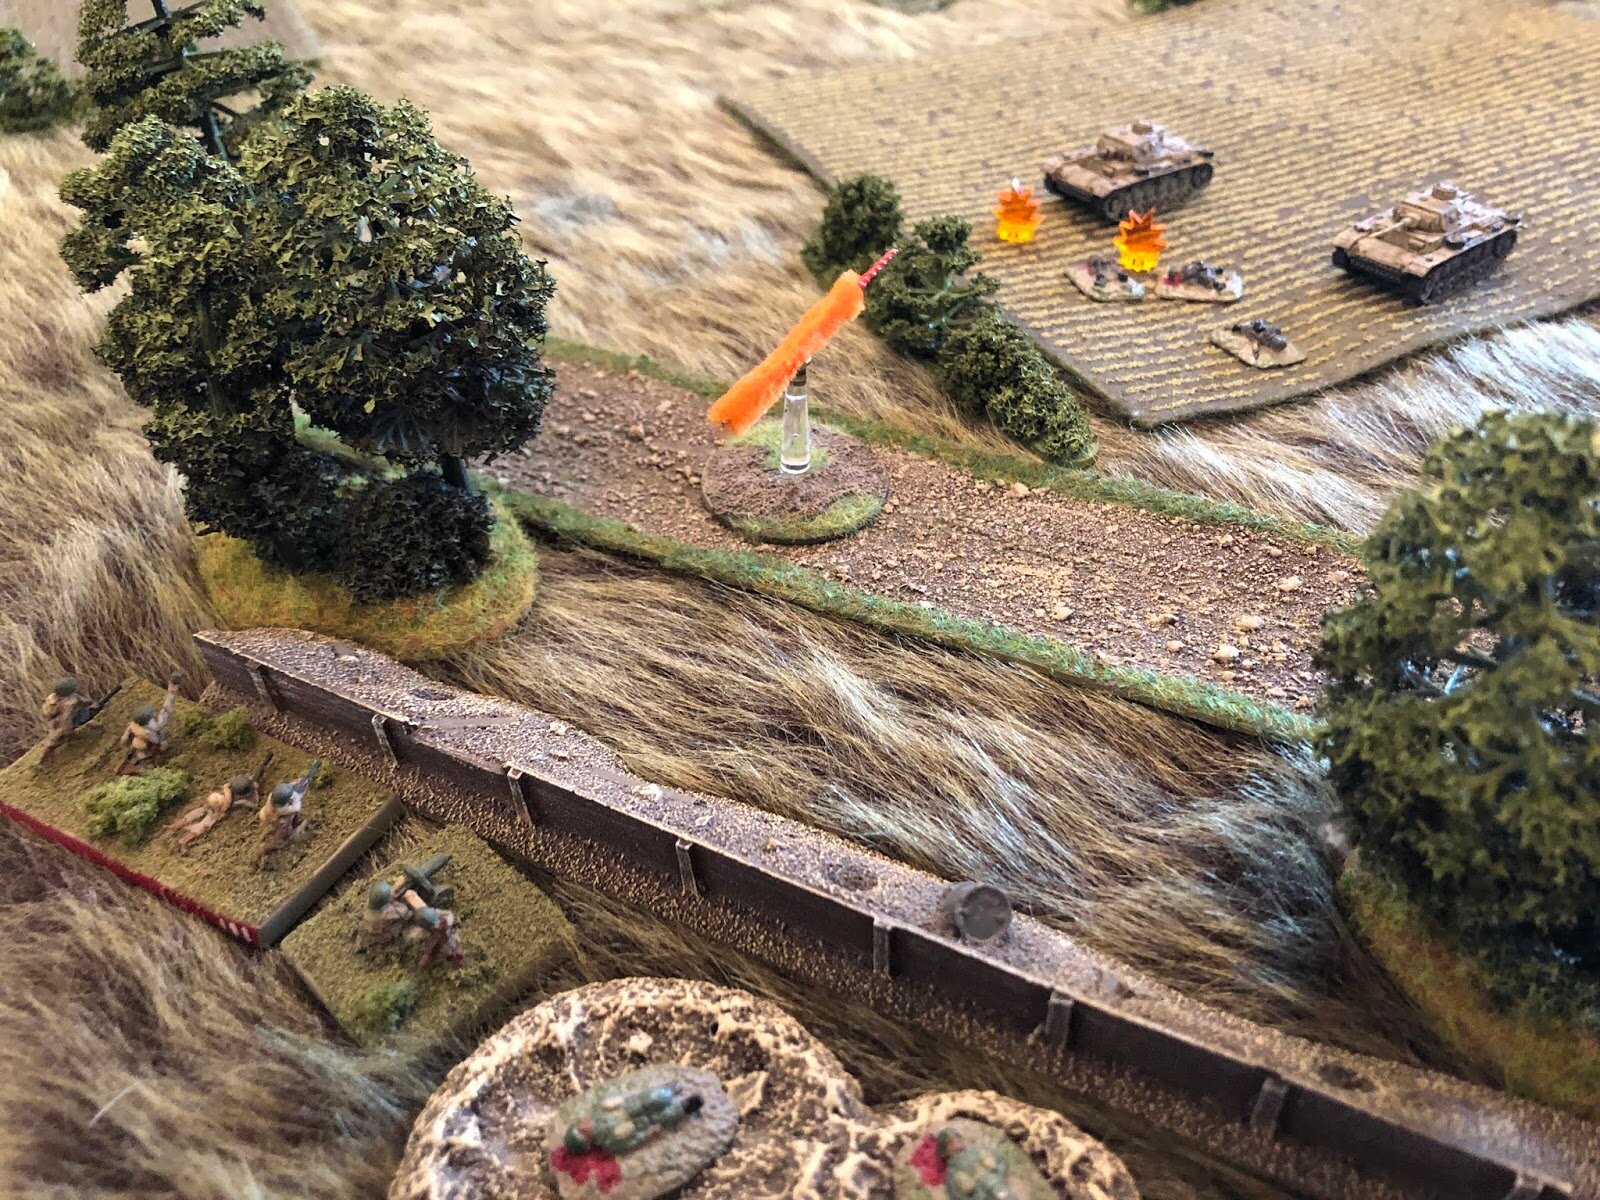
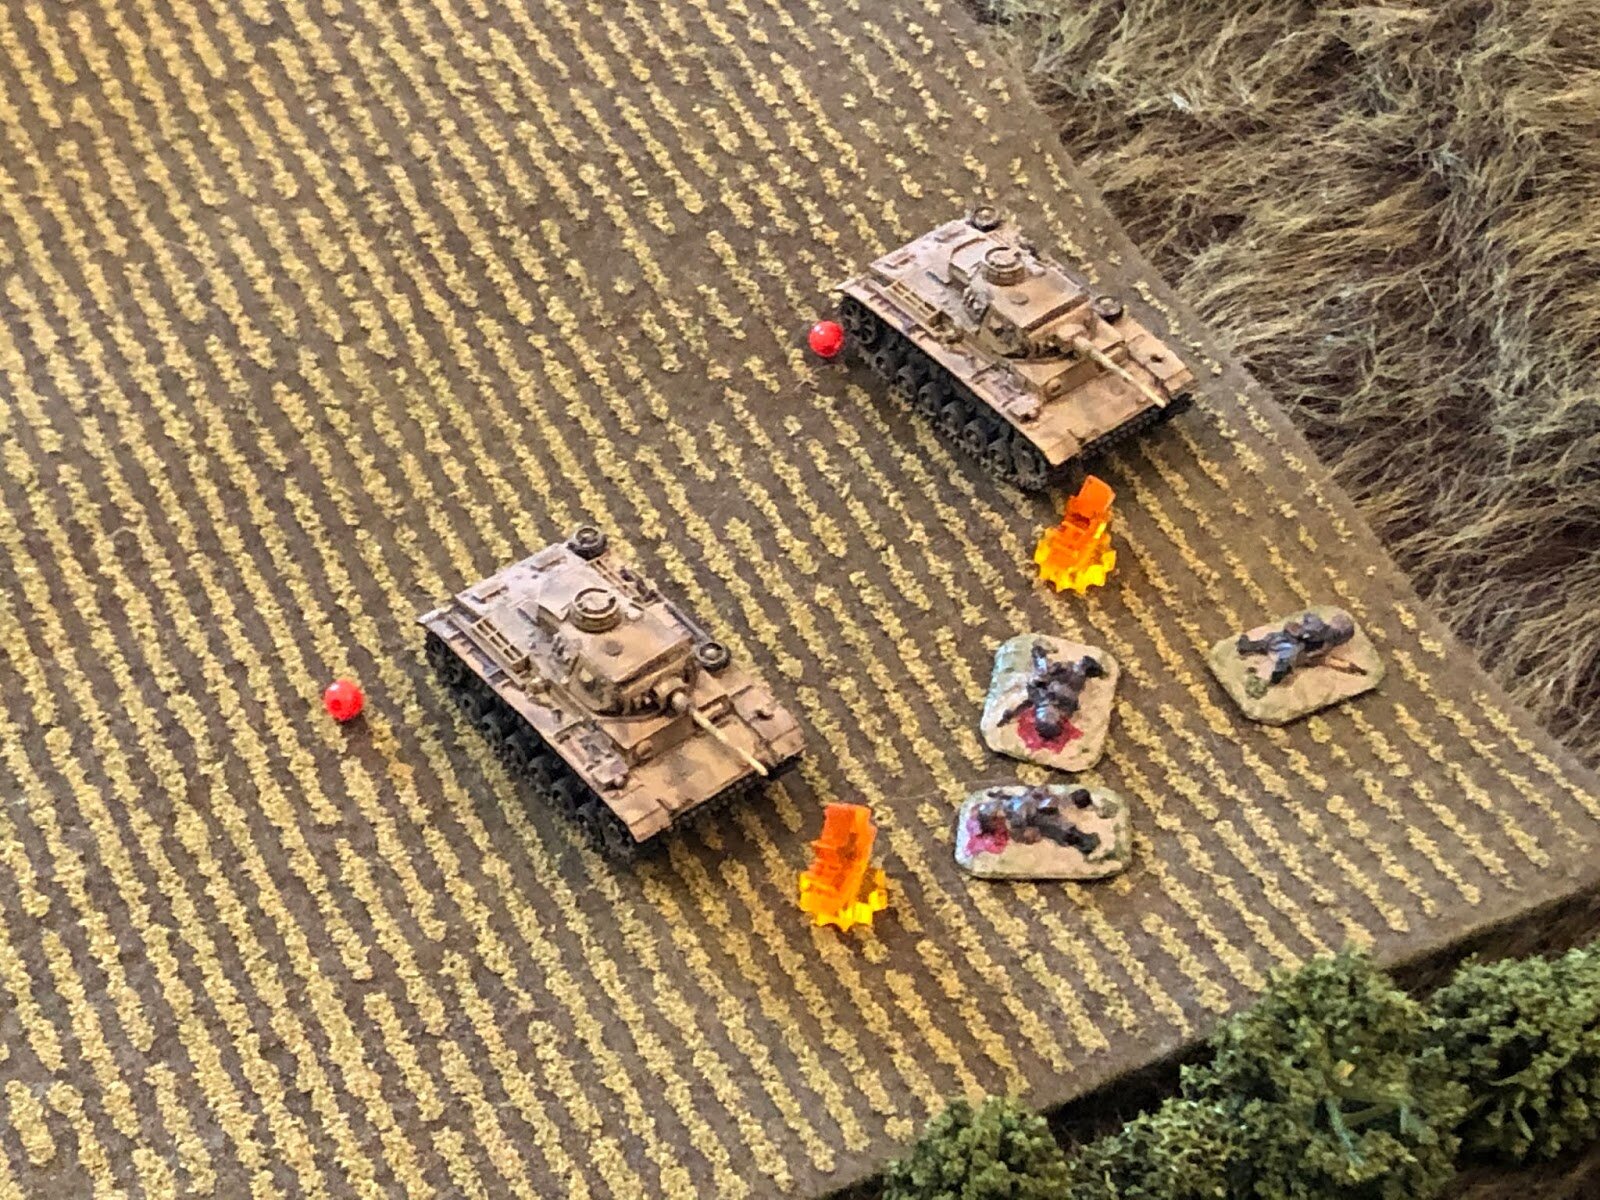
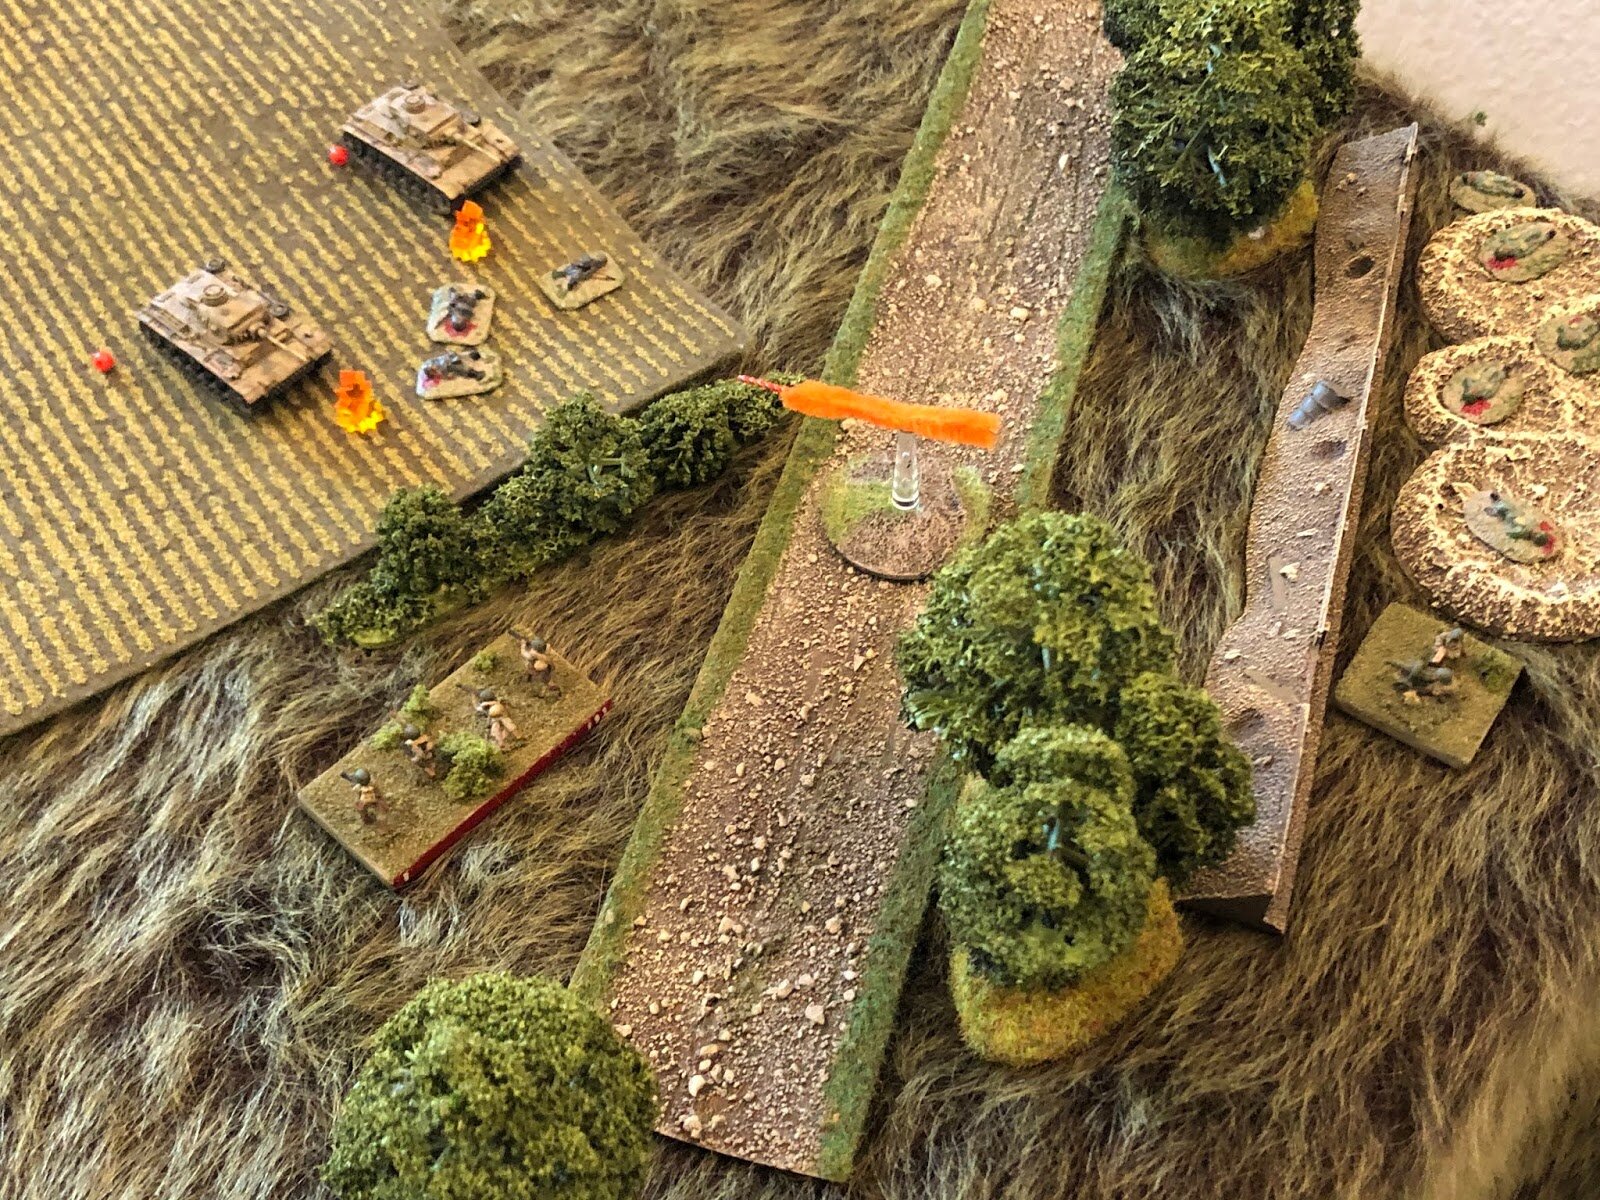
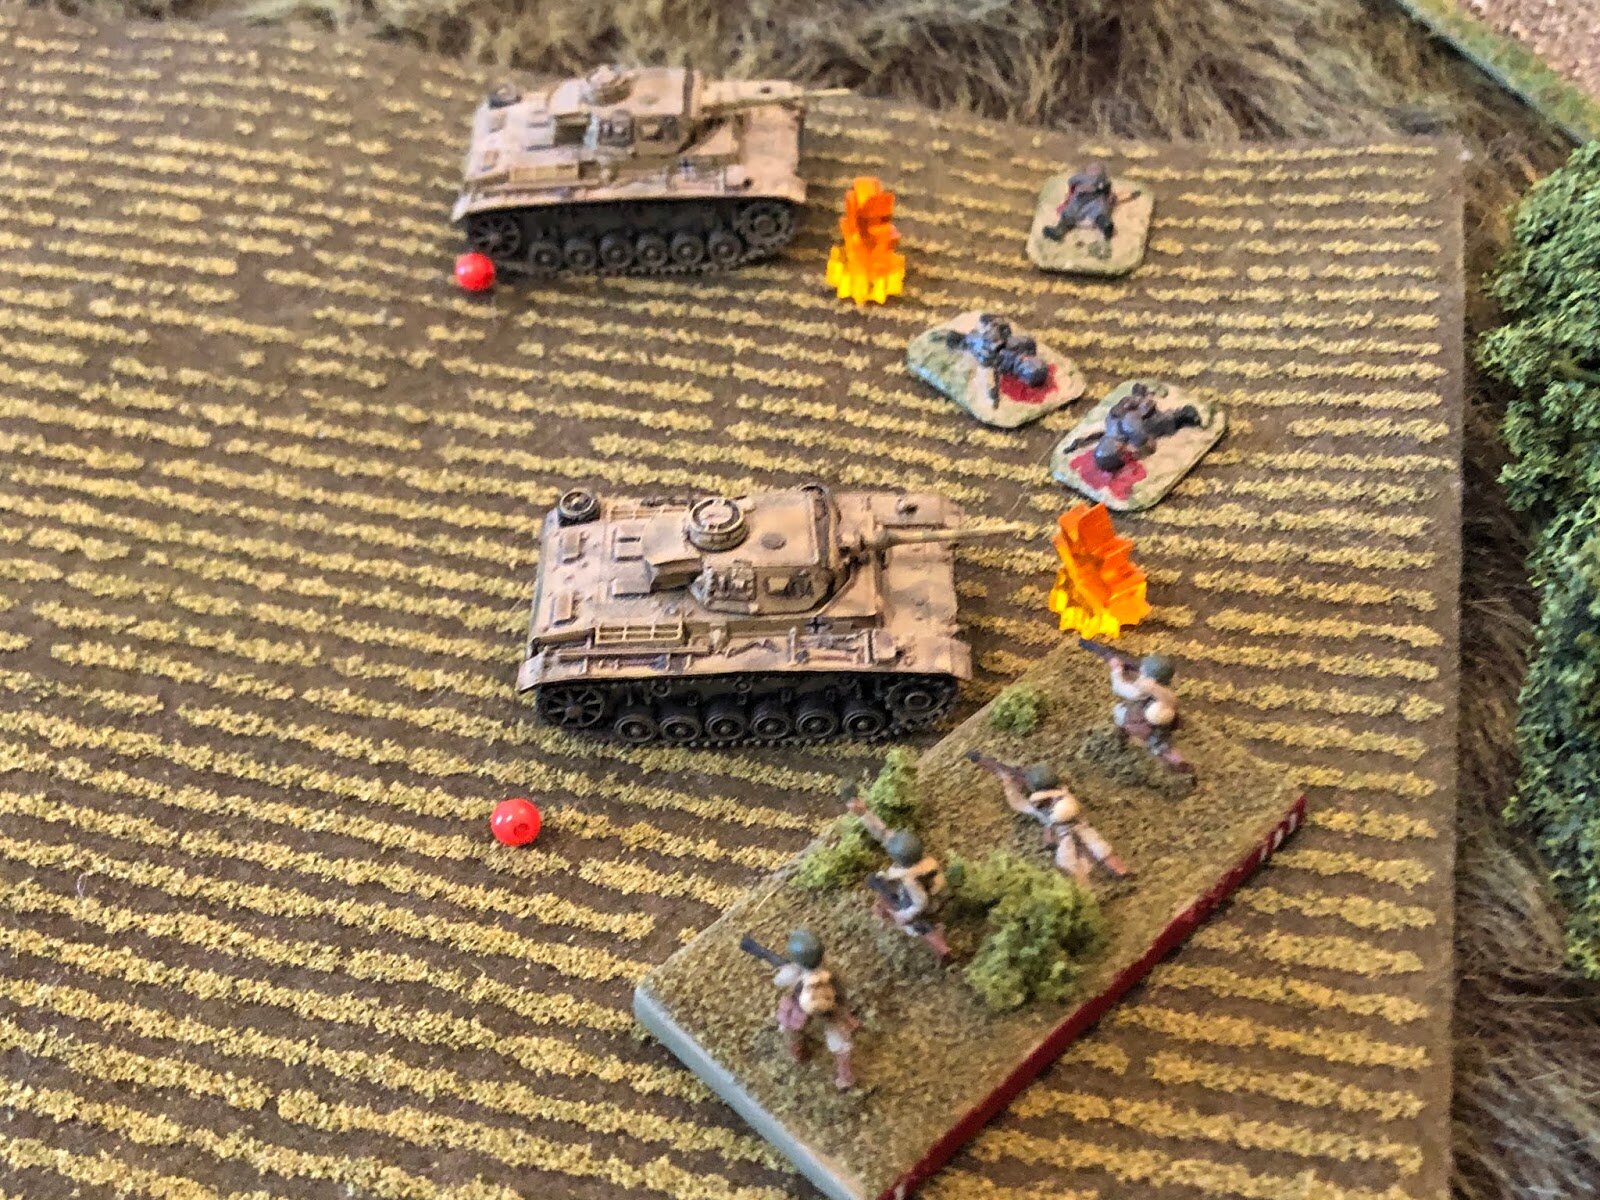
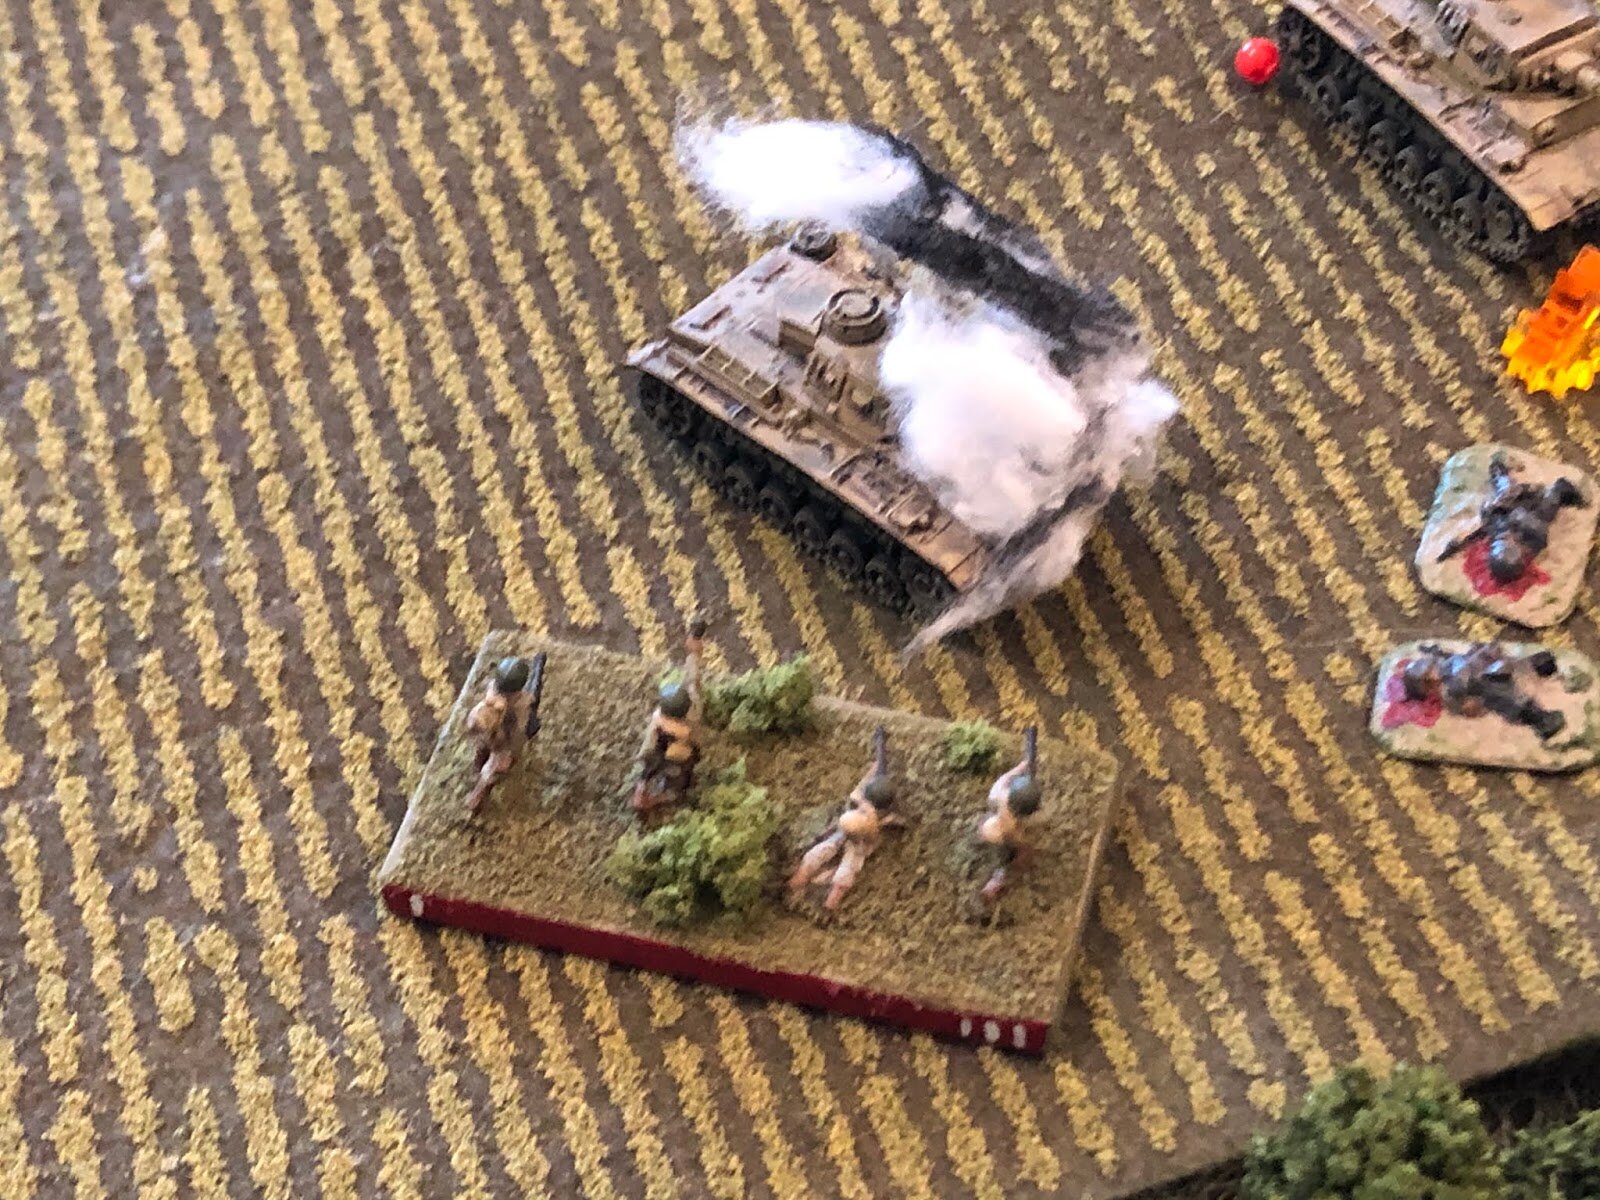
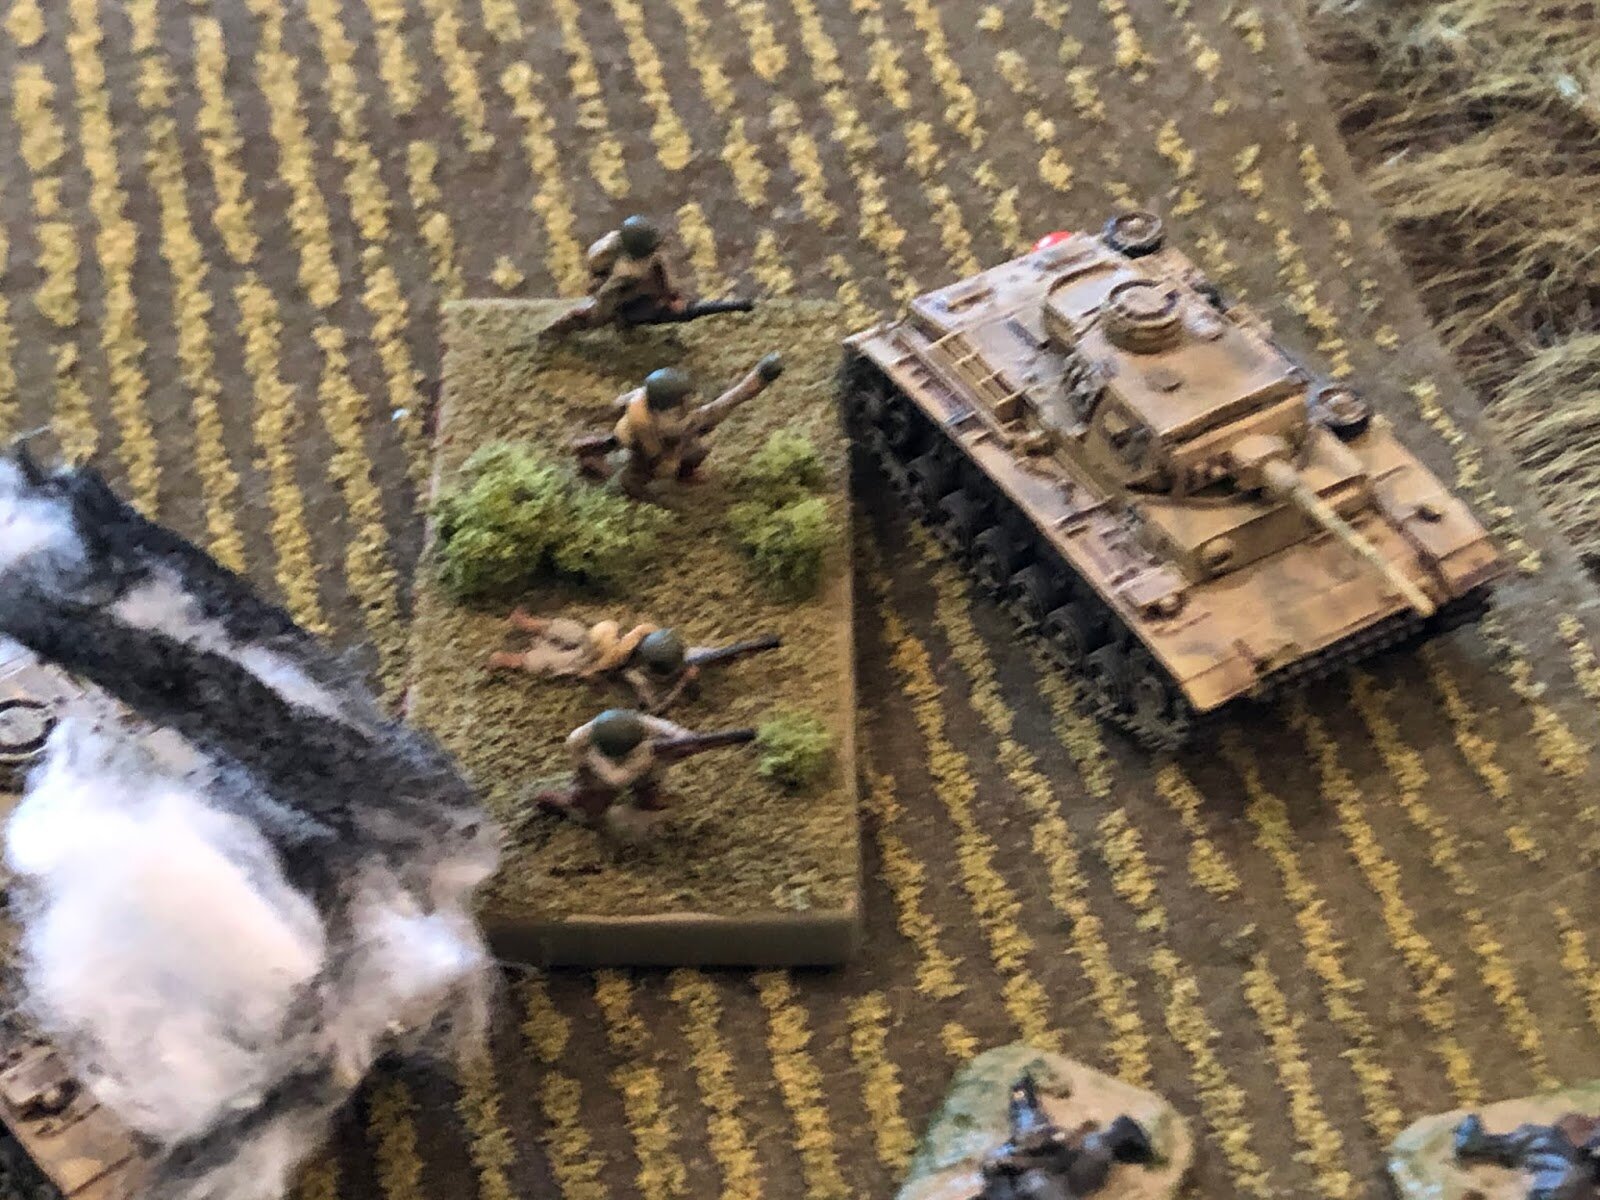
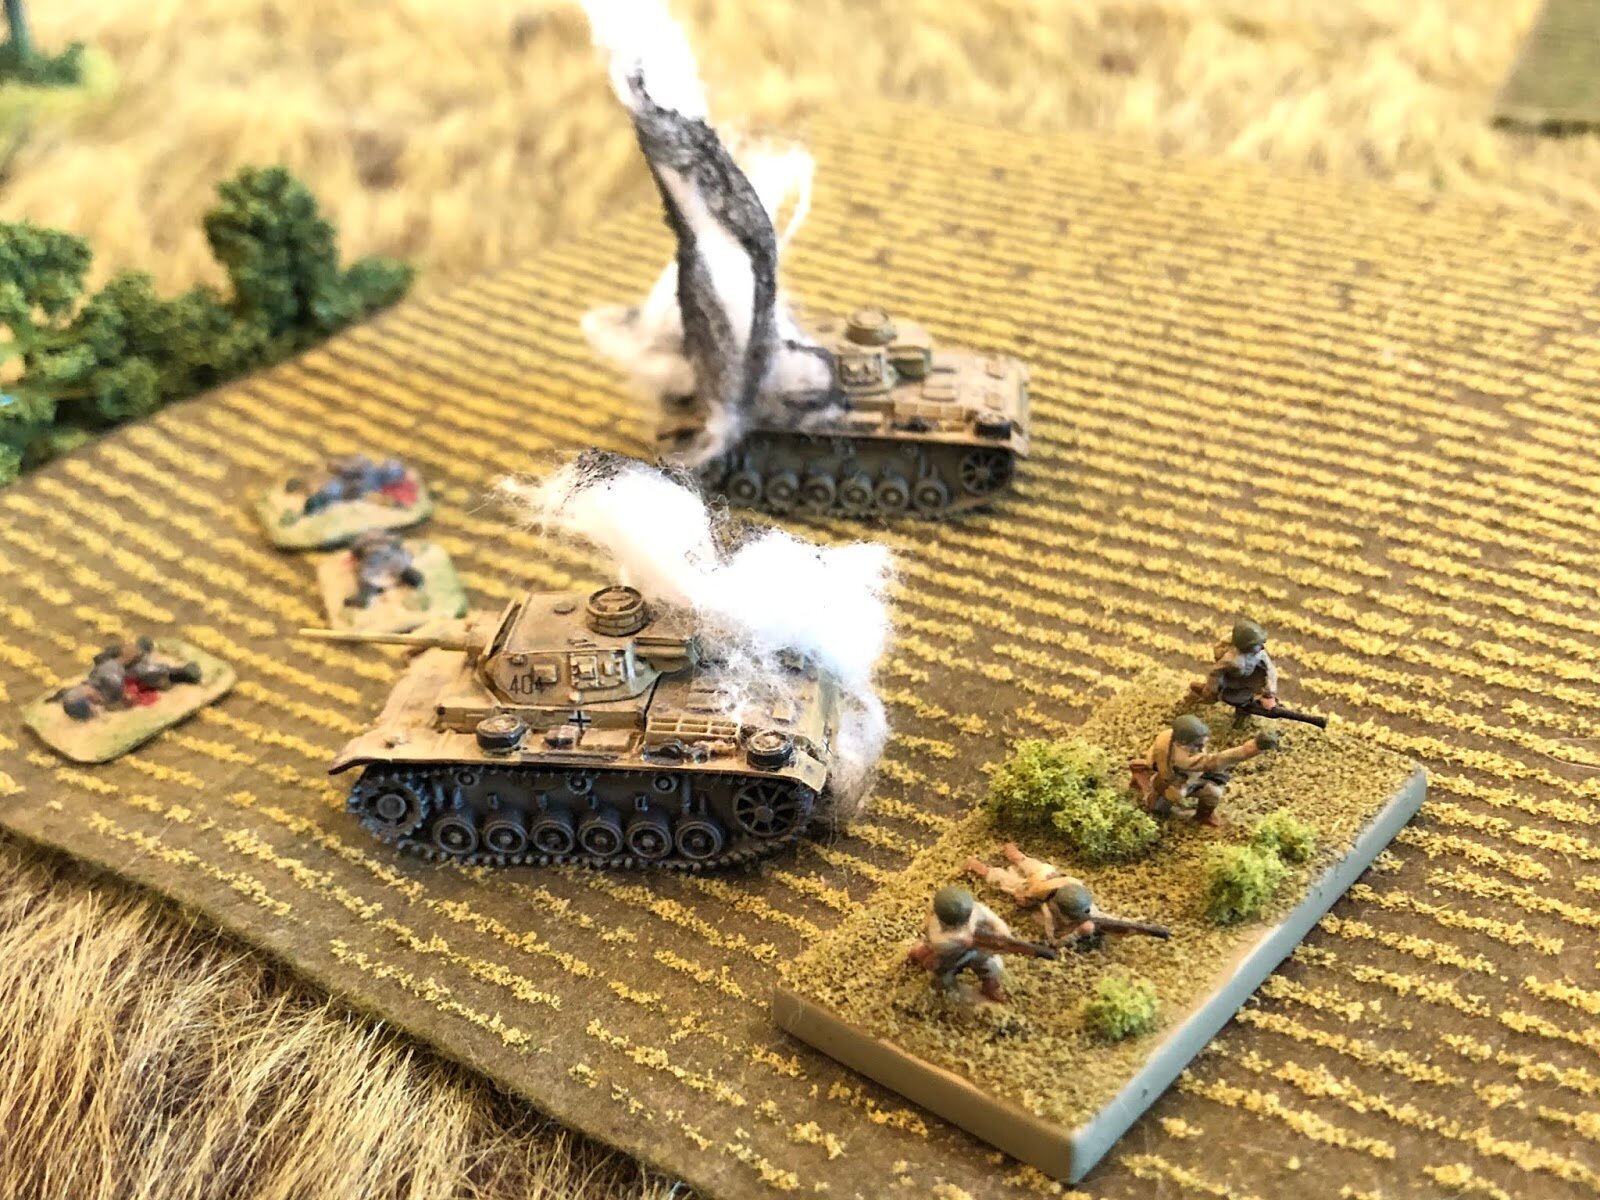
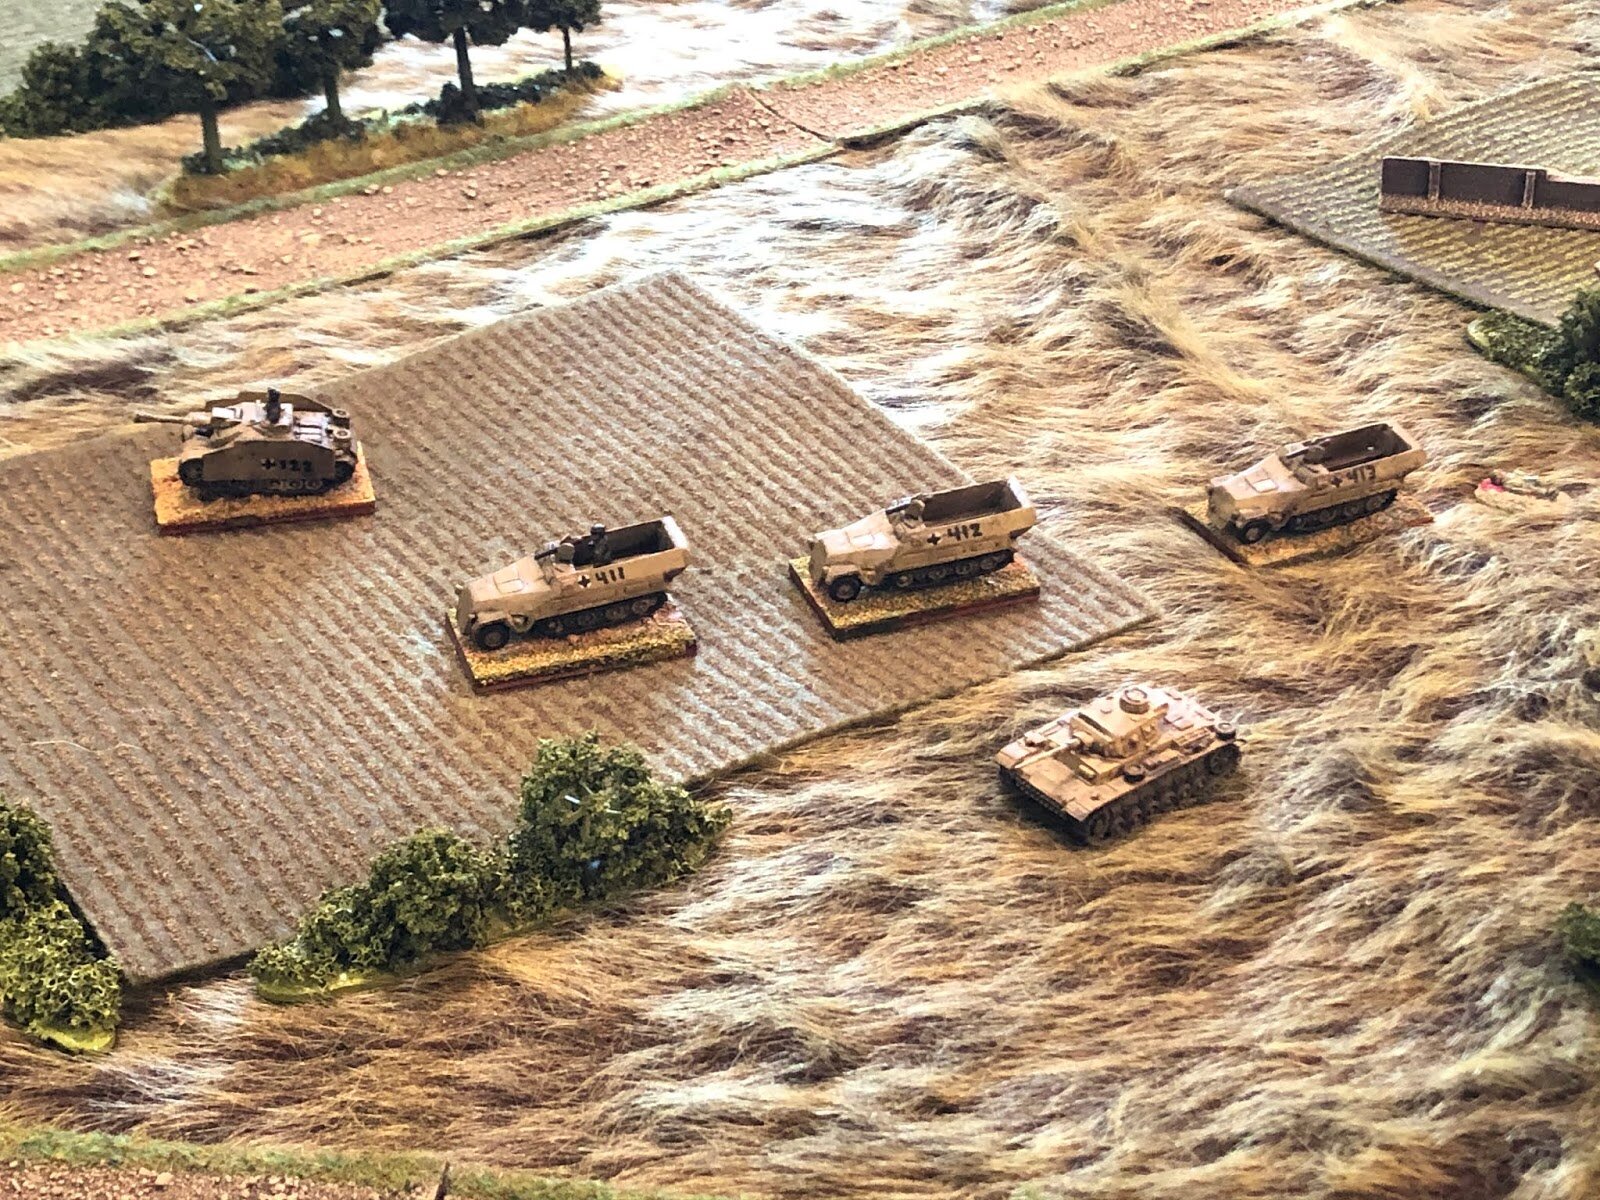
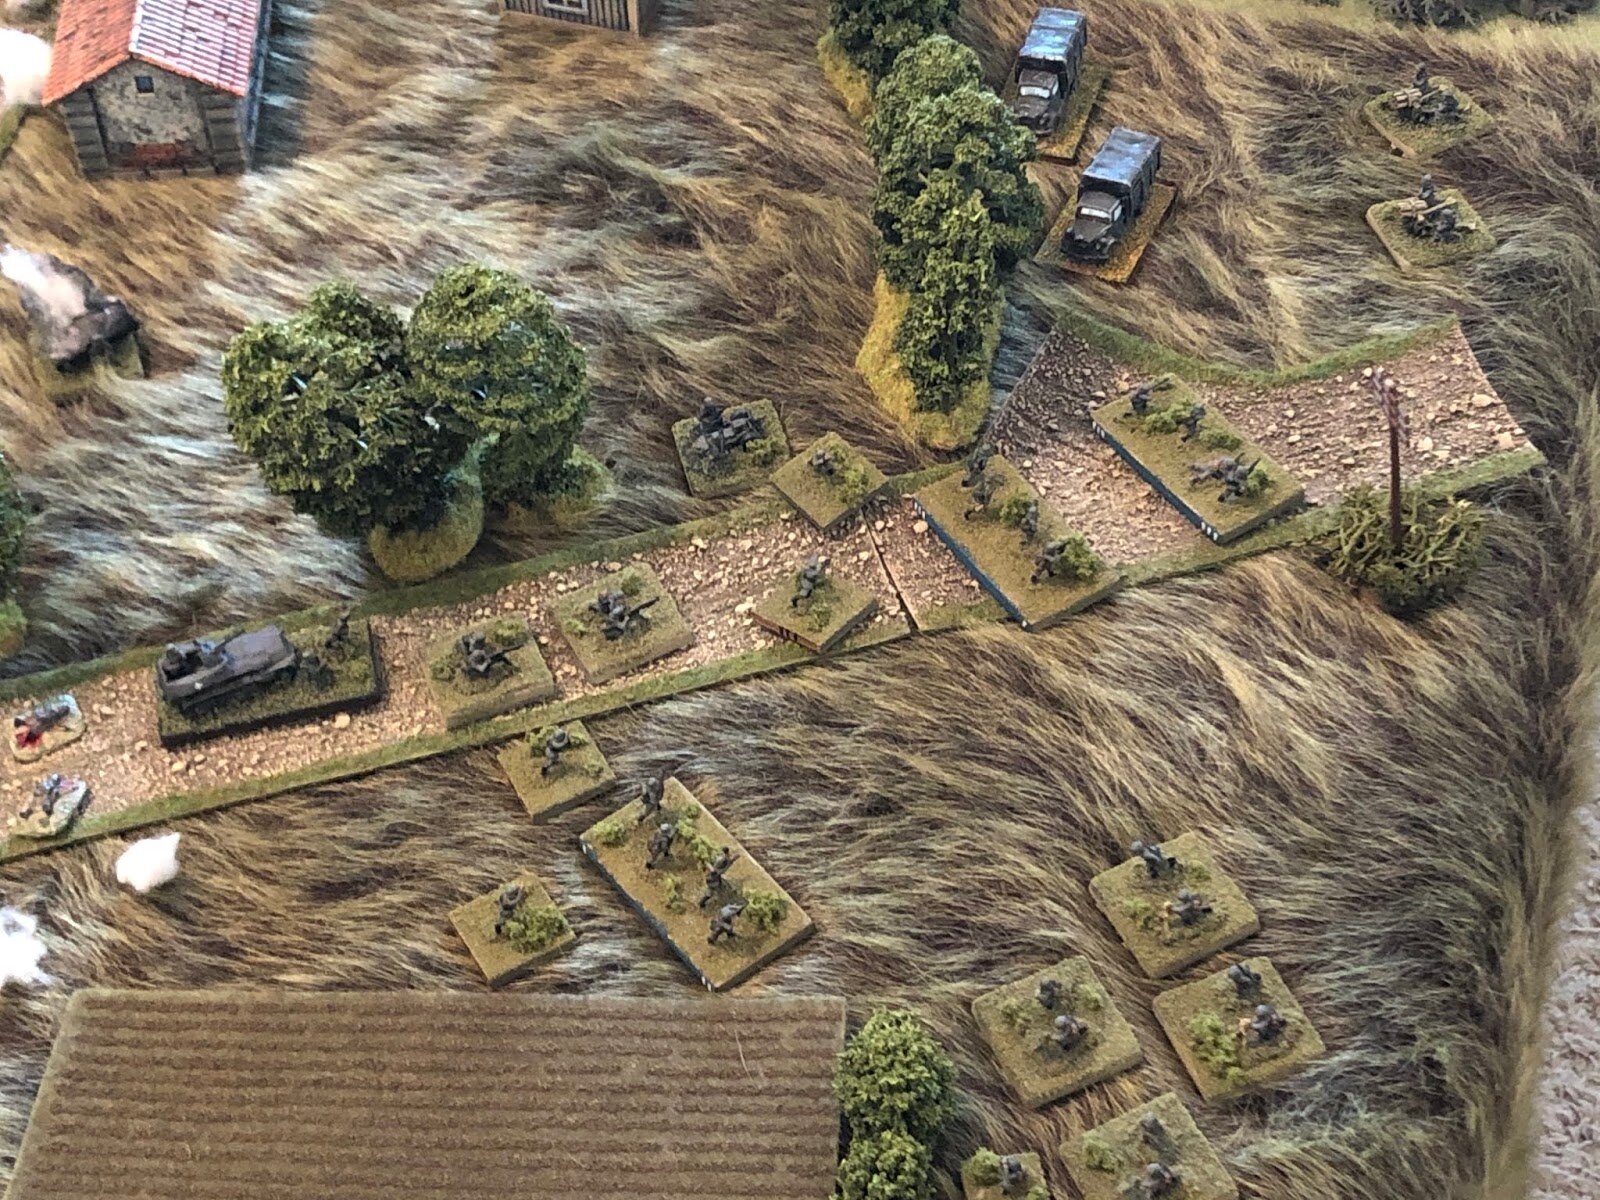
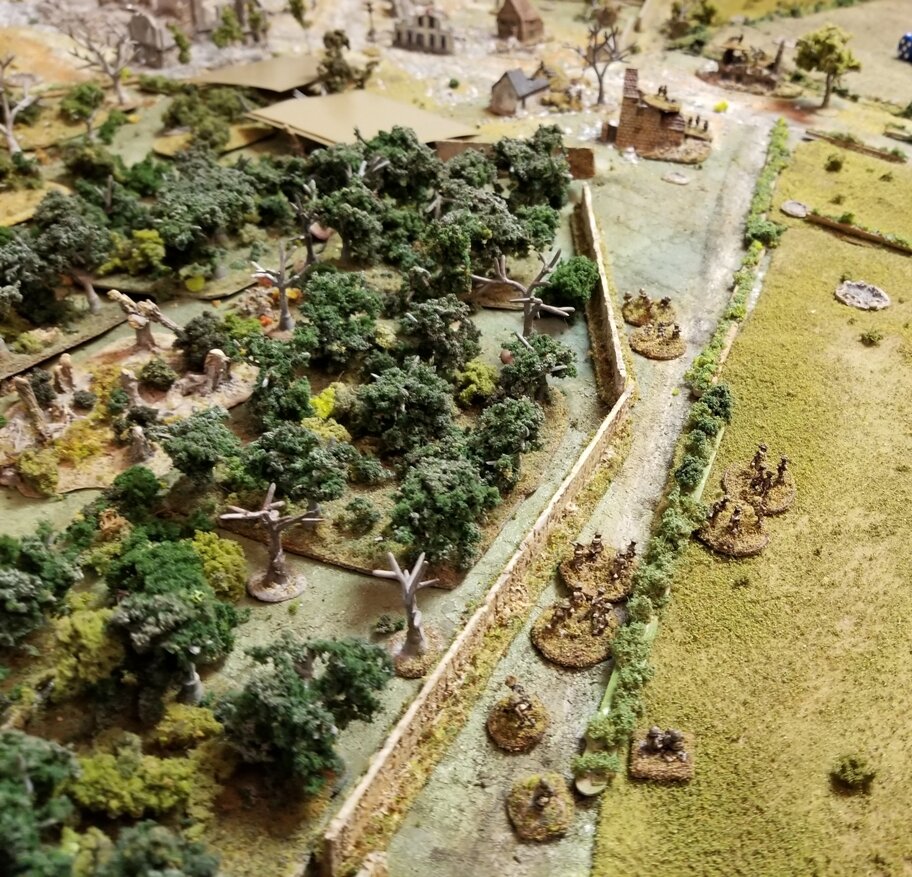
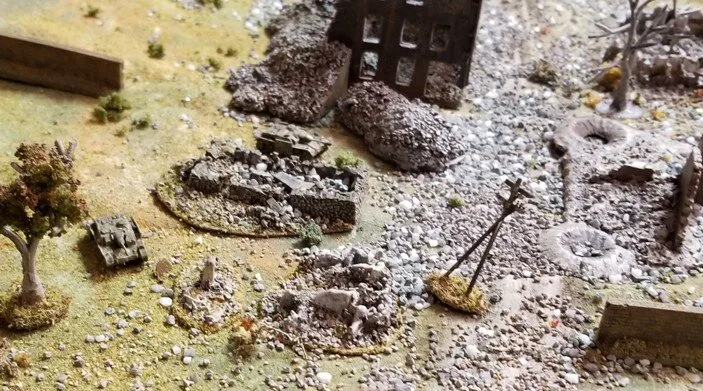
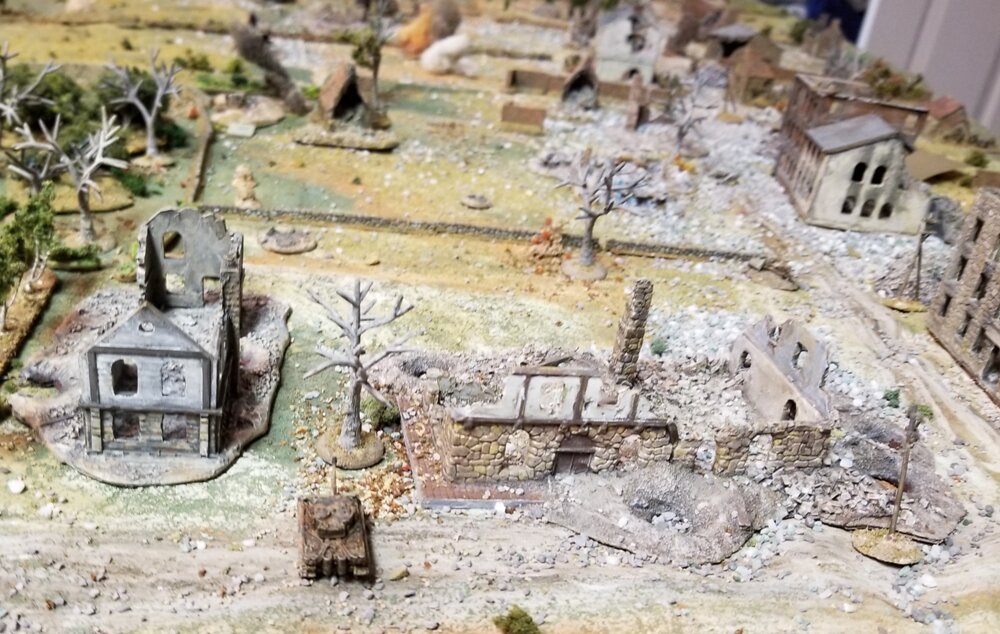
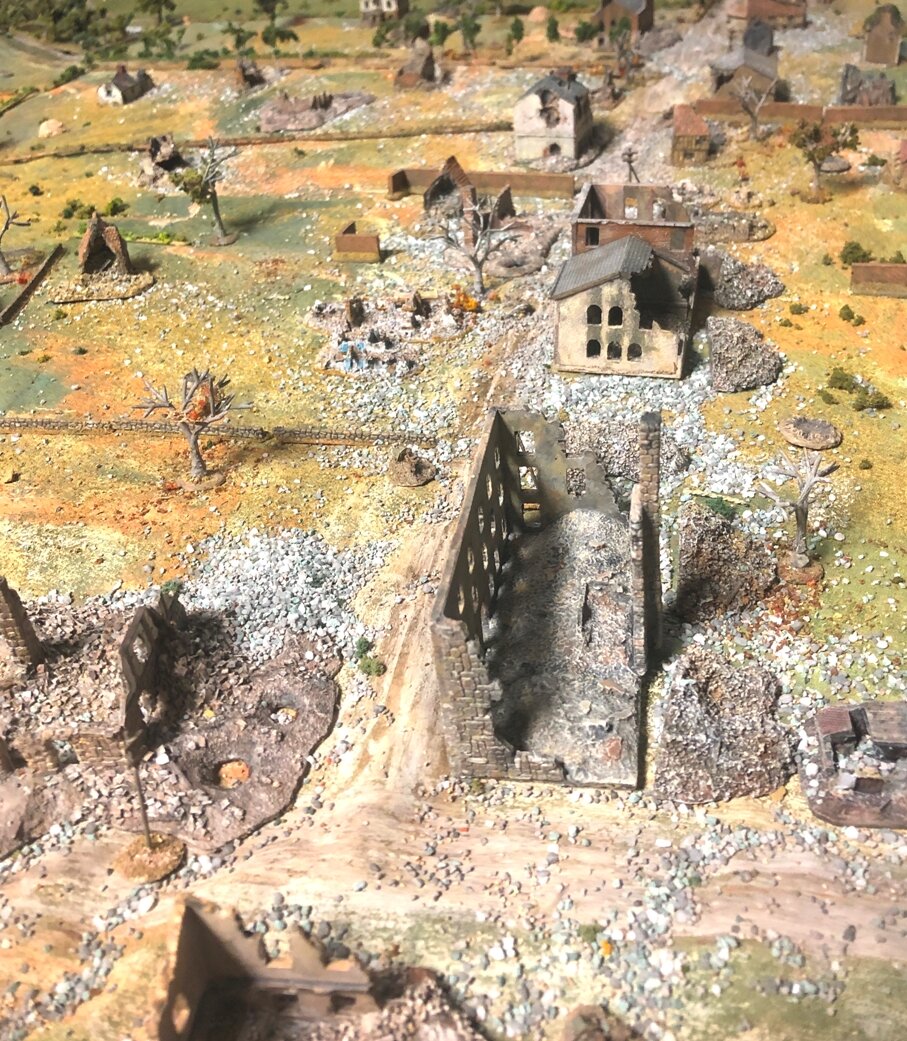
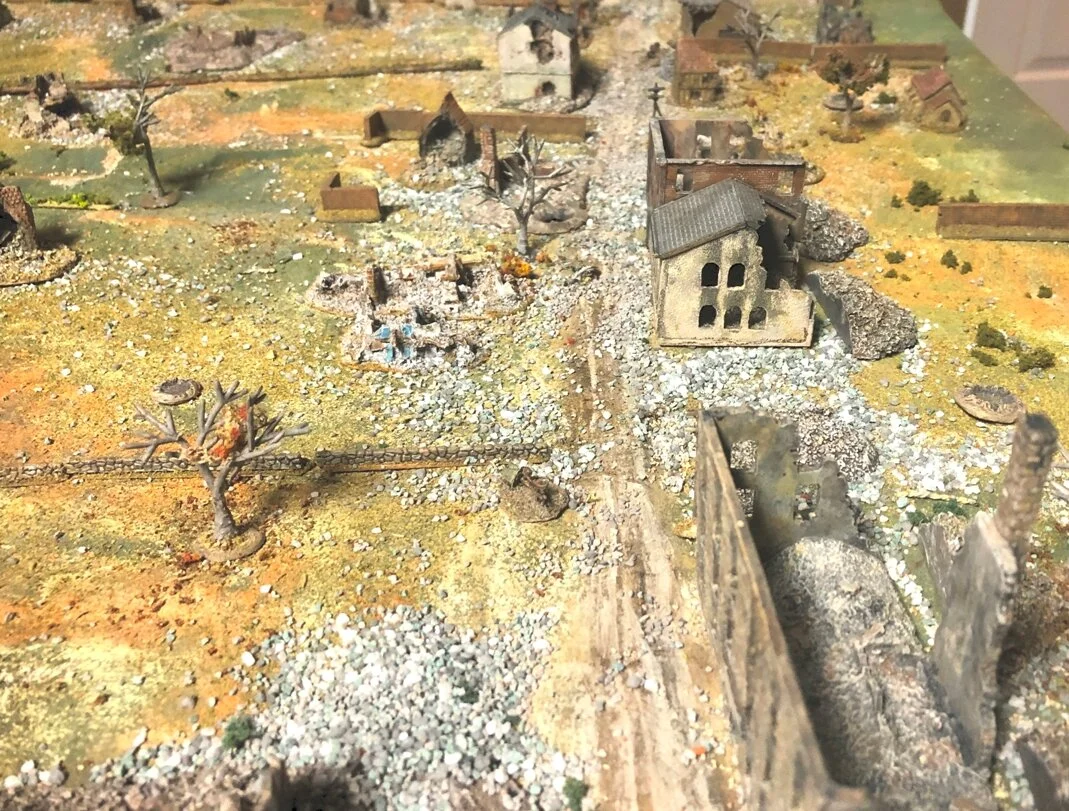
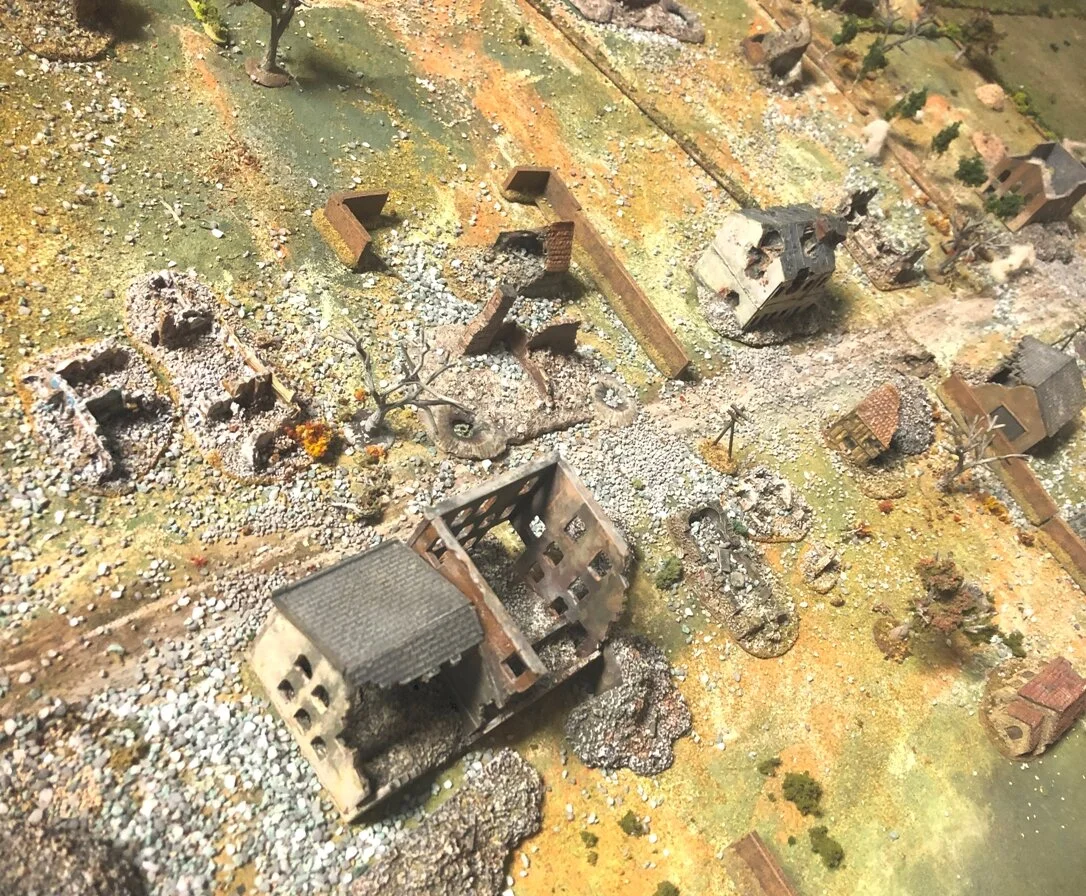
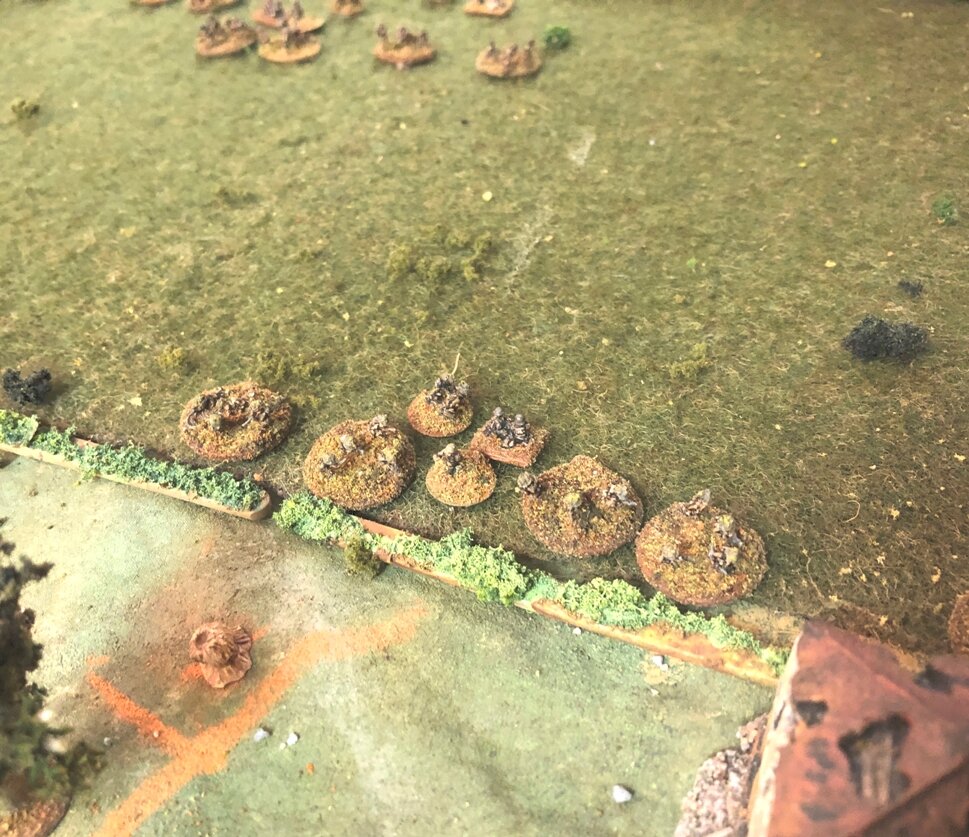
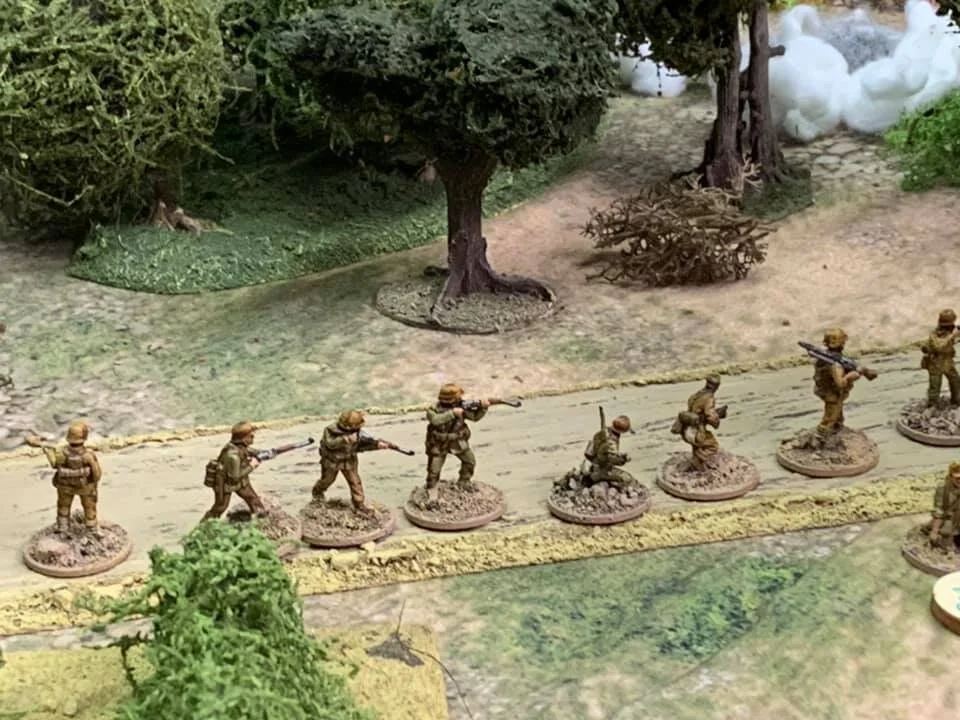
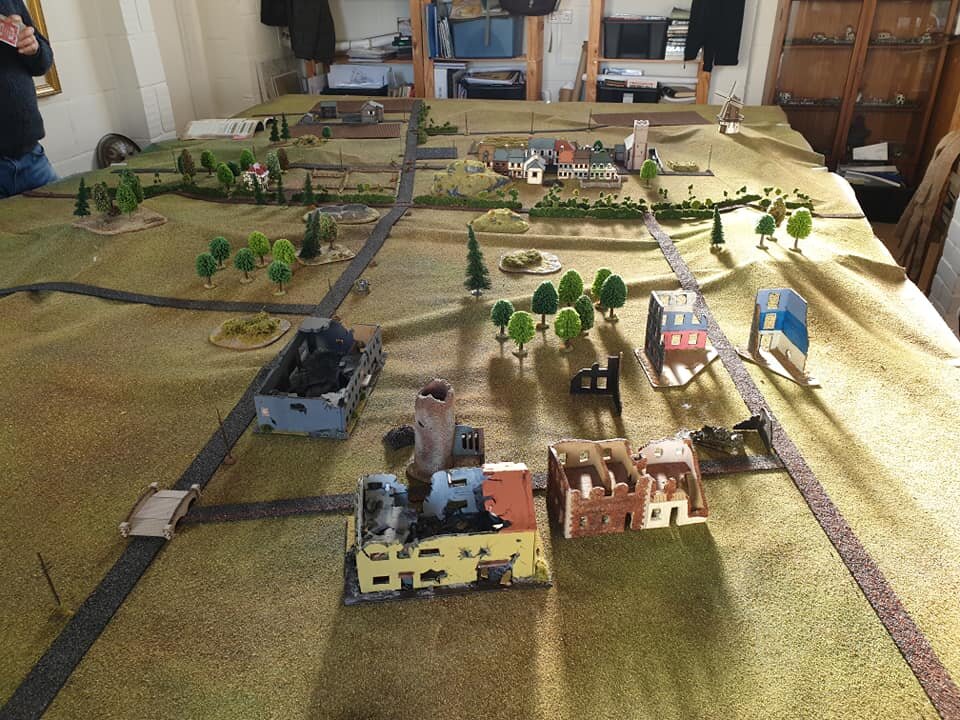
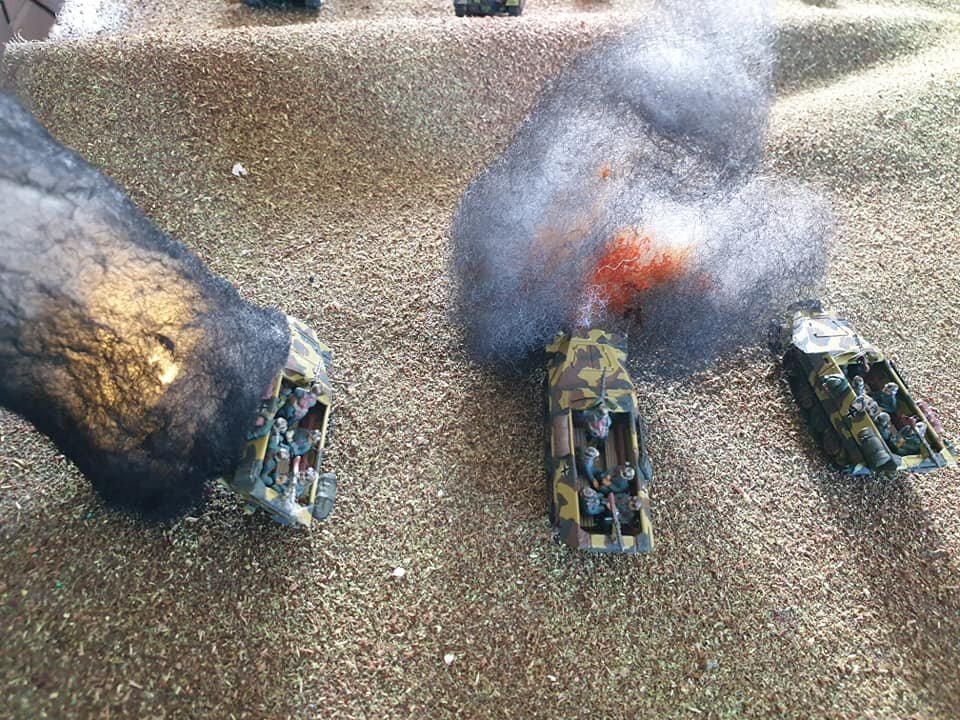
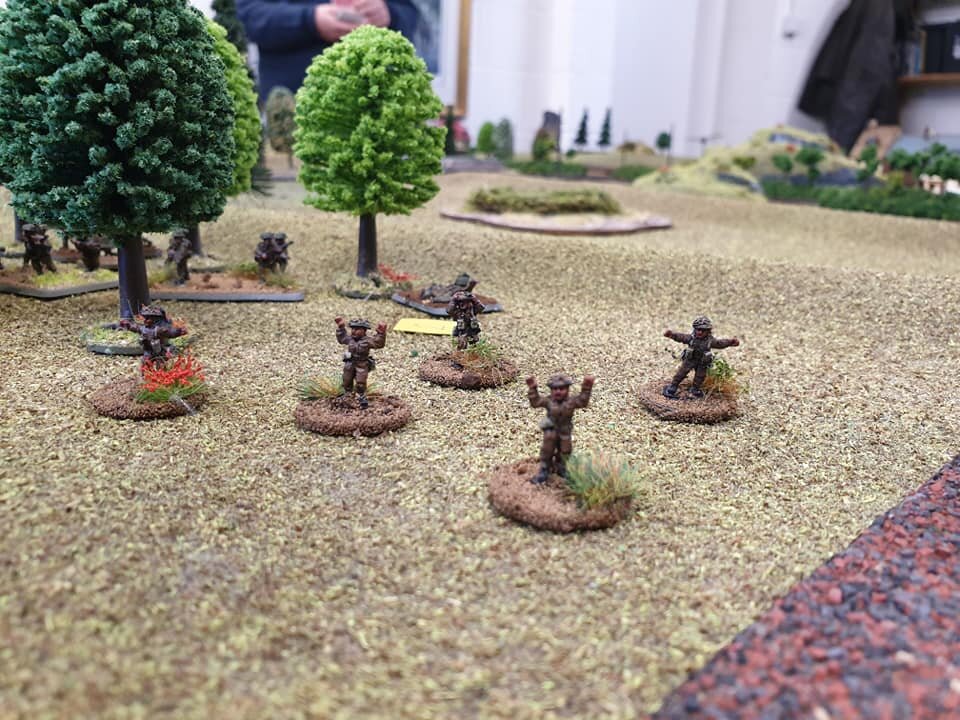
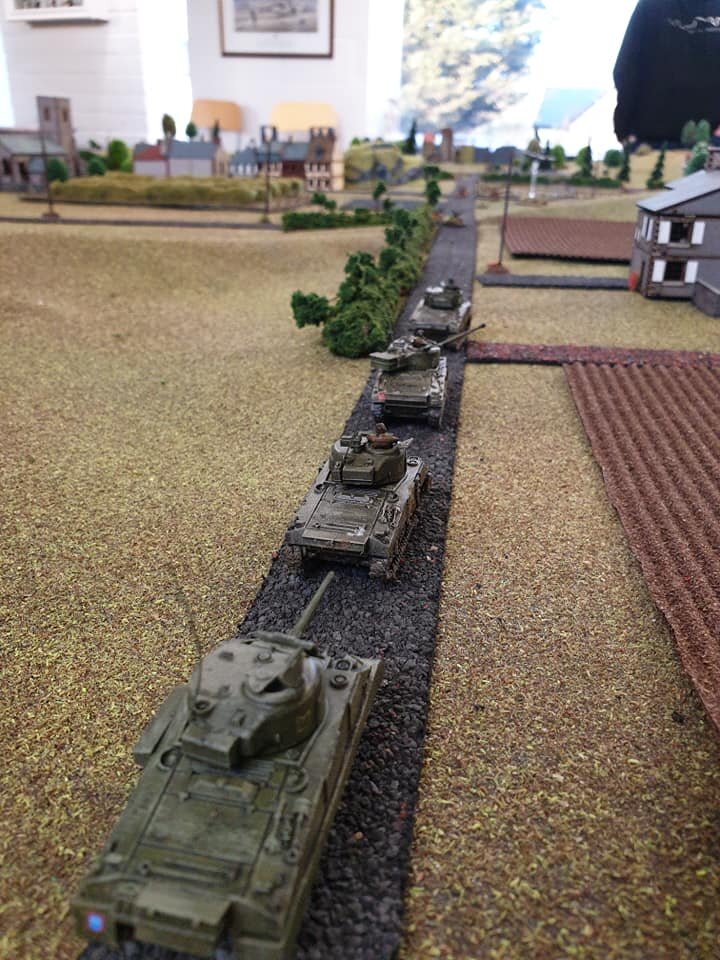
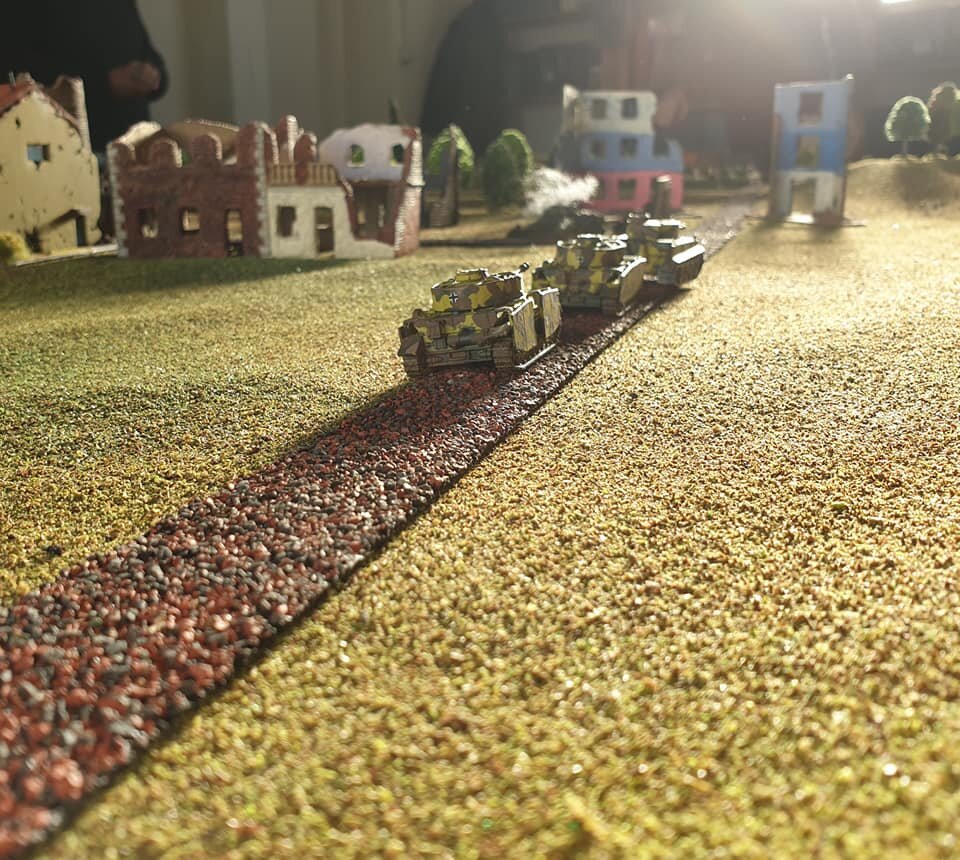
An I Ain't Been Shot Mum 6mm game played at GigaBites Café in Feb 2020.

At this point we called the game. The Germans had overrun the dug in infantry and taken out 9 of 11 Russian tanks.

German casualties were 2 destroyed Pz IIIs, and 2 more damaged. 18 infantry casualties.

The Russians had only 24 infantry casualties-(out of over 100 men) mostly on the right hand platoon.

This was one of the best Barbarossa games that I've played. Some panzers covered almost the entire length of the table getting around the Russian defenses. And the untrained crew situation of the 'superior' Russian tanks was sufficiently demonstrated.

Mark Luther


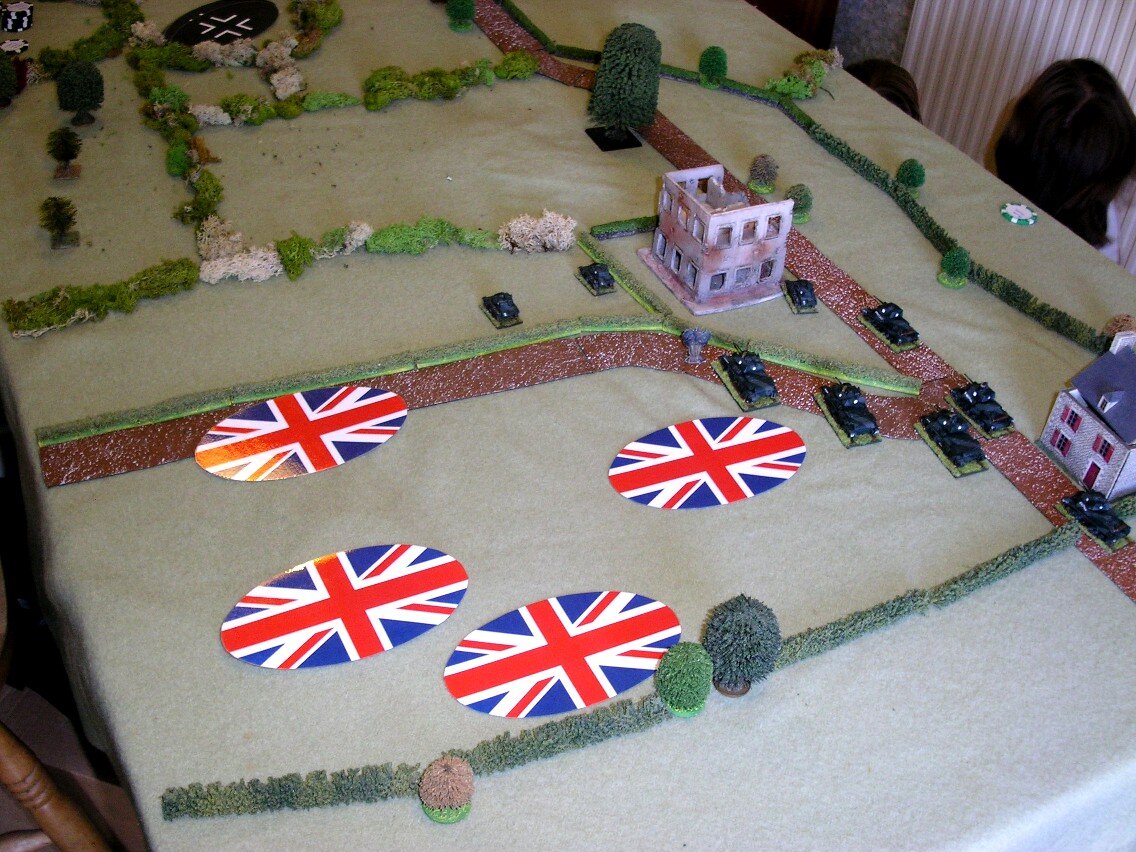
IABCYM* Sworf(d) Beach game today. Iain Fuller invading the continent with two companies of infantry, and DD tank support. Funnies in the second wave, company supports in the third.

*I Ain’t Been CoC’d Mum: the IABSM variant using Chain of Command dice for activation

In summary, the British infantry had to do without any armour support until late in the game. The majority of the DD armour sank in heavy seas, hit mines or ran into other landing craft. Iain Fuller had to make do with good old infantry “up and at them” and pray I did not get good dice.

In the end WN28 was cut off by C Company and the main weapons destroyed, and A company off the beach and about to clear the two buildings supported by a Petard and a flail.

Great game and an intense experience!

Desmondo Darkin & Iain Fuller


with Dave as Evgeny Dushkin and Mark as Siggi Sauerbrauten

Both sides moved on under Blinds. The Germans got their forces moving faster, spearheaded by the Puma armoured car and a Zug of Panzer IVJs, and followed by the HQ with the infantry. The Soviets advanced with their infantry riding on the T-34s, and quickly deployed into tactical formations close to the bridge.

The Germans spread out, their Puma rapidly retiring when faced with the Russian HQ T-34/85, but after making a couple of shots which bounced off the armour, the T-34s by the river blew it up.

More Soviet reinforcements arrived and moved forward, the Soviet plan being to seize the bridge accepting losses, and then hold it against counter attacks. The advancing T-34s to the North ran into a well prepared position of Panzer IVs, which opened up to great effect.

The Soviets were shocked by the quality of the German shooting and the losses they took.

German reinforcements arrived and deployed by the river in a concentrated formation. The Soviets started causing damage themselves, with the T-34s to the North destroying a Panzer IV, and Evgeny successfully called in a Lavochkin Lag 5 to machine gun the tanks as well, shocking the crew in the end one. By the river, the T-34s had destroyed the Zug leader's Panzer IV and taken out half of the Panzer HQ formation as well. The Germans were dismayed to find their armour little use against the Soviet guns, if they were hit the tank tended to explode.

Keen to take the bridge, the Soviet tanks by the river advanced across the road, but this sacrificed shooting in the middle of the battle, and cost them a second tank lost.

To the north, the Panzer IVs in the wood no longer had targets to their front, with all the T-34s blown up or bailed, and turned for a flank attack on the Soviets by the bridge, much to Evgeny's annoyance.

The Soviet infantry had advanced behind the T-34s and were in a good position to seize the bridge, but with every T-34 out of action the Soviets withdrew, conceding the battle.

The Germans had taken moderate casualties, but were in a reasonable position to secure the bridge.

Review

The Soviets had adopted a tactic of seizing the bridge and holding against counter attacks, the Germans a more cautious approach and engage in the hope of securing control of the battlefield and then holding the bridge.

The Russian tanks were much better armoured and almost equally gunned, but the Germans had higher quality crew, which led to a fascinating match up. The Russians adopted a two-aimed-shot strategy against the Germans’ two-aimed-plus-one-snap-shop, and were also moving to seize the ground. When the Russians hit they did serious damage, but they were outshot almost 2-1 over the battle. "Air Support" sounds brilliant until an ageing fighter with only a machine gun turns up to try and attack tanks.

I felt the battle hinged on two events: the Russians sweeping forwards in an armoured thrust towards a German Blind which opened fire first within 18" and took out half of the formation, and the Russian T-34s by the river moving forward to seize the road in the face of a row of Panzer IVs shooting at them.

There was a debate about the merits of using armoured cars for scouting when expecting a collision of tank forces and the tactics used by both sides, plus wondering if it would have been different with better dice rolls.

The Germans have the bridge, now on to Sorok for the next battle in the campaign.

Bevan Marchand


Had a great game fighting scenario #2A: Avaux from Blenneville or Bust! last night.

The British came on strong, pushing tanks down the road as quickly as they could, trying to punch through the German lines. And it seemed at first they'd make it. The Germans winged a Sherman with their PaK40 but the Brits answered fire so quickly and deliberately that the PaK40 was dead before I got a chance to take a photo of it!

Fortunately for the Germans, the tanks pushed on into the village only to find themselves sandwiched between StuGs on one side and Panzerfausts on the other. The German anti-tank took a heavy toll on the Shermans.

The British infantry rushed forward to try to catch up with their smoking tanks to give some support but they'd pushed too far too fast into what seemed to be a German ambush.

The British attack was halted and I'm sure the Americans will have an opinion on that when we fight the next battle in the campaign.

Rob Goodfellow


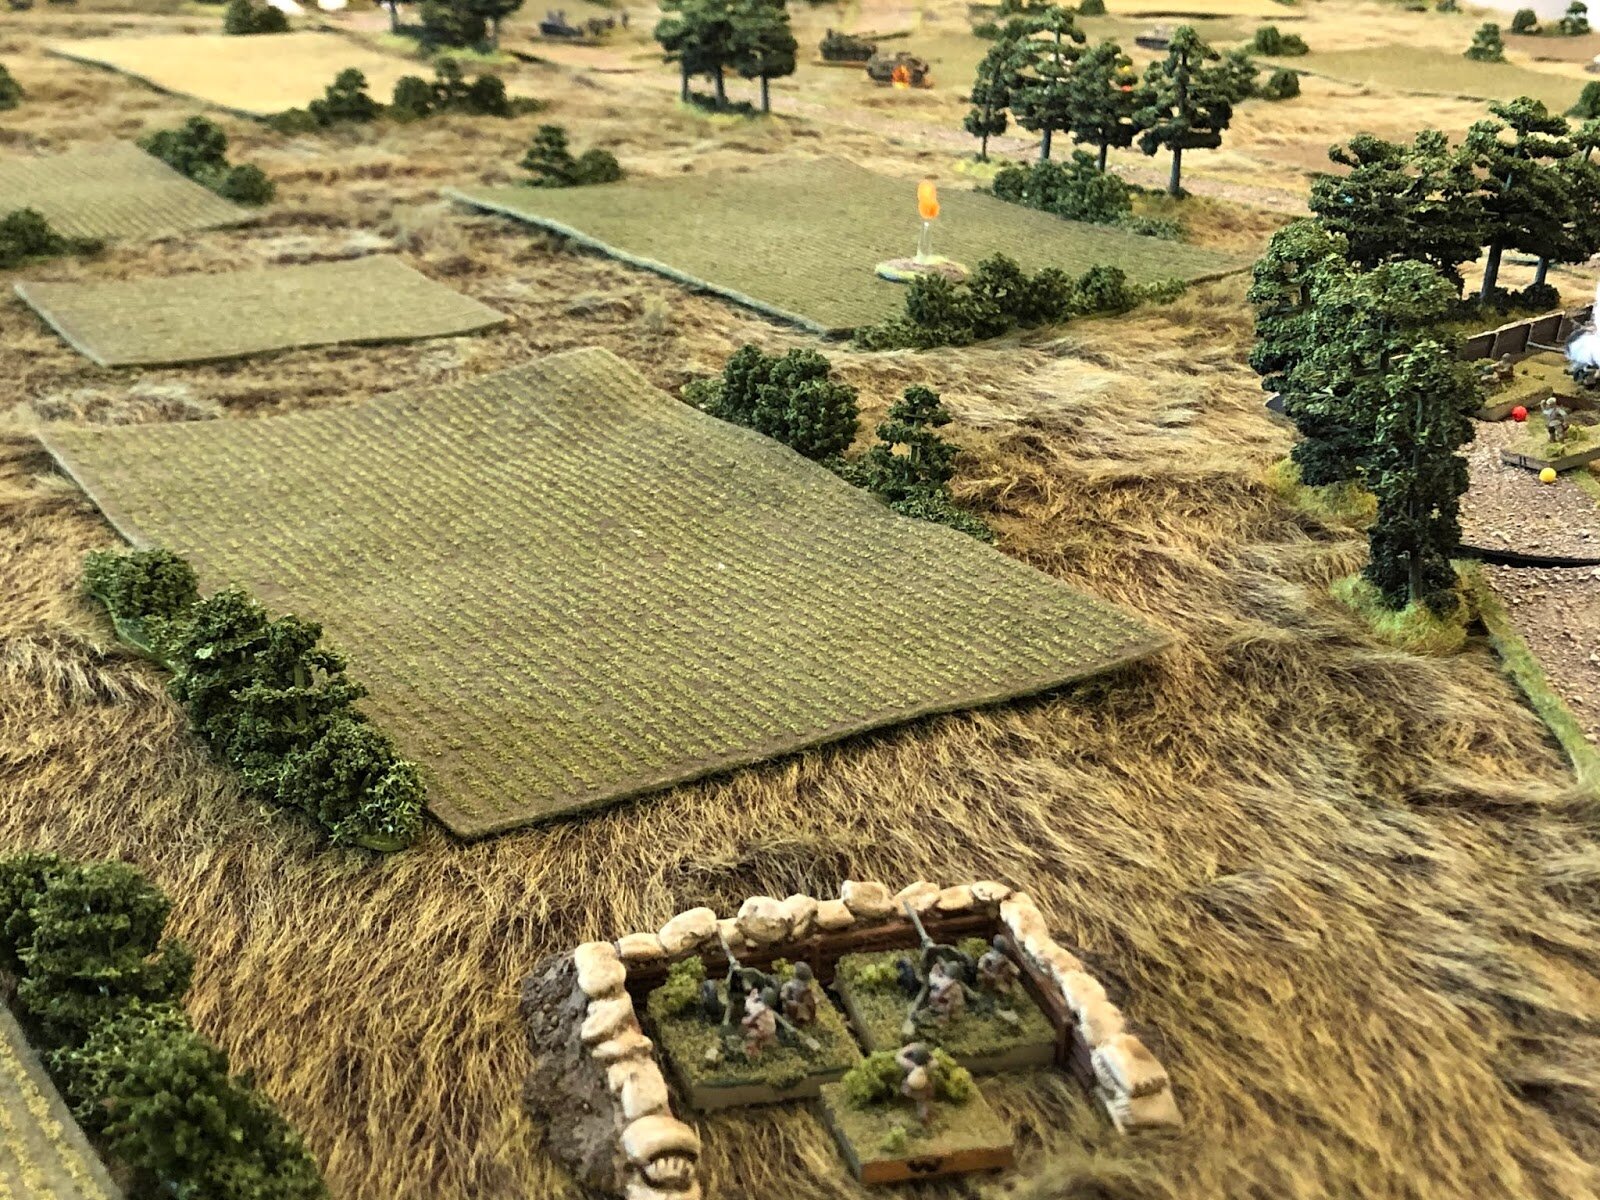
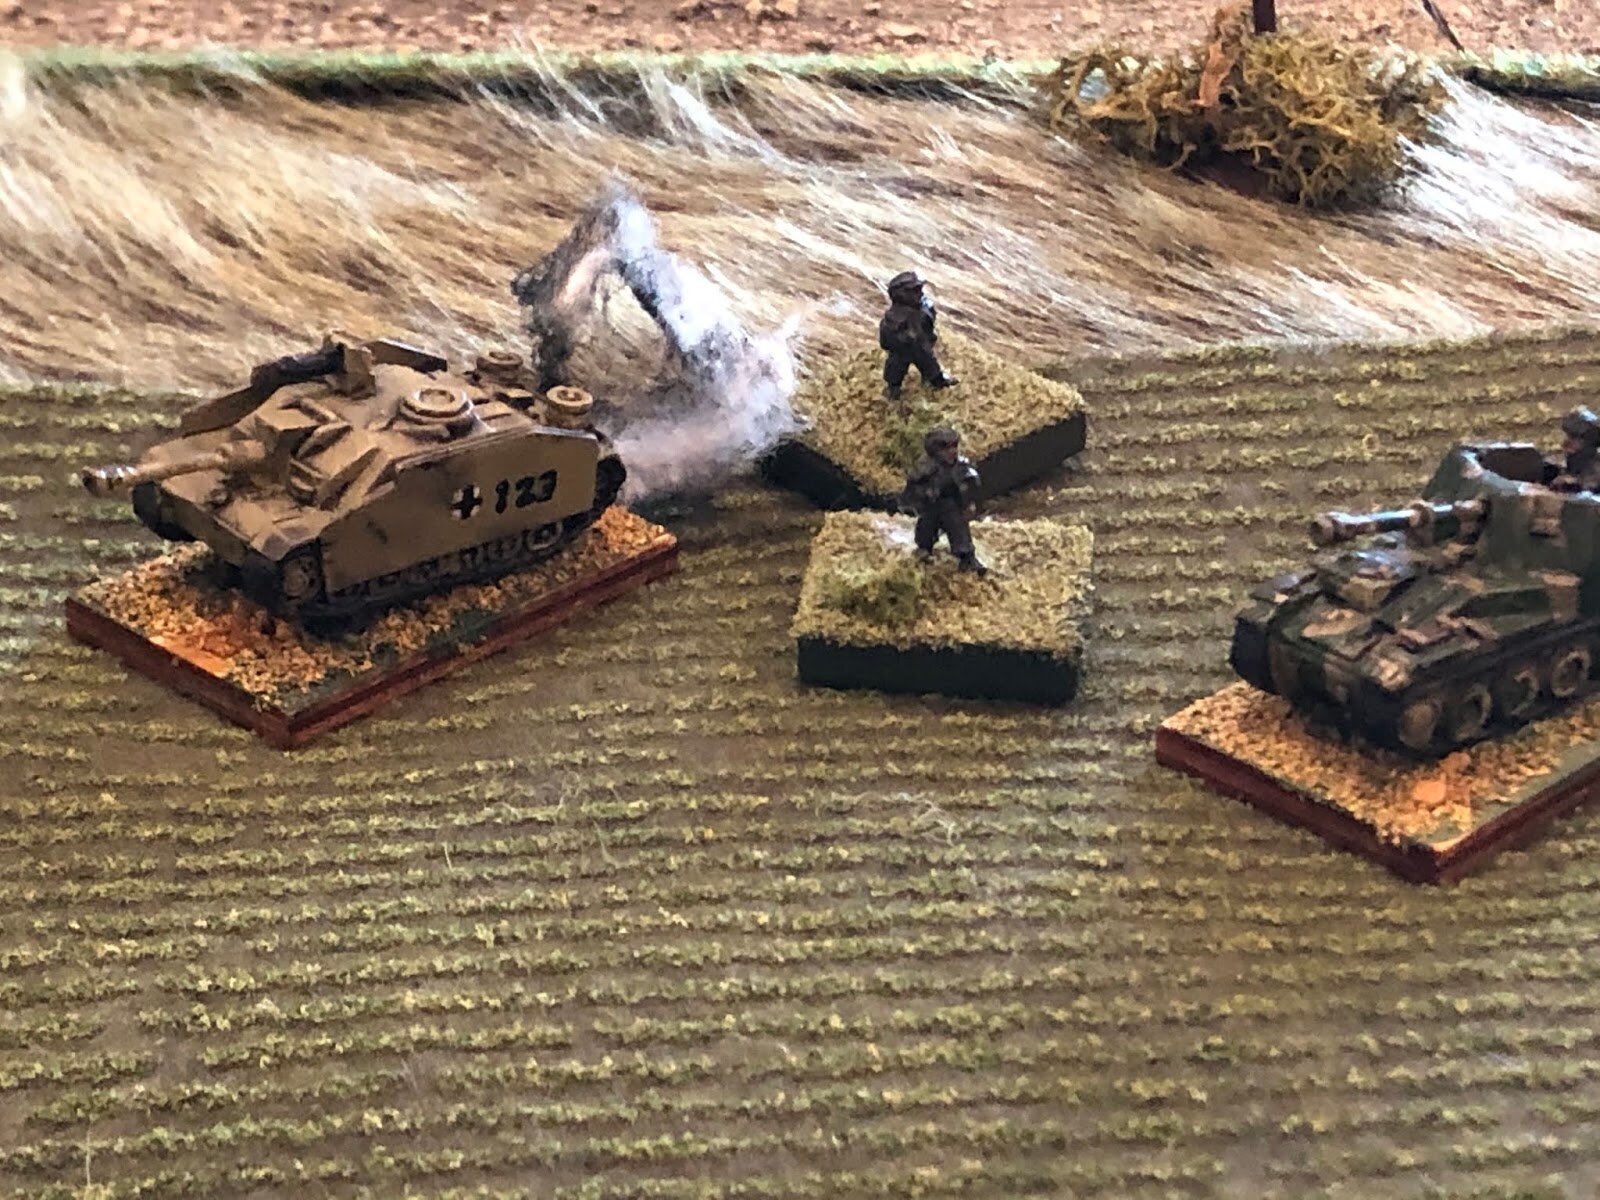
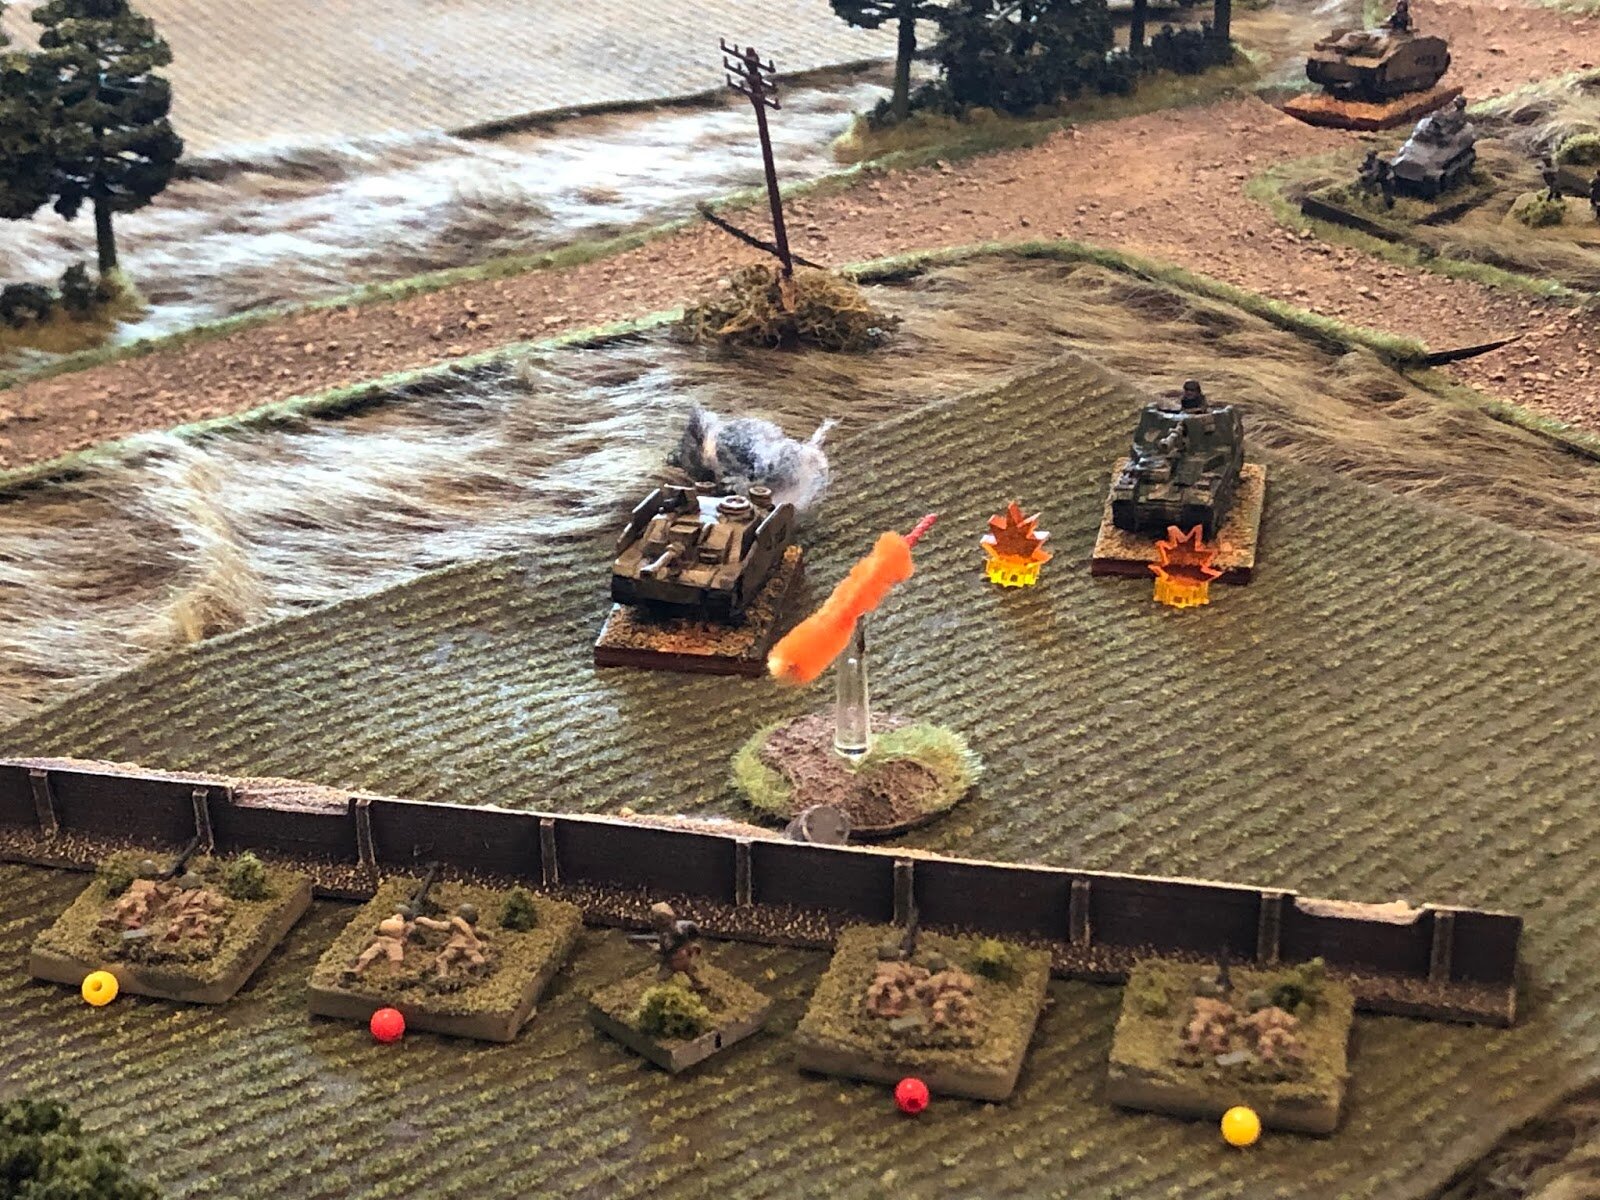
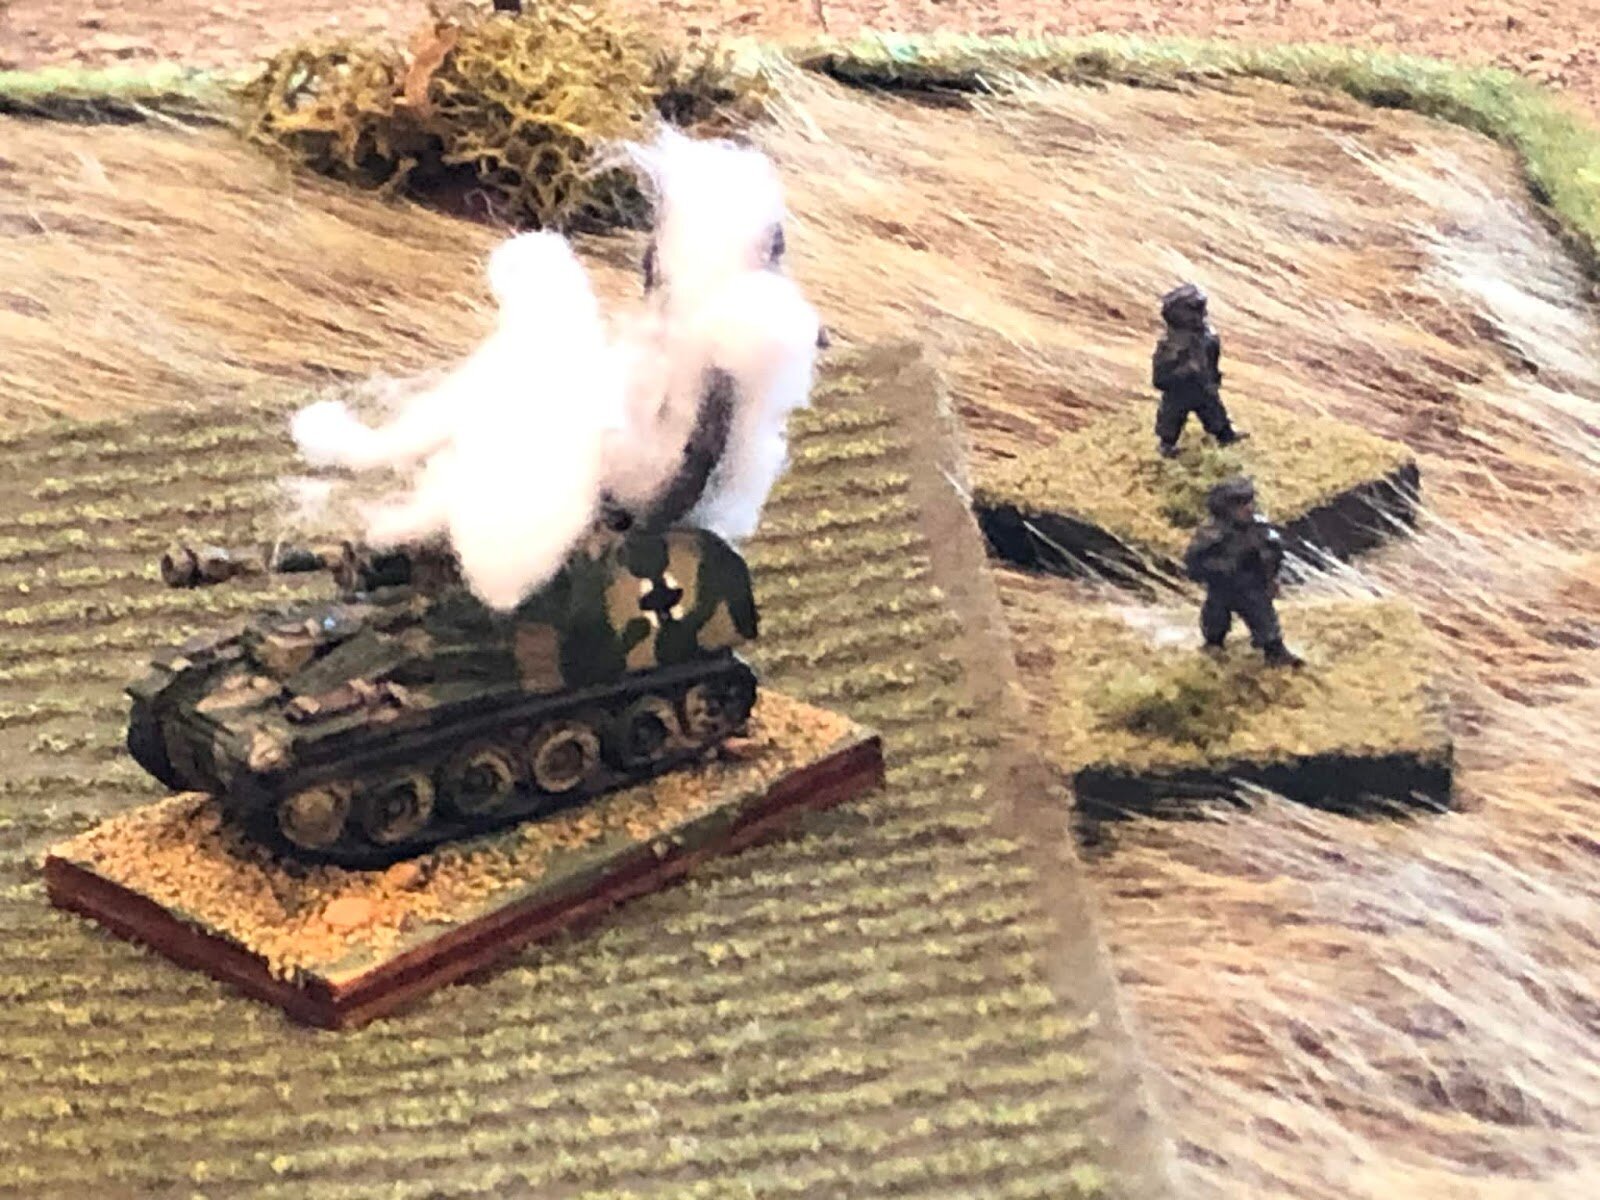
A 6mm IABSM game played at GigaBites Café Jan 2020.

The game was really designed to fit in with the Viking month at GigaBites Café and to be played in under 3 hours max. The idea was taken from actions involving the SS Wiking division during their drive to relieve Budapest during Konrad II.

On January 20, 1945, 5th Company, SS Panzer Regiment 5 had just occupied a slope ridge covered with corn when they were attacked from the north by the 110th Tank Brigade…

Mark Luther


Excellent weekend of IABSM with Jenny Owens, Michael Curtis and Simon Curtis, playing the British counter attack at Arras in May 1940. All the figures and vehicles by 1st Corps. Buildings by Jenny.


Today’s game of the Arras counterattack with Jenny Owens and Phil Turner.

We changed the British entry points from the previous game to get the game moving.

Michael Curtis


Arras 1940 take 1. We had a run through of the demo game for Salute with Jenny Owens , Phil Turner. Need to make a couple of changes for tomorrow. All figures are 28mm, vehicles and guns except the 88mm are 1/48 by 1st Corps

Michael Curtis


"Now then, Major Chappleton, perhaps you'd like to explain why you are standing in front of me instead of heading down Boreham Street at a rapid rate of knots, eh?"

The Major shifted uncomfortably in his chair. His usually immaculate overalls were burnt and stained, and there was a distinct smell of diesel in the air.

"Well, sir, I'm afraid we ran into rather a lot of Germans, sir…"

Neil and I played Scenario #8 "Tally Ho!" from the Sealion scenario book today. It involves a squadron of British A10s accompanied by three platoons of infantry attempting to punch through three platoons of German infantry supported by six anti-tank guns. The Germans have off-table fire support from a couple of mortars, the British have to rely on the fact that one of the A10 troops has 3.7" mortars instead of the usual two-pounders.

The British began the battle by sending forward a recon troop of MkIVs. They quickly spotted the German position: three anti-tank guns, three MMGs and a platoon and a bit's worth of infantry lining a hedgerow. Unfortunately the lead light tank exposed itself for just too long, and was permanently immobilised by a hail of fire from the PaK35s.

With the Germans stationary, the Brits moved up to begin their assault. Nervous of the German anti-tank capacity, the five normal A10s hung back out of sight, waiting for the infantry and support tanks to suppress the first line of anti-tank guns. The infantry duly moved forward, but came under a hail of fire from the German infantry and MMGs as they lined up along an opposite hedgerow. The Company HQ lost both Vickers almost immediately and, worse, the off-table mortars ranged in and inflicted the first of what would become a never-ending stream of casualties and deaths.

A firefight began, but without overwhelming fire superiority the British were showing no signs of opening up a gap for the tanks to exploit. The German MMGs, each accompanied by a Big Man were particularly effective in keeping the British infantry's heads down.

Eventually, however, numbers began to tell, and an effective barrage from the support tanks (at bloody last!) weakened the German line to the extent that Neil felt he should start to withdraw. The trouble for me was that by now most of my infantry sections in the two lead platoons had 2-3 wounds on them (damn those off-table mortars!) and despite the fact that I had killed quite a few crewmen, no German anti-tank guns had actually been knocked out.

Whilst this had been going on, frustration had led me to try and exploit the right wing of the battlefield, but the three A10s I sent there ran into the other three German anti-tank guns, so were forced to skulk out of sight.

The Germans in the hedgerow in front of me began to withdraw, but there were still enough of them to severely damage me if I attacked across the open fields. Naturally I didn't think of laying down smoke (that would have been far too clever) so I sent my other two A10s and a MkVI up the left side to winkle out two MMGs who were down to one crewman and a Big Man each: the idea being that I could then outflank the hedgerow.

I was getting really frustrated by this time, so I decided to drive over the MMGs rather than Besa them. A good idea in theory, but all that happened was that they fired back (damn unsporting!) and I got a turret jam on my lead A10 in exchange for one retreating back and one mangled under my tracks.
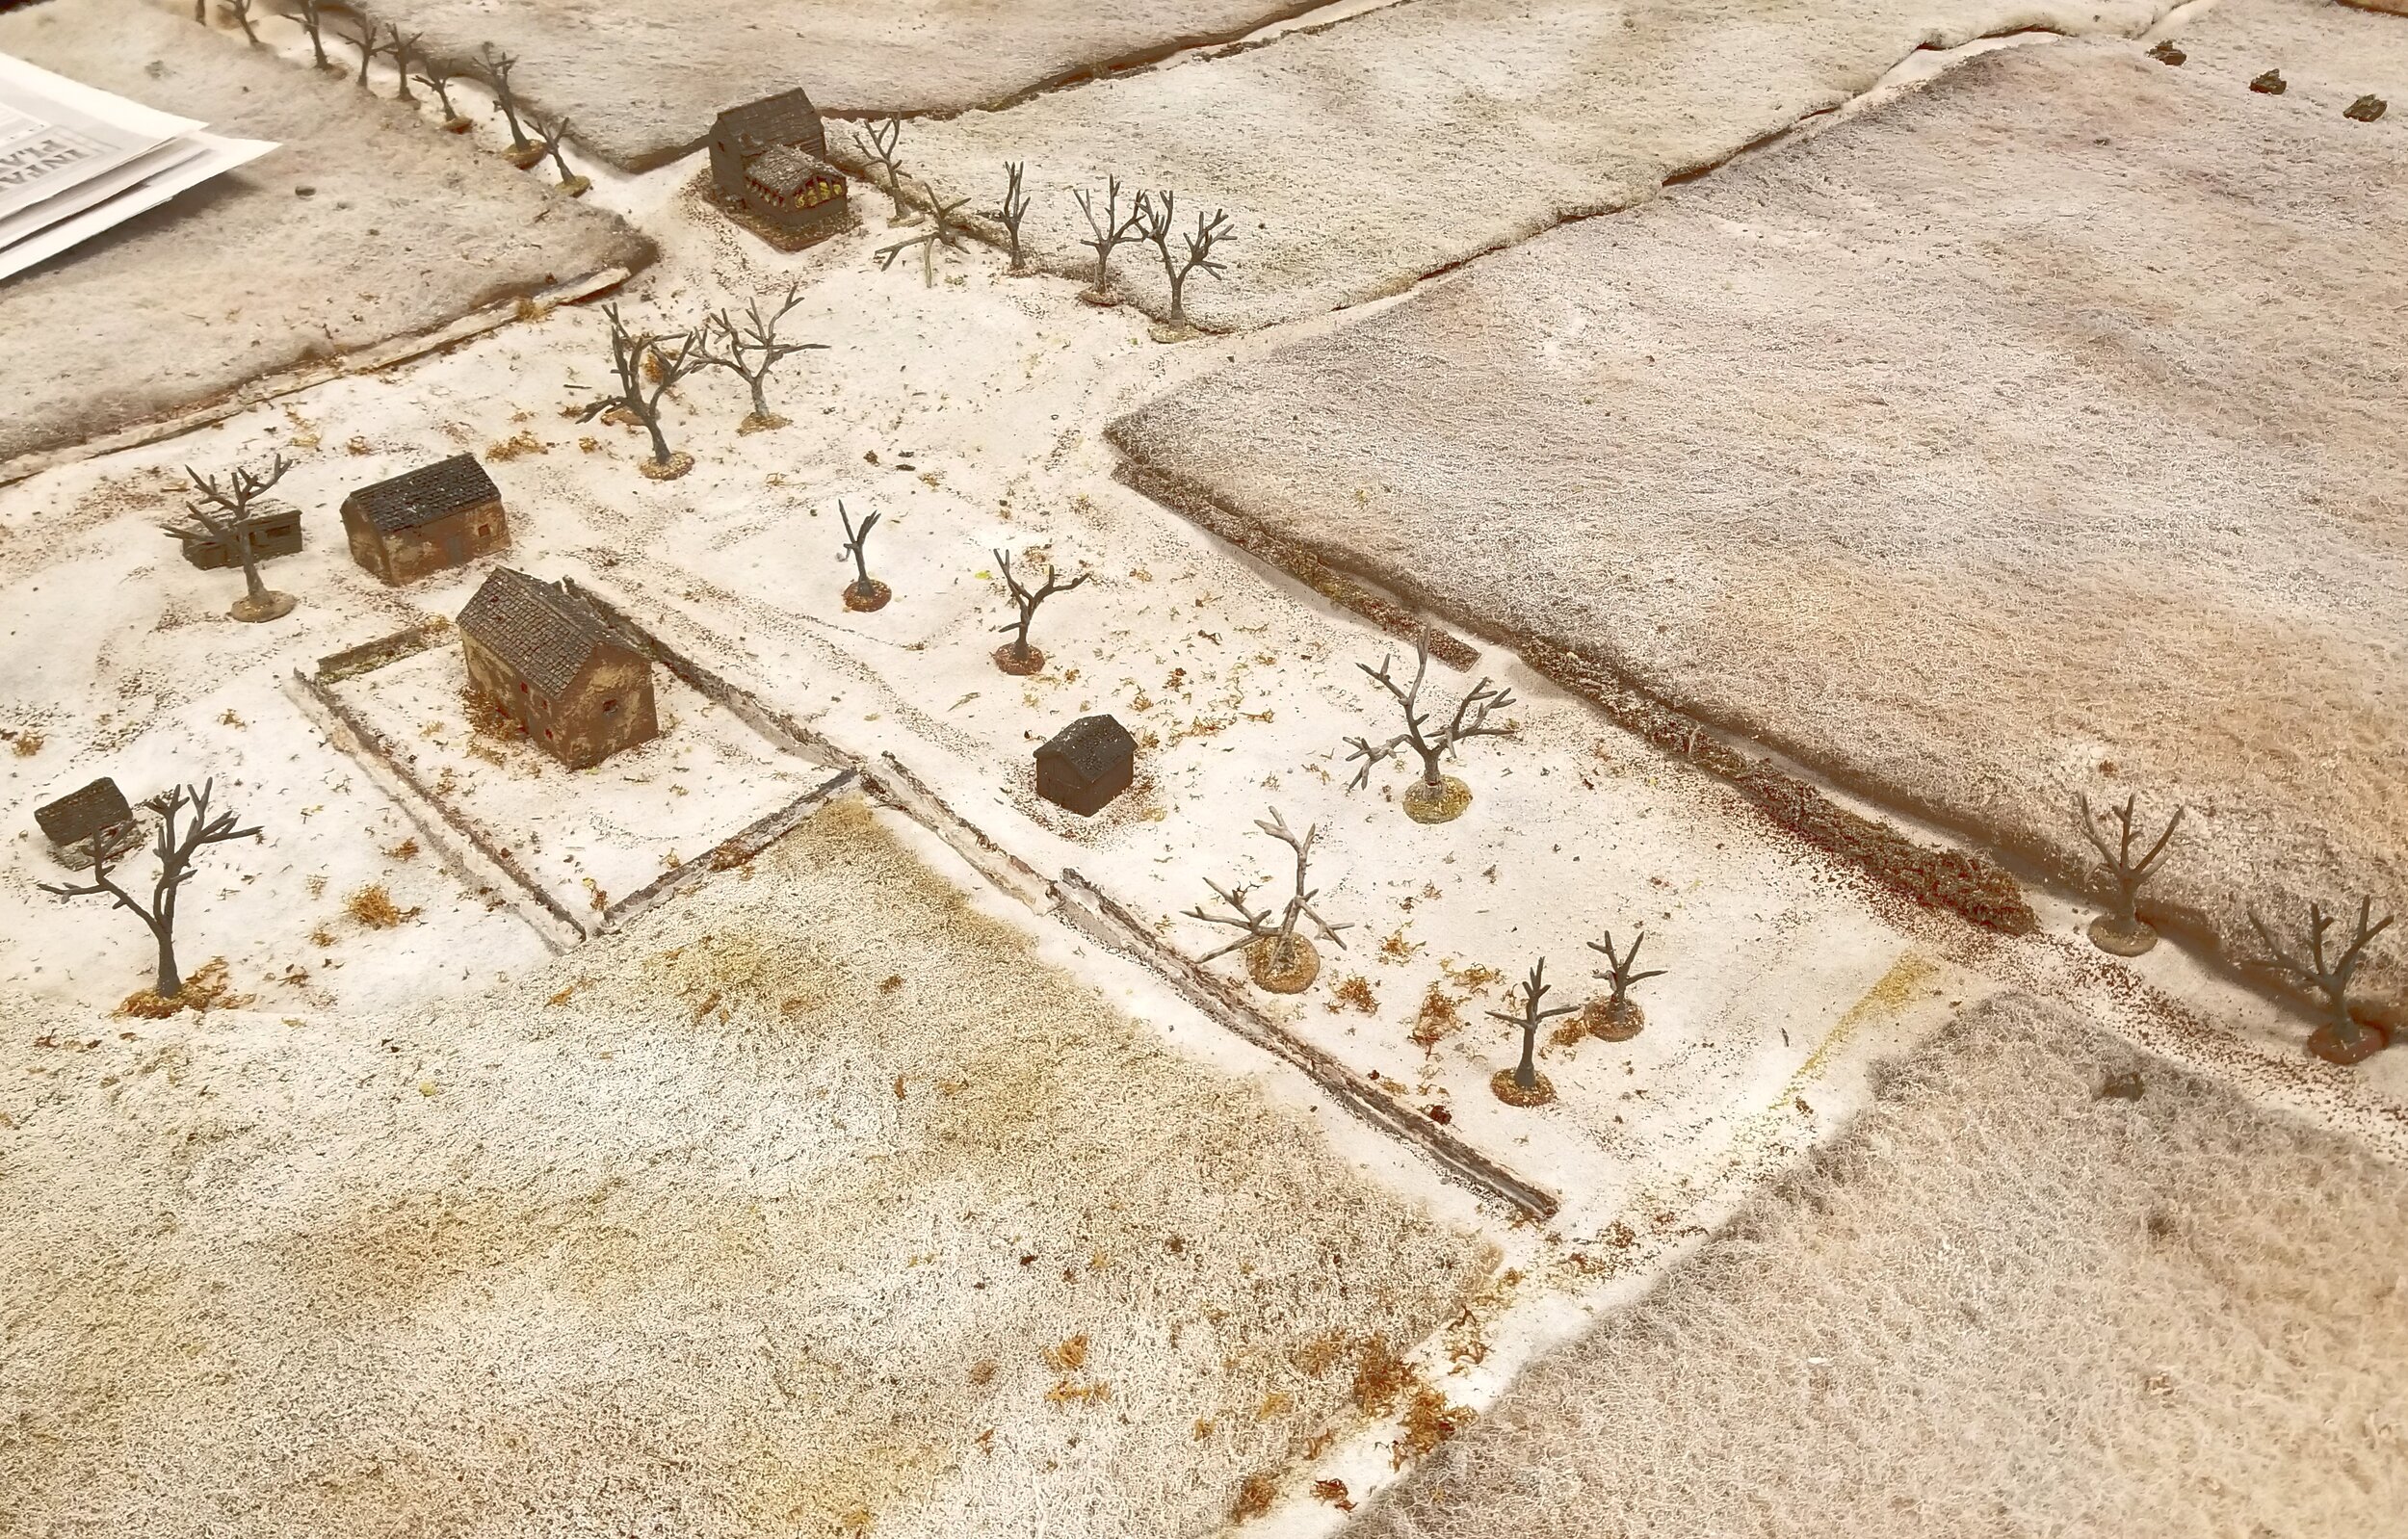
At this stage I was faced with an almost identical situation to before: the Germans had retreated to a second line of defence that looked a lot like the first one, only slightly nearer to Boreham Street! As we'd been playing for three hours and Neil had to go, we decided to declare a German victory as although I would have probably won in the end, I certainly hadn't broken through at the charge as the victory conditions required.

A good game, nonetheless. Neil was convinced that I'd have punched through his first line if I'd actually just charged his line with the tanks and followed up with my infantry…but I don't know: five A10s and three MkVIs verses three PaK35s and three MMGs and a line of infantry, with the tanks needing to cross 12-15" of open ground. Well, I'm sure we'll play it again one day, and then we'll see!

Robert Avery


The final game of our wargaming weekend was another outing for the I Ain't Been Shot Mum from the TooFatLardies. I picked a scenario from the old Operation Sealion book and Lenin and I reprised our usual roles.

The Home Guard (Lenin) are defending the edge of Pevensey when the Blitzkrieg hoves into view. Their task is to hold up the Germans until the regulars can come to the rescue.

My German infantry came onto the board and straight into a crossfire from the town and the train halt. After having taken a few casualties I managed to get my machine guns deployed and concentrated some fire into the town which quickly put paid to the first Home Guard unit.

It was then an interesting exercise in FIBUA with the Home Guard slowing up my advance whilst their reinforcements advanced across the table. Here are some pictures of the game:

I have to say that if I were playing this one again I would move the town into the centre of the table as we really didn't use the top half of the table which was a bit of a waste.

Whisperin’ Al


Phil Turner, Jenny Owens , Tim Howard , Leigh Jackson and I played a great game on Saturday. It was a 1940 scenario set around Arras. Here are some pictures:

Joe McGinn


Following on from trying out my first game of IABSM, I wanted to try out the rules again and made this our Christmas game. Dean and Ninjasaurus Rex joined me the week before Xmas and I talked them through the rules. This game was set in Malaya again, and was a fictional engagement just after the Japanese had broken through the Allied lines during the disastrous Battle of the Slim River.

The mixed British and Indian force was defending a palm plantation against the attacking Japanese. My defence consisted of two platoons of infantry, supported by two 2 pounder anti-tank guns.

The Japanese attack had two platoons of infantry with three Type 97 tanks in support. The Japanese elected to split into a two pronged attack down the road and through the jungle on their left flank. The village held a battalion refuelling point which was the objective for the Japanese attack.

The Battle Begins


Aftermath

The game was over with a major Japanese victory. Although the Allied defenders had caused heavy casualties, they had lost their anti-tank guns, transports and the refuelling point. Their defence line was in disarray and the Japanese were pushing back across the board.

This was very similar from a historical point to the actual Battle of the Slim River, with the Japanese running riot in the Allied rear areas. You can find out more about this battle on the Storm of Steel Wargaming video on the subject (click HERE).

As another game of IABSM, this was an exciting clash and we all enjoyed the quick play aspect of the rules. We all quickly had the basic rules in our heads and there was little referring to the rules during the game. The one thing I missed out was having my British defenders concealed at the start of the game. This is something I need to understand a bit better for future. But we are still learning the system!

Alex Sotheran


The hamlet of Krickenbeck

Played a 20mm 1945 game tonight with Daren B.

British forces were pushing down a road towards Oldenberg. They had to clear the road and secure the area. A small hamlet was on table, with fields surrounding it. The key feature was an area around a stream. The flood controls had been destroyed so the fields around it were flooded, leaving only one crossing point.

The British had overwhelming force, but the avenue of advance was very limited. Two troops of tanks, an AC troop, a carrier section and a MG section all supported an infantry platoon. Artillery support from a battery of Sextons was also available.

Facing this formidable force was a platoon of Volkstrum, a platoon of SS, one PaK 75. One HMG, one SdKfz251 and a Jagdpanzer IV. All the infantry sections had two Panzerfausts. The game hinged on the British not losing men, rather using firepower to win the day. For the defenders, any sort of damage done to the Brits was a victory.

We used the IABCYM from the Toofatlardies 2019 special and it handled the scenario very well.

The result: the British lost one Cromwell, one Bren carrier and six infantry KIA. The Volkstrum took a beating losing two Big Men and ten other ranks, the remainder broke and went home. The SS still held the village but the Brits were about to assault it using artillery and HE. On balance I think the Germans “won” as they managed to do some damage to the advance.

Desmondo Darkin


Before Christmas, I tried out the Too Fat Lardies I Ain't Been Shot, Mum. I have wanted to try these rules out for a long time and decided to put together a small action set in Malaya and play it solo to get a hang of the game. I used the Fall of the Lion Gate TFL supplement to create the OOBs for the opposing Japanese attackers and British defenders.

A small village is attacked by Japanese soldiers in Malaya

The Japanese were attacking down a straight road into a small Malay village and had two platoons each of four sections of ten men each. The two platoons were each commanded by a level 1 Big Man and there was also a Level 4 & Level 3 Big Man as commanders.

The British defenders had two platoons each of three sections of eight men and a 2" mortar. Each of these platoon were commanded by a Level 1 Big Man, with an extra Level 4 Big Man in overall command. One defending platoon blind was placed in the area of the village and the second blind placed in a rear area patch of jungle.

The Japanese began their attack crossing the river and being spotted and immediately coming under fire from the defenders in the village.

Japanese attackers swarm over the bridge

They took heavy fire from the British riflemen, but it couldn't stop them advancing

On the Japanese left the second platoon began moving around through the jungle to try to outflank the village.

Meanwhile, one section made it across the bridge and attacked a British section in a small hut on the outskirts of the village

The fighting was heavy as both sides tried to gain the upper hand

Fives and Sixes were needed in close combat and the Japanese rolled high, almost wiping out the British section with seven kills!

Most of the defenders are killed

the sole surviving british soldier is forced to retreat

It wasn't all going well though as British riflemen laid down a heavy fire on the platoon, killing some attackers and pinning a section.

The jungle and river was proving to be difficult to get through and the flanking manoeuvre was taking a slow pace.

The Japanese were slowly pushing their way into the village.

Soldiers from the second Japanese platoon charged a second building holding British defenders.

The overwhelming numbers broke the line and the remaining British soldiers were thrown back out of the village.

There was still another British section in the third house, a ill disciplined charge by the Japanese had poor results and the defenders held on.

Despite this small set back, the attackers were gaining ground and forcing their way through the buildings, one at a time.


Now the Japanese get into the village proper, and The British defence line was wavering

Meanwhile, the second British platoon deployed from its blind and began firing at the Japanese that they could see from their jungle position.

The second Japanese platoon had got past the British defence line…

and pursued the beleaguered defenders across the fields.

Once in a good position, the second British platoon was assaulted by two Japanese sections led by their commander.

The fighting was brutal, with both side taking heavy casualties.


The Japanese commander was cut down at the head of his men under fire from the British rifles.

At this point the final tea break card came up and I ended the game in a Japanese victory.

As a first game of IABSM, it took a little while as I had to go back to the rules every so often, just to remind myself. However, most of the basic rules can easily be held in your head and I think a few games would be enough to cement them in there. It's a fast play game and had a lot of friction and unpredictability due to using the command cards which allow units to activate.

This means you have to be careful and use opportunities as soon as they arise, such as using Big Men to command units when they can. This was a lot smaller than a typical game of IABSM, but it was enough to give me an idea of the game flow and the general rules. What I do like within the rules is that they are not prescriptive, it is about enjoying the game rather than being a rules lawyer and that might not suit a lot of players. For me, I really like that approach, as the Lardies say: play the period, not the rules. I've been looking for a replacement for Rapid Fire! for some time now and think I've found it!

Alex Southeran


Played a 1940 using the IABCYM rules from the recent TFL Magazine (I Ain’t Been CoC’d Yet Mum: a variant of I Ain’t Been Shot, Mum that uses the dice-based system from Chain of Command for activation rather than cards or chips). Philip Andrews and Iain Fuller battled out a scenario I put together based on the “Arkforce” that was left to defend a perimeter near Le Havre, in June 1940.

The Germans had a standard infantry company and two Panzer zugs ( Mark II and Mark I’s); the British had an infantry company, two understrength AT platoons ( two 2pdrs and two 25mm AT), a troop of Vickers tanks, and a Vickers MMG platoon, but these were spread thin across two lines of defence trying to keep the main escape route open.

The British had a tough job on their hands.

Both sides had variable reinforcements, and each time a “Mums” dice was accumulated a reinforcement could be rolled for.

The table was 10ft by 6ft and the action was non-stop and by the end of 3.5 hours of fighting the Germans managed to get almost to the main road and cut the last route to safety.

The rules worked well and it was good to try them out on a 1940 scenario rather than the 1944 Normandy. The light armour of all the tanks was frightening for those of us used to Panzer IV or Panthers!

Philip Andrews comments:

Iain Fuller and Philip Andrews contemplate Phil’s appalling die rolling😂

It was a hoot even as the Brits. There was some scoffing at my front line being two platoon ‘bastions’ in densest terrain flanked by the light armour of the Hussars (if it was good enough for Wellington...) with 2pdrs and MMG in deep defence and long fields of fire. My dice rolling was, er., well below the bell curve , but I managed a local infantry counter attack (also to spread out my platoon when the artillery ranging started on my position!) and I killed a lot his Big Men, admittedly one by the flukiest bomb drop by a Fairy Battle. Nice proper suppression then assault by Iain on the farmhouse. On the scenario, the Germans probably have 6in too far to go. Thanks again to Des and Iain.

Iain Fuller comments:

1940 action with Jerries taking on the Jocks of Arkforce. Great fun game with Panzer I & II's taking on Vickers Mk.VI's and 2pdr and 25mm AT guns. A couple of Fairey Battles even turned up too!

We used our 'I Aint Been CoC'd Yet Mum' adaptation again and it is playing better each time we do. Big thanks to Des for the game and Phil for being a gentleman opponent.

Desmondo Darkin


It's 1800 on 11 July 1943 in western Russia, where the German I Battalion, 195th Infantry Regiment of the 78th Sturm Division, is on the attack, looking to evict the Soviet 1023rd Rifle Regiment, augmented by the remnants of the 1019th Rifle Regiment, themselves refugees from the defeat at Shirokoye Bulotev. The goal of the fight is possession of the 1 May Collective Farm; the Soviets are defending prepared positions while the Germans are conducting hasty attack supported by Corps artillery (rockets) and armor.

I am playing this game because I have the good fortune of being buddies with Steve of the "Sound Officer's Call" blog , and he is running a "Firestorm Ponyri" campaign. He is playing some games with his local buddies, but was unable to play all of the games himself; rather than simply 'dice off' for results of campaign fights they were unable to play on the table top, Steve asked if anyone in the blogosphere wanted to help, so here I am.

It's been a little bit of an issue that I literally just sold off a bunch of German late war gear, so I'm a bit under strength, but Steve is working with me to make sure the fights I get match up with the forces I have. Please enjoy the last instalment of my support to Steve's campaign at Kursk.

Overview, north is up. The 1 May Collective Farm is the series of buildings at bottom left, while "Yuri's Hovel" is at top right. Other than that it's all cultivated farmlands, uncultivated grassland, and stands of trees bisected by a southwest-northeast running road with several branches coming off it. Highly significant to the military terrain on the battlefield are the stands of trees that line almost every single road on the map; the various hedges you see spread across the table (mostly lining the cultivated crop fields) do not block line of sight, but the stands of trees absolutely do, so the battlefield isn't nearly as open as it may appear at first glance.

Once again I'm using the Too Fat Lardie's excellent "I Ain't Been Shot Mum" rules, which I find work great for solo play. I'm playing on a 6' x 4' mat (from The Wargames Company) using 10mm troops that are a mix of Pendraken, Minifigs UK, and Takara. The buildings, trees, and hedges are from Crescent Root Studios, the fields are from Hotz Mats, and the beautiful roads are from Fat Frank in the UK.

Orders of Battle

The Germans

  • Commanding Officer

  • 2 x Rifle Company

    • Each with three Platoon Commanders and nine rifle squads

  • 1 x Schwere Company

    • MG Platoon (PC and 3 x MG-42

    • Mortar Platoon (PC and 4 x 8.0cm tube)

    • Infantry Gun Platoon (PC and 2 x 7.5cm howitzer)

    • Truck Platoon (2 x Opel truck)

  • 1 x Panzer Company

    • 2 x Panzer Platoon (3 x Pz Mk IIIJ w/long 5.0cm gun)

    • 1 x ersatz Panzer Platoon (2 x Stug III w/long 7.5cm gun, 1 x Marder w/76.2mm gun)

  • 1 x Armored Carrier Platoon (3 x Sdkfz 251 halftrack)

  • 1 x Rocket Artillery Battery (2 x Nebelwerfer)

The Germans are rated as average capability and average morale; yes, they are very experienced and grasp the importance of this attack, but they have suffered heavy losses and are worn out from six straight days of ferocious fighting.

The Soviets

  • Commanding Officer

  • 1 x Rifle Company

    • Three Platoon Commanders, three 50mm mortars, and nine rifle squads

  • 1 x MG Company

    • PC, 2 x SG-43, and 3 x Maxim 7.62mm MG

  • 1 x "Tank Killer" Company, consisting of:

    • 1 x Anti-Tank Rifle (ATR) Platoon (PC and 4 x PTRD ATR)

    • 1 x Field Gun Platoon (3 x 76.2mm 'crash-boom' guns)

    • 1 x Anti-Tank Gun (ATG) Platoon (PC and 4 x Zis-3 57mm ATGs)

  • 1 x Mortar Platoon (PC and 3 x 82mm mortars)

The Soviet Rifle Company is comprised of the scraps of two beat-to-hell Rifle Regiments that mostly weren't particularly well-trained or experienced and are pretty much shattered at this point, but they've been stiffened by the additional automatic weapons of an understrength Machine Gun Company and a specialized "Tank Killer" company.

The Tank Killers are an elite force comprised of savvy veterans with very high morale. They are specially trained to avoid target indicators by dispersing their guns and digging them in in open areas, almost flush with the ground, where they allow the Germans to advance to point blank range. They use their field guns to separate the panzers from their supporting infantry, their ATRs to harass tank commanders and force them to button up, and their long-barrelled 57mm guns to engage the enemy's flanks.

I don't know if any of that is true, but it sounded good, and it's how I used them in this fight!

There's another wrinkle, which I'll cover below.

Overview again, this time with troops. The German start line (which is quite crowded) is at top right, around Yuri's Hovel, while the Soviets are dug-in from top left to bottom left to bottom right, defending the 1 May Collective Farm (bottom left).

All Soviet units except the 82mm Mortar Platoon begin the game dug-in and camouflaged.  The Soviets are, once again, utilizing a 'hedgehog' defense of mutually supporting strongpoints, of which there are three. 

At top left is Strongpoint Nadia; at center left is Strongpoint Mila; and at bottom right is Strongpoint Sasha.  Each strongpoint consists of the following:

  • Platoon Commander

  • 50mm Mortar

  • 3 x Rifle Squads

  • Maxim 7.62mm MG

  • 76.2mm Field Gun

Soviet Deployment

So you've got a beat up, worn out rifle platoon bolstered by a machine gun and the 76.2mm field gun. I thought long and hard about whether to split to break up the Field Gun Platoon and one of the MG Platoons, but in the overall scheme of things, each strongpoint has close defense provided by its three rifle squads, and each strongpoint has a significant long-range capability consisting of the MG, light mortar, and field gun. I believe the long-range capability and the elan and training of the tank killers provides the low-grade infantry a real boost in confidence, such that breaking up an MG platoon and the Field Gun Platoon was warranted.

The 82mm Mortar Platoon is at far left bottom, in a field. The 'other' MG Platoon (PC and 2 x MGs) is at bottom center left. The Anti-Tank Gun Platoon is split: the PC and two guns is at far left top (the "West ATG" position), and the other two guns are at bottom center right (the "South ATG" position). The Soviet CO is at bottom center, between the MG Plt and the South ATG position. The ATR Platoon is dug-in at center, just below the road, the purpose of which is two-fold: first, engage German armor coming down the road, and second, keep between any German infantry and the ATGs below them.

My only regret with the Soviet deployment is that I wish I could have even further dispersed the four Zis-3 ATGs (in order to counter German supporting fires sure to be levied against them); I would have but I didn't have enough sandbagged emplacements, so I had to double up each set of ATGs!

German Plan of Attack

Okay, this is ugly and not terribly creative, for four reasons:

  1. The Germans are attacking on the hop, conducting a hasty attack straight off the march, immediately following an attack earlier today. They've barely had time to untangle and reorganize their units following the earlier attack, and no time to rest or replenish.

  2. The Germans are in a very big hurry as supplies, men, and equipment are all worn out and Intelligence reports strong Soviet forces en route to reinforce the 1 May Collective Farm garrison.

  3. The Germans had no time to conduct reconnaissance of the battlefield, so they have no idea the strength or disposition of the enemy facing them.

  4. In order to get to the Collective Farm, the German infantry have a tremendous amount of ground to cover on foot. Moving cross-country would be almost as exposed, and would be even slower than heading straight down the middle via the road.

So this is literally 'hey diddle diddle, straight up the middle,' in a hurry to take and consolidate on the Farm before the Soviet reinforcements arrive. The German CO was at the head of the column coming into the area; he called a halt at Yuri's Hovel, sent for his senior leaders (some companies are now being led by Sergeants), and climbed atop the roof to get a look at the situation. He can't see anything in terms of Soviet troops or activity, but a simple appreciation of the terrain makes a few things clear:

  • the Soviets are sure to be thick in the Collective Farm and its adjacent wooded areas; he'll sic the the Nebelwerfers (which Corps has placed in direct support) on them.

  • the wooded area to the northwest (in the vicinity of Strongpoint Nadia) is sure to contain a bushel of the Red devils. He can ignore them/use direct-fire support to keep them at bay.

  • the wooded area to the south (at bottom right, in vicinity of Strongpoint Sasha) is also sure to hold hordes of the Bolsheviks. They're too close, they'll have to be deal with.

So, the German Colonel climbed down and quickly sketched out the plan of attack to his subordinates:

  • Direct fire-supports (MG Plt and IG Plt) will emplace in/around Yuri's Hovel with the mission of protecting the Kampgruppe's right flank and isolating the objective (keep any Soviet forces north of the Farm away from the Farm). (target acquisition and quick, accurate engagement will be king, might be a bit much to ask of worn out troops)

  • 1st and 2nd Platoons of 2nd Company will assault the southeast wood (SP Sasha). This assault will not be supported; their mission is to tie down the defenders without becoming decisively engaged. (god luck with that!)

  • The Ersatz Panzer Platoon (hereafter referred to as the "Stug Platoon") will lead the entire 1st Company, in platoon order, down the road, straight into the objective. Speed is of the essence! (emphasis on speed can get real expensive real quick!)

  • The indirect-fire supports (Mortar Platoon and Nebelwerfer Battery) need to get in where they fit in, i.e., find some space out of LOS to likely enemy positions and set up. They are tasked directly to the Kampgruppe commander. (terrible idea, a leader's job is to lead, a commander's job is to command, a forward observer's job is to forward observe. There's a reason the duties are split!)

  • 1st and 2nd Panzer Platoons, and 3rd Platoon, 2nd Company (mounted in the halftracks) are the Kampgruppe's reserve (begin game off table to east).

So, what did he miss?

Well, he's incorrect in his assumption that the Collective Farm is a bulwark of the defense; you see, the elite Soviet 'Tank Killers' are trained to look for target indicators (such as a cluster of buildings and clumps of trees) and stay the hell away, knowing the Germans will target them with copious amounts of artillery and mortars. This means Nebelwerfer rockets will soon be falling on unoccupied ground, and the KG's assumption, along with his inability to conduct a real reconnaissance, means he completely missed SP Mila, which his Stug Platoon and 1st Company will be waltzing straight down the road to. And he has completely missed the flanking deployment of the deadly Soviet Zis-3s.

Time to Fight!


Wow, I still can't believe it, the Germans just couldn't get it done. 2nd Company got shot to pieces before it could even decide to not get decisively engaged, and 1st Company got mortared to death before it could make use of the road. The Germans committed their reserve rather early, but the mechanized infantry just sort of floundered about as the armor got shot to pieces by anti-tank weapons that the German infantry never got the opportunity to locate. And while the Soviet mortars did yeoman's work, the German heavy weapons (MG Plt, IG Plt, Mortar Plt, and Neblewerfers) were next to worthless, so from that standpoint, the Soviet hedgehog defense worked wonders in just keeping the German supporting fires occupied while their mortars and machine guns handled the German infantry.

I haven't been doing this, but I figured I'd share the loss figures:

German

  • 4 tanks, 1 assault gun, 1 tank destroyer knocked out

  • 1 tank, 1 assault gun, and three halftracks destroyed to keep from falling into enemy hands

  • 10 rifle squads (out of 18) knocked out and 3 captured

Soviet

  • 3 Zis-3 ATGs knocked out

  • 2 76.2mm Field Guns knocked out

  • 1 50mm mortar team knocked out

  • 4 anti-tank rifle teams knocked out

  • 6 (of 9) rifle squads knocked out

Man, that was a slog, very tough fight, with an every dwindling chance the Germans would be victorious, but still a possibility of snaking out a victory, right up to the very end. If only they could have gotten those halftracks moving just a little sooner; should have used their CO to get them moving, rather than continuing to use him to try and get 1st Company and the Stug Platoon (stalled out after the Soviet ATR Platoon whacked their Platoon Commander) moving. C'est la guerre...

Just Jack


The table looking from the German lines

This is an interesting scenario with objectives that may frustrate players. This scenario is by Robert Avery and is part of his 'Anzio: Wildcat to Whale' scenario booklet.

It considers the German counteroffensive on the first day and focuses on the pinch point attack made by the veterans of the 29th Panzer Grenadier Regiment against the green troops of the United States E company, 2nd Battalion, 157th Regiment and their associated supports.

The Americans start on blinds in their hastily dug shallow trenches and scrapes, having retreated back from the area known as the Factory during the previous two days. The ground was hard and the weather cold and the troops found it very difficult to break into the earth. The resultant efforts generated only light forms of cover to add to the already almost spartan and featureless terrain of the valley area around the Via Anziante.

The Germans on the other hand are not only experienced troops but have the benefit of being supported by a full-strength platoon of panzer III tanks and a second platoon of assault guns. The Germans do not have any offboard artillery support as their barrage is assumed to have just been lifted from the American frontlines to enable their advance. Conversely, the Americans have the ability to call upon a three gun battery of 105 mm guns from the 58th Field Artillery Battalion directly behind their lines.

The Germans are allowed to enter the battlefield on Blinds using a randomised number of Blinds each turn.

We played the game with Barry Foster and Togs being the Germans; the Americans being played by Dave Wilson, Andrew Sharp, and Martyn Cartlidge (his place being taken later in the day by Dale Askew).

There were no Turn Cards required in this game pack however there were a few surprises namely a pair of Vehicle Breakdown cards to represent the frozen ground warming up and becoming the ubiquitous thick Italian mud which in real life halted much of the German advance. The action starts at around 06:30 hours.

The German advance platoons reach the railway embankment

The Germans made initial strikes using their Blinds and quickly raced to the edge of the railway embankment where they took up initial positions in cover behind the collection of linear obstacles and light hedging which denoted the irregular field boundary markers. The Americans undertook some initial observation and detected the Panzer platoon almost immediately.

A cuckoo in the nest. Just to mix things up a bit I added a false Tiger Mk 1 into the Panzer III platoon.

As is my way, I decided to add a little entertainment into the game and represented one of the Panzer III tanks with a Tiger I to represent the fear that a lot of Americans had of these vehicles and their inability to distinguish them from other less lethal vehicles at long range.

Rapidly the Germans deployed their infantry platoons, of which they had many, and quickly established a fire base with their heavy weapons platoon comprising of four medium machine guns who set up on their right flank (the western side of the table). Simultaneously they also advanced on their Eastern flank and began to take fire from the American positions deep within their half of the table.

One thing is that American platoons are blessed with is the number of heavy and medium machine guns and these started to make their mark as the Germans advanced. This would have been catastrophic under normal circumstances, however Barry was in his element once again and was making saving throws time after time with the result that the Germans were actually sustaining very few losses indeed during their advance.

As the German Blinds became uncovered the American Forward Observer began to target their advance with the off table artillery support. The results of this bombardment was that many of the Panzers in the centre were pinned by the barrage and their adjacent accompanying infantry were also temporarily halted. This was a major factor in the American defence plan and they continued to use it most effectively. The Germans were distracted by this and frequently had to redeploy their Big Men accordingly to remove Shock and Pinned markers on the affected units. This bought the Americans considerable time and helped them prolong the time that the Germans were under the sights of their numerous and effective machine guns.

The StuG III Platoon gets into action

The Americans continued to be successful with their observation efforts and more German platoons including that of the assault guns were unmasked. The StuG III unit drove through the centre attempting to make a dash over the railway line and along the track towards the single building on the battlefield. This terrain feature was surrounded by some lightweight hedges and vineyards but again the cover was considered minimal. It was in this area that the Americans had deployed to 57mm anti-tank guns in temporary camouflaged dugouts but these remain silent for some time. The Americans were also blessed with holding a pair of M10 tank destroyers, again in camouflaged dugouts however these two were held back as the German onslaught followed.

The battle then continued as the Germans attempted to make headway from their positions behind the railway embankment, across the road and into the fields containing the slit trenches and scrapes occupied by the Americans. They in turn continued with their unrelenting machine-gun fire; however this was successfully defended by the German players continuing to have good luck with their saving throws.

The German Panzers and their assault gun support platoon made a play and concentrated their efforts using the Blitzkrieg card to good effect; driving hard through the centre of the battlefield in a concerted manner. It was at this point that the Americans declared their hand and their phenomenal anti-tank capacity by masking three separate Bazooka teams. Under normal circumstances this would have been dire for the Germans but once again their saving throws were outlandishly effective and many a hollow charge projectile failed to damage the advancing armour. The Germans retaliated and quickly destroyed two Bazooka teams with a pair of throws of "Lucky 17".

Close tank/ infantry support

Barry pressed home with his attacks on the American right flank and given their ‘green’ nature, many of the units under fire quickly became ineffective and started to abandon their positions. He also made good use of the Blinds card and a blinds bonus move card to quickly bring up another full Panzer Grenadier platoon along that flank with which he then attempted to get into close assault with the remaining defenders holding out in that area. It was at that point that his luck ran out somewhat and he failed to make the distance to get into contact, leaving his troops exposed in No Man’s Land and with many American machine guns trained upon them. It looked rather dire at that point.

German Panzer Grenadiers advancing on their left flank.

Meanwhile in the centre the Panzer versus American anti-tank weapons battle continued unabated with units trading shots. Quickly two more Panzers were damaged and one totally abandoned as the morale of the crew deteriorated under such pressure.

Eventually the close combat did take place on the flank but as the American defenders were neither suppressed nor pinned, they managed to drive off the Panzer Grenadier assault and their respective position was made more precarious by the massive firepower placed against them by the dug in machine guns.

German units start to suffer.
NB The red market in the corner of the hedges is the fall of shot marker for the American off table artillery

The Americans were starting to lose heavily but they still held on. The Germans managed to get one of their assault guns free from the clinging mud and back into action but as time progressed it was apparent that they had not done enough in the time available and their attack began to falter.

They had been set the objective to clear the road entirely of Americans and also prevent any units being able to be in a position to fire upon the road. This they had unfortunately not been able to achieve and after playing with approximately two dozen reshuffled decks we decided to call it a day.

It had been a demanding and at times frustrating game but the outcome was very similar to the real historical events that took place around the extended Anzio beachhead in February 1944.

Tim Whitworth


Valle delle Marie, Italy, August 1944.

Here is the set up for the latest encounter set around the Gothic line in 1944. A British company attack this time supported by Sherman tanks and artillery against Germans dug in and determined to fight for the last inch of their territory.

The valley lies between two fictitious towns but is typical of the terrain encountered by the Allies during this campaign.

Again we will be playing this game using the three new mats from Geekvillain, a new mat manufacturer based in Leicester. A fantastic product and highly recommended is the rocky grass mat for this geographical area.

For those interested in this scenario appears in a Too Fat Lardies Special and was penned by Mike Whittaker.

The Game

The village of Sante Magdelene; the British second objective.

We played this game again using the Too Fat Lardies rule set "I ain't been shot Mum" and played it over two evenings. Barry and Ralph played German defenders whilst Bruce and Richard aided by myself play the attacking British force. As ever the tea and refreshments were kindly provided by Steve and Archie.

The scenario albeit fictitious is typical of the sorts of frequent missions carried out in this theatre of war during 1944. The terrain was arduous and frequently mountainous. The roads that did exist were passable in summer but during winter quickly turn to mud.

The table layout includes two villages, one burnt out yet still occupied (Santa Maria) and the other intact and occupied. The intact village of Santa Magdalene and its associated church were on the rising slopes of the northern end of the valley, the main road passing from south to north with a branch off via the destroyed village to the east which then took a D shape swinging back to the West and joining up at the village of Santa Magdalene.

There were frequent copses and small woods along with copious amounts of high crops adjacent to the road, on its western edge and on the eastern edge of the table there were large vineyards. The two southern corners of the table both had sloping fields and along with the northern slope where the village of Santa Magdalene lay combined to make the Valley of the Two Marys.

The Germans set up quite far forward and could occupy the village of Santa Maria, drawing a line back through the central ward and in front of Santa Magdalene. This deployment area gave them considerable amounts of cover options as well as the high ground around the church from where they could see most of the battlefield.

They elected to set up their two depleted infantry platoons, one in each village and their forward observation officer on the high ground outside the church, surveying the whole of the battlefield. He had access to an offboard battery of four mortars of 81 mm calibre with unlimited fire missions and a couple of preregistered fire points.

The Germans also had a surprise in a depleted platoon of two STuG III assault guns that they deployed in the central wood and in the corner of the vineyard adjacent to the D-shaped road. All were on hidden blinds.

The table looking from the northern edge hill, held by the Germans and looking towards the village (fall left) of Santa Maria. The magnitude of the smoke bombardment is obvious.

The British had to deploy in the South Western corner under blinds with a maximum of two arriving per turn. Very cleverly, they elected to put their forward observer and a lone Churchill close support tank on the high ground adjacent to that corner of the board.

The next two blinds arrived and were quickly automatically spotted by the hidden German troops as they passed through open terrain. The first was a column of five Sherman 75 mm tanks, the second a standard British infantry platoon; both platoons with an appropriate number of Big Men to hand.

The tanks with infantry support and the benefit of the Churchill set about creating a massive smokescreen between them and the village of Santa Maria, conducting a brisk advance as they did so. Unbeknown to them either they were under the gaze of the German forward observer who had contacted his off board battery to bring down fire on an adjacent preregistered target point. This was a key point in the game as fire was maintained in the region almost constantly, pinning the vehicles and infantry in that area.

The scenario used a game turn indicator card as well as the Tea Break card. The scenario had a maximum of 15 turns before it was considered to be nightfall; by which time the British had to take both villages to achieve their objective. The Germans had to defend both villages in timeframe for them to win.

The first seven turns of the 15 turn game seemed to race by and it appeared that the British would run out of time long before they even crossed the centreline of the battlefield let alone got close to their objectives. However IABSM is a clever set of rules with twists and turns along the way, aided somewhat by the chance sequence of cards drawn and obviously the way in which players maximise their opportunities as a result.

The next three turns seemed to take a little longer with probably six or seven packs of cards being used but it was at this time that the British troops started again and with their armoured thrust through the centre. Having driven the German troops out of the village of Santa Maria they were surprised to receive fire from the camouflaged assault gun in the corner of the vineyard. It claimed the lead Sherman and disabled it for the rest of the game.

That assault gun continued to pick fights with each other Sherman's rapidly destroying a second containing the tank platoon commander. He was a survivor of that attack and rapidly dismounted from his wreck and commandeered the tank of a subordinate within the platoon!

The three remaining Shermans then set about the STuG with a vengeance, quickly they placed shock upon it and immobilised it. Further hits resulting in the crew abandoning the vehicle. At which point the second assault gun appeared in the centre towards and entered into a firefight with the three remaining tanks. Smoke was called for from the Churchill who could view the fight developing from his hilltop position and under such pressure the STuG fired a shot and then withdrew back into the wood and out of sight.

More smoke cover as the British prepare to assault the beleaguered Germans

This was the moment the British were waiting for and having been dealt a succession of their cards the general advance followed at a pace into the centre area of the battlefield; infantry advancing along both flanks with the tanks desperately trying to fill the vacuum the centre. At this point it became quite inactive in terms of offboard artillery strikes with both sides waiting for their cards to be dealt, yet to no avail. A couple more turn cards were drawn very quickly and the game then rapidly moved into the next phase.

Who would win, the odds were quite even but with only three more turn cards available the British had to do something quickly.

Under the cover of another almost continuous smoke screen barrage from the Churchill and the infantry mortars there followed a number of infantry assaults on the German occupied buildings within the village of Santa Magdalene. These attacks were made from both the left and the right flanks; both of which saw the Germans withdraw from their cover and back towards the church upon the hill however they had made the British pay for it dearly and it is about this point in the battle that the British had lost approximately half of their force. A costly day indeed..

The two Shermans remaining on the table supported by their friendly Churchill continued to pound the village of Santa Magdalene until all resistance there ceased. It looked as if they were on the edge of victory with the Germans occupying just the church with a depleted machine gun team and a couple of badly mauled sections heading back to the hillside. Could the British make the final advance in time?

The answer was unfortunately no as just in time for the Germans the final turn card was drawn. The Germans had managed to achieve their objective just by the skin of their teeth but at a great loss.

This is a very interesting game and required considerable skill on the part of the British to use combined arms tactics and the cover of smoke well in order to proceed at a reasonable pace in a hostile environment against a determined enemy dug in and supported by significant amounts of firepower. However all agreed that again the rules had through and produced a very realistic representation of this sort of combat frequently endured in this theatre of operations.

Tim Whitworth


Cracking all day game today on a superb 12' x 8' Table.

German assault on dug in British troops. We allocated 3:1 ratio in the attack. Early sun glinted off the advancing Panzers before a 25lber artillery strike destroyed a half track platoon.

Stubborn British infantry were finally over run in the woods. A Tiger was lost to a plucky PIAT team on a Heroic action card: never had that happen before.

A Sherman reinforcing troop was then stonked on its startline by Nebelwerfers losing 50% strength. Eventually the flanks were turned and a German victory declared.

Julian Whippy