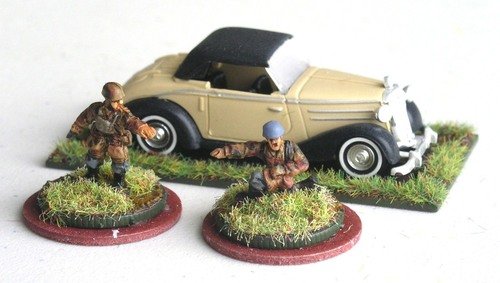
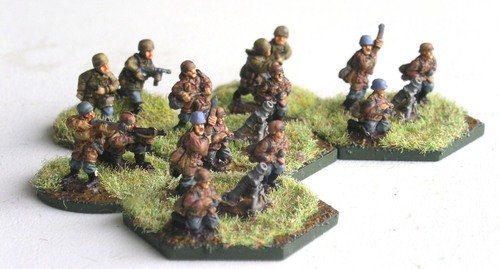
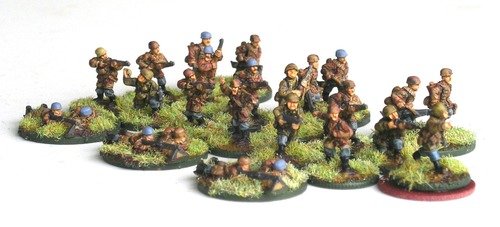
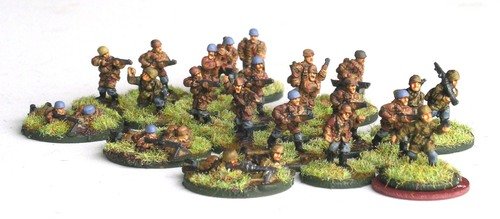
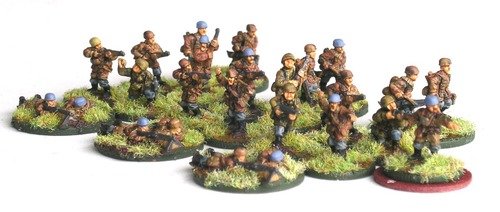
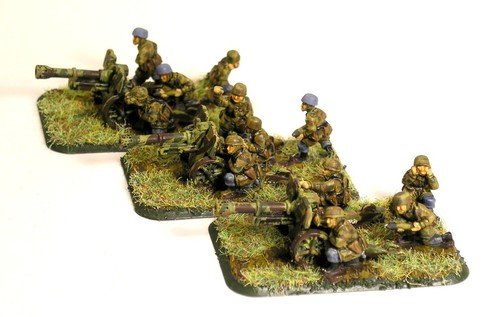
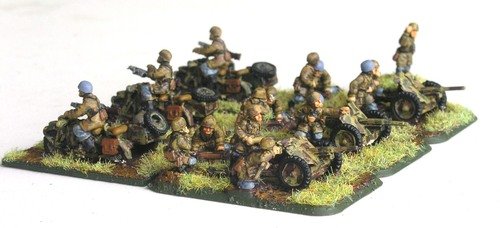
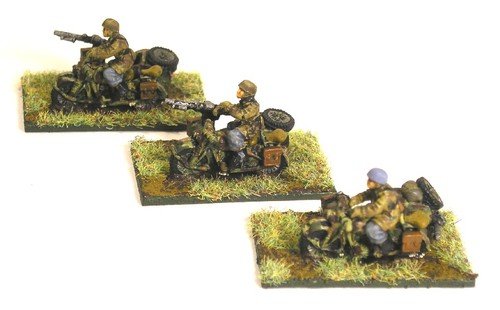
Originally bought for the TFL Crete Day in 2004, I seem to have an awful lot of Fallschirmjaegers! Technically, the infantry platoons should show two LMGs per squad as opposed to the one per squad shown, but if I do that, I have only two full platoons and an awful lot of spare infantrymen running around!
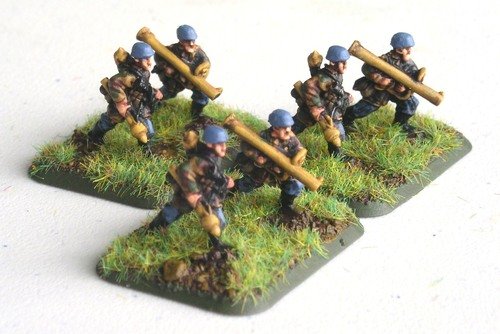
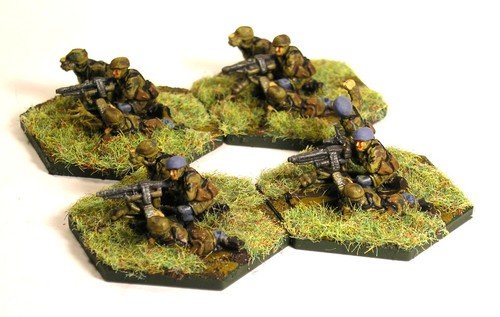
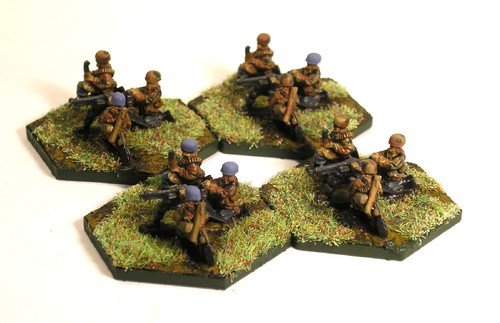
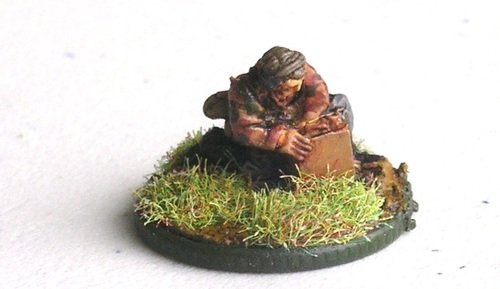
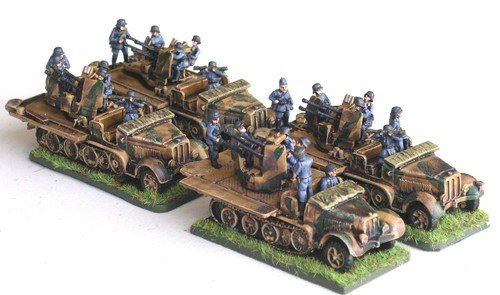
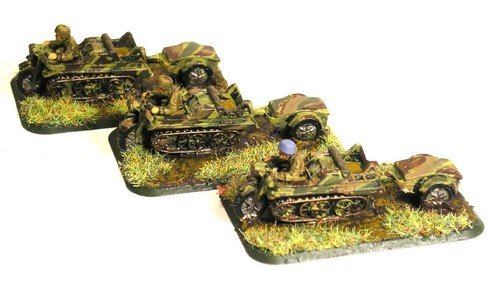
The figures are mostly Peter Pig, but with a smattering of Battlefront to make up the numbers. The slightly fanciful Mercedes "staff car" is from a model railway shop. Confession time: almost none of the figures are painted by me as I just couldn't face painting all that camouflage! In fact, looking down the page, only the Panzerschreks, Leichtgeshultz 40s and Leichter Flakzug are mine.
Company A
View fullsize
Kompanie HQ (2 x Big Men, Car)
View fullsize
Kompanie HQ Mortars ( 3 x 8cm Mortar)
View fullsize
Kompanie HQ AT Assets (3 x Panzerschrek Team)
View fullsize
Kompanie HQ: Extra MMG Teams
View fullsize
1st Platoon (3 x Rifle/SMG Squad, 2 LMGs)
View fullsize
2nd Platoon (3 x Rifle/SMG Squad, 2 LMGs)
View fullsize
3rd Platoon (3 x Rifle/SMG Squad, 2 LMGs)
Company B
View fullsize
Kompanie HQ (2 x Big Men)
View fullsize
Kompanie HQ Mortars ( 3 x 8cm Mortars)
View fullsize
Kompanie HQ AT Assets (3 x Panzerschrek Teams)
View fullsize
Kompanie HQ: Extra Flamethrower Teams
View fullsize
4th Platoon (3 x Rifle/SMG Squad, 2 LMGs)
View fullsize
5th Platoon (3 x Rifle/SMG Squad, 2 LMGs)
View fullsize
6th Platoon (3 x Rifle/SMG Squad, 2 LMGs)
Battalion Support
View fullsize
Machine Gun Zug 1 (4 x MMG Teams)
View fullsize
Machine Gun Zug 2 (4 x MMG Teams)
View fullsize
Light Infantry Gun Zug (3 x 75mm Infantry Guns)
View fullsize
Mortar Zug (FOO to 4 x 8cm Mortars)
Regimental & Divisional Support
View fullsize
Anti-Tank Zug (3 x PaK 38 Anti-Tank Guns)
View fullsize
Heavy Mortar Zug (3 x 12cm Mortar)
View fullsize
Anti-Tank Gruppe (3 x Panzerschrek Teams)
View fullsize
Assault Gun Zug (3 x StuG III)
View fullsize
FlakGeschutzStaffel/Option 1 (88's)
View fullsize
FlakGeschutzStaffel/Option 2 (LeichtGeschultze 40 RRs)
View fullsize
(Understrength) Leichter FlaKZug/Option 1 (2/6 x 2cm FlaK38 AA Guns)
View fullsize
(Overstrength) Leichter FlaKZug/Option 2 (4/3 x SdKfz 7/1 with Luftwaffe Crews)
View fullsize
Transport Assets: Kettenrads
View fullsize
Scouts/Transport: Motorcycle Combos
Air & Air Transport Assets
View fullsize
Ground Attack: Junkers Ju-87 "Stuka"
View fullsize
Transport: Junkers Ju-52 "Tante Ju"
View fullsize
Transport: 4 x DFS 920 Gliders