Barosaurians from Trilaterum
/I’m a big fan of Trilaterum: the range of 15mm sci-fi figures from Trench Coat Miniatures.
I already have a whole company of their Barad (bear-like infantry) and a few of their Parisi Reavers (snake-like infantry), with the only real pain being that they are based in the UK and don’t sell directly or via a supplier to the UK. I am, however, nit without resource, and a large package was soon winging it’s way over the Atlantic and into my waiting hands!
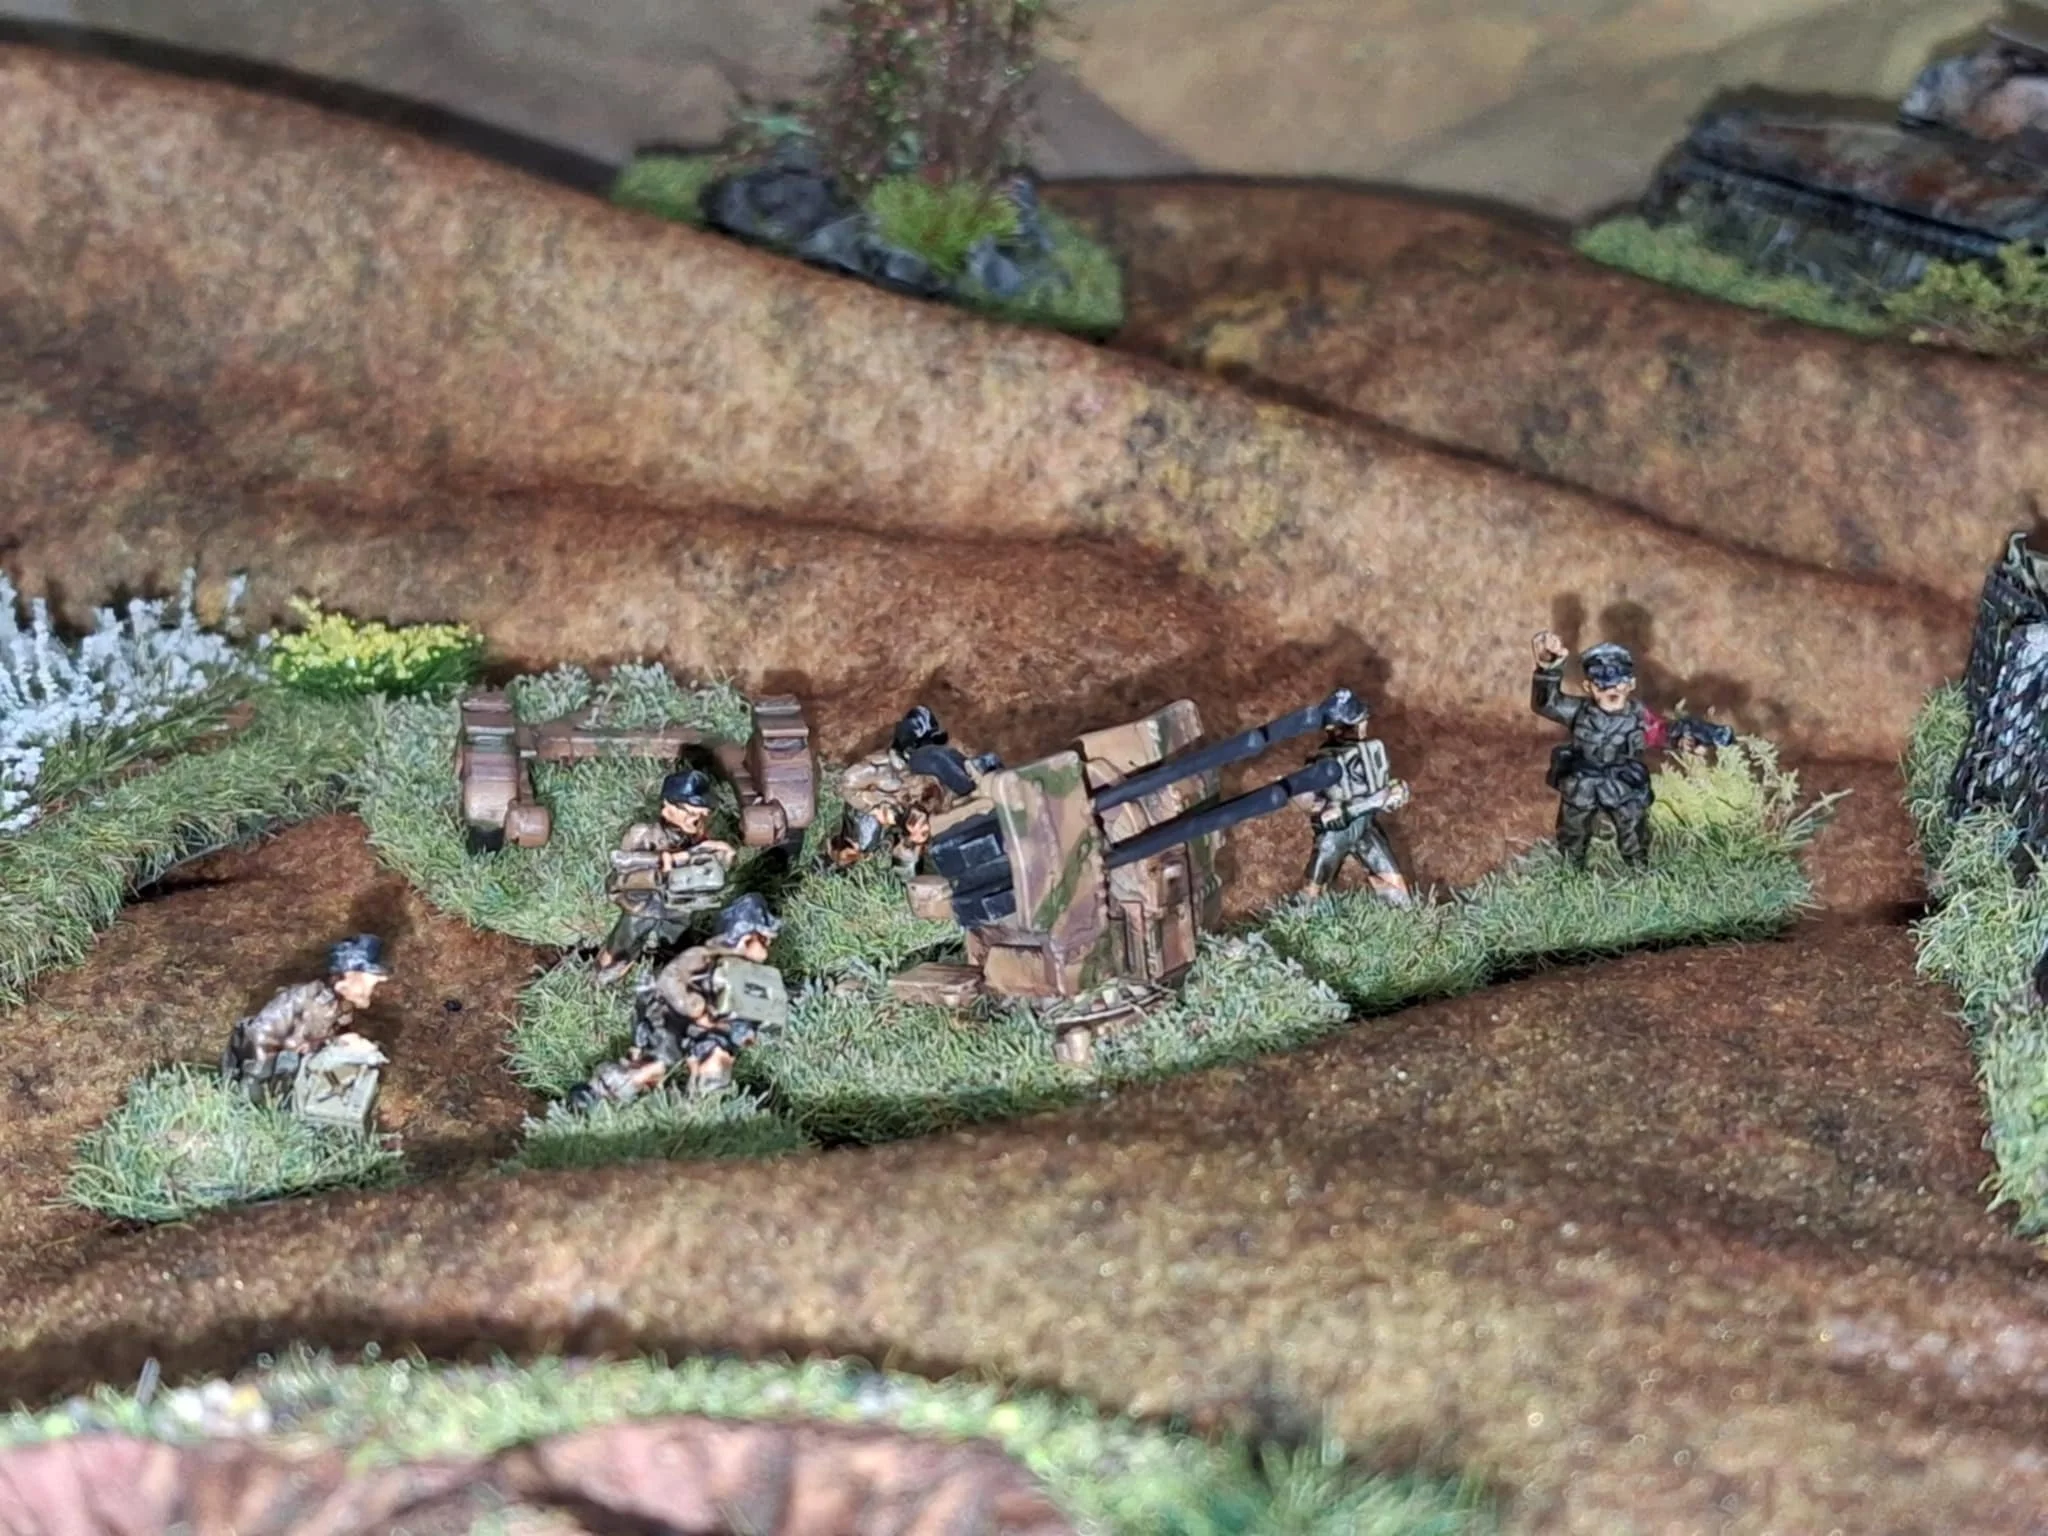
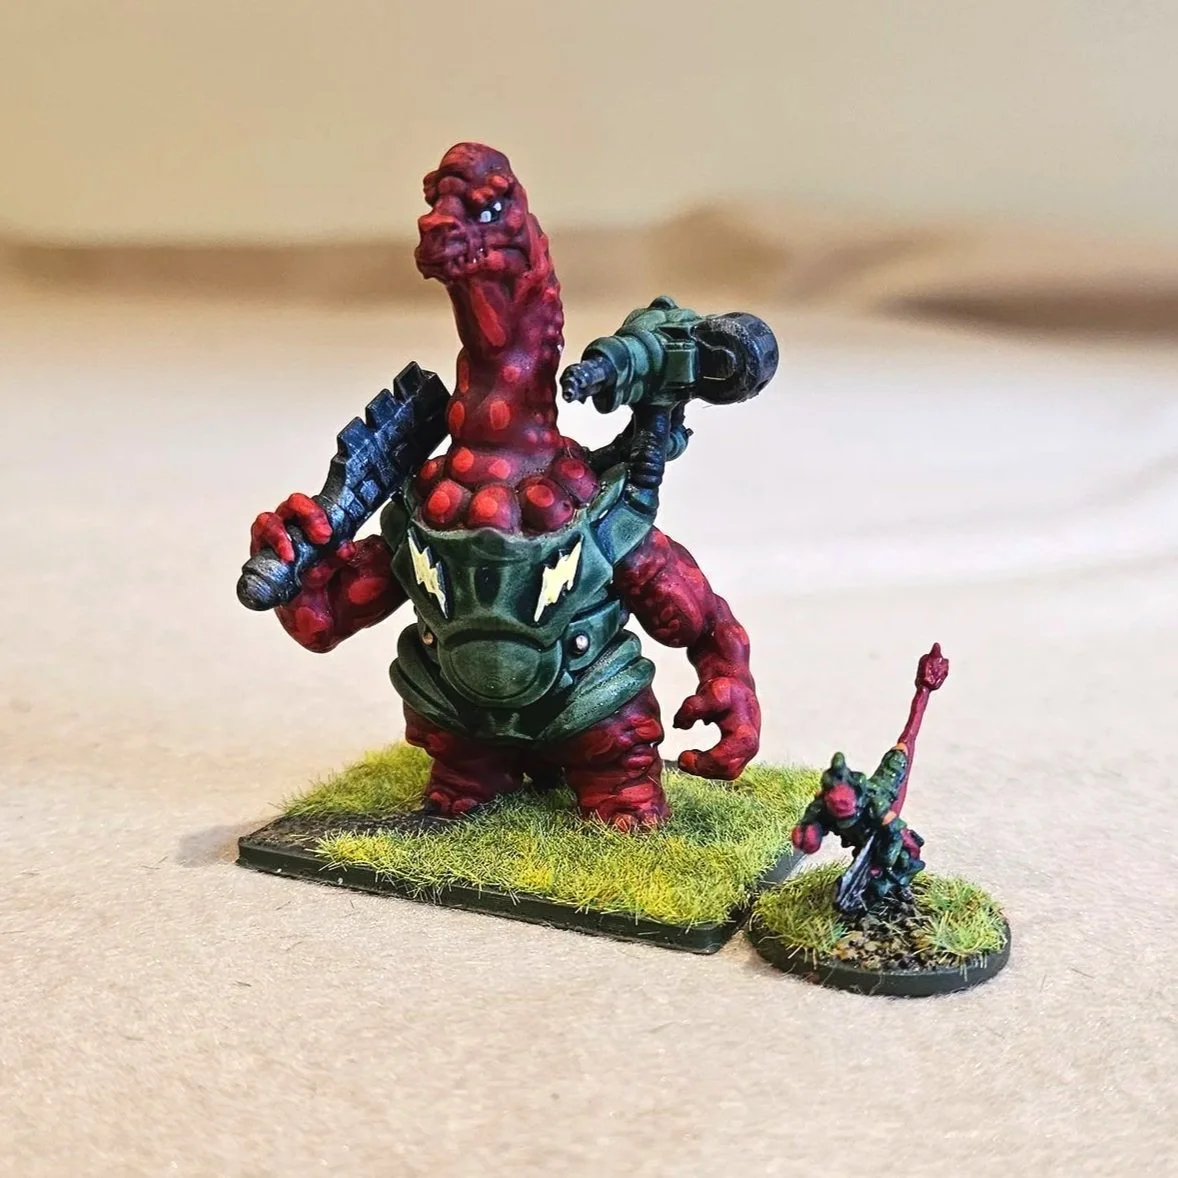
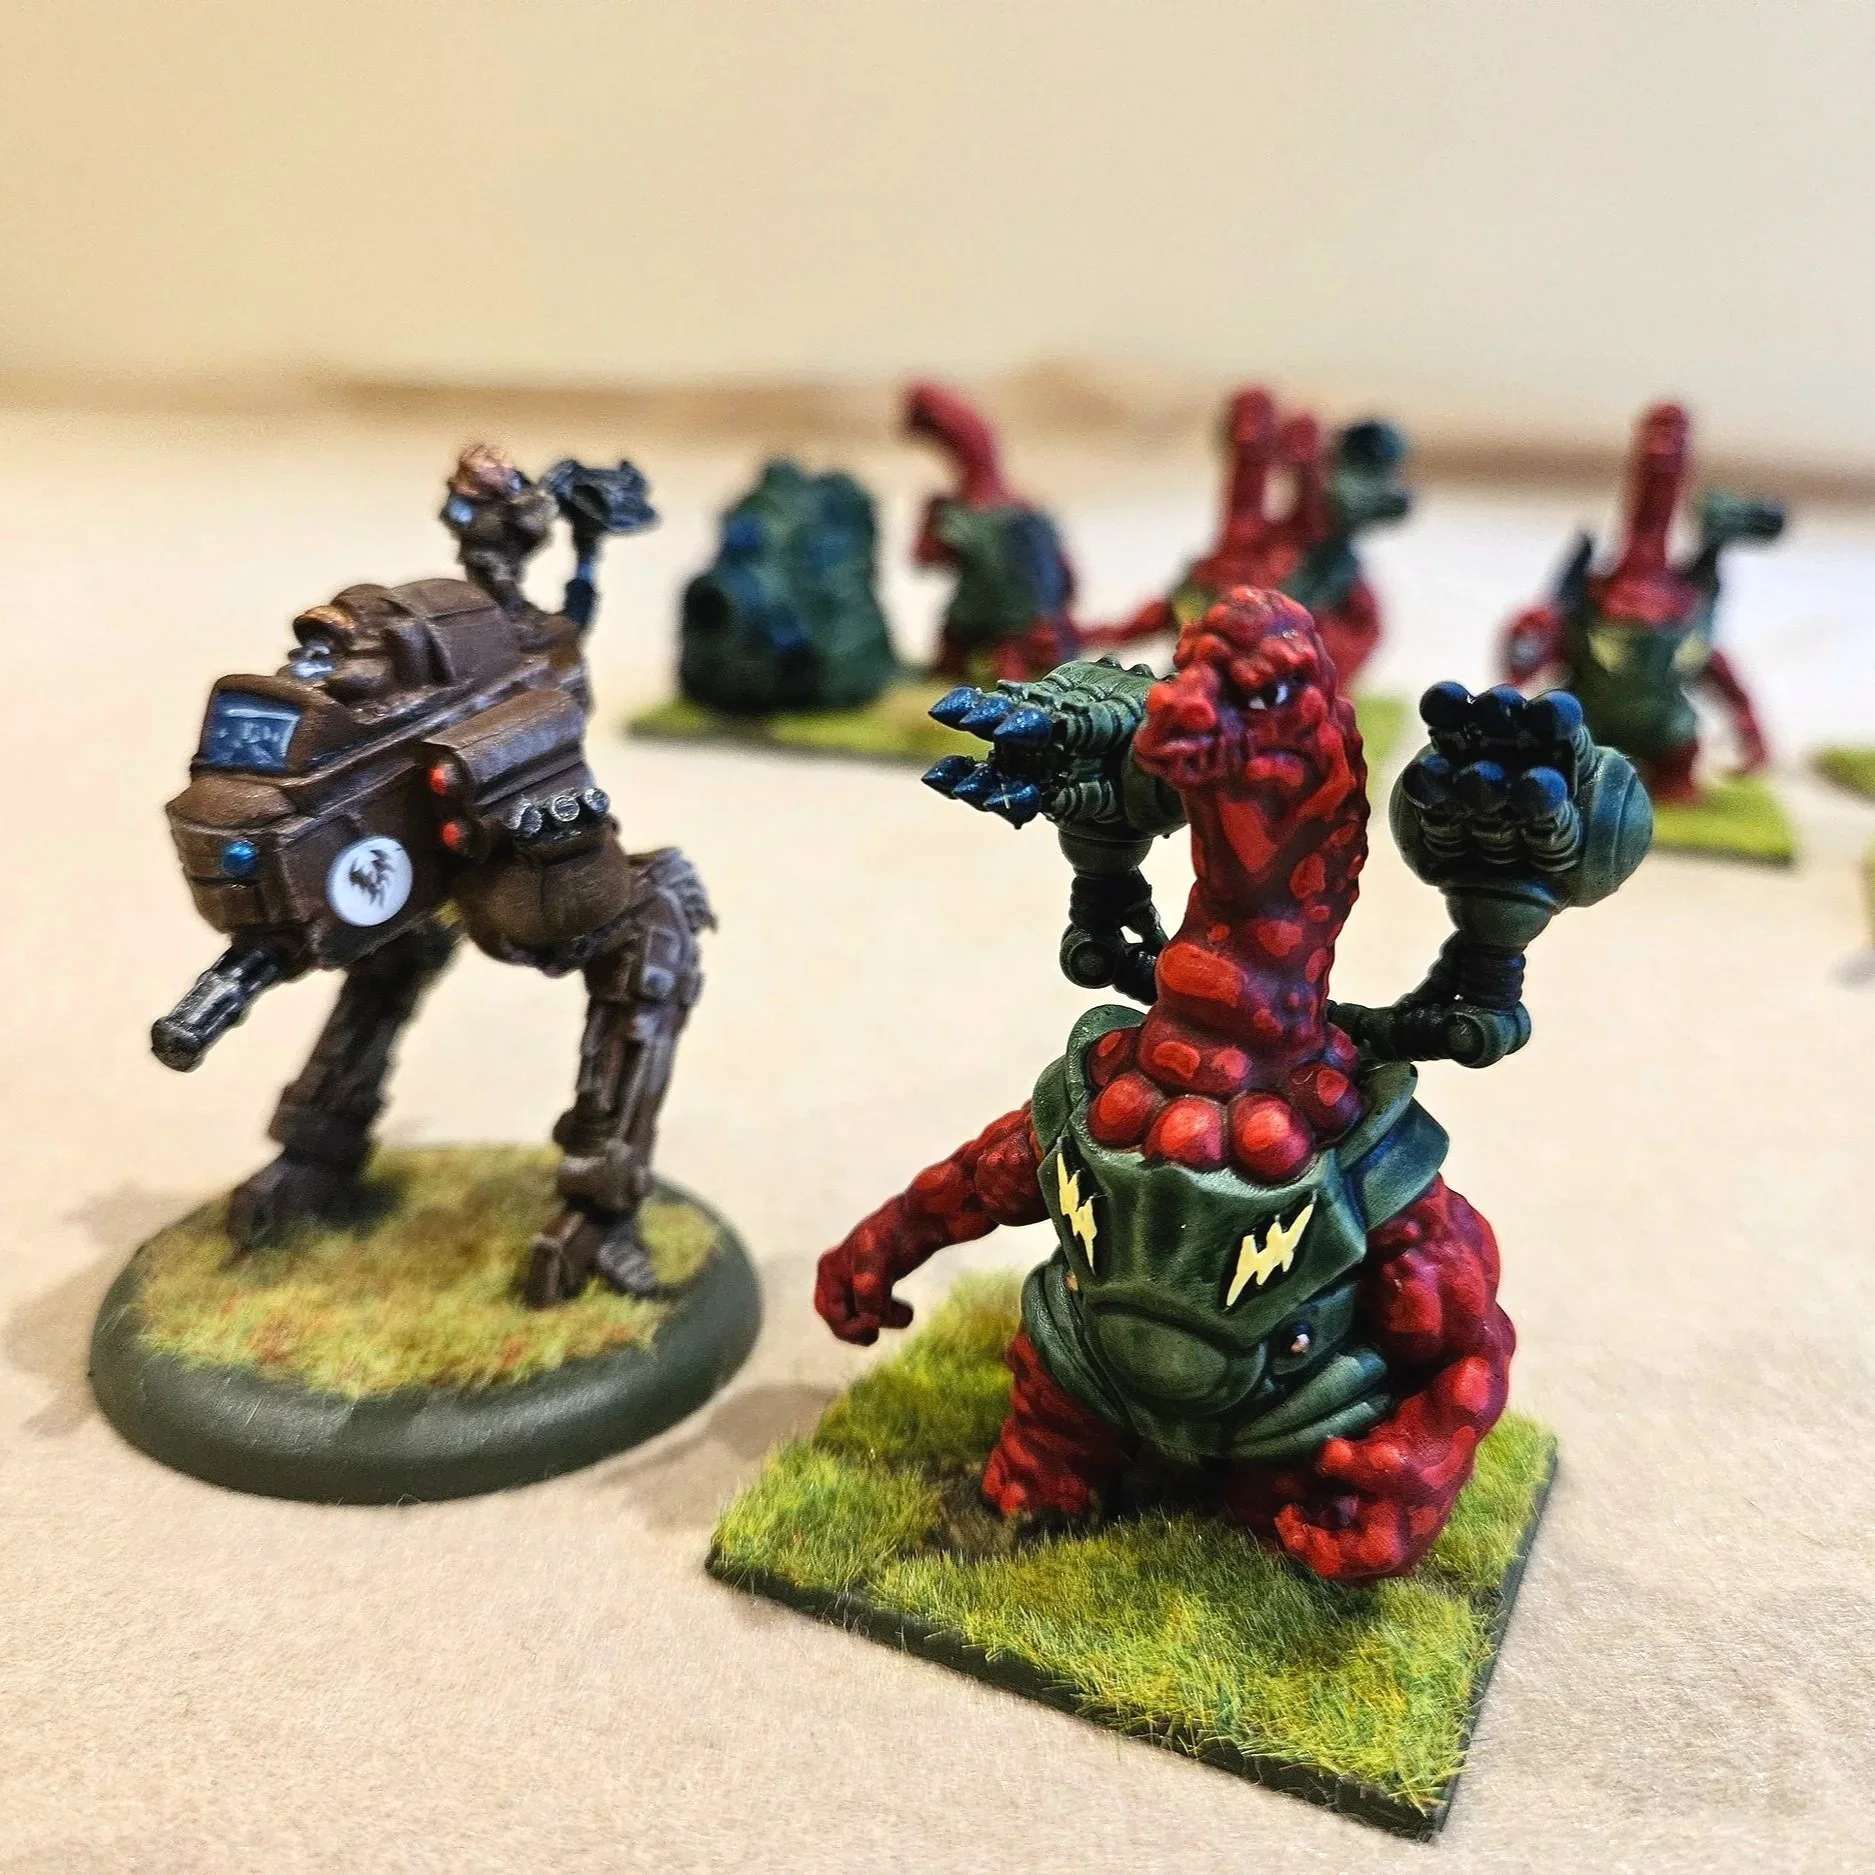
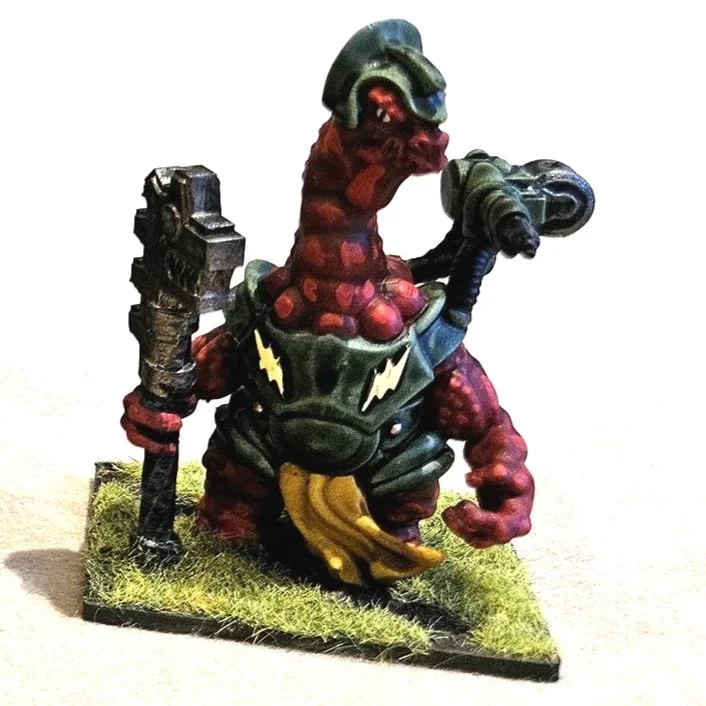
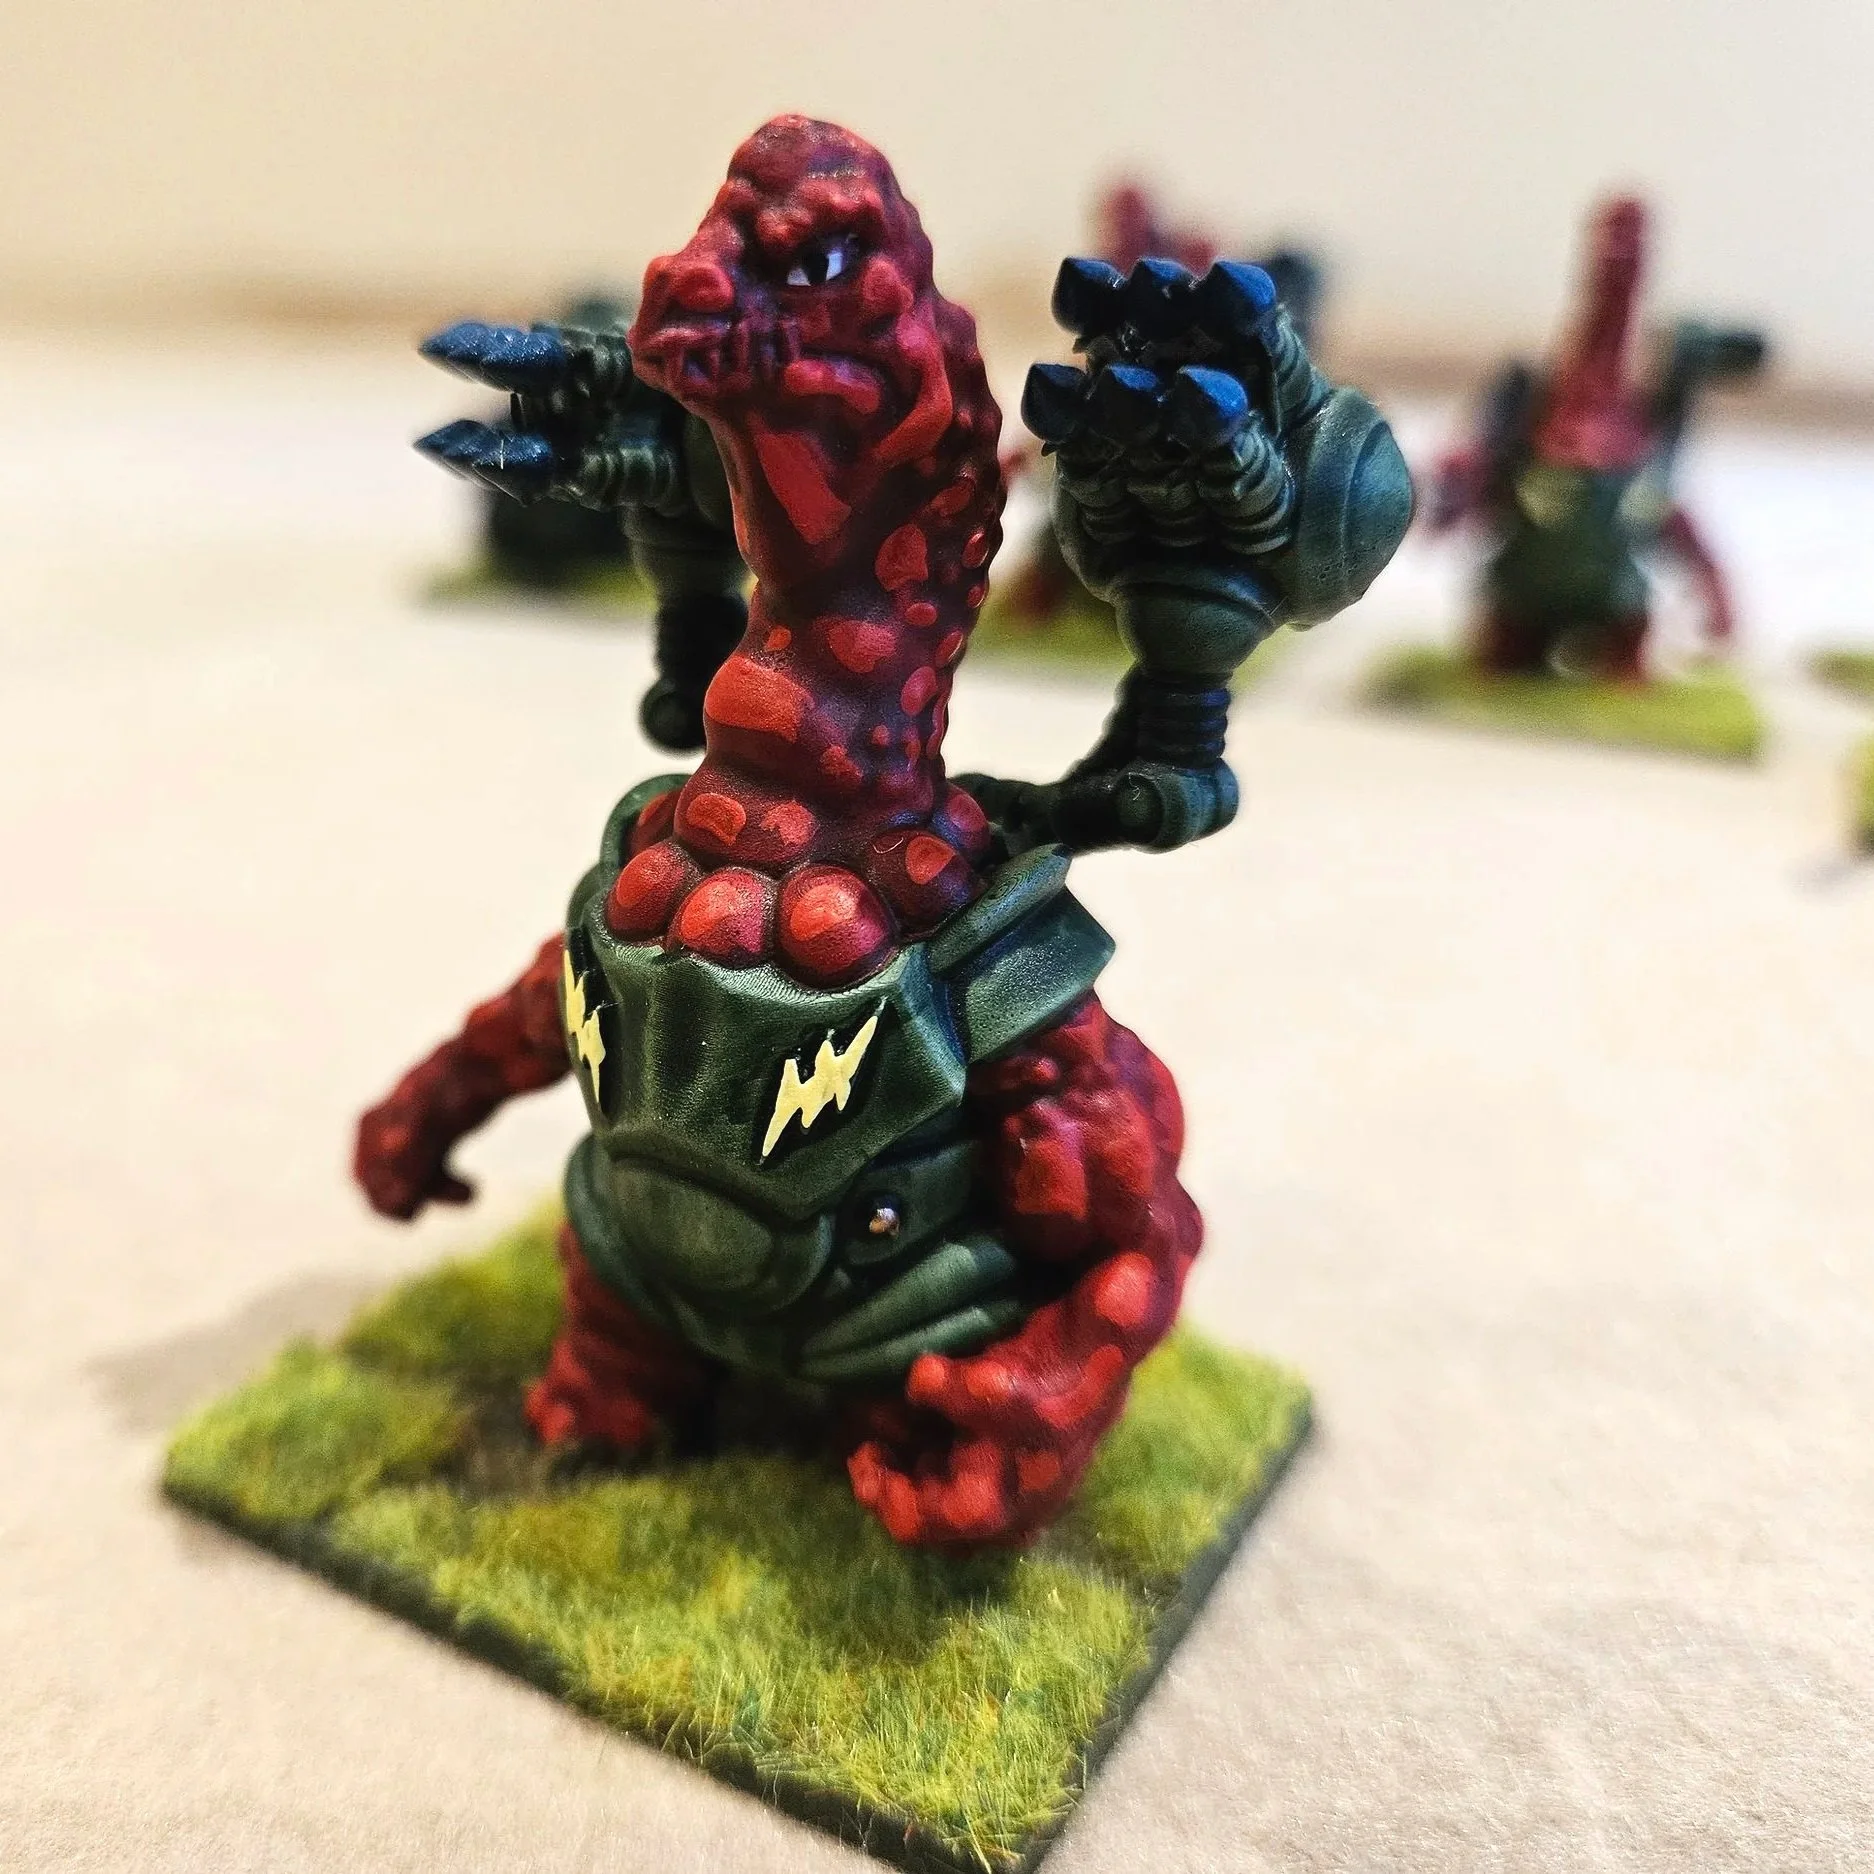
First to make an appearance on the painting table were the Barosaurians: a formidable race of towering, reptilian bipeds that strike fear into the hearts of their enemies with their sheer size and overwhelming firepower. Towering above most other species, these behemoths are slow-moving but compensate with their unparalleled resilience and devastating armaments. Their massive bodies are covered in thick, layered scales and armor that renders them nearly impervious to conventional weaponry. This allows them to march steadily across the battlefield, absorbing enemy fire without breaking stride.
The Barosaurian army pack costs (at time of writing) $30 plus p&p. In the very pretty box, you get eight figures and a large gun, plus a nicely presented stats sheet for the troops for Trilaterum’s own system:
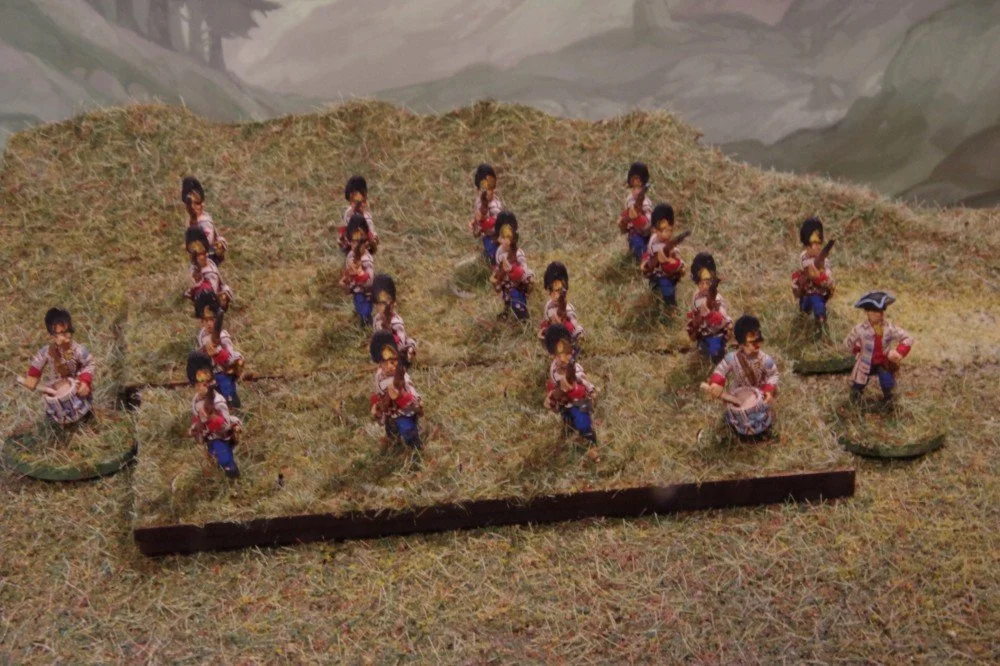
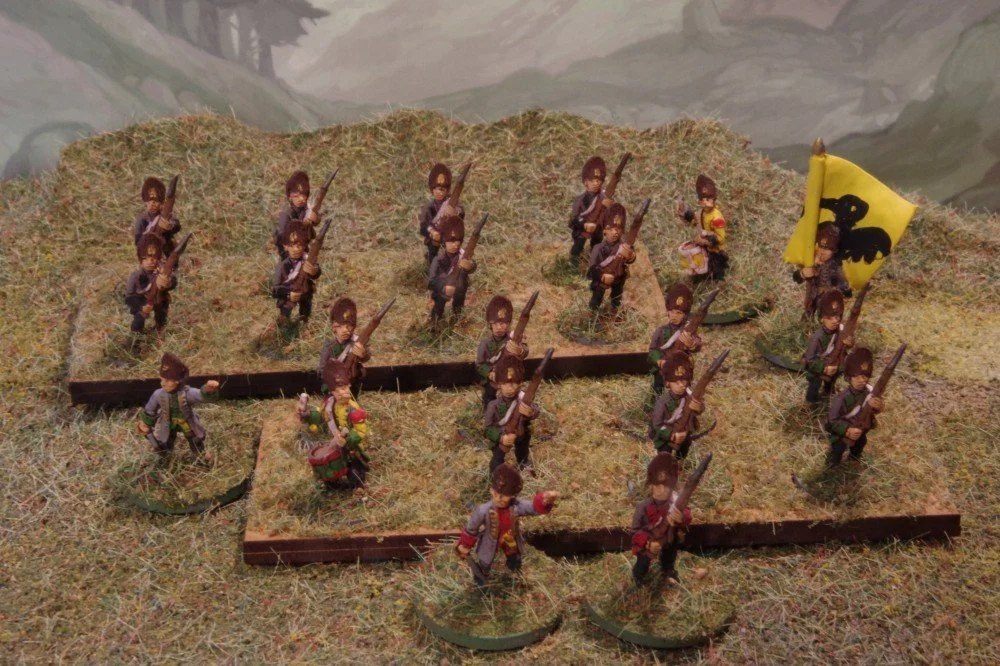
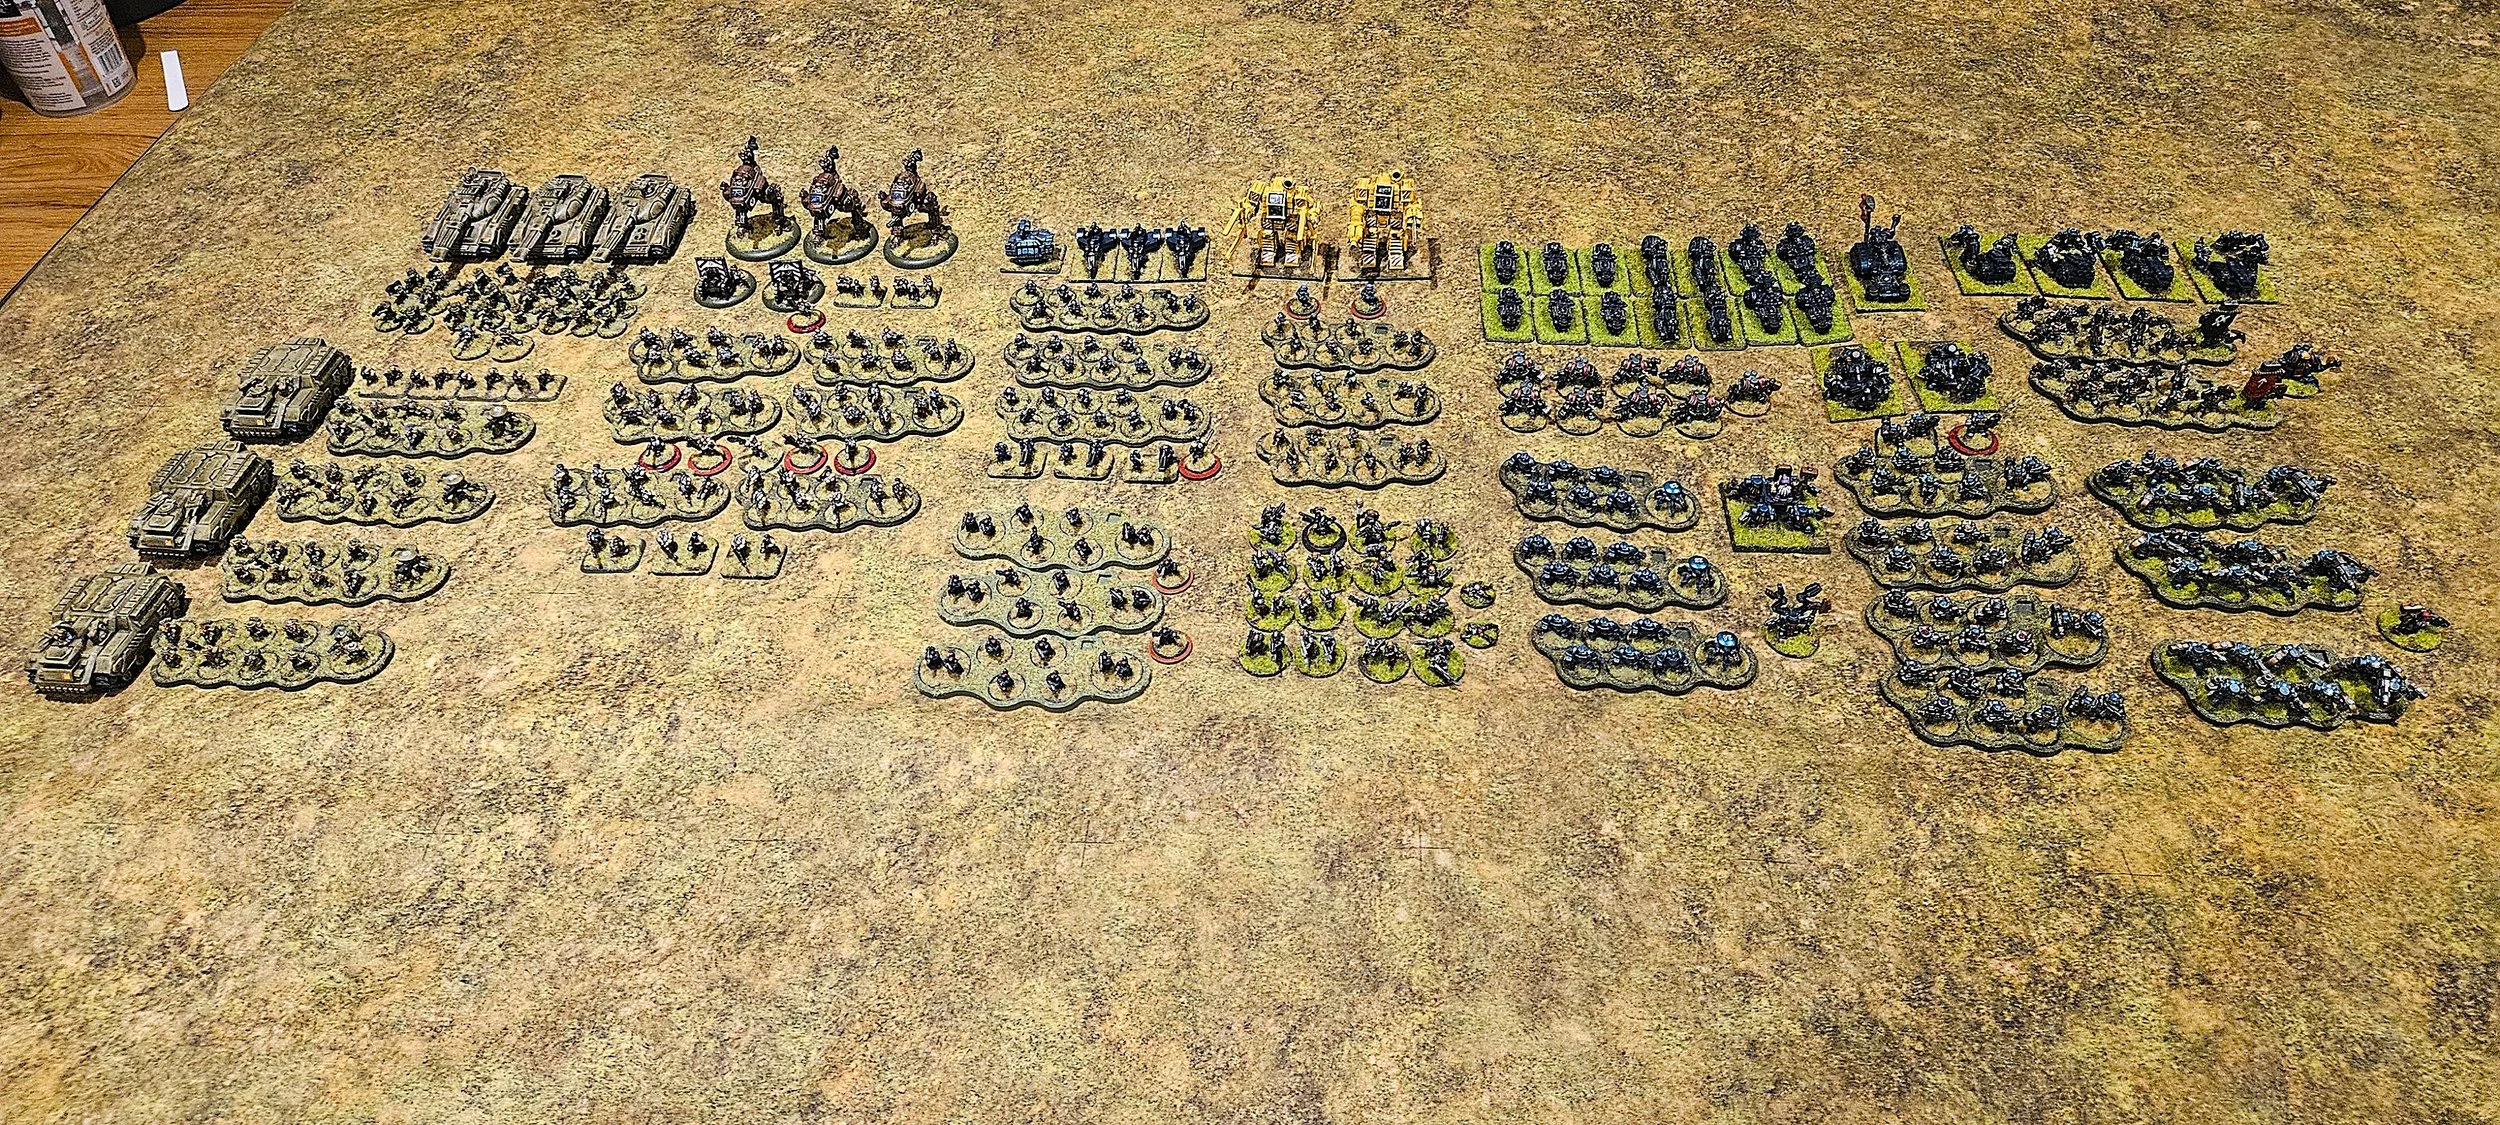
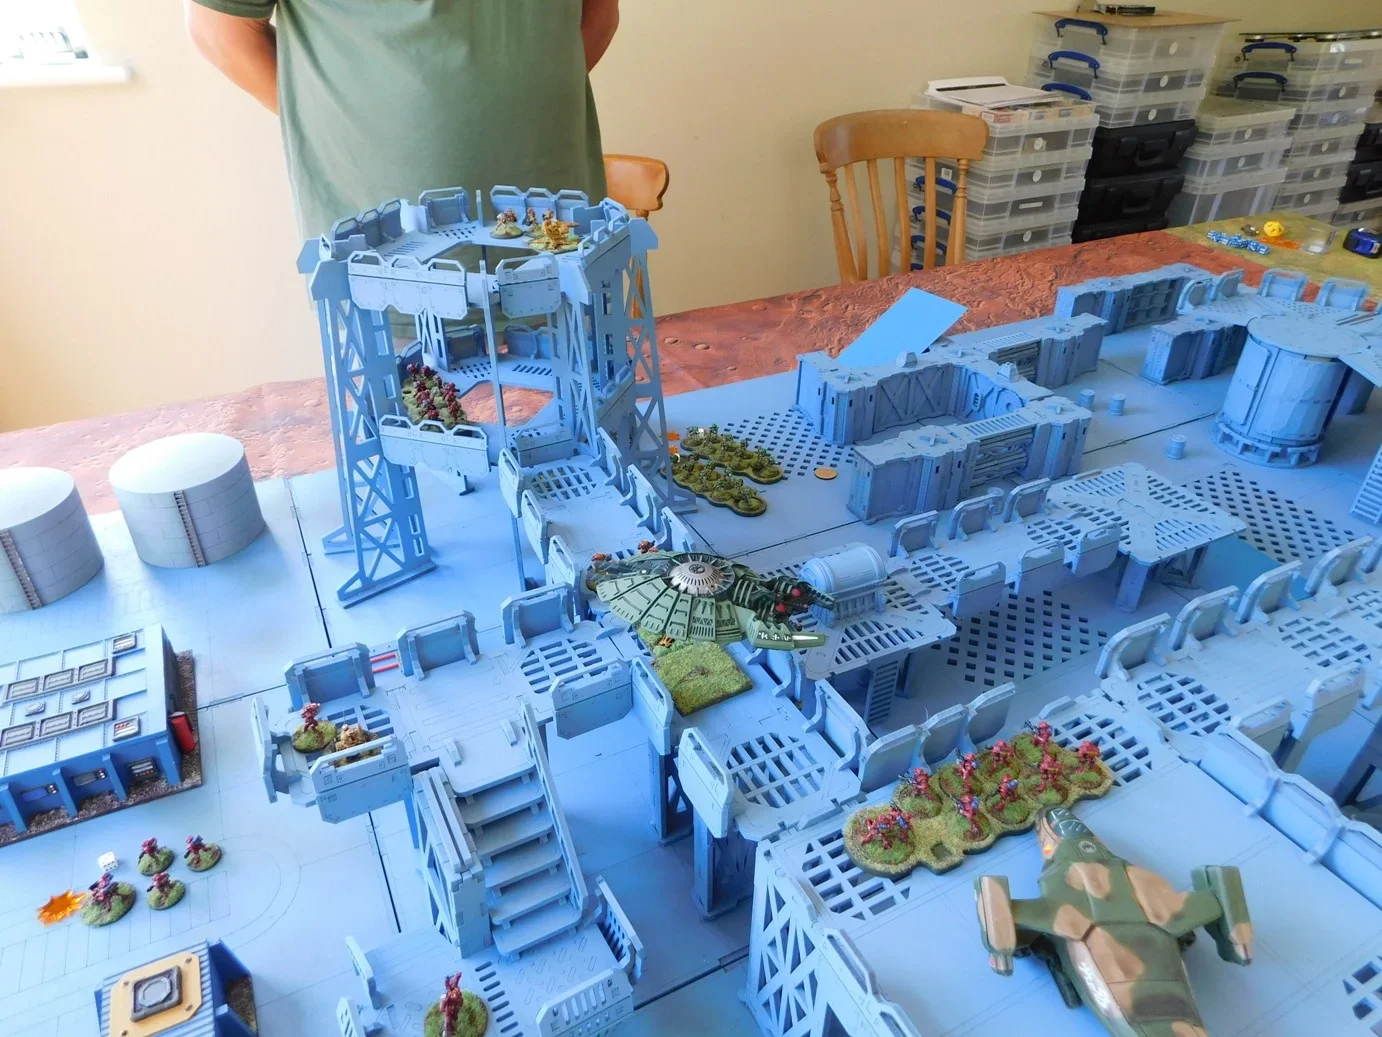
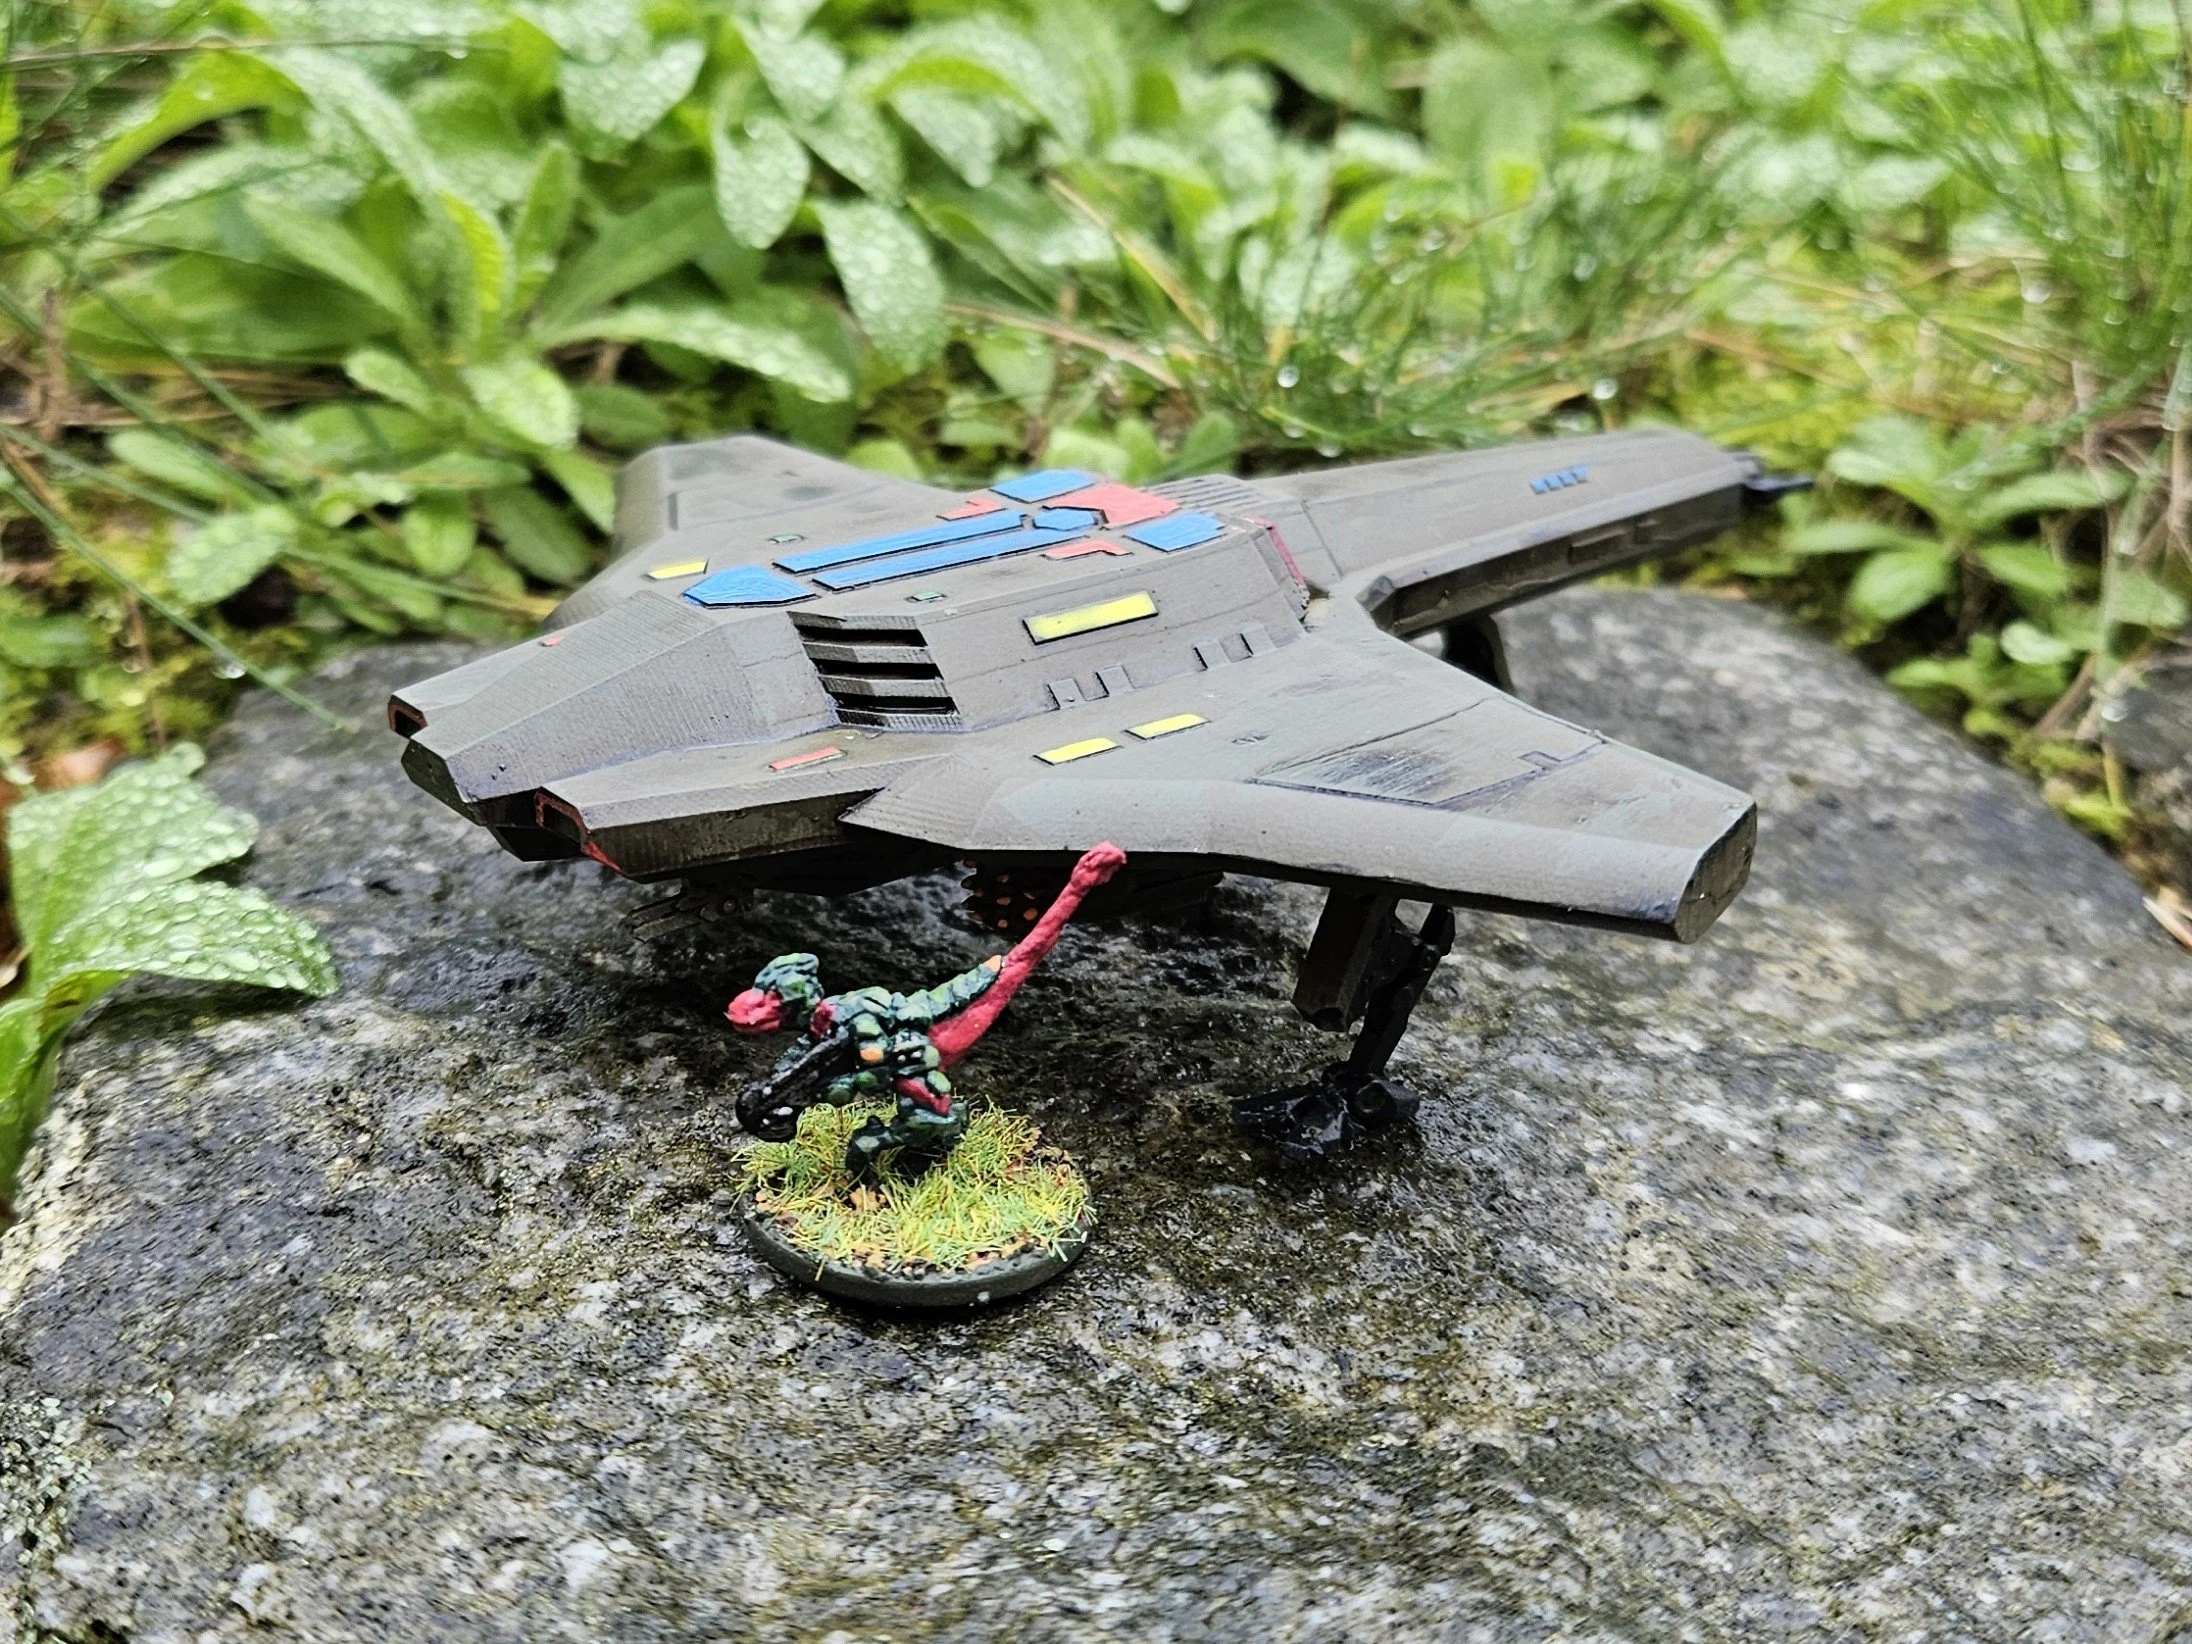
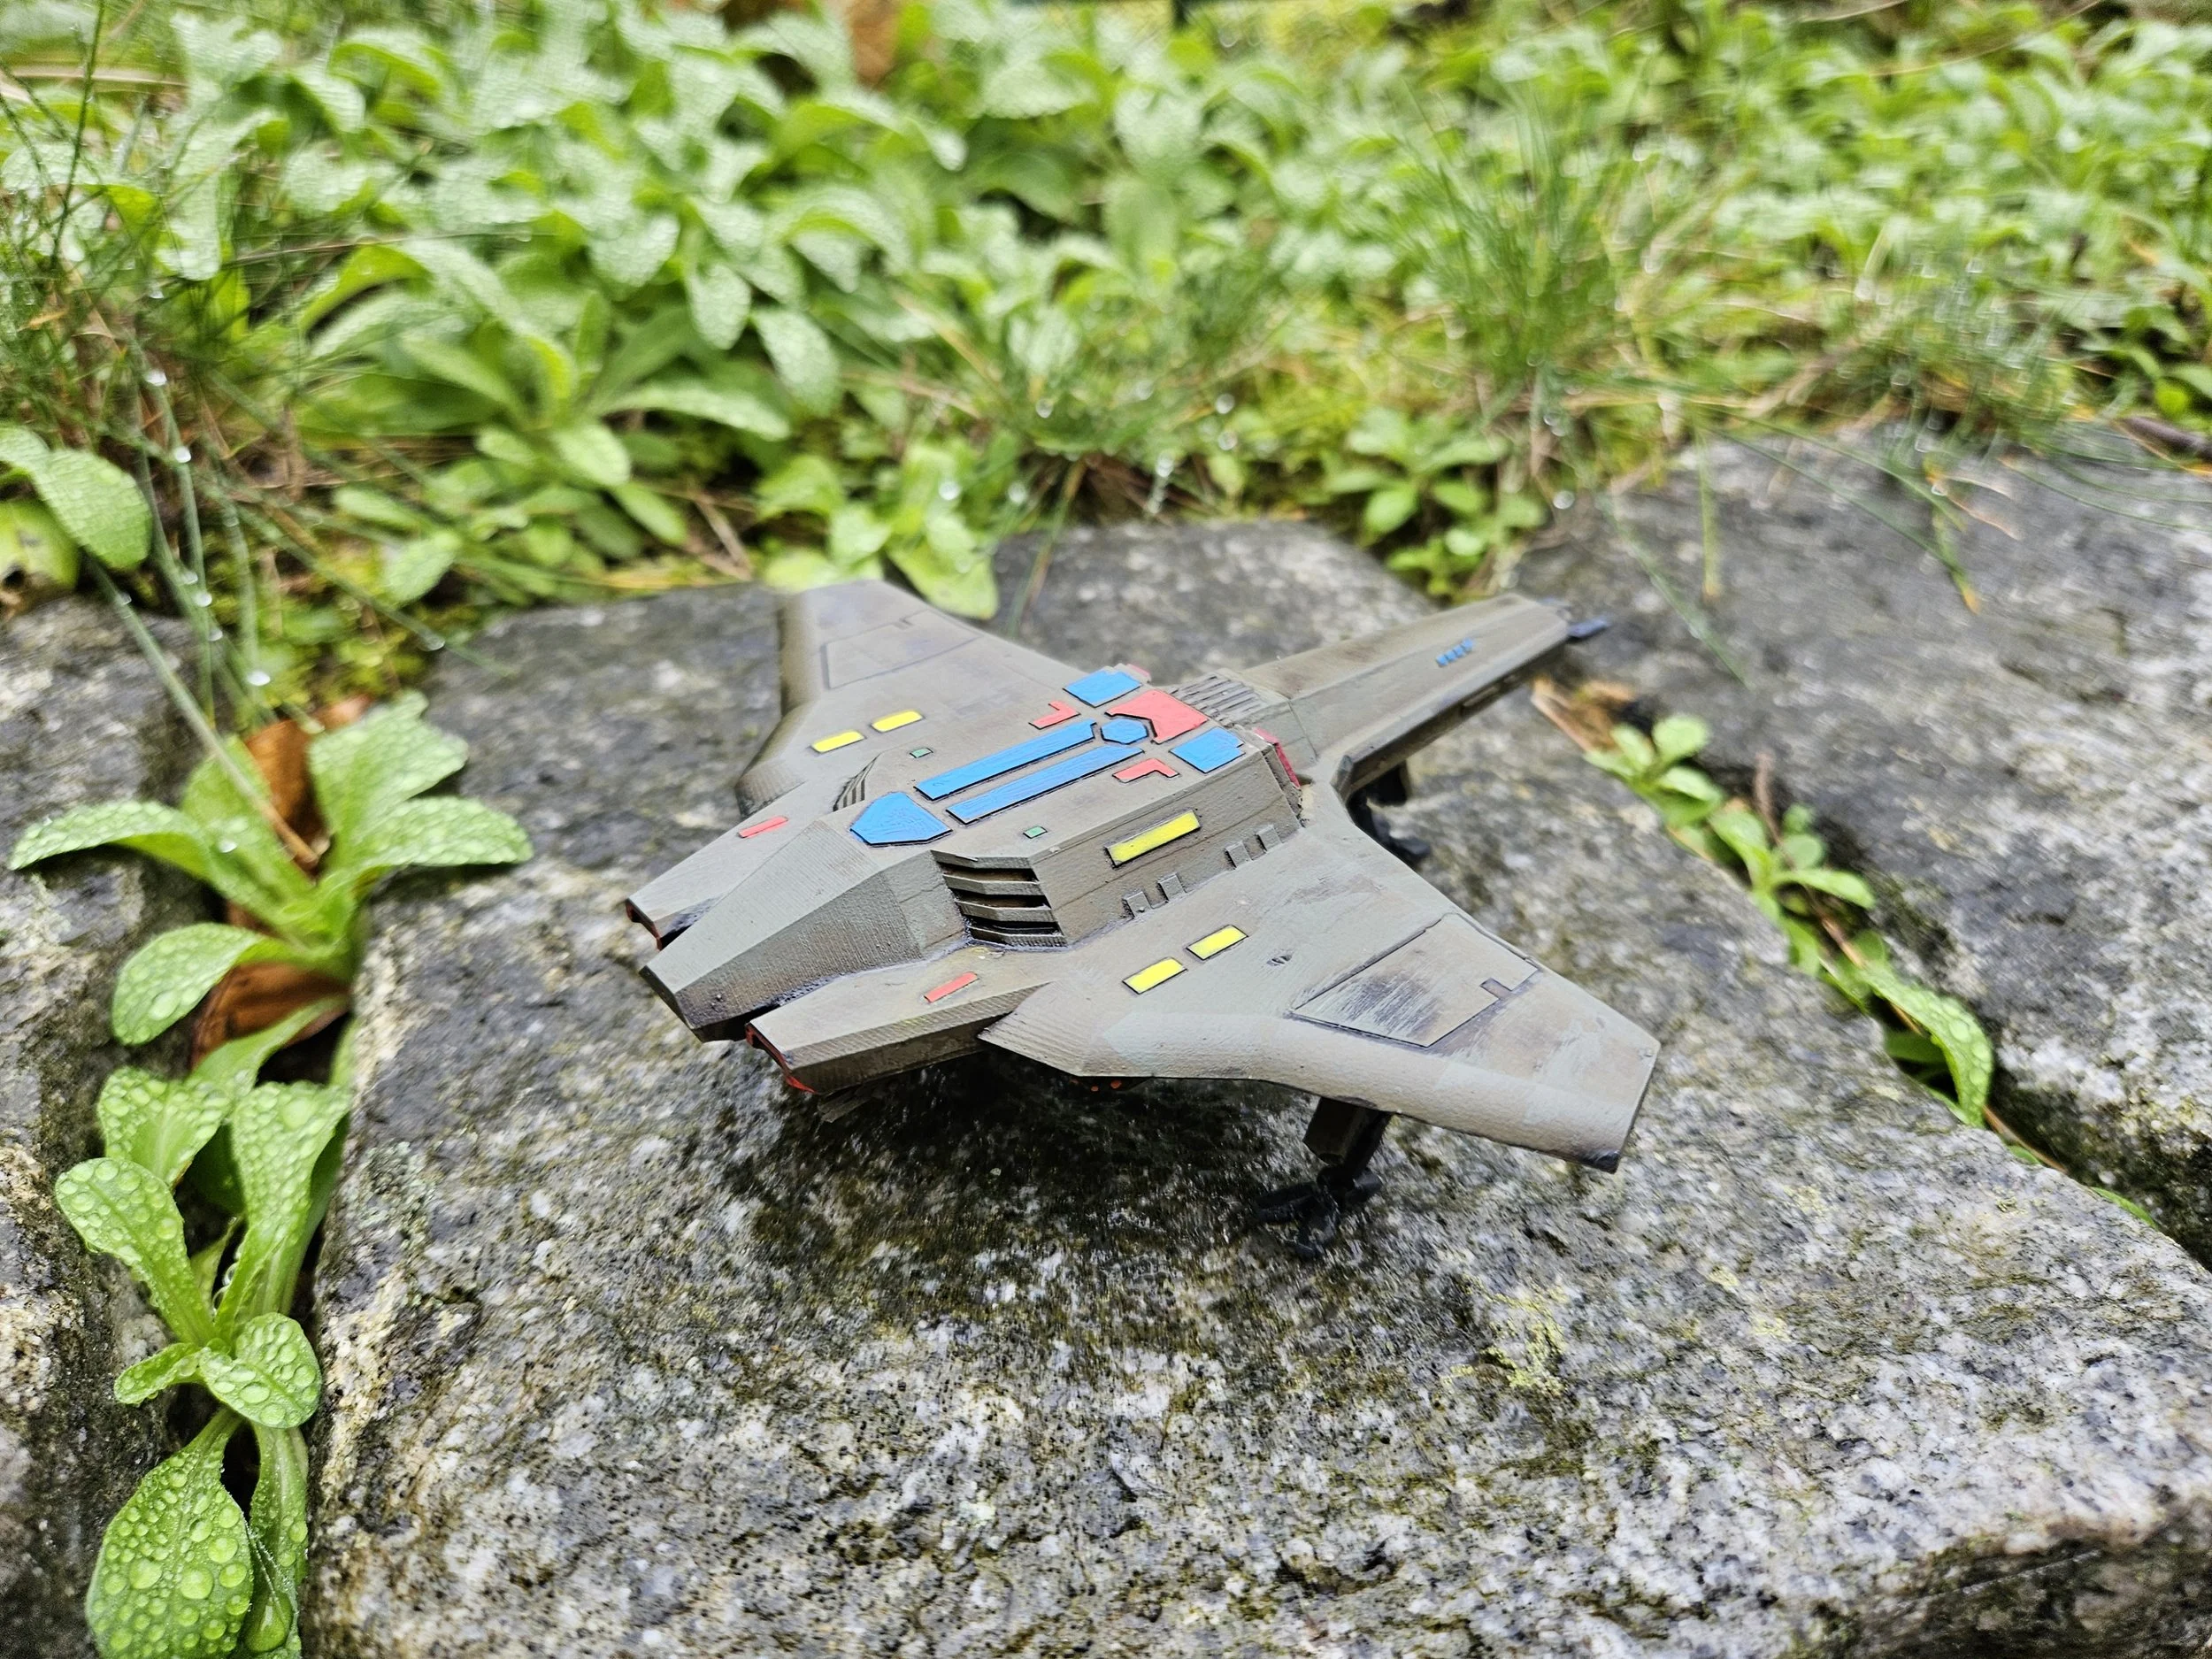
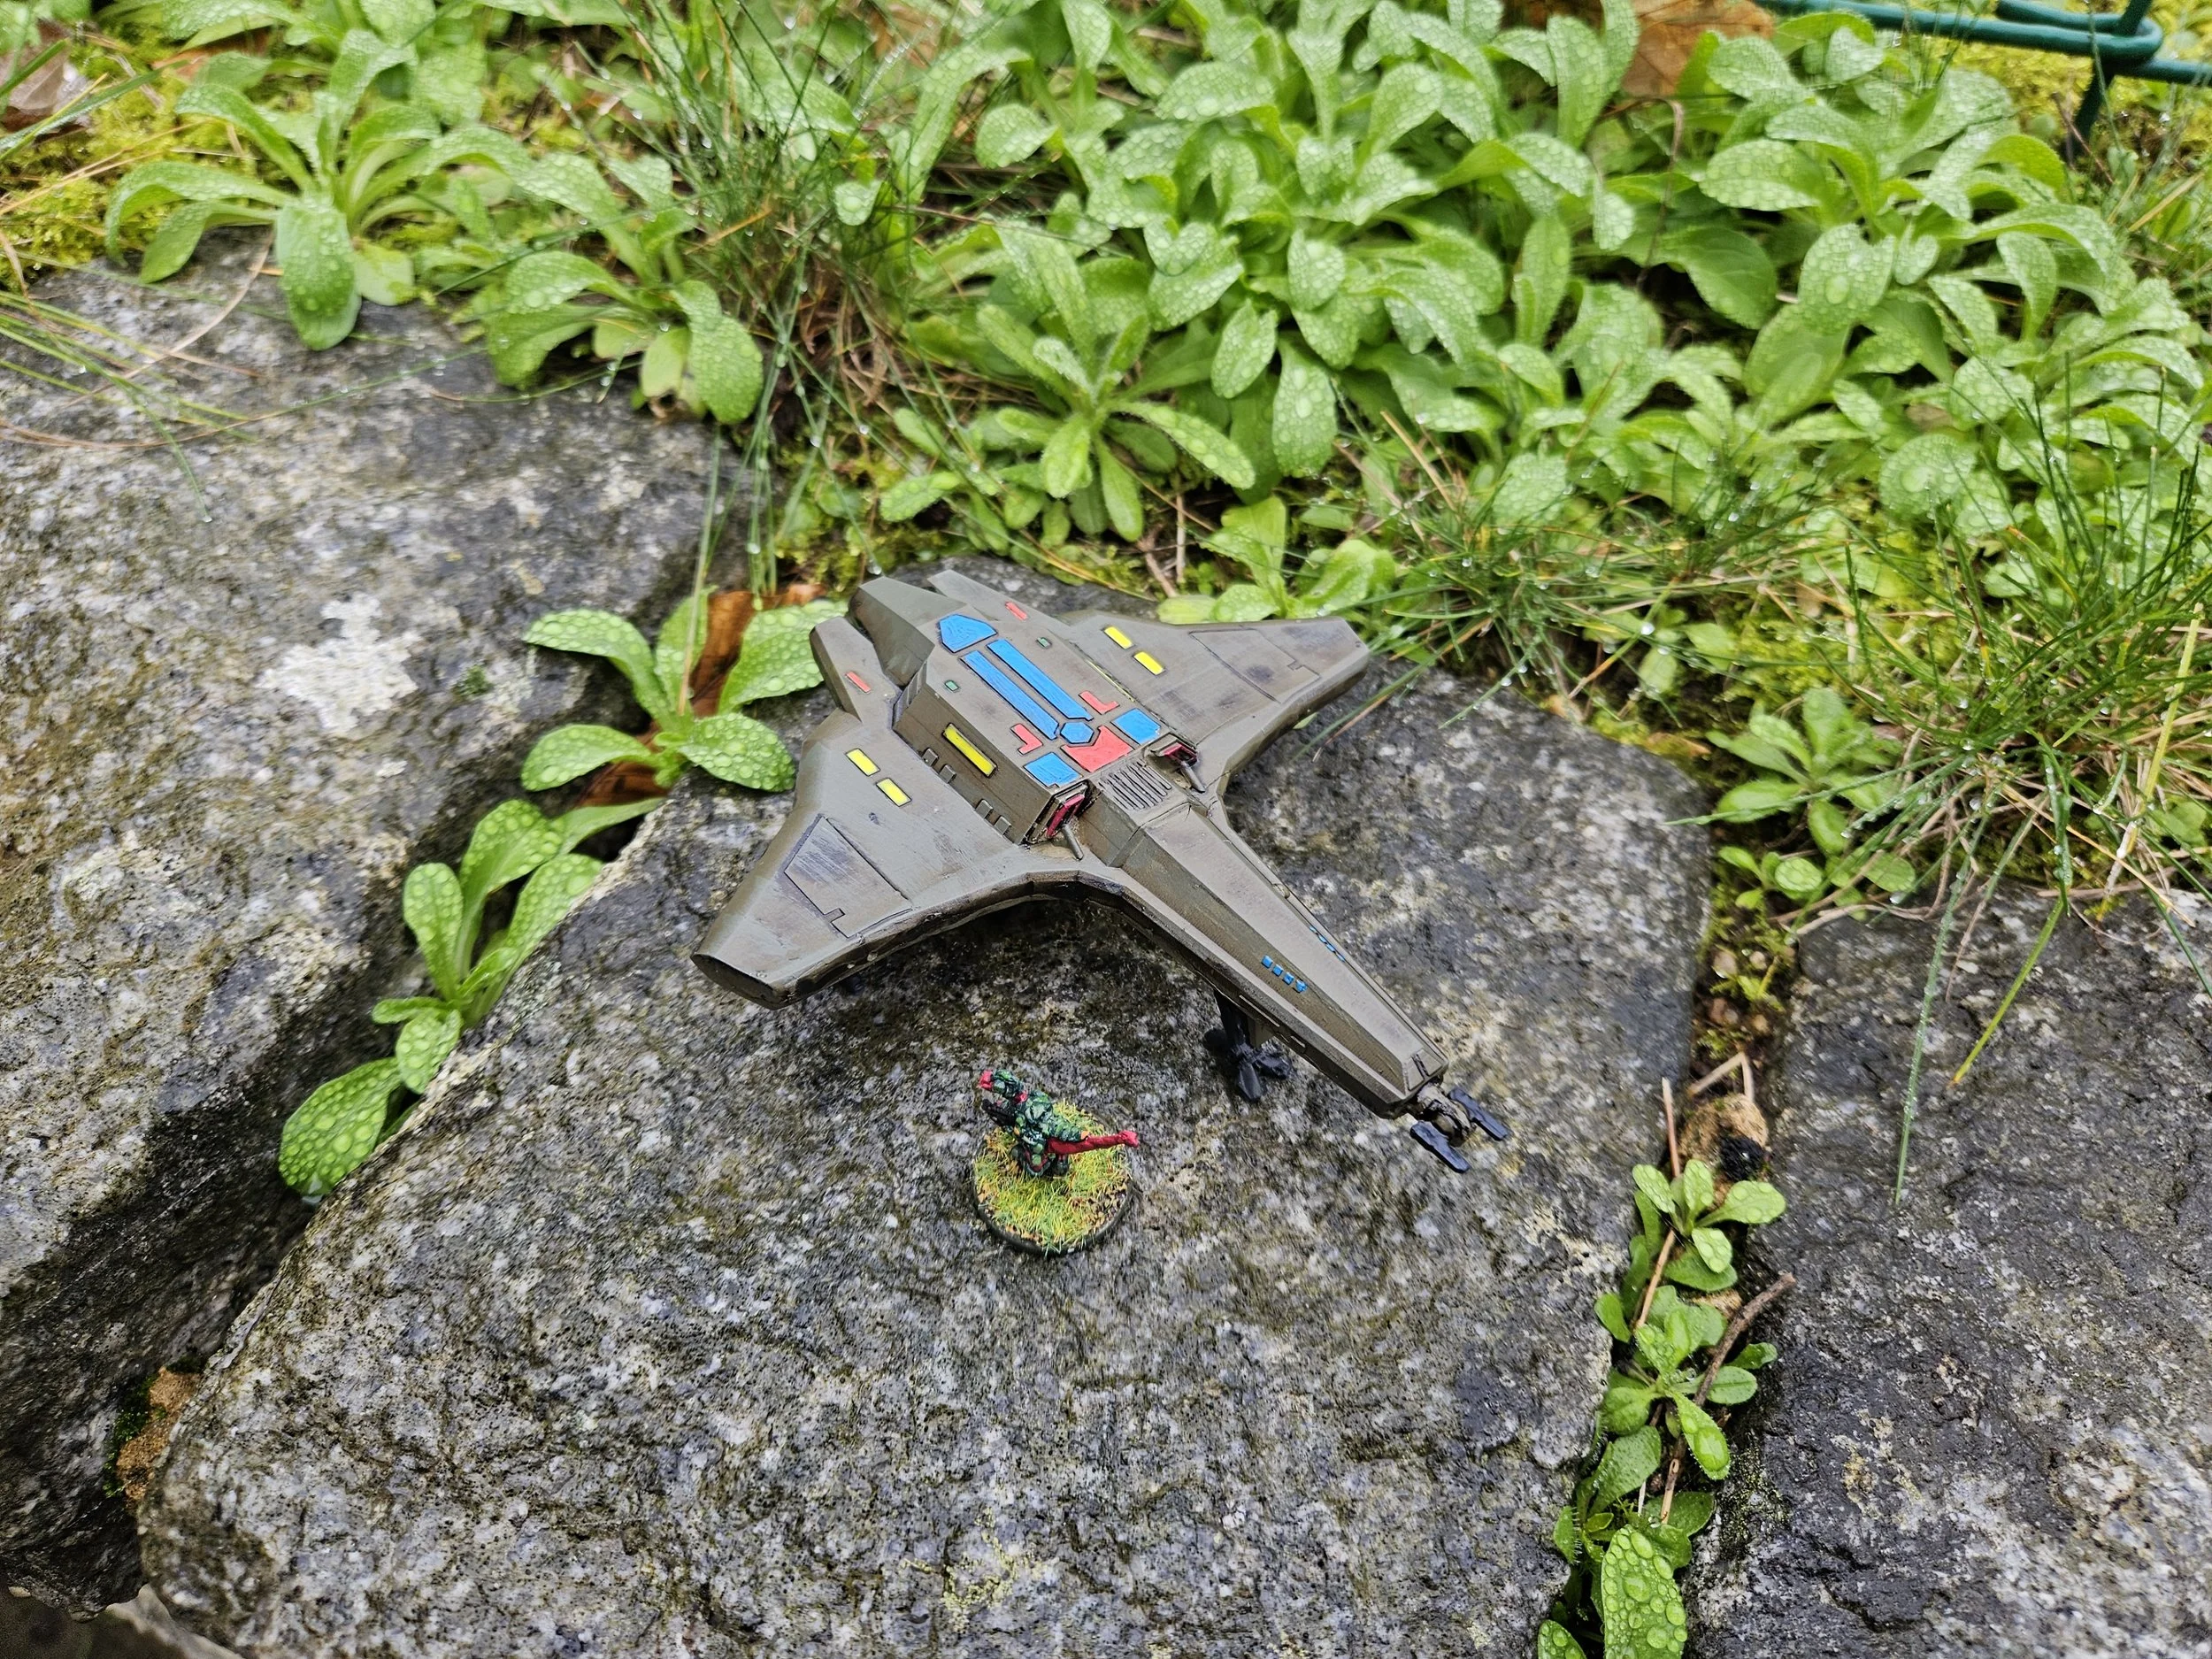
Now I’m all for a bit of sci-fi hyperbole, but these models (calling them figures seems an understatement!) are huge: a good 8cms high! They are supposed to be dinosaurs, but look how they compare to a Chuhuac (the force I will be attaching them to), a Space Dwarf walker, and a unit of Sassanid Persian infantry:

Mind you, if you can have giant anthropomorphical robots marching around the battlefield, it’s not much of a stretch to have the Barosaurians competing for a share of the skyline!
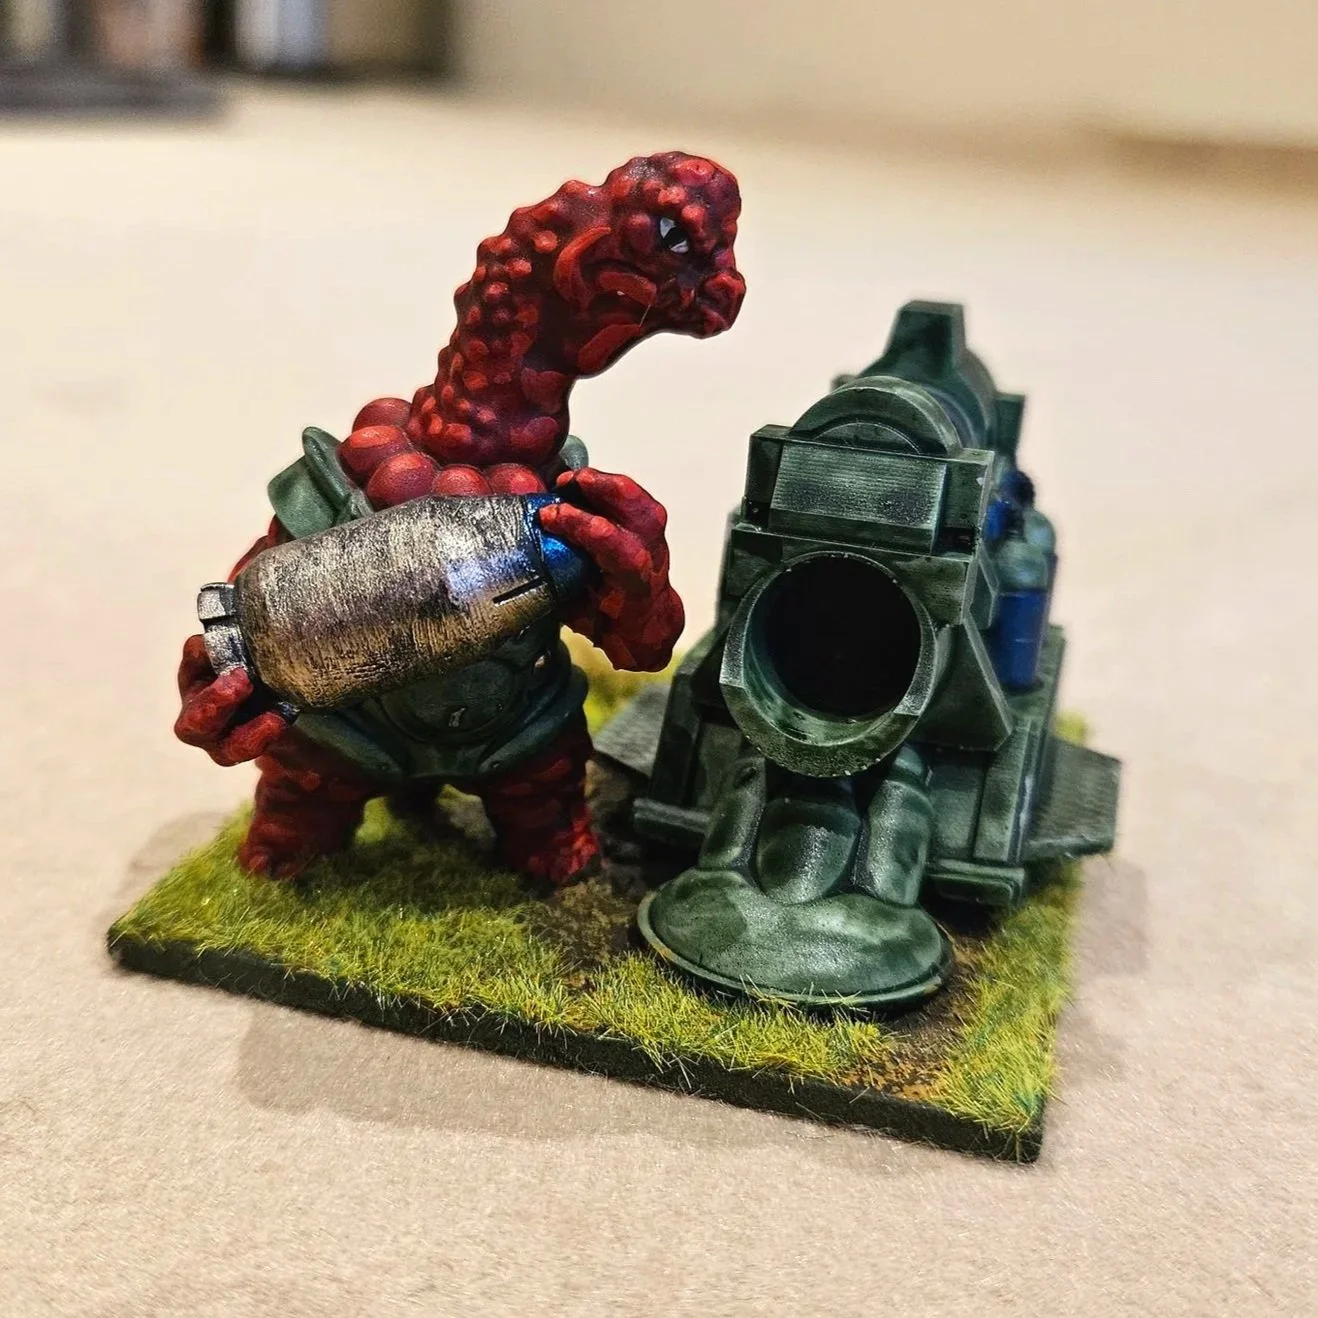
In the box, you get a Leader (extra helmet and skirt!); three of the Bask Infantry, each with a single shoulder-mounted beam projector; three of the Bask Saturation Infantry, each with a Micro-Missile Launcher mounted on each shoulder; and a massive Bombard and Loader.

I must confess that I am not sure when I am ever going to use these - the whole squad would totally dominate a sci-fi battlefield - but they are great fun, paint up very nicely and easily, and will certainly give any opponent something to think about when they come off Blinds!
I give them a recommended rating.