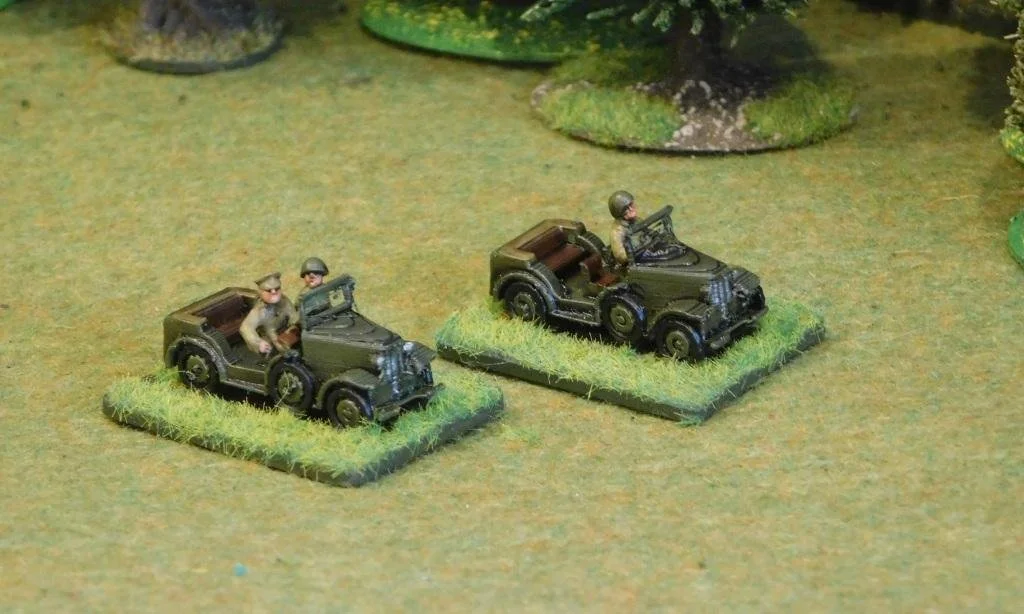
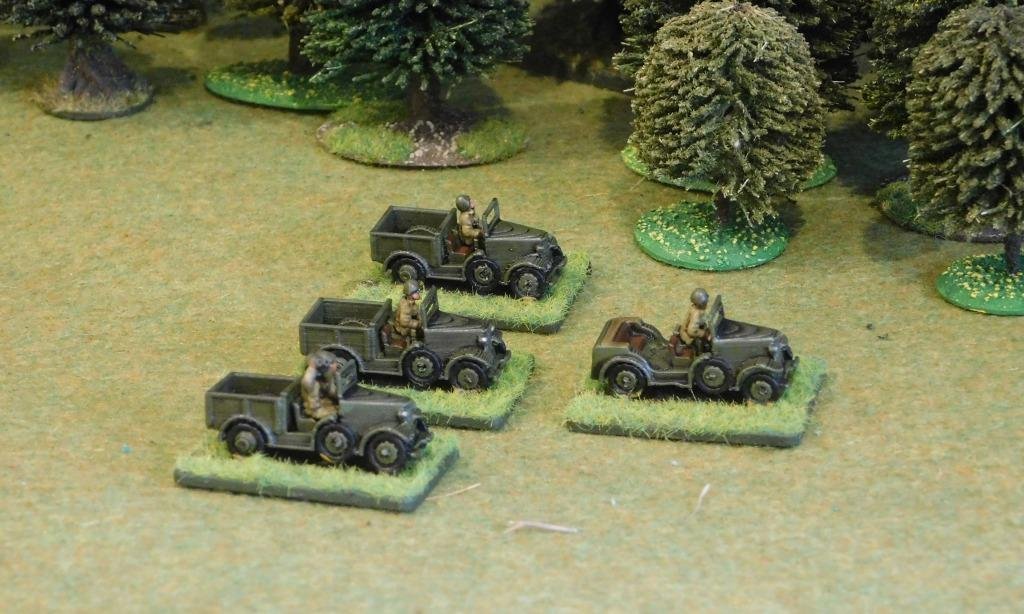
First up is a platoon of Renault ACG-1 tanks, known to the French as the AMC-35. These are lovely little models of what was considered a medium cavalry tank. Unusually for French armour, it had a two-man turret (total crew 3), and packed quite a punch with its 47mm SA35 gun.
Unfortunately for the Belgians, they deployed the ten tanks that they had in penny packets. From tank-hunter.com:
However, on 21 April 1938, the Belgium Army signed a new agreement and paid for the supply of ten tanks. This included the cost of the previously delivered tank number 803. Production was resumed in November 1938 and over the course of the next year, the remaining nine vehicles were delivered. AMC 35 tanks number 806, 814 and 817 arrived on the 30th March 1939, tanks numbered 807, 823 and 829 in May 1939 and tanks numbered 831, 831 and 833 on 7 August 1939. In August 803 was also sent back to Renault for a revamp. They were officially called 'armored cars' instead of 'tanks' in all official documents so as not to provoke the Germans.
The men of the new tank squadron were entered on the books on 1st September 1939 at Watermael-Boitsfort but soon moved to Ghent to pick up its vehicles and to start training. The Director of the seaport of Ghent offered the Army access to a nearby large area of wasteland. It was soon converted into a tank training ground.
At the end of October the tank crews and their vehicles were moved to Camp Beverlo. They under went tactical exercises with the 5th Infantry Division following the new military guidelines written by Belgium Captain Hullebroeck for the cooperation of tanks with the infantry.
On 24th December 1939 the squadron moved to Brussels. The unit was organised into two platoons of four tanks each time. The last two vehicles were held in reserve. The Belgium tank crews were drawn from two different cavalry regiments, the 2nd Lancers Regiment and the 1st Guides.
Each regiment provided four tank crews plus part of the platoon support staff. Most of these cavalrymen belonged to the class of 1935 and had been trained on horseback not tanks. The men of the 1st Guides were under the command of Lieutenant Gailly and had the following tanks in their platoon 807 (Lt H. Gailly), 817 (Wm Plissart), 829 (Adjt K.R.OLt.Pulings) and 832 (Wm Frankinet). The tank crews of the 2nd Lancers were under command of Lieutenant Schreiber and were equipped with AMC 35 tanks number 803 (Wm M. Verboven), 814 (OLt W. Schreiber), 831 (Wm Dumortier) and 833 (Wm Dumoulin). The two reserve vehicles, 806 and 823, had various defects, so Captain Hullebroeck made a decision to dismantle the tanks and use them for spare parts.
When the Army received the notification to be ready for war following the German invasion of Luxembourg and Holland in 10th May 1940, the squadron moved to the Walemstraat depot in Schaerbeek, near Brussels. The tank crews were told to hold themselves ready to intervene in case of air landings. They therefore began patrolling in and around the capital looking for paratroops.
On 16th May 1940 the Squadron was ordered to redeploy to Humbeek. They were now under the operational command of the 1st Light Regiment (1LR). The tanks were positioned to defend the canal and bridges between Willebroek and Vilvoorde. Their task was to act as a mobile anti-tank weapons.
The Belgium ACG-1 tanks first saw action on 17th May 1940. The first enemy scouts were spotted near the rail and road bridge of Kapelle-op-den-Bos. The ACG-1 tanks commanded by Adjutant Pullings in tank number 829 and Adjutant W Dumoulin in tank number 833 opened fire.
In the battle that followed, Tank 829 was hit at the front by an armour piercing shell from a German PaK 37 anti-tank gun. Tank driver Camille was killed and Gunner Lutin injured. After giving first aid to the gunner, the tank commander, Pullings, climbed back into the turret and continued to fire on the Germans alone. However, the situation soon became untenable. The remaining tank crew had to abandon the tank. Pulling continued to fire at the enemy: this time from a nearby house, using a machine gun fighting alongside a sergeant of the Border Bicycle Regiment. Pulling eventually escaped in the side car of a Border Police motorbike.
Tank 833, under the command of Adjutant W Dumoulin, remained in action until the general retreat order was given at 9pm. He constantly maneuvered the tank to enable the gunner to fire on targets without being hit. The rest of the Tank Squadron was used on the 17th May 1940 as part of the rear guard to protect the retreat of the Belgium infantry towards Dendermonde. They caused some losses amongst the attacking Germans.
On the 18th May 1940 part of the ACG-1 tank squadron arrived in Dendermonde just after dawn. It consisted of Captain Hullebroeck and his staff, and three tanks of Lieutenant Schreiber, 2nd Lancer's, platoon. Hullebroeck wanted to remain in place spot and fight, but was ordered to take what remained of his Squadron to Lotenhulle, to the west of Ghent. They arrived at 4pm.
Lieutenant Gailly's remaining three tanks of the 1st Guides Platoon disengaged with the enemy and followed orders to regroup near Dendermonde. They managed to cross the canal bridge just before the engineers blew it up. The Lieutenant visited the headquarters of the 6th Infantry Division to find out where Captain Hullebroeck and the other Squadron tanks were located, but no one could help him. Gailly's platoon of three tanks drive to the Cavalry HQ command post at Destelbergen. They arrive at 6pm and are ordered to support the 2nd Cavalry Division at Tereken near Sint-Niklaas on the road between Antwerp and Ghent. The two platoons are now separated and are many miles apart.
Captain Hullebroecks platoon was then sent to defend the Dender River, now under the overall command of the 1st Division, Ardennes Jagers. In the east, Lieutenant Gailly's tanks are on the left bank of the Scheldt River to try and stop the German advance near Antwerp. At 11am, along with infantry and some 2nd Cavalry Division Armoured cars, they are sent forward towards Zwijndrecht. The tanks are not fitted with radios so they are assigned soldiers on bikes to facilitate communication.
This advance takes them via Kettermuit and the river road as they prepare to head towards Kruibeke on the outskirts of Antwerp. En route, Tank 833 by commanded by W Denis ran out of fuel. As the two remaining tanks entered the village, around 6pm along Burchtstraat, they made contact with the advance units of the German Army.
Tank 807 commanded by Lieutenant Gailly is in the front, followed about 100 metres behind by Tank 832 commanded by W Frankinet. The lead tank is hit by an armour piercing shell from a German PaK 37 anti-tank gun. Tank driver Sansen is wounded but manages to get out of the tank. Lieutenant Gailly is burnt but manages to climb out of his turret. The Gunner does not make it. The two survivors crawl back to Belgium army lines through houses, fields and canals. The platoon is now temporarily down to one tank.
That night the 2nd Cavalry Division then retreated west to Moervaart, using a water inlet to the Ghent-Terneuzen Canal as a defensive moat. They broke contact with the enemy at around 9pm near the town of Zwijndrecht. Meanwhile supplies arrived and the crew managed to refuel tank 833 so it could join tank number 832.
On the 20th the Germans continued with their advance and reached the eastern edge of the Ghent Bridgehead. There was fierce fighting near the riverside village of Kwatrecht, south west of Ghent. That night the Lieutenant Schreiber's tanks were ordered to advance towards the fighting at Kwatrecht.
In the morning of the 21st May 1940, tank 814 commanded by Lieutenant Schreiber is hit and the whole crew were killed. Tank 803 is also disabled by a number of hits from German PaK 37 anti-tank guns. The tank commander, W Verboven, and gunner Delens are instantly killed. The driver Goossens manages to survive the incident. On the 22nd May 1940 the remaining tanks are withdrawn behind the River Leie at Zwevezele for a short rest.
At 12 noon on 24th May 1940 the remaining three tanks were ordered to advance to Moorslede along with other armoured vehicles and infantry units, as the German advance into France had now reached the coast and threatened the south of Belgium. By dawn of the 25th they had reached the town of Sint-Eloois-Winkel, where they were used for patrol work.
On the 26th the tanks are fired upon by a Belgium 75mm Cannon as they are mistaken for German panzers. After that close call the ACG-1 tanks continue patrol work but fly the Belgium flag to prevent anymore friendly fire incidents.
The Squadron tanks are reinforced during the night with some Carden Lloyd T13 B2 tank destroyers. They are dispatched to different defensive locations to keep an eye out for German infiltration. Tank number 832 along with some T13s was sent to patrol the area between Moorslede and Tuimelaars. Tank 833 and more T13s were sent to Koekuithoek and Tank 833 along with their allotted T13s are sent to look after the area around Vierkavenhoek. They are part of a mobile reserve.
On the last day of the battle for Belgium, the tanks are pulled back to Roeselare near Hooglede. Only two of the ACG-1 tanks remain operational. German anti tank guns knocked out a number of the T13 tanks. Others had to be abandoned because of lack of fuel. When the surrender order was received the remains of the Squadron was told to stop fighting and await further orders.
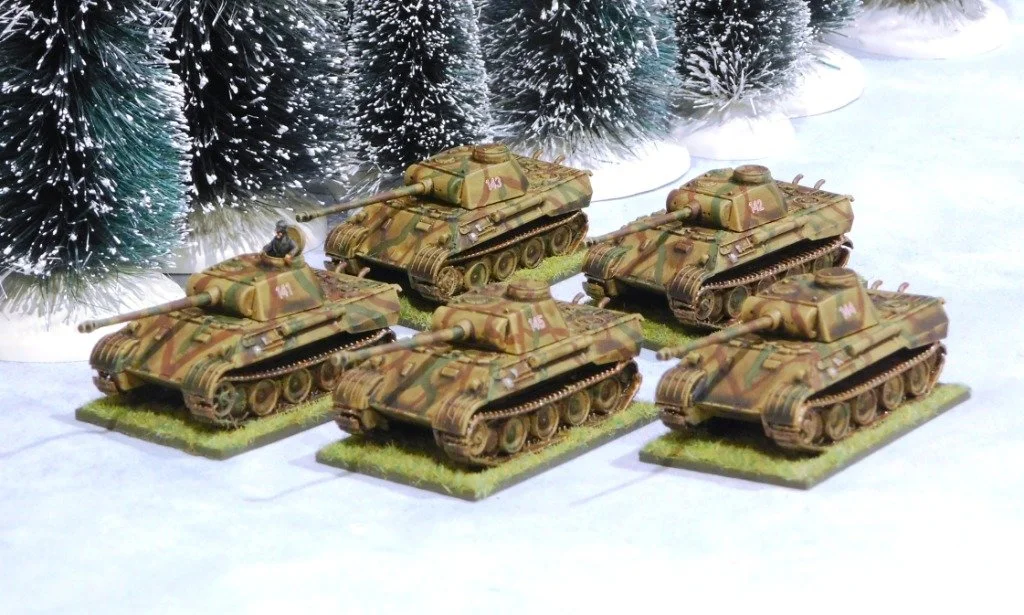
Note that none of the four tanks pictured have any markings. Apparently the ACG-1s didn’t have any (at least not until they started flying a Belgian flag after 26th May) and only have their serial number written onto the left-side mudguard at the front…but that’s too small for me to attempt!
I highly recommend a visit to bayonetsandbrushes.co.uk to anyone interested in gaming the early war period.
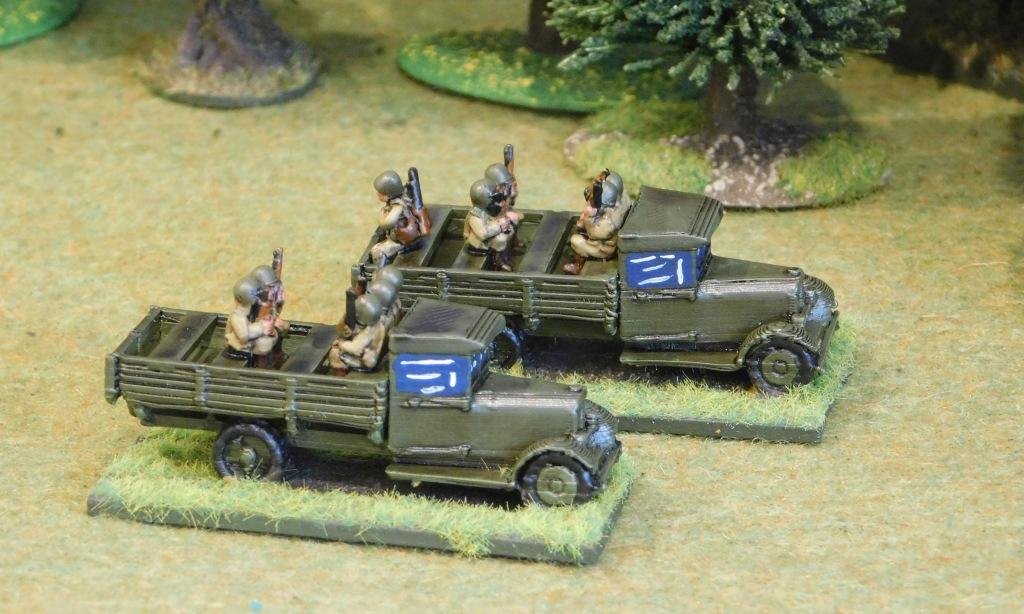
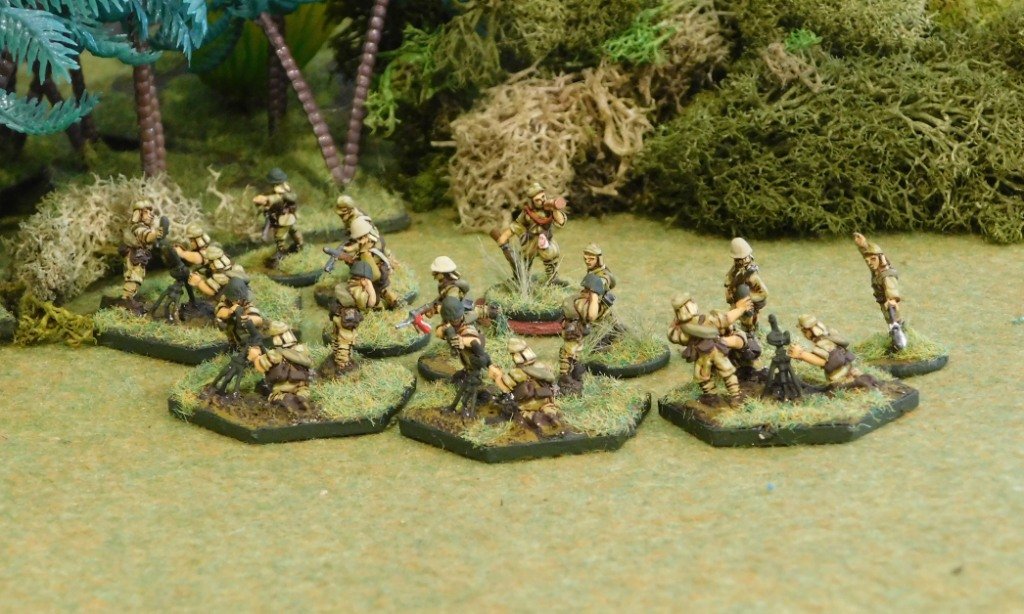
These were painted by a sprayed undercoat of Vallejo English Uniform, washed with GW Agrax Earthshade, then drybrushed and highlighted with Vallejo Khaki Grey.