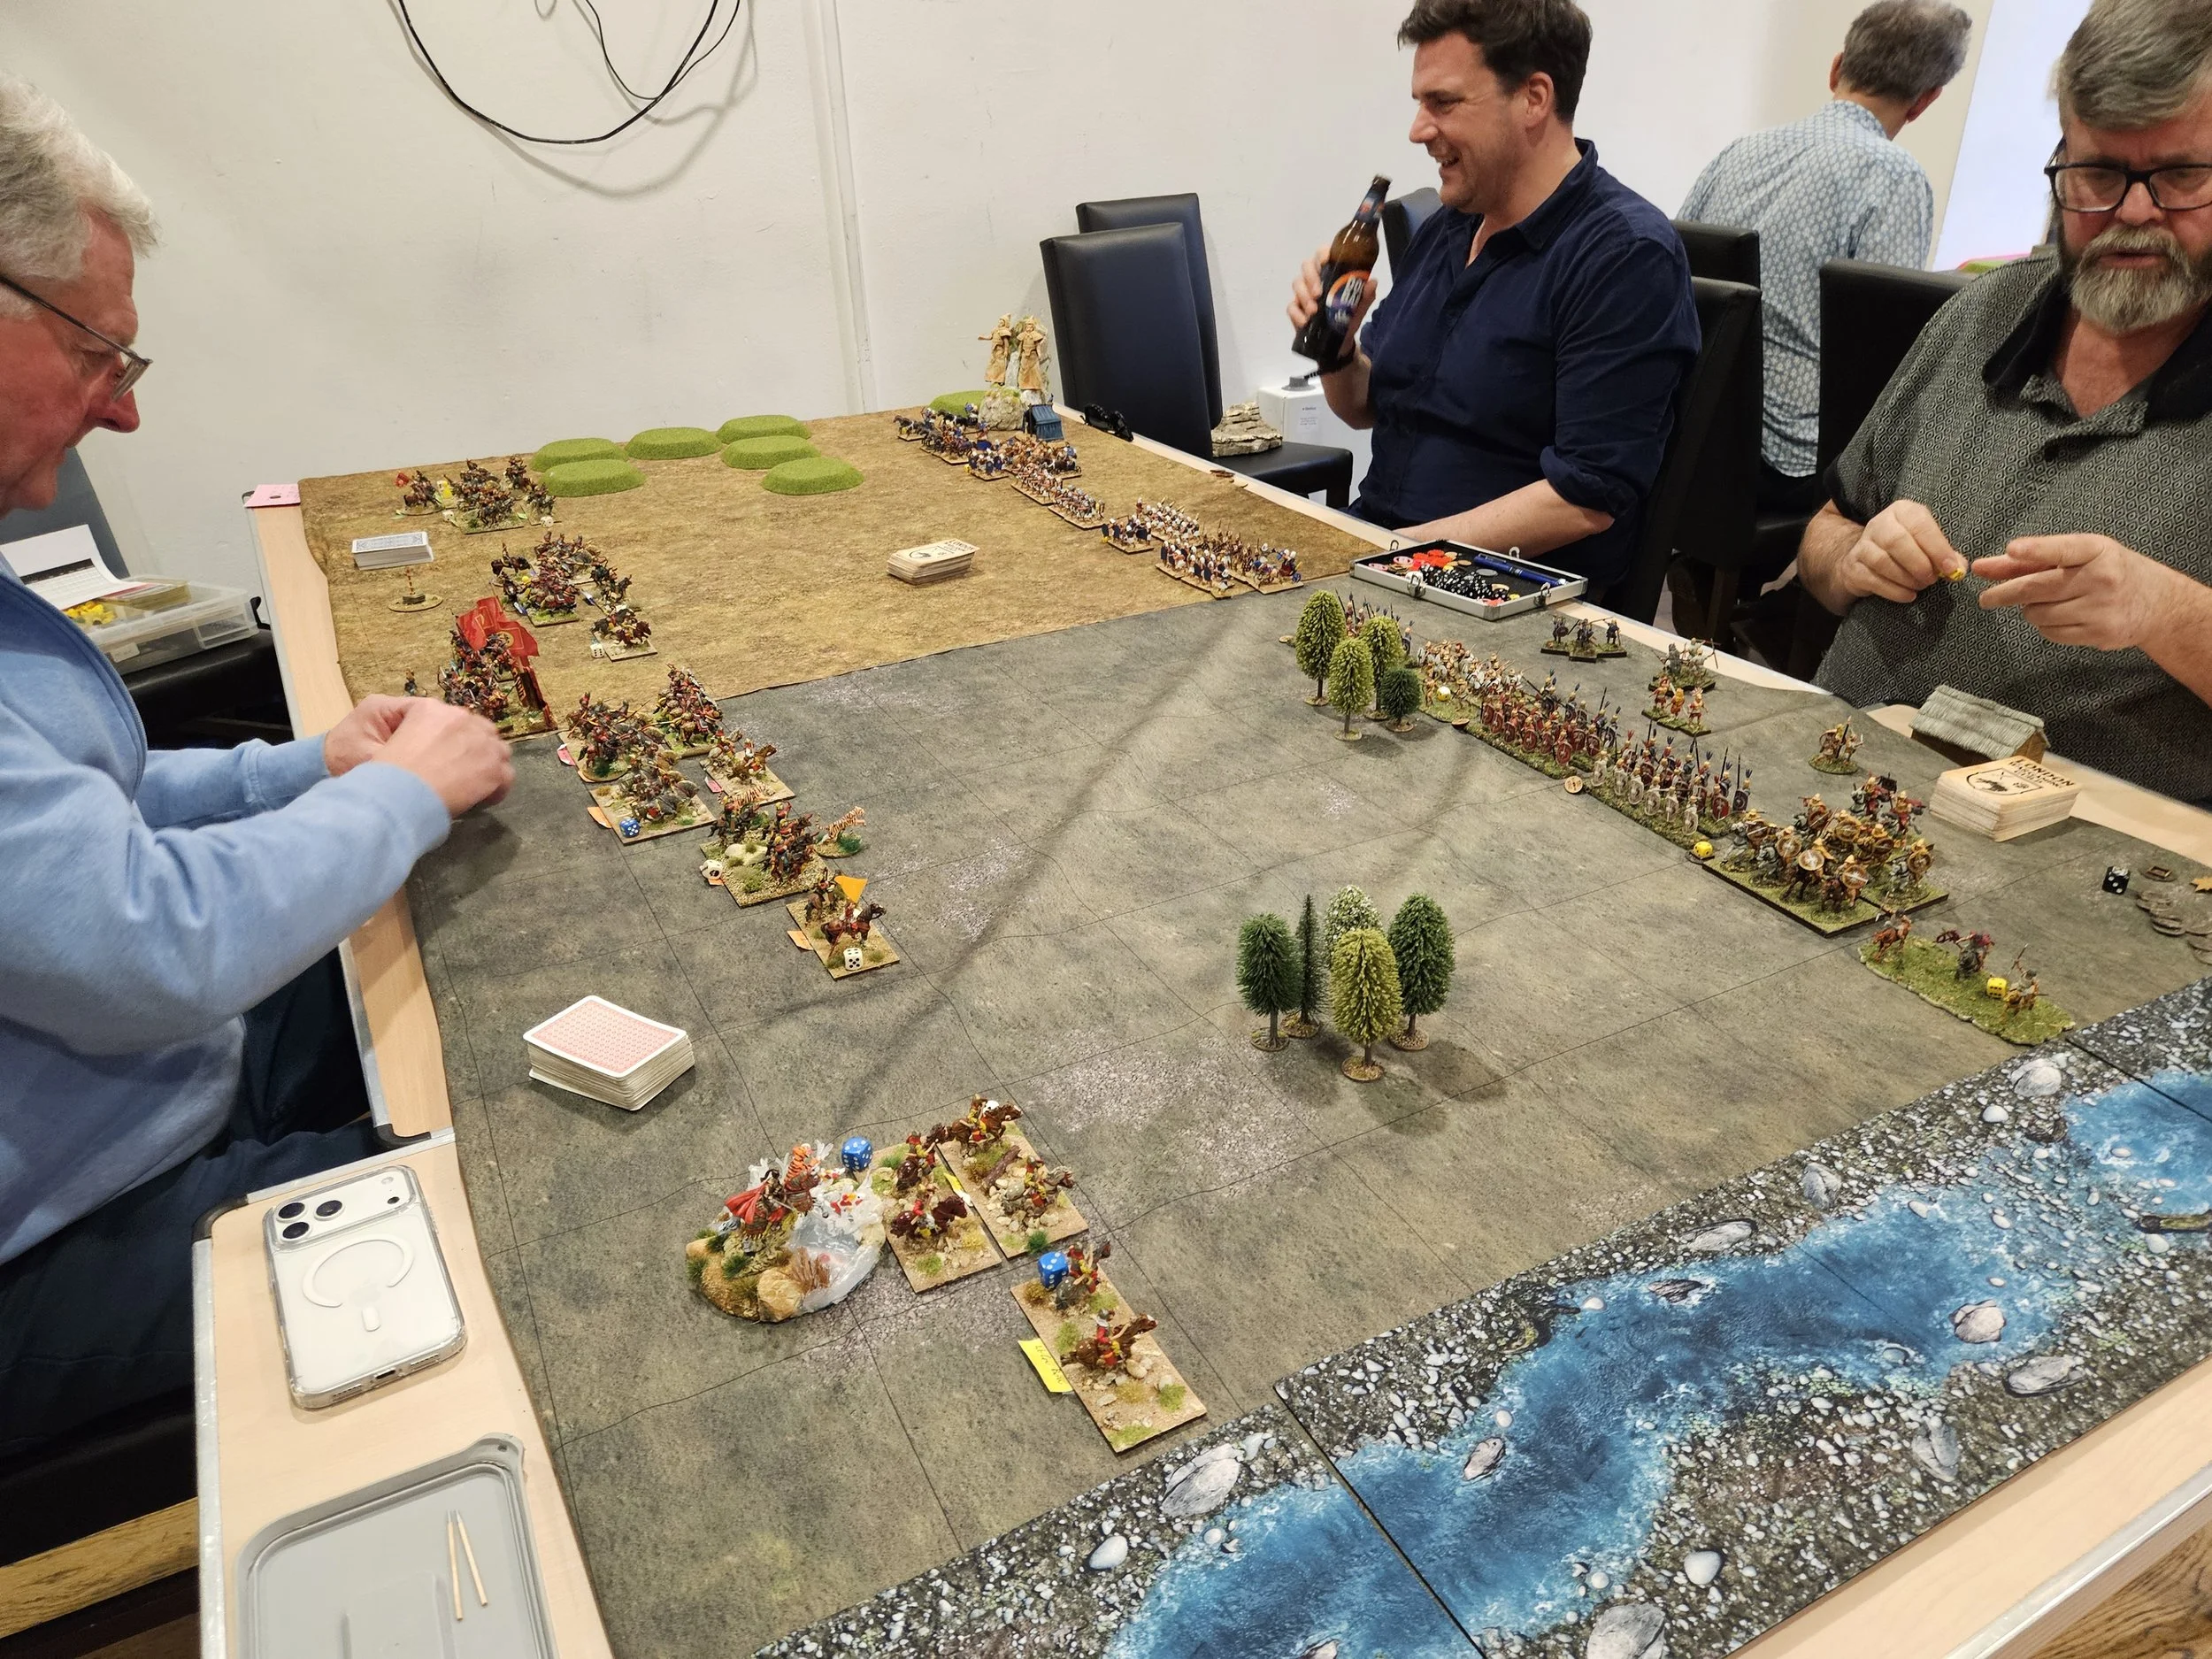
To The World's Strongest, Game 1: Venice Abroad vs Later Western Romans
/My first game at this year’s To The World’s Strongest tournament (held in Blewberry on 28th February) was against Chris and his Later Western Romans.
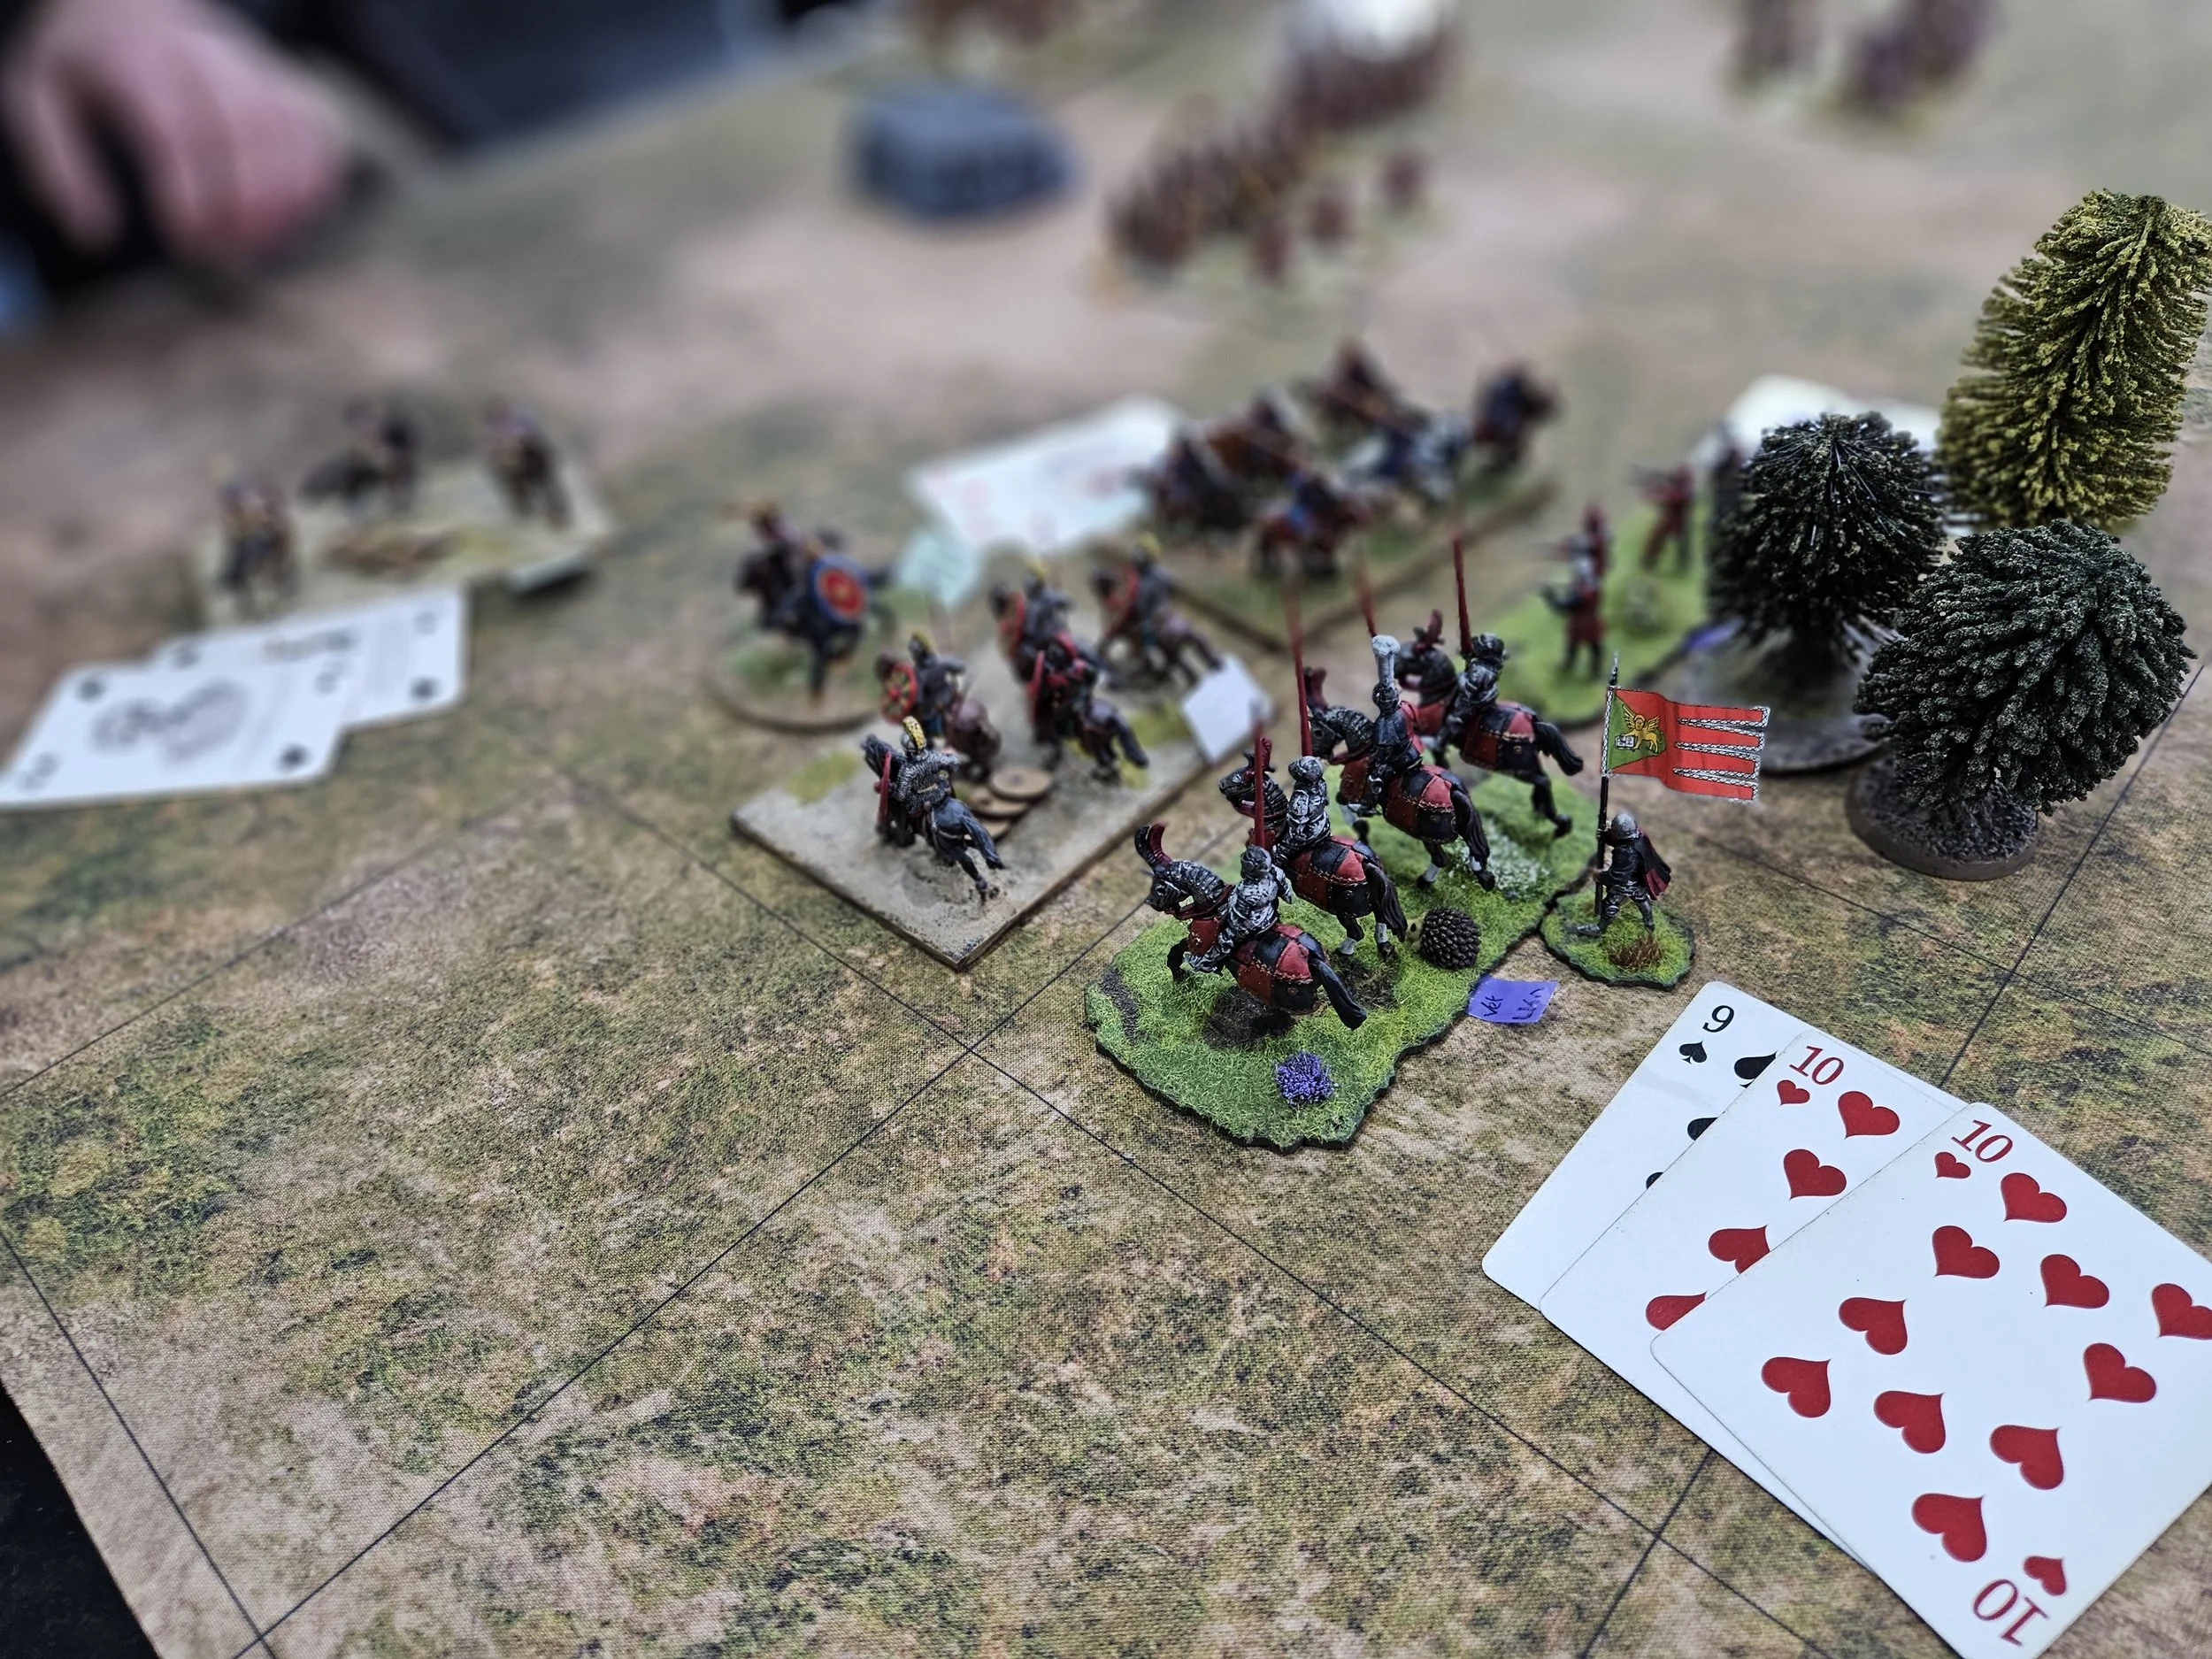
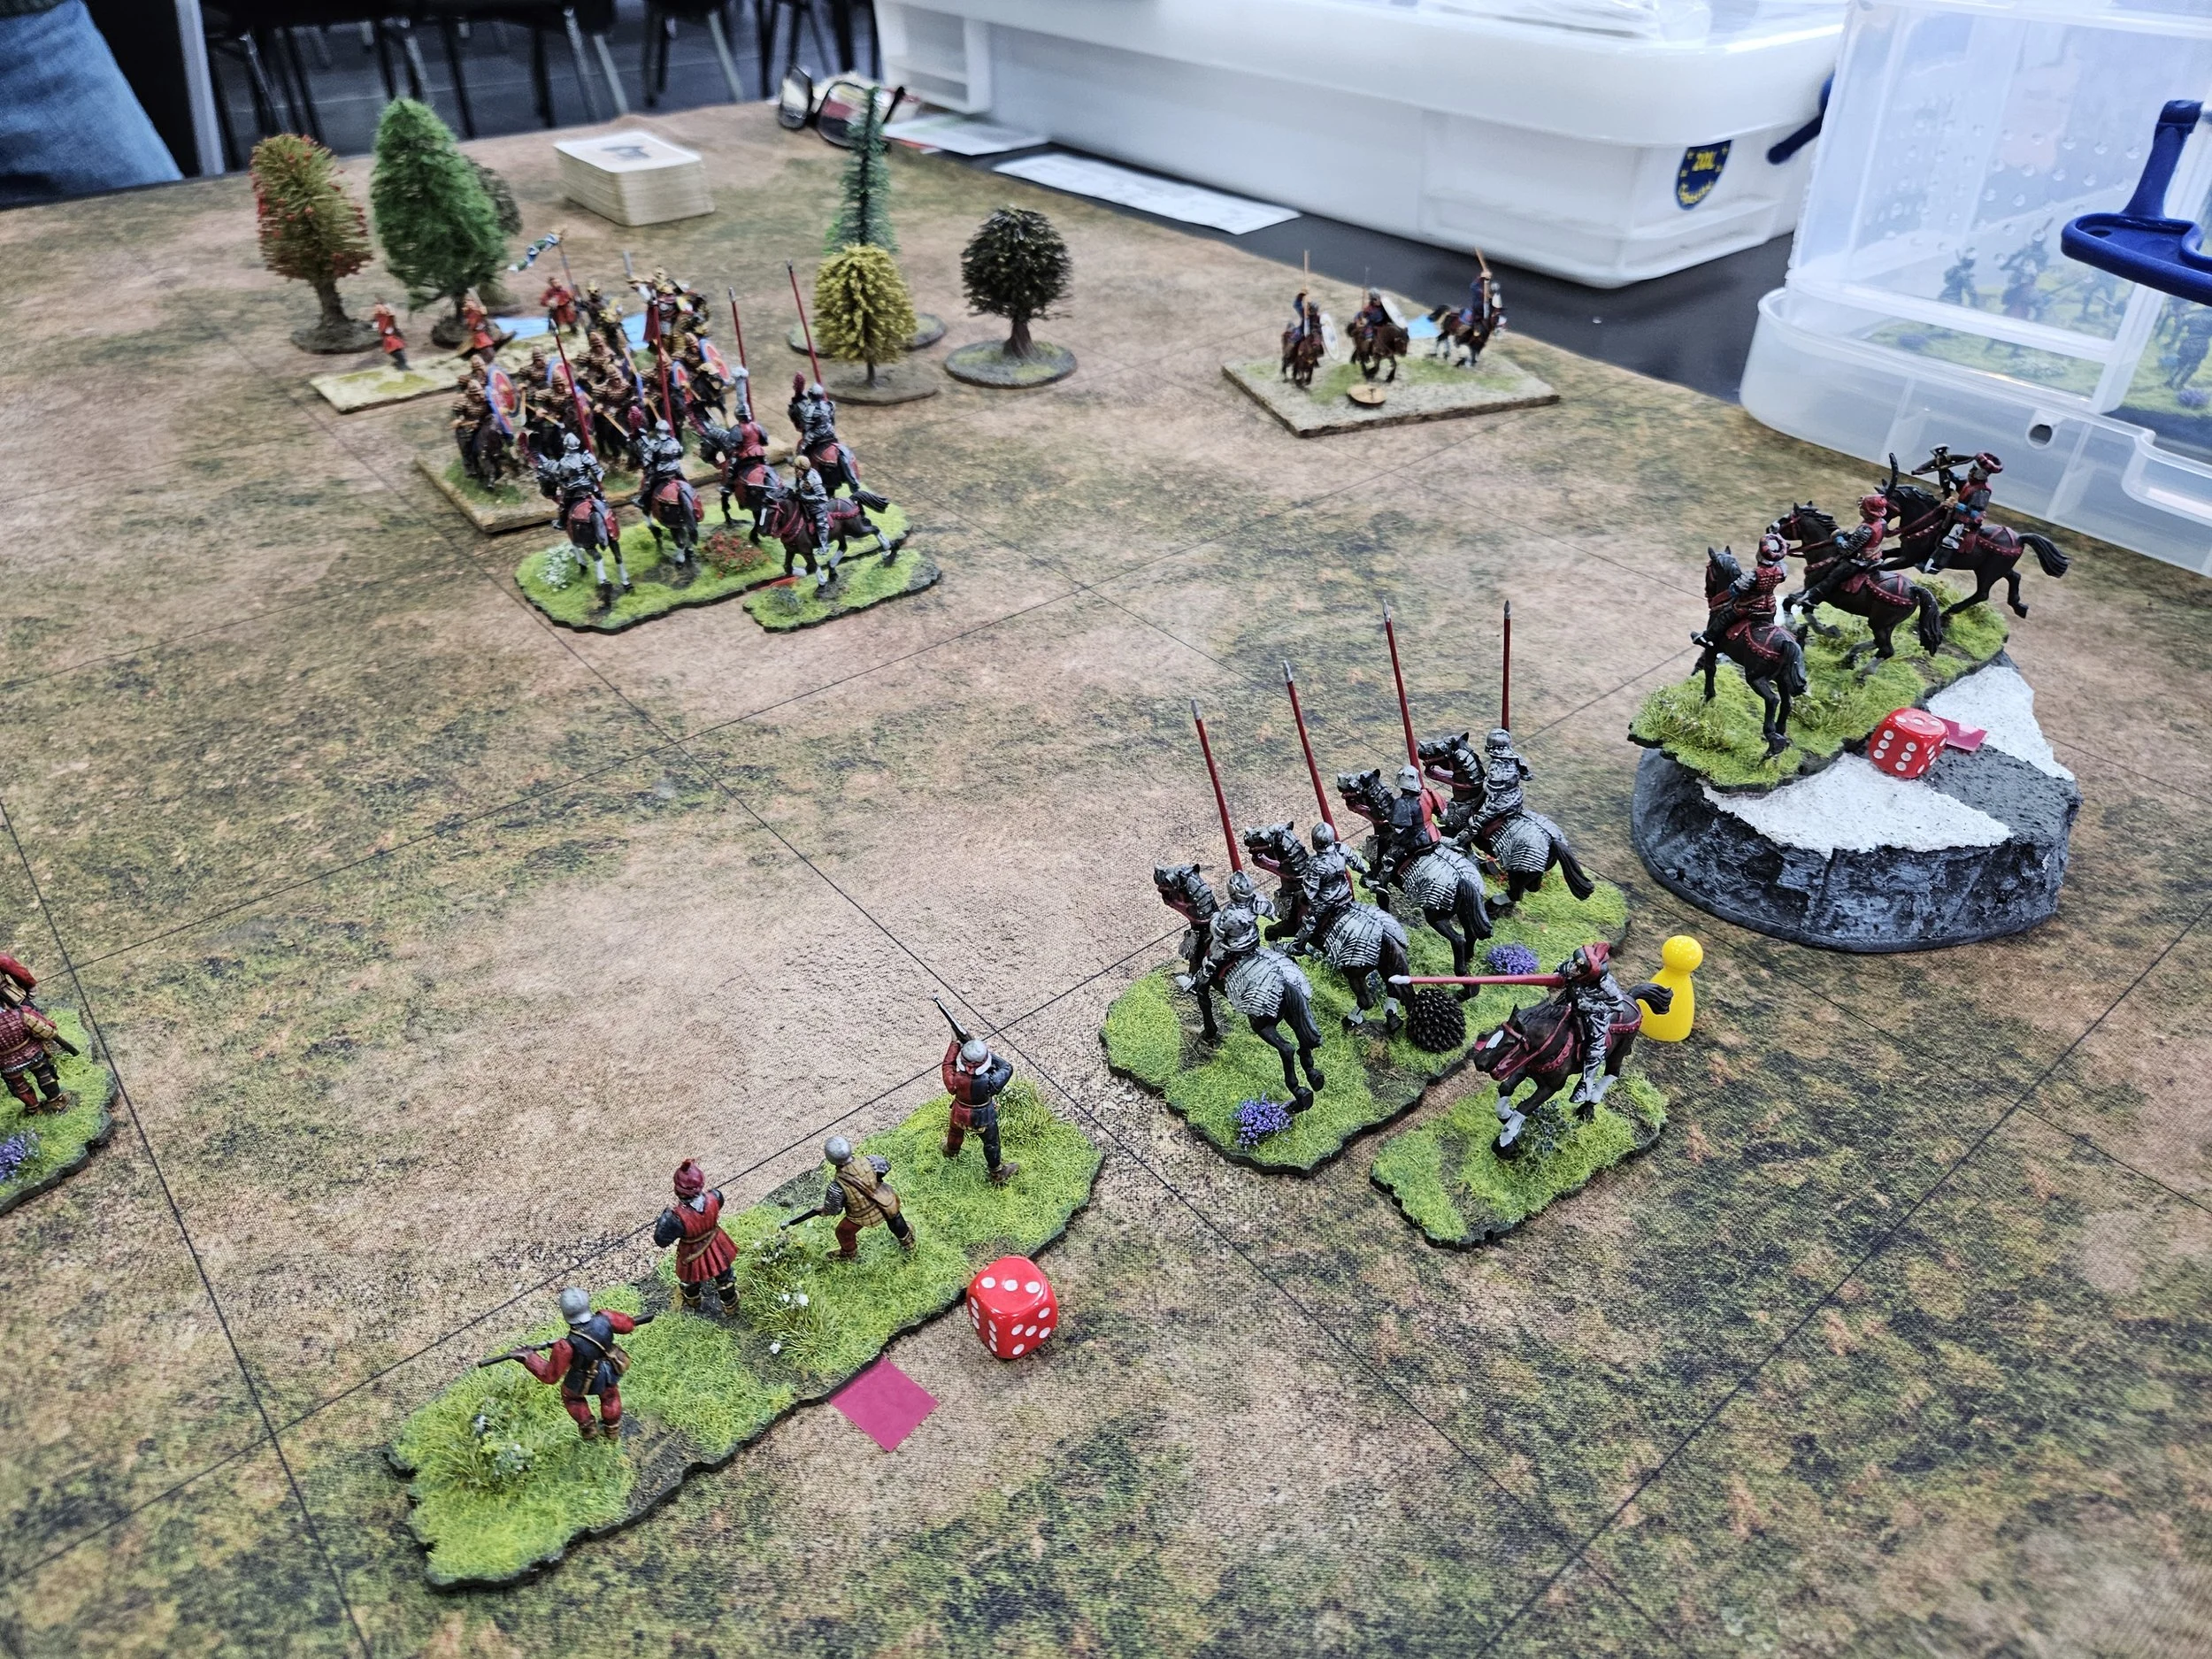
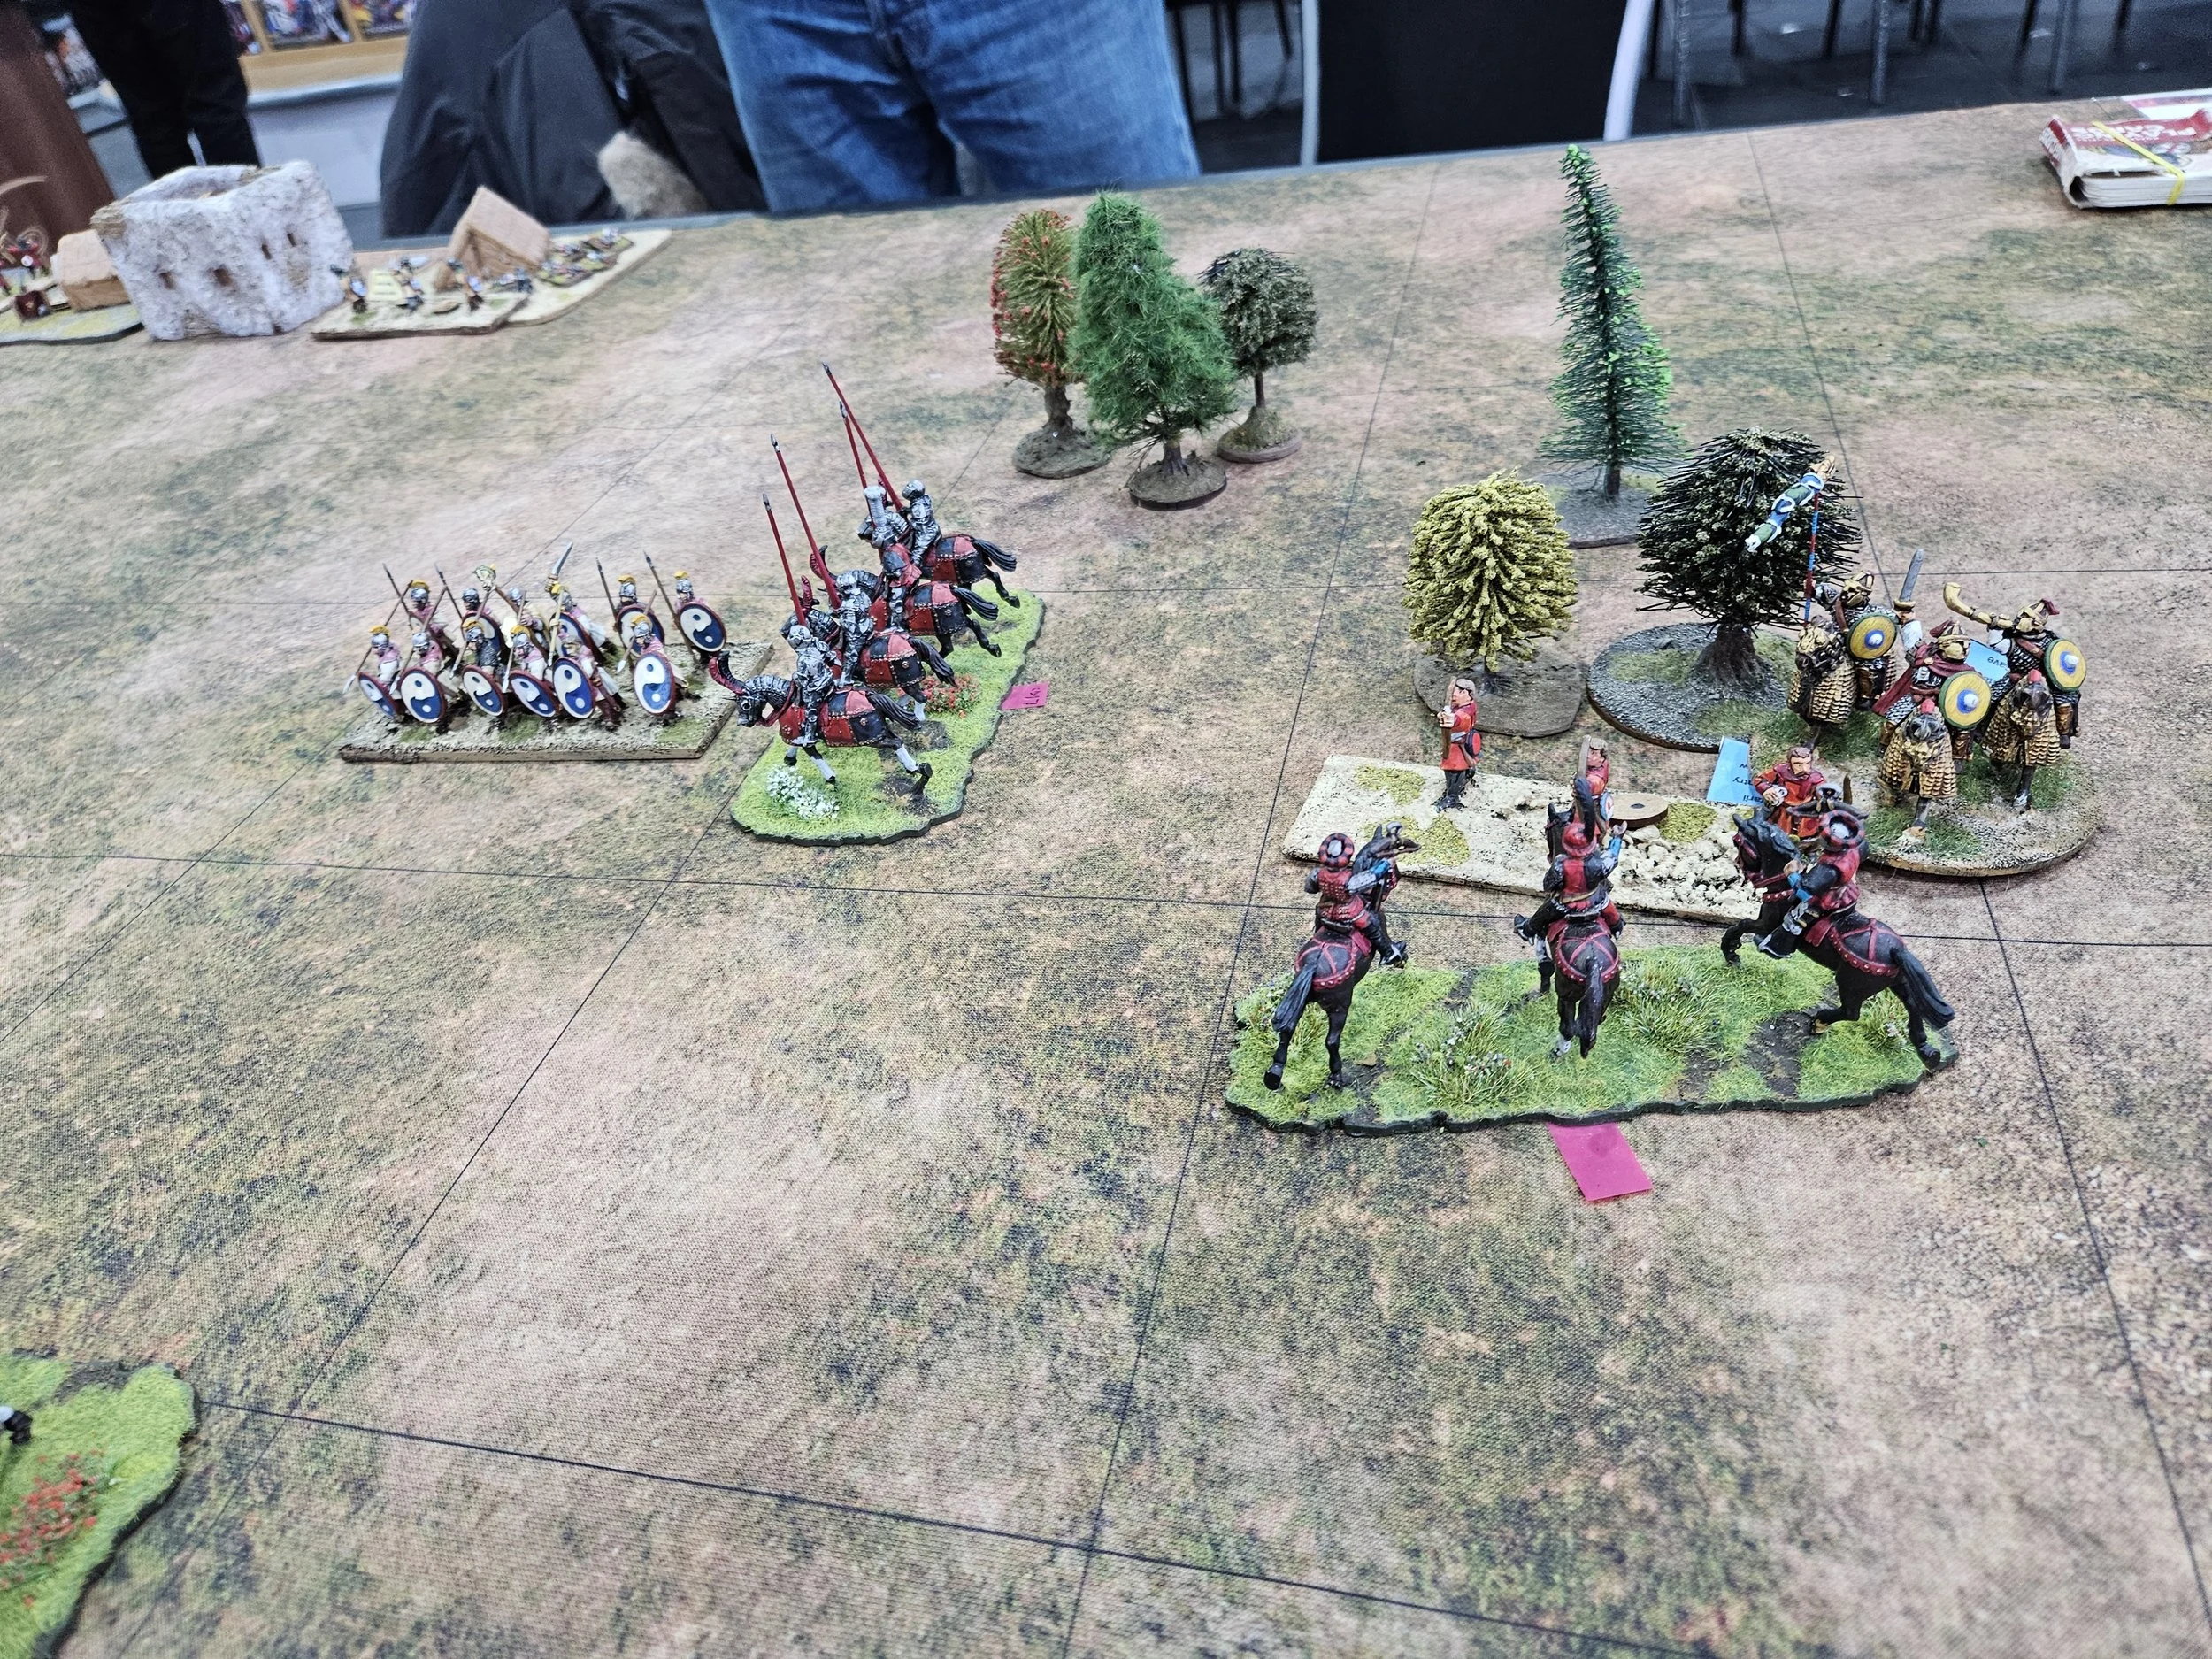
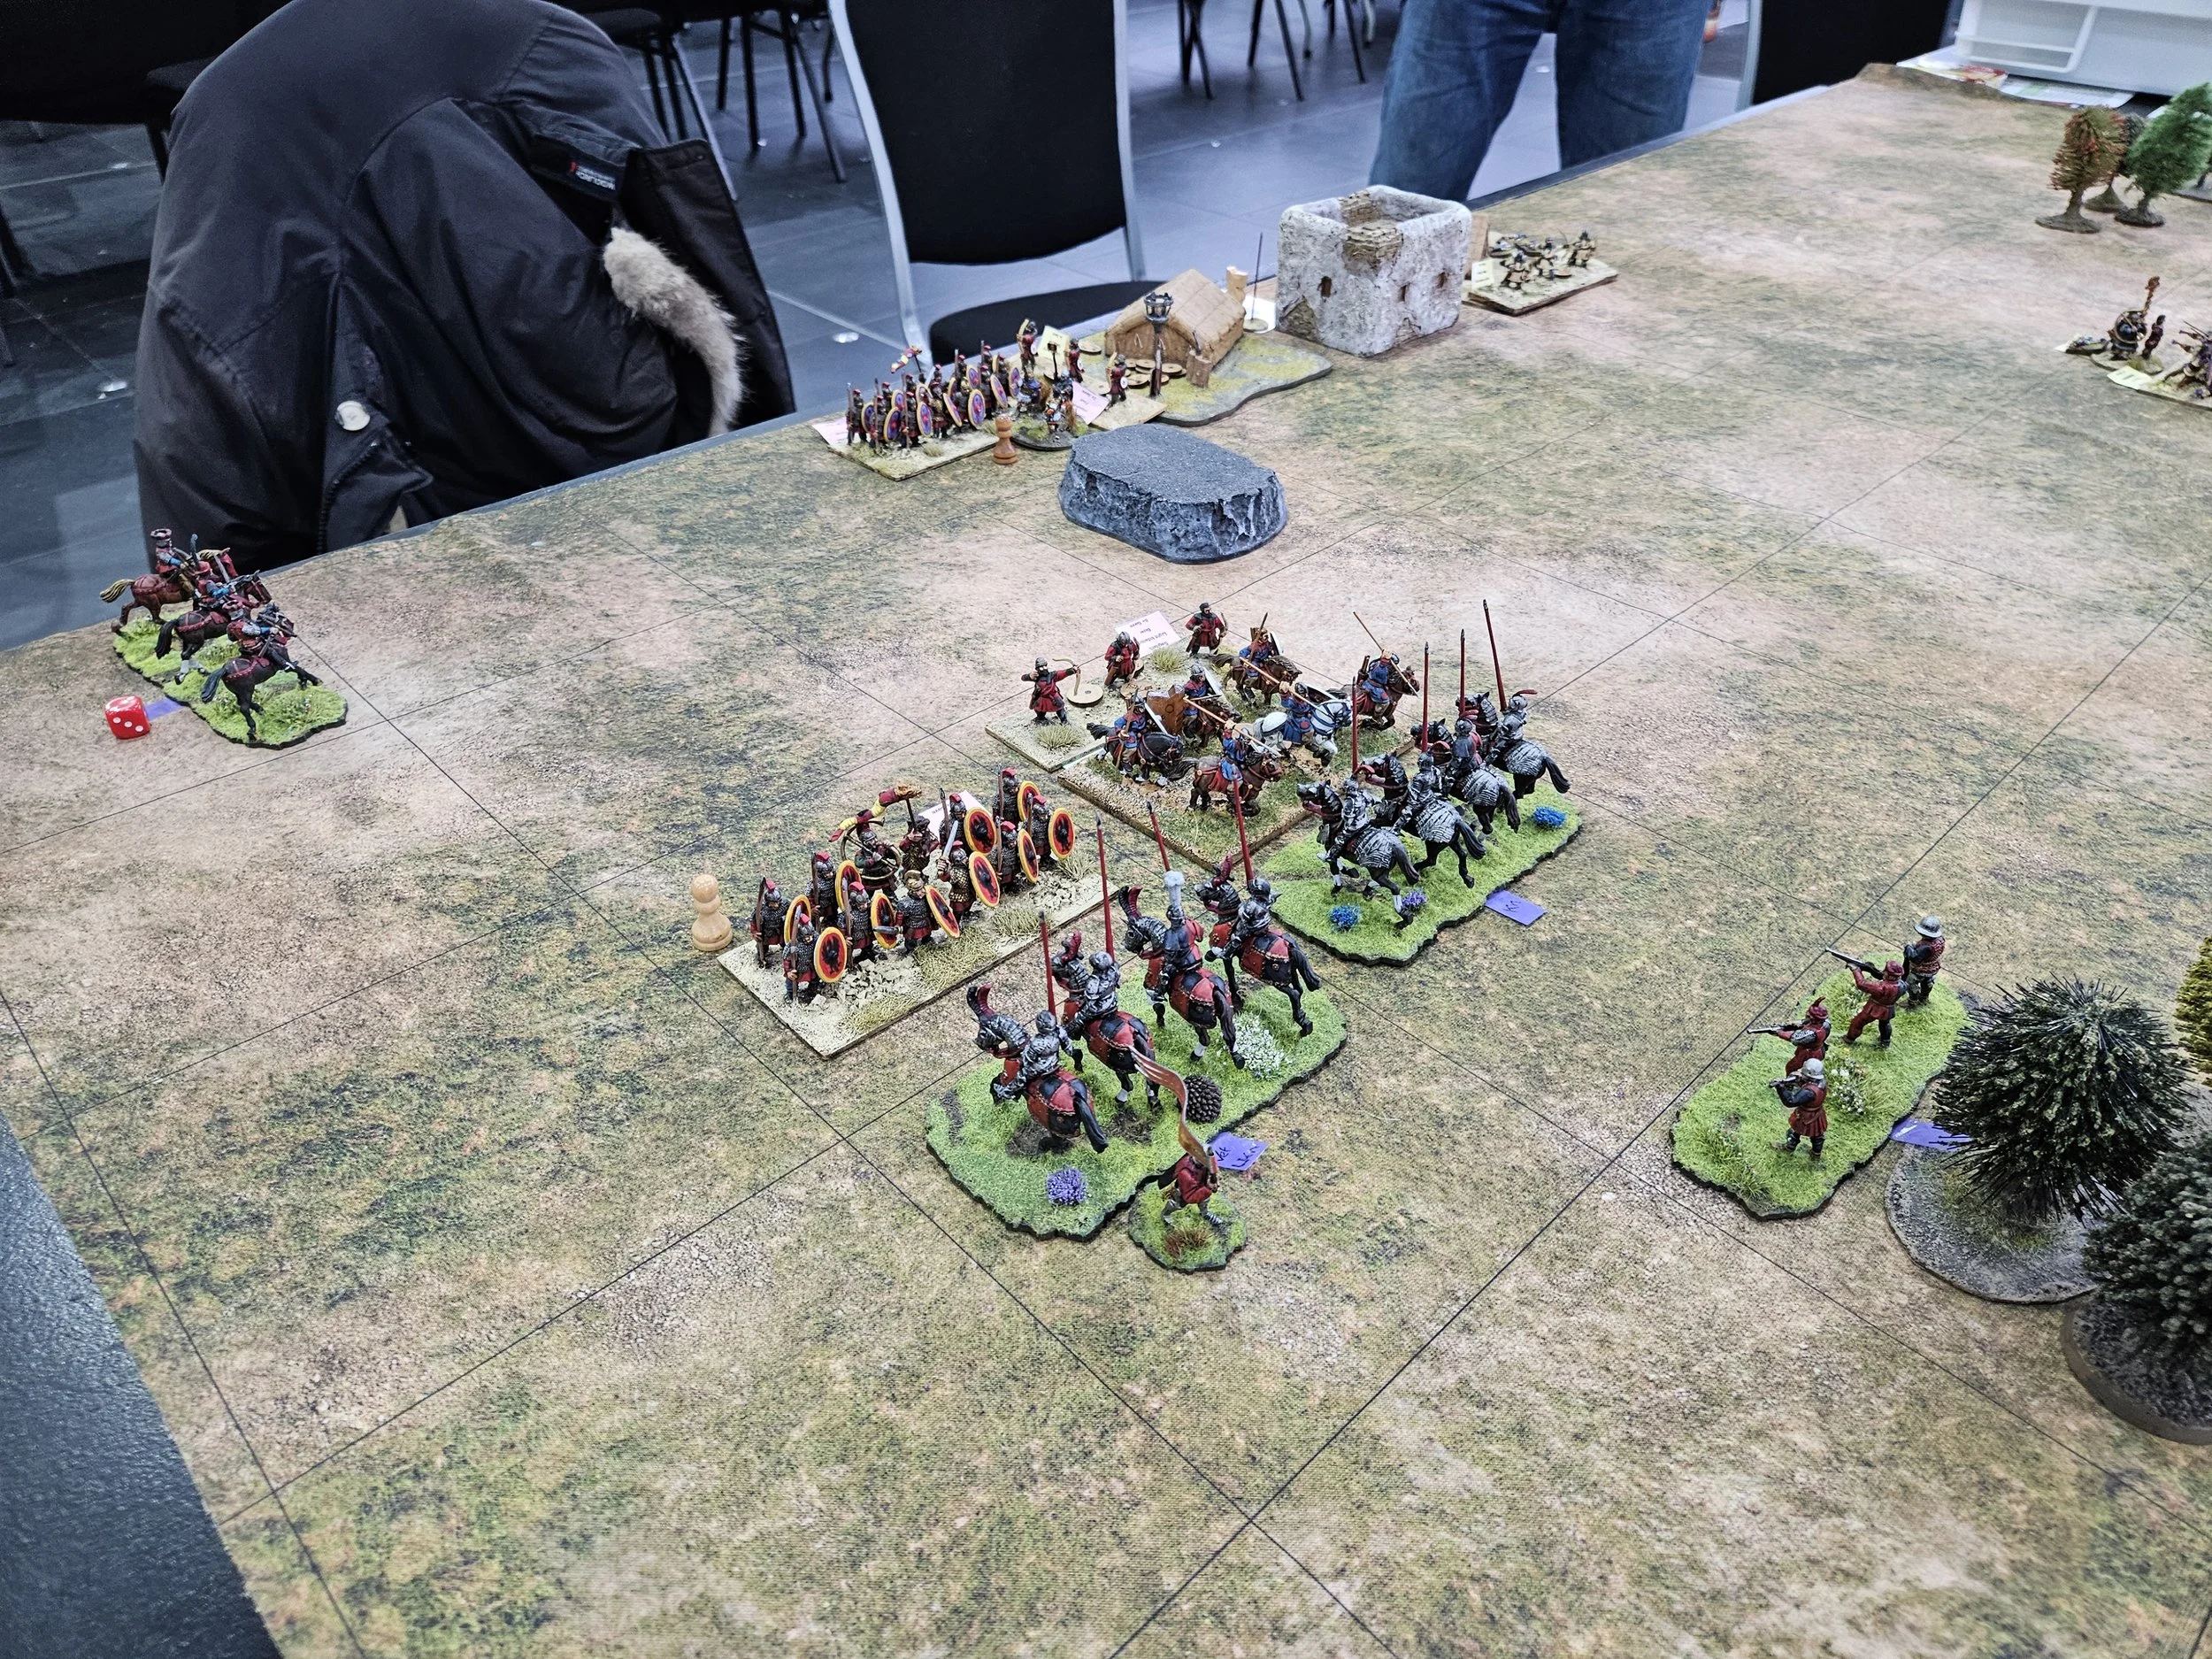
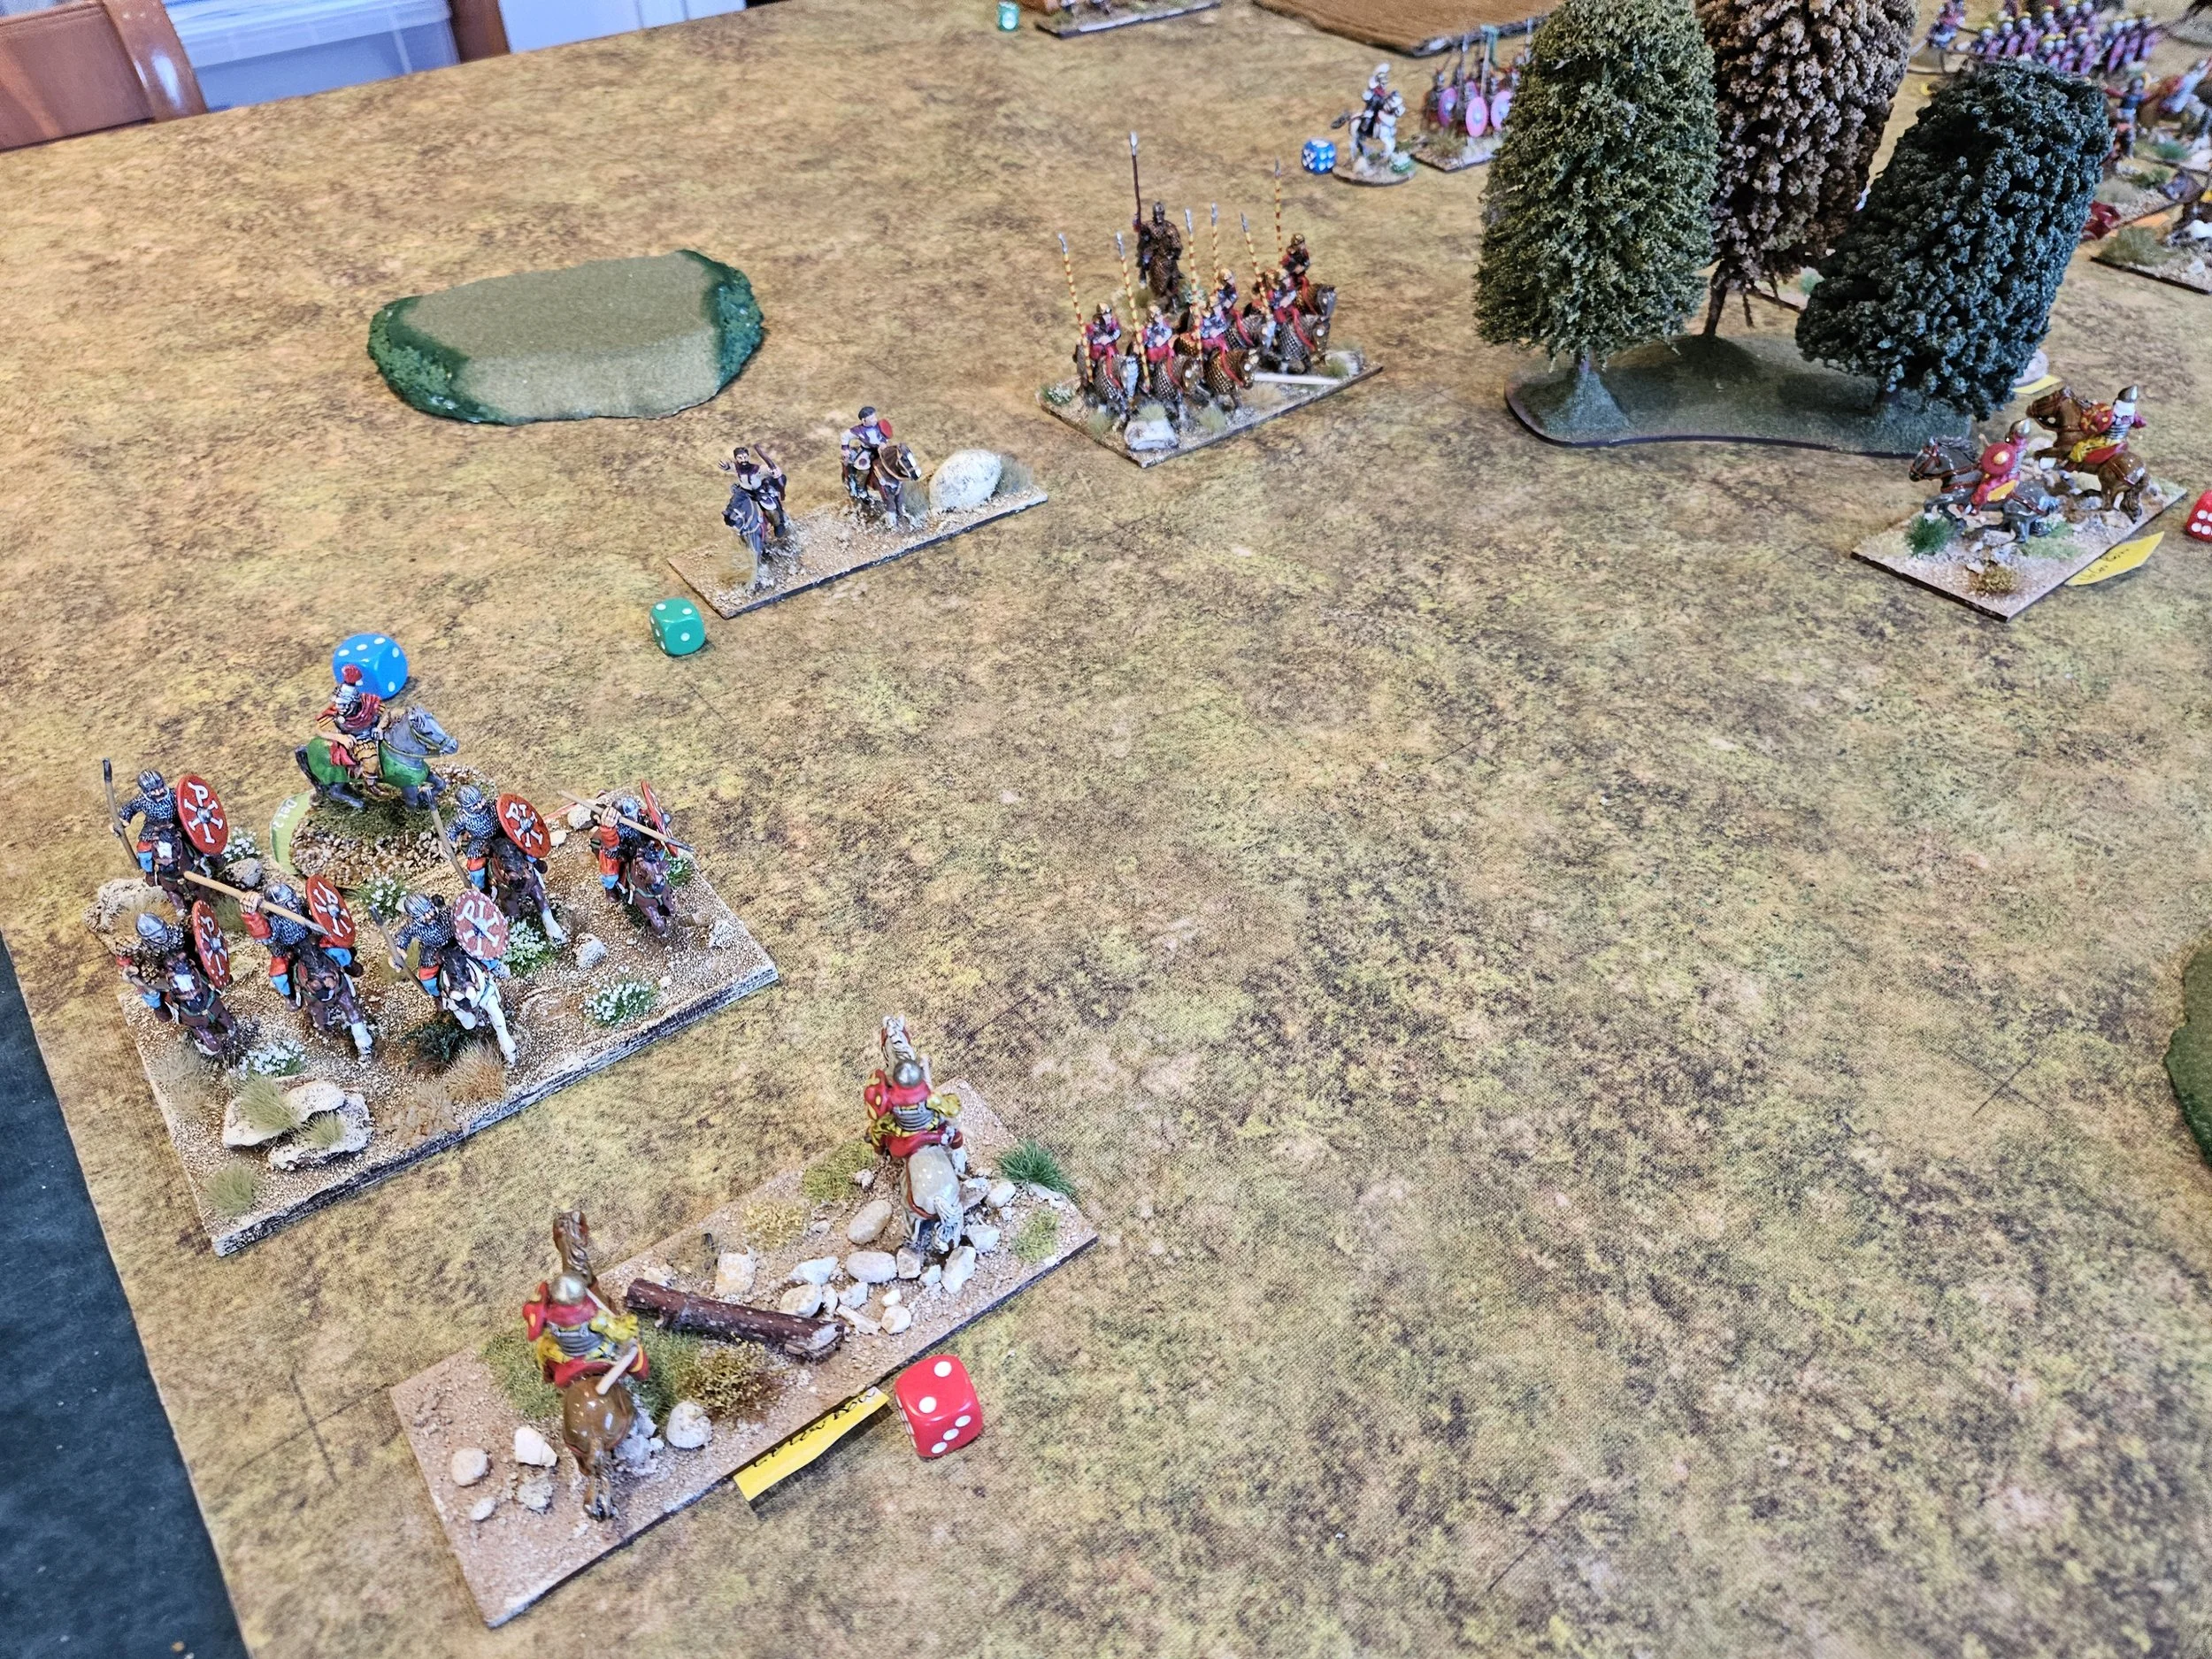
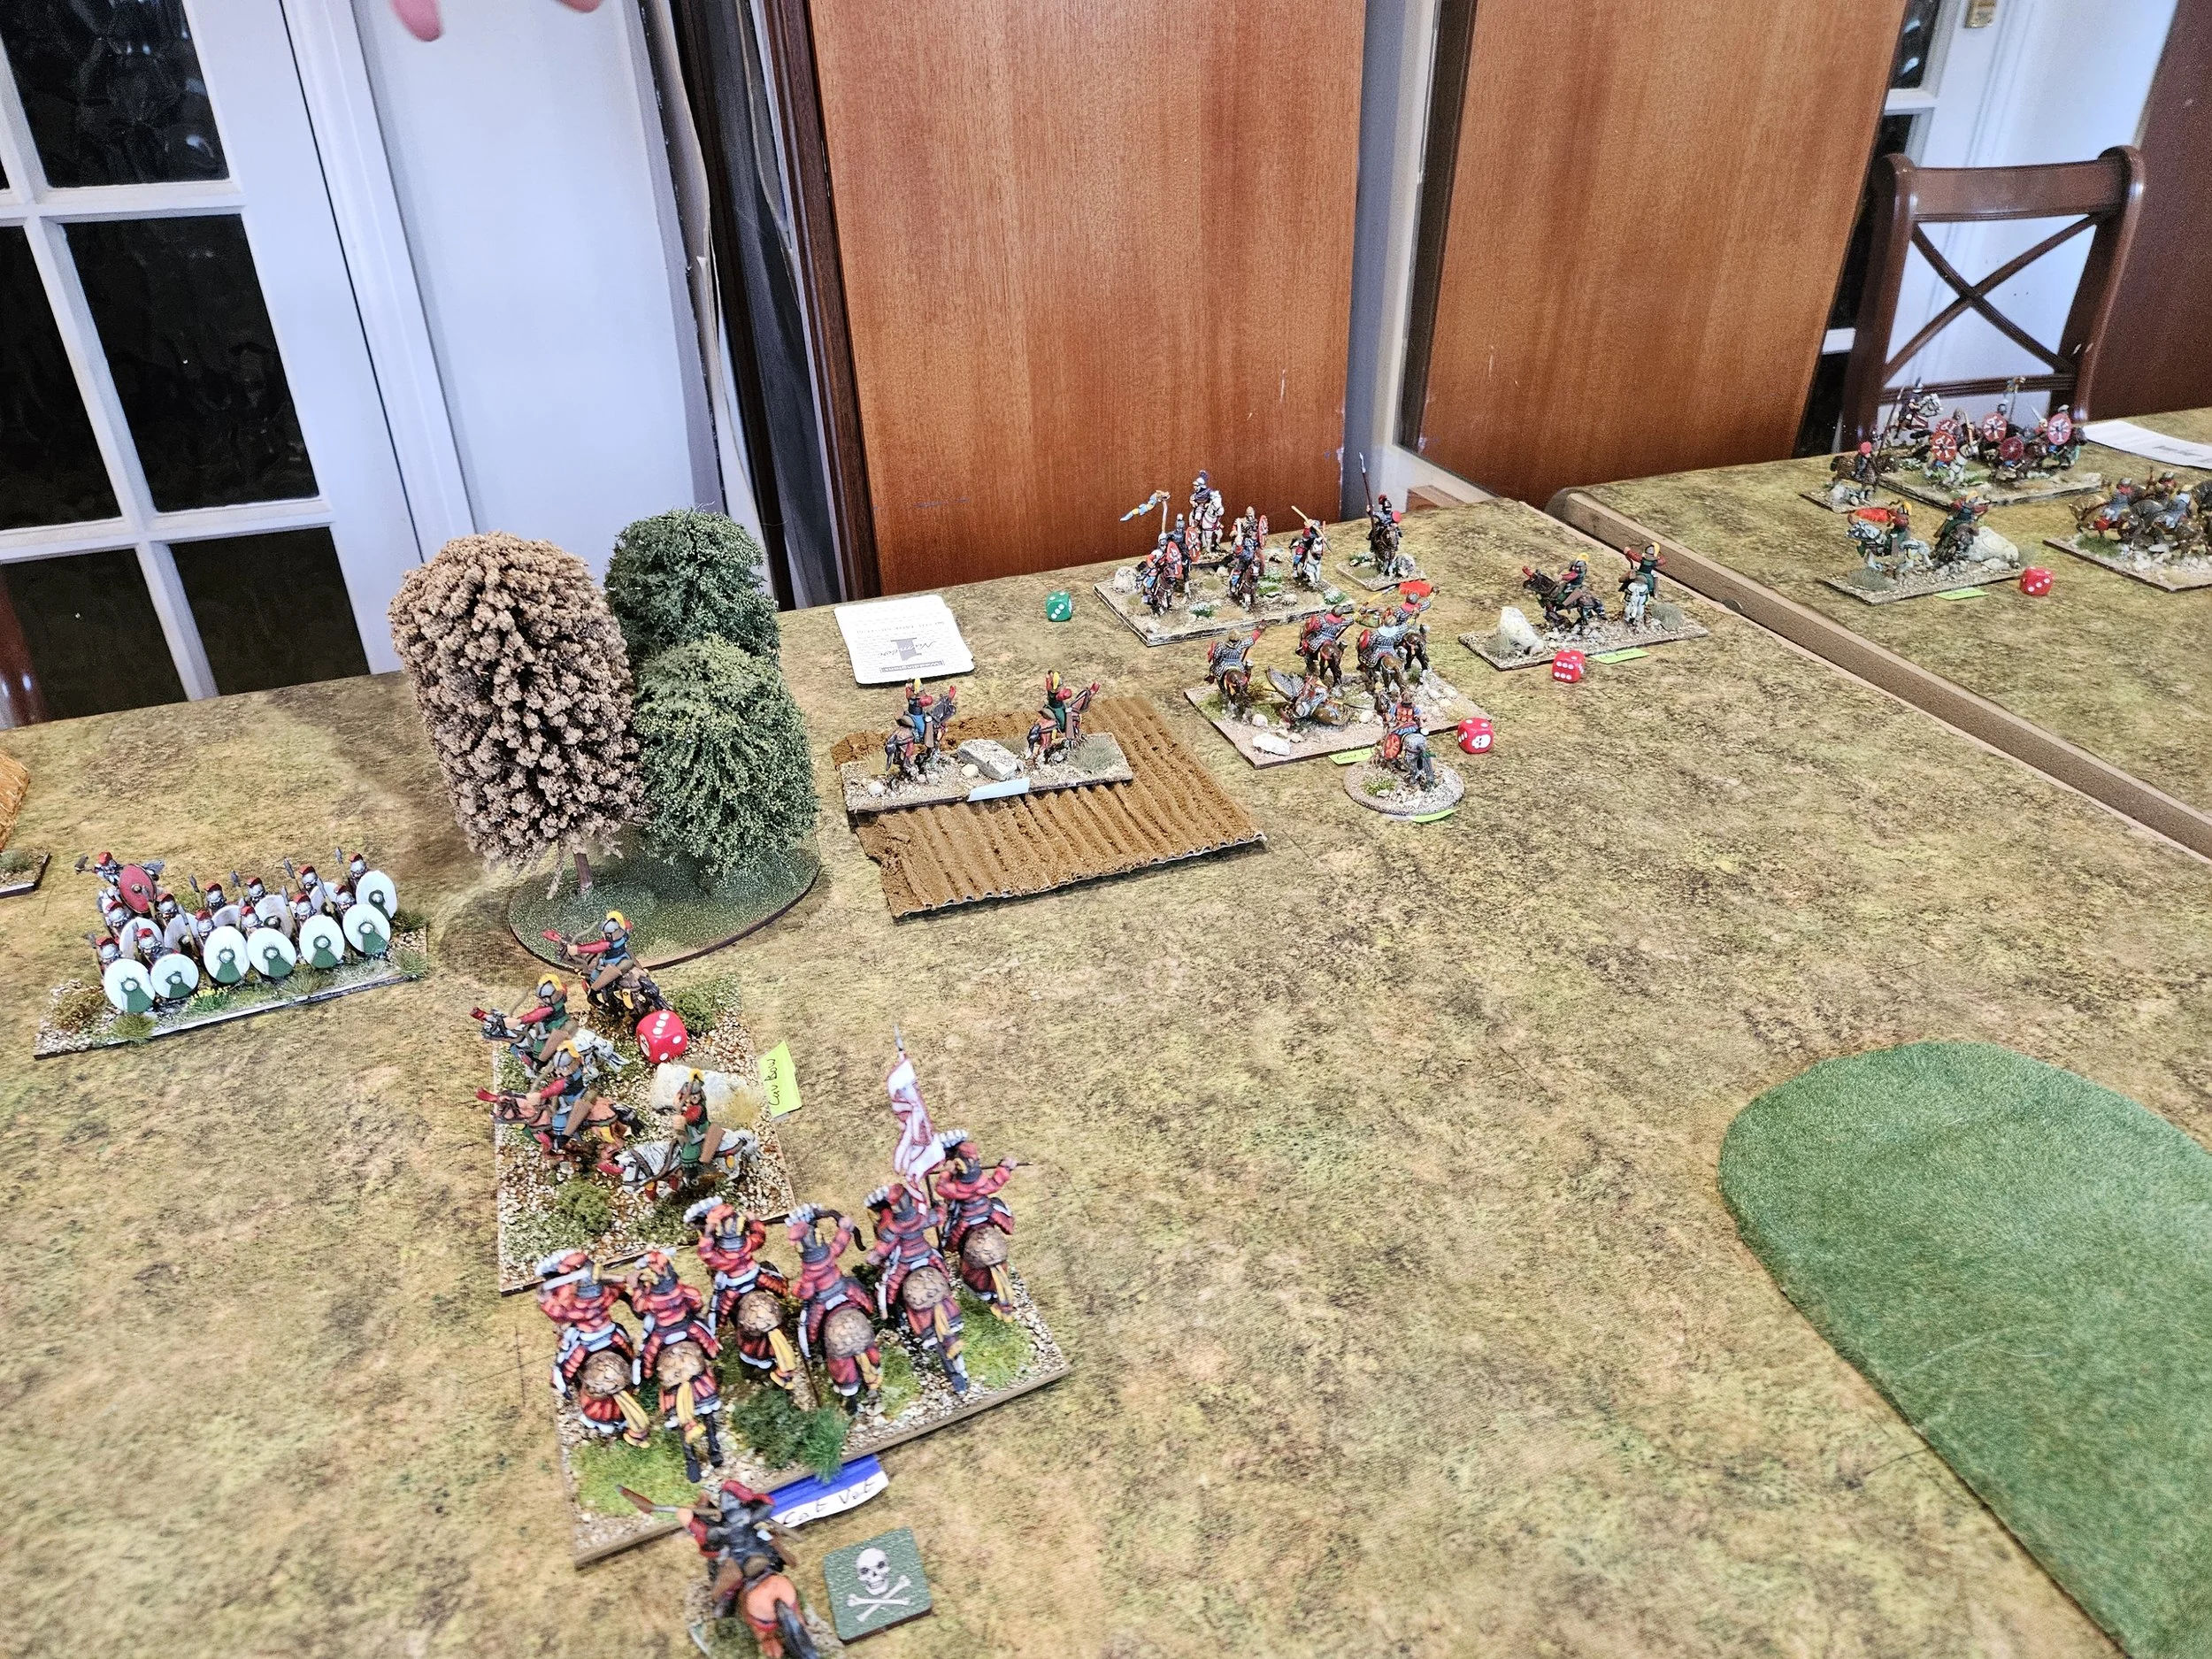
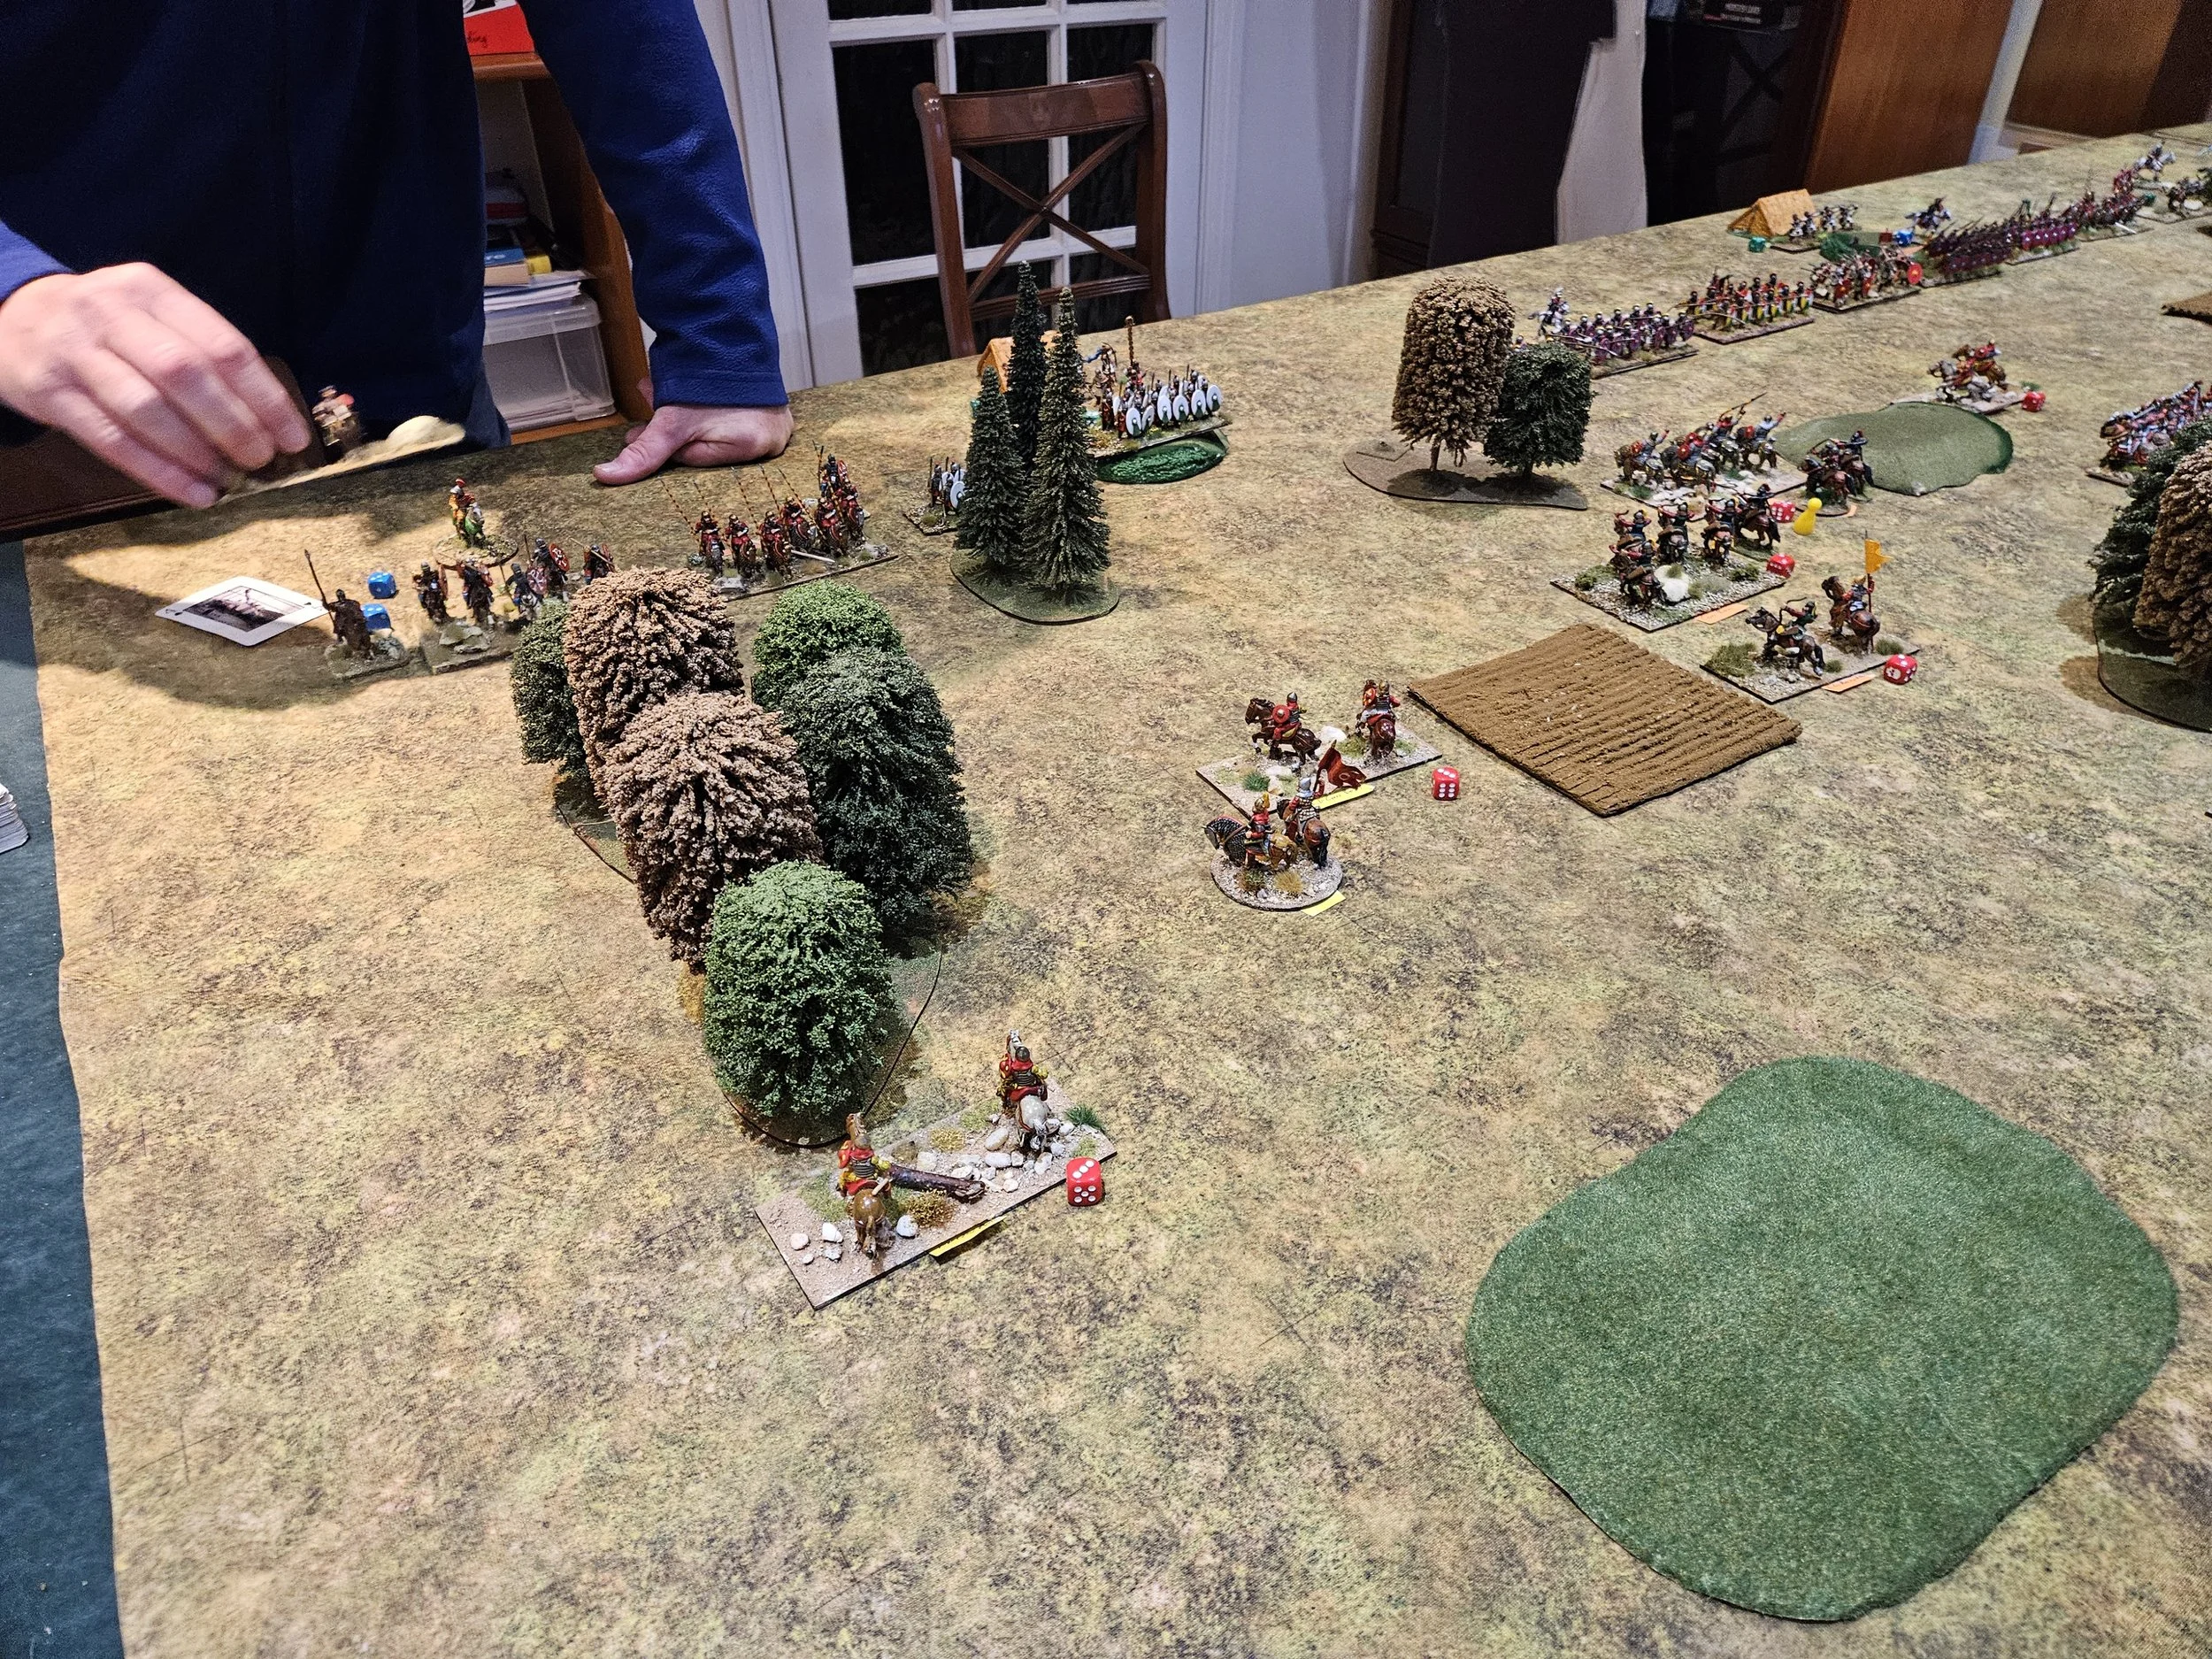
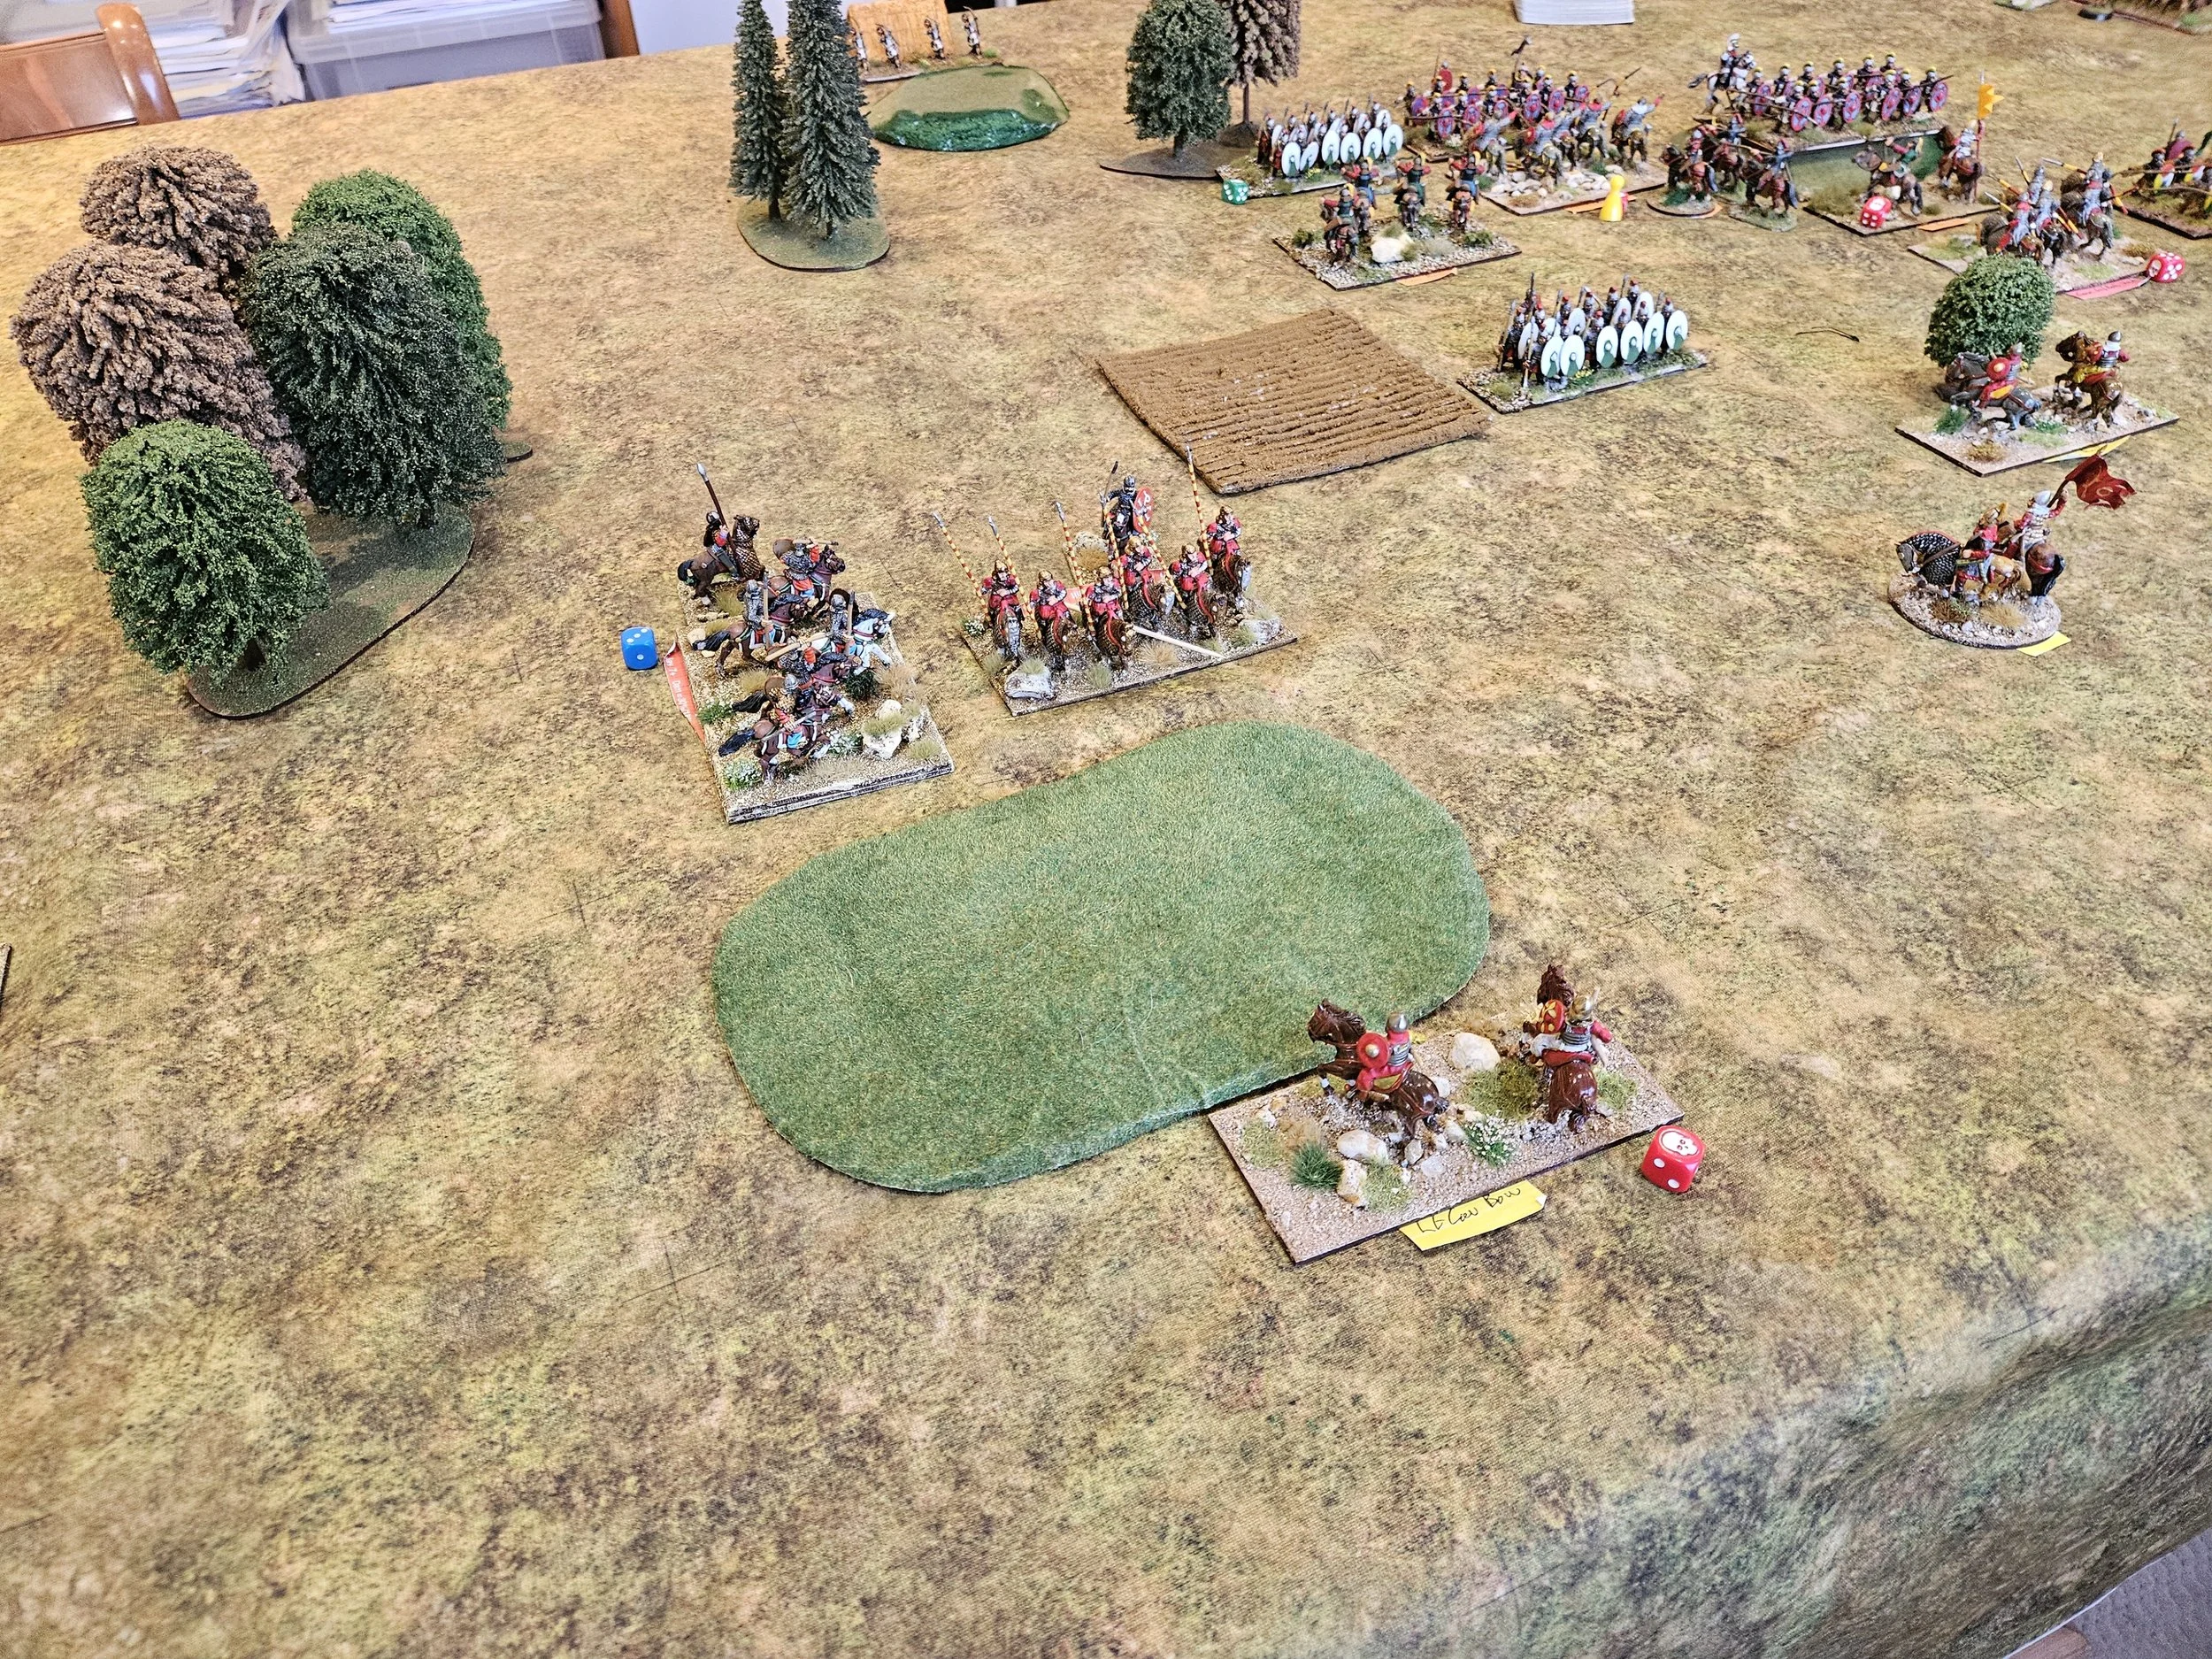
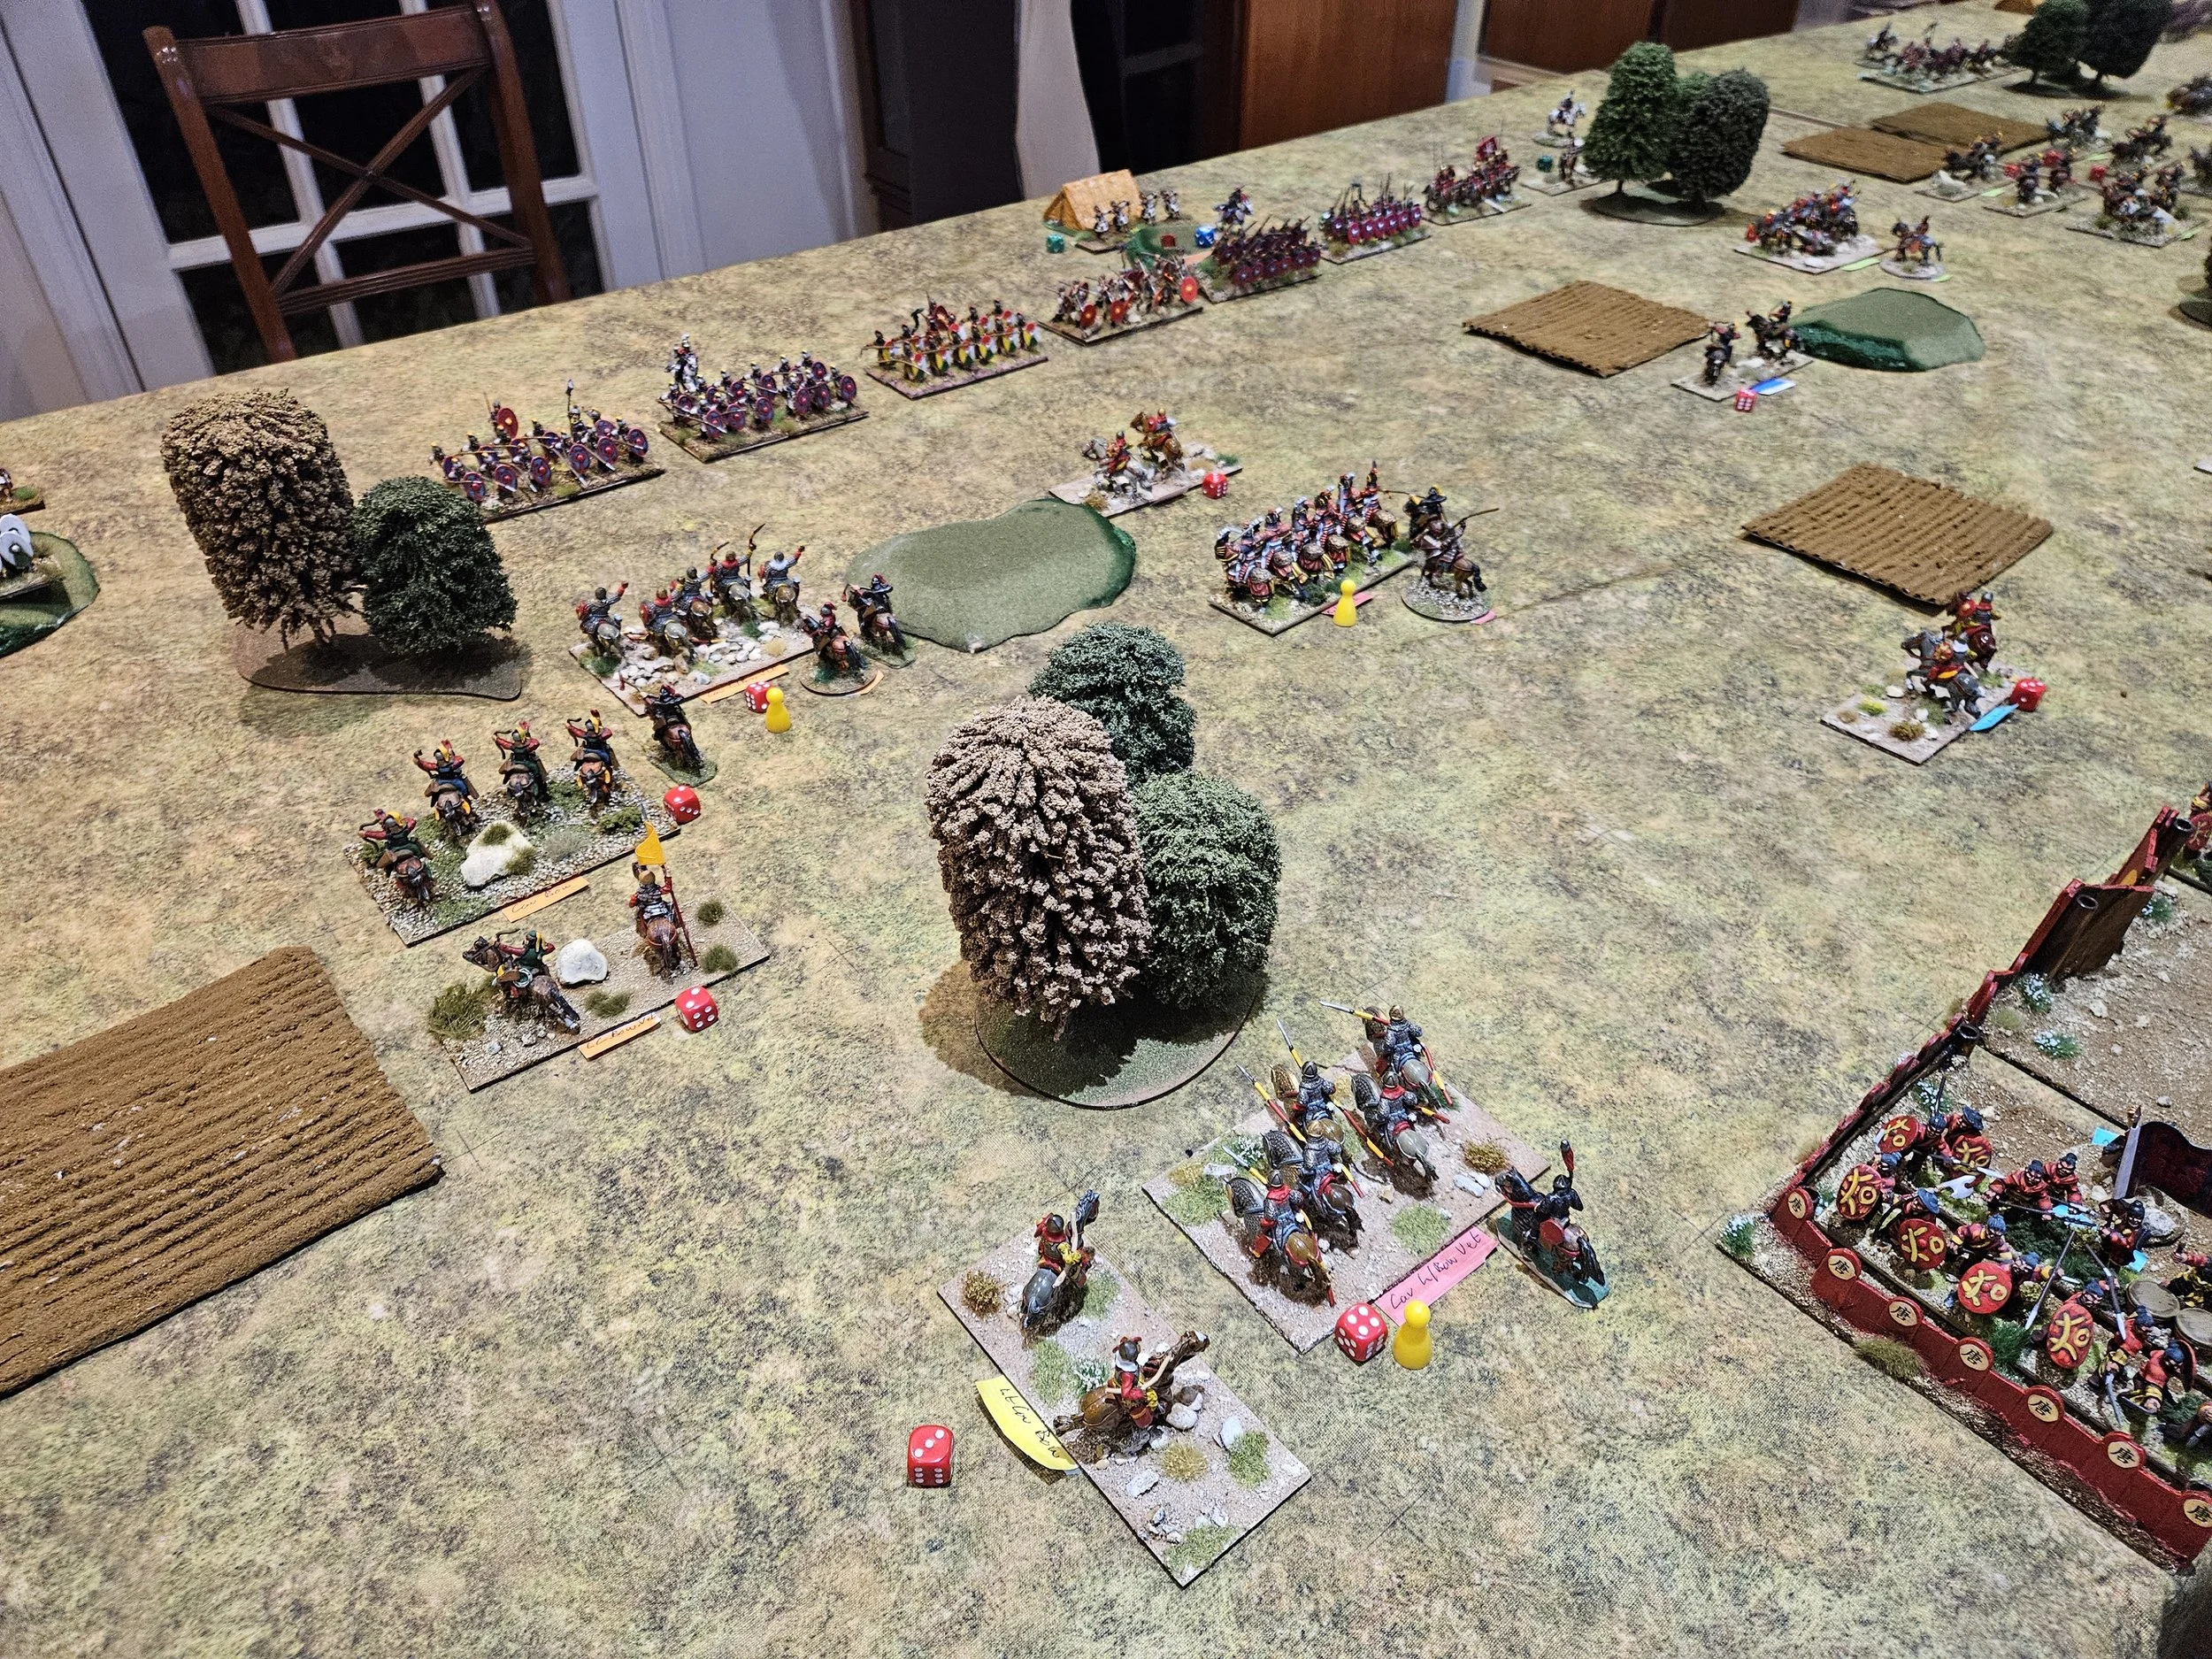
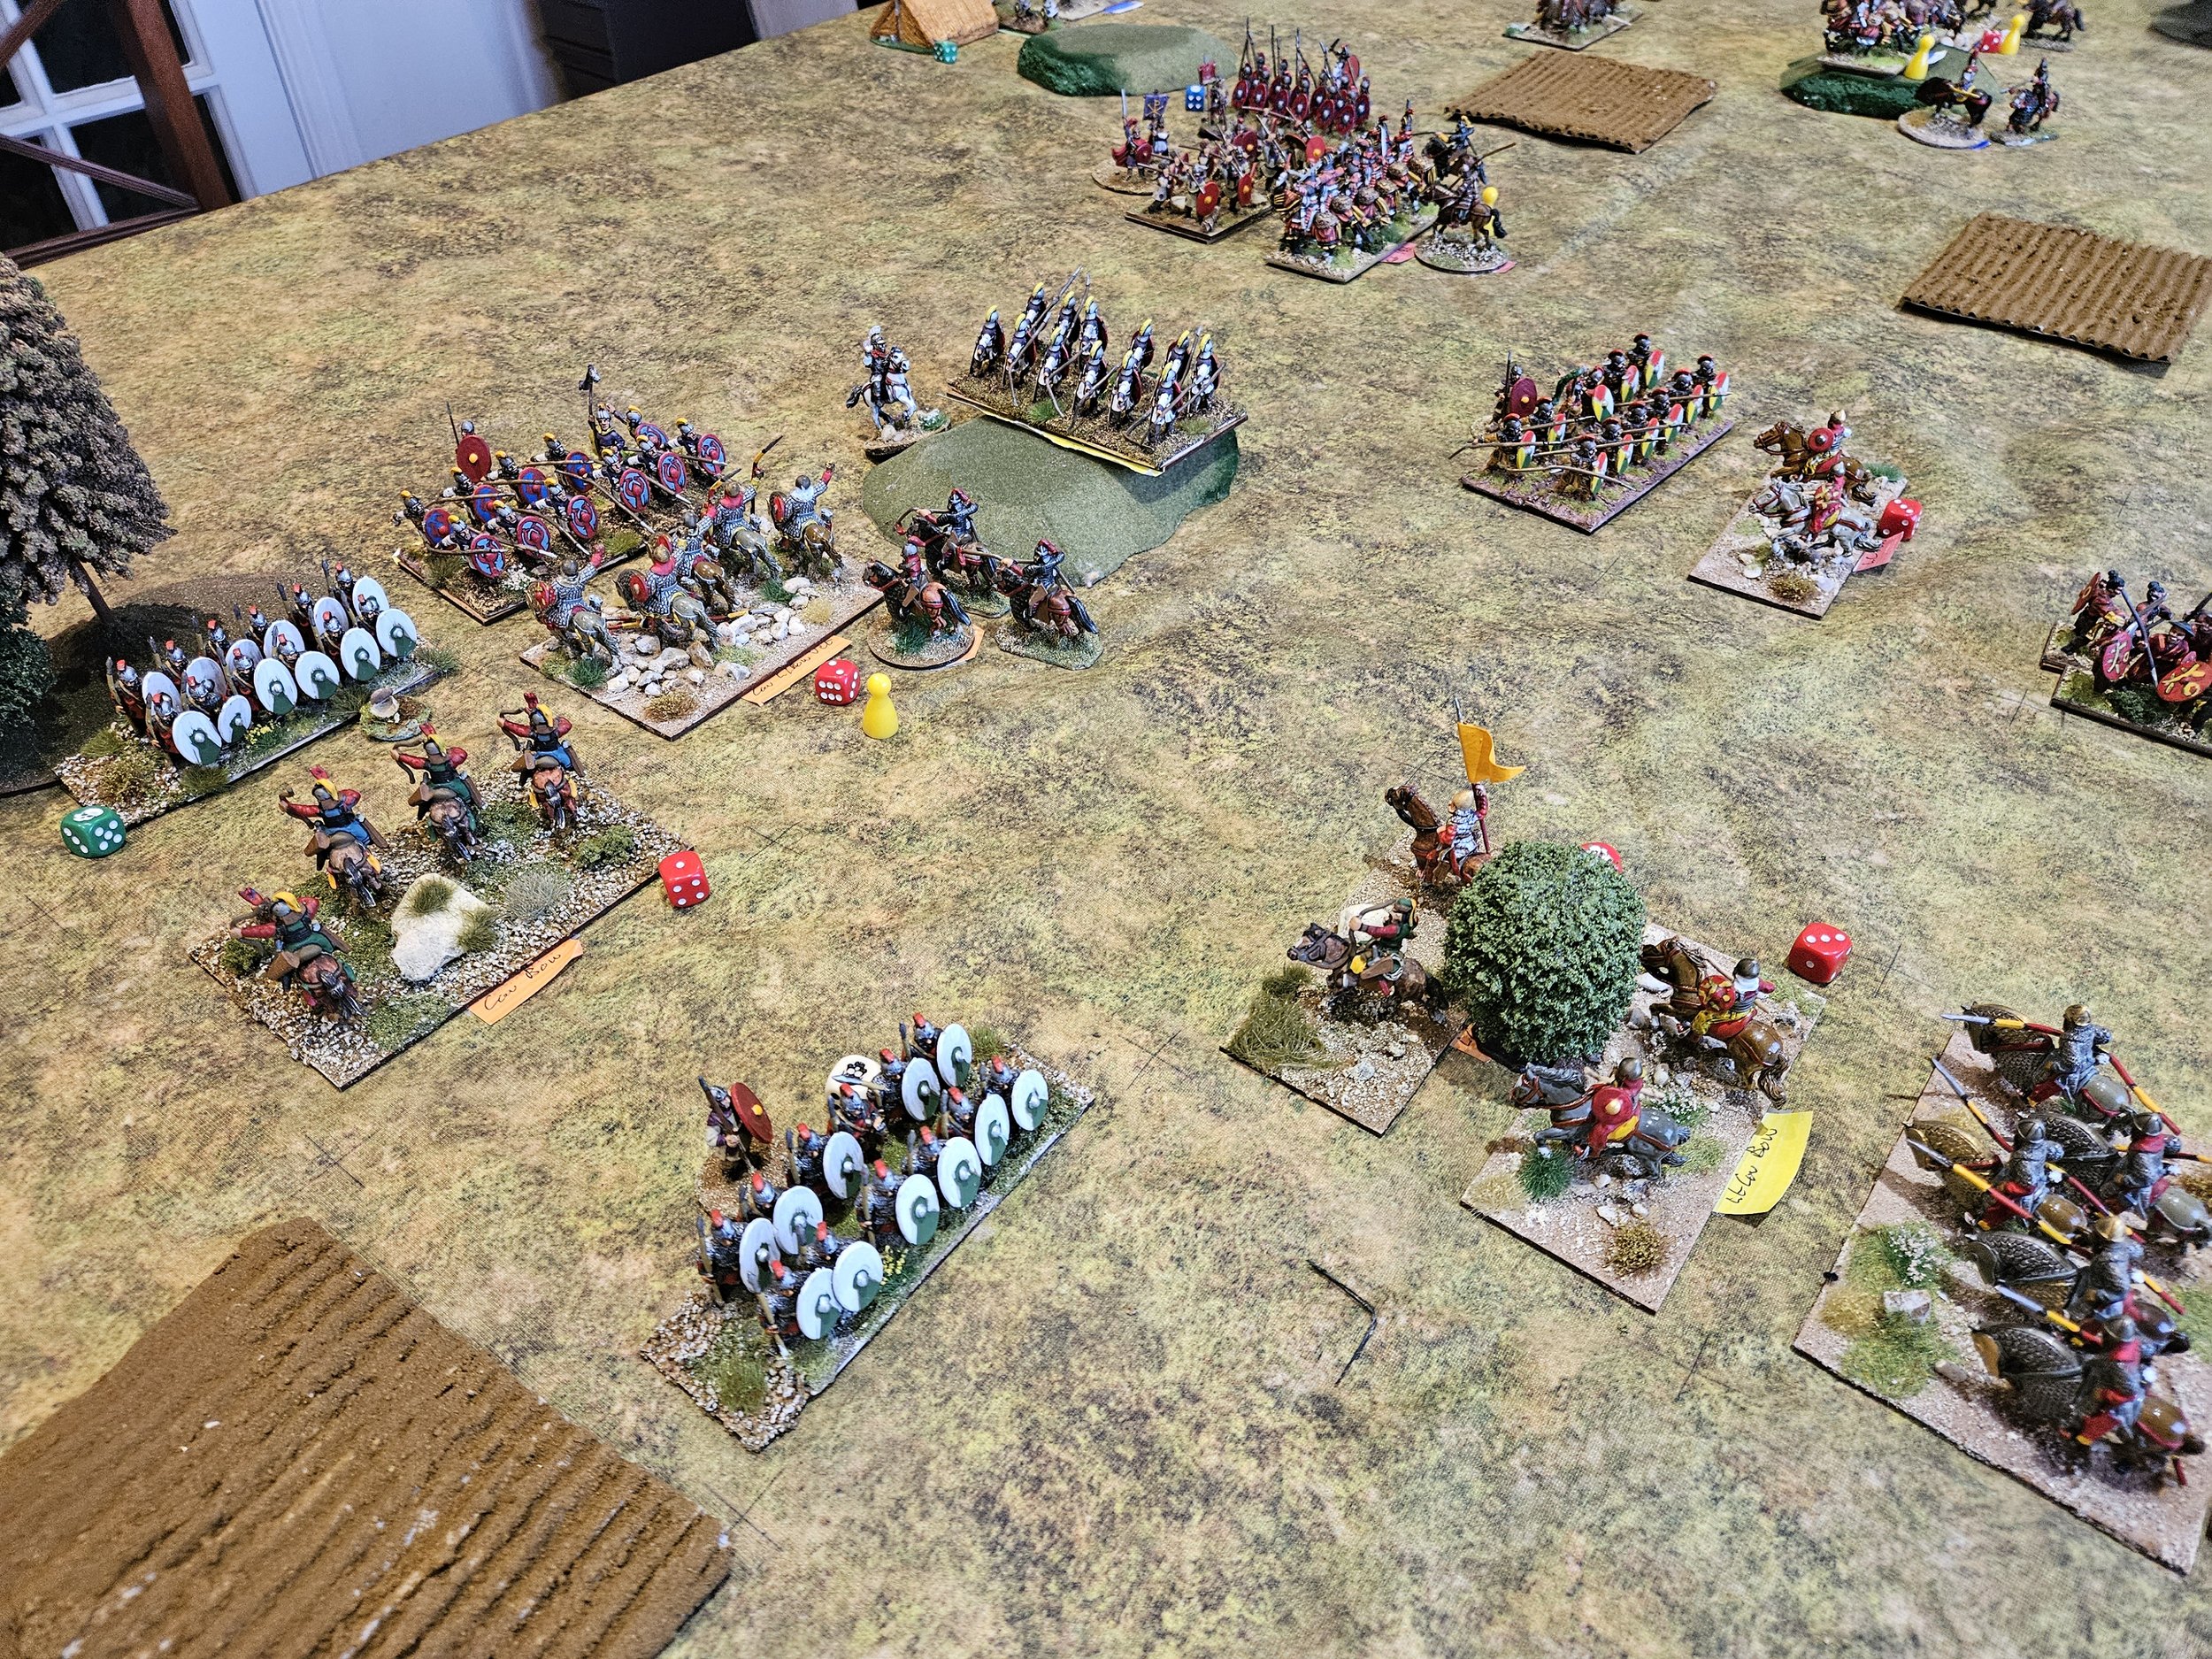
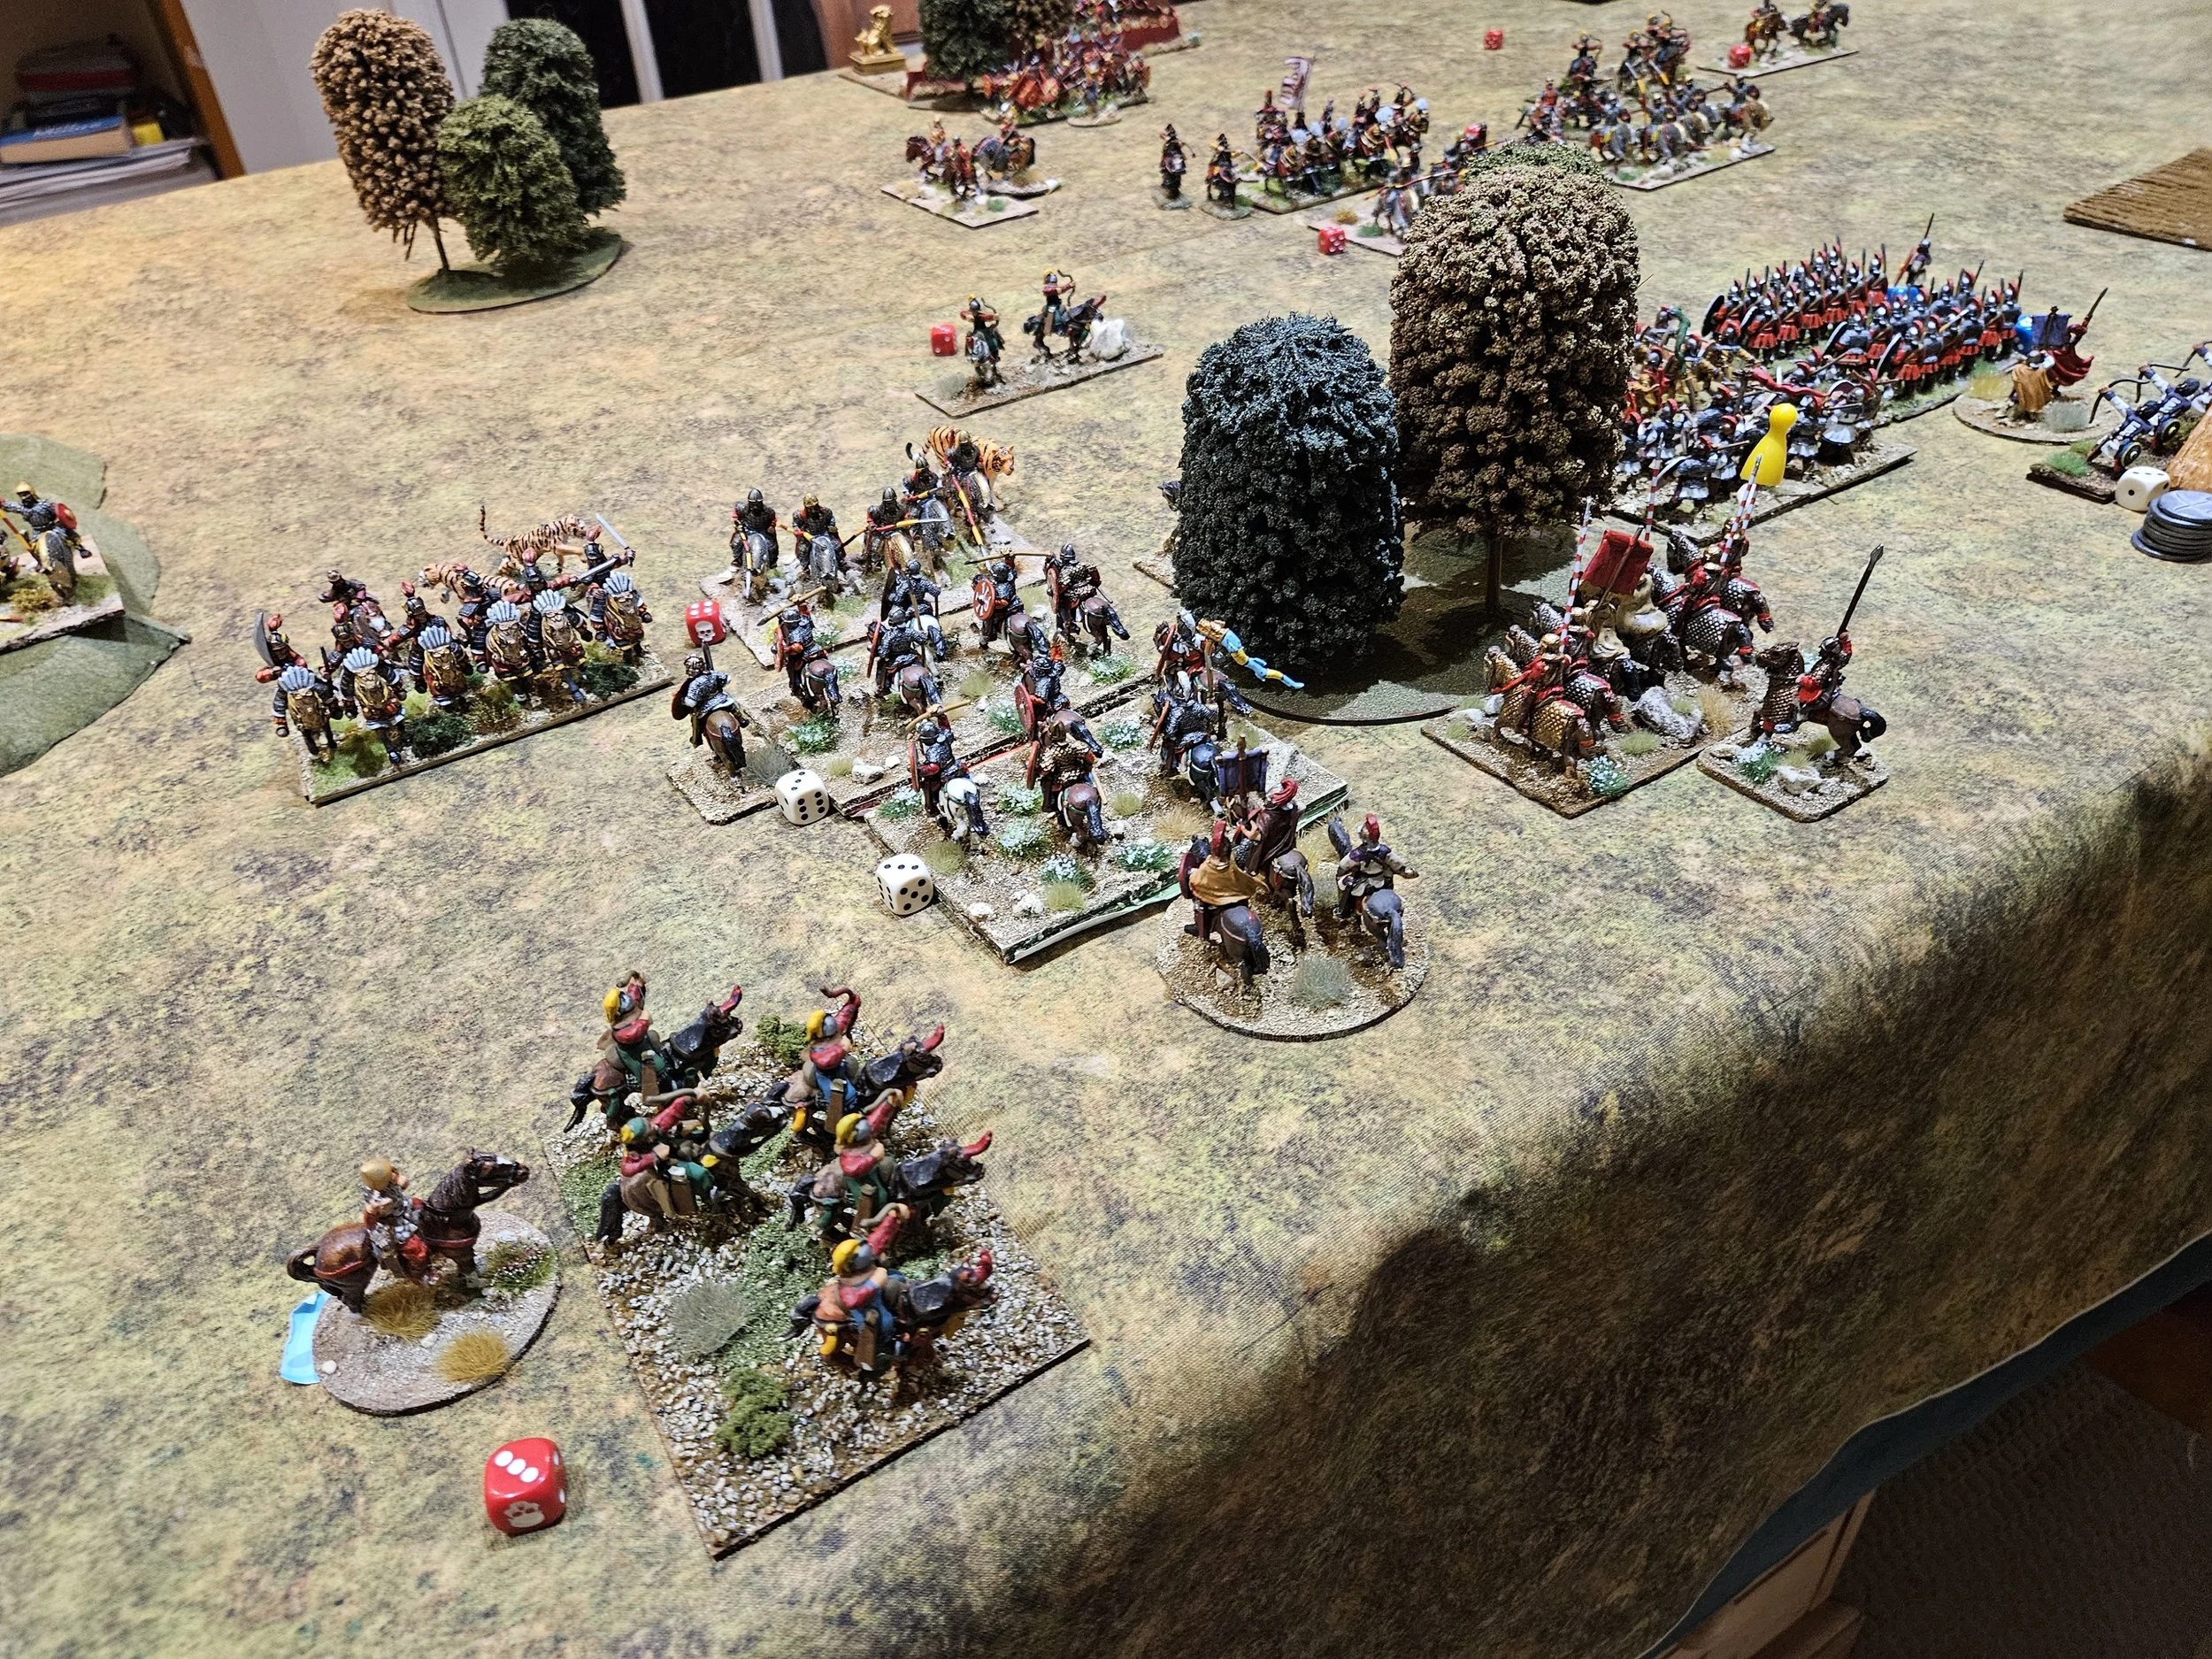
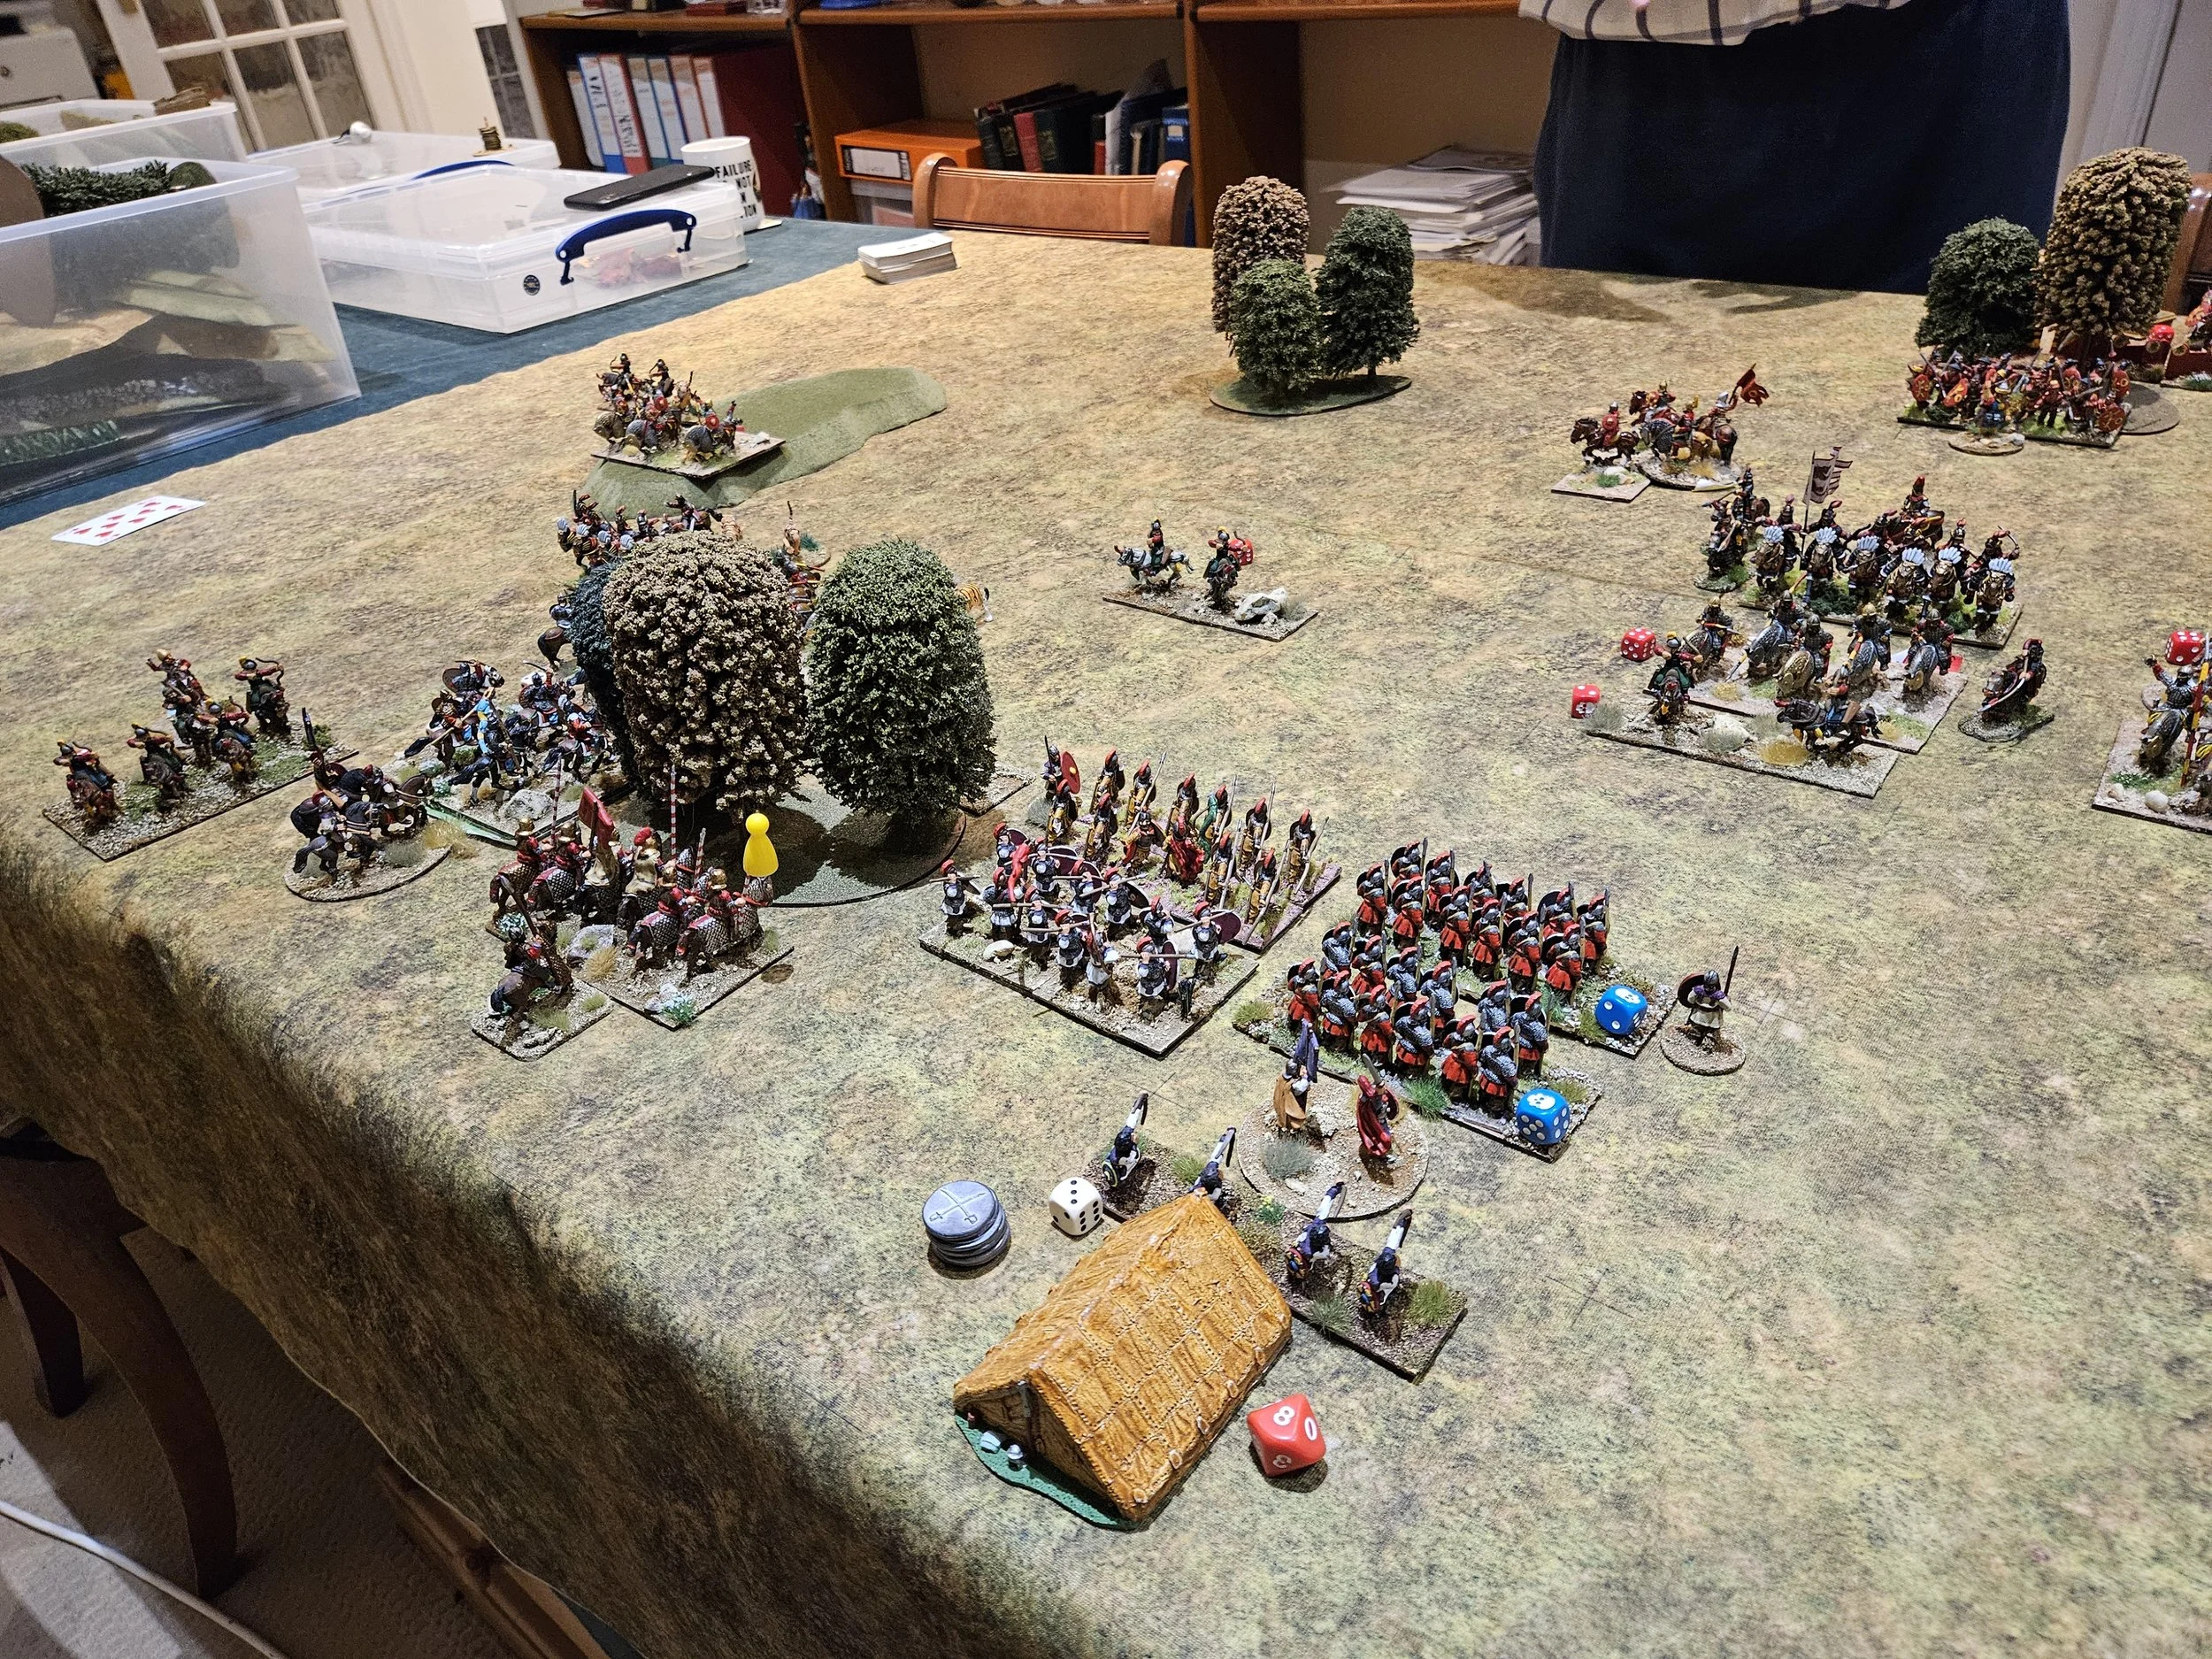
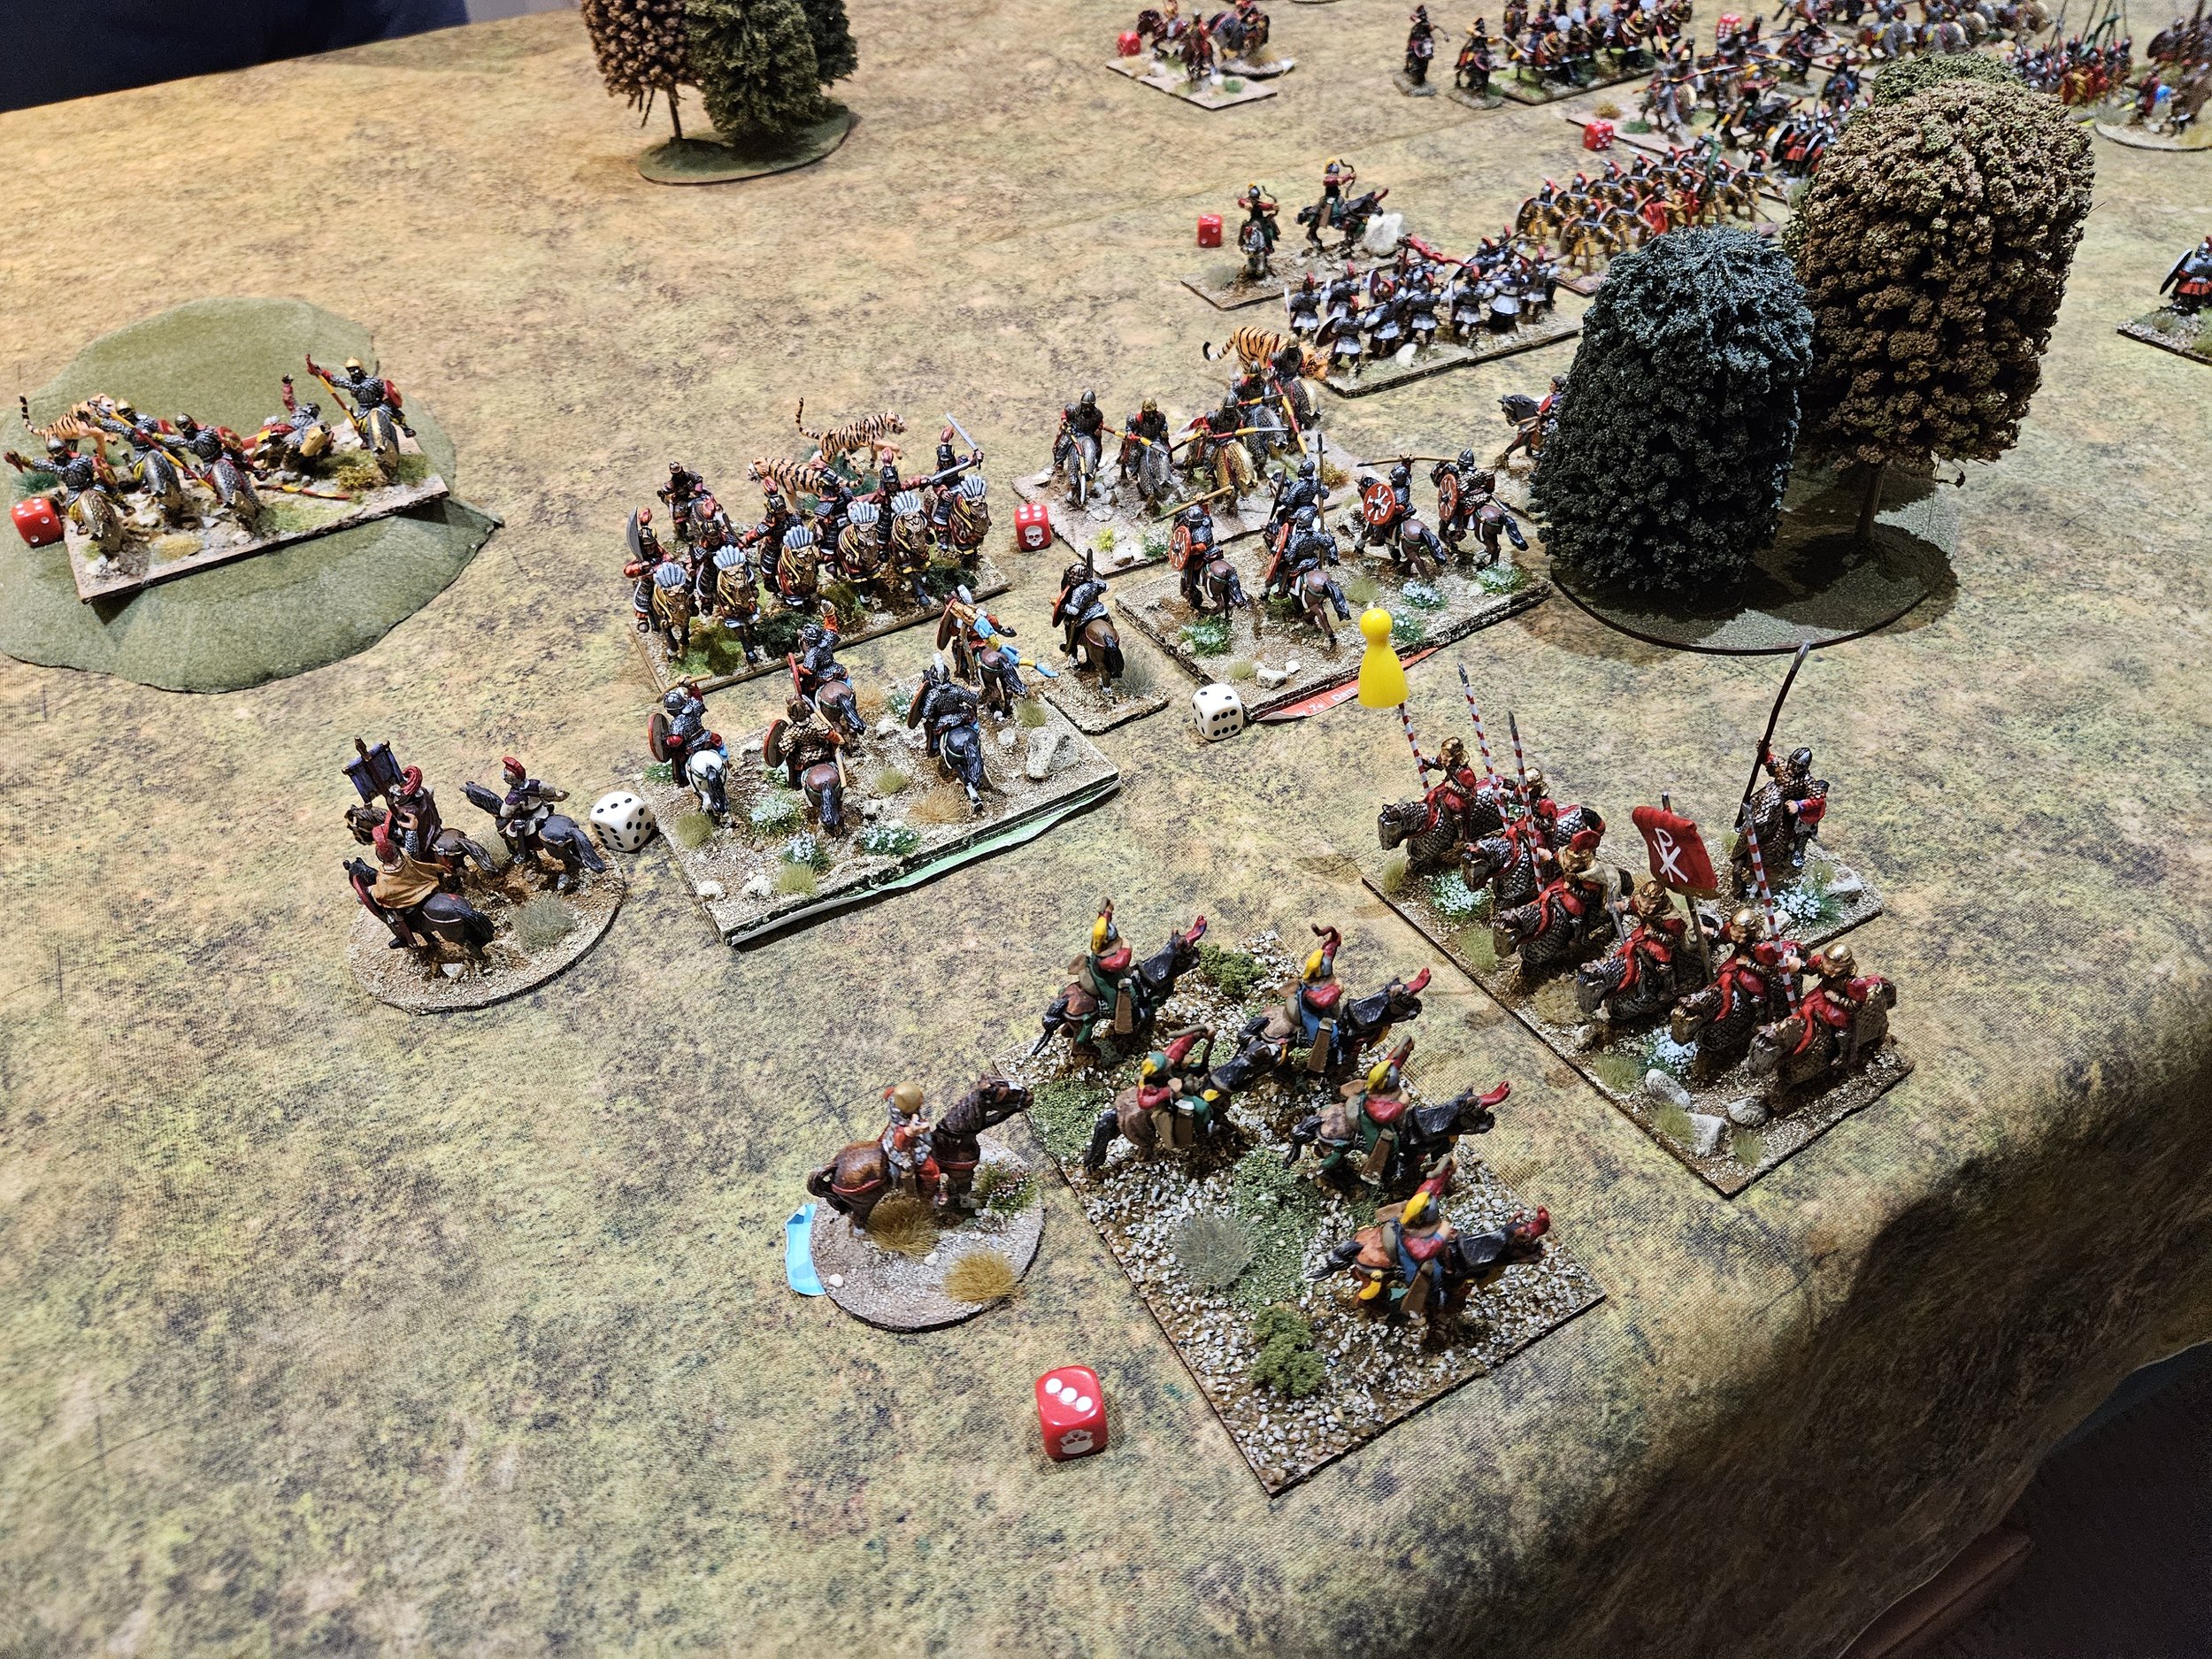
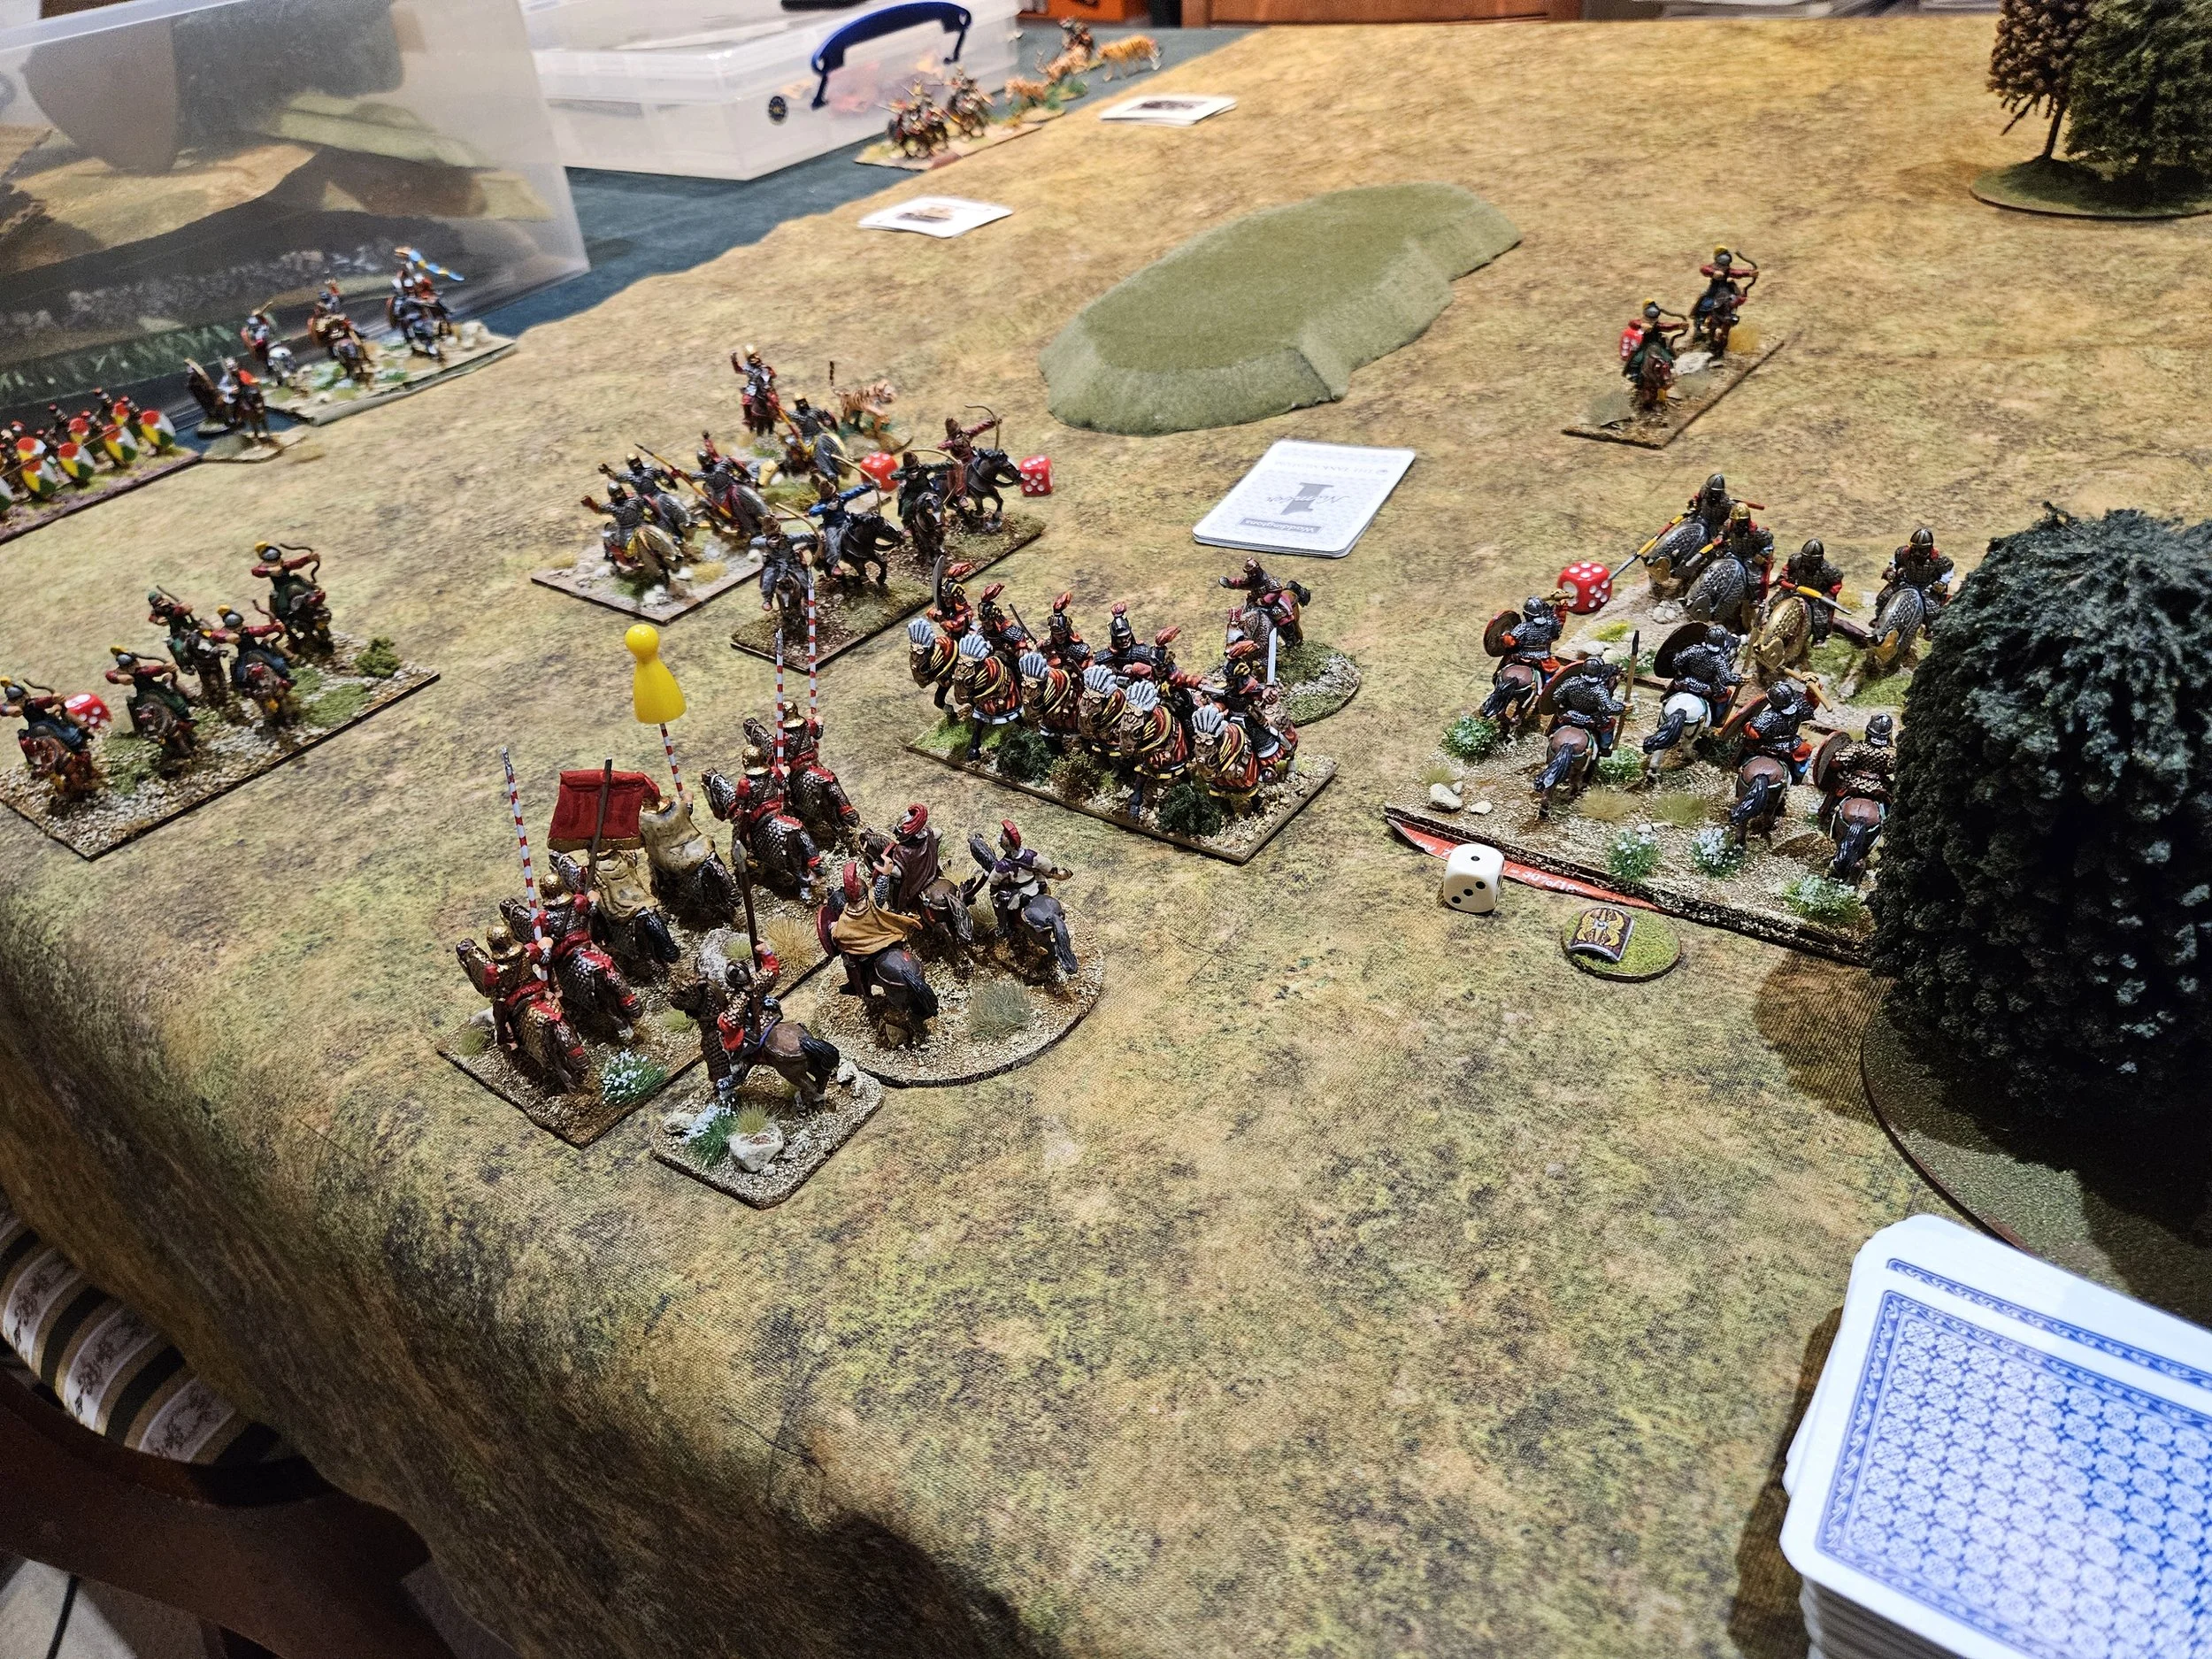
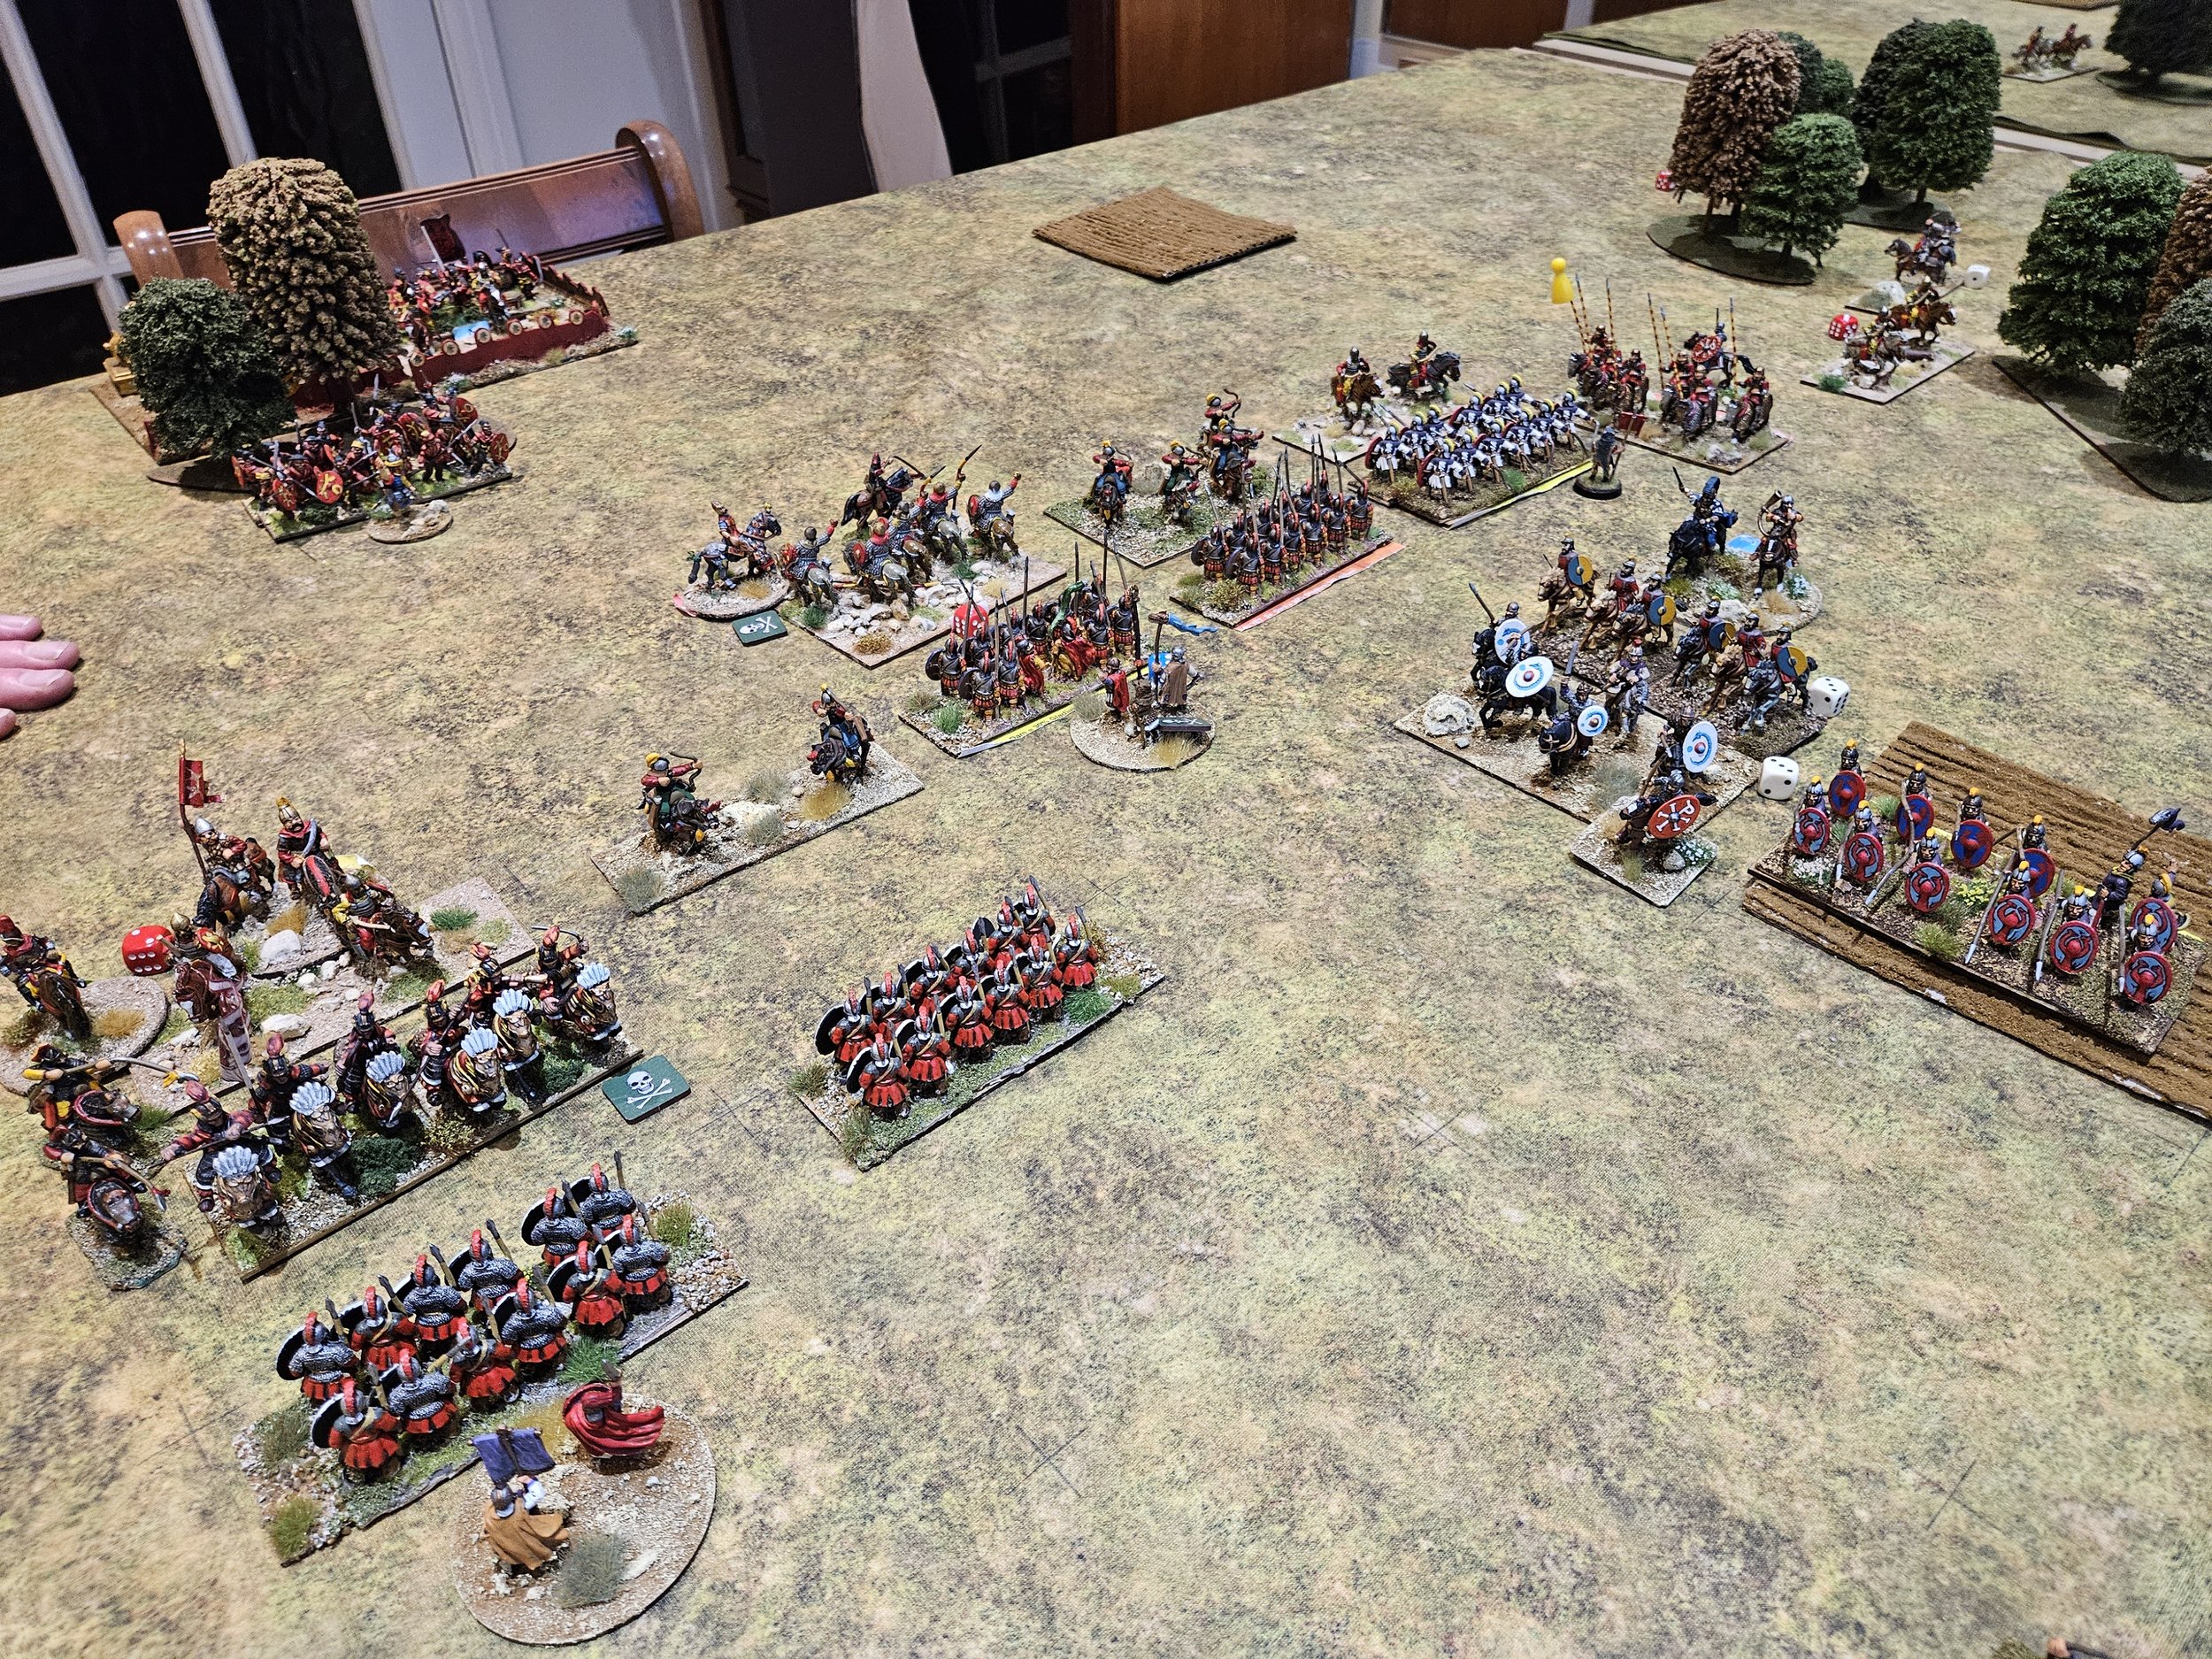
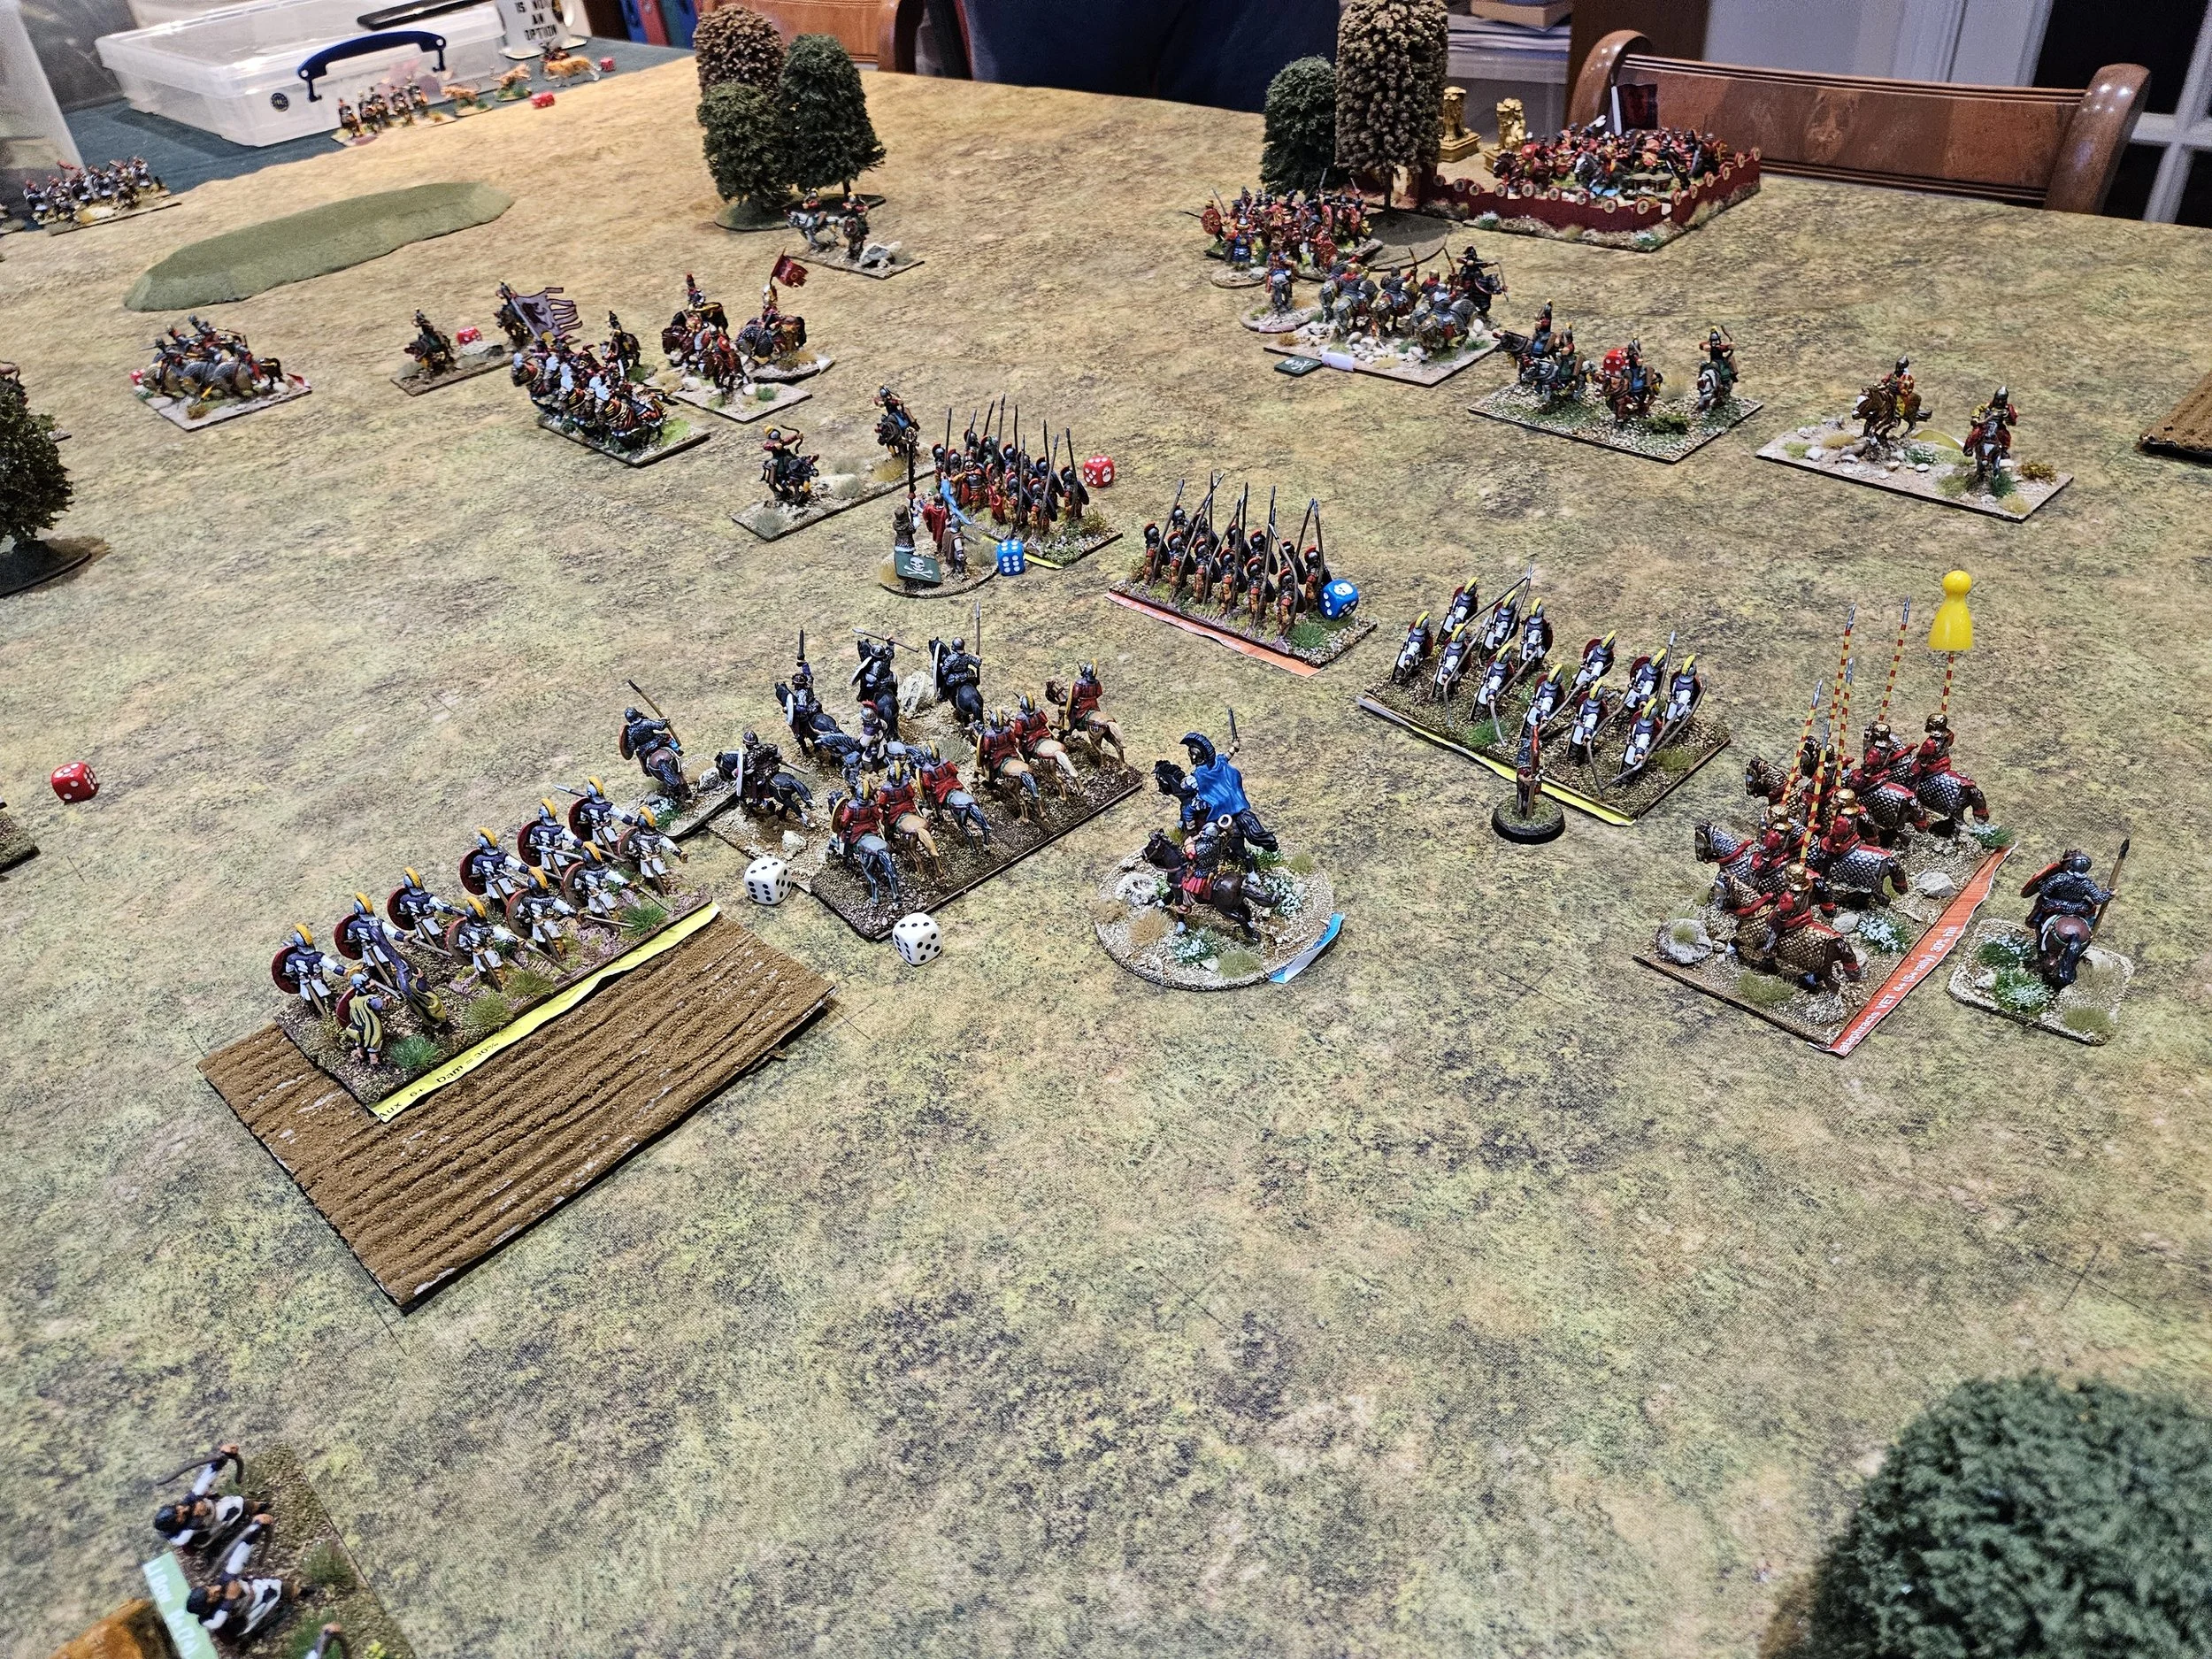
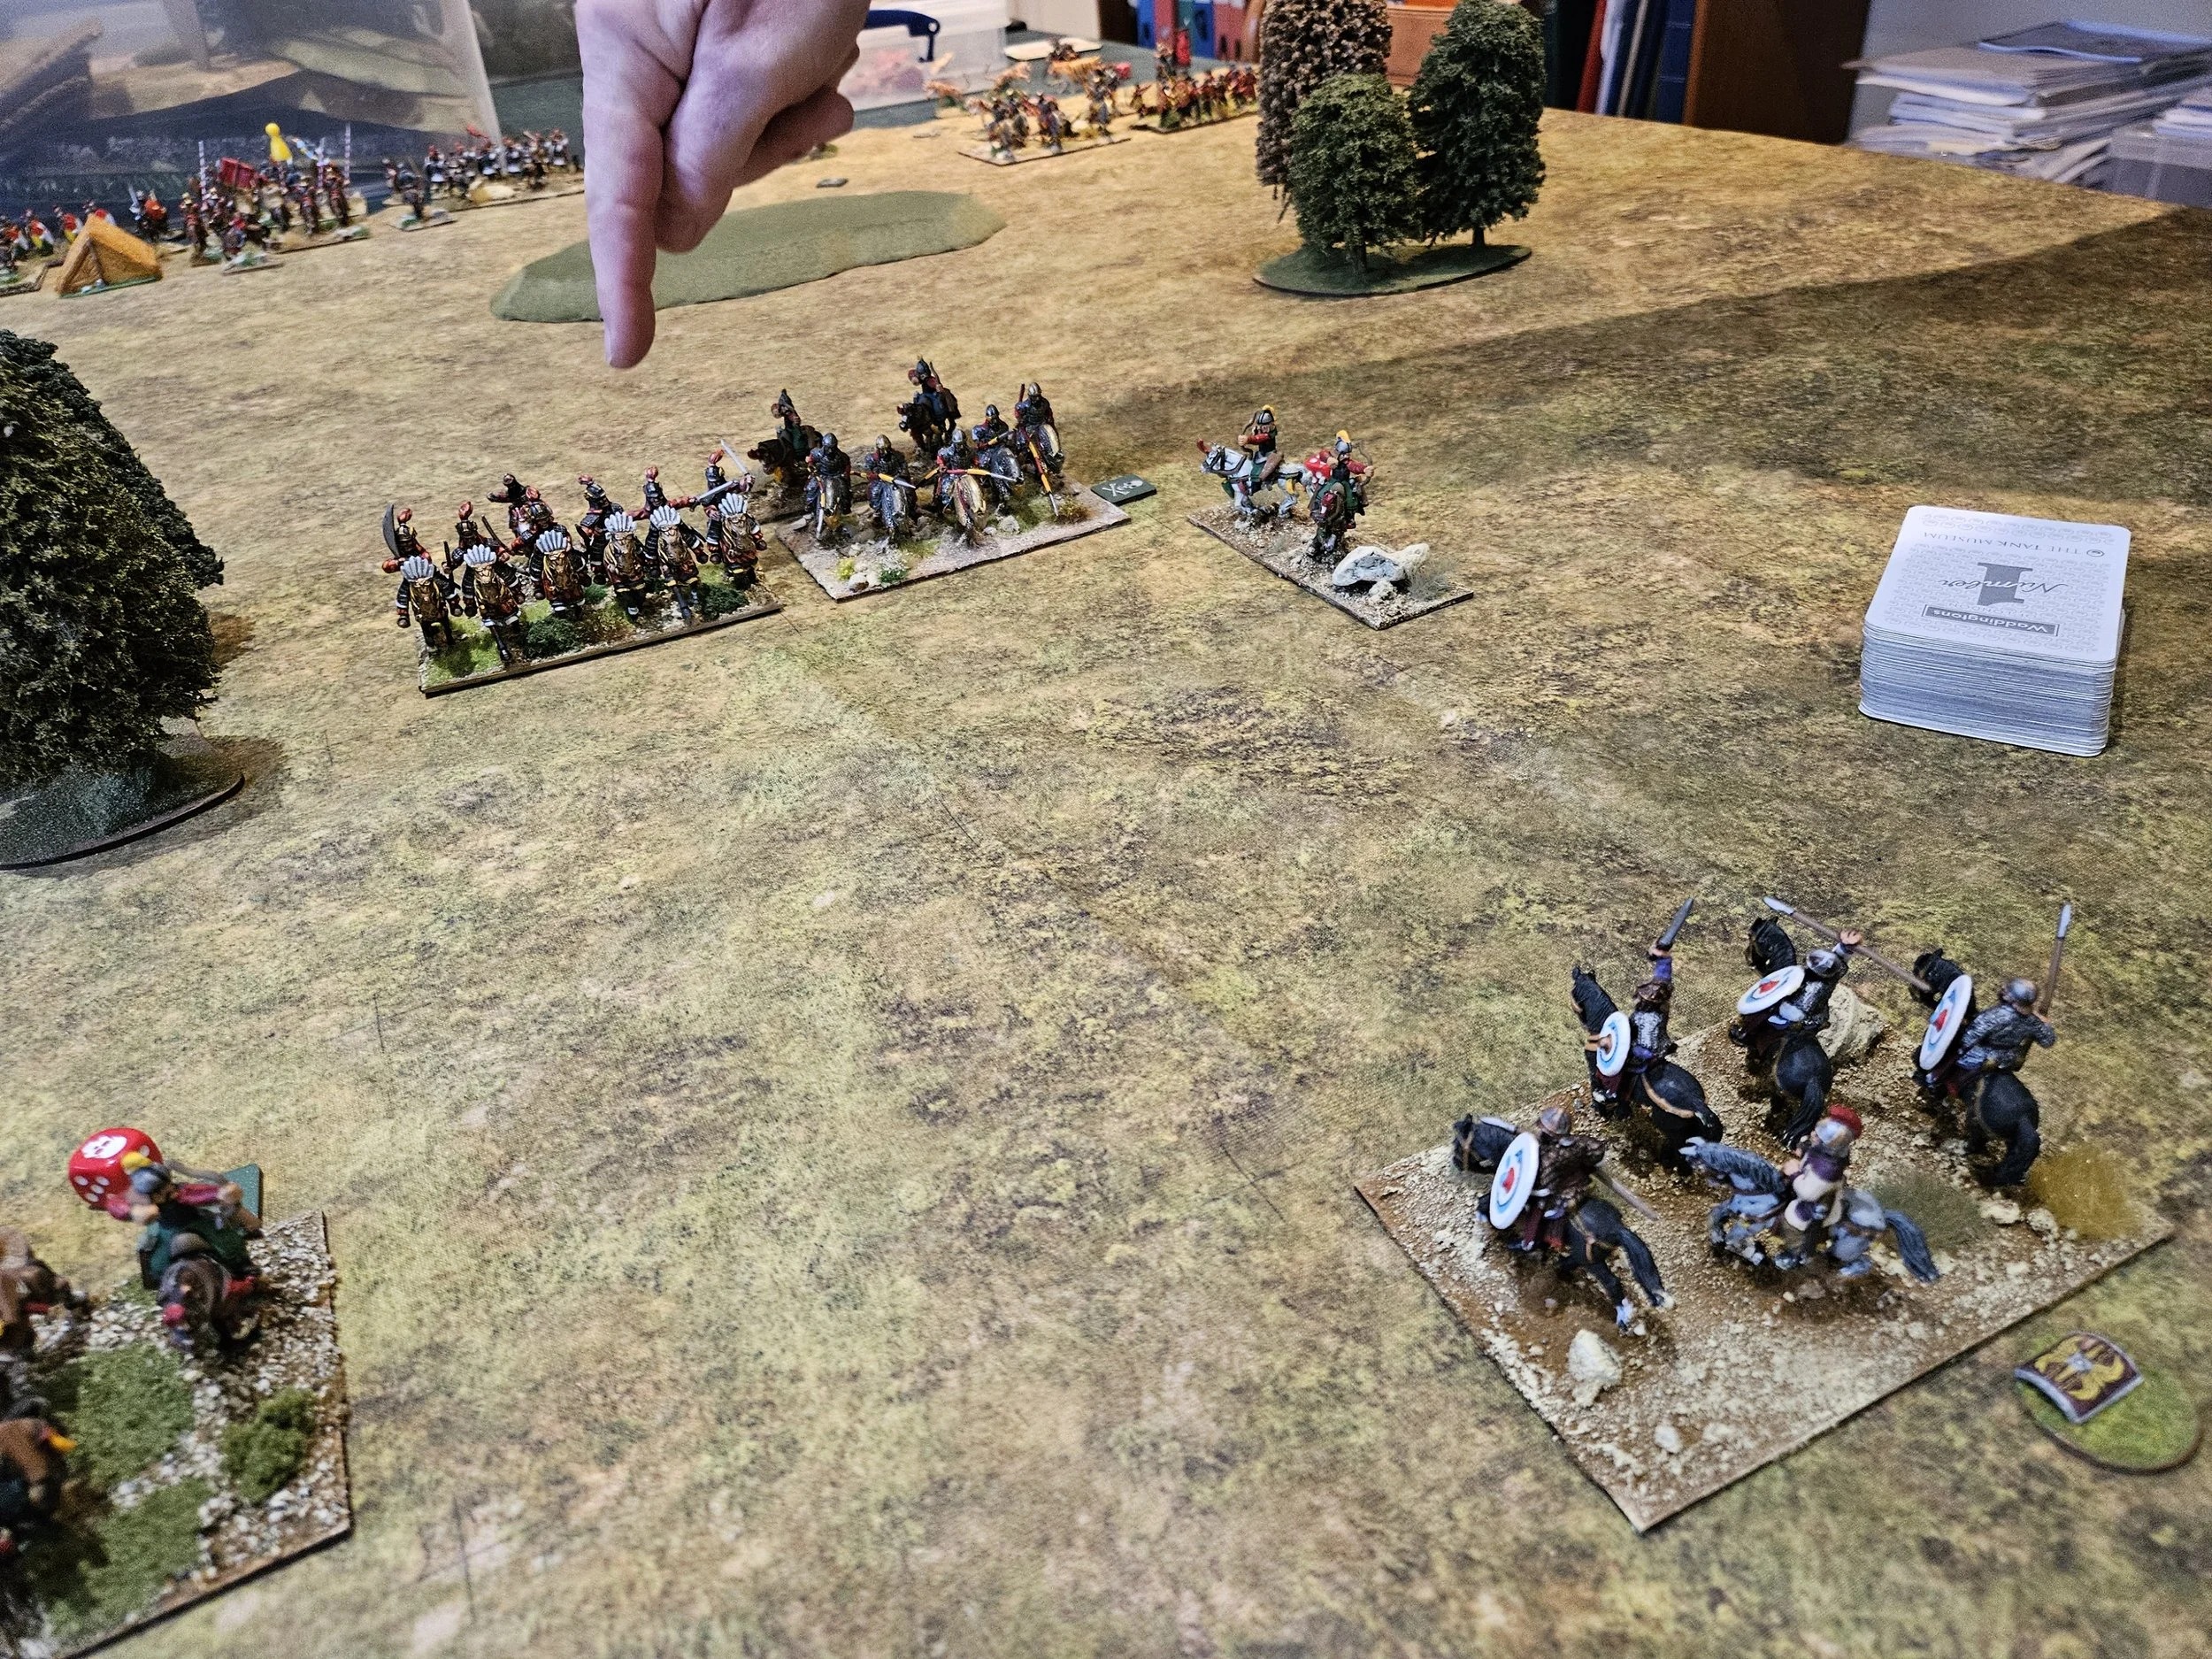
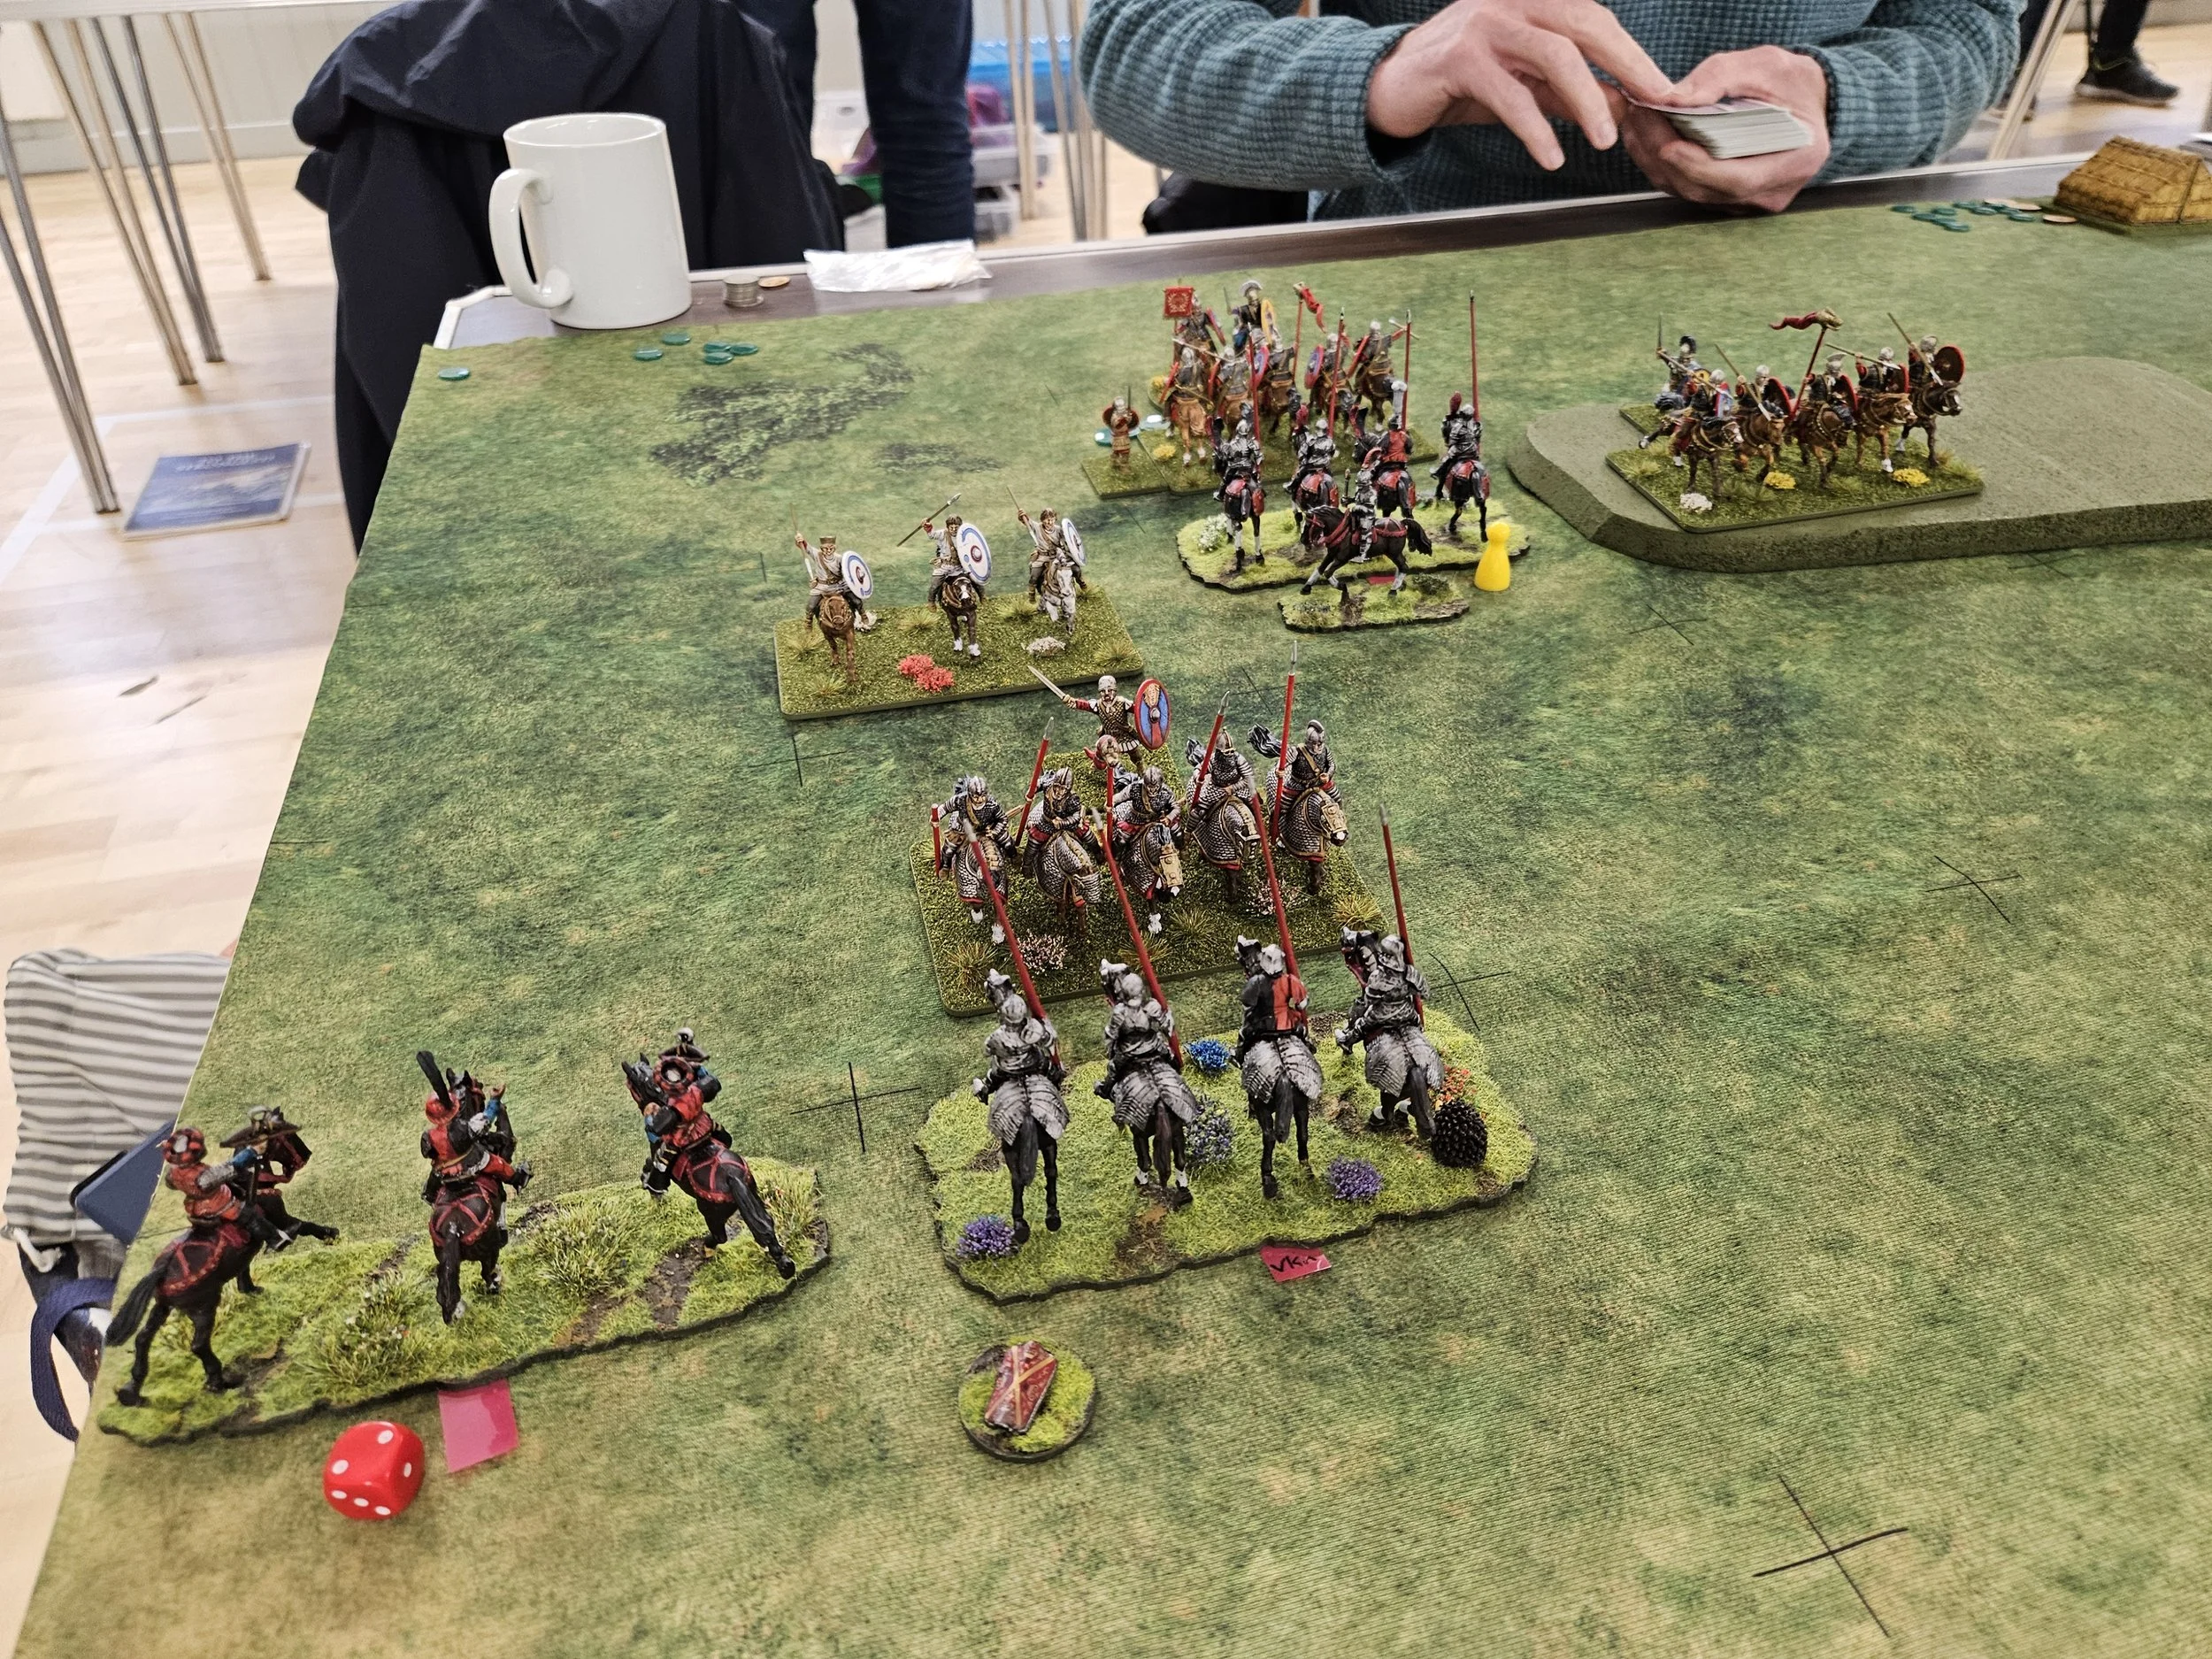
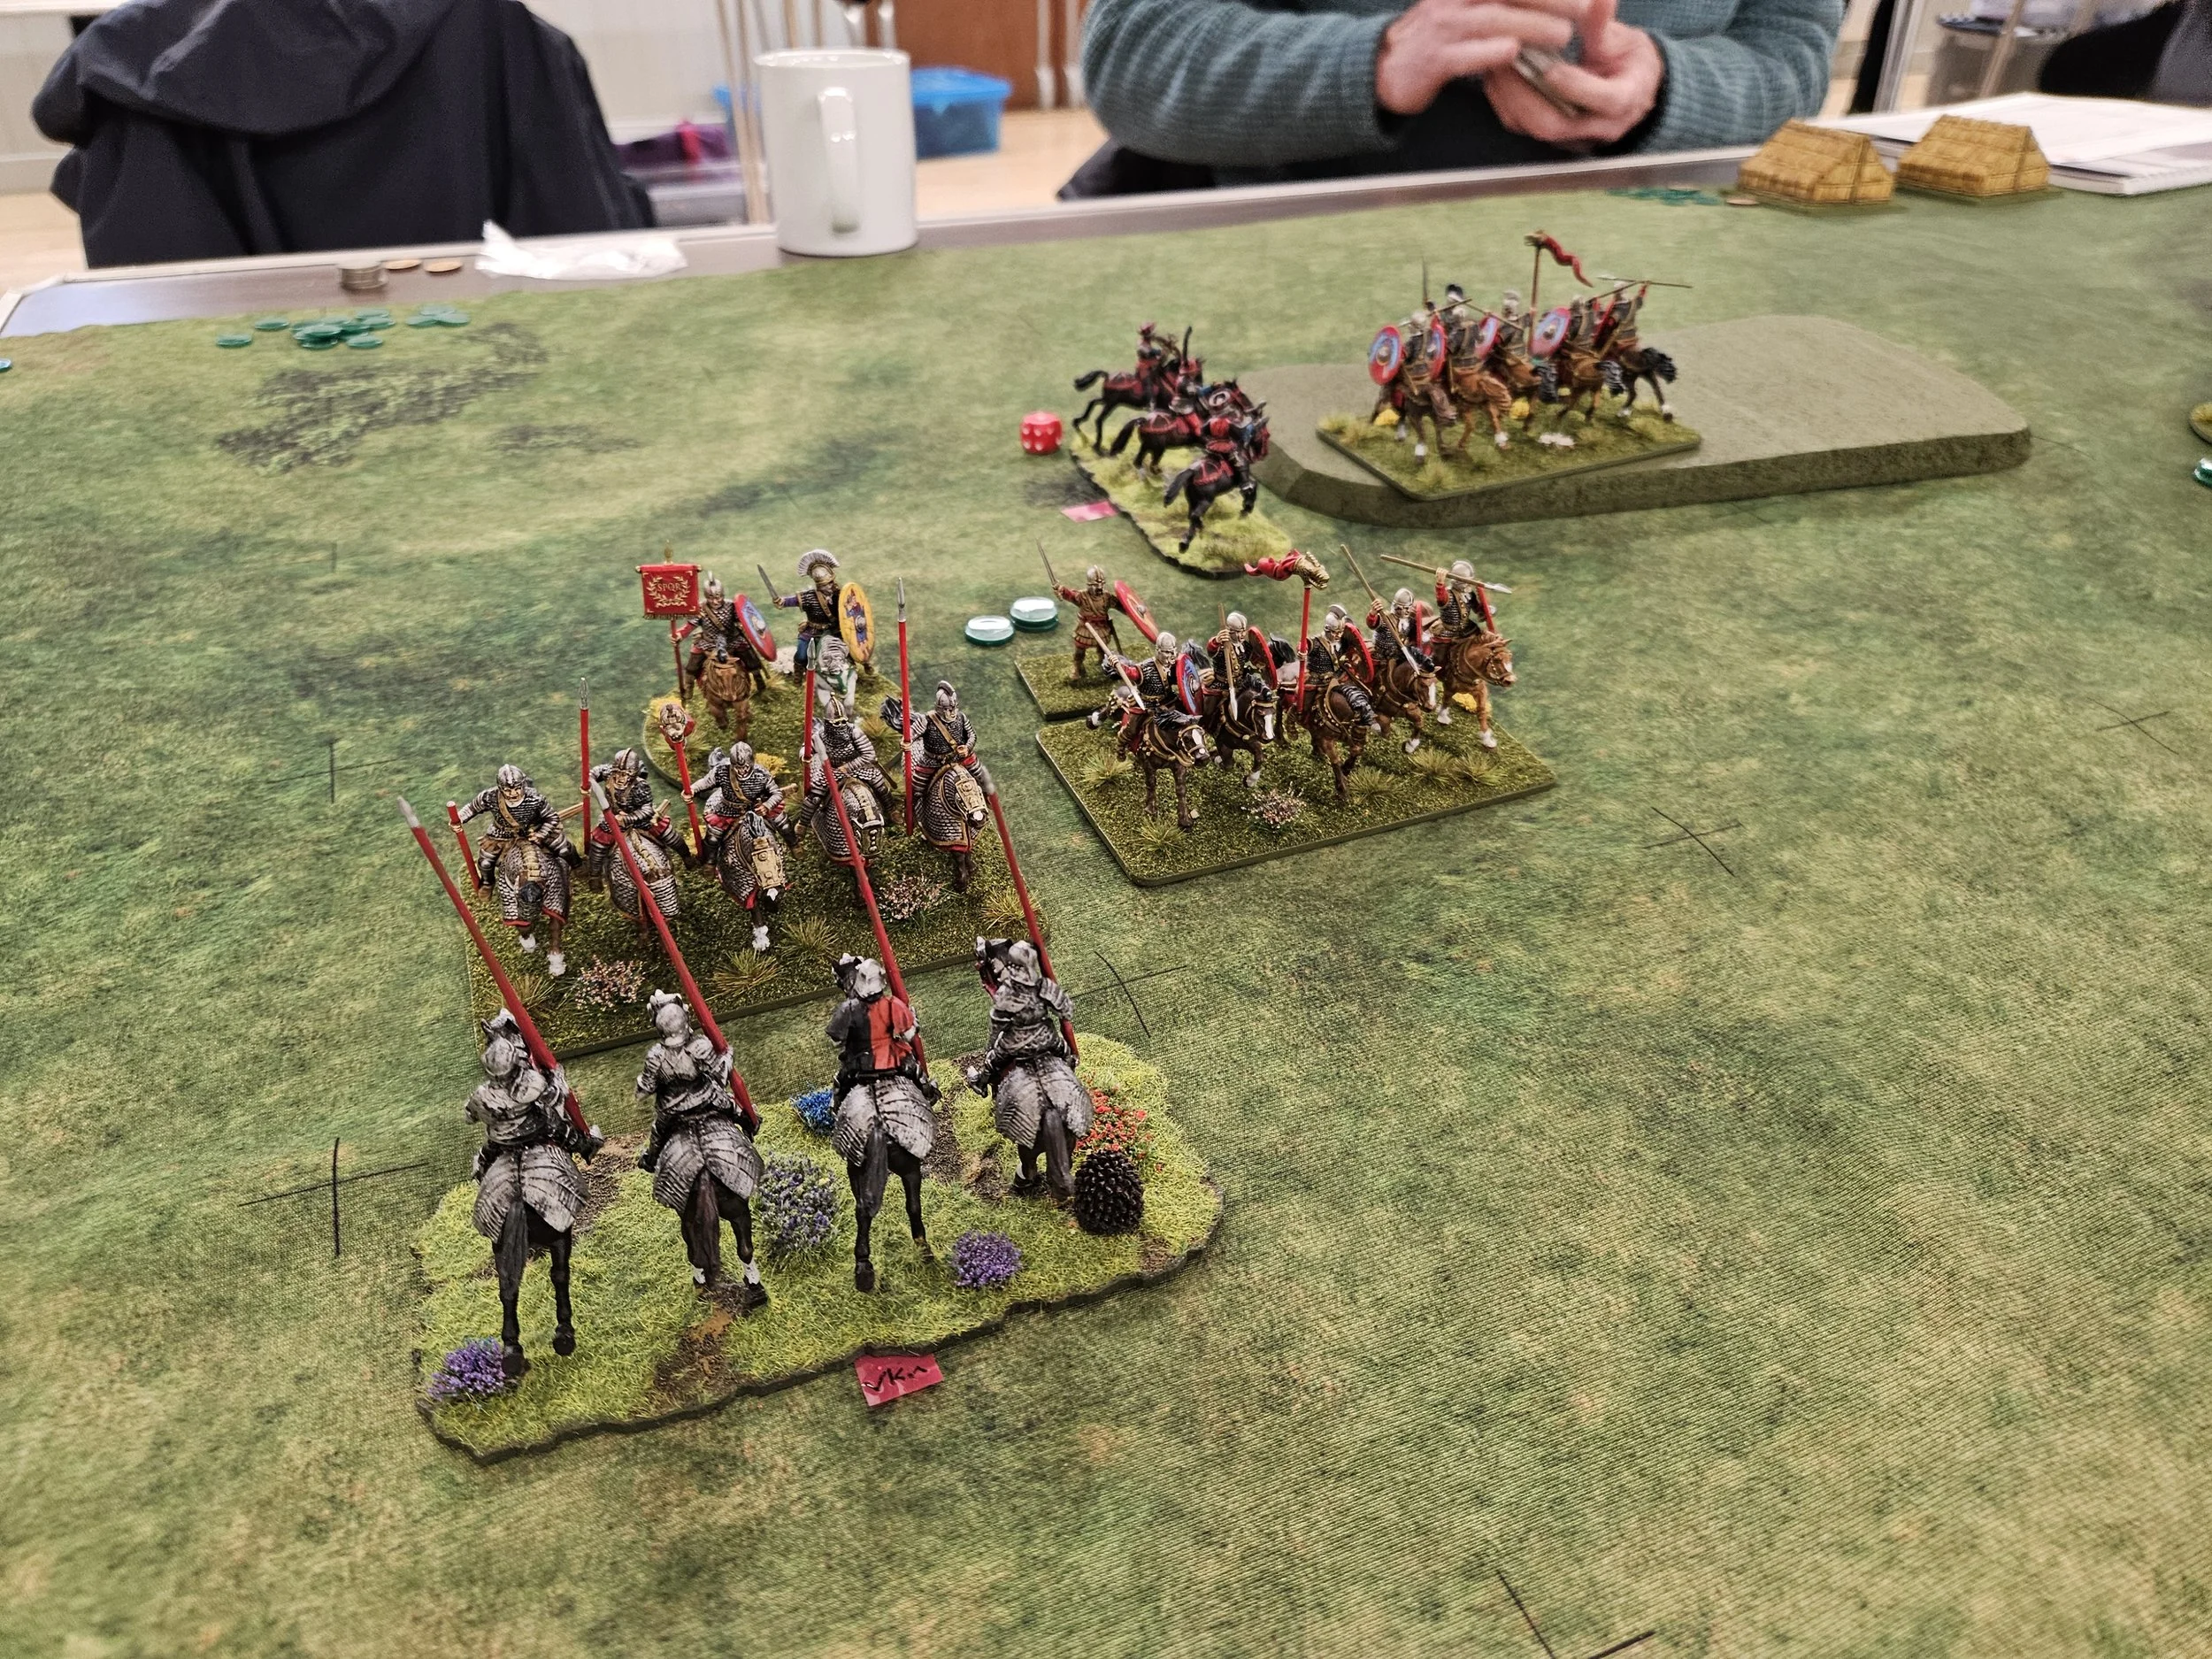
Although terrain placement had been in my favour, I had lost the scouting, so was quite pleased to see Chris open the game by advancing his cavalry forward on my left flank: my plan, you see, was to smash his horse from the field there with my superior Knights and then roll him up whilst the rest of my troops pinned his line in place.
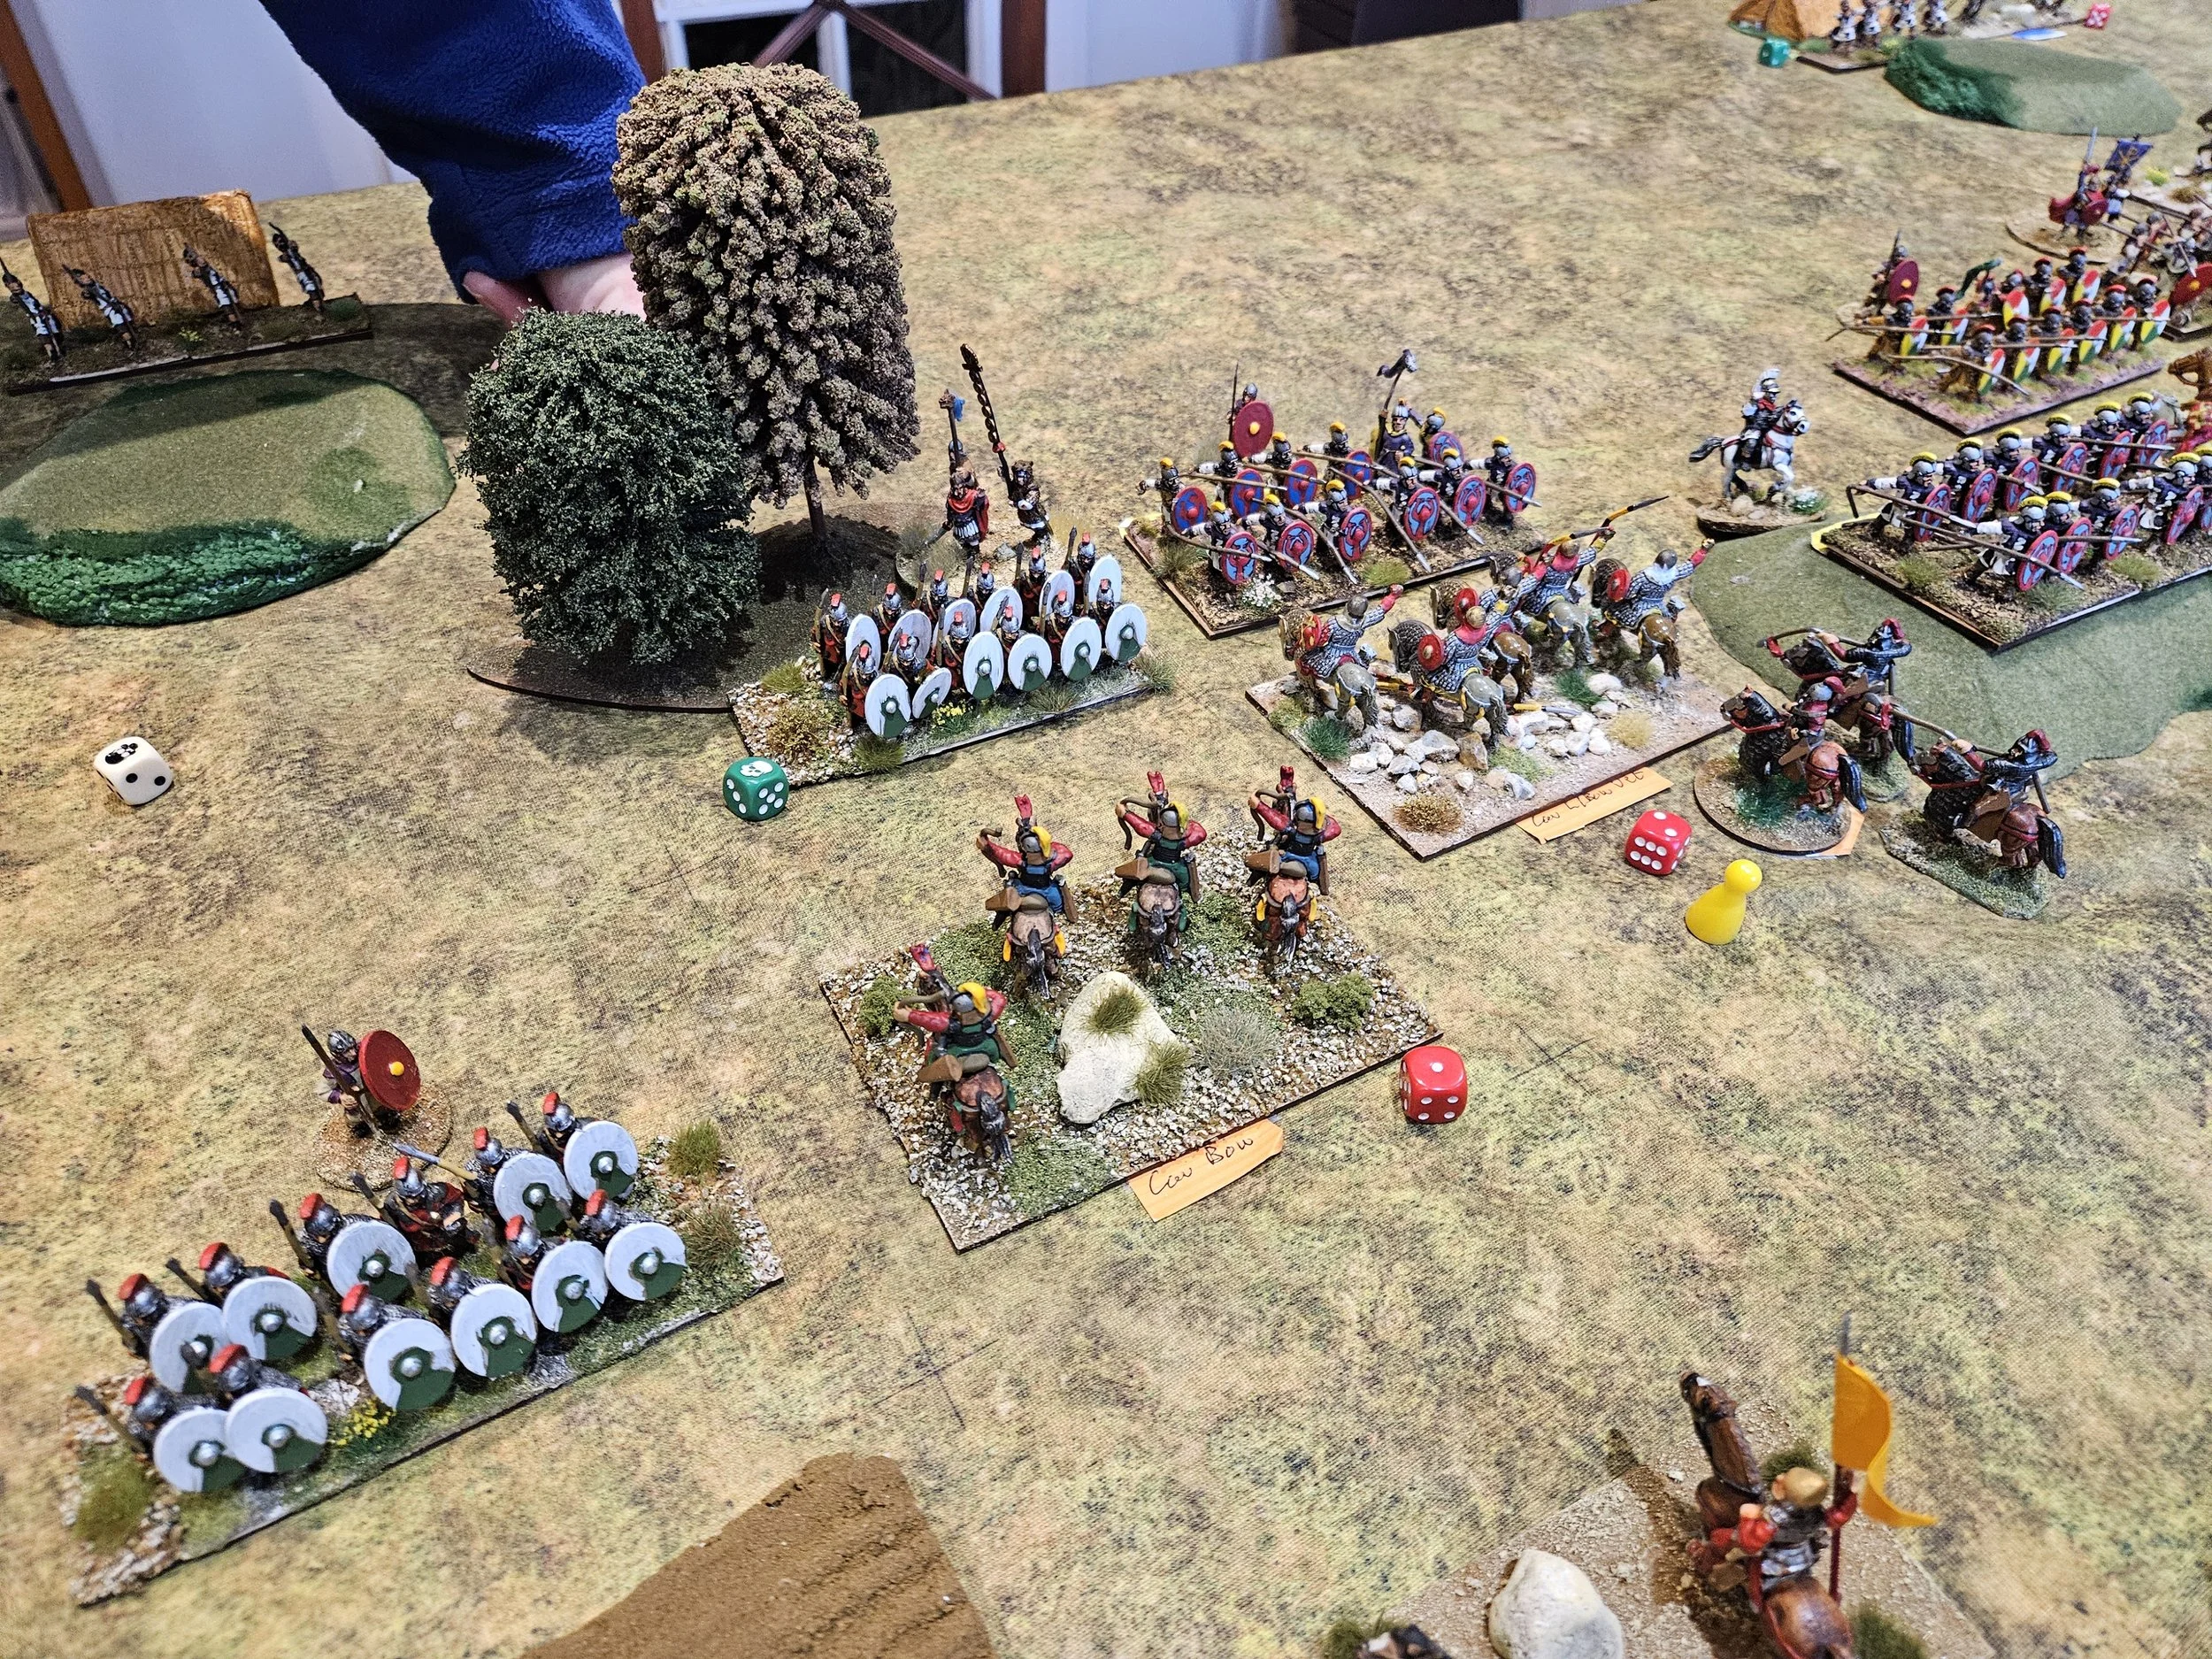
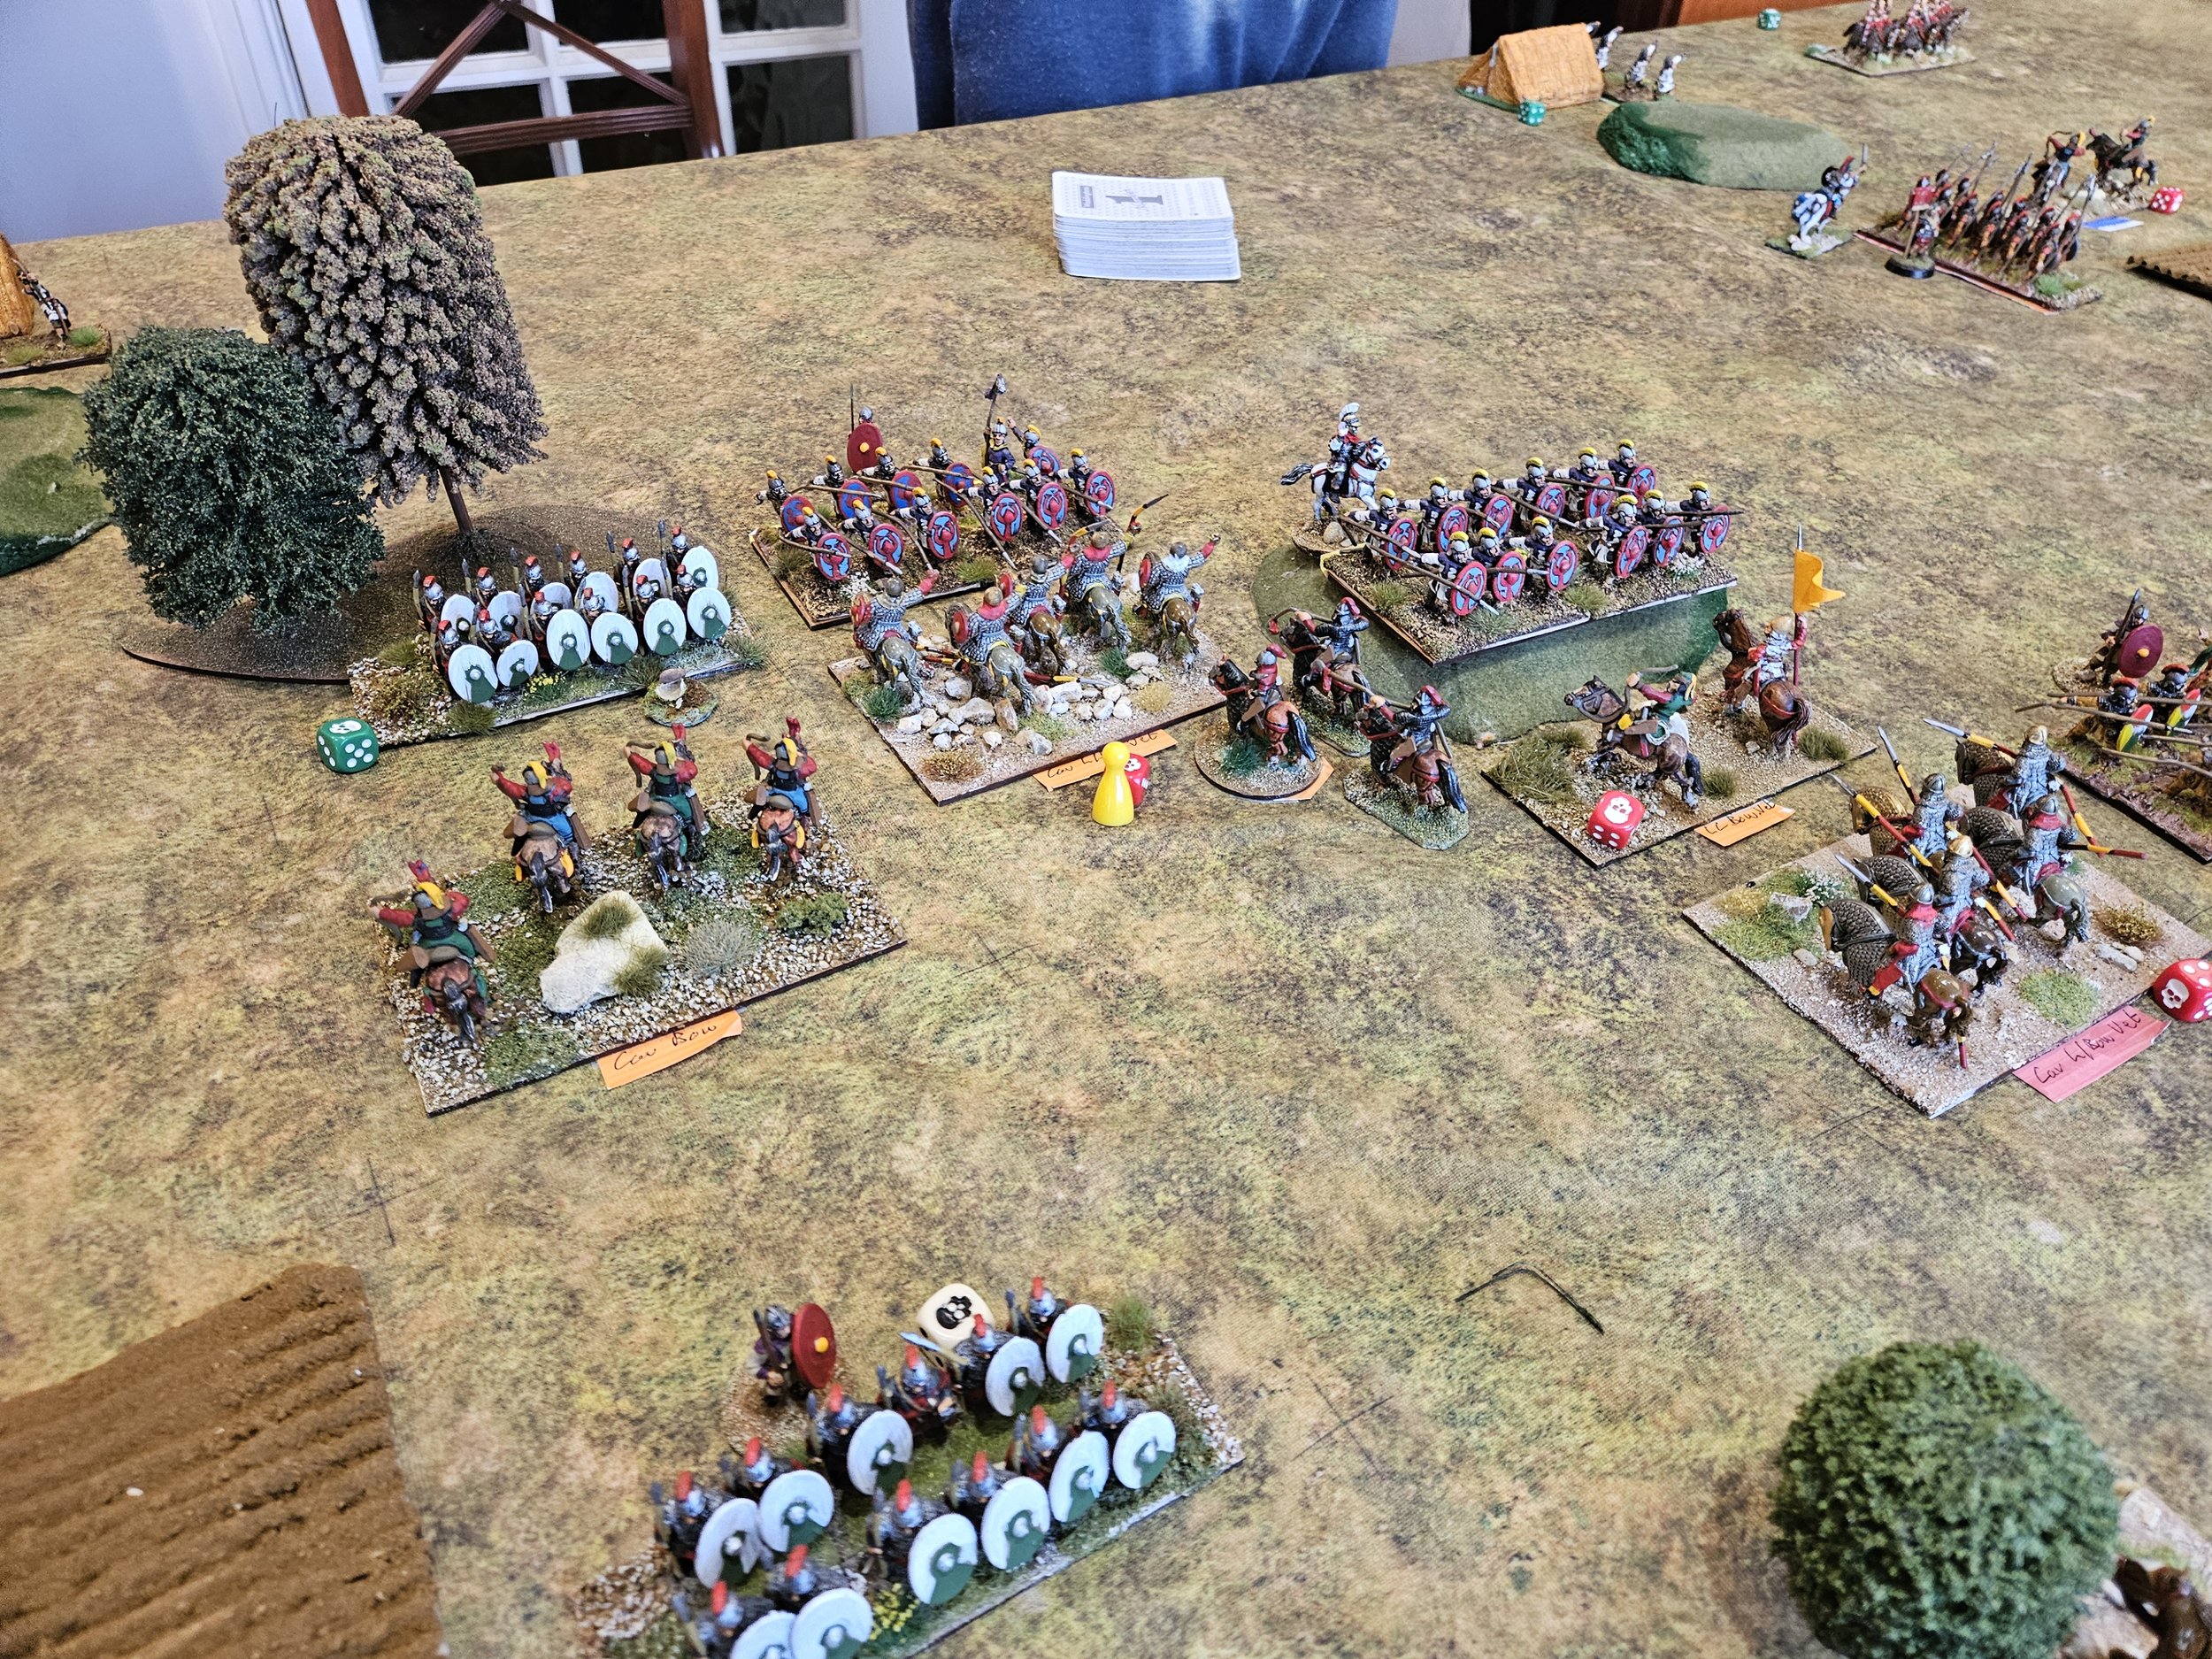
Unfortunately, my Knights seemed, as is so often the case, to be wearing their ceremonial cardboard armour rather than the real McCoy, and I was soon having to pull back and consolidate before heading back into the fight.
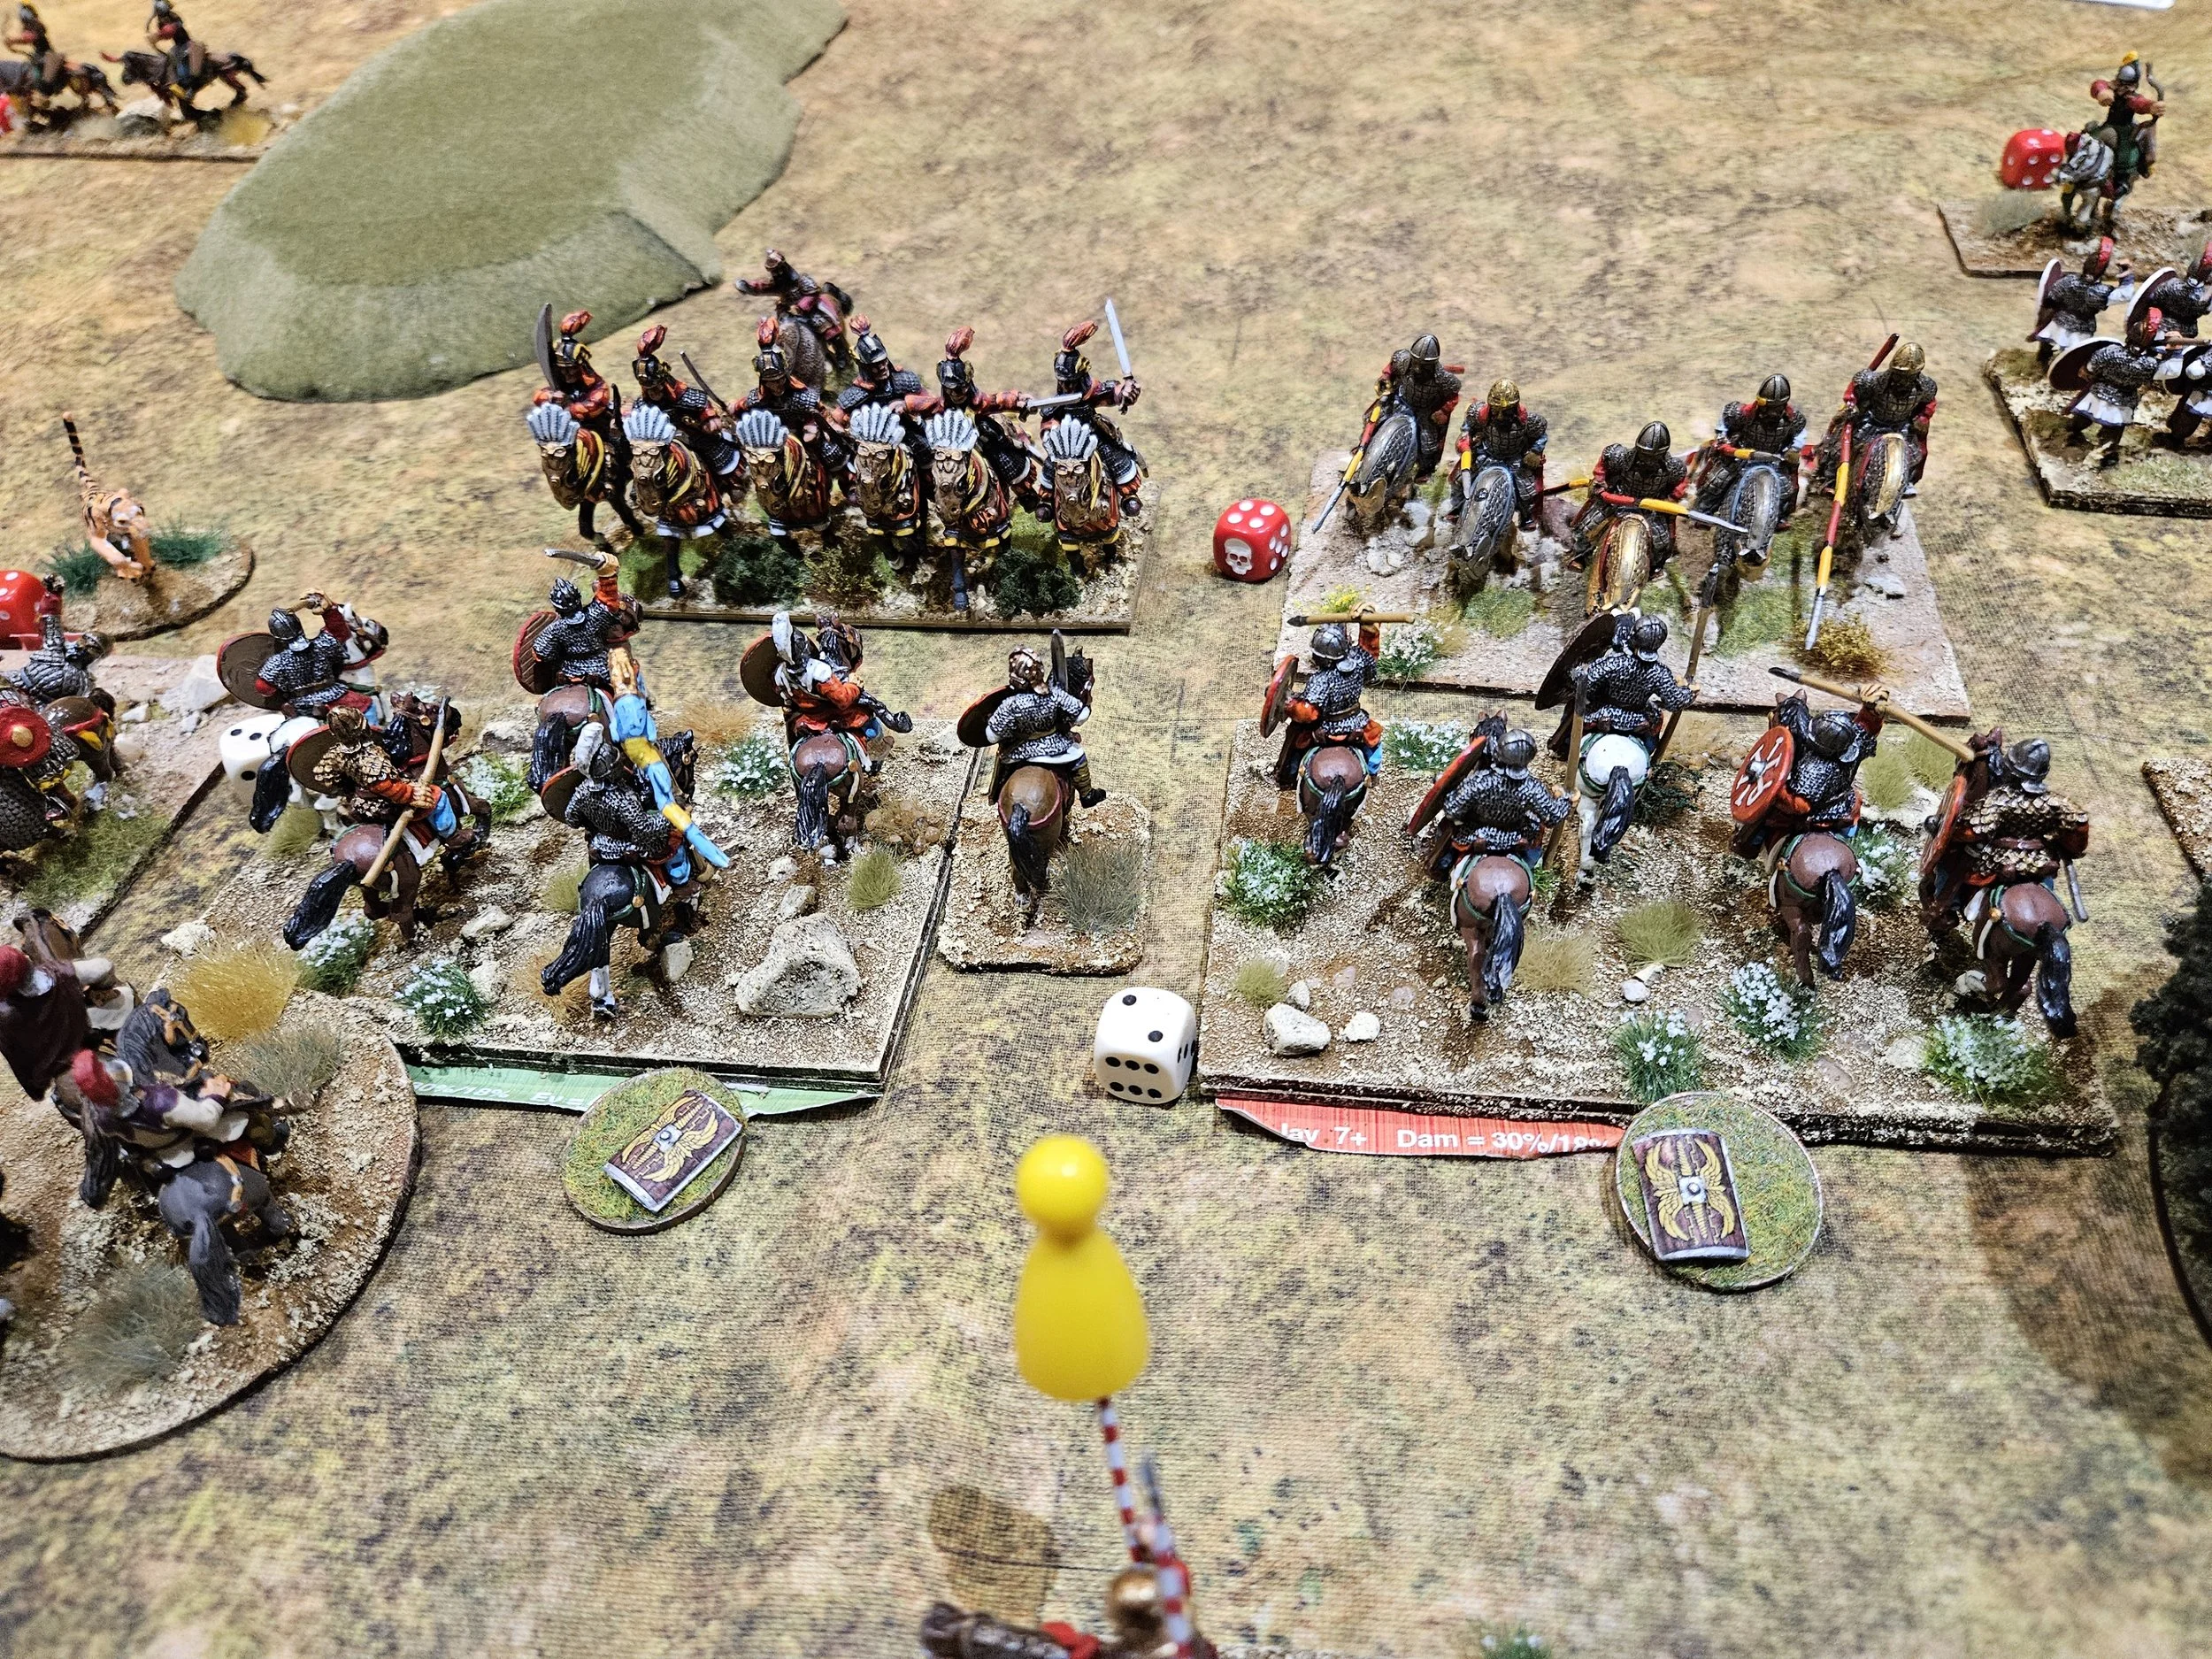
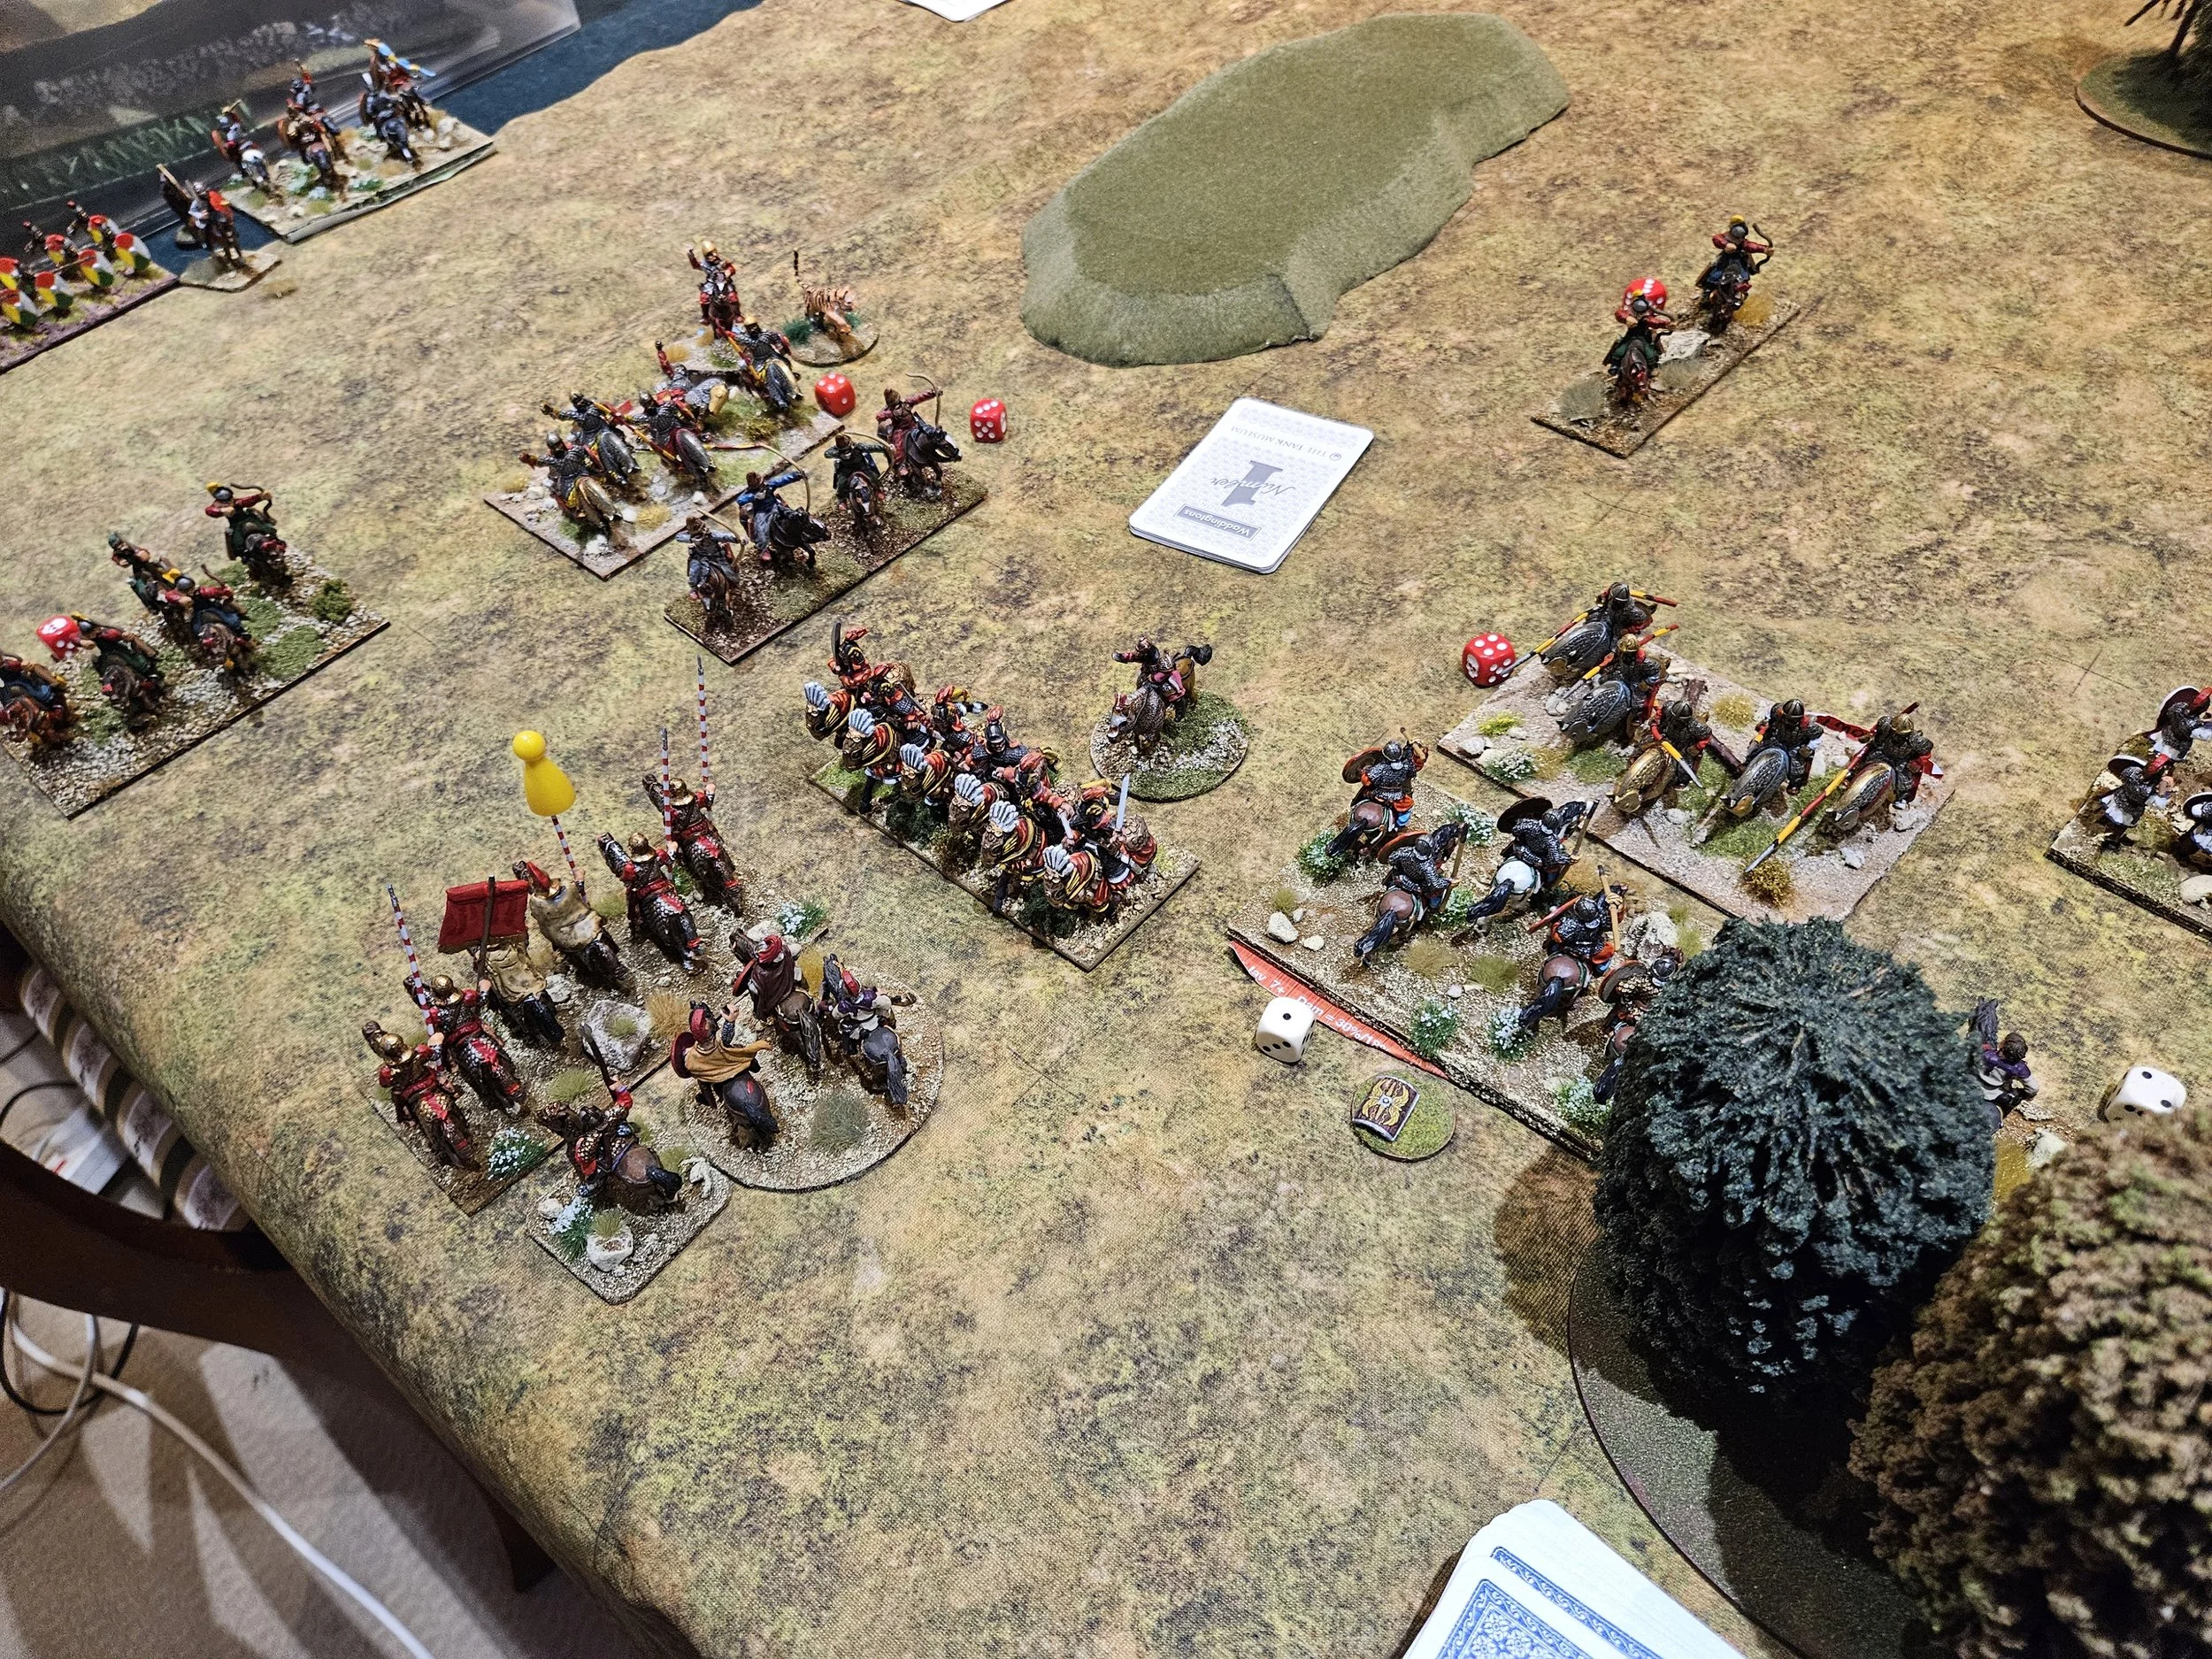
Net gain: three coins from killing a unit of light cavalry and, more importantly, the Roman cavalry General…despite the fact that a glorious flank charge from the balestrieri montati failed to even scratch the armour of one of the Roman squadrons, followed by a narrow escape when they turned and tried to charge me back!
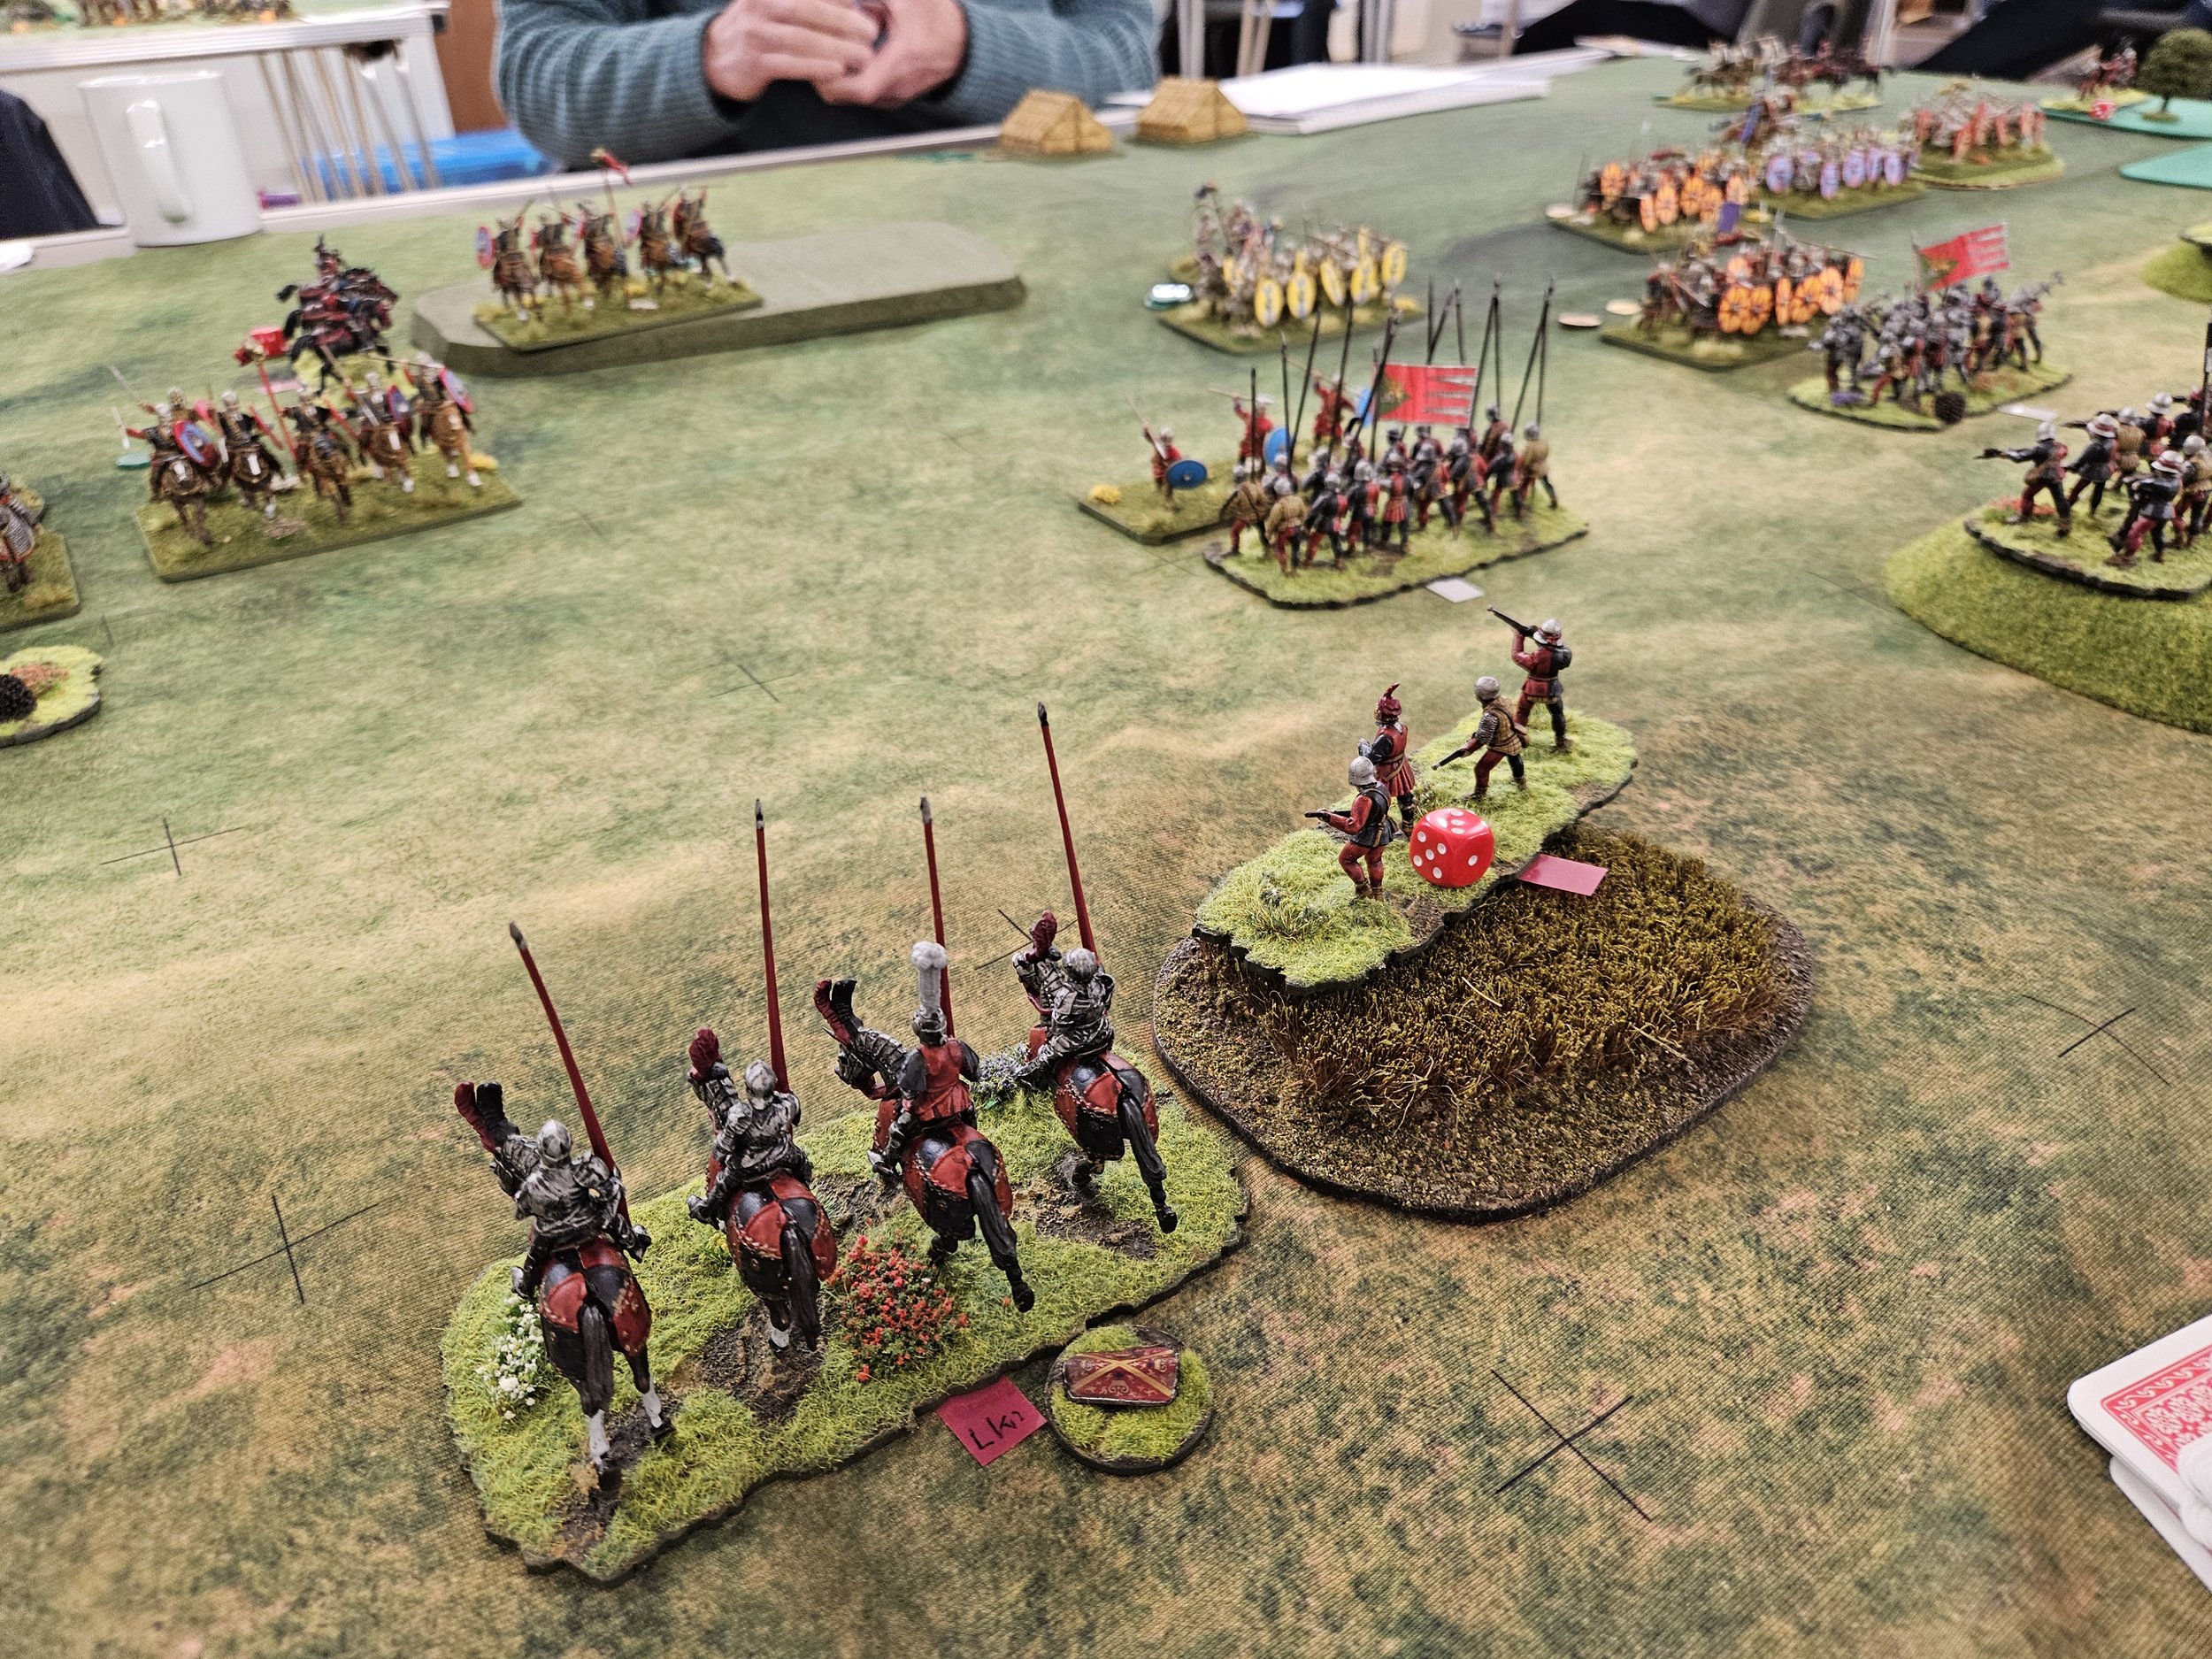
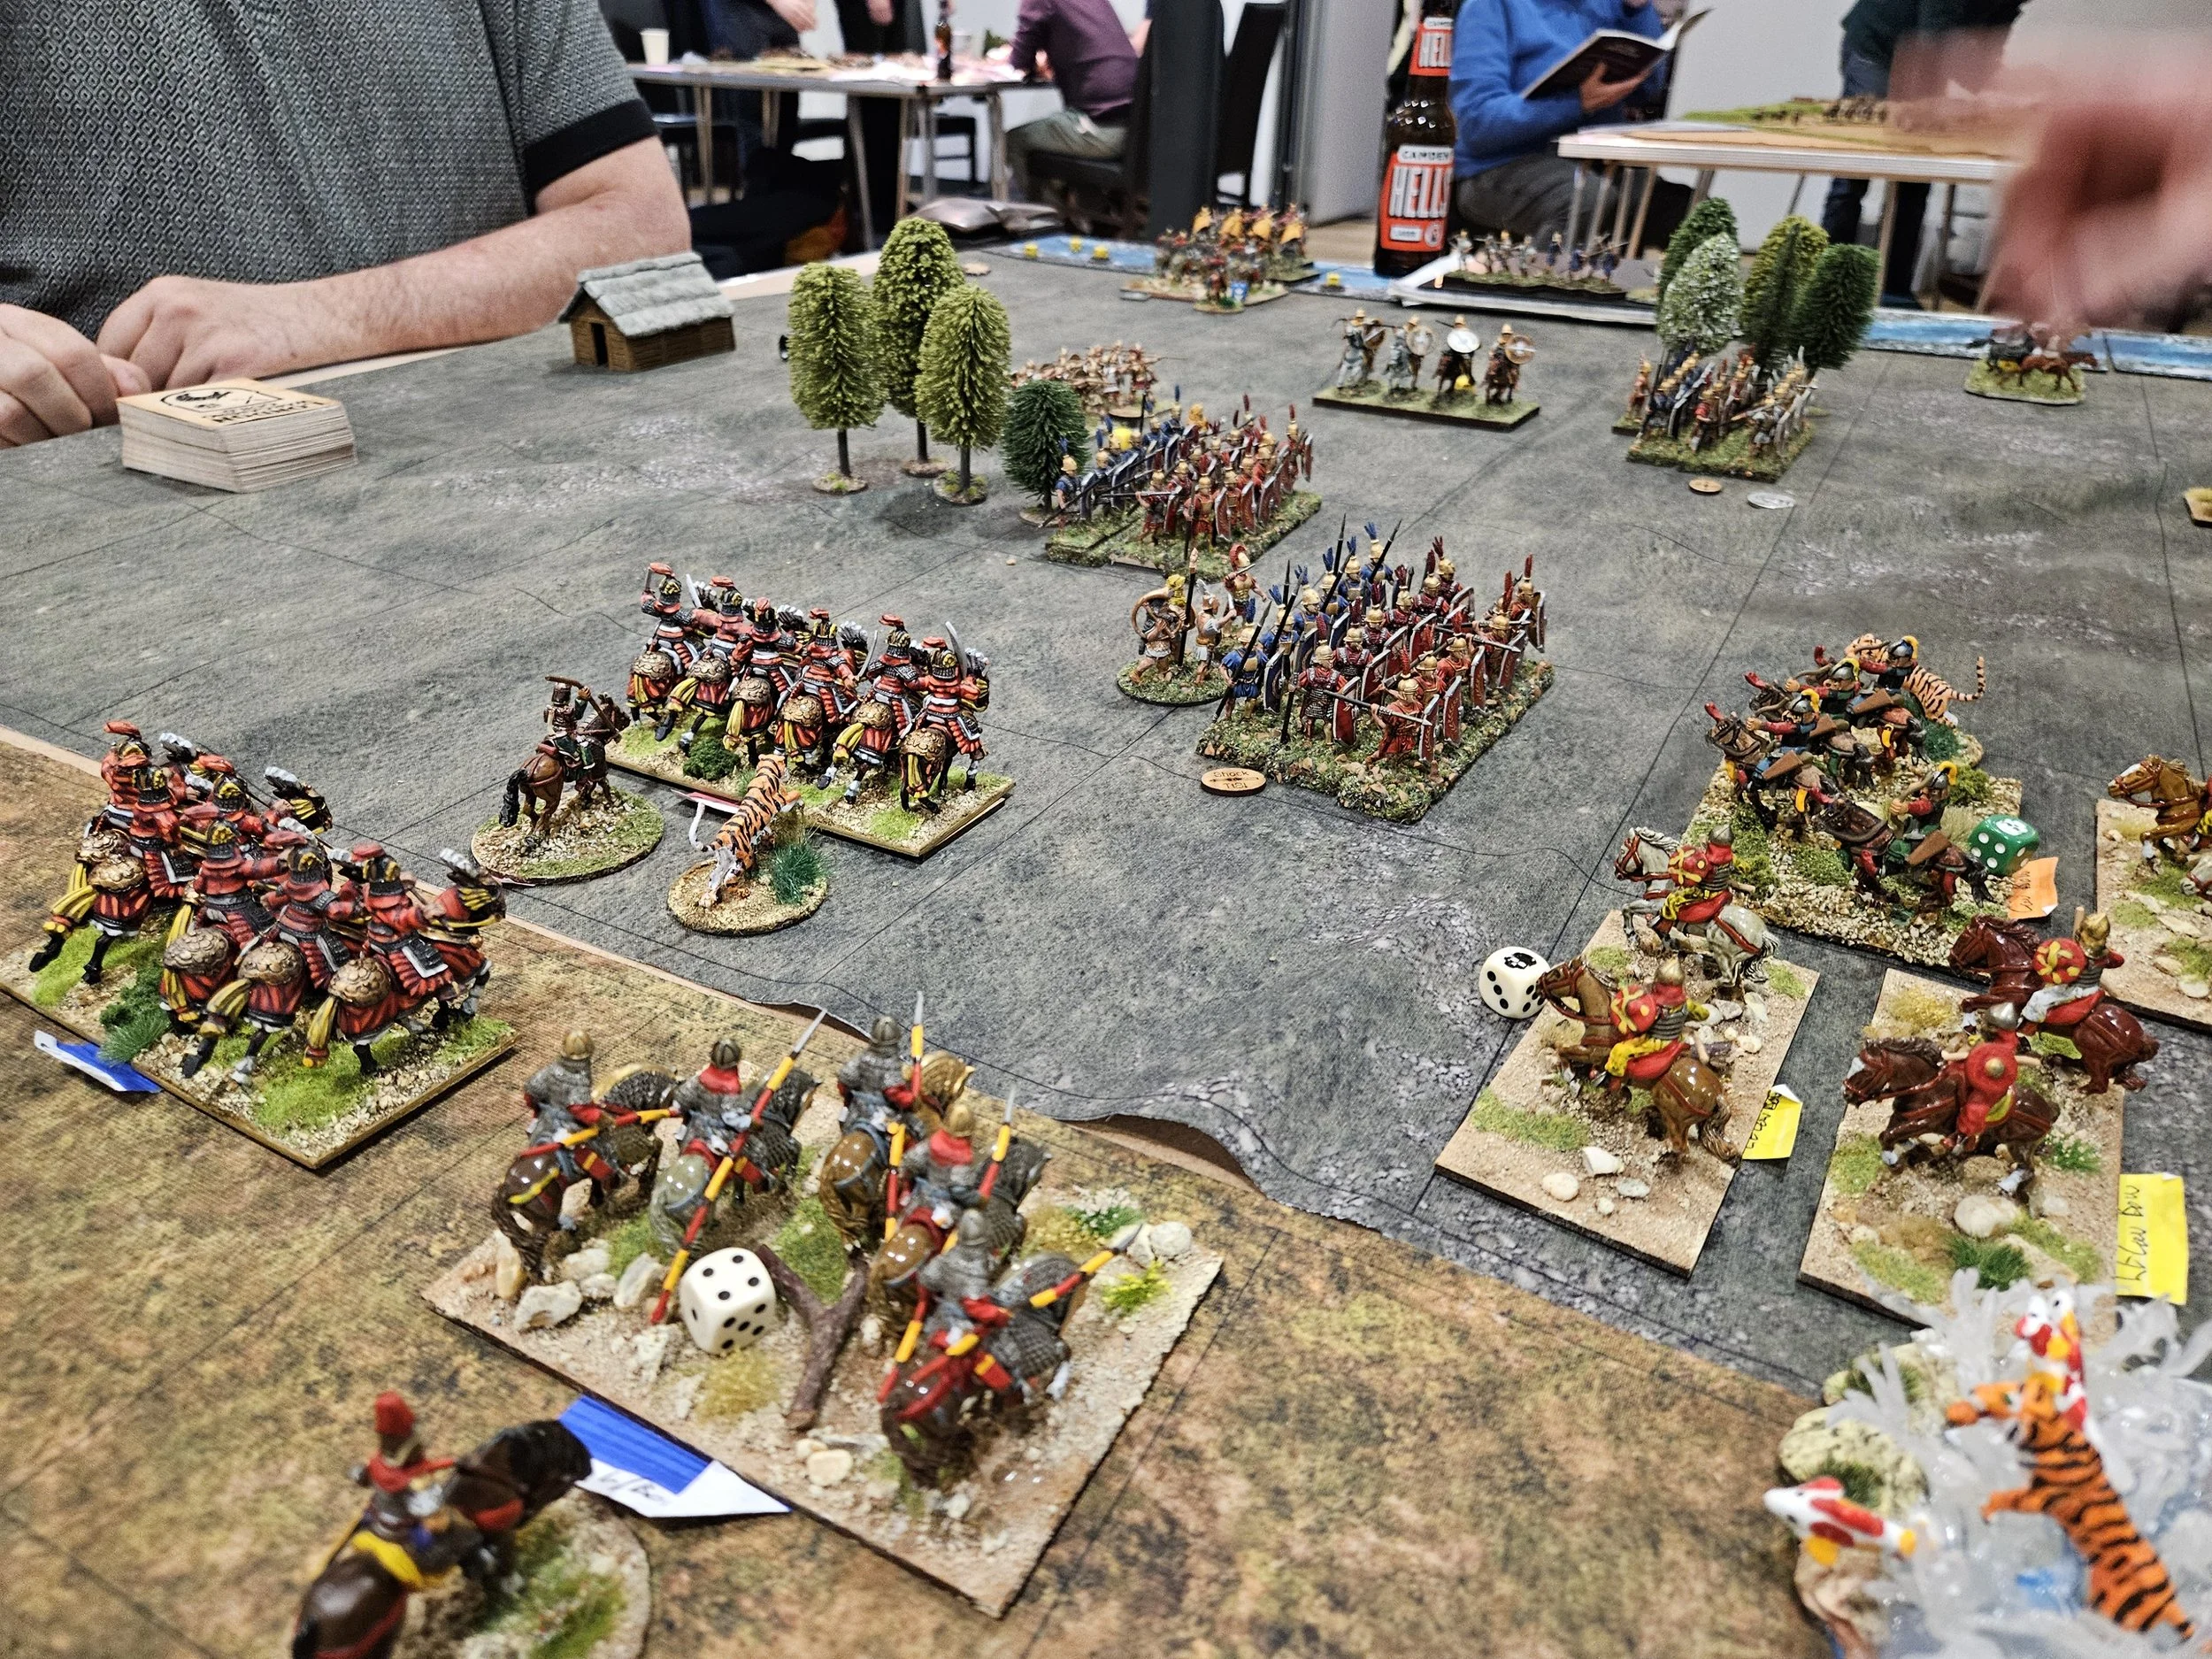
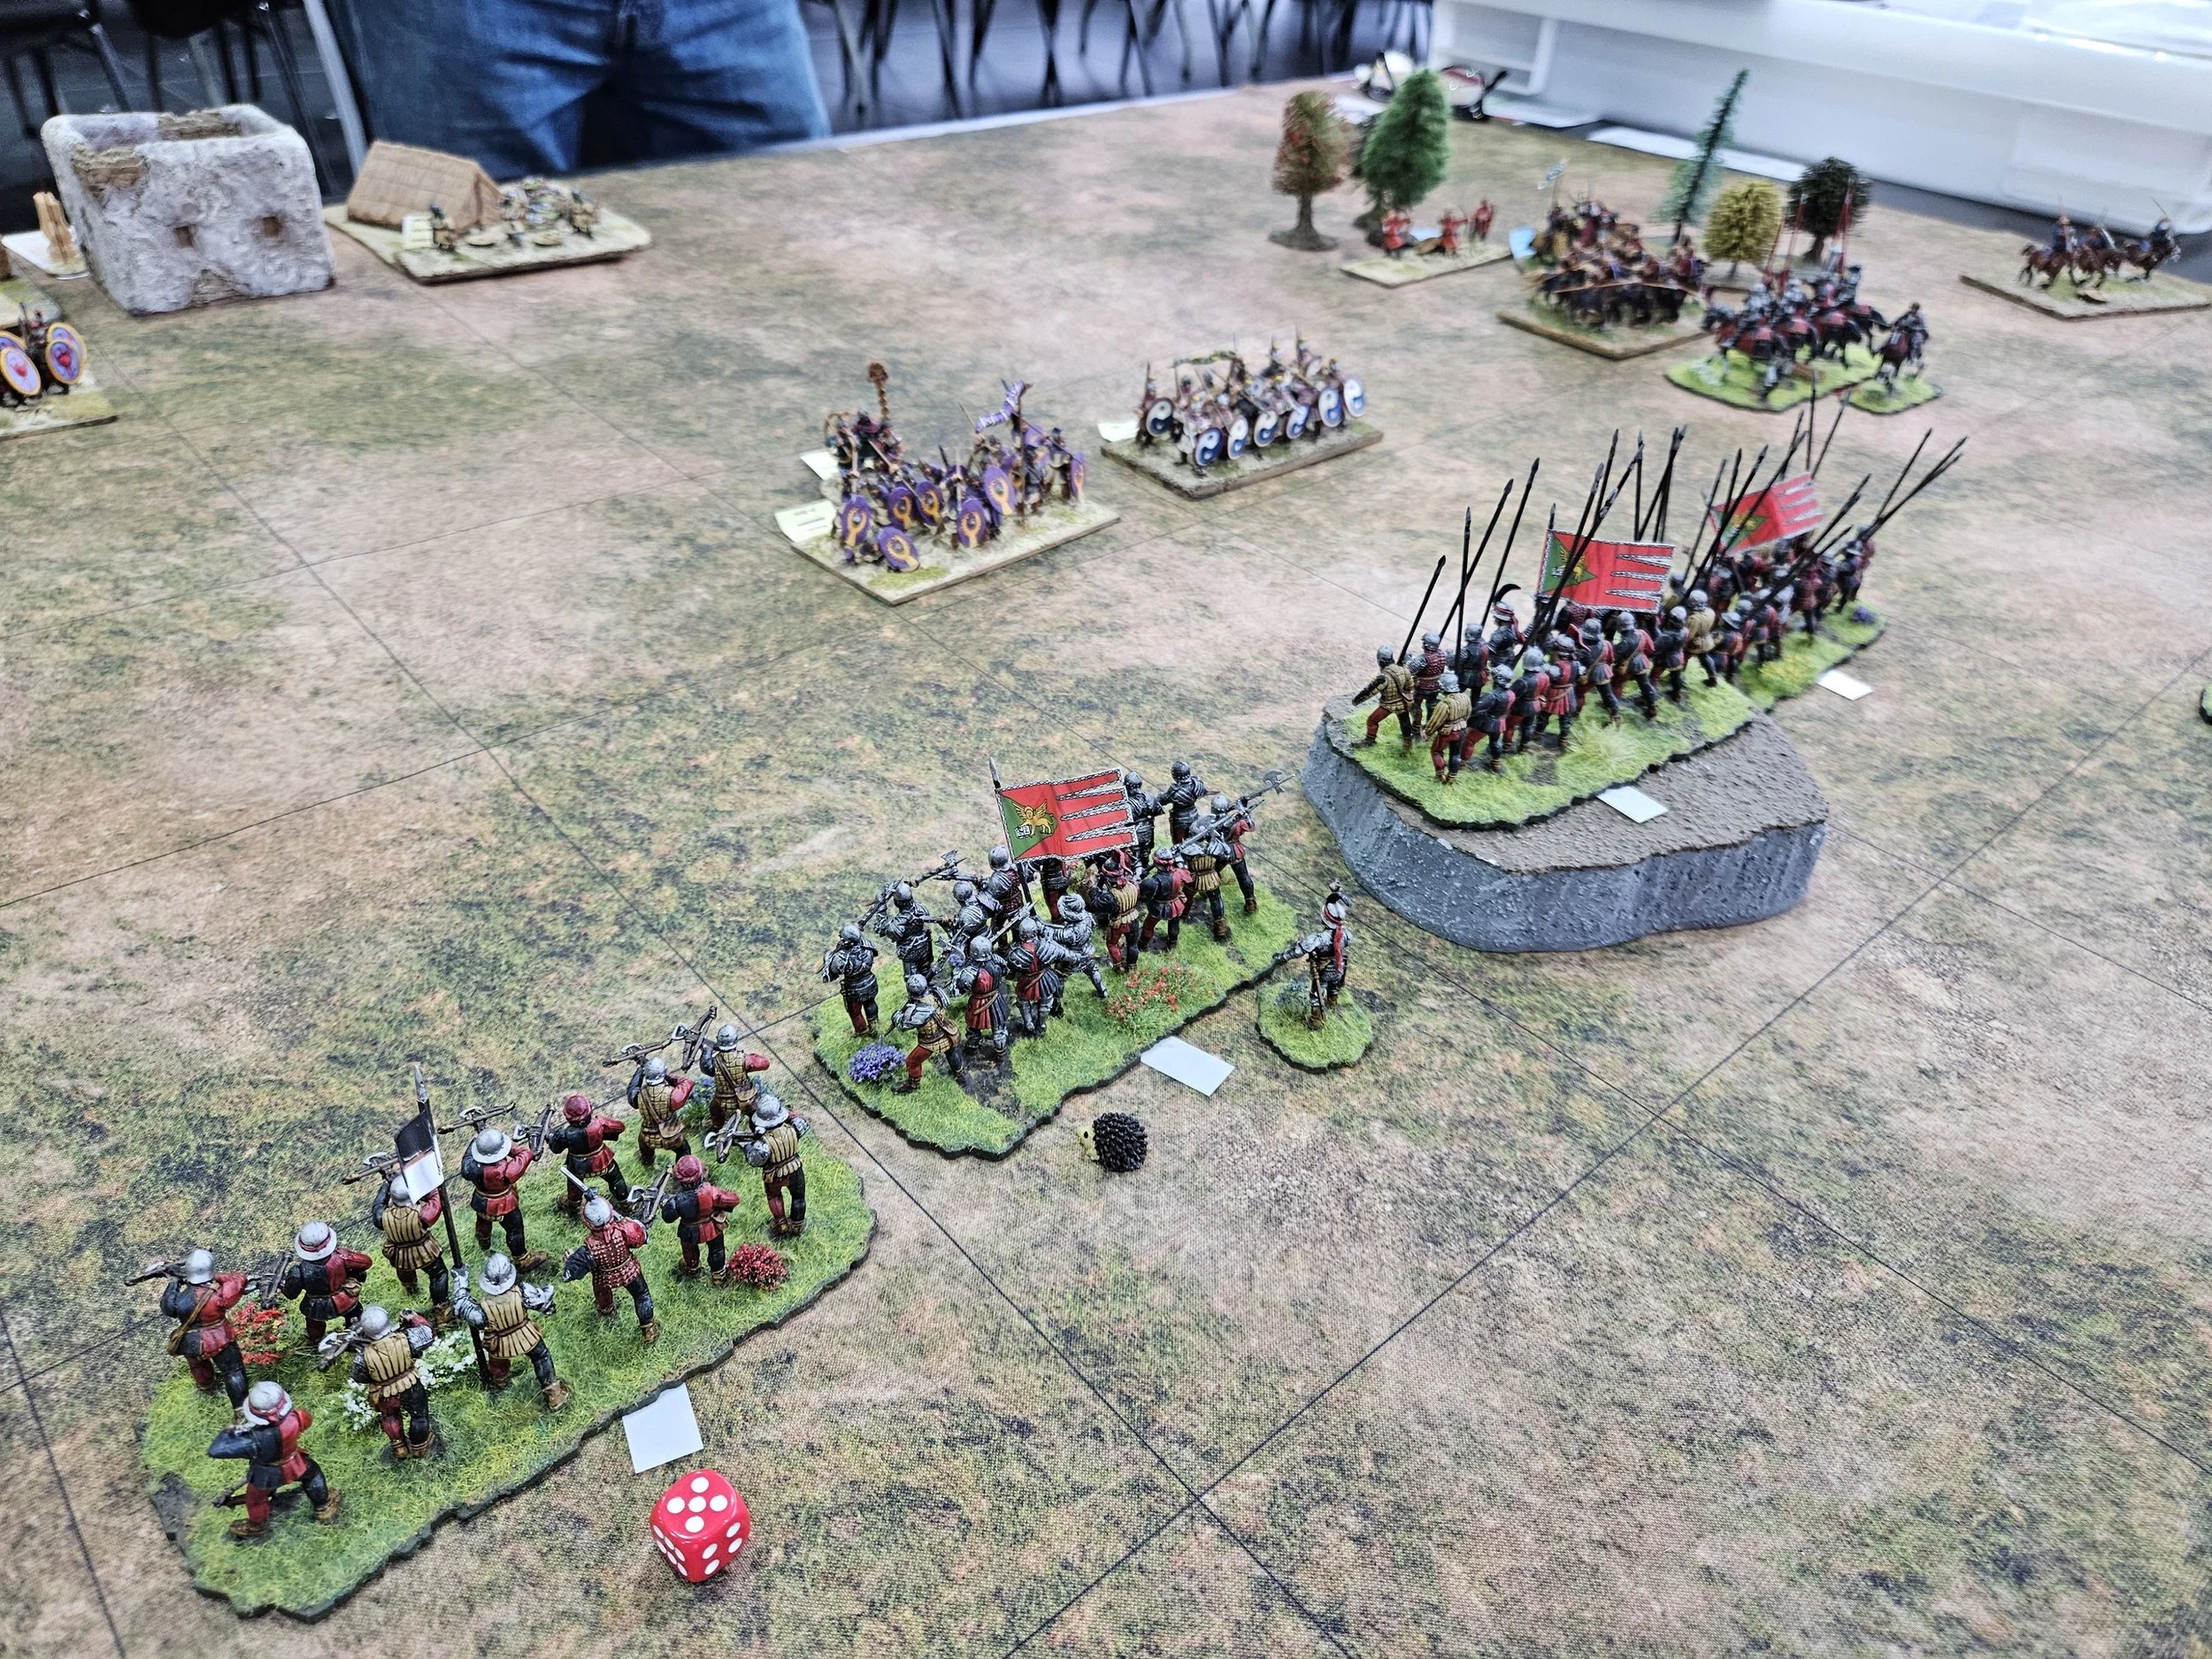
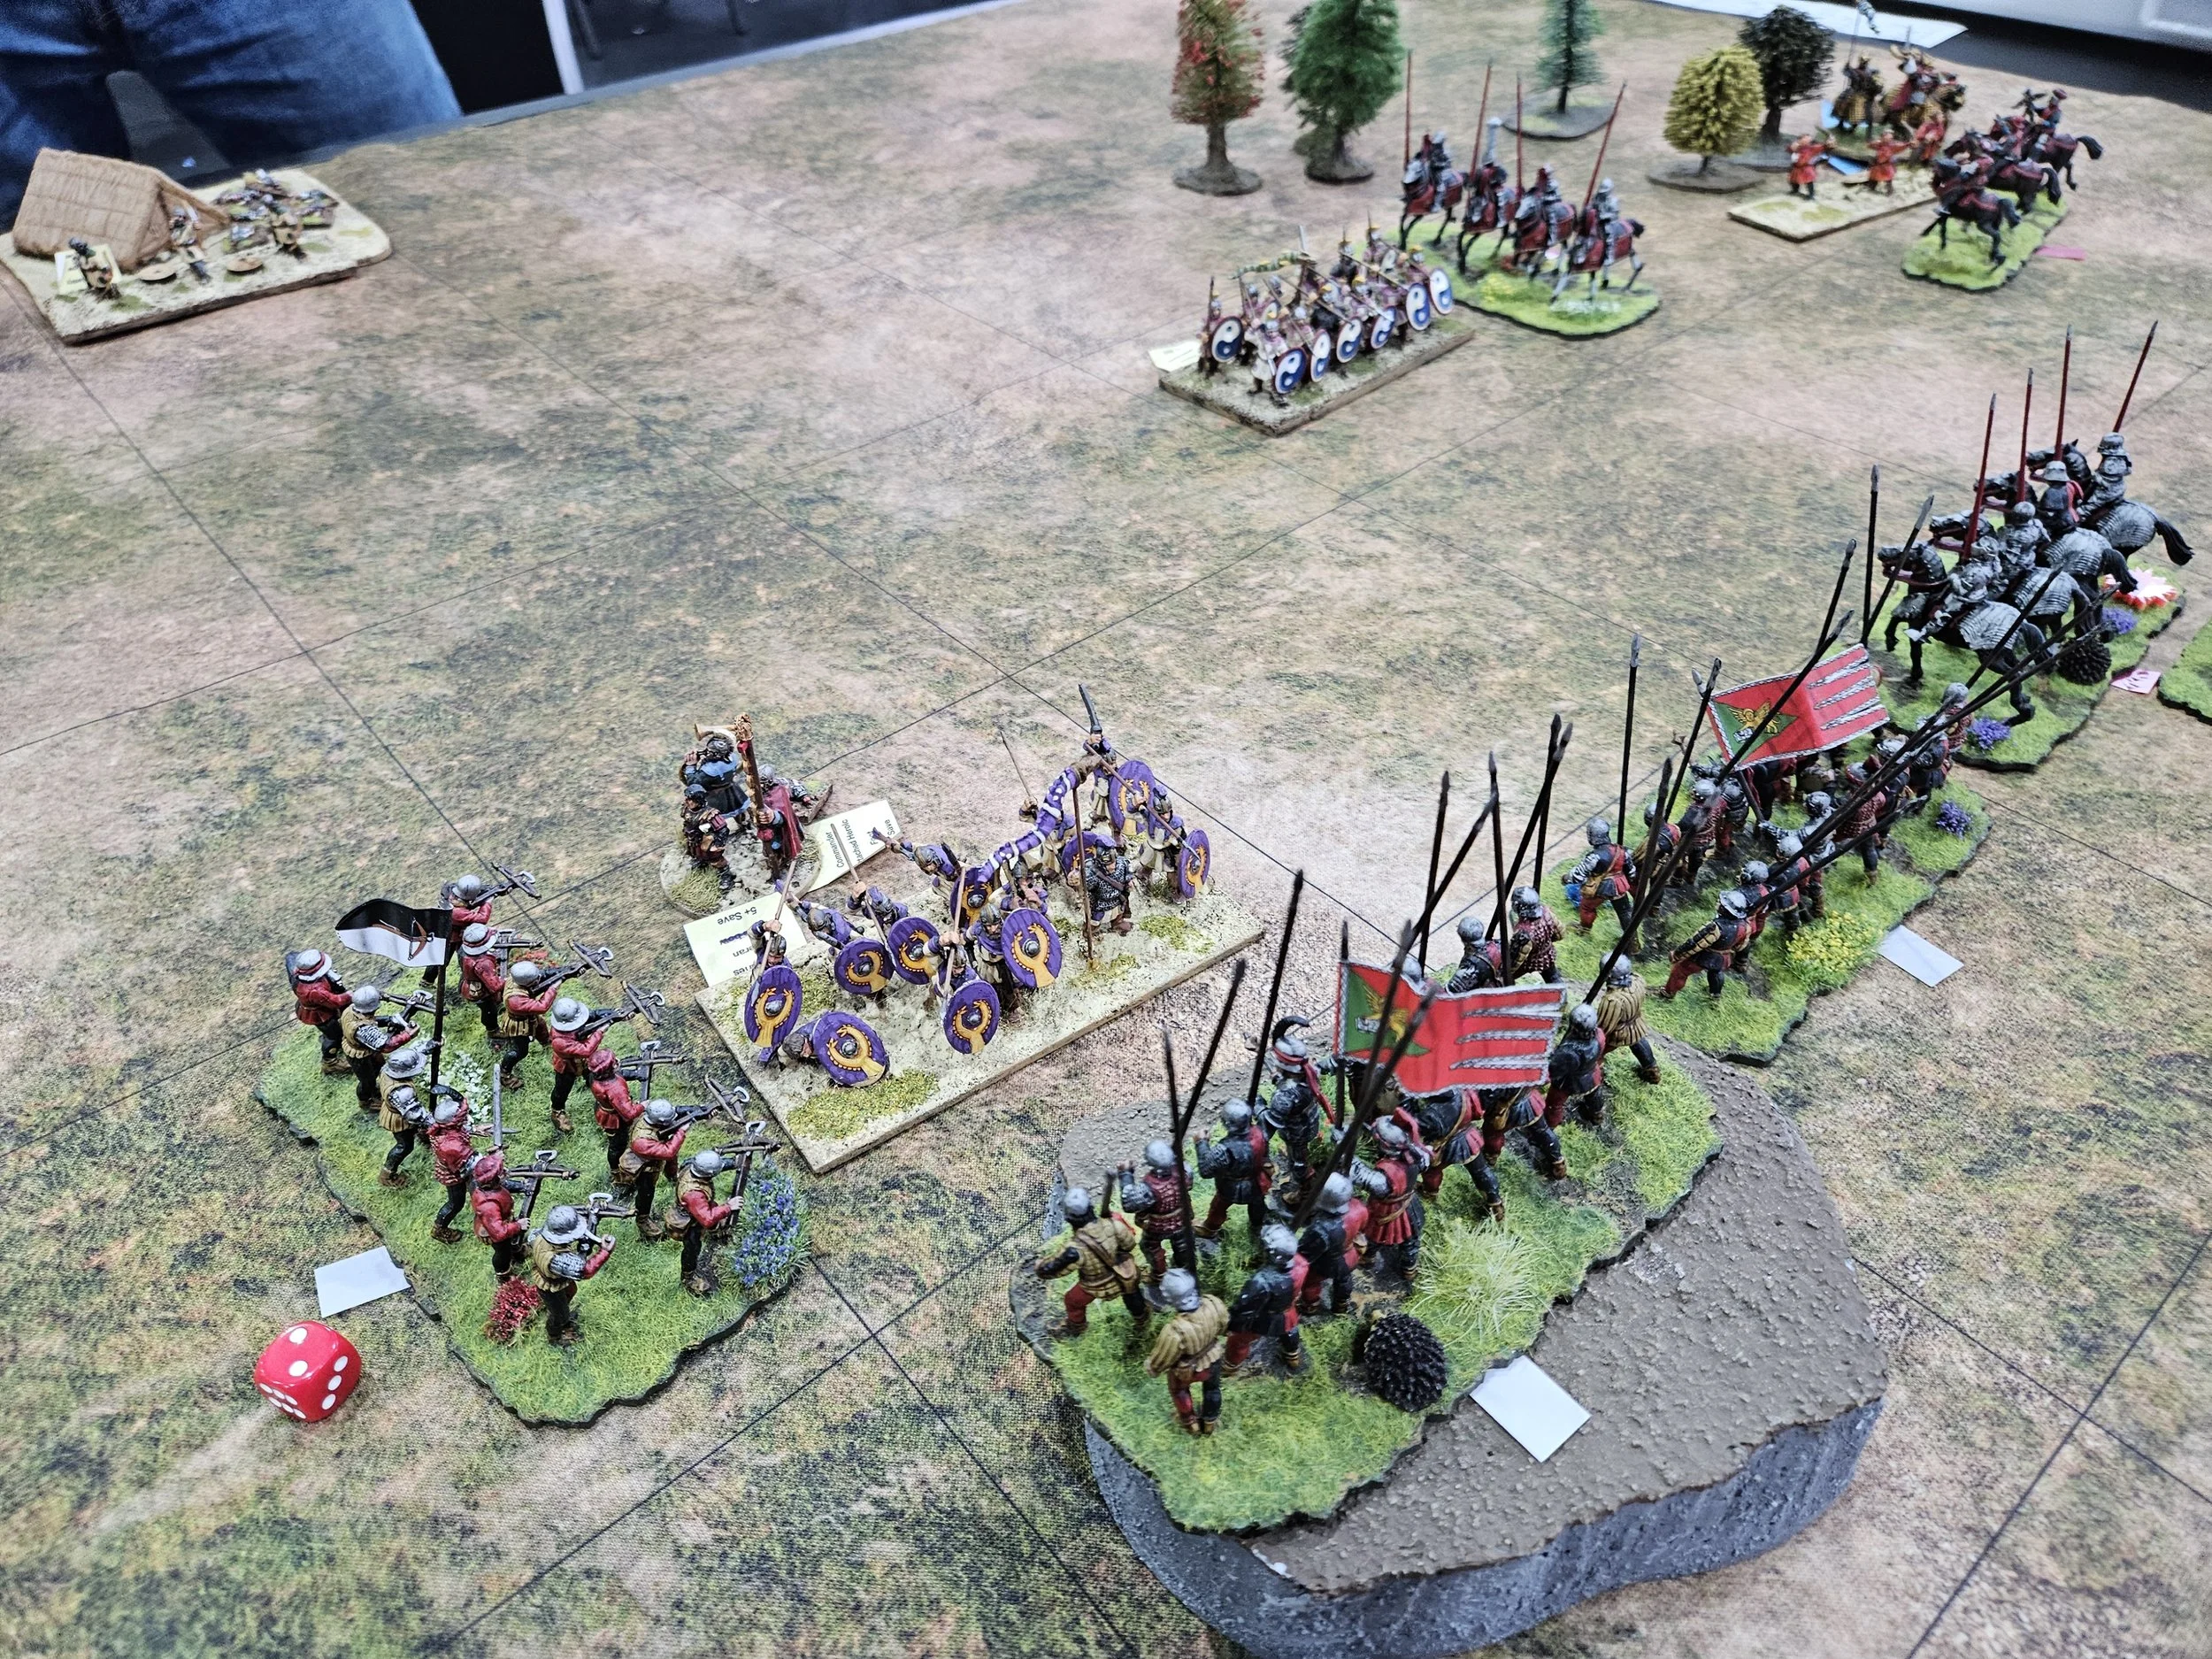
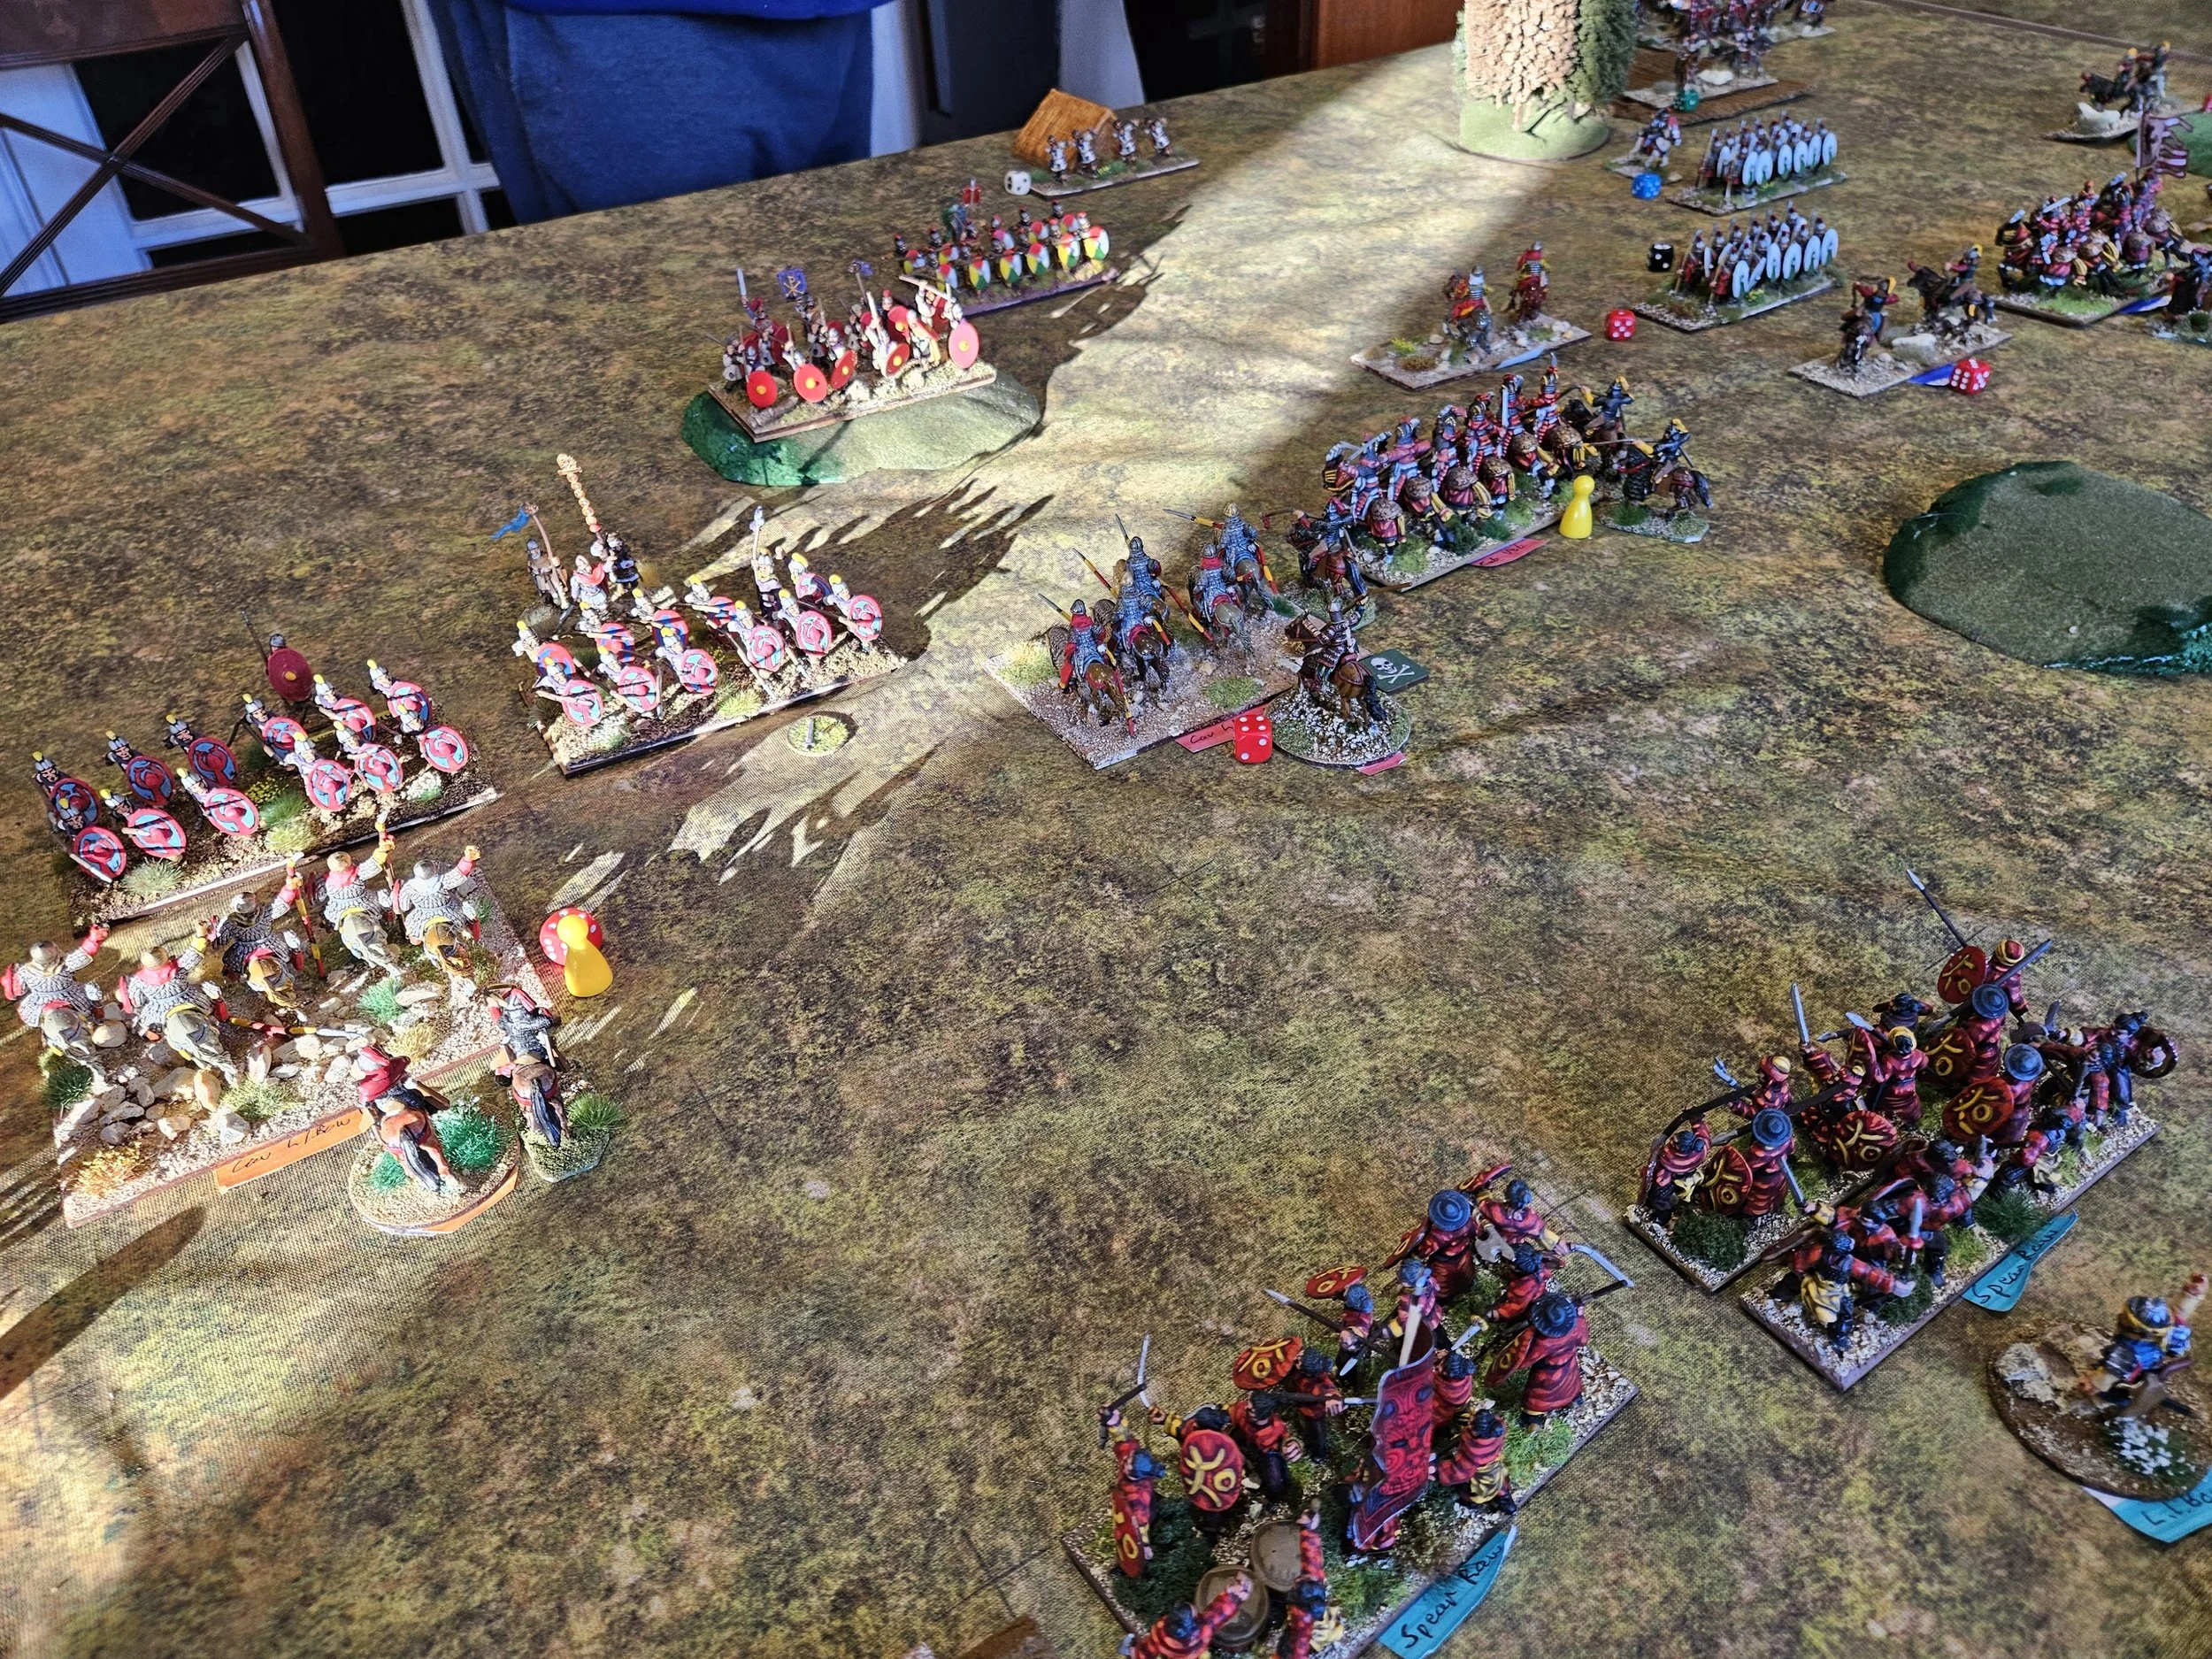
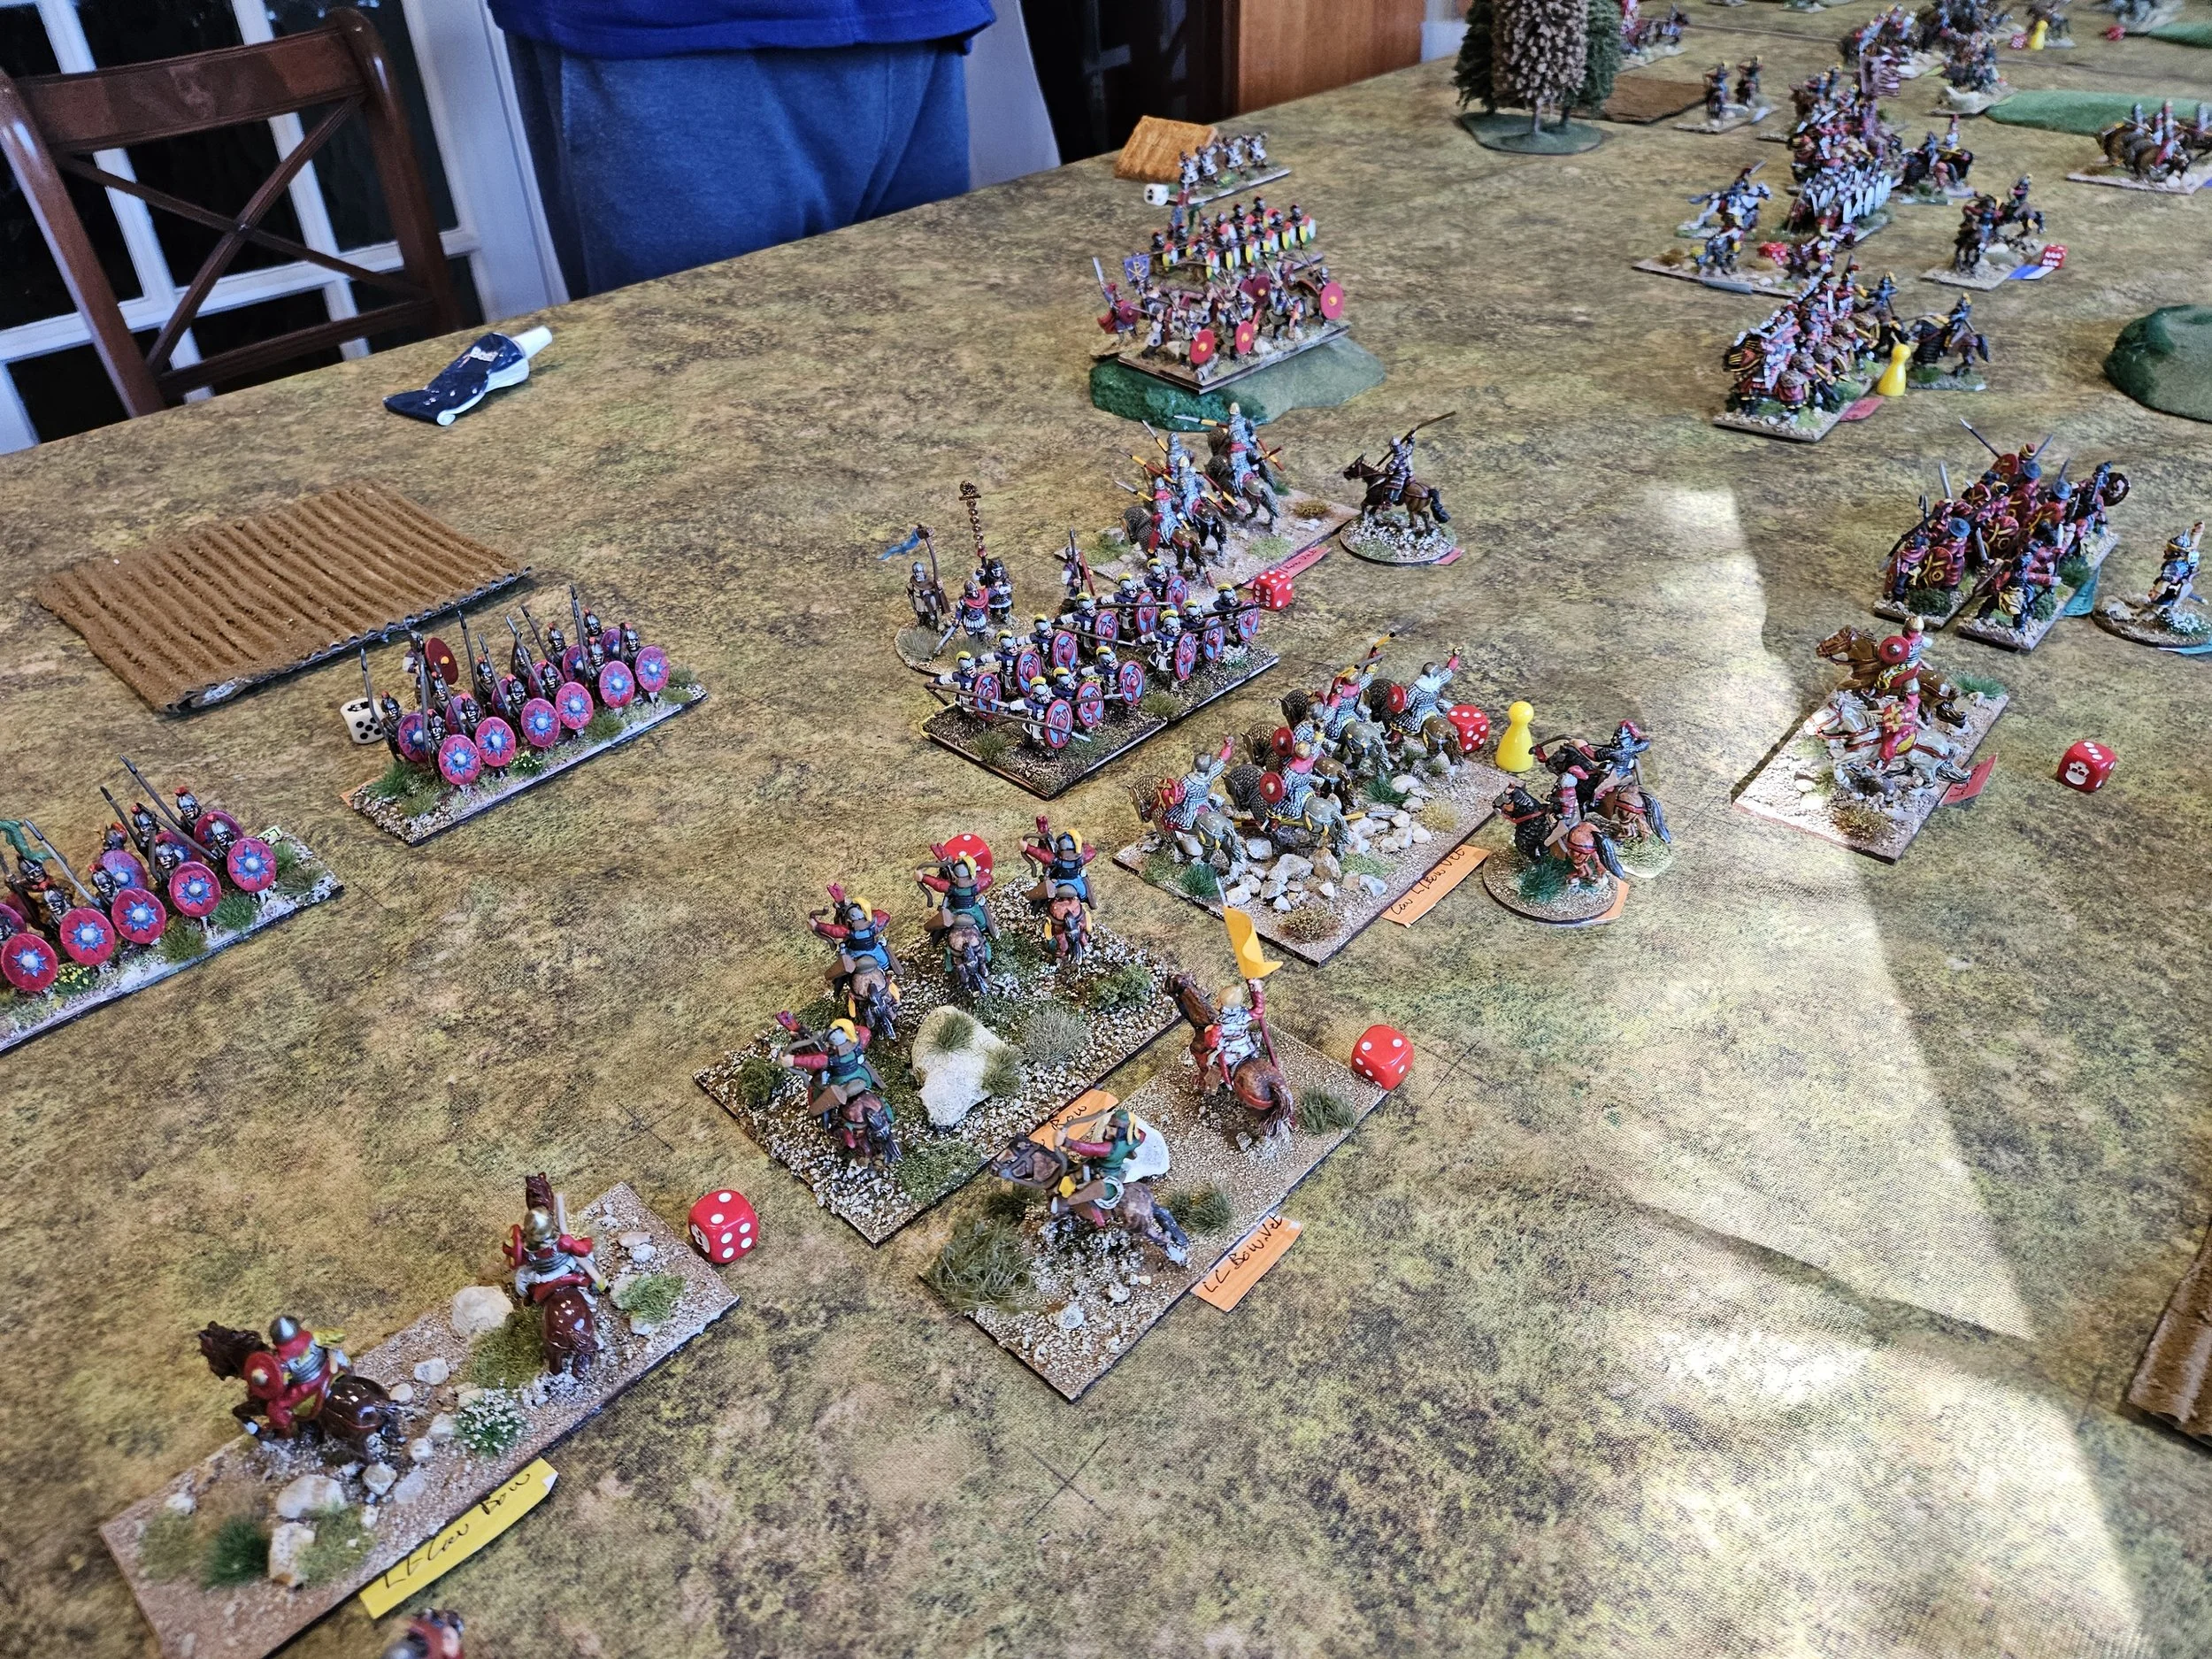
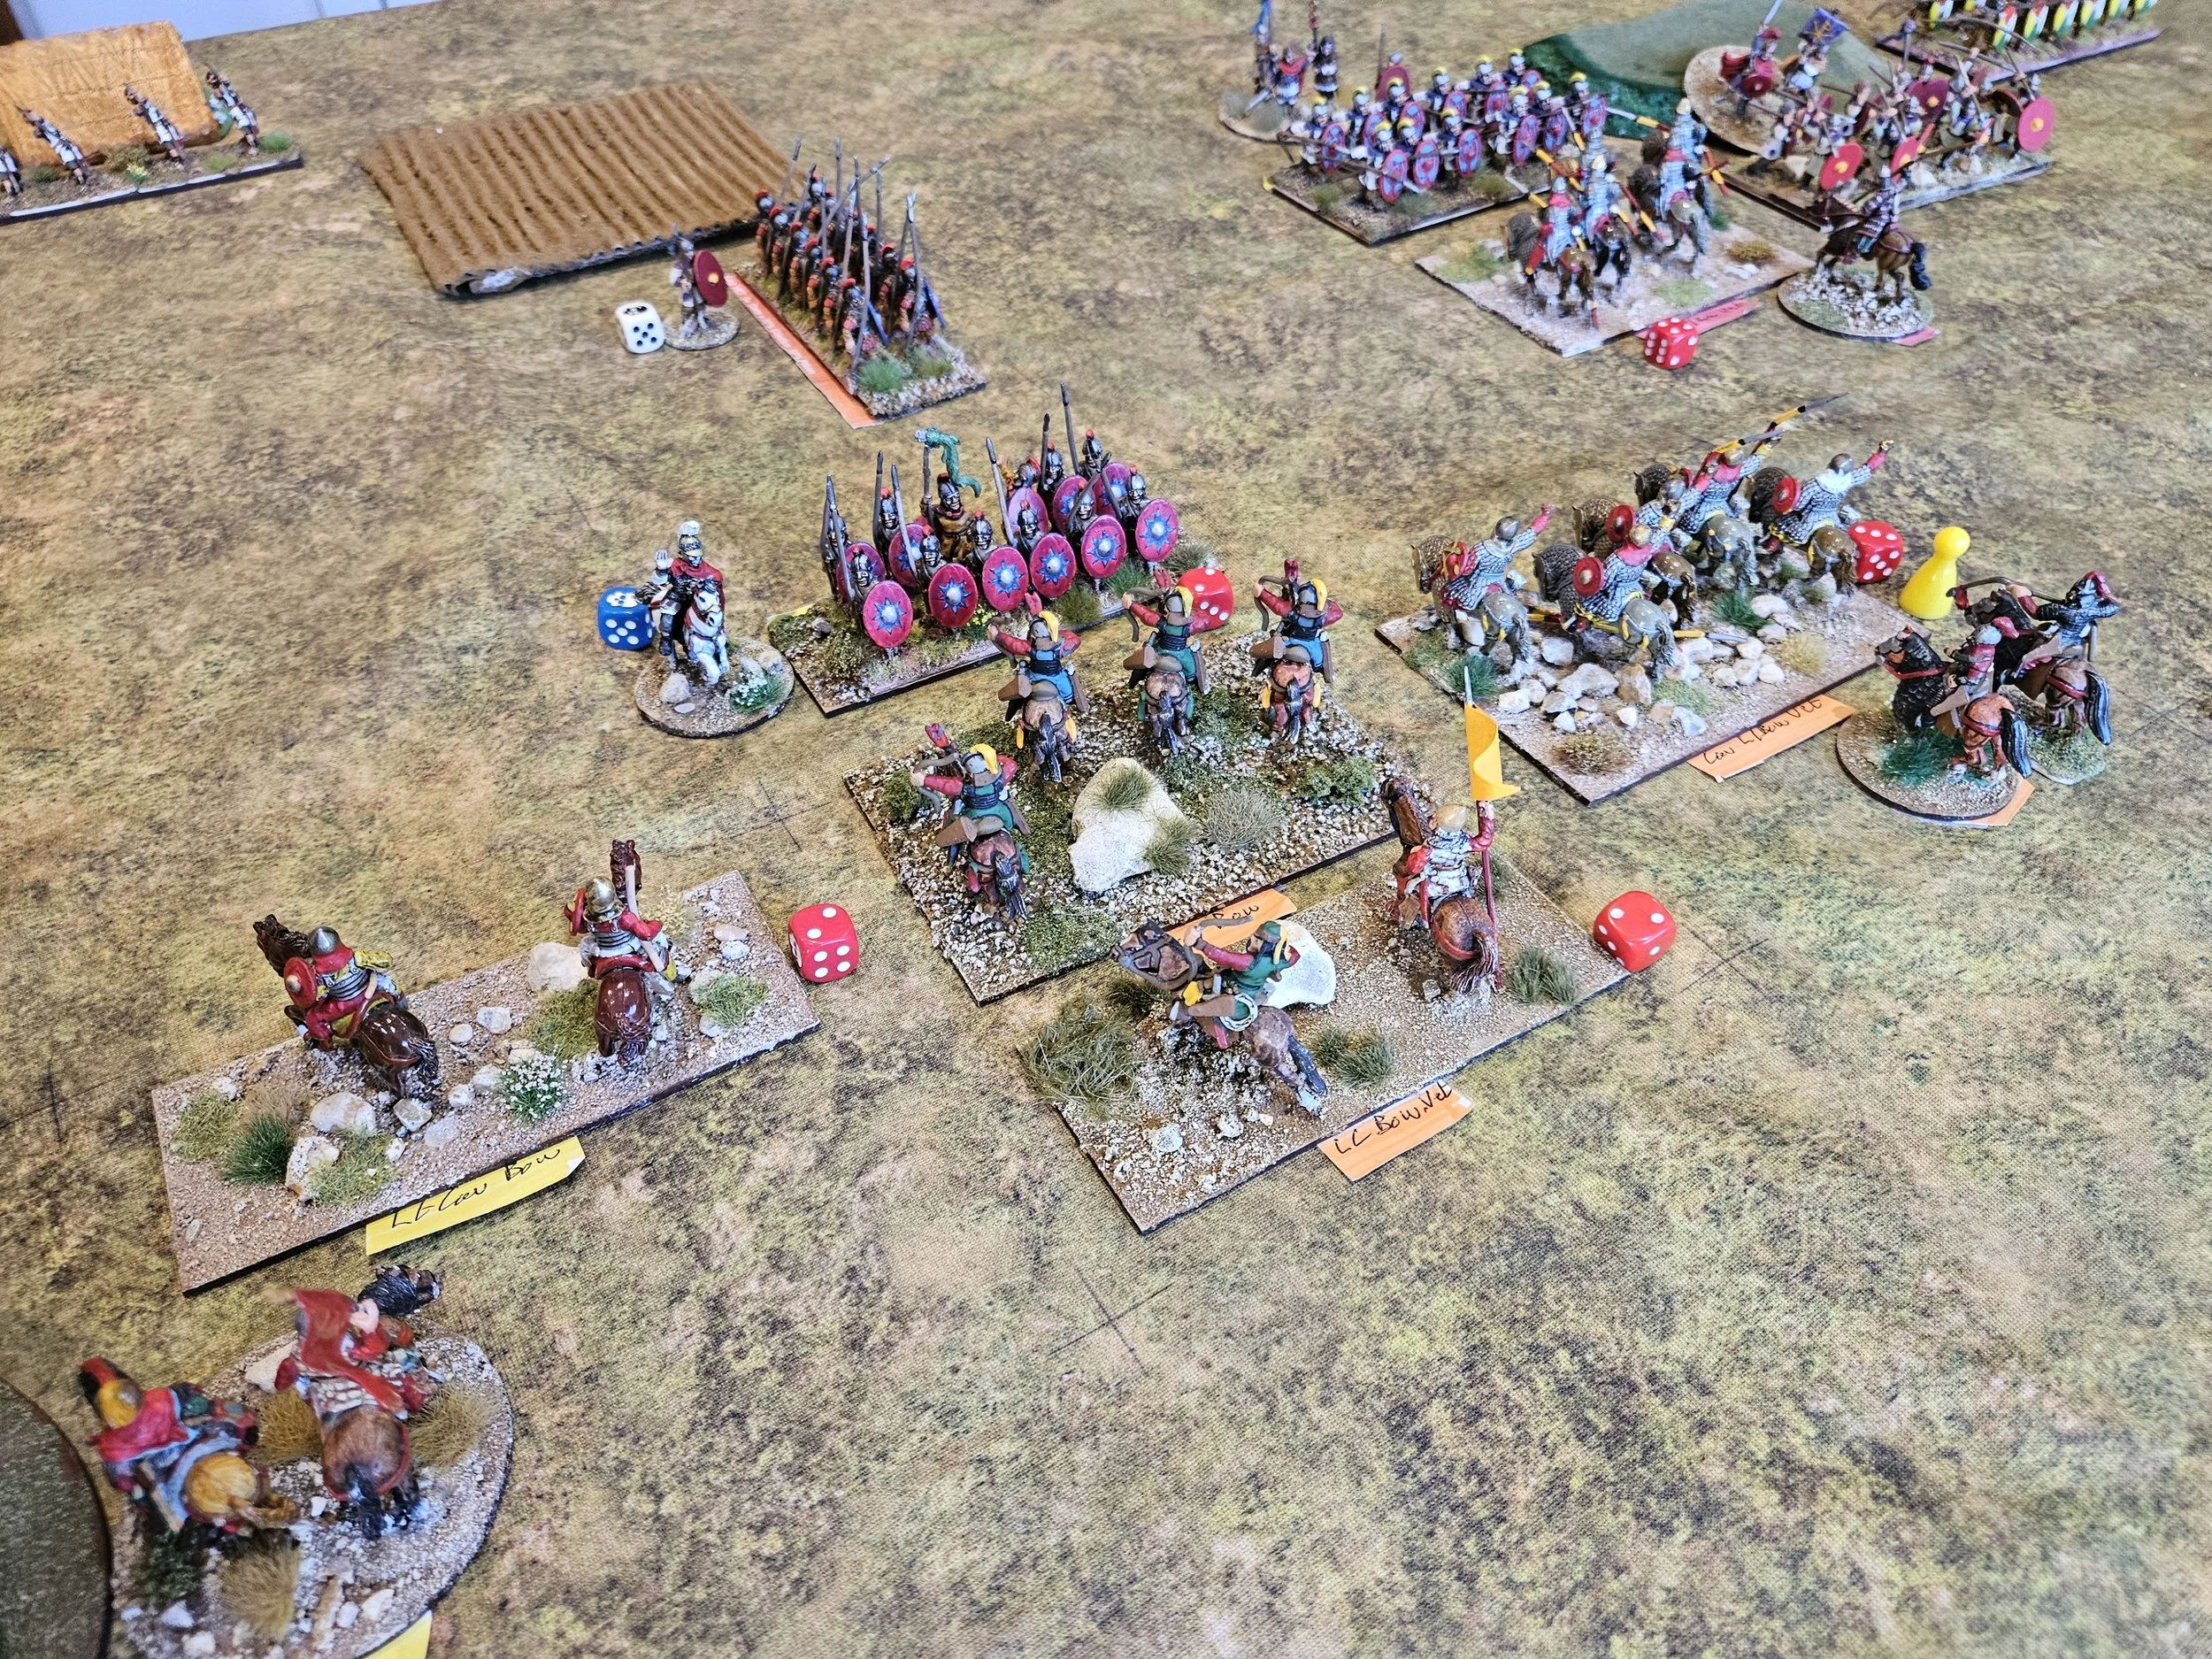
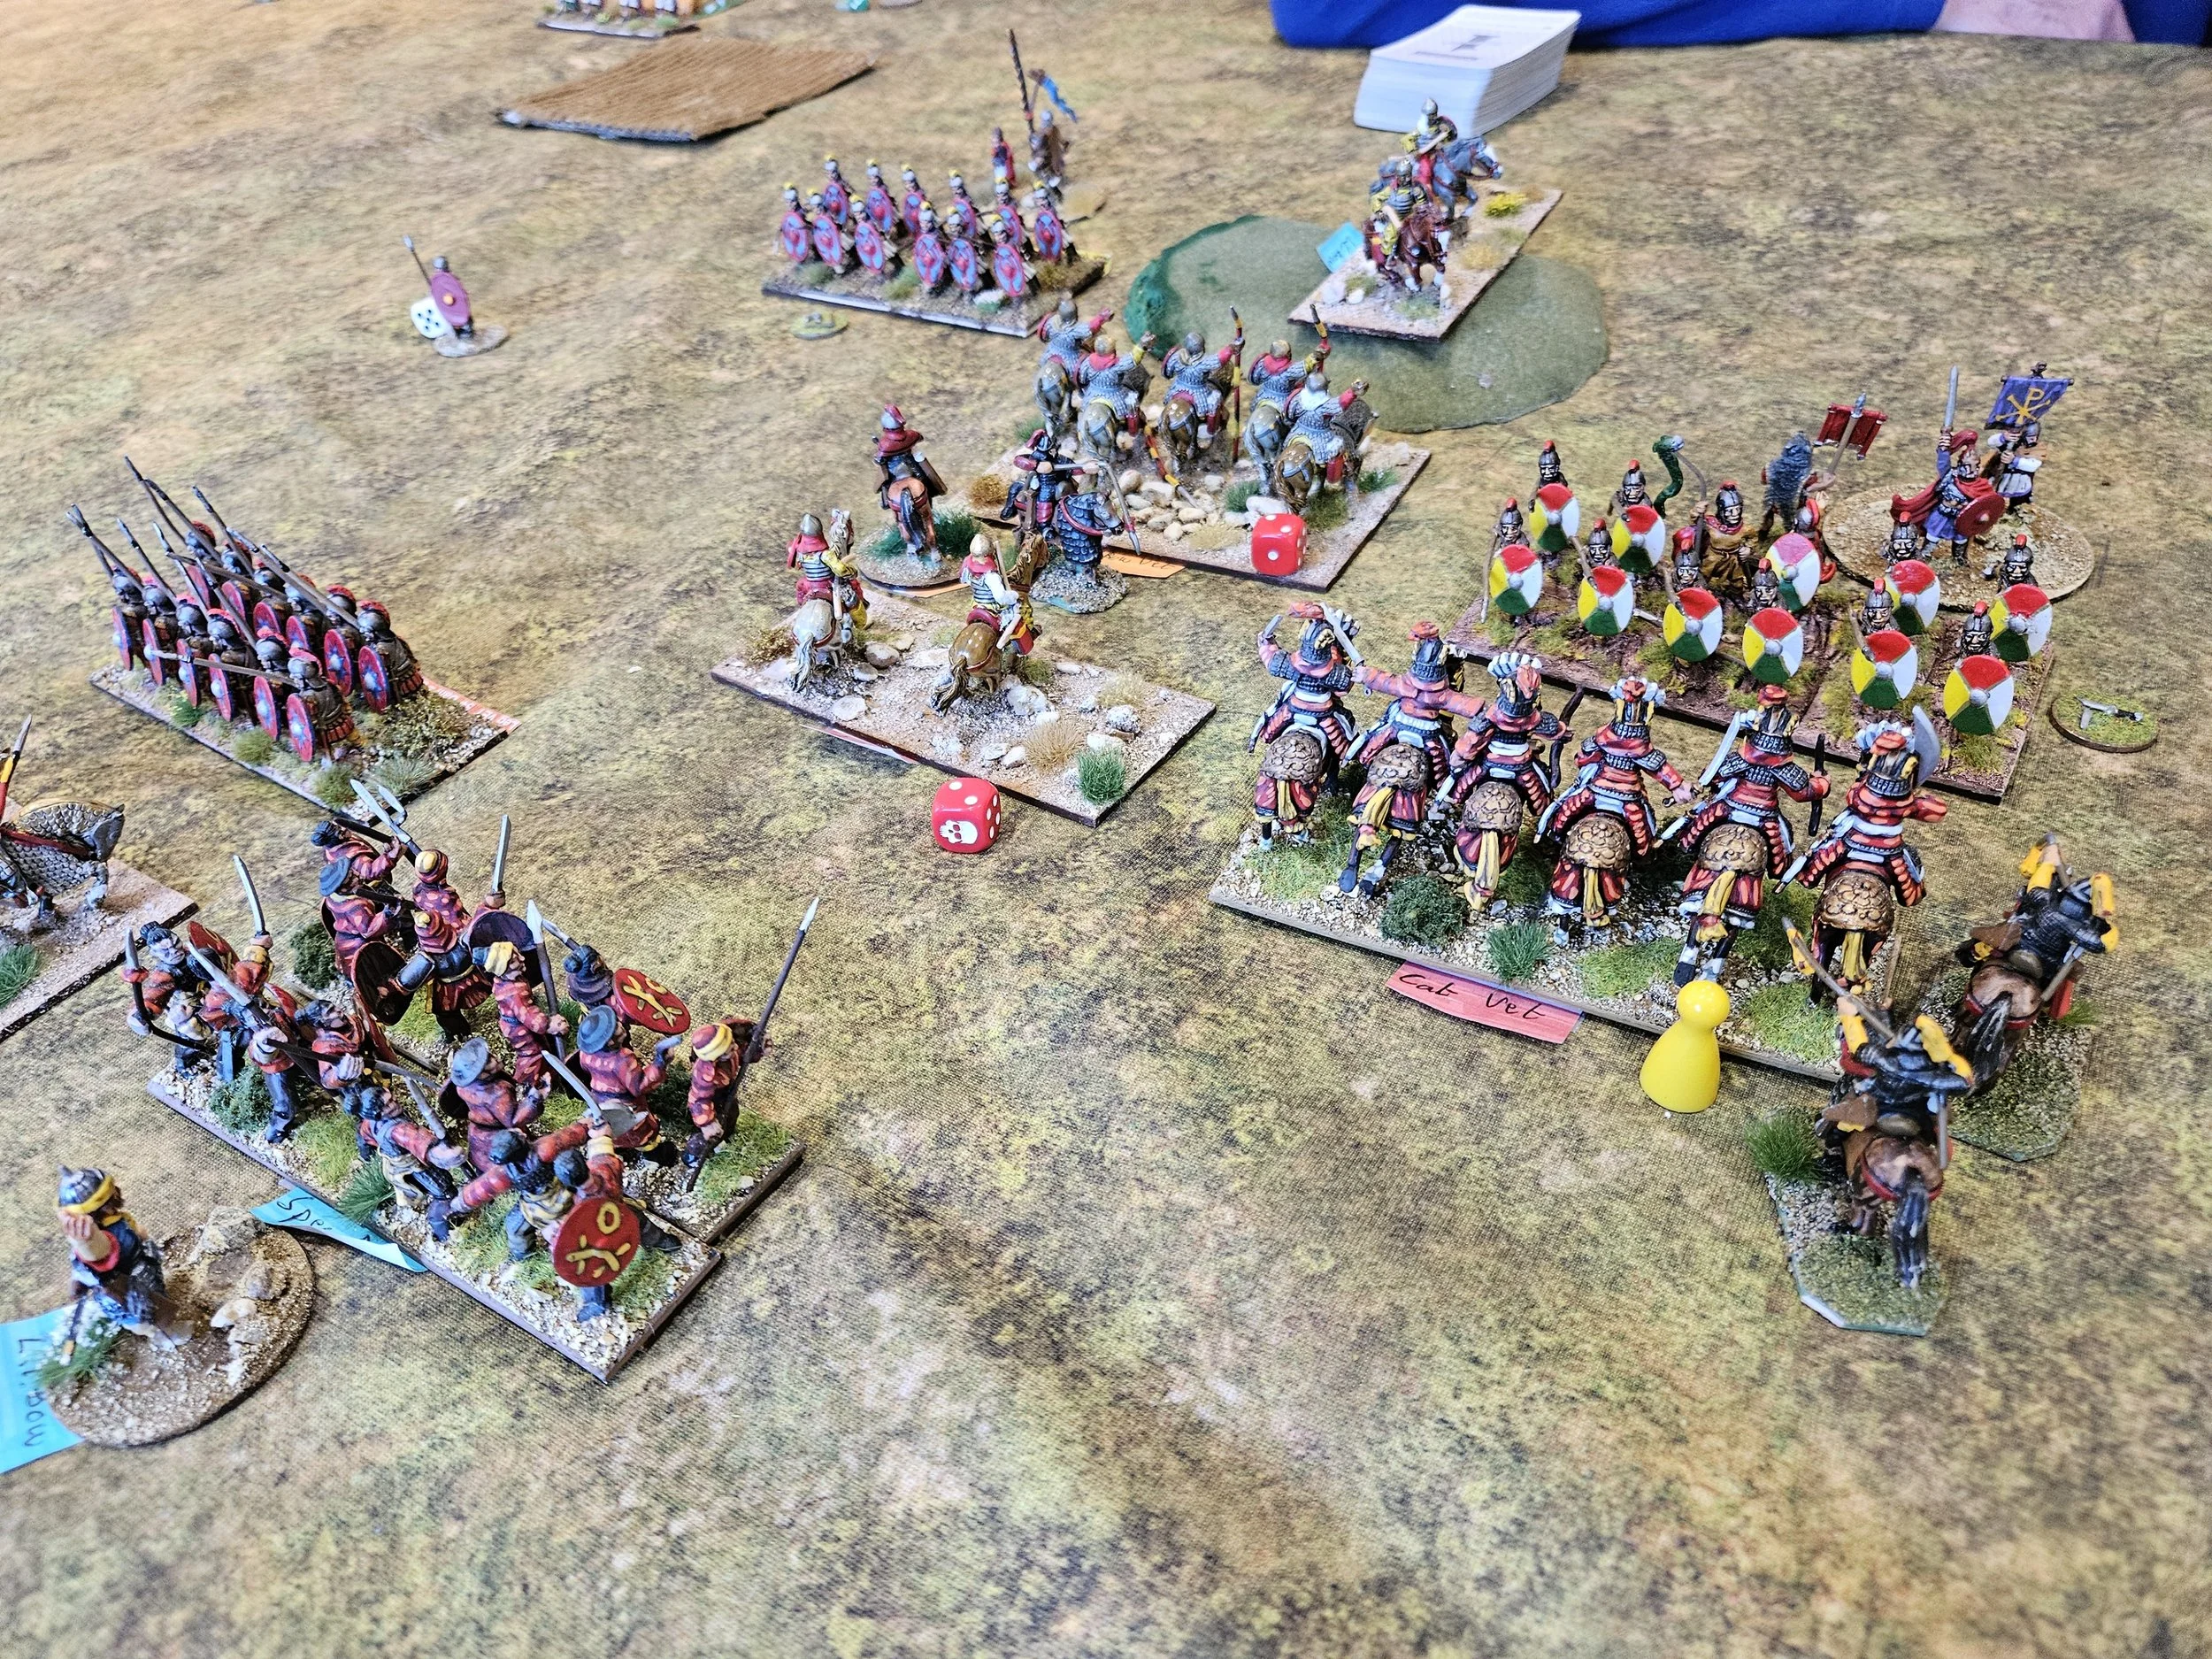
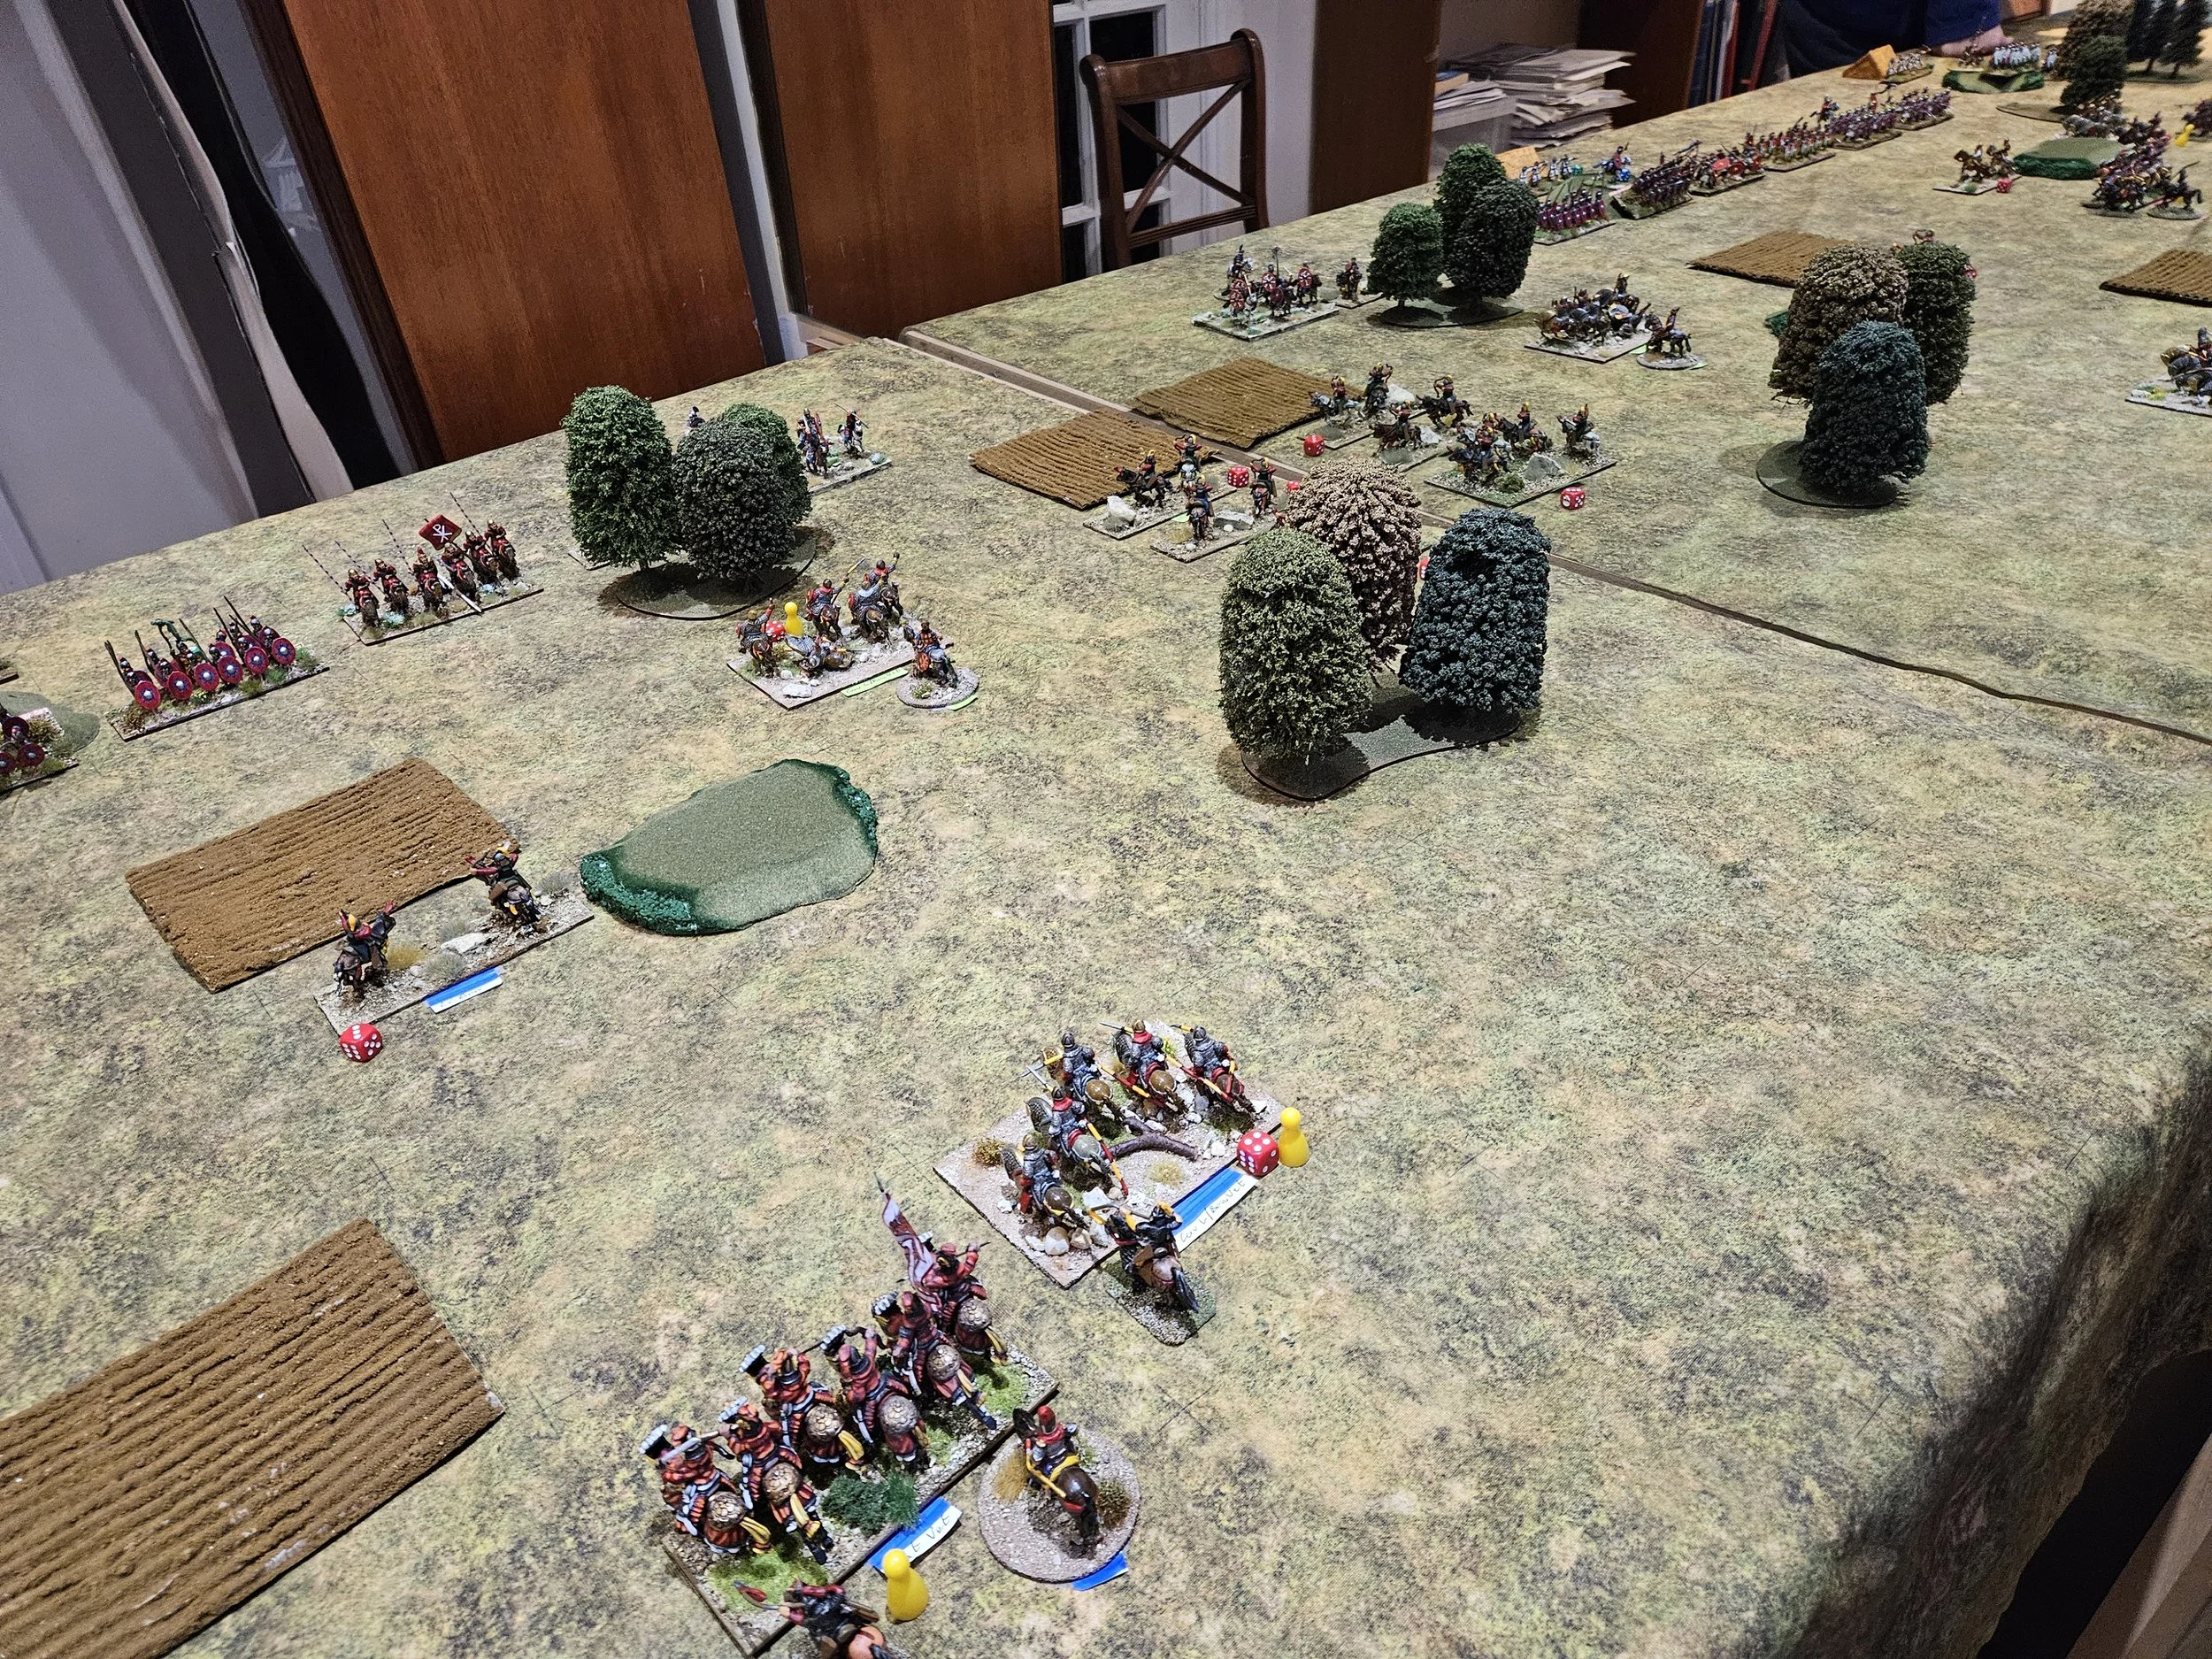
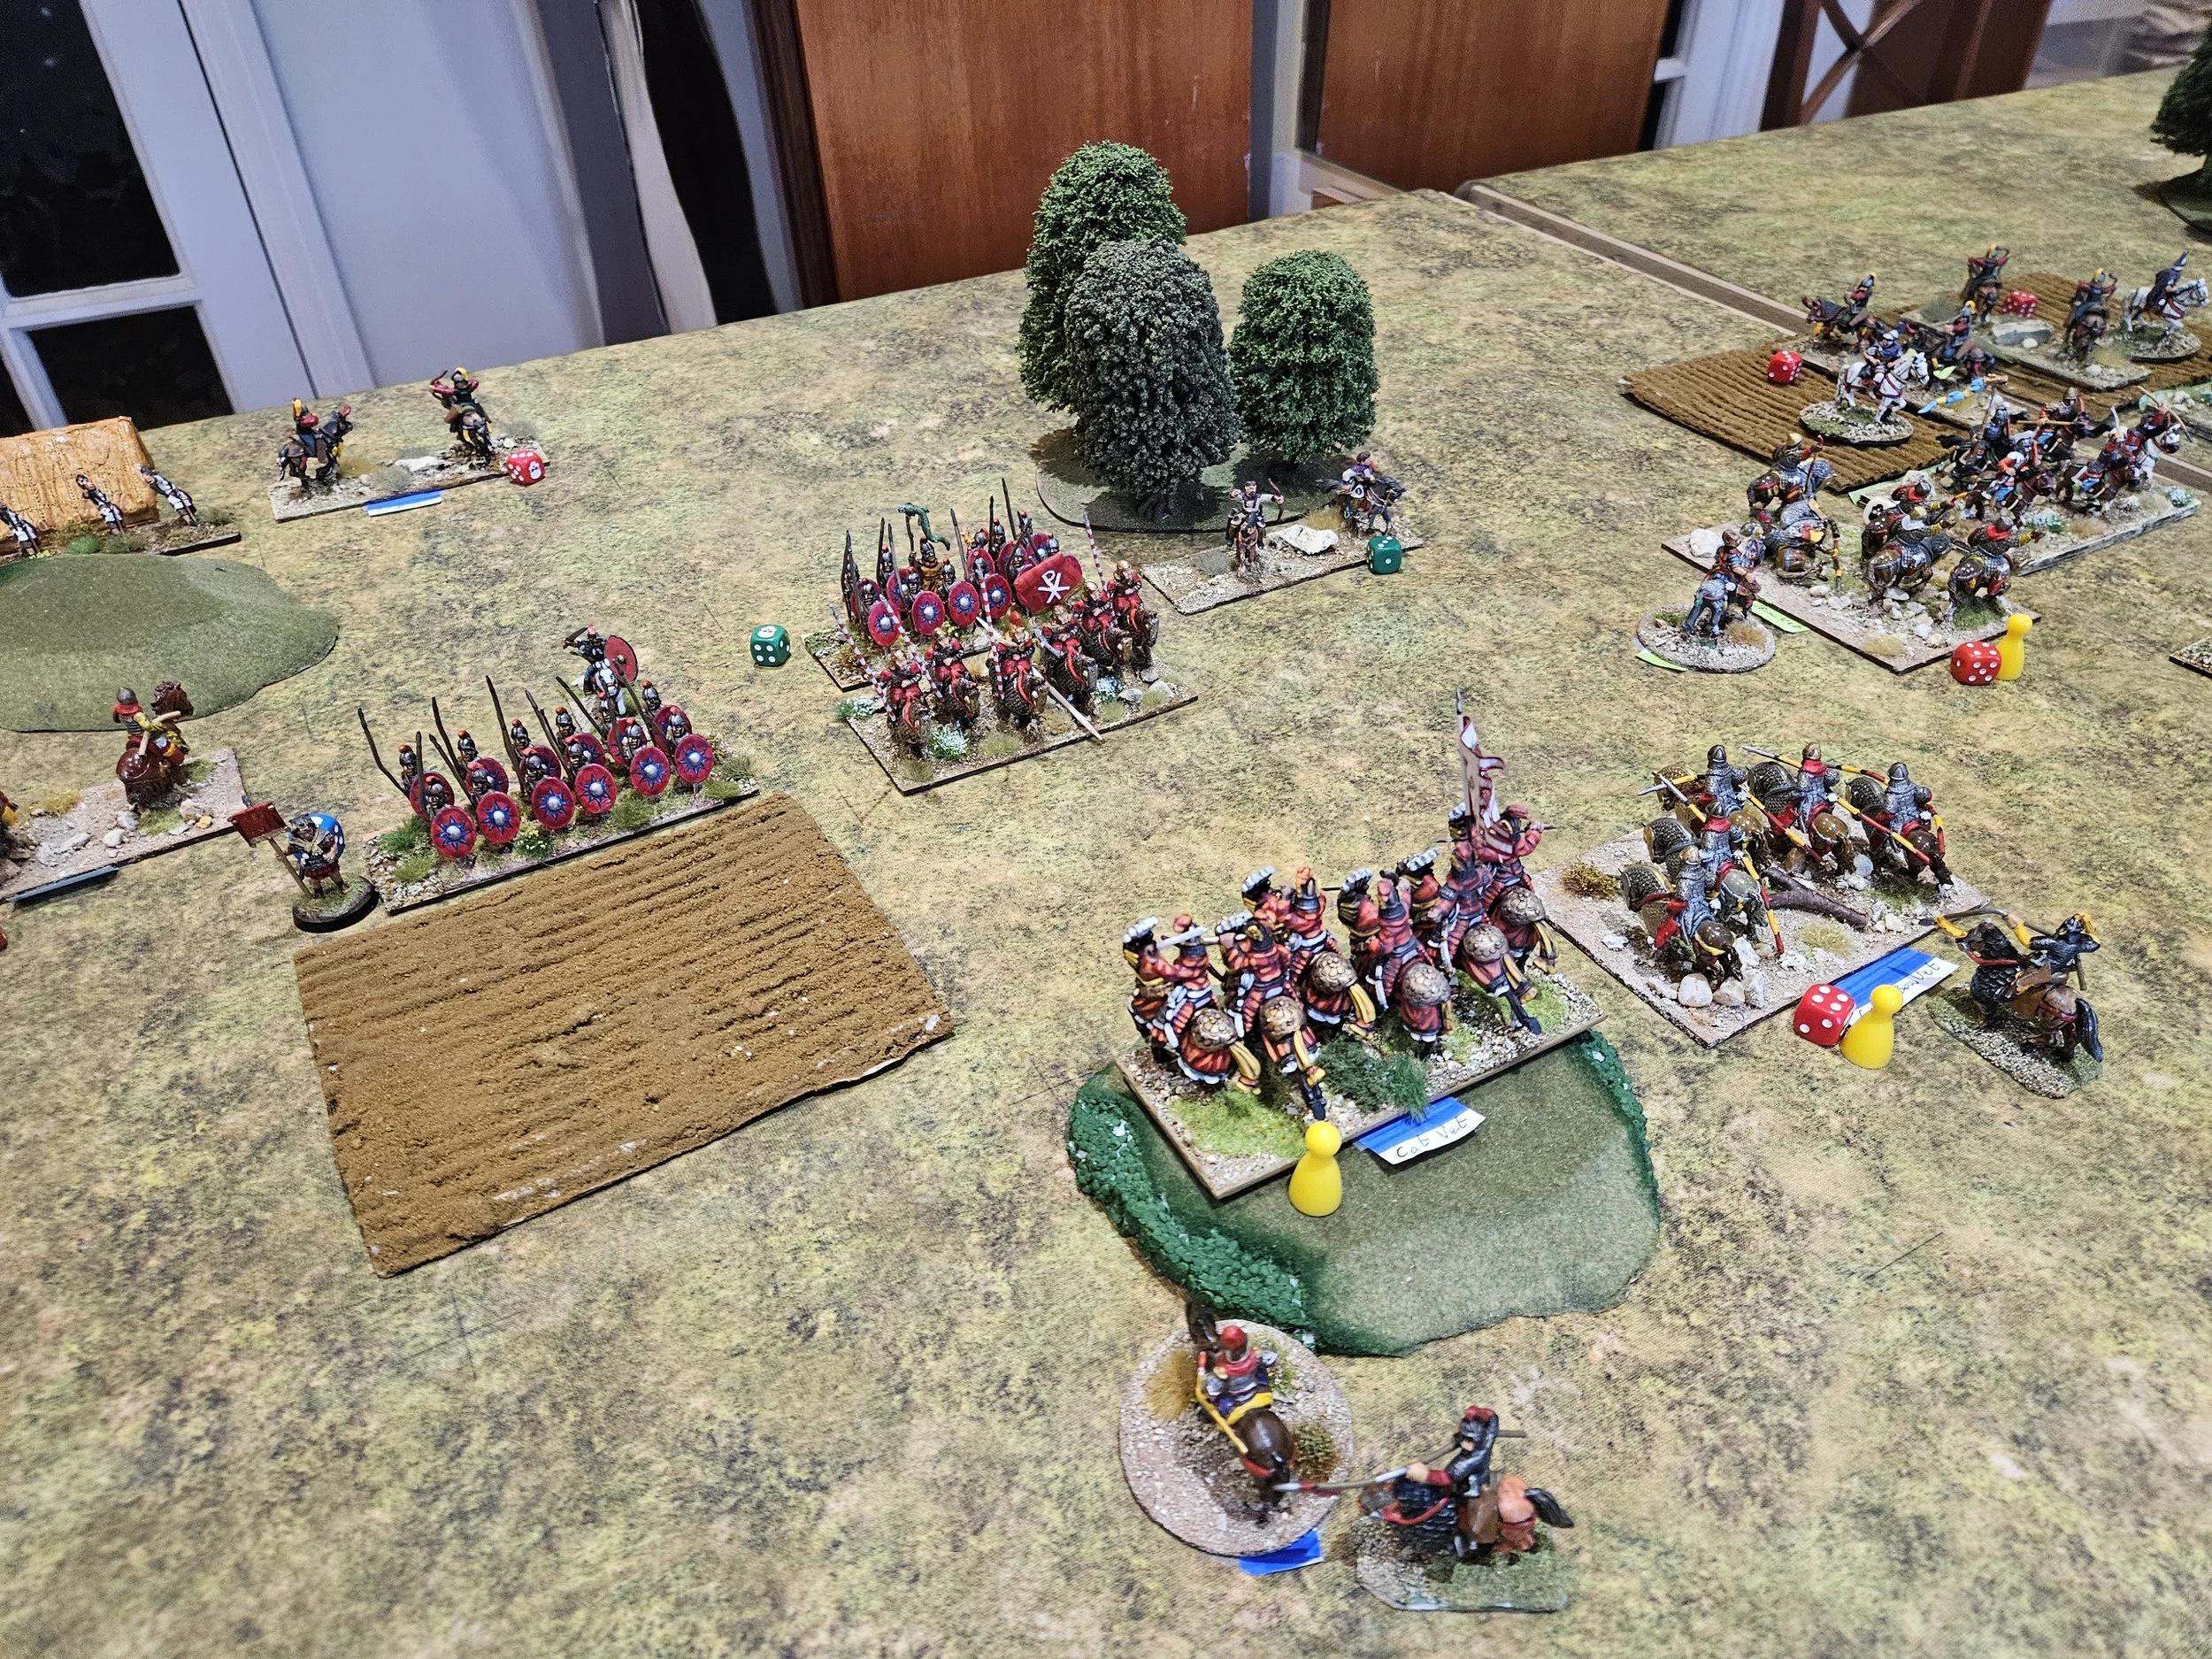
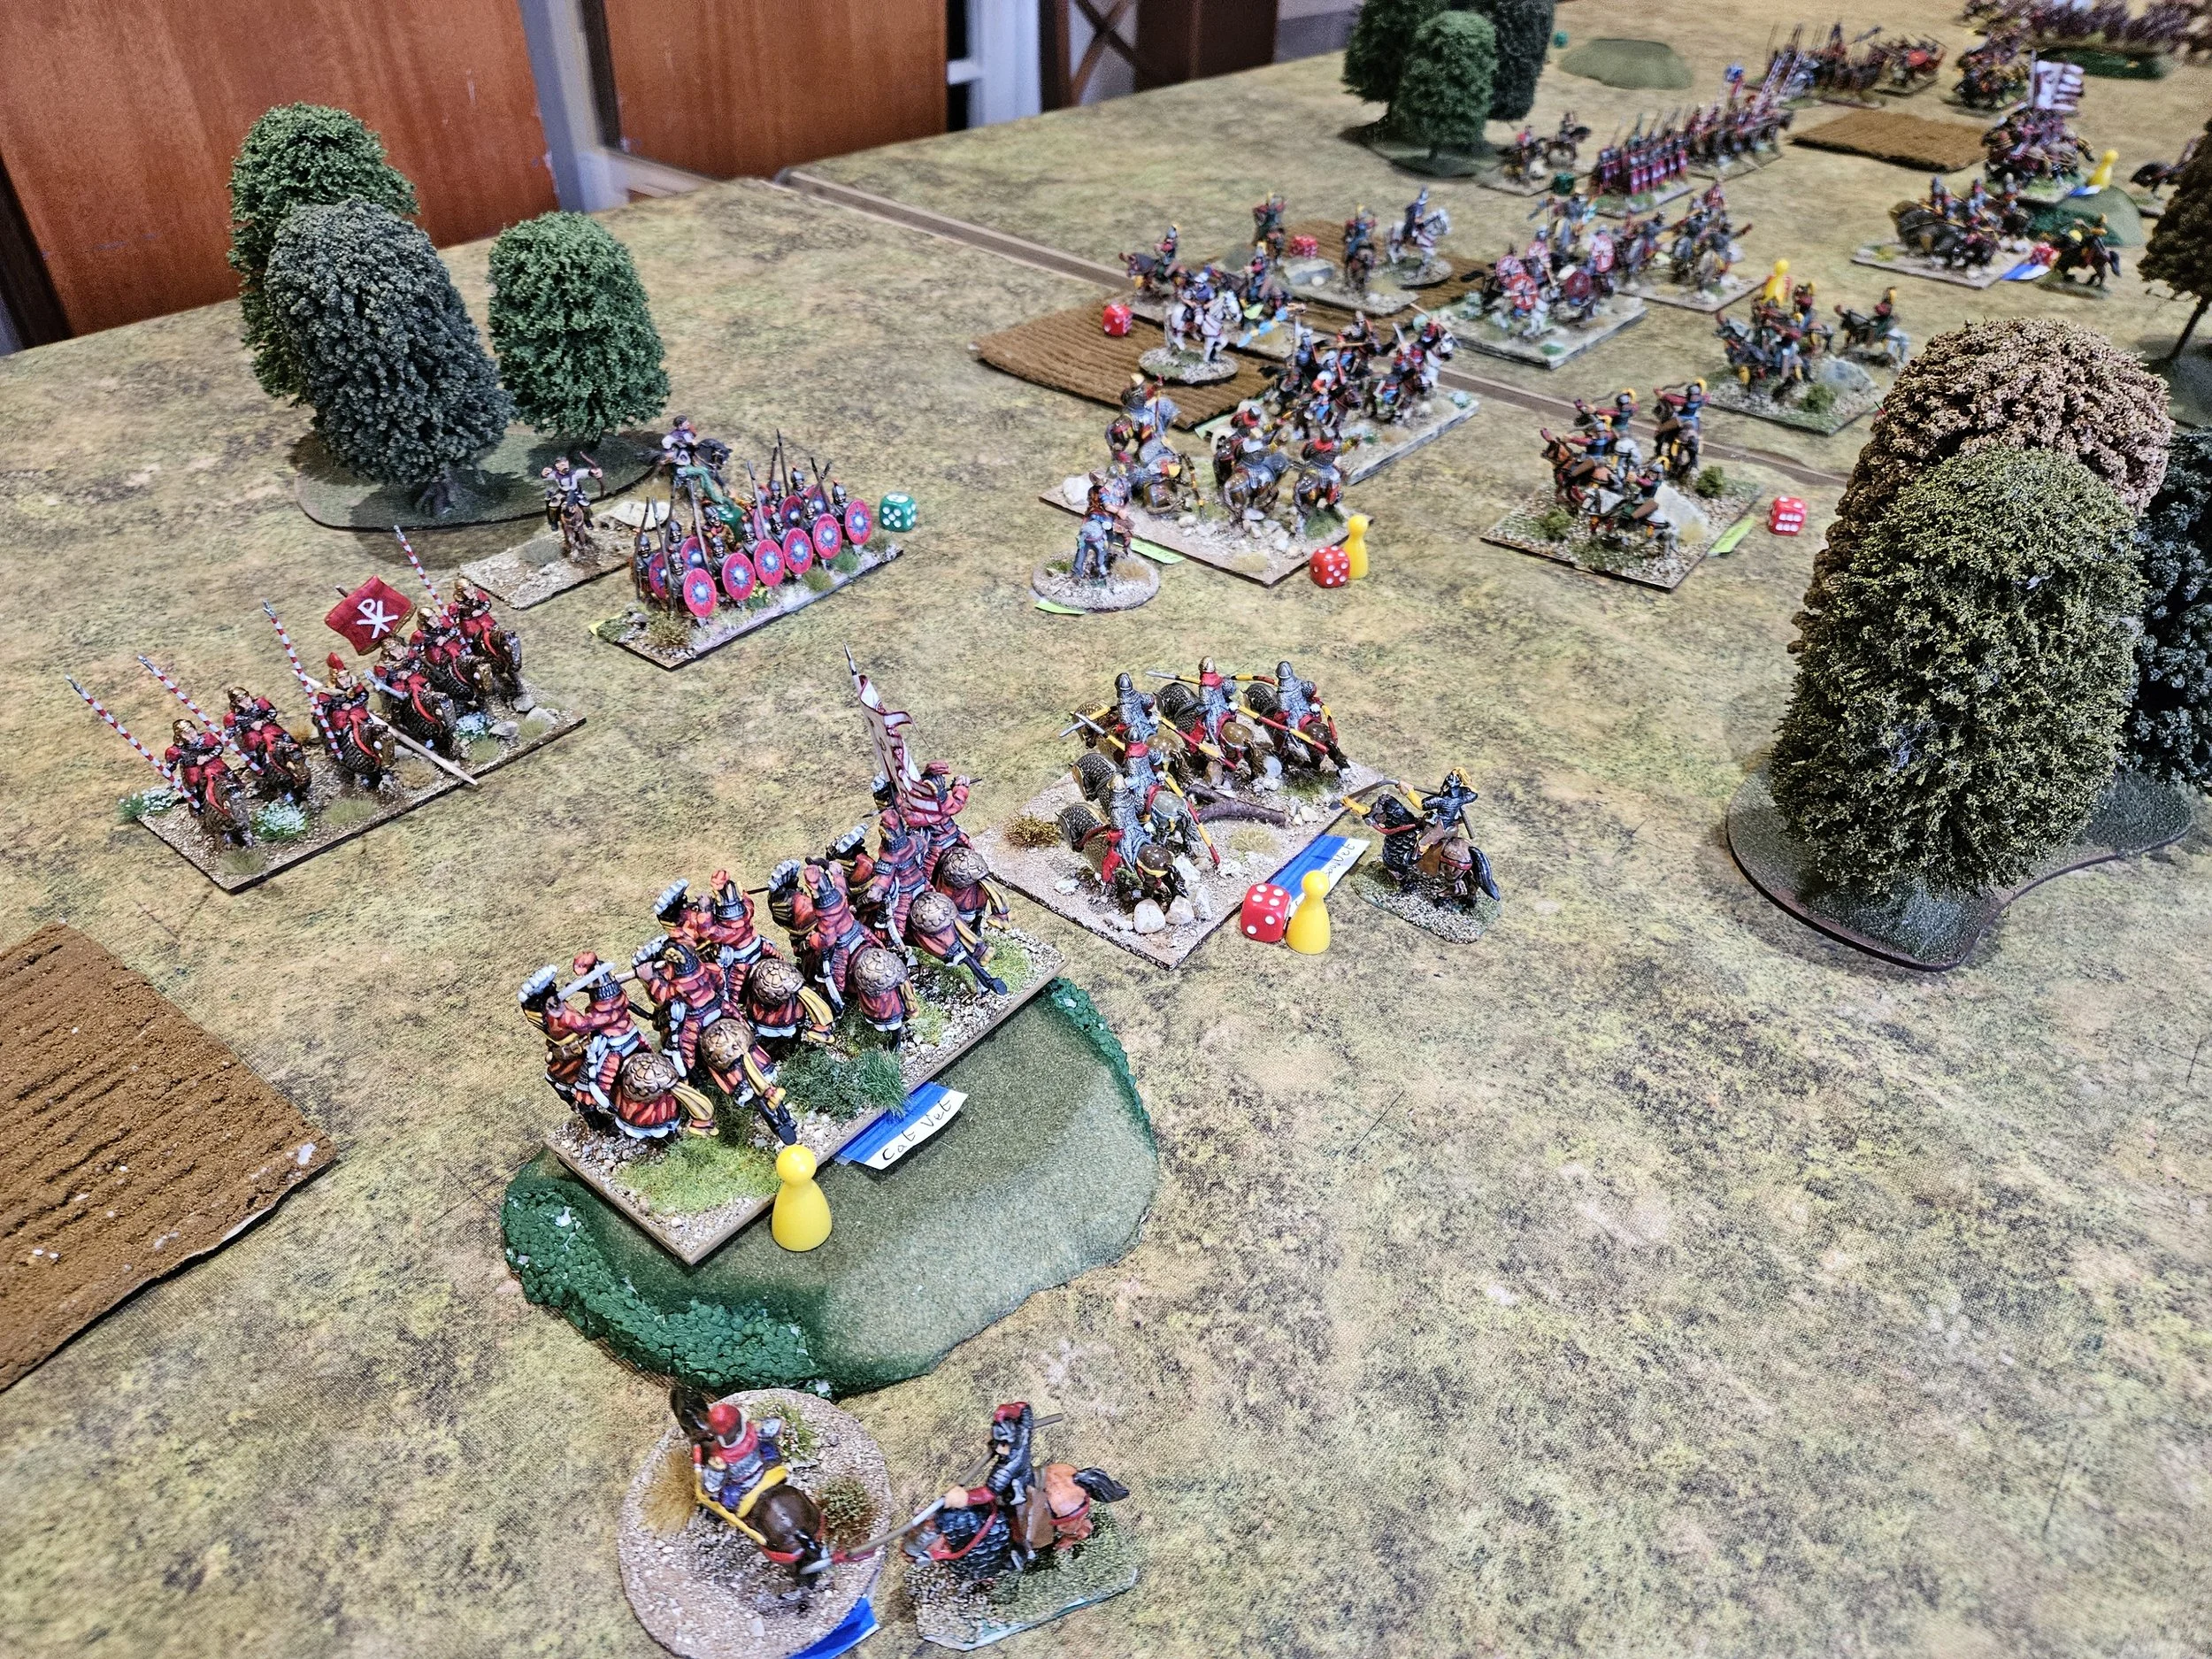
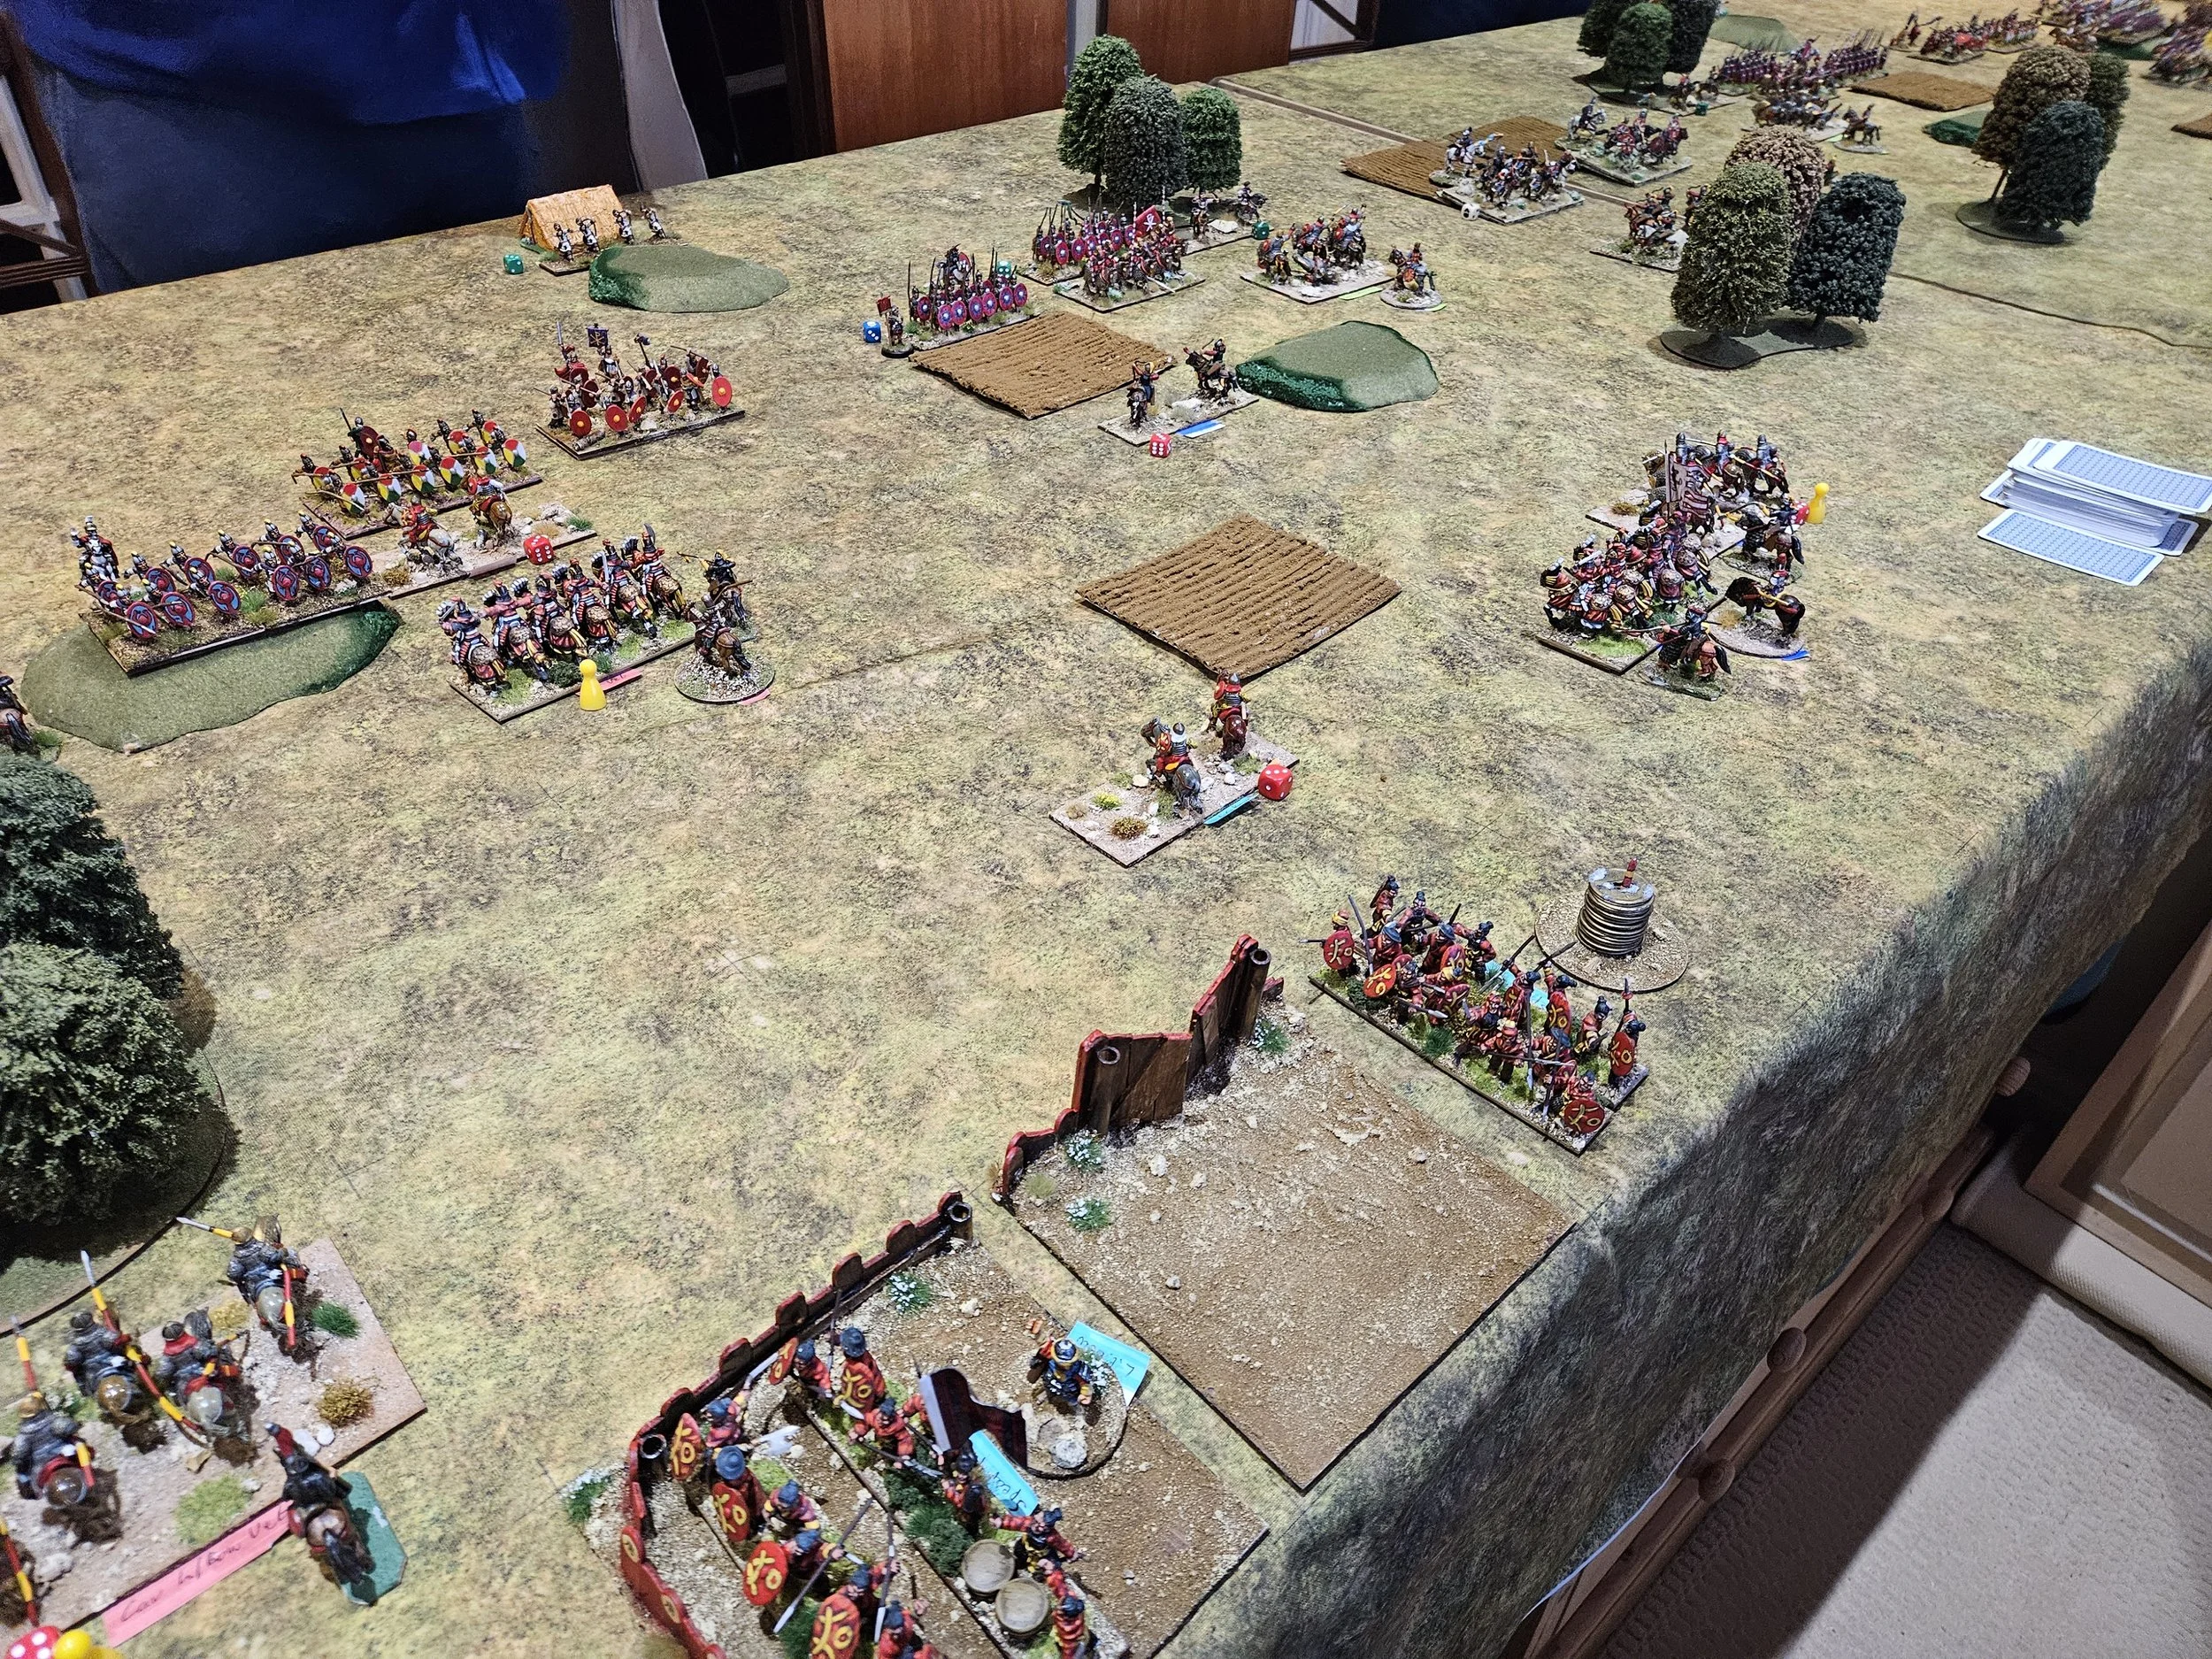
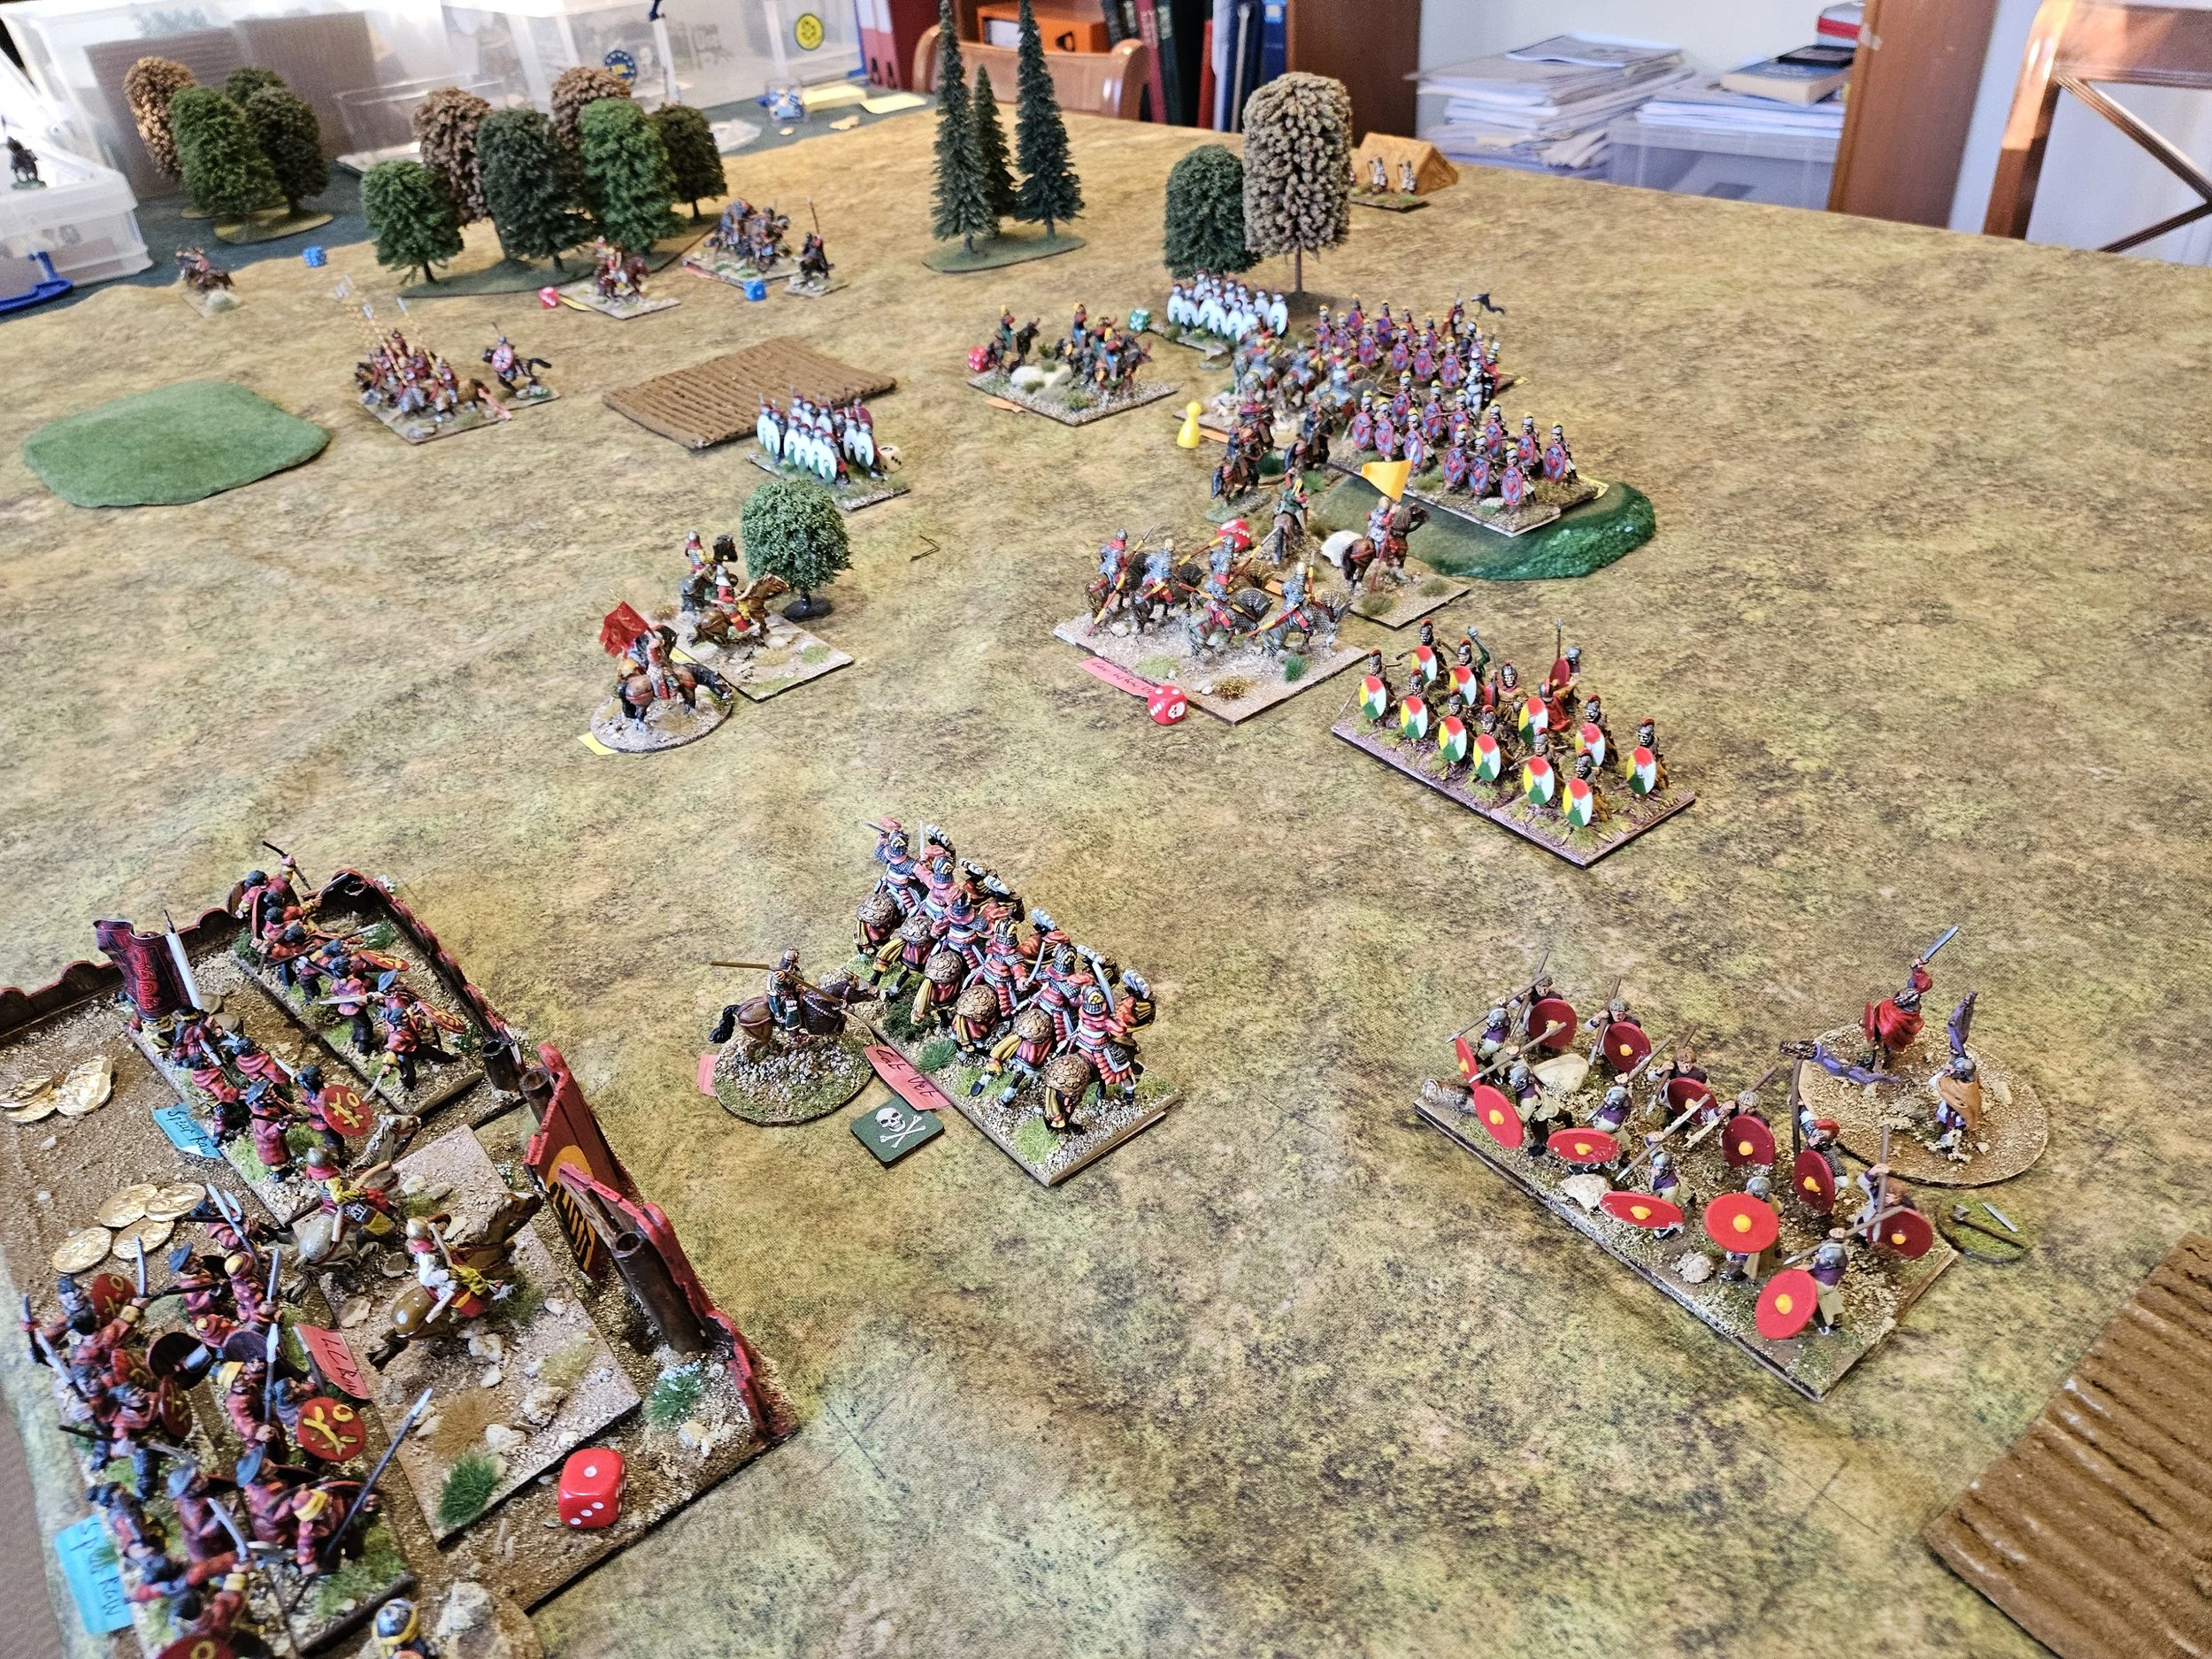
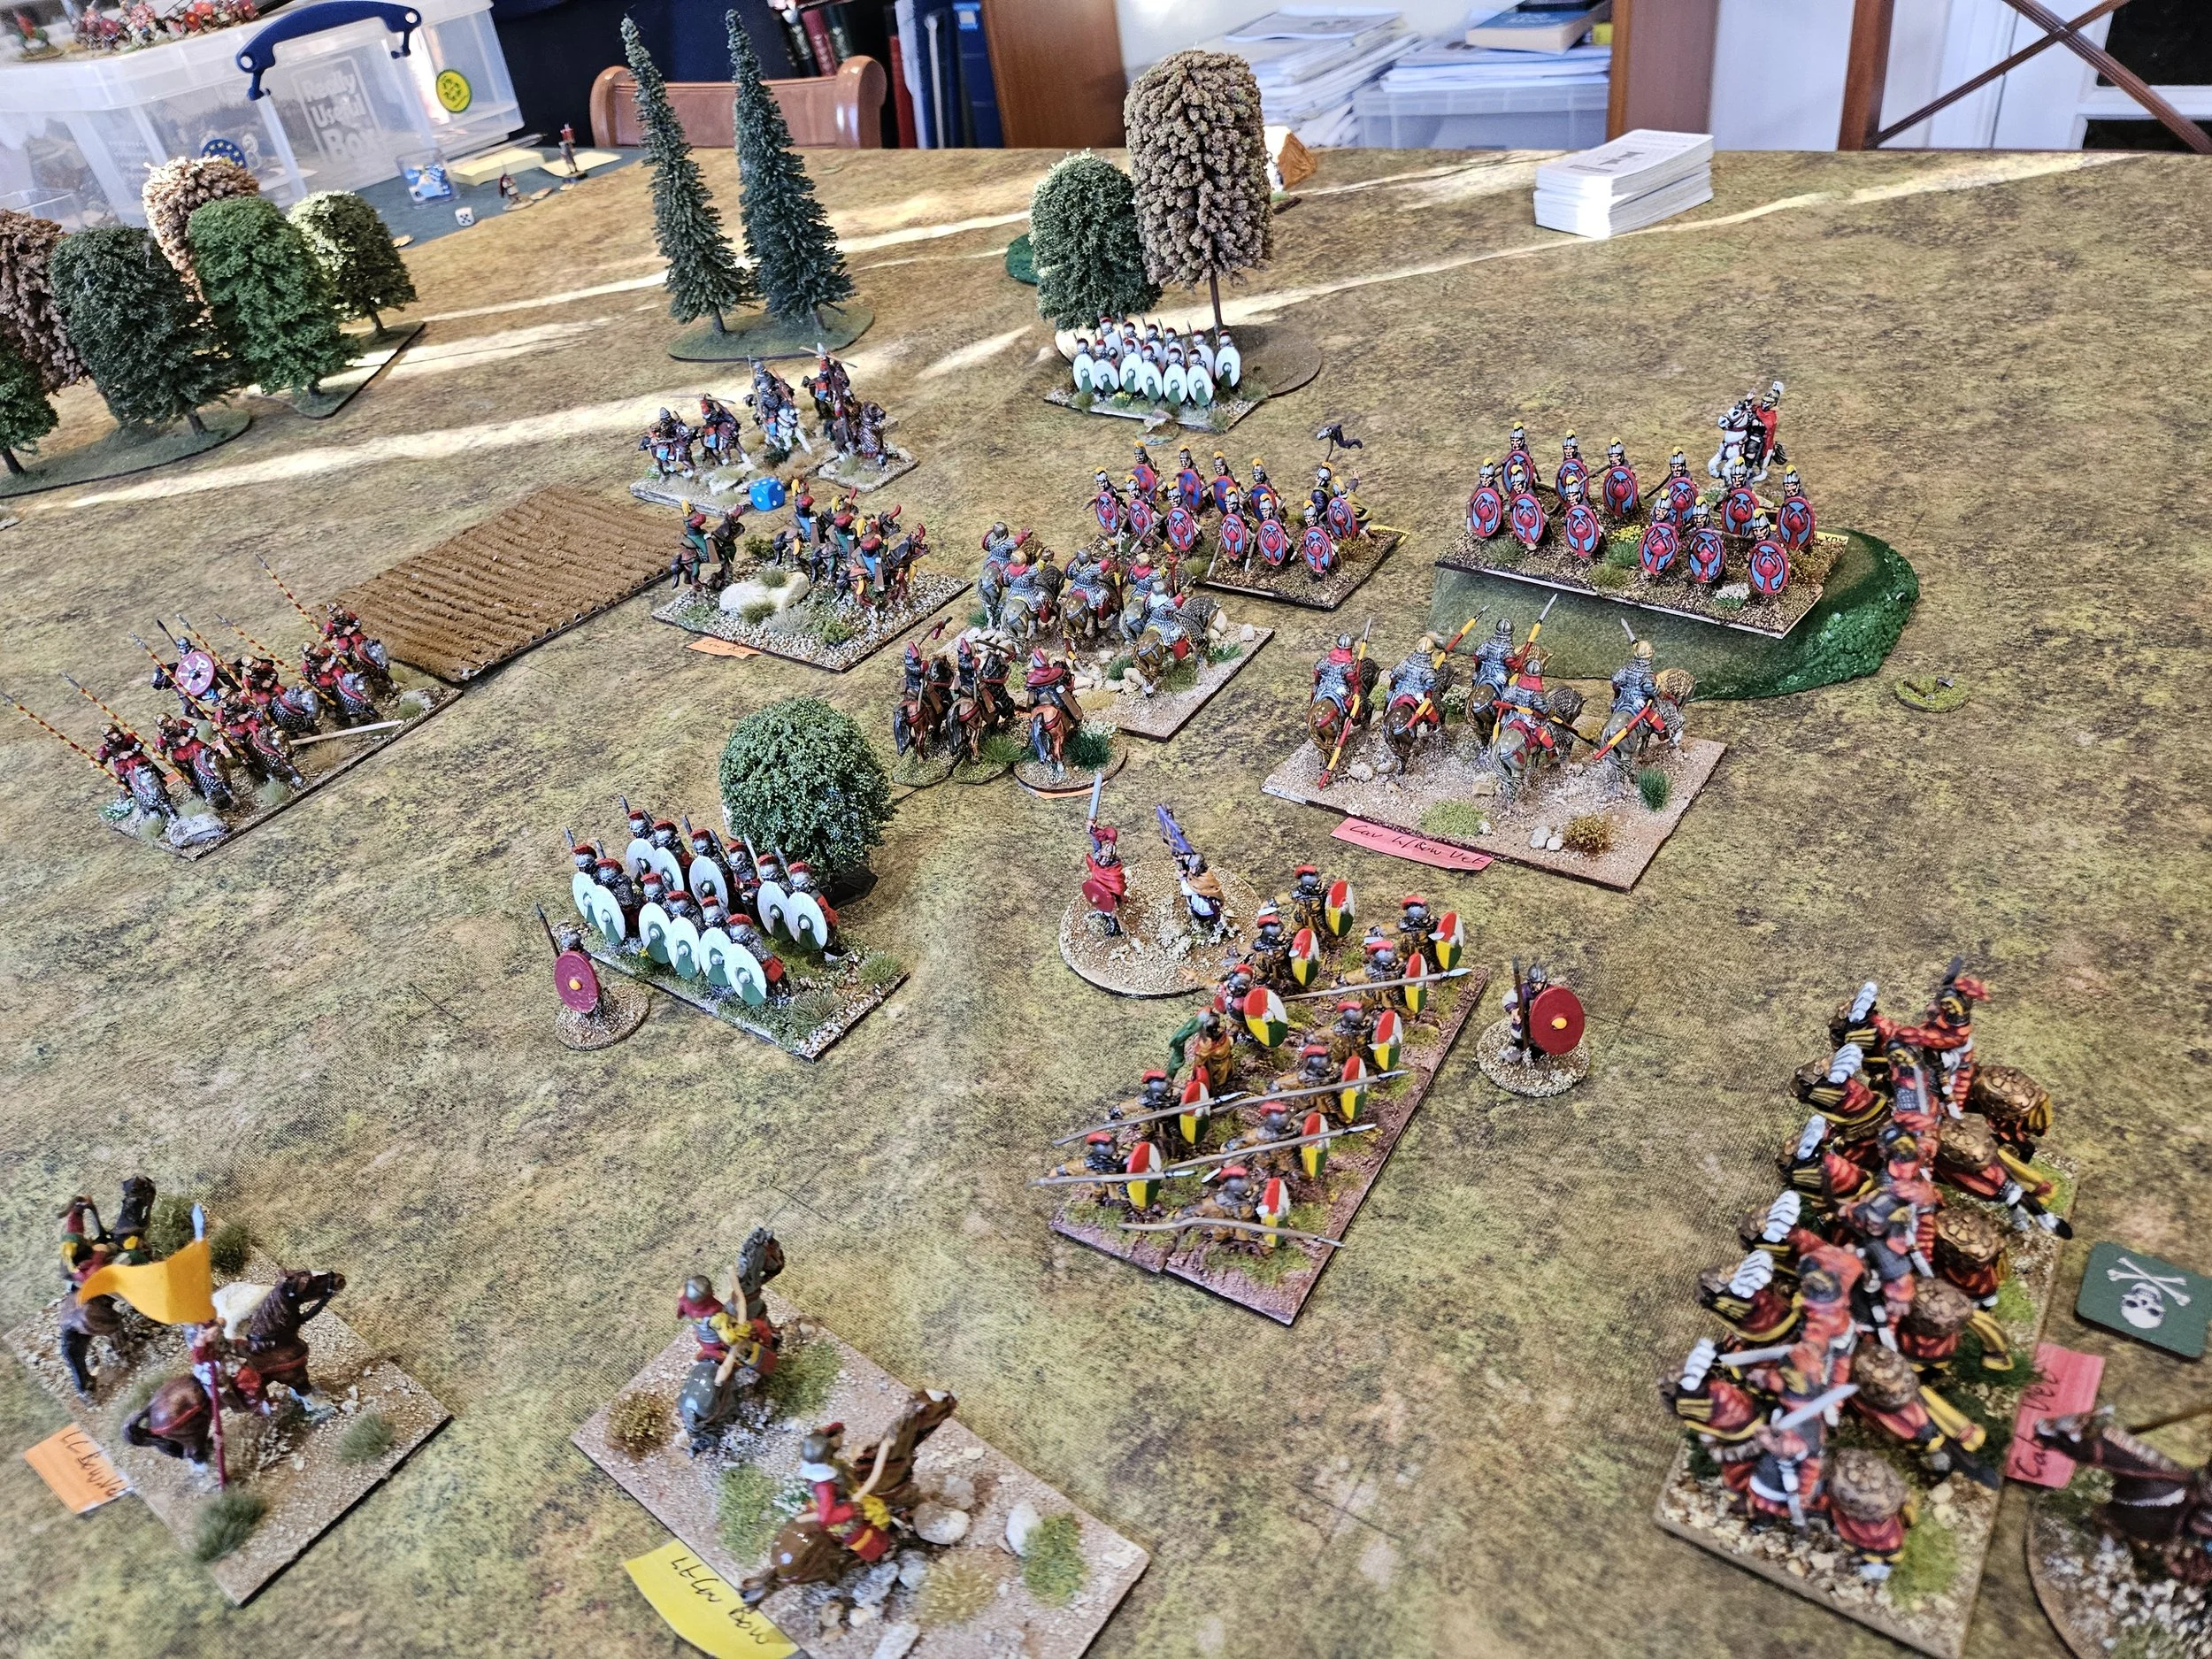
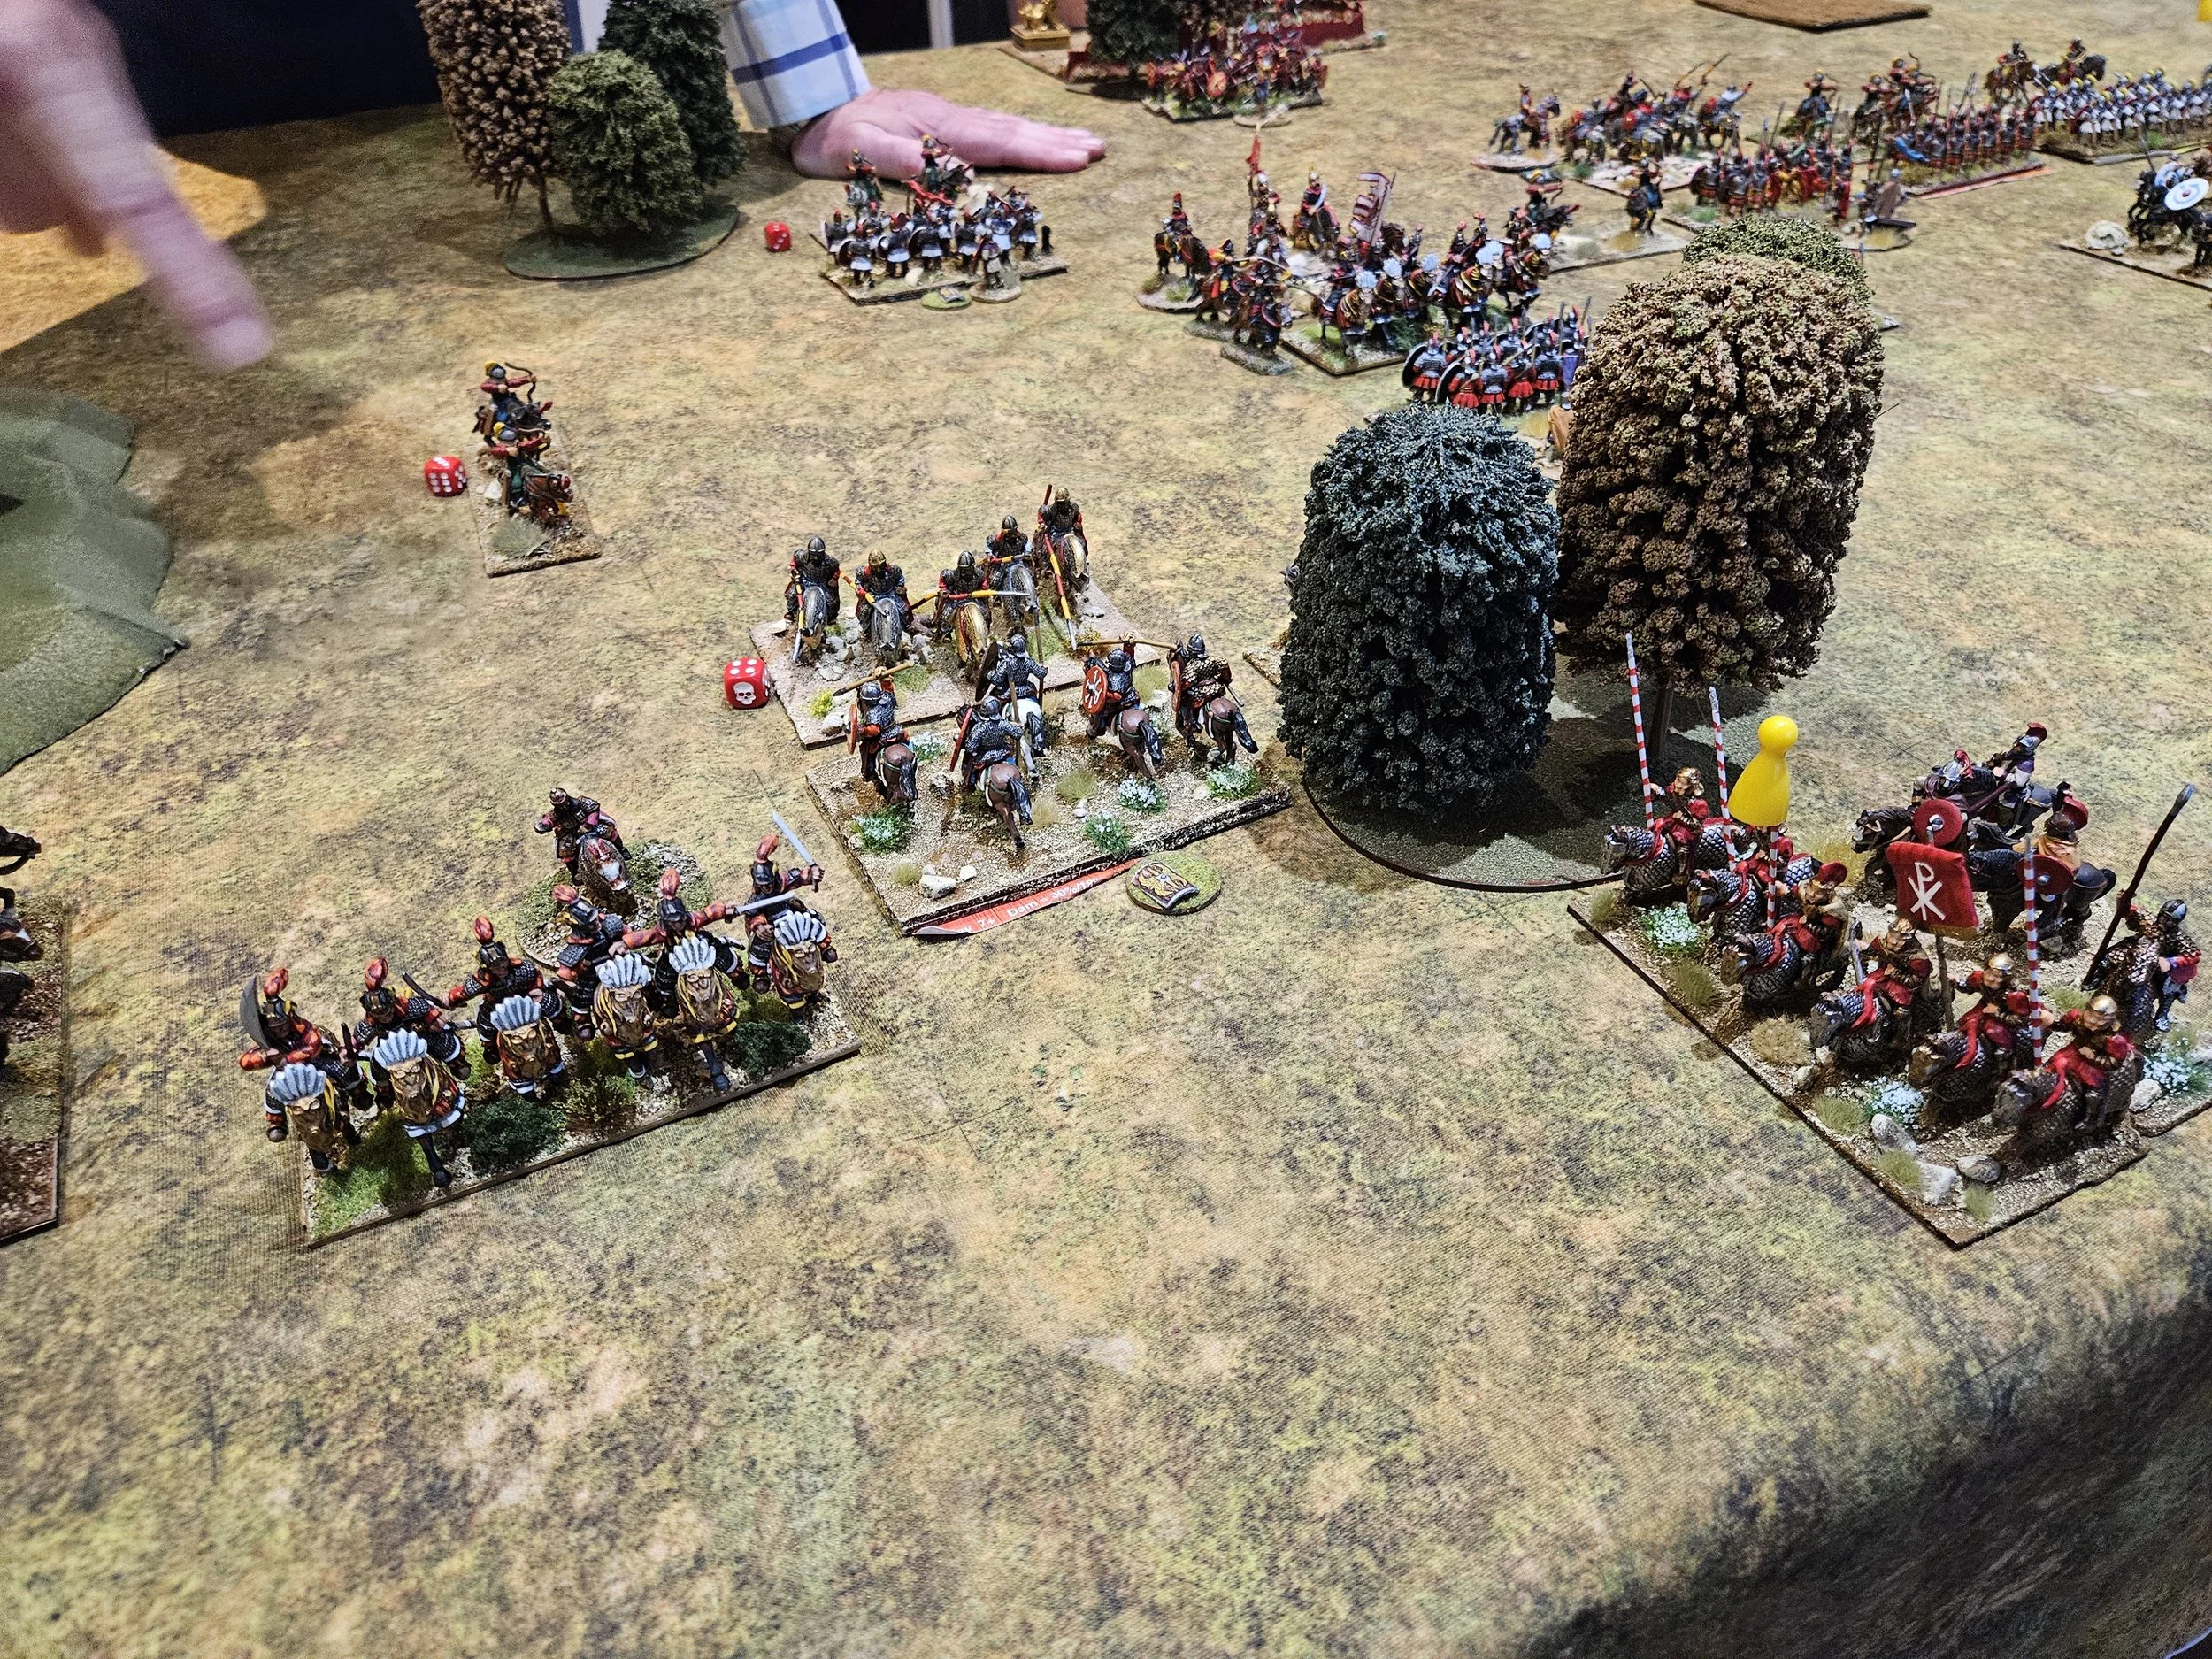
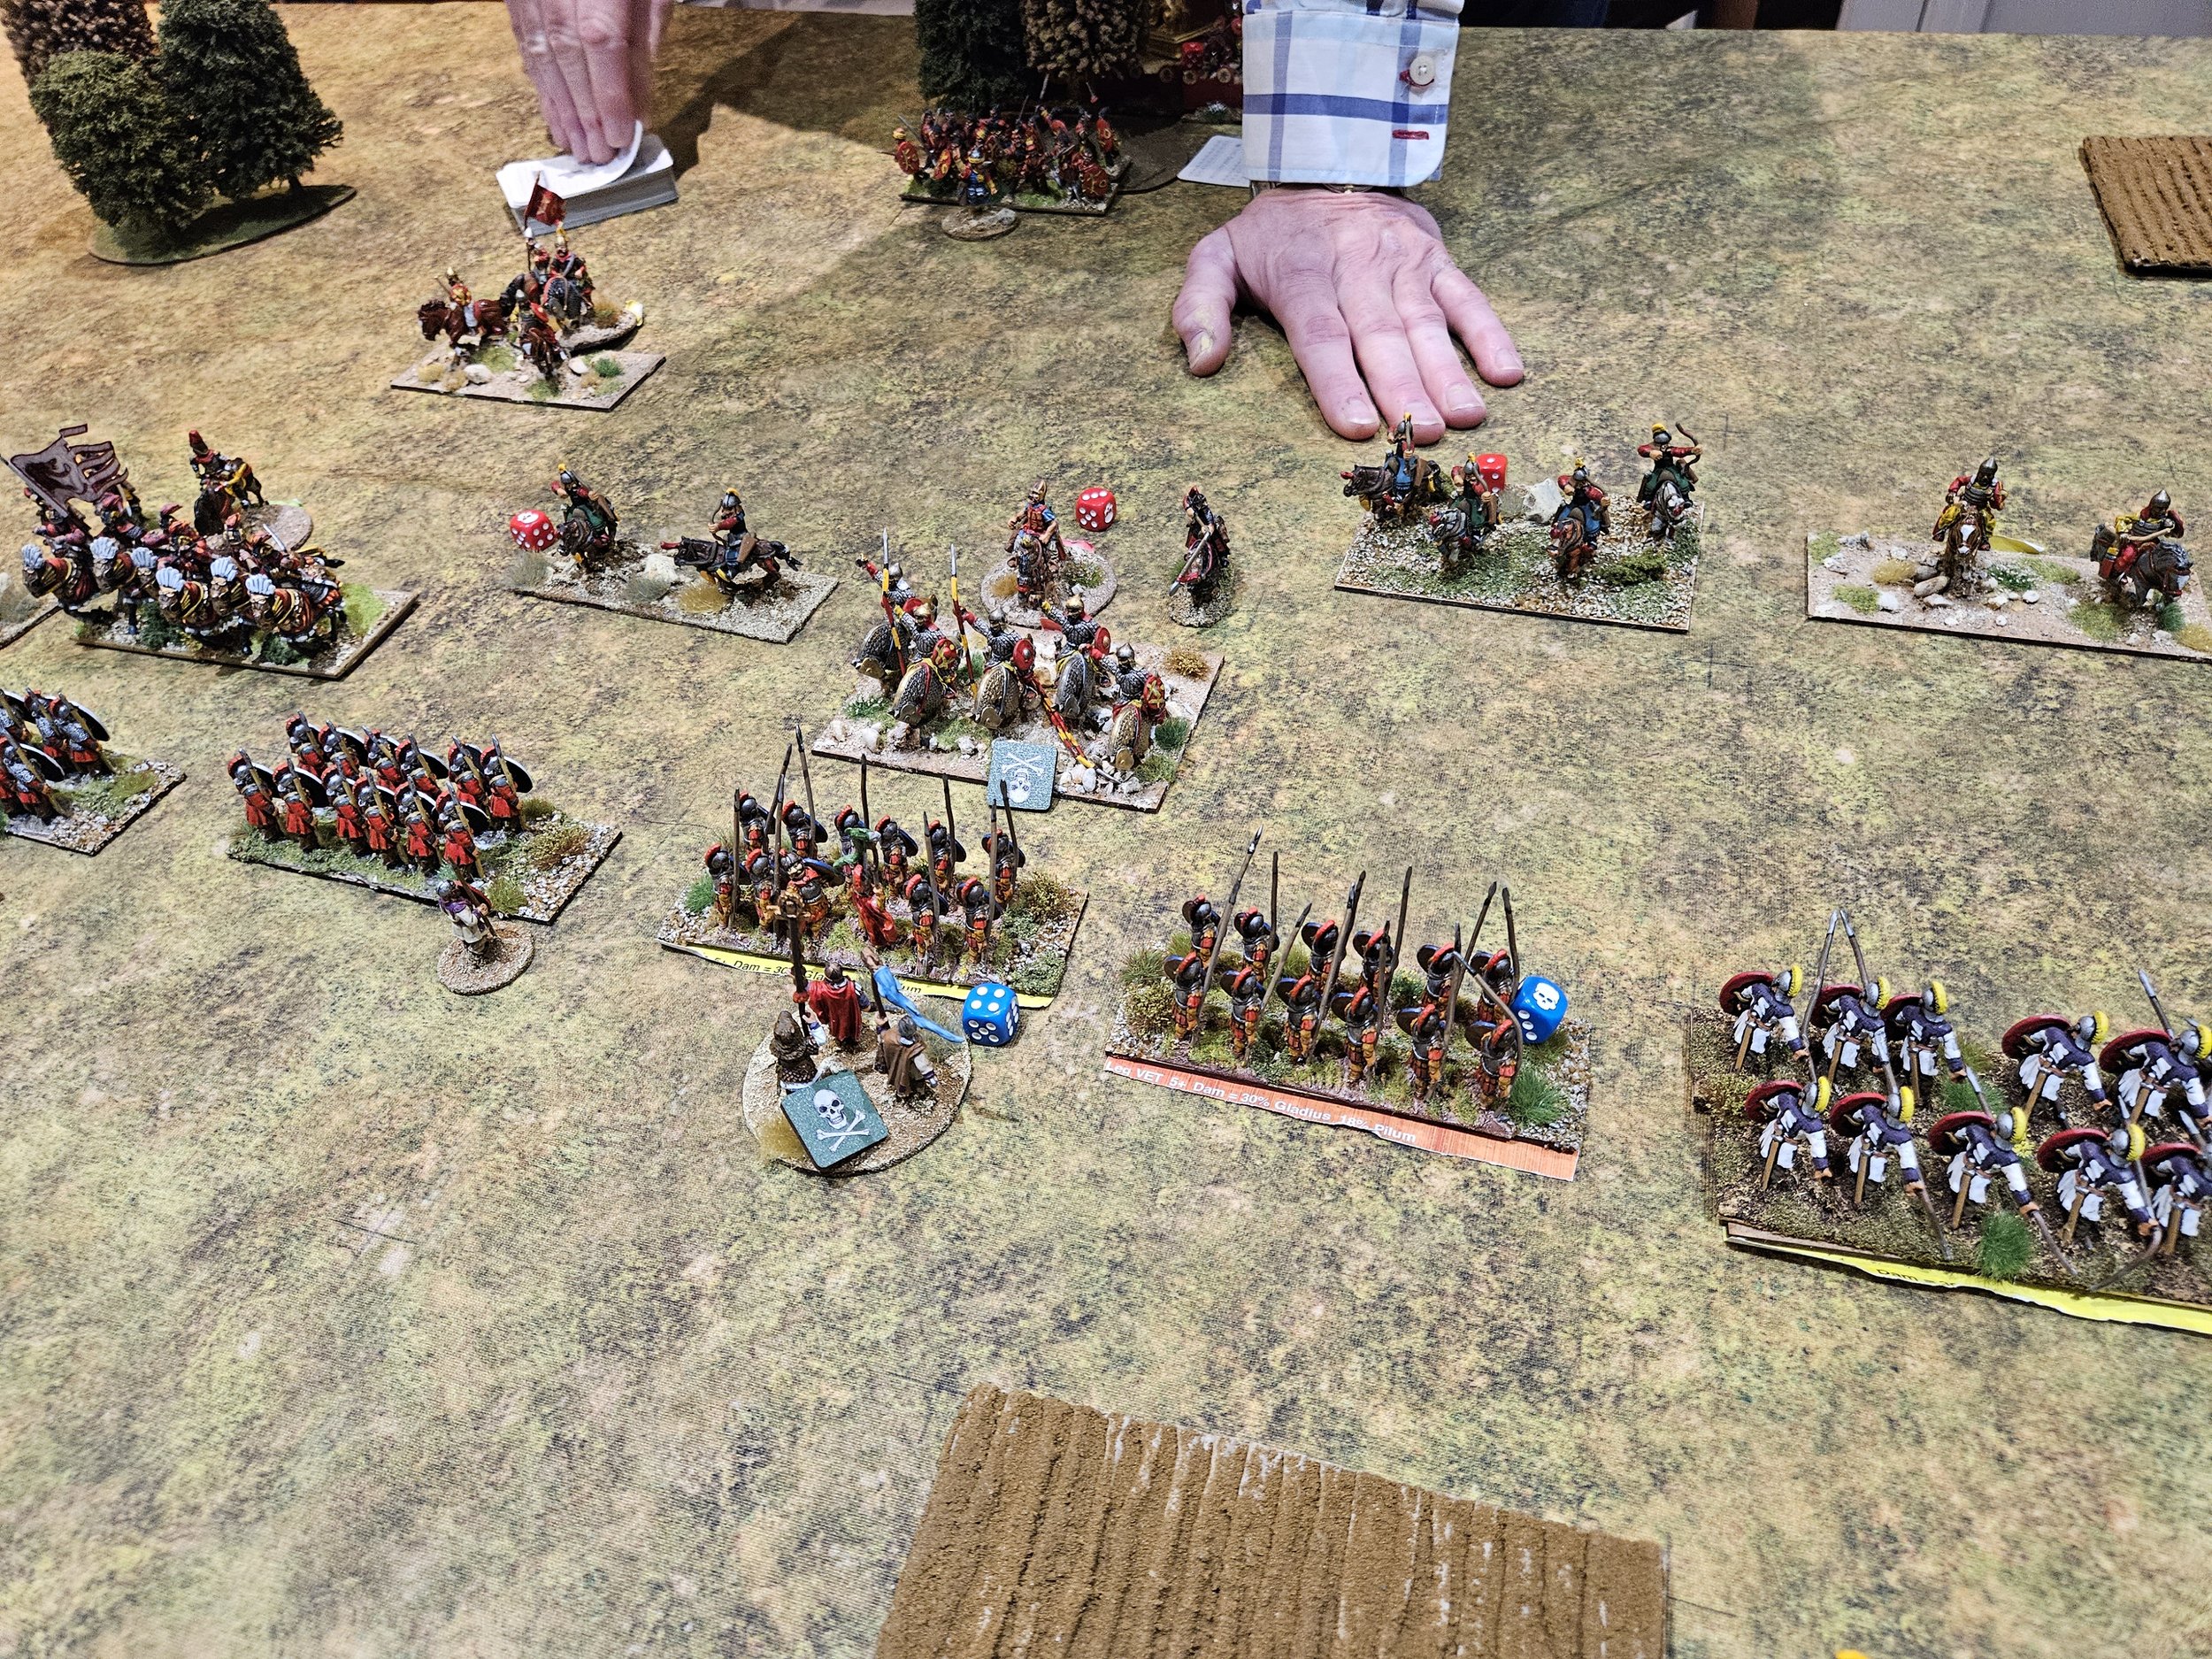
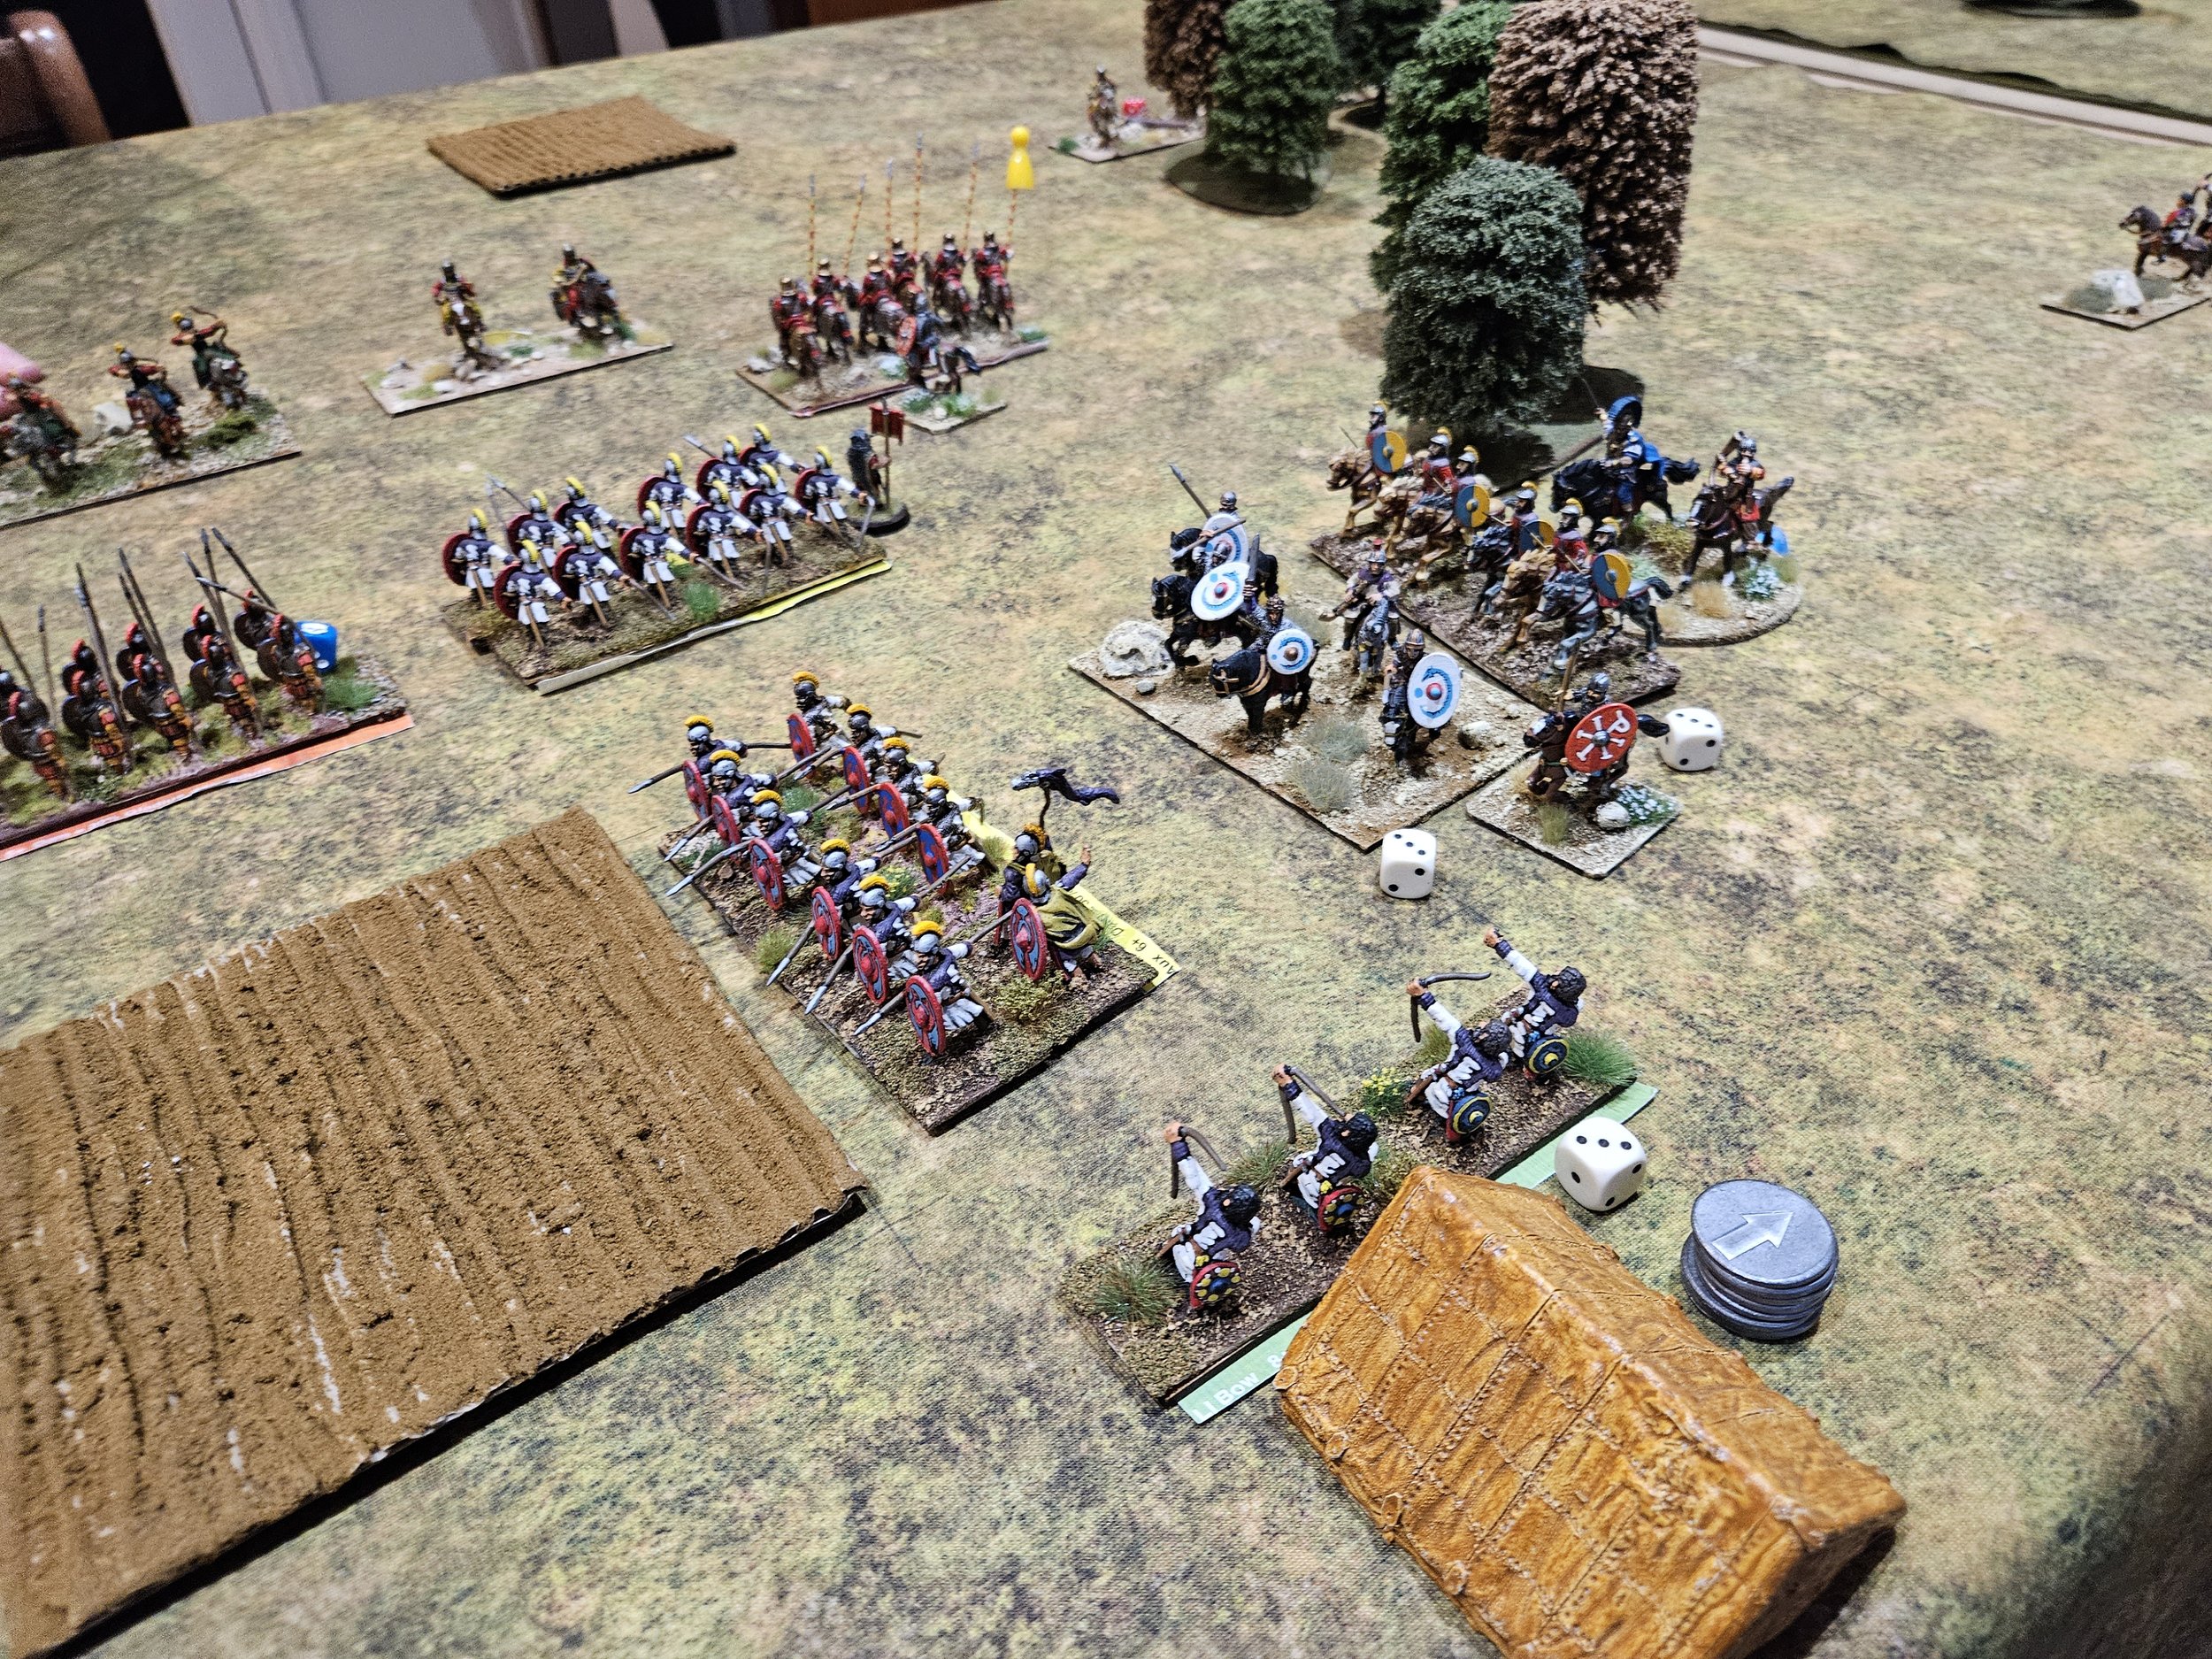
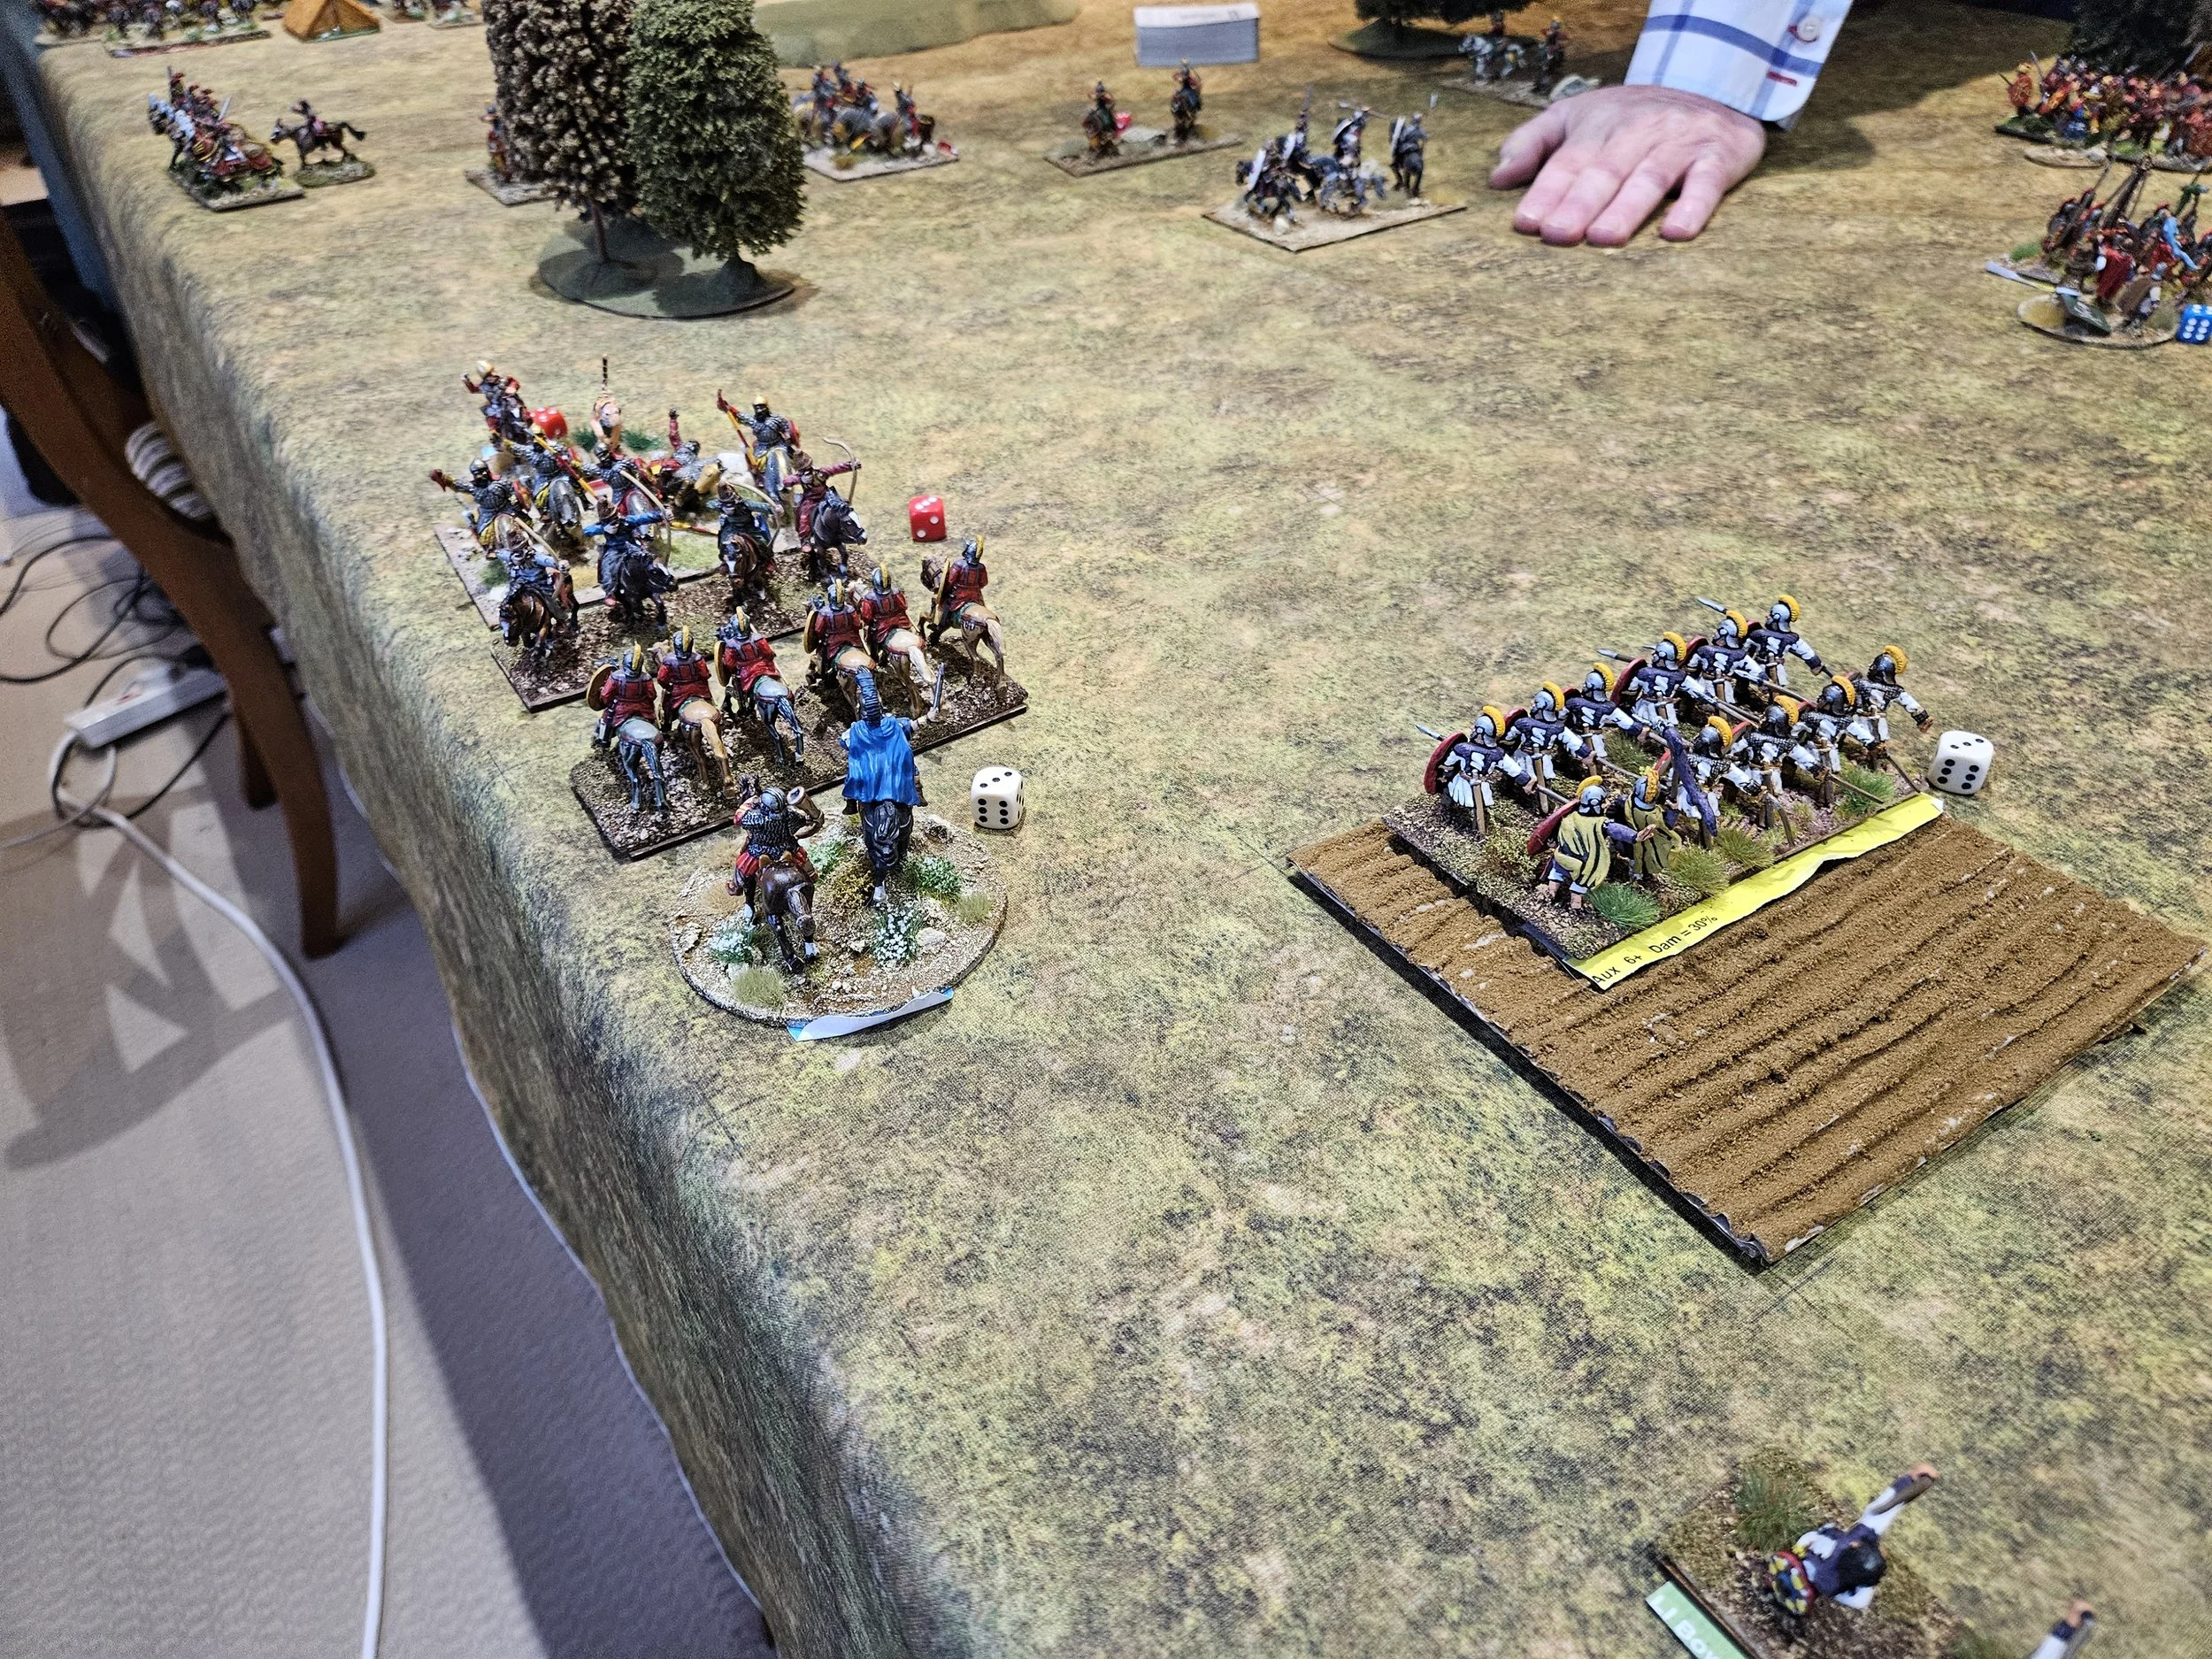
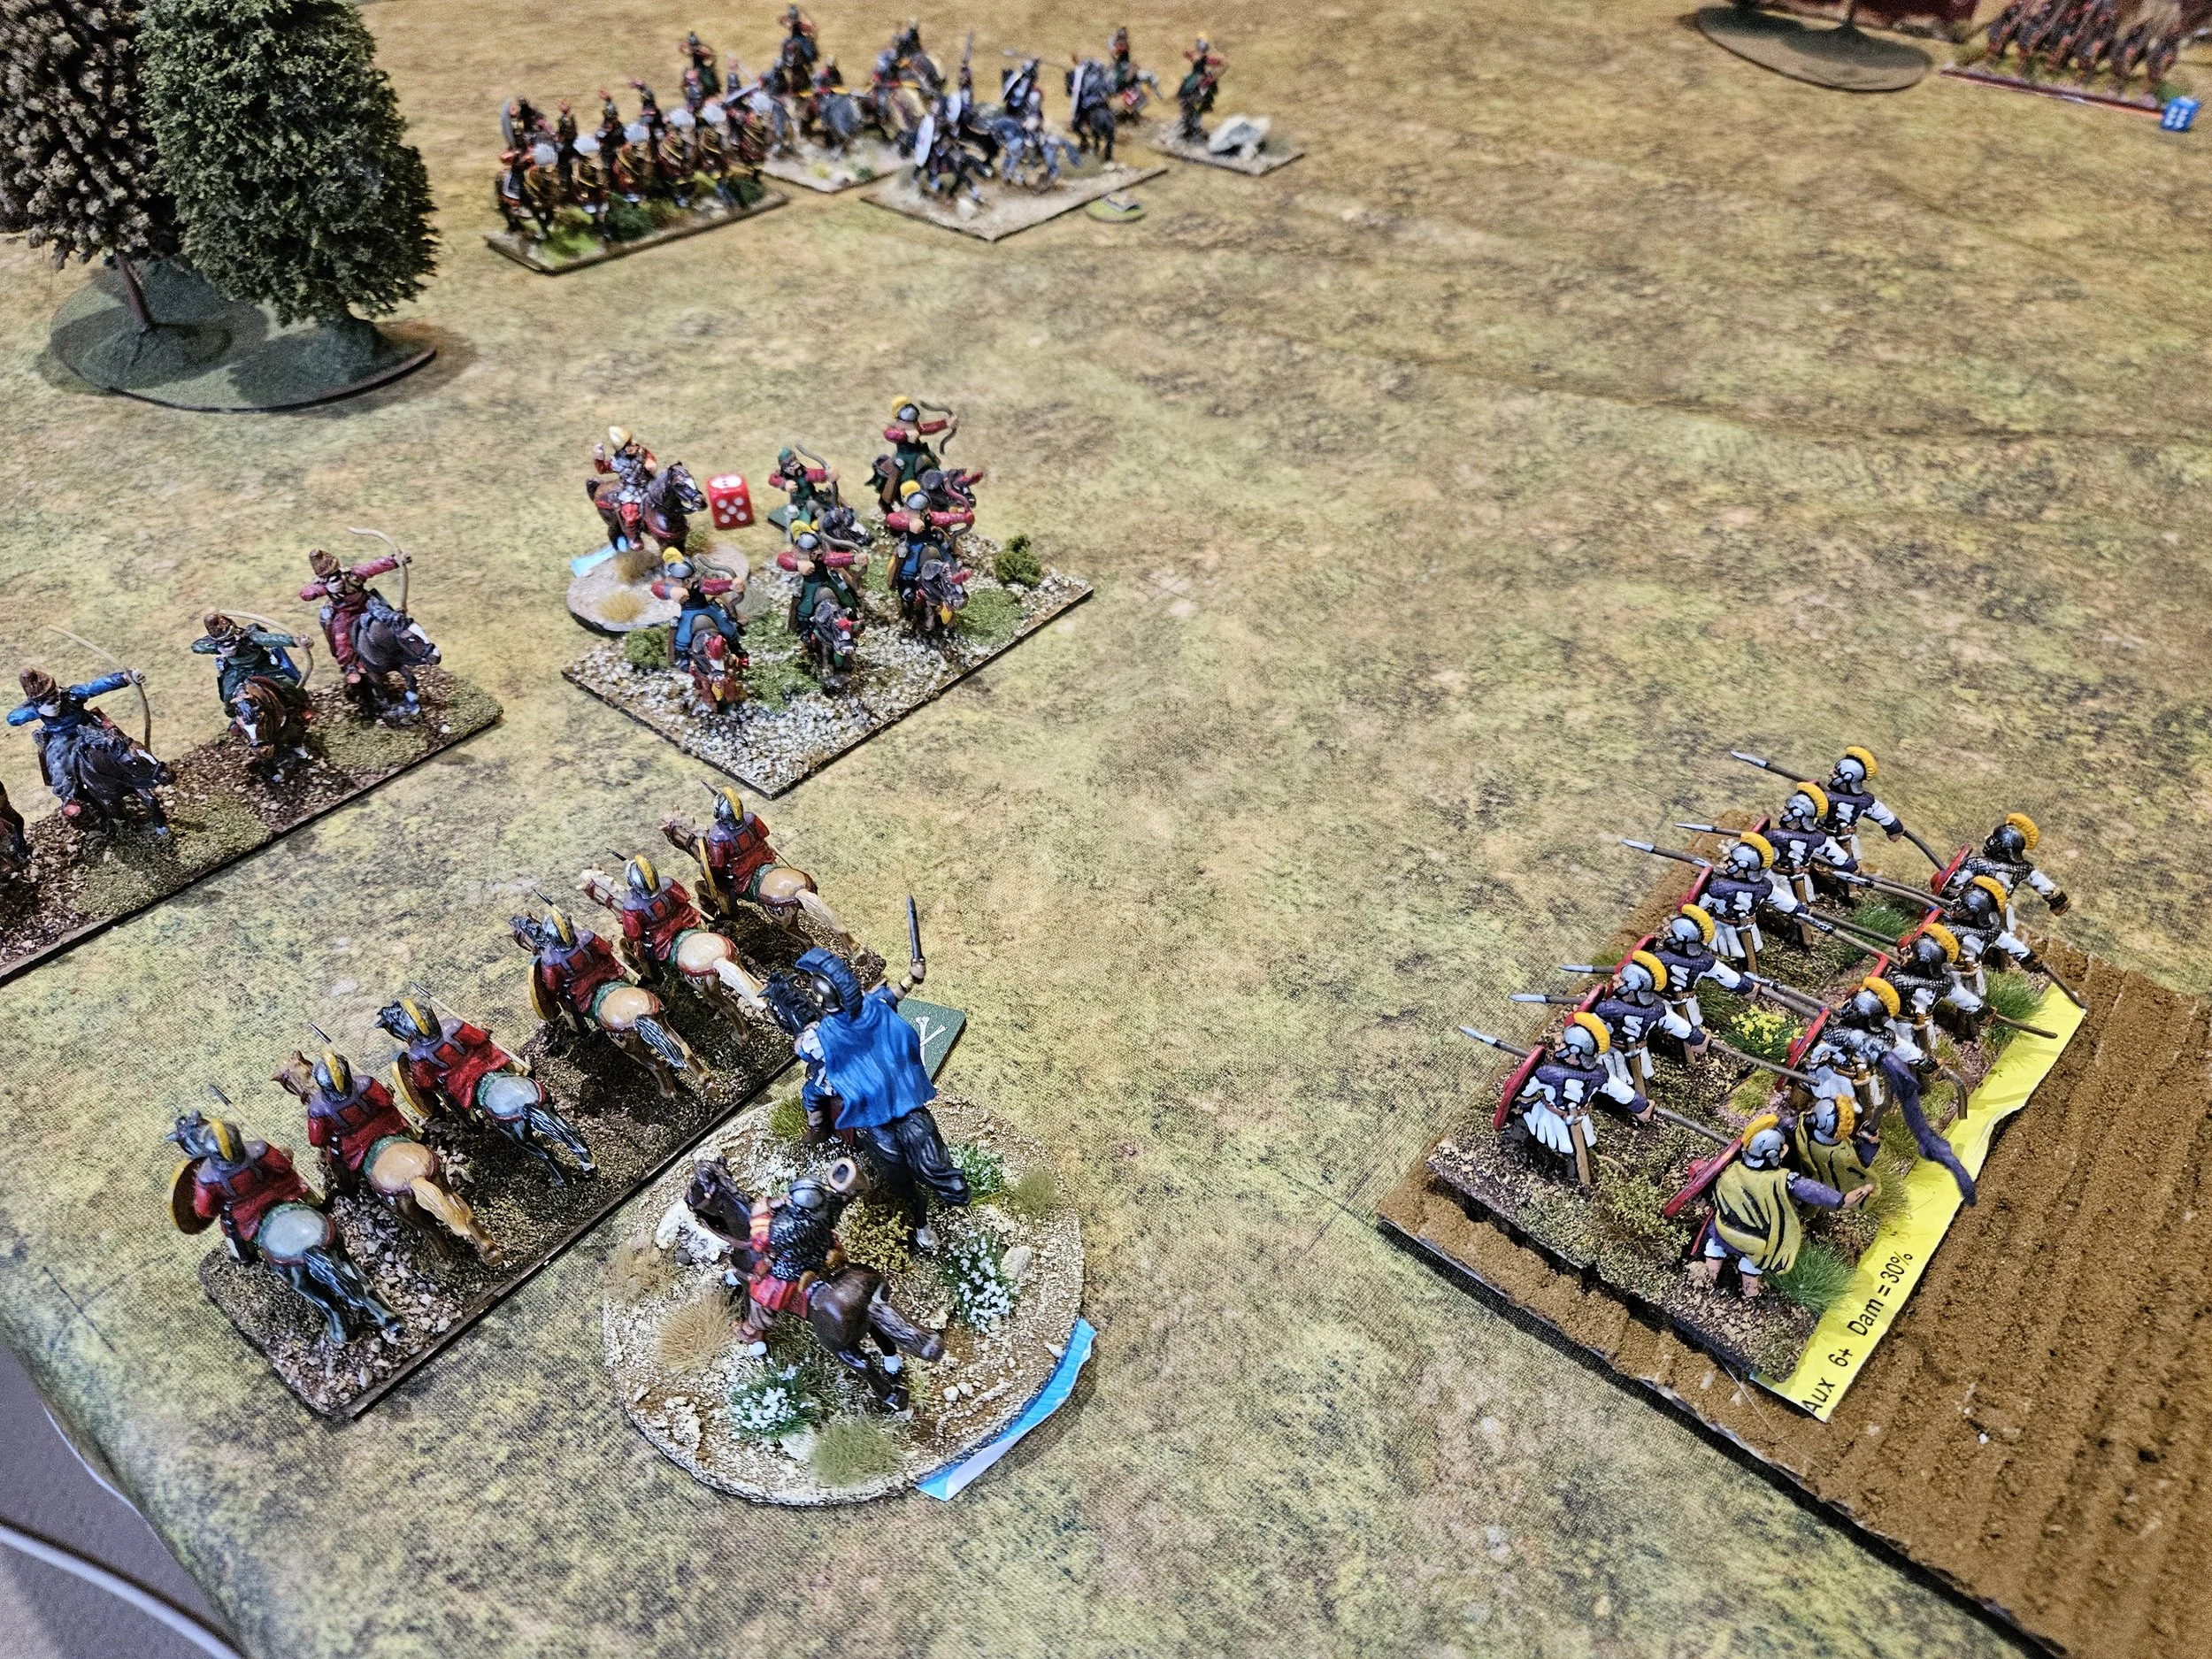
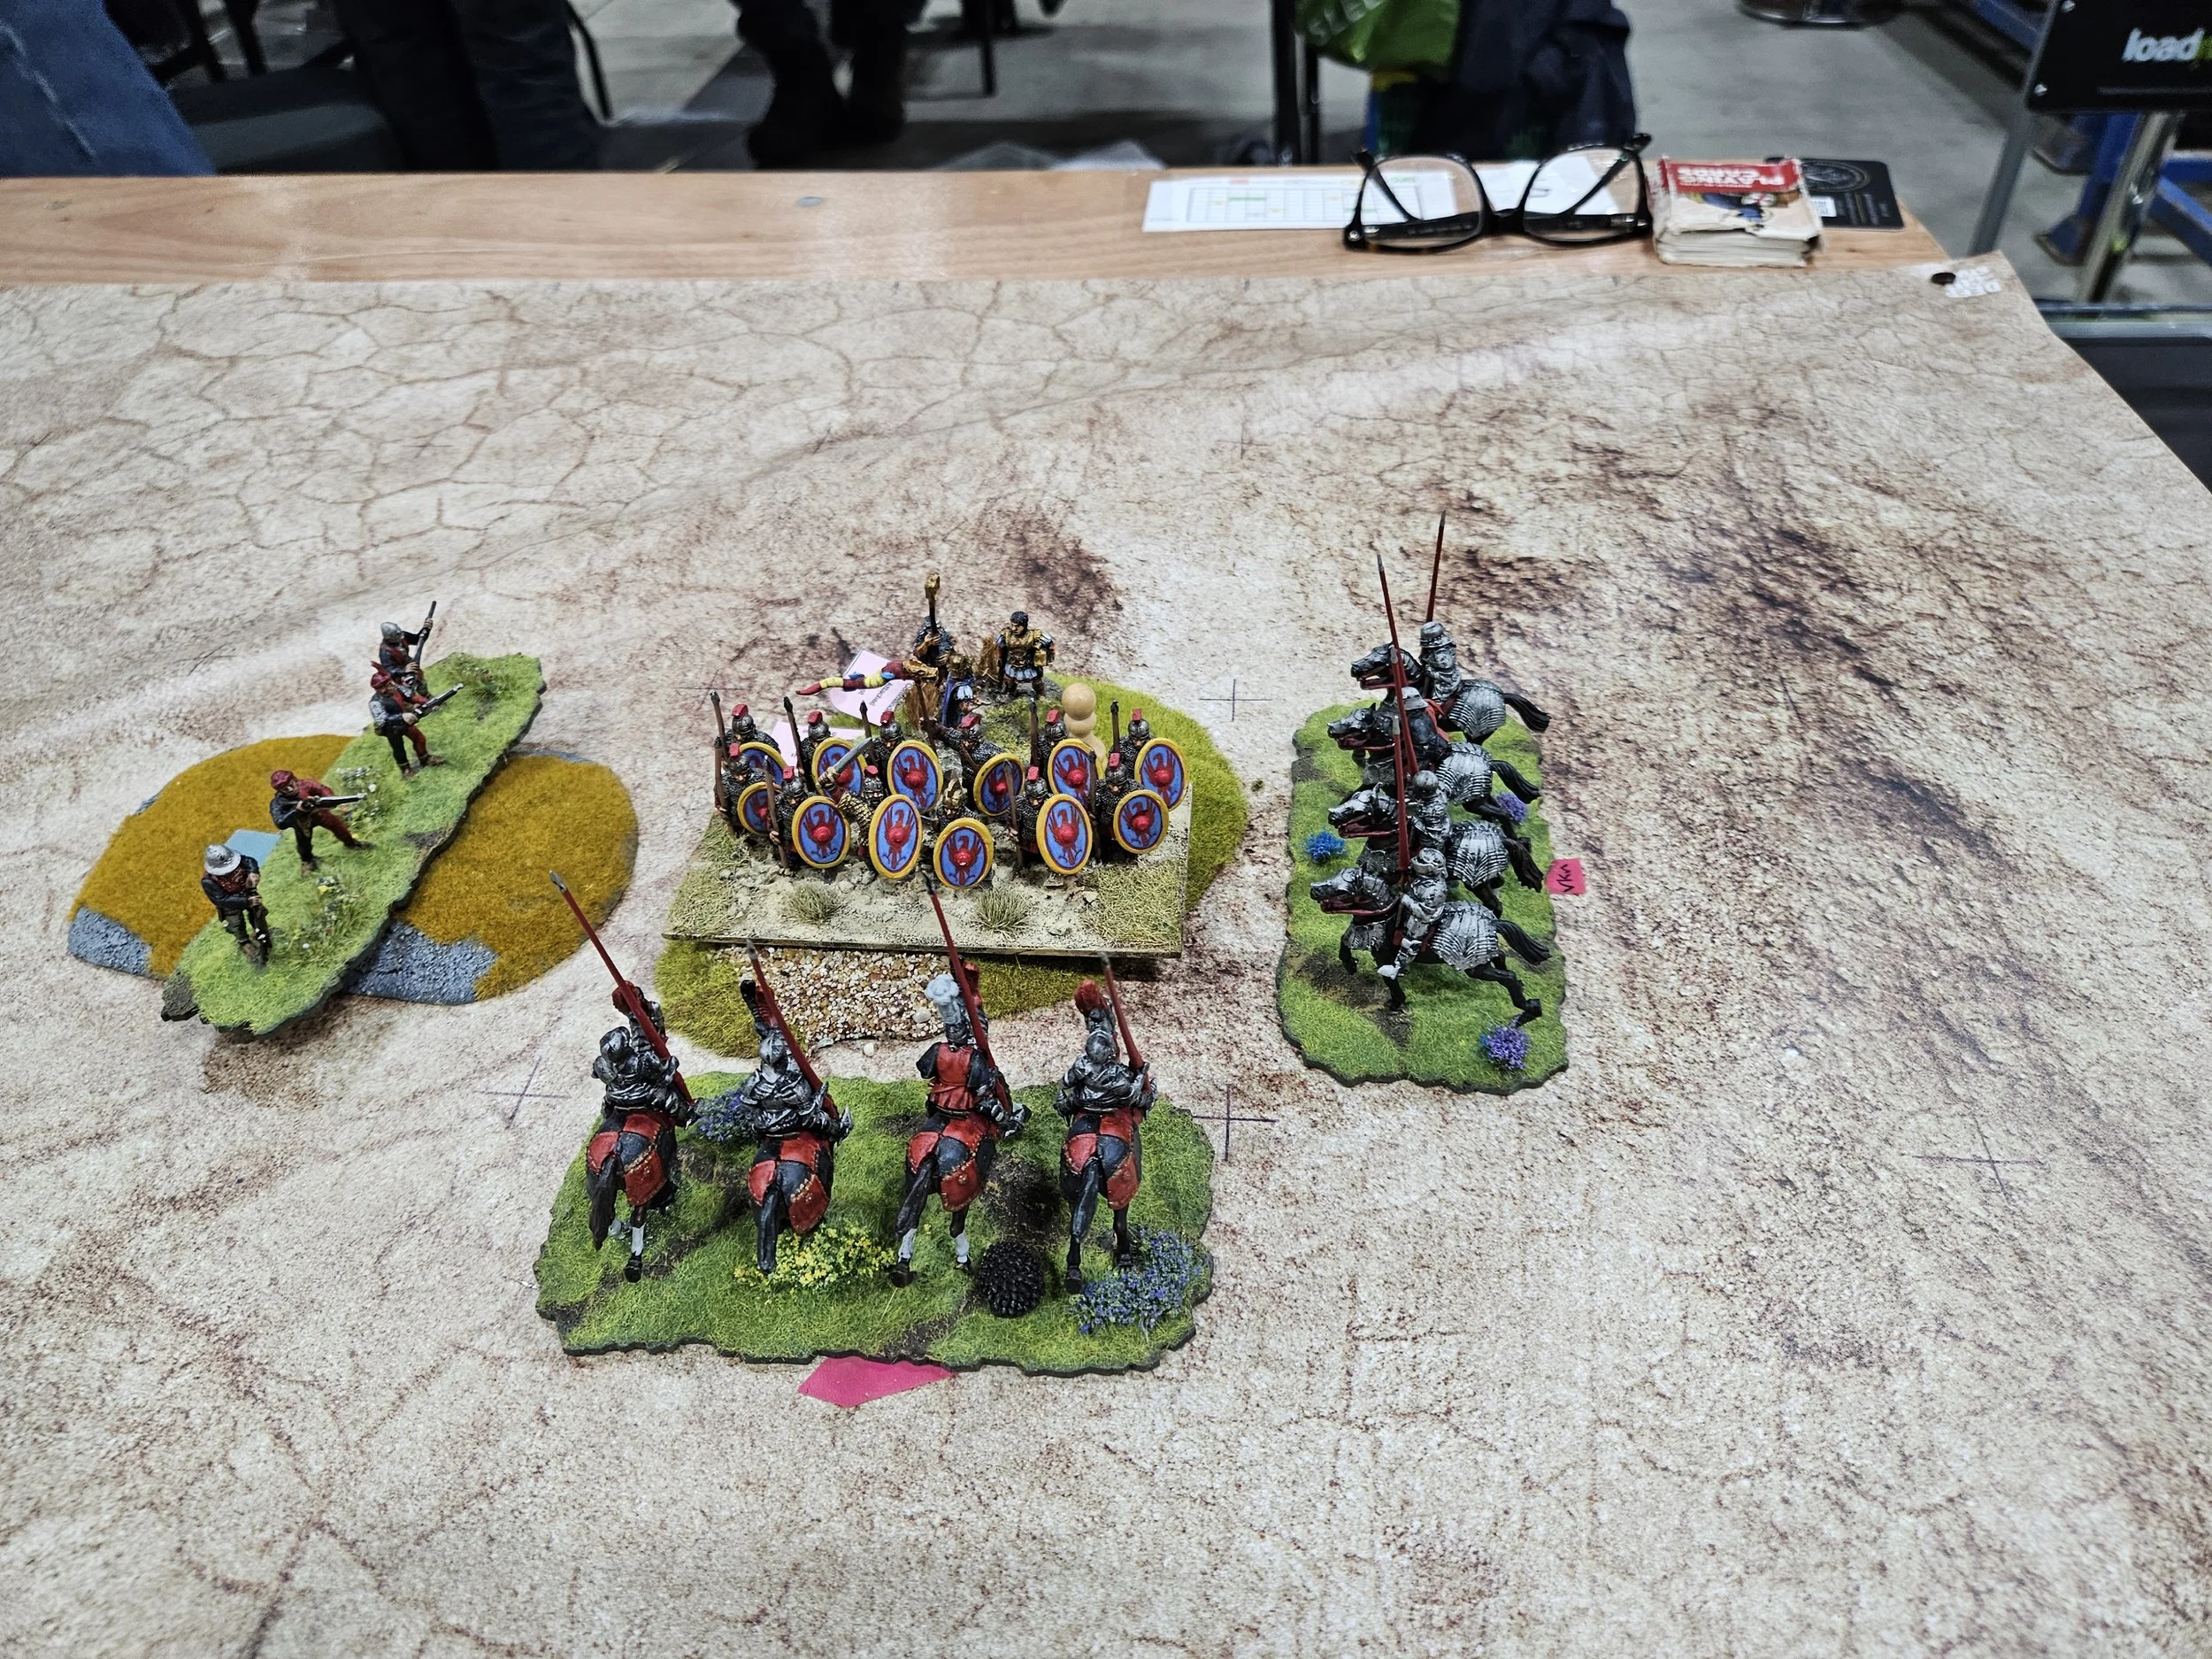
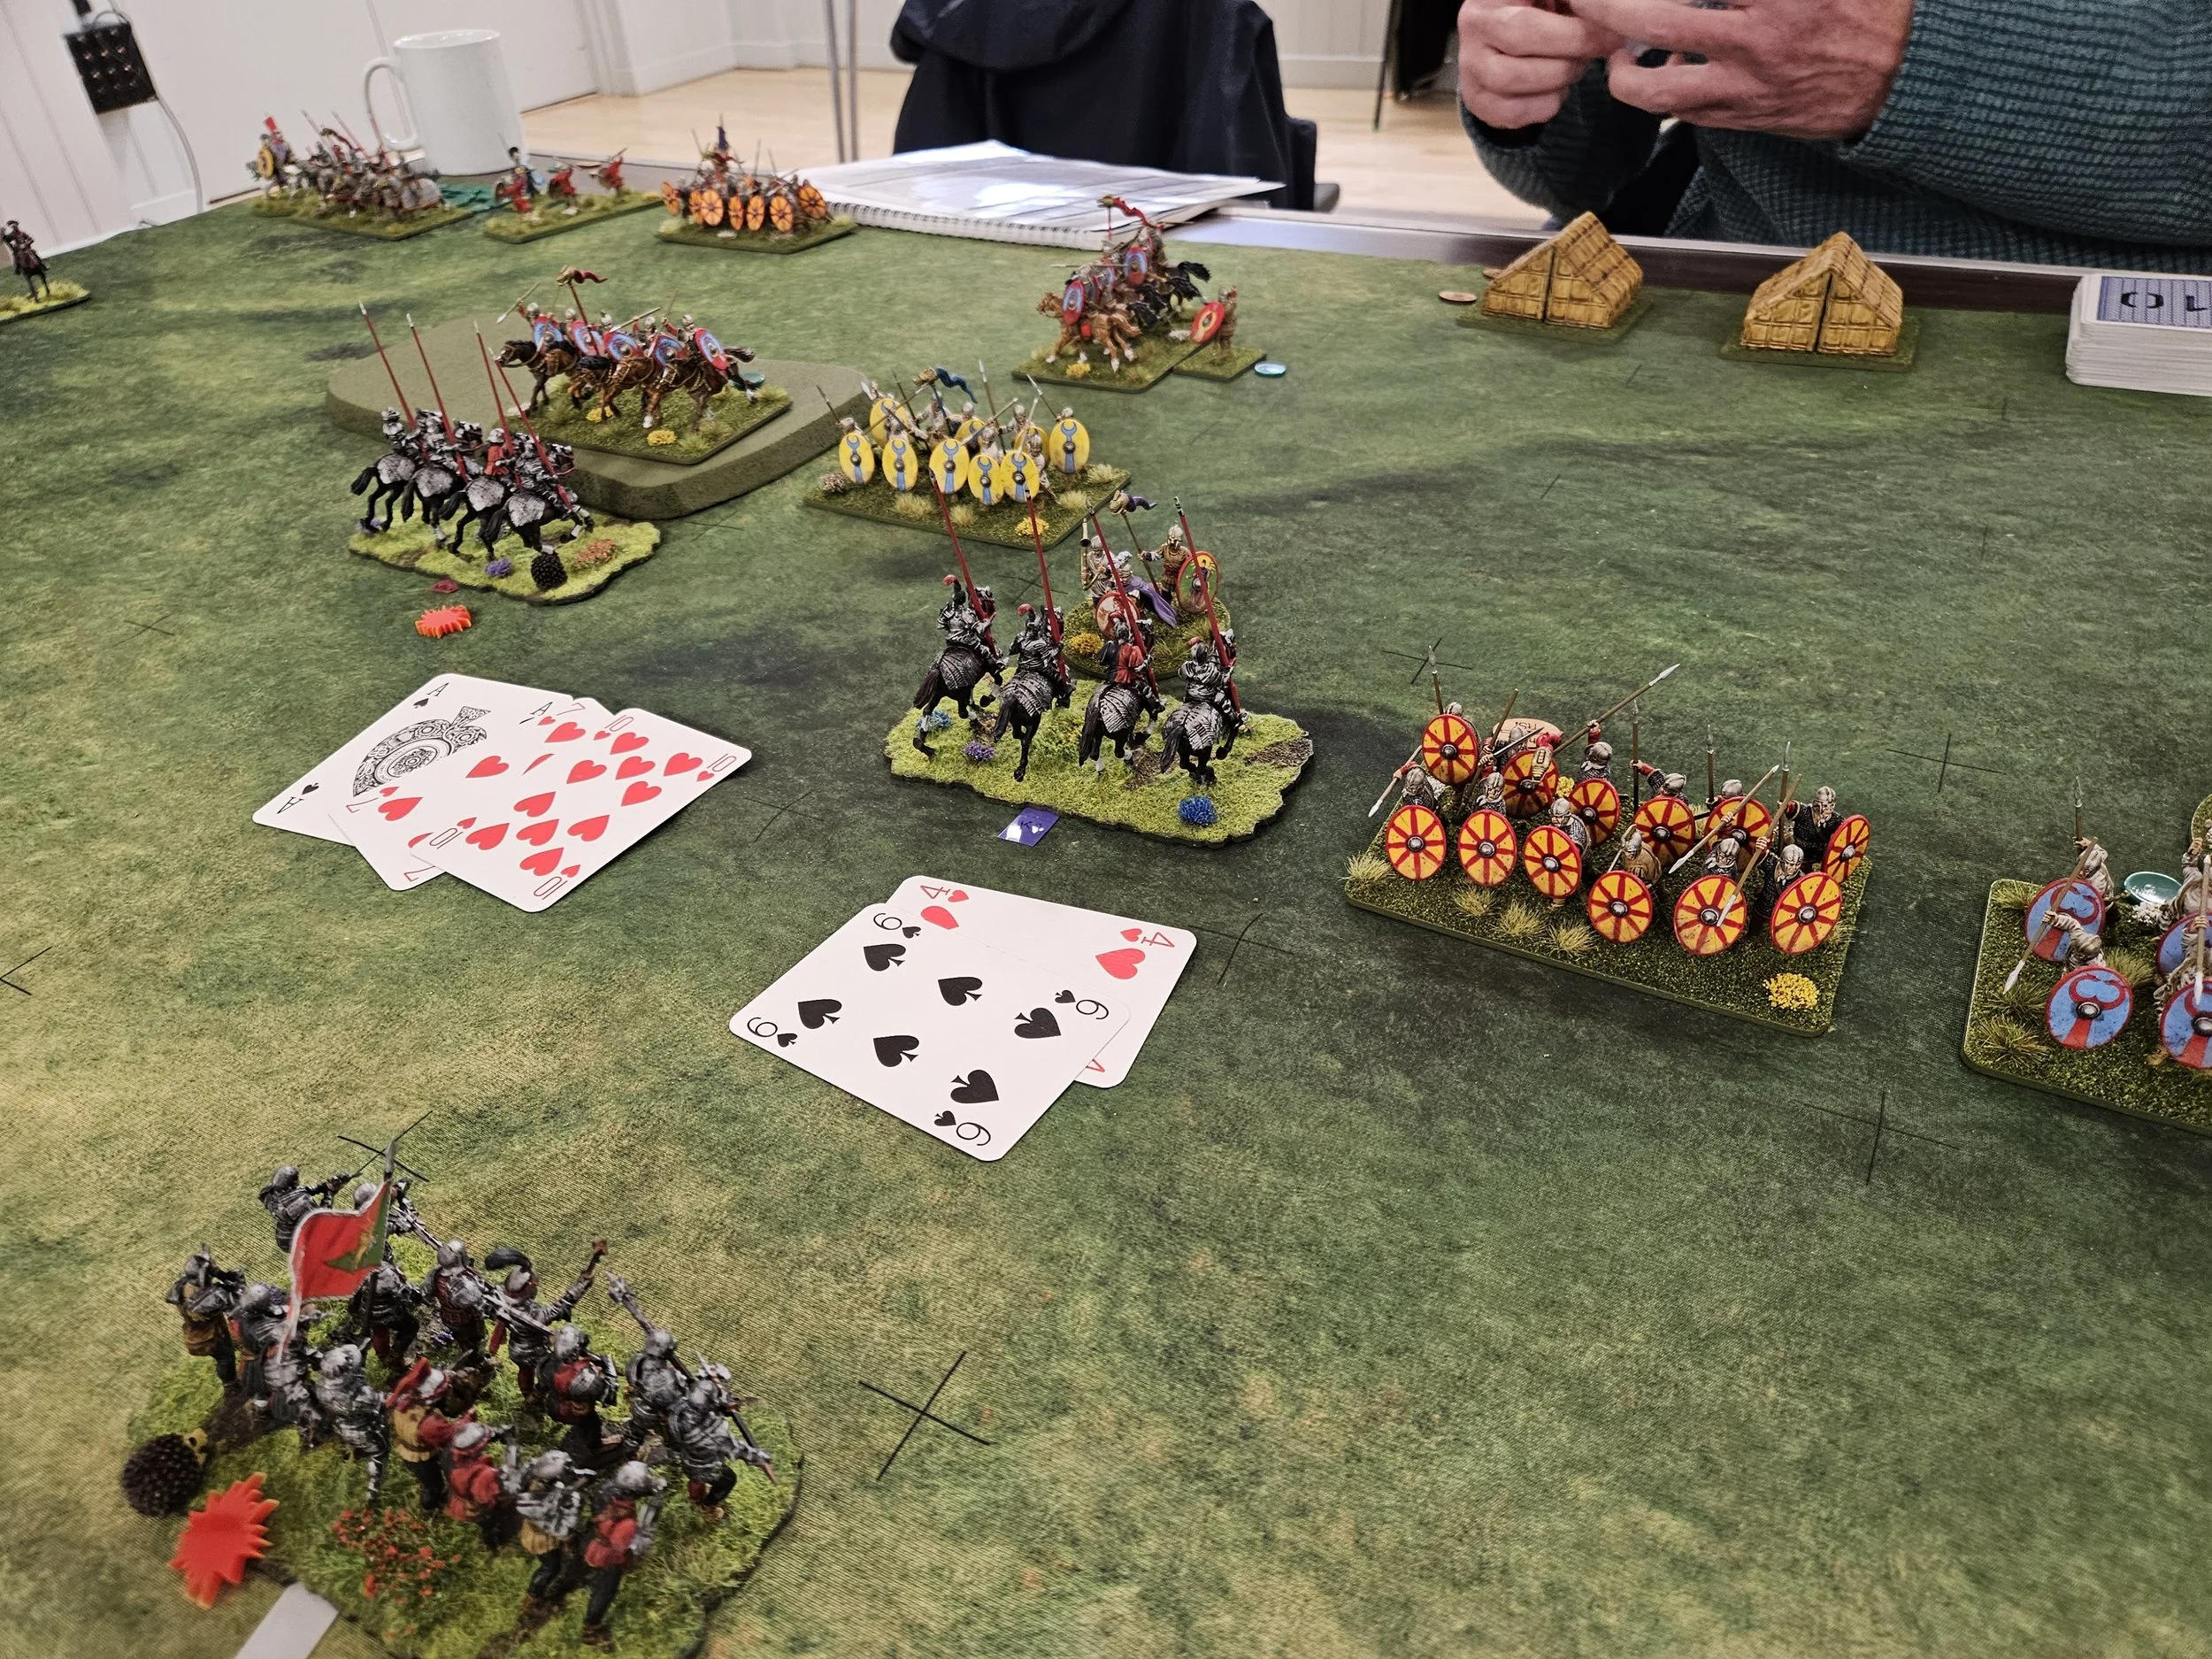
Meanwhile, on the right flank, two units of Roman Infantry (Legionaries have red/yellow shields, auxilia have blue or yellow shields) faced off against my other command of Knights: neither side willing to risk a frontal clash.
A hail of missiles followed from both sides (the Romans had archers and some chaps with plumbatae - darts - mixed in to their heavies) with one unit of Roman lights killed as a result.
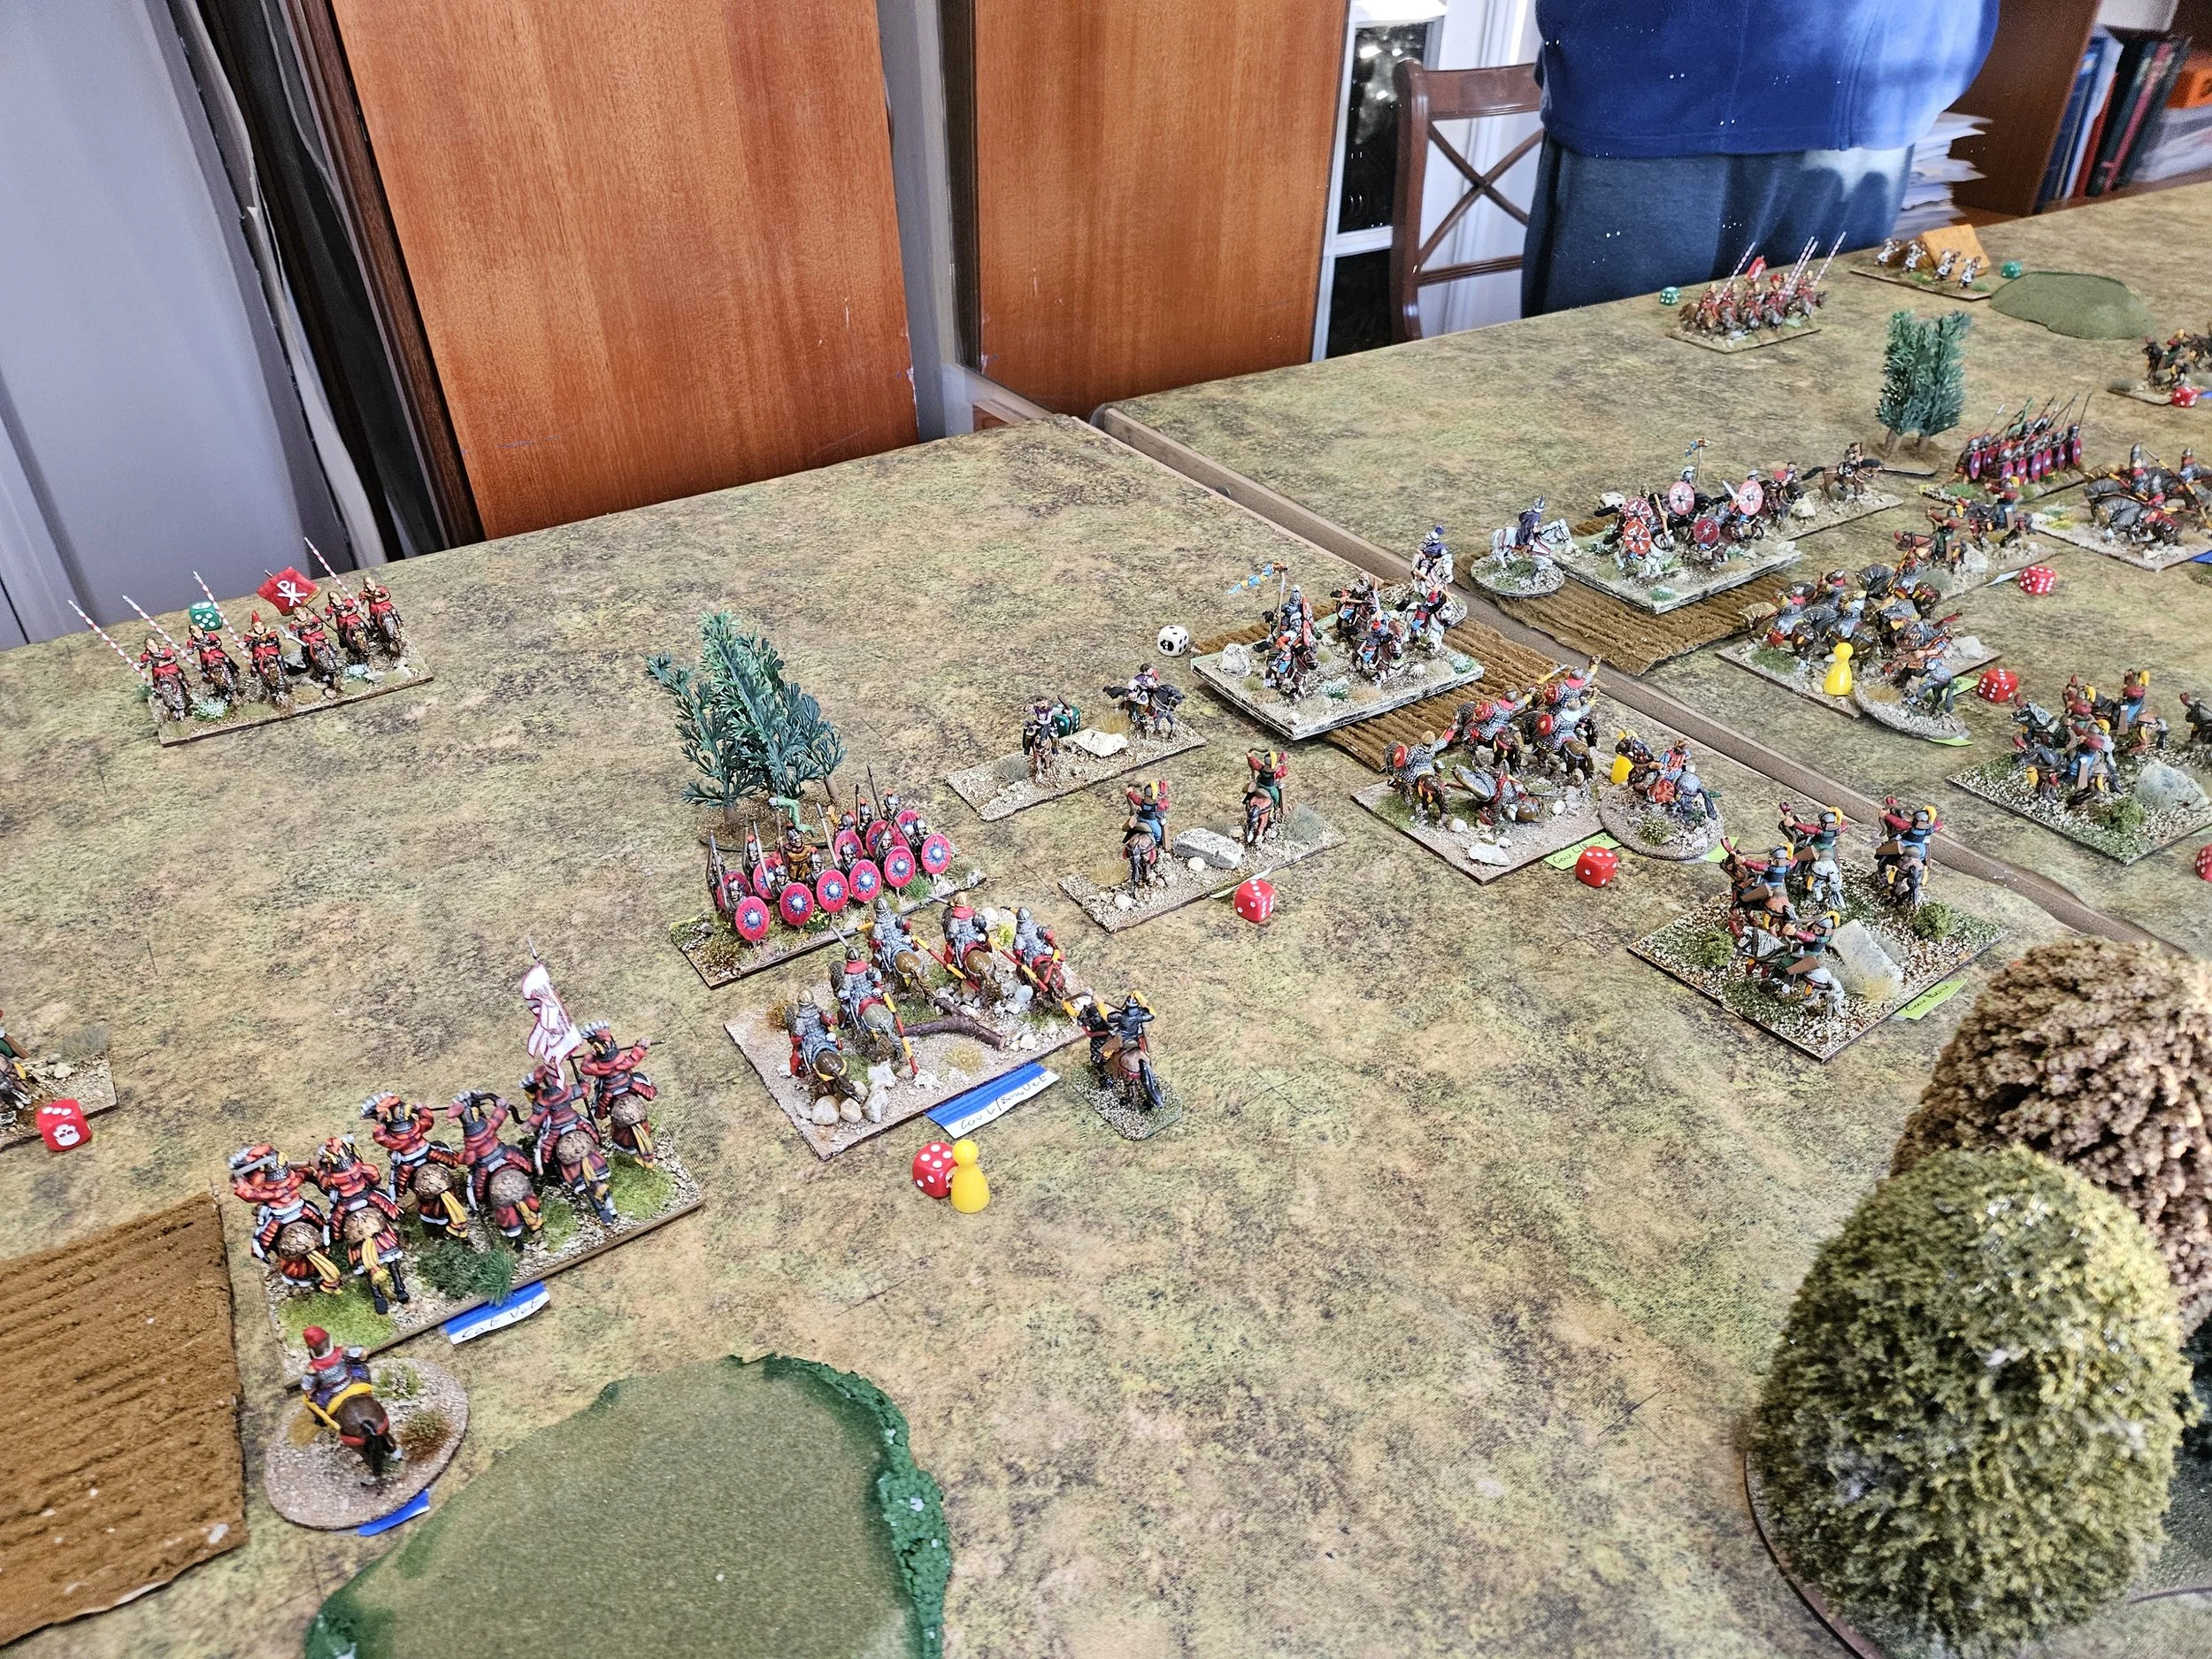
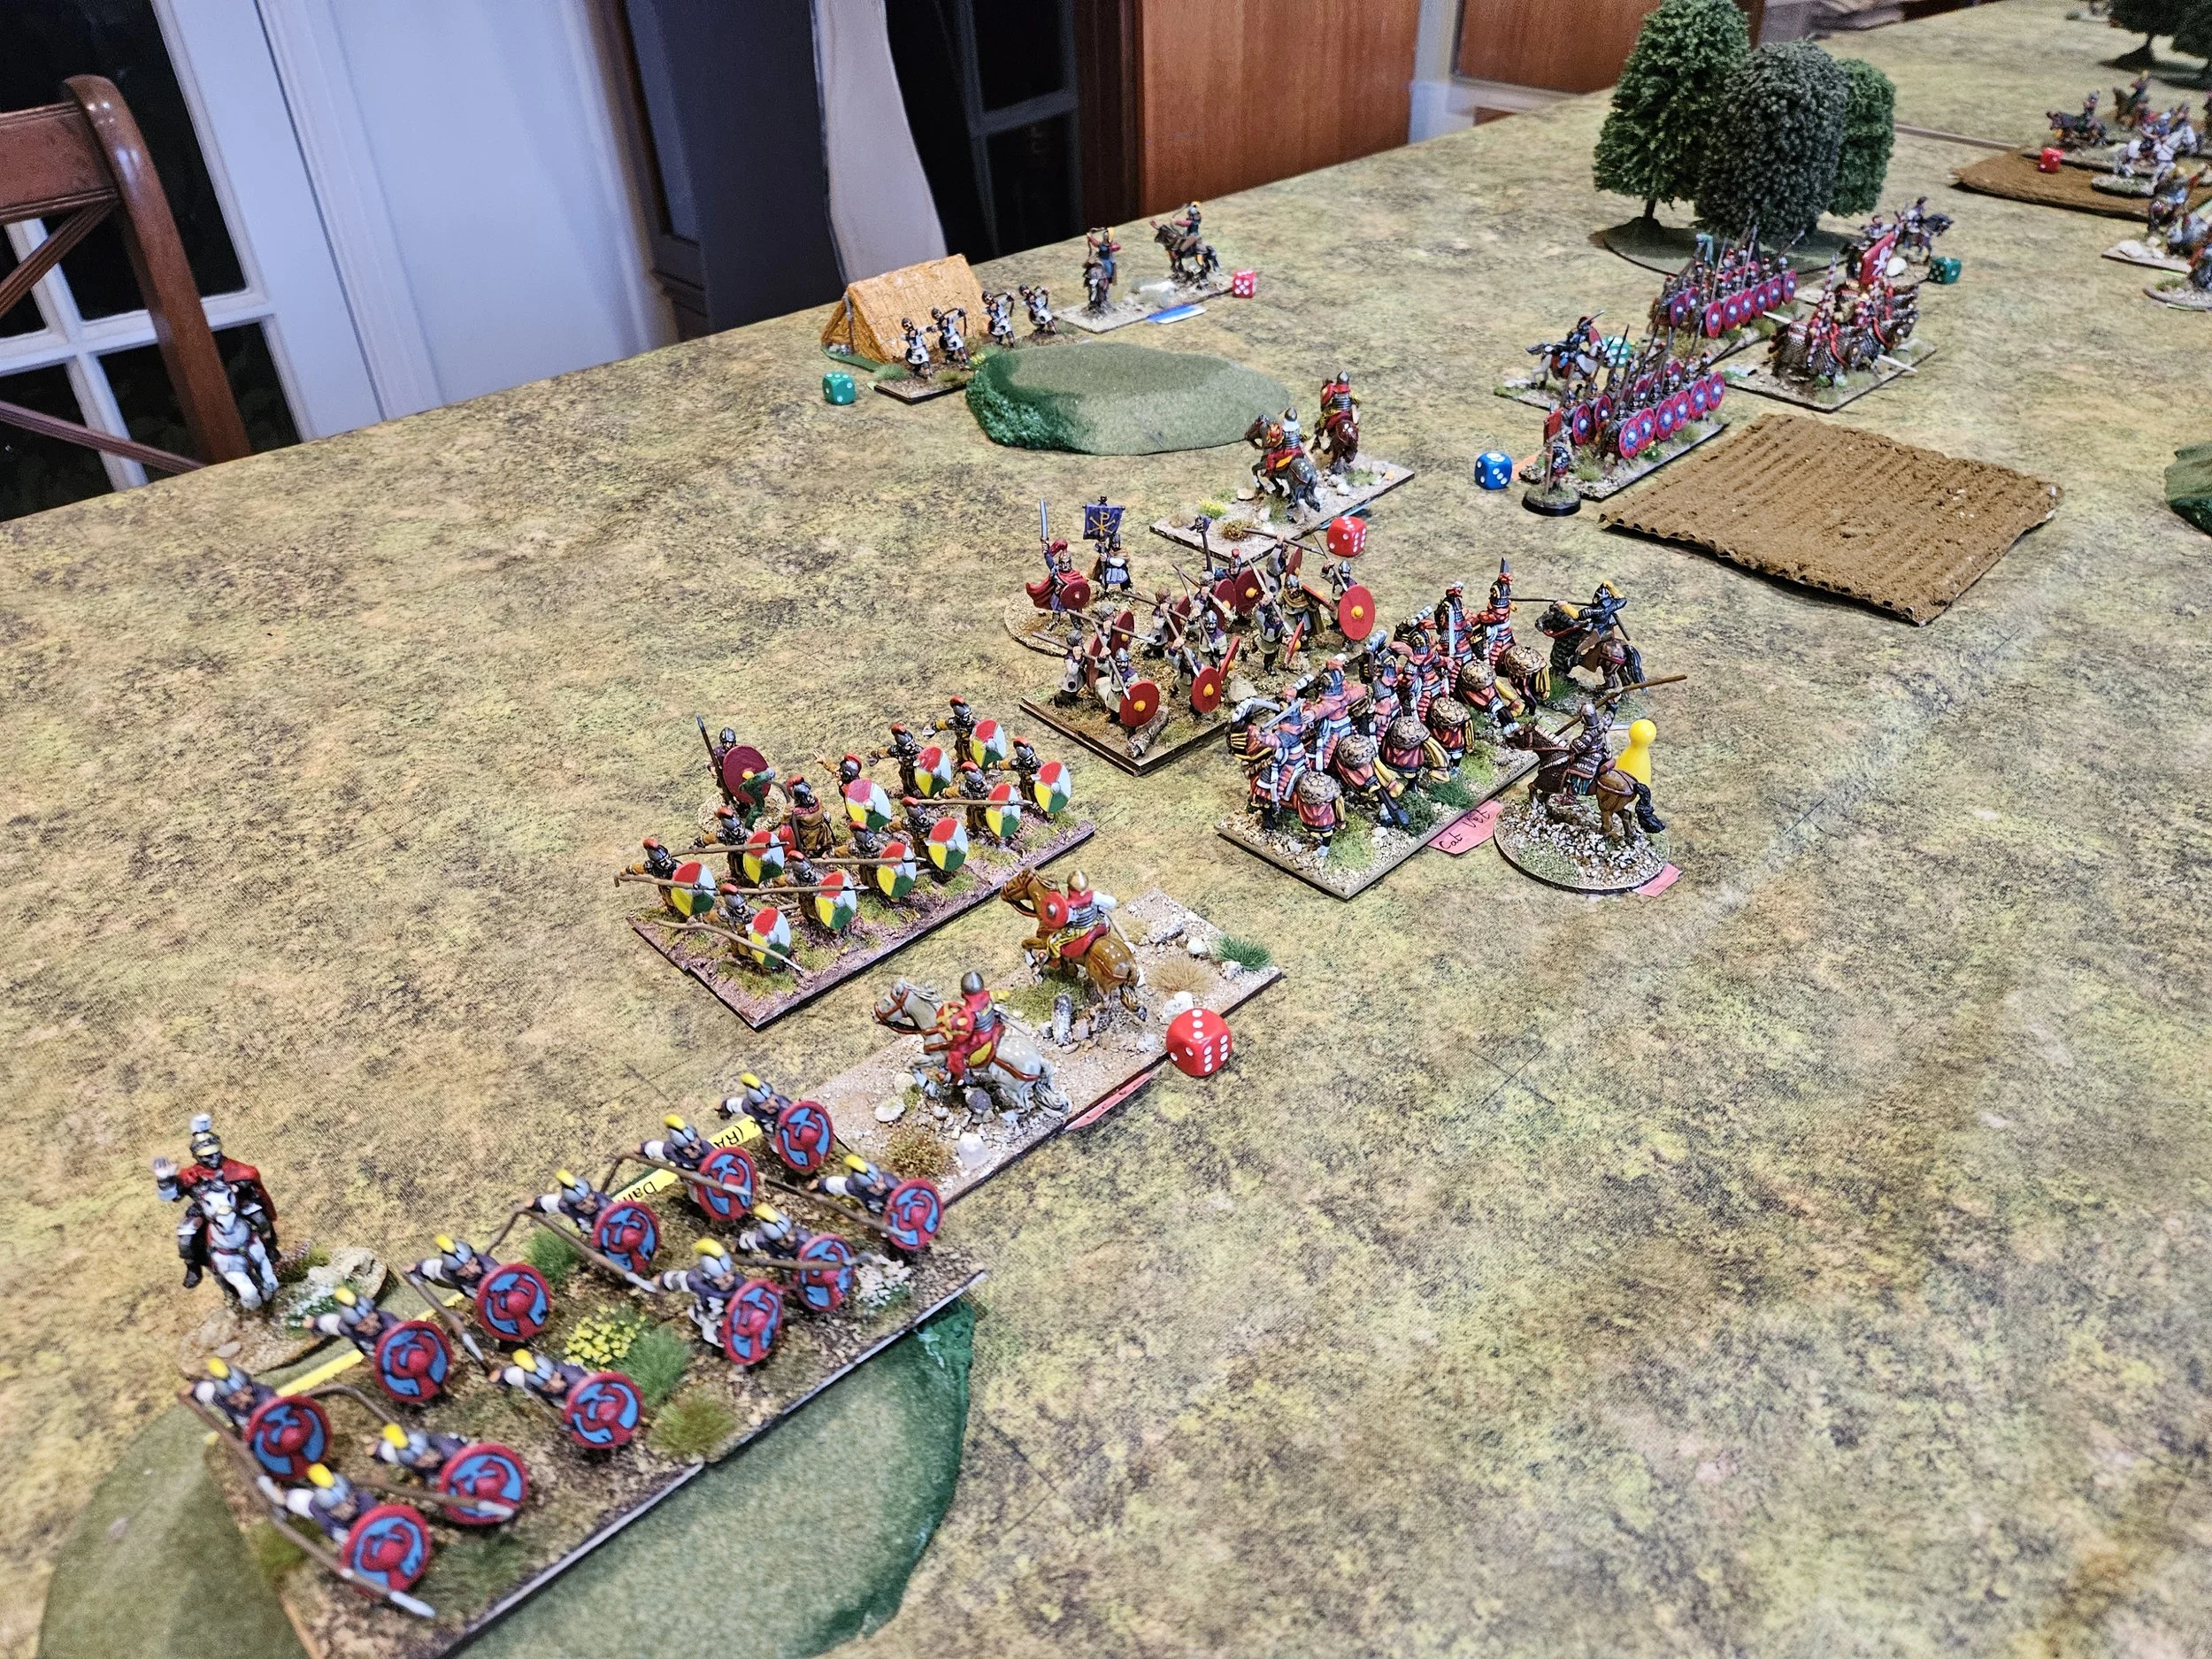
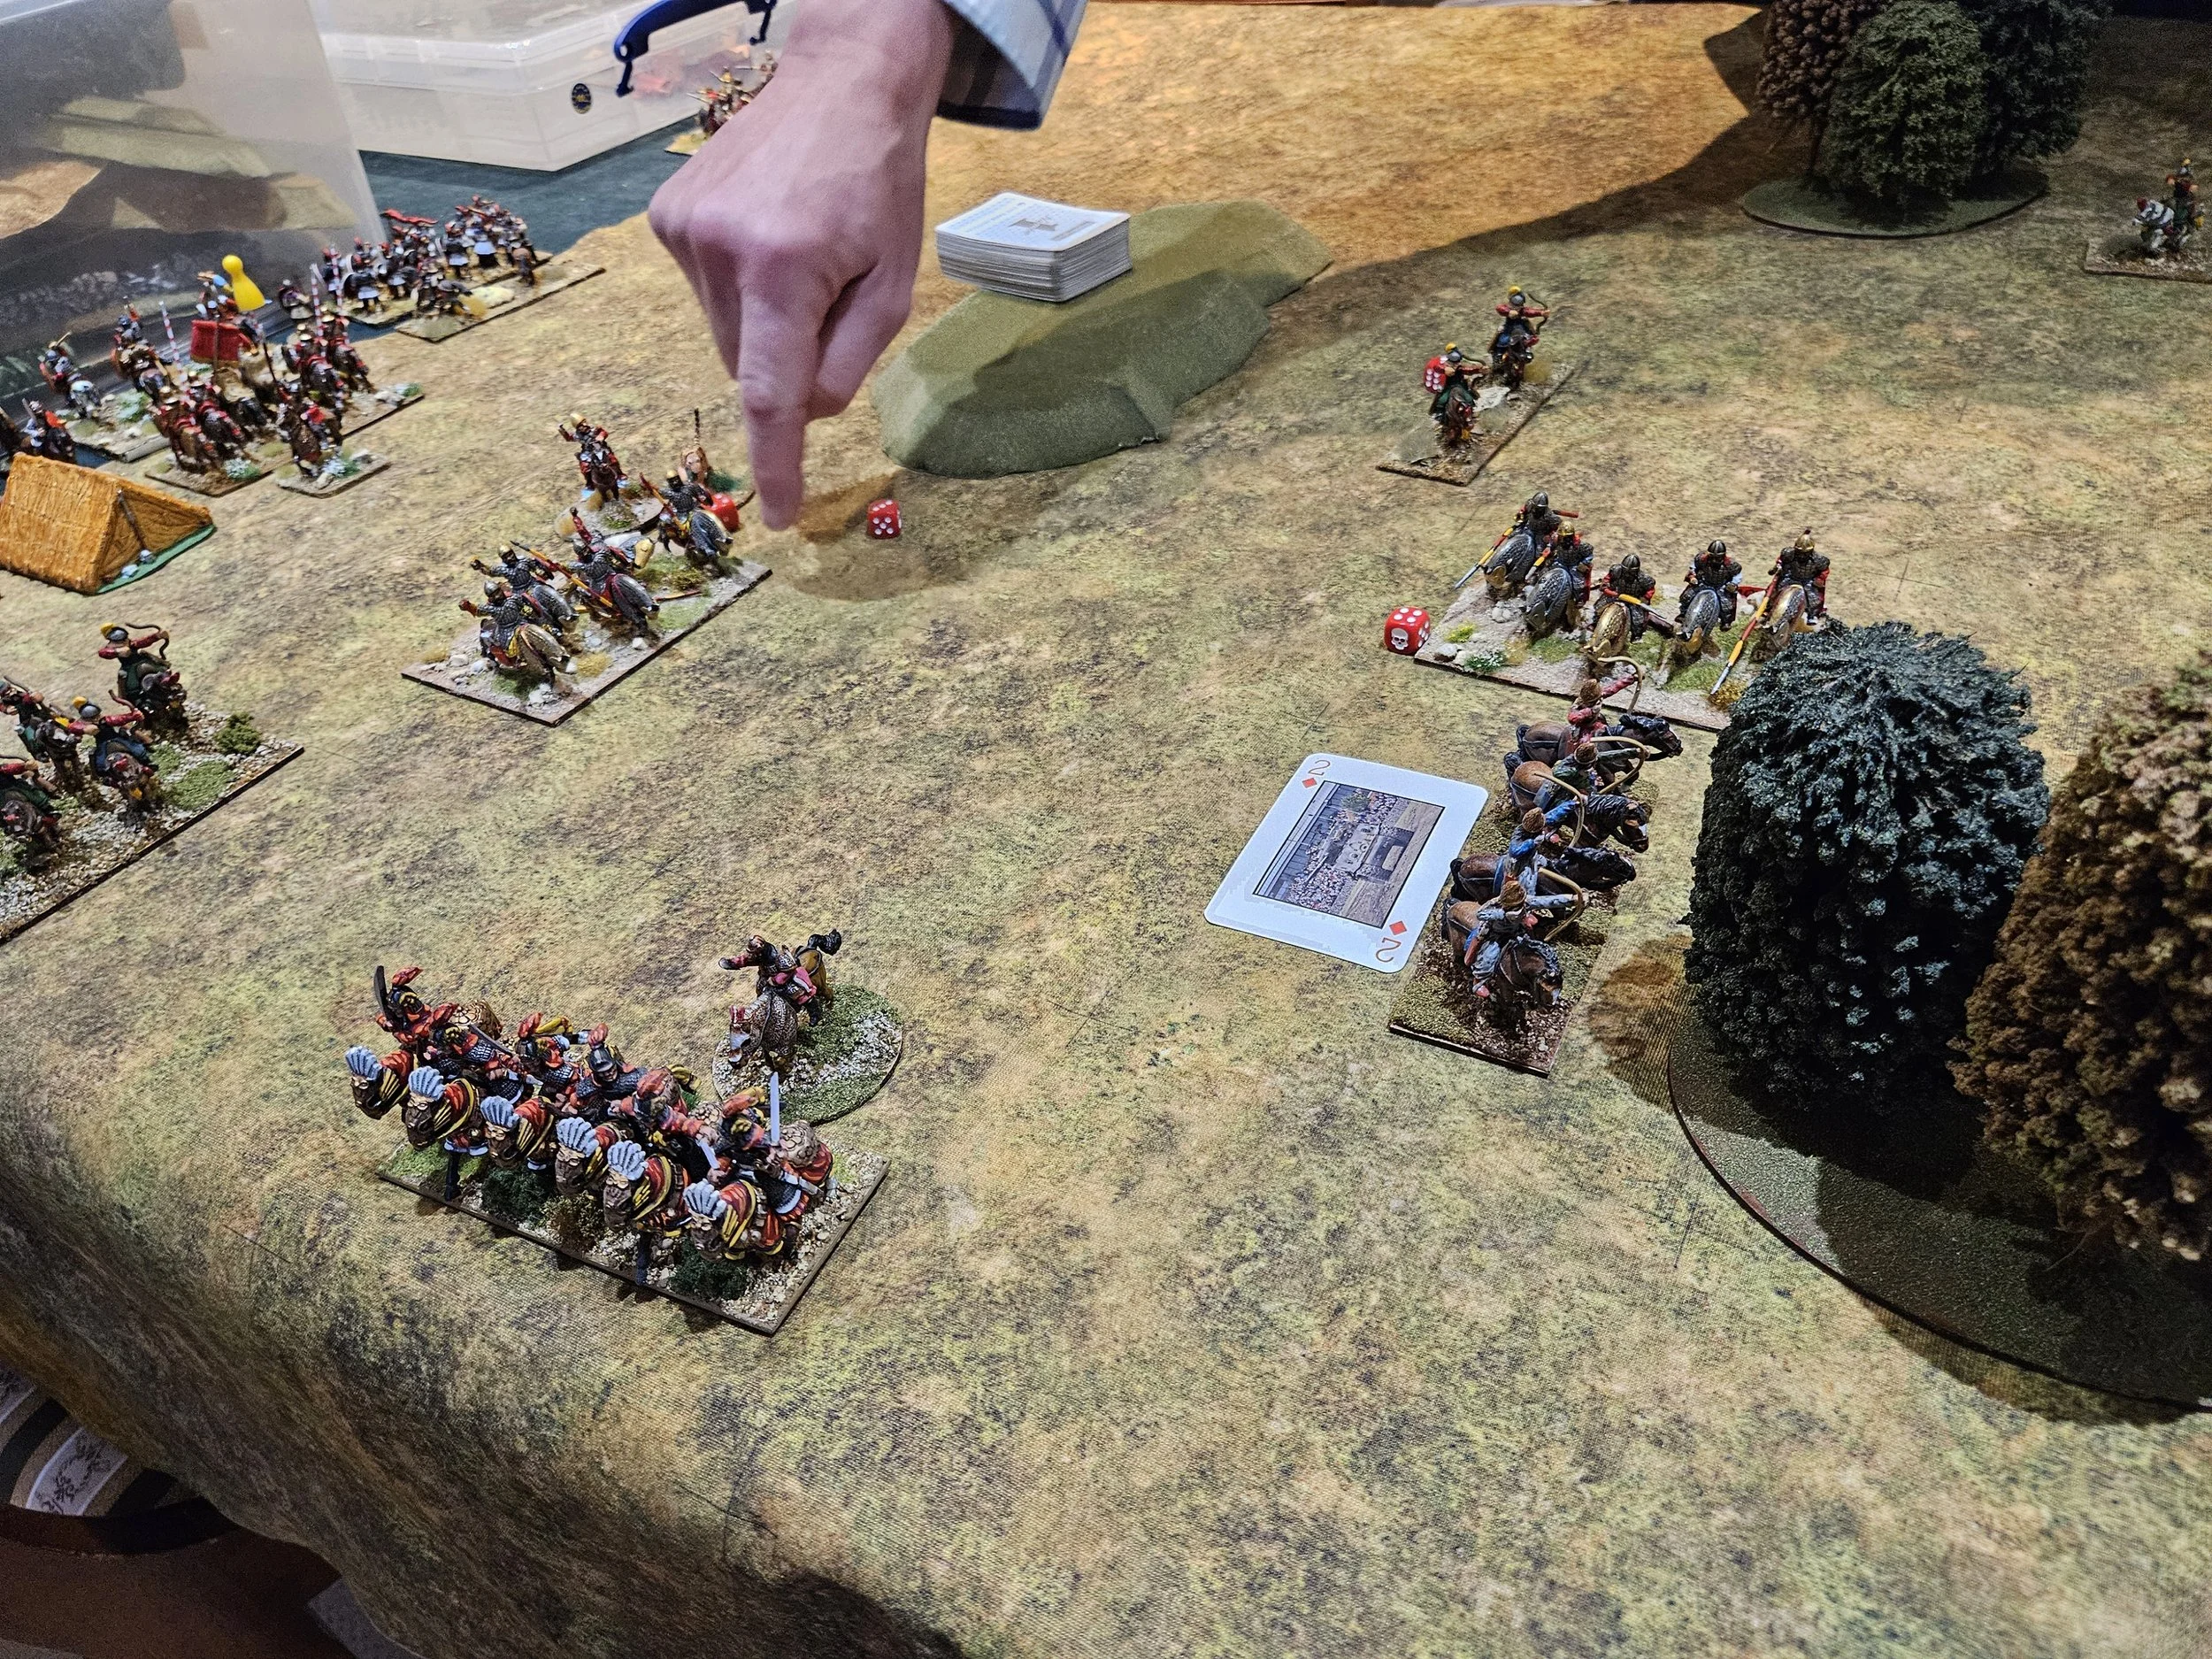
A bit of action in the centre followed, as the Romans sent their light infantry there forward, only to have one shot down by the Venetian’s mercenary crossbowmen, and the other impaled on the spears of some lancieri. That was another two coins, which made nine when added to the two that I had won on the left by finally killing one of the Roman cavalry units there (the cataphracts I believe) and another for Chris rallying a unit on an even number: two more to go!
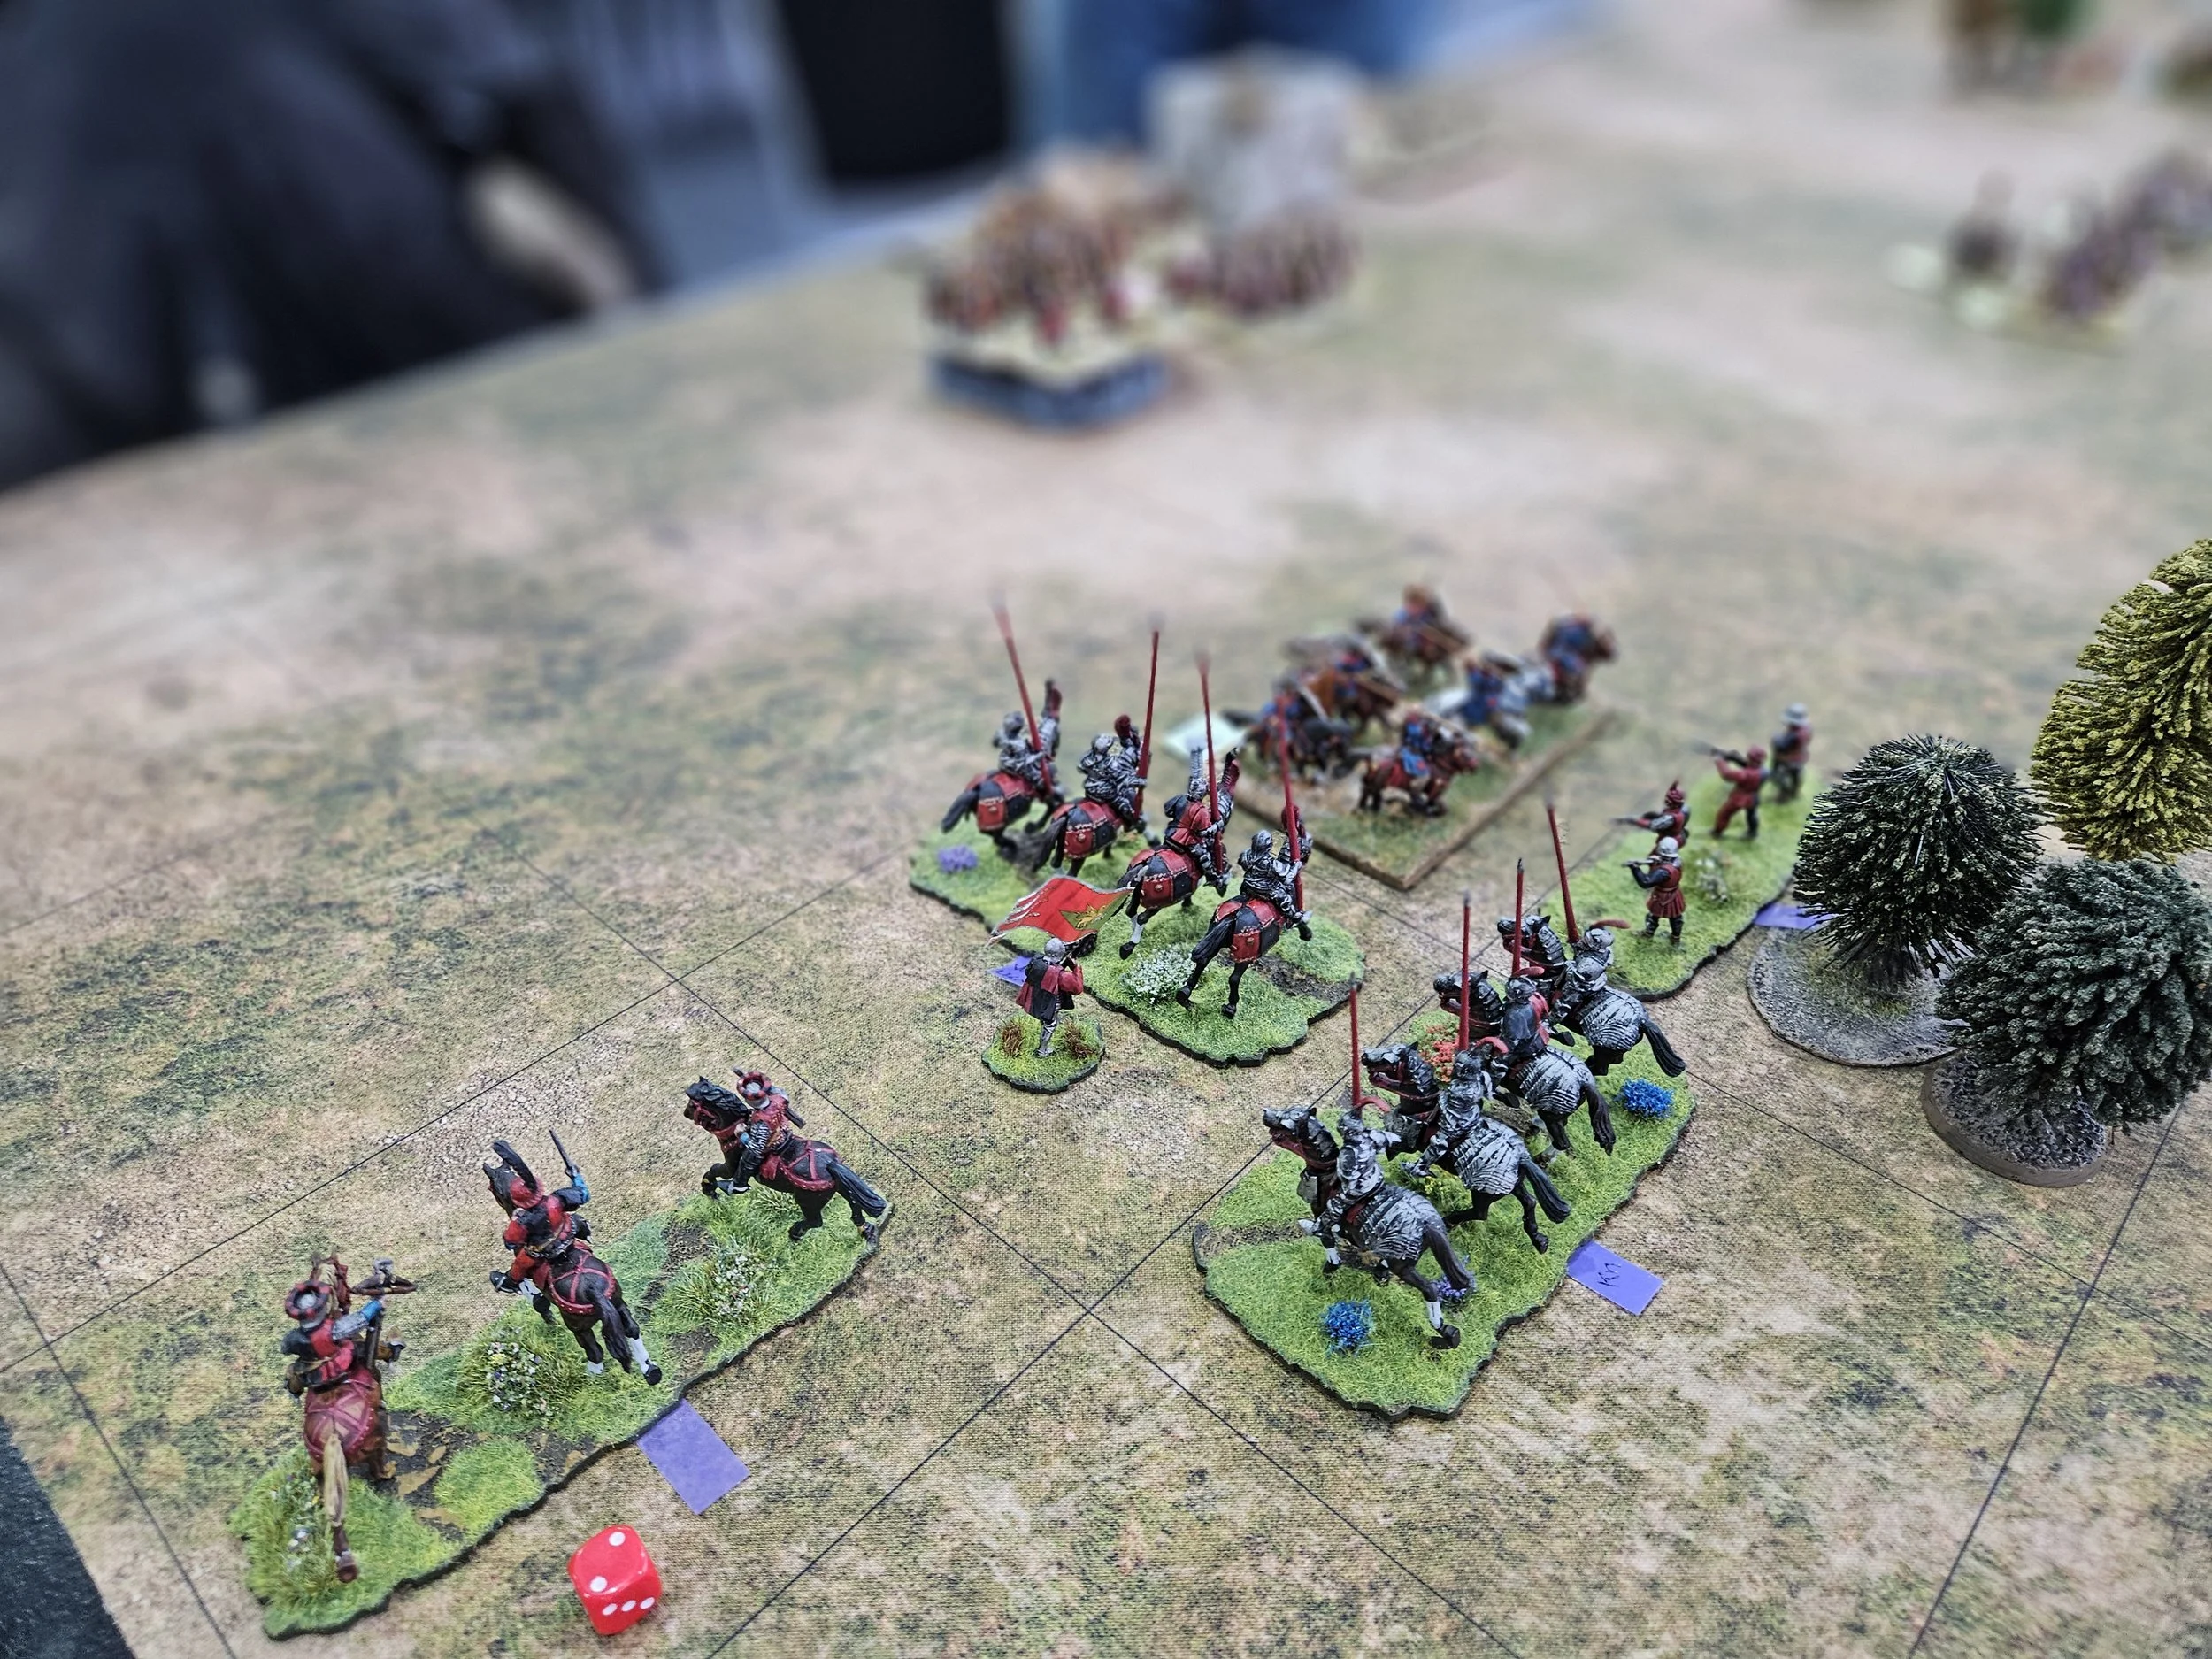
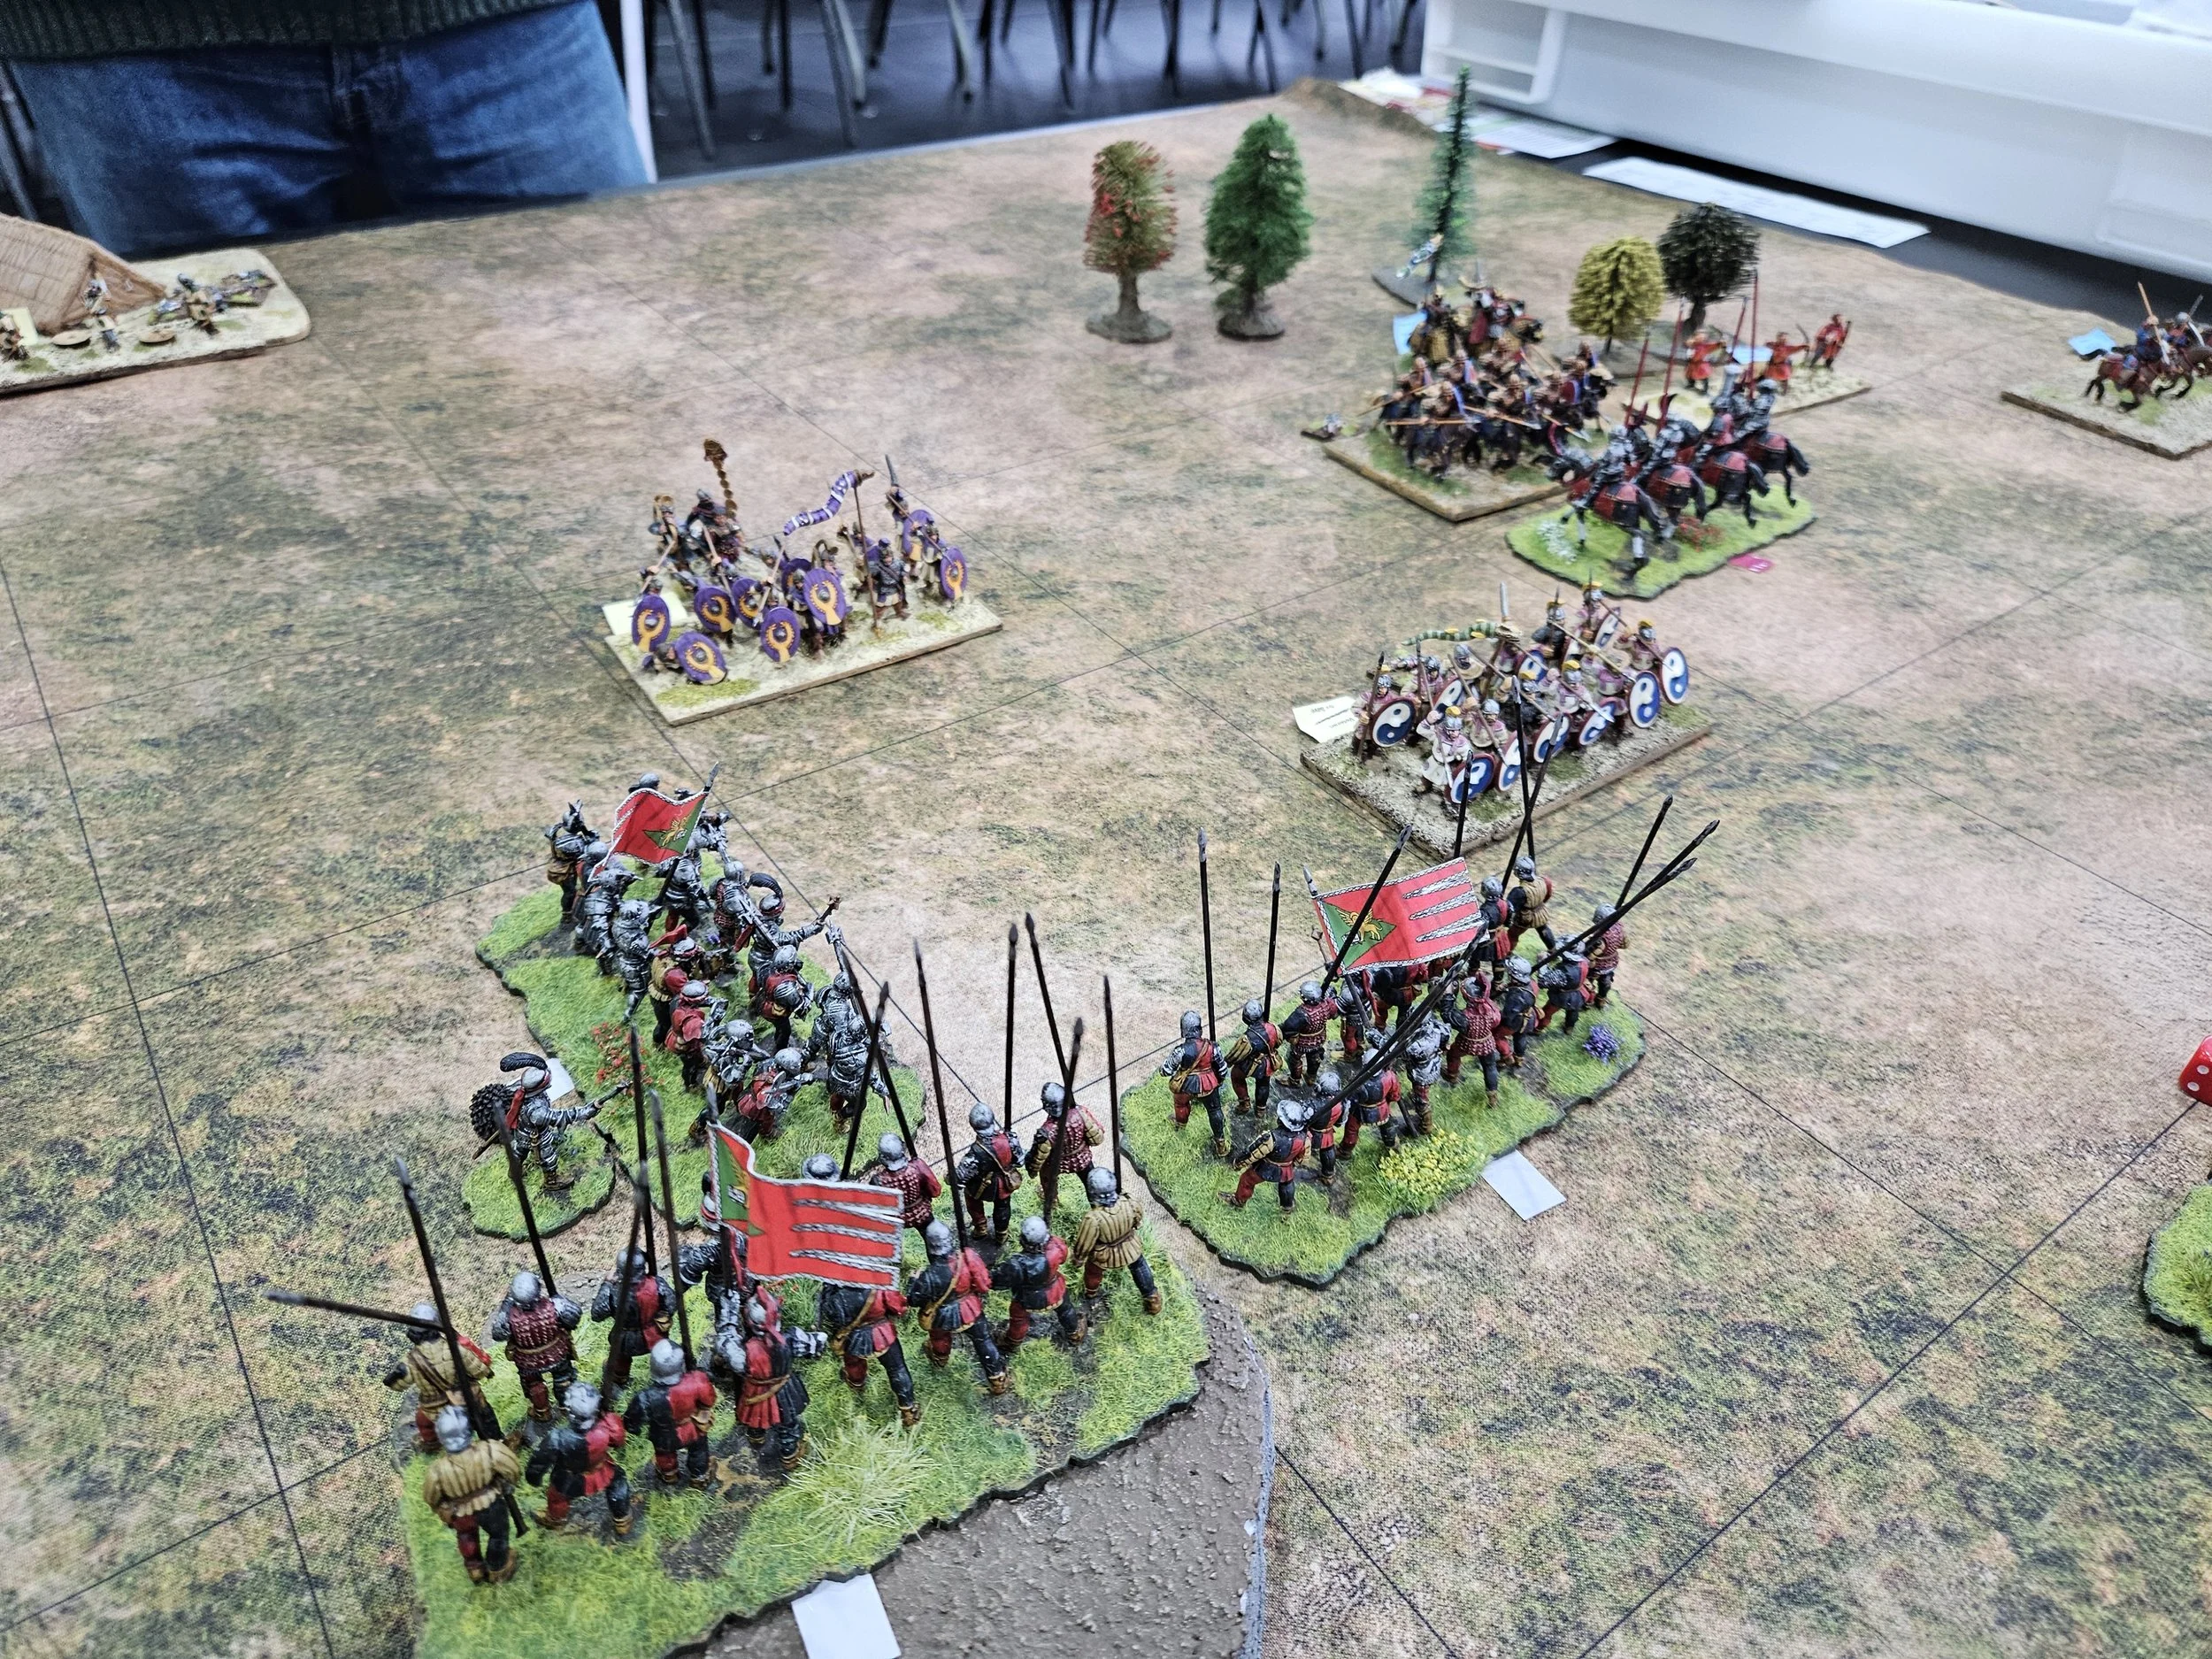
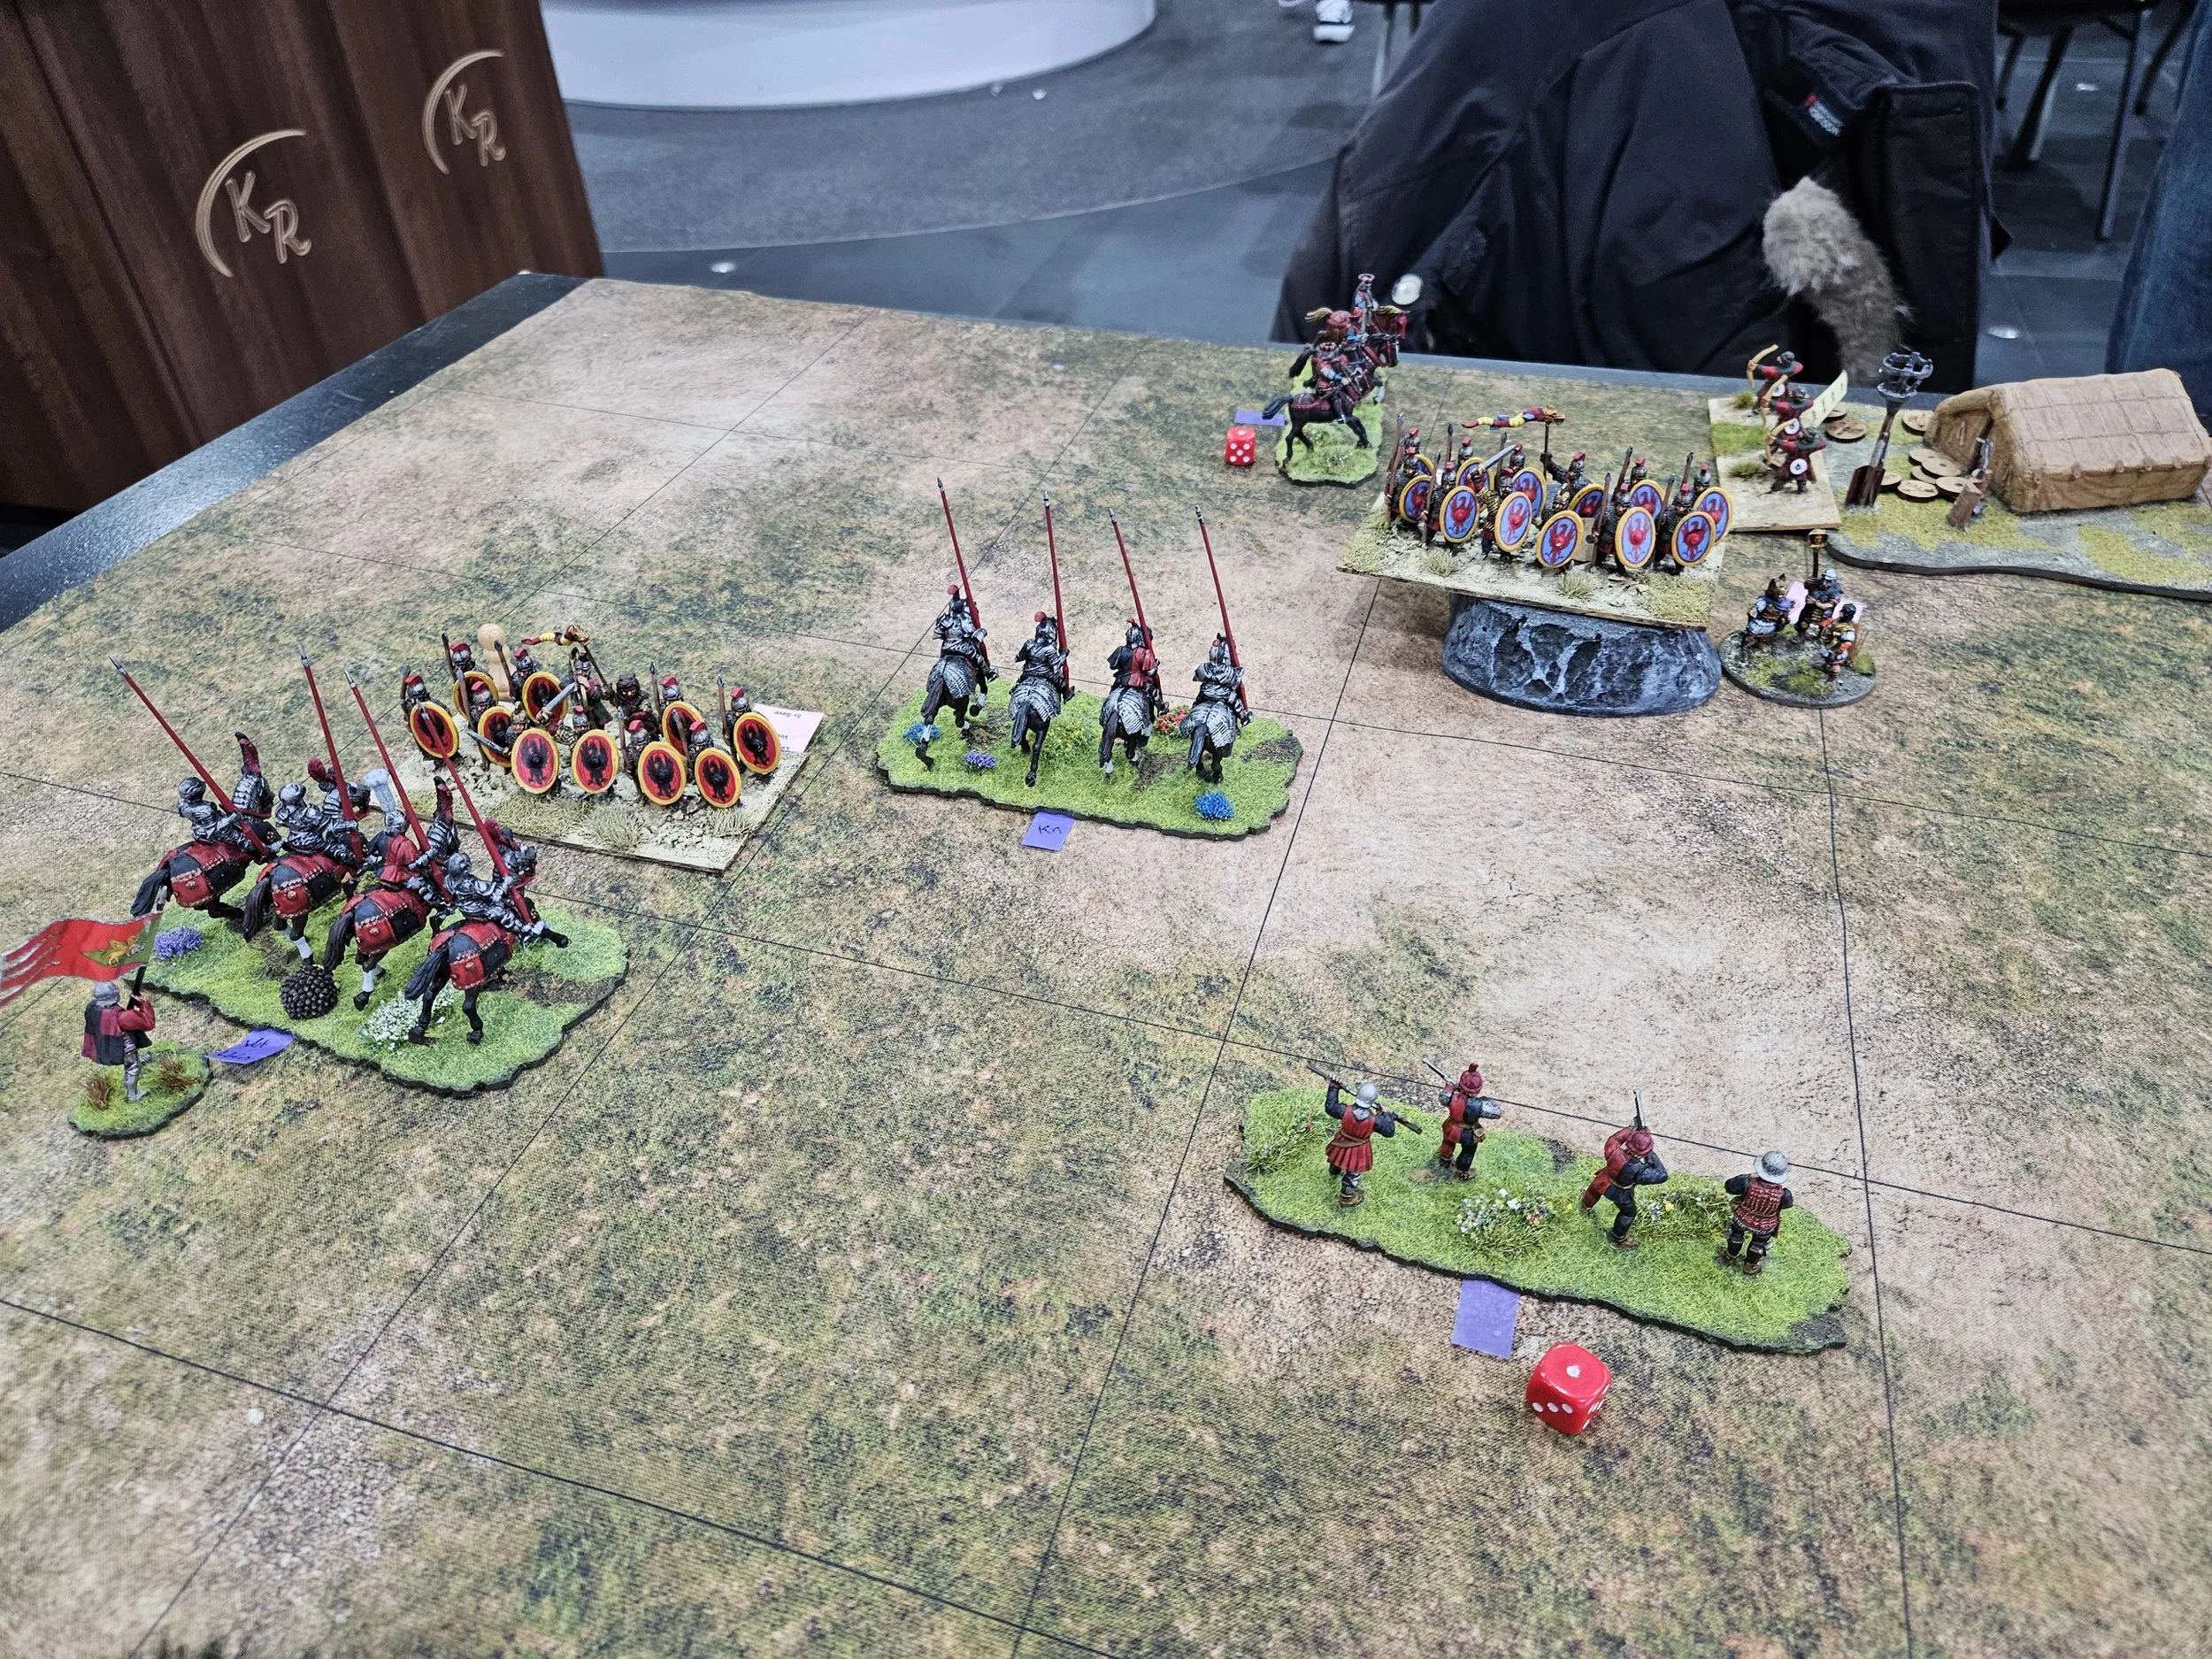
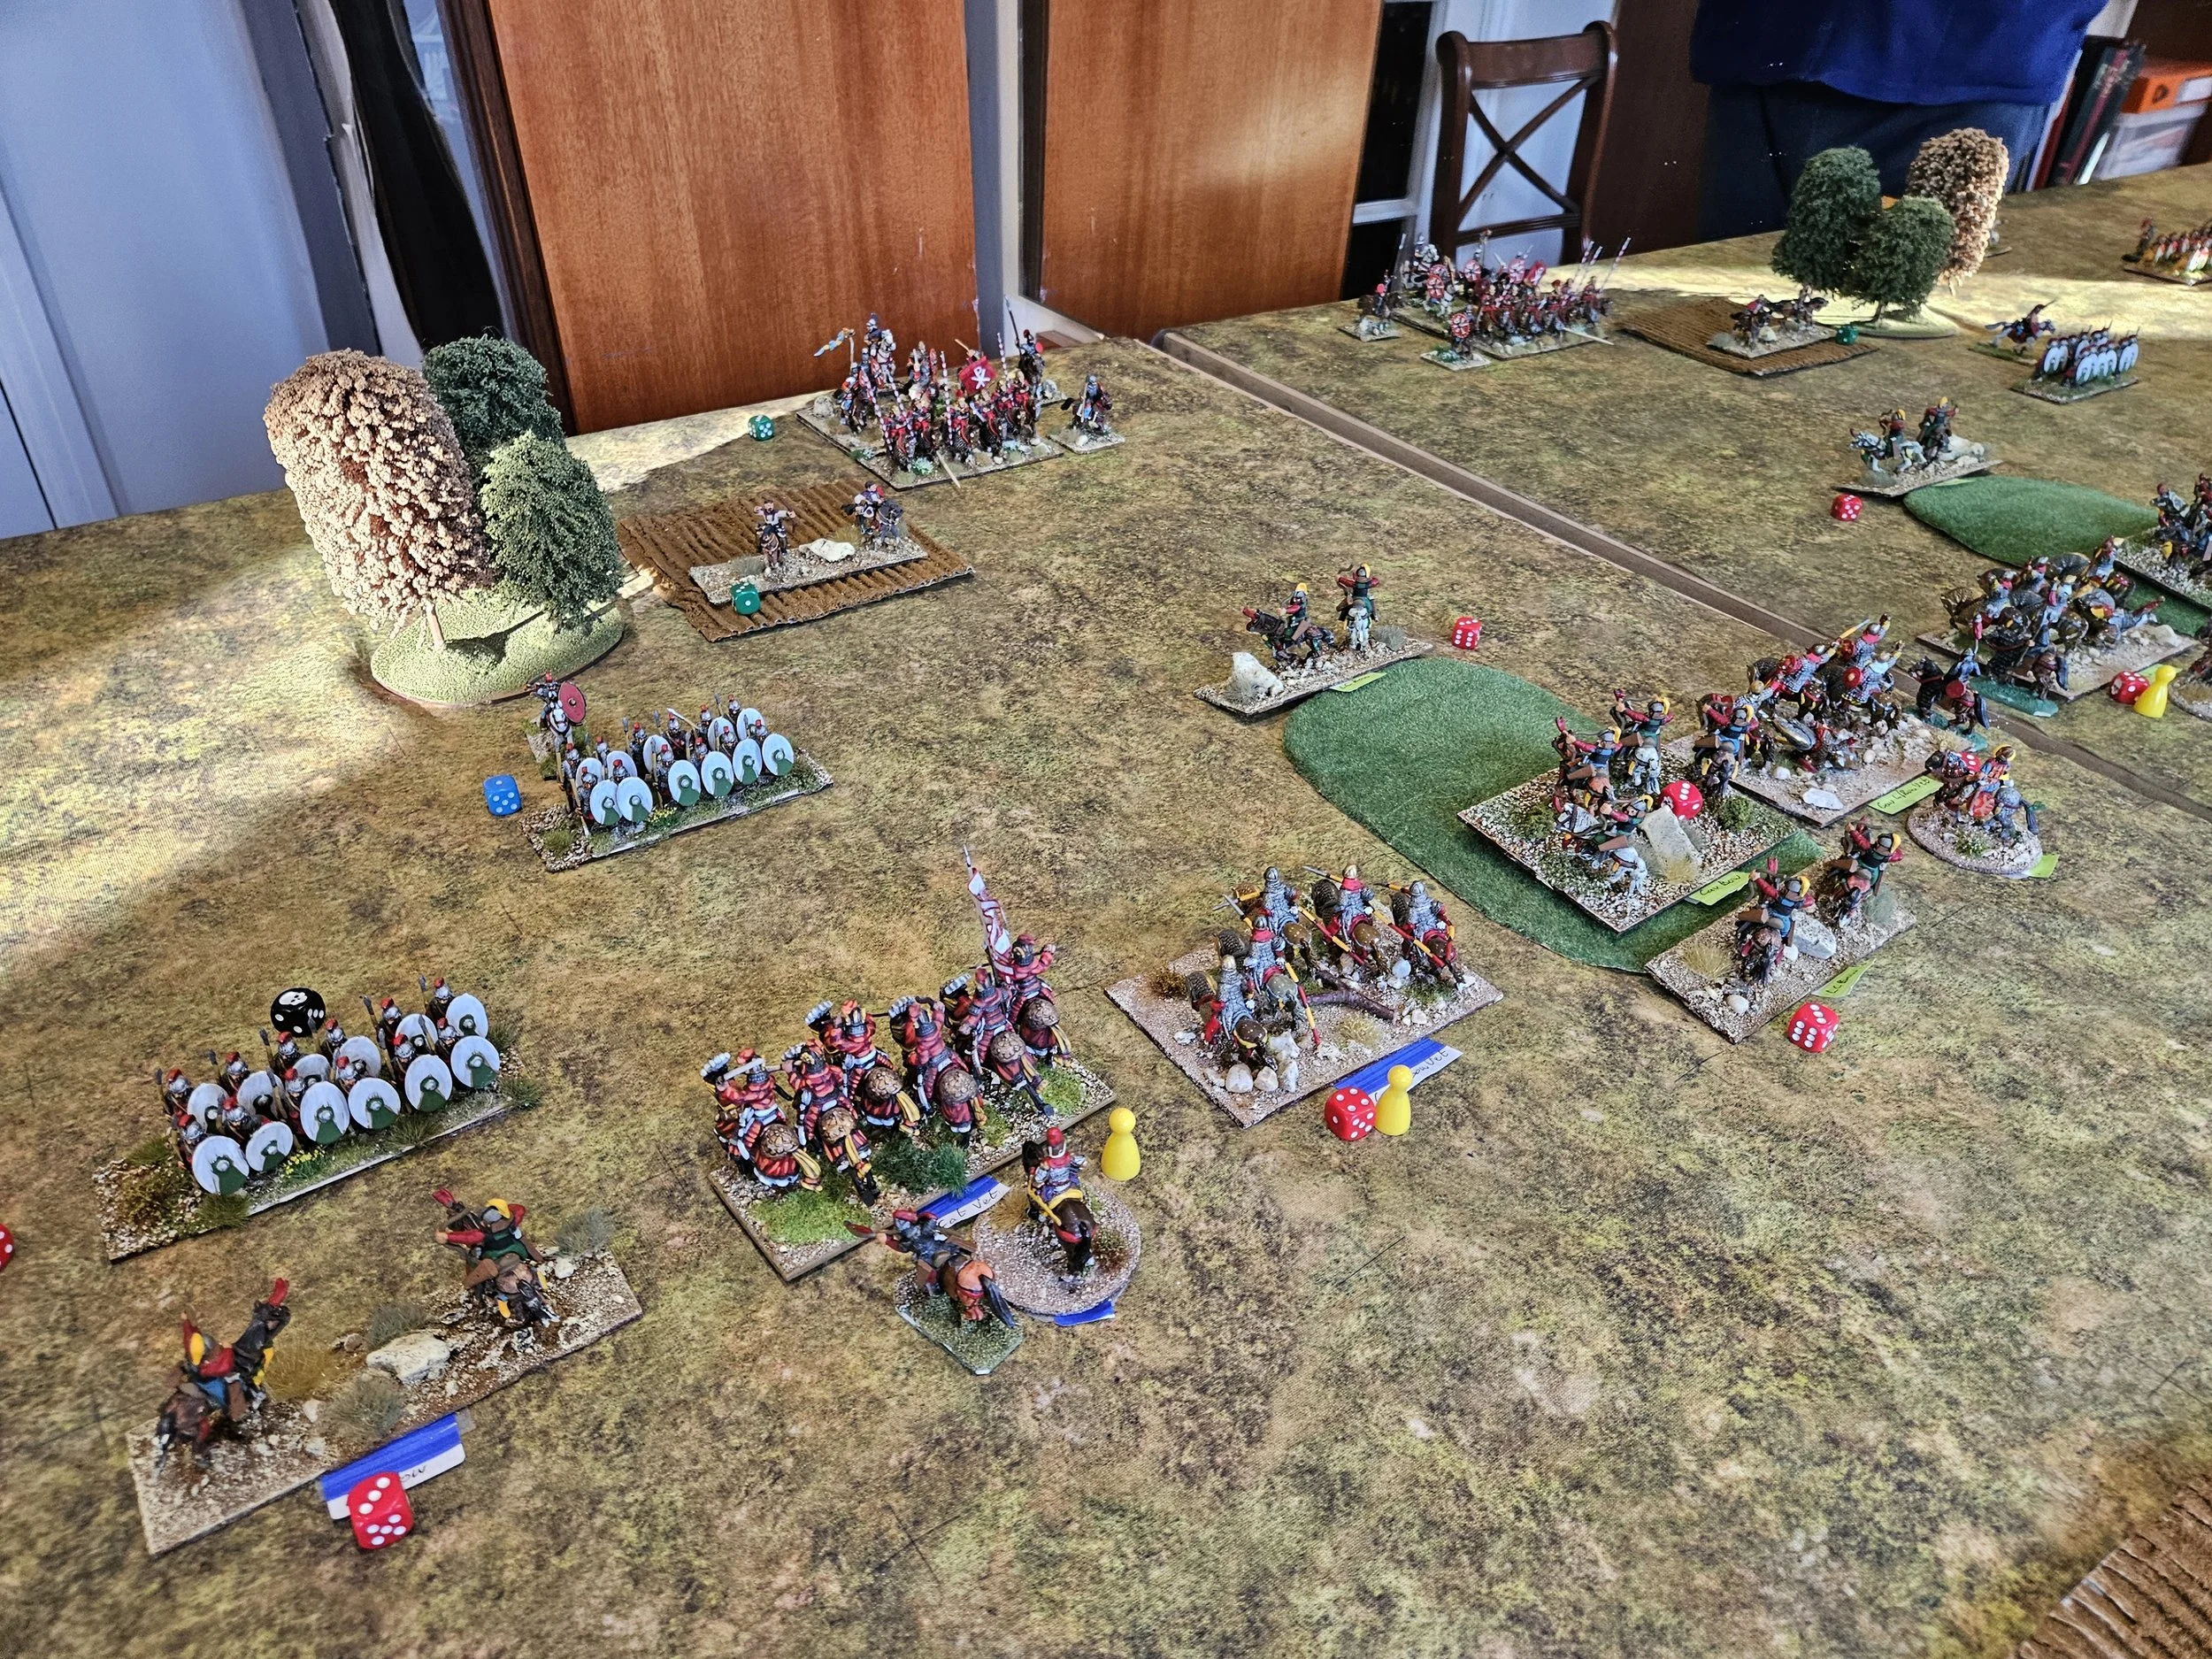
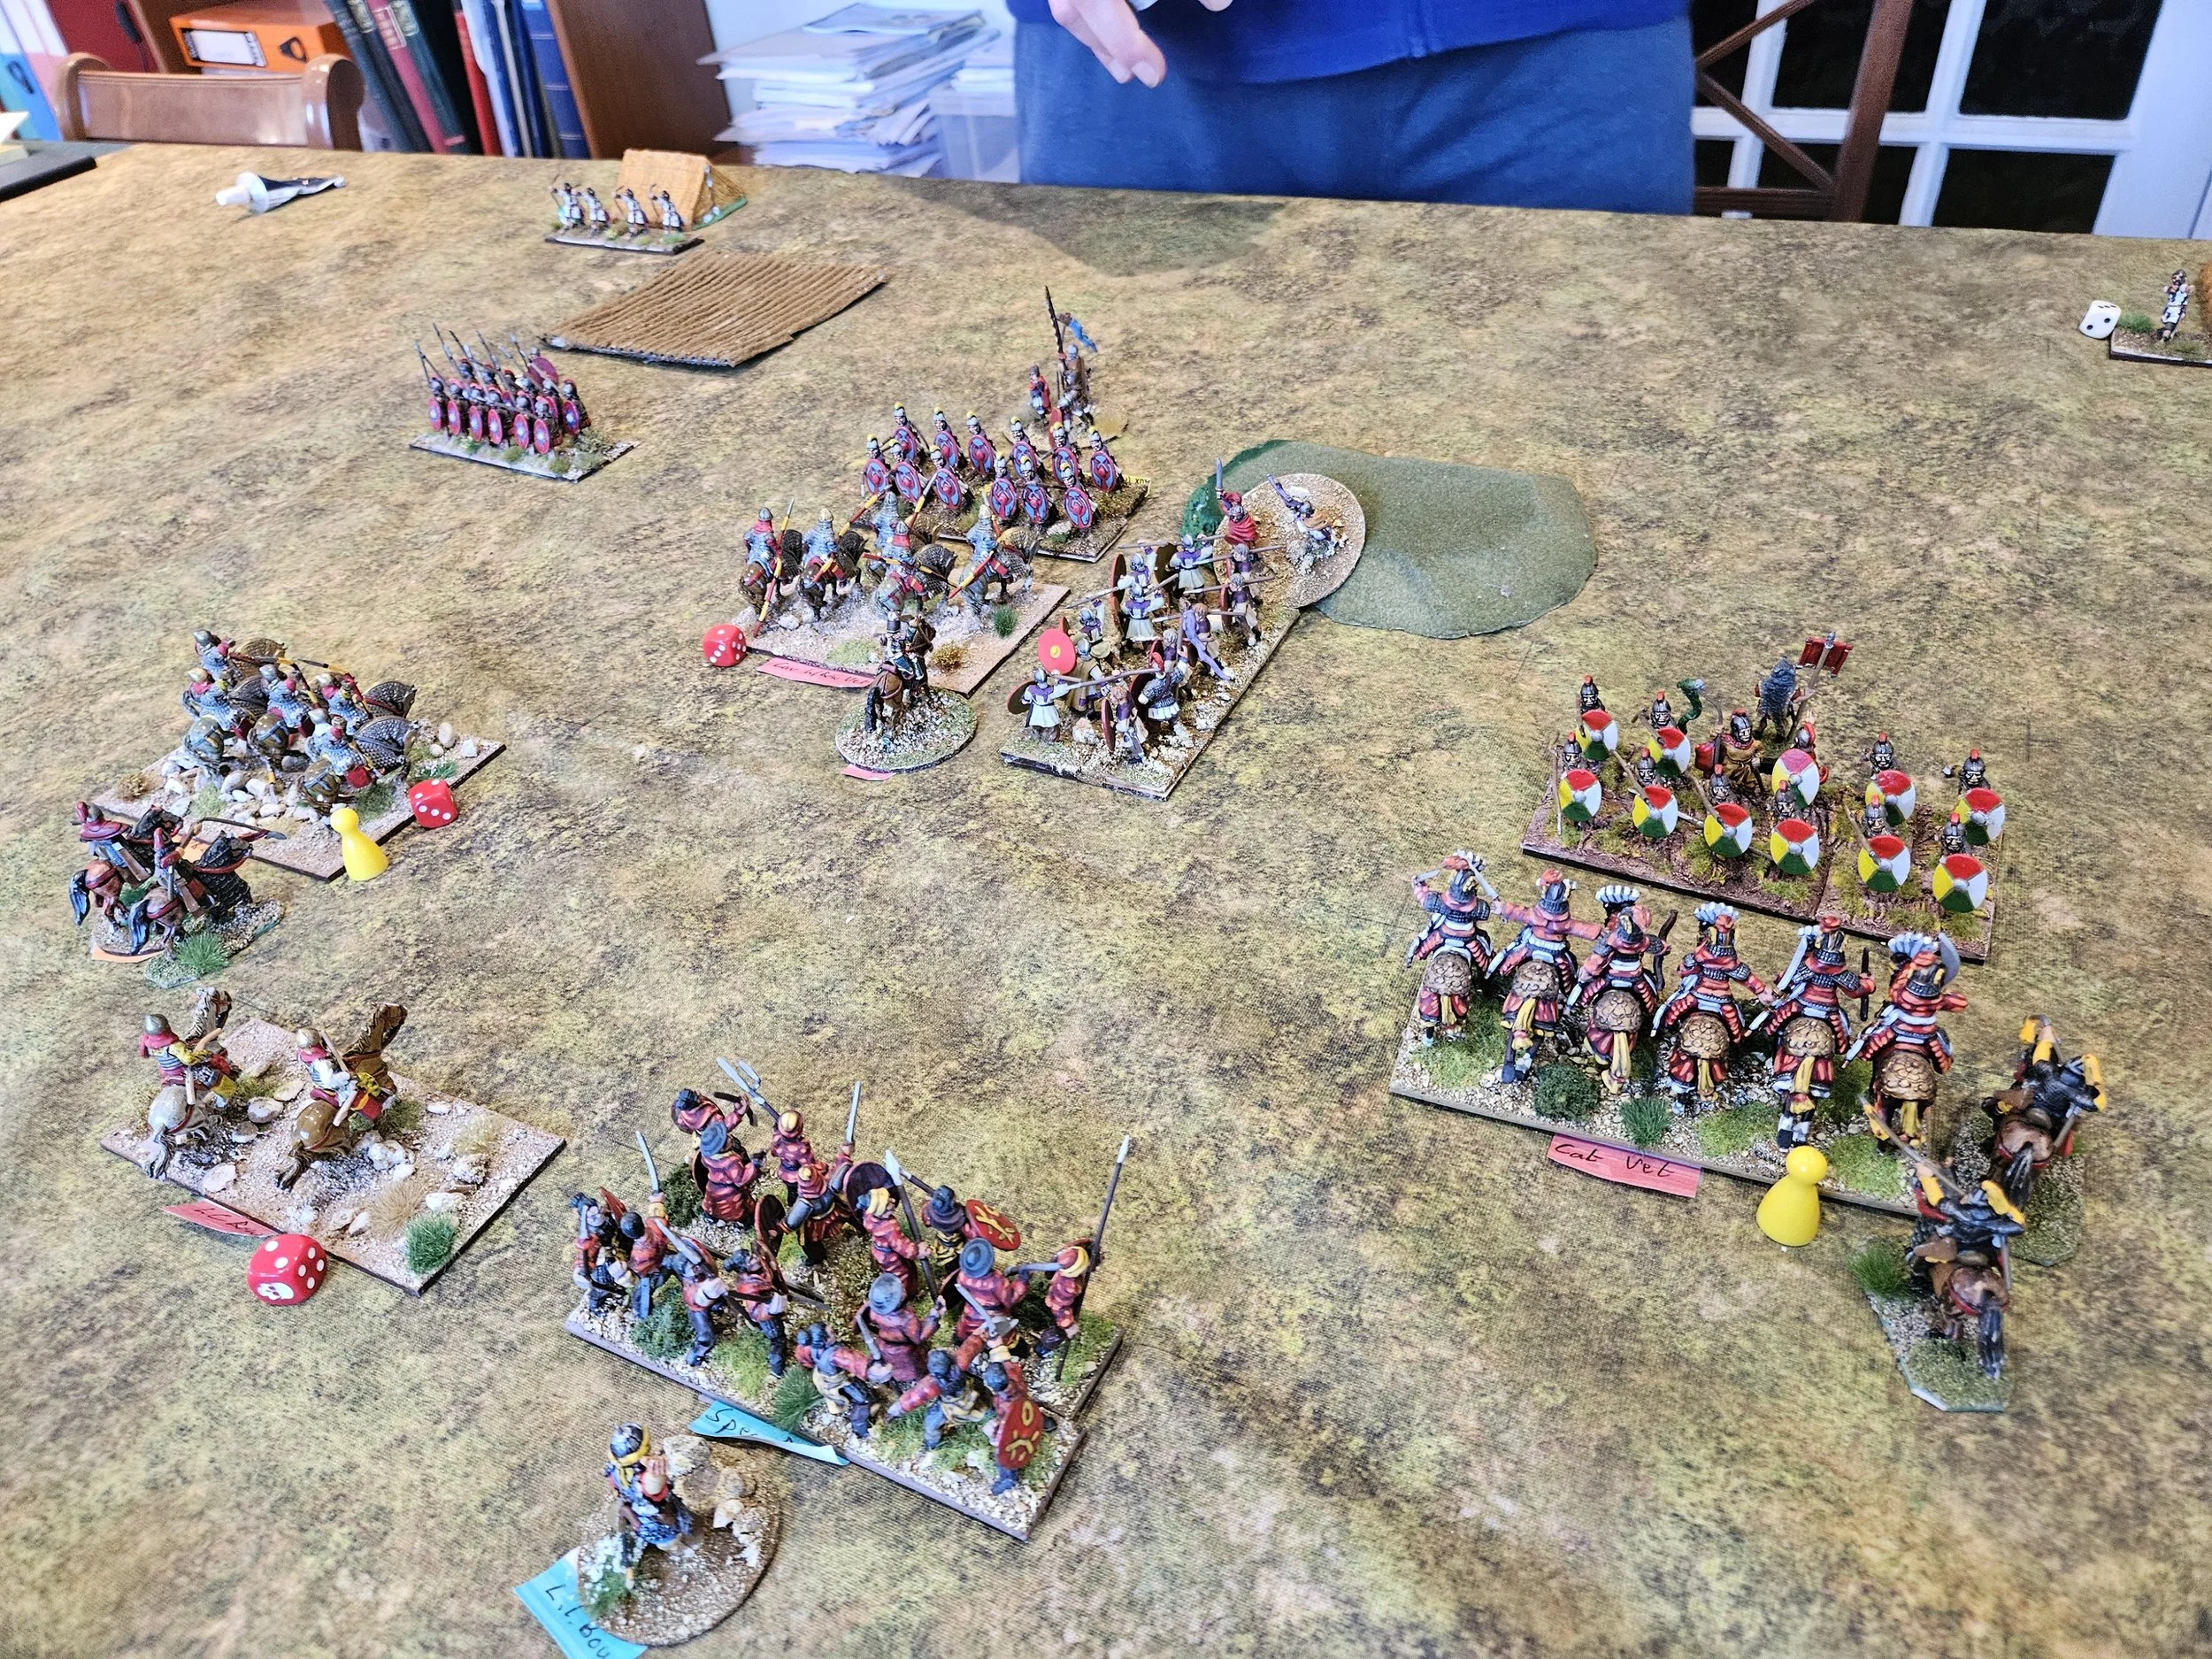
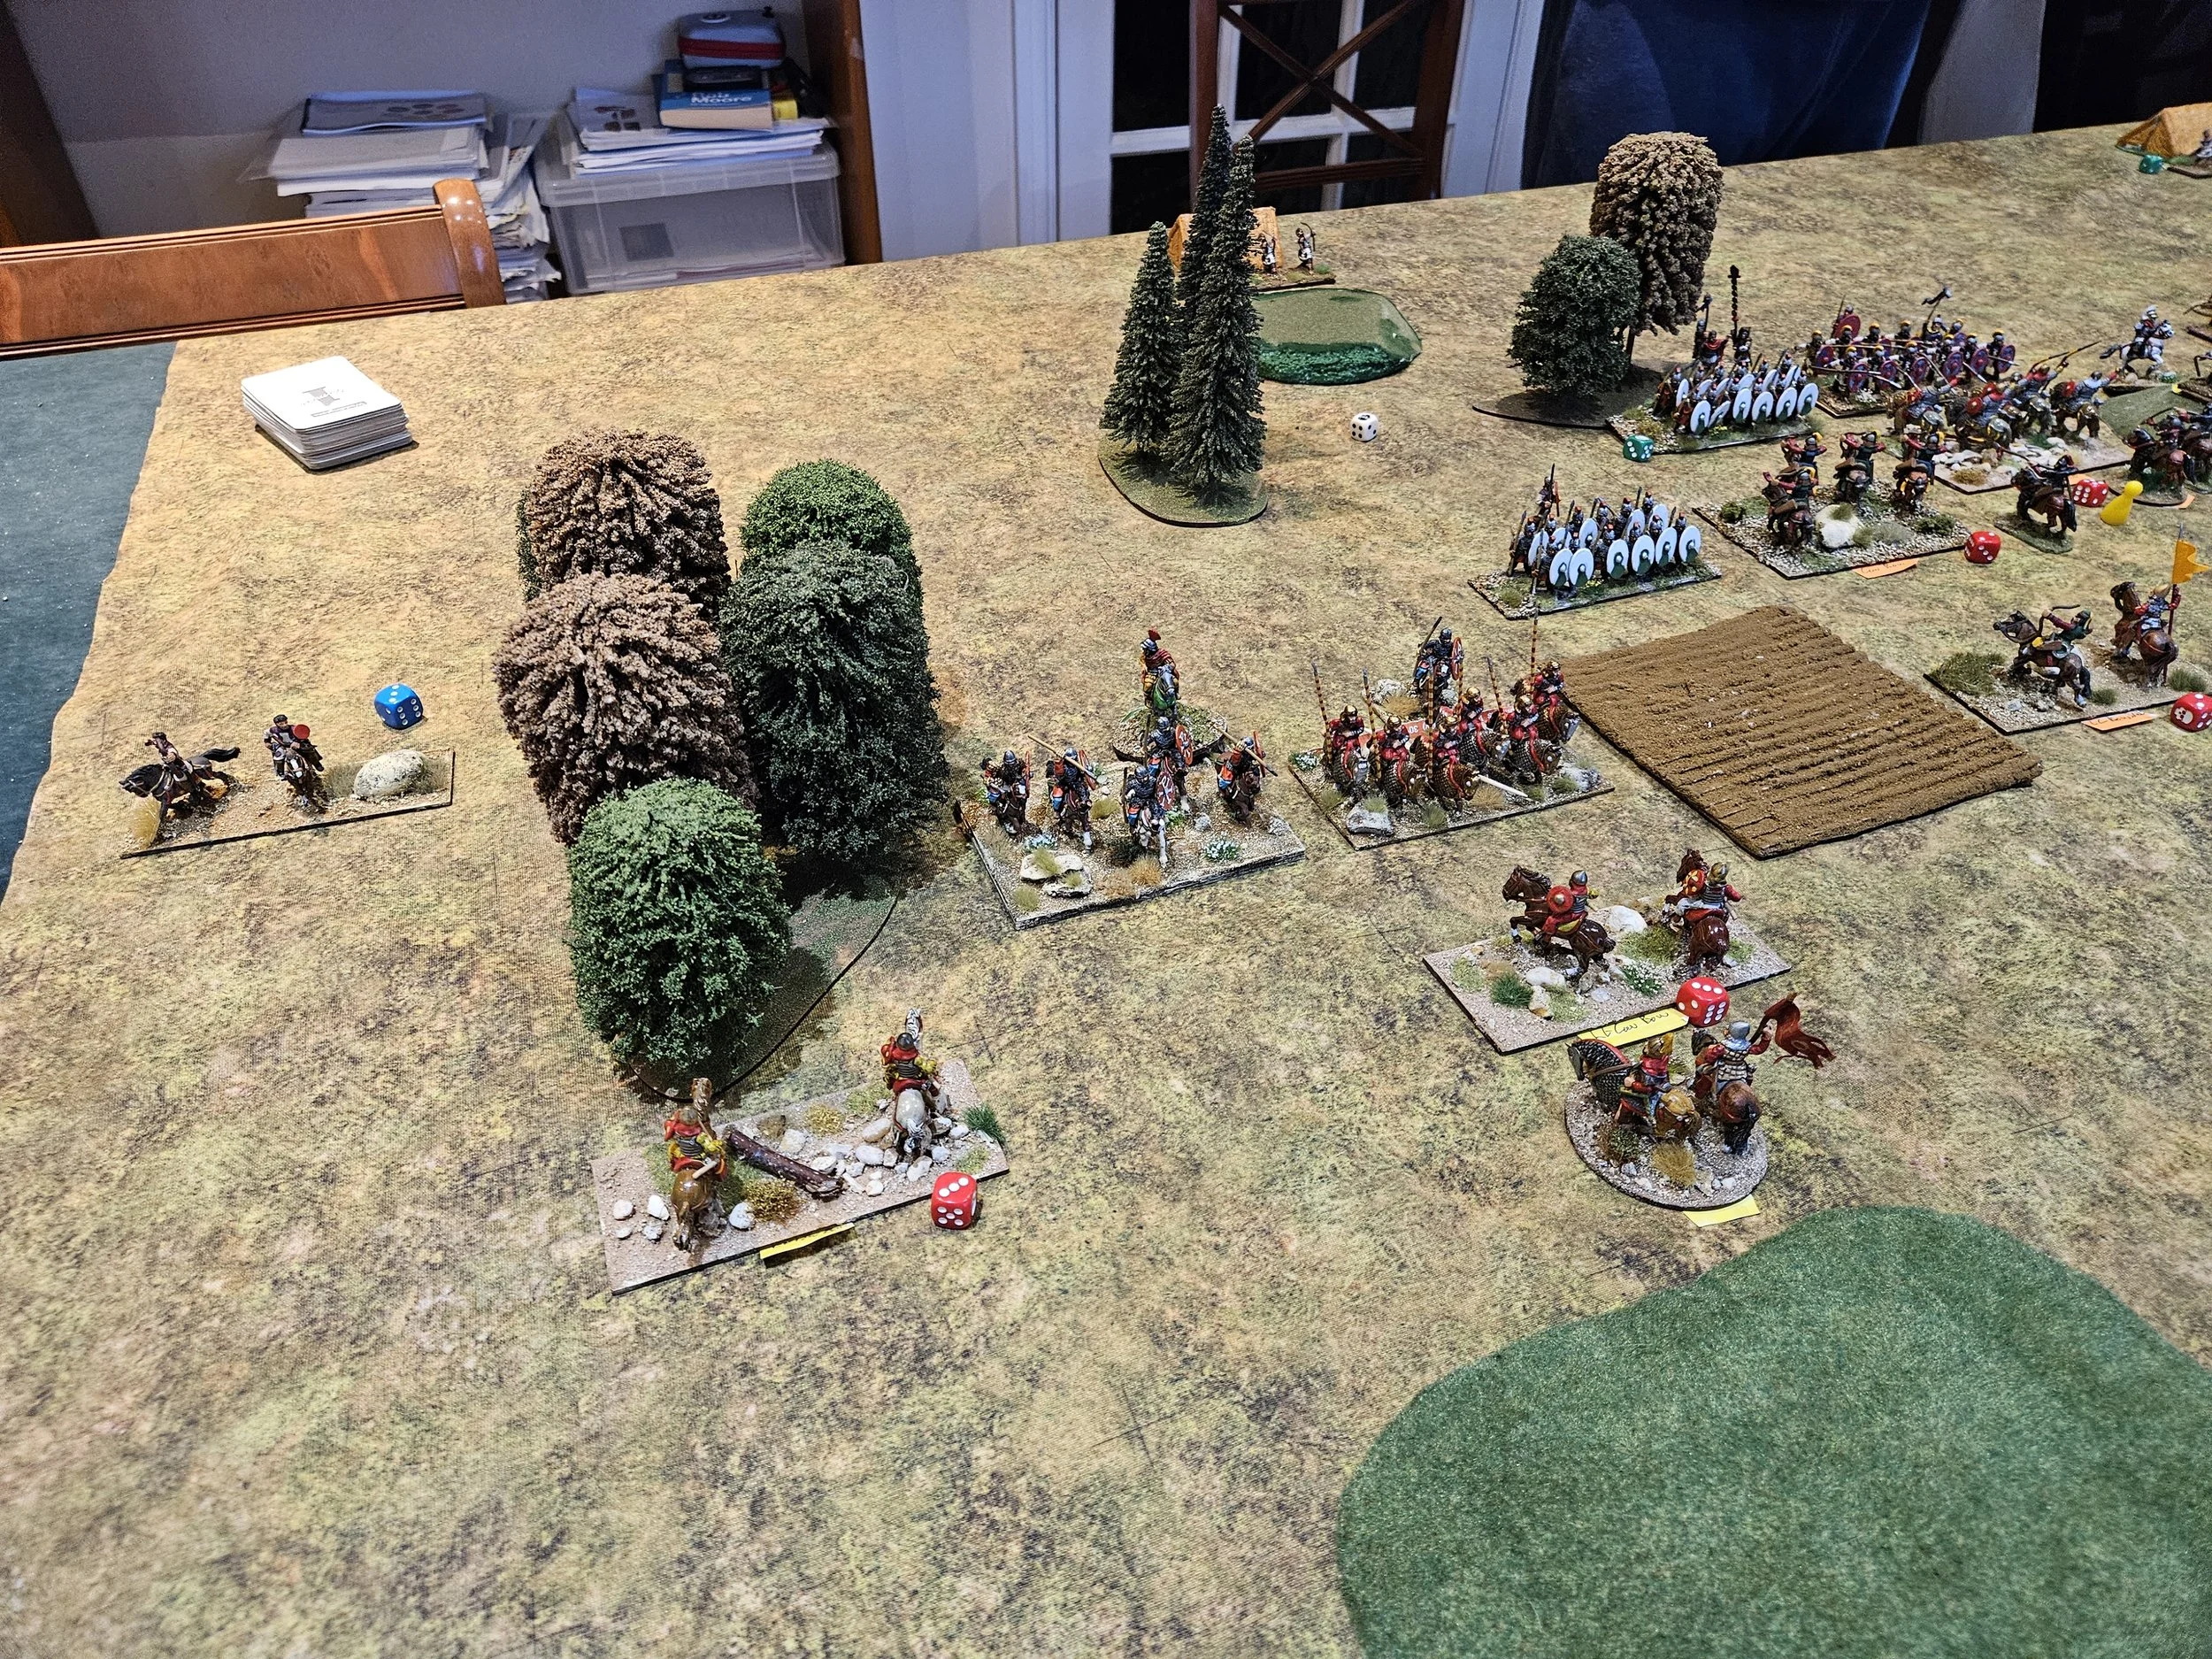
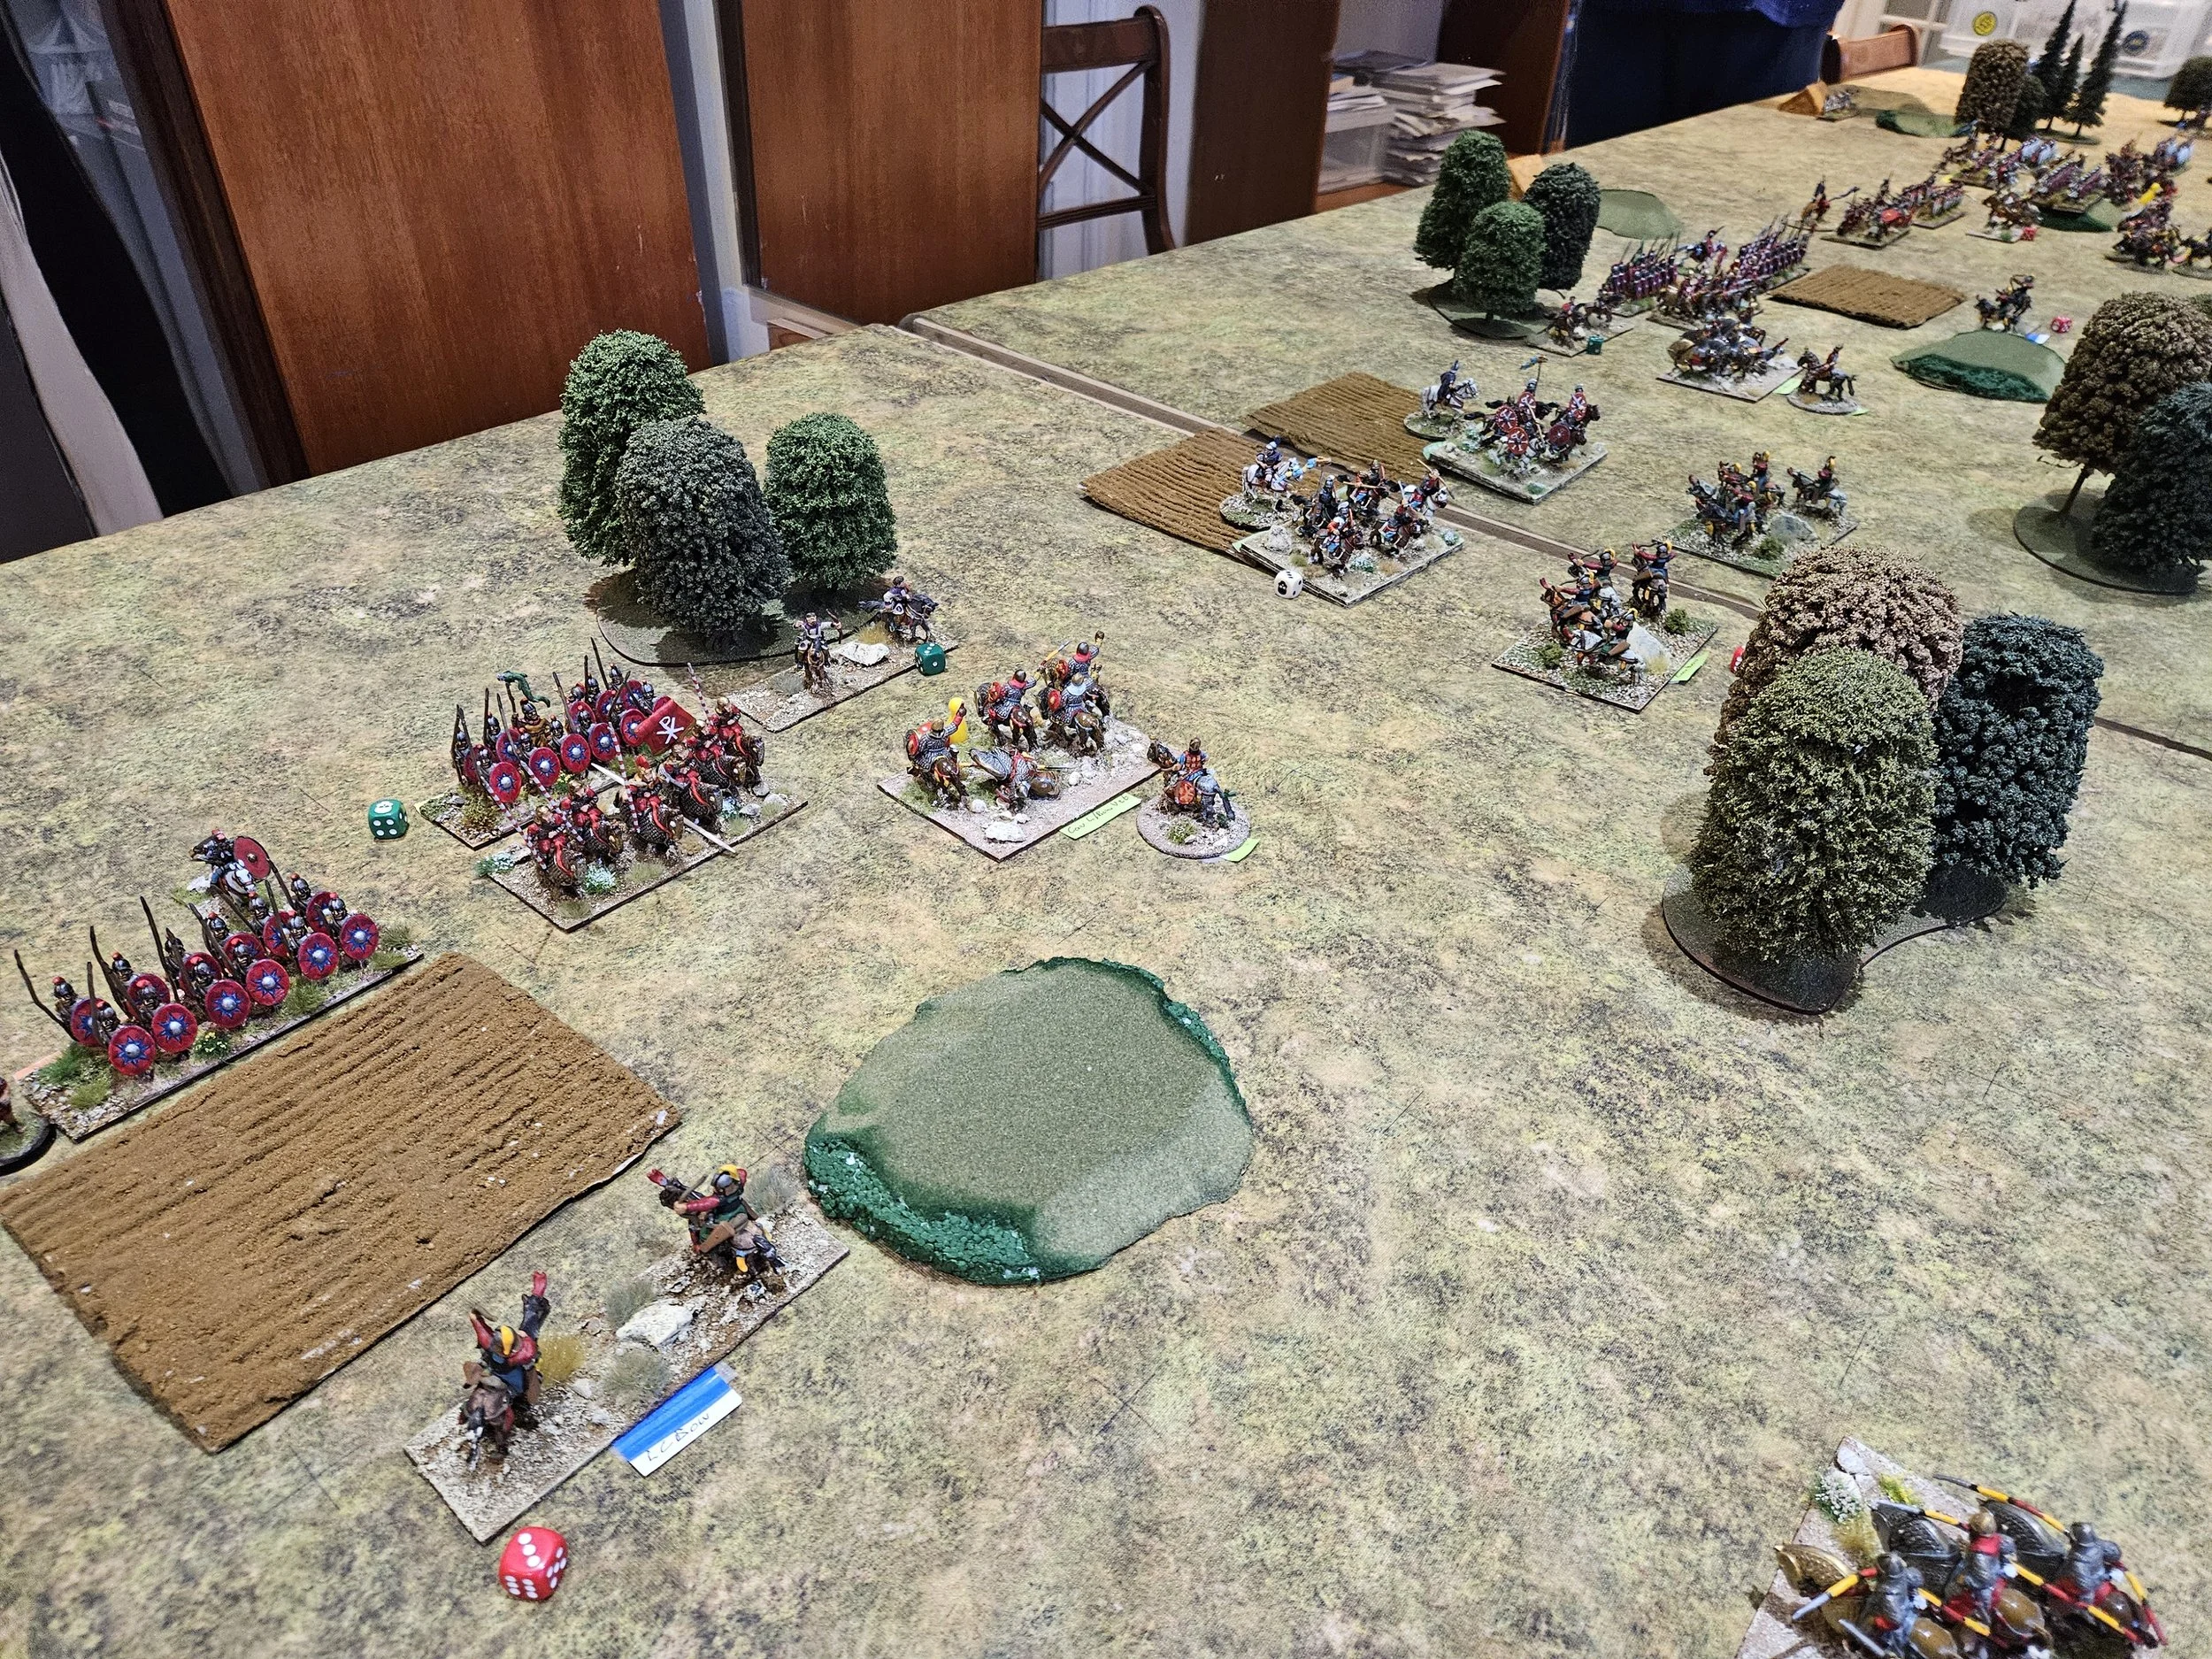
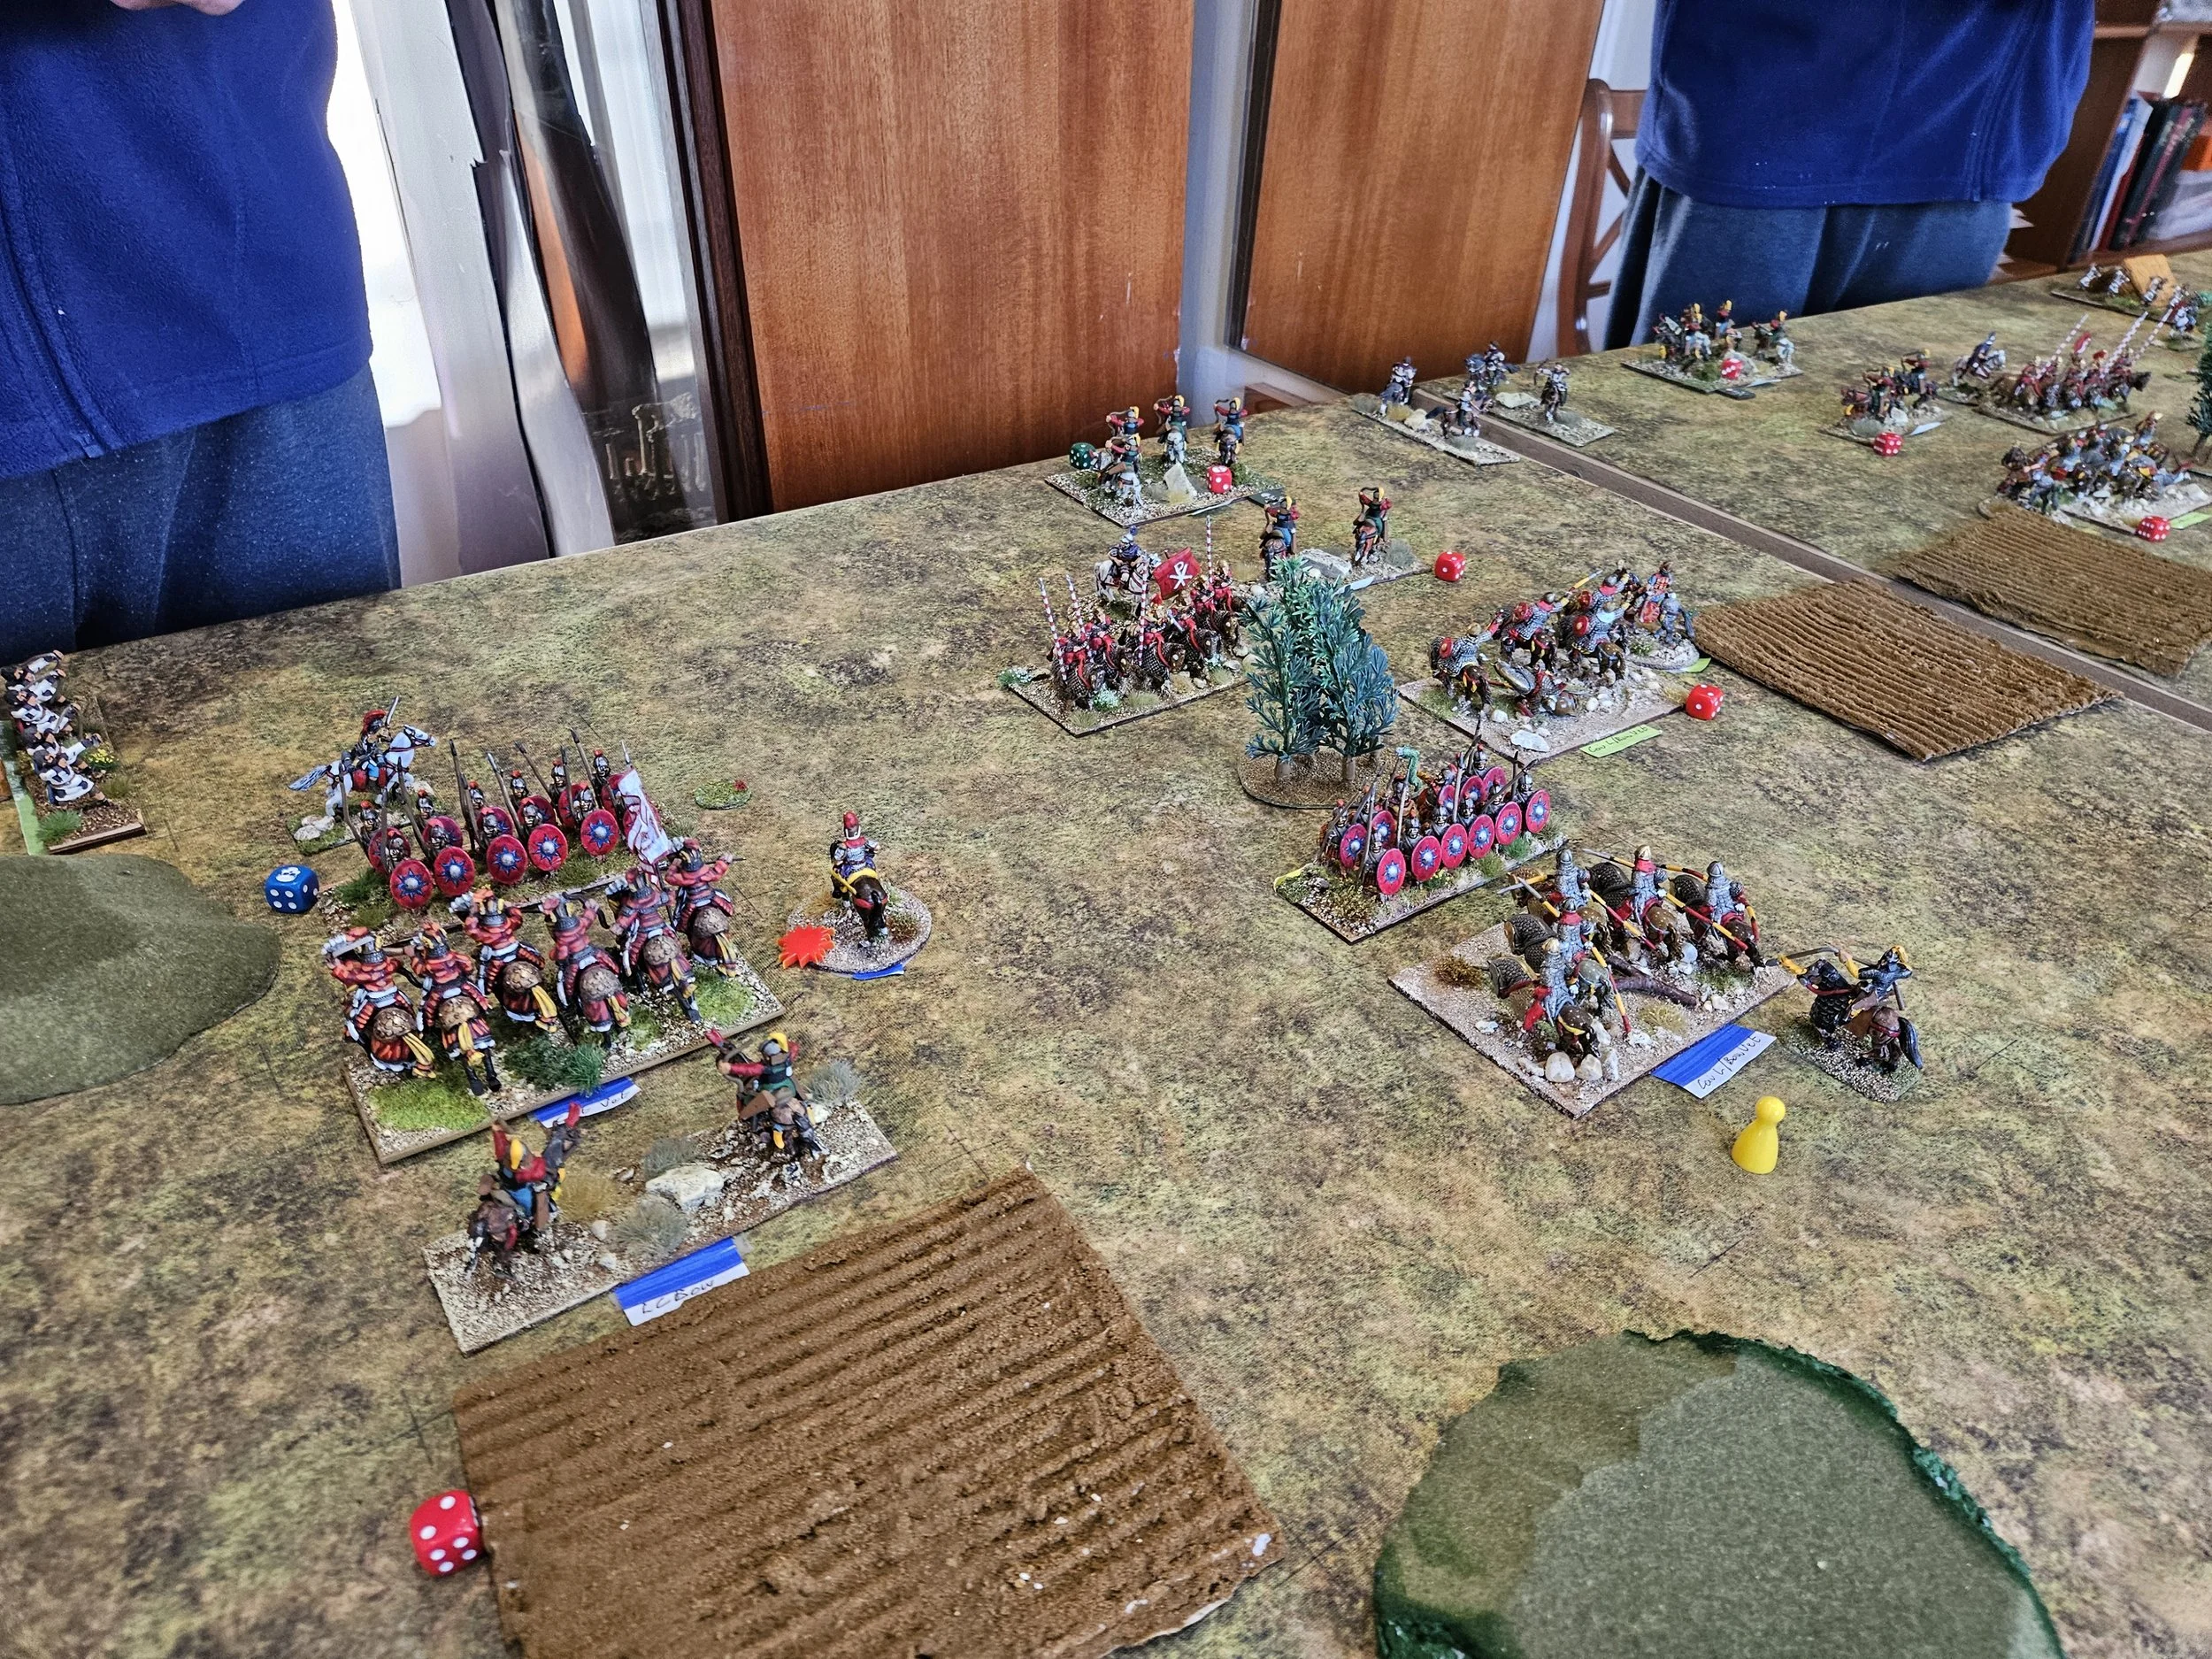
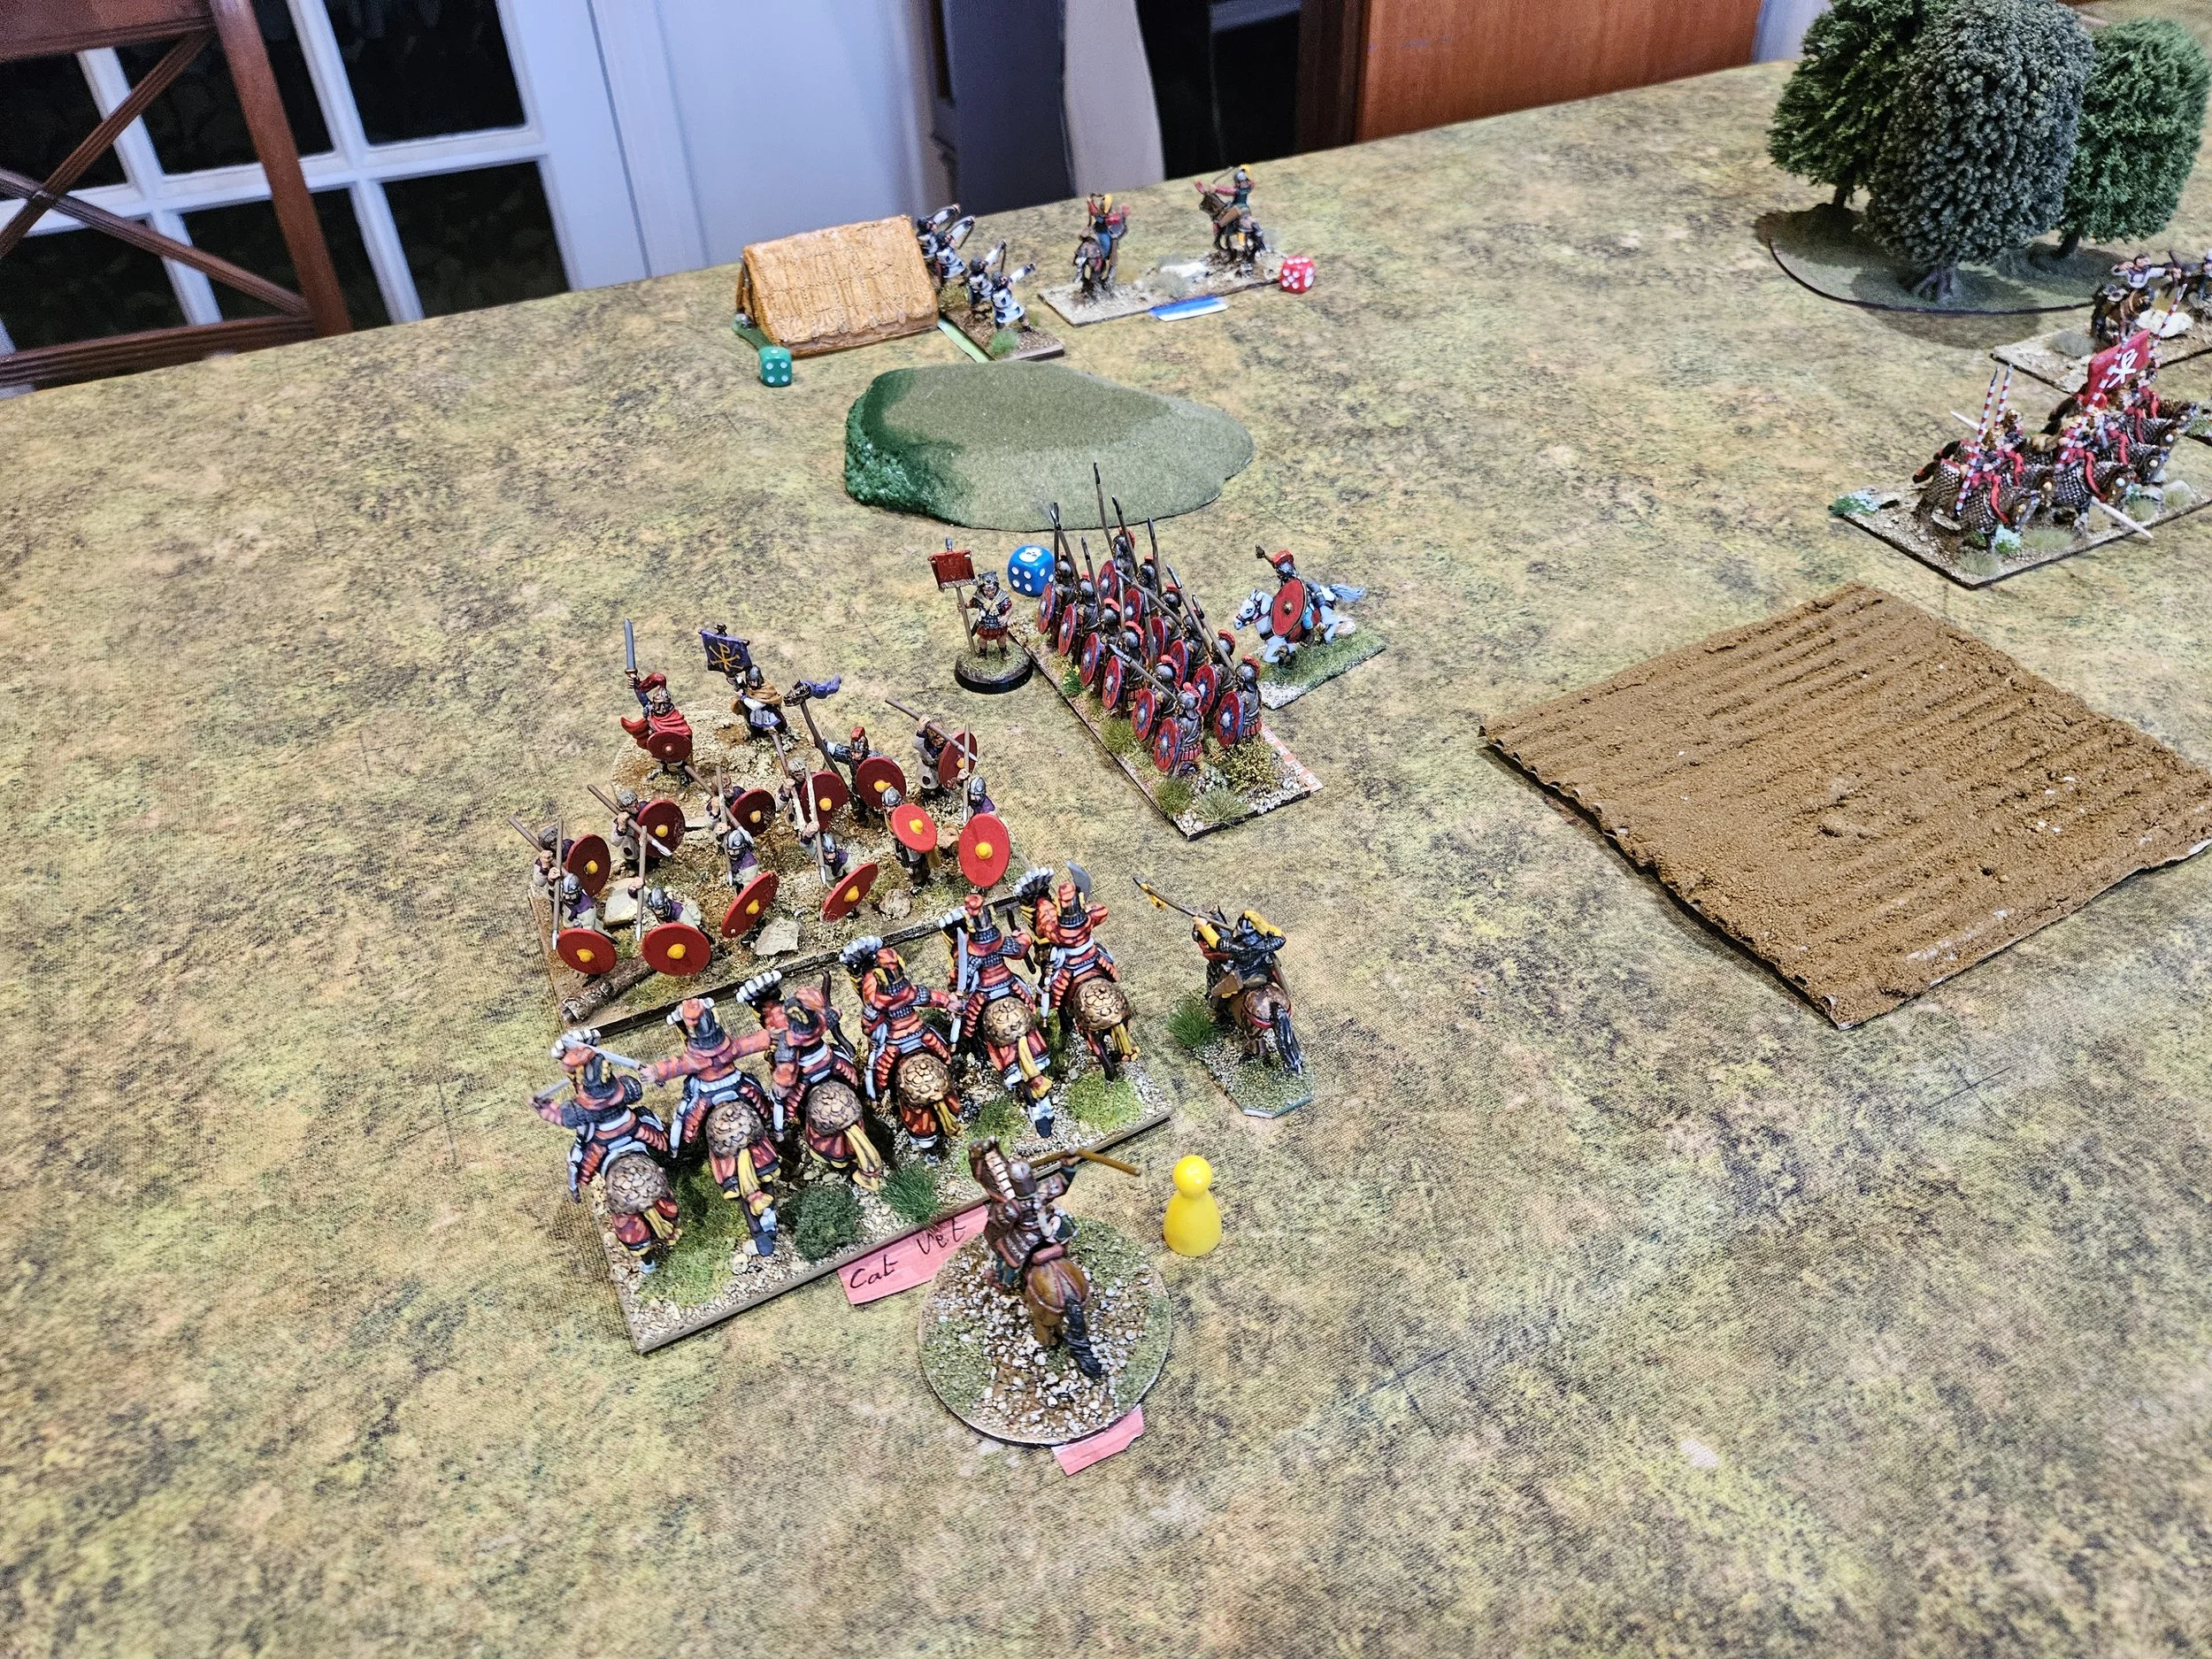
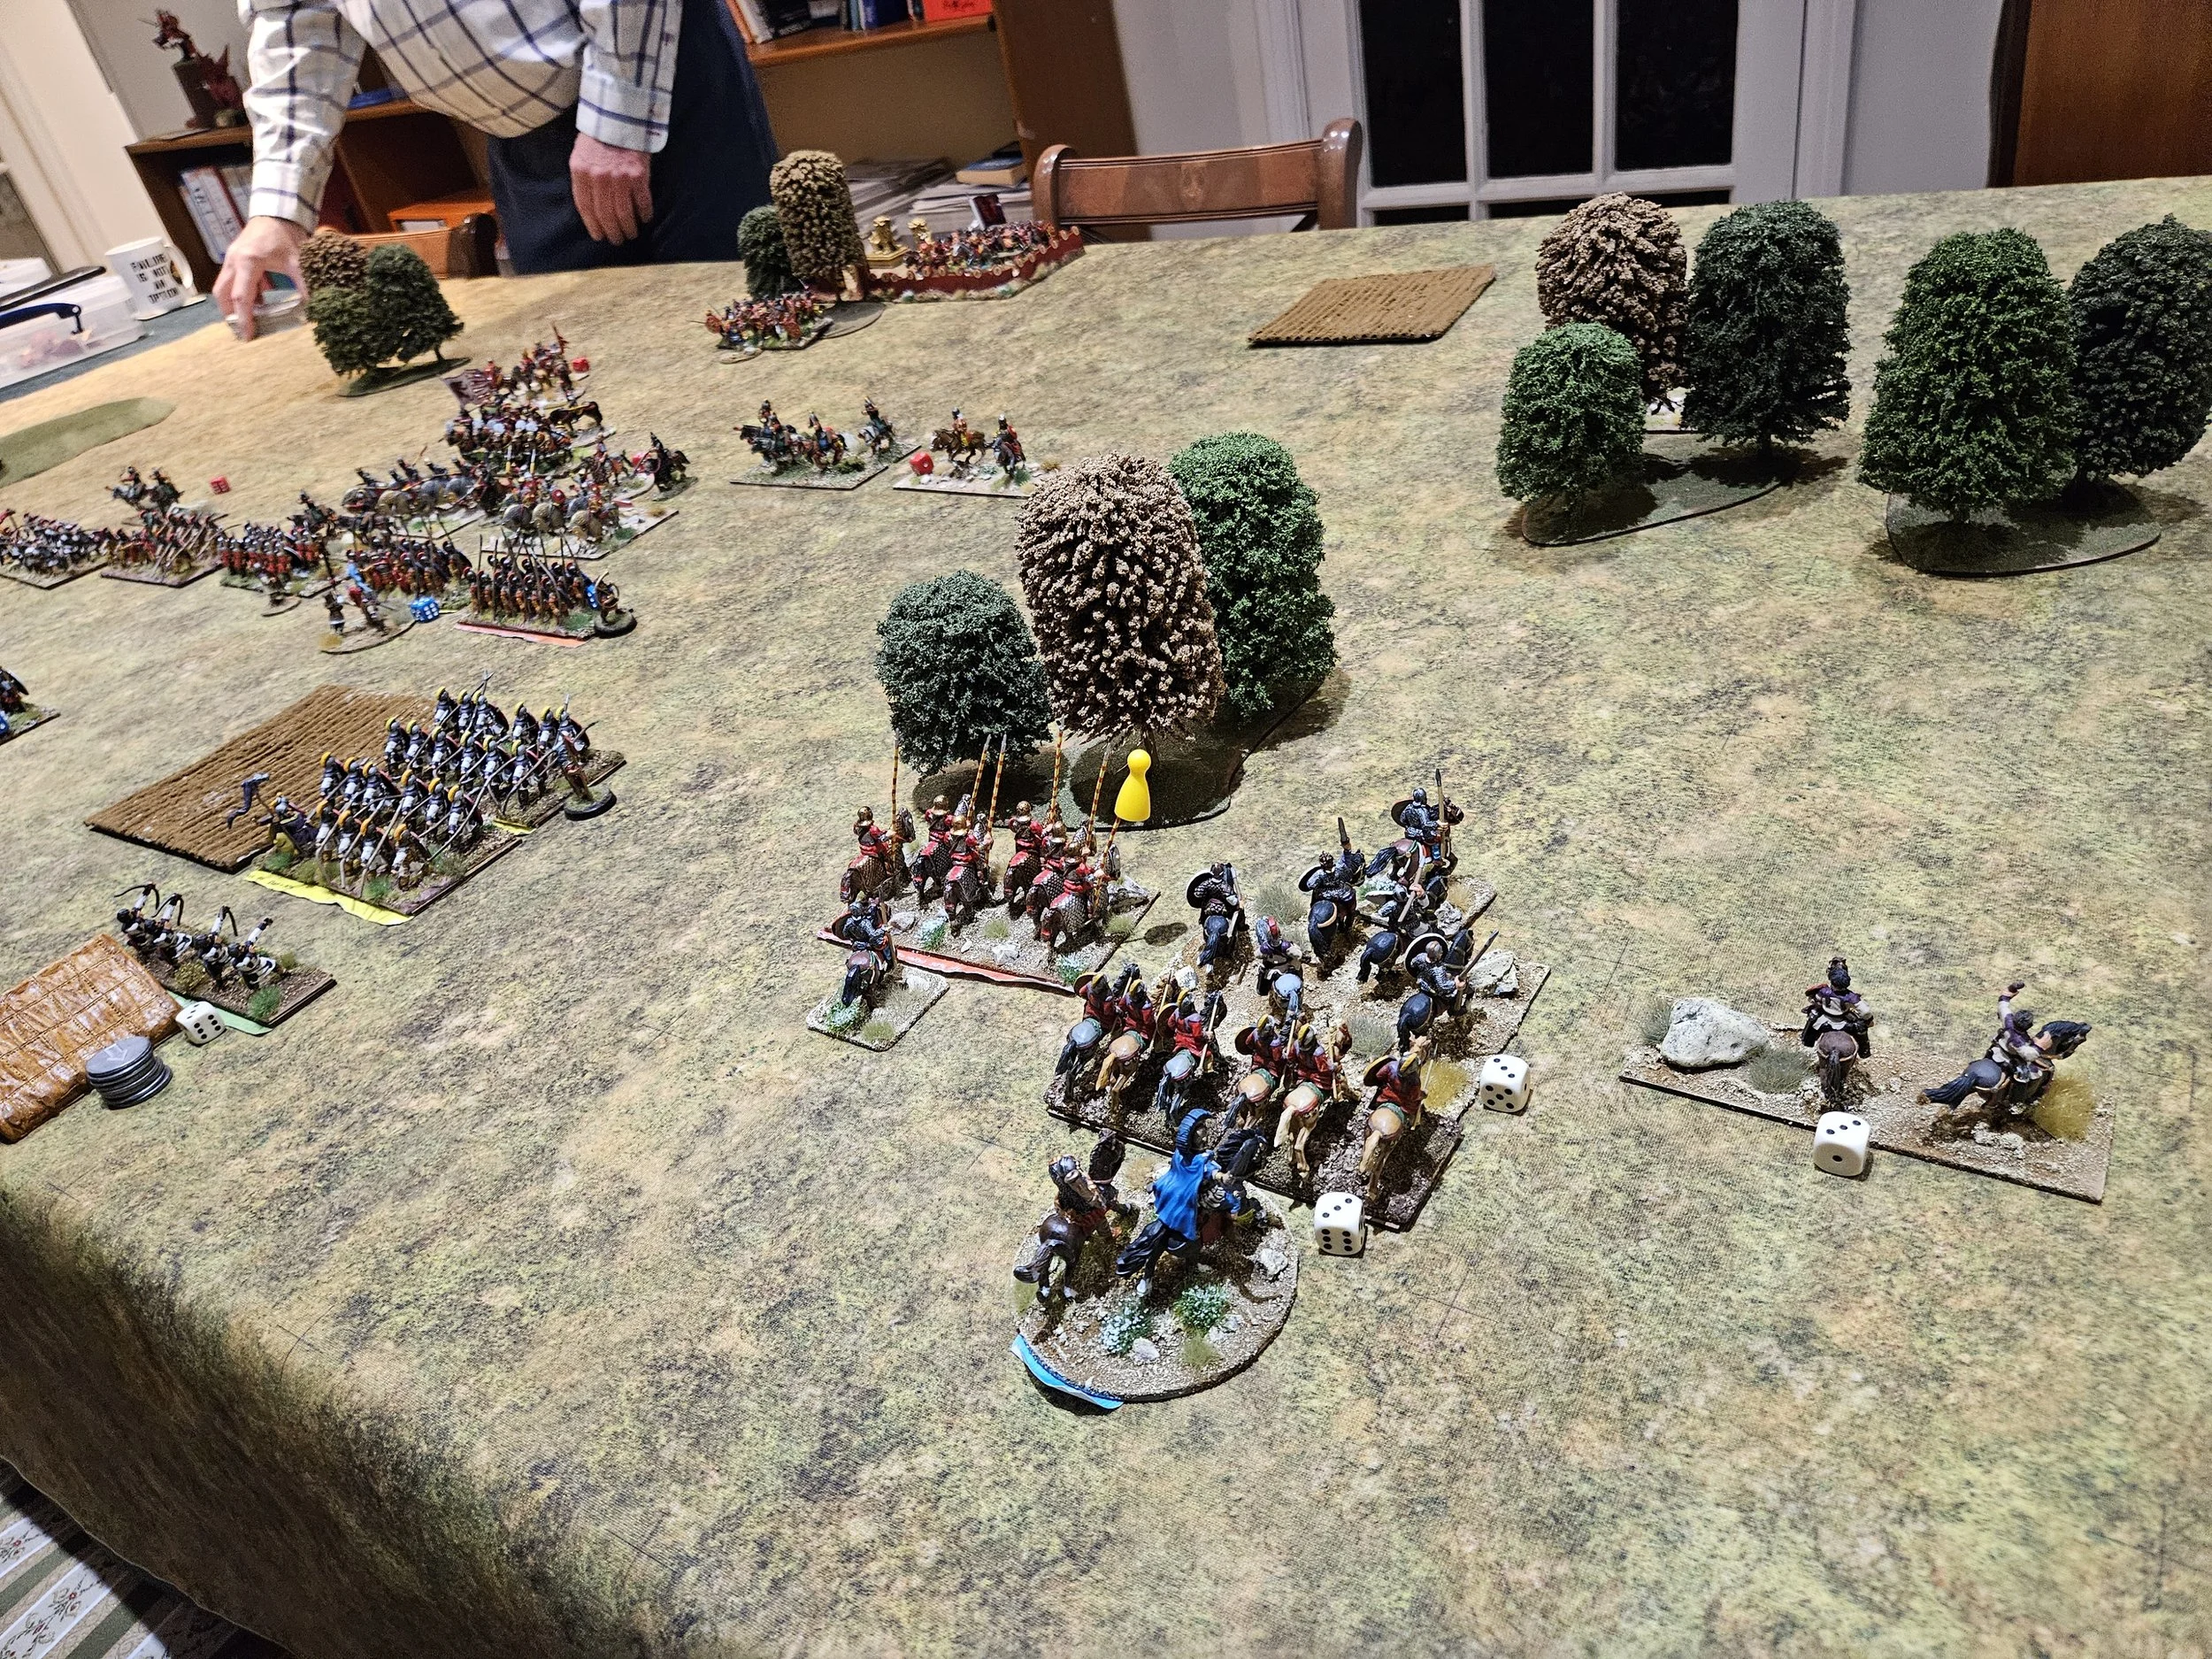
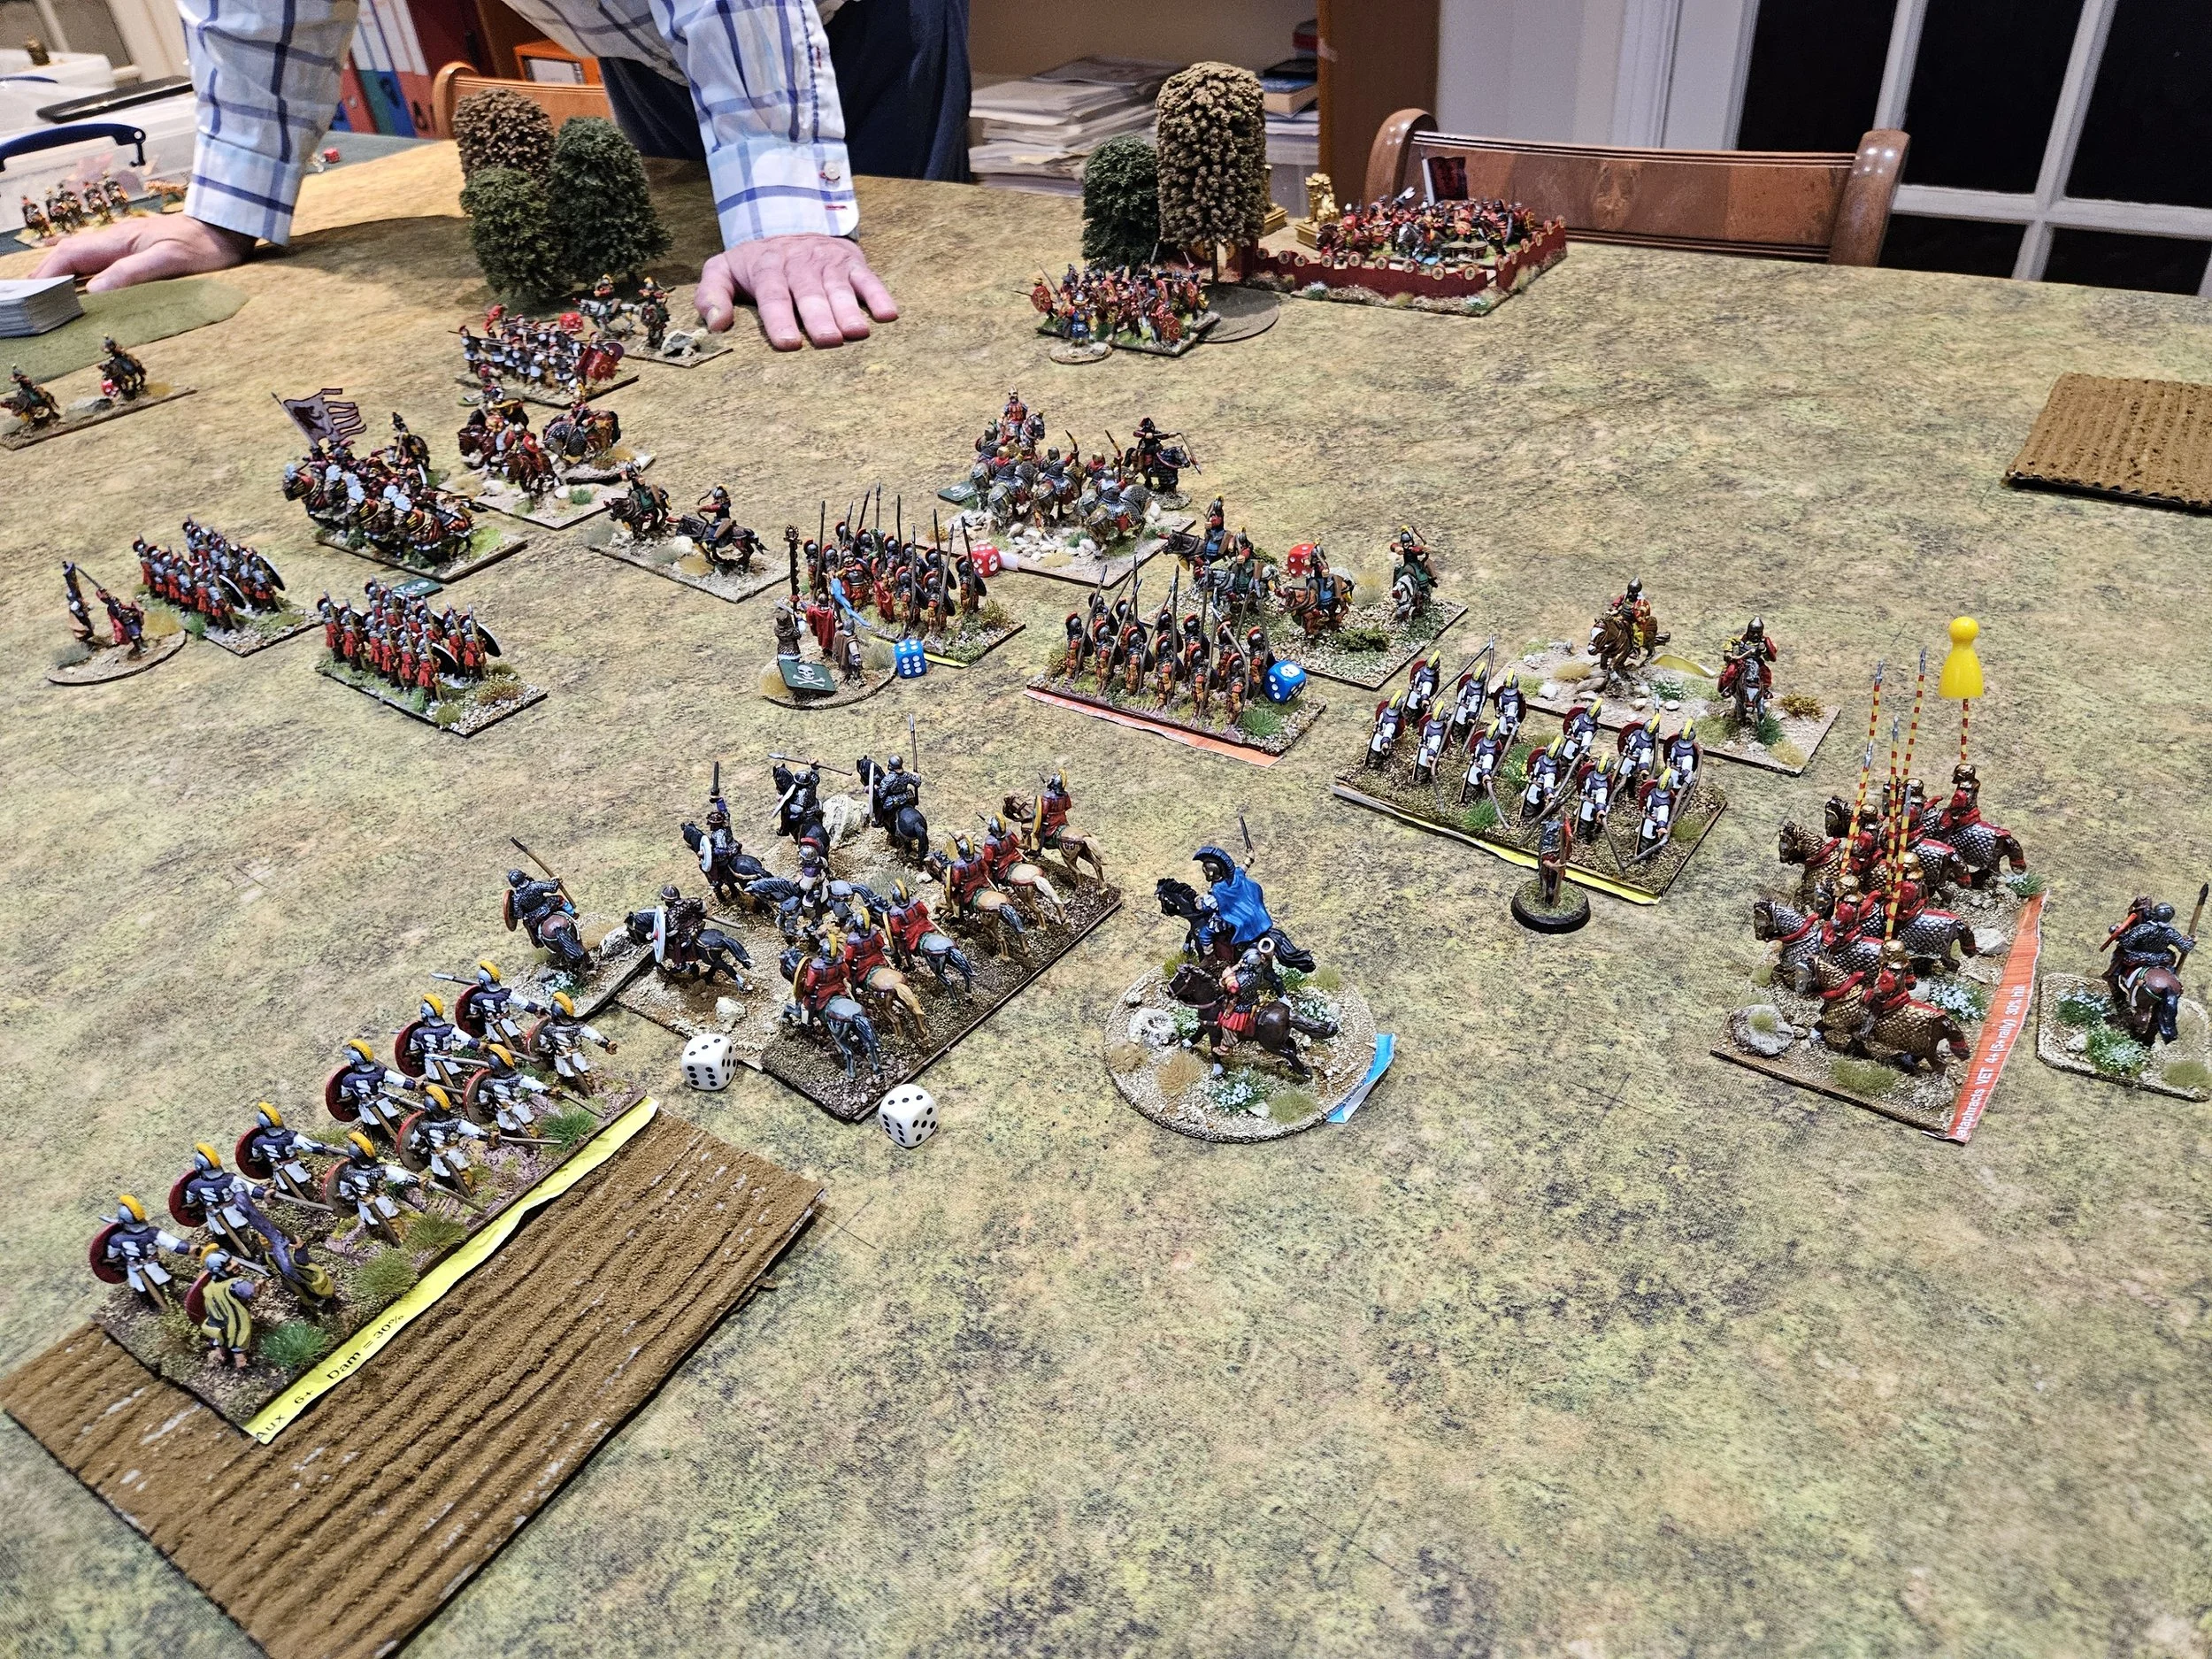
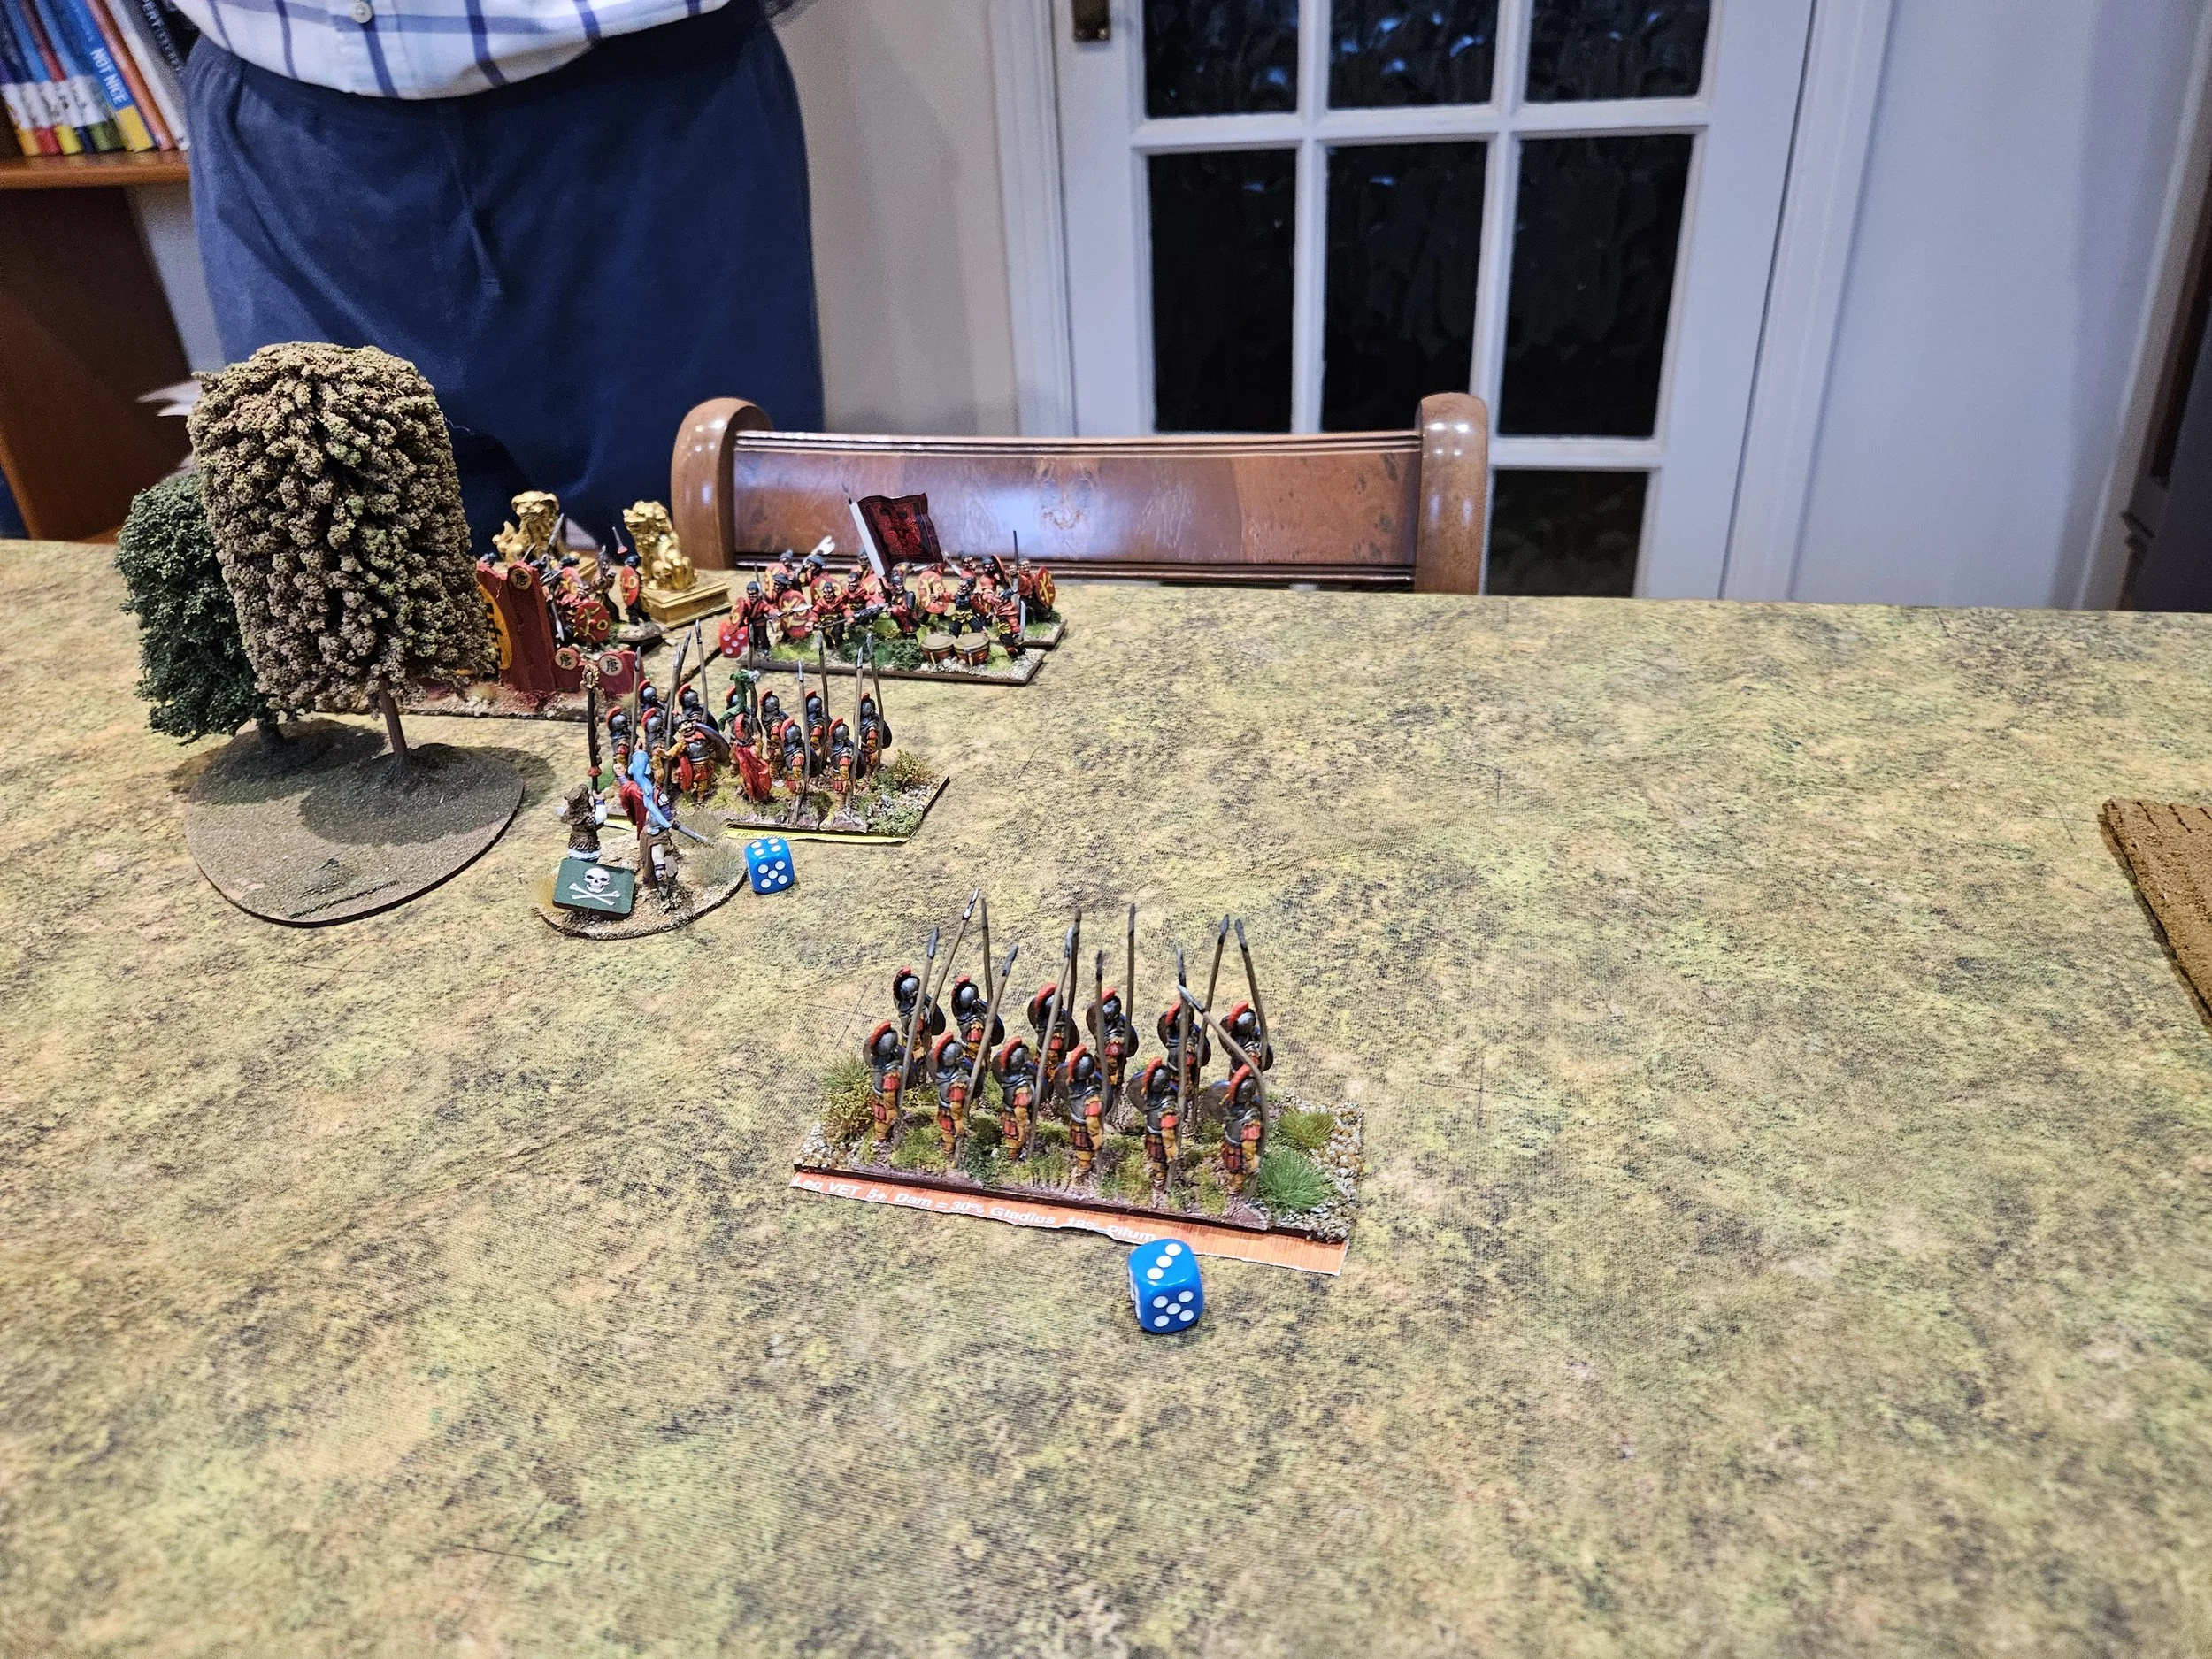
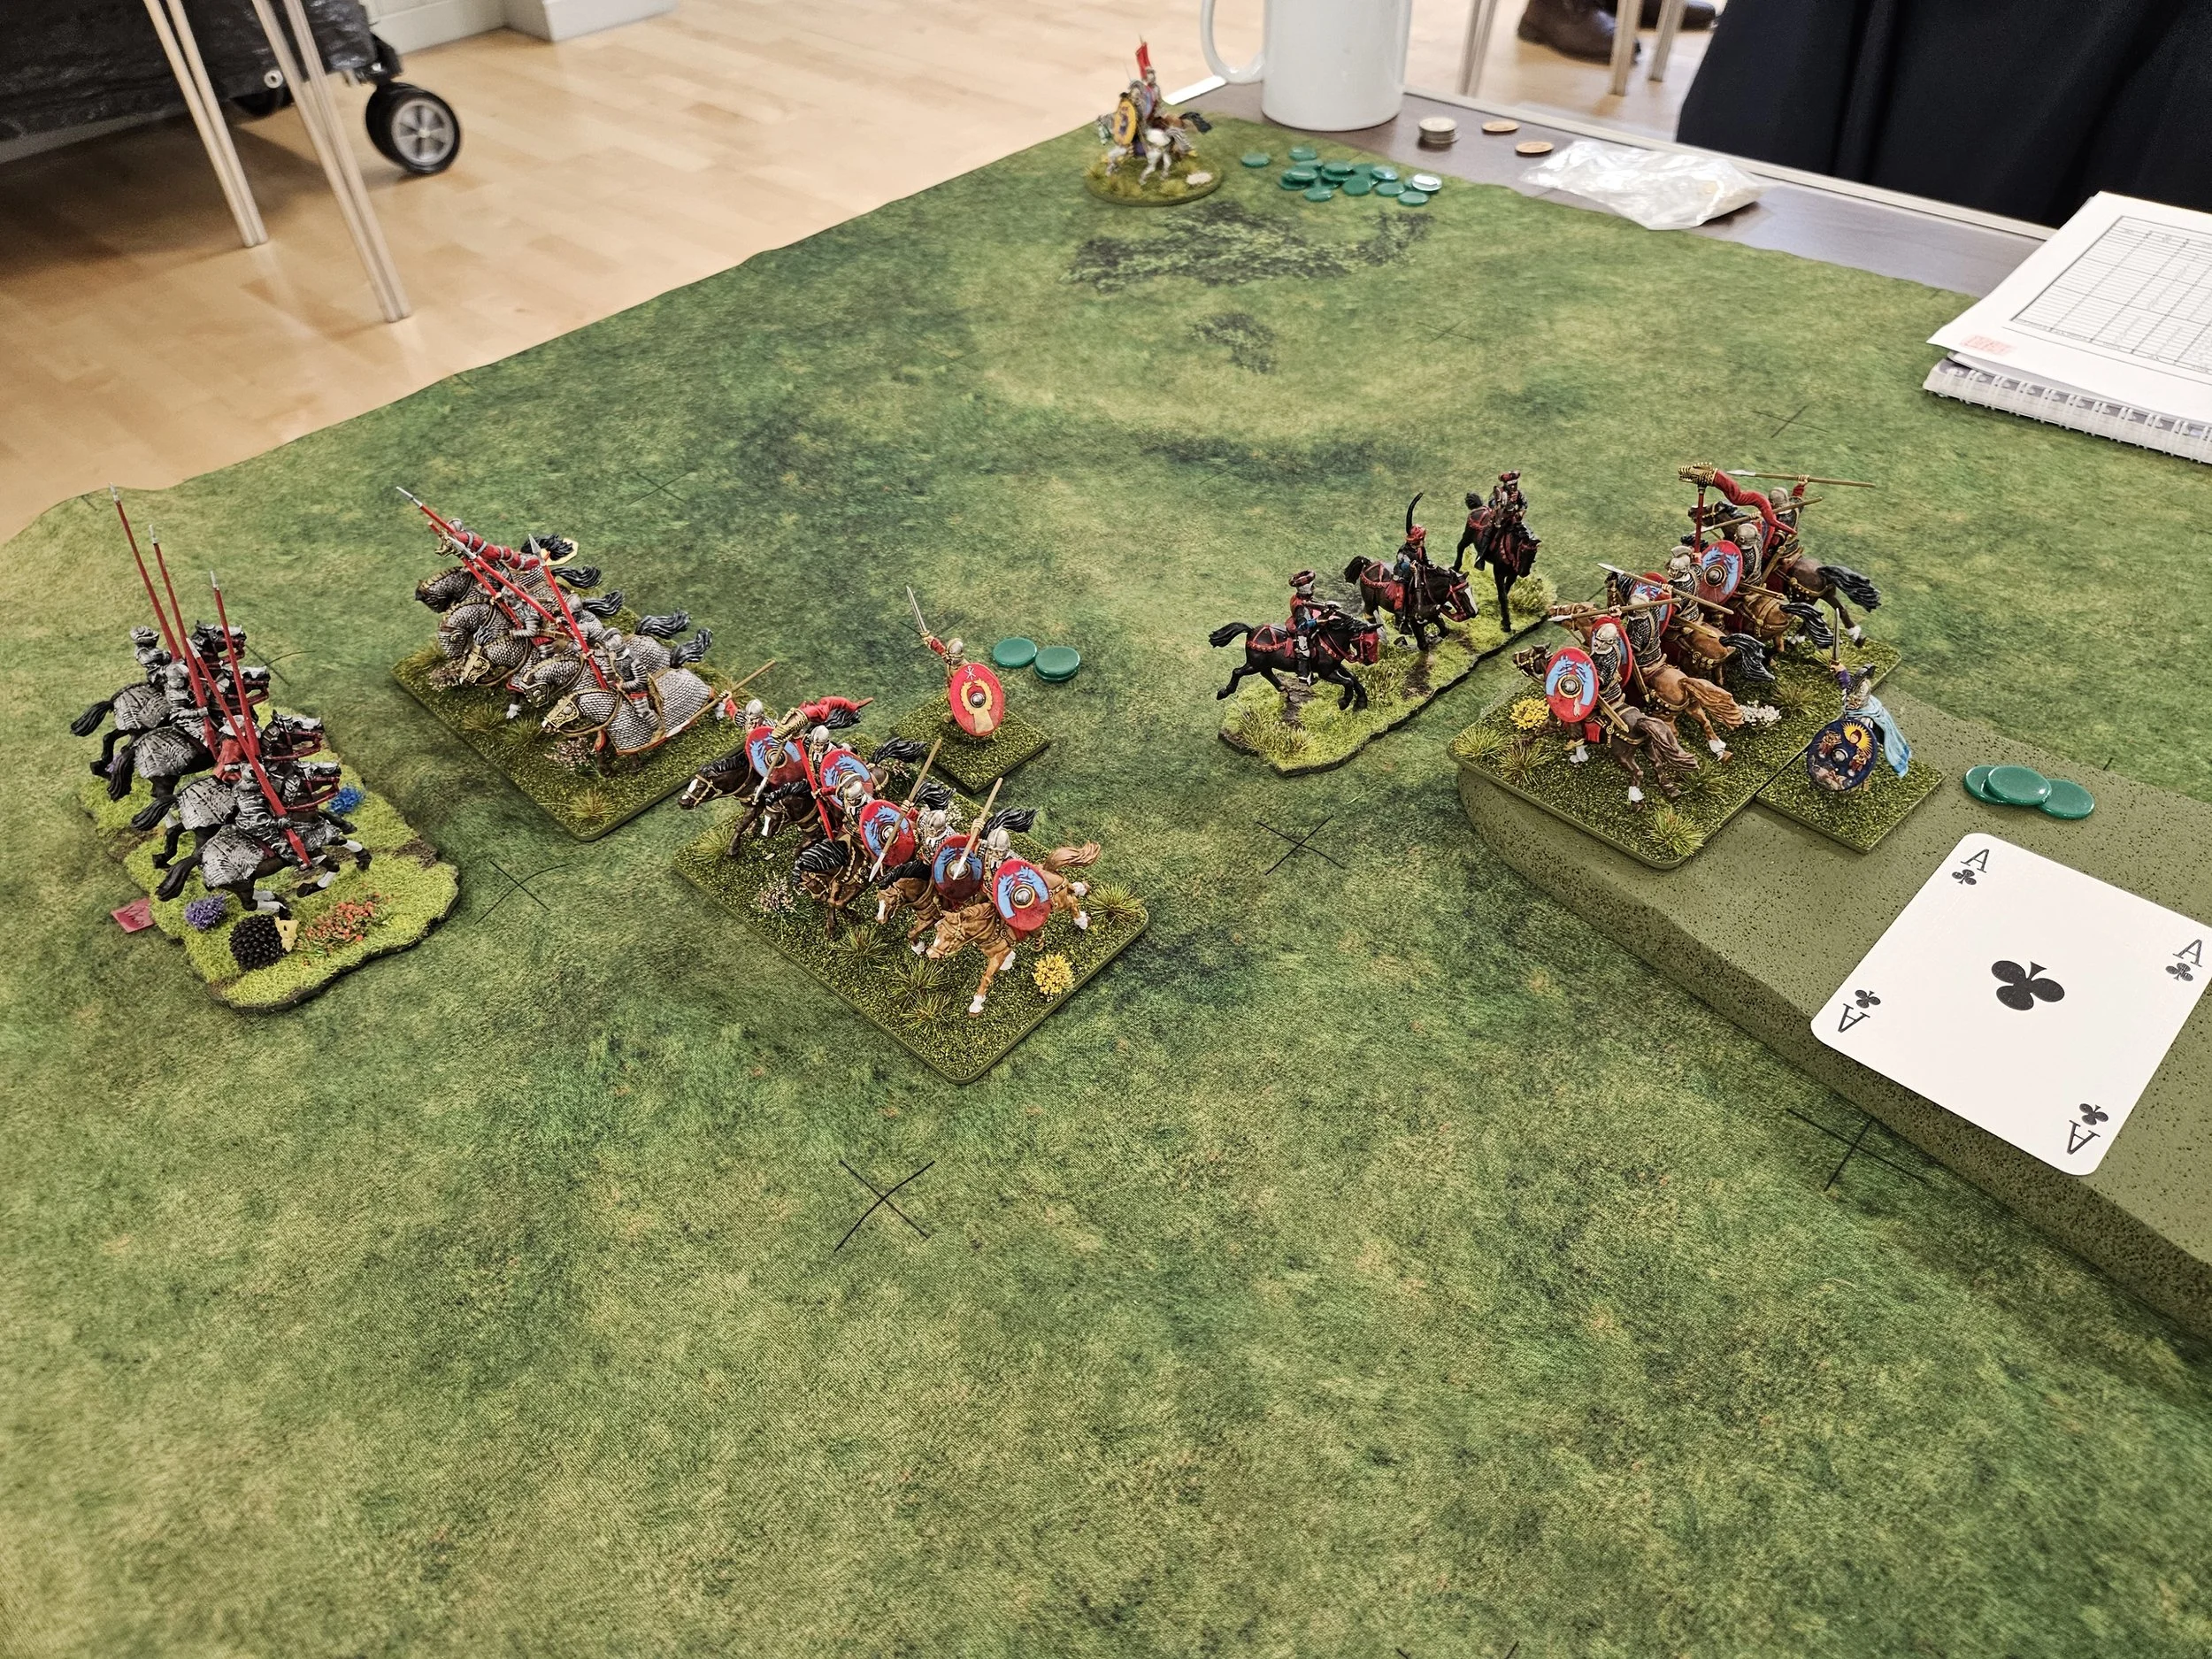
The Romans, now realising that they needed to get their infantry into action if they were to save the game, advanced one unit of Legionaries forward, but the Venetian Alabardiers met them in the middle and disordered them with their halberds.
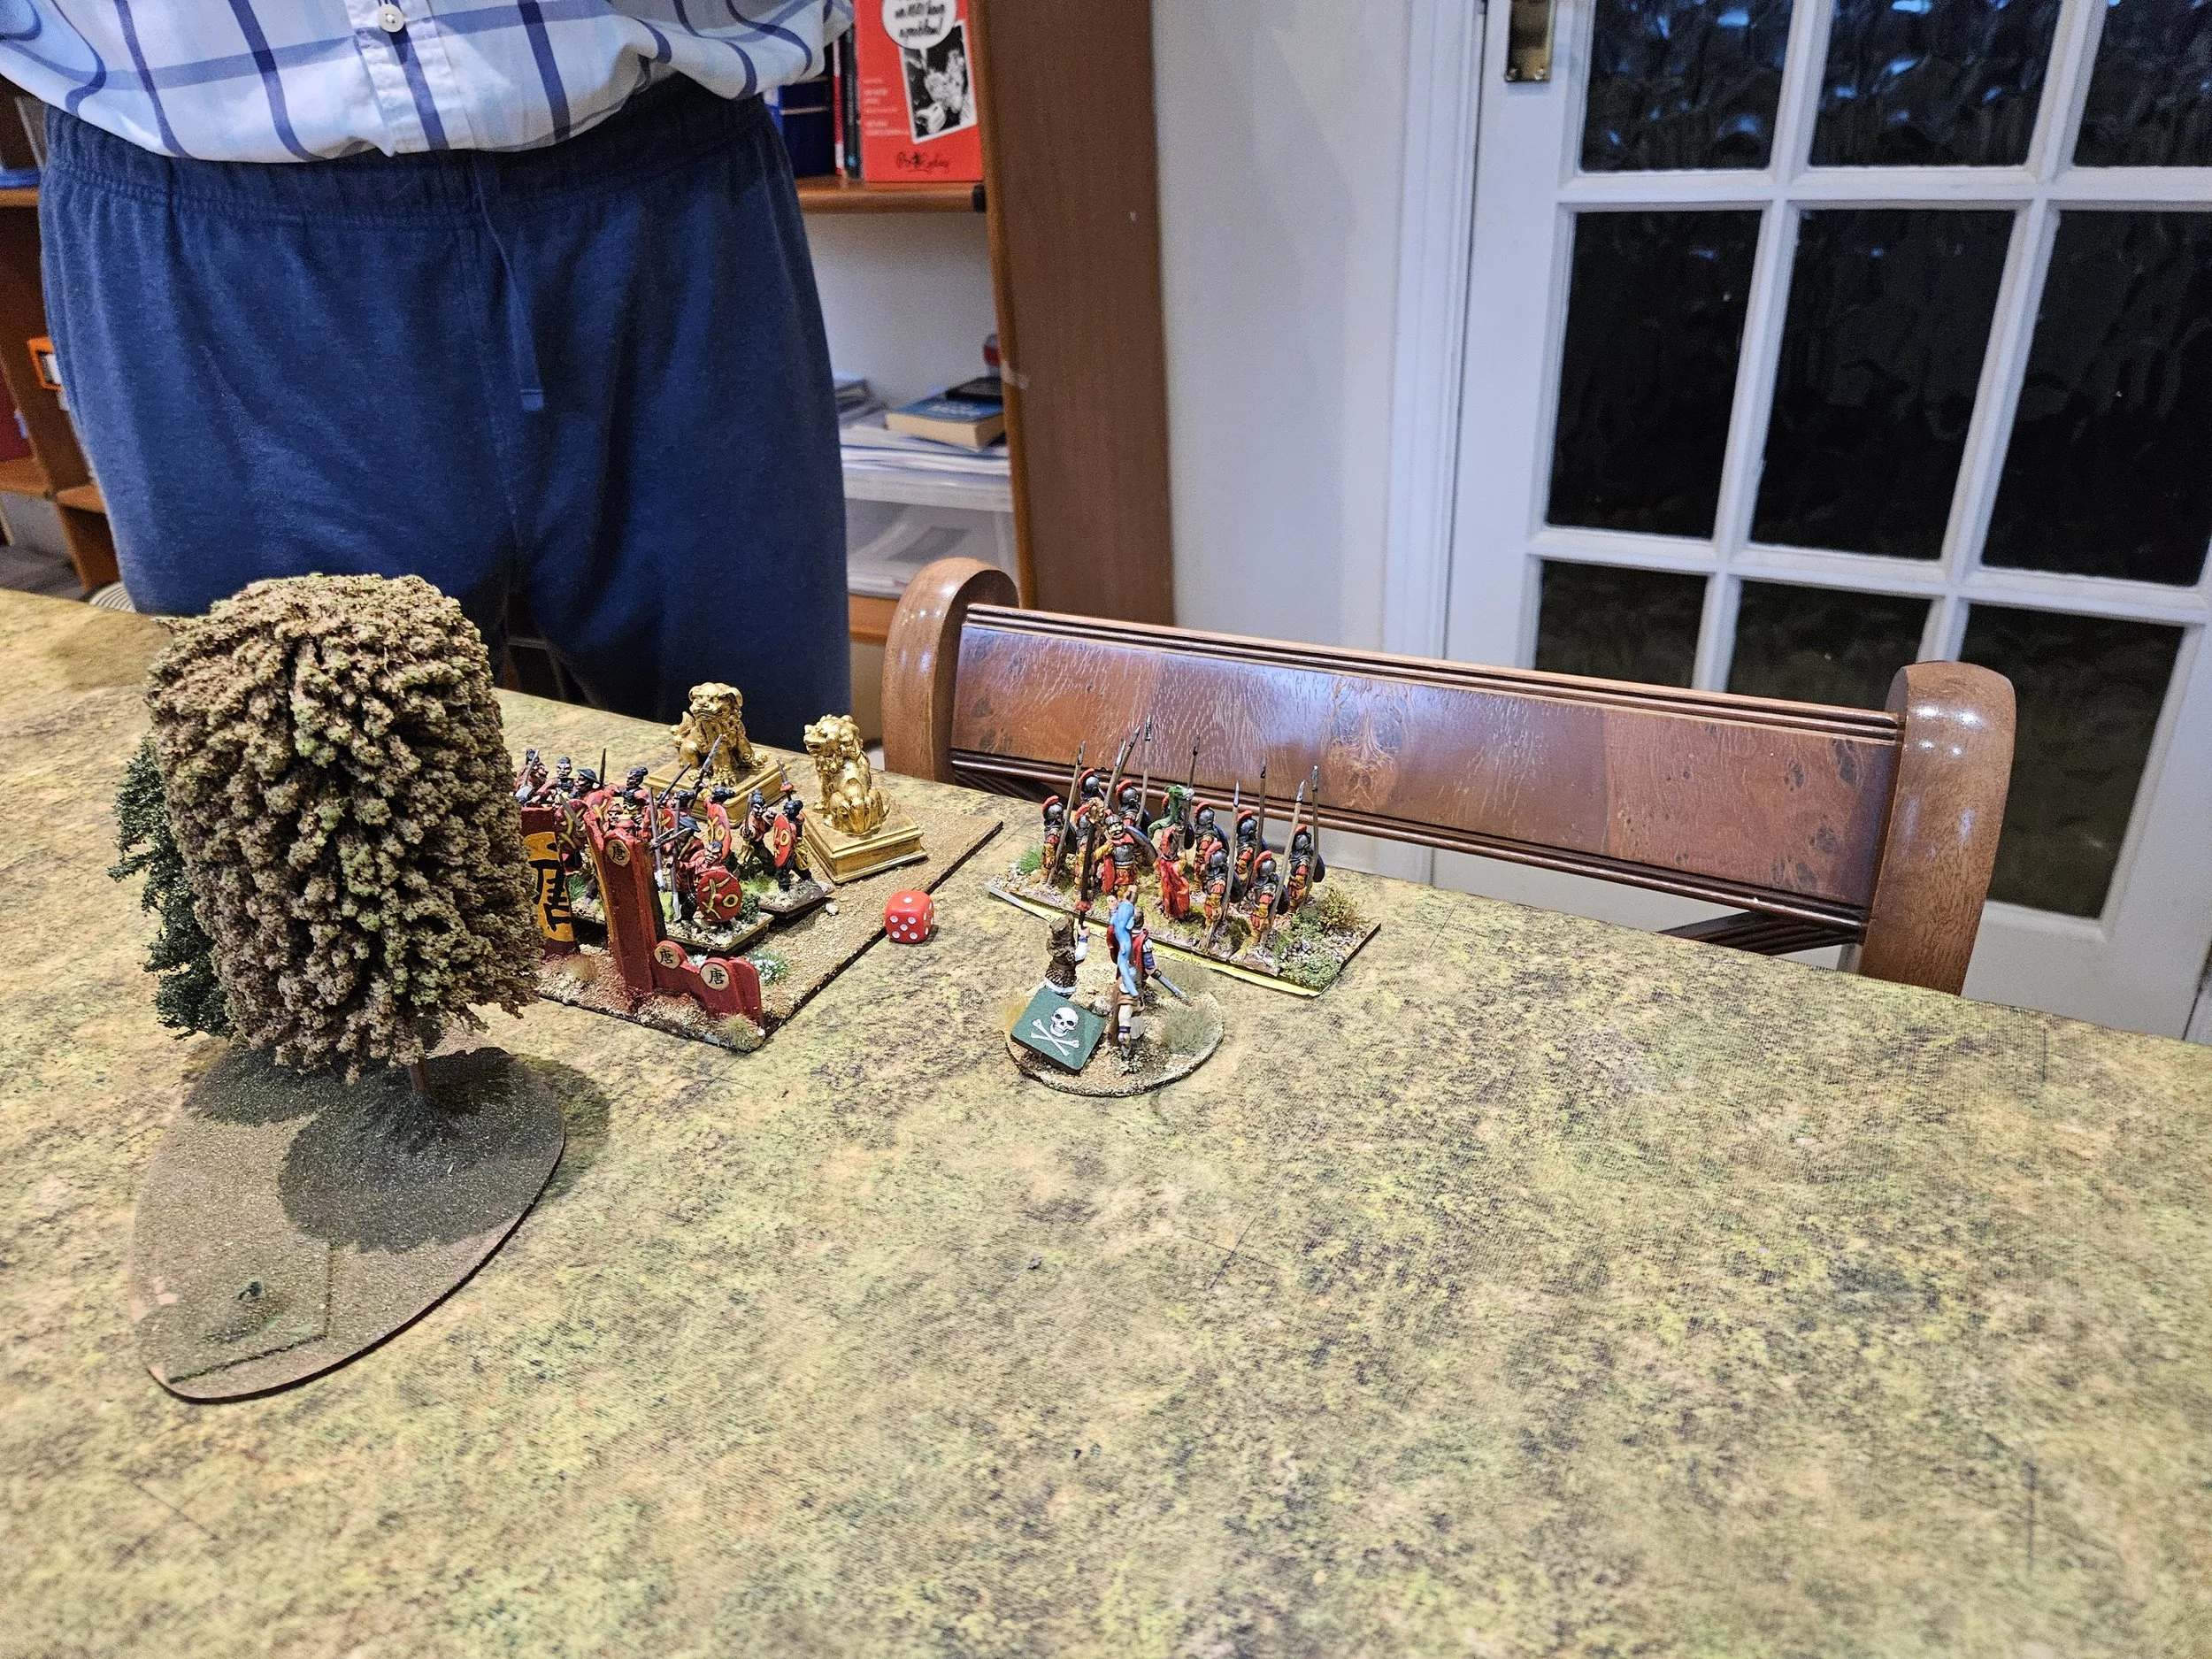
The disordered Legionaries retreated back into their line in order to rally, but this was the opportunity I had been waiting for: a disordered infantry unit in range of my right hand lancers.
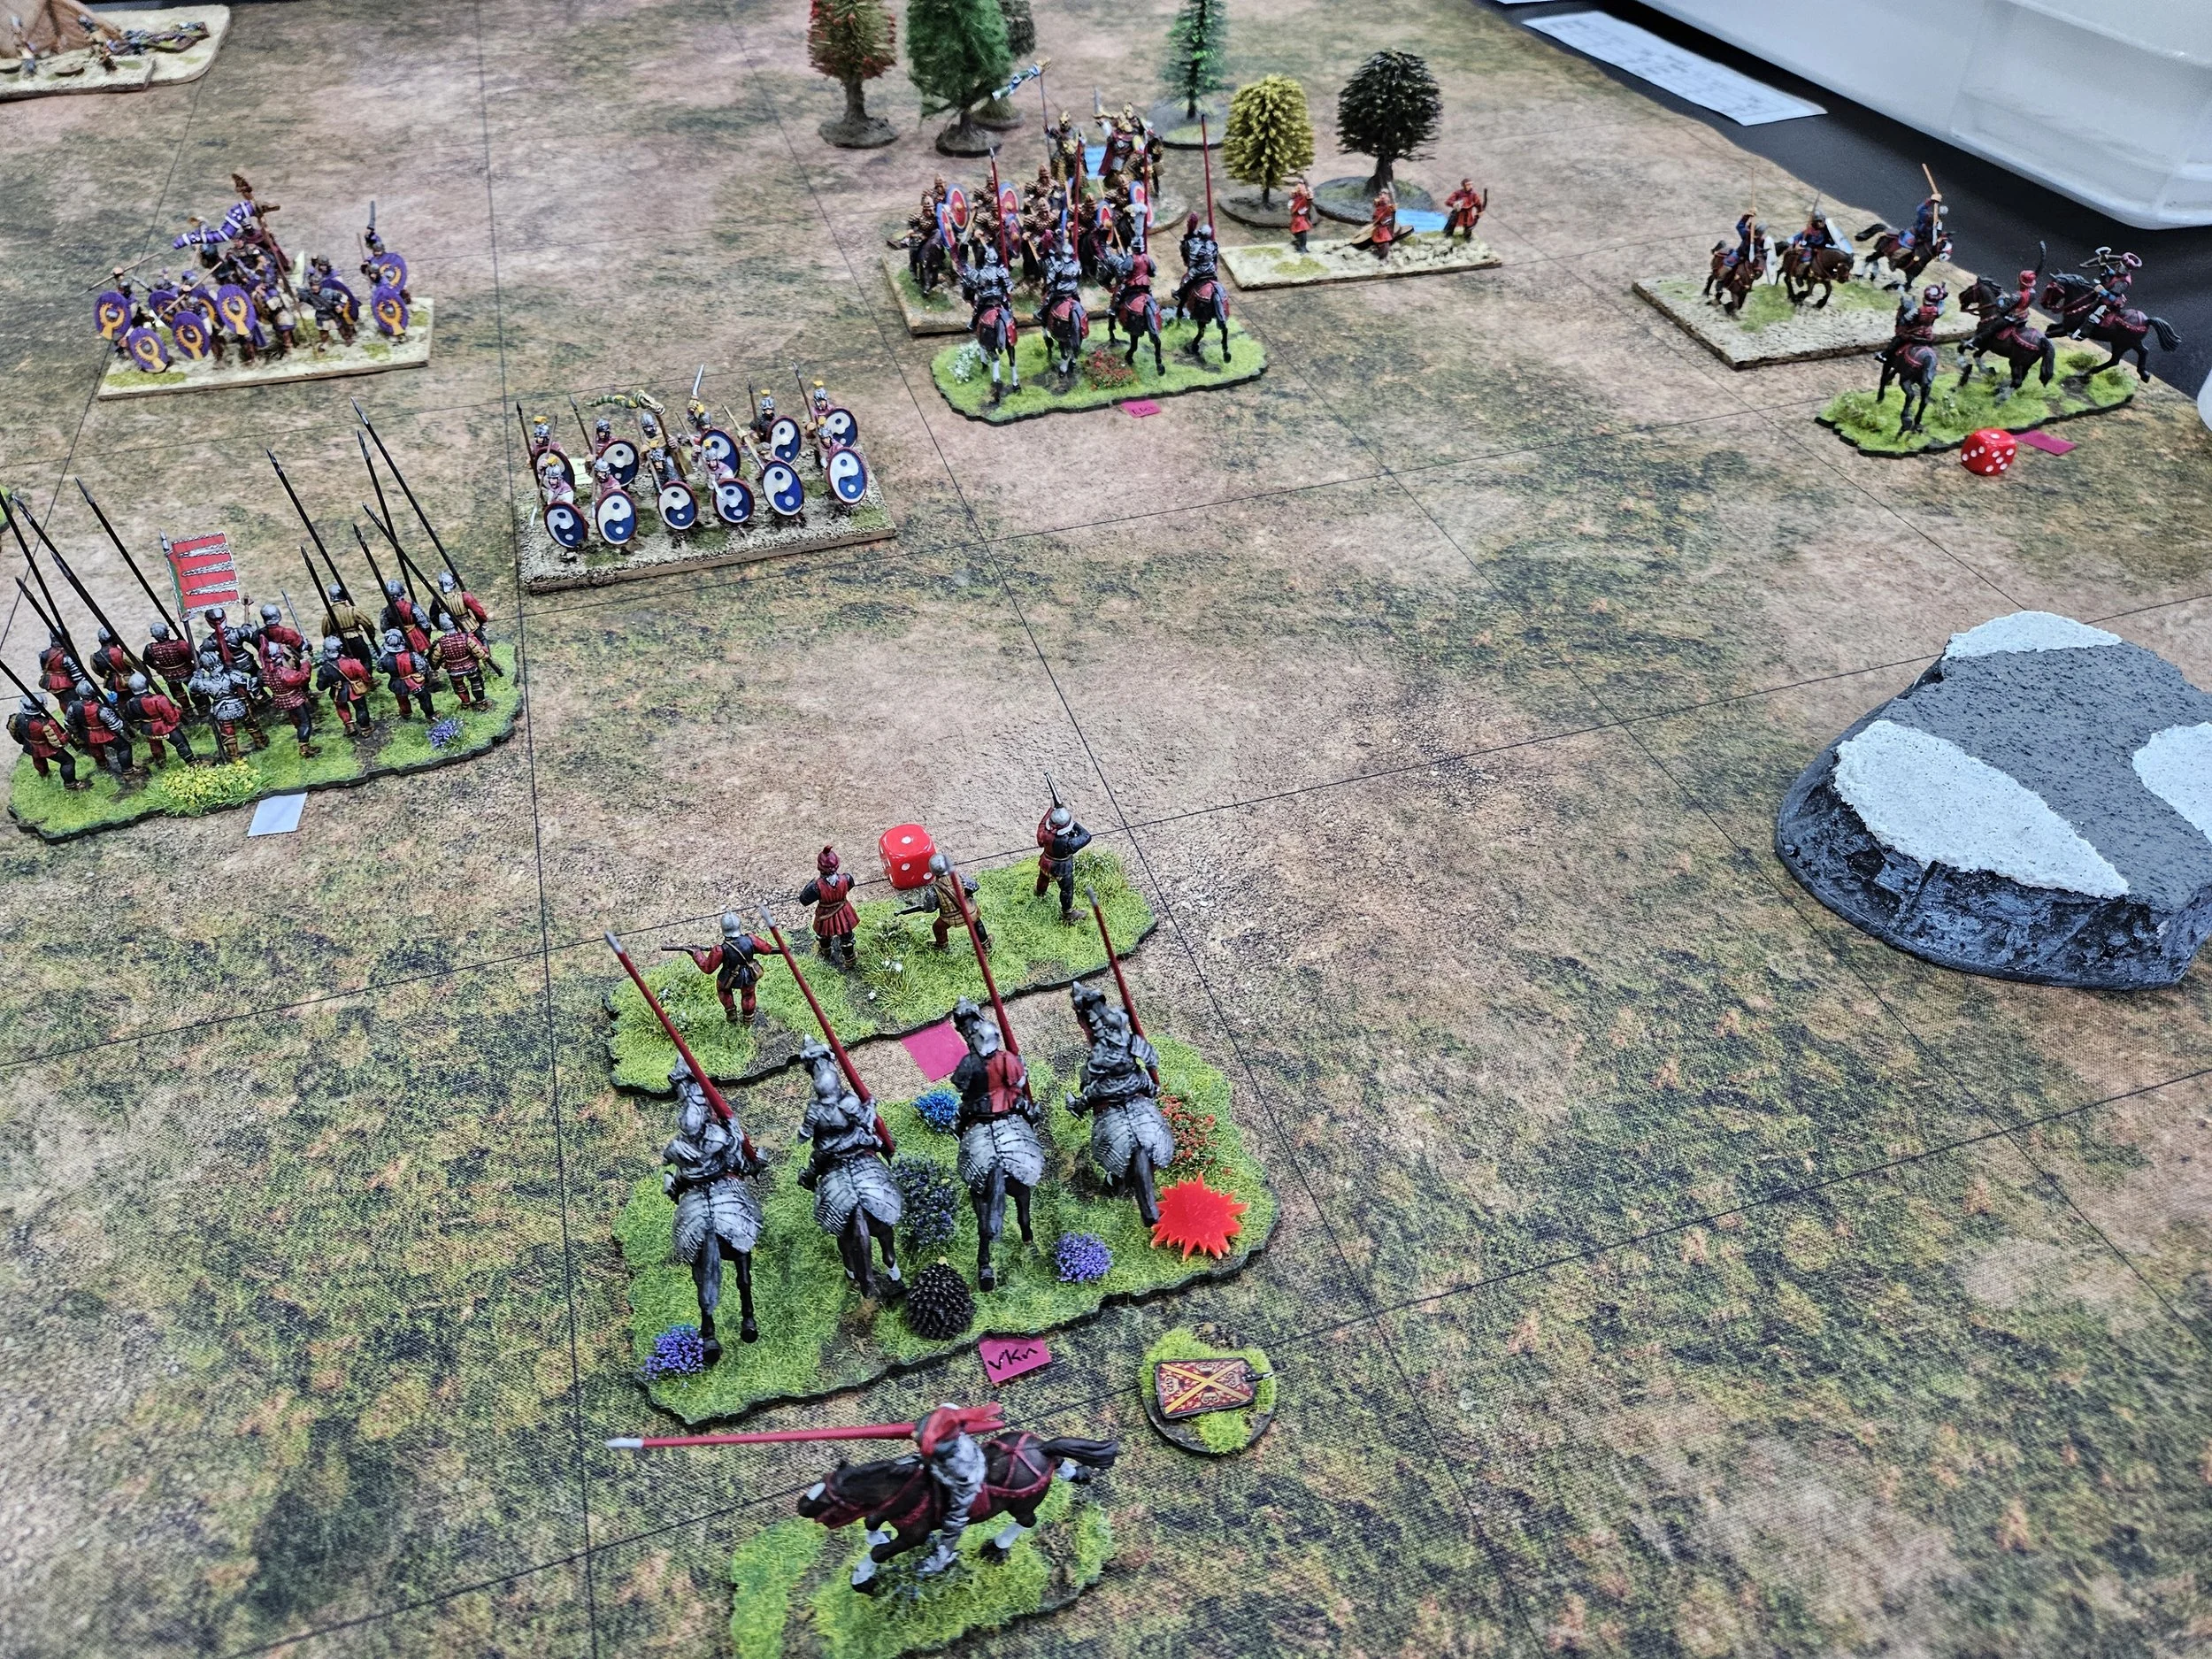
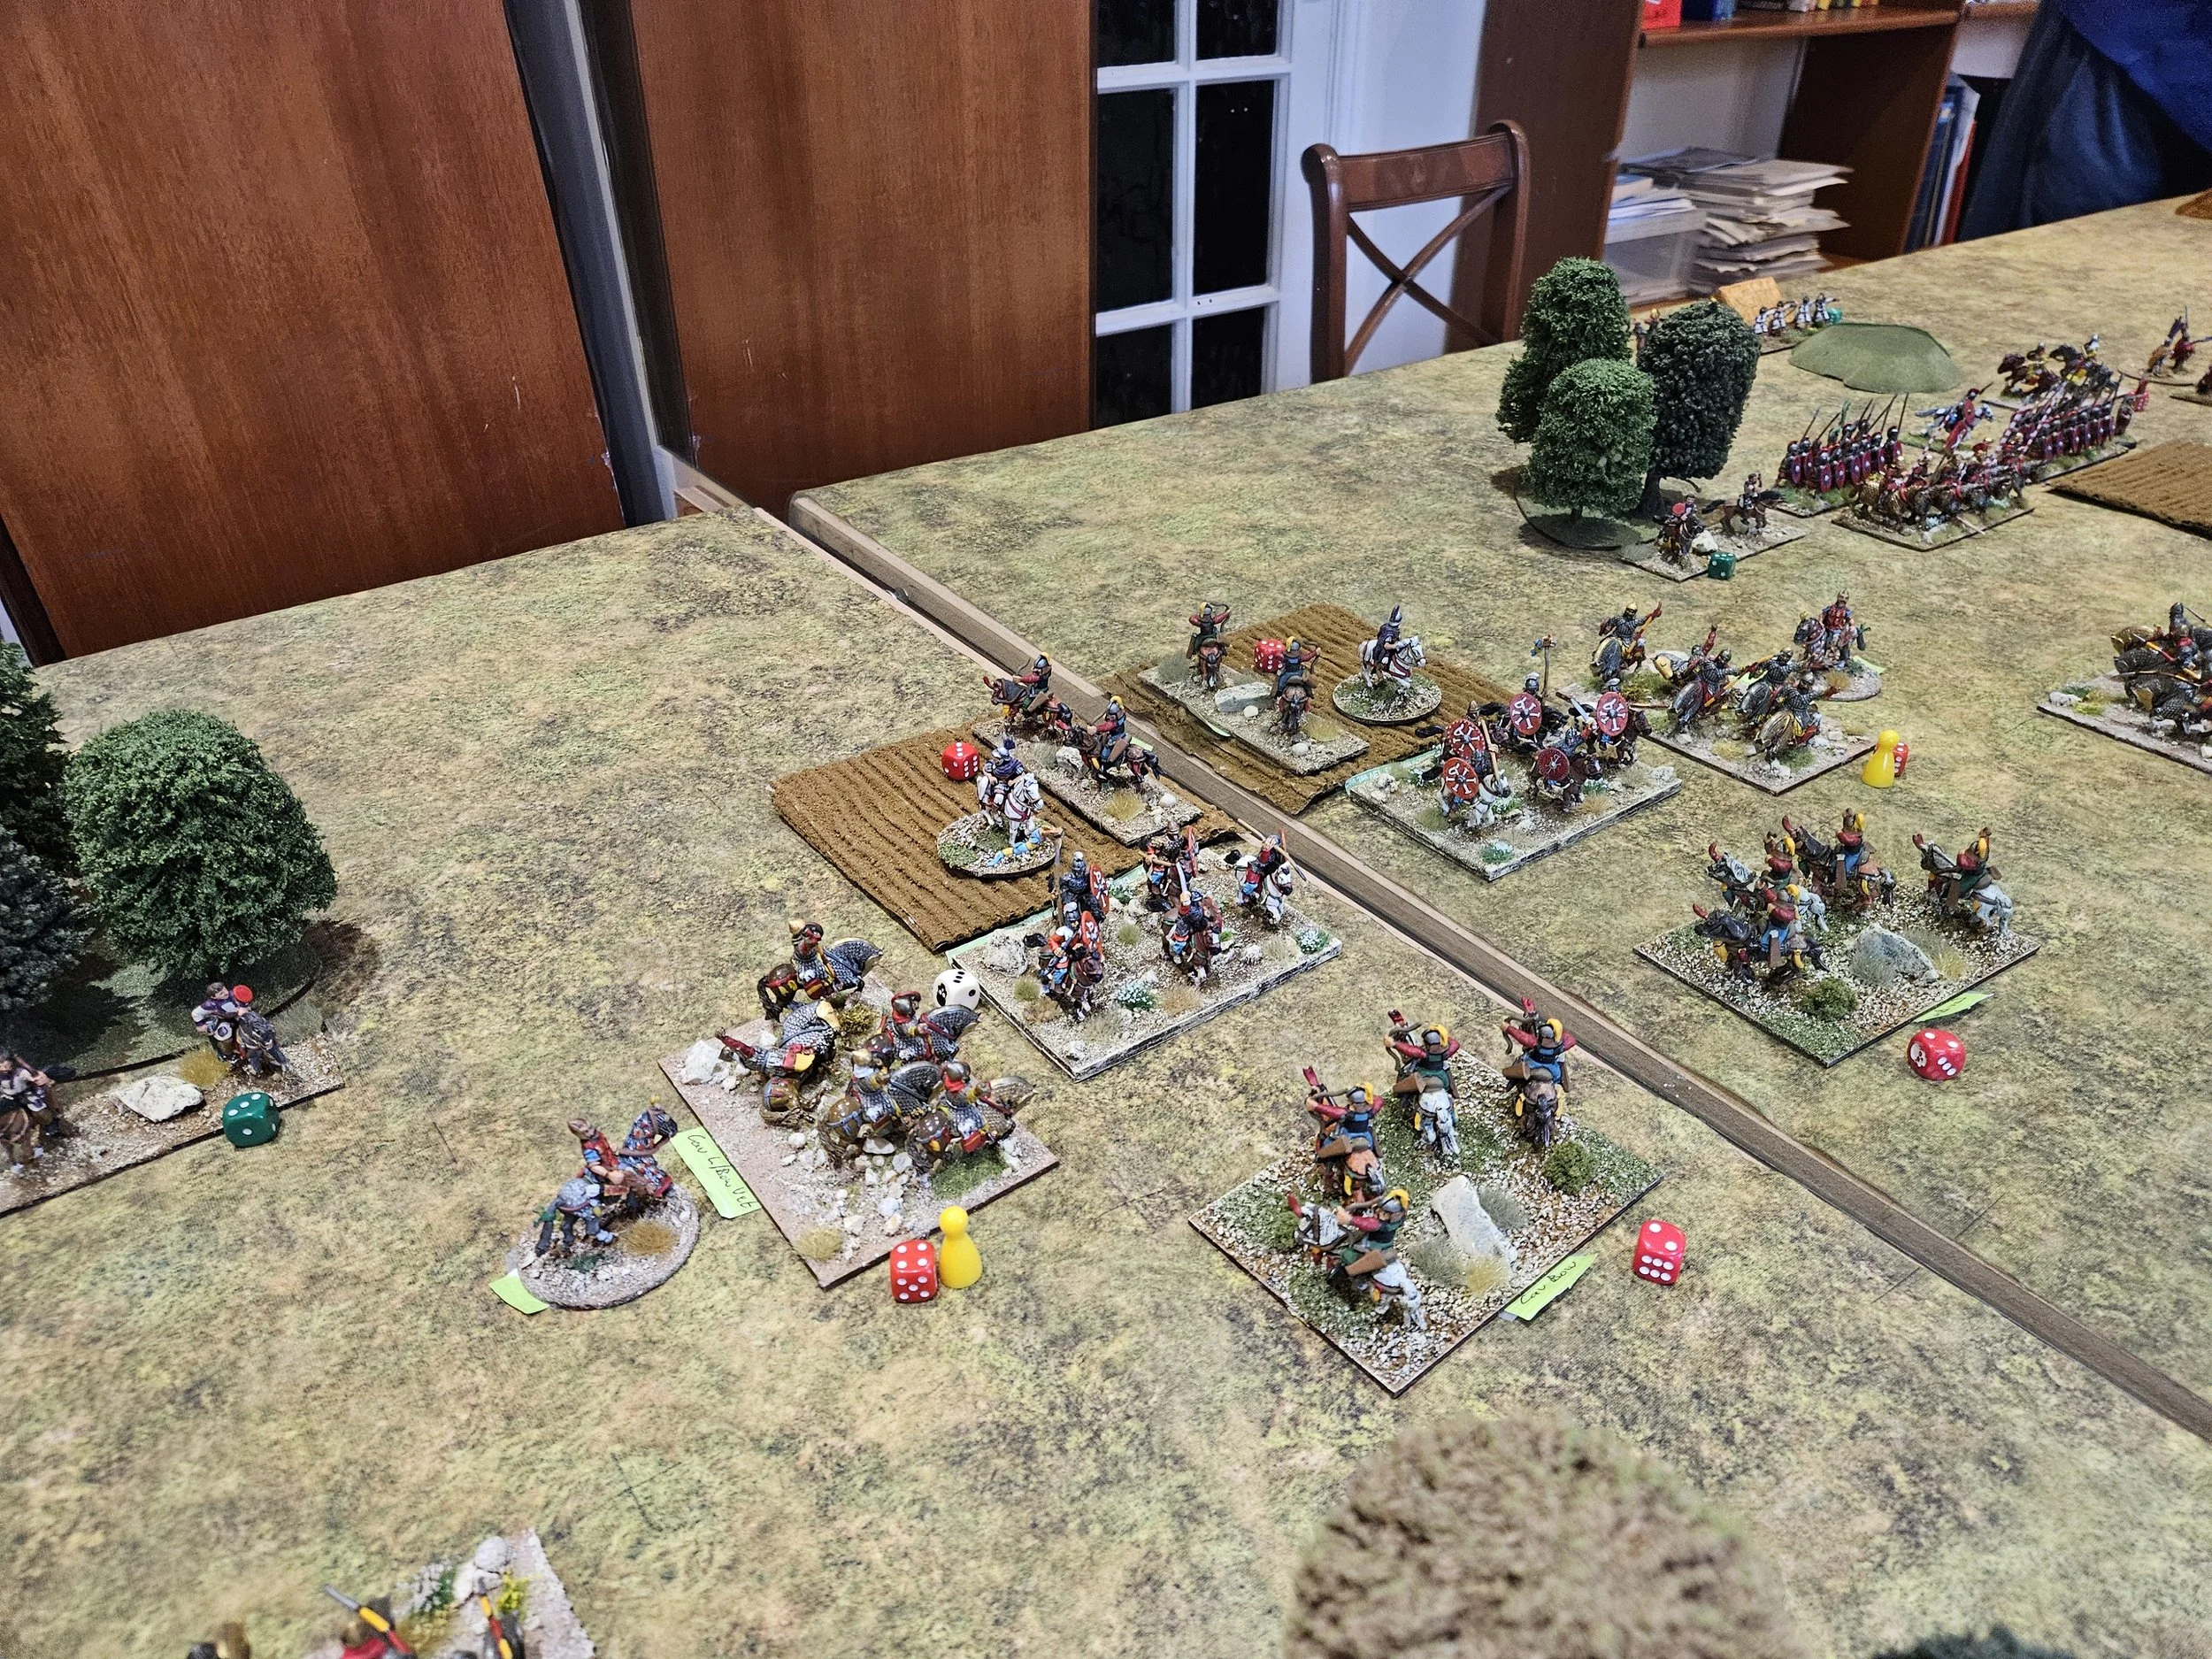
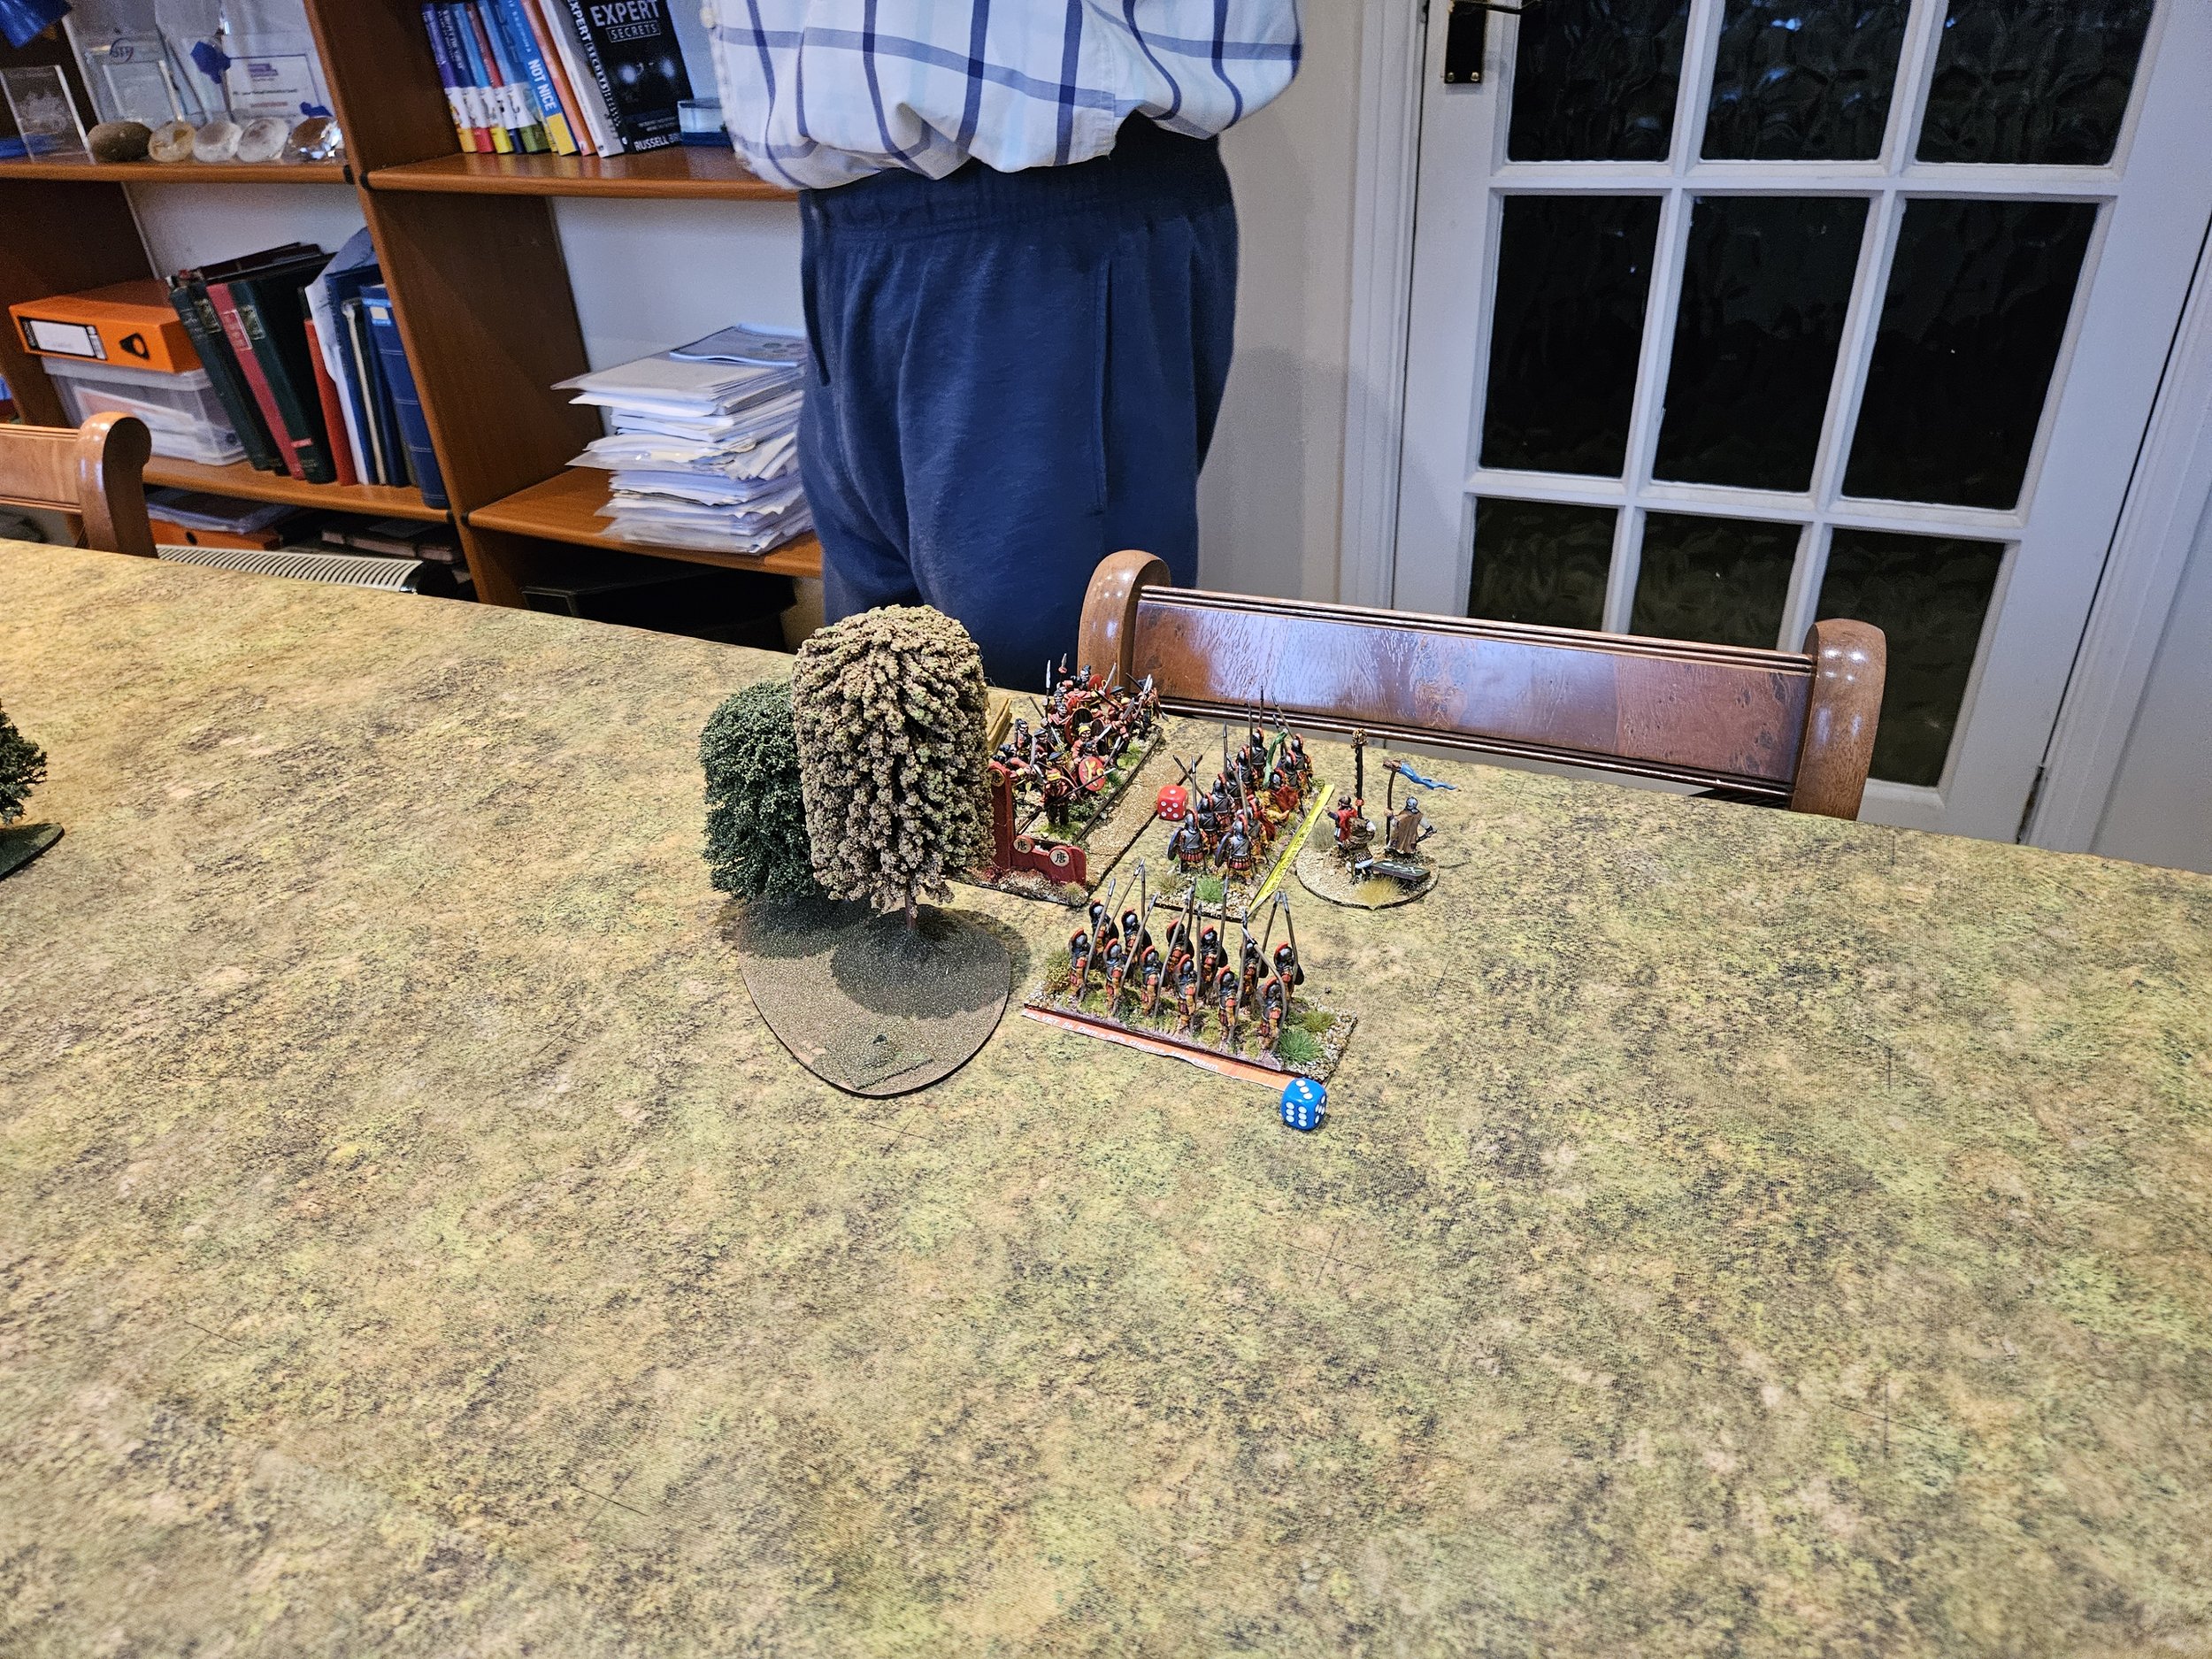
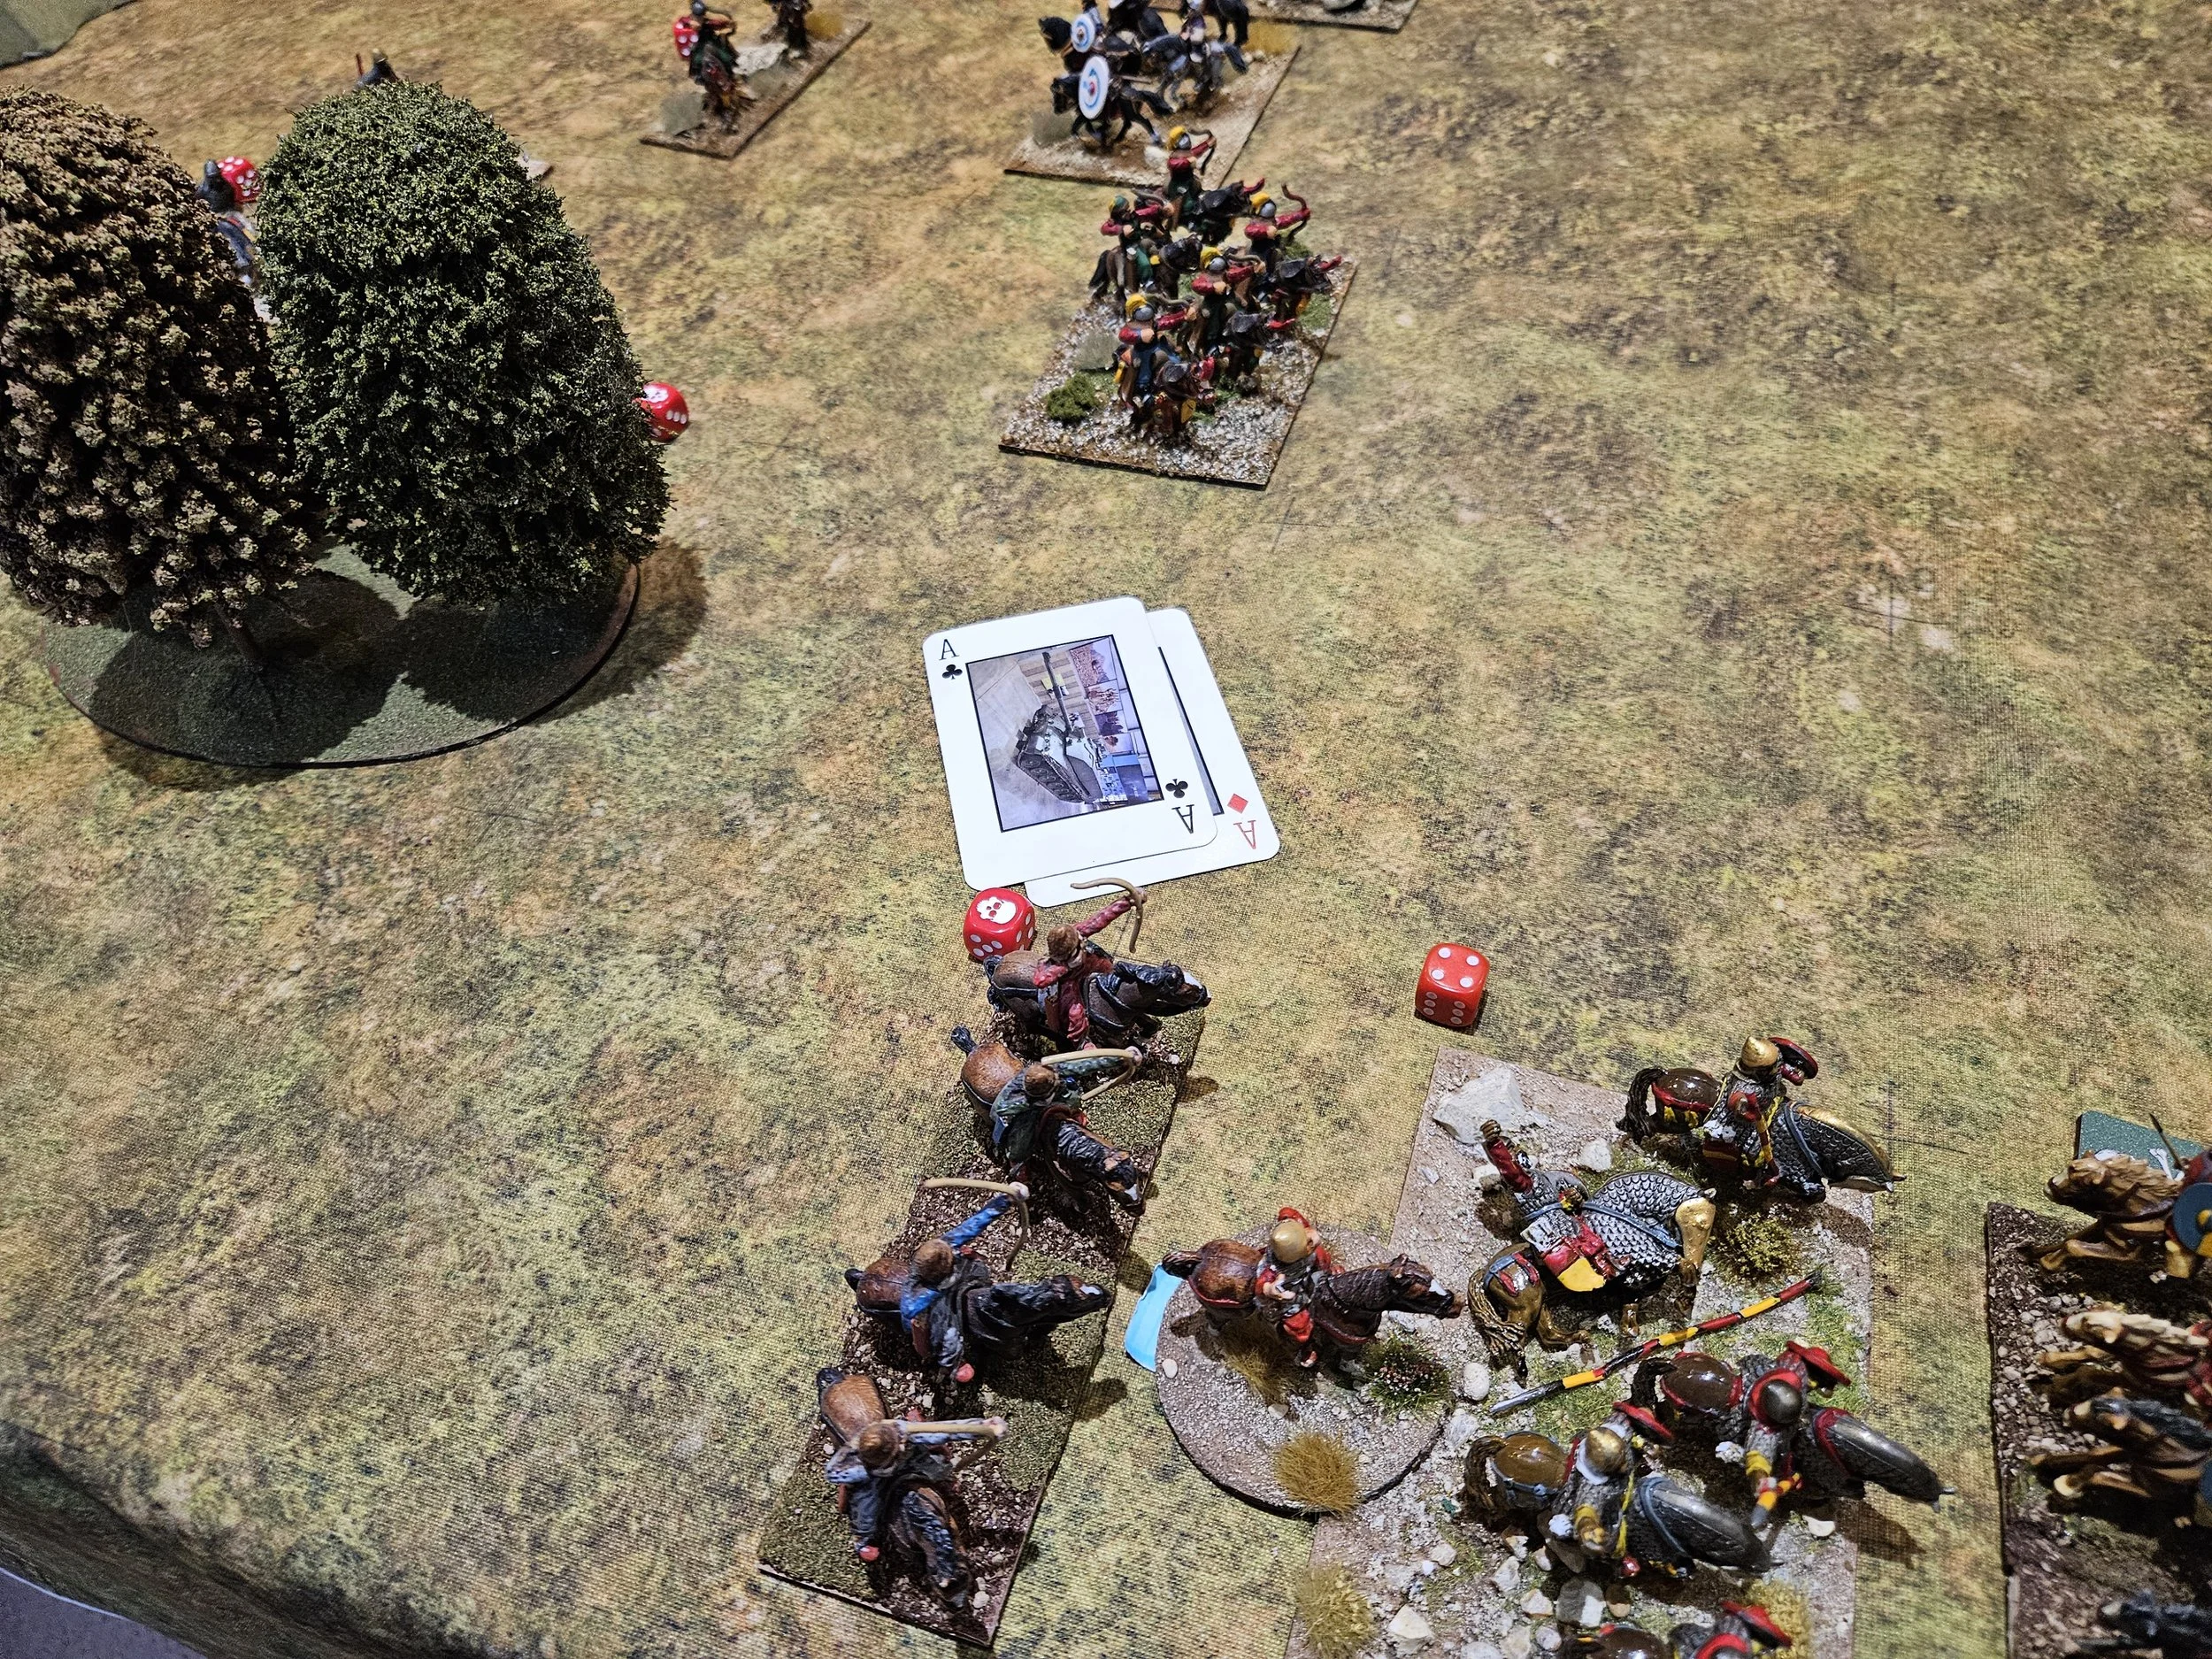
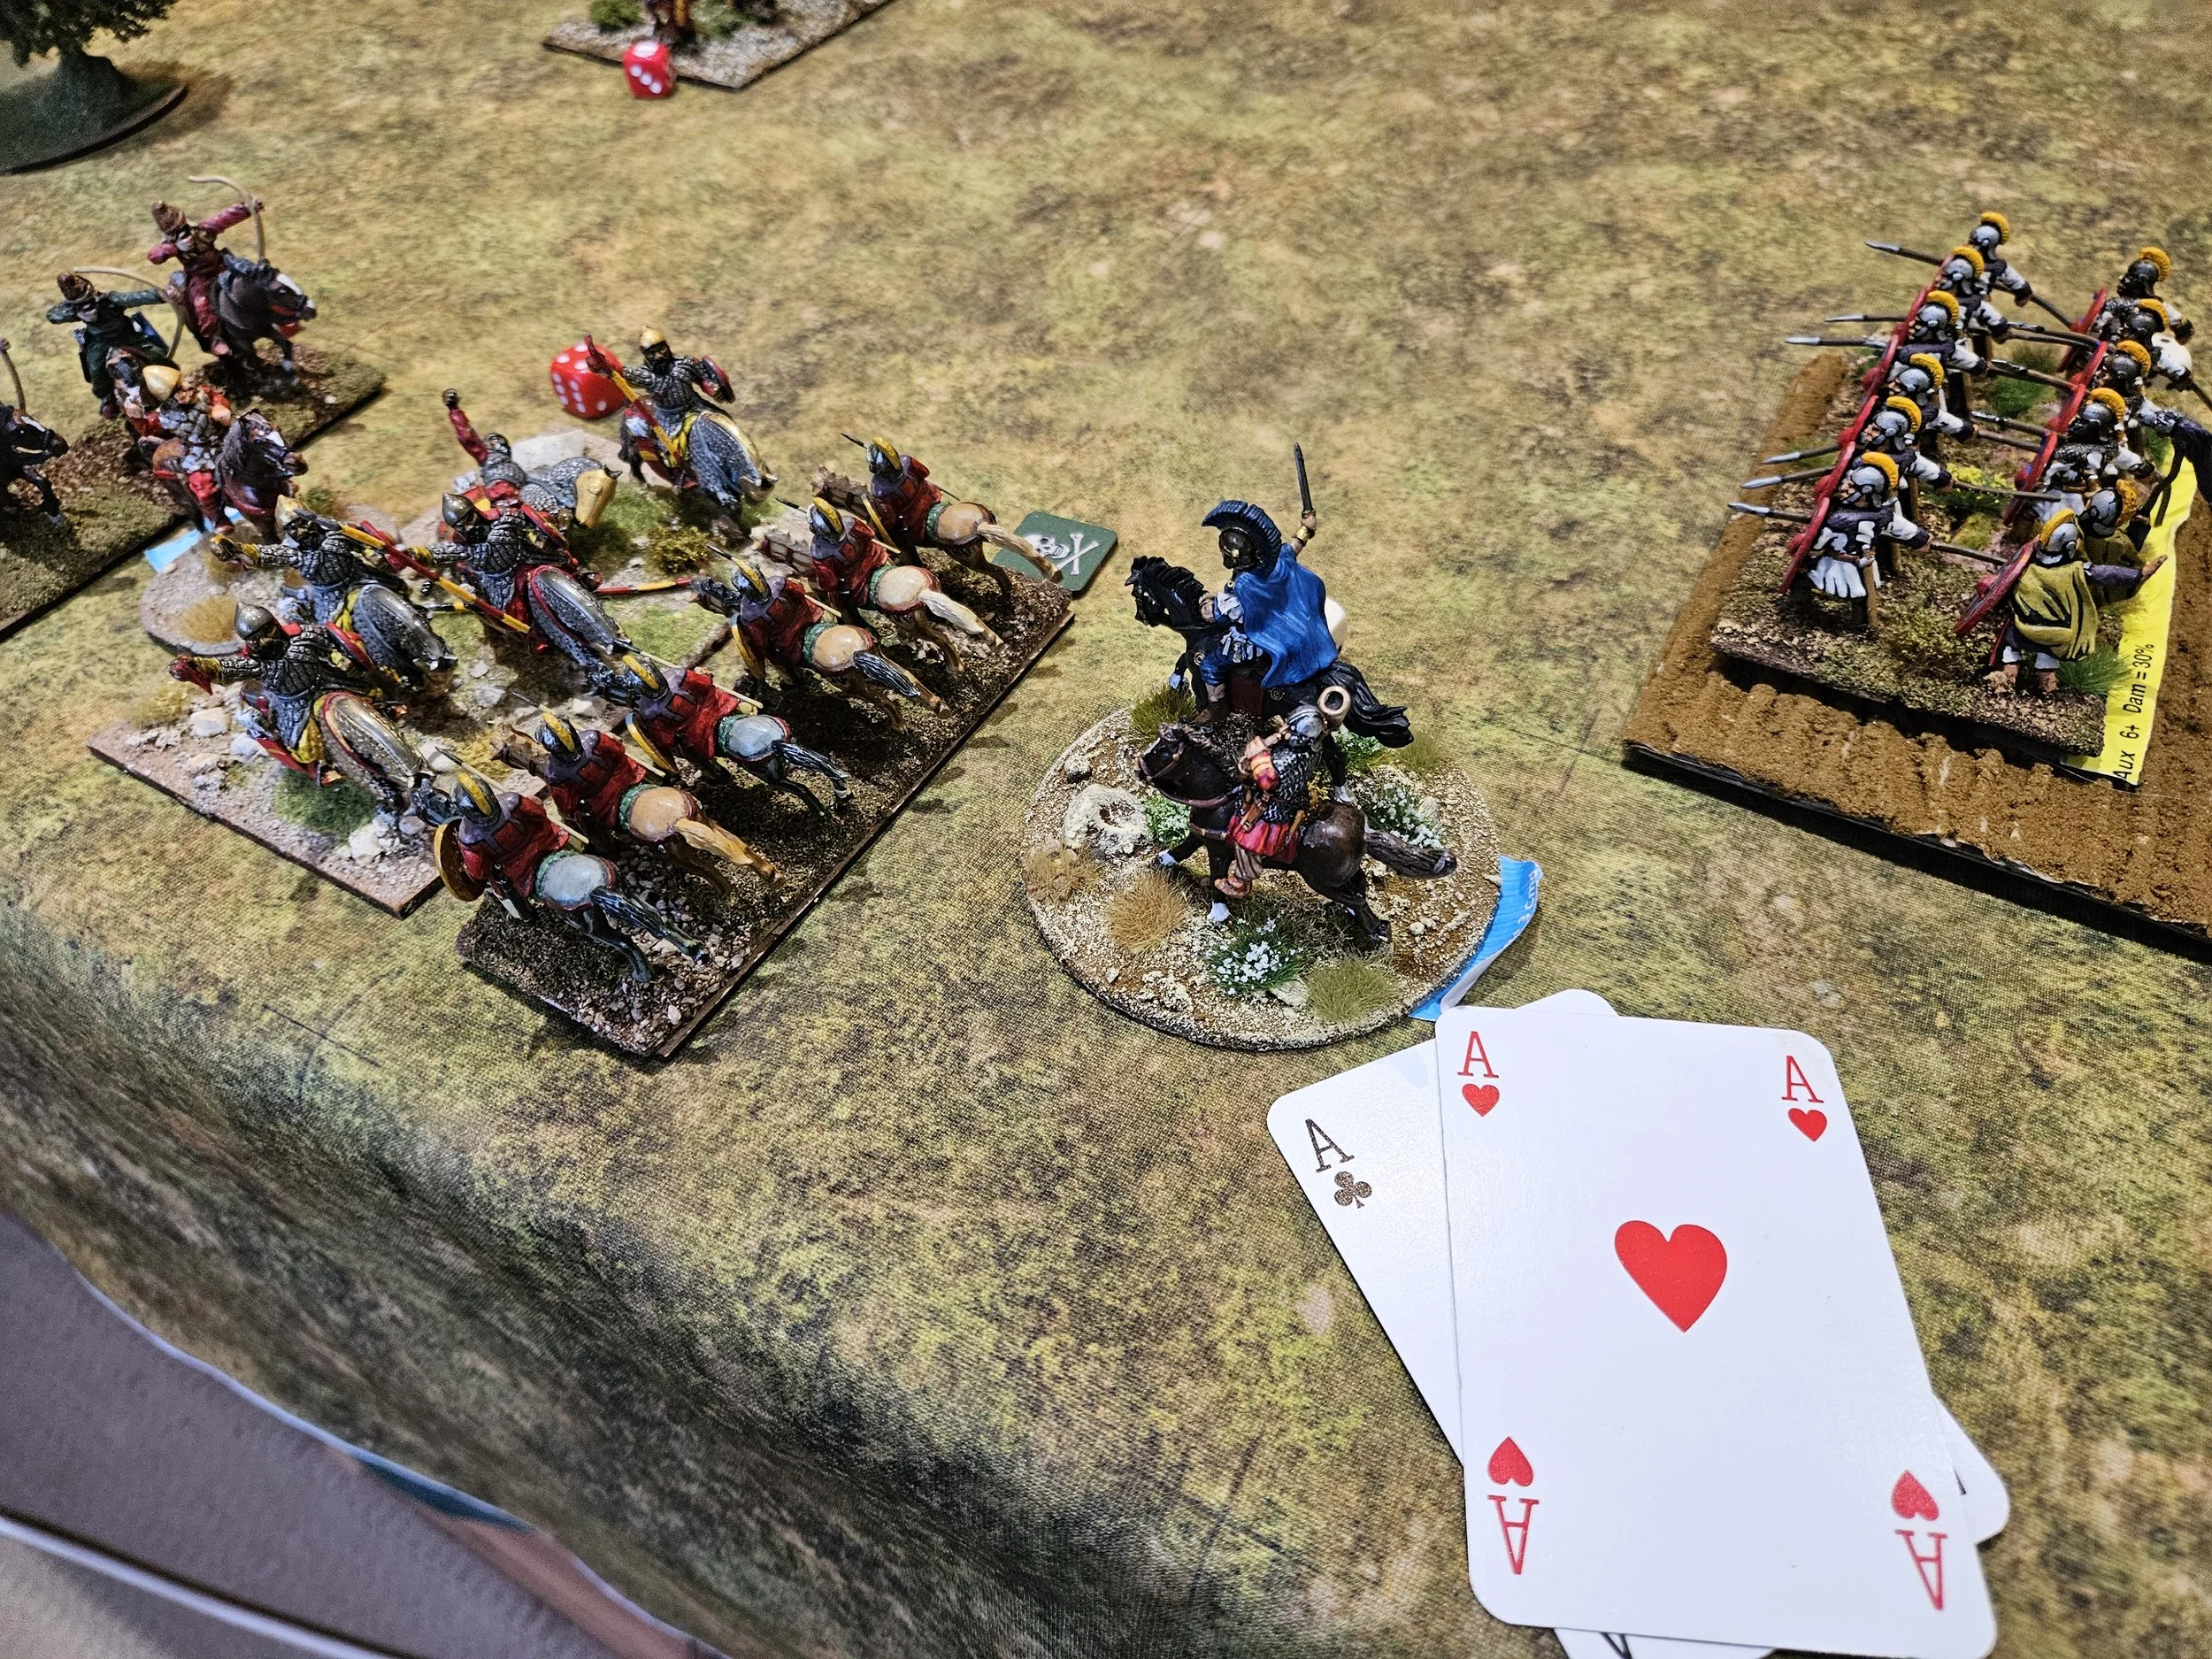
Sliding the left side unit of Knights across with a ‘4’ put me needing a ‘6’ or more to charge diagonally forward and then in. I drew a ‘6’ (phew!) slamming into the disordered Legionaries with a mighty crash.
First attack card was an Ace, but then I used a Hero to convert that to a ‘7’ then drew a ‘10’ for my lance: two hits, at least one of which the Romans failed to save…and that was Chris’ last two coins and game!
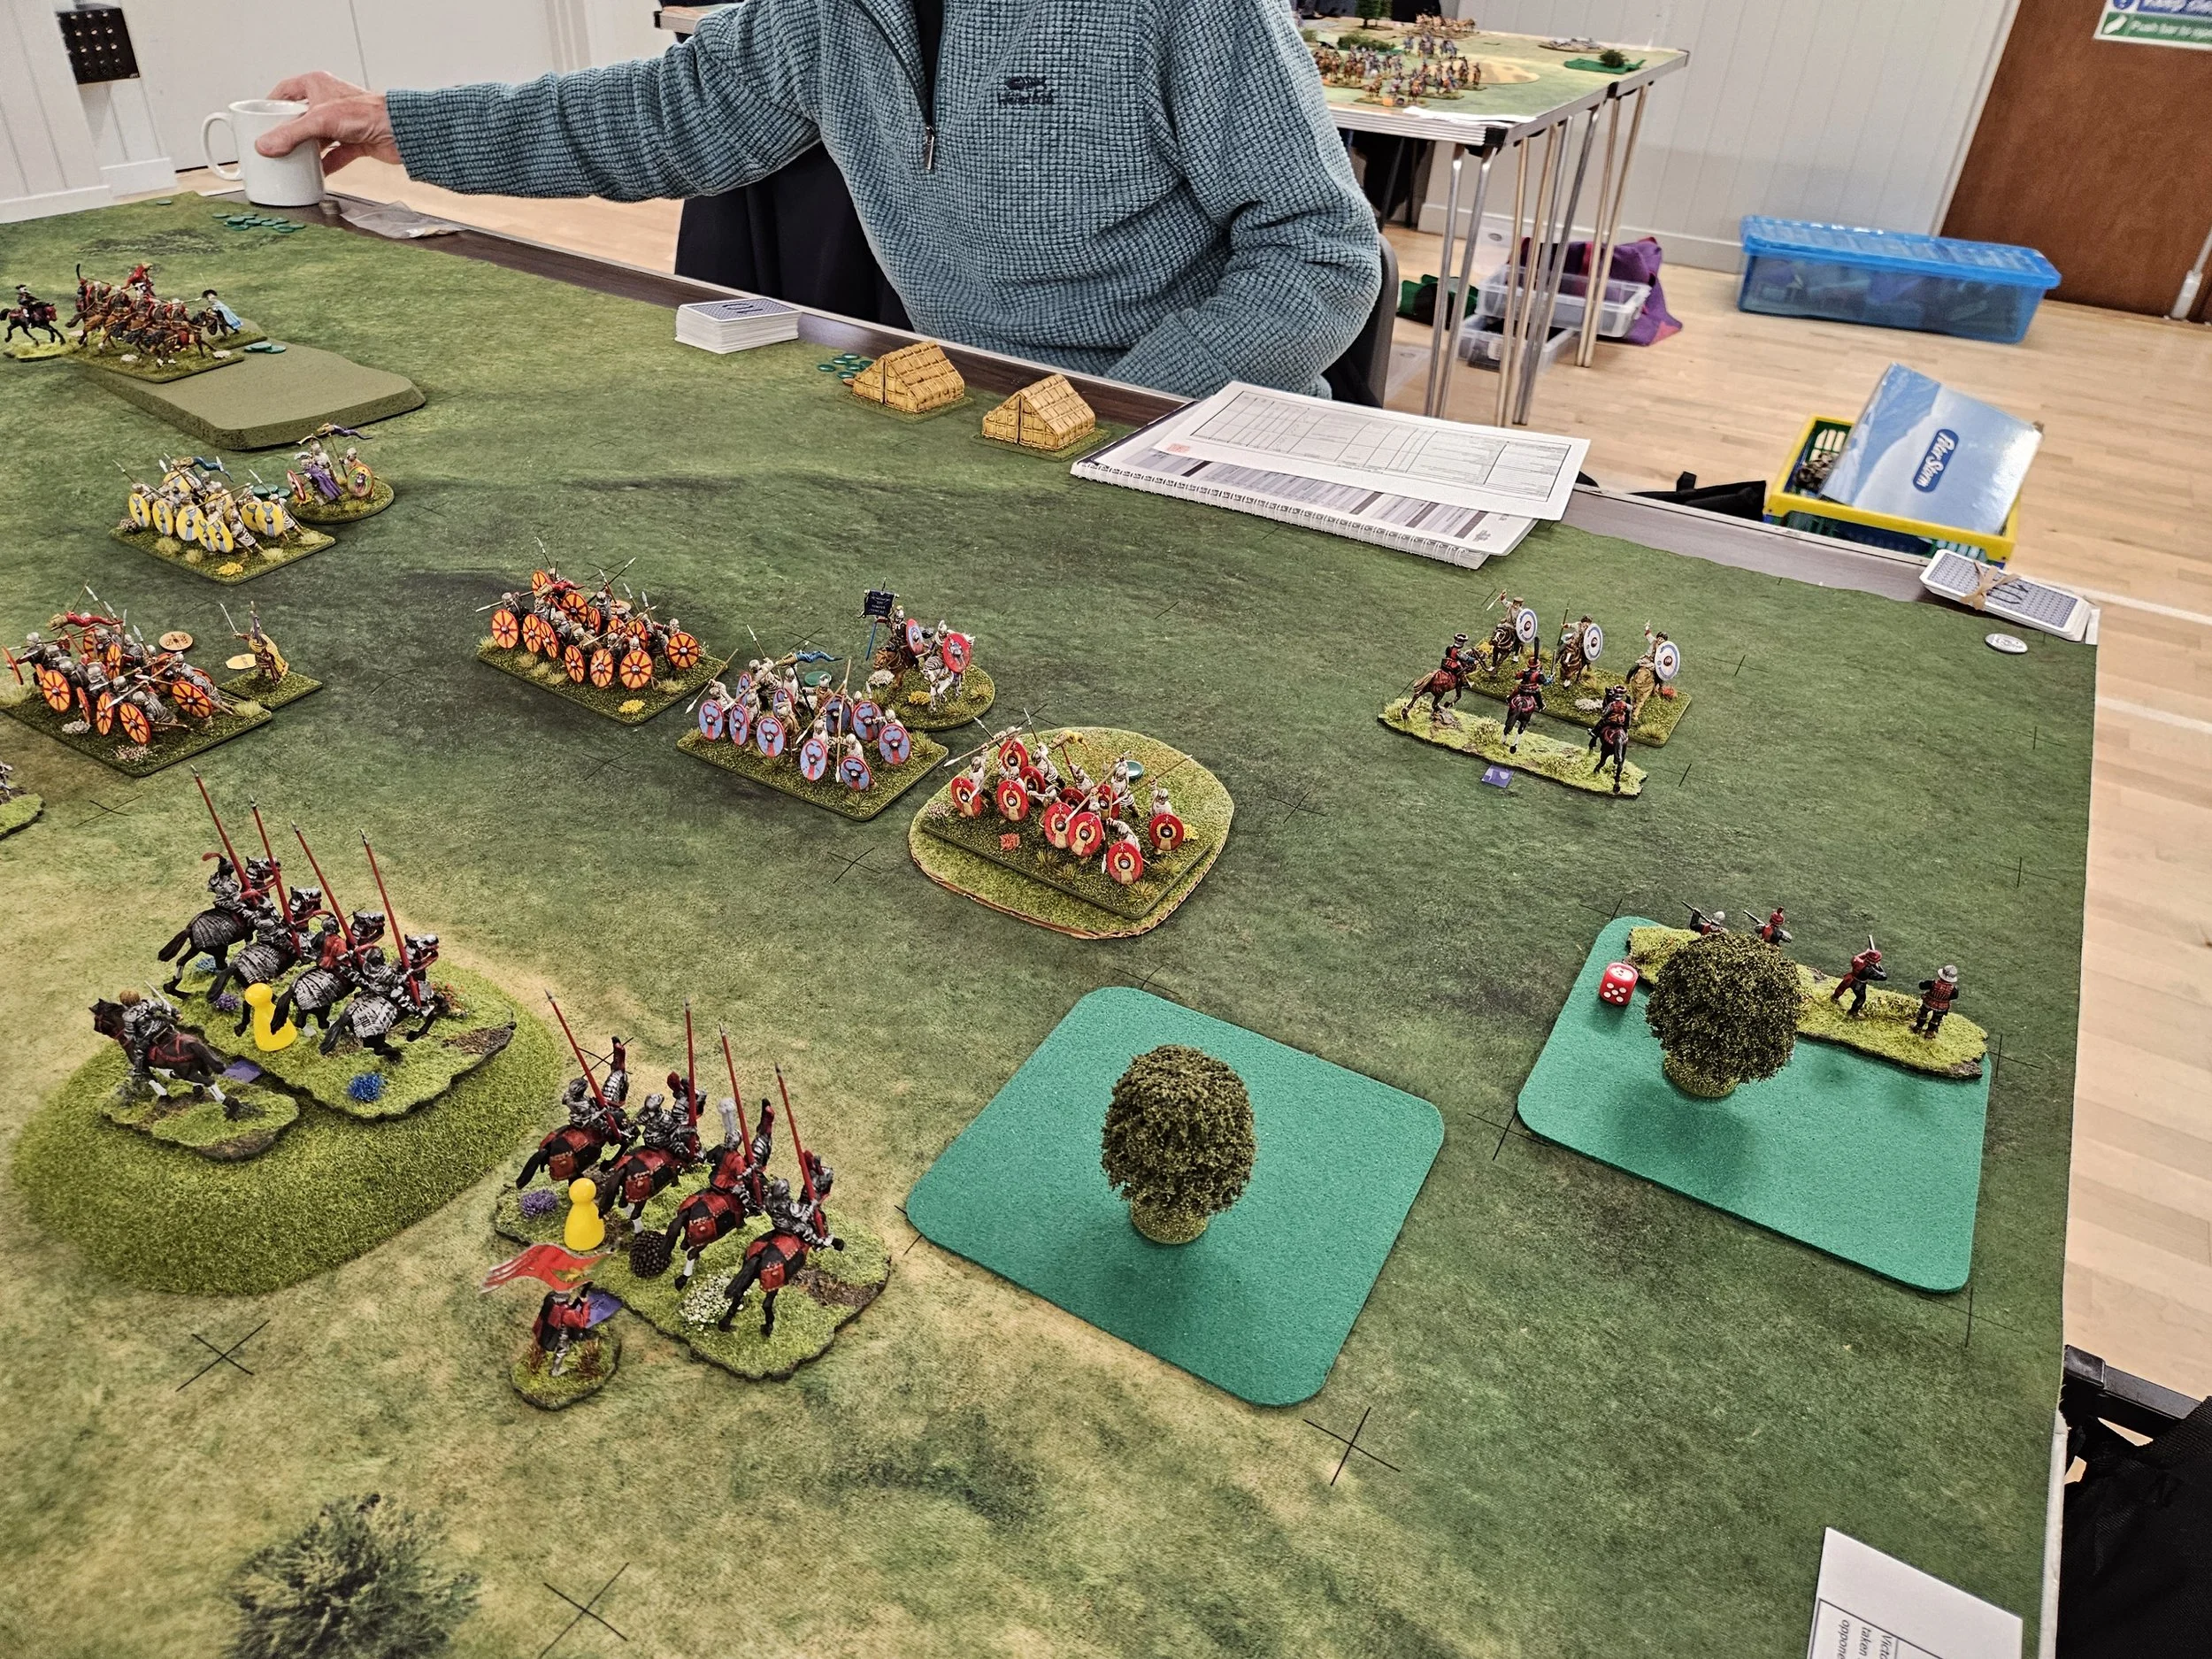
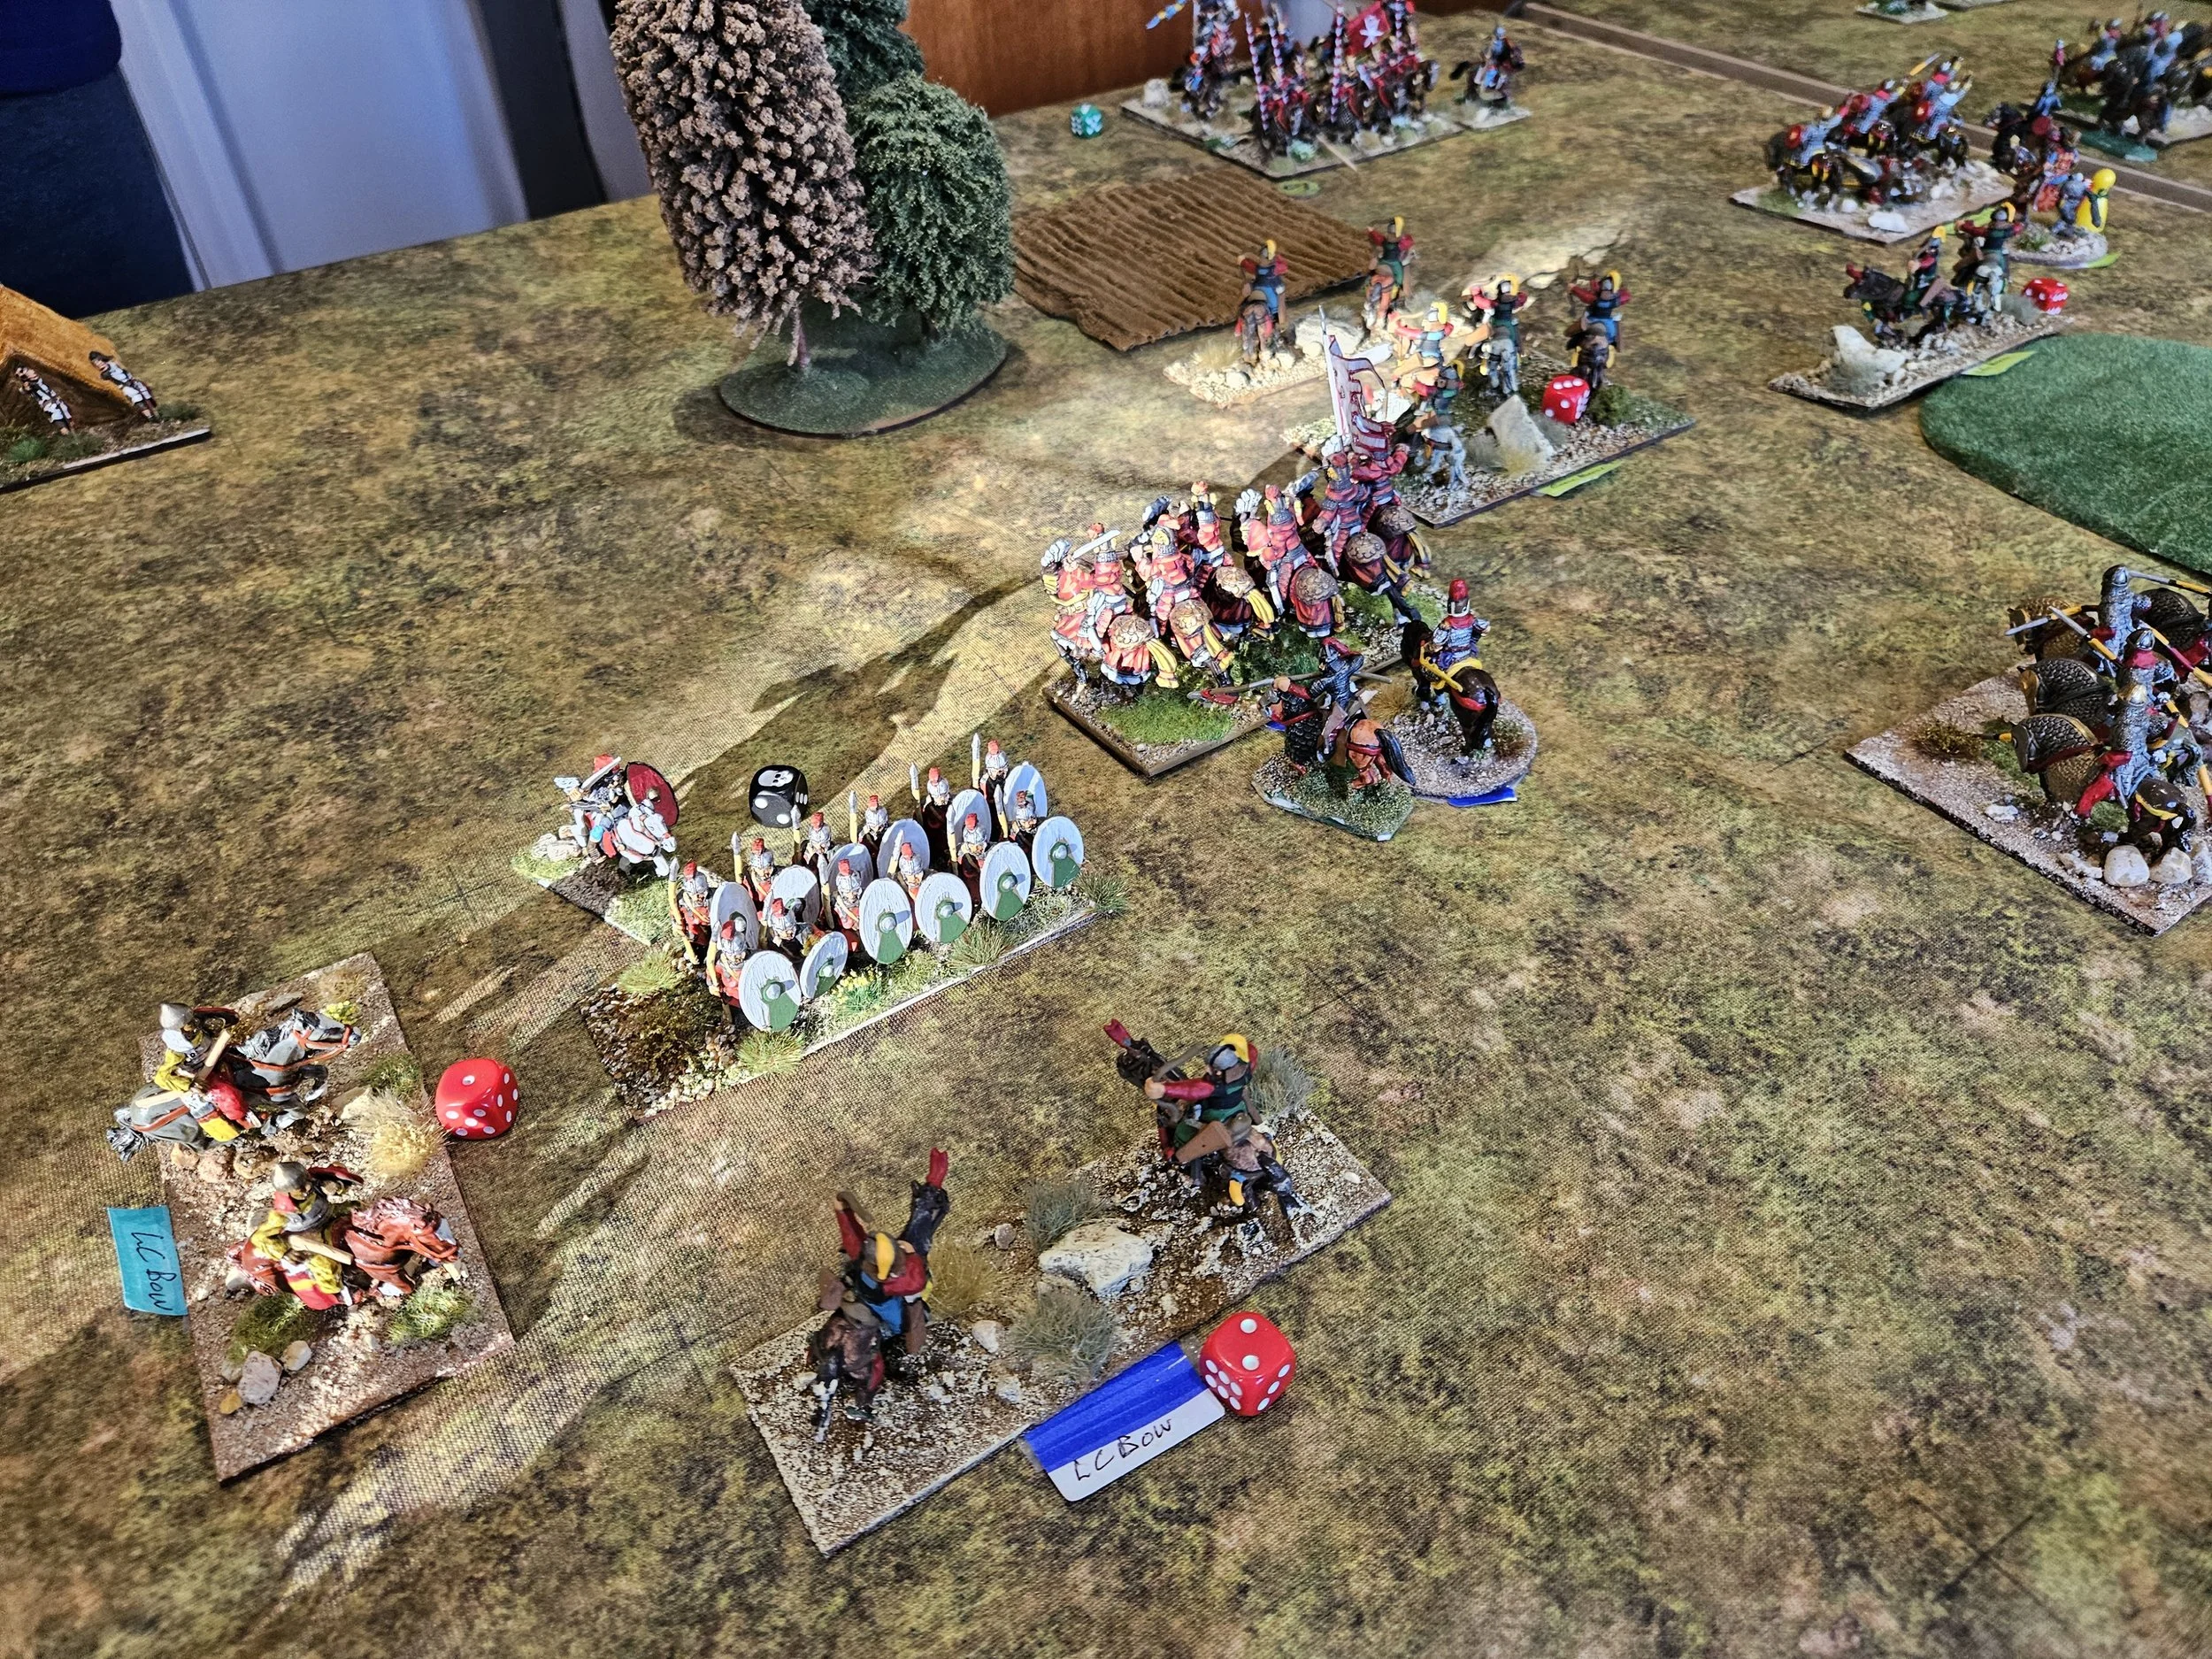
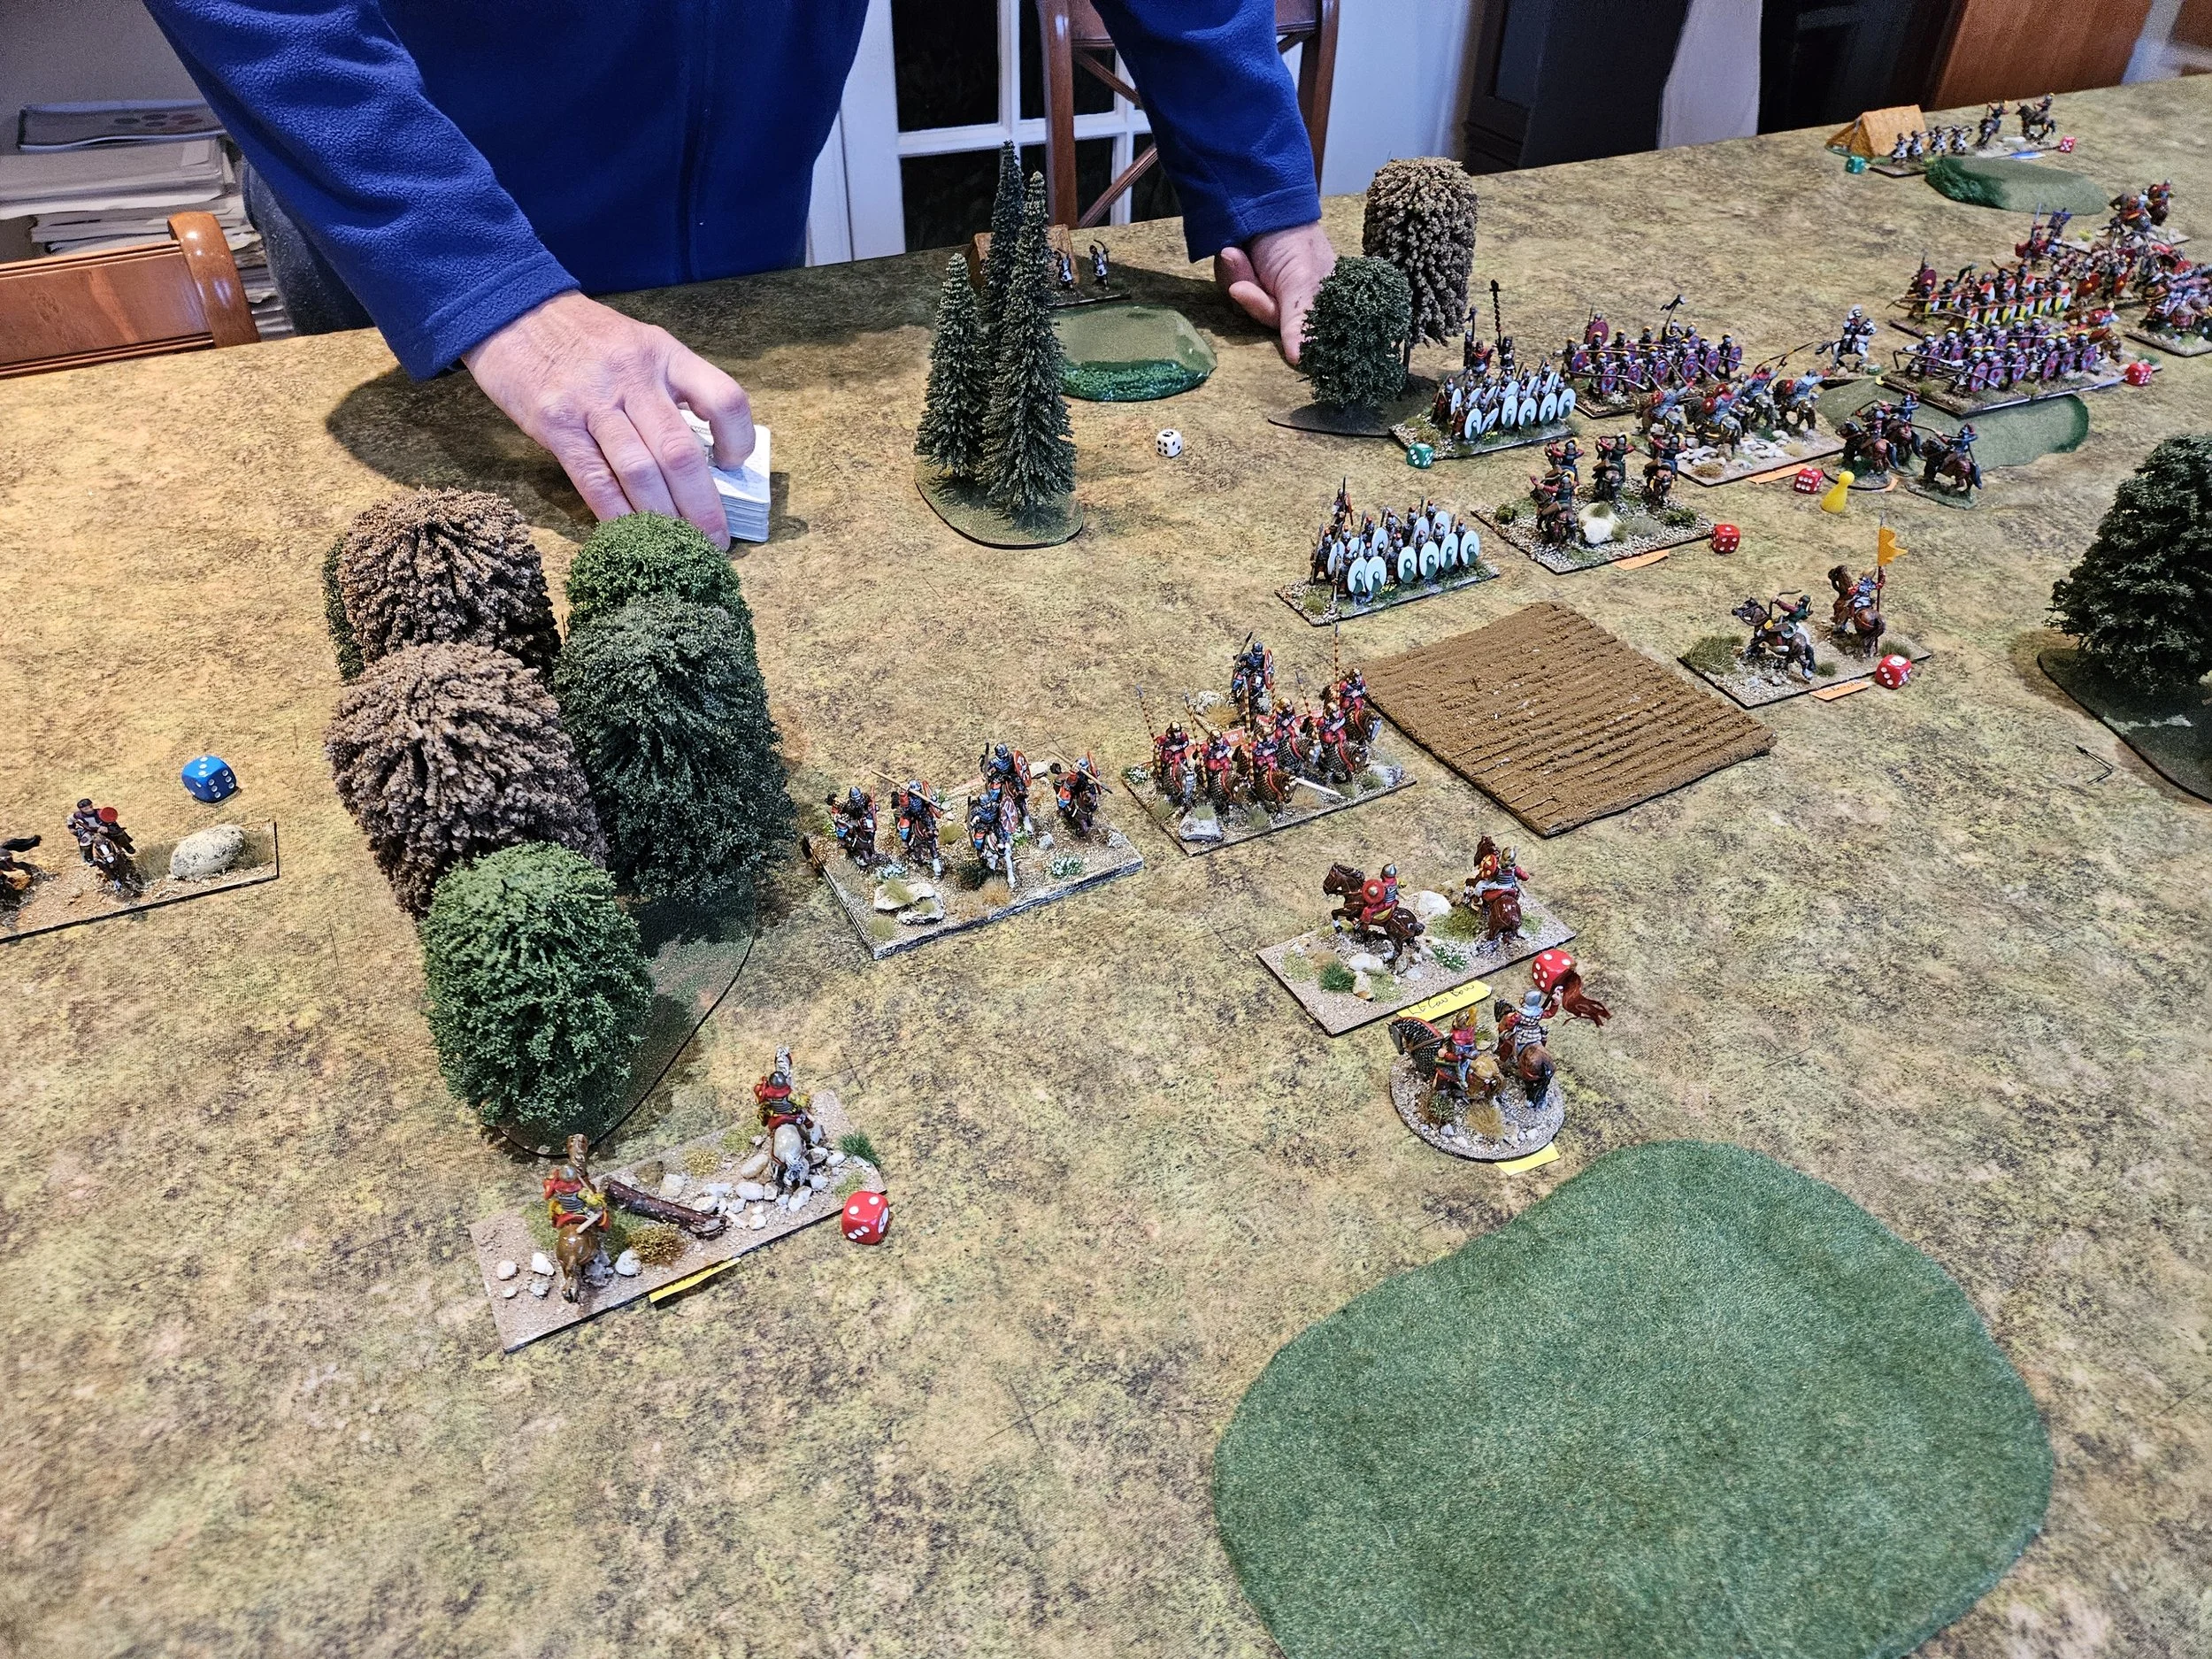
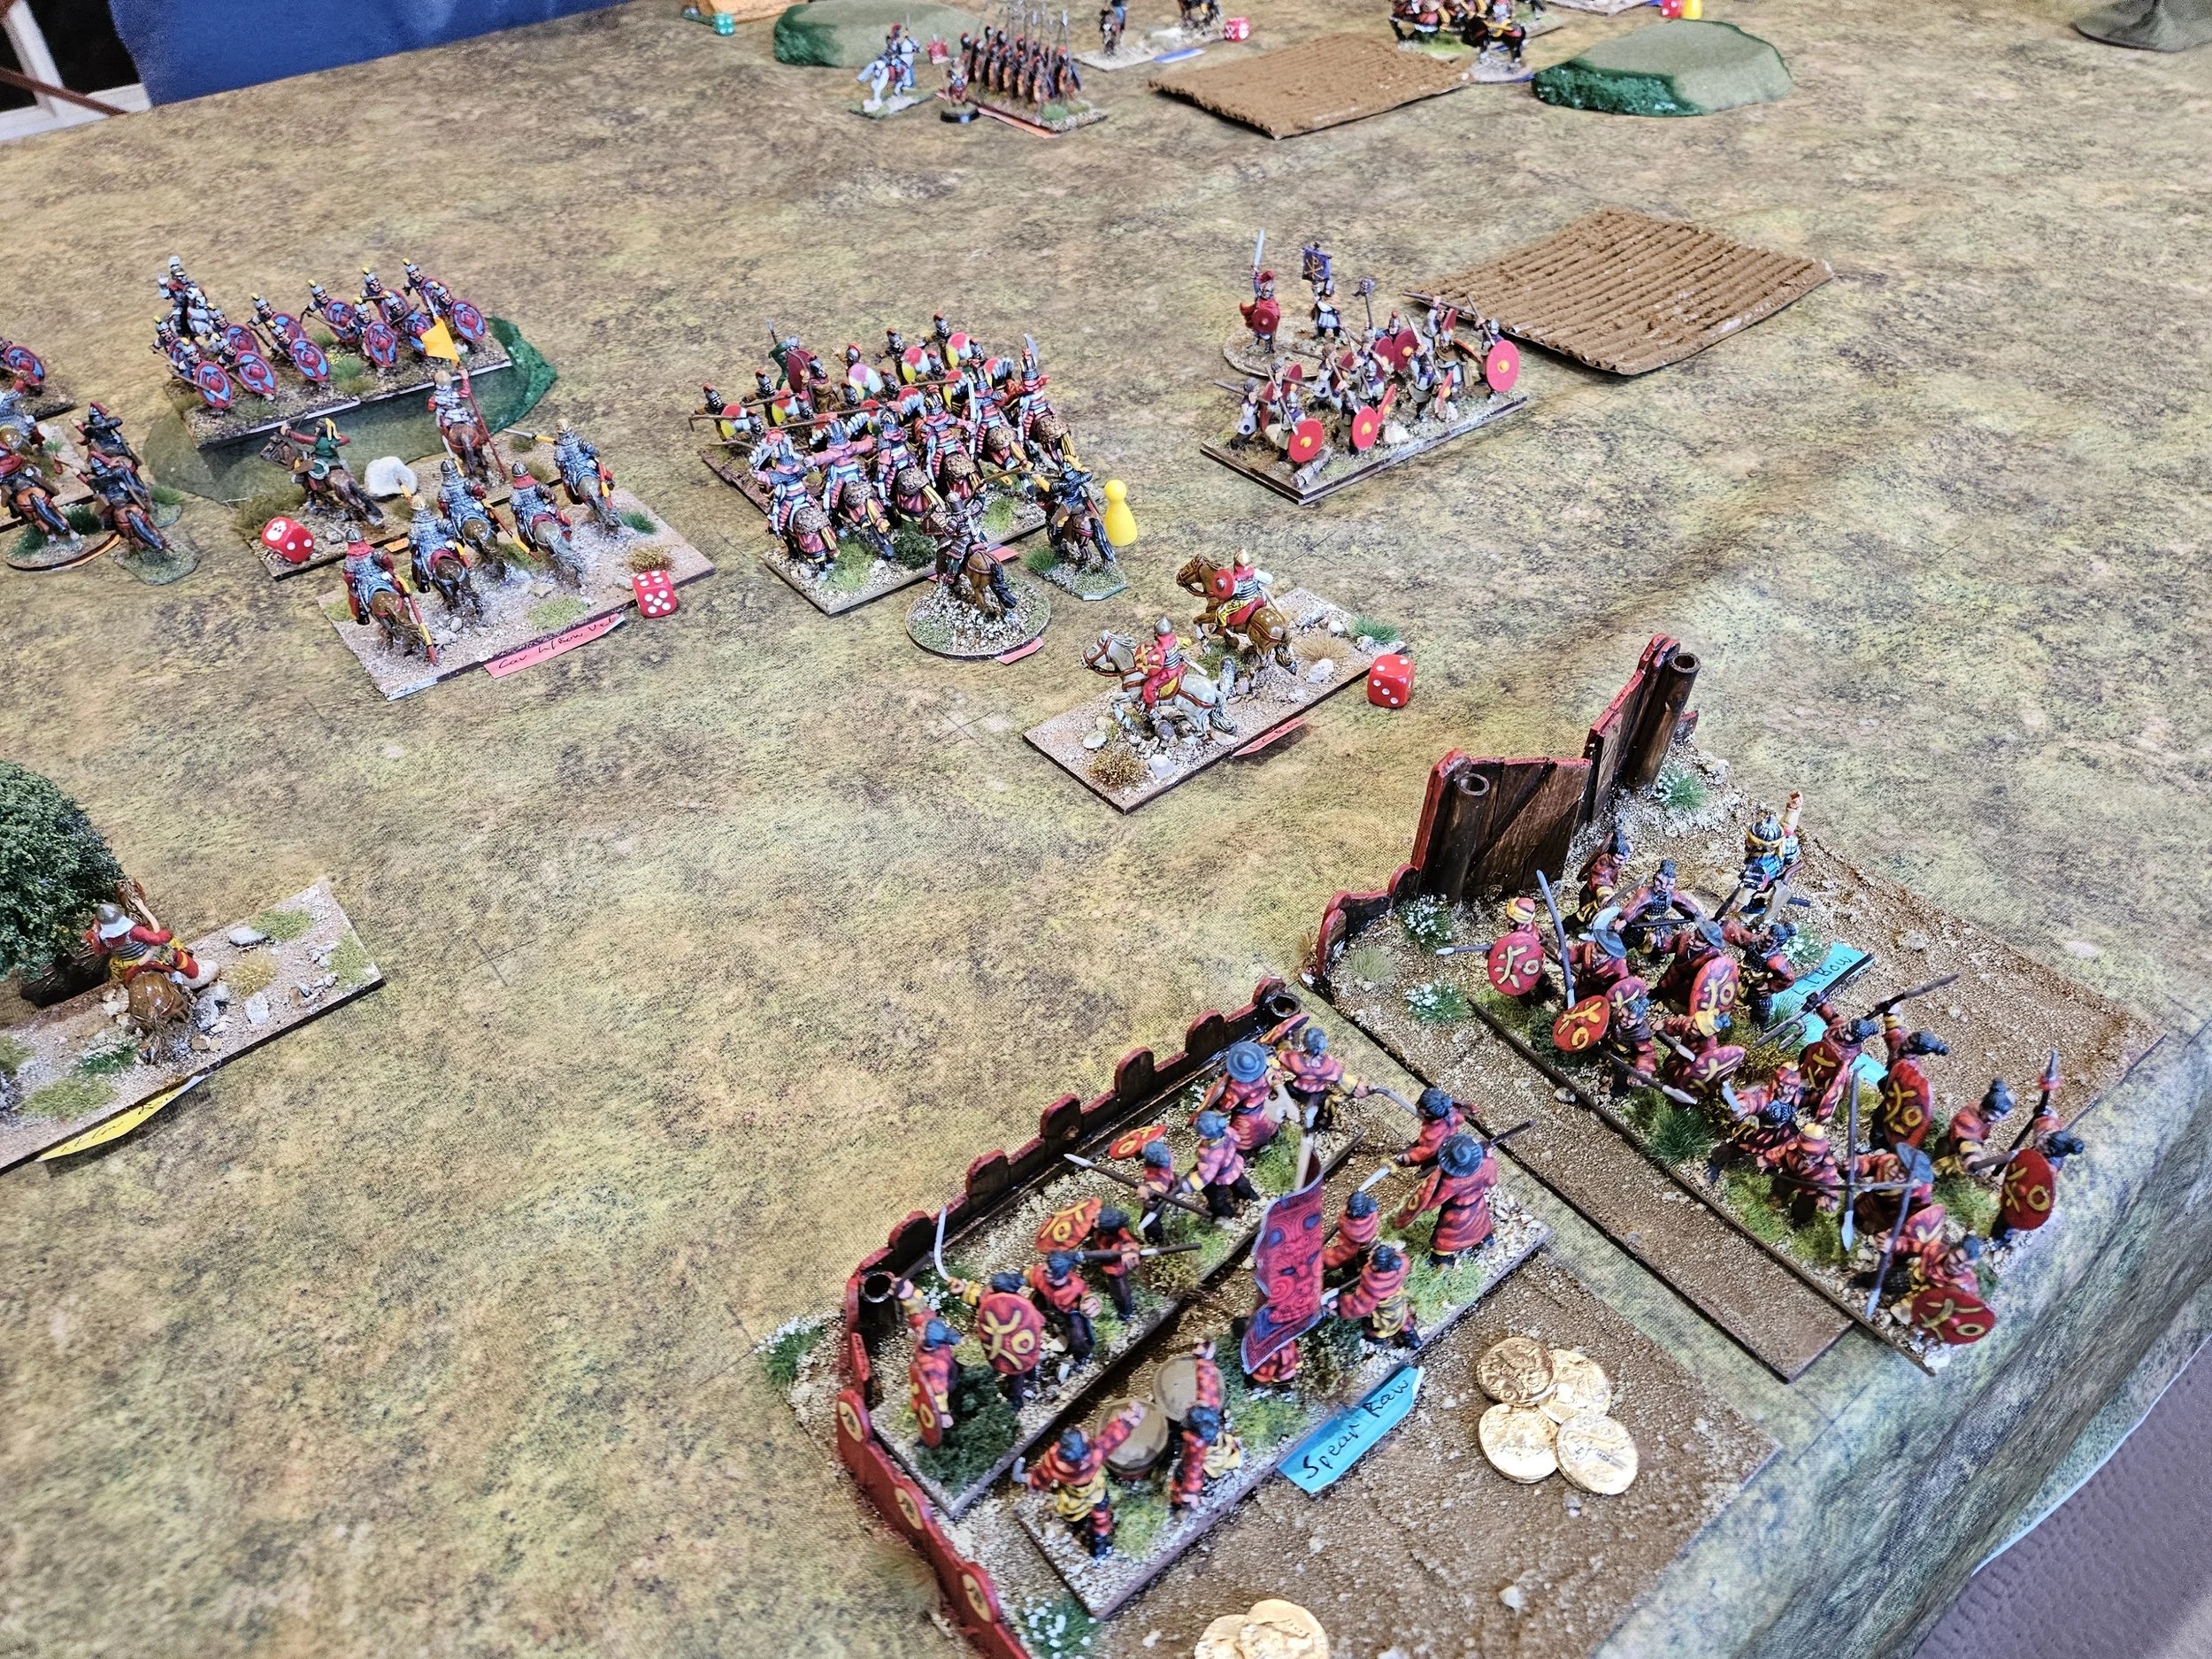
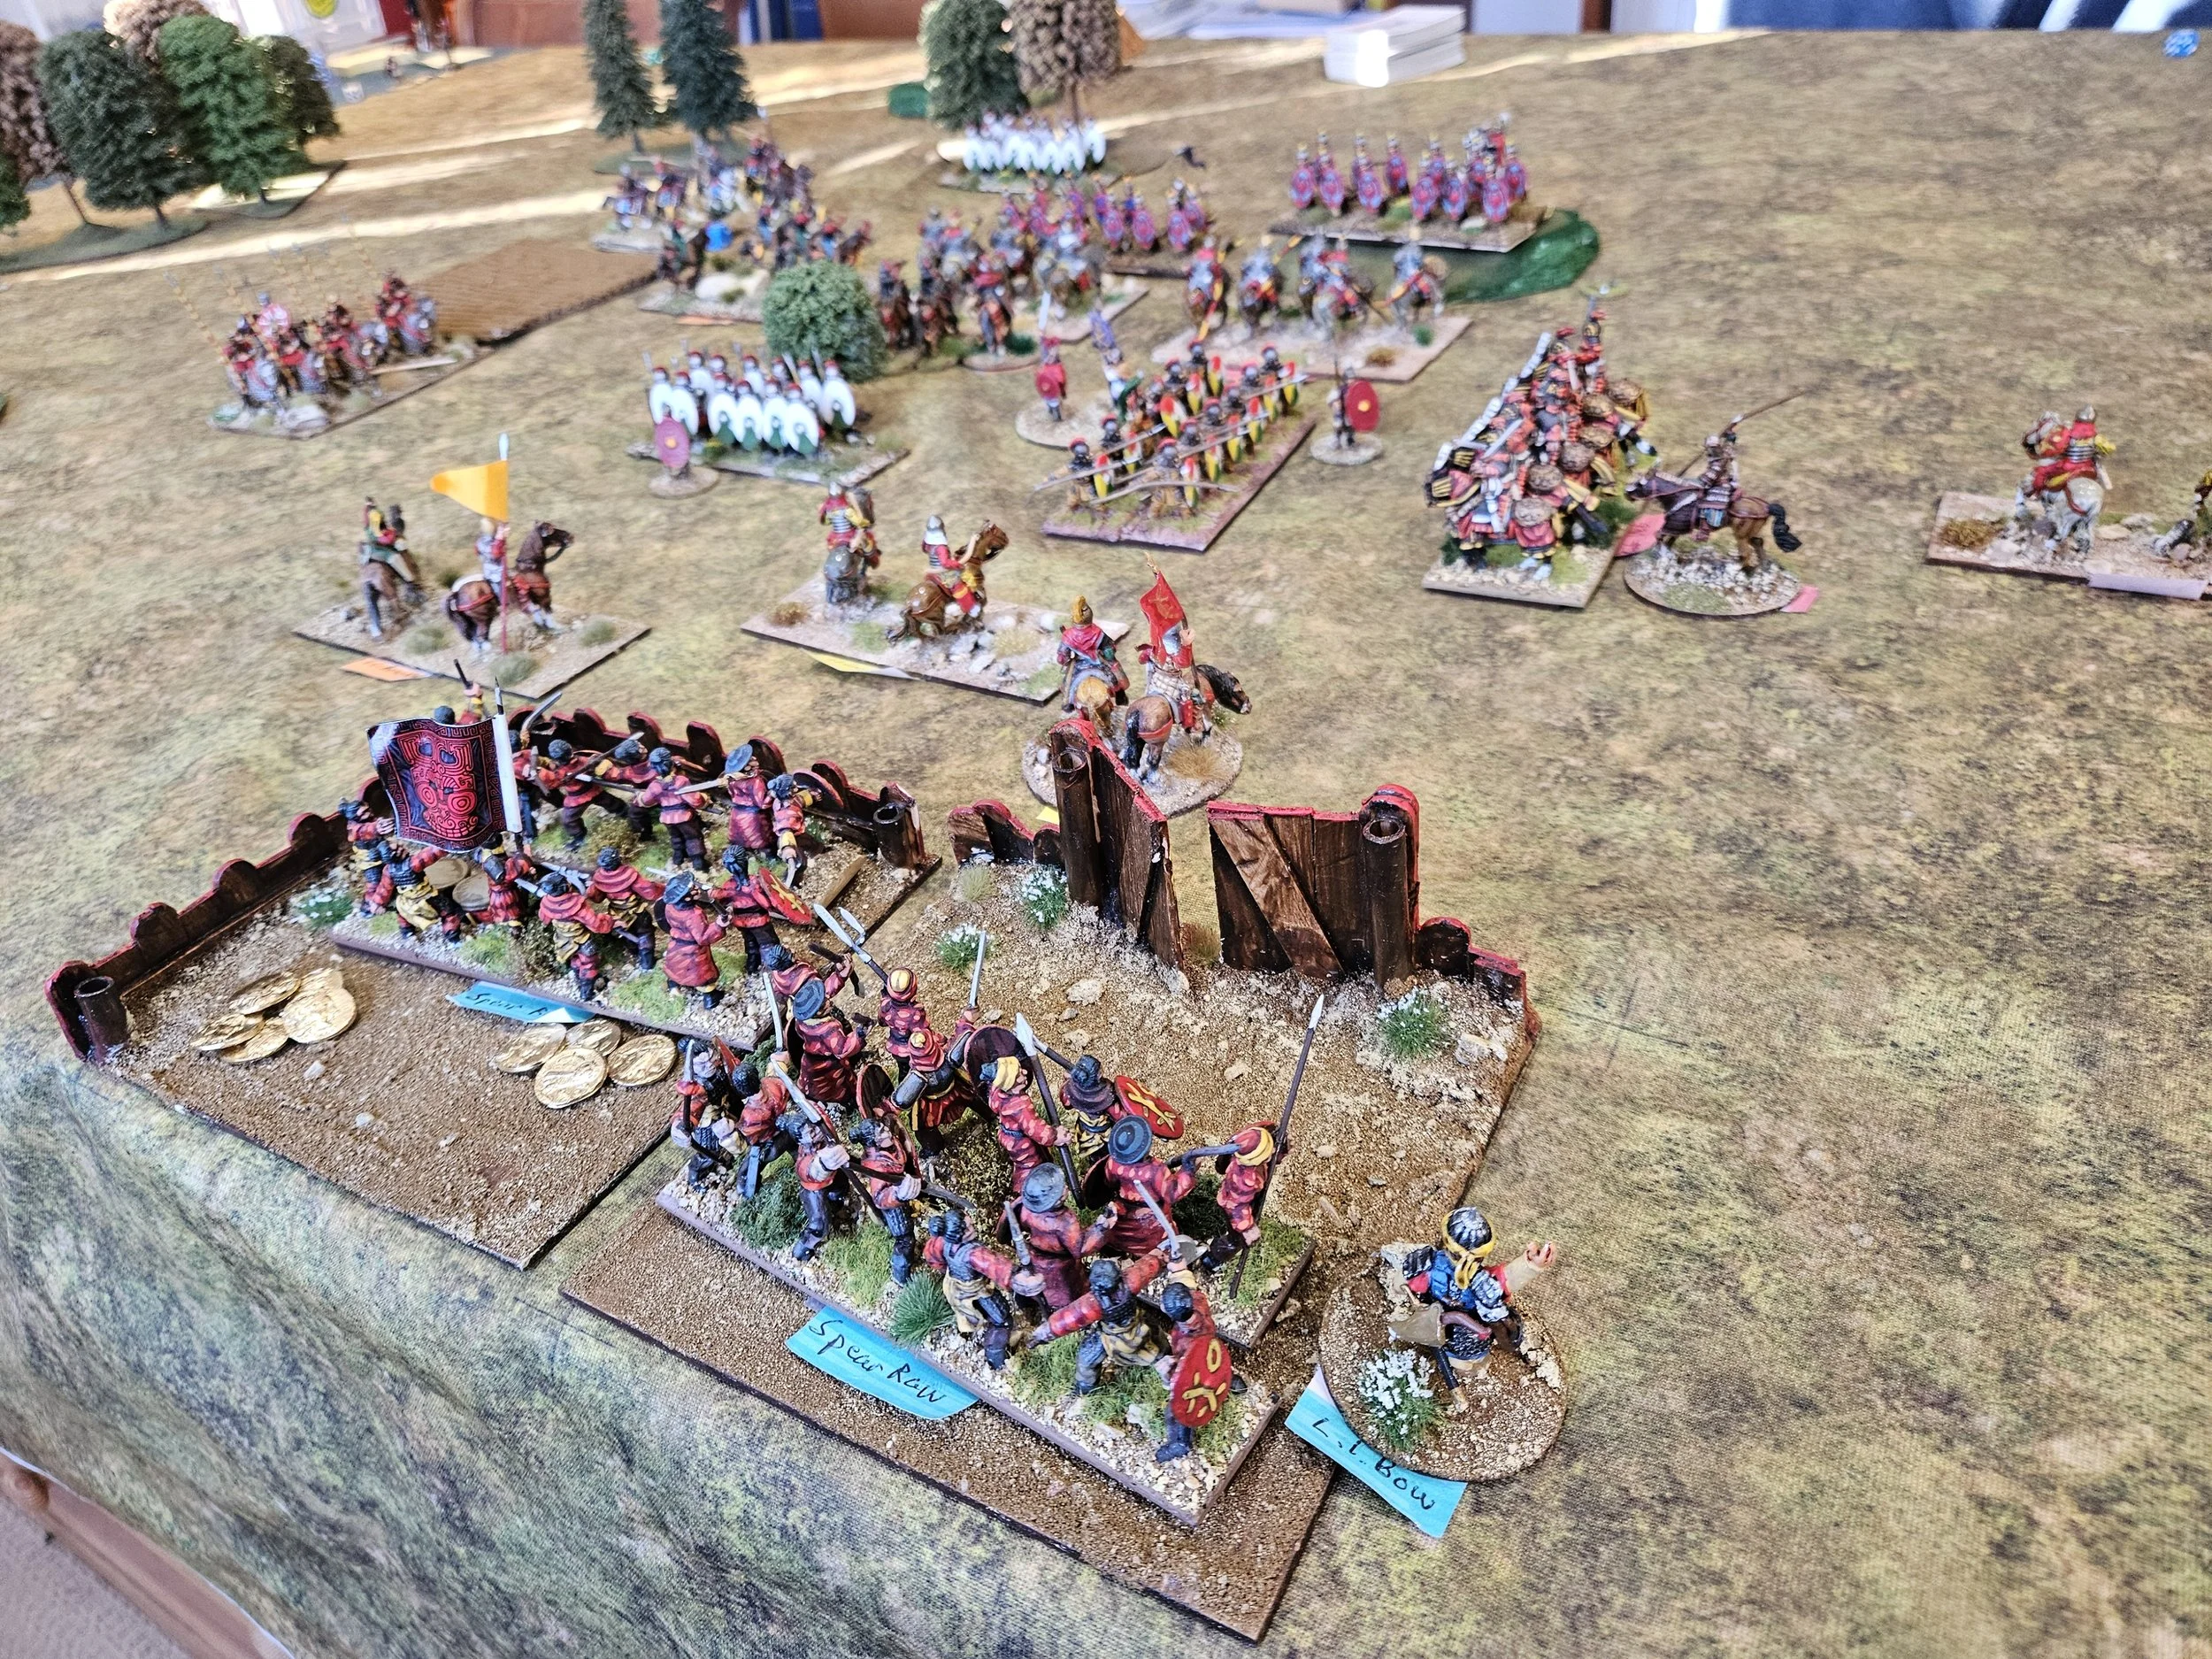
This was quite lucky, as in the meantime the last unit of Roman light cavalry had killed my right hand mounted crossbowmen and snuck through my lines to threaten my camp…bottom right in the picture below.
Anyhoo, a good start to the day with a 12-2 victory and, more importantly, a fun game with a very congenial opponent!