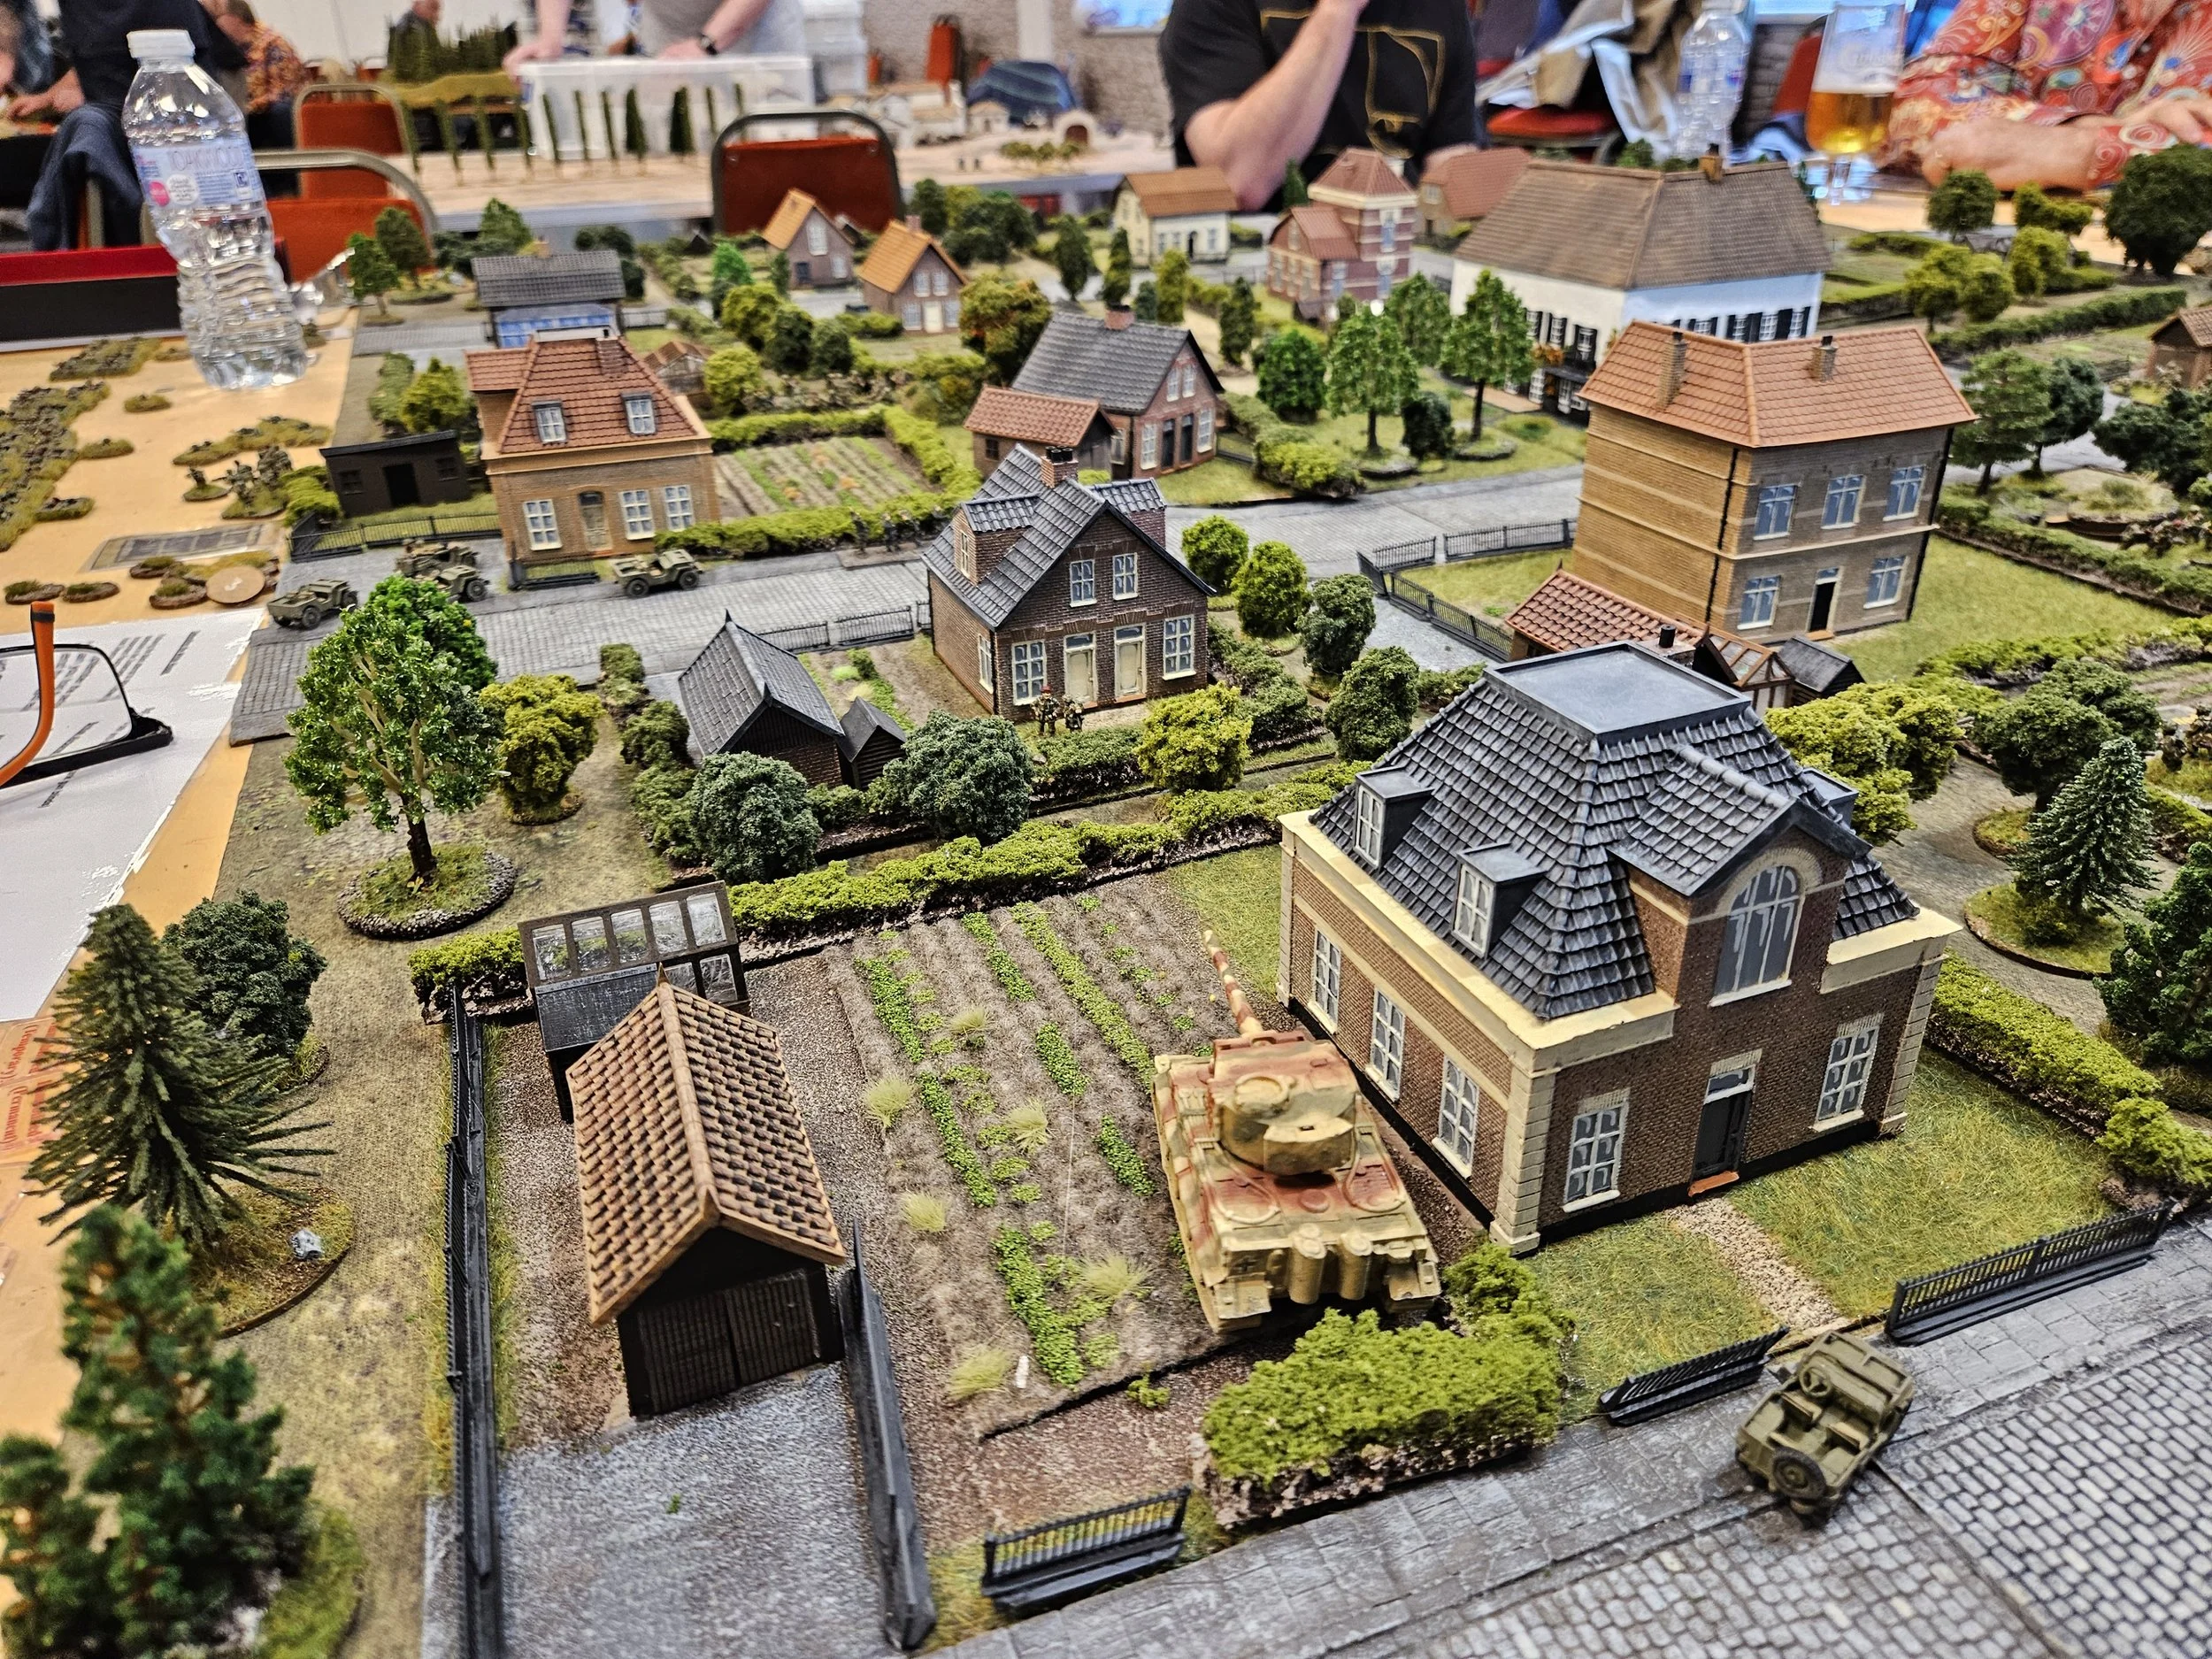
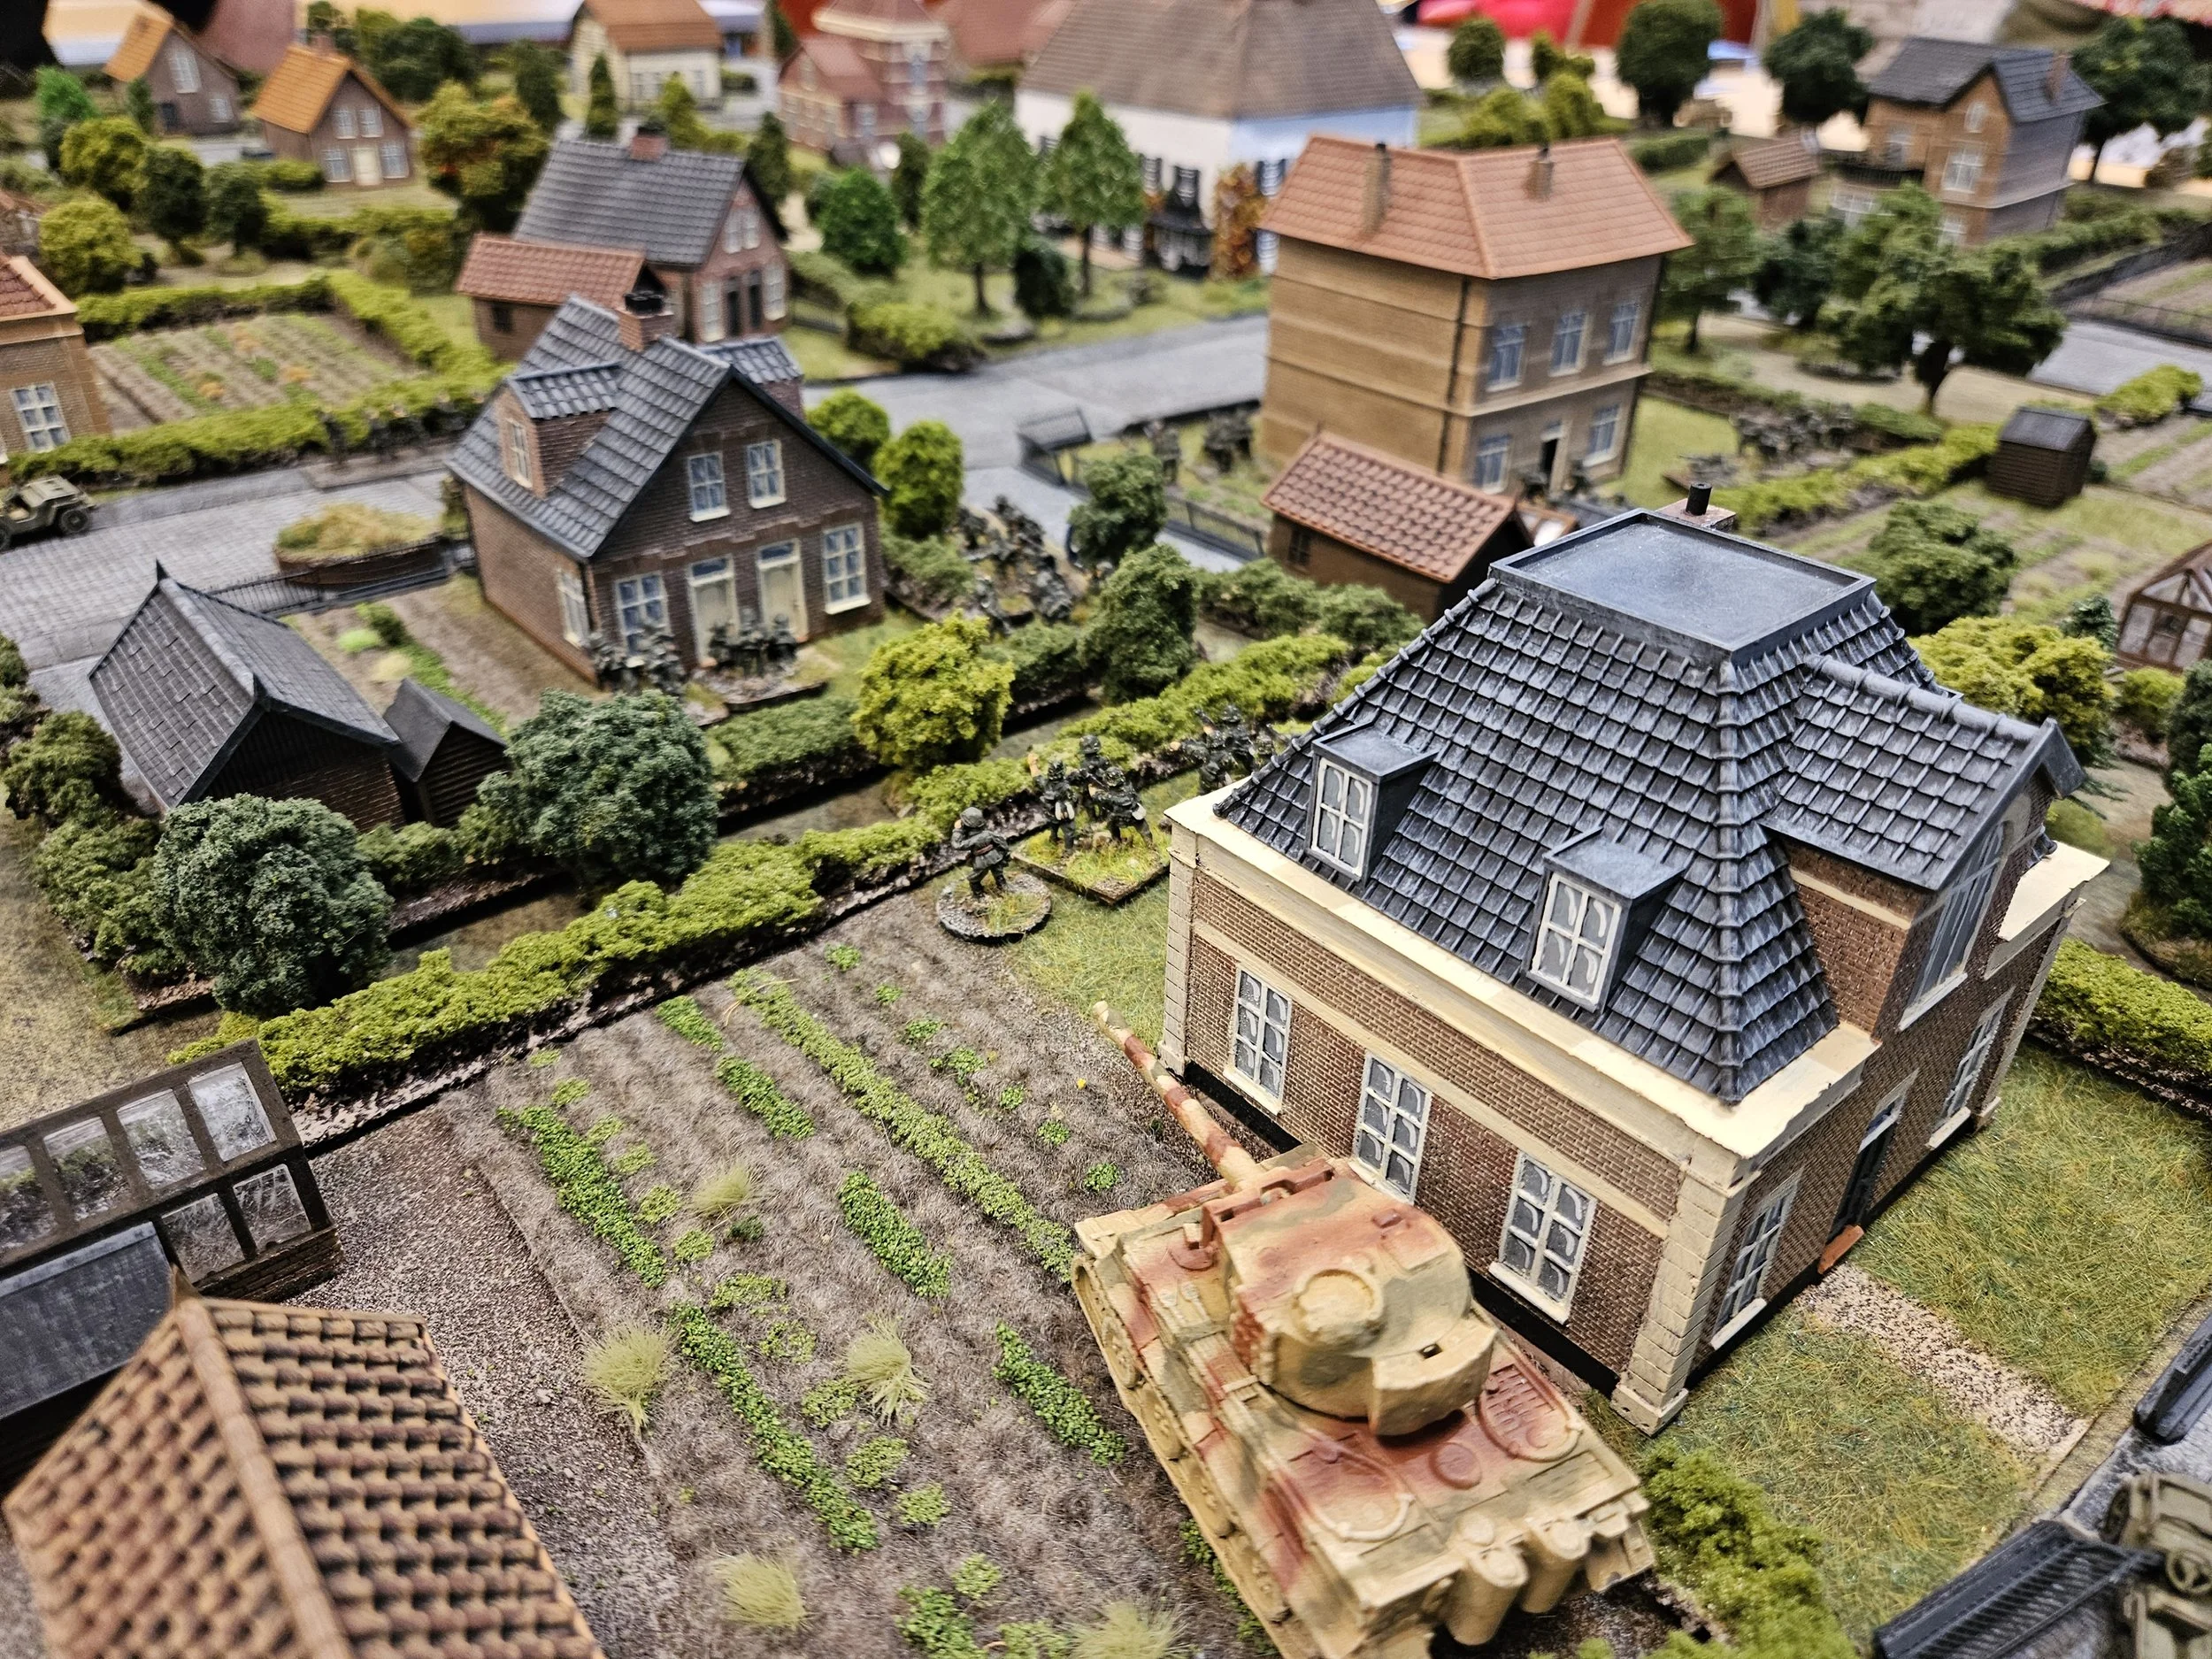
The first incarnation I tried was the Celts as fanatical Galatians: an army comprised of six units of deep fanatics and some cavalry. I’ll let Peter tell you what happened…
Peter writes:
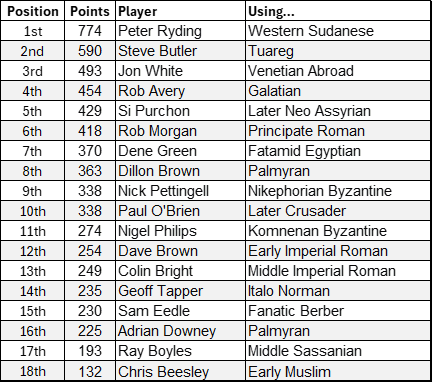
I love experimenting with new armies, new troop type combinations and new tactics and seeing how well they perform, either as an official tournament army or with slight variations to stress test their full potential.
I’ve been inspired by a Nigerian CEO mentoring client who told me about the fascinating medieval history of his nation including Mansa Musa who is, relatively speaking, the richest man who has ever lived, far outpacing the likes of Gates, and Musk through his extraordinary gold mines. Although beware any email from his 20 times great grand son who claims to have found his inheritance down a mine!
Anyway…
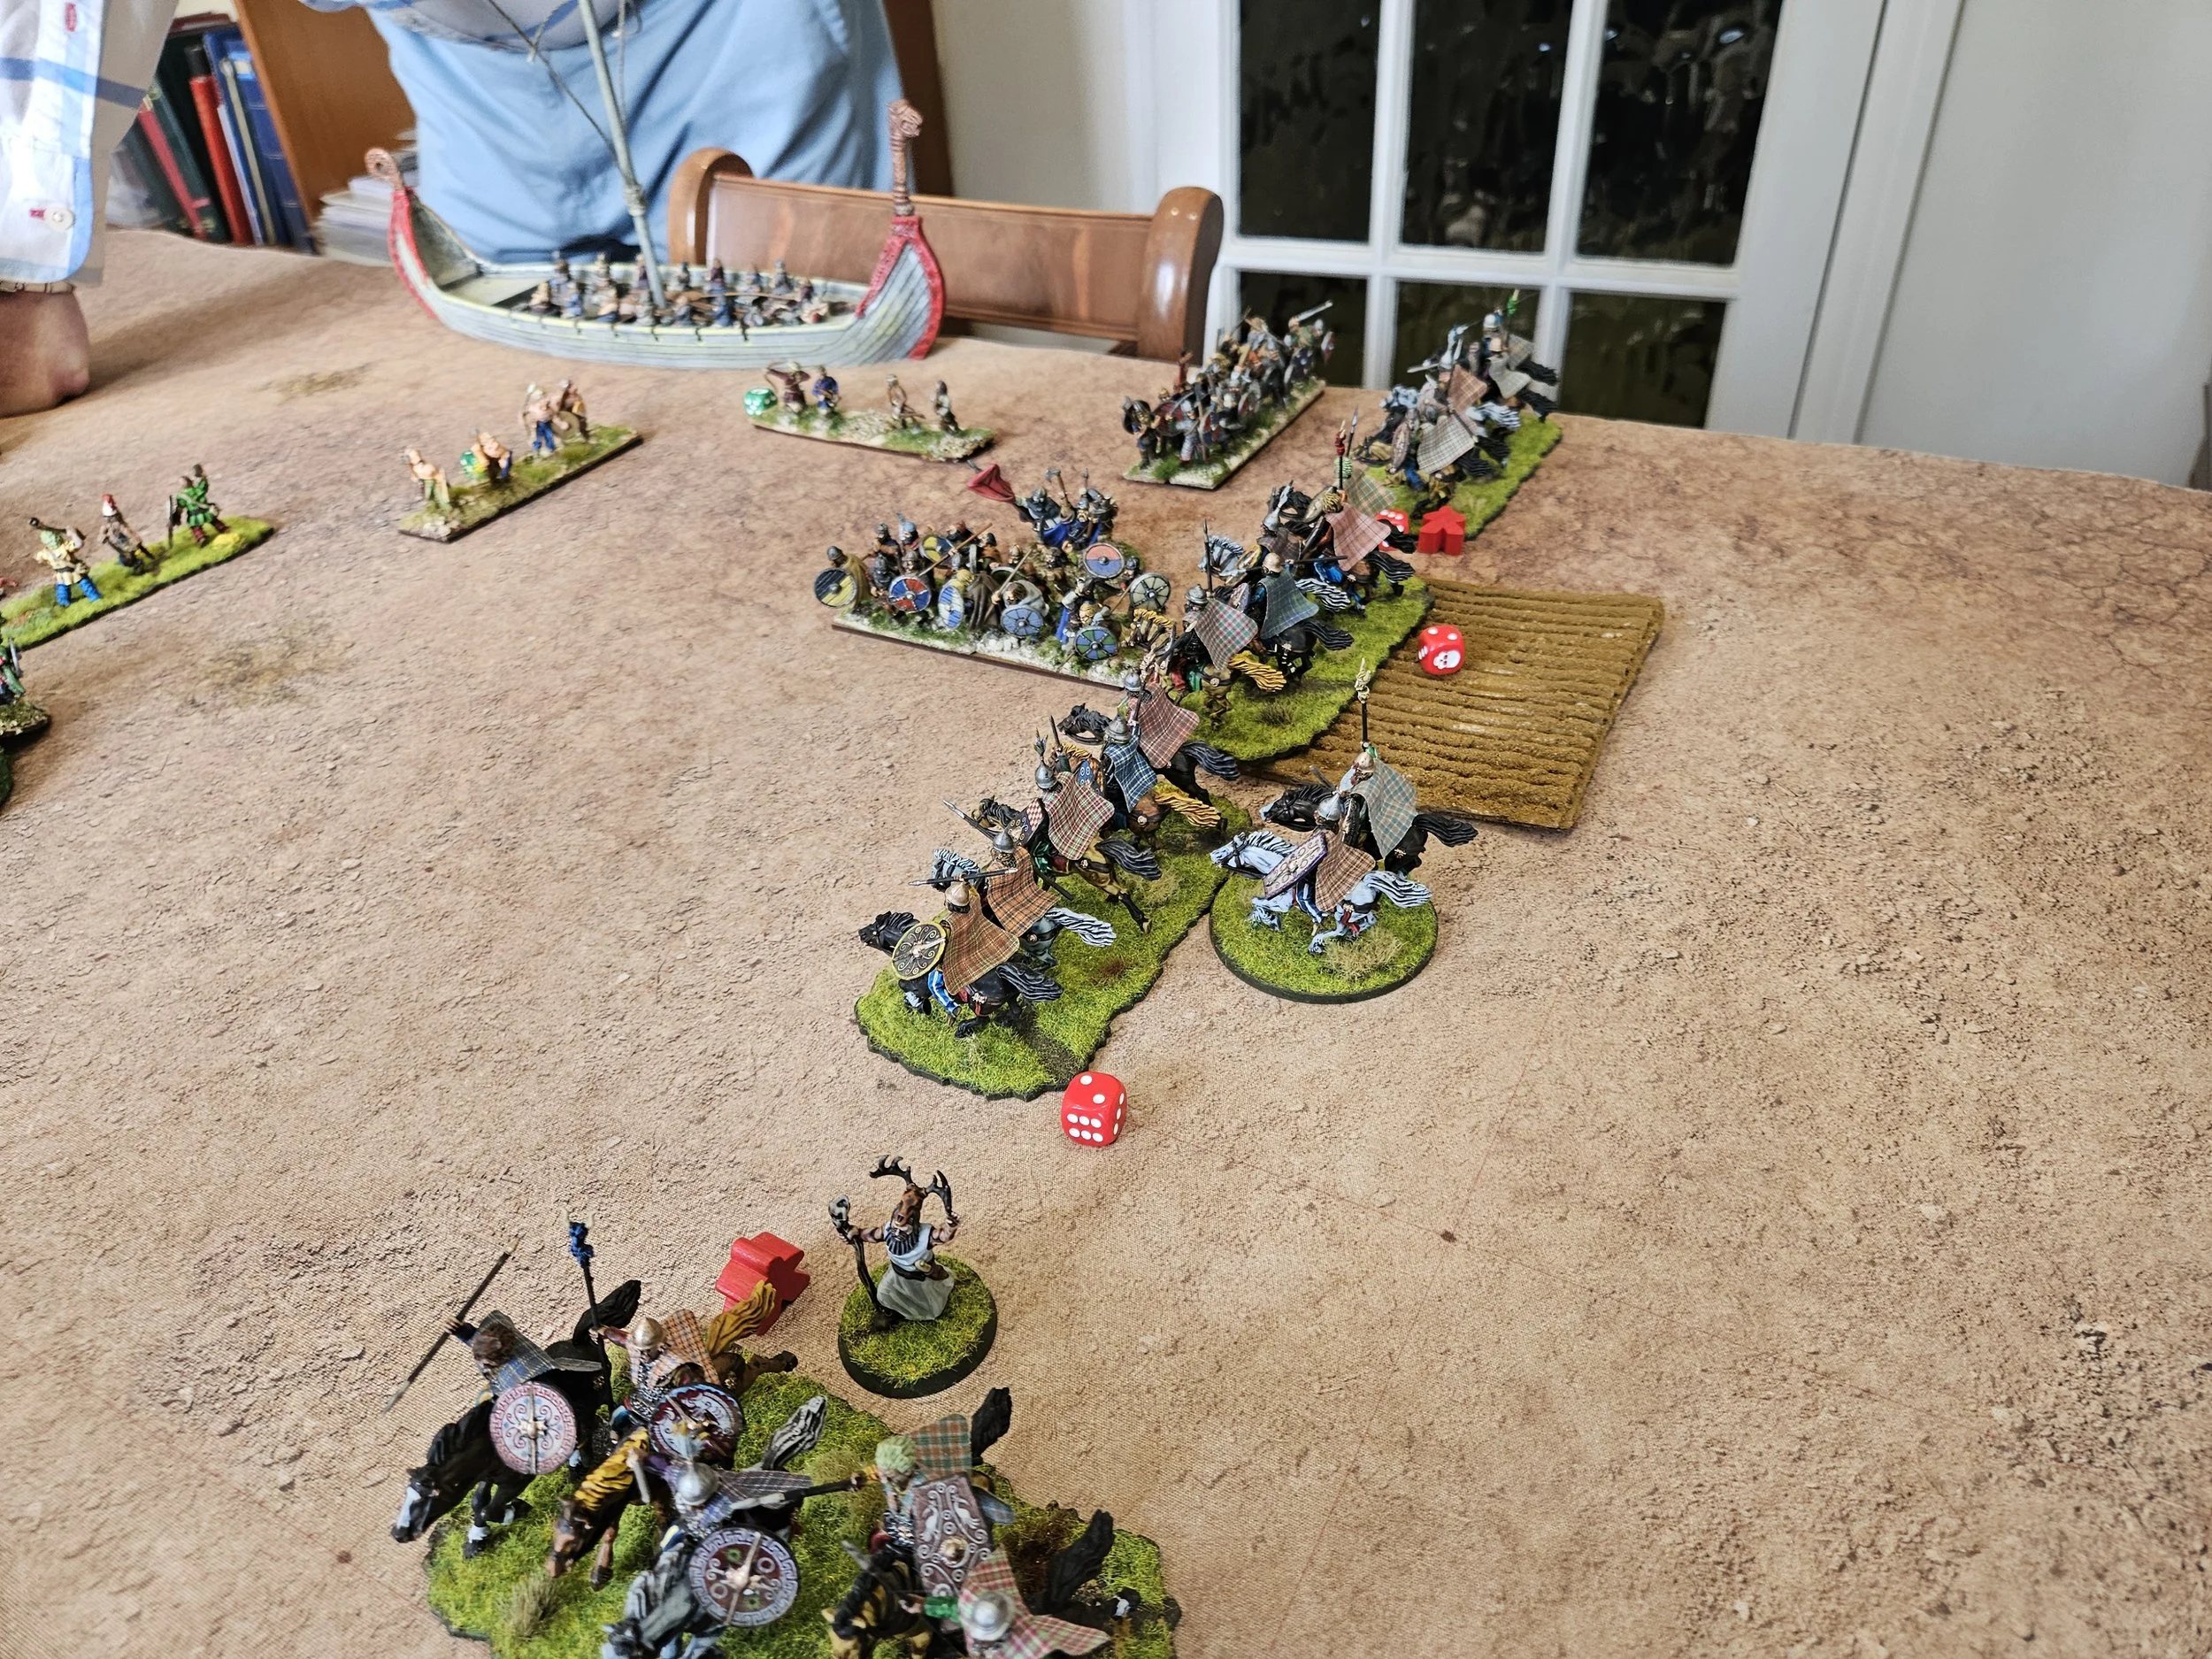
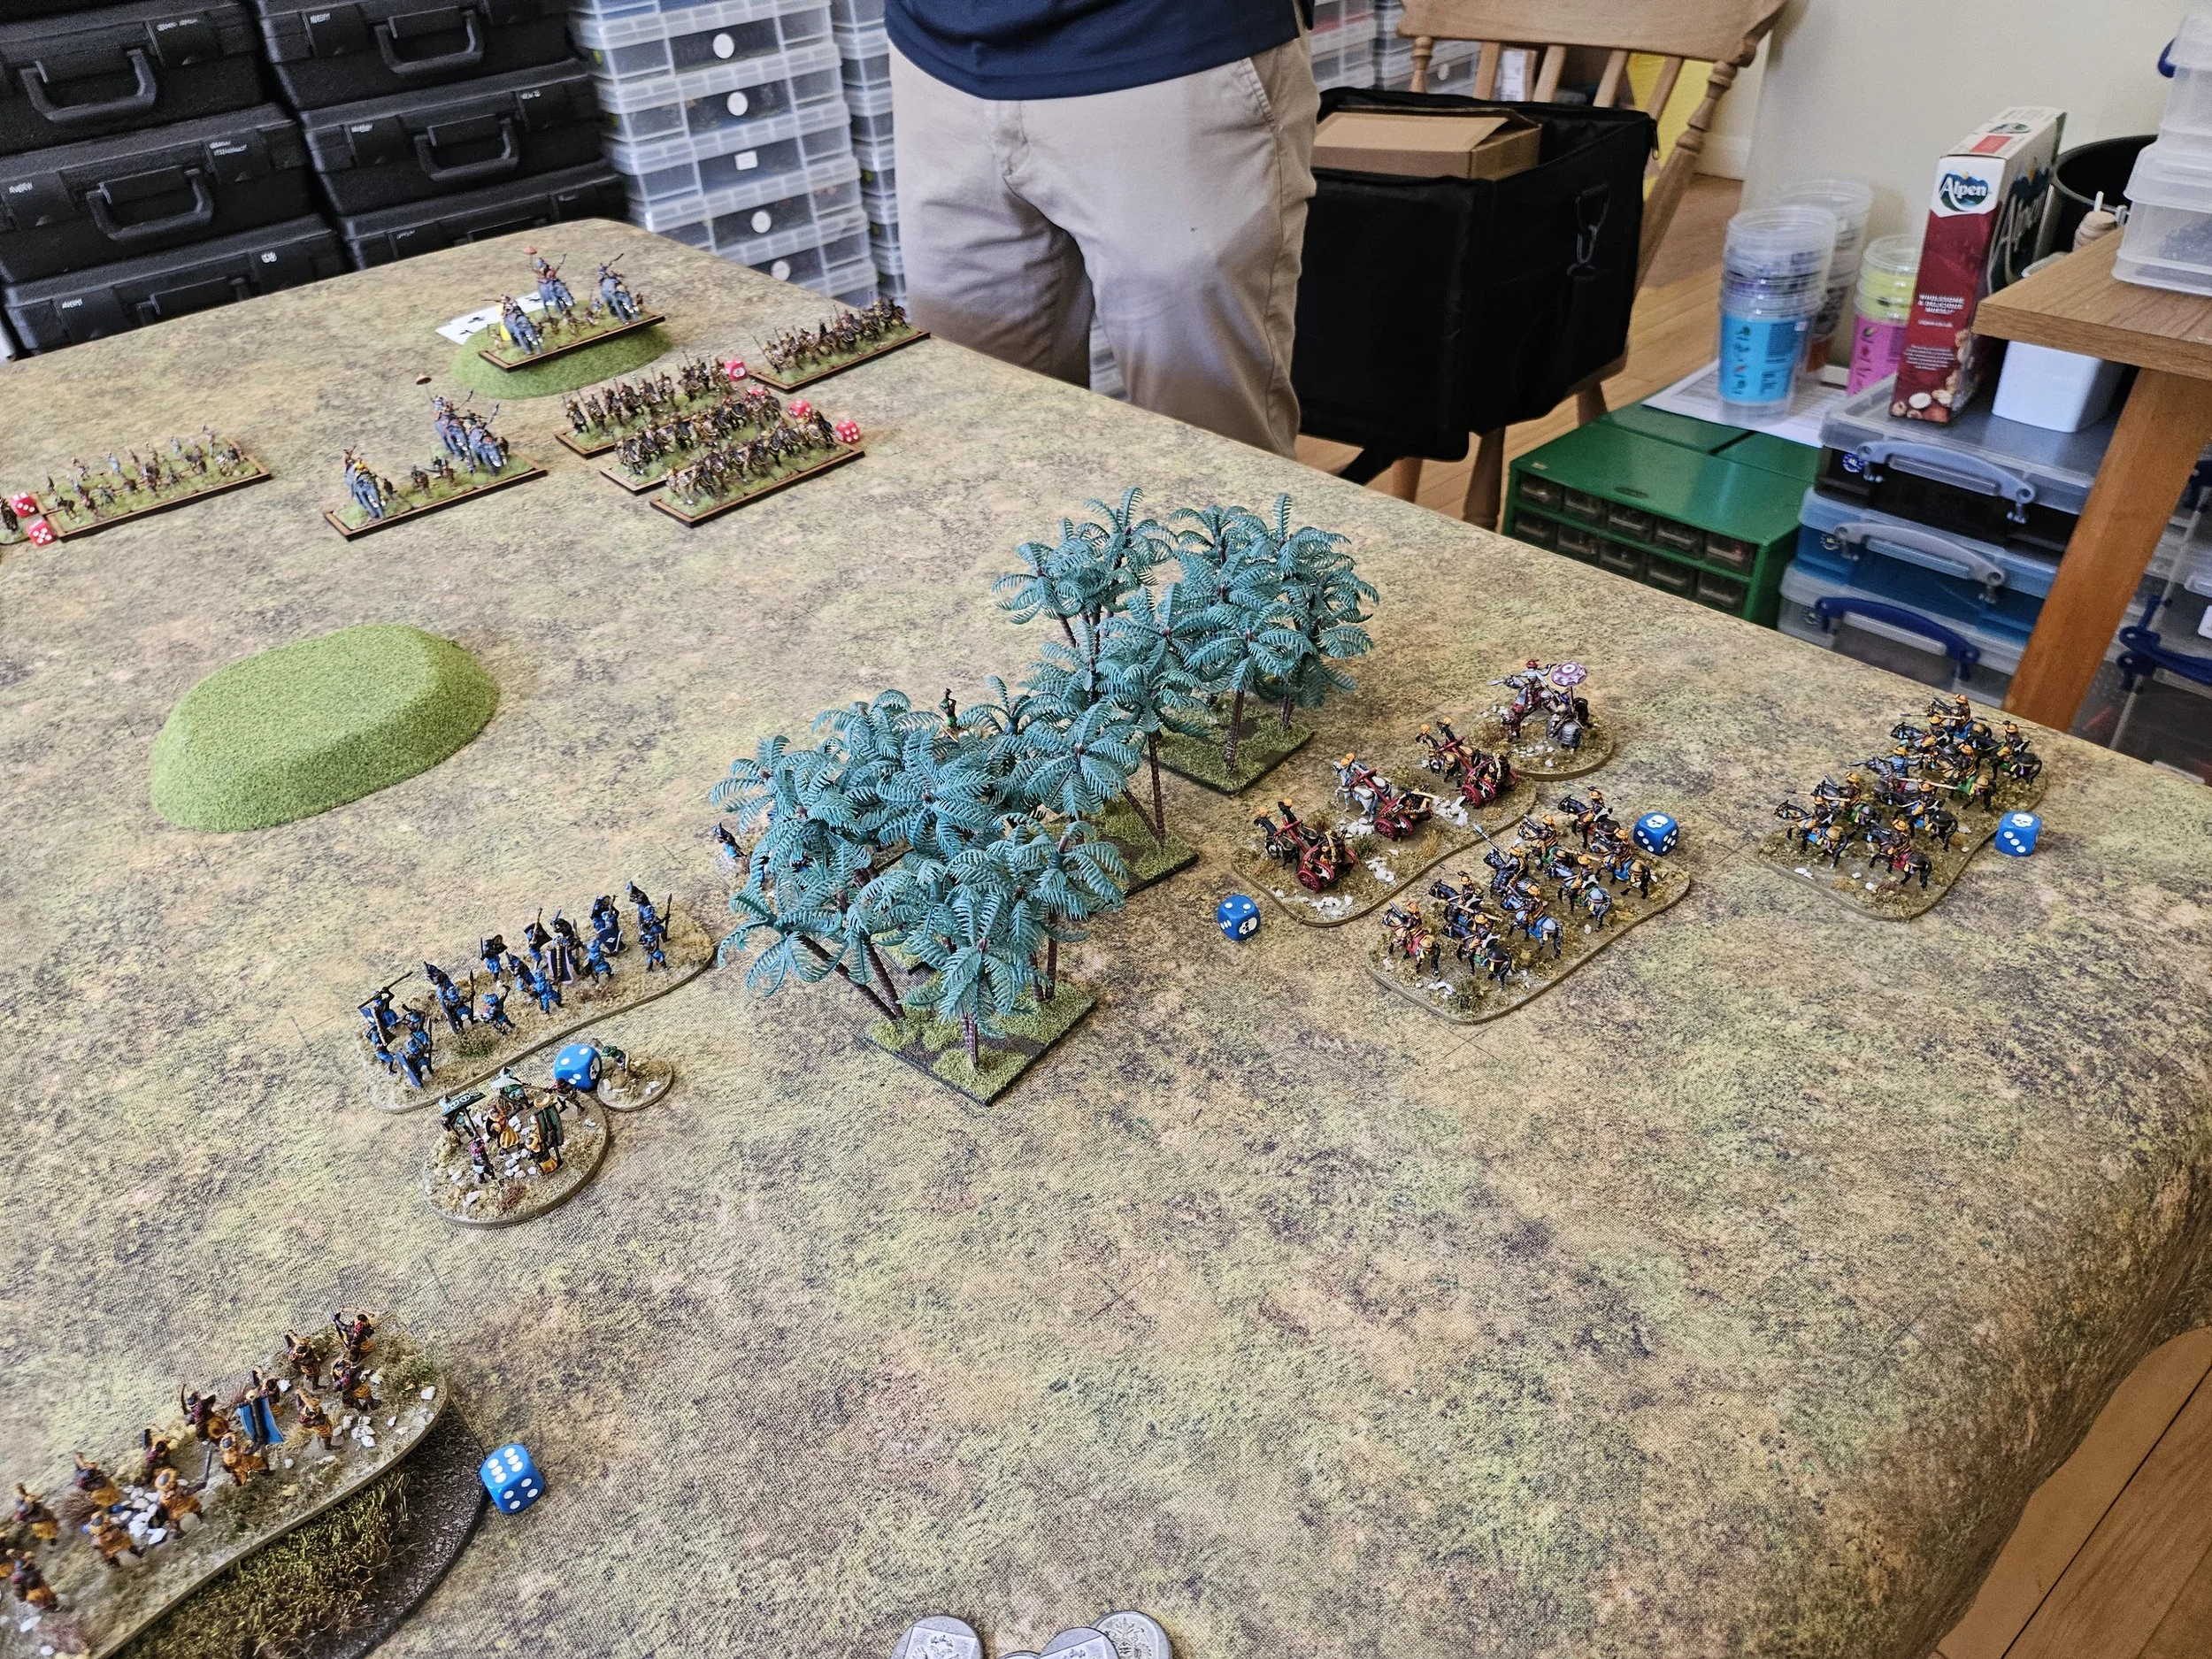
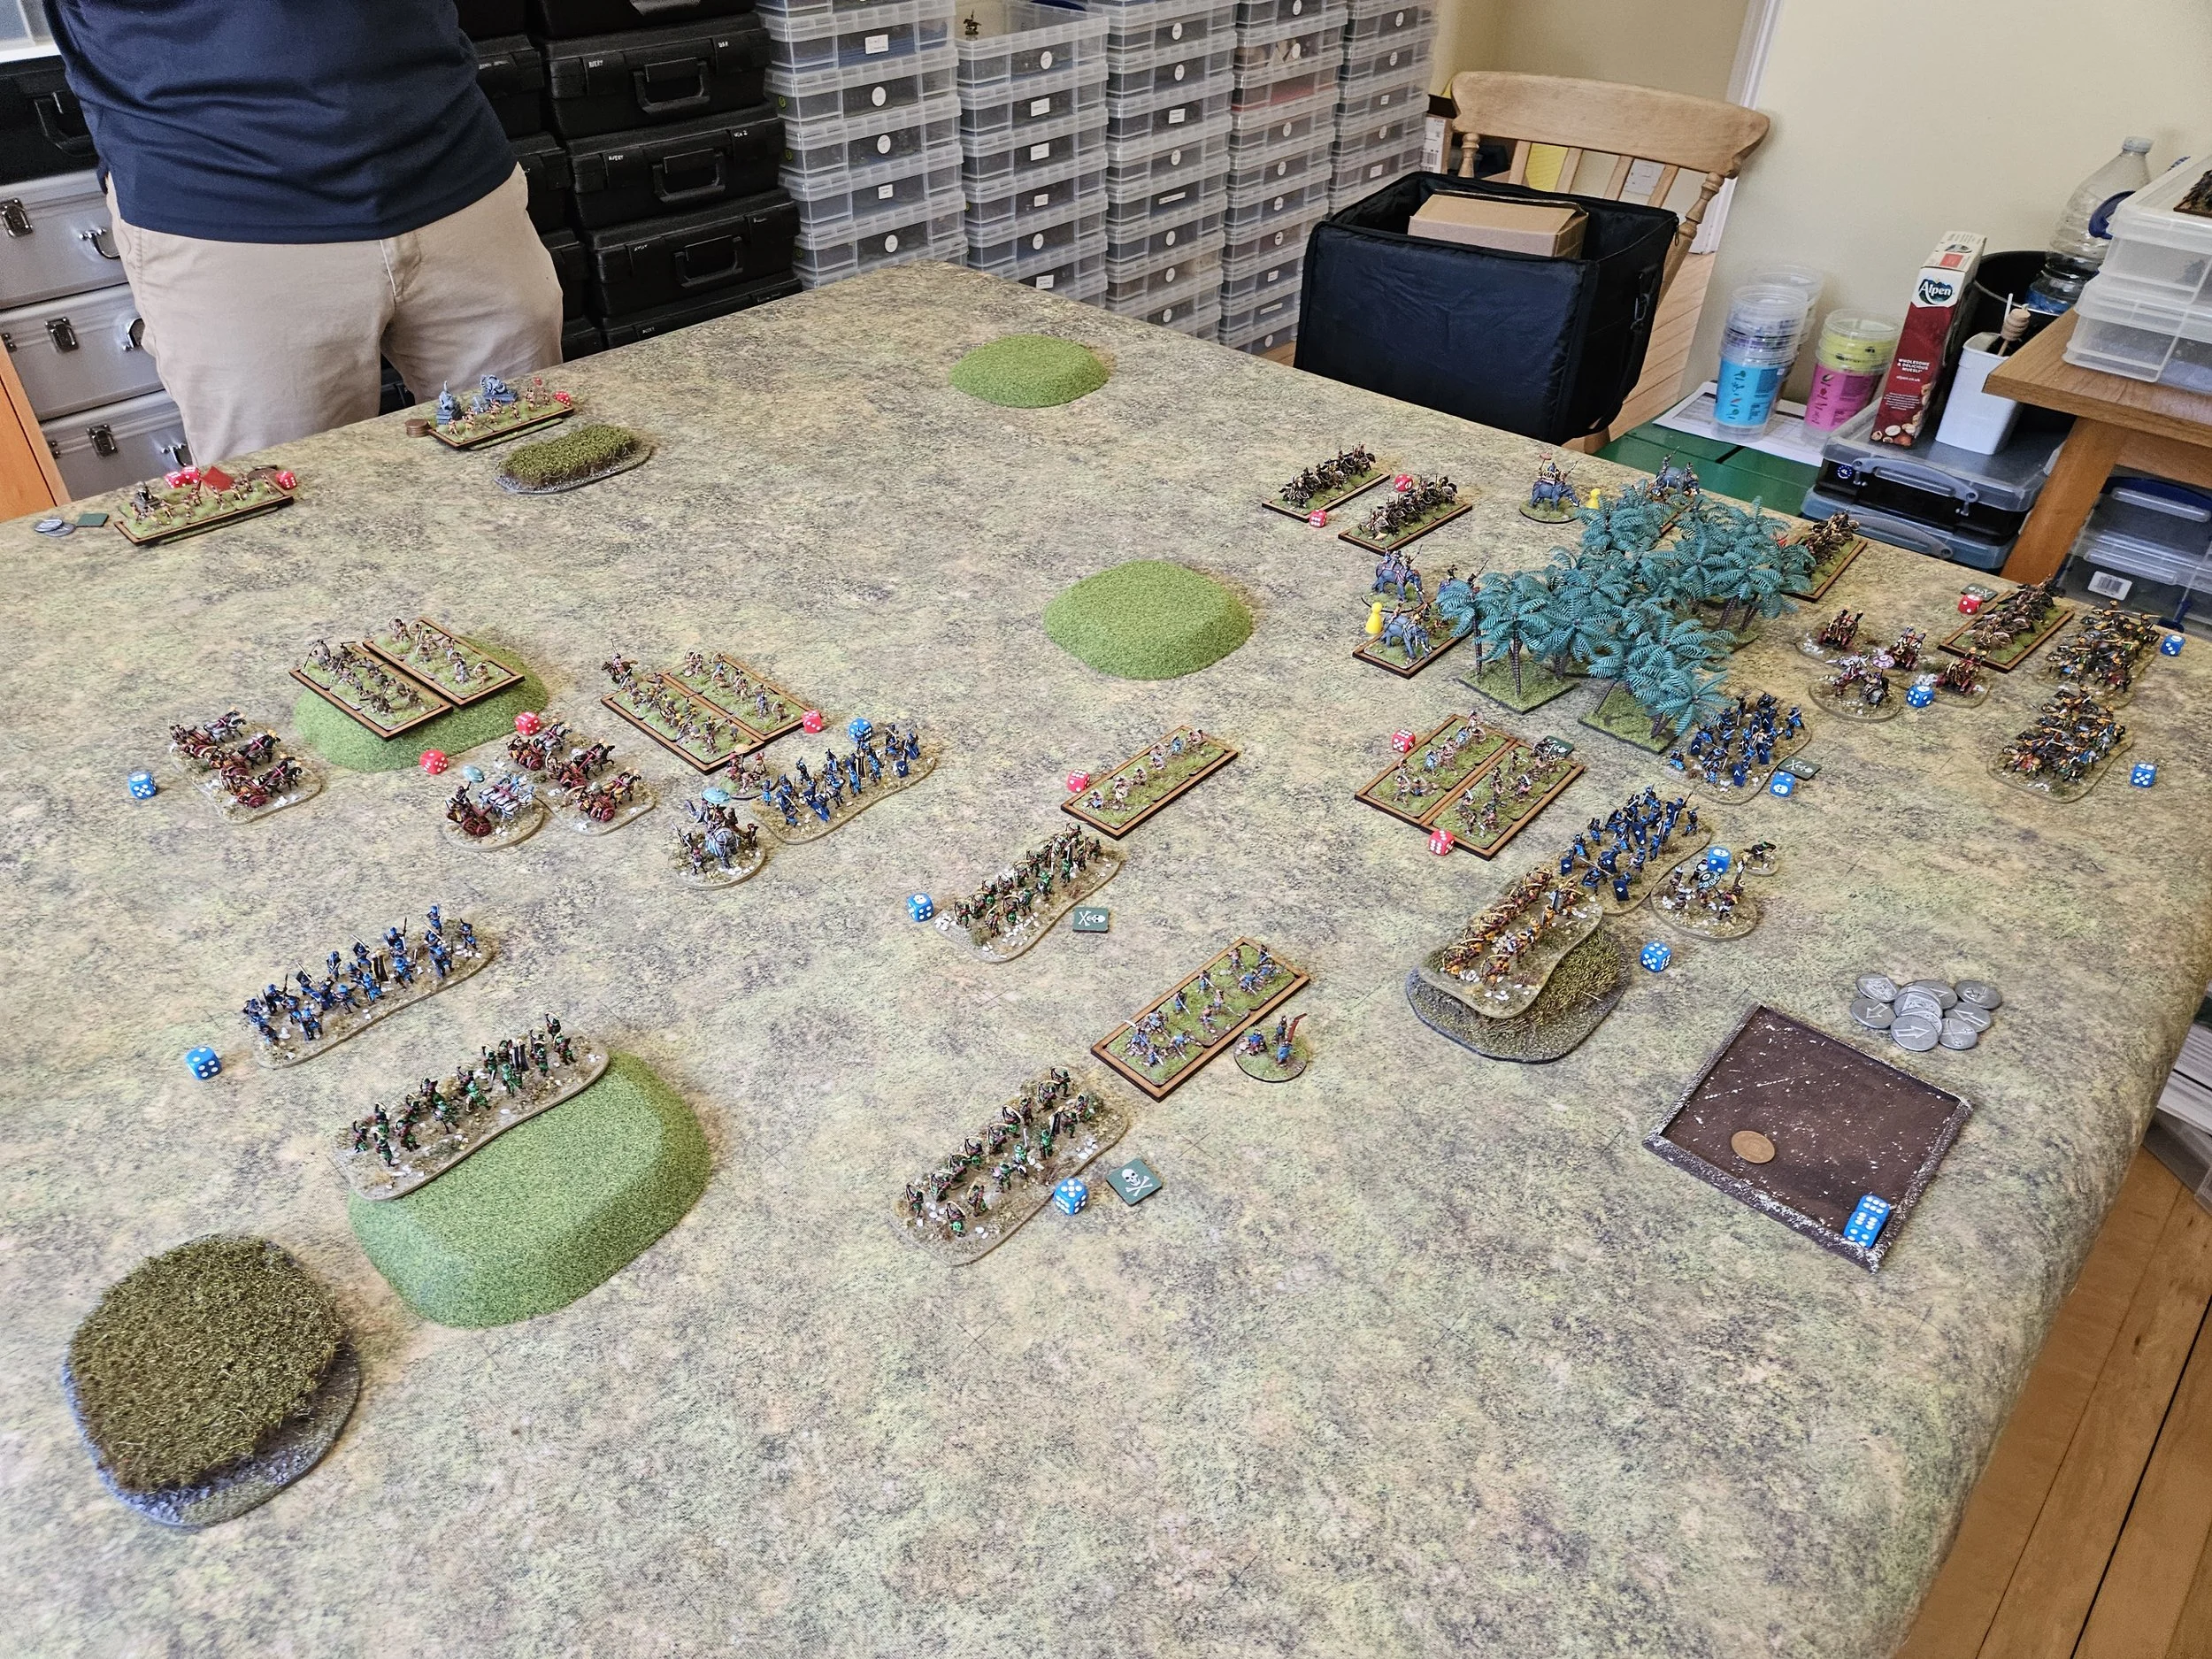
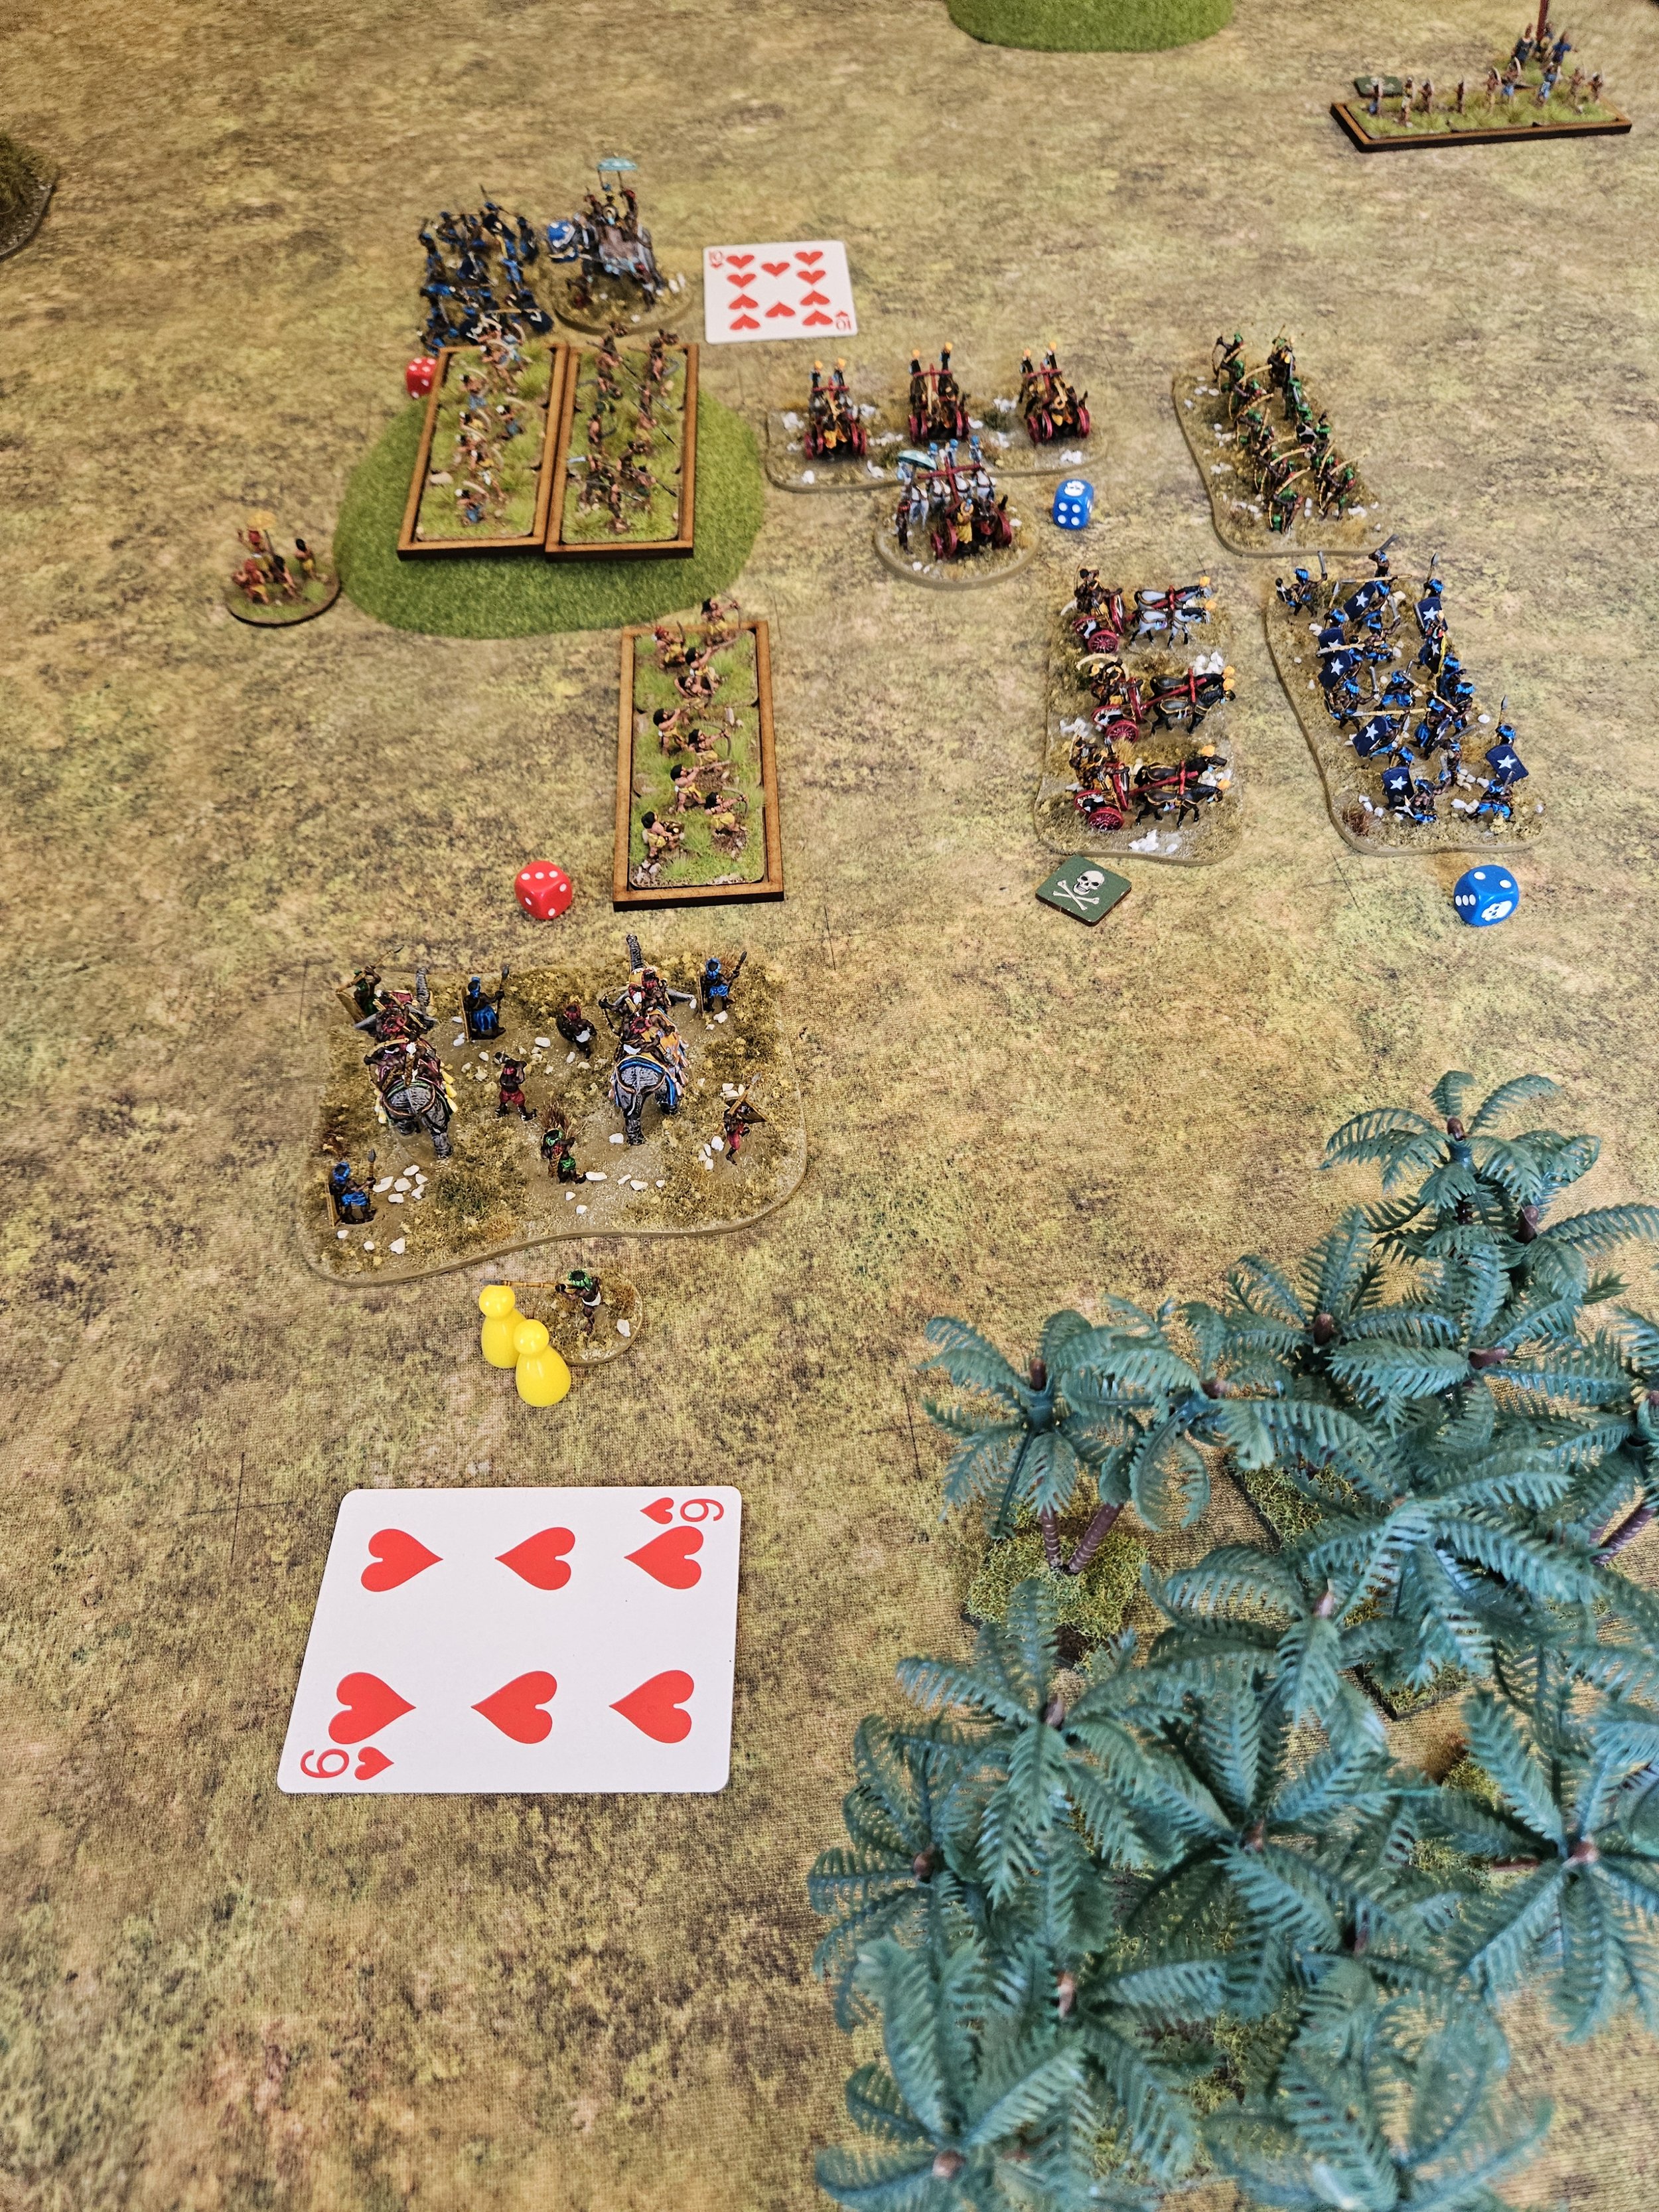
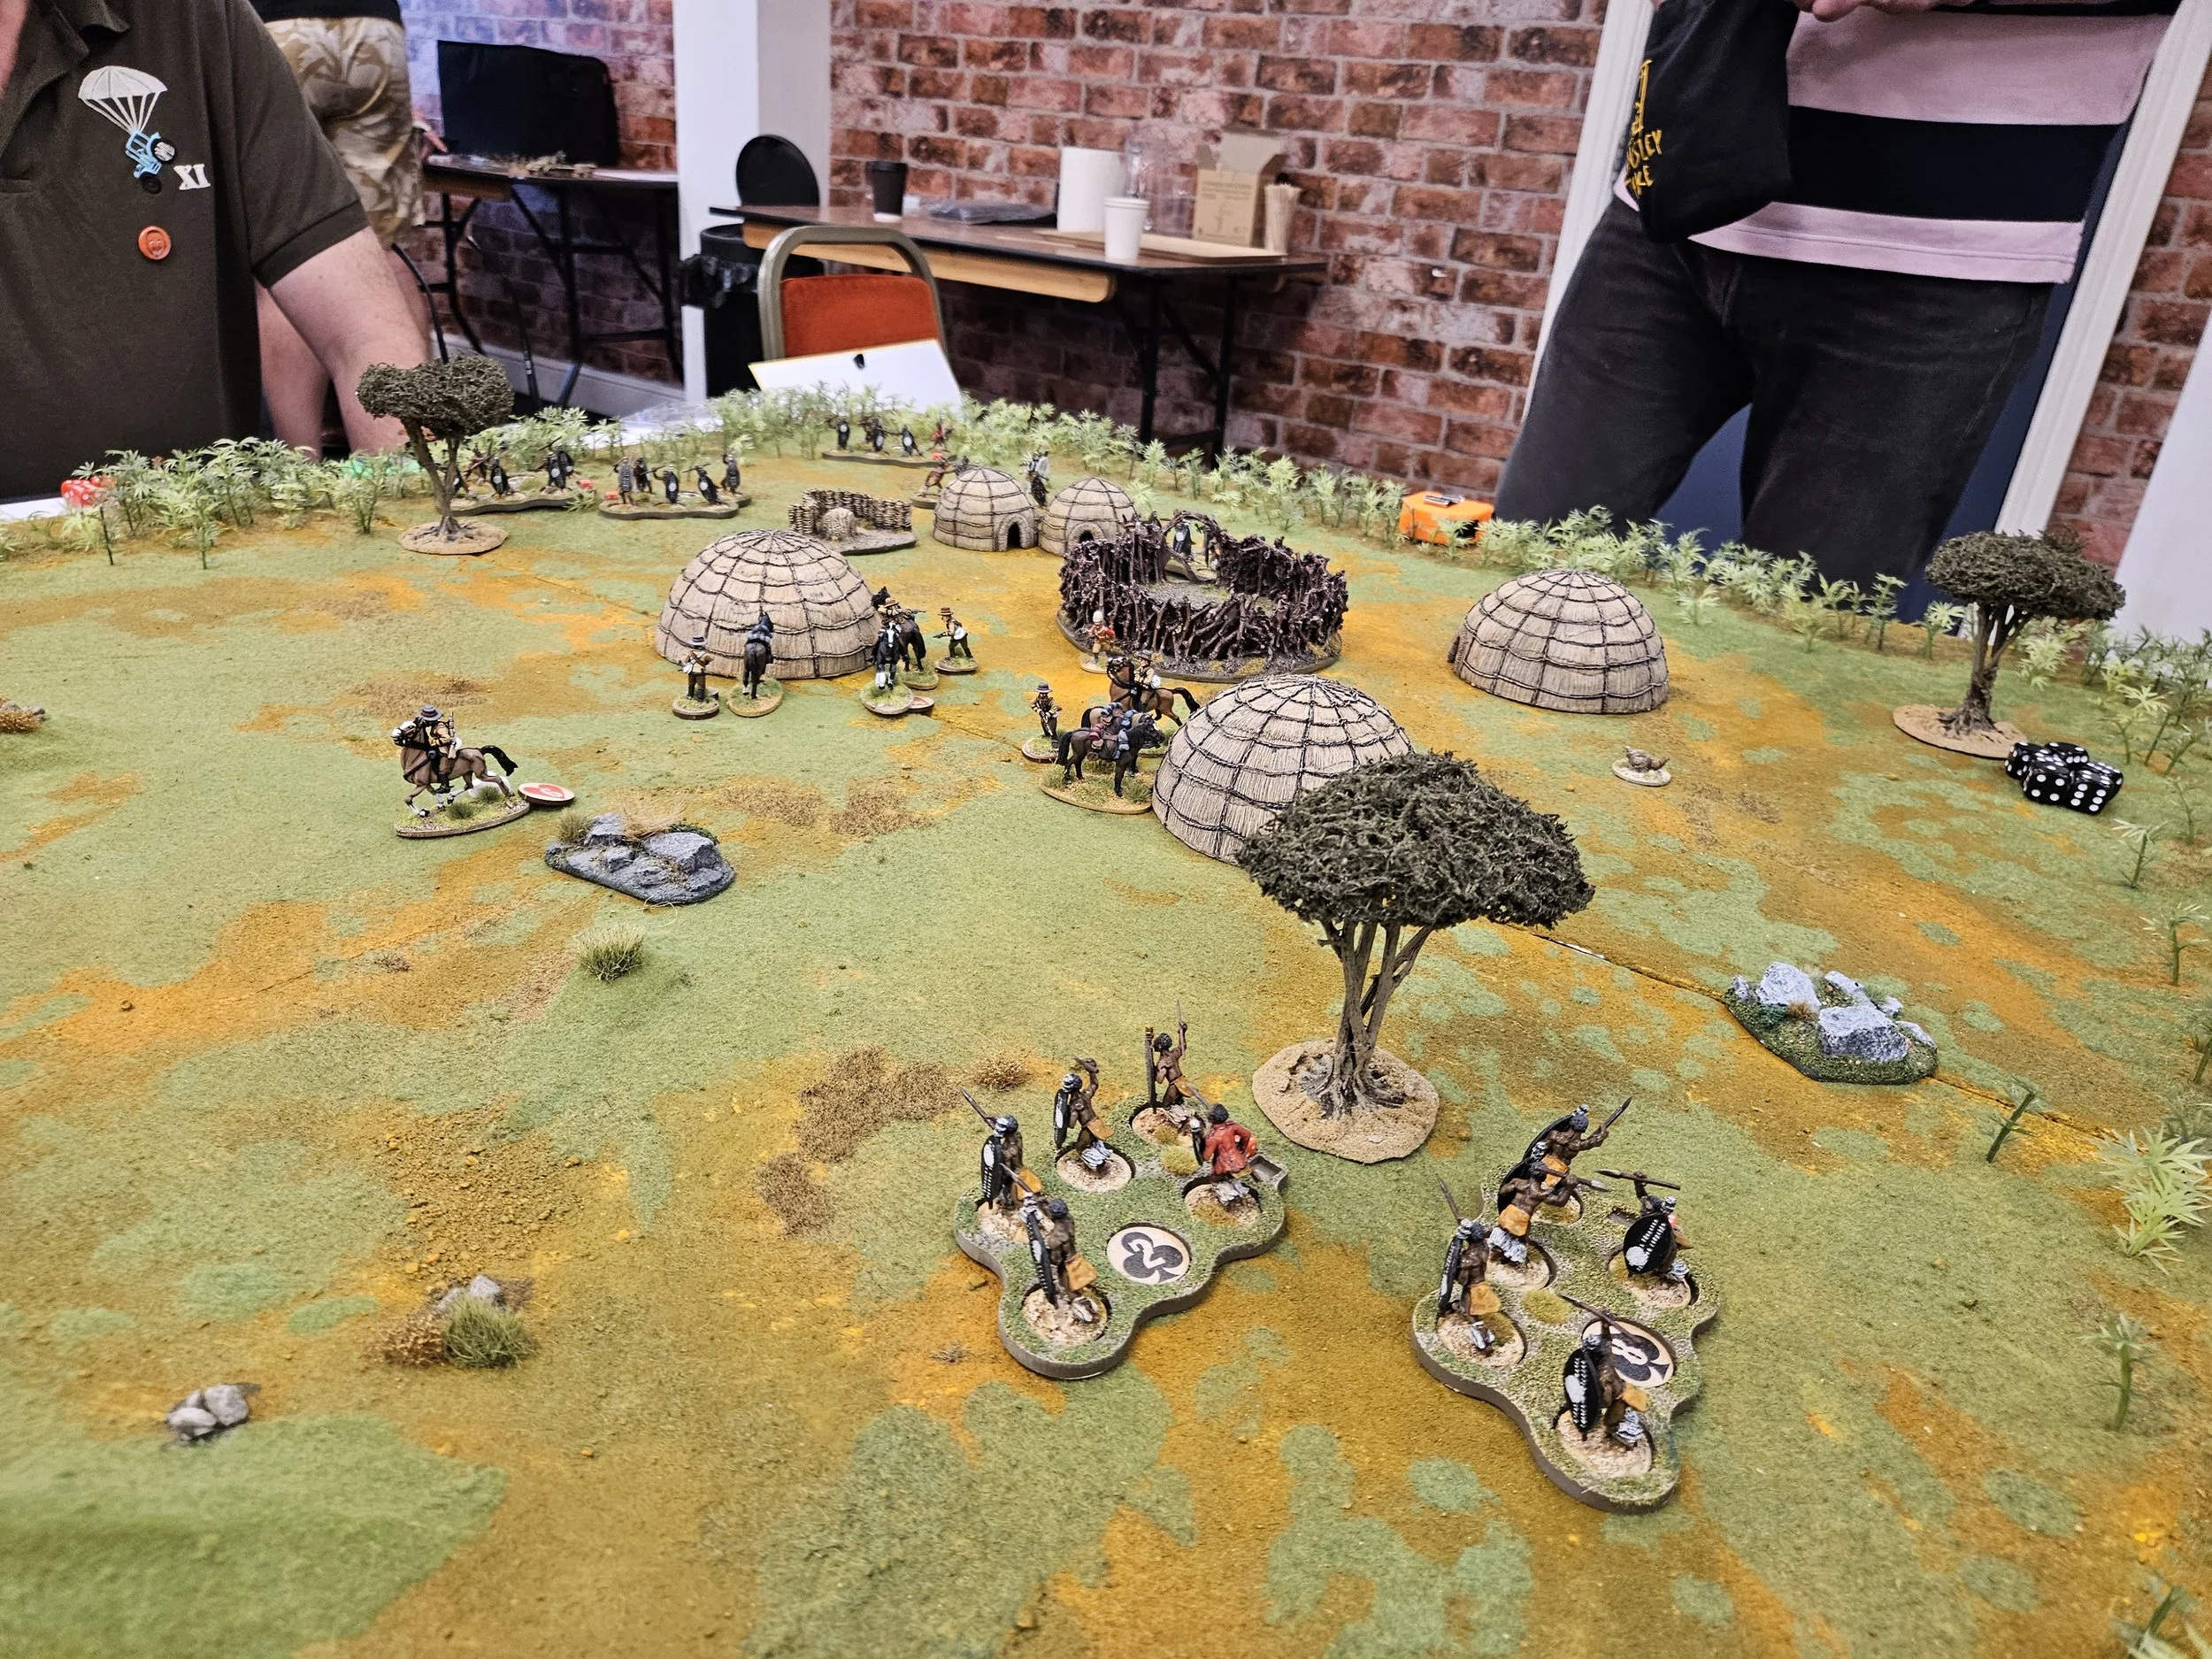
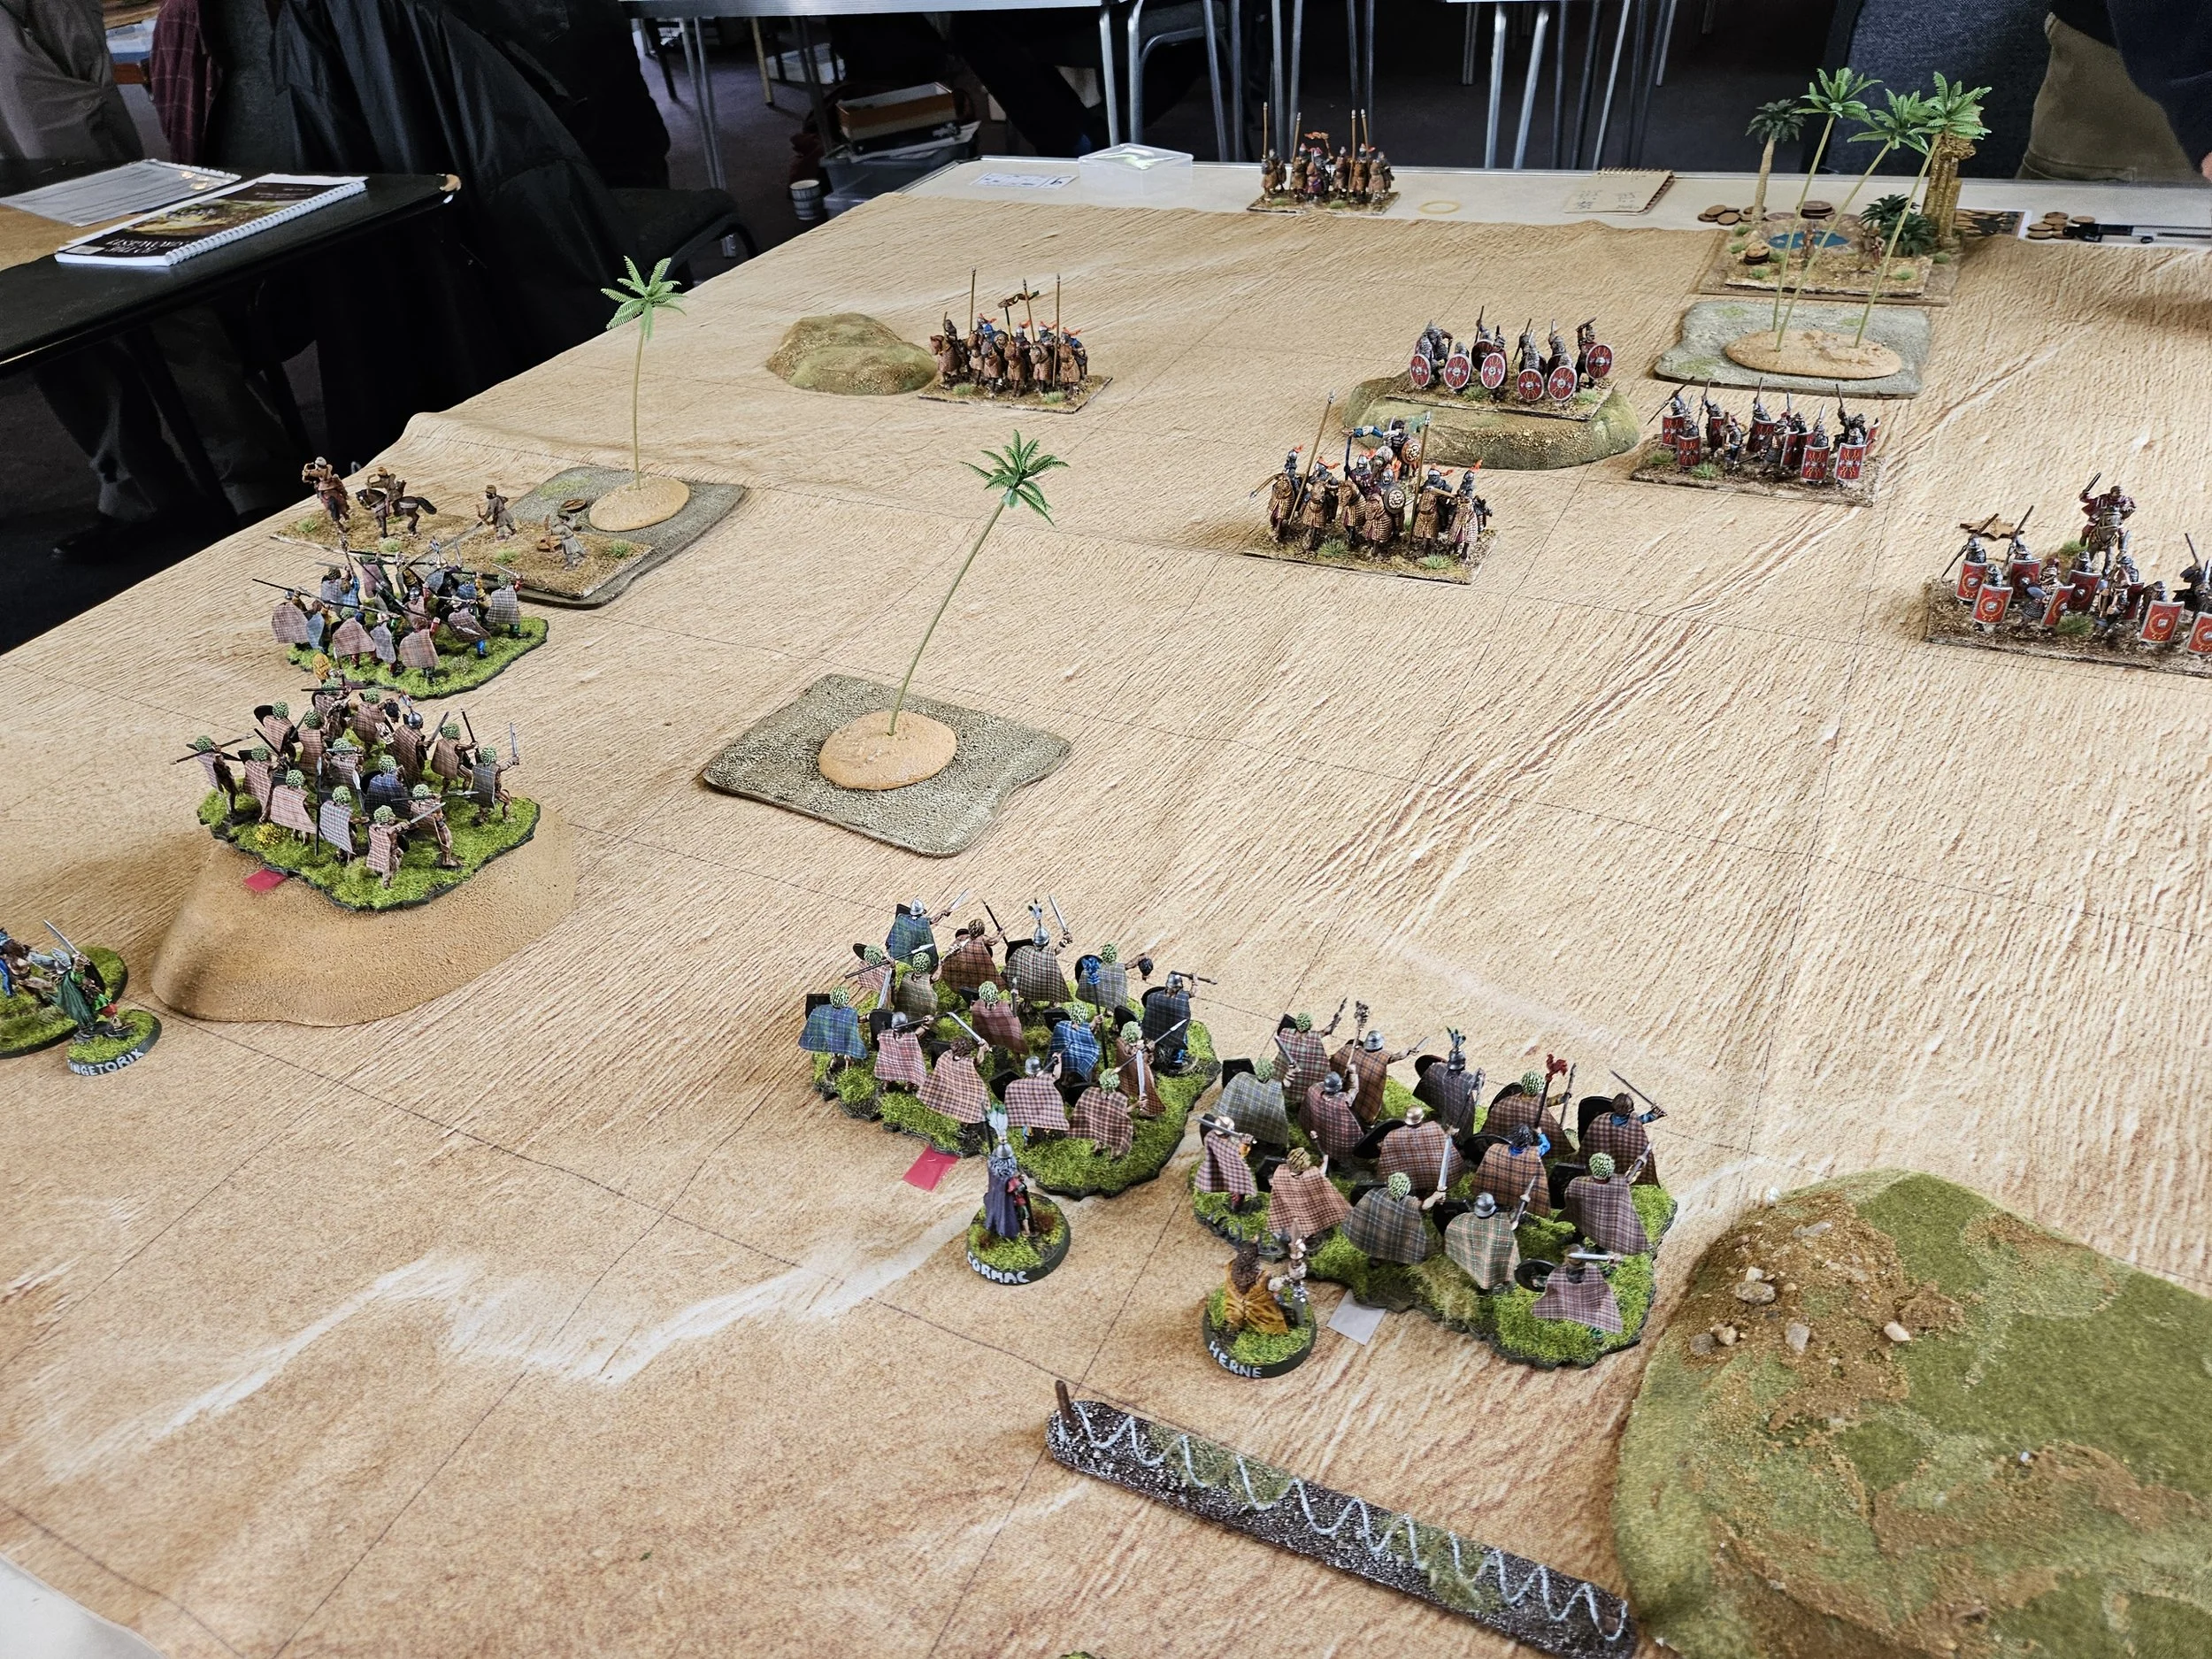
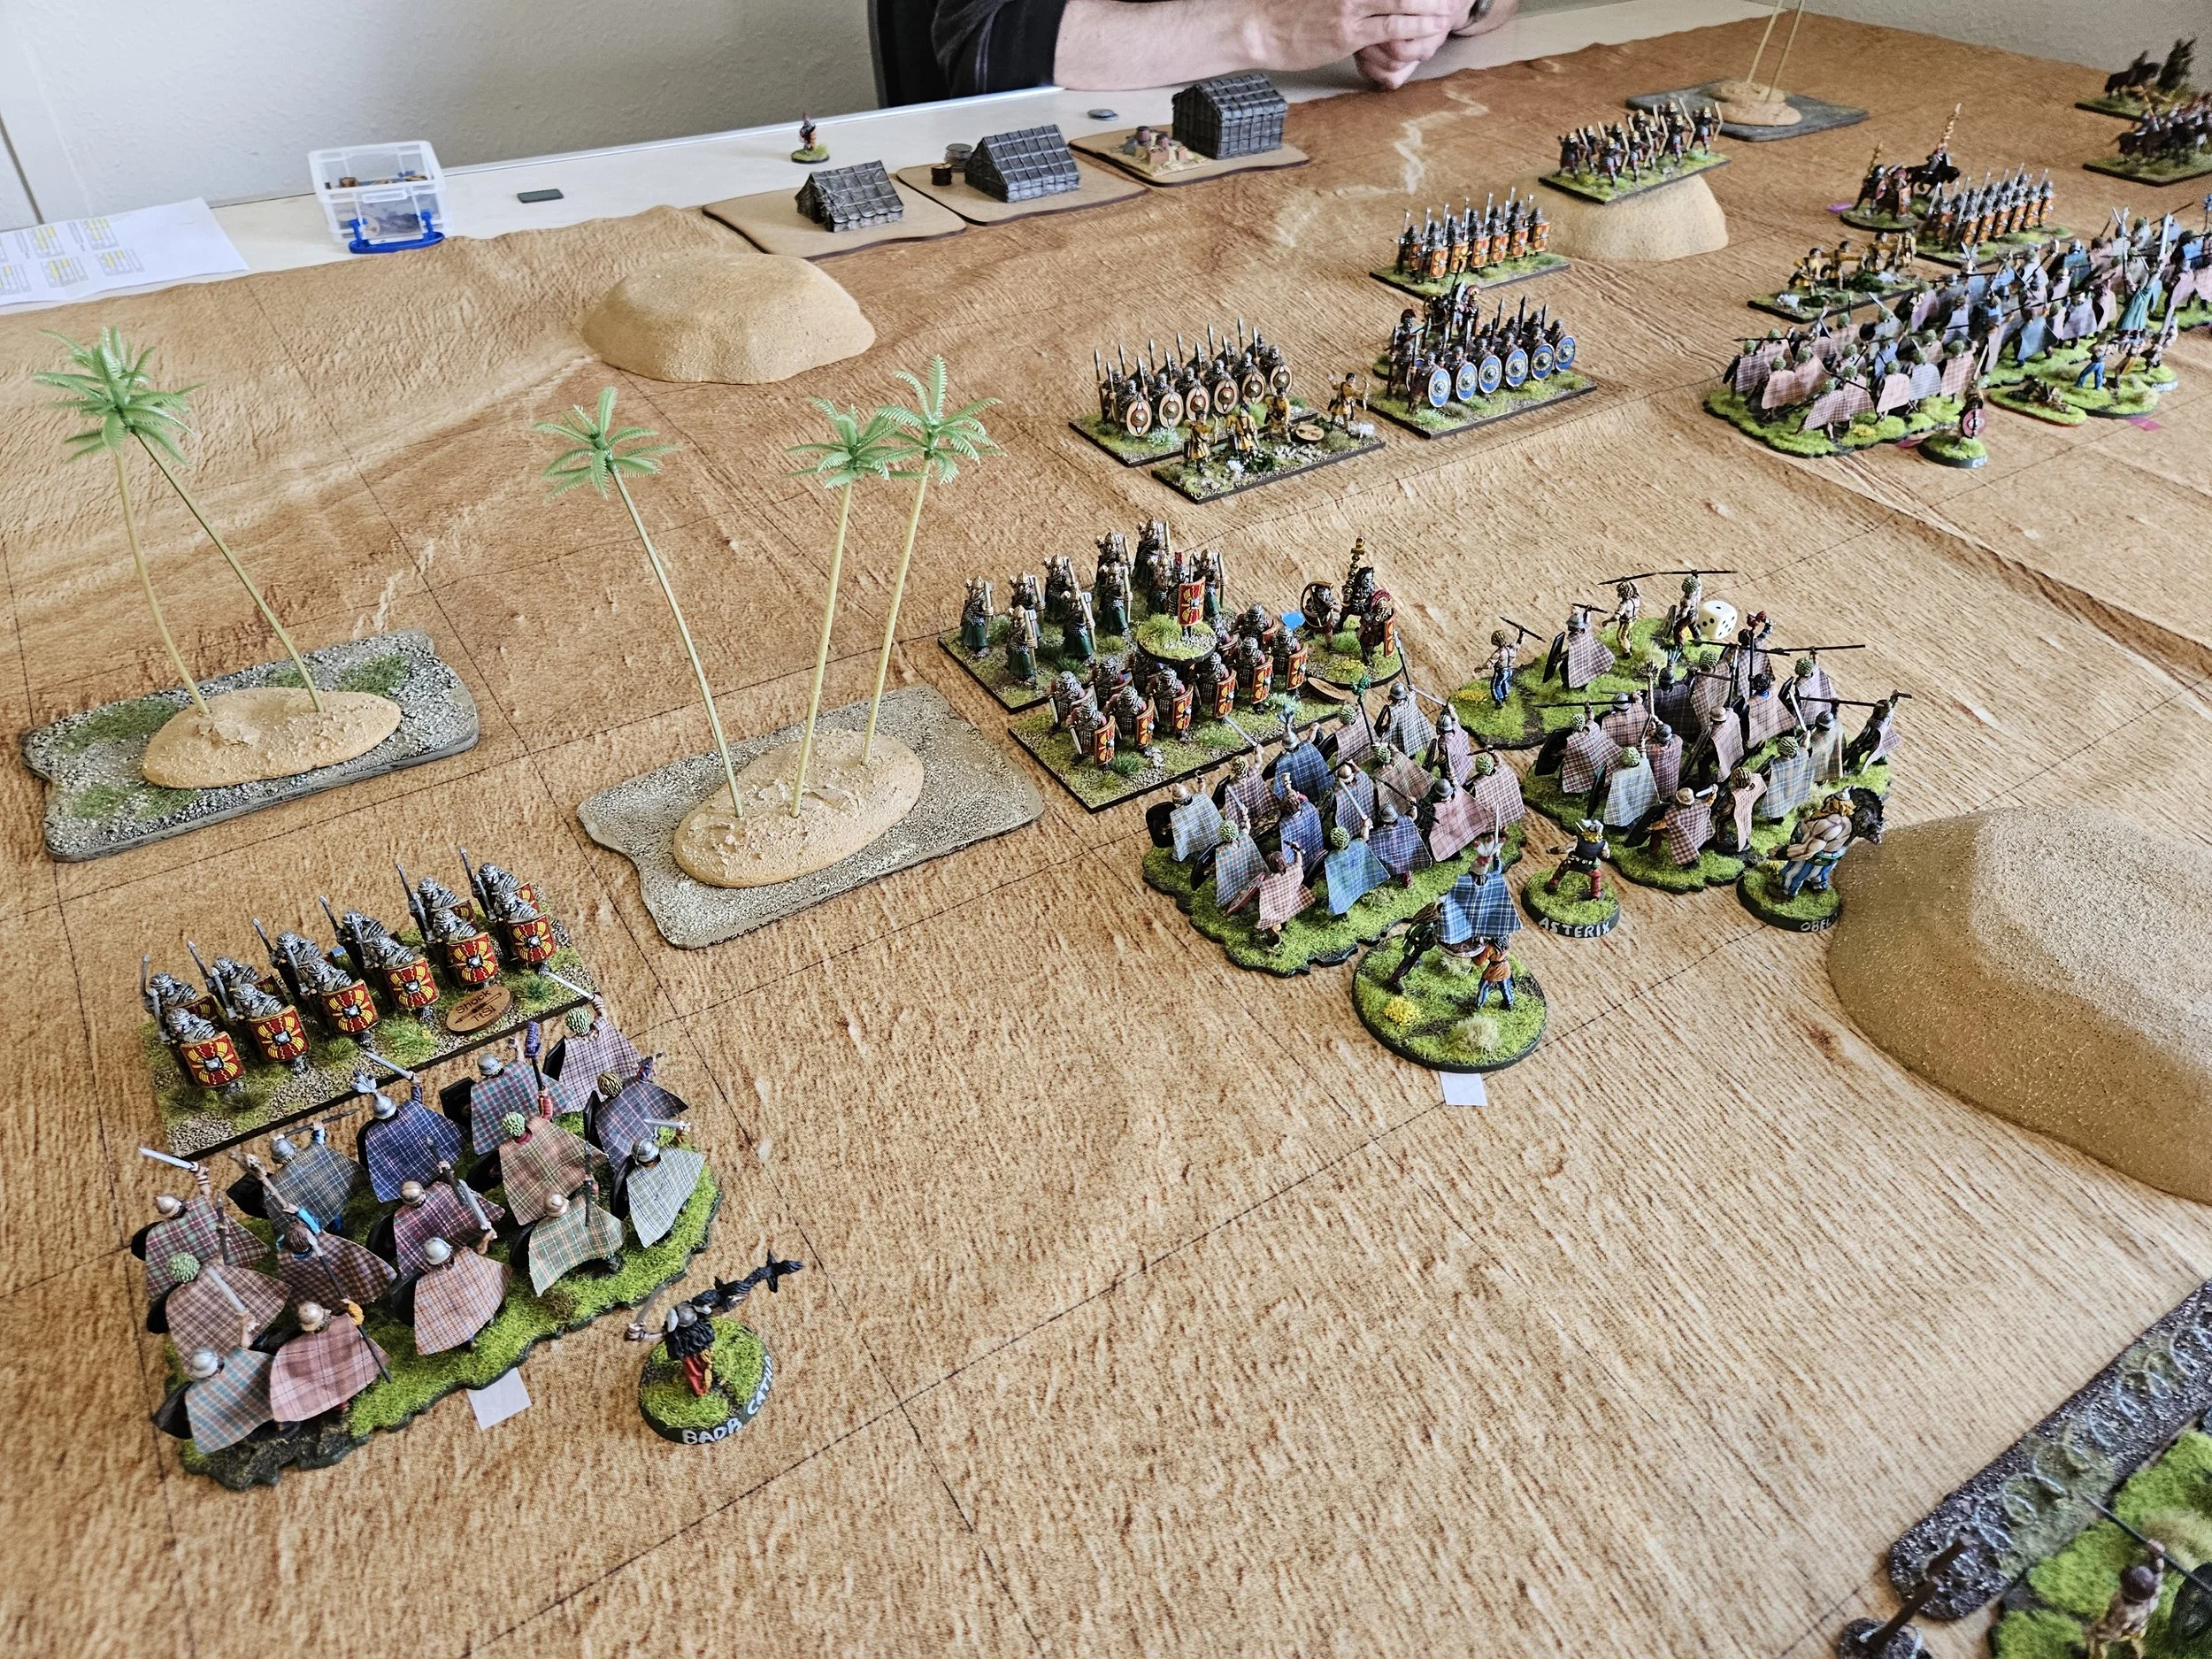
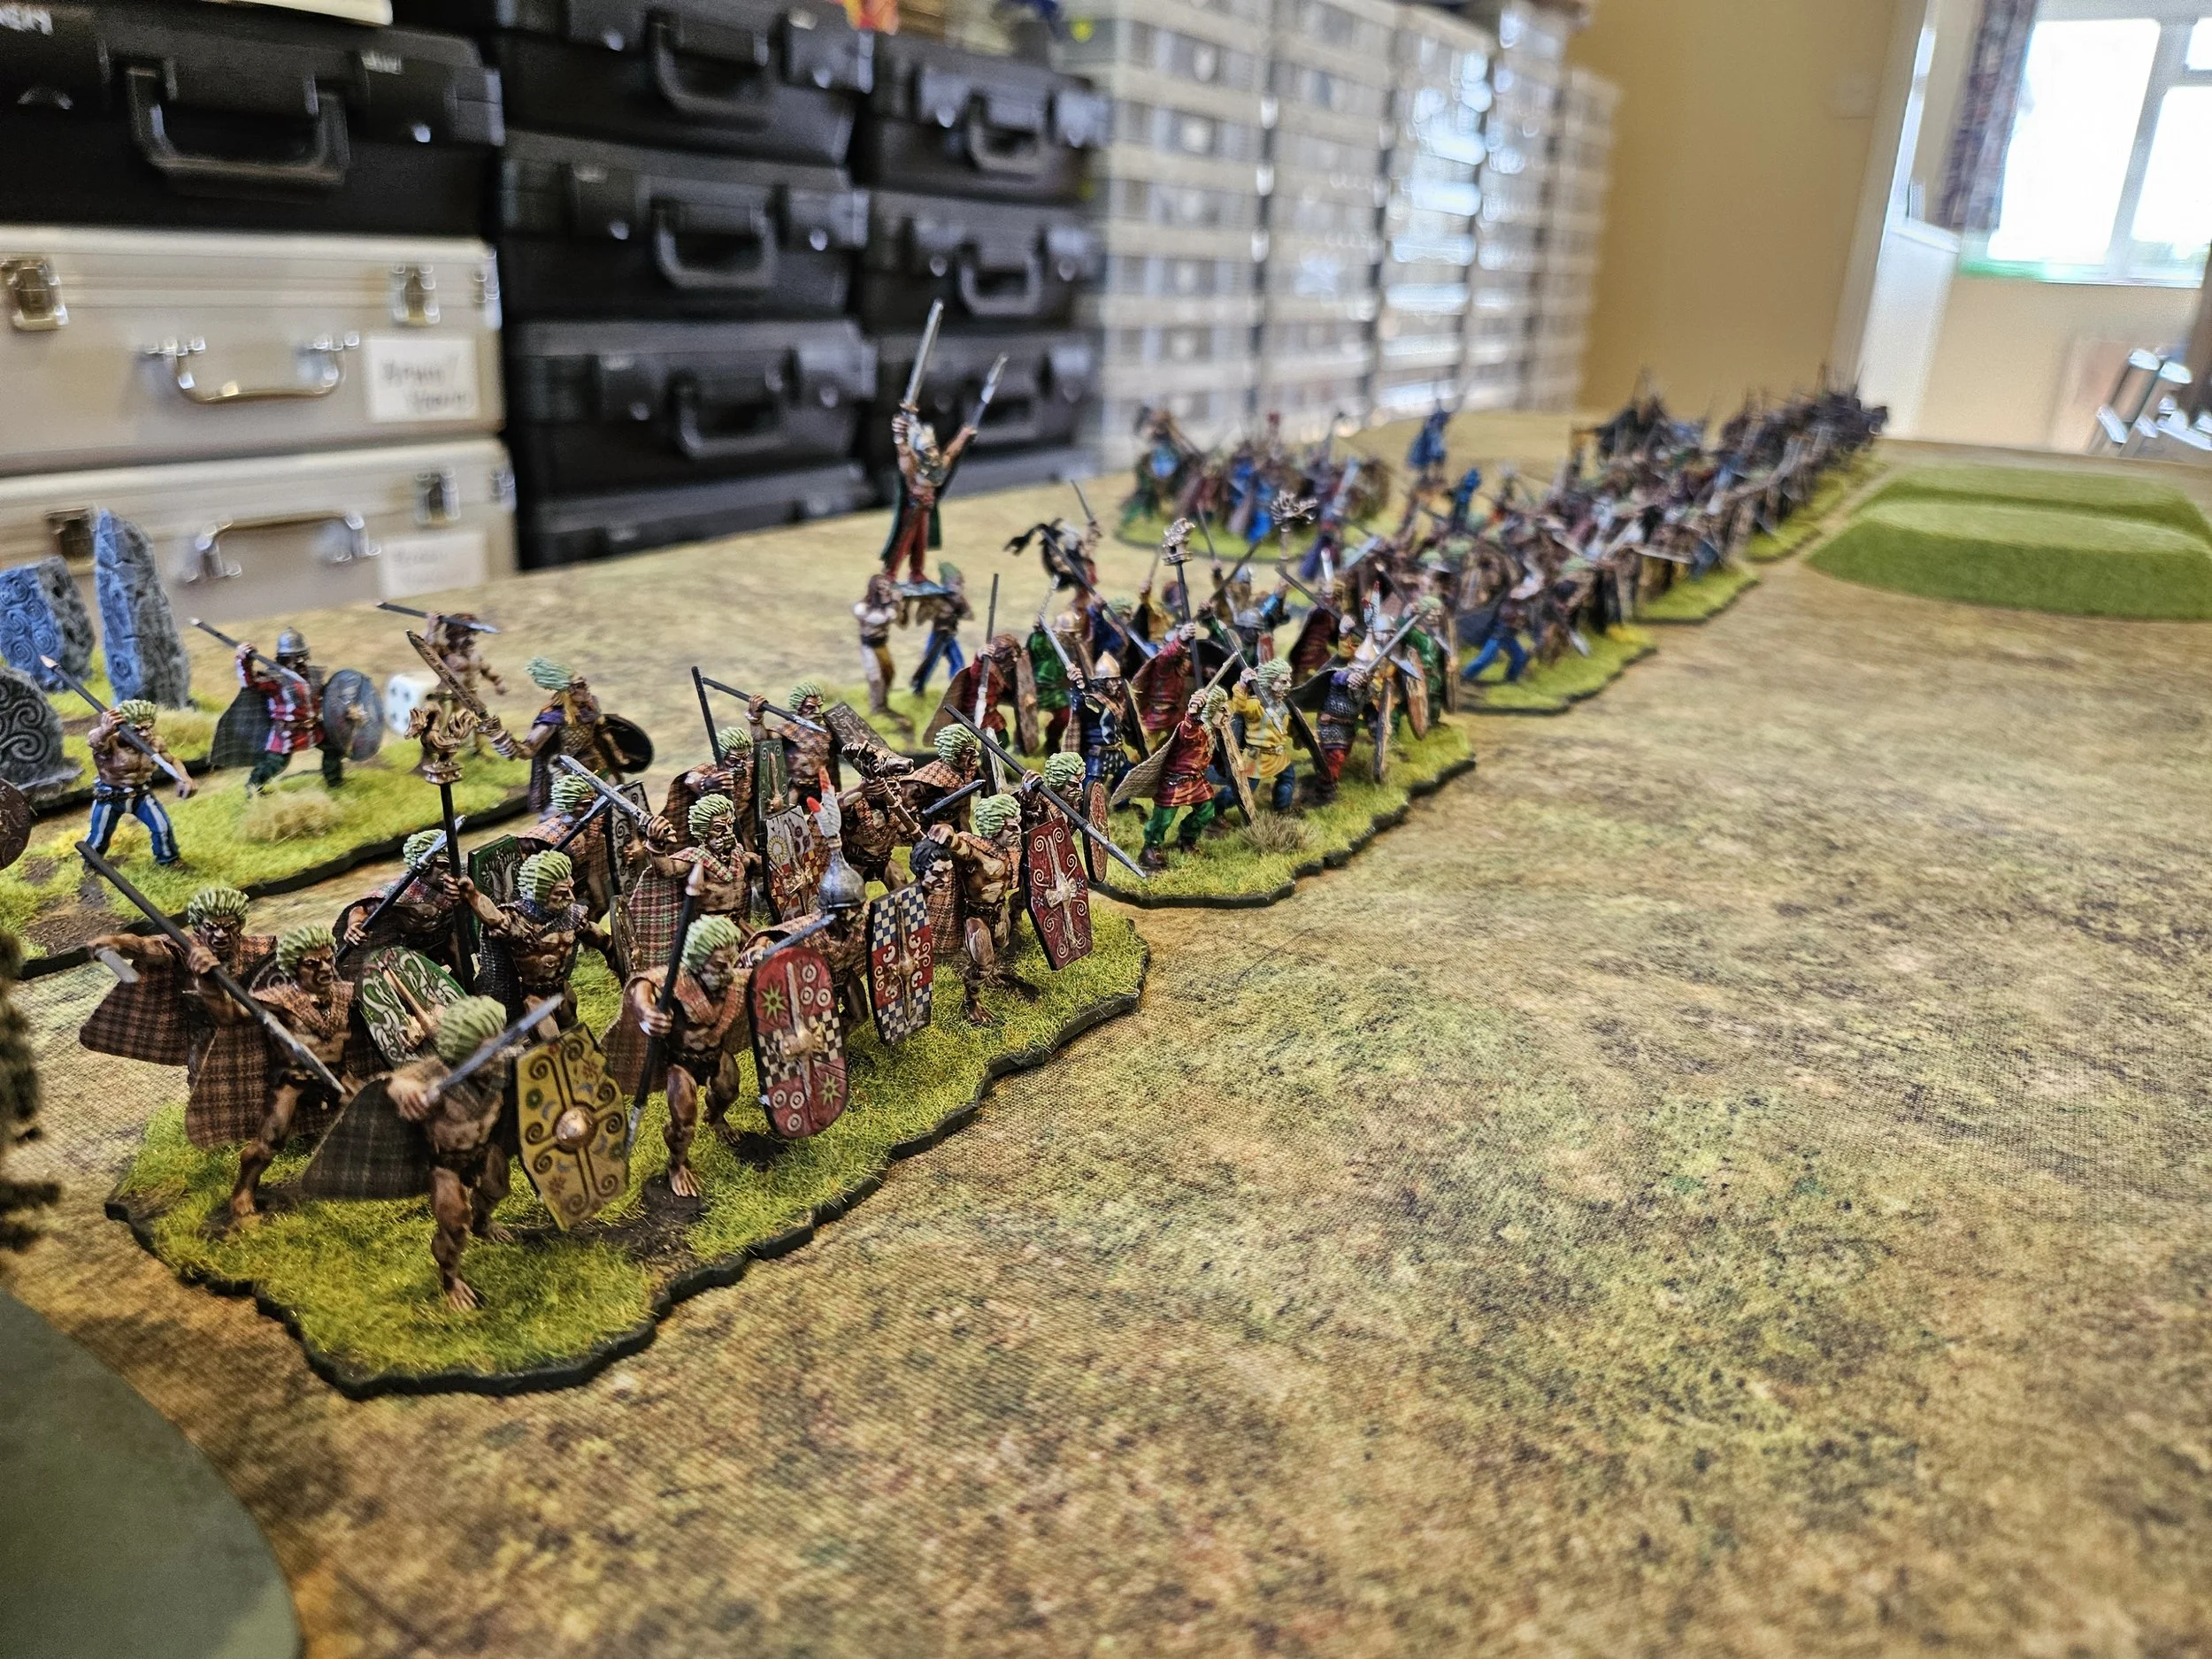
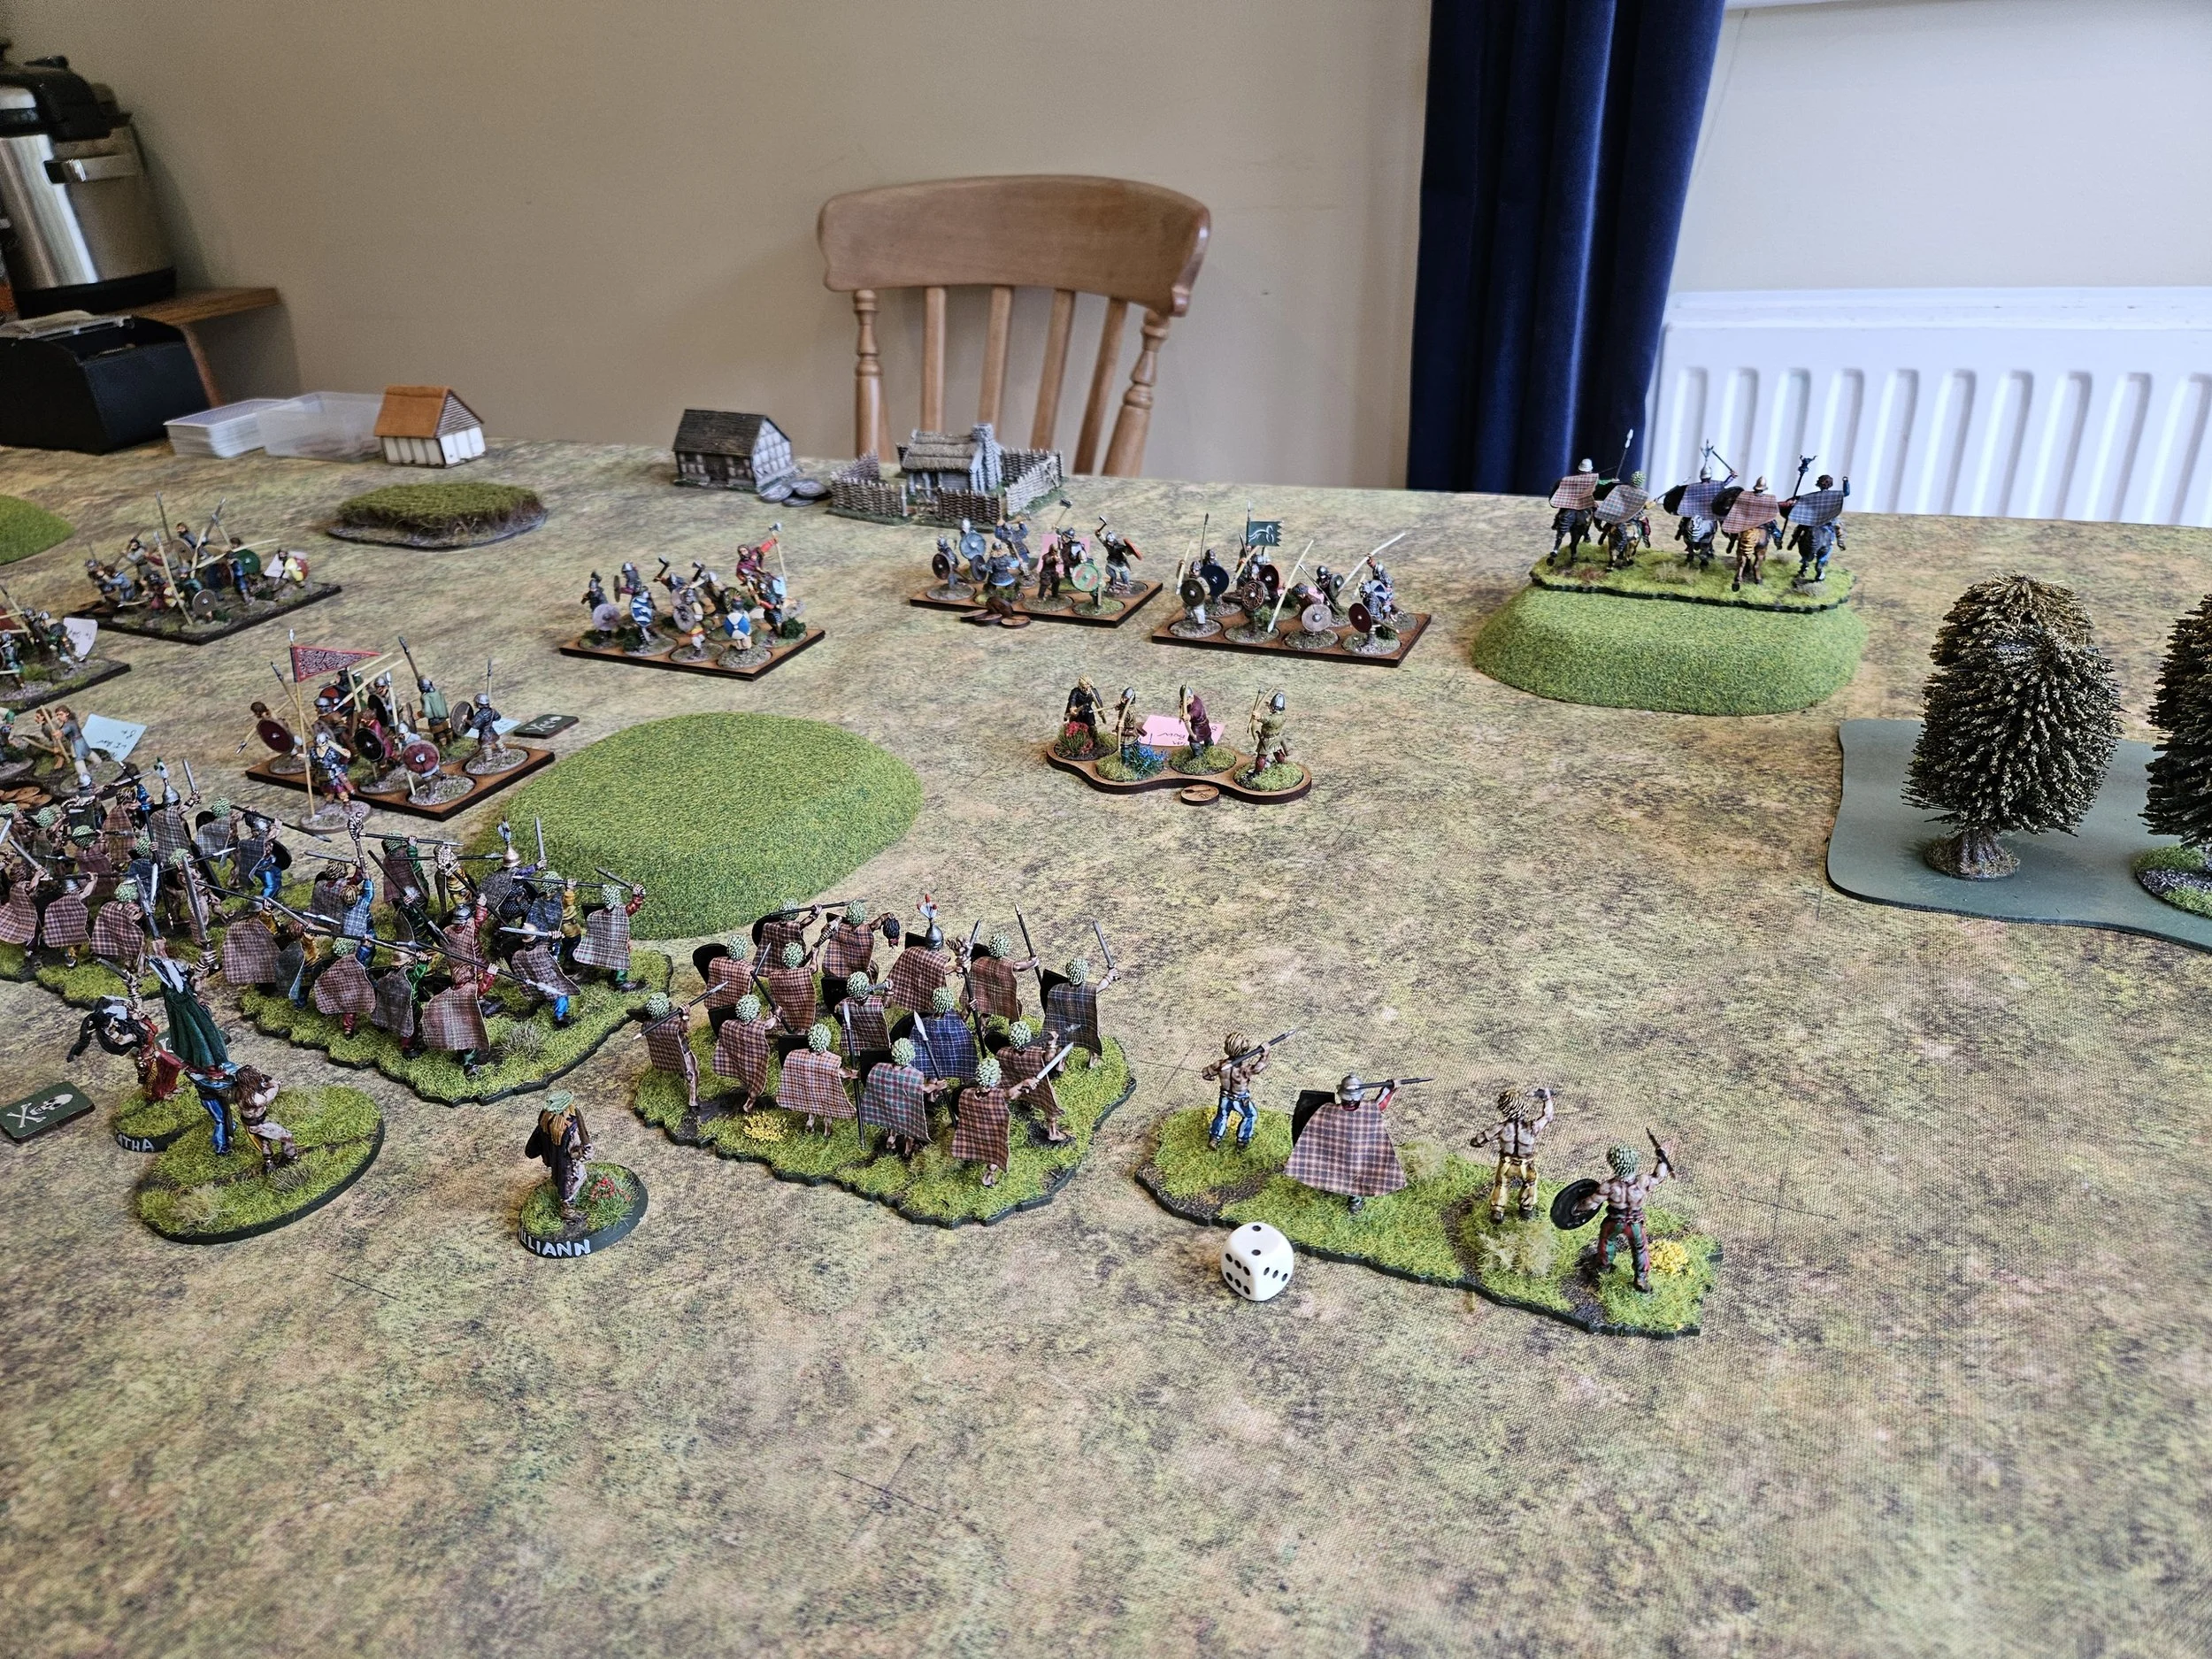
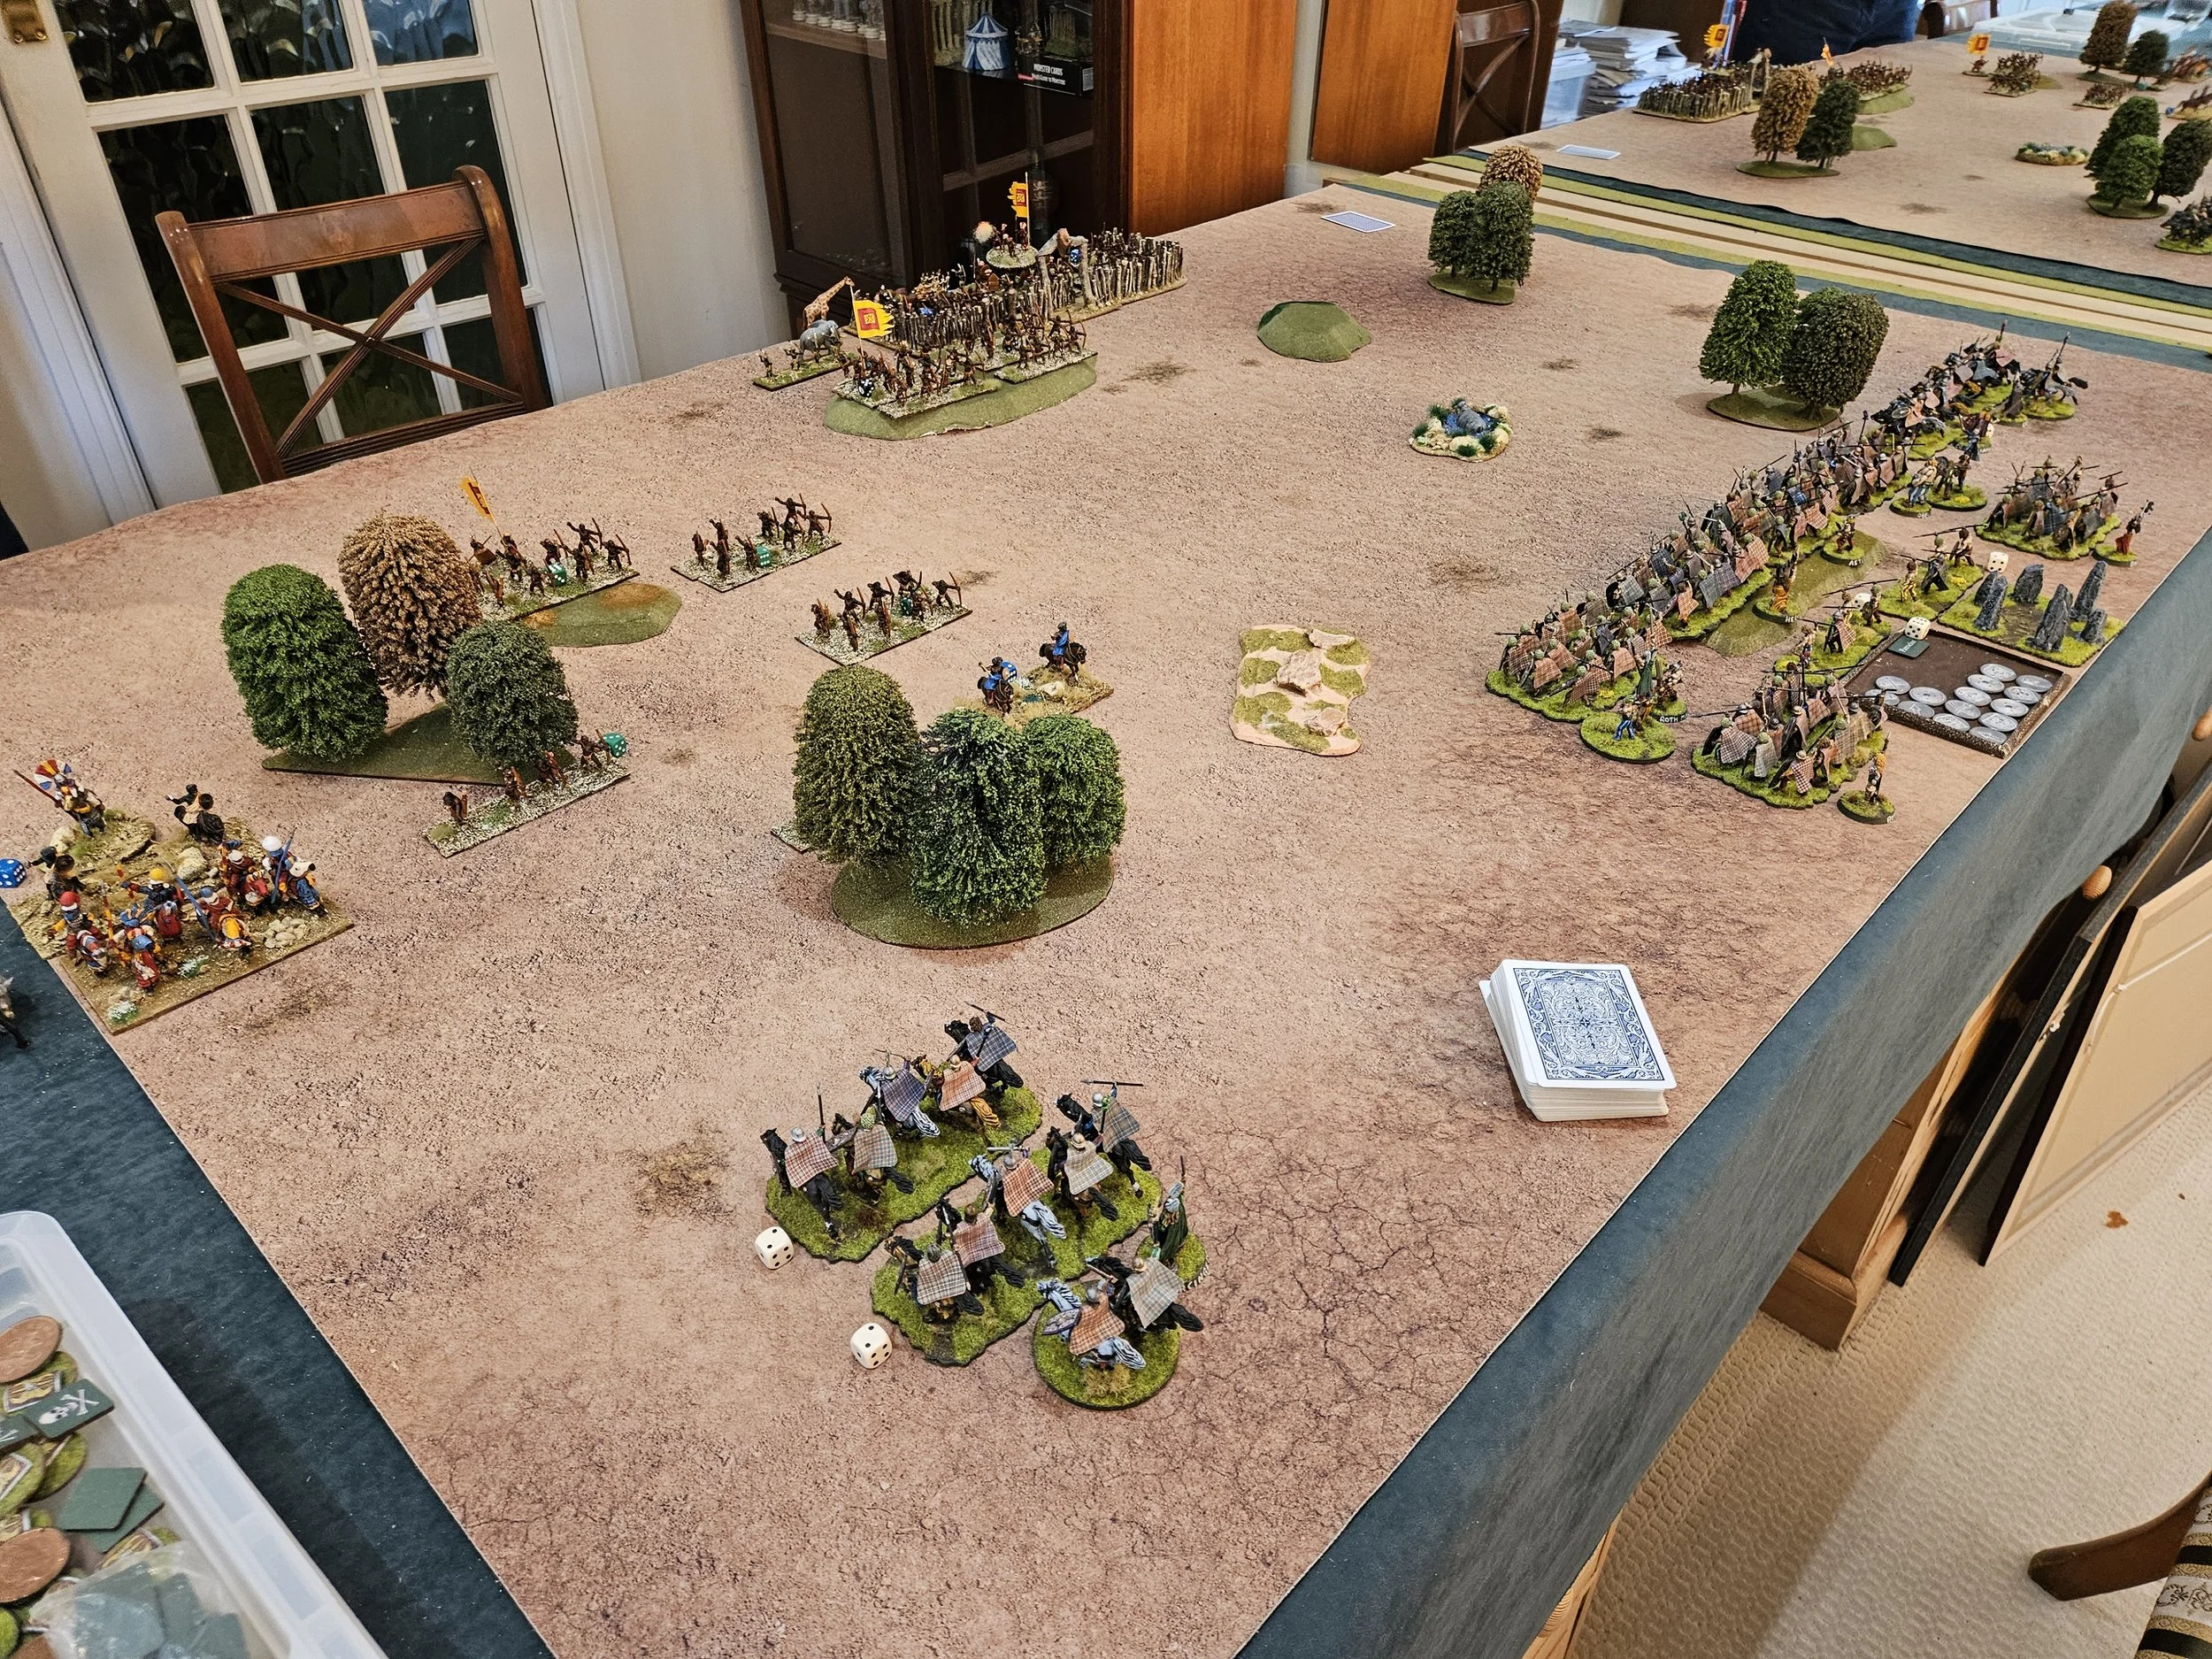
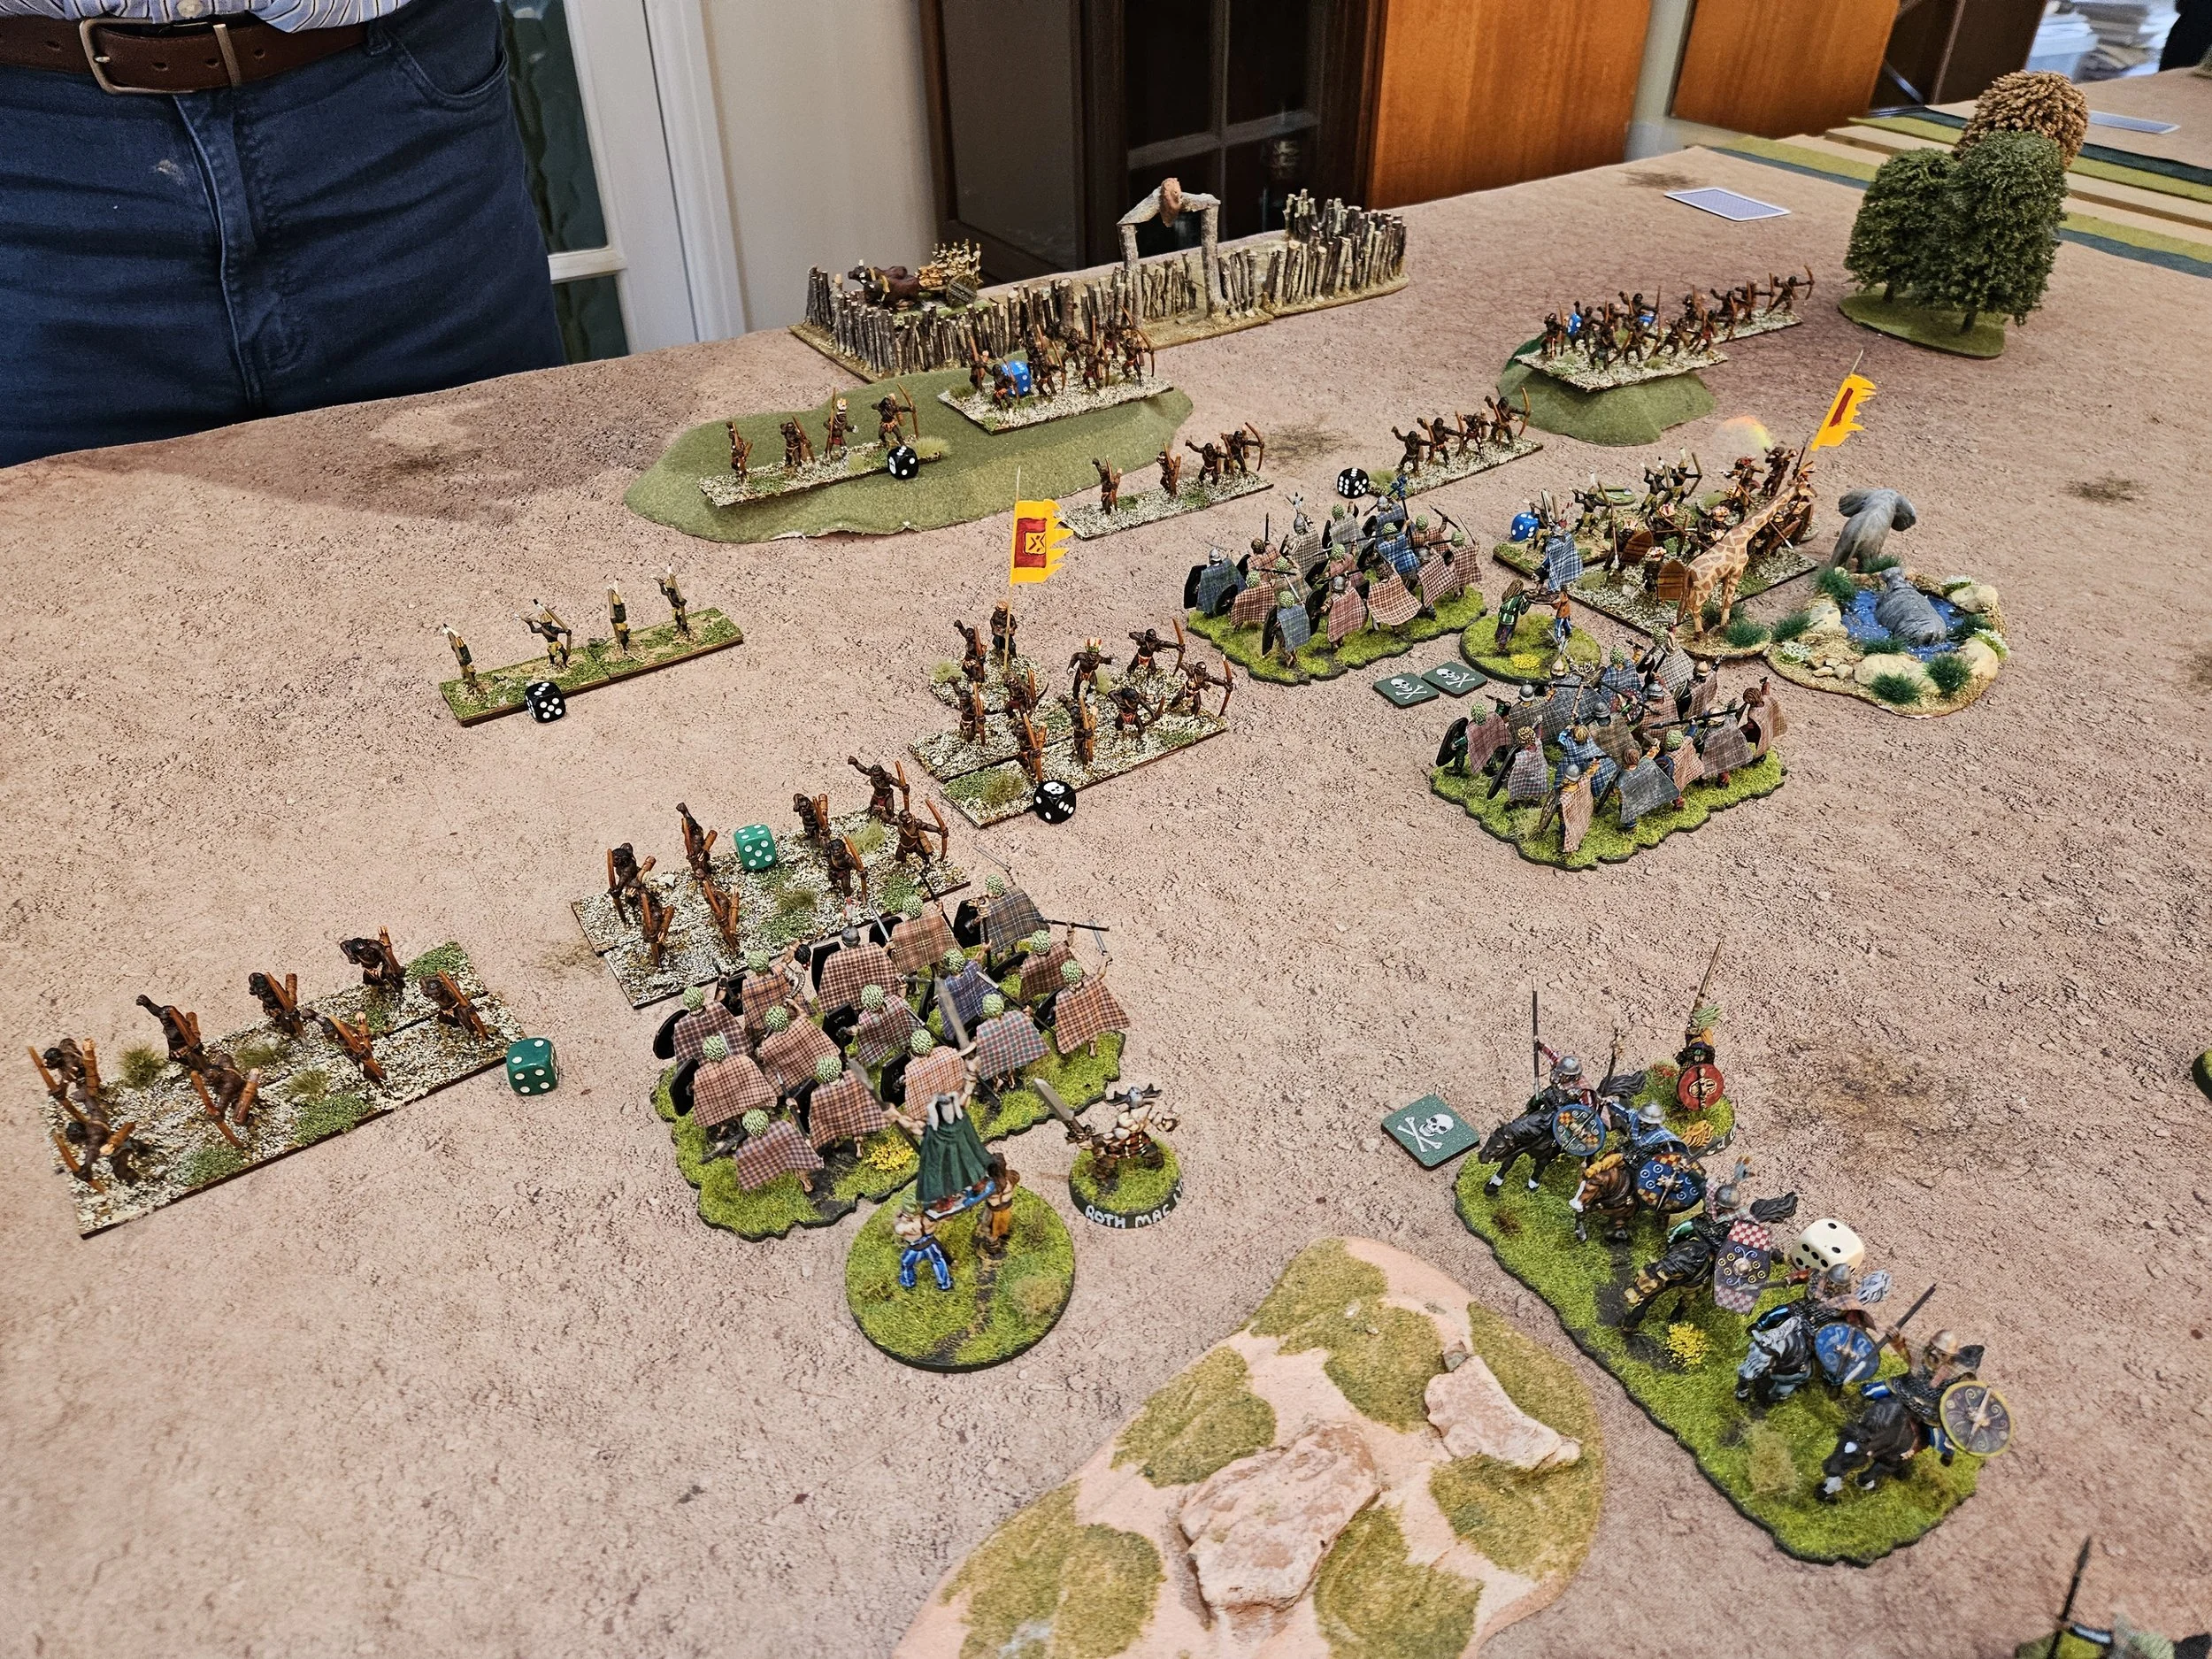
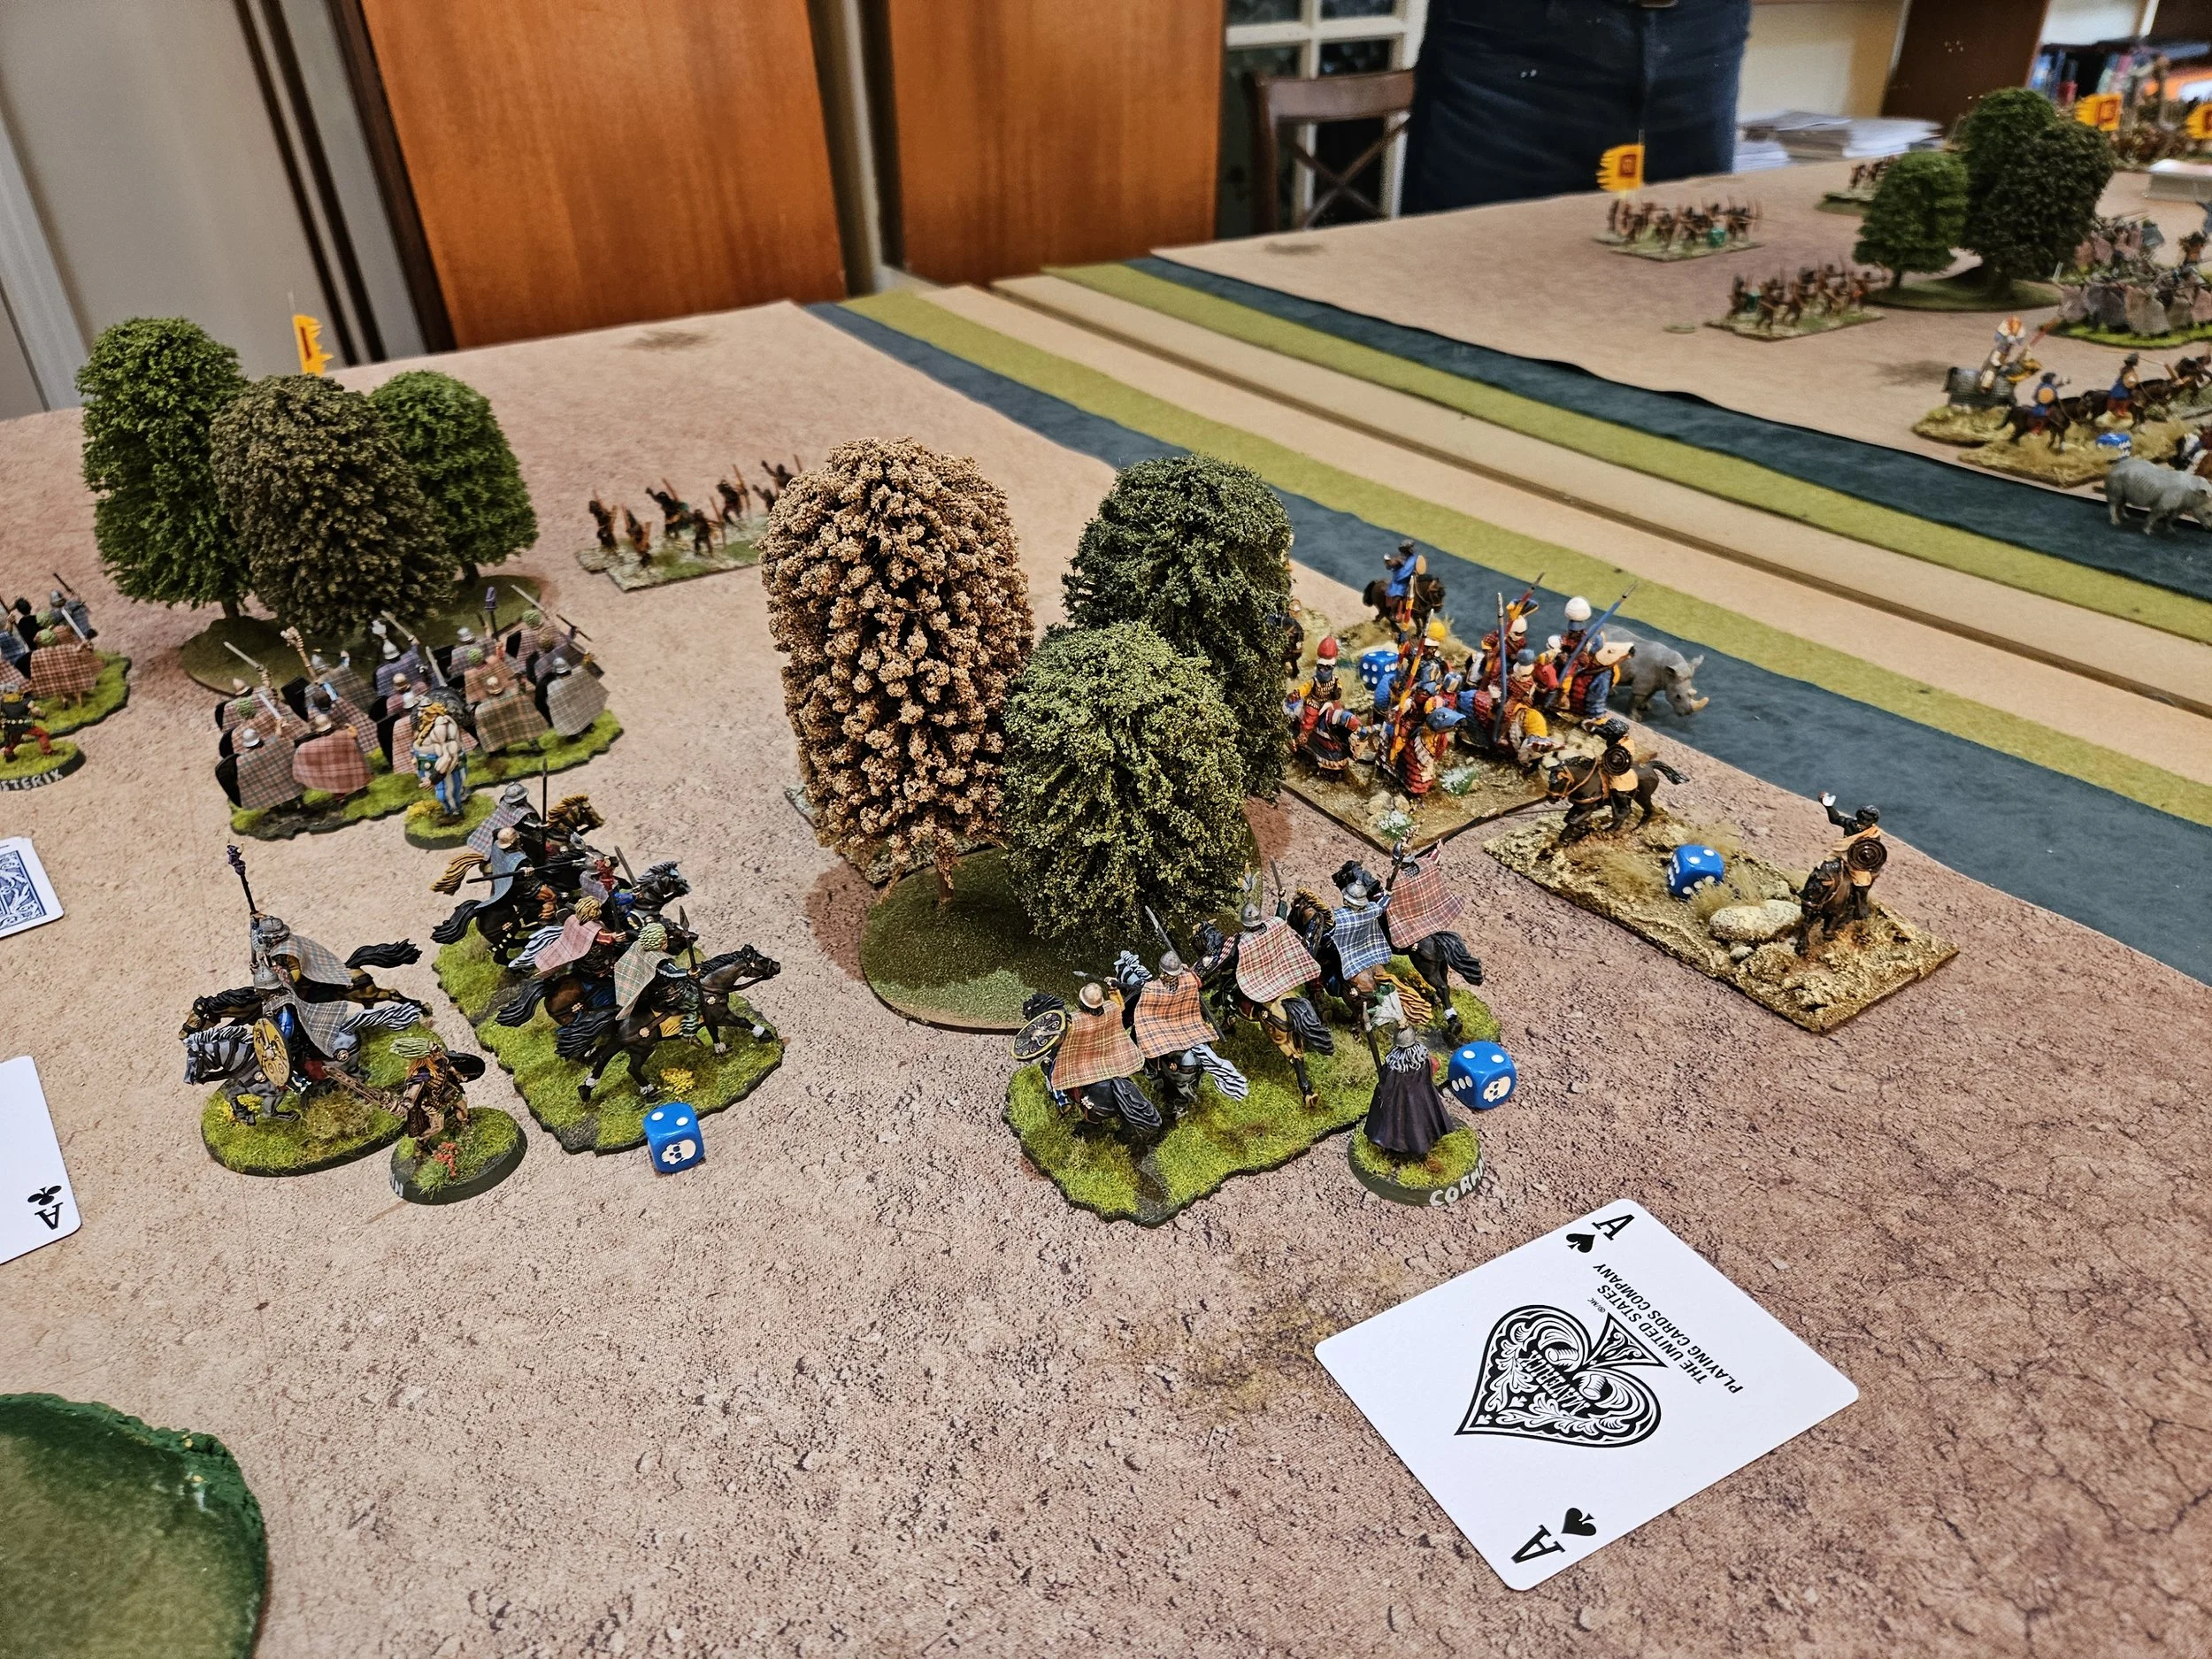
So I created a Western Sudanese Nigerian army and fought two battles against my good friend Rob, who wanted to test out his brand new Galatian hordes with gorgeous tartan cloaks.
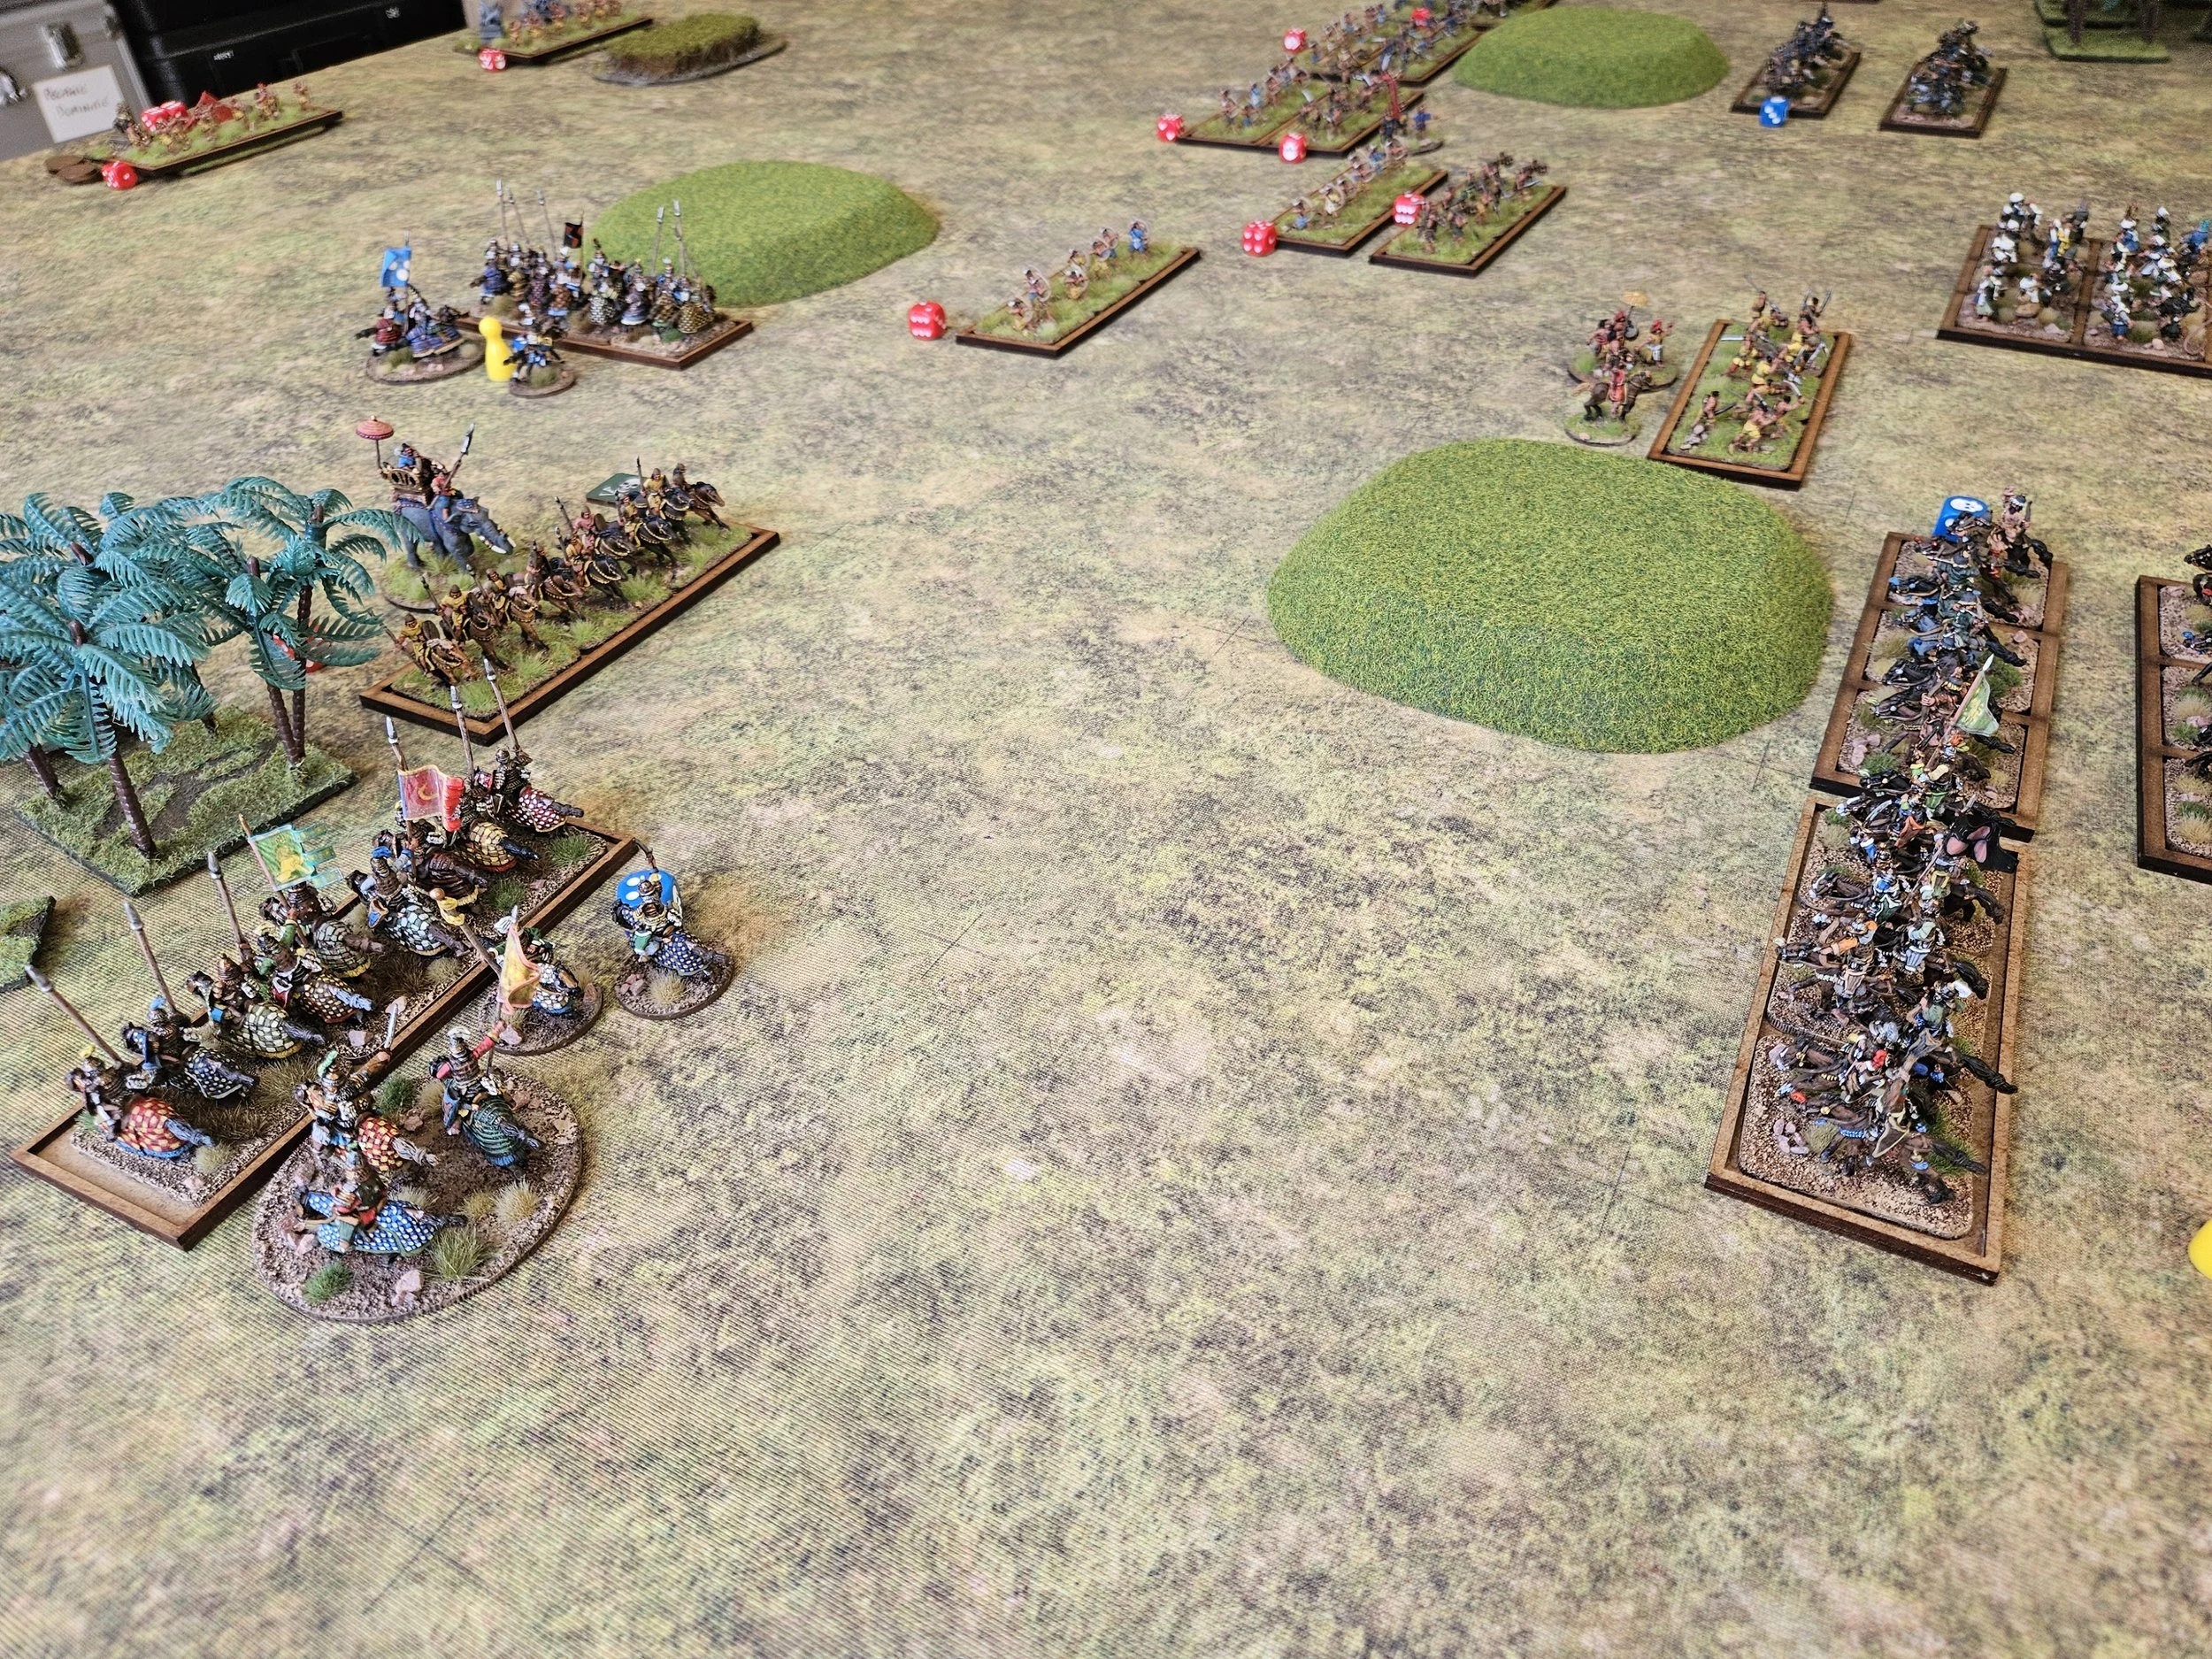
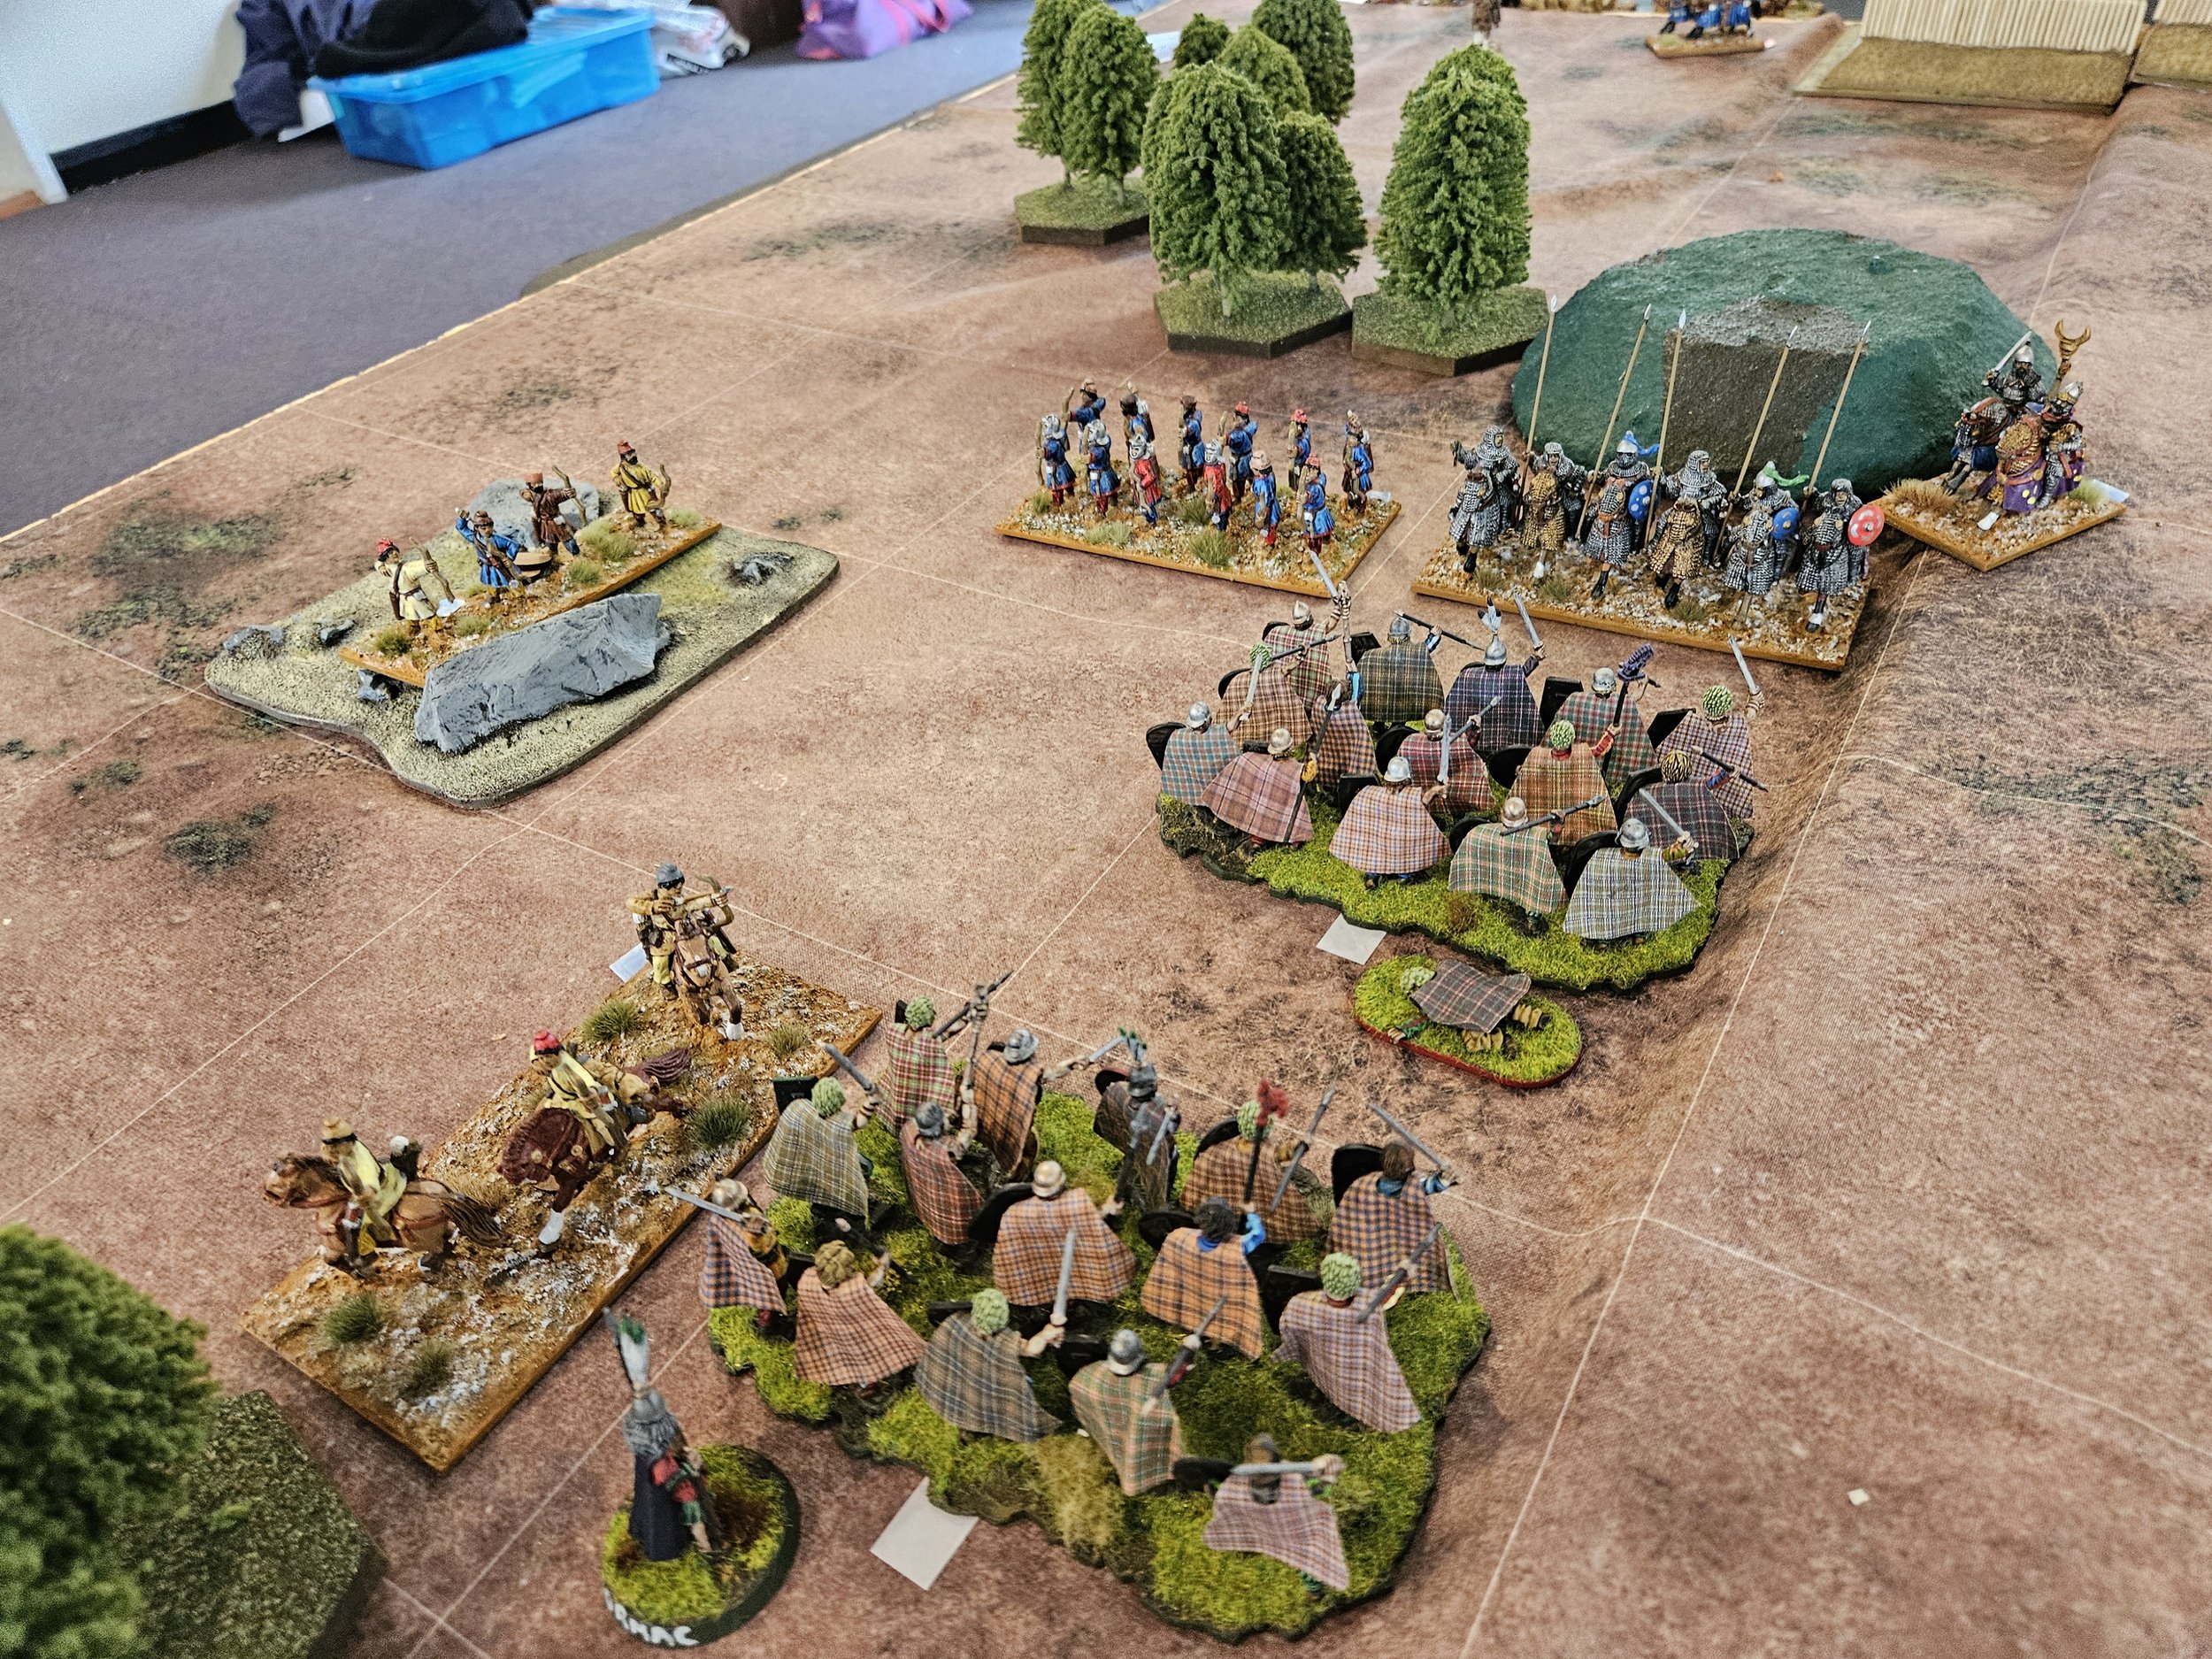
Essentially an army of archers fighting against hordes of hairies.
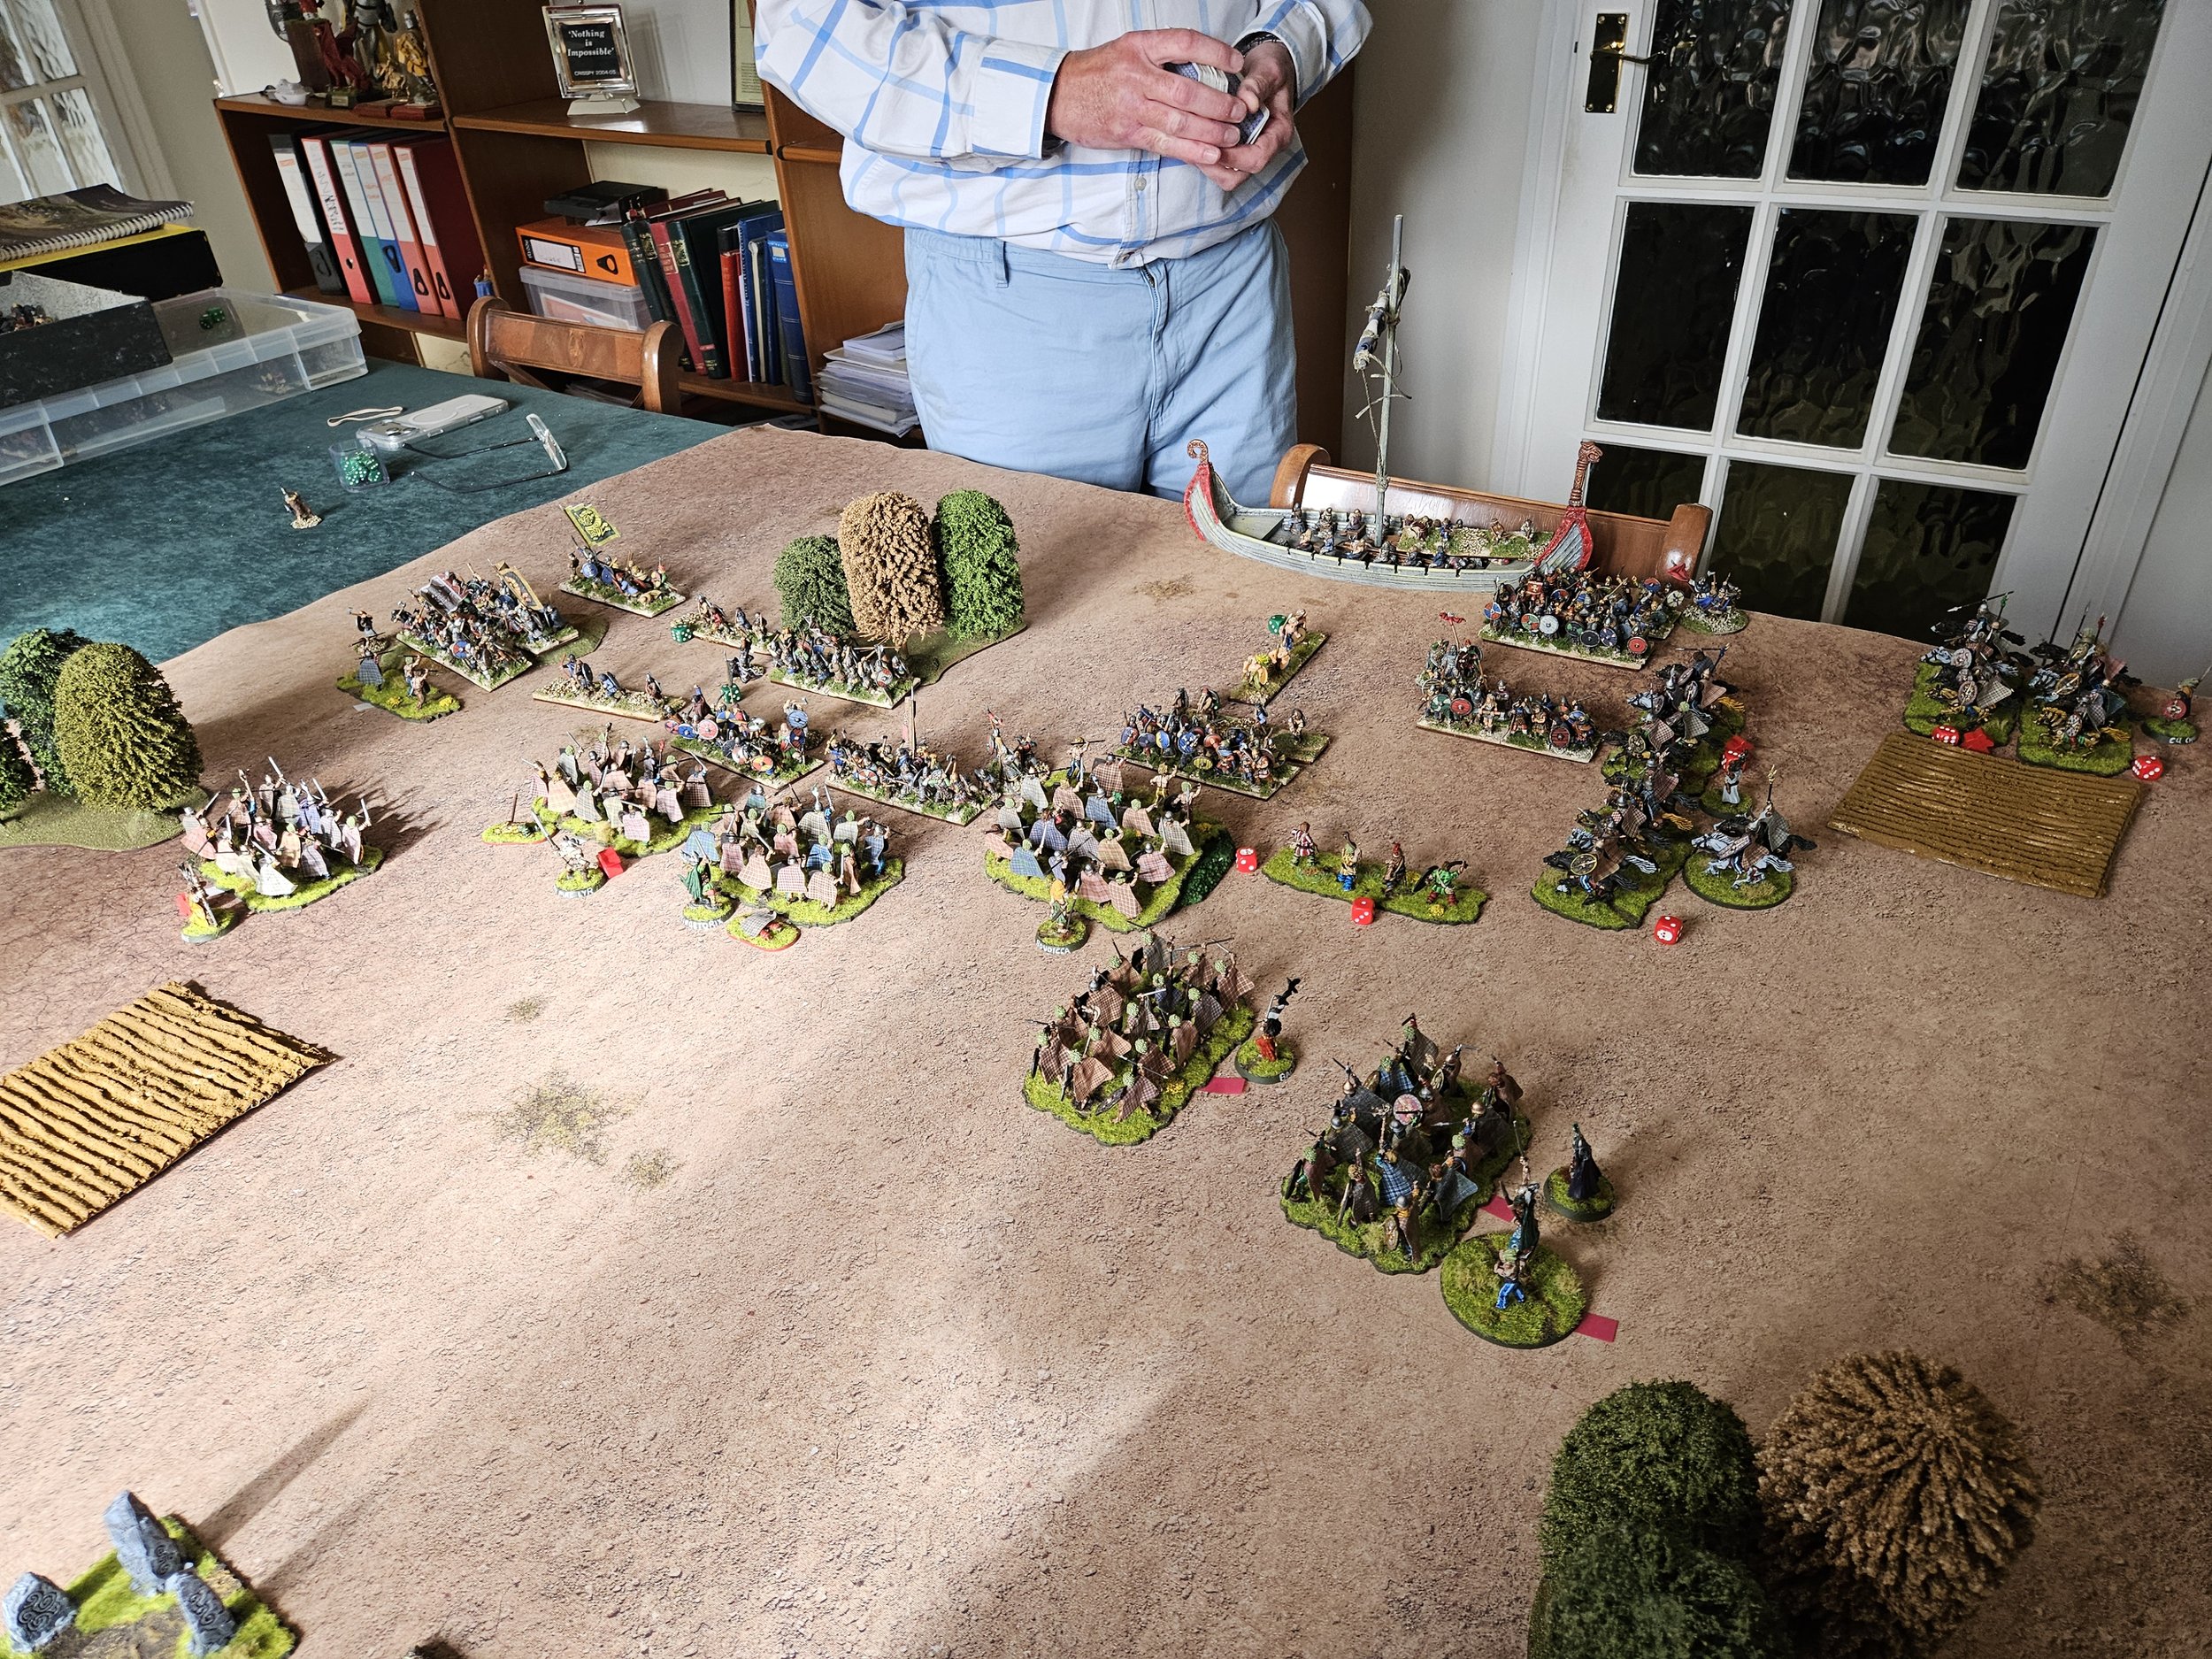
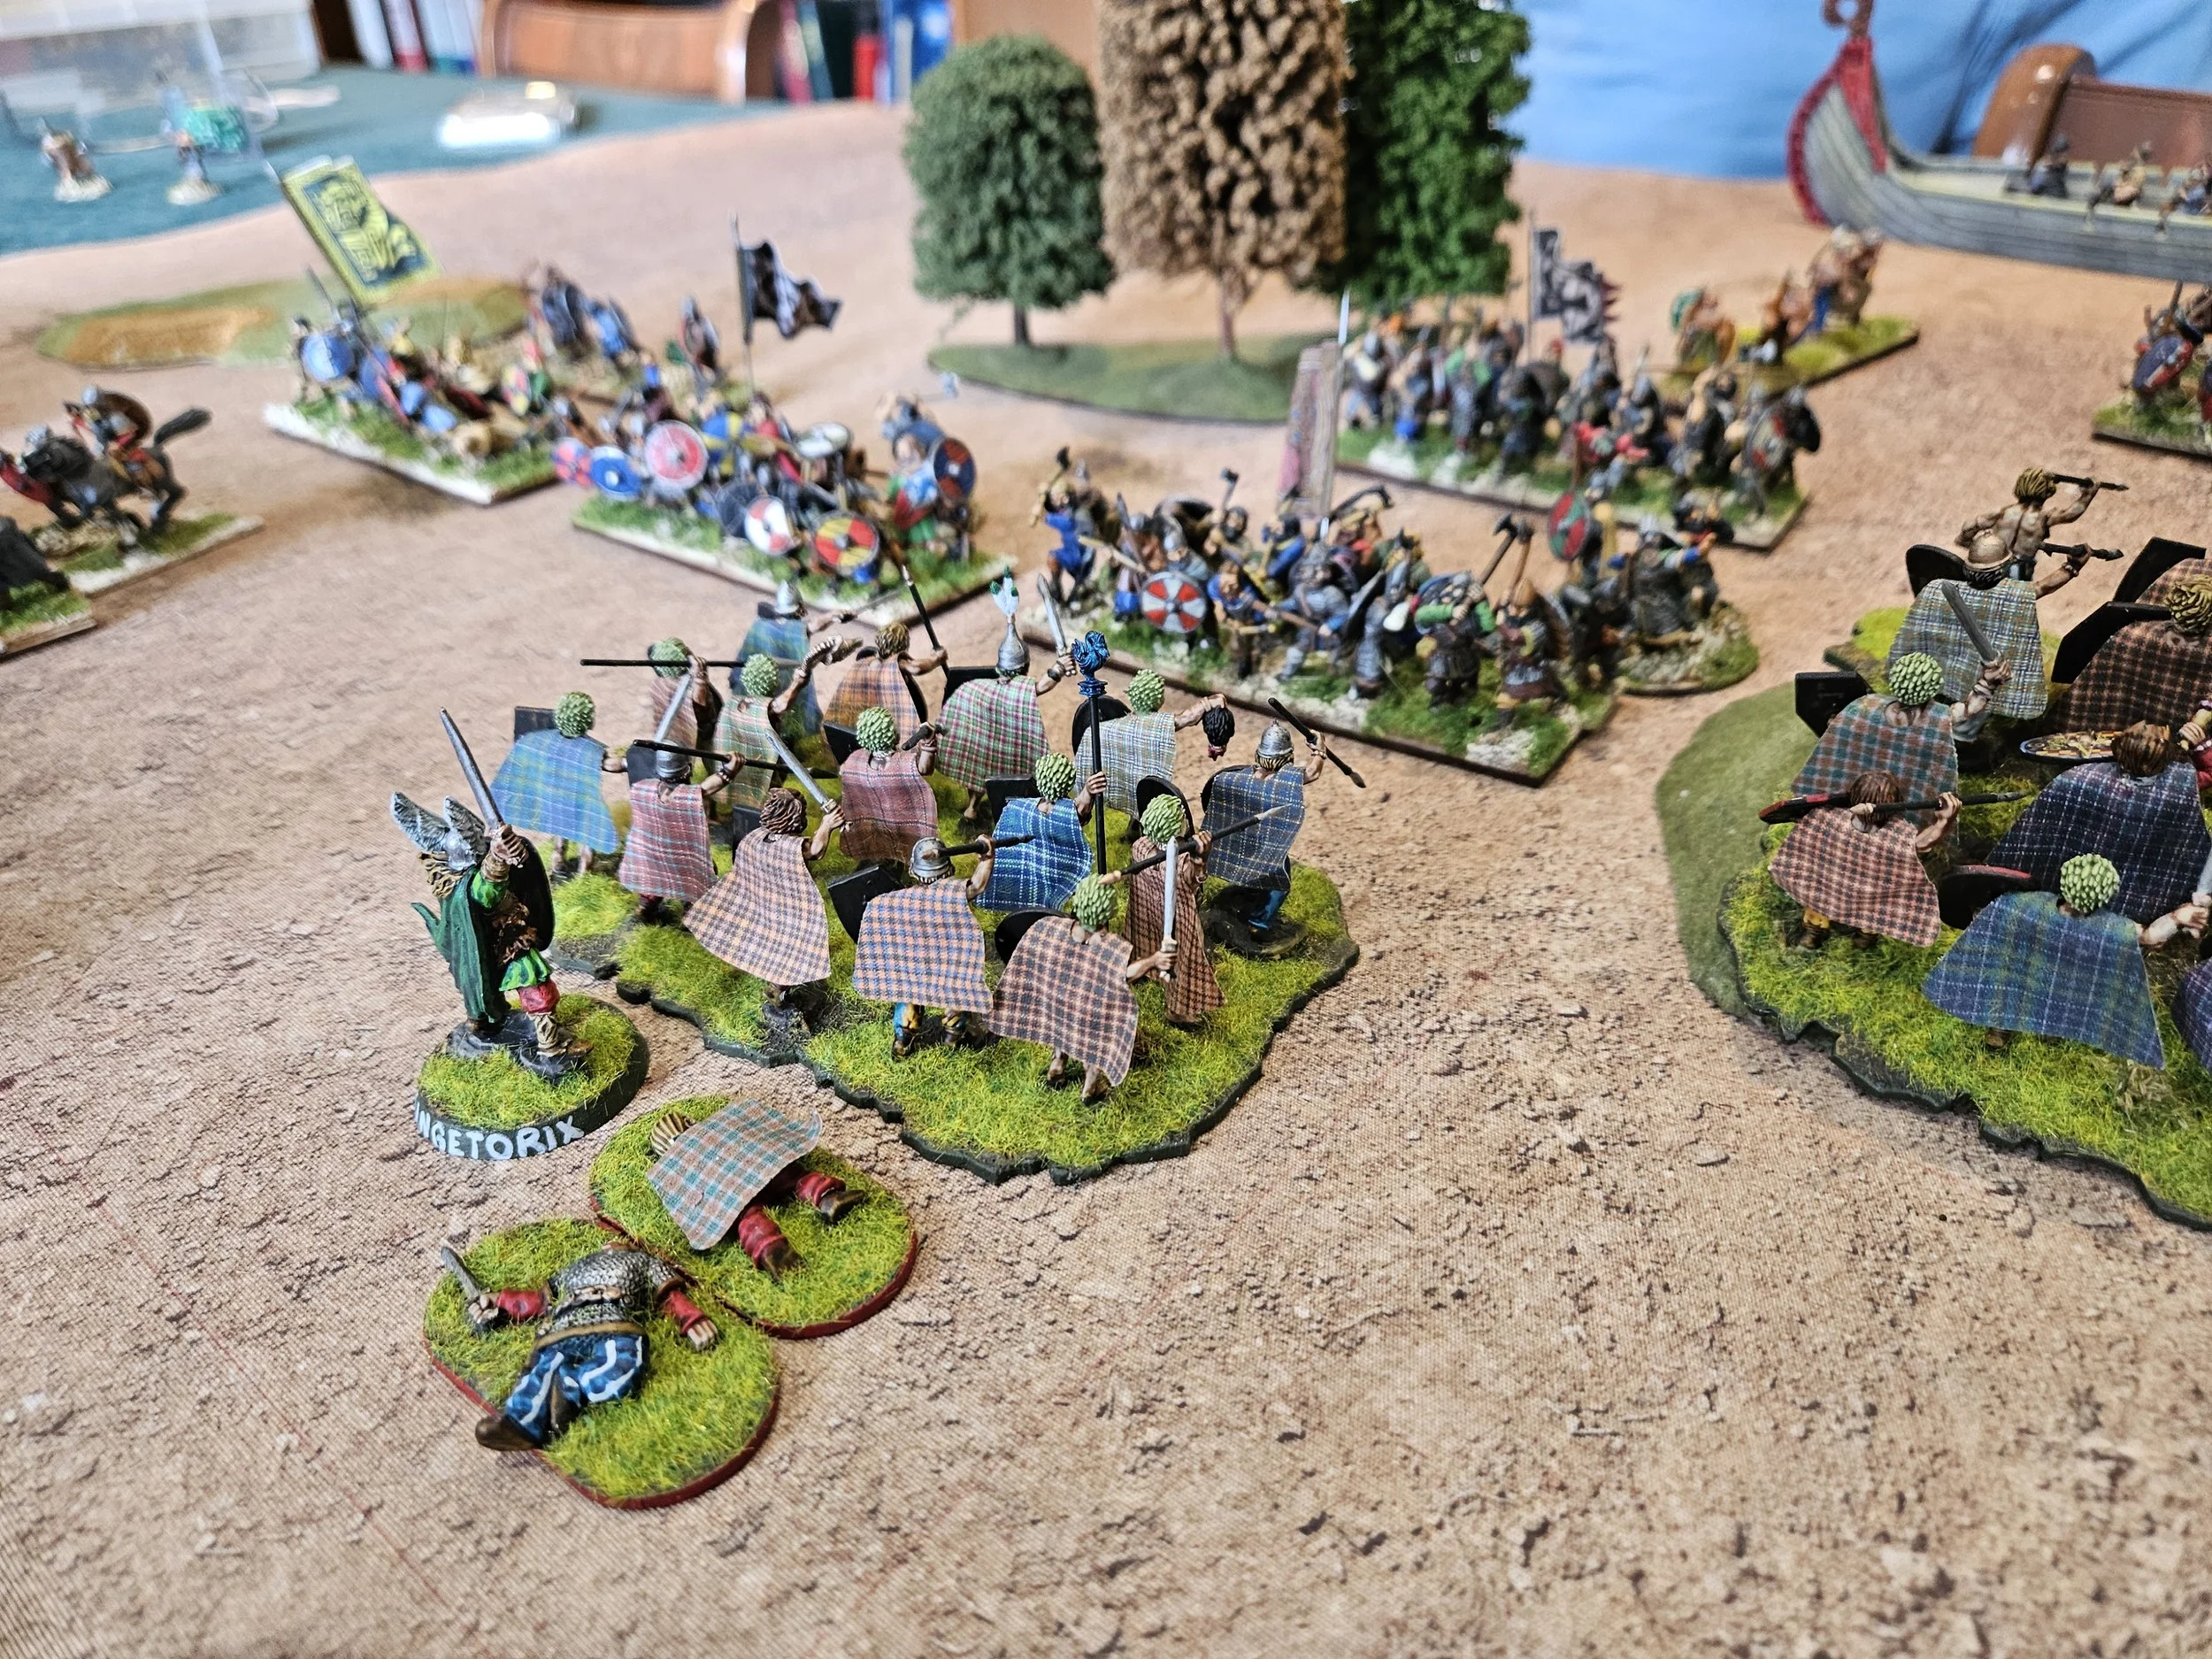
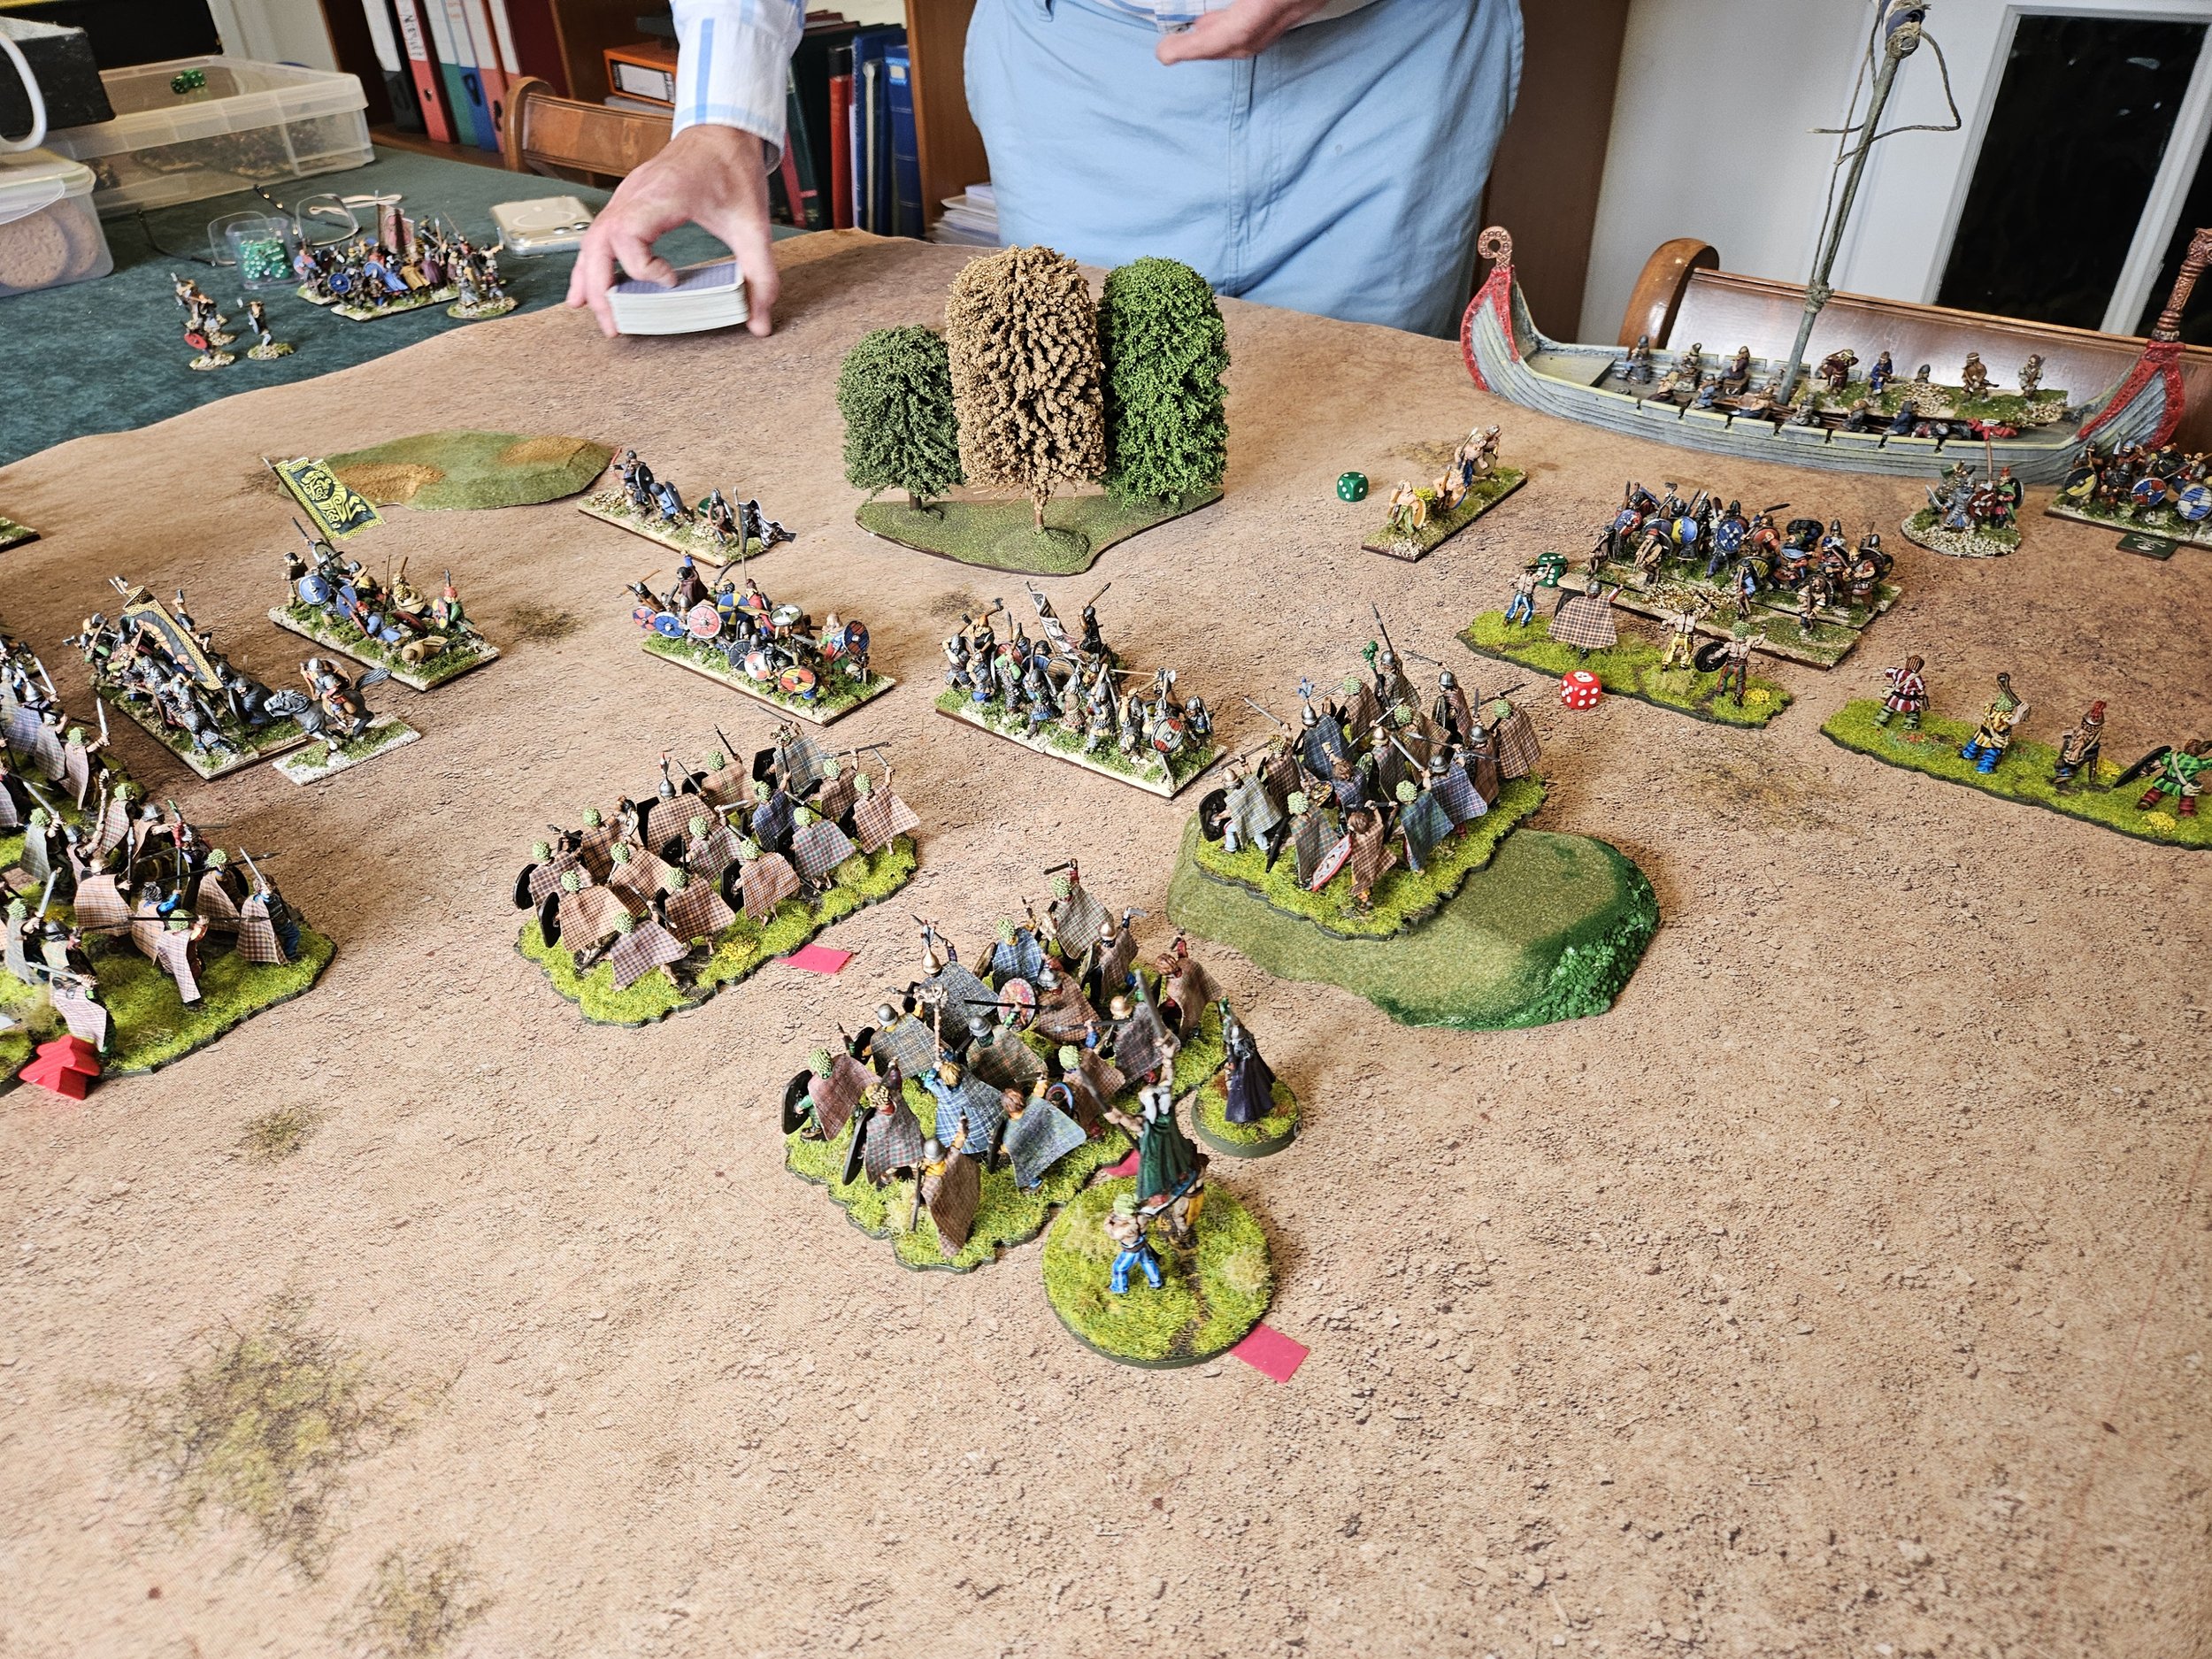
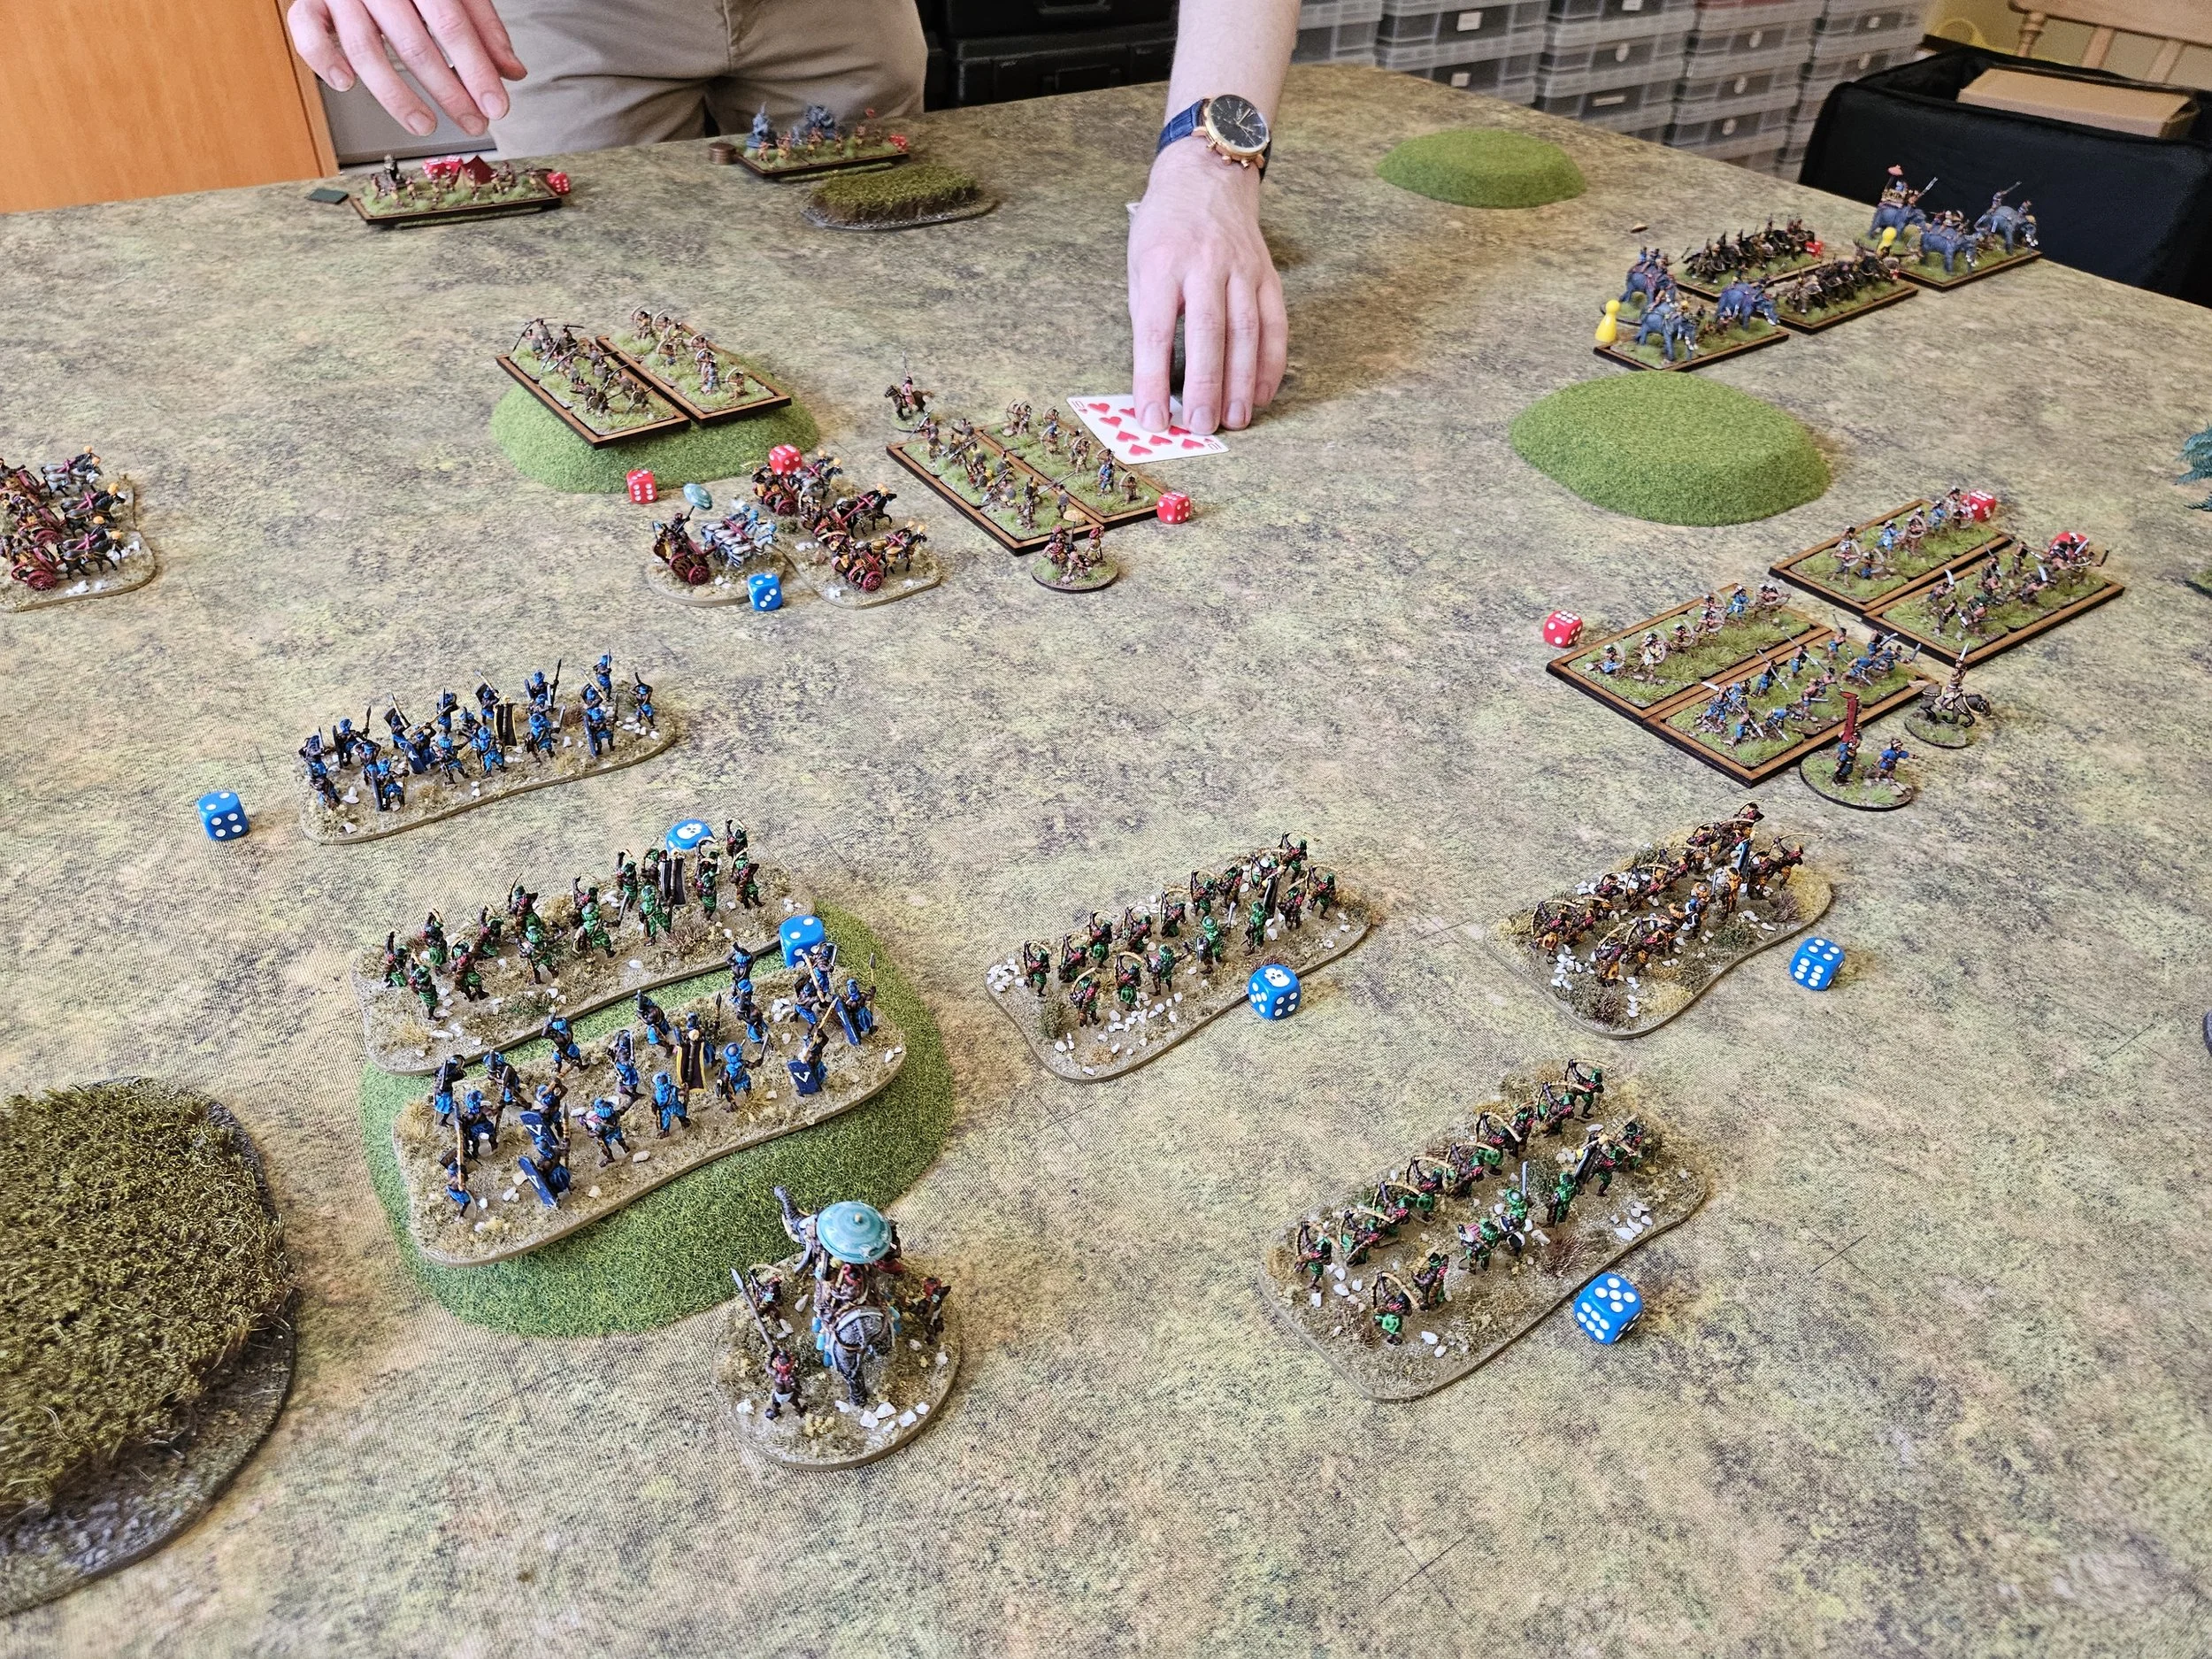
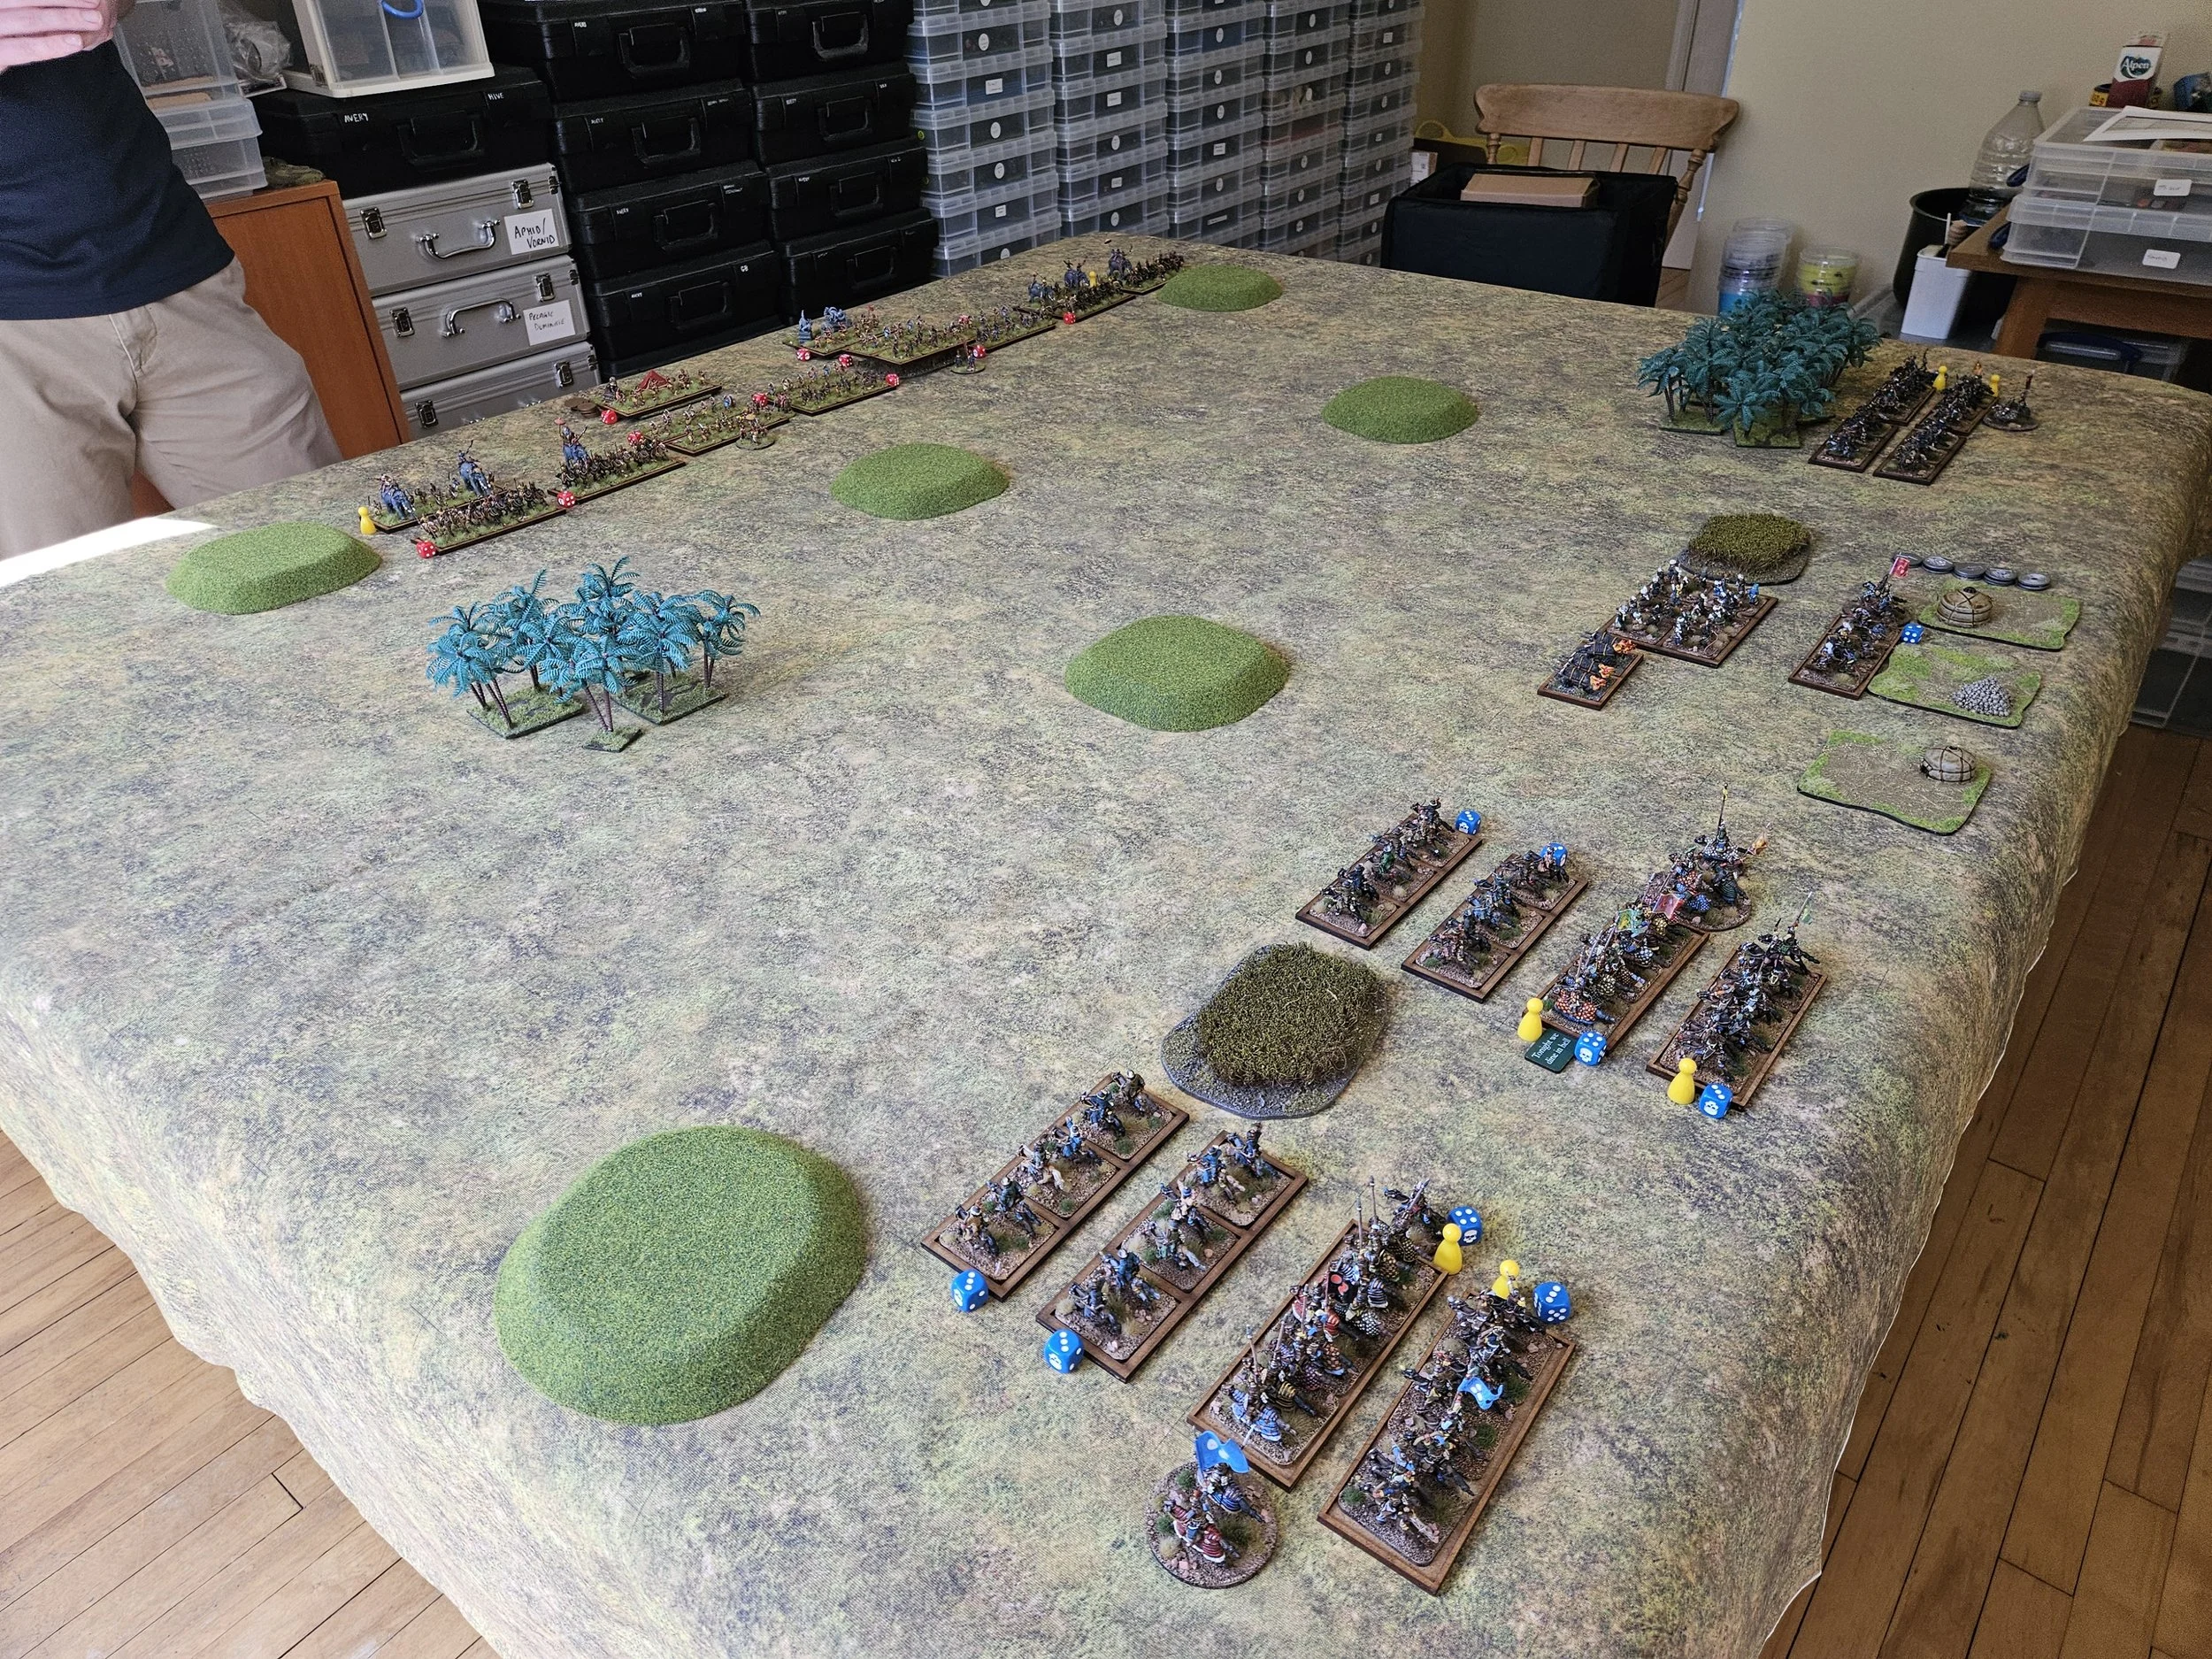
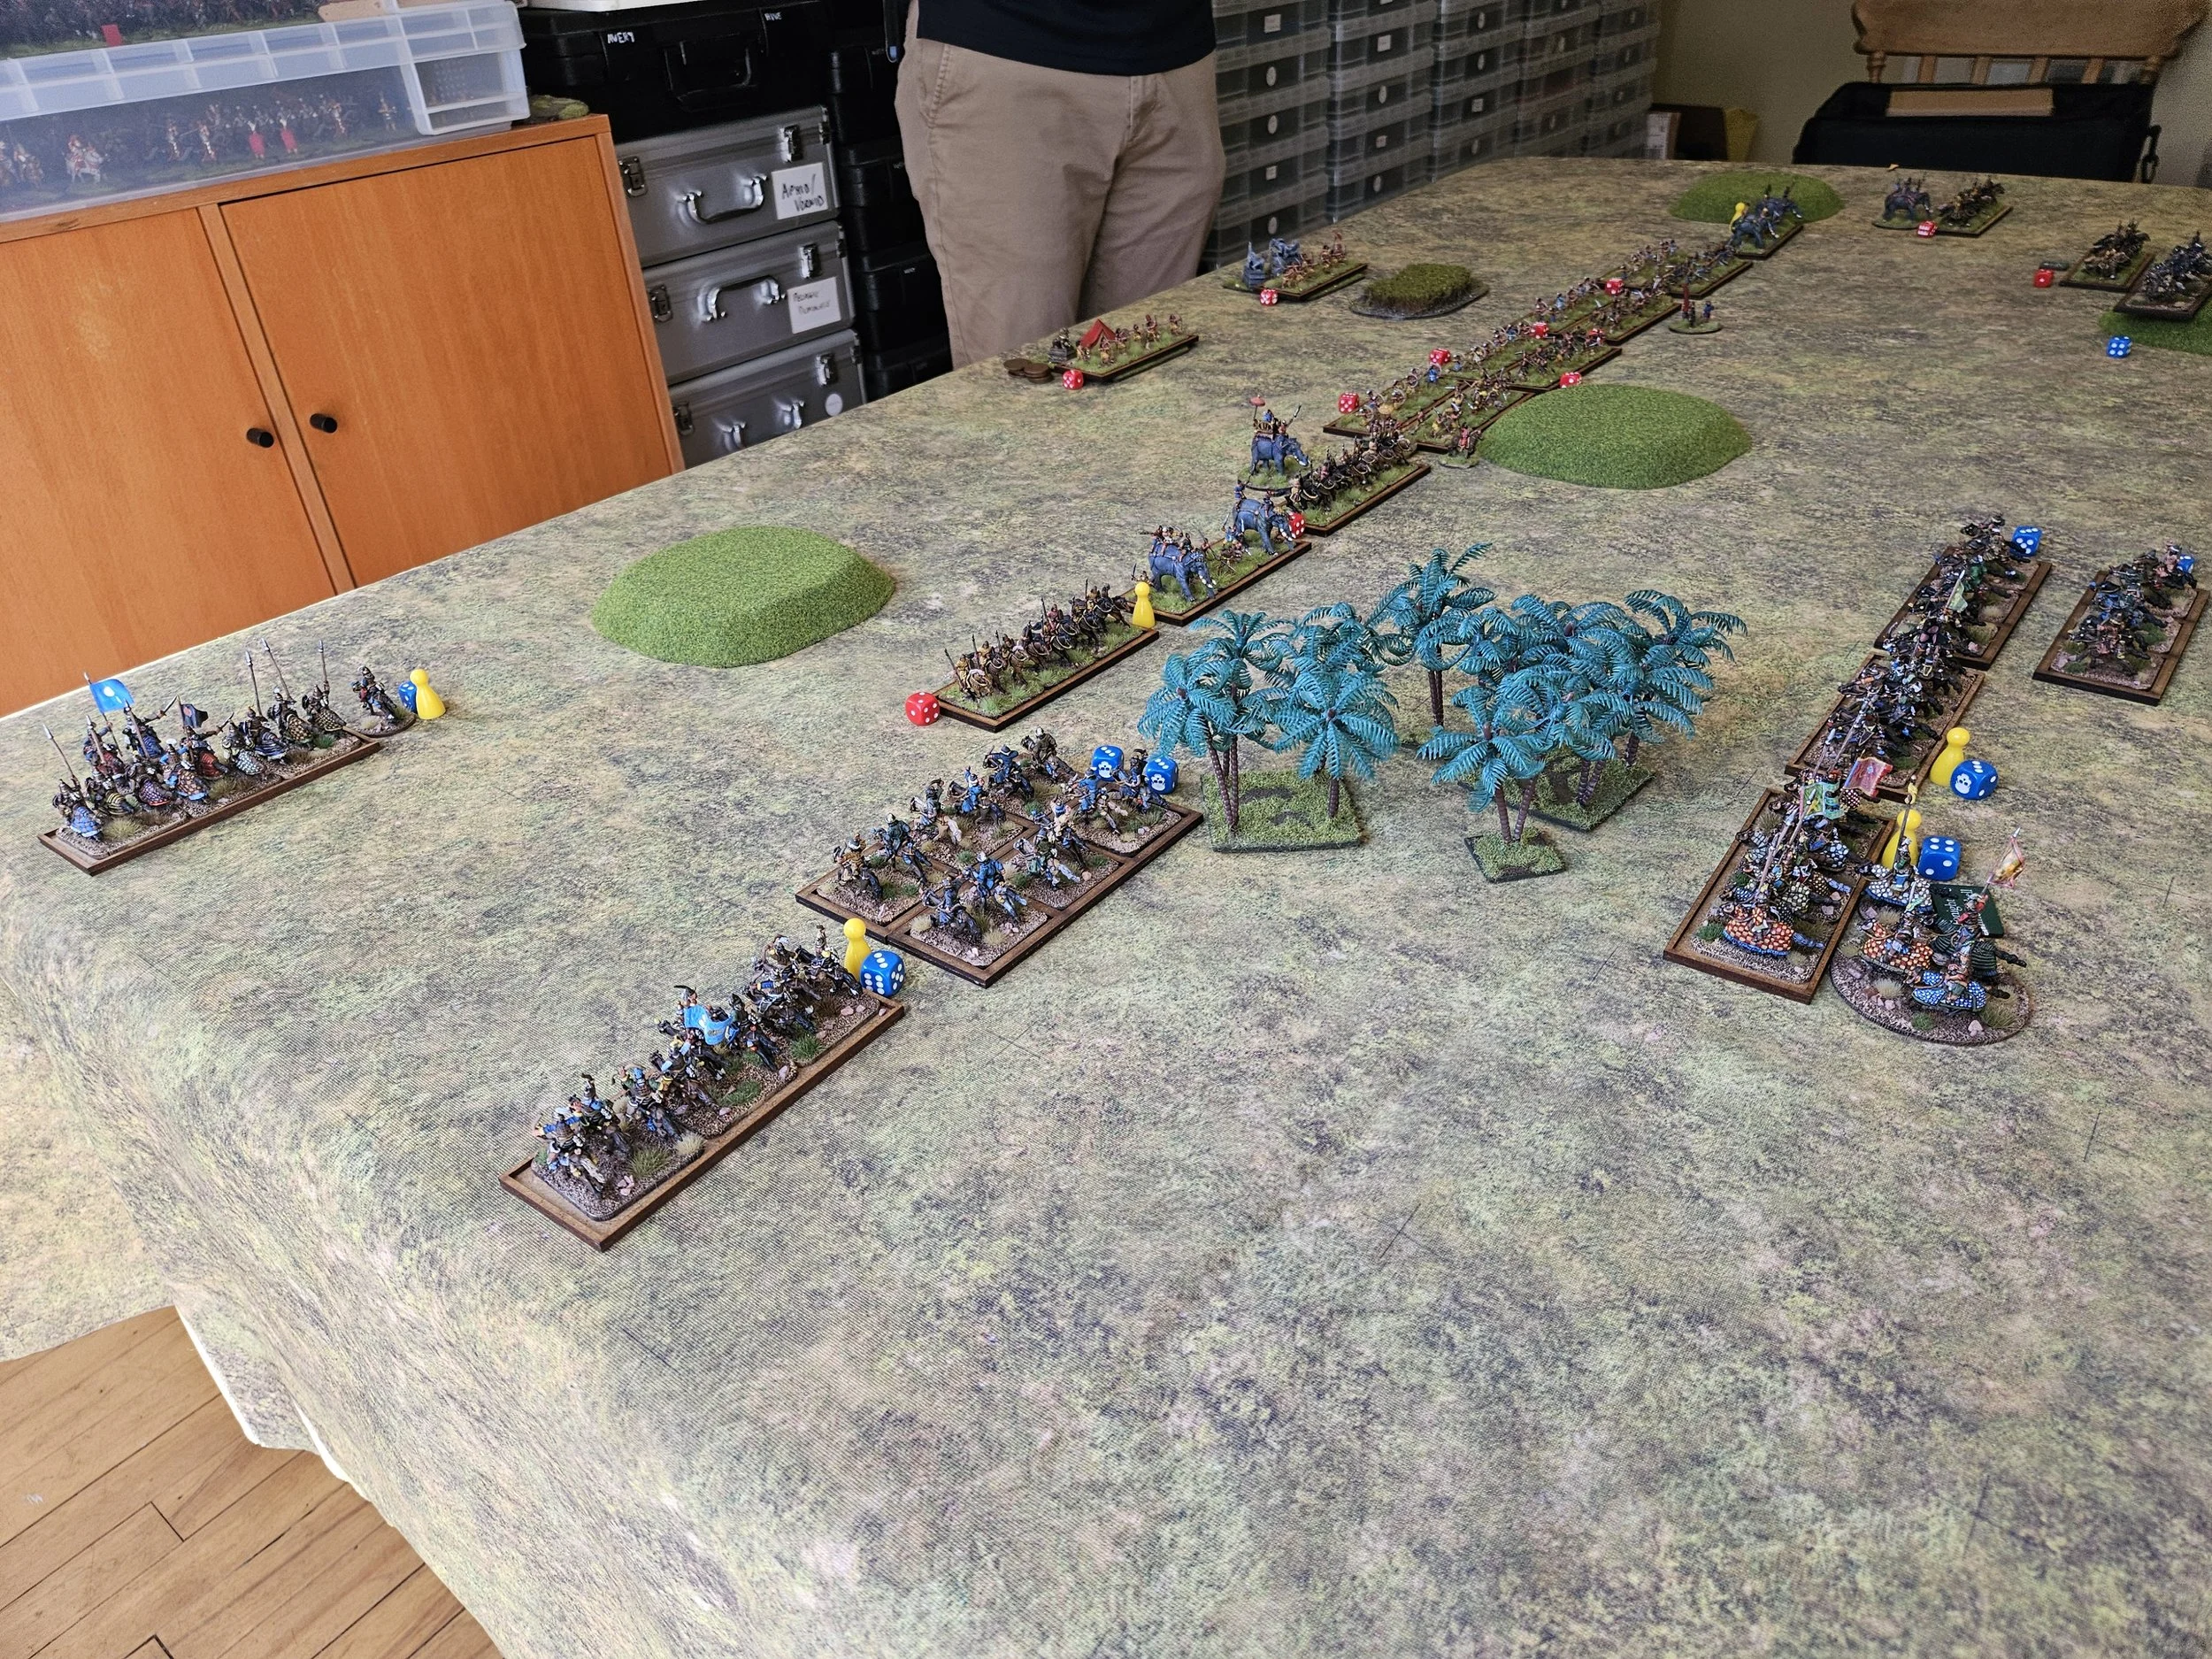
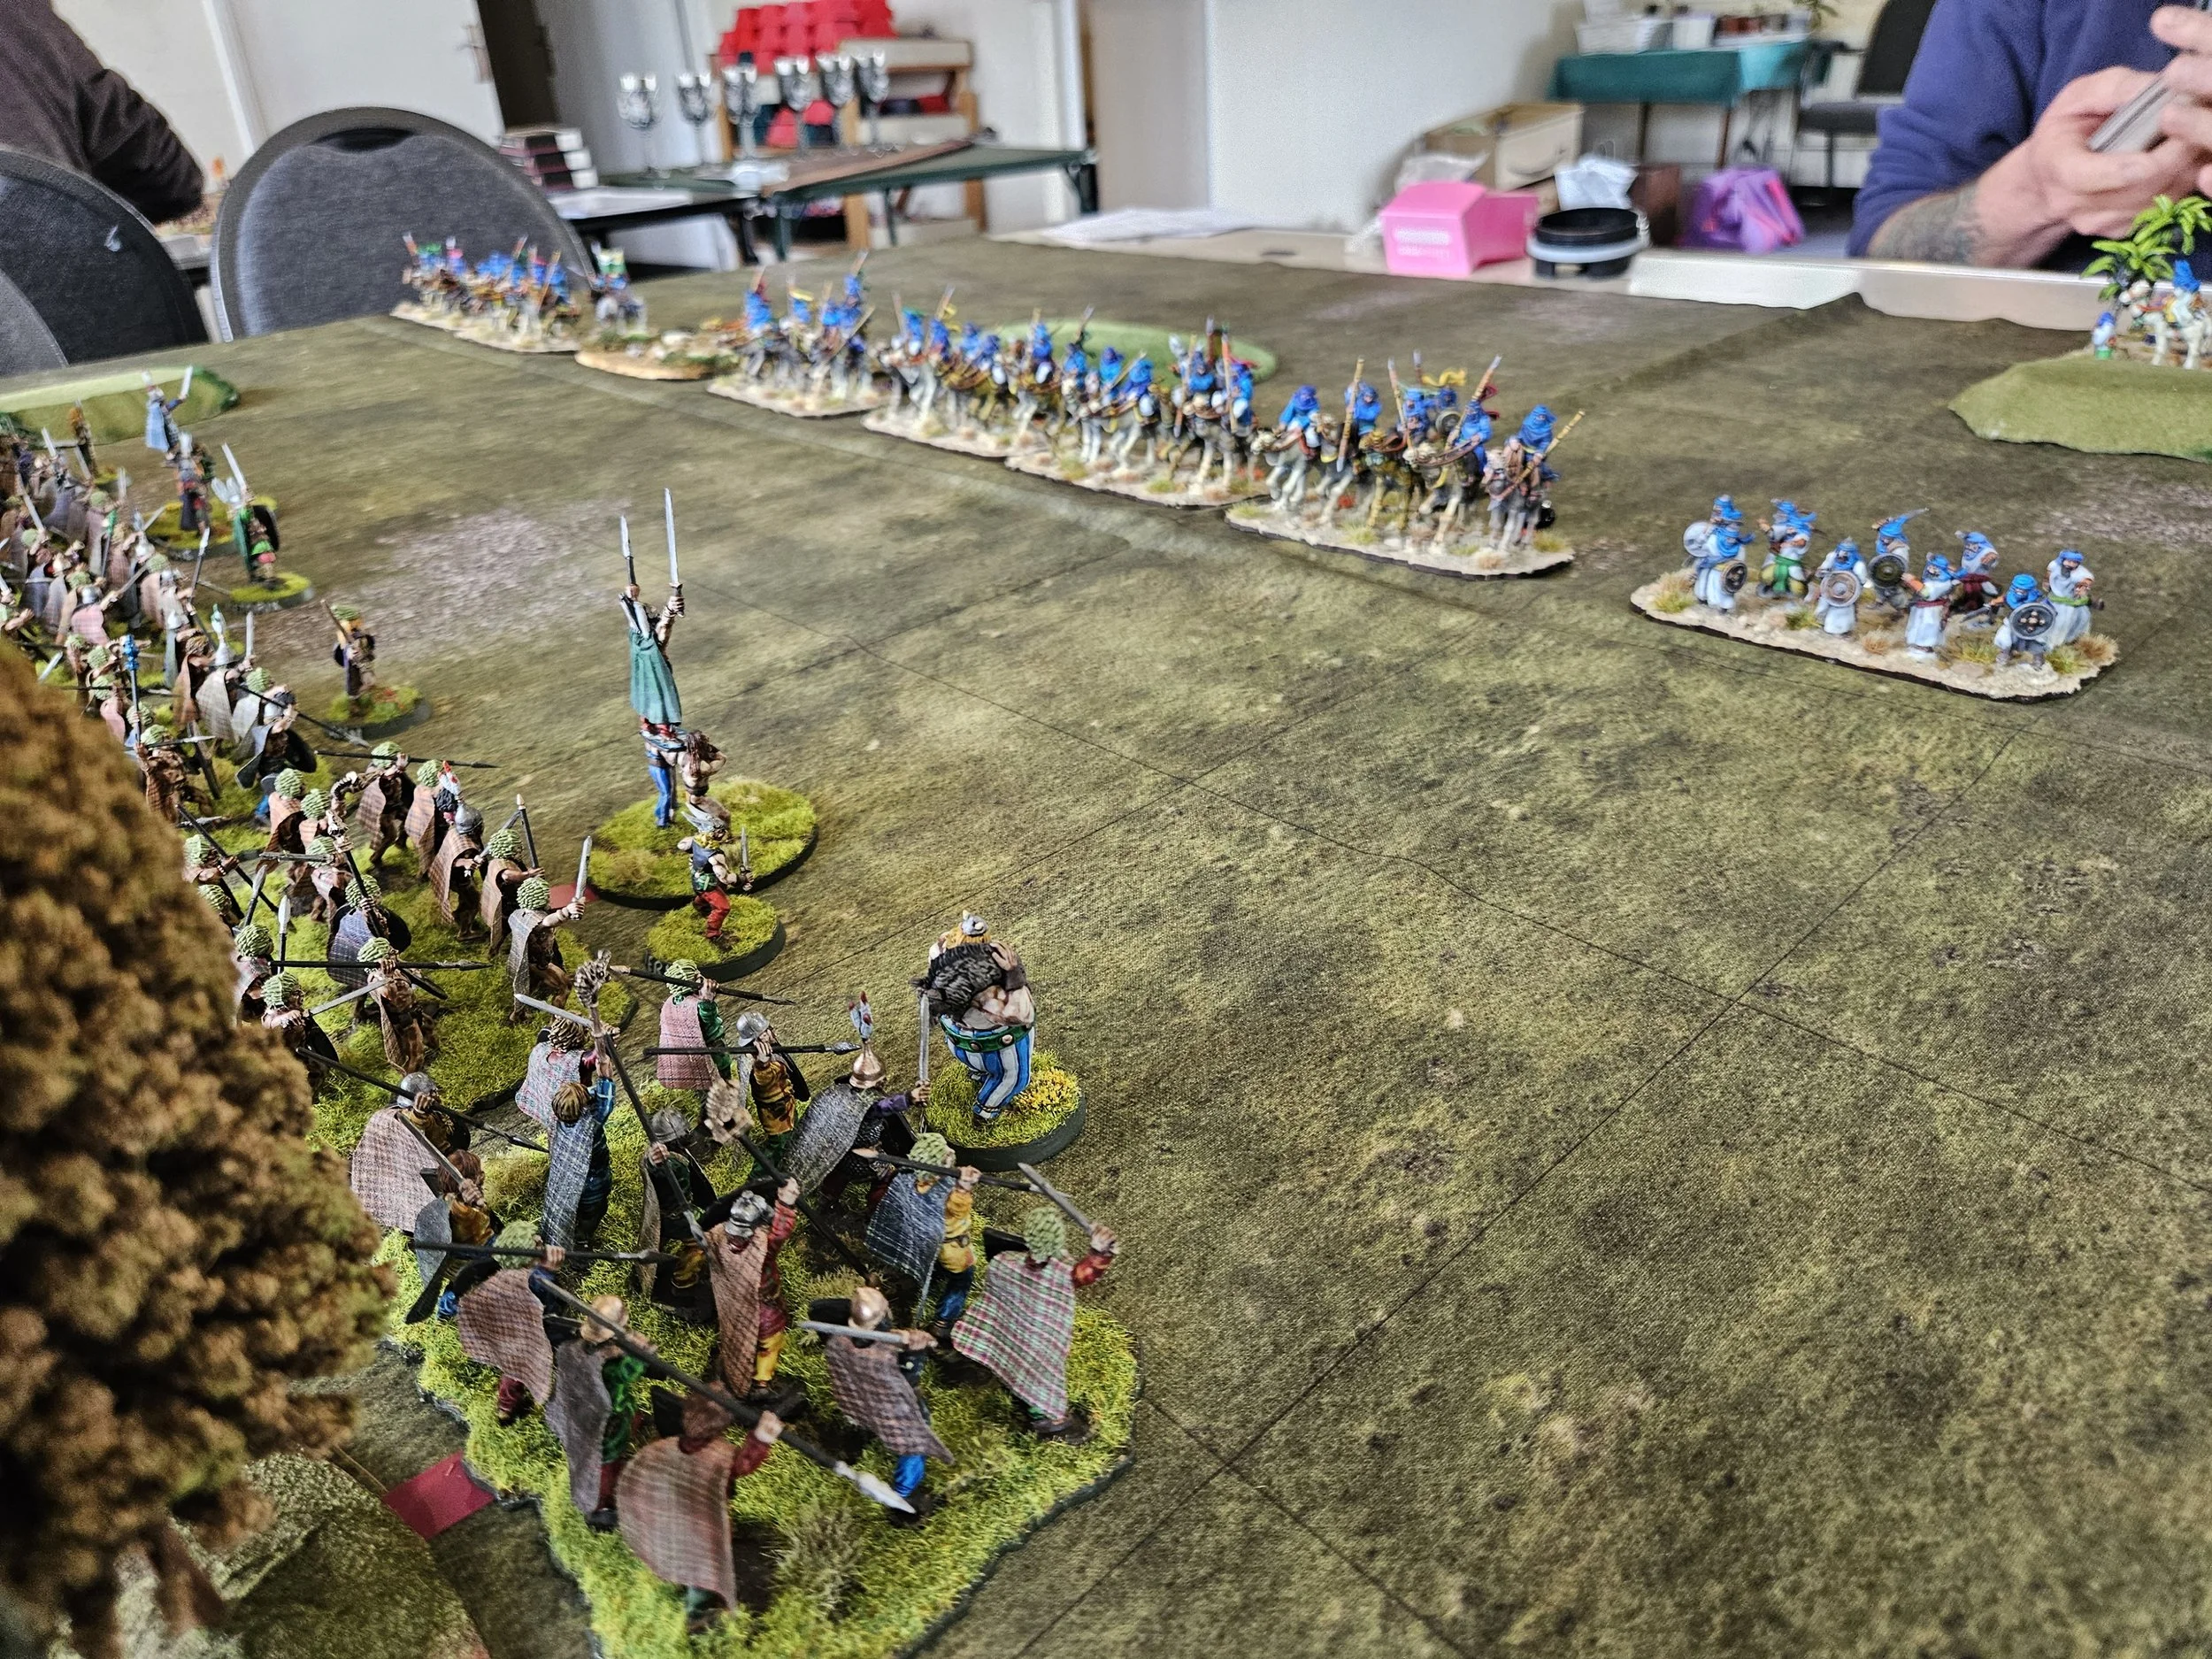
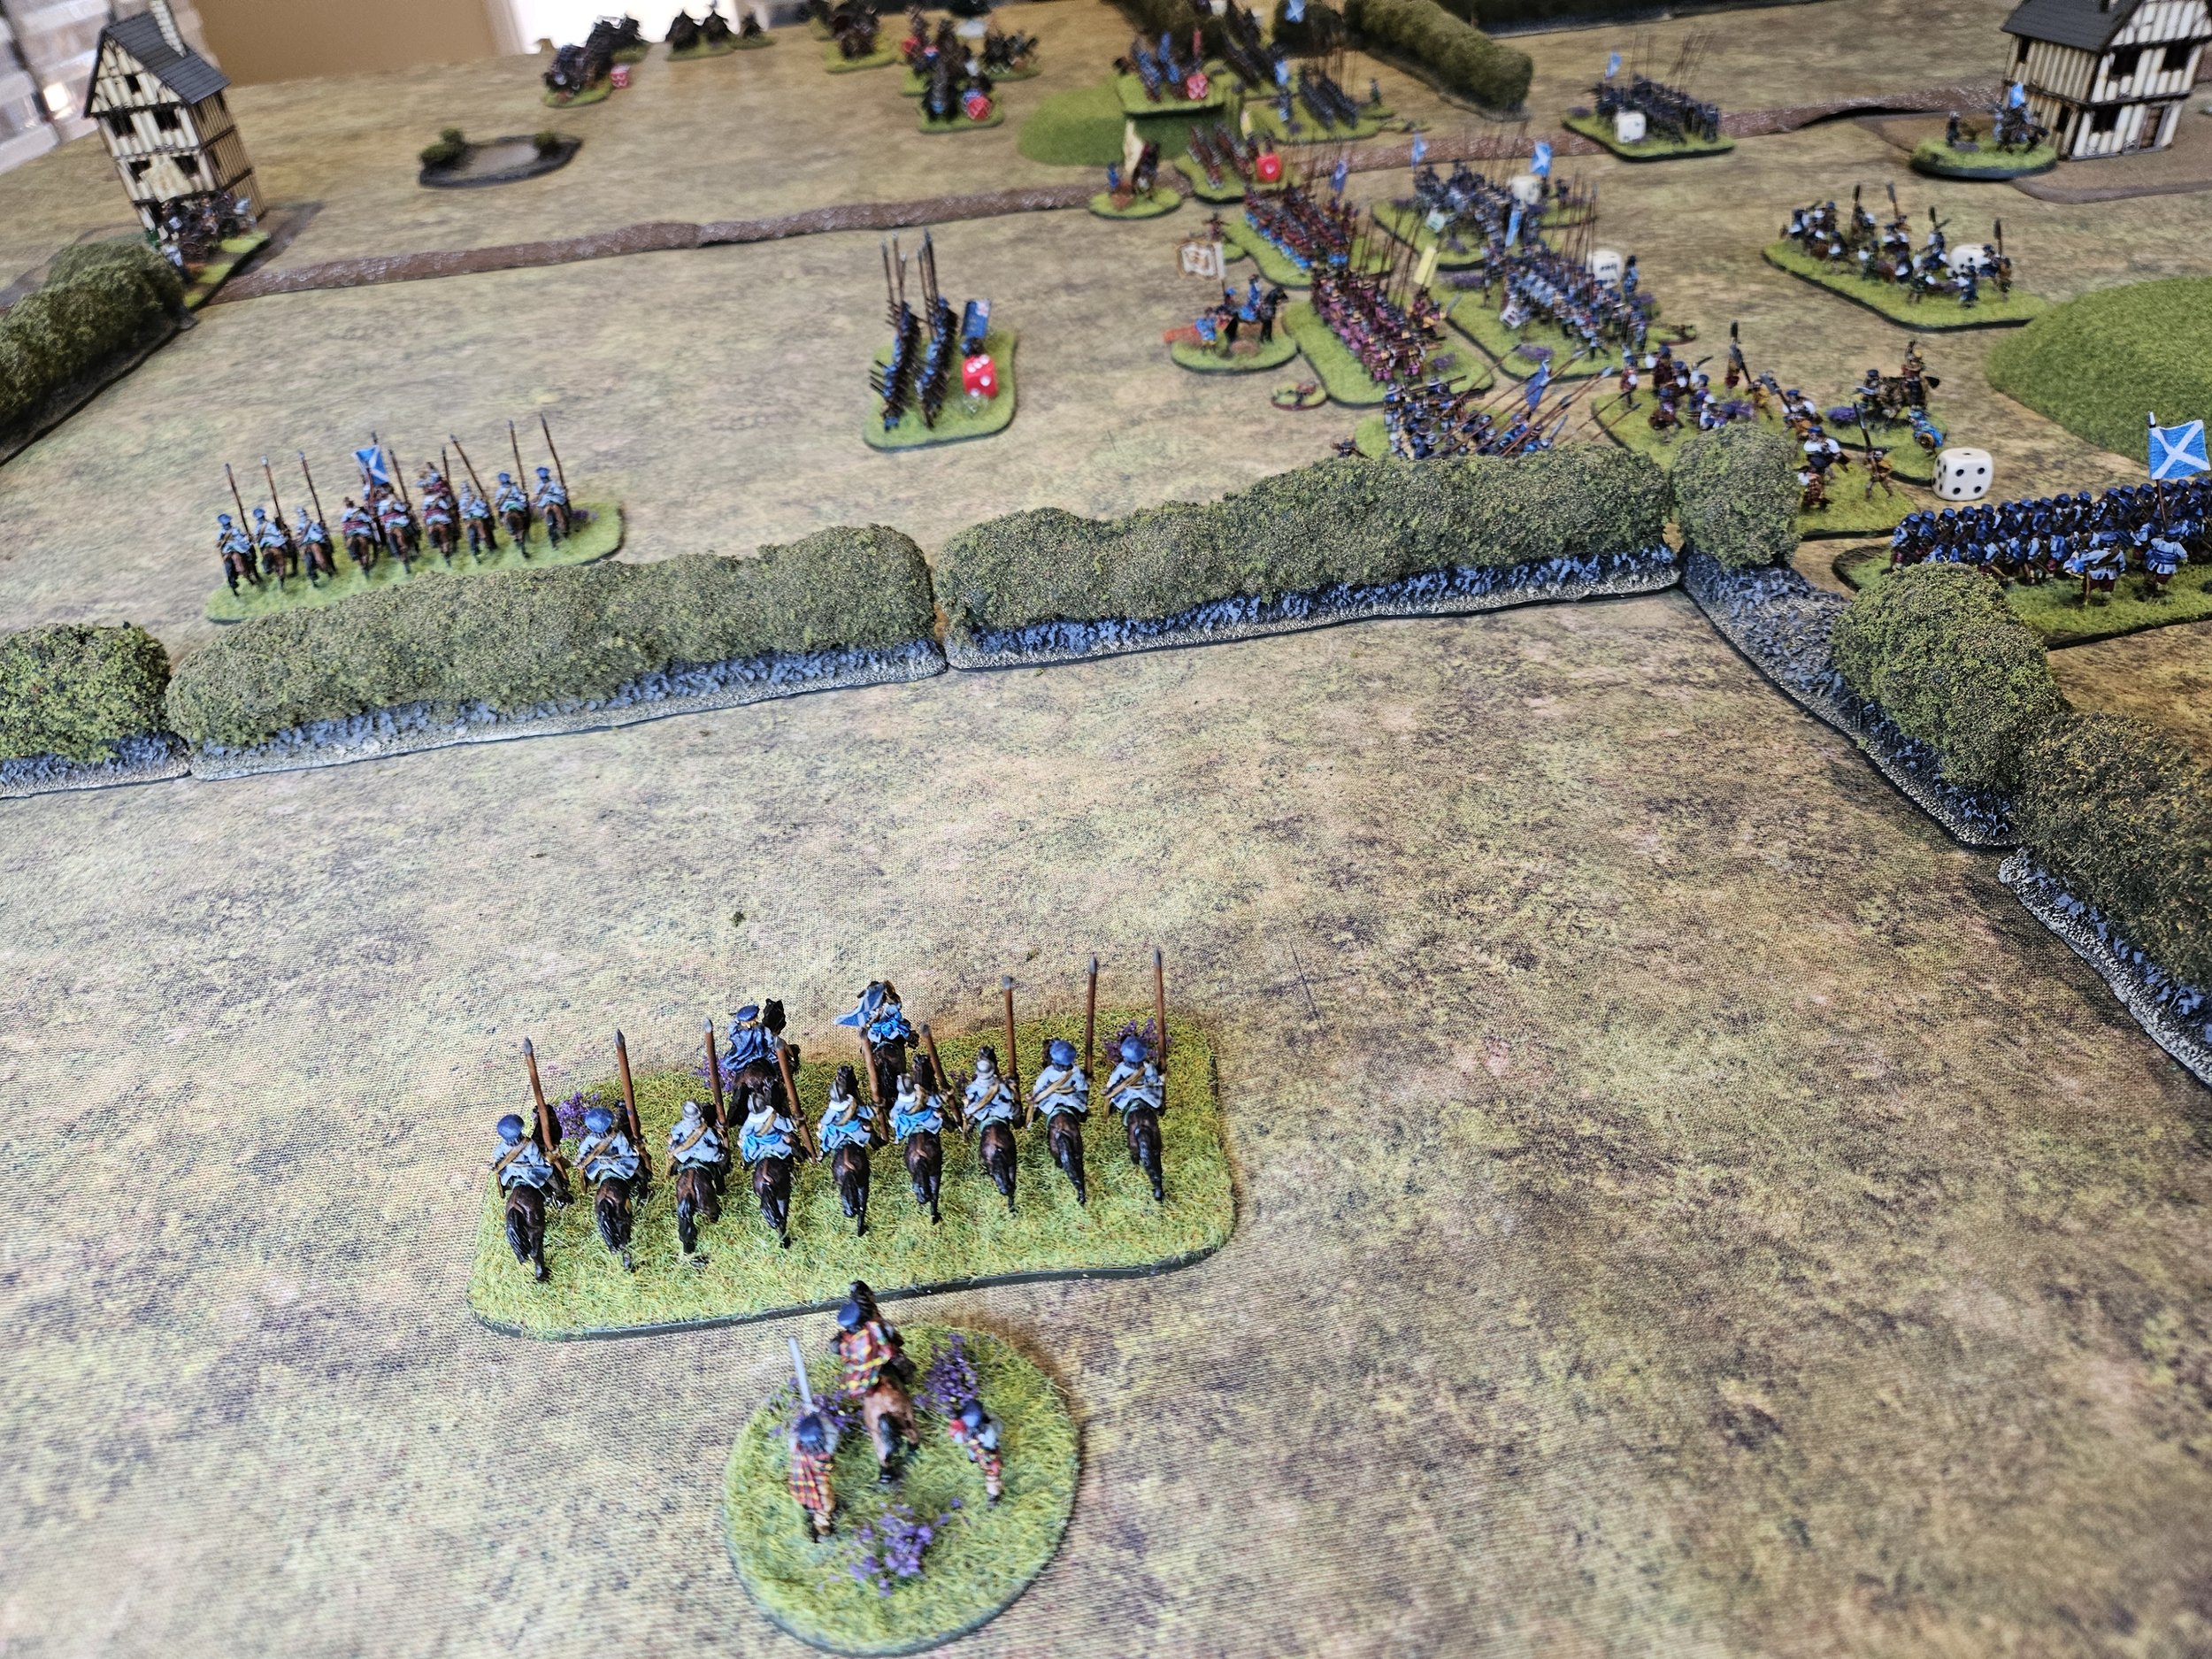
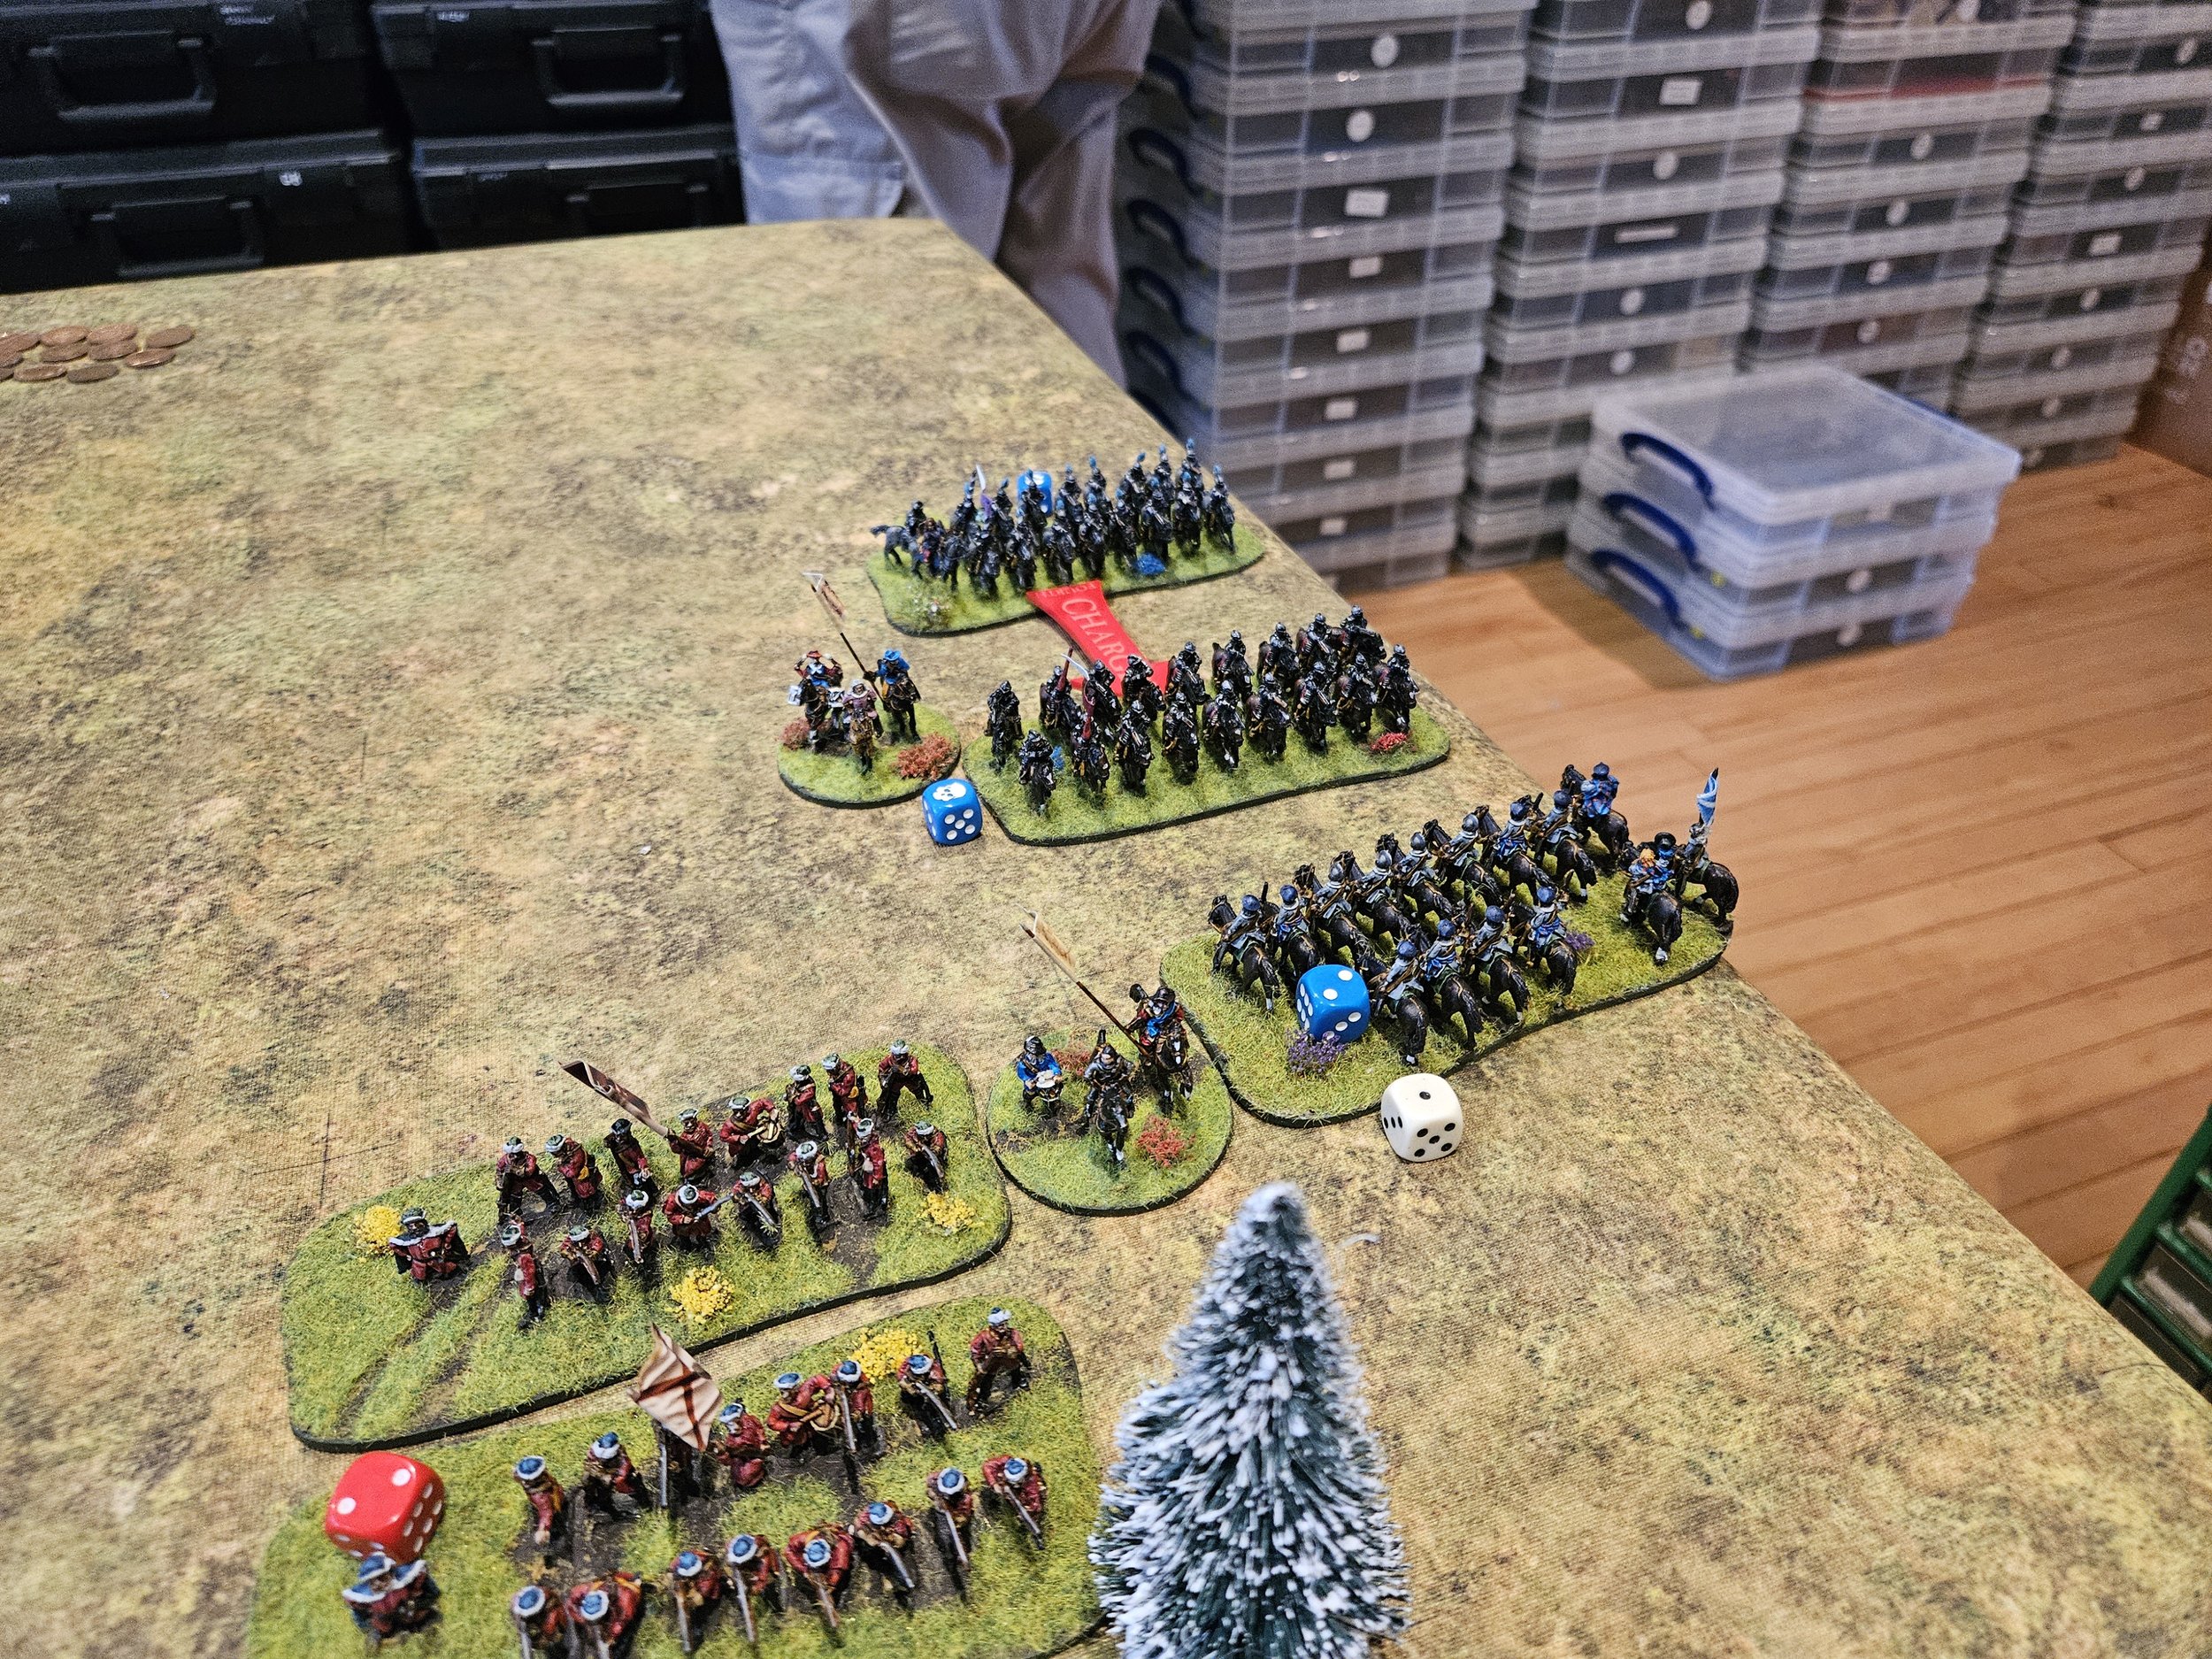
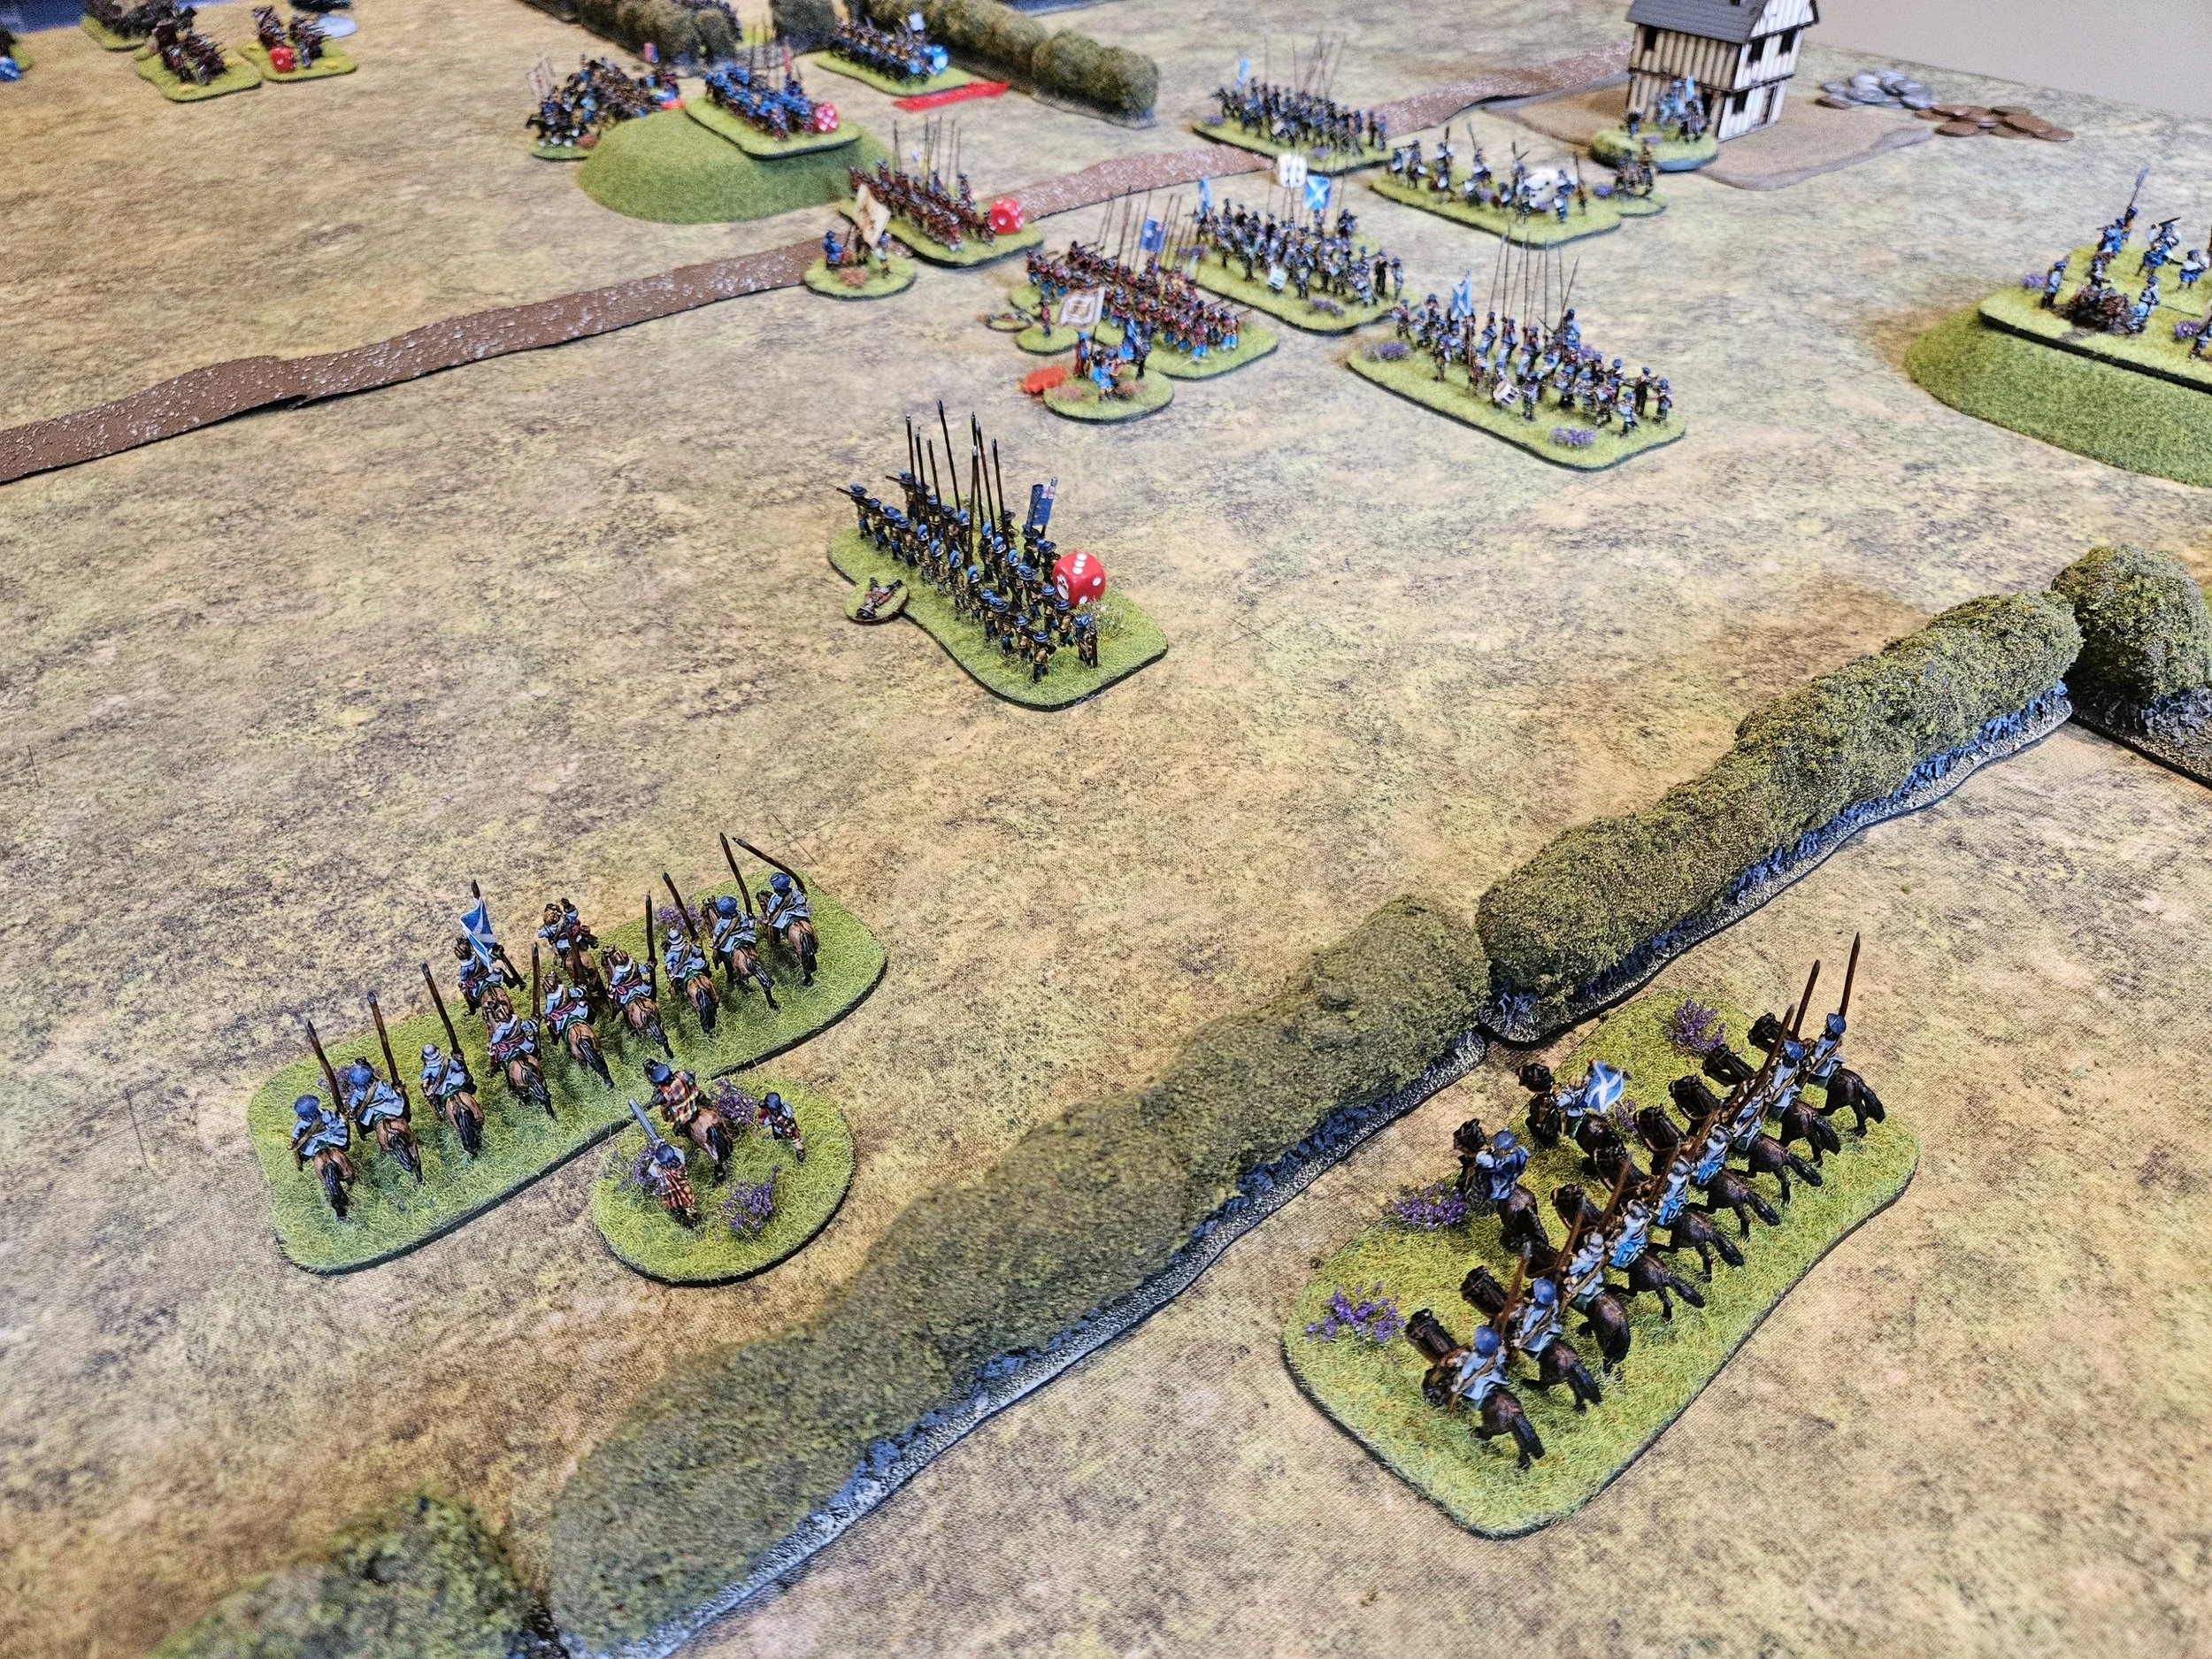
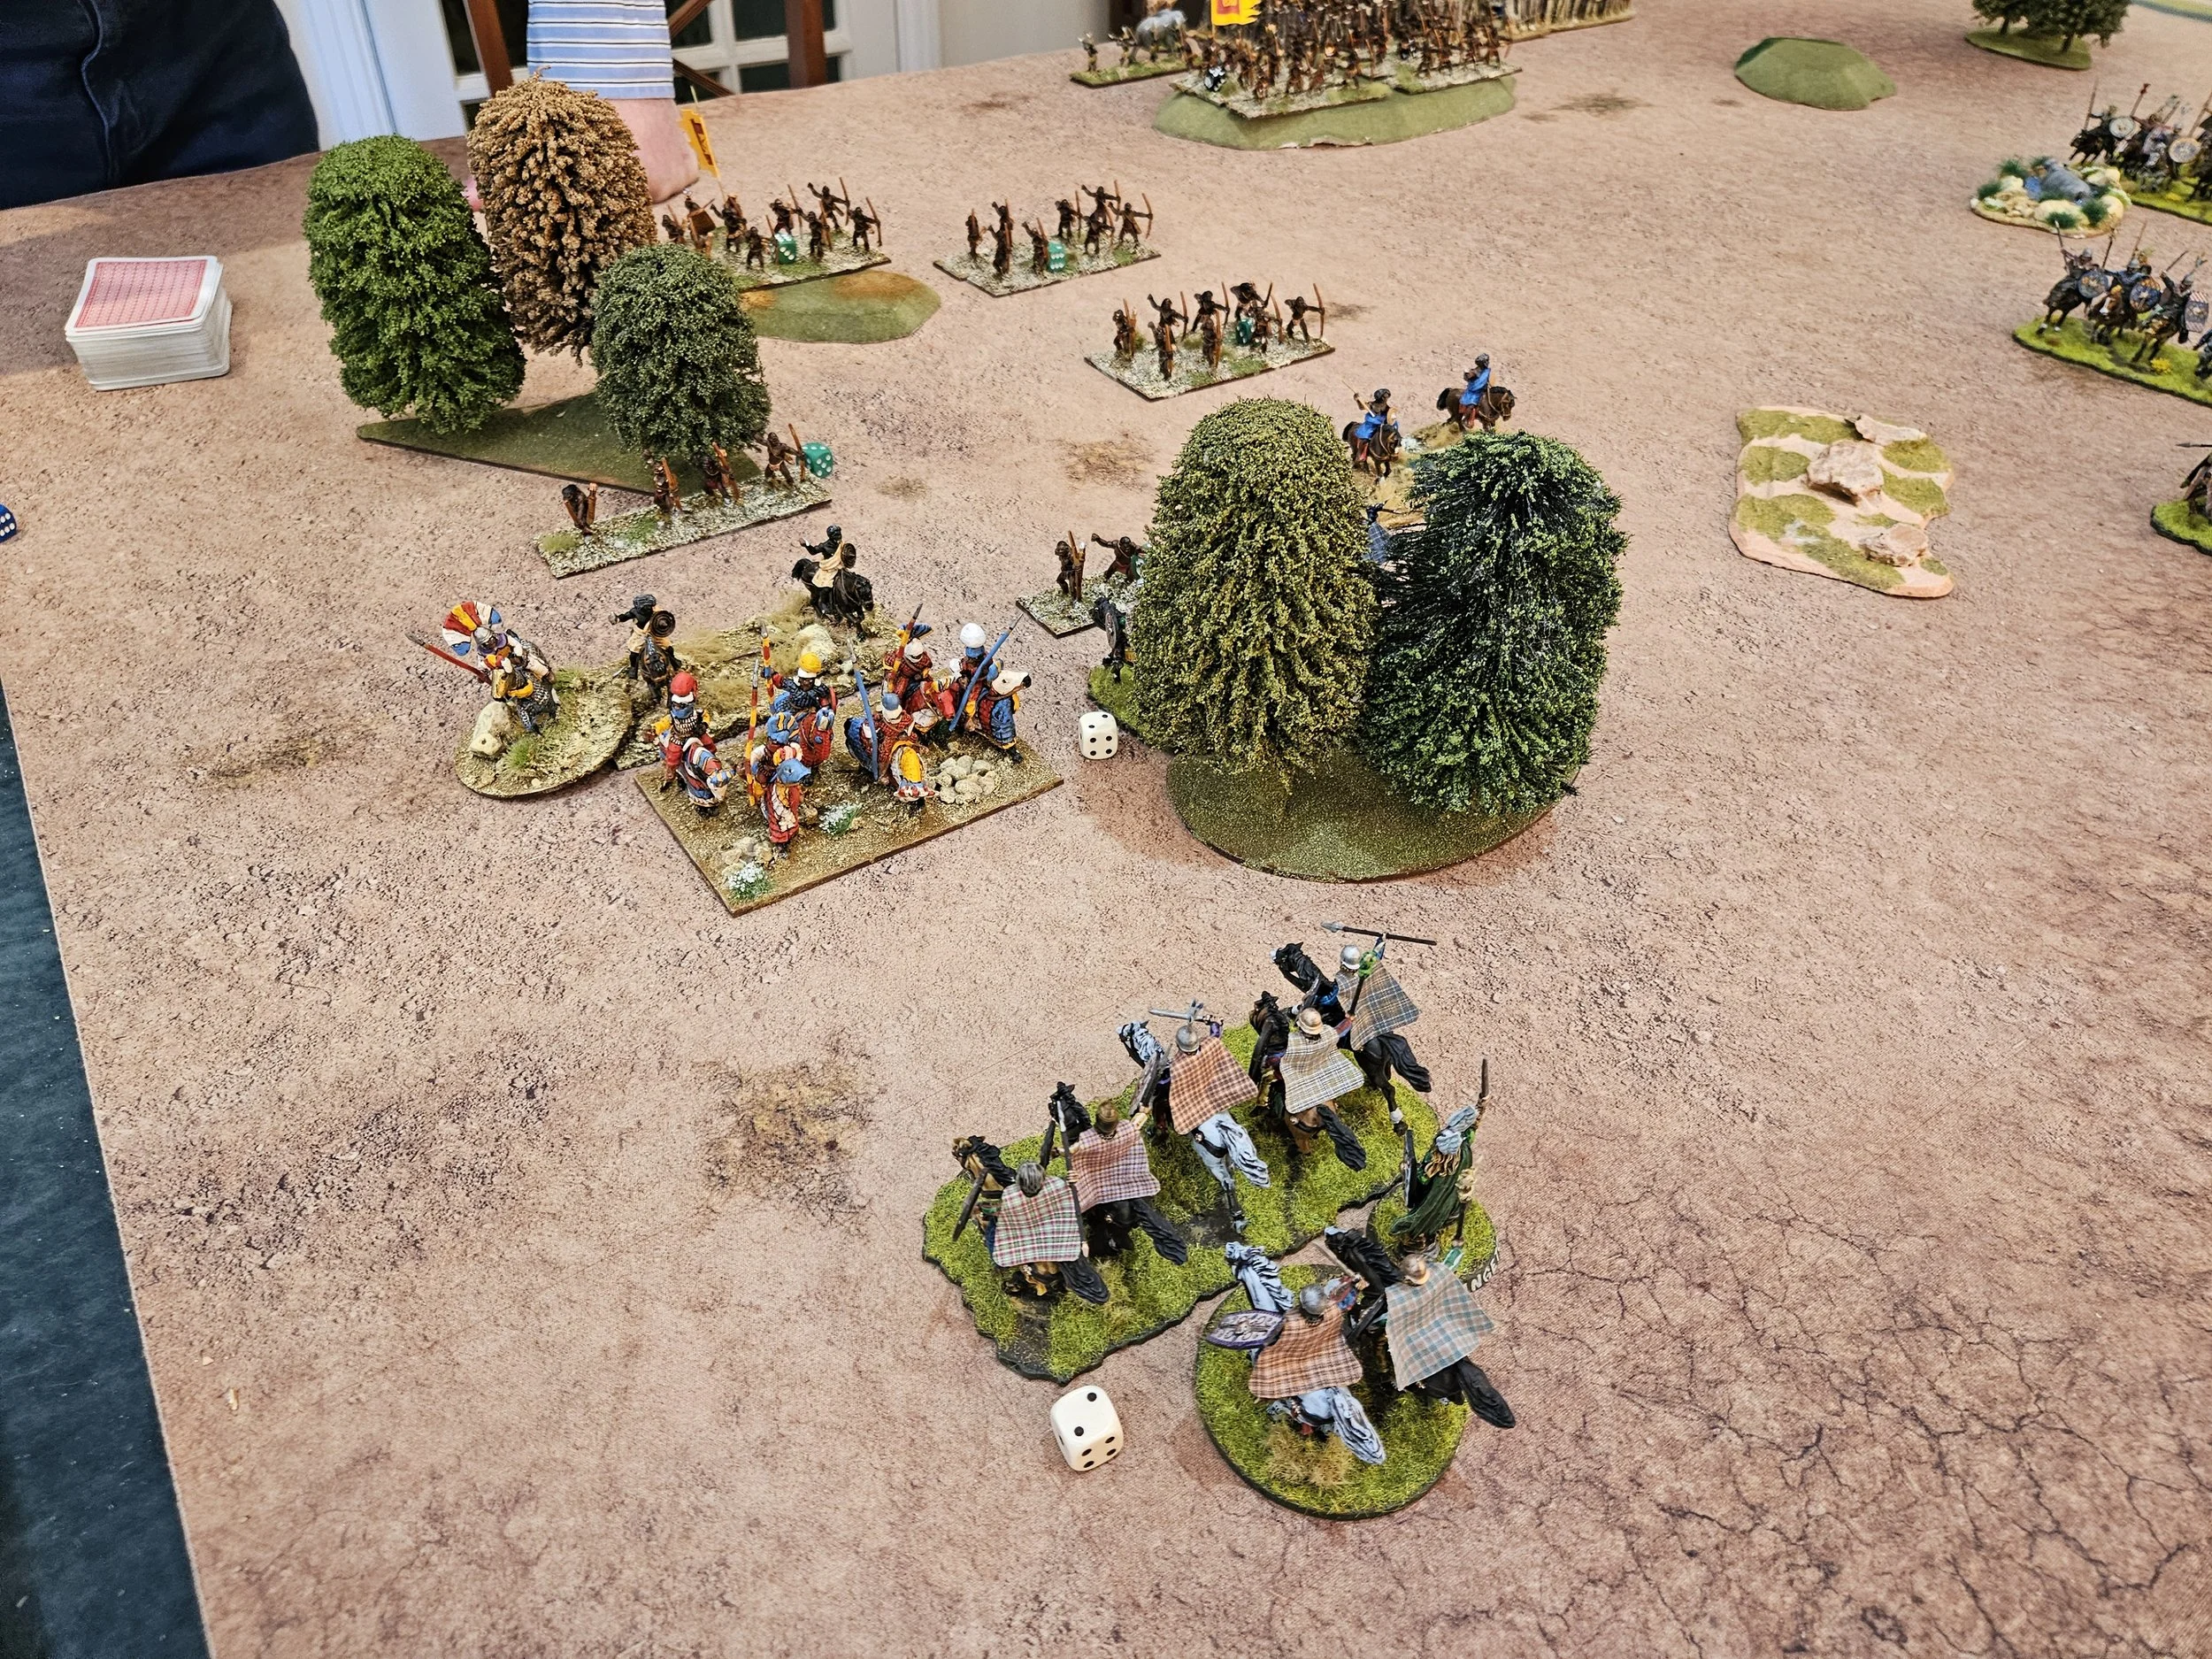
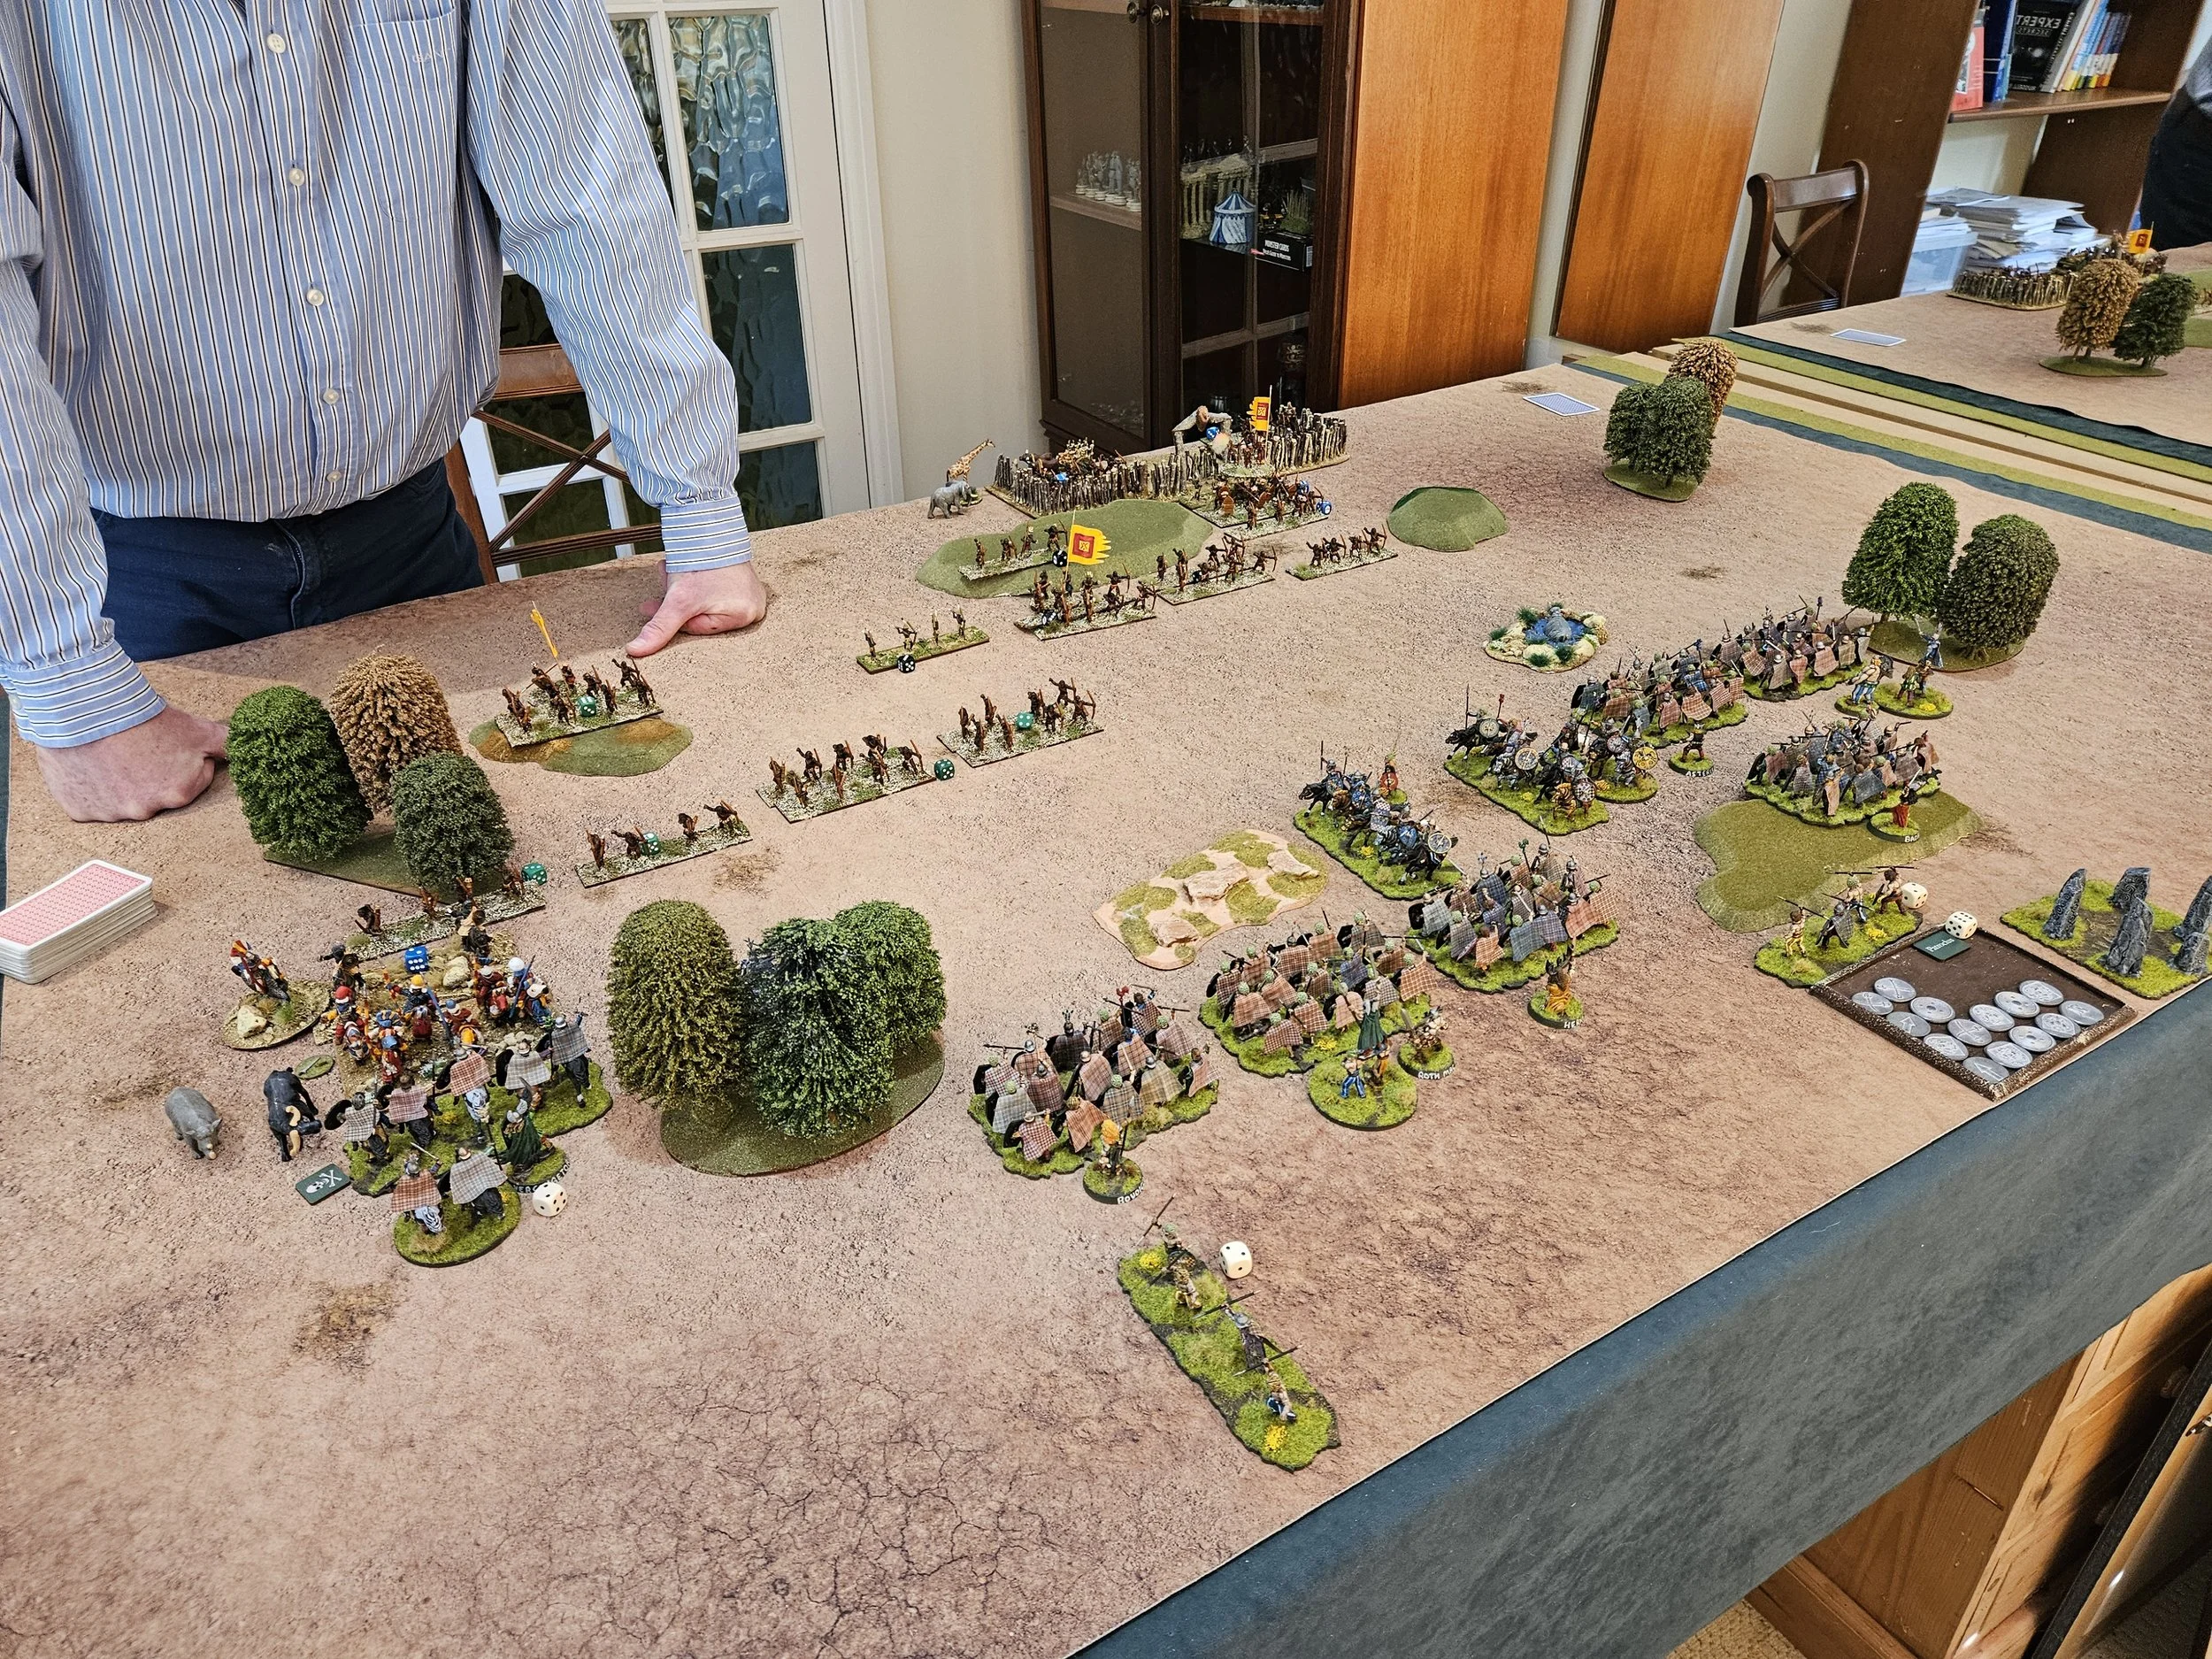
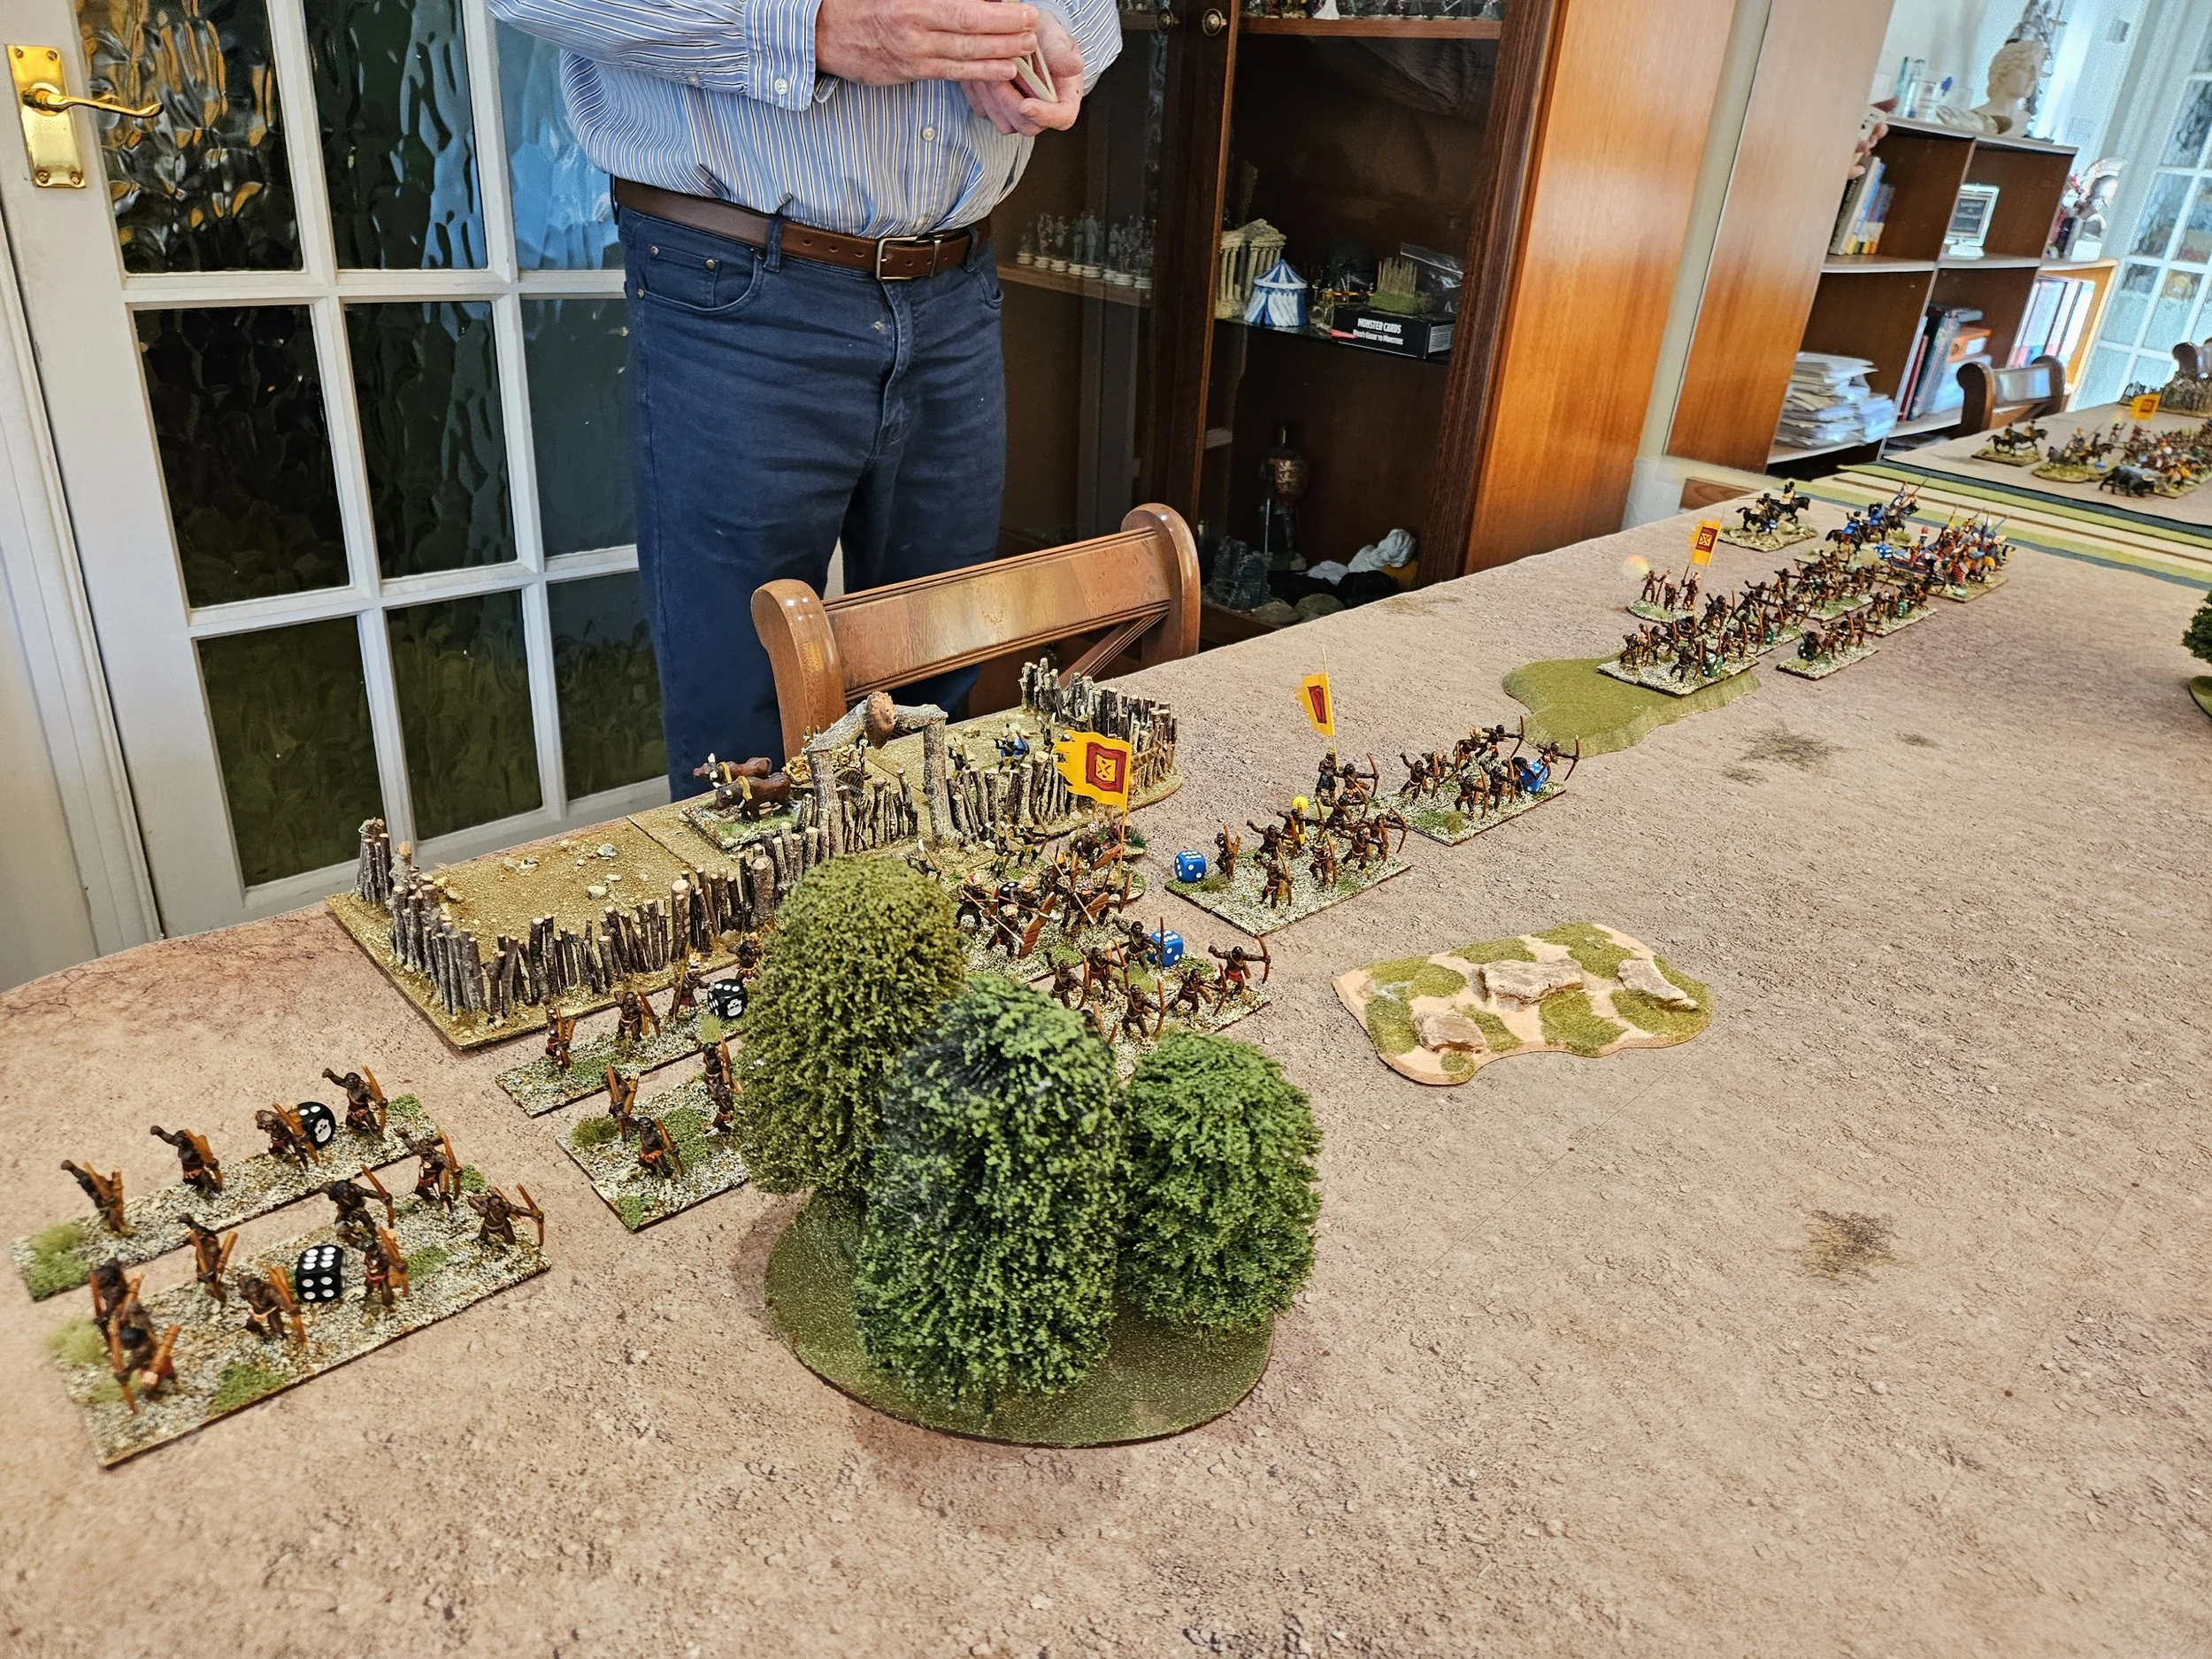
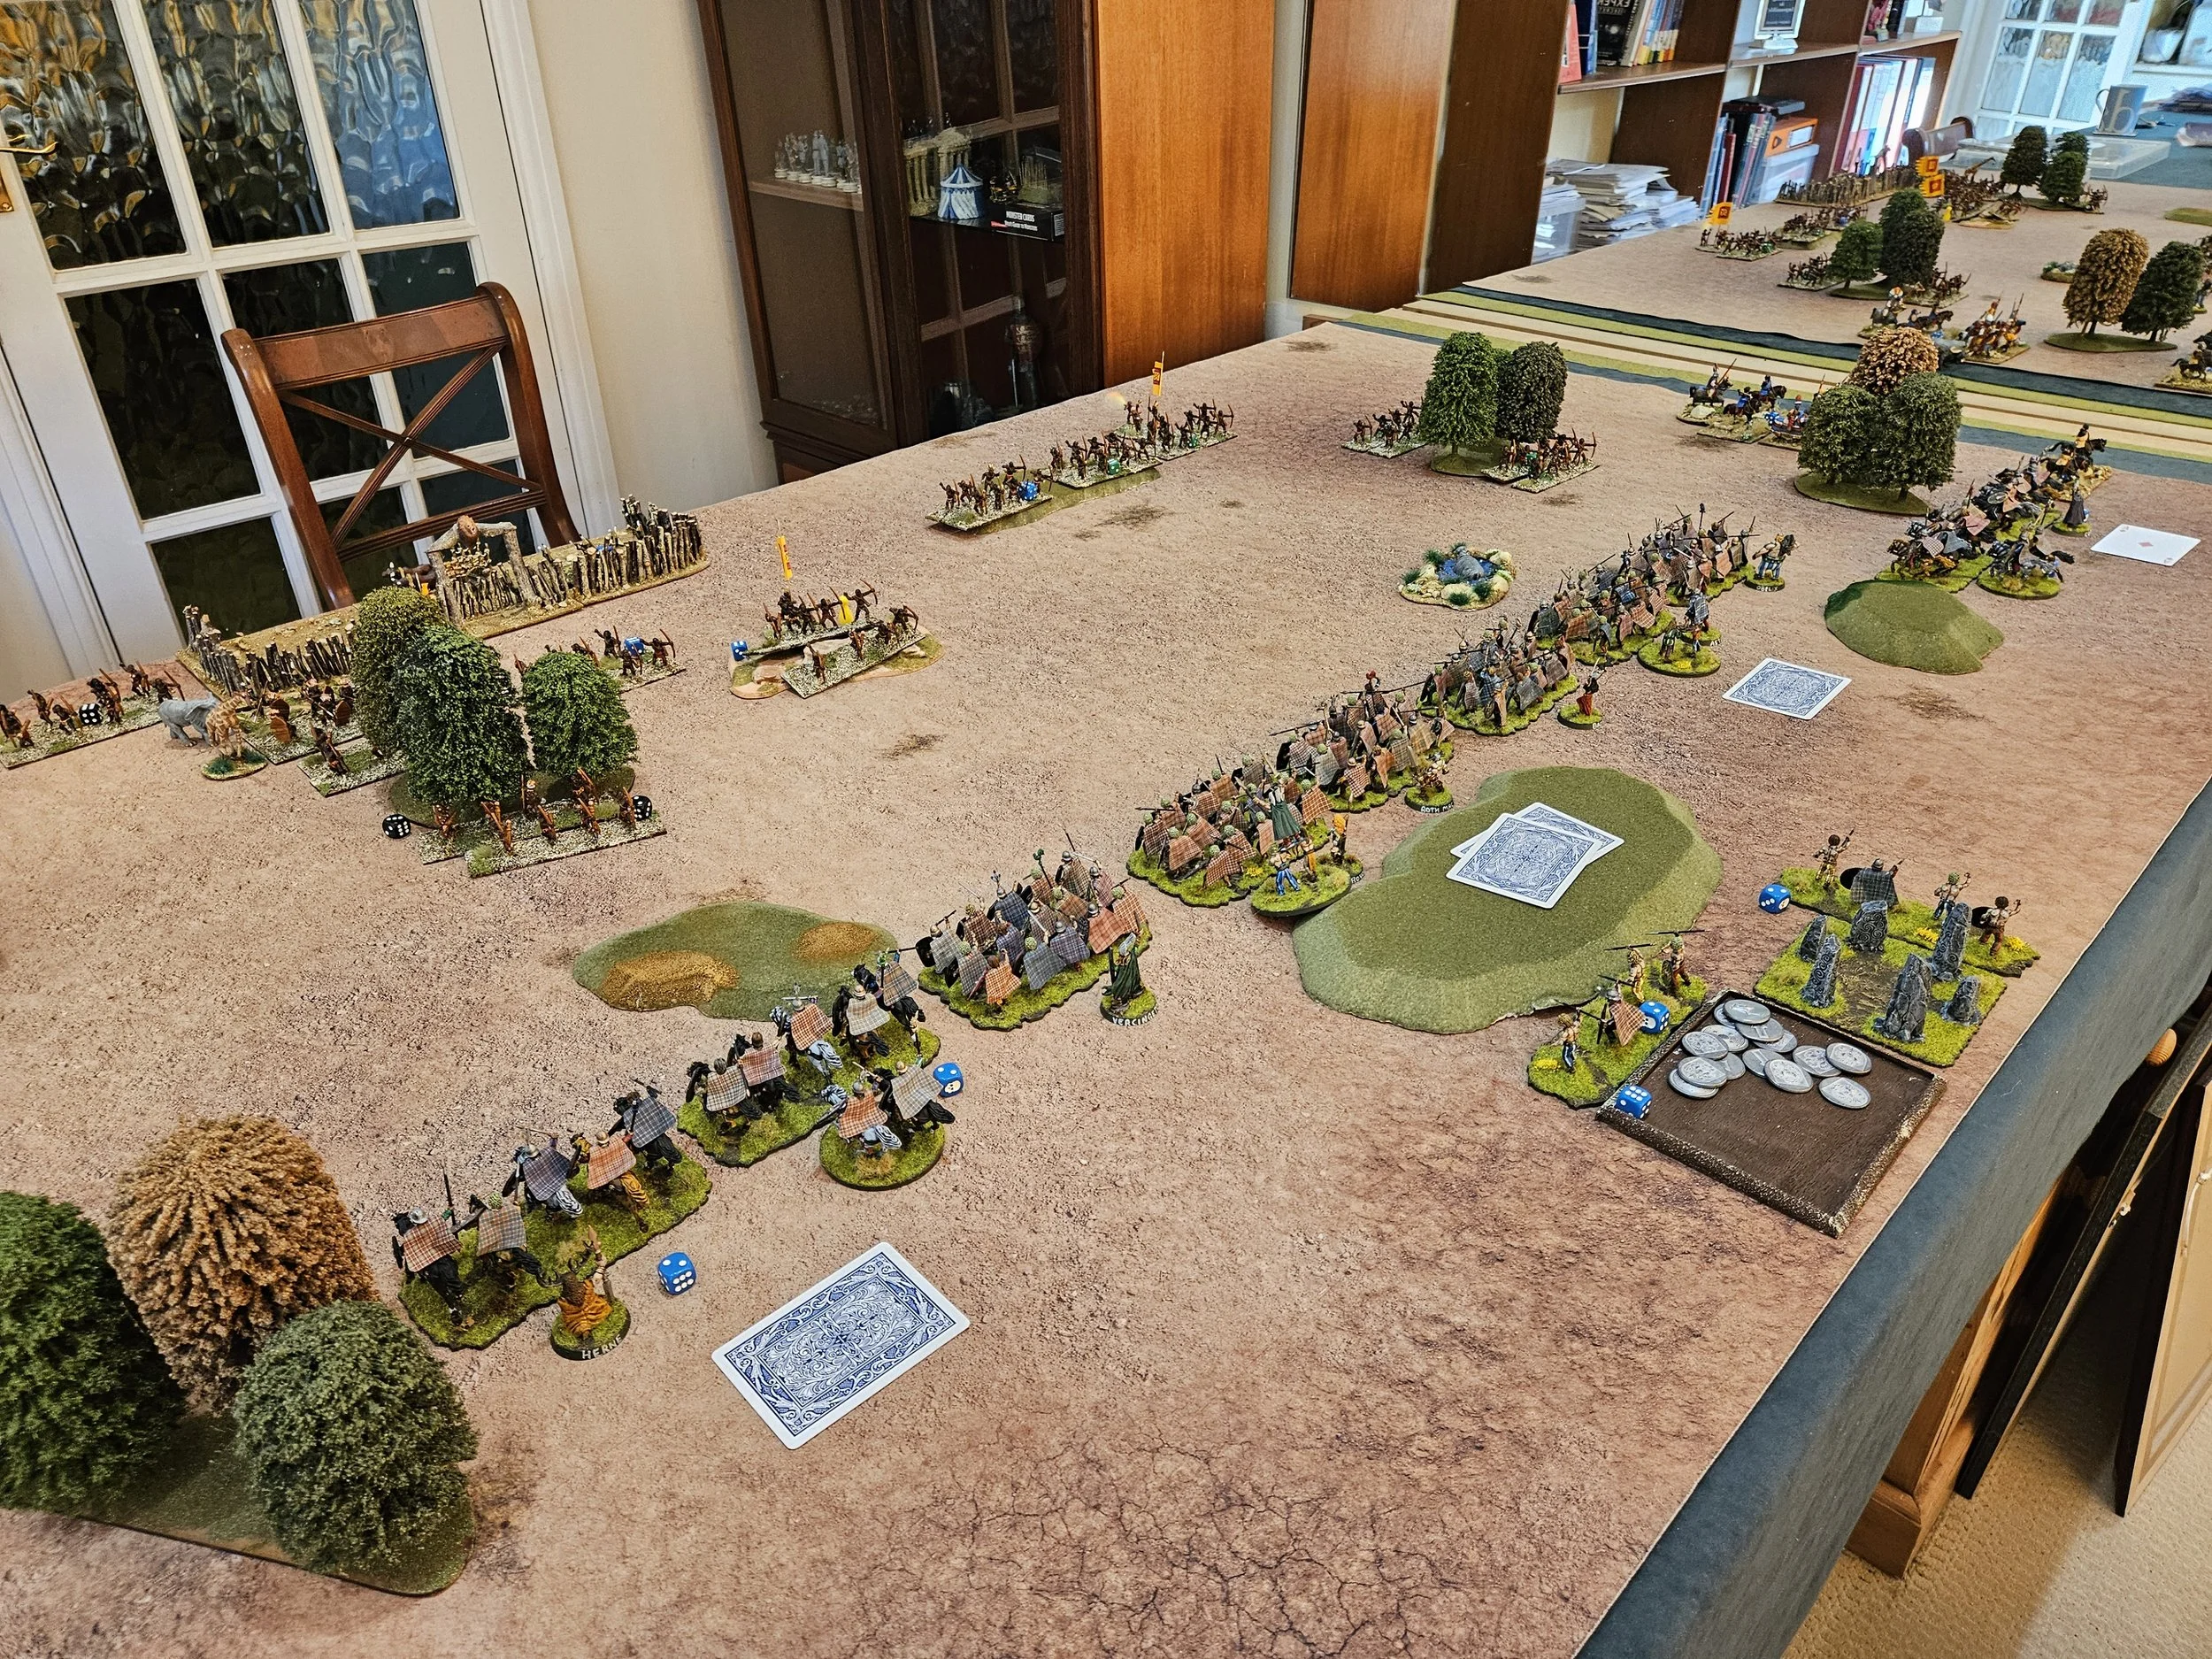
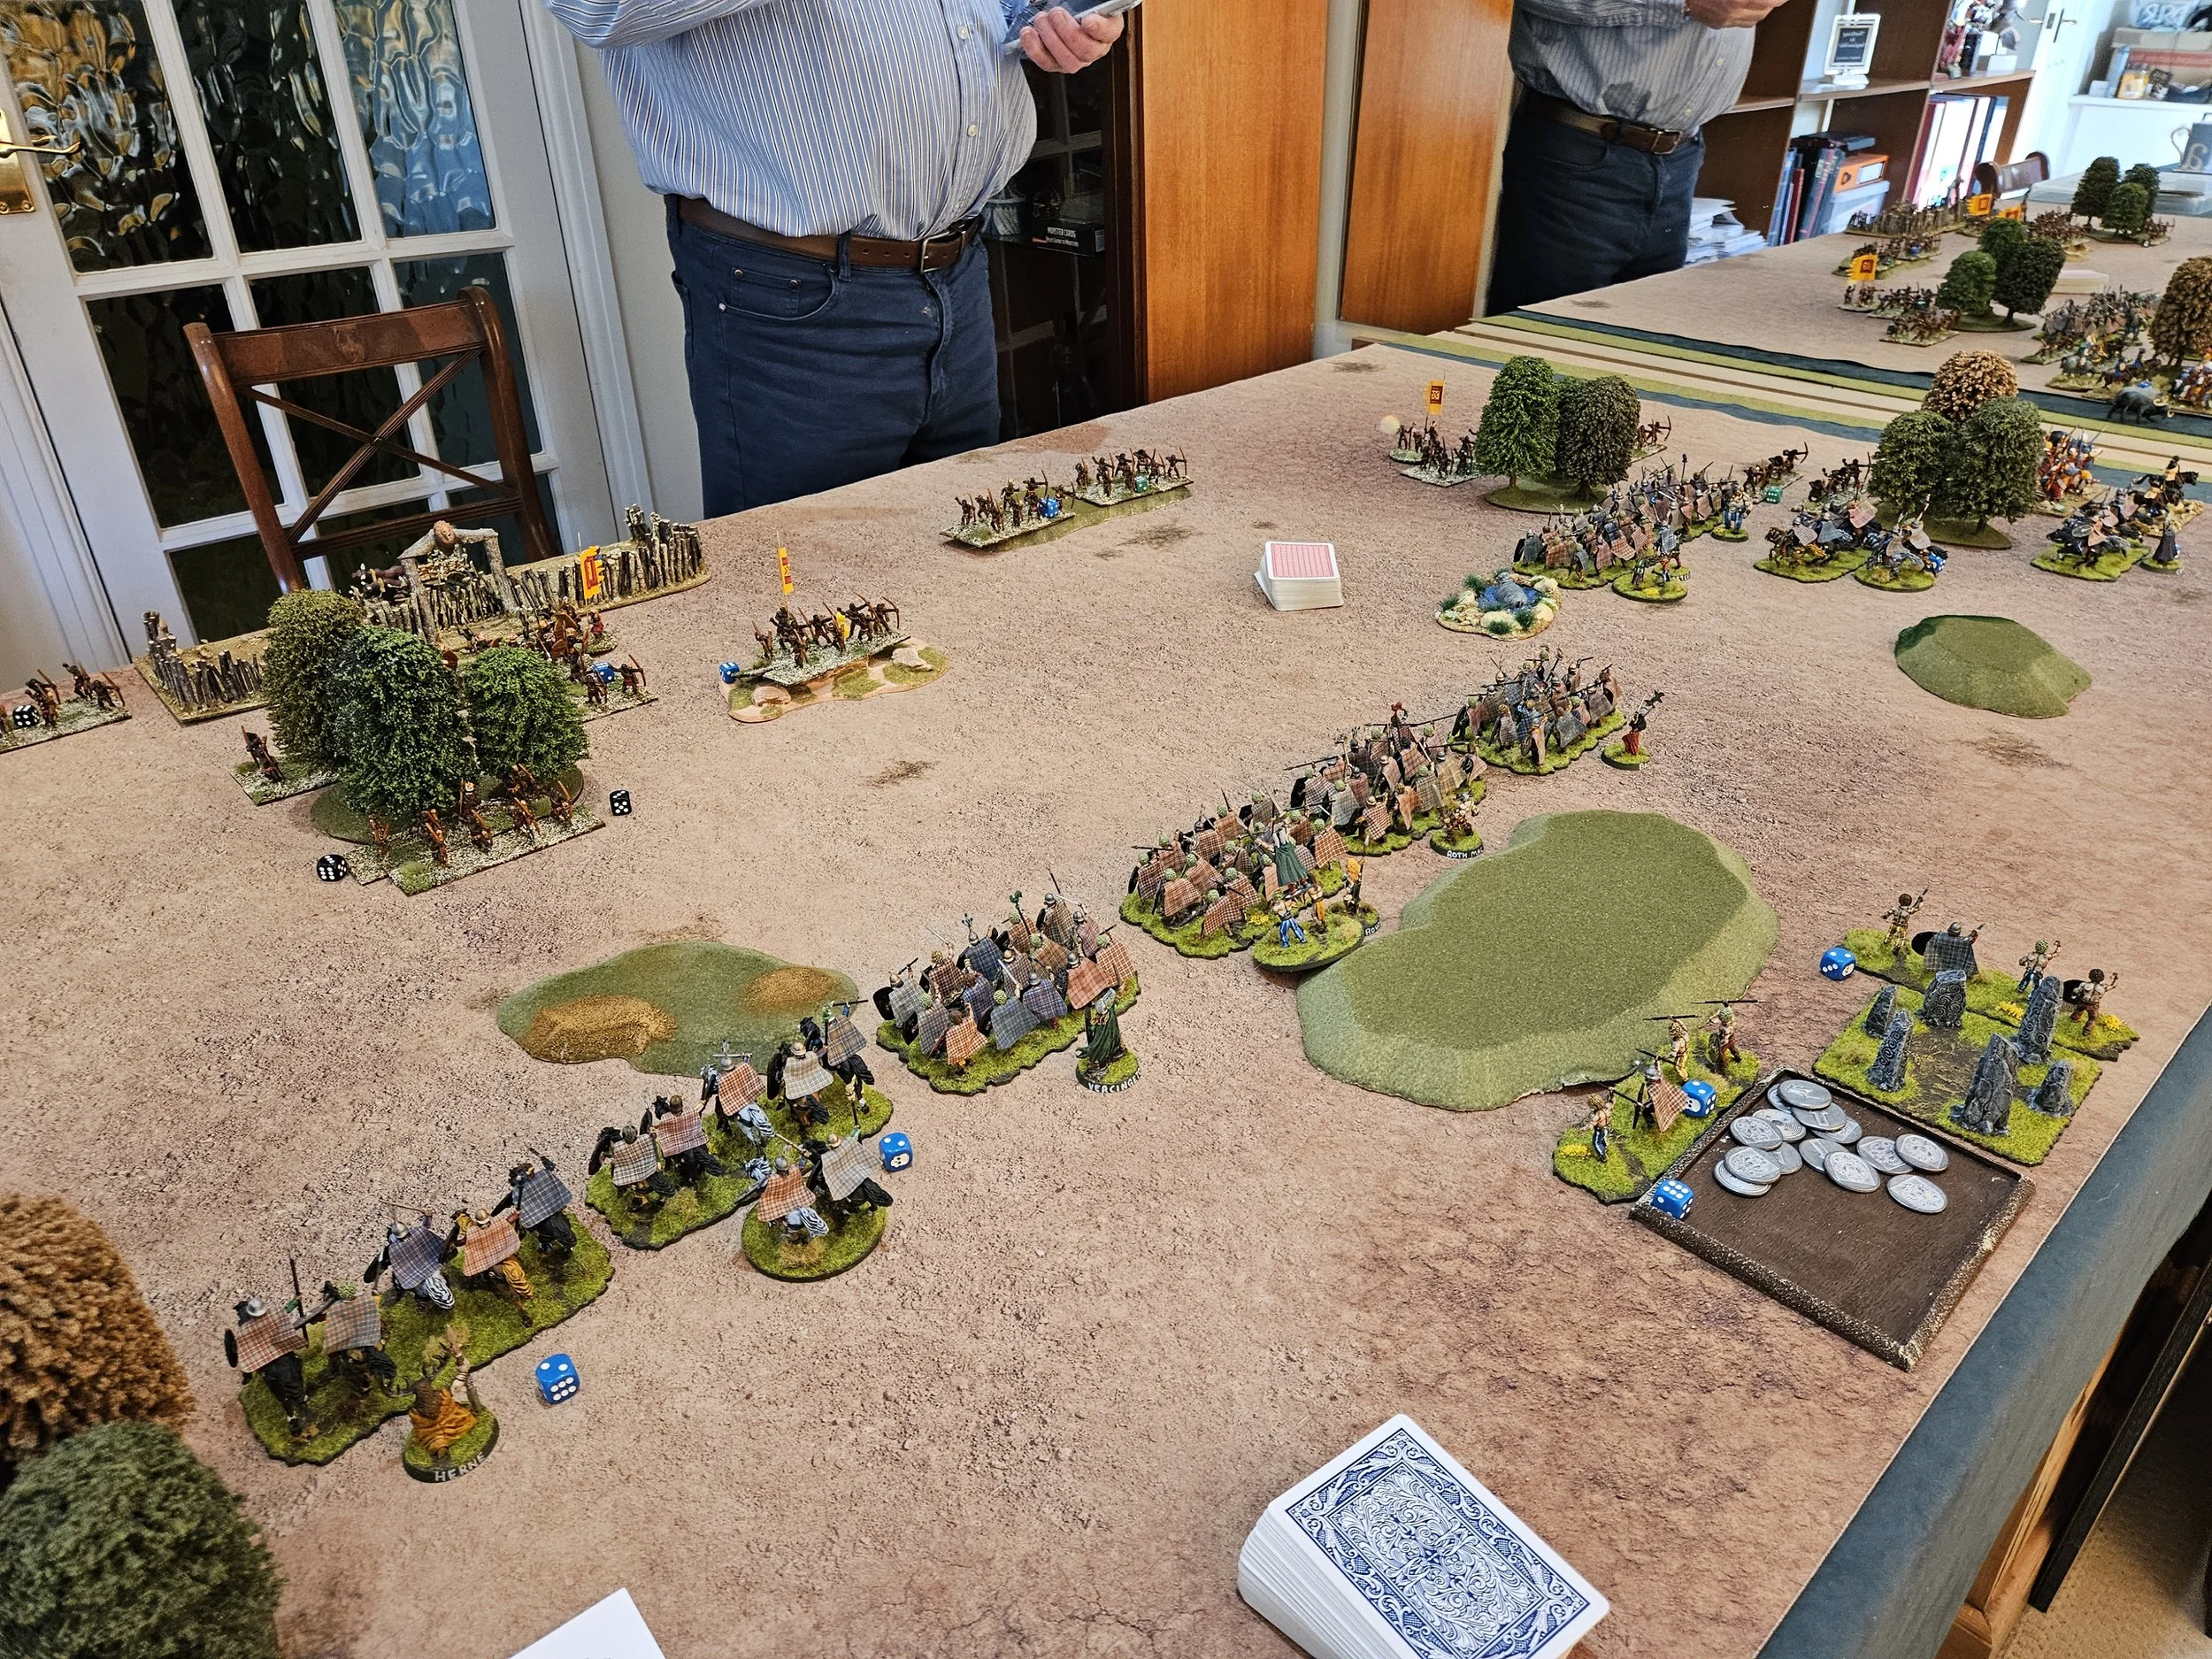
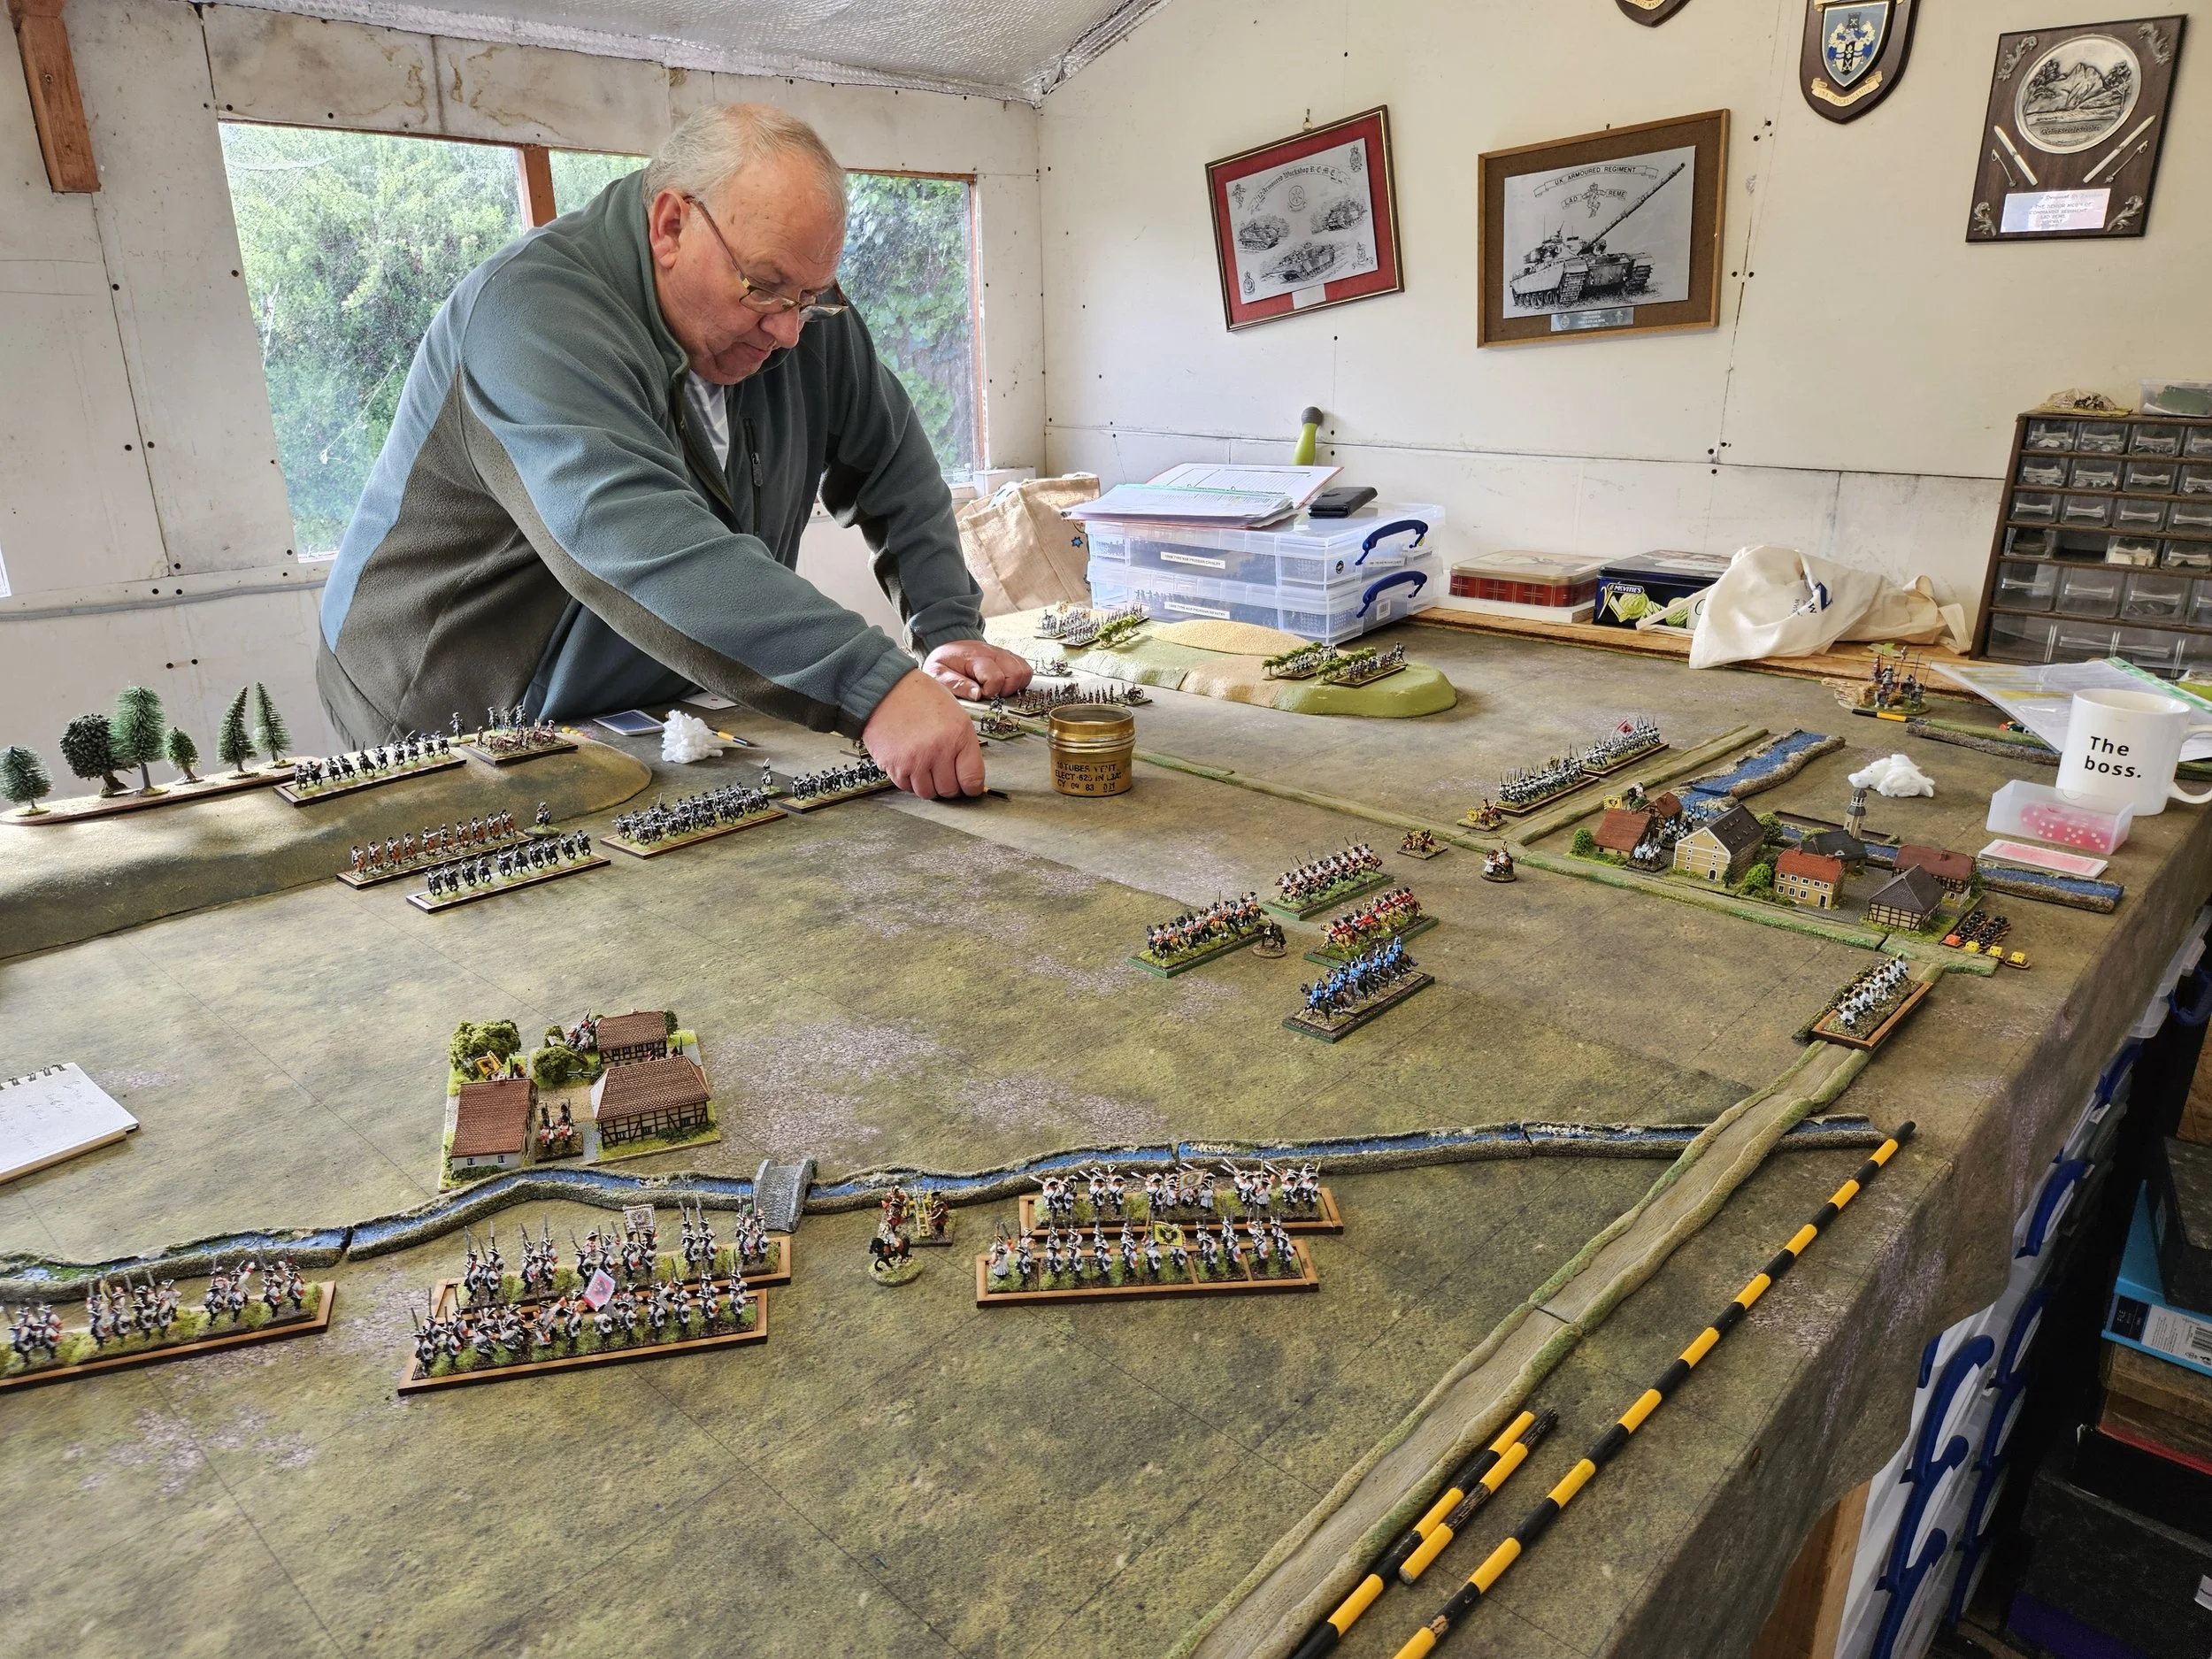
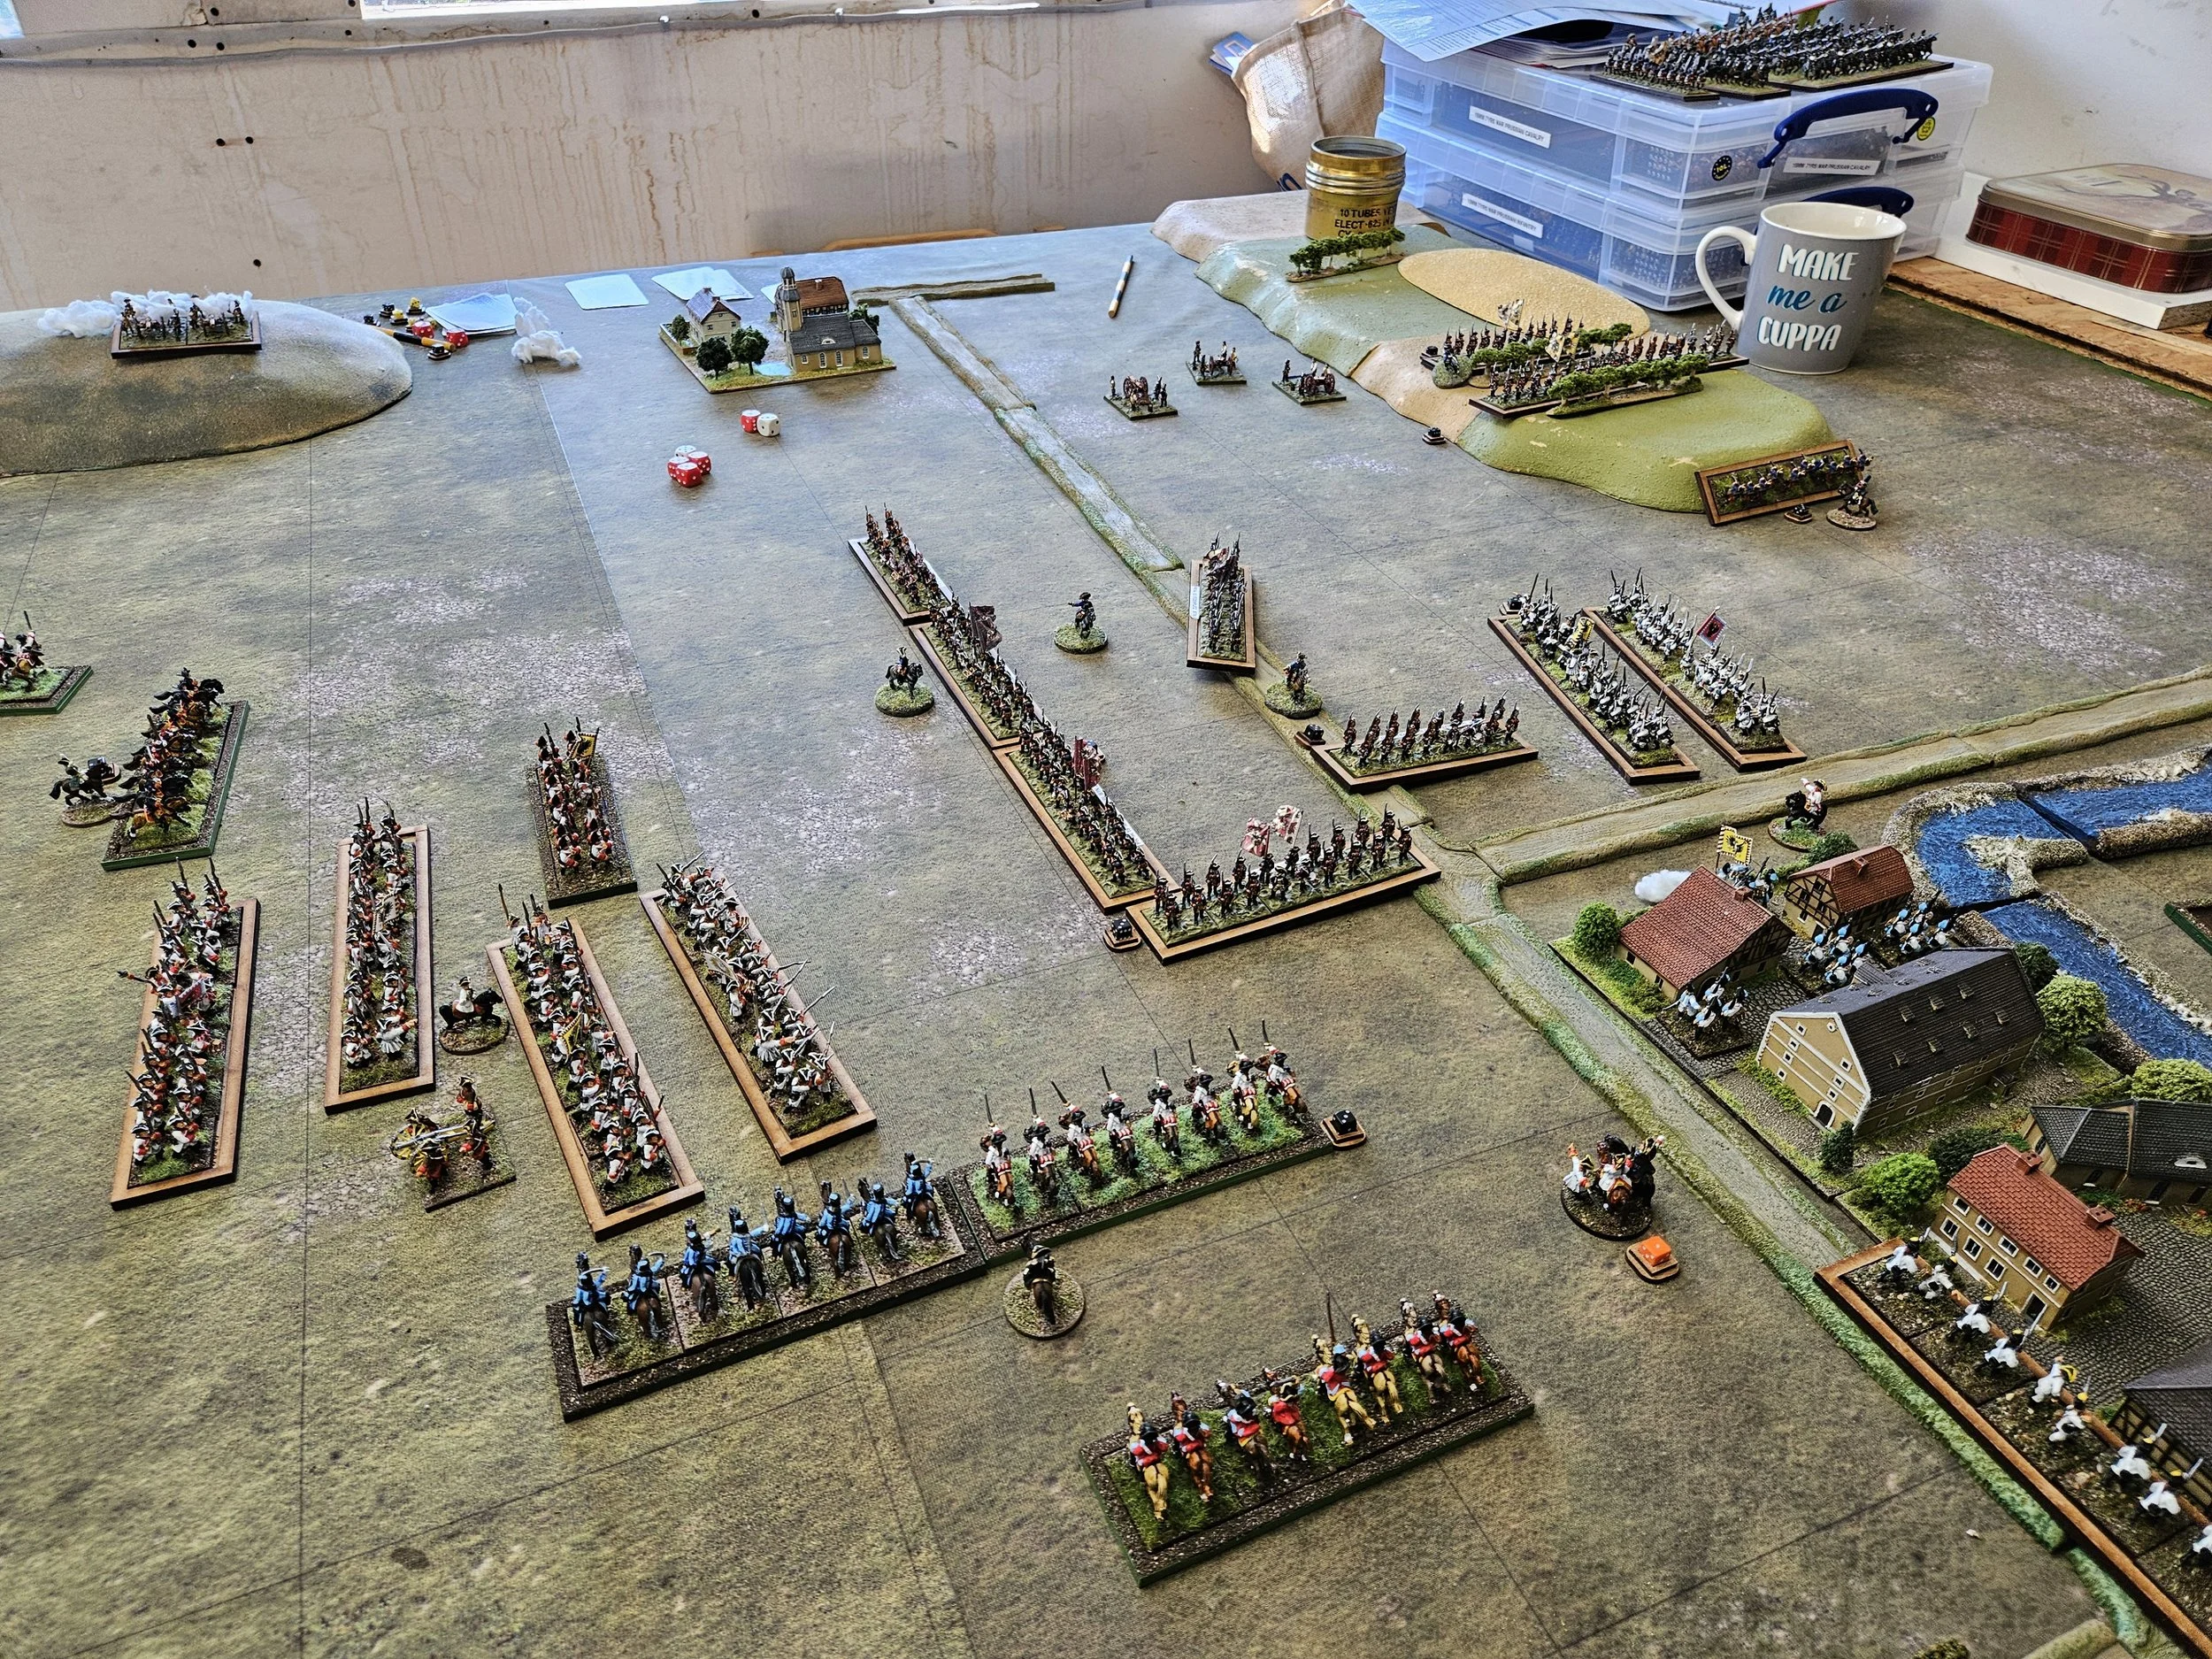
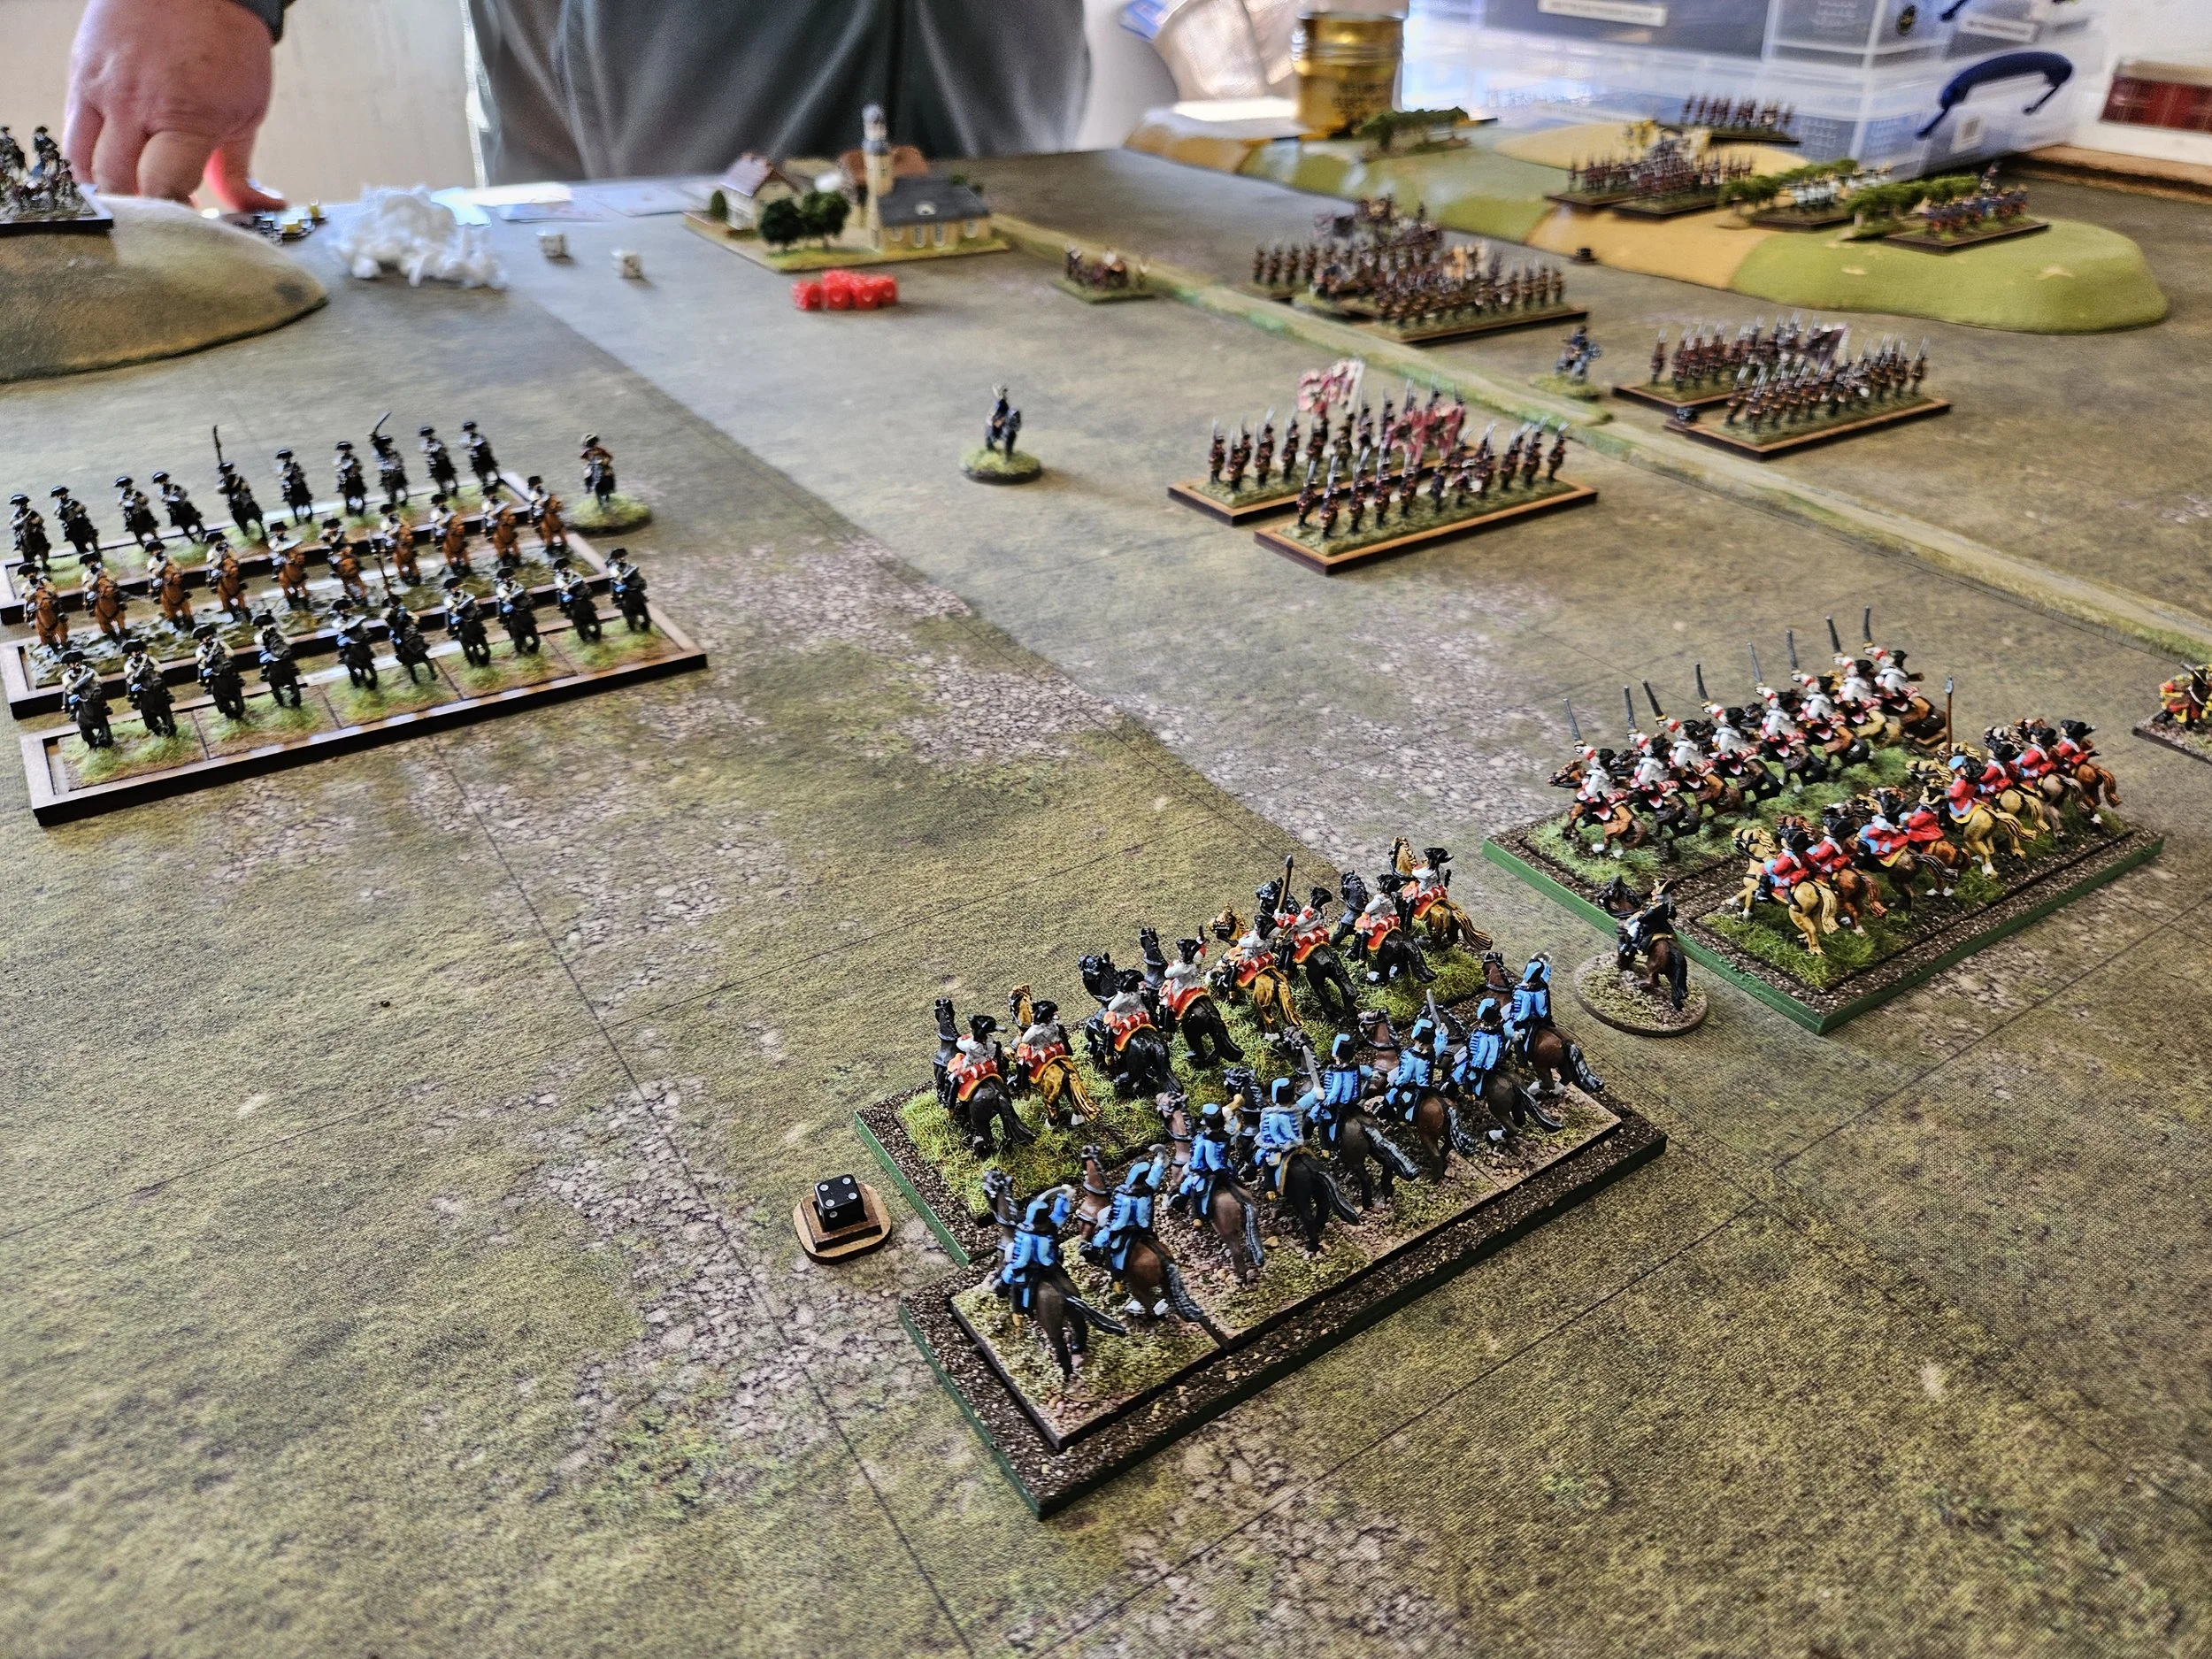
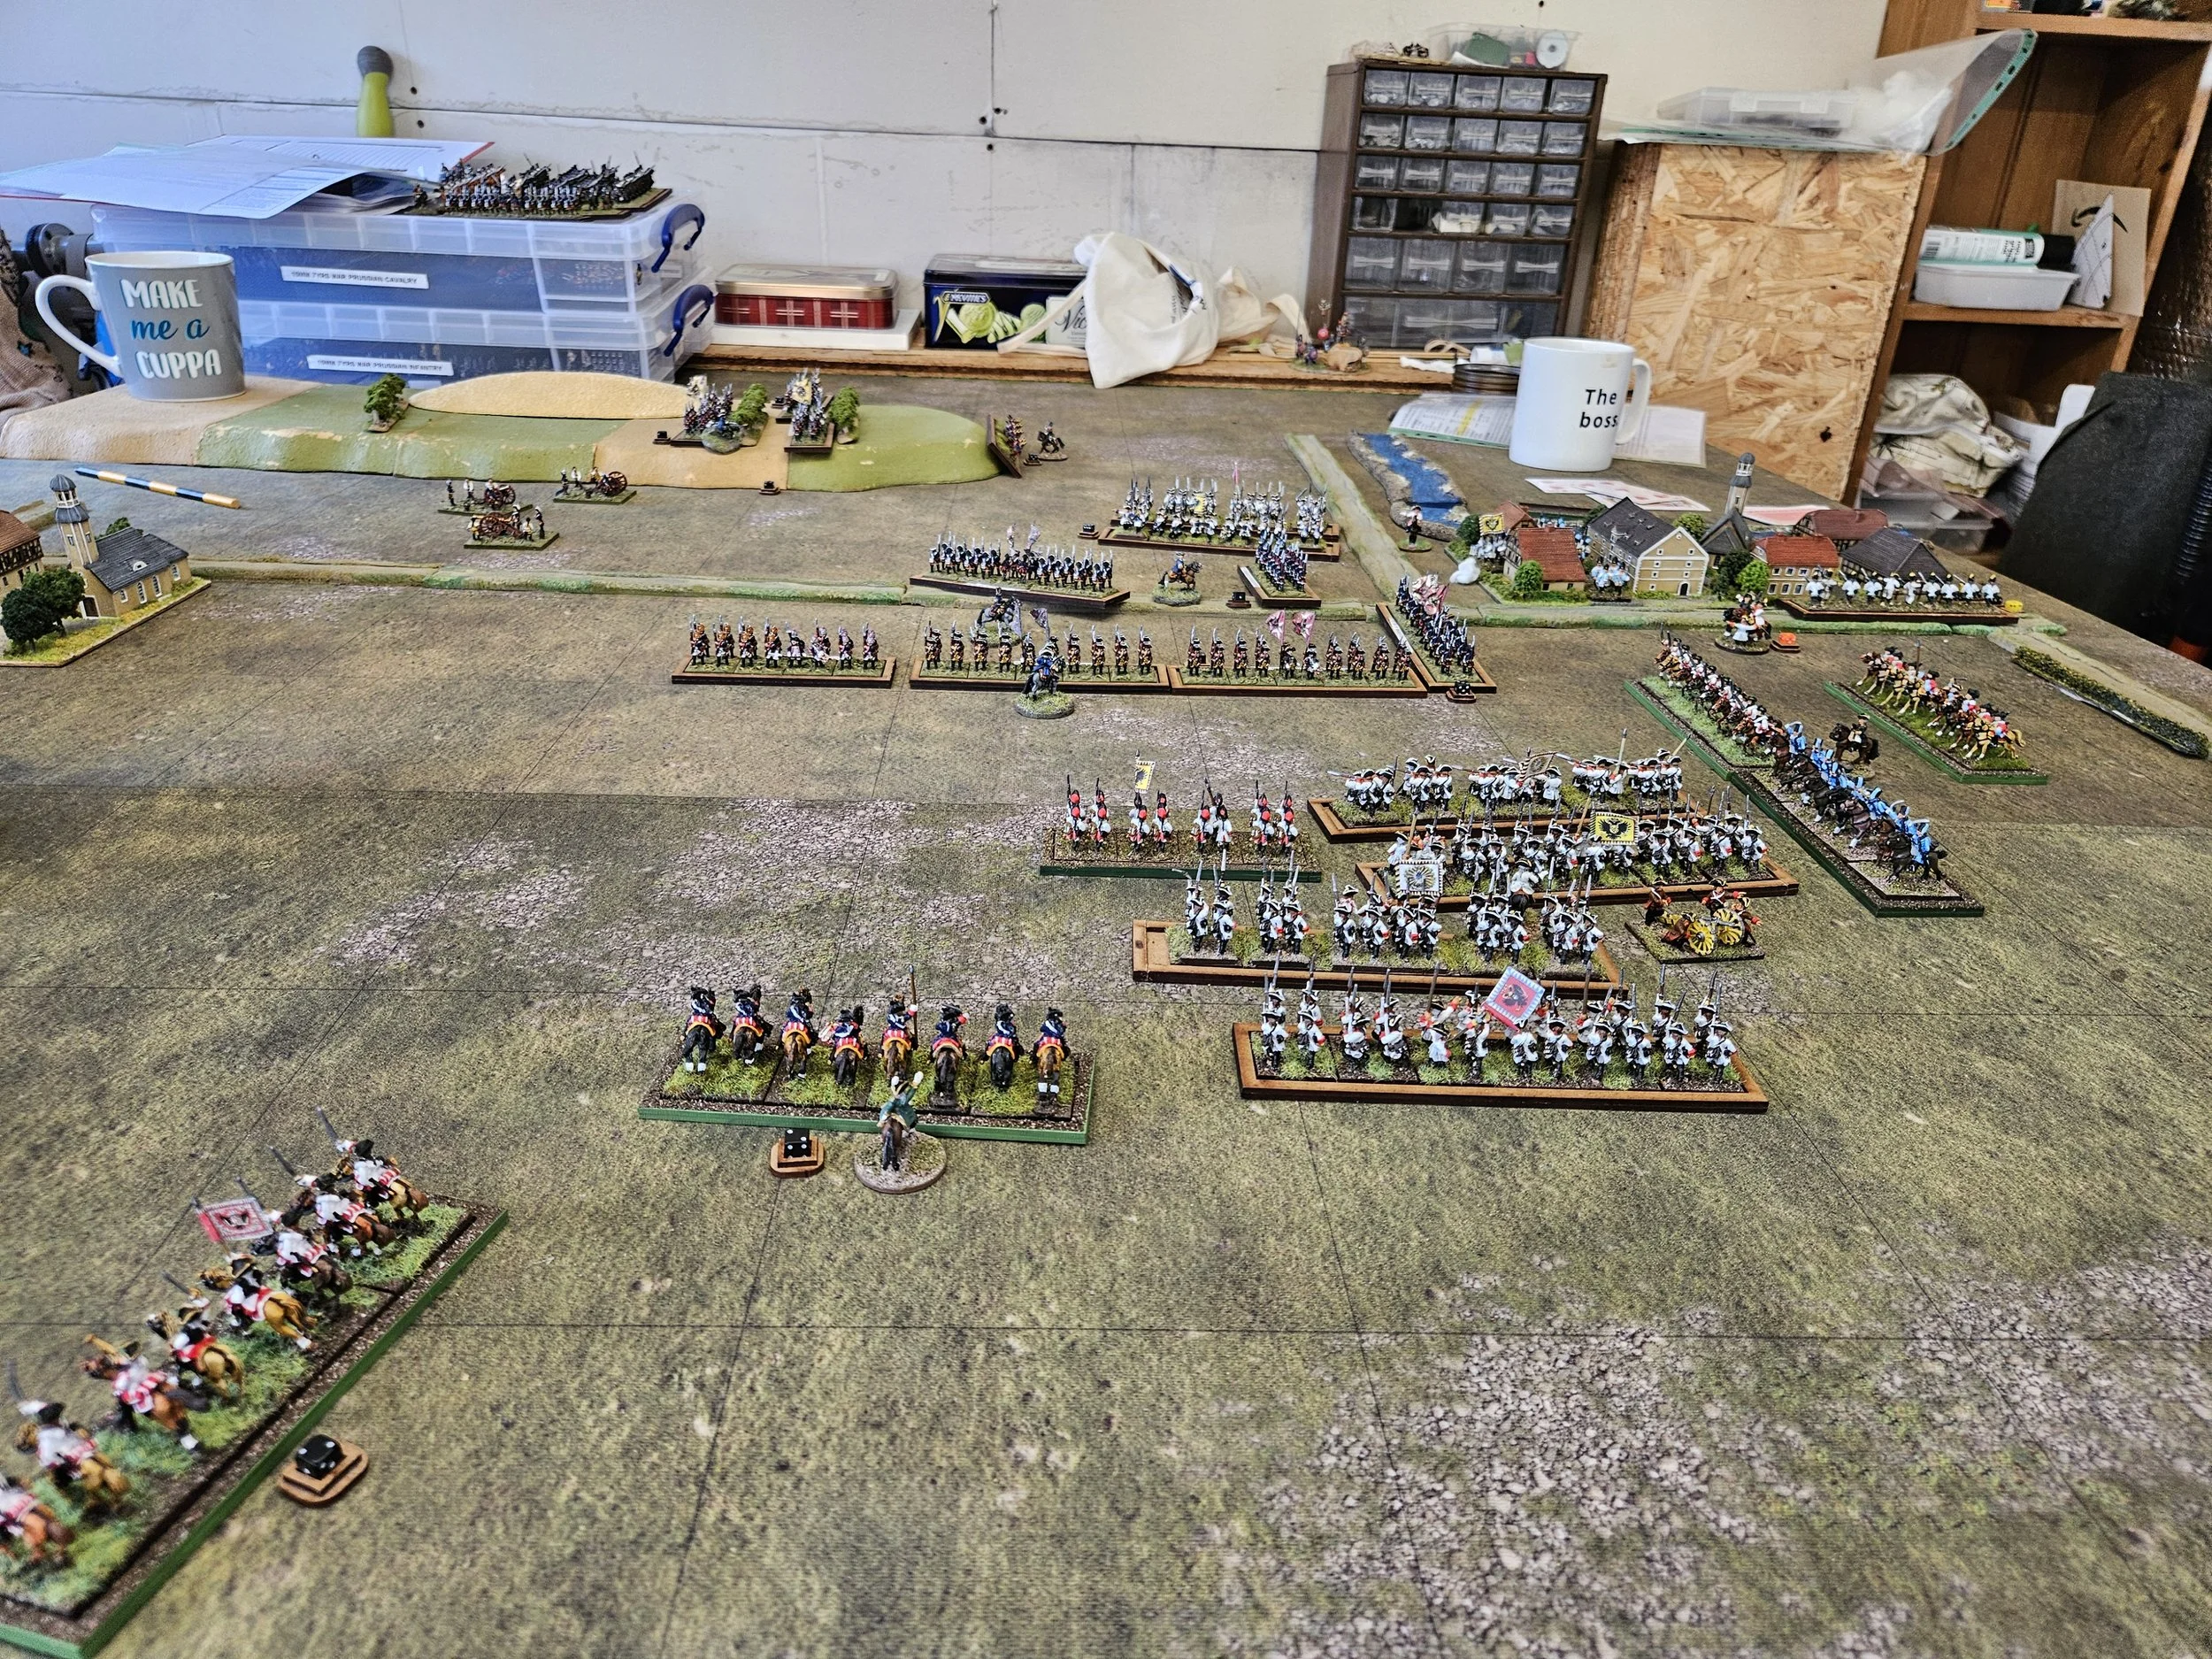
In our first battle Rob deployed his hordes in the middle with cavalry protecting each flank. I deployed my archers centrally with my small cavalry command on my left and my camp as a hard point protecting my right flank.
The Plan
My plan had 3 components …
To have a melee free stand off in the middle whilst peppering him with arrows.
To draw Rob’s cavalry command on my right forward into a killing zone surrounded by archers in my camp and nearby woods.
To win the whole battle on my left with a combined arms attack of cavalry and massed archery, around two woods that would constrain and frustrate both his cavalry and his deep warbands.
The Battle Starts
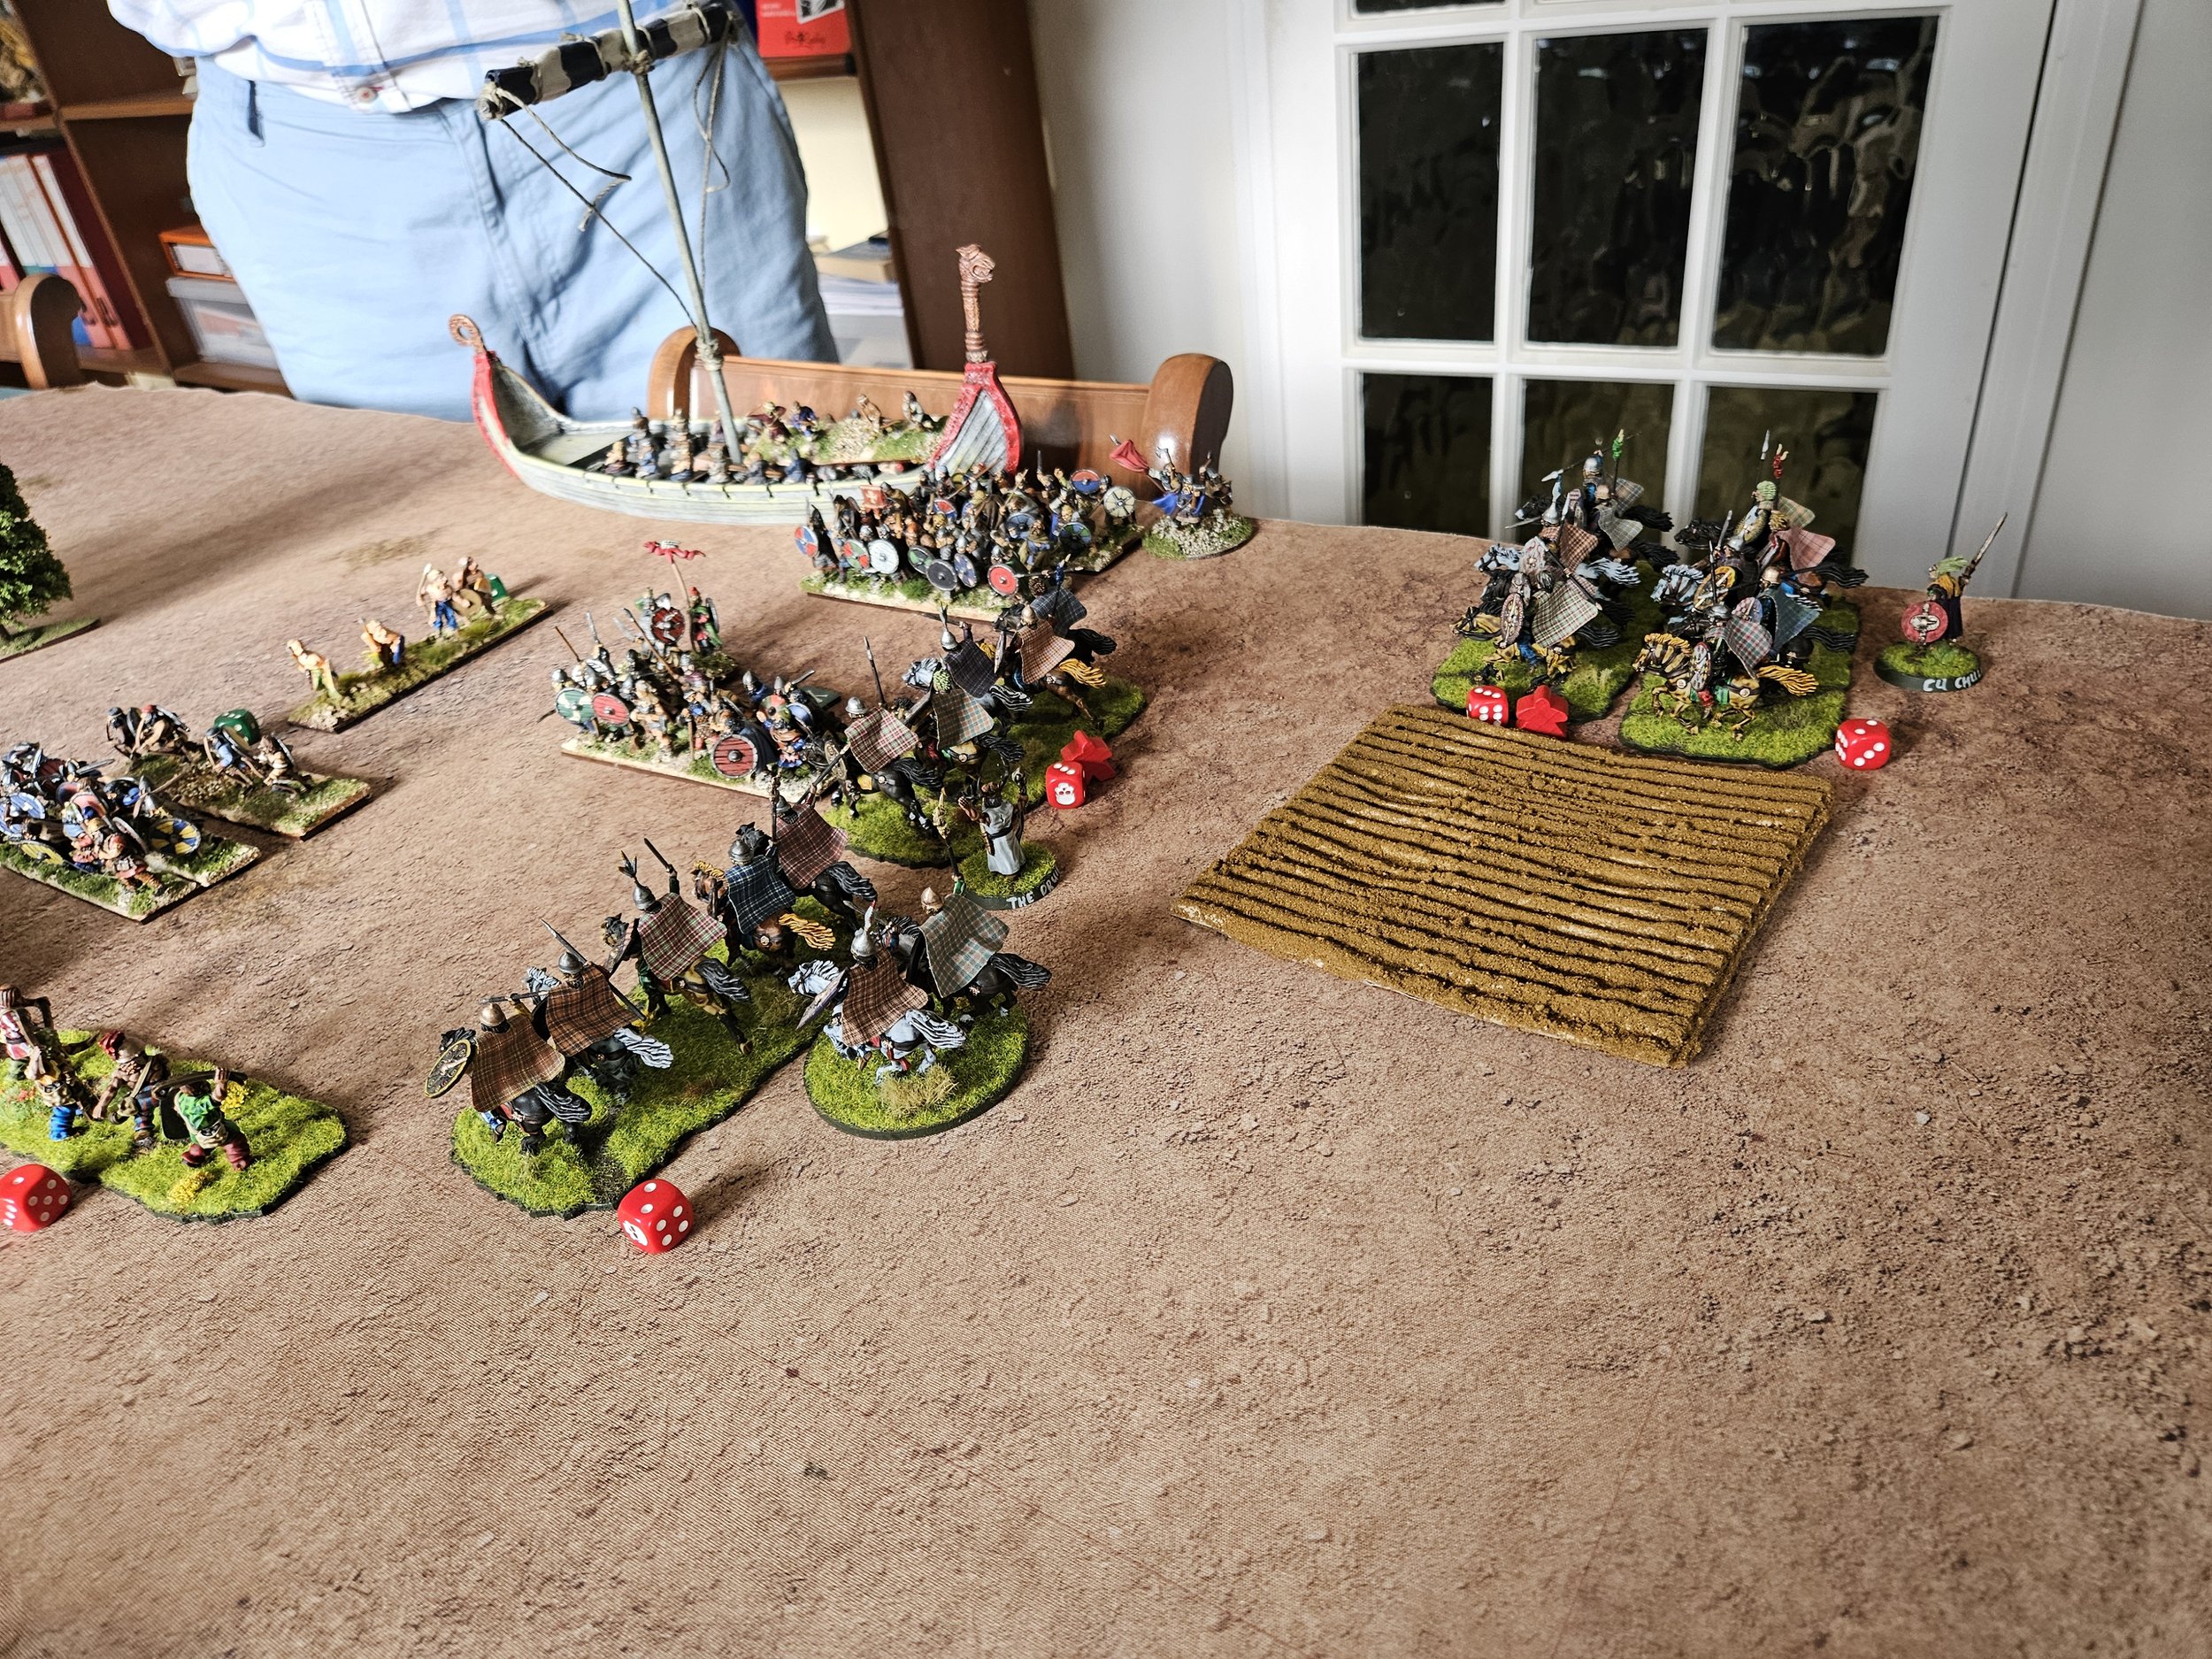
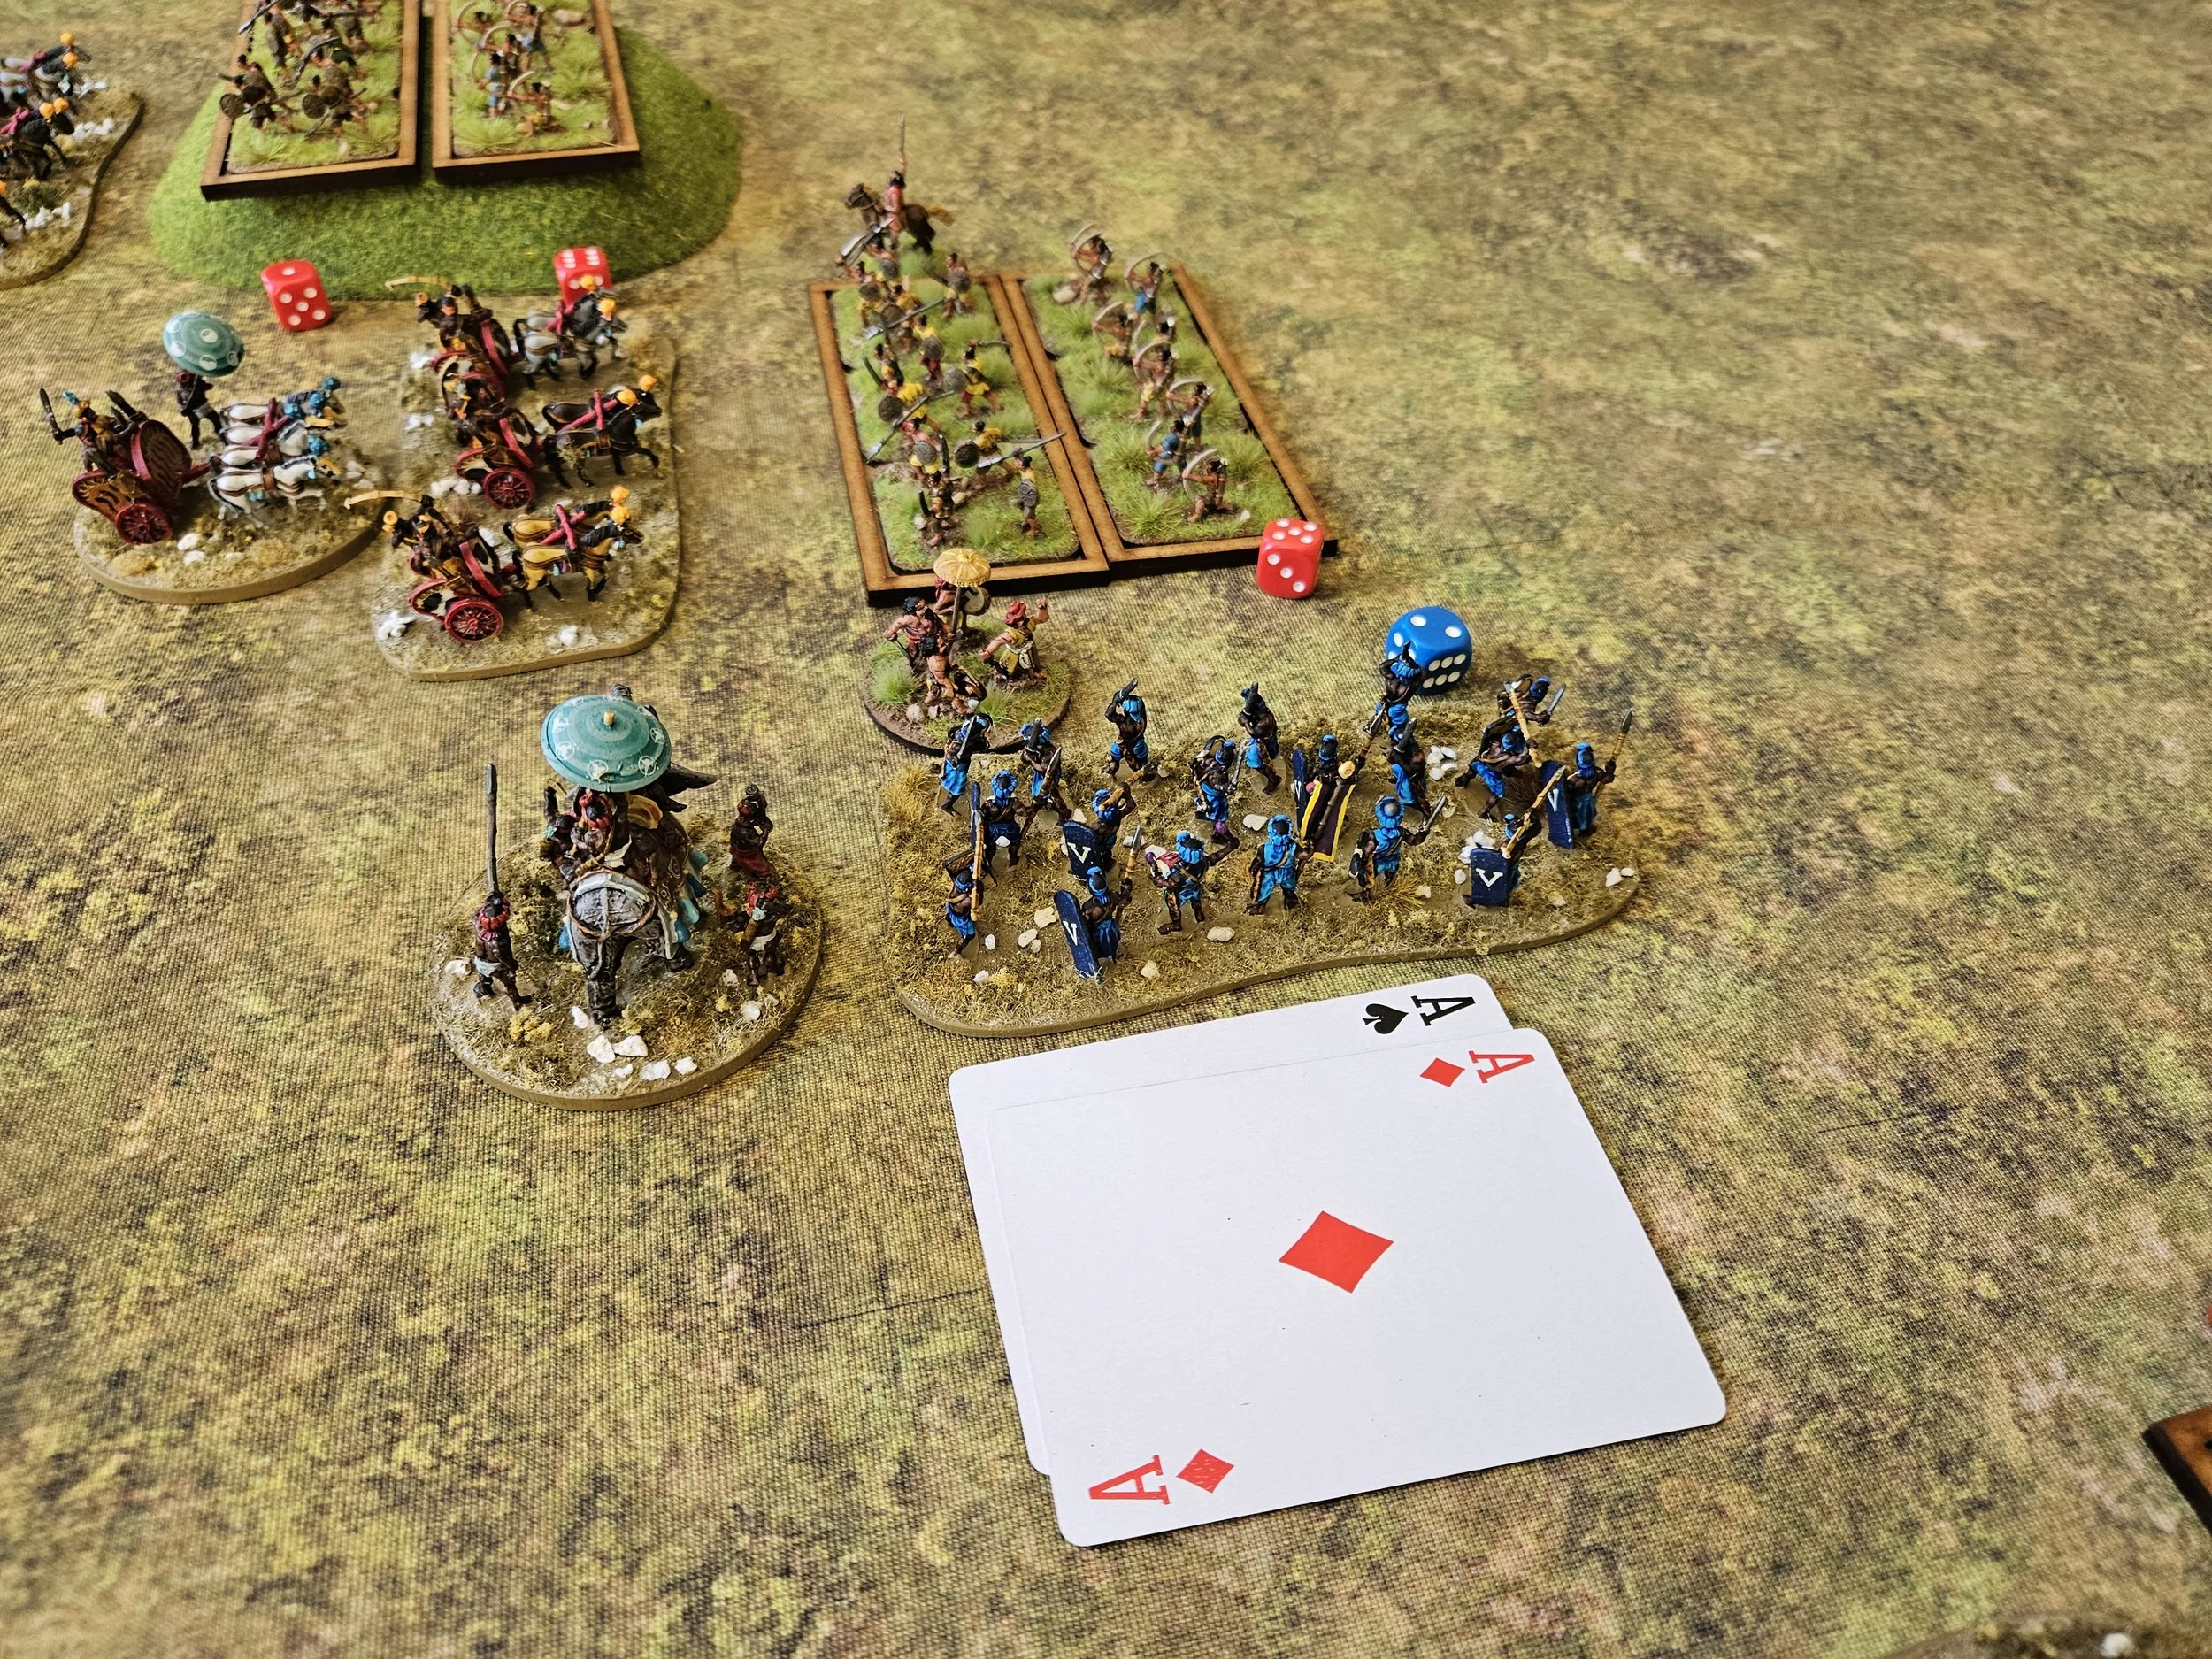
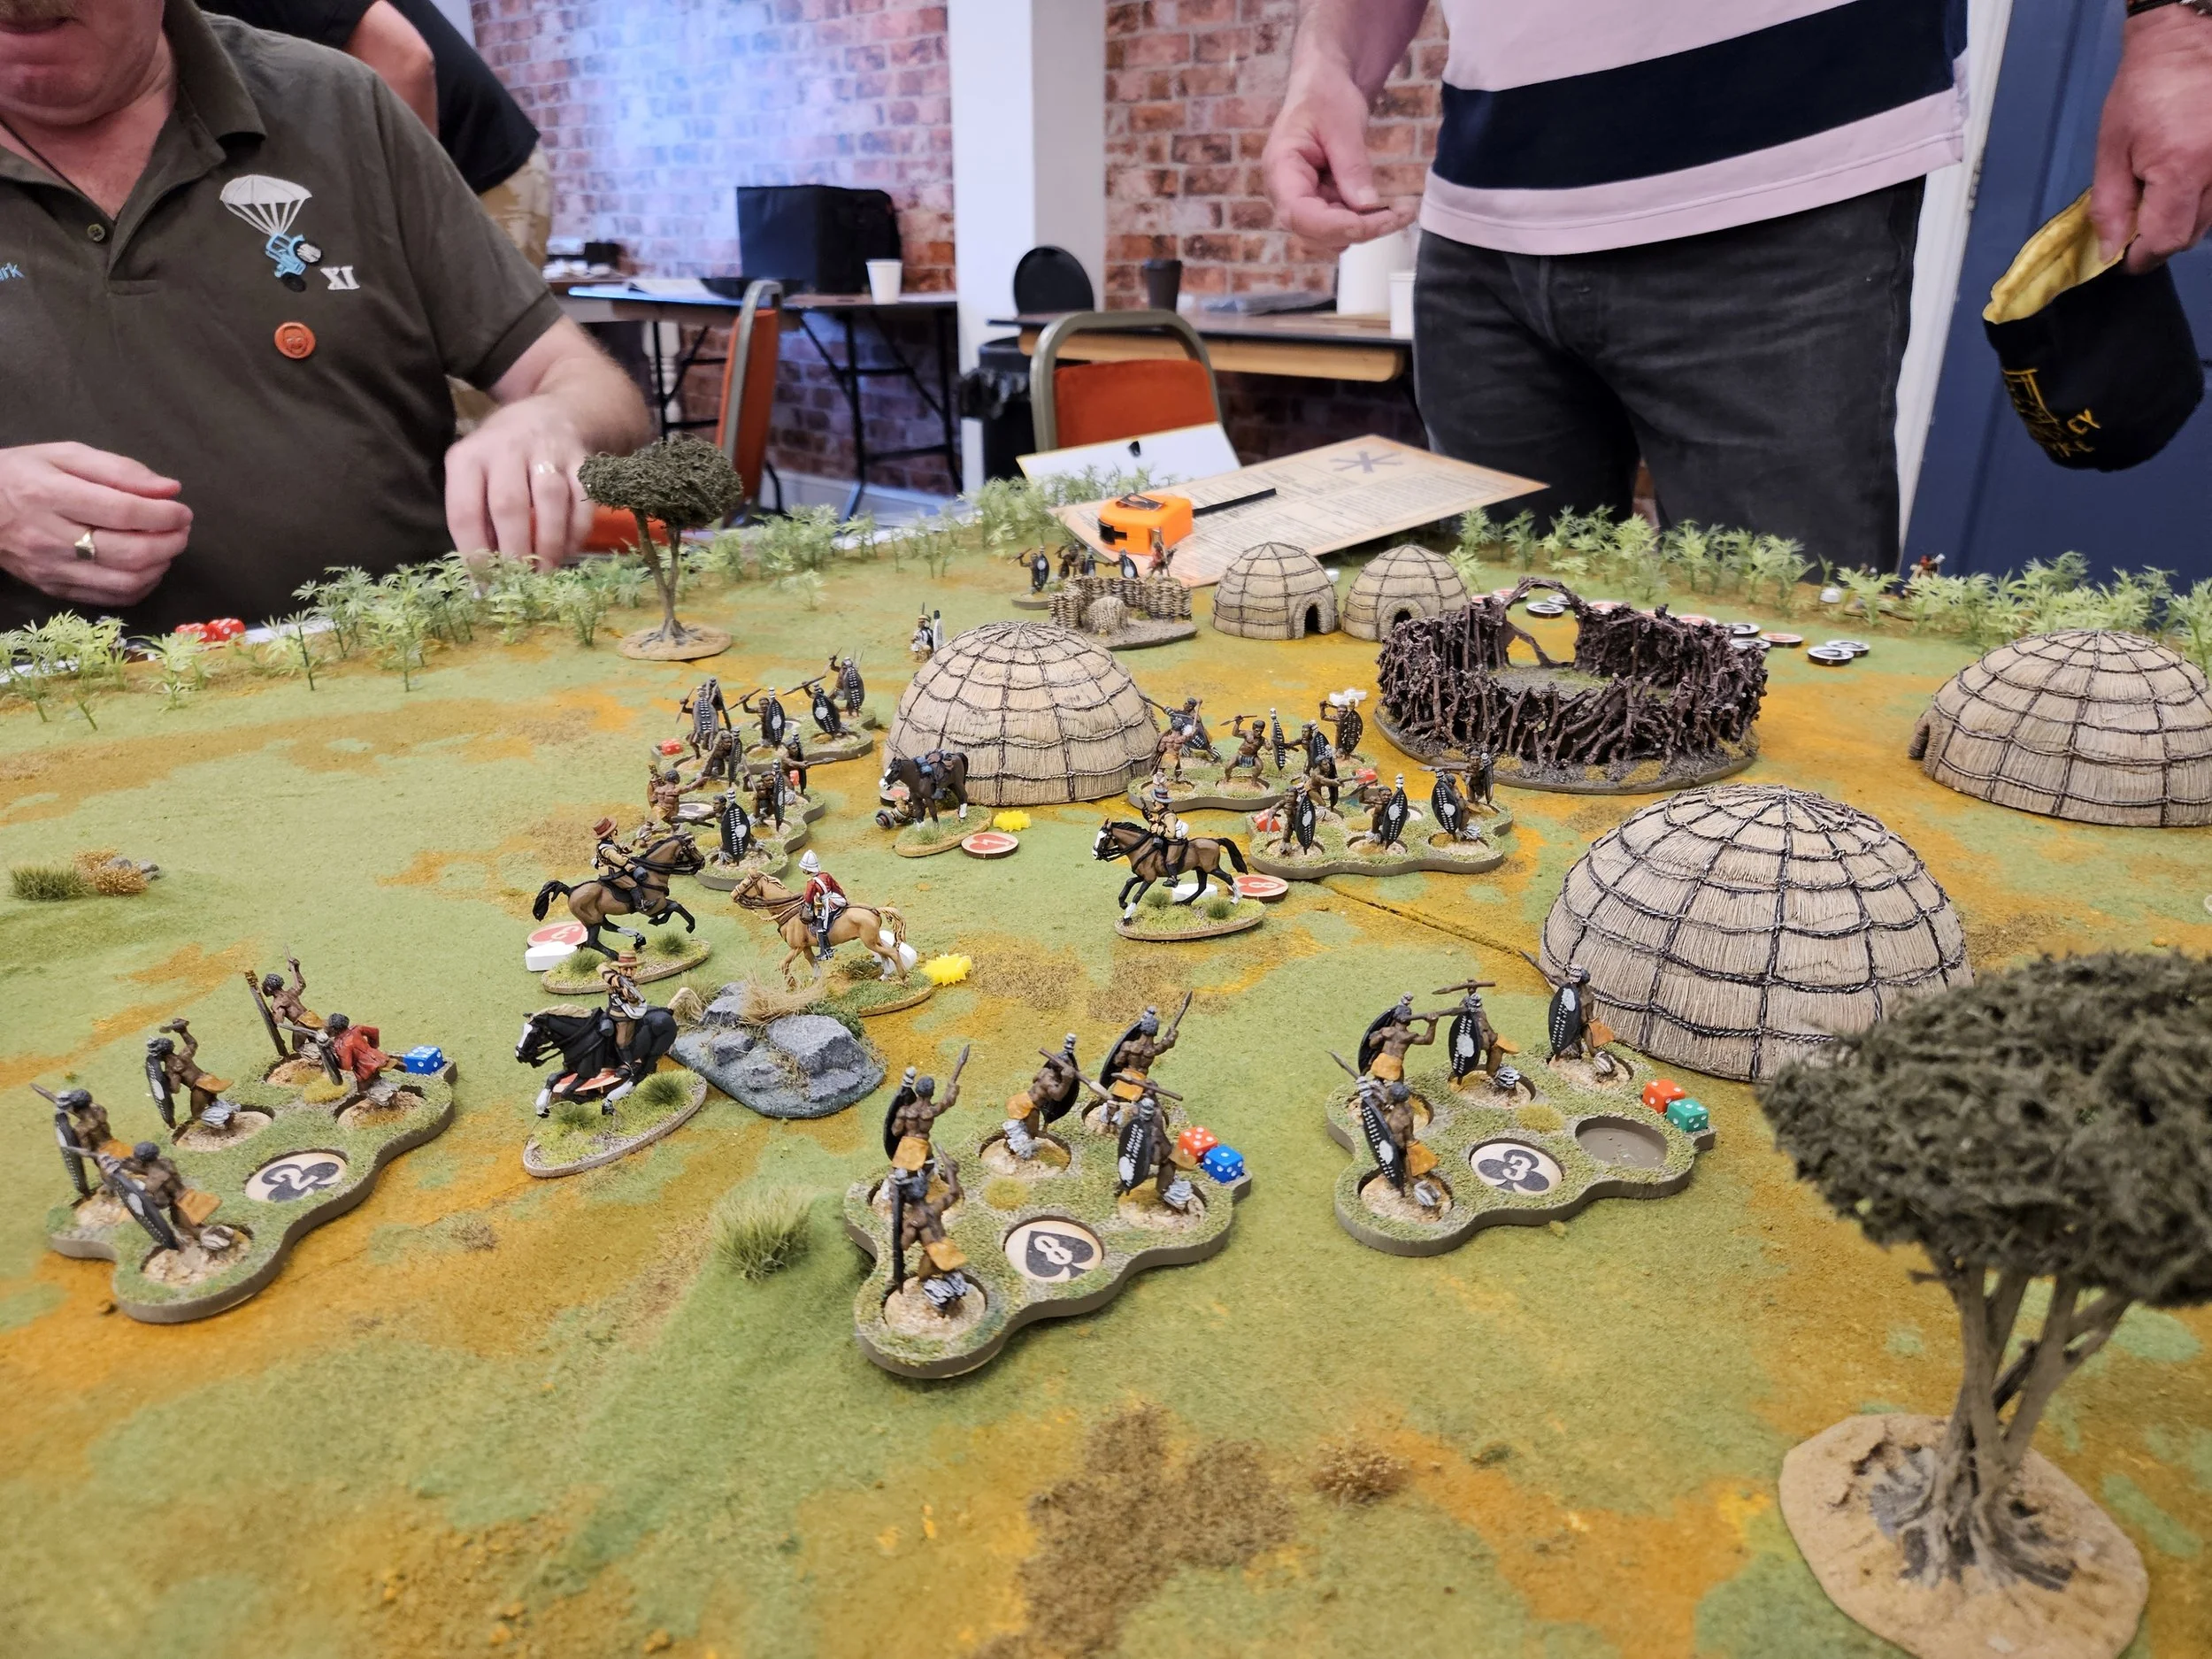
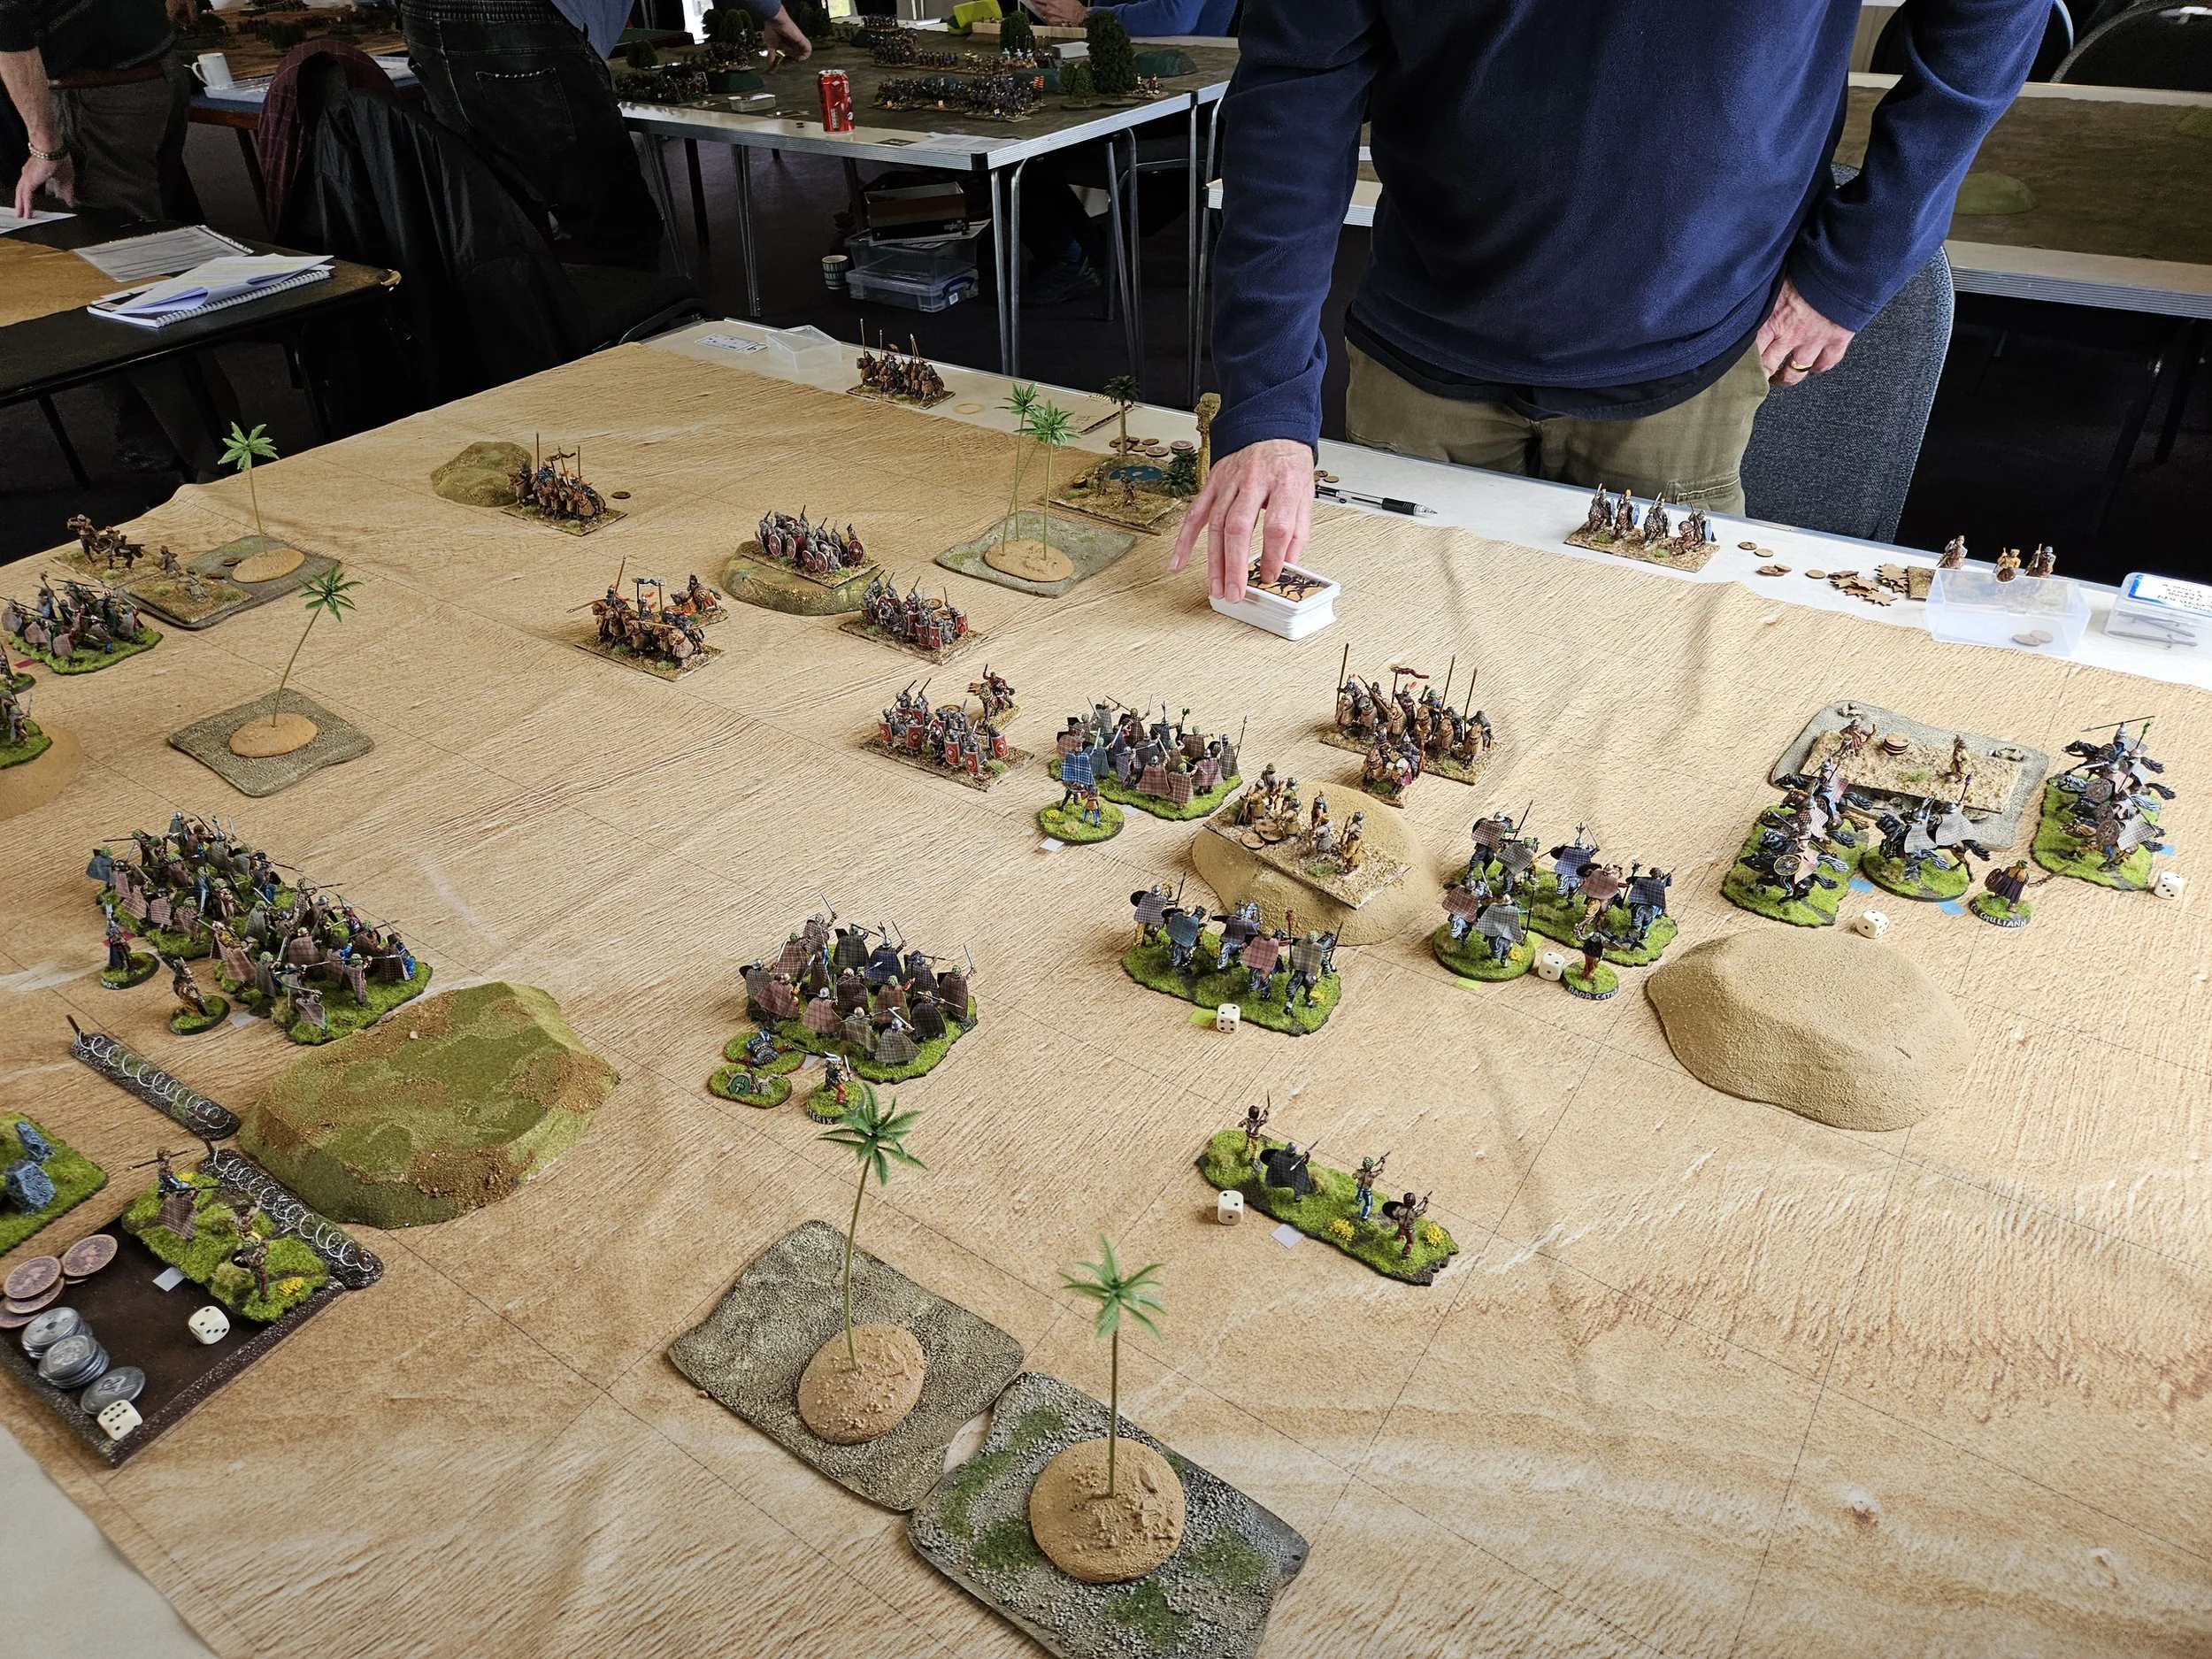
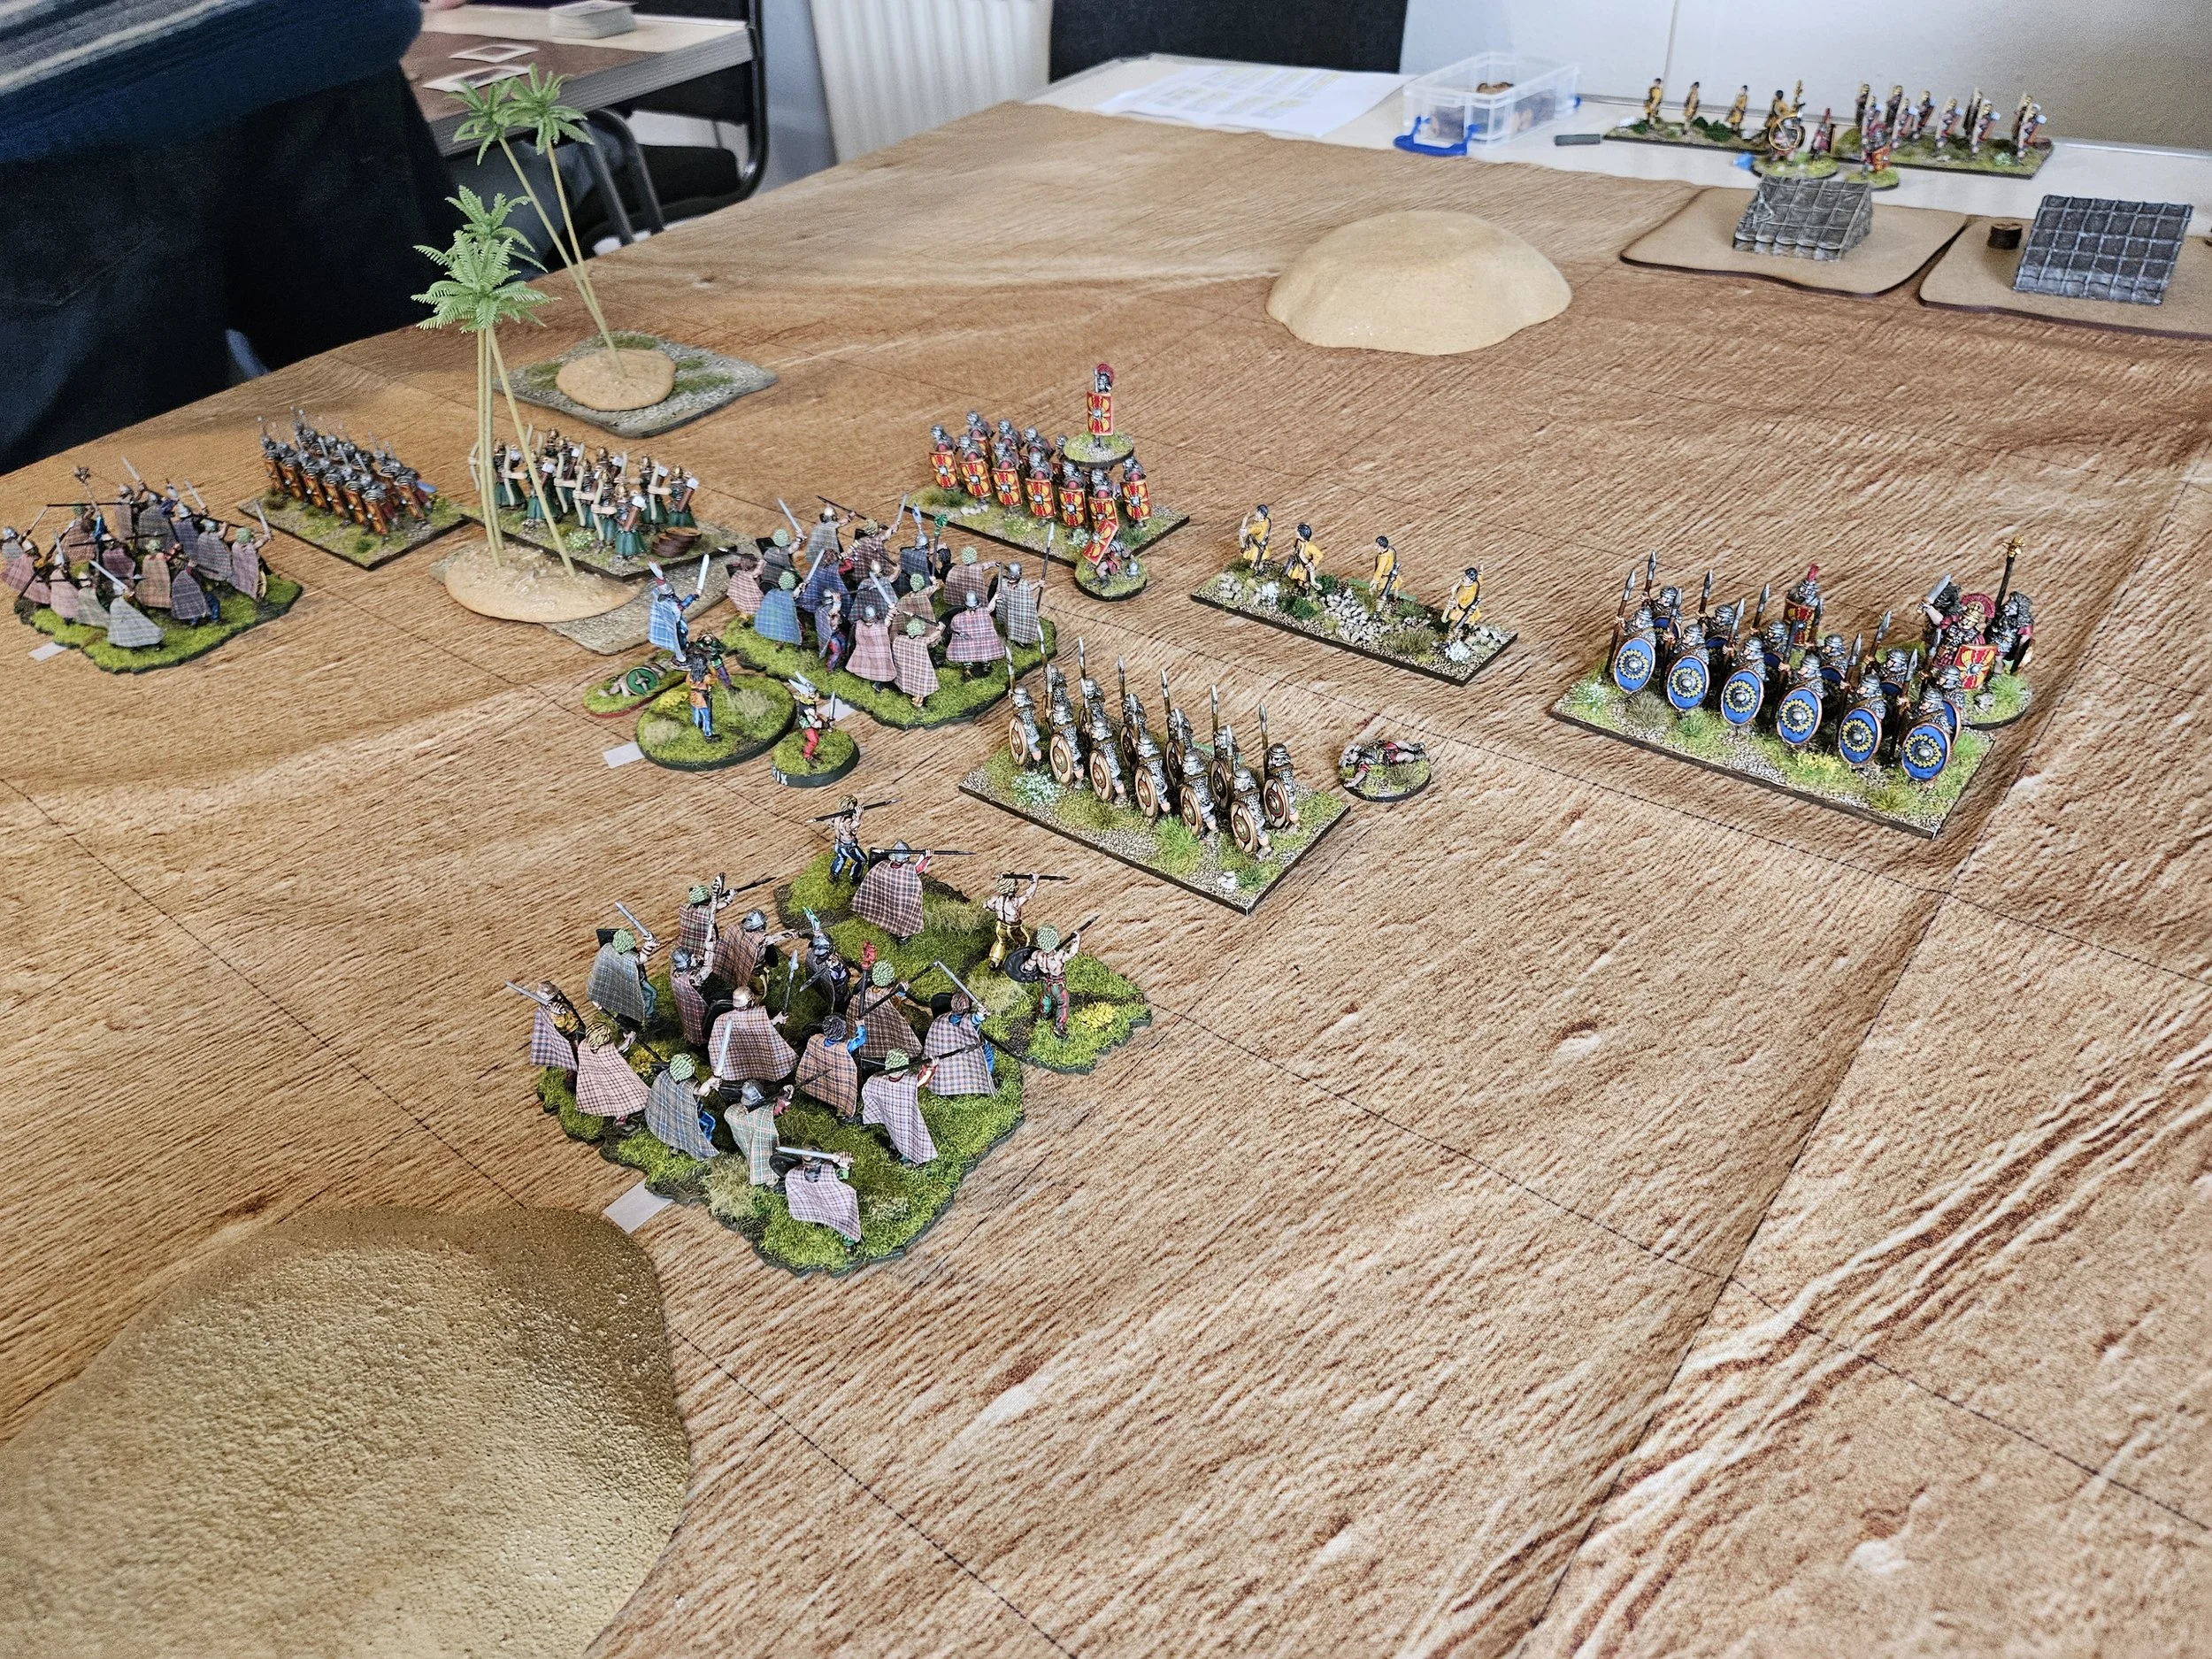
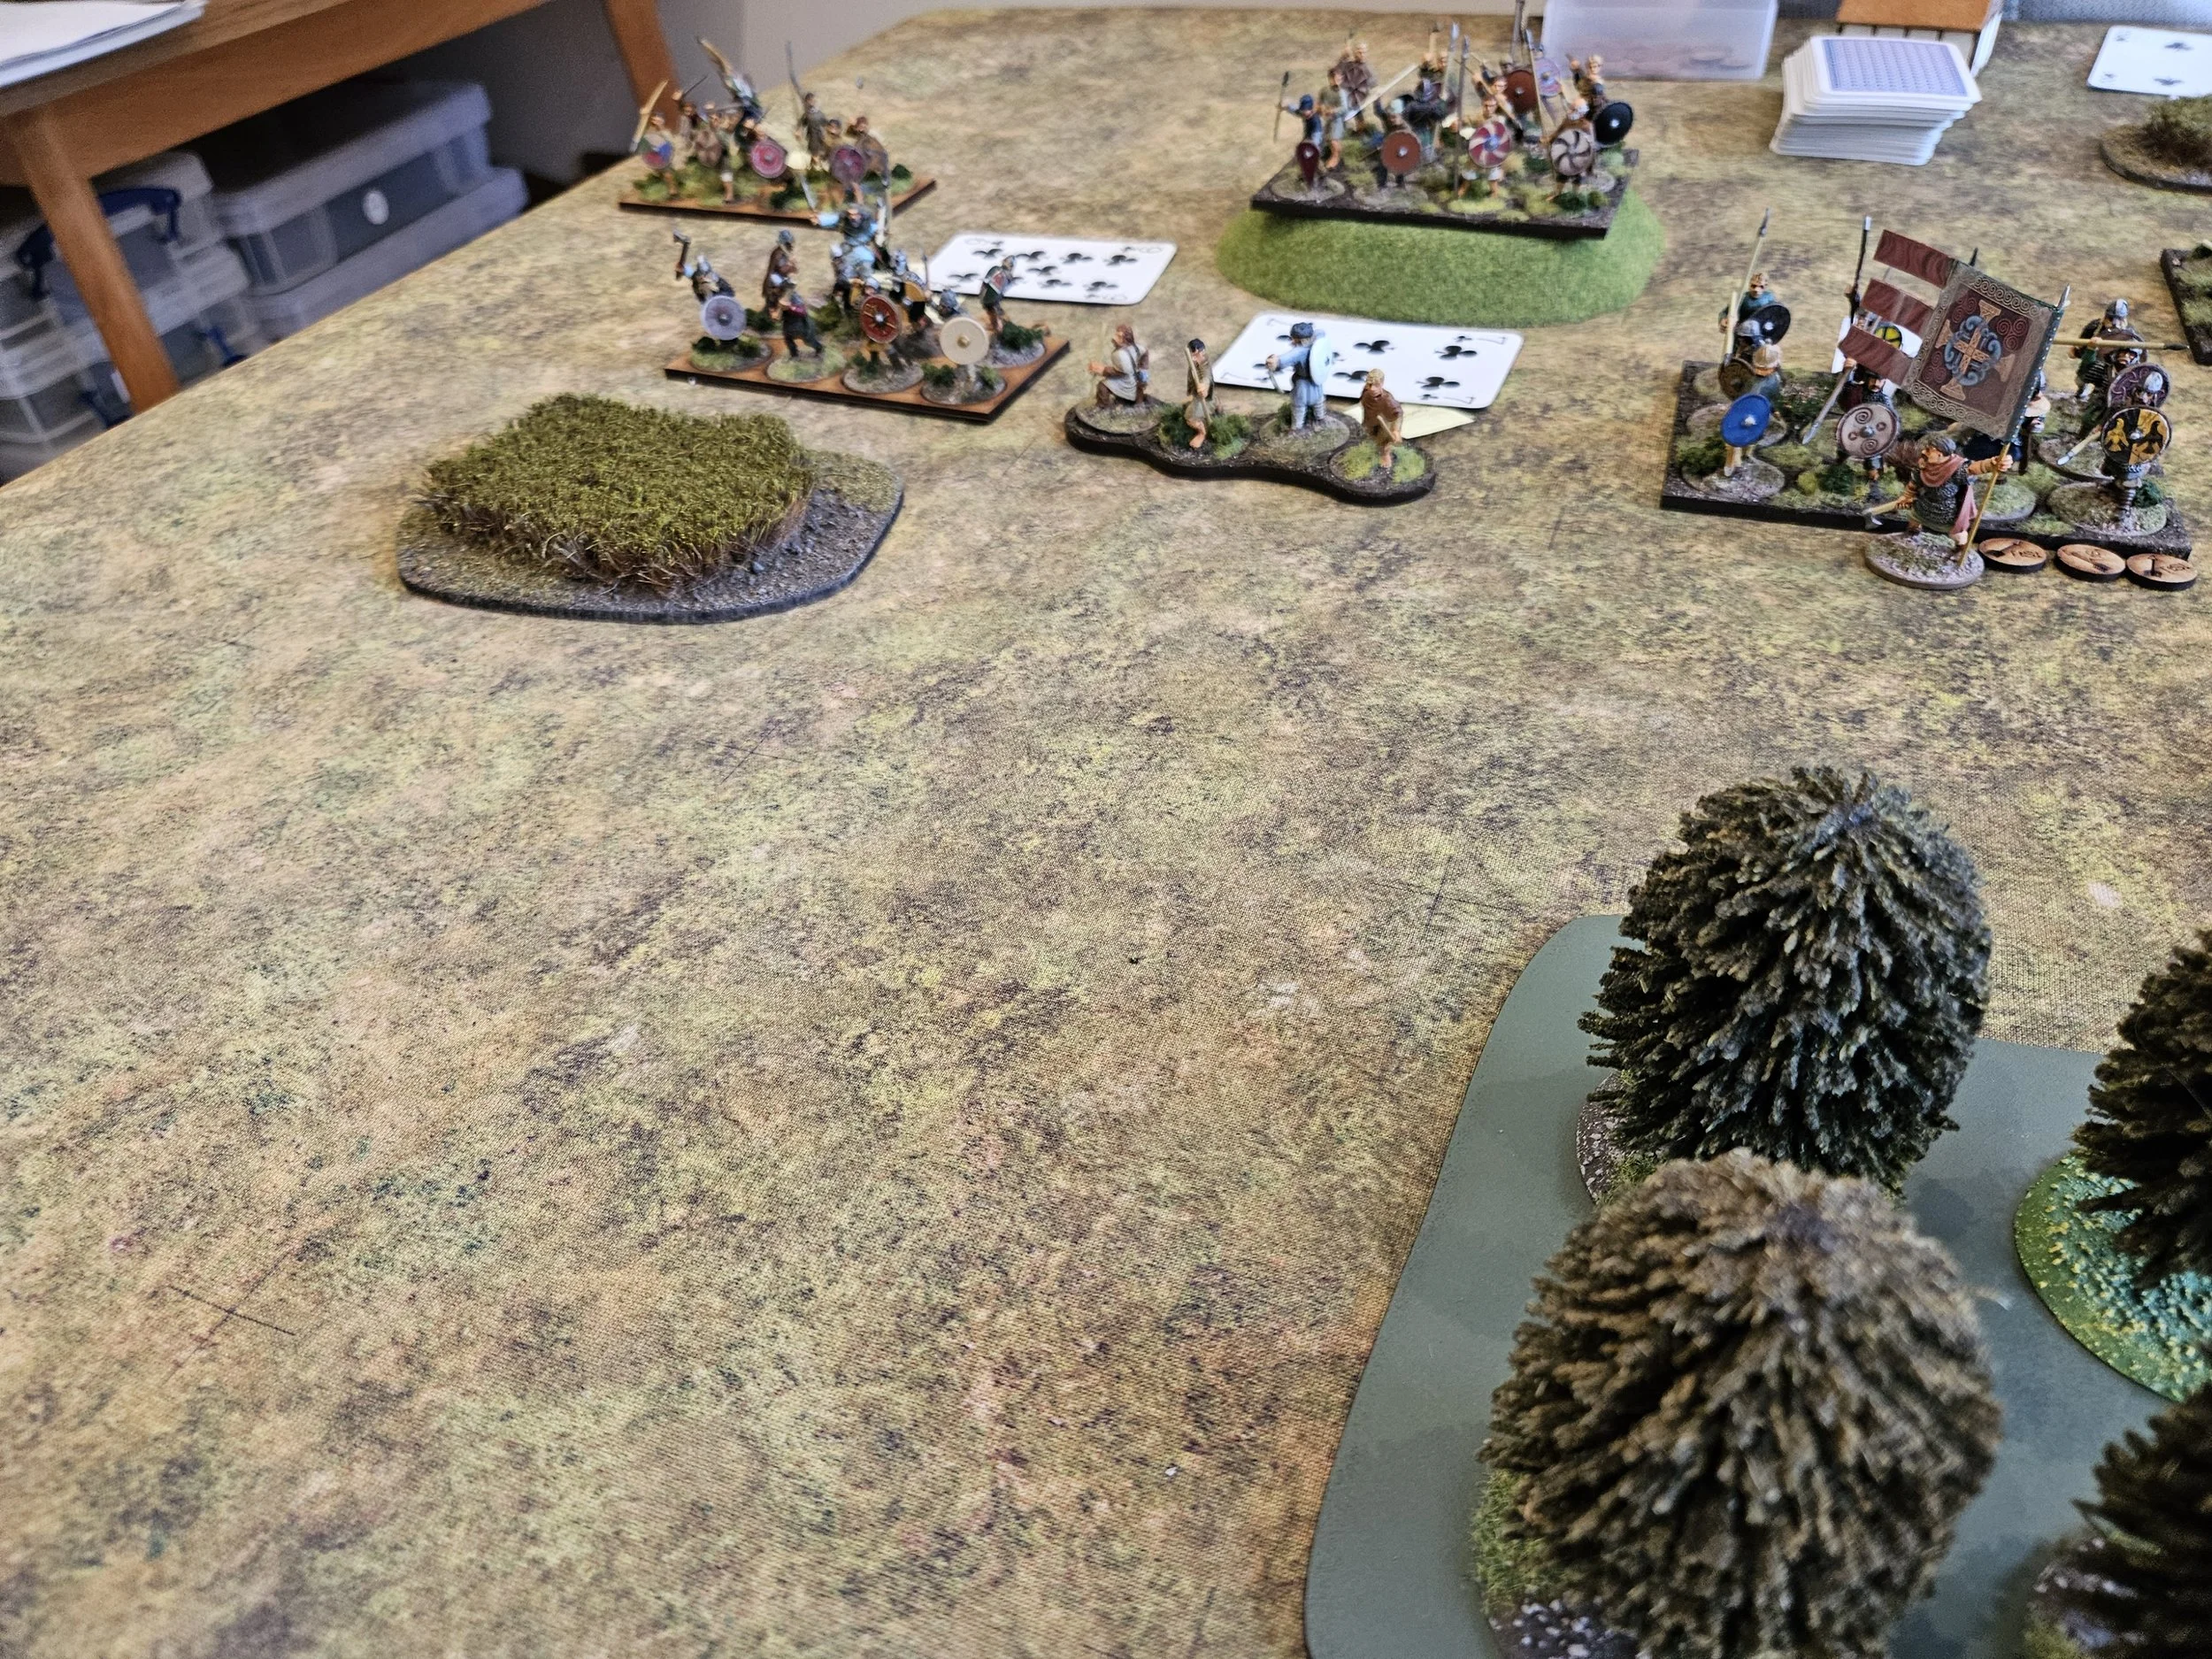
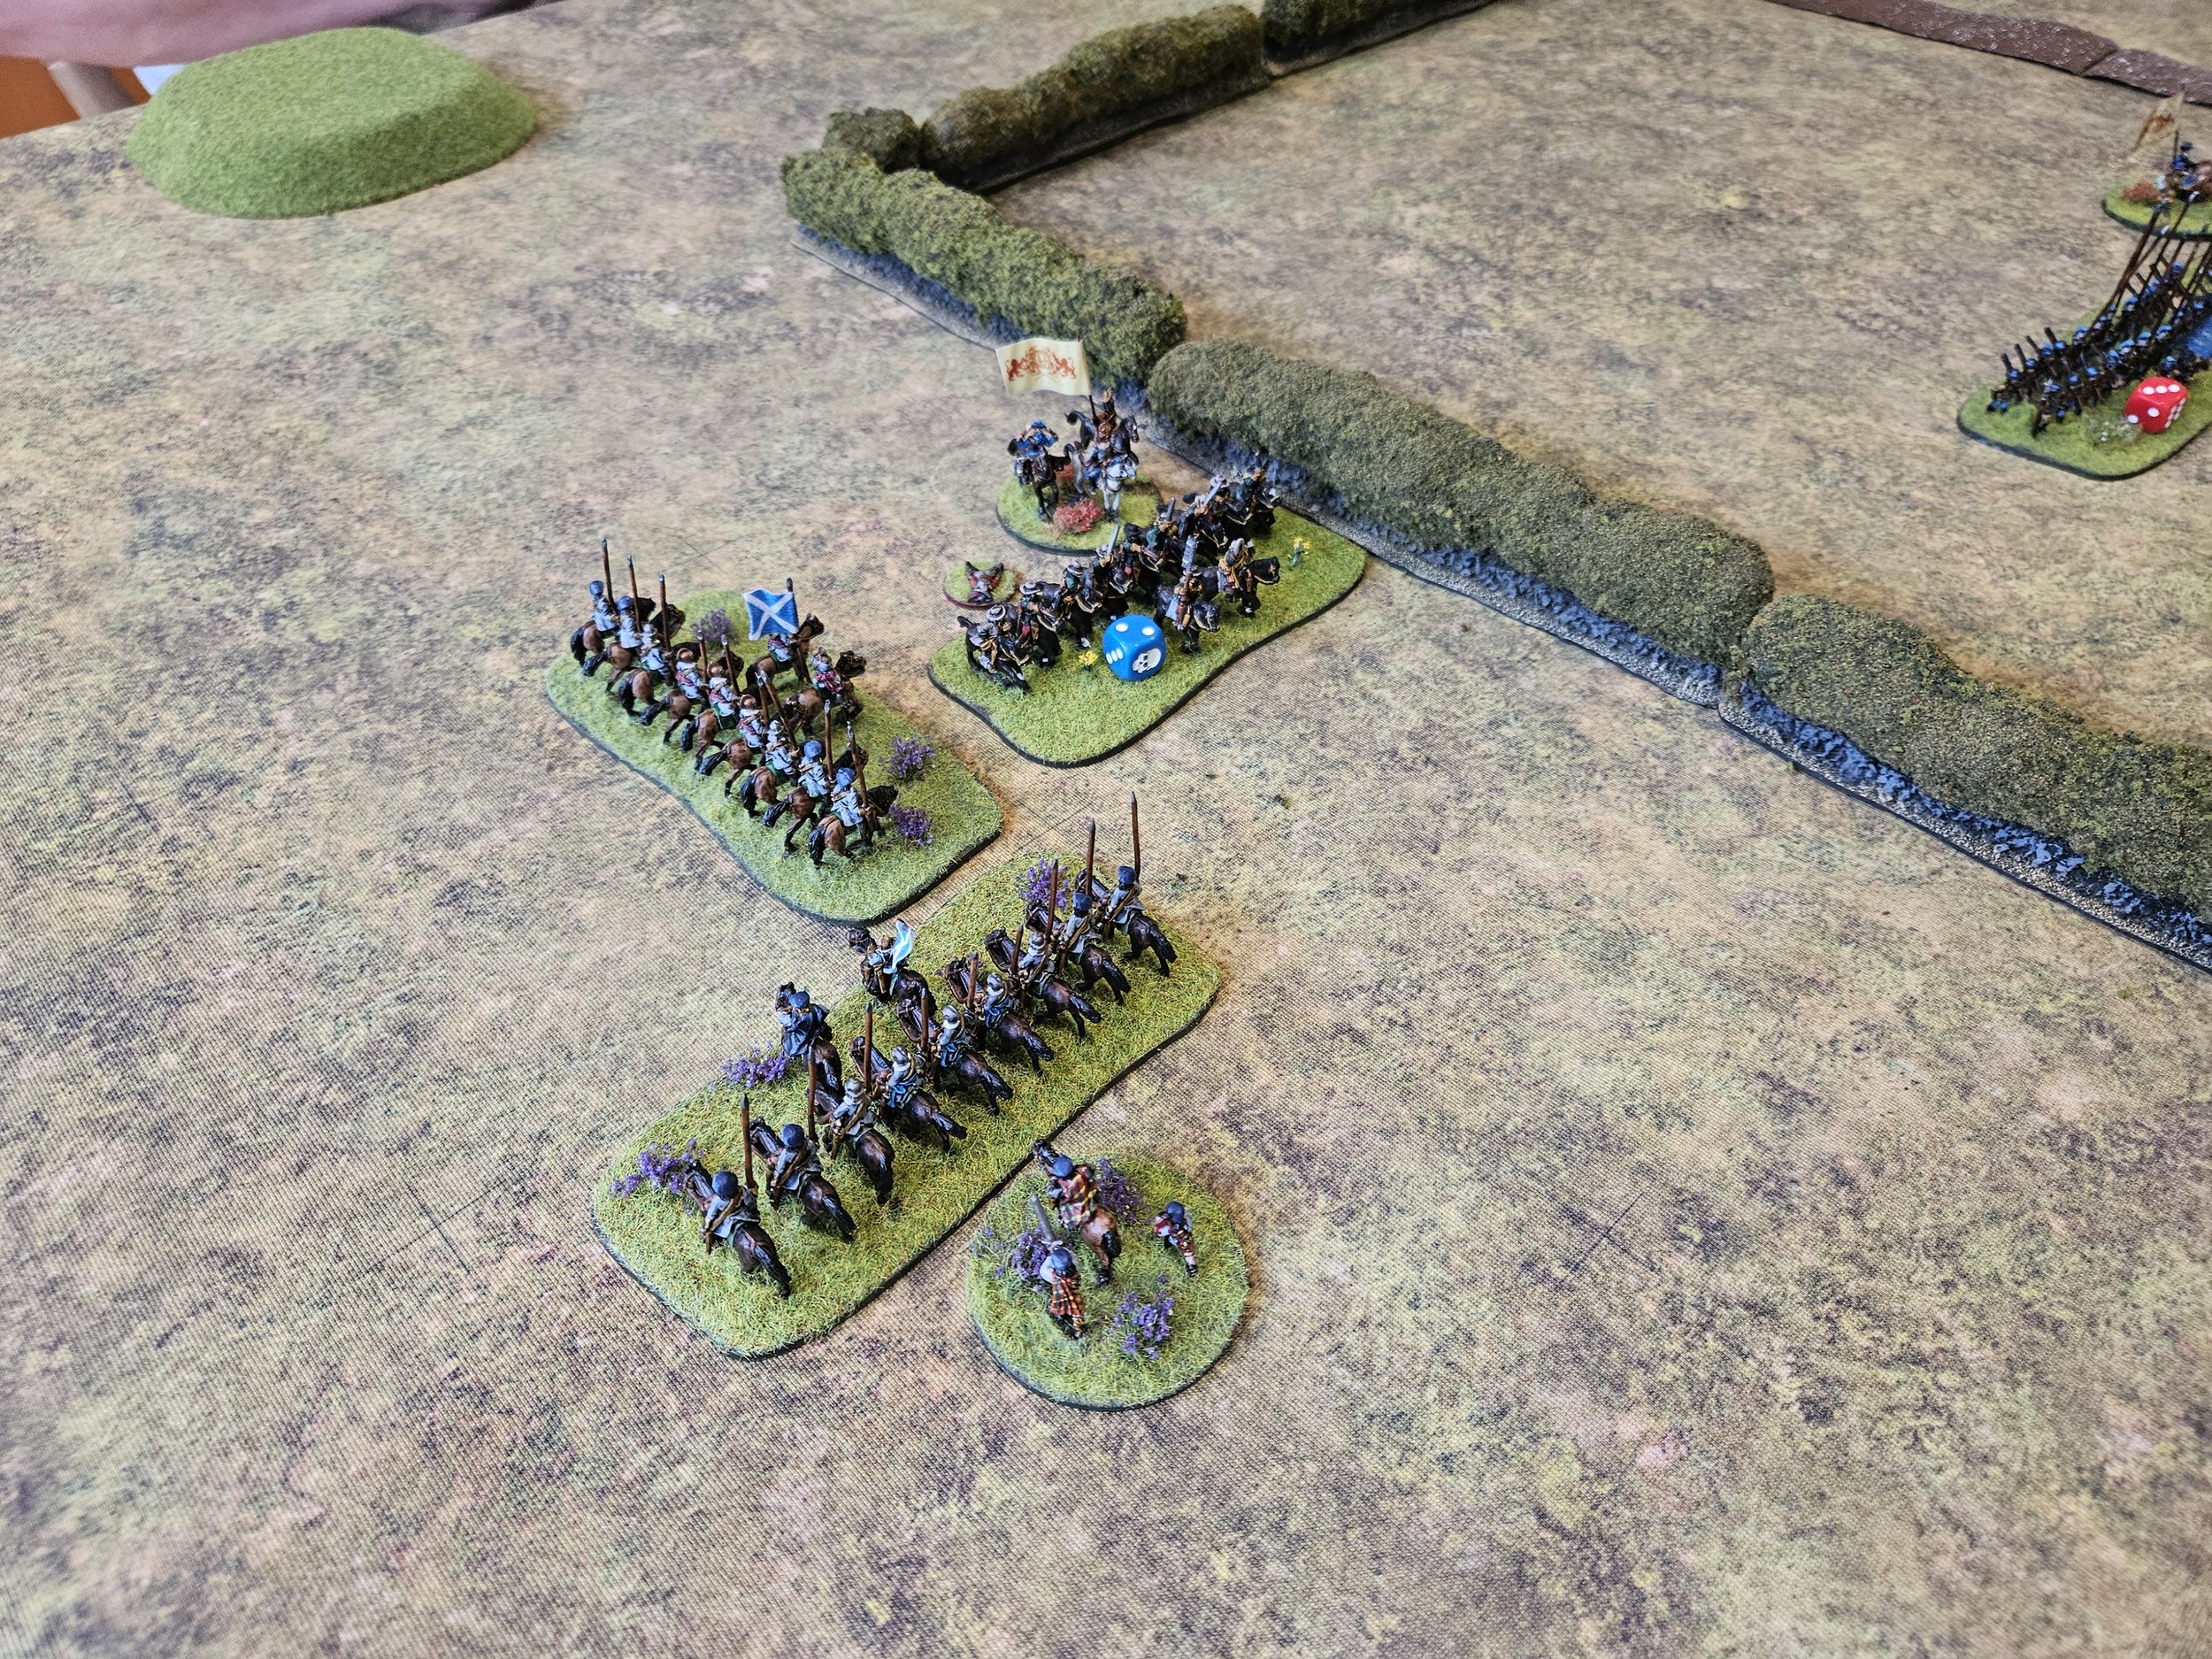
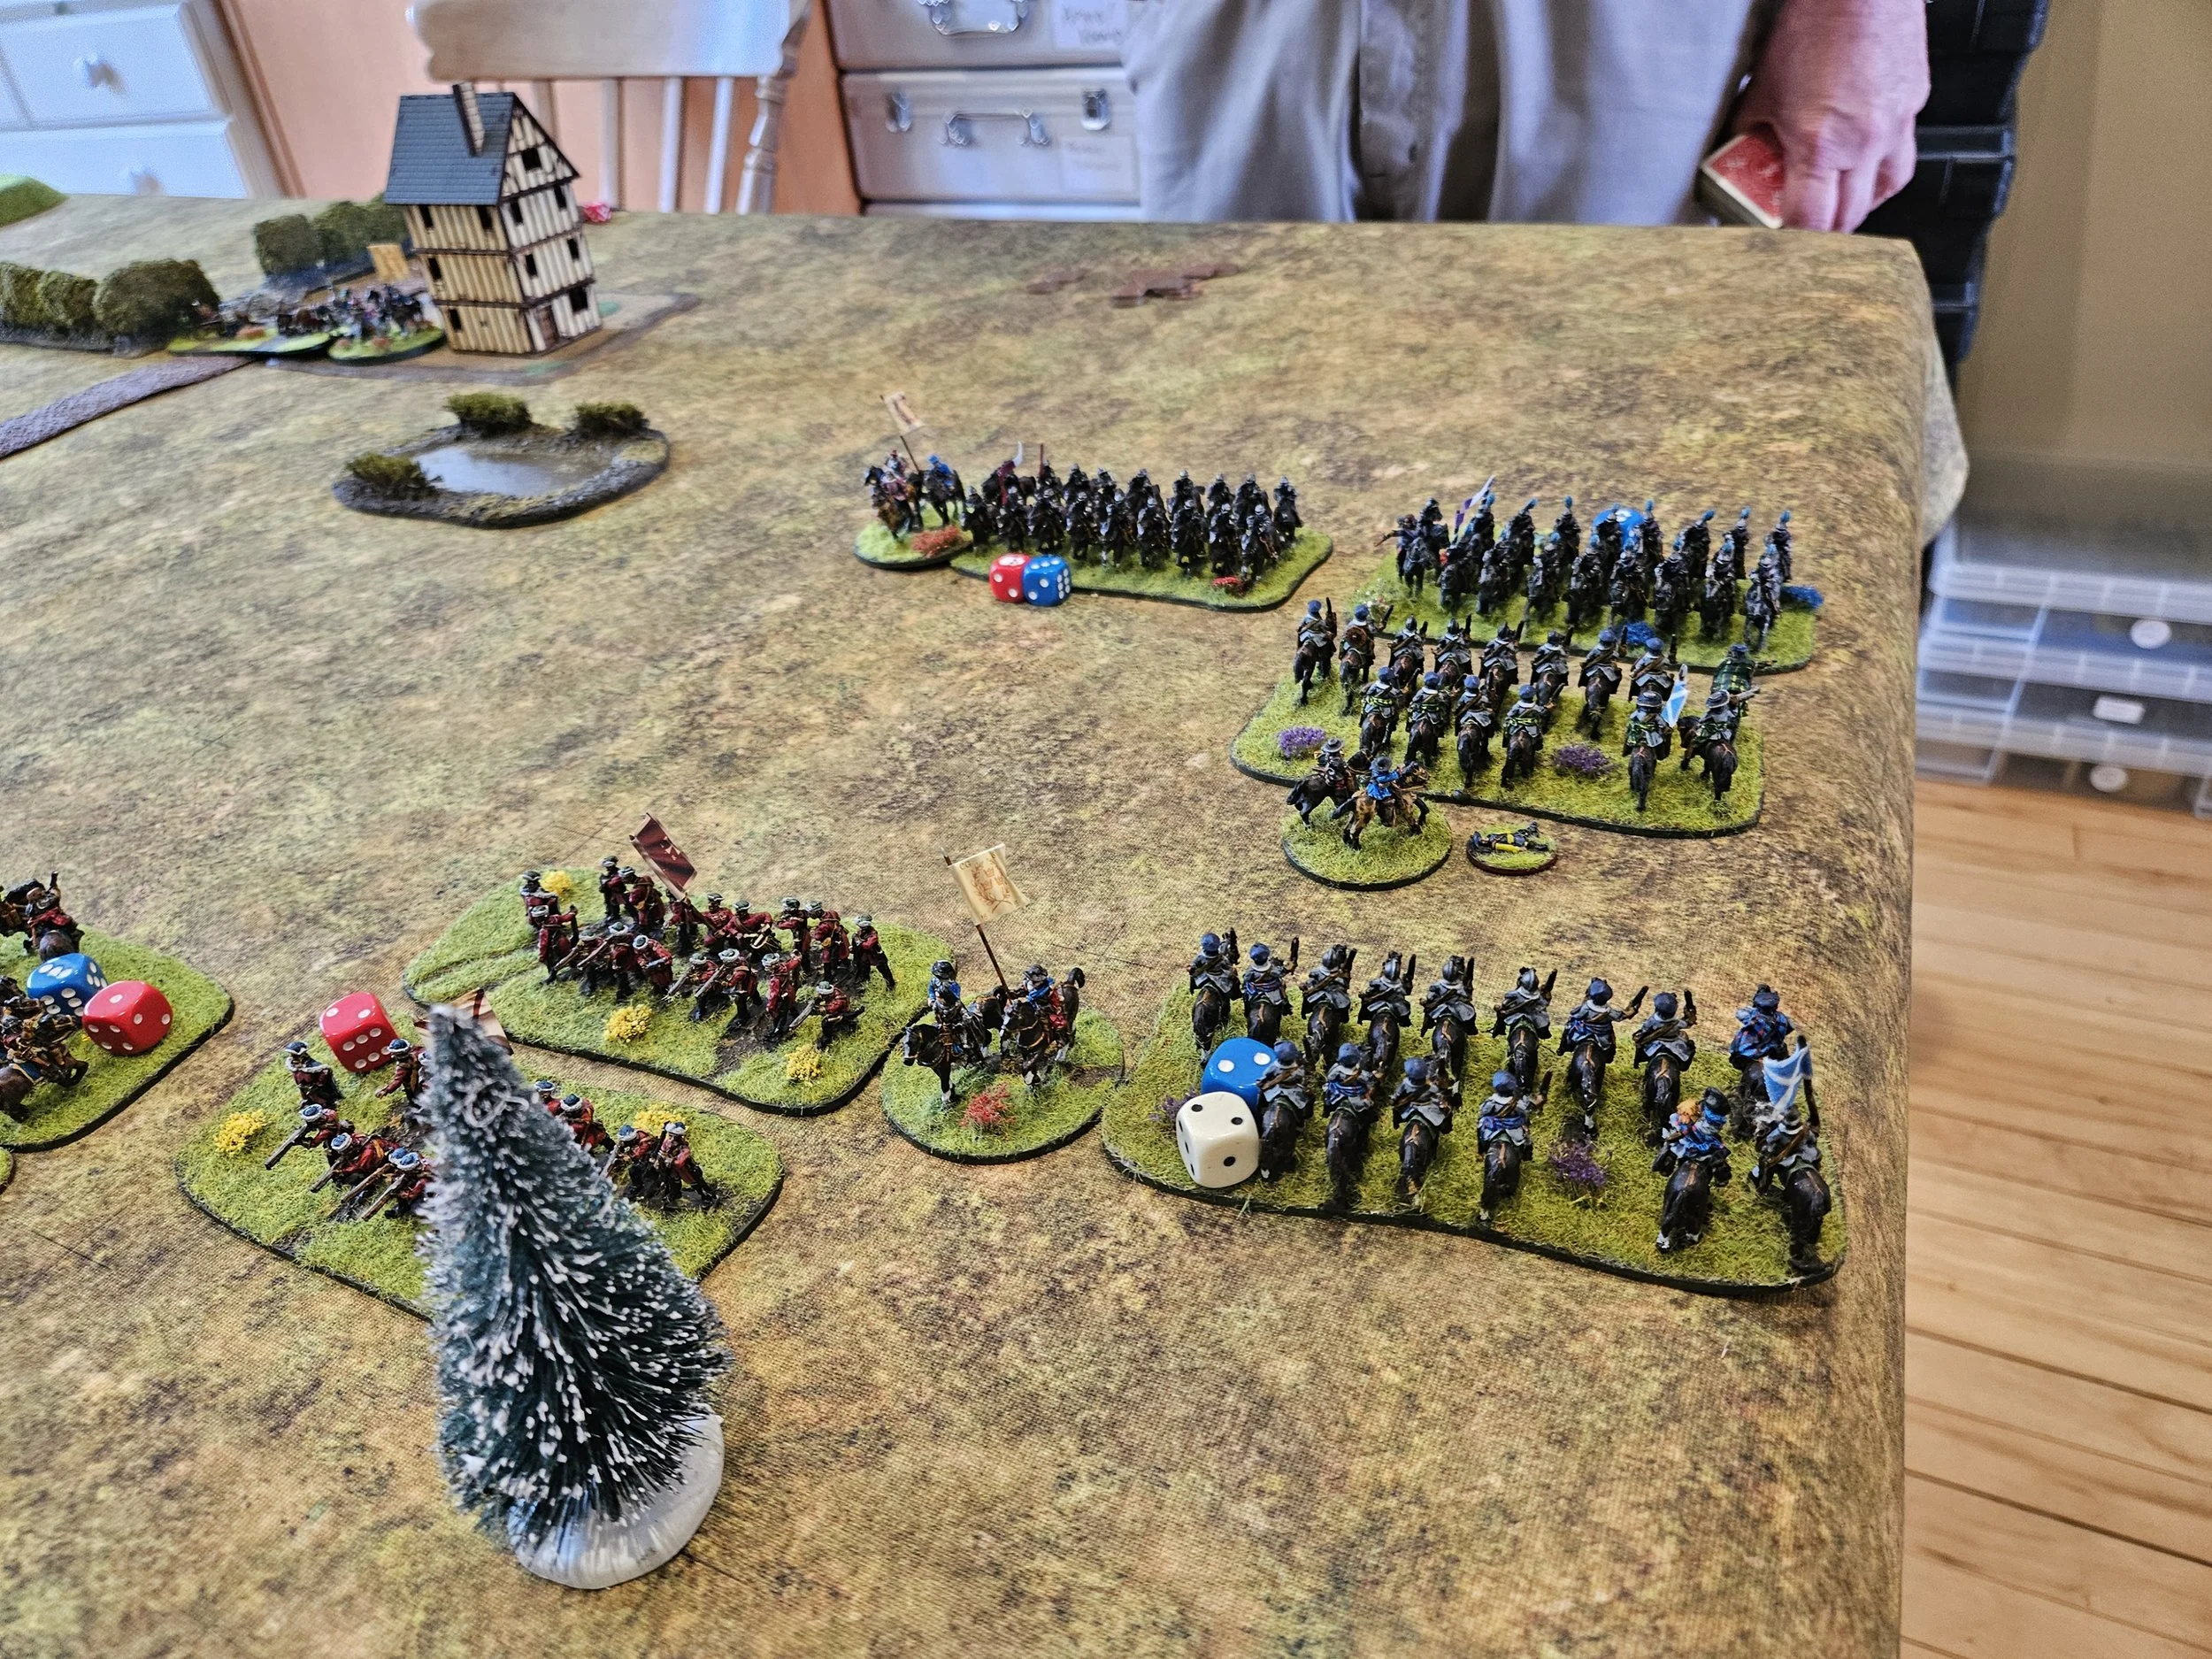
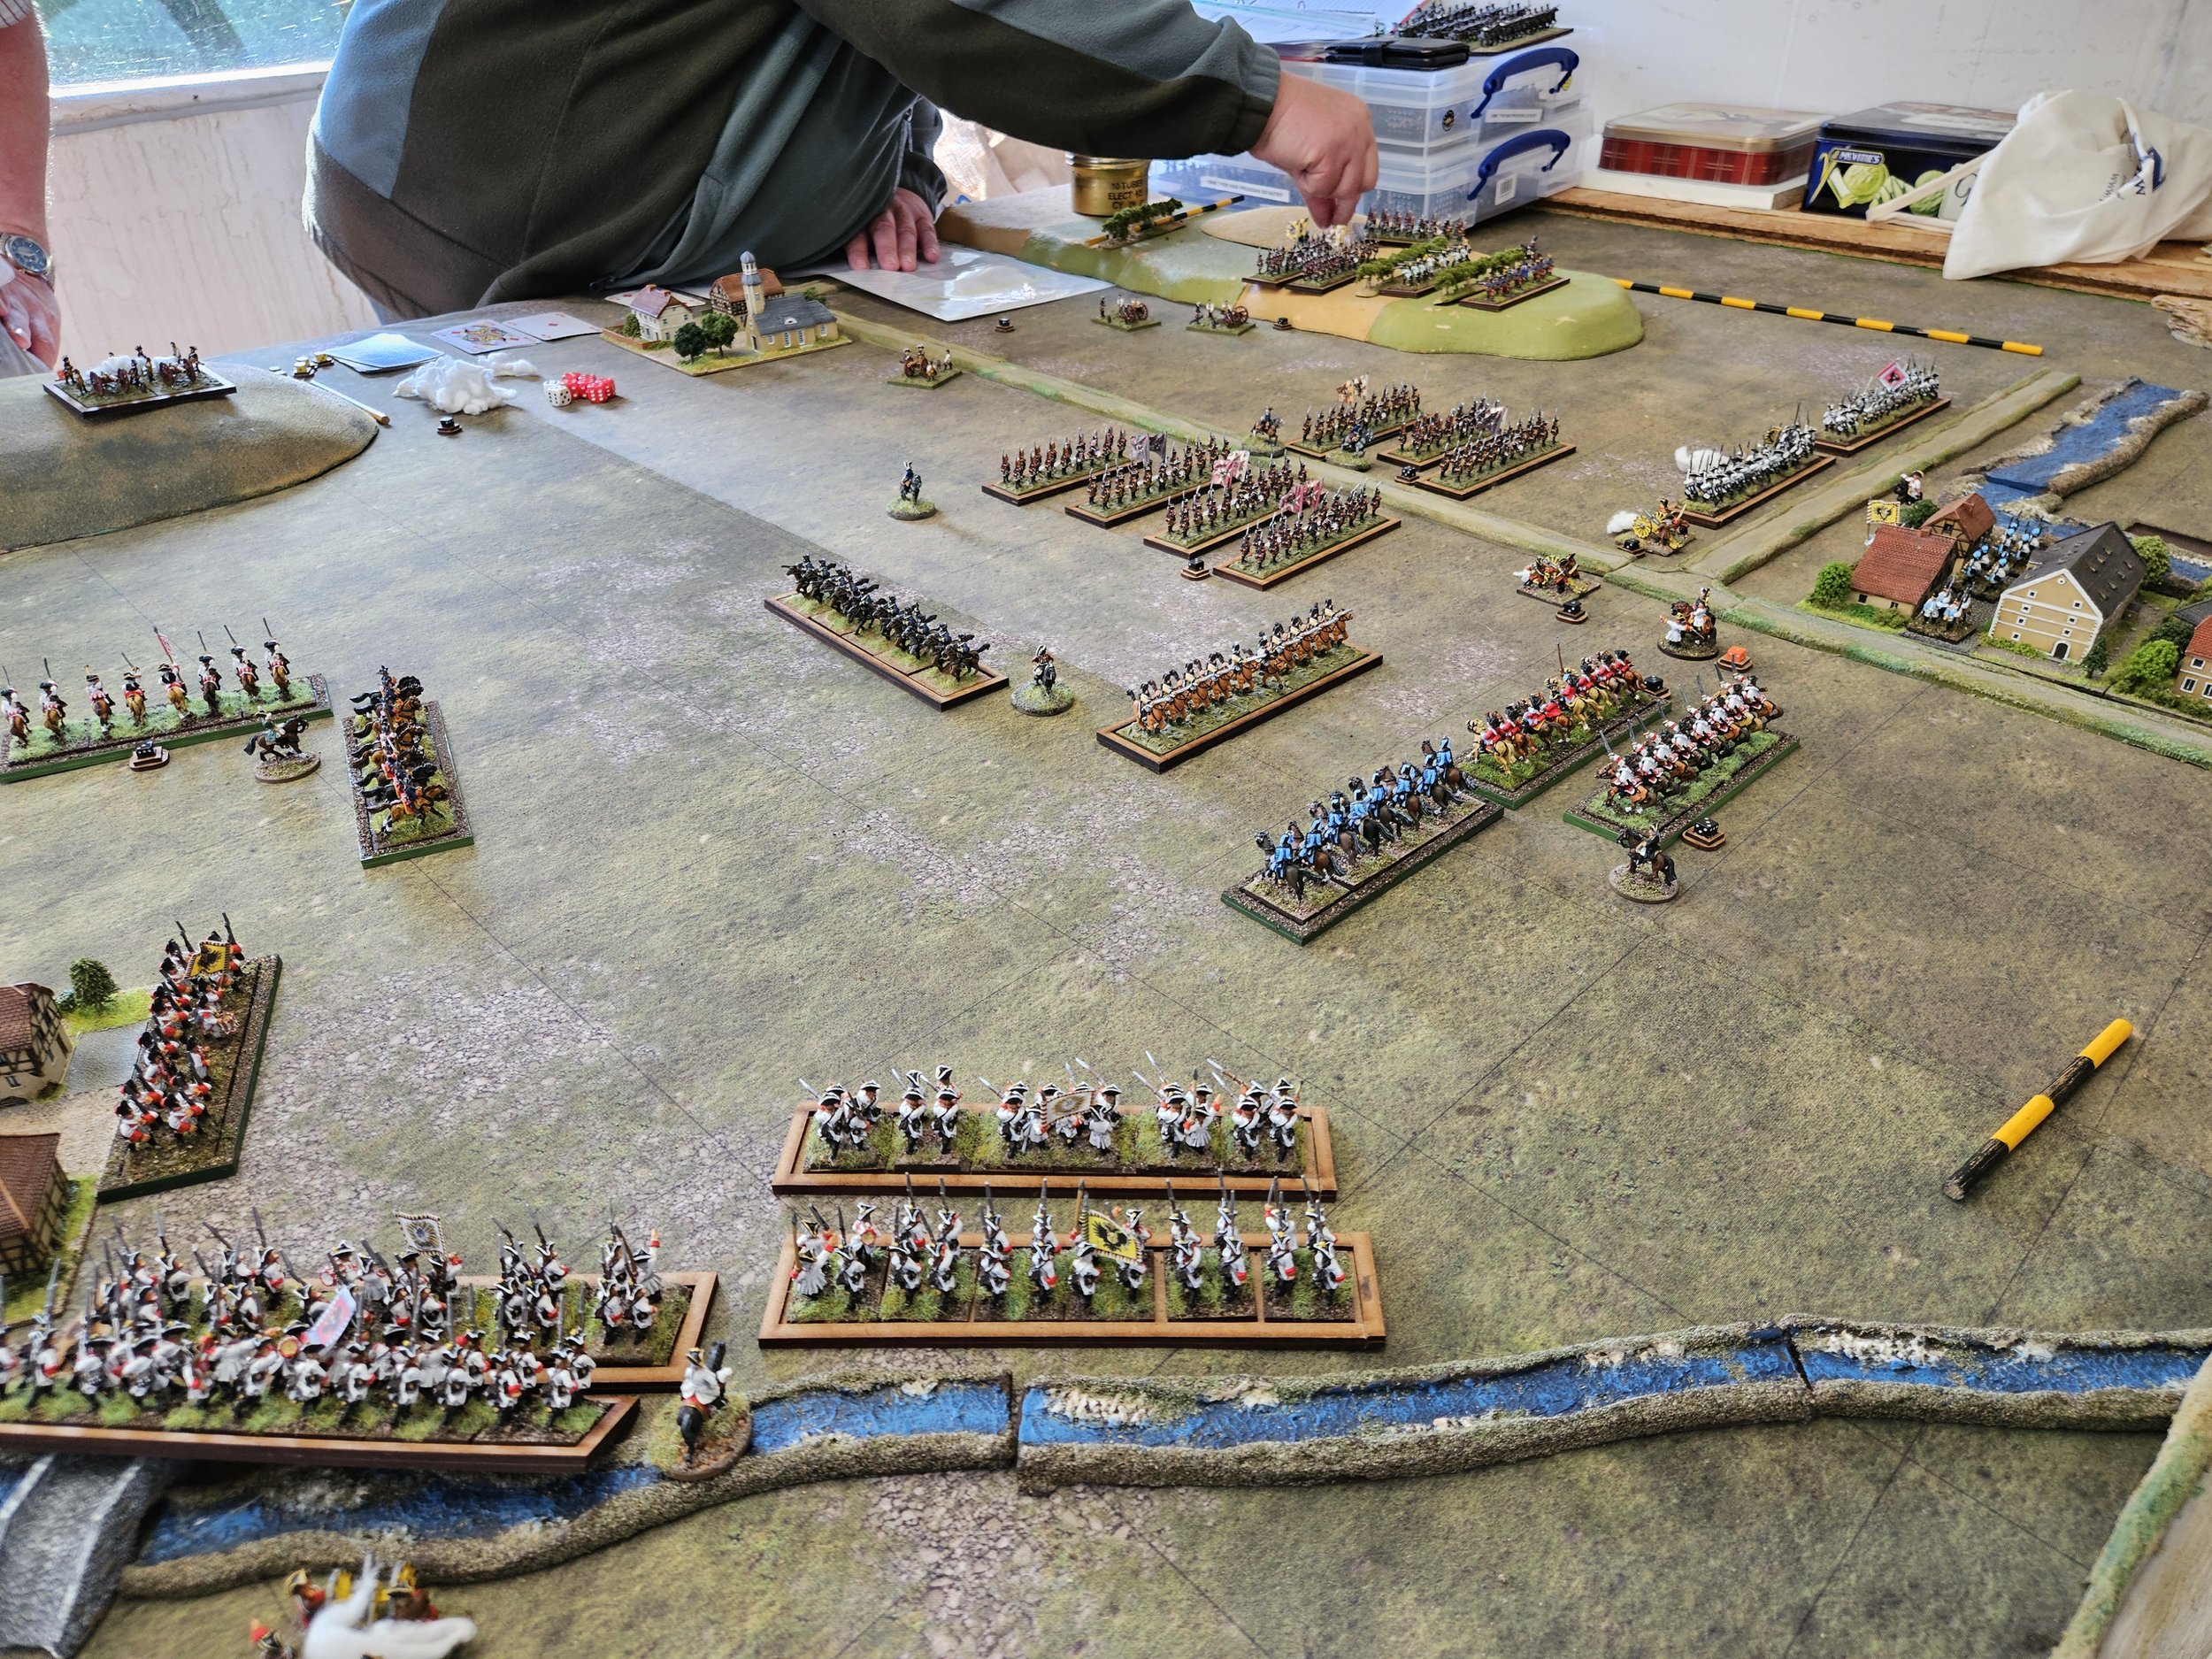
On my left I pushed forward with all my cavalry supported by several bow units. This sucked his cavalry and three warbands forward, with a bloodlust to crush my impertinent bowman.
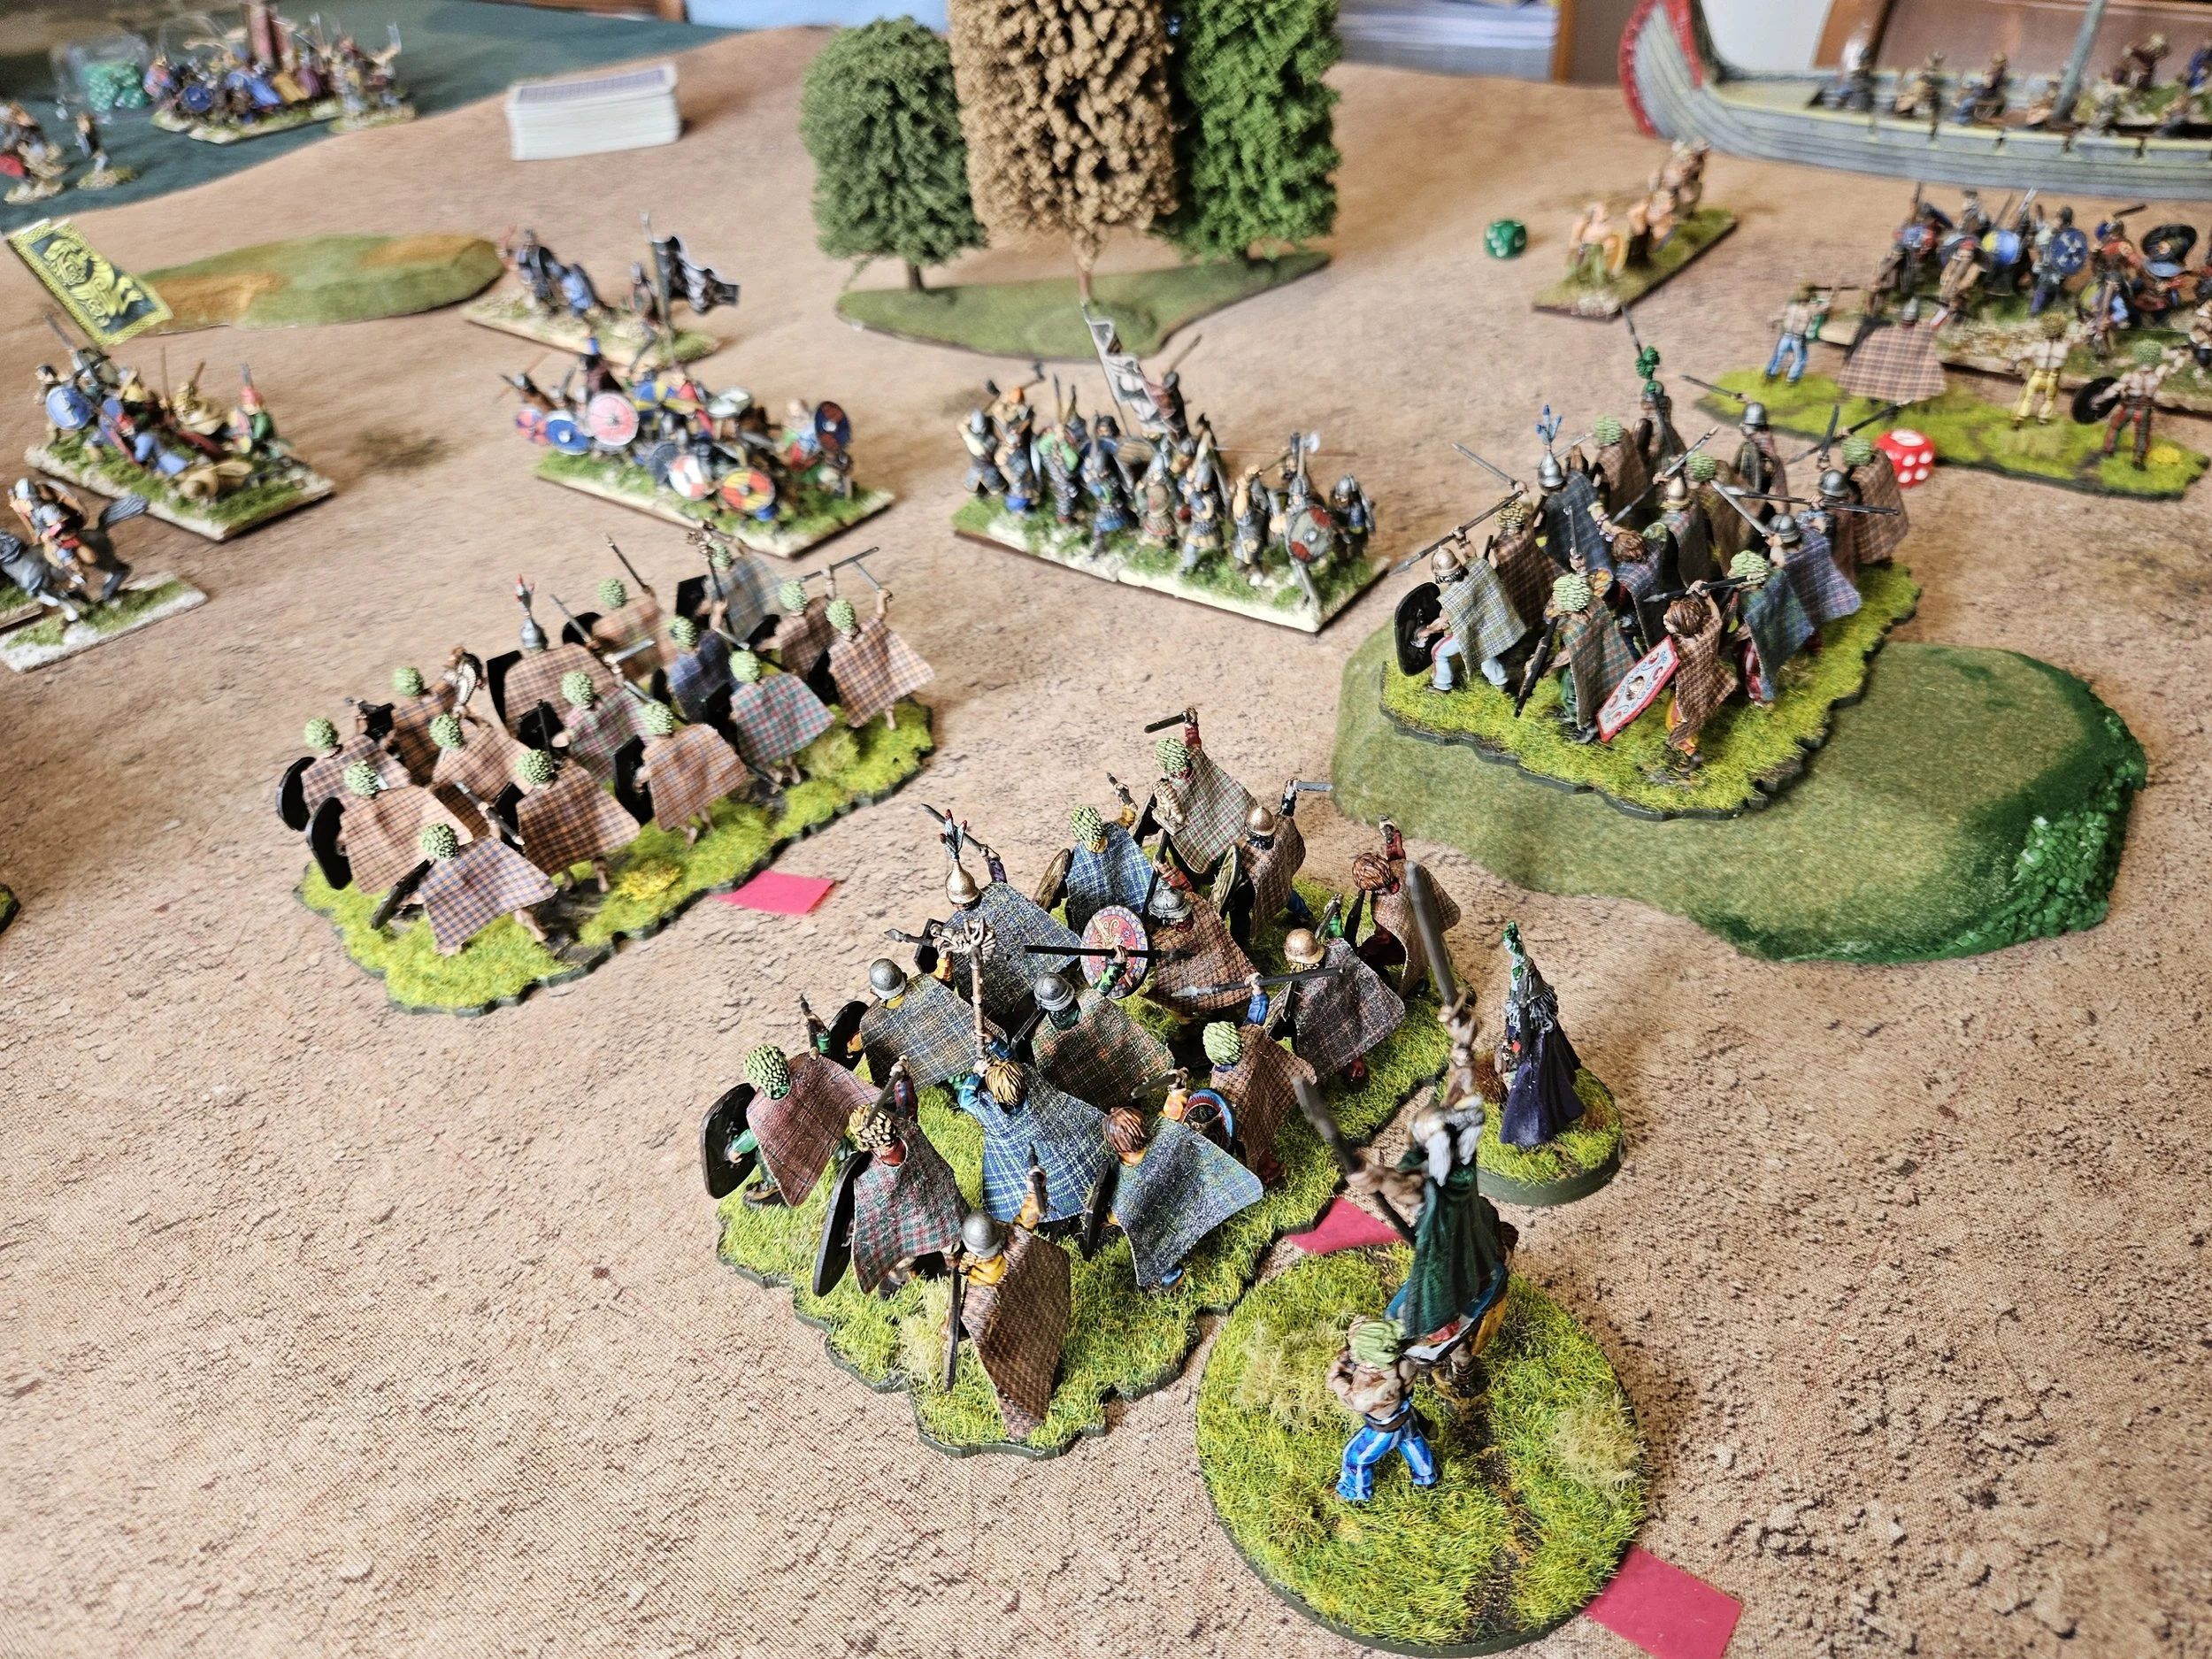
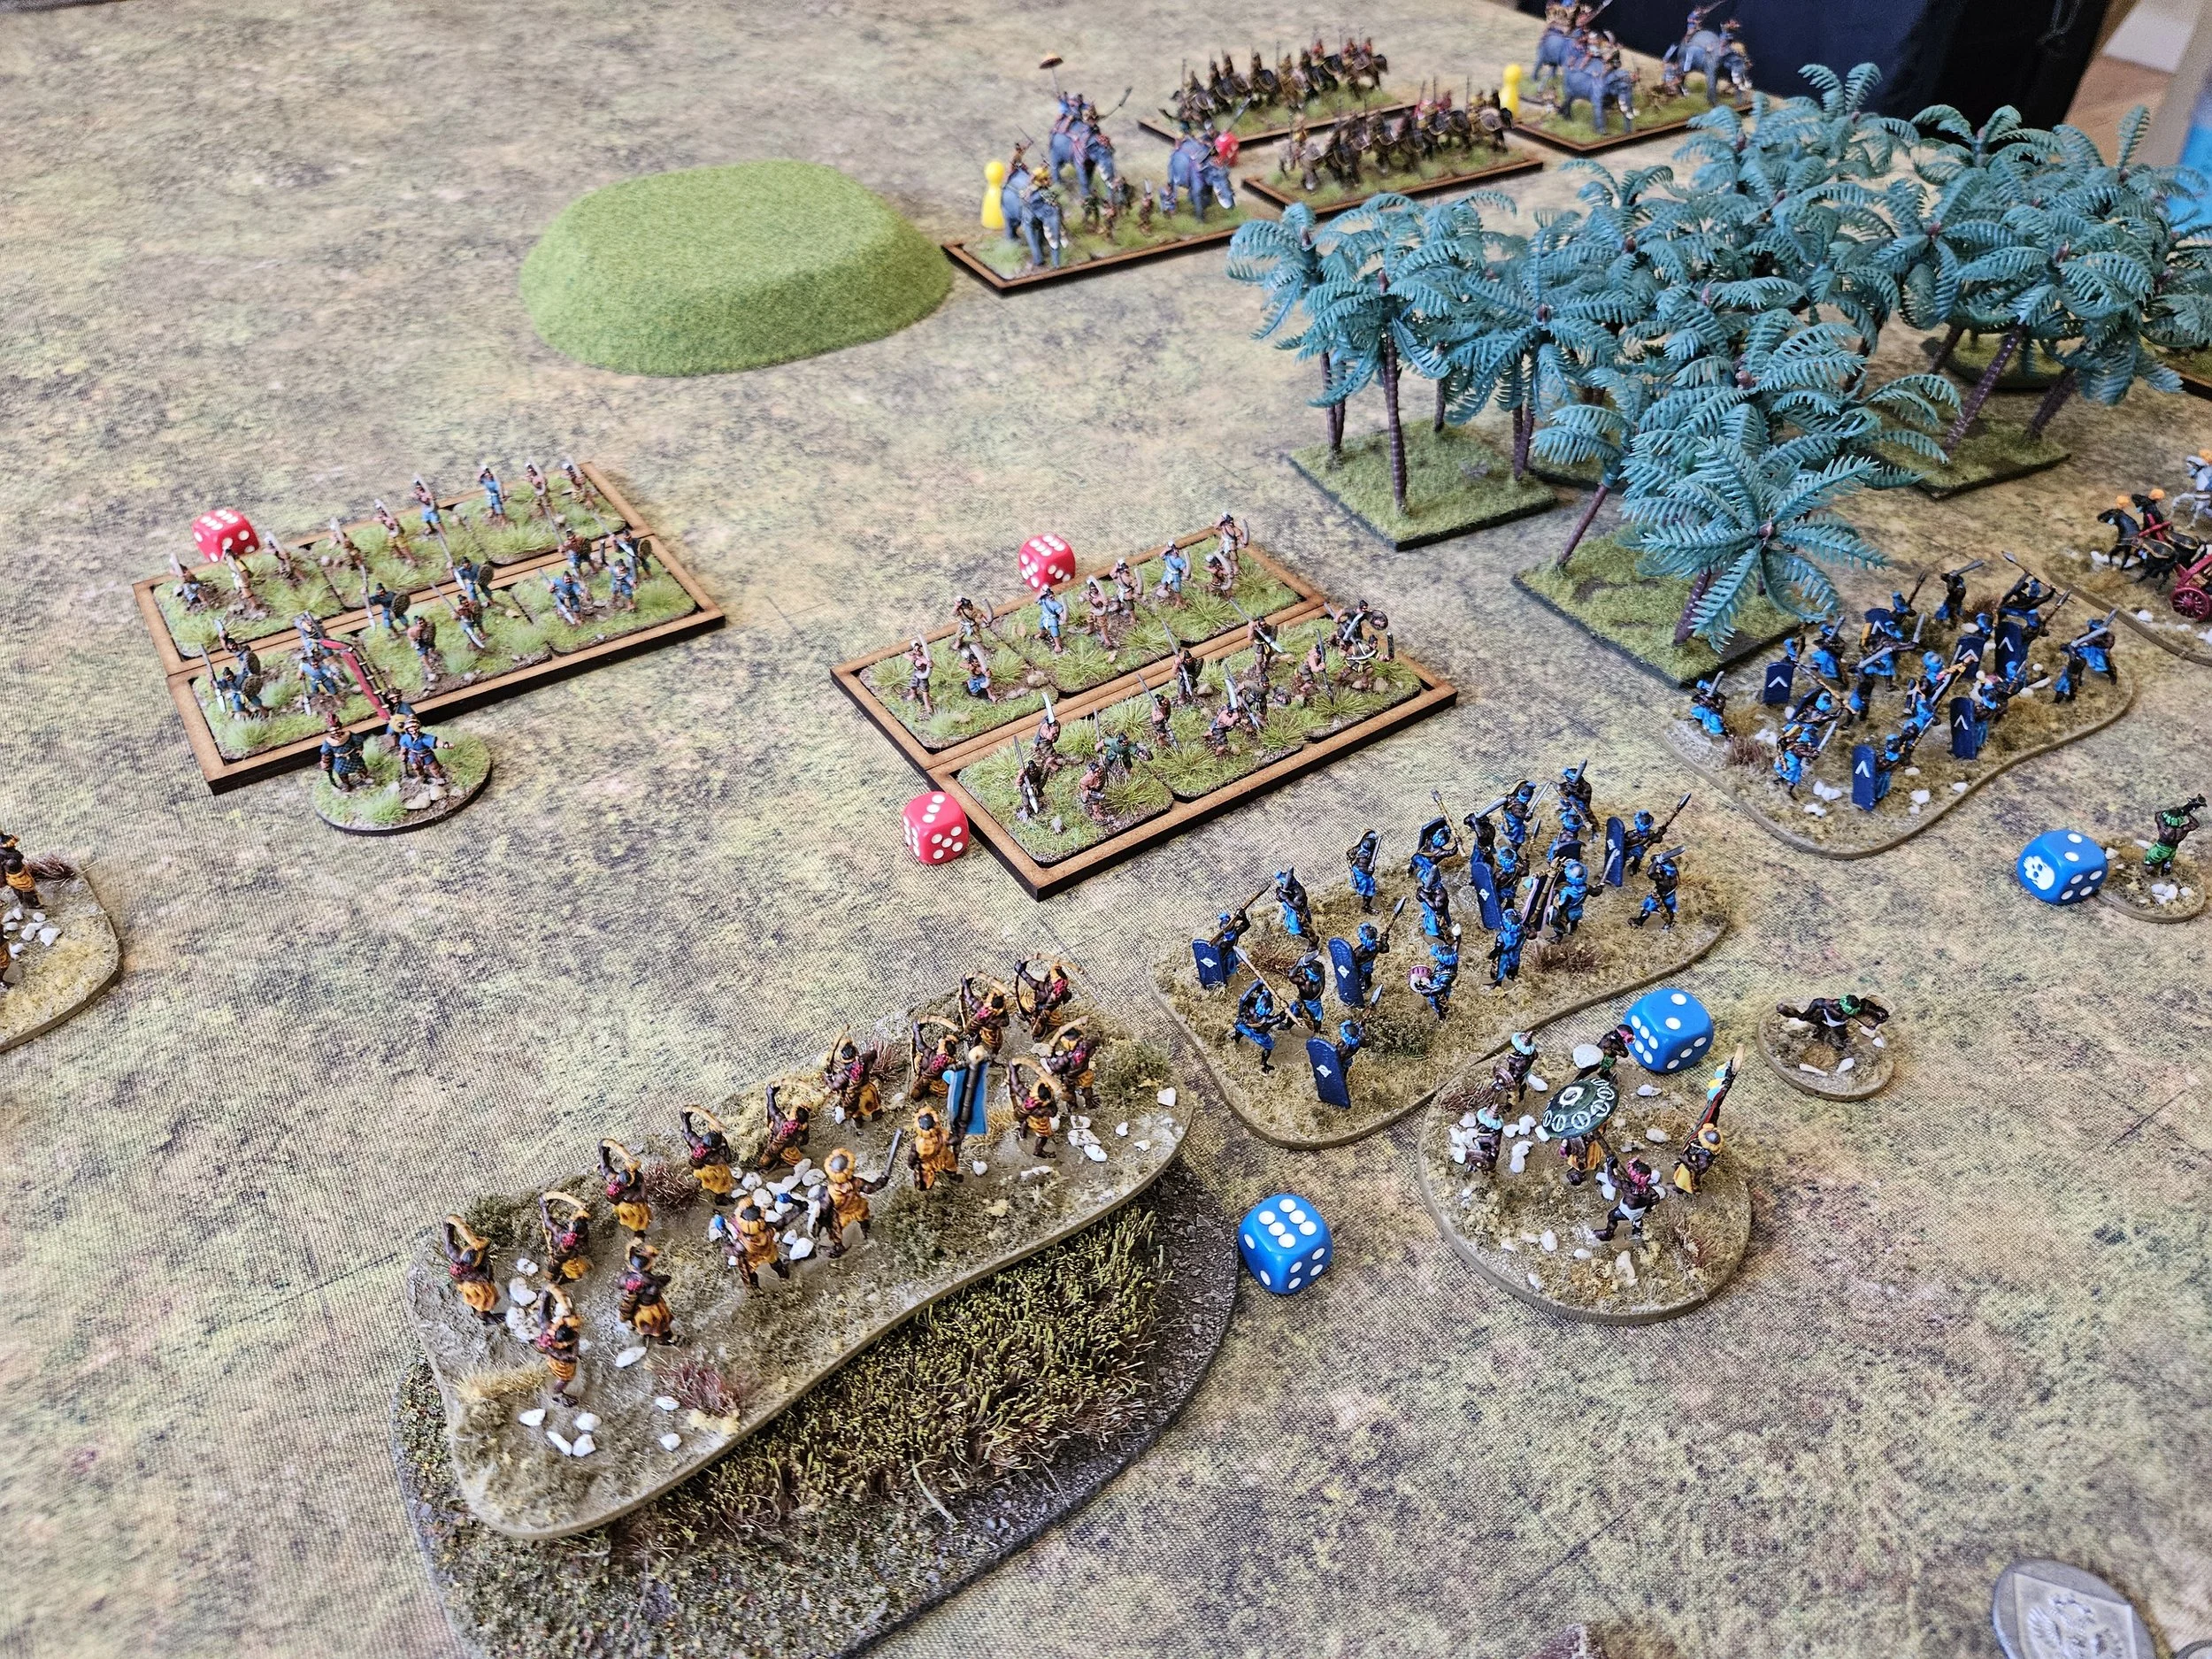
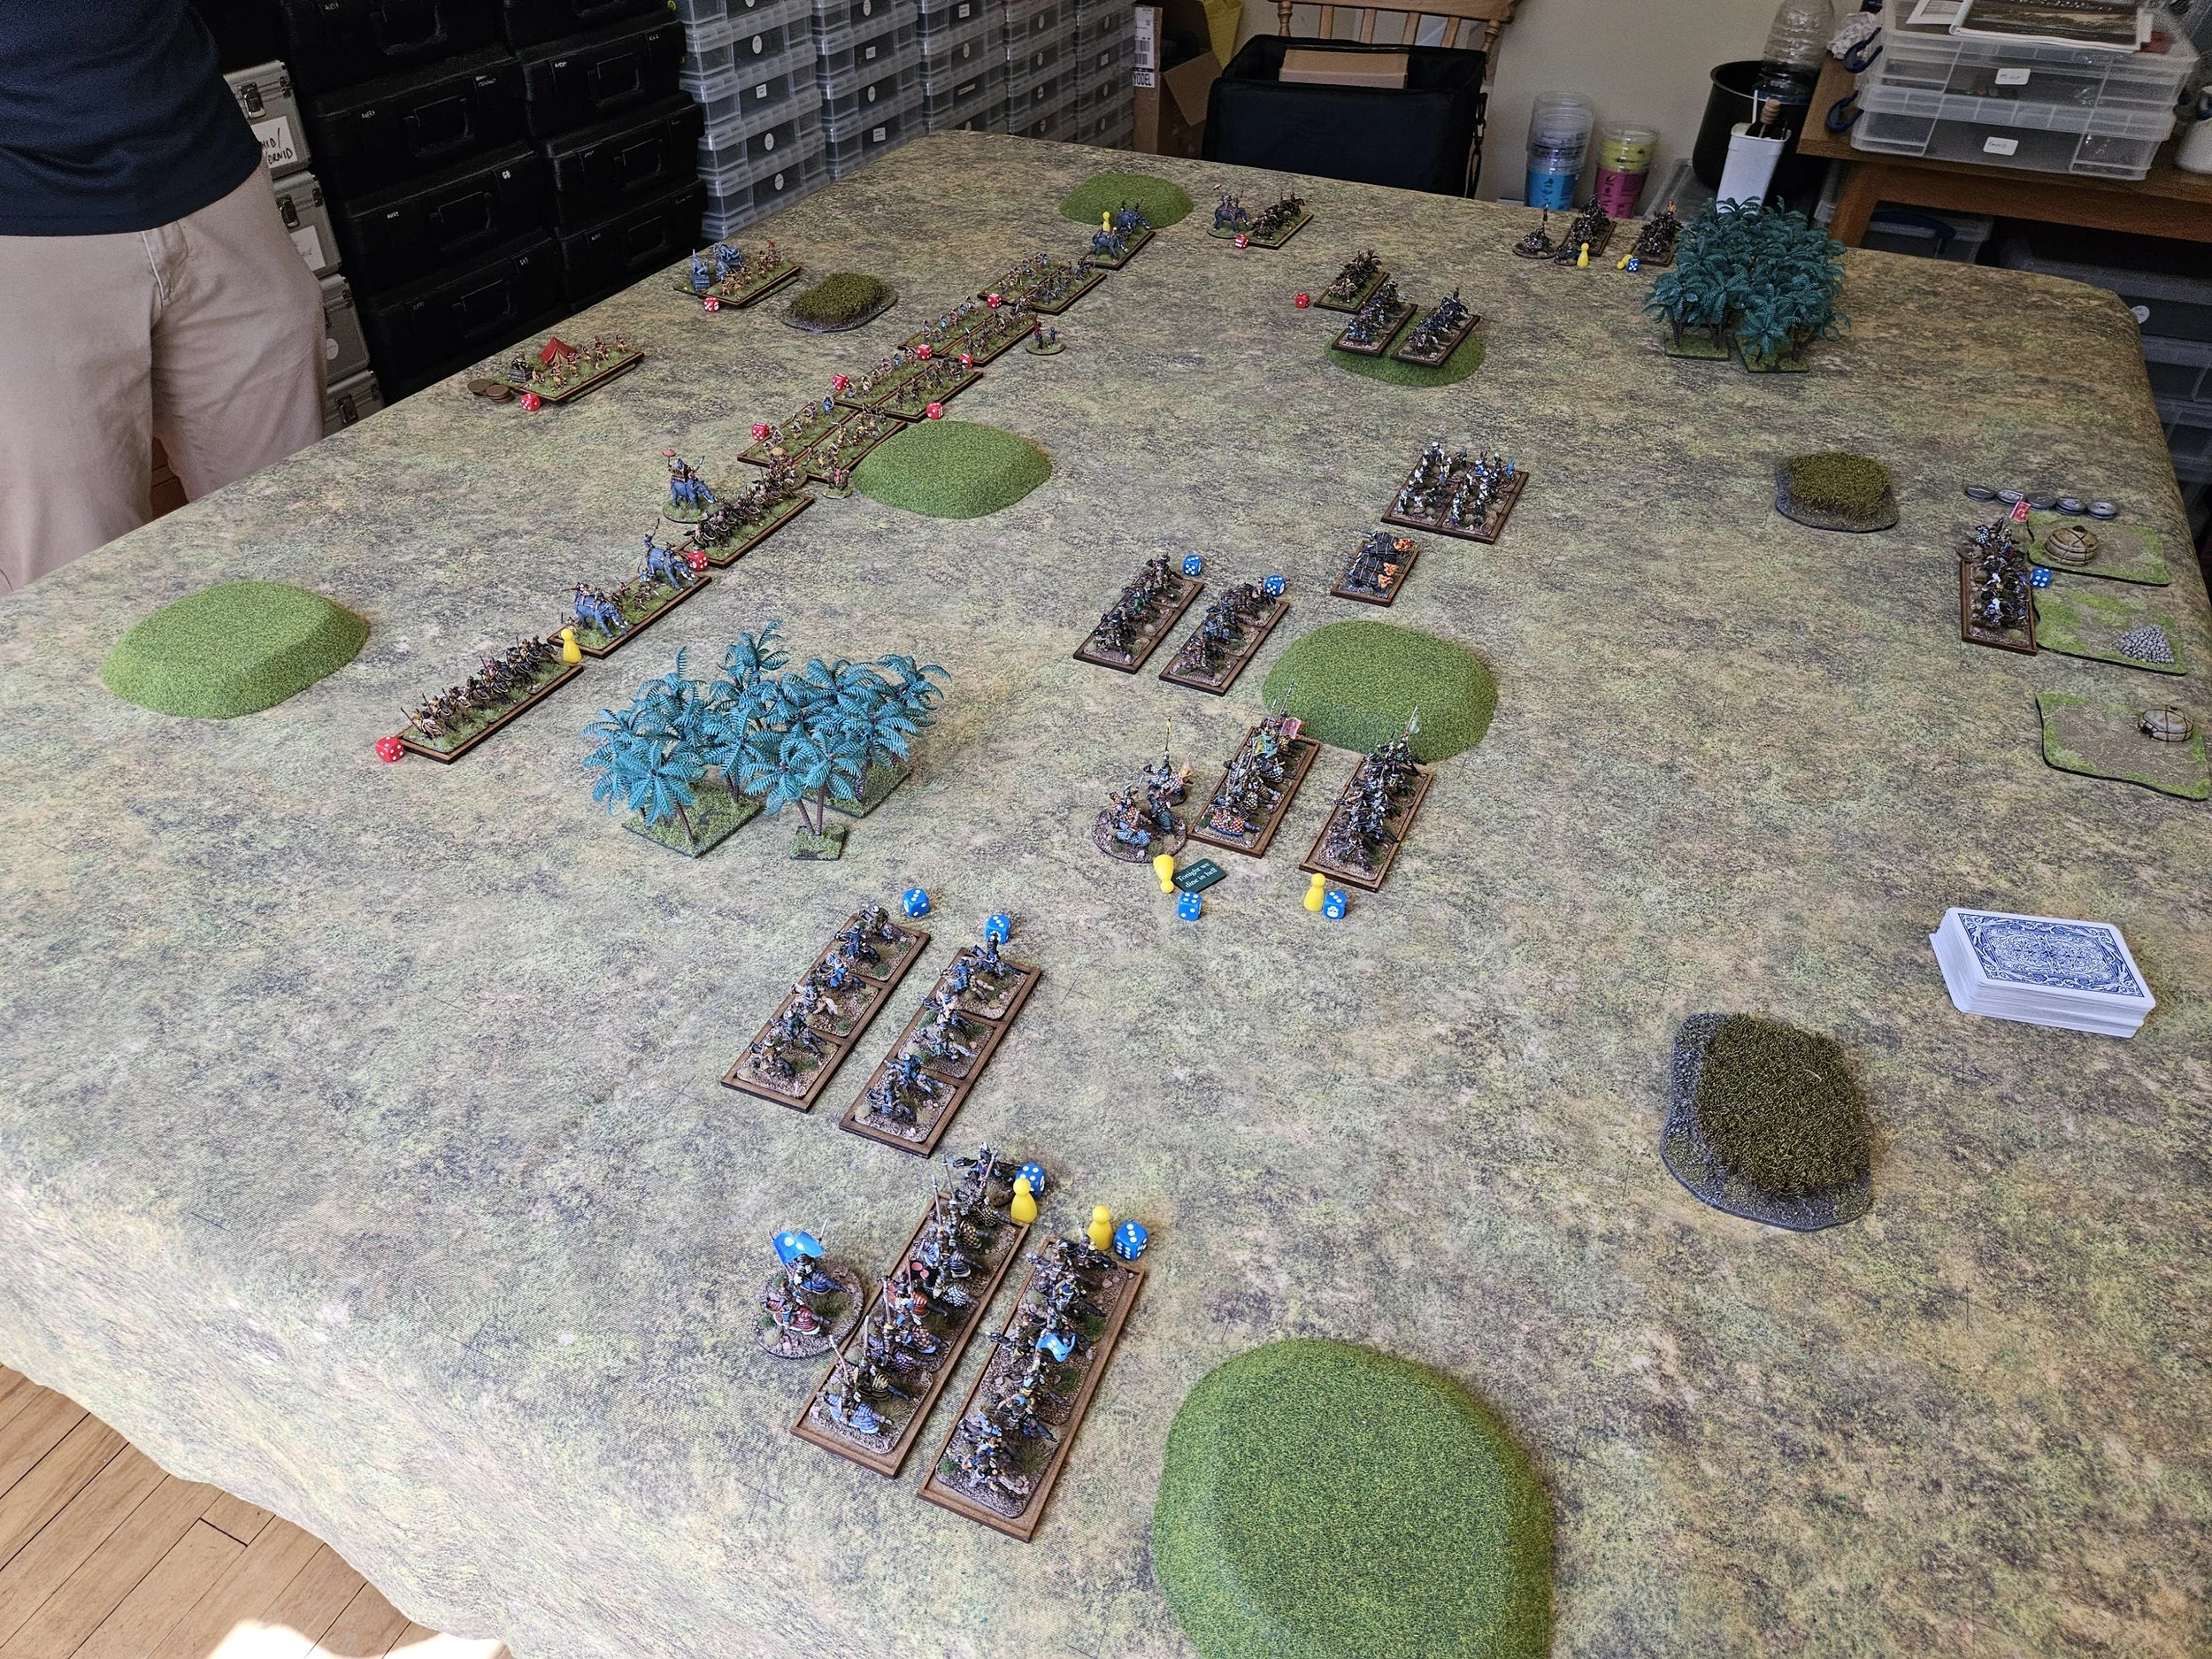
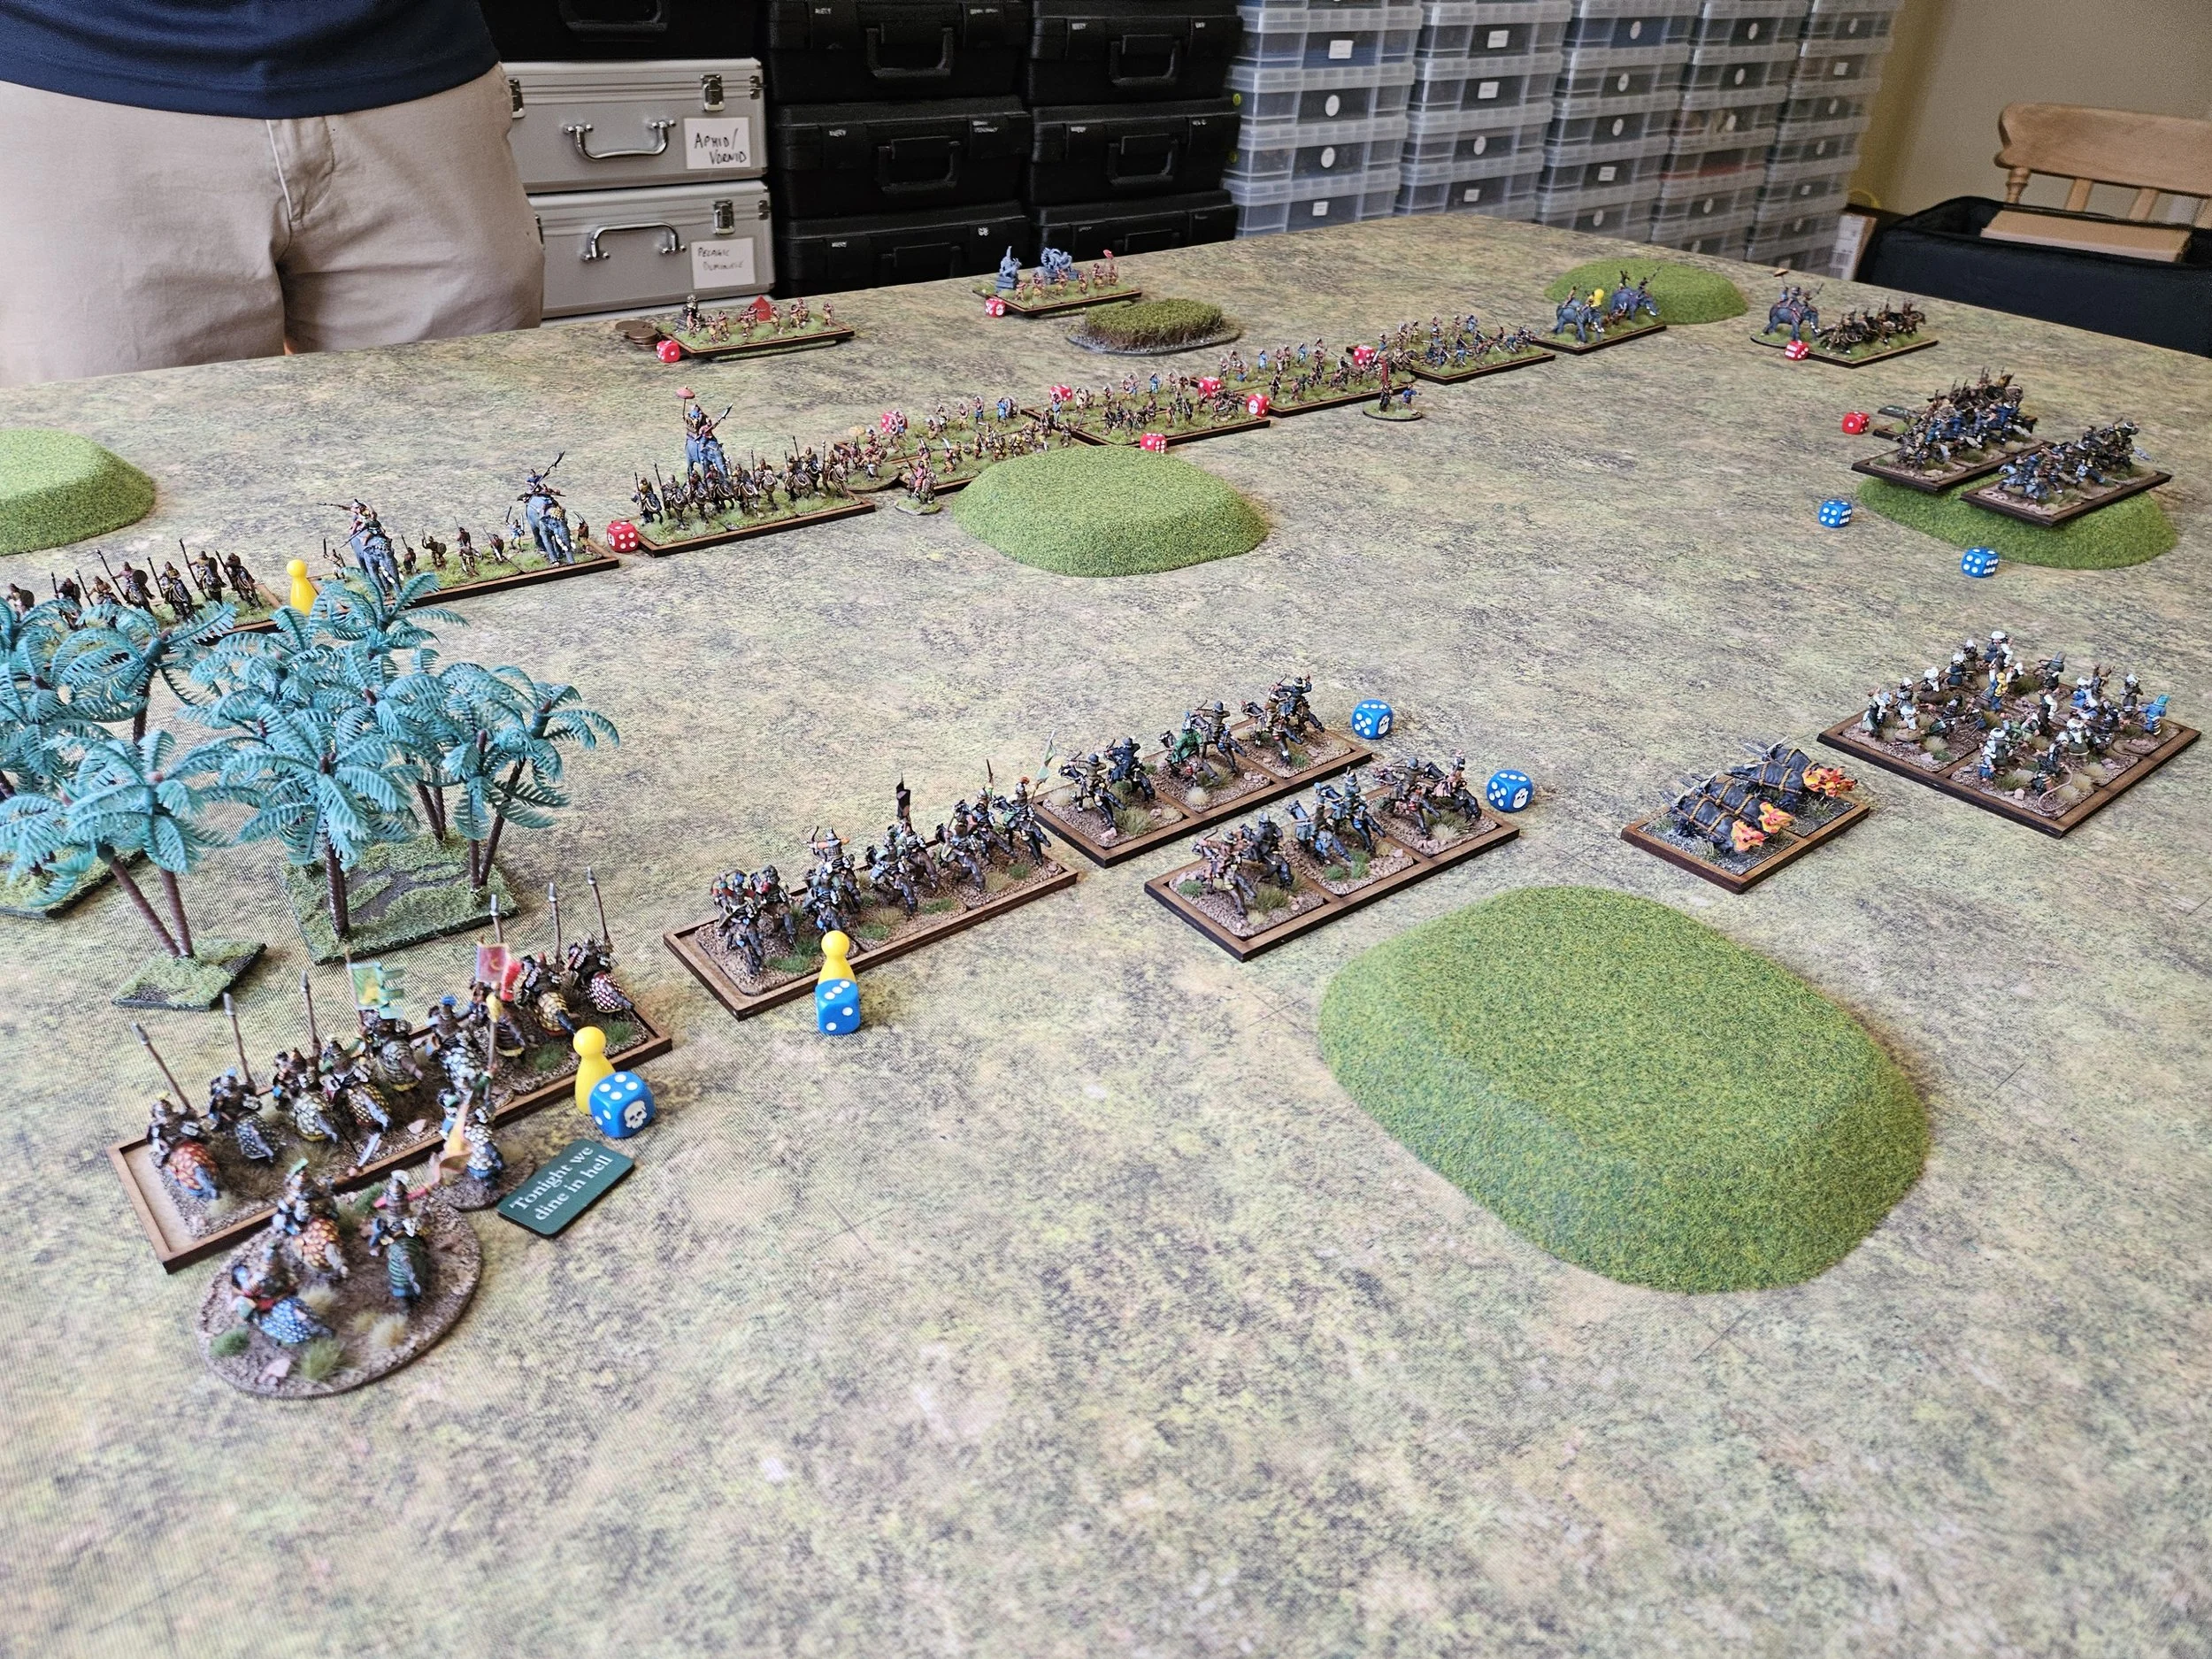
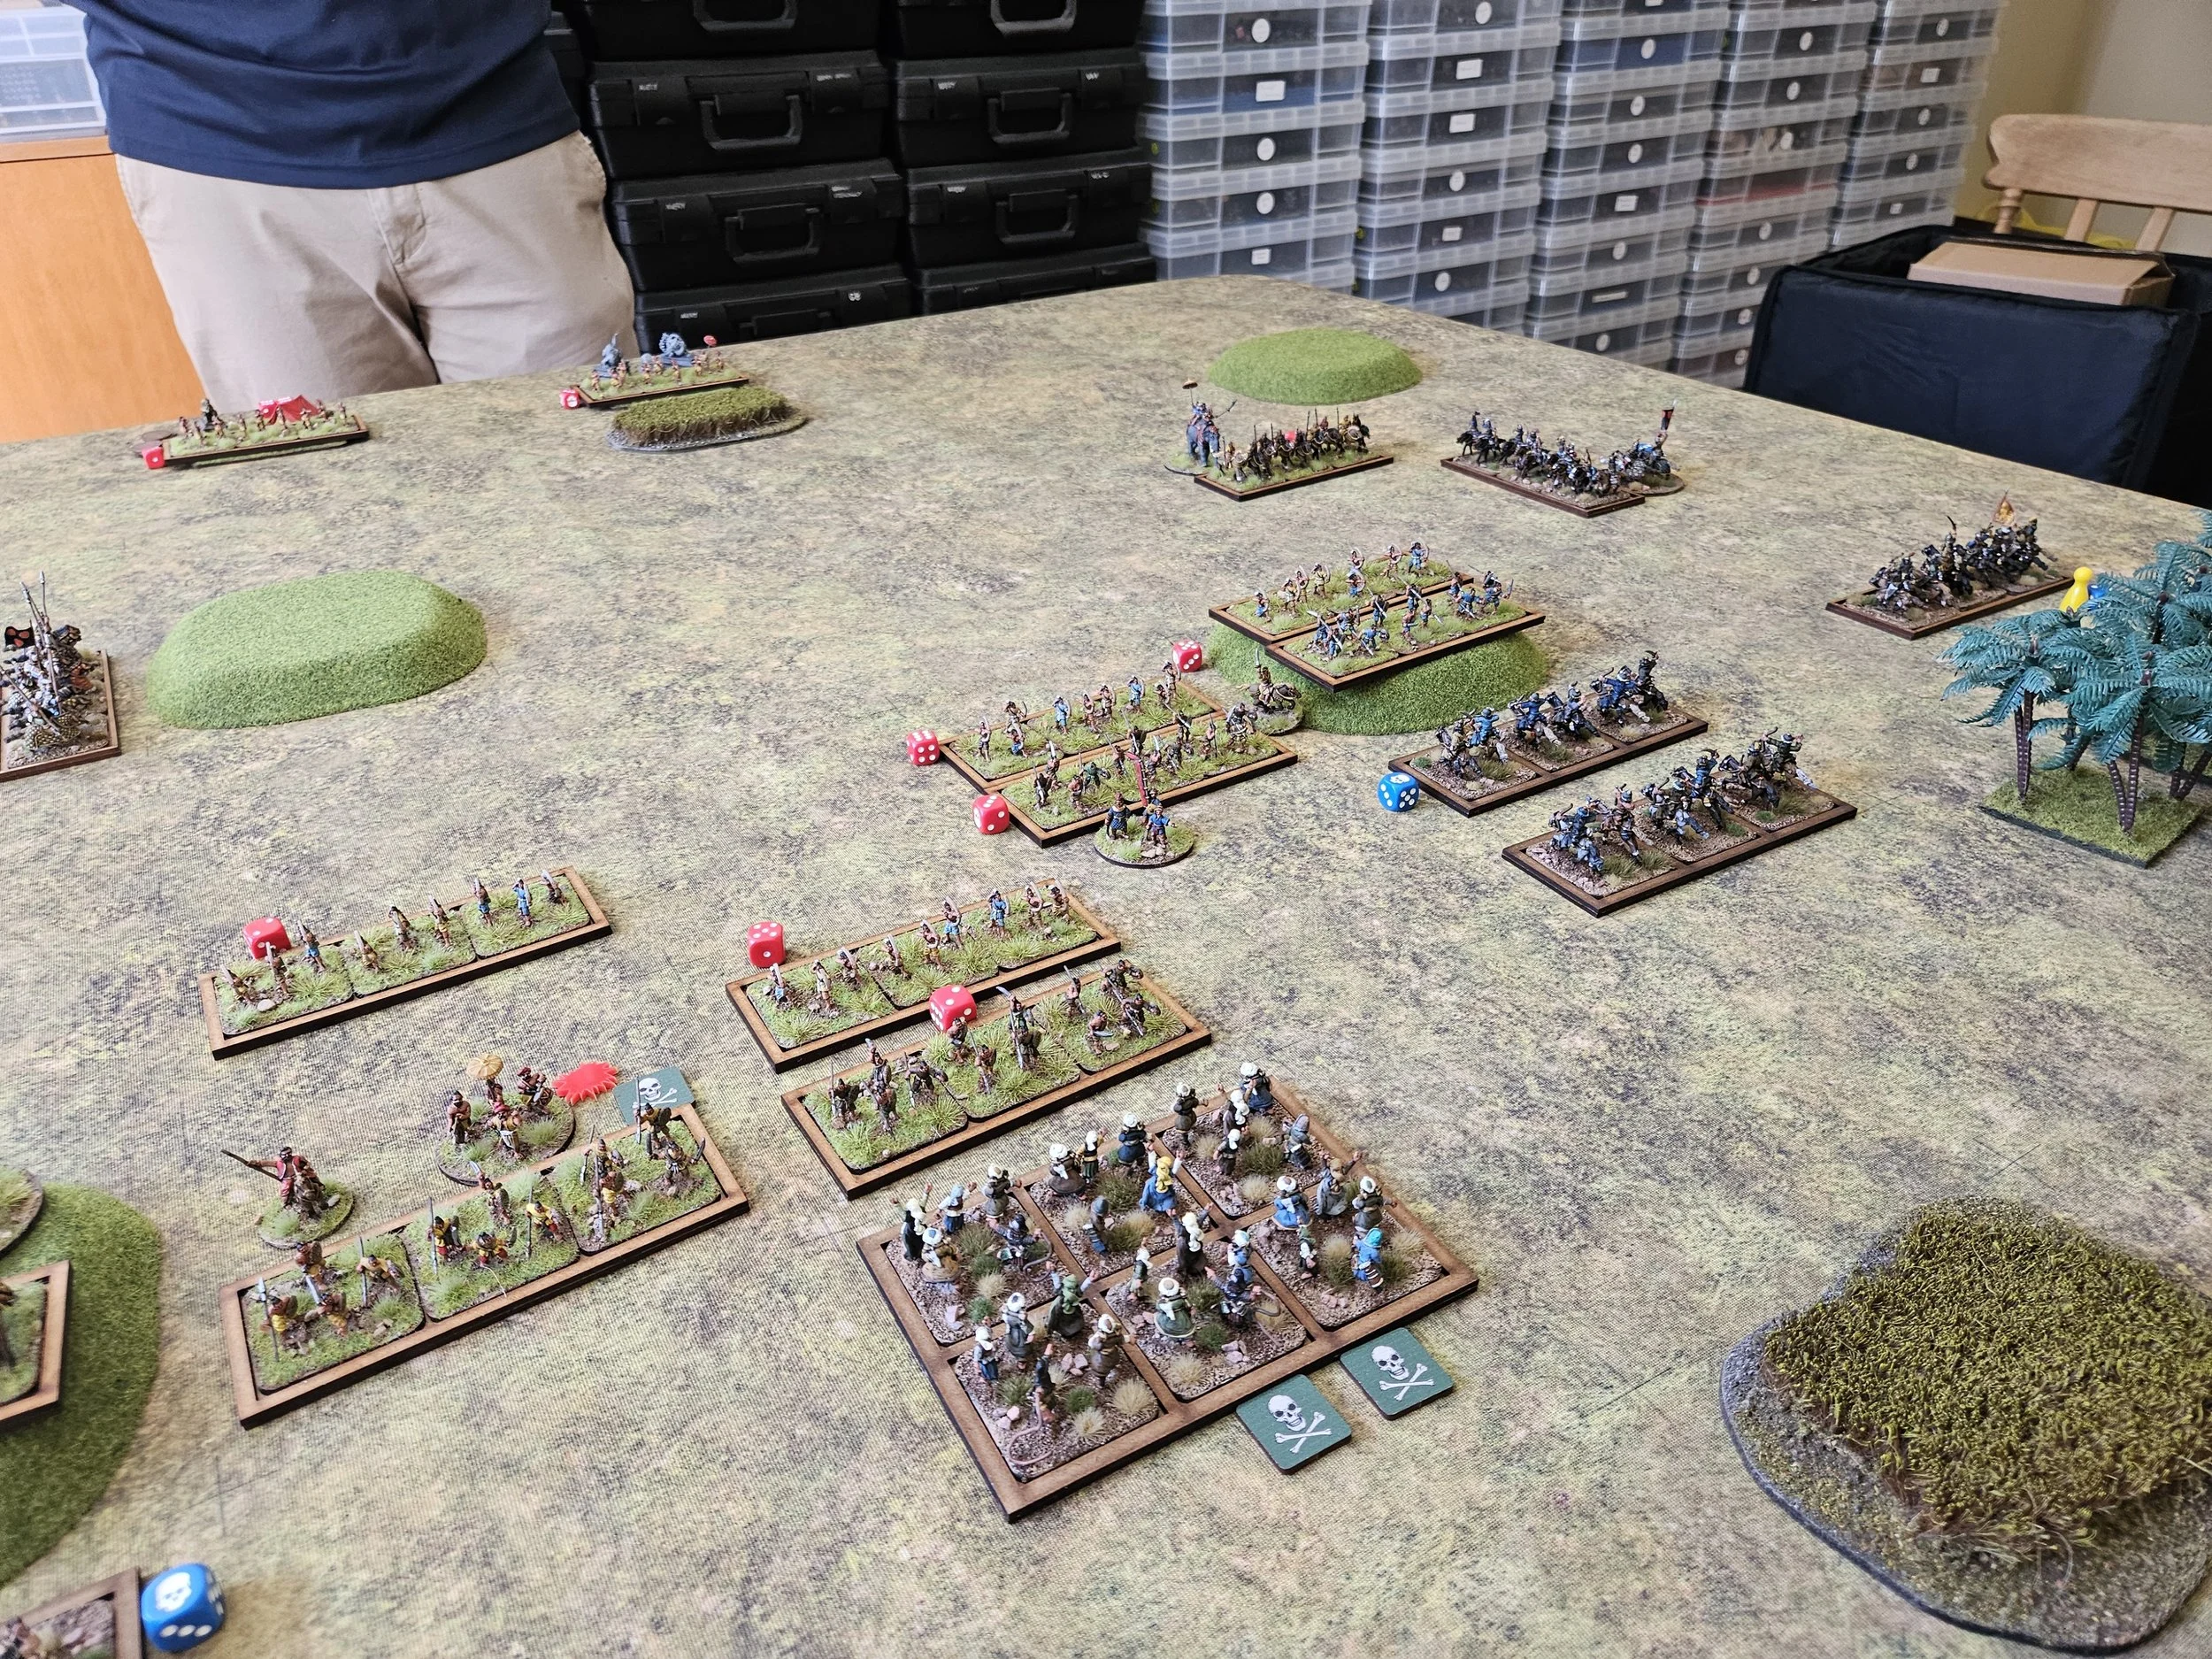
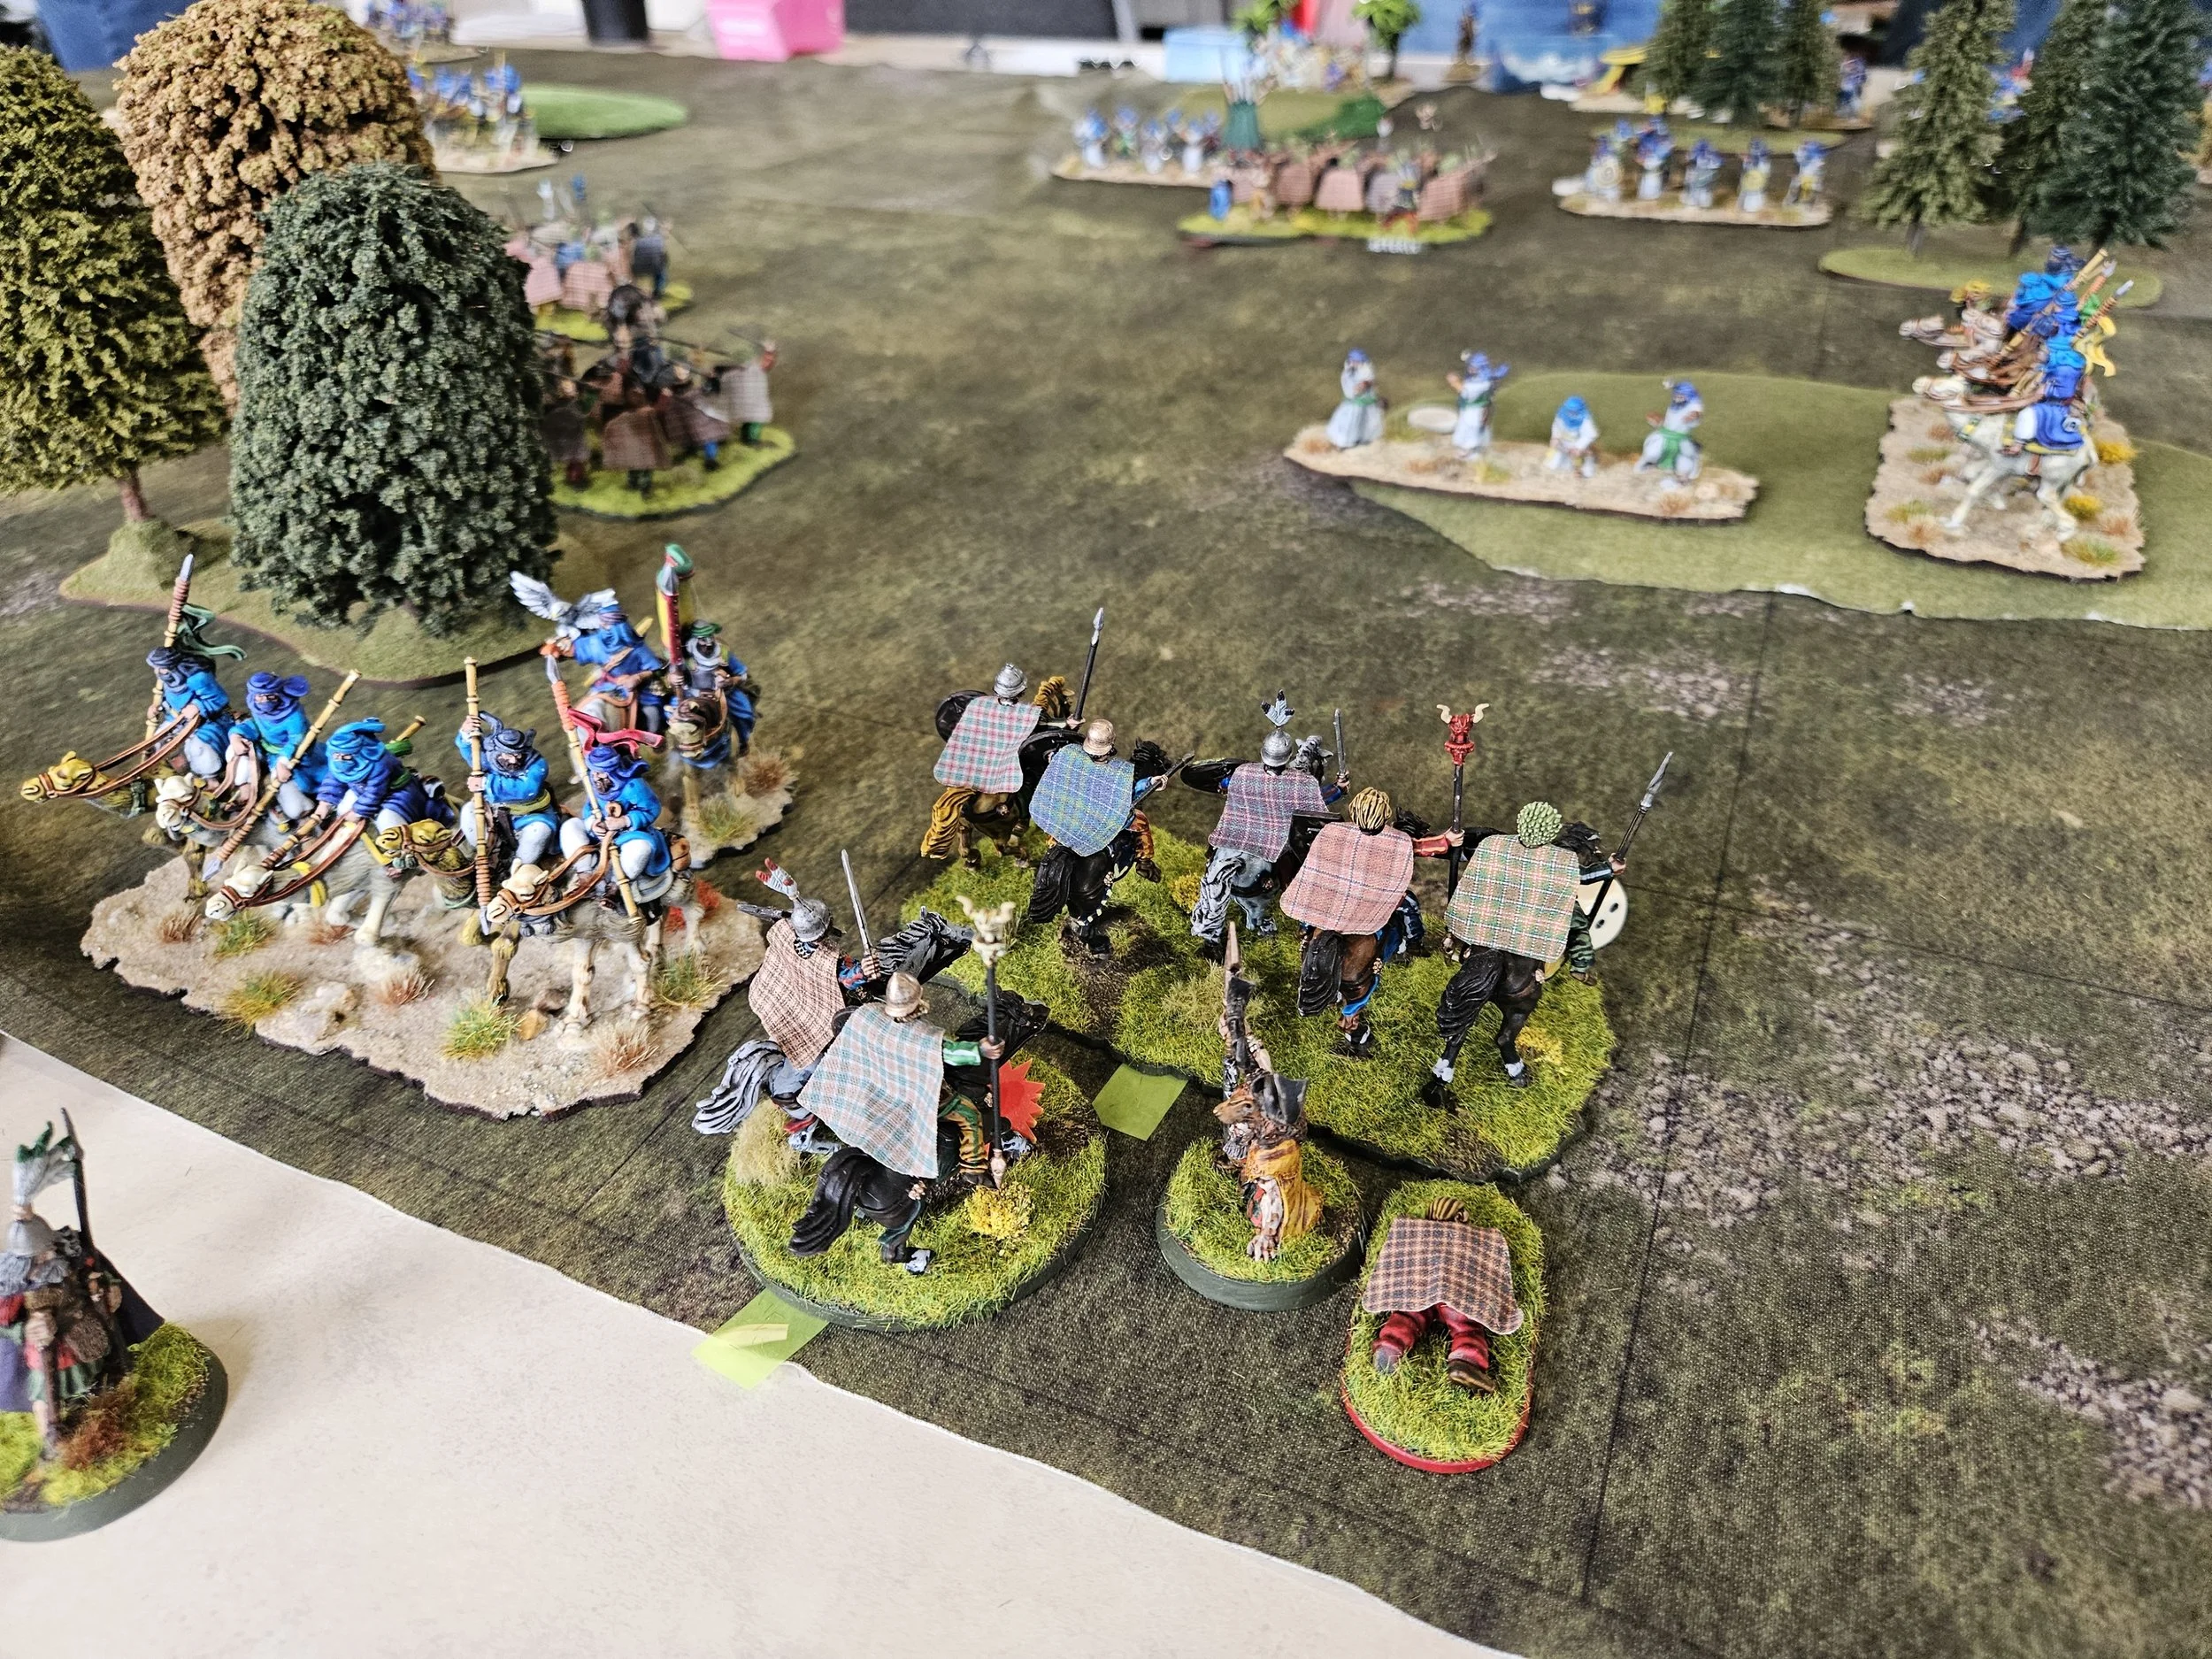
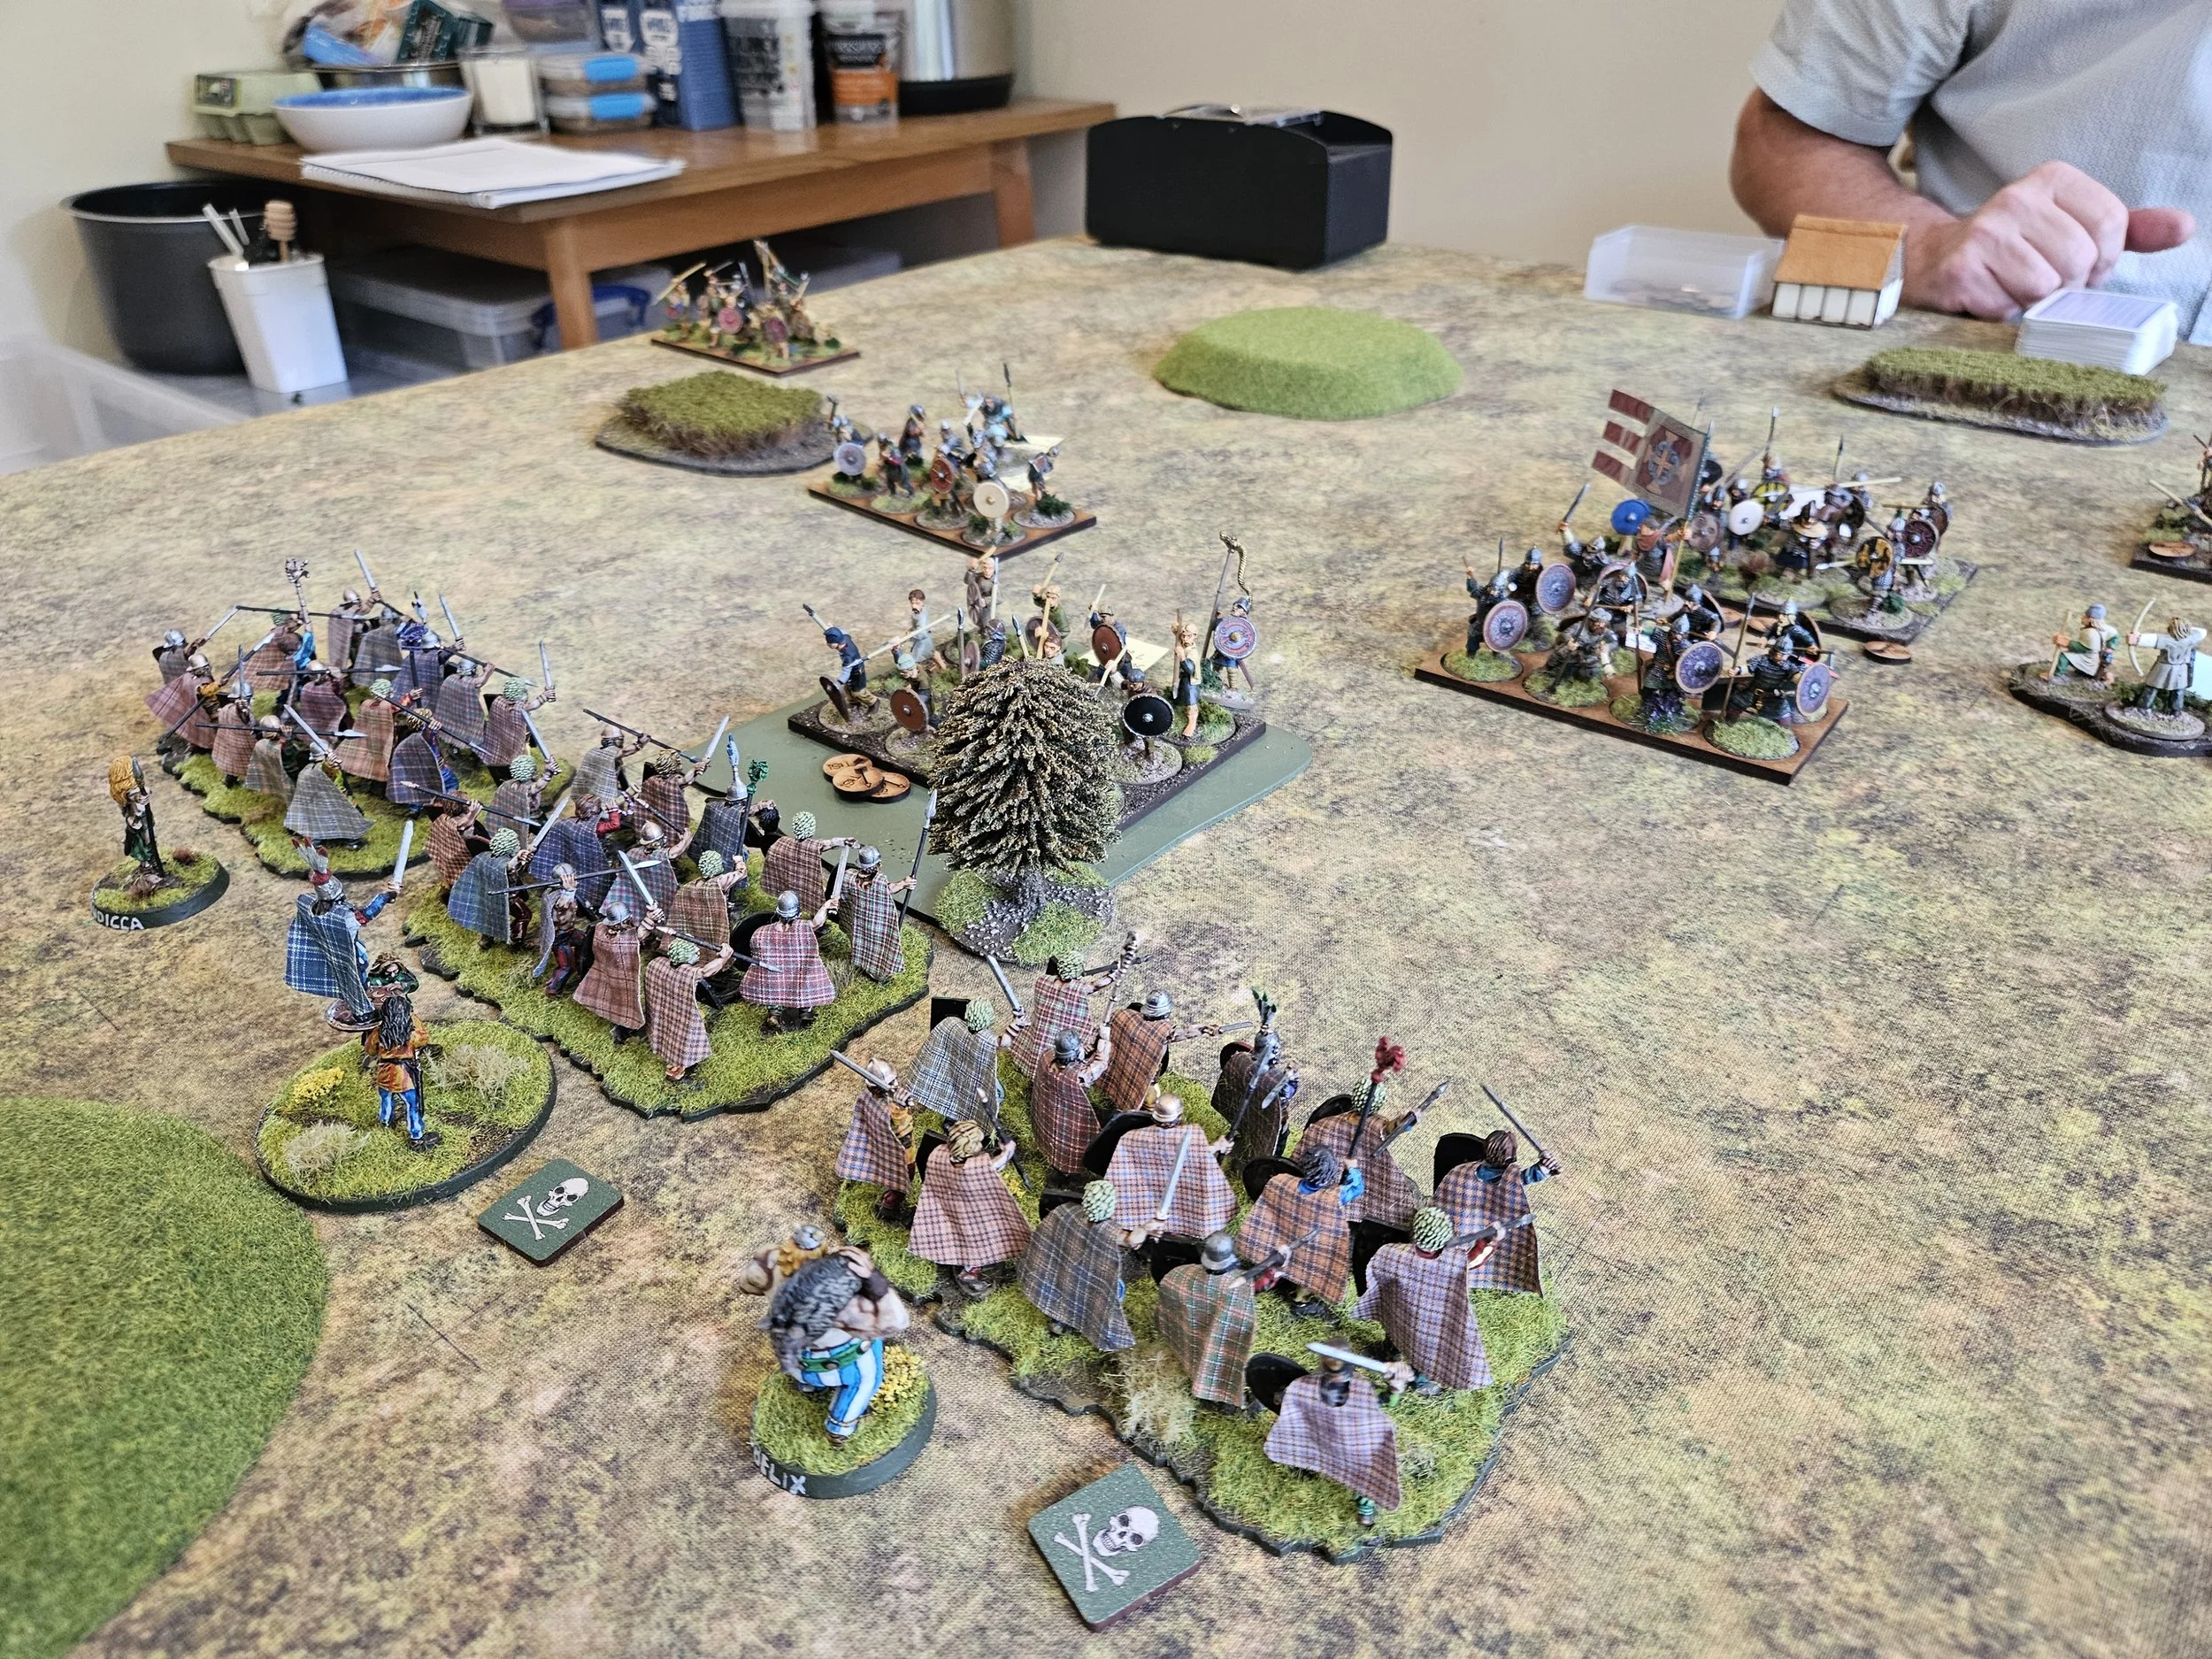
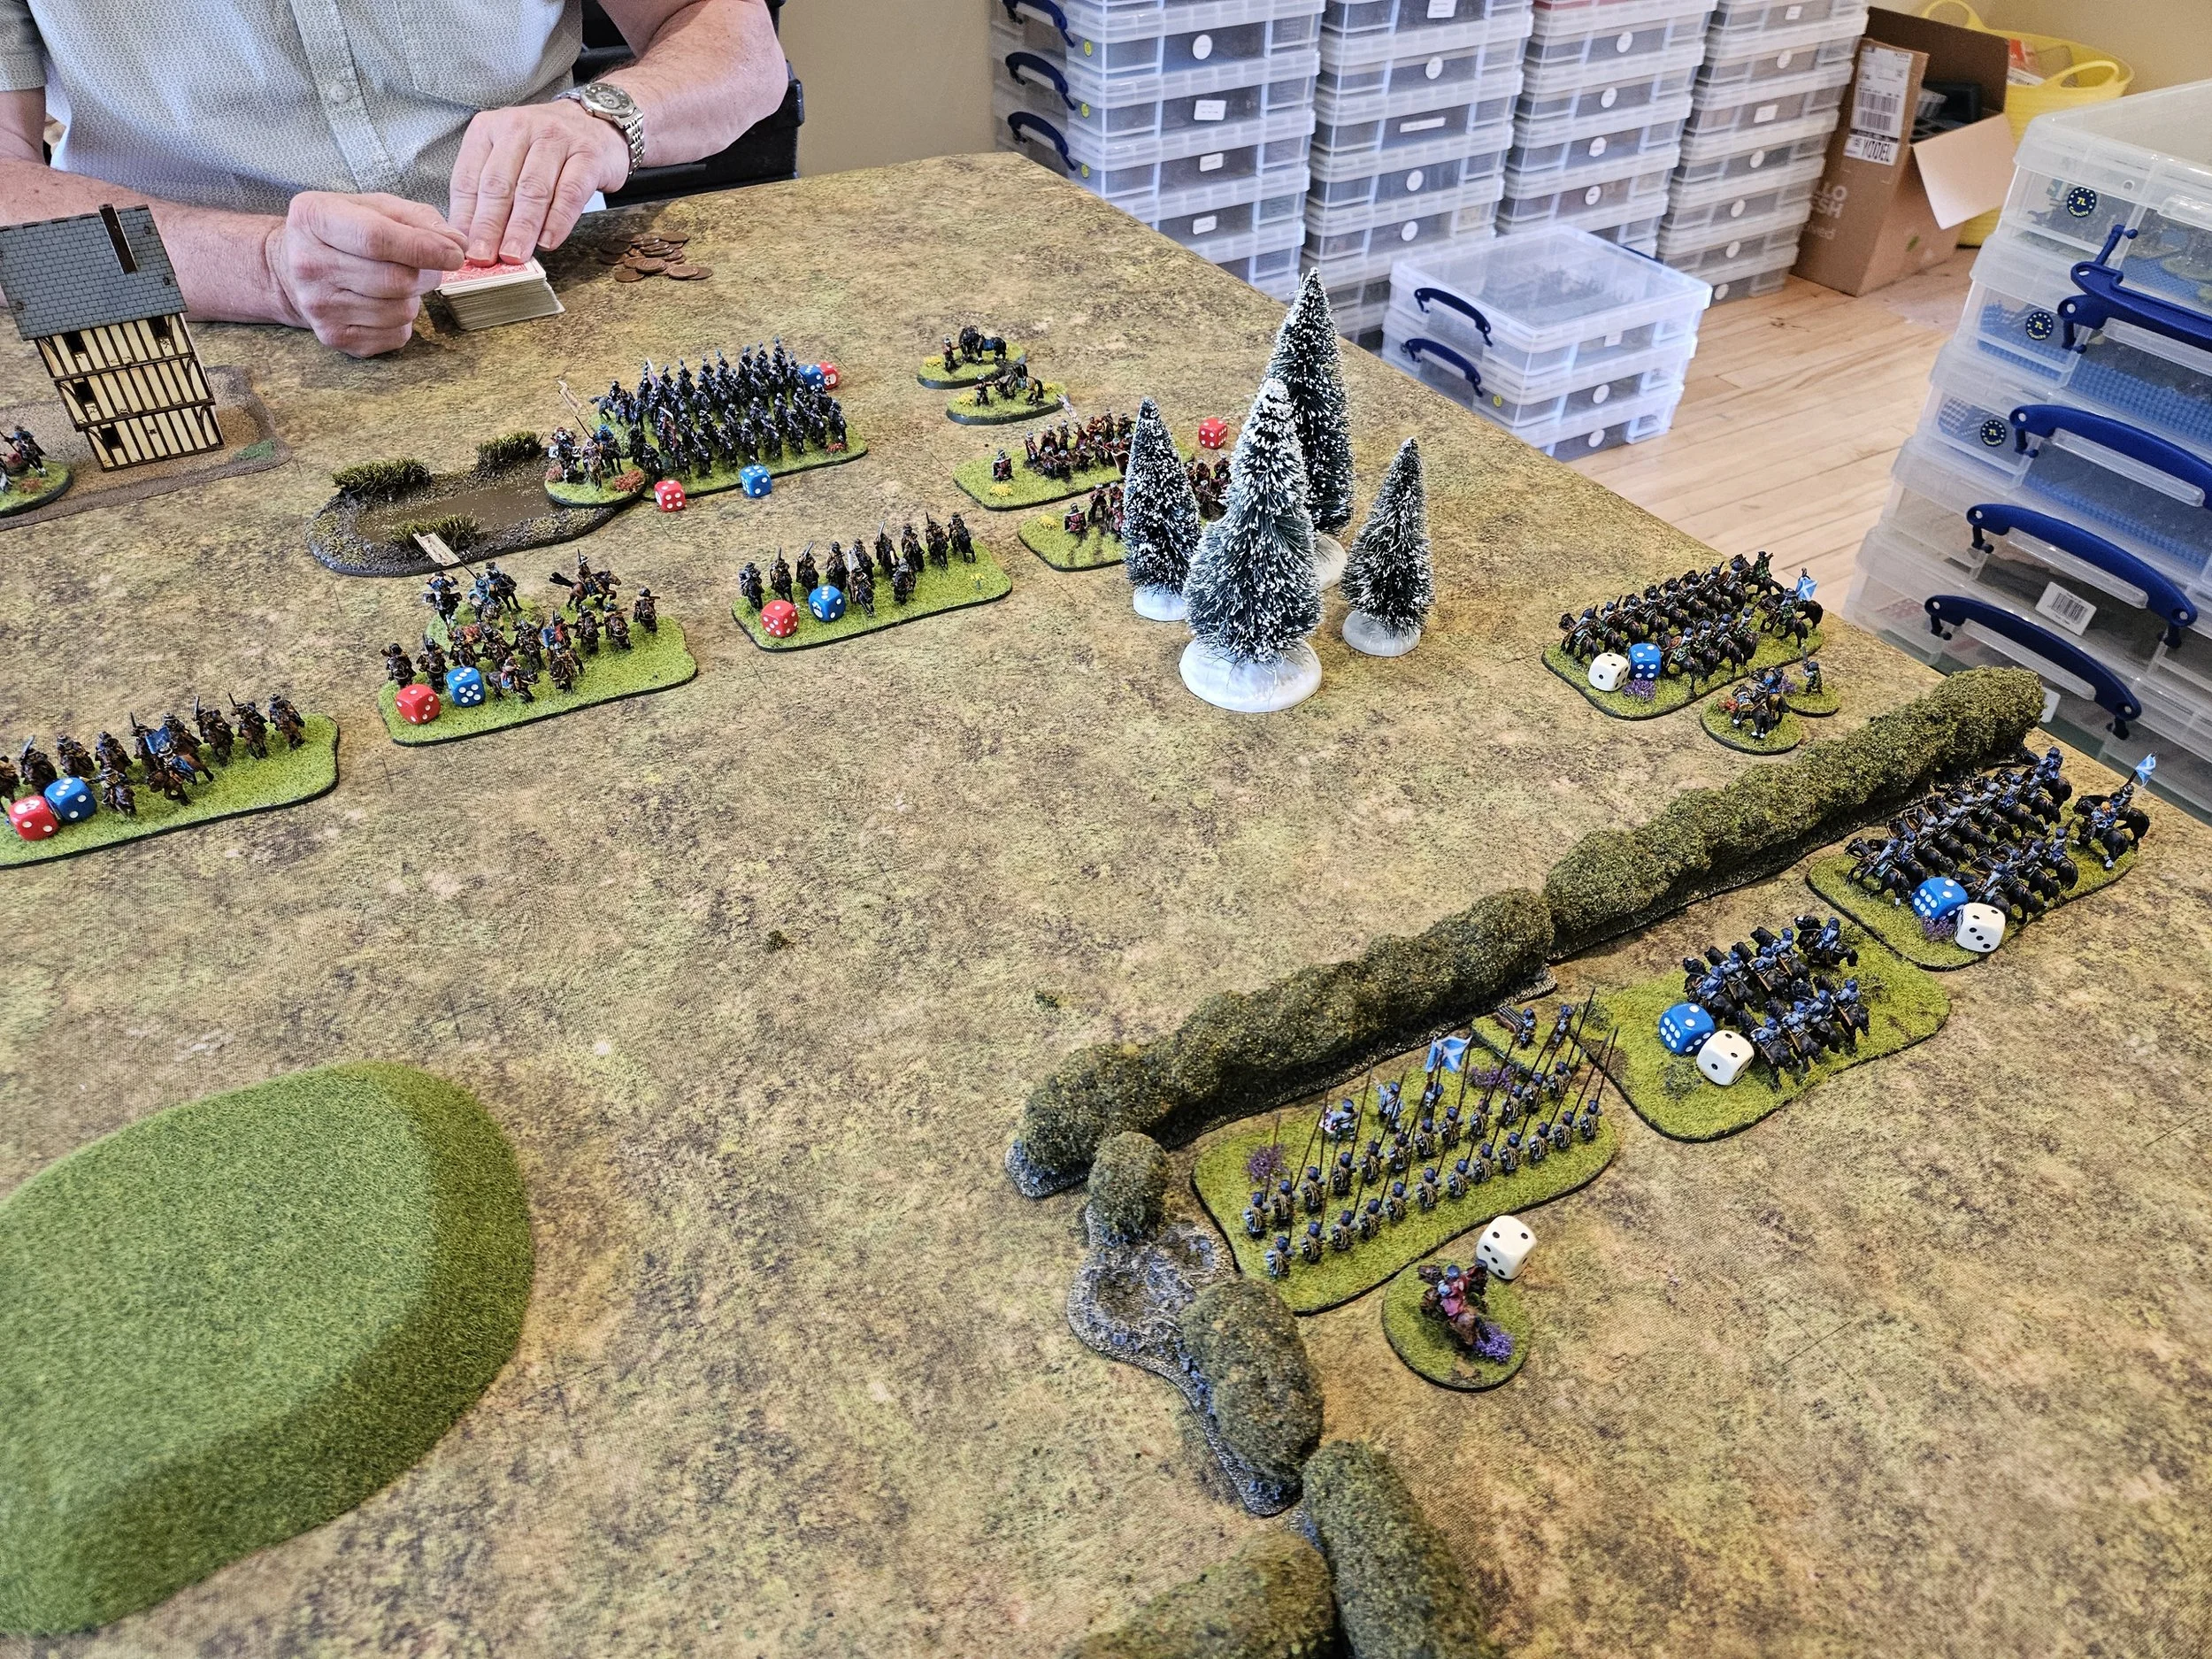
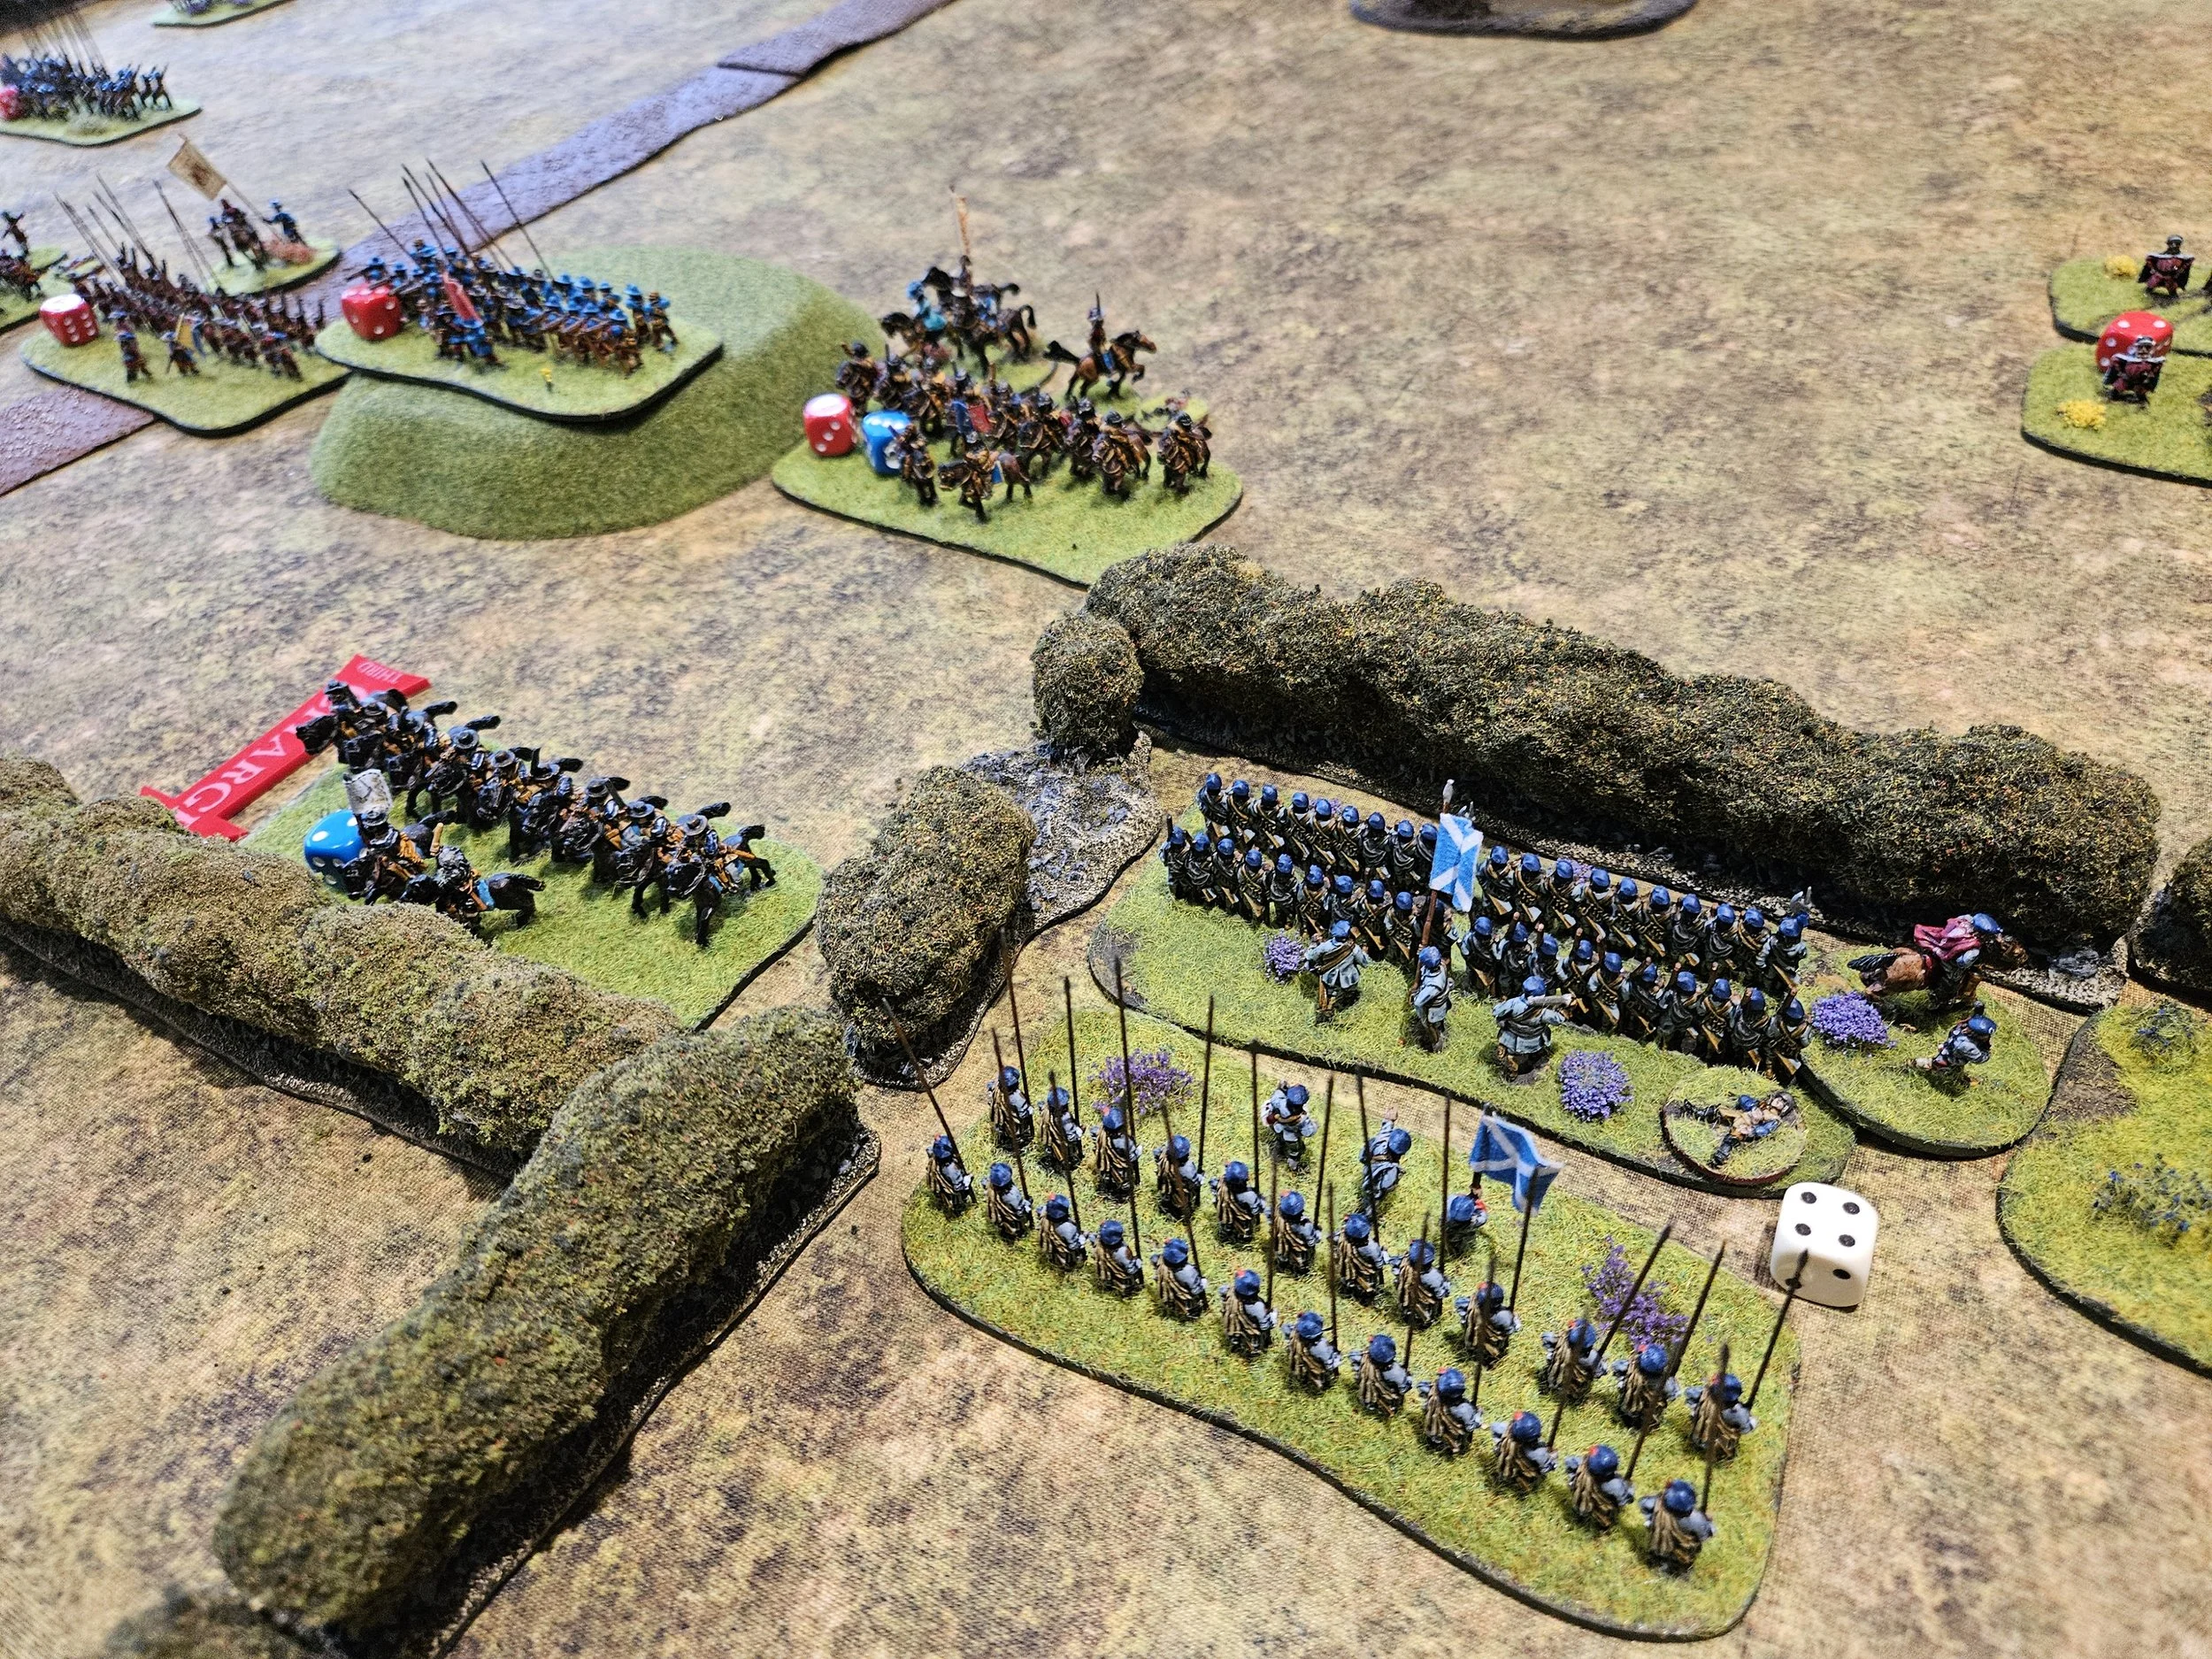
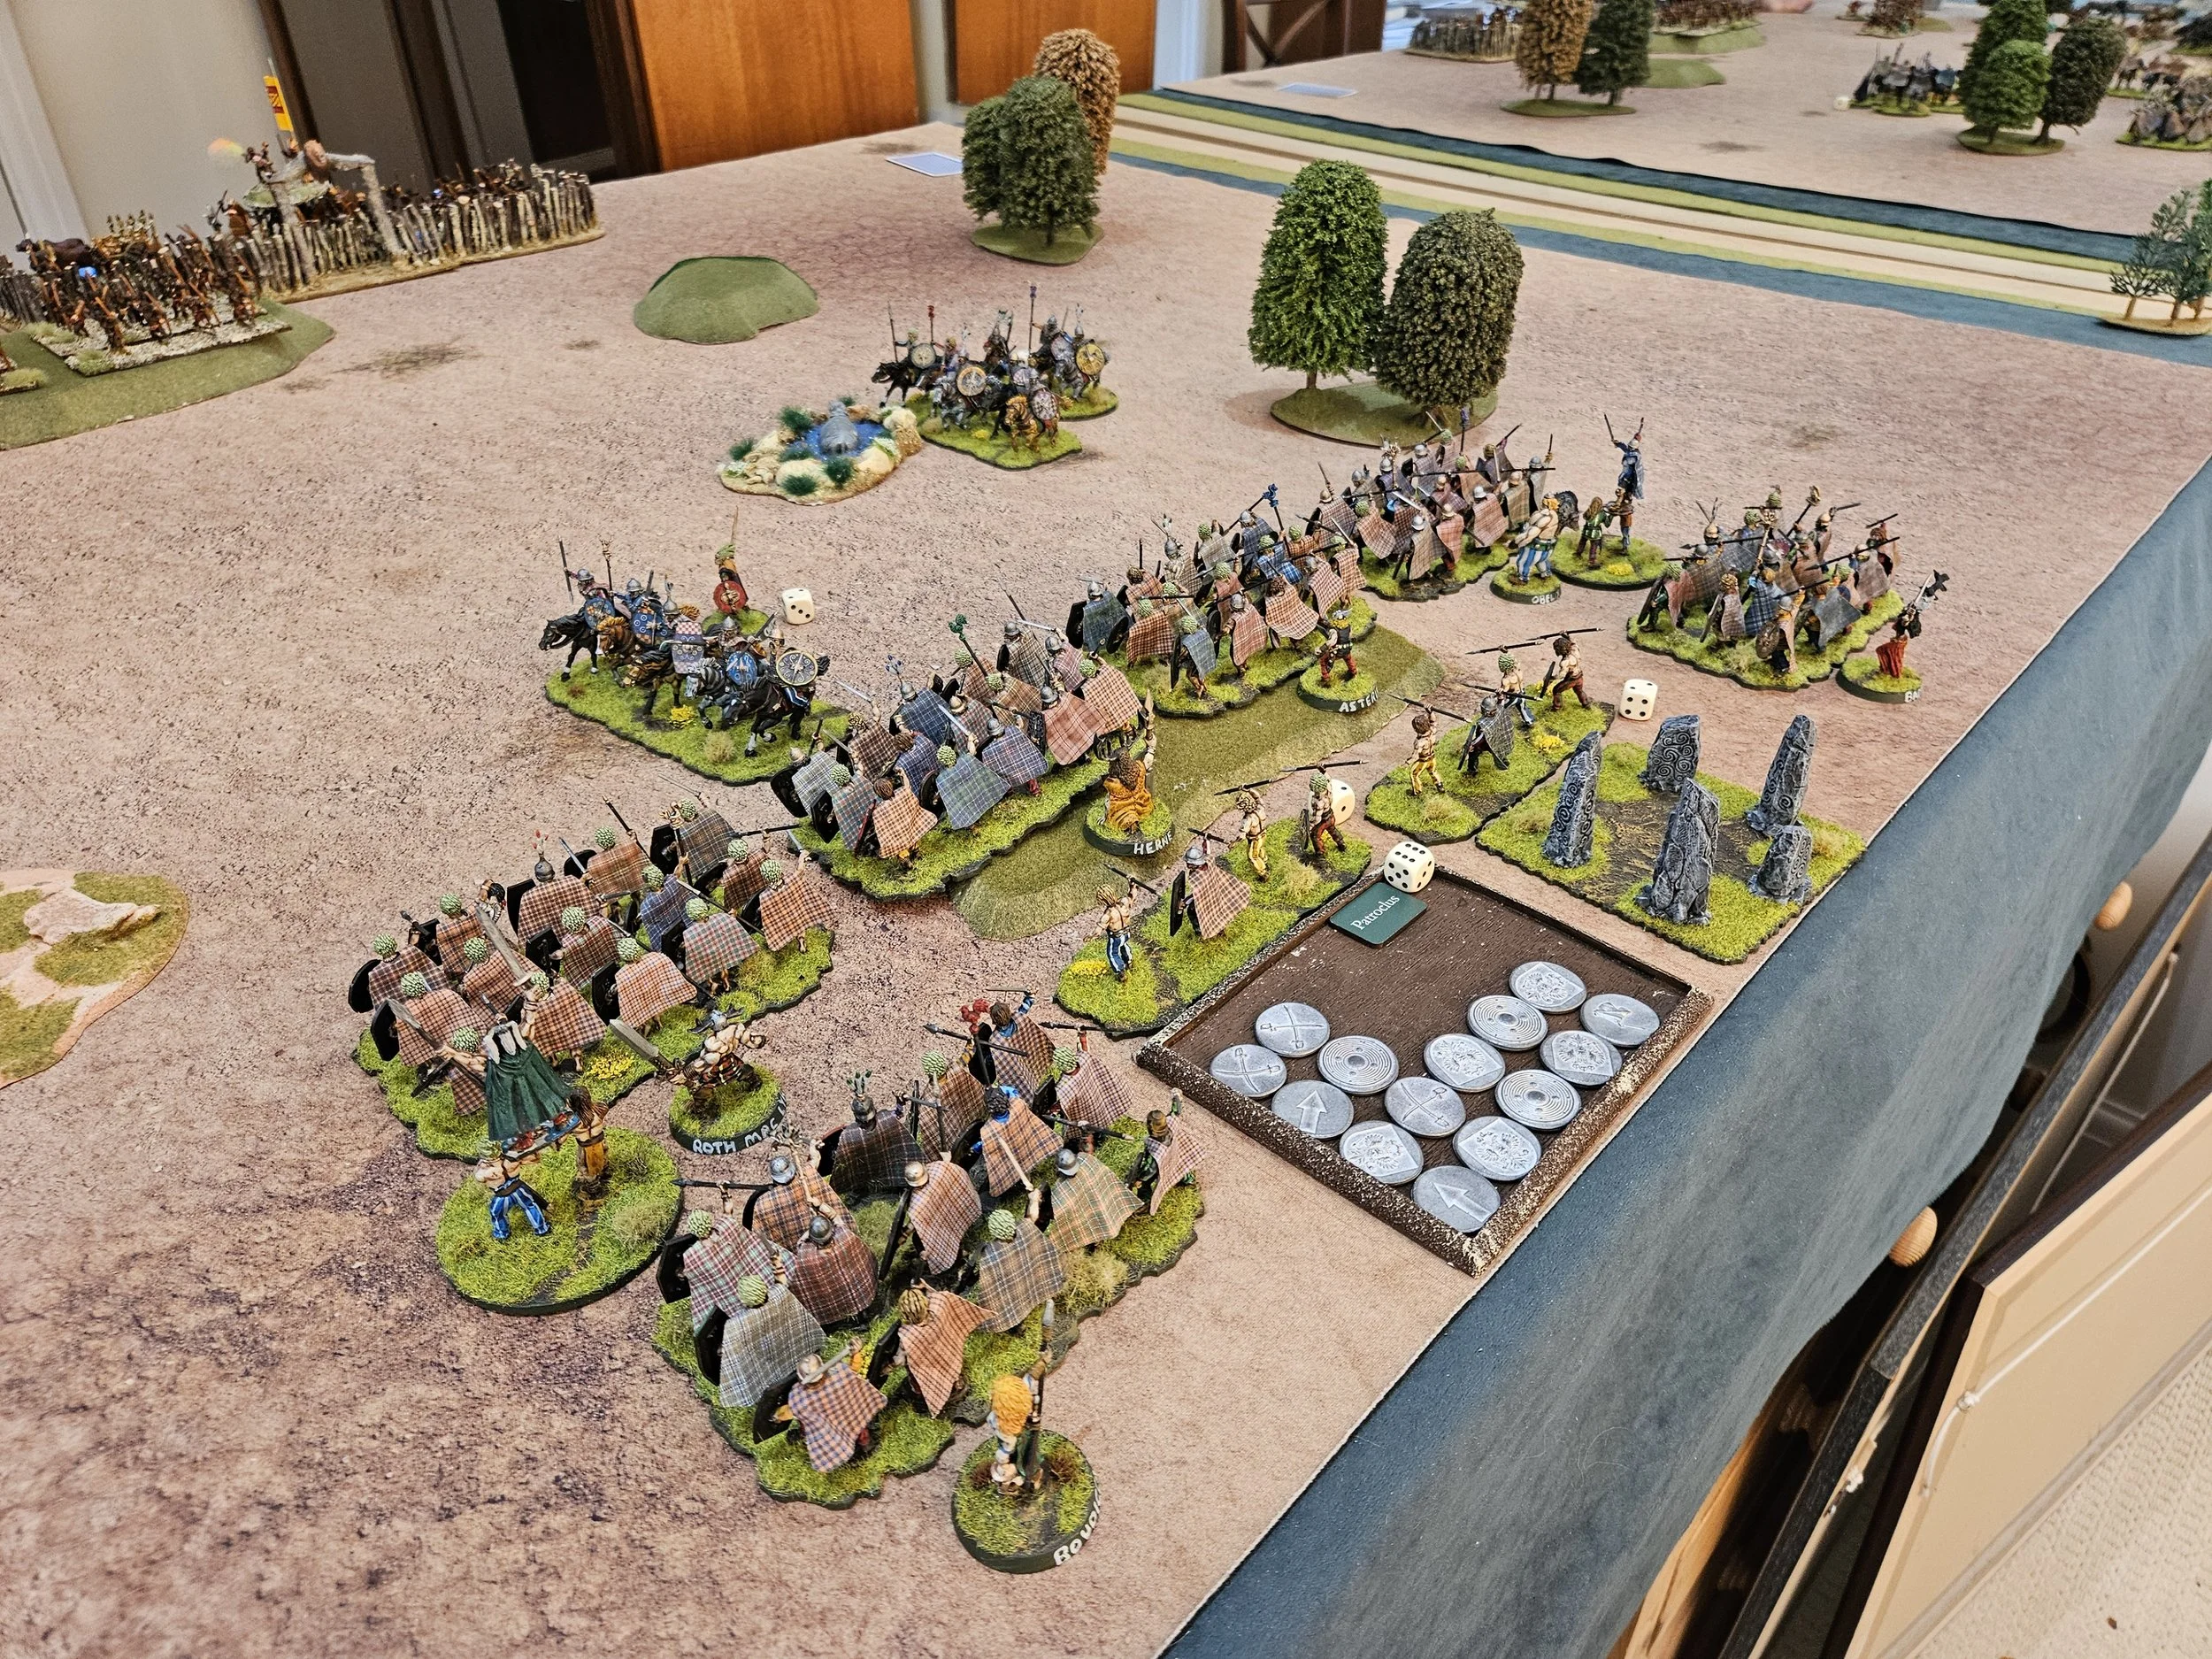
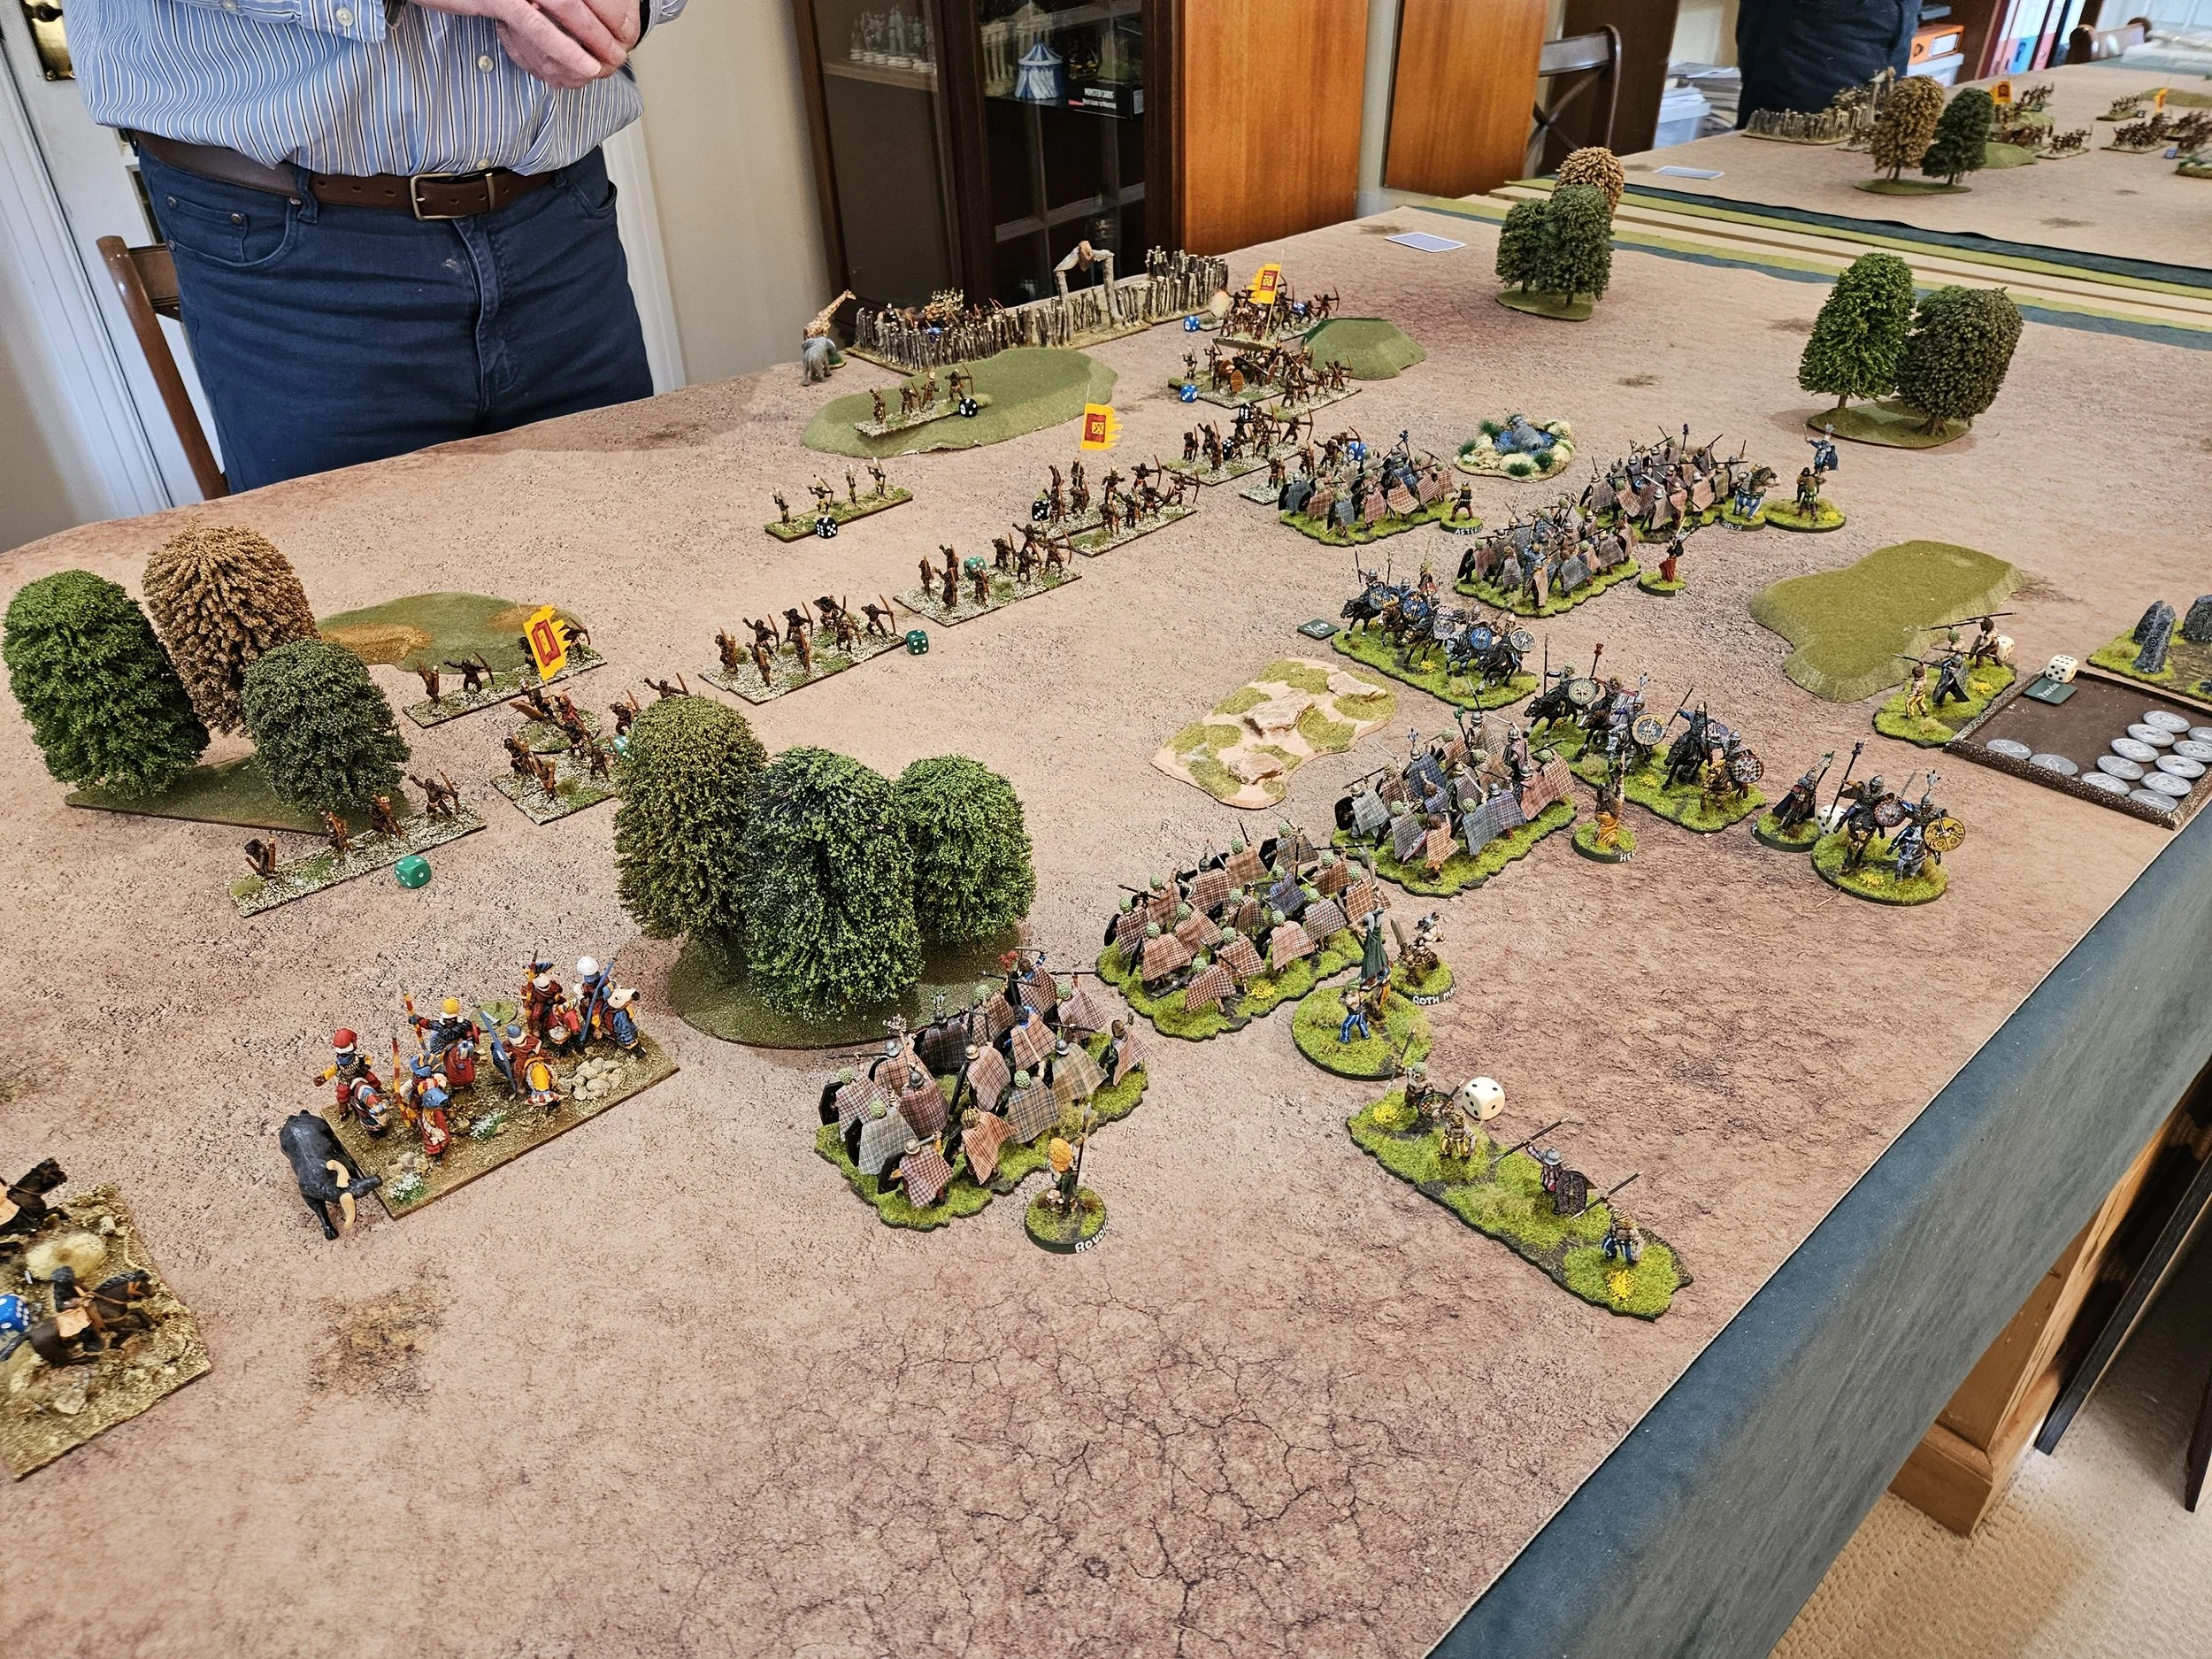
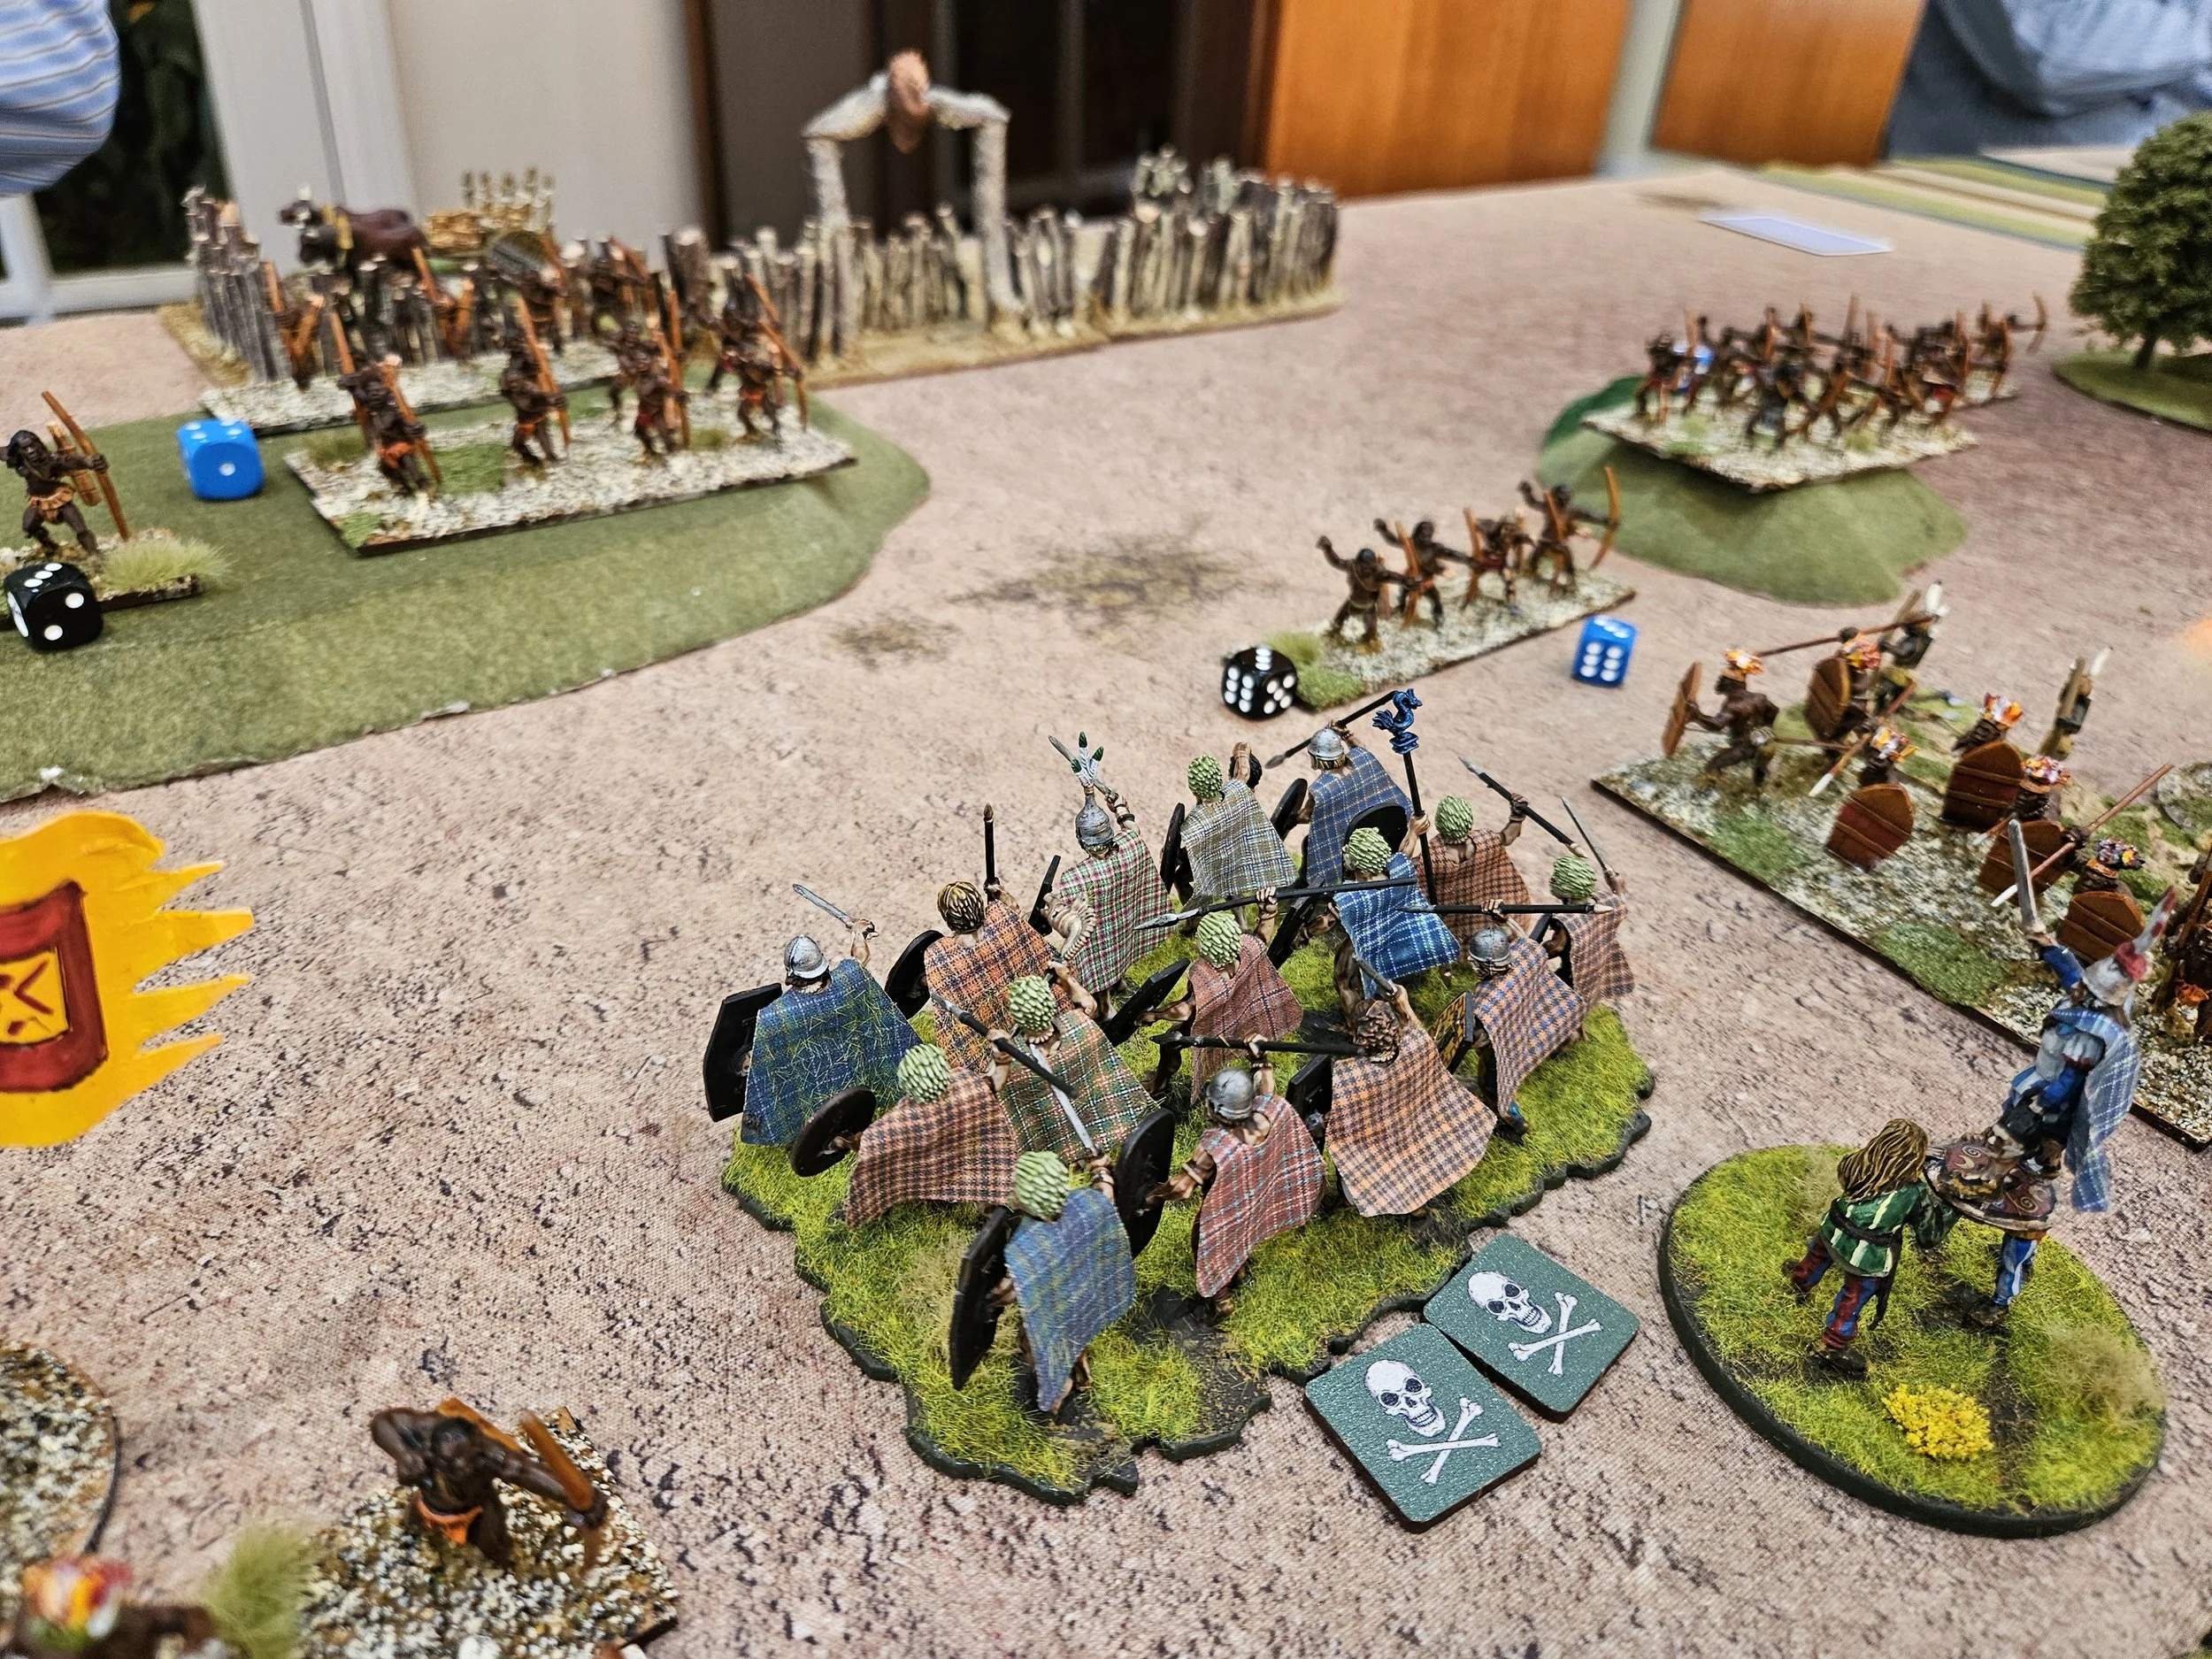
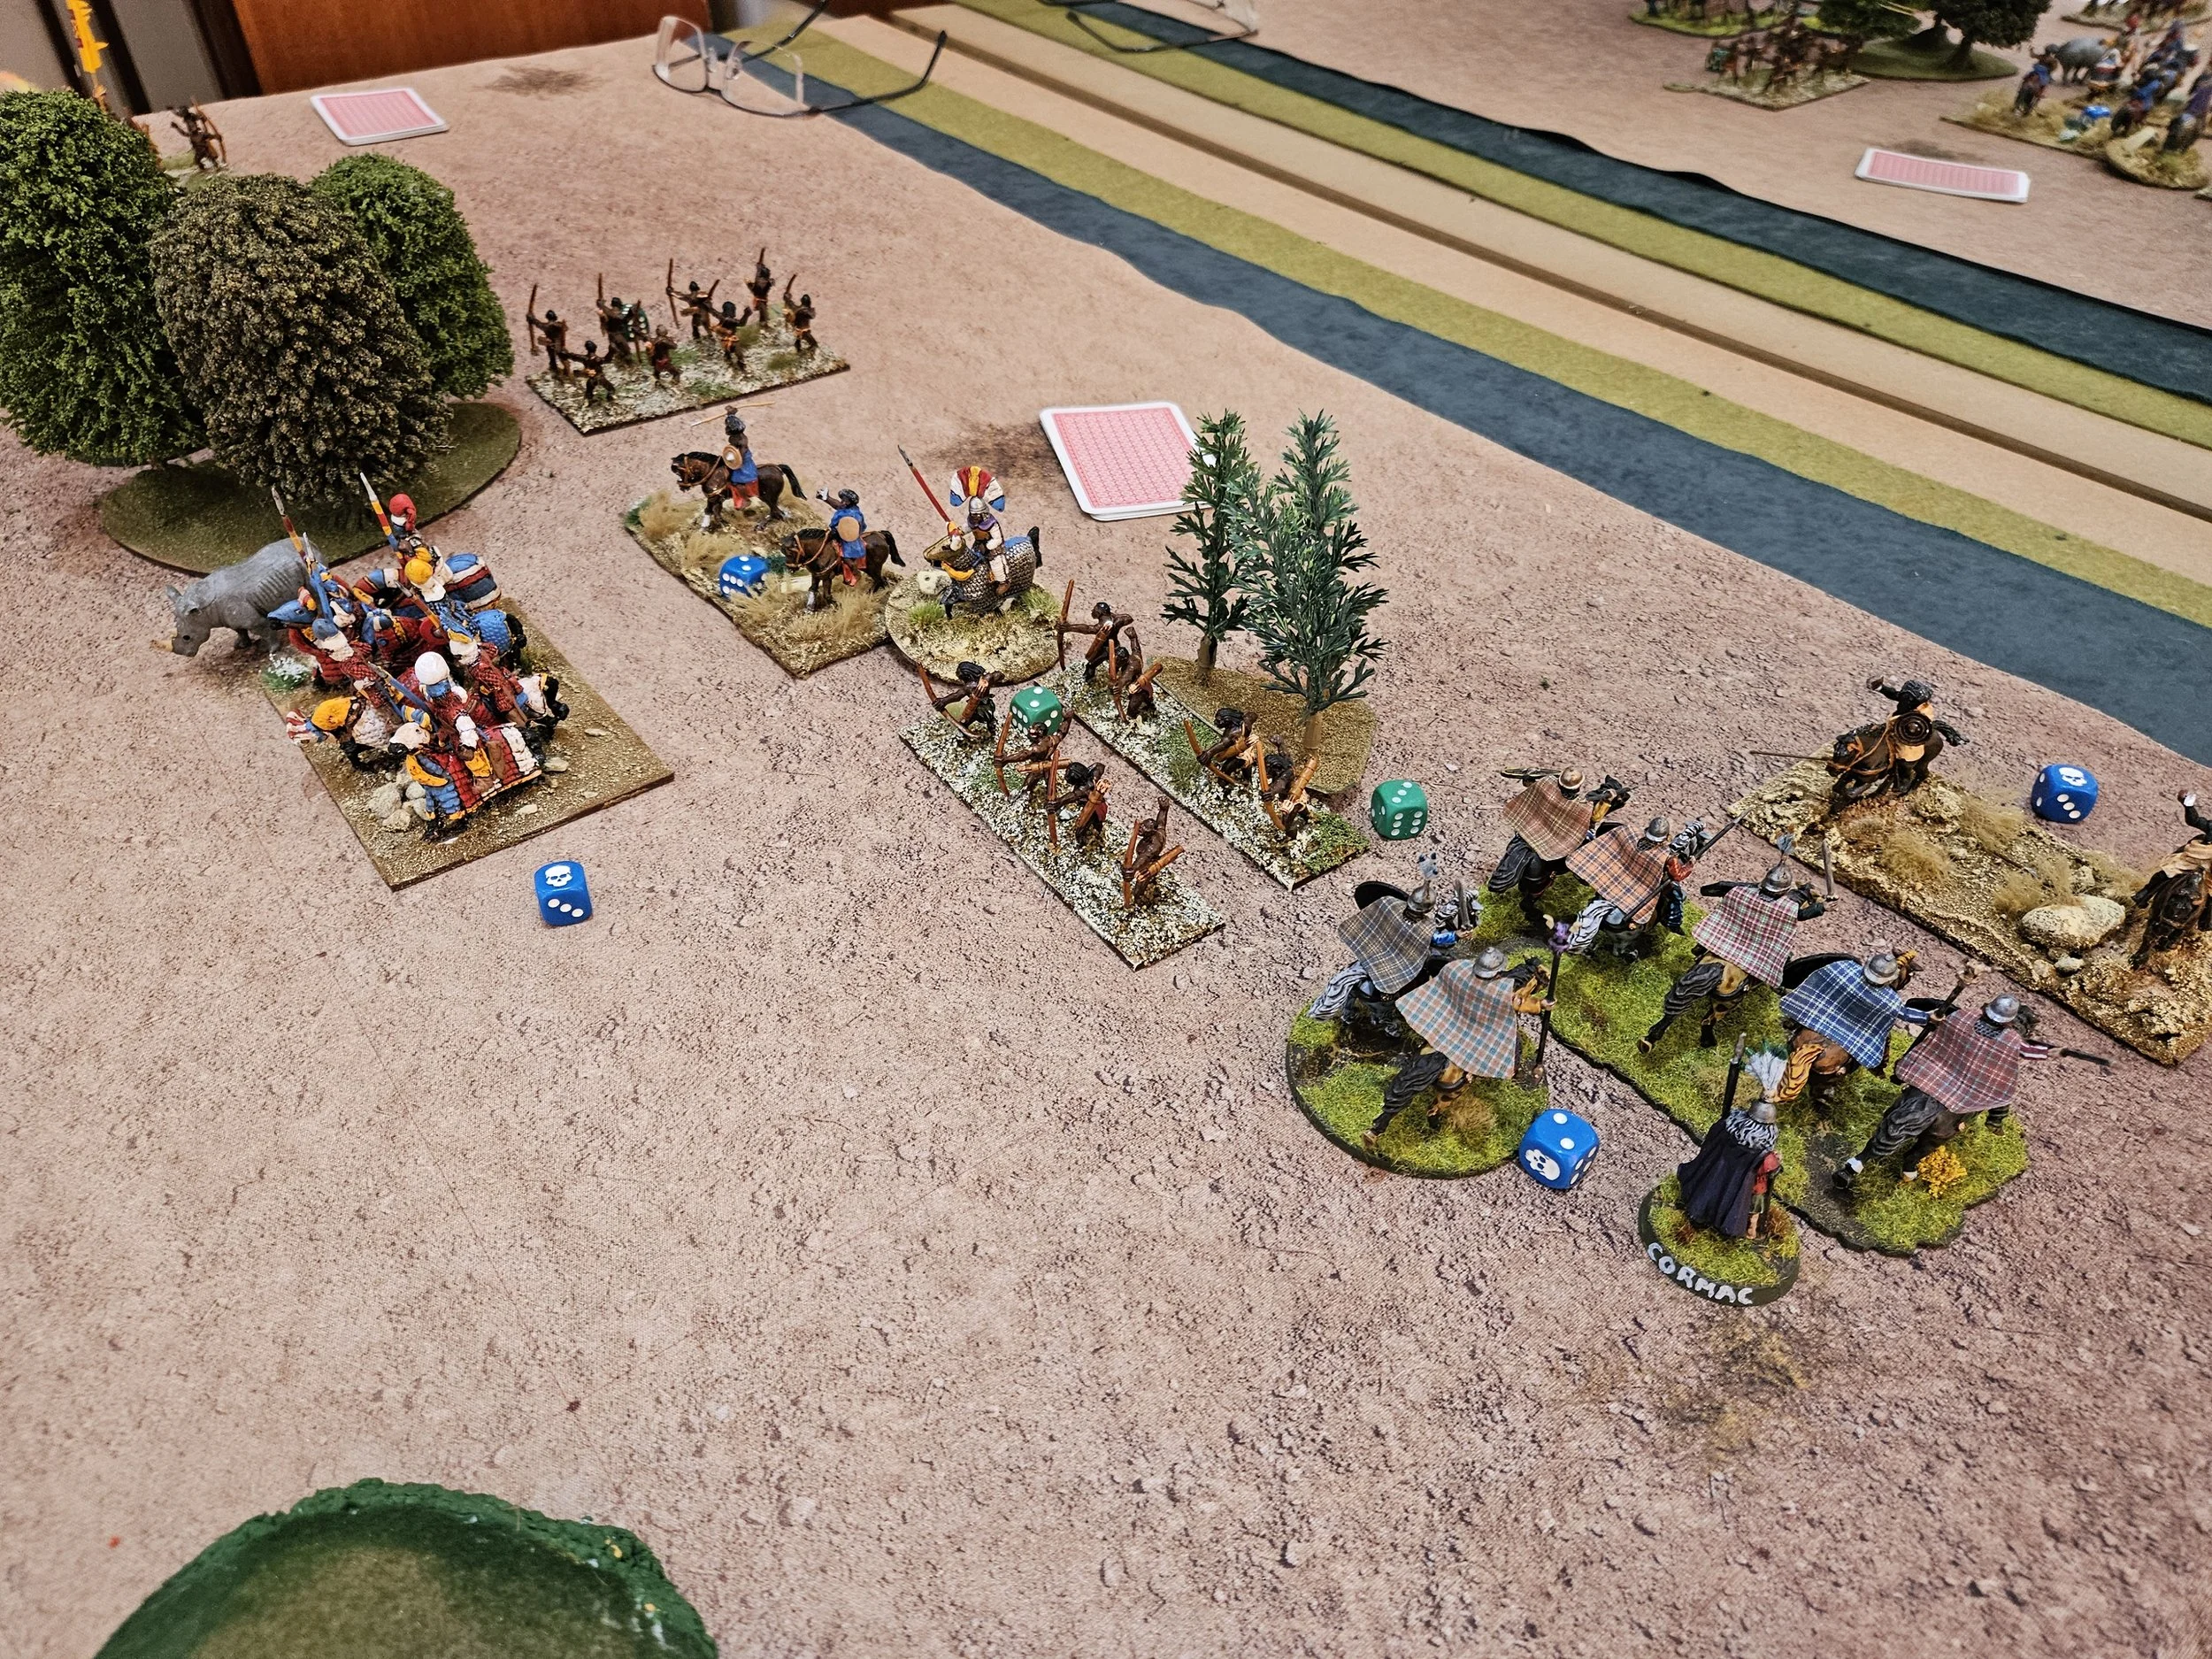
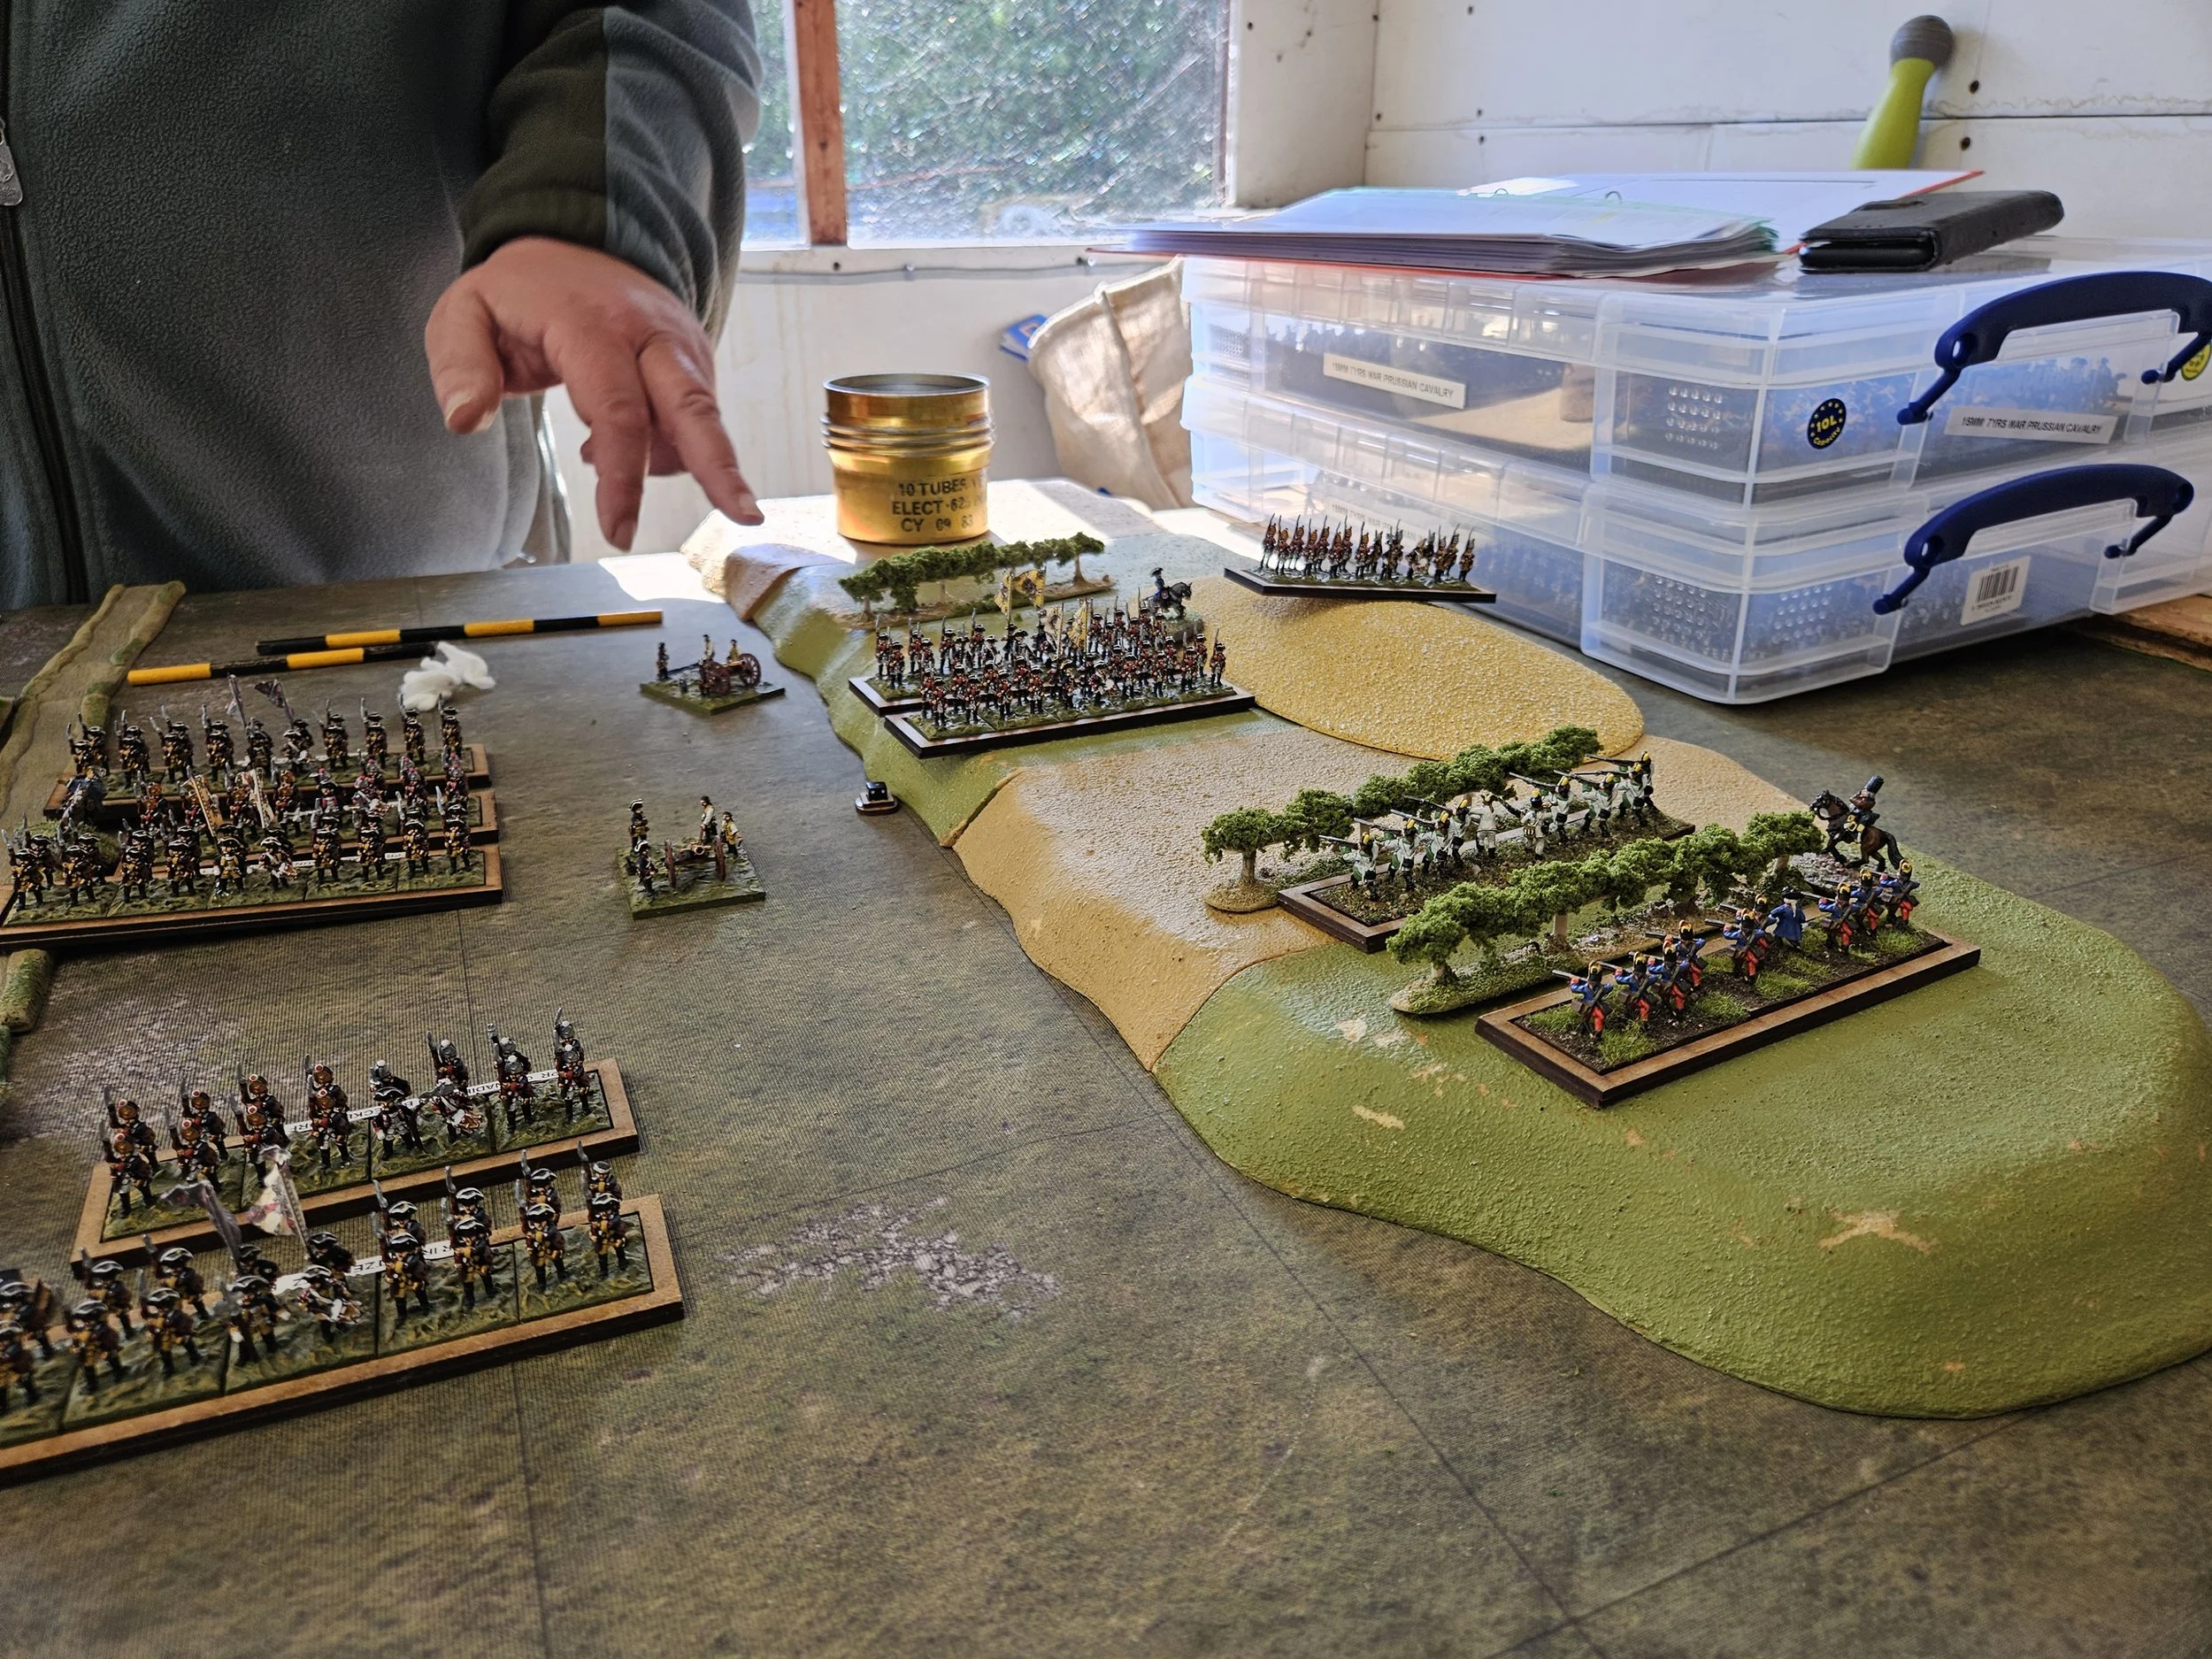
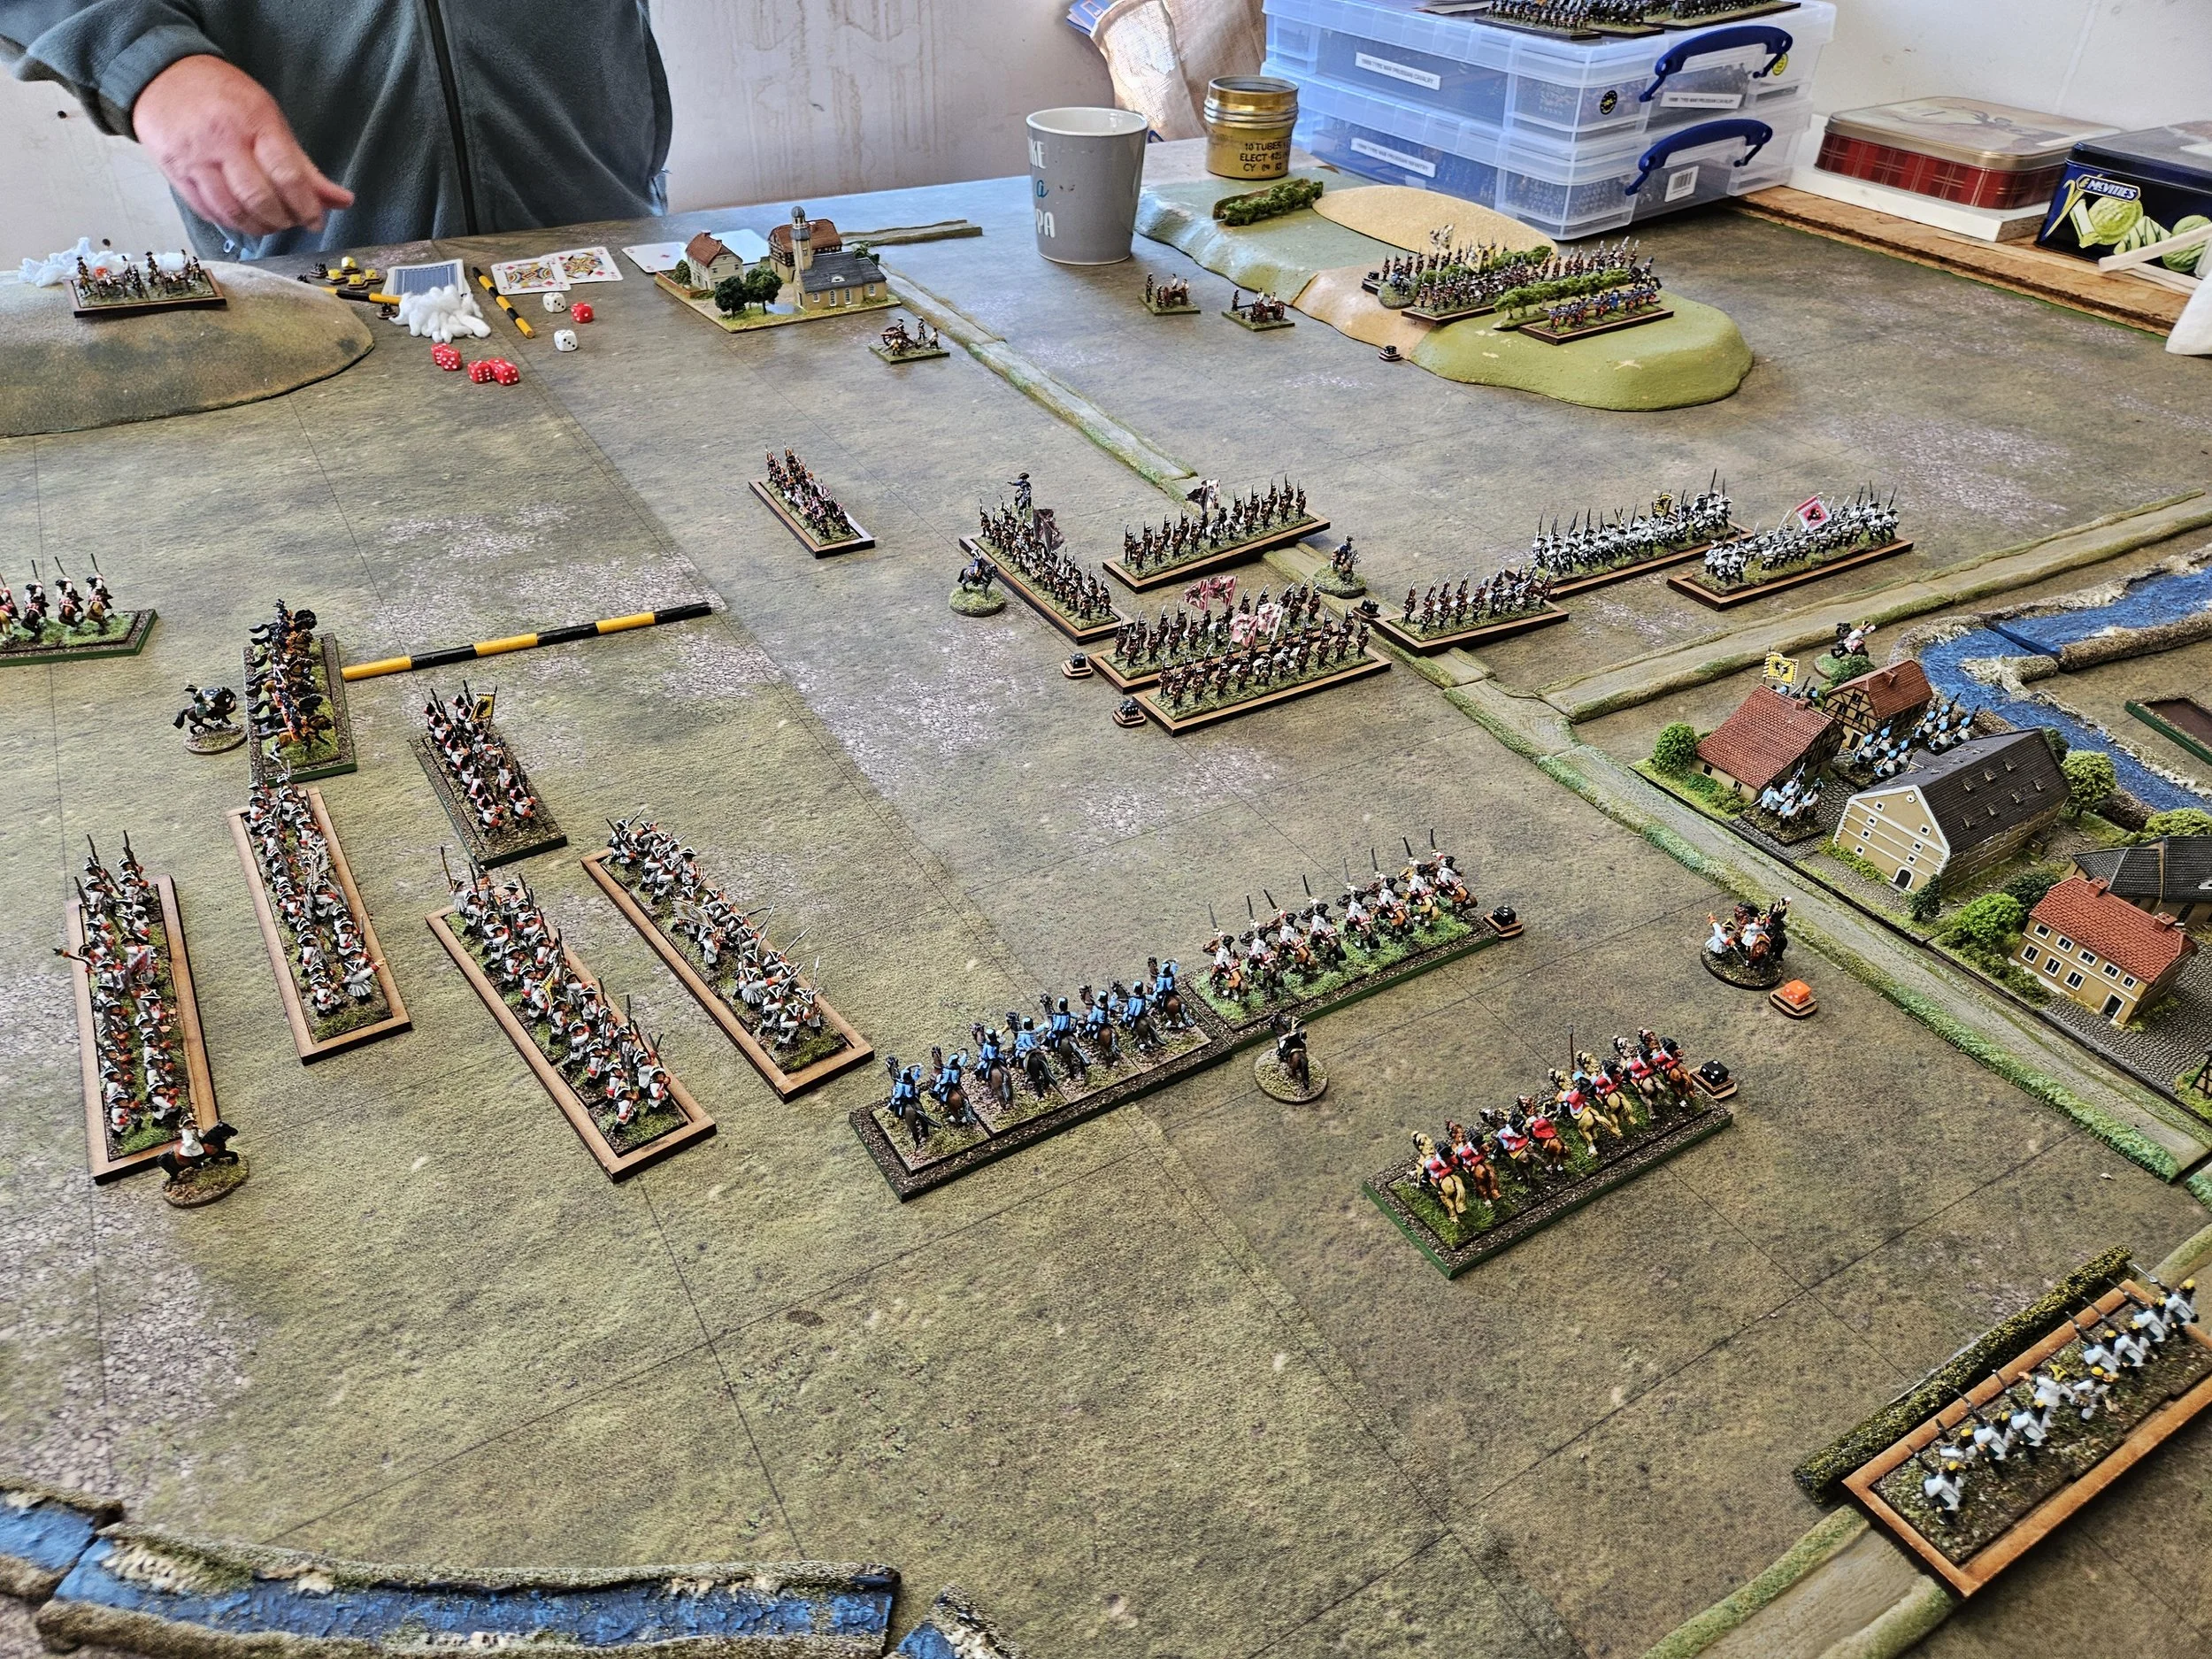
I then manoeuvred my three mounted units against just one of Robs and moved four archer units just into range to pour arrows into his other cavalry unit and three deep warbands that were struggling to manaouvre around the two woods. The deep hairies were also attempting to swerve right to avoid the interlocking field of fire of yet more of my formed bowmen on top of a central defensive hill. This led them into a very constricted area between the two woods where their lack of manoeuvrability bogged them down into in-action and created a traffic jam. In an attempt unblock this cloggage one unit of fanatics chased some annoying archers into a wood getting delightfully entangled in the vegetation. Not ideal for a deep unit.
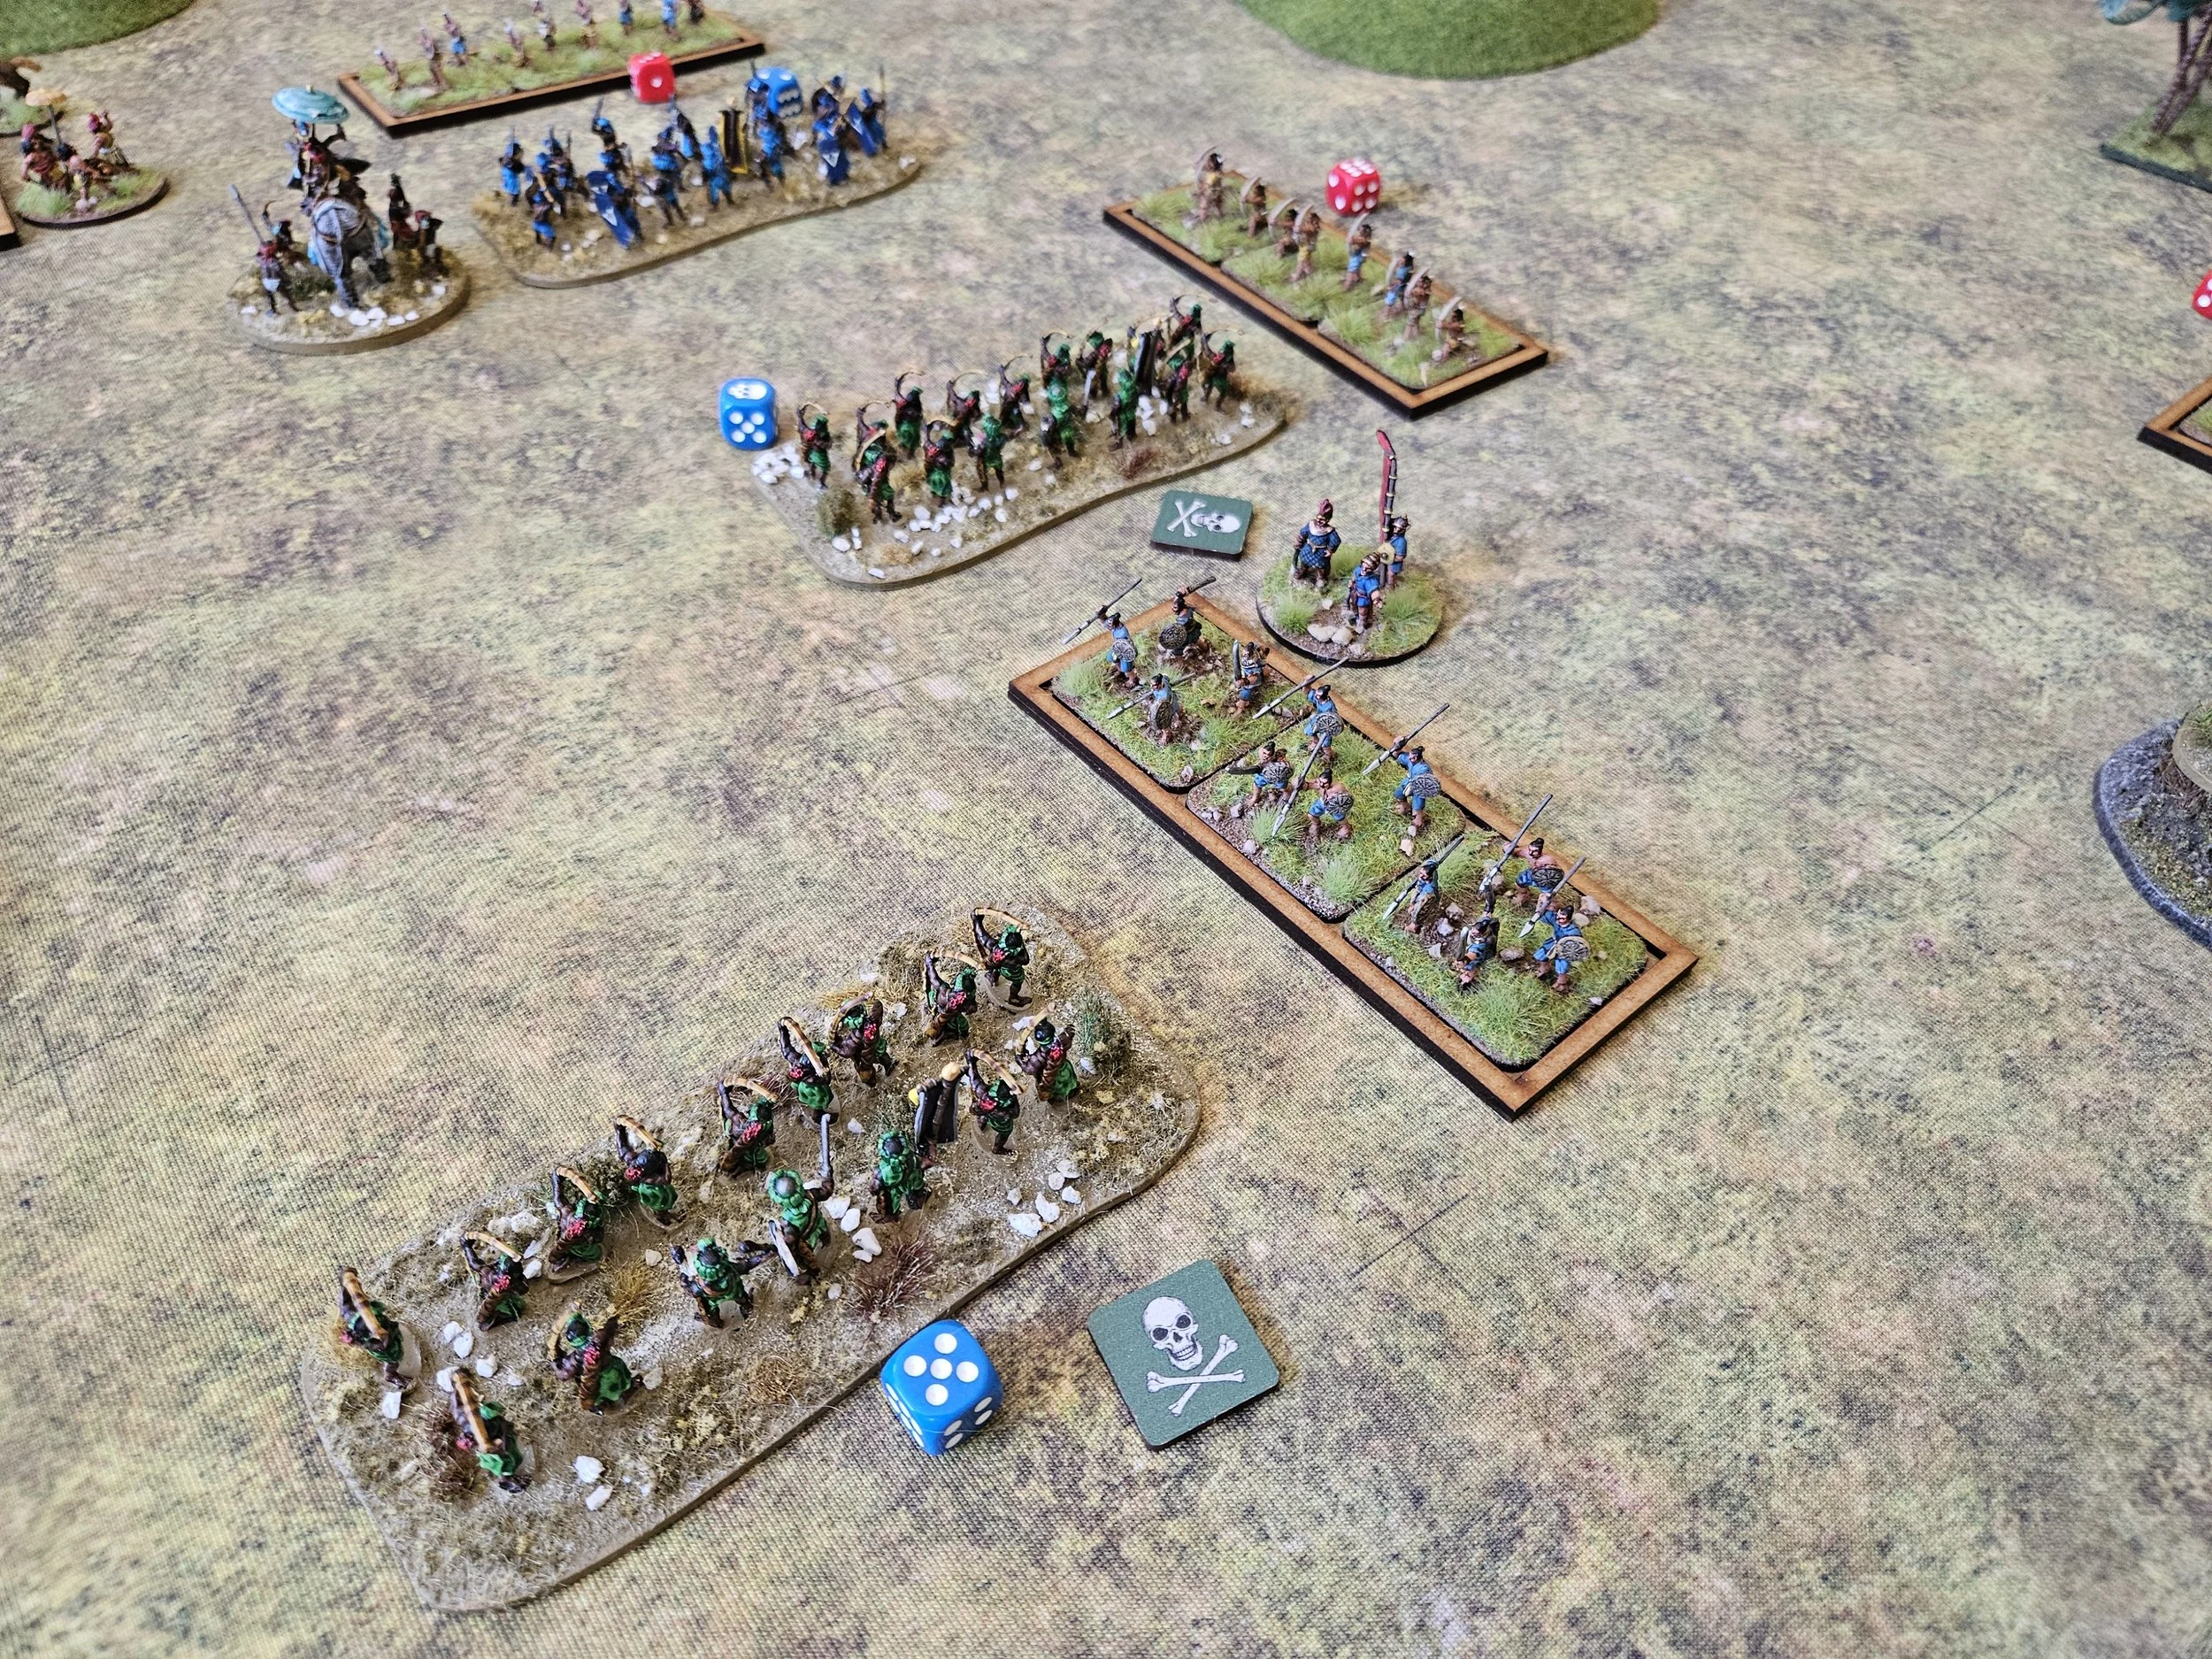
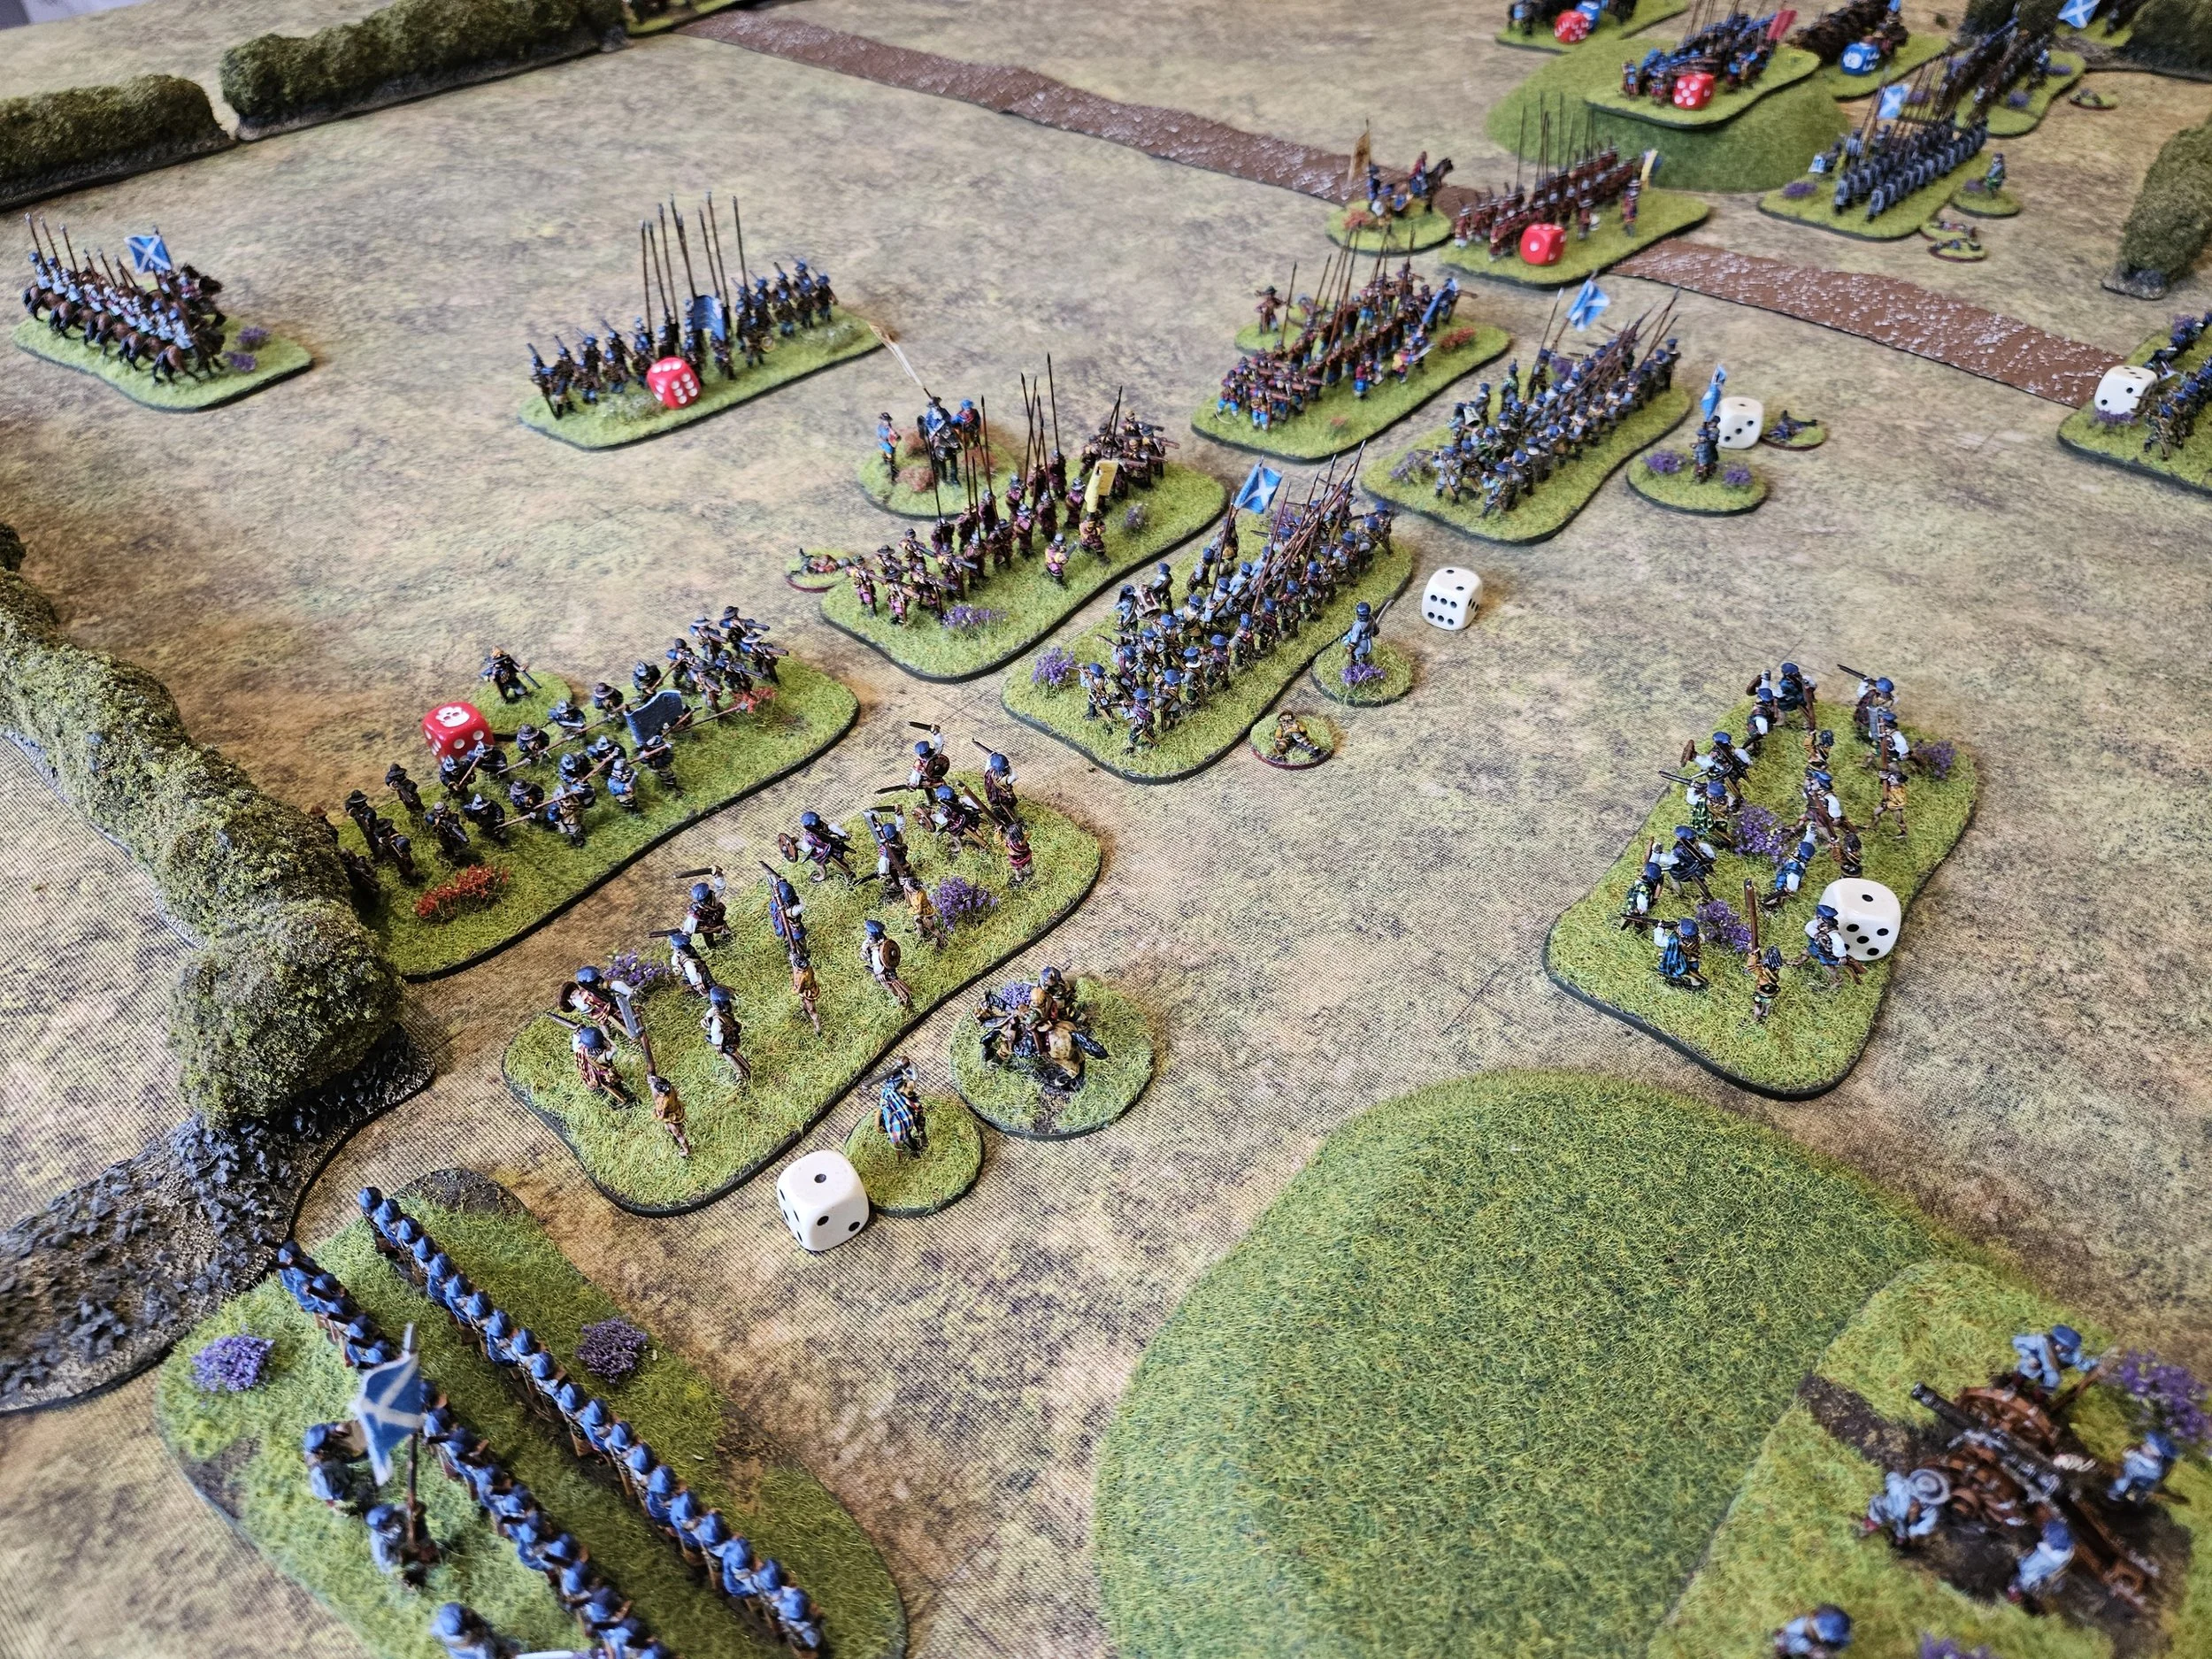
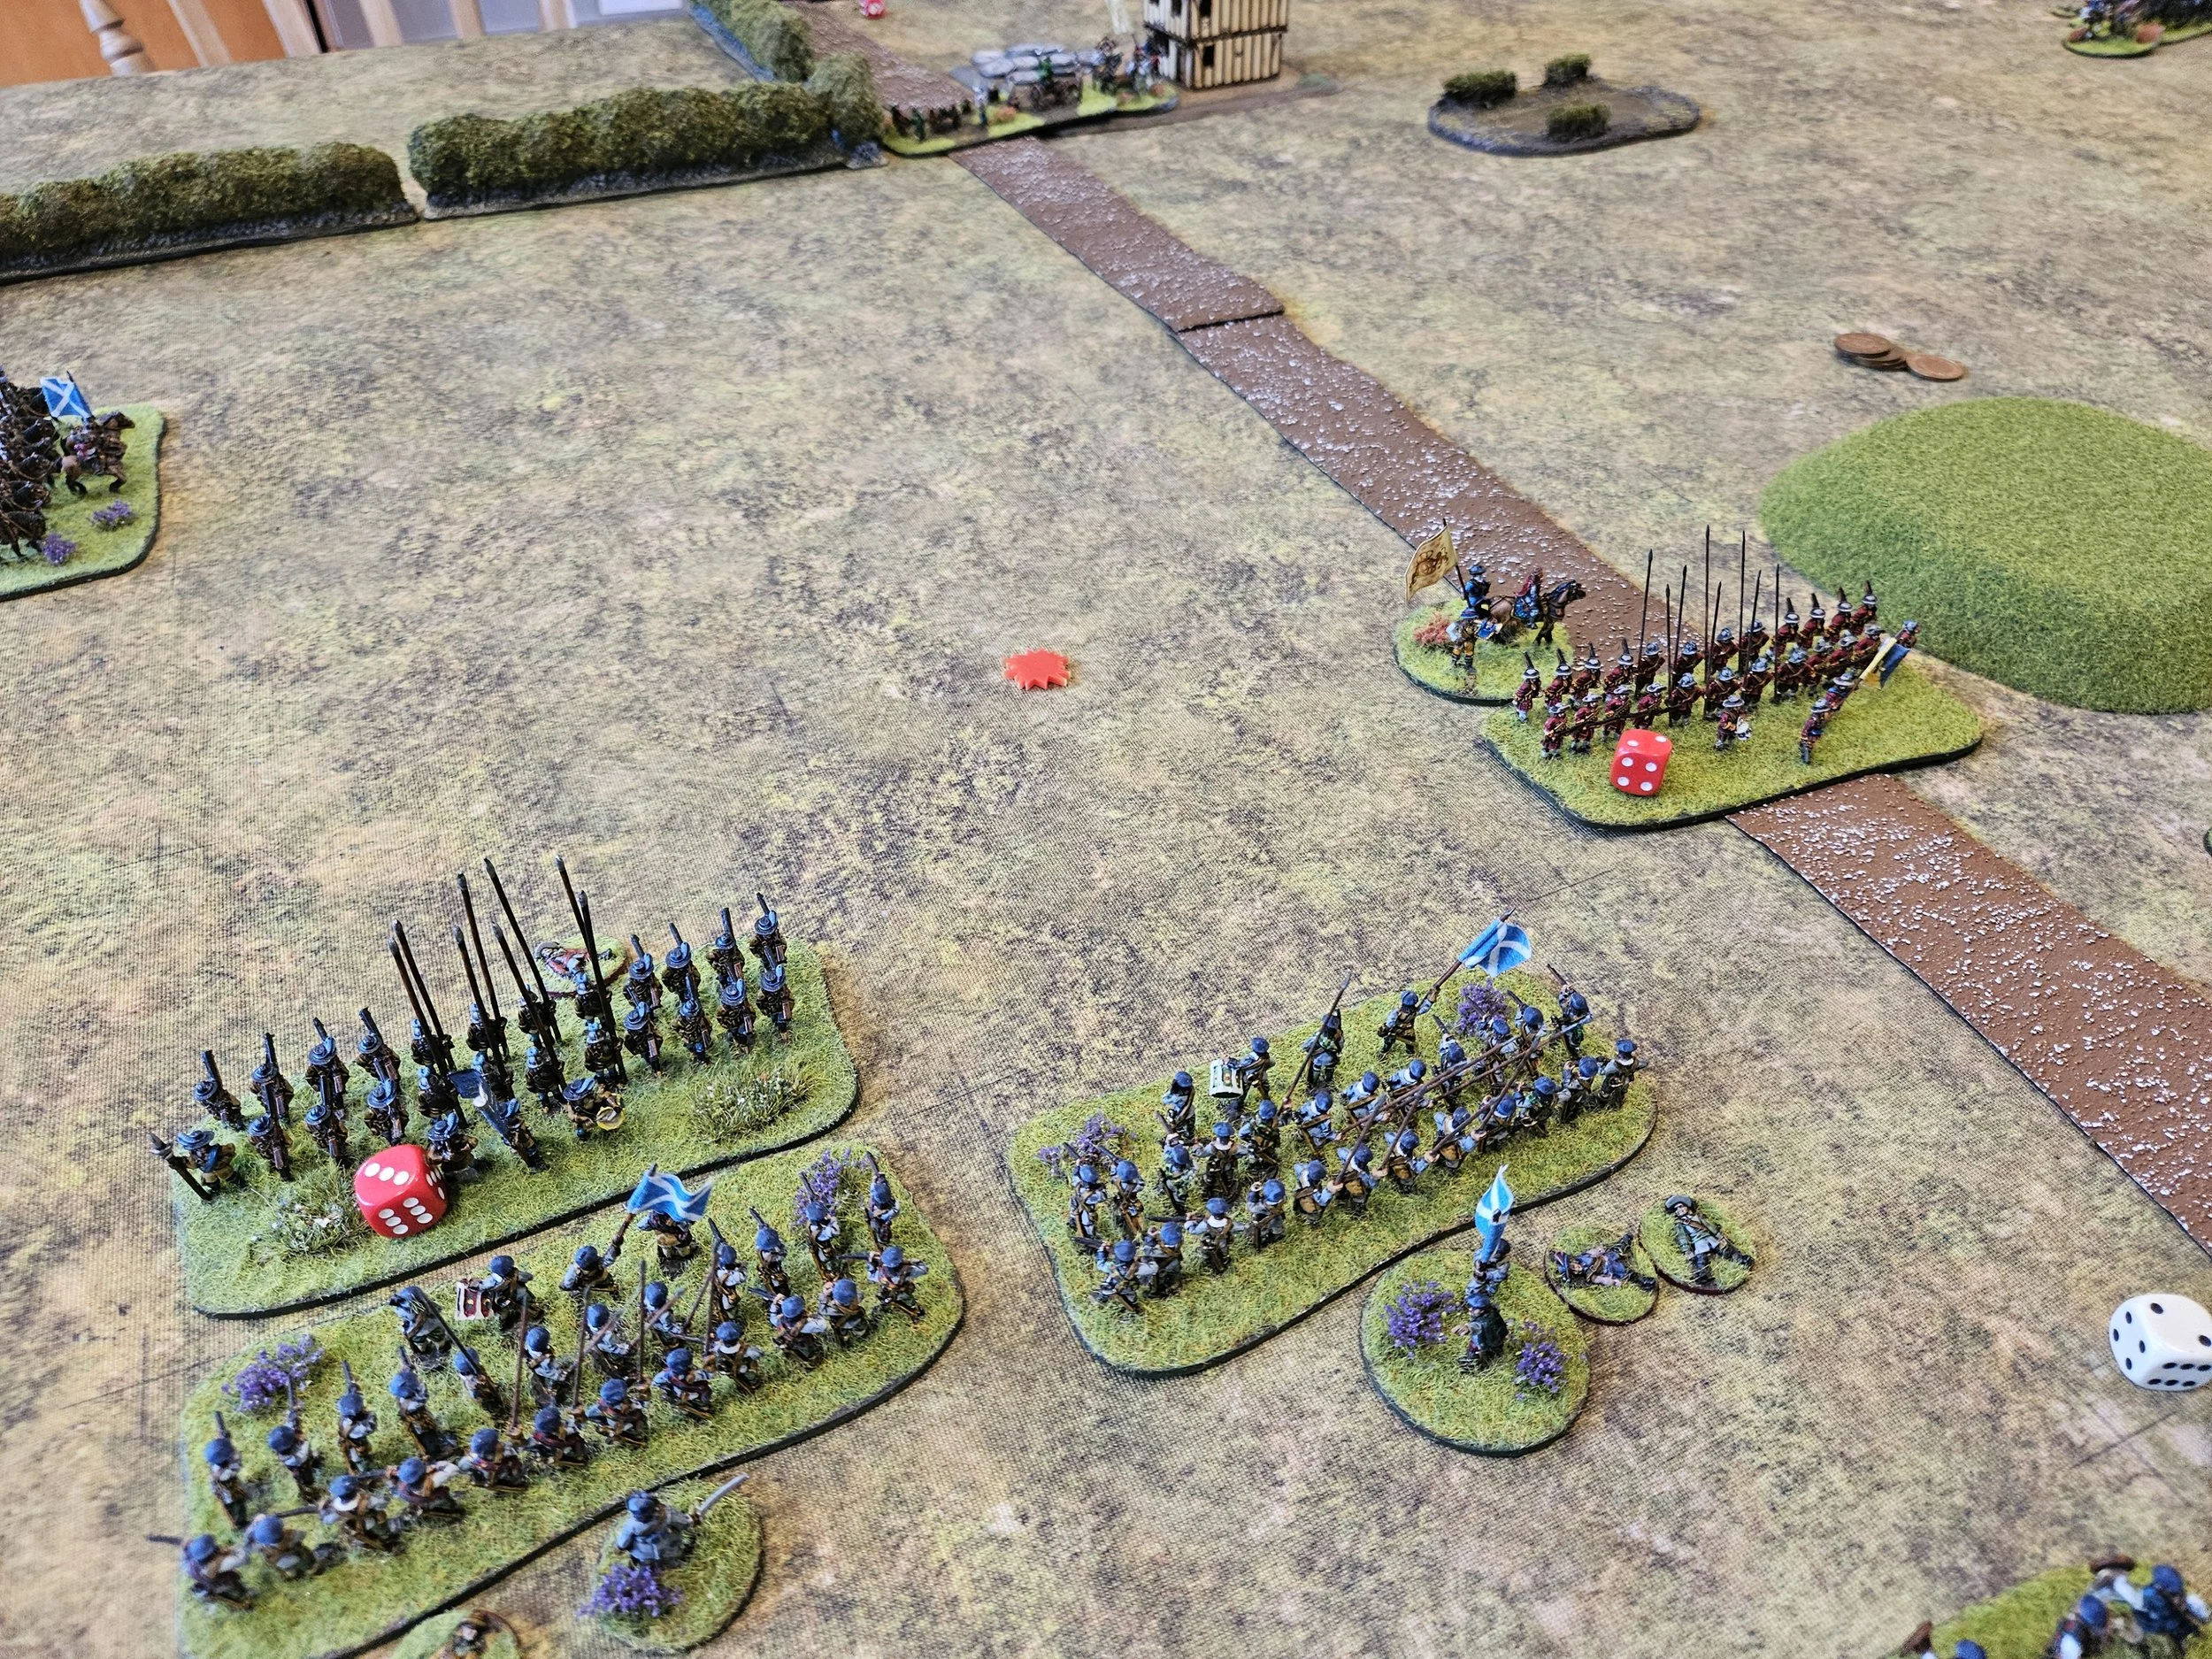
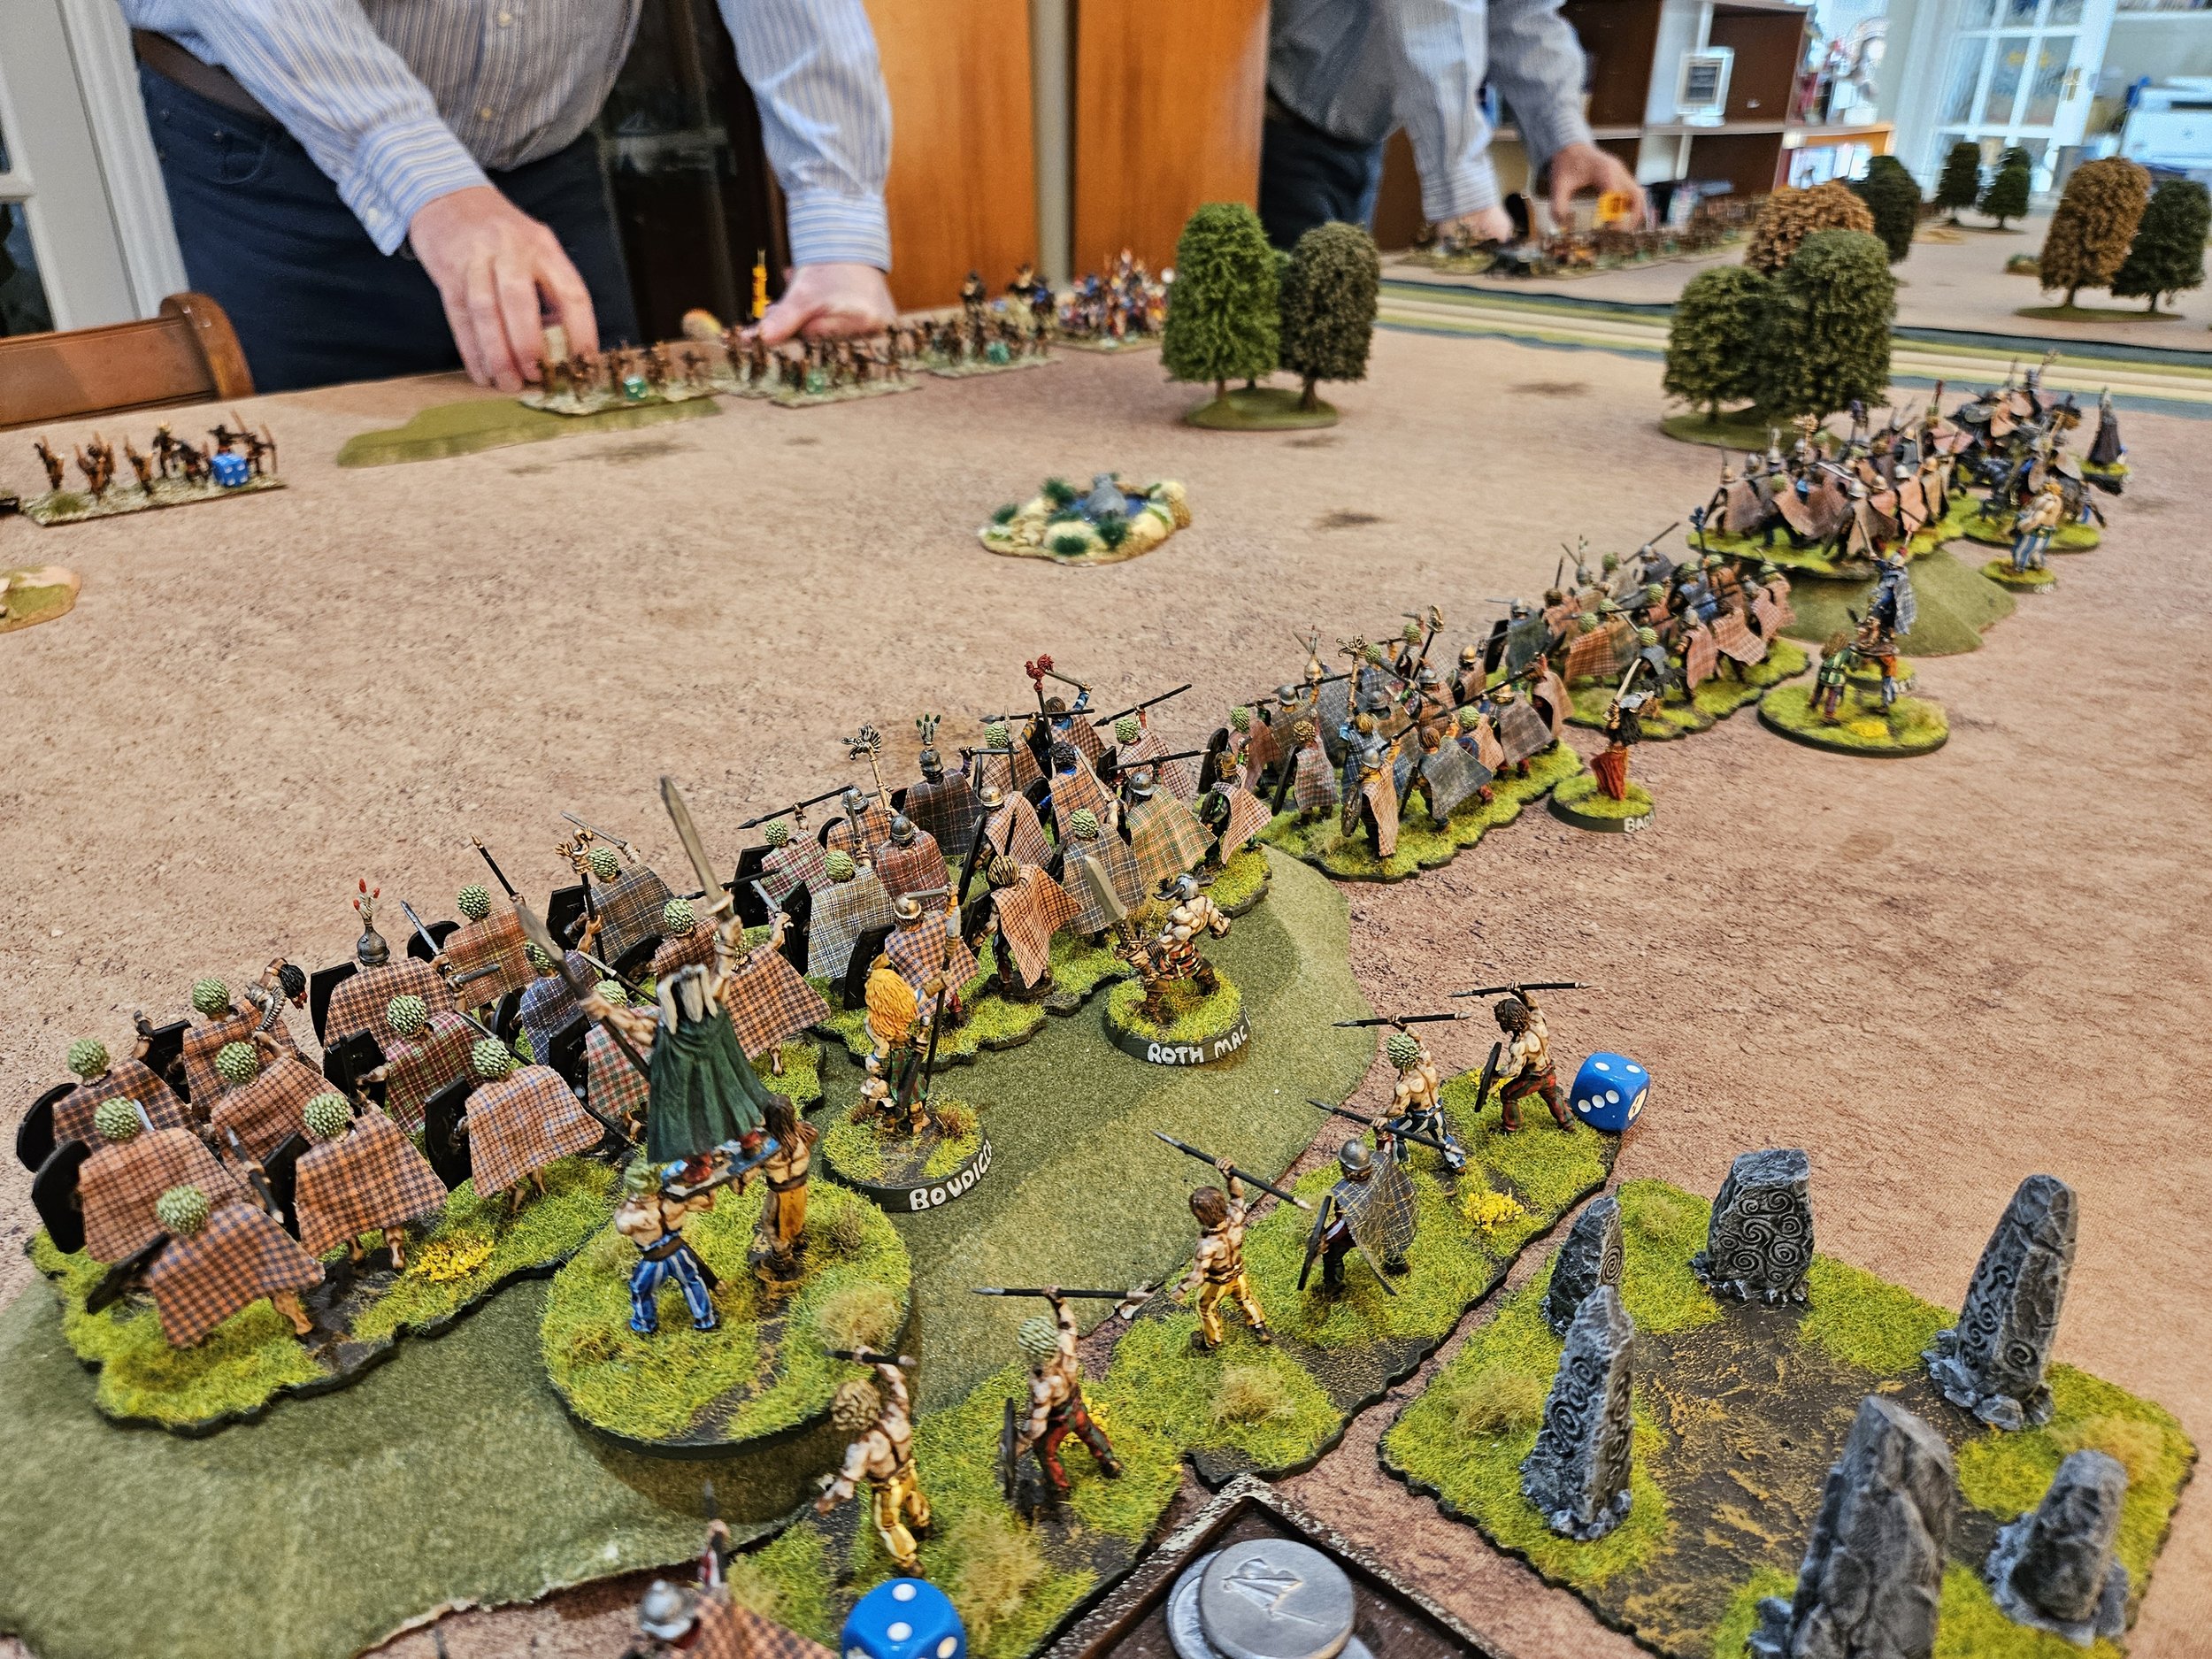
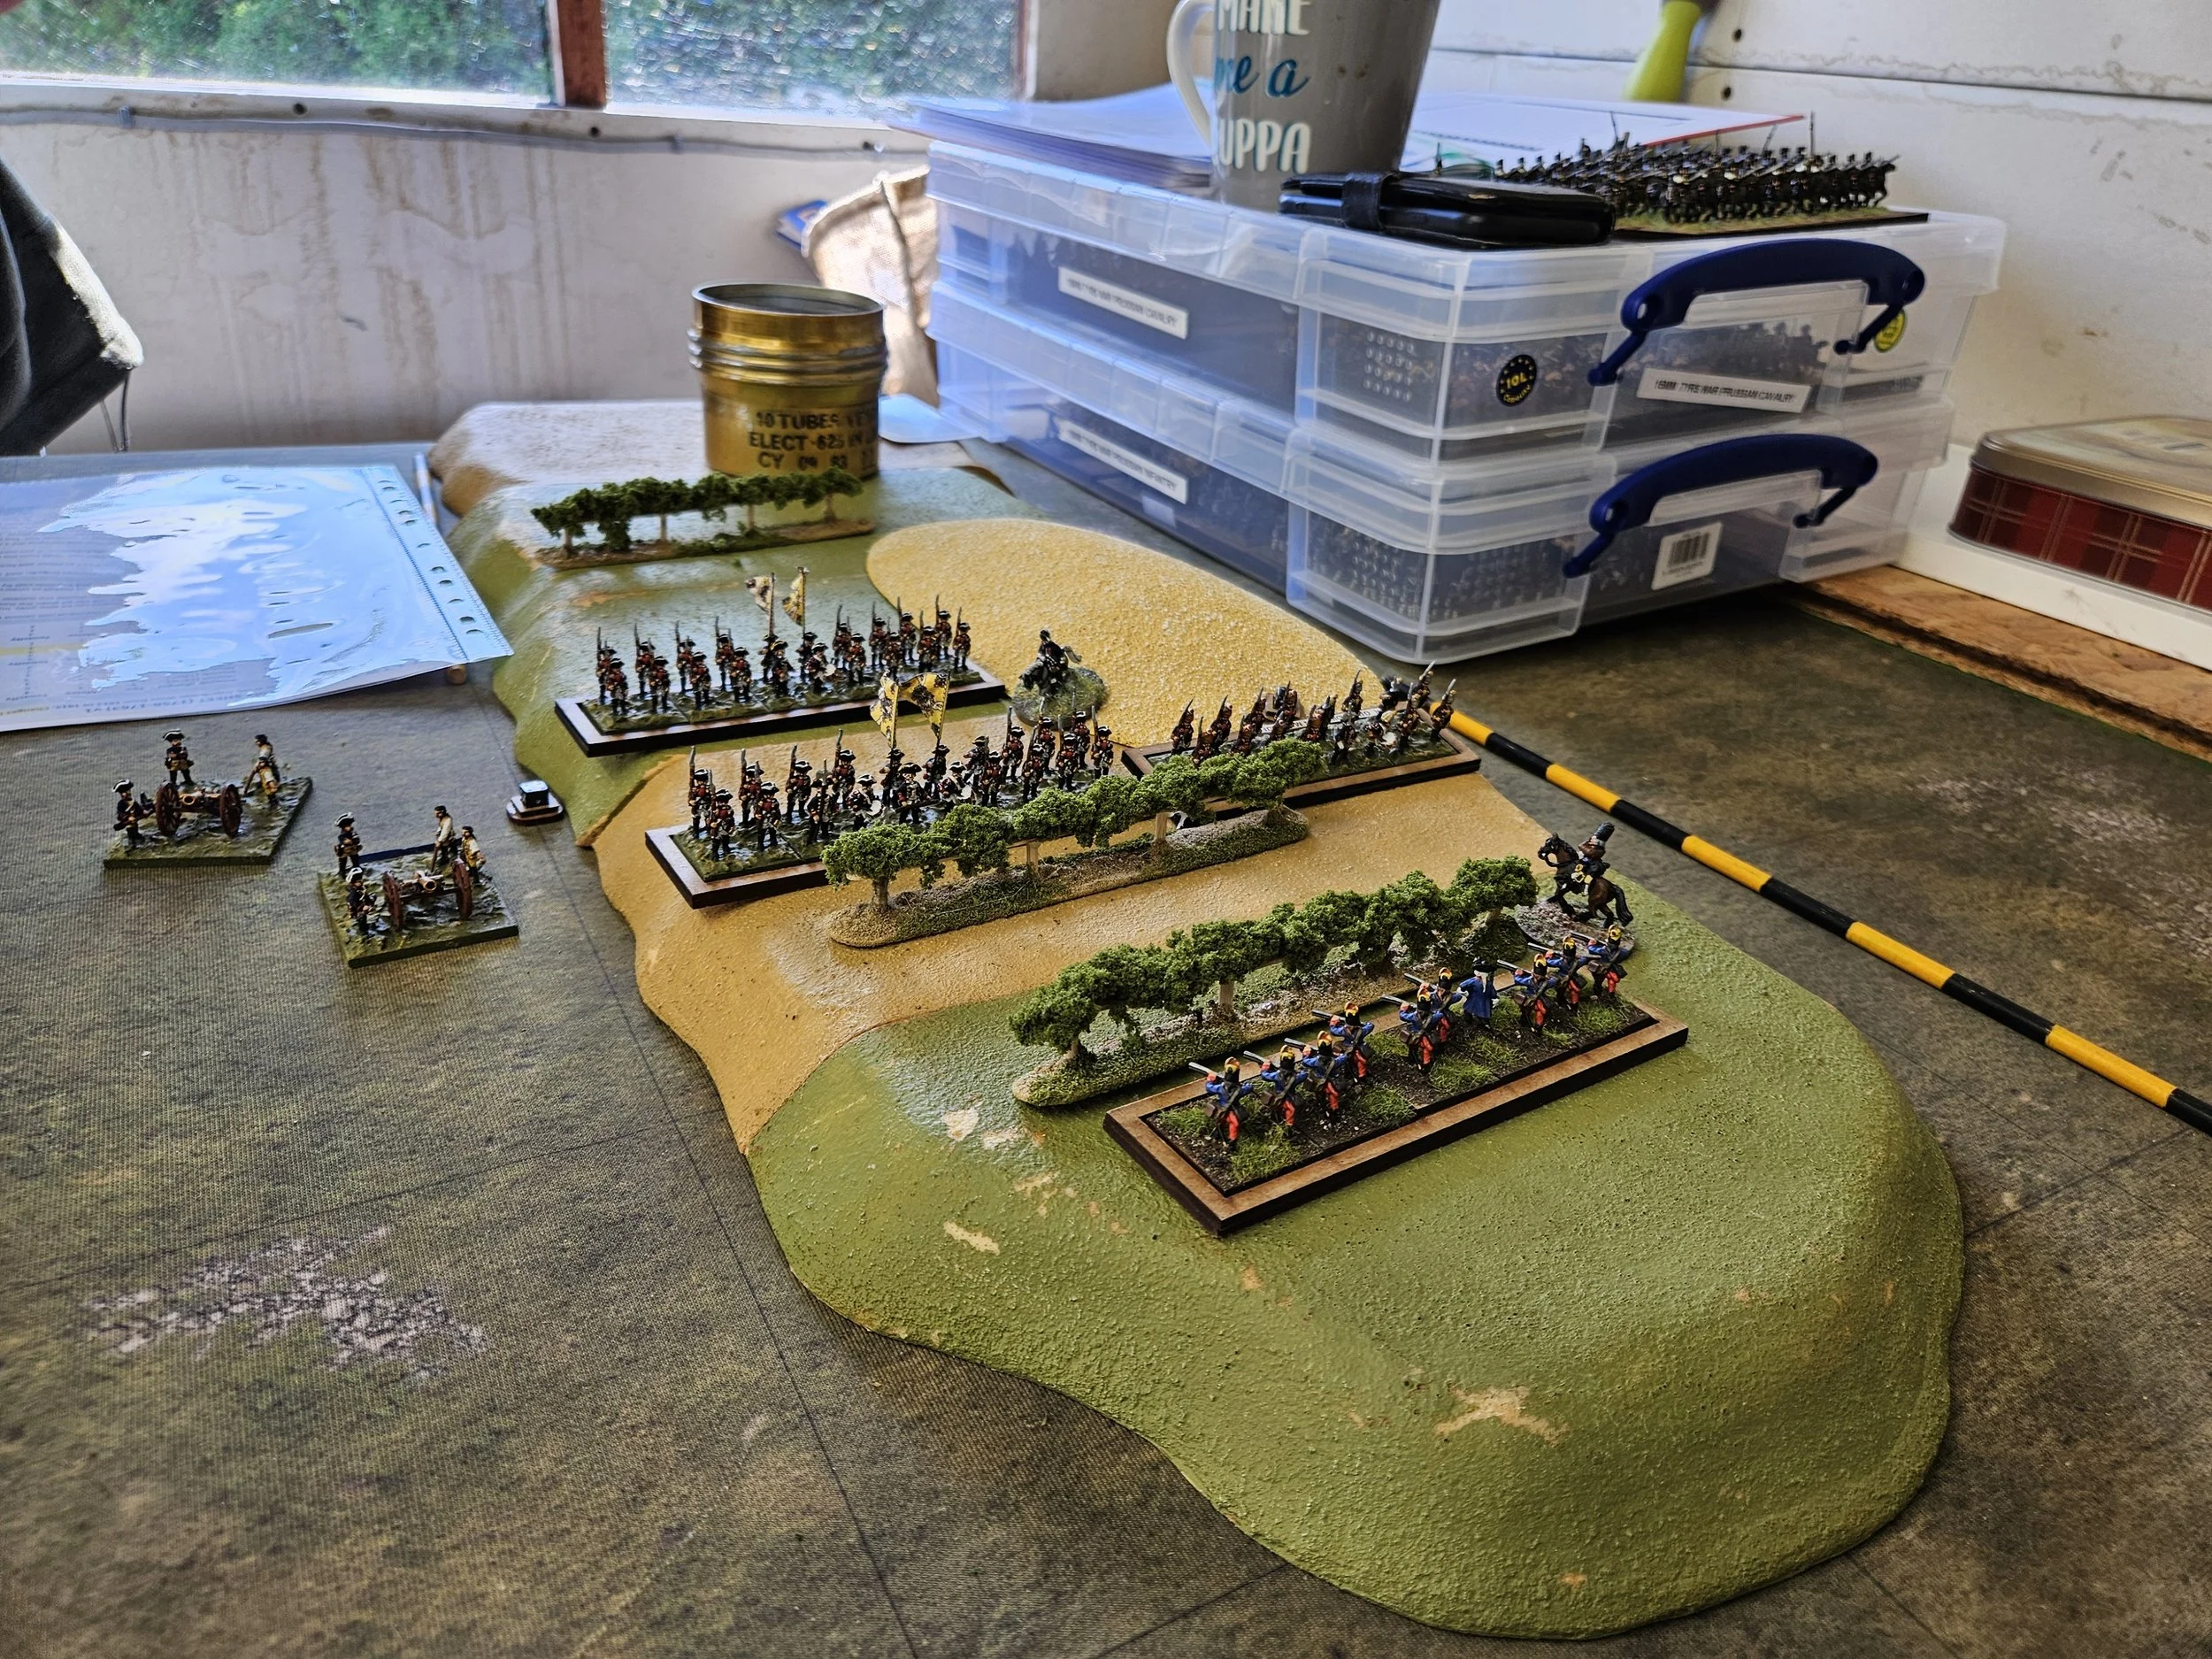
Meanwhile in the middle I selectively advanced more bowmen into range to annoy his central wall of warriors who chose to stand and take it, presumably scared that their naked private parts may get skewered by my arrows if they charged me. This stand off suited me as I had 14 points of bowmen holding up 44 points of warbands. Inevitably this meant I had superiority elsewhere on the battlefield.
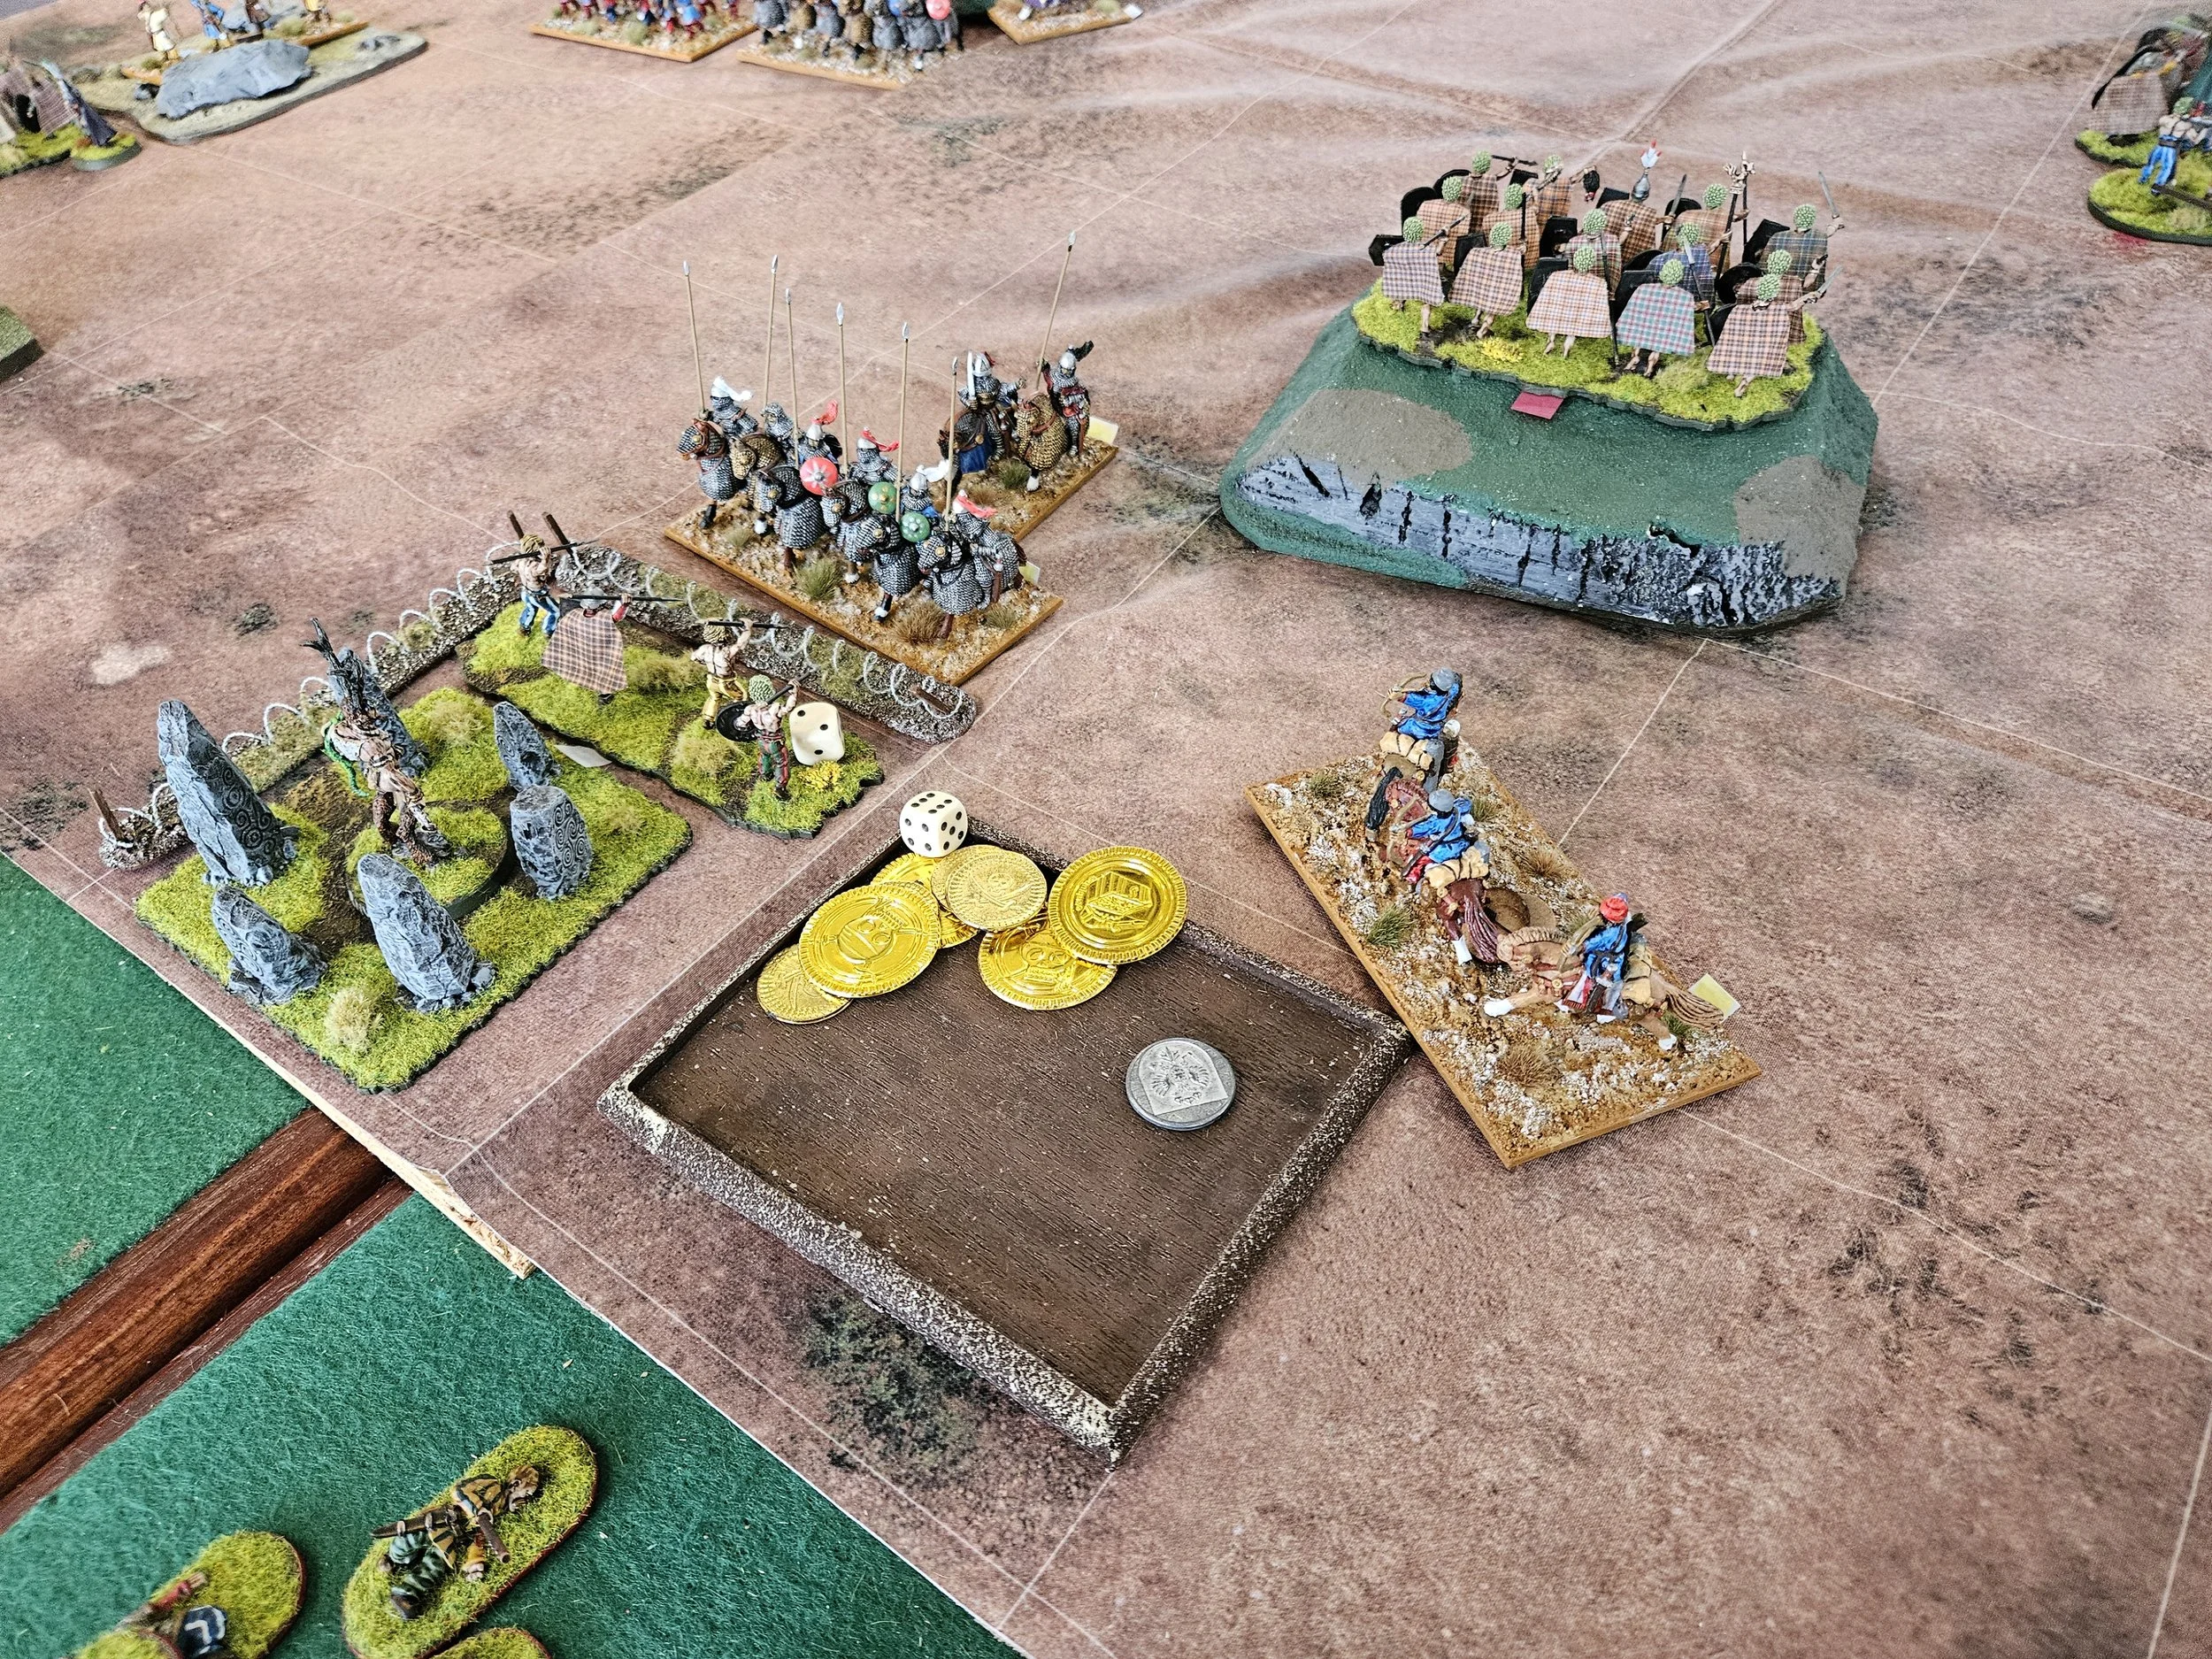
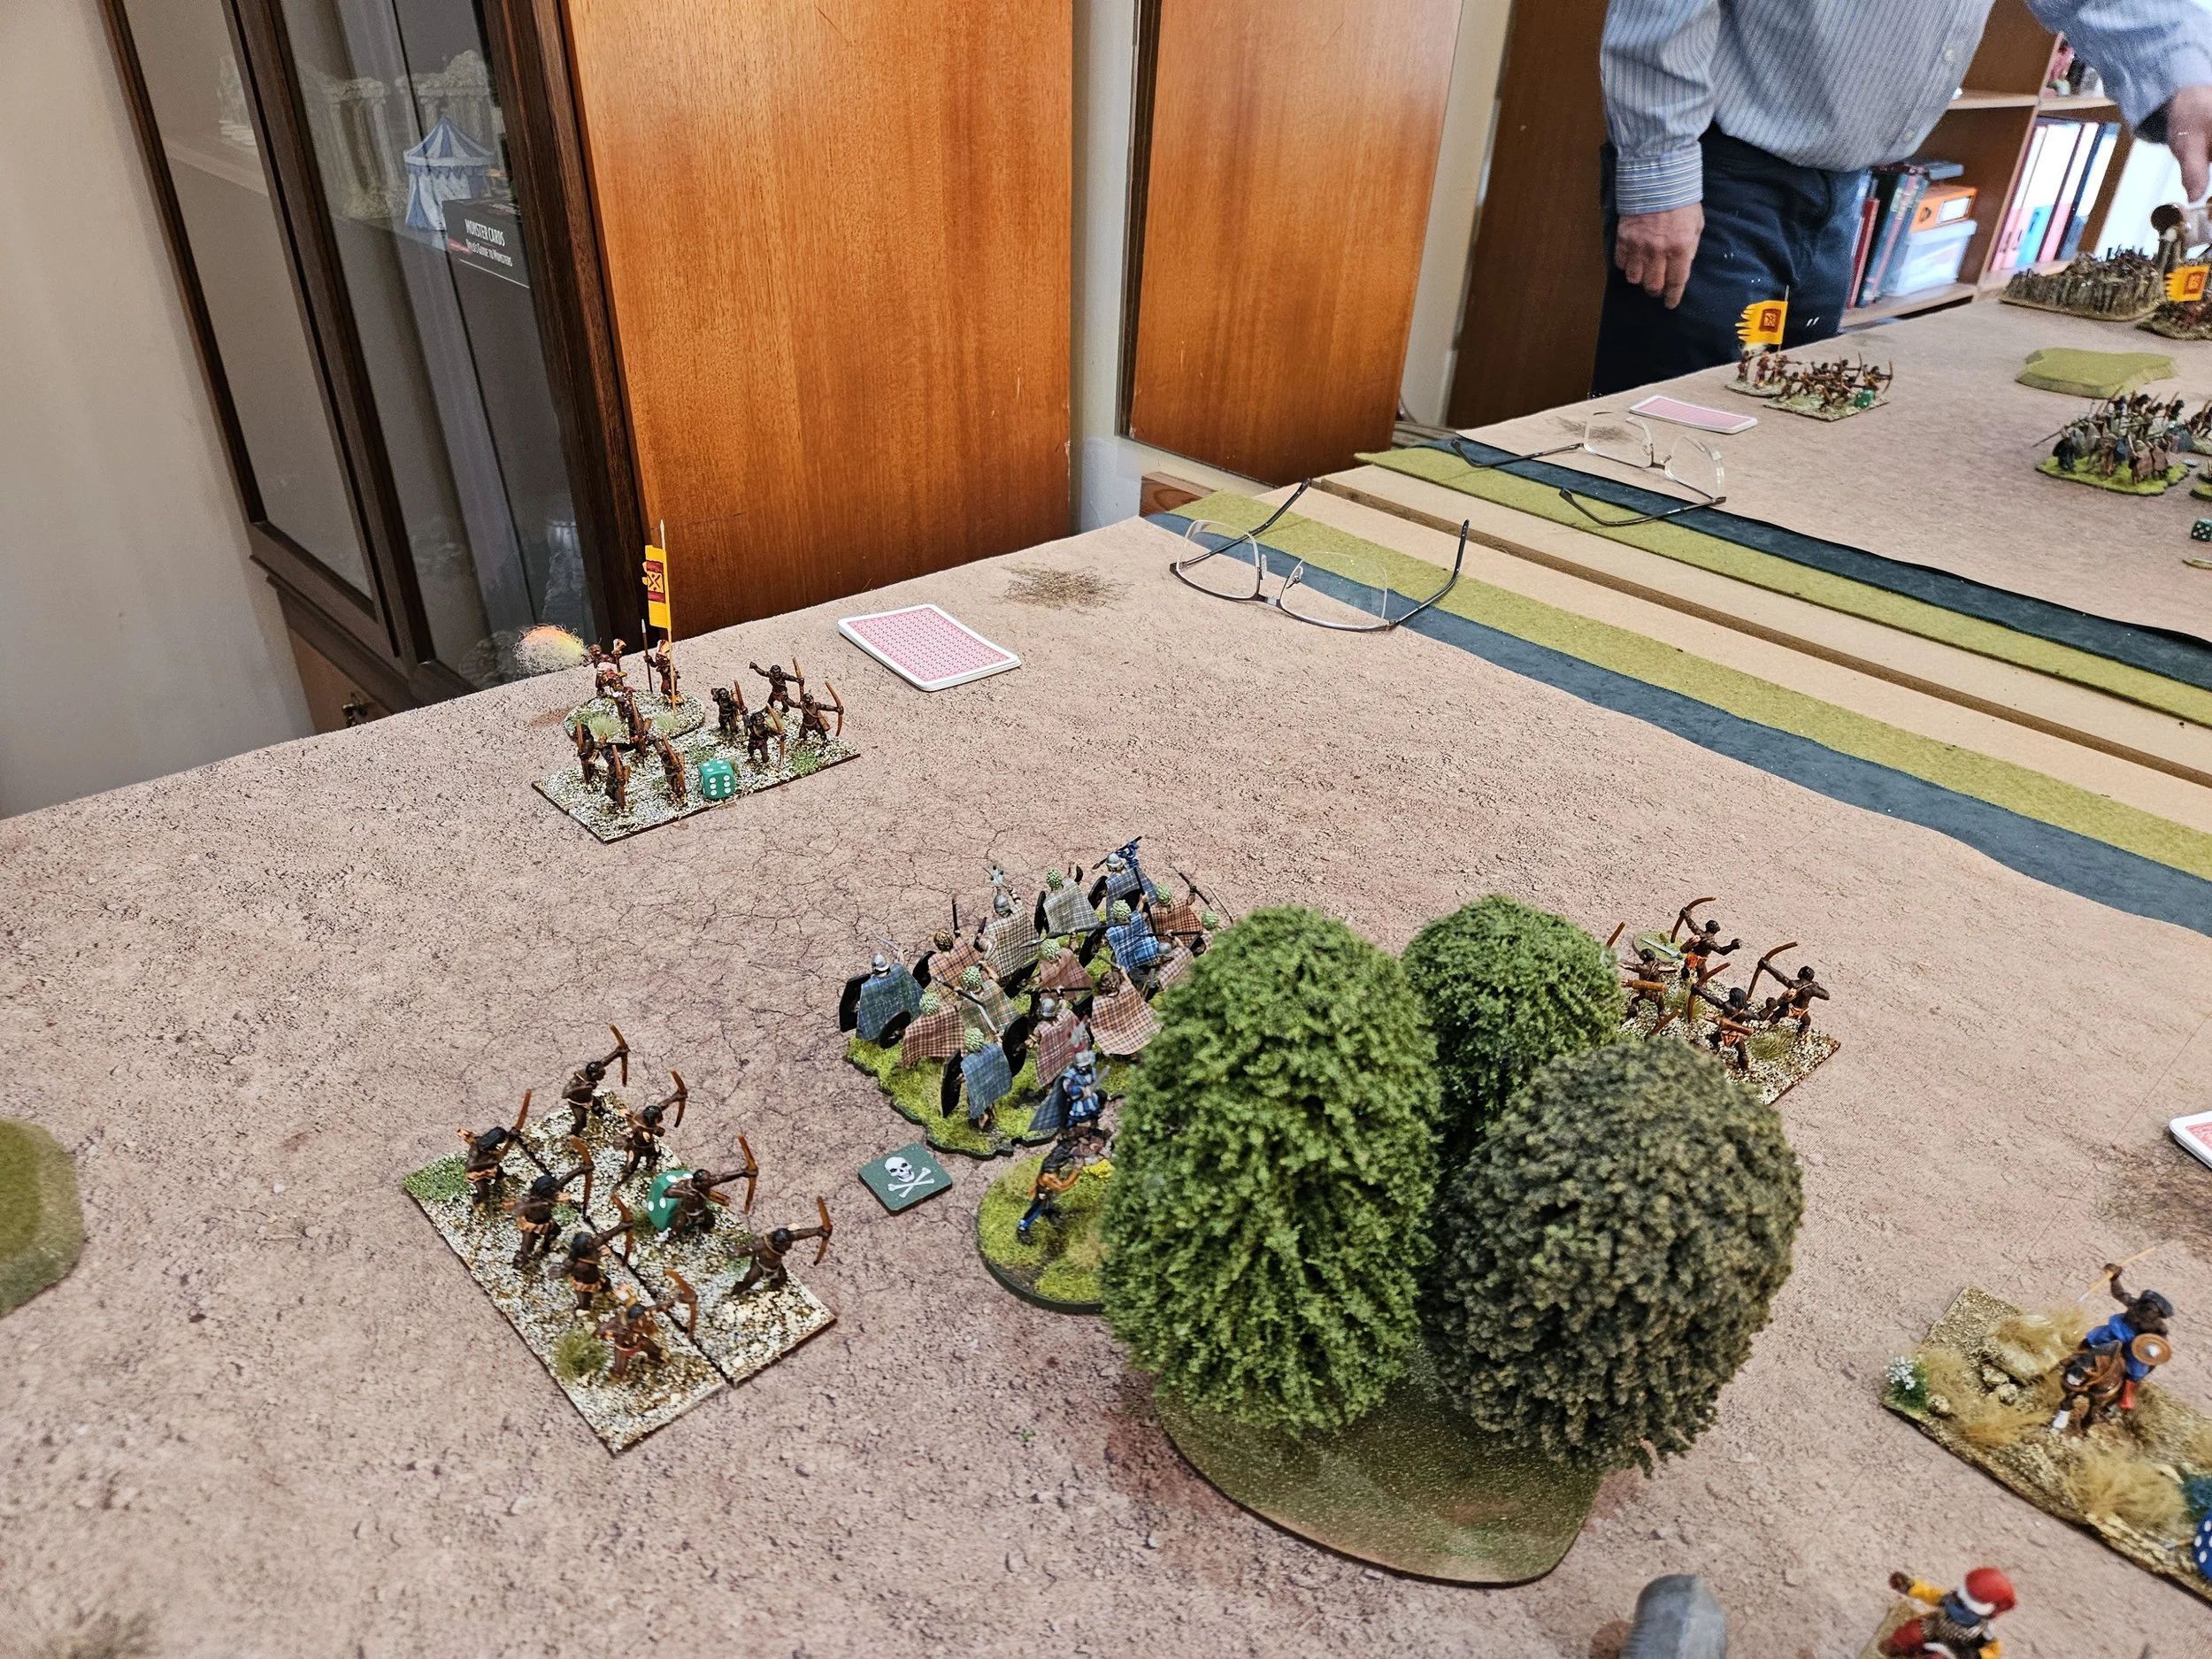
On my right I advanced and then retreated my apparently helpless archers to tempt Rob’s cavalry forwards into my killing zone. Sure enough one cavalry unit fell for the trap whilst the other, luckily helped by poor cards, decided discretion was the batter part of valor and held back - abandoning their mates to a porcupine death.
The Plan Unfolds
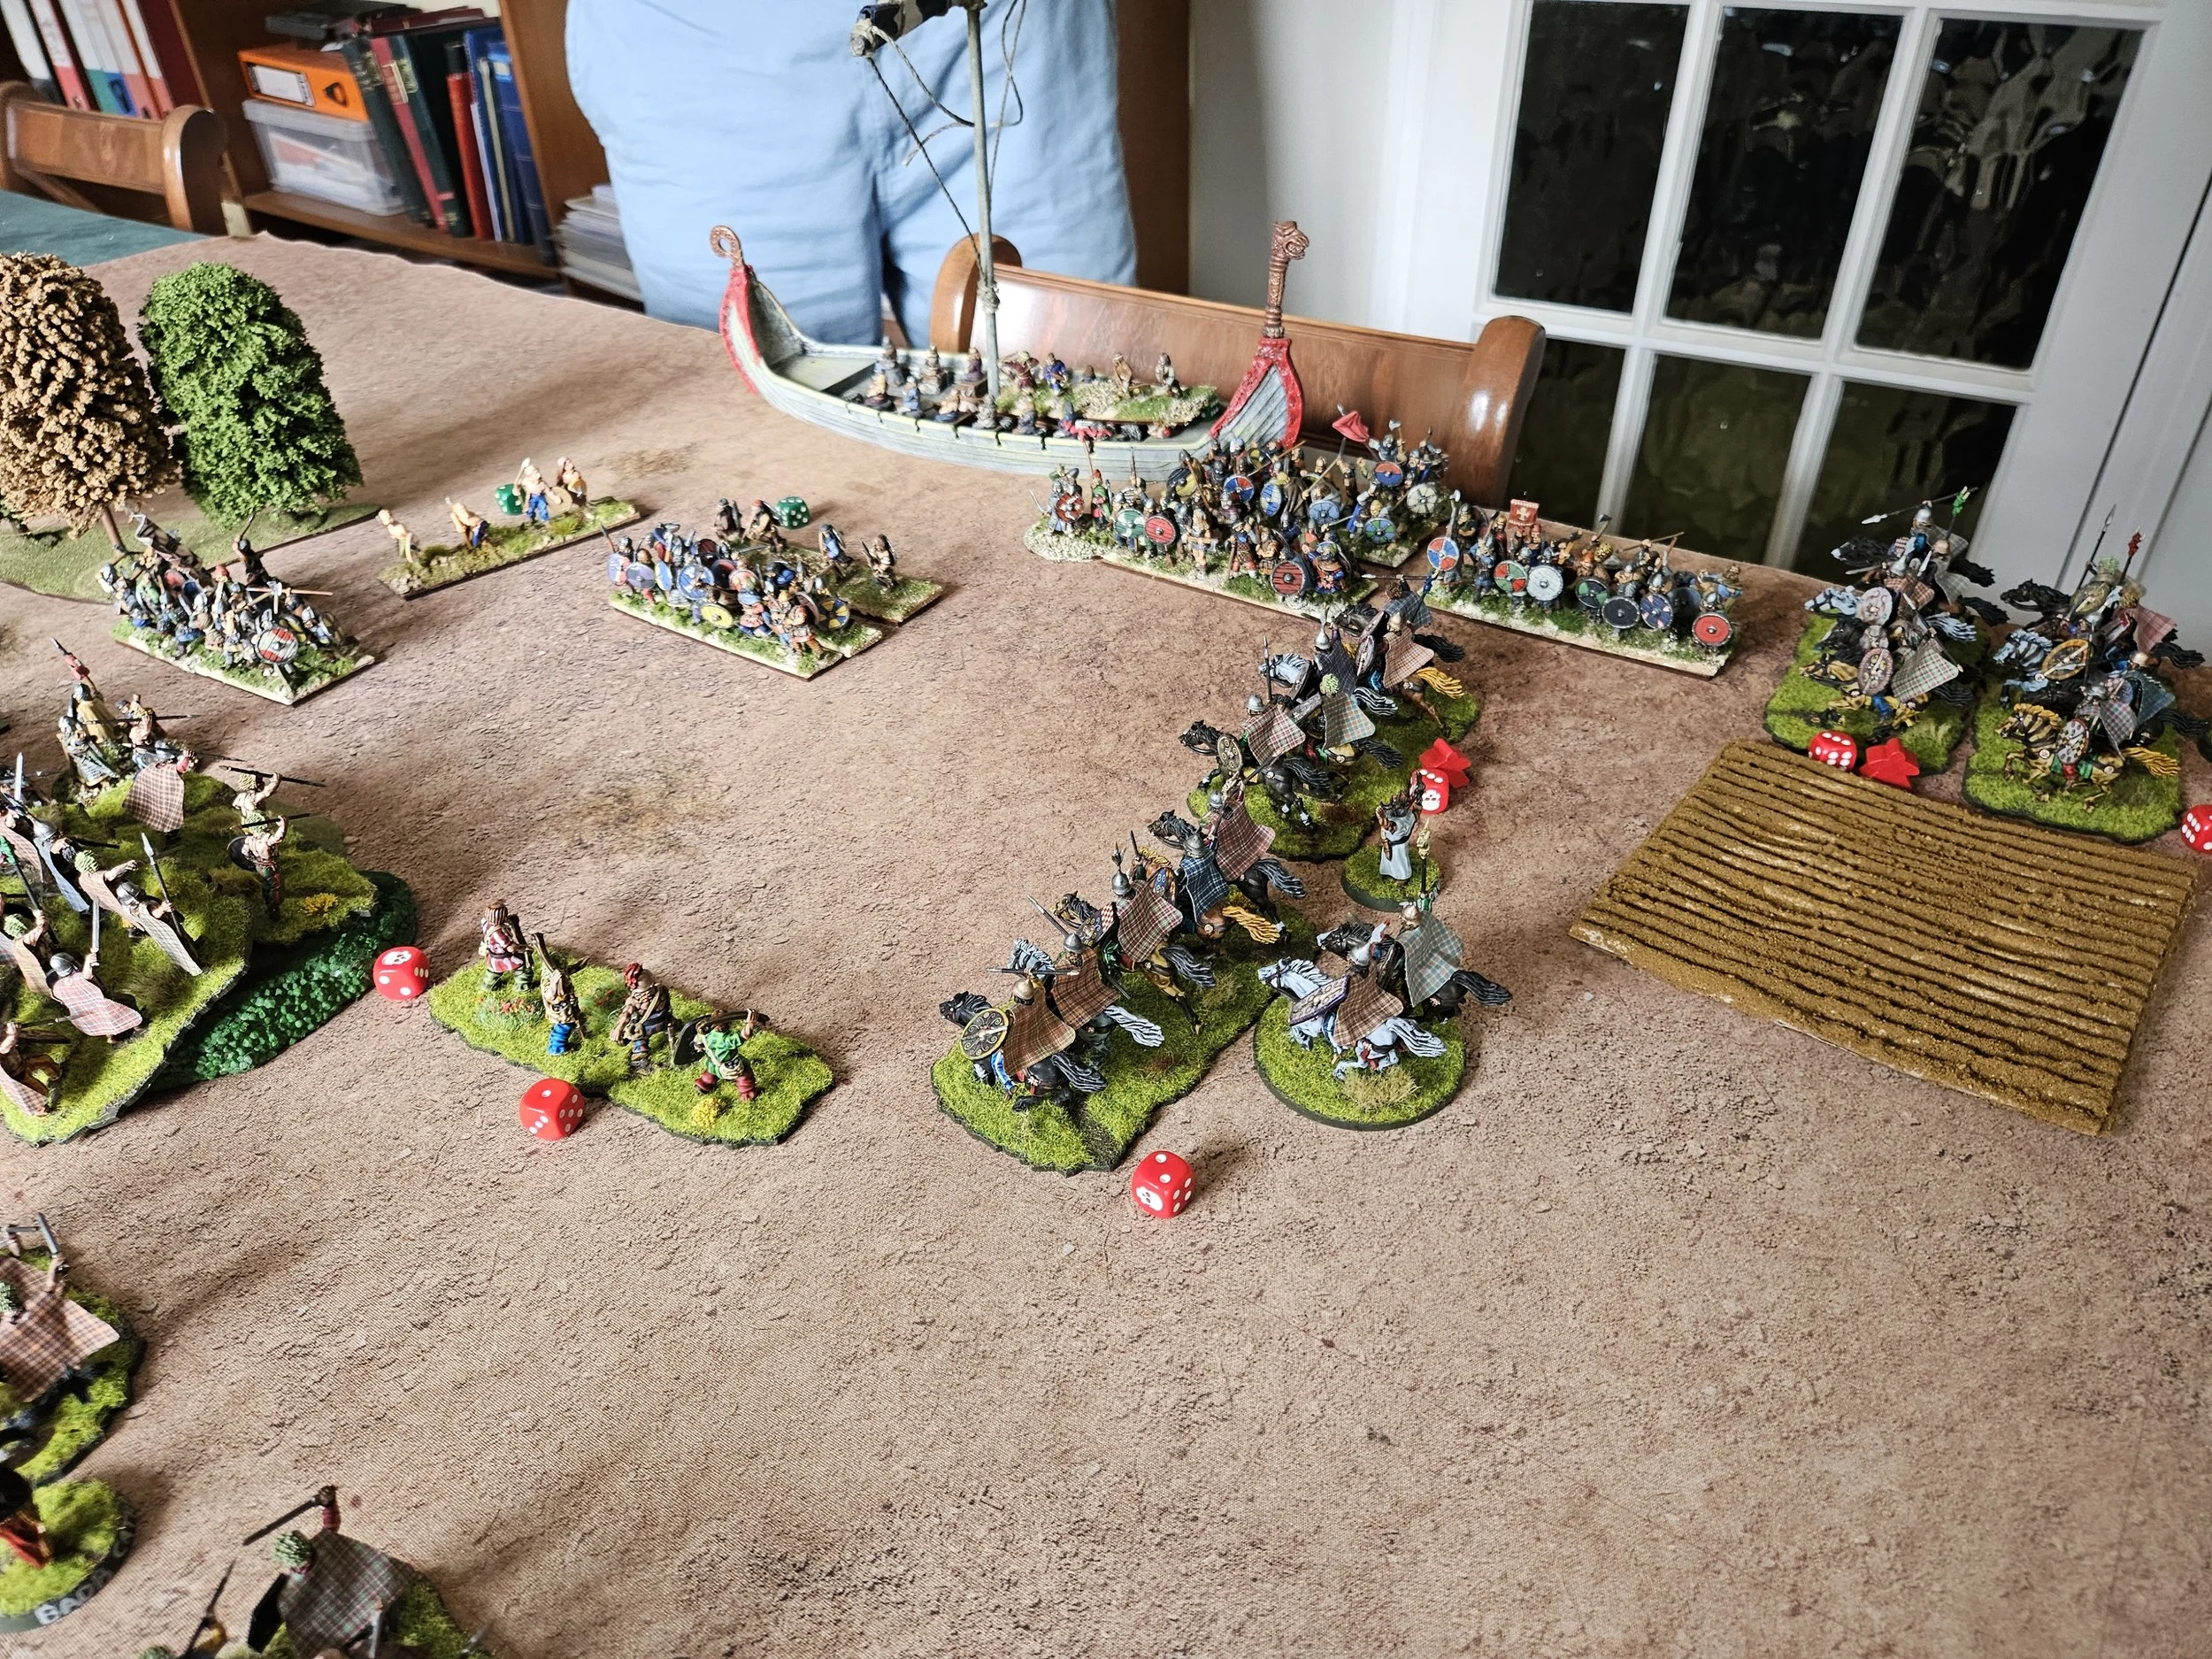
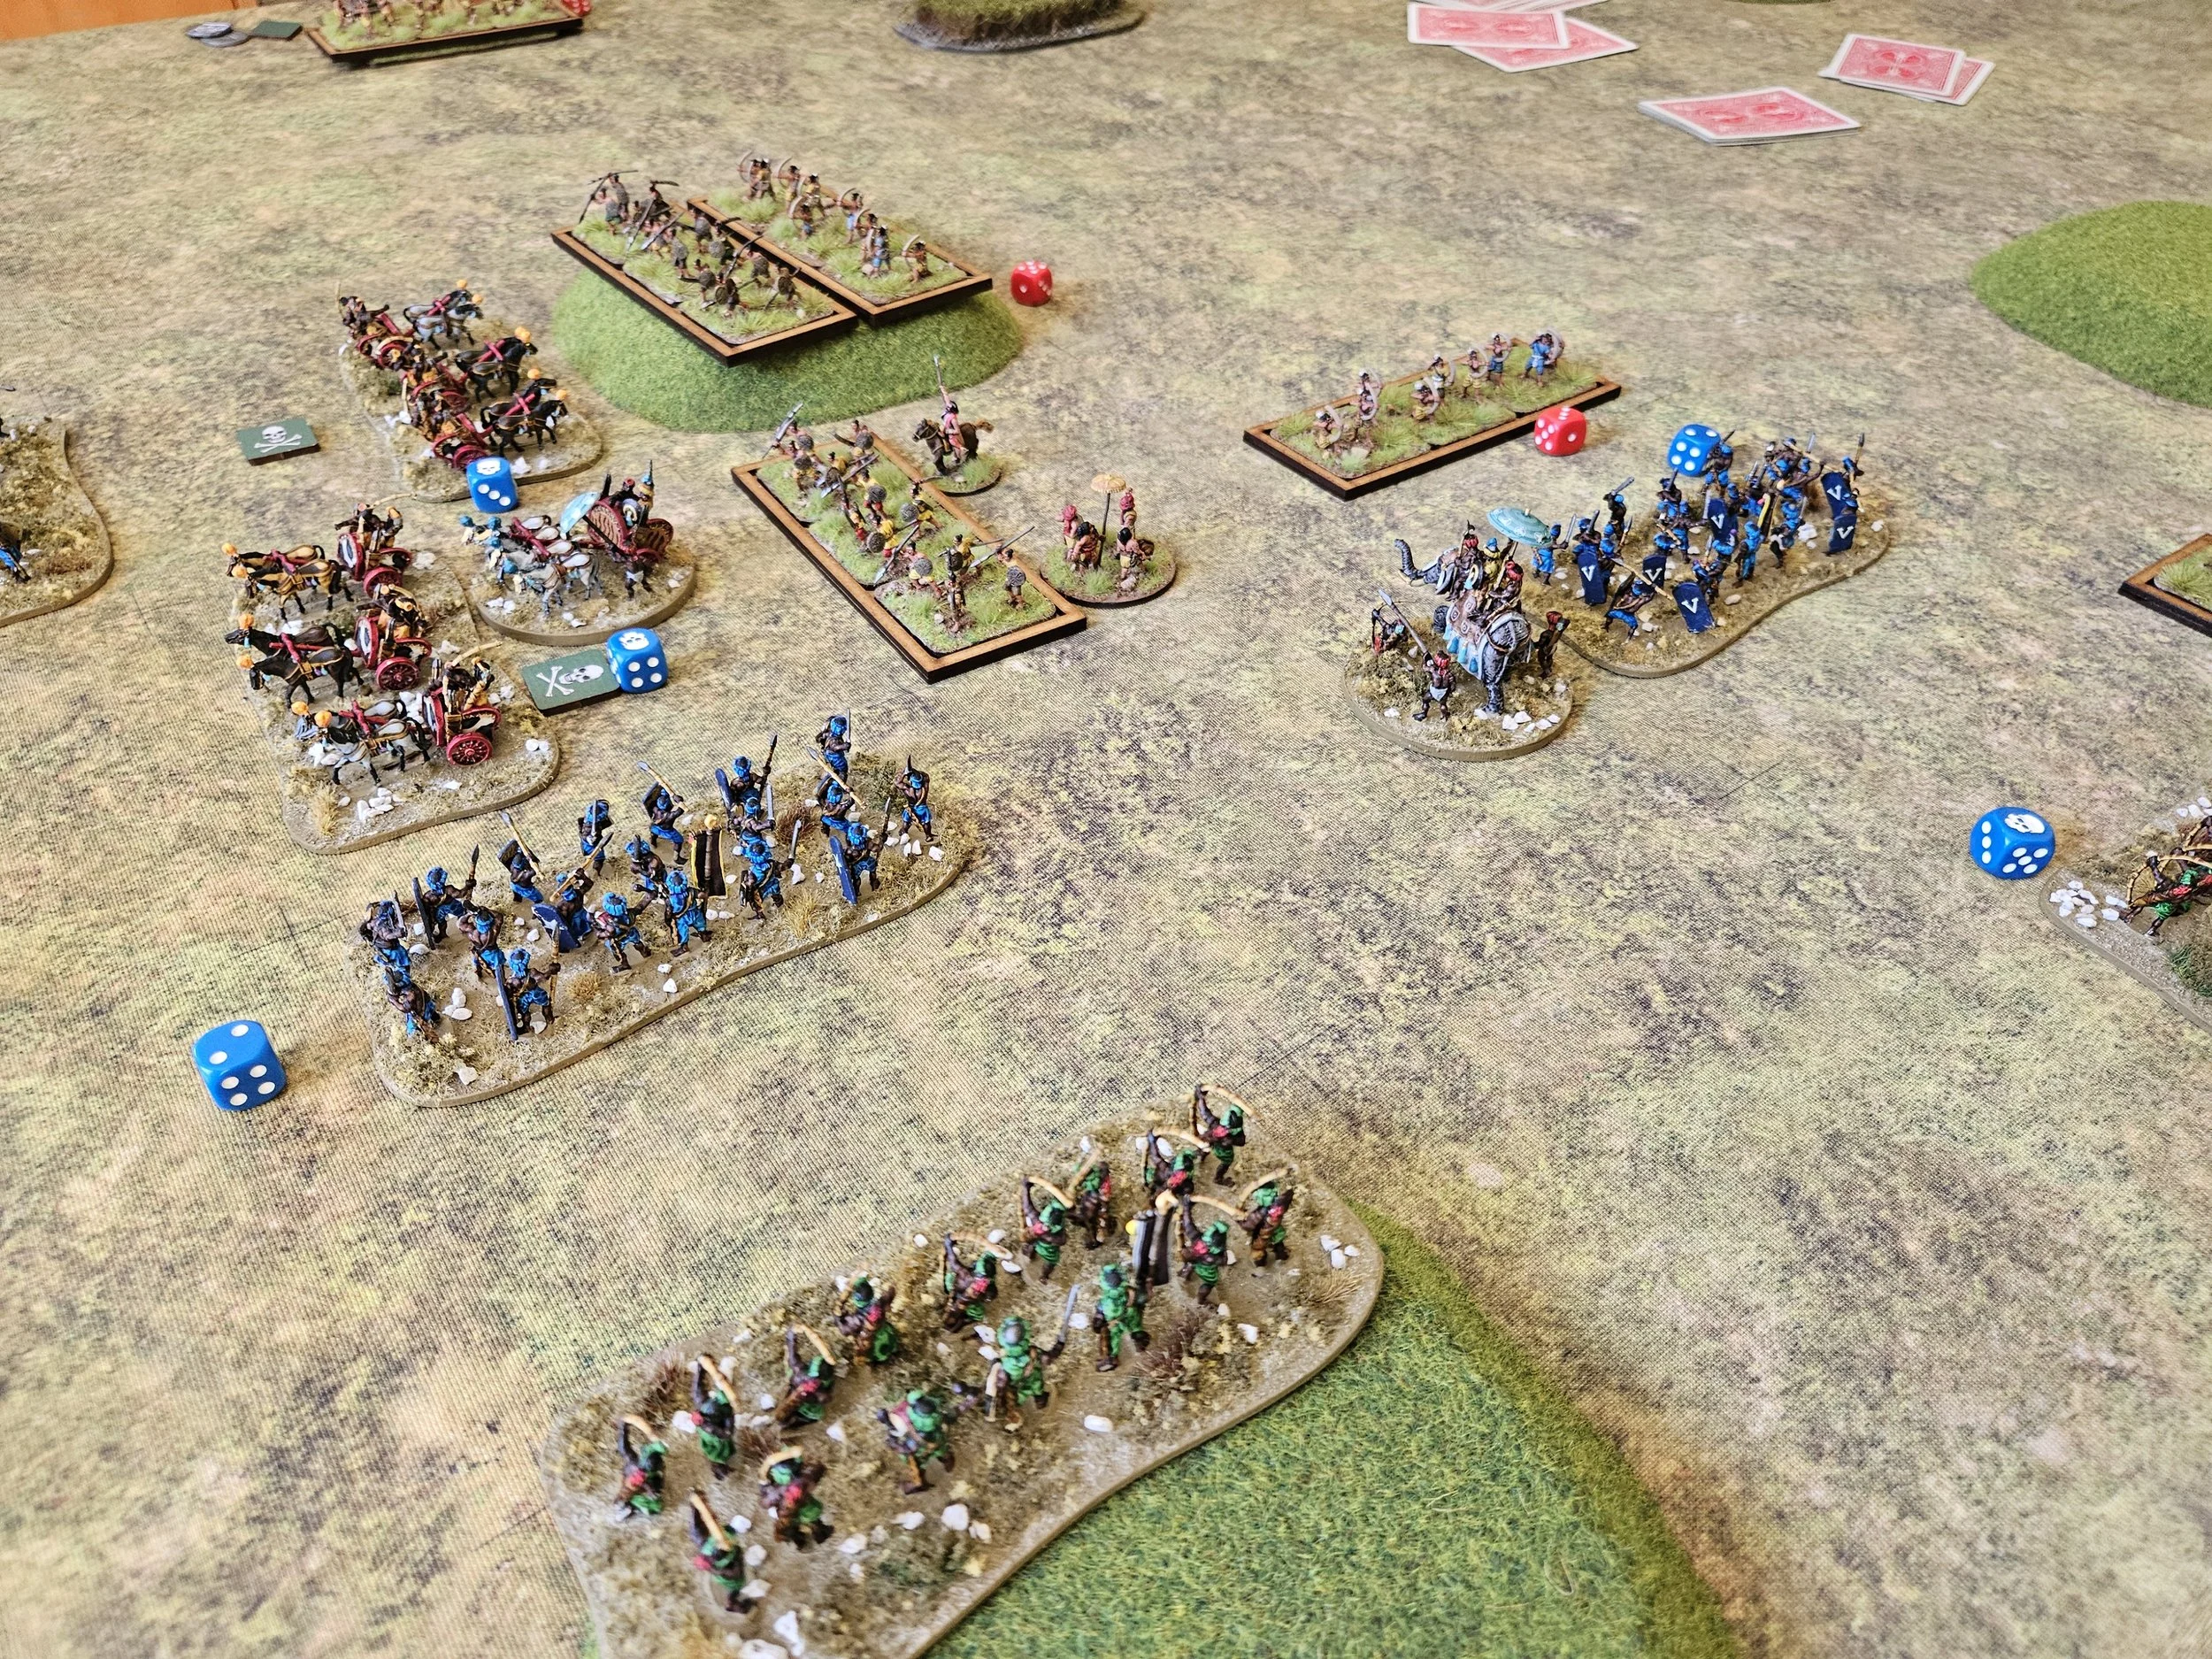
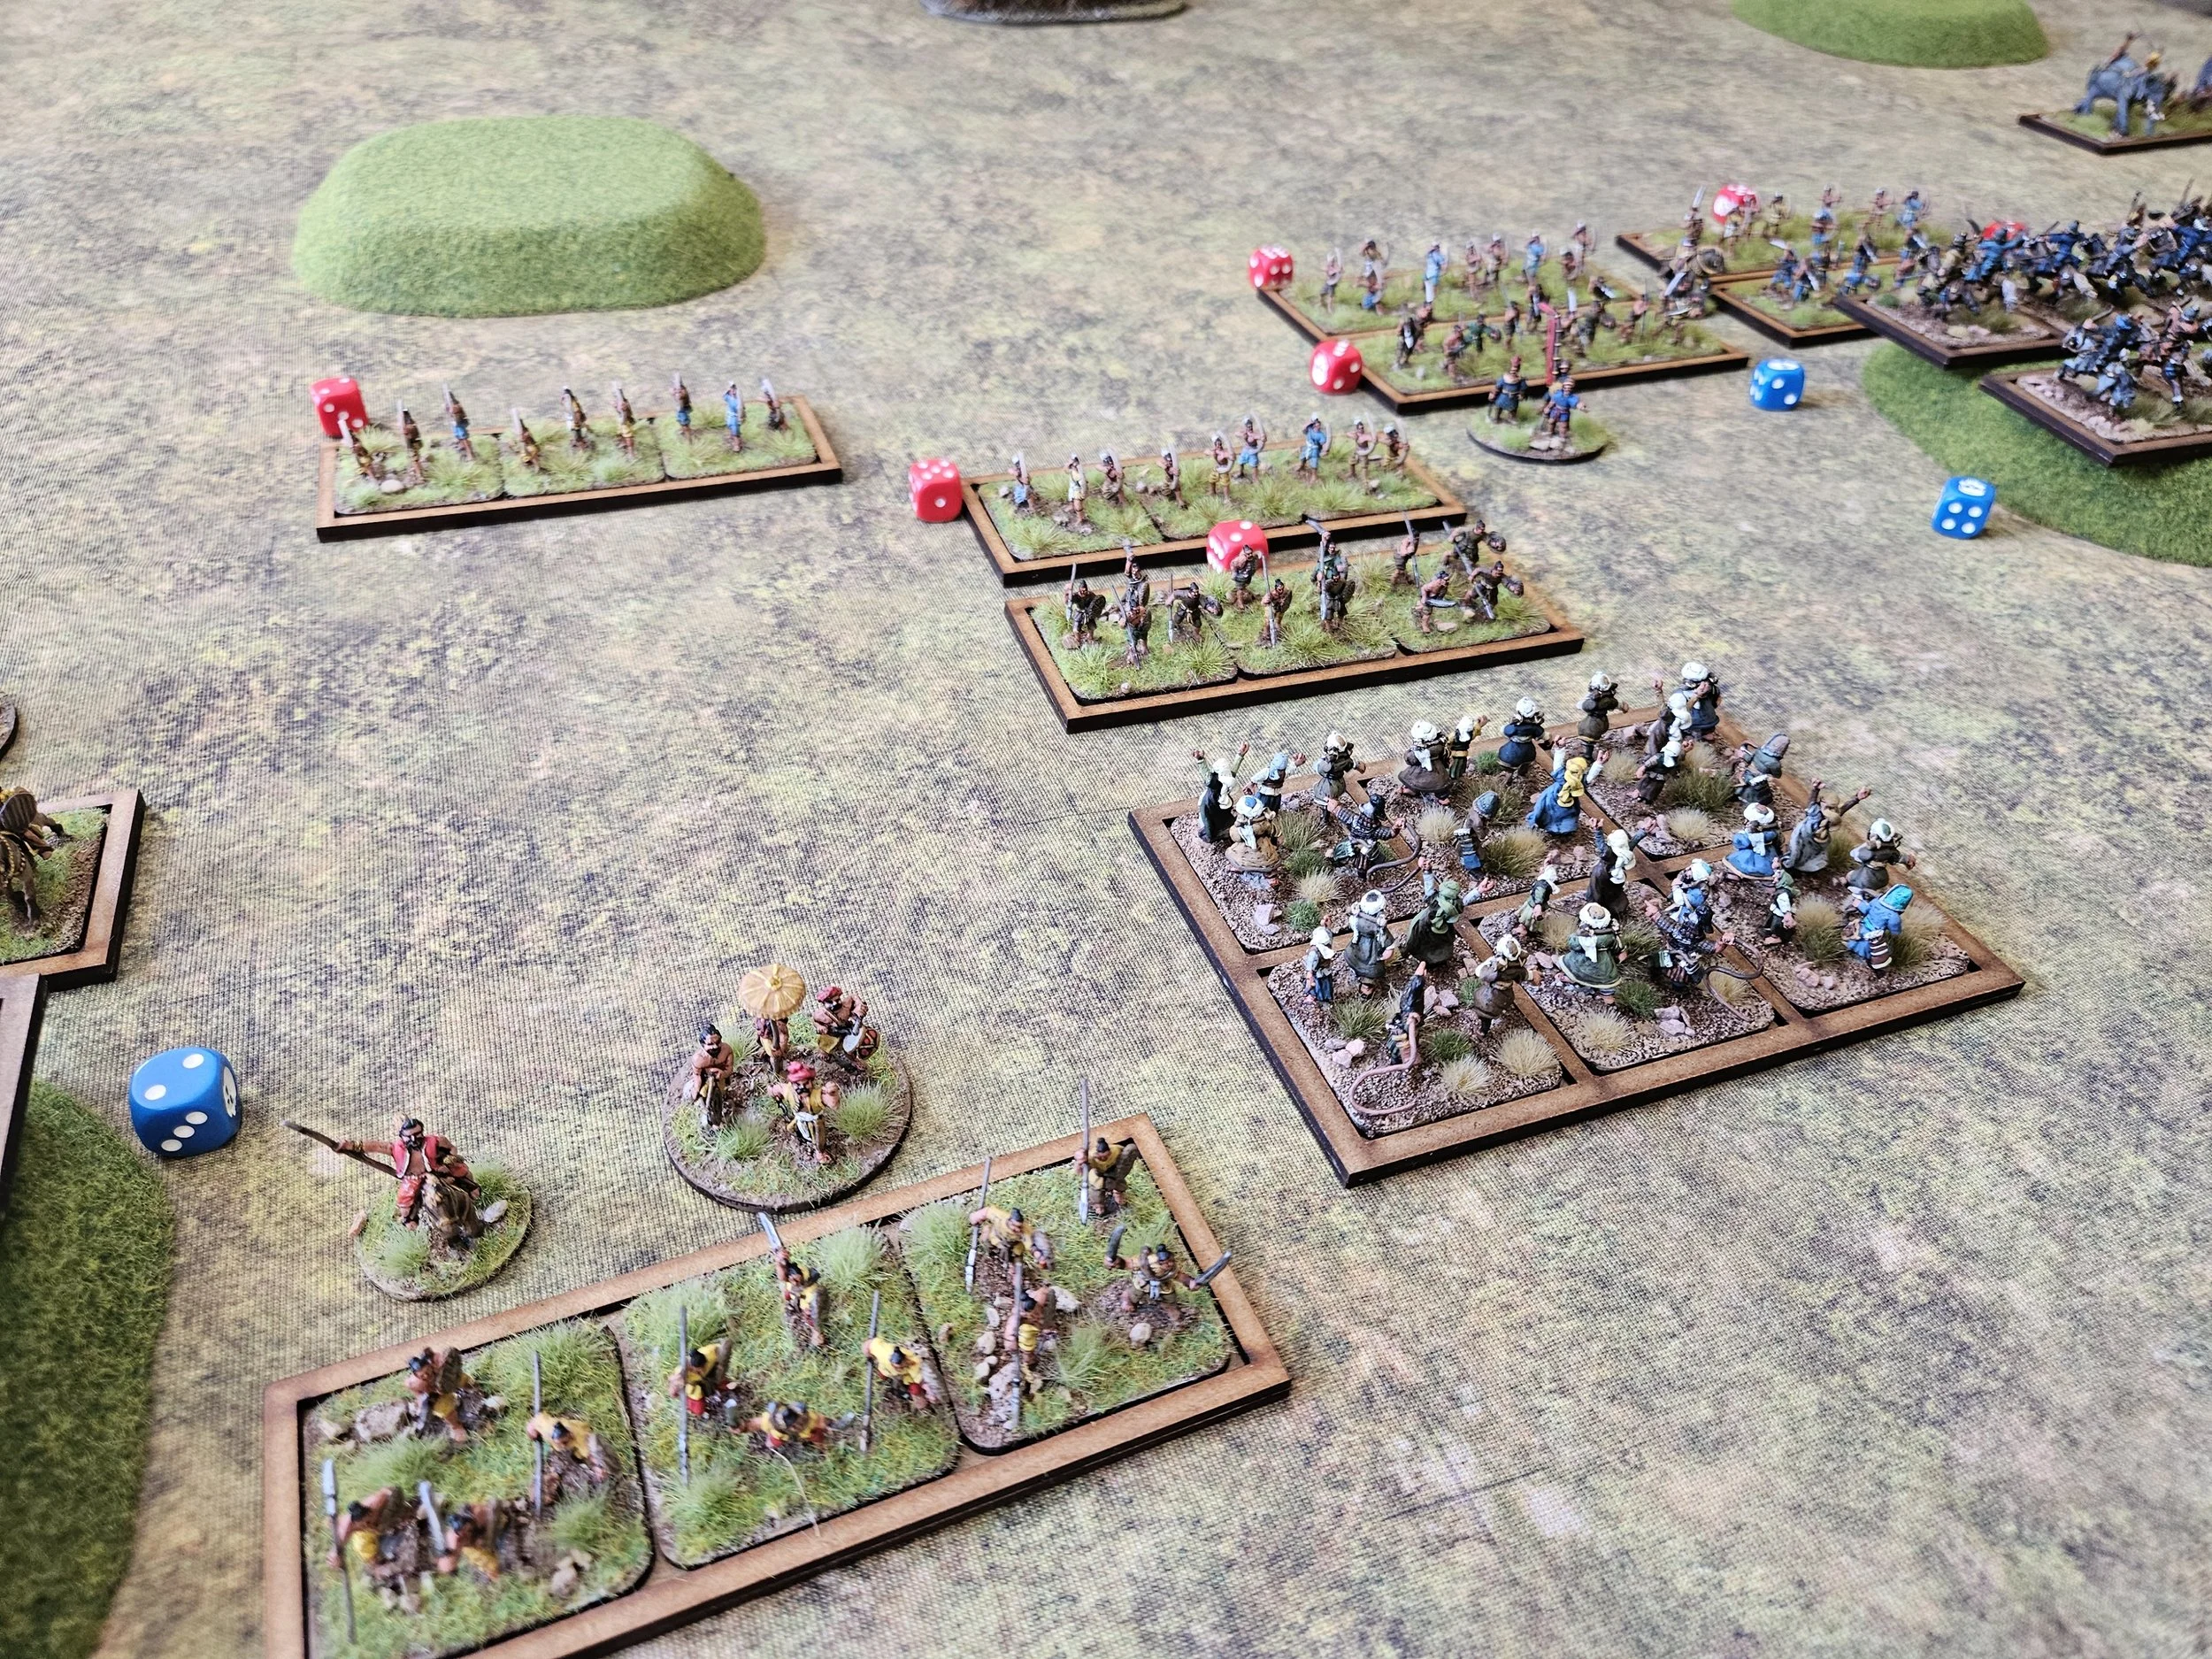
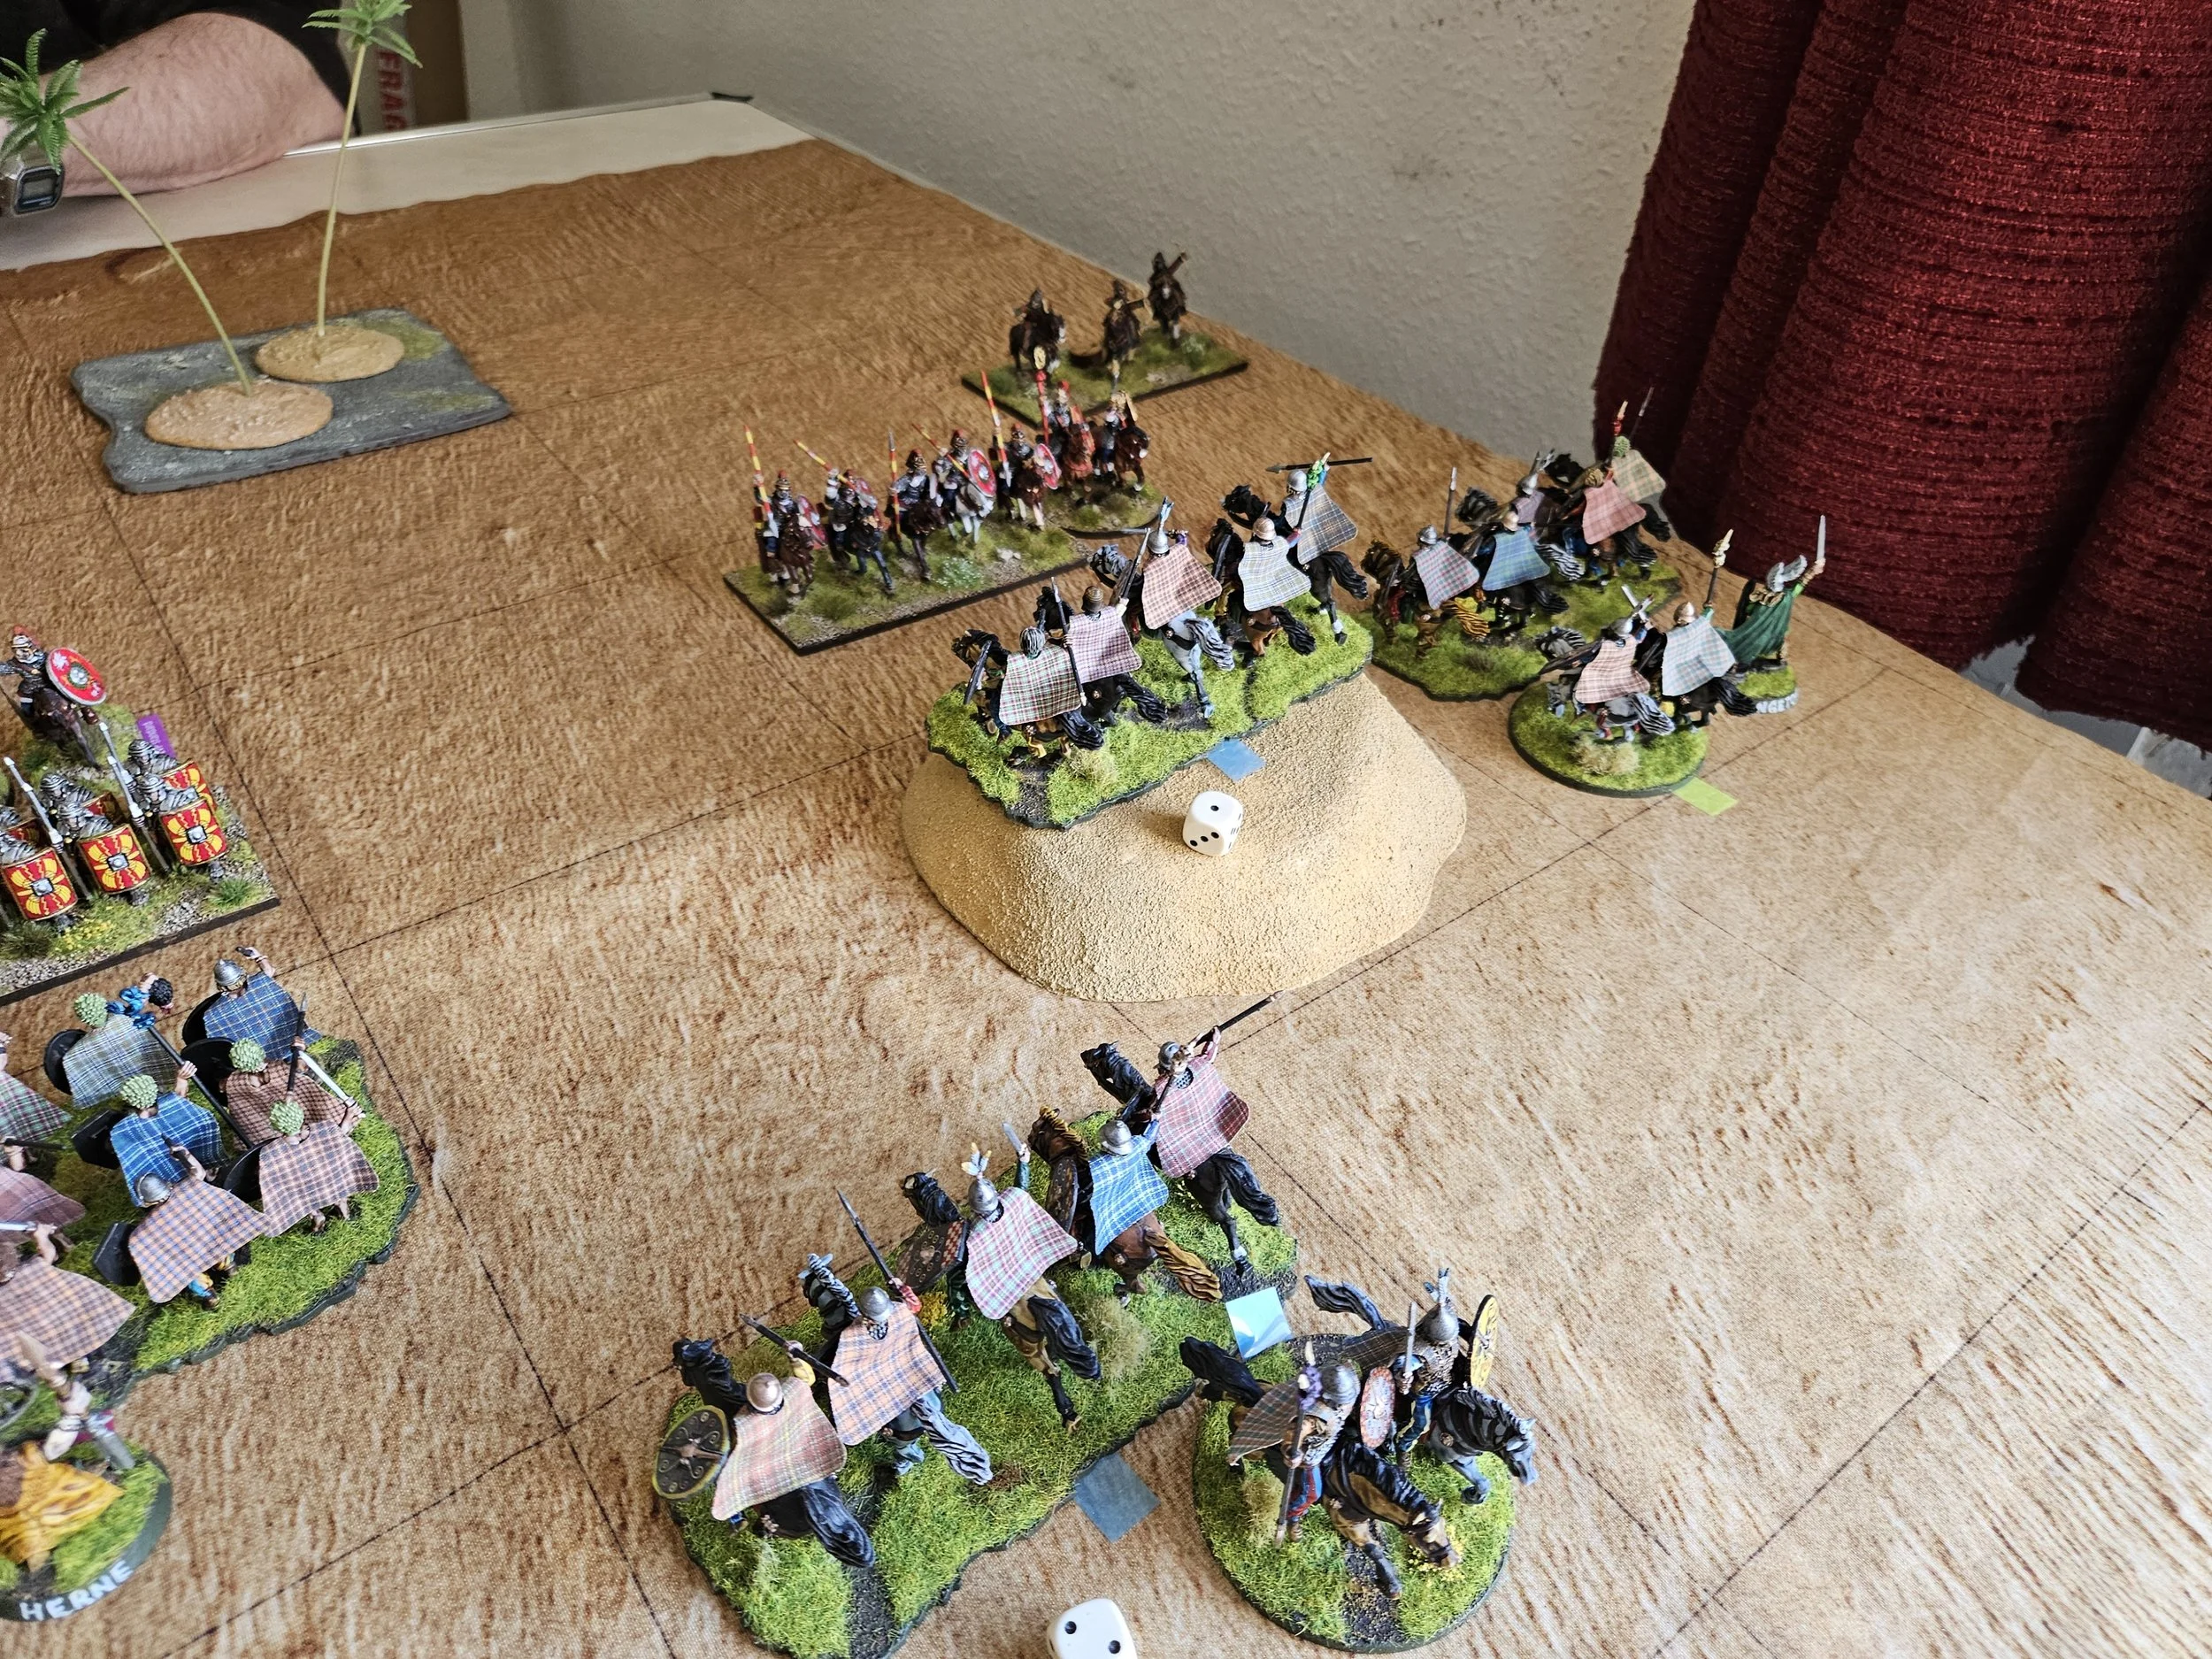
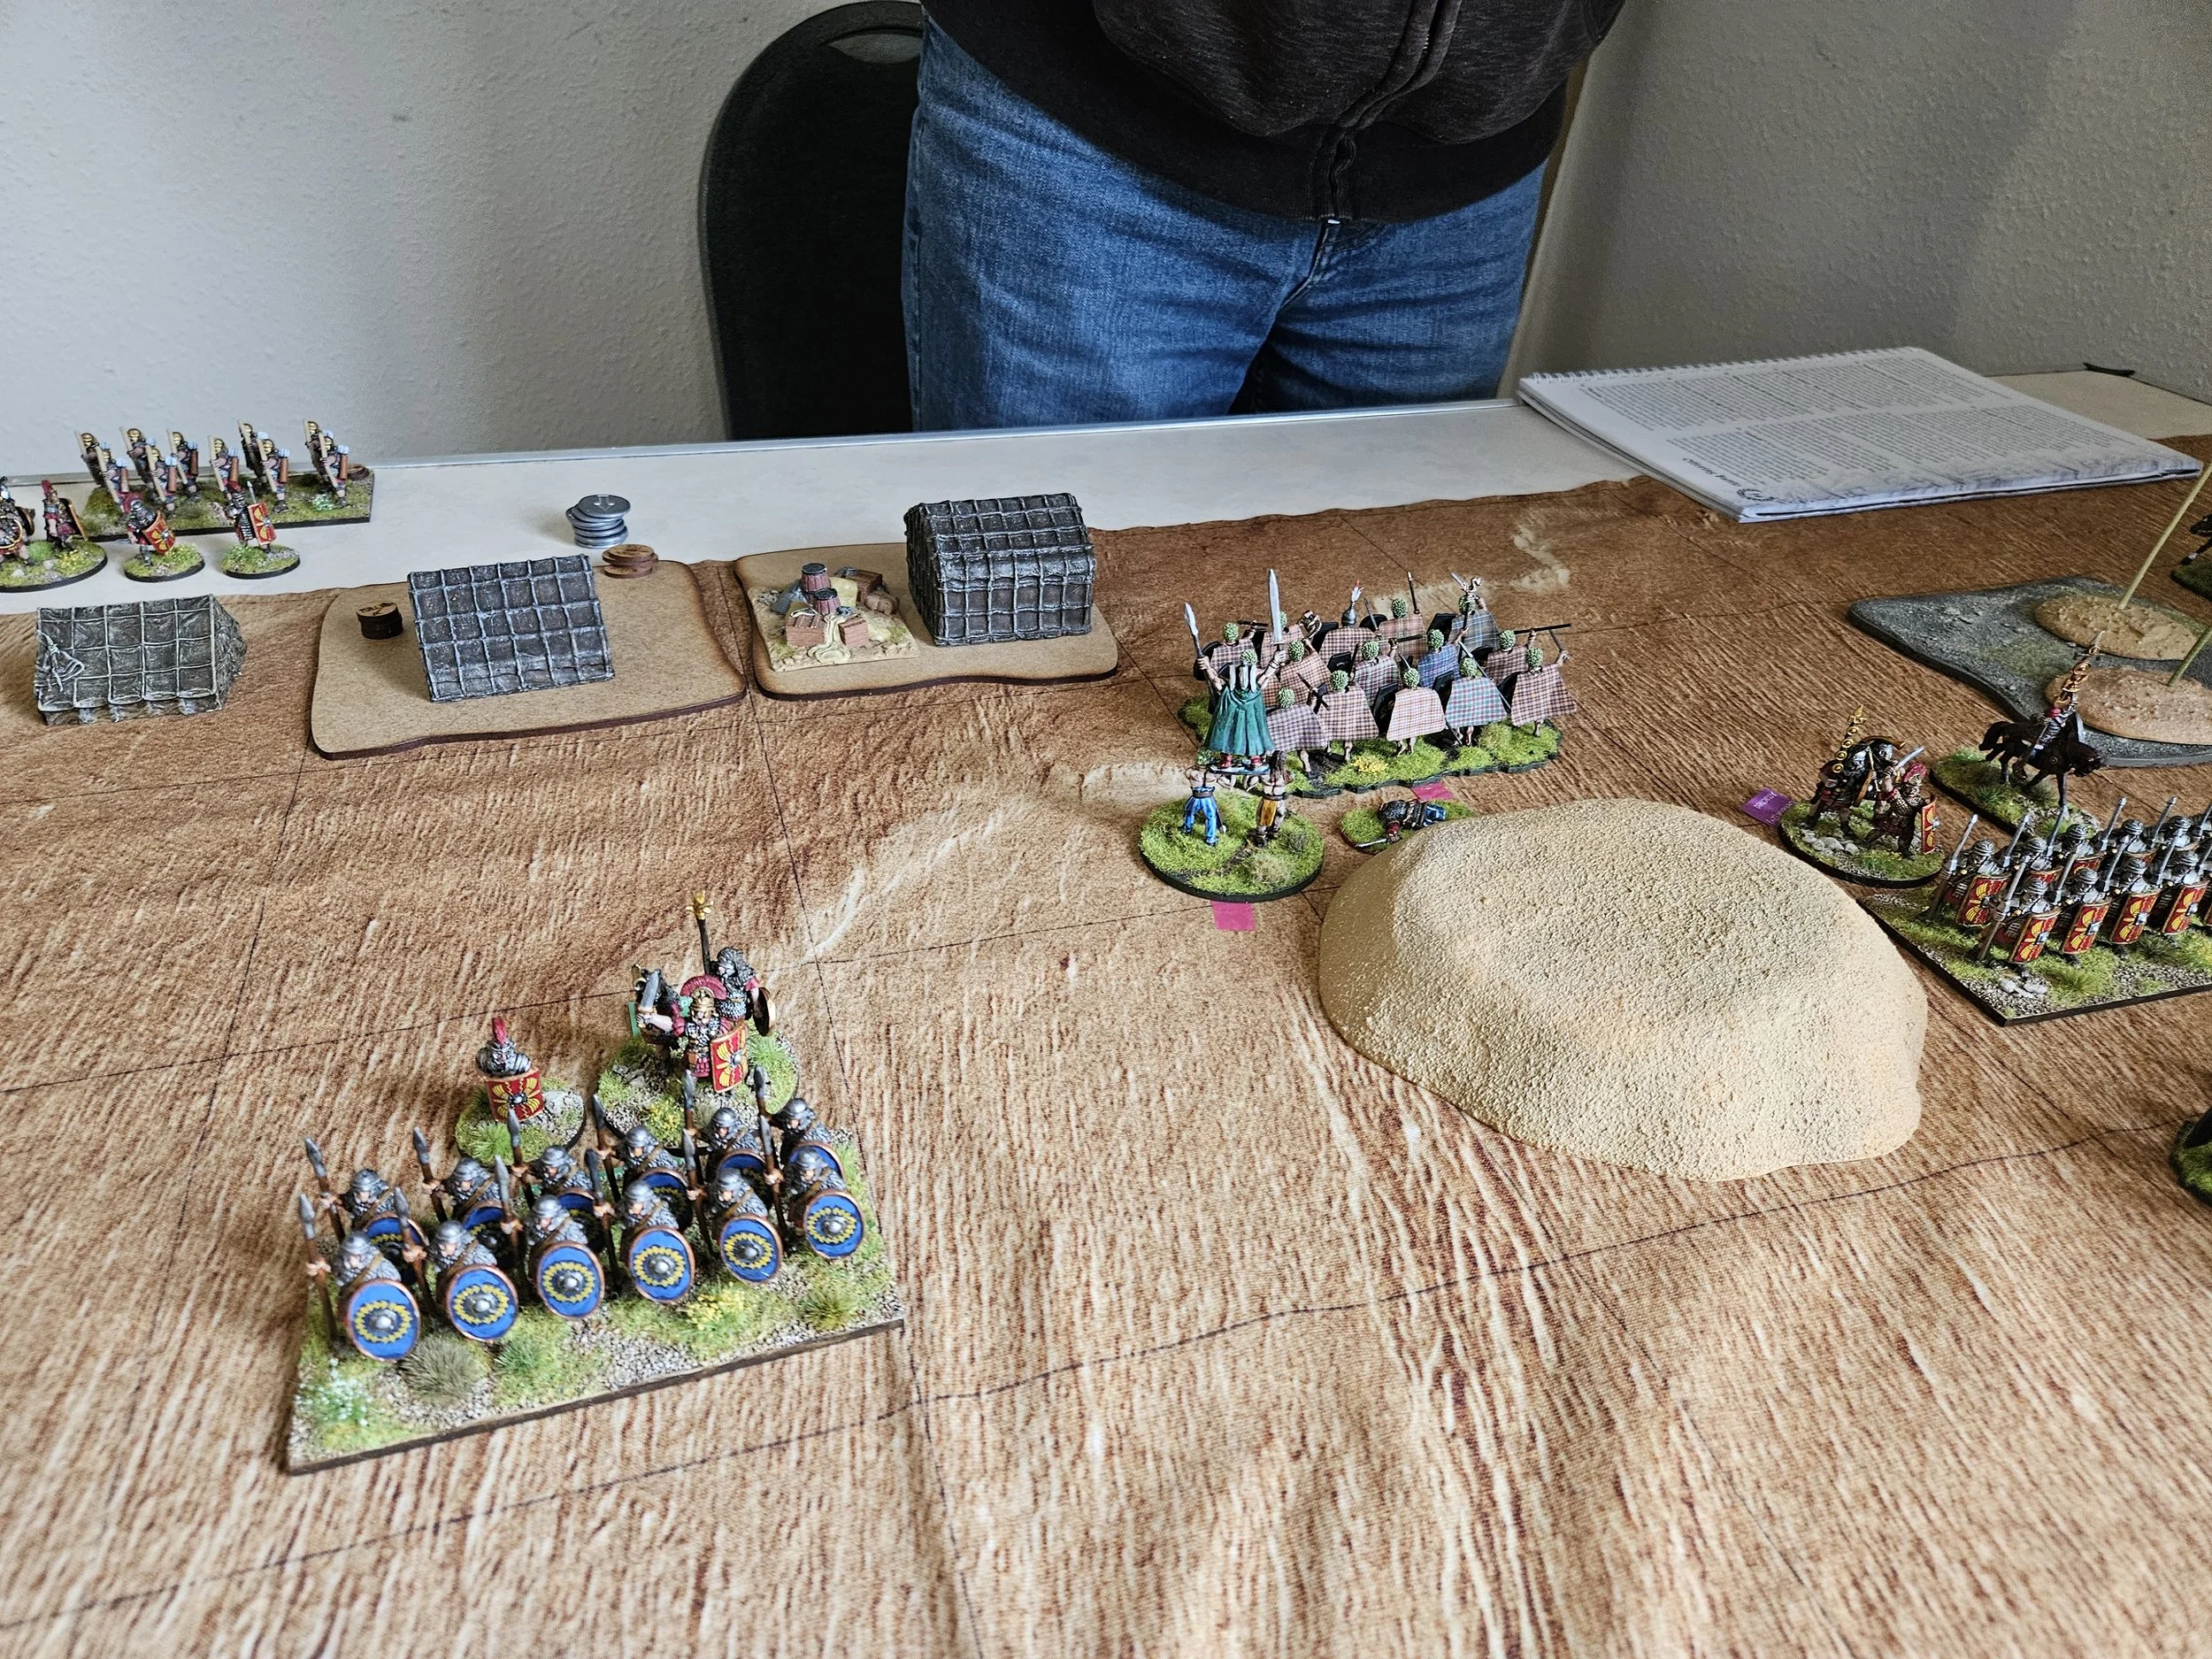
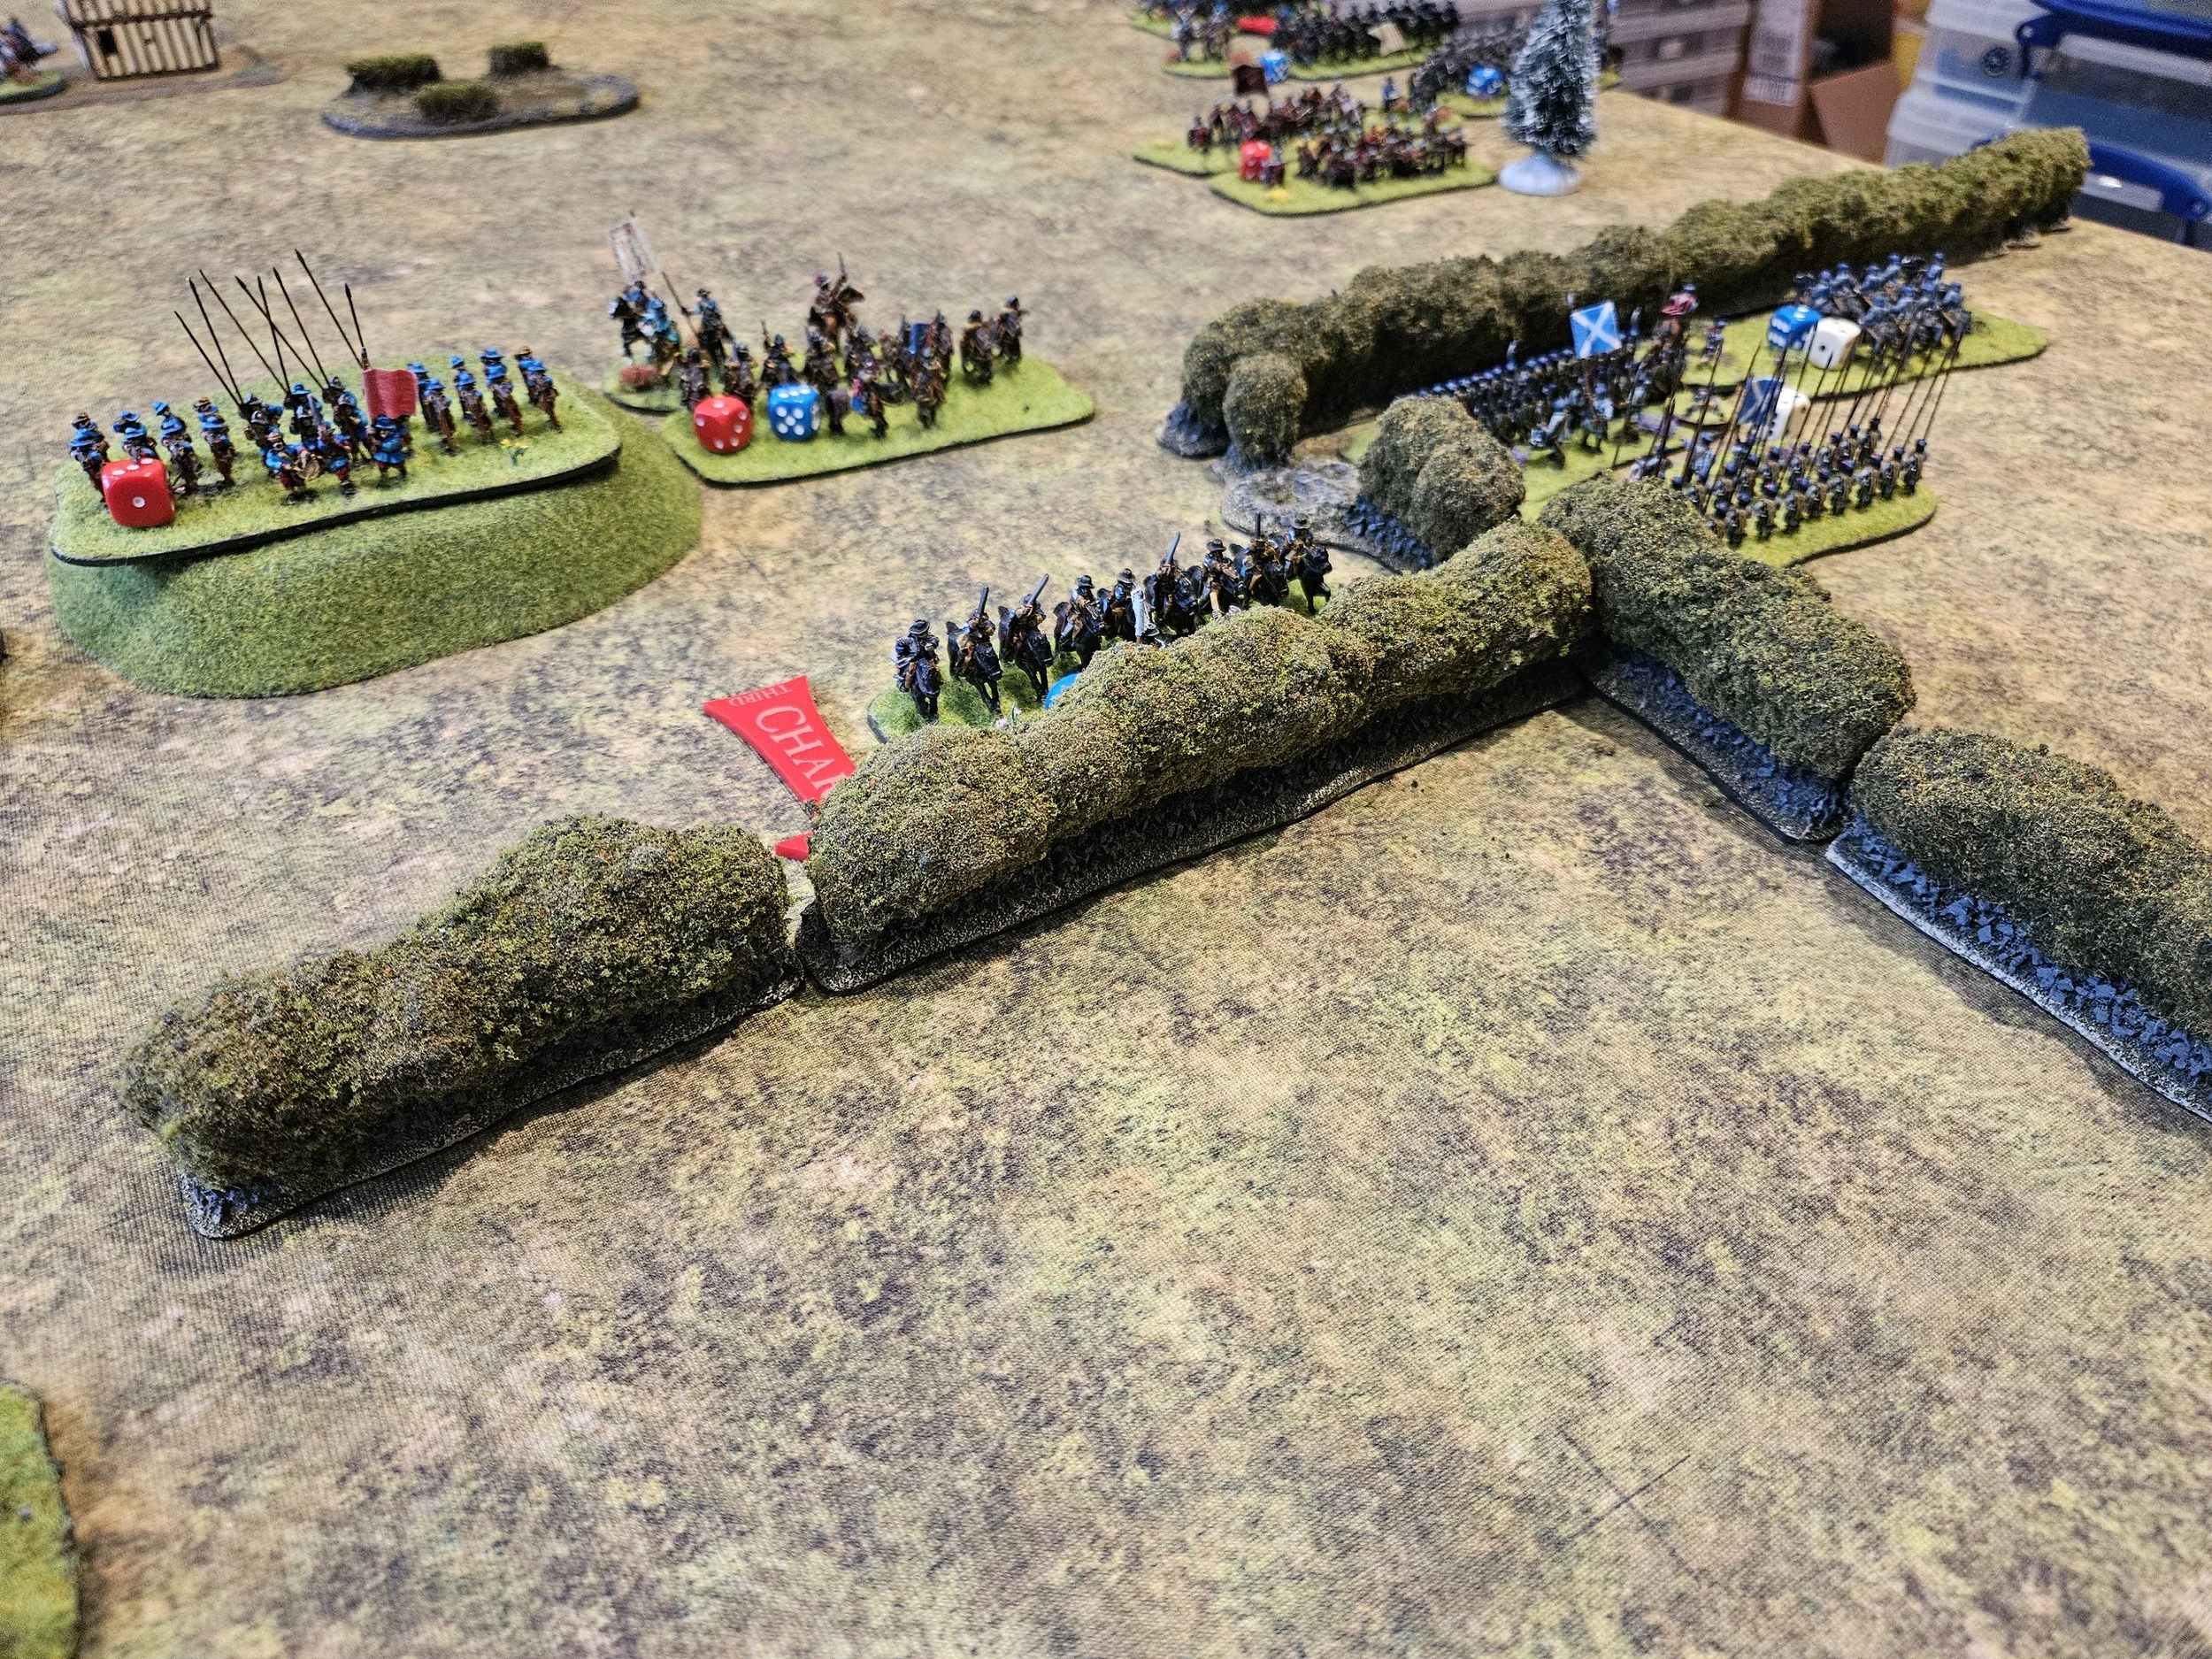
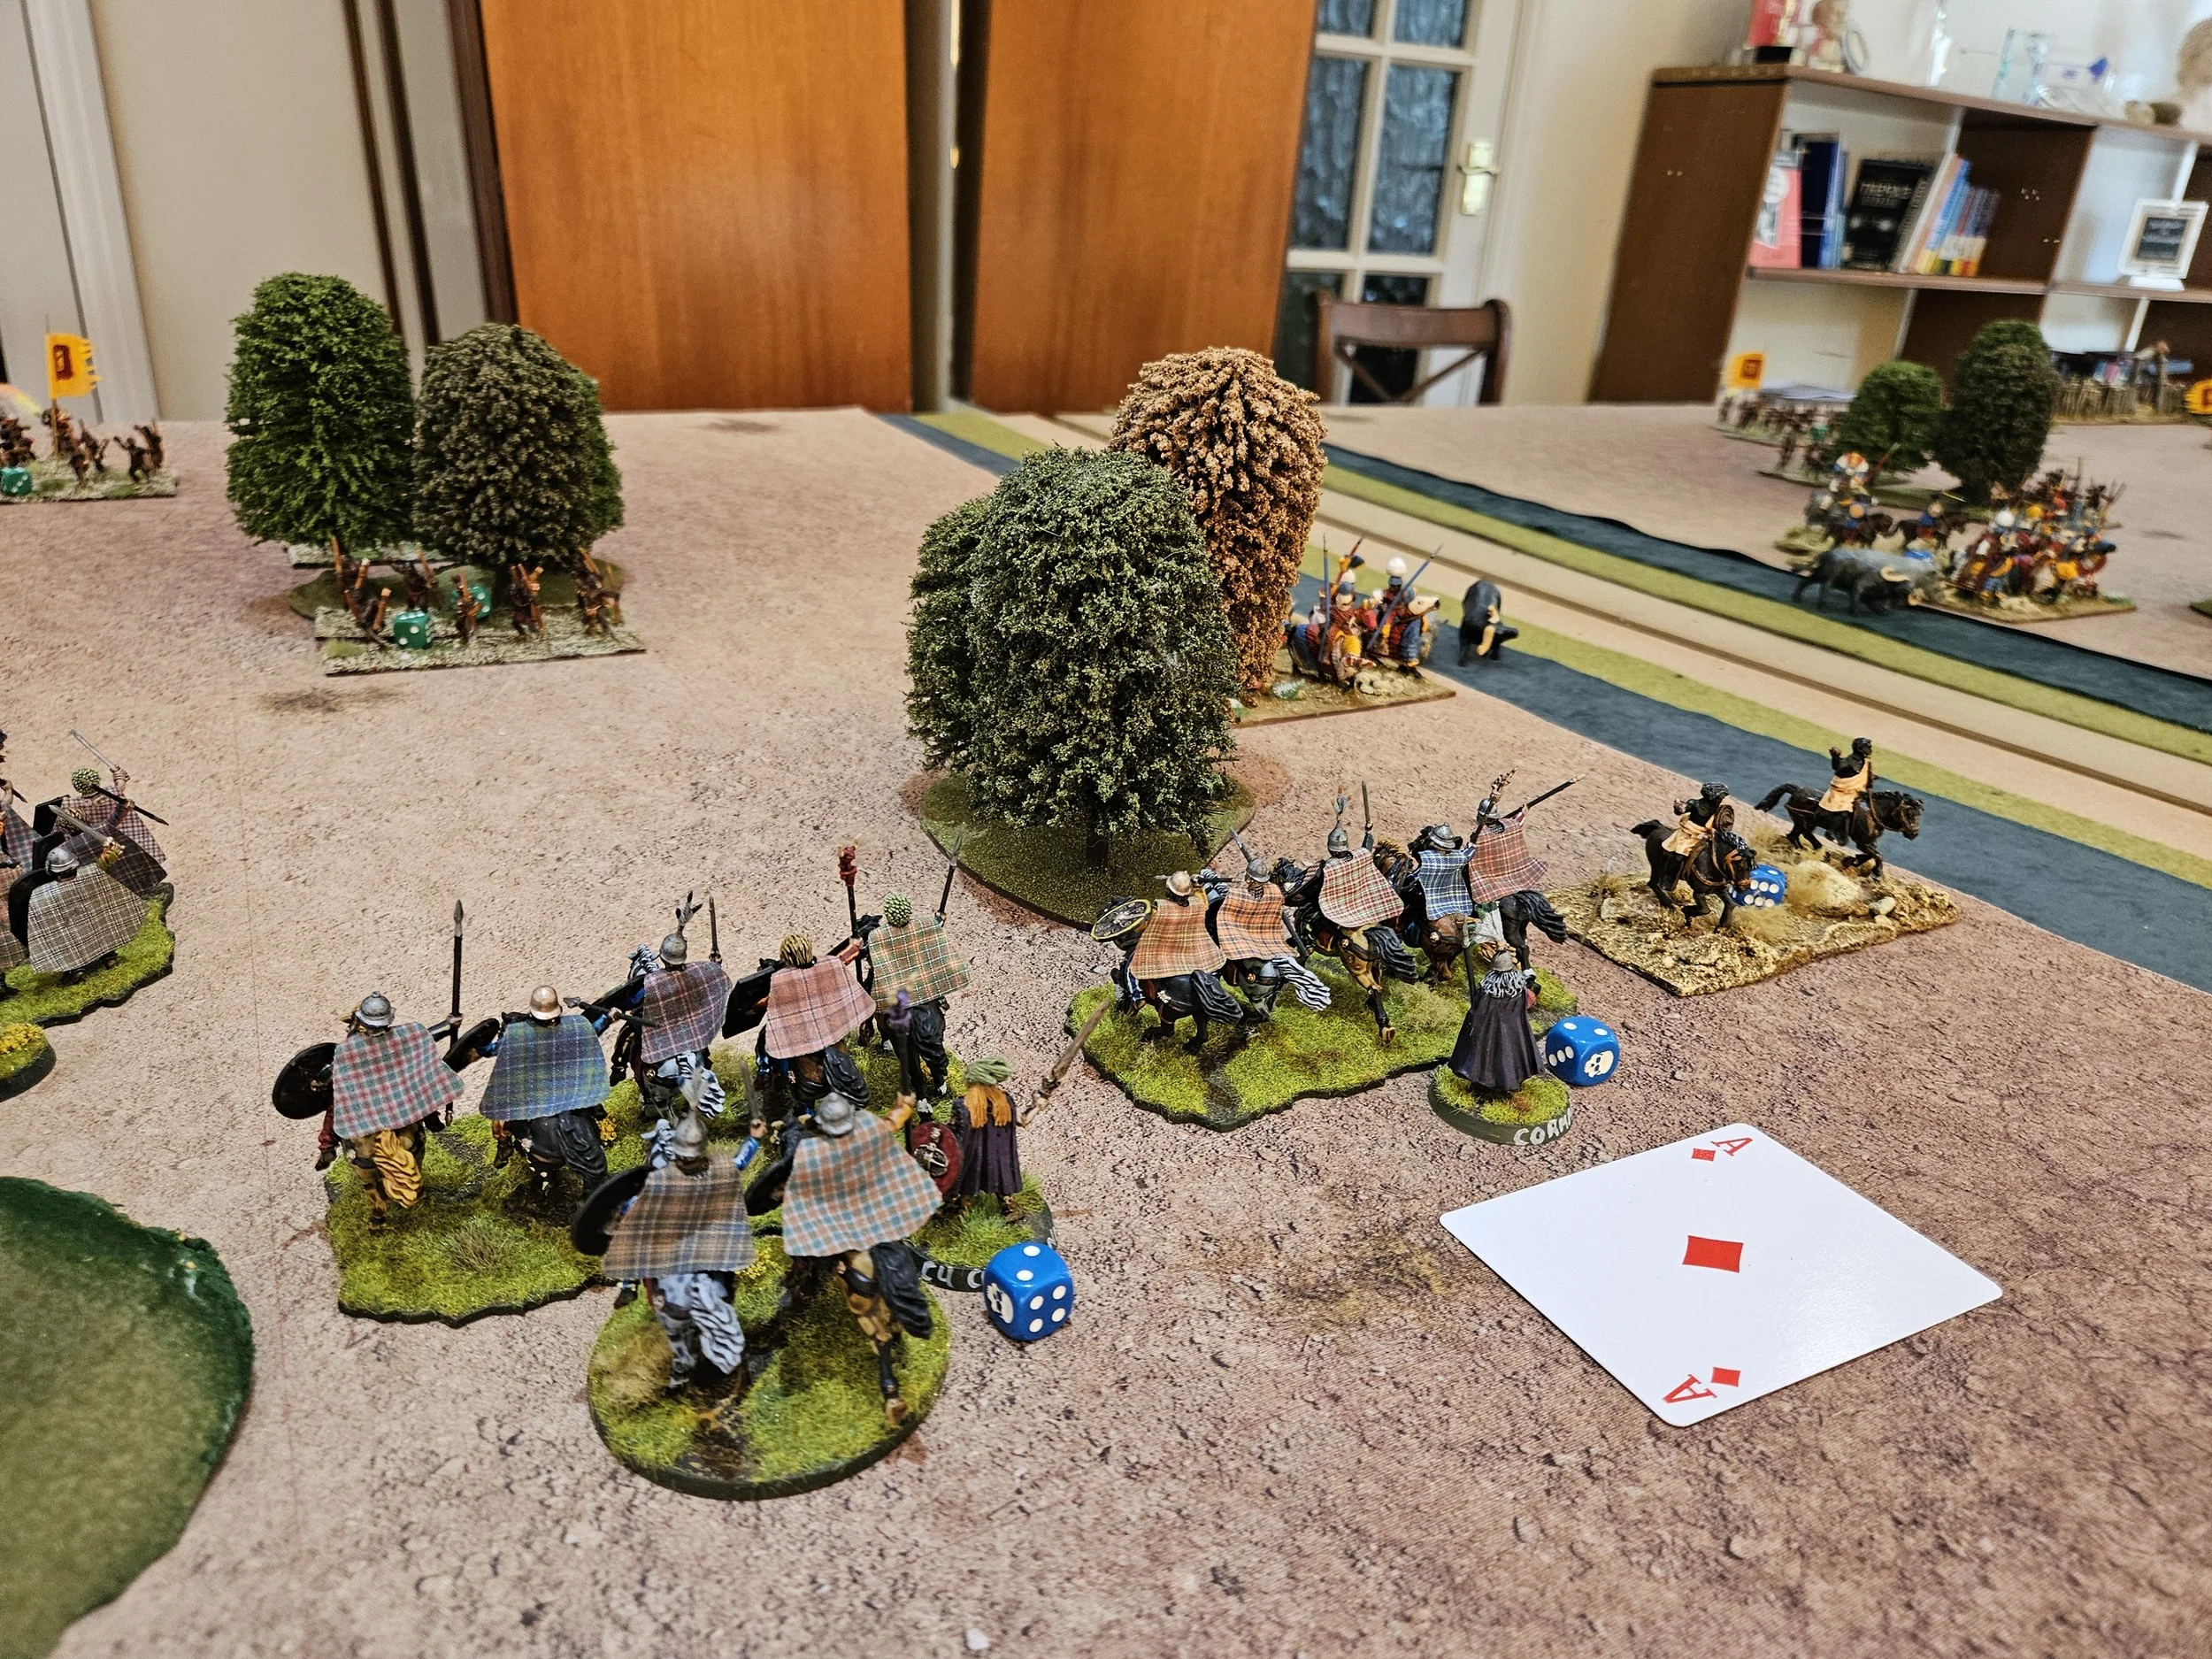
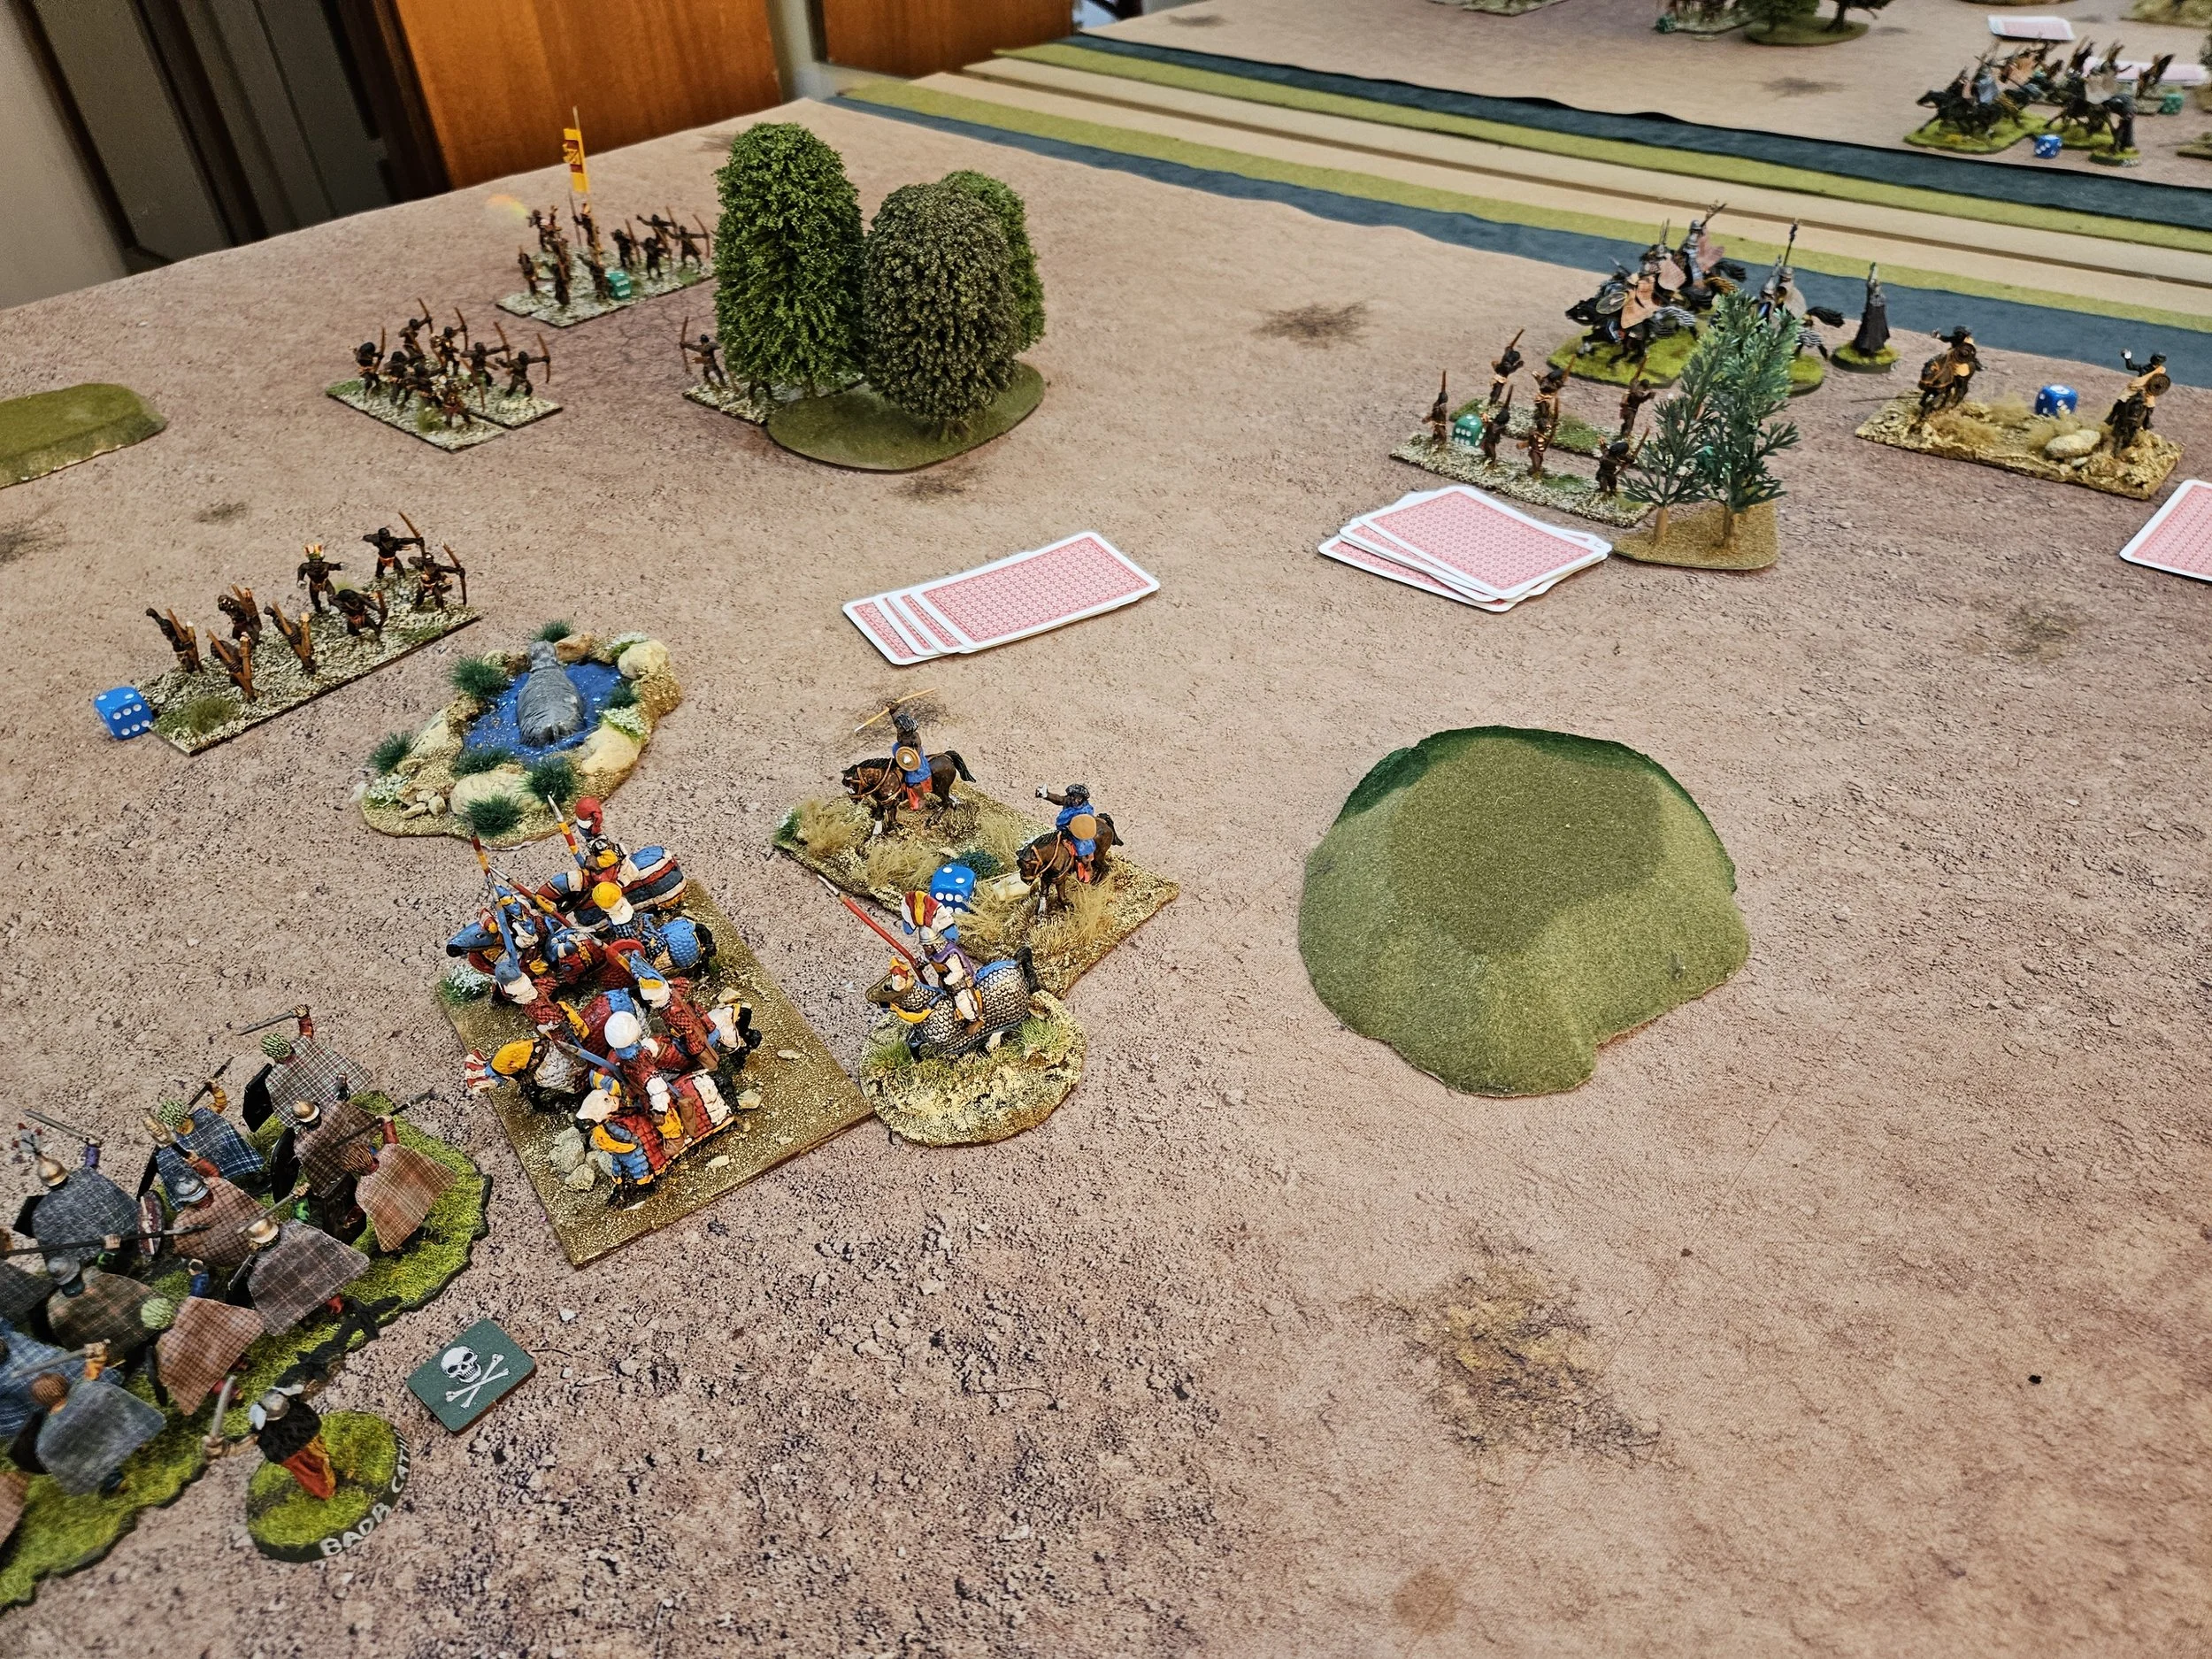
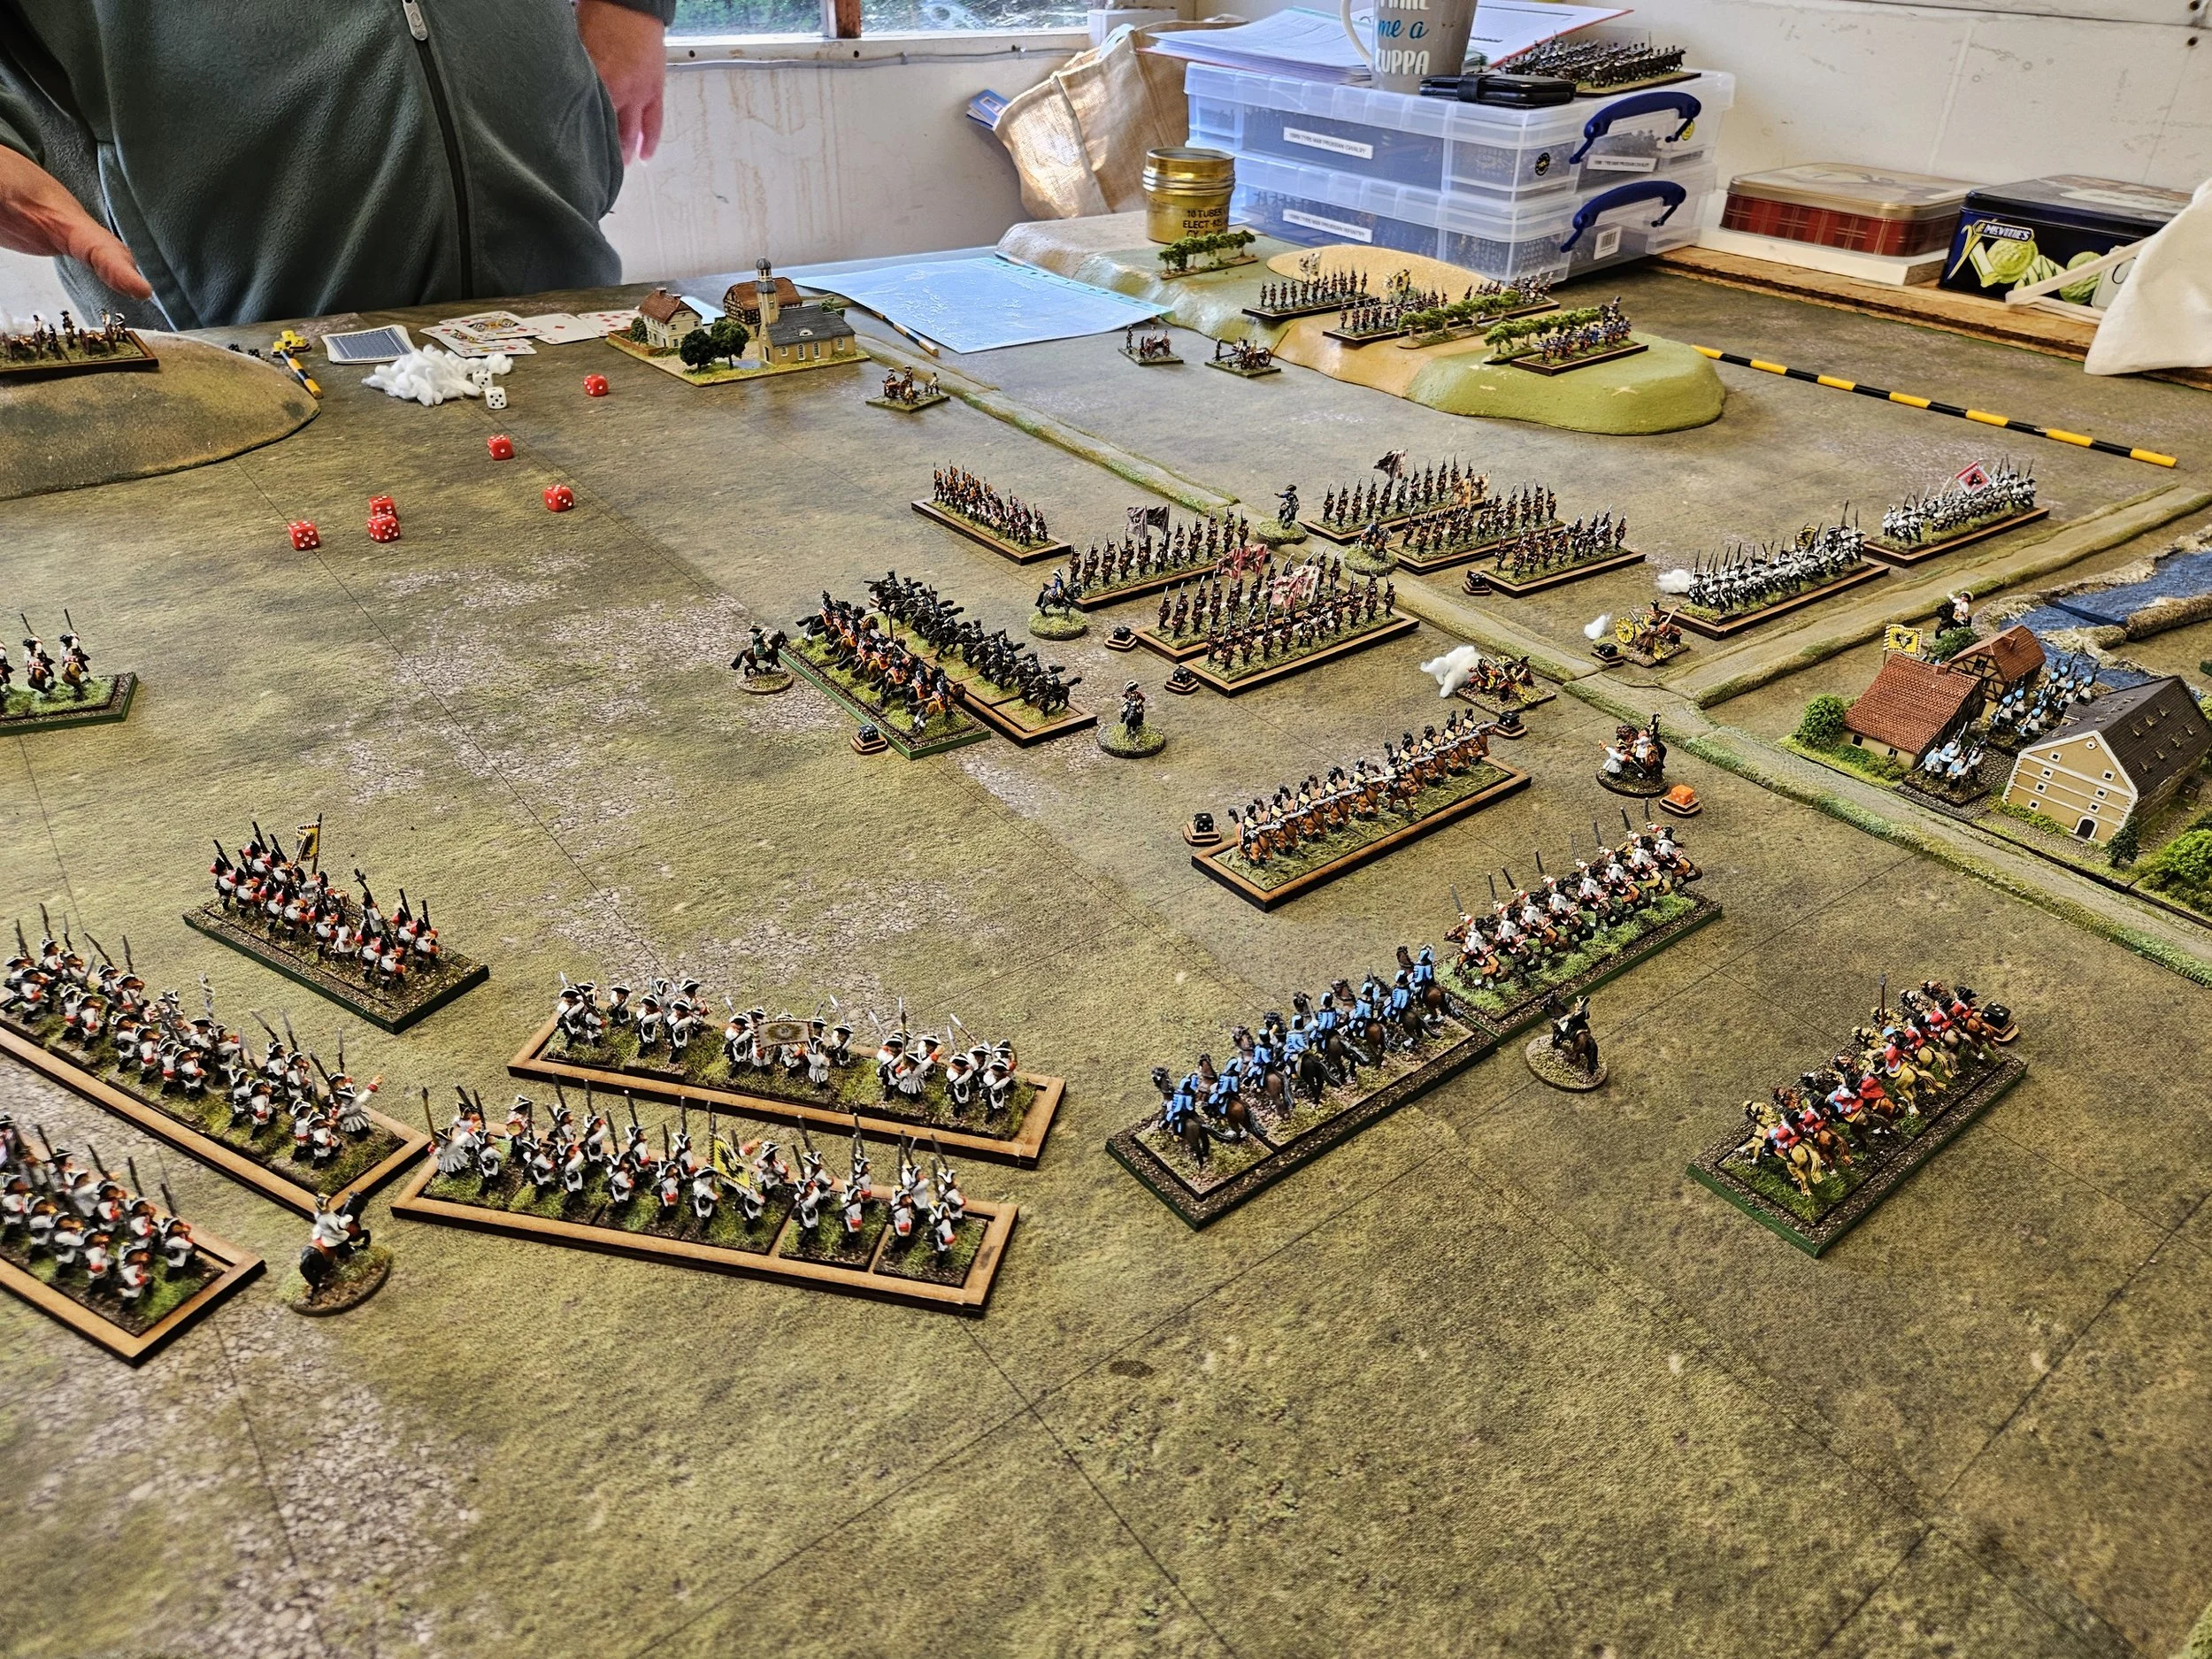
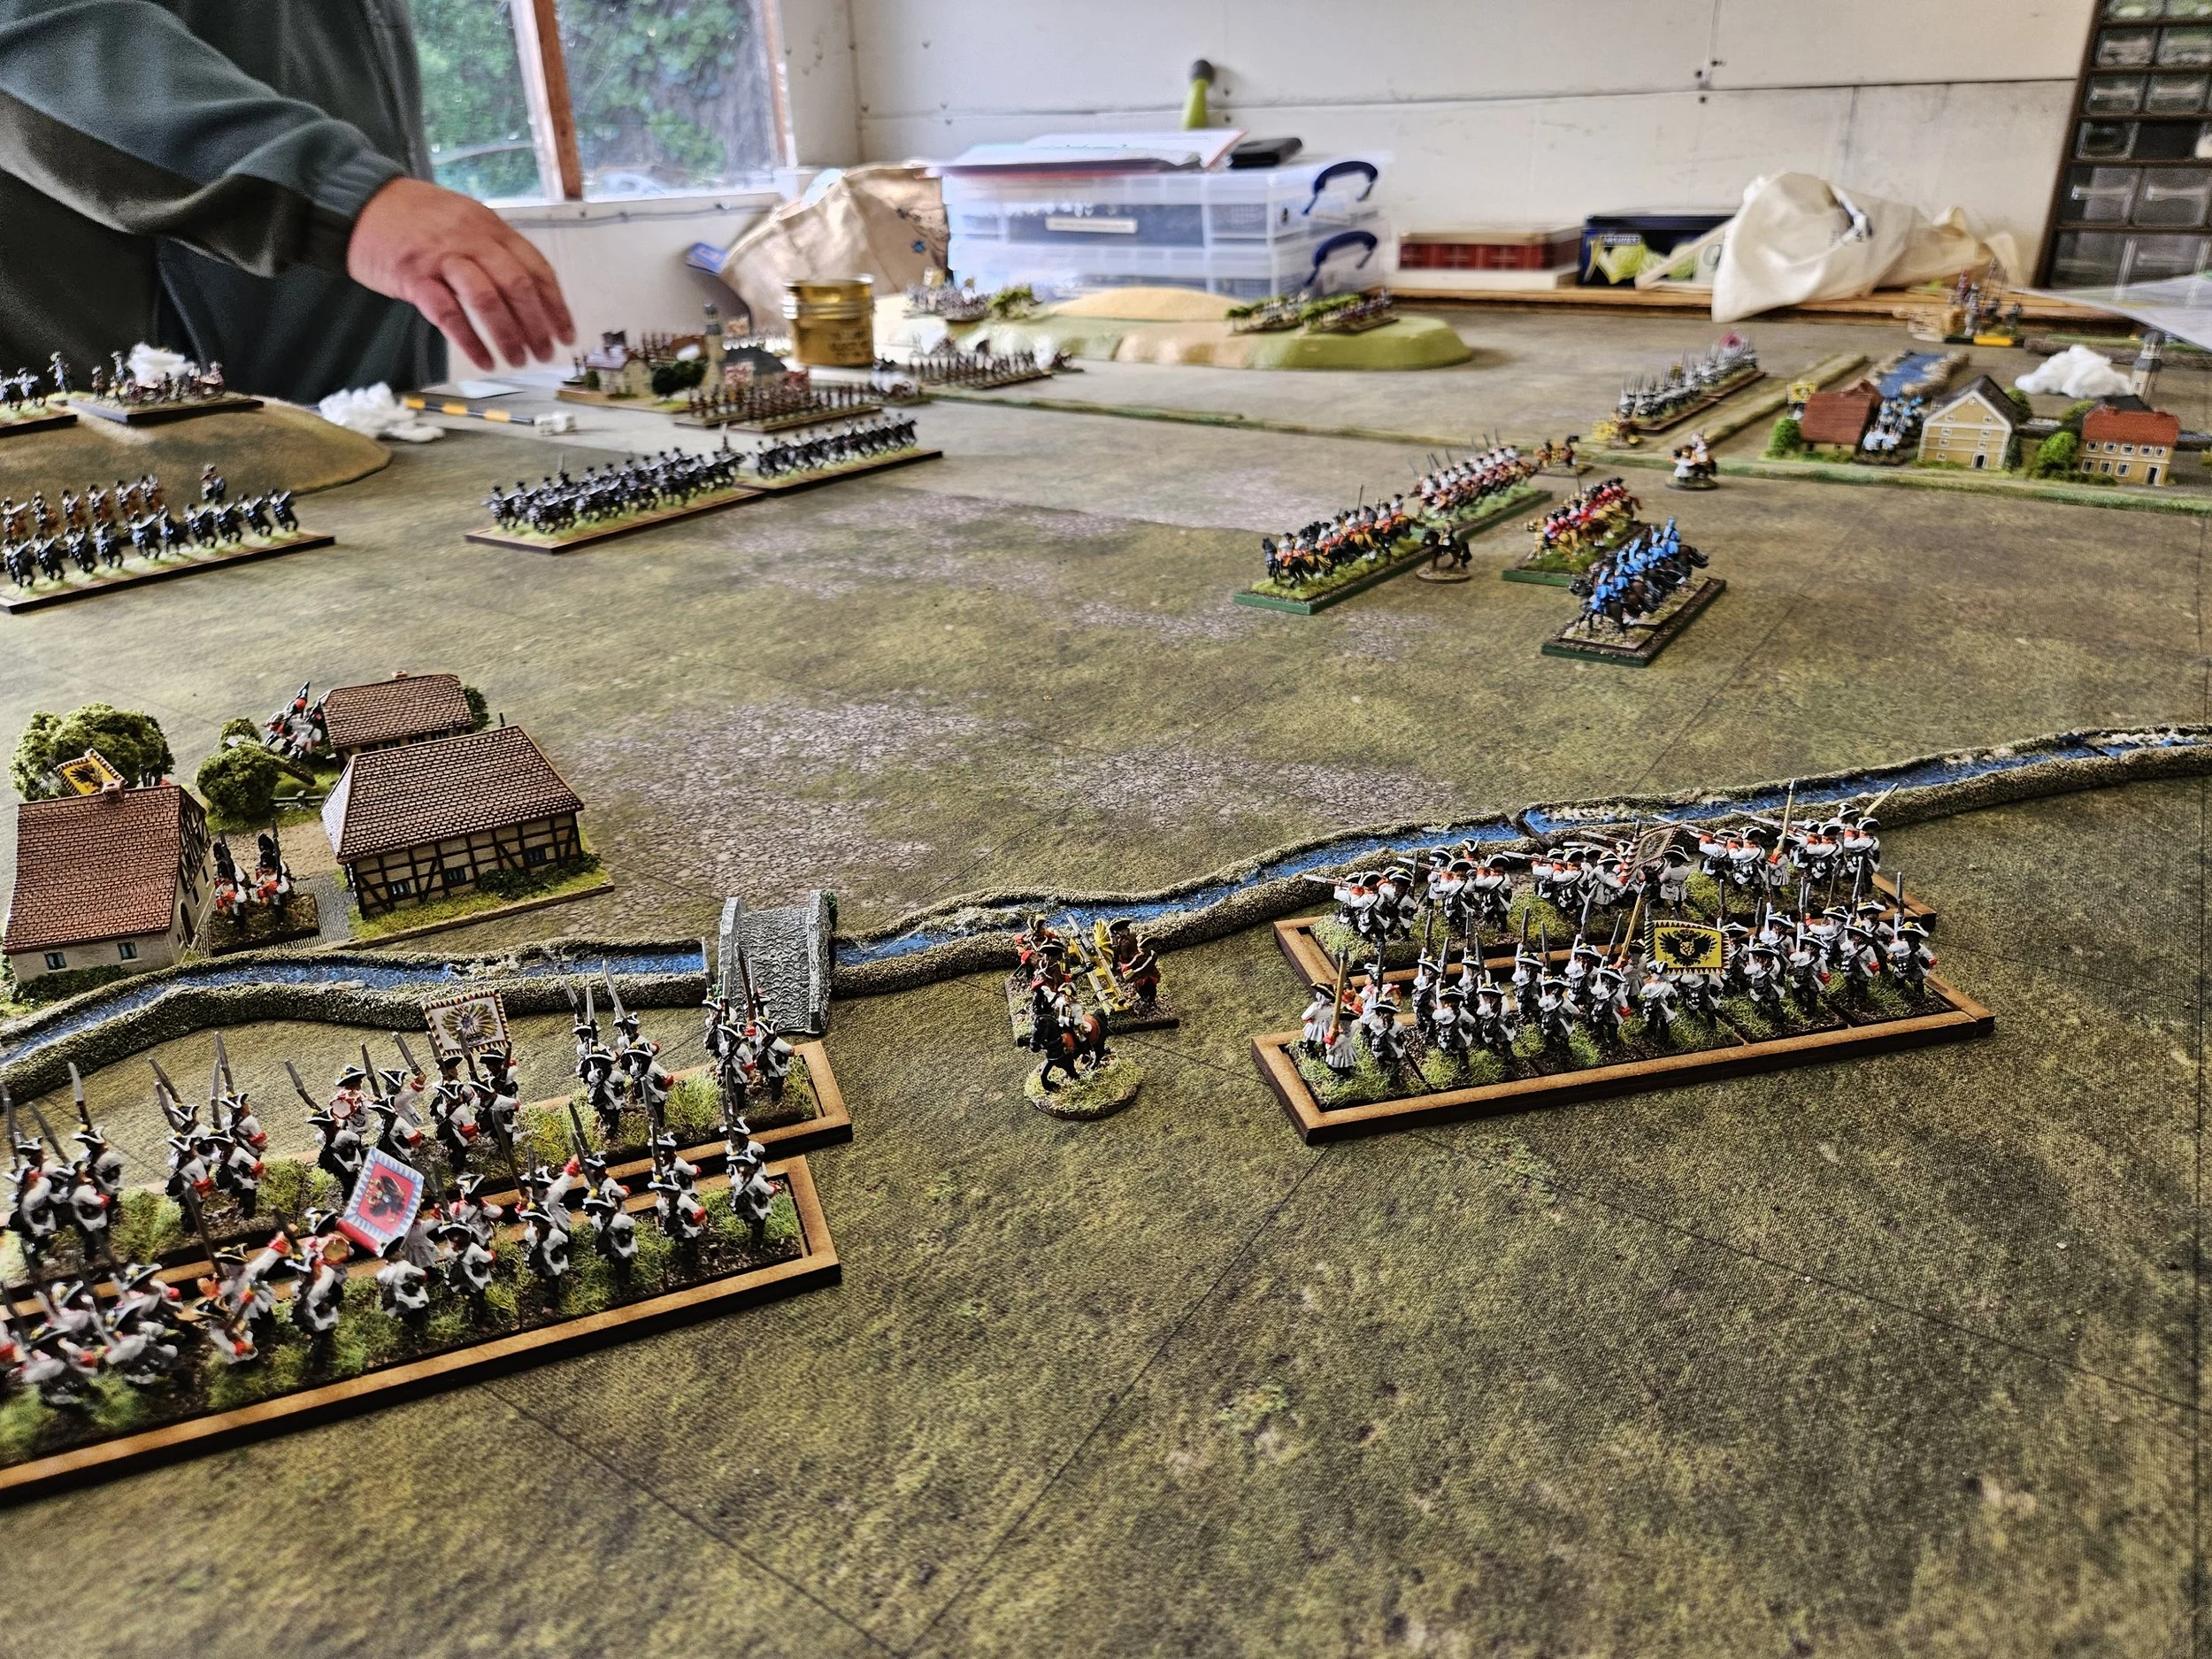
Back on my left I had outflanked one of his cavalry units but despite multiple frontal and flank attacks it survived against the odds. So using the 3rd “P” of my 7 “P” wargaming principles – “Pranking and Surprise”, I unexpectedly pivoted and manoeuvred two of my mounted units to charge Robs exposed and very surprised warband flanks. The bulky naked Galatians stuck between the woods couldn’t react in time and quickly collapsed.
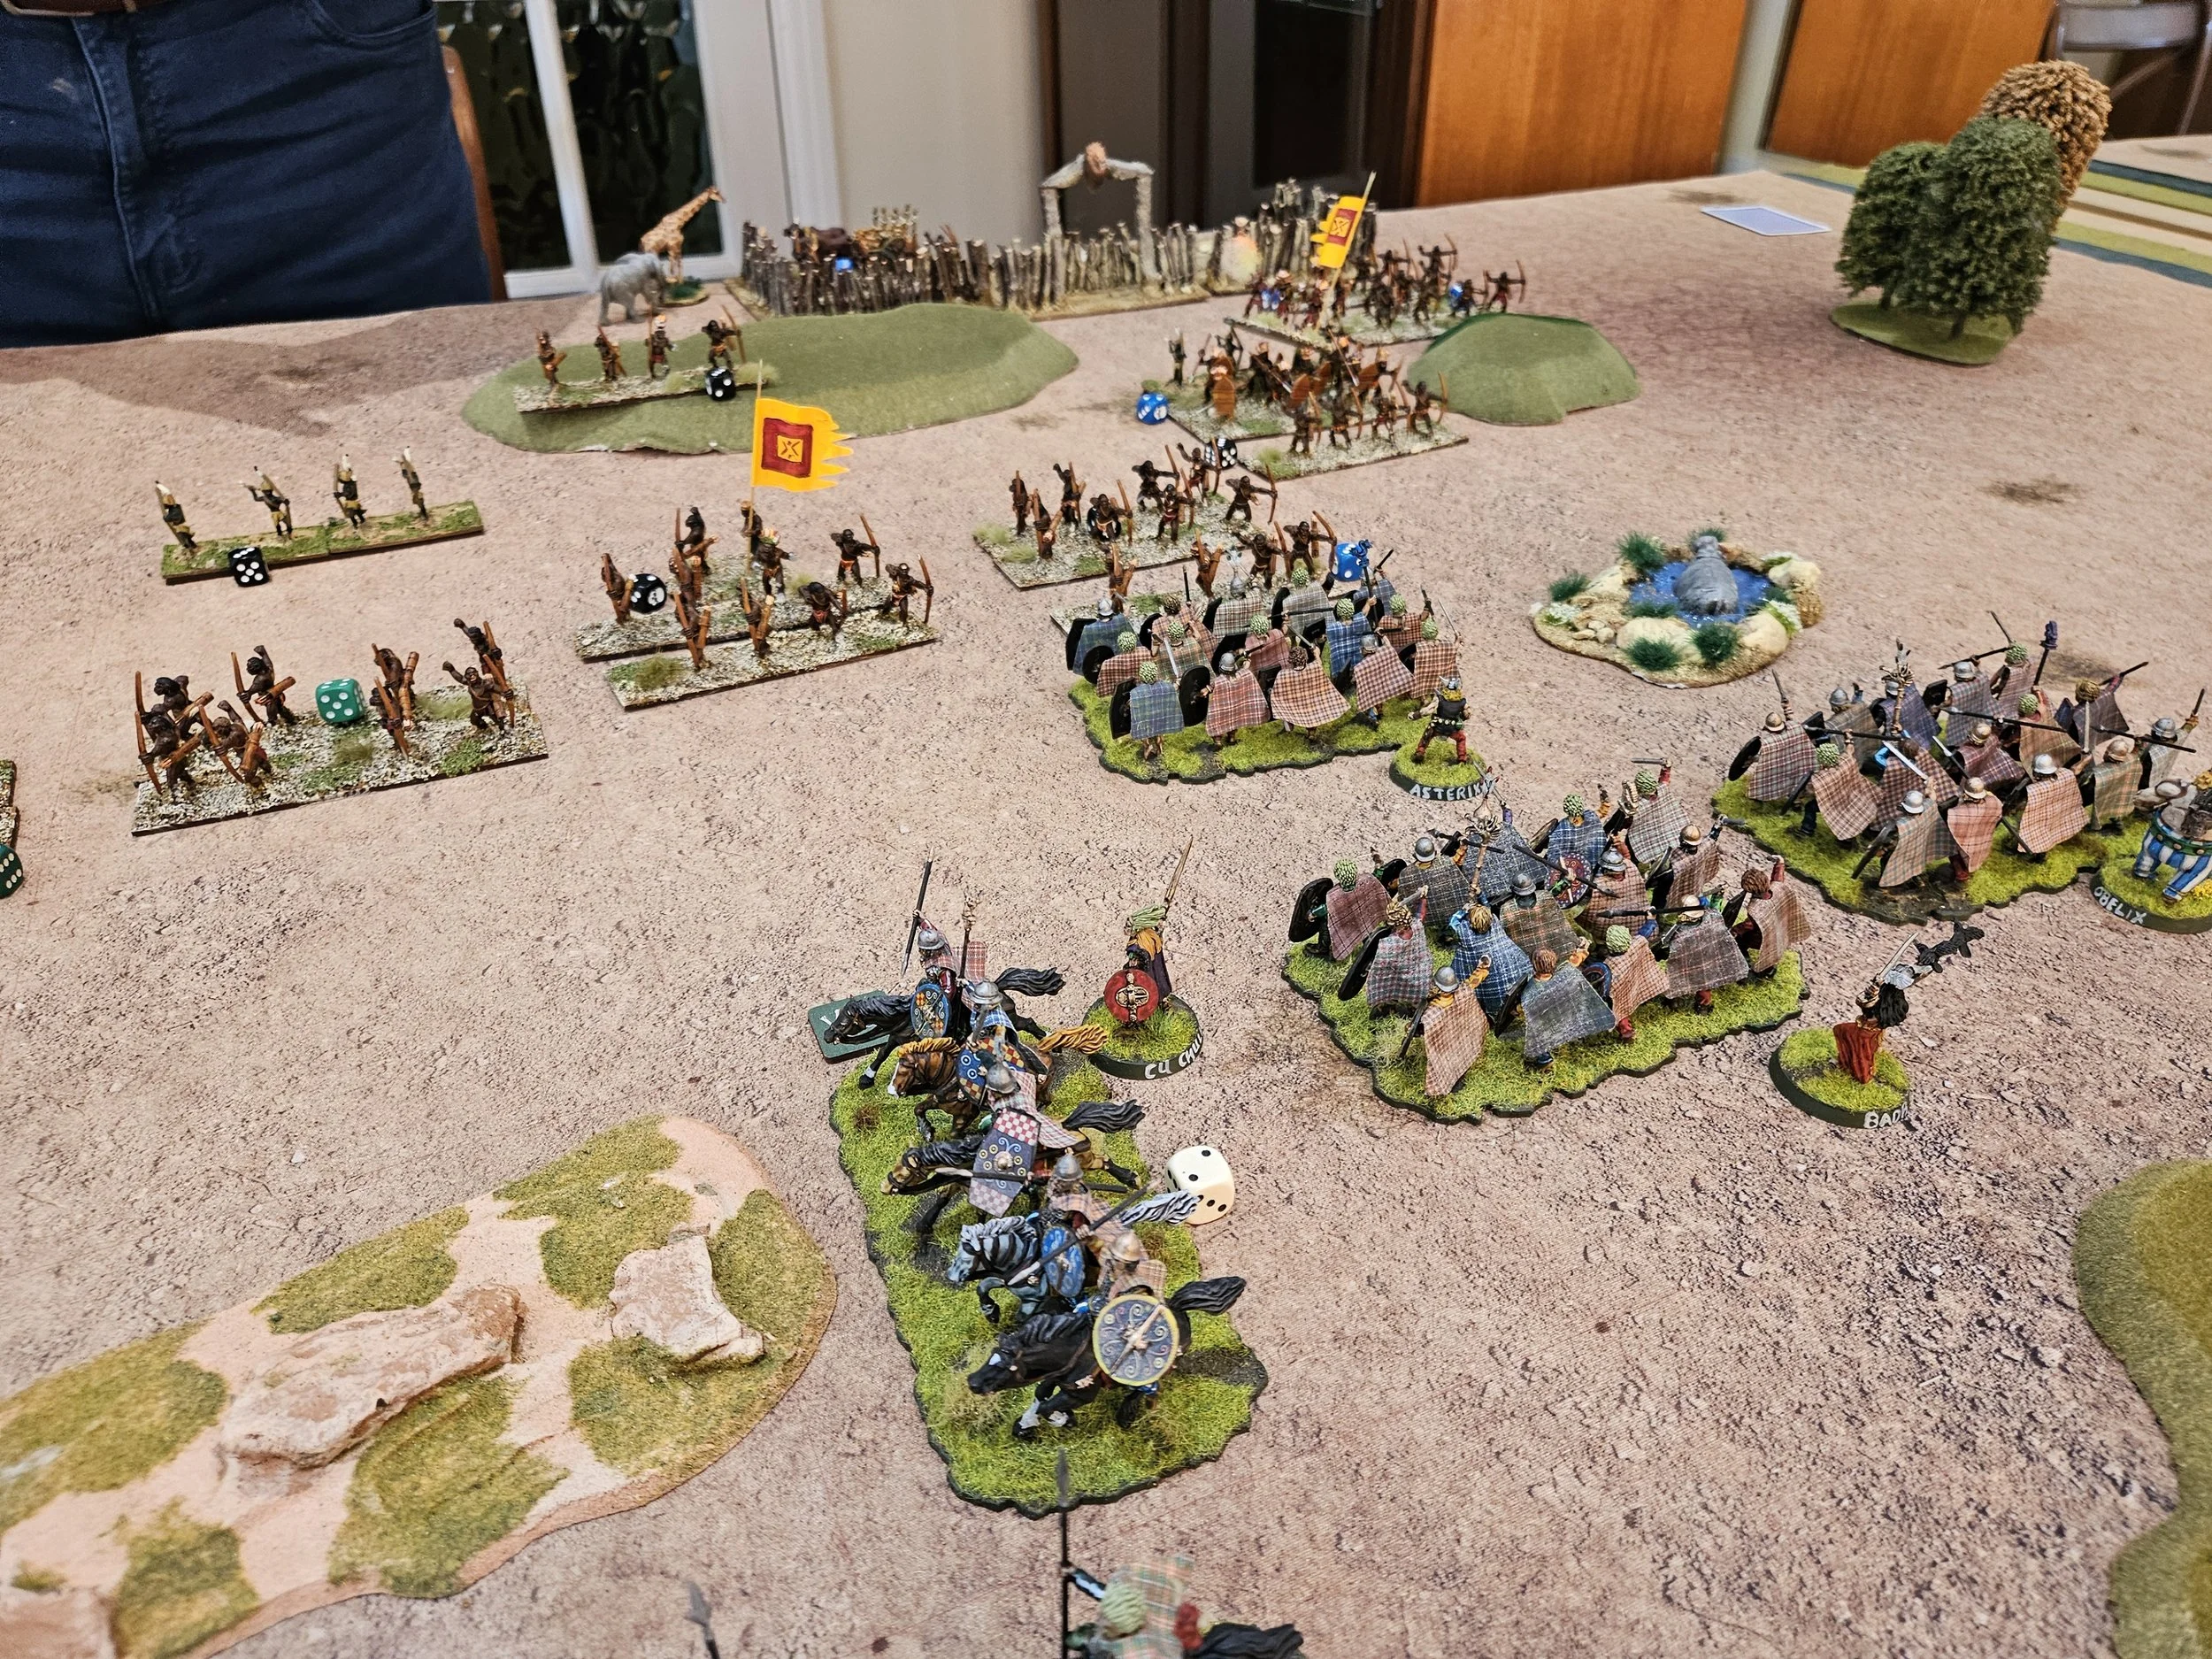
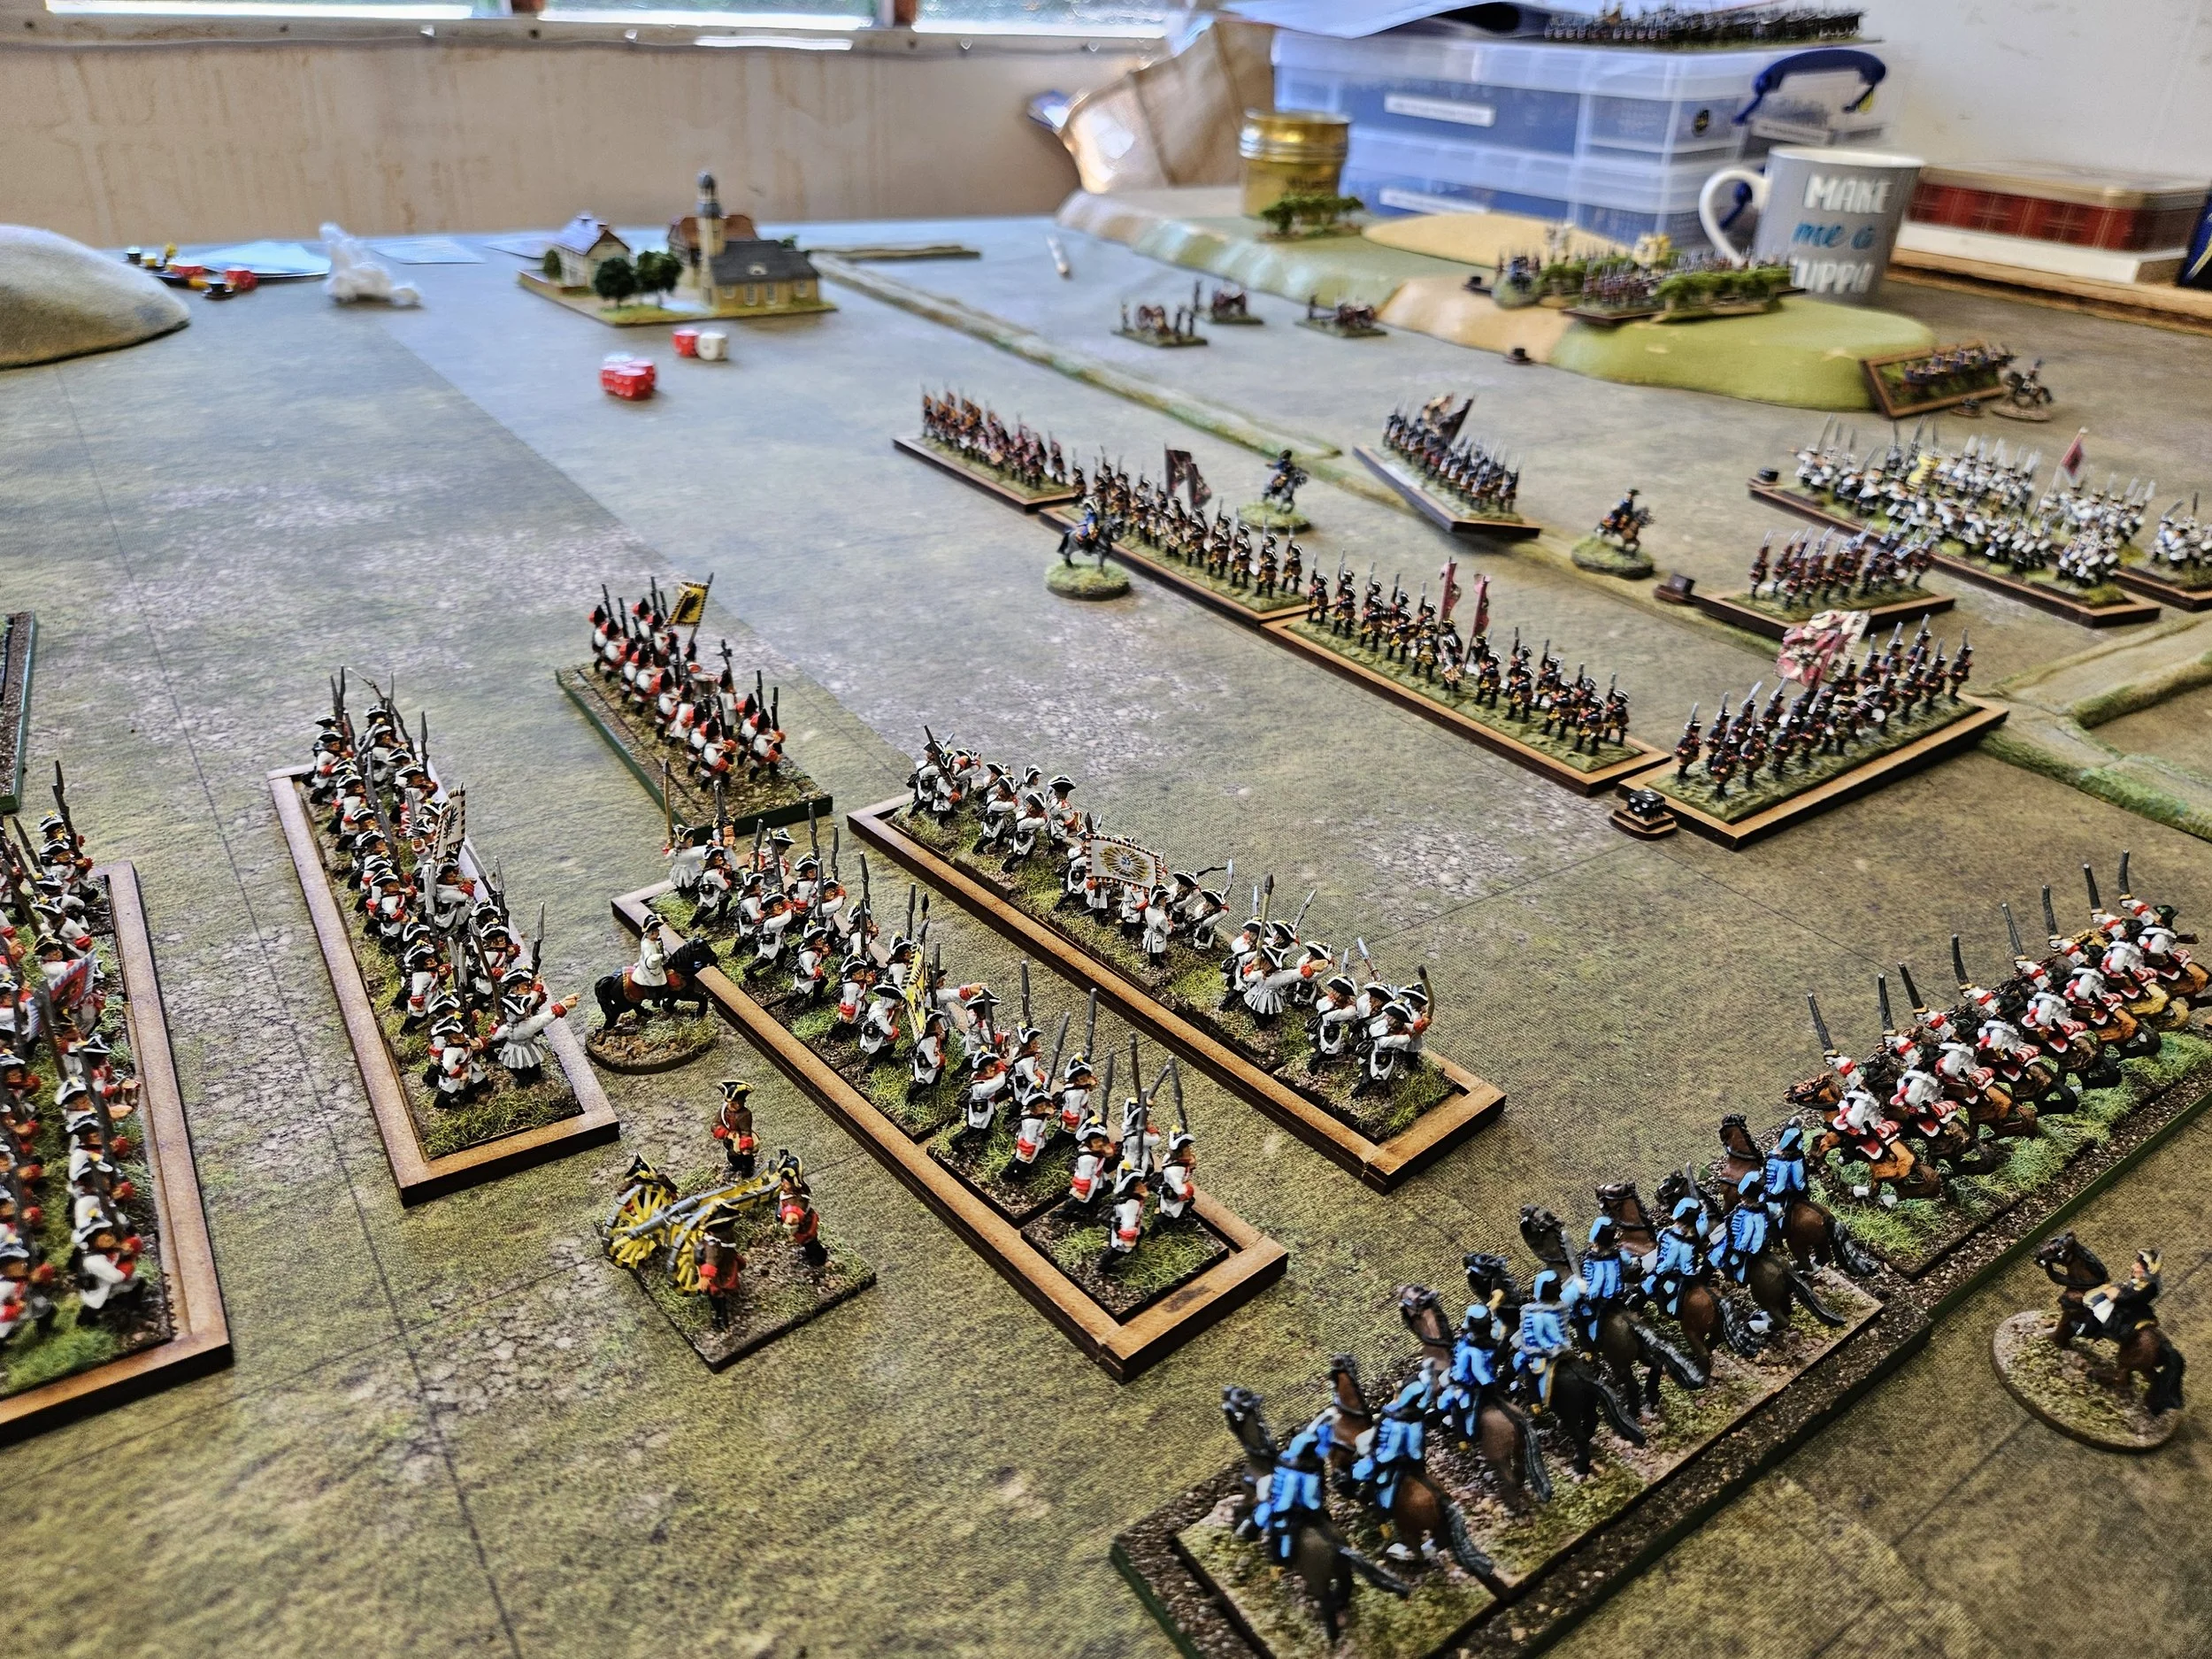
This left the lone warband that had now extracted itself out of the “fire pan” of the wood into the “fire” of being surround by 3 formed bow units, one in front, one on the flank and one behind. With a likely 10 attack cards every turn the outcome was surely inevitable?
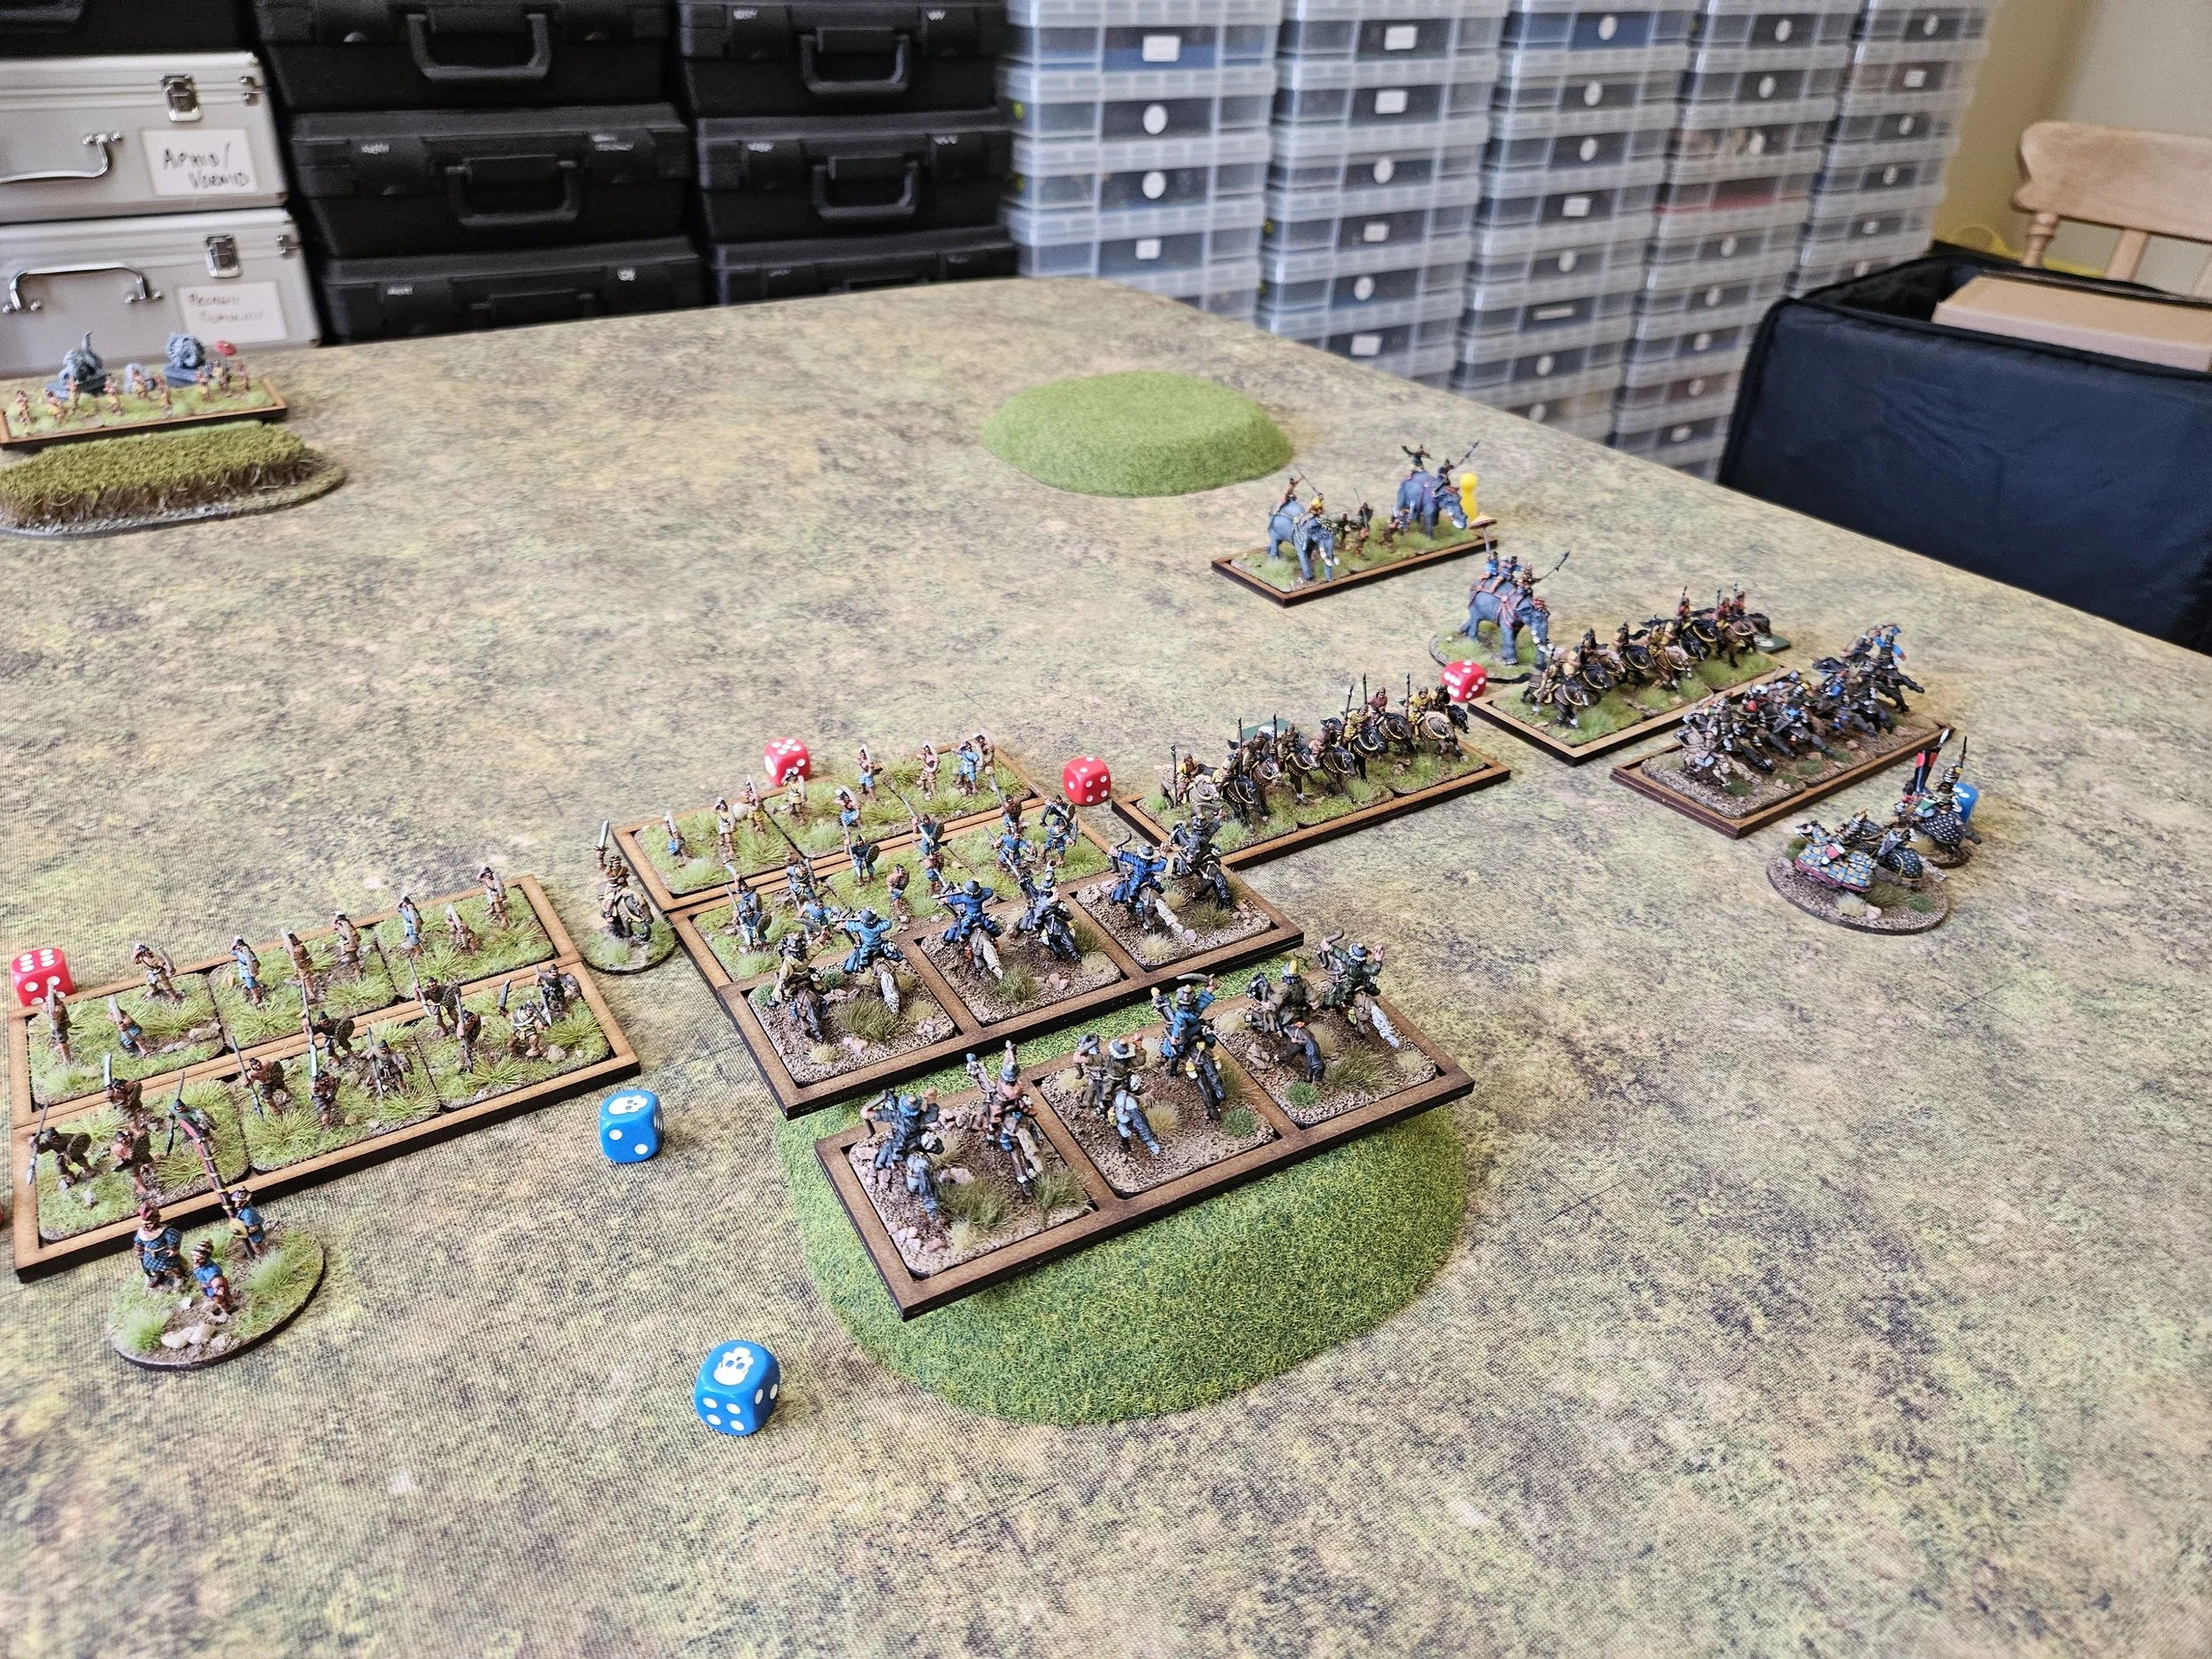
Back on my far right, the interlocking fields of fire easily took out the lone cavalry unit that had got too excited and isolated without any cover or support.
The End Is Nigh!
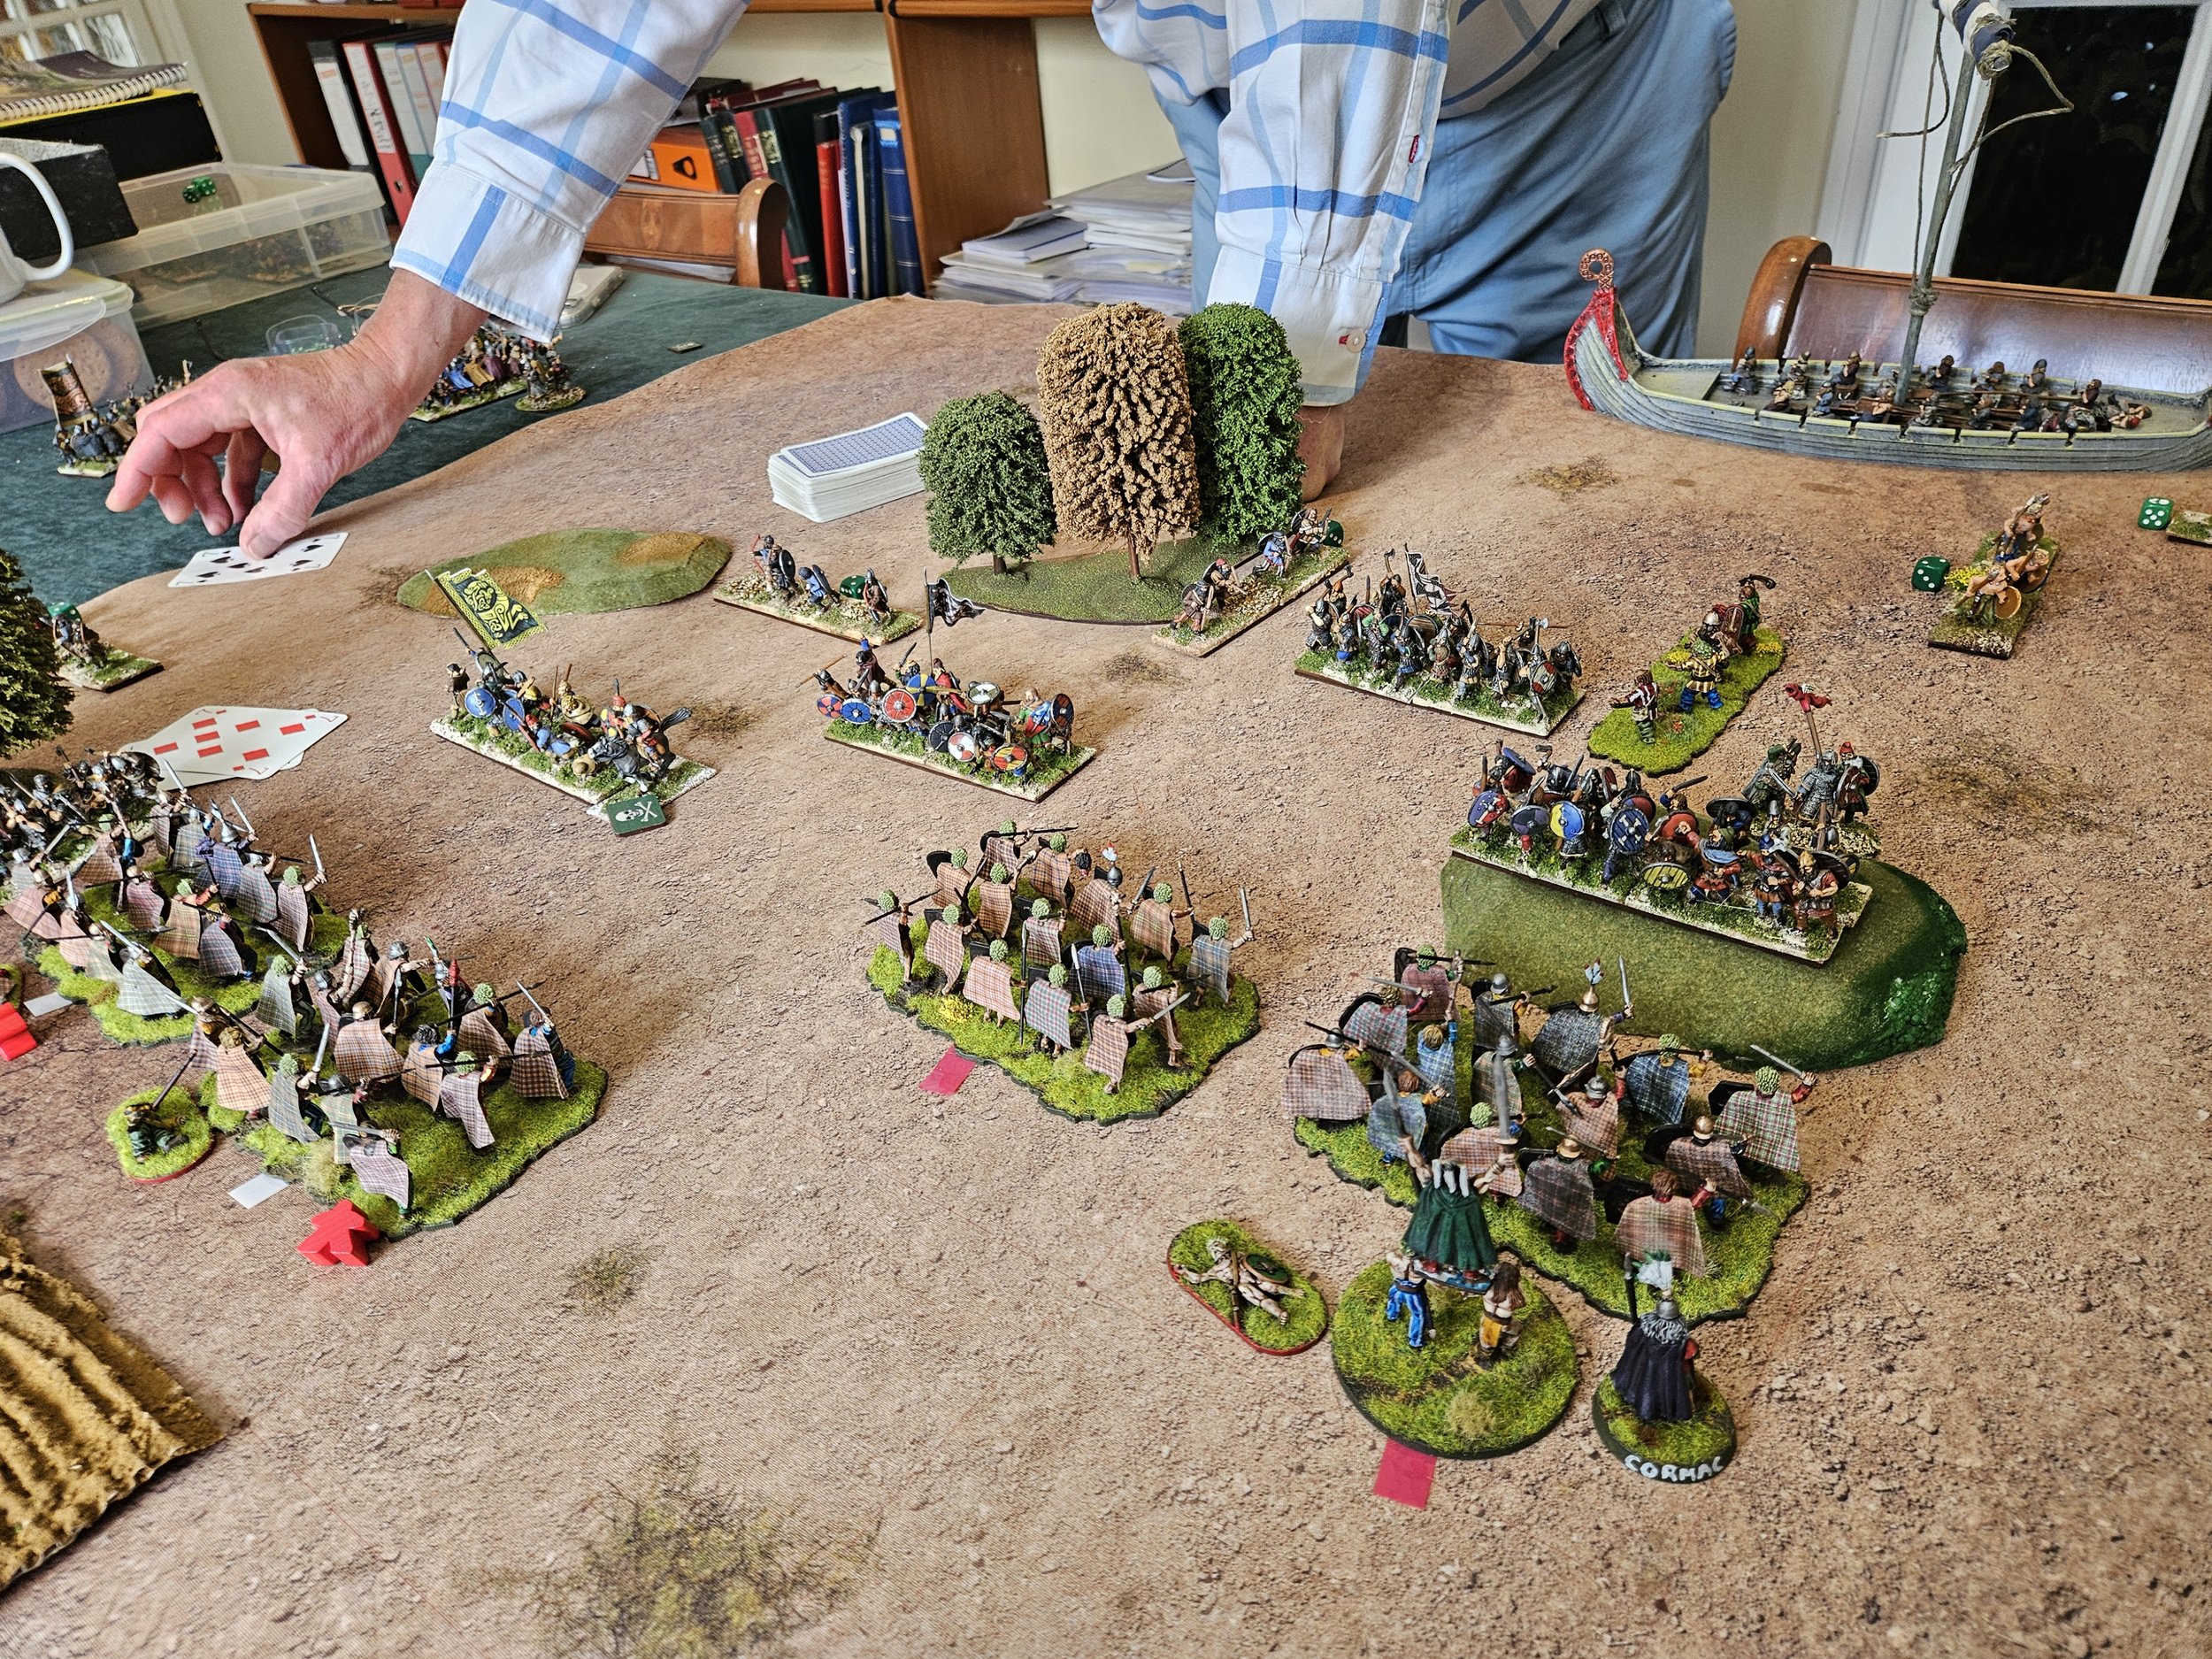
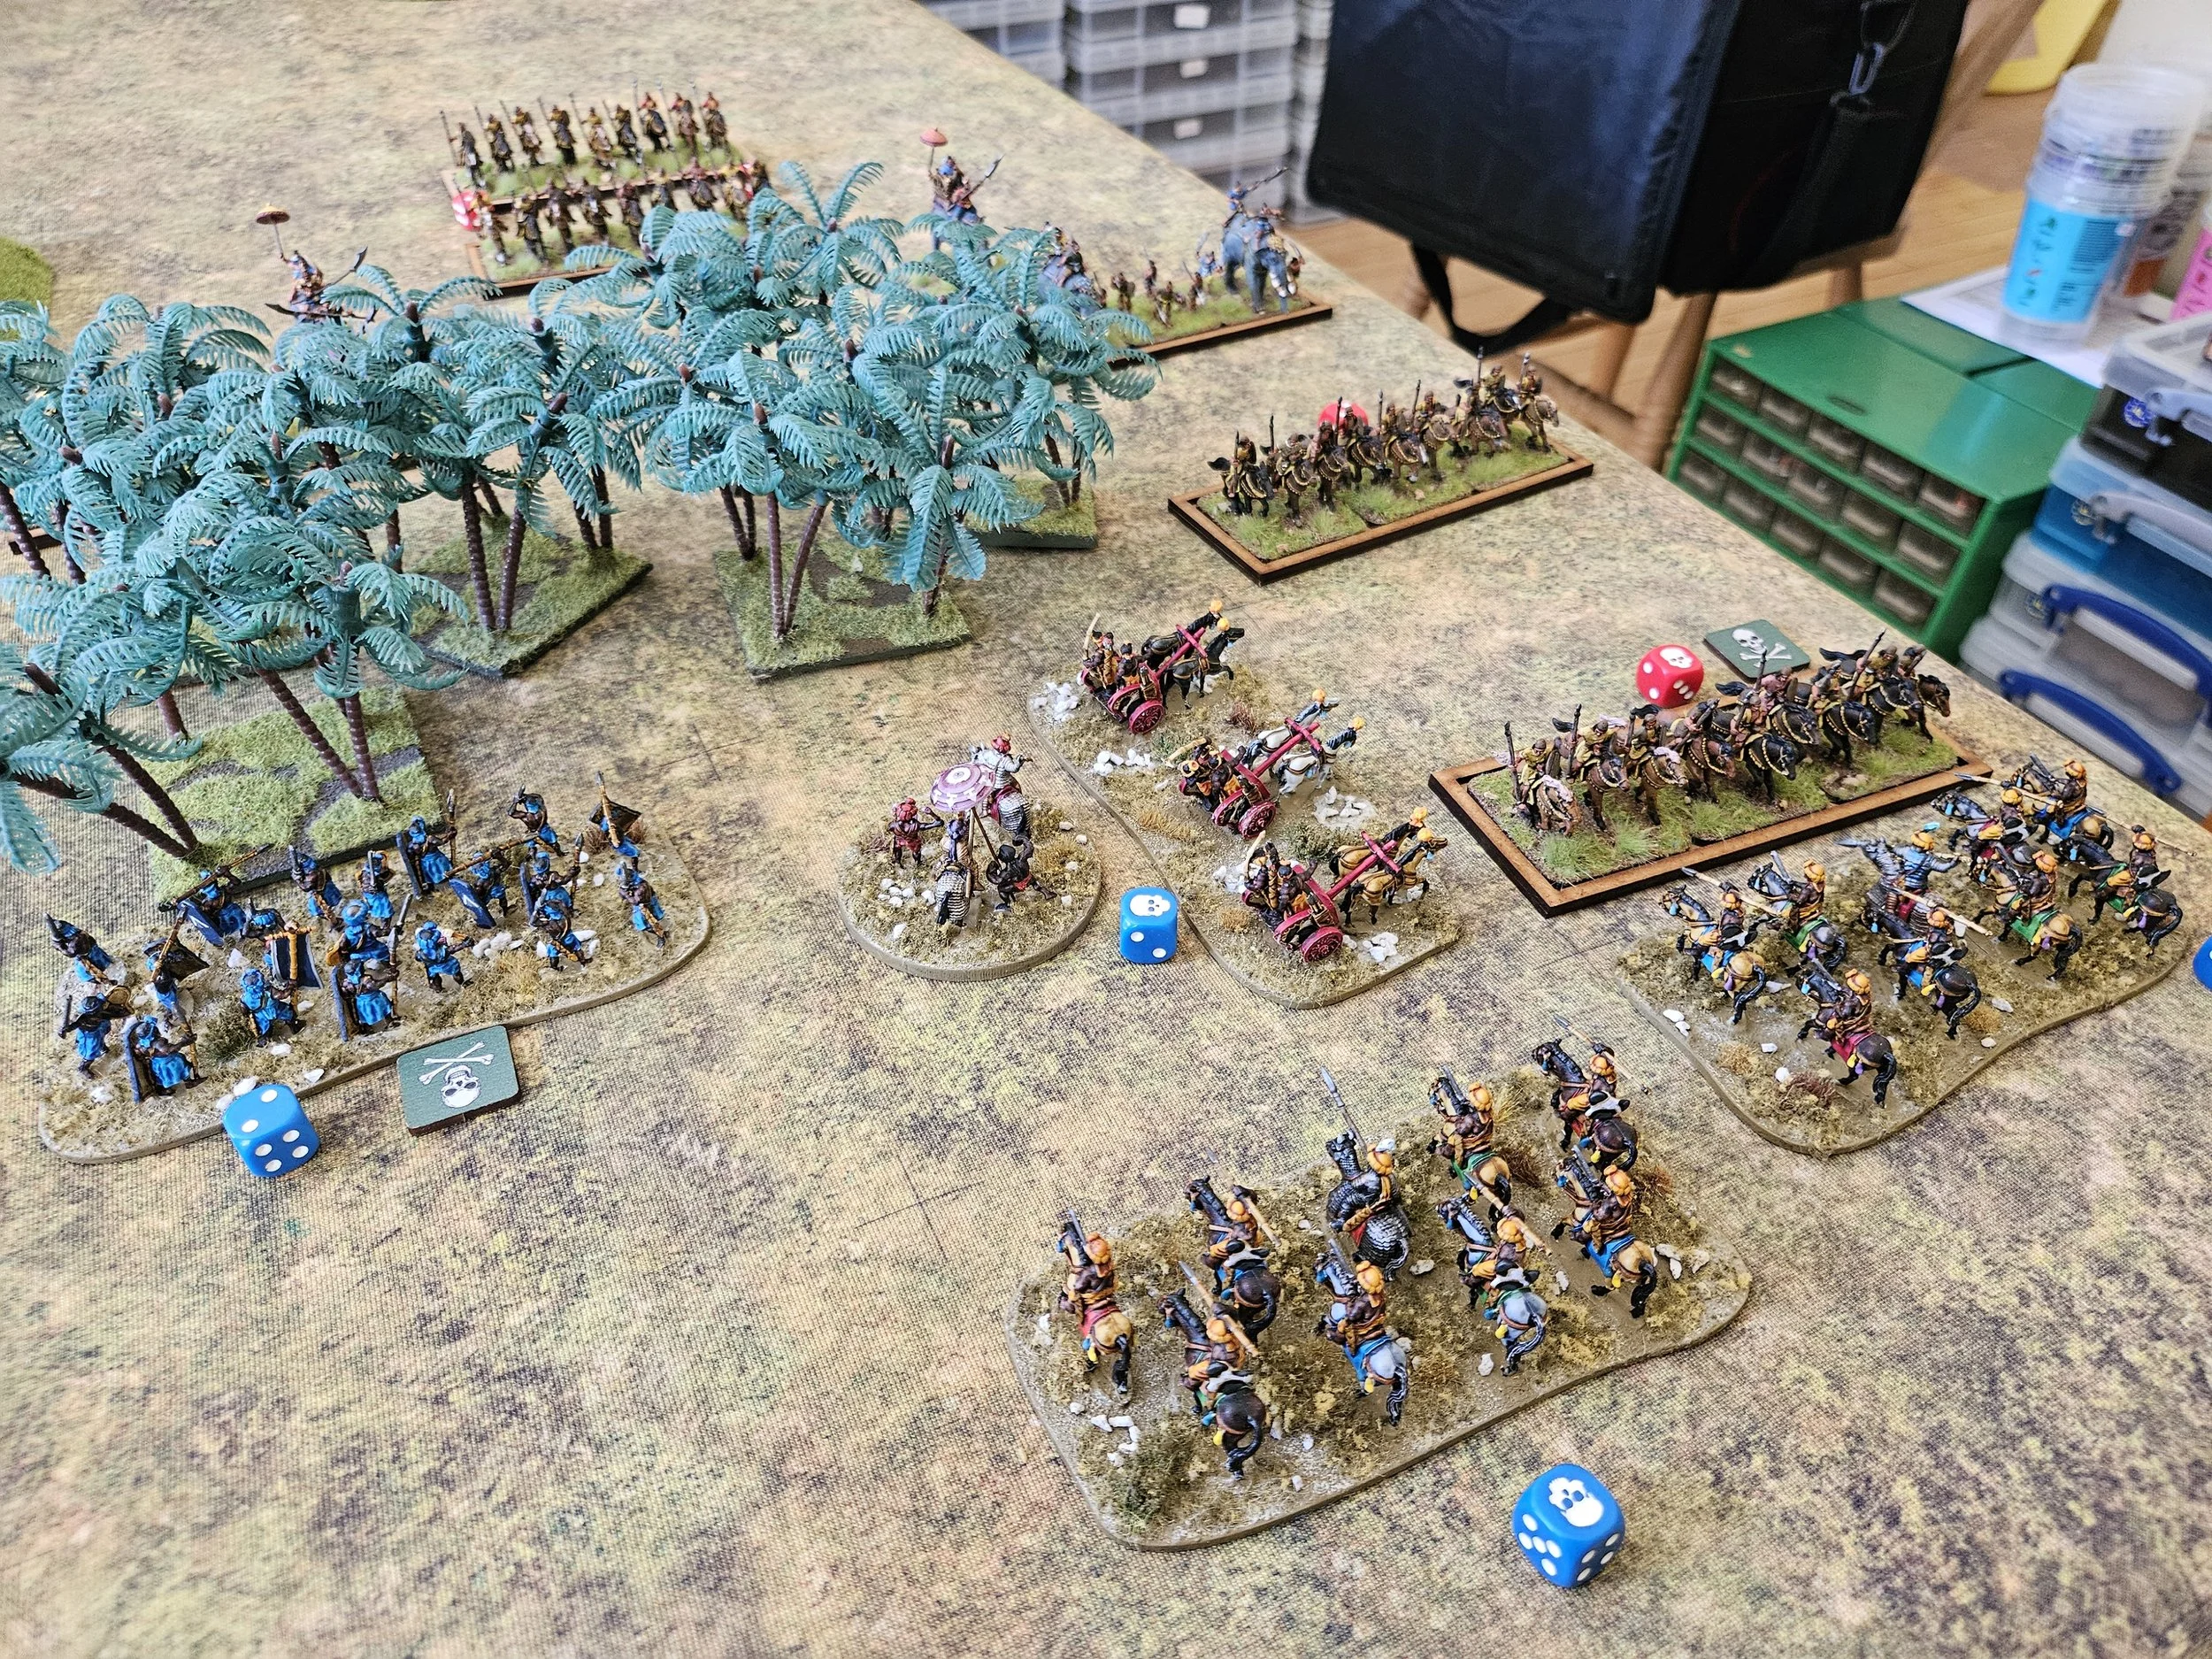
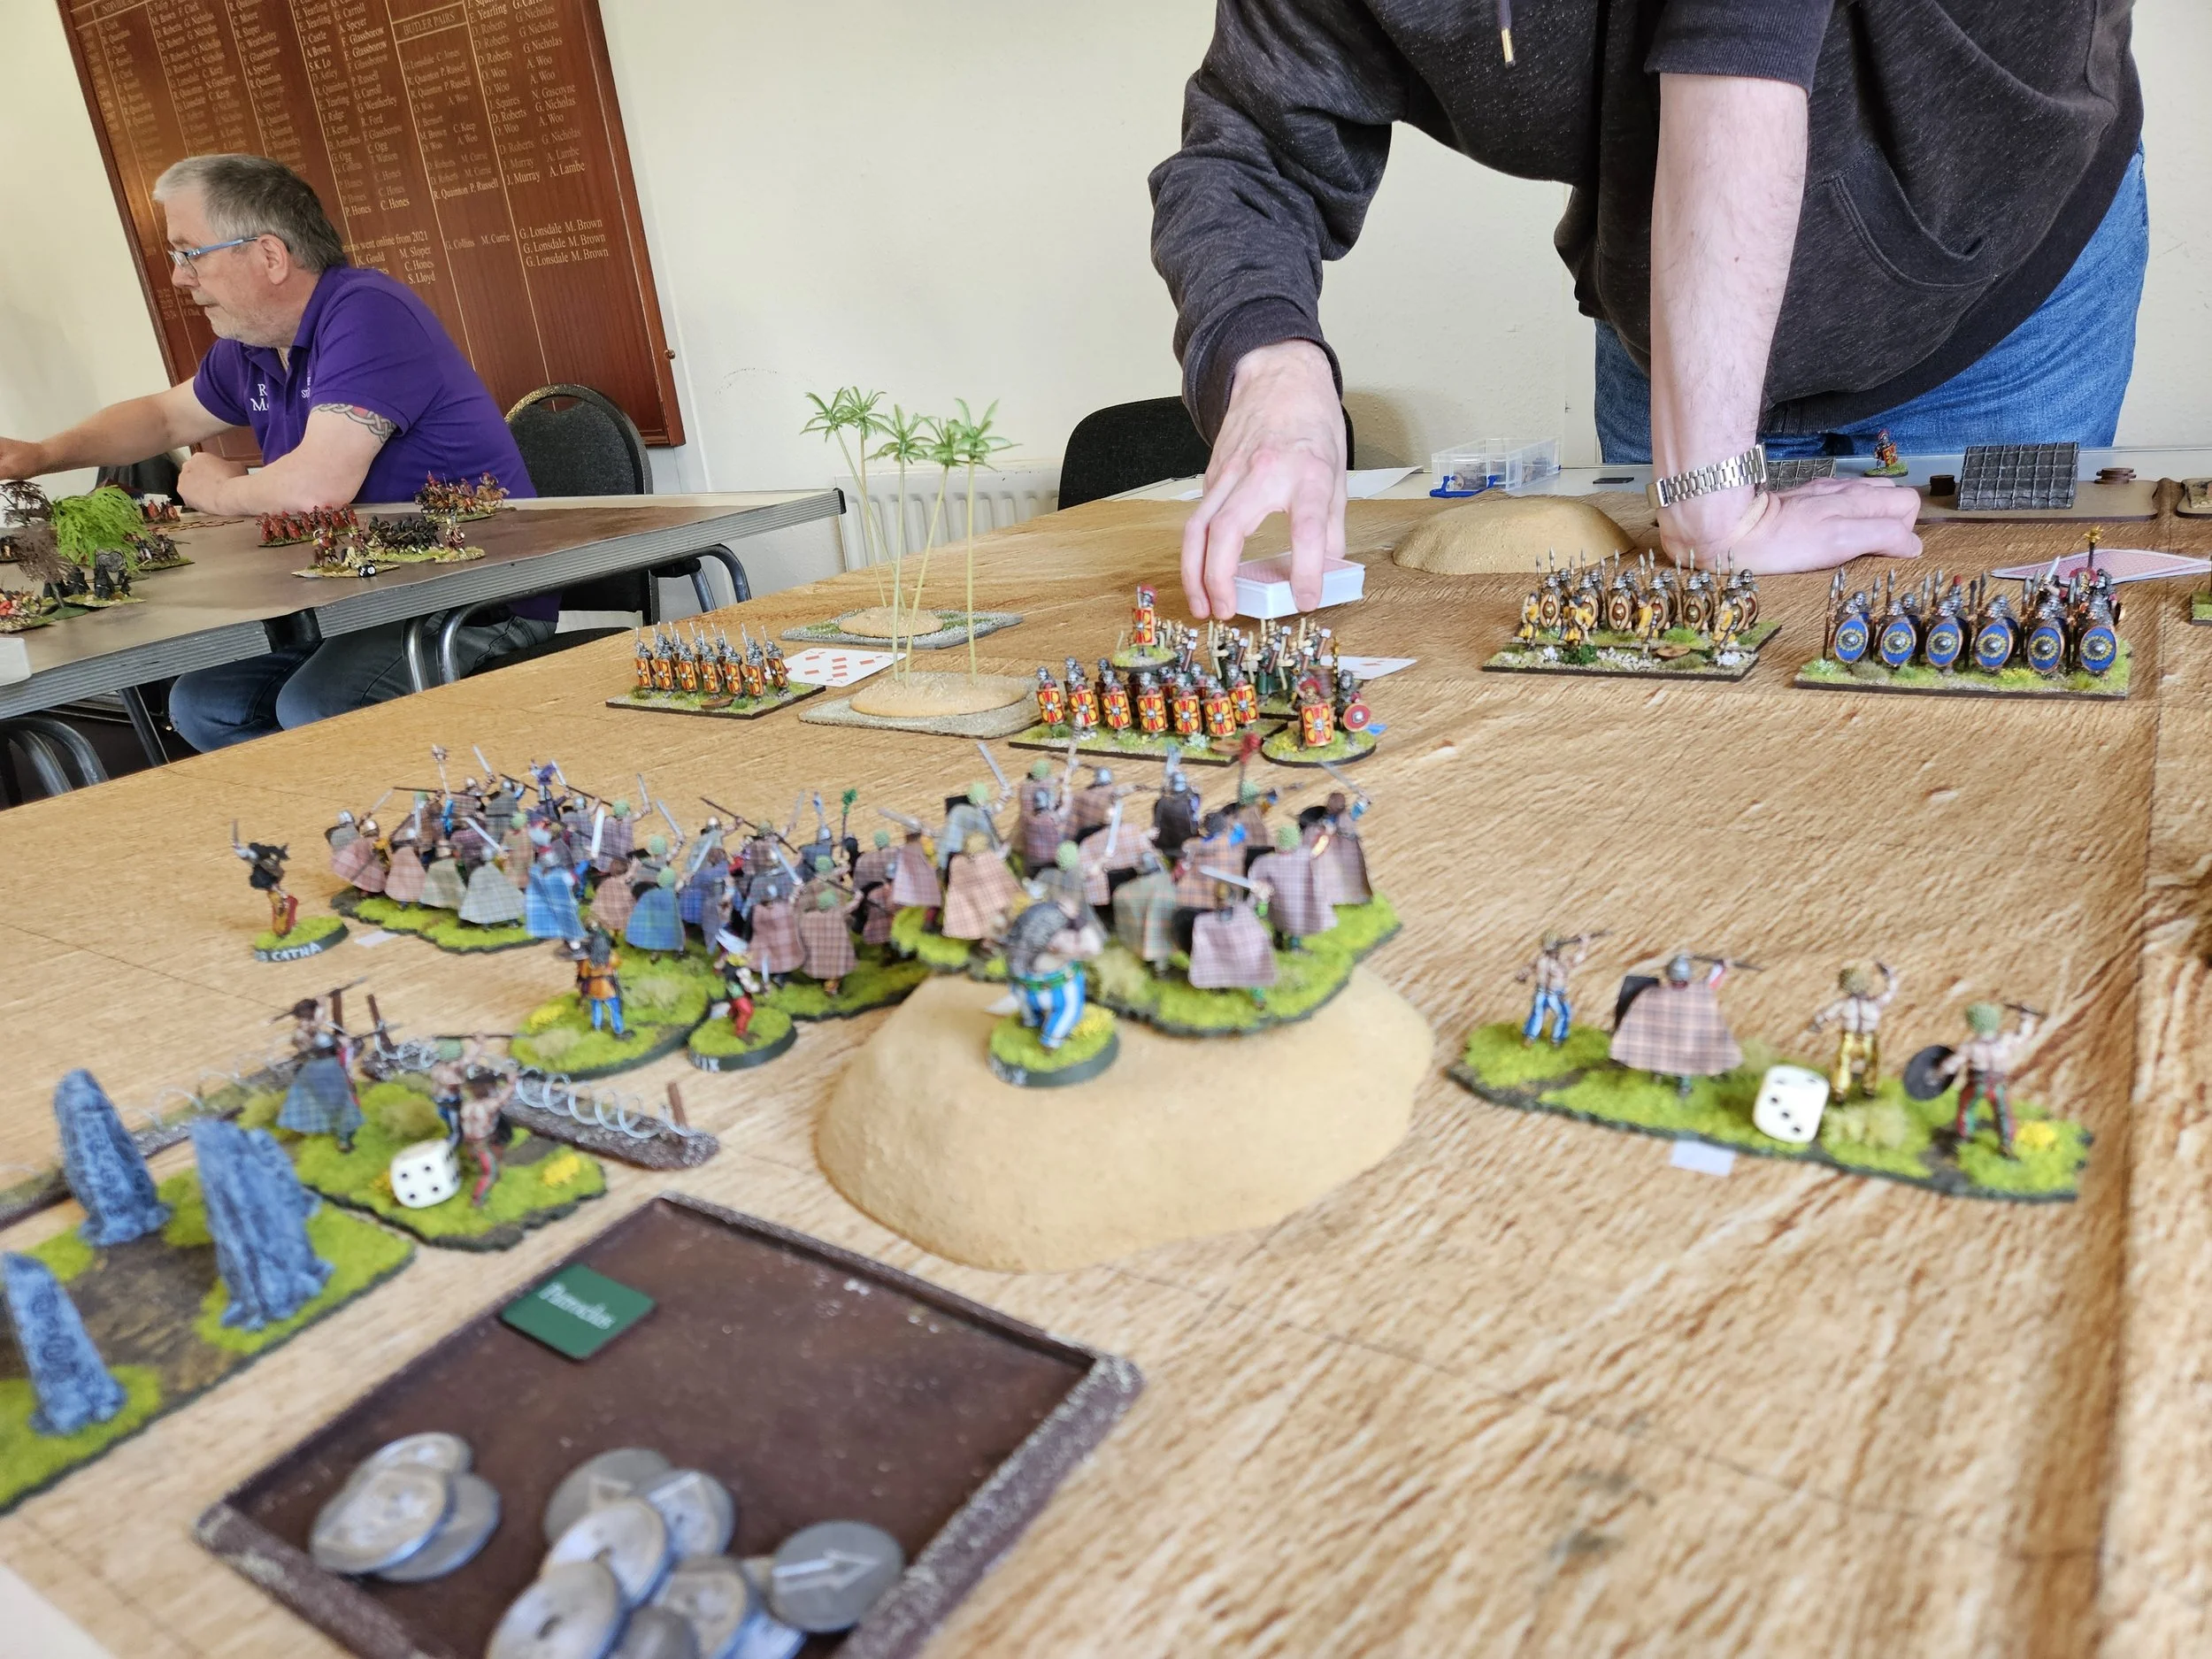
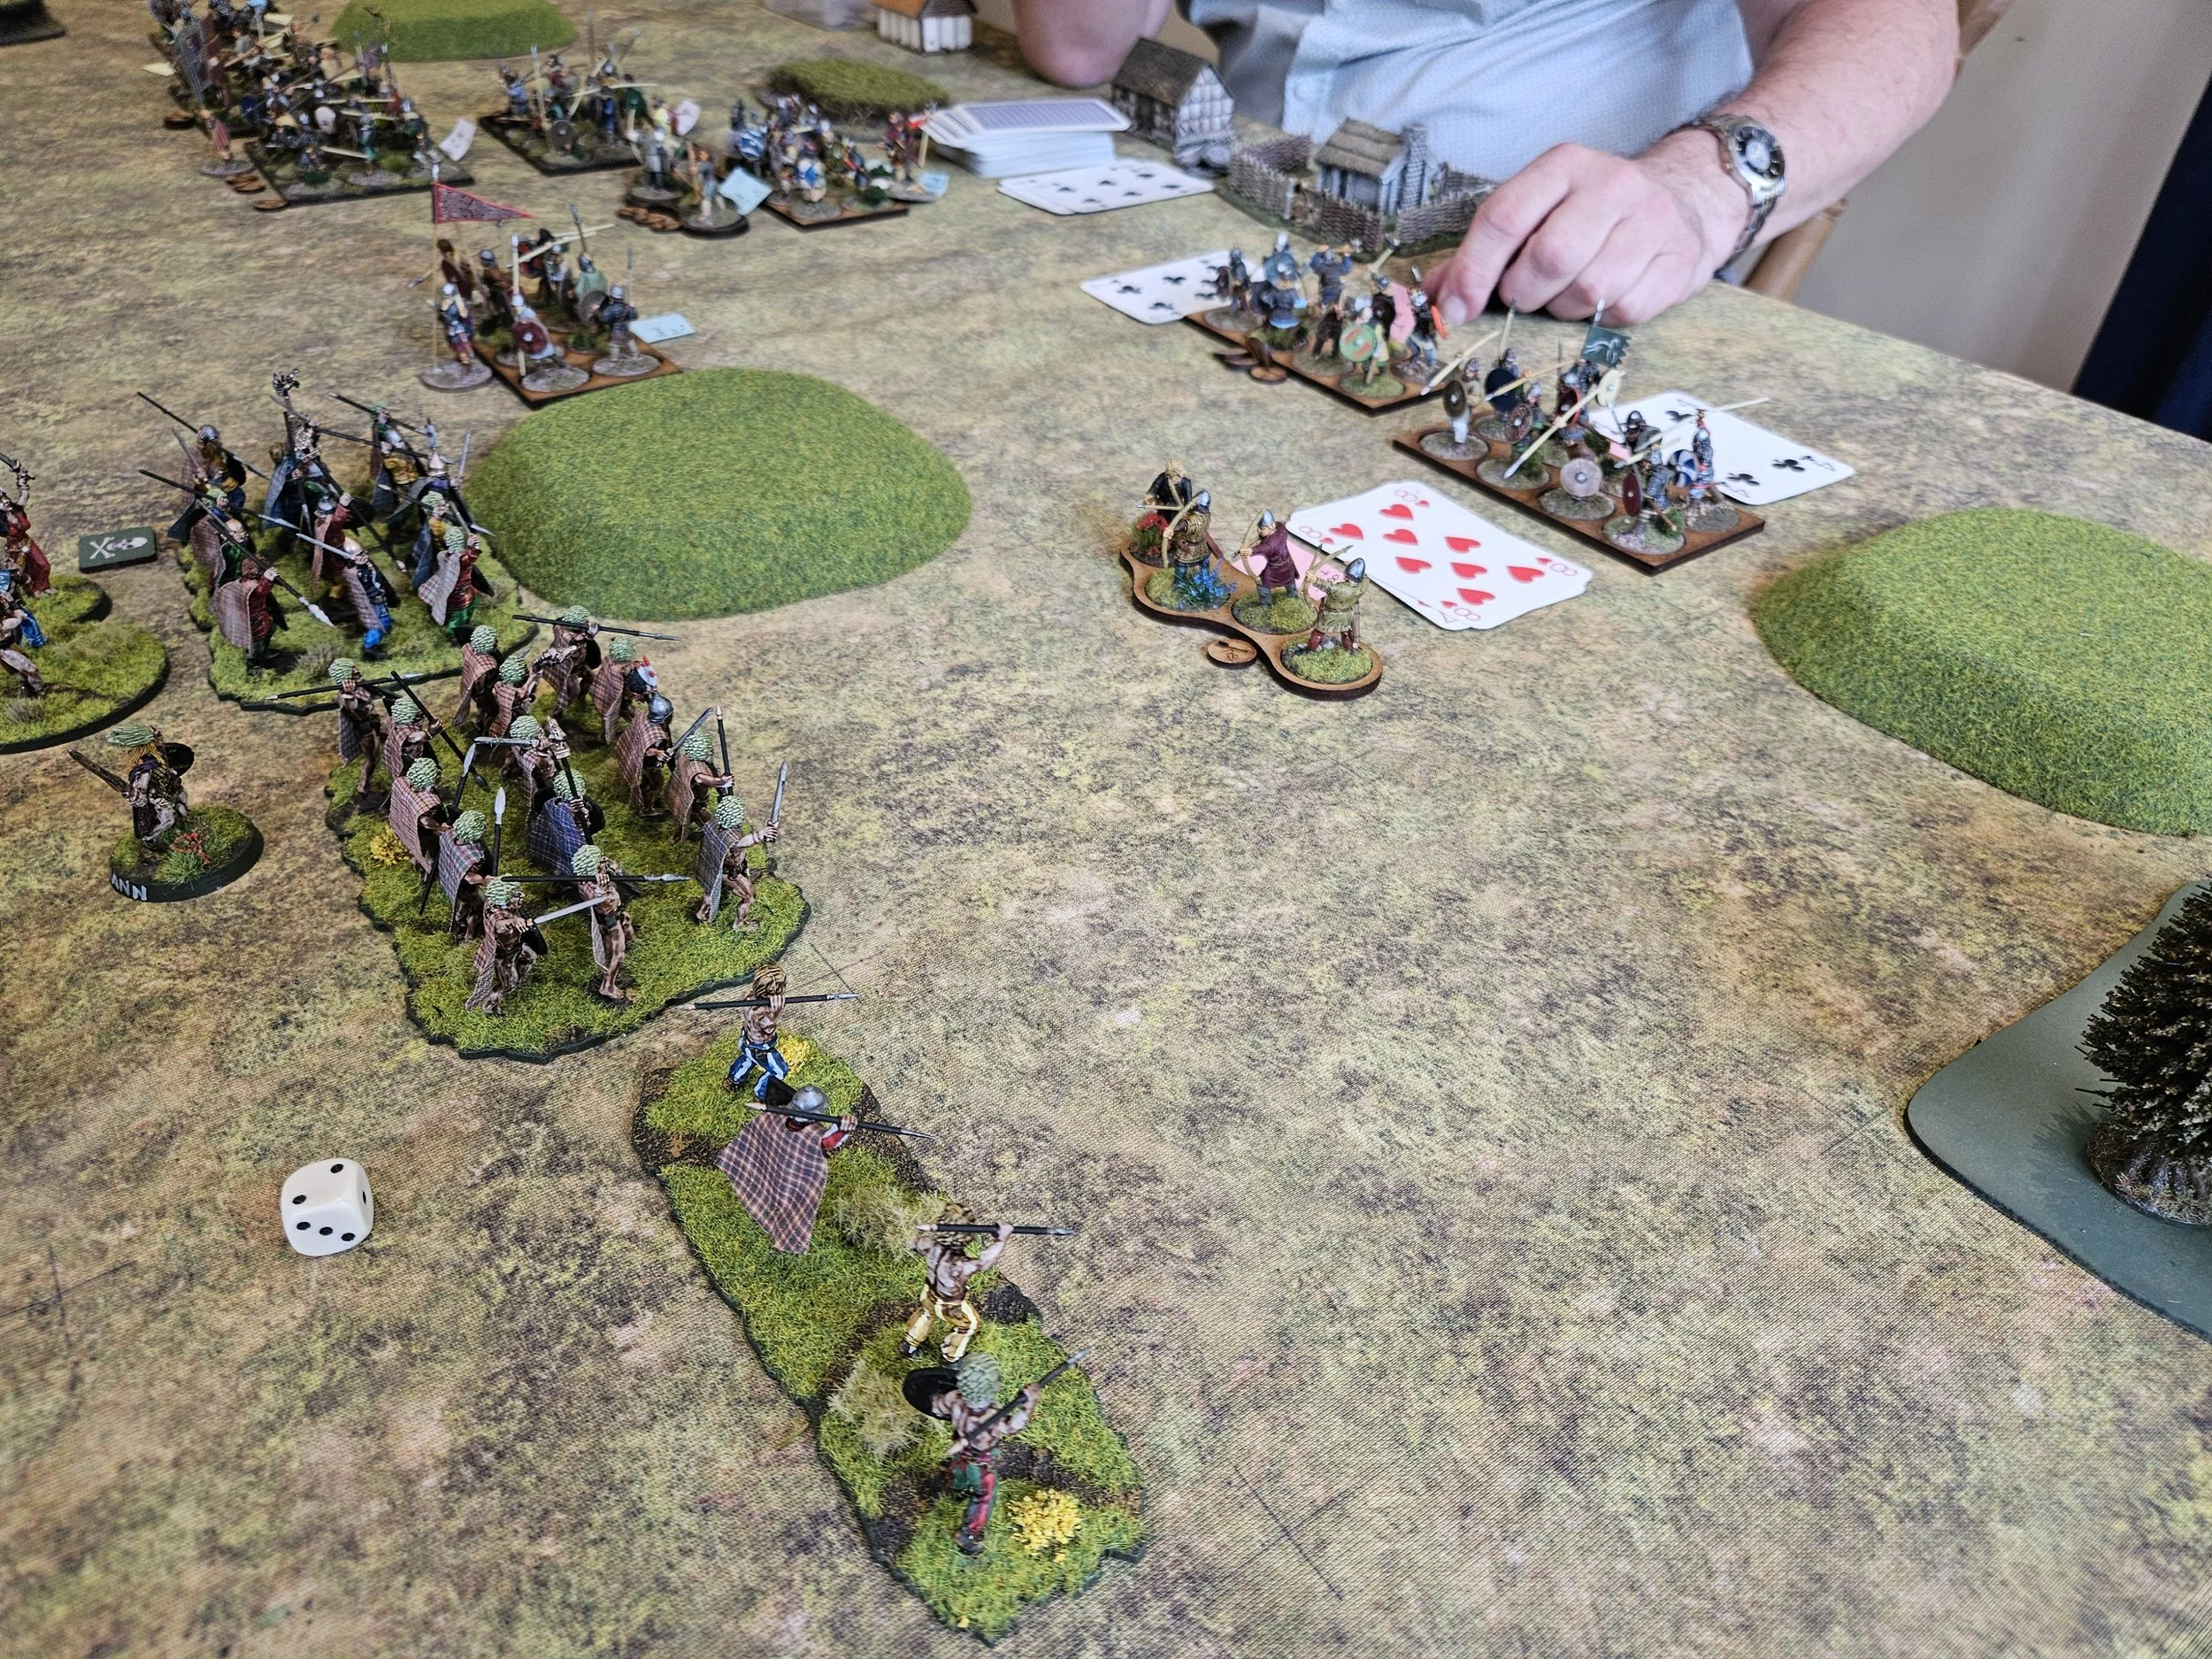
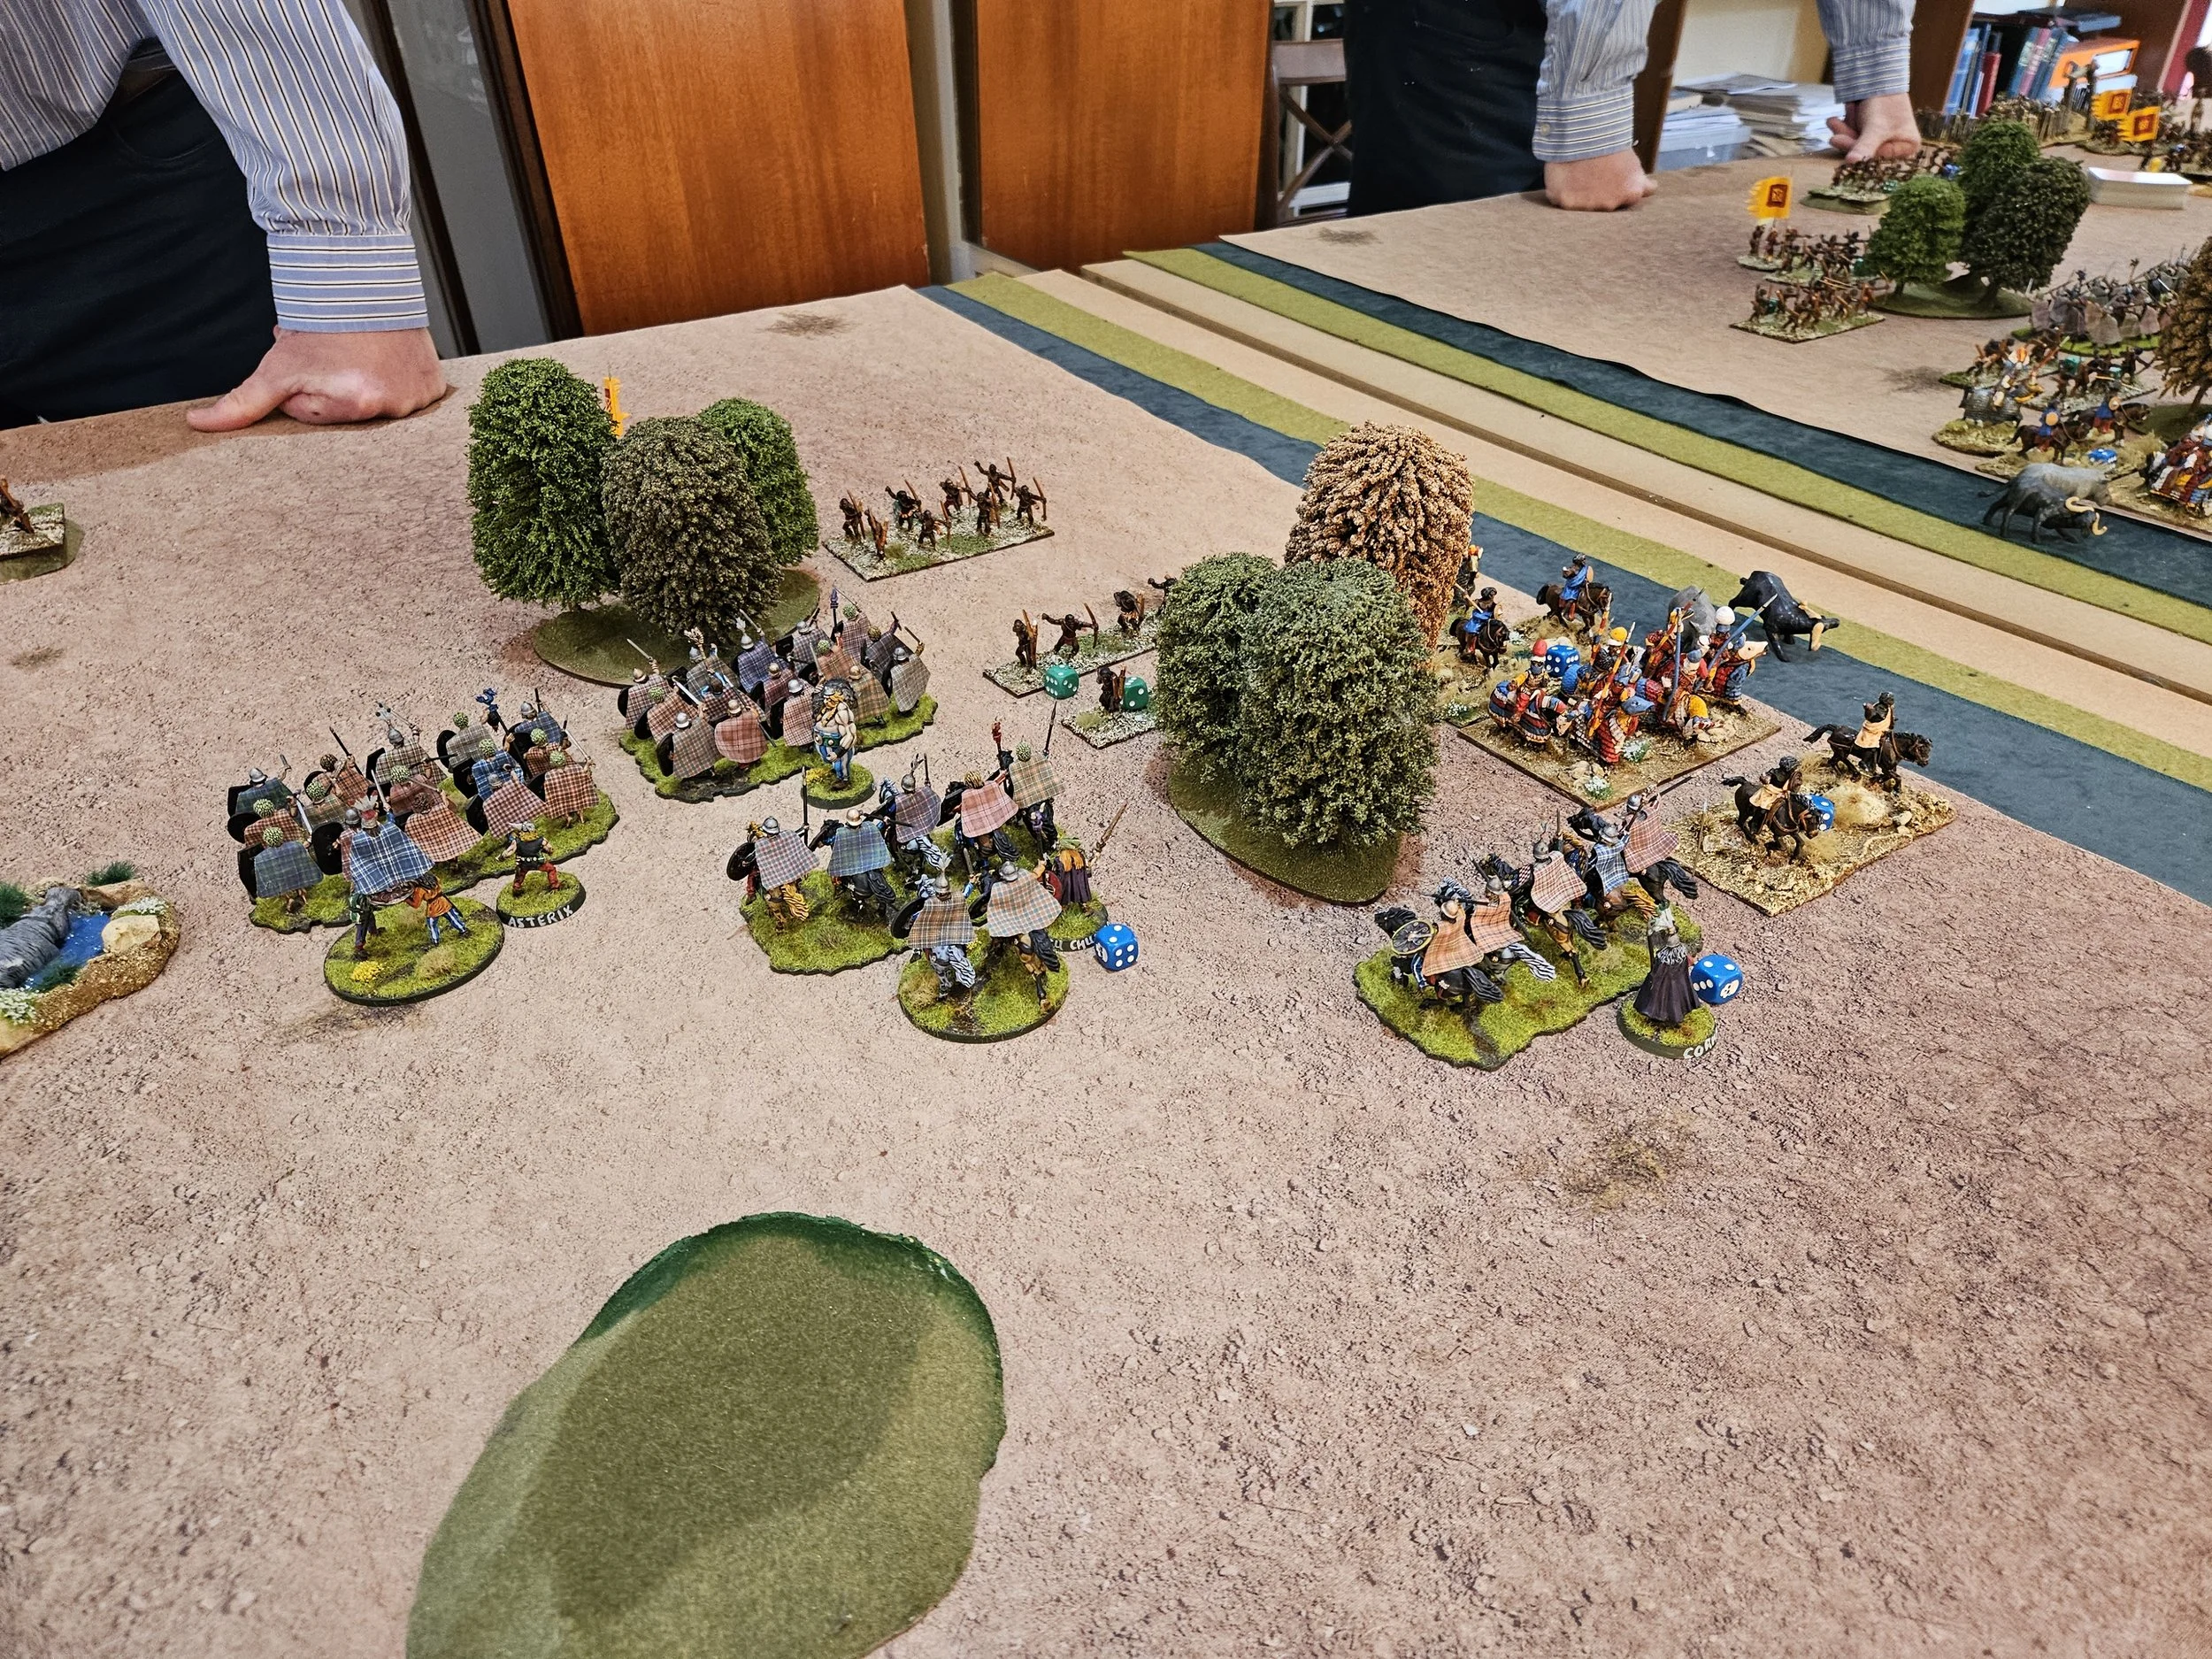
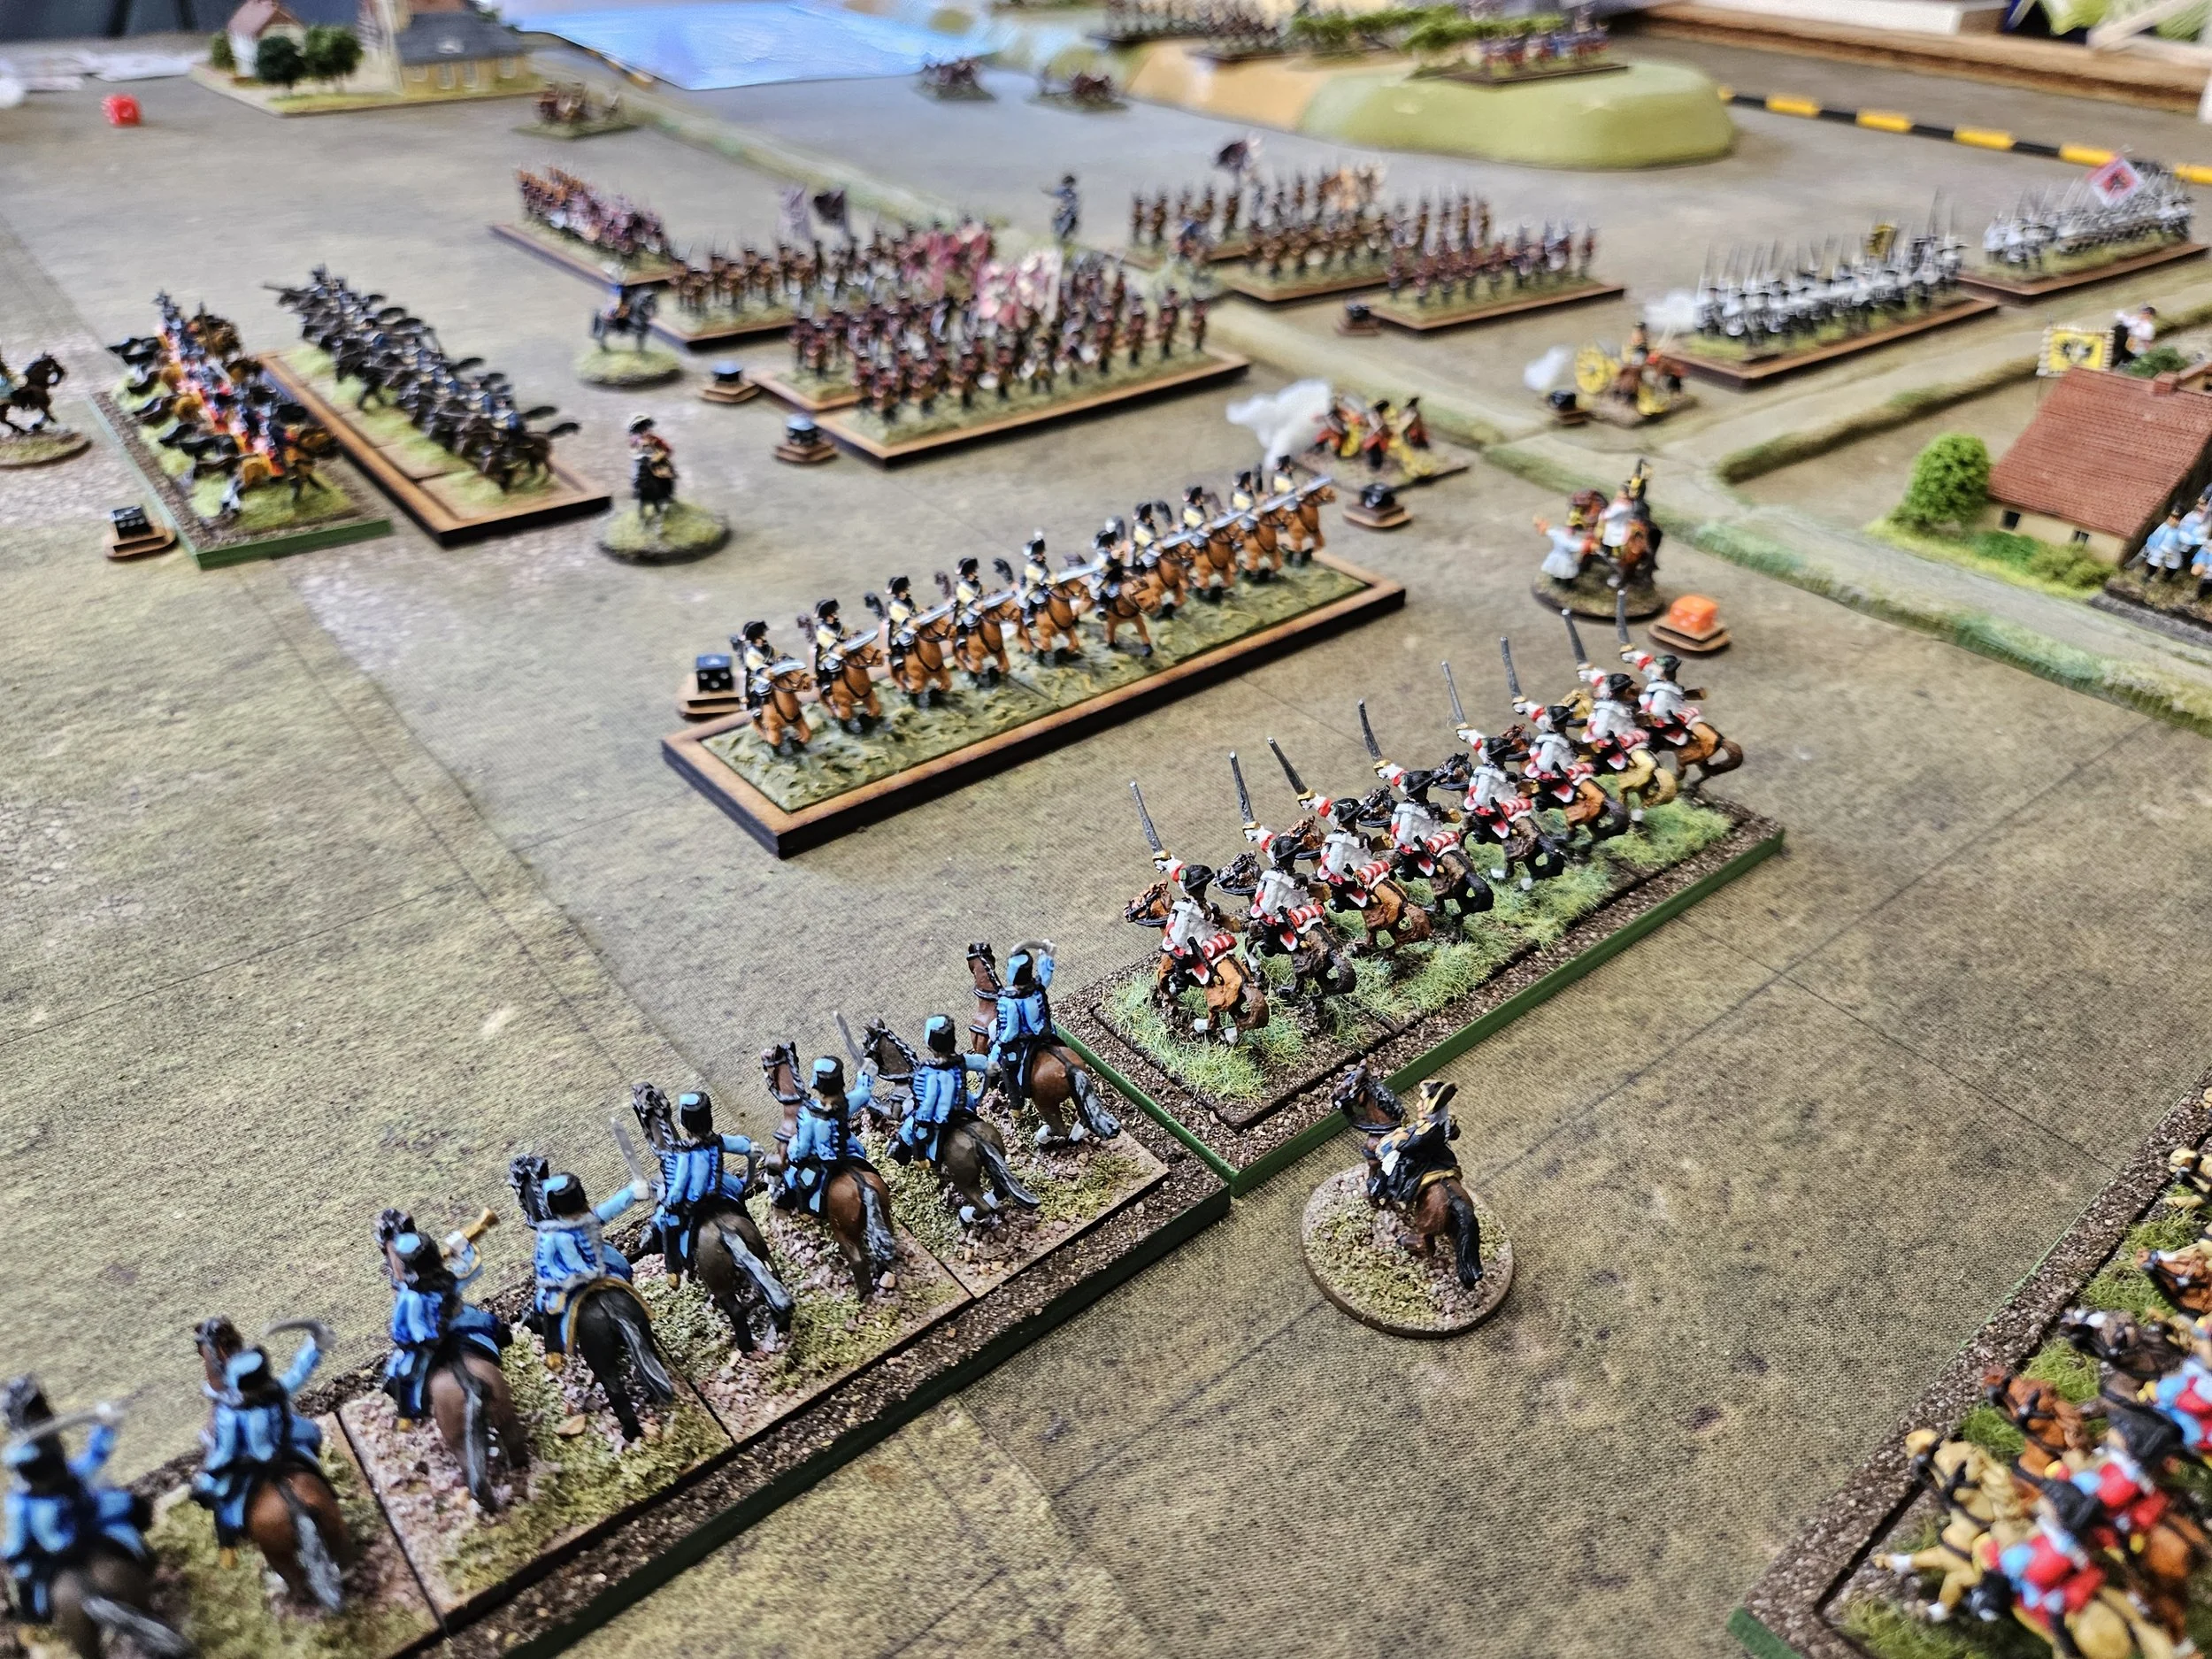
Eventually in the middle the four big Galatian warbands decided at last to risk their surprisingly small private parts by advancing towards my bowmen - who instantly started to edge backwards. But it was too late. On my left the surrounded warband succumbed to repeated double volleys from behind (to get the -1 save), and being charged from the flank. As both Galatian flanks collapsed they gave up enough medals for my plucky (did you see what I did there?) Nigerian archers to win an almost casualty free outright victory in just over 60 minutes.
Lessons Learned
Massed bowmen CAN be deadly even in TtS - provided you keep them out of melee against superior melee troops.
The 3rd “P” - Pranking and Surprising your opponent with unanticipated tactics can be deadly!
Overlapping fields of fire in an Agincourt style killing zone, can be devastating especially when focussed on foolhardy individual targets and can also scare off even superior yet hesitant enemies.
When you have inferiority - slowly back away. When you have superiority use it or lose it!
Experimenting with unusual armies is fun and can unearth some real gold!
The Western Sudanese Nigerian army is the first Sub Saharan army I have ever seen used in TtS and is well worth an experiment or two!
Plans don’t always work, but it’s better to have one than not.
Anyway, that was the first battle of two.
My Comments
Although I might quibble with some of the above, it was indeed a masterful demonstration of how to use mass archers against fanatics. Indeed, I’ve done something similar with crossbows against Ikko-Ikki in the past.
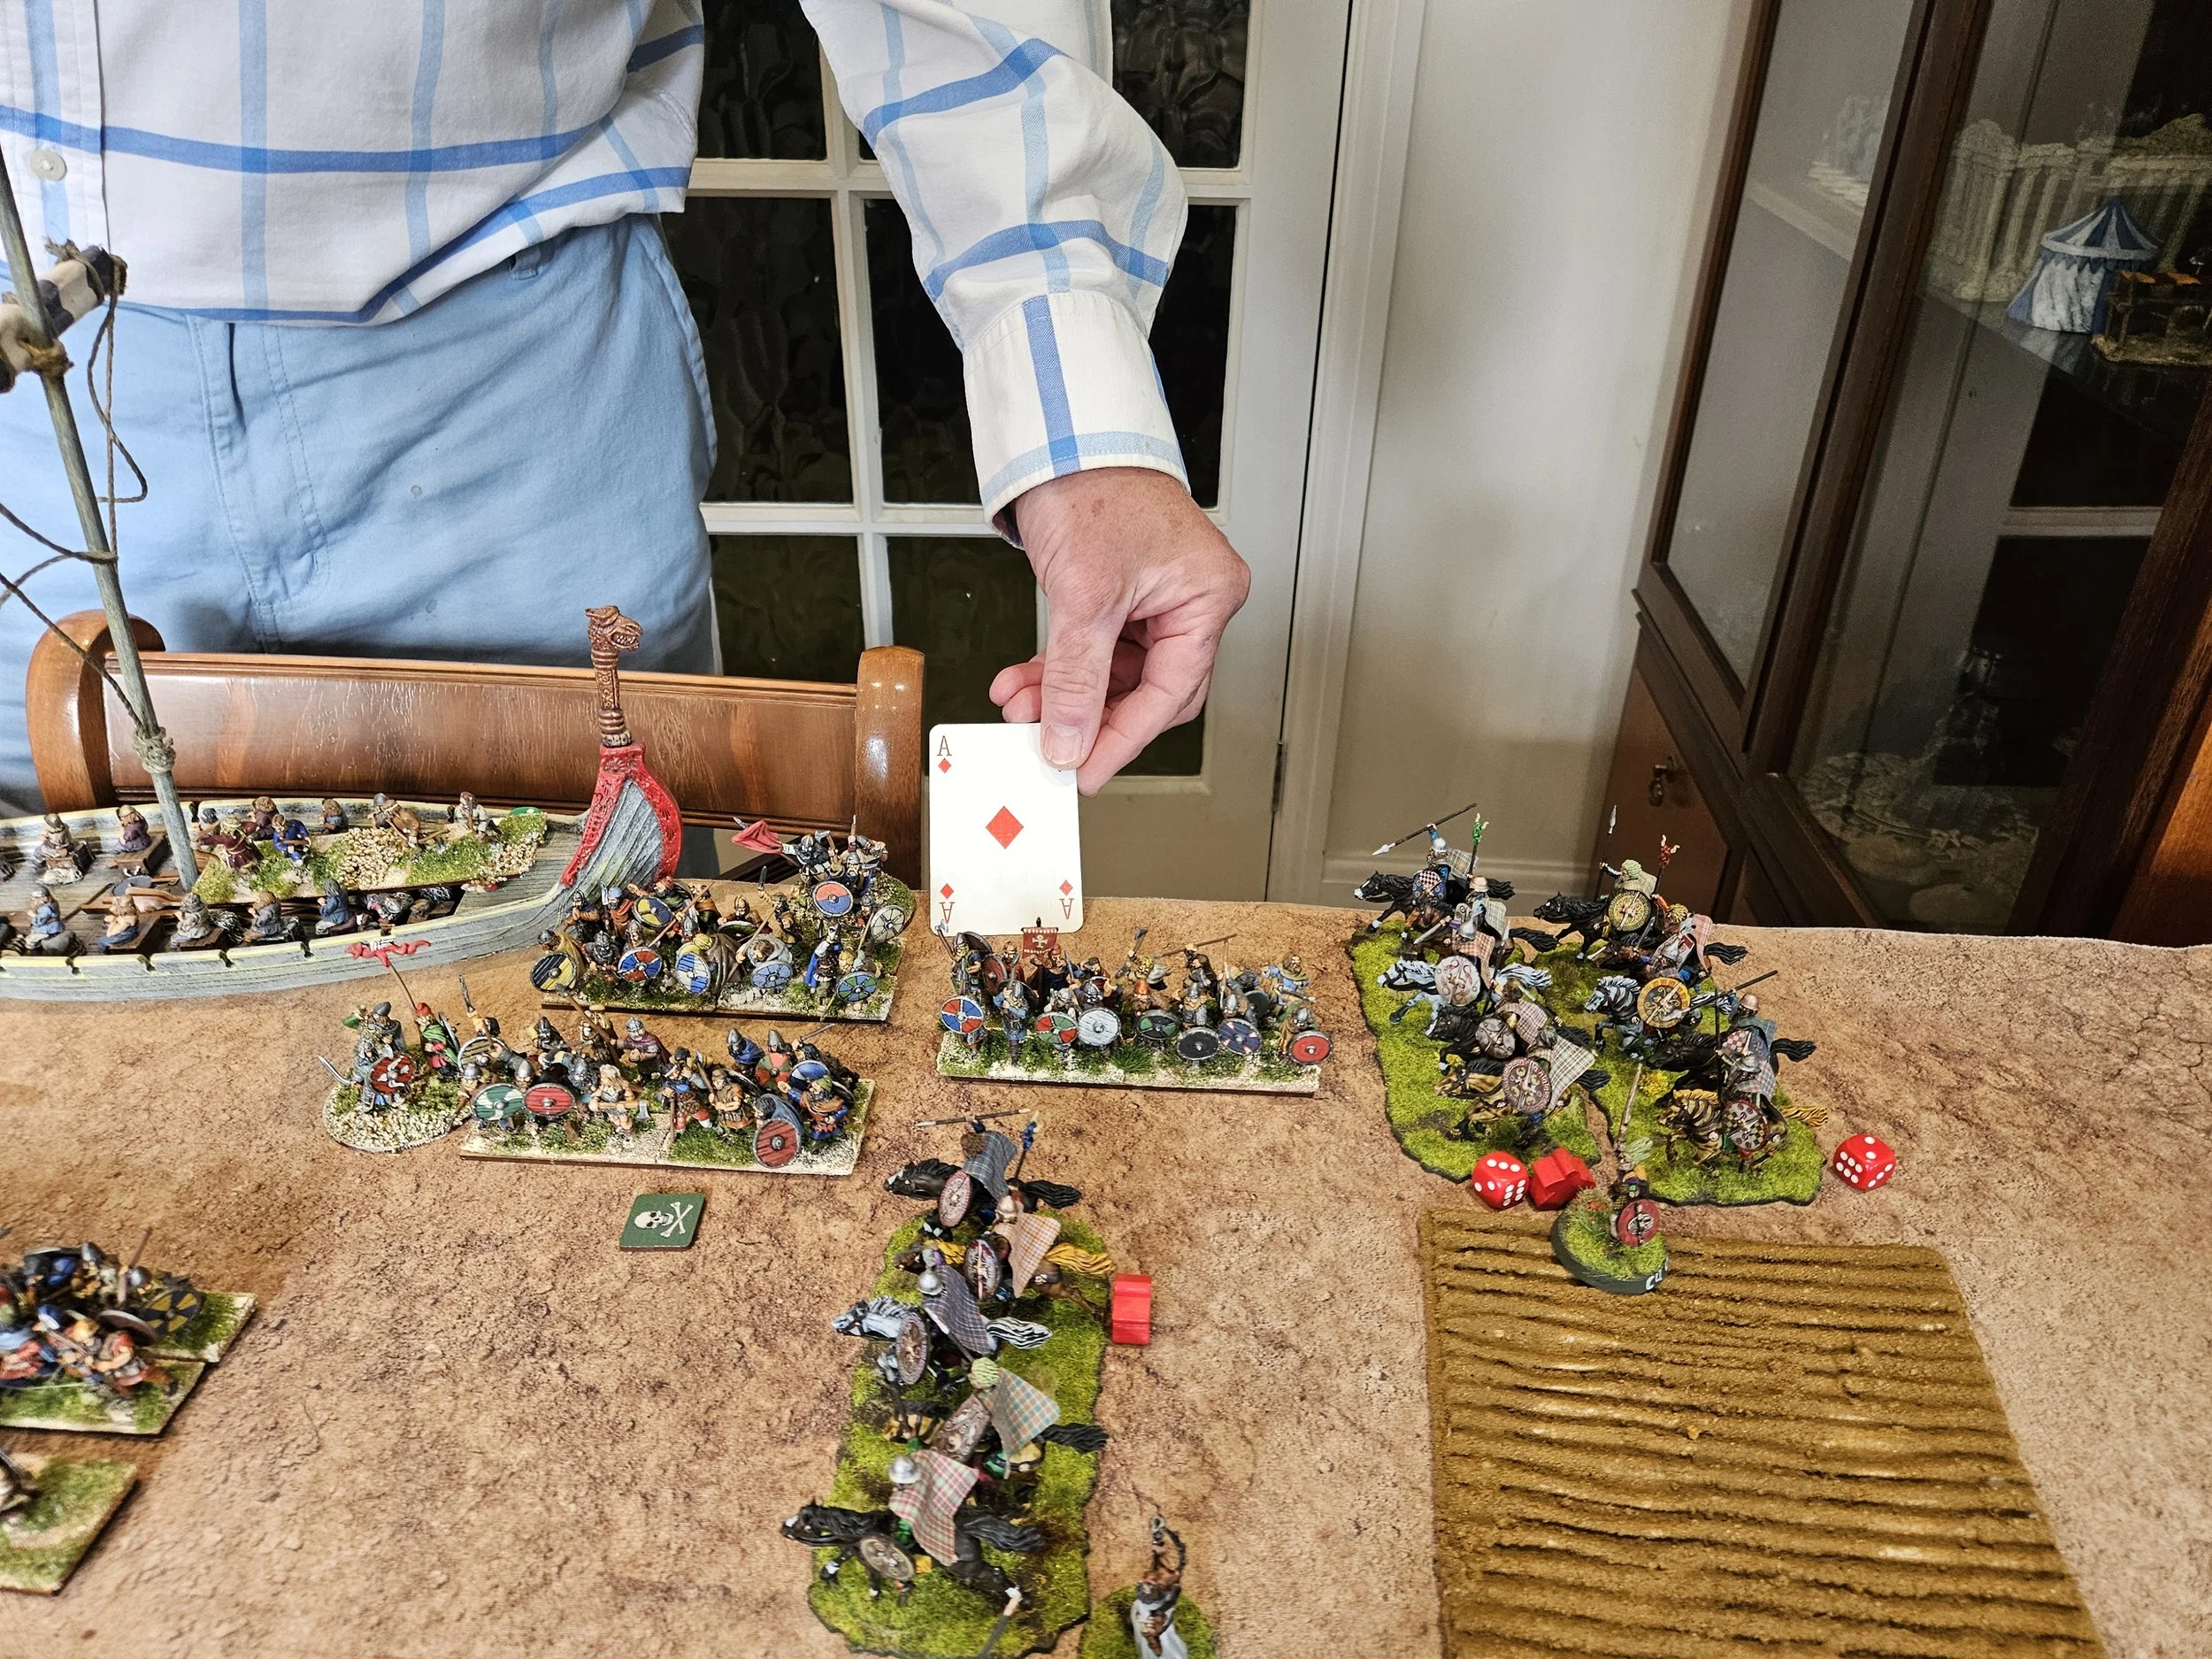
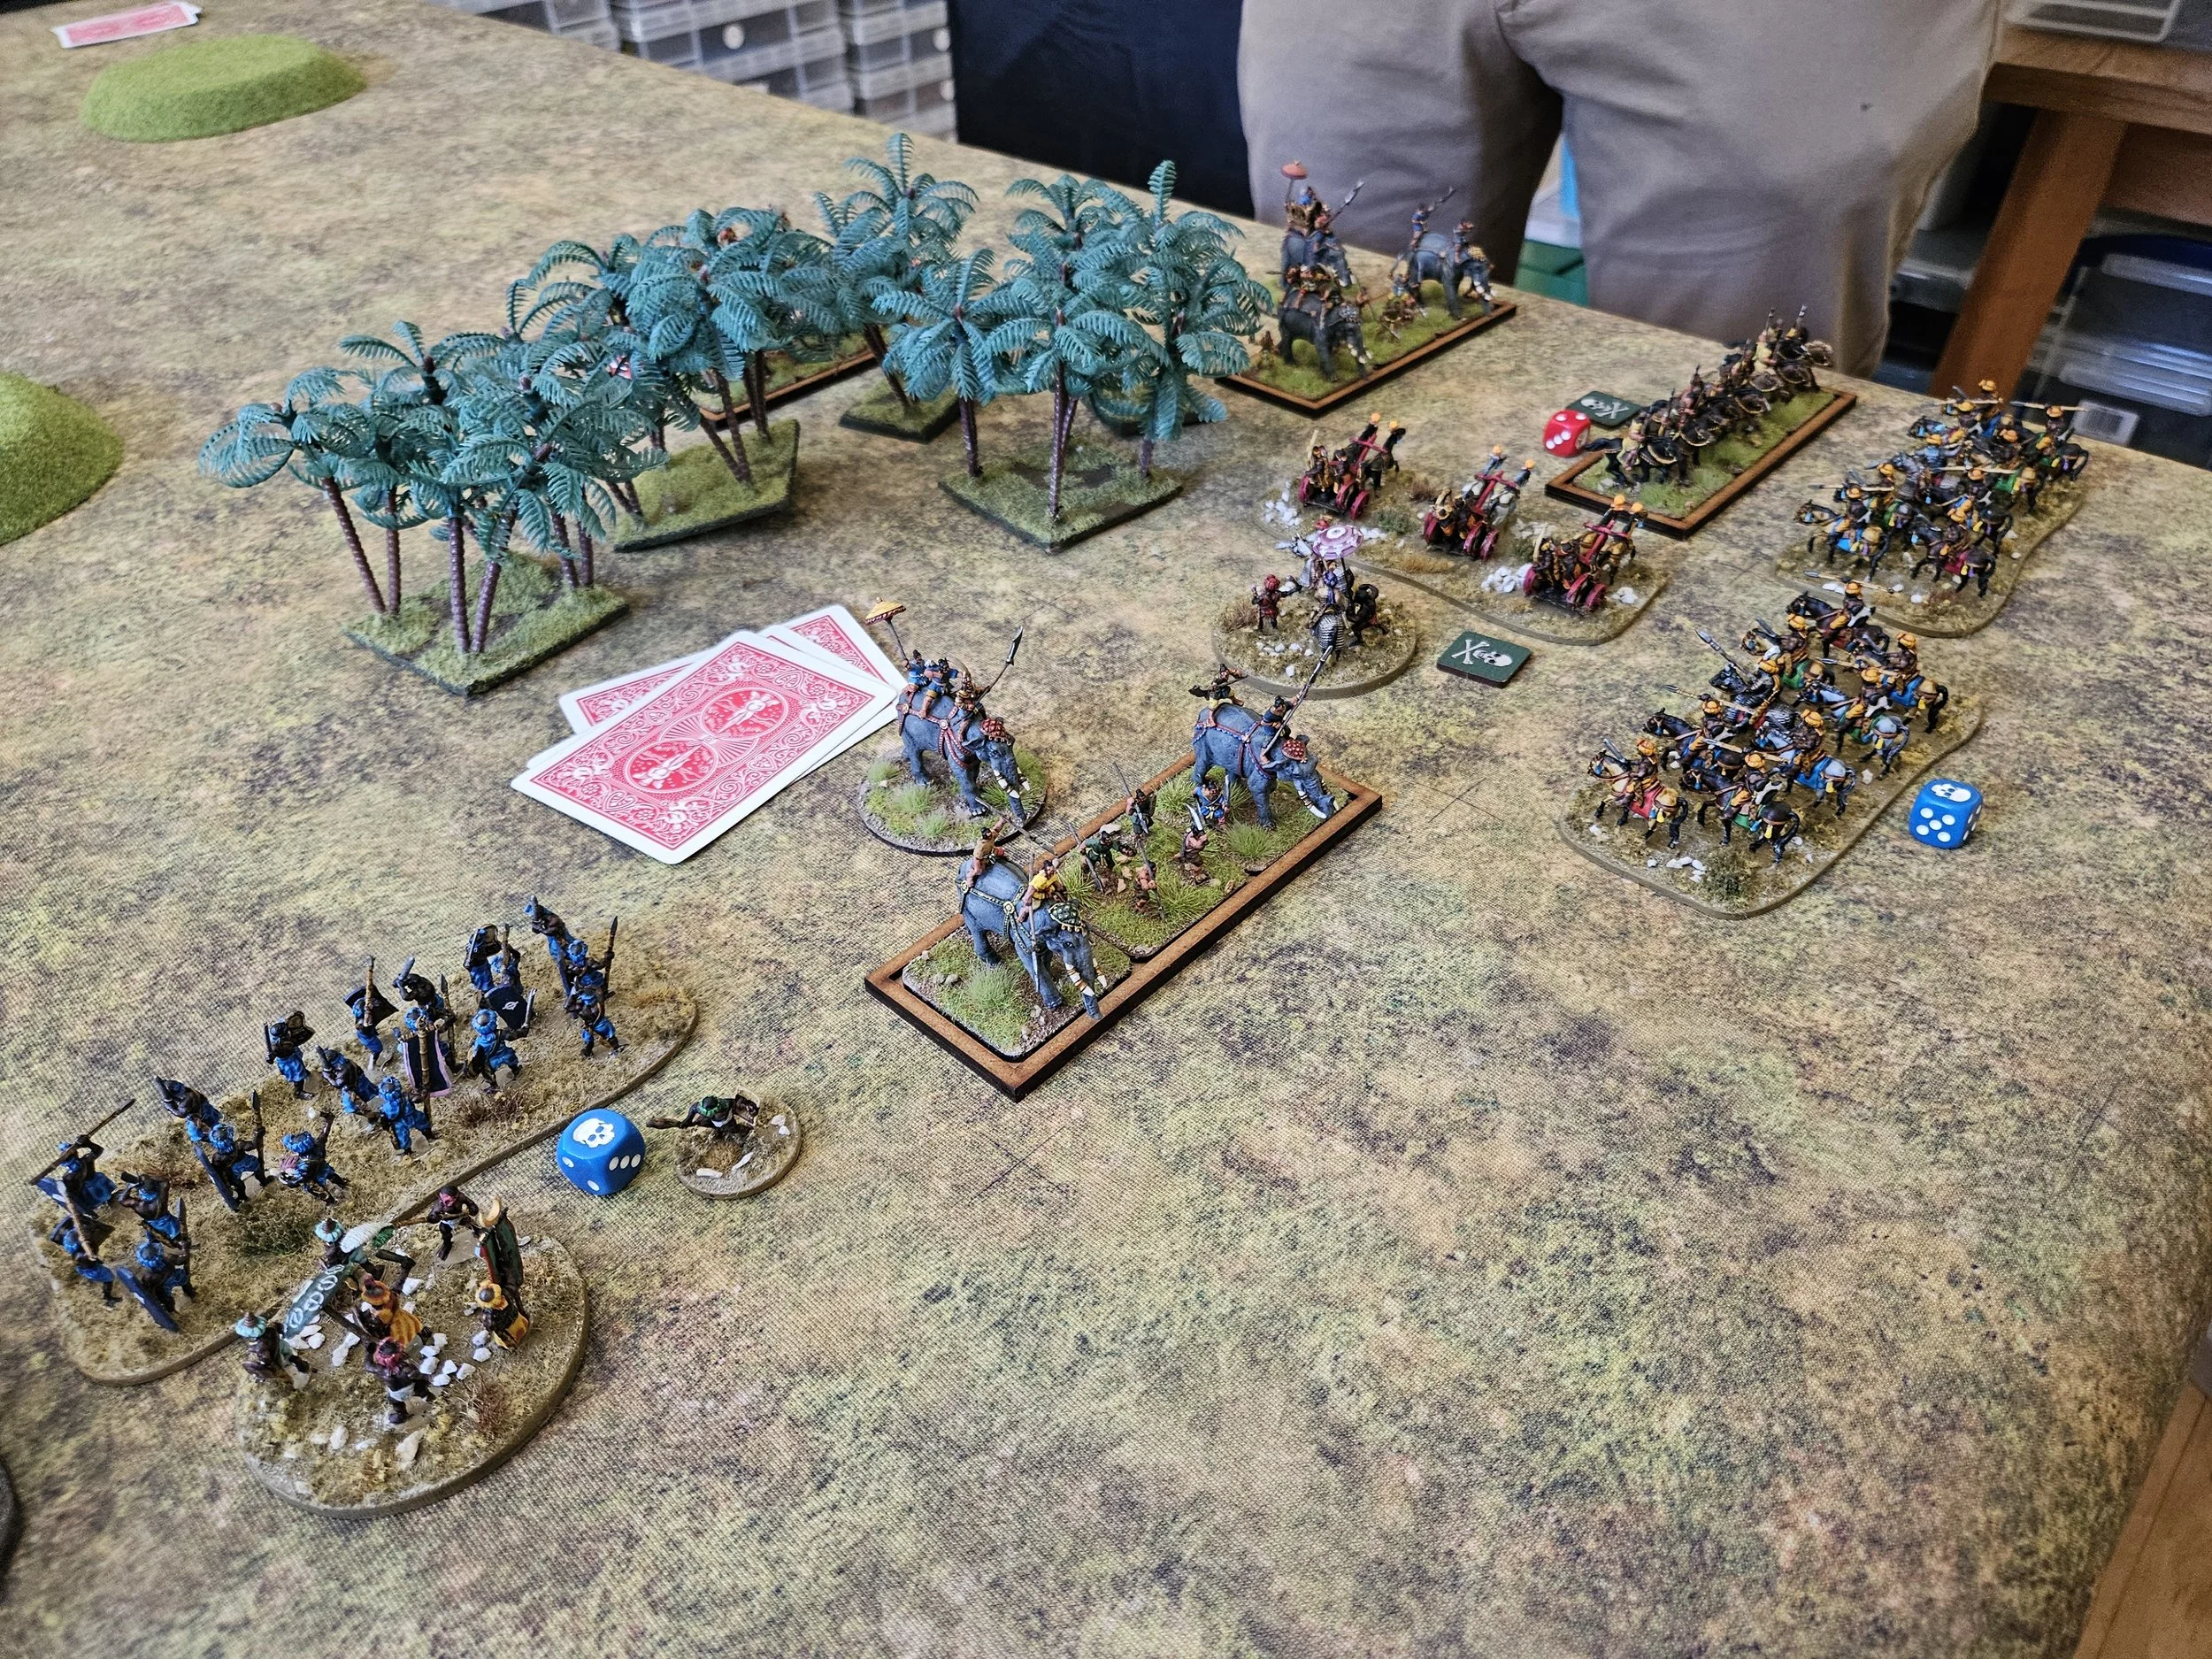
Peter’s mounted units did do a lot of damage but, to be fair and as you’ll see in the pictures below, this was as much to do with the fact that the first two cards my horsemen drew for the first two turns were Aces. My fault for not following Trevor’s Rule - always move the general first!
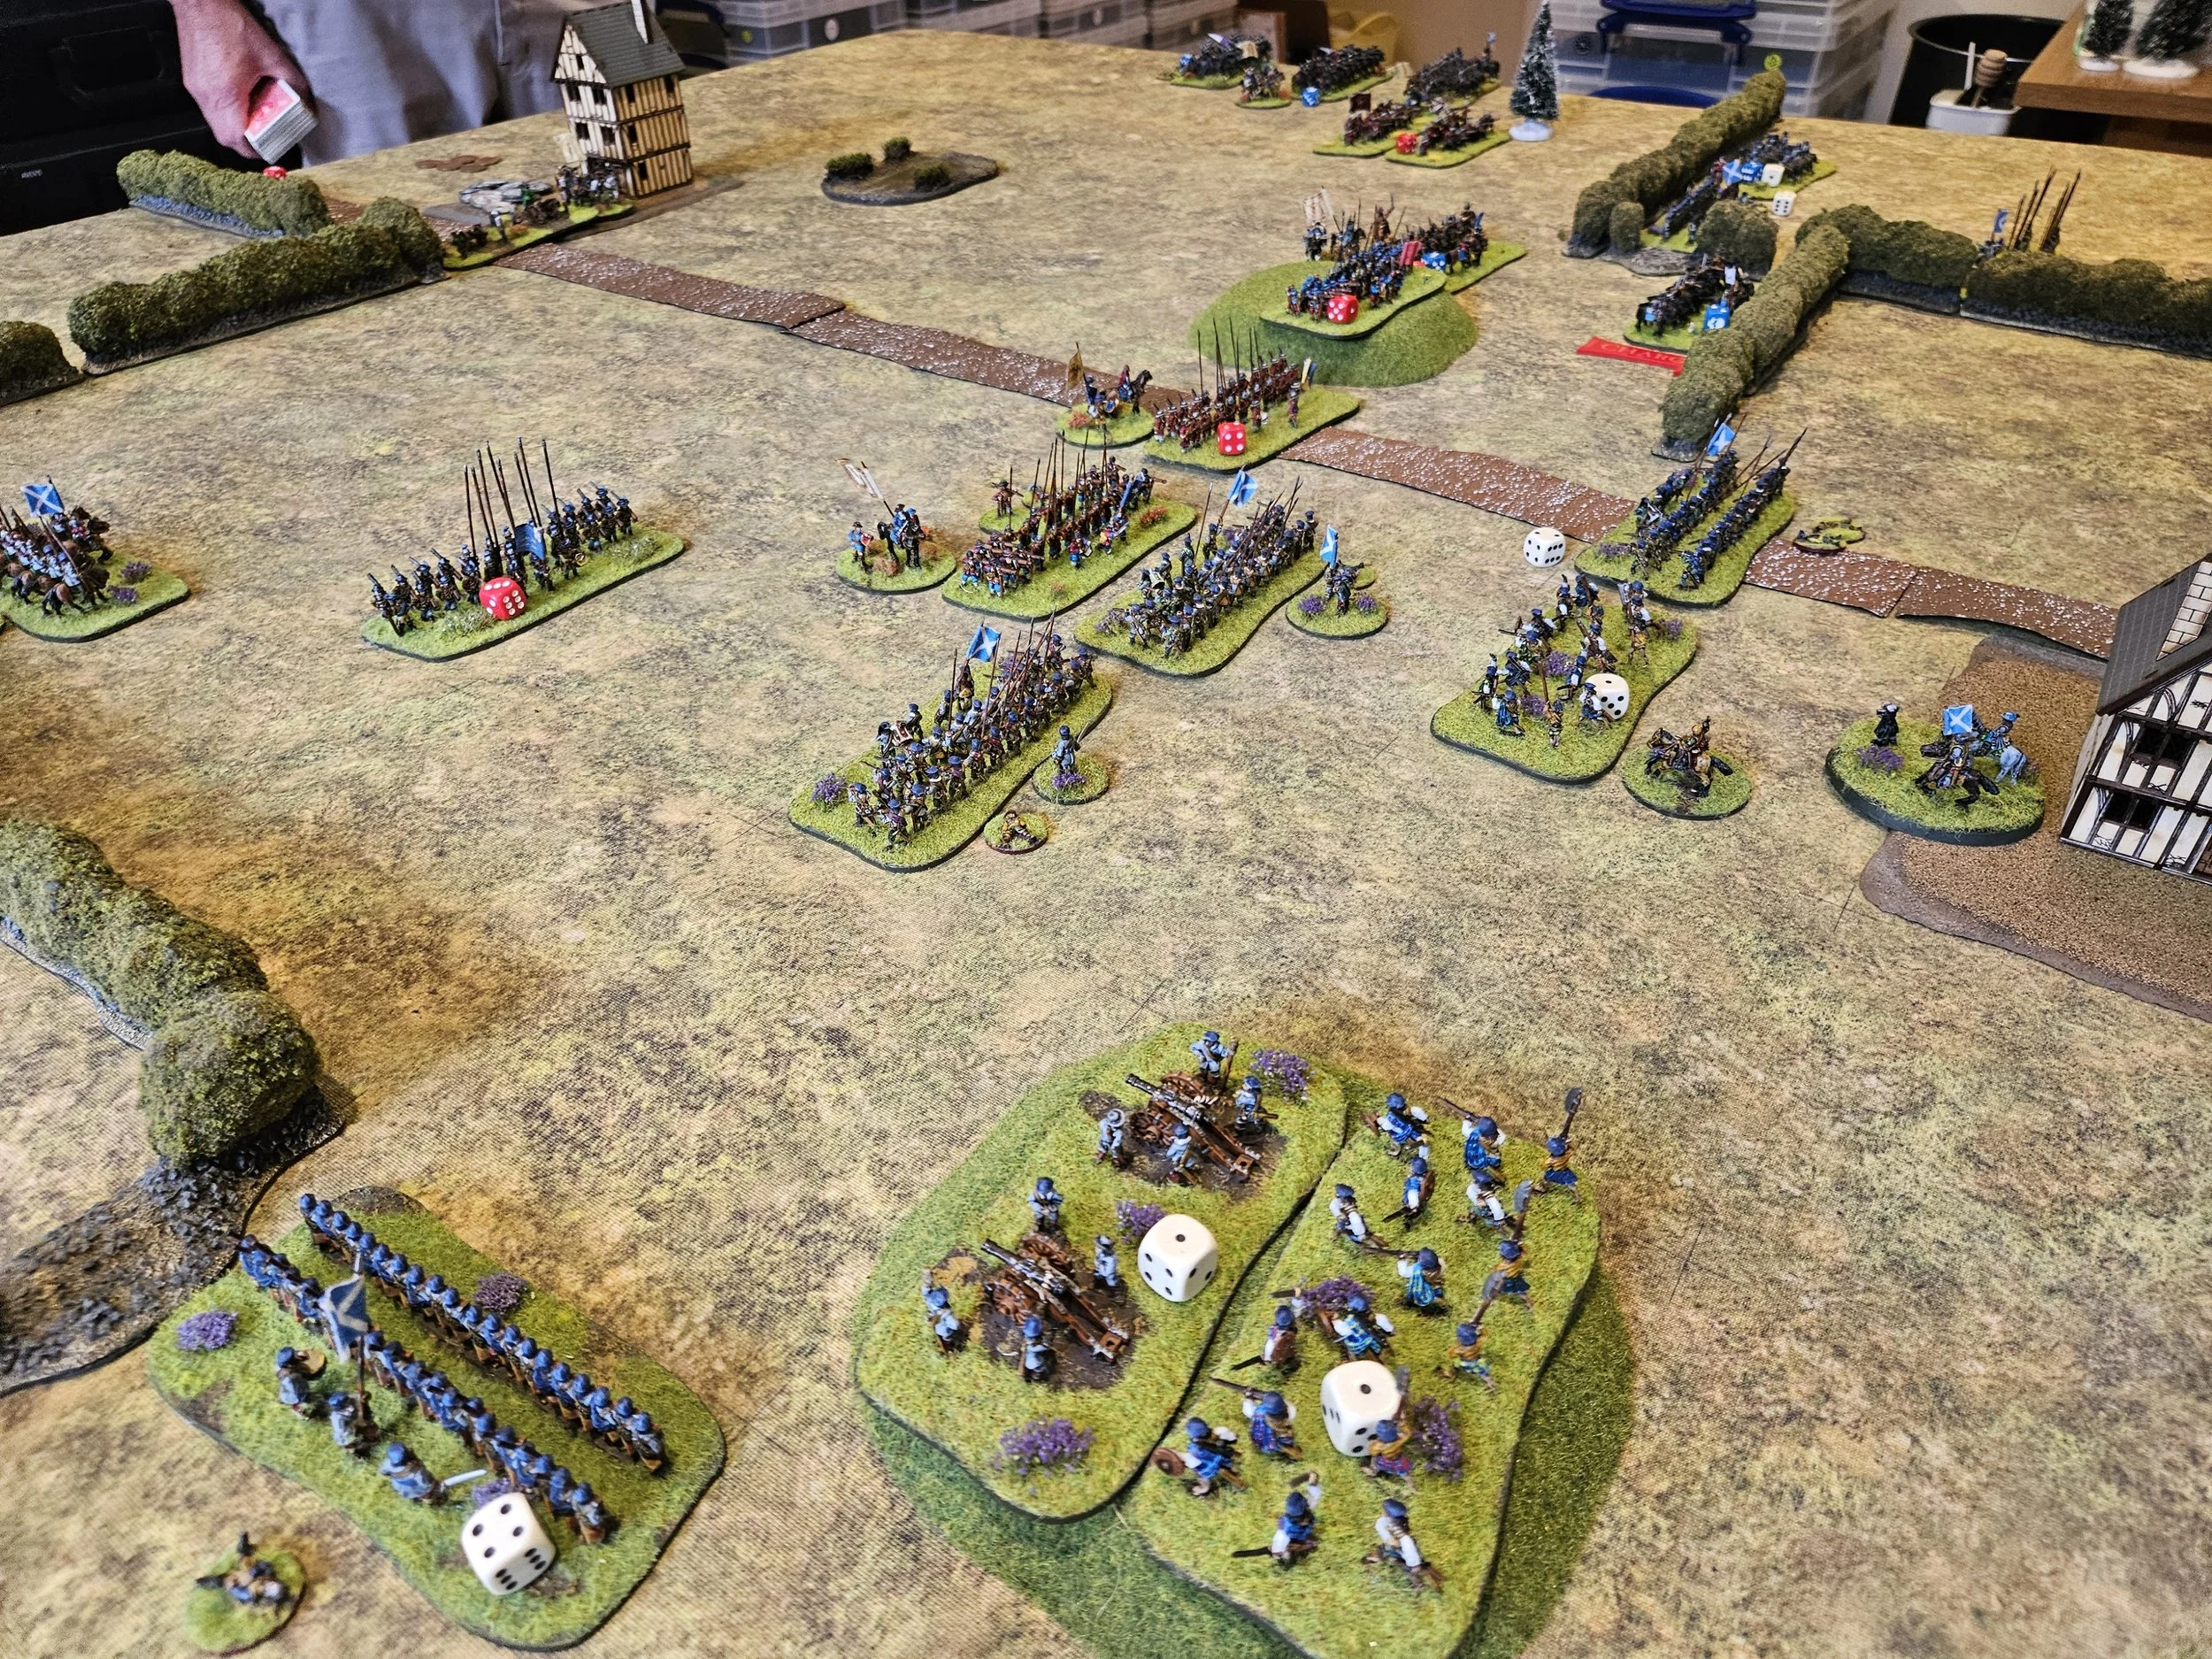
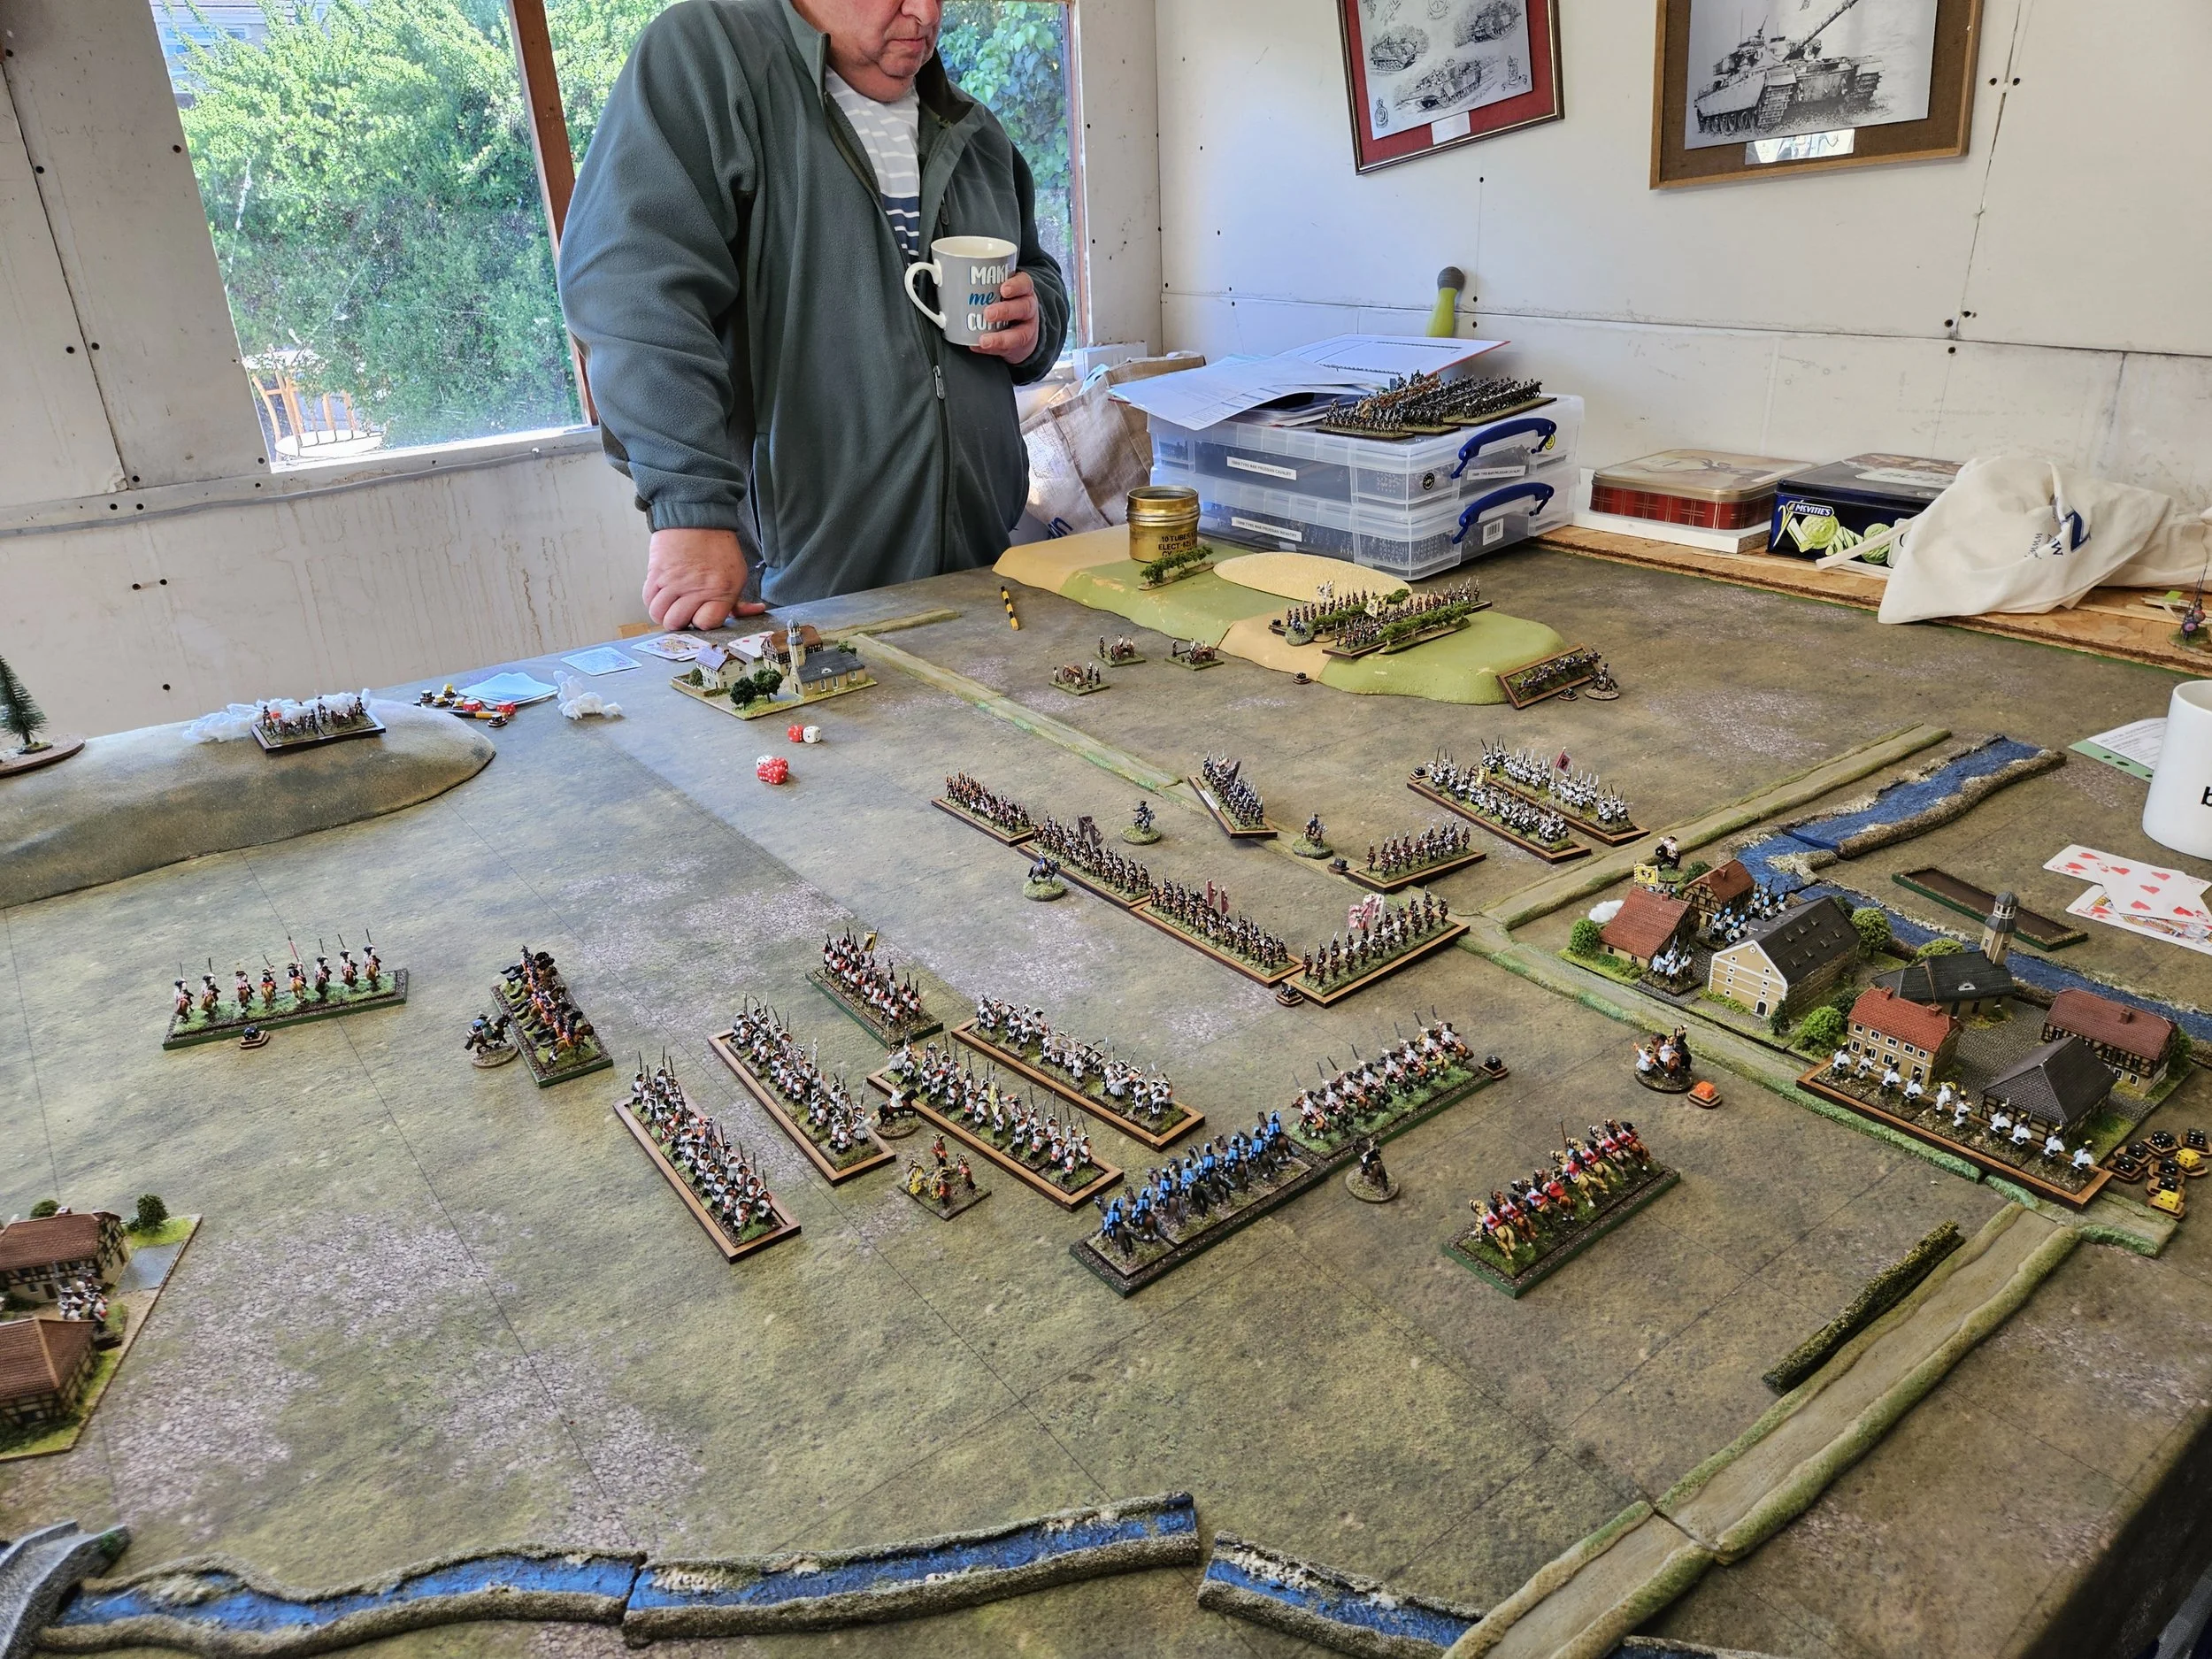
I certainly found the combination of deep units and an 8+ save a challenge: but one I will work on for the future! Here are my pictures of the game: