TTS AAR: Britcon Game Four: Venice Abroad versus Middle Carthaginians
/Three games down: two wins and one loss. Onto the next: more Carthaginians, this time of the Middle rather than the Late variety and led by that thoroughly nice chap, Mark.
Before I start this report I think it only fair to state two things. The first is that Mark was suffering from the after-effects of a rather nasty shoulder dislocation (no, it wasn’t me): not sleeping and largely unable to use his left arm! And, yes, I did make sure I attacked on the right, shame on me!
Secondly, those of you who follow this blog will know that I am usually plagued by terrible cards. Well, not today. All my terrible cards found their way into Mark’s deck: I’ve only ever seen such a collection of Aces before on my side of the table!
Anyway, with those opening statements out of the way, on to the action.
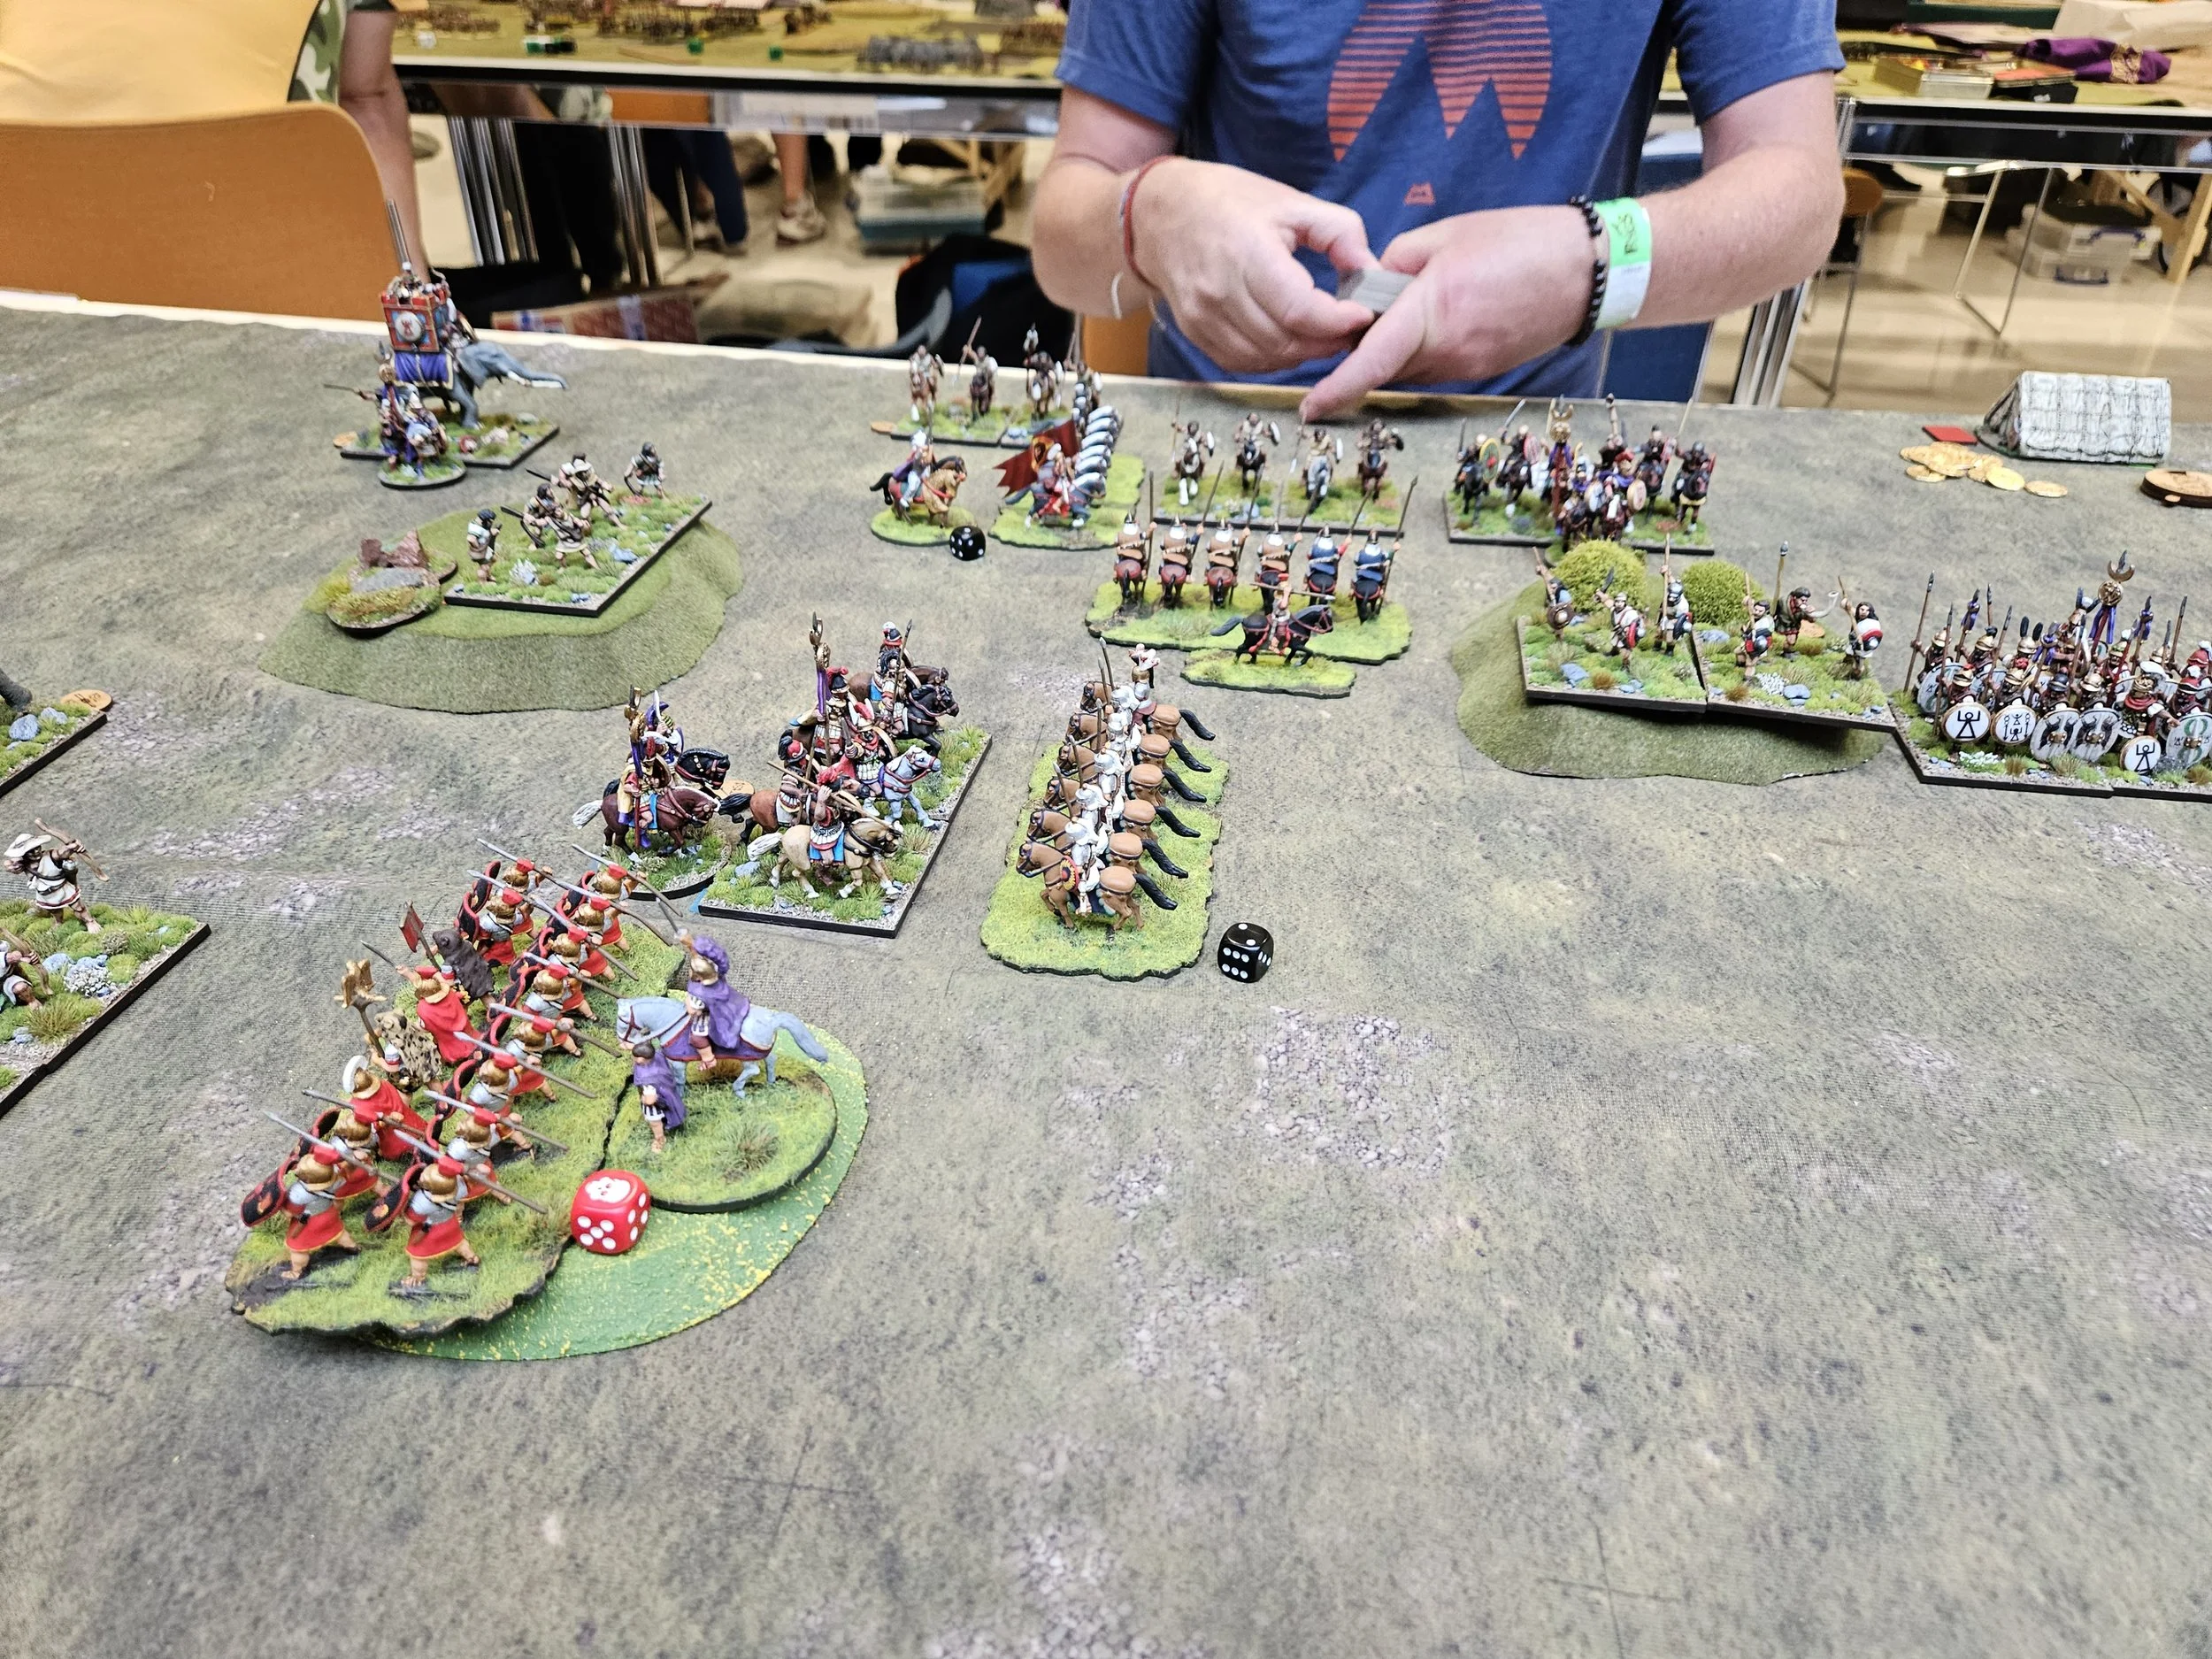
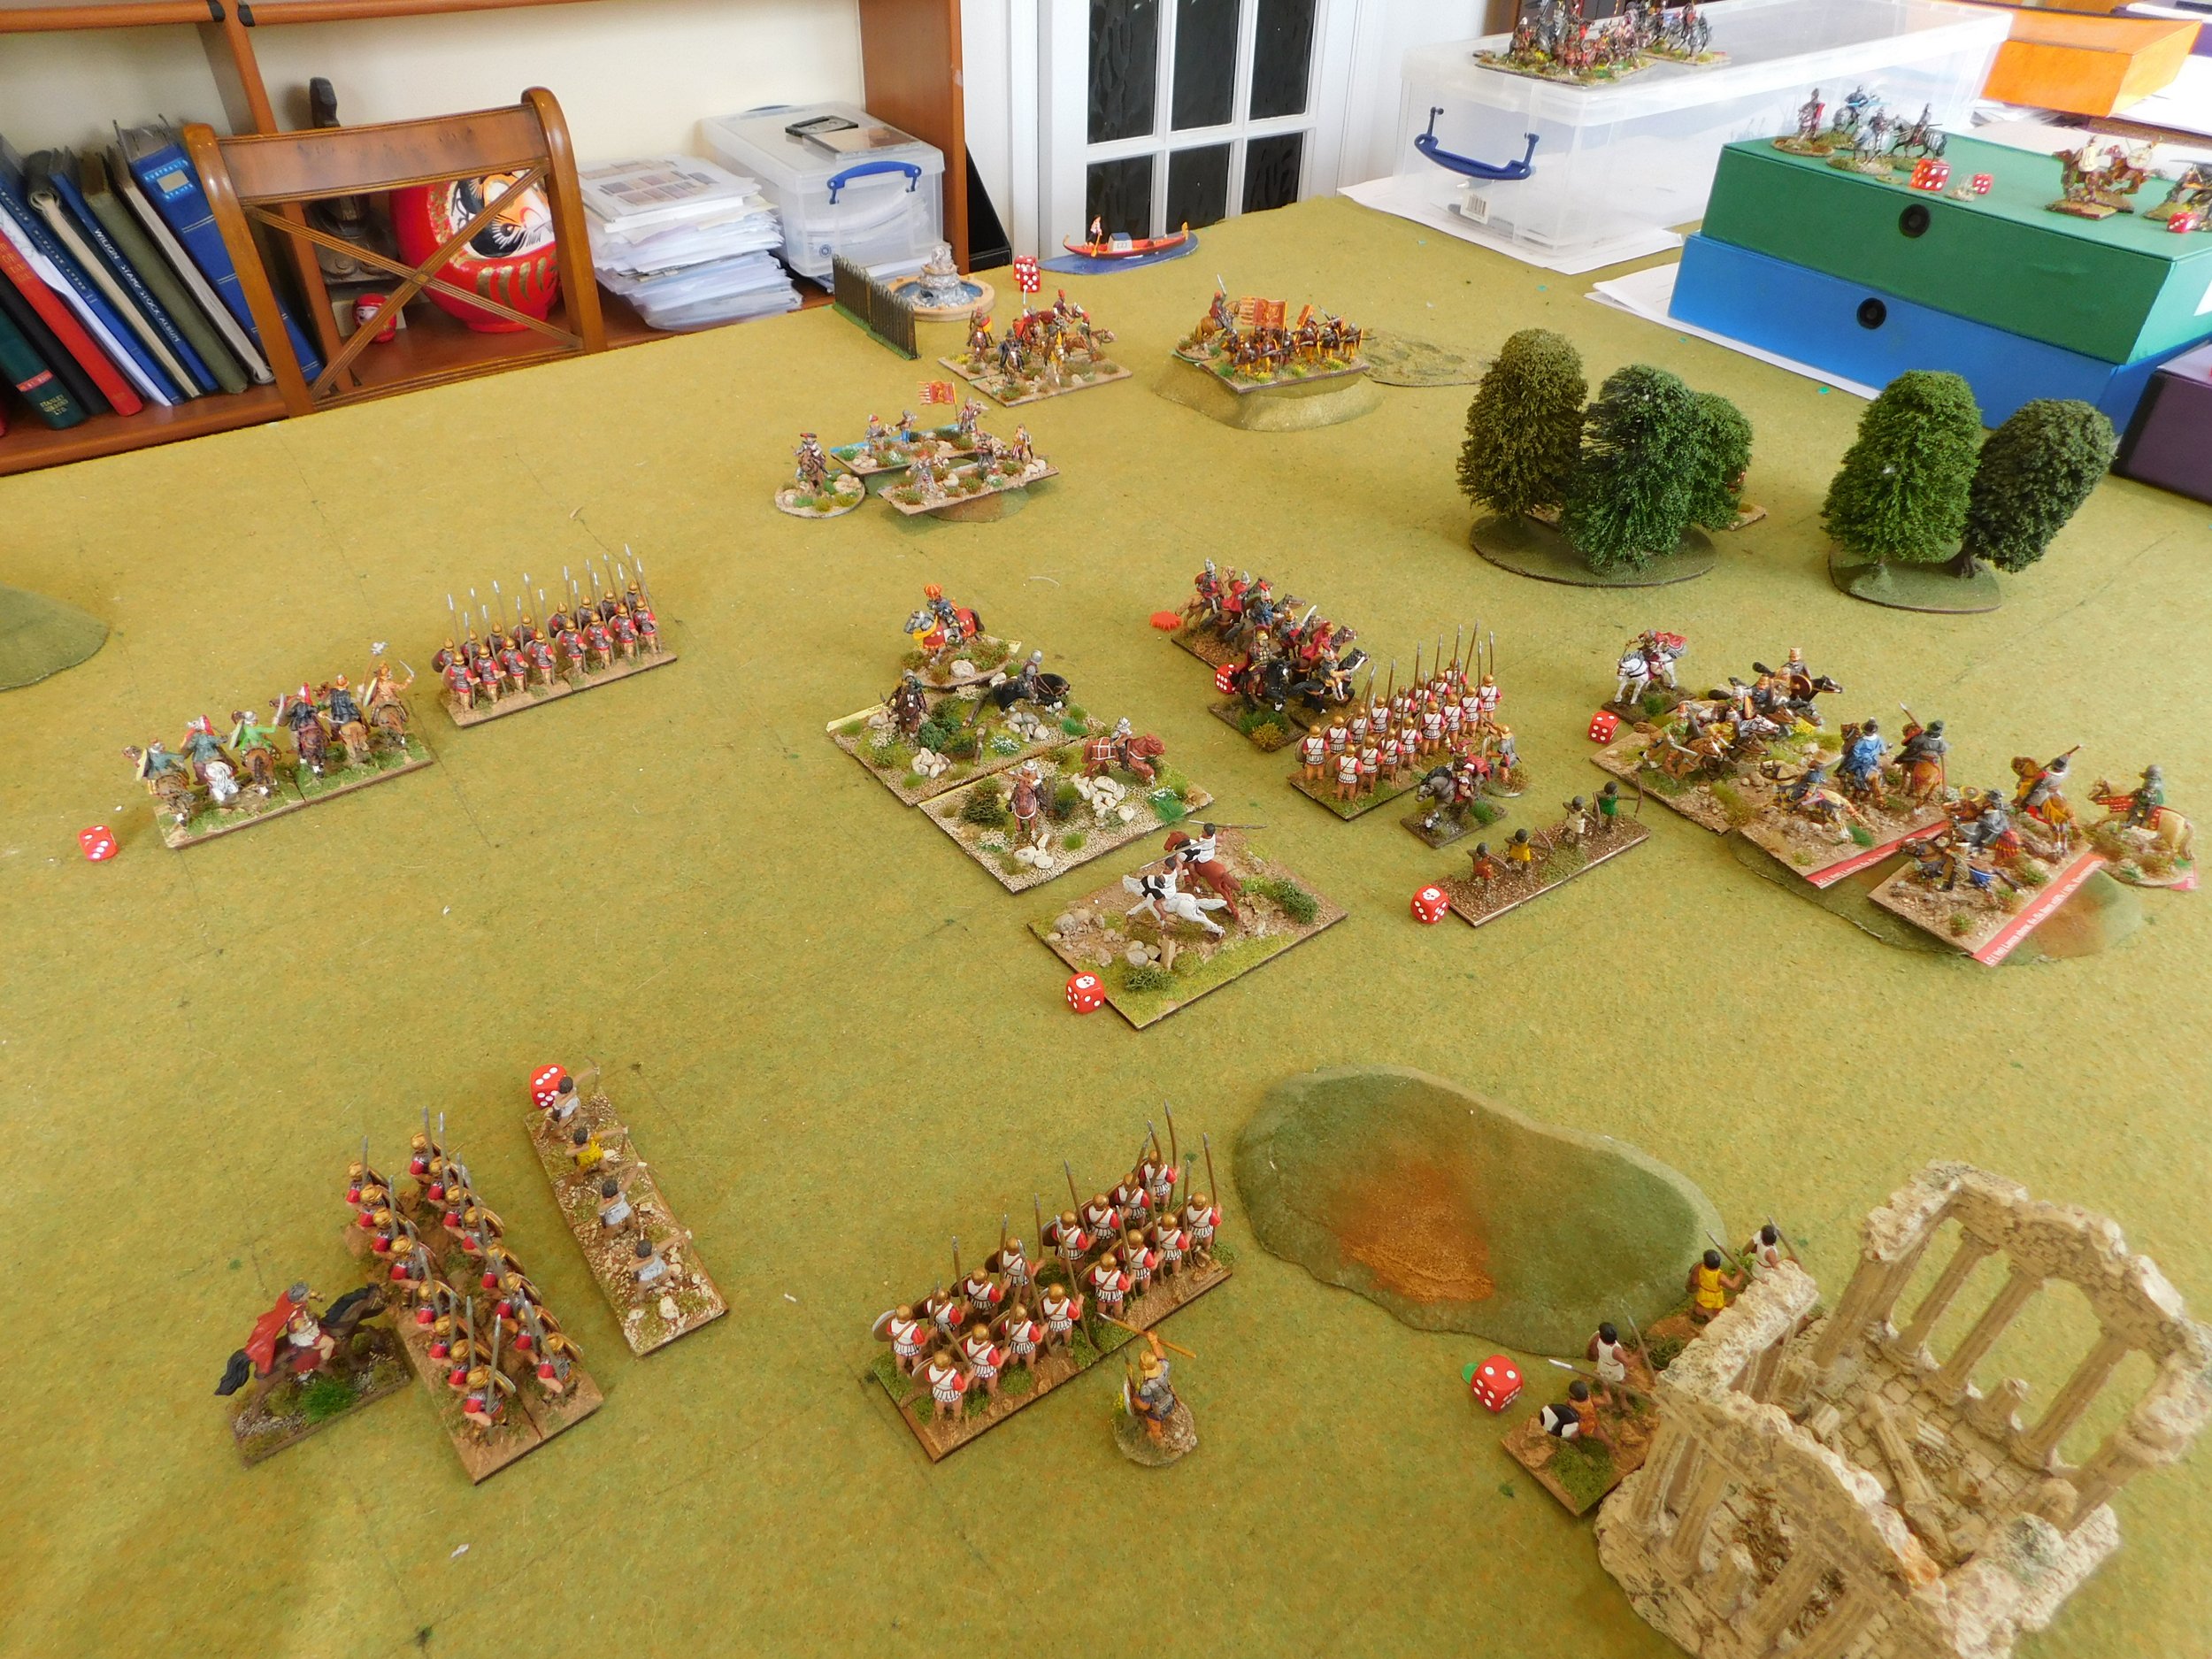
The Carthaginians outscouted and, after deployment, advanced forward confidently.
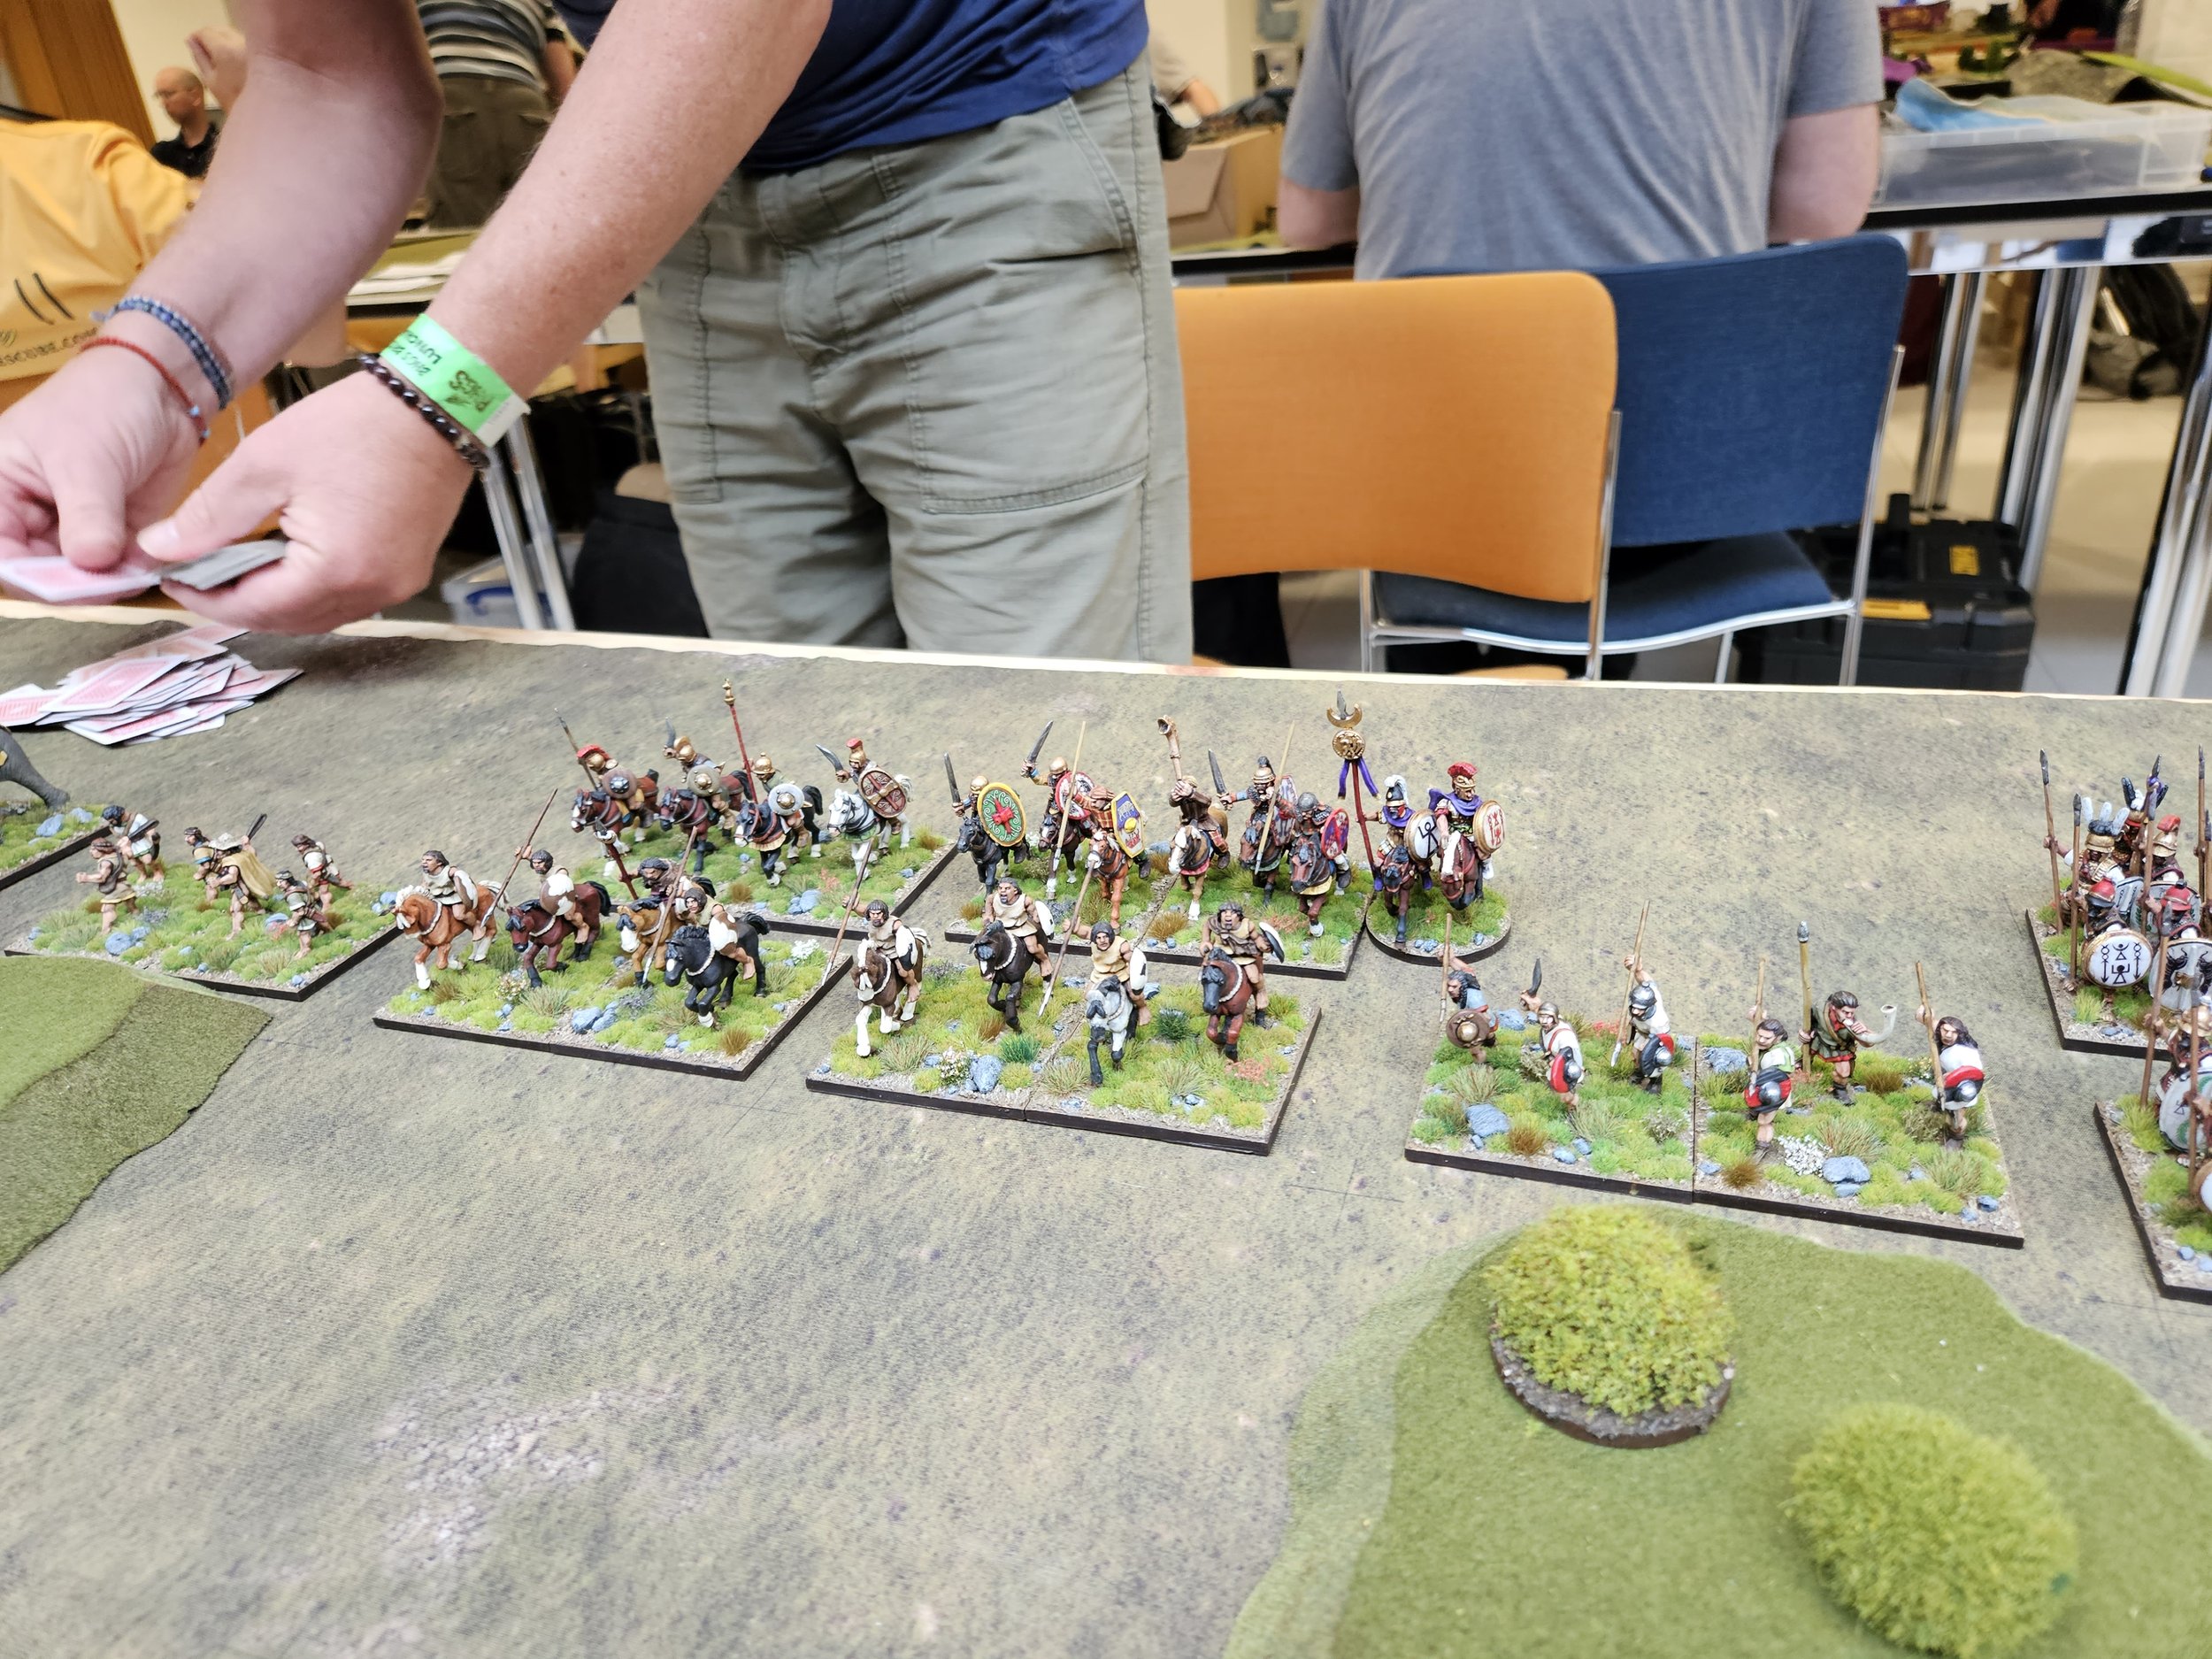
On the Carthaginian left was their cavalry: a mass of veteran heavies and lights. My first action was to essay a shot at the lead unit of enemy horse with my crossbowmen and light crossbowmen. Quarrels (the word comes from Old French quarrel (from carré, “square”), referring to the bolt’s square-shaped head) flew across the battlefield and, much to both our surprises, slammed into the enemy unit and cut them down to a man, including their general. The shock of seeing their comrades slain was then too much for the surrounding light cavalry units, who fled the field to bring tales of woe and impending disaster to anyone who would listen!
I’d played four cards and taken six coins…all which I would obviously be paying to my mercenary crossbowmen!
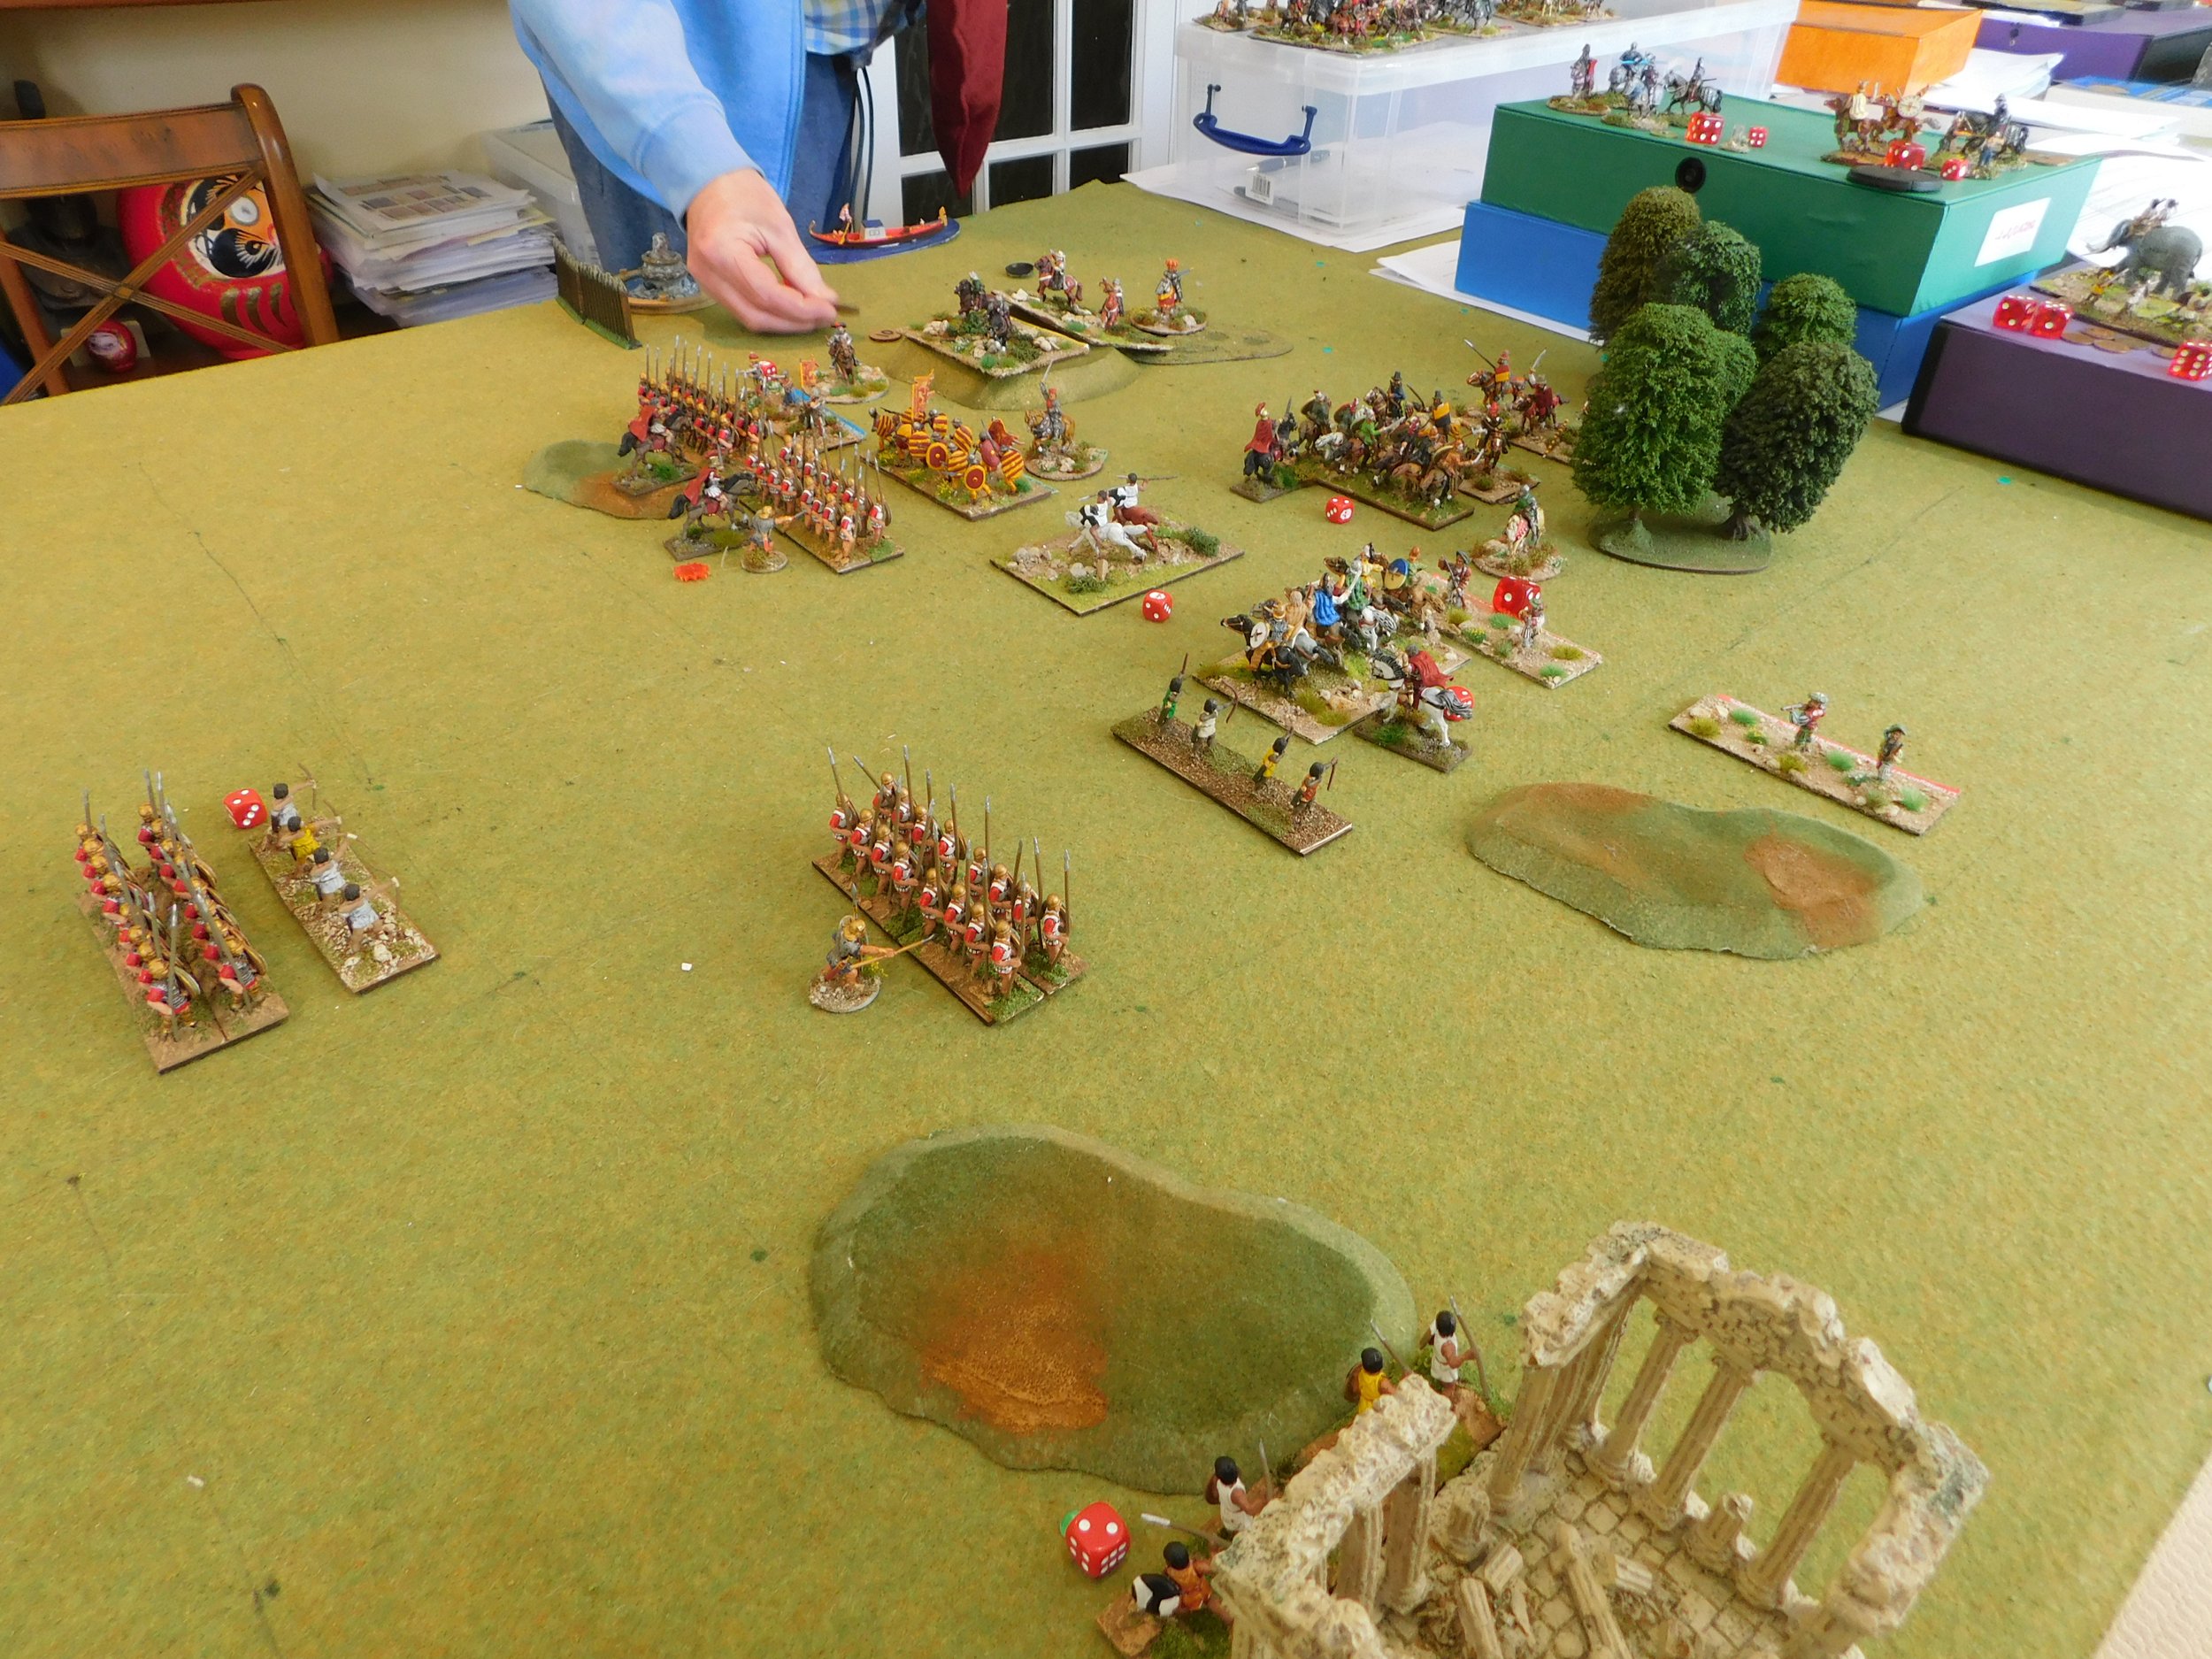
Worse, for Mark, was the fact that my Knights then charged forward (“what’s that coming over the hill…is it a monster?” “No, worse: it’s the Venetian knights!”) and thundered into the remaining enemy horse, lances poised for carnage!


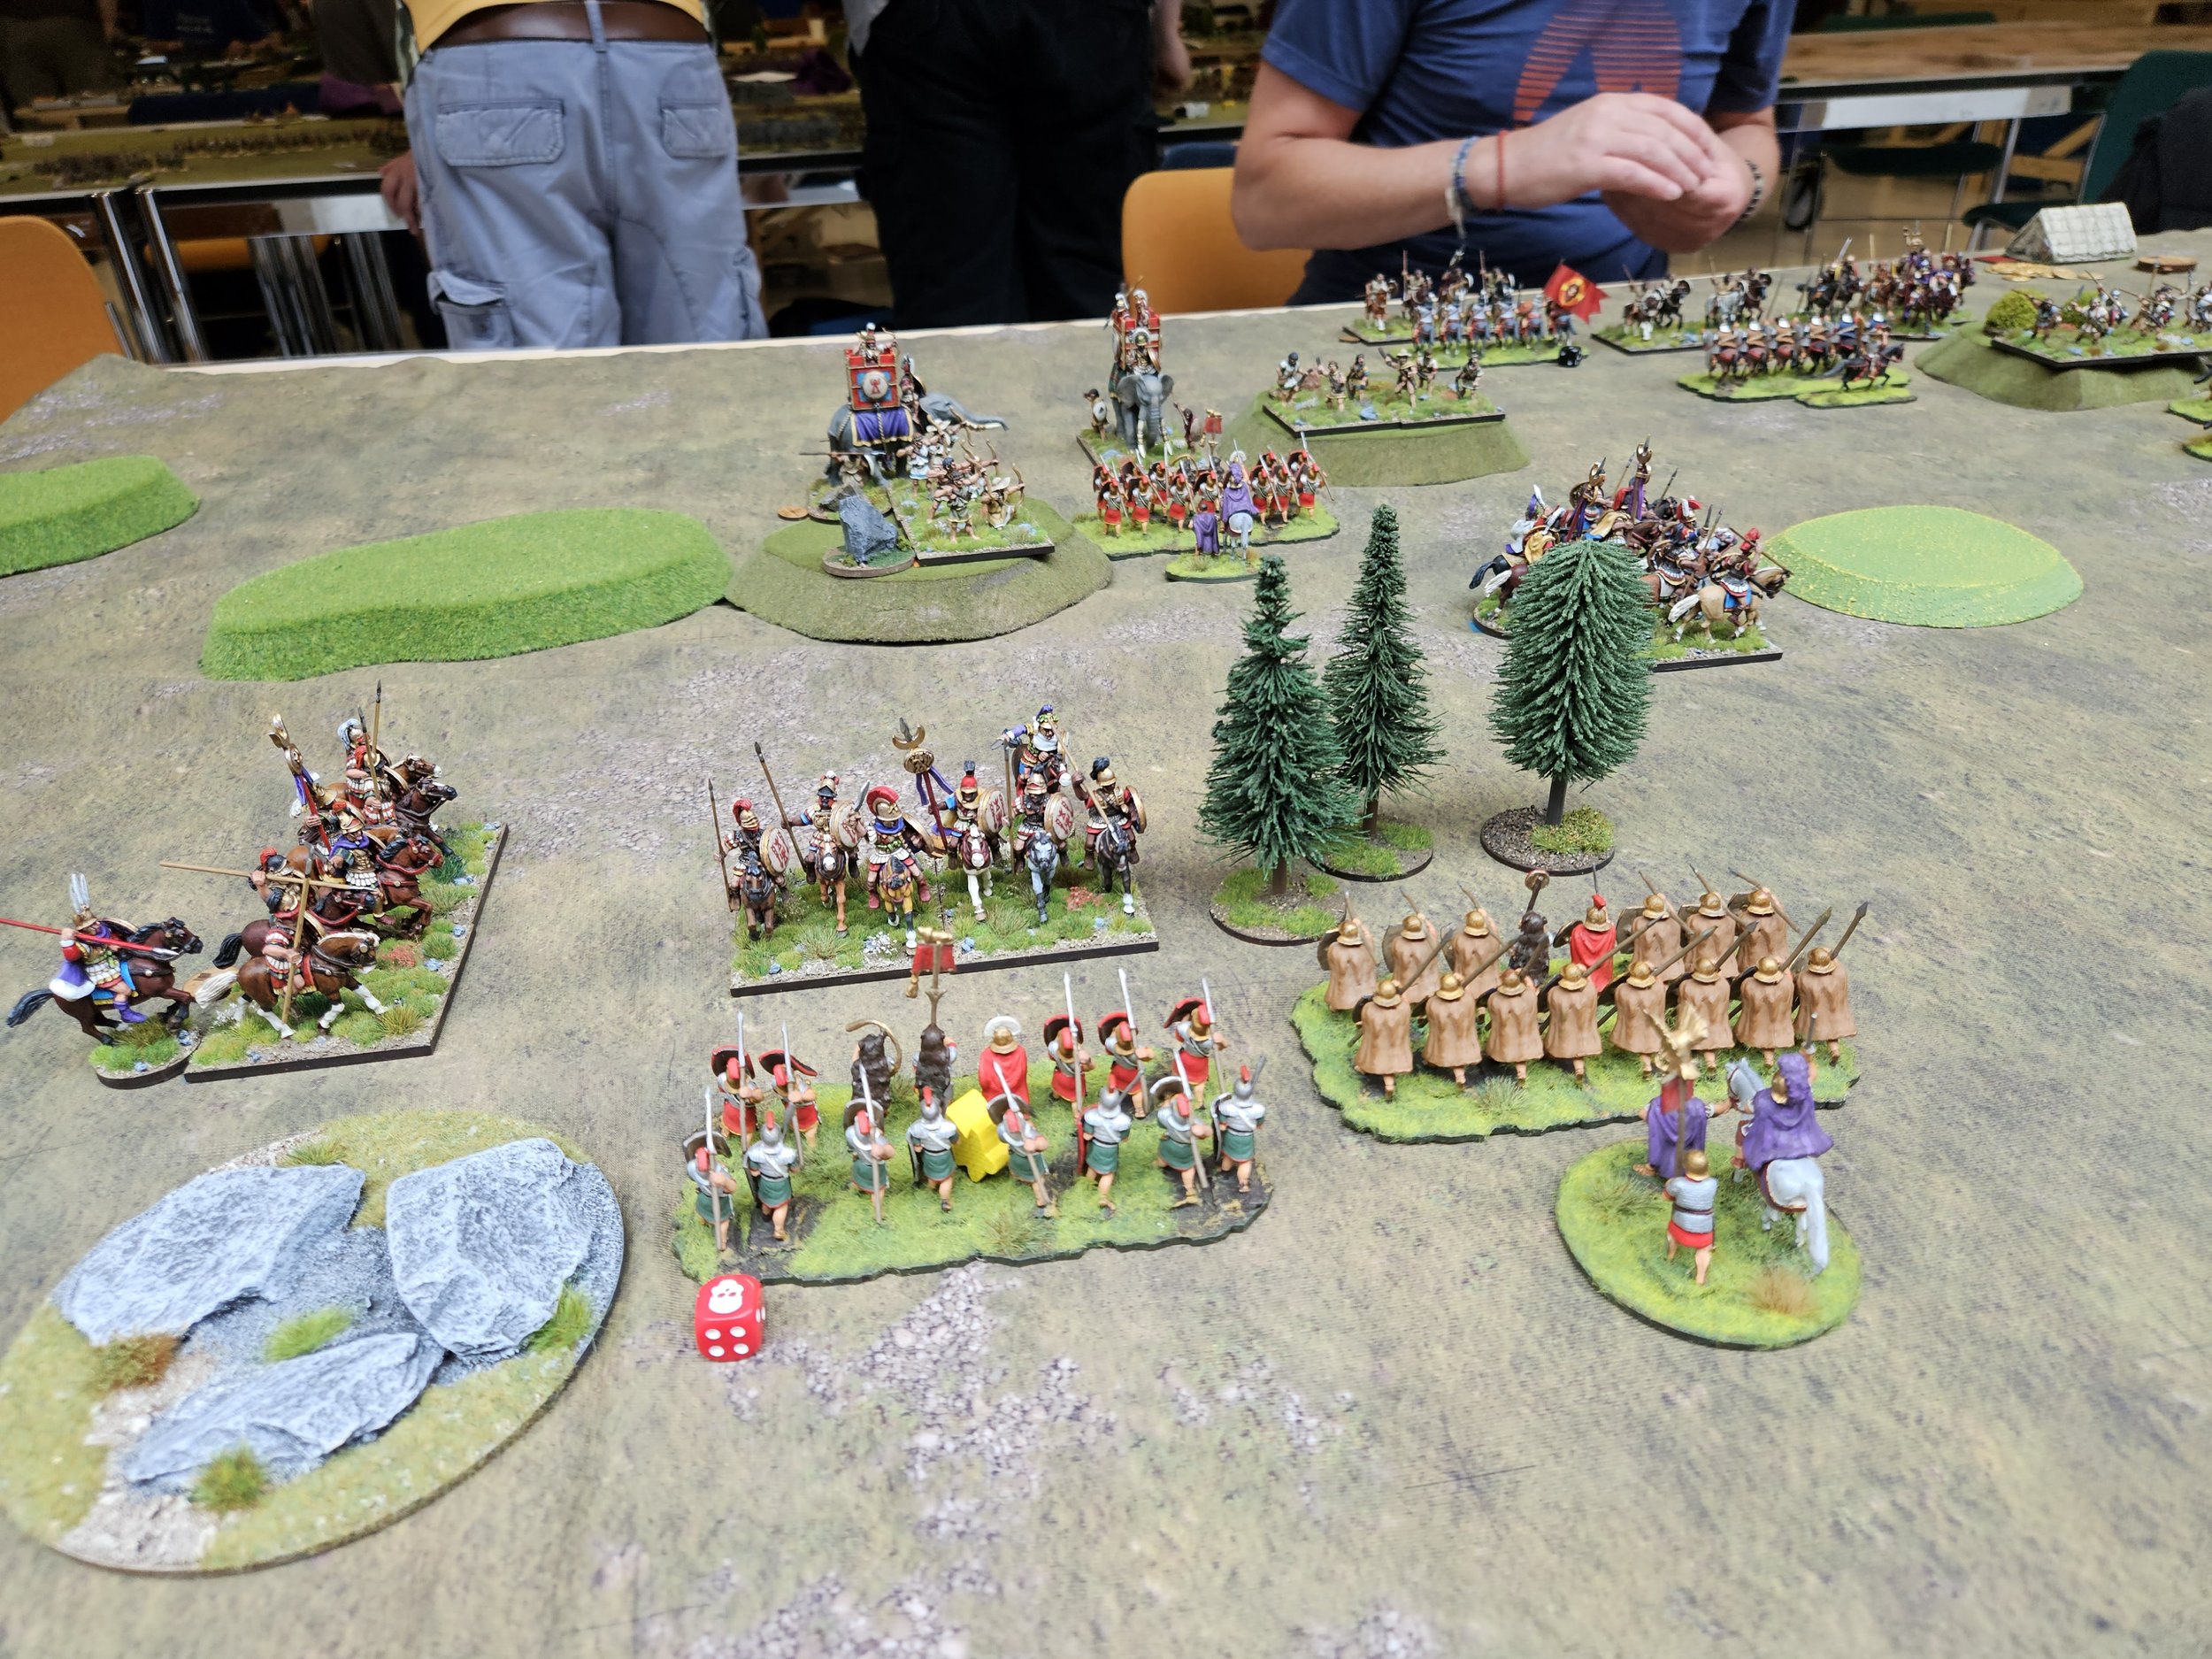
Meanwhile, on the other side of the table, my other Knights were watching the enemy elephants stomp slowly forwards accompanied by the Carthaginian heavy infantry.
My plan was now to avoid fighting on the left until my right hand Knights could turn and roll up the enemy line, and I also moved my main infantry force in the centre forward in order to pin some advancing Celtiberians in place until the Knights were ready.


I needed to keep the Carthaginian right focussed forward as opposed to allowing them to turn to reinforce the centre and left, so was forced to make my Knights a threat even if I wanted them nowhere near the advancing enemy nellies.
This led to some dicey moments for the left hand Knights as Mark’s clever use of the Someone has Blundered card along with my only bad luck of the game left them vulnerable but, for once, they had remembered to put on their proper as opposed to cardboard armour, and they were able to retreat out of danger having done exactly what they were supposed to do.


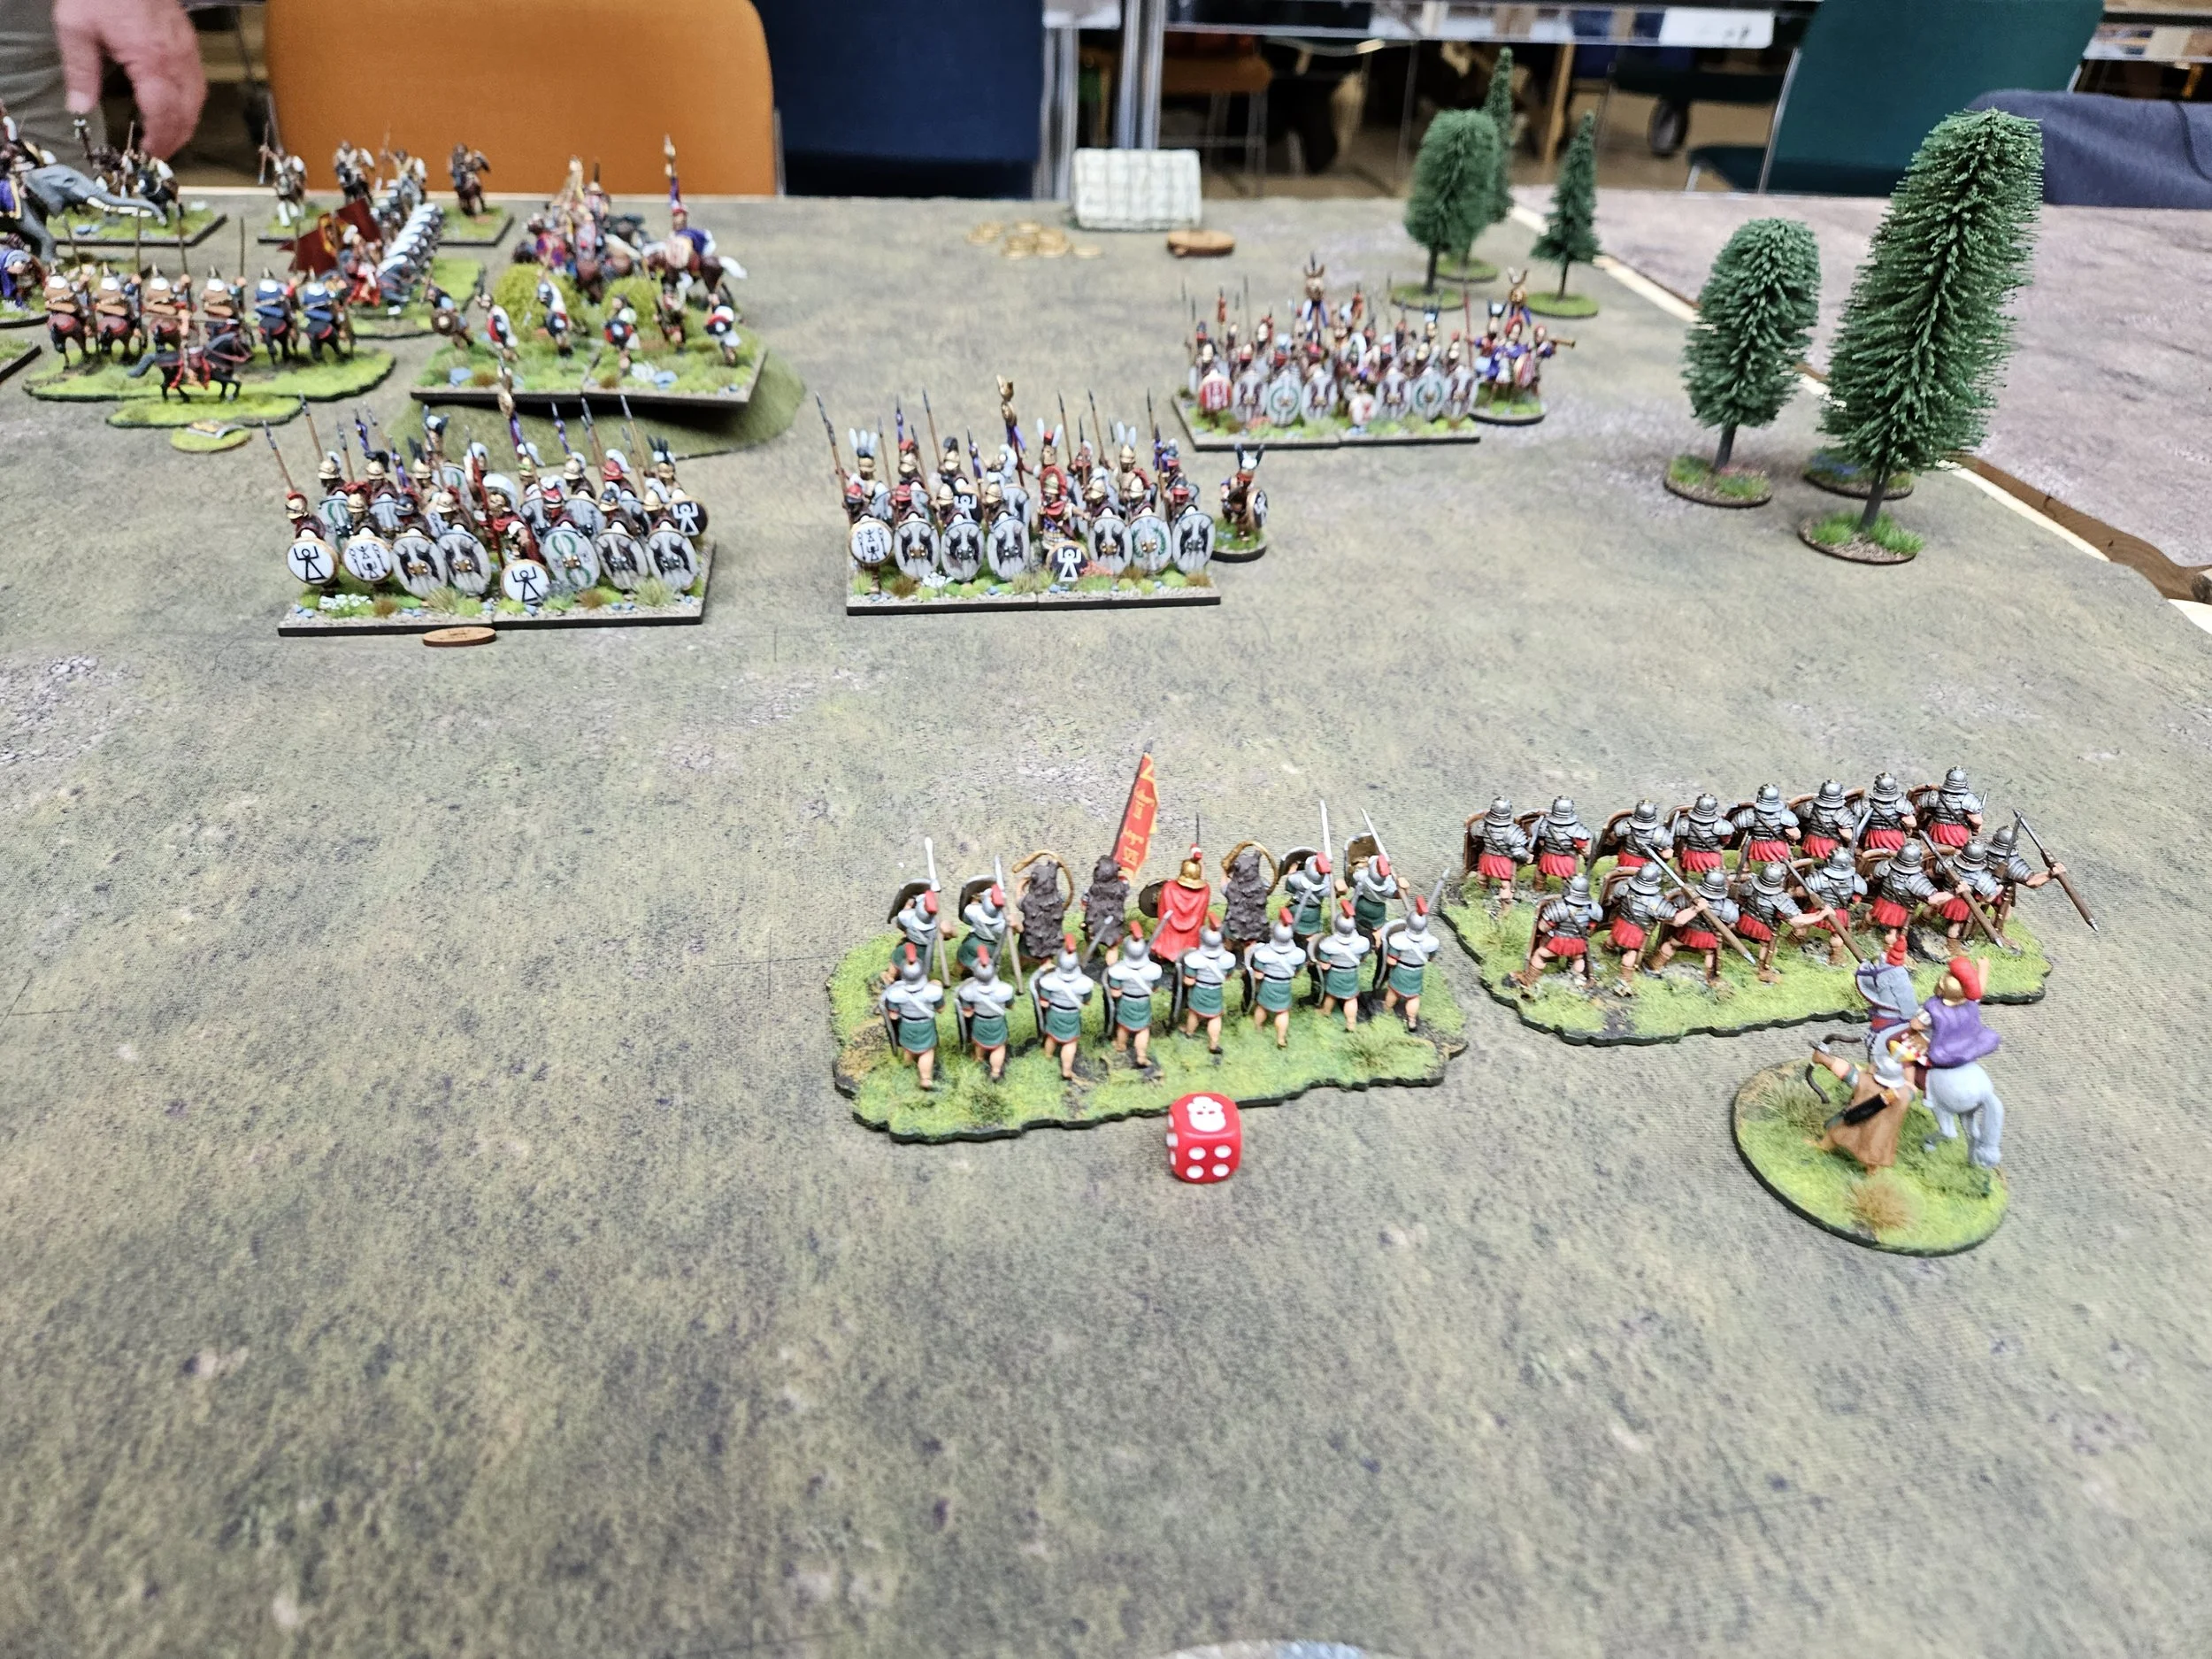
Meanwhile, my Knights on the right had sorted themselves out and proceeded to carry out the other part of the plan: curling round to hit the Carthaginians’ Celtiberian allies in the flank.
Aided by my infantry advancing out from the camp, it took only a turn or two to take Mark’s remaining coins.


Well that had, from the canal-dweller point of view, been a cracking game!
Mark was so unlucky in that first turn to lose half his cavalry like that, and even more so as that perfectly opened up his flank to my Knights. He might have been able to compensate on the right but, again, just didn’t get the cards to get his men forward fast enough.
As for the Venetians: it was on to the final game and, with three wins out of four, the same as the other leading contenders, a chance for overall victory!