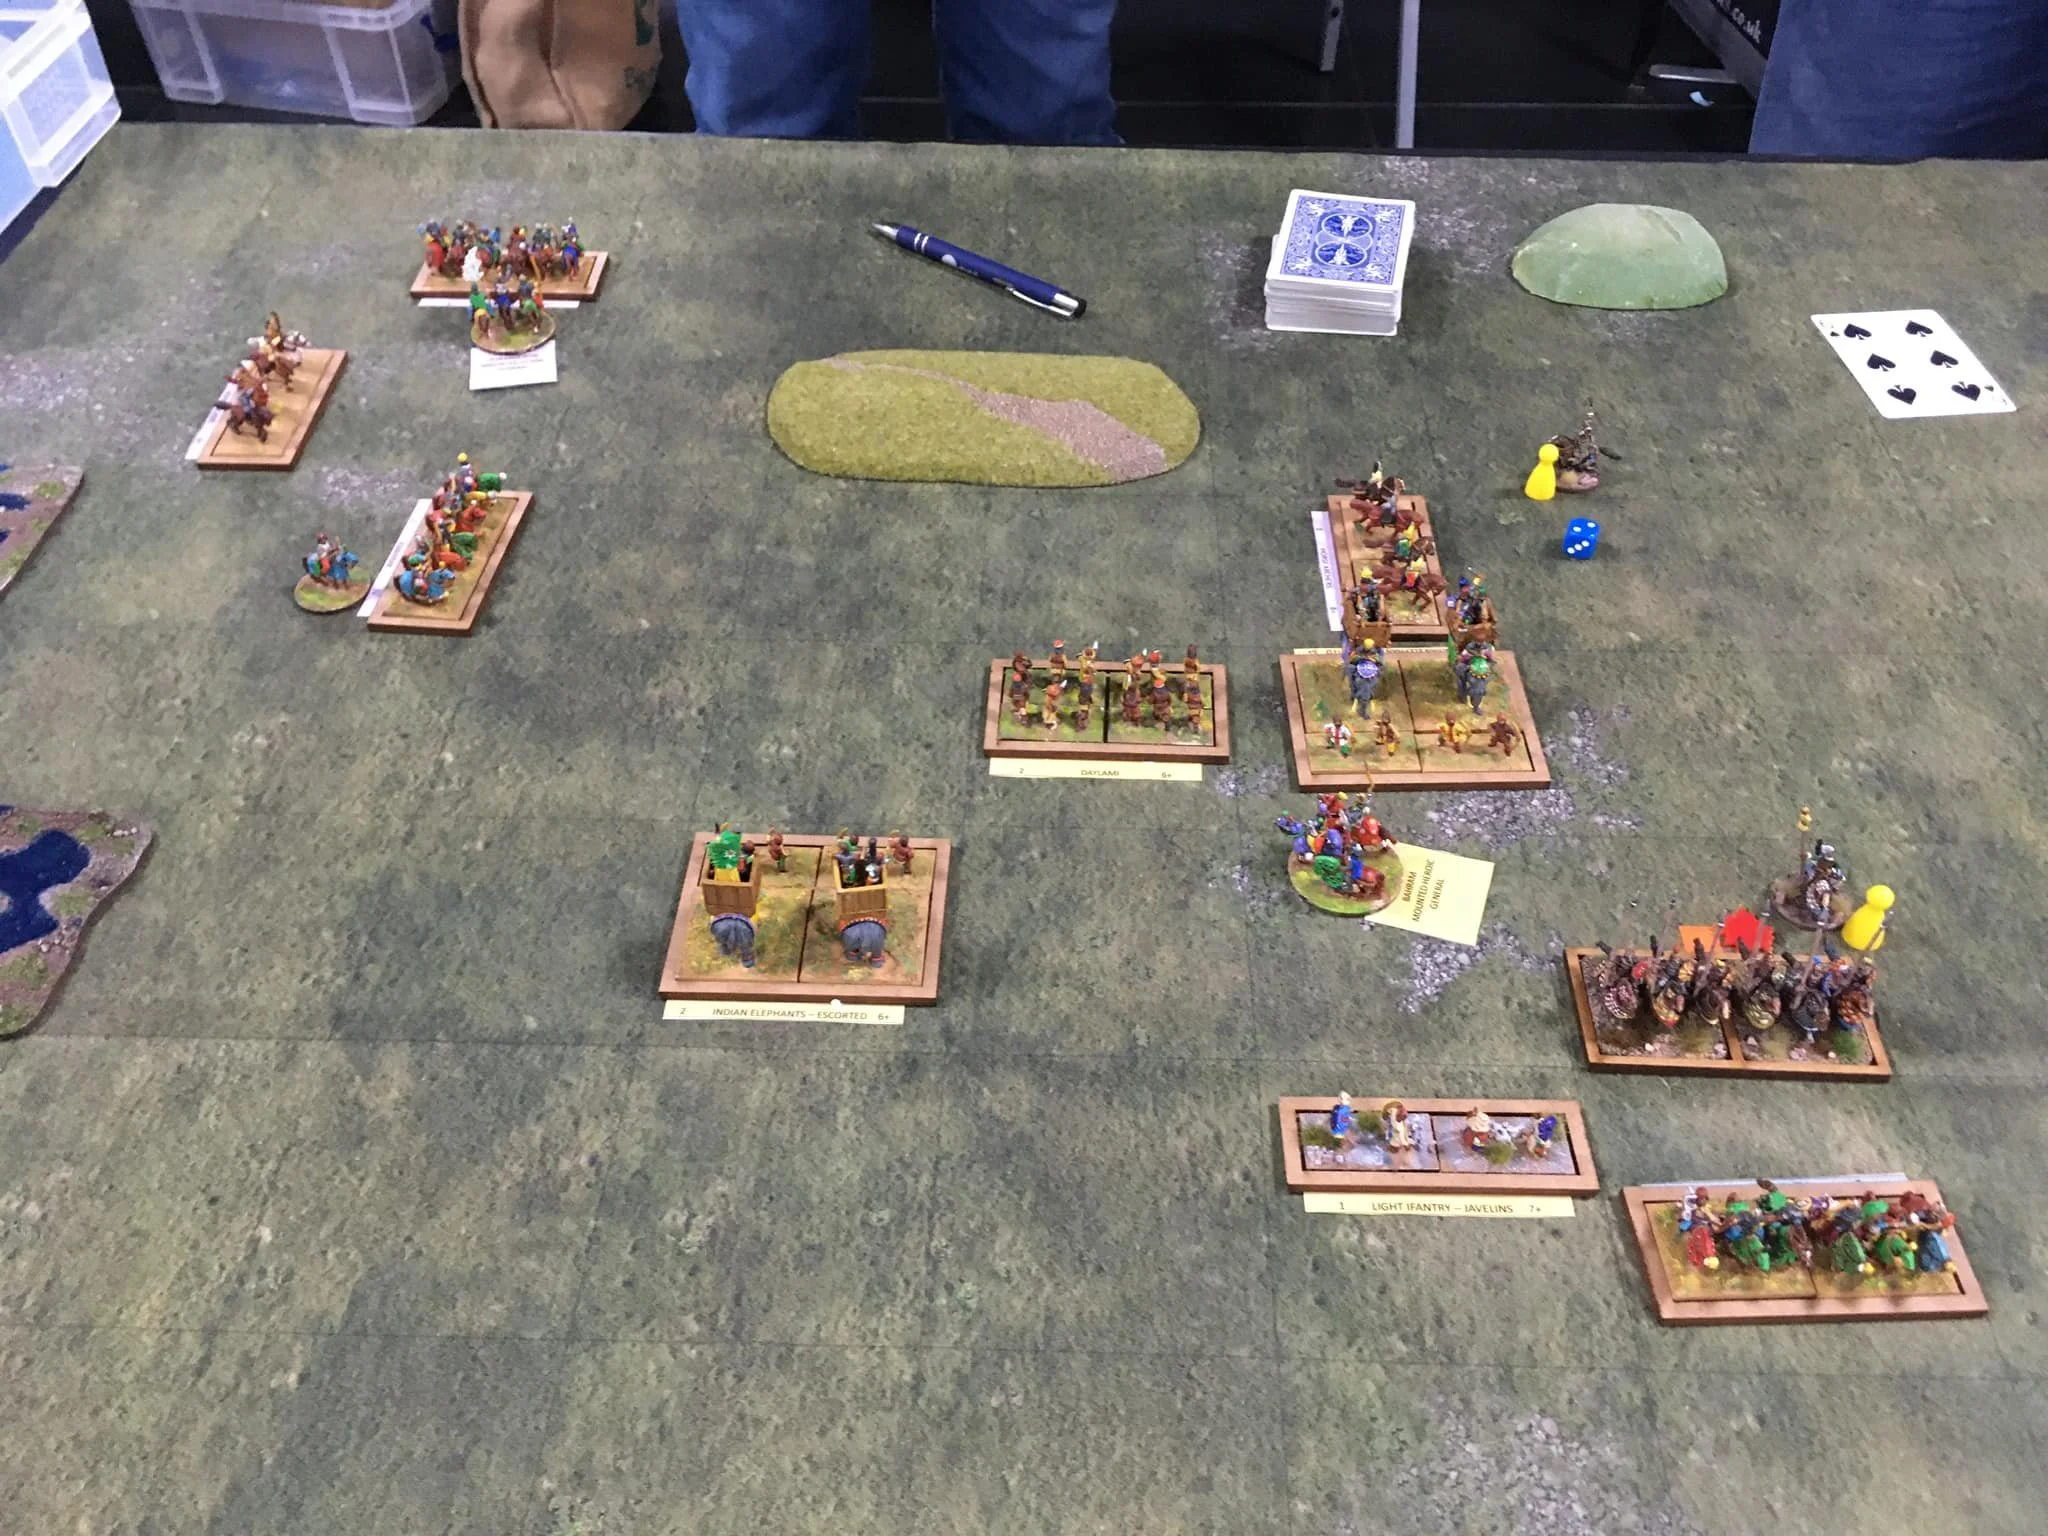
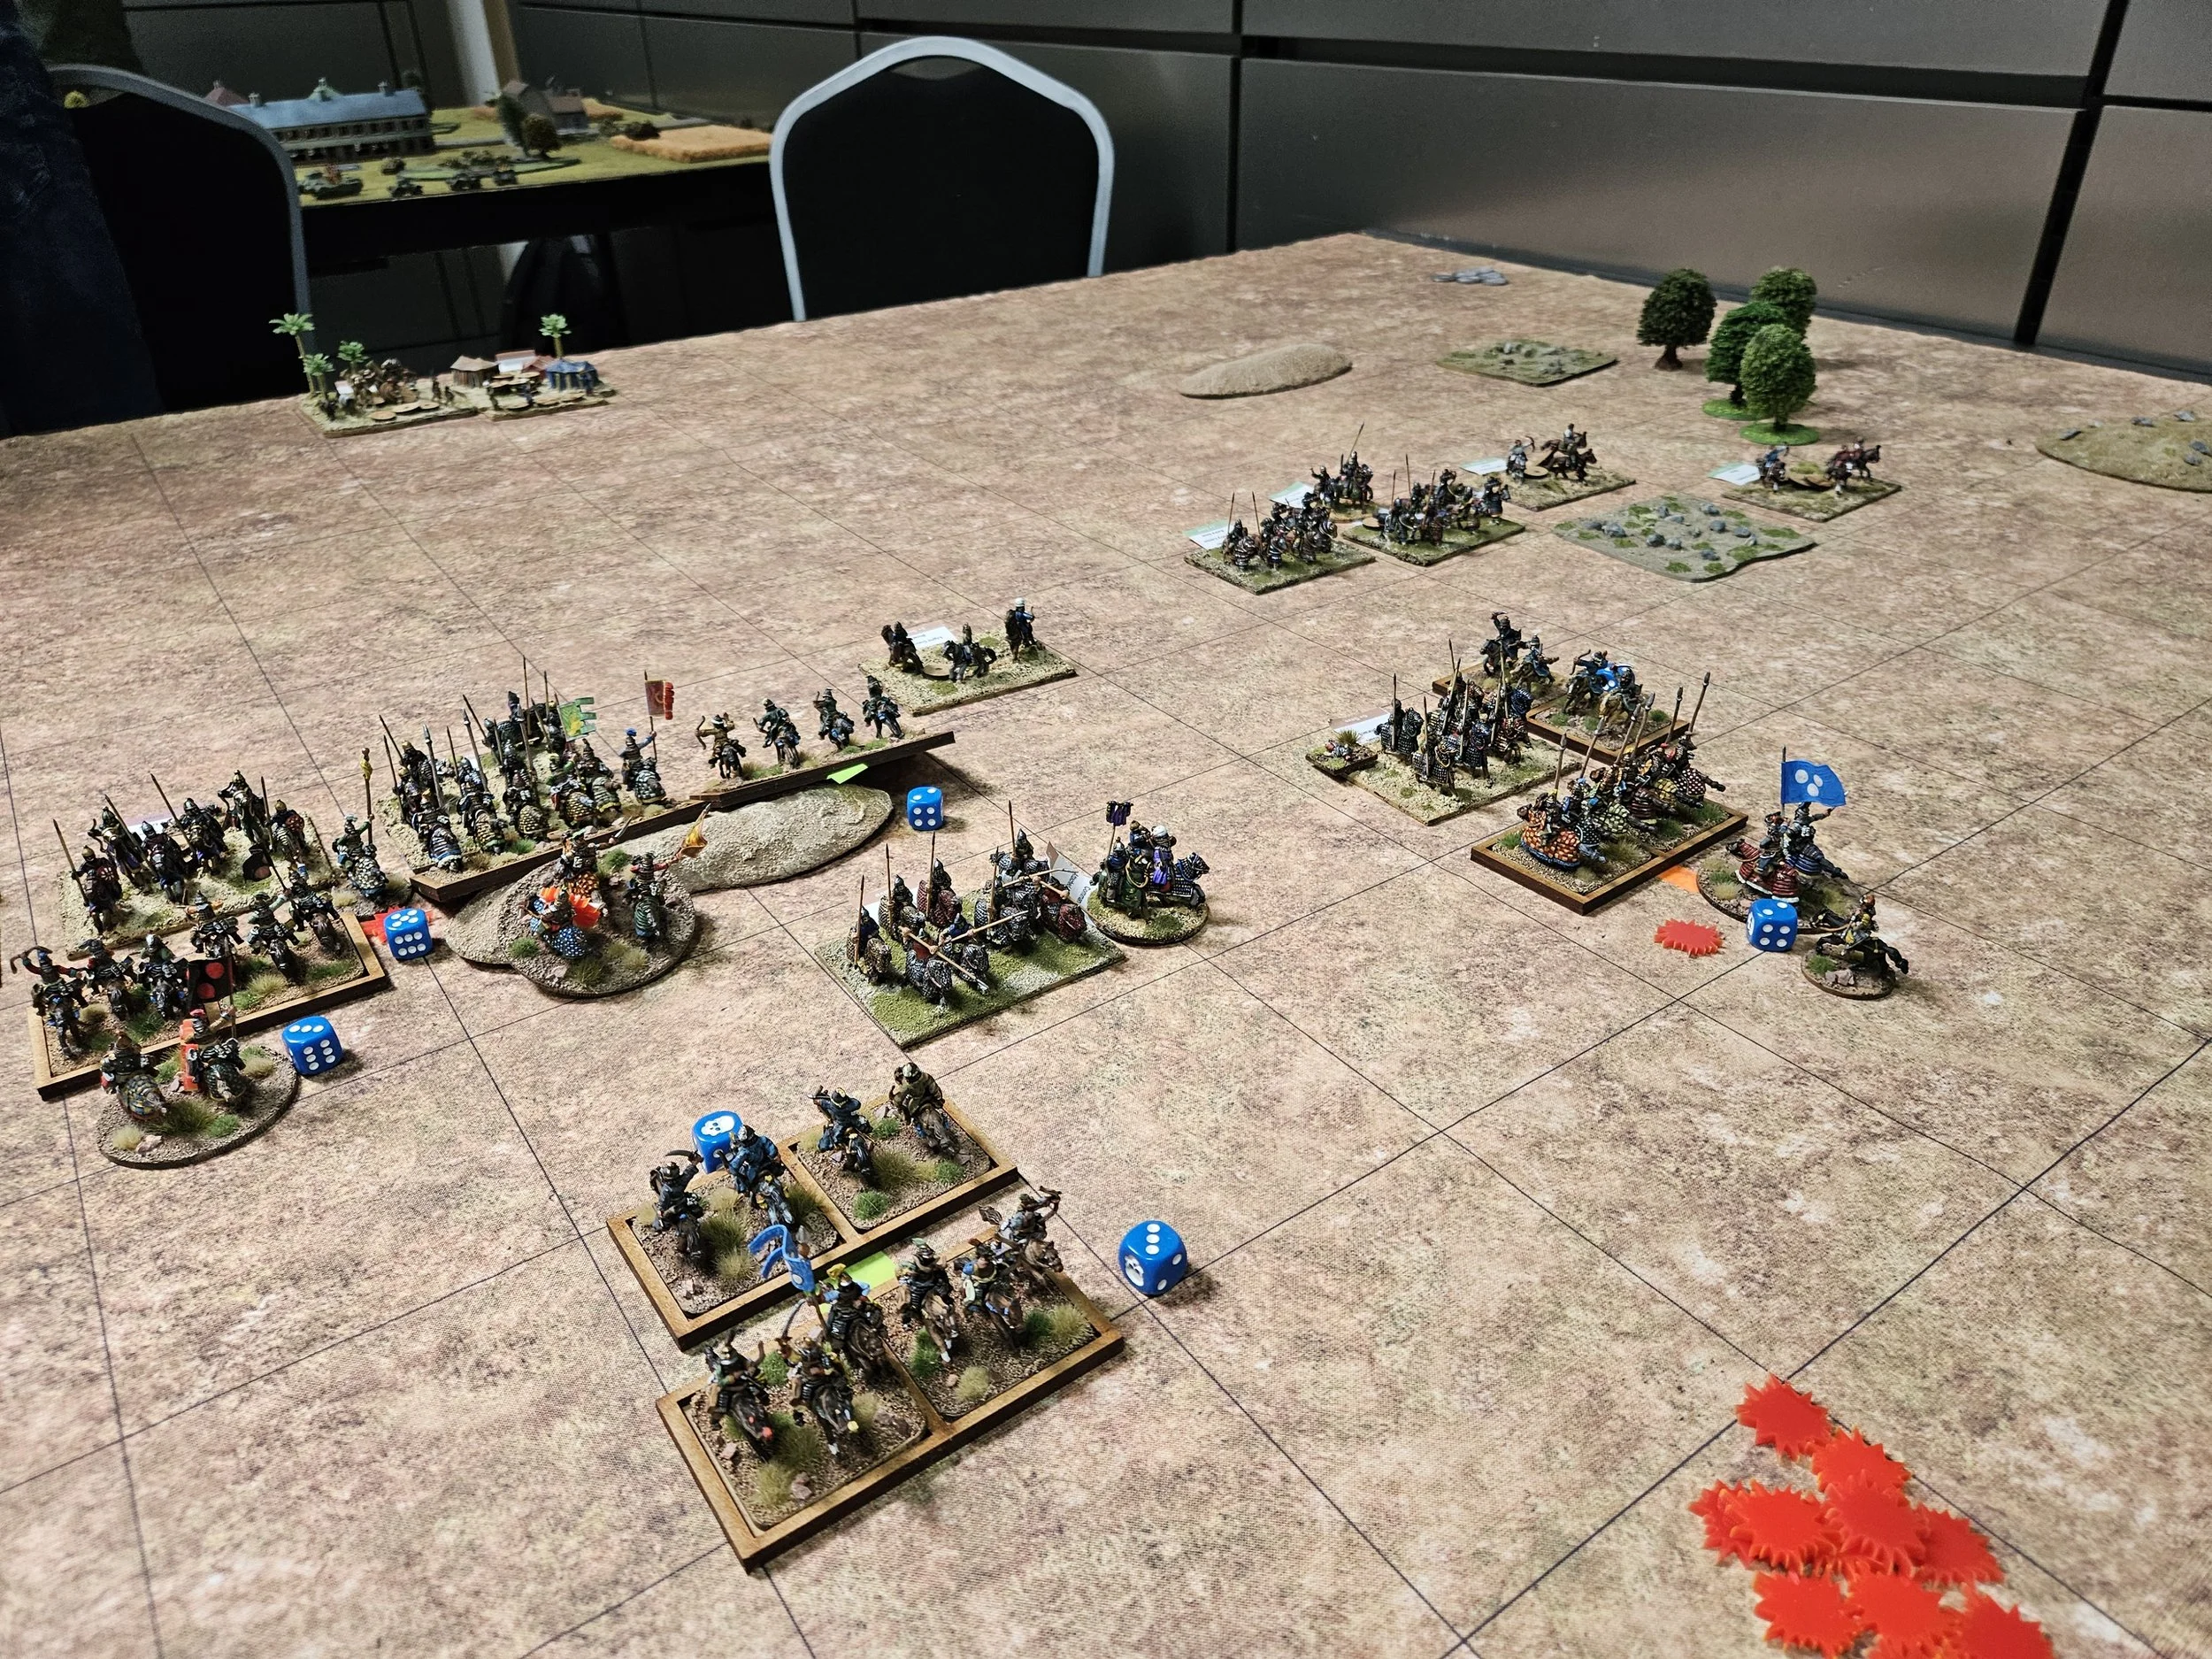
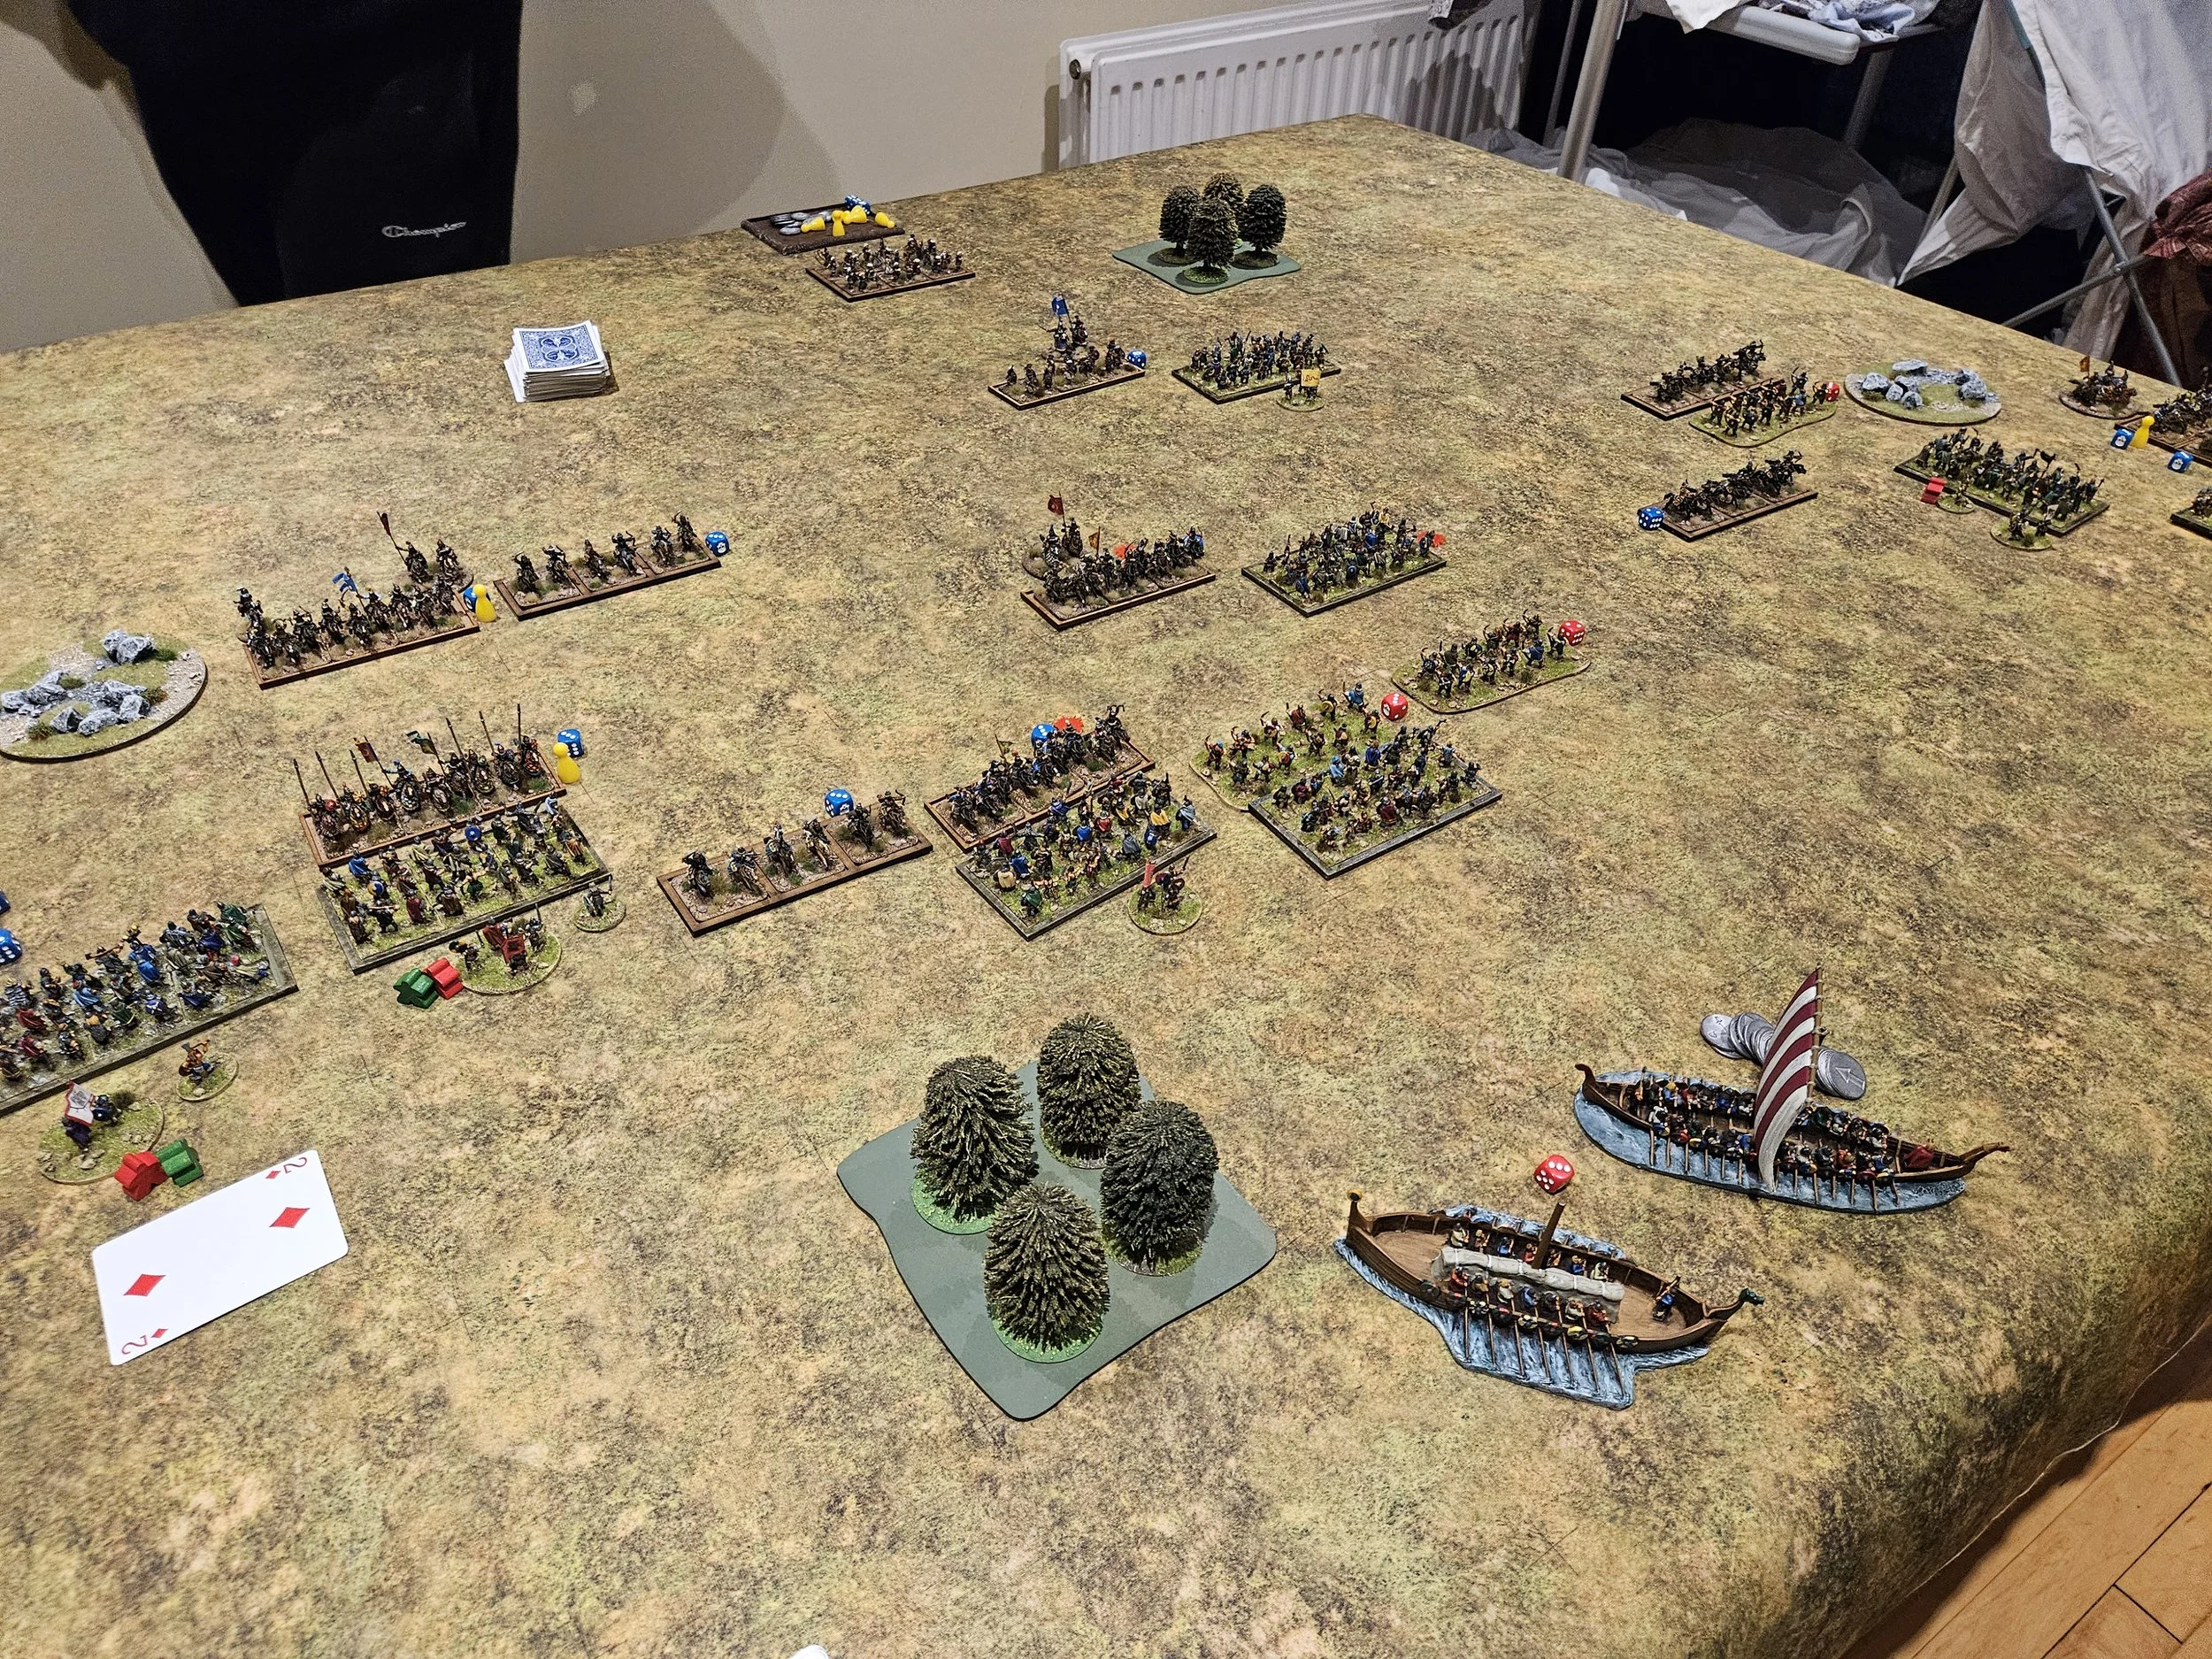
TTS AAR: Warfare Game Four: Venetians Abroad versus Timurids
/My fourth and final game of To The Strongest at the 2025 Warfare tournament was against Peter and his Timurids.
This was one of those frustrating games when I could see exactly what was going to happen…and it did!
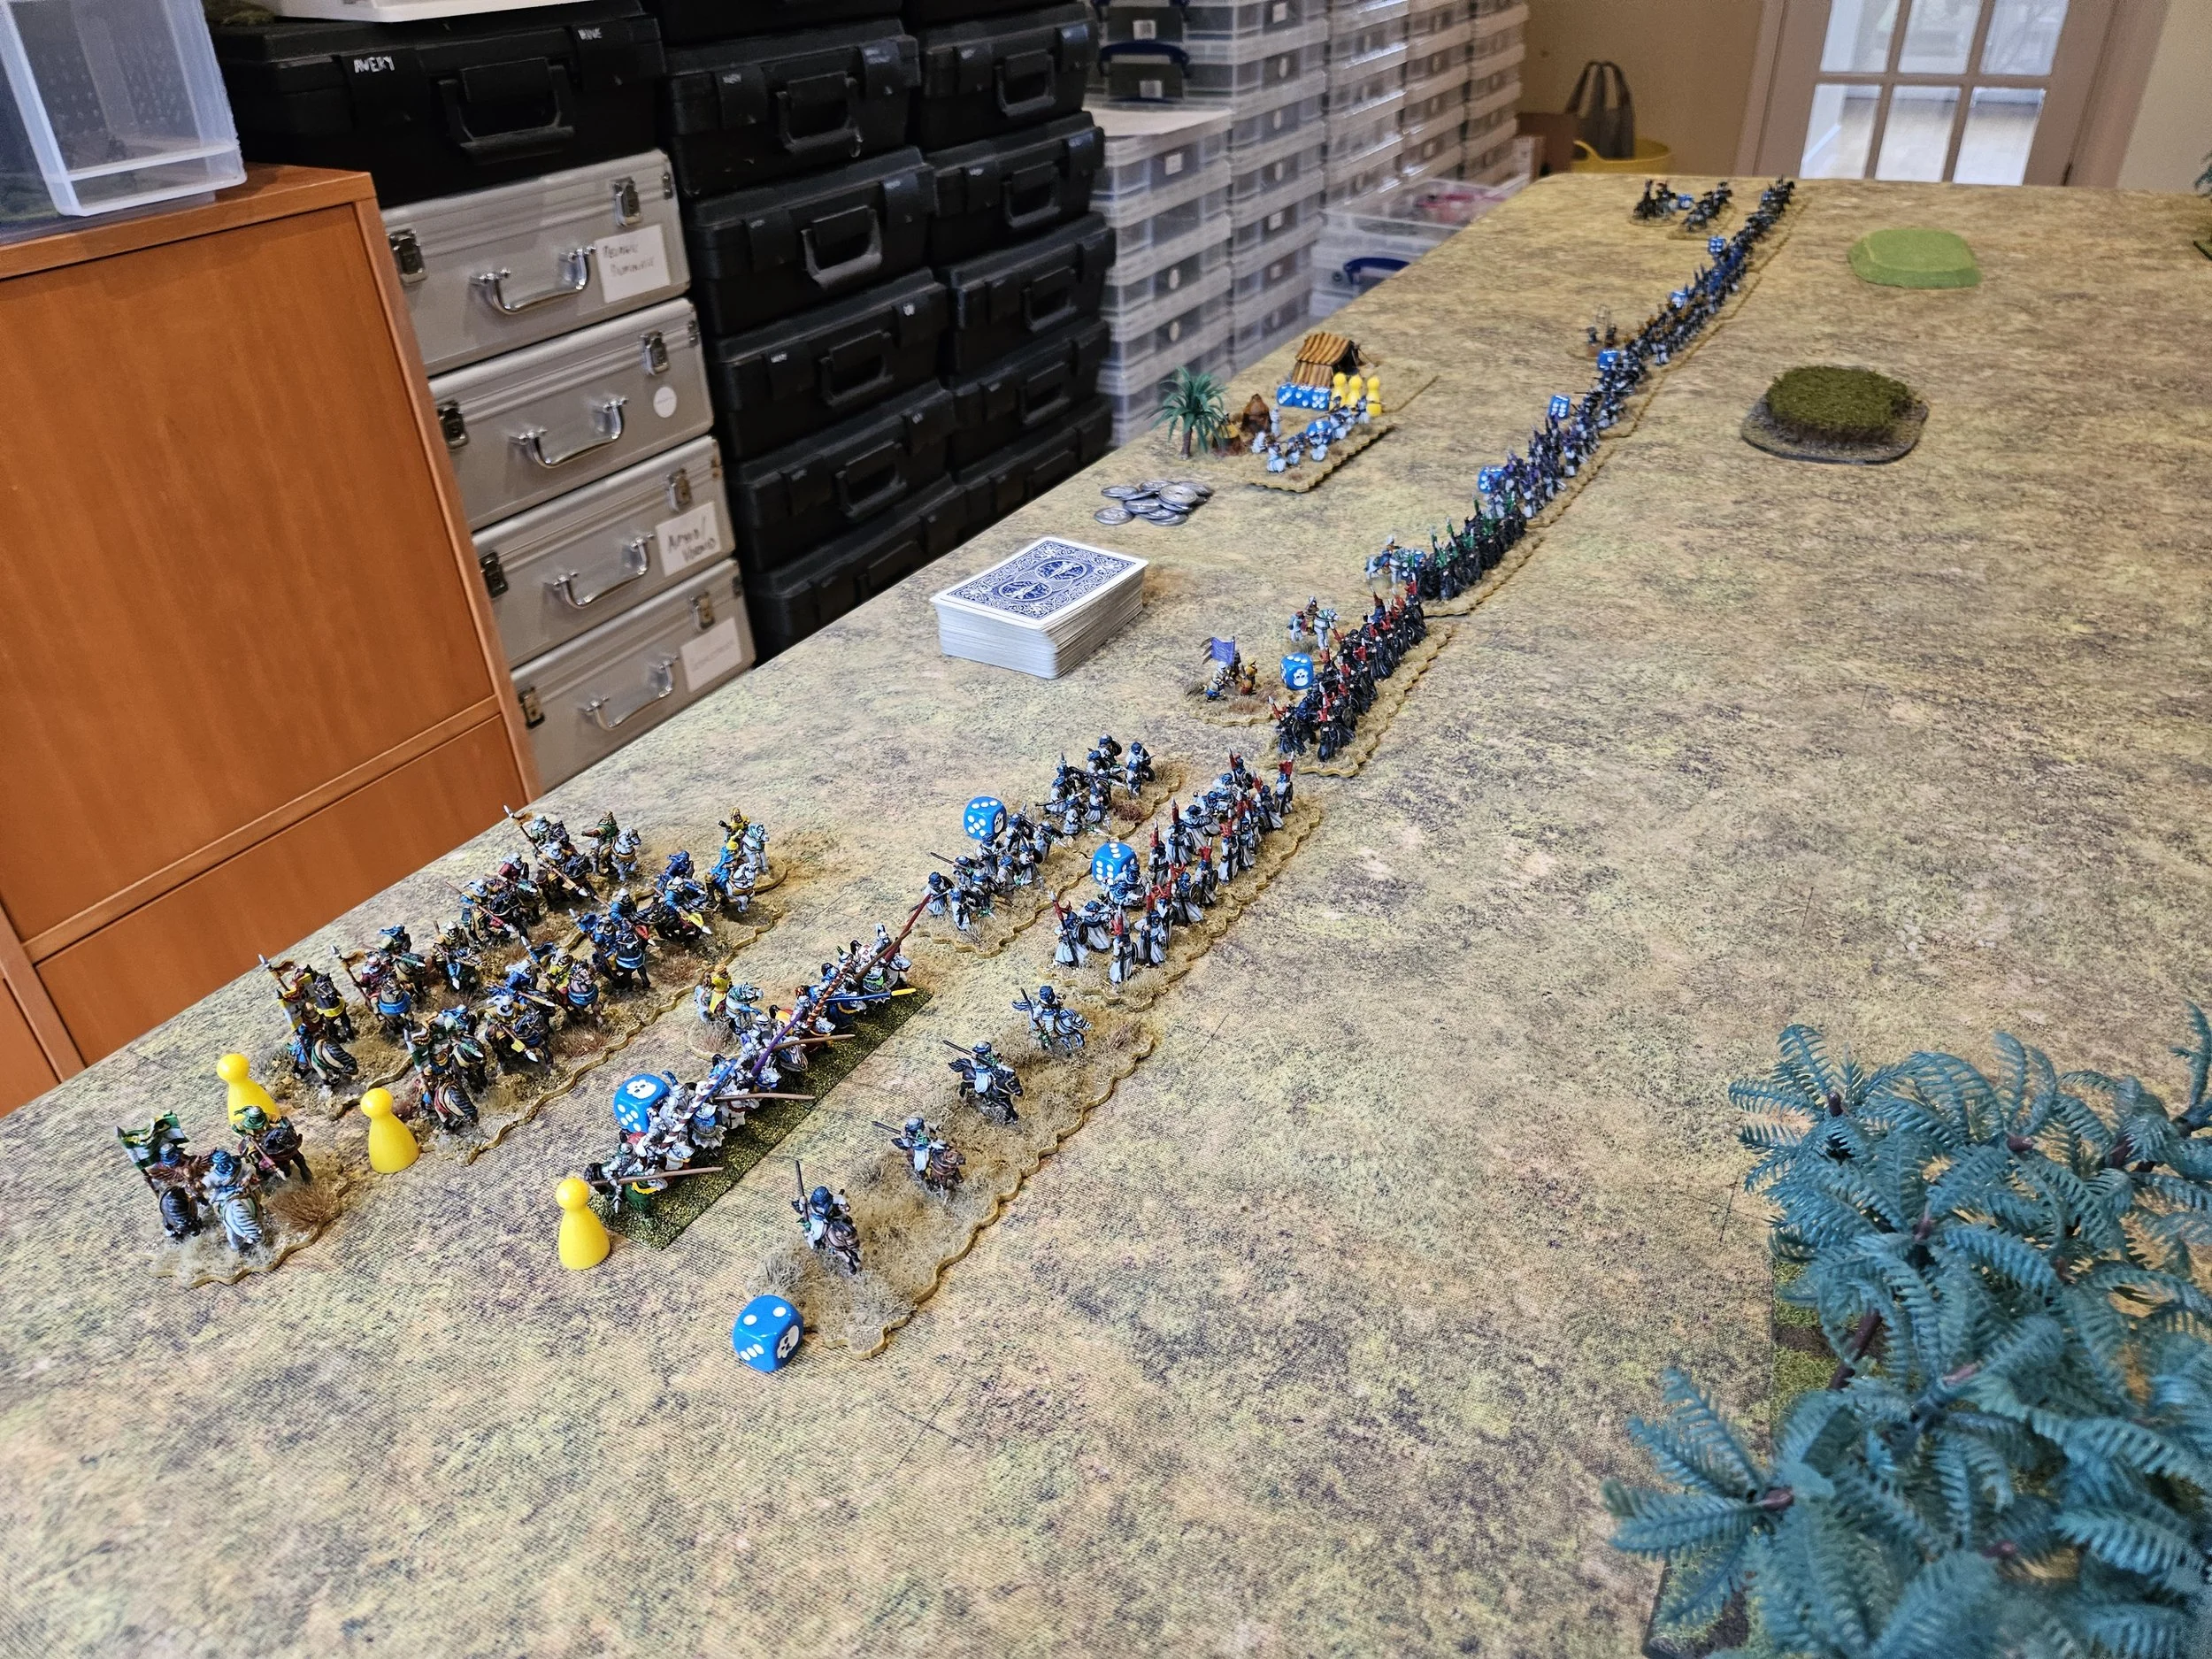
Unsurpringly, the Timurids won the scouting, forcing me to deploy in a line to protect my flanks whilst they, as you can see in the picture above, could concentrate their efforts on one side of the battlefield.
With the first move advantage as well, that meant that Peter could get his light cavalry down my right flank before I had a chance to move to counter the manoeuvre: very frustrating and next time we meet under similar circumstances, I think I will ignore his set up and deploy in a block on one side of the field as well, and see what happens!
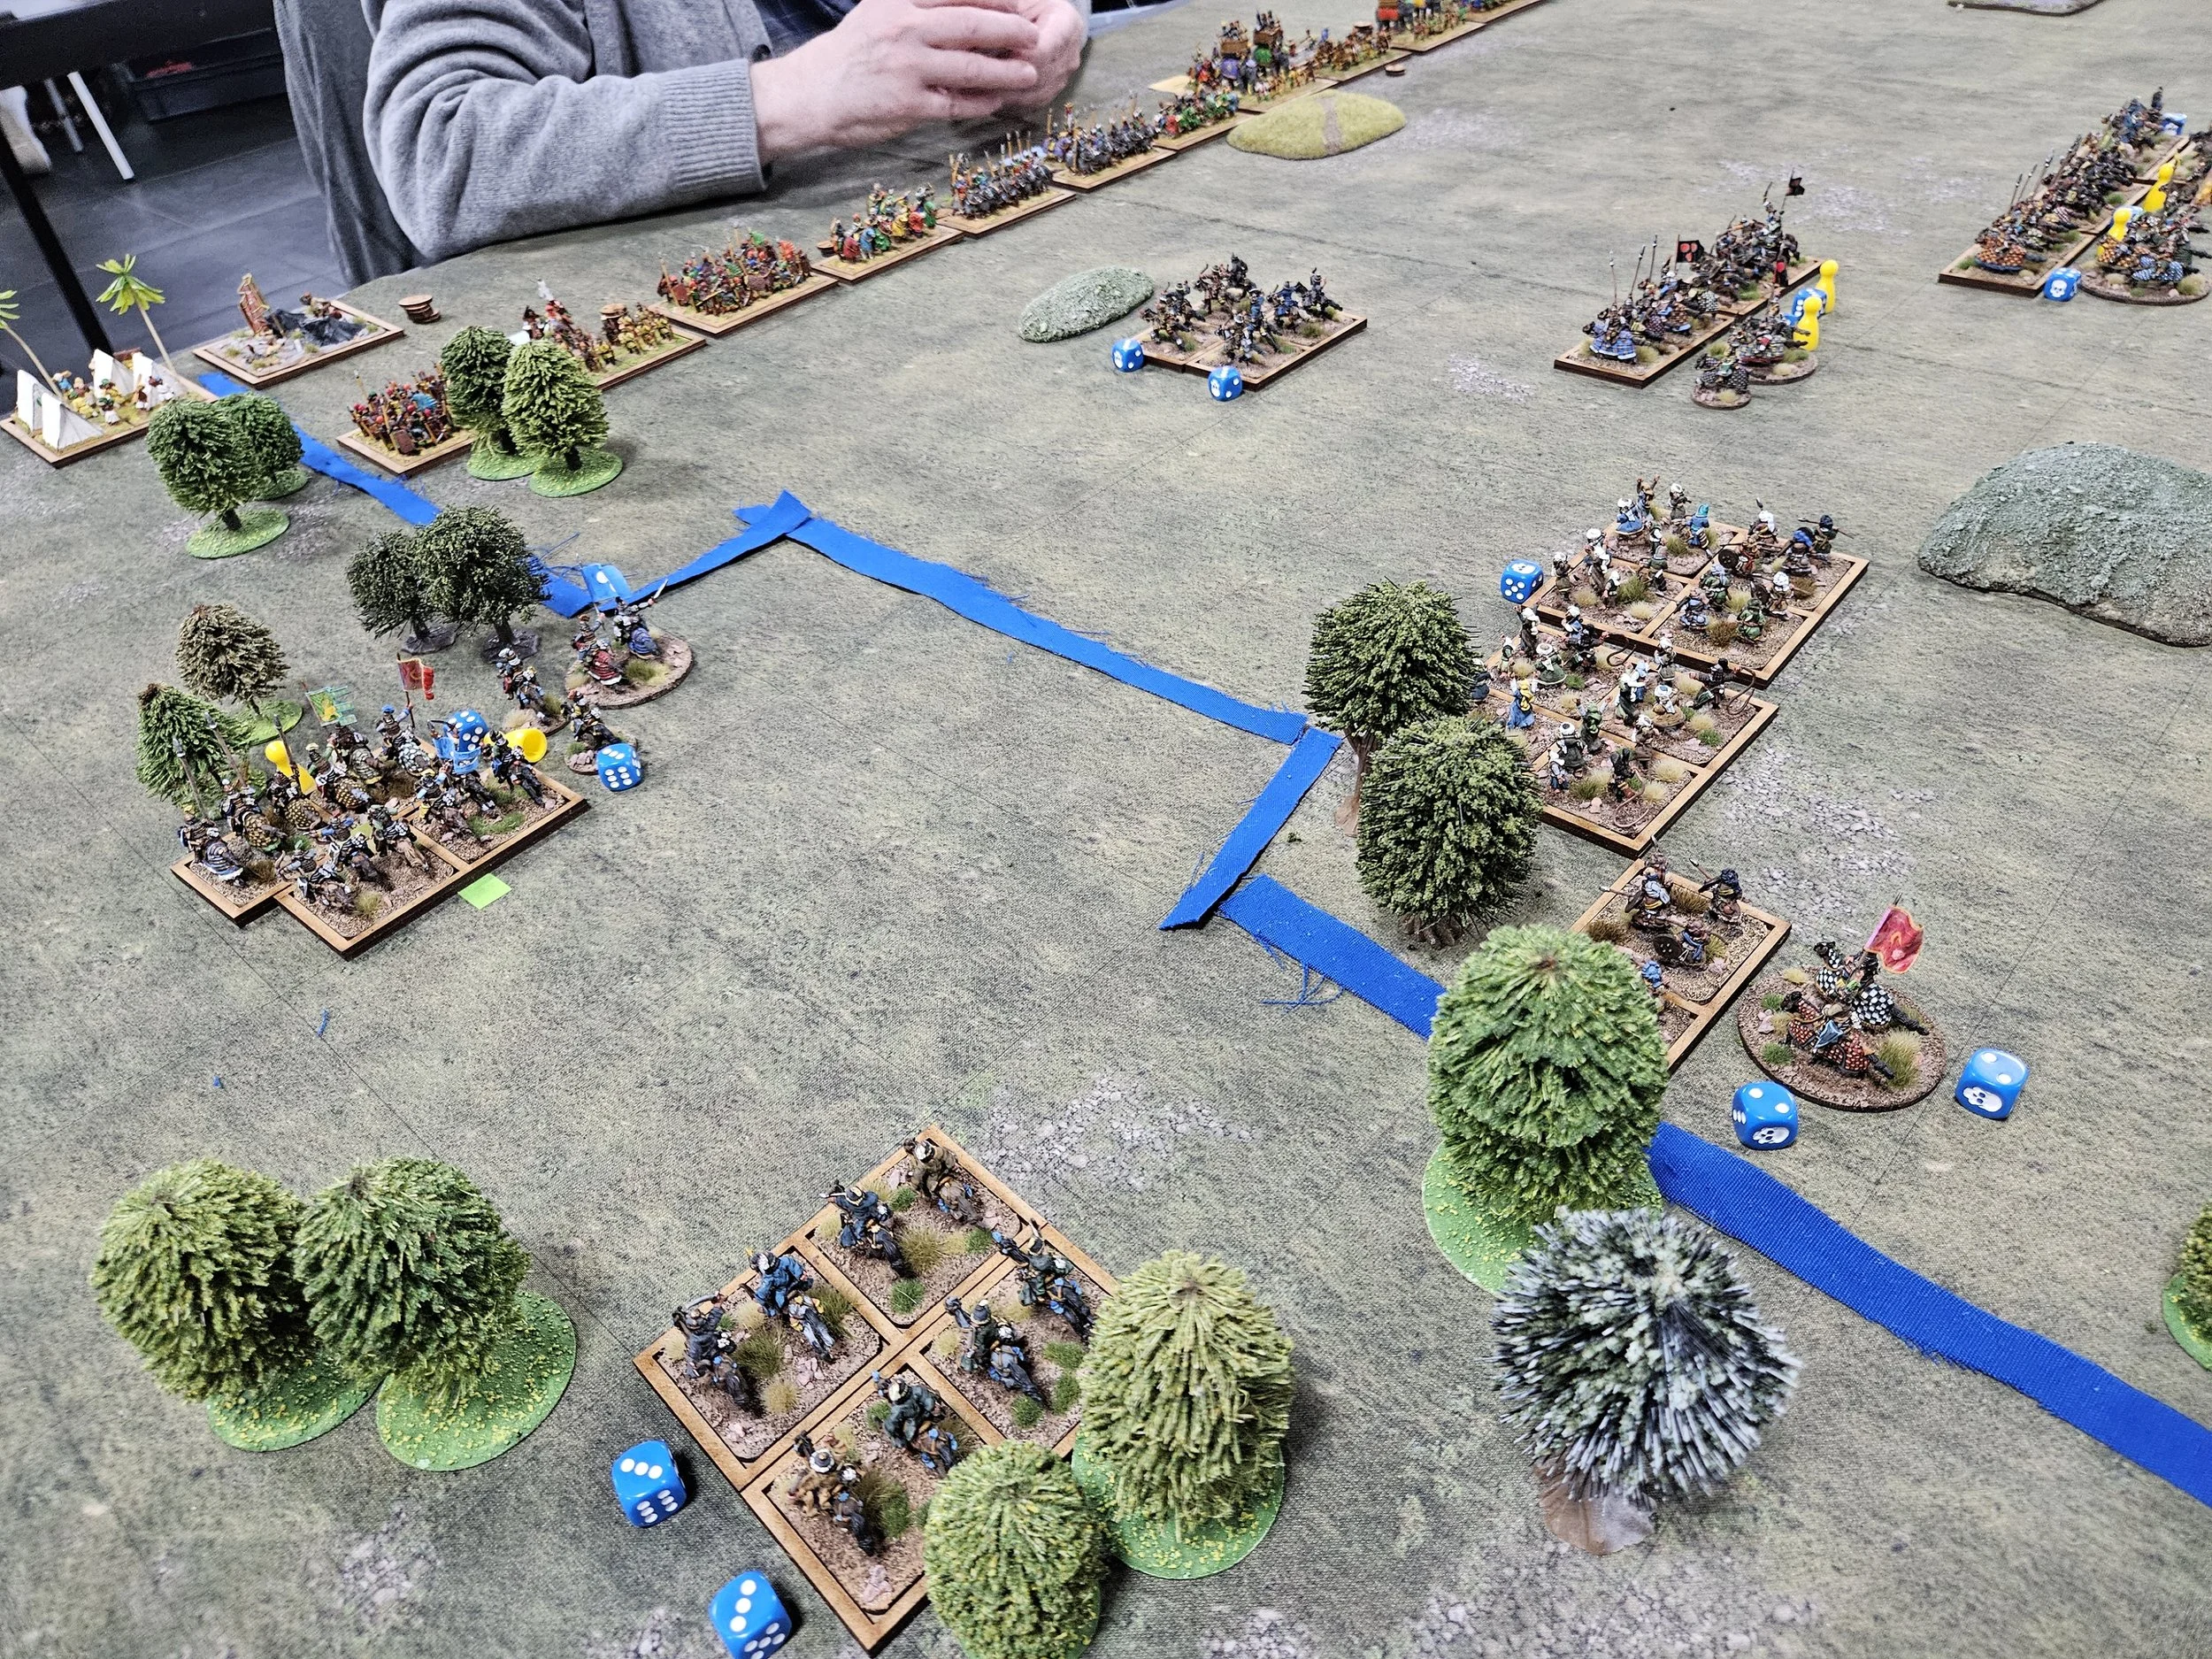
The first couple of turns were spent with me rushing my troops on the left over to the right, and the Timurids thundering forward, especially down my right flank.

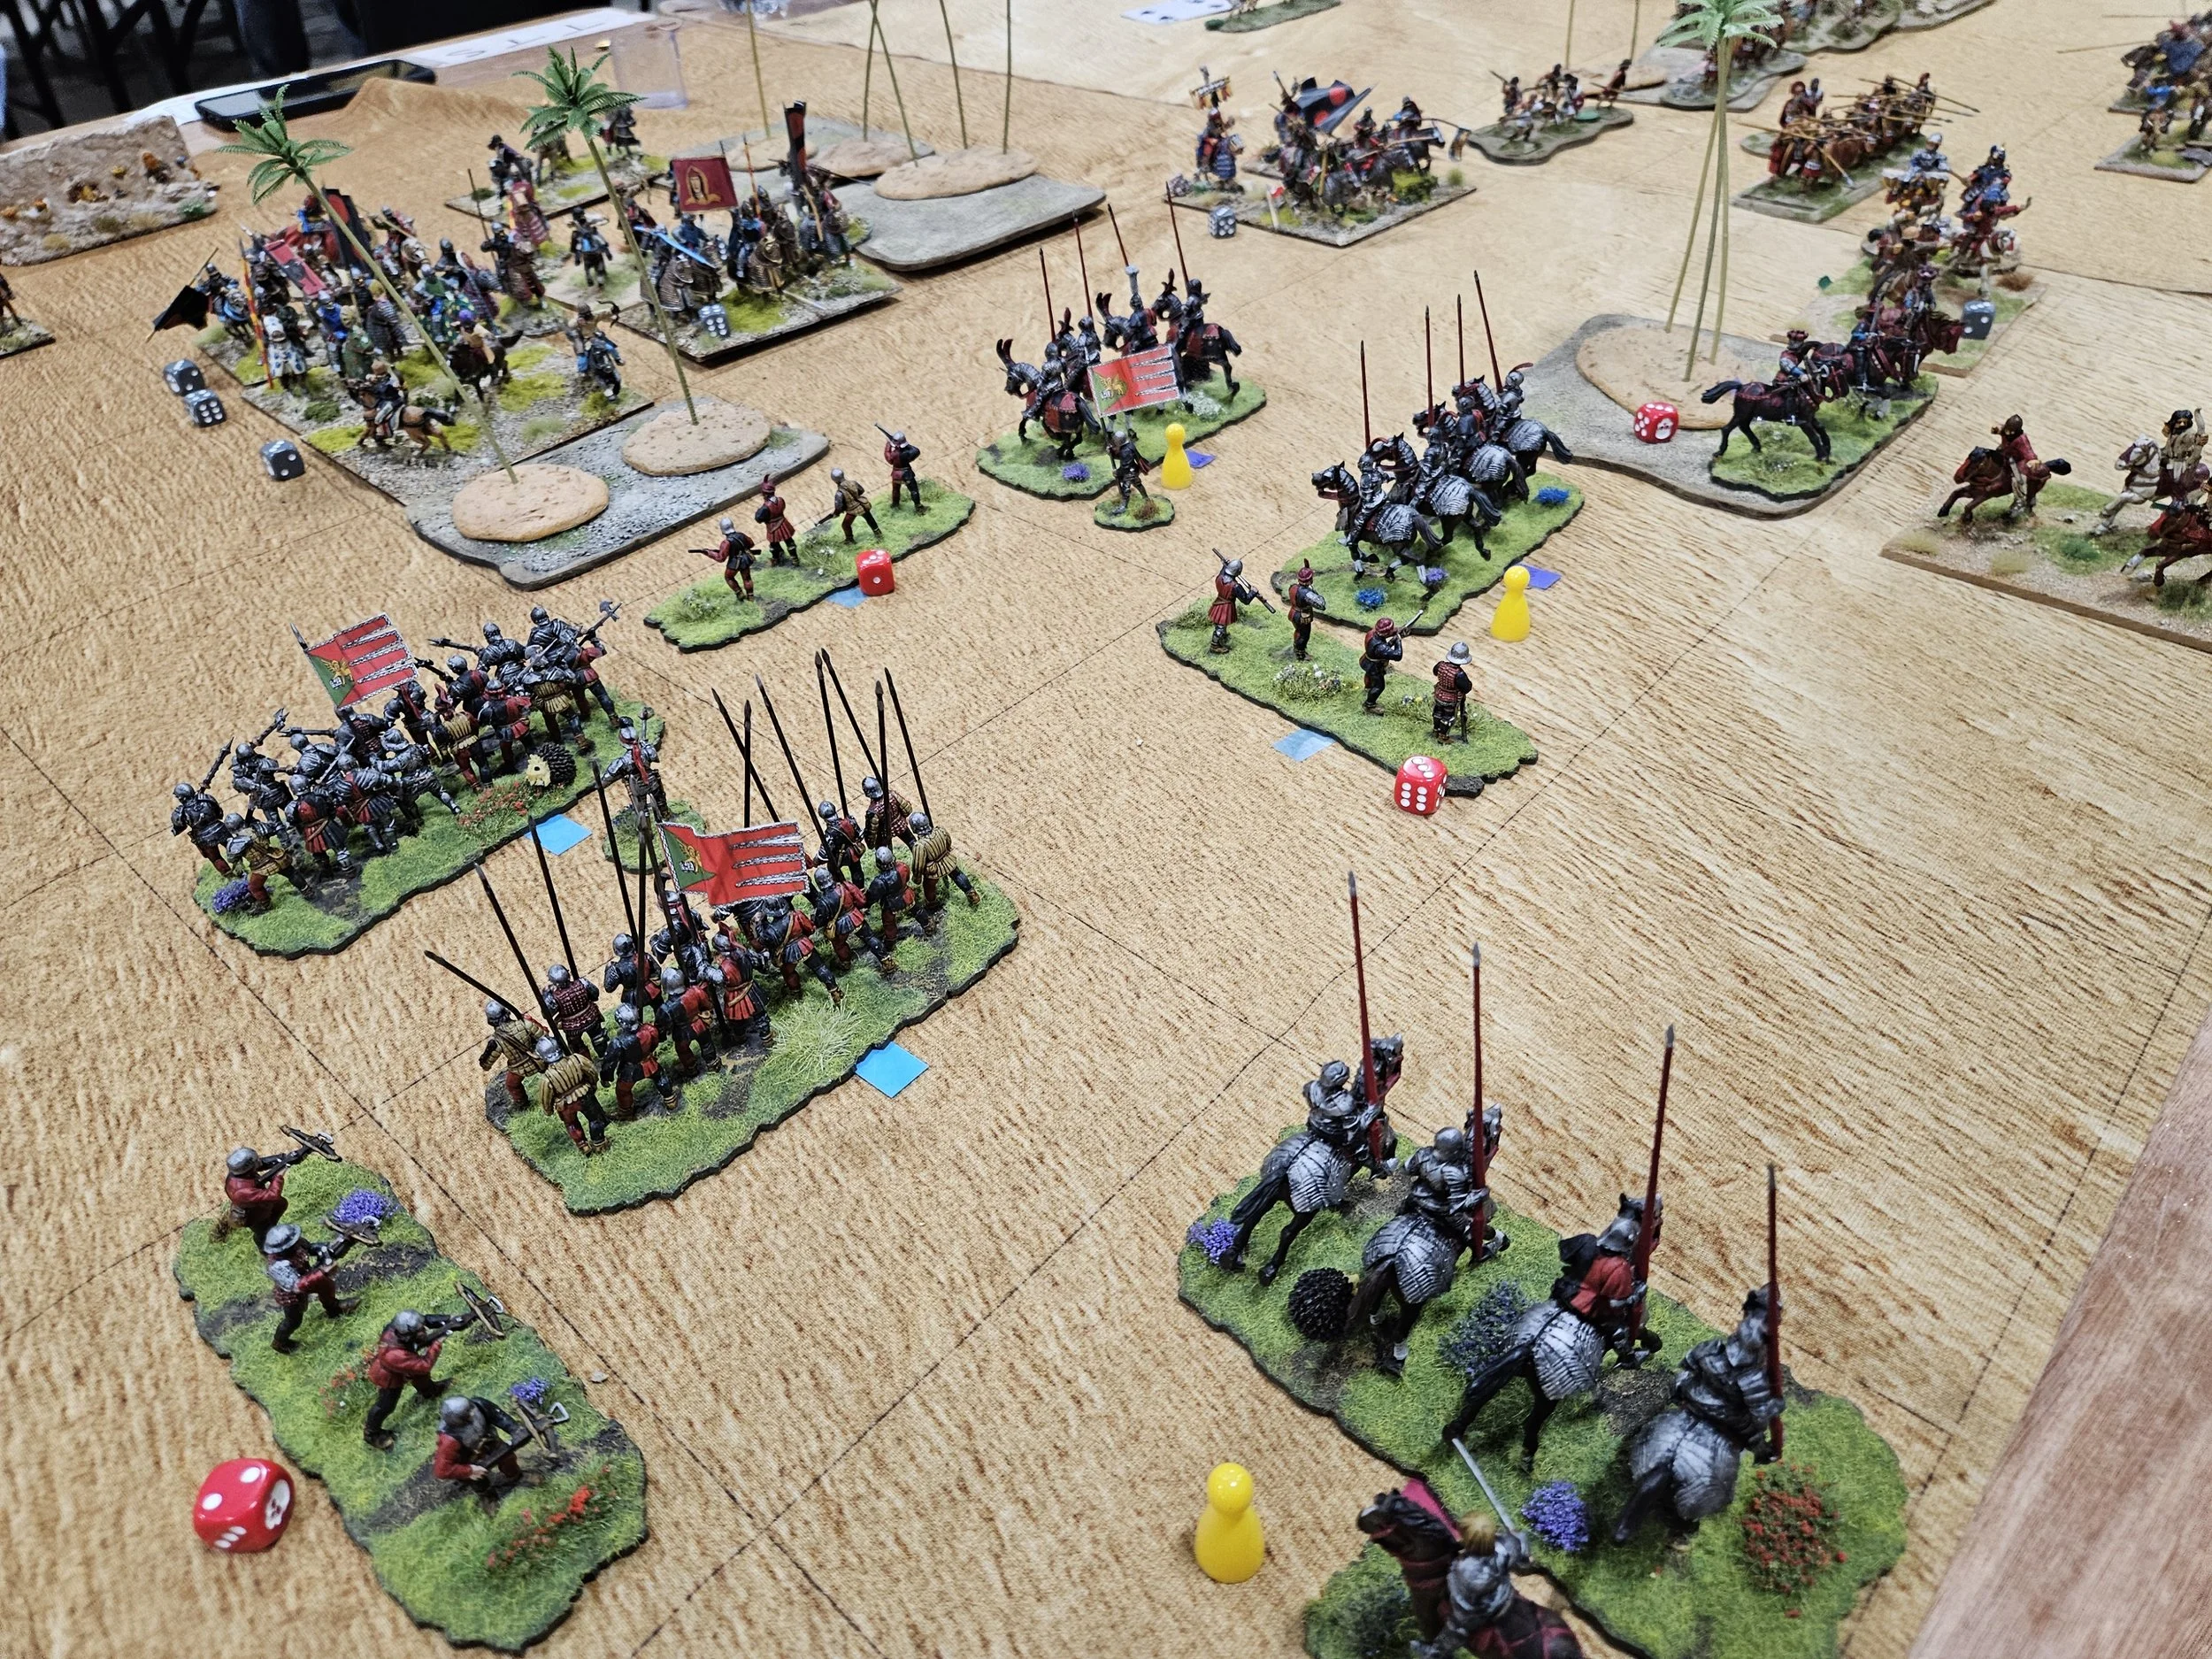
The fighting on the centre-right got intense very quickly as I tried to stop Peter overwhelming my troops there before my reinforcements could arrive from the left.
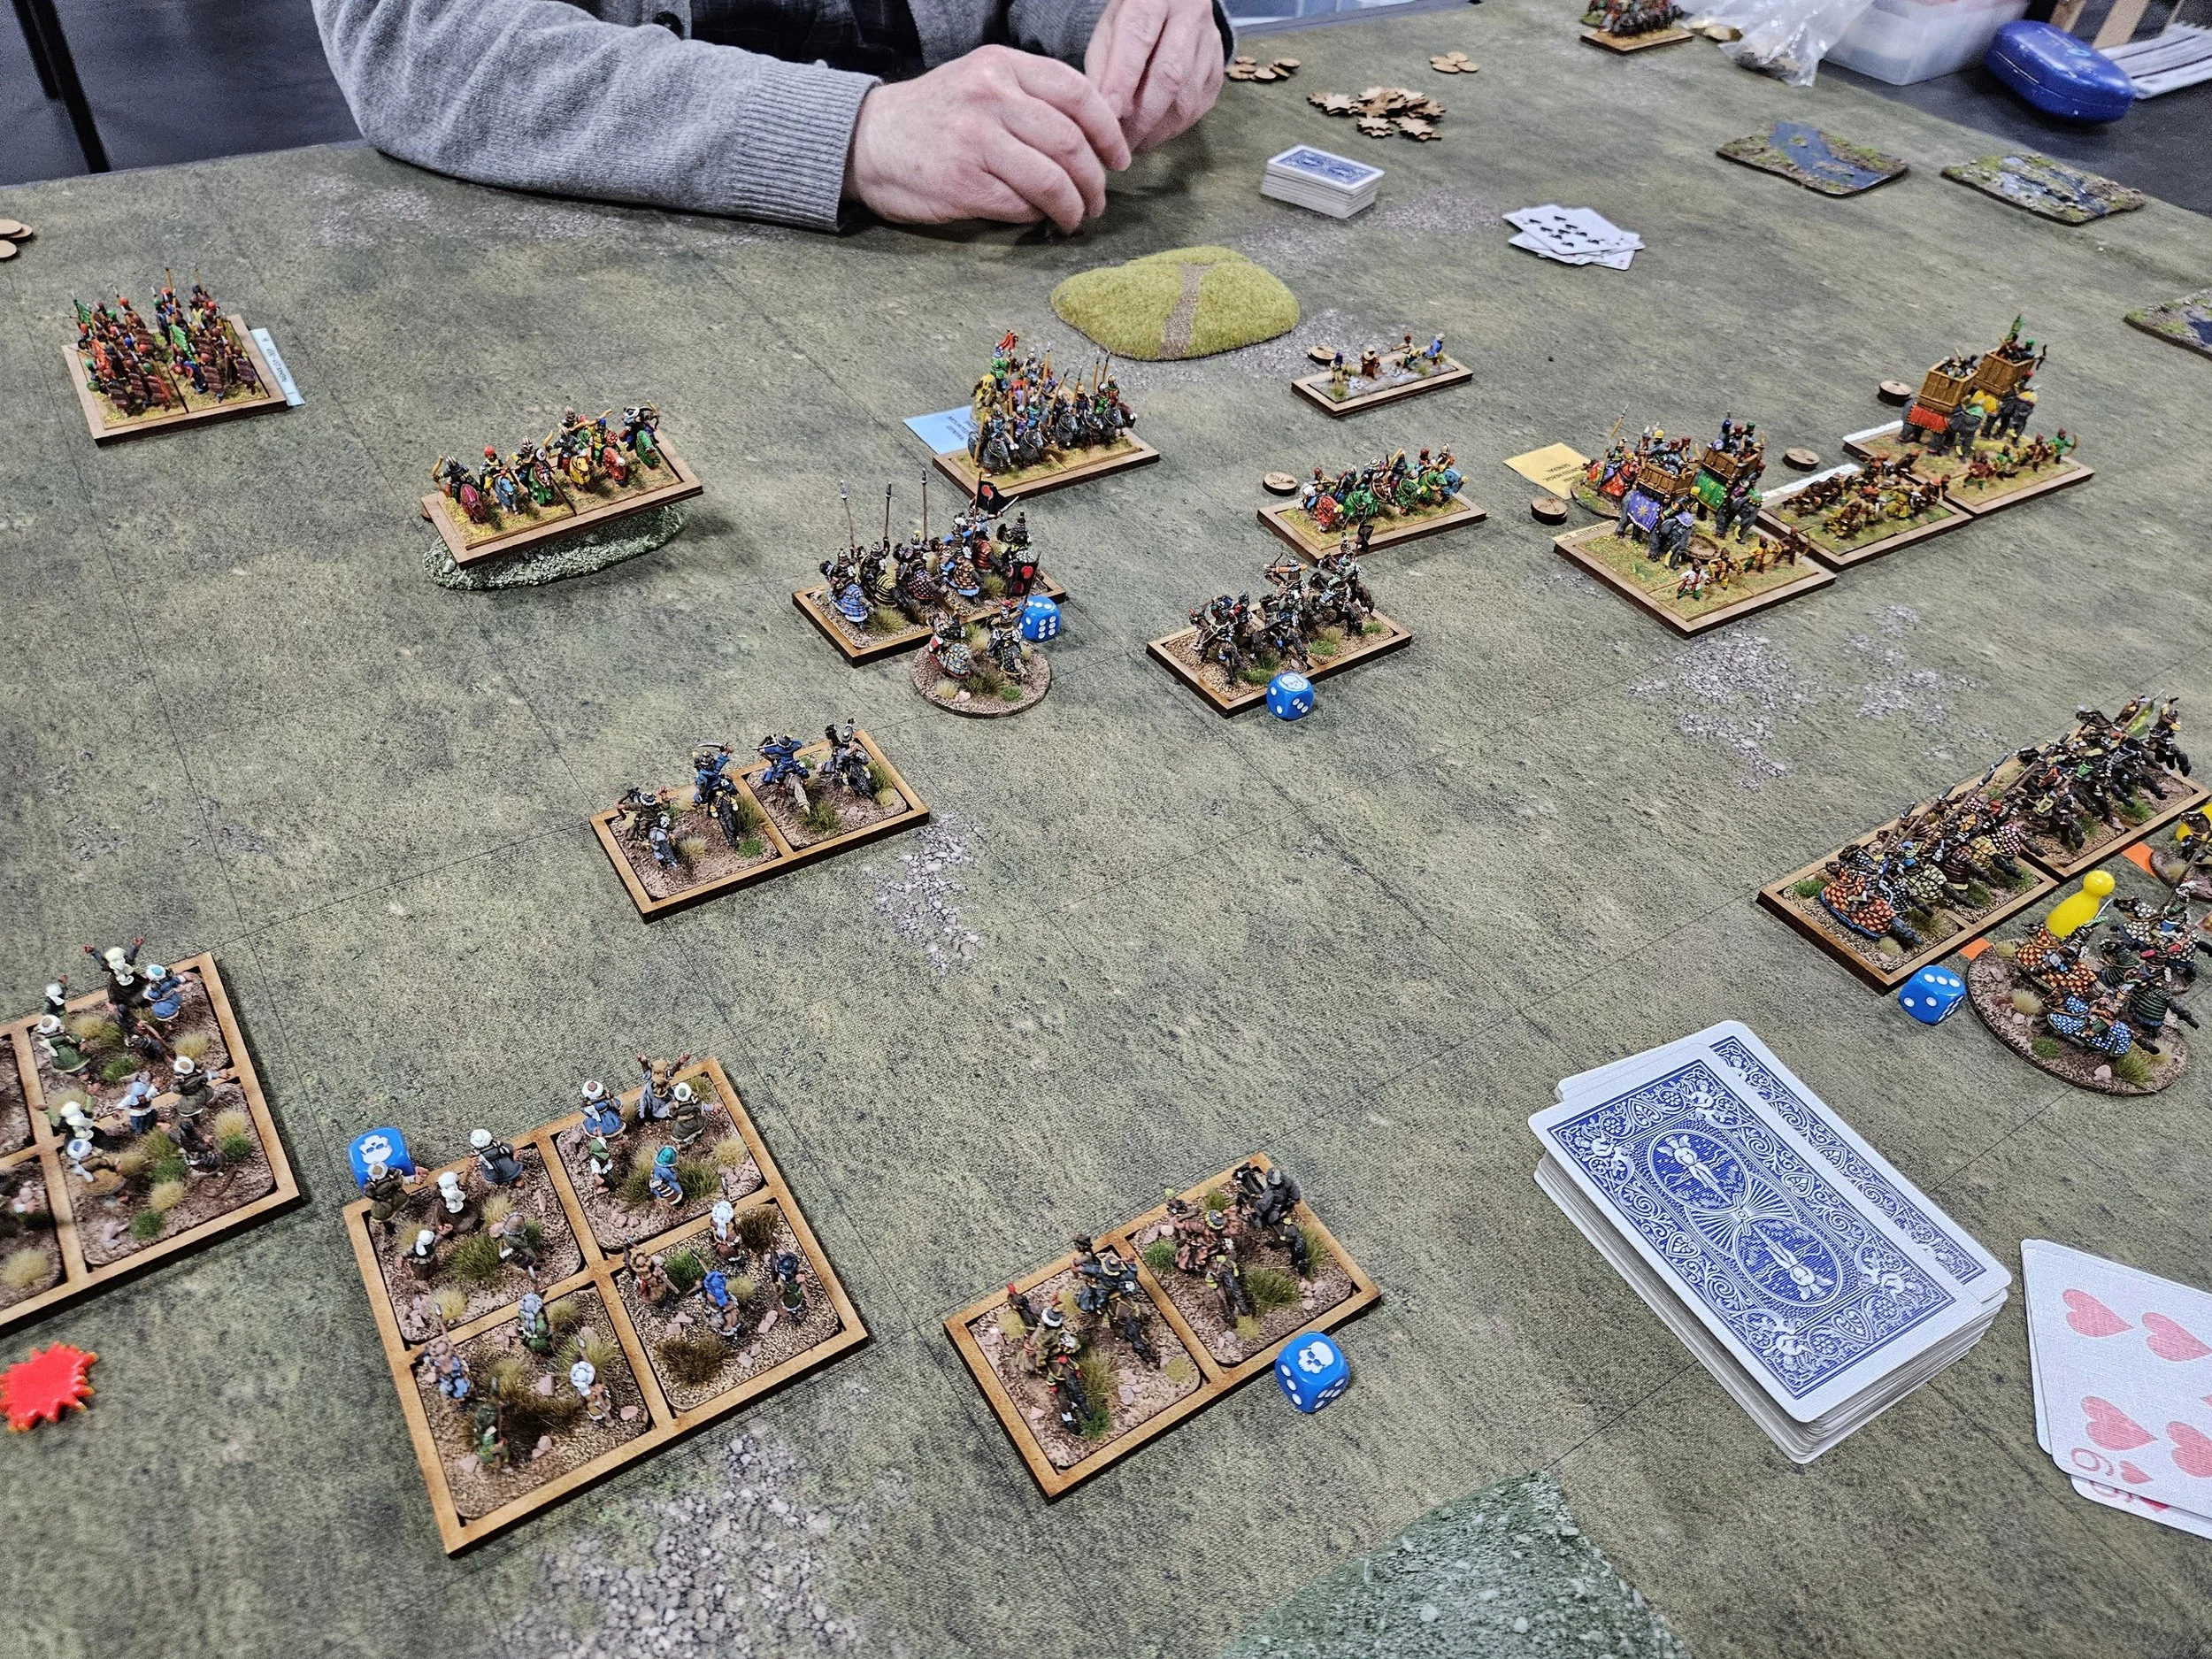
I lost my veteran later knights and army standard, but managed to take out a unit of Timurid heavy cavalry in return, but by this stage the Timurids had managed to properly get around my right flank and the writing was on the wall!


Meanwhile, although some of the troops from my left had made it over to the centre to bolster my defence there, far too many of them were forced into action to deal with the threat from Peter’s “throwaway” troops: flaming camels, kharash driven slaves etc.
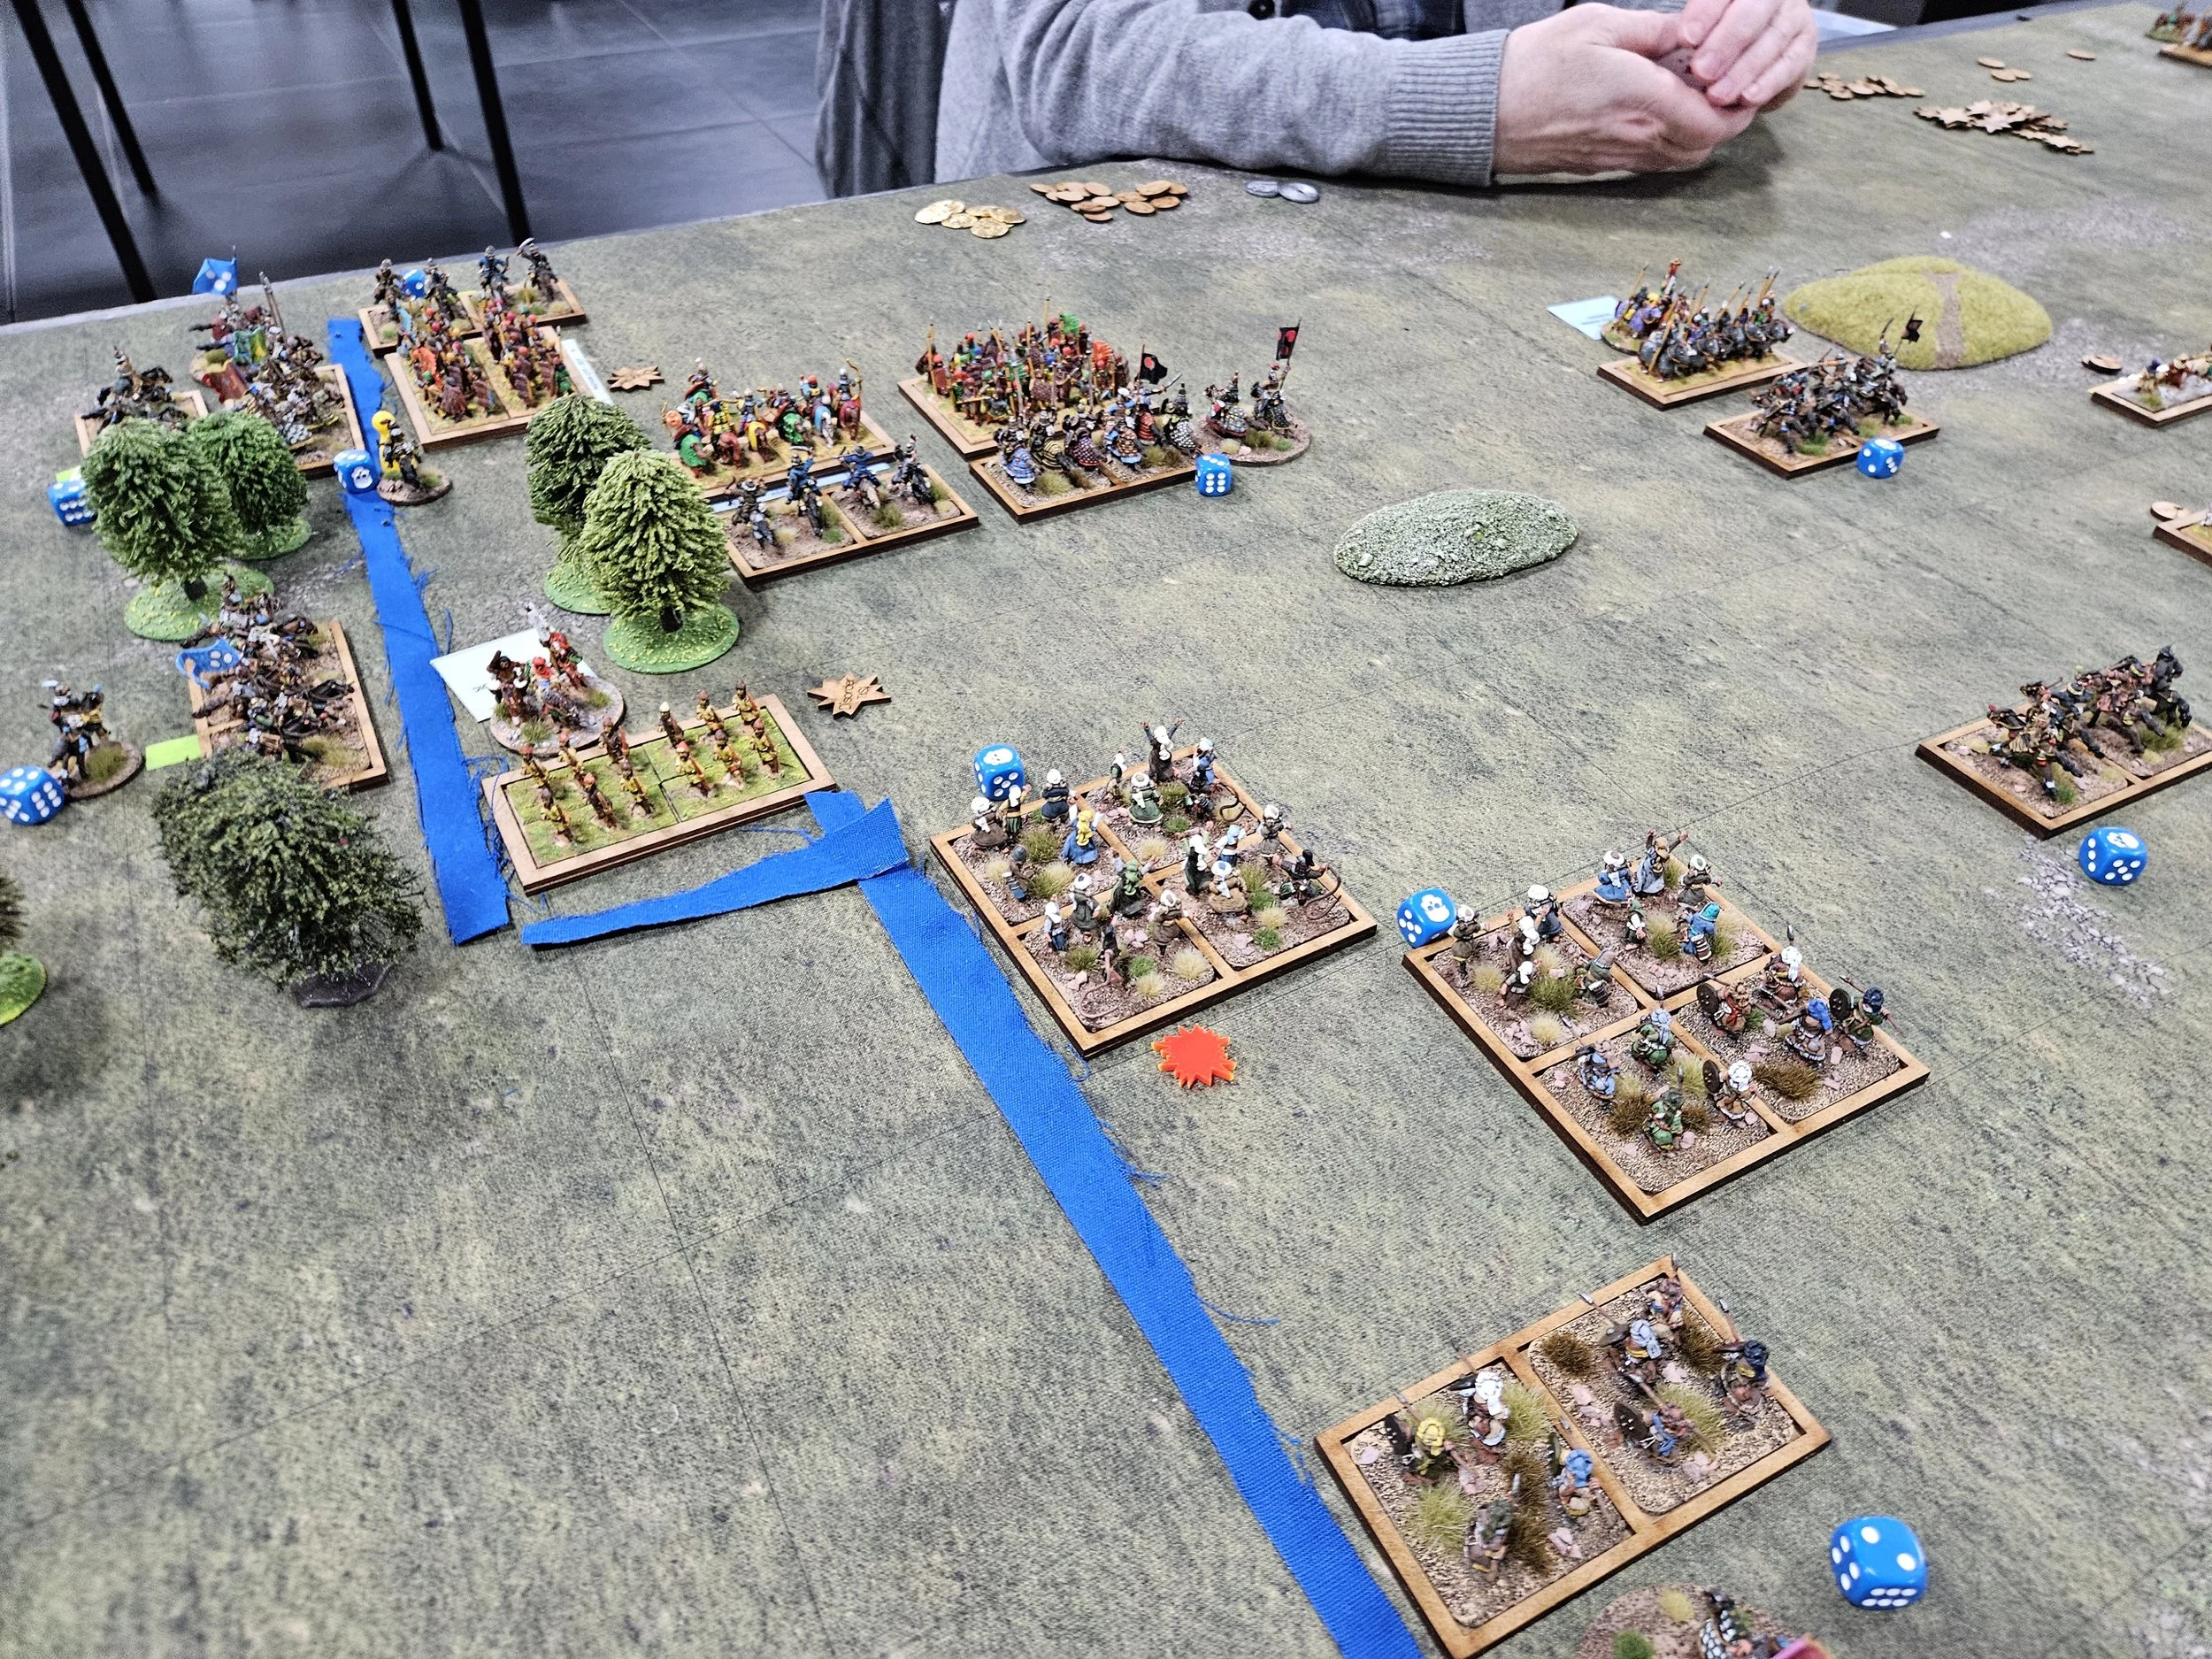
I did manage to get some mounted light crossbowmen out and around Peter’s right flank, but this was too little too late, and eventually my last coins went as the Timurids managed to get some light cavalry into one of my camps.


I rather miserable 2-12 loss to finish off my 2025 competition season, with a 9th place achieved overall at Warfare.
Still, a great day overall, with some goodies bought for future armies, plenty of great chats with people and, of course, fun games of TTS as well. On to 2026 now!