TTS AAR: To The Smallest Game 2: Timurids vs Sassanid Persians
/My second game at this year’s inaugral To The Smallest 15mm event for To The Strongest was against Si’s Sassanid Persians.
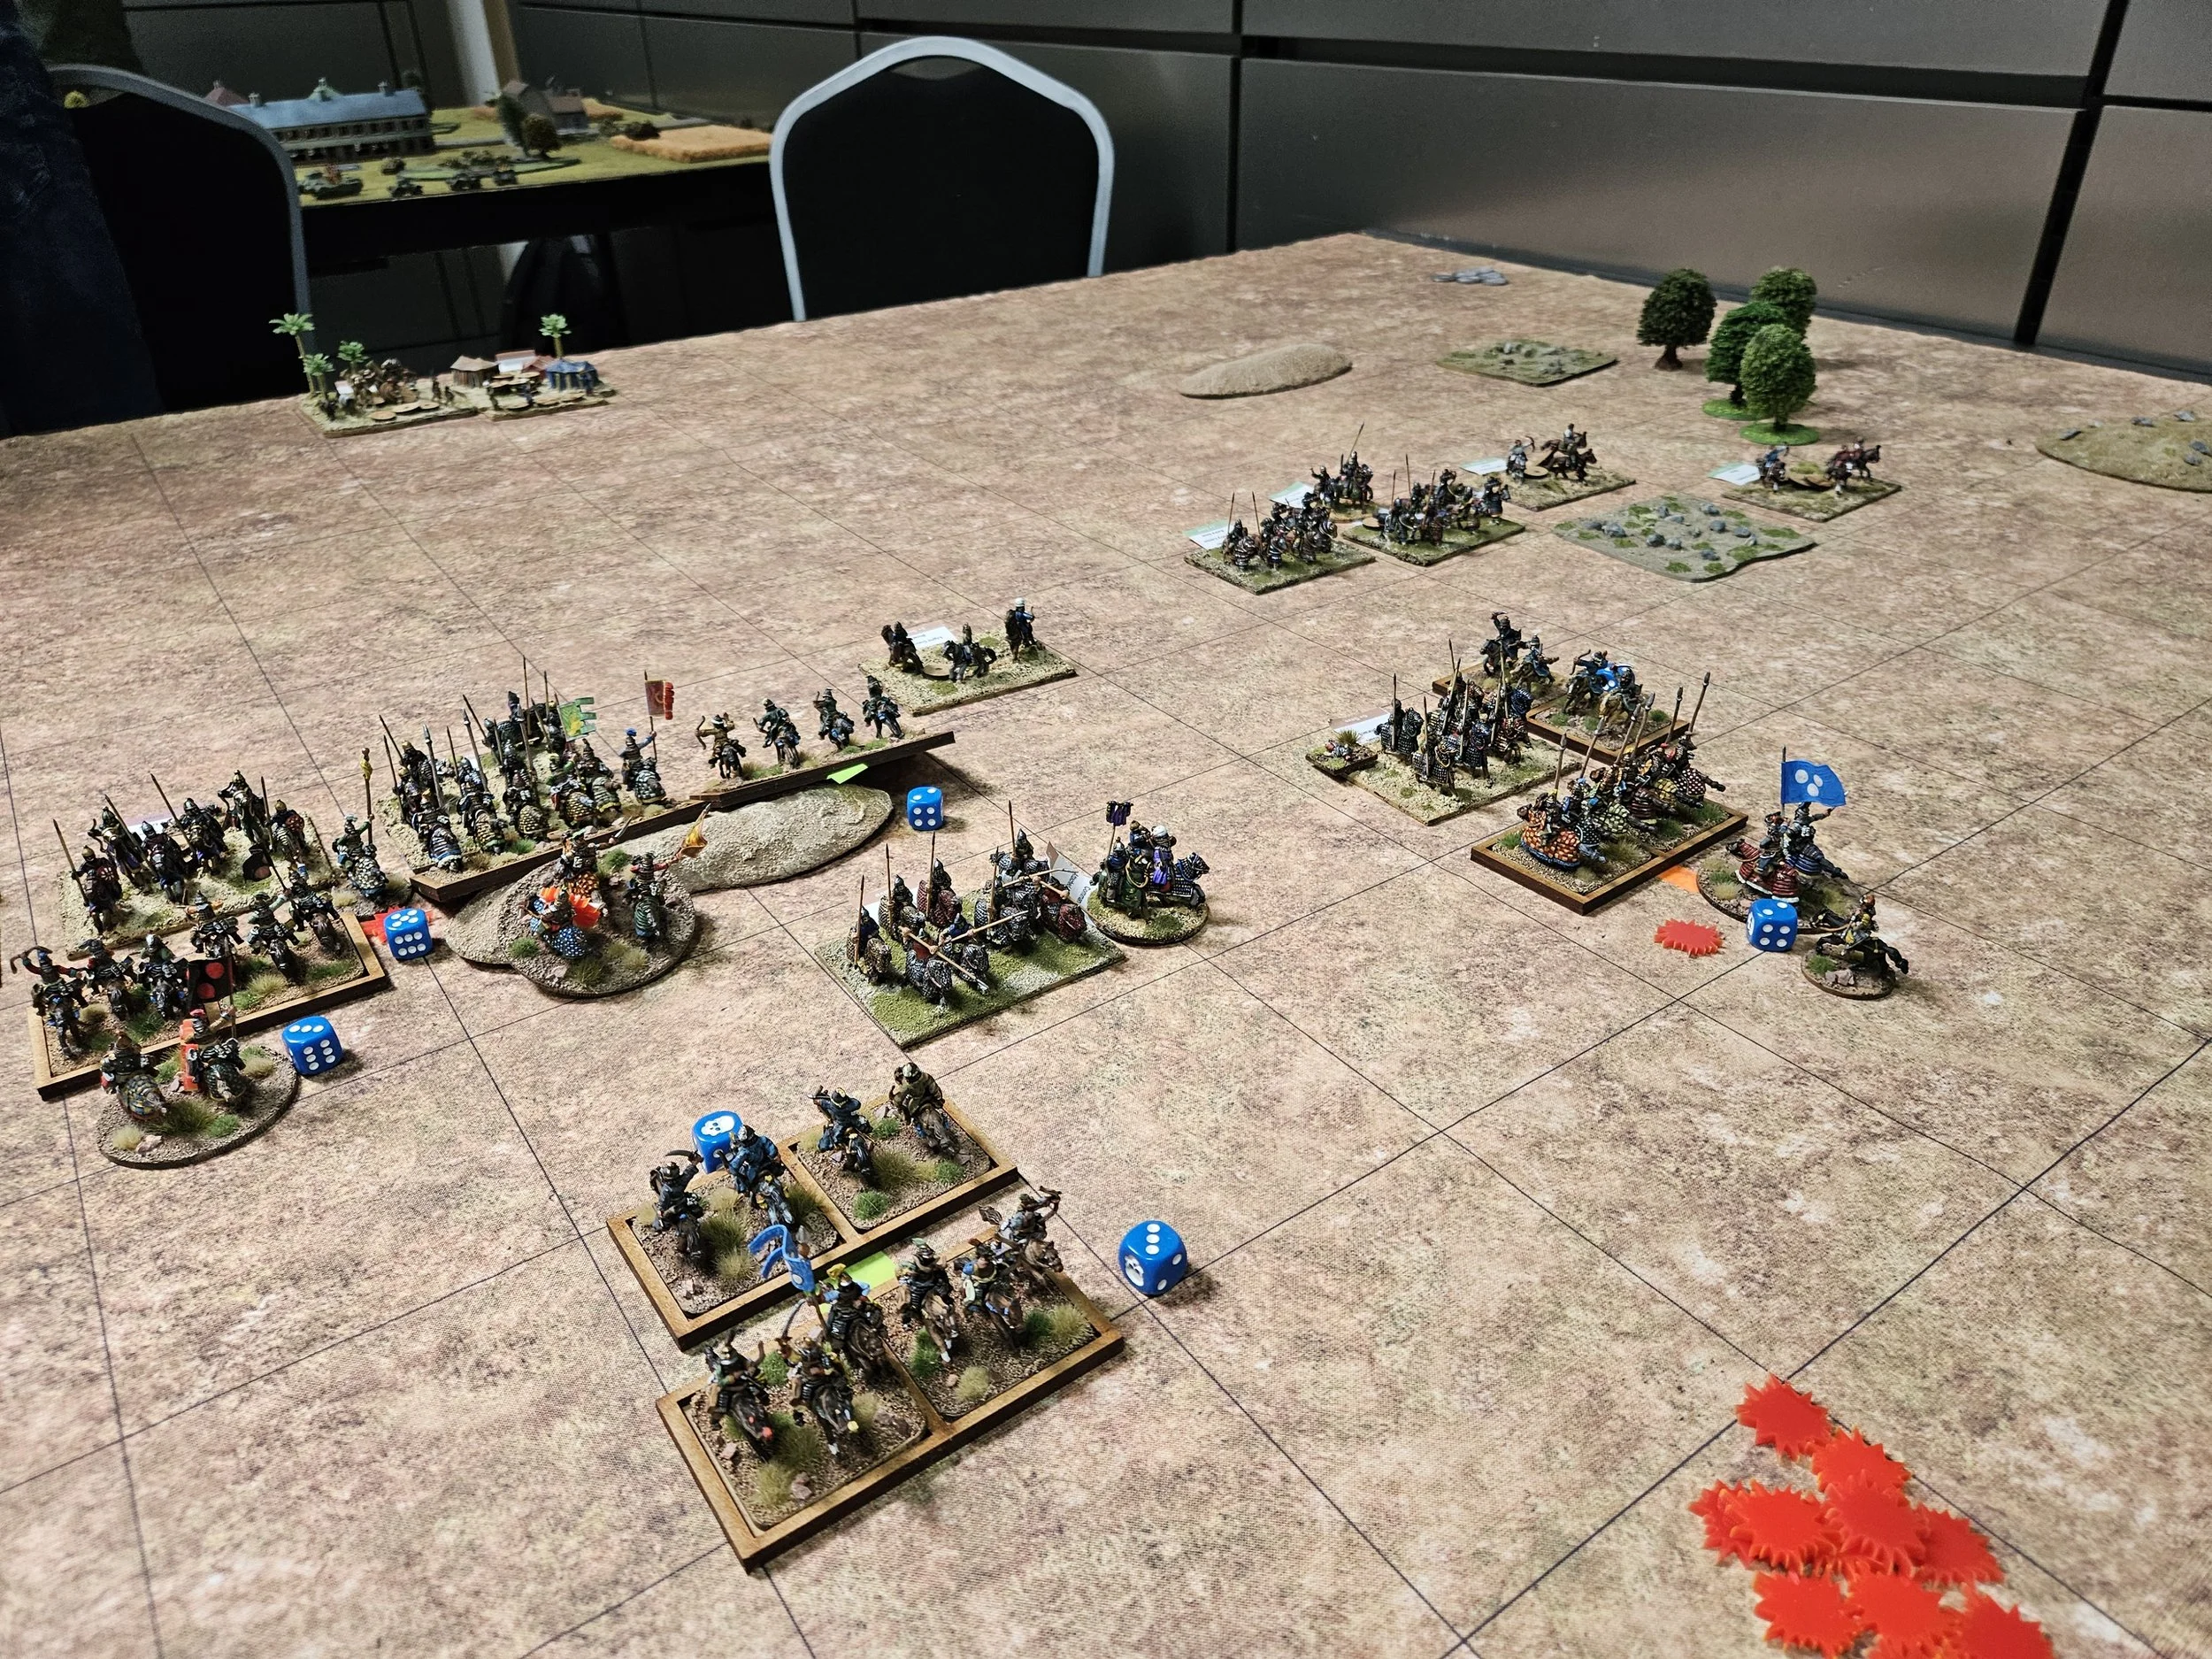
The terrain was a representation of the battle of Cannae, including a stream splitting off part of the left hand side of the battlefield, with it being compulsory that at least one of your camps be placed on the other side of the stream i.e. on the smaller part of the battlefield.
With both sides being largely mounted, each side headed towards the other at a rate of knots: lancers in the middle, light cavalry out on the wings. On what I will call ‘the strip’, the Timurids had their Afghan javelinmen keeping some Sassanid light cavalry at bay.


Unfortunately, I miscalculated (or Si perfectly calculated!) the schwerpunkt moment, with the result that rather than initiating all the charges to contact, it was my Timurids who were on the receiving end of every charge, giving the Sassanids that key first hit advantage.
The results were not pretty! Although the Sassanids tok damage, it was the Timurid heavy cavalry that suffered the most, with the battlefield after the initial clash looking surprisingly empty of still-fighting units of either side!


At this point I was forced to commit my reserves: the kharash driven slaves heading into action in an attempt to shore up my left flank.


With my line steadied, things began to improve for the Timurids.
I even had some success in the centre, where a unit of lancers broke through the enemy line and pursued some Sassanid heavy horse towards the Persian camp.
But in the end the casualties that I had taken at the initial clash came back to haunt me. Although I had pulled things back until we were even on casualties, it was all over when a unit of Sassanid light cavalry broke through my diminished line and took my camp and therefore my last three medals.
So a 10-13 defeat for the Timurids, which made two games played and two losses.
Surely things could only get better in game three…