To The World's Strongest, Game 3: Venice Abroad vs Eastern Latins
/My third game at this year’s To The World’s Strongest tournament was against Andrew and his Eastern Latins: a ferocious army with lots of good quality cavalry.
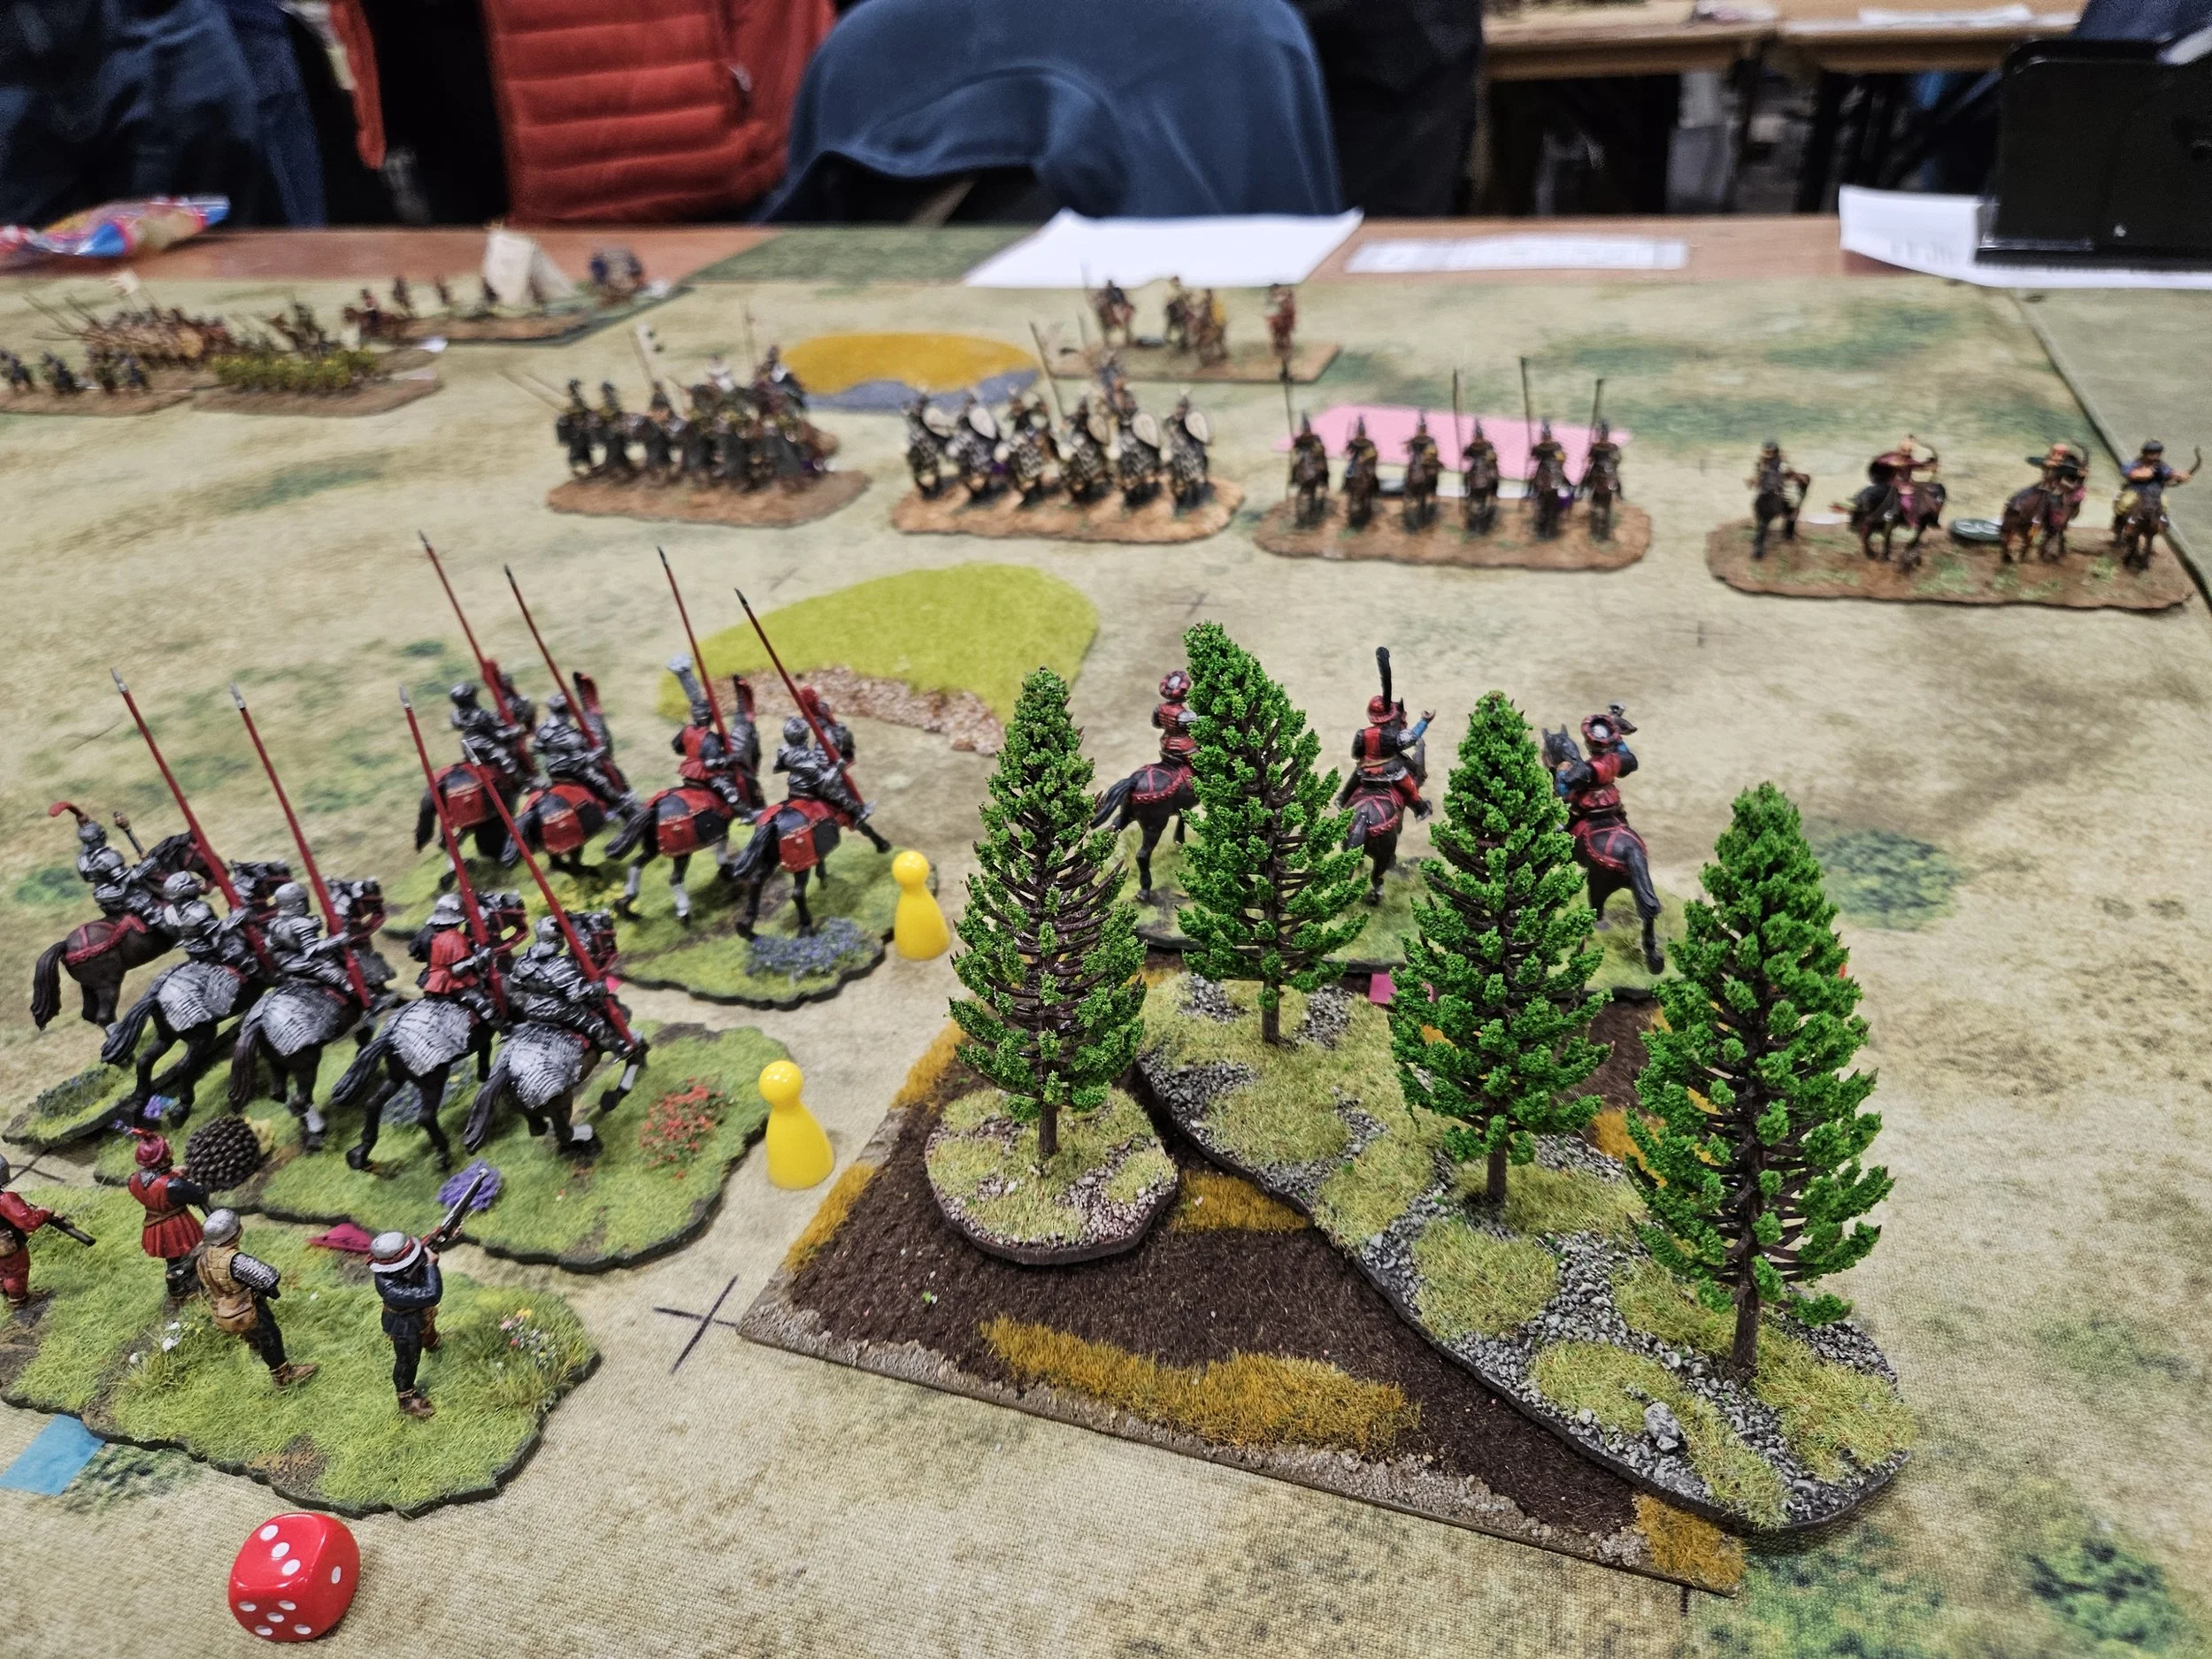
The terrain placement had been kind to me, with Impassable ground narrowing the battlefield in my deployment zone, especially on my right. I therefore determined to hold the right back along with most of my infantry, and send the Knights and some of my Spearmen forward to win on the left.
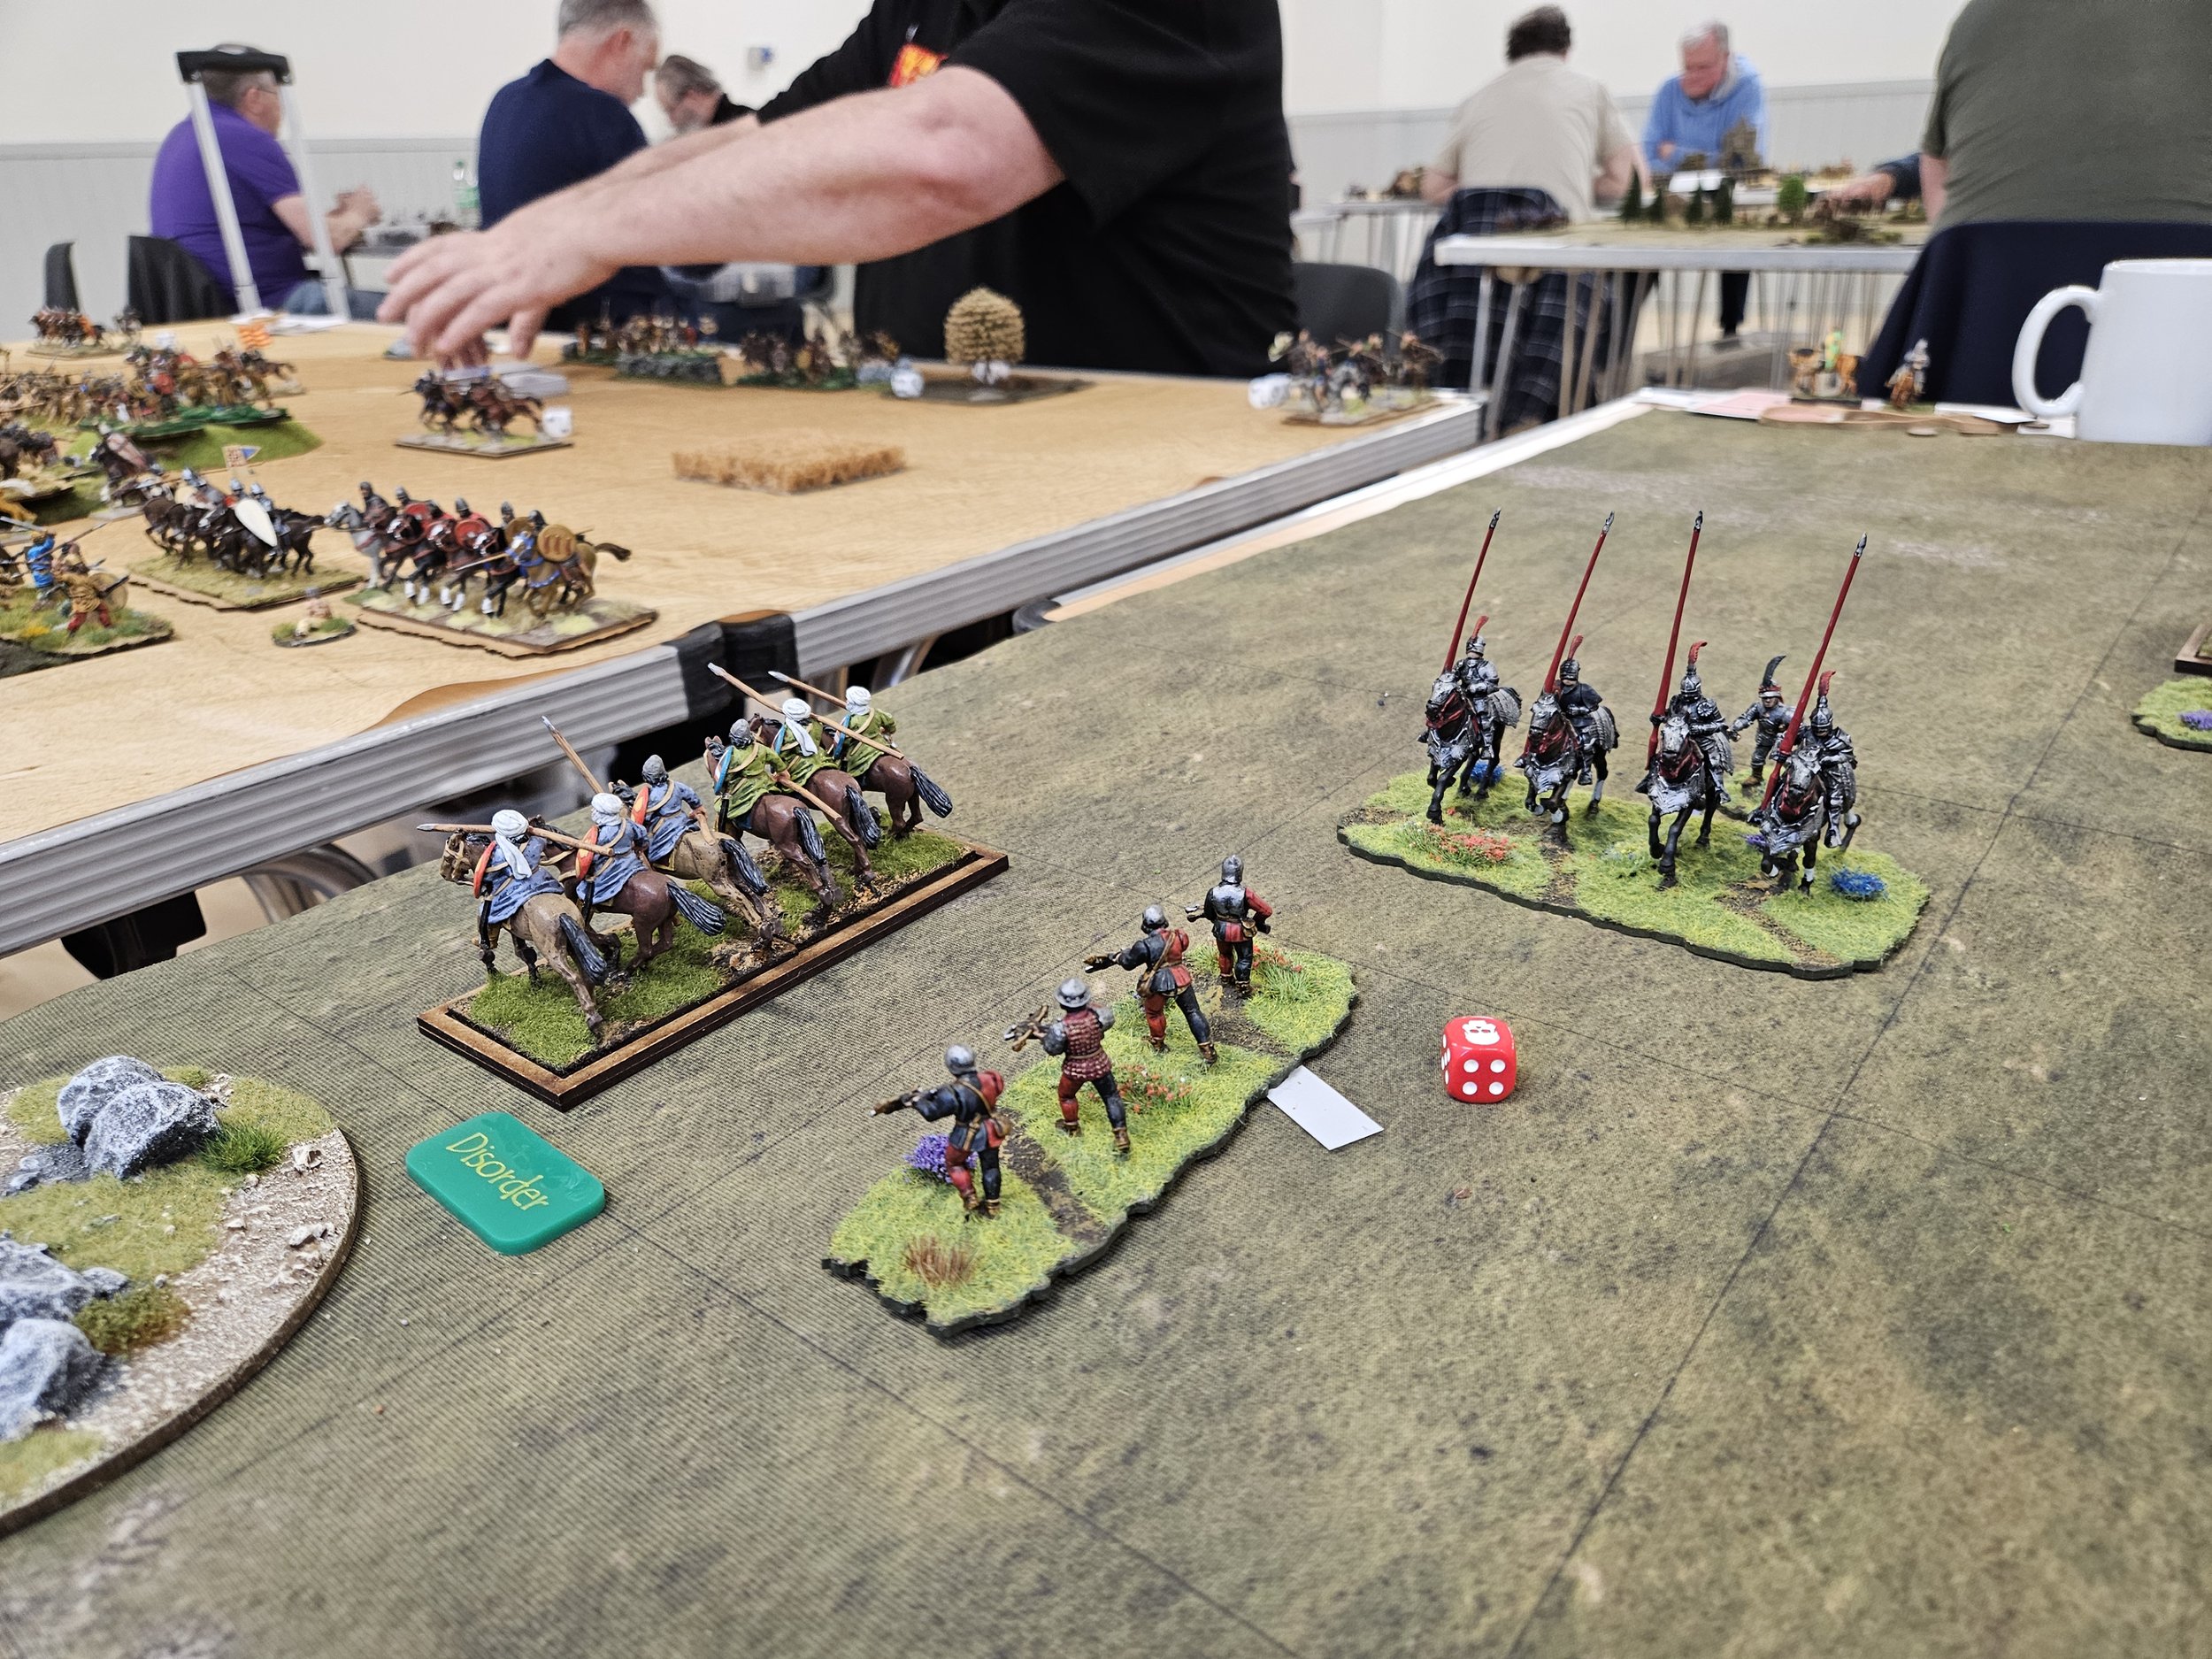
As the game began, a bit of luck came my way, with my mounted crossbowmen on the left disposing of some enemy Lights and perhaps leaving a path for an outflanking manouevre. Andrew wasn’t falling for that one, however, and soon a mass of enemy cavalry had moved to block my advance.
Latin Cavalry took out my mounted crossbowmen, but fortunately some of my just-successful Knights were in a position to turn back to counter their threat. The Byzantine horse didn’t fancy mixing it with my Knights, so evaded away in some disorder, ending up on the edge of the table pursued by the Knights and some lights that I had brought up from the camp.
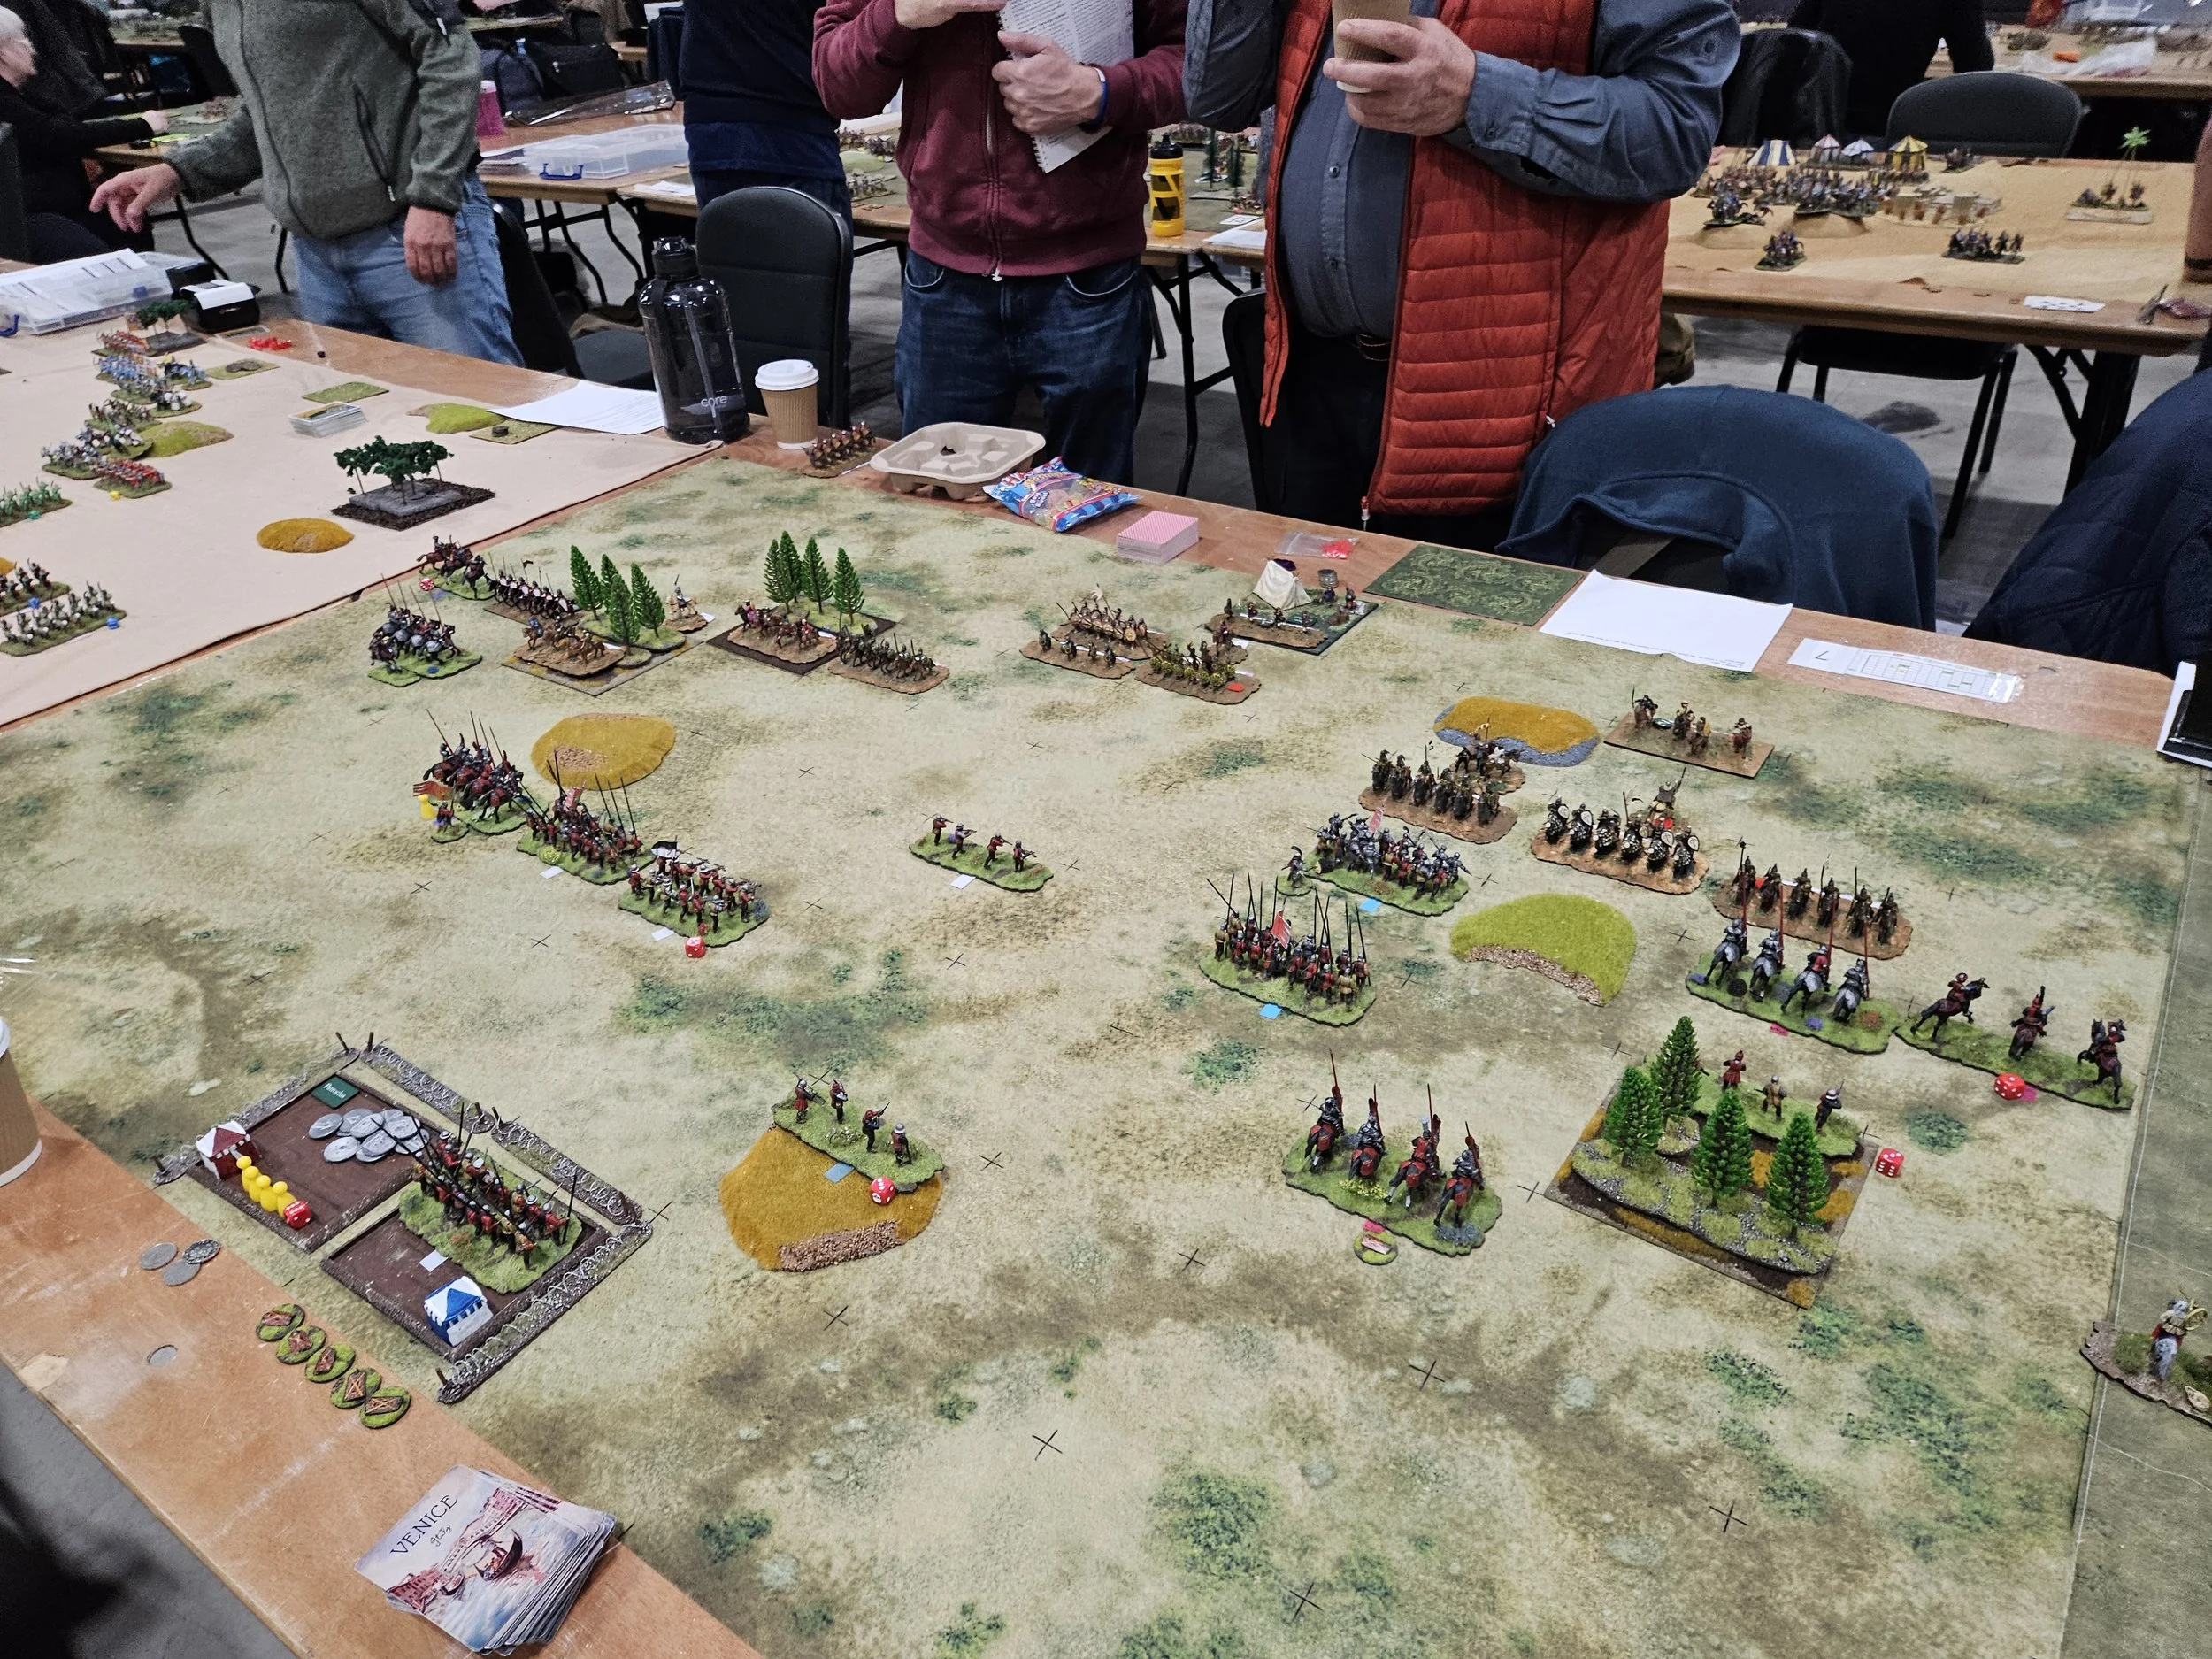
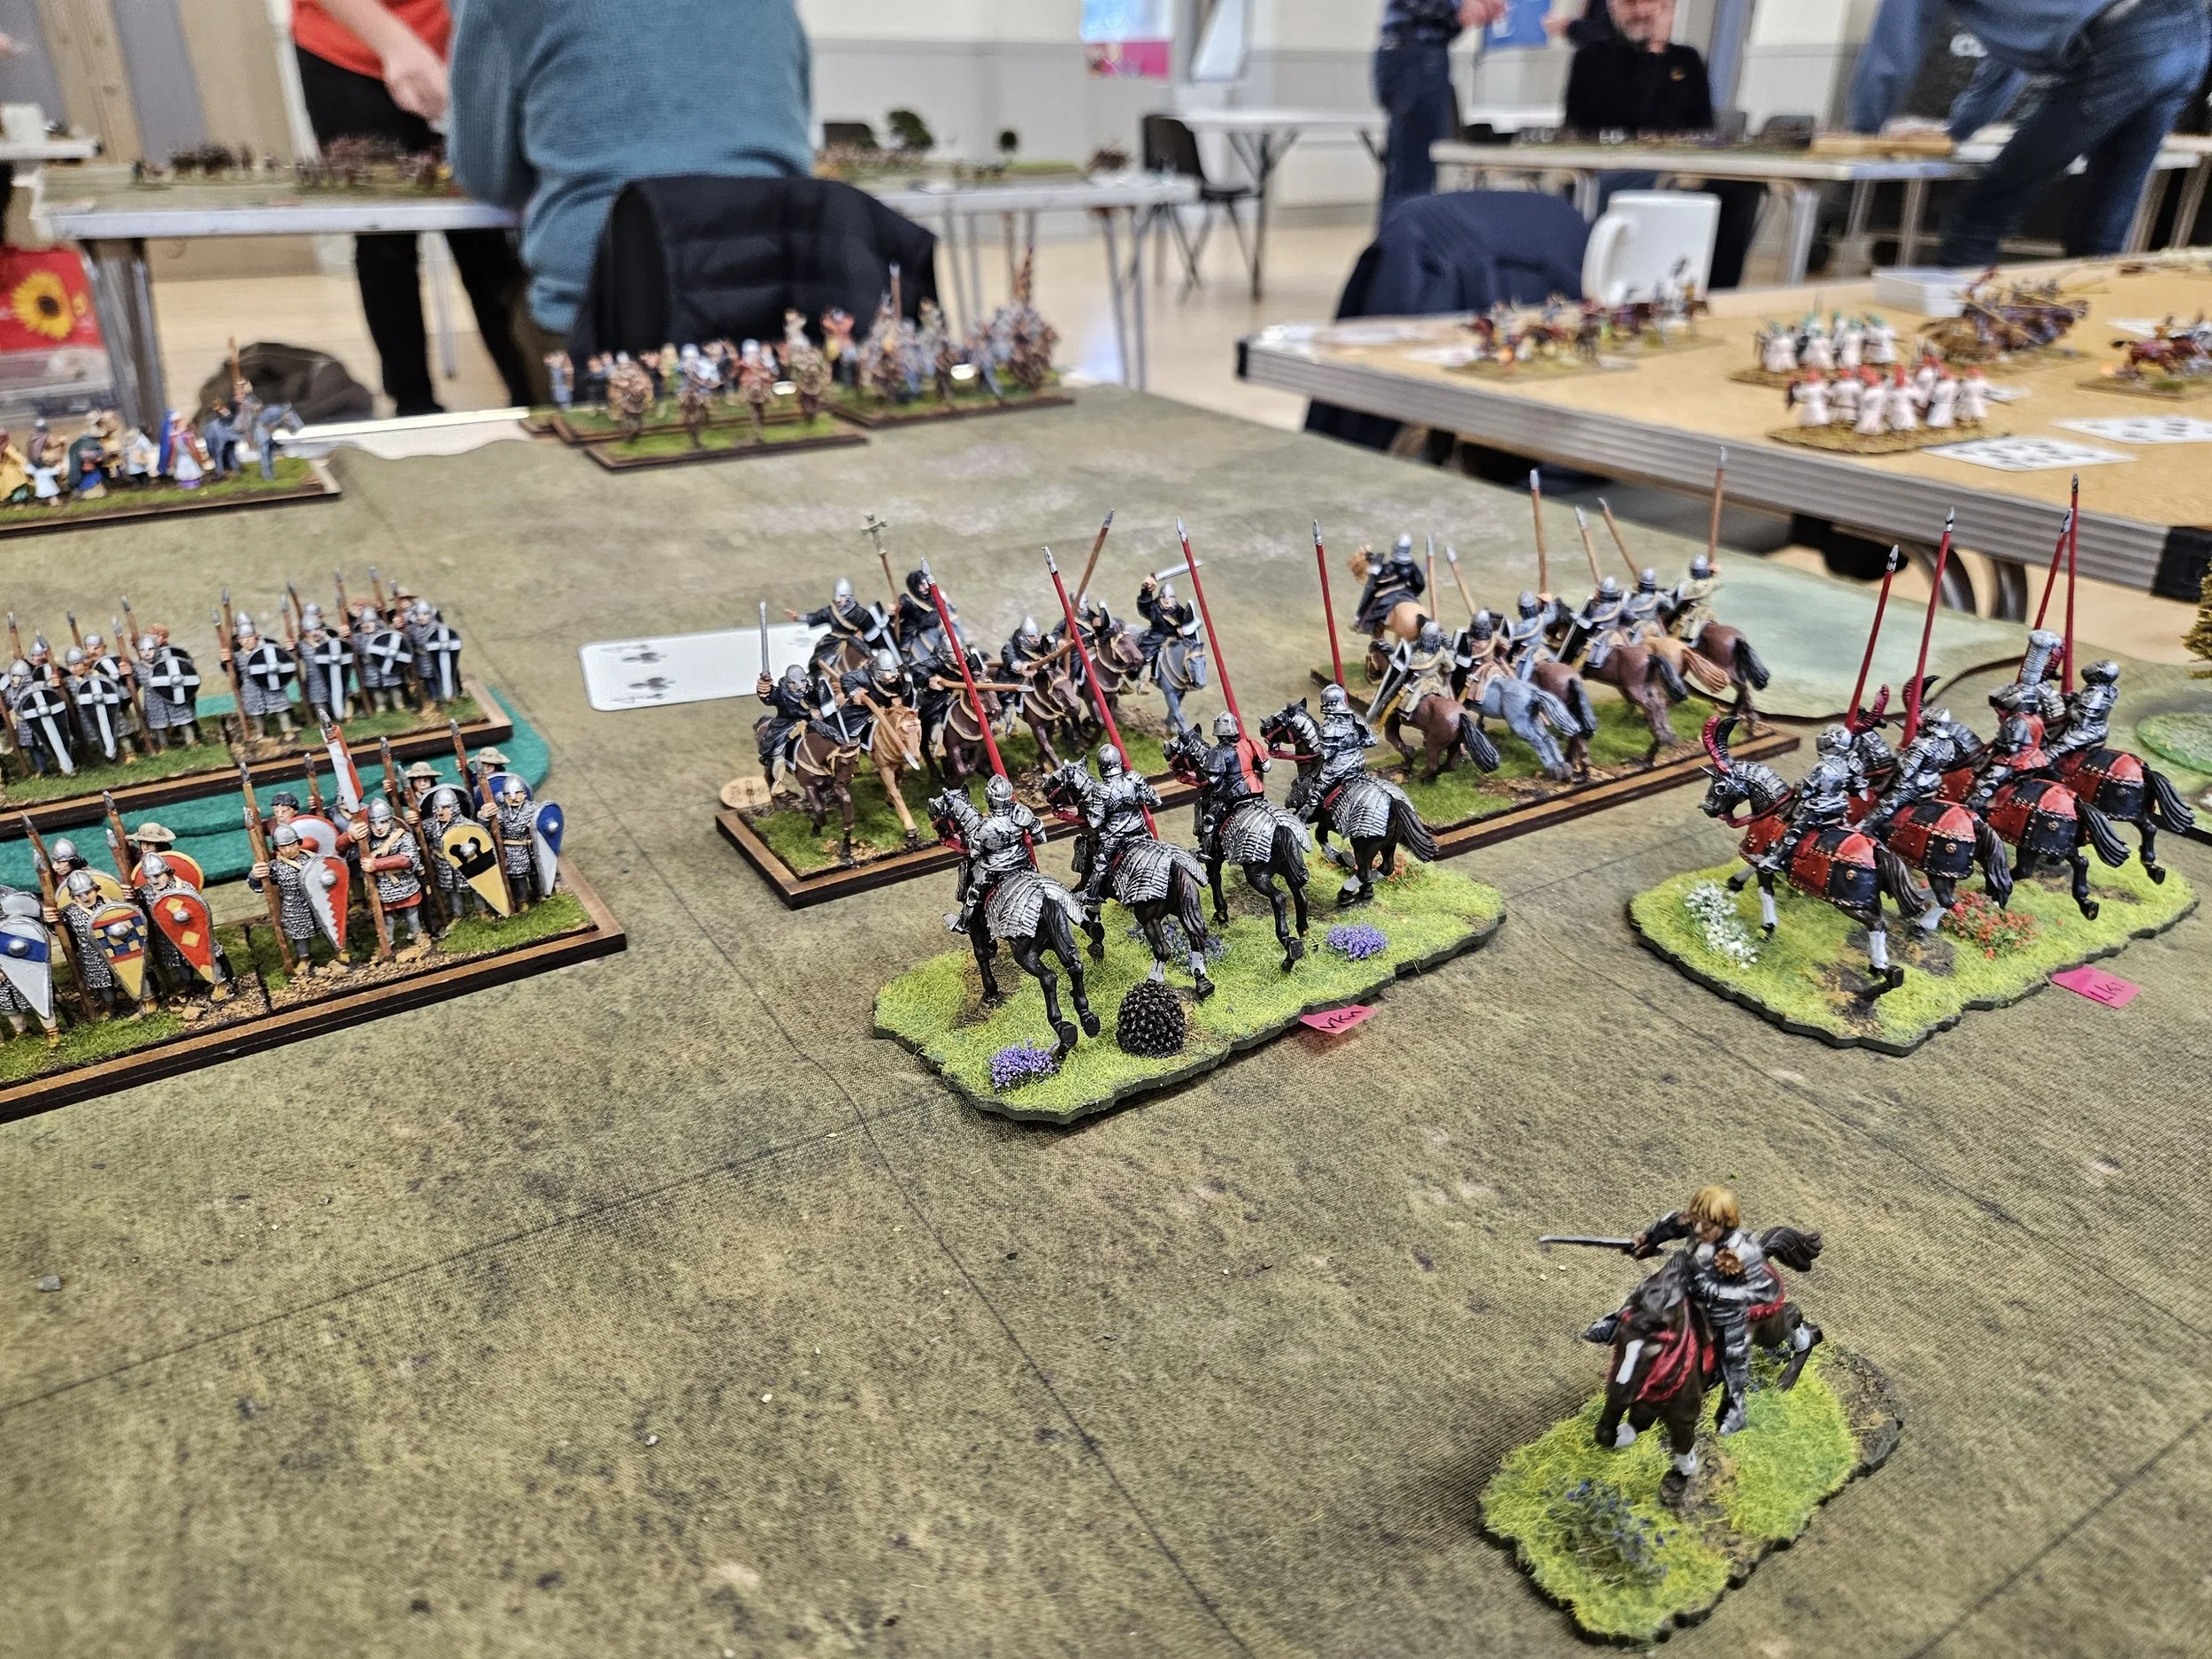
Elsewhere on the left, my other Knights and their supporting Spearmen had pushed the Latin cavalry back and killed the cavalry’s commander, but that flank was now at a bit of a stalemate, with the Venetians having just tipped the strategic balance in their favour five coins to one and with the Byzantine horse very vulnerable.


Meanwhile, I had sat waiting for the rest of the Latins to come forward into crossbow range…although I had moved more of my Knights forward on the right to see if they could snatch a cheeky victory against some enemy cavalry who fancied a go.
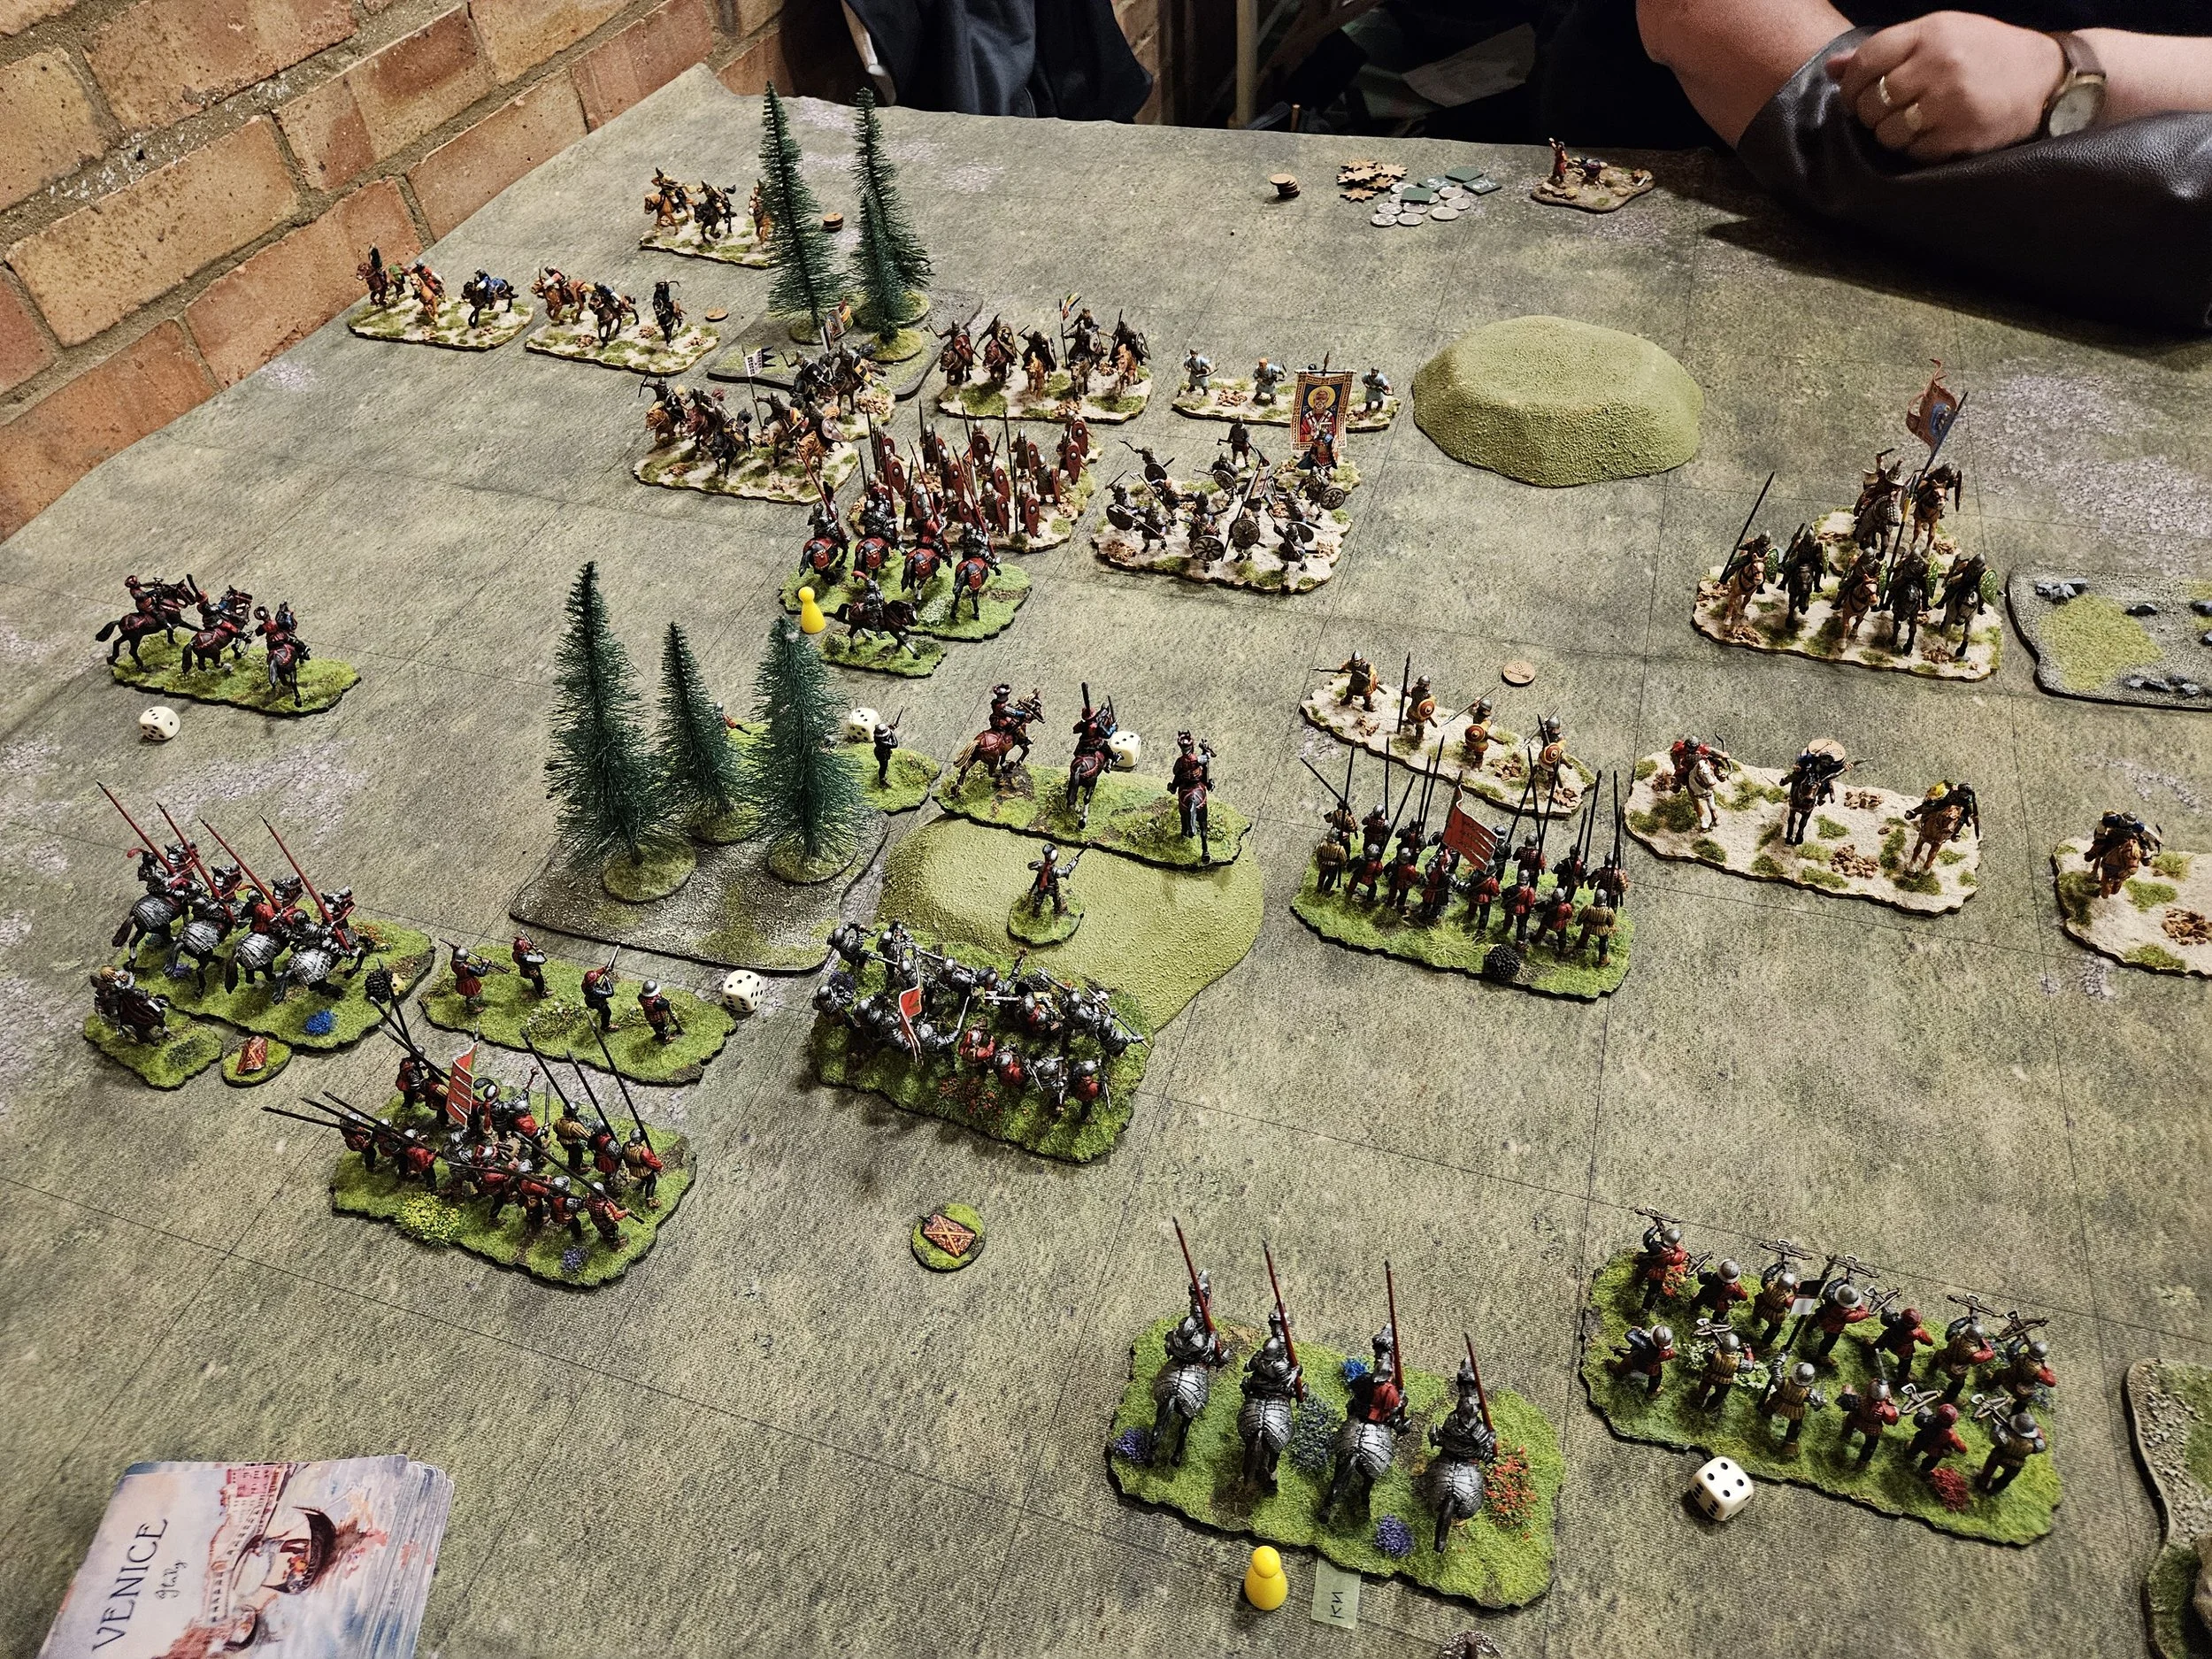
Latin missile fire gradually stripped my Lights from the table, but in the end, I managed to fight his cavalry on the right with my Knights, knocking both units and their commander off table.
That gave me eleven of the twelve coins I needed, and I think it was then the Byzantines being pushed off table on the left that gave me the final one to give the Venetians a 12-5 victory (all my losses were Lights), but it might have been killing another Latin general that did it - Andrew was very unlucky with his officers!
A good game against an interesting army that I haven’t encountered before. All that cavalry on my left did worry me quite a bit at the beginning, and I was pleased that Andrew never managed to combine them and his infantry in a more general assault.
On to the last game of the day…