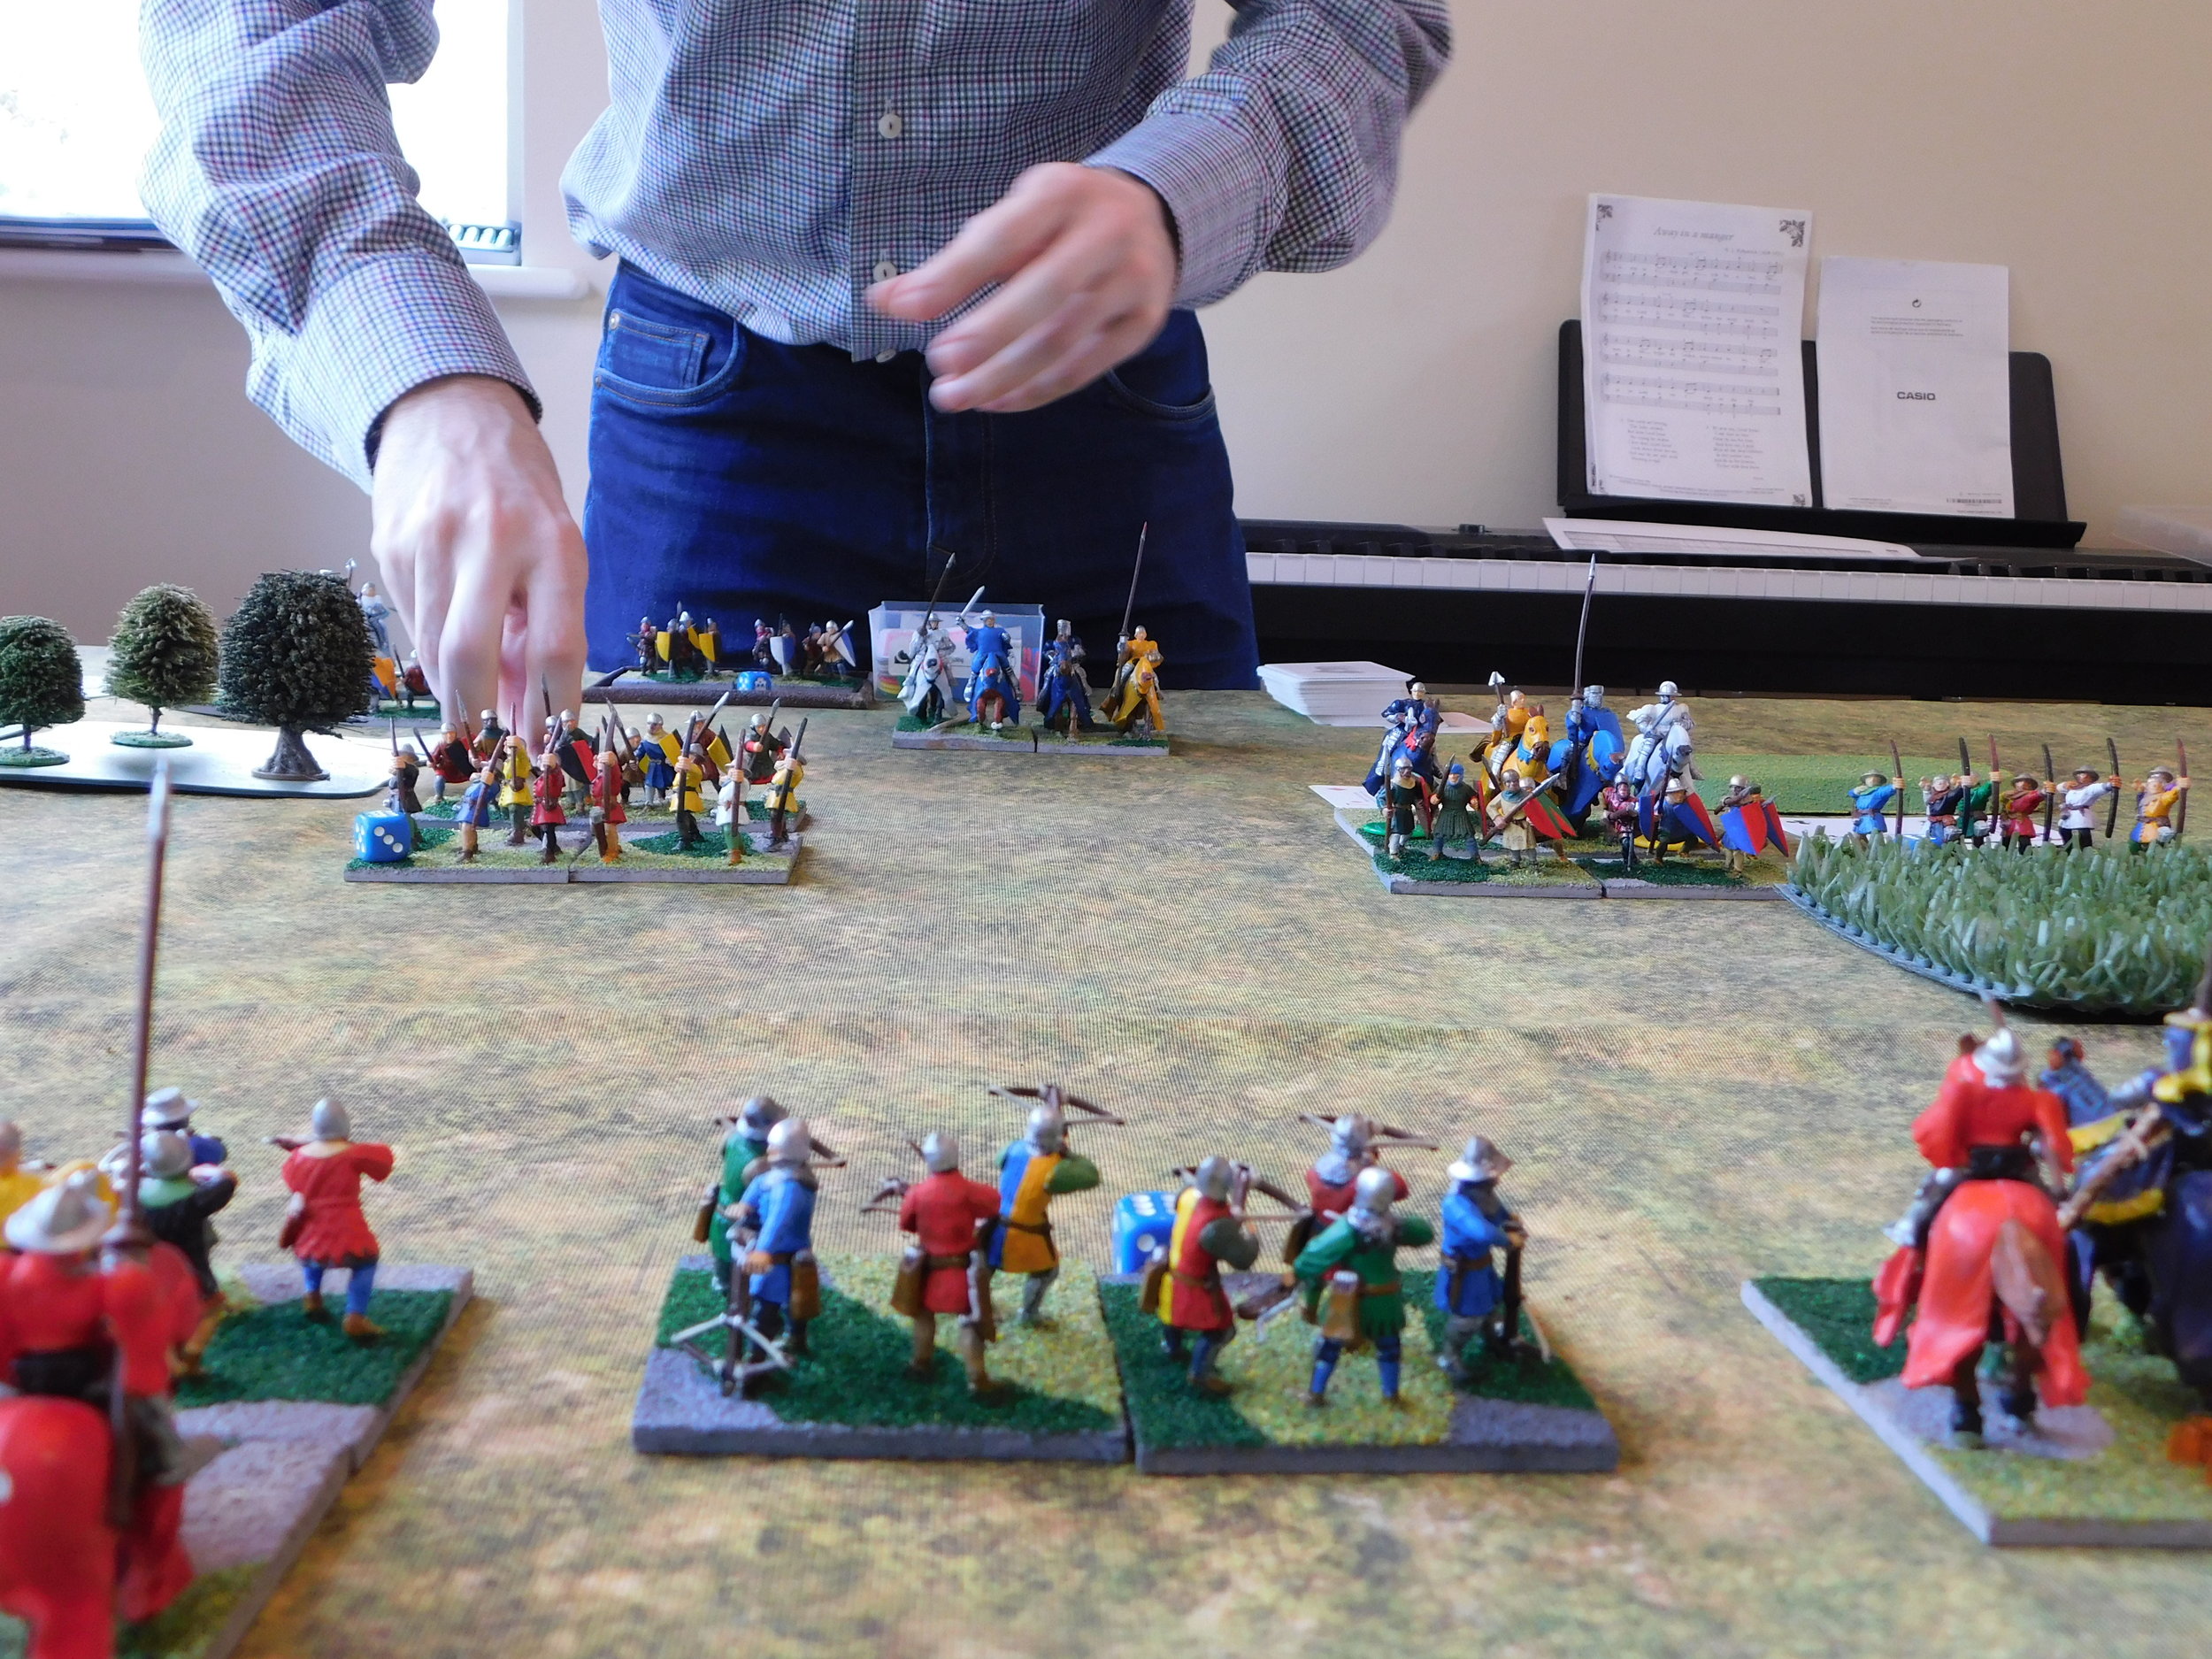
TTS AAR: Two the Strongest Game Three: Teutonics & Lithuanians vs Burgundians & French HYW

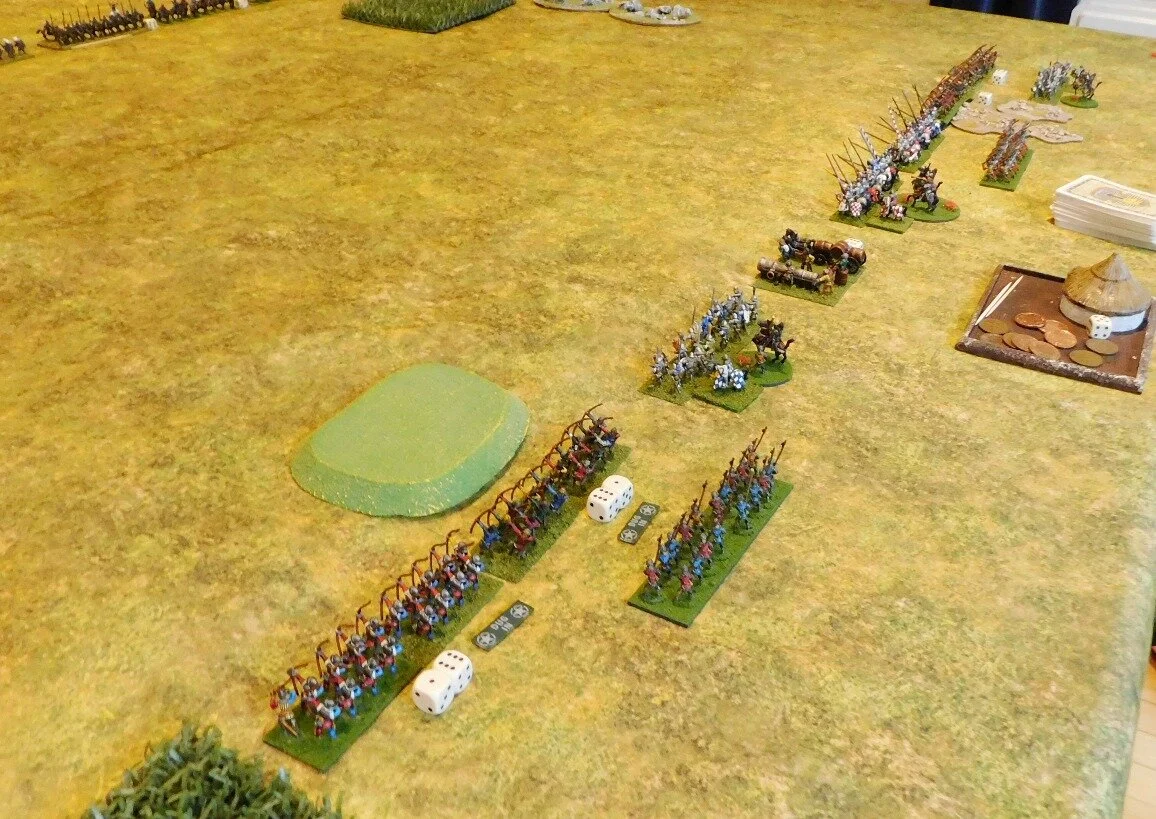
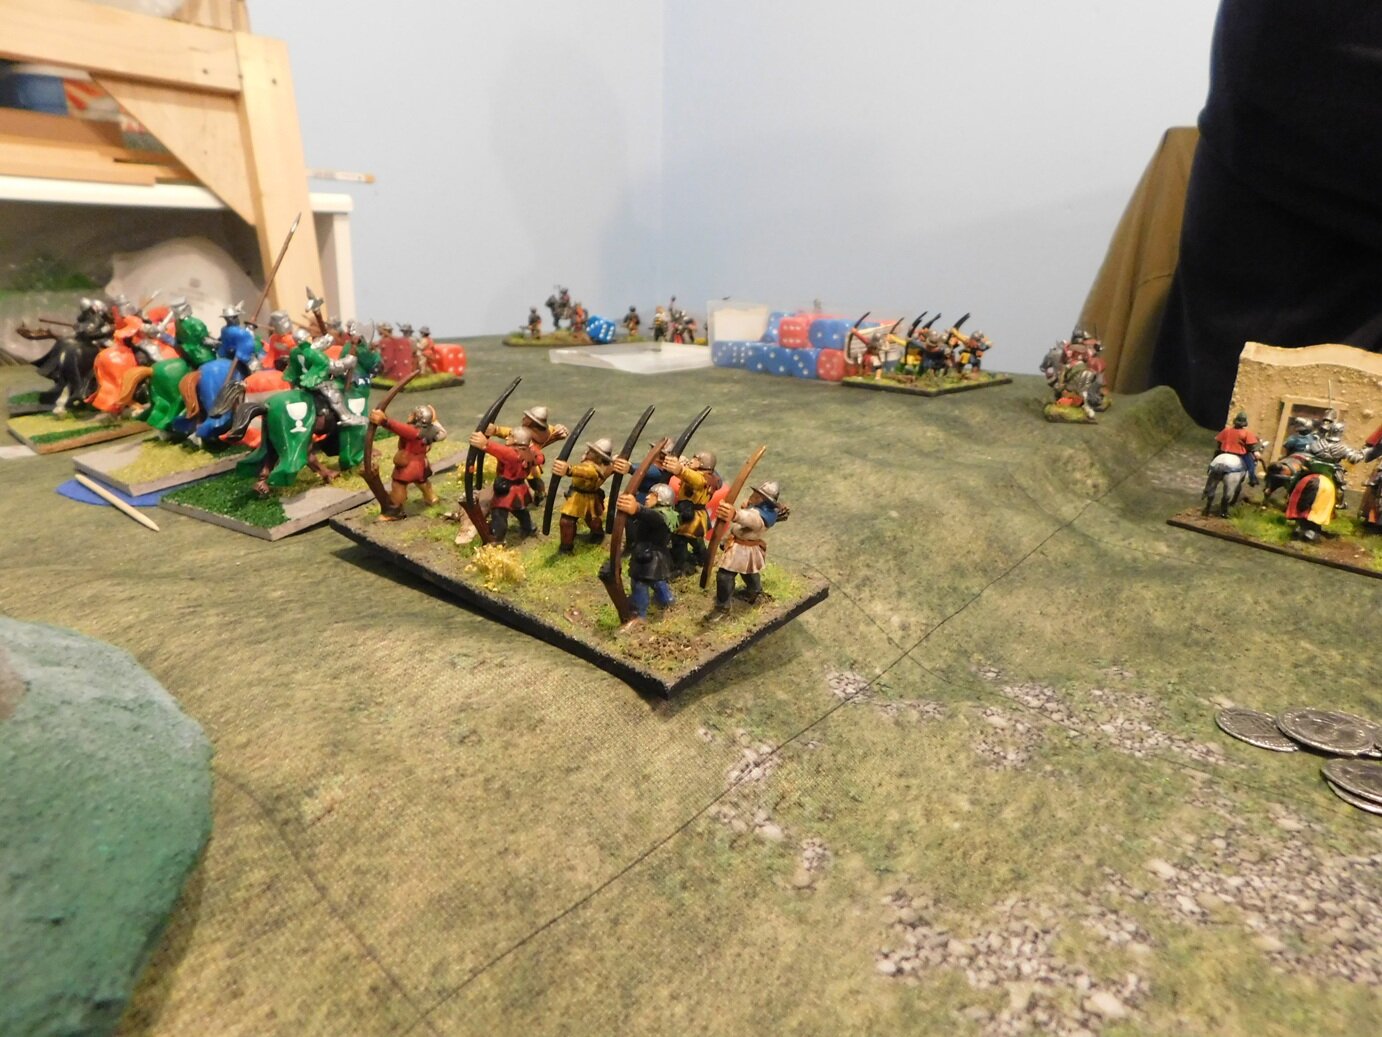
Our third game in this year’s Two the Strongest doubles tournament was against Tim and Matt playing HYW French and Burgundians respectively.

This was going to be a tricky one to navigate, as I faced off against Tim’s French with their veteran Later Knights, who were saving on a 4+ in melee combat: the only good thing being that there weren’t a lot of them!

On my side of the field, both armies advanced rapidly towards each other: there was to be no shilly-shallying around in this battle!

As things got into ‘interesting’ range, Tim unfortunastely drew an Ace on his first activation, which neatly gave the initiative to me.just as the initial clash was about to occur.

This meant that my Knights would draw first in the resultant combat and, with a good slice of luck on my part, two of Tim’s elite horsement were first disordered then knocked from the table!

This early success meant that I could afford to send some of my troops to help Peter against the Burgundians on the other side of the table, where he was doing his usual “I’m only a poor little speed bump…oh, golly, have I just beaten the opposition before Rob gets here?” magic against Matt.

I didn’t have it all my own way (one never does against Tim), and had a tricky time actually finishing off the Fremch.

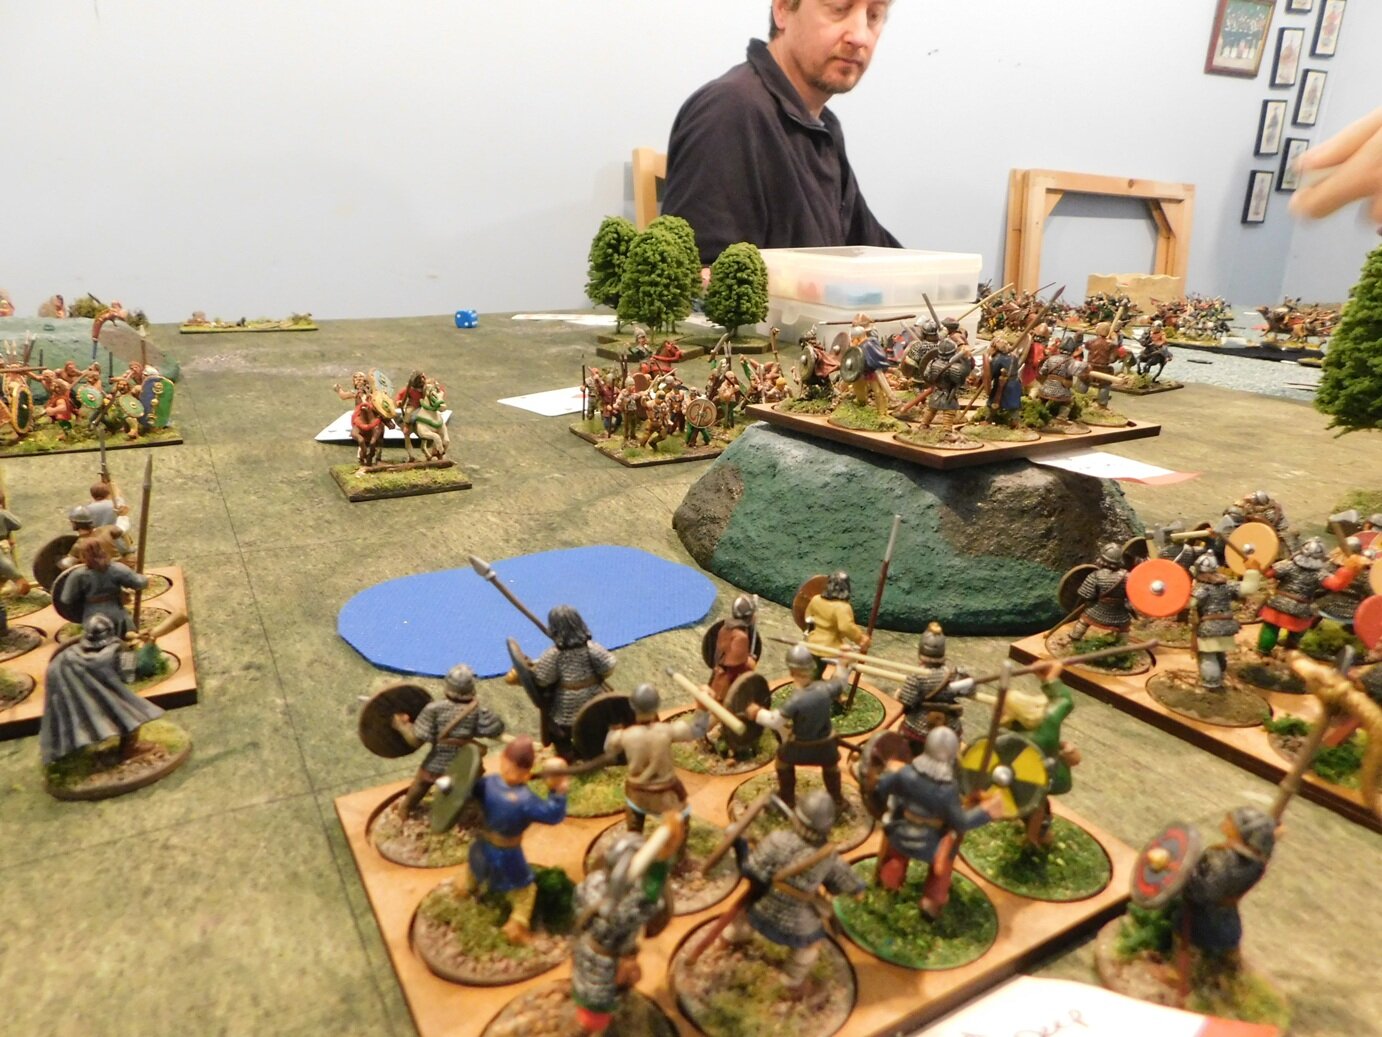
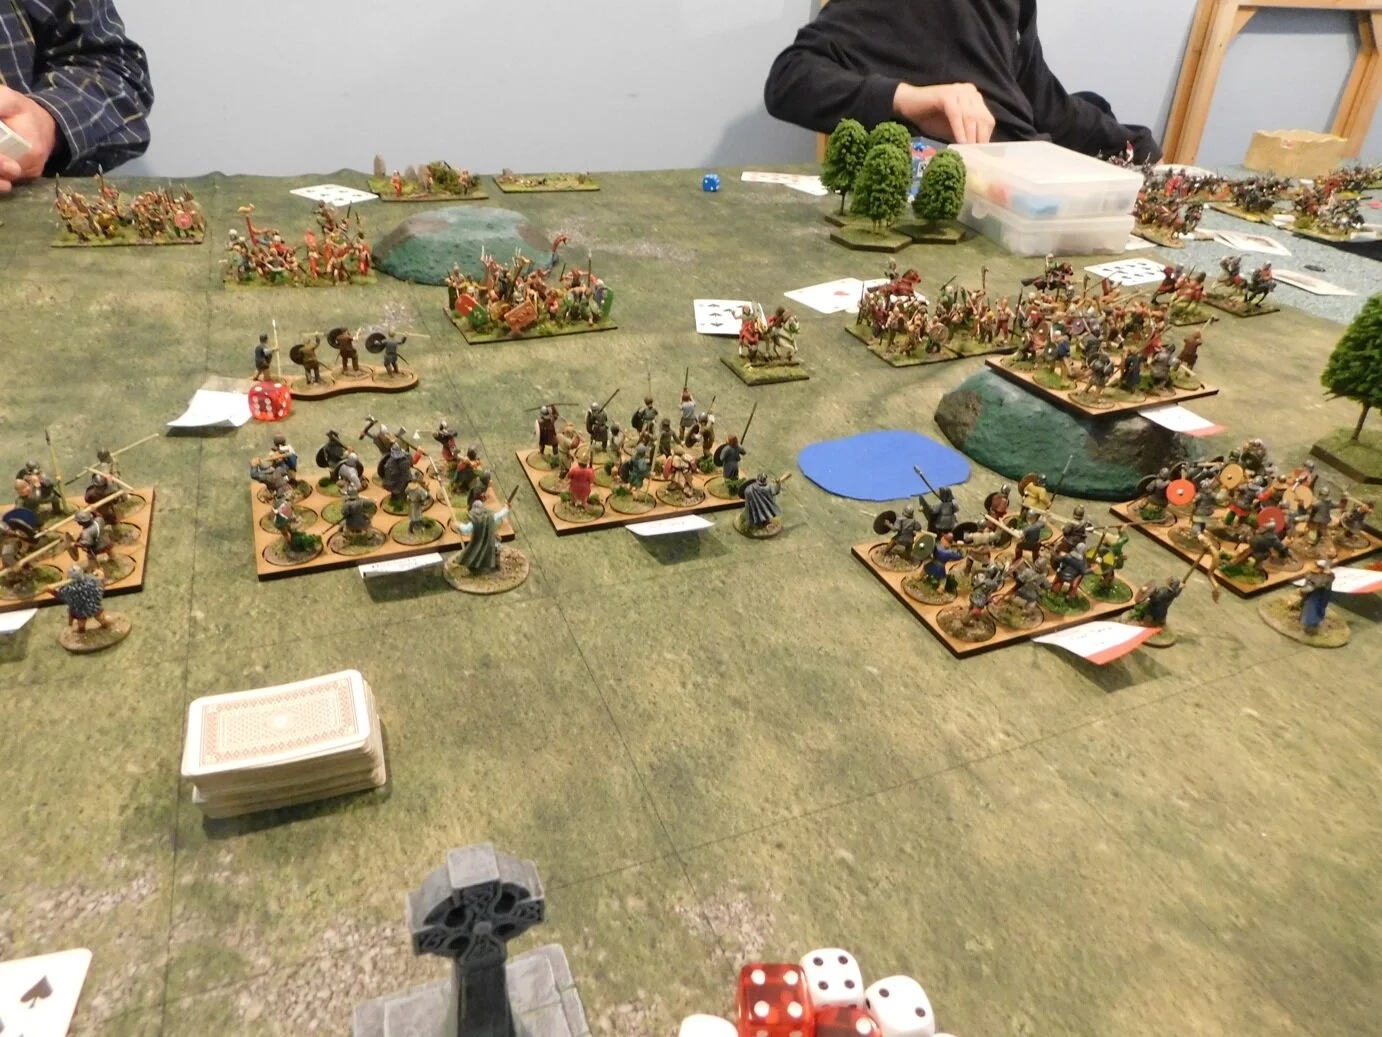
One unit, the one at the back in the photo below, withstood several turns of frontal and flank attacks and IIRC was still fighting on as the rest of the French army gave way.

Another, the one in the middle in the picture below, advanced forward and pinned my rallying Kinghts against the table’s edge next to my camp. Luckily I had rallied before they arrived.

Despite these late flourishes, however, my troops managed to win the day which, along with Peter’s success against the Burgundians, meant that we took the game 38-7.

With three big wins under our collective belt, that also meant that we won the tournament overall, retaining our title from last year.

It had been an excellent day’s gaming against some great fun players - my thanks to Nat and the London Wargamers for organising - now all we had to do was ship all Peter’s display boards back to the car, all the while congratulating the Arsenal fans on their also richly-deserved win!

TTS AAR: To The Longest: Game Two: Venetians versus 100YW English

My second game at the inaugral To The Longest was also against an English Hundred Years War army: more longbowmen, more stakes and more dismounted knights!

Both John, my opponent, and I kept one command of mounted knights back from the initial deployment, with both sides then bringing them onto the field on the side of the table where the ruined monastry stood: the monastry being worth extra points at the end of the game to whoever held it by having units in orthagonal base to base contact with it.

Having learnt my lesson in sending my lights forward to die in a hail of longbow fire in the last game, I decided just to advance my fighting units forward, and get them stuck in as soon as I could.

This was a sensible tactic to adopt,,,until, that is, the cards decided to really mess with my plans!

First up, my pike advancing on the left had a great opportunity to run over some longbowmen, but didn’t:

The pikes then died, costing me three coins early in the game!

Next, a command of knights attempted to charge some enemy longbowmen safely ensconsed behind rows of stakes. This was a stupid thing to try to do anyway, but a couple of aces didn’t help:

The knights would spend the next few turns uselessly smashing away at the longbowmen with neither side able to damage the other!

I was still determined to get stuck in to his melee-weak massed longbows, particularly on the left side of the field…

…but those Aces kept coming thick and fast!

By this time I had had enough. I decided on a complete change of tactics and, unusually for me, play for a draw by retreating all my troops back to my side of the field, ceasing their Ace-ridden attempts to smash their way into John’s longbow-held position.

I therefore pulled back on both the left and centre, although I did keep possession of the monastry on the right.

Now this is where the game suddenly got interesting as John, with a sudden rush of blood to the head, decided to come after me.

Firstly, the dismounted knights guarding his camp left the safety of their fortifications and came a cropper against a unit of Lancieri and my Alabardiers, who executed a second quick 180 degree turn to re-engage the enemy once they were out in the open.

Second, a unit of veteran English longbowmen attempted to re-take the monastry position from my Later Knights, who promptly remembered why they were called Later Knights and ran them over without difficulty.

Back to the left flank, where enemy longbowmen had followed their dismounted knights out of the fortified camp only to also fall foul of the Alabardiers who, it must be said, were having a very good day indeed!

This left the English camp open…my Alabardiers walked into it…and suddenly John announced he was out of coins and I had won the battle!

Well that was quite a surprise!

With possession of the monastry, I had achieved a 14-8 victory over the invading English.

I’d like to say that my tactical retreat was indeed that: a carefully planned tactic to draw John out from his position…but it wasn’t. I was genuinely determined to retreat back to my side of the field and make him come to me if he wanted anything but a draw, and was then quite surprised that I managed to turn things around as I did.

I was lucky to kill the dismounted knights on the left so easily, and John was annoyed with himself for exposing his longbowmen on the right (he’d have been okay if he’d sent the knights behind them forward instead) but what a topsy-turvily fluid game!

On to the afternoon’s big bash…

TTS AAR: To The Longest: Game One: Venetians versus 100YW English

Earlier this month I took part in the inaugral To The Longest event: a 28mm To The Strongest battle day featuring eight players aside fighting three linked games, two individual mano e mano games in the morning and one gigantic group game in the afternoon.

You can get some idea of the scale of the event by looking at the picture, opposite, that shows the table set up first thing in the morning before the game got started. As you can see, the battlefield stretched the entire length of the hall we were in, including passing through a relatively narrow partition…but more of that later.

The Hundred Years War was the theme of the day, with one side playing England, the other France. As I’m a bit short on 28mm armies, I was using my trusty, but in this case slightly anachronistic and geographically challenged, Venetians as a Late Italian Condotta army…well, it’s so hard to get work sometimes you just have to get on your bike, cross Europe and go looking for it!

My first game was against Dean, playing an English 100YW army that was the usual mixture of knights, billmen and longbowmen.

At this point it’s also worth noting that the weather was dry, and the ploughed fields still counted as good going.

My plan was to use my strong infantry command to take the walled field on my right. At the same time, my light cavalry would secure the small herd of sheep on the left (as this was the first in a series of linked games, you got extra points for securing supplies) whilst the Knights in the centre waited to see what happened.

Well, the good news was that my Stradiotti soon secured the sheep and herded them off the table to be consumed roasted with some mint sauce later on.

The less good news was that although my infantry command quickly reached the walled field on the other side of the table, they would spend the entire game bashing themselves against the troops within in, unable to make any real headway.

The battle would therefore be decided mainly in the centre of the field, where both sides moved their “heavies” into position for a fight.

My plan was working: with so much of Dean’s army concentrated on his wings, I effectively had five fighting units versus his three, giving me the advantage.

It would have been six versus three except for the fact that one unit of knights stubbornly refused to move away from the Italian camp (you can see them bottom left in the picture, above) wasting vast amounts of time and initiative as I tried to get them into the fray.

Worse, my other Knights were having one of their off days: failing to smite the enemy from the field with their initial charges.

The grinding combat in the centre gradually worked its way through, with honours ending up about even.

I lost a unit of Knights to English dismounted knights but had some Lancierii all ready to take advantage of where the victorious enemy knights ended up, but luck was on the side of the English and this pivotal moment to flank charge King Henry passed without result.

I had another chance to smash through the enemy line when some more of my Knights ended a unit of English billmen.

This could have meant the opportunity to roll the English up, but Dean cunningly withdrew his vulnerable units into a defensive position in the top left of the field, meaning that my Knights now faced nothing but a row of longbowmen rather than the flanks and rear of retreating billmen.

By this time my Venetians were also getting a little tired and emotional!

Dean had gradually been knocking off my light units which, whilst individually unimportant, collectively mounted up to a significant amount of coins.

Add to this King Henry’s unit turning and polishing off the Lancierii and I had lost too many to recover from. Excellent play from Dean meant a bad start to the day with a 6-14 defeat for the Venetians!

More Battles on the Border

Even though the border was a different one!

It was off to friend Bevan’s house for some more To The Strongest. Our last games had involved Feudal English and Feudal Welsh battling it out on the border: this sessions would involve the Feudal English again, but this time facing the Feudal Scots.

This promised to be an interesting match up. The English had large amounts of Knights supported by equally large amounts of longbowmen, with a load of rabble Raw Spearmen following on behind. The Scots, on the other hand, had only one unit of cavalry (light chaps armed with lances), very few missile-men, but a lot of deep spearmen and warriors.

Game One

For the first game, I would command the Feudal Scots. My plan was to wait for his troops to come to me, largely ignore the longbowmen, tie his Knights up with some spearmen, and use my warrior-types to hack into his raw troops. The loss of all the English raw troops should give me the battle before the rest of my men gave way to his Knights.

The English began the game with Knights advancing on either flank. I responded by bravely doing nothing. I had a bit of luck in that one English command refused to go forward, meaning that the Sassenachs would approach my line piecemeal as opposed to together.

Not advancing on the left meant that the wood there effectively protected my flank. This was good news, as the more the Knights advance was delayed the better. Bevan, realising what was happening, sent one lot of Knights into the woods, delaying their arrival even more.

I still got hammered by the other unit of Knights, but my men dug deep and held on. I had, however, lost a couple of units more than I had killed myself, so things were definitely not in my favour.

Meanwhile things were coming to a climax on the other flank.

I had distracted the other of his Knights units with my light horse, who had kept evading away until they left the table. The Knights then turned round and headed back to the action, whereupon my Lights re-entered the table and charged their rear.

The Knights survived this, but not a flank attack from a unit of Spearmen: with the Knights losing both themselves and the General who was with them. Not only this but the other, already disordered, unit of Knights, seeing their comrades destroyed, also fled the field.

This, combined with the casualties on the other wing and the units my Warriors had destroyed, meant that Bevan was, much to both our surprises, out of Victory Coins. I had won!

The Roles Reversed

With neither of us sure how I had managed a victory, we decided to play again, but this time with the roles reversed i.e. I would take the English, Bevan would take the Scottish.

I had a very clear plan in my head: put all four of my Knights units on the right flank and send them forward as fast as possible. Refuse everything else, and let the Knights lap around the end of his line, turn, and roll the Scots up. Simples!

So that’s what I attempted to do.

The initial advance went well. It would have been better if I had broken one of his units with one of my initial charges, but my aim had always been for most of my Knights to pin the left side of his line whilst the remainder rolled them up.

Incredibly, Bevan made a (very rare) tactical mistake, and let my Knights lap around his flank.

Look at the picture below. The Knights on the far right have turned and are about to hit the enemy’s flank. The rest of my Knights are perfectly in position. I had done it: I had the Scots exactly where I wanted them and it was now just a question of playing out the roll up.

Or not.

For those of you who don’t know what two Aces mean, it means my men won’t be moving that turn.

And on the next turn they didn’t manage to break the Scots either.

In all, it took me three turns to break that one unit when they should have fallen on turn one.

That meant that the meat of the Scottish force had enough time to hit my rabble Raw Spearmen and drive them from the field. I could only watch as my Knights stayed still or bounced off the Spearmen’s flank whilst the rest of the army crumbled.

To say that I was robbed is understatement in the extreme! Even Bevan couldn’t believe that he had survived the onslaught…but all credit to him for recognising what was happening and driving his men forward against my rabble as fast as he possible could.

Aftermath

Another two great games of TTS, and two surprise victories…one of which was a very big surprise.

In fact, all that remained was for me to give the packs of cards I had been using a final shuffle:

TTS AAR: Three Games One Sunday

Three great games of To The Strongest this Sunday, all Sassanid Persians versus 100YW English. I took the Sassanids for Game One, Kavan for Game Two, and then it was back to me playing the Sassanids in Game Three.

Henry V versus the Persians!

Henry V versus the Persians!

The results? I think it fair to say that the Sassanids did very well indeed, winning all three games! Those of you who are paying attention will have worked out that that meant that the day was two-one to me.

The first game was a glorious victory for both me and the Sassanids, but one largely caused by Kavan’s terrible cards! I used standard tactics: horse archers on the wings keeping his men there occupied whilst the heavy horse and elephants punched their way through the middle.

The escorted elephants punch a hole

The second game was a similar affair, but this time it was me on the receiving end. I knew what was coming, so managed to deal with the initial horse archer advance on my right wing with mass longbow fire. In the centre, I had massed my heavies opposite his, but lost two of my three generals in the first round of combat. This effectively stuffed me command-wise, and I got overlapped on the left by those gosh-darned light horsemen as I just couldn’t get the units I needed to activate into action regularly enough. As my left began to crumble, Kavan punched a hole in my centre which he then flooded with the rest of his heavies: the coup de grace coming as he took my camp.

The English camp falls…again!

With both of us now very familiar with the strengths and weaknesses of both friendly and enemy troops, the third game was a neck-and-neck affair which either of us could have won. Each side had one camp each, and both fell: mine to mounted men-at-arms that three units of horse archers just couldn’t stop in time; his to another heavy cavalry punch through the middle. I won in the end, but it was a very close run thing.

All in all, an excellent afternoon’s gaming.

The Sassanid Heavies roll forward


Last of the 100YW Figures (for the moment)

One unit of billmen and a couple of command figures.

That’s all I’ve been needing to bring my English 100YW army for To The Strongest up to 130 points without having to use any proxies for a couple of months now…and I’ve finally got round to painting them.

The figures come from Gladiator Games, and were delivered promptly with their usual excellent service.

I must confess that I don’t much like these particular figures from the range (the bills are all bendy, and all held in the same slightly weird way) but they are done! The longbowmen and knights are much better.

The command figures came out a bit better:

So that army is now temporarily “done”.

On to finishing the Romans and more ECW.

Two Games of TTS...

…which almost never happened?

Why? I hear you ask. What could keep the man from his beloved wargaming?

An intruder, that’s what: an alien beast that has taken up residence in my wargaming room.

When I agreed that the family could get a dog, I made it clear that I wanted a good-sized, rough ‘n’ ready working dog. As you can see, I got exactly what I wanted. She’s a pedigree too, and one who delights in the name Irma Daydream Belle-ever, or Bella for short.

But back to wargaming…and with the space where my tables go filled with all sorts of doggy paraphernalia, I had to de-camp to the sitting room and go To The Strongest rather than my intended I Ain’t Been Shot, Mum.

With everything having to be shipped into the room as opposed to being immediately available , I decided to try my reconstructed 100YW English army: mounted knights, dismounted knights, longbows and billmen. K. would take the Sarmatians: neatly proxied by the Sassanid Persians.

For the first game, I made the classic “new army” mistake and forgot to consider how the army acted historically. As I’d rather foolishly put my cannon into the same brigade as the mounted knights, I placed them in the centre of the table, with battles consisting of a mix of dismounted knights, longbows and billmen on the flanks.

The Sarmatians took the initiative, swept forward, and basically defeated each battle as three separate encounters. Yes, I had plenty of missile-armed troops, but I just couldn’t get the concentration of fire I needed to halt the enemy heavy cavalry, who then swept in and lance-d my troops to death.

A foolish deployment!

I had learnt my lesson for game two, and set up in the traditional “Agincourt” fashion: archers in the middle, with the two battles next to each other for mutual support, with the melee troops on the flanks, and my mounted knights grouped on one side for a decisive flank attack.

This worked much better. As the Sarmatians advanced somewhat unevenly, I was able to target each unit in turn, hammering them with bow and cannon fire. By the time they had reached my line, they were already down three units, and natural attrition in melee, even on a one-for-one basis, gave me the victory, especially as the cannon had neatly taken the head off one of his generals!

A couple of good games (despite the change of location!) and a valuable lesson re-learnt: go historical with your tactics!

More Painting

Not commuting every day has certainly increased my painting output, so it was time to start a project that’s been on my mind since before Christmas.

Regular visitors will know that I play the Ancients game To The Strongest using 15mm figures on a 15cm grid. This way, I can use the armies that I originally put together for Vis Bellica on 6cm frontages by using two VB units for one TTS unit. This has meant a lot of investment in my old VB armies: effectively doubling the size of each or, where “deep” units such as Hoplites and Warbands are concerned, quadrupling the number of bases needed.

One of the last armies to need the TTS expansion treatment is my 100YW English army: knights, longbows and billmen. The trick here was going to be matching the figures and paint schemes that I had used before.

Figures weren’t so much of a problem…once, that is, I’d remembered (i.e. searched the Internet until I got a match) that I’d used Museum Miniatures for the core of the VB army. Paints would have to be as close as I could get with the originals using Contrast Paints.

Here’s the first two contributions: a command stand and an element of longbows:

I also managed to find time to complete a second unit of Commanded Shot for my ECW armies. As with the other, these were Peter Pig figures in 15mm.

I’ve also just had another delivery of Hallmark figures so (once the wife has wiped the package down with Dettol!) it’ll be on to more Dutch Horse.

Three Games of To The Strongest

Off to friend Bevan’s house for an afternoon of To The Strongest. Playing at 130 points a side (the standard for the World Championships) you can easily get three games into one afternoon session.

My first game was commanding a longbow-heavy English HYW army against an impressively painted Viking army.

The Vikings rushed forward as fast as they could, eager to get into hand-to-hand with my massed archers. I was equally eager to stop them doing so, so with my Knights and Billmen protecting my left flank, I sat back in the centre and sent flight after flight of arrows into the advancing hordes.

This tactic worked quite nicely, so by the time his men actually got up to my battle line, many of his units had already taken one or two hits (three would remove them from the table). That’s when John discovered that my archers were all veterans with extra two-handed cutting weapons: just right for finishing off already-pin-cushioned Viking units! A victory for me.

The next game promised to be very interesting: it was time for a bit of civil war as I used the same army as in game one but now faced another English HYW army.

Our forces were thus very similar, except for the fact that Steve, my opponent, had two longbow and one dismounted knight units in each of his foot brigades rather than the three longbow units that I had. Steve’s army make up was thus actually more historically accurate than mine, with the added difference that his longbowmen were all standard types, giving him a slightly bigger headcount.

I decided to adopt the same basic tactics as last time i.e. my archers would shoot from distance whilst the heavies protected my left flank. Steve adopted a similar deployment, so I thought it was all going to be about who had the best luck with the cards (TTS has playing card based game mechanics).

In the end, however, that’s not how it worked out. In the centre, Steve advanced his melee foot units towards my line, giving me the opportunity to target each one individually with my longbows. This generally resulted in them disappearing from the table, meaning that when the rest of our troops did clash, I only had to win a third of the combats to win the game (the heavies just faced each other, manoeuvring for some kind of positional advantage, throughout). A second victory.

I fancied a change for my final game, so volunteered to take the Vikings, this time facing Peter and his Ancient Britons. This, again, was two quite similar armies, with the only real difference between them being the British light chariots/horse.

And it was indeed the light chariots/horse that made a difference. I made a terrible mistake early on in the game by leaving my right flank floating. This allowed Peter to get a couple of units of light horse in on my flanks, disordering a couple of my Hyrd units. This allowed his warriors to hit them at a distinct advantage, my right flank crumpled, and my opponent neatly rolled me up on the right and in the centre! Another nice tactic that Peter used was to refuse his own right flank, meaning that any units I had there (one third of my army) spent the entire game chasing after contact with the any enemy units. The end result was a fairly catastrophic loss!

So all in all a great afternoon’s gaming. Thanks to Bevan, John, Steve and Peter.

TTS Battle Day Game 2

Game two of our To The Strongest battle day involved using Bevan’s collection of 28mm medievals: a clash between the Feudal French and the Feudal English.

The sides were fairly homogenous: each consisting of a core of Knights supported by some missile shooting peasants…longbows for the English, crossbows for the French. The English also had a couple of units of billmen.

We used the terrain rules as laid out in the book, which led to quite an unusual battlefield and both sides squatting opposite each other in one corner.

Bevan had warned me that TTS medieval was very little about tactics and more about just smashing into each other and trying to make sense of the resultant carnage, and he was proved quite right.

Initially, however, I did try something quite tactical: marching a unit of knights up the side of the forest on my left flank and attempting to curve round the end and hit some English infantry in the flank. This almost worked, but was stymied by the cards and some defensive advances by the rest of Bevan’s army which, if you want the technicalities, put my advancing knights into another unit’s Zone of Control (there’s a lot of ZOC-ing in TTS!) and therefore stopping them completing their mission.

After that failed, it was my turn to receive an English charge, one that punched through my line as the perfidious English aimed themselves at some mercenary crossbowmen rather than rising to the chivalric challenge posed by my knights. This lead to a general breakdown of everything into a smashing, crashing melee from which both sides emerged with just one or two victory coins left apiece.

It was then just a matter of who broke another unit first…with Bevan taking the honours as another unit of crossbowmen fell to an armoured steamroller.

A great, fun game that I look forwards to repeating next time we play.

Two-nil to Bevan, with one game to go.