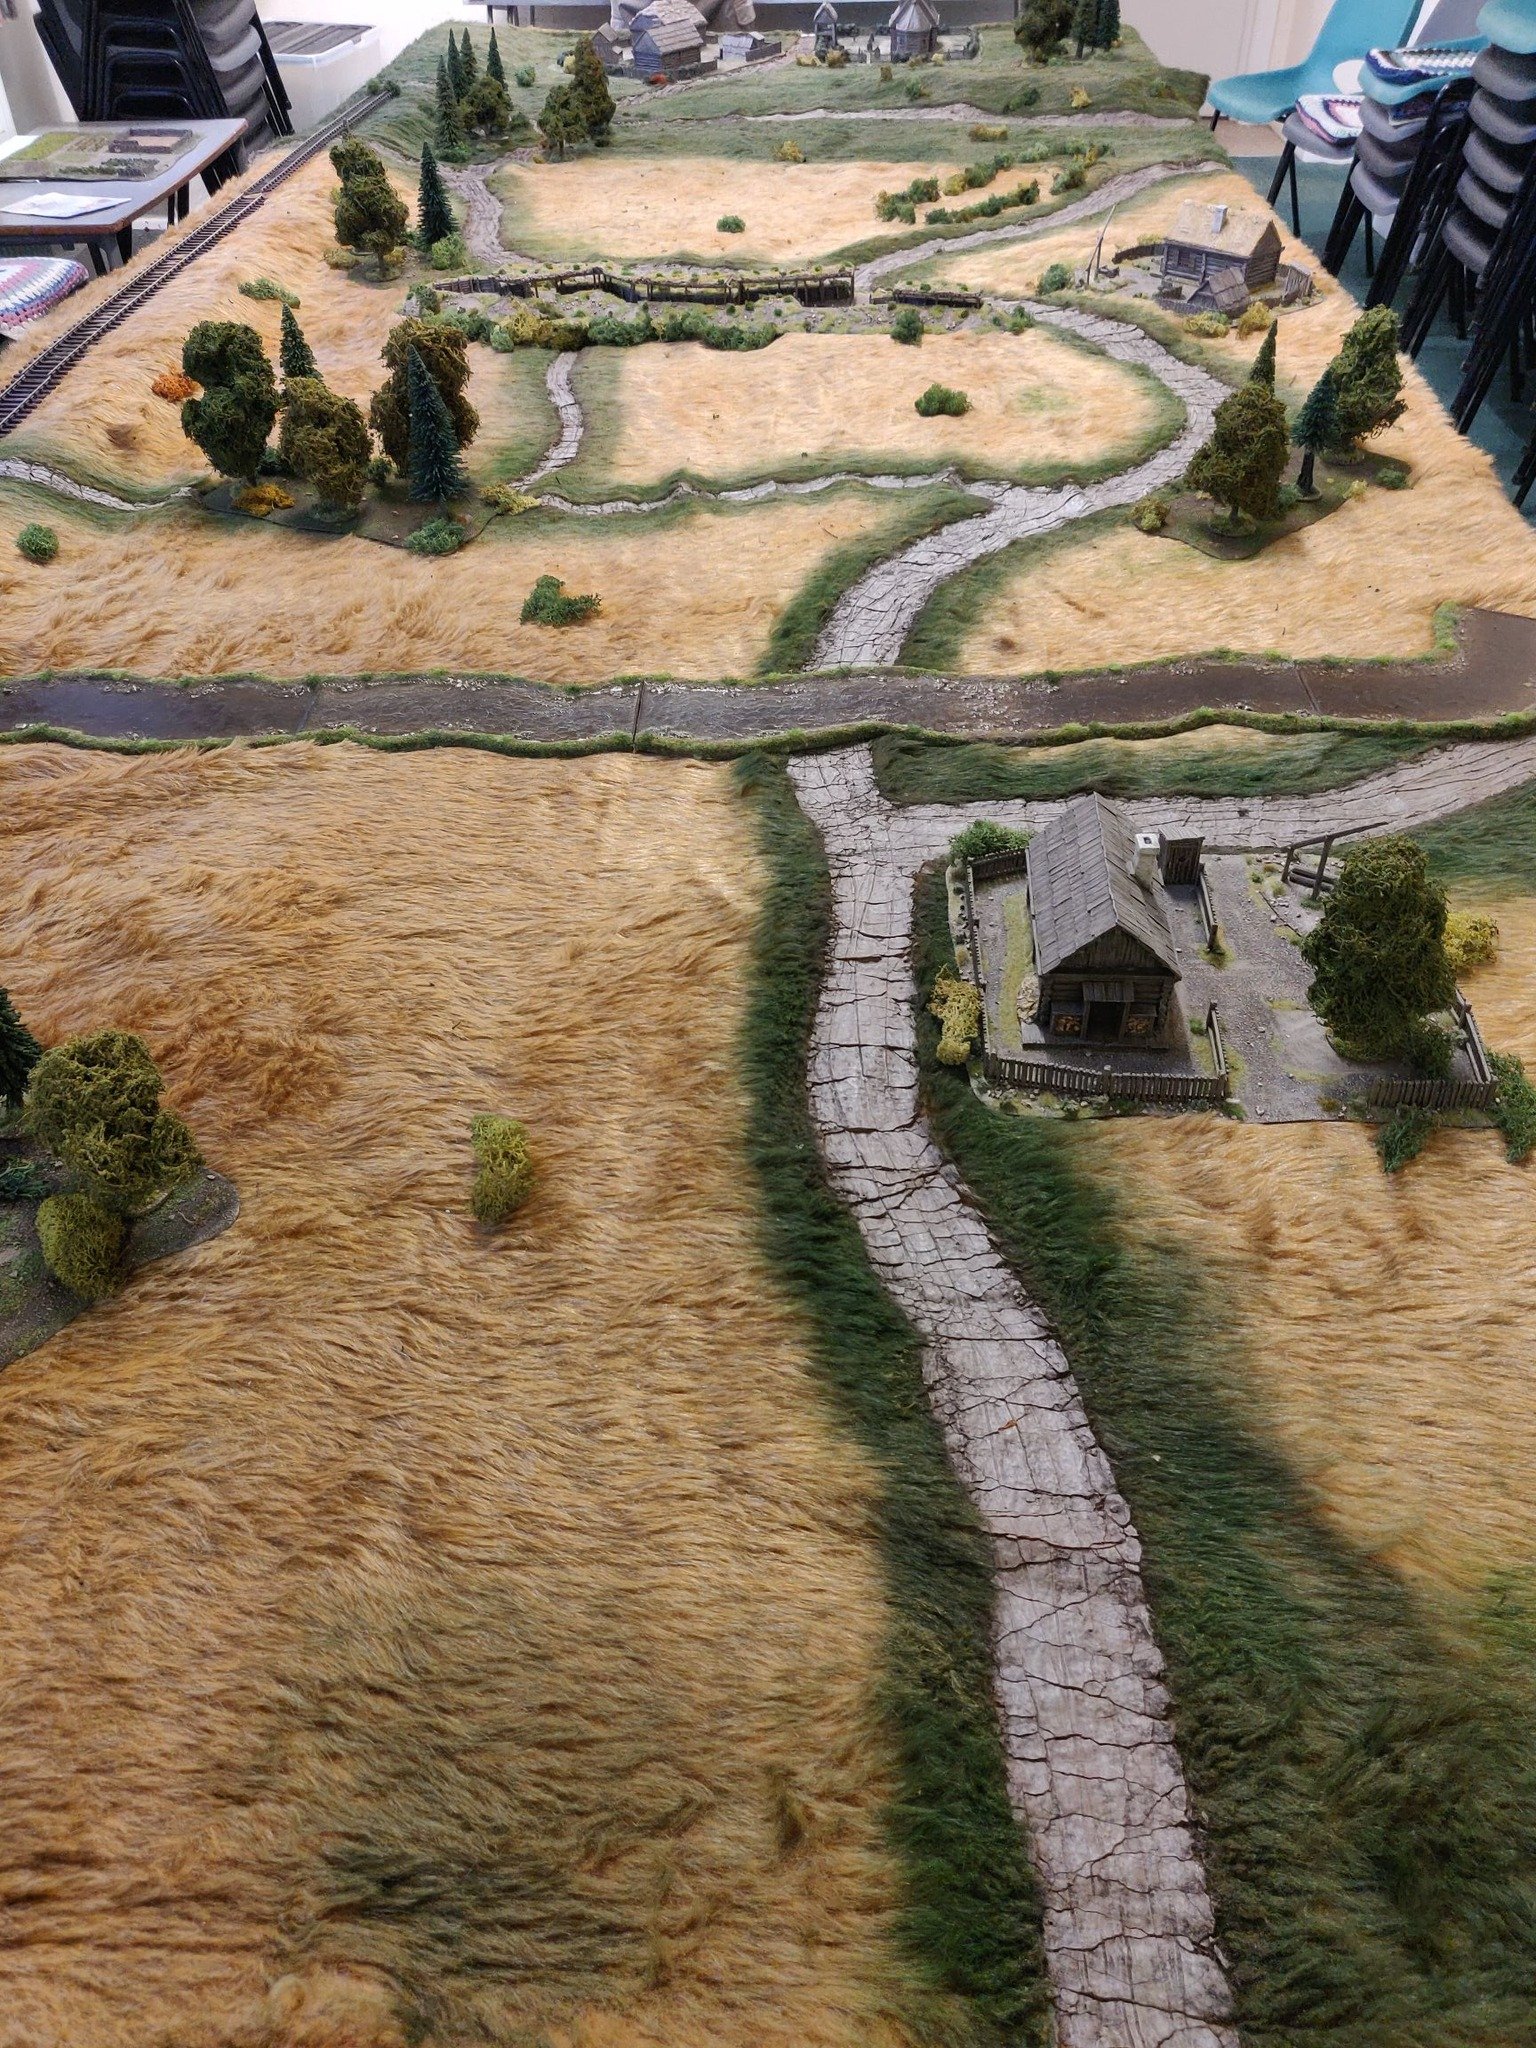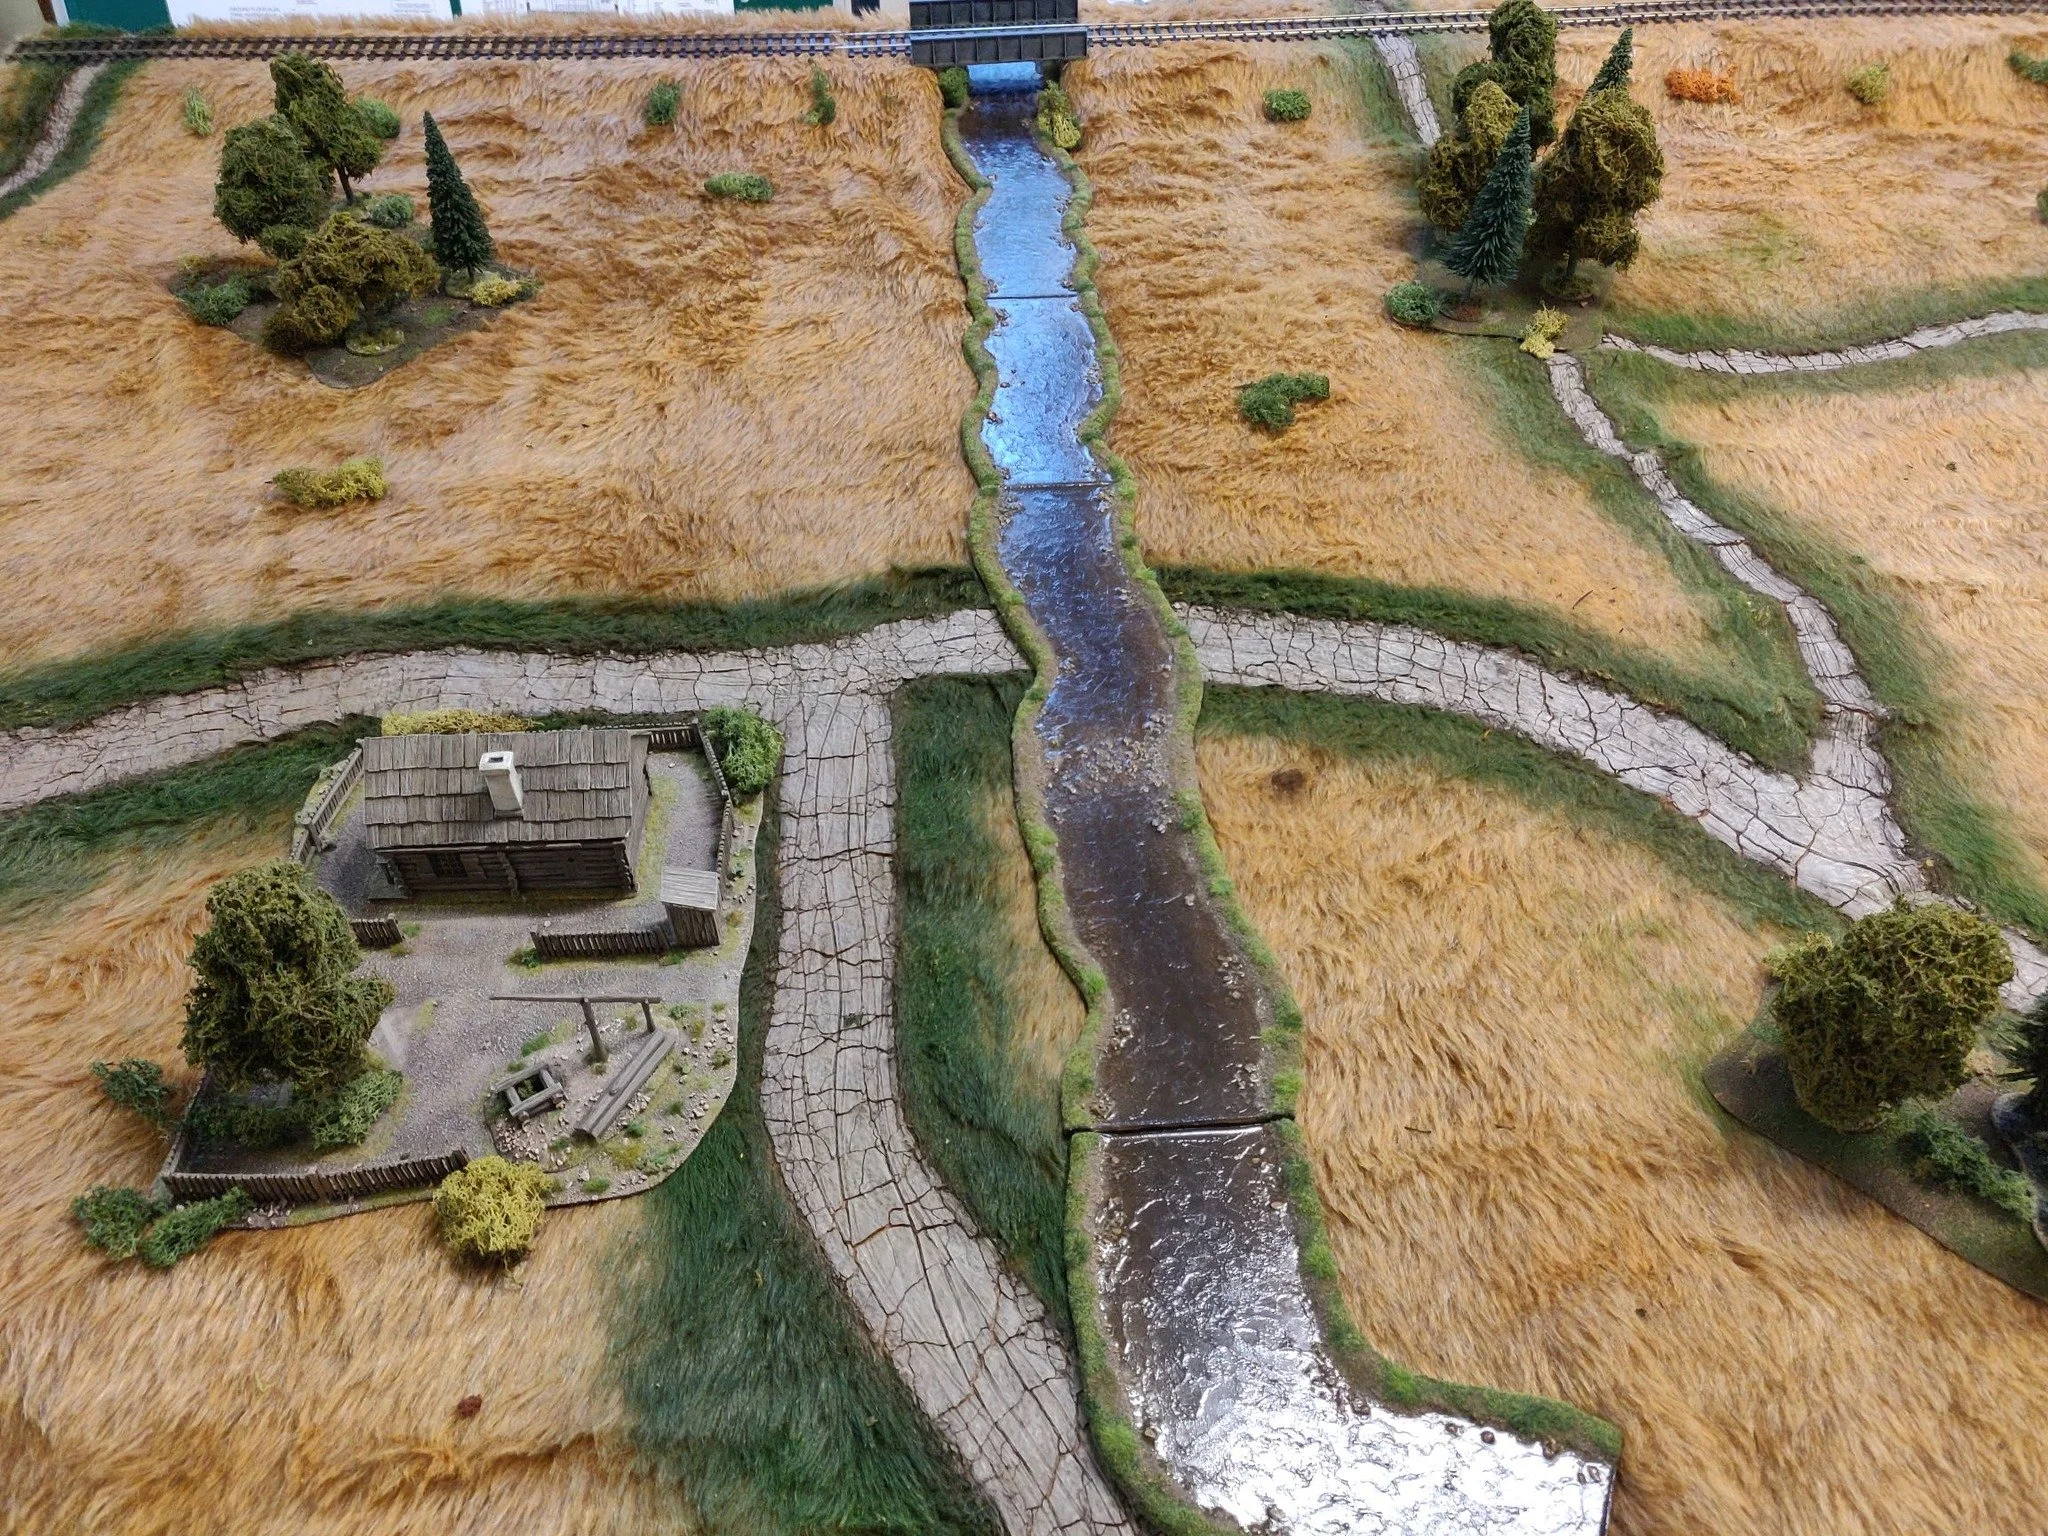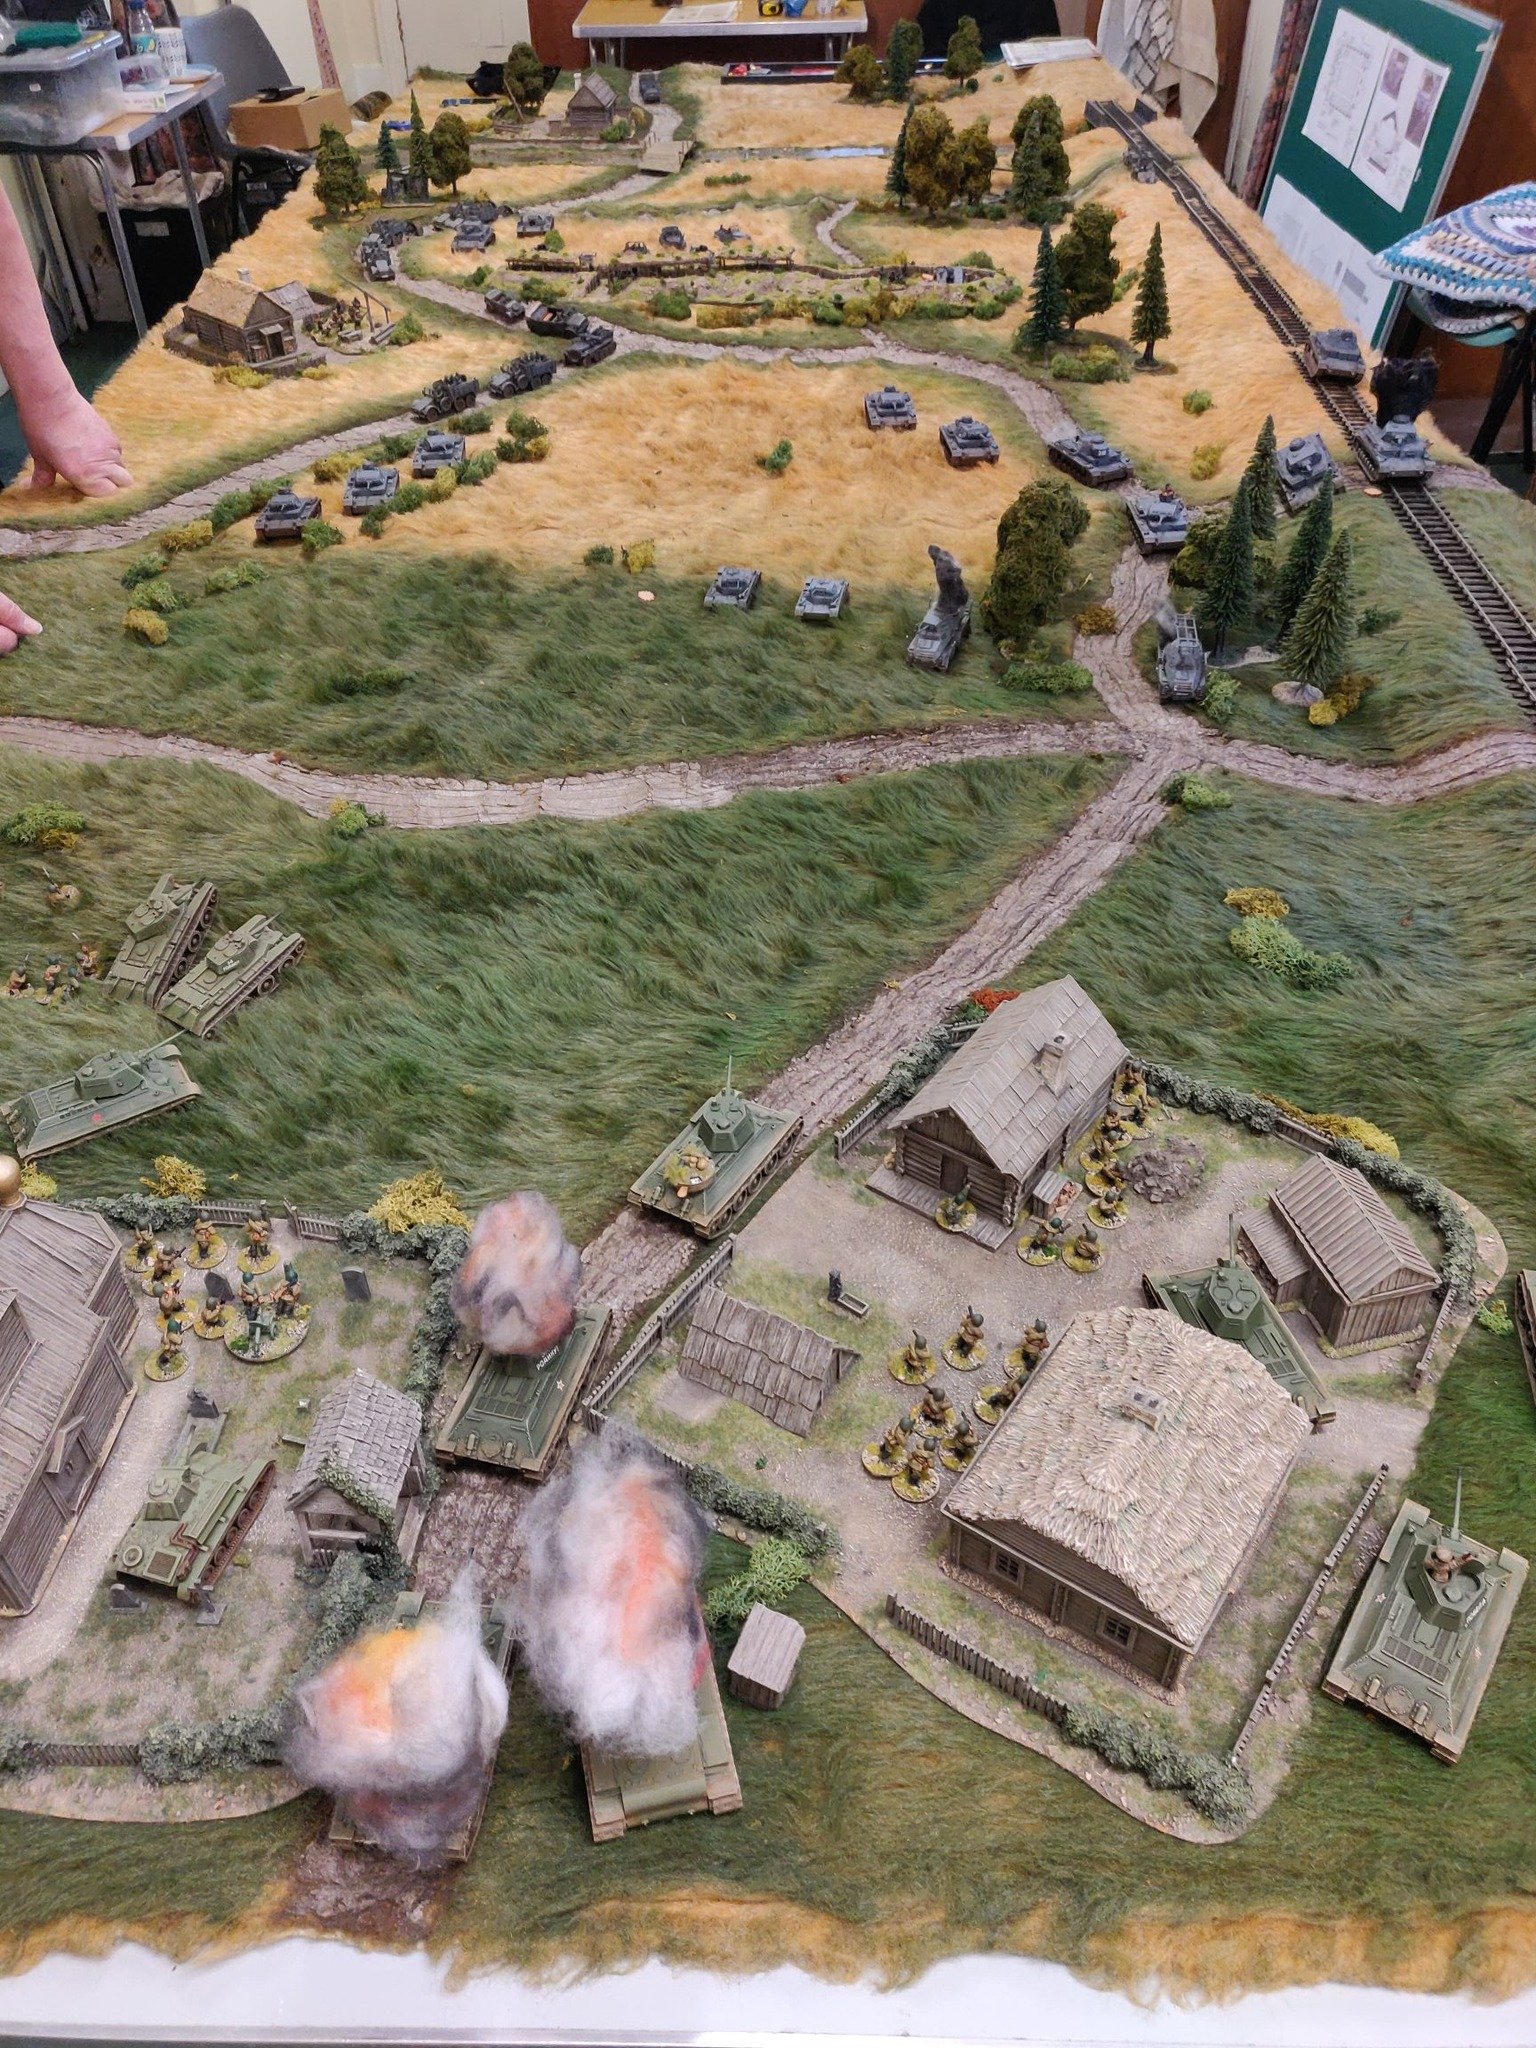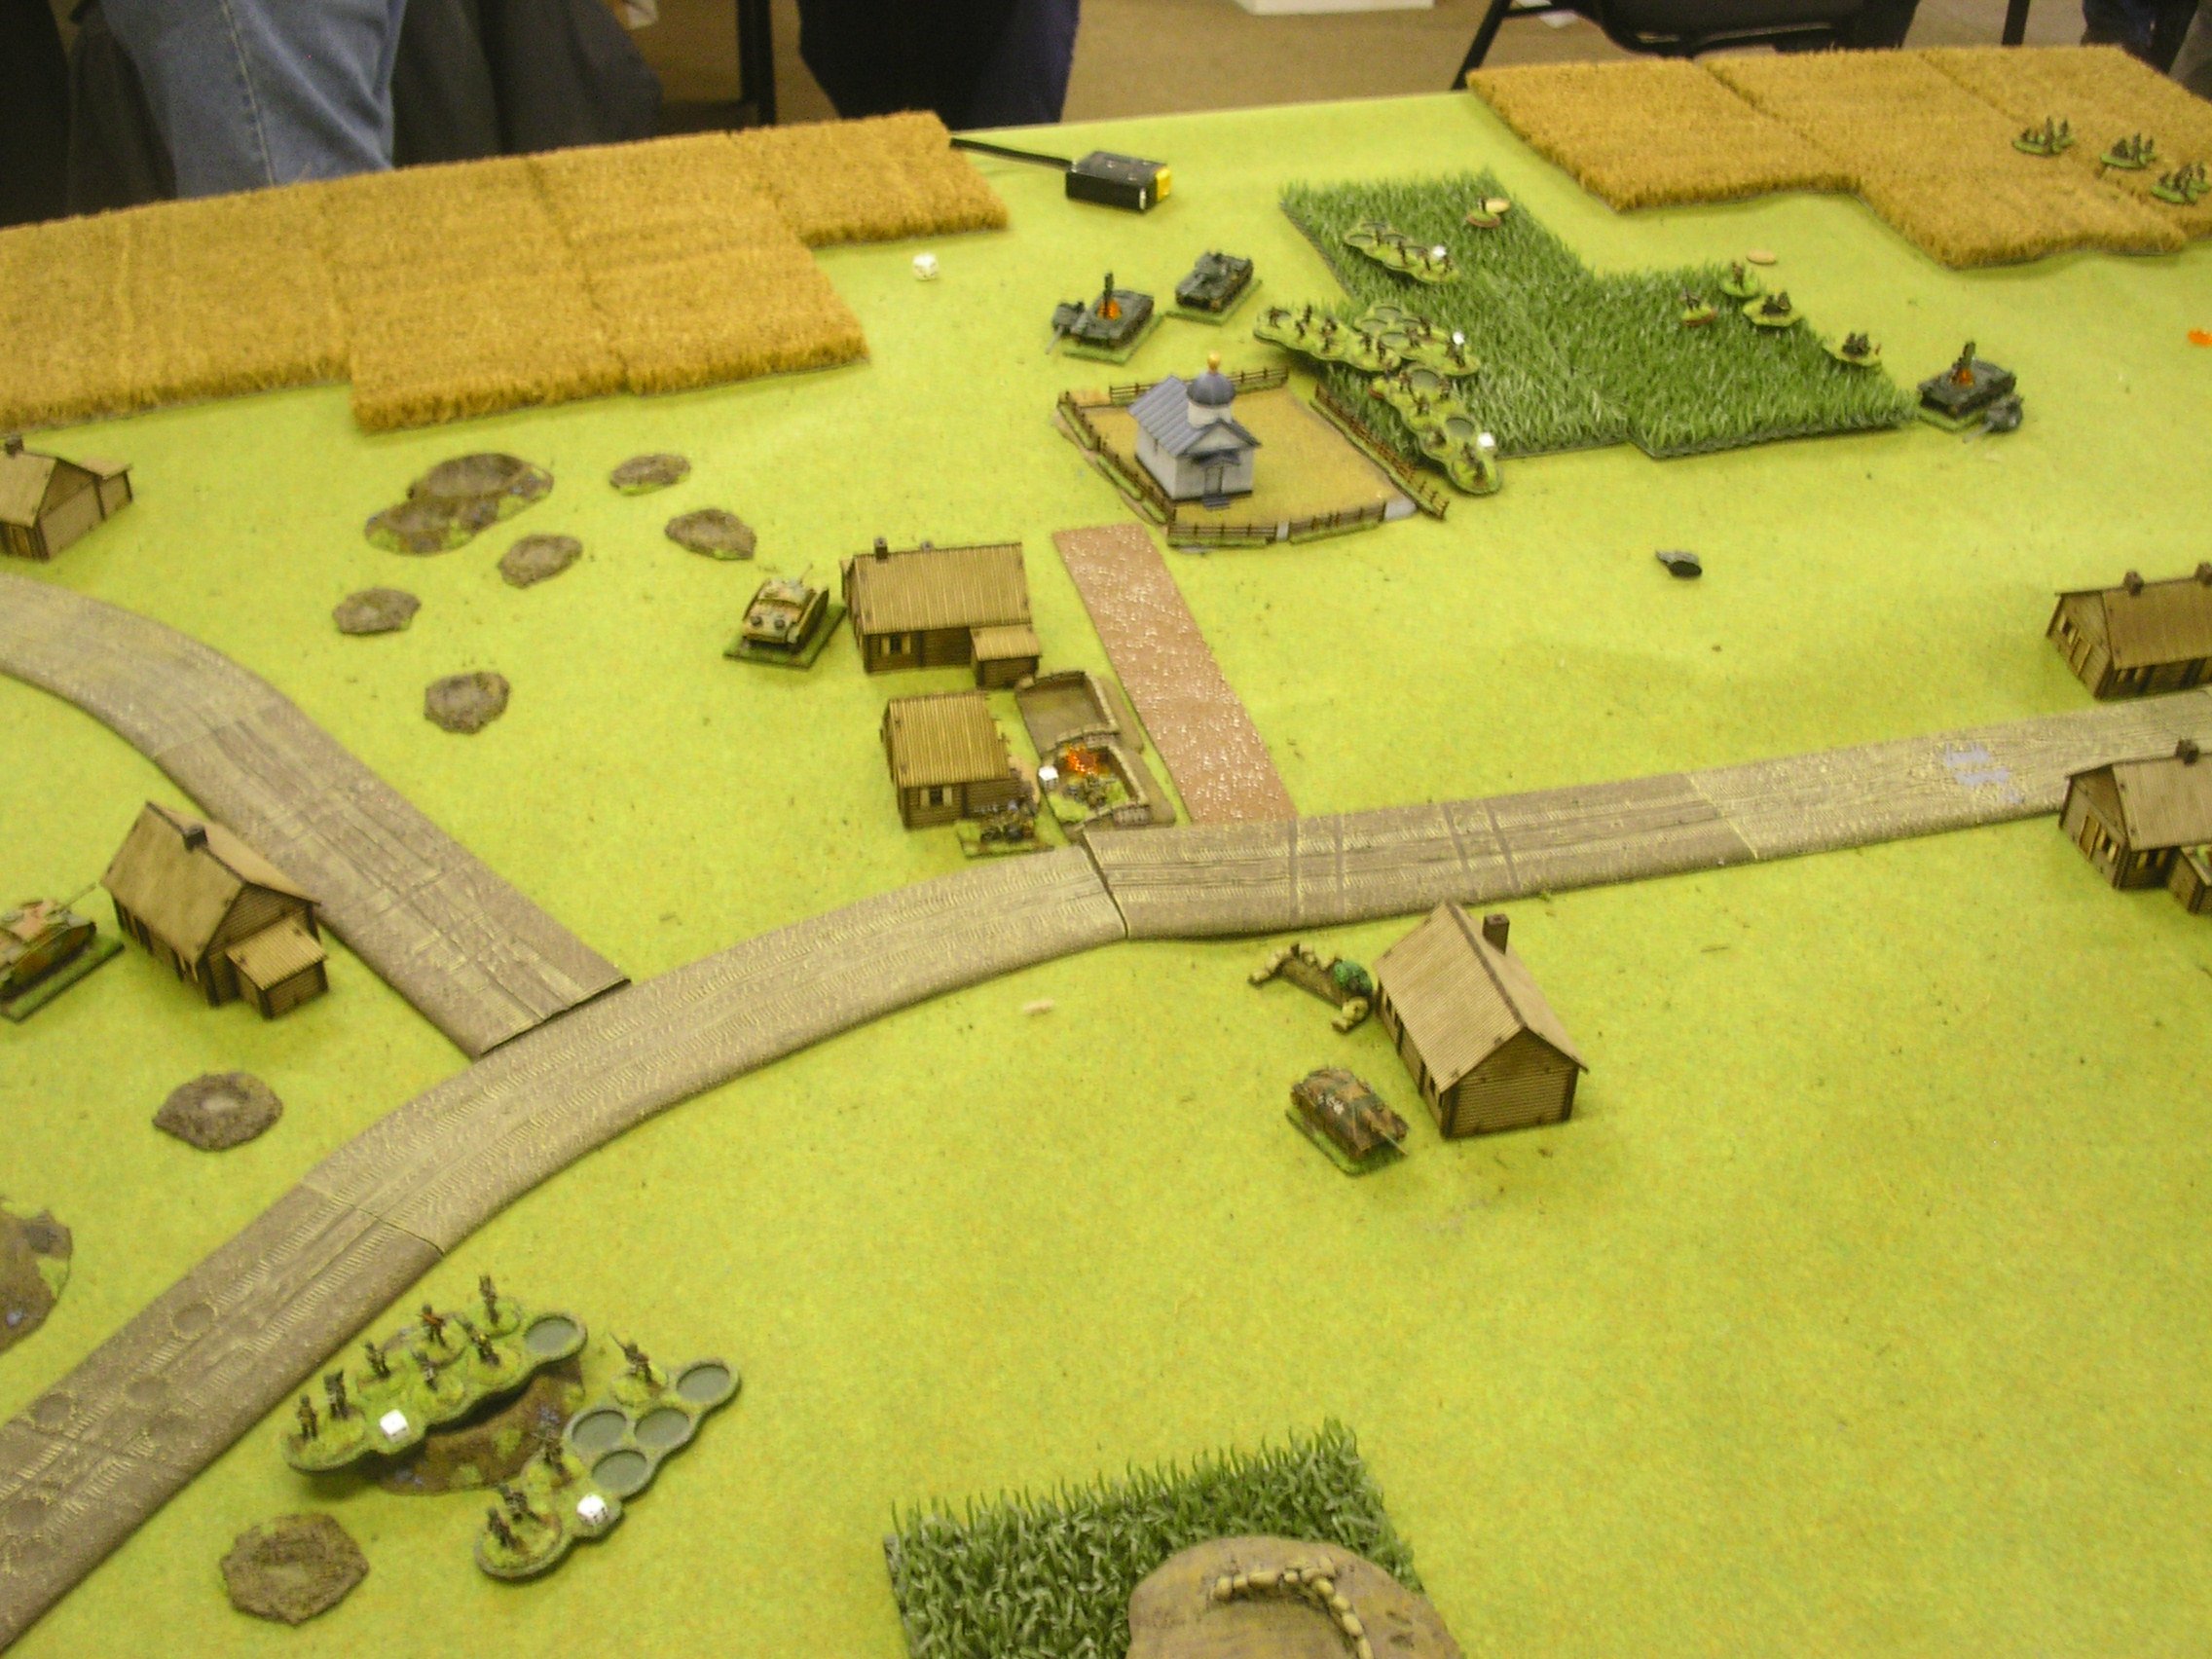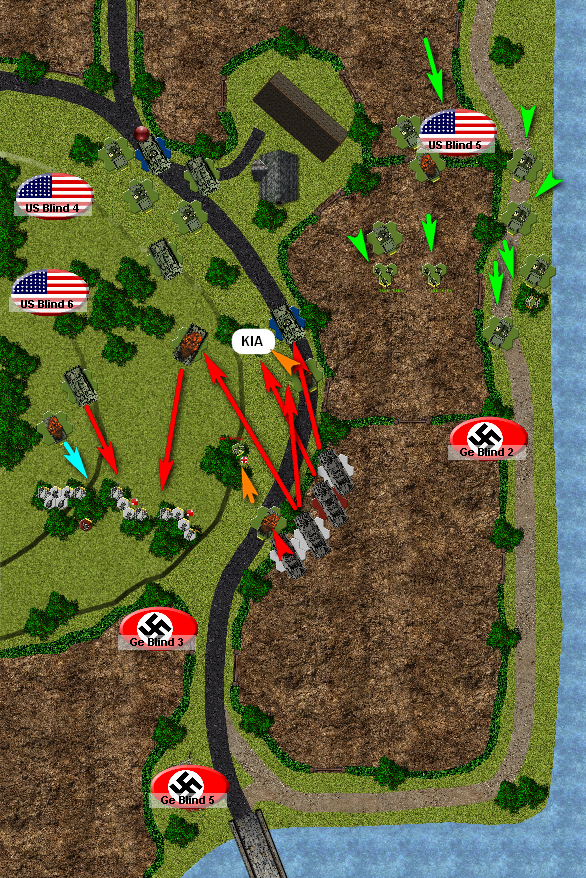
This scenario is based upon the Dec 2, 1941 Soviet counterattack on the leading edge of the German drive towards Moscow.
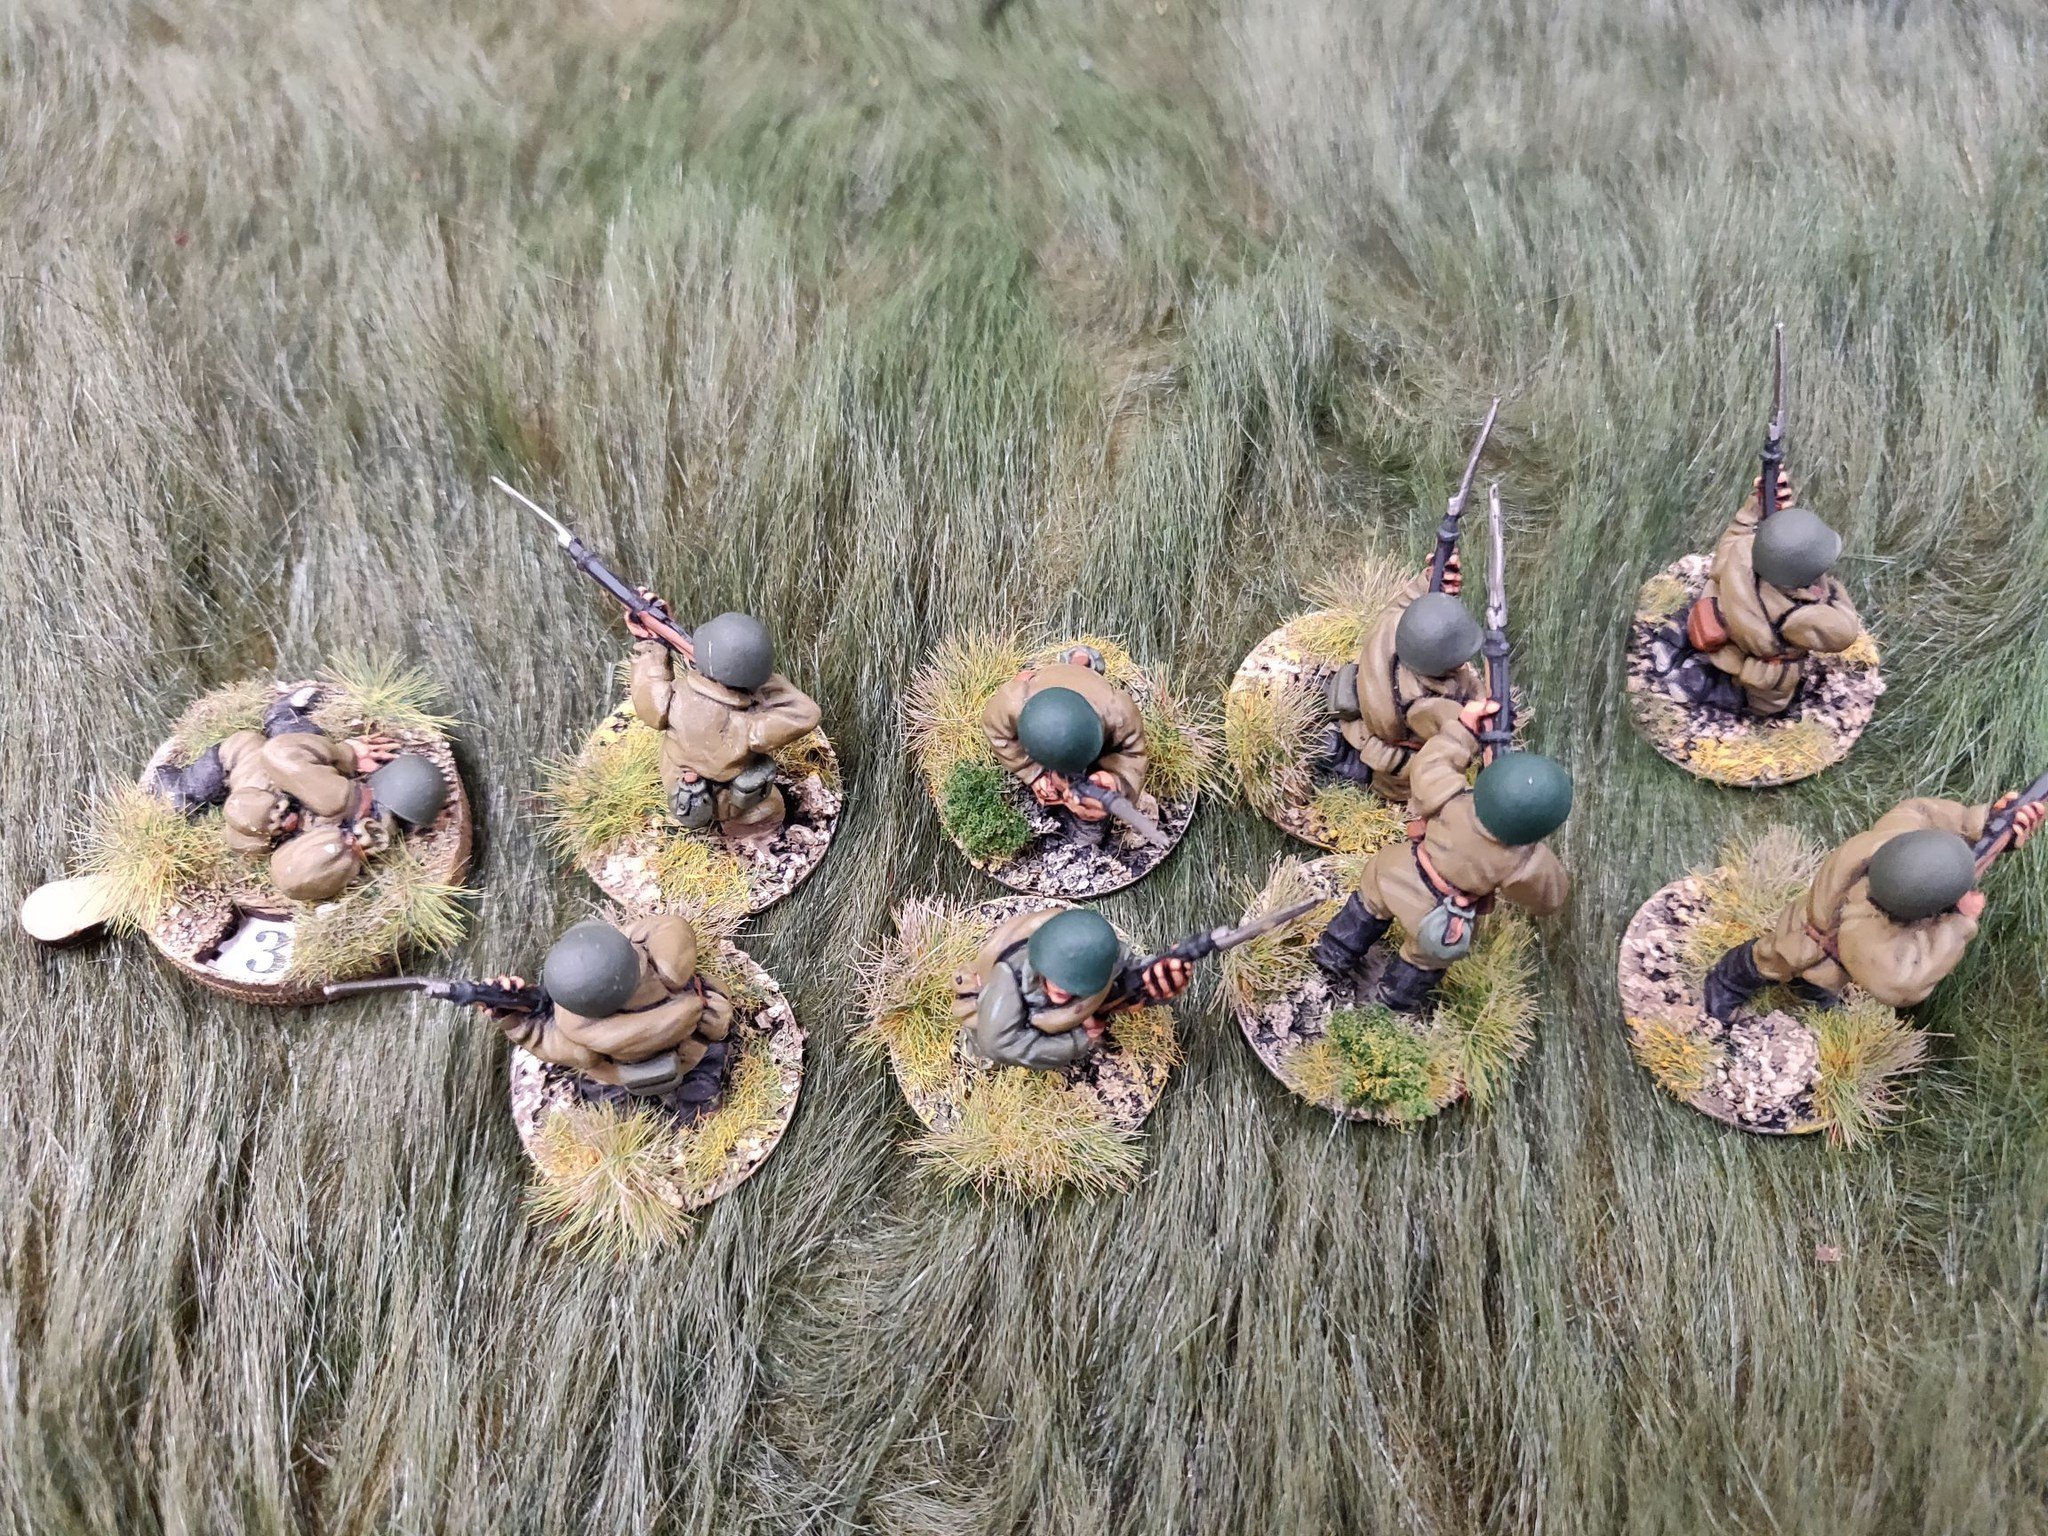
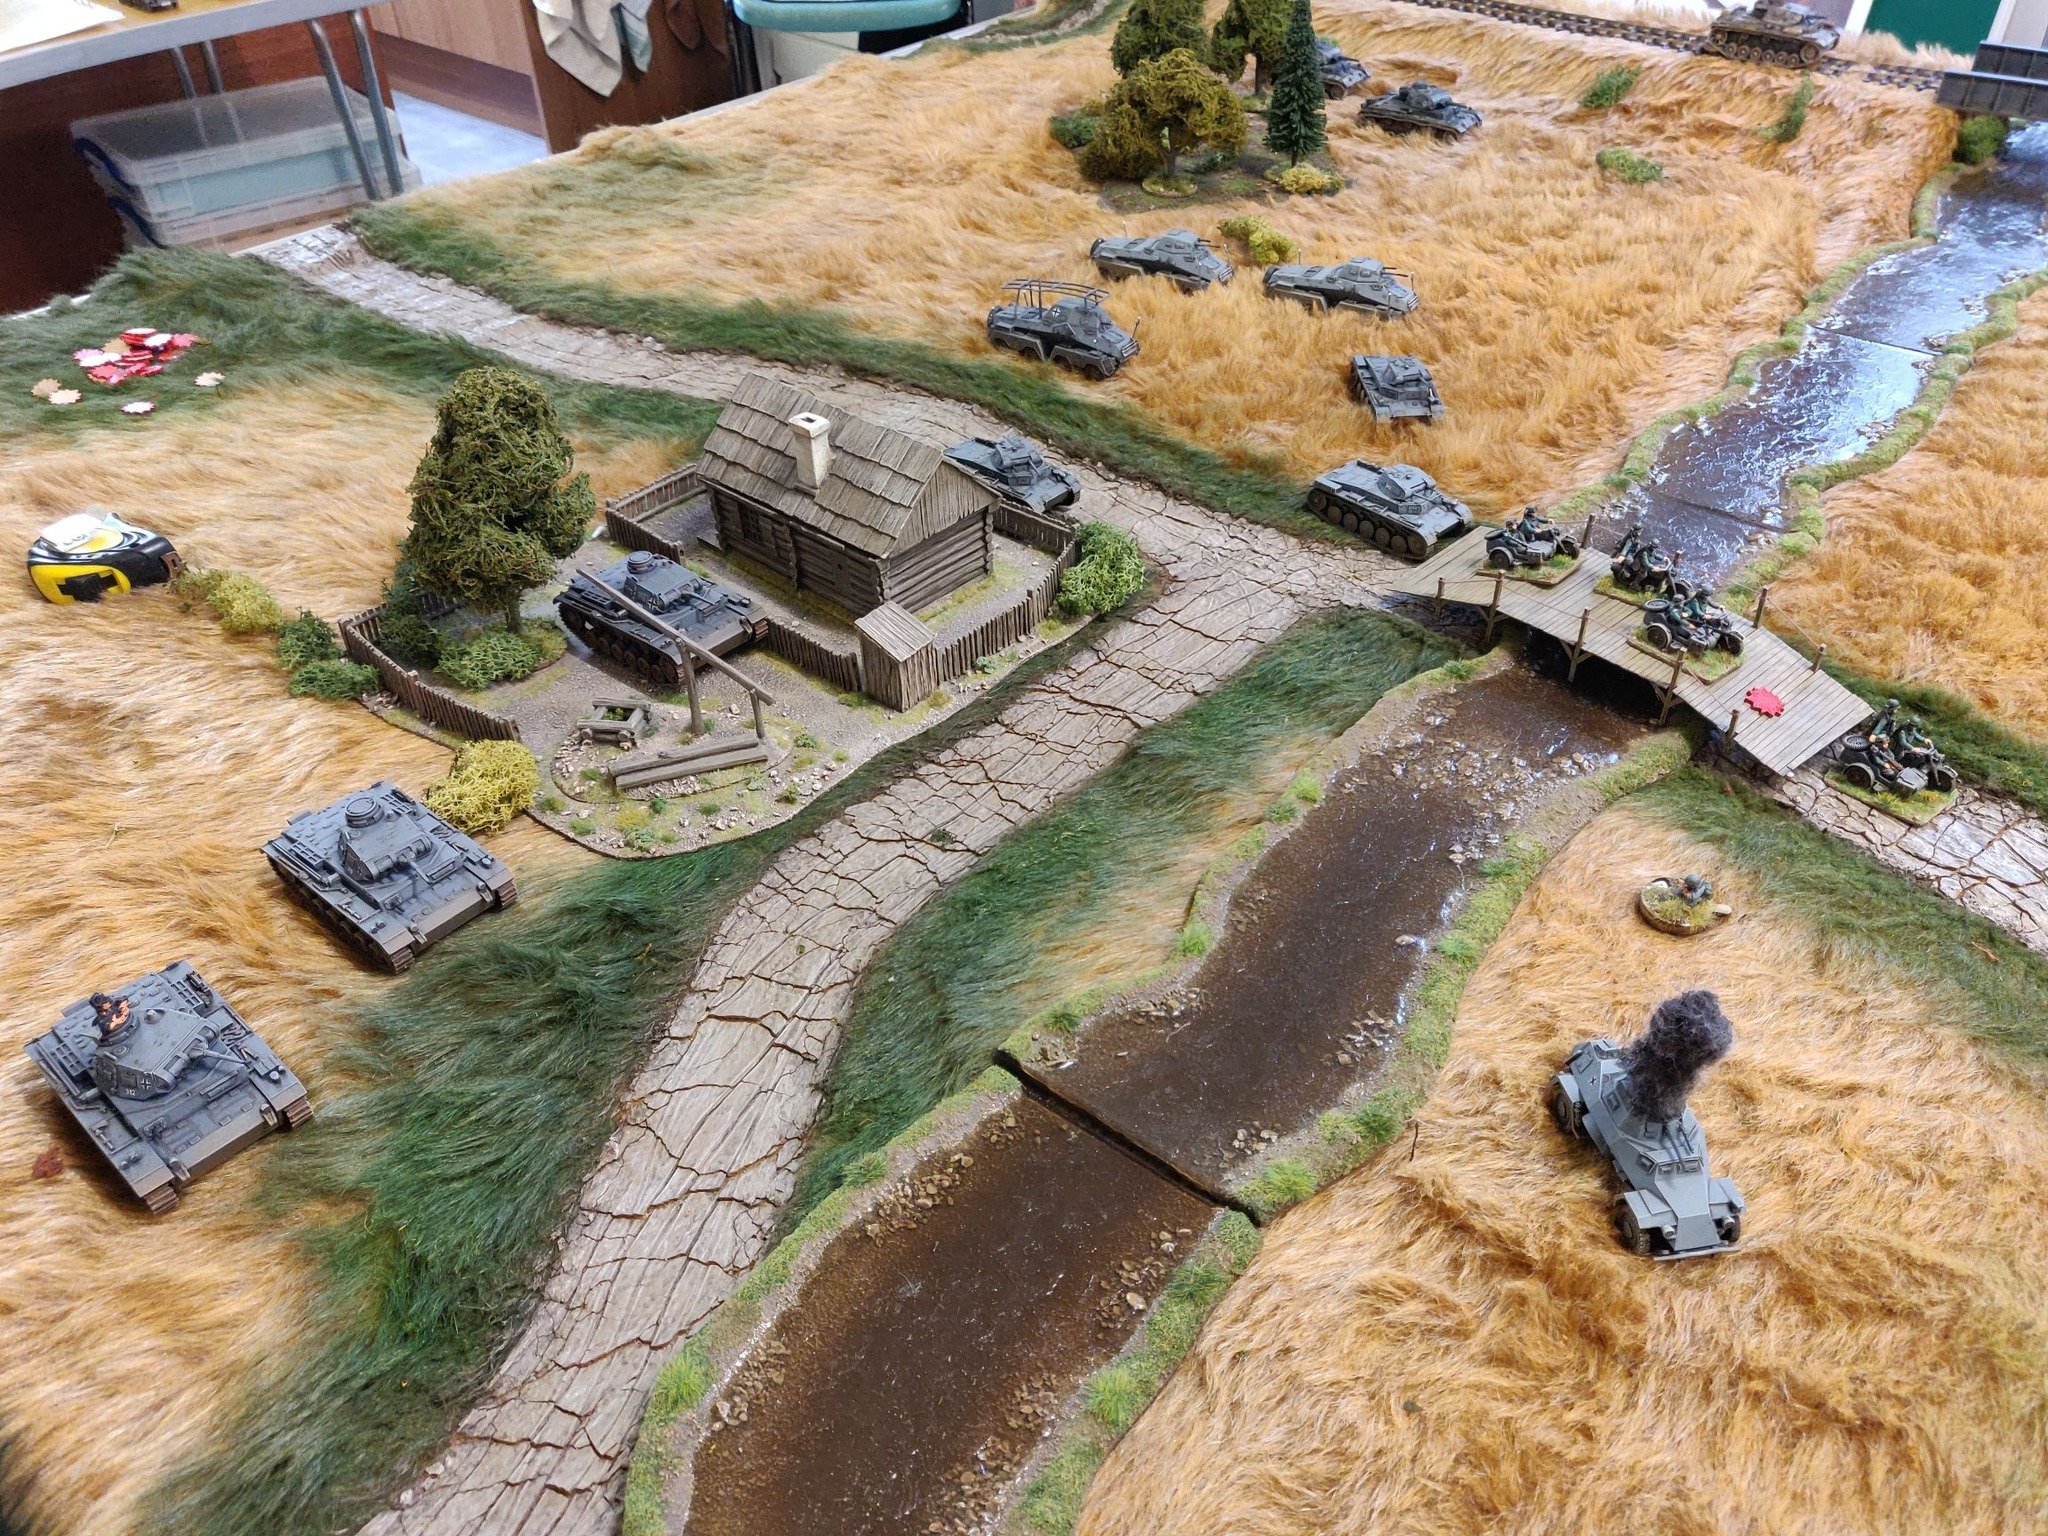
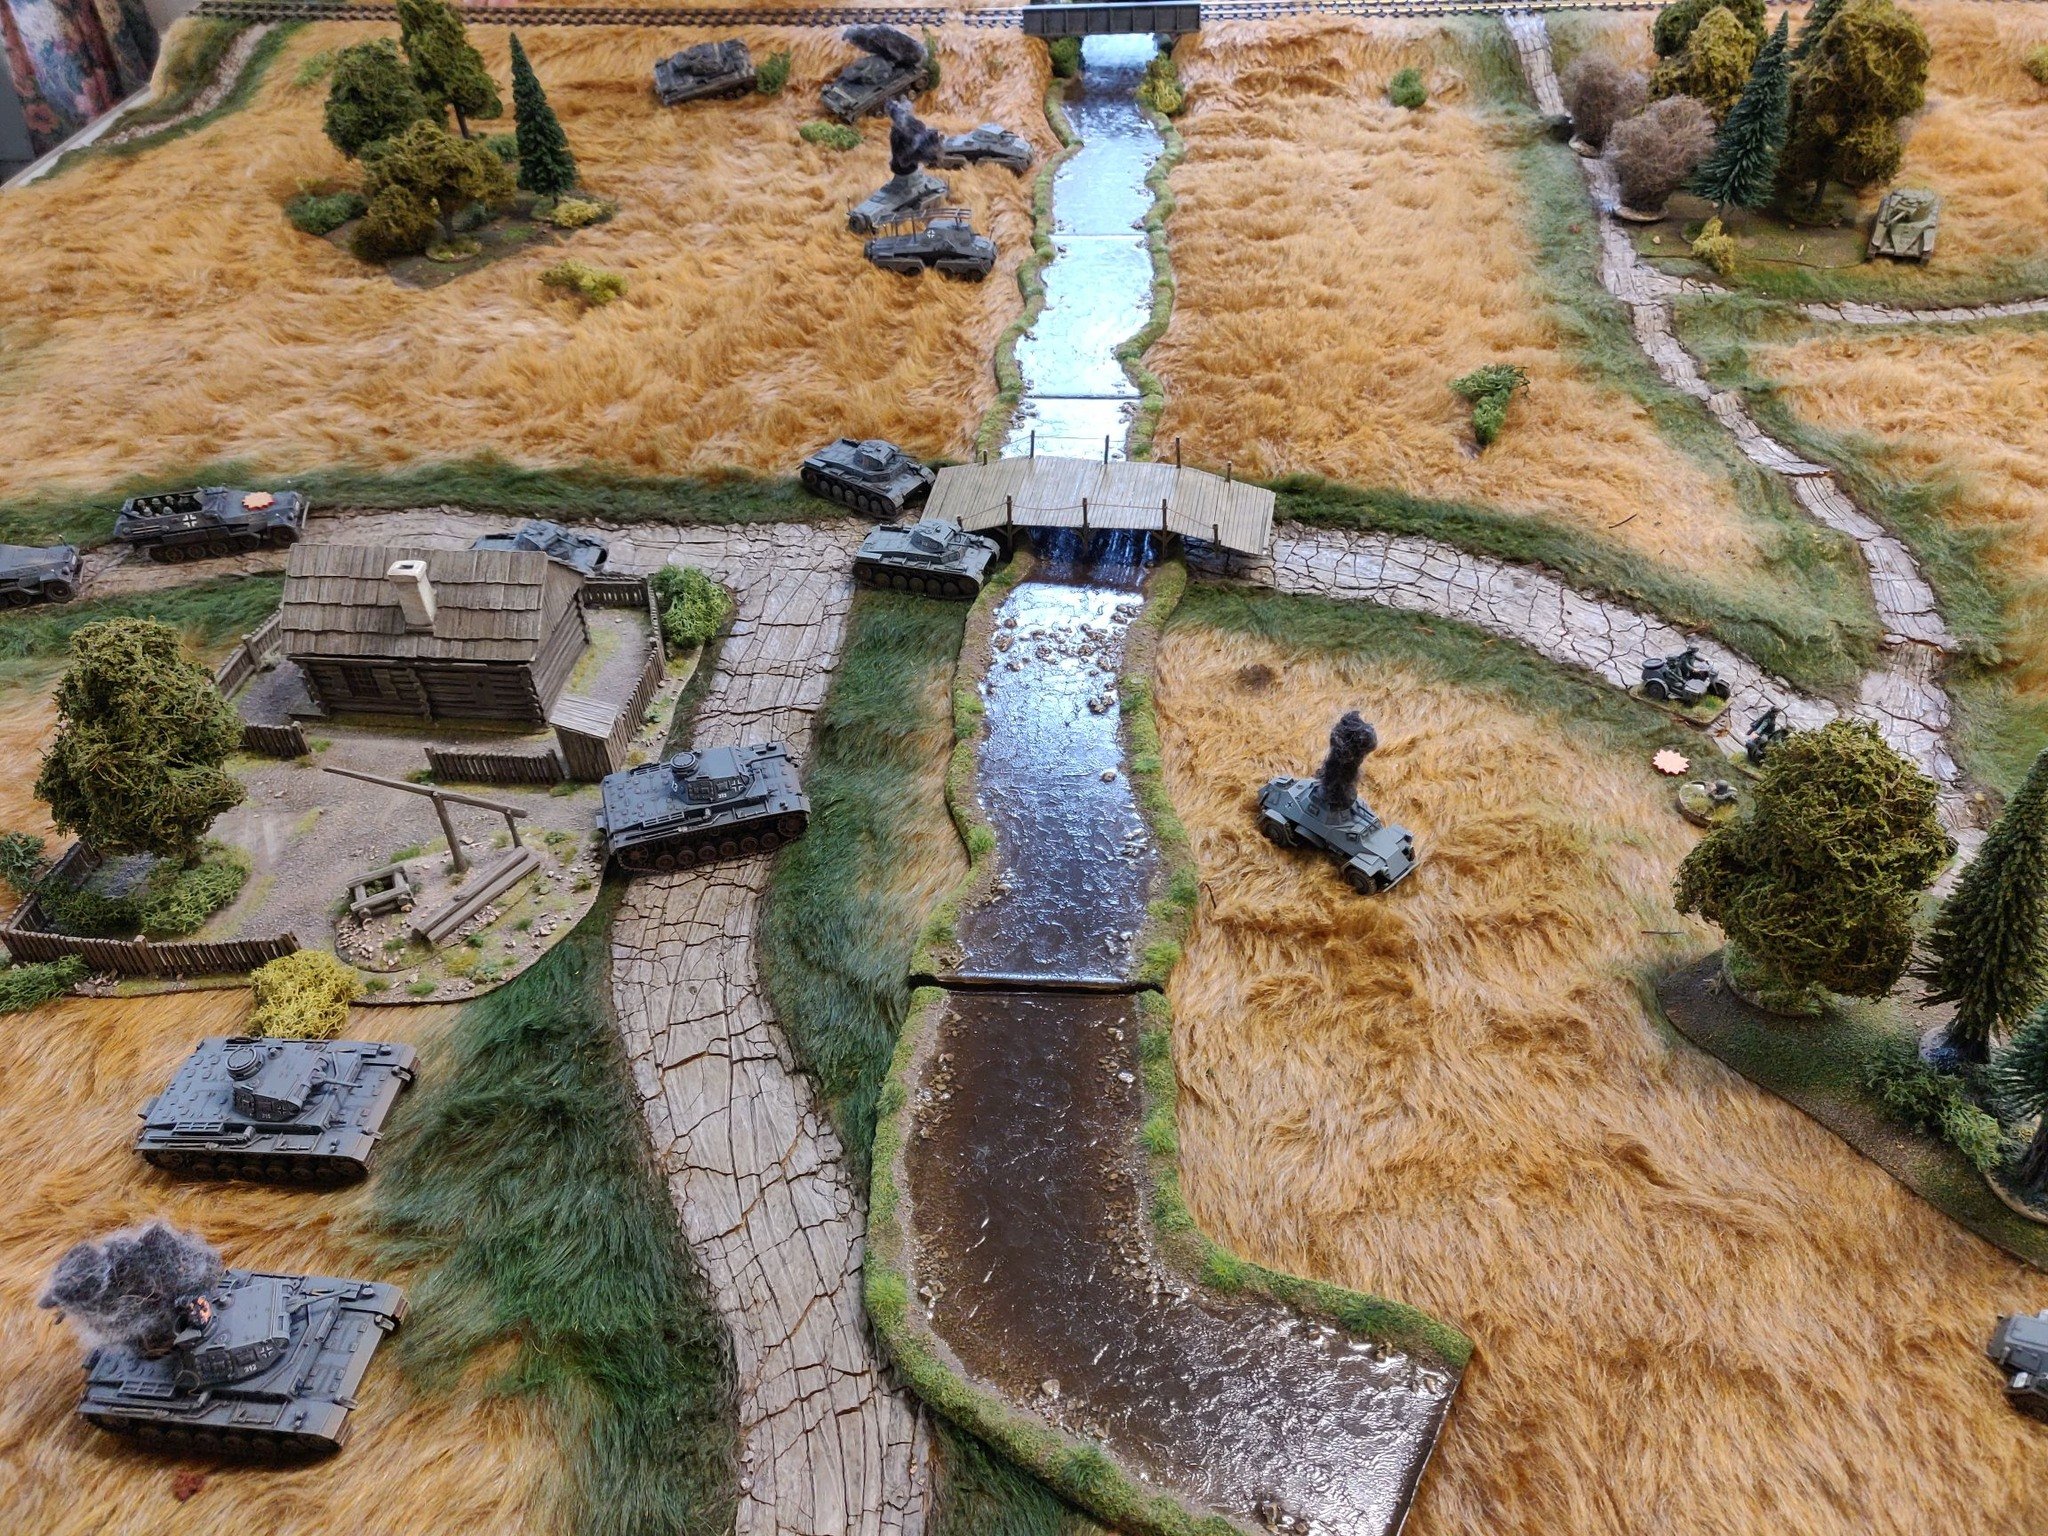
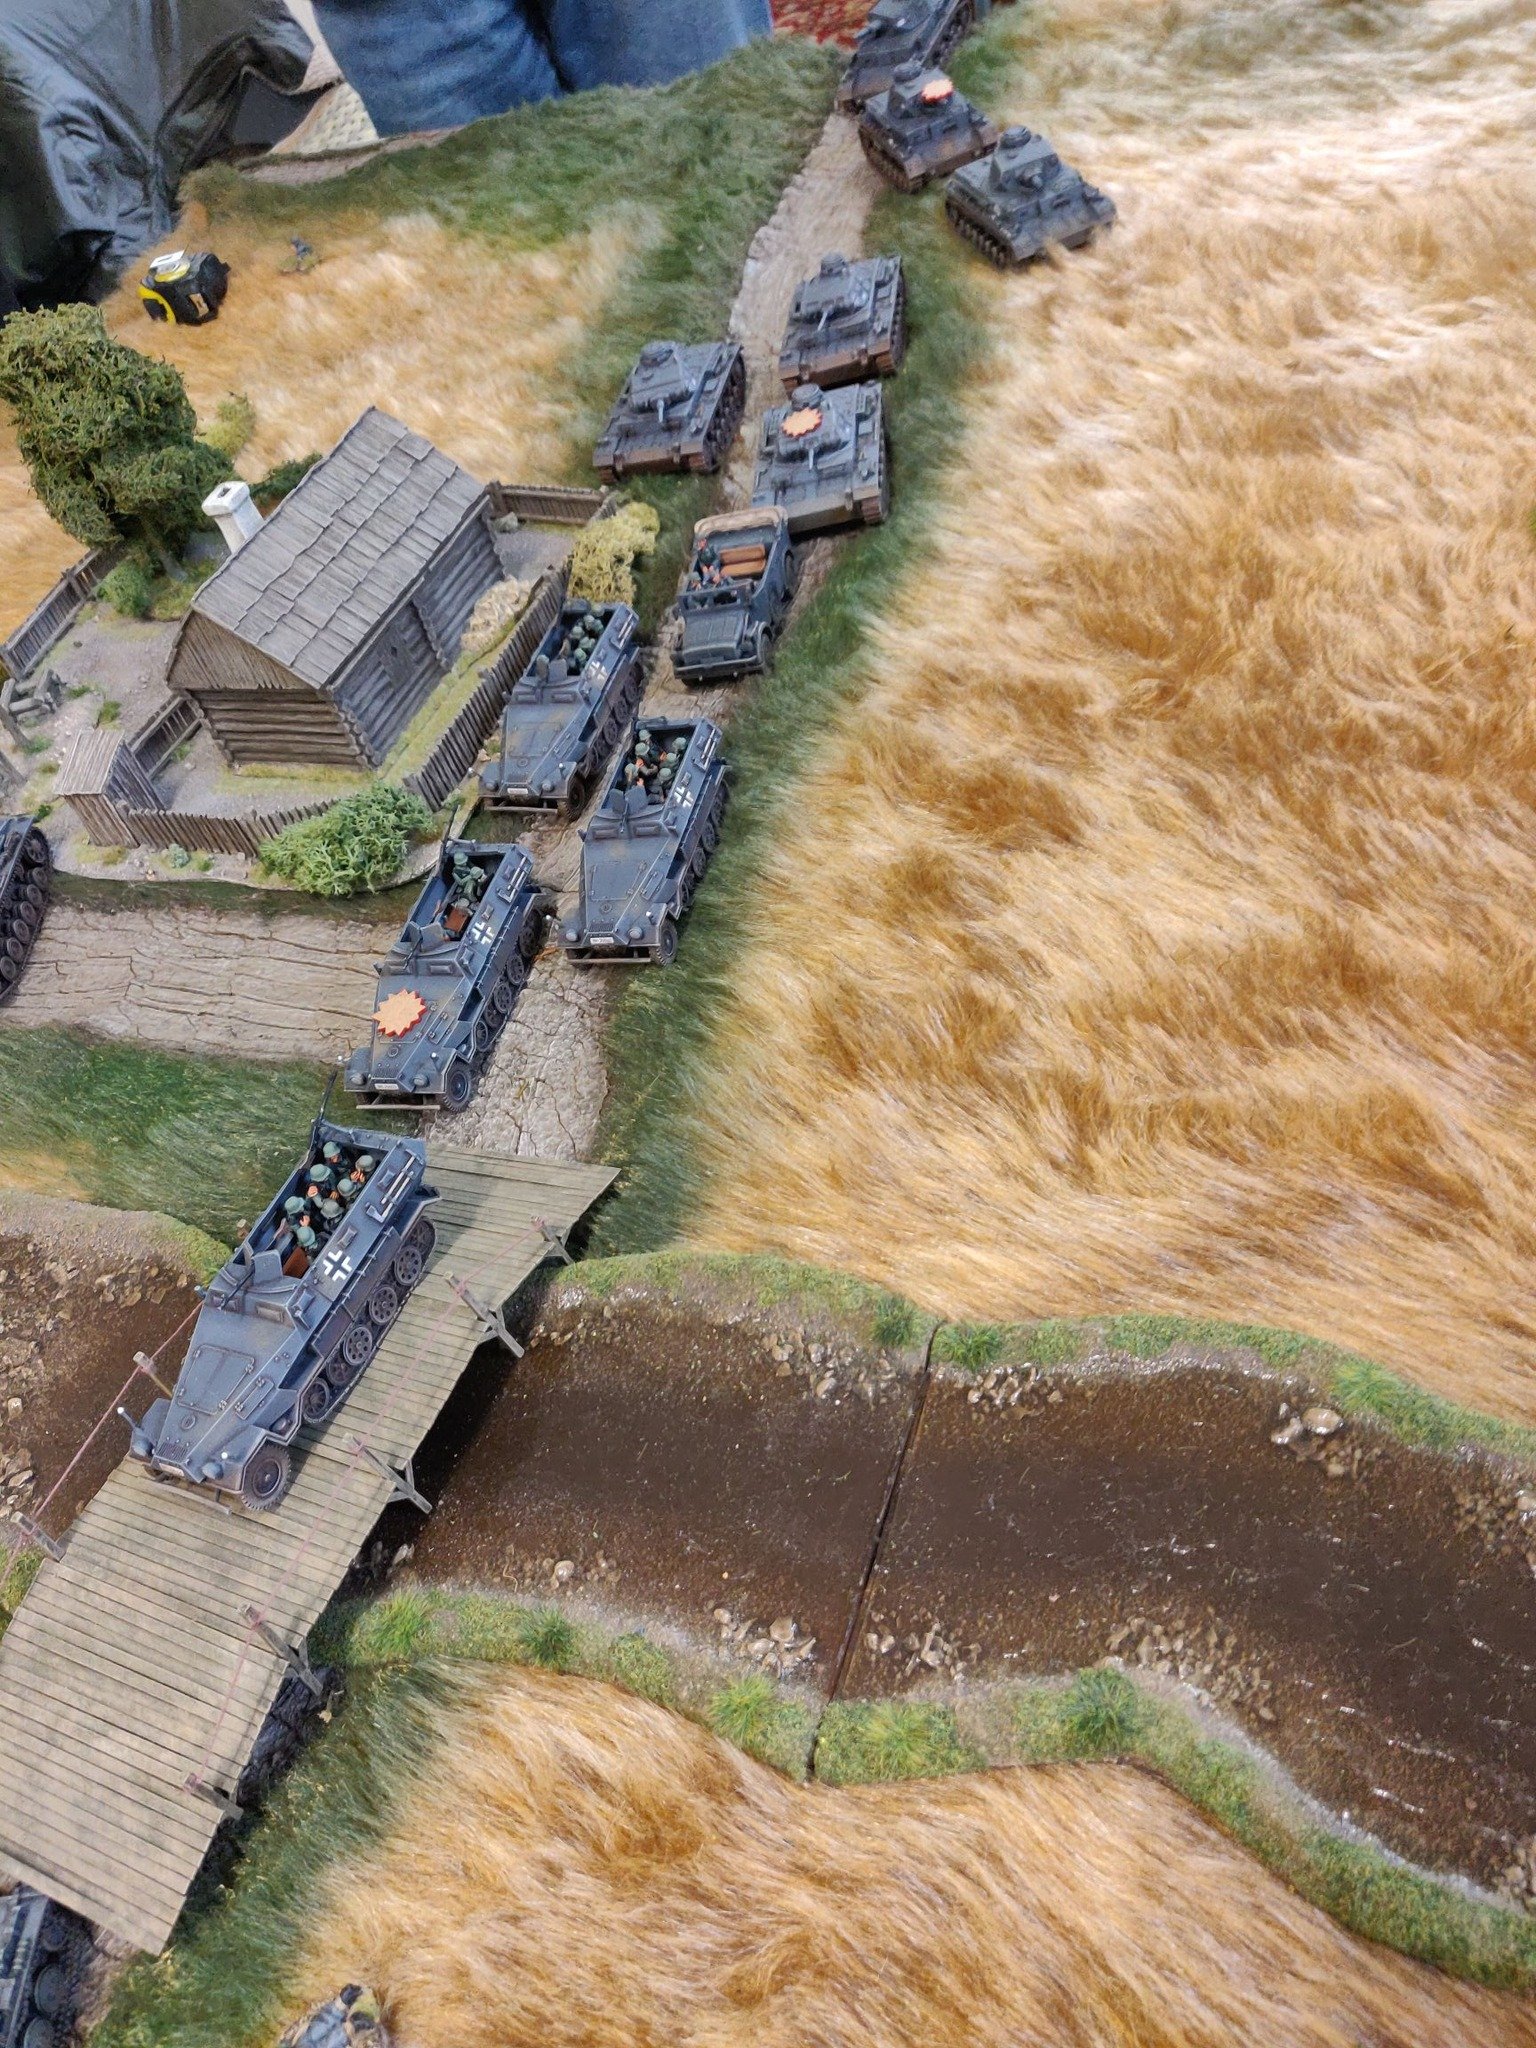
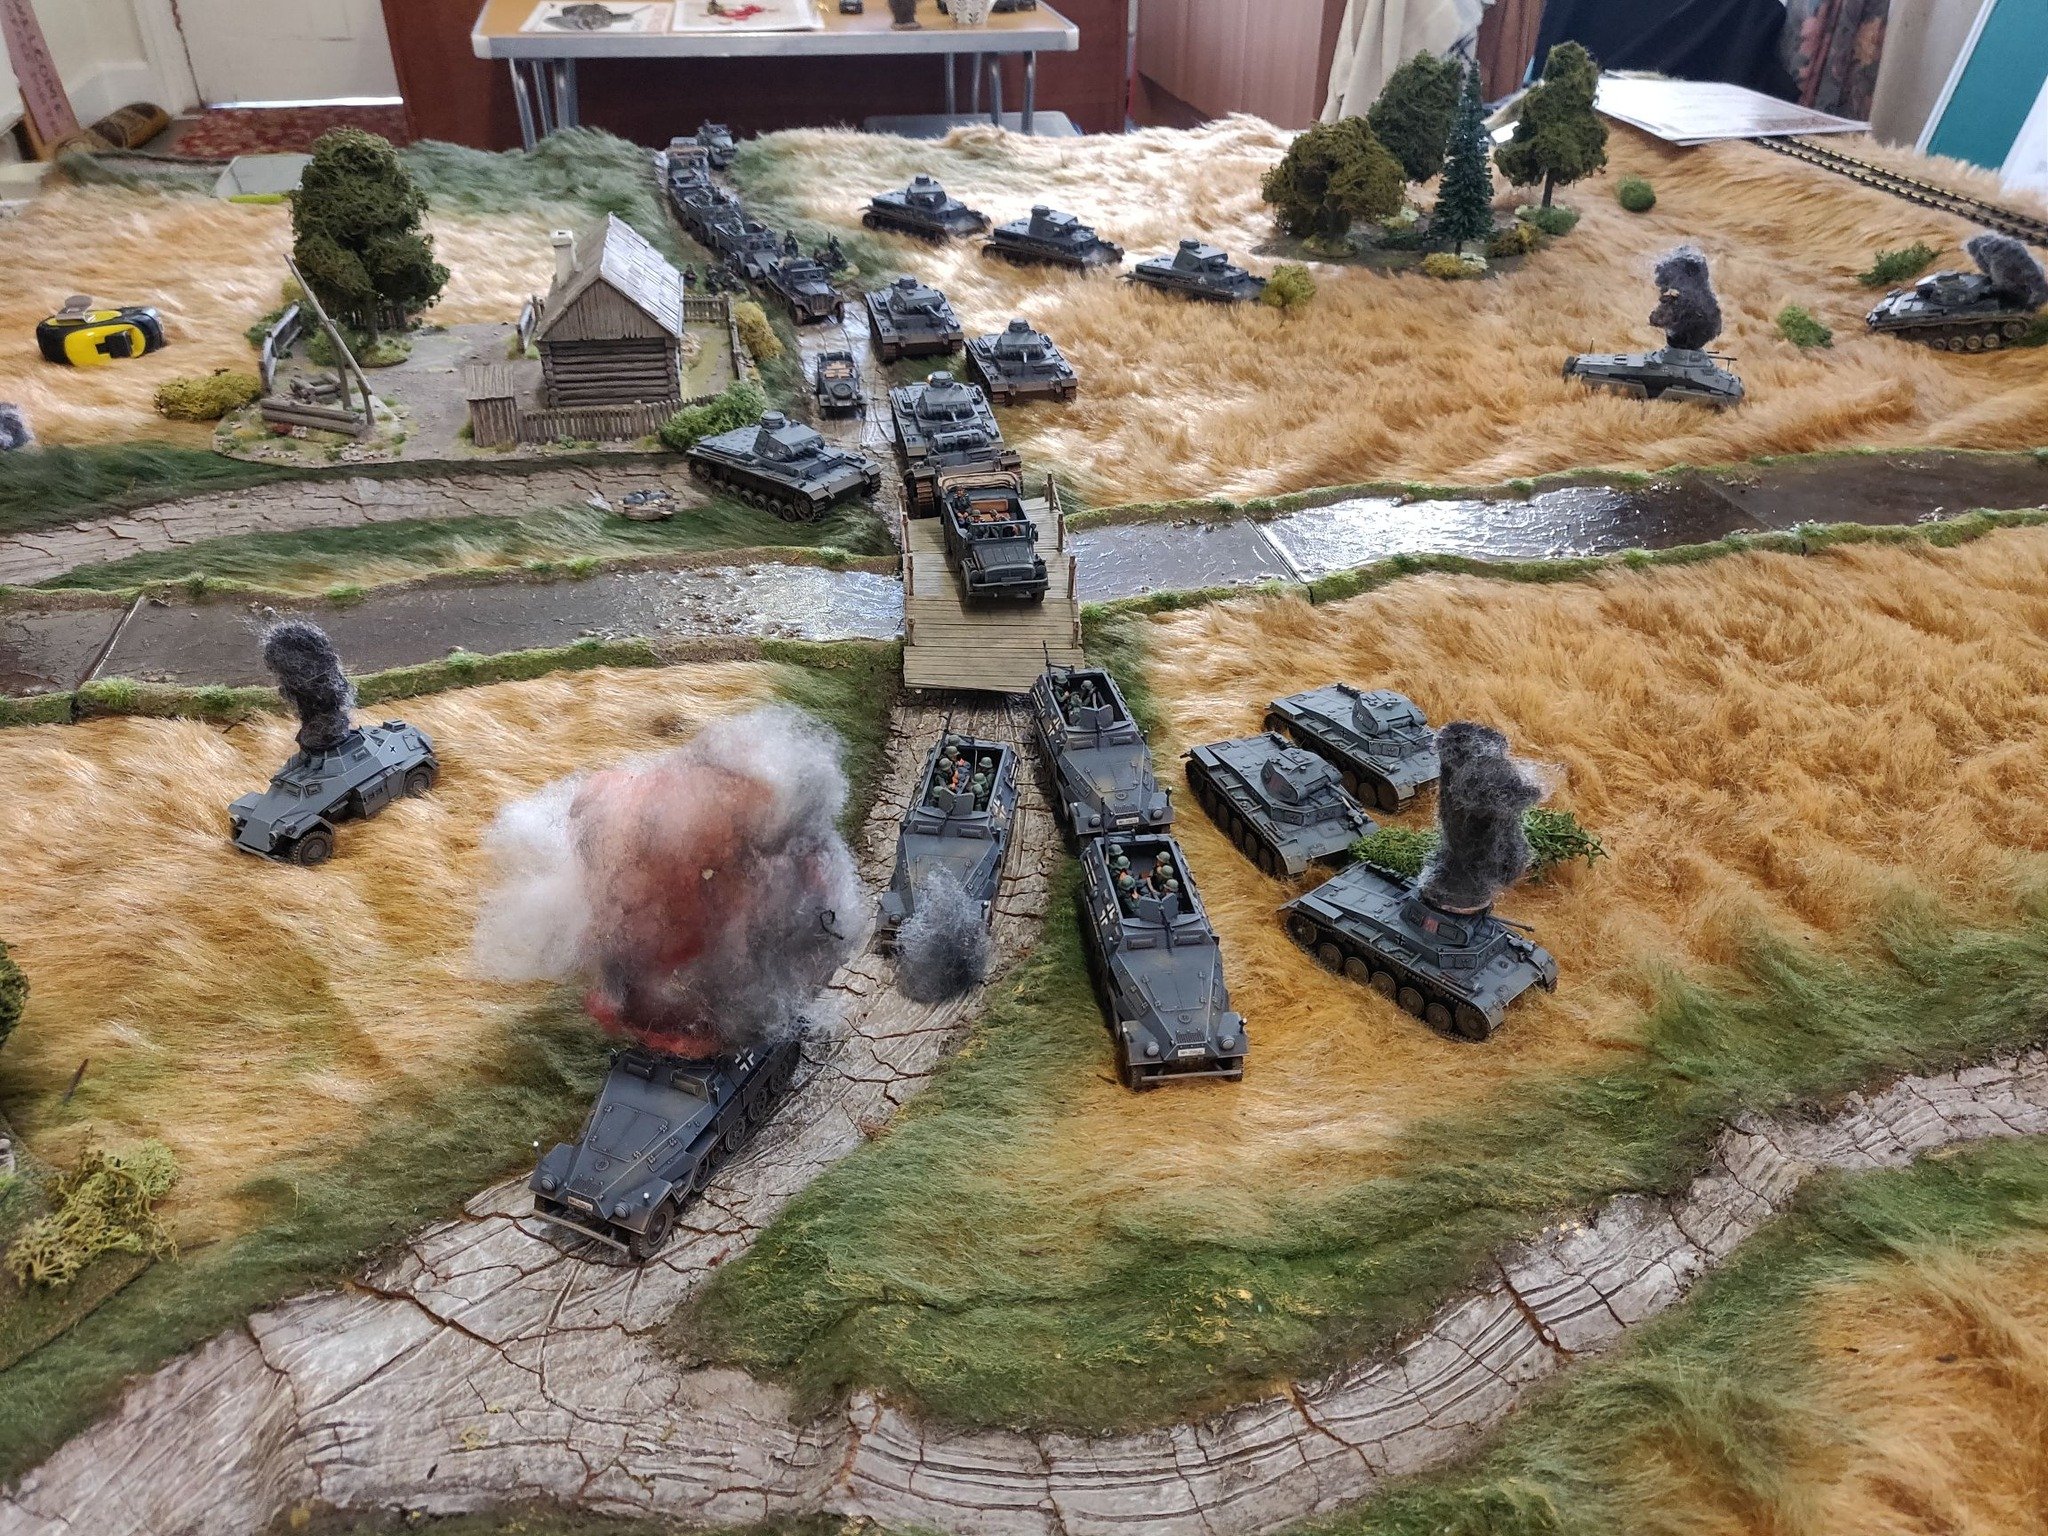
The German 258 Infantry Division had punched through the Russian 222 Rifle Division and was only 27 miles west of the capital. At this point, with the weather down to -30C, the Russians launched an attack at the point of the German spear. Meanwhile tanks of the 136th and 140th Tank Battalions came in from the South East to cut off the Germans. This is the basis of this game.


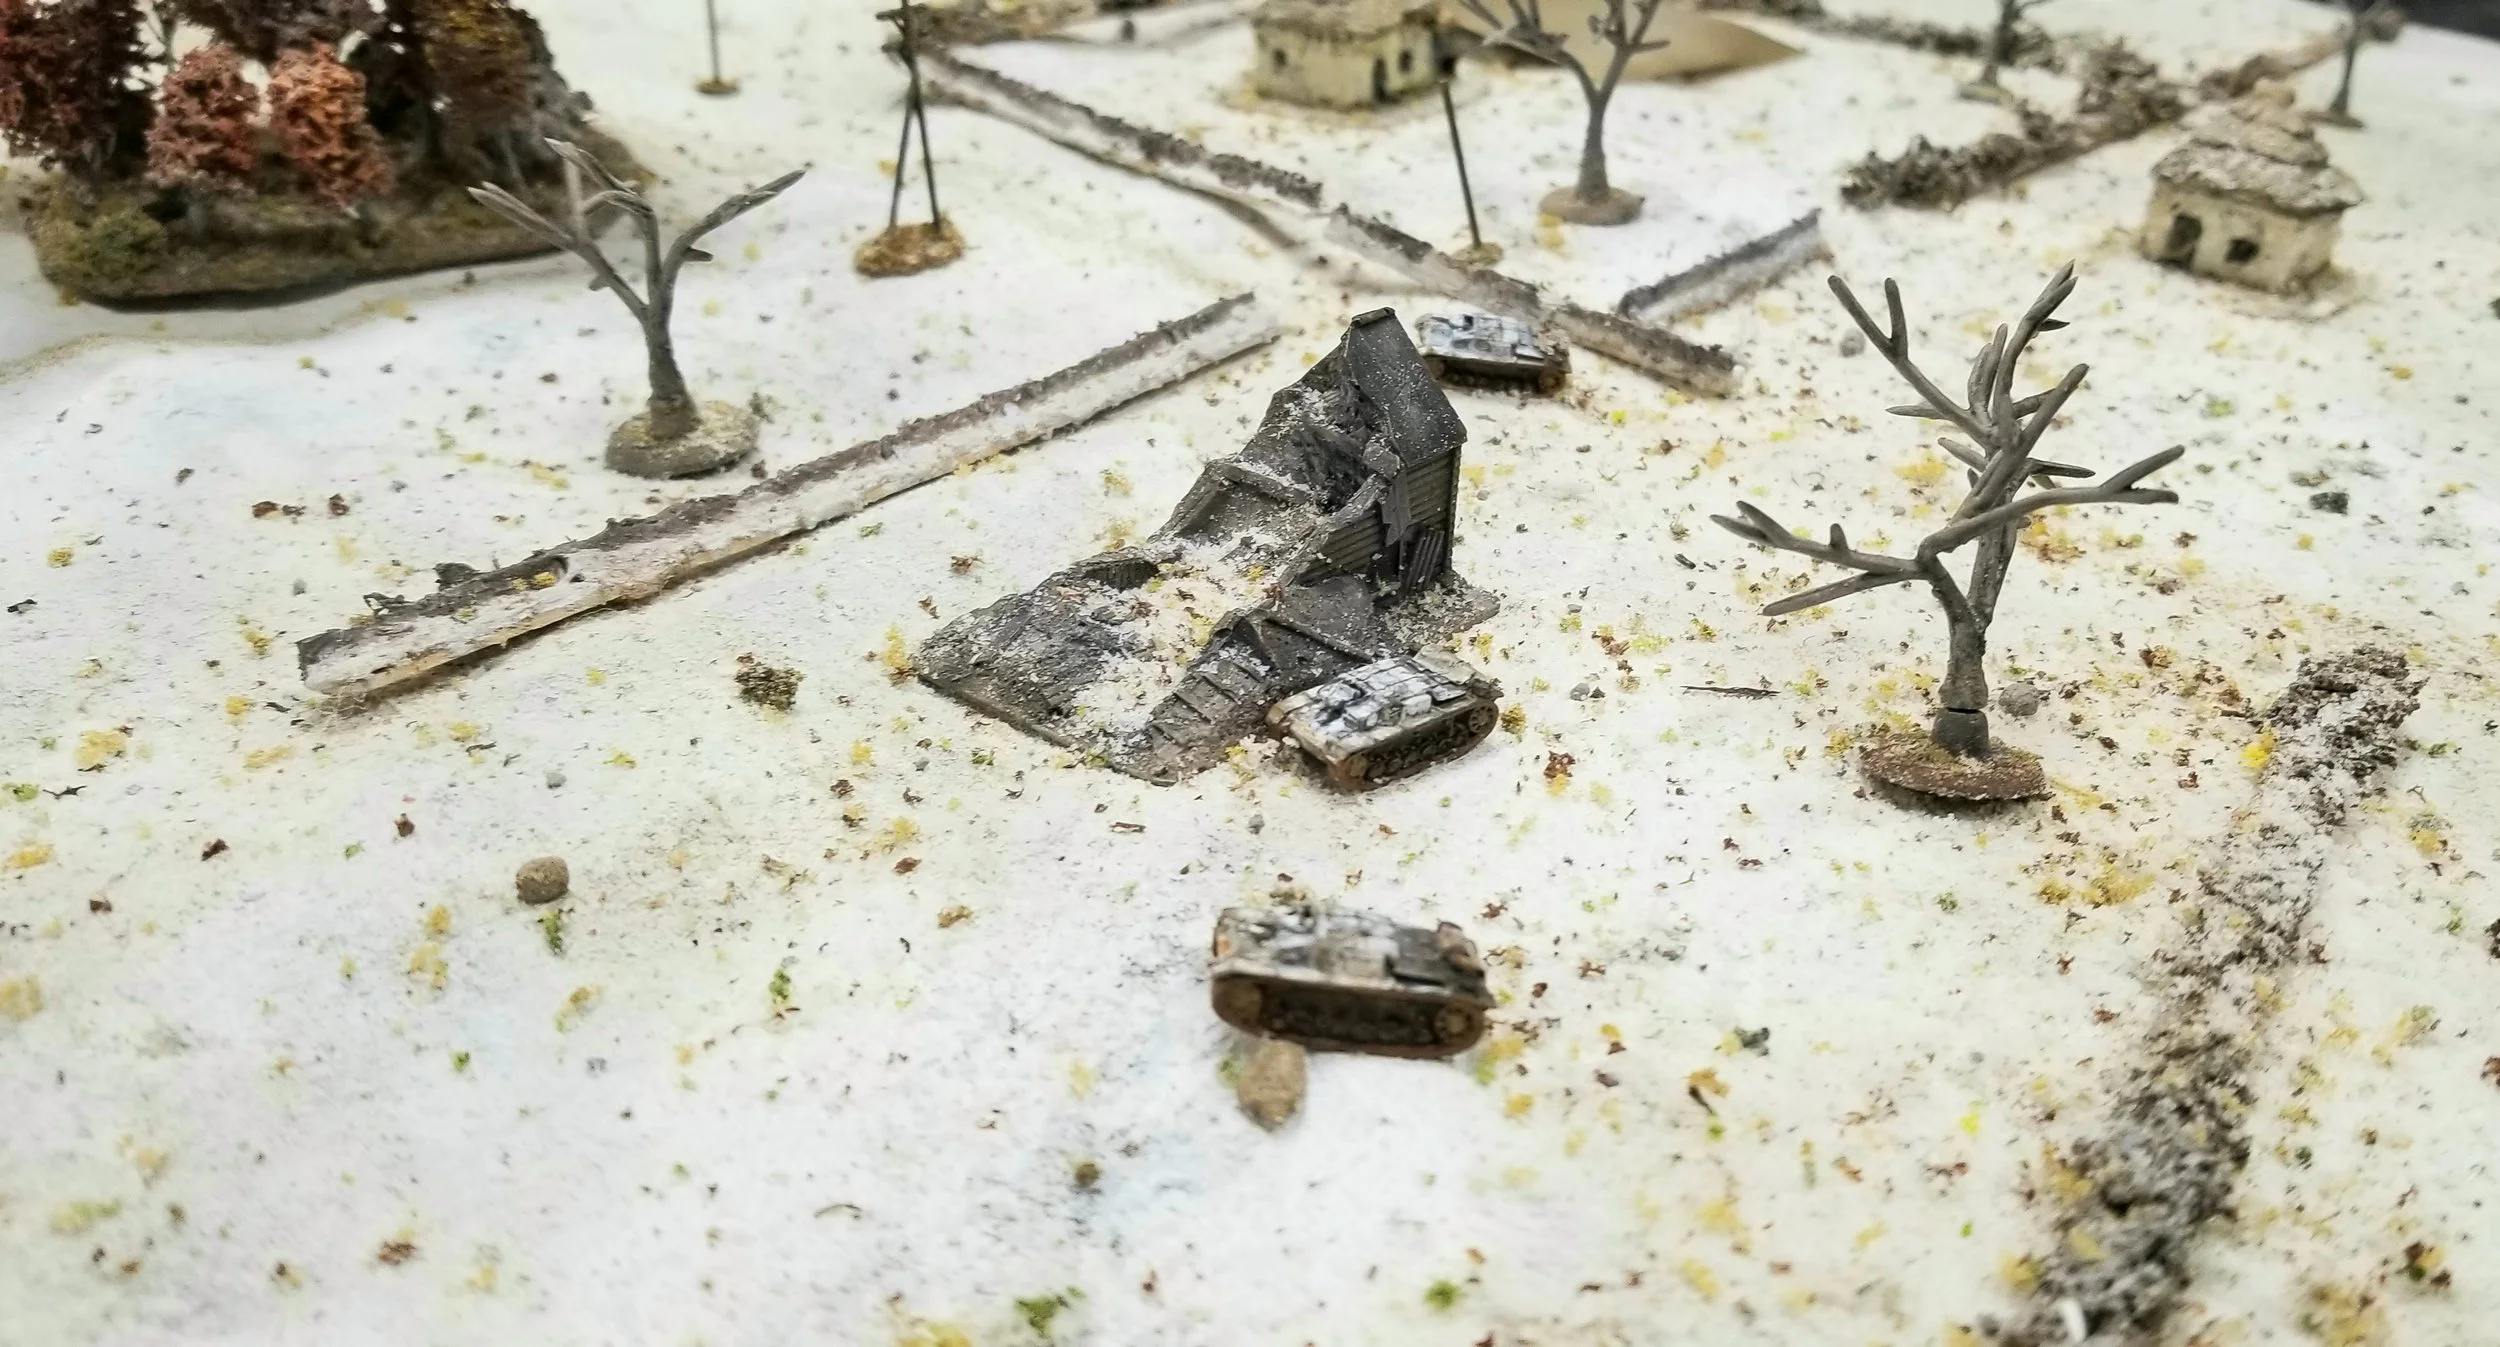


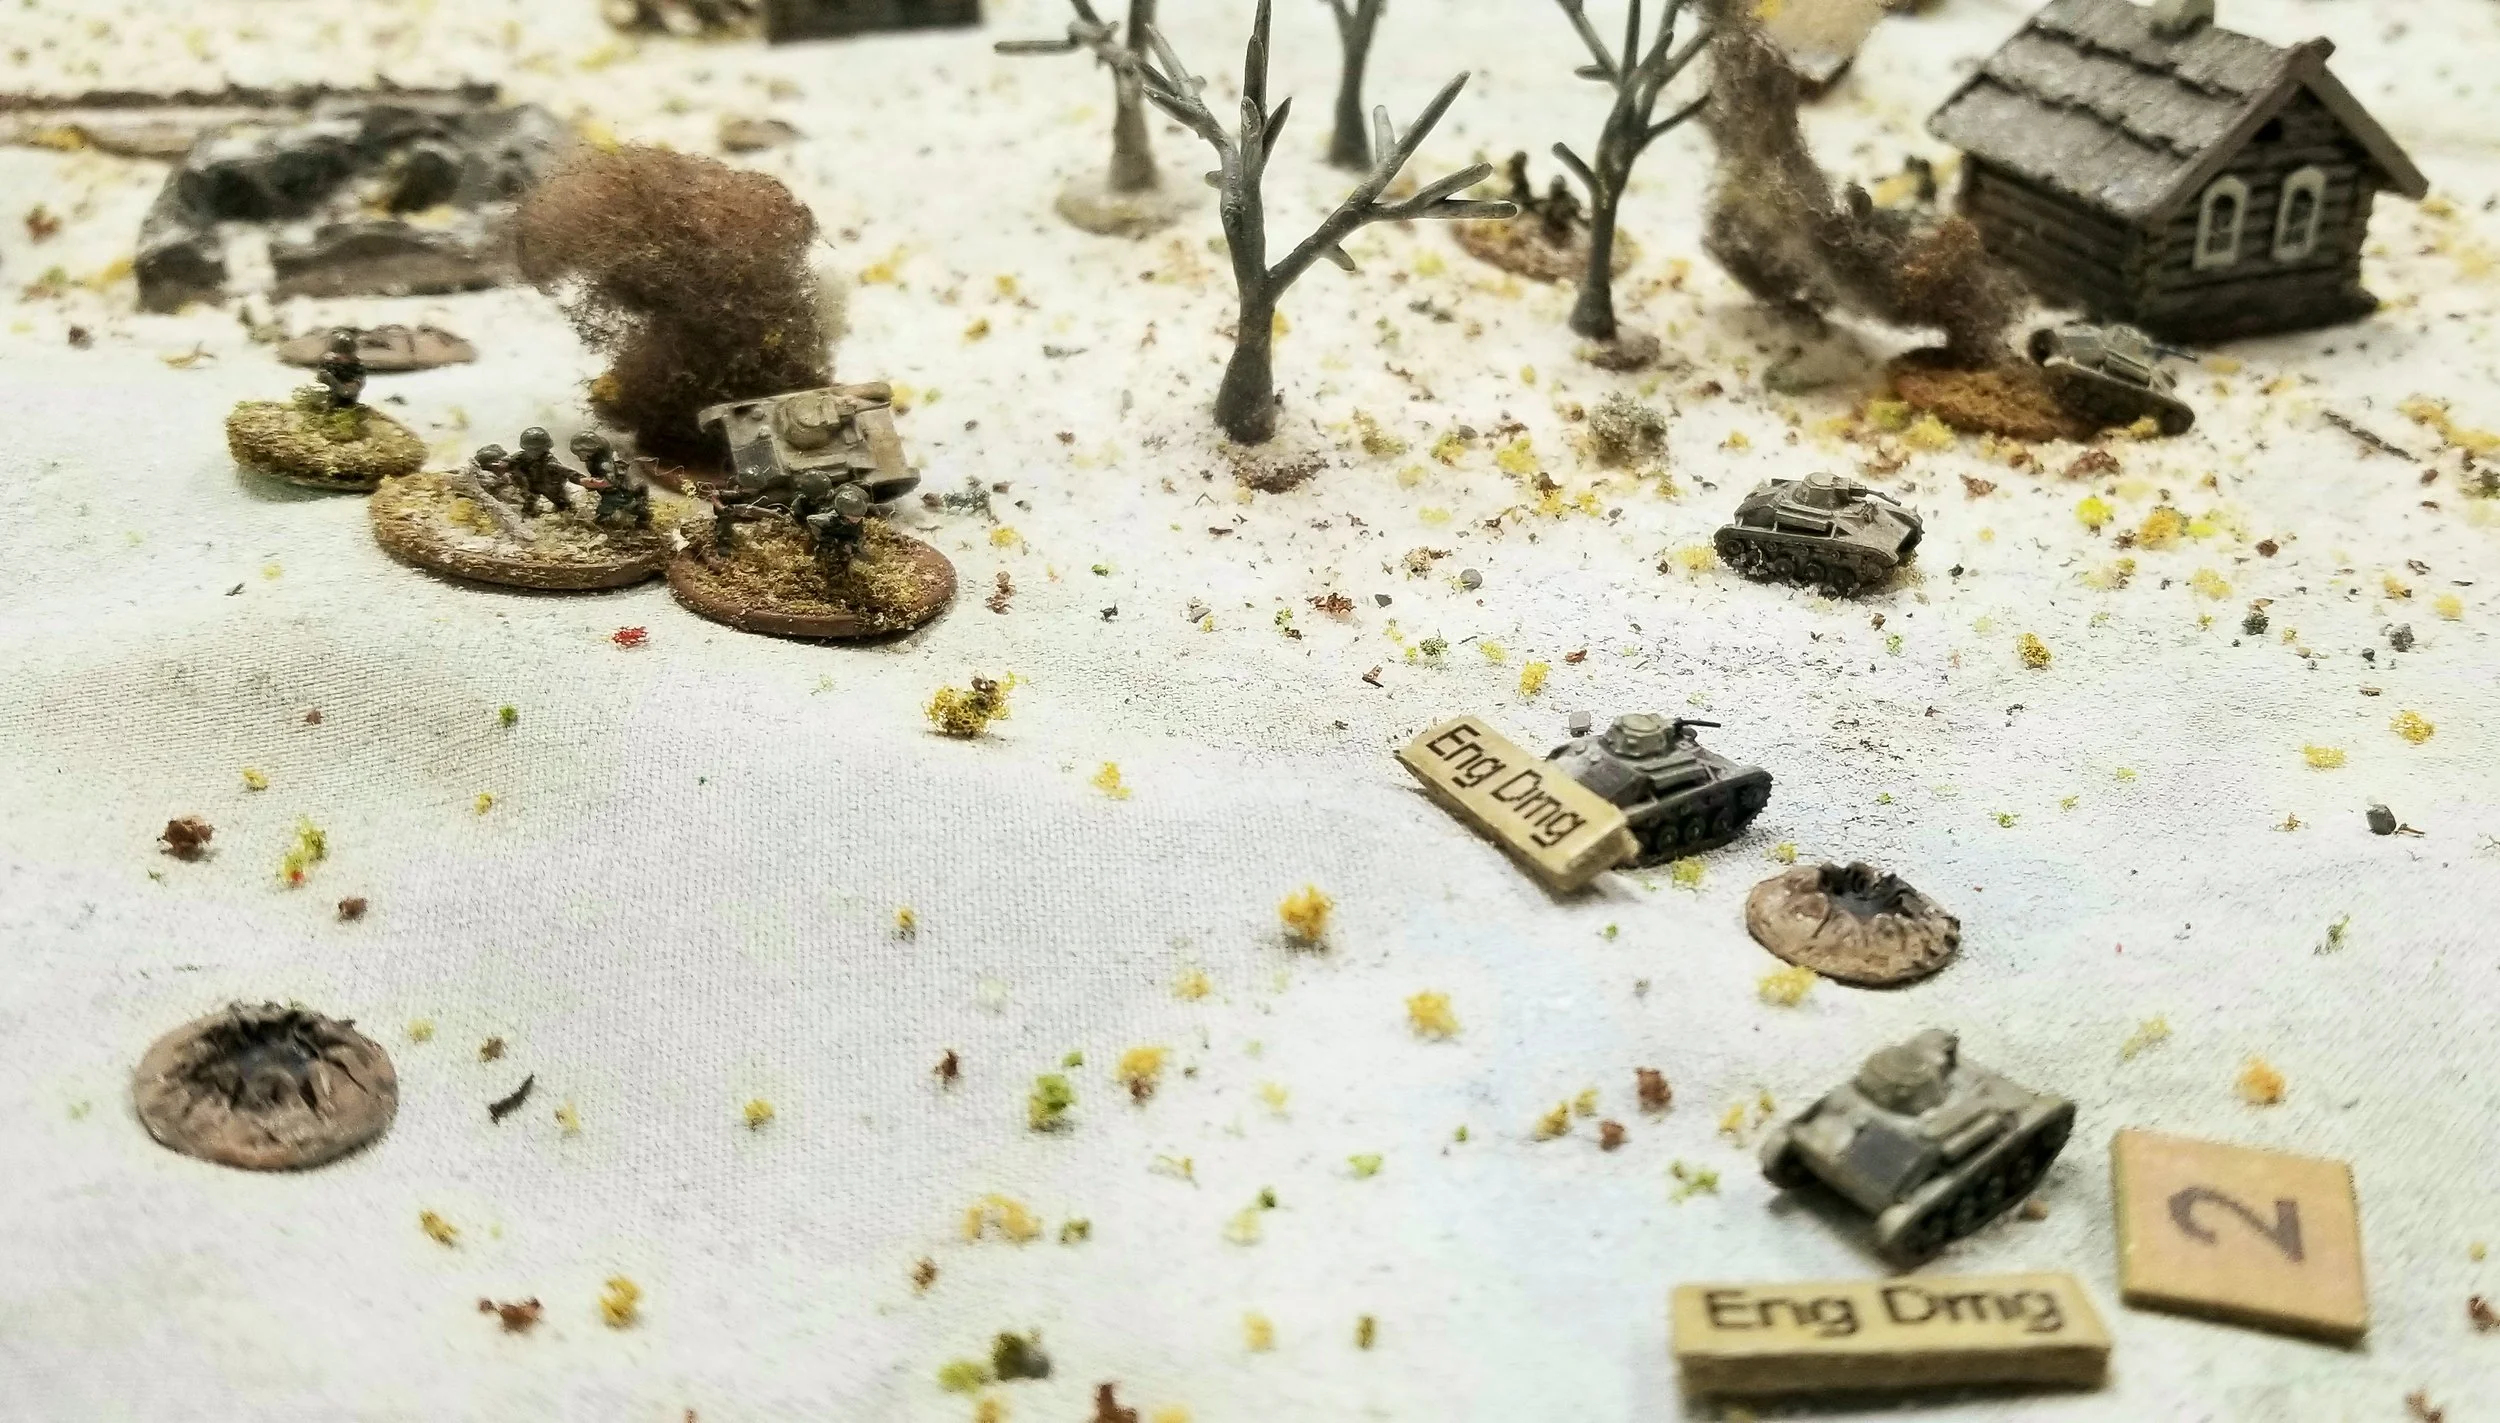

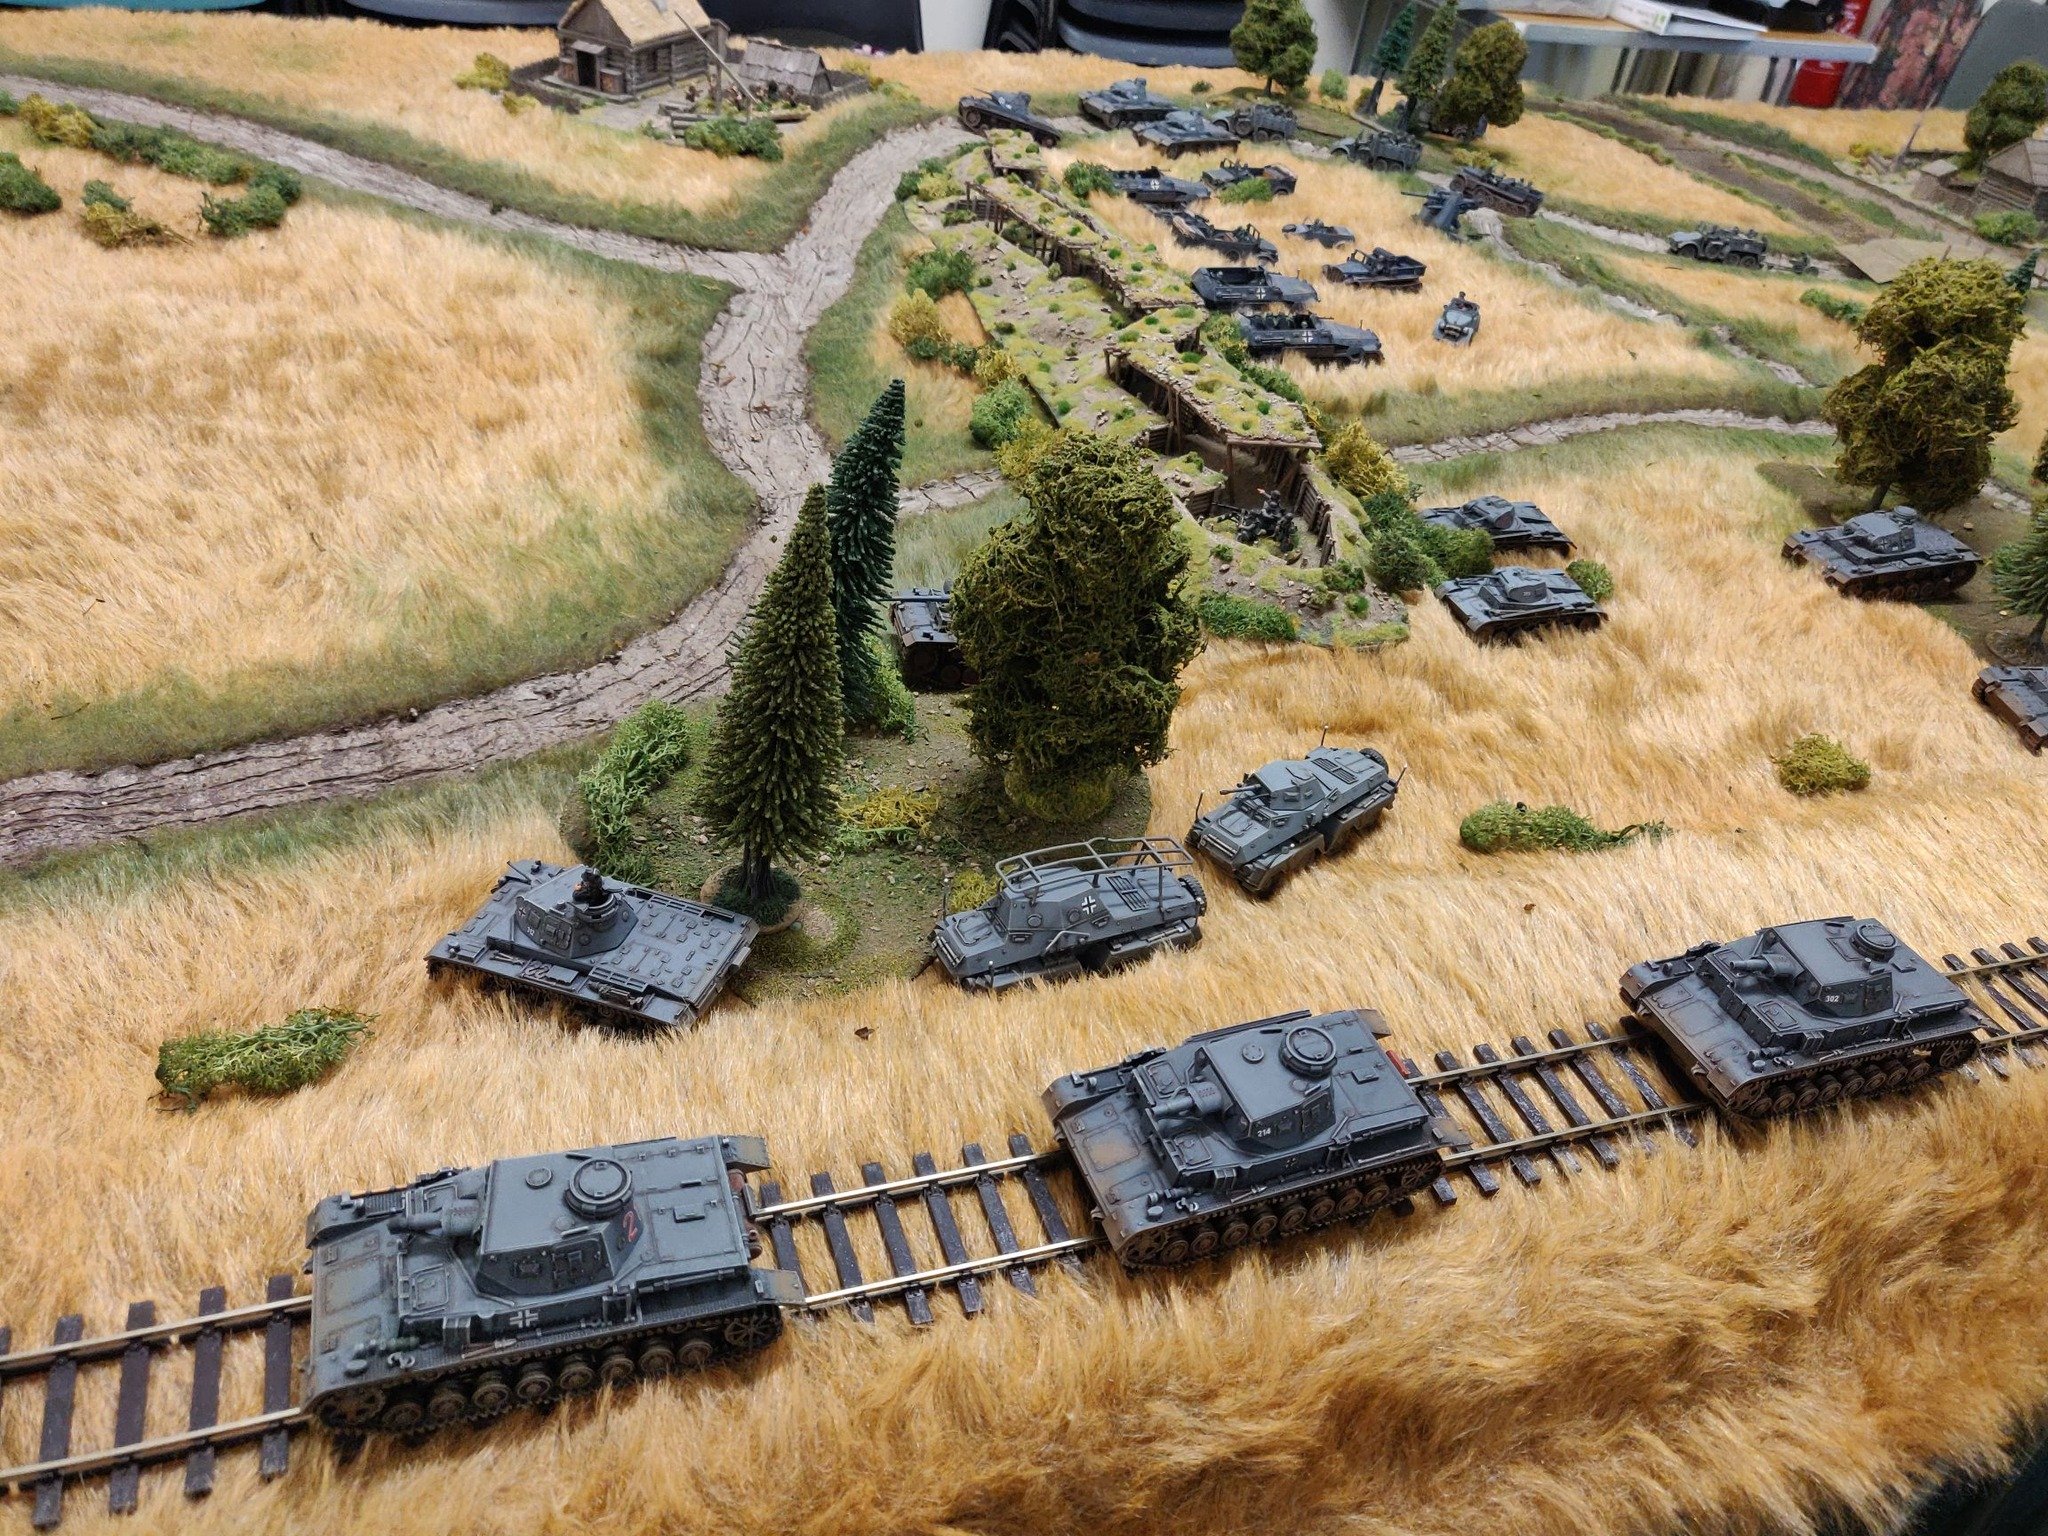
We decided to call it at this point. Bryan was out of infantry to support his three Valentines. With two +1 Tank Aces in the StuGs, they would probably take out those survivors.
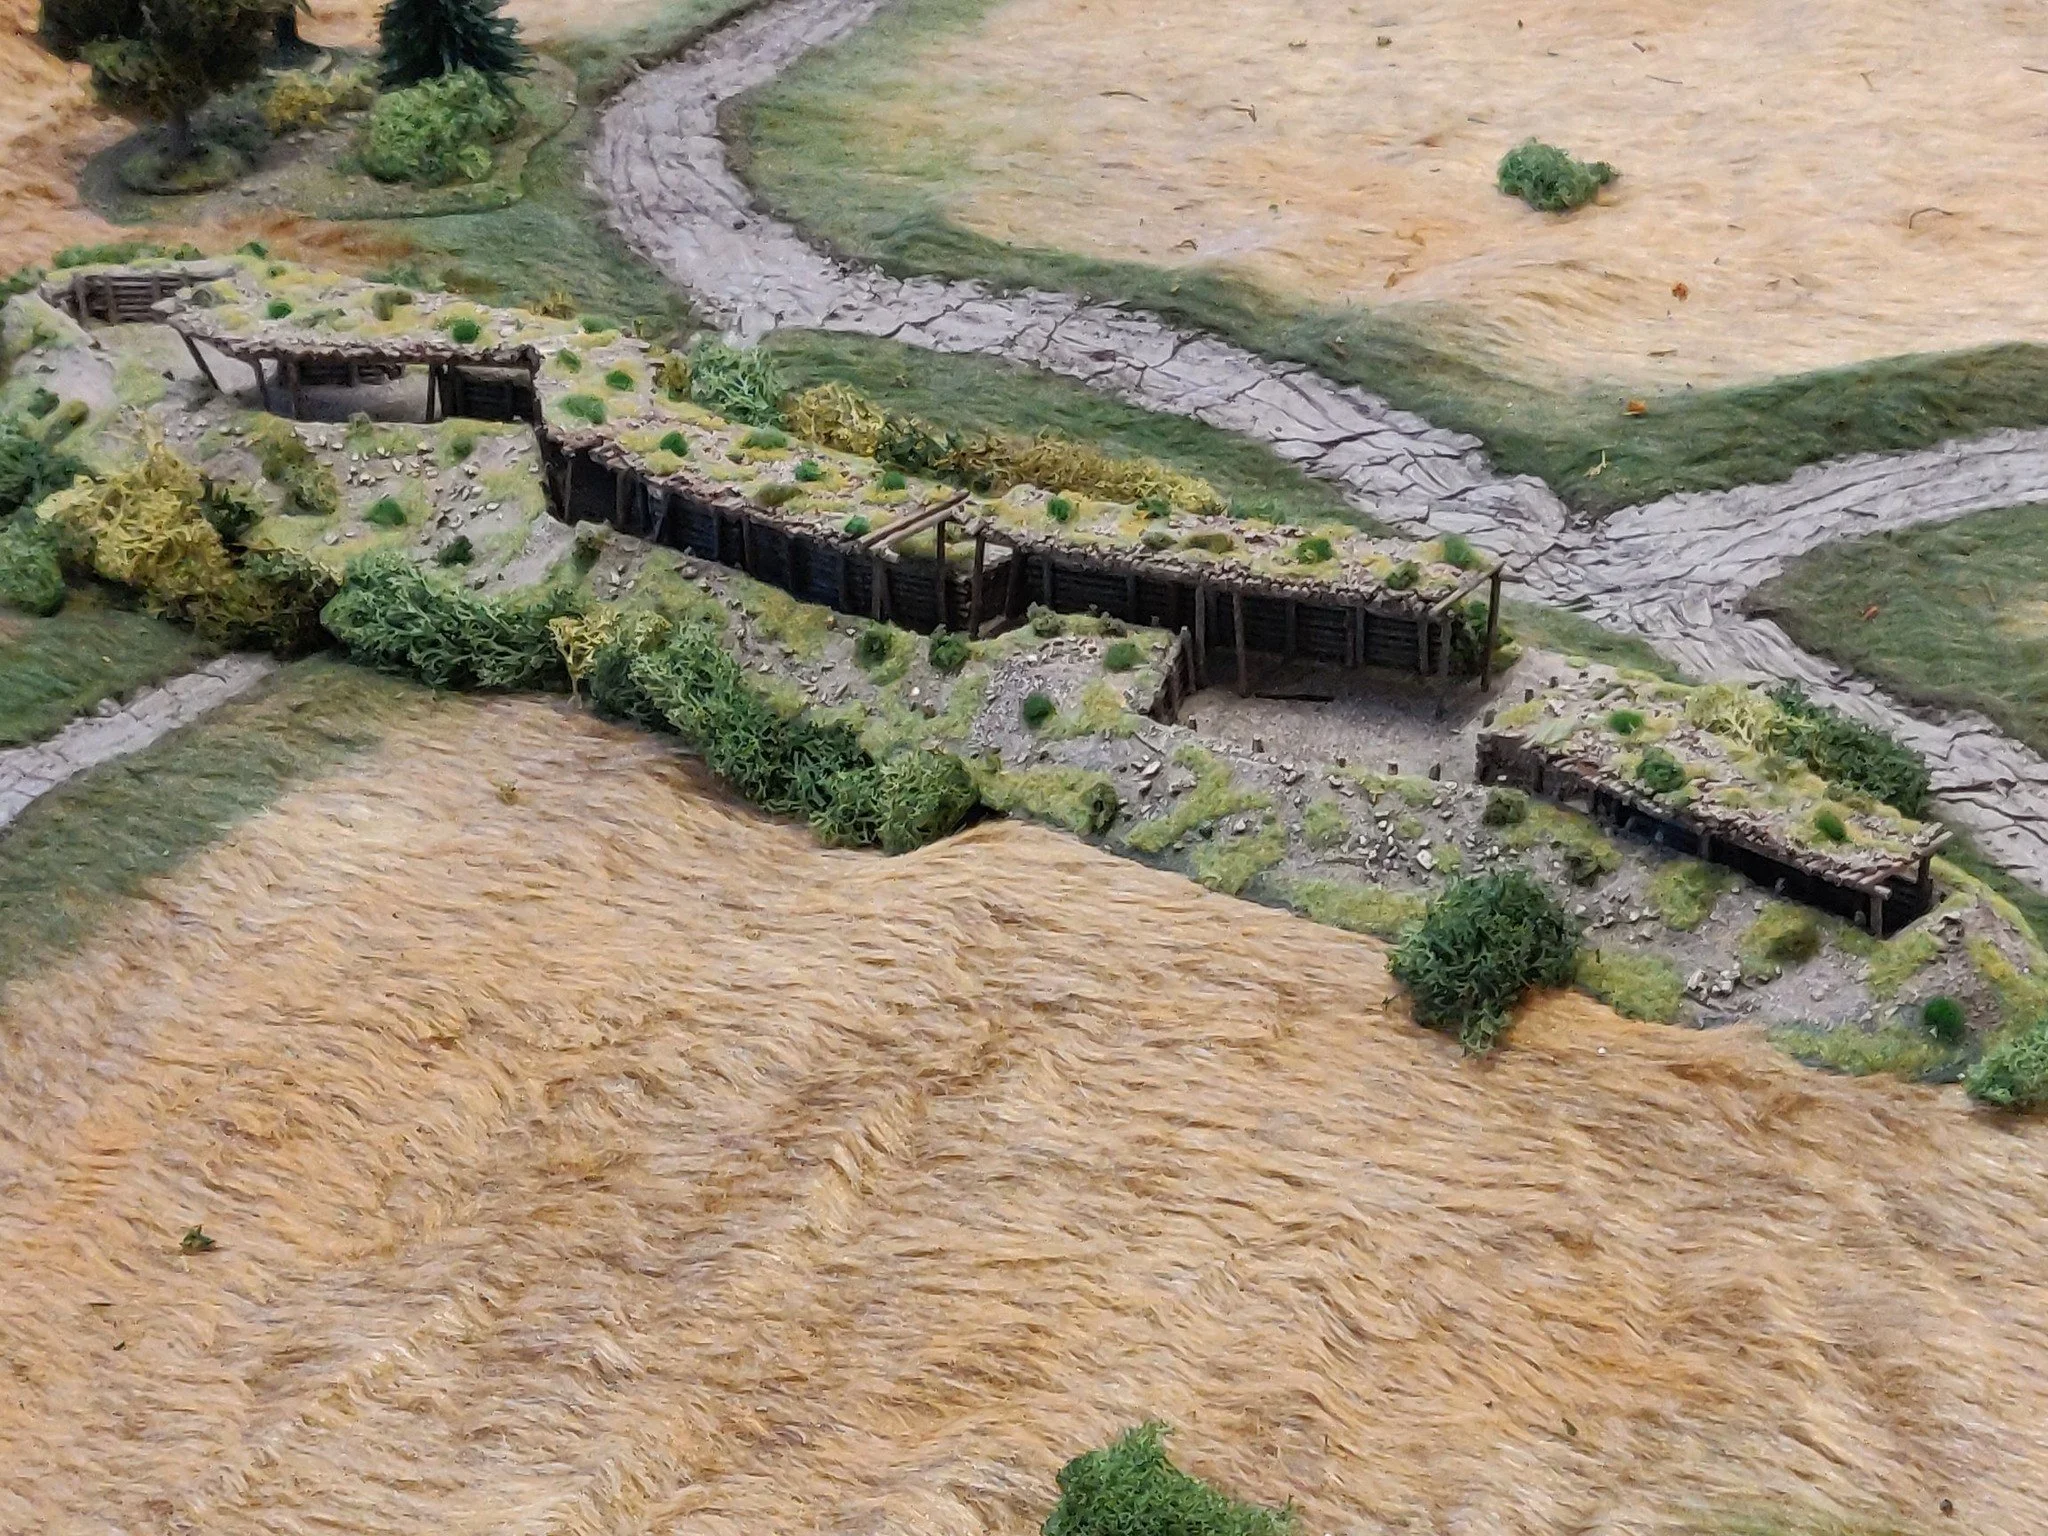
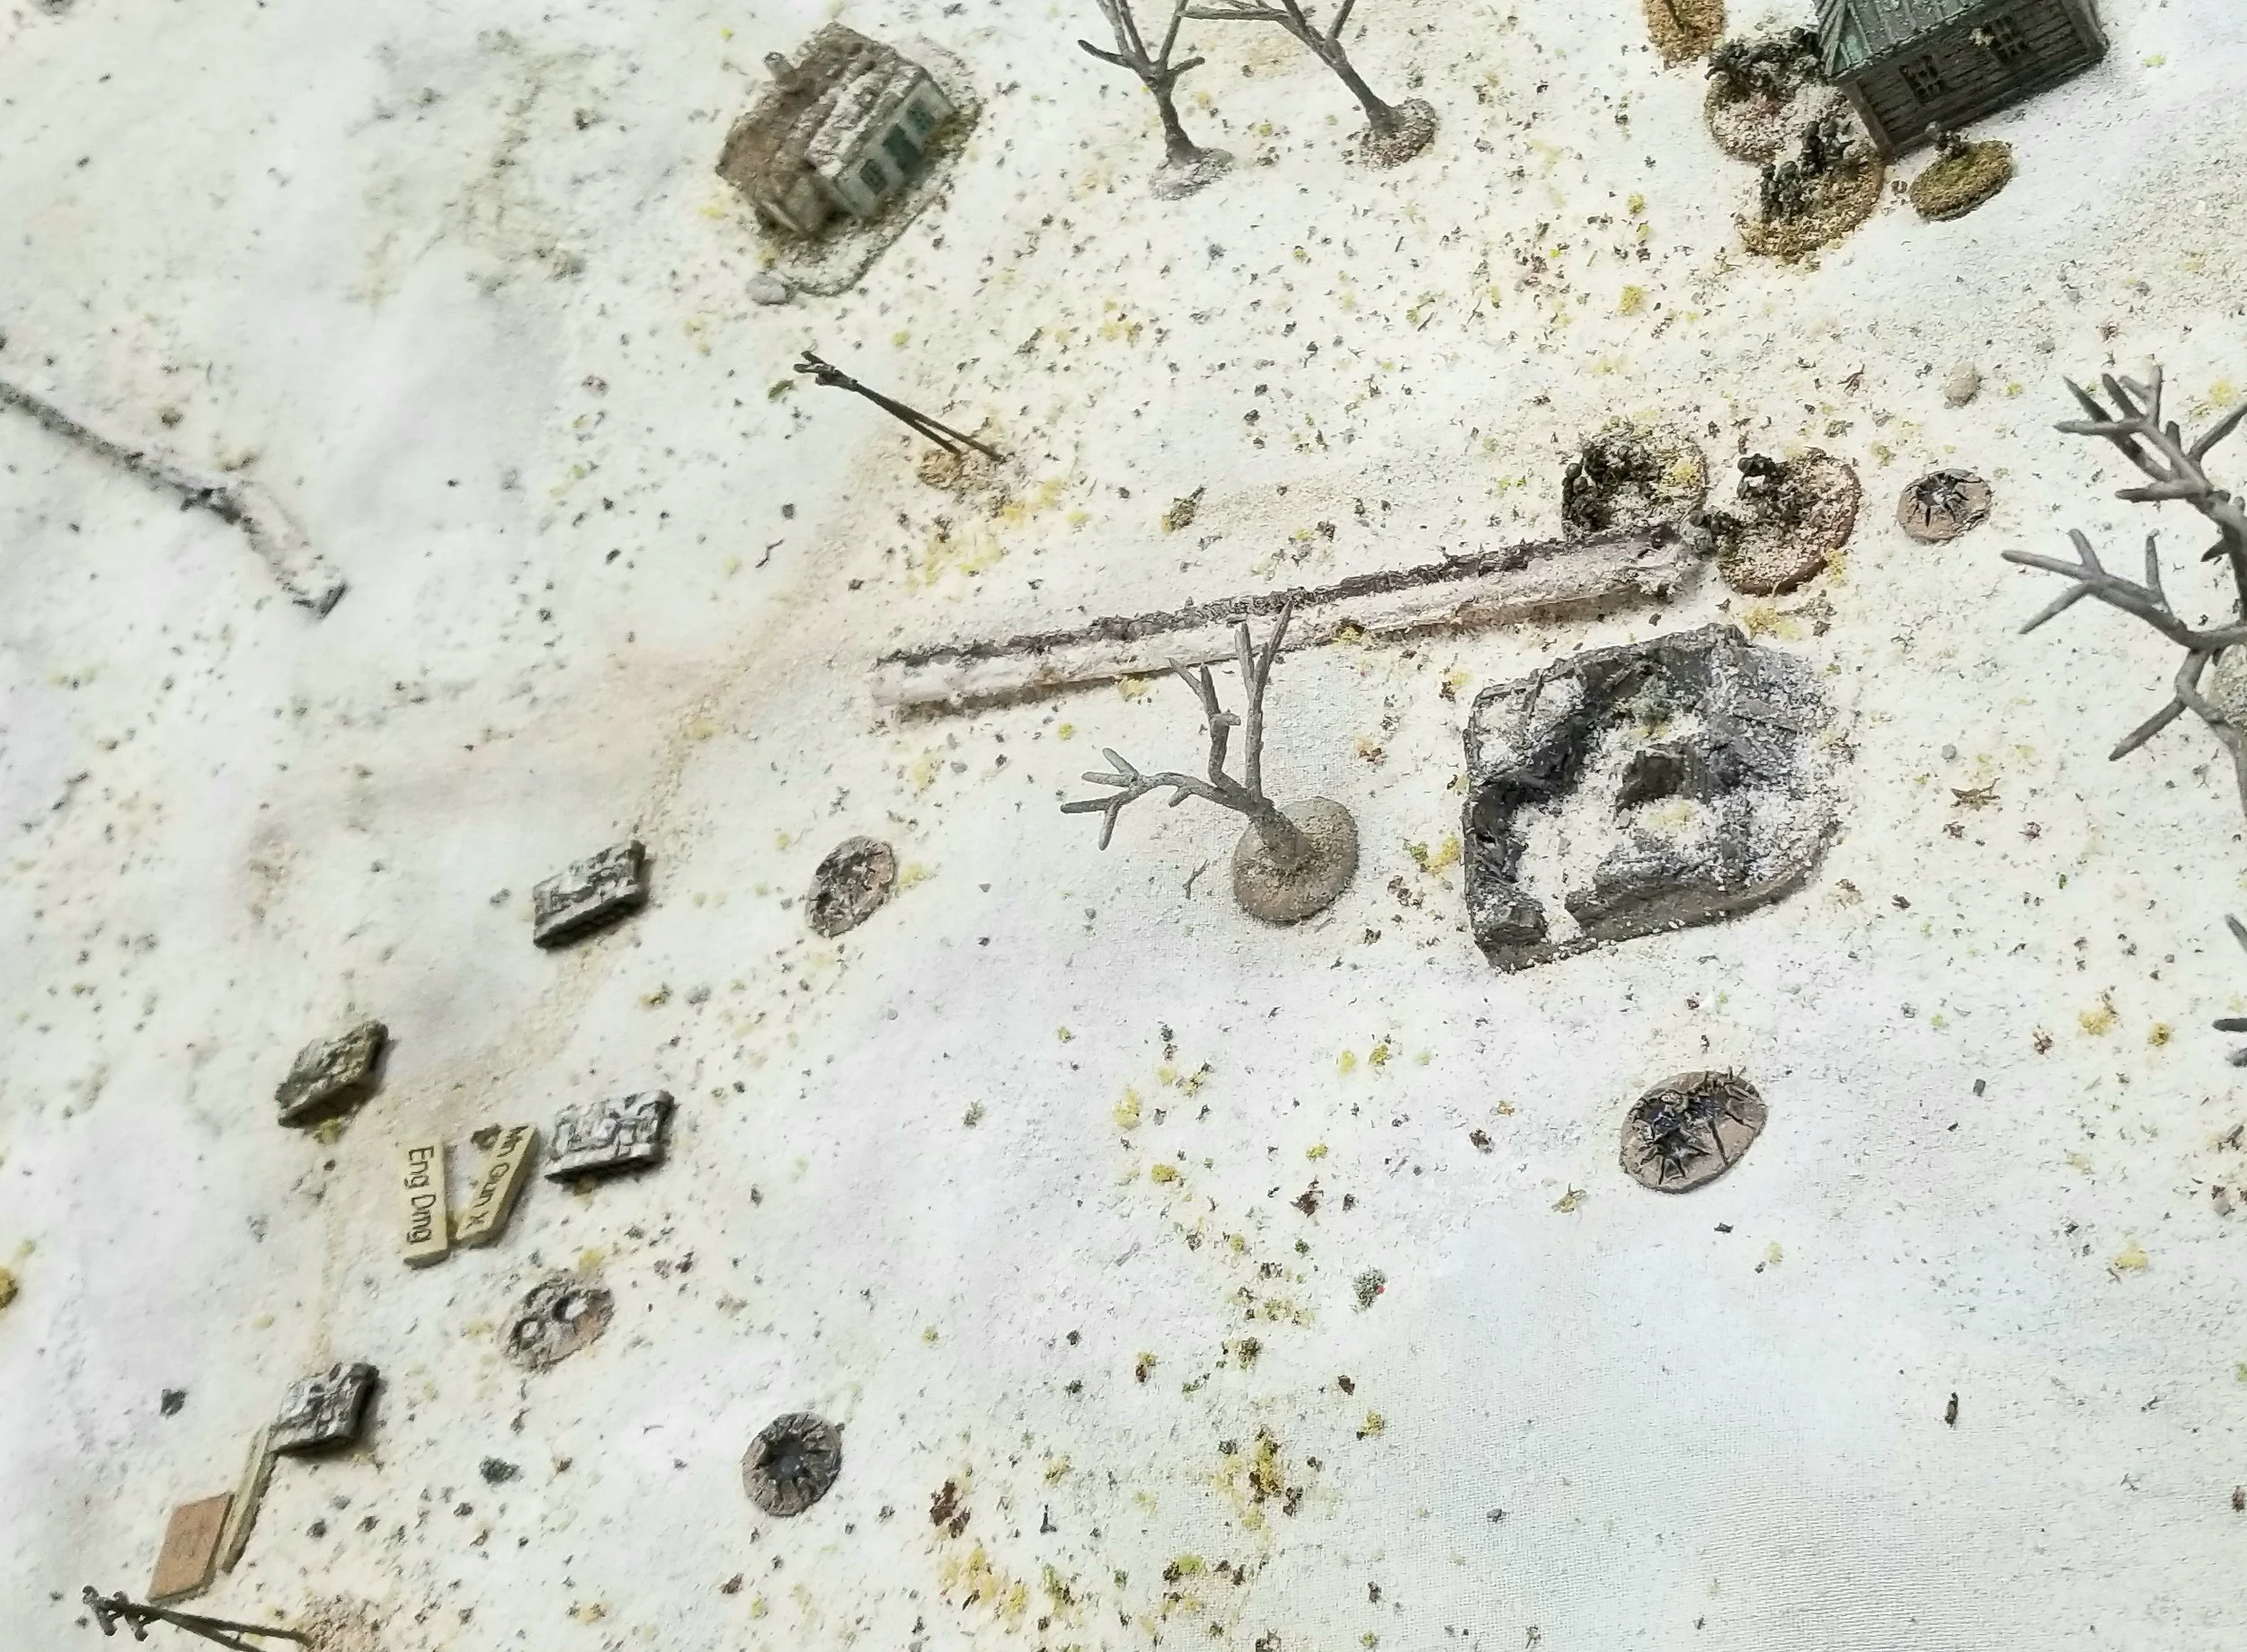
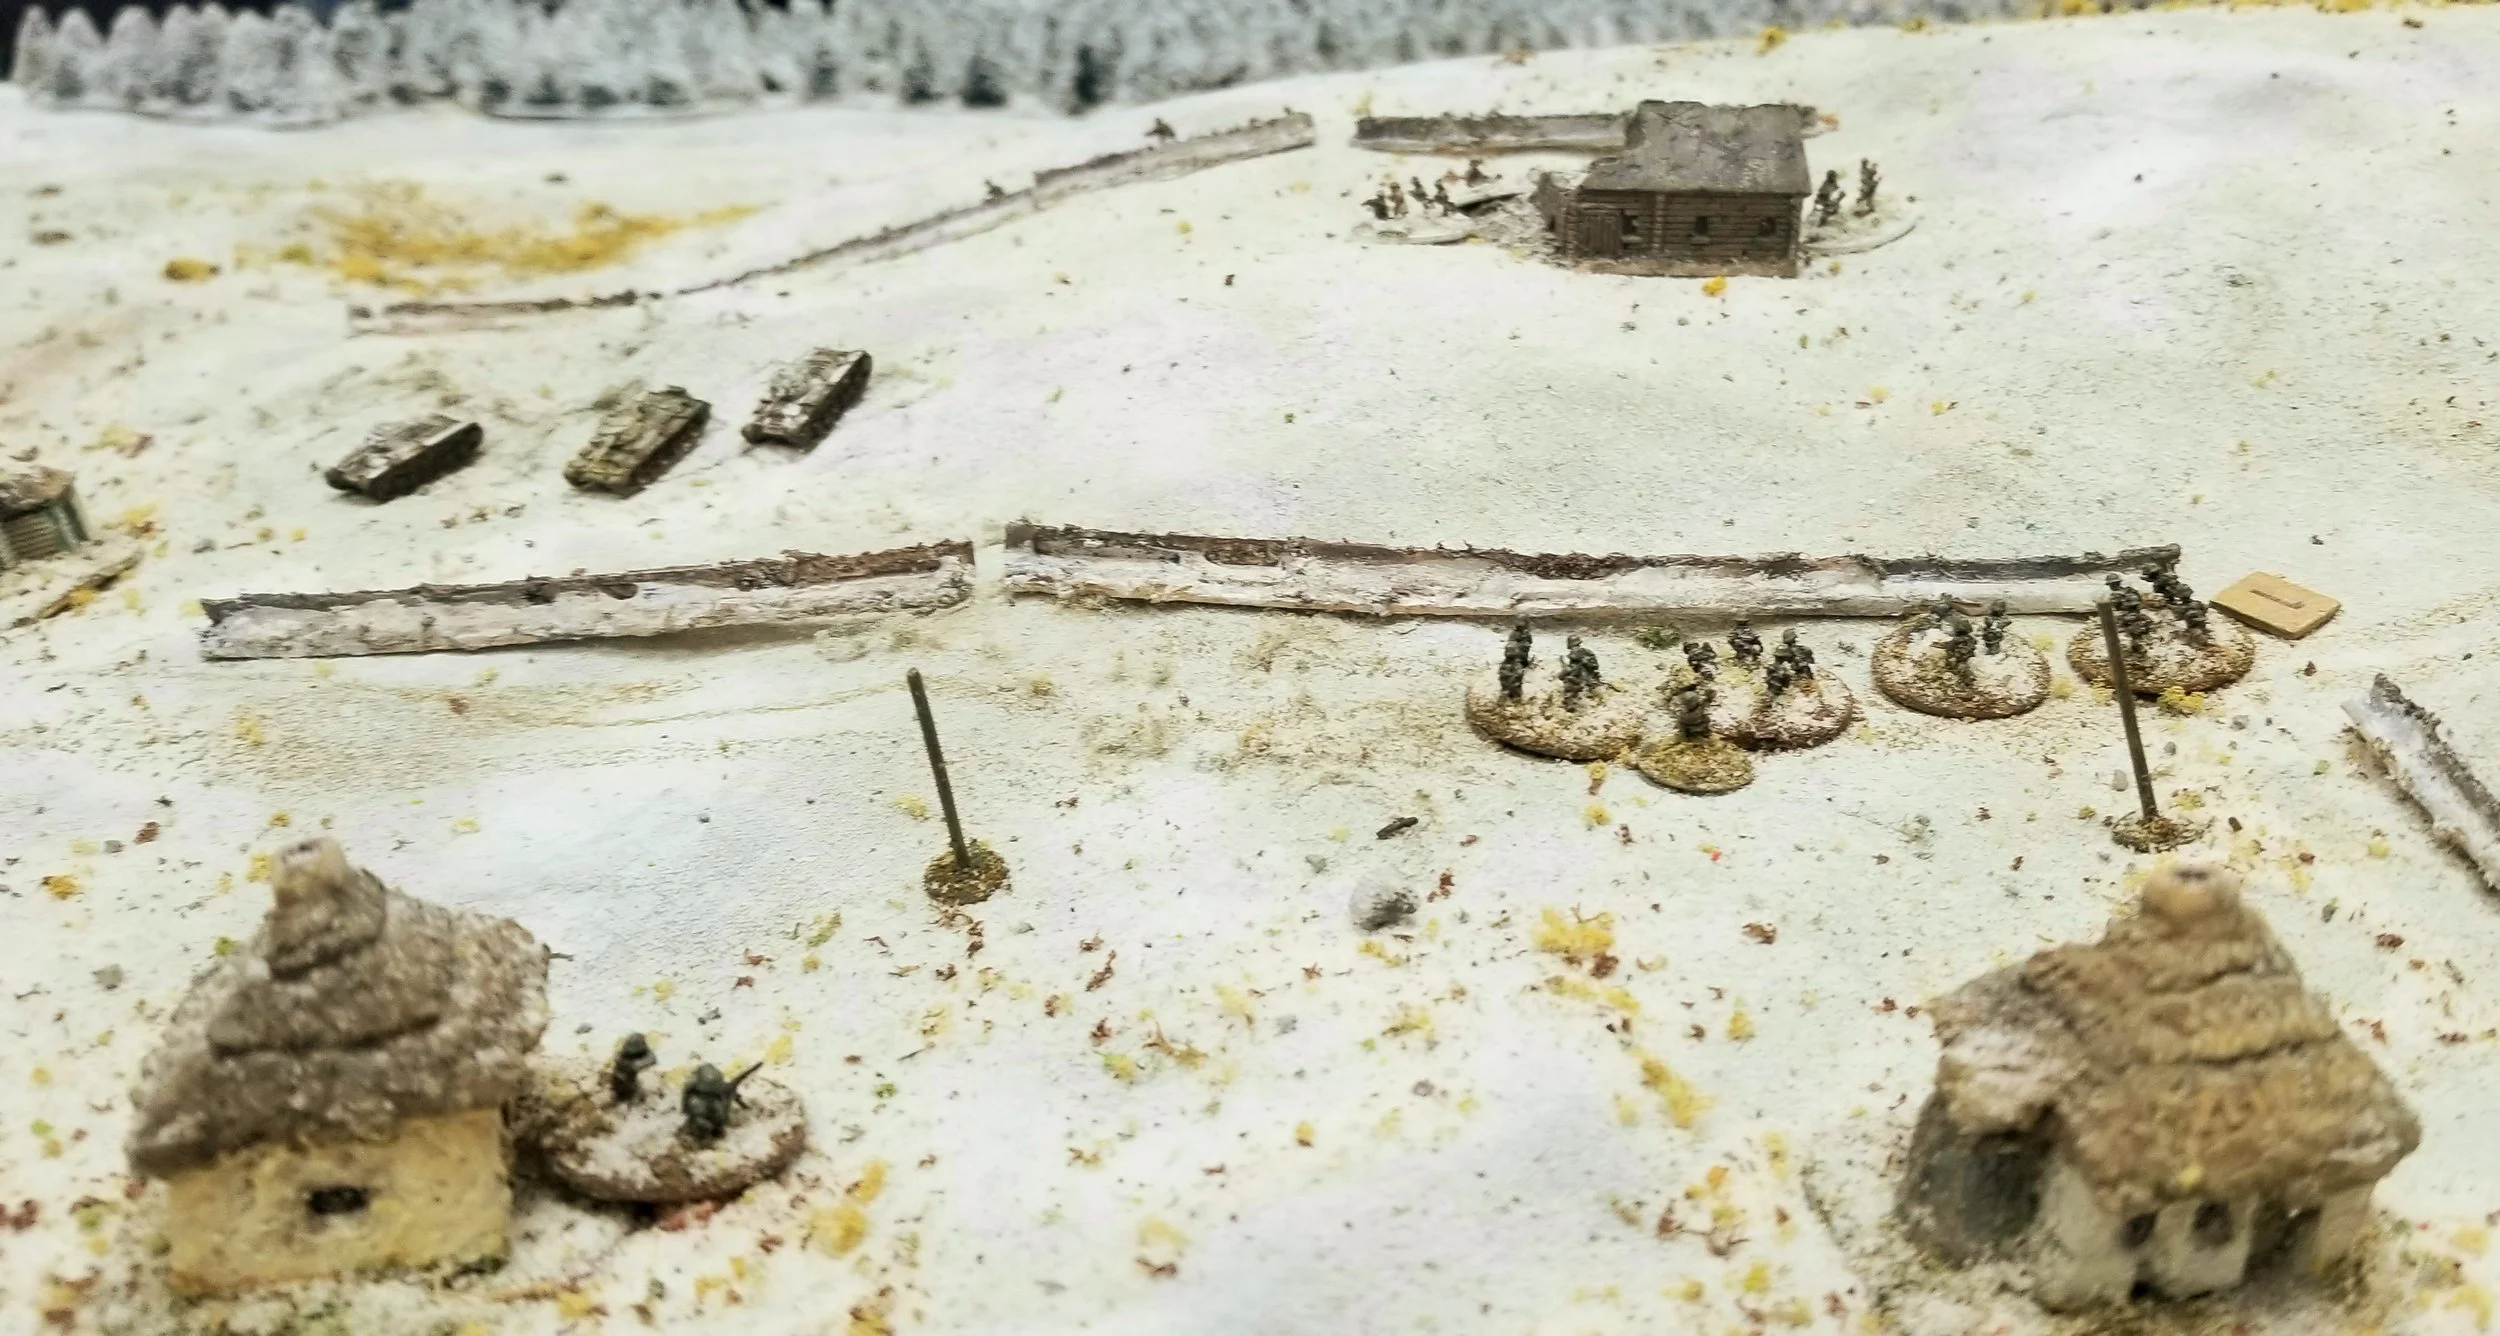
However the German defenders were out of PaKs and there was another unit of Russian tanks coming: T-34s from the 140th Tank Battalion, so that would be interesting. At least the Germans would have a chance to get into some defensive positions and hope for reinforcements.
Final casualties were:
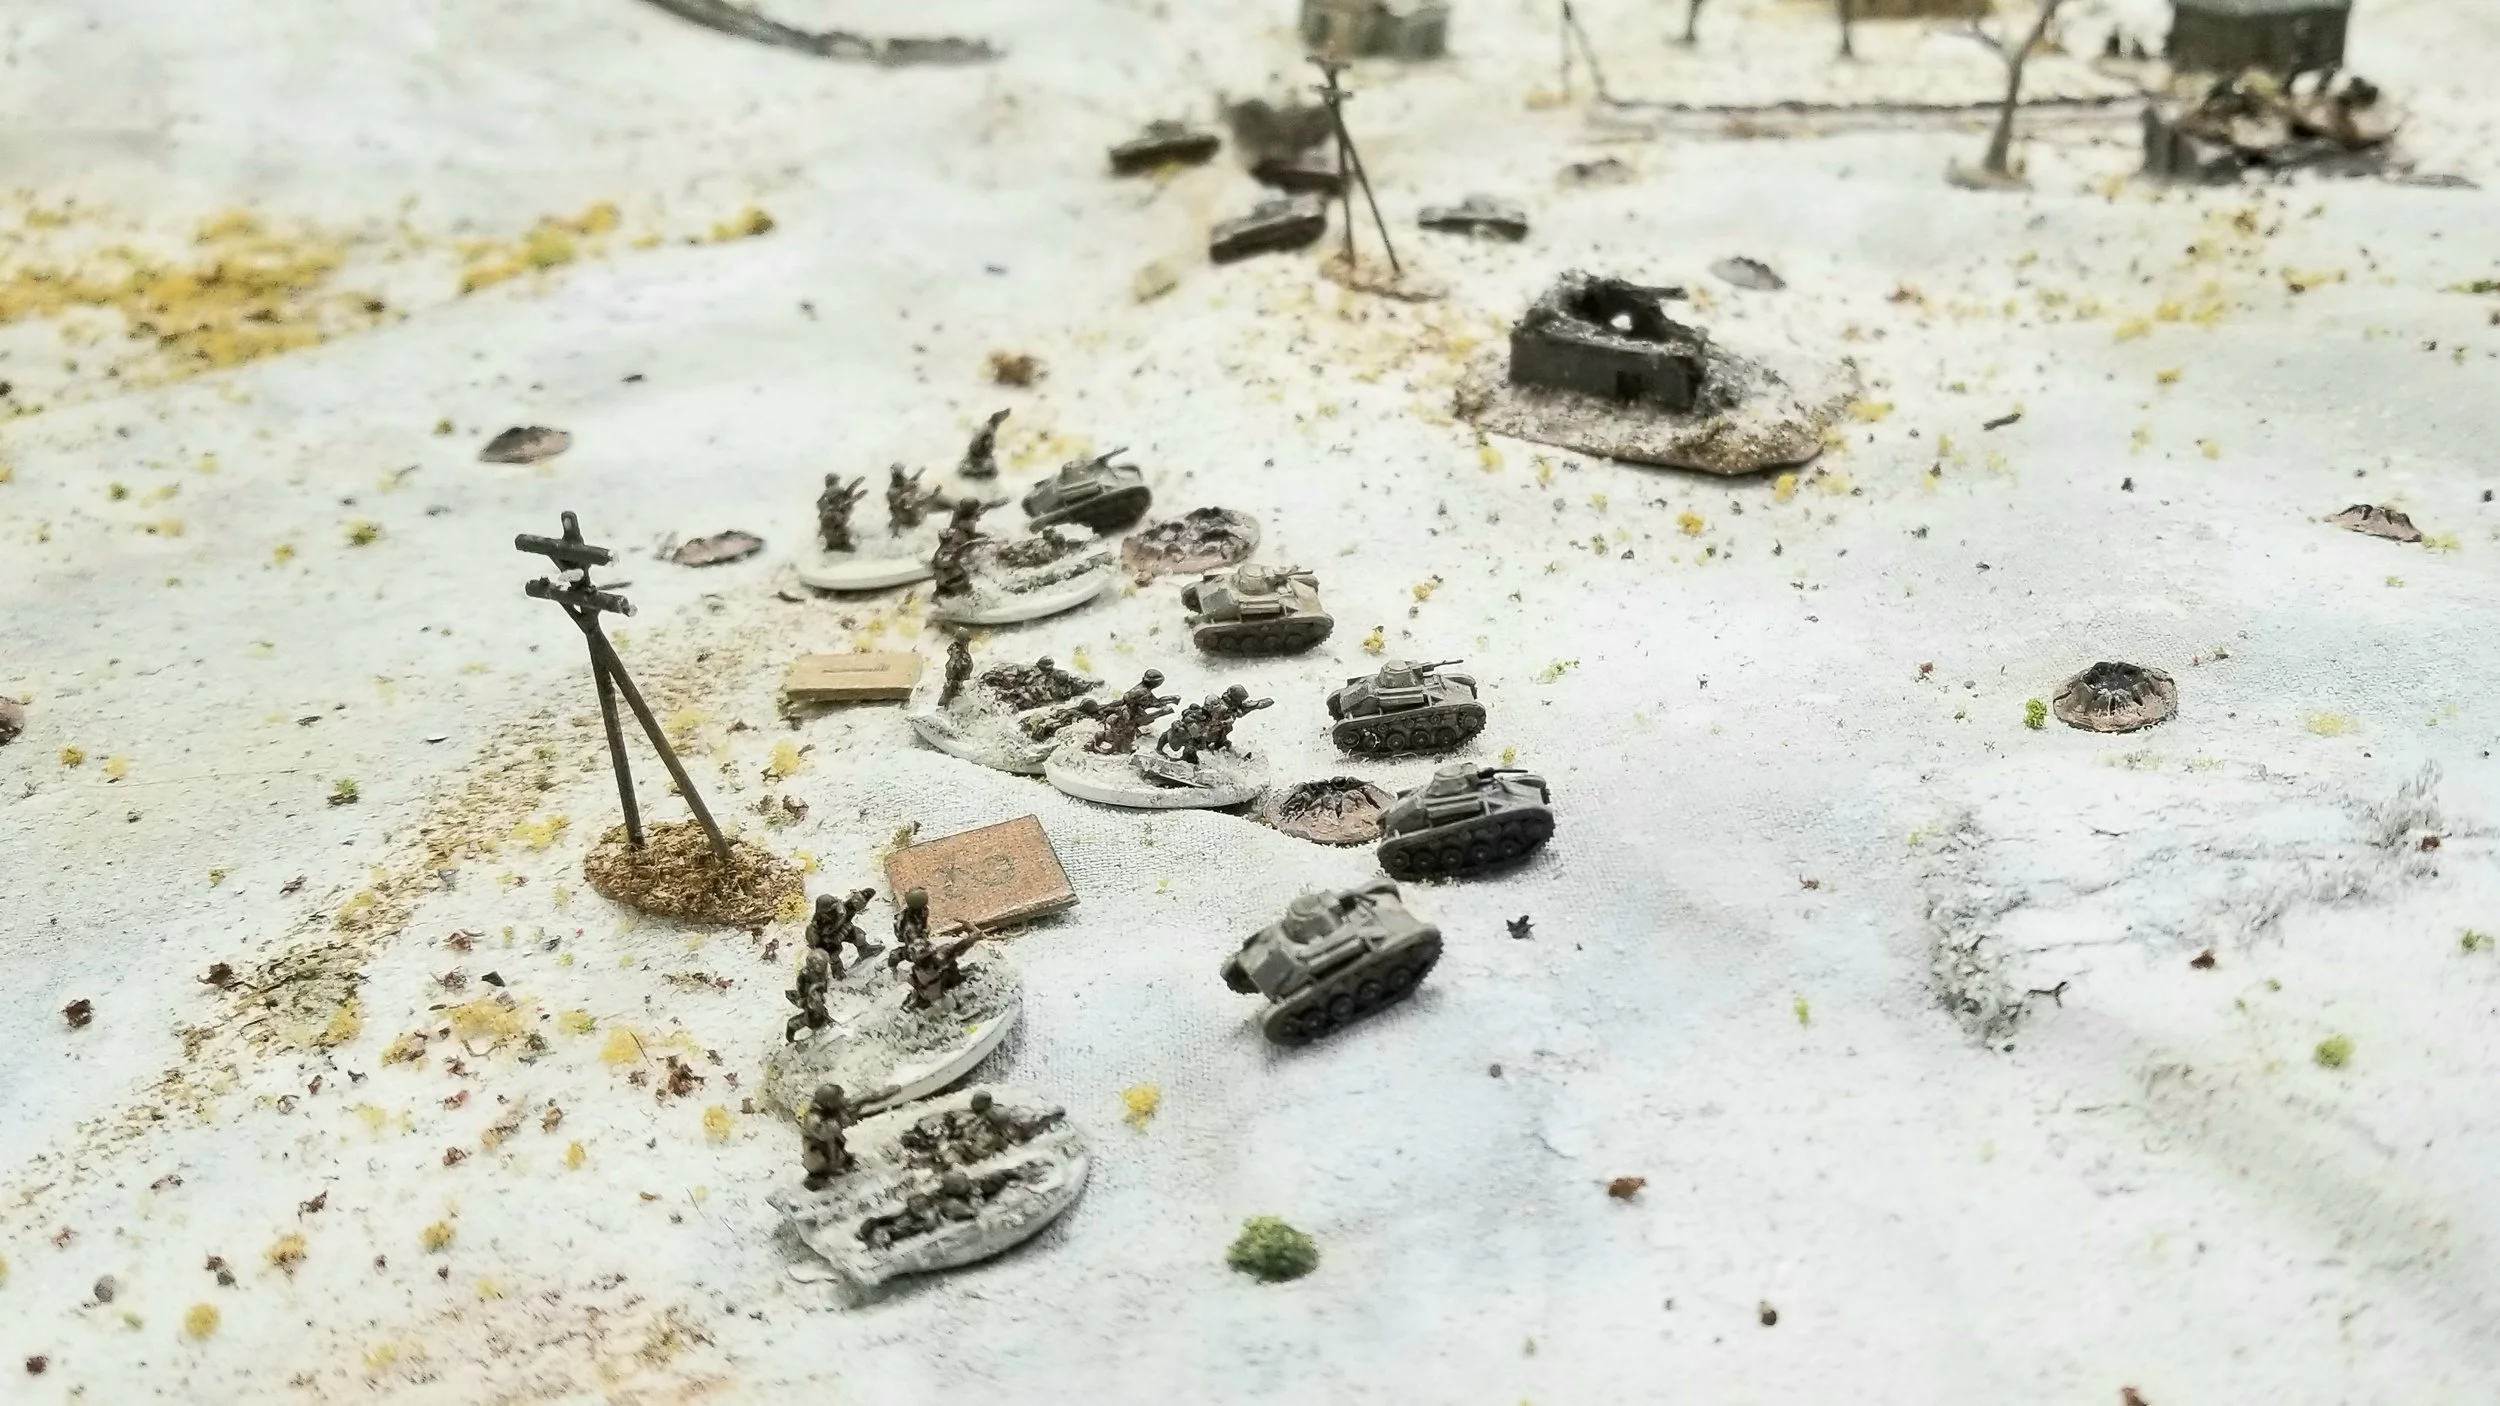
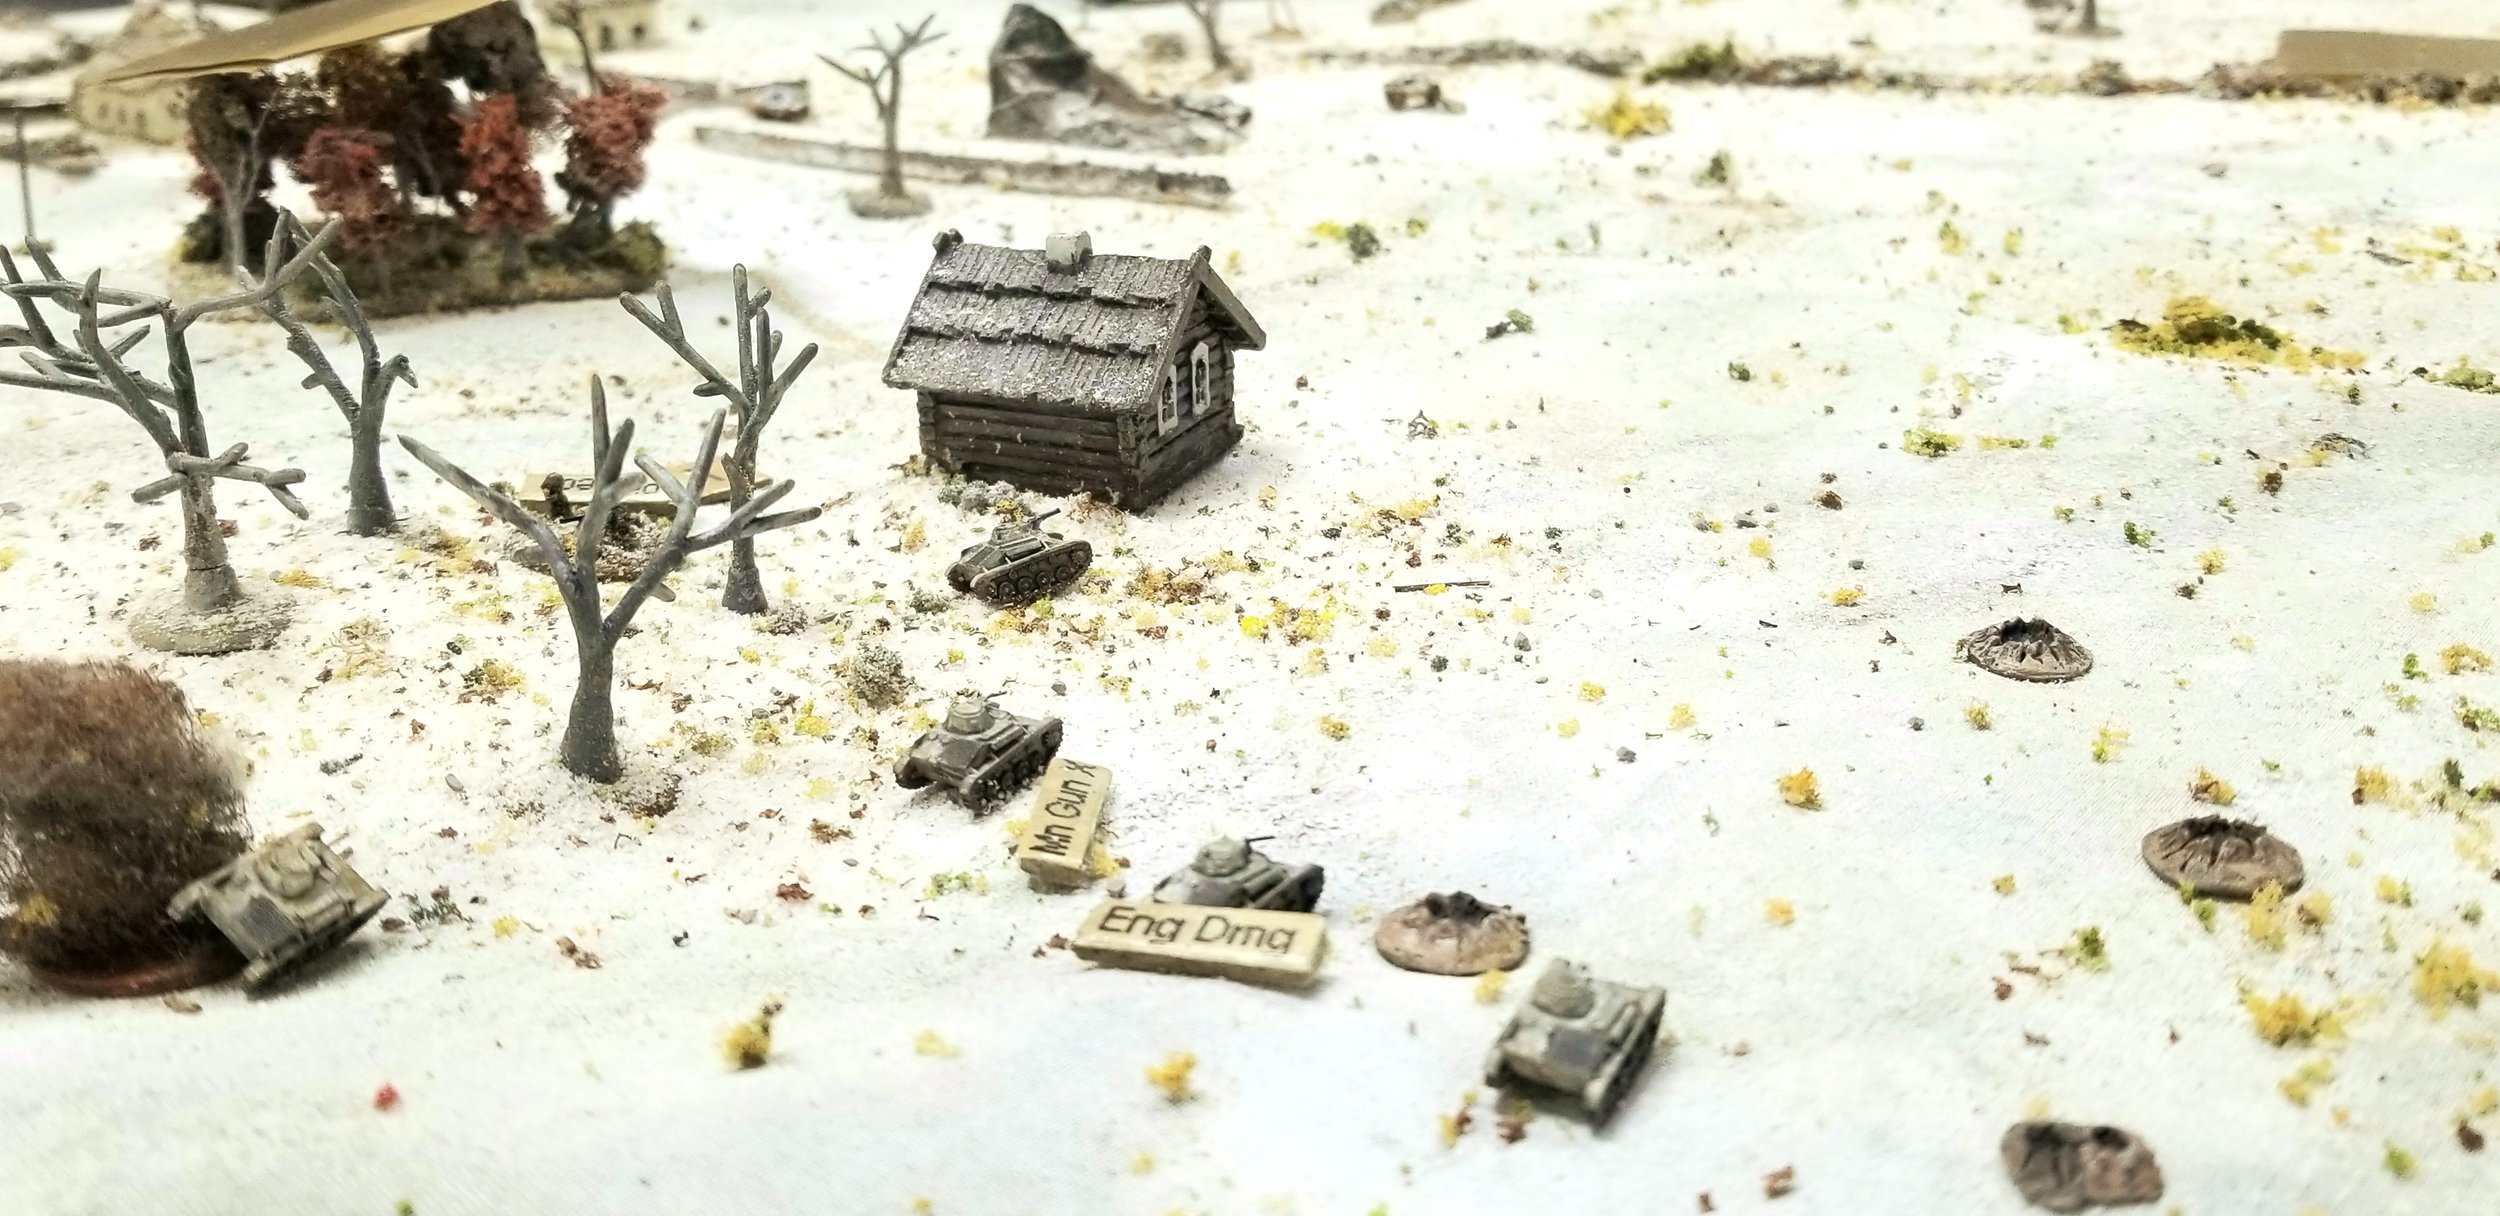
All five T-60s KO'd and four of the Valentines were gone. Only a third of the Russian infantry was left and they were considered ineffective.
The Germans lost only five infantry but also both PaK 38s and the 2cm AA.
This was small but fun game with some interesting kit.
Mark Luther