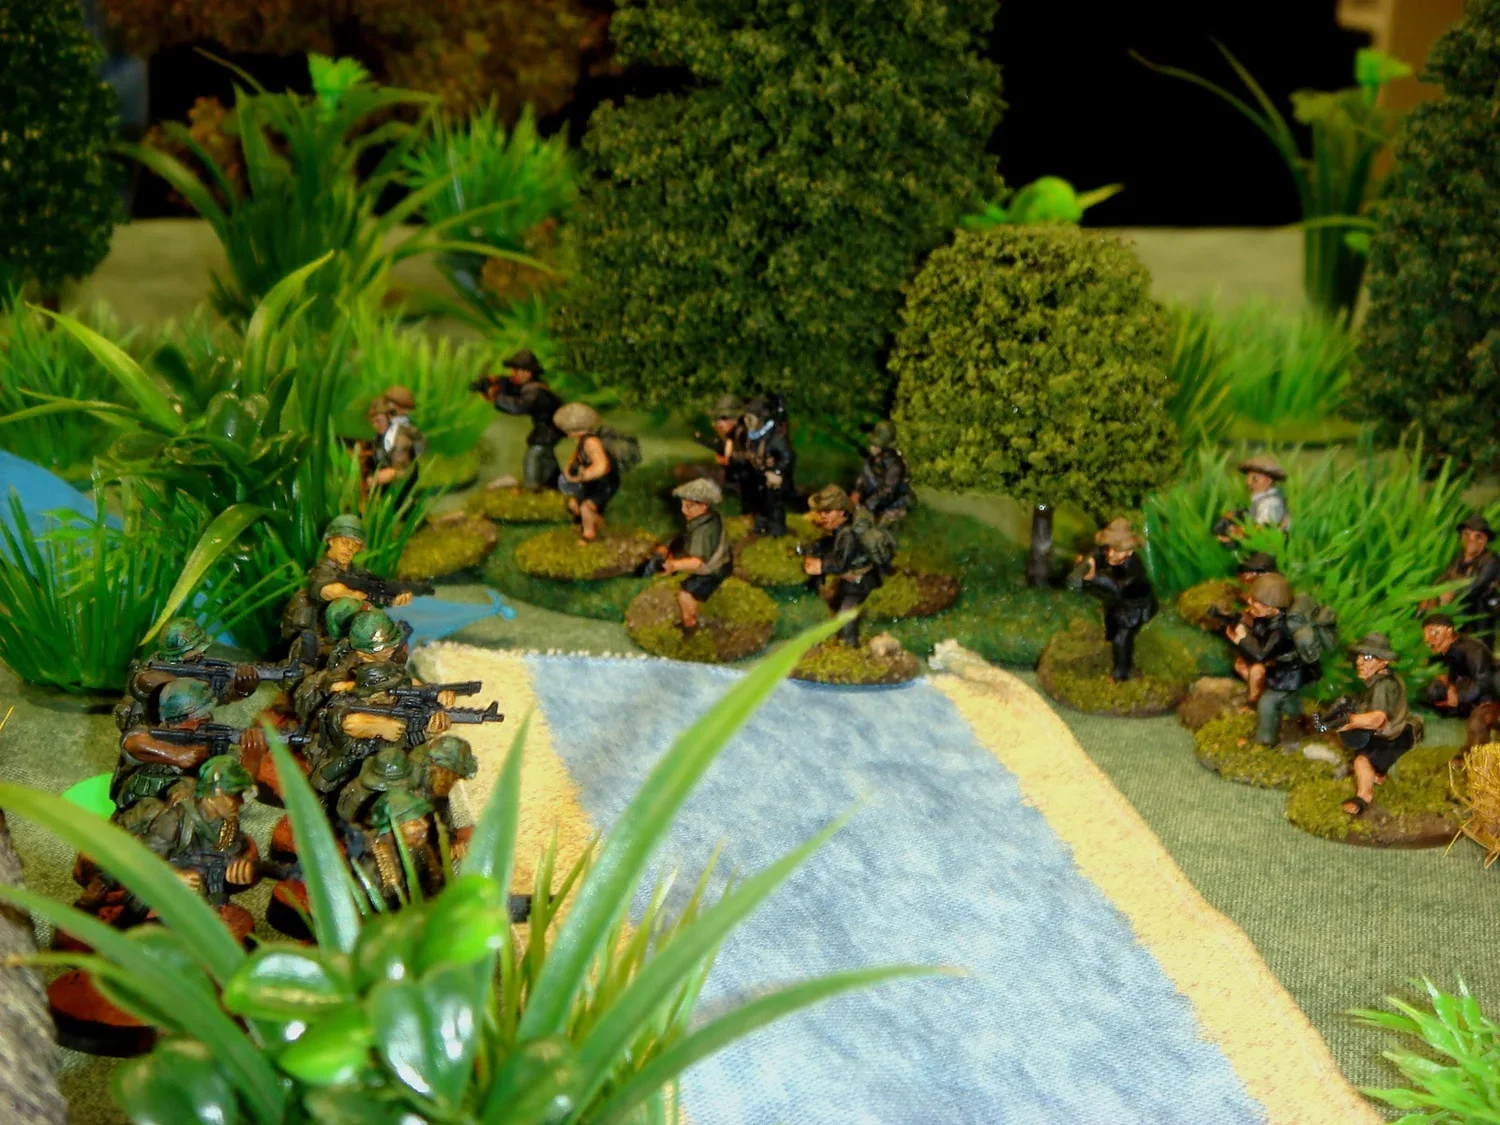
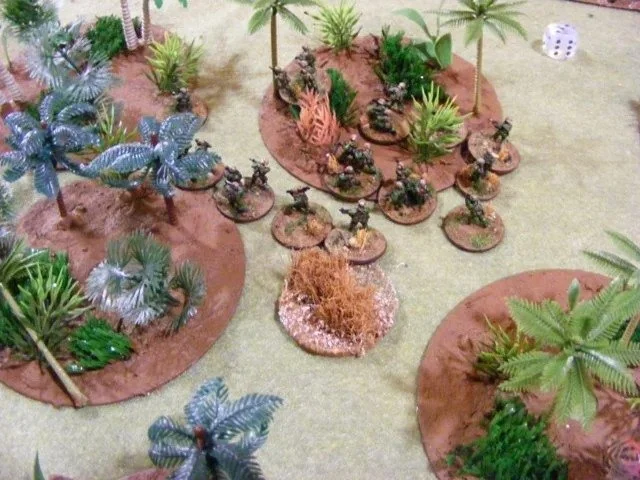
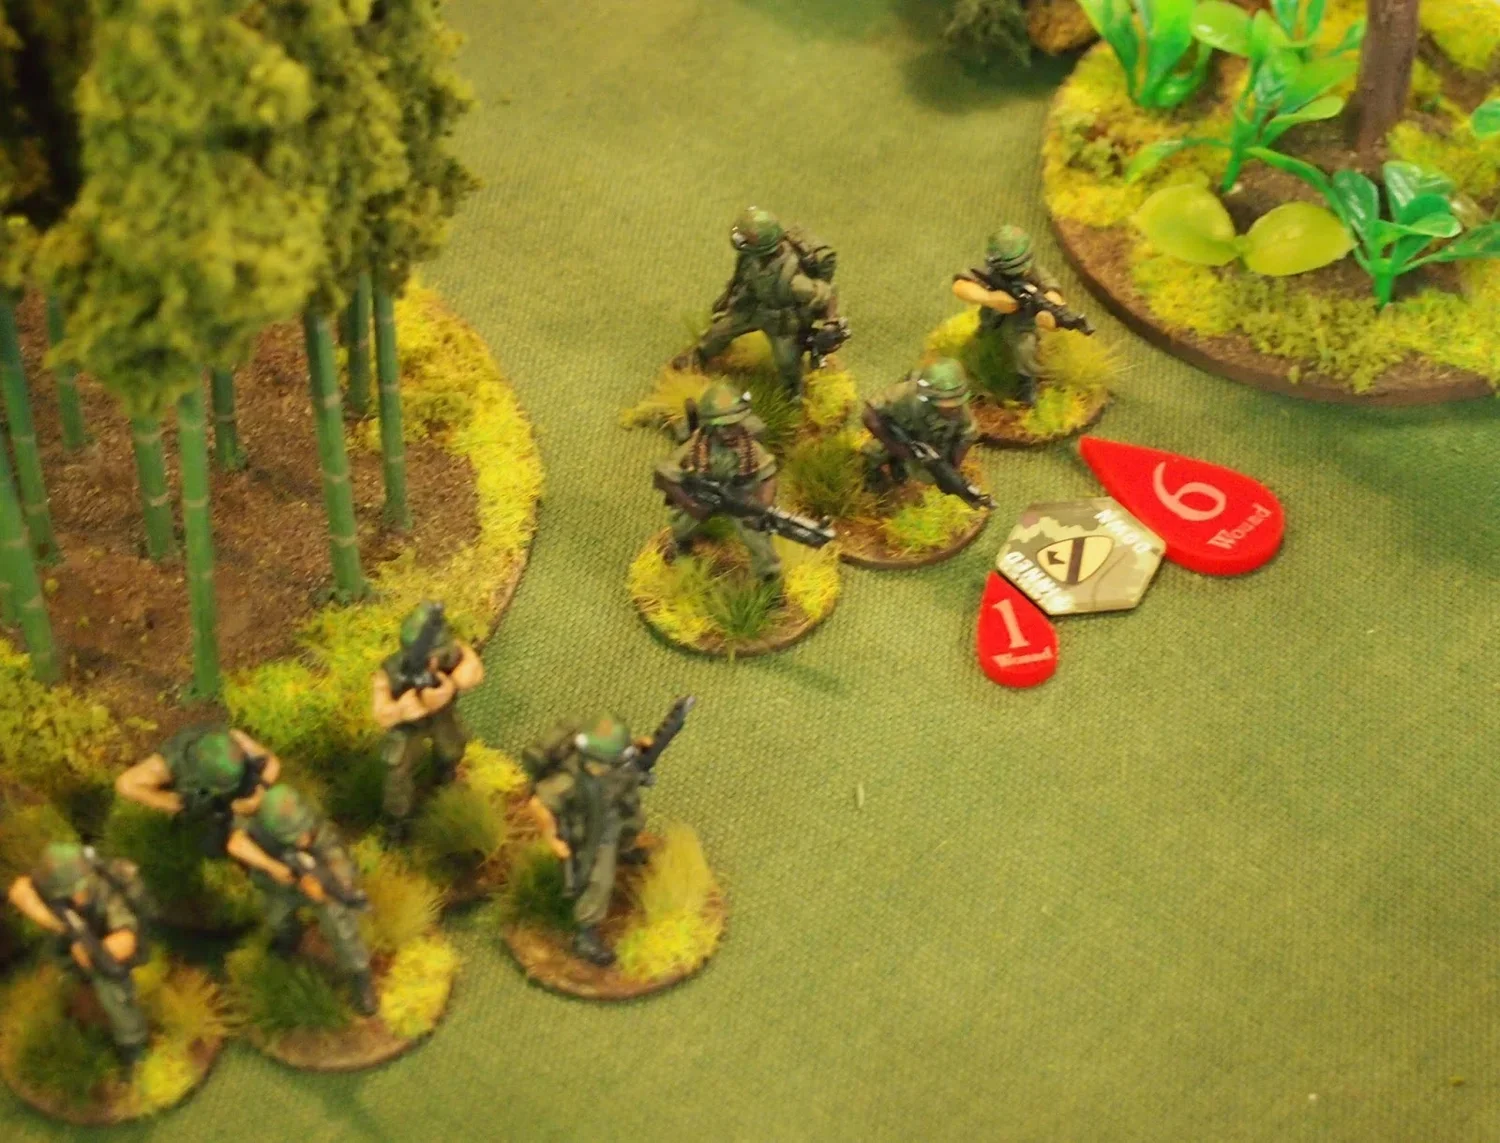
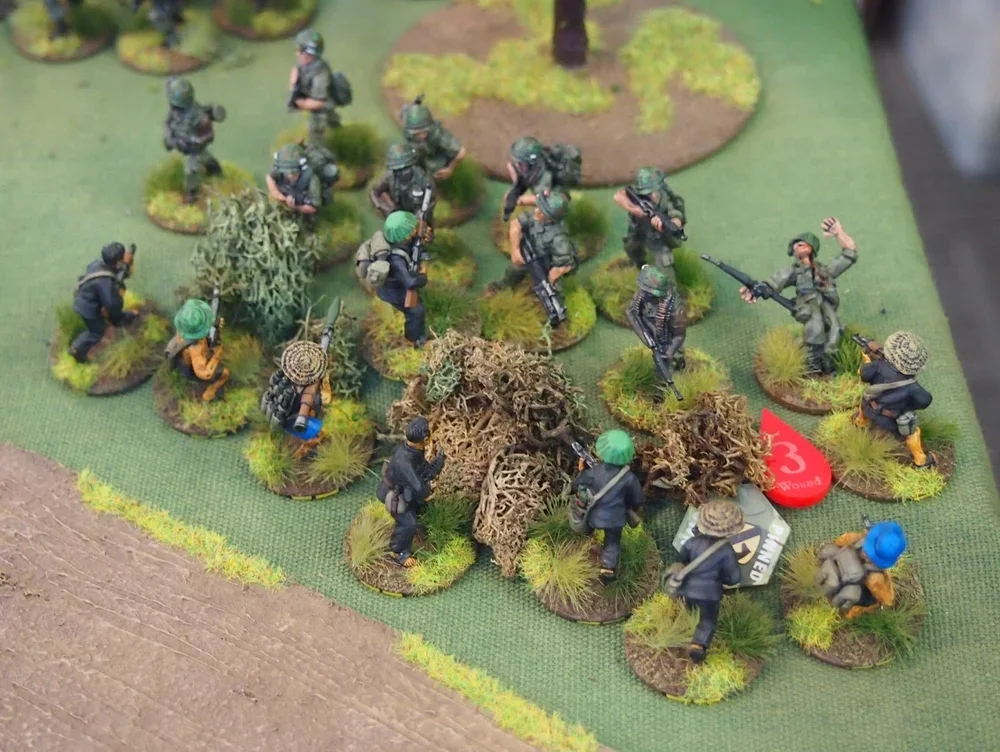
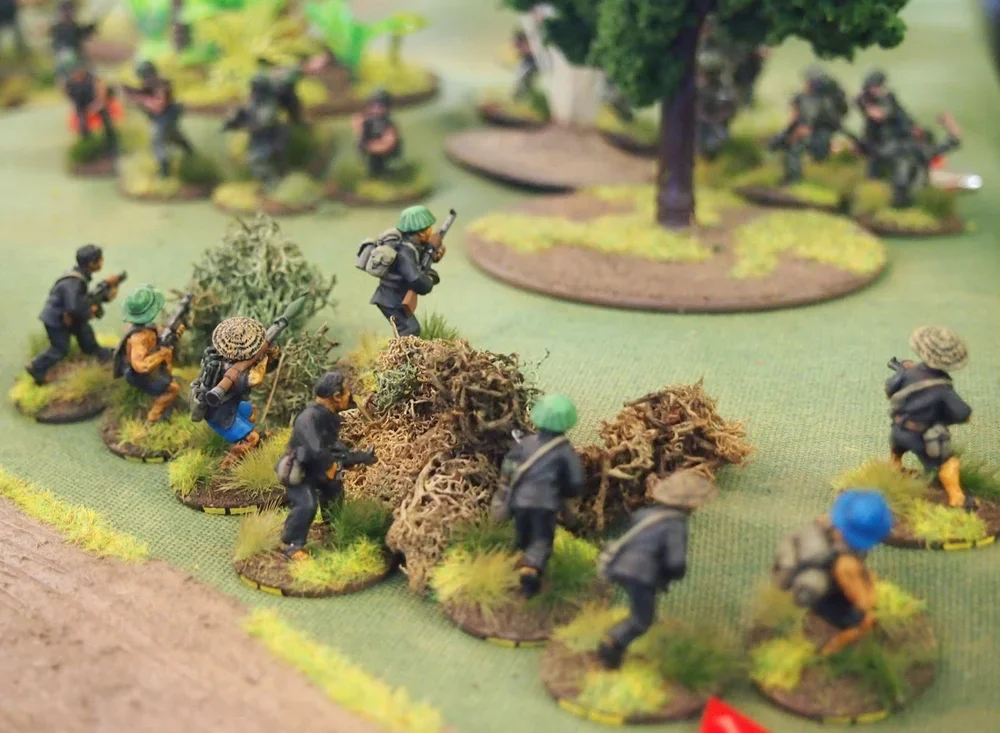
A surprise NVA human wave attack led to the American first platoon being overwhelmed. After overrunning 1st Platoon the NVA was able to get within six inches of the company commander, who was forced to call napalm on his own position!
Kevin Gonzales


A surprise NVA human wave attack led to the American first platoon being overwhelmed. After overrunning 1st Platoon the NVA was able to get within six inches of the company commander, who was forced to call napalm on his own position!
Kevin Gonzales

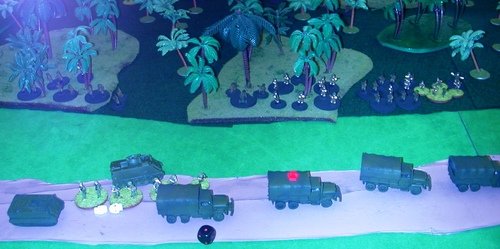
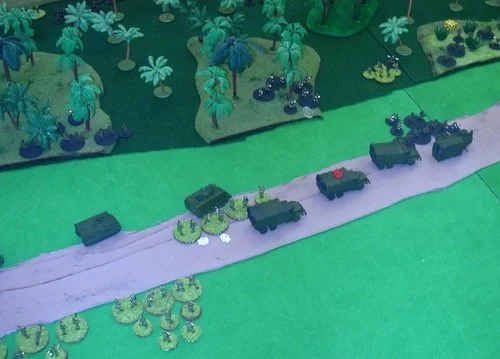
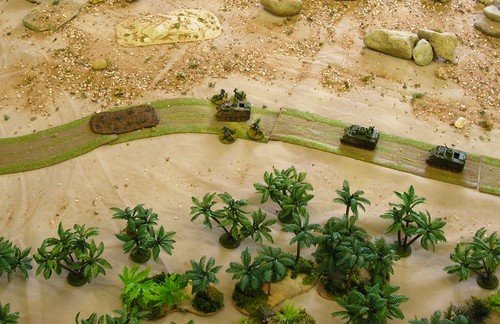
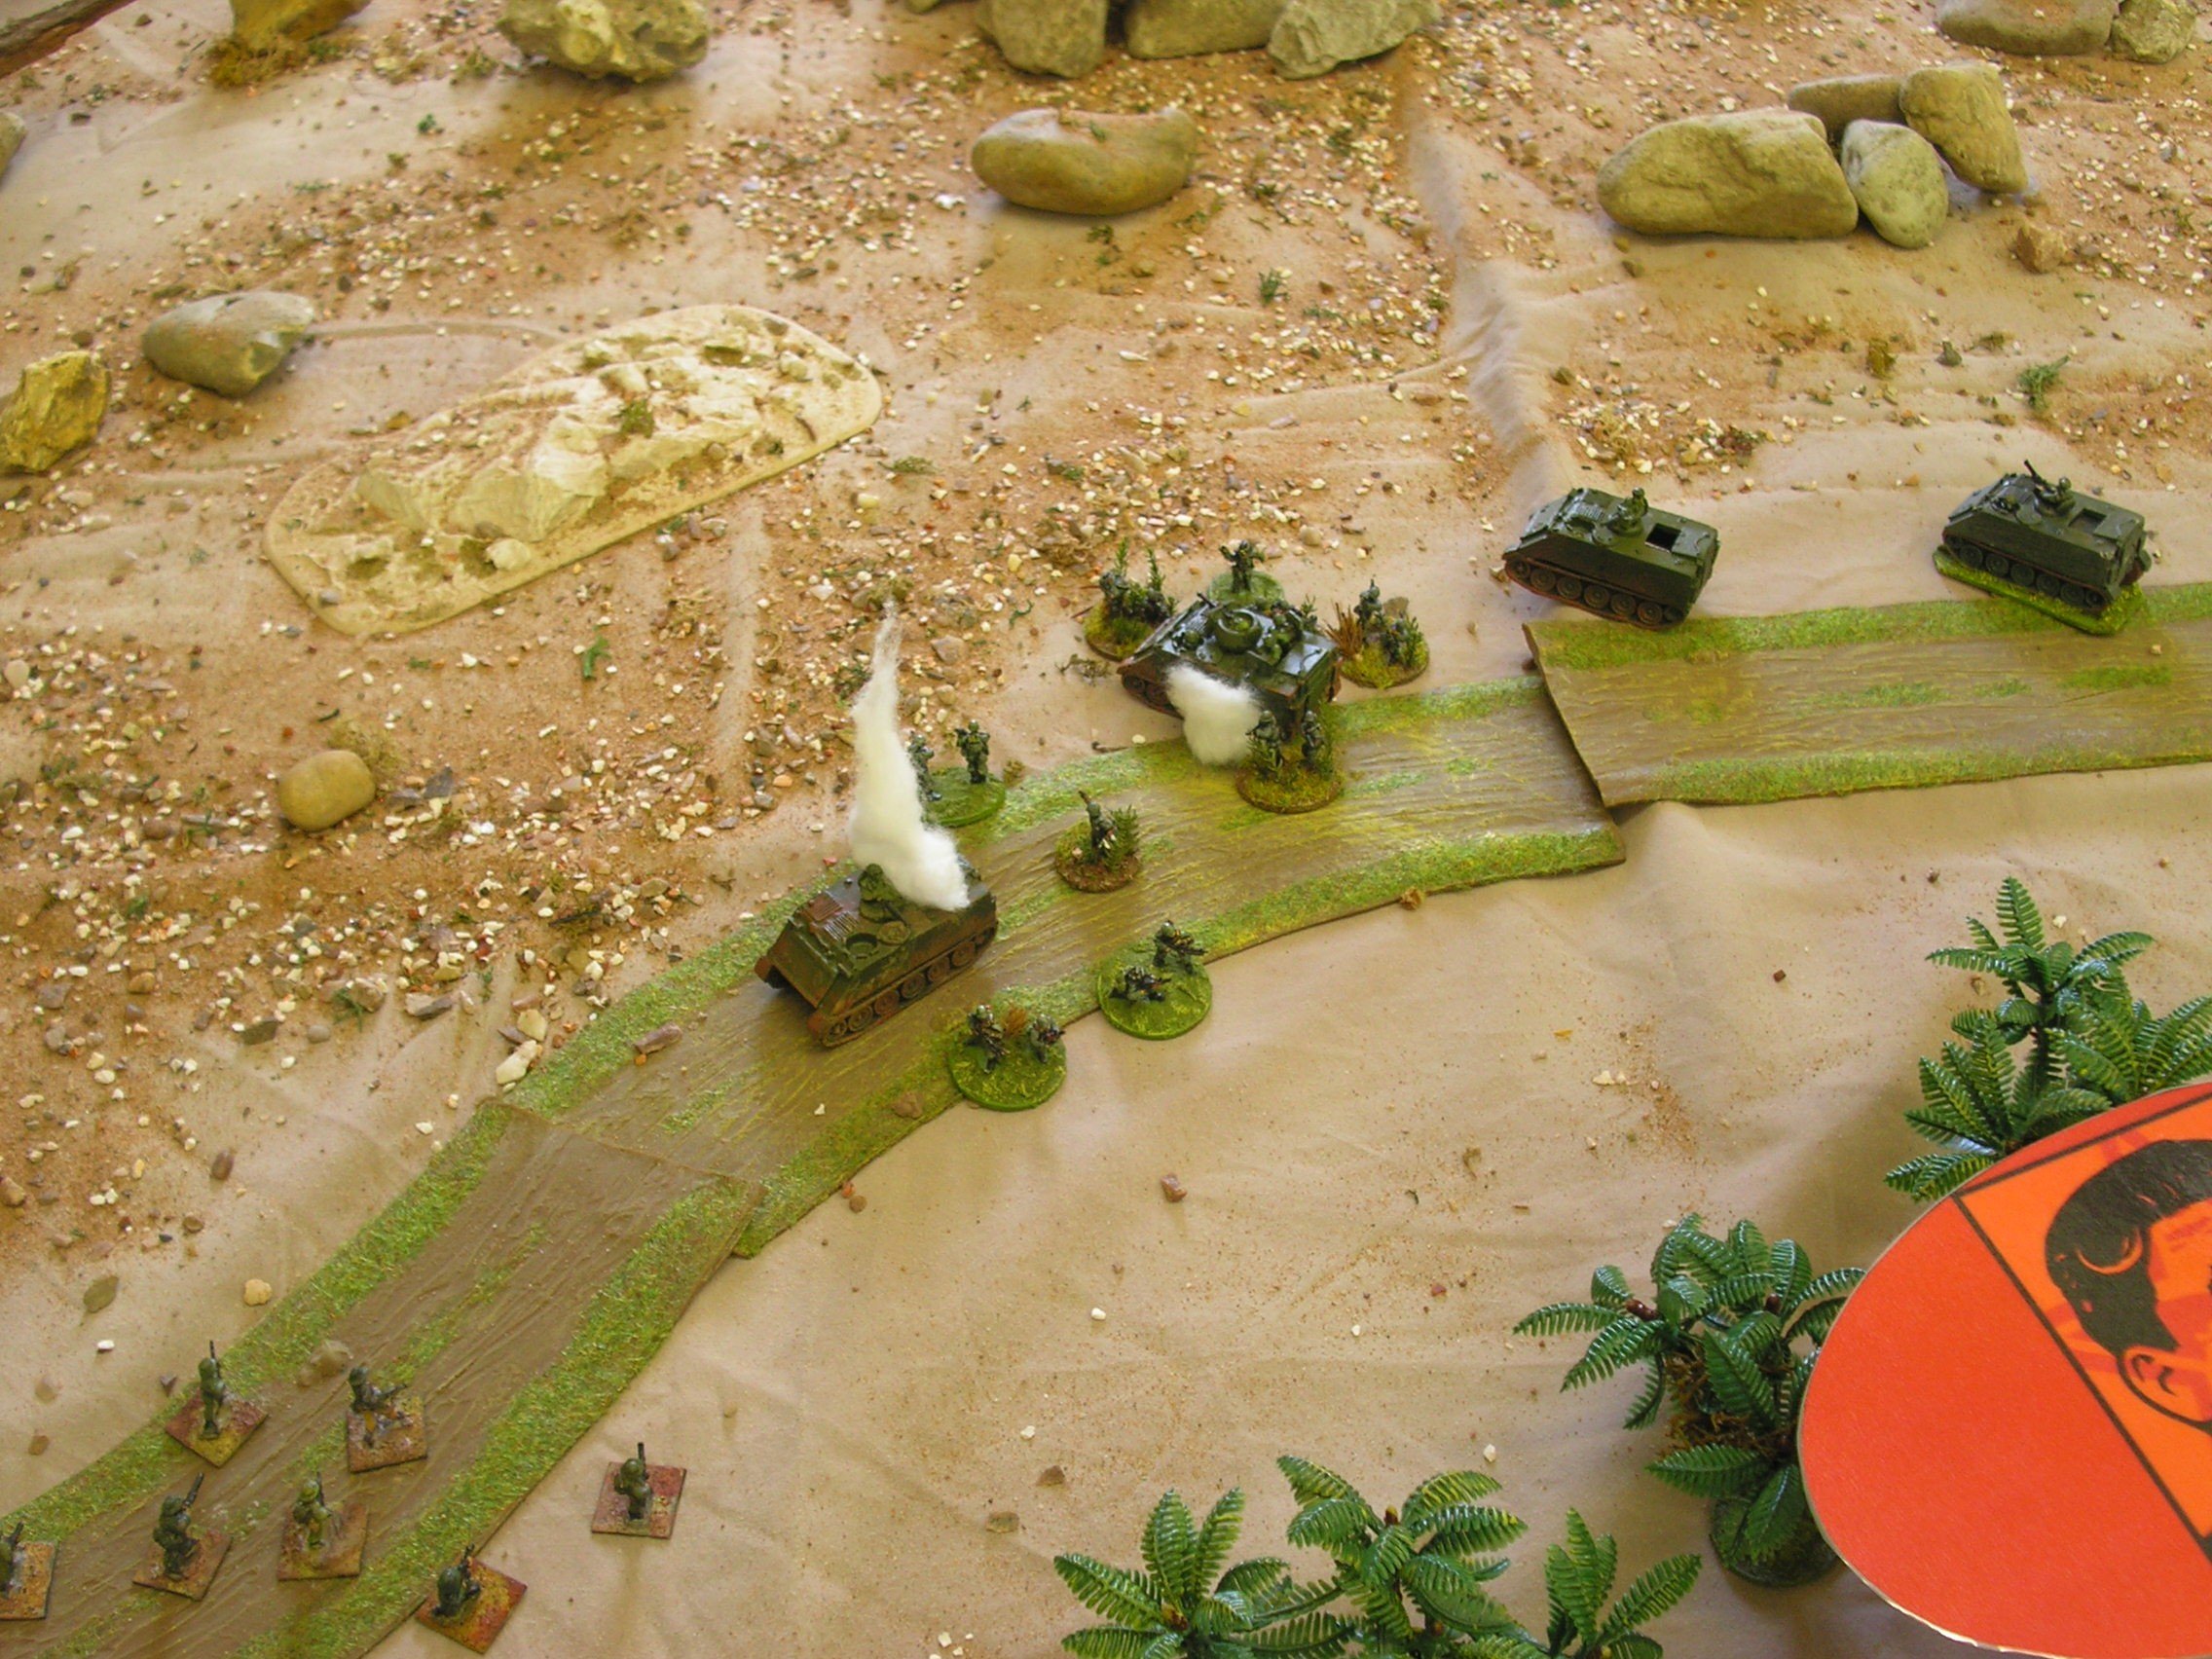
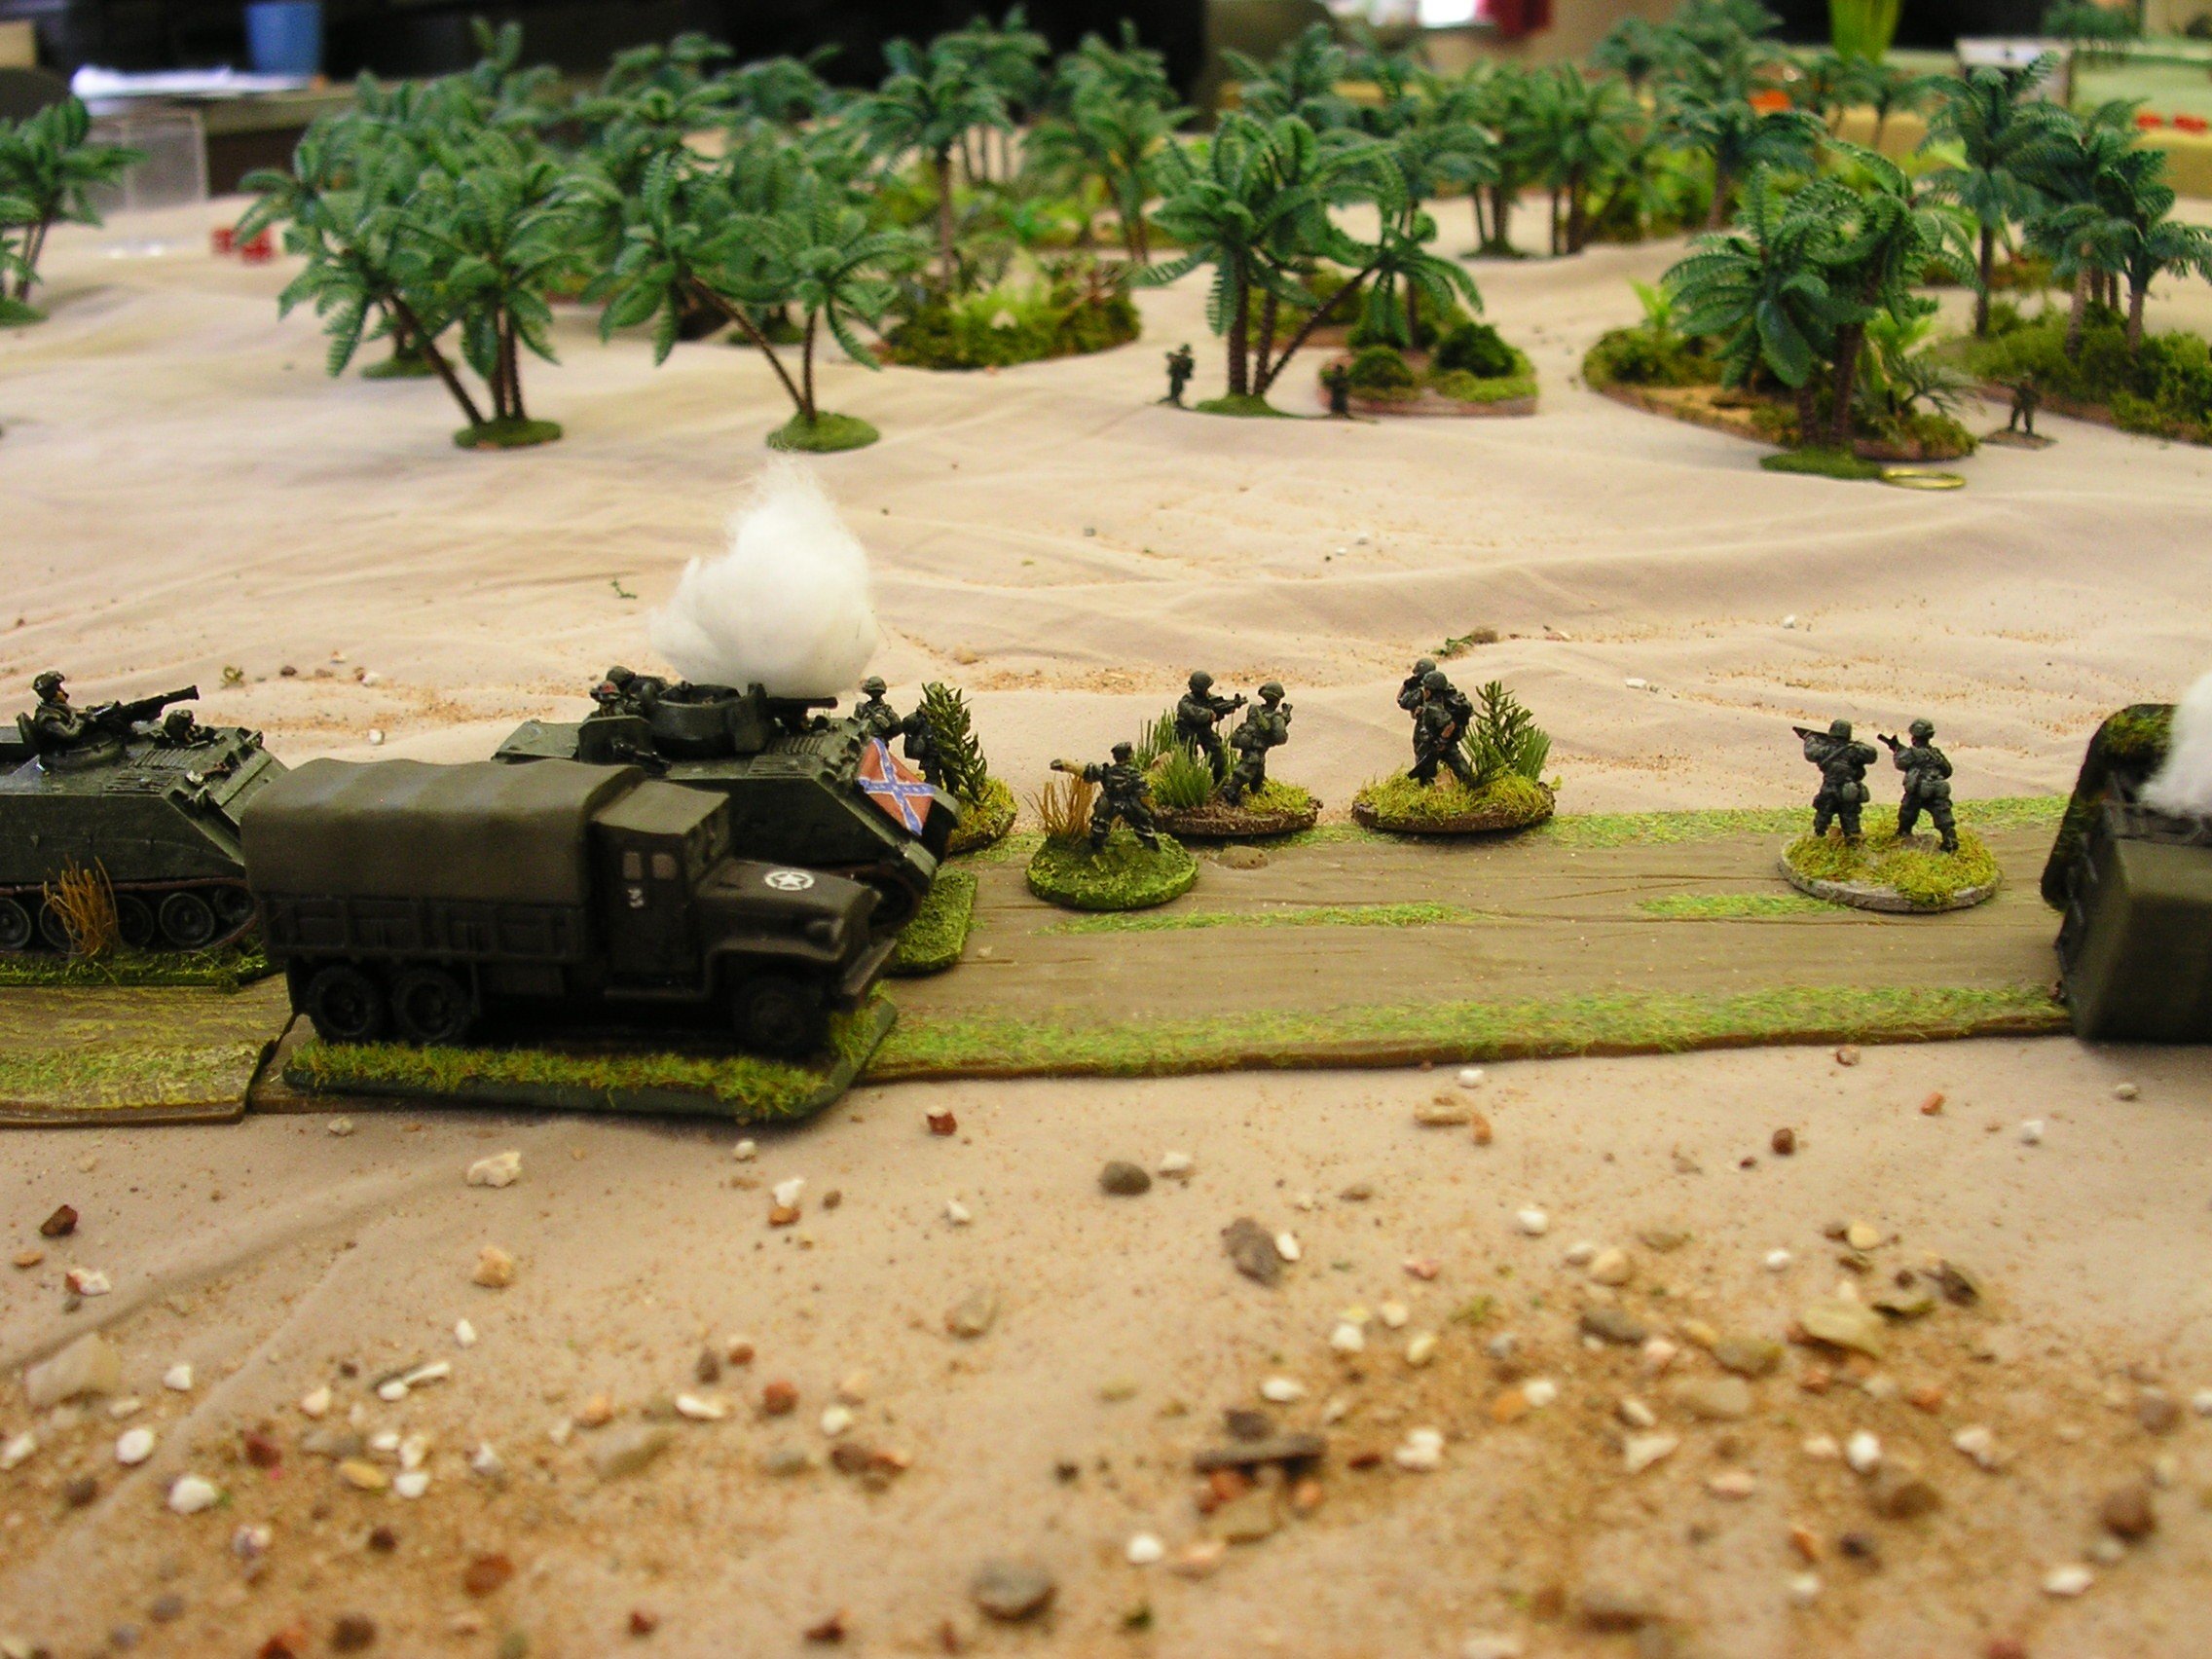
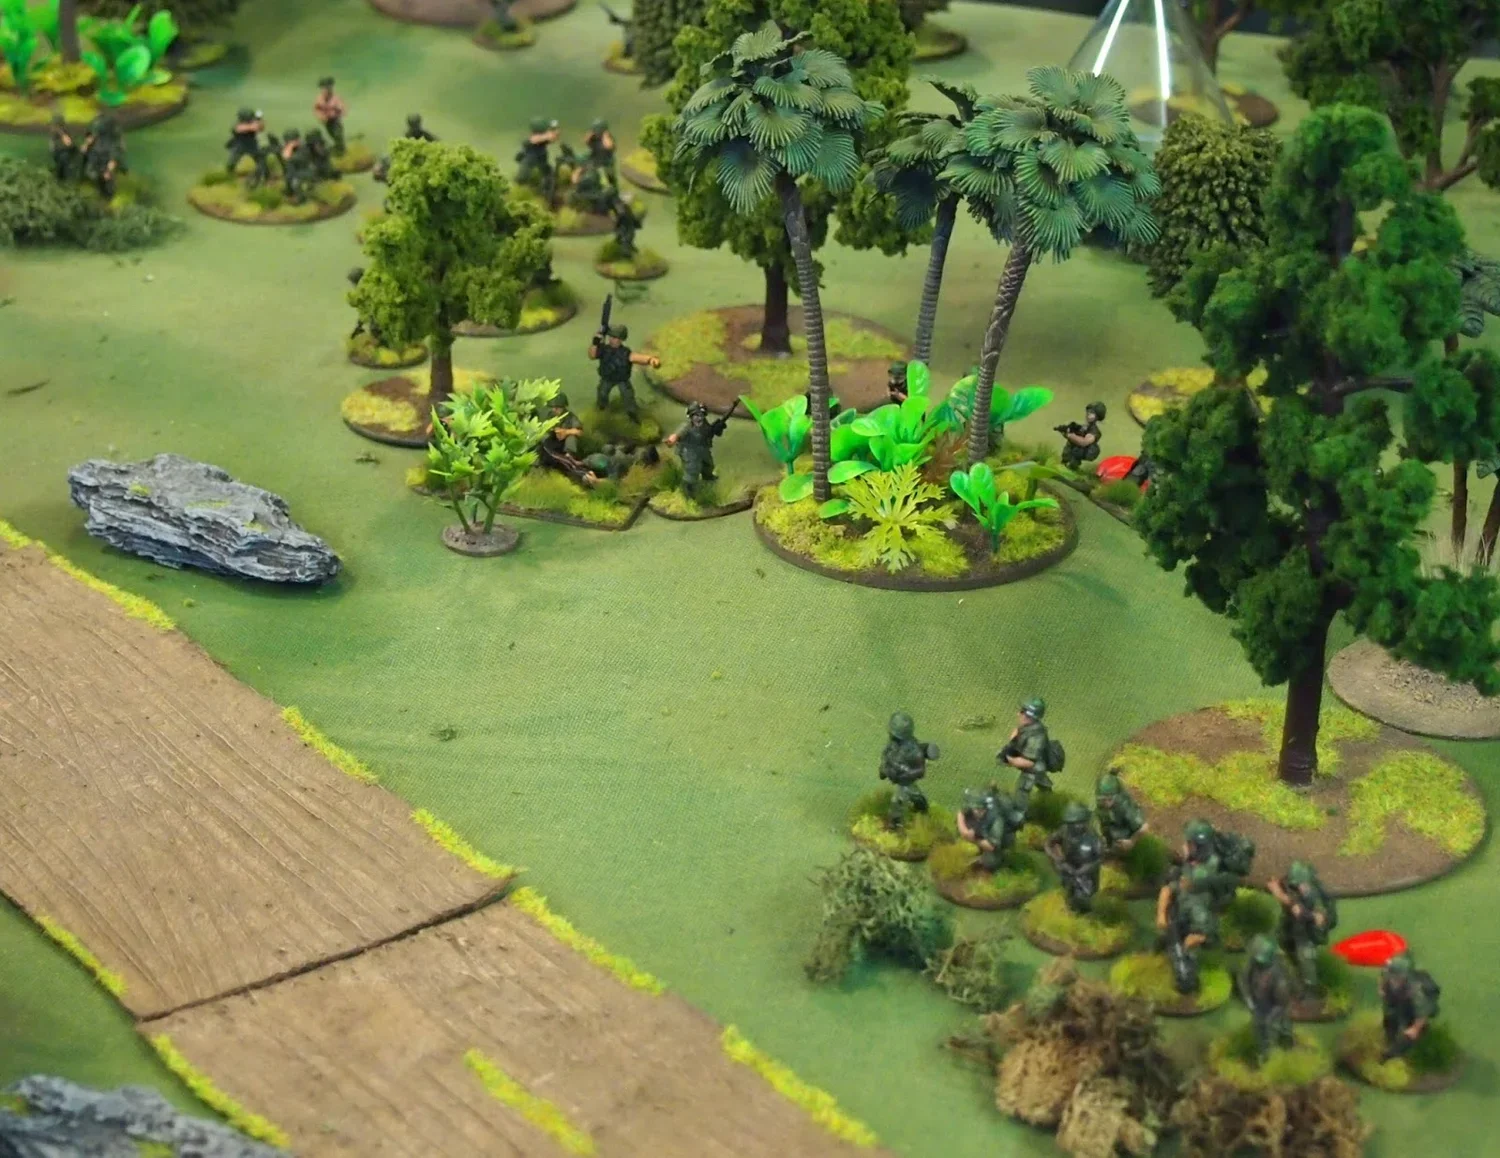
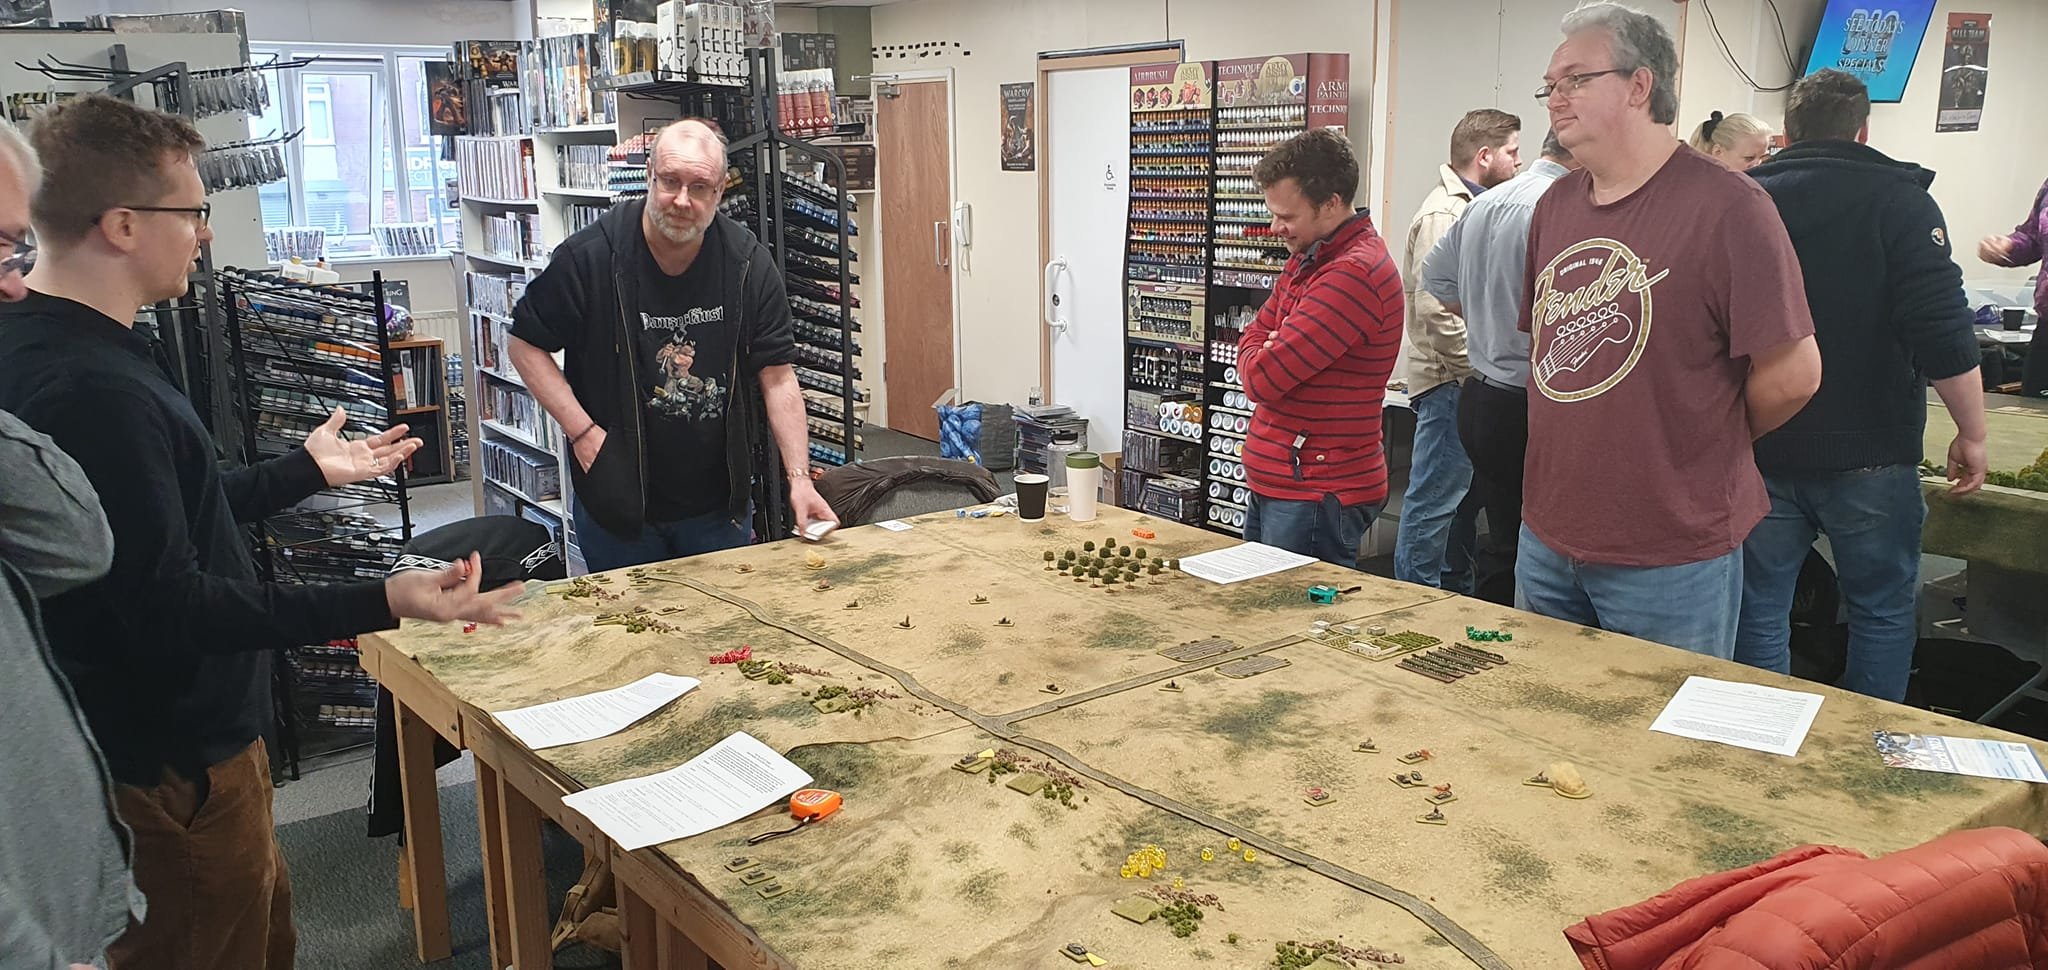
First run out for CDS this afternoon as we played one of the scenarios from the Lard Magazine: Relief of the MACV Compound during the Tet Offensive. Golf 2/5 attempt to reach the compound while holding open the road.
A military victory for the US but probably a political victory for the NVA as the US took heavy casualties. Lots of fun!
Hoping to bring this game , or a variant, to Partizan in May.
John Savage

so we just need to travel down the road...
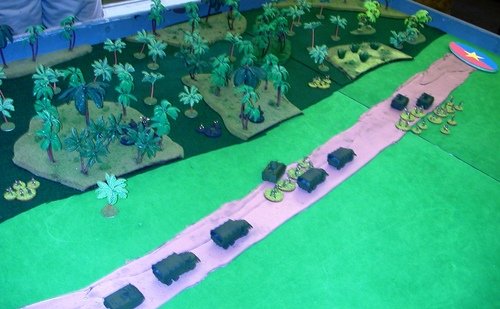
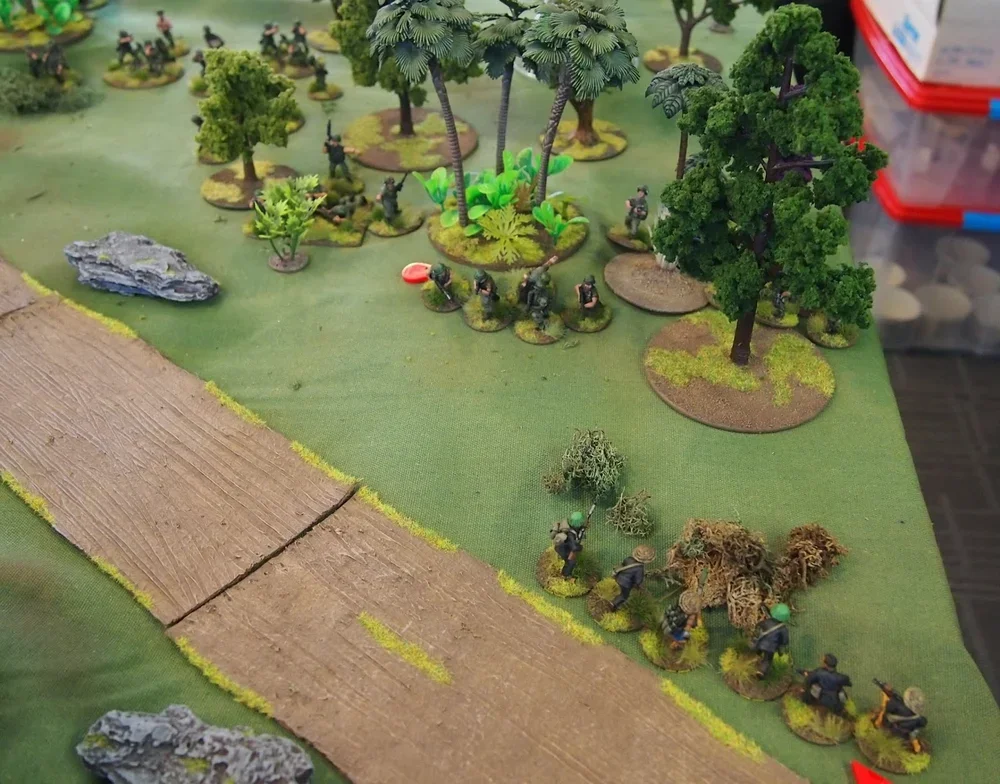
In which Captain Bowman goes on one last mission, only to be transferred to a mobile latrine unit at the end of the night. After various playthroughs of the Combat Engineer mission from Surf's Up (a scenario pack for Charlie Don't Surf), the time came for Captain Bowman to have a crack at this mission as part of his ongoing tour of duty last Friday (28th October). As two of the four players had experience of this scenario from both sides, a couple of changes were made to keep things fresh. More of which later.
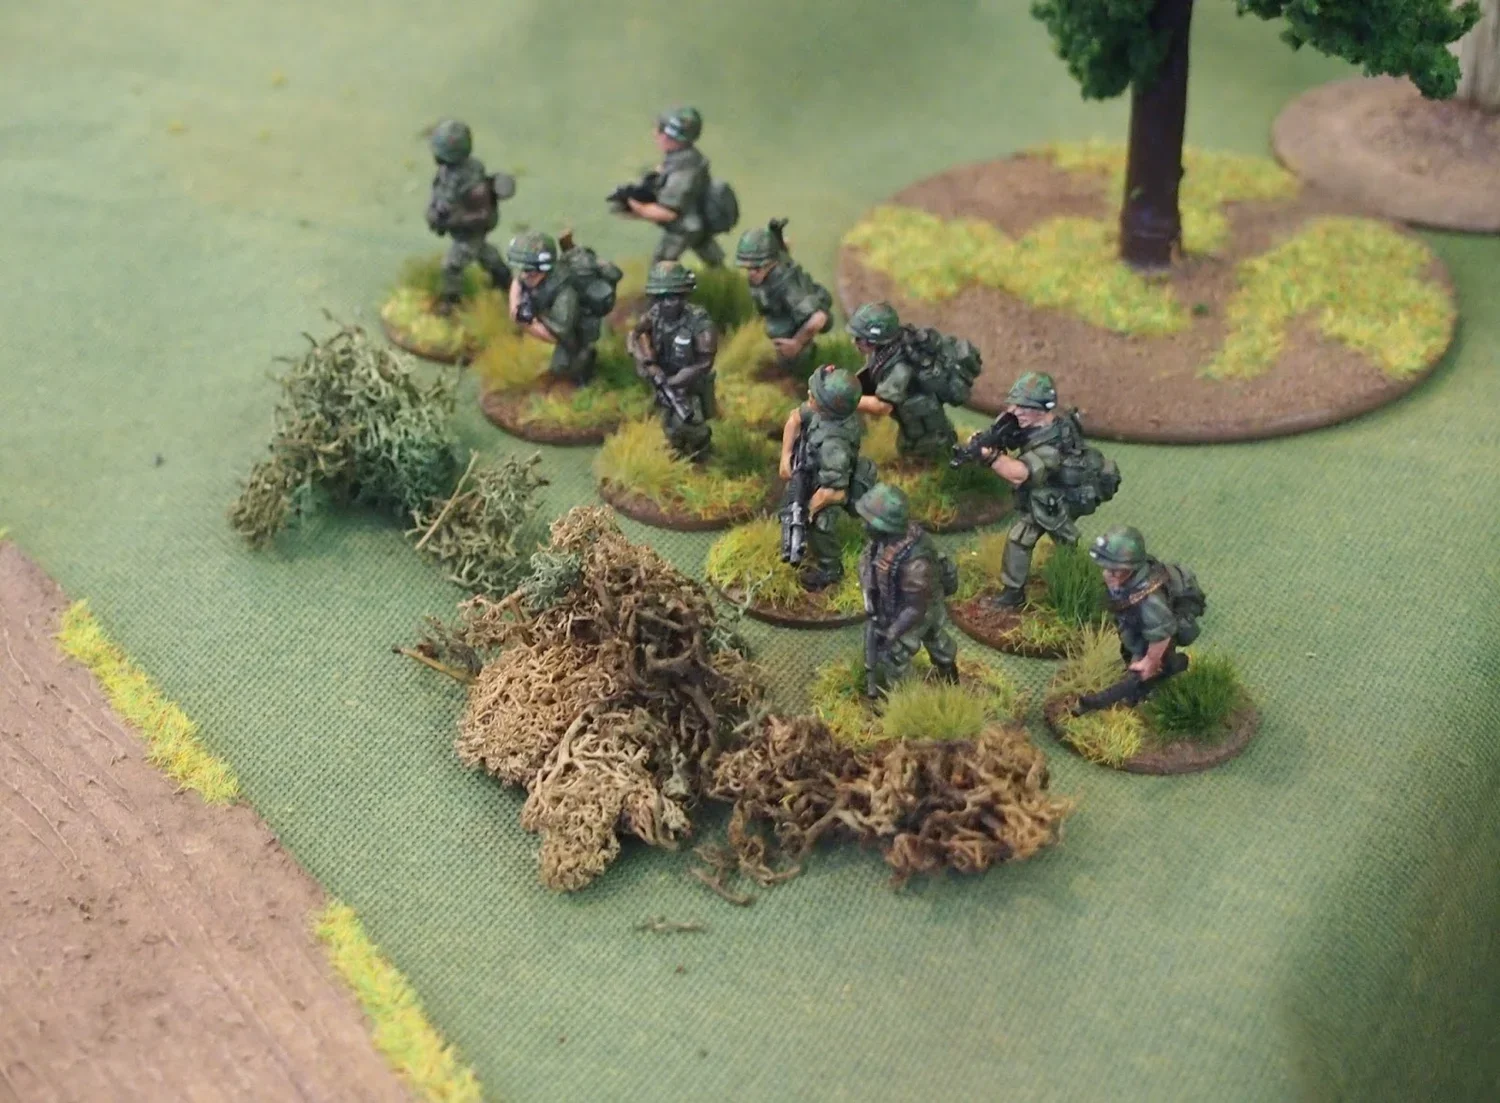
The US deployed and prepared to advance but already the VC were on the move to their far right! This was the first surprise for those who knew the scenario; namely the deployment and destination of the VC was 'flipped', and it was an apparent joy for the VC player to see the alarm the sudden appearance of several blinds caused the US players. Particualrly when Captain Bowman muttered "I wasn't expecting VC there"...
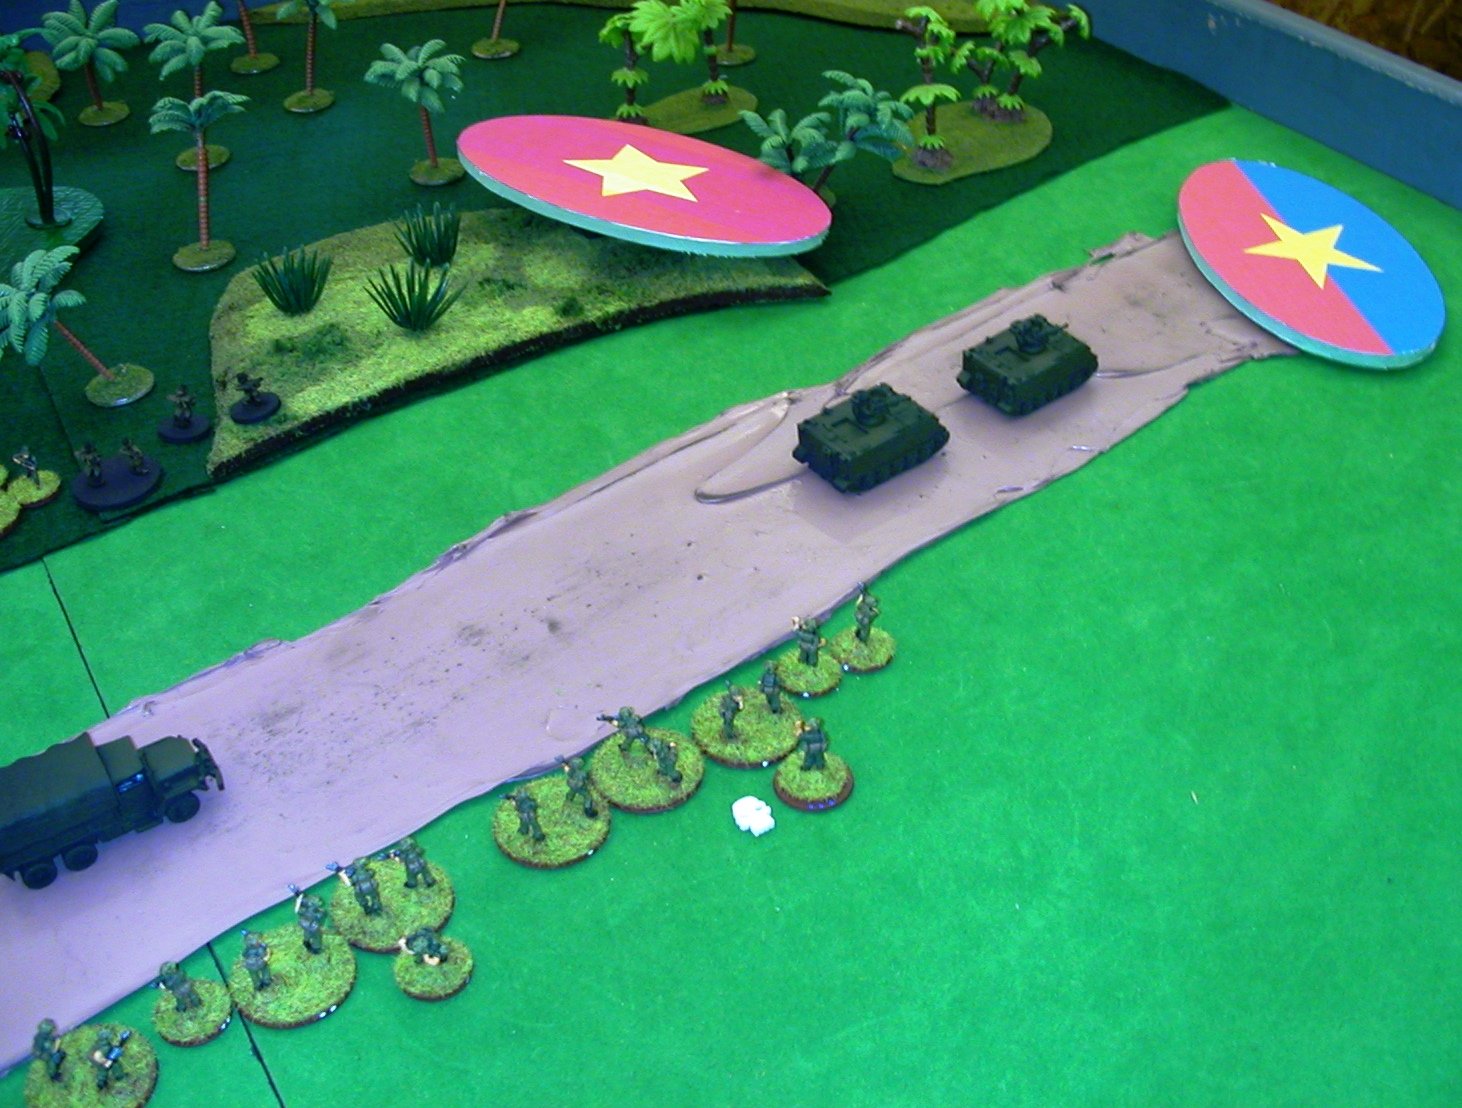
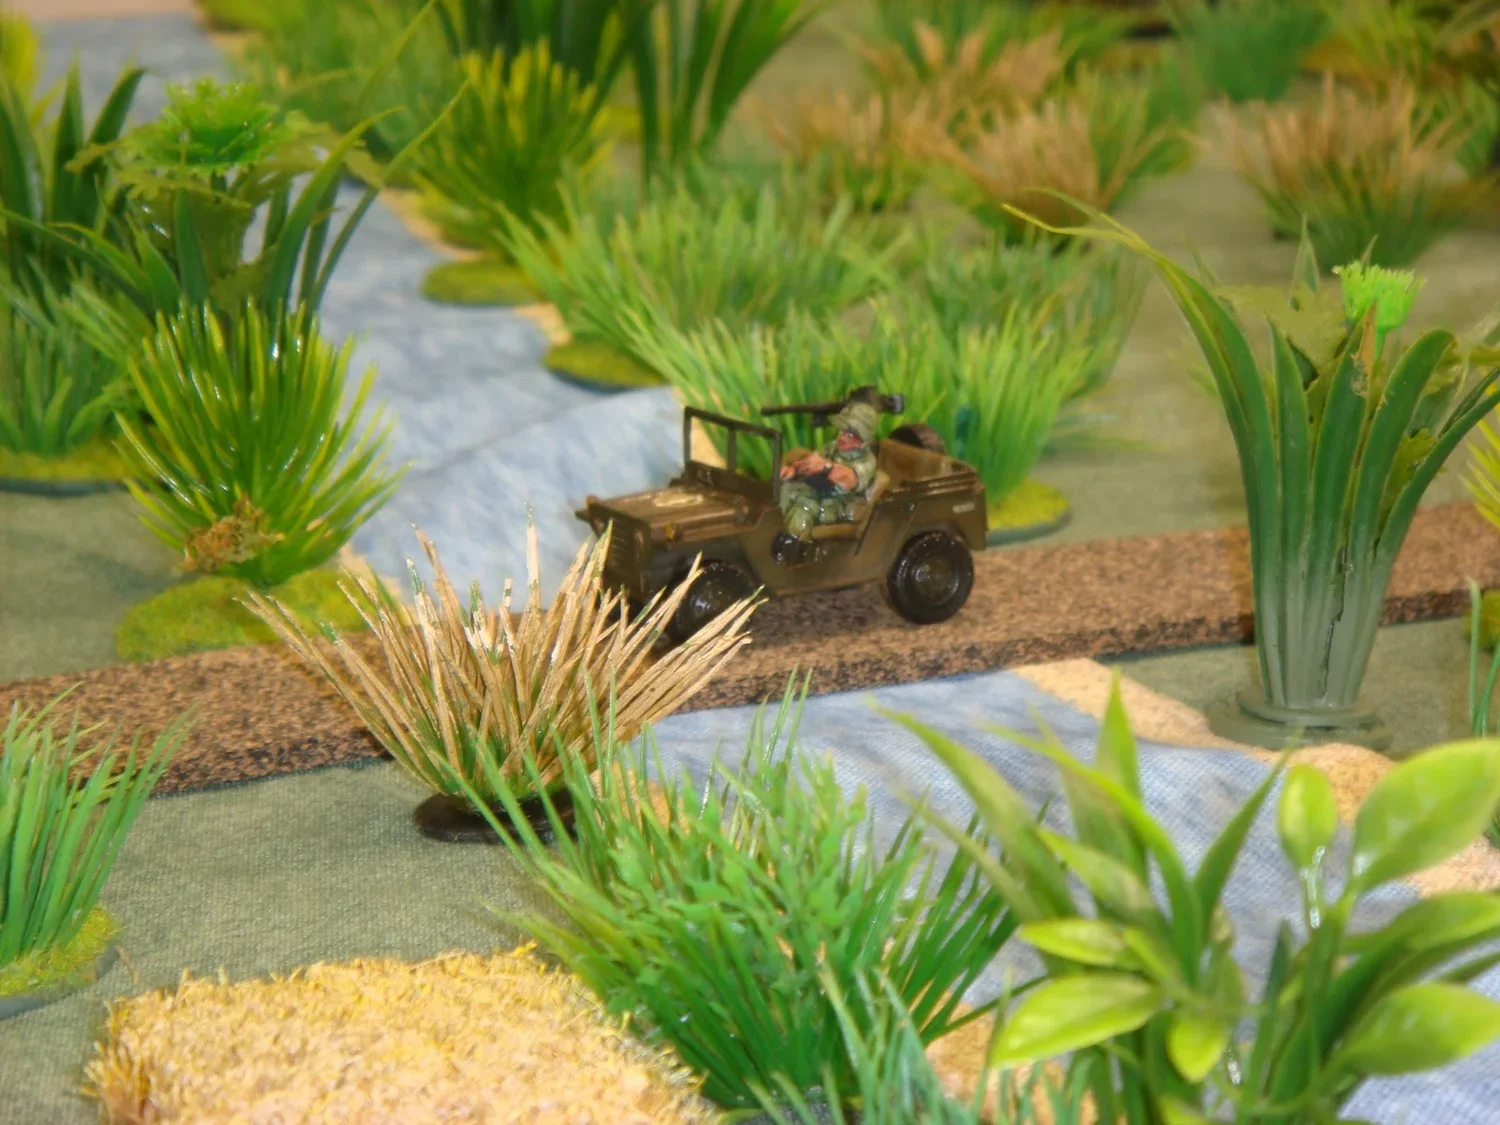
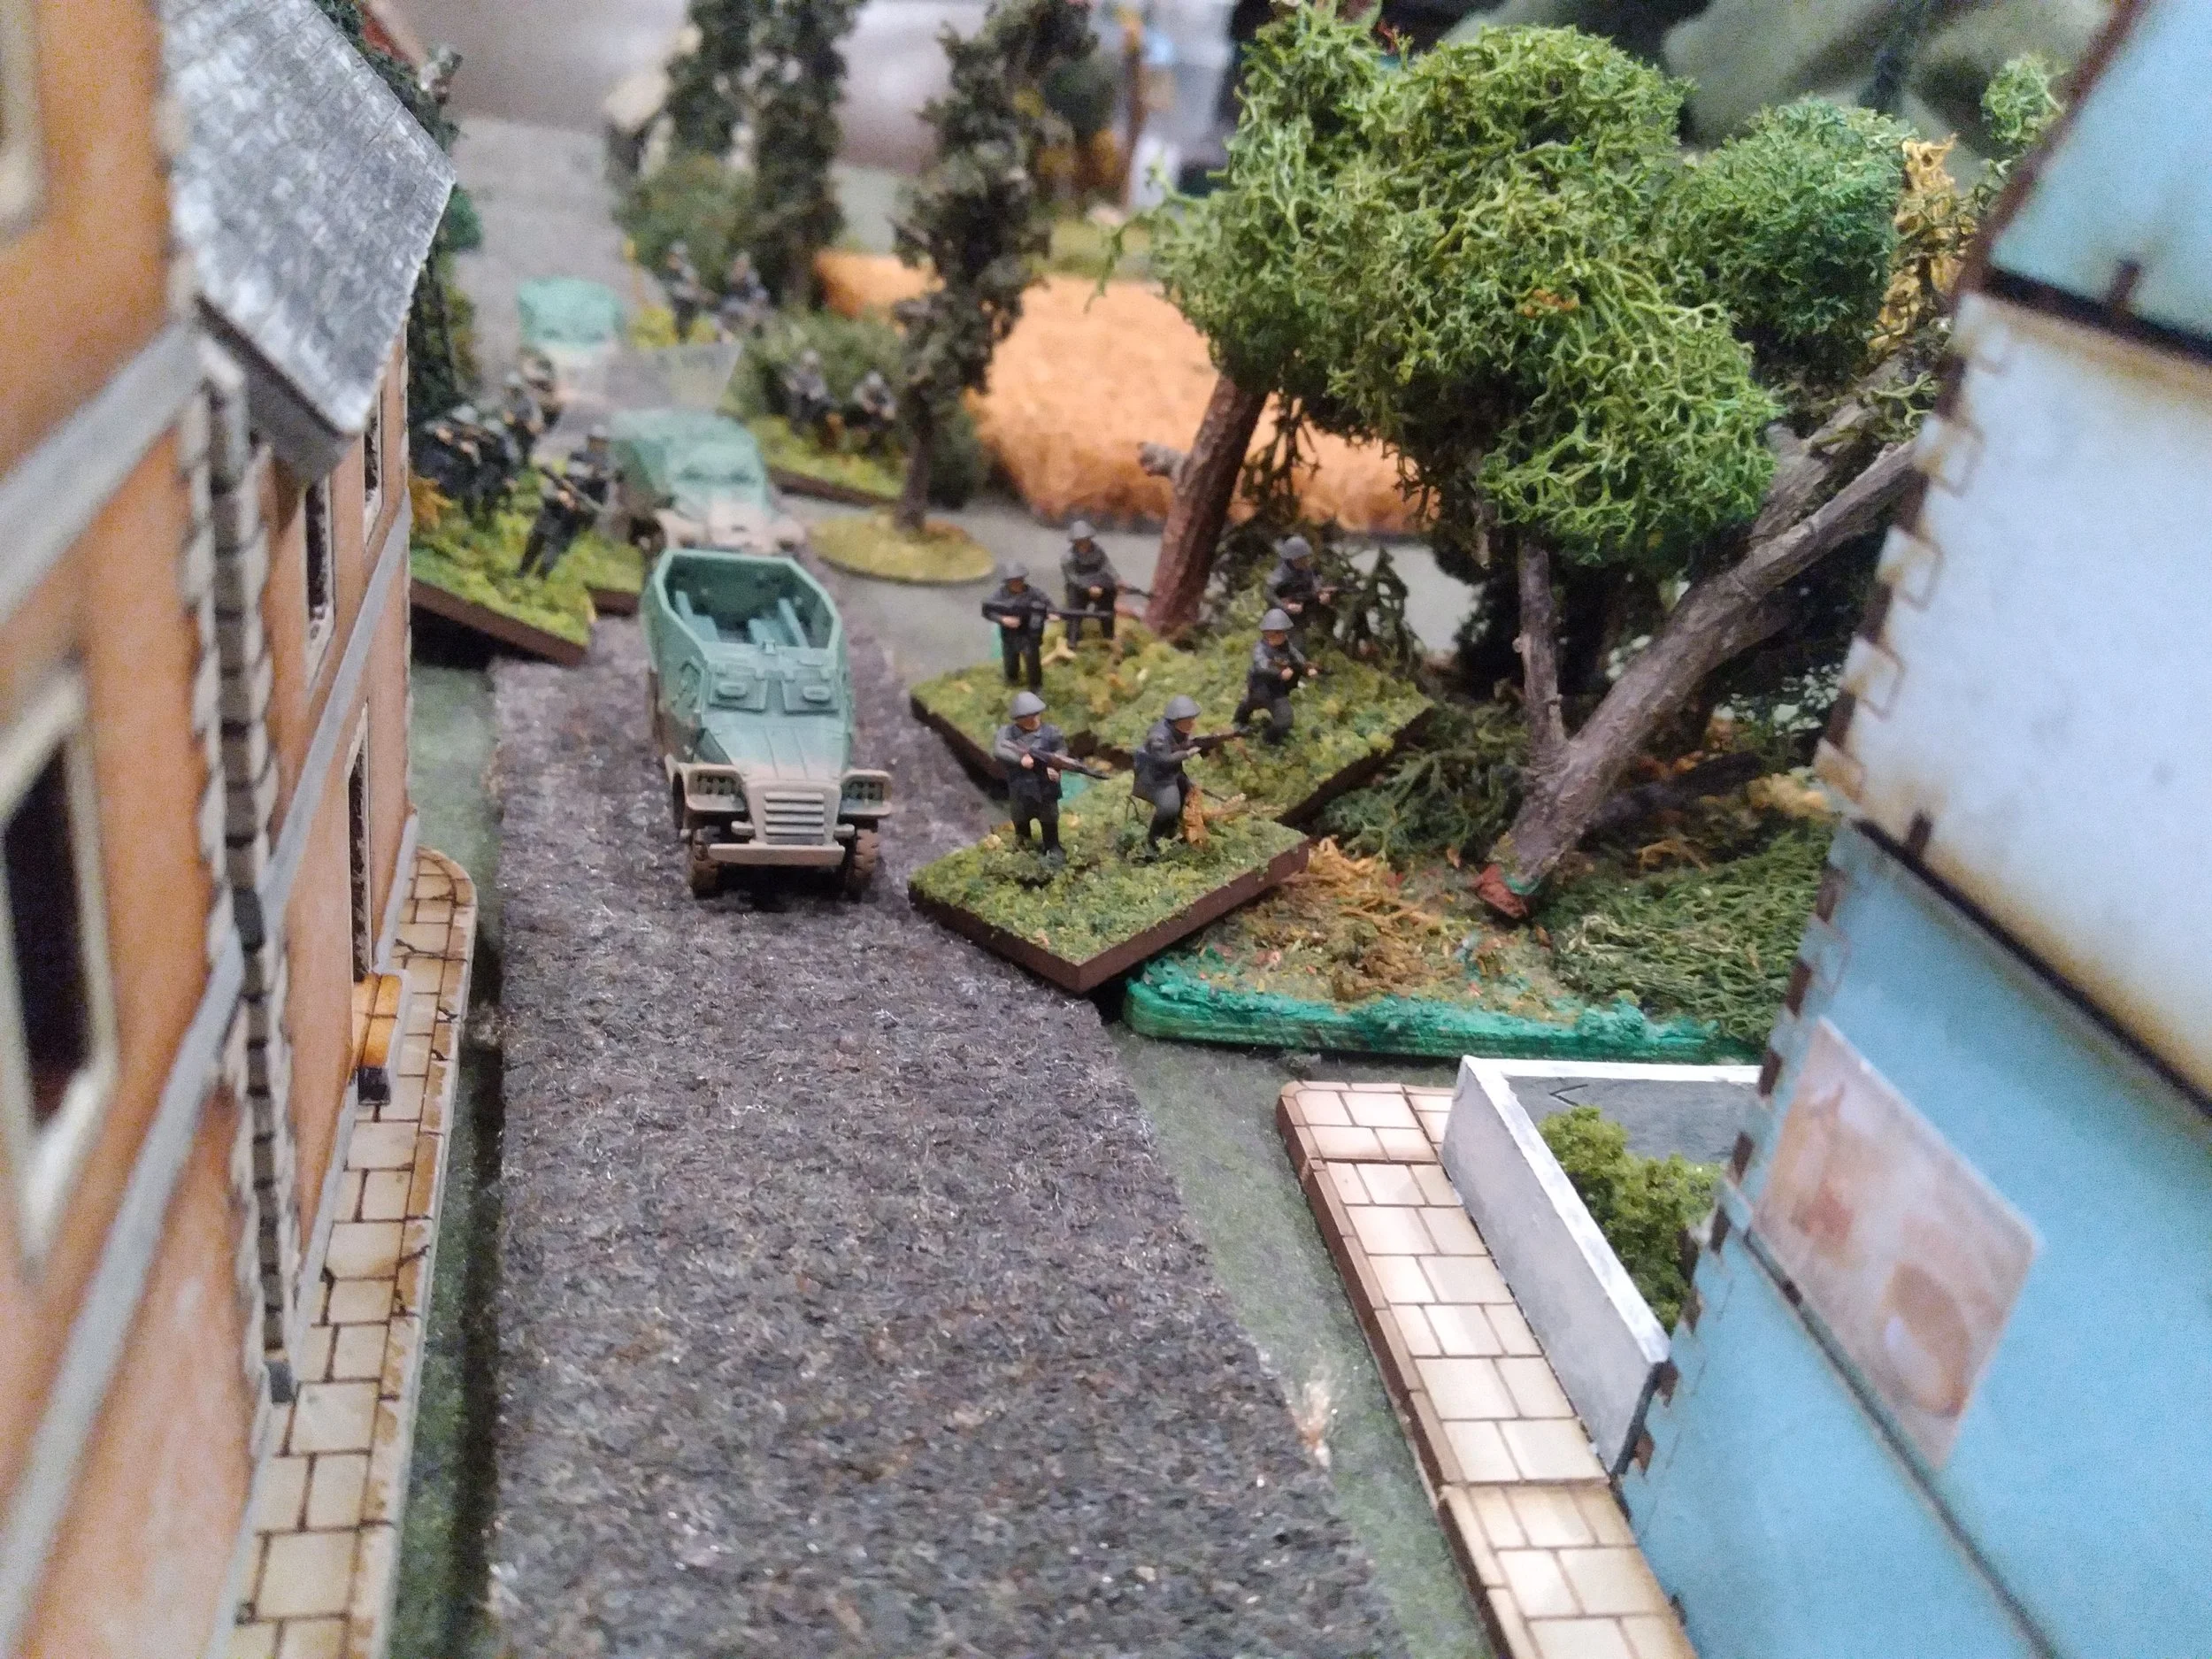
Lieutenant Kallachek's platoon prepared to enter the jungle whilst the Rome Plow and mine detector squad began to check the road ahead for mines and booby traps. To their rear in this picture are Captain Bowman and a medic.
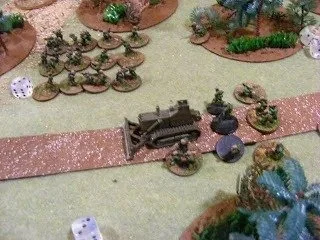
i know this is not a rome plow
Now, I'm well aware that the photo does not show a Rome Plow, but a WWII era British armoured bulldozer. If anyone knows where I can source one of these in 1/100 scale or compatible with 15mm miniatures, please shout out, as my Google-fu has failed me!
It's also worth pointing out the second change made to the scenario here. In previous runs, the US engineers had studiously examined the road and clear ground either side once they hadleft their deployment zone. This was a perfectly reasonable course of action given their briefing. This time though, I offered the VC the option of having mines already lying in the road (thanks to the earlier efforts of their peers) in return for limiting some of their initial equipment and potential military victory points at the end of the game. The VC happily leapt upon this option!
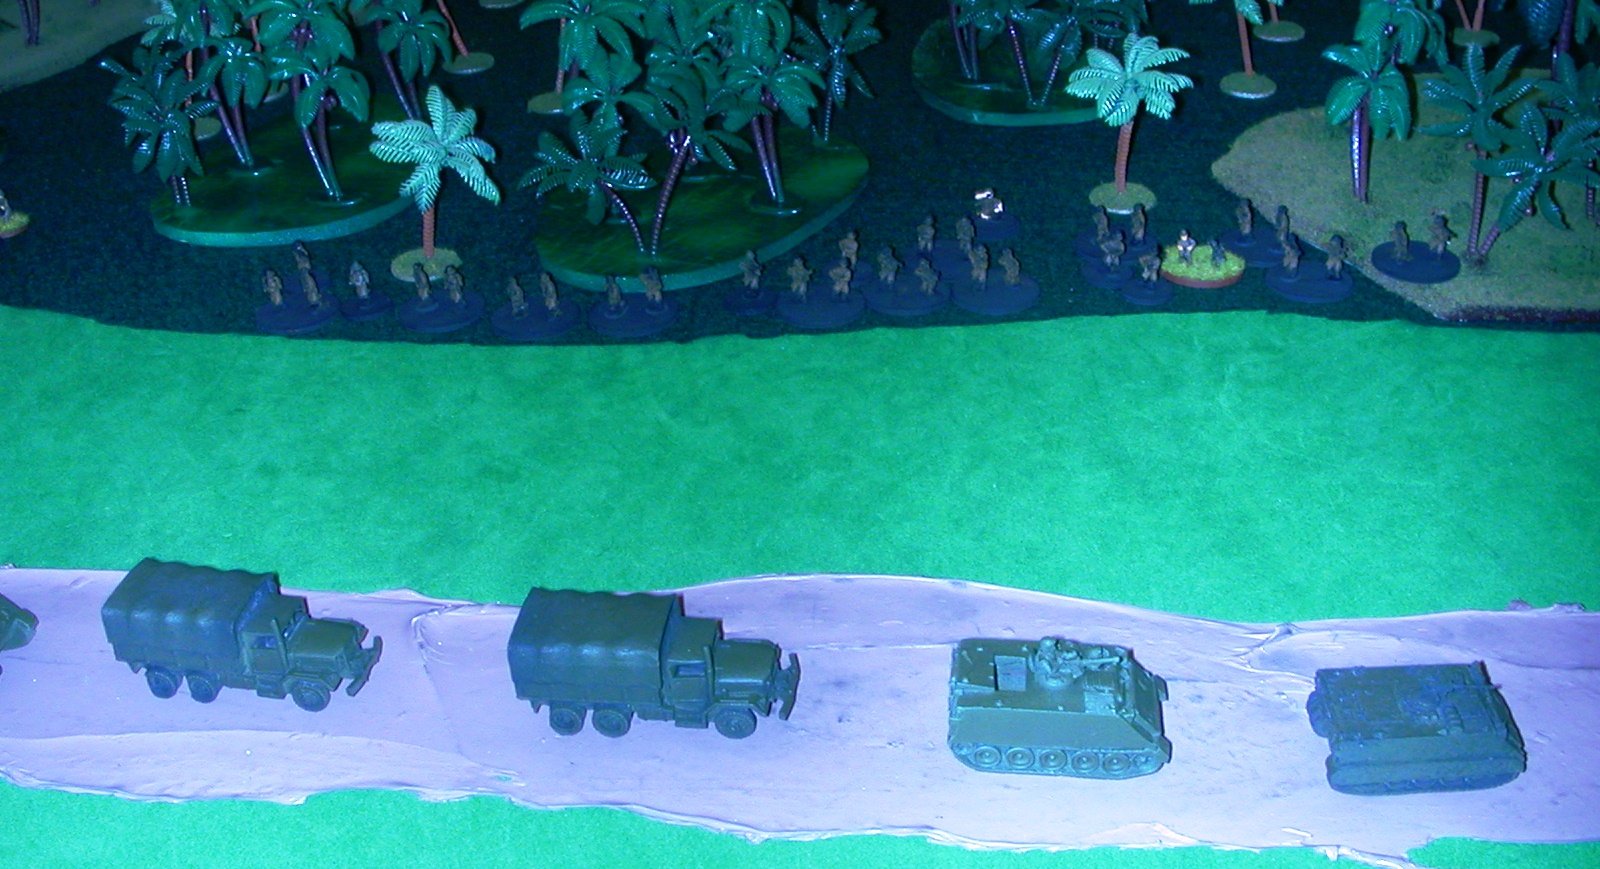
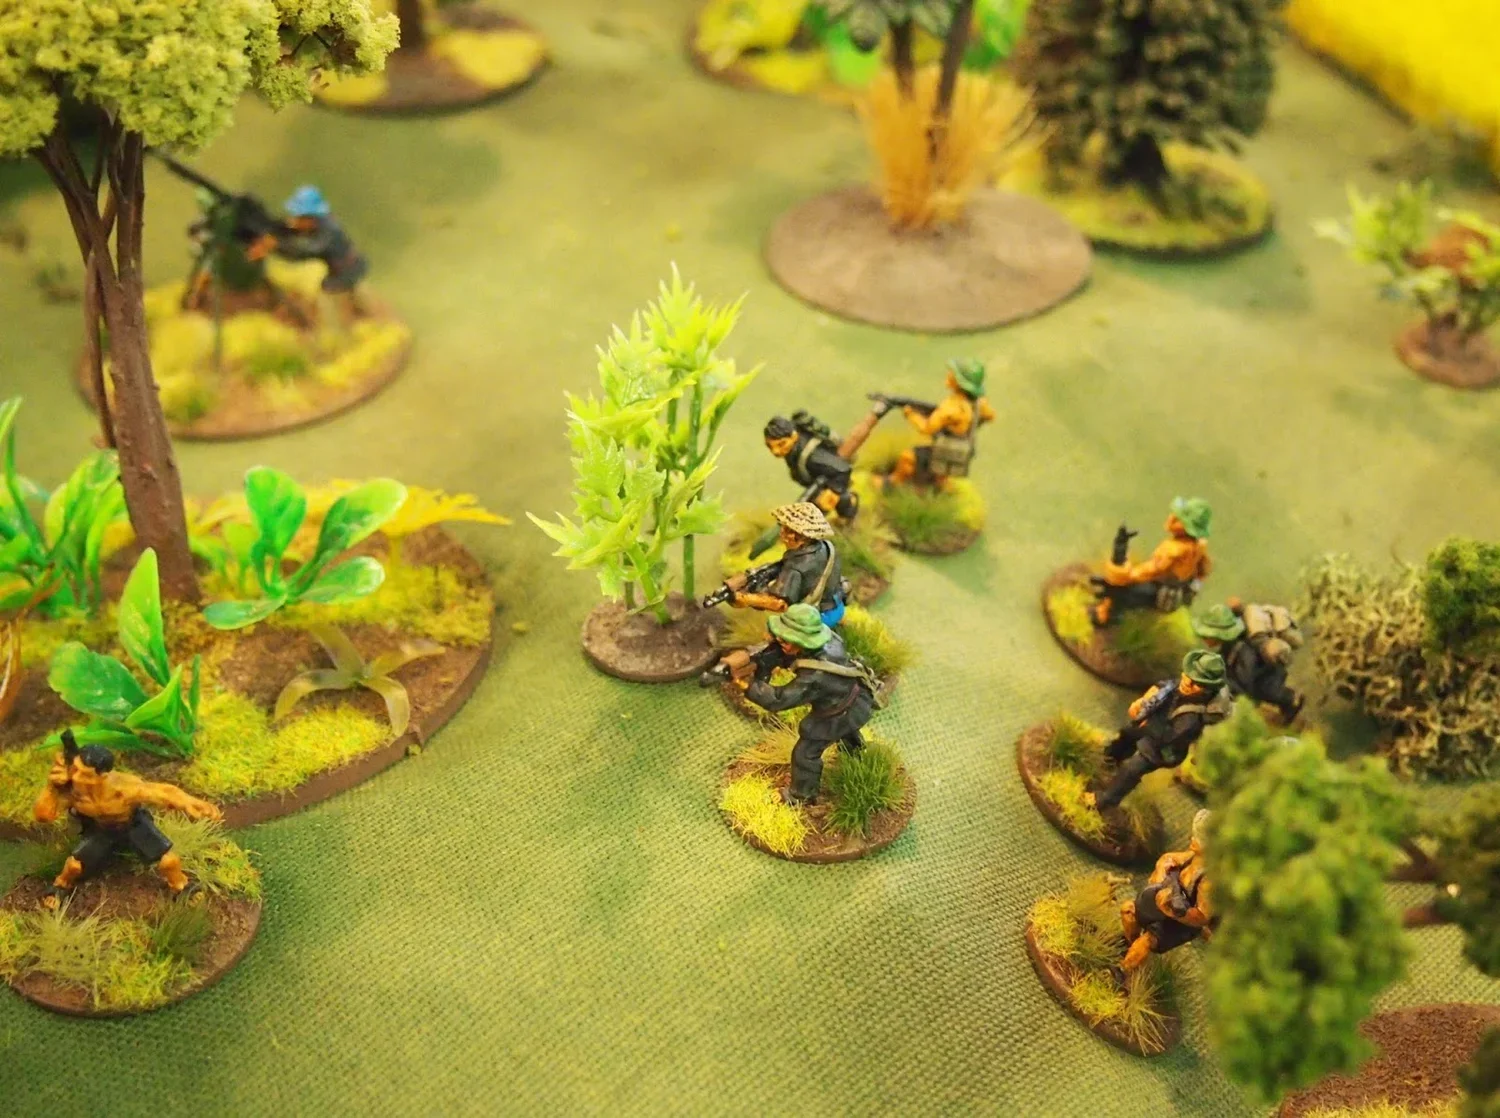
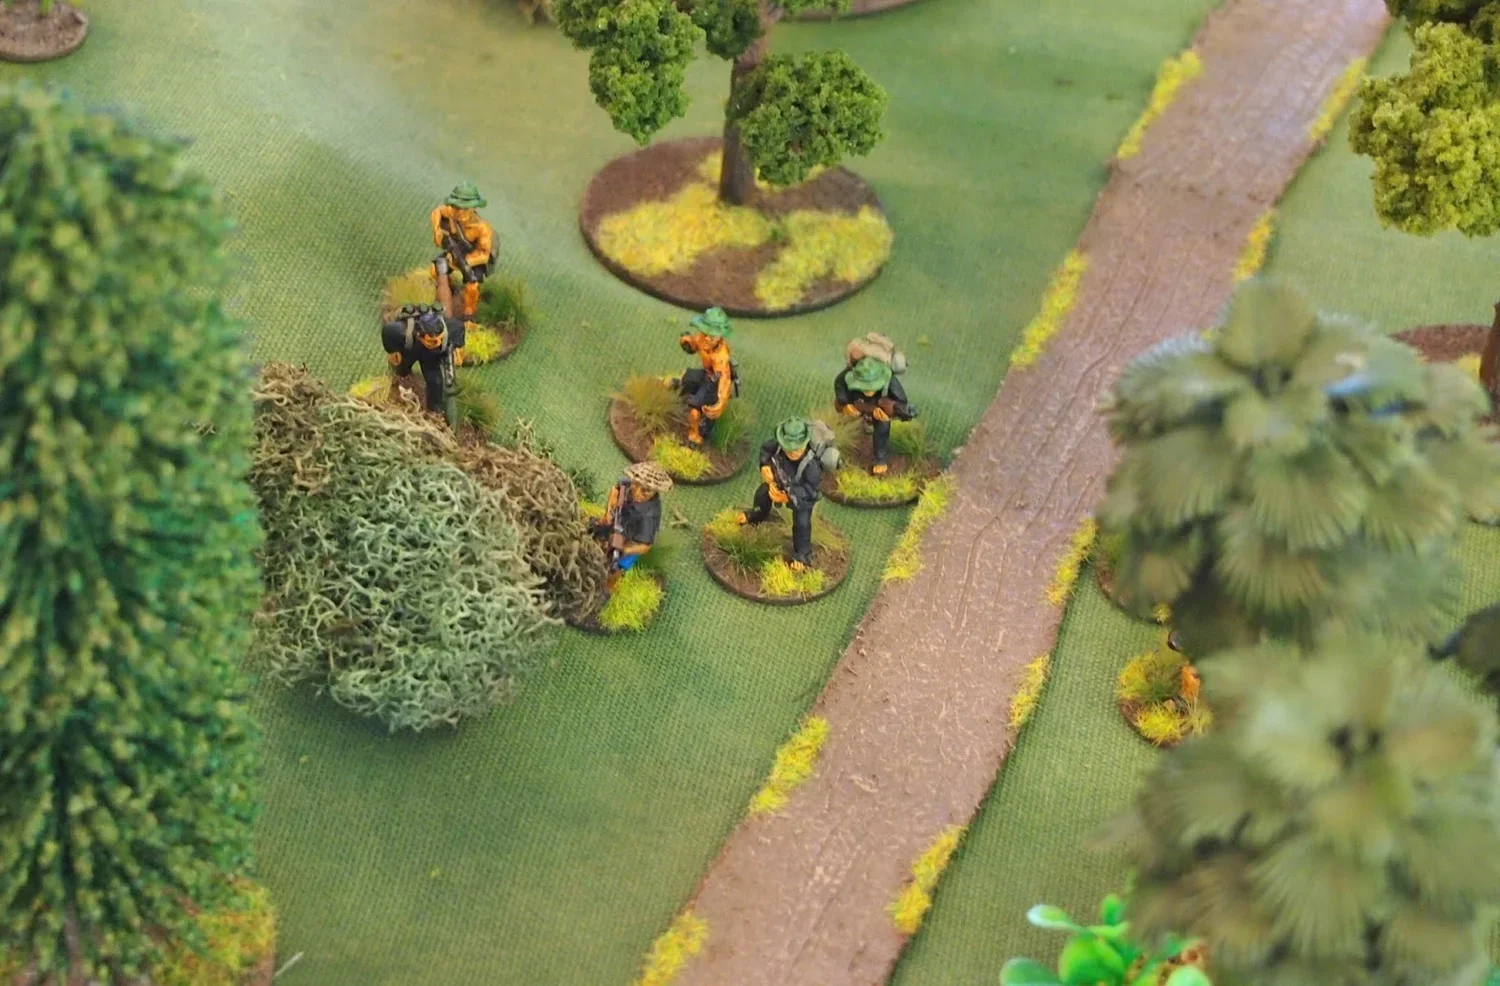
To the left of the road, the platoon commanded by Lieutenant Monterey Jack also begin to file into the jungle, where Charlie has apparently begun some timber felling...
The VC CO has clearly been paying attention to the nuggets of Blinds-based wisdom I've been relaying from the TooFatLardies Yahoo group. To the south of the road, Lieutenant Kallachek's platoon spent most of the game clambering though dense jungle in pursuit of a rather insouciant blind that eventually revealed itself to be a just a couple of VC chaps having a dekko, rather than a unit of any significant size.

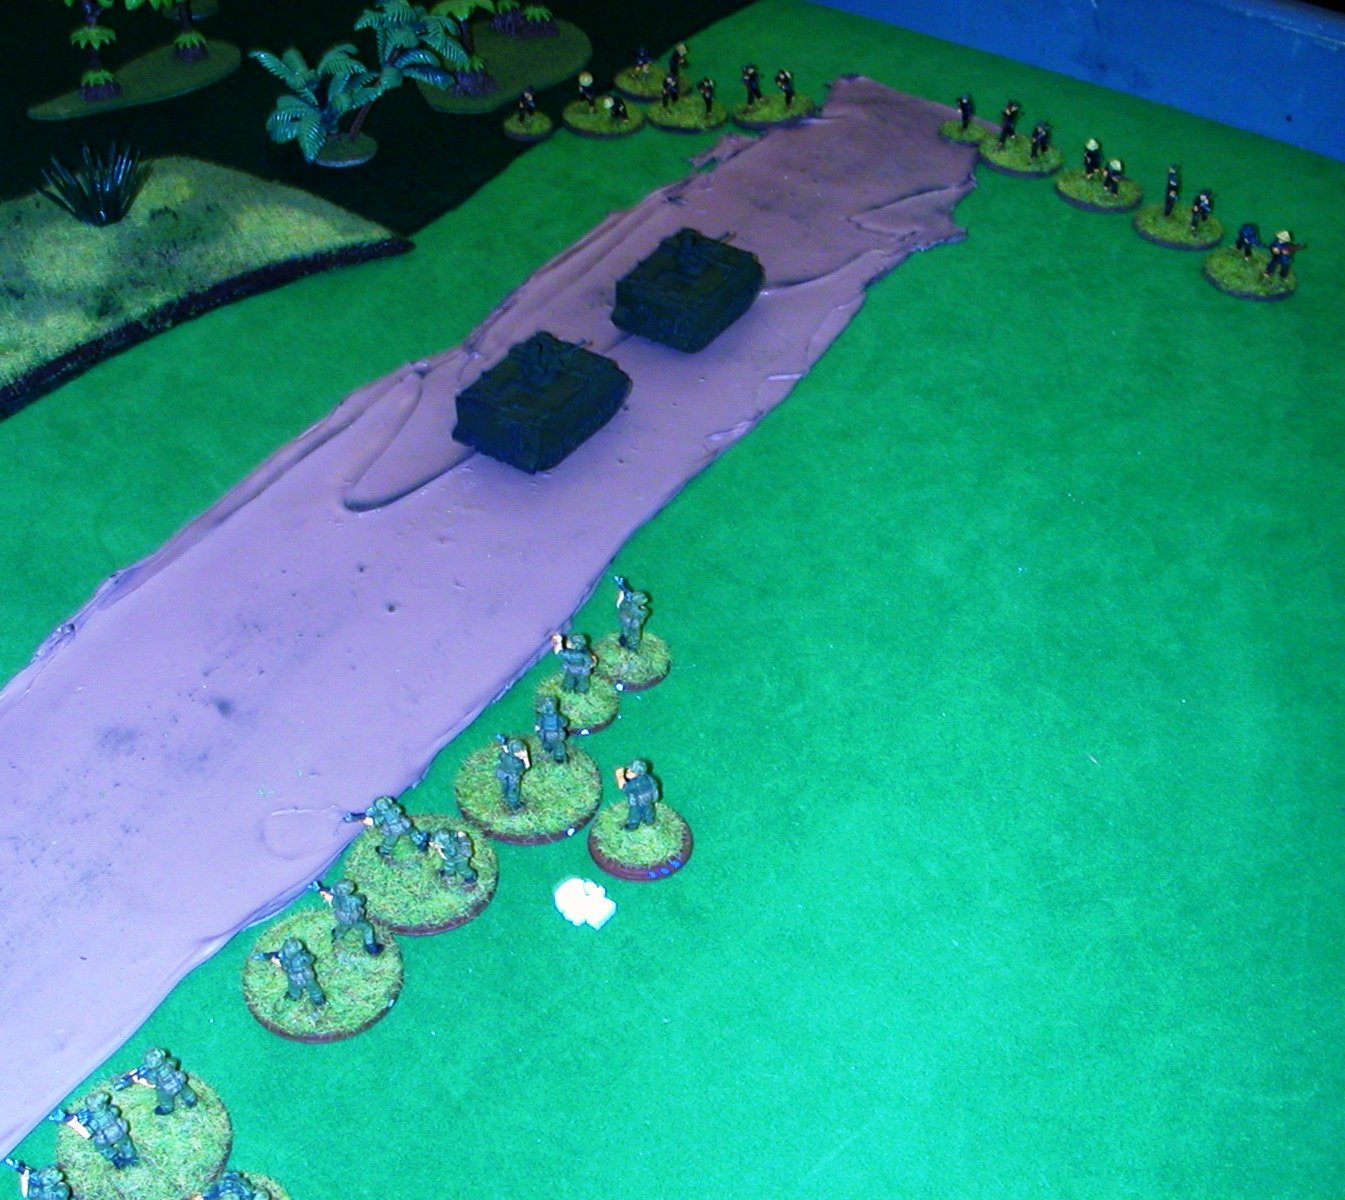
At the same time, the VC rather boldly had two units out in the open mine-laying. By now, my players are well aware that lingering in the open like this (a Great shot, in TFL parlance) will greatly increase the chances of being mashed! However, the long range nature of US fire and careful use of VC Big Men to remove Shock saw the VC scurry into the jungle north of the road in surprisingly/relatively good order.
By this point, the US had finally requested - and received - mortar support, and an otherwise hesistant Captain Bowman began to walk the fall of shot in hot pursuit of the VC, who now seemed hell-bent on scarpering. Having halted their advance to take pot-shots at the VC sappers, the US renewed their advance across the board; sadly, whilst they actually traveled the furthest that any US force has in this scenario (my players are highly cautious), they still; had a third of the board to cover.
And they still weren't quite far enough to contact the numerous mines scattered in their way.

Post-game discussion hinged on the degree to which the US could achieve their objective of clearing the road. The consensus reached by US and VC players alike was that perhaps the US are too easily distracted by the VC! It was suggested that the Rome Plow and mine detector squad should methodically advance along the road with the remaining platoons covering their flanks, rather than trying to scalp VC, so to speak. The mantra of "Keep It Simple, Stupid" was invoked when considering what would be an appropriate plan. The wisdom of wiser heads than our's would be gratefully received!
As stated at the start, this sadly saw the end of Captain L. Bowman's combat career in Vietnam. Despite showing himself to be an increasingly astute political animal over the course of several scenarios, Ol' Cappy Bowman sadly was out of his depth militarily (mind you, Lieutenant McColl didn't help in one infamous previous encounter!), and was transferred away from his unit.
It appears that he was assigned to a mobile latrine unit for the remainder of his tour, whereupon he then returned to the United States. Bowman had difficulty finding work until someone invented "Health & Safety", at which point his experience of talking his "specialist subject" stood him in good stead. He is are now much in demand from corporations and government departments who really don't care but need to cover their backsides. It was either that or politics...!
As to our real-life Luke Bowman: well-played, Sir! You were clearly getting to grips with how to field your platoons, and definitely understood the importance of getting your Big Men to do their jobs properly. Bad luck too that you were up against the wiliest of wiley opponents, Mr. Smallridge - curse his inscrutable plans and dummy blinds!
Thanks must also go to Doc Neodynium; in the absence of a game on Friday, he kindly took on Dennis Hopper duties and took a few shots of this game and others running at the club. Getting a visual record of games is something I'm terrible at, so it was extremely useful for the Doc to share his!
Penfold

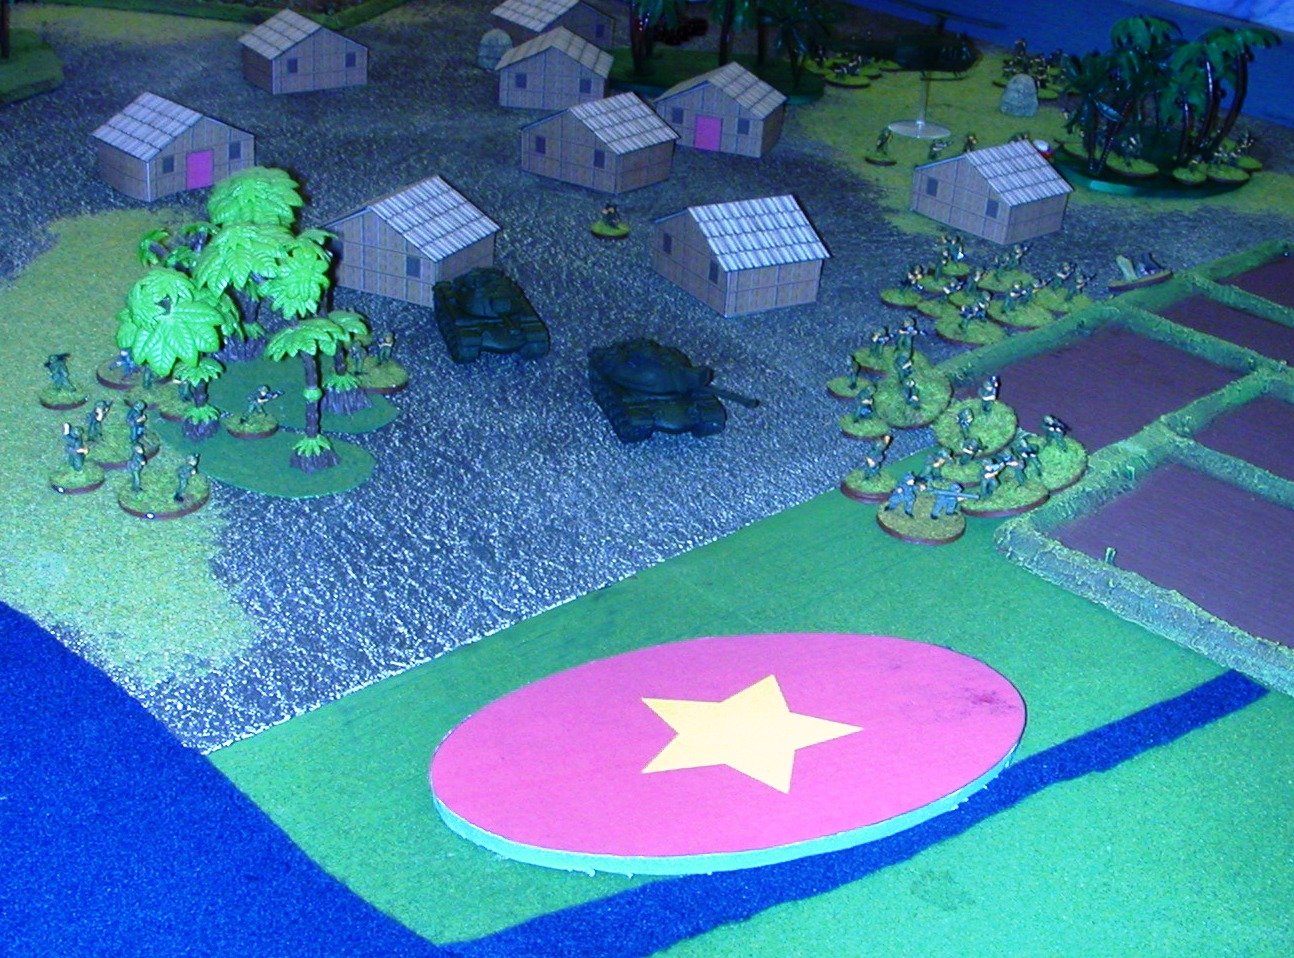
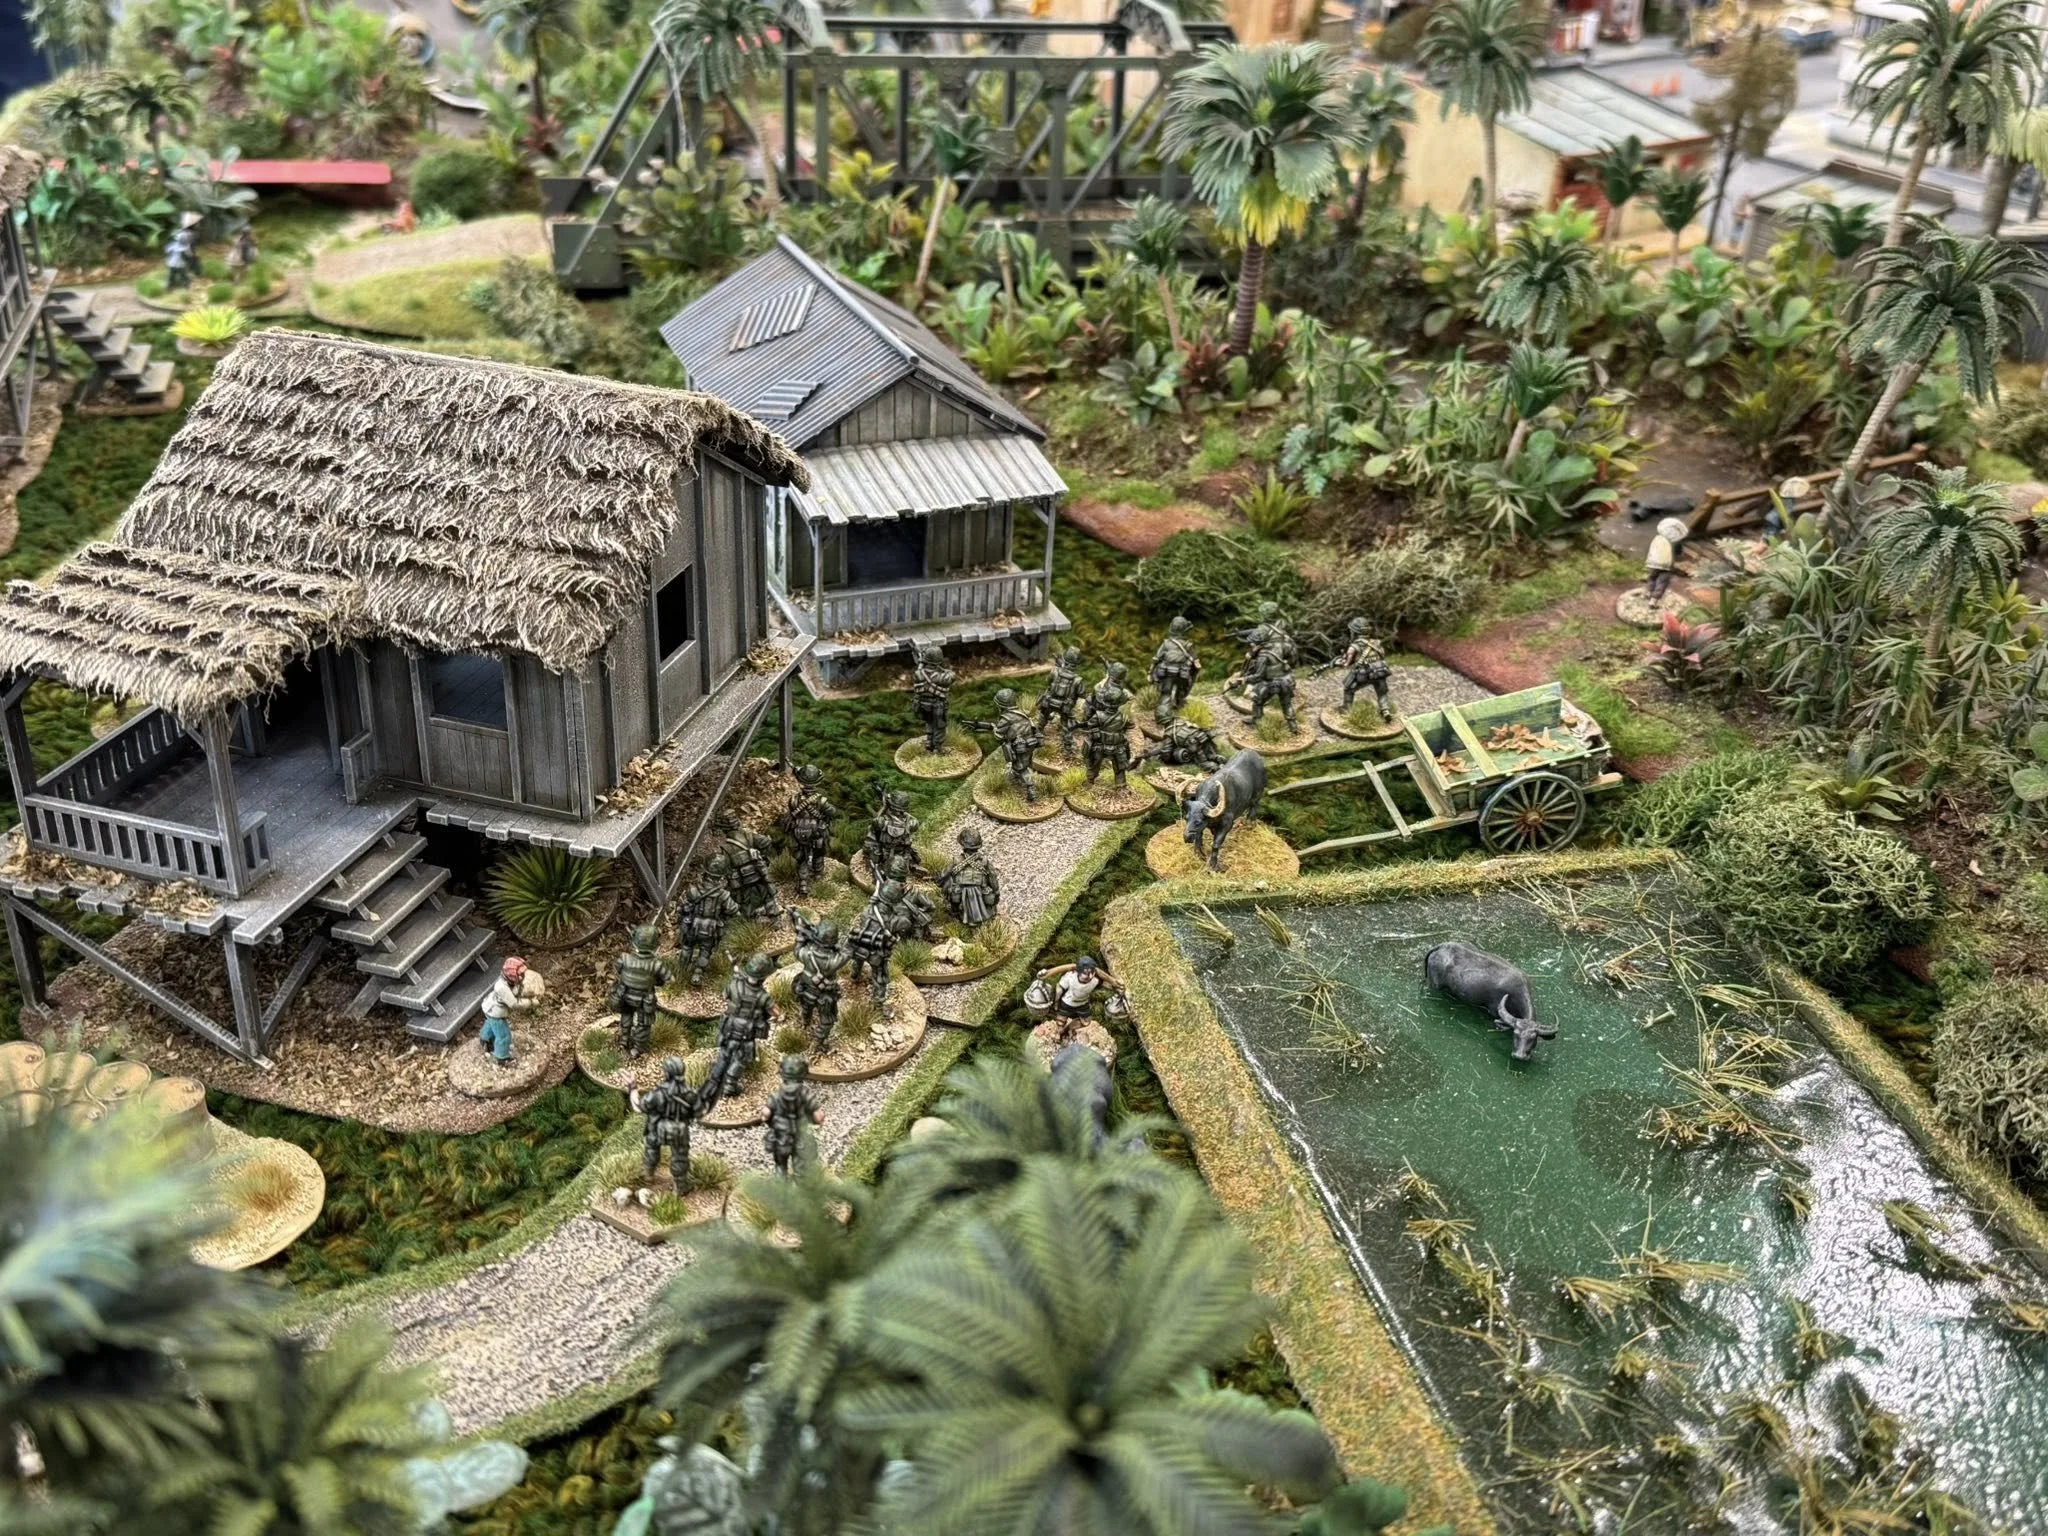
This morning we have played a second introductory game to the TooFatLardies company-sized Vietnam-era rules Charlie Don't Surf. The game was based on the first scenario of the companion book Surf's Up, initially played a month ago (se here the battle report) but with the addition of new sections of the book: the American forces had some artillery support available and the Congs could enjoy some tunnels and deployed a couple of nasty bobby traps.
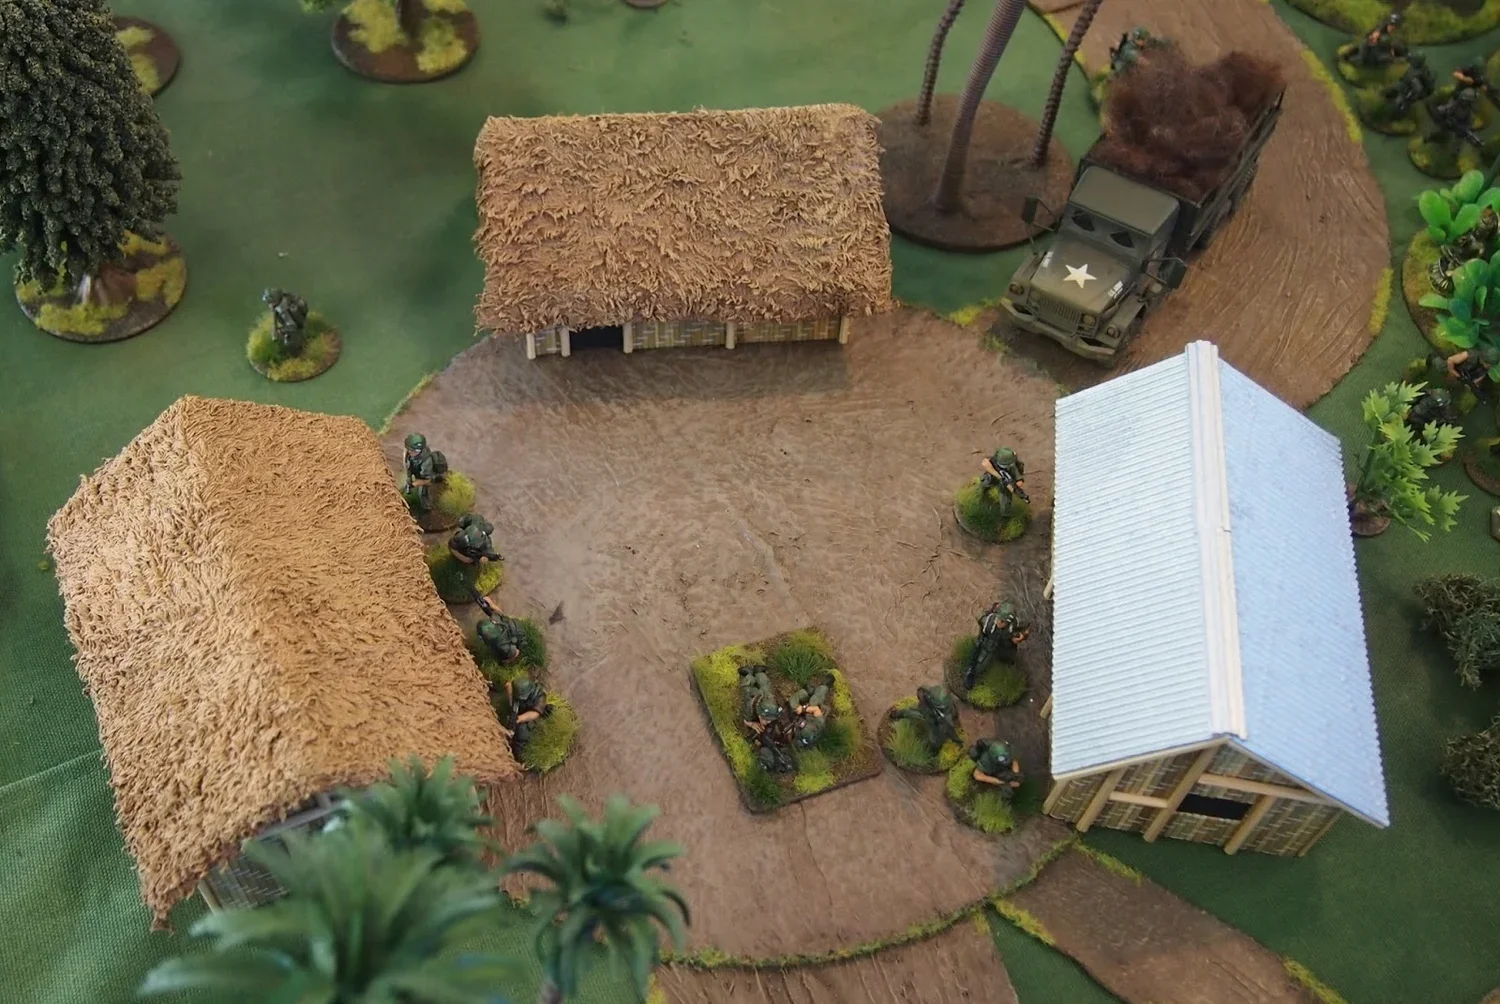
The game started with the American blinds moving very cautiously through one of the long edges that happened to be the tactical edge of the Vietcong player, putting in initial disarray the whole strategy of the communist forces. The Americans victory conditions were to find and destroy the enemy's food stores, securing the village perimeter; the Vietcong were subject to the evasion mission victory conditions, that included ambushing at least twice the Americans and then to leave the battlefield in good order (preferably through the tactical edge).
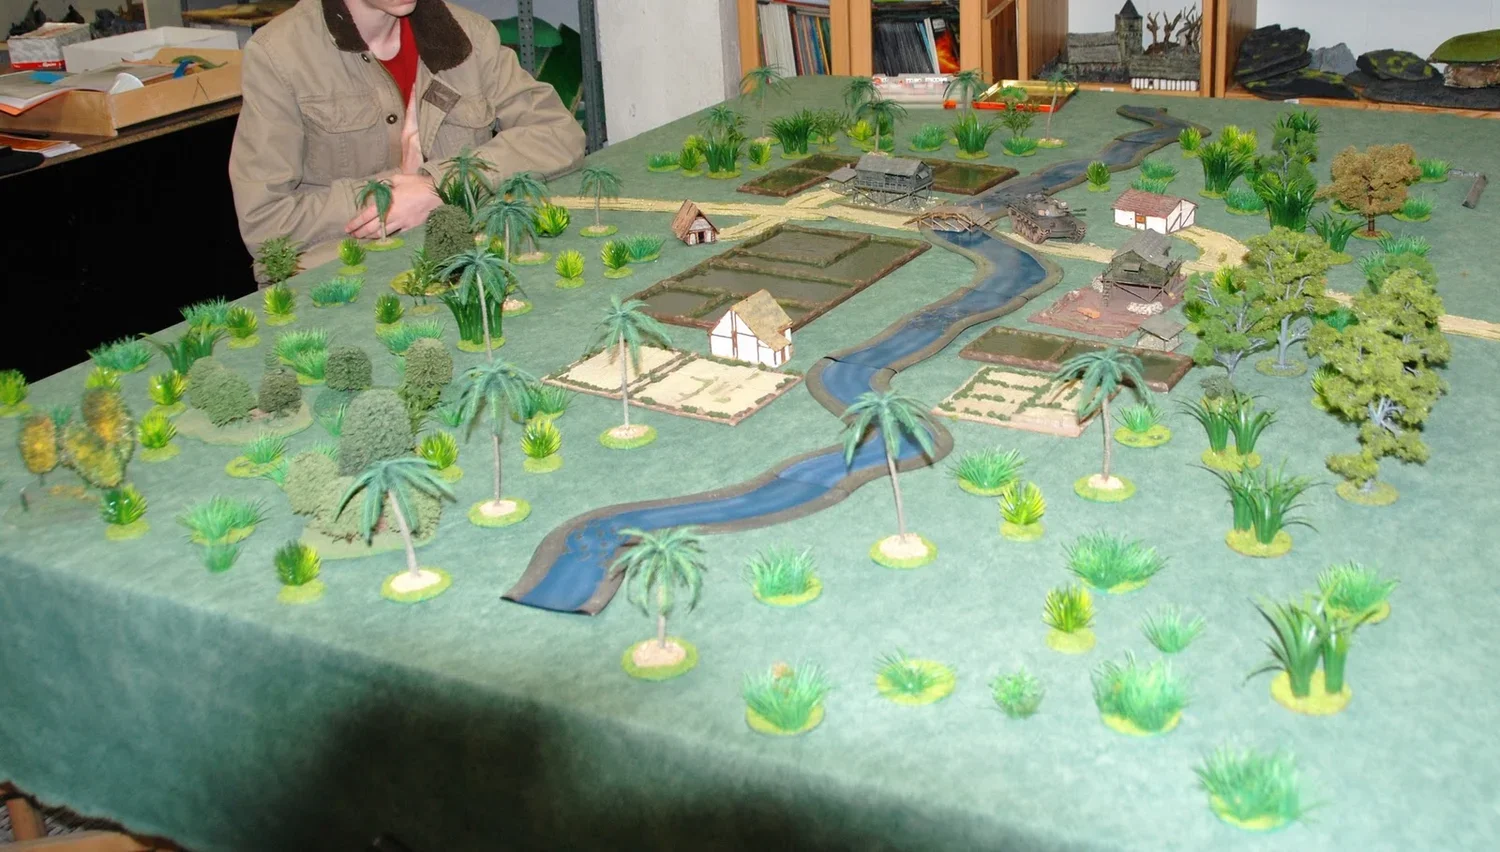
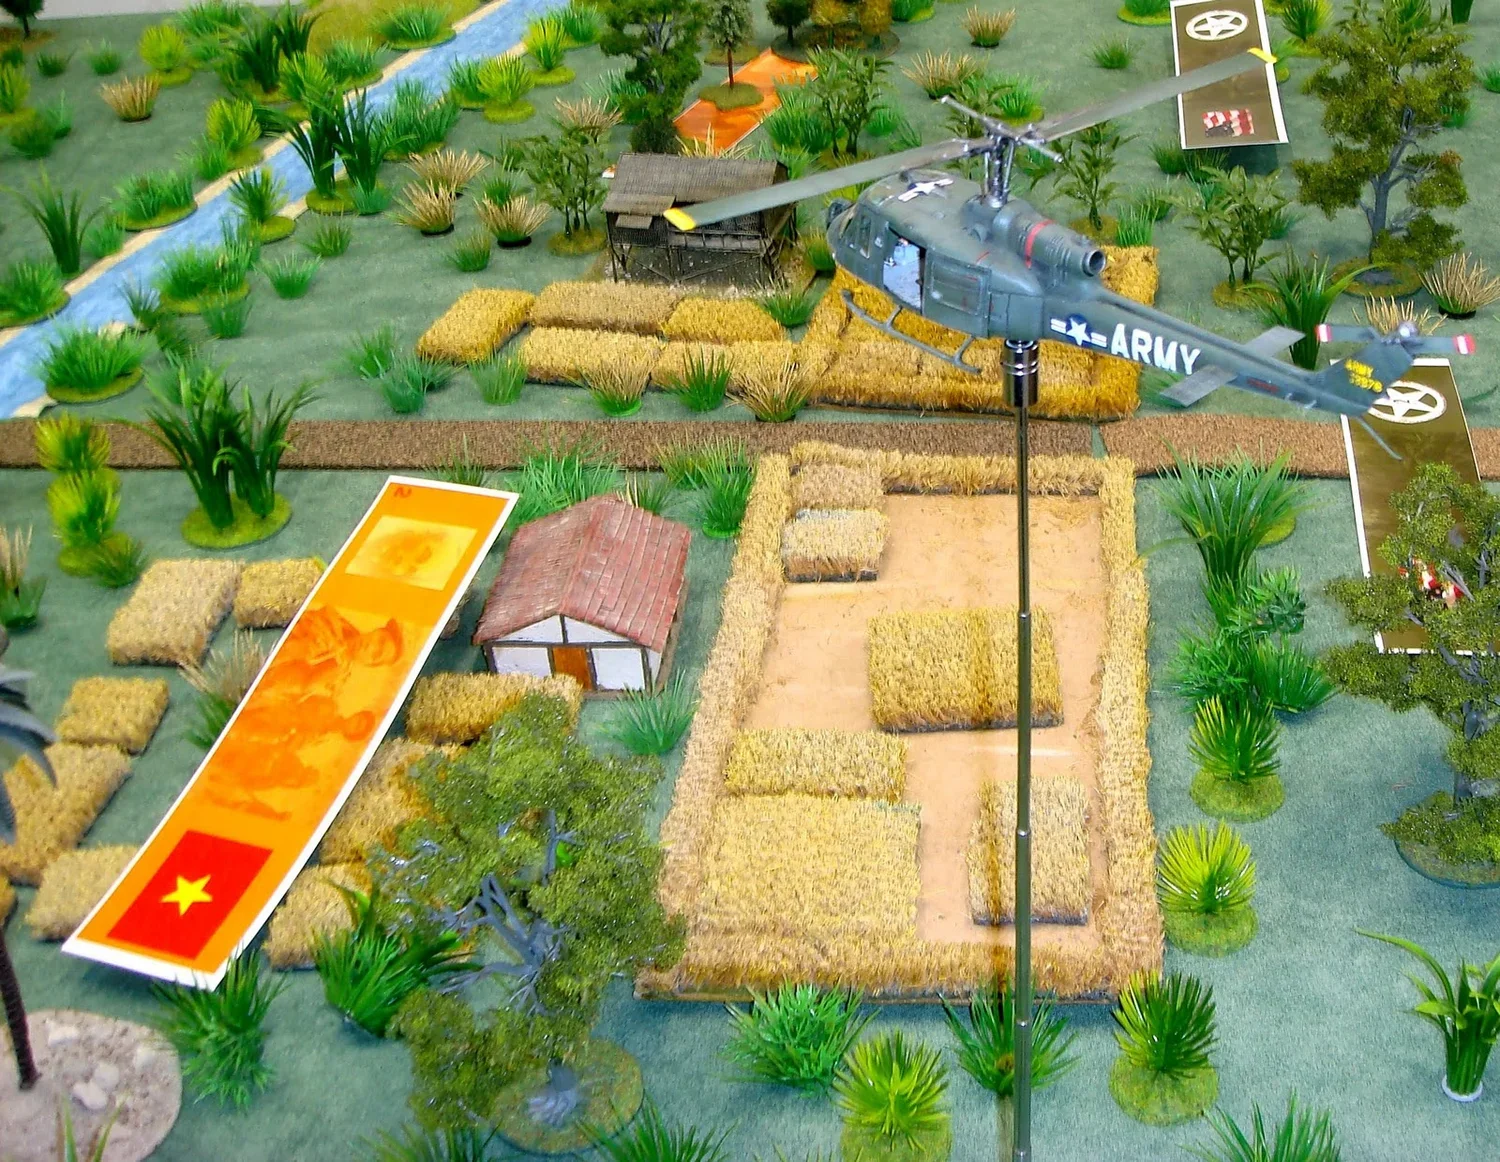
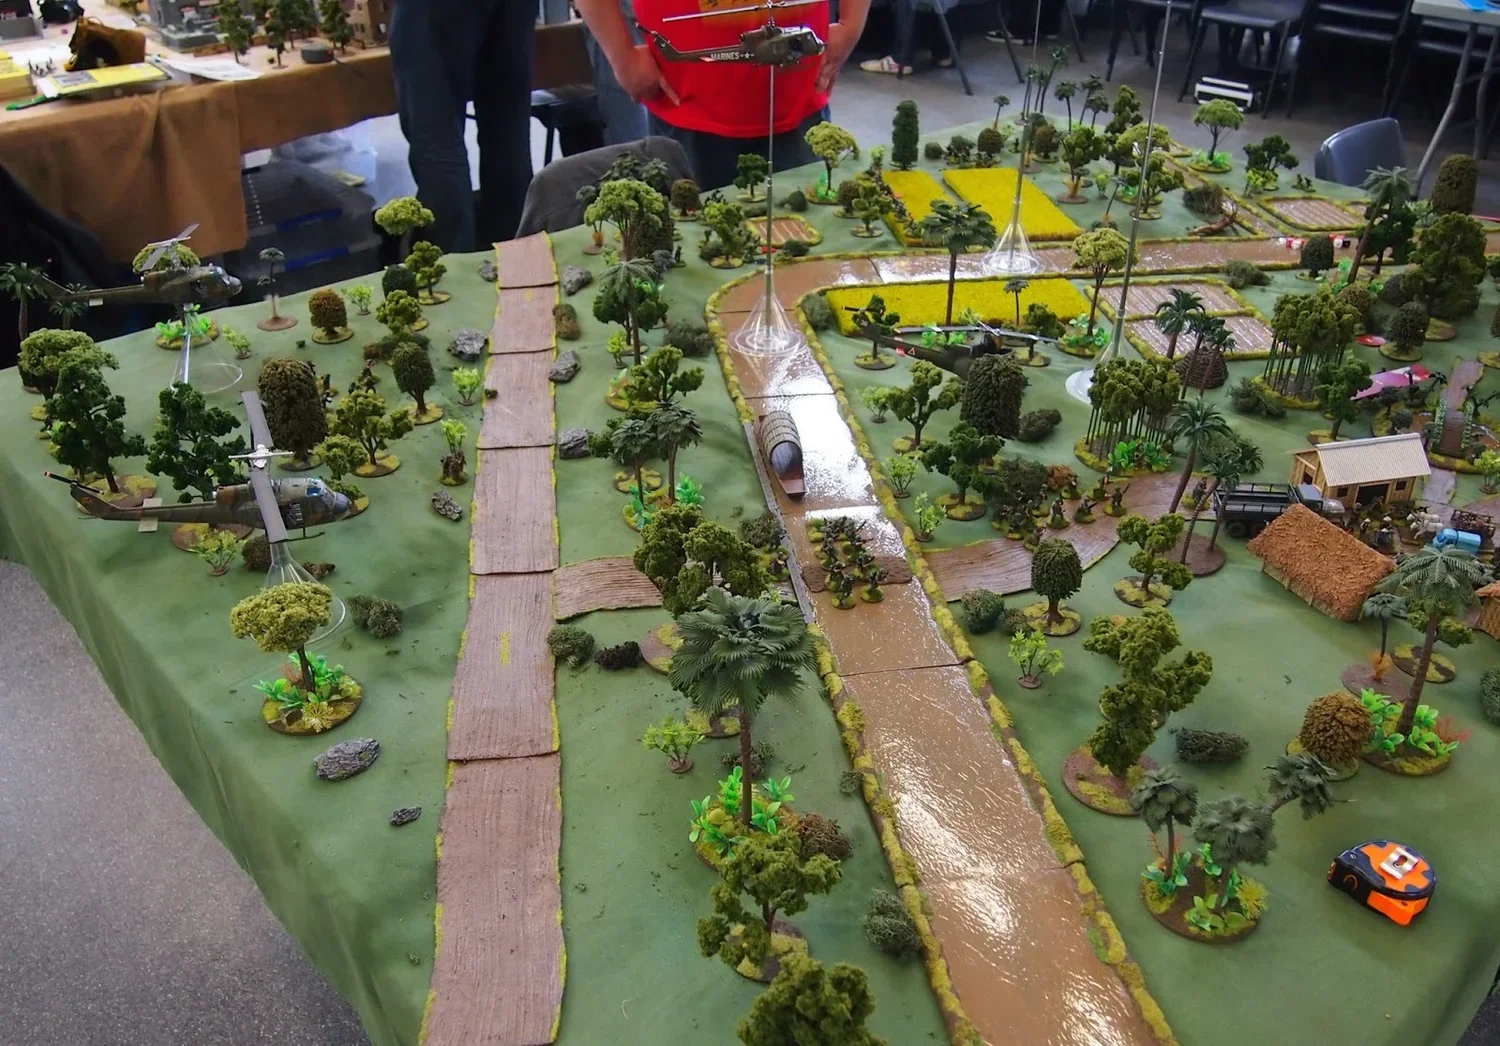
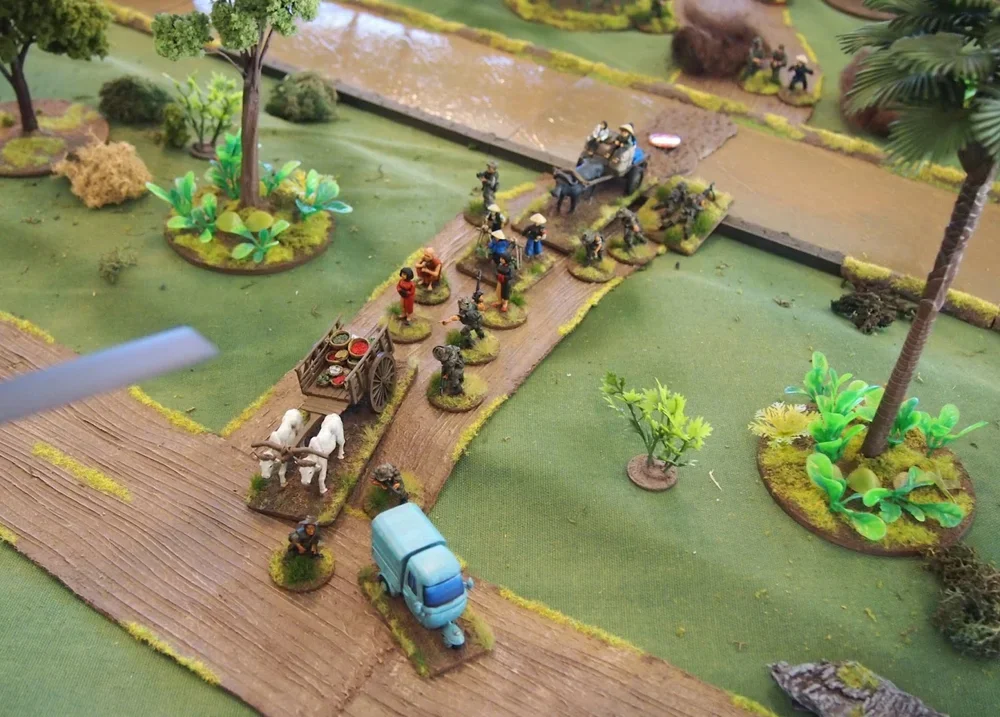
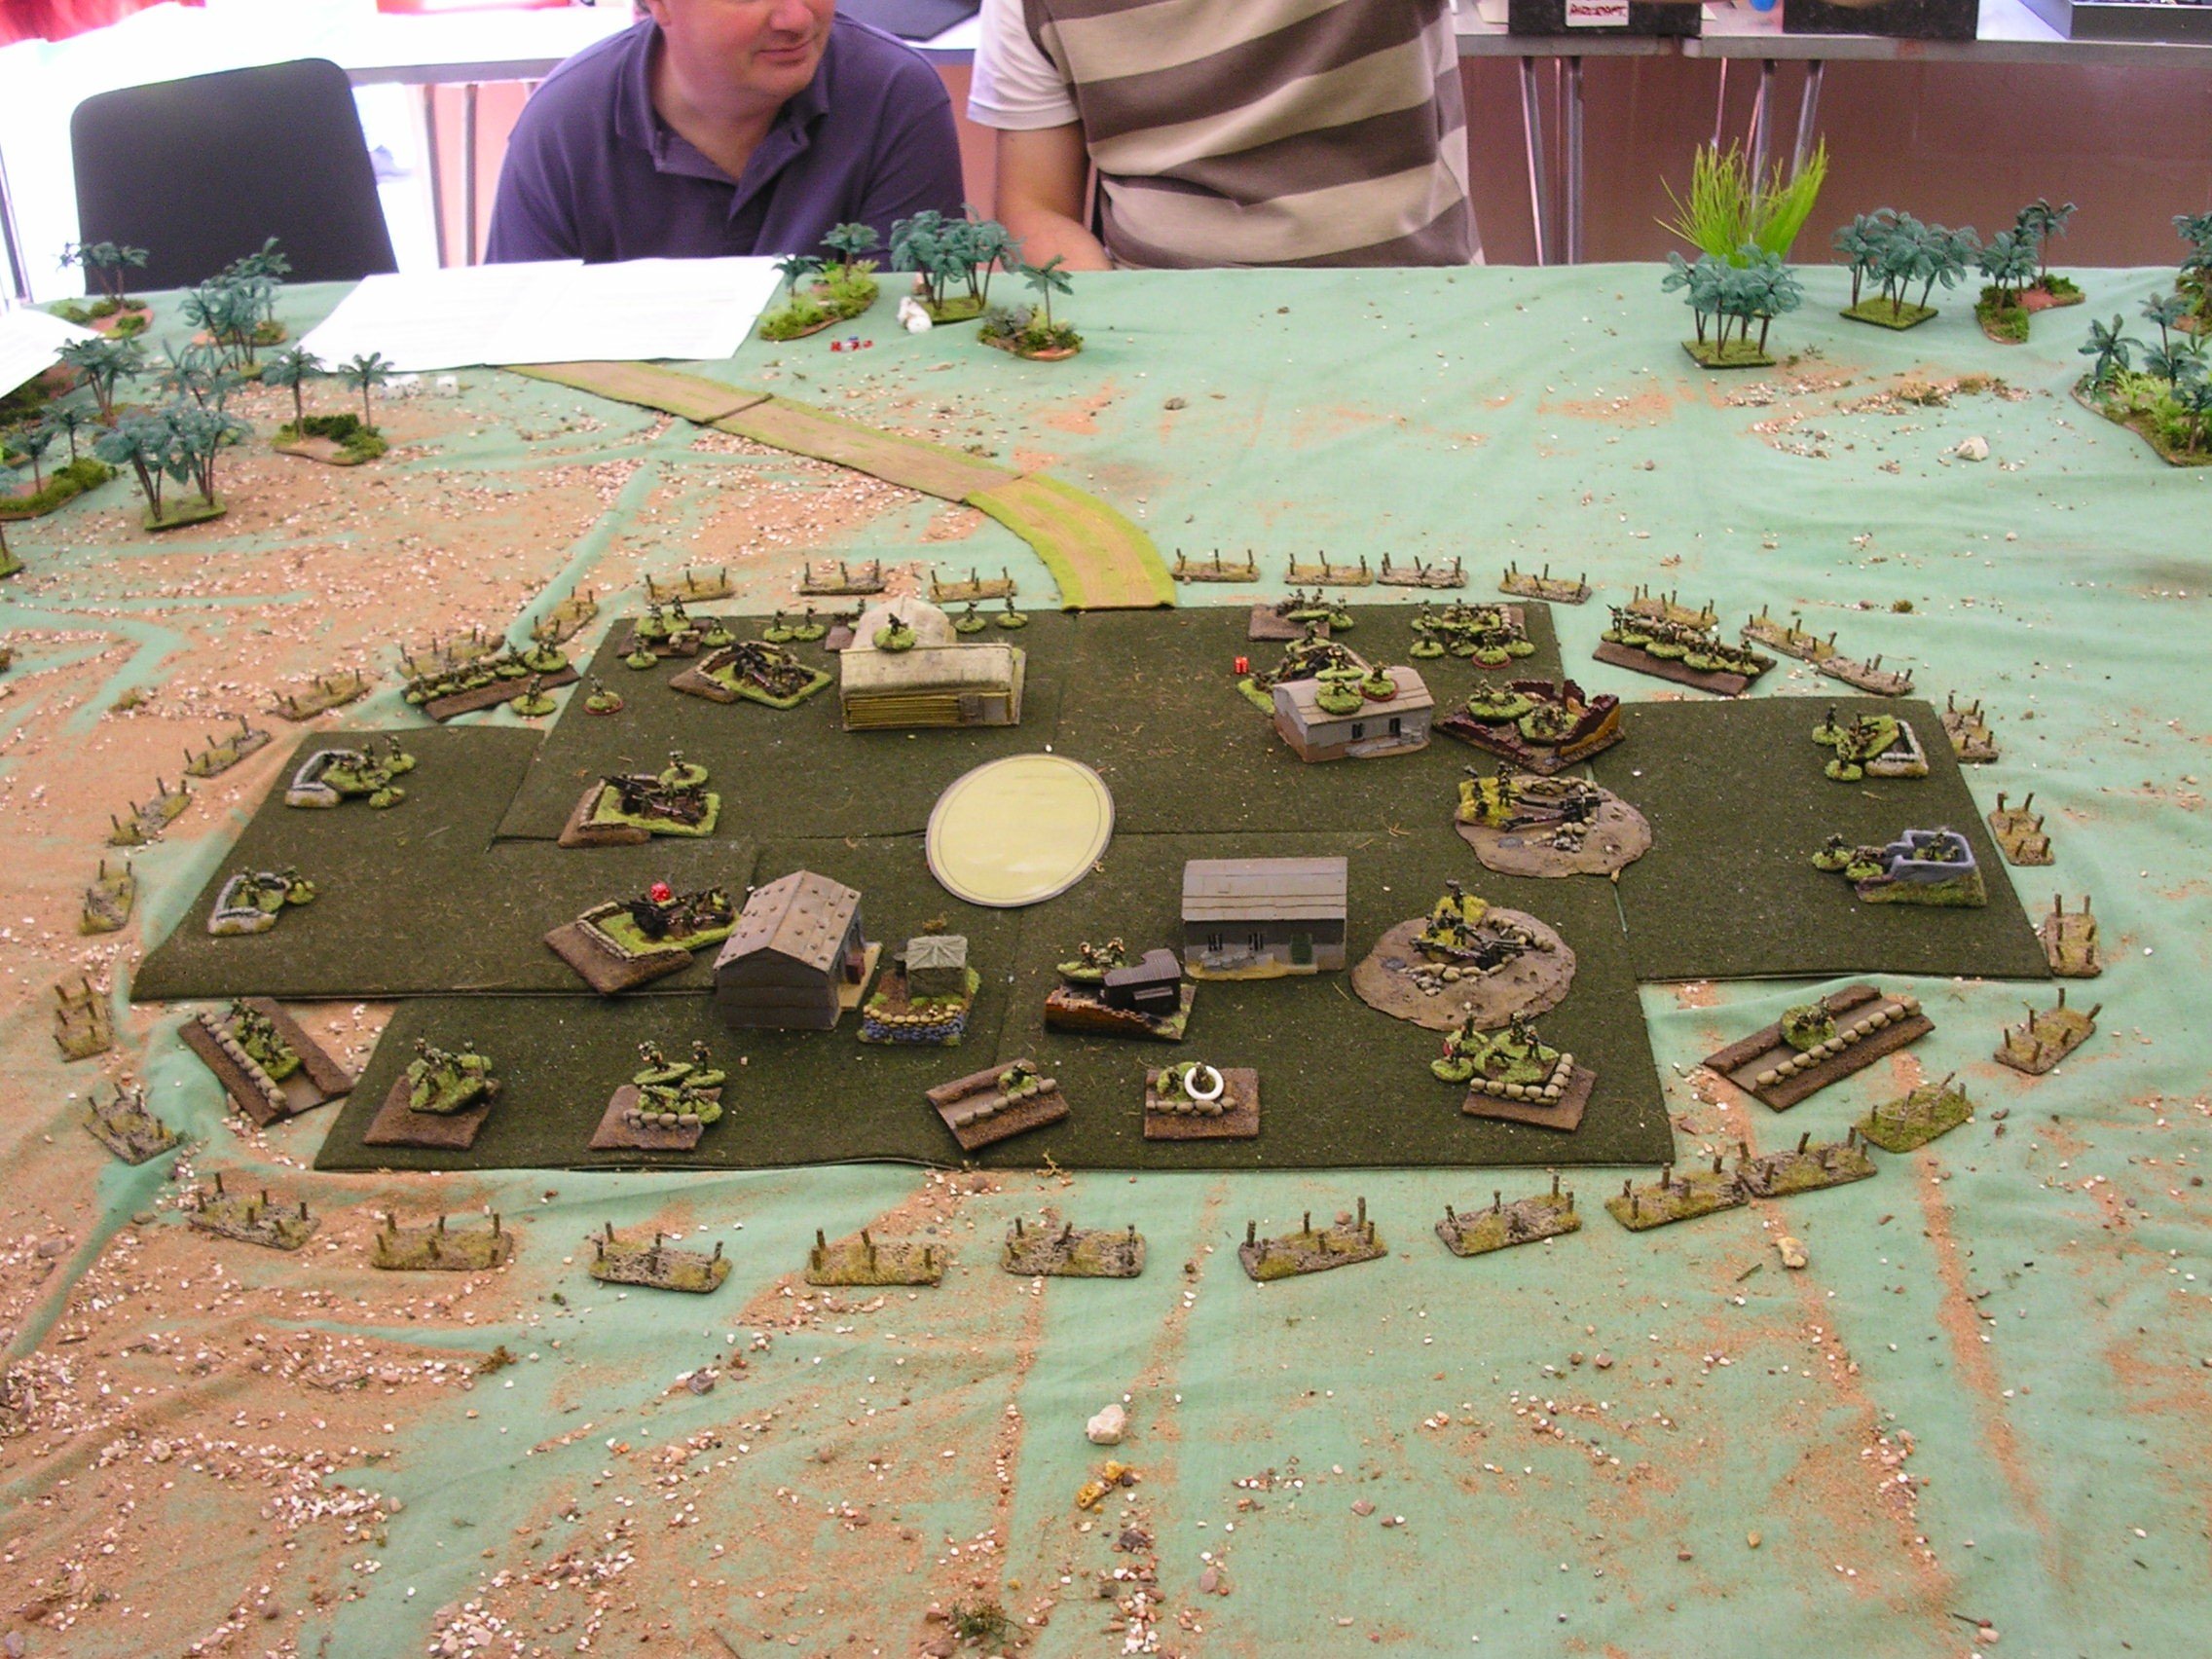
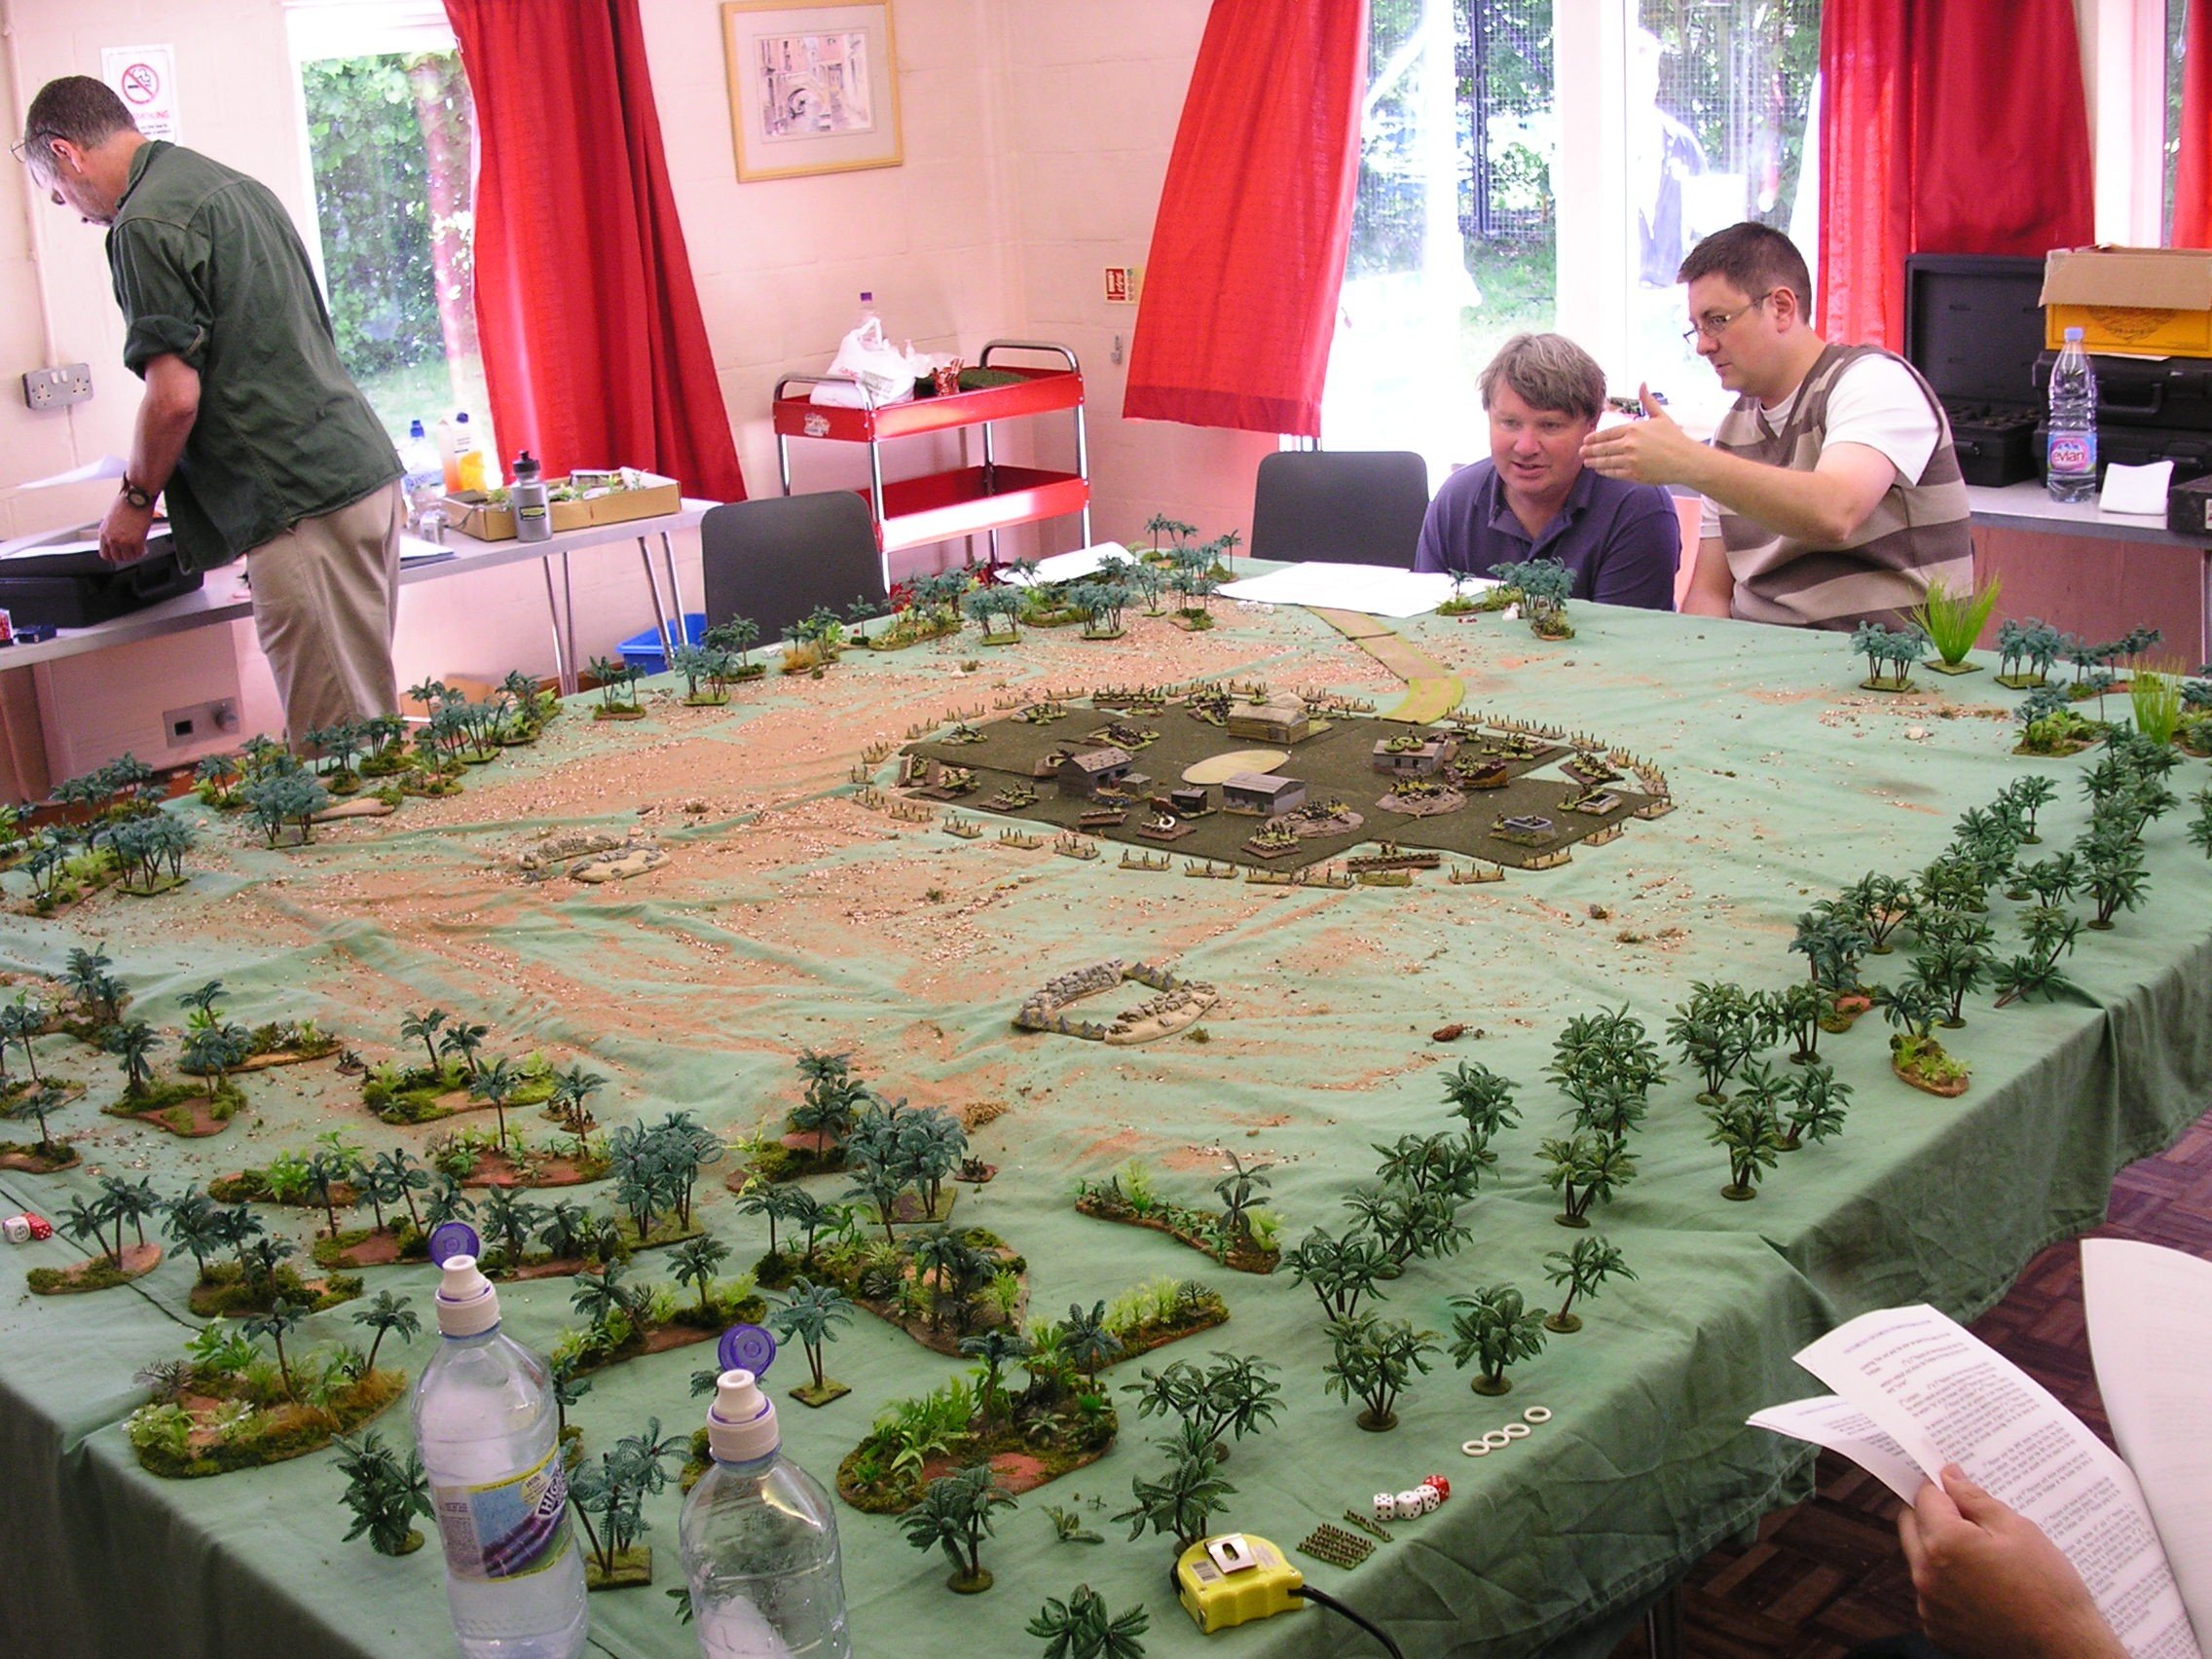
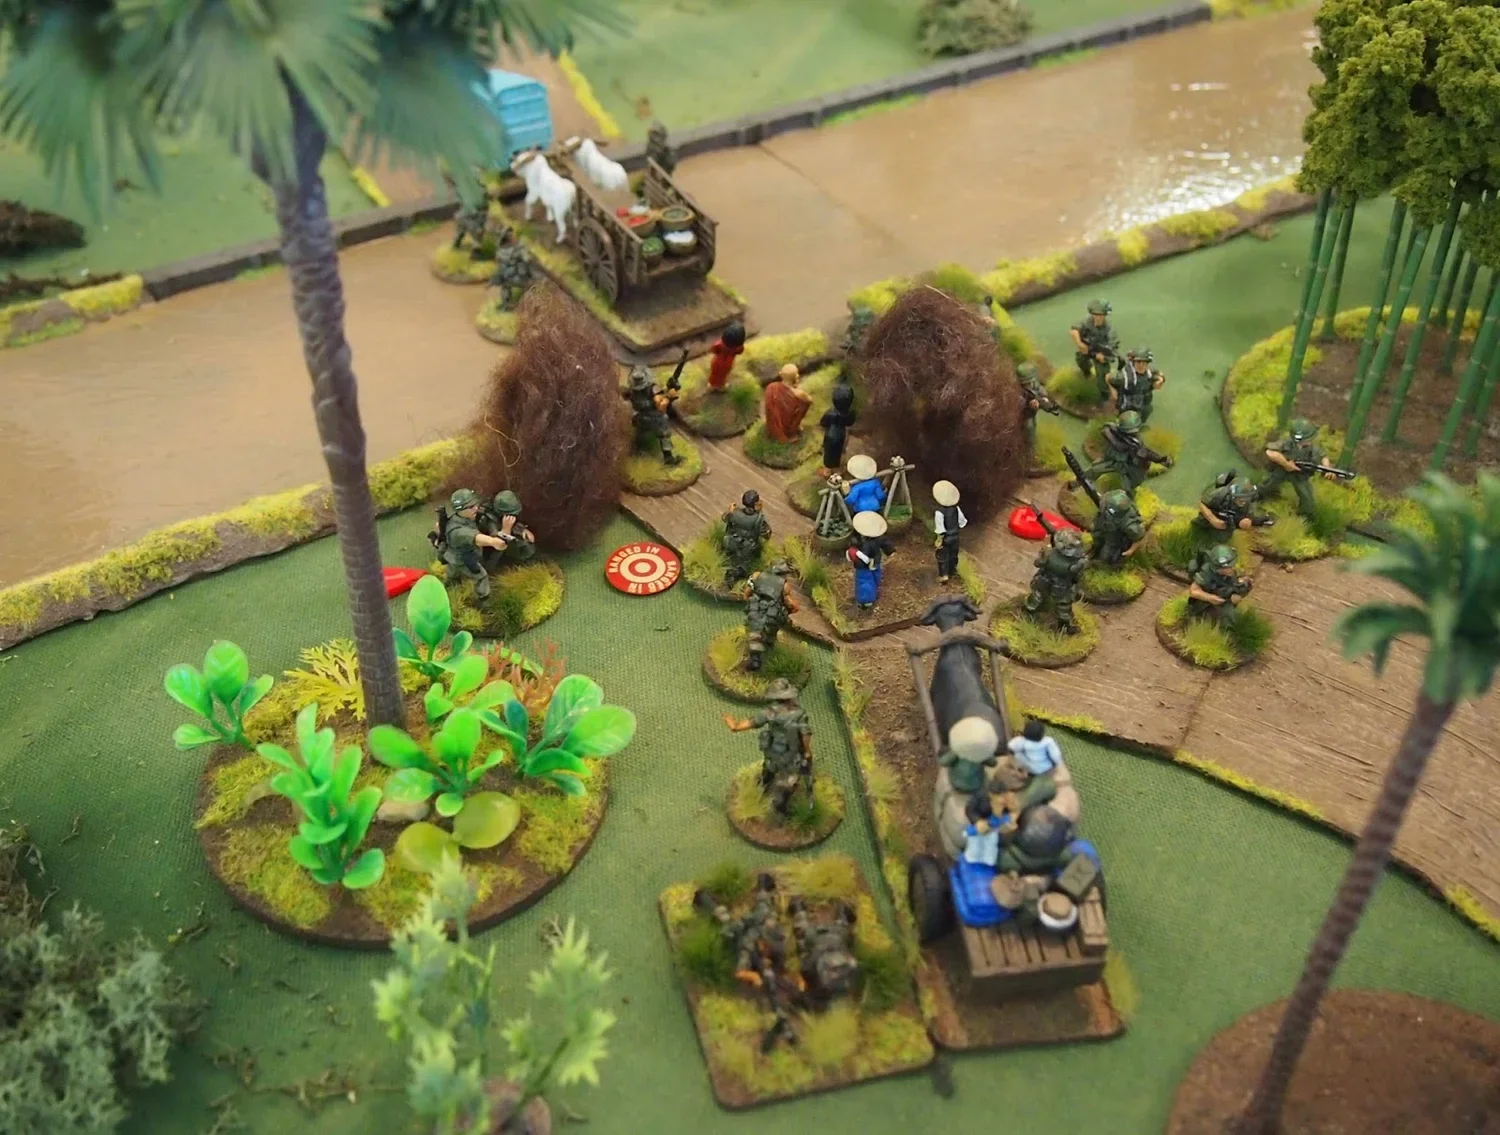
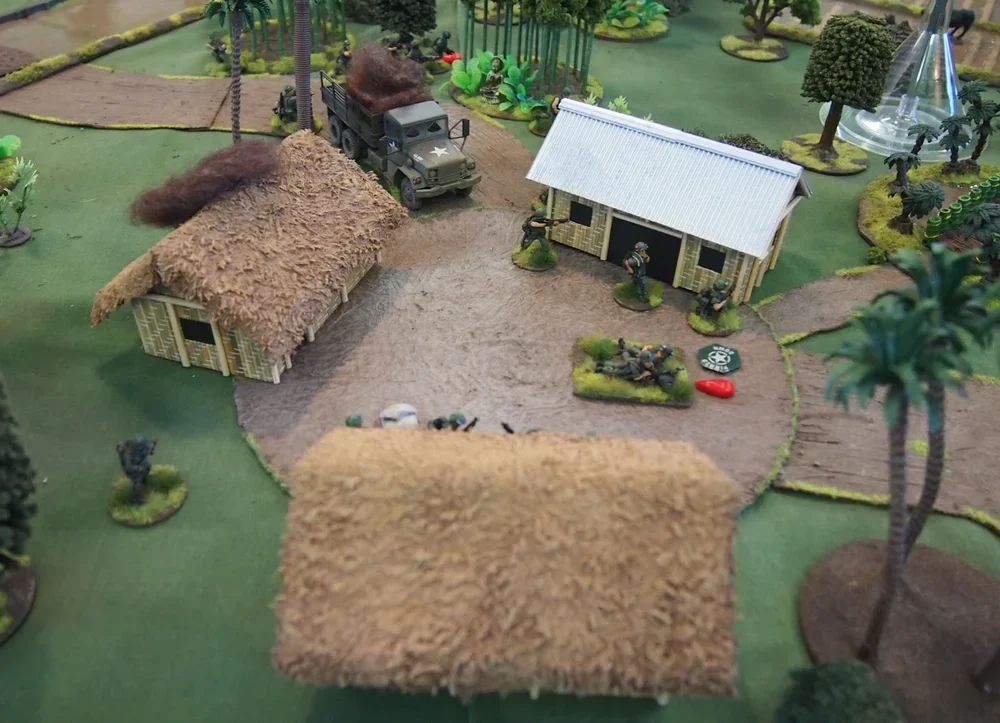
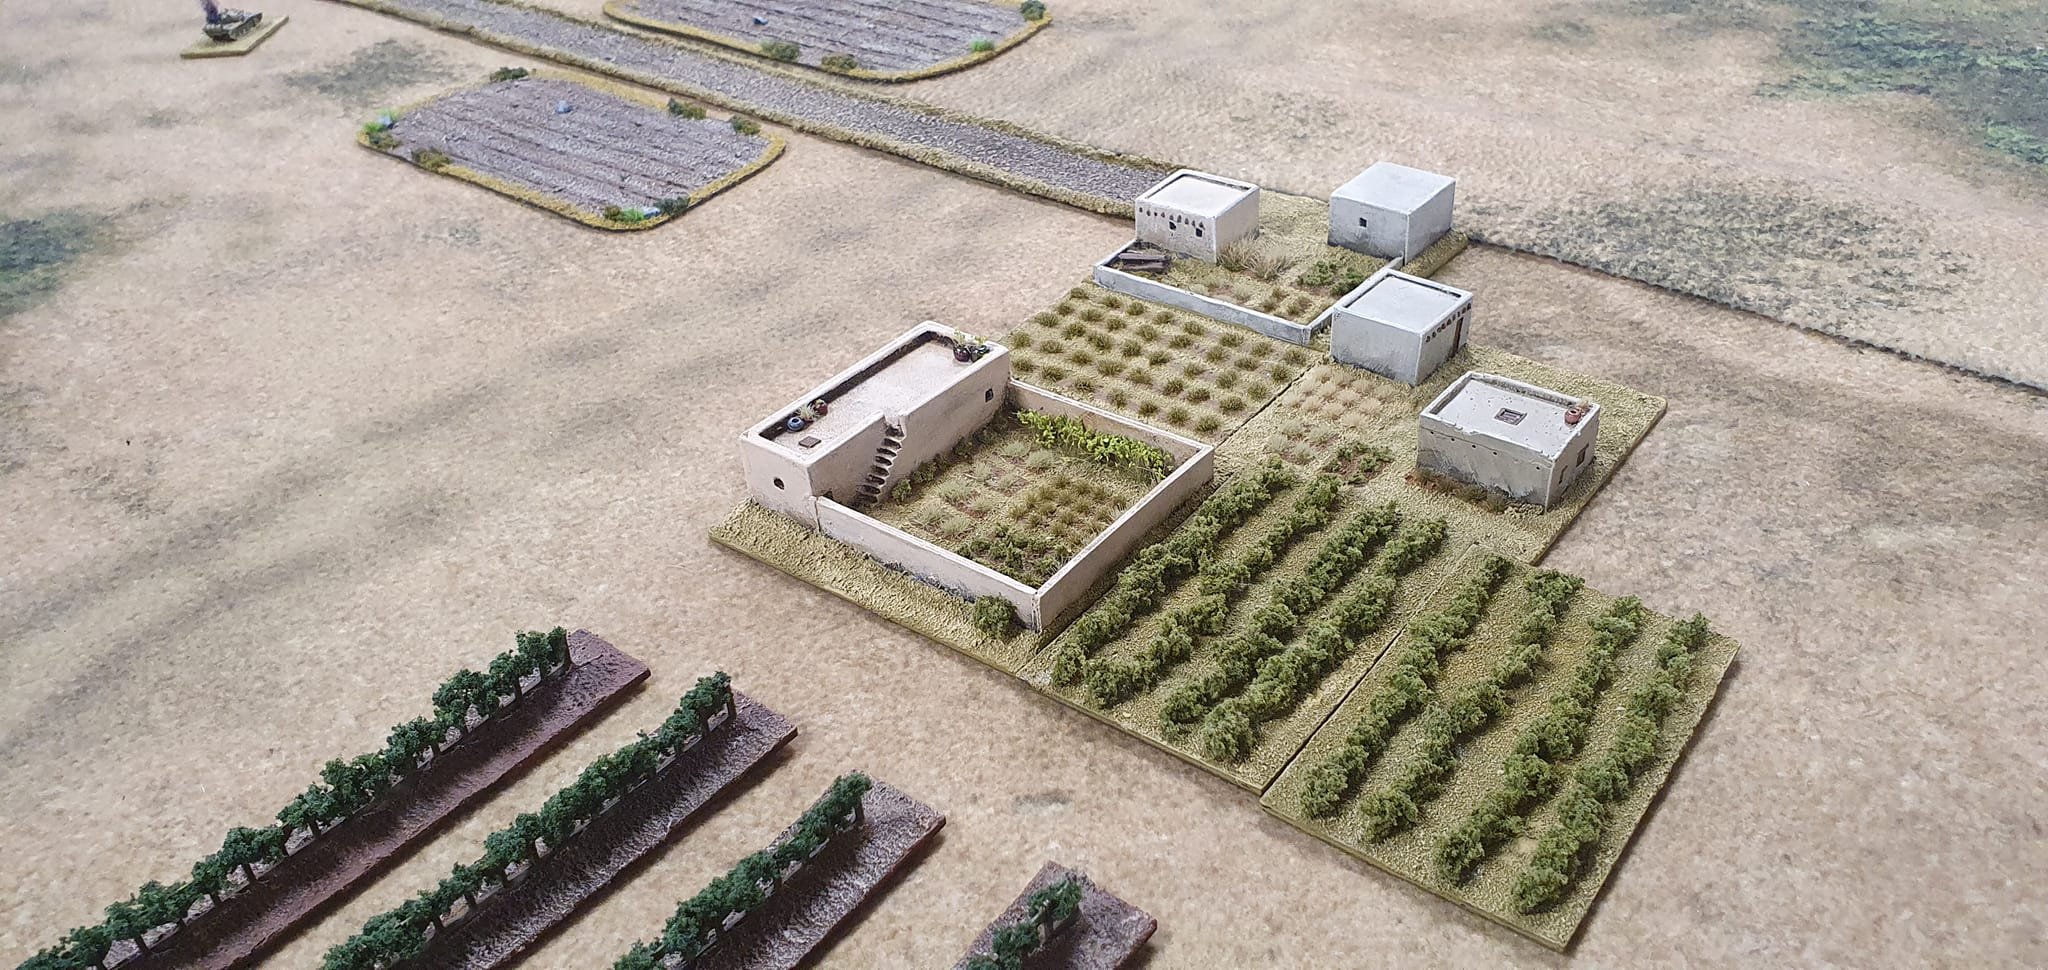
General view of the gaming table (7' x 5')
Initial American deployment (the green counters represents civilians)
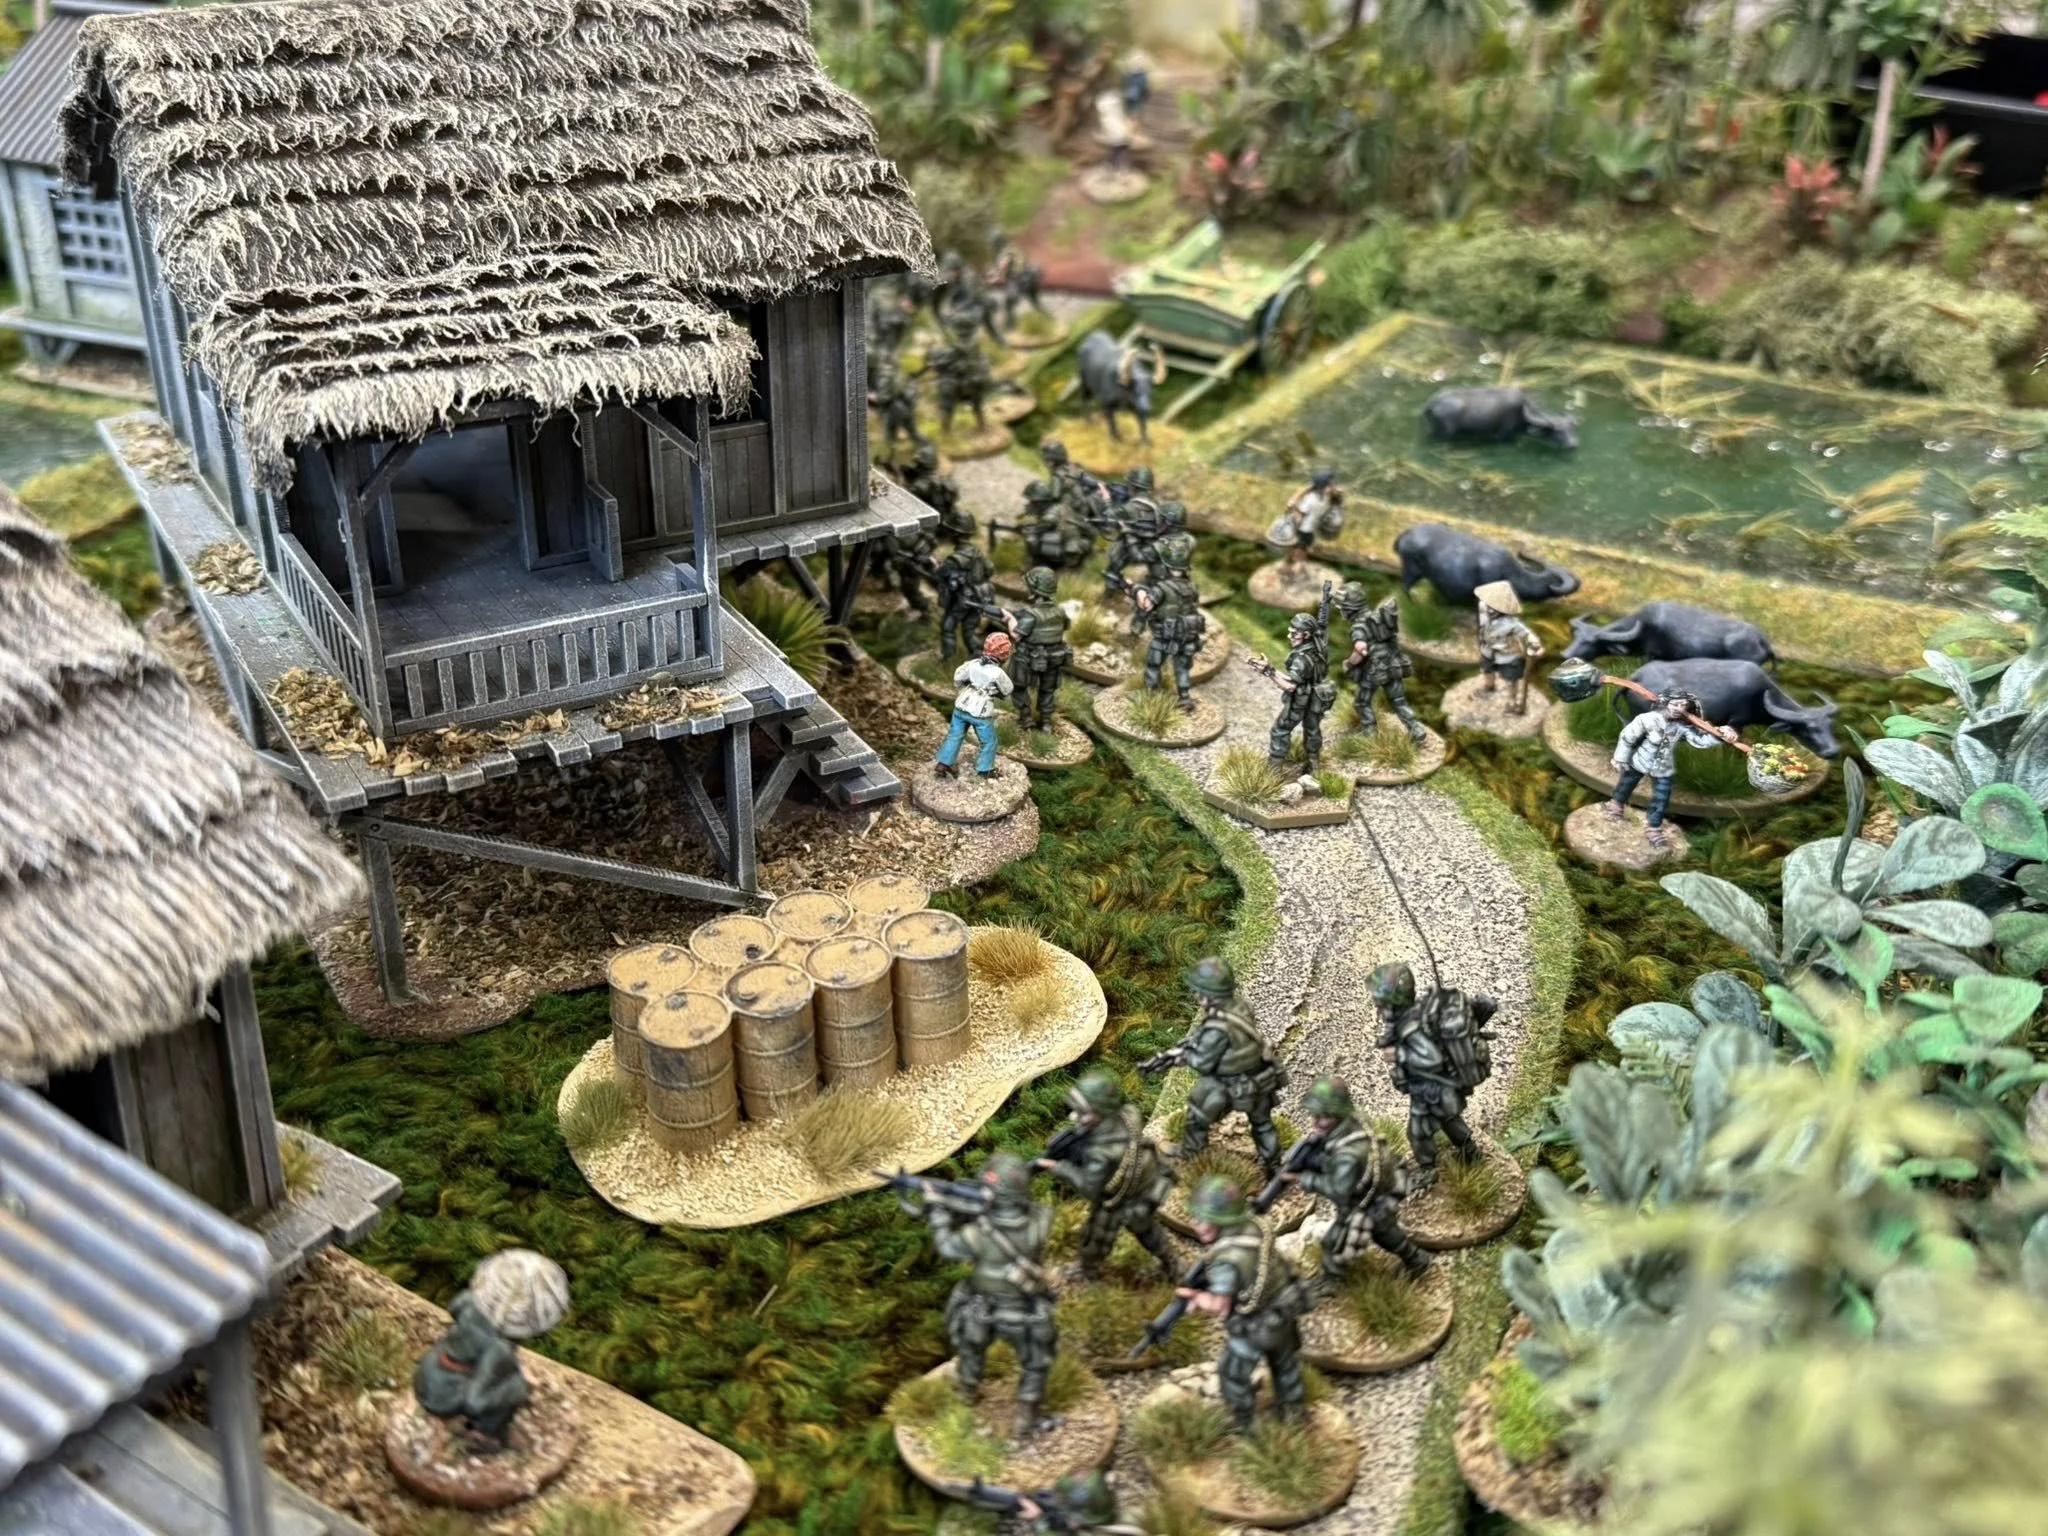
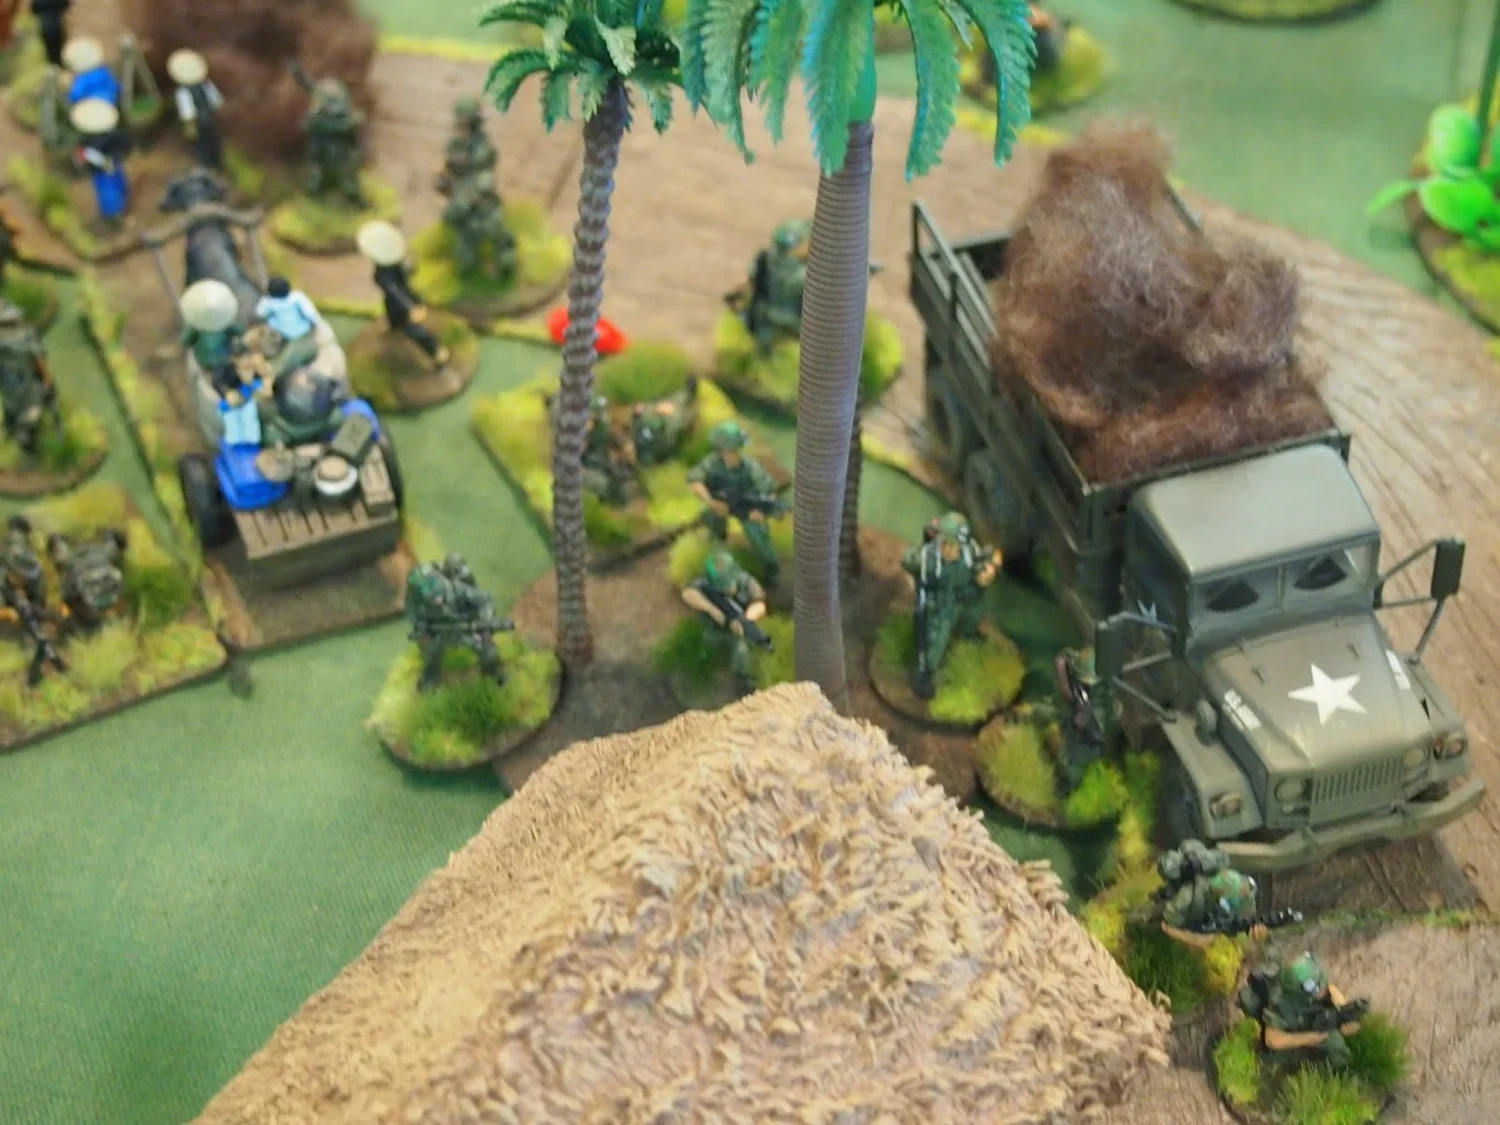
Two American platoons deployed at both sides of the road followed by the Company HQ, while a third platoon (blind at the rear) moved to the right aiming to enter the village through the north side moving along the river bed.
The battle saw a very cautious American platoon moving by squads to the bridge crossing the village, spotting to any suspicious position where the Congs could be hiding. Despite that two squads suffered the blast from hidden bobby traps (located in the main road); but this move saved the day to the HQ section that was going straight into the first bobby trap.
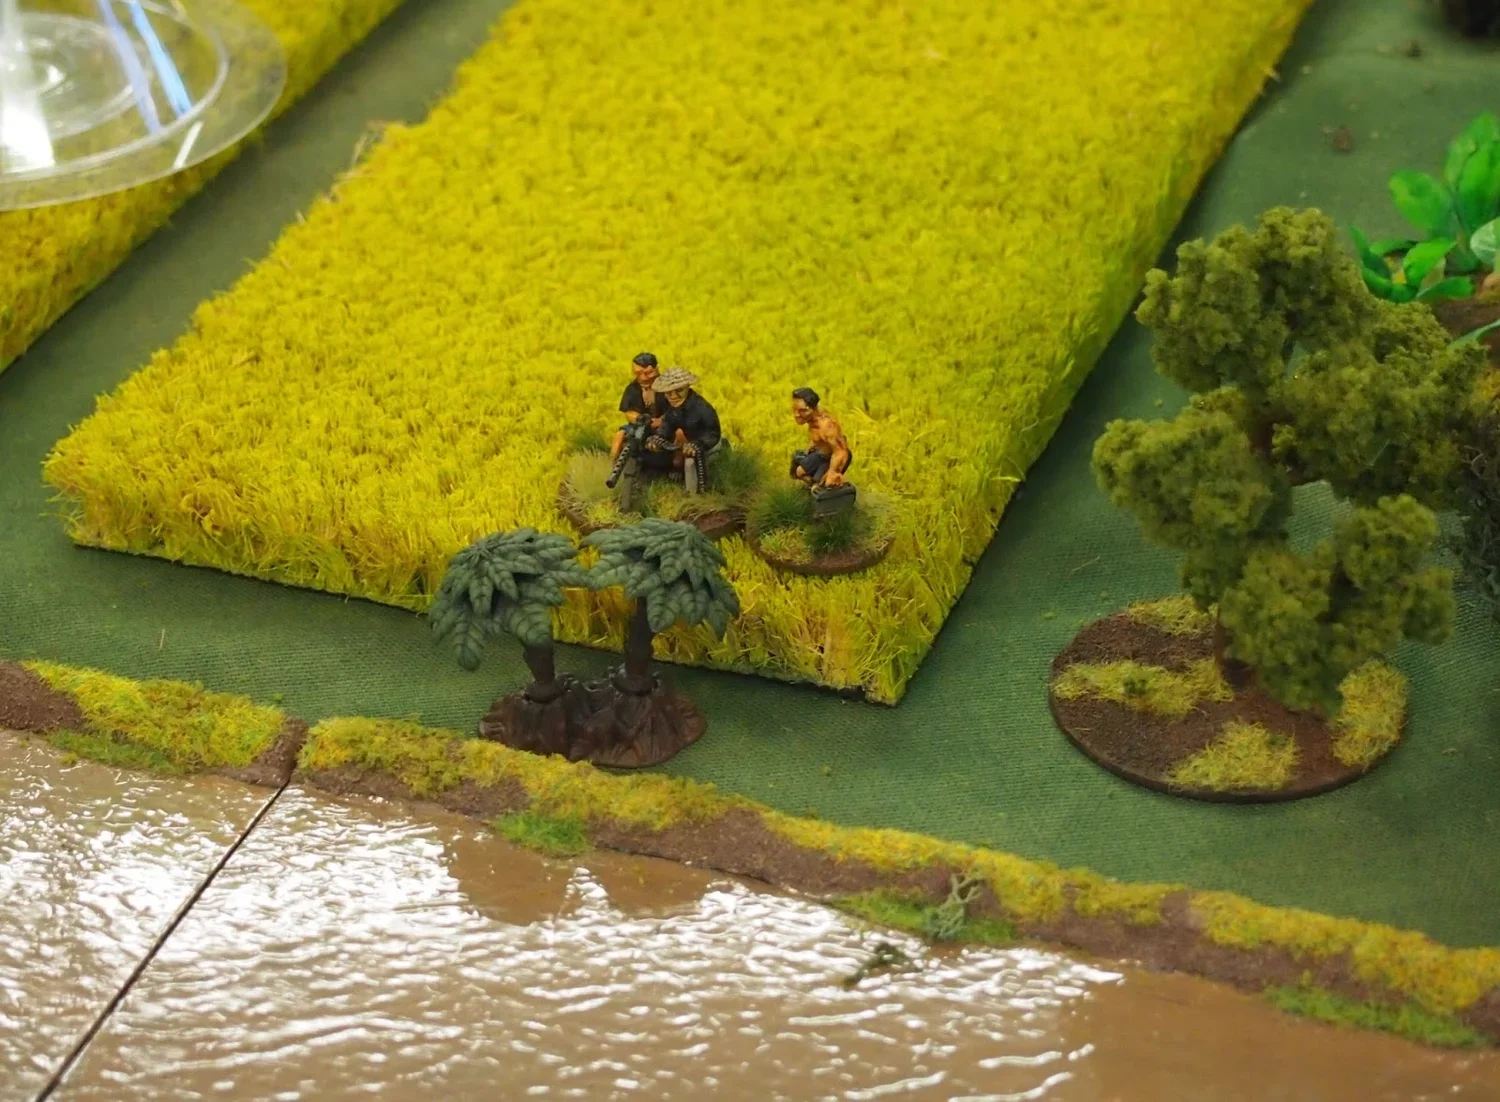
The other platoon moved to its left and deployed along a line of rice fields.
In the jungle behind this platoon a Cong blind emerged and the commander decided to hunt the Charlie... only to fall in a double trap: the murderous fire of an HMG in a bunker just across the river and the ambush of a local force squad hidden in a tunnel in the middle of the jungle. This Cong force returned to the tunnel and the Americans did not dare to follow, collapsing the entrance.
The rest of the game saw other American forces chasing ghost blinds in different parts of the table (this time the Vietcong player made a very good use of dummy blinds and the DiDi Mau card to create additional dummies, increasing the confusion and frustration of the American player).
In addition to the tunnels rules, we also had the opportunity to test the artillery rules (a very accurate FOO put a couple of fire boxes just in a Cong bunker position, putting to silence the HMG); the close combat rules; and the critical wounded and medic rules, including an emergency evacuation with a Casevac.
After four hours playing, the situation was very much even, with the Americans firmly consolidated in part of the village, but with the two main Vietcong platoons still intact (one still hidden and ready to ambush an American squad approaching). None of the food caches were yet found. As lunch time was looming, we had to stop the game. I consider it a draw. All players expressed their satisfaction with the rules and were happy to try again.
This time I could not take many pictures, as most of my time was used in umpiring the game and explaining the mechanisms to 3 new players. This was also a good opportunity to put on the table new rice fields, made by our industrious club mate Santiago and his son Santi (see in some of the photos).
As Tuesday is Constitution Day in Spain, we will meet again in the afternoon for a new game and will likely introduce some new sections of the book (helicopters and possibly an AFV).
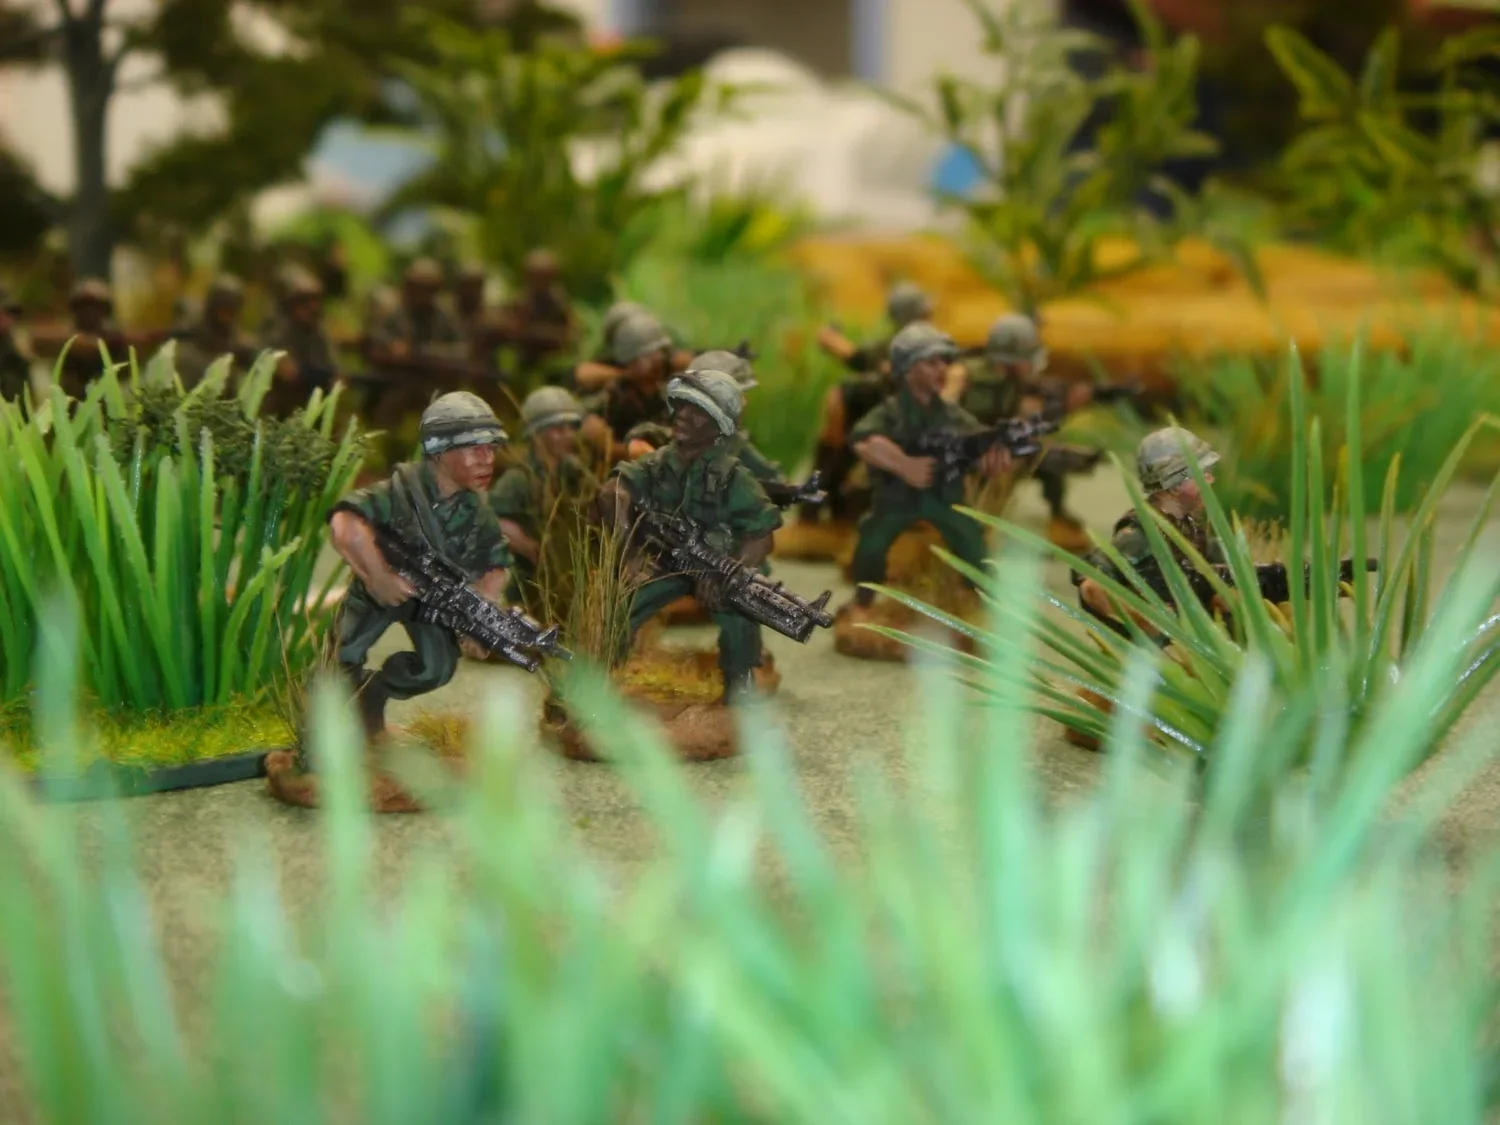
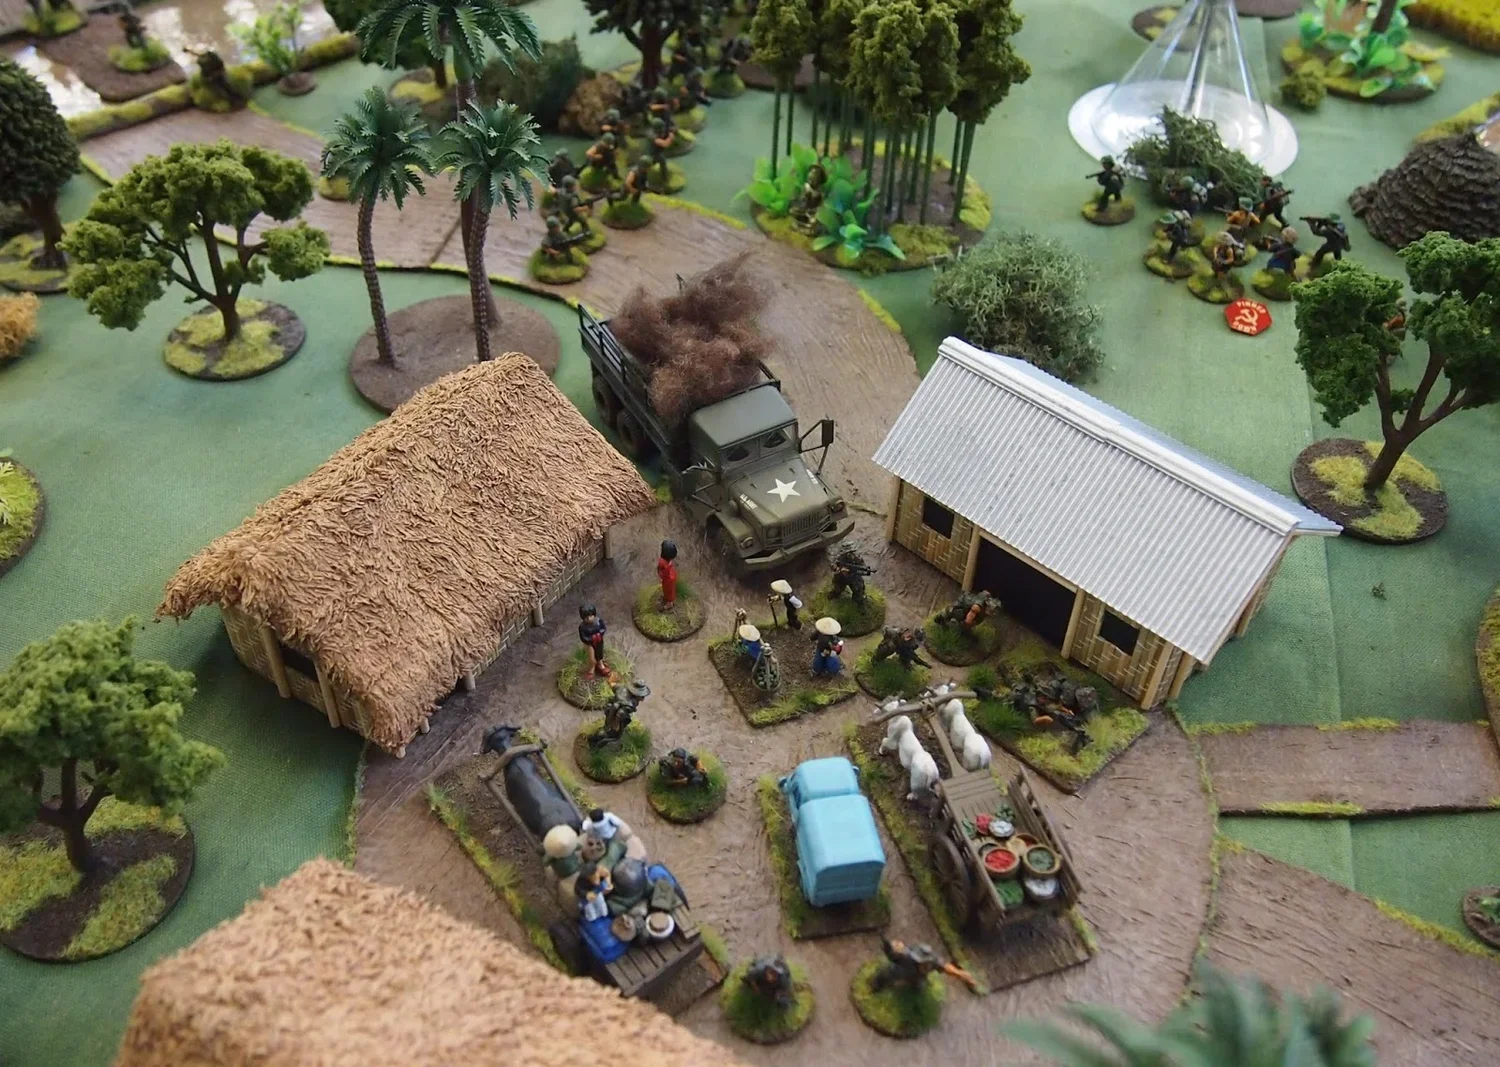
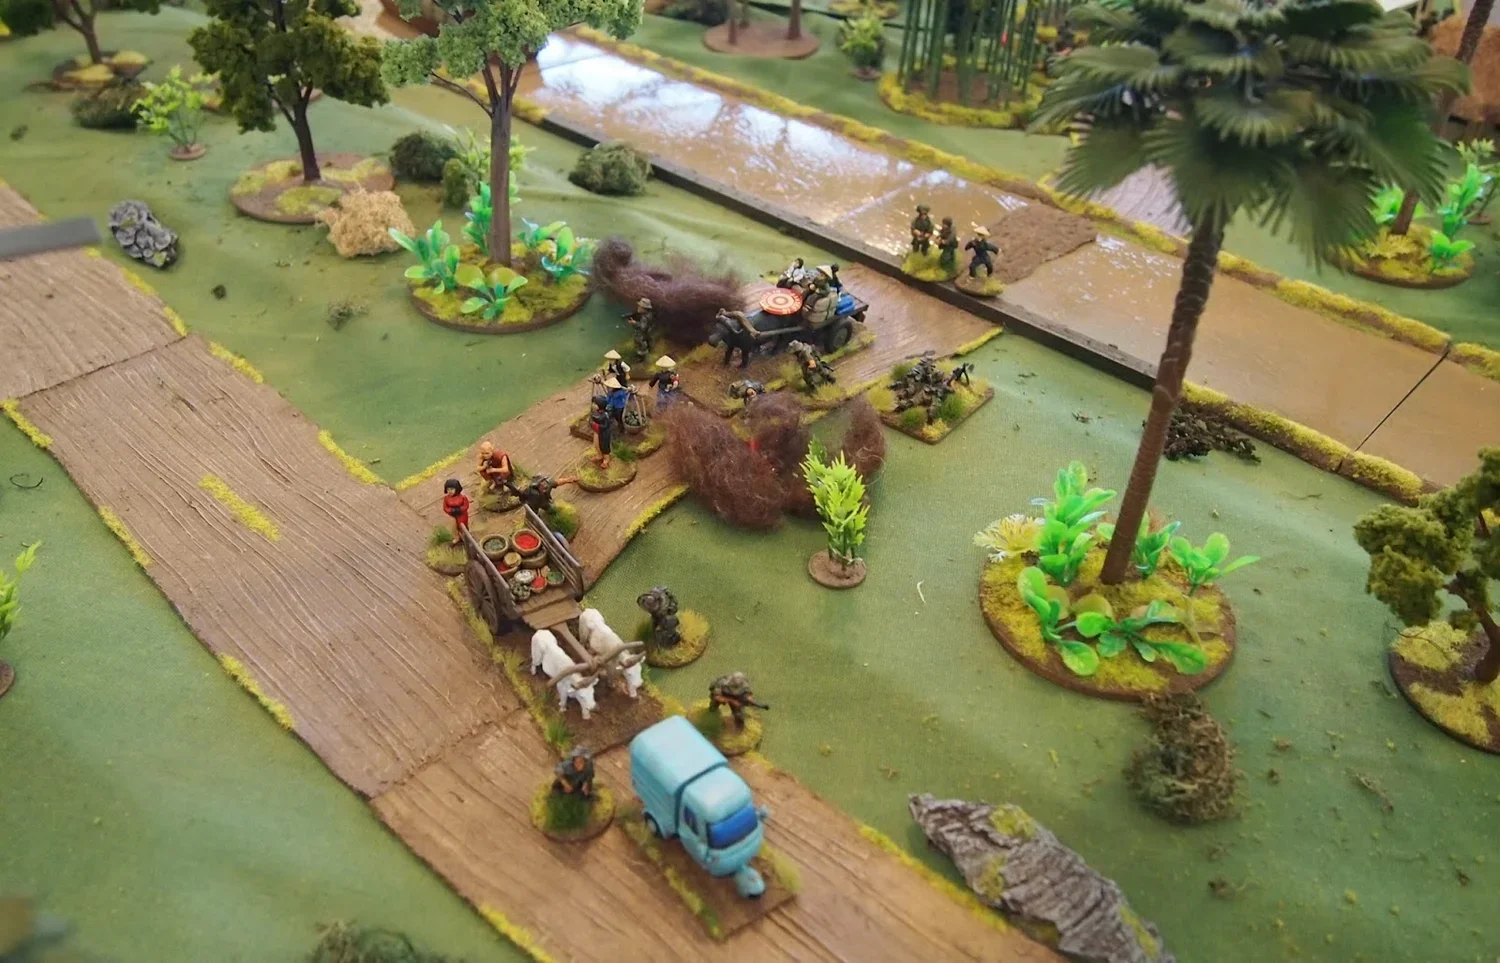
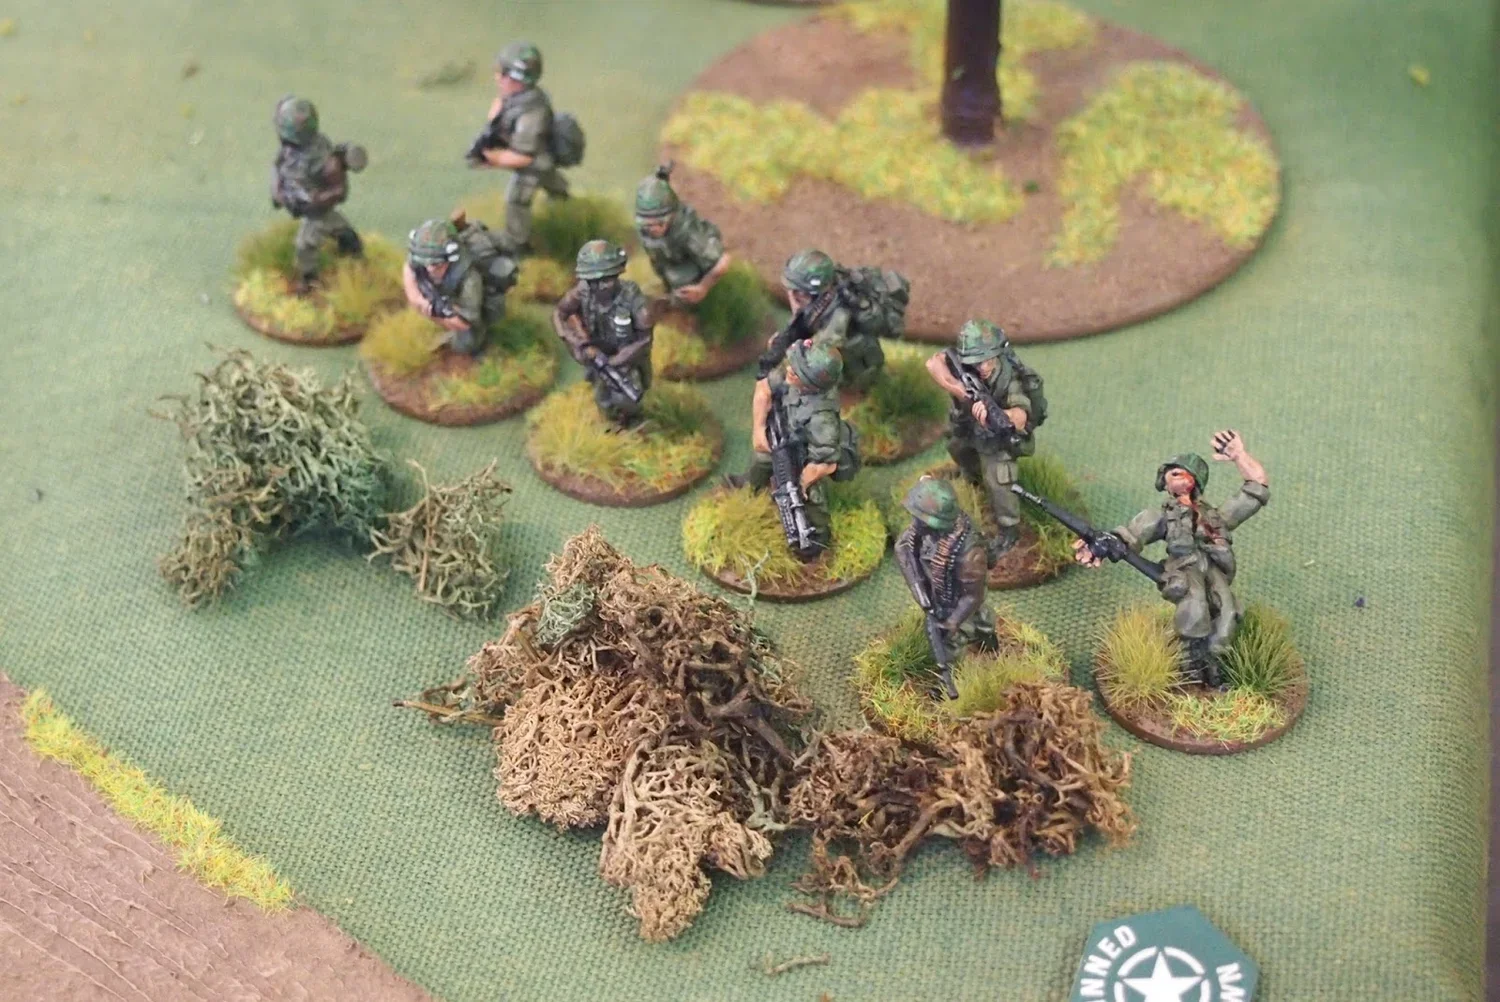
Baker team cautiously crossing a bridge
From the point of view of battlefield accessories, we clearly need some more American minis to be painted and a lot-lot more jungle scenery to achieve a much better looking table. Some houses are now being painted and will be put on the table over the next few weeks.
Benito

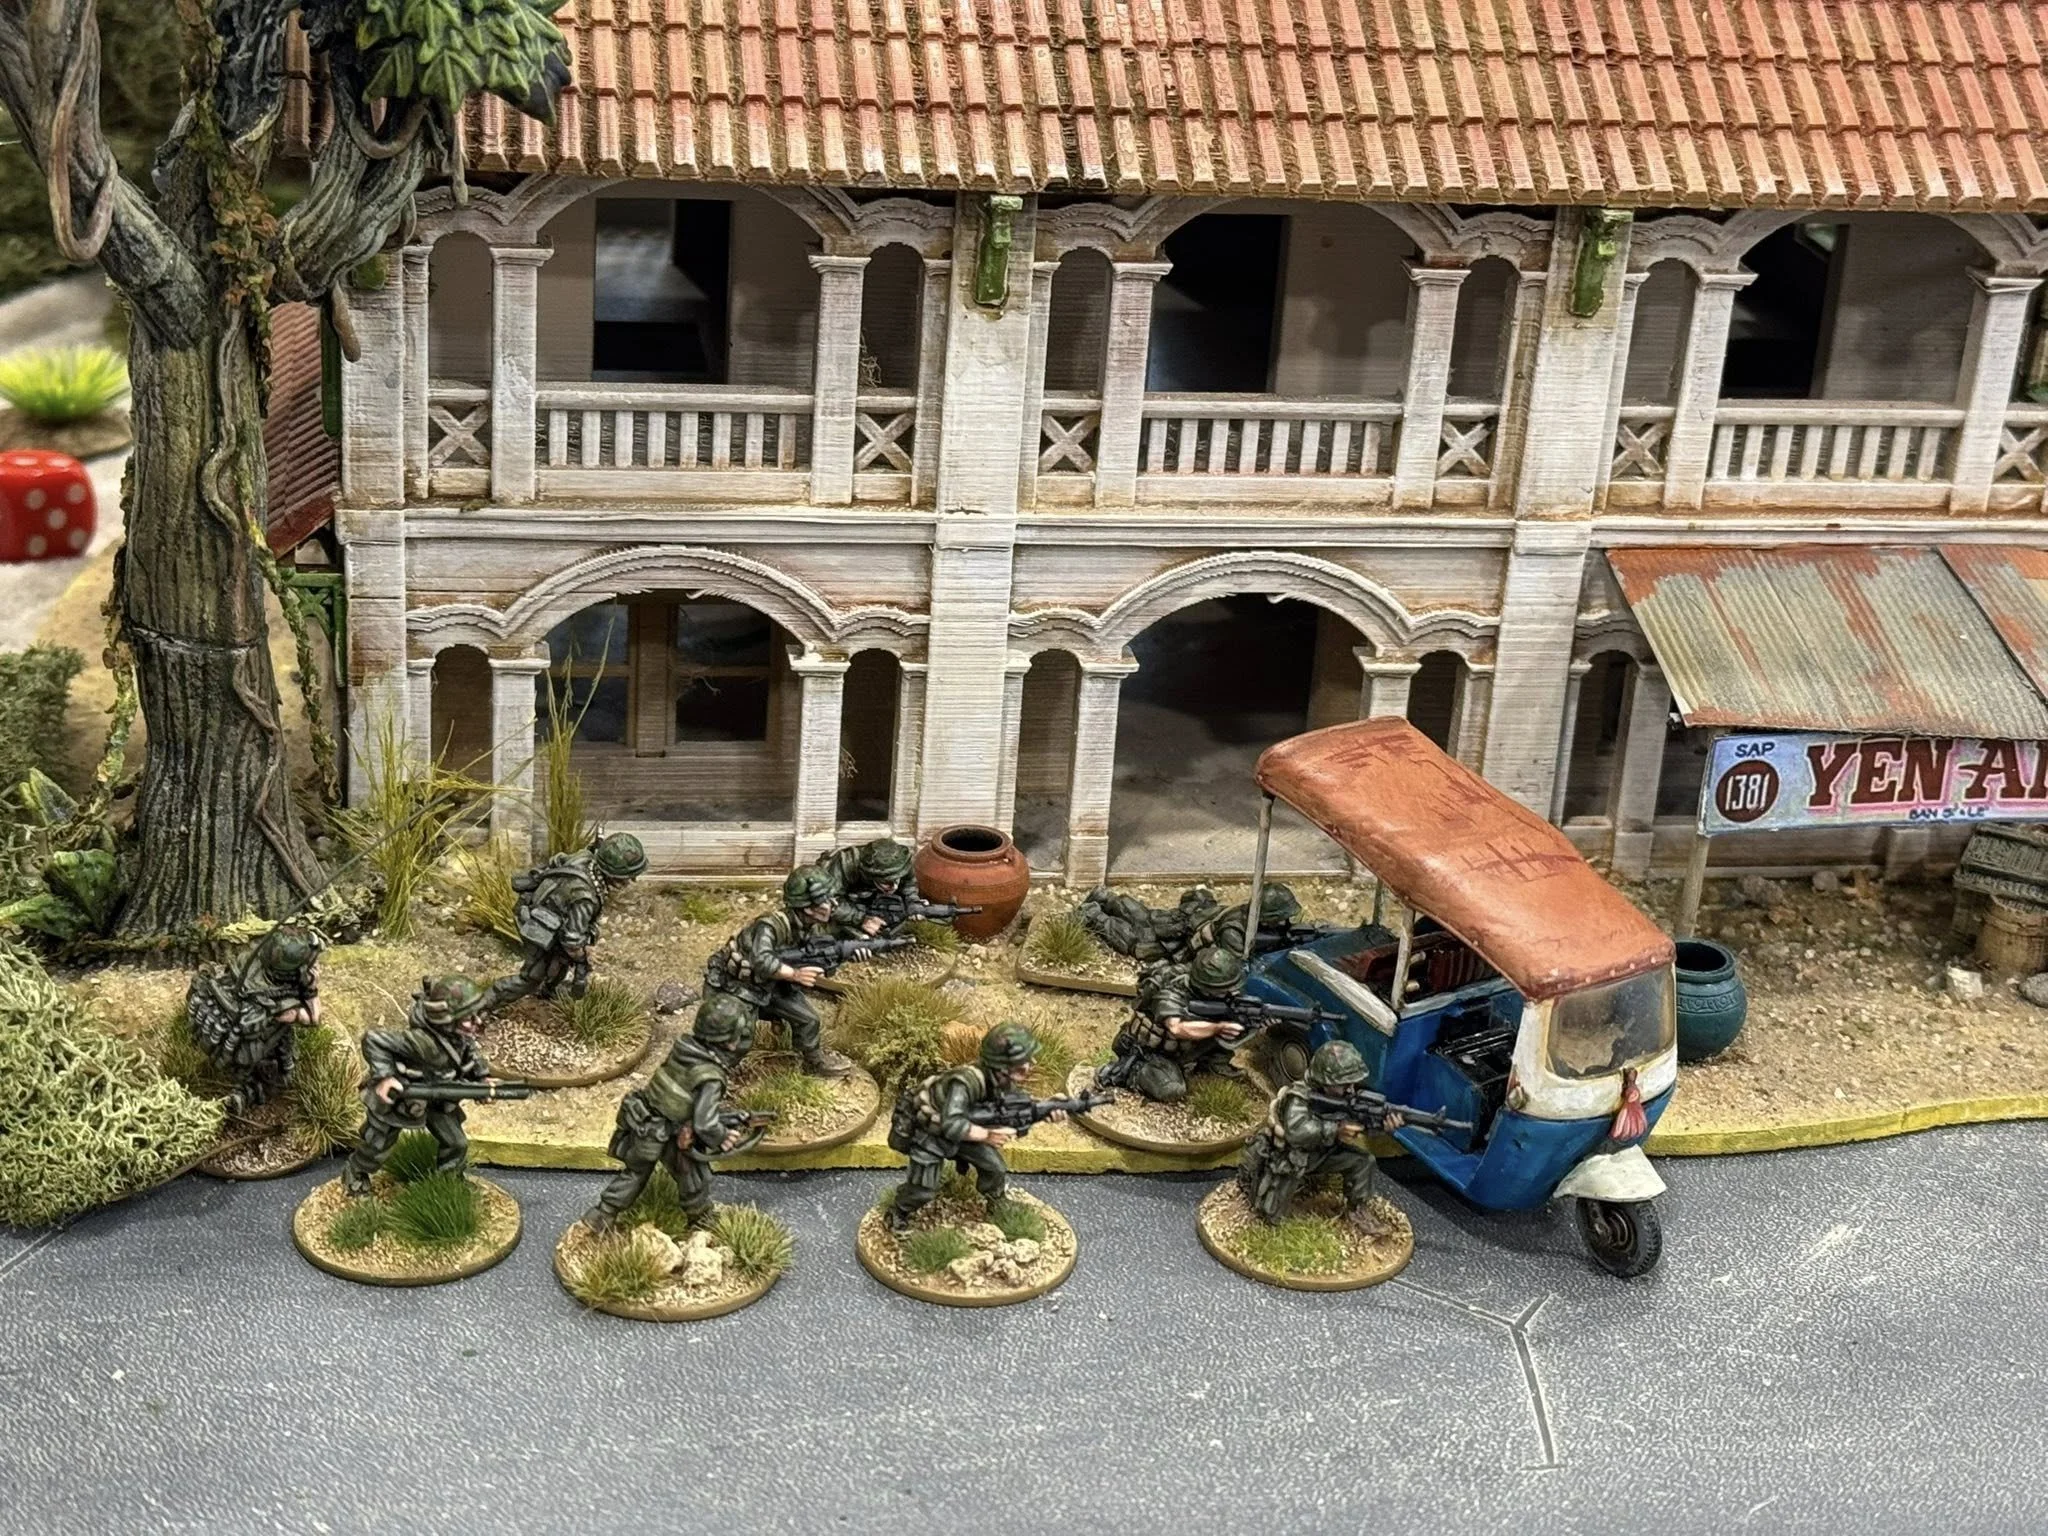
At last! After several months of delay, we gathered in our local club to play a first test game of the TooFatLardies Vietnam rules Charley Don't Surf. And what a fantastic game it was! As a test field, we chose the first scenario of the companion book Surf's Up, in which a US infantry company must take and control a farm village, to deprive the Charlies from its daily rice supply.... but of course, the village is infested with Cong enemies.
As this was our first game, we decided to play only with the infantry section of the rules, leaving the heavy stuff (artillery support, choppers and AFVs for future engagements). It took a little while to master the rules: old habits from playing Troops, Weapons and Tactics played tricky. For example, you don't need to attach Big Men to squads to reduce shock levels, it is enough to be in the line of sight and close to enough to the command radius of the officer (much larger than in TWAT, as the guys are fully equipped with radios) .
Also we discovered (late!) that the firing tables are significantly bloodier than the ones used for WW2 (obviously, the difference is firepower is abysmal!!). Some of these mistakes were solved while playing, some after the game when I fully re-read the rules.
The use of Vietcong fighters is also another element to review in detail. Tactics are totally different to that of the US troops and also to the ones I'm more familiar with (mainly WW1 & WW2). While the ambush rules proved to be very effective, it is a very bad idea to remain in the same spot for long... better to hit and run (...like hell) and use all the potential of the DiDi Mau card, that allow any unit on the table to return to blind or a blind to conceal.
The scenario included the use of civilians; we though that to be not very important ... a mistake again. The US forces are restricted in using area fire and artillery (when we introduce this part of the rules in the game) at leisure when civilians are around (and they also move randomly).
All in all, we had a really great time and all players. 4 hours playing and everybody felt that time past really fast... so eagerly we were left to repeat a game. that tomorrow Tuesday (a national holiday in Spain) a second game has been hastily organised.
In the meantime, I include here some photos on Saturday's game...
Benito

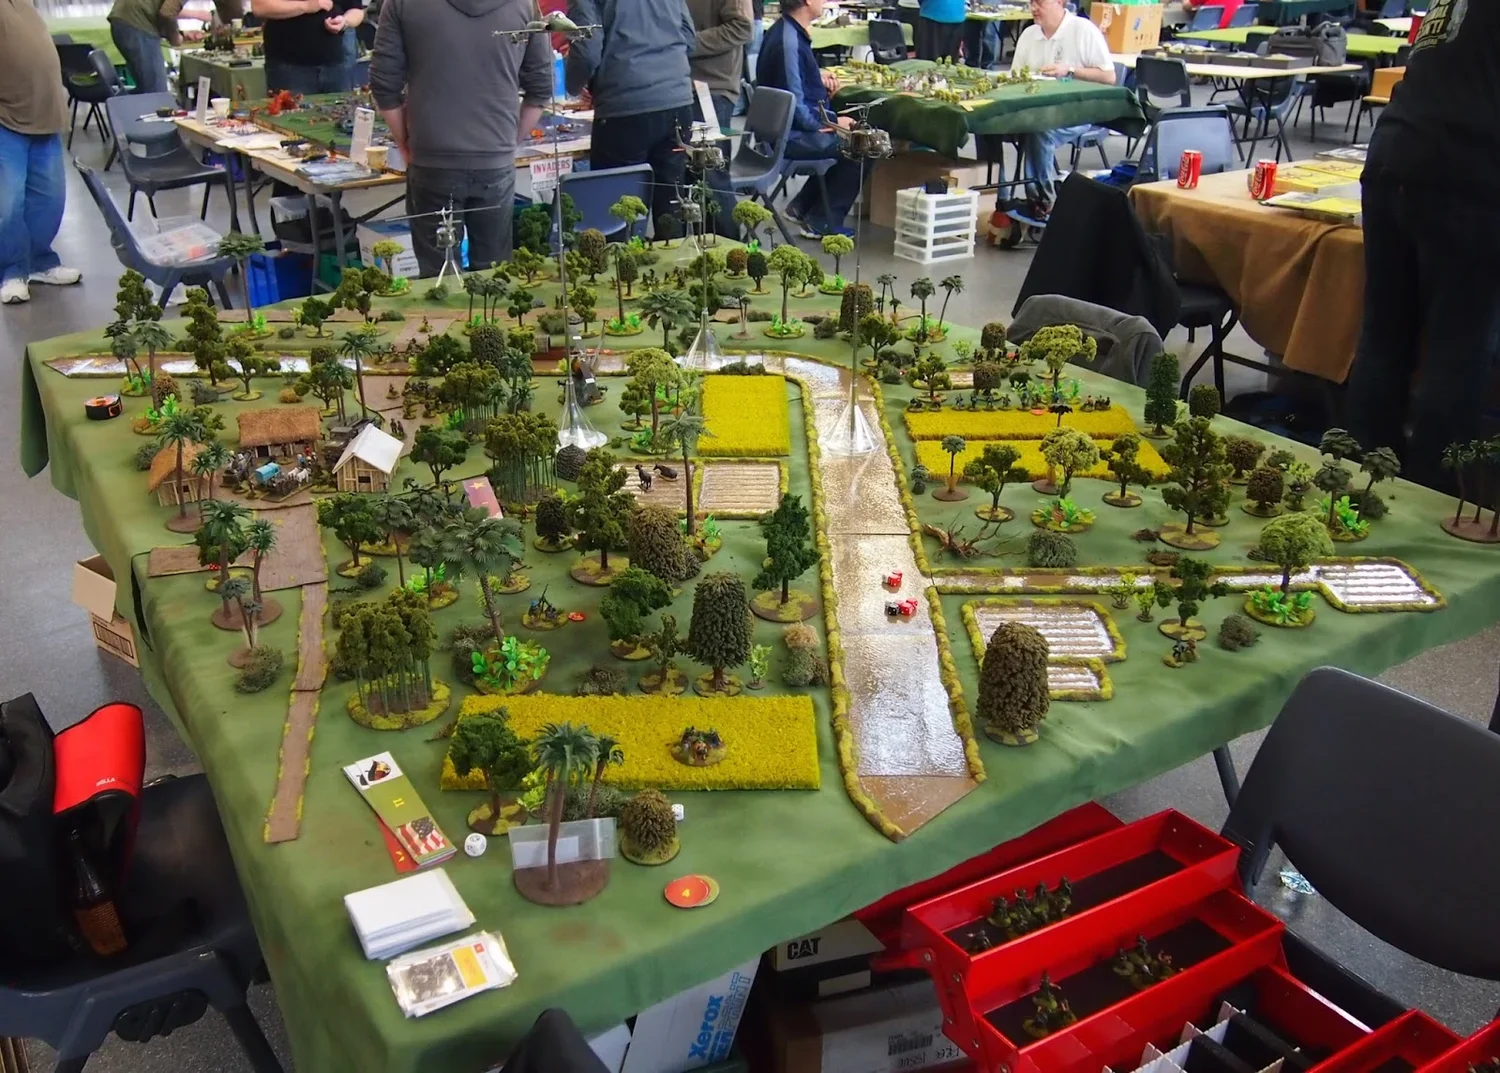
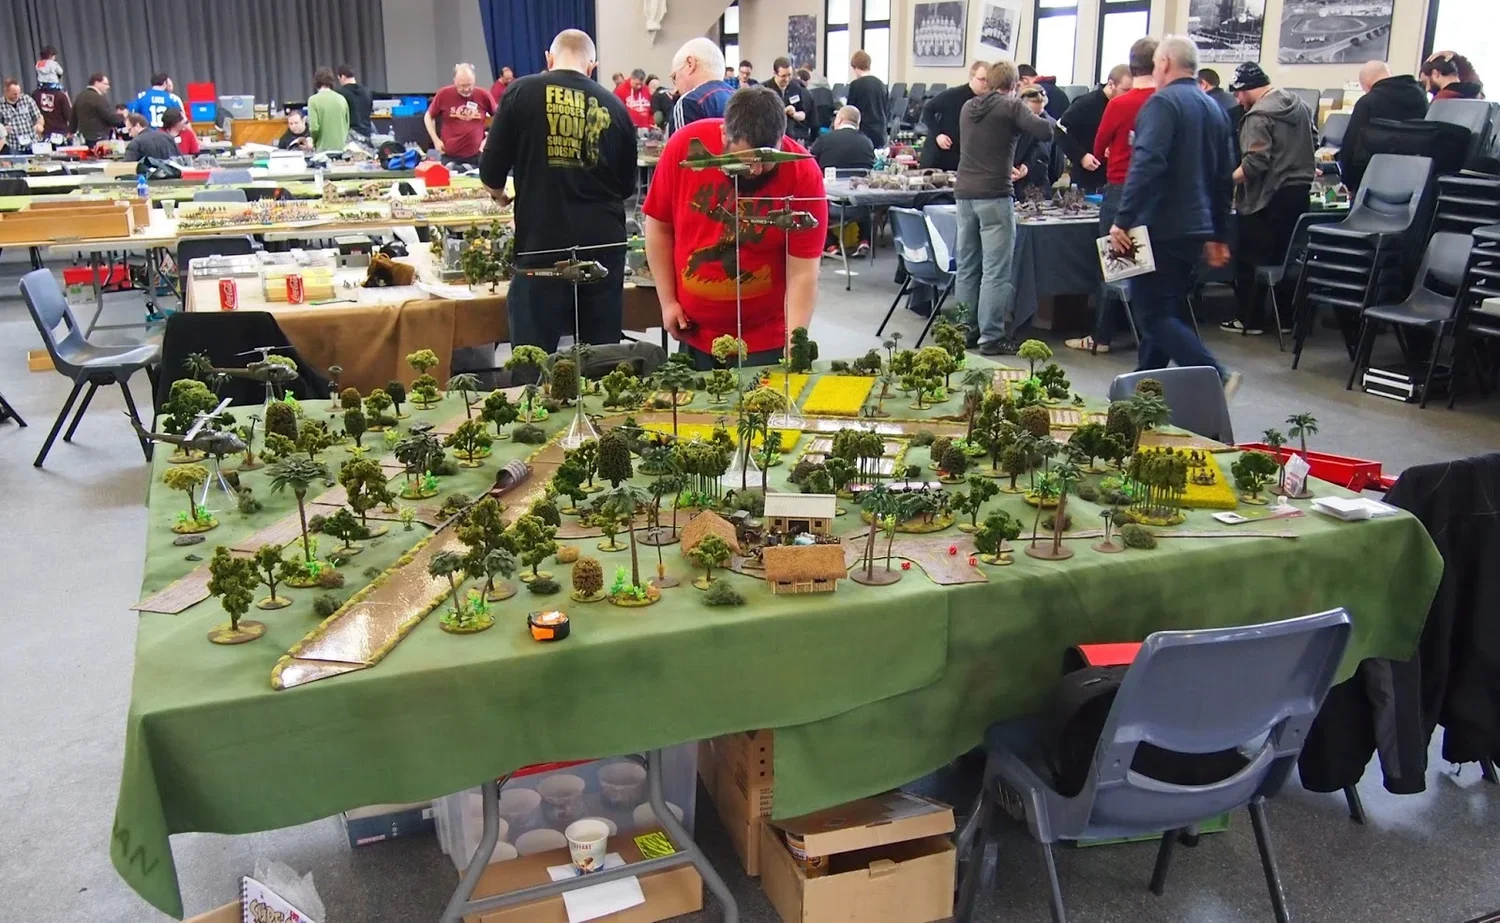
Dan Wade reports on a demonstration game of Charlie Don't Surf that he put on at the Call to Arms show in August 2015. A beautiful set-up and great looking game:
Well the big day finally came. I am glad to say that I am really happy with the response I had from fellow gamers and the general public, who stopped by to have a chat or to just take a photo.
The game did not go through to a conclusion. I really like the rules but would make a few changes next time I try them out. I felt that the VC should have one level higher of cover than we used but this may be in the rules already. I might have missed this in the rules like a couple of other parts I did not know well enough. I would also allow points for the truck getting destroyed and would set a turn length at 10. I would also only count VC casualties when you have US troops on the ground. i.e. not those caused by Airpower or Artillery.
The scenario was a combination of two of the TFL's scenarios from the Surf's Up compilation.
The Rice Farm of Grace Kwan (a local TV character) has reportedly been a hotbed of VC activity during the early part of 1965. It has been decided to evacuate the Farm, locate the caches of Rice located in the area and burn the buildings and anything useful to the VC that cannot be evacuated.
There may be some tunnels in the area that require locating and destroying. This area may be used for a Fire Base in the future as it is a defensible location with good road access.
The plan is that the Free World Forces will send in an advance team at dawn to organise the Workers and escort them away from the Farm. This Force will start on the table in the building compound.
The Search Party will advance across the ford and proceed to search the buildings and waste piles for Rice Caches. Anything located will be Air lifted out by the Helicopters on Standby. The buildings will then be set on fire. If any tunnels or VC can be located and also destroyed would be a bonus to the mission.
The force on the left flank will also be searching for any Rice Caches and if any VC caught will also be destroyed.
The Free World Forces
Advance Party
Bigman plus Kit Carson section and attached Sniper.
Farm Search Party
Air Cavalry Platoon 1 and attached Flame thrower, Tunnel Rat and truck.
The Viet Cong
Left Flank Force
Air Cavalry Platoon 2 plus HMG and Mortar Observer.
Support Units
Mortar Platoon
Marine Hogs
Air Support
Two small platoons of Main Force VC with snipers, Mortars and HMG's.
The Farm Workers may have VC sympathies.
Rice Caches can be found by using any number of action dice on a 4+ while remaining stationary next to buildings or farm waste. A success means that the Roof or pile can be lifted to reveal if the VC player has hidden a marker there. (This can only be done by an Infantry Section). If a booby trap card is pulled from the deck immediately after a Cache is discovered then 1D6 hits on section.
Tunnels that are located in the mound area can only be located by a Tunnel Rat. He will remain stationary next to a terrain feature and use his dice to test on a 4+. If a booby trap card is pulled from the deck immediately after it is successfully found then the Tunnel Rat suffers 1D6 hits. The VC player will note where the Tunnel entrance is hidden.
Factor
Enemy Casualty
MIA (Prisoner)
Rice Cache
Helicopter Downed
Civilian Casualty
Civilians Re-Located
Tunnel Located
Buildings Burnt Down
Broken Arrow
US Points
1
1
5
0
-5
5
10
10
-20
VC Points
2
2
1
10
0
-1
-10
-2
5
Day 1 started off well enough with the advance party of the Kit Carson Scouts entering the village (I was the US player). The 1st Platoon moved slowly to secure their line of retreat but did encounter some resistance from a sniper and a section of VC. On the left hand flank things seem to start well. When two sections of VC along with two LMG's appeared from the rice fields they did serious damage to one section forcing it to retreat, while another section was destroyed. Now as the third section had failed to appear on the table, the Platoon Commander had no other option to withdraw to the start line.
Things looked so bad that I went through the card deck twice to make sure that I had put the correct amount of US cards in, but found everything was as it should be and put it down to the timing of the cards with a Time Out card controlling turn length.
On Day 2 I had finally started to make some progress into the village and got the Civilians on the move to the river, although I had lost my truck to an RPG. I had also done some damage to the VC on the left flank with my Airpower. At this point I felt that I could start to make some impact on gathering some points as the VC were leading 28 points to my 13. However my opponent decided that as it seemed unlikely that he could stop the Green Machine we should stop the game.
I can only assume what would have happened if we continued. When packing up the terrain later on I found where the rice caches and tunnel were hidden. I think that it was unlikely that I would have found the tunnel placed where it was and would have only found one Rice cache. I may have gotten my flame thrower on in time to burn down some of the buildings so it could have very easily been a draw.
I have set up the Demo game as well as I could figure out where everything finished up. The left flank was fairly well documented with photos and notes. The Main attack needed a bit of figuring out as I had not noted the amount of shock points or casualties taken in that area. However when I had packed everything away I had grouped the killed figures together which gave me a starting point.
So restarting at turn six things carried on as before with the main attack slowly moving forward while the left flank reformed to a defensive line. I played two turns but still did not get any more points for the Free World forces other than six killed VC. The VC also killed six but earned twelve points for their efforts.
I feel that I have worked through the game as far as I could reasonably play it. At the end of turn nine I decided to call the game done. The result is still a bit unclear which is quite in theme with the Vietnam War.
I could say the Free World Forces have won with 50 points to 48. What is bothering me is that should I count the refugees as being safely away from harm? There are VC on the same road threatening the HQ which is just managing to defend itself! Only one Rice Cache was found and one building set on fire and both platoons are down to one effective squad. On turn ten I could have set fire to another building but am nowhere near the hill containing the Tunnel complex. I am also short of ground personal to do anything active on the Free World side while the VC can still hit back.
Changing the cover rules to suit the VC and not counting casualties caused by Air Power has made some difference between the VC being effective or just being a speed bump for the Green Machine. I have also learned that it better to use a Big Man's activation points to remove shock points rather than activating units (unless you want to do something urgently). Now I have worked out the wrinkles in the rules and the scenario its probably time to play something else LOL!

I have finally gotten the scenario to a point where I can say that it is done. The US forces have taken the tunnel complex but have failed to find anything of interest (using the CDS chart). All VC resistance has ceased in the area of the farm on the Free Worlds right flank. Any VC on the left rear of the area has either withdrawn or has gone to ground. The Free World forces have only found one rice cache out of the suspected three, but has razed the Farm complex to the ground and removed the civilians from the area.
The game took three full days of gaming at home plus the two short days at the convention. I feel that the rules are not really designed for a game of this size so it would be unfair to judge them on that. I have been playing the last couple of sessions using dice to determine the units orders rather than using the cards. I will write these up once I have sorted out a couple of things that have been bothering me, such as the random events you get when using cards.
After the game I started to rearrange the table as if the Free World forces have been there for a week, and have been clearing trees to make space for Helicopter pads as well as other improvements. I also extended the playing area to give the VC some space to work in.
Dan Wade

"You crazy Muttha! That ain't no Zip, it's a pig! What fool cried Zips in the Goddam Wire when it was a pig? What kinda jibber jabber is that?"
Two flares floated slowly down, illuminating the open ground that surrounded the outpost. The body of the pig was clear to see, or what was left of it after Sergeant Baracus had fired off the two claymores that we on the bases' northern perimeter.
"Johnson, you fool, can't you read or write? PIG has a P and an I like in the word ZIP, but there ain't no G, it's a Z, and the letters are in a diffren' order! I will bust your Goddam good for nutthin ass…."
The explosion brought the Sergeant's tirade to an end as a thirty yard section of wire exploded precisely where the pig had been.
"Holy Sh…the pig is a zip! The goddam pig is a goddam zip!"
Moments later another forty yards on the western perimeter went up, but here there was no pig, just eighty NVA moving rapidly through the mangled wire. On the edge of the Camp Lieutenant Templeton "Face-Man" Peck looked at the tribesmen who made up his platoon. For a seemingly endless second they stood transfixed by the horror of the moment, then the NVA hit the trip wires and 700 steel balls from each of the two claymores tore through their ranks at 1200 metres a second. The CIDG began firing.
Commander Phun Ki Tan could taste the earth as he involuntarily found himself attempting to force his body into the iron-red soil. He could hear the sounds of a machine gun now added to the popping of the rifles, and feel the rounds passing over his back. What, he wondered, would Uncle Ho do in this situation?
Across to his right Colonel `Hannibal' Smith could see the squad of ARVN Rangers were deploying hand fired flares out to the north. Their Sergeant was waving forwards the jeep with the 106mm Recoilless Rifle which, he had no doubt, would be loaded with a Beehive round. At least he could rely on the northern wall holding with the Rangers there. All along the fire positions around the earth wall that protected the outpost he could see men of the A Team working with the CIDG troops, encouraging them with words, maintaining their own steady and accurate fire. It would be a close, but it looked like the first attack was already faltering.
Comrade Tan stood up. He felt like it was a crazy thing to do but he controlled his fear.
"There are two kinds of men in this field; those who are dead and those who are going to die. PAVN 29th Regiment, lead the way!" and with that he ran towards the fire that was sweeping down the gentle slope towards his men.
Tan did not look back as he ran, but he knew that his men were following him. He fired as he ran, wildly, inaccurately, but in doing so his nerves calmed. Already he could see the Chinese stick grenades falling ahead of him; already he could see some of his enemy hesitating and falling back.
The struggle was brief, bitter and bloody, but the human wave of two NVA platoons was too much for the two CIDG squads to withstand. They broke before the tide of humanity engulfed them, falling back to the trenches on the eastern edge. For a moment the crews of the three mortars found themselves in the front line, firing away with their carbines before they too fell back, abandoning their pieces.
The blast from the Beehive round illuminated the compound for a split second. The hundreds or tiny flechettes shredded the second NVA platoon, halting their advance. In the mortar pit, at the very head of their advance Phun Ki Tan lay on the edge of death; a lucky shot from the M1 carbine of an ARVN mortar man lodged in his skull. He smiled to think that he would be a hero of Vietnam; that his own children, and then their children in turn, would read of his great victory and death for their homeland. Tan could not see it, but to his right the 1st NVA Platoon was struggling to overcome the CIG troops on the eastern side of the compound. As they advanced, screaming their challenge, they were met by an A Team Sergeant who was famed for his Bad Attitude. A hail of bullets from the M60 crewed by Sergeant Baracus was enough to send them back behind the radio shack.
From behind him the detonation of the two claymores that covered the main gate heralded a fresh challenge for `B.A.' Baracus. For a moment another NVA Platoon hesitated with the shock of the blast, but Hung Lo, a respected leader of the PAVN, brought forward two of his squads, surging over the earth wall and dropping in among the CIDG. A single round of 7.62mm brought the big Sergeant to his knees, and resistance crumbled as the remnants of the CIDG platoon dragged the big man clear and headed out for the treeline. Colonel Smith was on the radio.
"Broken Arrow, I repeat, Broken Arrow. Fire on my position"
Sergeant Chin of the ARVN Rangers fired from his position on the eastern slope of the earth bank. His men were repositioning the claymores to face the camp; if Charlie intended to follow he would meet with a surprise. Slowly, checking that the CIDG and their wounded were clear, the Rangers withdrew a man at a time back towards the treeline, just in time to see the first 155mm rounds landing in the camp.
This turned out to be a very interesting playtest and a real nail biter. As a night action there was lots of close combat, mainly very one-sided in terms of numbers, but actually very even in combat odds.
Four platoons of NVA with mortar support and a platoon of Sappers were attacking a CIDG outpost held by 32 CIDG, a three 81mm mortar ARVN platoon, one ten man A Team and a ten man ARVN Ranger squad. They had one jeep mounted 106mm recoilless rifle to bolster their defences. The CIDG platoon was broken down into four 8 man squads armed with obsolete weapons, but who benefited from the attachment of two A Team members to each squad, which bolstered their morale and upped their firepower.
They had a good supply of mortar ammunition and also had three pre-registered fire concentrations on the perimeter and some claymores. The camp was surrounded by an earth bank with fire positions all along it and surrounded by wire.
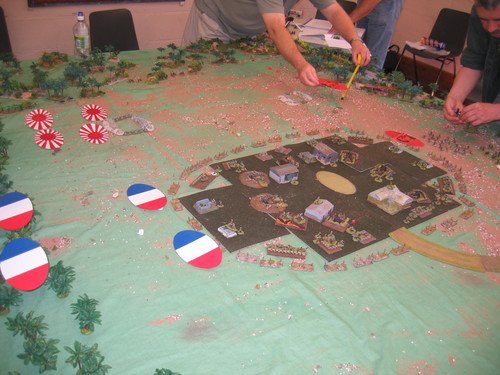
The NVA Player used his sappers to blow two gaps in the wire, one to the north, and a larger breach to the west. It was in the west that the first attack was launched, with two platoons facing two CIDG squads and a 0.30 cal. After the claymores tore holes in these the CIDG looked like they would stop them, but the NVA used their Human Wave card to rally both platoons and charge them in under the overall force commander. Even so the close combat on the wall was desperately close, the NVA only scraping a win in both cases. Had the Free World player been luckier with his dice the whole attack could have been stopped here. Now, however, with the NVA inside the compound it was much harder to get them out, particularly as two more platoons came rushing in to the attack.
Weight of numbers now obliged the Free World player to abandon the outpost. Losses were actually not as bad as it might sound. My guess is that the CIDG lost ten men, the ARVN Rangers and the A Team none, apart from B.A. Baracus but he has been carried to safety. The NVA lost probably twenty men, but on both sides the Shock of the combat really downgraded both forces, especially bad for the NVA as they lost their main Big Man who could have reorganised them and then followed up pursuing the Free World forces. As it was the arrival of the artillery meant that the NVA grabbed a few papers, captured three mortars and then abandoned the outpost.
The result was a clear military and political victory for the NVA. I was pleased as the night-fighting rule tweaks that I introduced worked perfectly, as did Tom Ballou's "Zips in the Wire" rule suggestion. Thanks Tom, nice one.
Richard Clarke

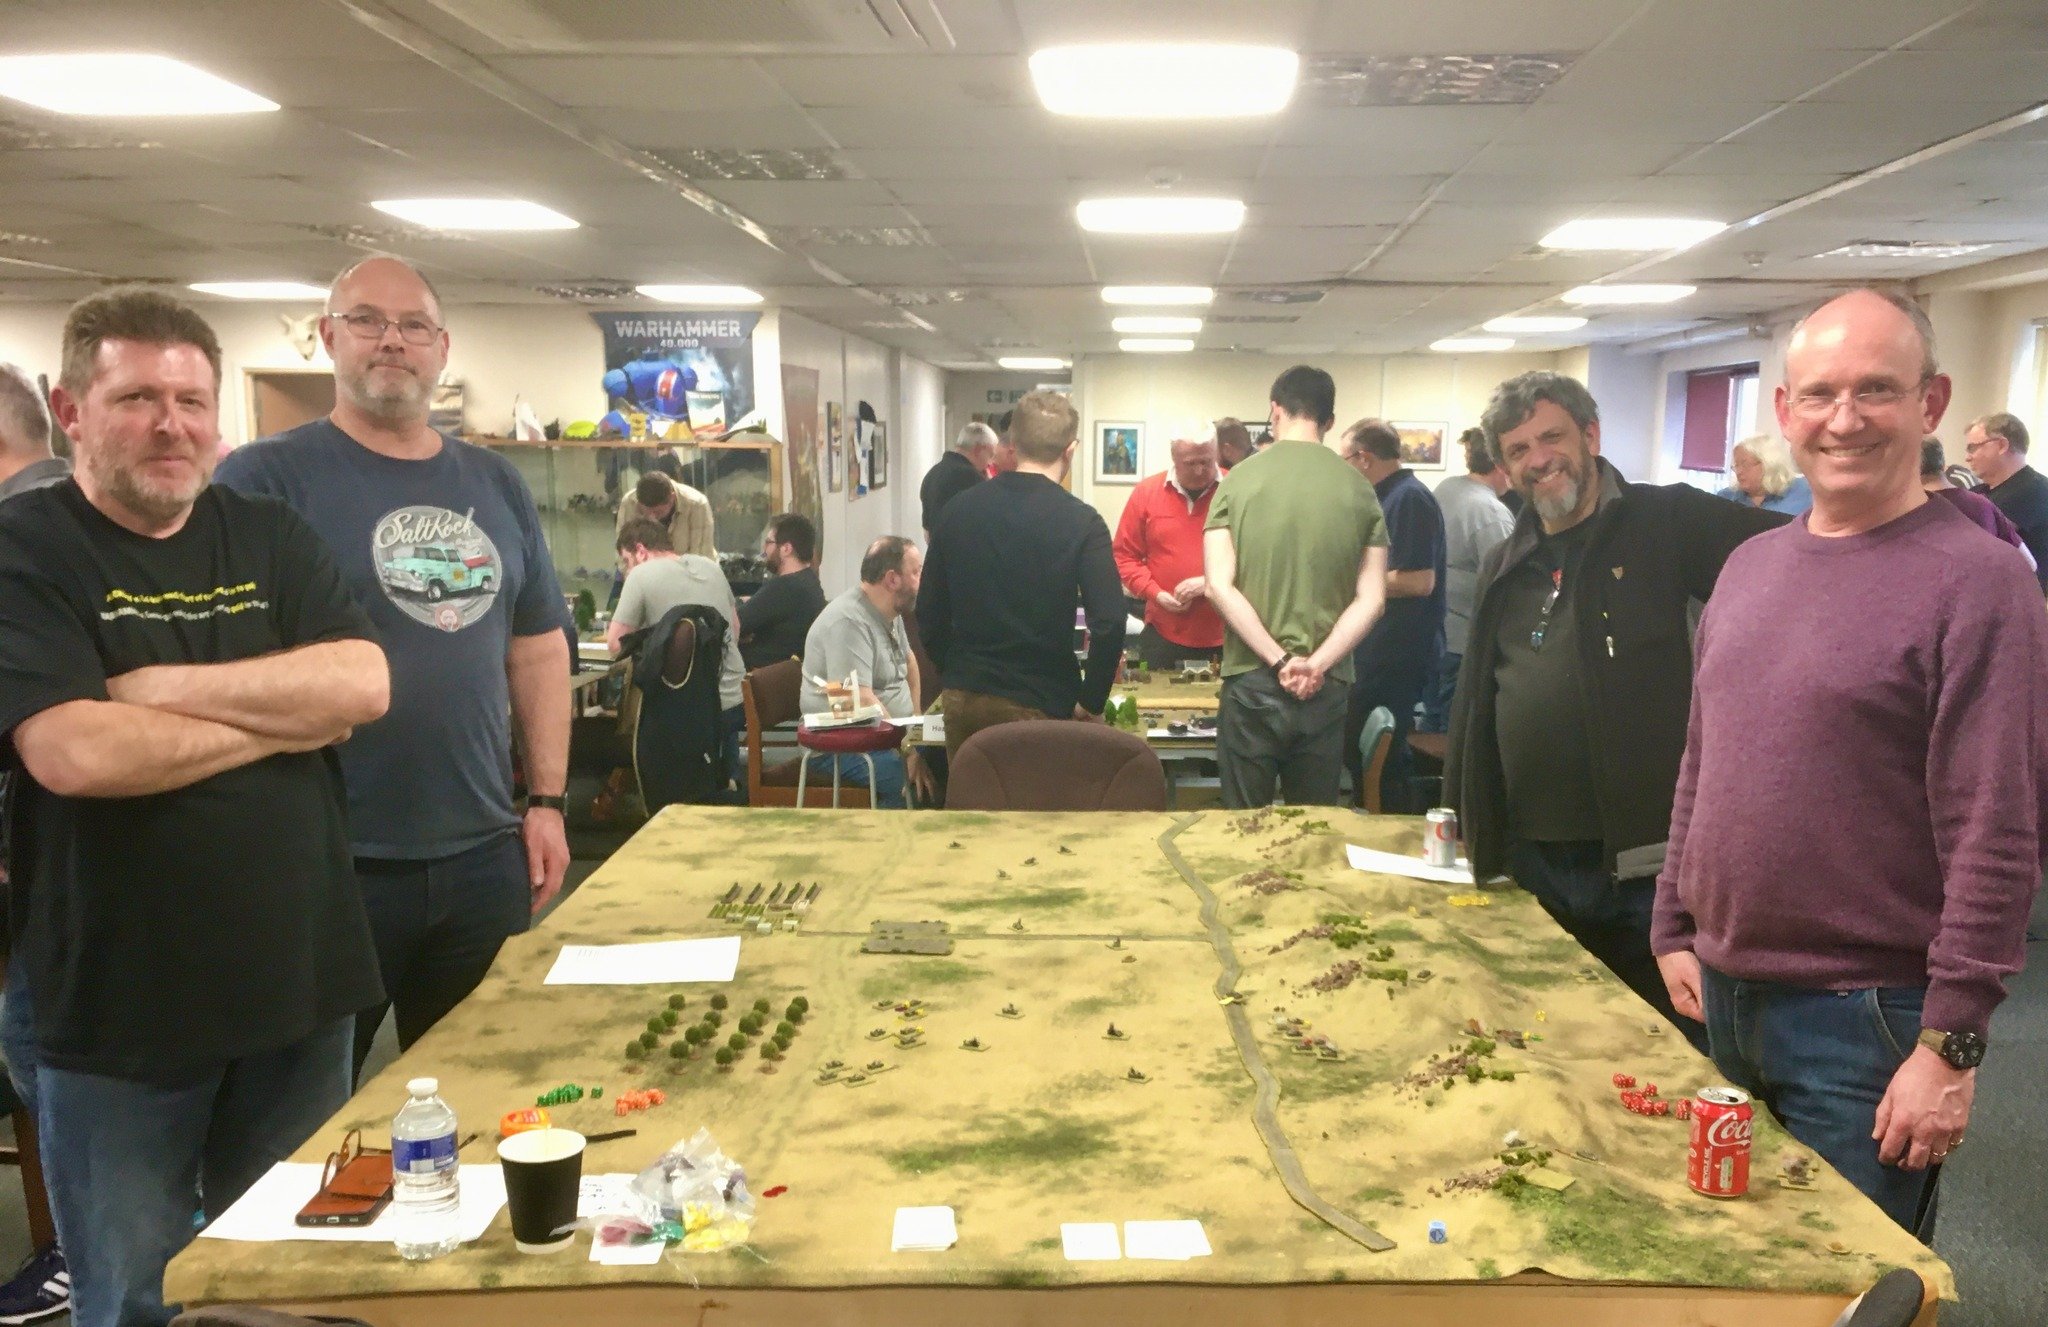
Another Saturday morning battle with the Benson boys...but what to play?
Well, my usual default here is to have a look at what hasn't been on the table recently (if ever!) so today's game must be Six Day War and must involve the Battlefront ruined fort. Add on some "tail" that's never been on the table, and Bob's your uncle: one quick scenario coming up...
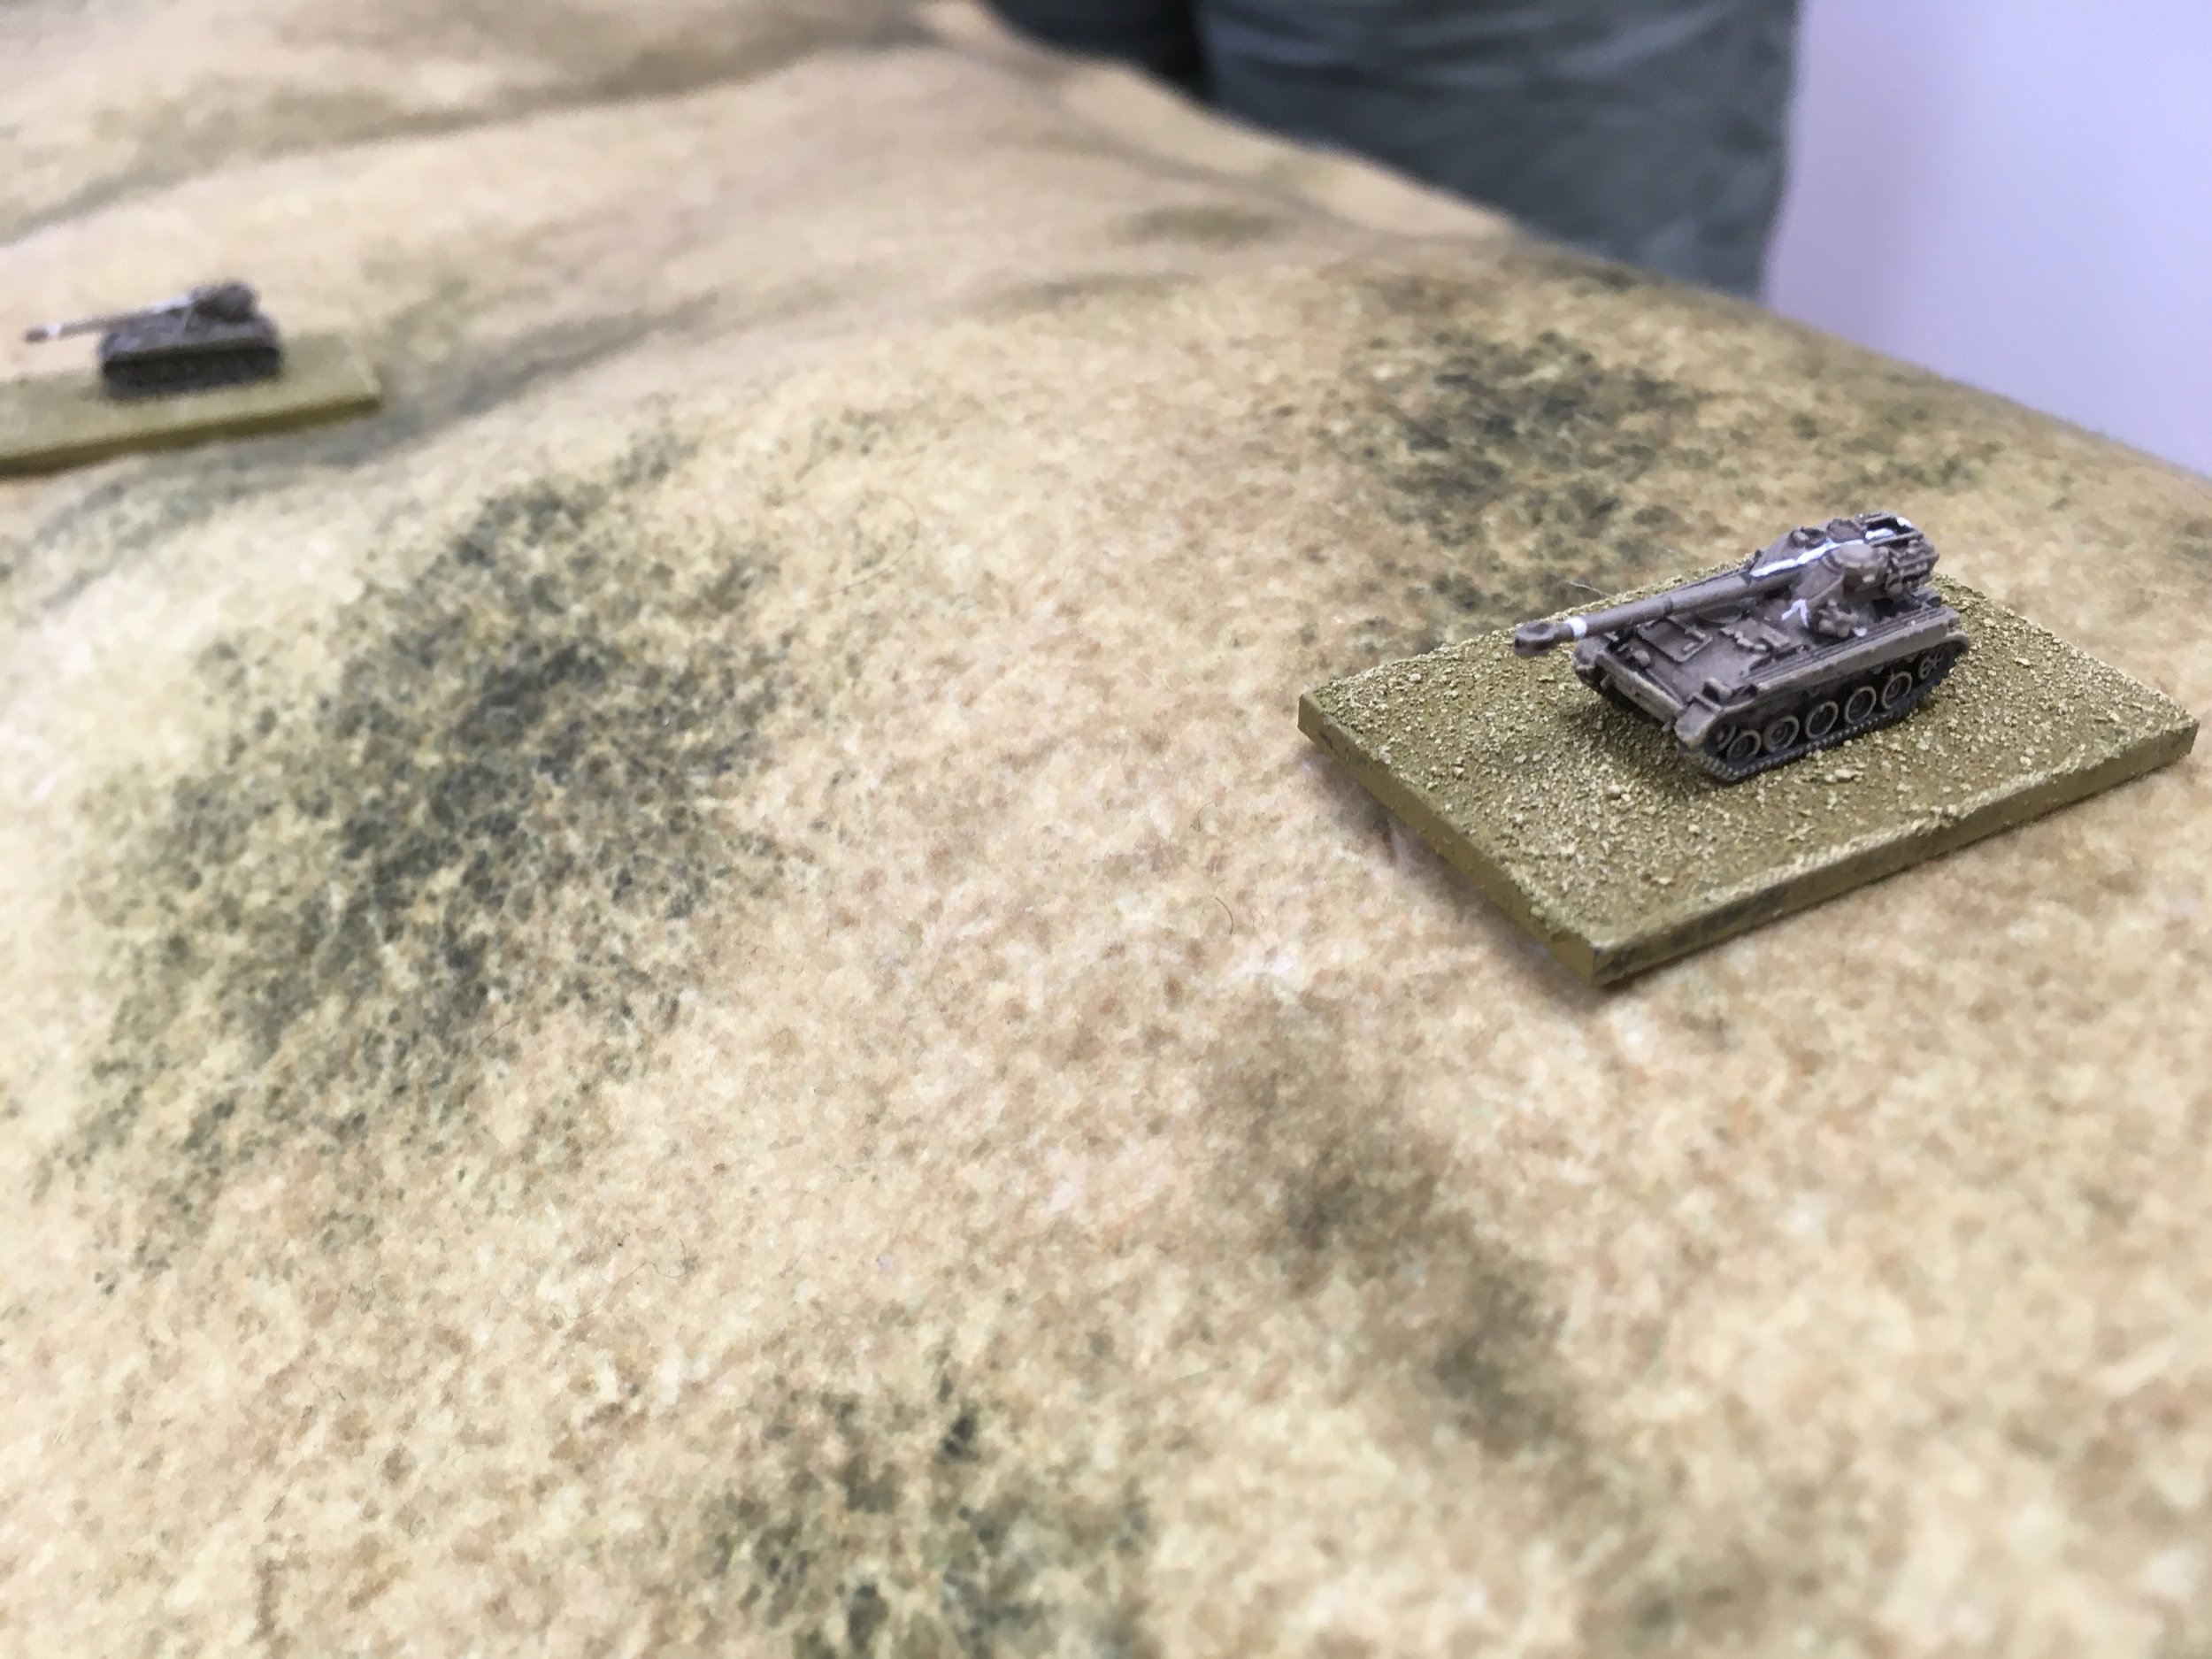
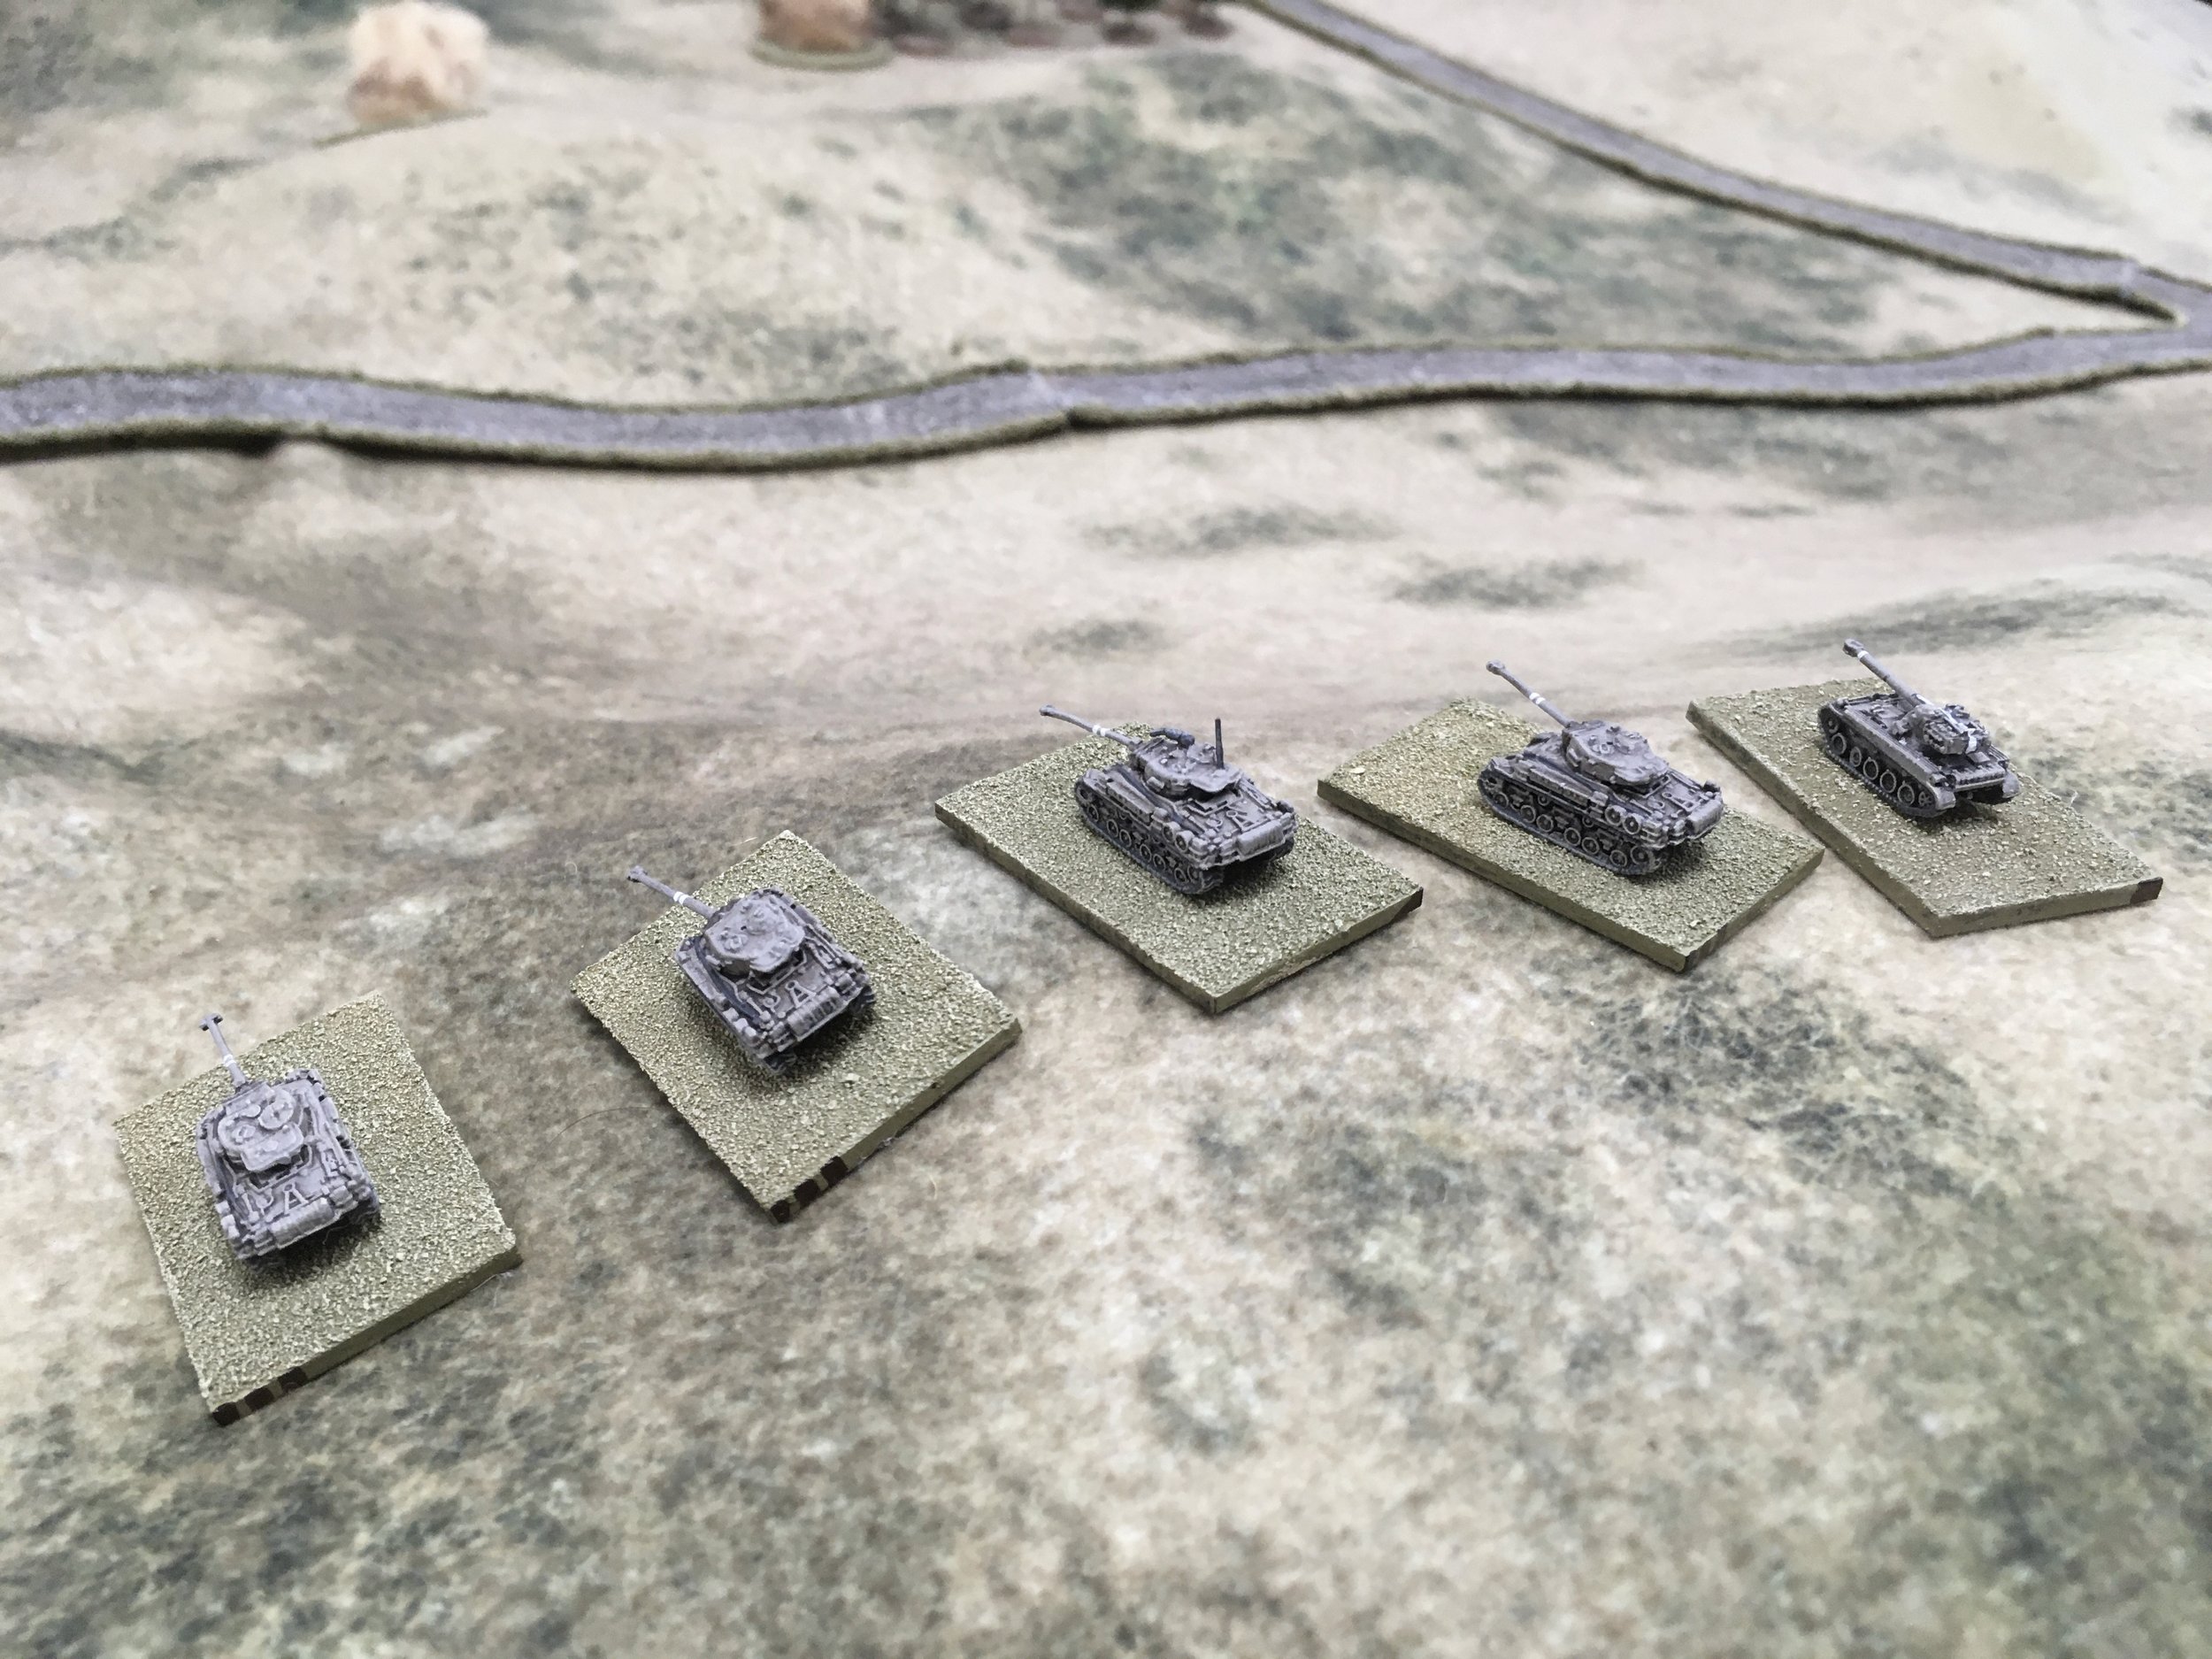
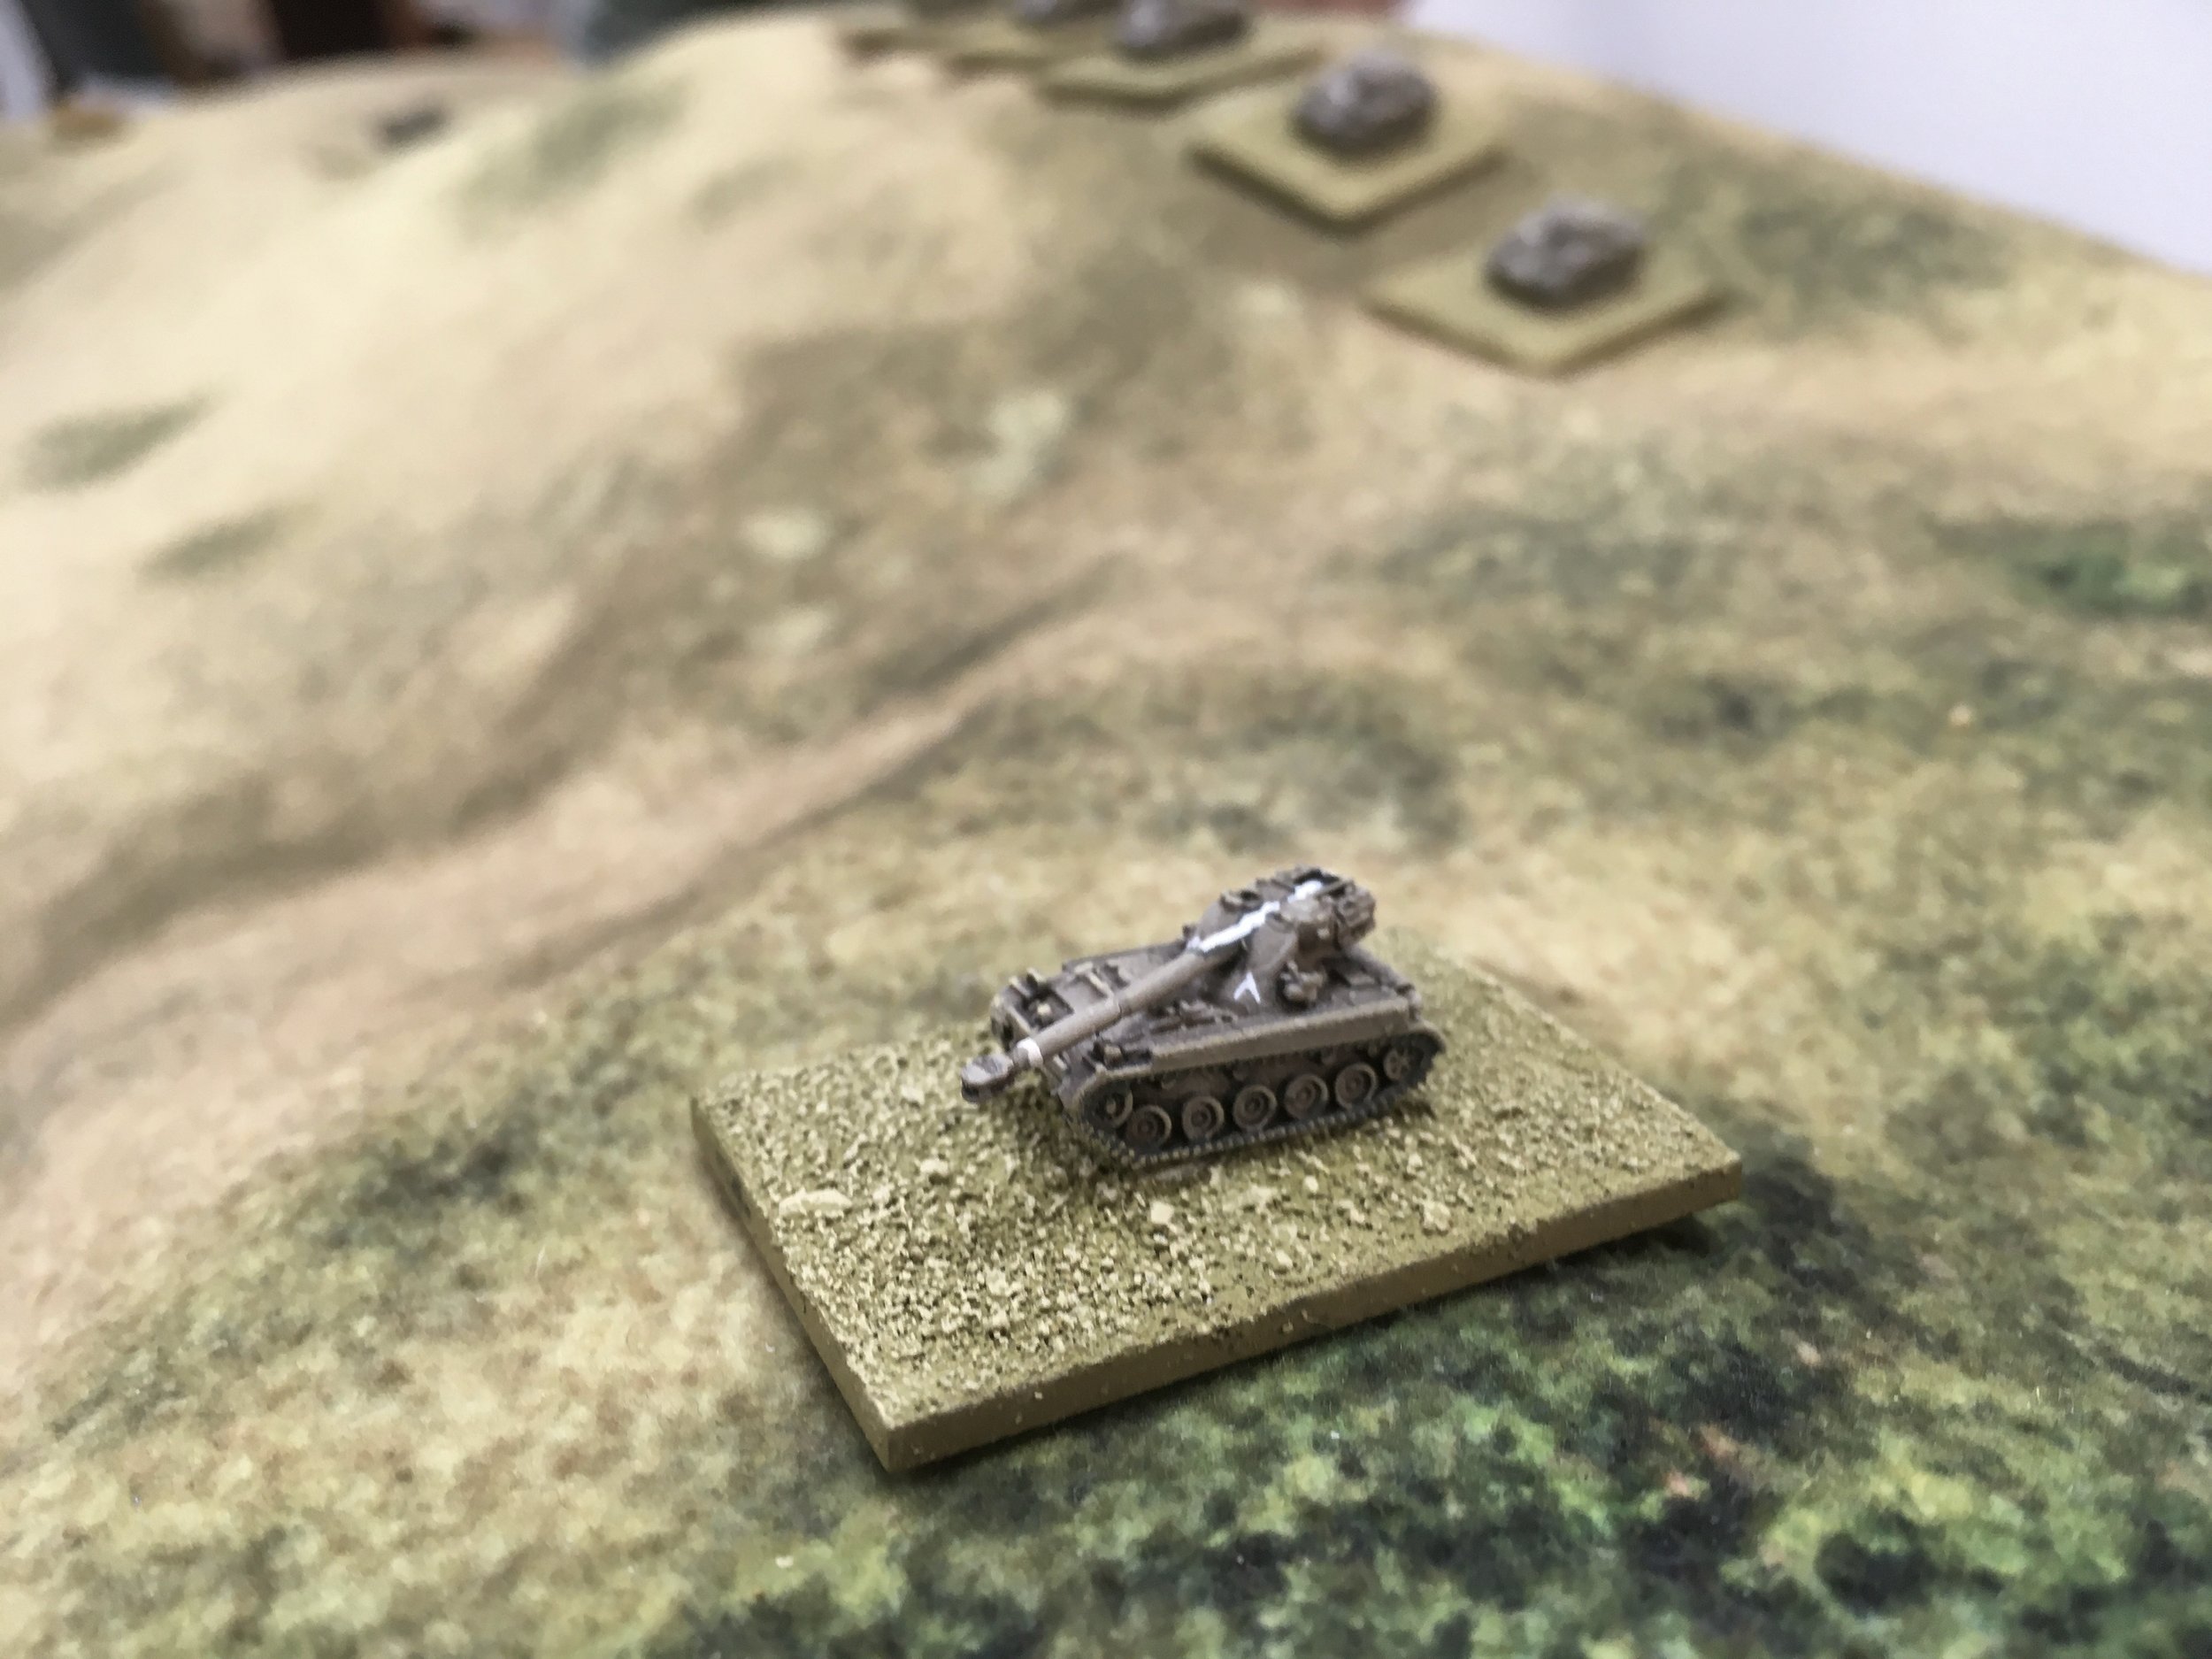
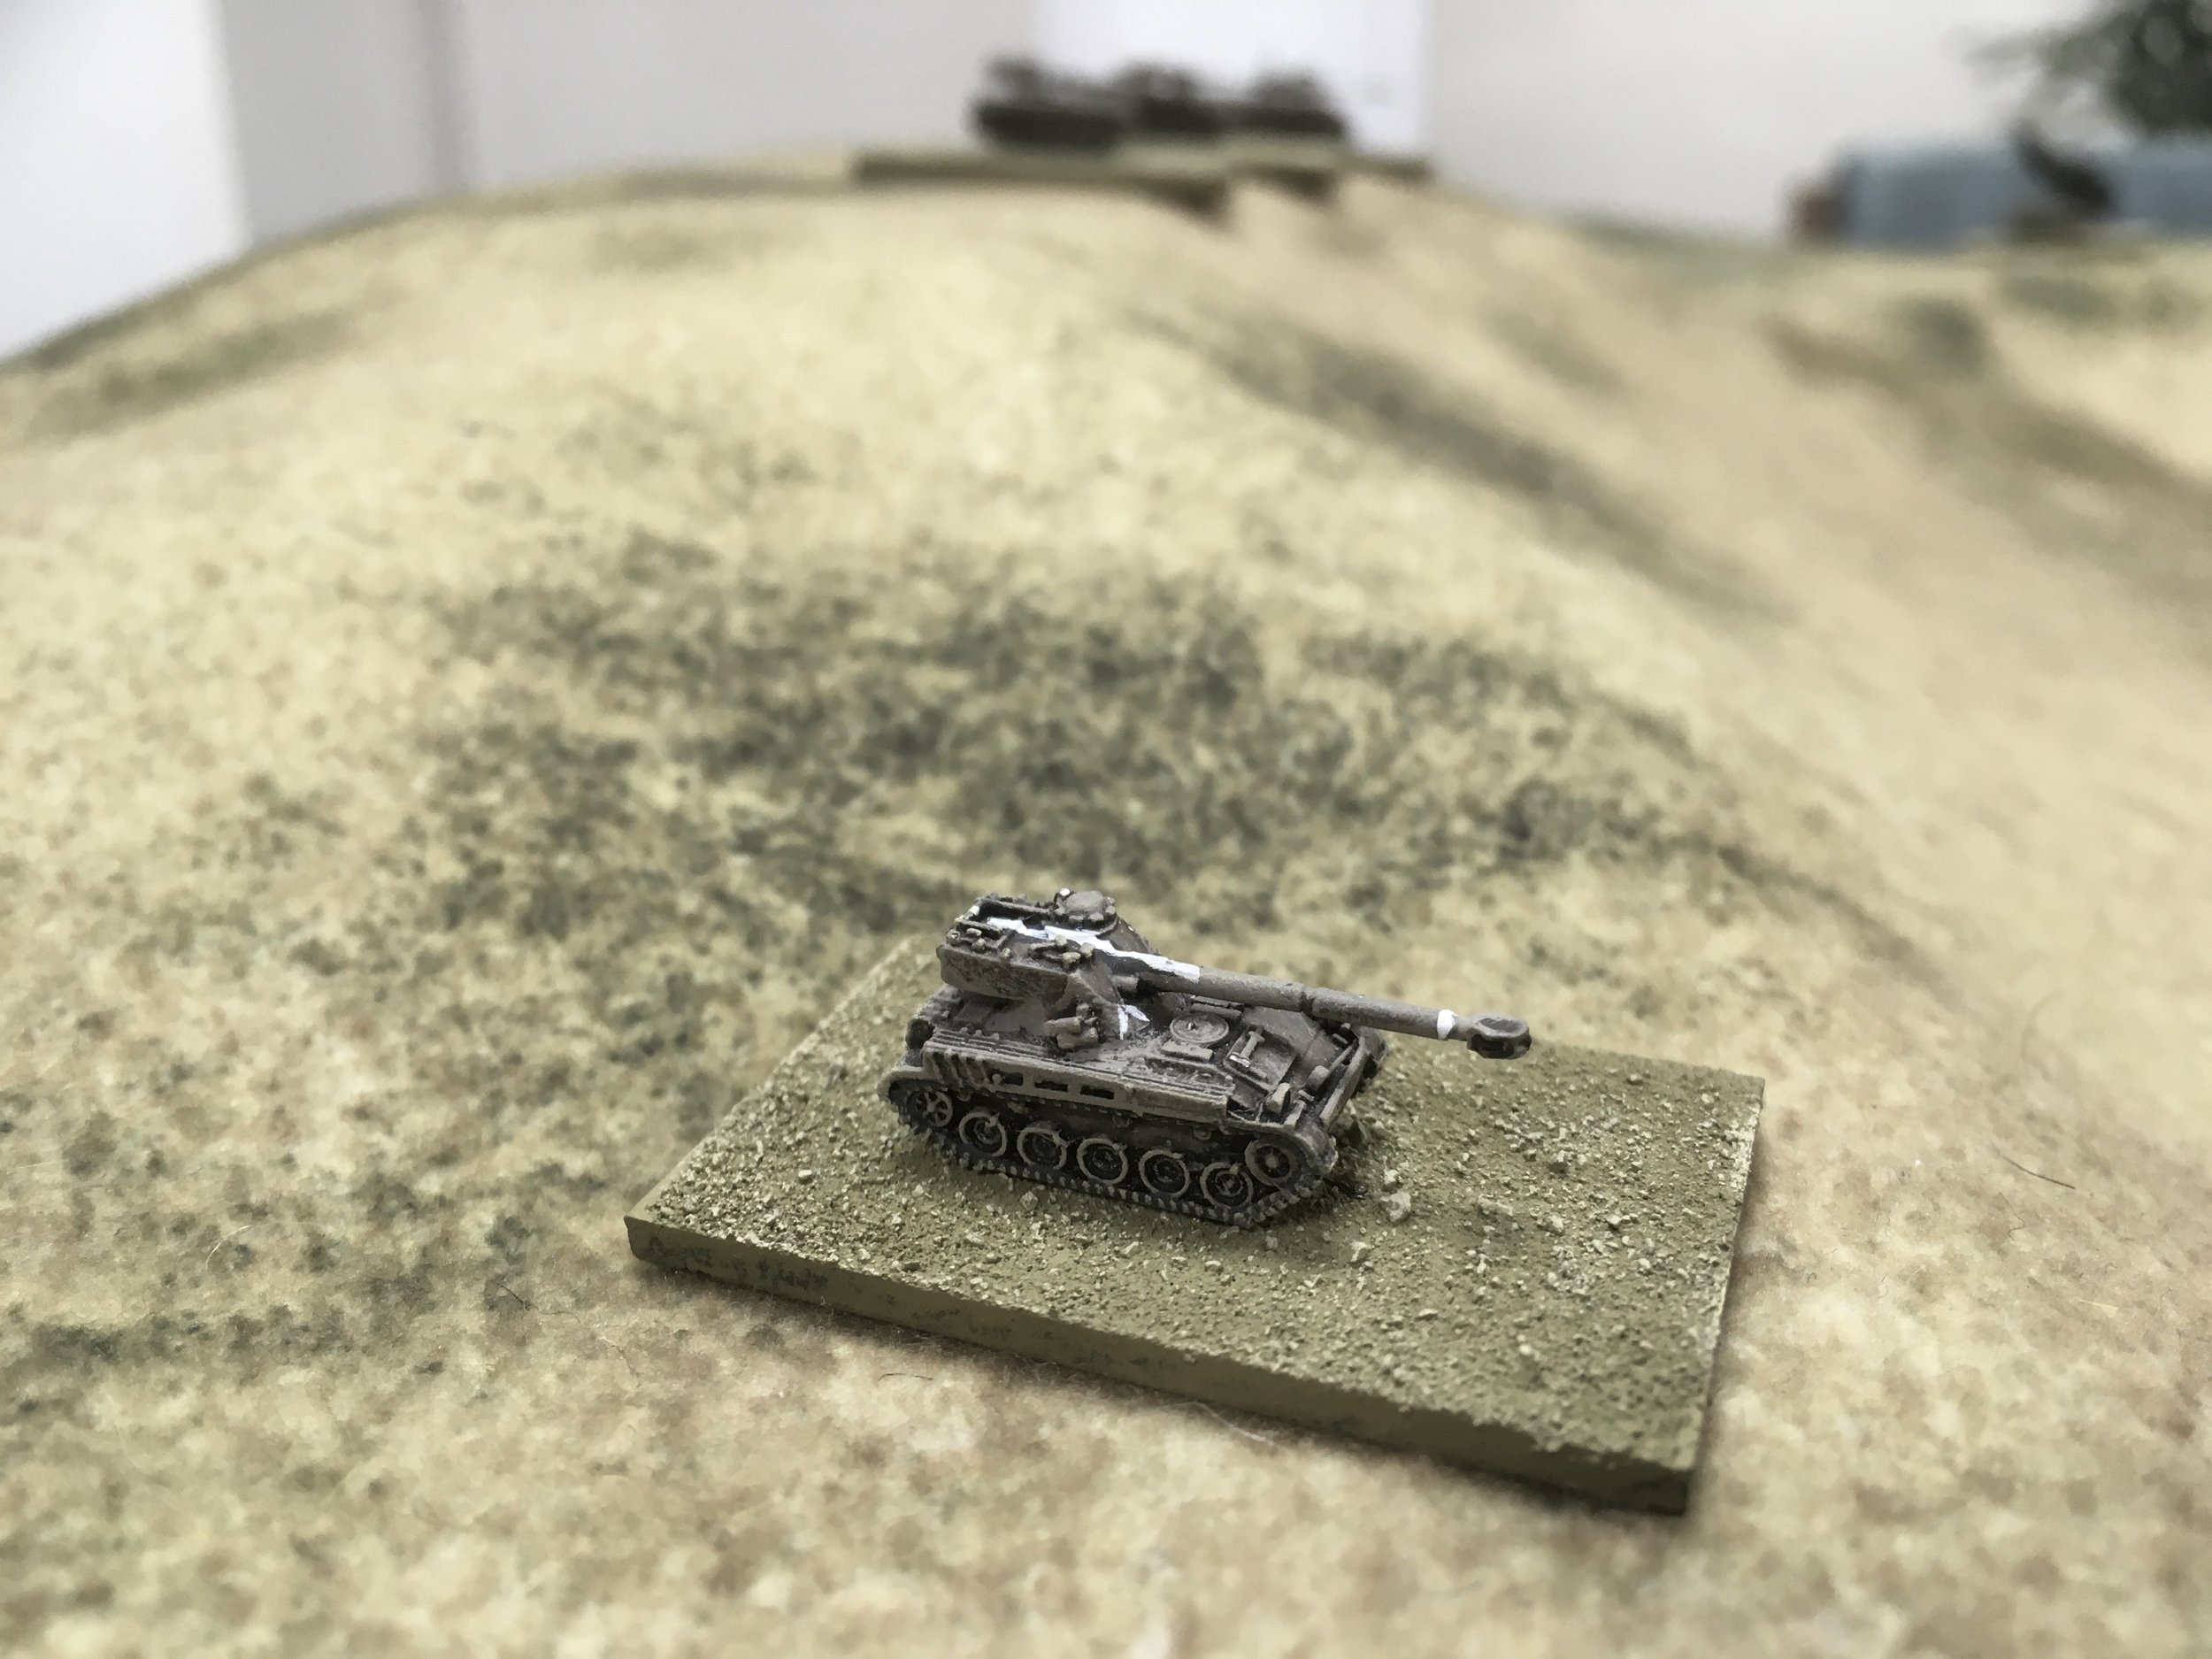
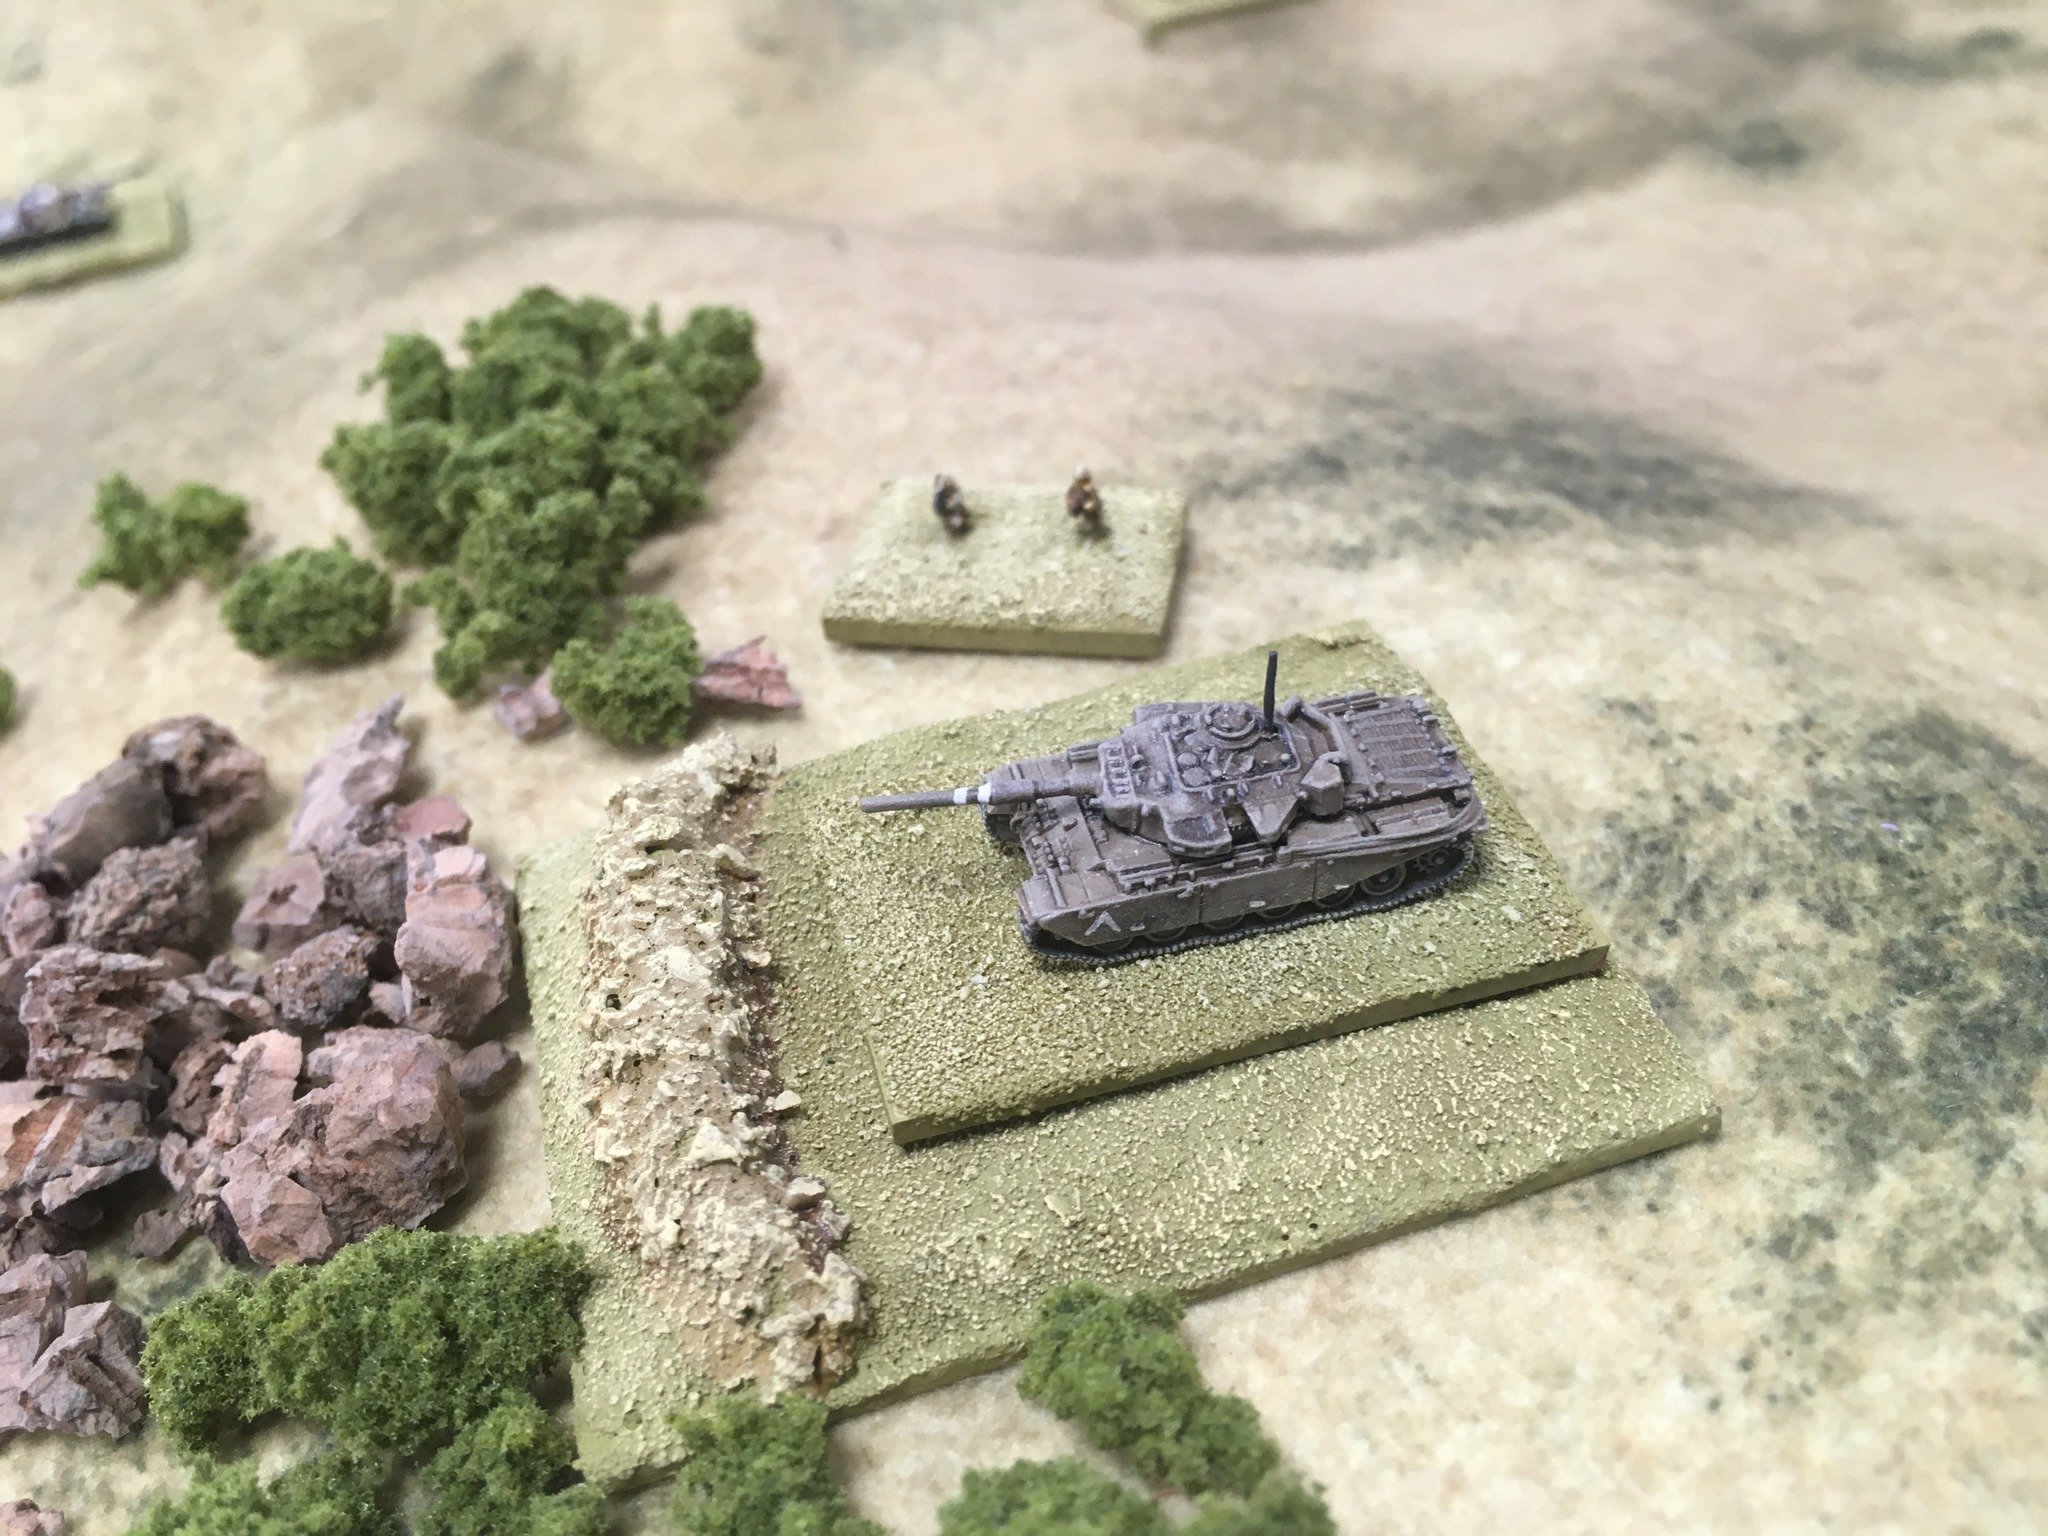
A column of Israeli recovery vehicles has strayed too close to the front line. As they pass a ruined fort on top of a hill, they spot a force of Egyptian tanks heading towards them.
You command a small force of second line AFVs and infantry assigned to escort an AFV recovery unit towards where the fighting is happening. You are no in the vicinity of a ruined fort, and have just realised that you are closer to the fighting than you are supposed to be! You must protect the recovery vehicles from the Egyptian attack sweeping in from the other side of the hill.
Tank Platoon One
Big Man One (Level III)
2 x M51 Isherman
Reserve Infantry Platoon One
Big Man 3 (Level III)
3 x Assault Rifle Squad
1 x Bazooka Team
1 x Light Mortar Team
1 x LMG Team
The Column of Recovery Vehicles
1 x 2.5 ton truck
4 x Diamond T M20 Tractors
Tank Platoon Two
Big Man 2 (Level II)
2 x M50 Super Sherman
Reserve Infantry Platoon Two
Big Man 4 (Level III)
3 x Assault Rifle Squad
1 x Bazooka Team
1 x Light Mortar Team
1 x LMG Team
You are lost! Your force is supposed to be reinforcing the Al Kaba airfield, but you have taken a wrong turn and are not entirely sure where you are. Suddenly your scouts report that there is a column of Israeli tractors coming down the road on the other side of the hill in front of you. They have escorts, but you outnumber them muchly. It doesn't now matter where you are: time to attack!
Infantry Company HQ
Big Man 2 (Level II)
Infantry Platoon One
3 x Assault Rifle Squad
Infantry Platoon Two
3 x Assault Rifle Squad
Infantry Platoon Three
3 x Assault Rifle Squad
Armoured Company HQ
Big Man 1 (Level III)
1 x PT-76 Reconnaissance Tank
1 x T-54/55 MBT
Armoured Platoon One
3 x T-54/55 MBT
Armoured Platoon Two
3 x T-54/55 MBT
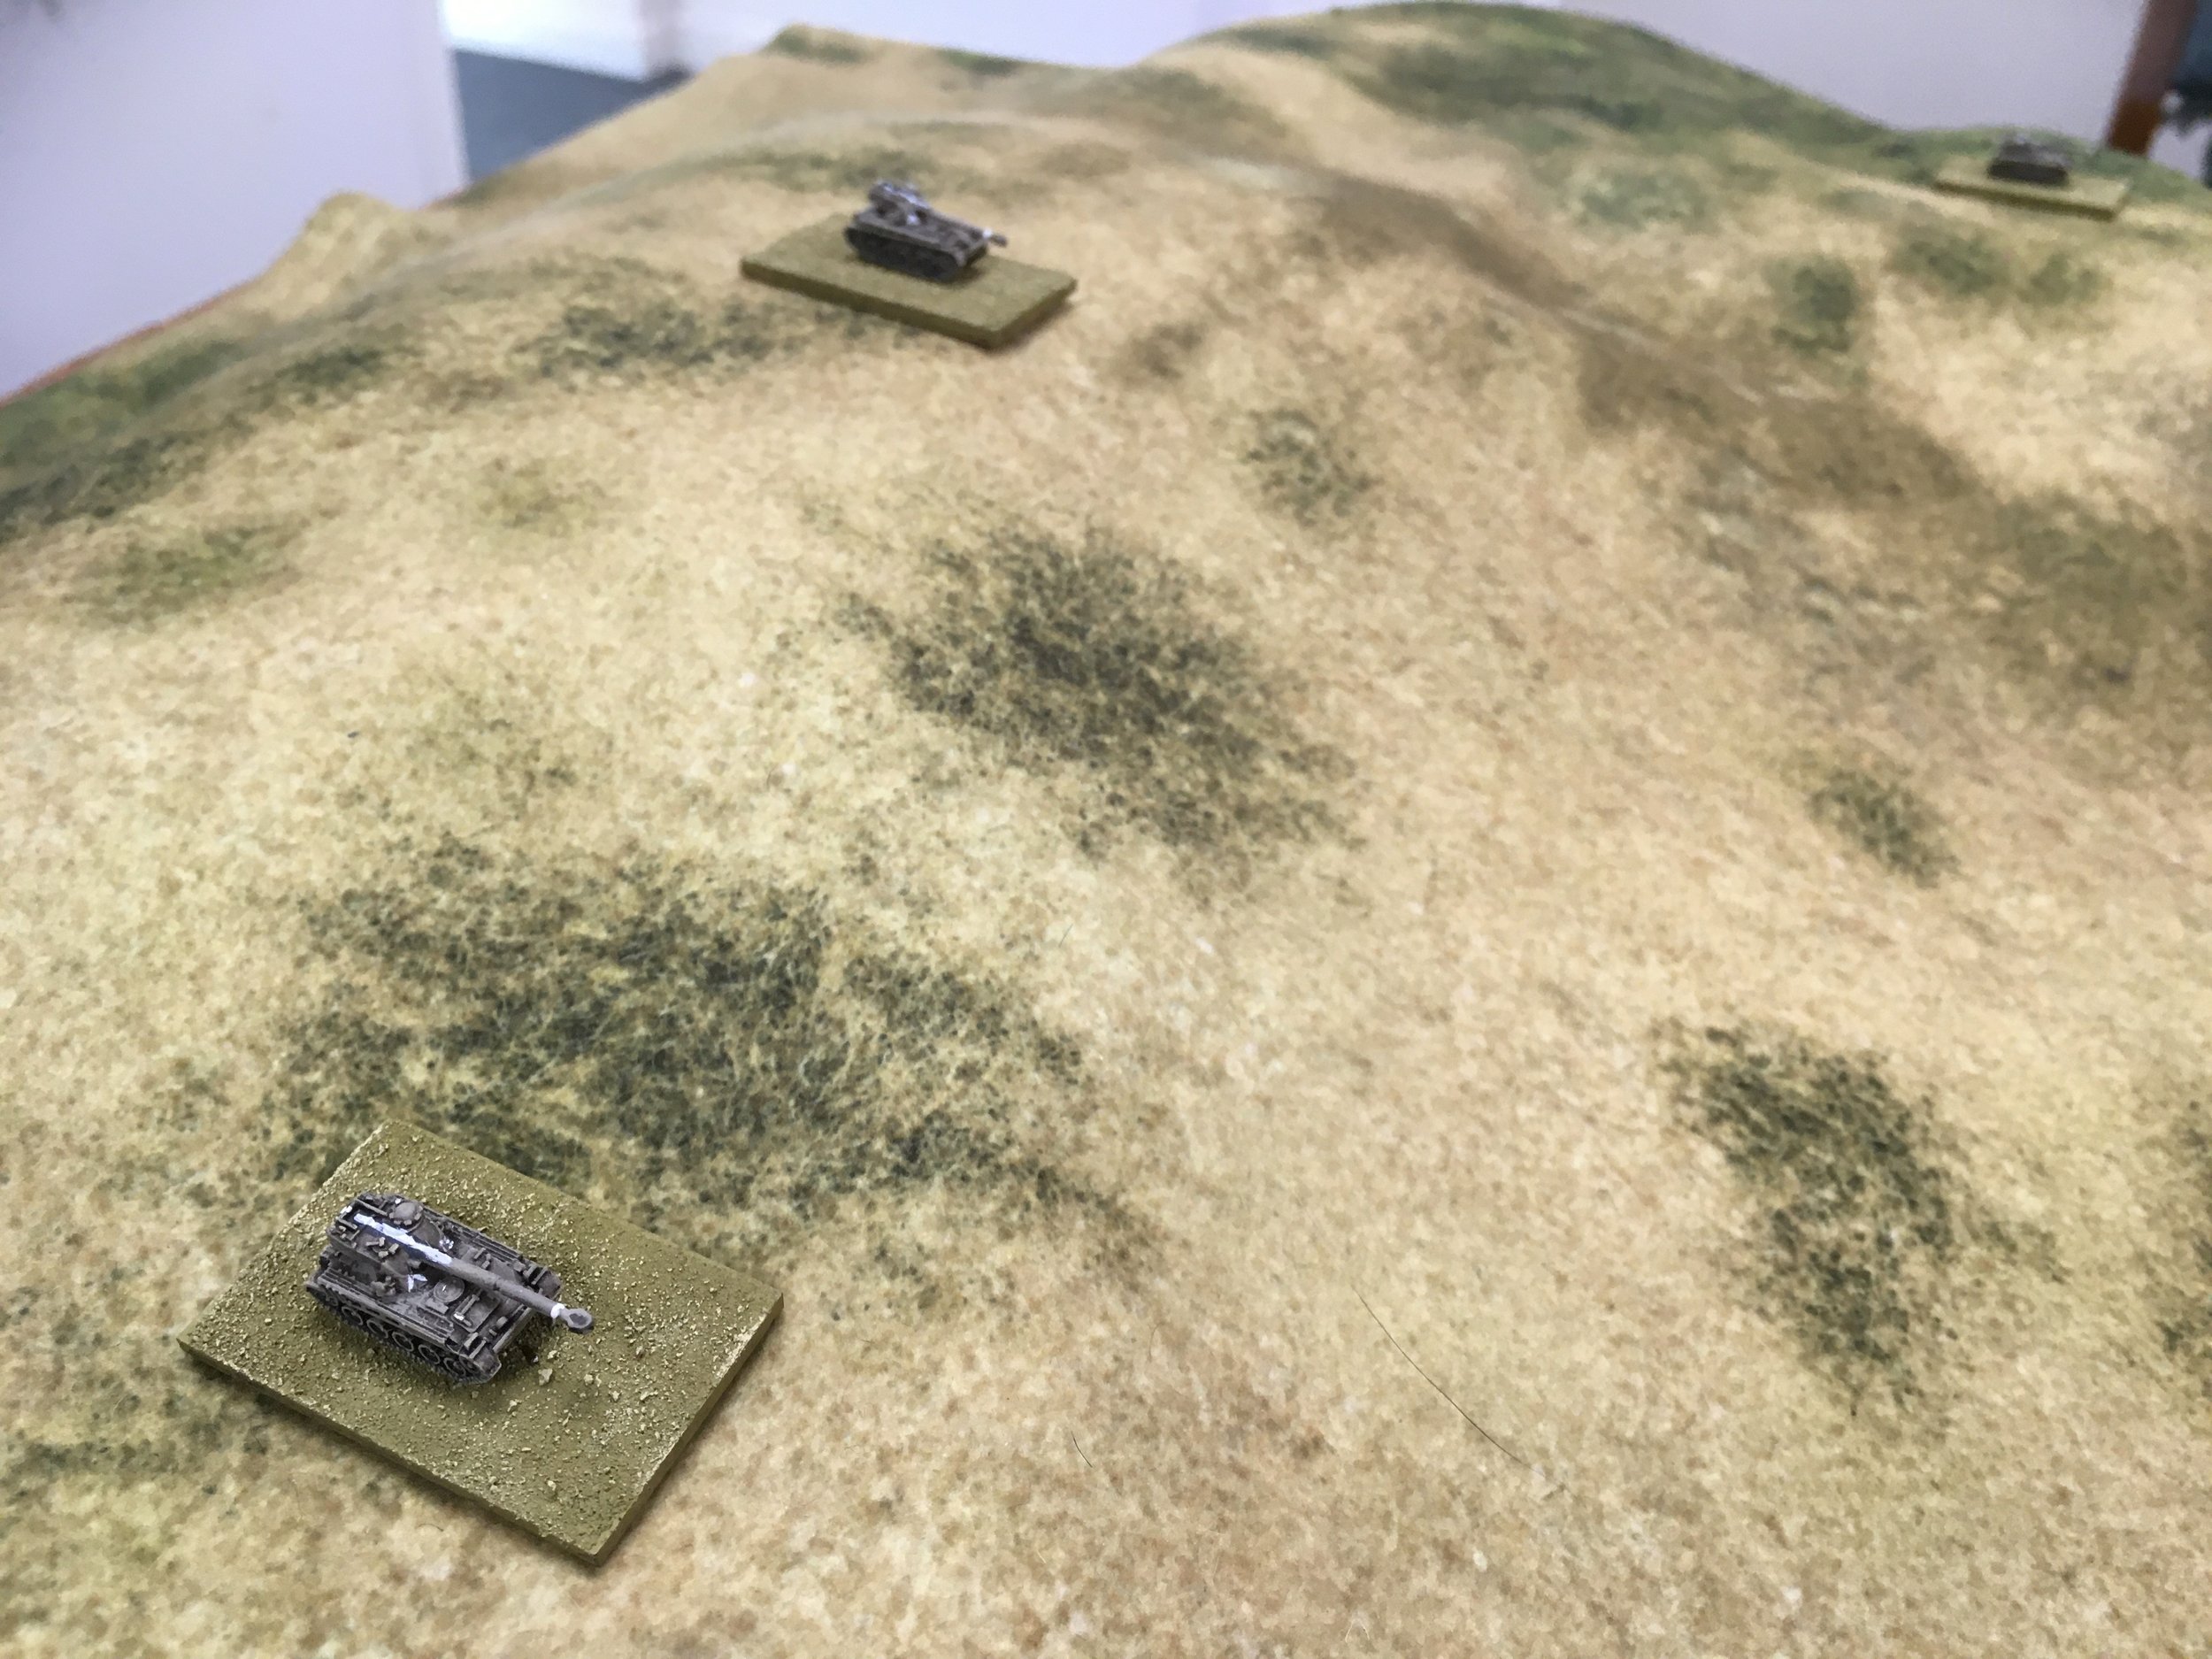
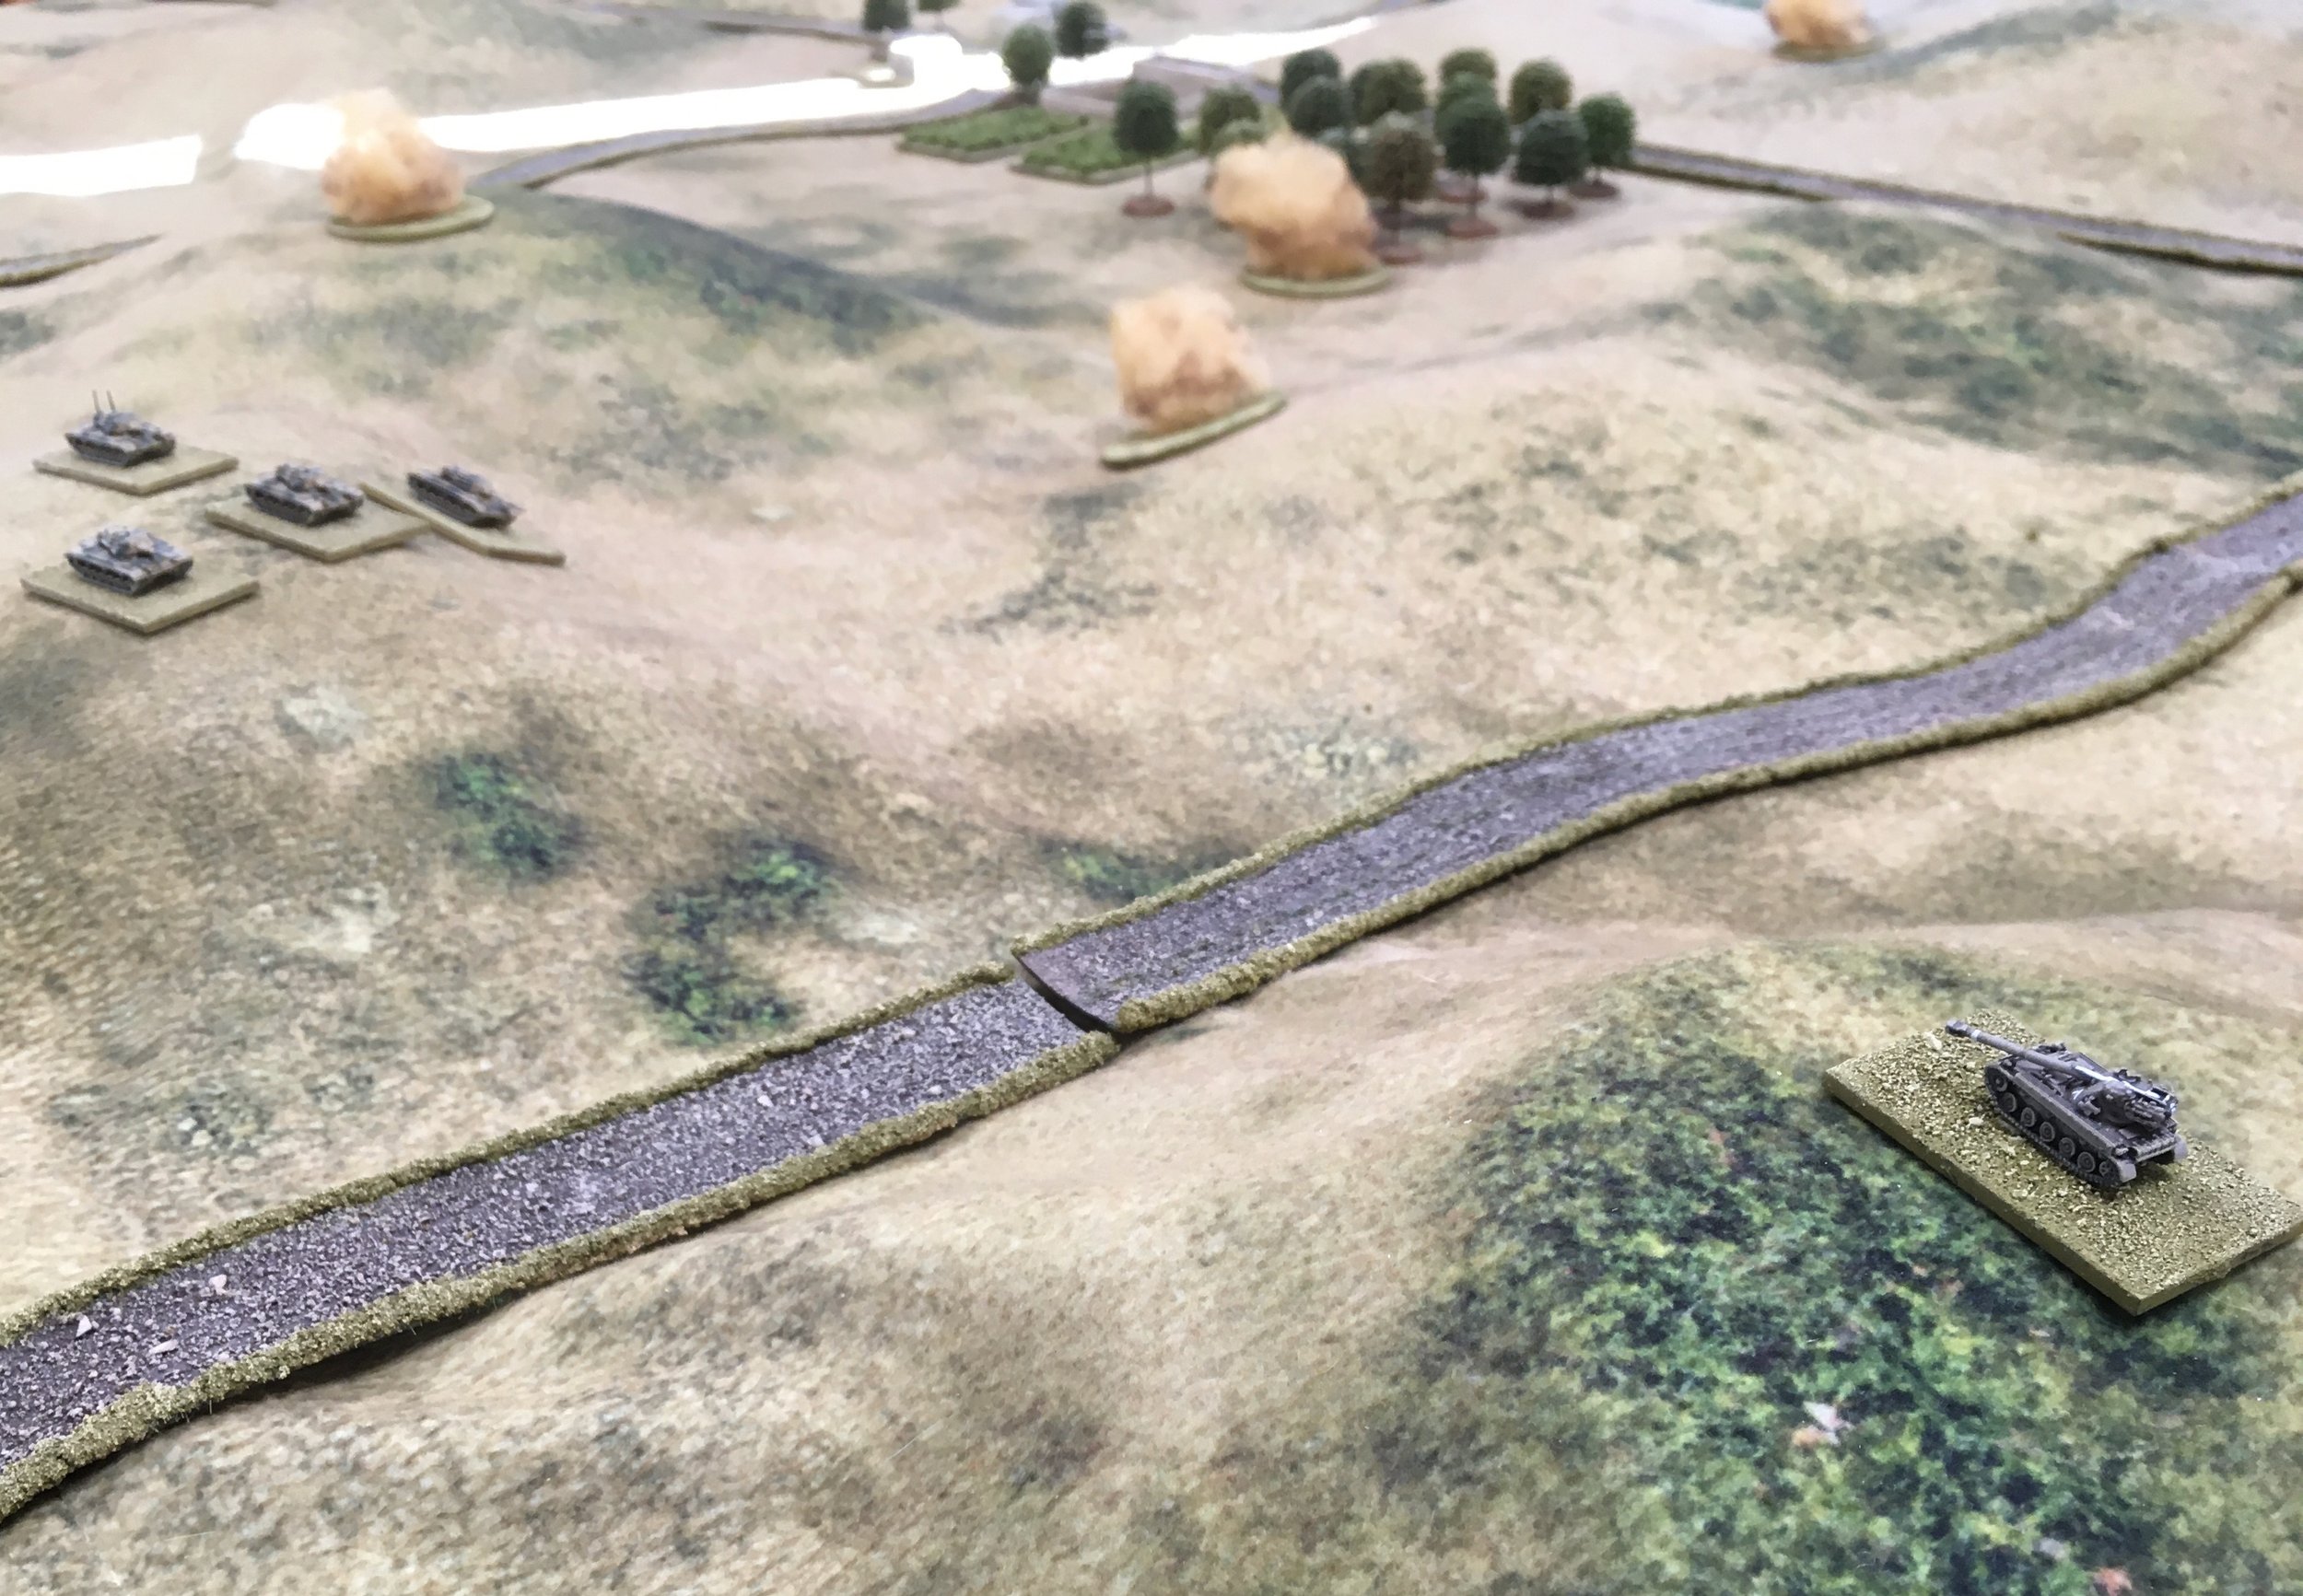
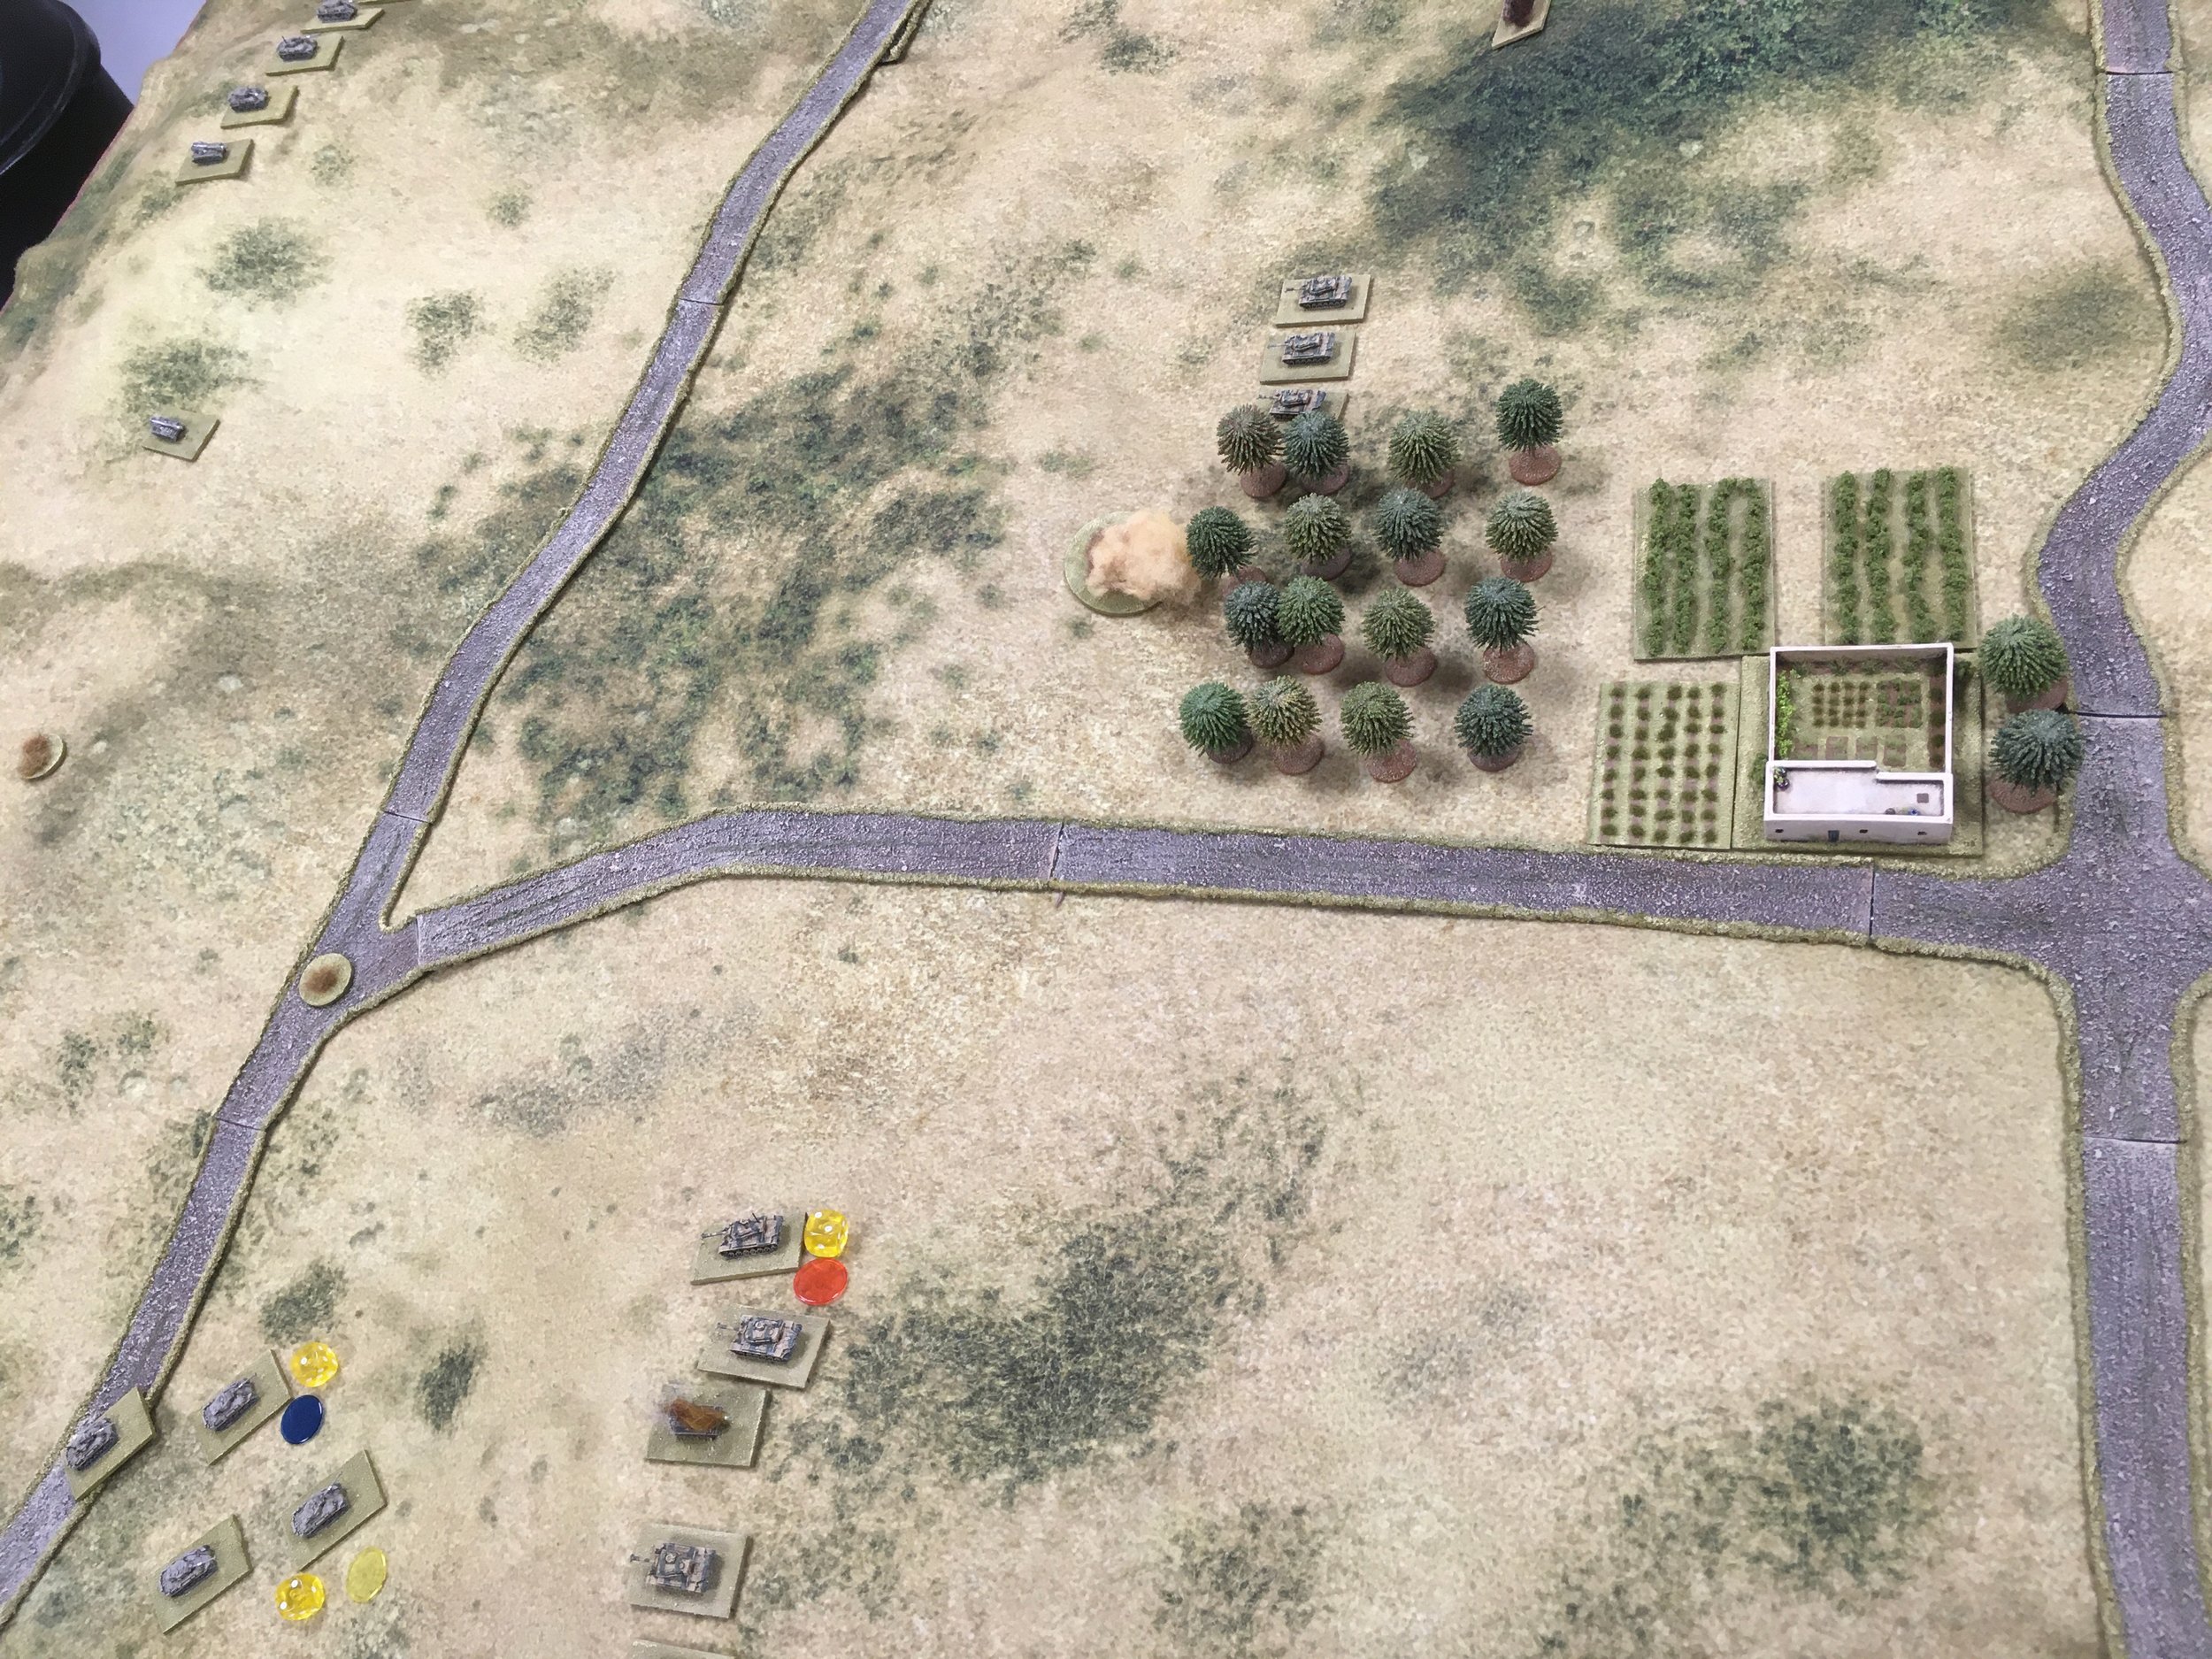
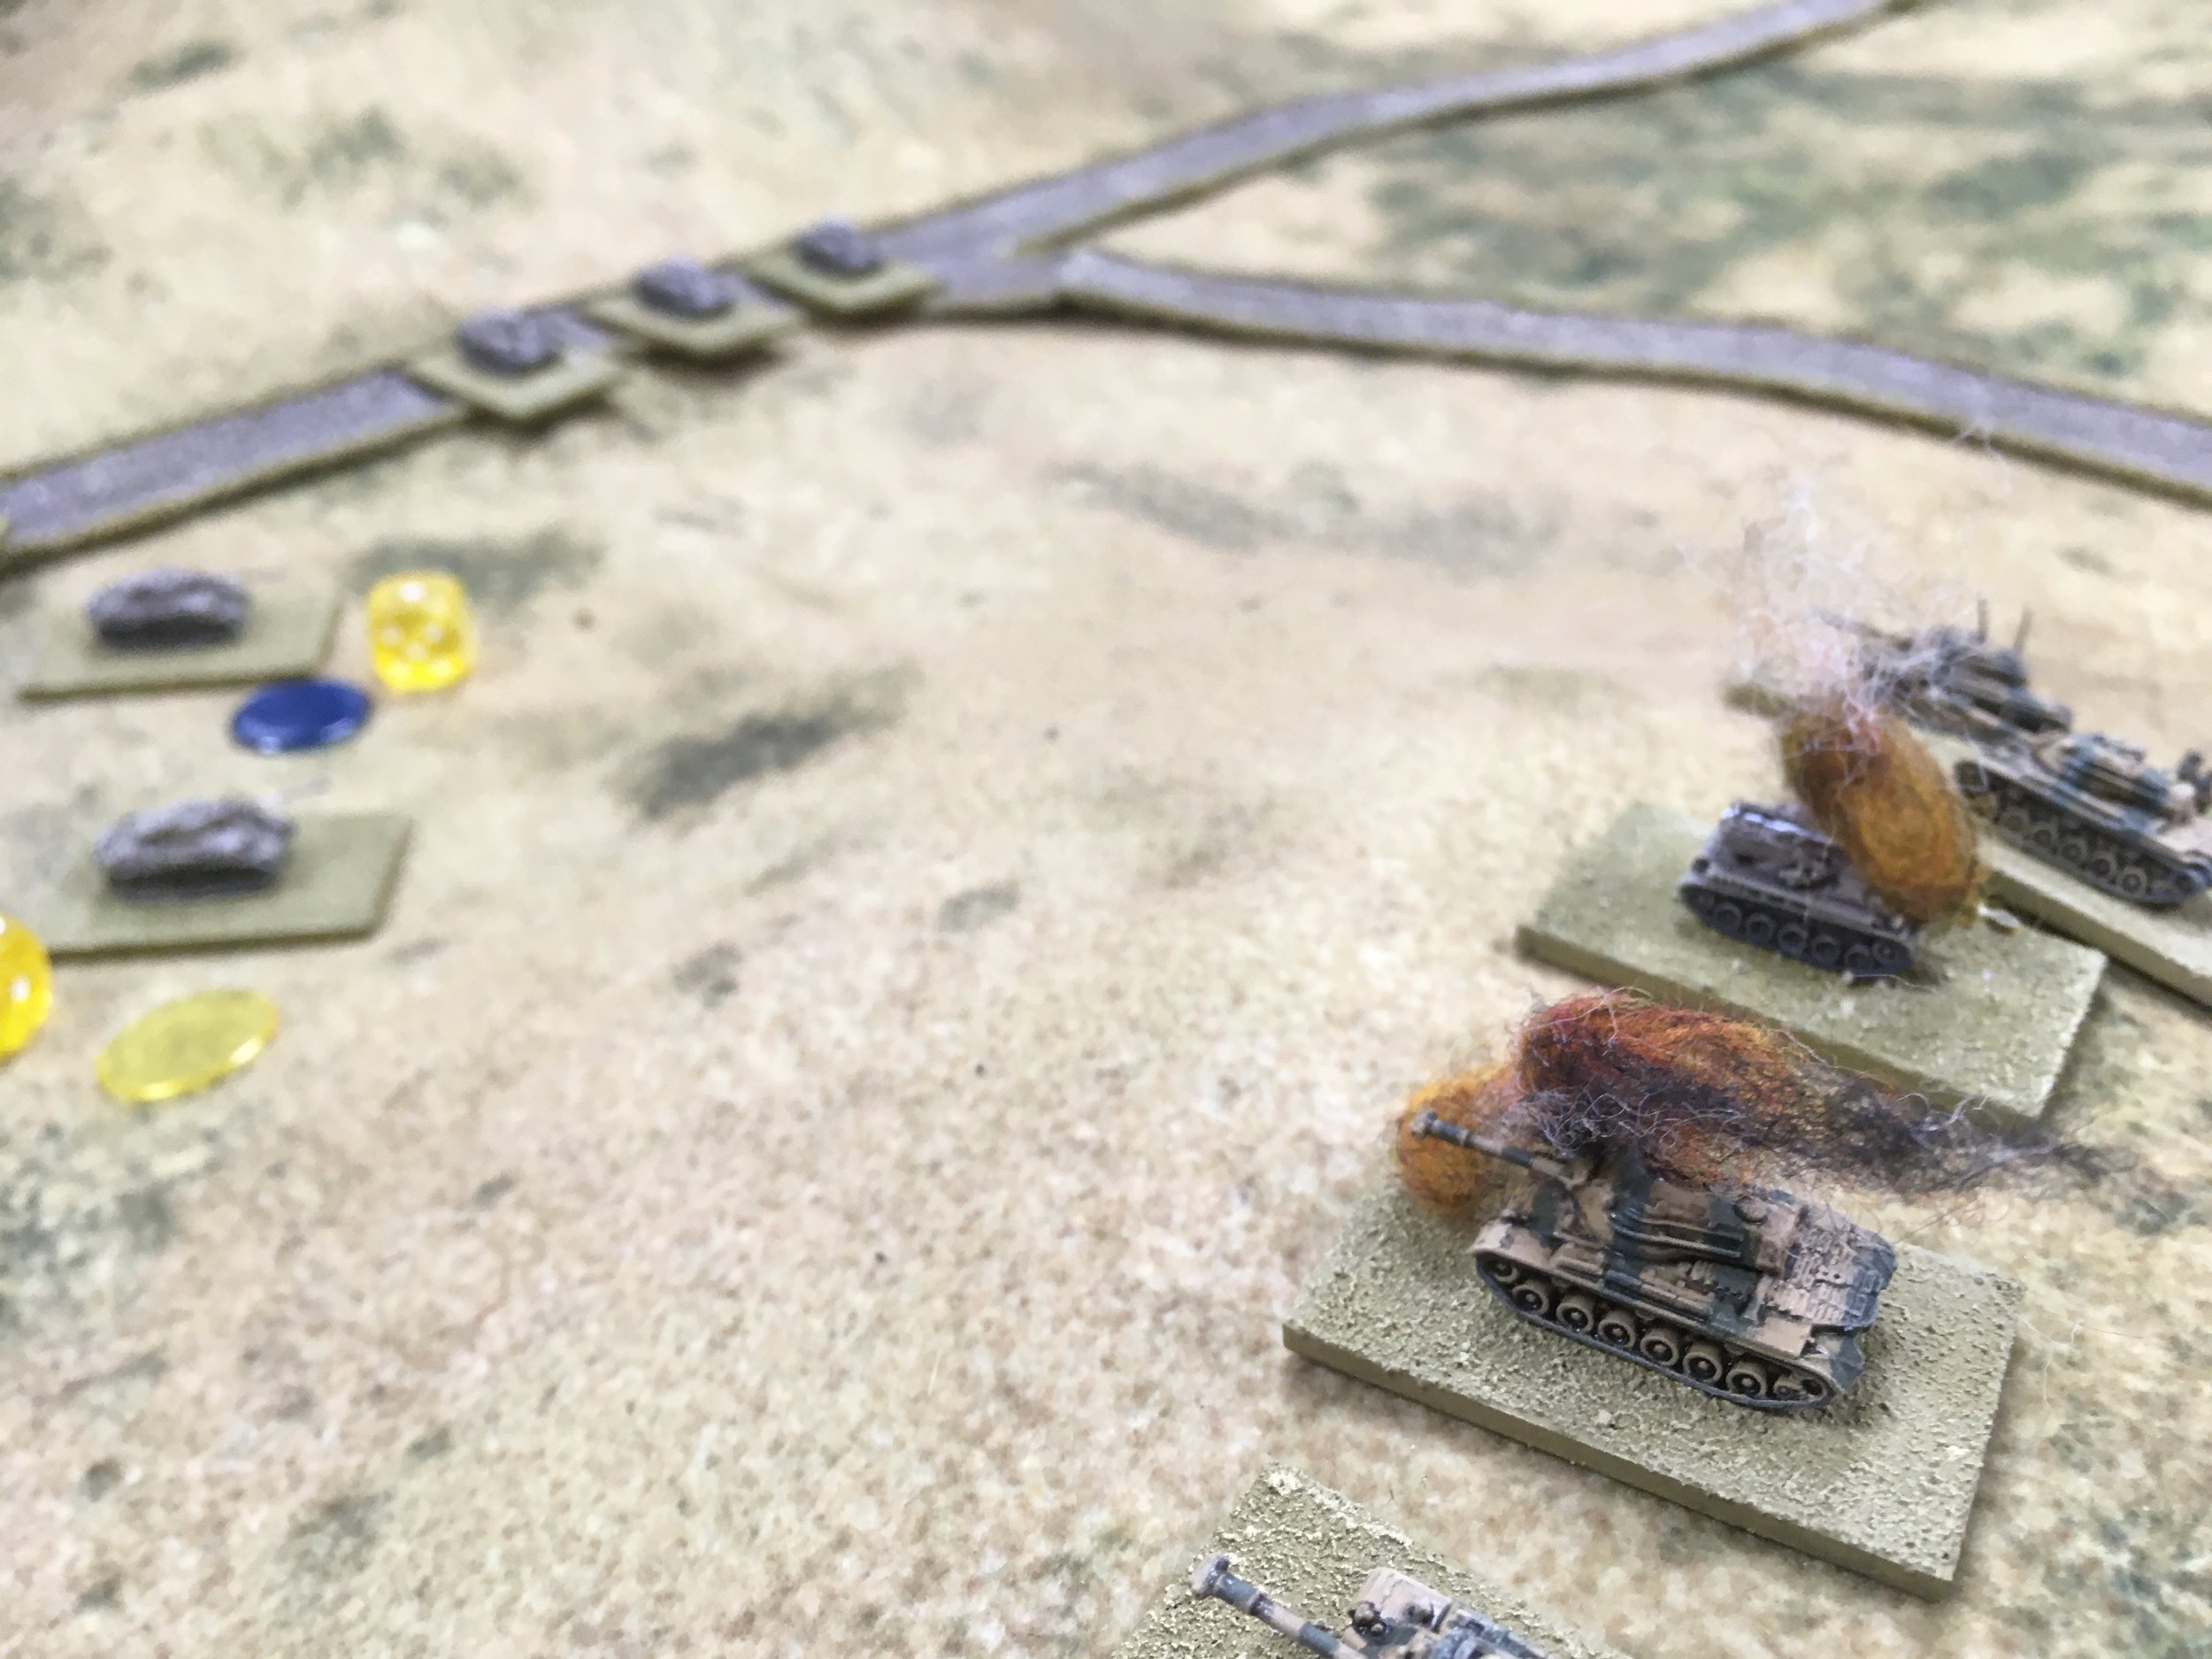
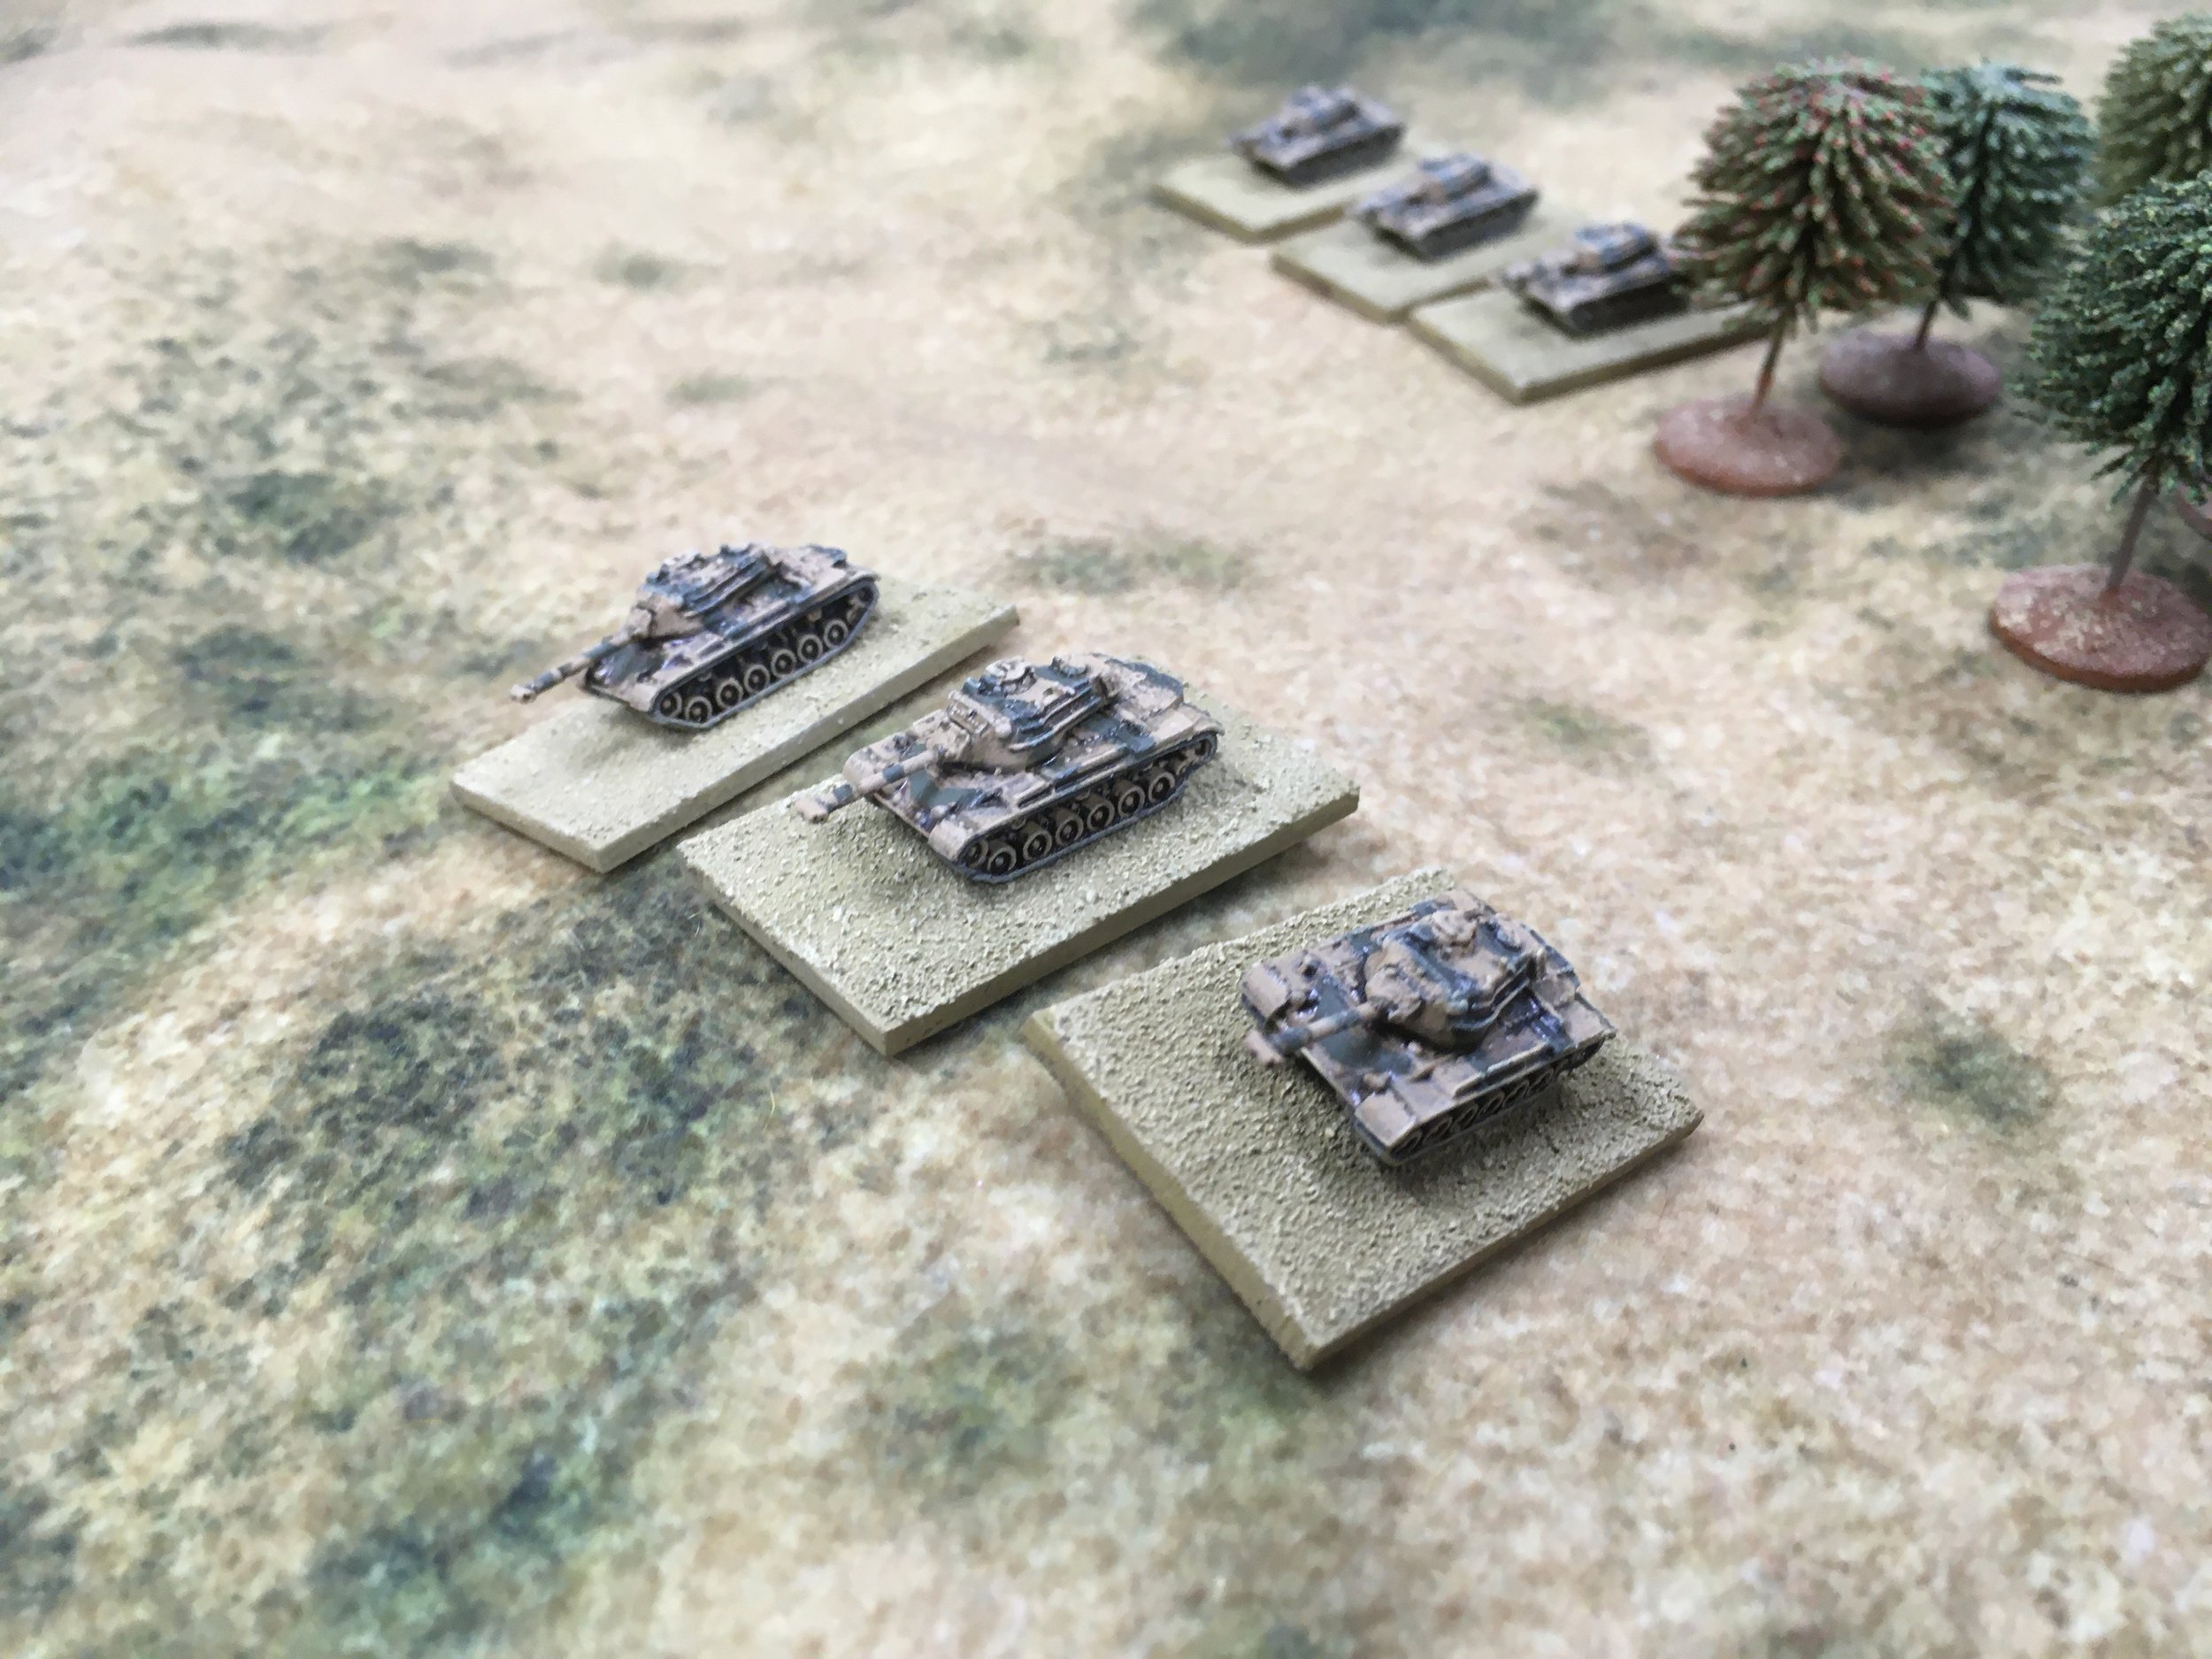
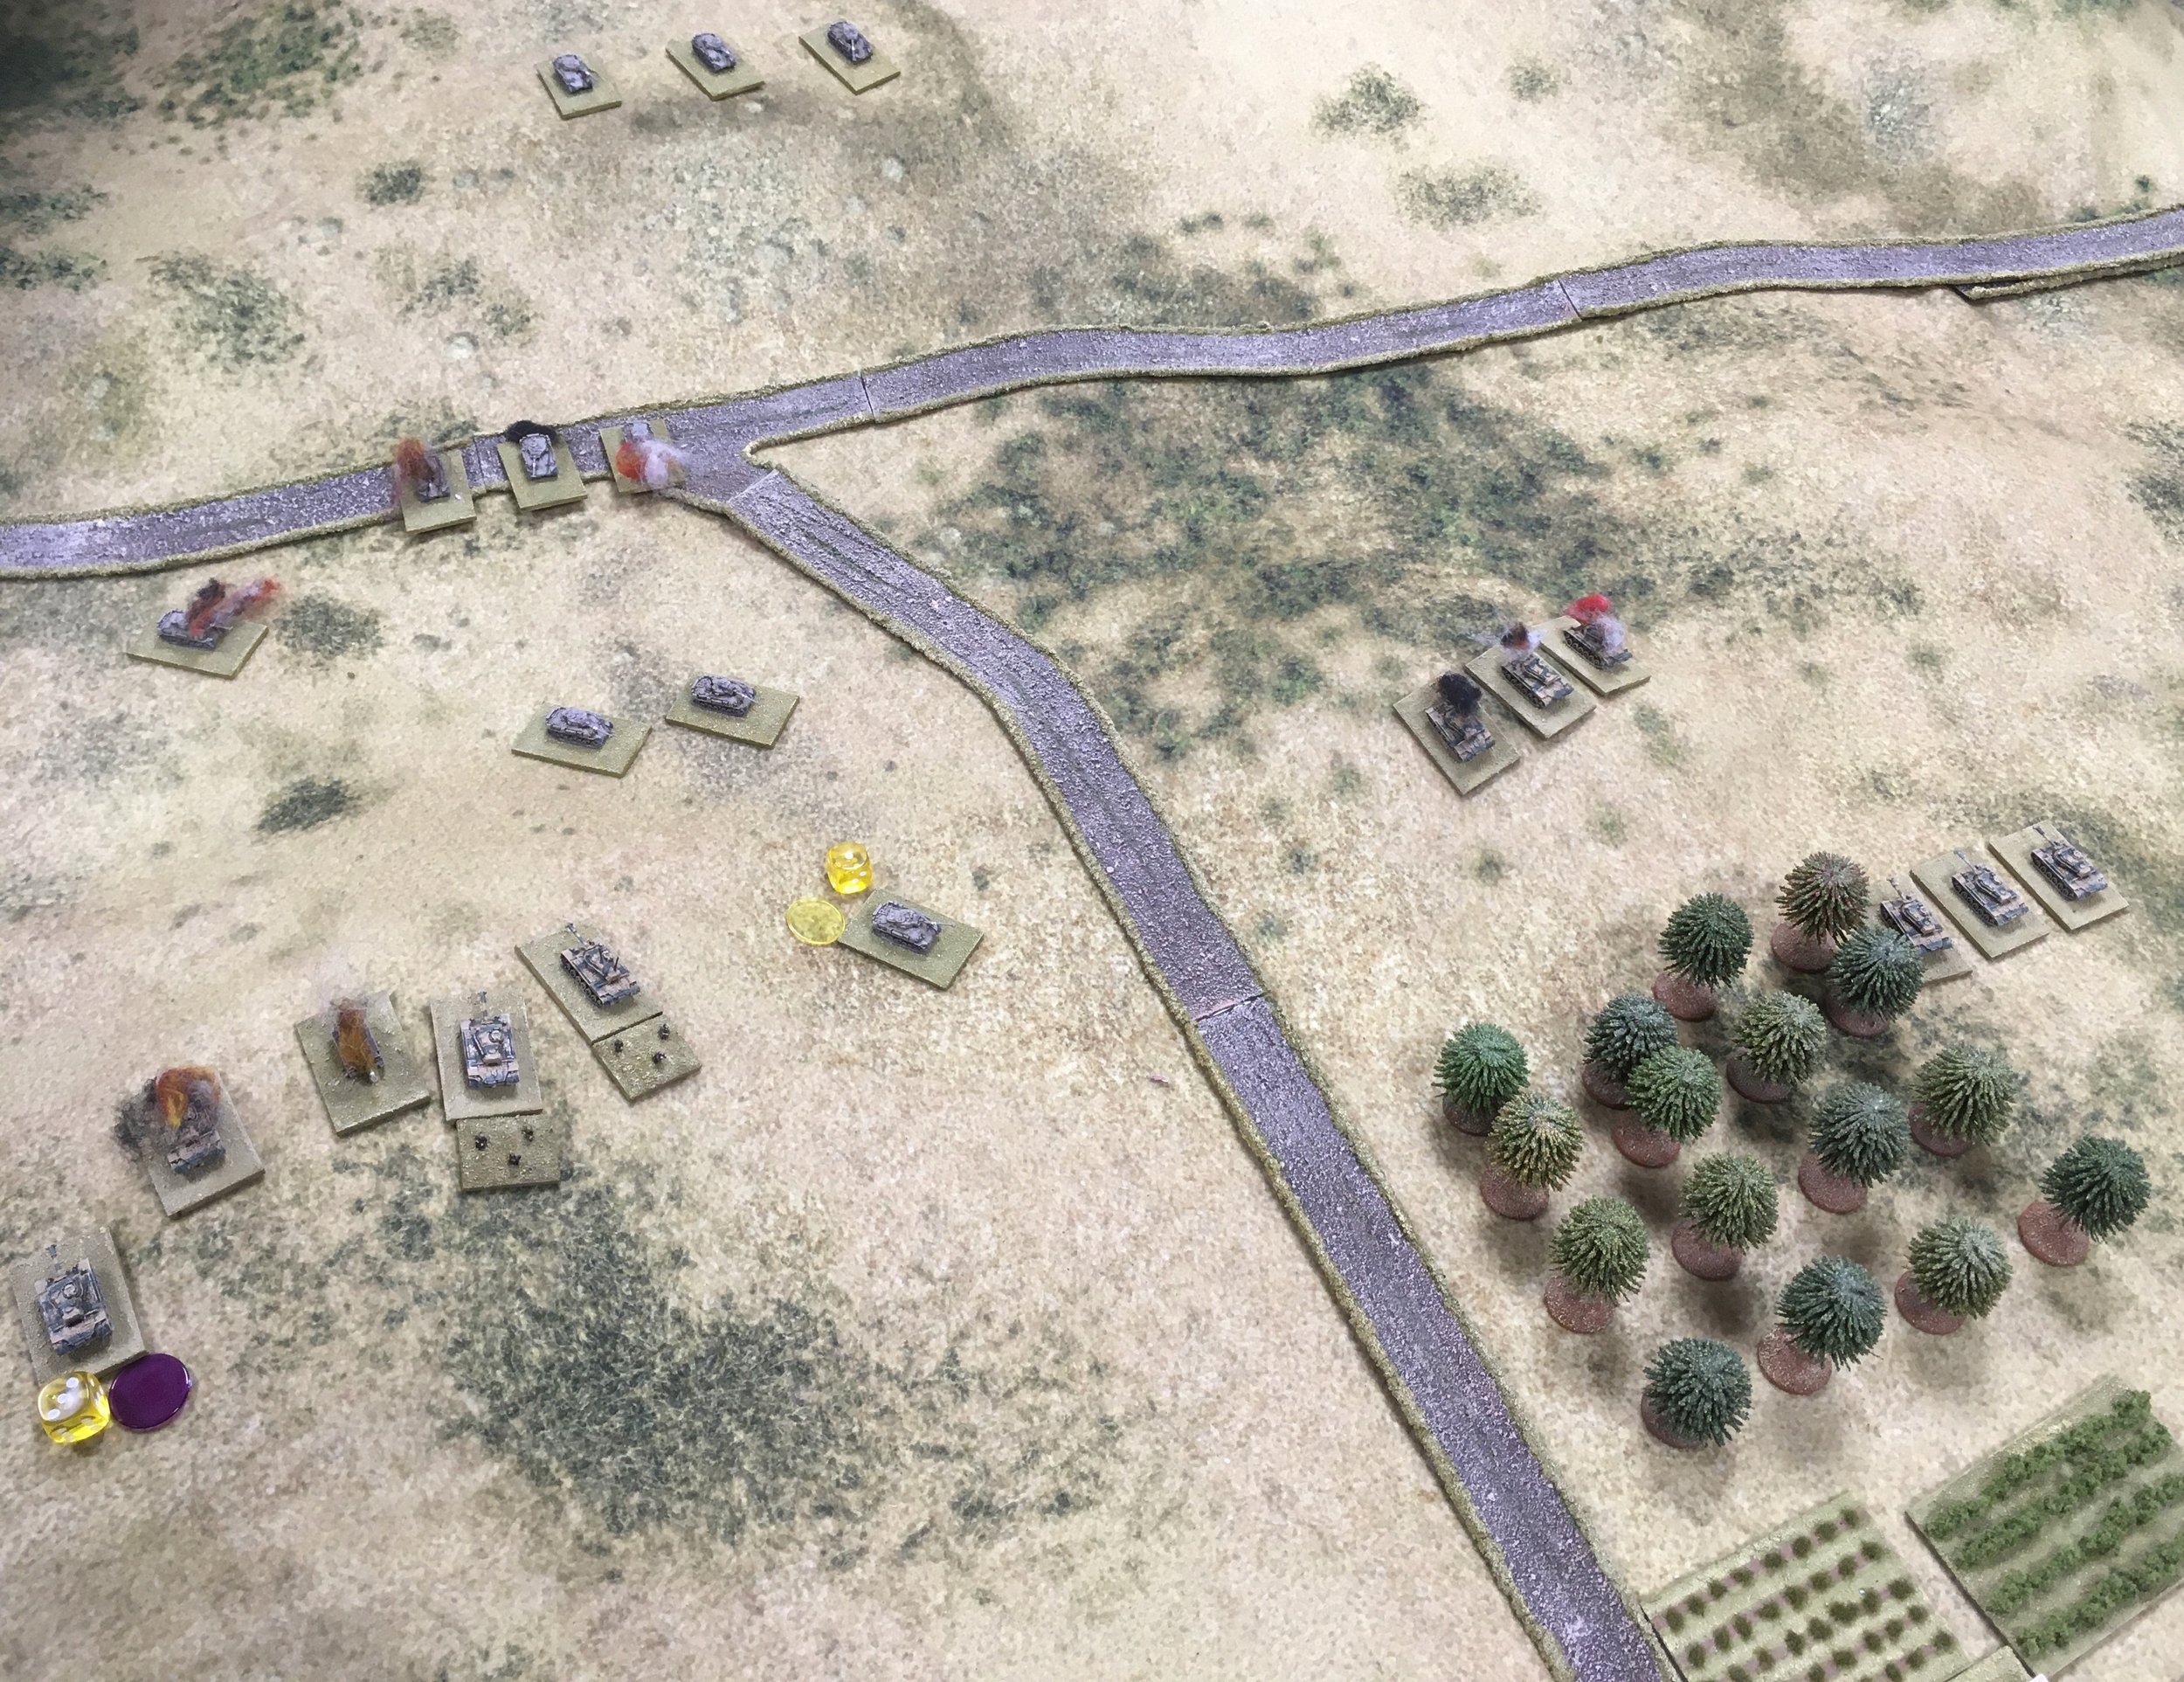
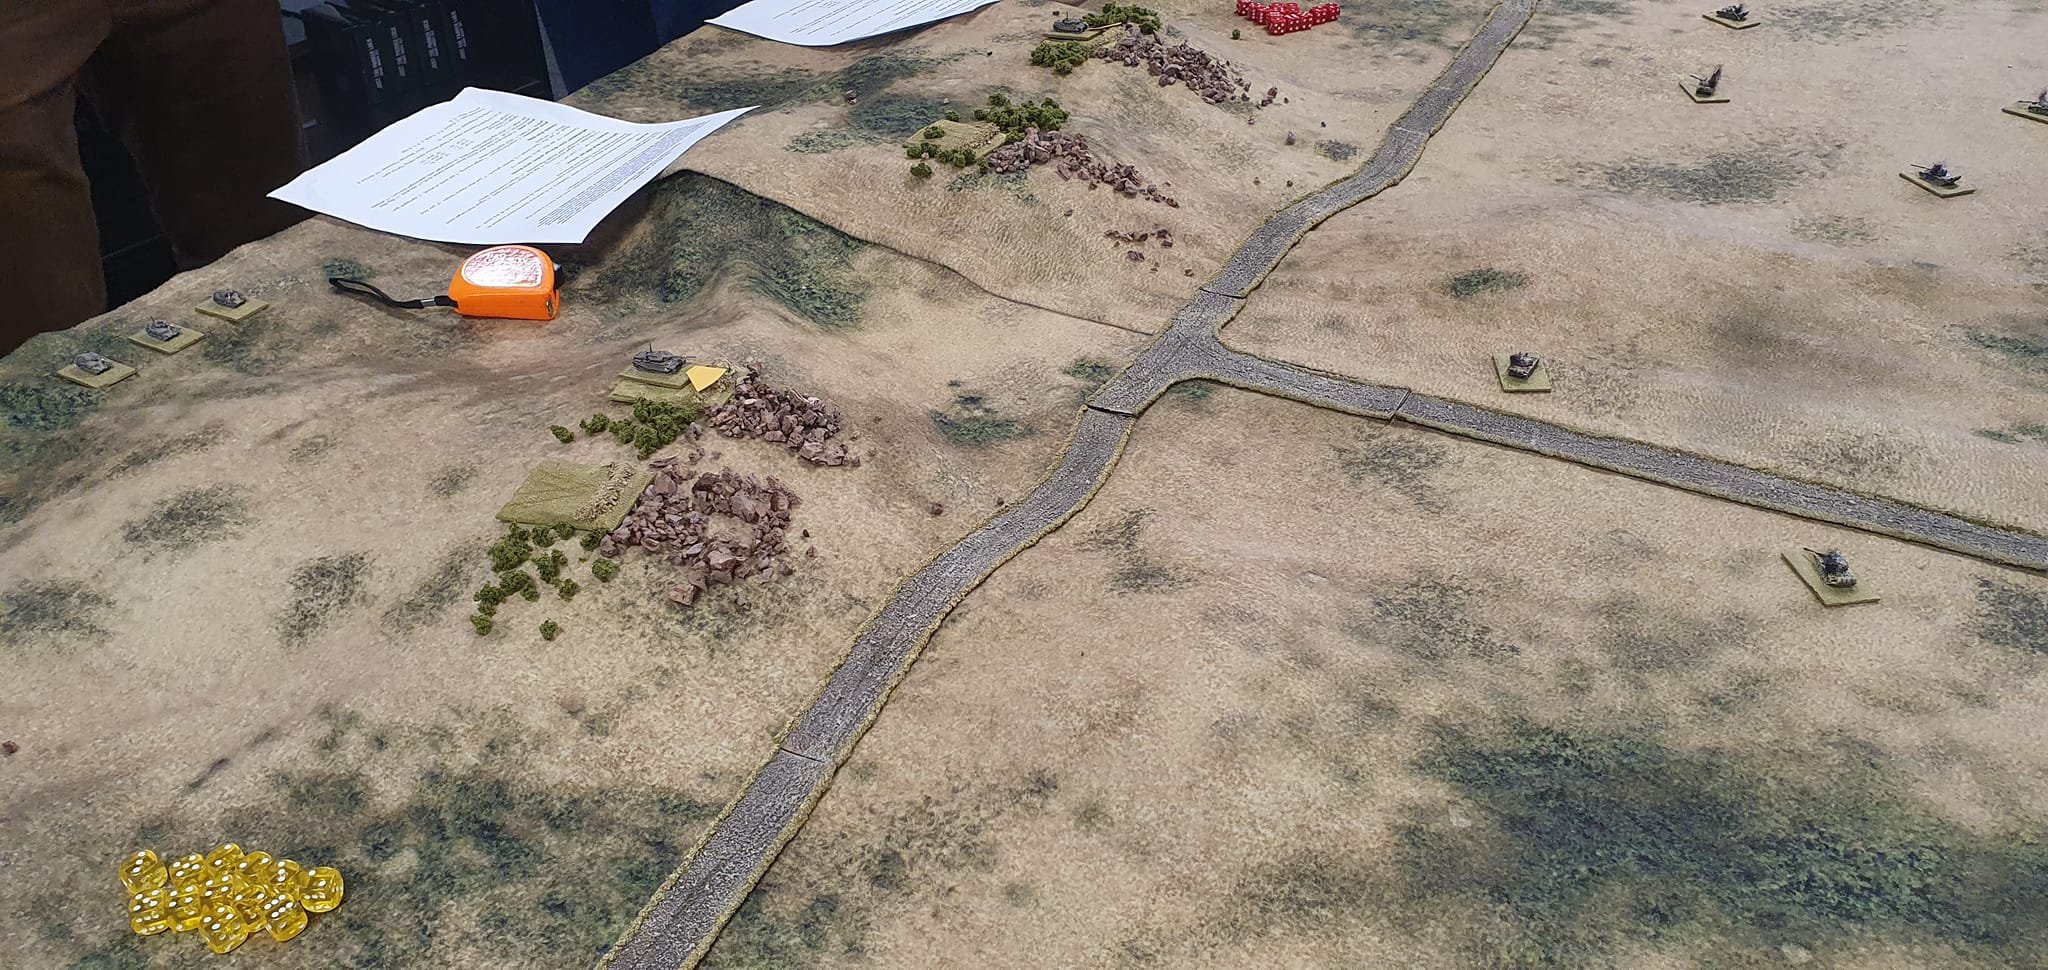
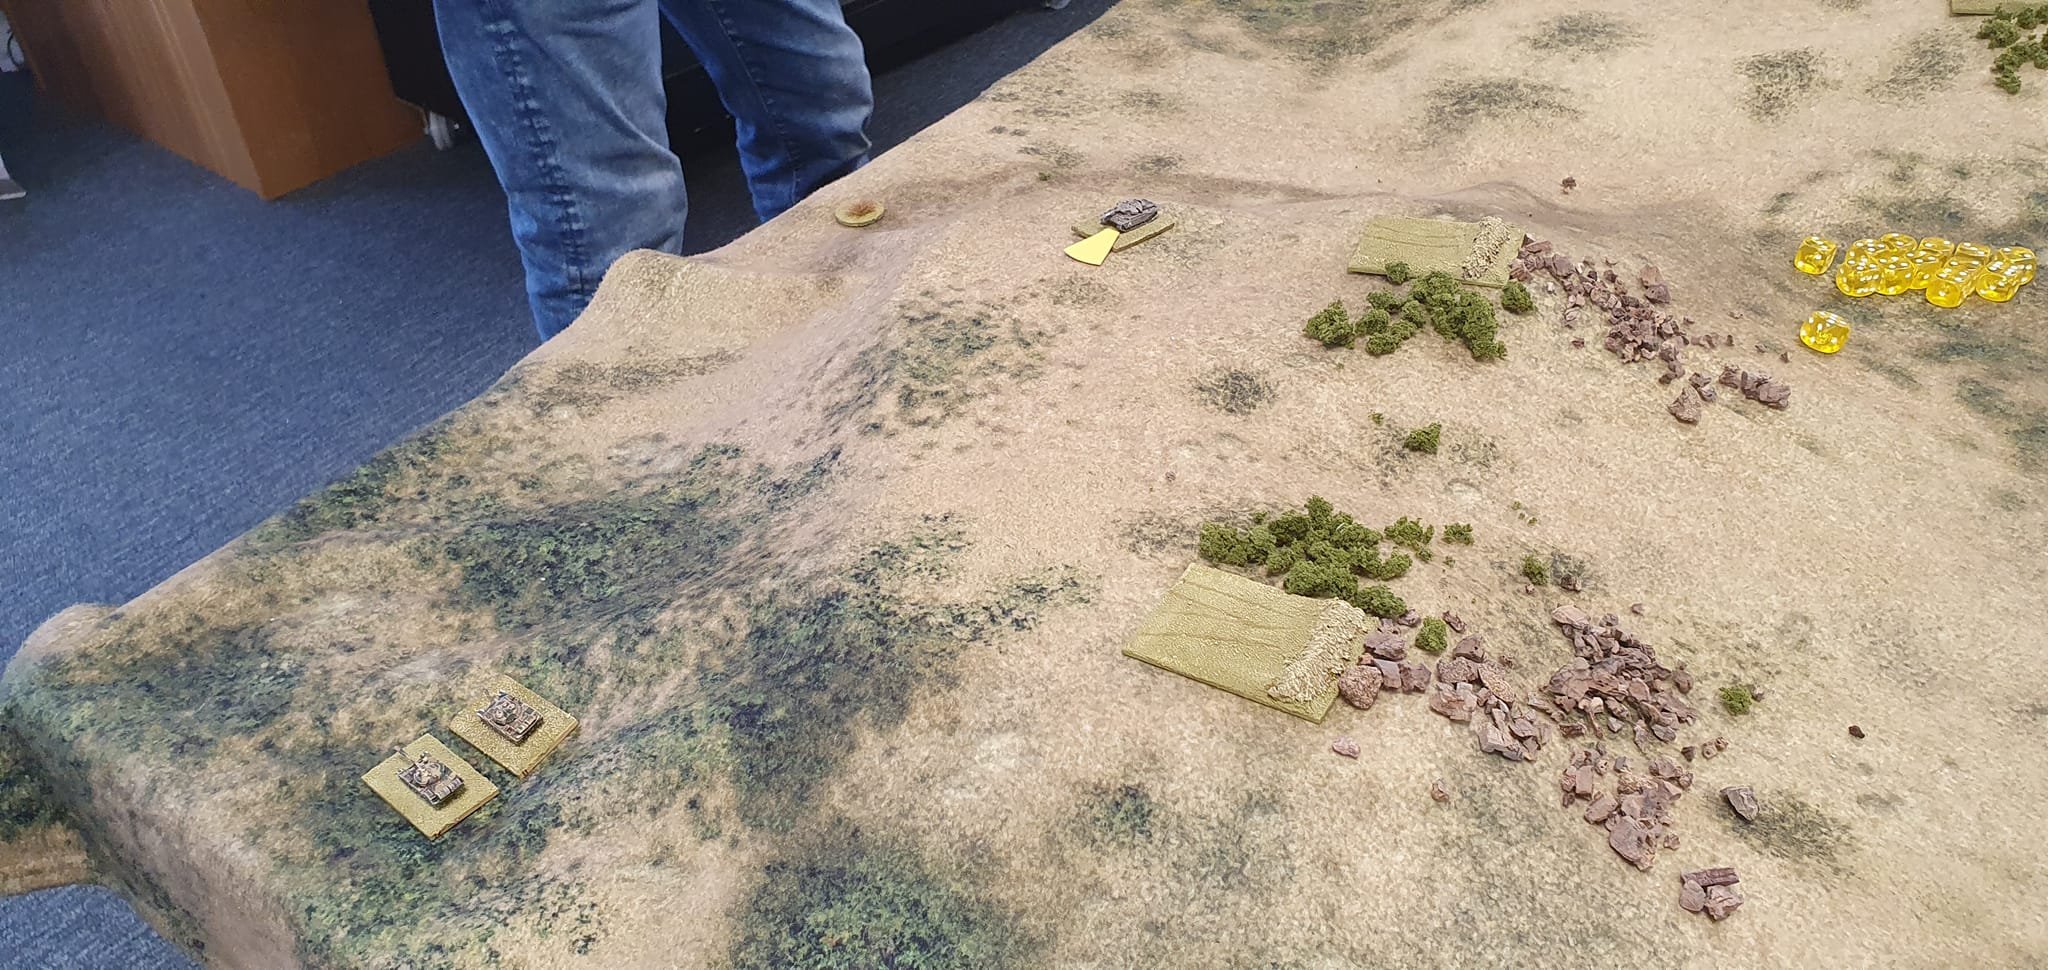
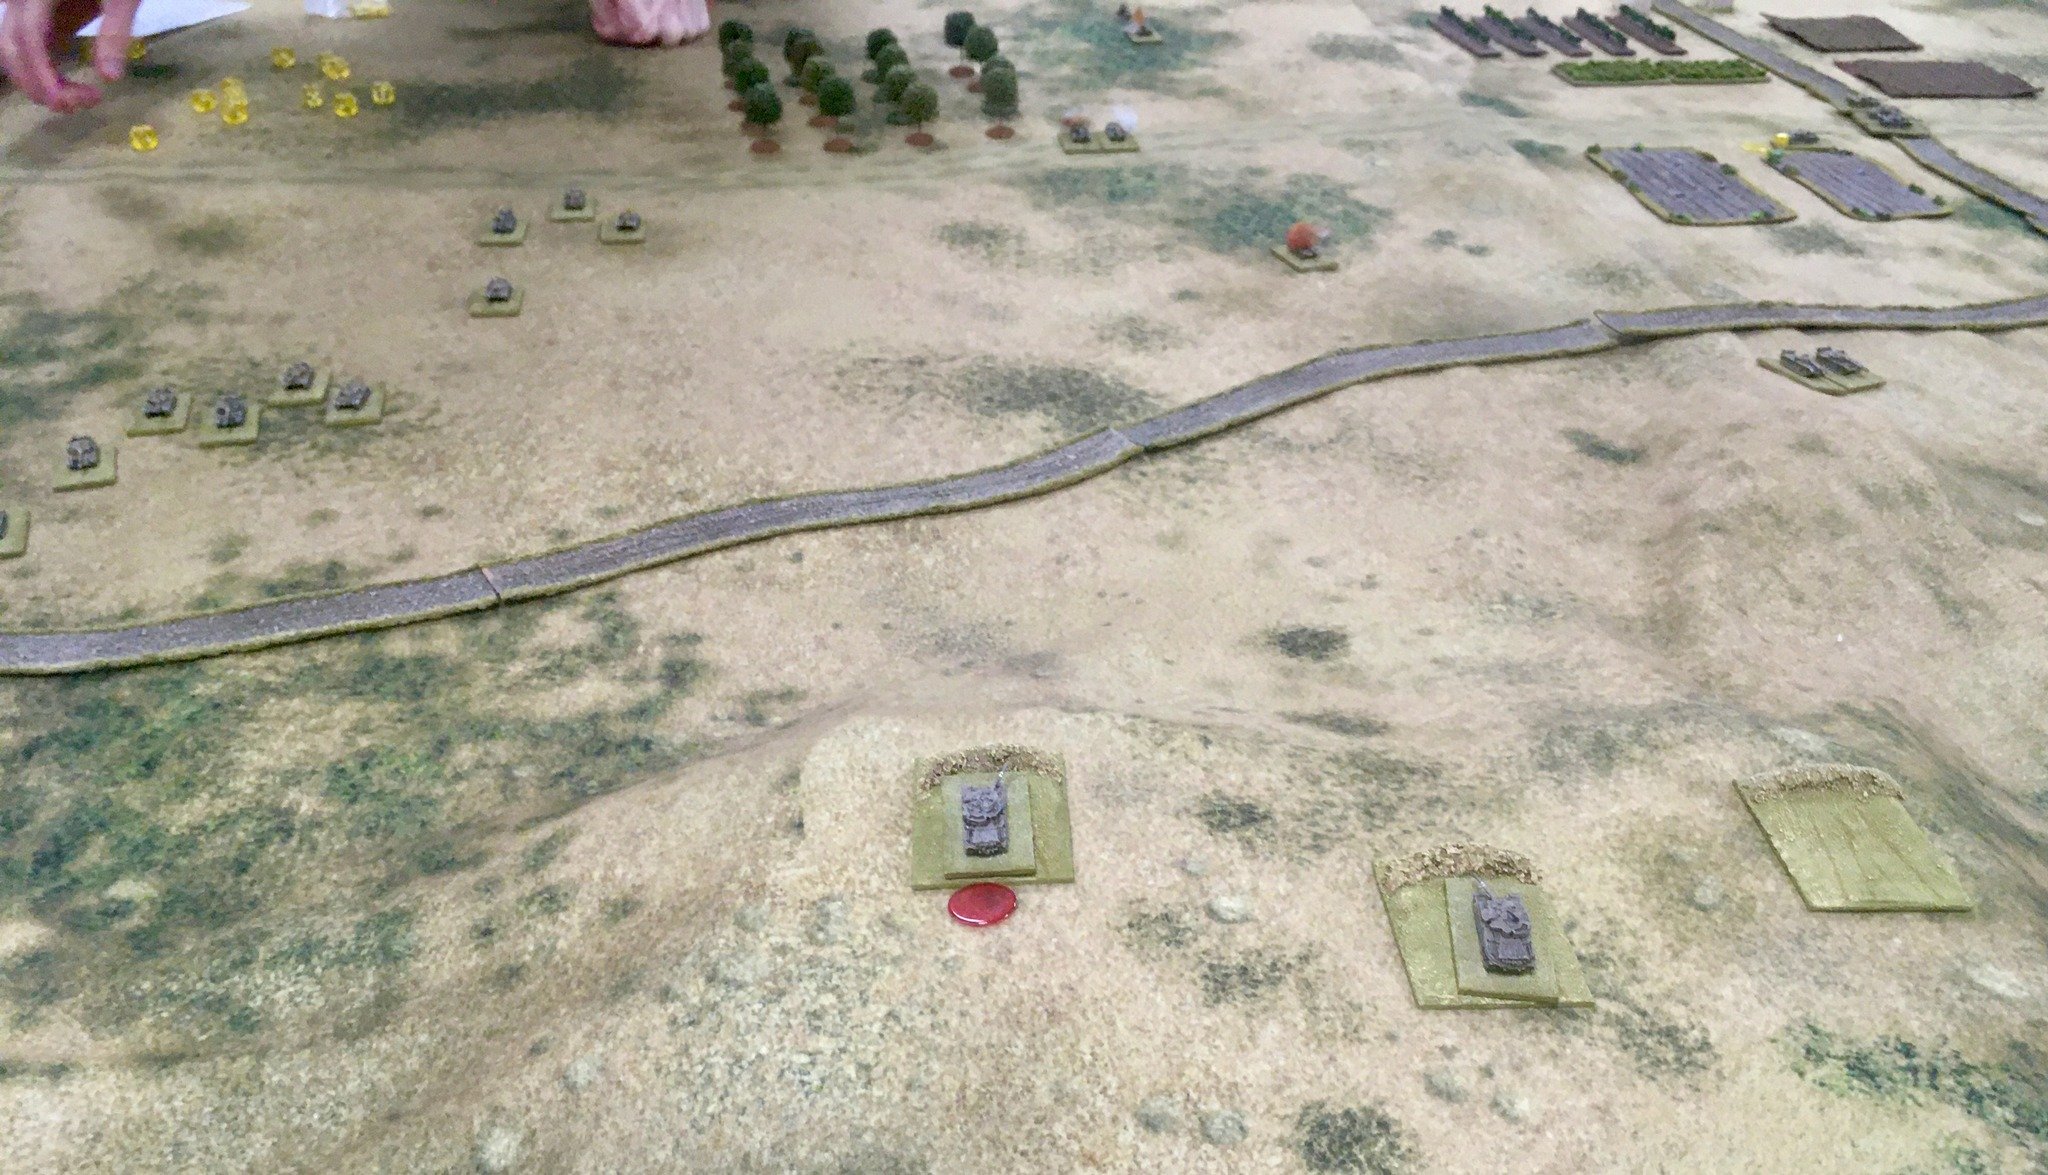
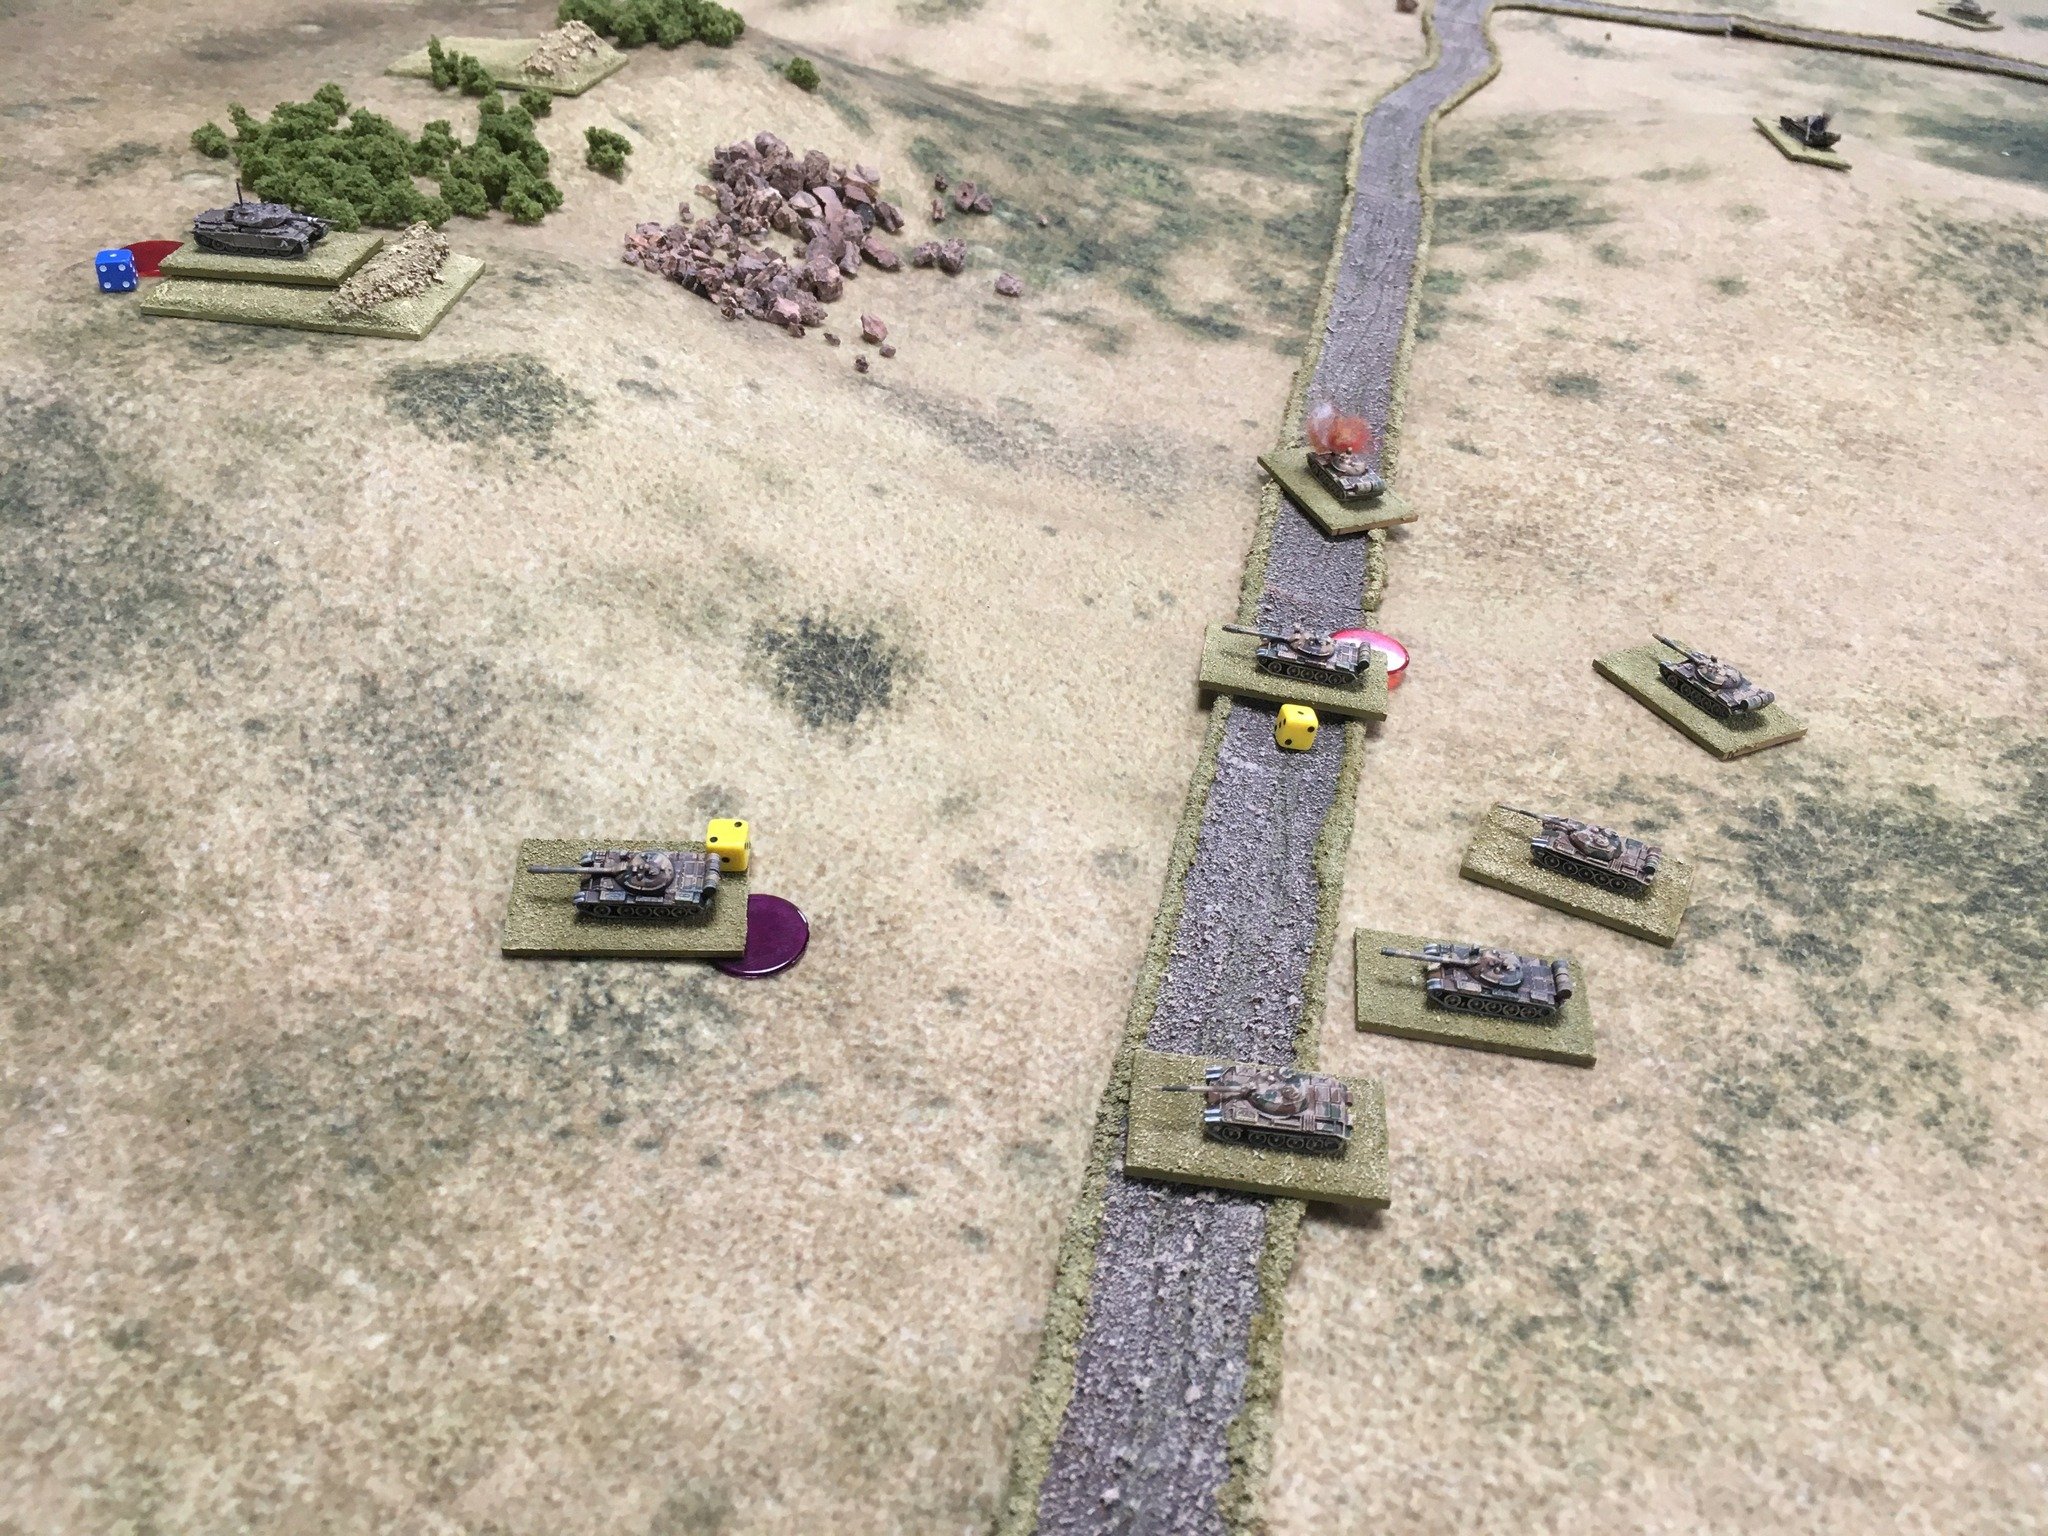
As the game began, both sides rushed forward at top speed. Although the Israelis are fast and have plenty of command to chivy their units on, the cards were really favouring the Egyptians, and they reached the fort, and the hill just in front of it, before the two wings of Israeli Blinds could get there.
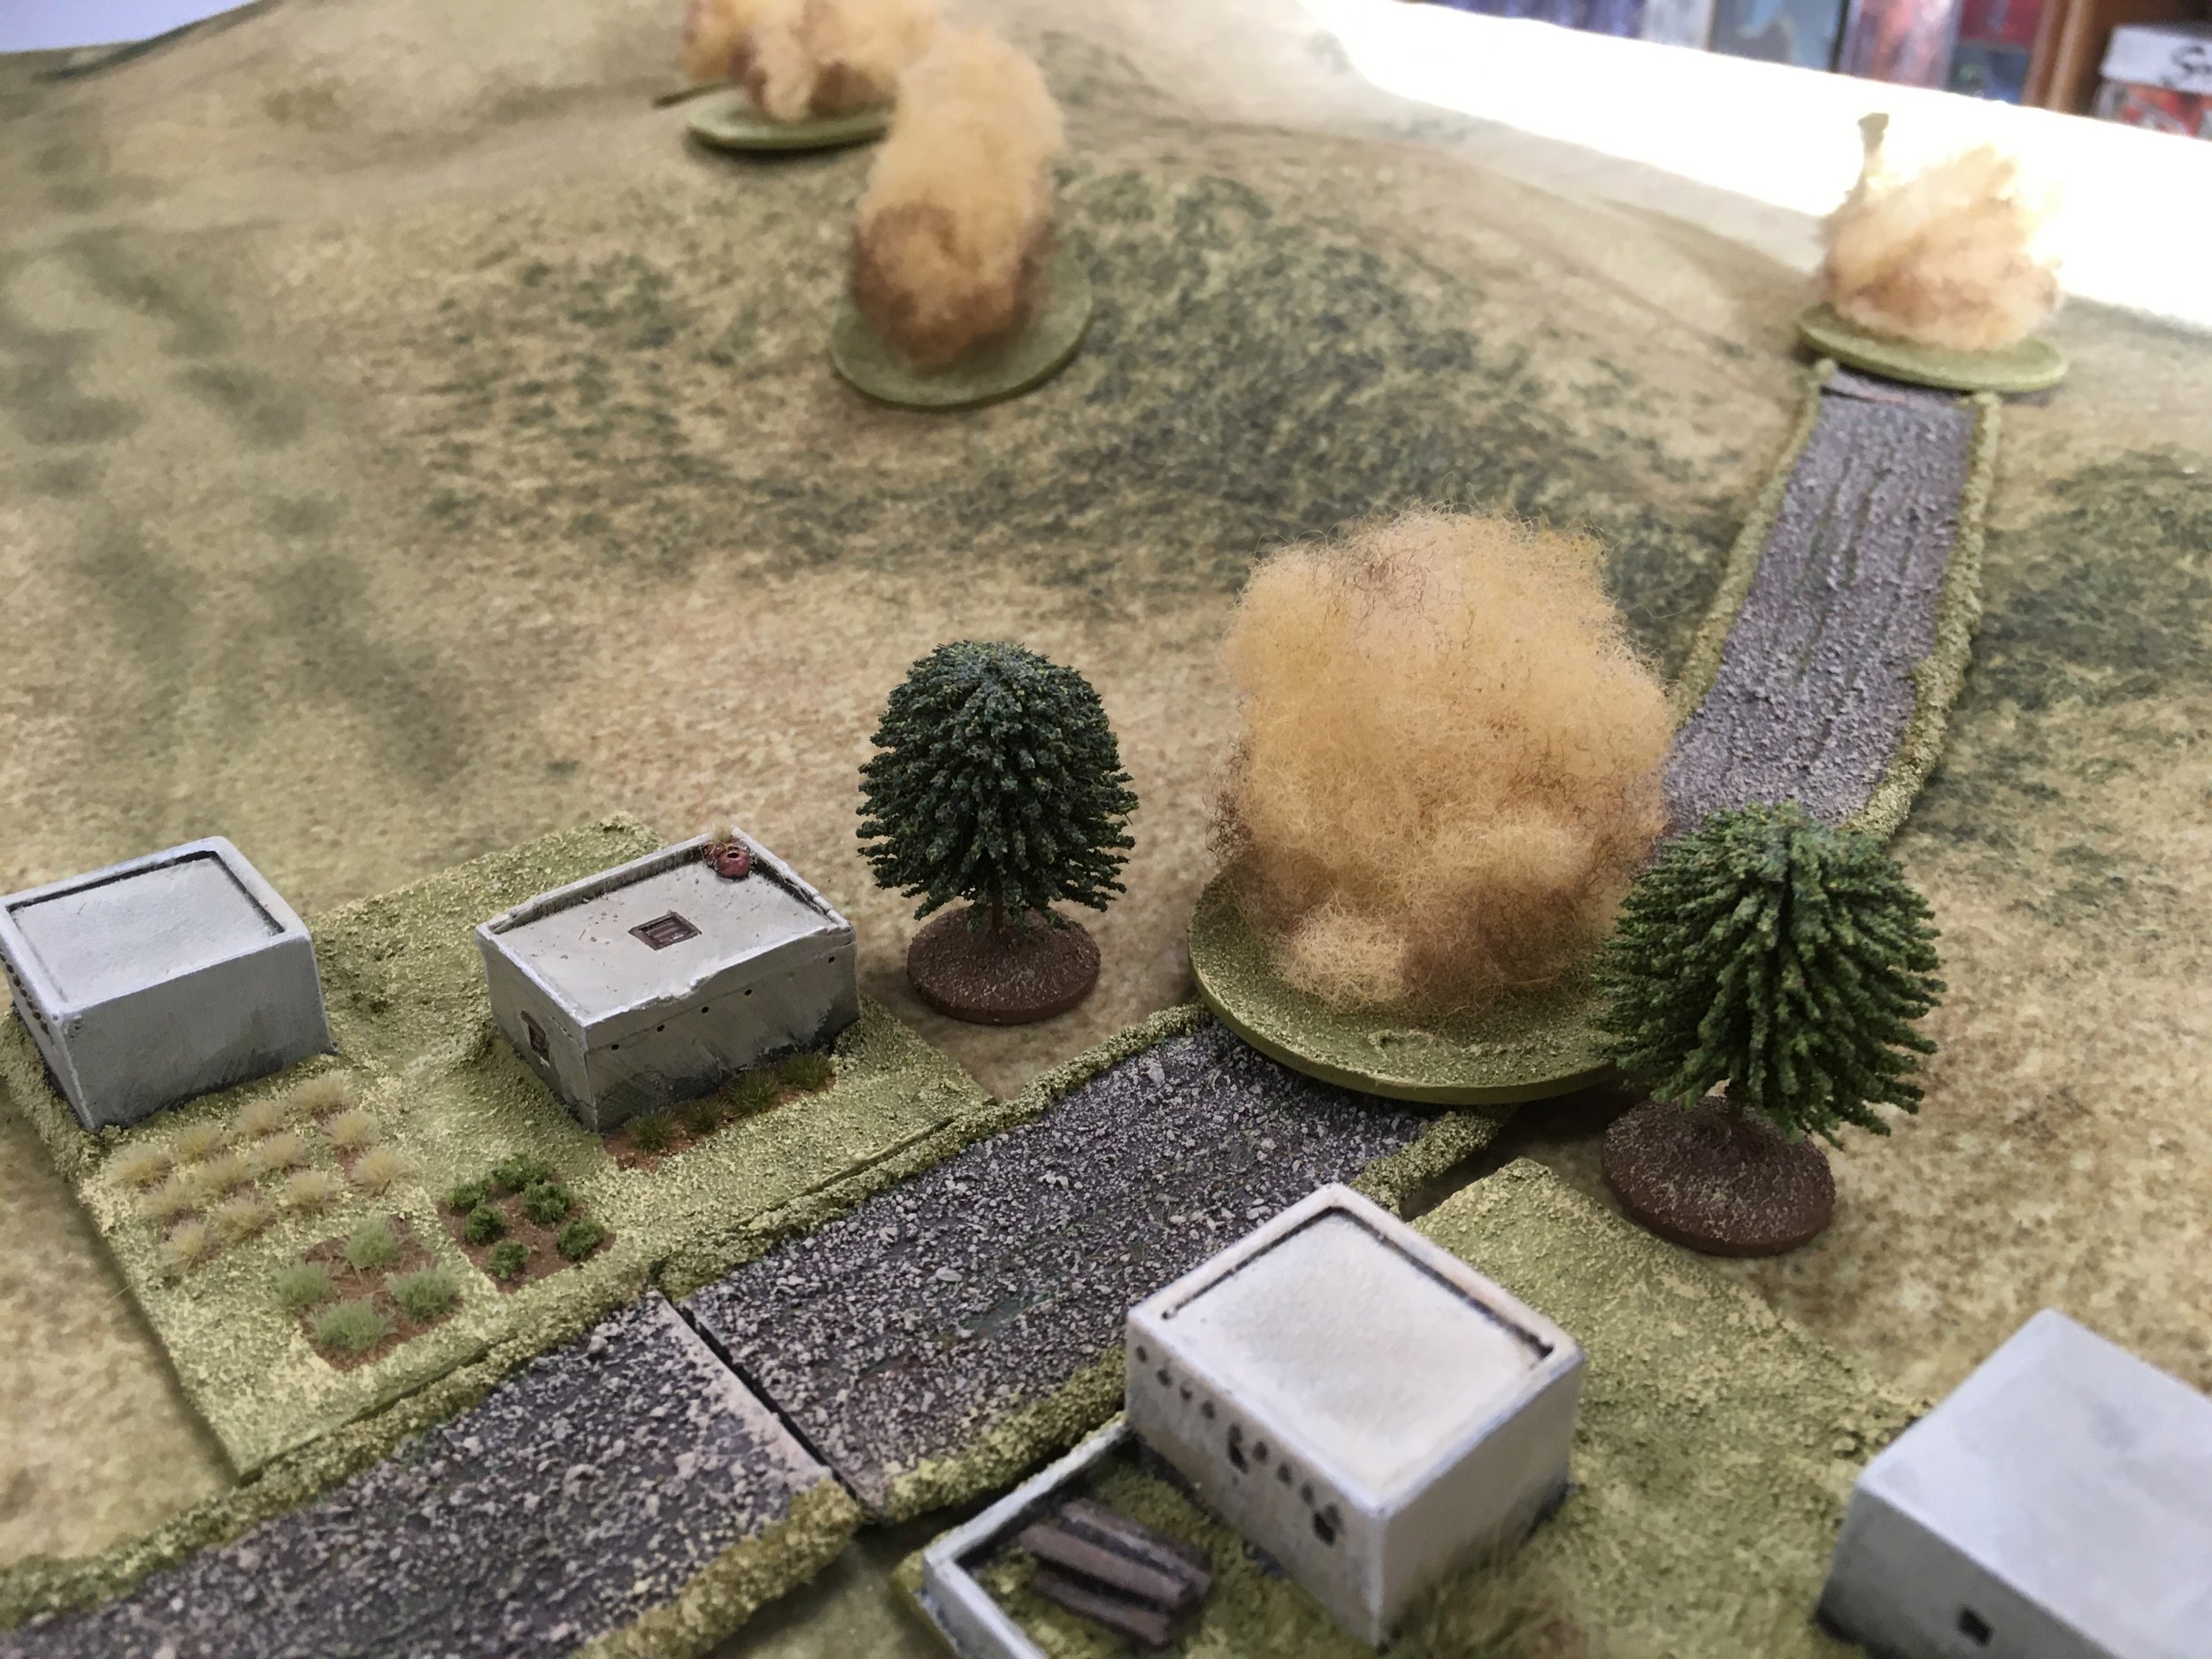
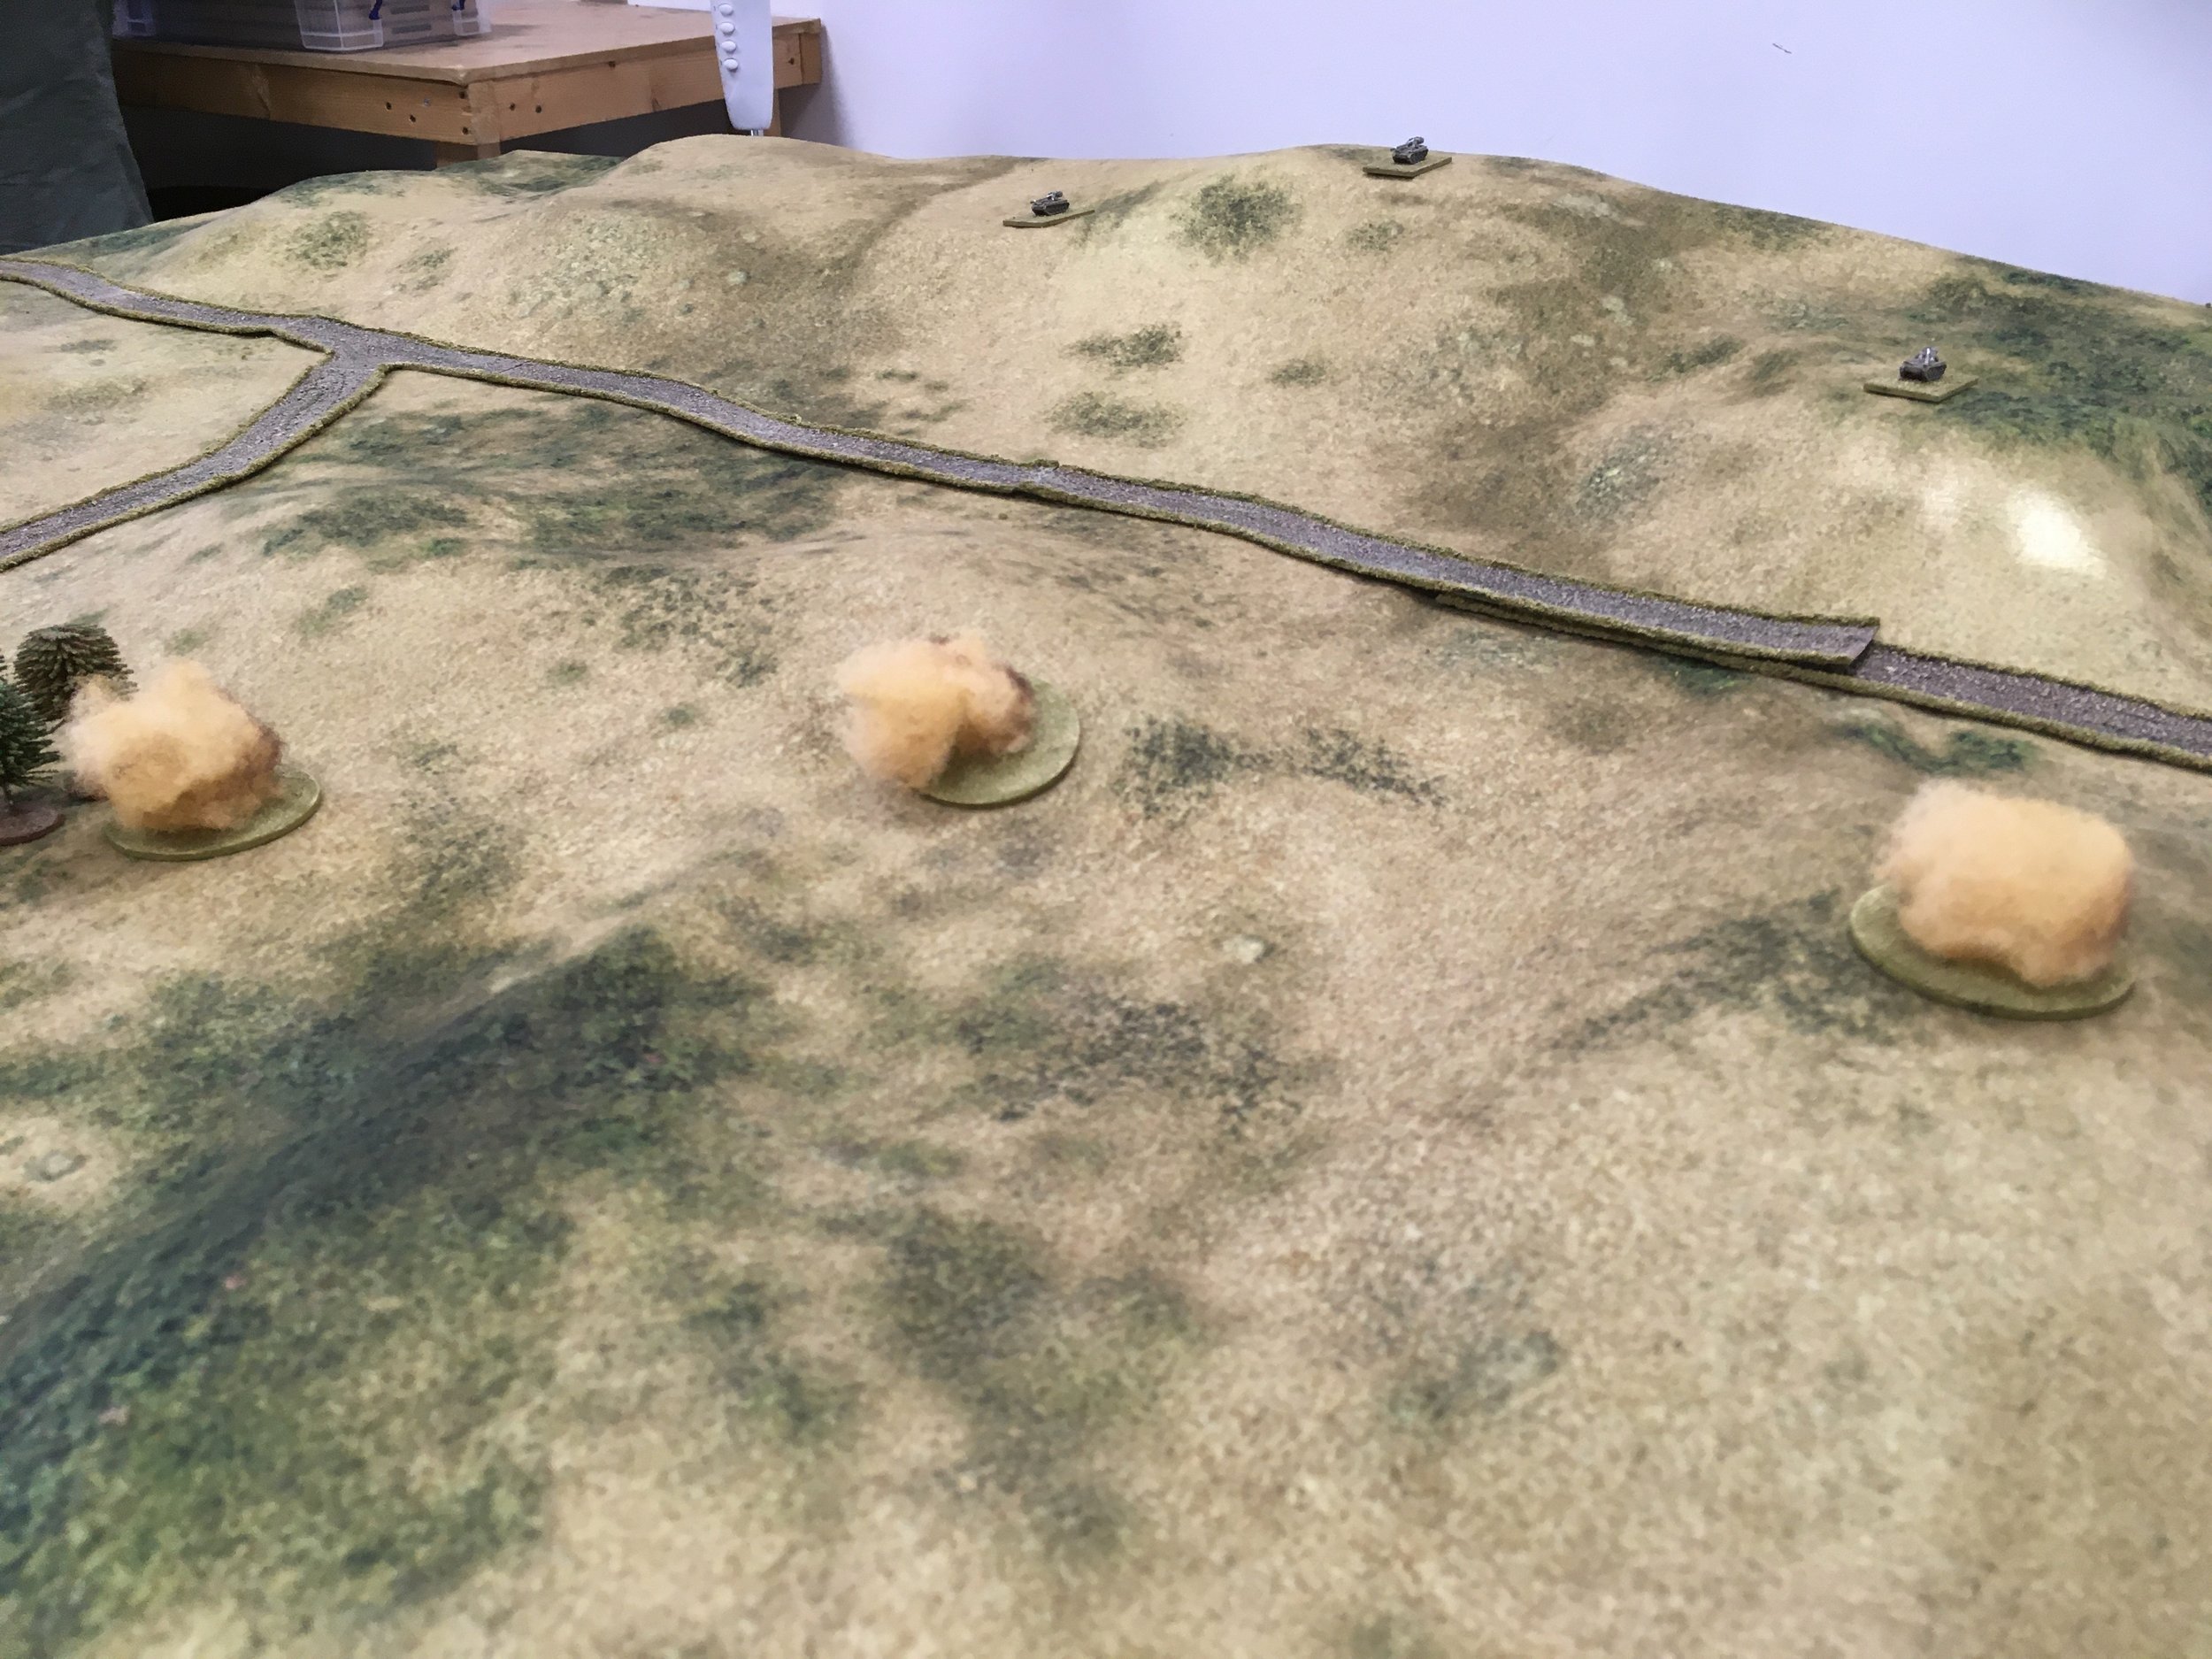
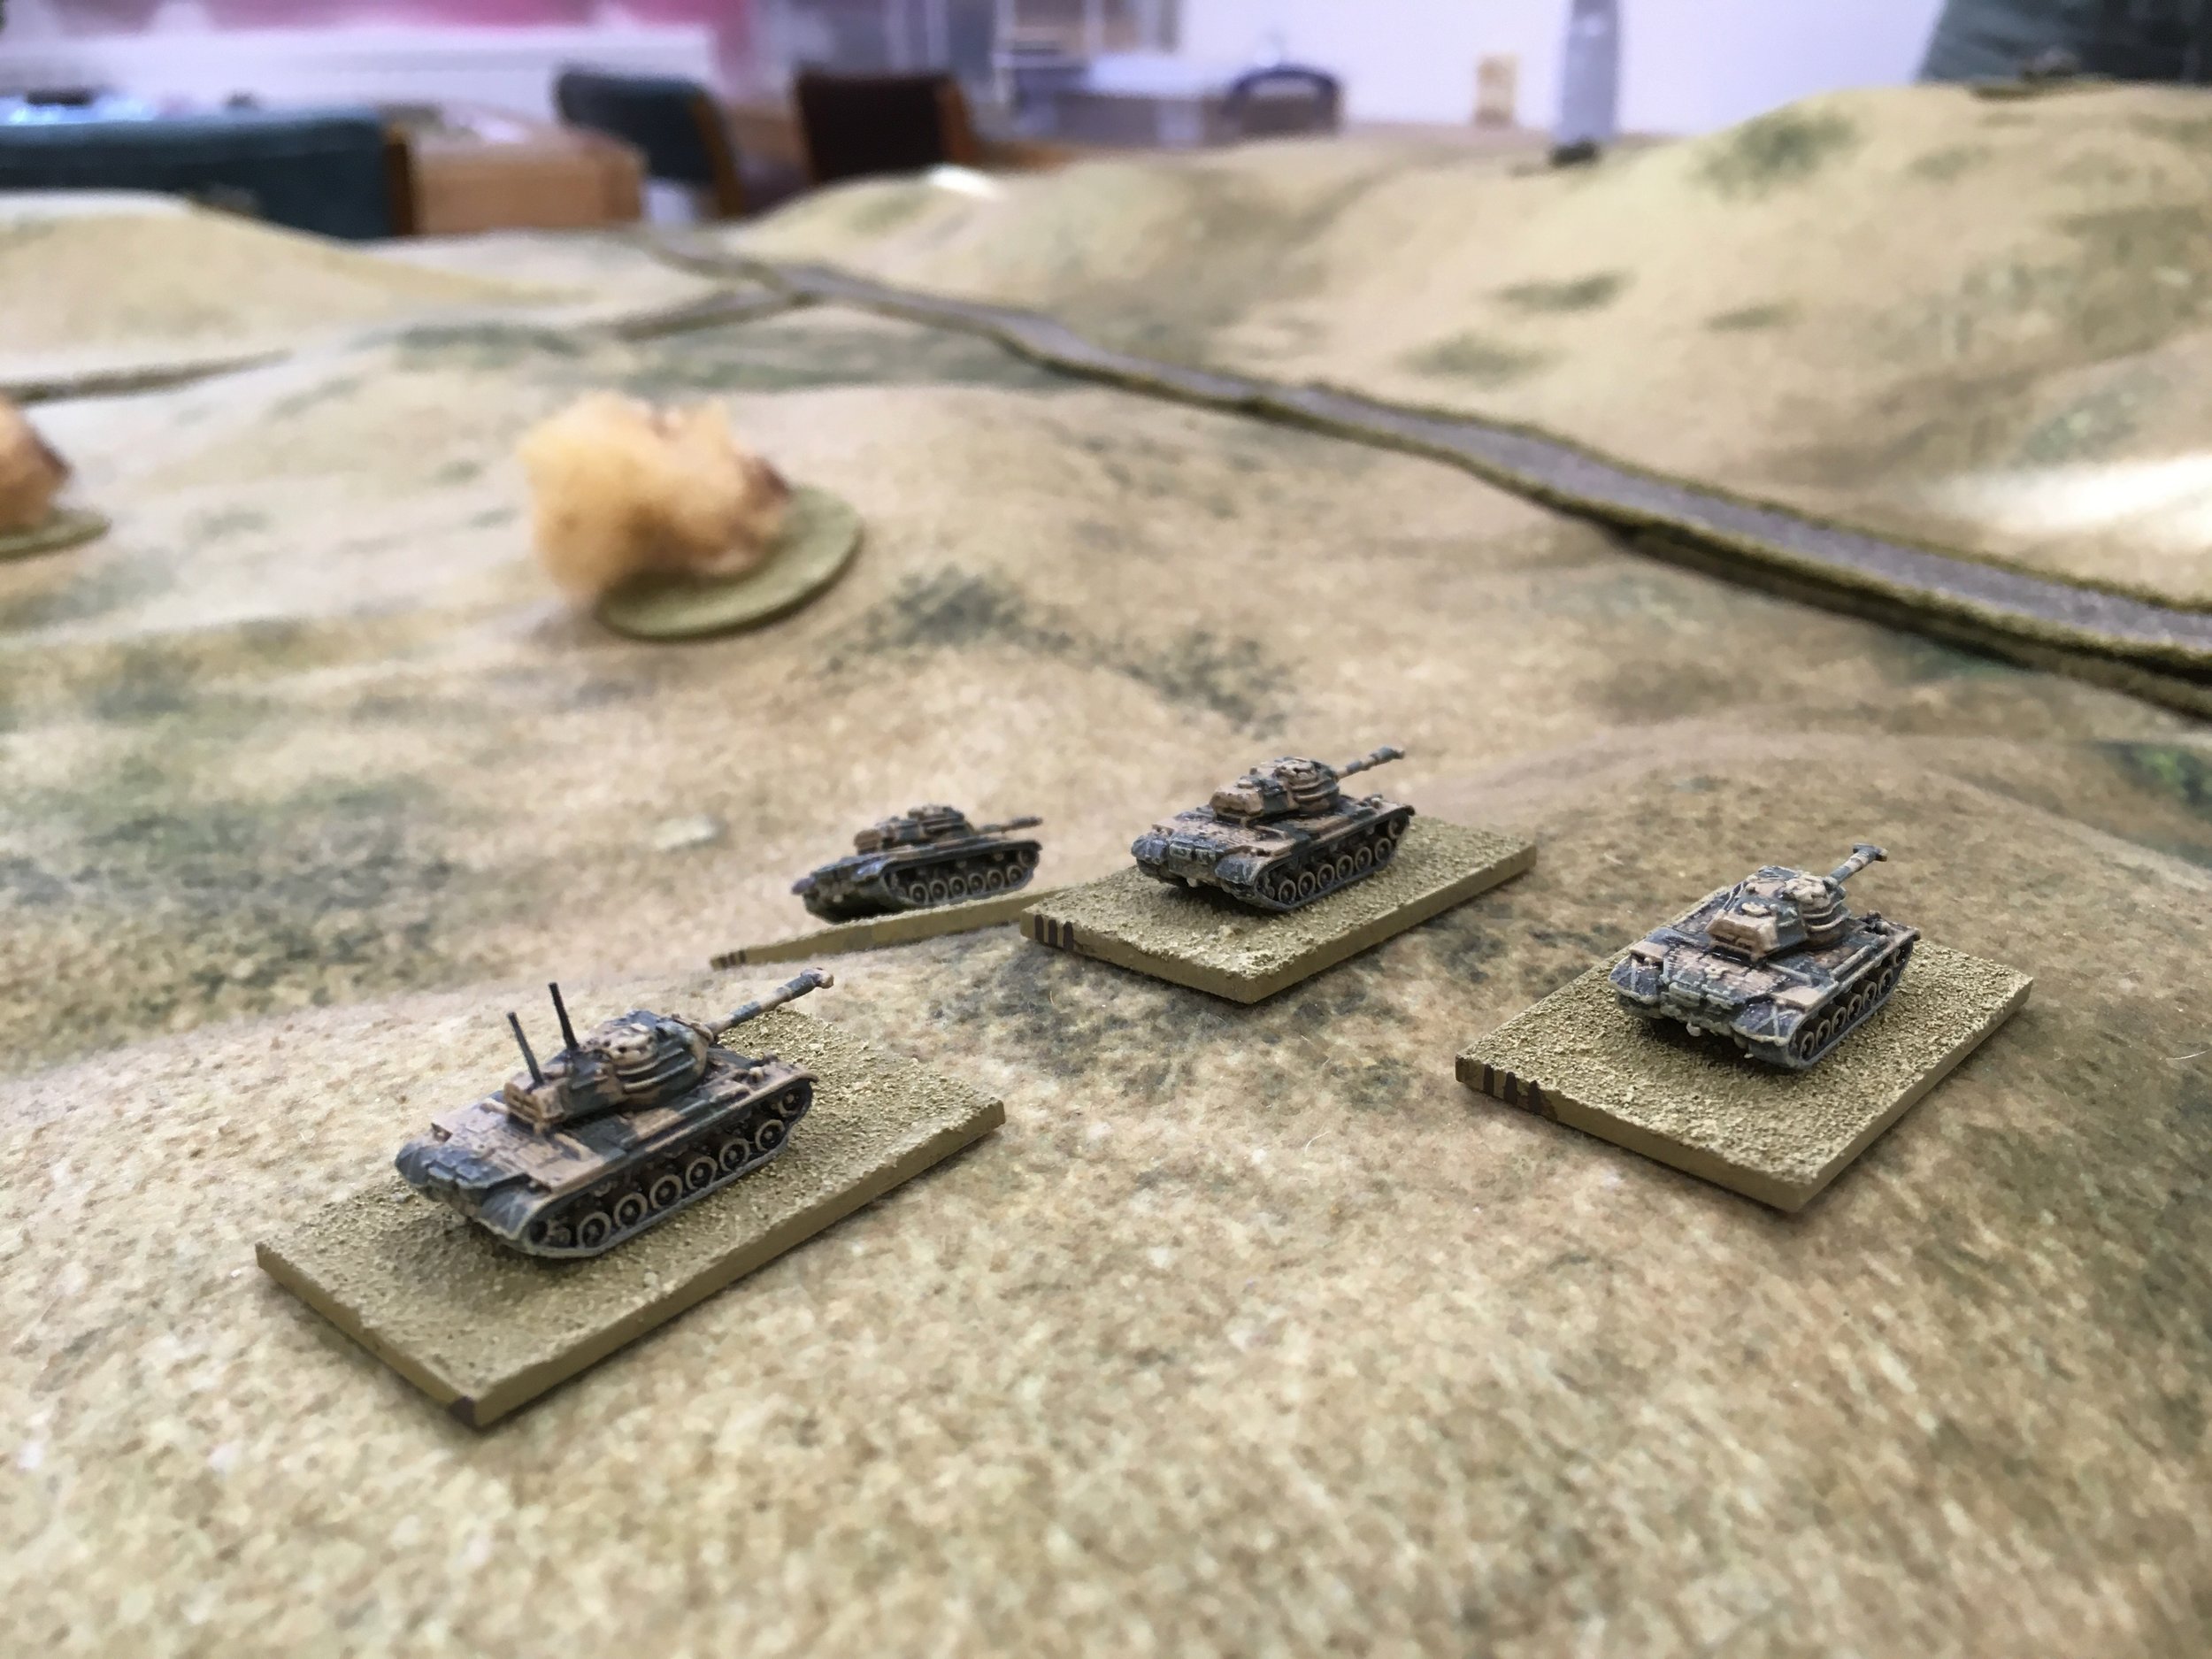
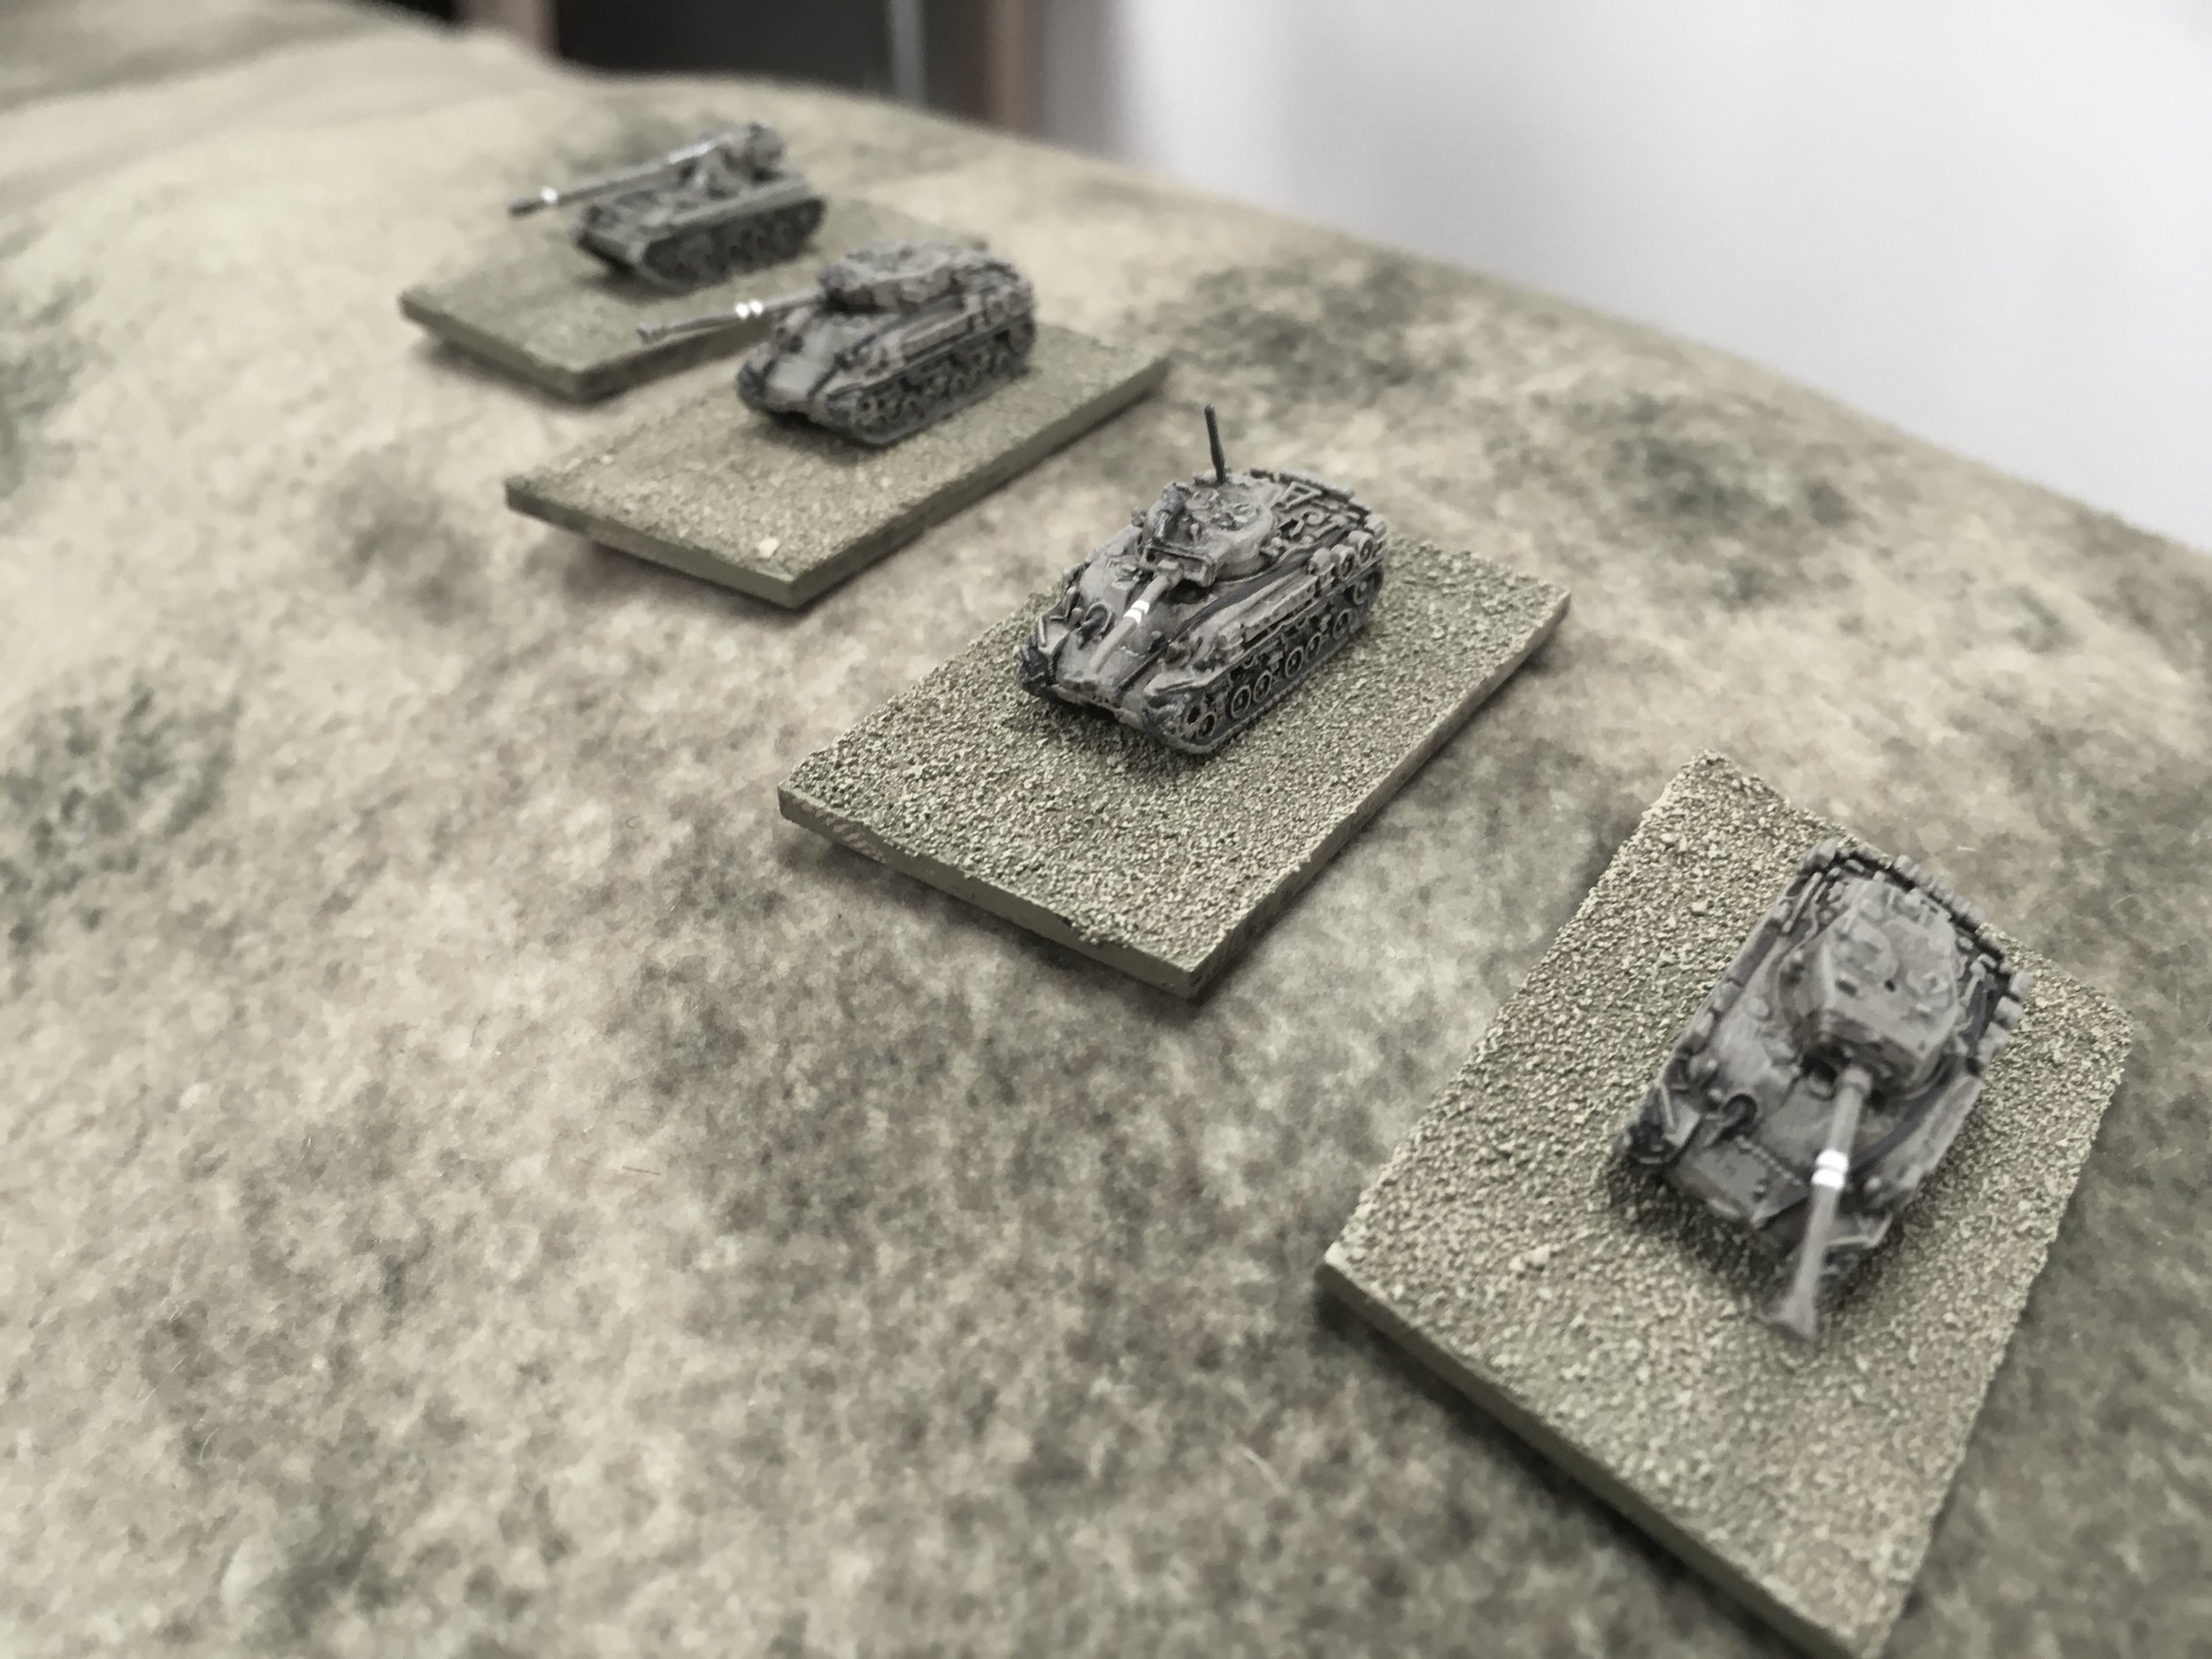
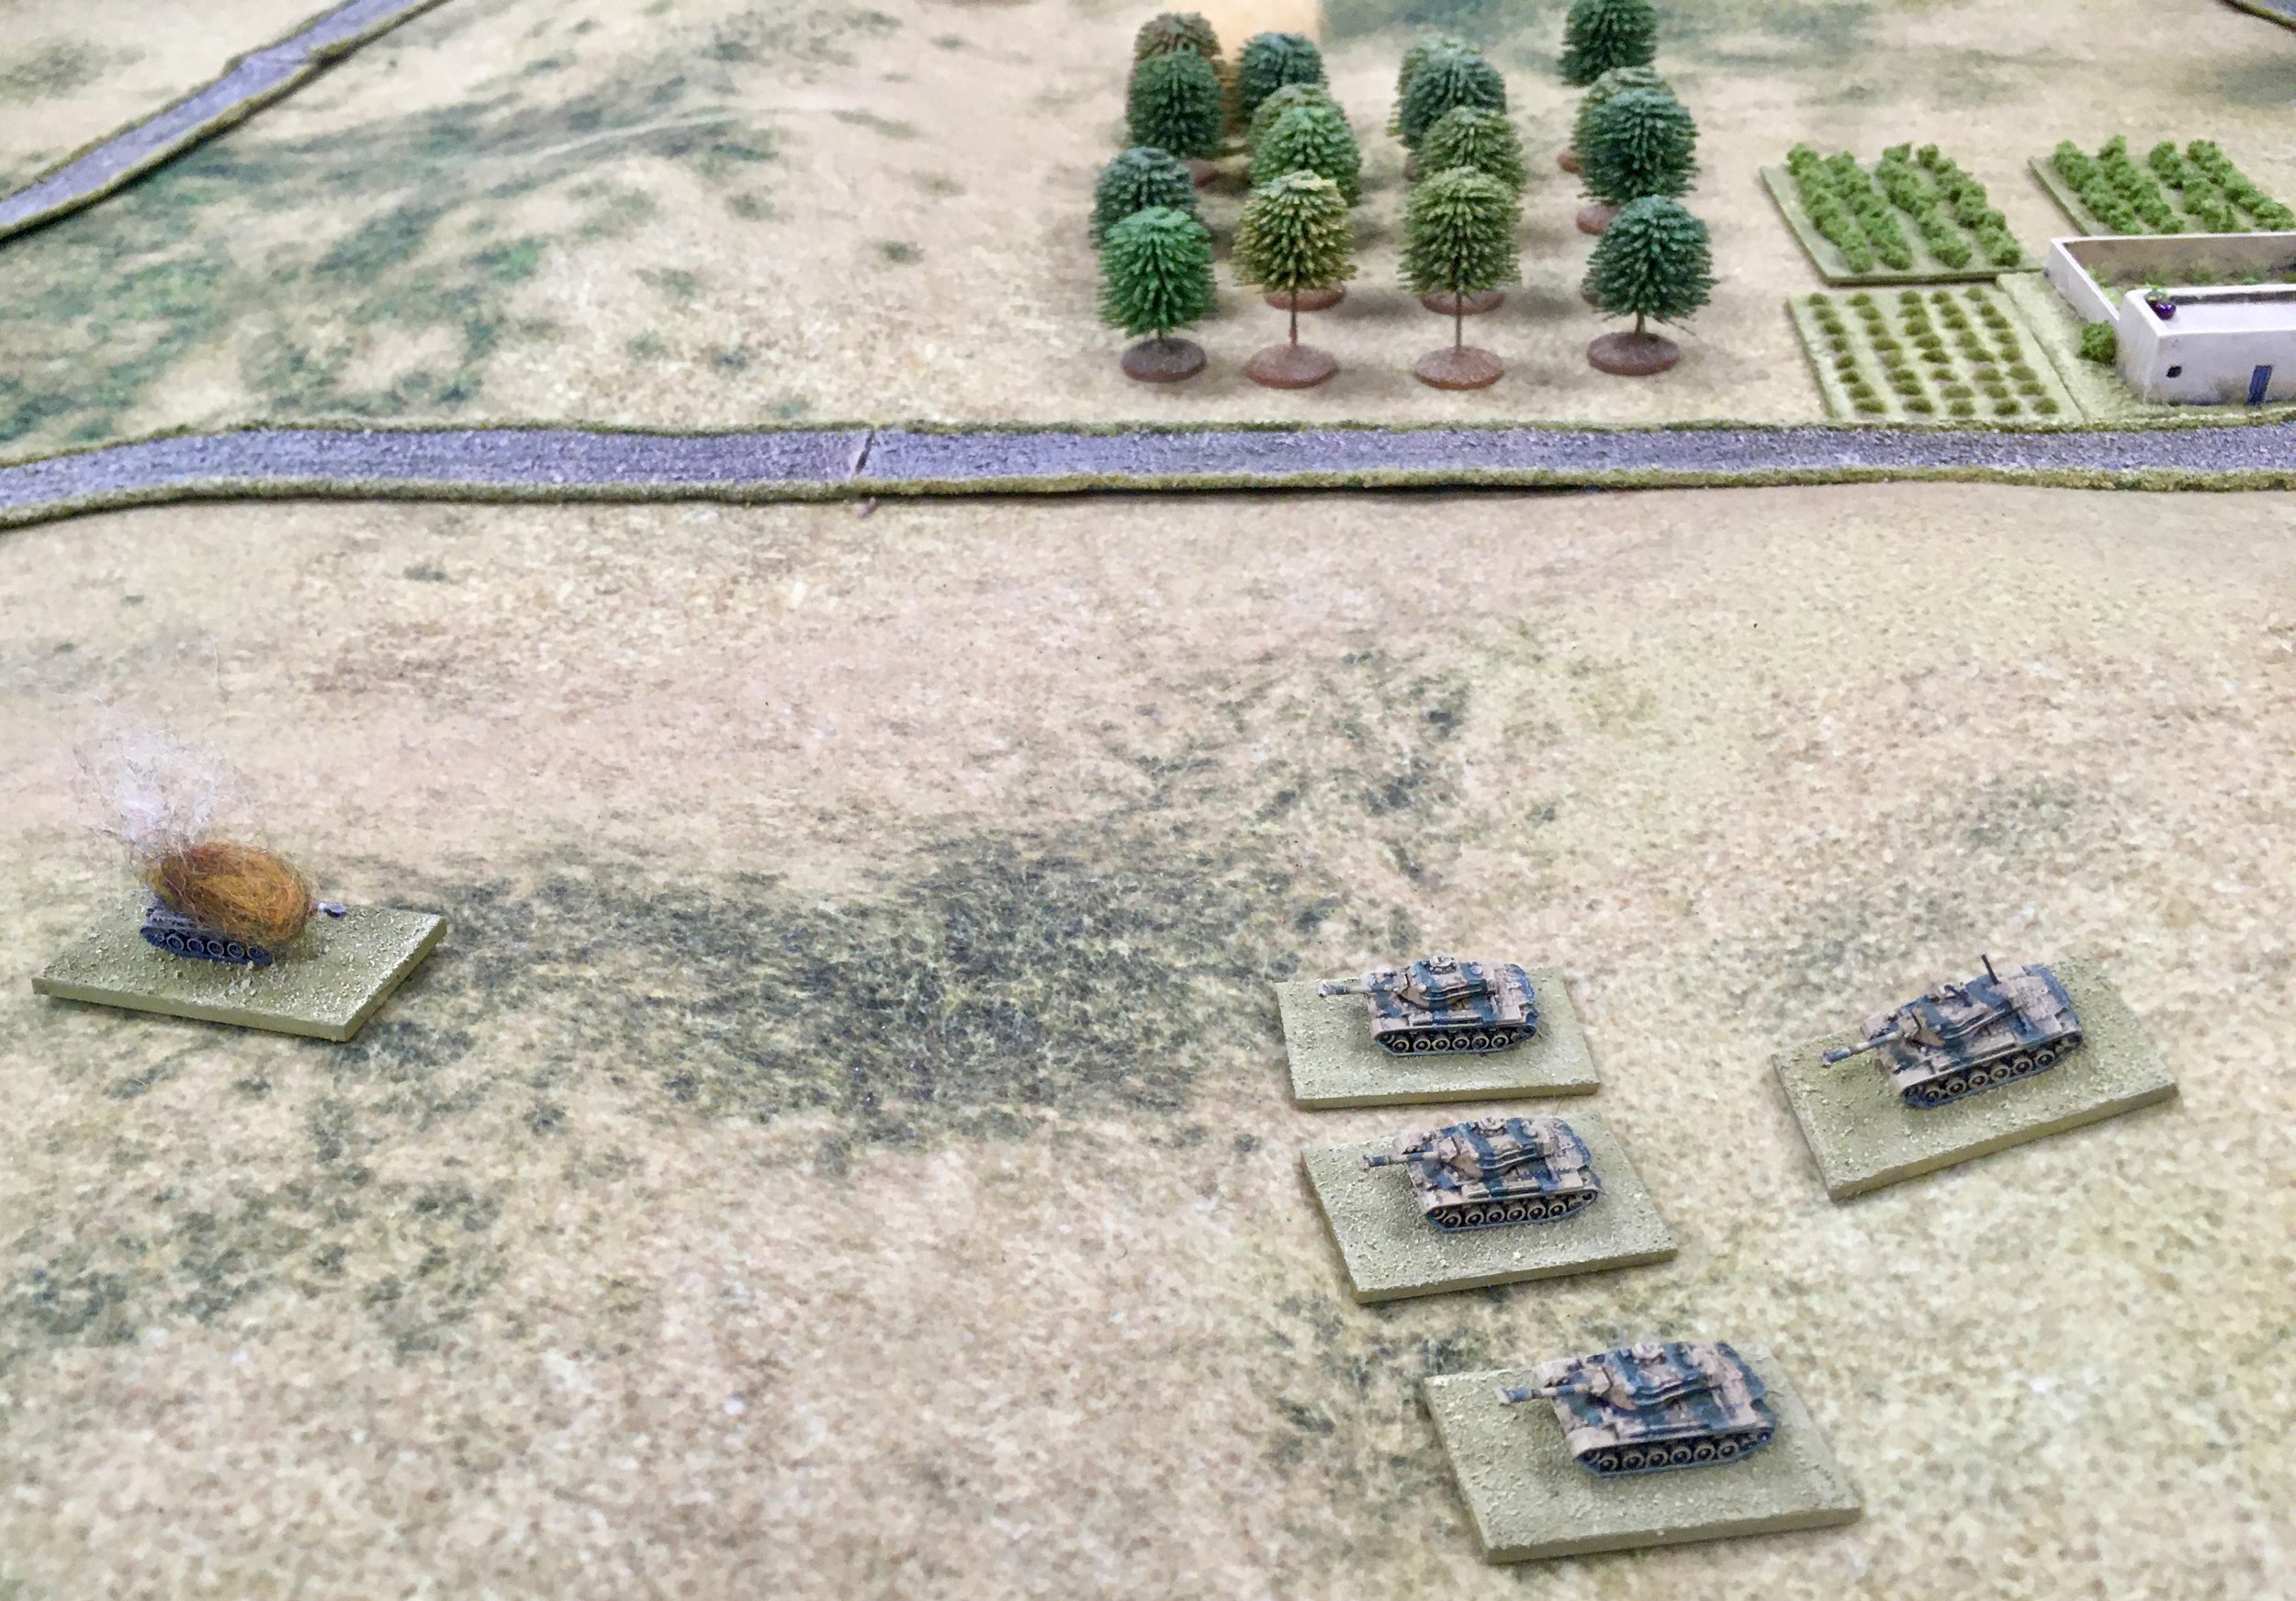
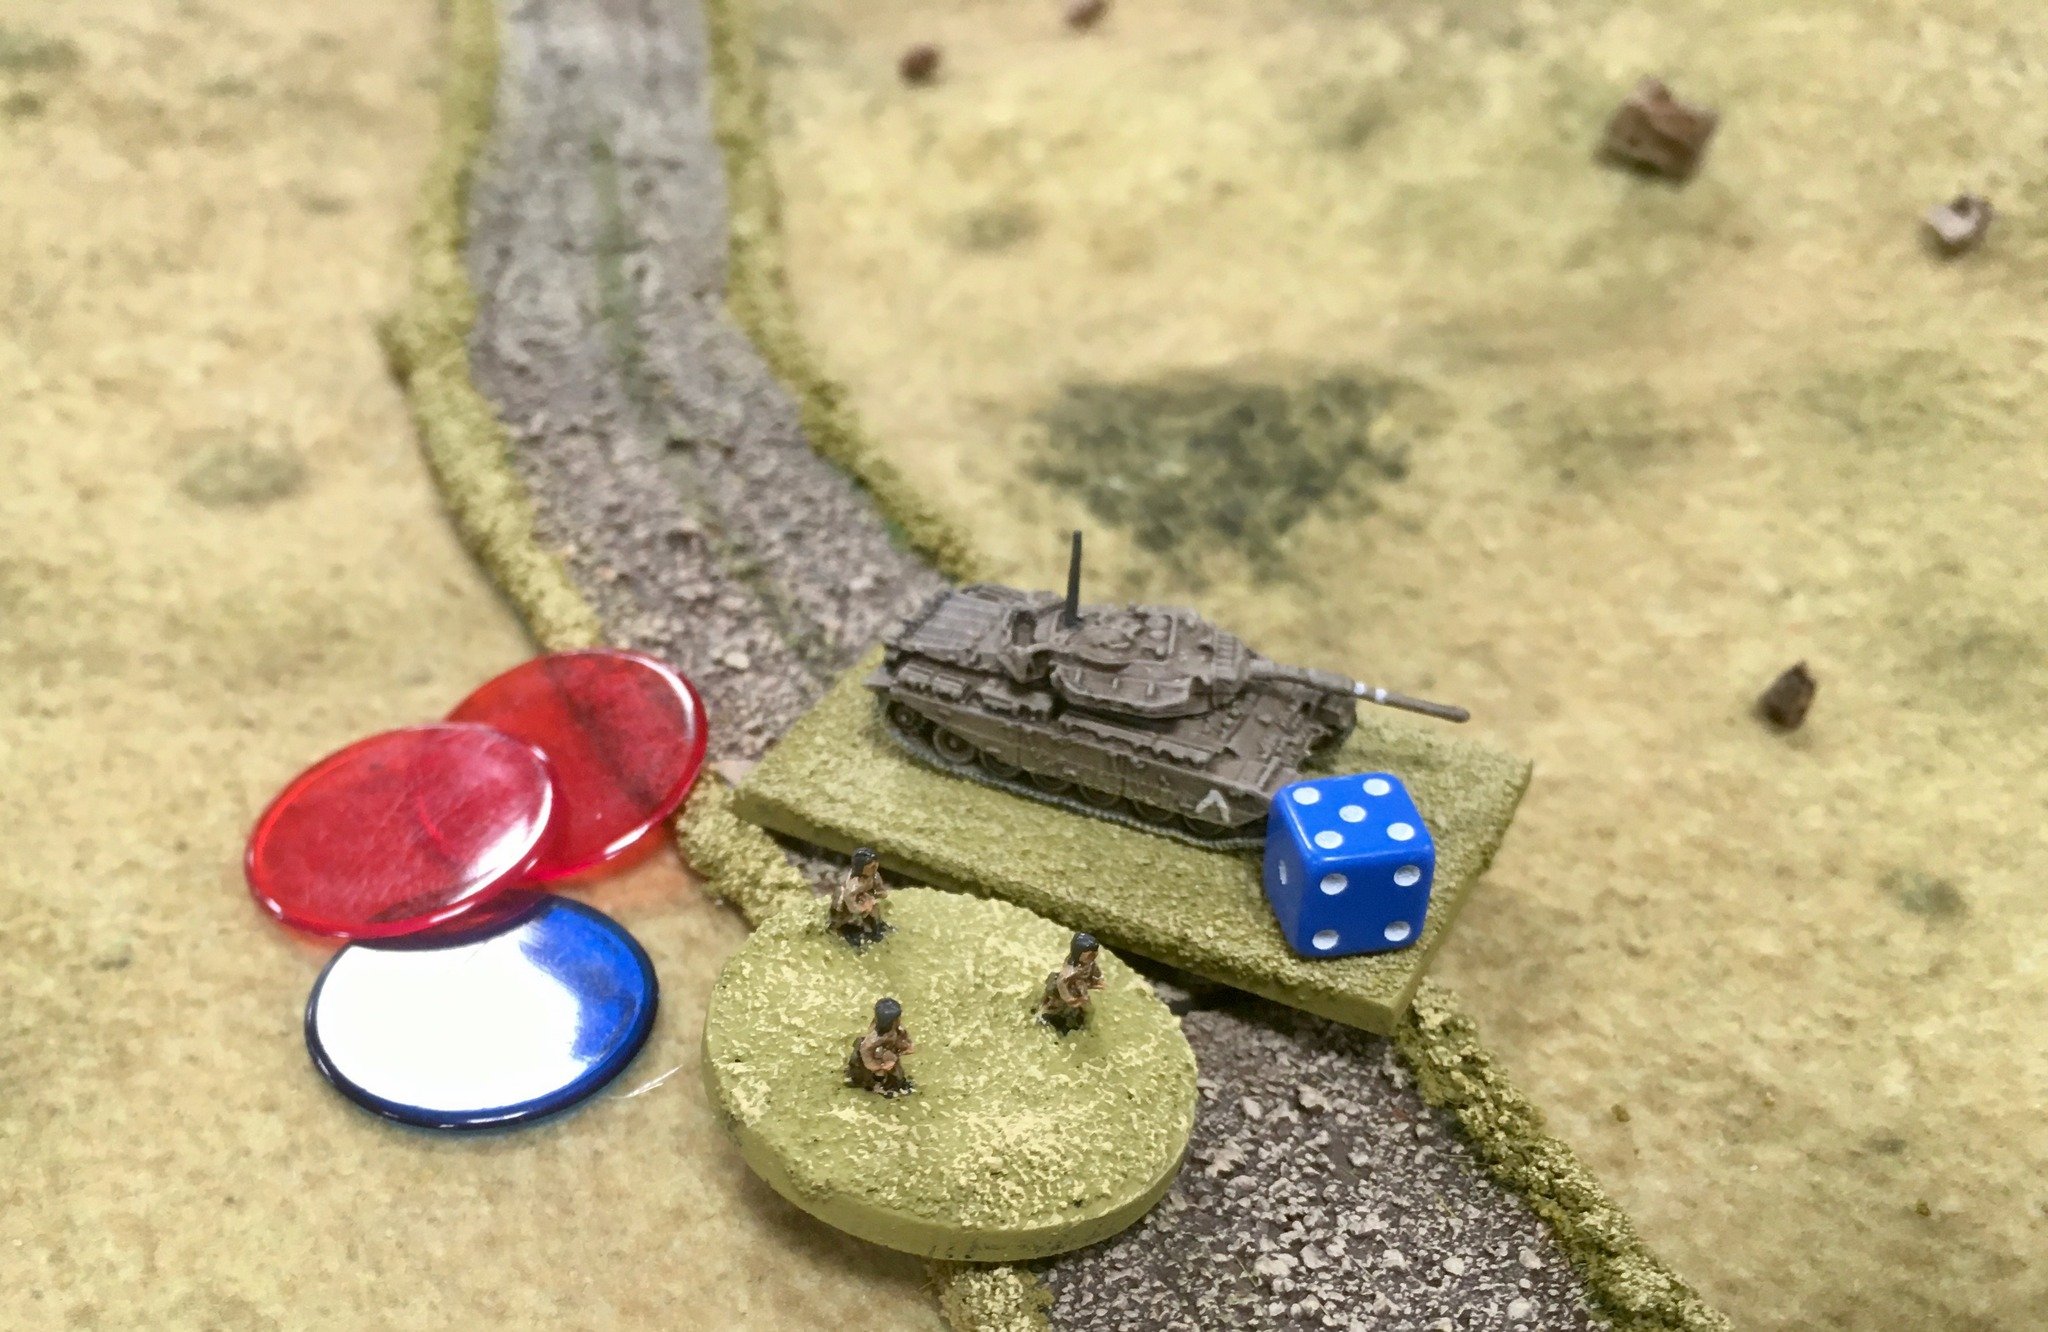
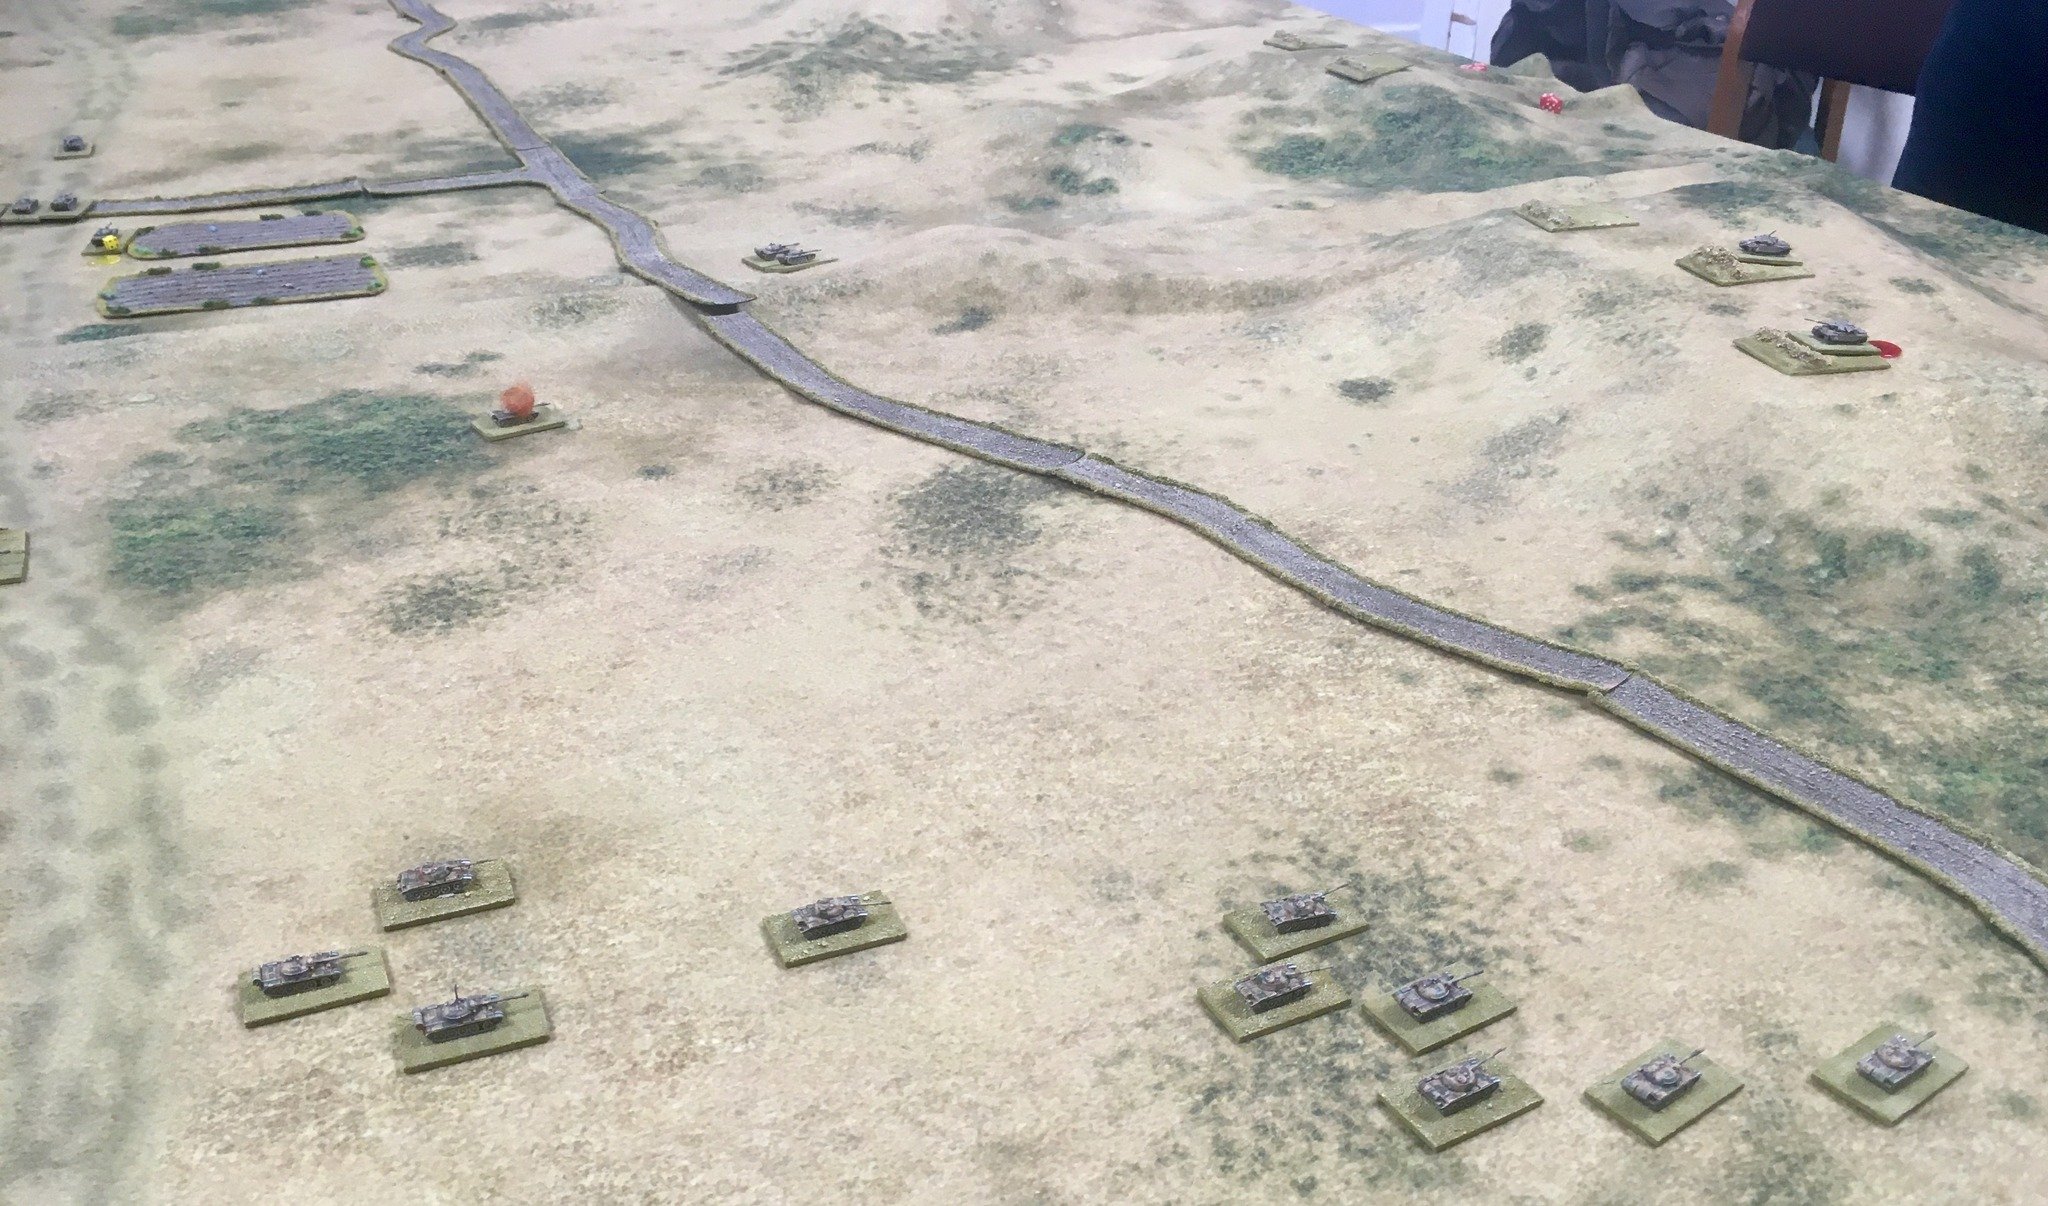
A frantic bit of spotting through the desert dust revealed a platoon of UAR T-54/55s on one side of the hill, with a couple of Israeli Ishermans on the other. As the Ishermans were placed on the table, there were several appreciative comments about the size of their guns! Note also the rather snazzy Battlefront desert dust clouds used to indicate that a vehicle has moved that turn (a fool and his money...!) and, perhaps more importantly, that one of the Egyptian infantry platoons has come off their Blind.
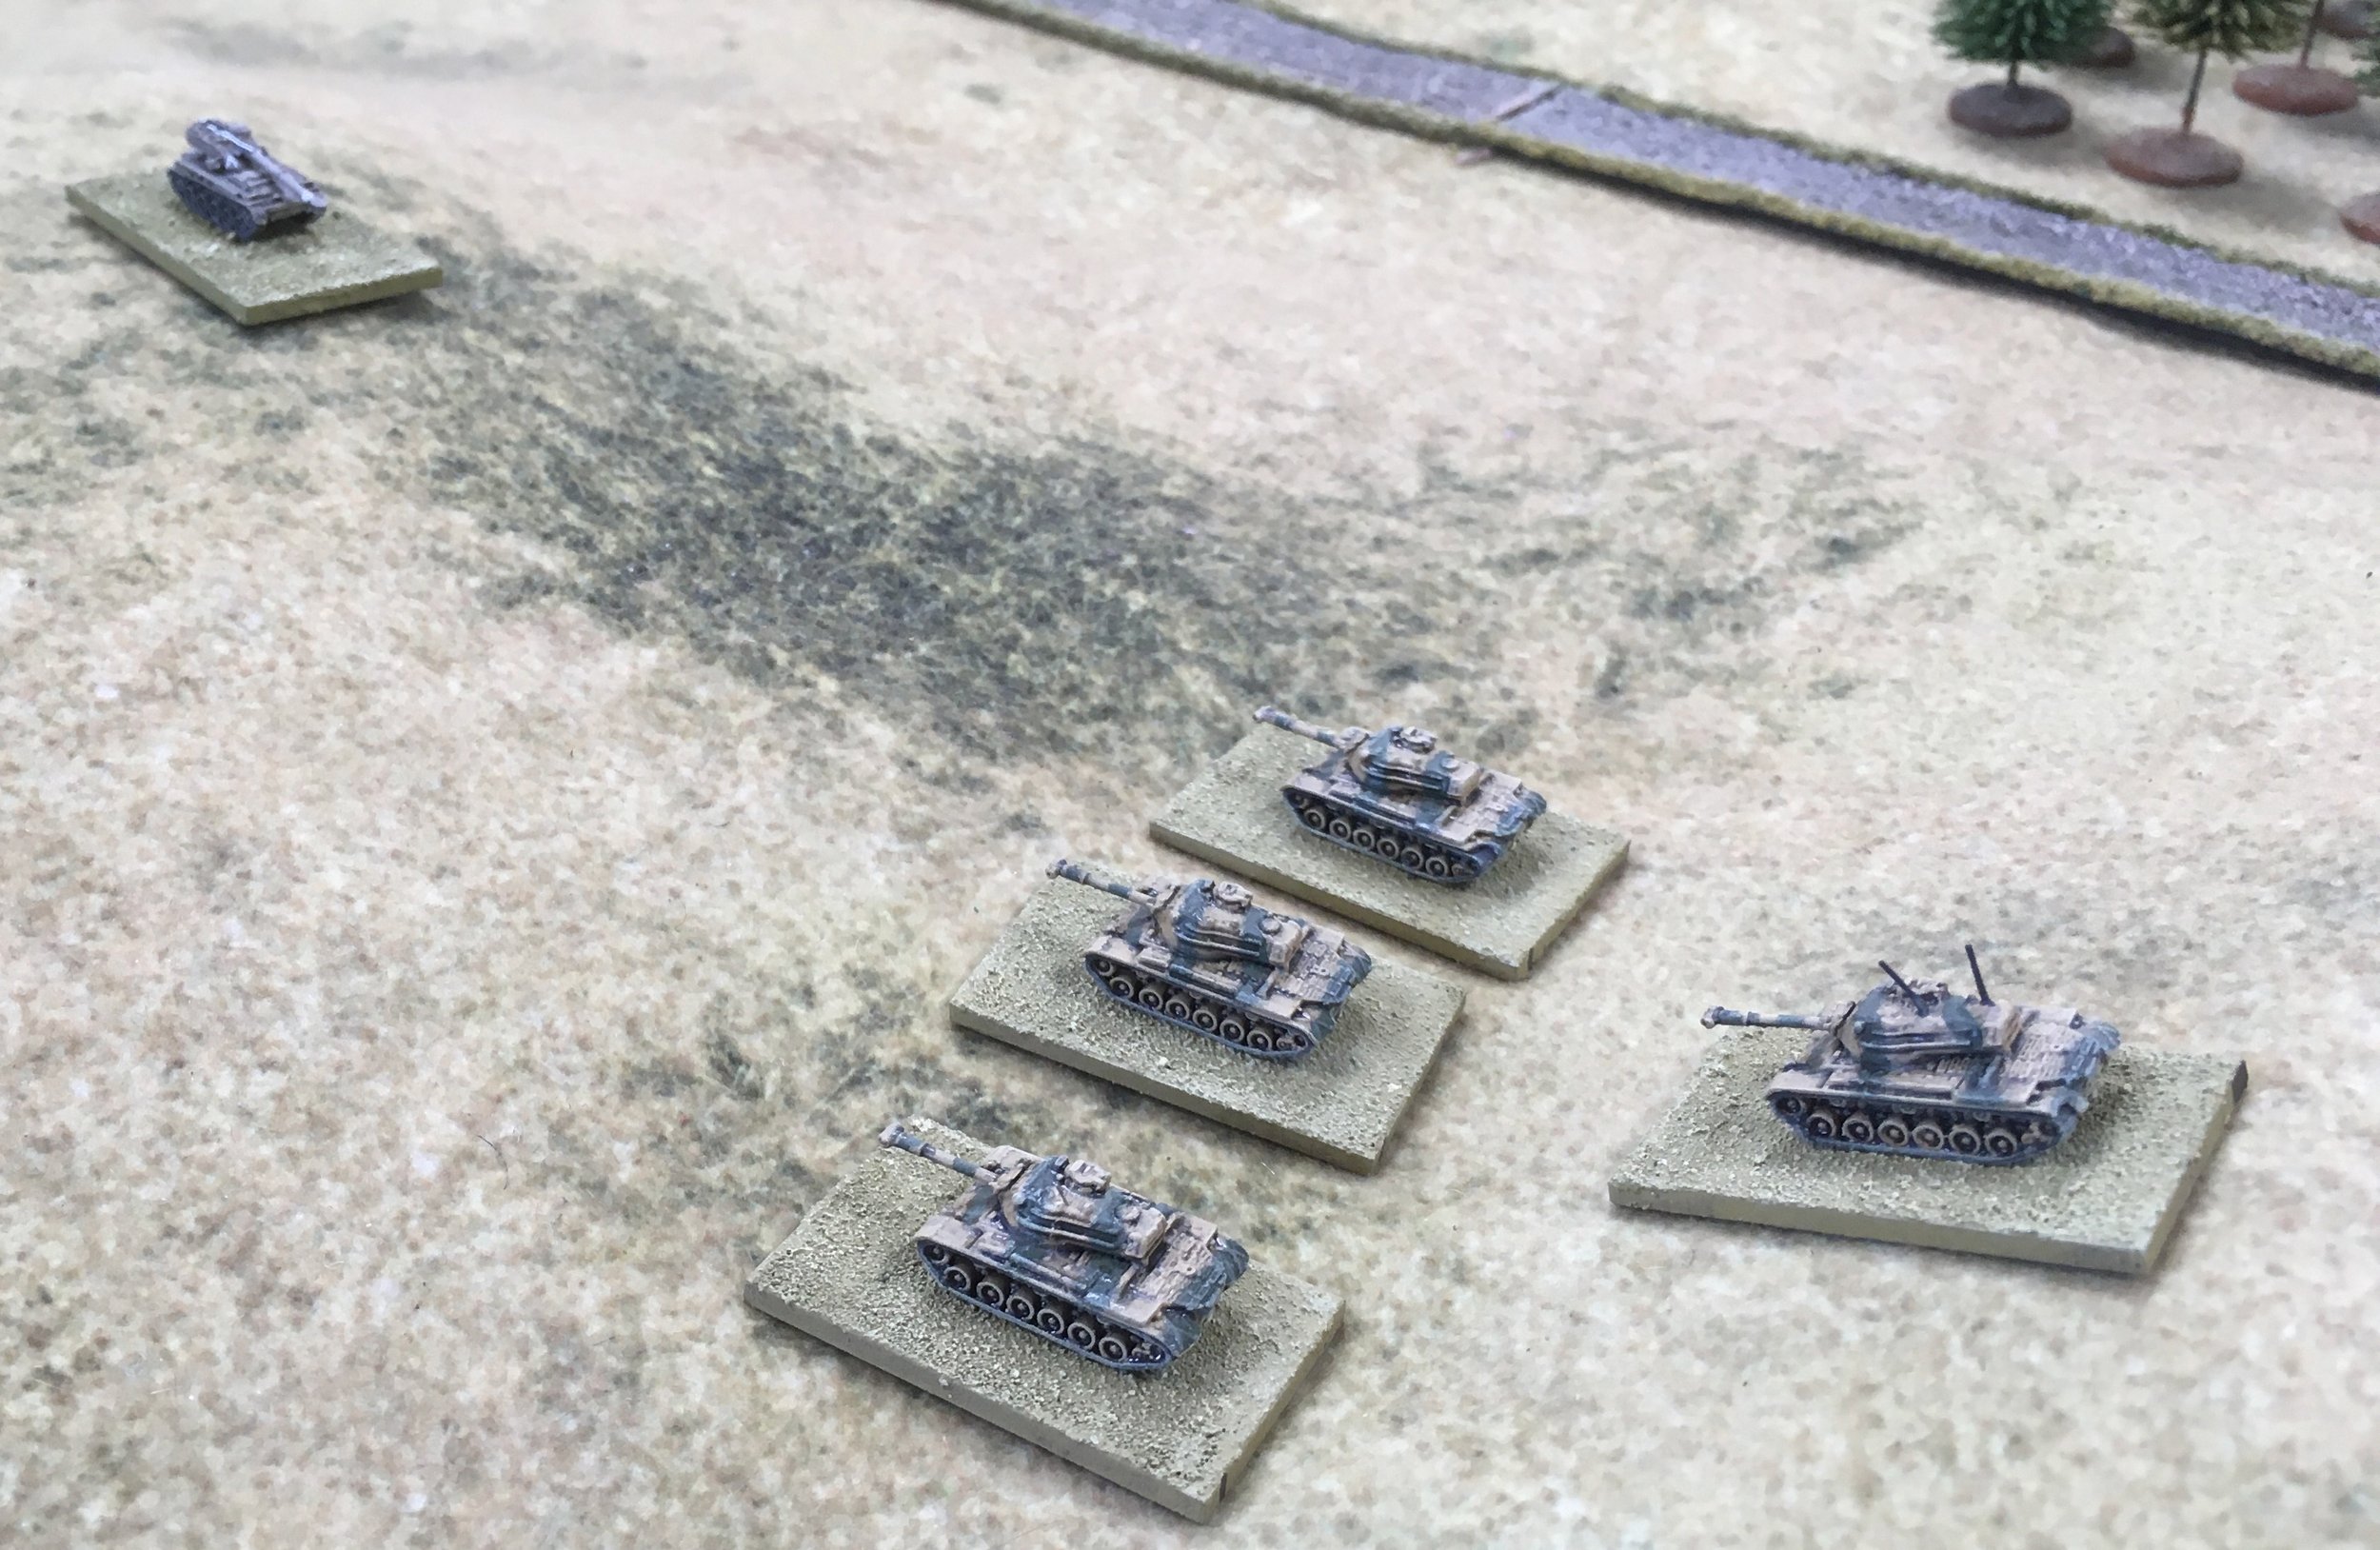
Seeing an opportunity not to be missed, one of the Israeli Blinds by the fort revealed itself as the other Israeli tank platoon: a couple of M-50 SuperShermans.
Their commanders immediately deployed their .50 cals, and hammered the closely packed mass of UAR infantry at close range. It was carnage, and just about half the Egyptians were taken out, with the rest Suppressed.
Now that battle was joined, both sides began to seriously try and work out where the other was.
The firing stopped as binoculars were grabbed and goggles wiped: with the result that almost every unit was then deployed onto the table.
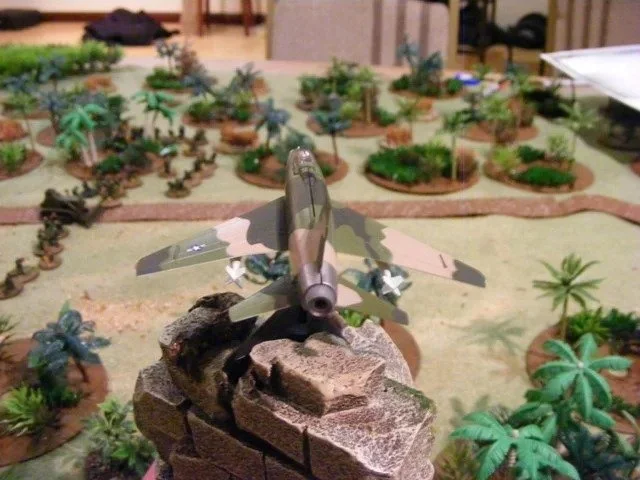
note the combination of charlie don't surf rulebook and iabsm quick reference sheet top right. for more details of how I play 6dw games, see the page in the cds section of this website
Now that everyone knew where everyone else was, it was time to get down to the fighting.
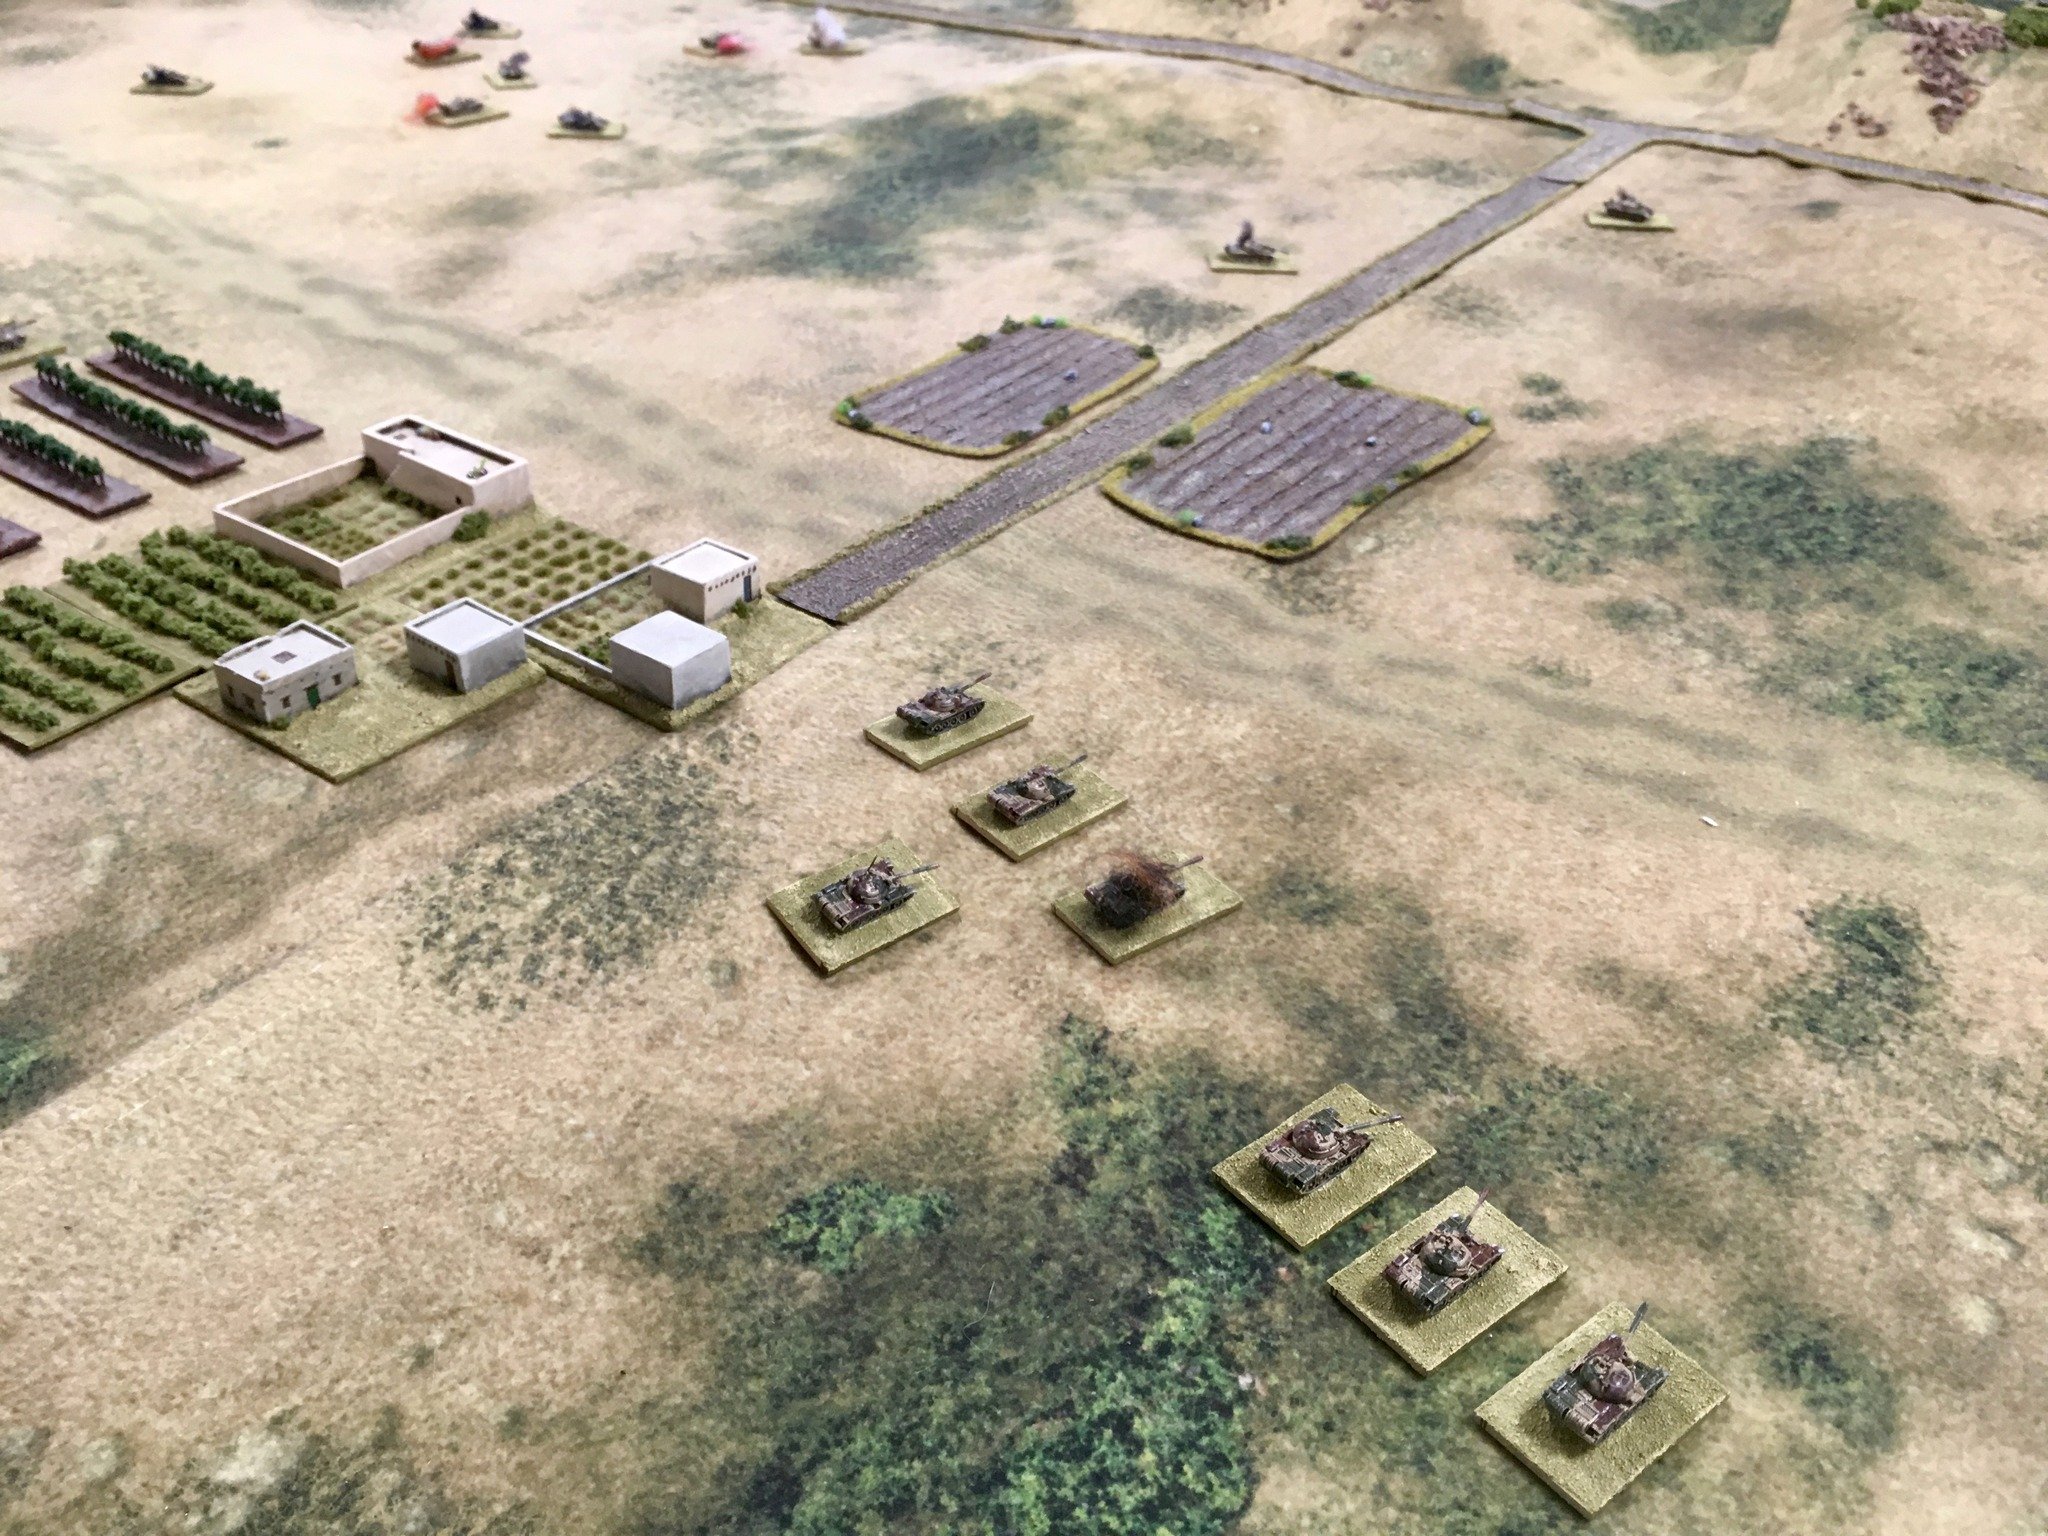
The UAR infantry attempted to storm the fort, but ran into a hail of fire from an Israeli infantry platoon that had just managed to make it up to the battlements in time.
Close range fire from assault rifle backed up by light support weapons is lethal, especially so when you're outside the walls and the people shooting at you are inside or on top of the walls.
Before long, two of the three UAR infantry platoons had been rendered hors de combat, with the third falling back to hunker down on the lee side of the main hill.
Believe it or not, they actually formed a square: the idea being that they would sit there, out of sight of any Israelis, and prevent the Israeli Blindicide Bazooka teams getting at any of their tanks...and it worked. Apart from a couple of ineffective shots from the battlements, the two Israeli Bazooka teams played almost no part in the battle at all.
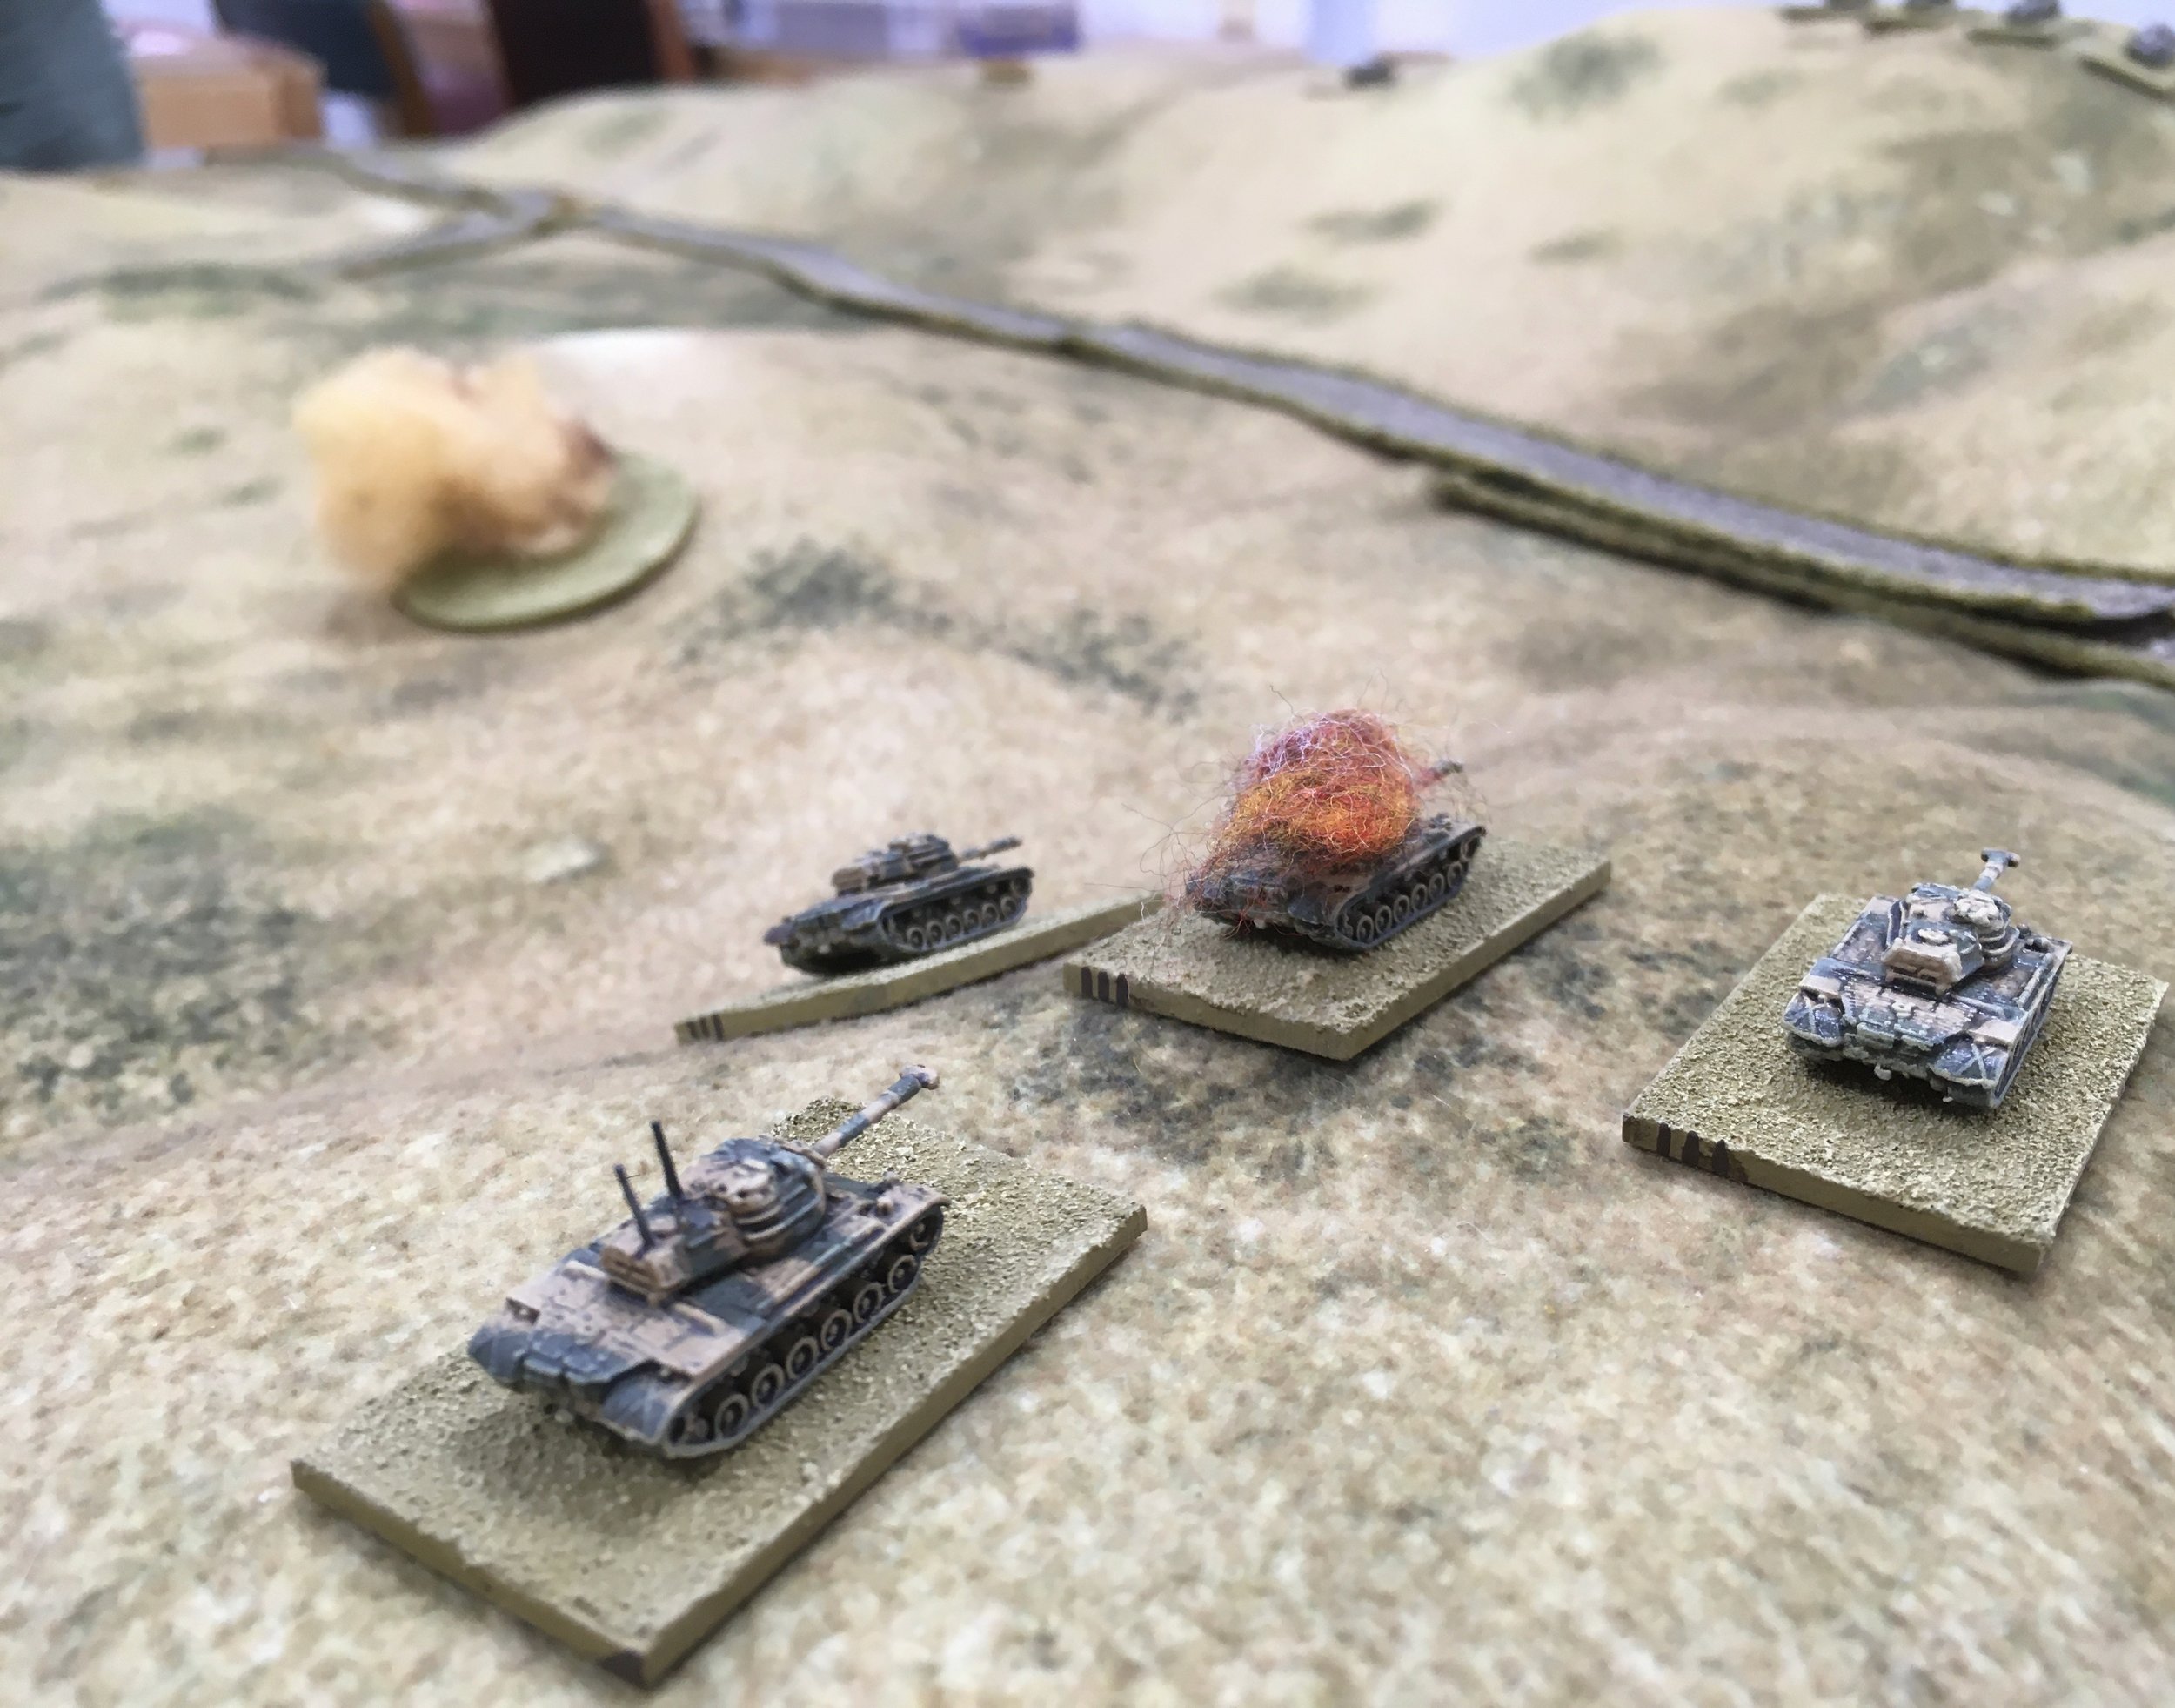
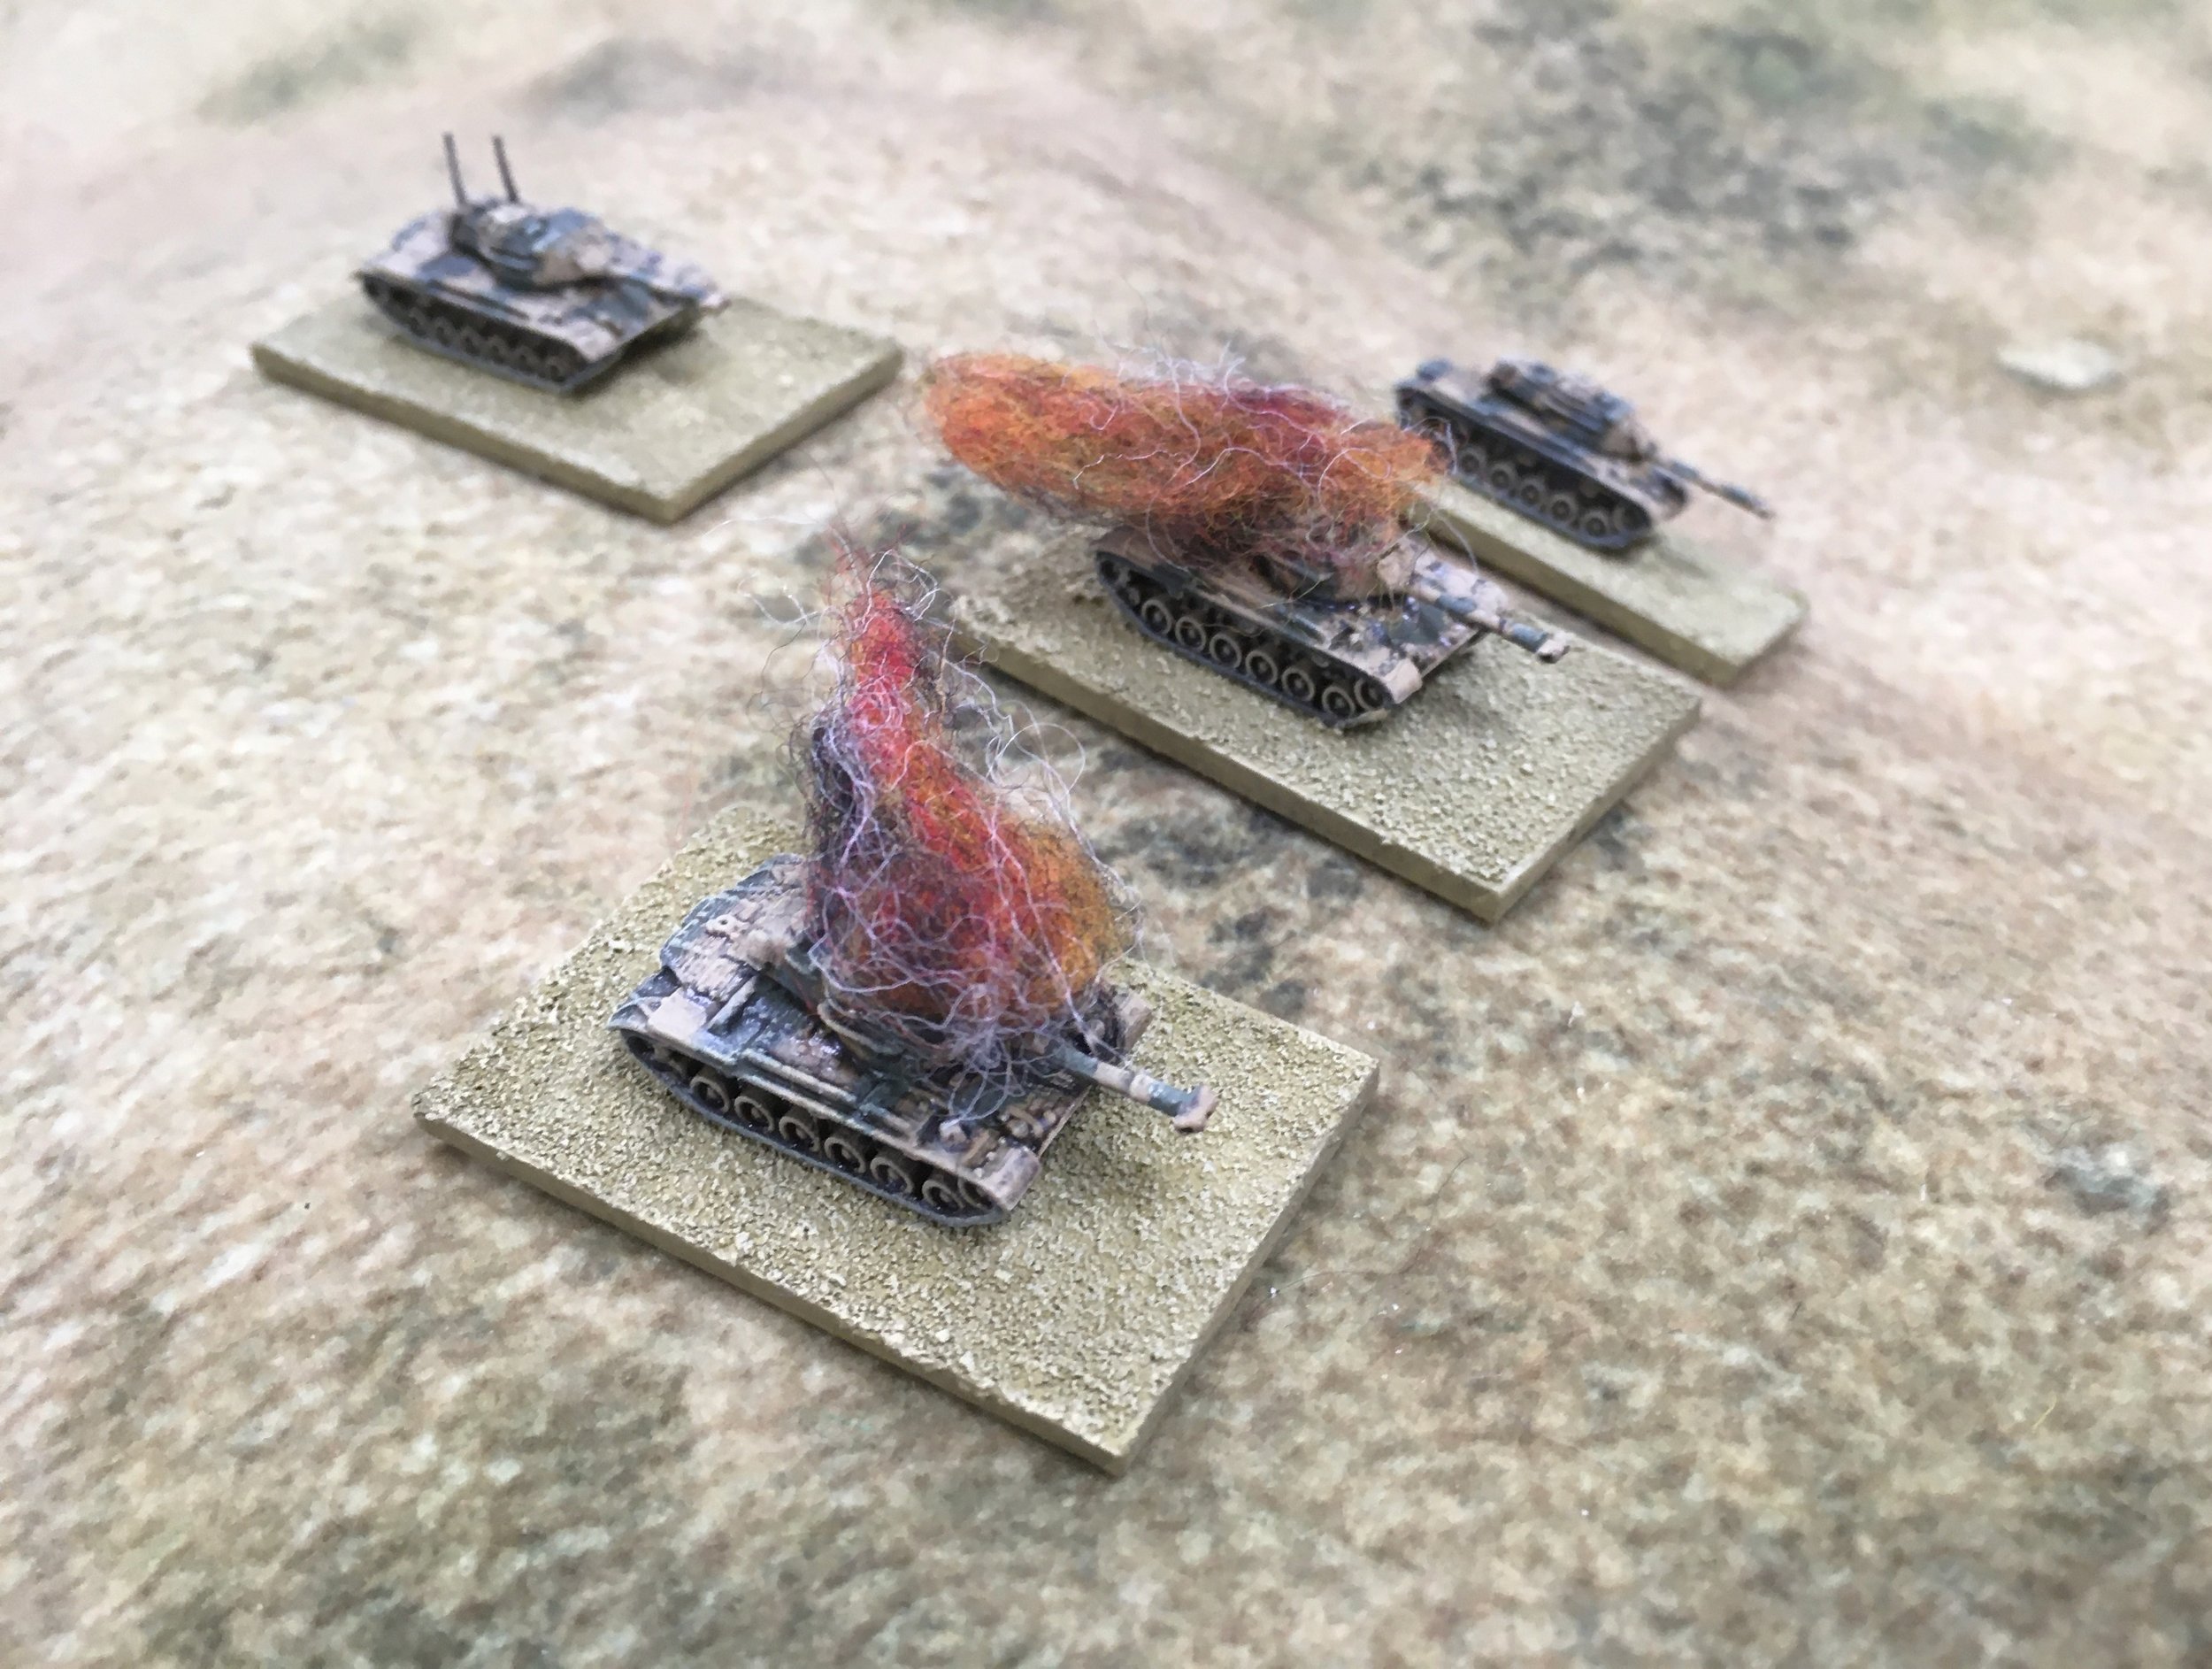
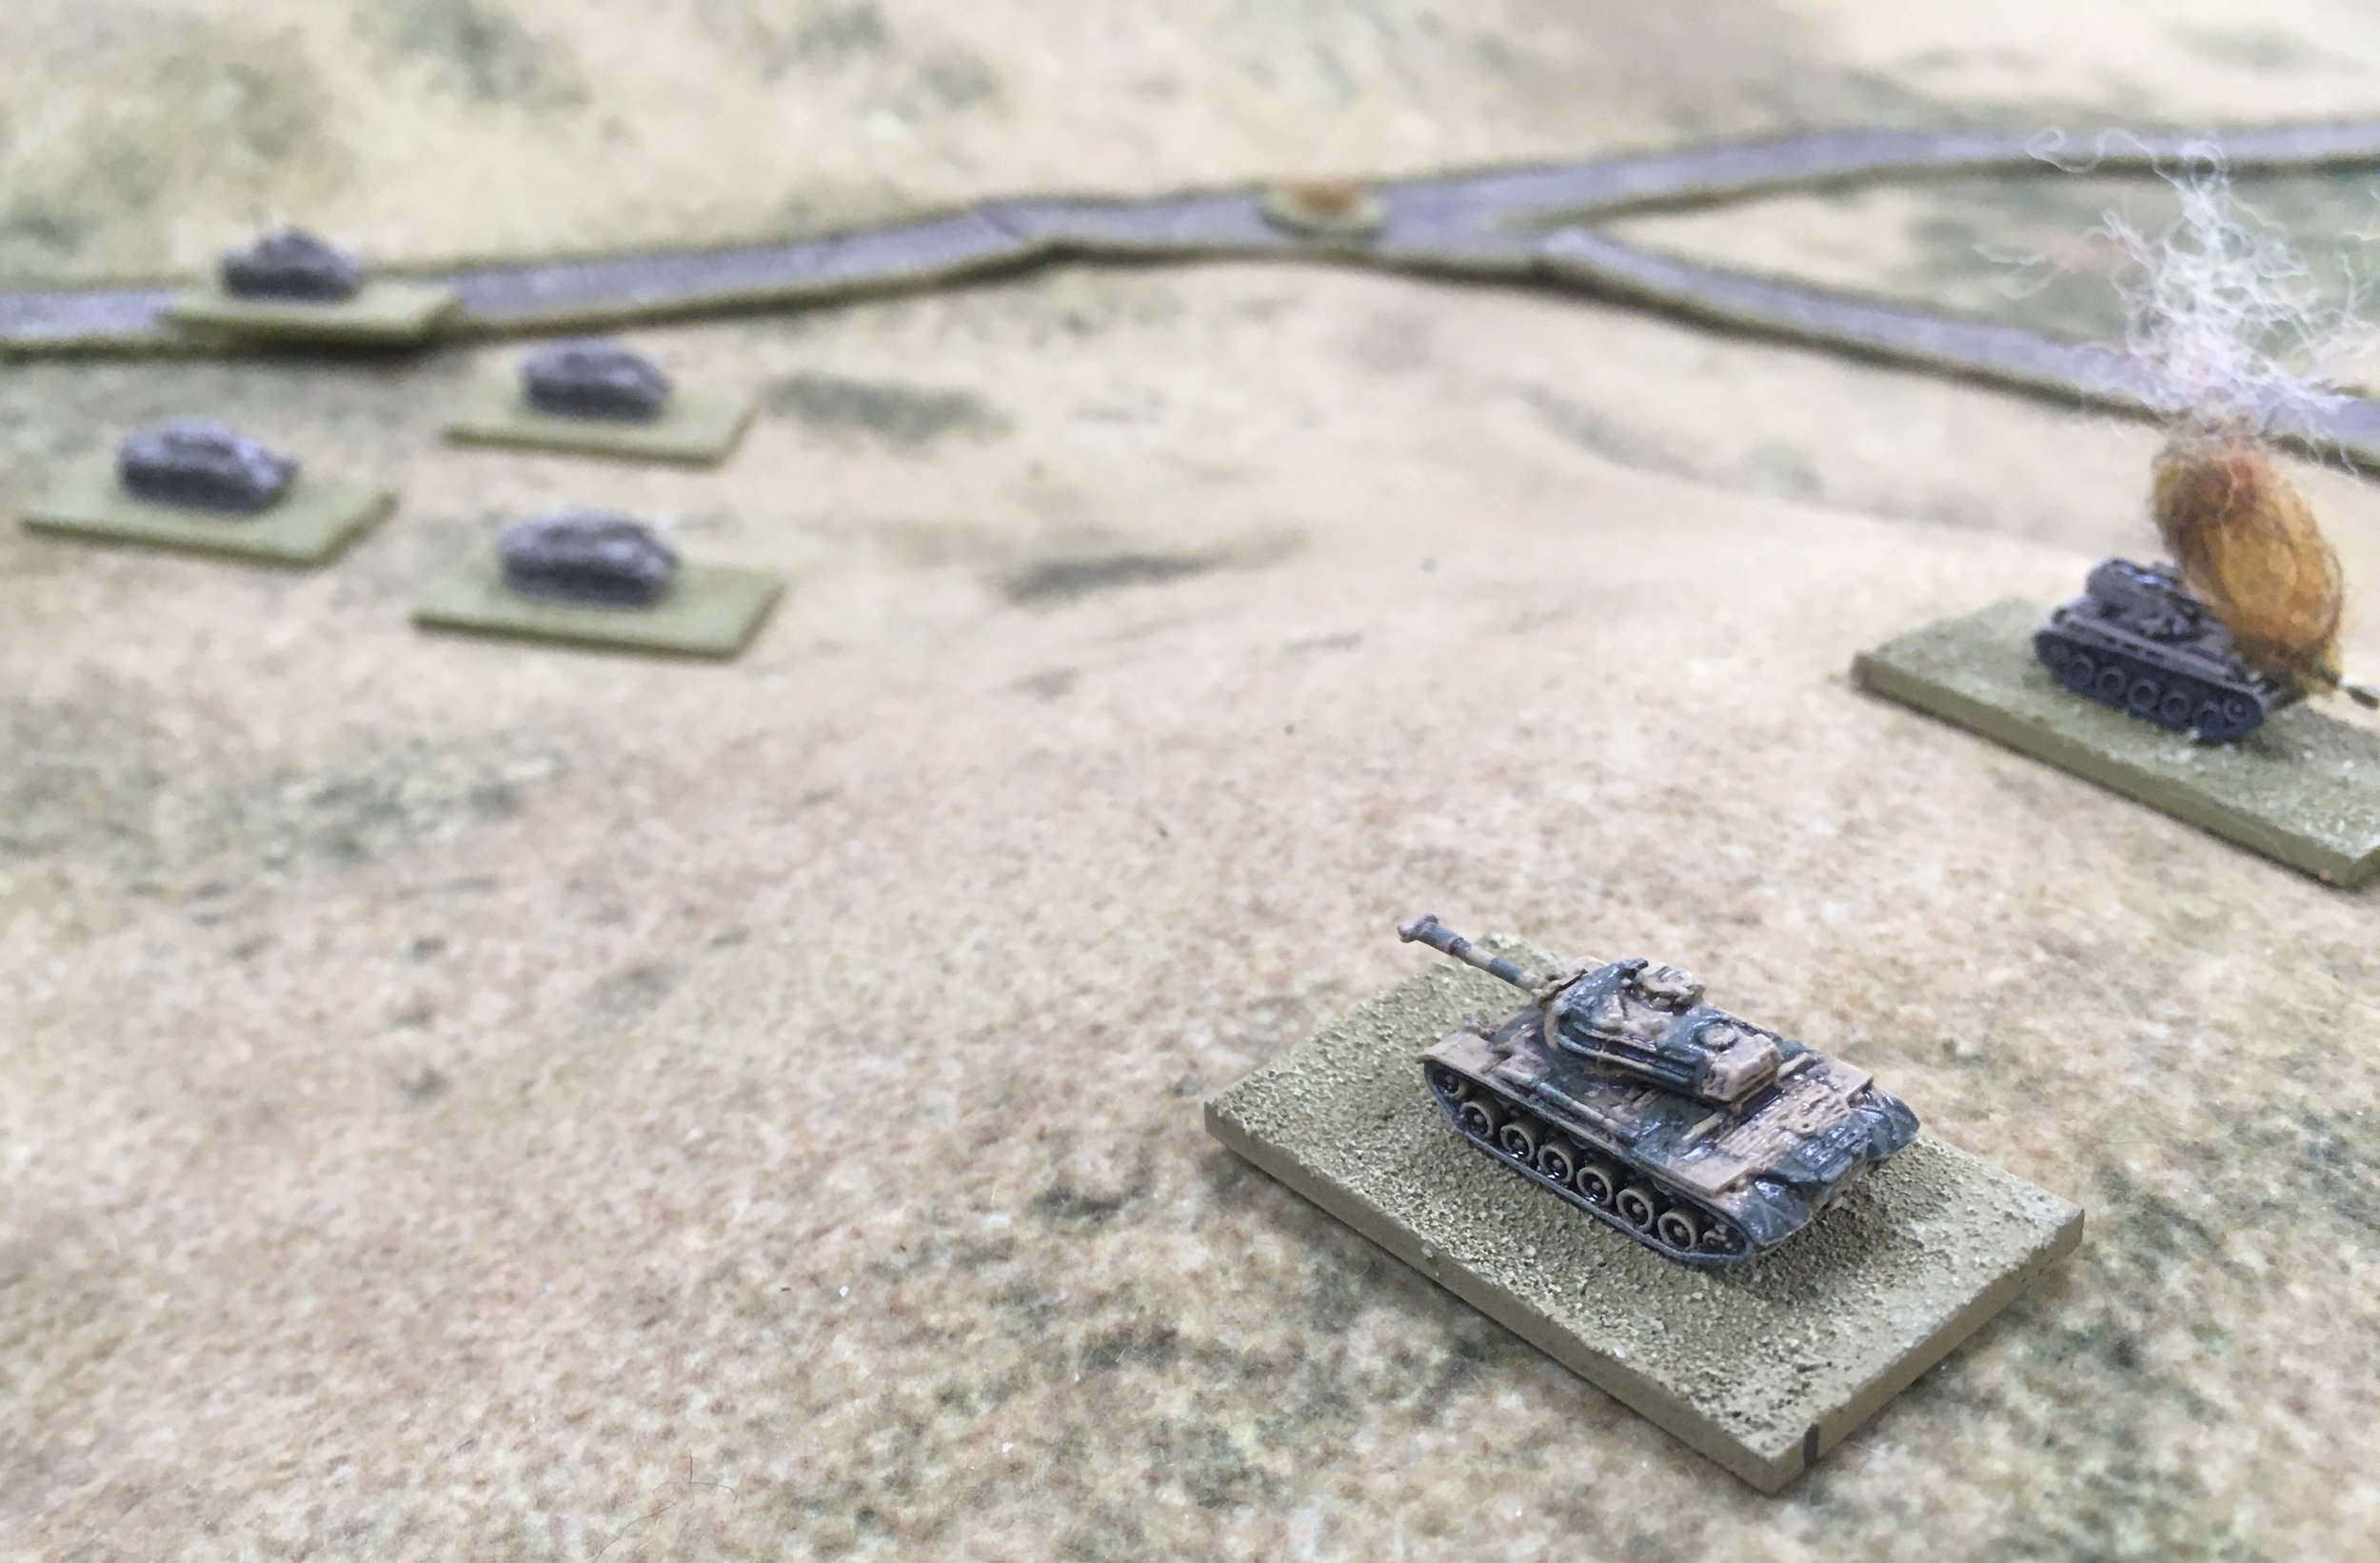
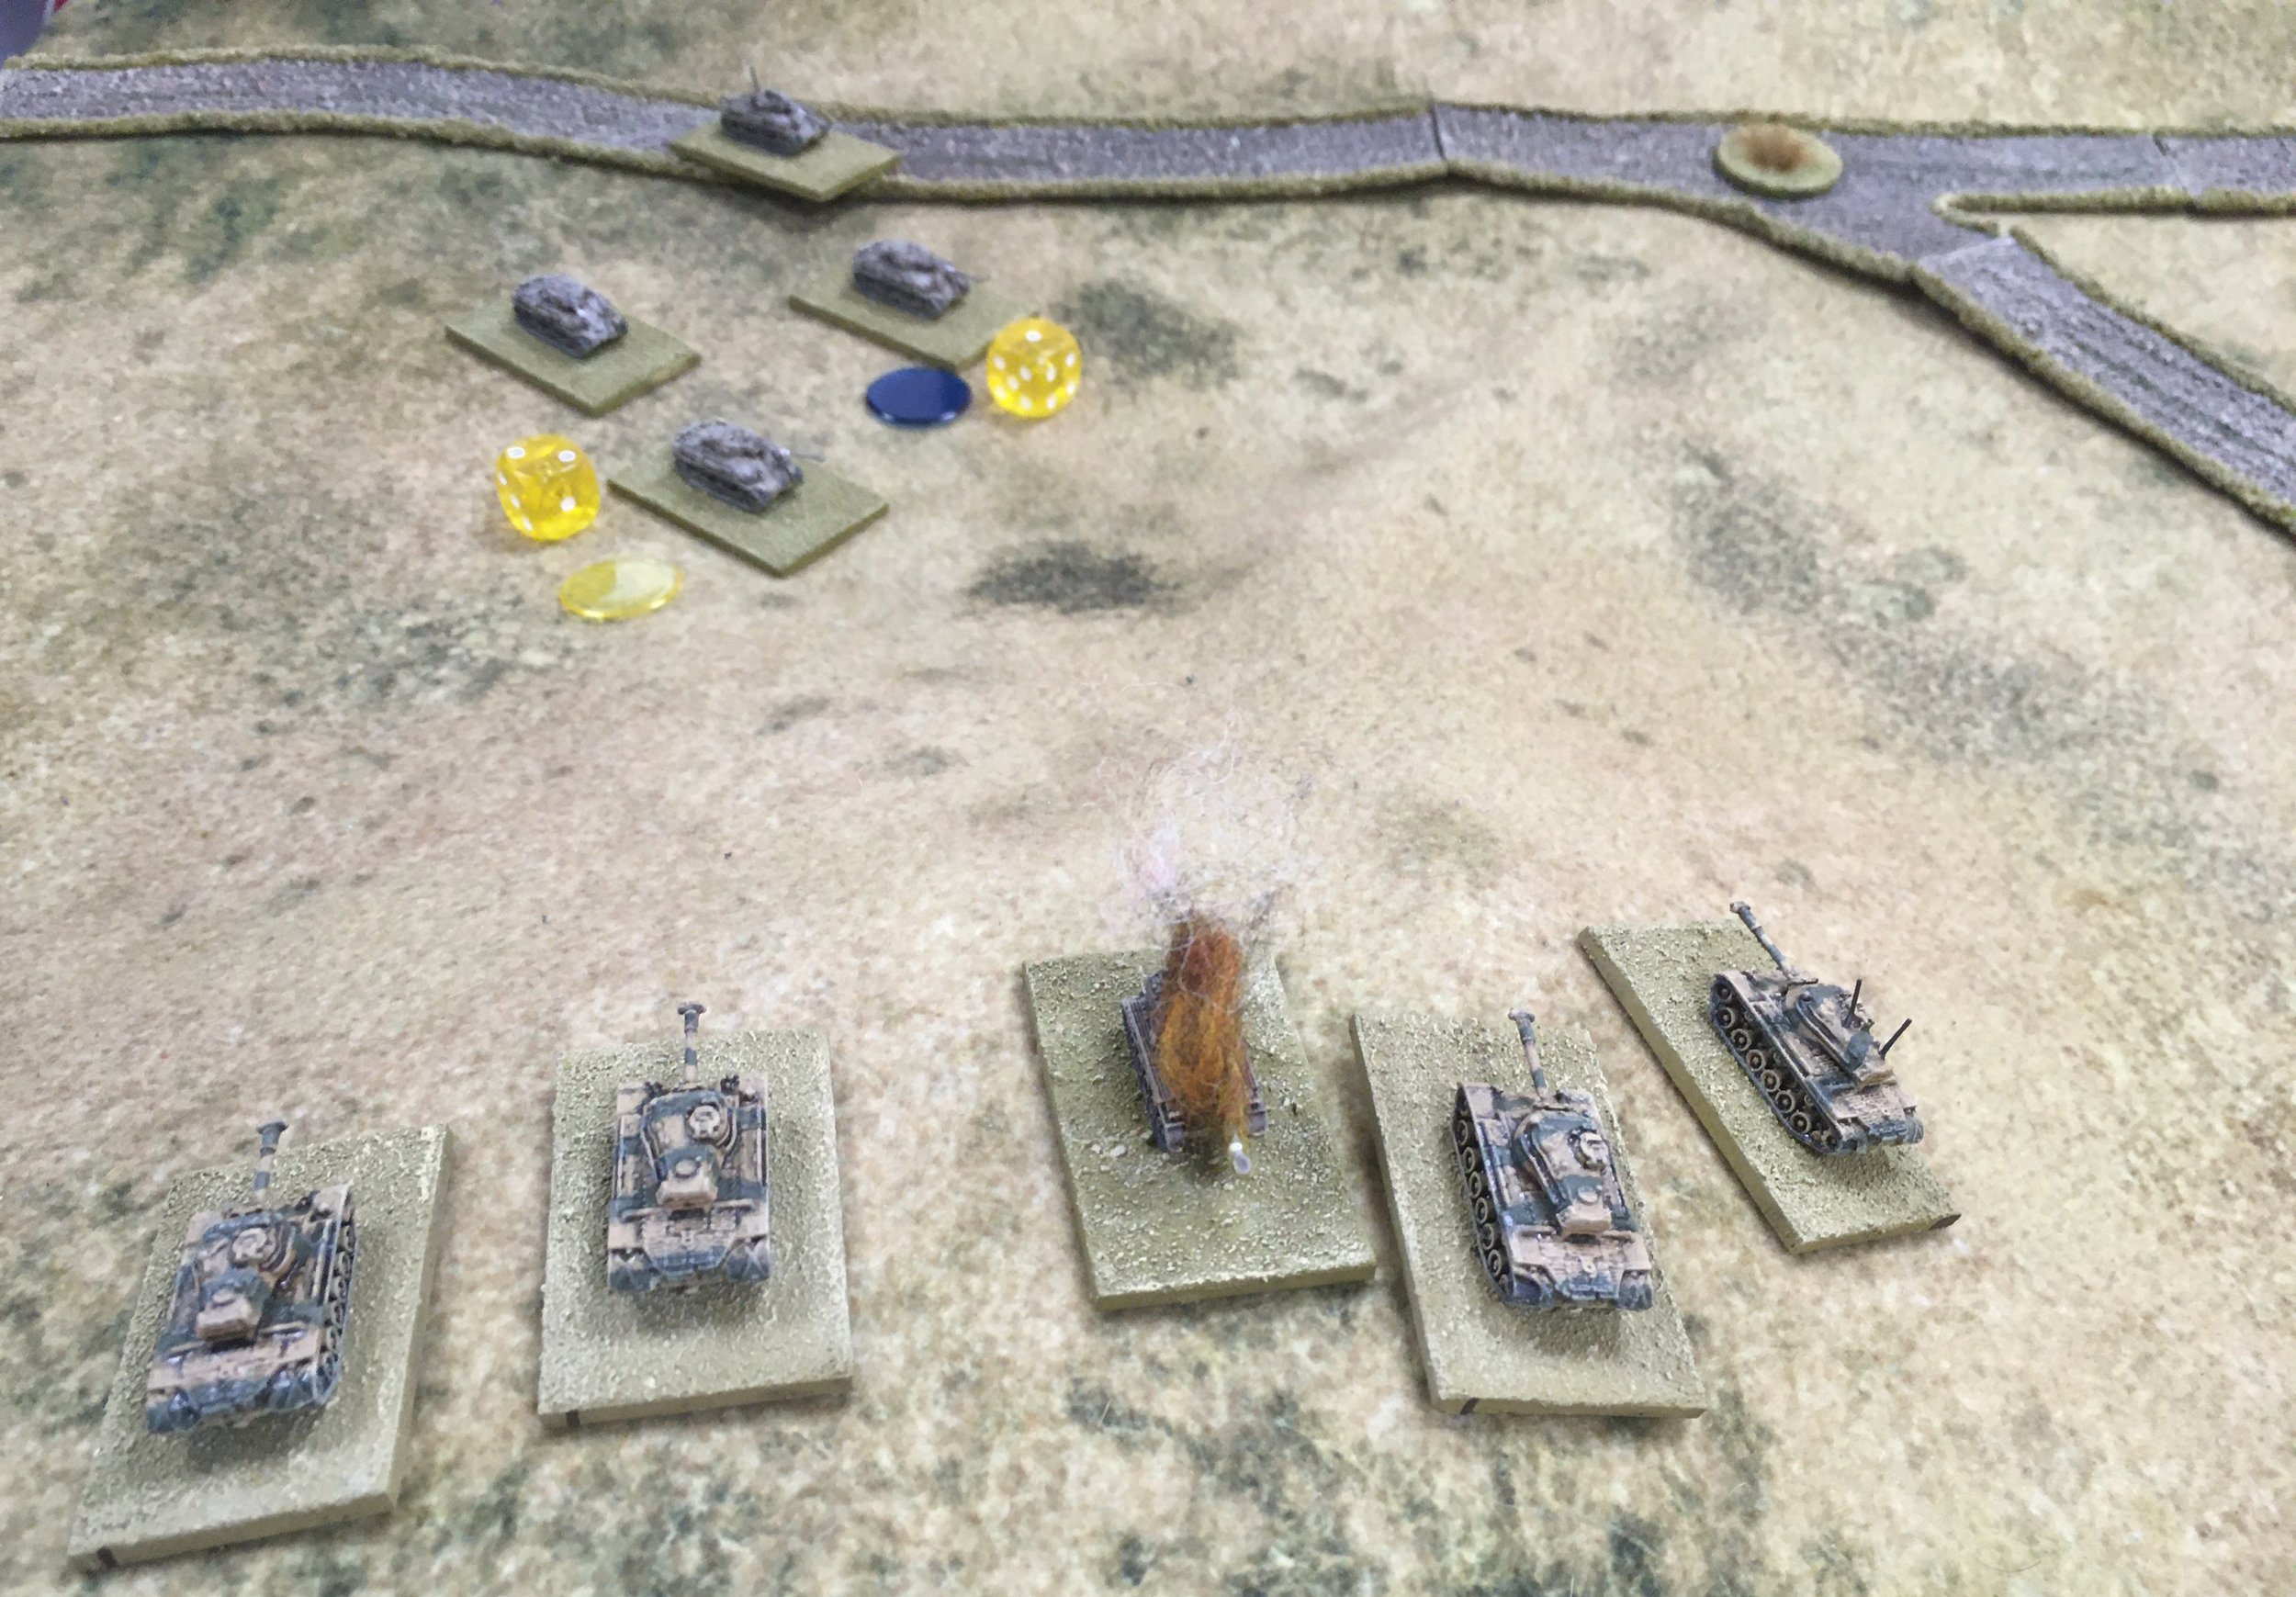
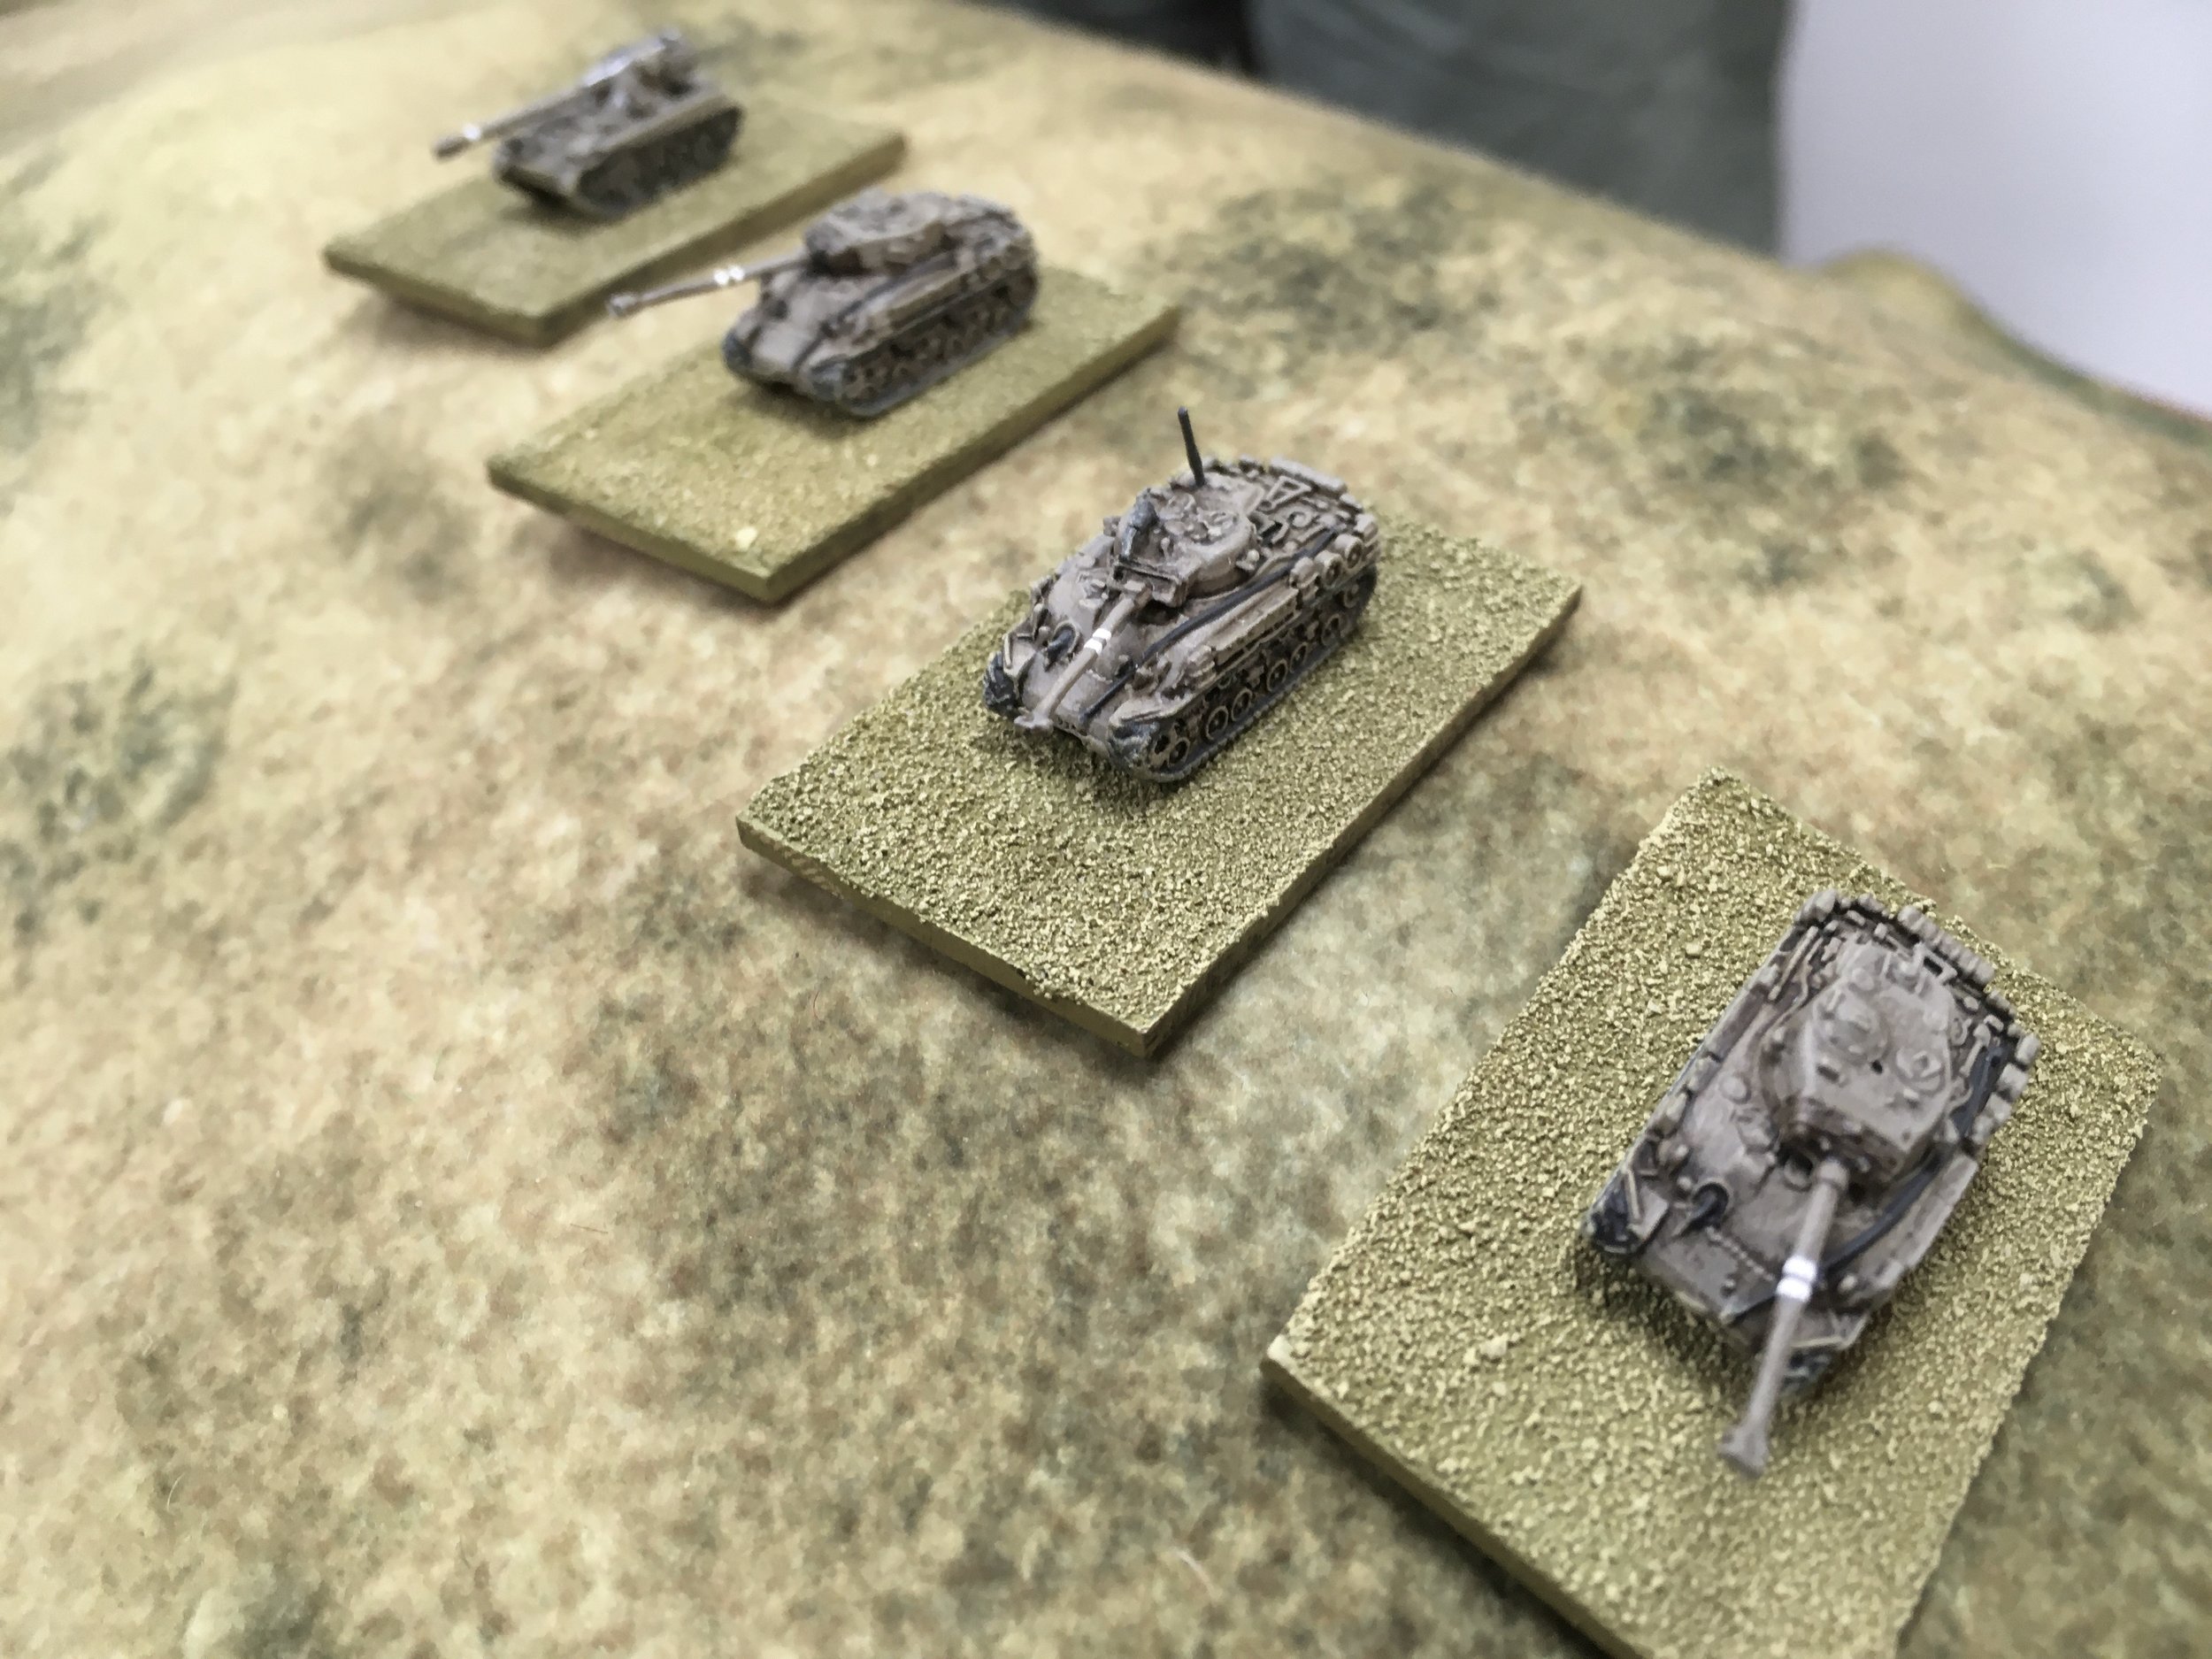
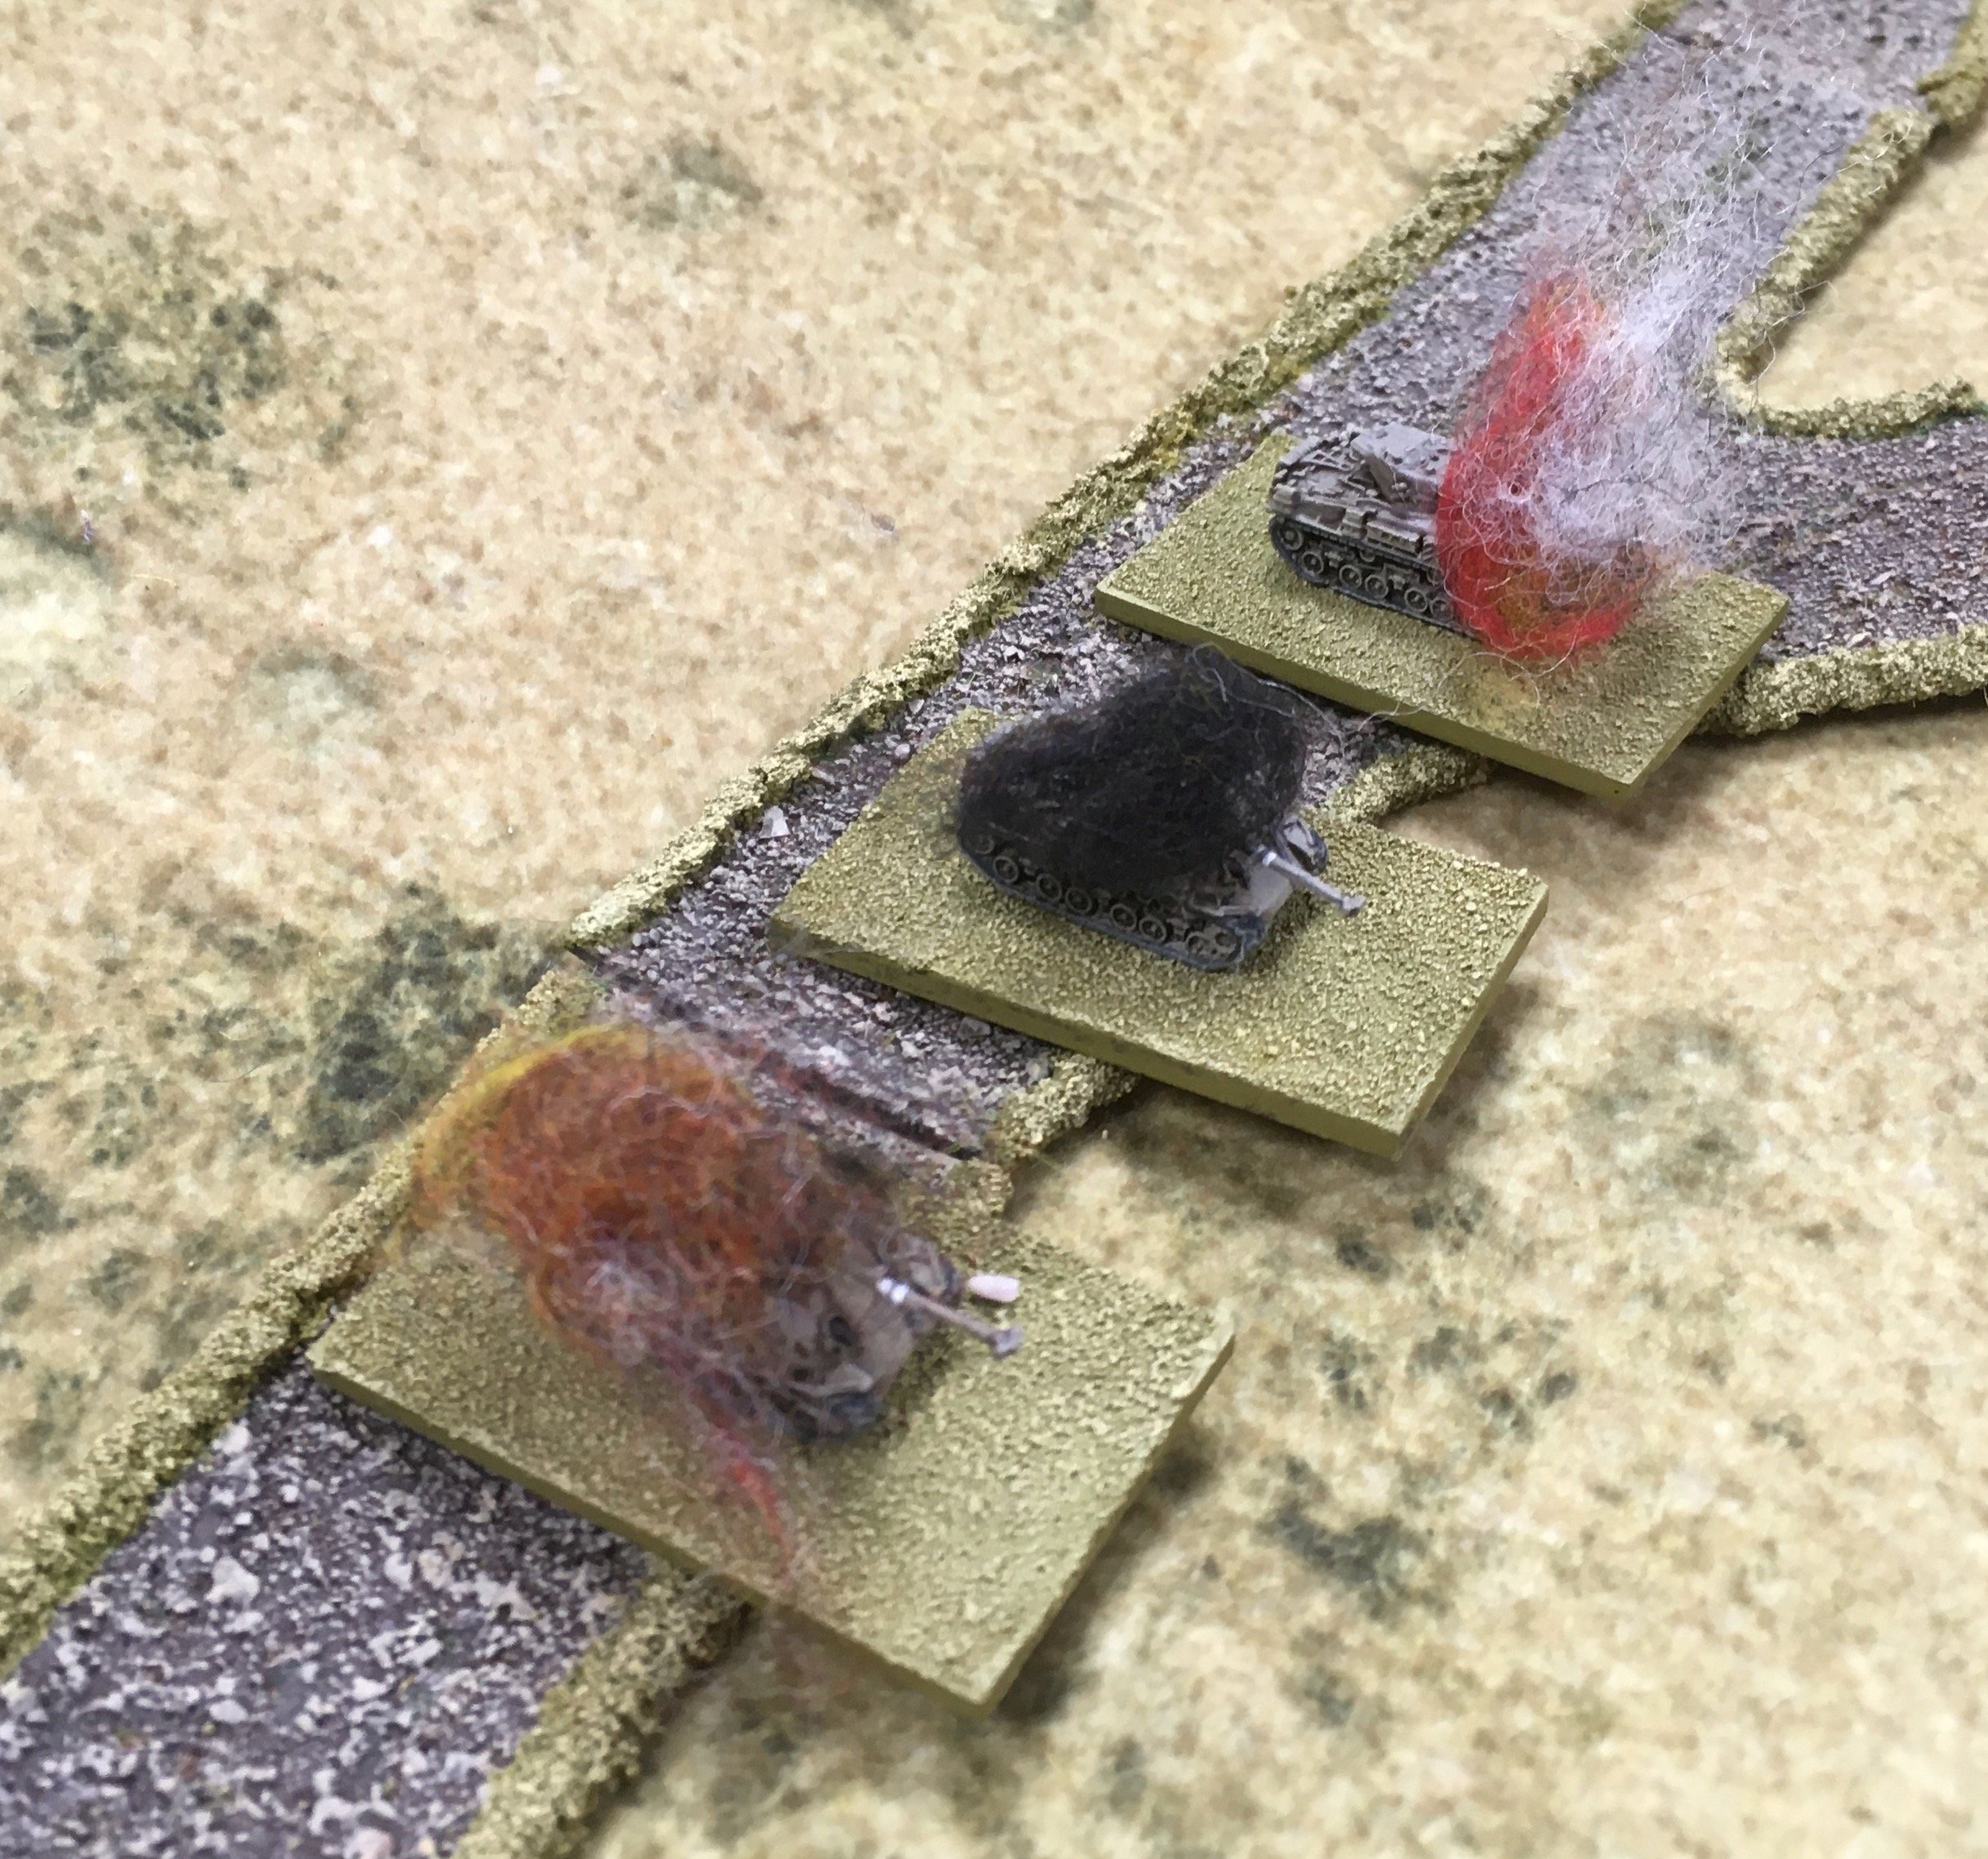
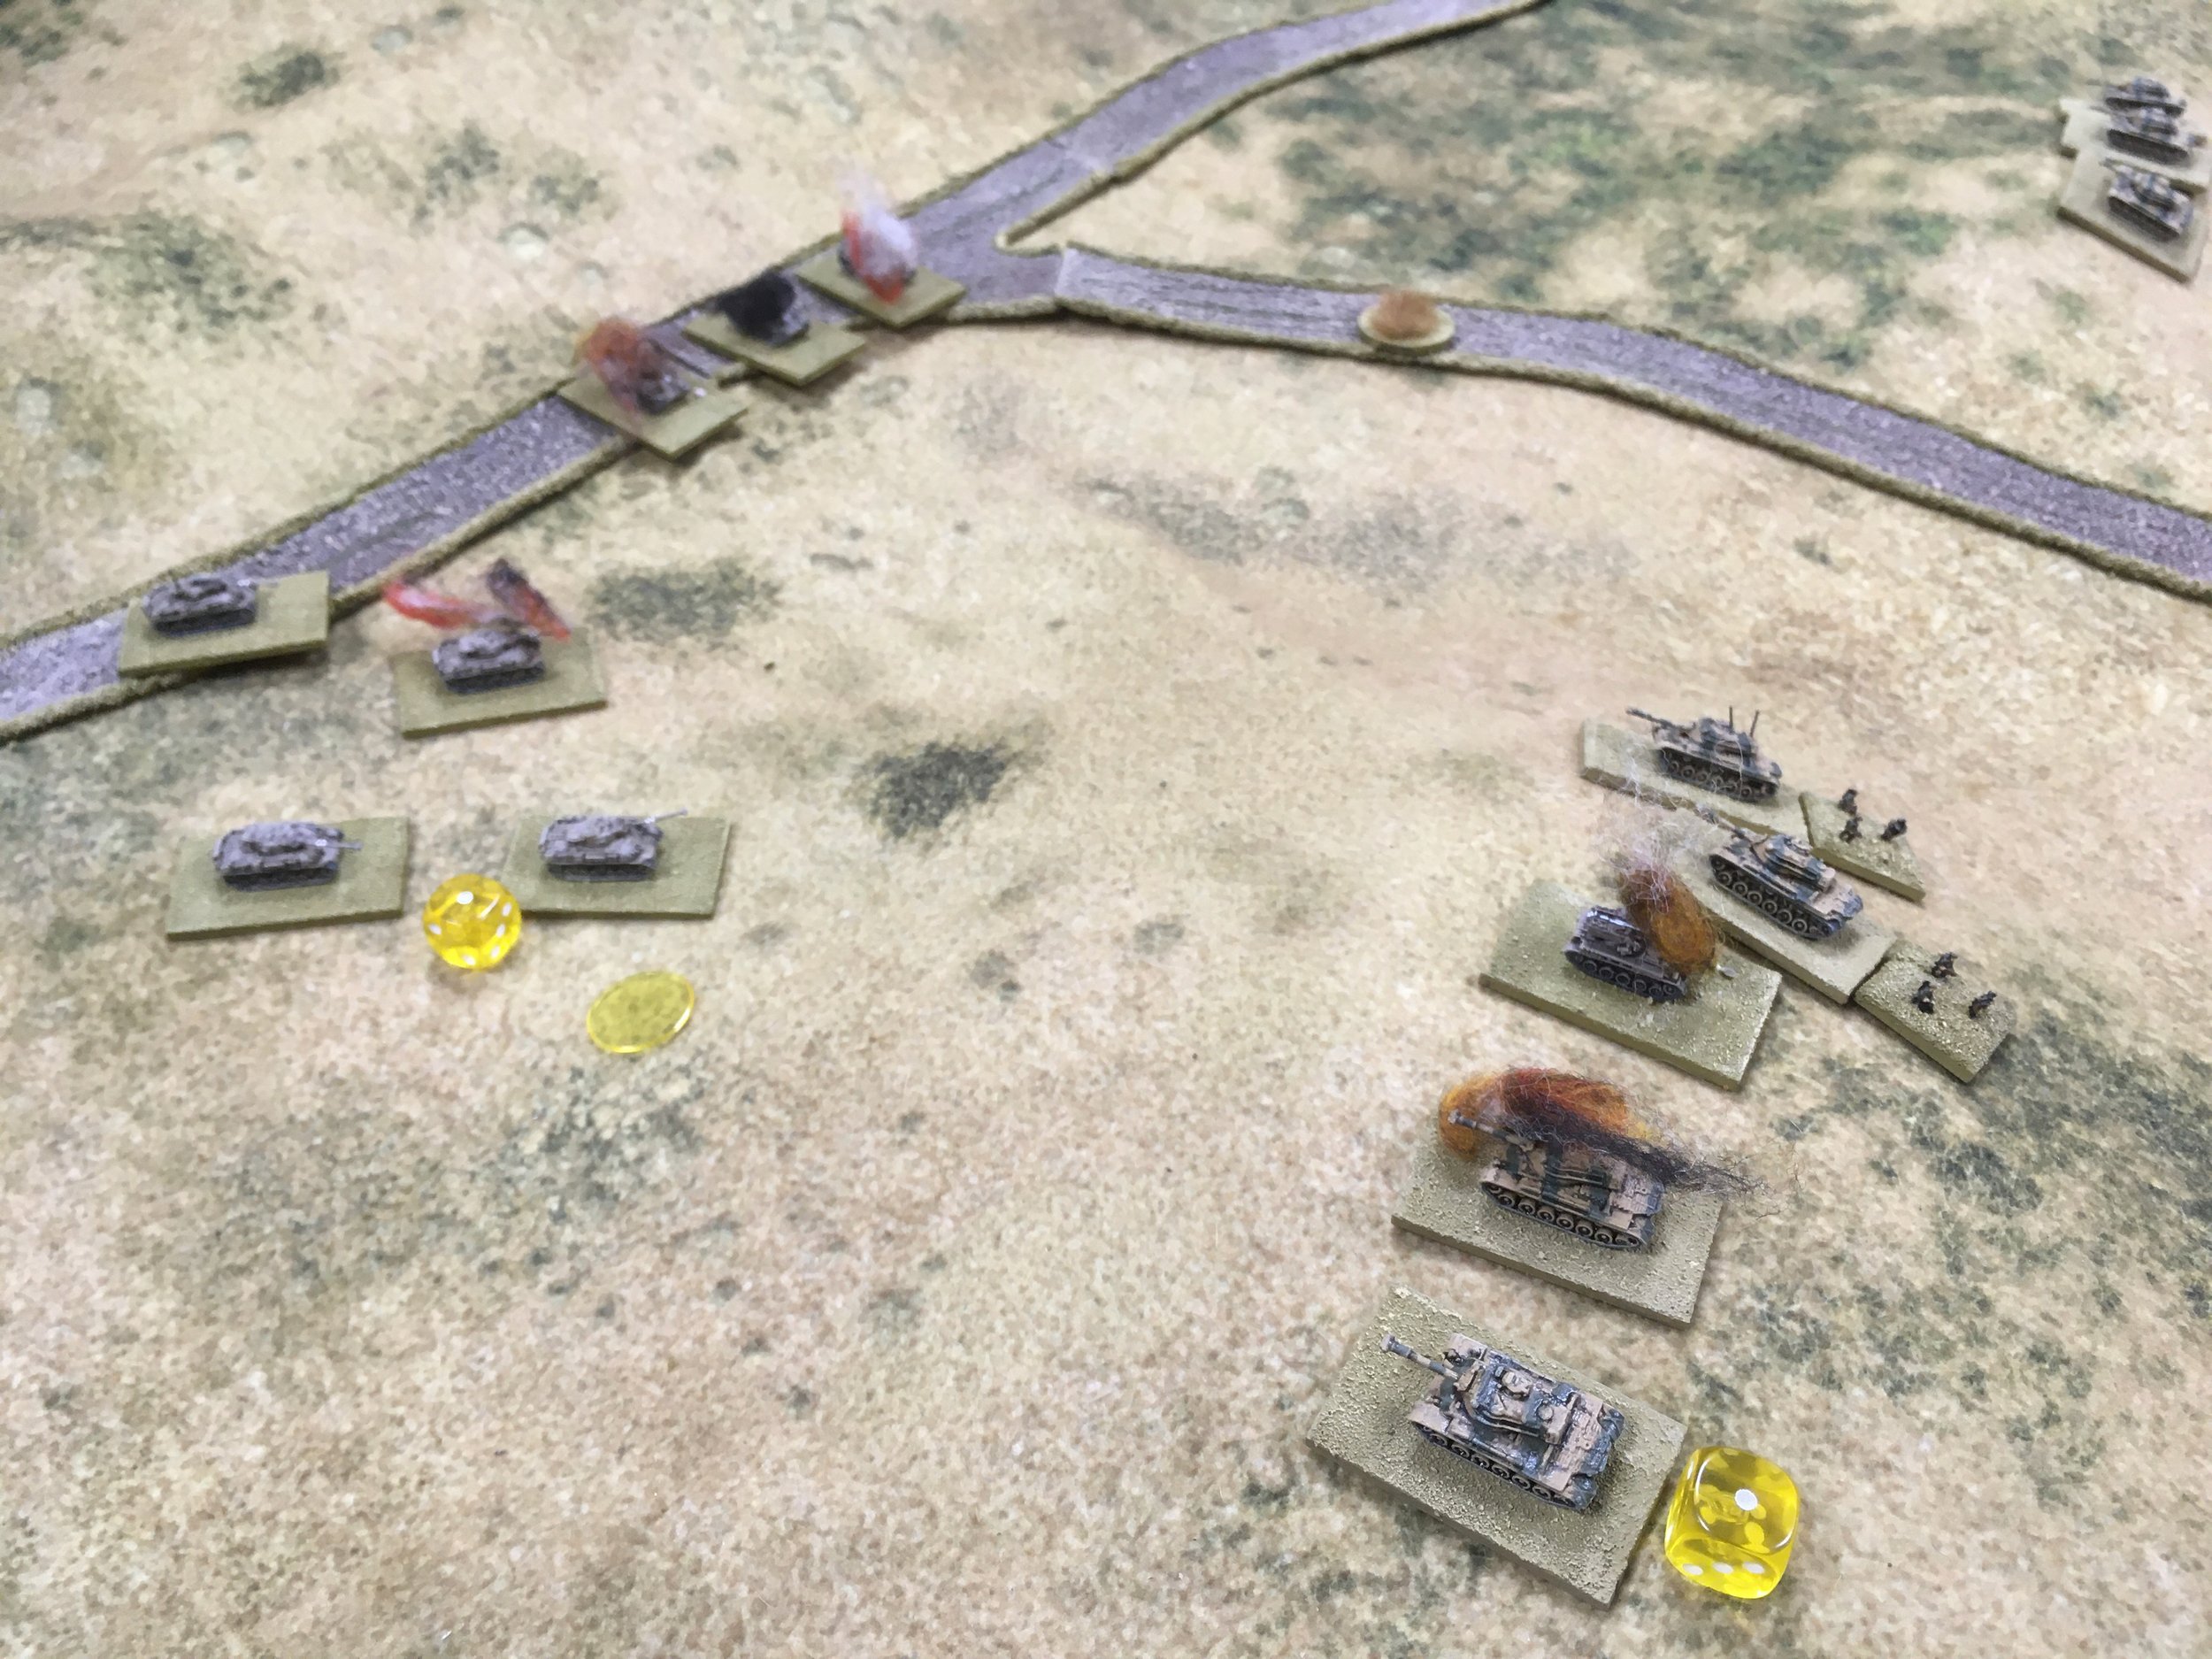
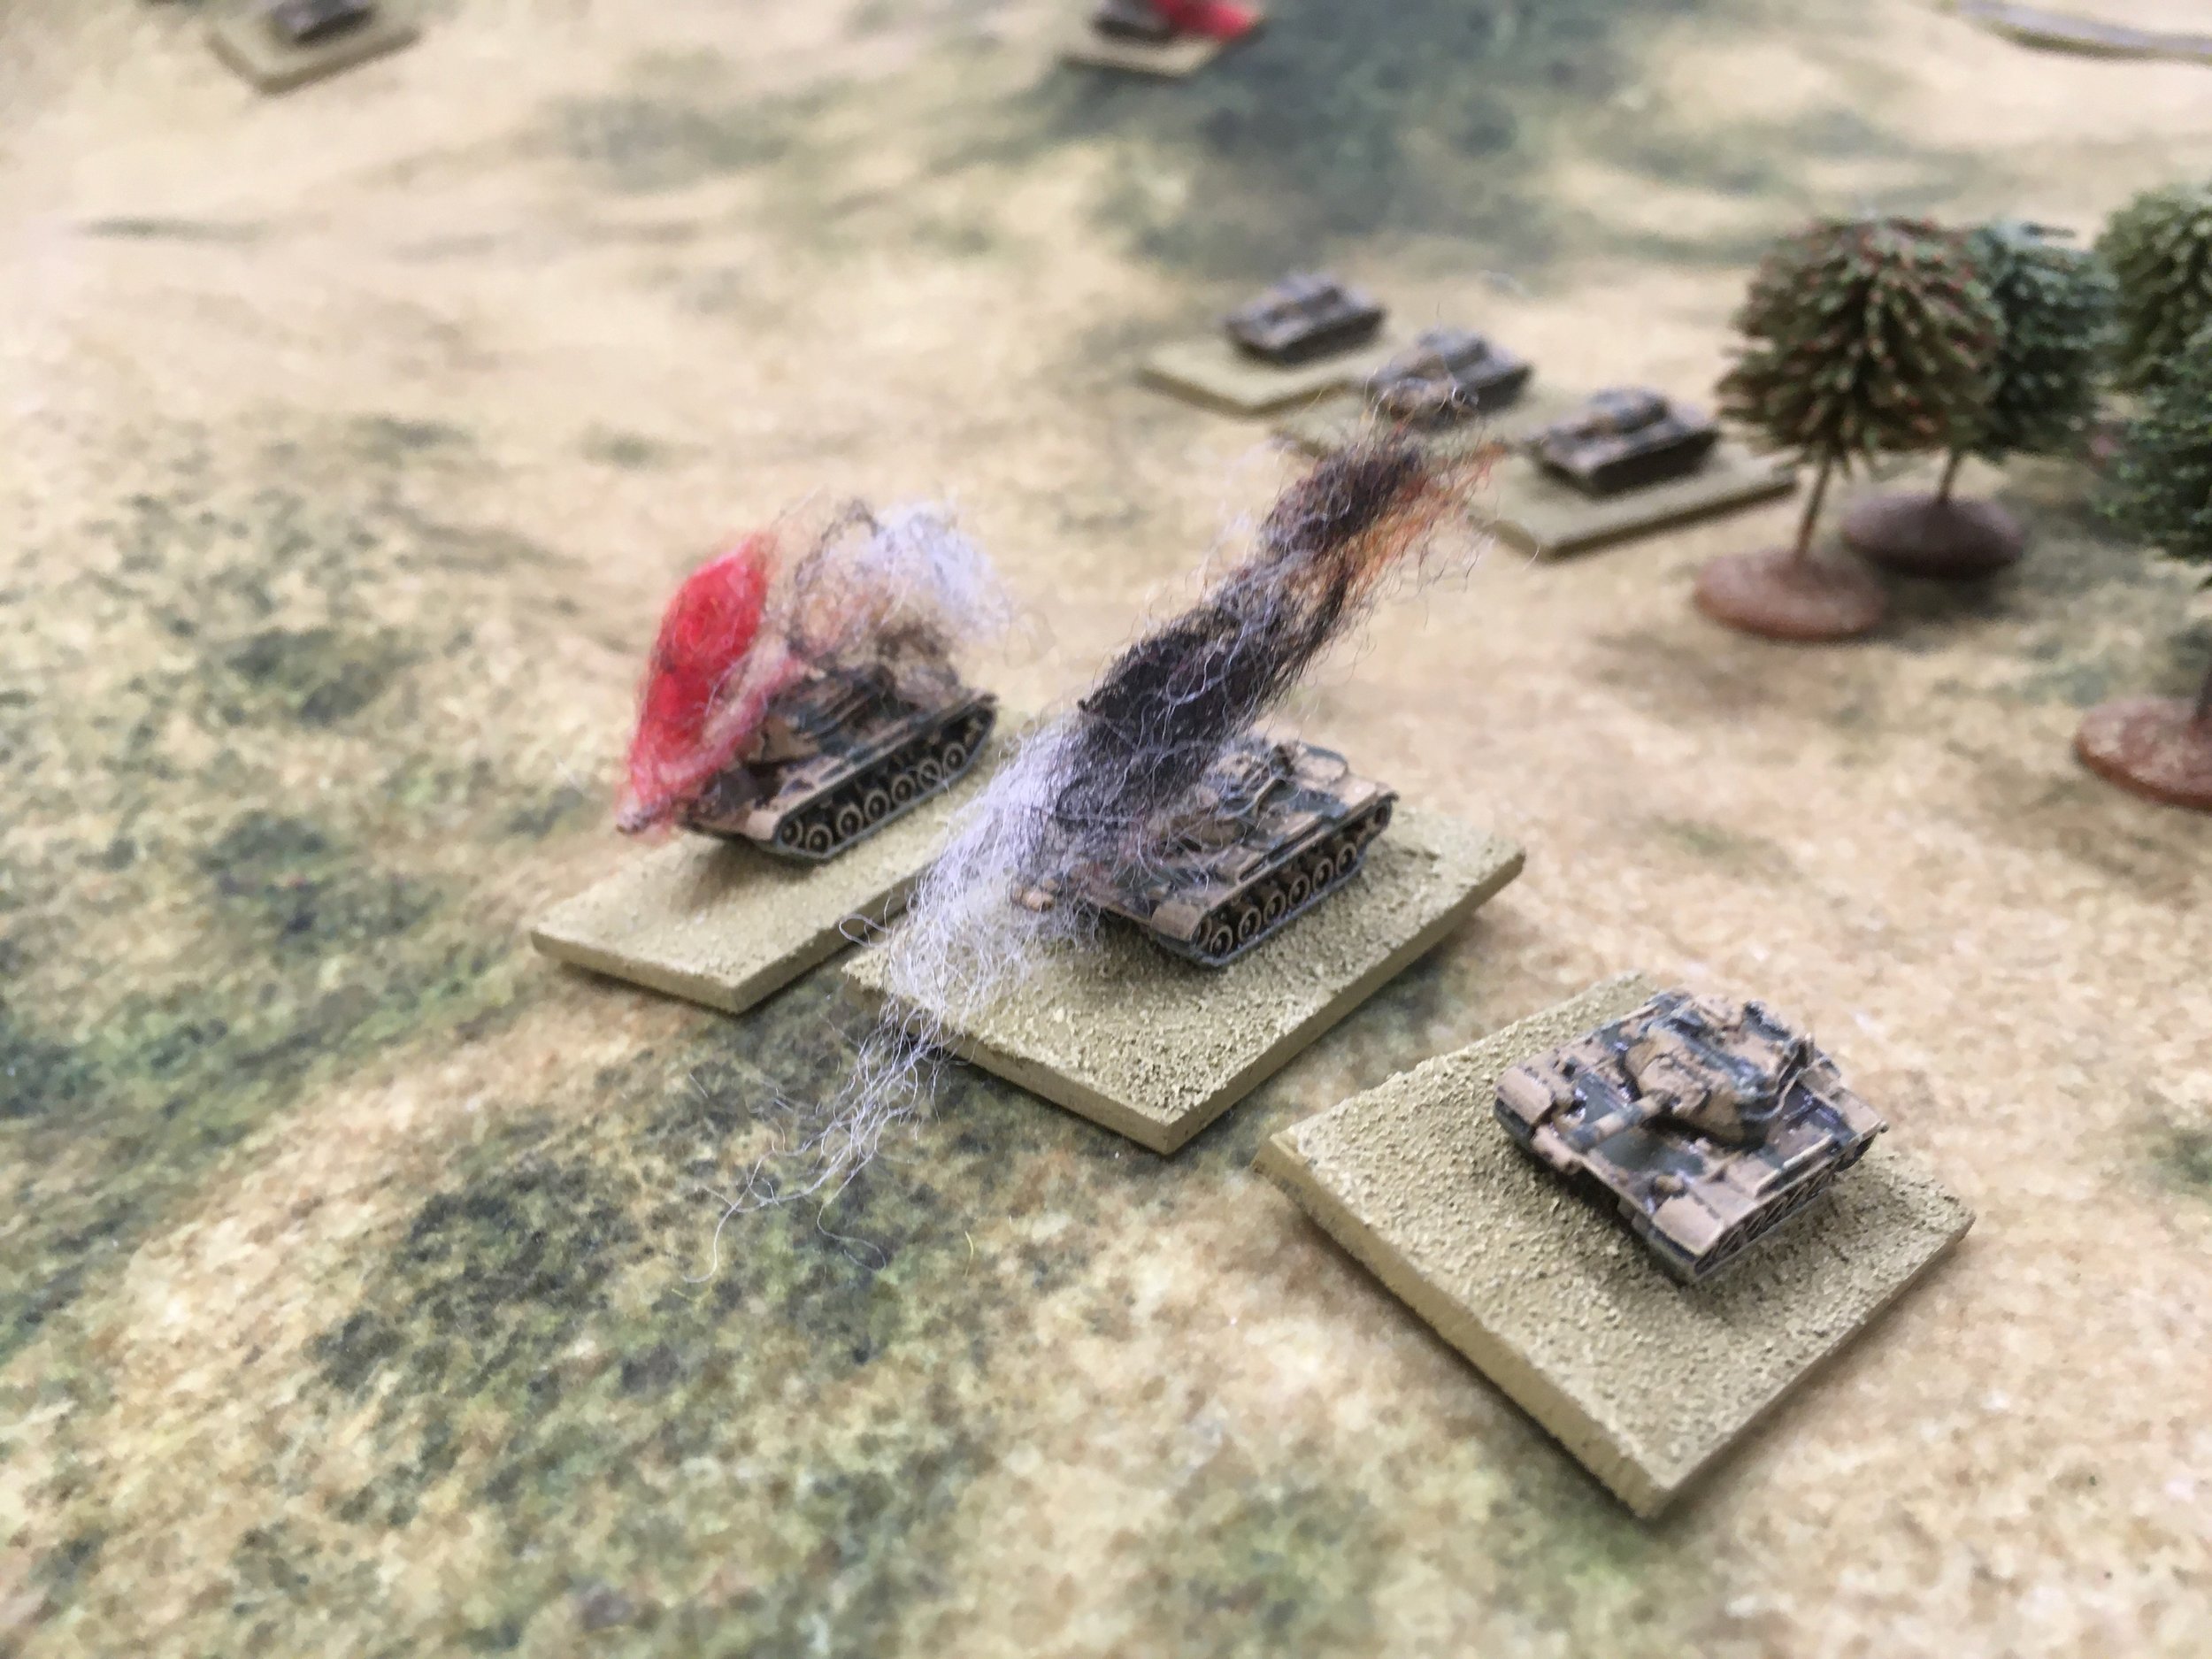
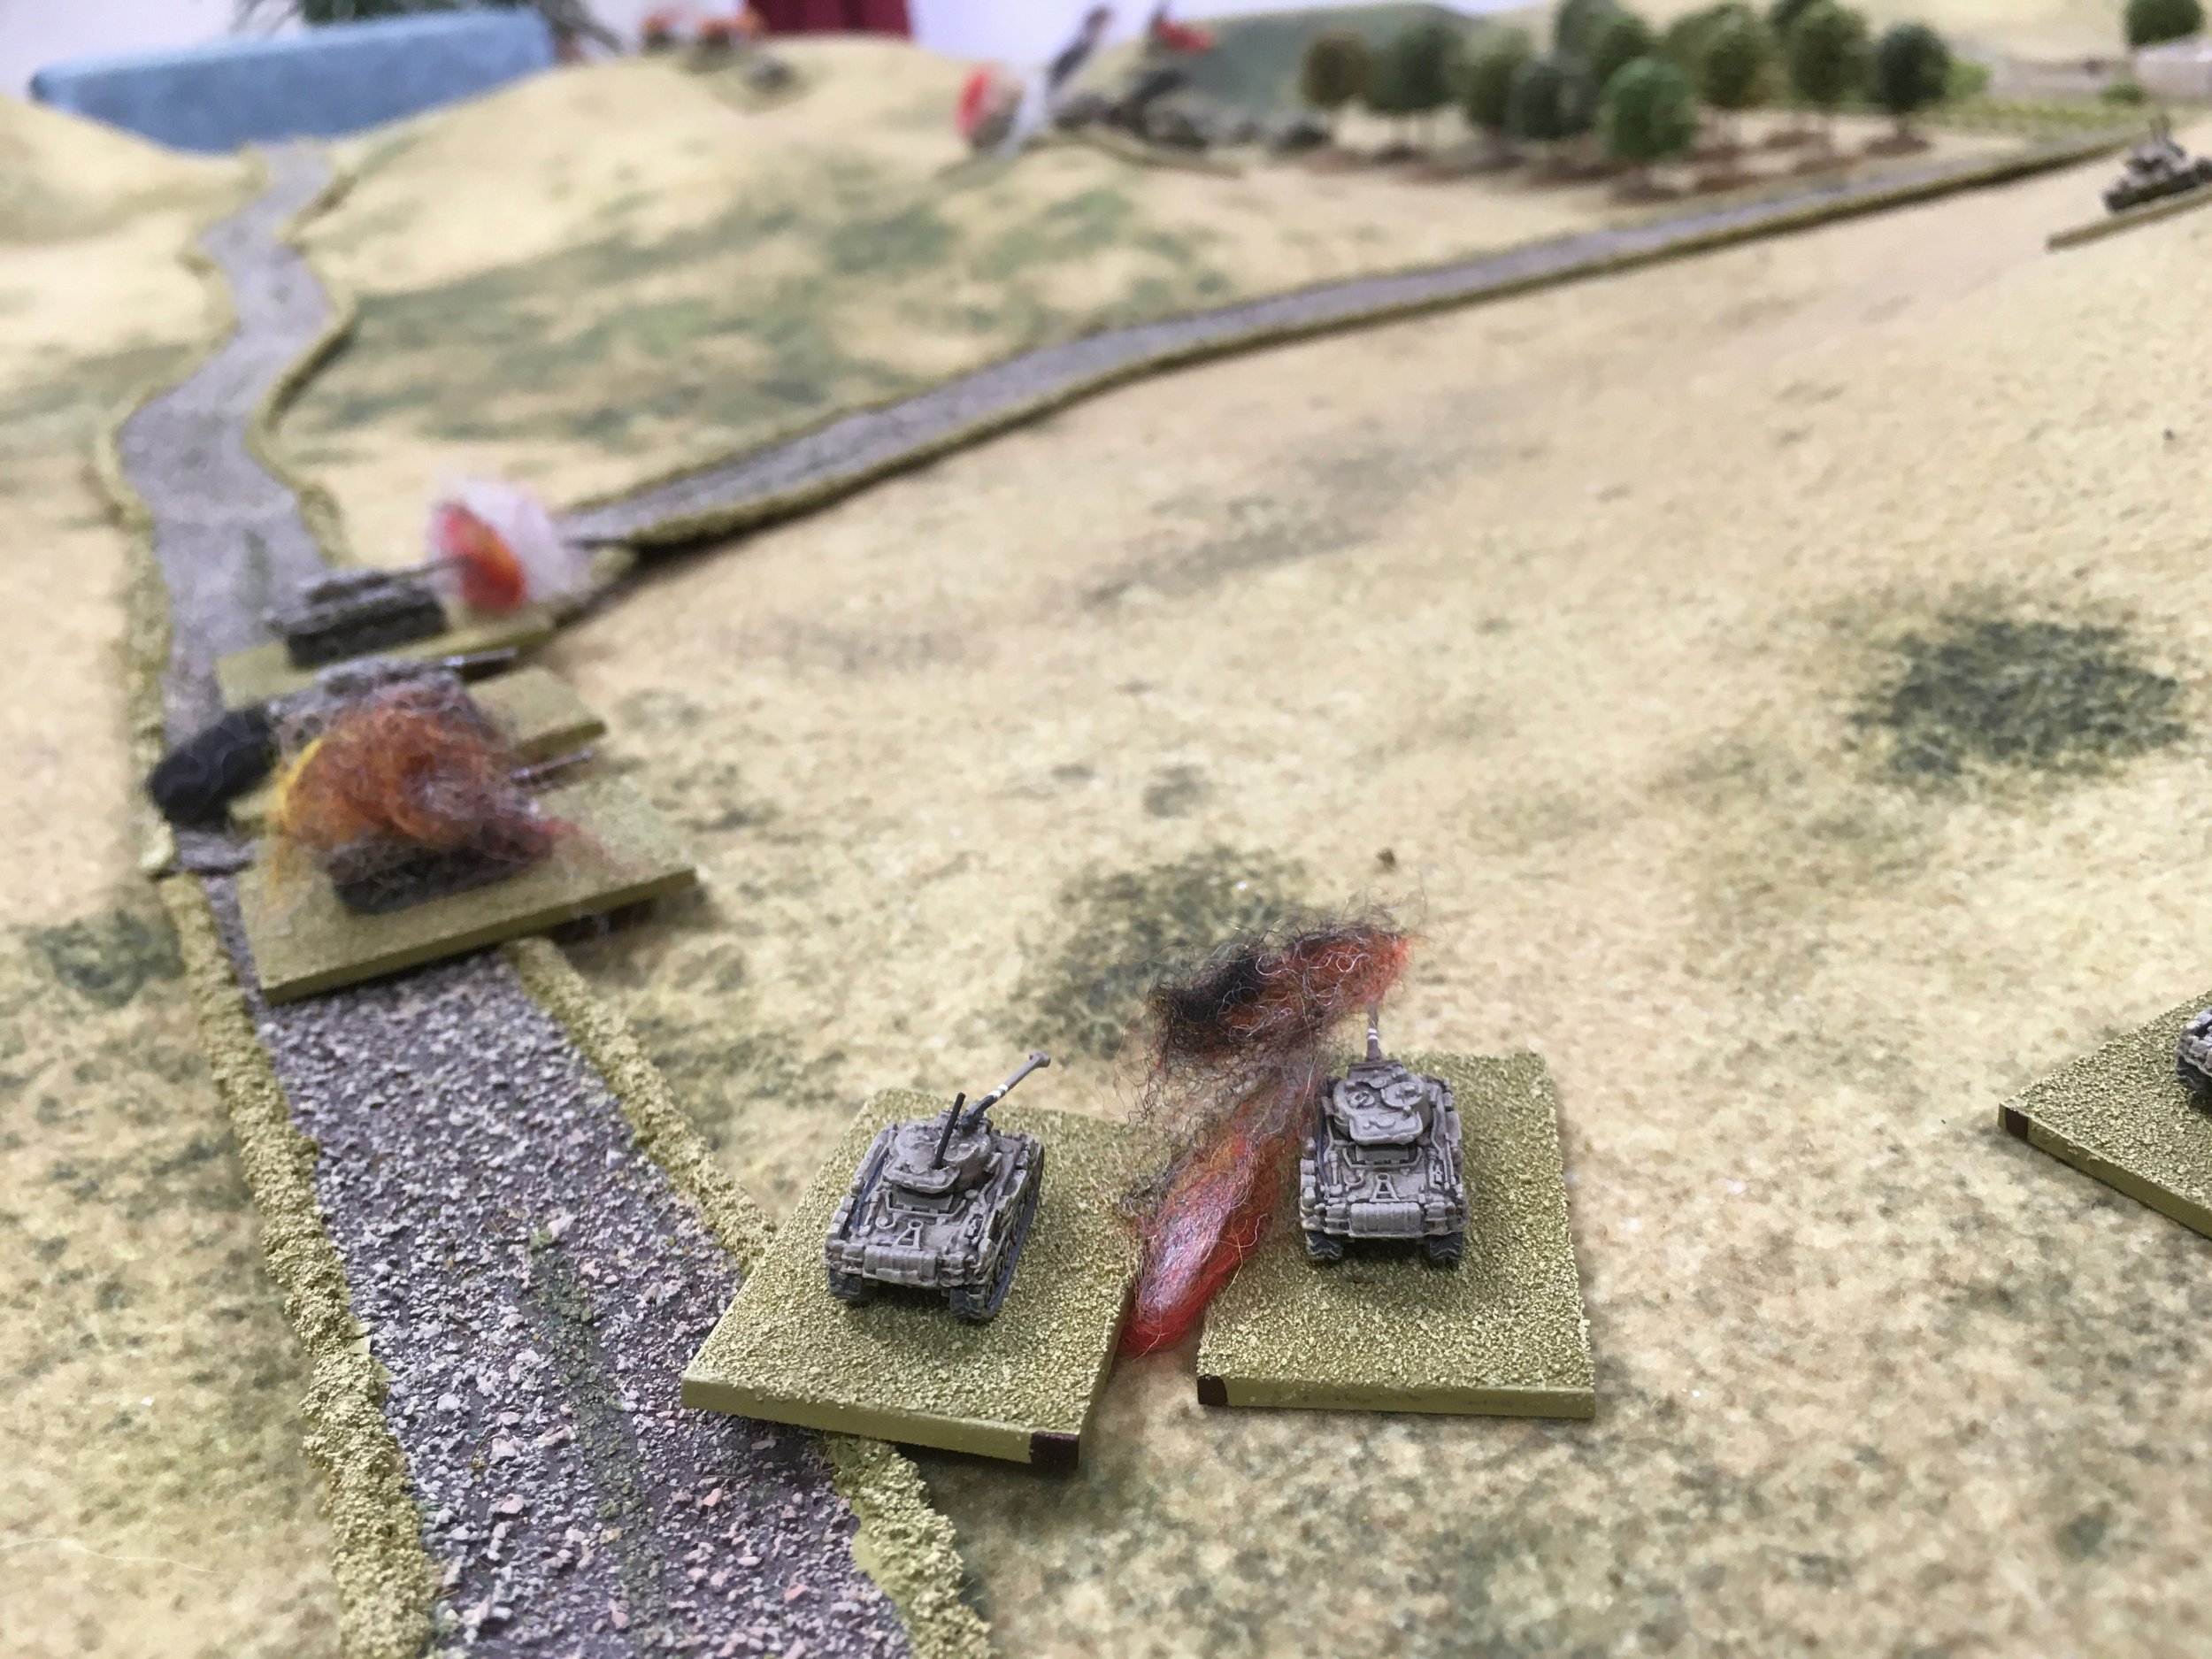
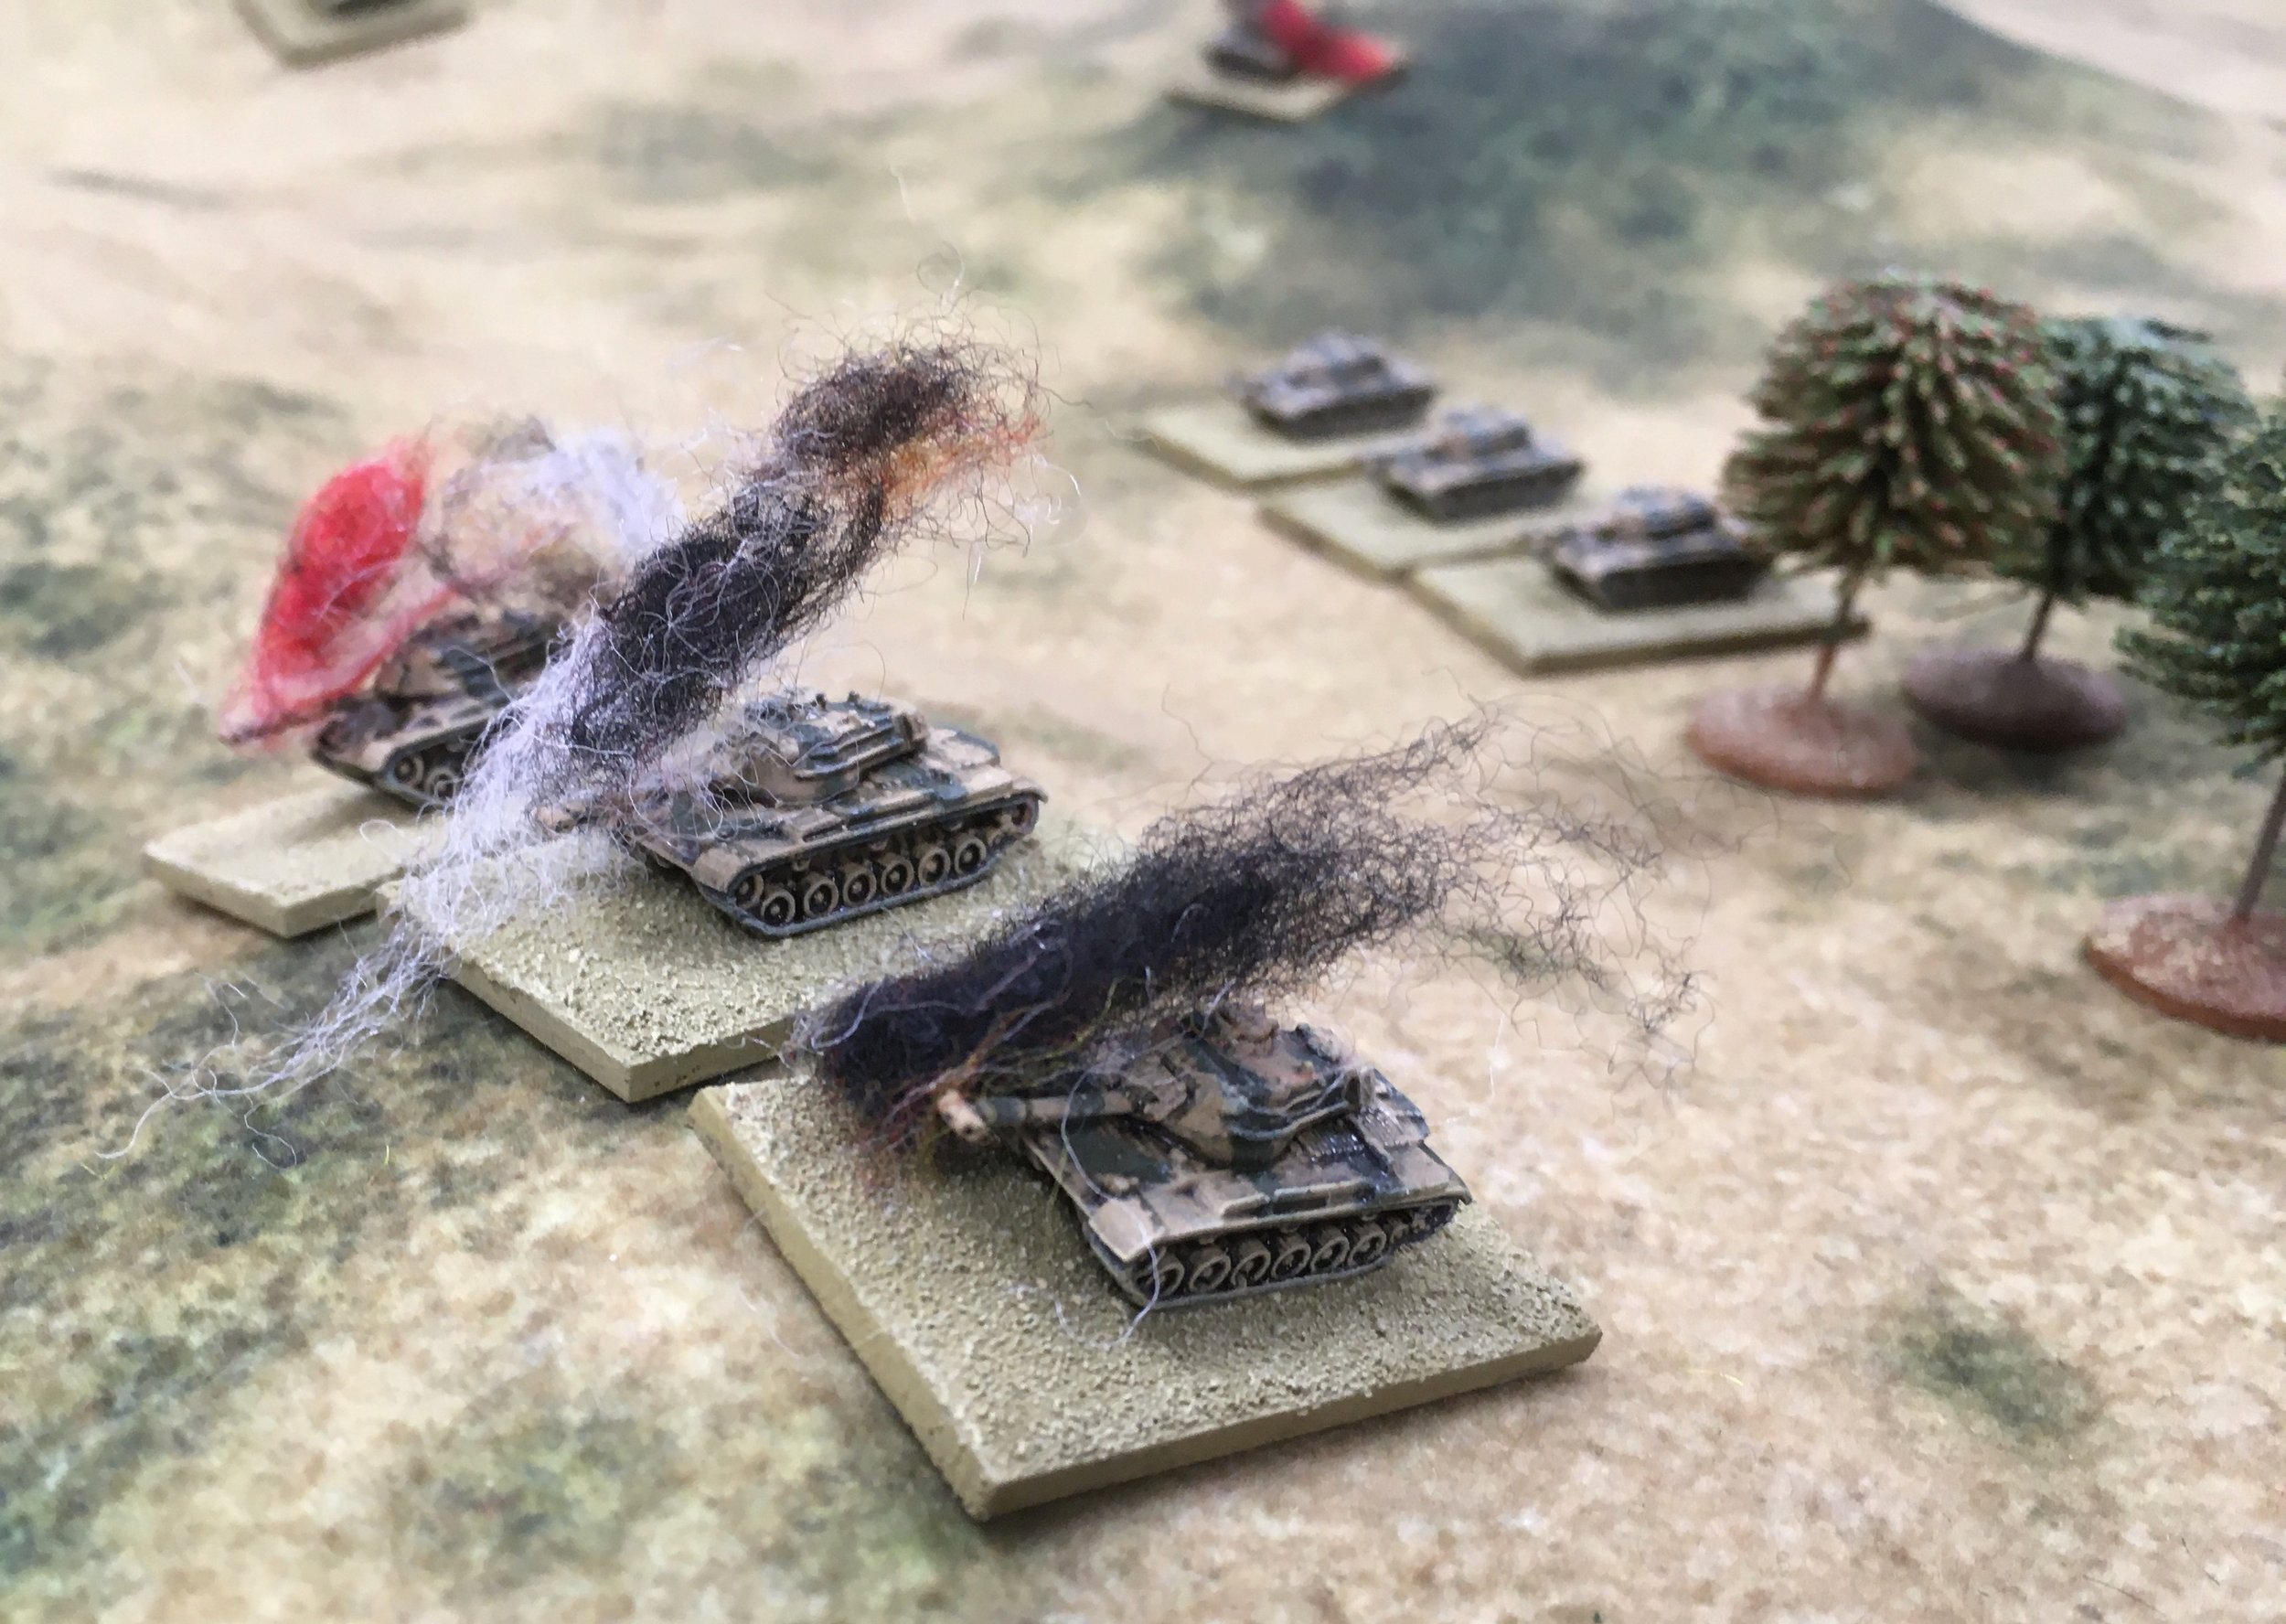
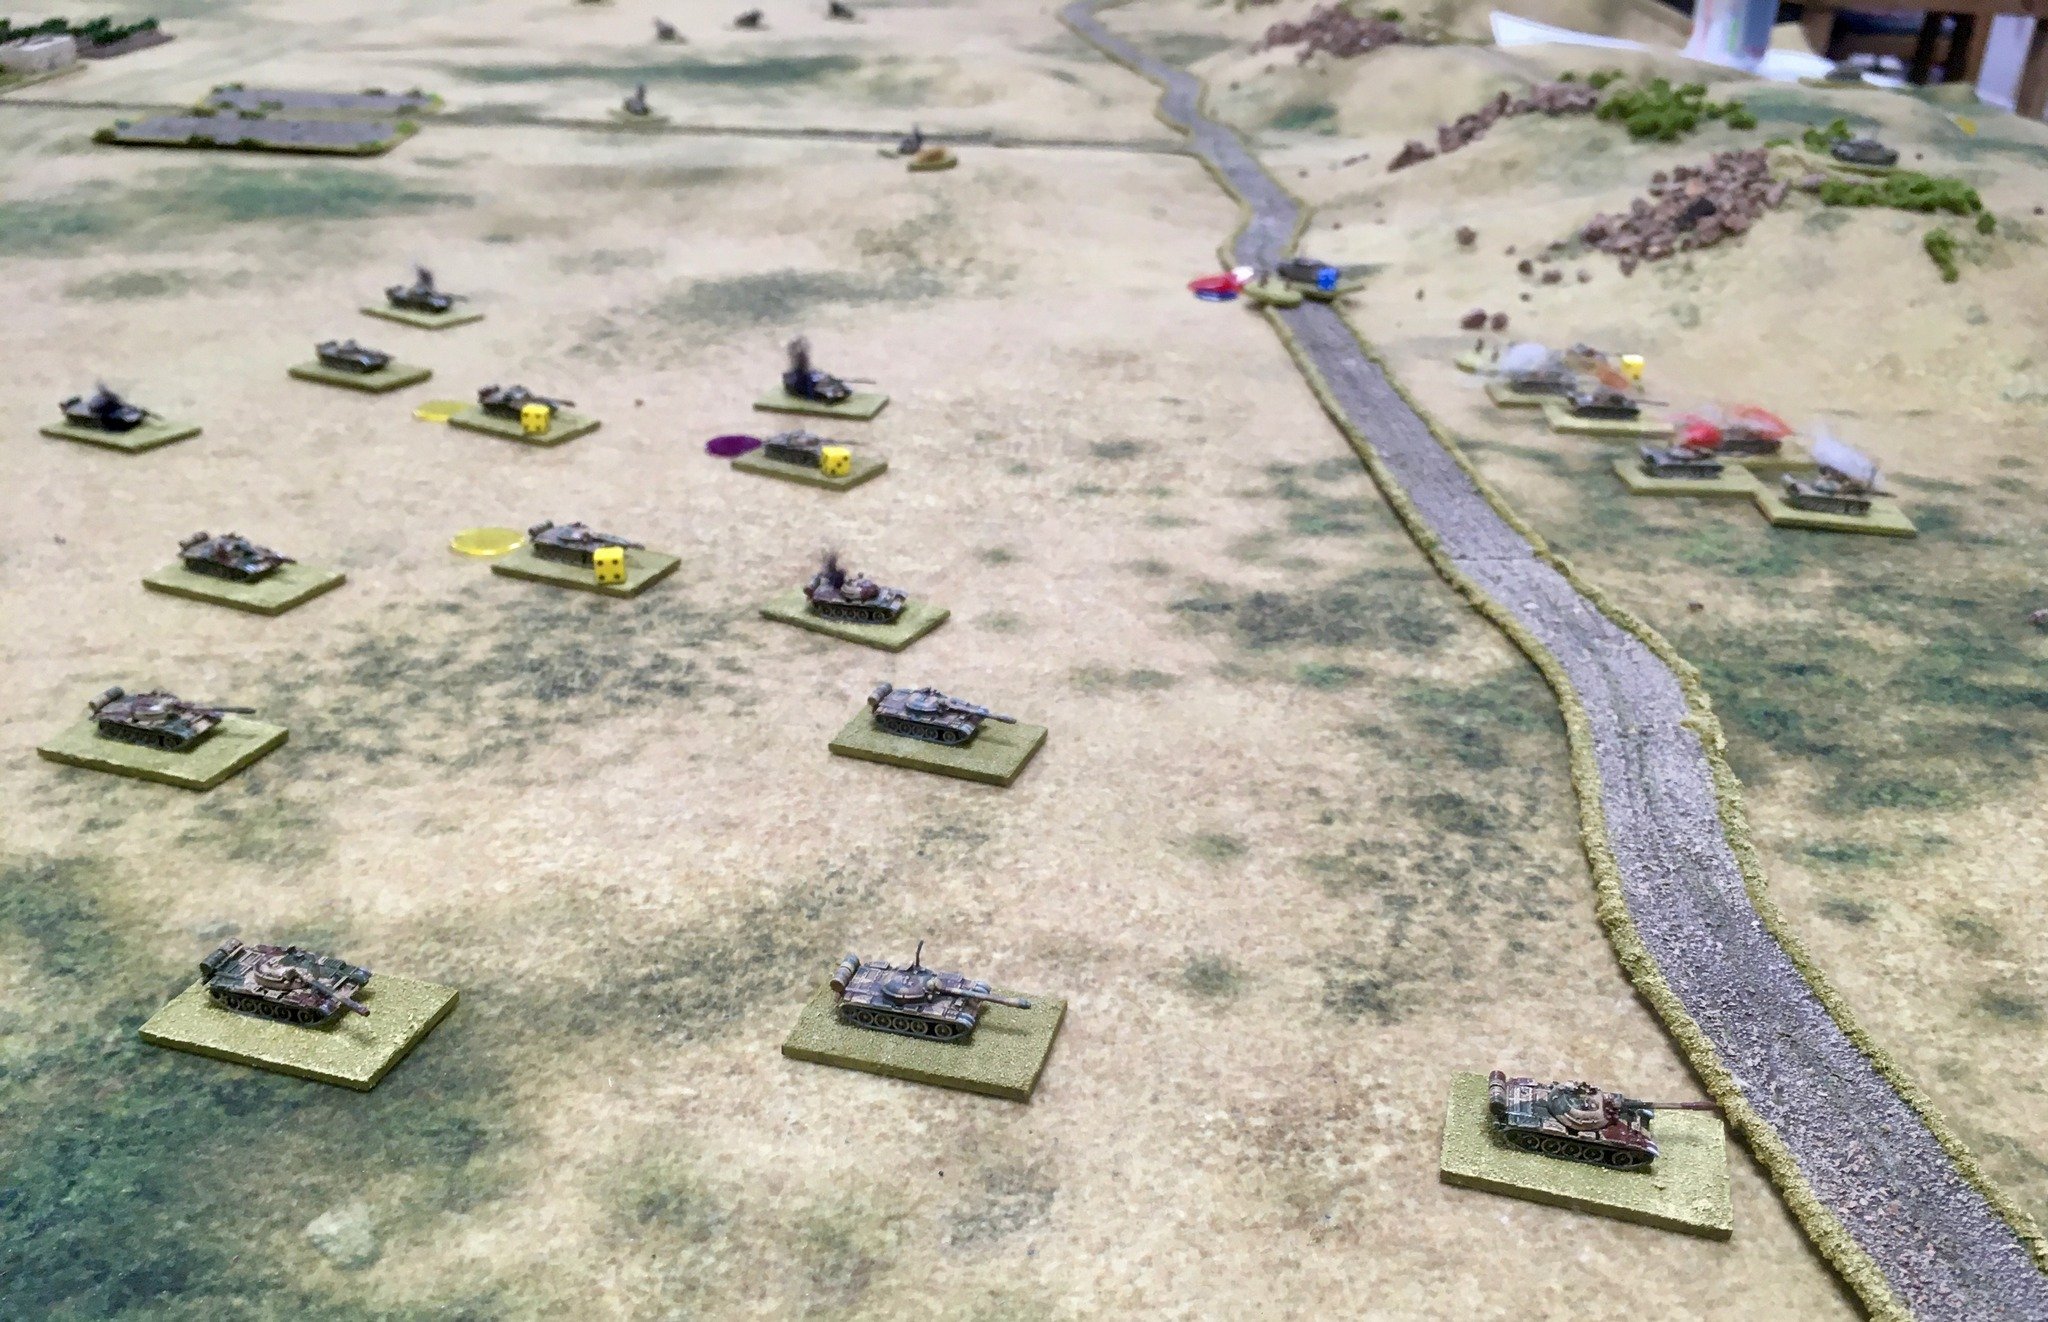
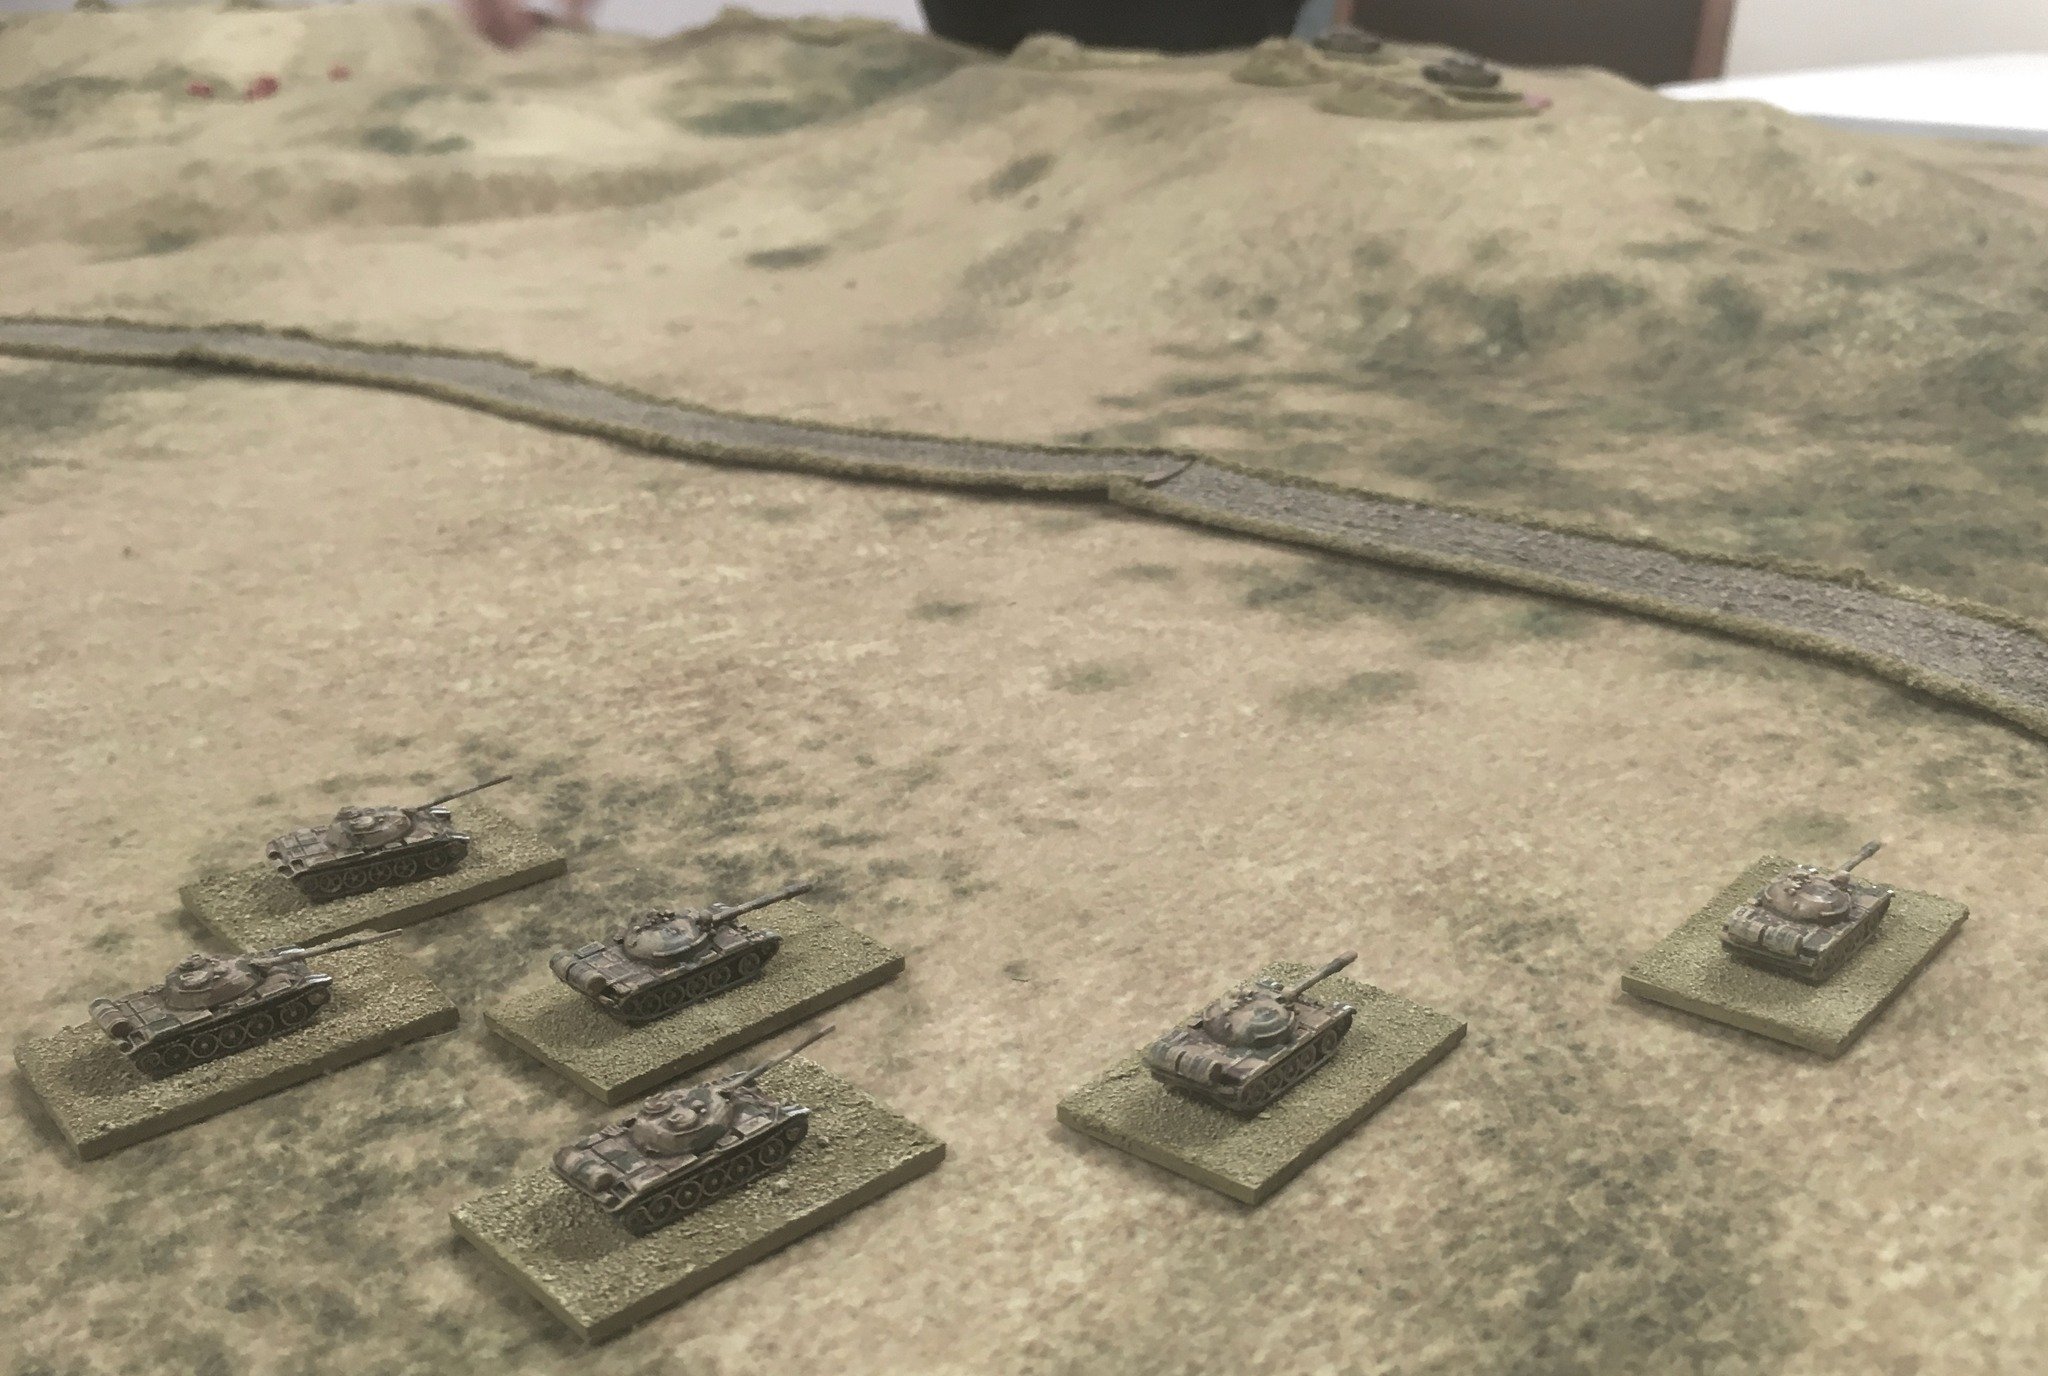
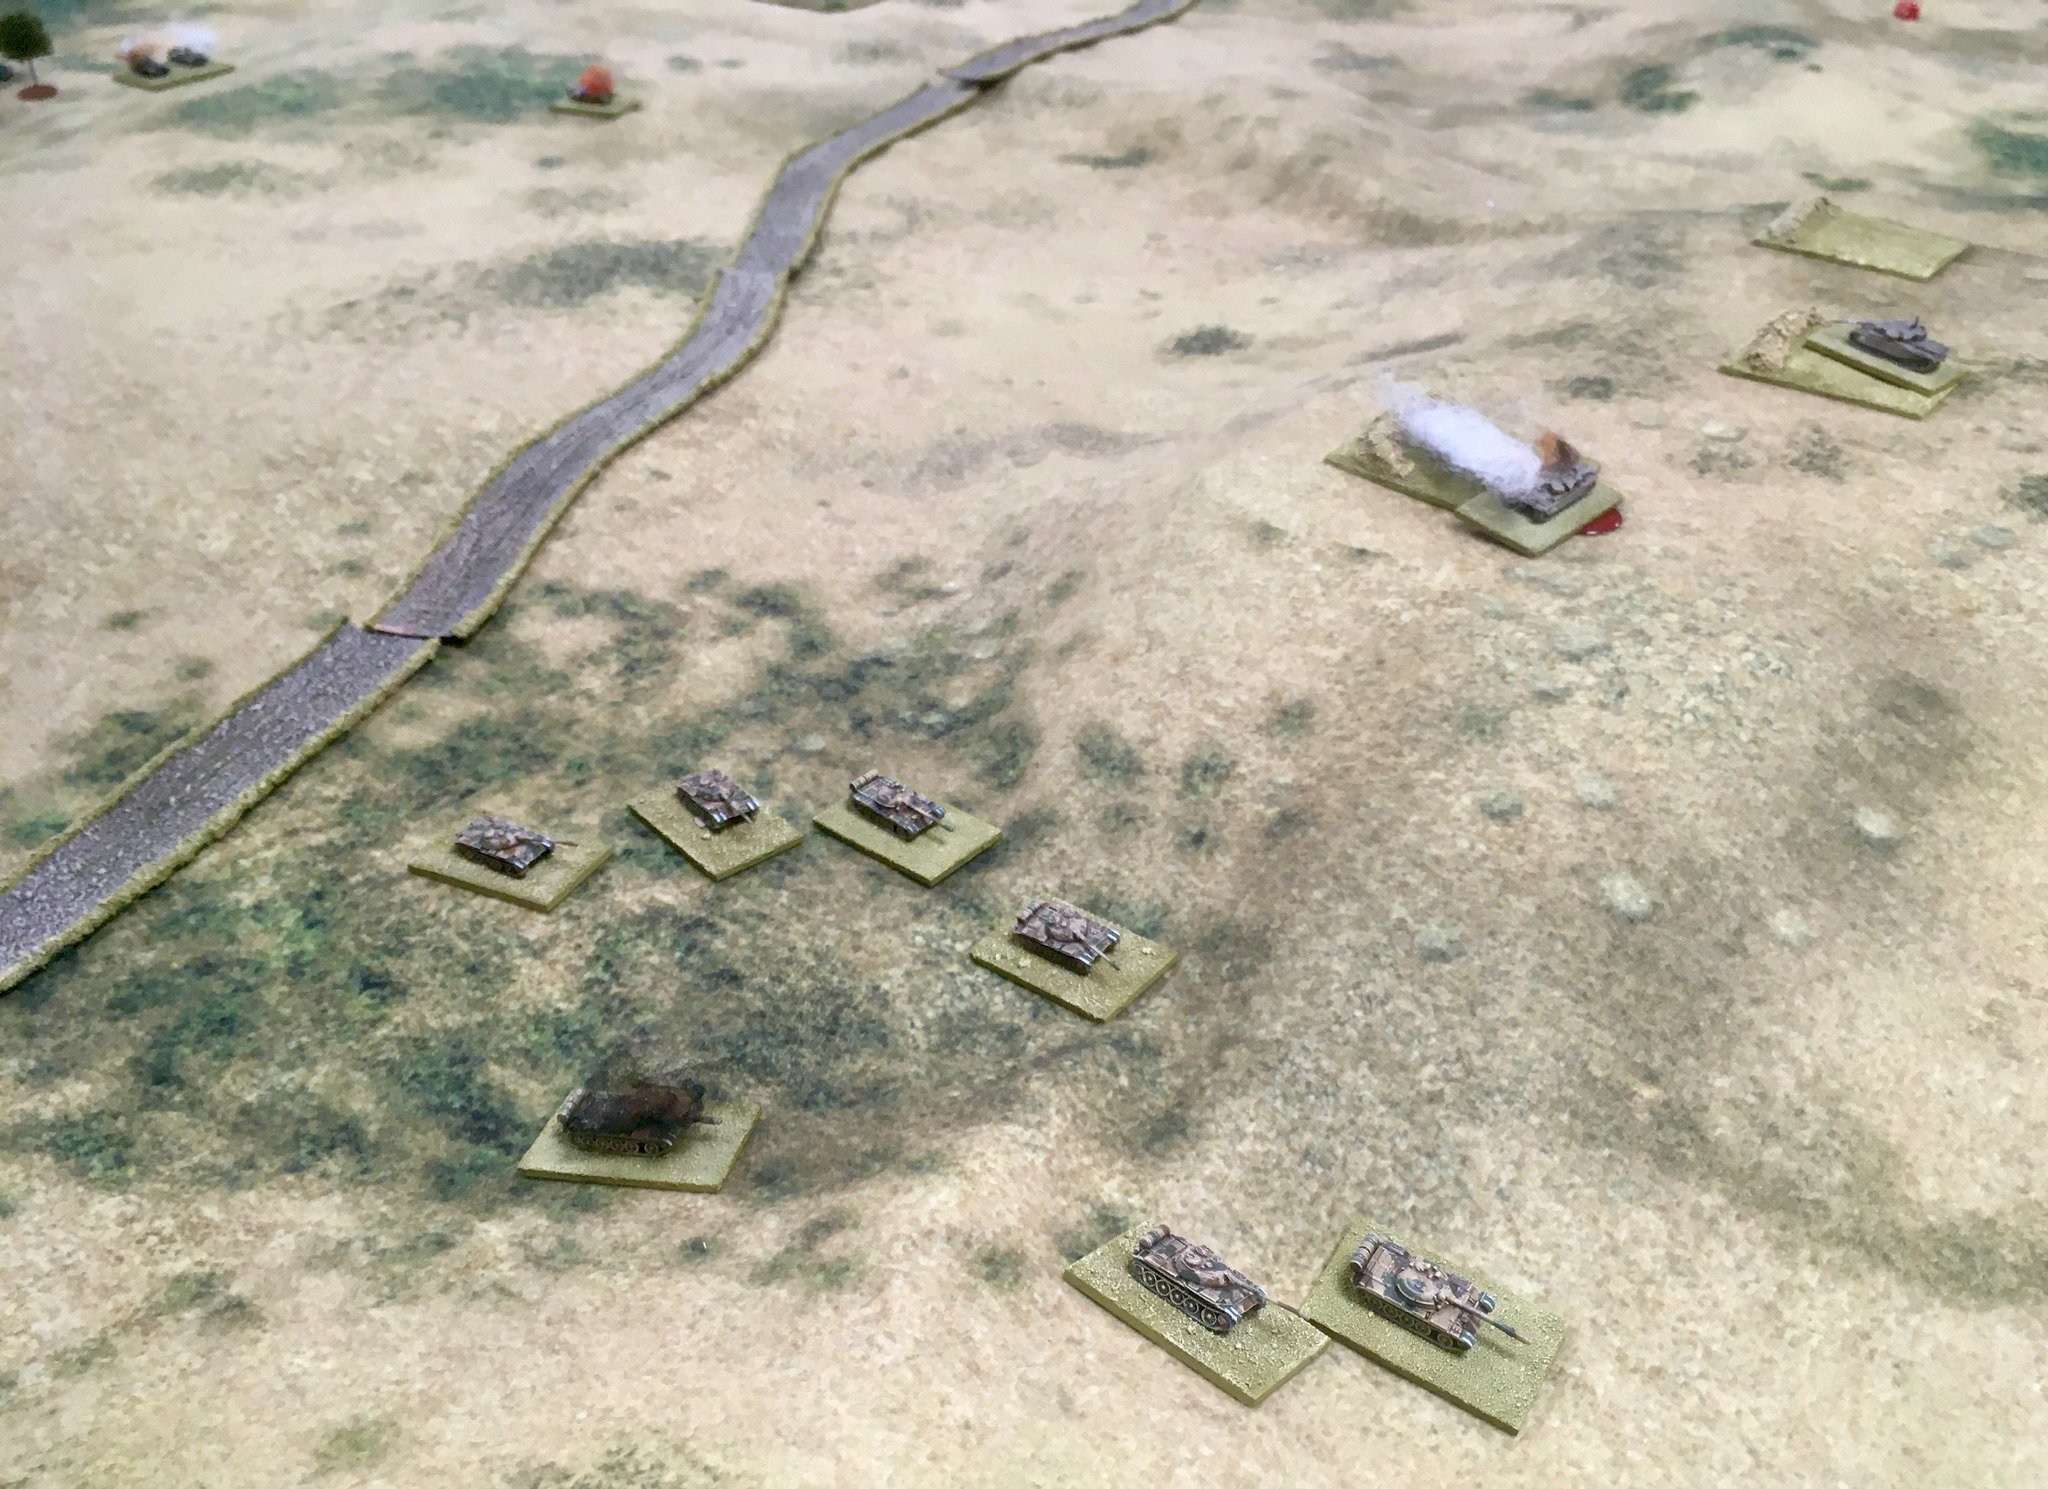
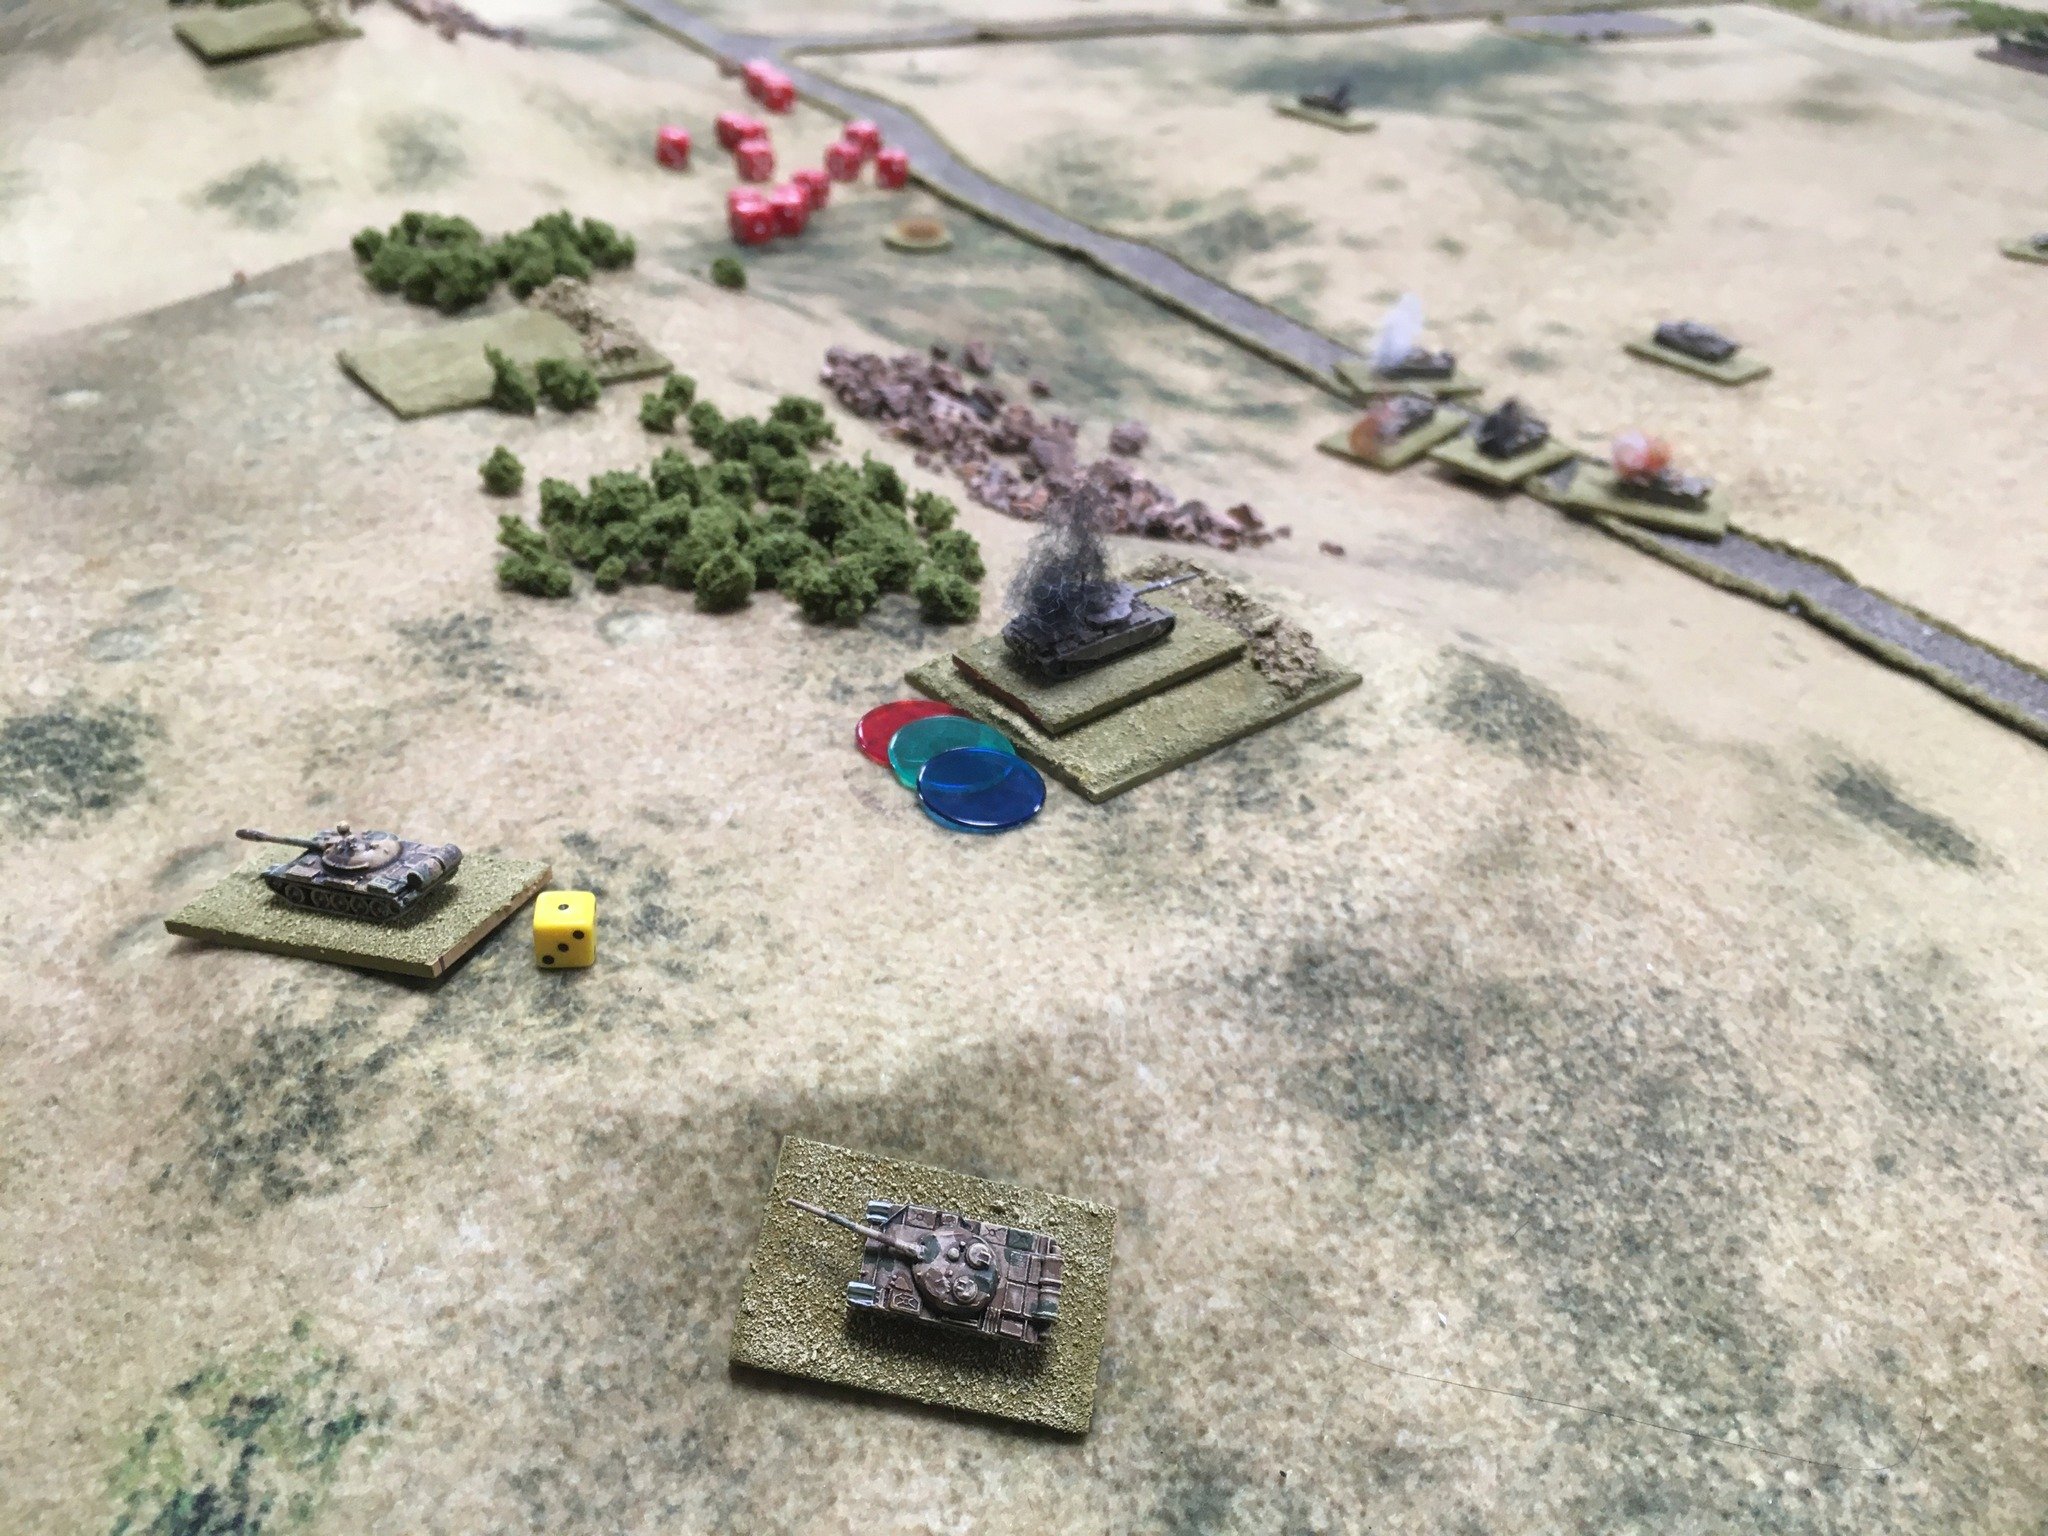
Meanwhile, the tanks had been exchanging fire. This was interesting: four souped-up Shermans with poor armour but powerful guns versus seven modern Soviet MBTs with good armour and good guns. In the end, as always, it came down to superior command and control. With a plethora of Big Men and three as opposed to two Actions per activation, the Israelis were getting two or sometimes three shots off for every one fired by the Egyptians, who also suffered from their comparatively low morale/fighting spirit.
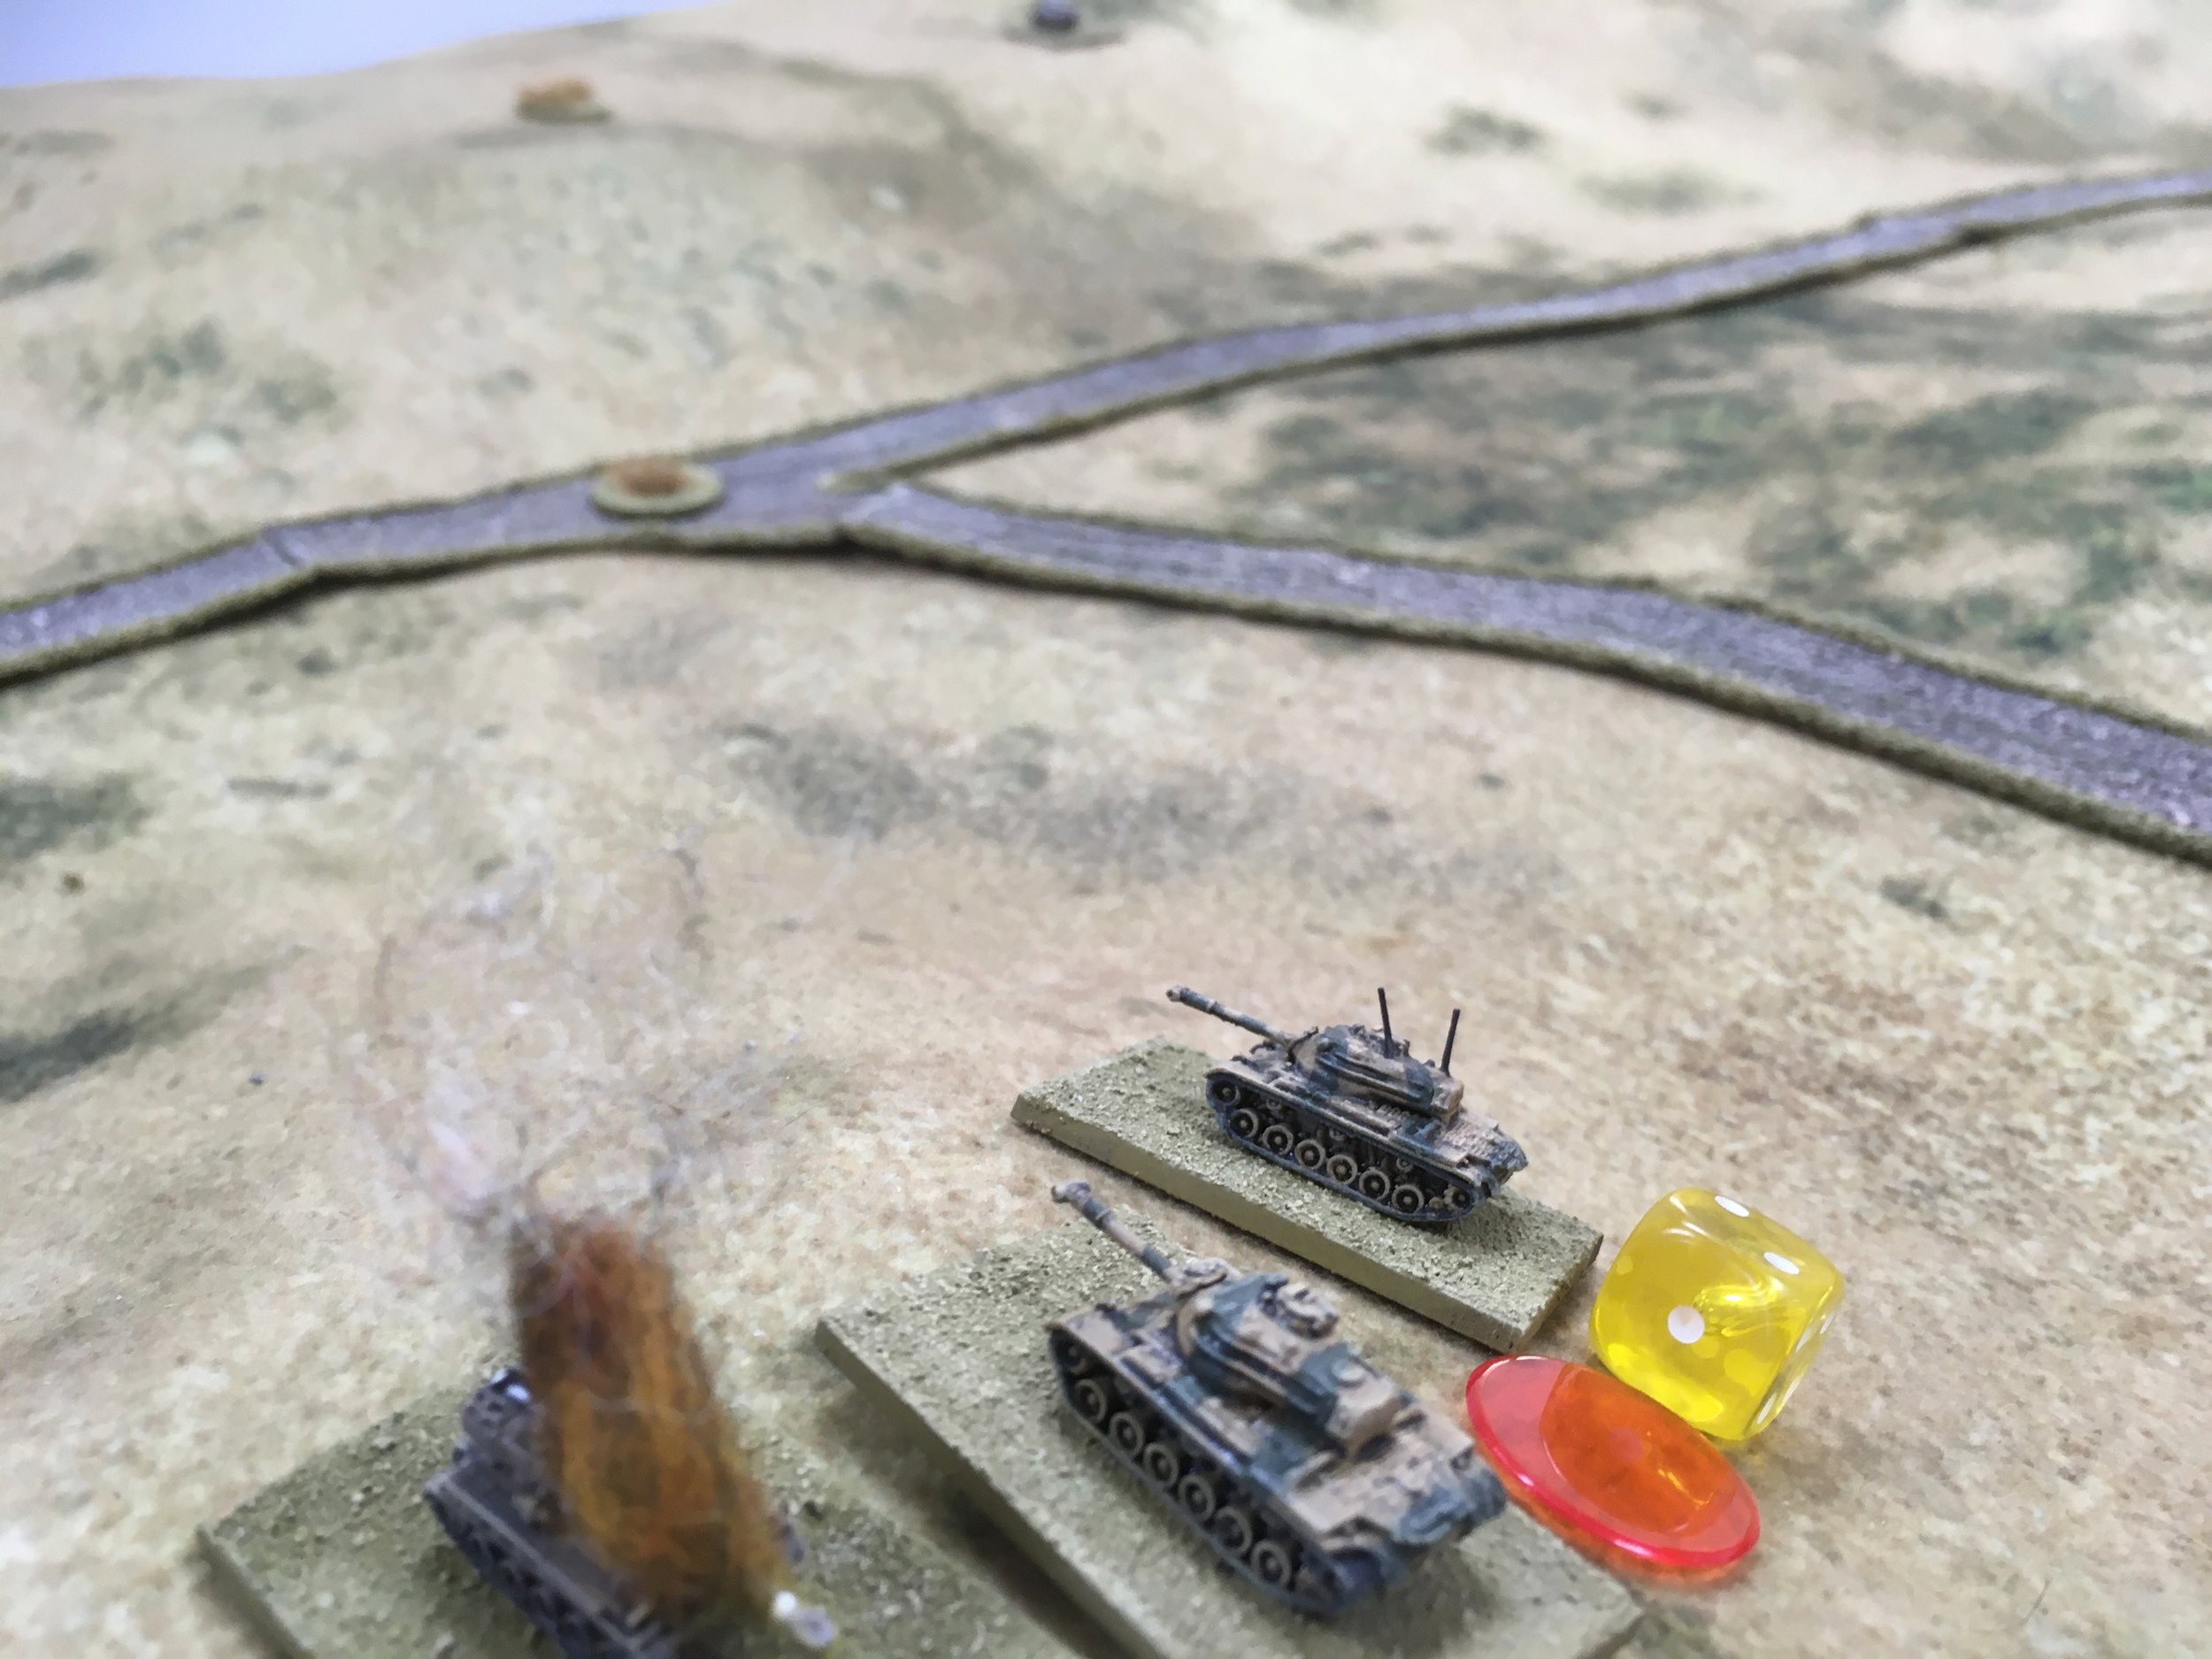
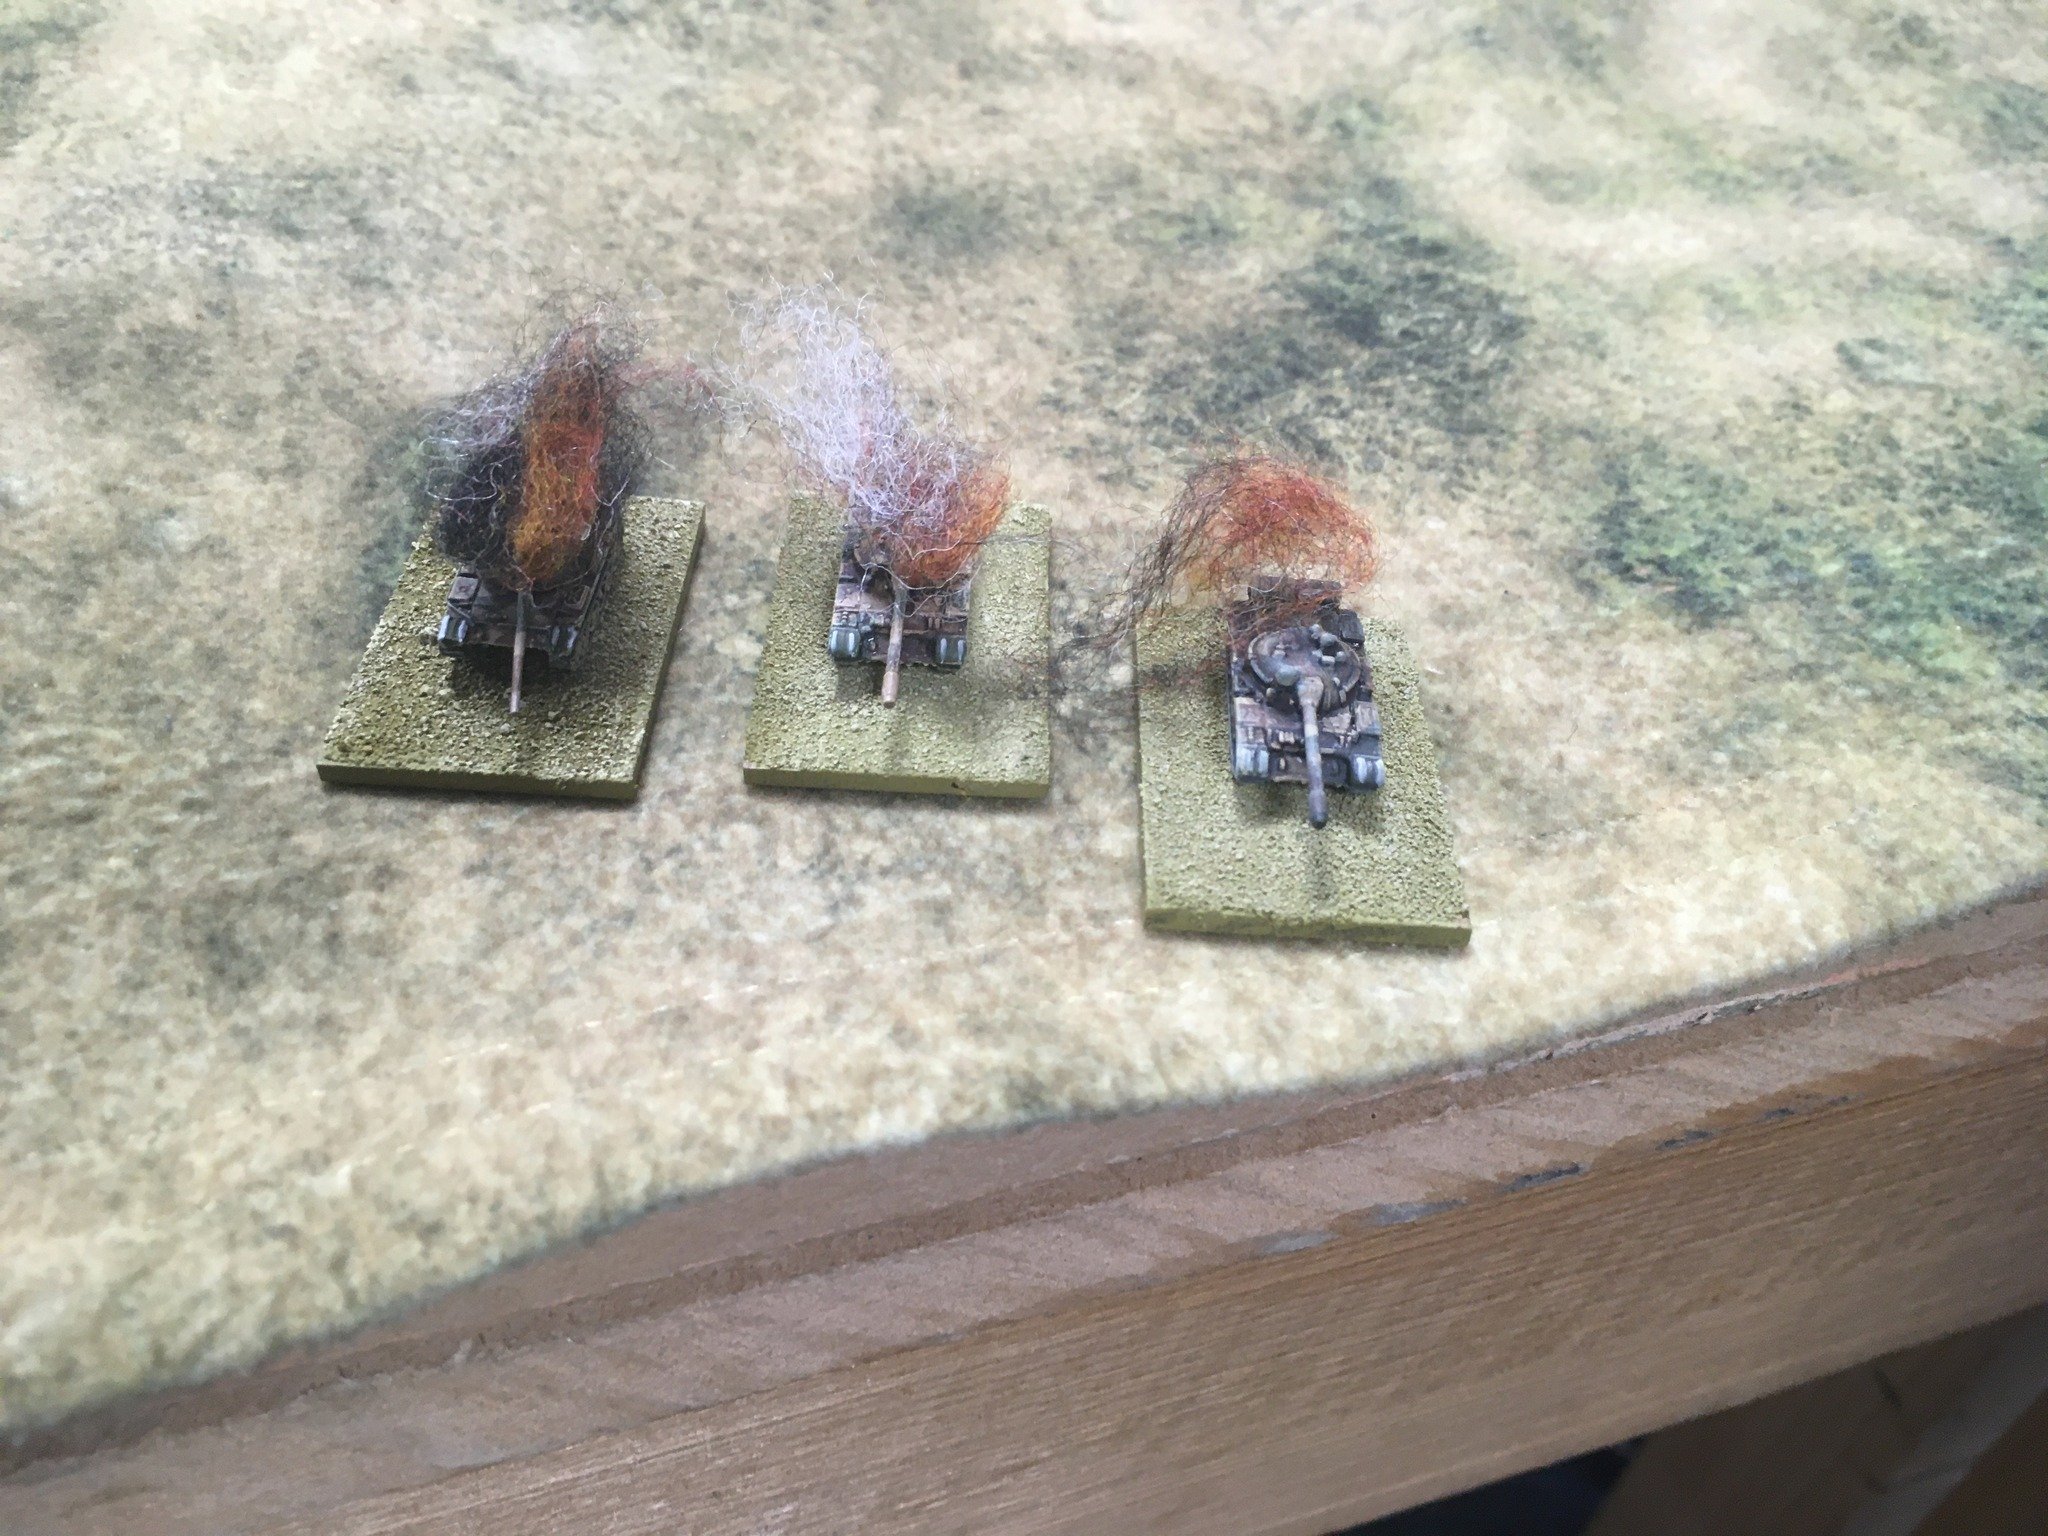
This ratio began to tell, and before long all the UAR tanks were smoking wrecks. Yes, two of the Shermans had been KO'd as well, but the battle was effectively over: the only way the Egyptians were going to win this battle was by taking out all the Israeli tanks and then bombarding the fort from a distance whilst at the same time hunting down the Israeli recovery vehicles, and without any tanks left, they couldn't do this! Here's some picture of the game as it played out:


A great game that was actually much closer than the above report suggests. It really was down to who got their shots off first, and just a little more luck for the Egyptians and they would have taken out the other two Israeli tanks and been free to run riot over the recovery vehicles.
I'm not sure how historically accurate a game it was: it all sounds a bit close range for modern warfare...but then that's why this report is called Brawl at the Ruined Fort!
Robert Avery

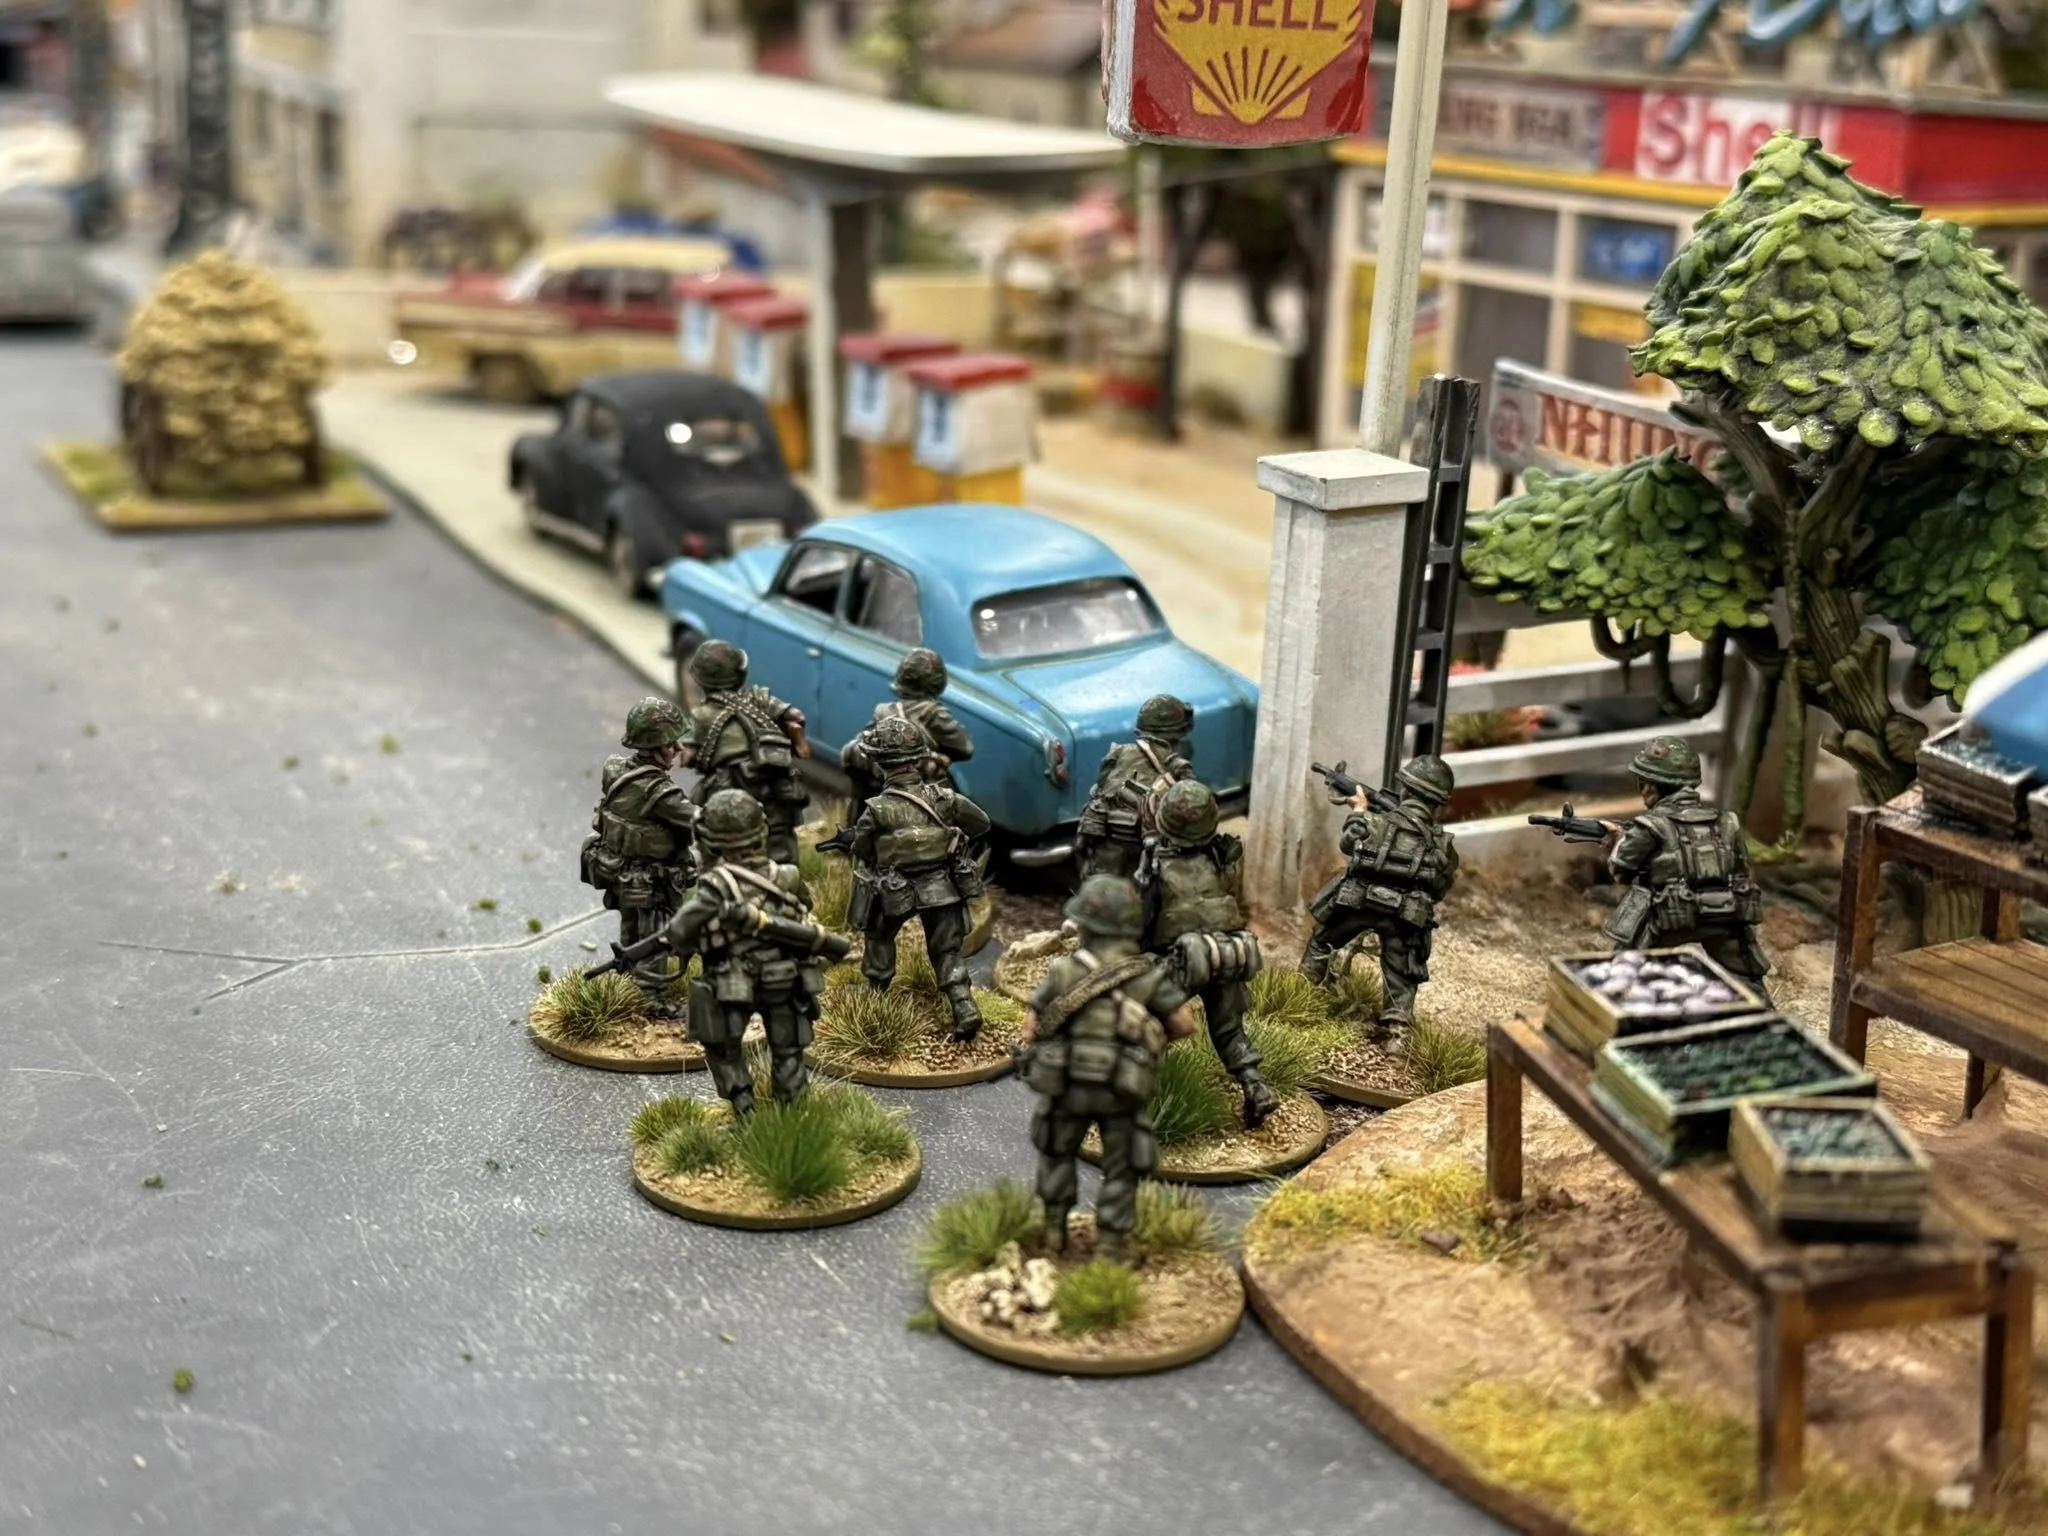
Yesterday, H. dropped by and that gave me opportunity to have another go at ‘Charlie Don’t Surf’. This time around I’ve decided to give scenario generator a limited try, so a couple of words about how it works is probably suitable. In CDS, each side is provided with a selection of four different types of generic scenarios. When scenario generator is used in full, players are supposed to roll for the scenario type first, next for variables in scenario type assigned for their side and finally for the forces that will participate in the game (usually a company with some support). I’ve decided to simplify things a bit and, lazy as I am, I’ve reused the OOB-s from the previous game. Next I’ve assigned a ‘Sweep’ scenario for U.S. side and ‘Evade’ for VC.
‘Sweep’ scenario type requires for the Allied side to make… well… a sweep, from point A to point B. While doing that, the troops are assigned up to three objectives. In this case, U.S. side had a search of the village as its primary goal, recon of the heights as secondary and interrogation of locals as tertiary.
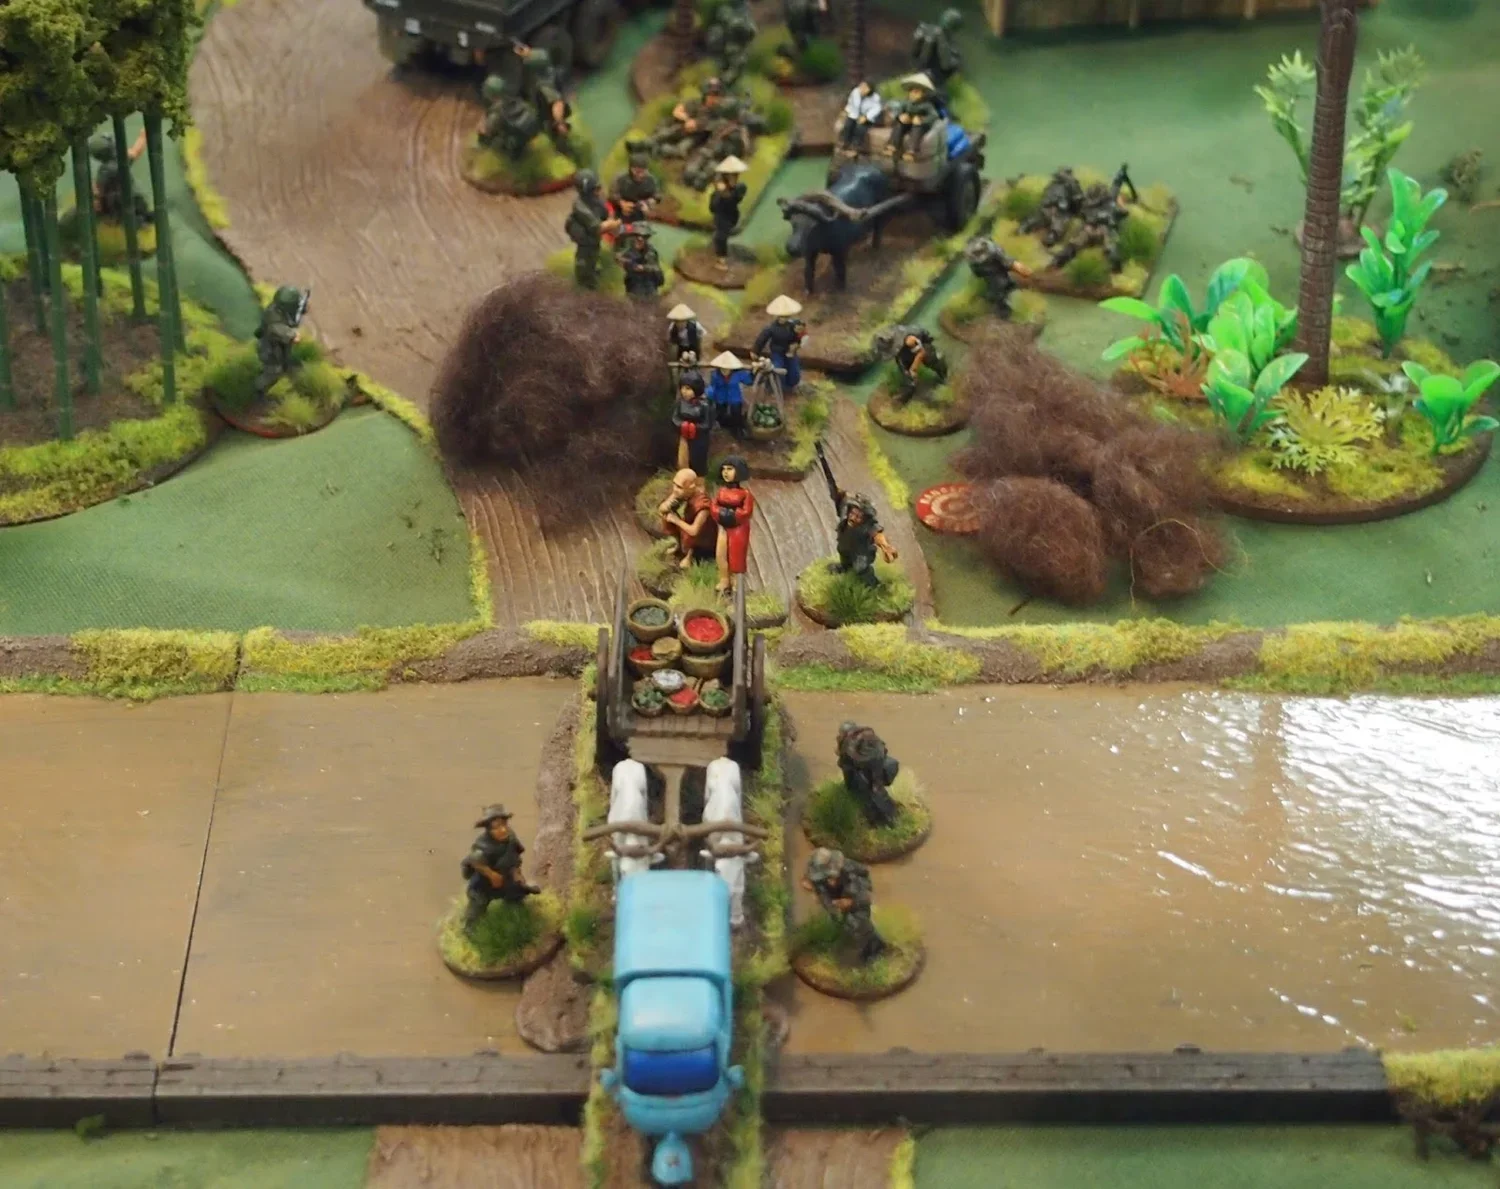
In ‘Evasion’ scenario, the Viet Cong have to get out of Dodge. An exit edge is randomly decided before start of the game and the troops are then placed on the opposite side. The main goal is to get out with as many troops as possible. Picture below shows the scenario overview before start of the game.
A random card draw assigned VC side to yours truly. H. was kind enough to take upon himself the task of the U.S. commander.
My plan was rather simple. Since I had a bunch of local guys under my command, I didn’t want any extended shootouts with the enemy. Thanks to the same fact (control of local force units), I also had a whole bunch of dummy blinds at my disposal. They would come in handy as a massive decoy on one flank, while I sneaked of the board on the other.
H. decided to take care of business as quickly as possible and selected the edge closest to the village as his entry point. Two platoons immediately headed of toward the village, obviously with the goal of ransacking the huts and intimidating the villagers into giving up any info on Charlie they may have. One of the hills would be the initial destination of the remaining platoon and MG platoon.
Why abandon the winning concept? Let’s have a look at the pictures?
First phase of the game was a true sleeping pill. H. moved over open terrain and rapidly occupied the village and high ground on the opposite side of the road. I on the other hand had a much worse time getting my troops going. Not only did I manage to roll an amazing amount of ones and twos, but the jungle terrain sapped about half of whatever movement allotment I managed to scrap together.
A somewhat bizarre situation occurred during that phase of the game. Since none of my units/blinds could spot H.s blinds and they in turn had no targets to shoot at, H. could not deploy his troops. On the fly, we decided that his blind in the village could search two hootches per round, while the officer was allowed to interrogate one villager per round without having to deploy. My slow approach gave H. plenty of time to find the two rice stores hidden in the huts, thereby achieving his main objective. The force sent up the hill climbed it, found nothing and decided to take a rest.
When my dummy blinds finally reached the position occupied by H., another odd situation occurred. H. was apparently unwilling to abandon the high ground, while I wasn’t very interested in pushing on and disclosing my bluff. And so, for most of the game, we just sat there, starring at… nothing. In the end, H. broke the impasse by pushing his dummy blind into my ‘troop concentration’, revealing a lot of empty space.
On the other side, things finally heated up as my least lethargic platoon scrambled up the high ground. U.S. platoon in the village was still in the hoots, but the one supporting it was in the rice paddies, giving me a perfect opportunity to blast them. One of the Americans fell, critically wounded, the rest took cover wherever they could. However, a medivac helicopter arrived swiftly, fetching the wounded soldier to field hospital (no, no helicopters are painted yet, thus improvised marker).
A nasty little firefight followed. I brought up my second platoon to the edge of the jungle, hoping on suppressing Yanks in the village with their firepower. At the same time I intended on leap-frogging the platoon on the hill toward my exit edge. Ideally, my heavy weapons elements (recoiless gun and an MG) would be able to reach the low hill facing the flank of the village and keep the yanks pinned, allowing the rest to exit.
Plans are one thing, reality (or dice) allow for something very different. Fire from my platoon in the jungle was completely ineffectual, while the heavy weapons group continued to take its sweet time getting into position. This forced the platoon on the hill into an exchange of fire with H.s units around the village. My fire had some effect – one American soldier fell dead, while yet another was critically wounded. Another medivac was called and responded as quickly as its predecessor. The rest of Americans blasted into the jungle line, killing one of my soldiers and severely suppressing one of my squads.
H.’s MG platoon on the far hill also opened up, taking my rear platoon under fire. This caused me some concern. MG-s are effective at much longer range than normal infantry small arms, so the two ‘Pigs’ on that hill reached comfortably edge of the jungle on the opposite side of the road. Given time they would hurt me. It was time to get back into the jungle, after all my goal was to get out, not to engage the enemy.
It was at that time that H. announced that he would now be pulling back from the village area. After all, his primary action was accomplished and his casualties were a bit alarming. Also, by now we’ve been at it for four hours and were a bit tired. And so, we called it quits. Picture below shows an overview of the situation at the end of the game, as seen from the hill occupied by the Americans.
Yesterday’s game was one of those slightly odd occasions where the scenario ‘starved’ the enthusiasm out of the players by couple of mistakes in its design. To begin with, my movement into contact took far too long. As it turns out, this was mainly caused by me forgetting the fact that units on blinds can ignore first –1 in movement penalties in difficult terrain – a valuable lesson for the future. This –1 may not sound as much, but it is applied on every dice, meaning a reduction of movement by 4’’ per turn if a blind uses all its dice for that purpose.
Another thing that I think would make improve this setup immensely would be by moving the village into the center of the table. This would force U.S. side into more aggressive movement, speeding up moment of contact. Funnily enough, a very similar scenario can be found in the Too Fat Lardies scenario book for ‘Charlie Don’t Surf’ – there, the village is placed smack in the middle of the table. I think I now know why that is. [Smile]
And what about ‘Charlie Don’t Surf’ itself? Well, I still haven’t used rules for artillery, helicopters, air support and a whole bunch of other stuff, but in general terms it is what it is – ‘I Ain’t Been Shot, Mum’ with Vietnam flavour. If you like IABSM, you’ll like CDS. With two ‘Tea Break’ cards, chaos of the card driven game engine is manageable and I really do like the fact that Big Men have action points that can be used to activate either platoons or squads.
However, the Blinds mechanism in ‘out of the box’ format still seems to suffer from same issue that I’ve first observed in ‘They Couldn’t Hit an Elephant’. If deployment of troops is restricted to the two situations specified in the rules, which is either when unit wishes to fire or is spotted by enemy, then situations such as this which occurred at the start of our game are bound to happen! Naturally, most of them can be resolved by application of common sense and couple of ad hoc rules. At the same time, when they occur, they will at the very least put extra strain on game master or players. Furthermore, as we all know, supply of common sense can sometimes run out in heat of battle. [Smile] Therefore I think that in the future games I will re-instate the rule I’ve already used in TCHAE games and allow players to voluntarily deploy their own troops from blinds at the end of each turn.
Marcus B

ISABELSTADT (Reuters)- There are reports of renewed intense fighting along the frontier tonight from the small alpine country of Mantovia. The sound of heavy artillery can be heard in the nations capitol and there are reports of heavy columns of Tartarian tanks making deep penetrations....
Hauptman Johannes Wahl was shaken awake by his driver. "Sir! O Group at the CP!"
Wahl made the short walk from the back of the Landrover where he'd been trying to sleep to the collection of radio vans. Pushing under the camouflage netting he found the Brigade Command Post to be a buzz of carefully camouflaged activity with an edge of panic. The Brigade Commander was listening to a report from one of his Intelligence Officers, who was drawing on a map . Big angry red arrows were exploding across the Area of Operations.
The General looked at him. "Wahl, the Tartars have broken through the 2nd Dragoons at Grossklumpen and are pushing up the Duppleburg valley. The 1st Fusiliers have got a weak company strung between Kleindorf and Altendorf here." He indicated a pair of small villages on either side of a wooded valley with a big red arrow pointing directly to the fields between them. "I need you and your Centurions to reinforce them. Gruber will give you details on route and intelligence estimates. Get moving, now!"
They drove through the night towards the thunderstorm of Tartarian artillery that rumbled and flashed in the dark sky. When his Centurion growled into Altendorf, he found a worried and exhausted Fusiliers Hauptmann outside a gasthuas. "Thank God you're here! I've only just arrived myself. No time for mines or wire. I've got my landsers in the houses covering the intersections and some panzerjaeger and machine gun teams strung along the road connecting the two villages." Wahl conferred with his tank commanders and they deployed one platoon behind each village to create a cross fire in the fields. Wahl posted his command tank on a small wooded hill from where he could direct the battle and call in artillery fire.
1 Platoon Queen's Leibgard Battlegroup deploys behind Kleindorf
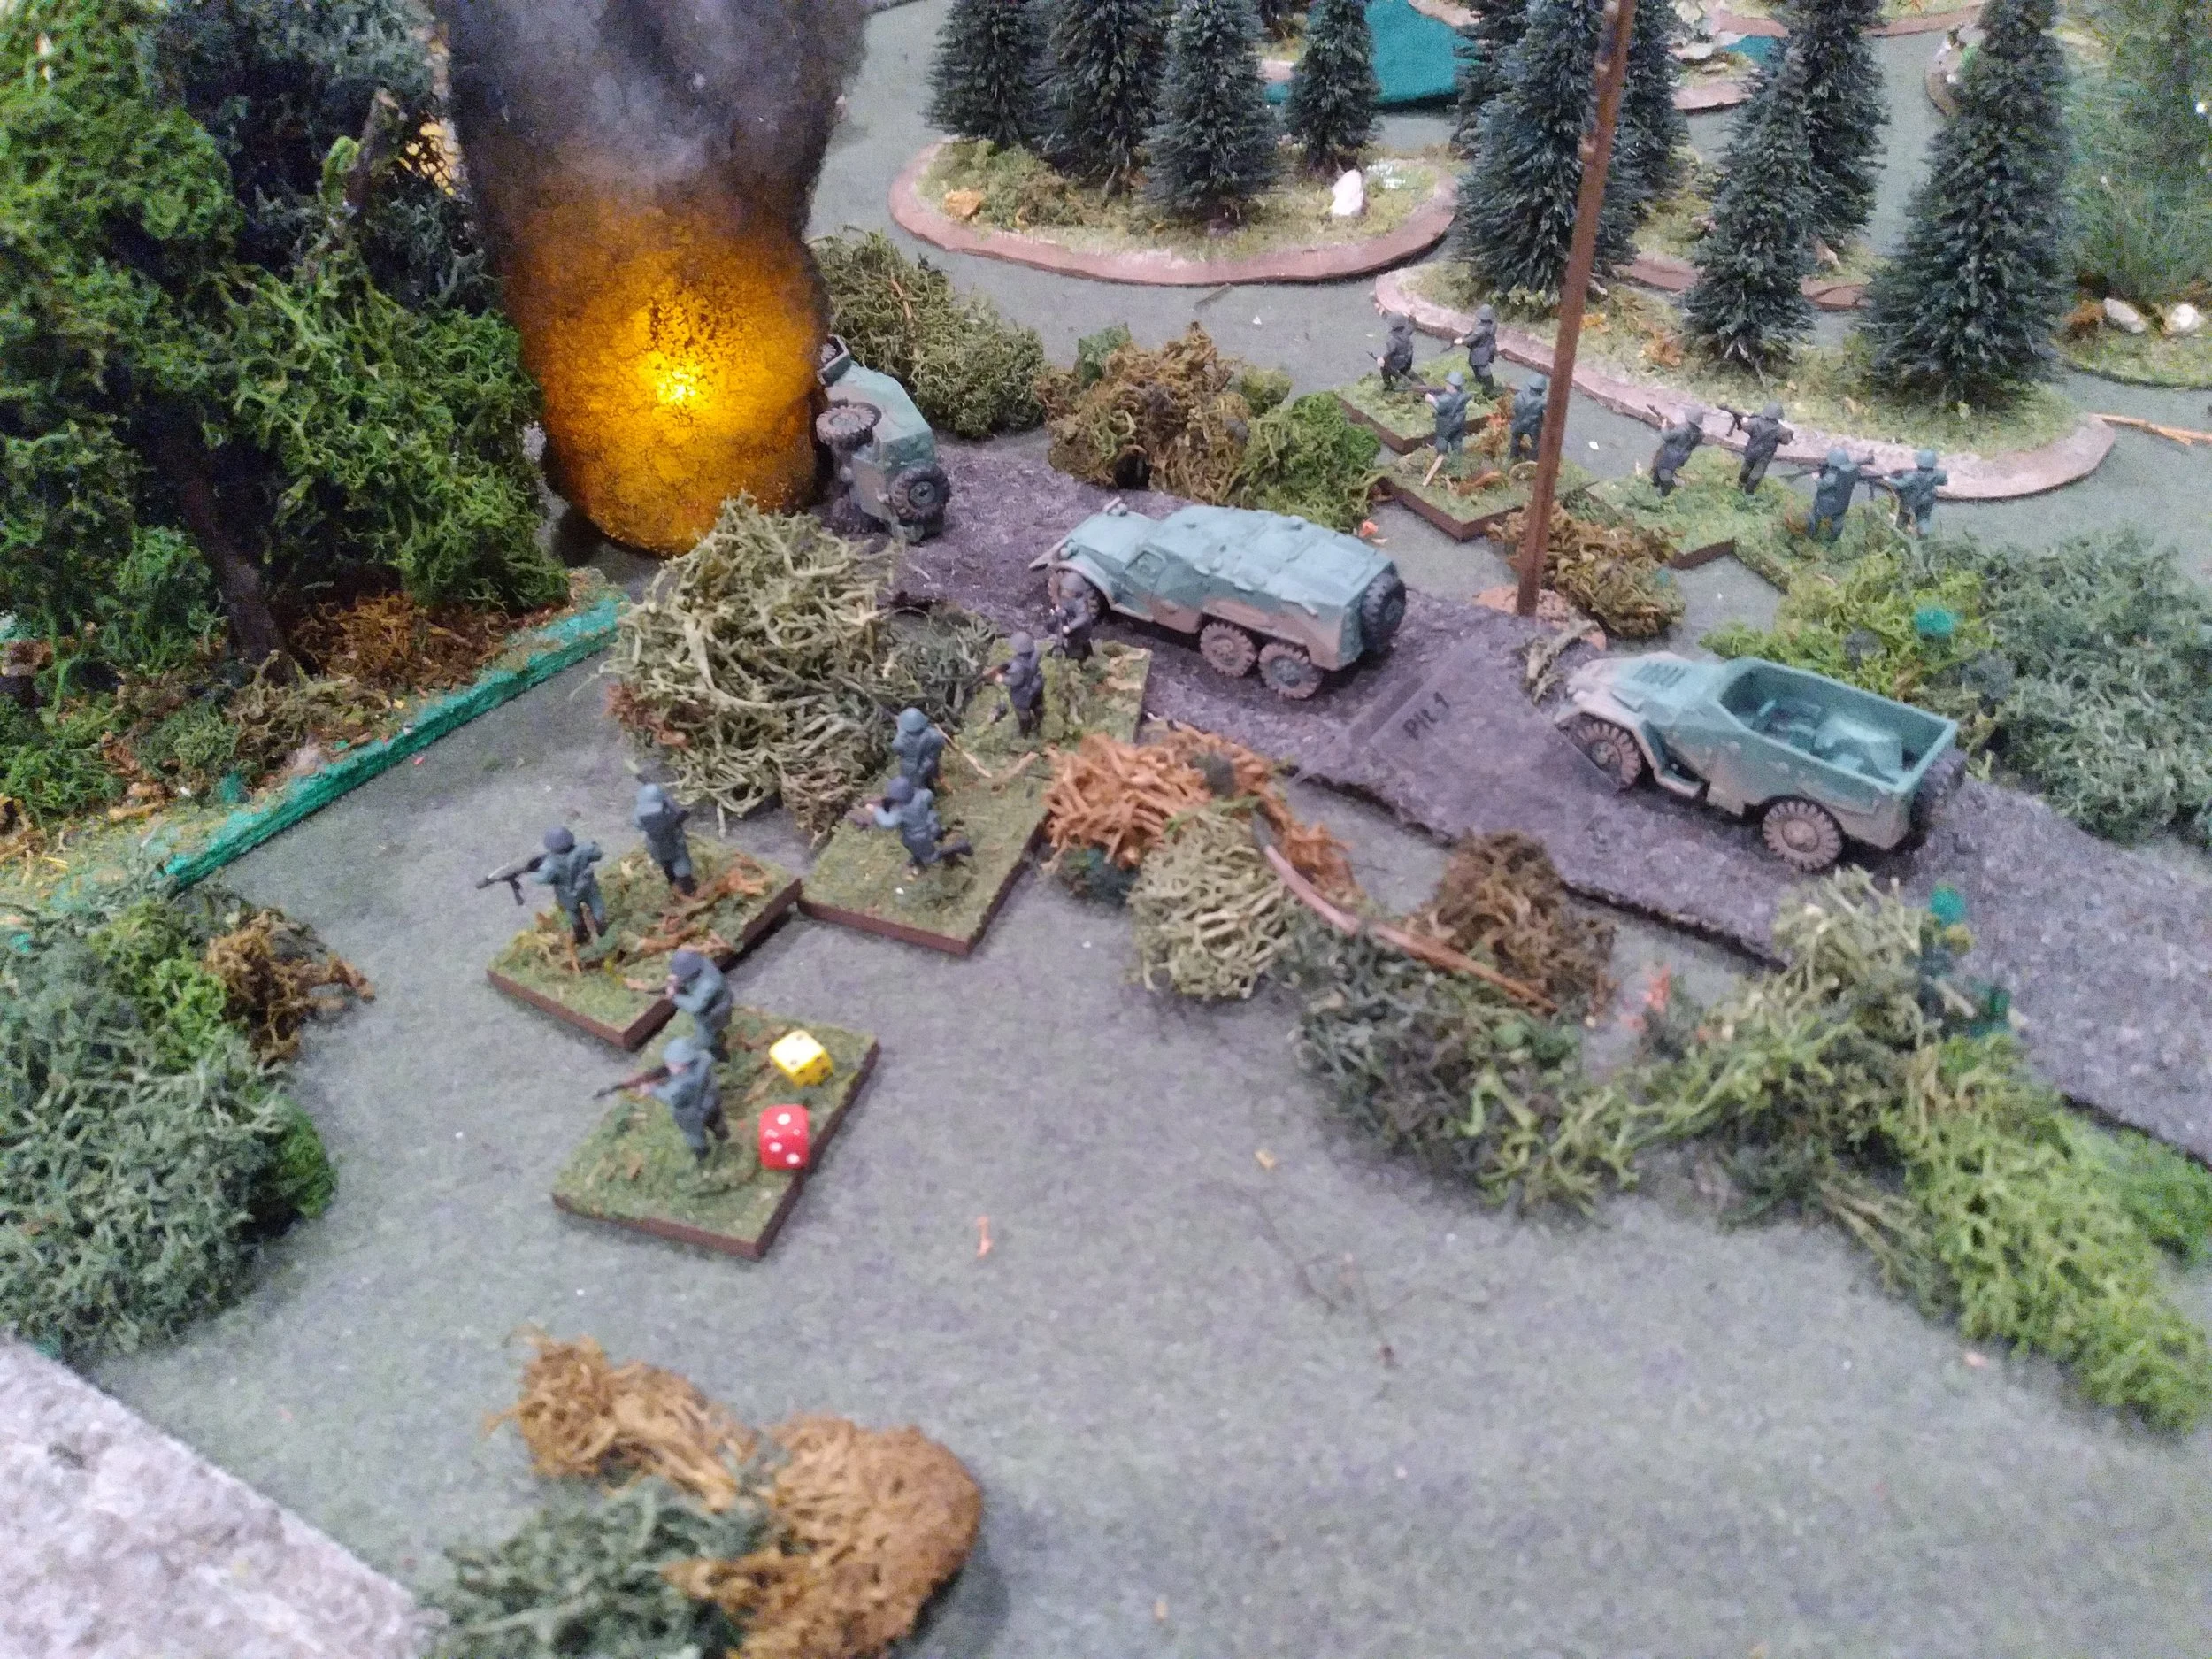
Comrade Platoon Commander Stepan Bosvic was in the hatch of his BTR watching the sunrise over the mountains while his Motor Rifle Platoon drove past an old factory. The afternoon before they had followed behind a devastating artillery barrage and driven past burning tanks and foxholes filled with bleeding shattered men. It had been a night of flames and chaos as onwards they rushed. His platoon was to secure the village he could see past the trees up ahead. They'd dismount just outside of the village and methodically clear the houses and then enjoy whatever food these Capitalists had hoarded in their kitchen larders. Just then he noticed the squat square outline of a tank emerge from behind a house. "Dismount!" he shouted, too late.
"Target front! BTR. One Five Zero meters. Fire!" The 20 pounder cannon roared, shattering the morning quiet.

1 Platoon opens the bowlING, firing on the Tea Break card.
"Everyone out!" screamed Comrade Platoon Commander Stepan Bosvic as he watched his lead section die in a fireball. His section dismounted to the right of the road, scrambling through the bushes. The other section dismounted to the left and began advancing towards a copse. Some light mortars found them still in the open. Before they could get among the pine trees and approach the village under cover, automatic rifle fire erupted from the windows of a yellow house. Comrade Platoon Commander Stepan Bosvic and half of the men with him went down, bleeding out into the tall grass. The remains of the section ran back down the road as a second BTR exploded behind them.


Hauptman Wahl watched as one of his Centurions put a couple of high explosive rounds into the red house captured by the Tartarians. Fusiliers covered by machinegun fire from an upper story then dashed across the street. The muffled bang of some grenades and brief chatter of rifle fire. After a few moments a couple of Fusiliers emerged with a bleeding prisoner.
Feldwebel Mueller walked over. "Looks like they've fucked off back down the road." He paused. "For now."
Wahl accepted the canteen cup of tea his driver handed him. "Ja. For now."
So ended a solo, highly indulgent, game of I Ain't Been Shot Mum. I used some stats for T54s and Centurions provided for me by a contact on Bluesky who plays Fate of a Nation, the Arab-Israeli War variant of Team Yankee. I will probably adjust these for future games, and lean more to the stats someone came up with for Korean War and Yom Kippur War IABSM.
It was just hedonistic fun getting the toys on the table and enjoying the look and feel of things. This was very much the sort of game I had in my imagination as a kid. Since I had primed the Mantovian infantry with olive green spray paint, I felt very much like I was 12 again, painting my Airfix figures. And to be honest, the paint jobs on the infantry are no great hell and probably what I would have achieved as a teenager to be honest. But they look the business at arm's length and do the job on the table.
I suppose for better scenario balance the Mantovians should get fewer Centurions (boo!) or the Tartarians need more T54s and infantry. Or I could reinforce the Tartarian armoured attack with some T34/85s too. They'd be weak, but they'd still be a threat to be dealt with. I did give the Tartarians artillery support and airstrikes, but the cards never came up for the artillery and the air support didn't make it's die roll.
James Mantos

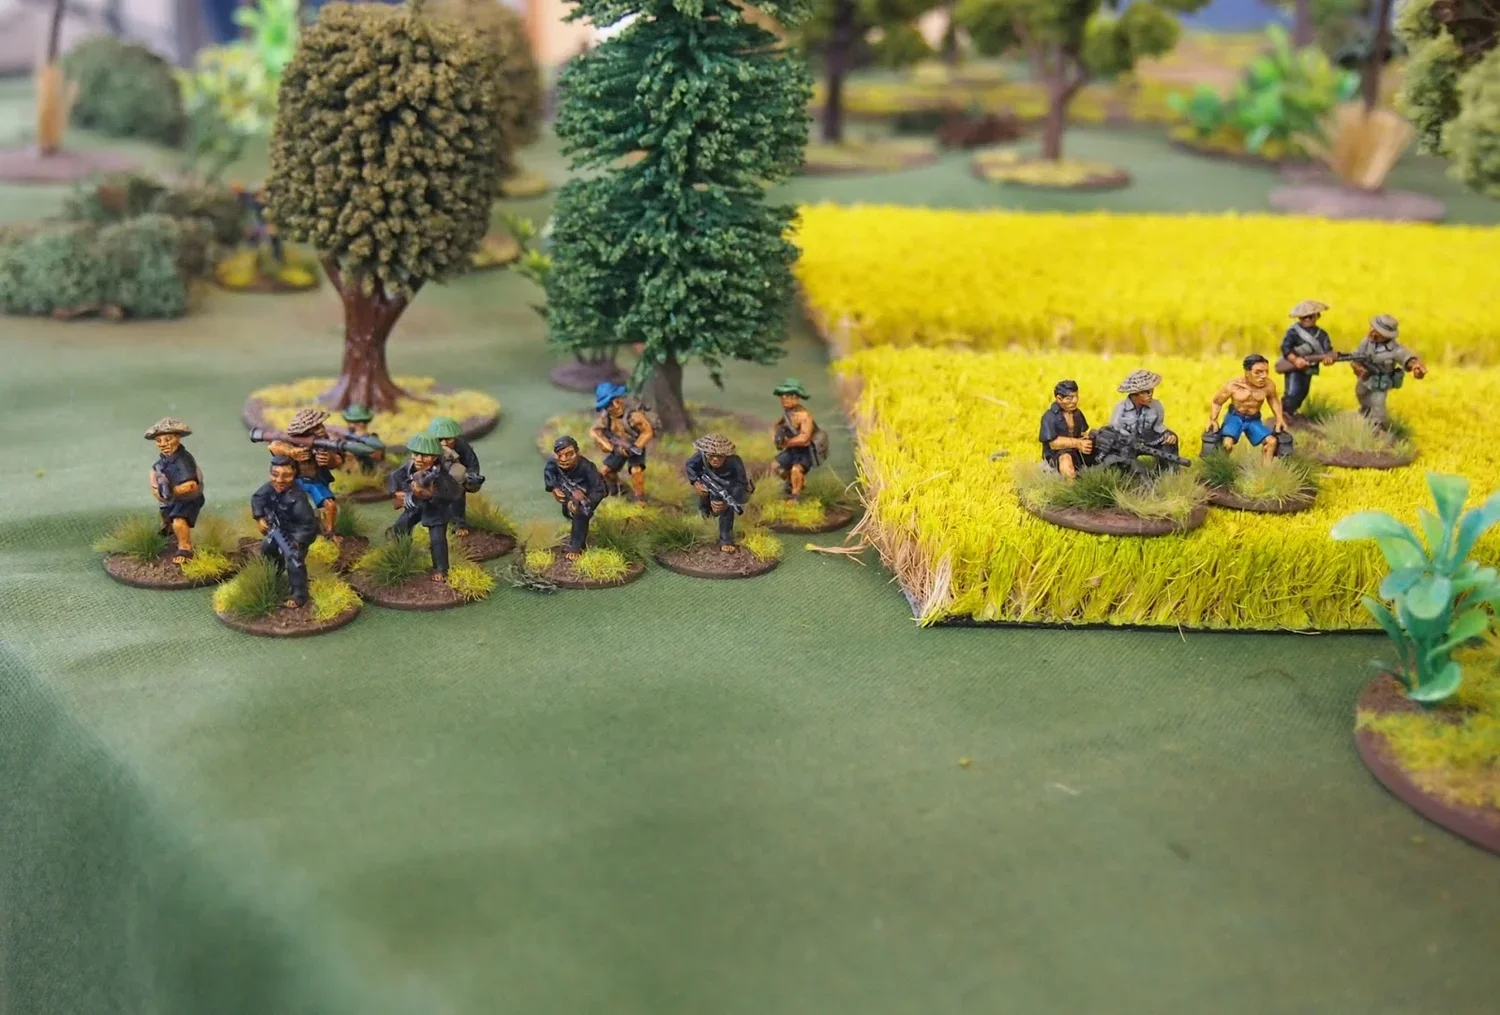
Charlie Don't Surf, the Great Rice Hunt.
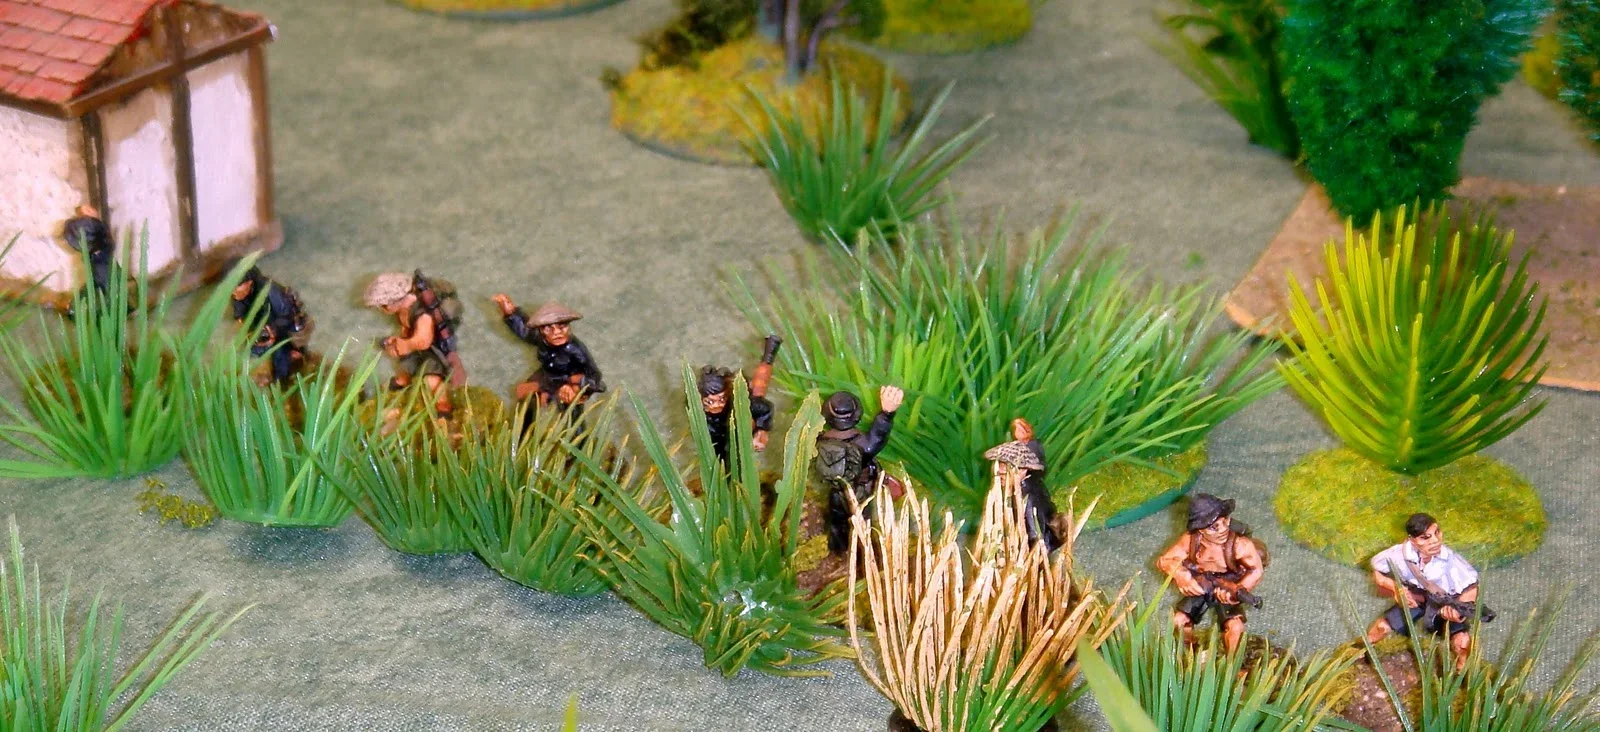
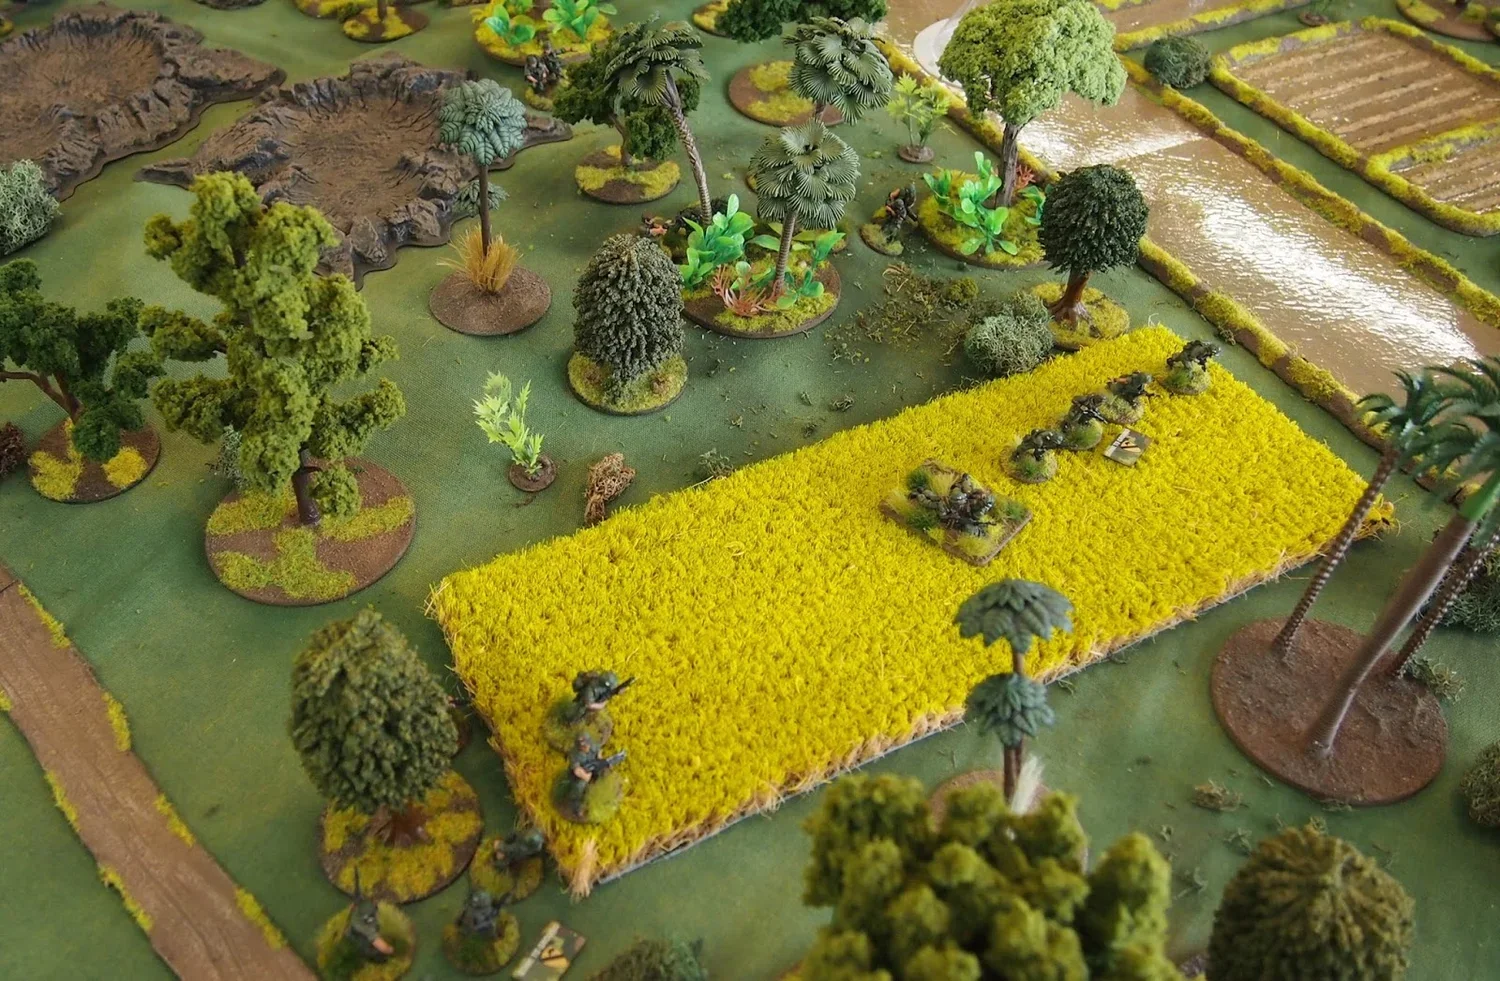
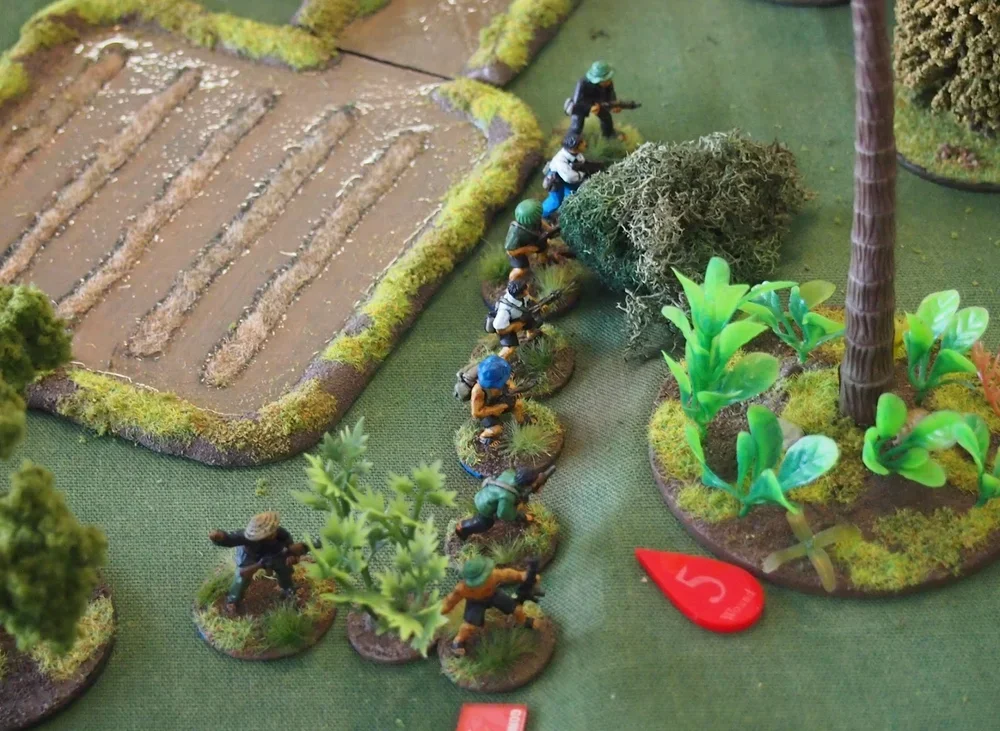
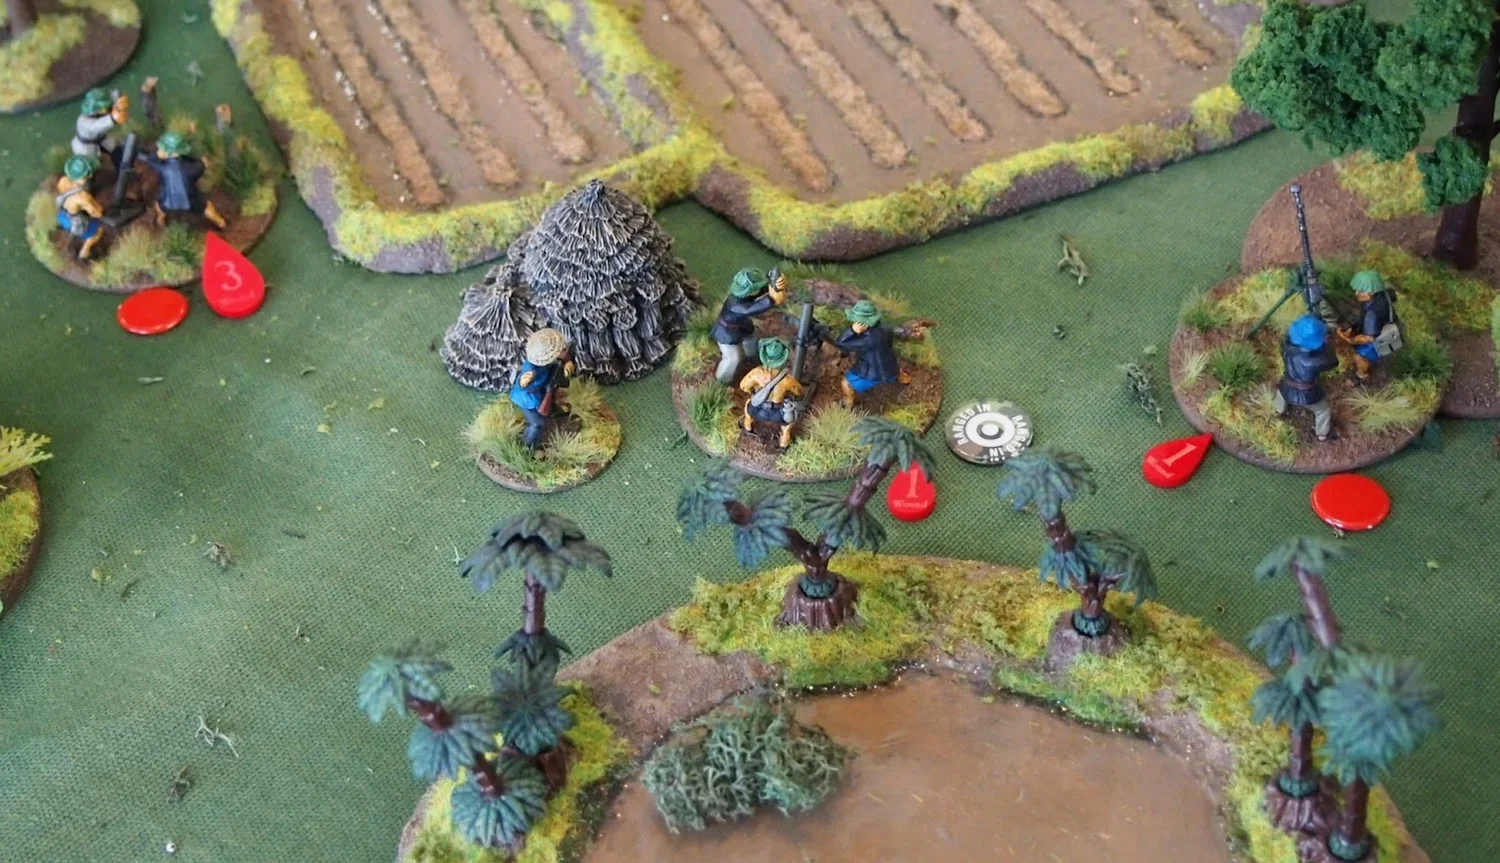
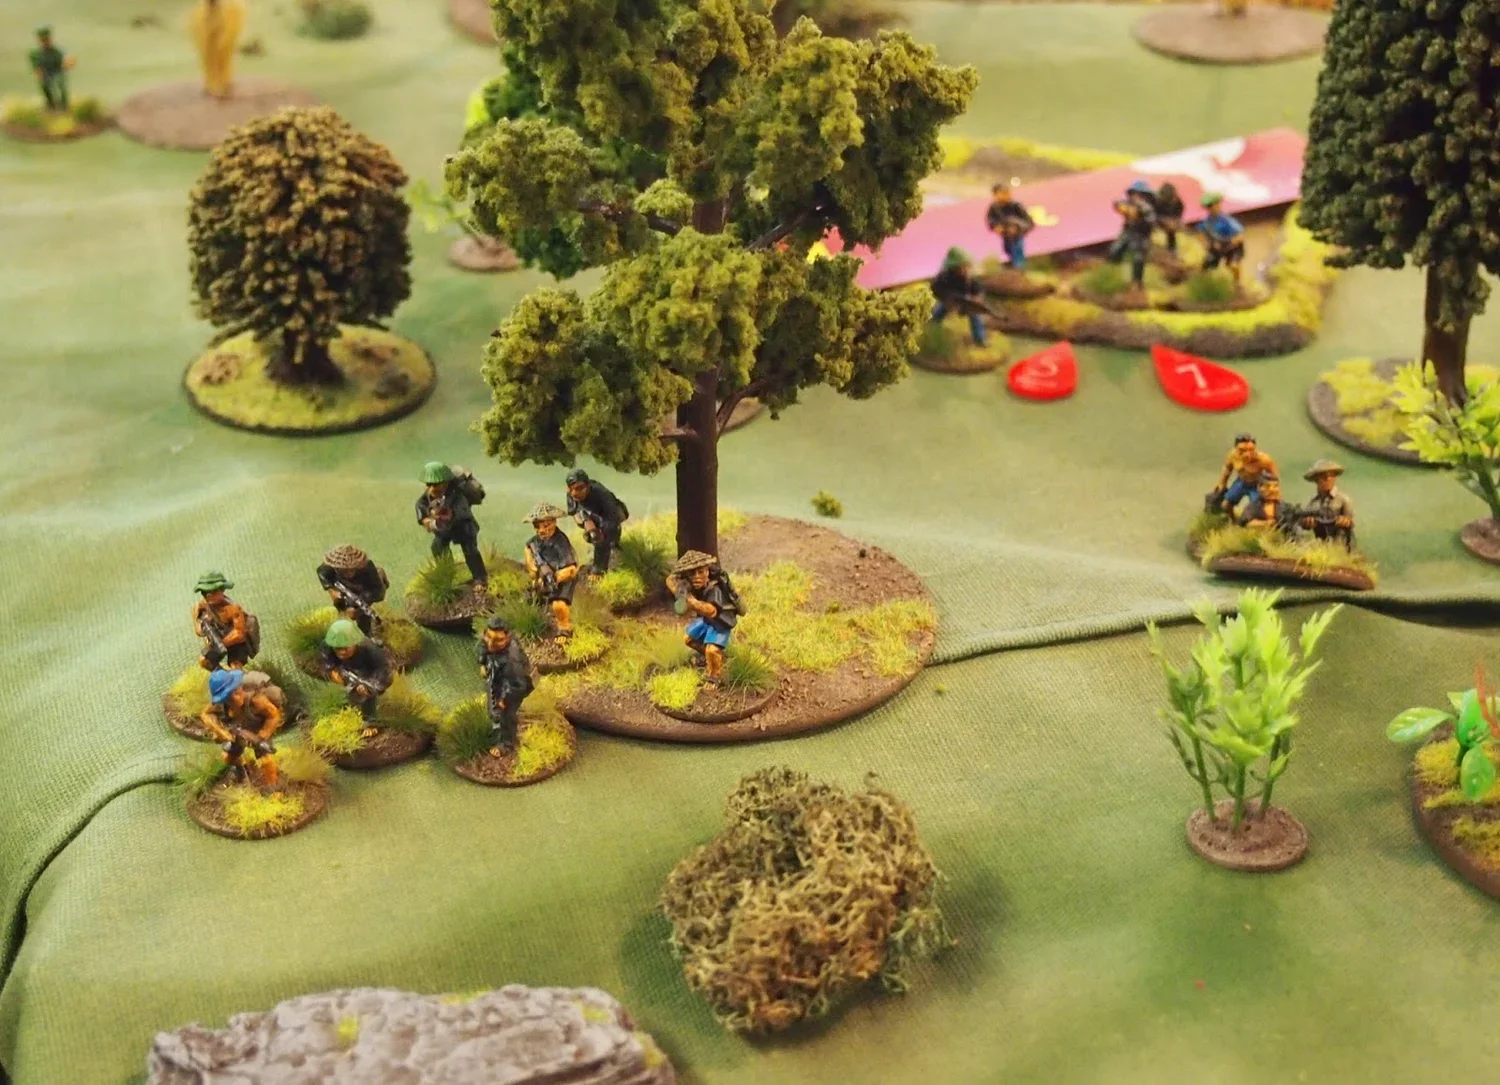
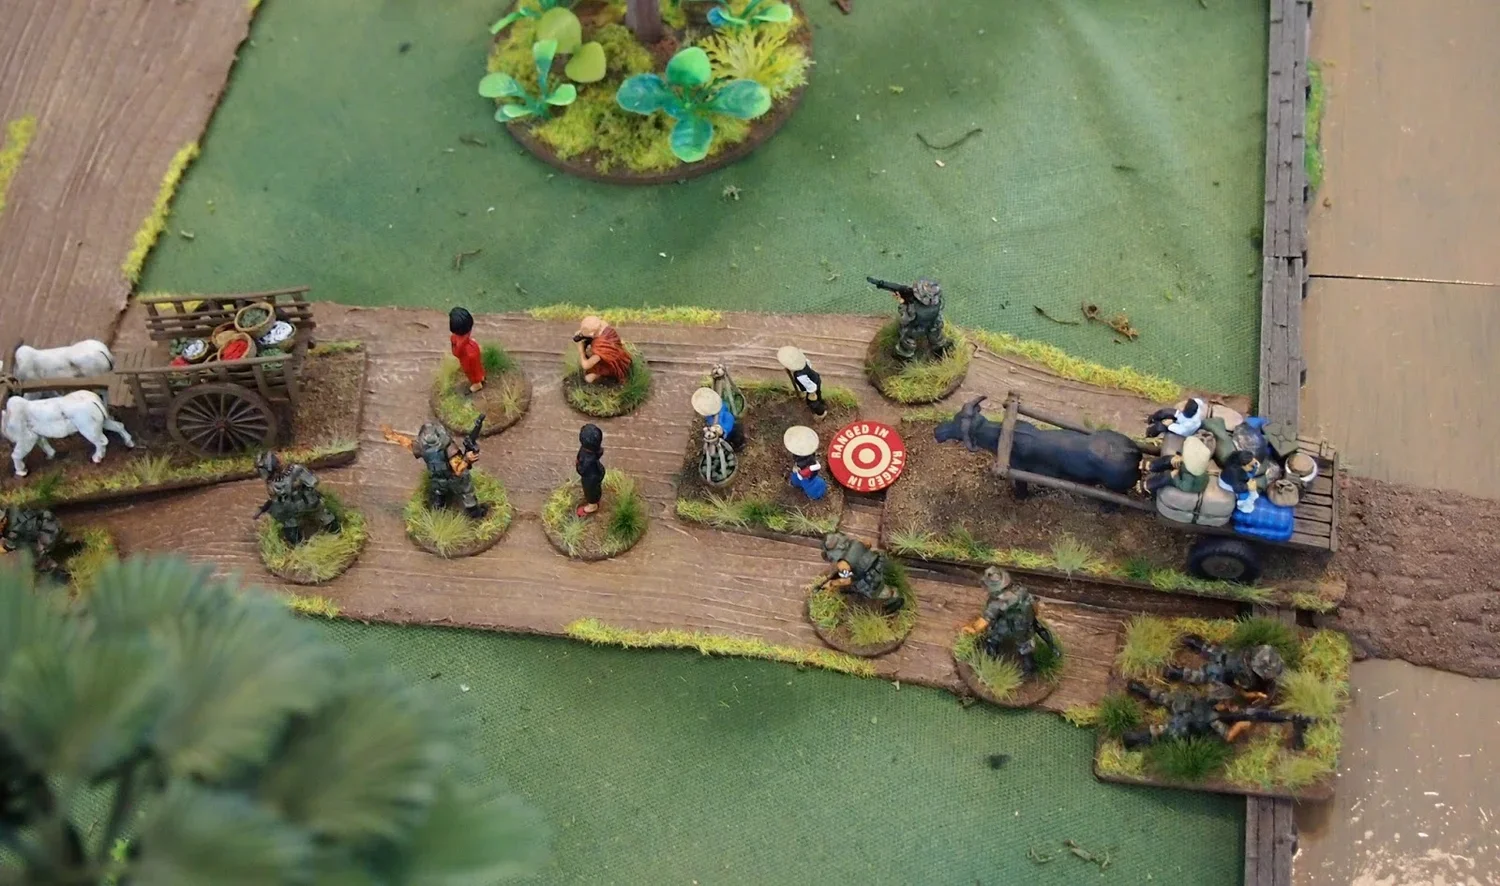
An American company sweeps through the hamlet of Gok Wan searching for VC caches and enemy forces. They stumble on a depleted PAVN company withdrawing across the paddy fields.
Acting quickly the US forces cut off the escape north and south of the village. US firepower plays an important part in forcing the PAVN to think about their life choices.
Closing the bag sees the US capture a PAVN Officer and a Commissar! This will be front cover feature in Stars and Stripes!
Here a video of the game as well:
#stormofsteelwargaming

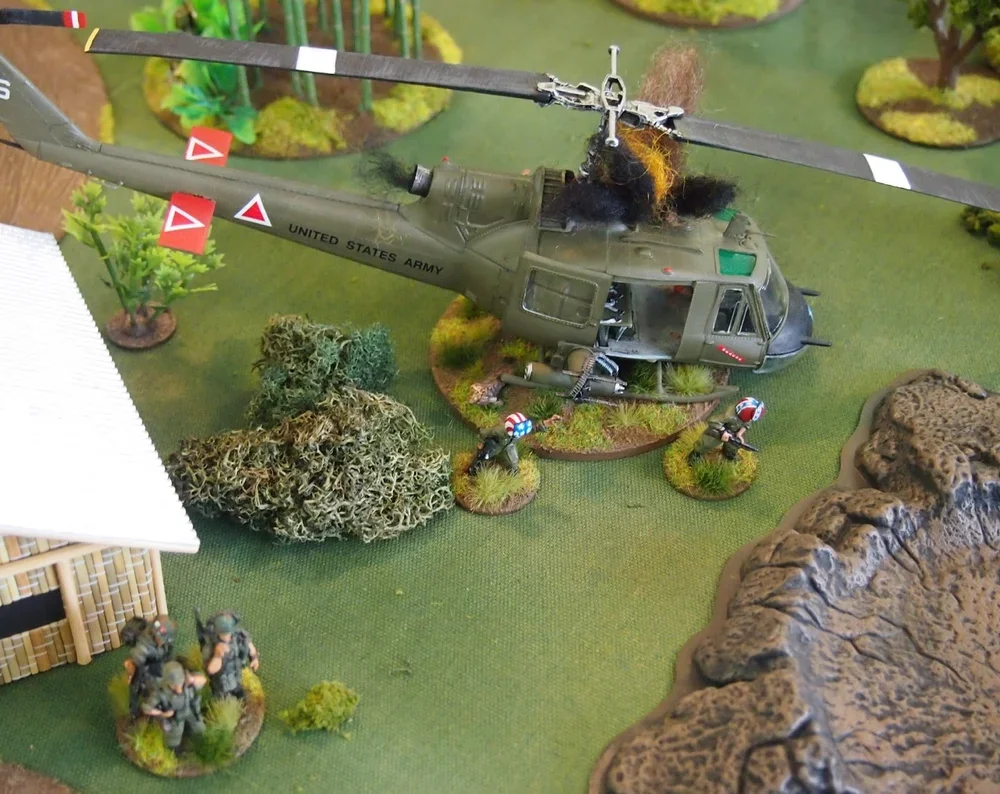
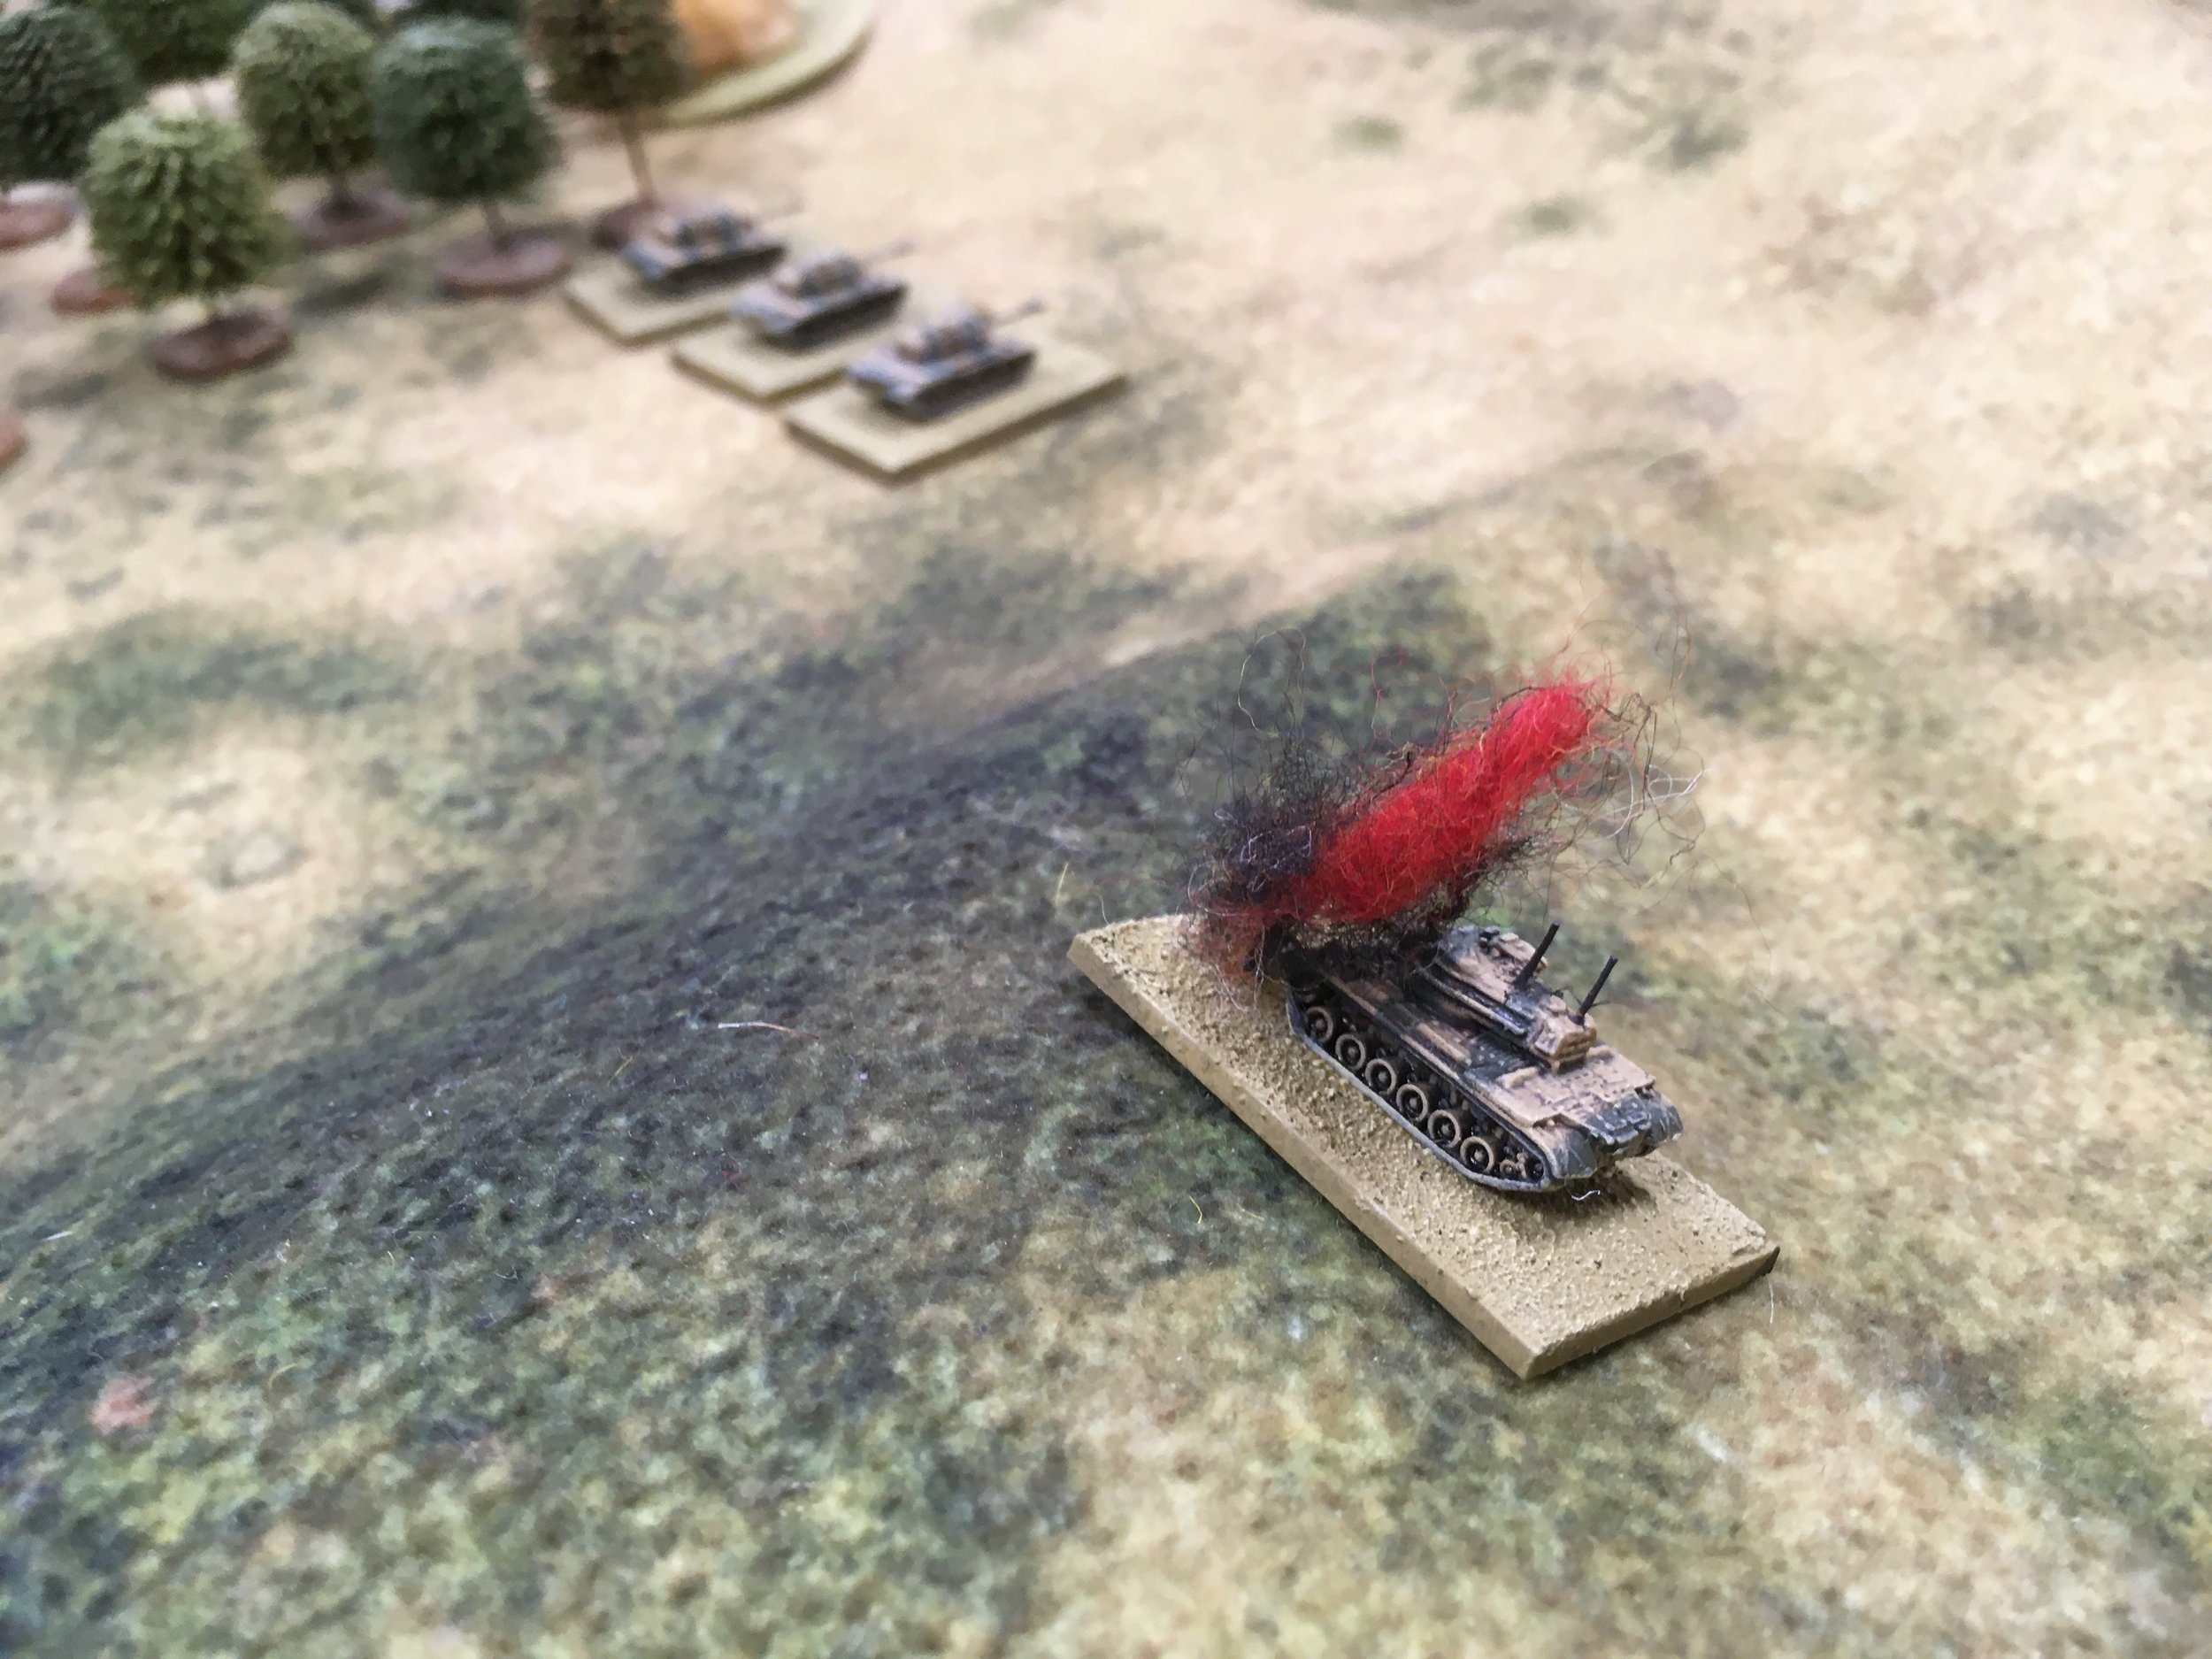
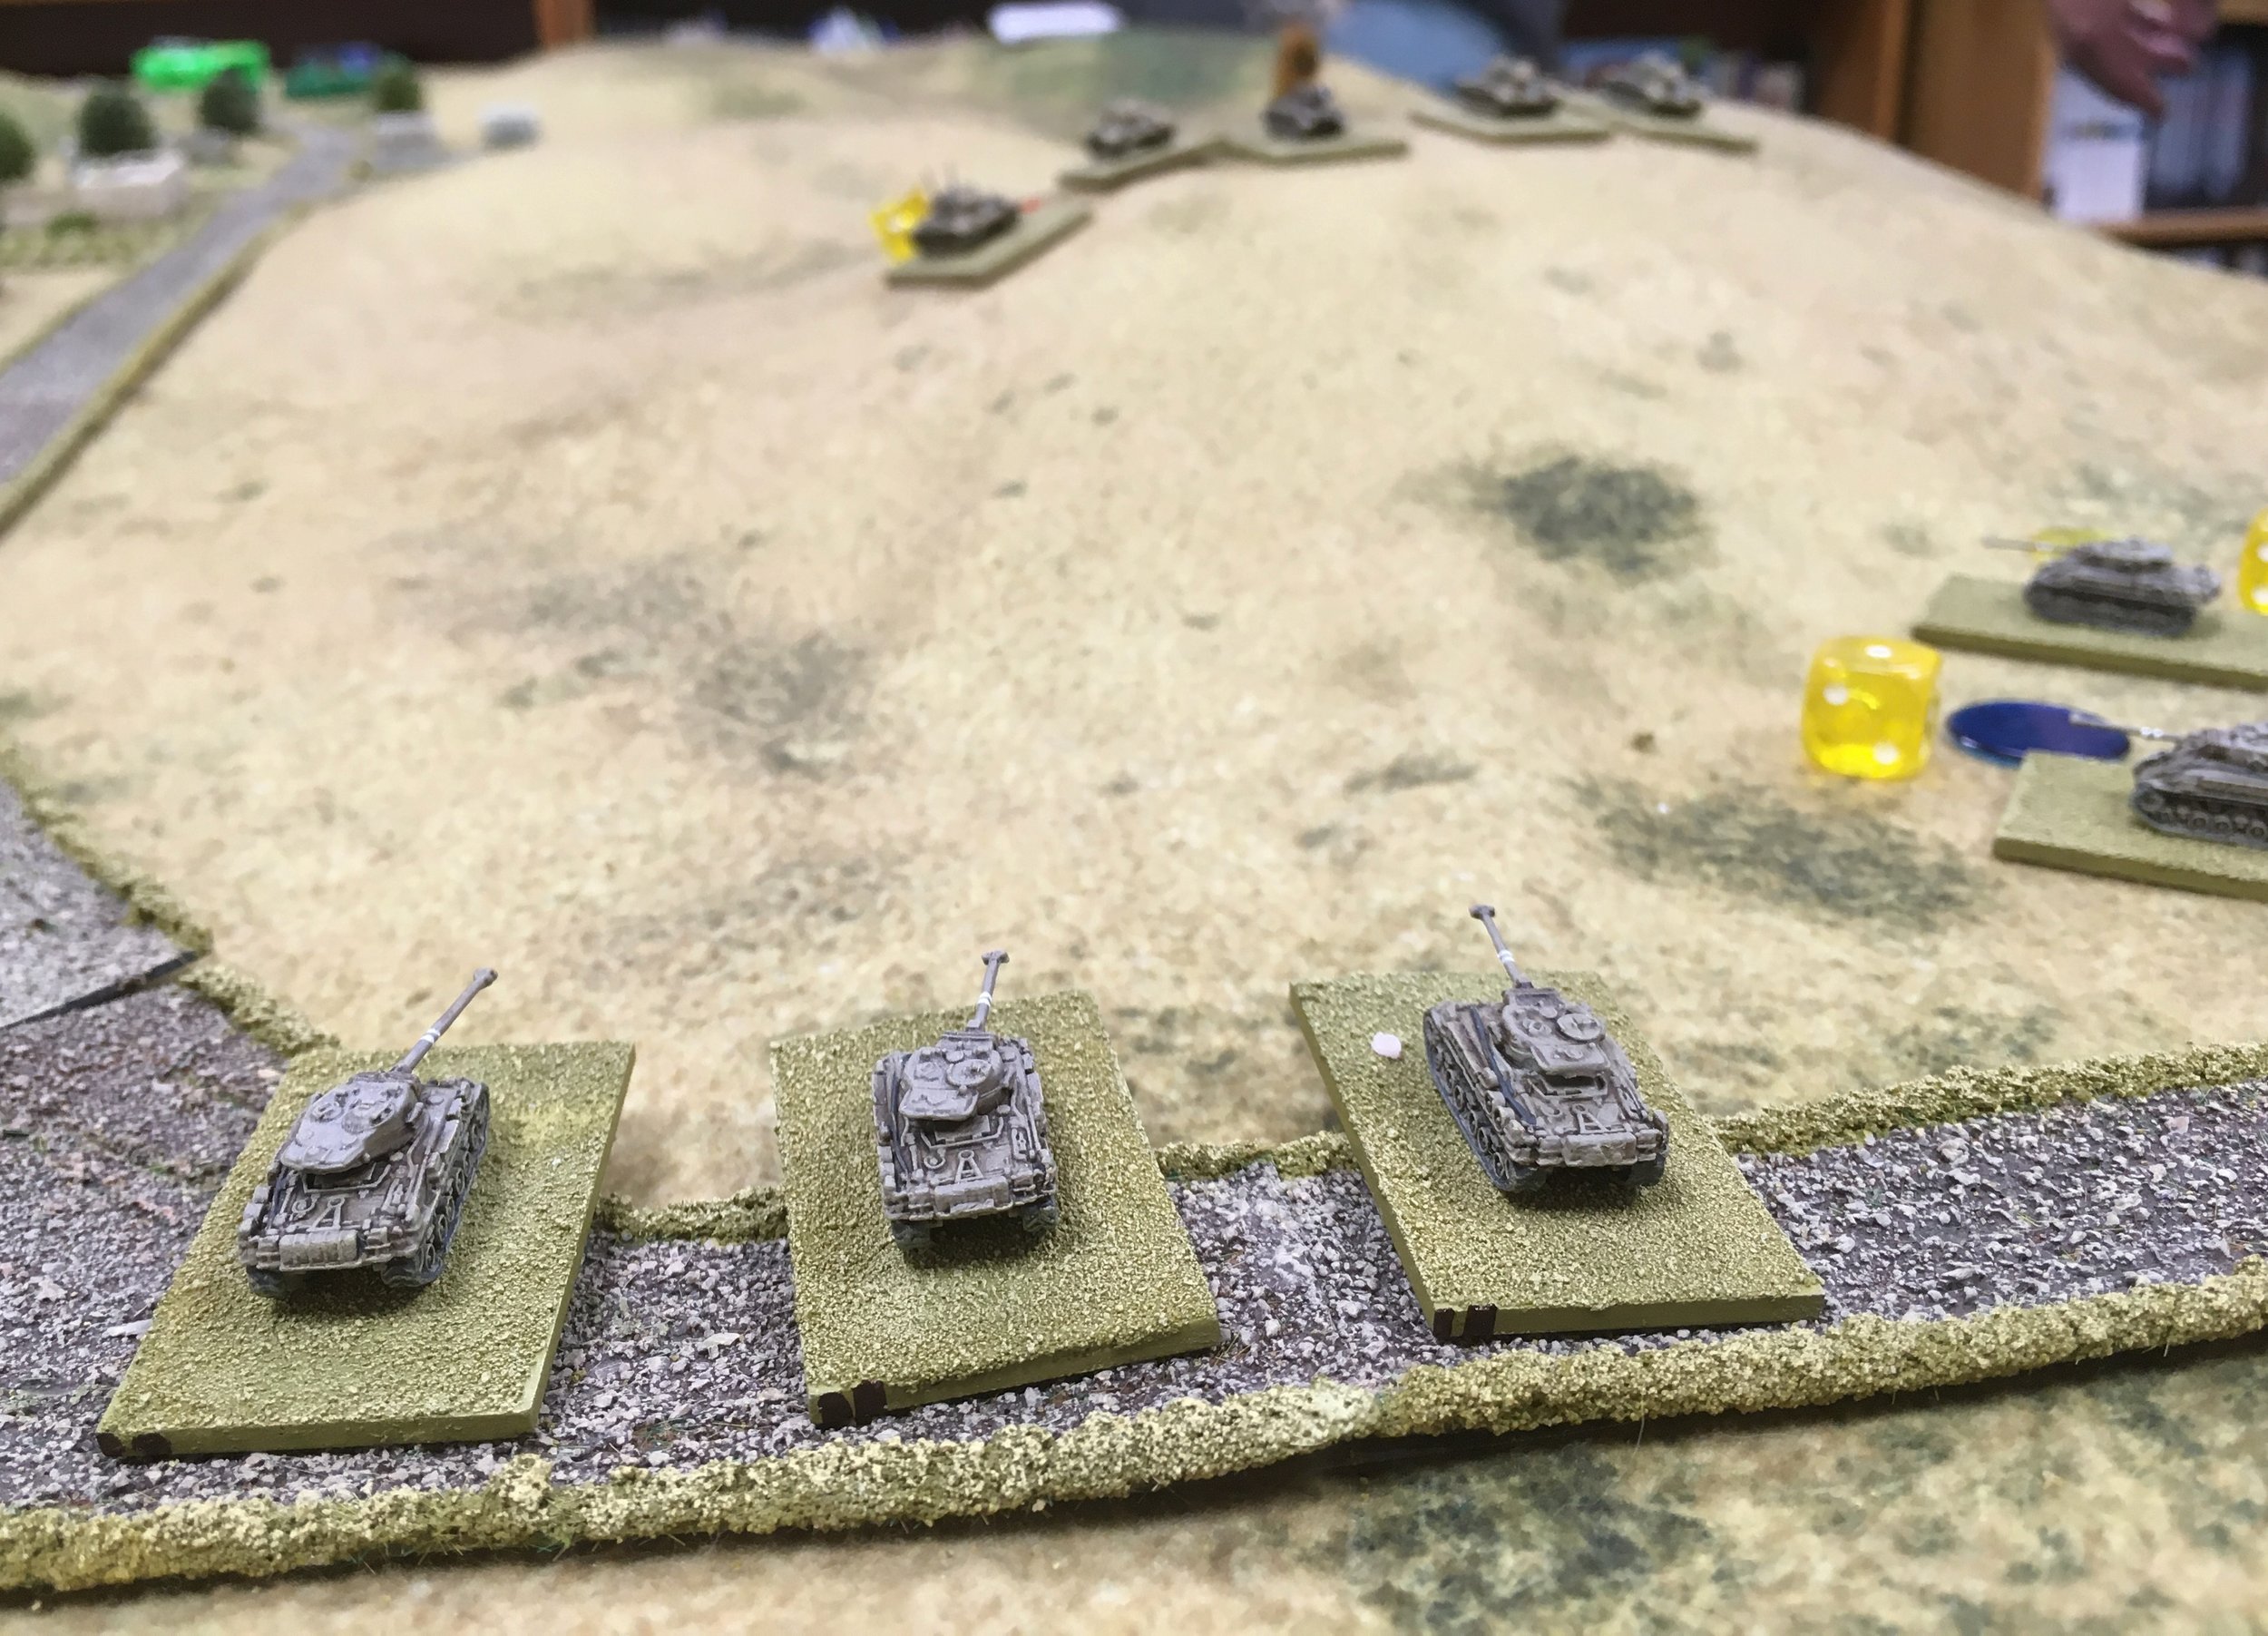
We had a great game today - a variant of the Air Cav scenario but with ANZACs and a mechanised platoon as reinforcements. Five players on a 15 x 5 ft table. Great fun and played in true gentlemanly spirit.
ANZACS failed to win a military victory but secured a strong political victory under the eyes of a TV crew. Napalm burnt off the top of the hill and heli smoke screen played havoc with NVA plans!
NVA hit three helicopters with RPG rounds but failed to shoot any down - driven off or damaged only.
NVA mortars caused chaos on the LZ. NVA caused two critical wounds - one guy dying whilst being moved.
Nick Bellamy

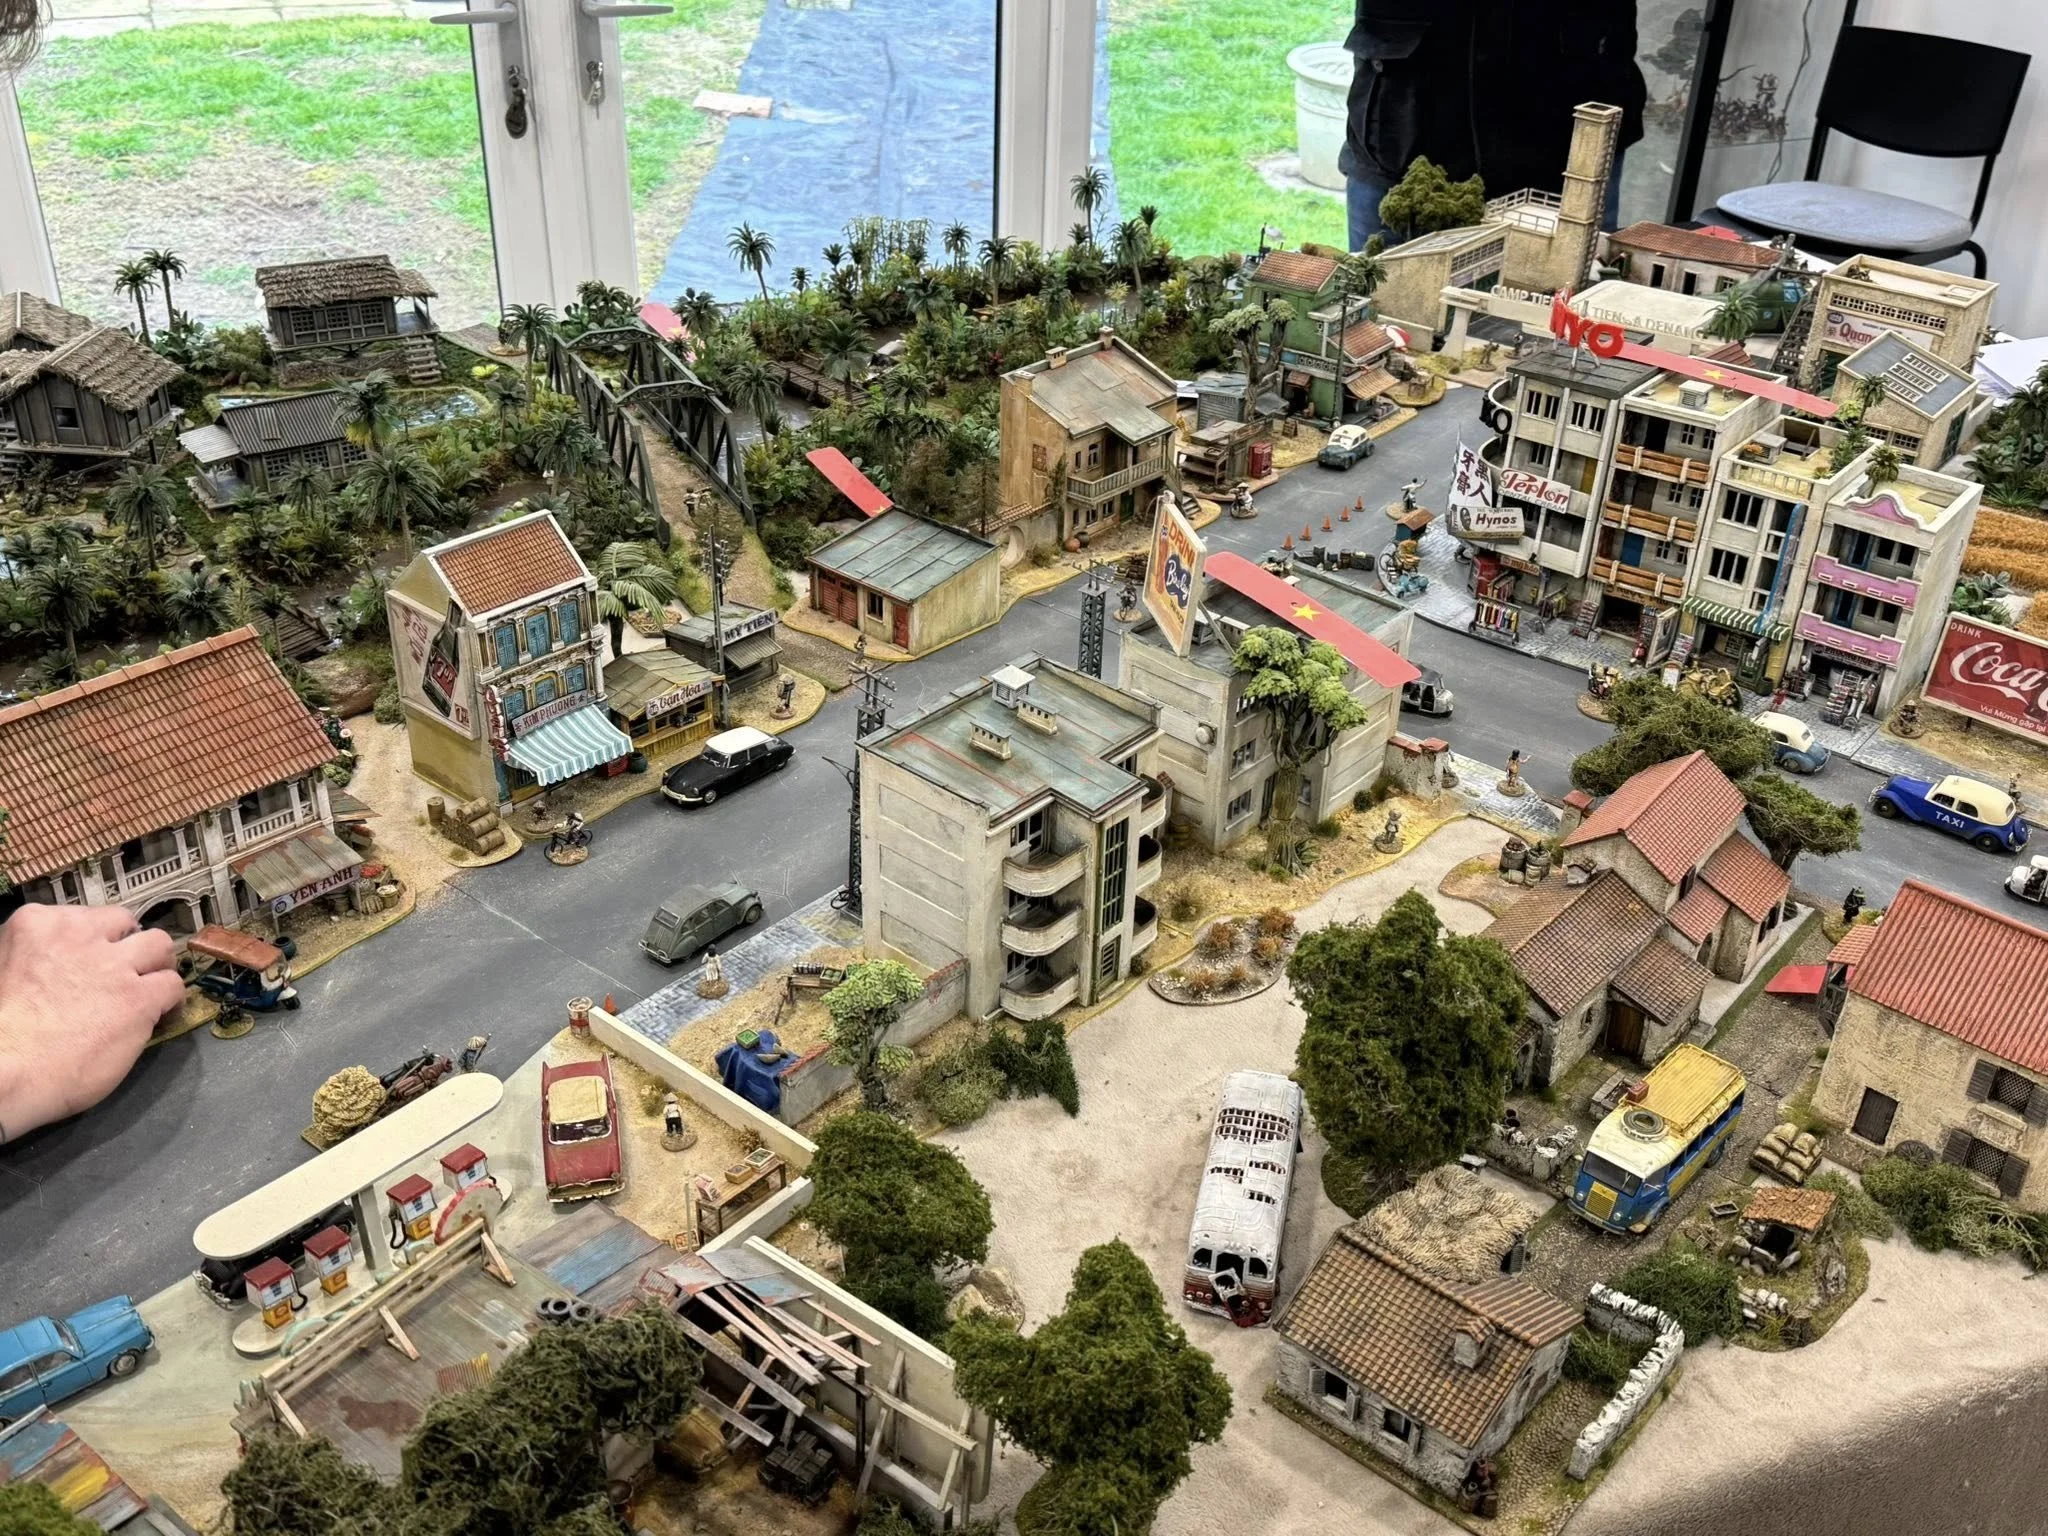
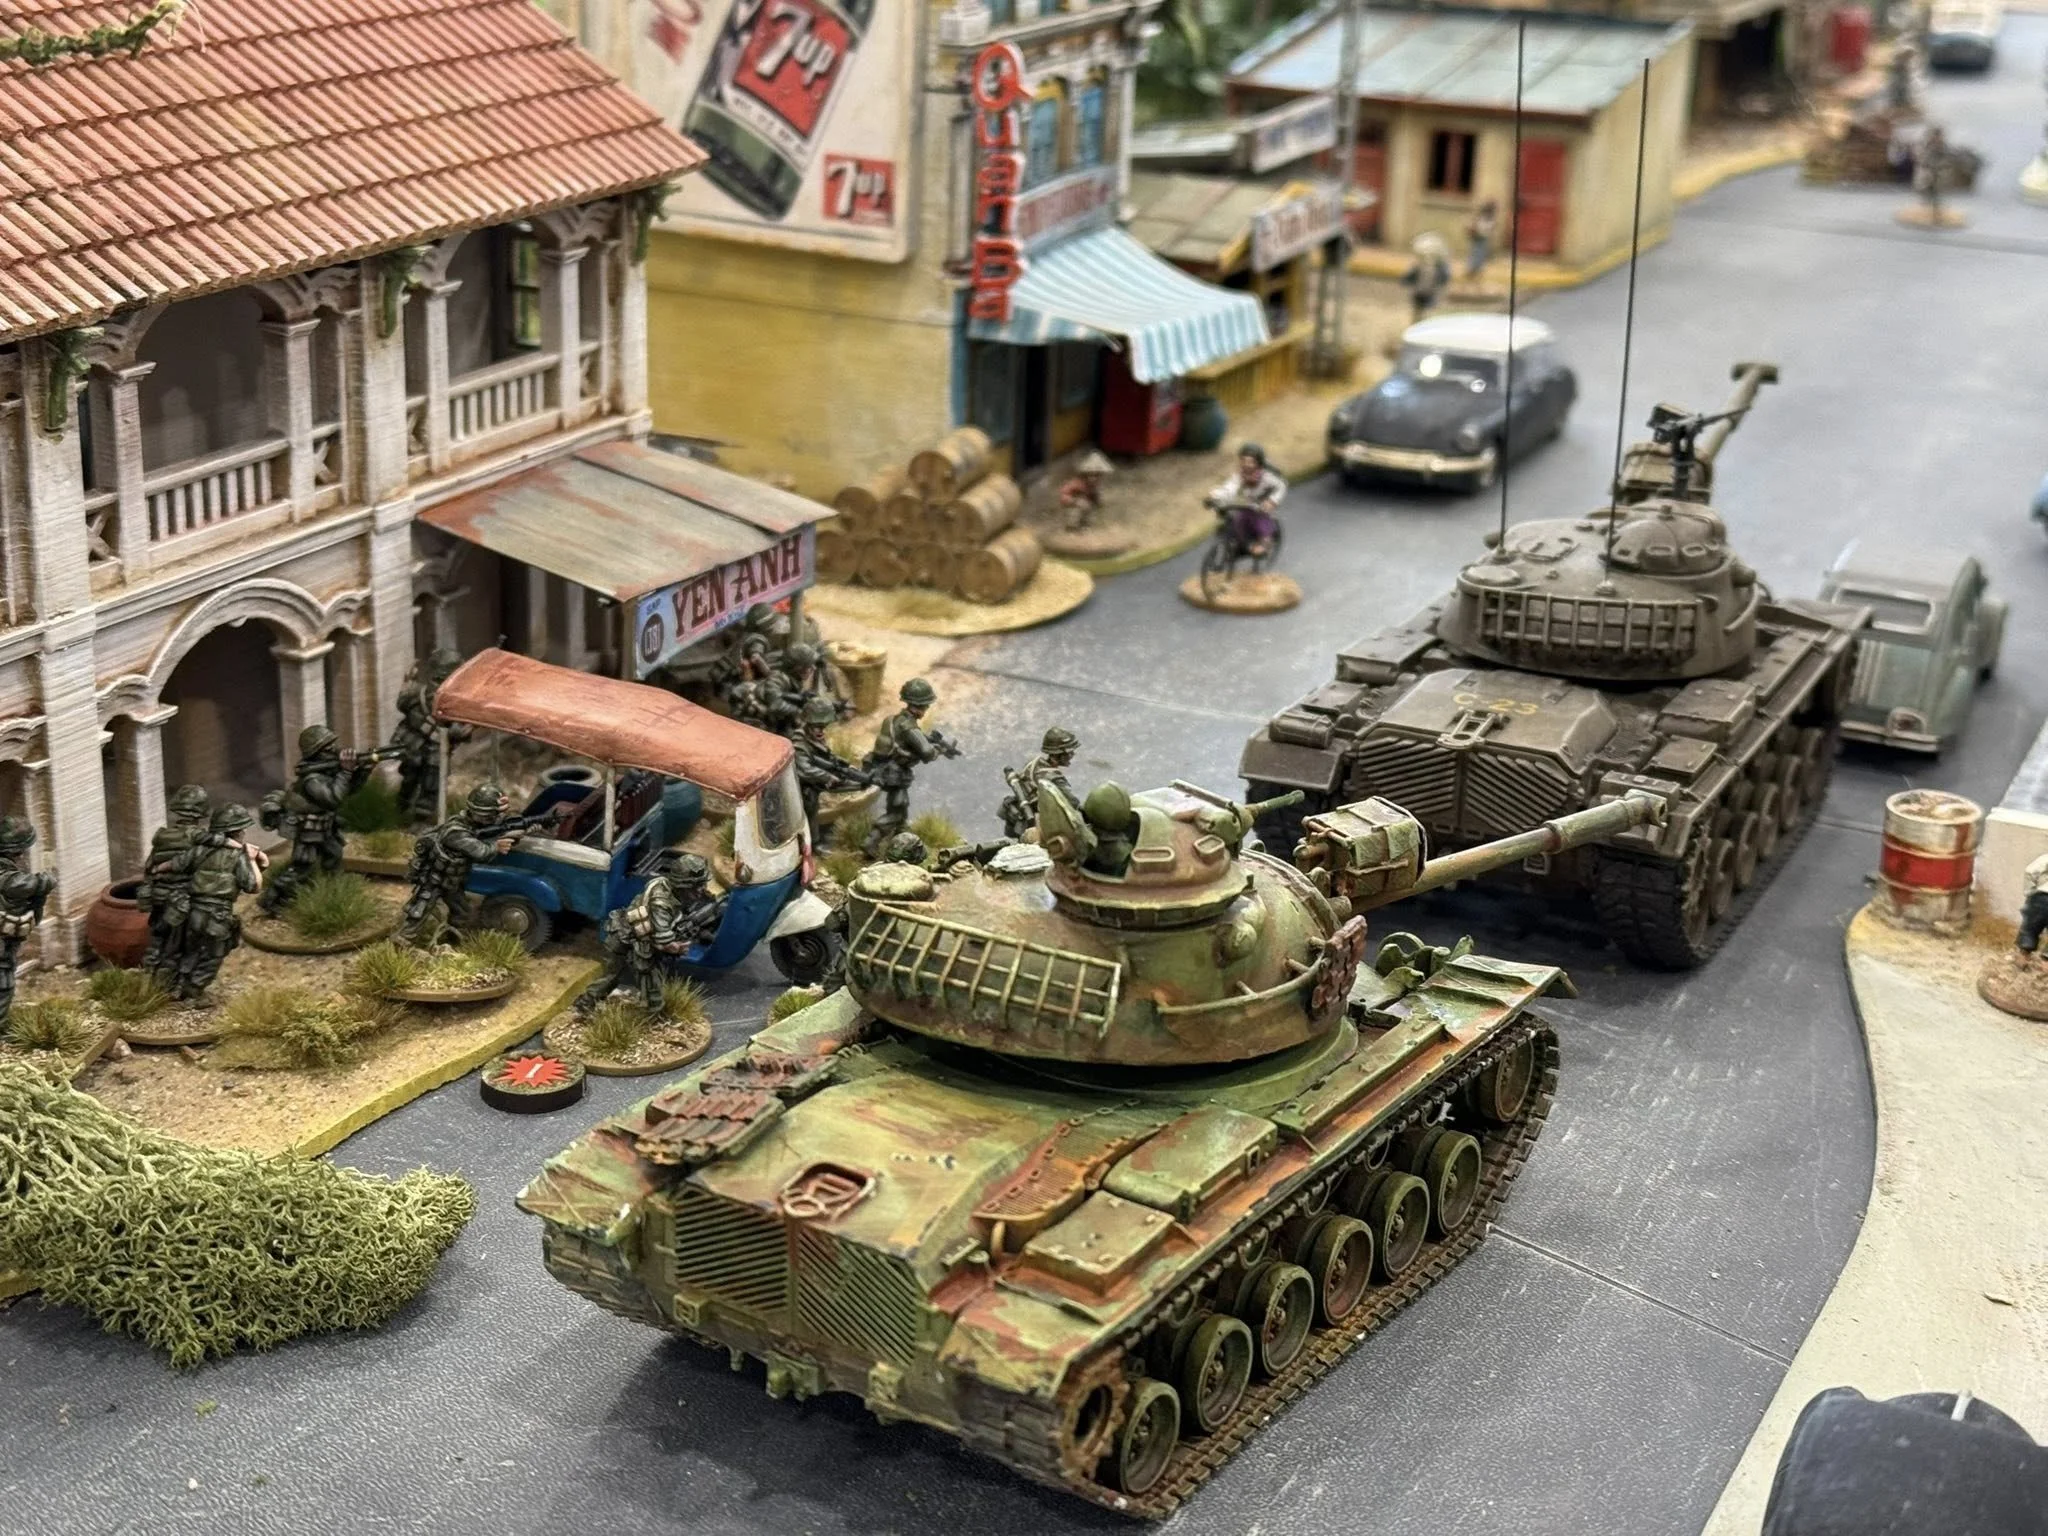
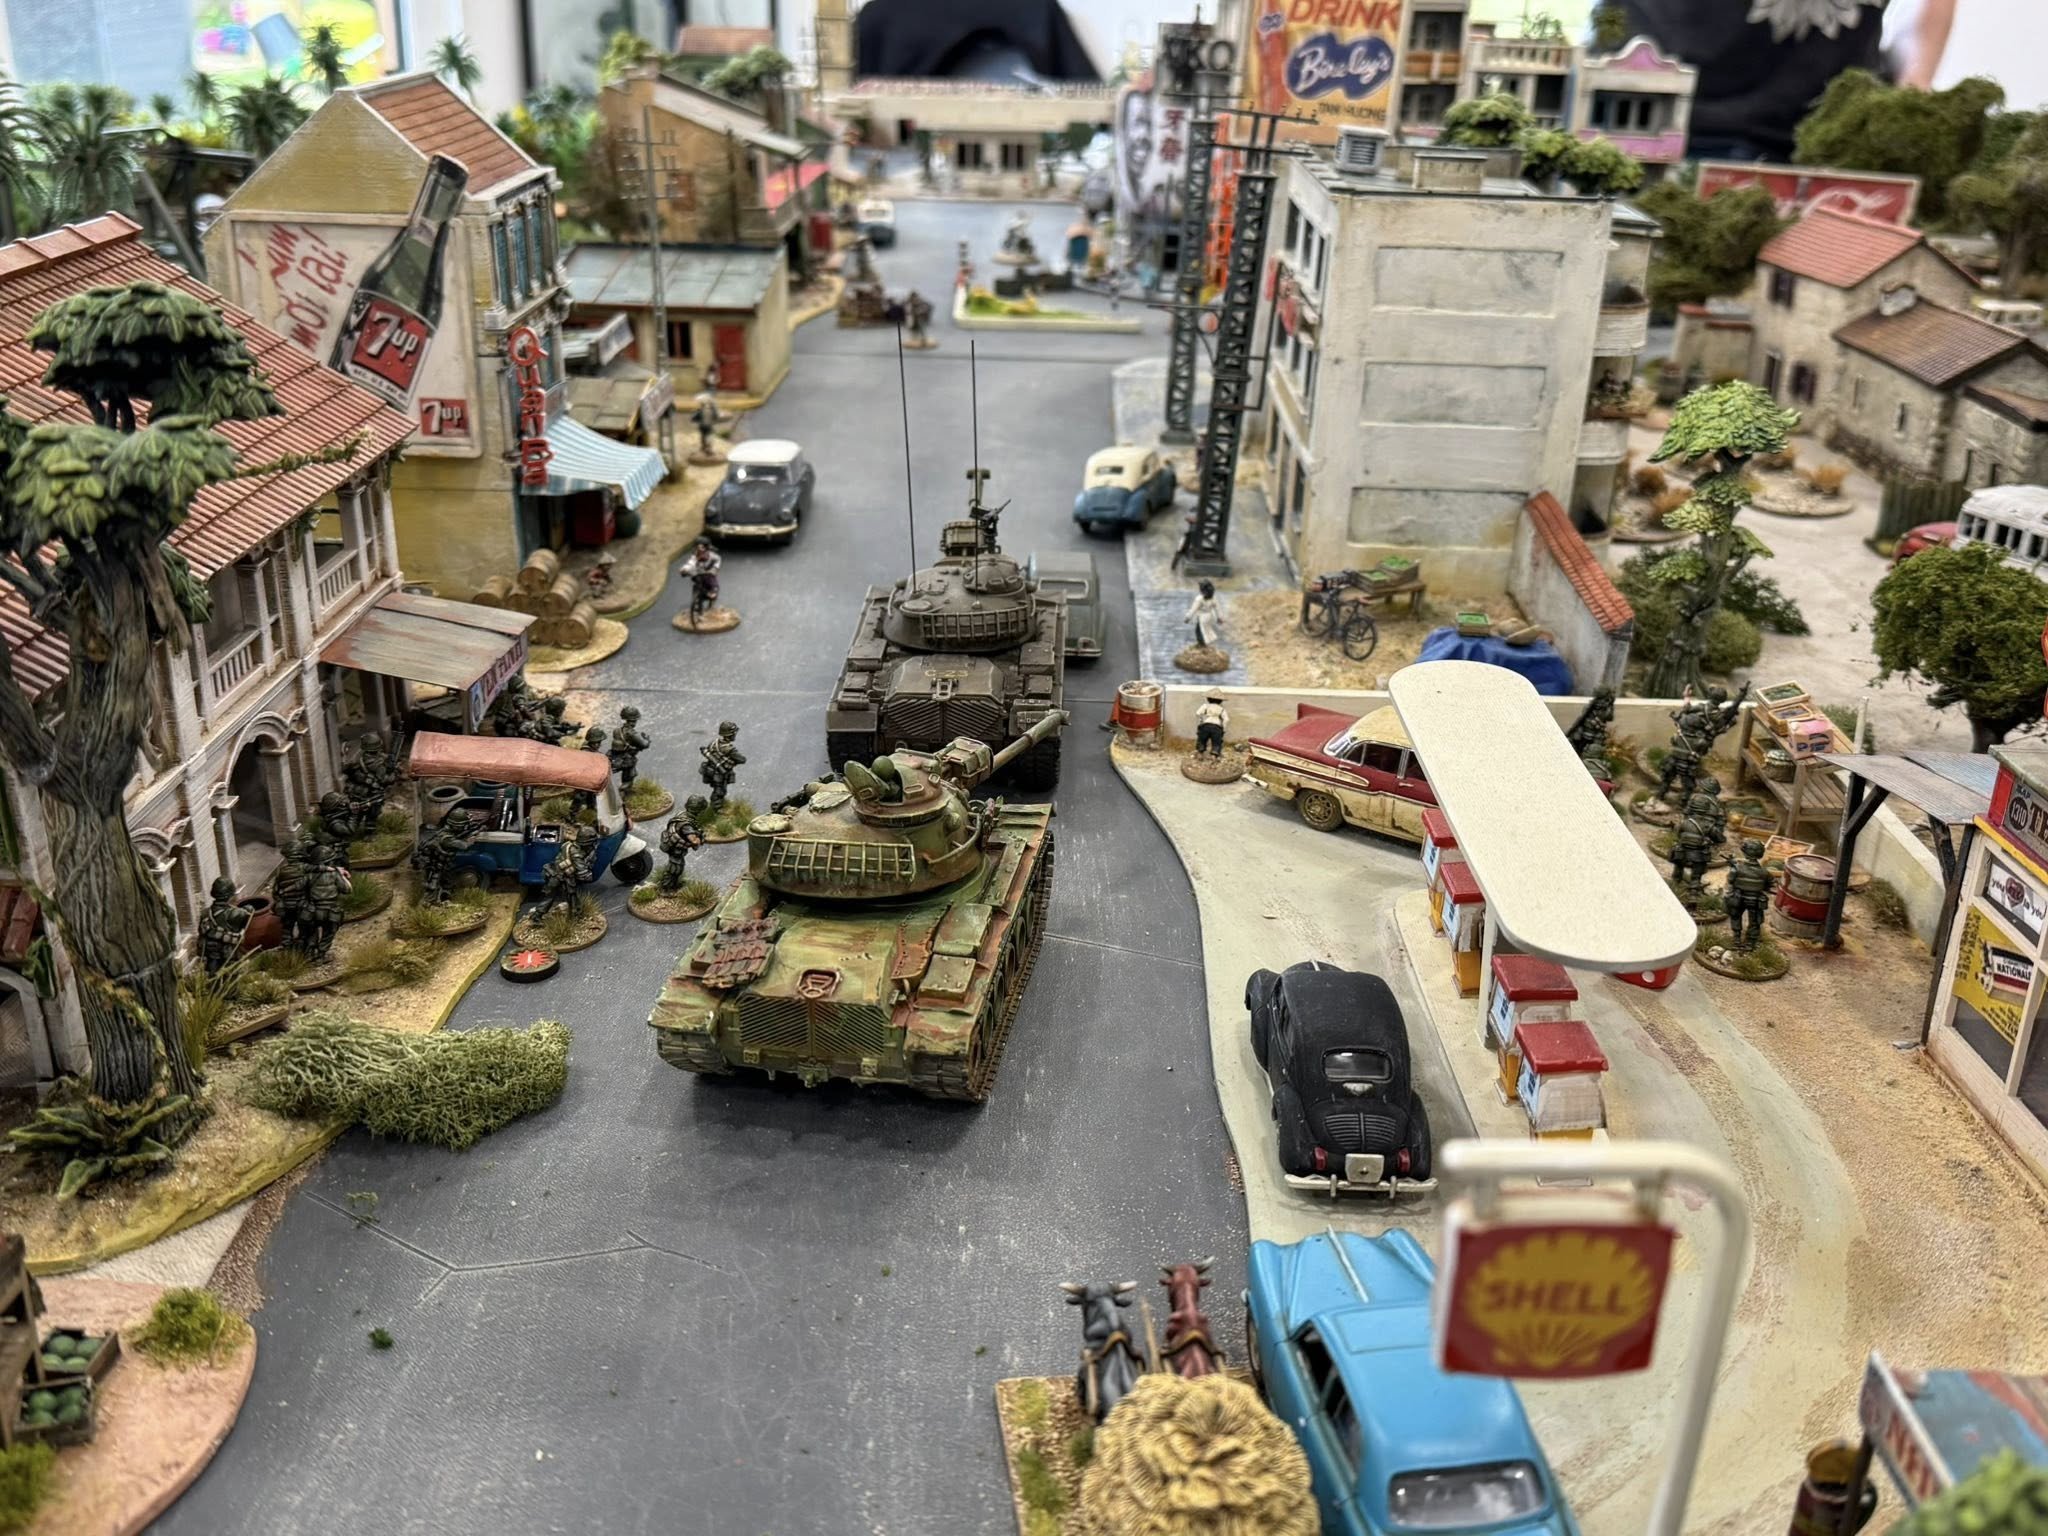
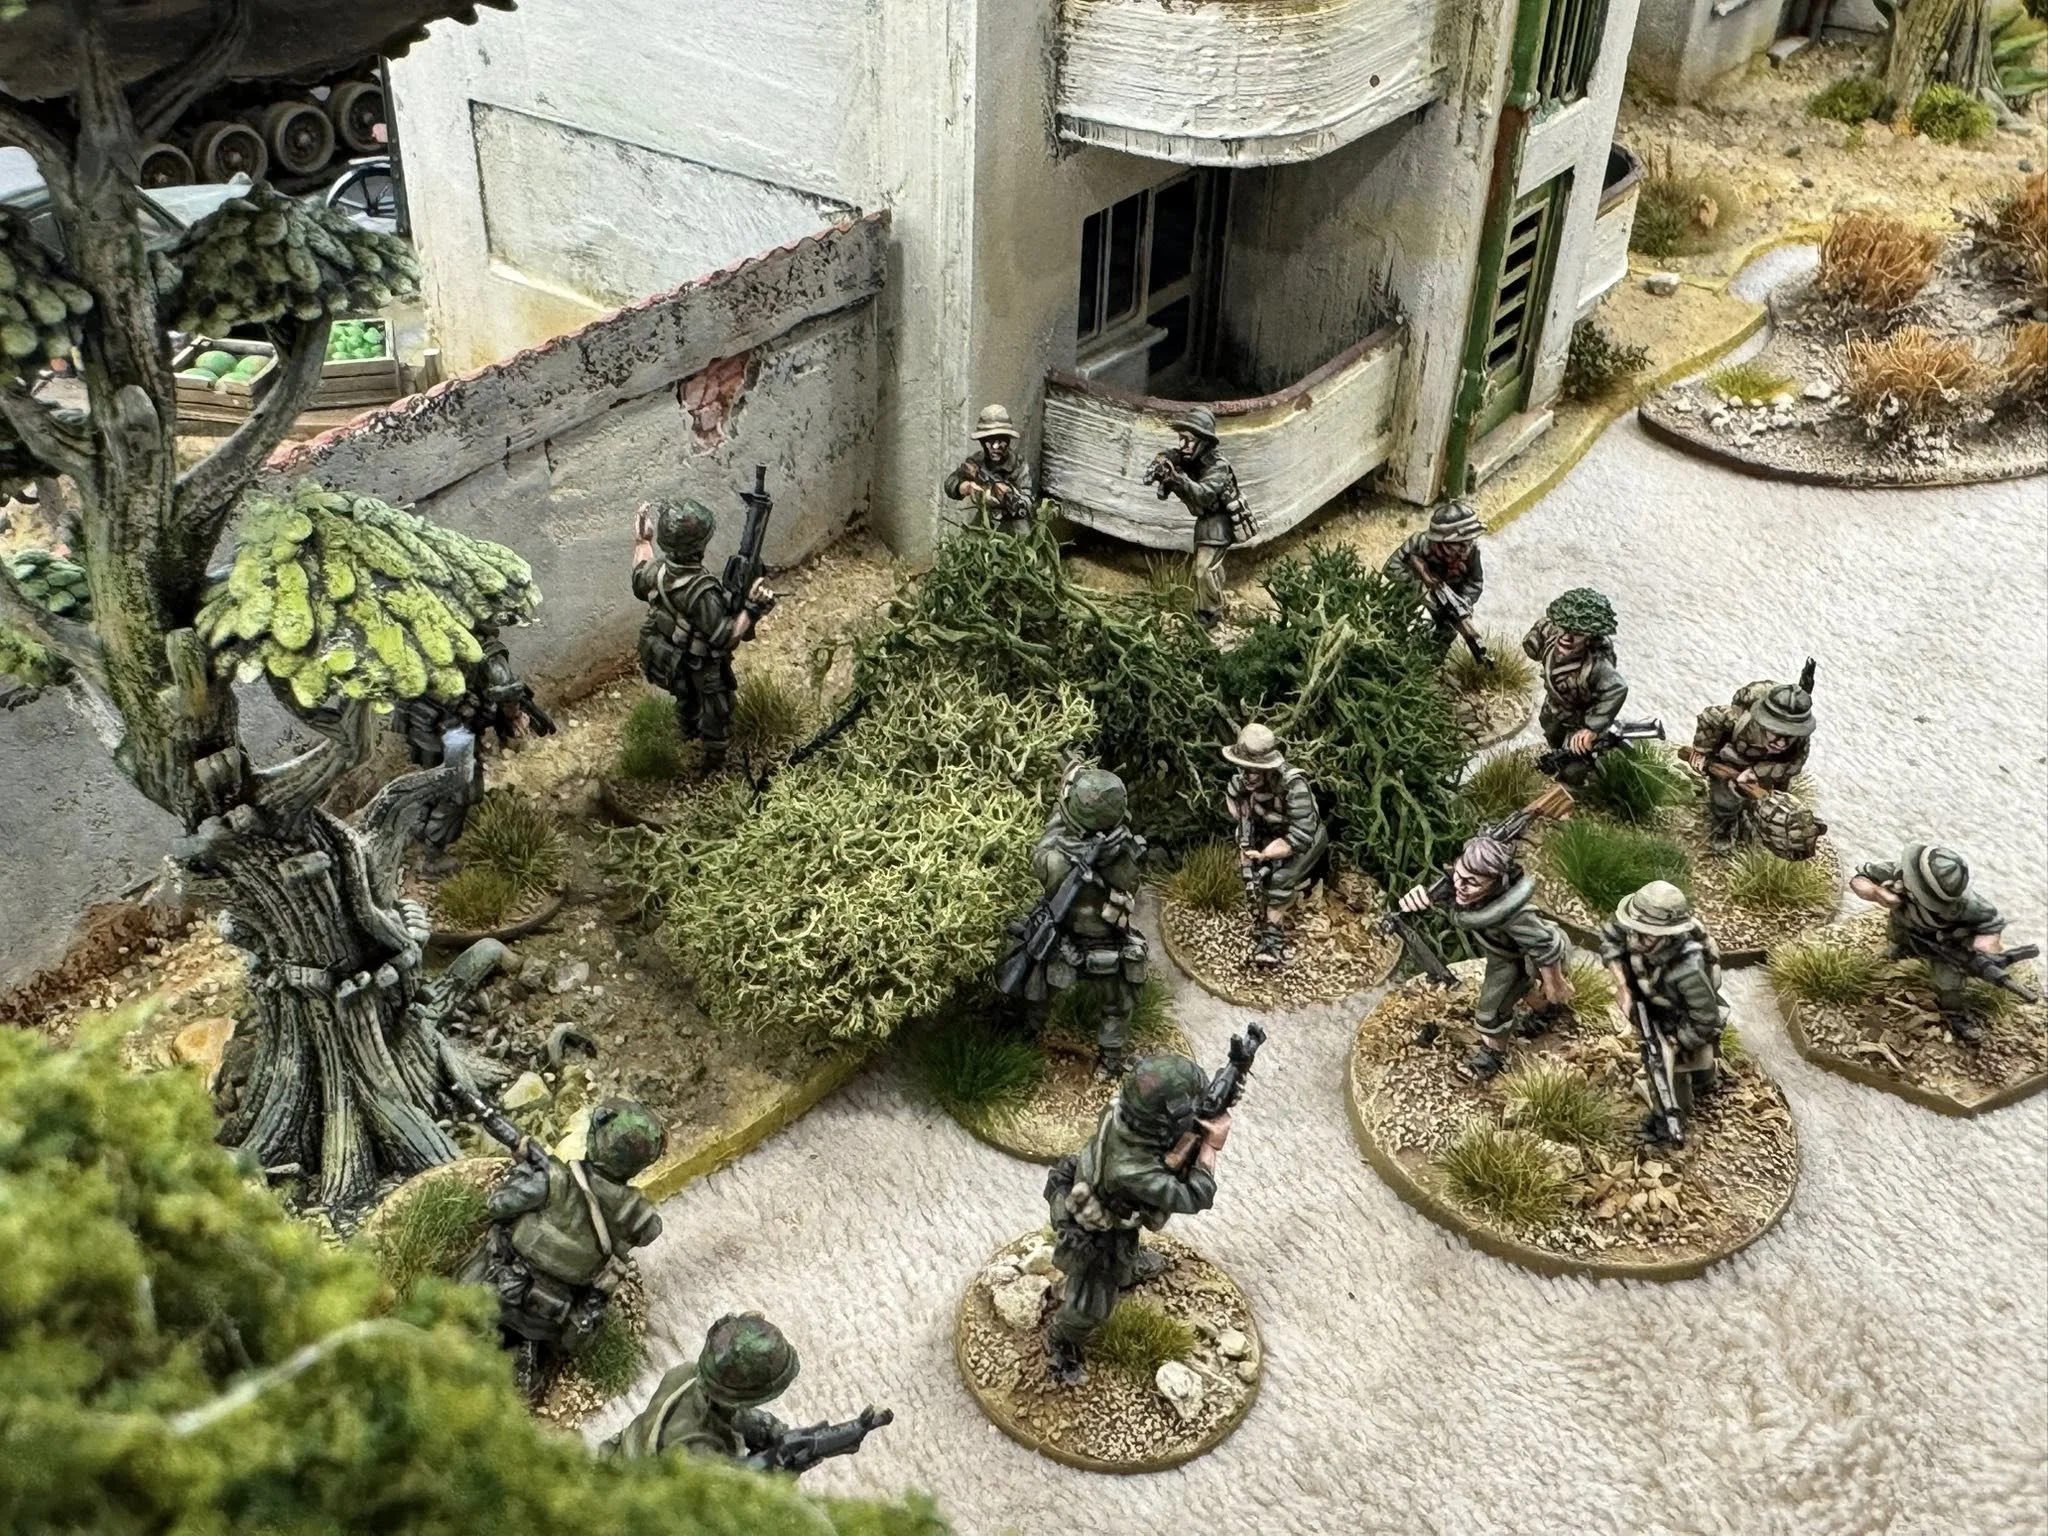
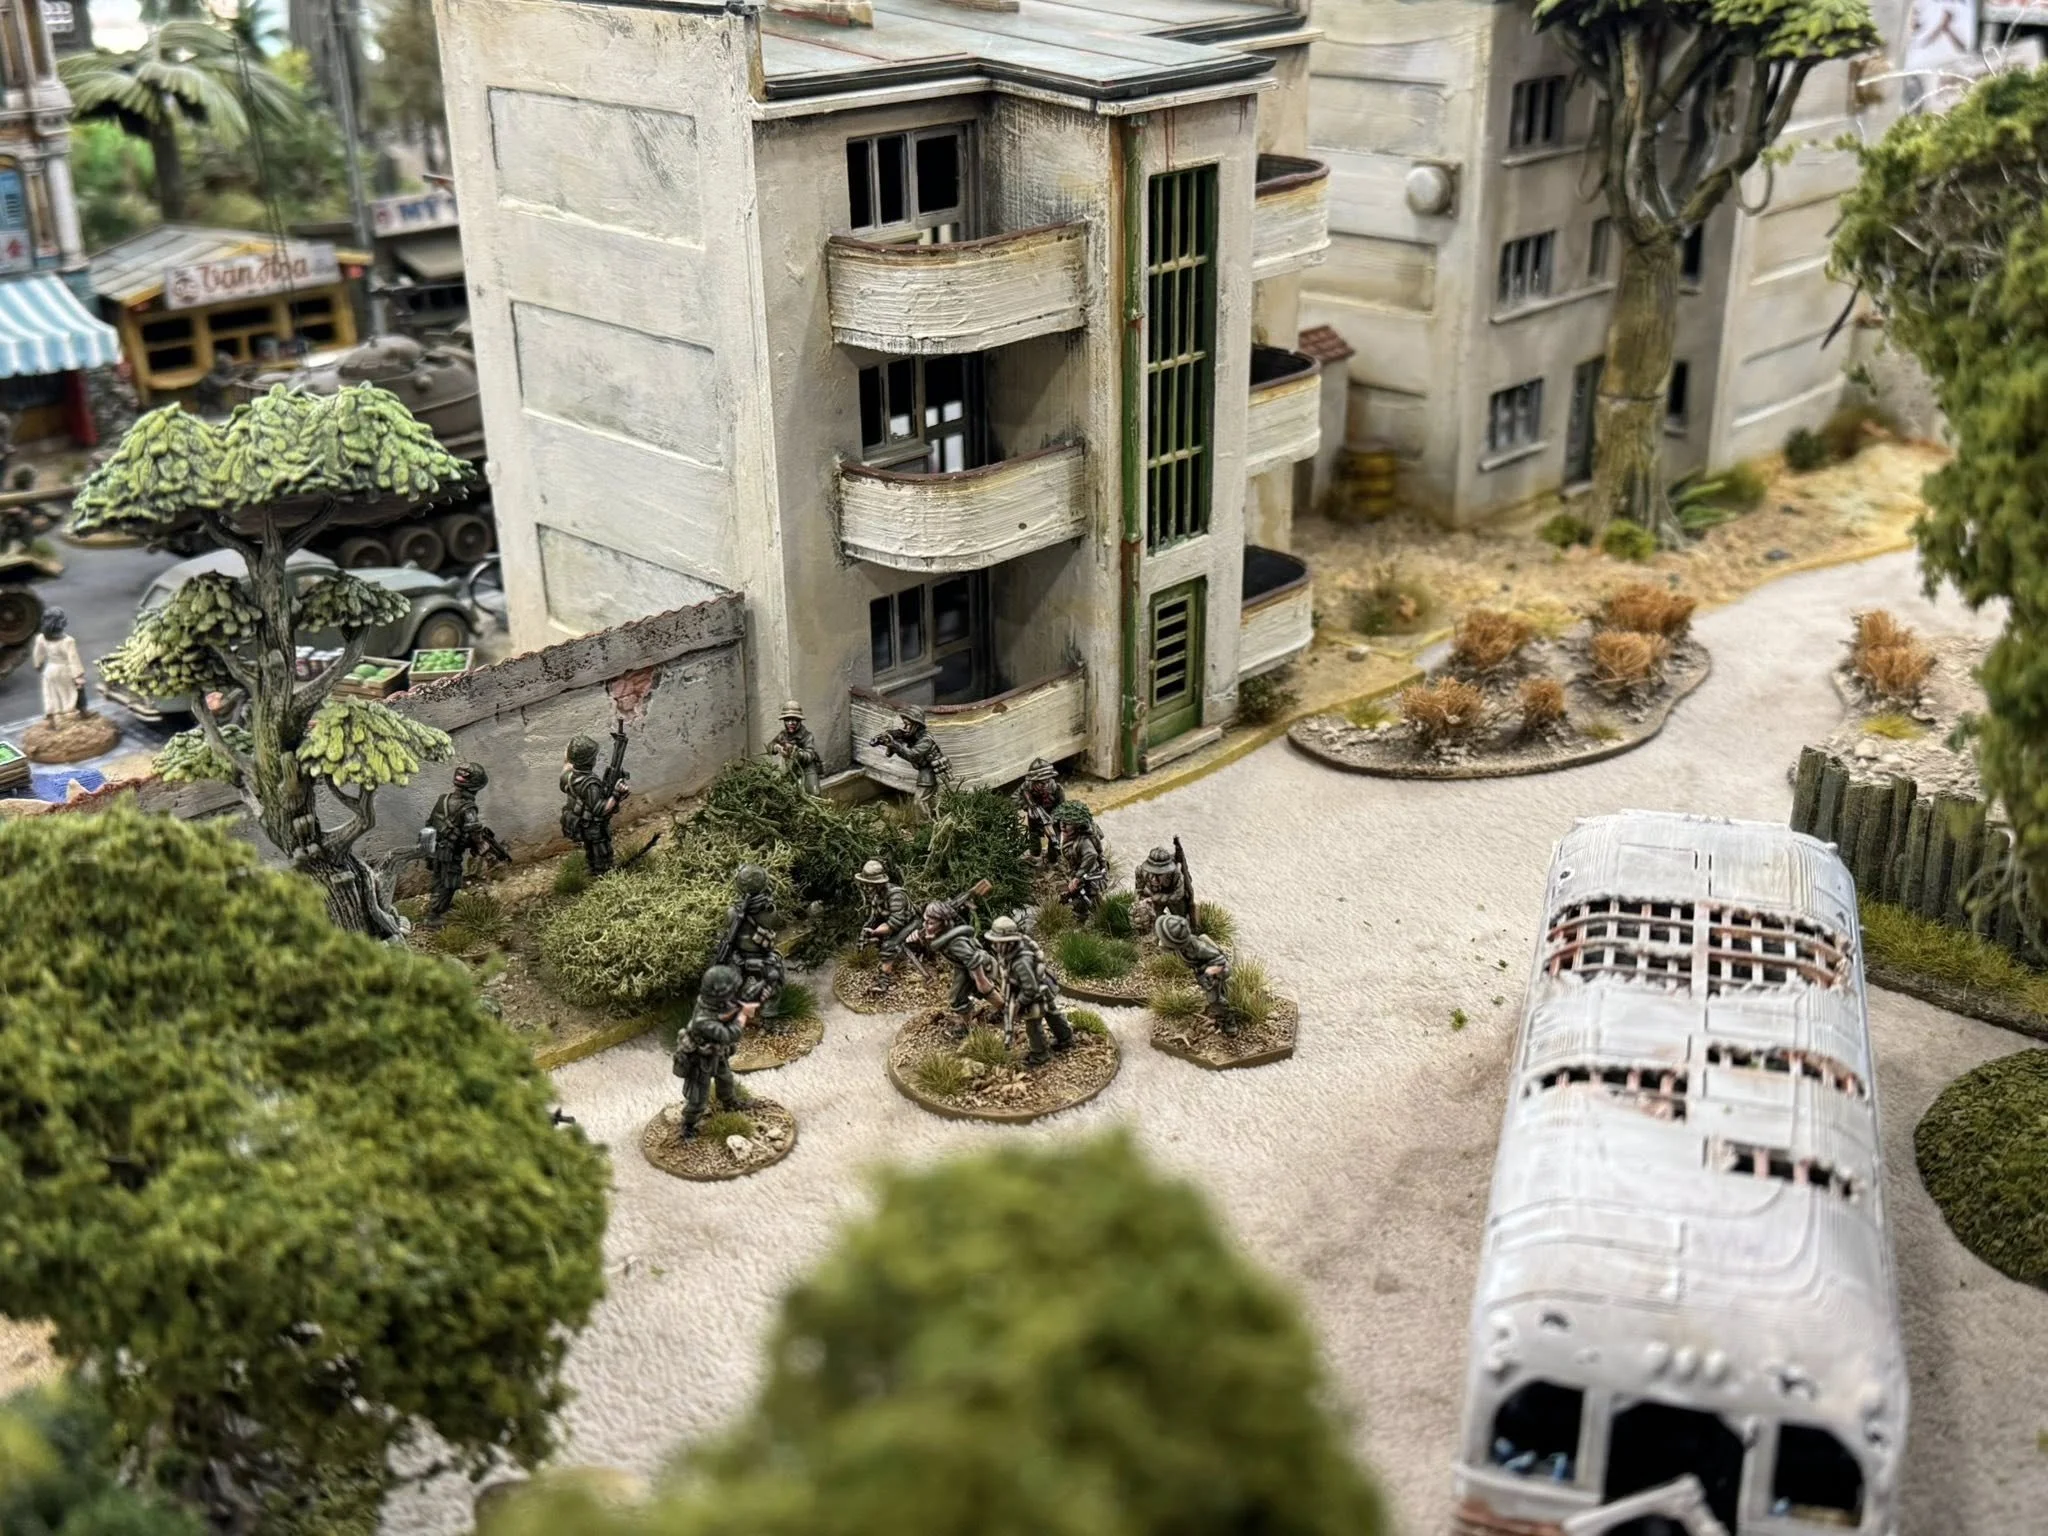
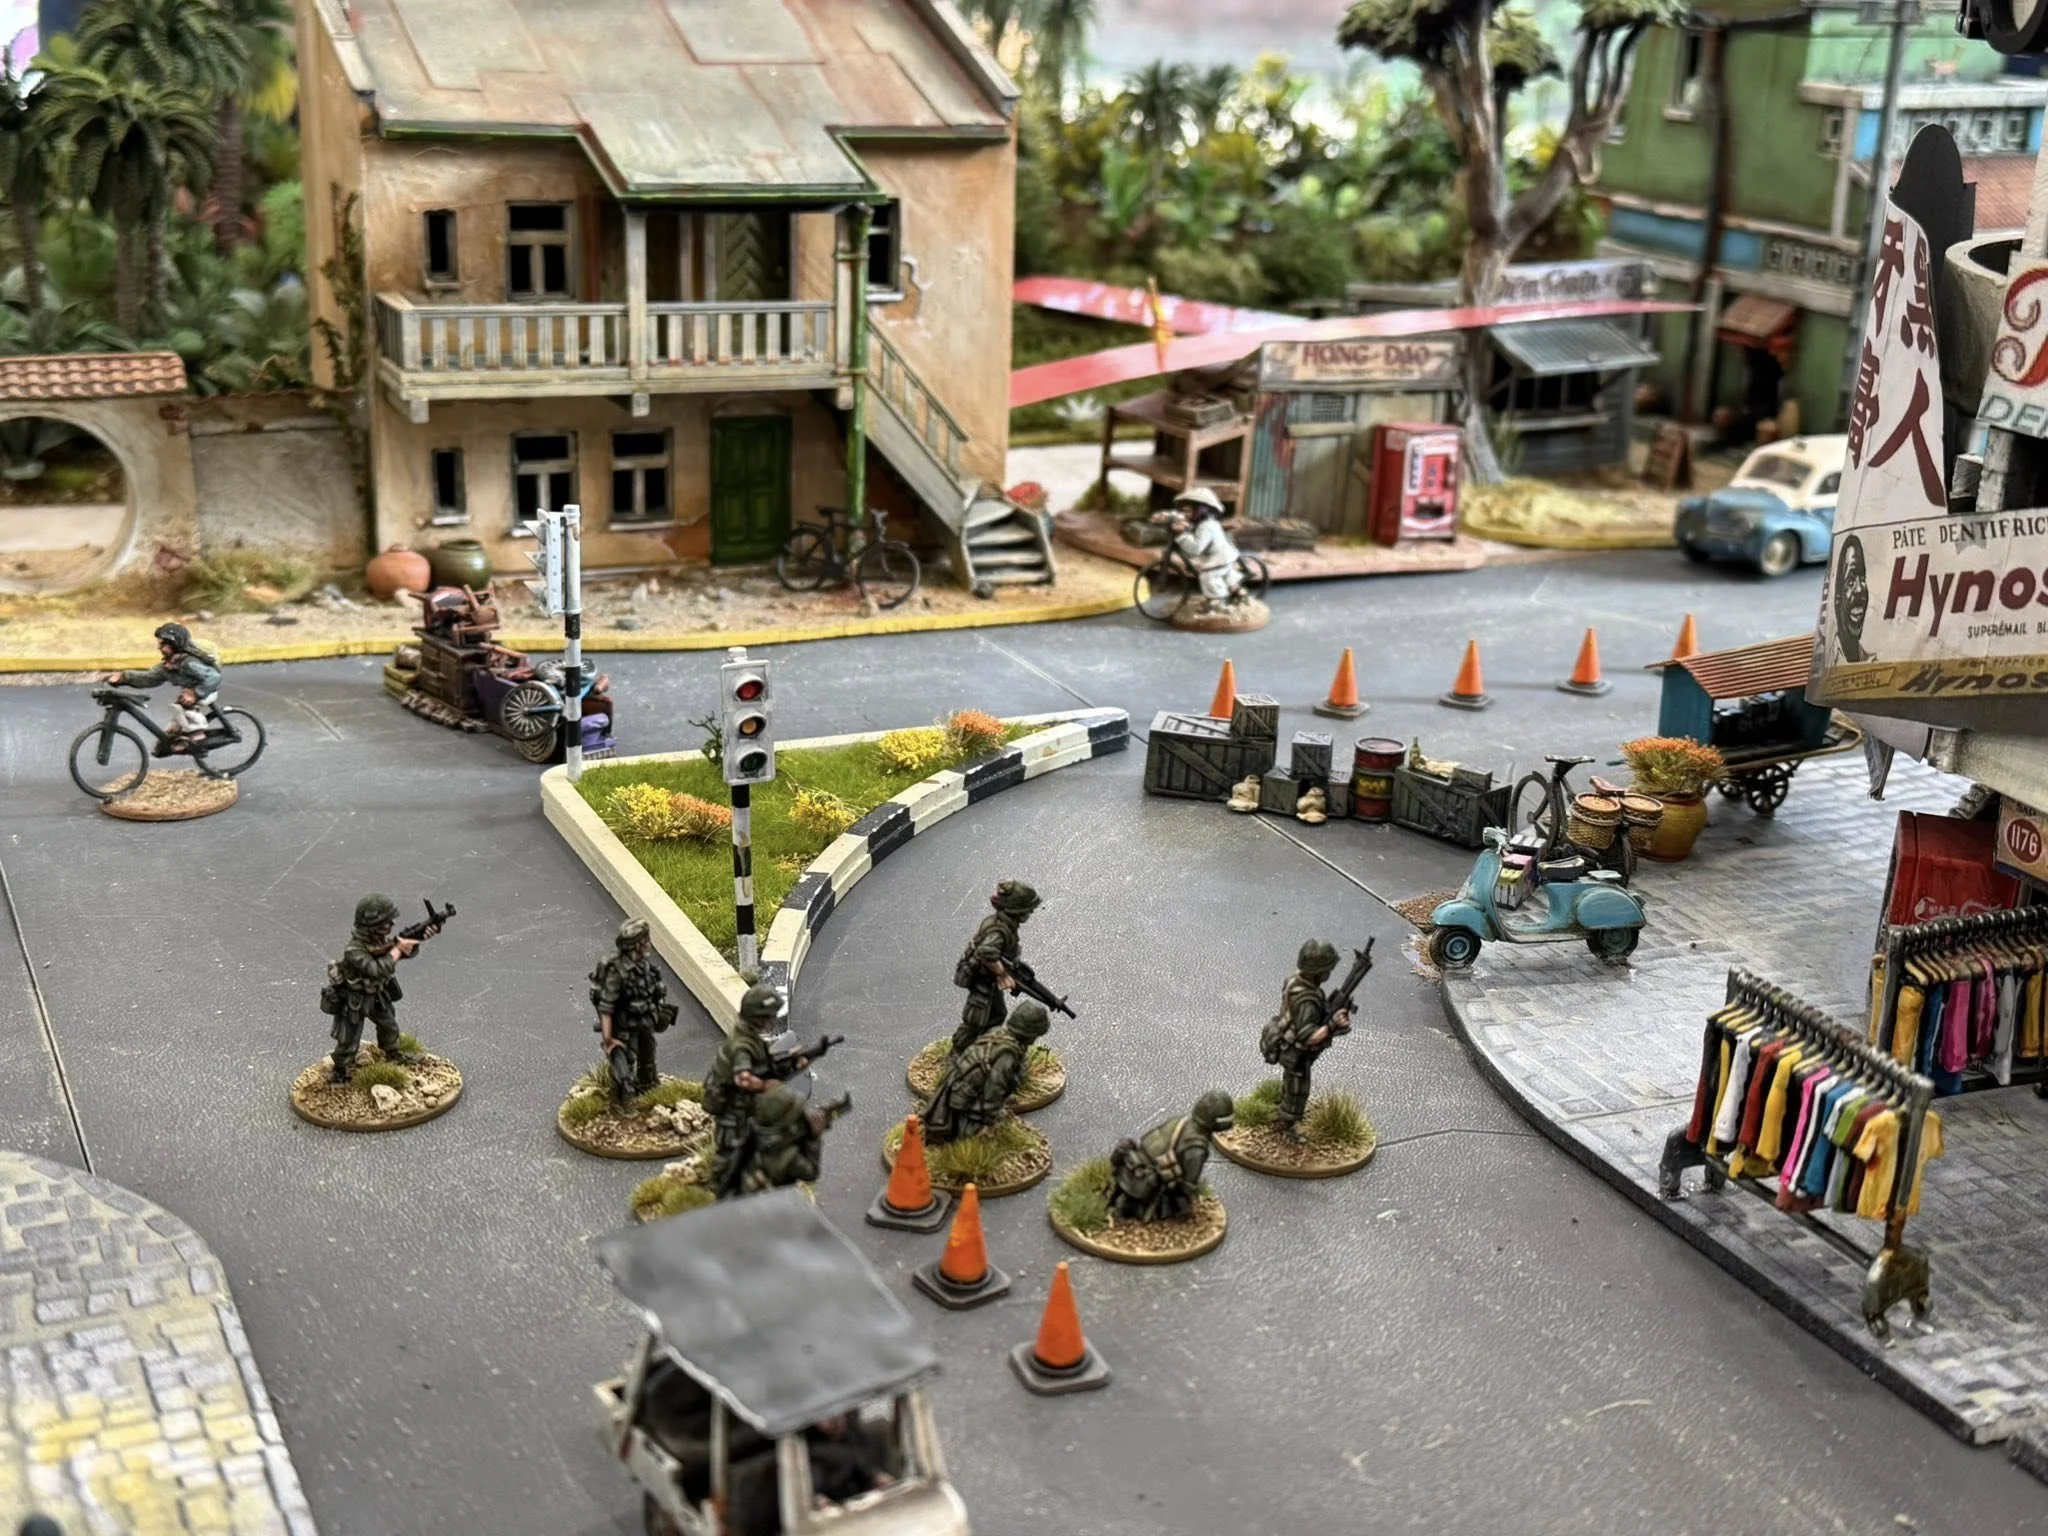
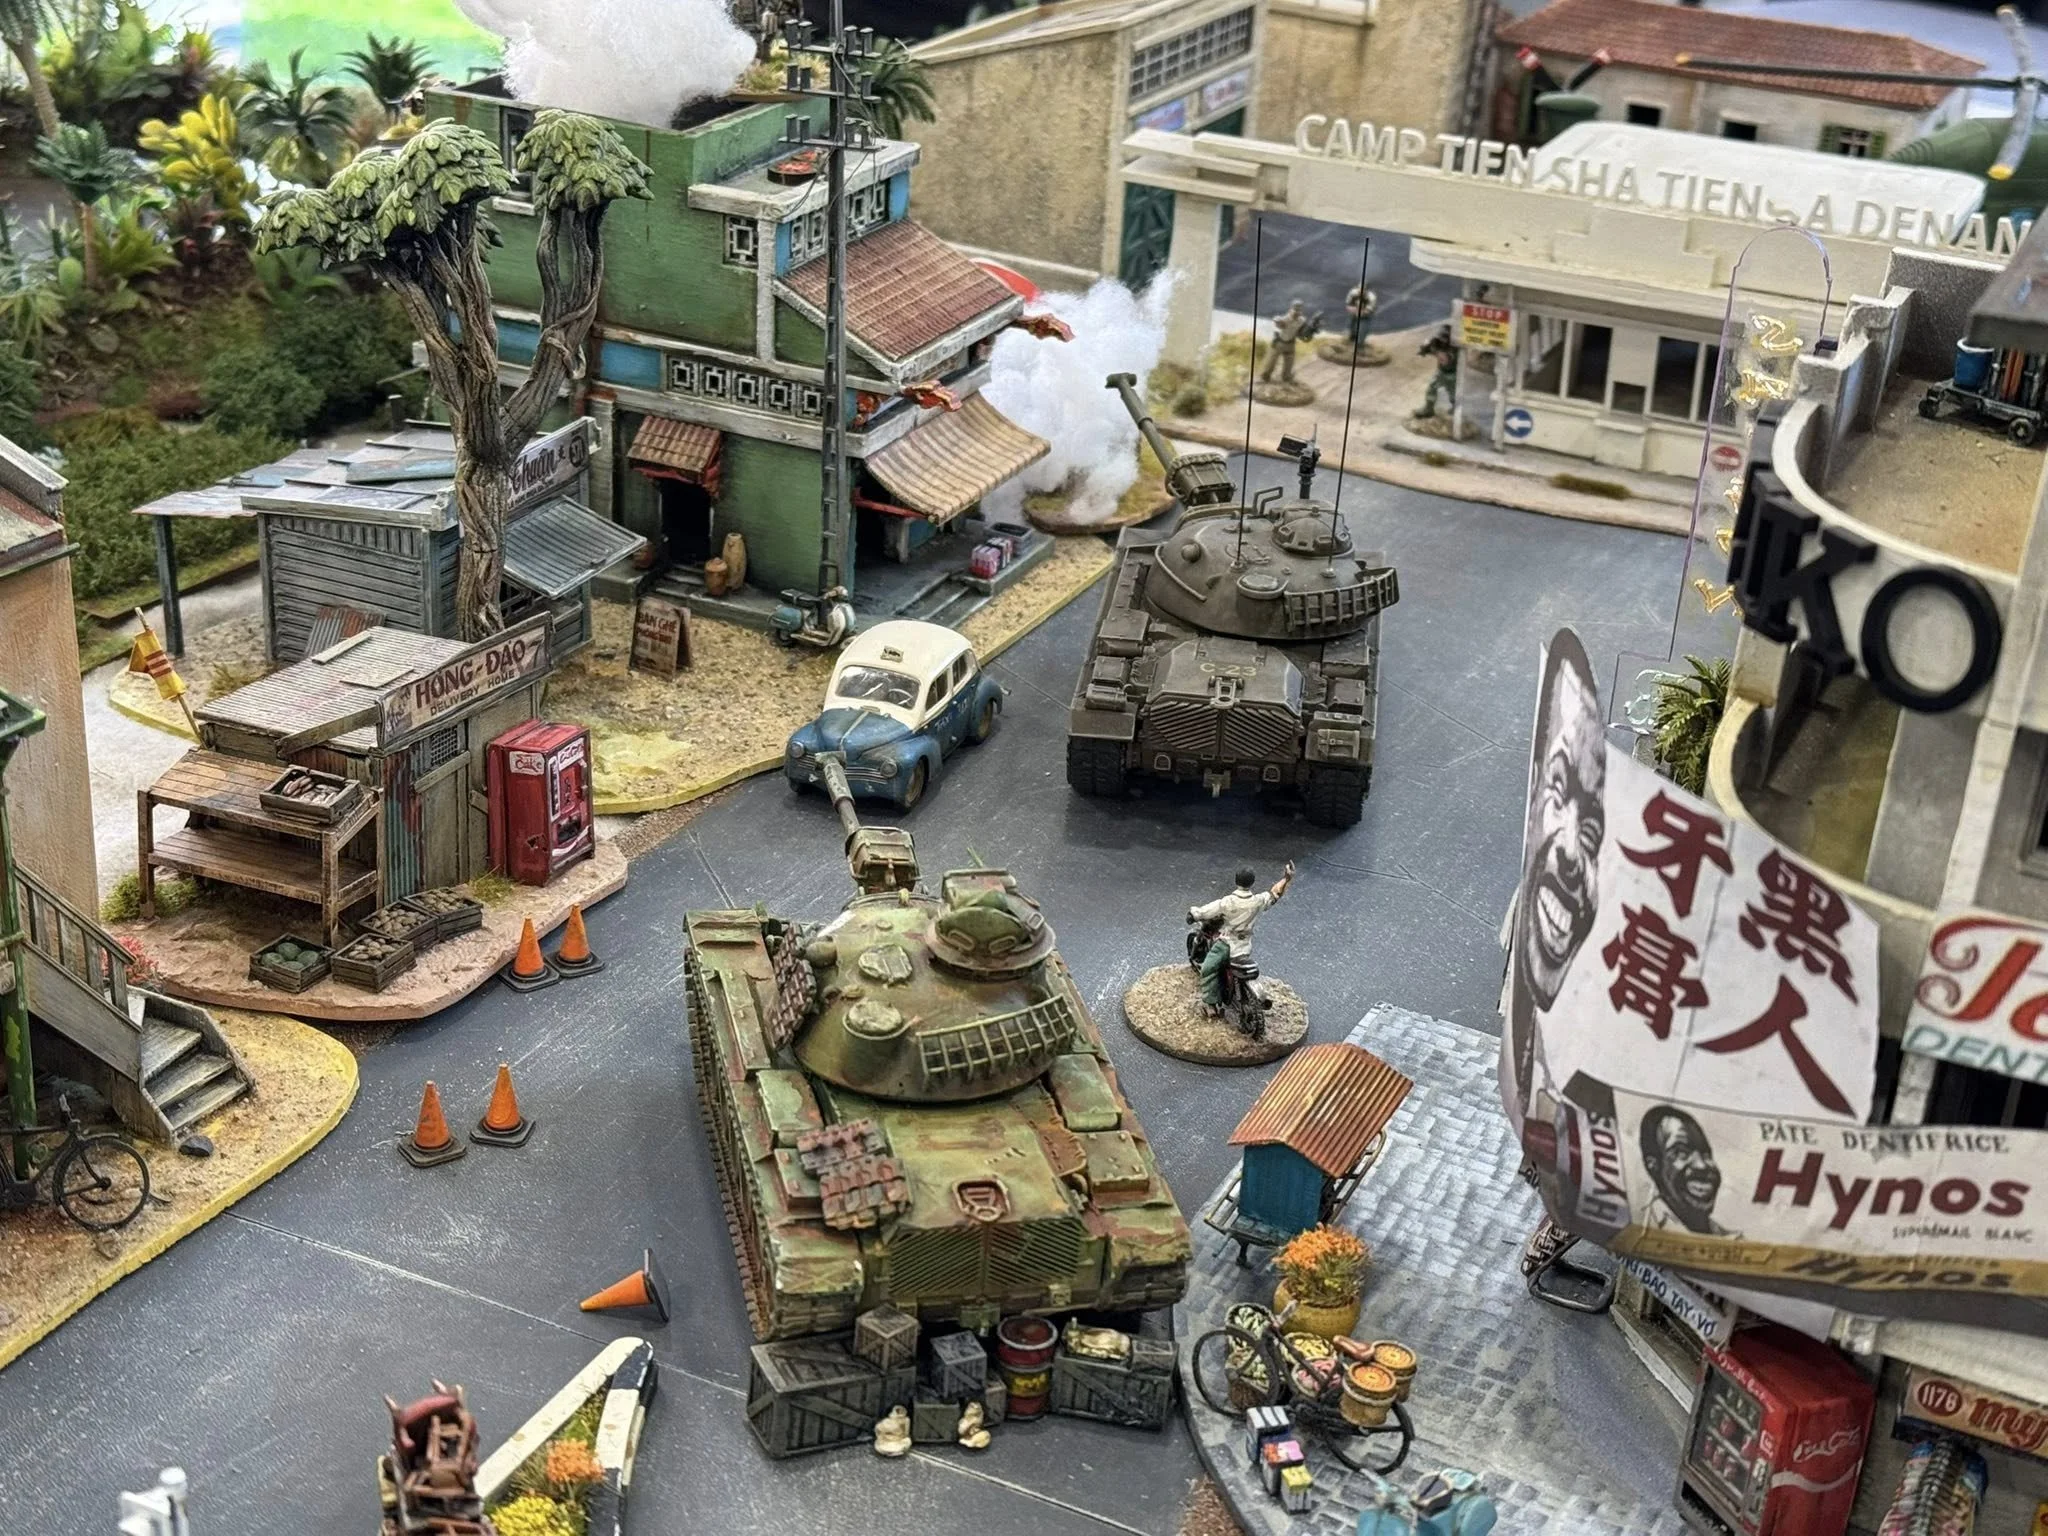
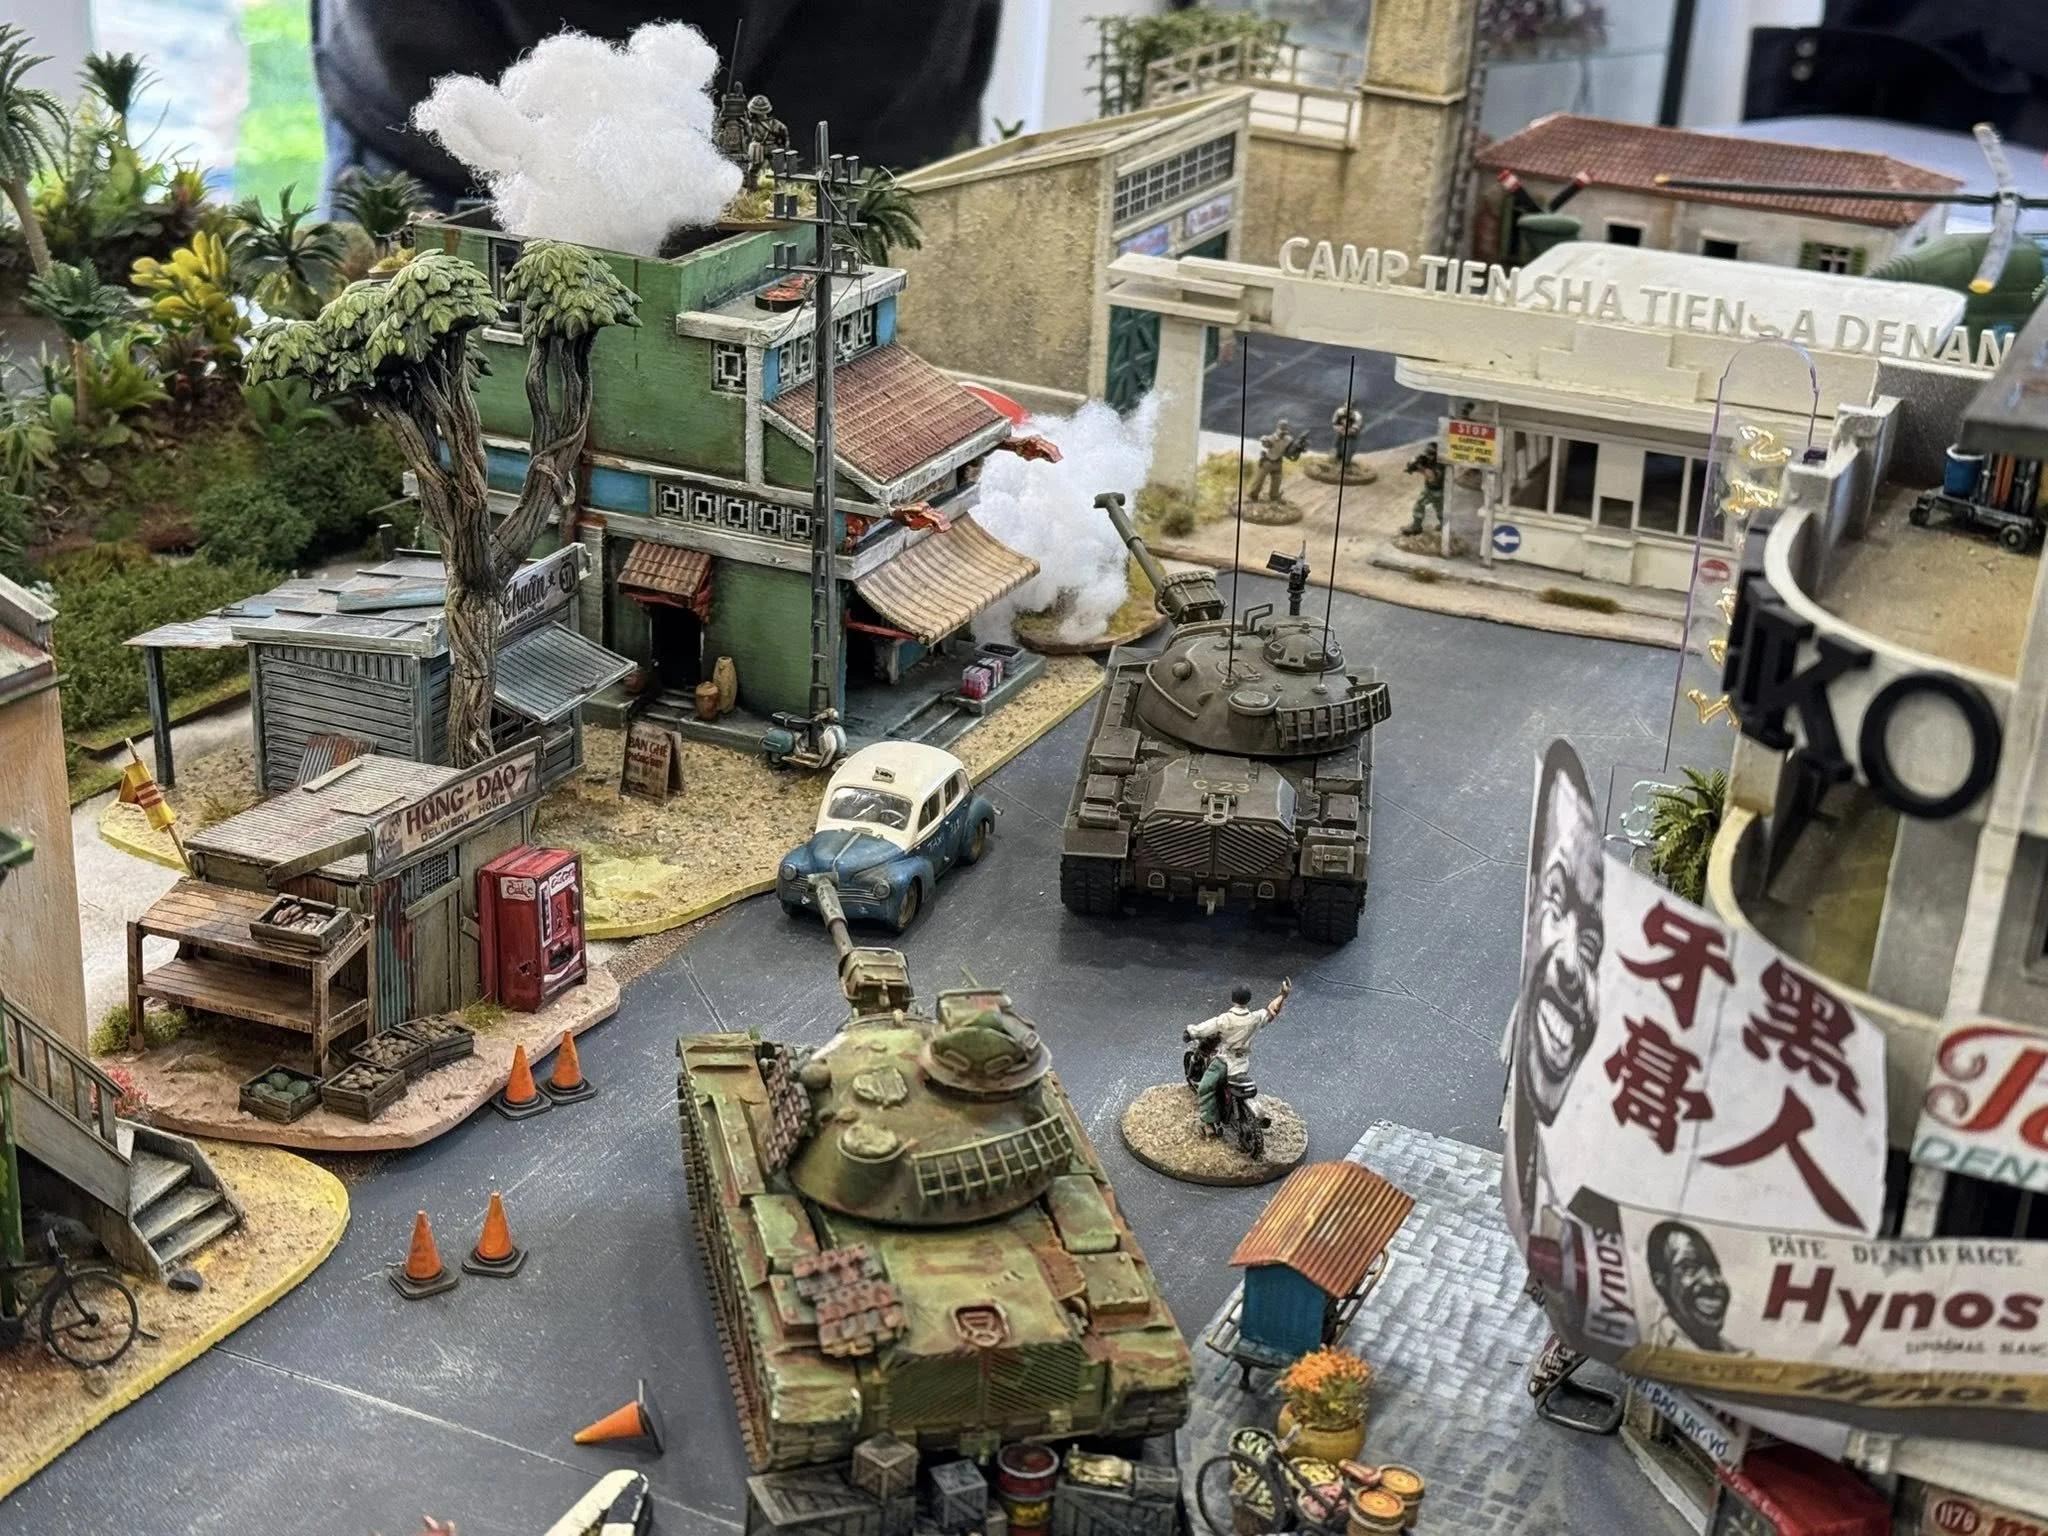
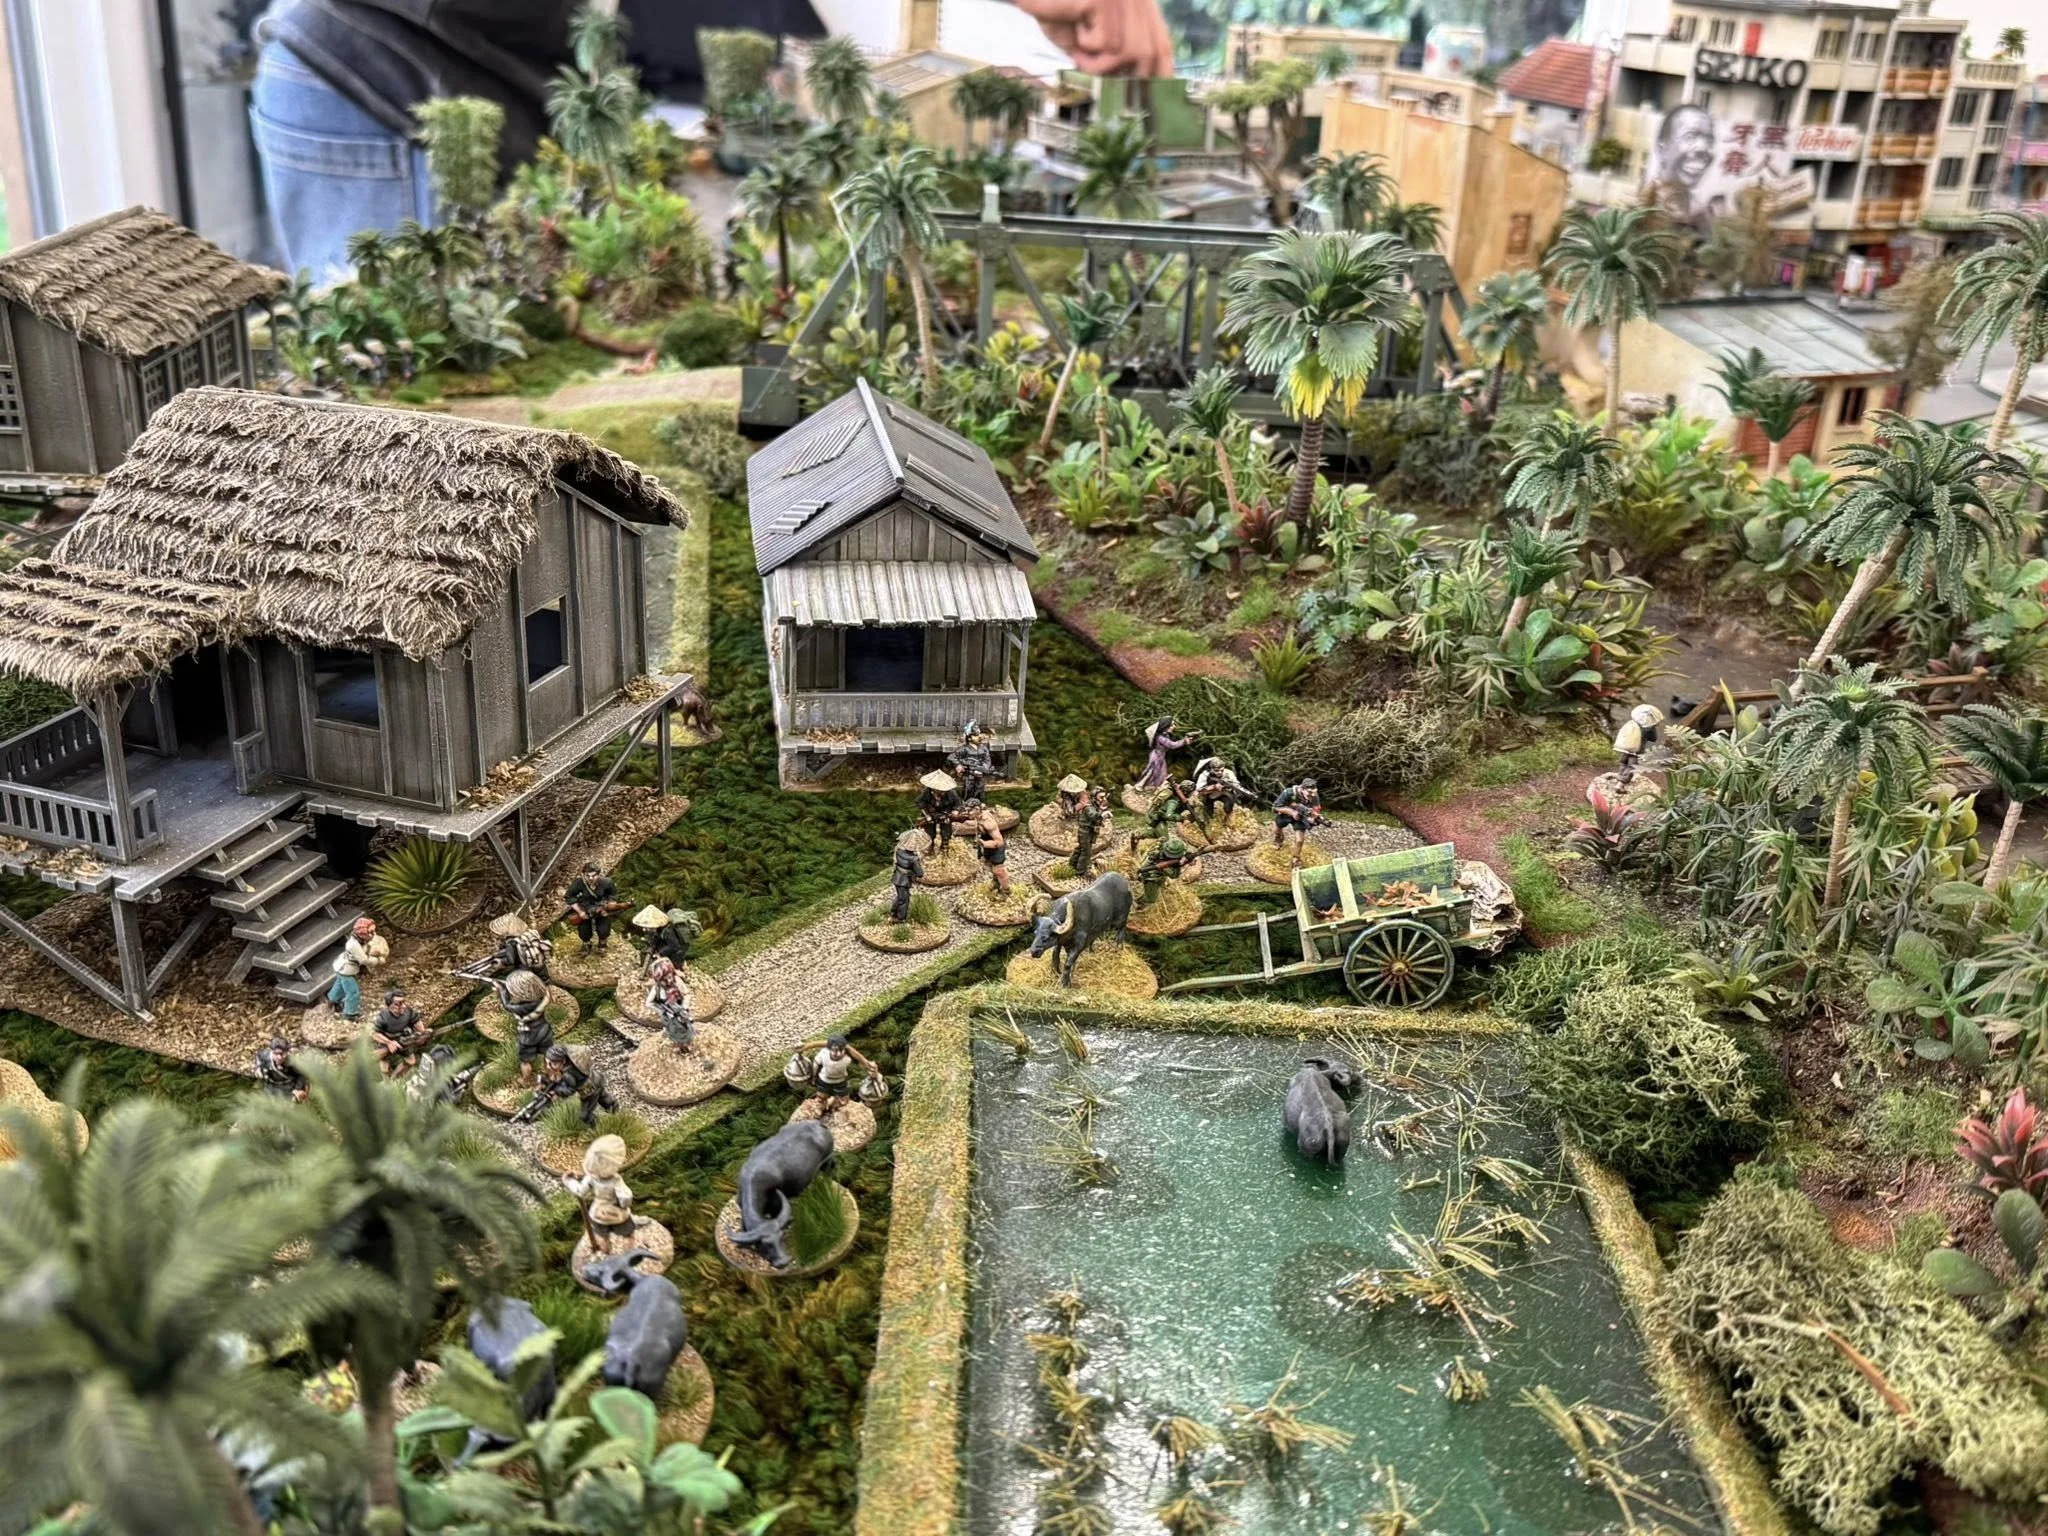
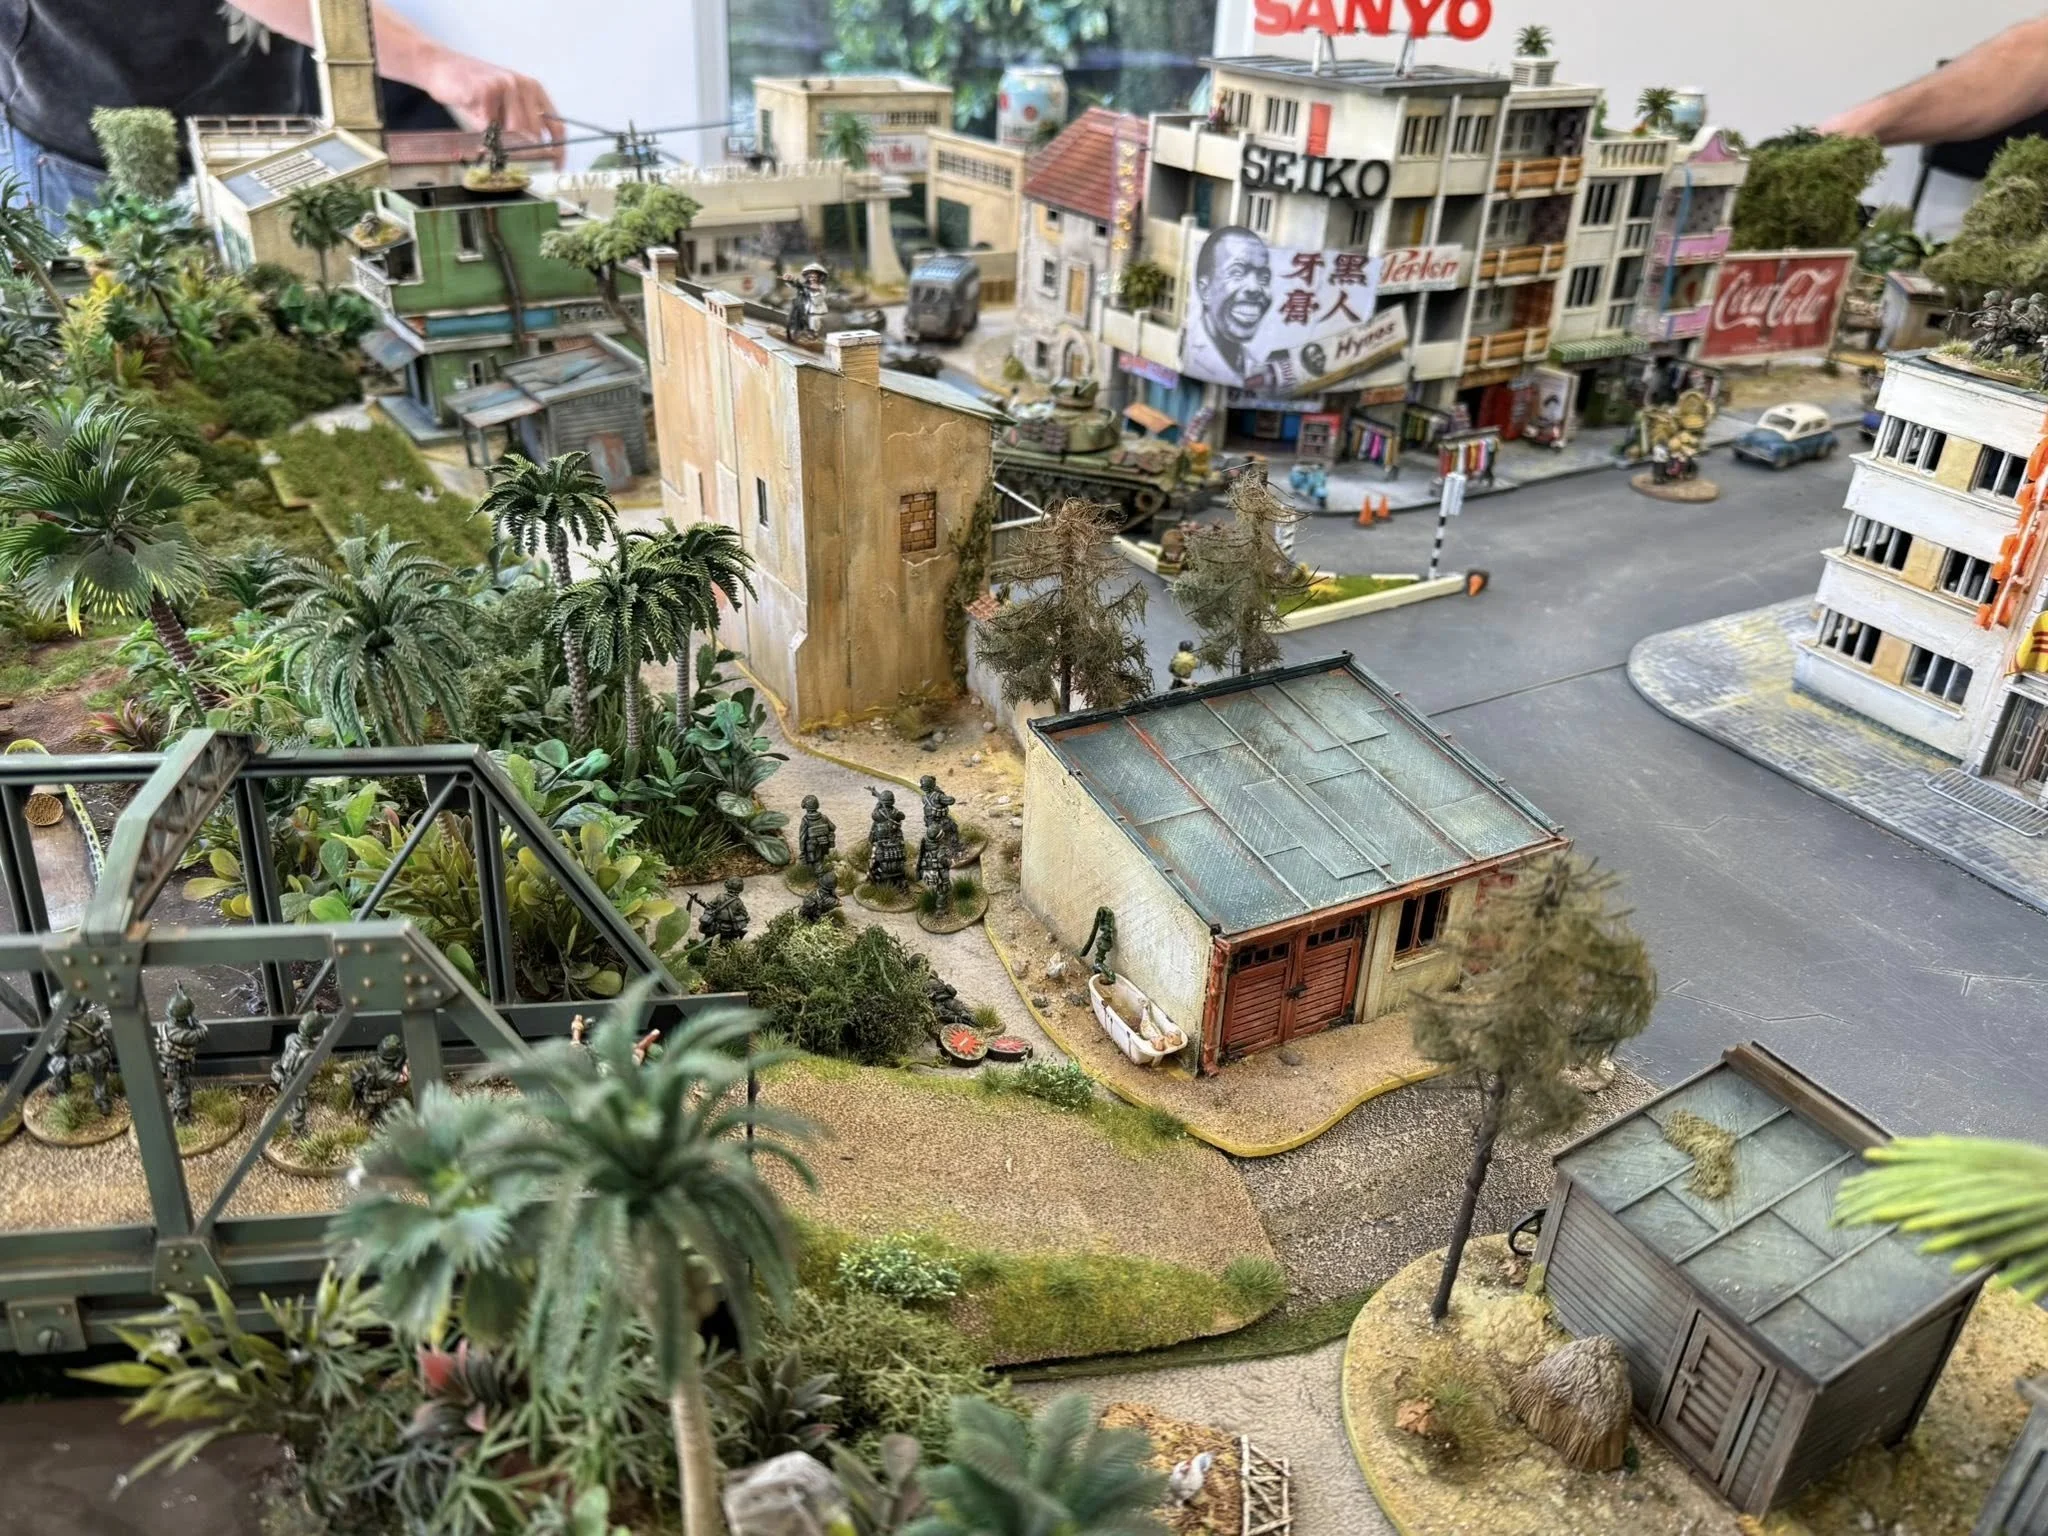
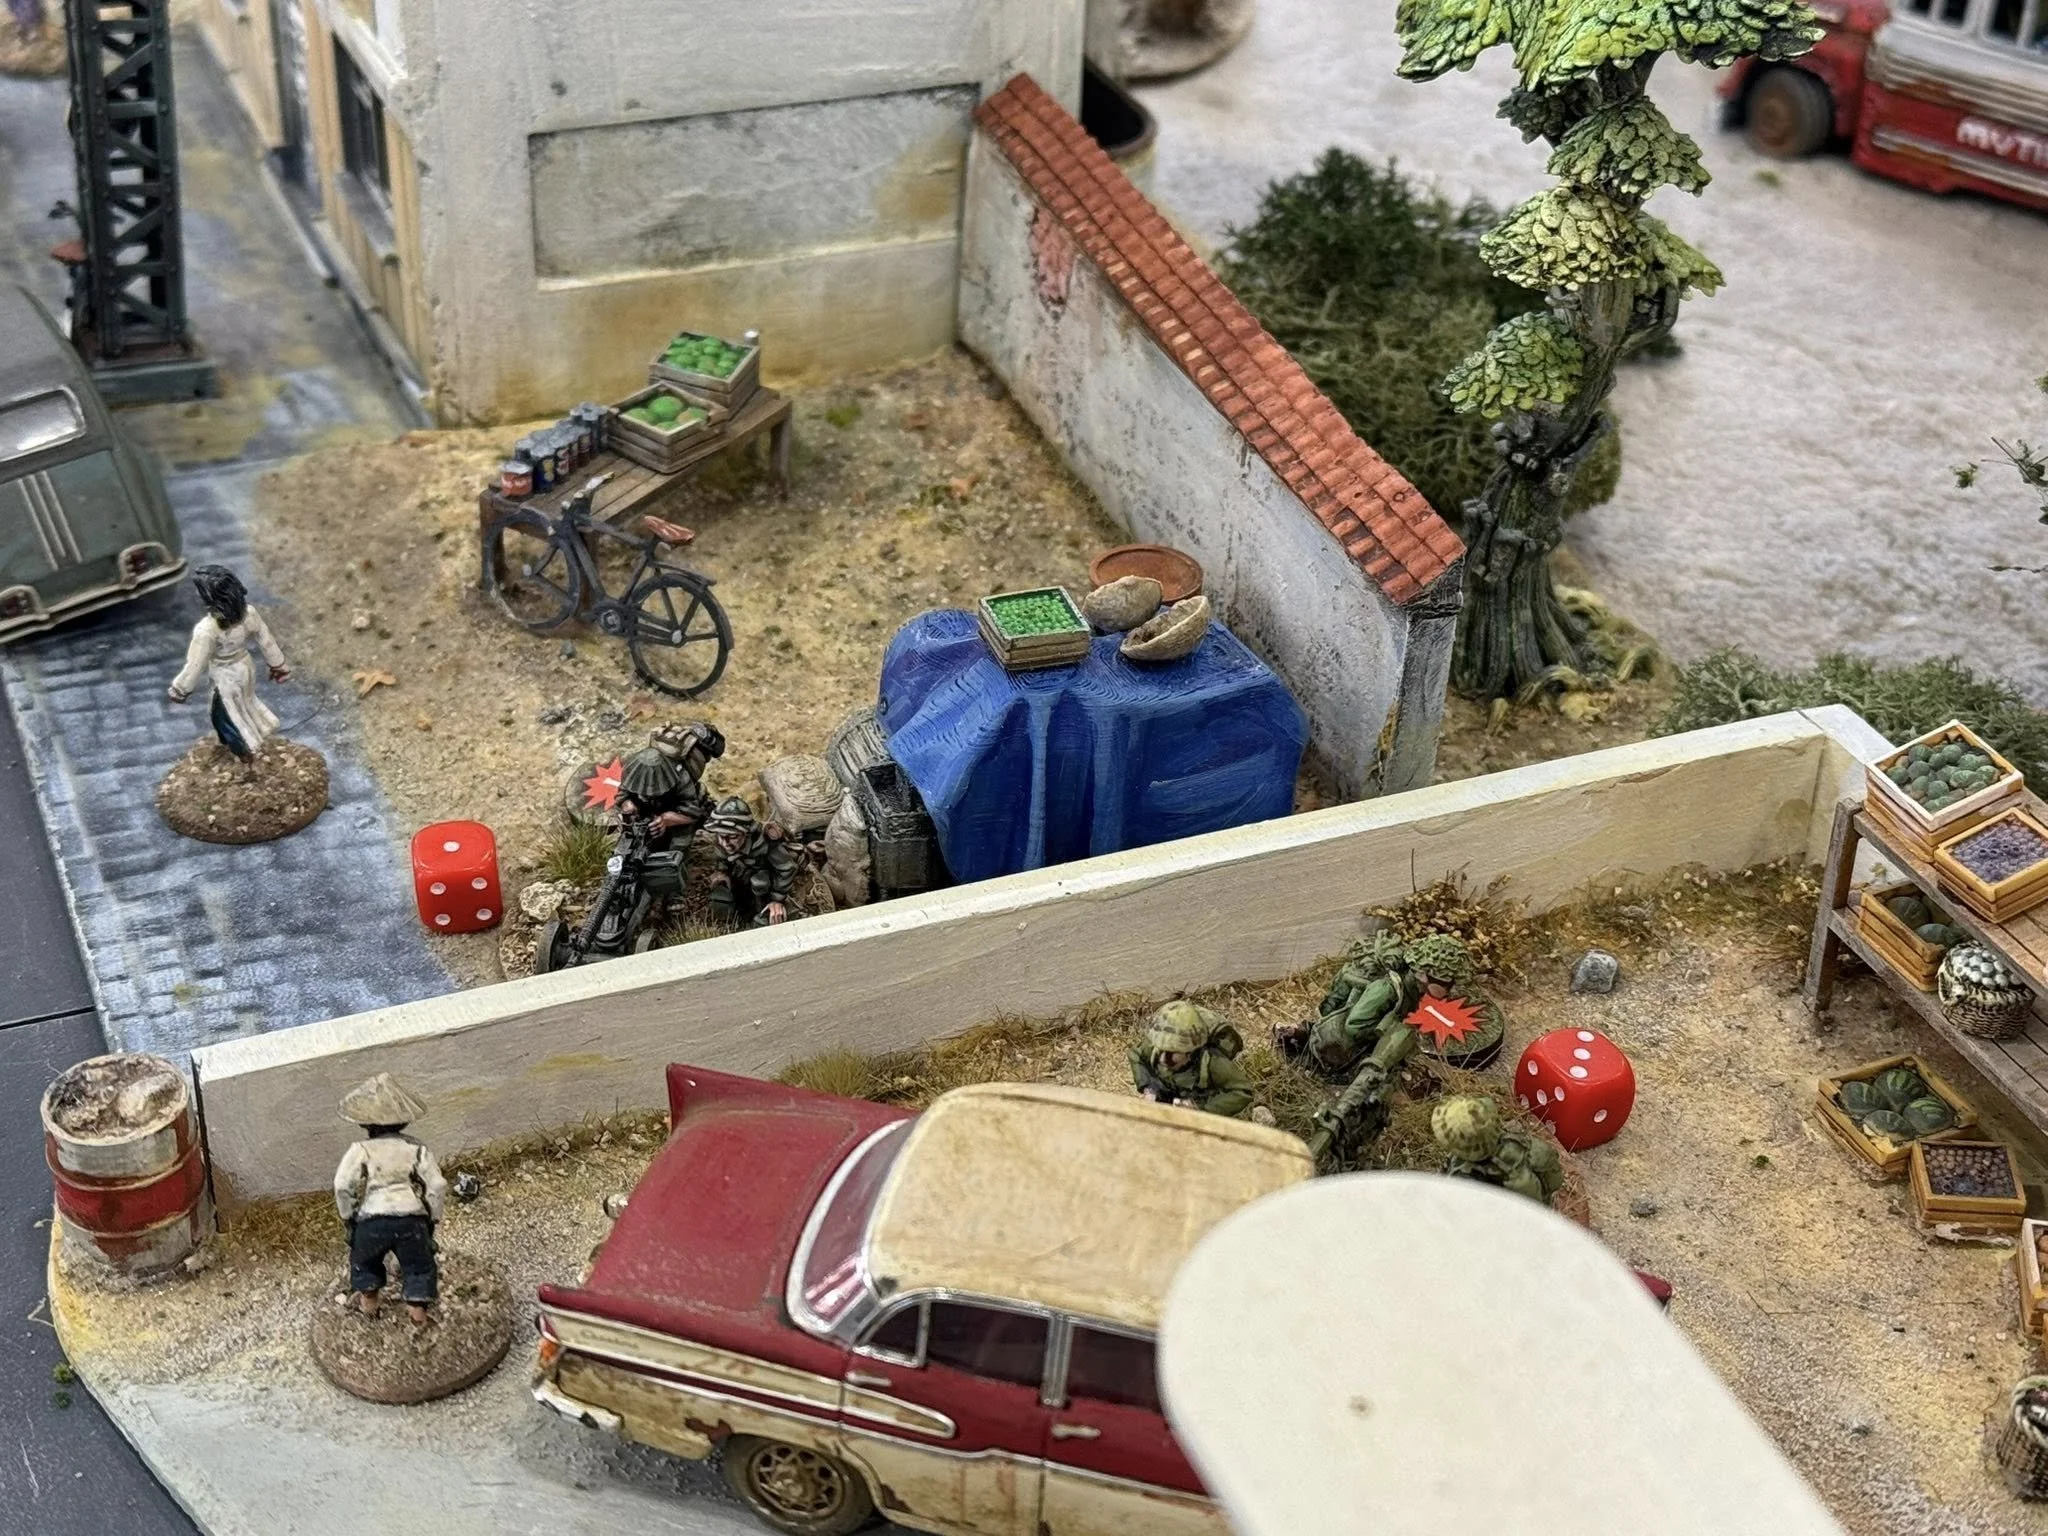
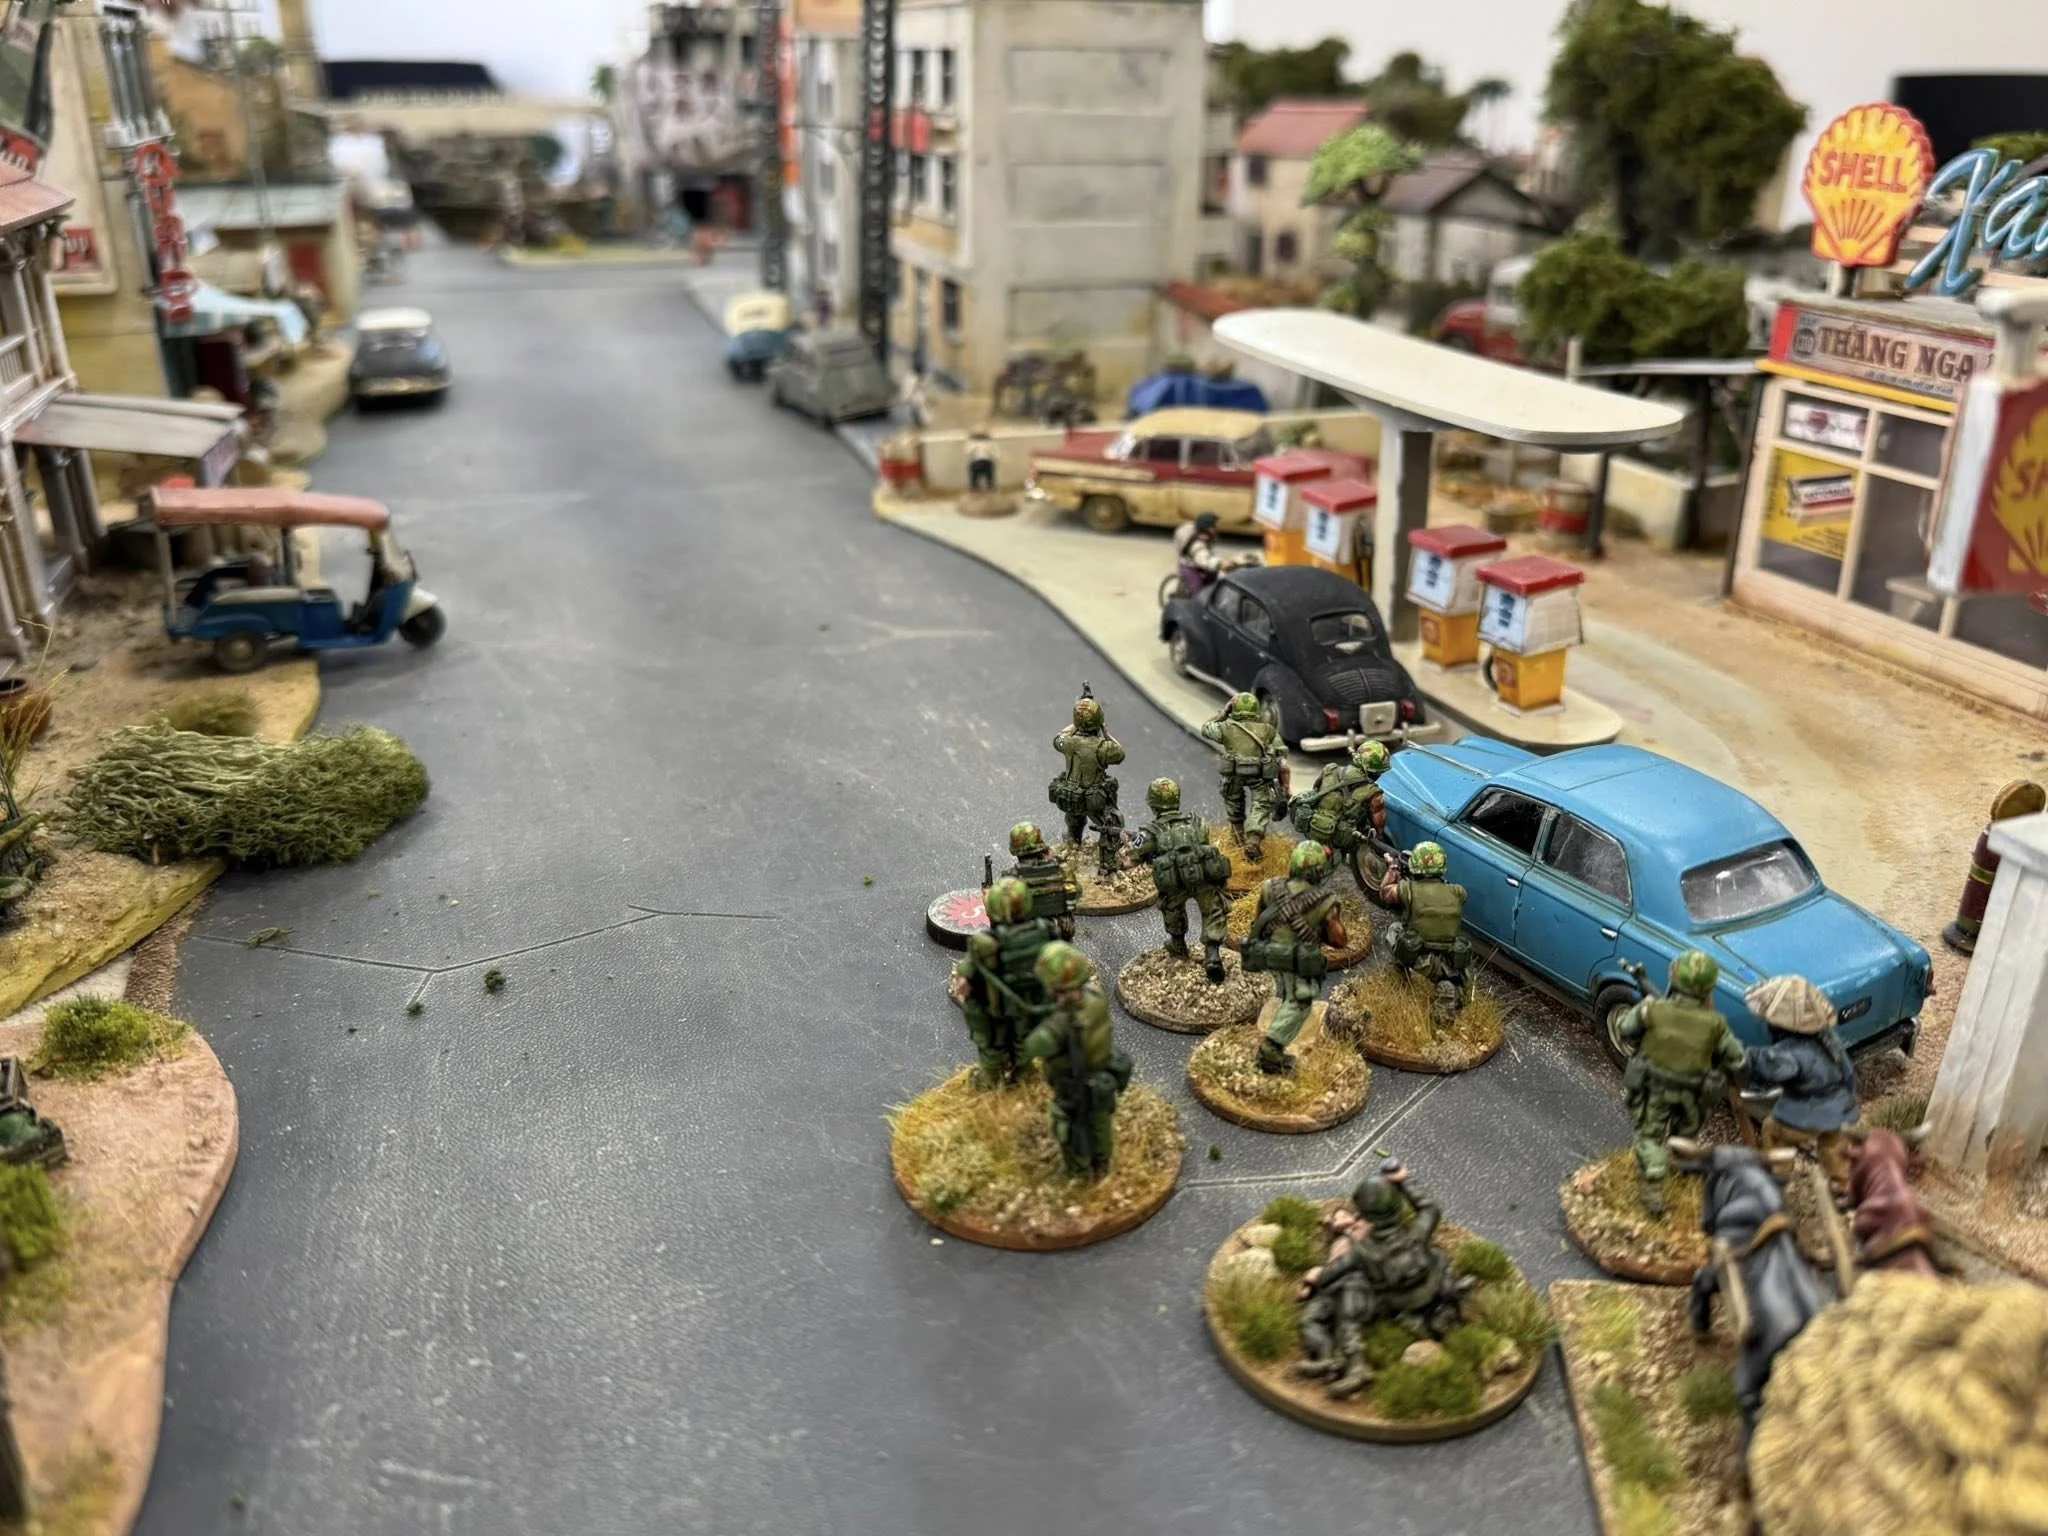
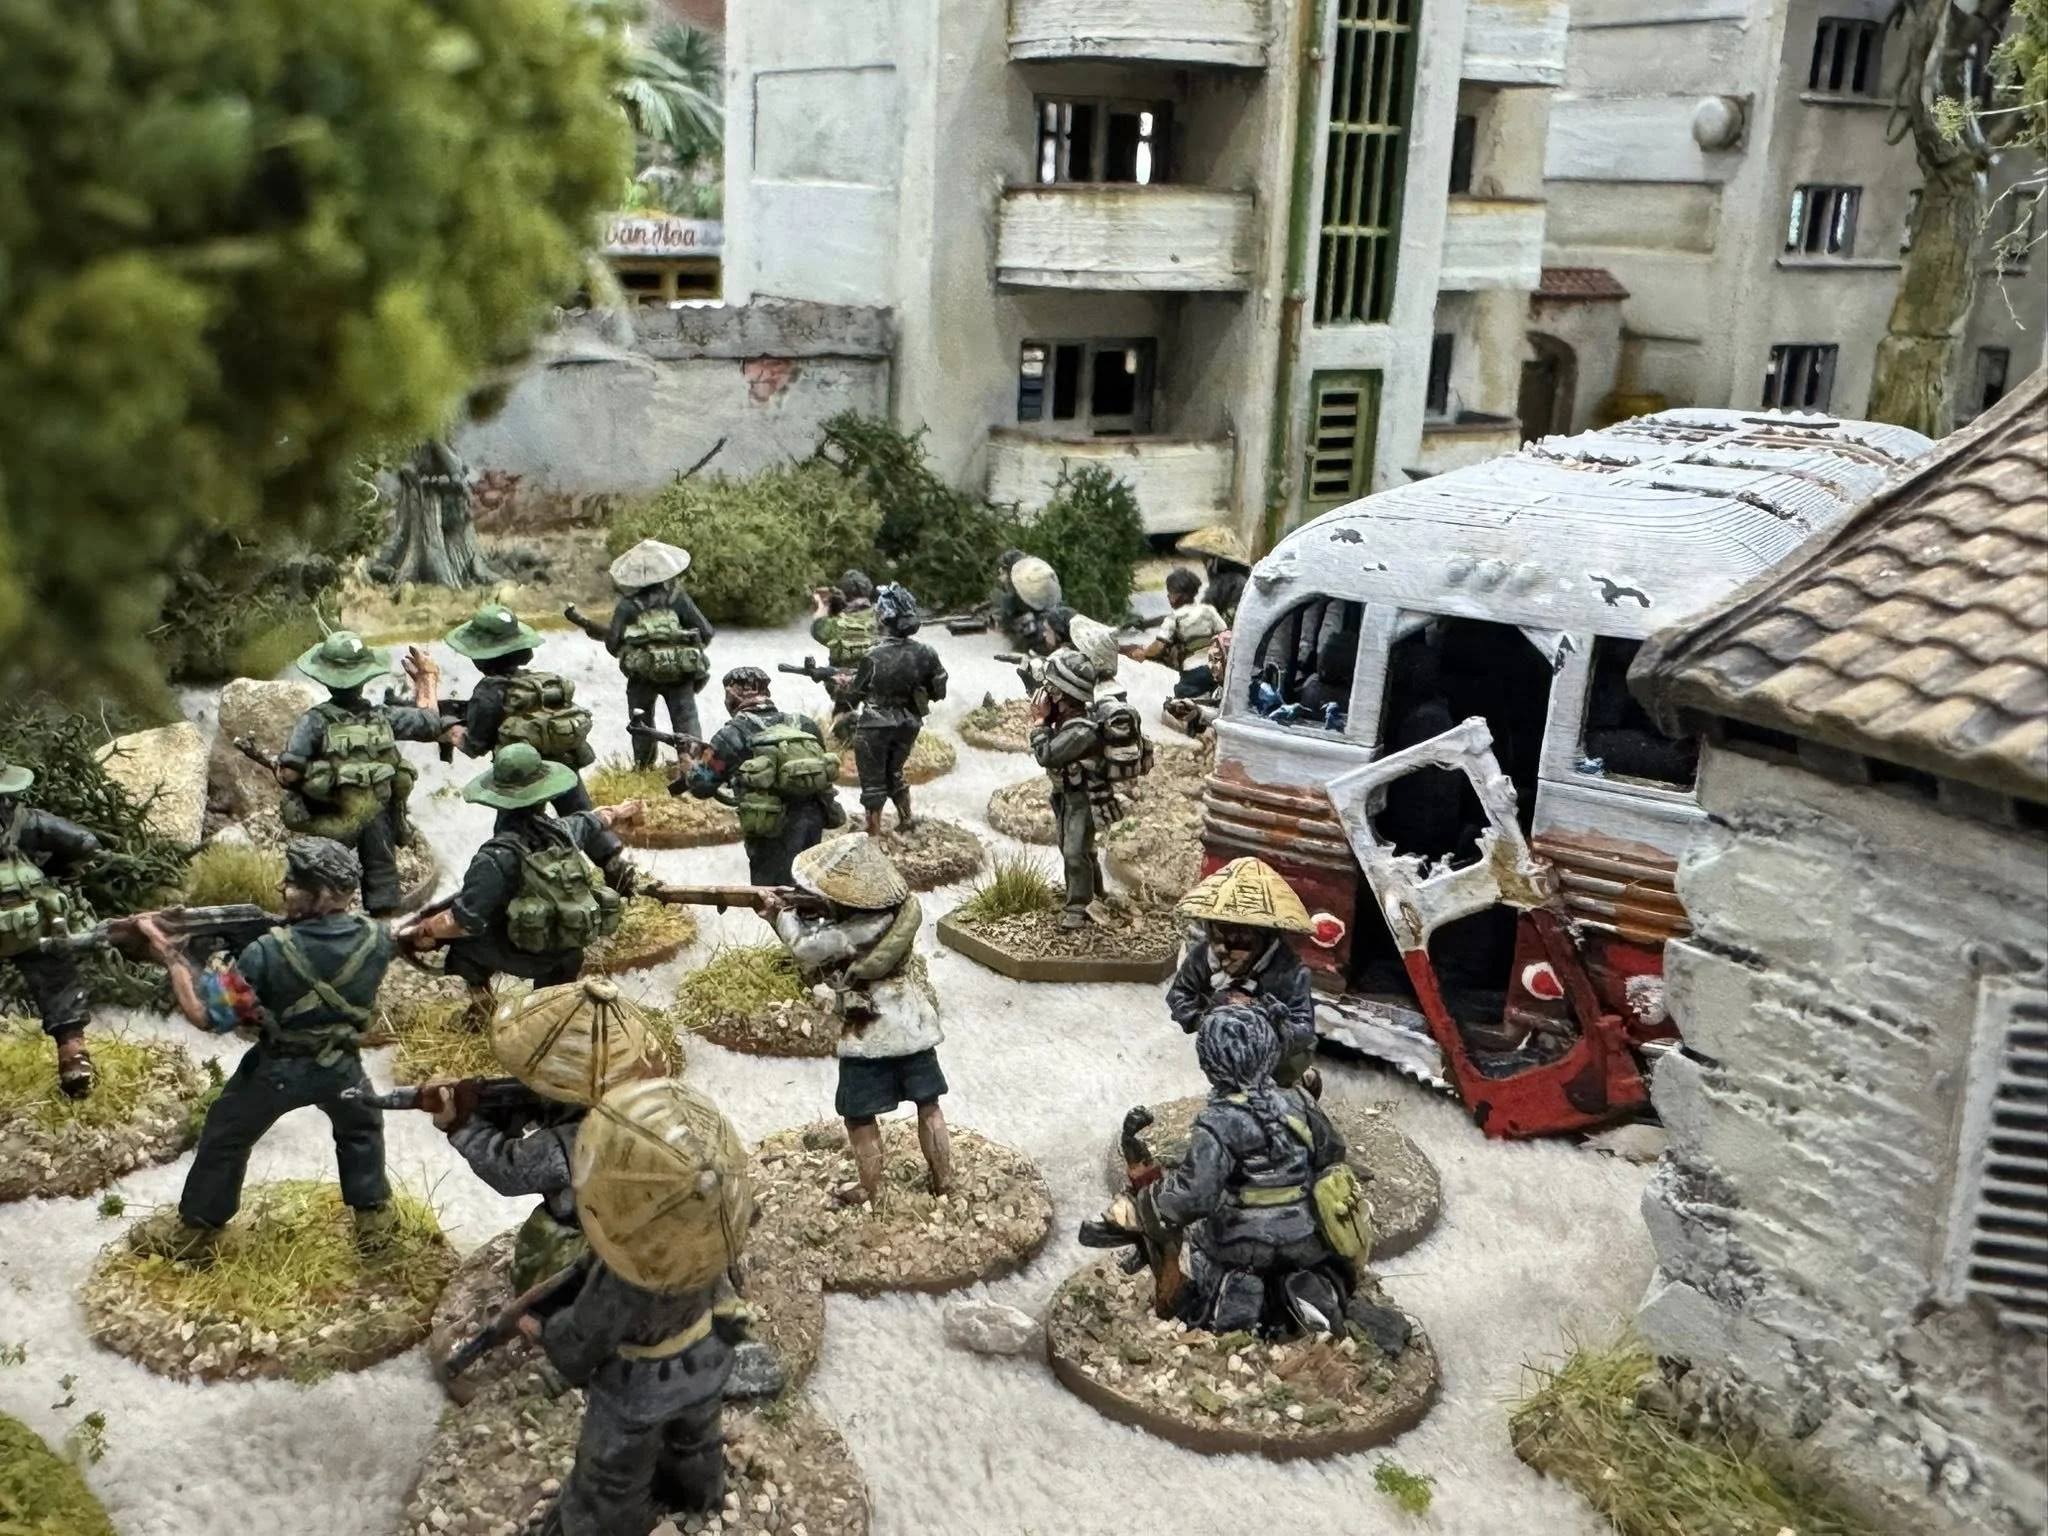
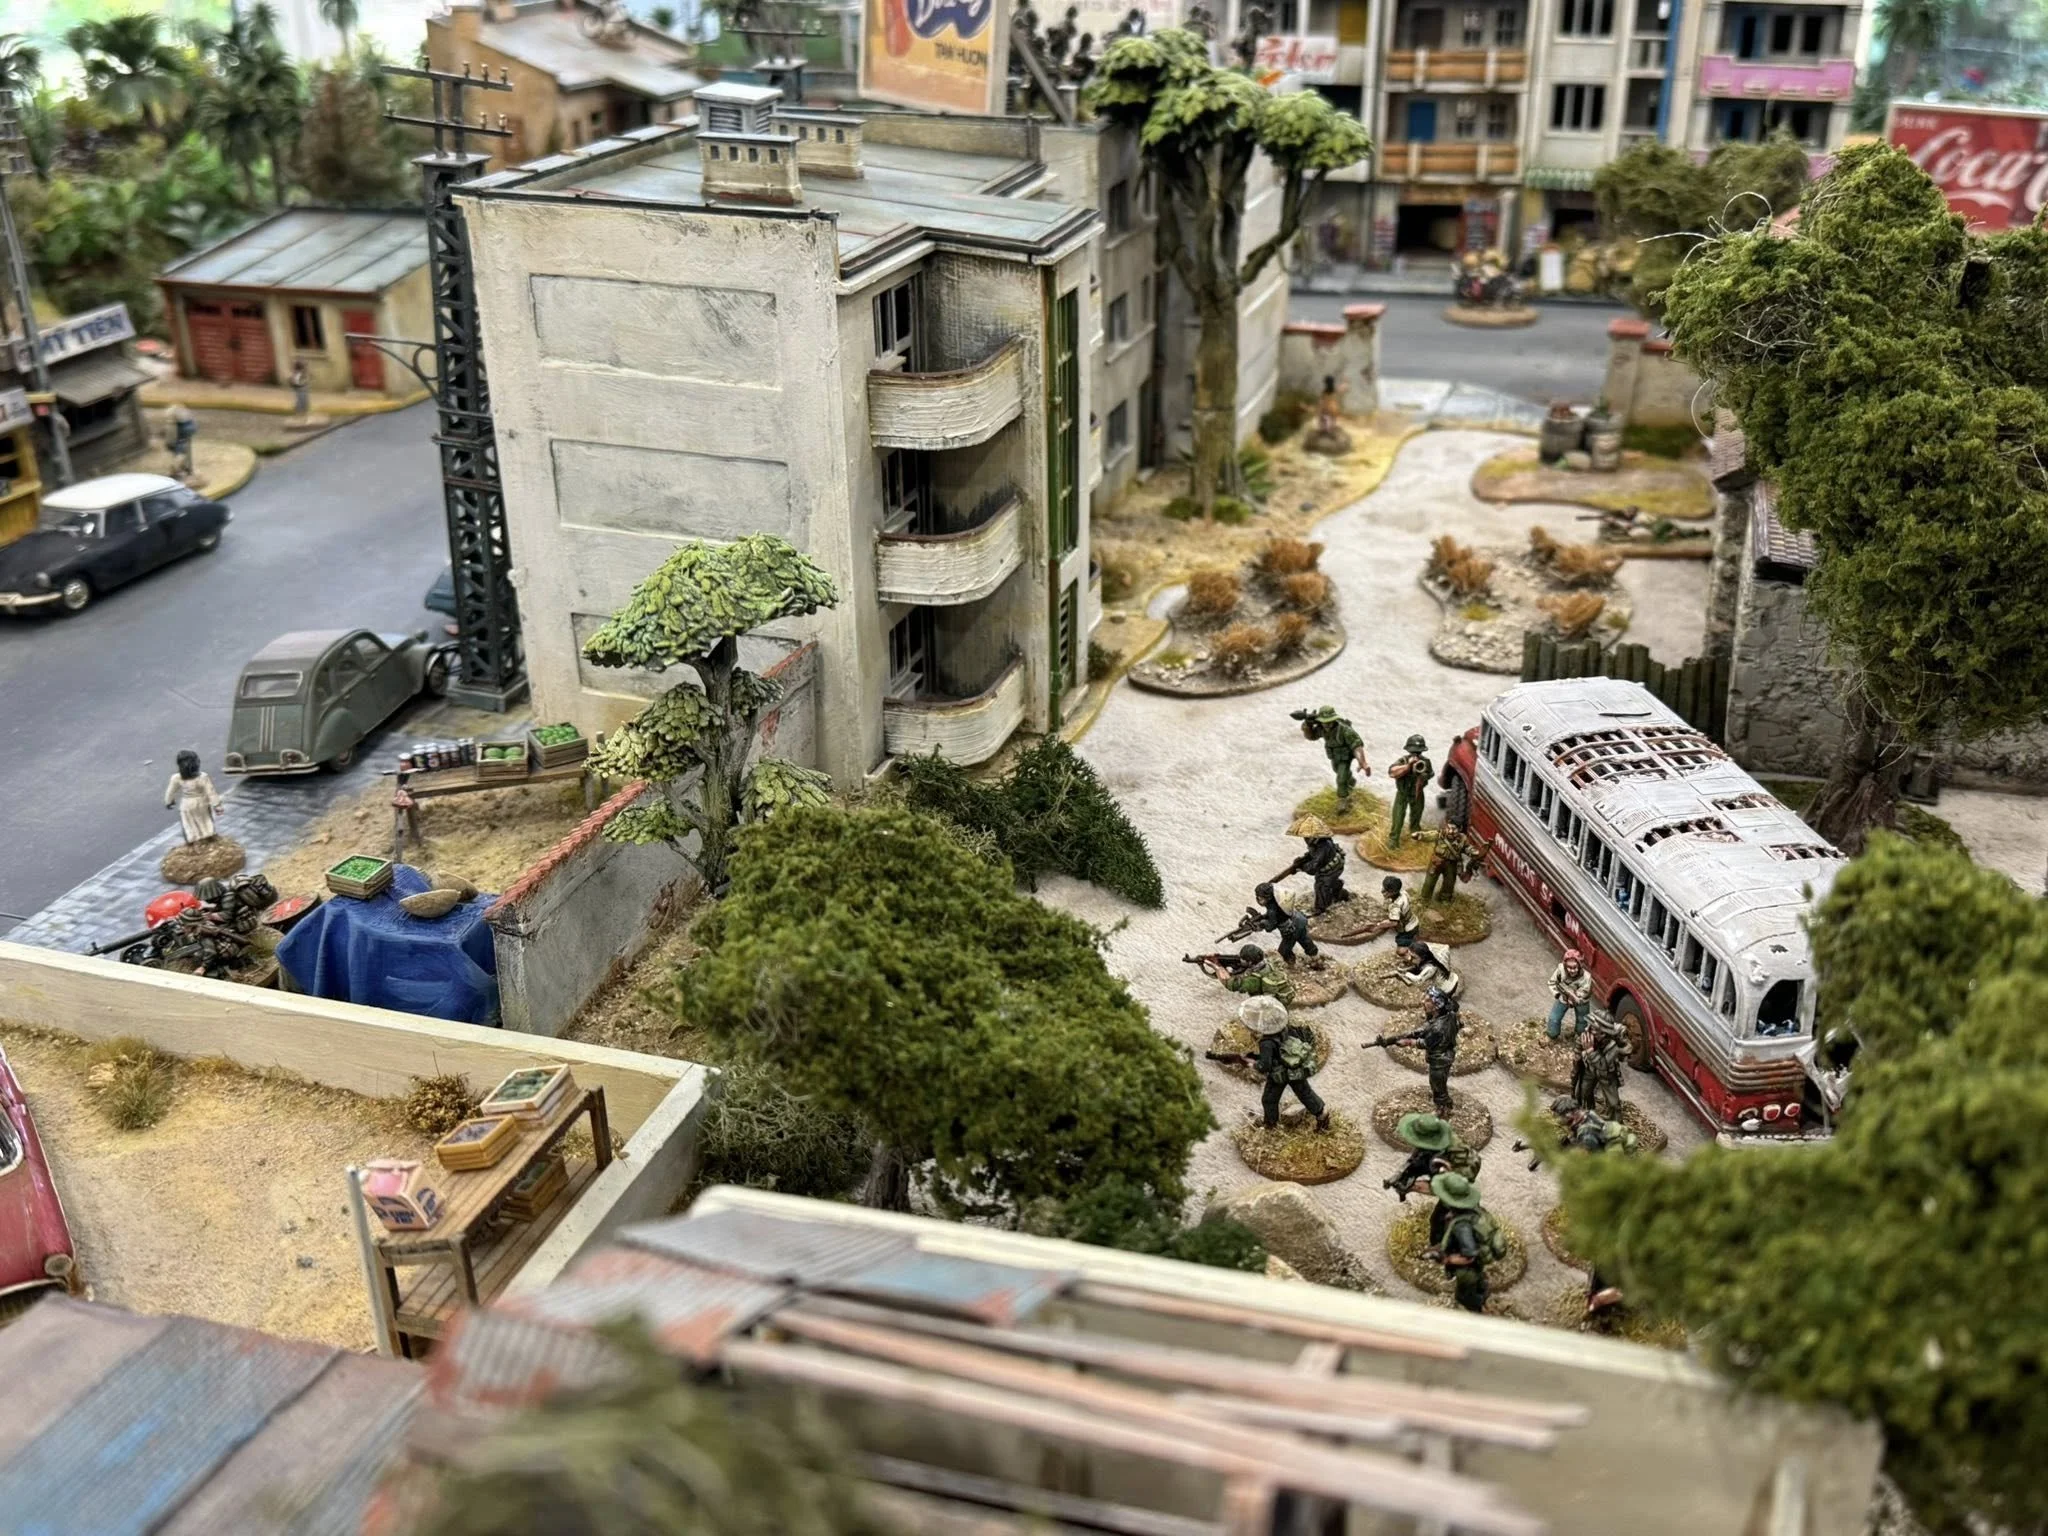
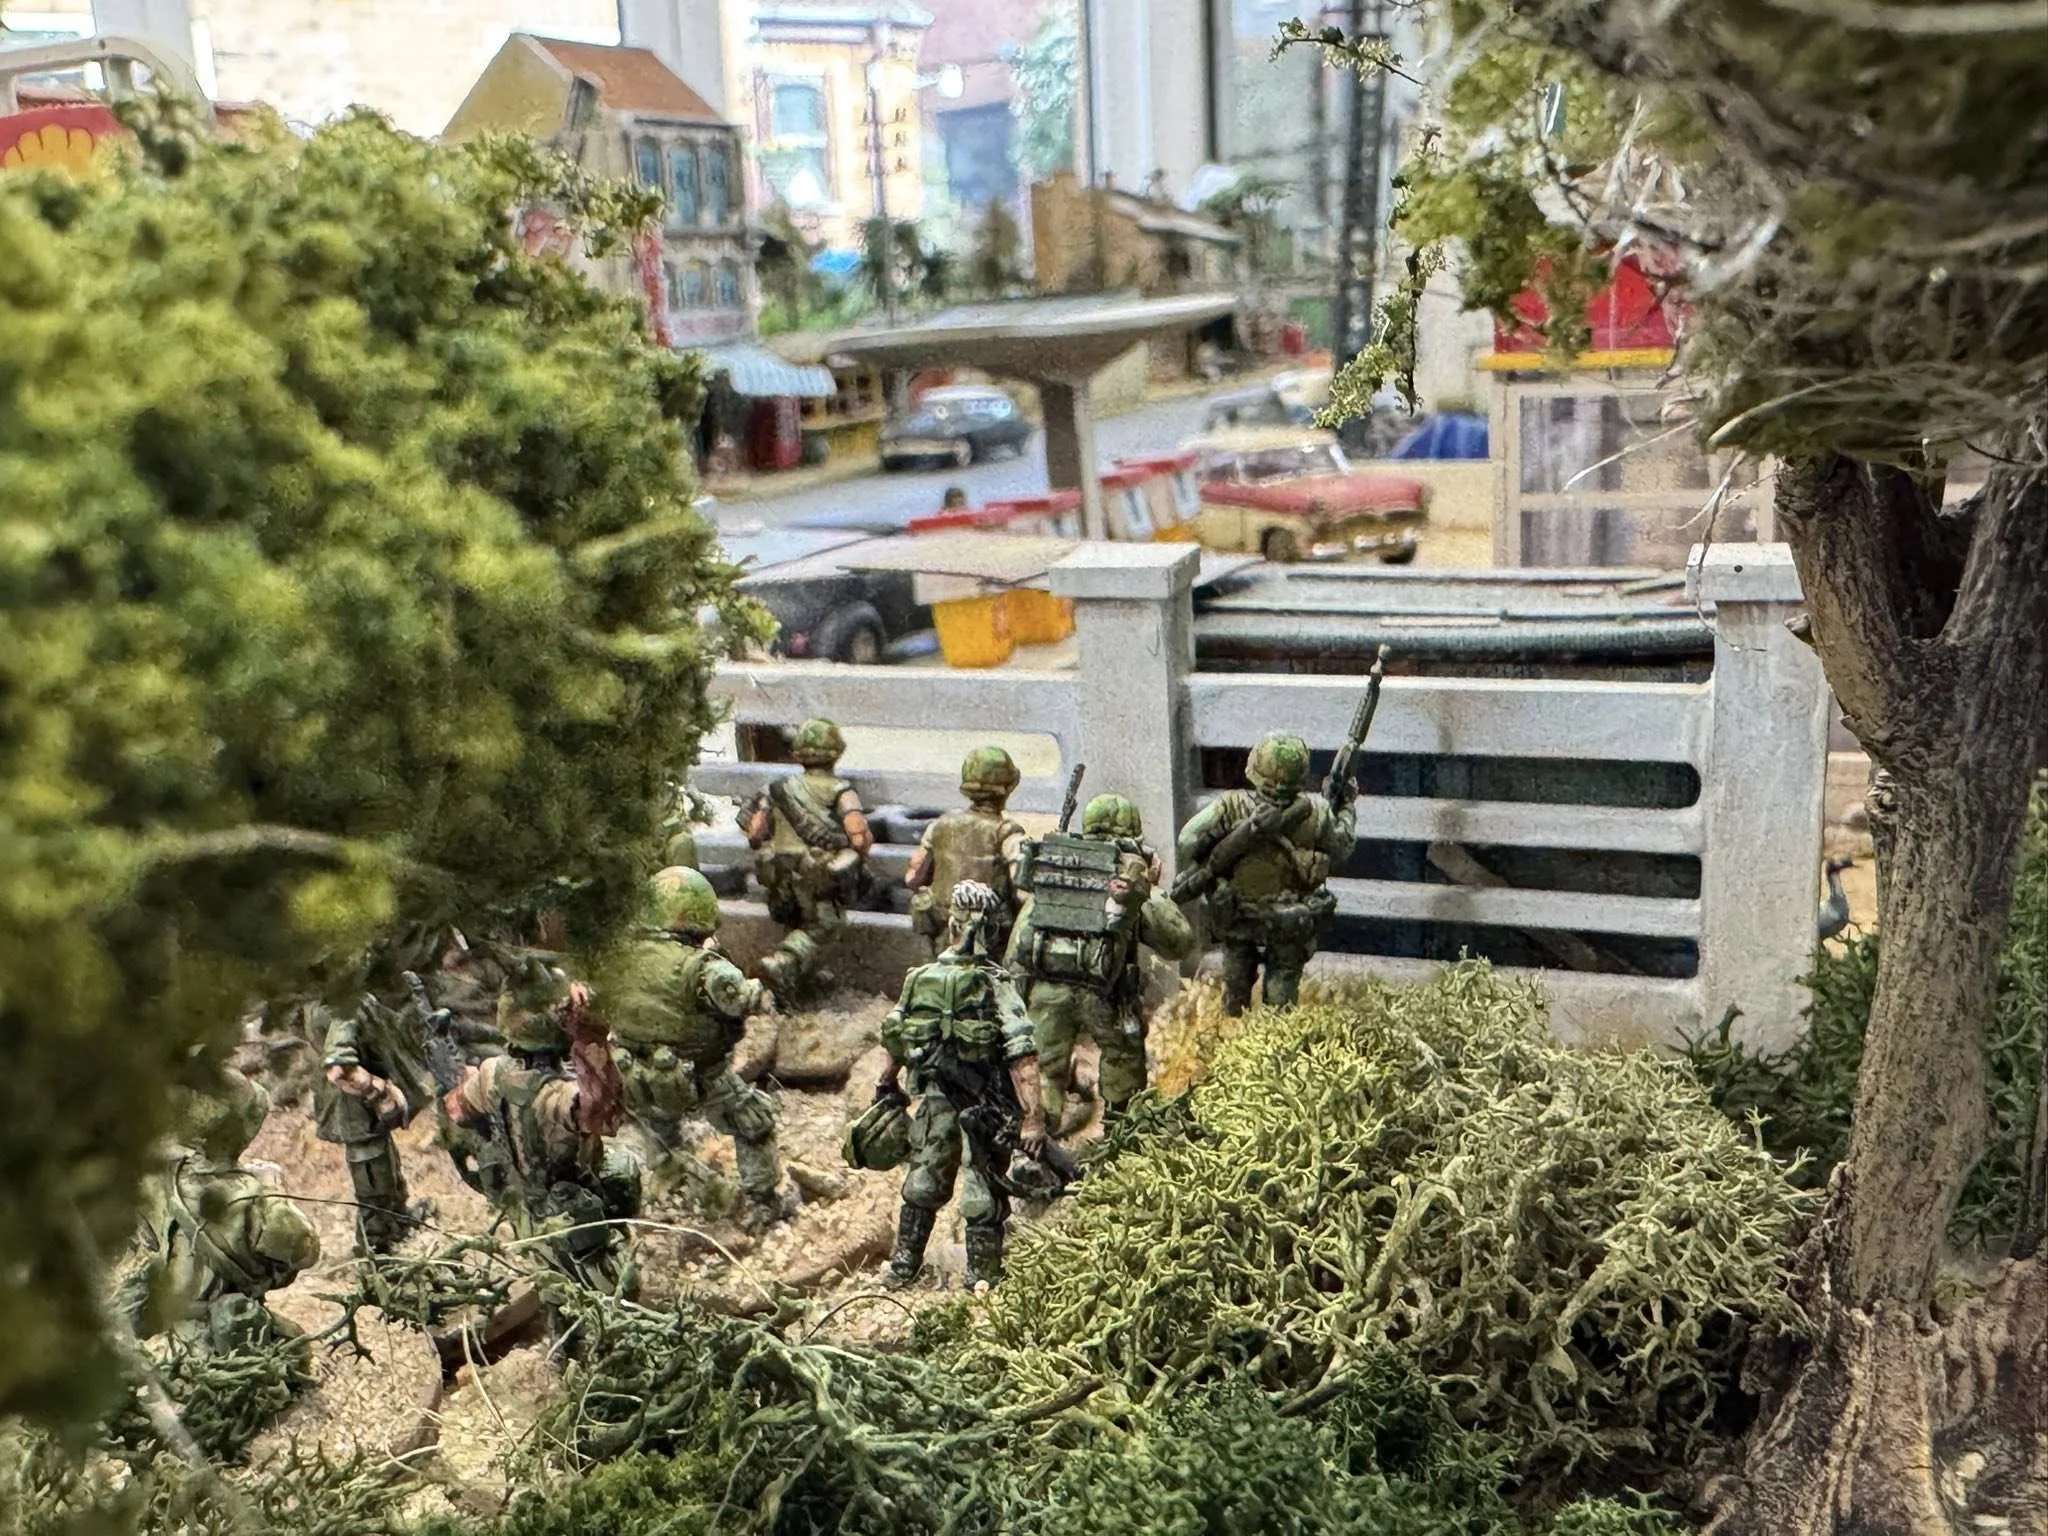
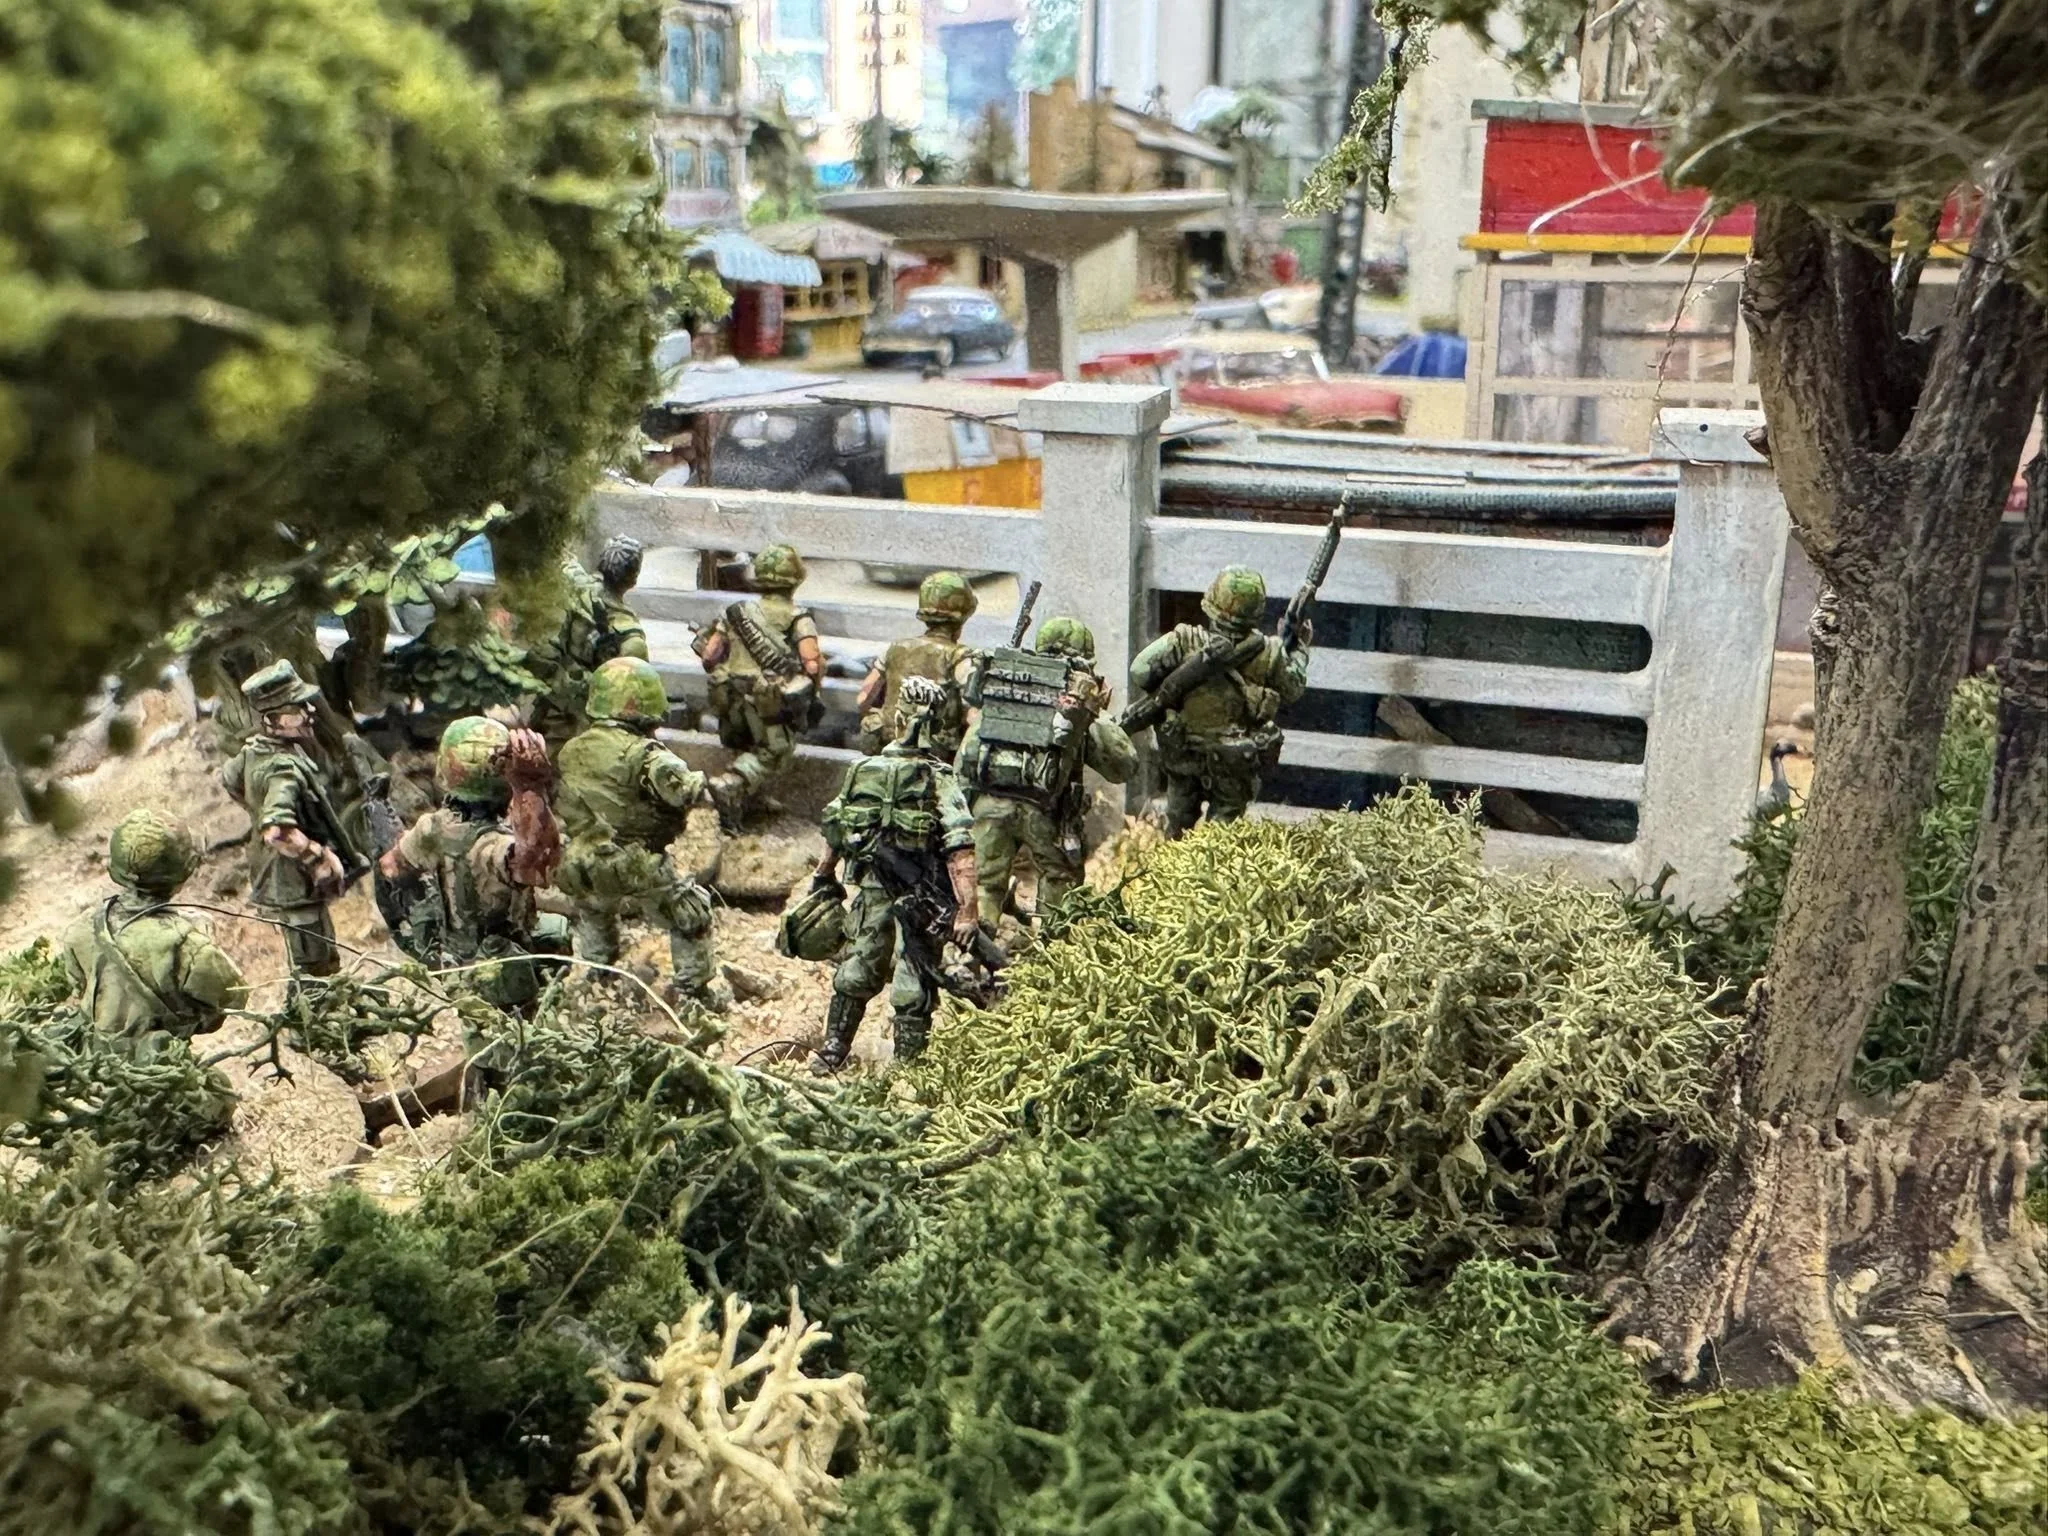
Kevin G ran two Battle of Hue games at Kublacon in May 2024 using Charlie Don't Surf.

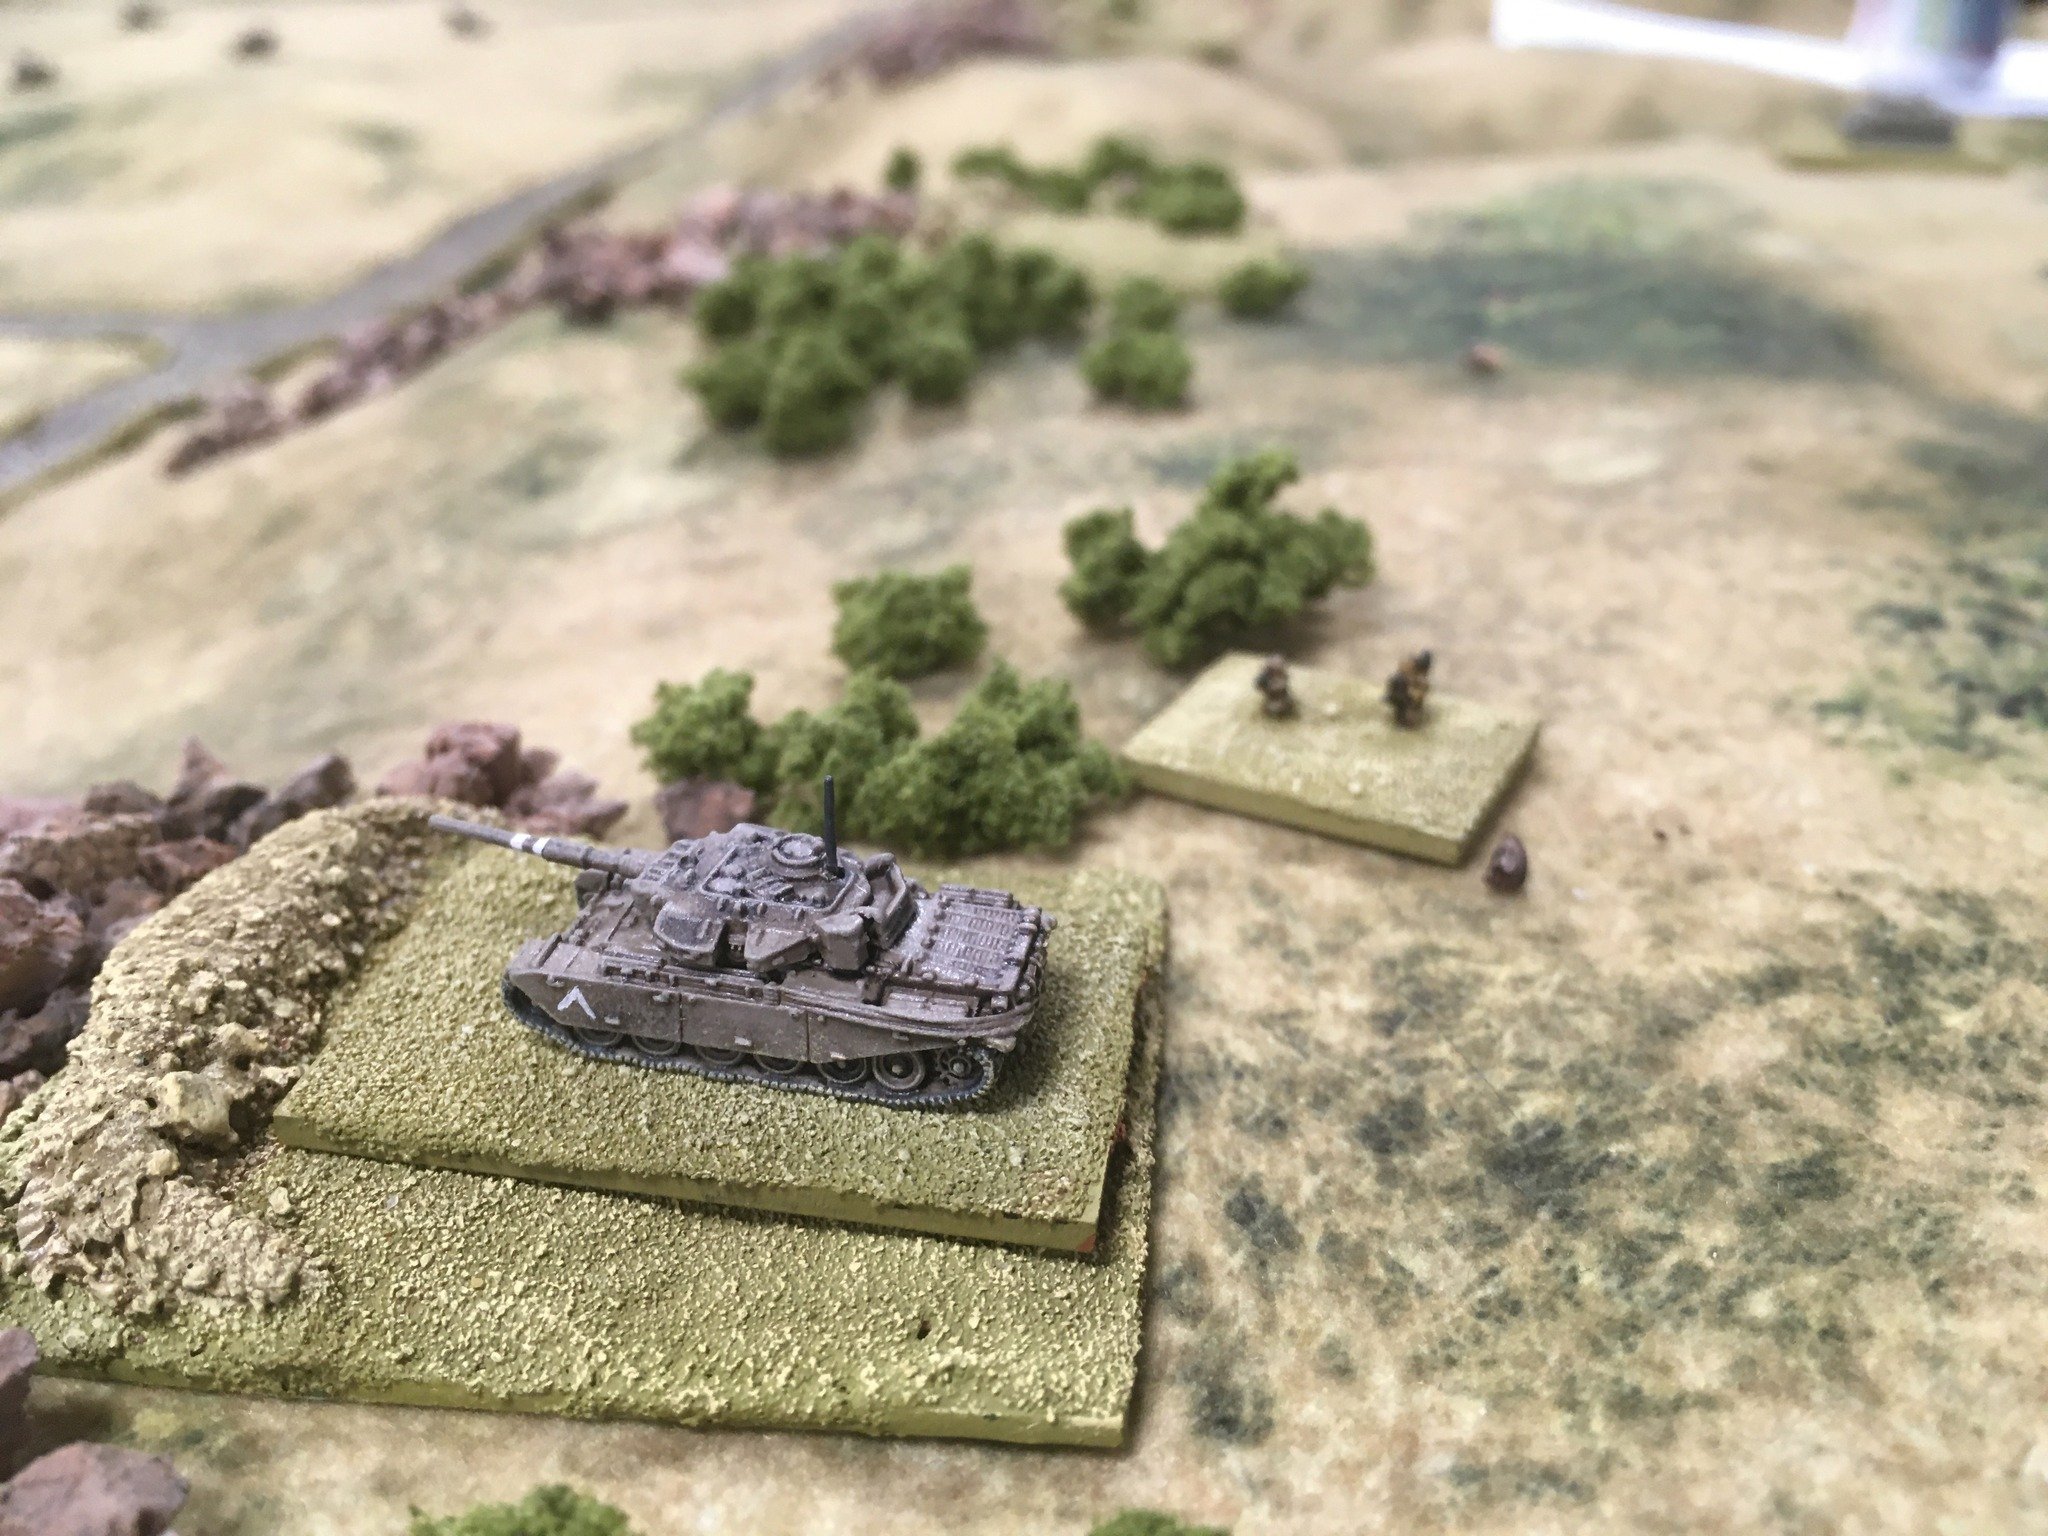
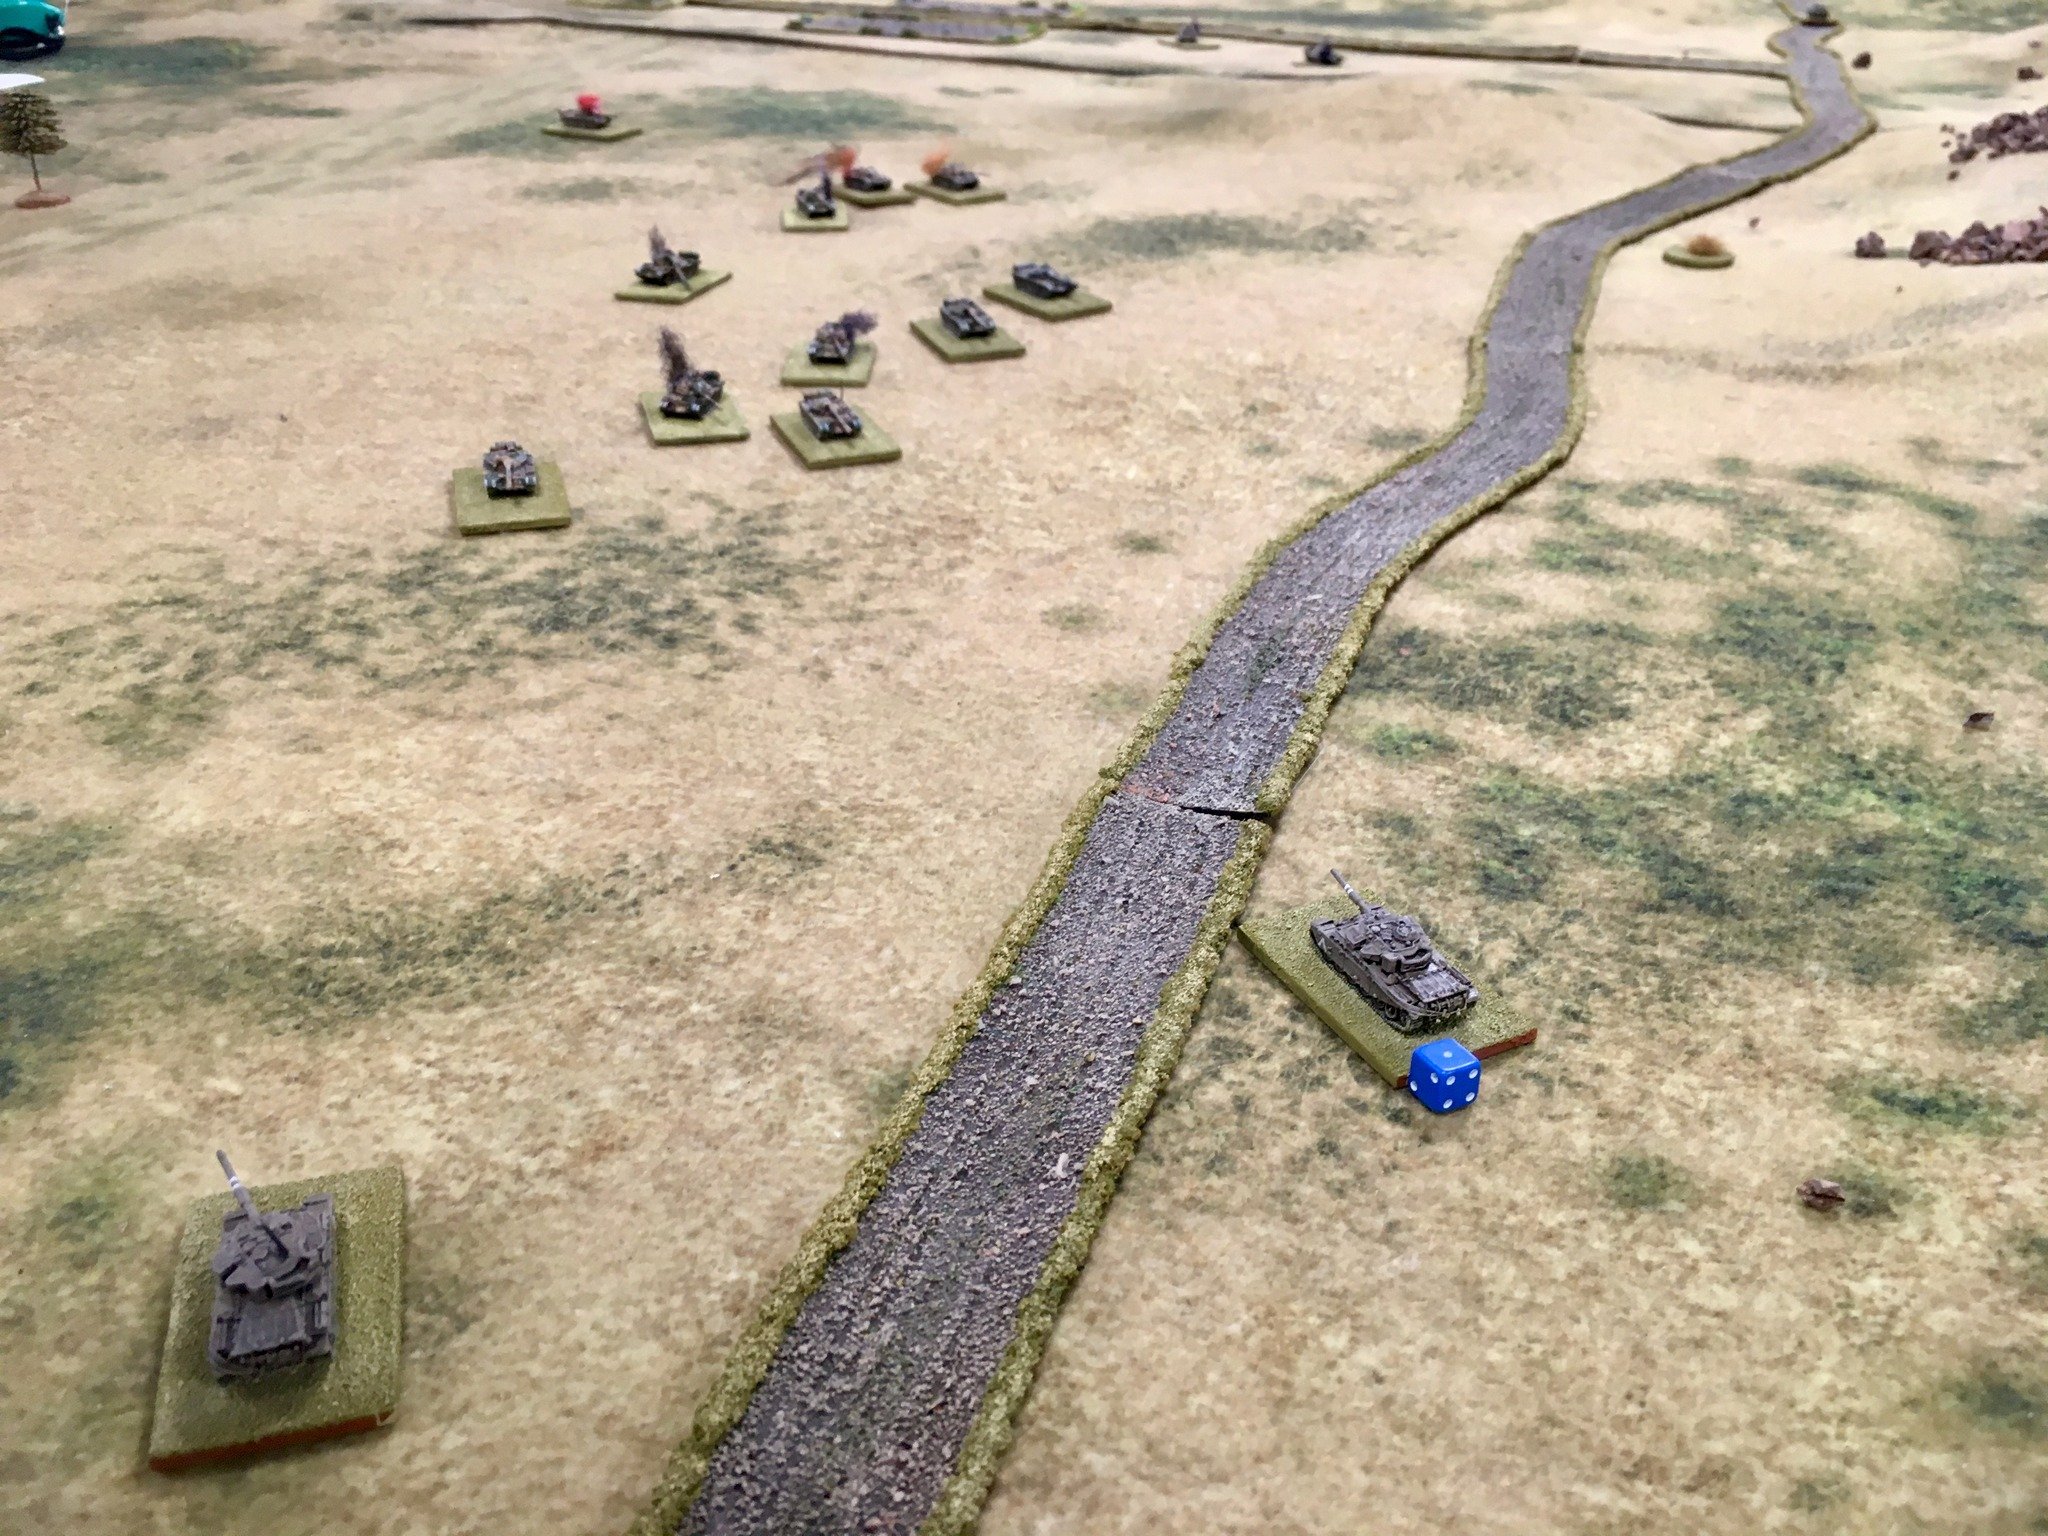
A couple of weeks back Phil and I got together to push some 6mm tanks around the table using Charlie Don’t Surf. He expressed a desire to play with some Israeli "Super Shermans" so I painted up some Jordanians and devised a basic scenario loosely based around the Battle of Dothan Valley on the West Bank at the start of the June/Six Day War of 1967...
Historically the Israelis launched a pre-emptive strike on Egypt and then, following some artillery exchanges, Jordan. The IDF's 45th Armoured Brigade formed the vanguard of the Israeli attack pushing into northern Samaria. tasked with eliminating the Jordanian 155mm ‘Long Tom’ howitzers threatening Ramat David airbase across the border in Israel.
On the night of the 5/6th June the 45th took the town of Jenin after fierce fighting against the Jordanian 47th Tank Battalion, however the next day saw the Jordanians commit their armour reserves of the 40th Armoured Brigade to the battle, with its 2nd Battalion threatening to envelope the reconnaissance company of the IDF 45th Armoured Brigade.
The scenario was inspired by the Jordanian 40th's counter-attack and the IDF trying to stop them cutting off the recce unit.


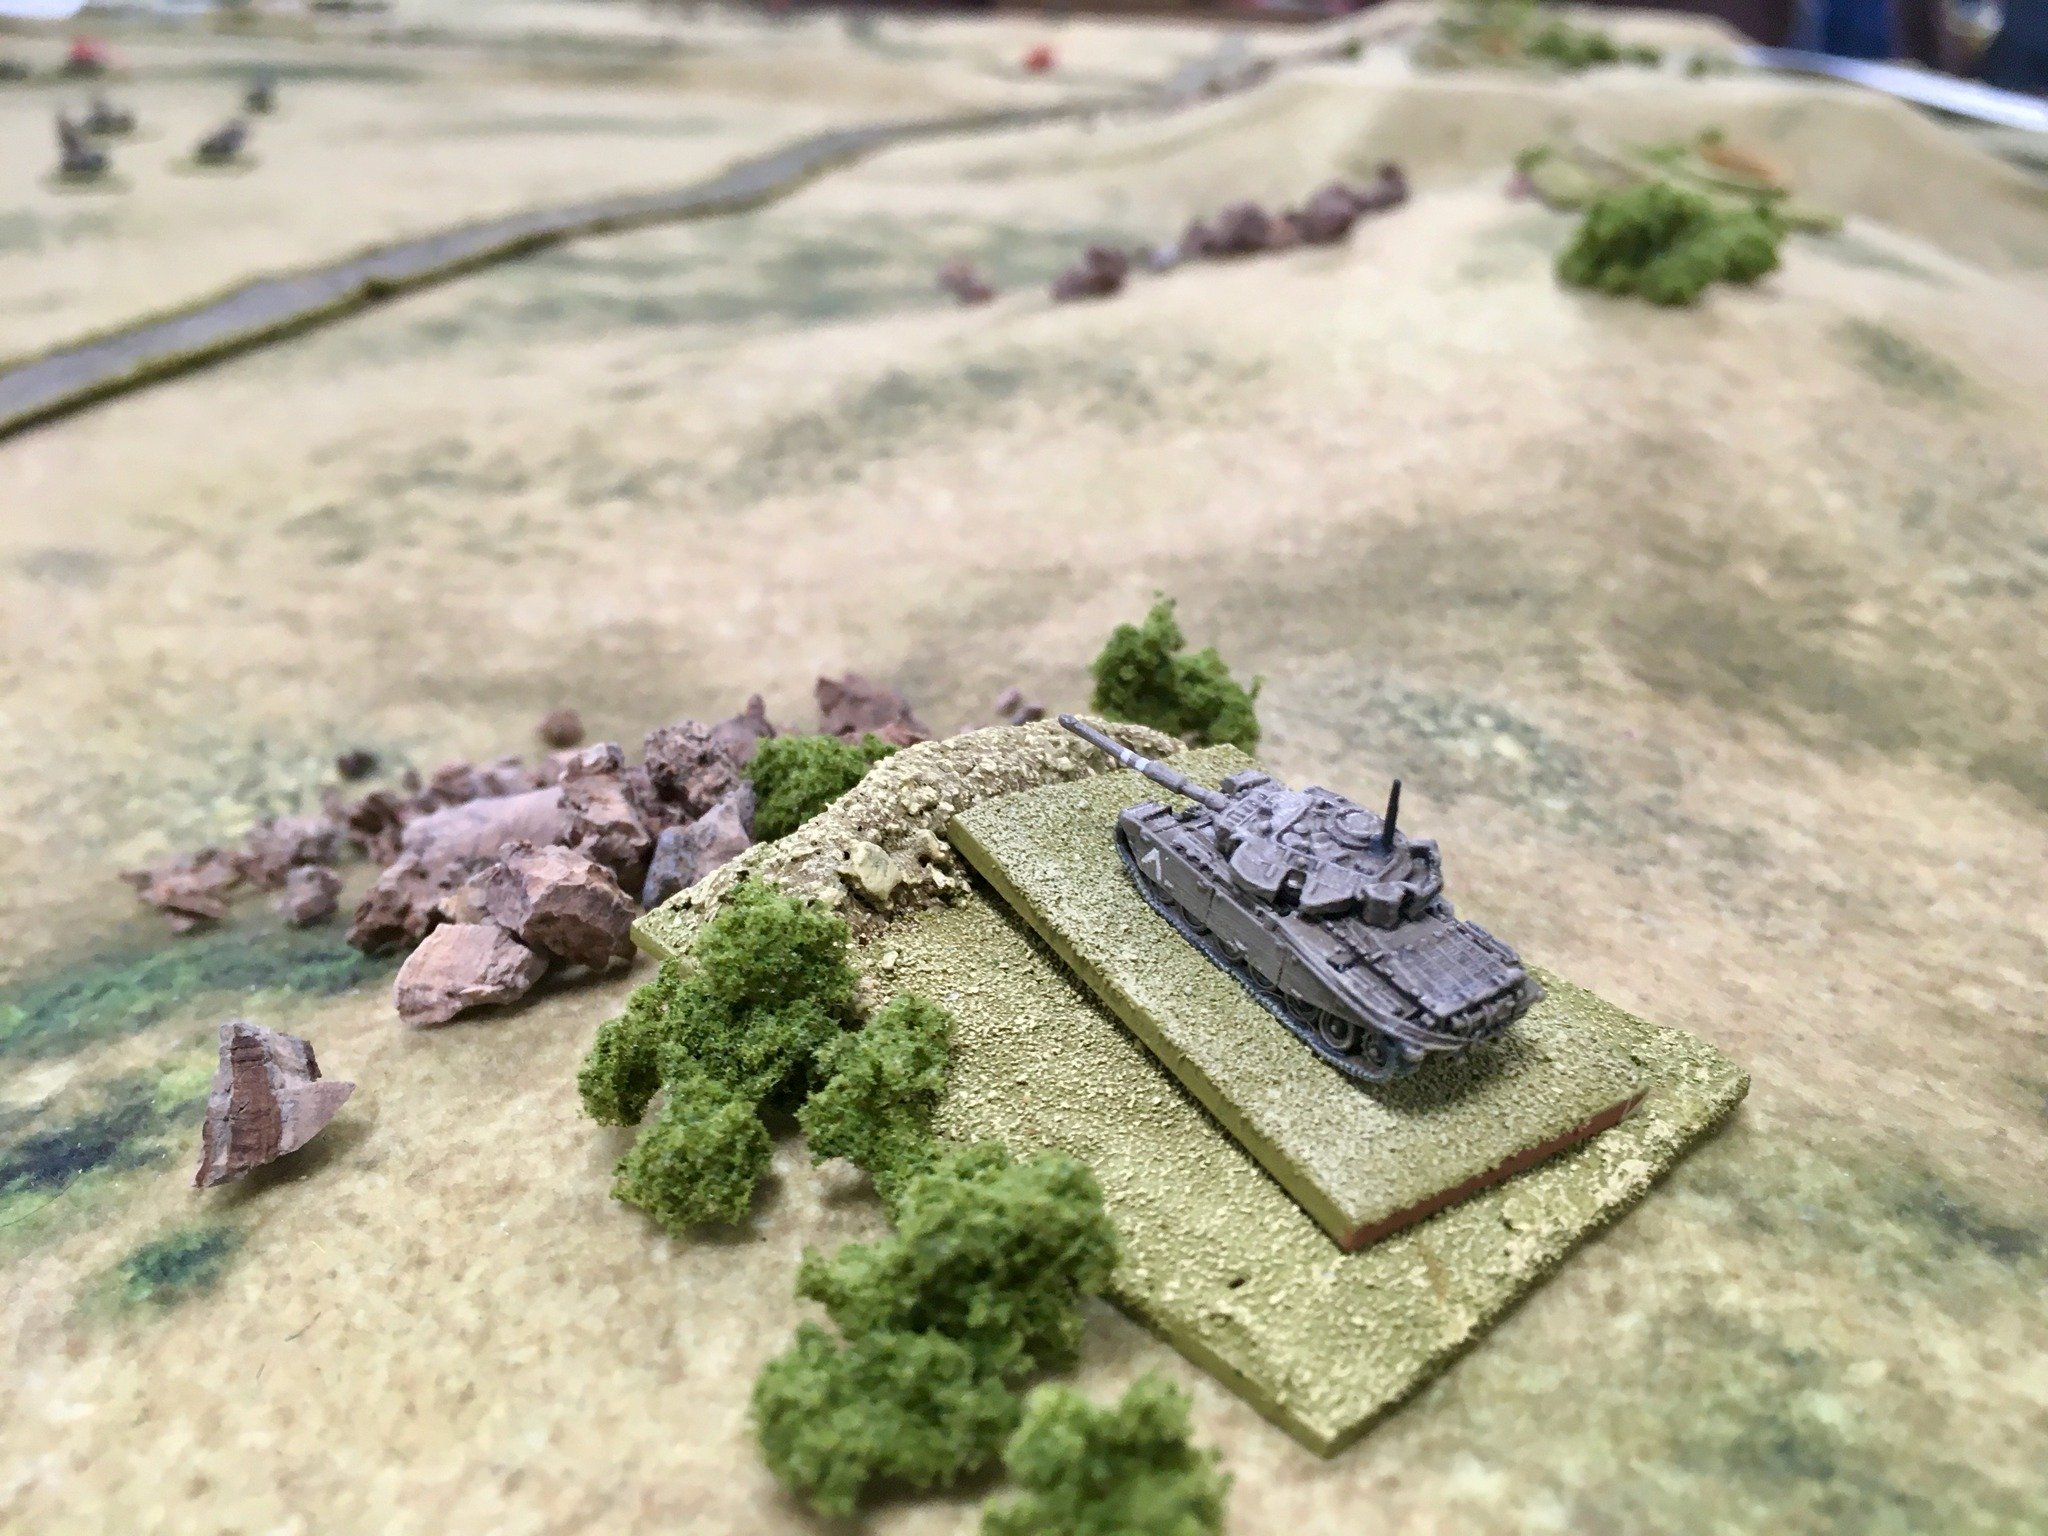
Well that was a (very) bloody battle - and reflecting the historical result (at a couple of points the Jordanians ran low on ammo and fuel as happened in 1967). As the Jordanian commander I was probably a little too rash in closing with the Israelis and maybe a more conservative approach engaging the poorly armoured IDF tanks at long range would have served me better.
At some stage I need to get some infantry and support weapons on the table for my Arab-Israeli Charlie Don't Surf games, but as a set of rules for pure tank battles (not uncommon in 1967 and '73) it provides a fun and engaging game with lots of tanks going boom!
Steve Blease

Steve Blease played his Valley of Tears Golan Heights game at Winter Wonderlard 2023 using Charlie Don’t Surf. Here are the pictures from the day:
In the first game the Syrians came close to a minor victory but just fell short of reaching the victory conditions...


We're not in Vietnam anymore...
Ran through my 6mm Yom Kippur 'Valley of Tears' CDS variant game which I'll be running at the Winter Wonder Land III Lardy Day in Bristol later this month. Went well with a couple of Lardy vets playing, quite a flexible set of rules eh?
Steve Blease