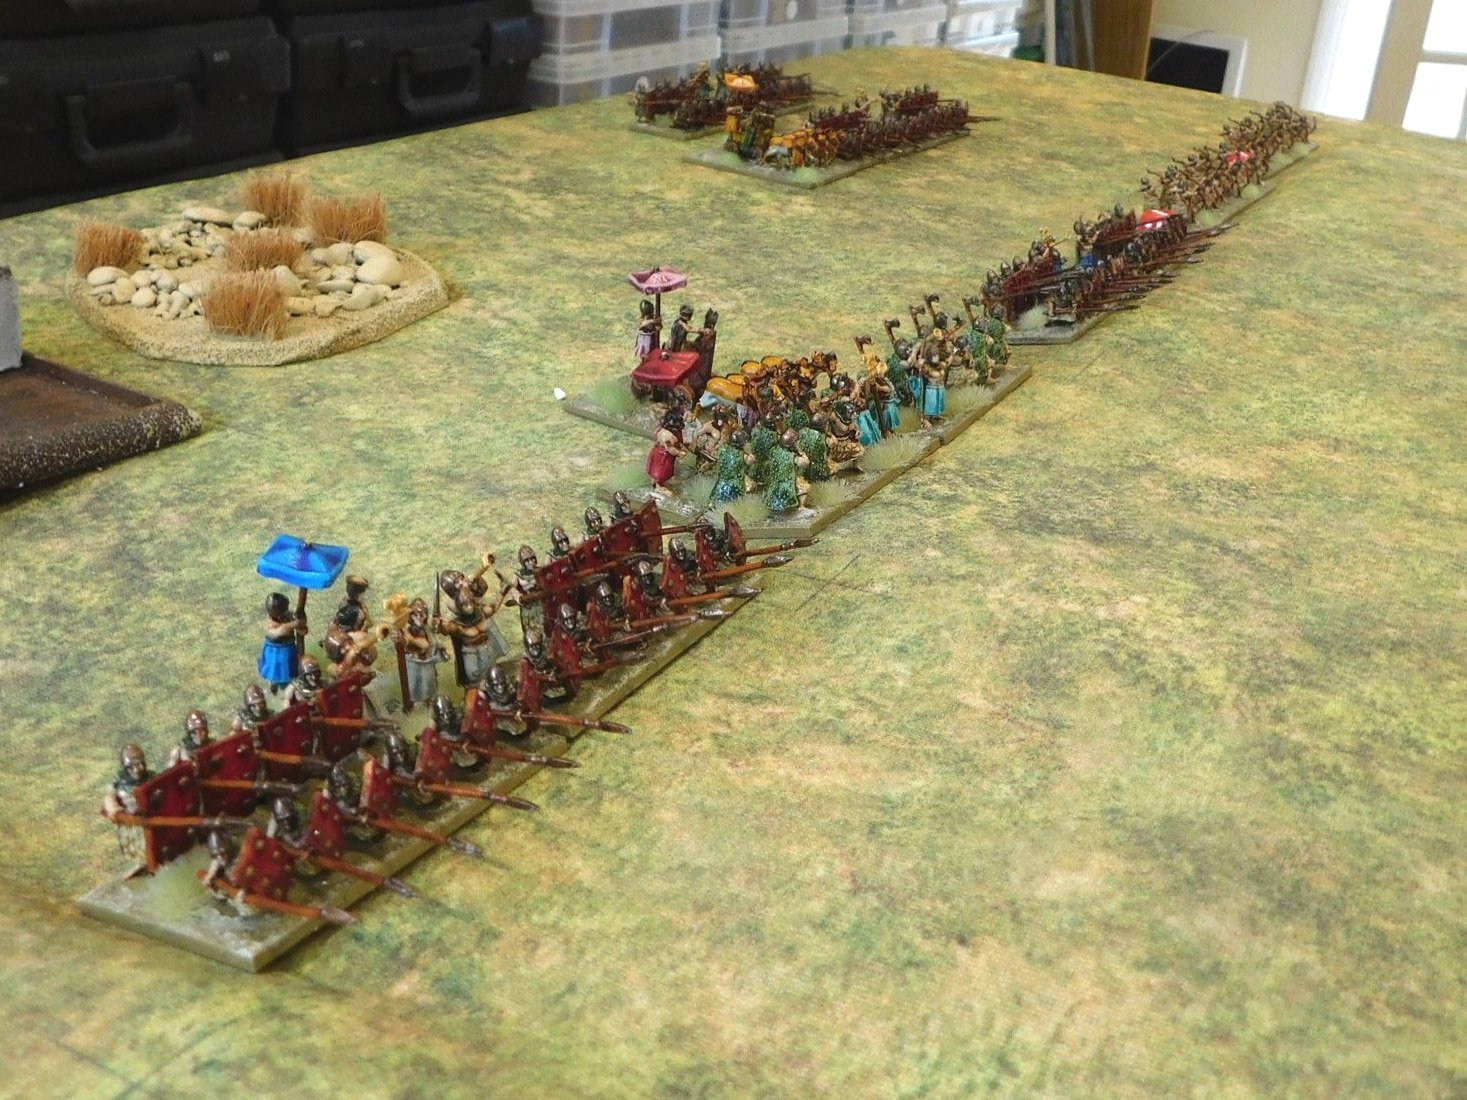
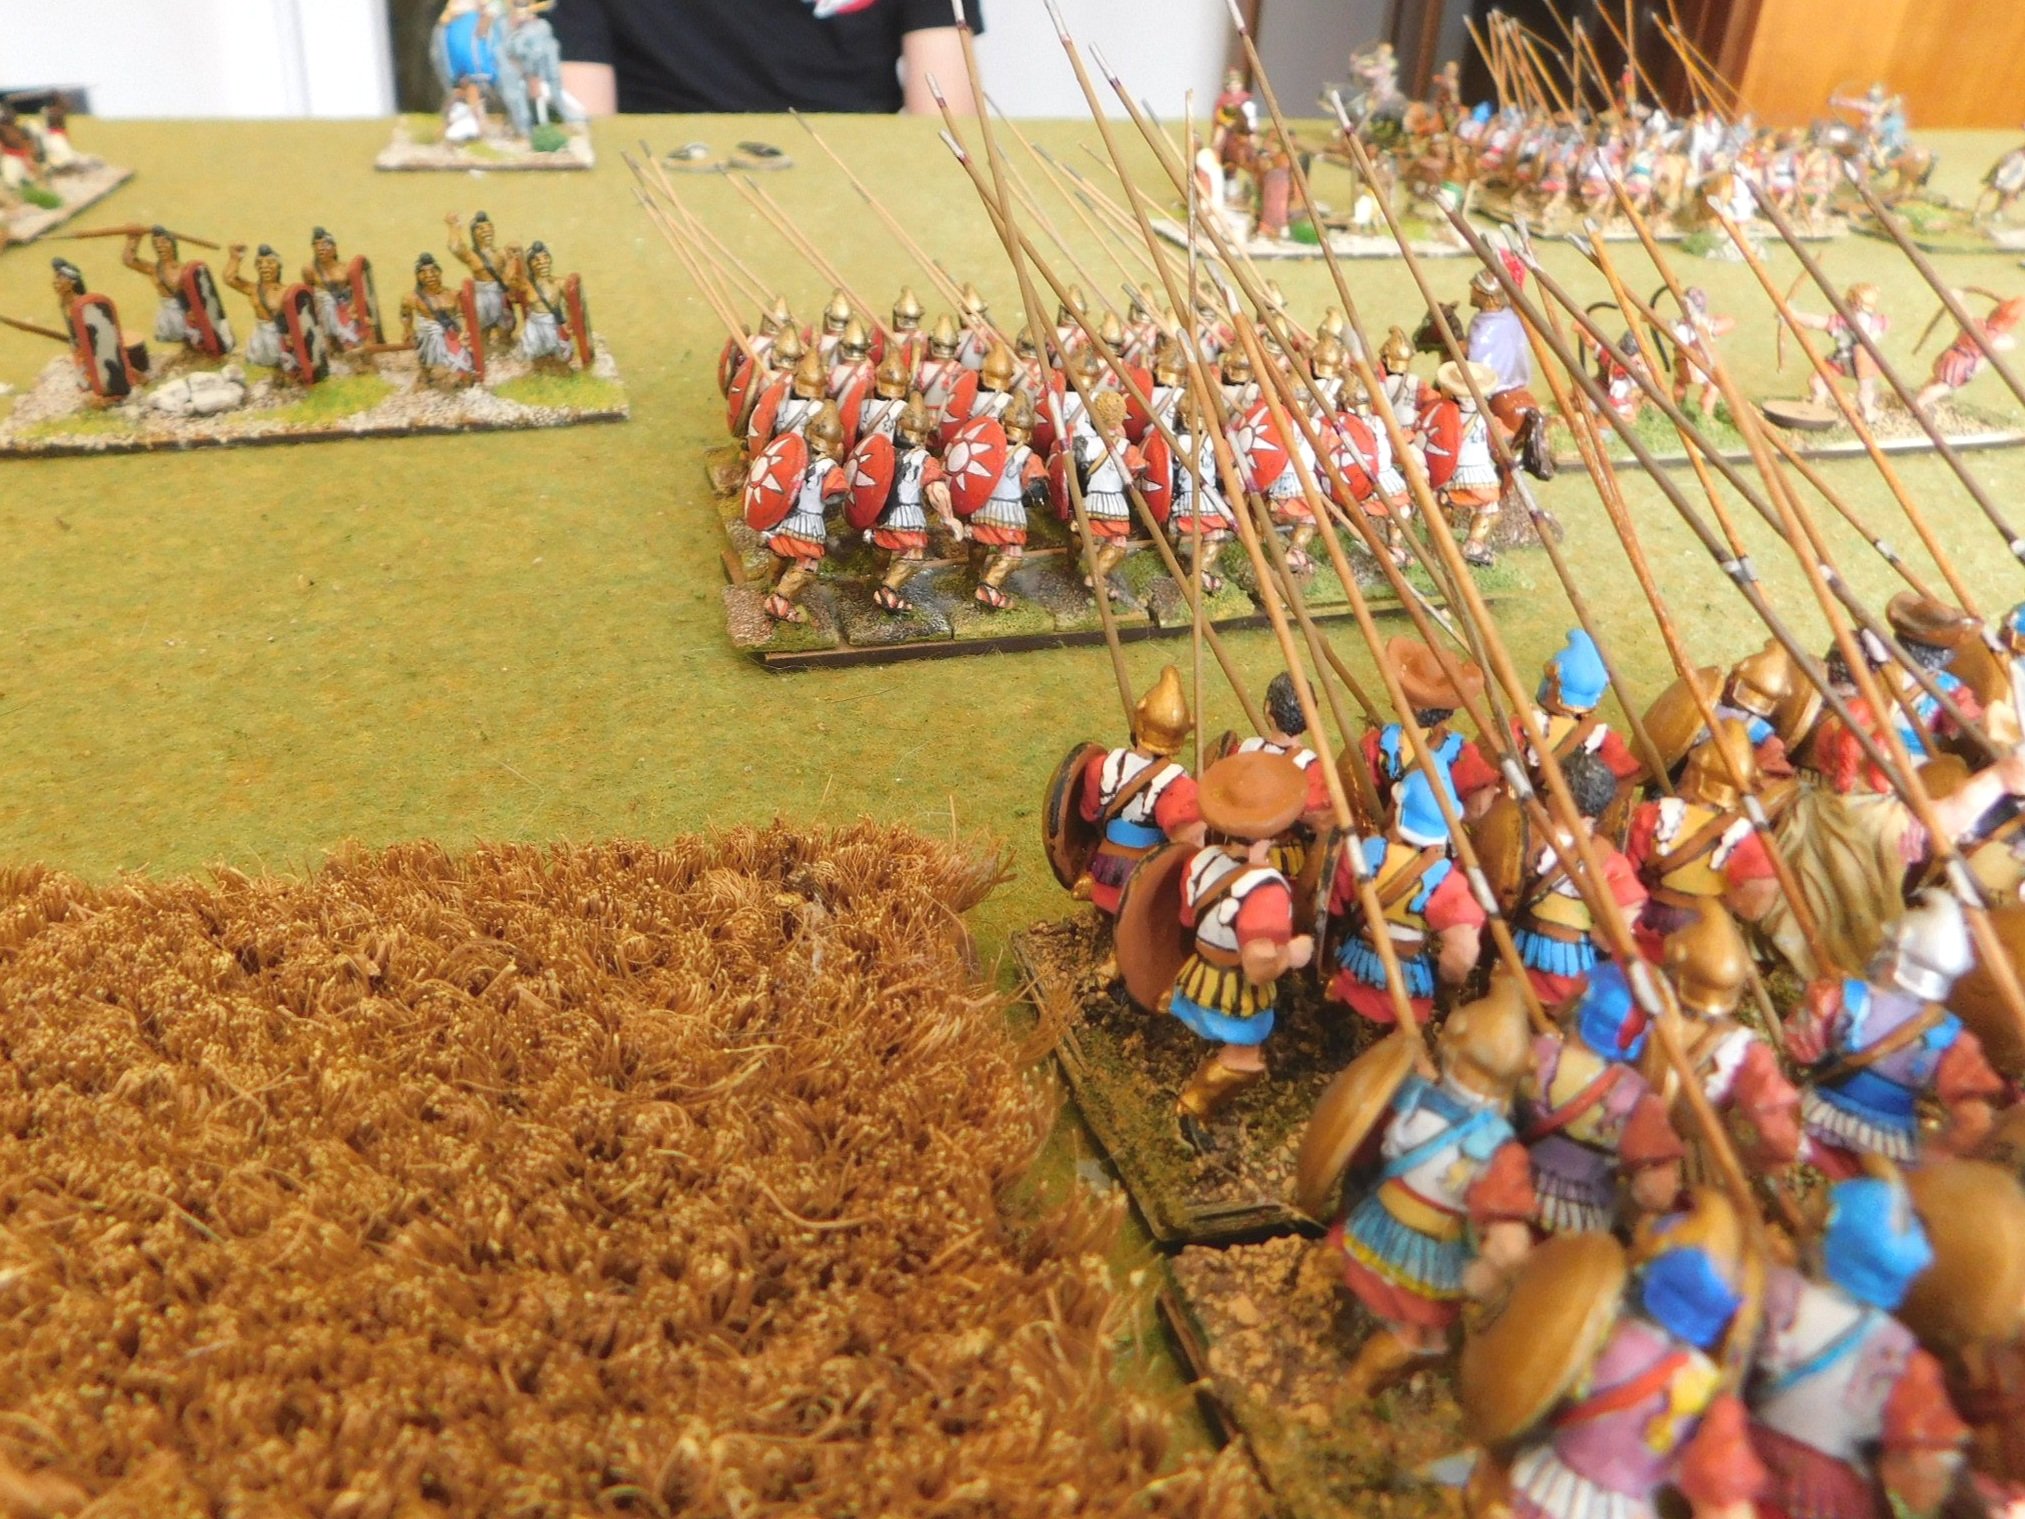
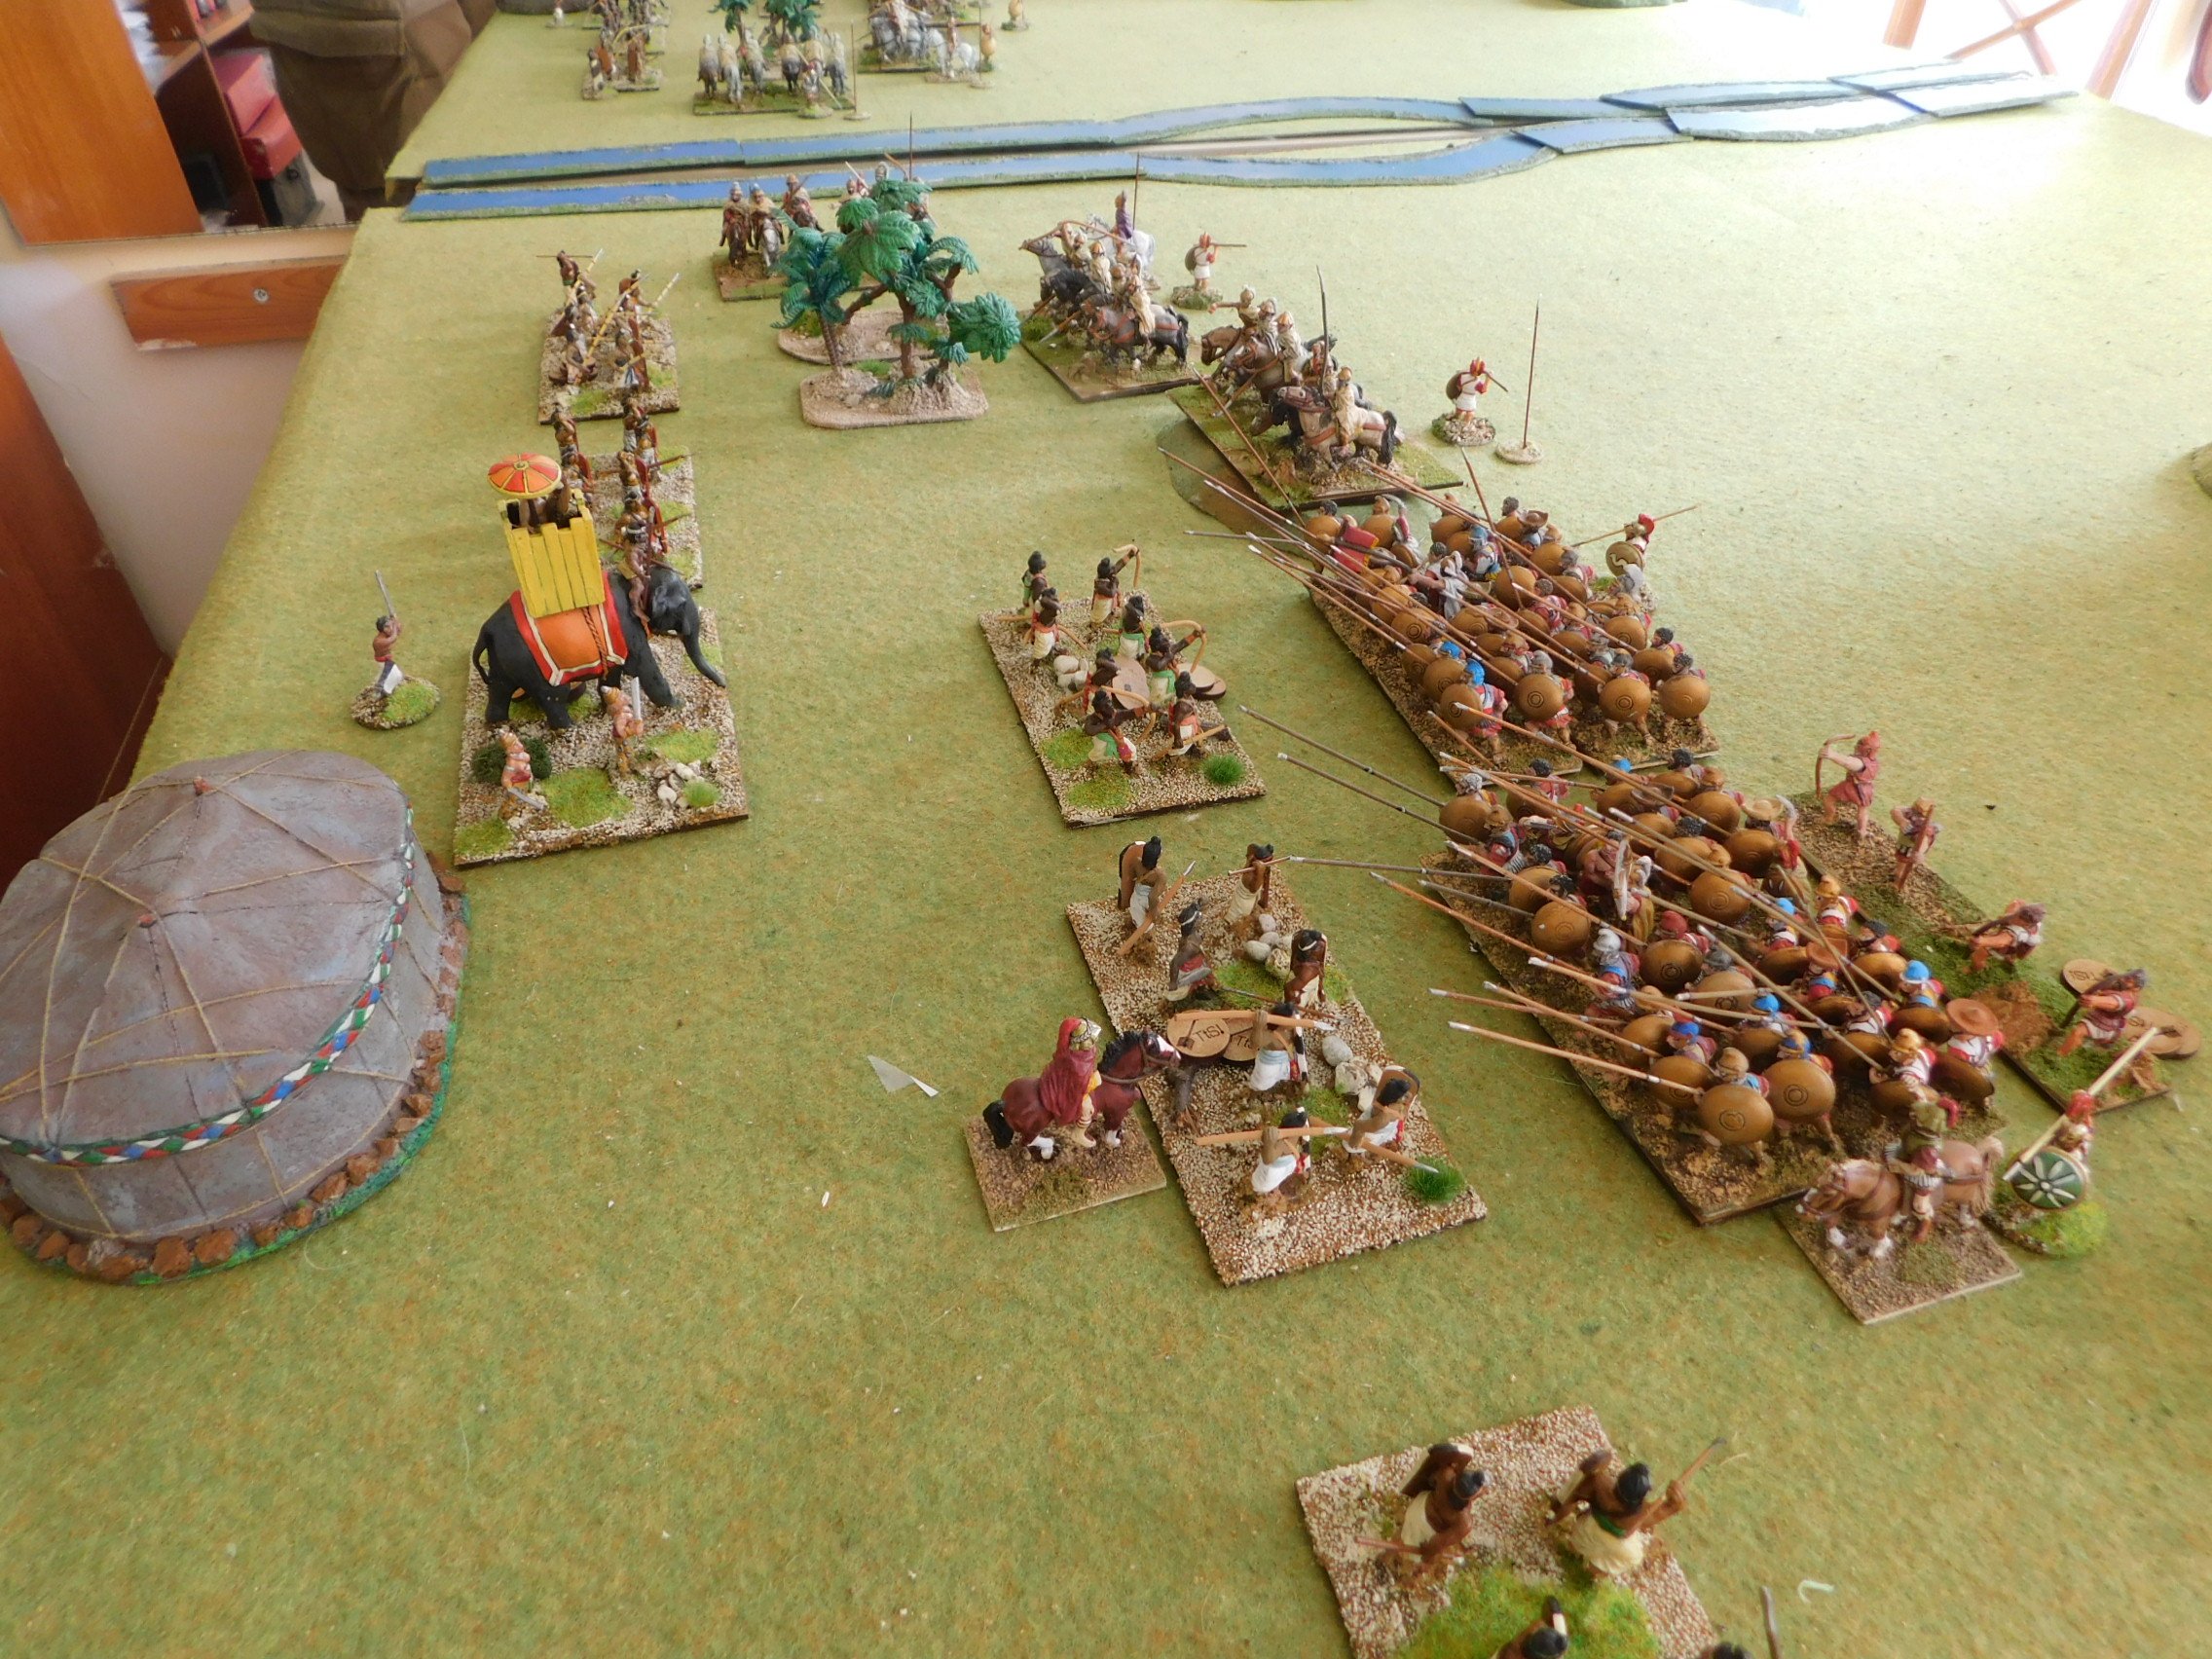
Cataphracts Re-Based and some more Classical Indians
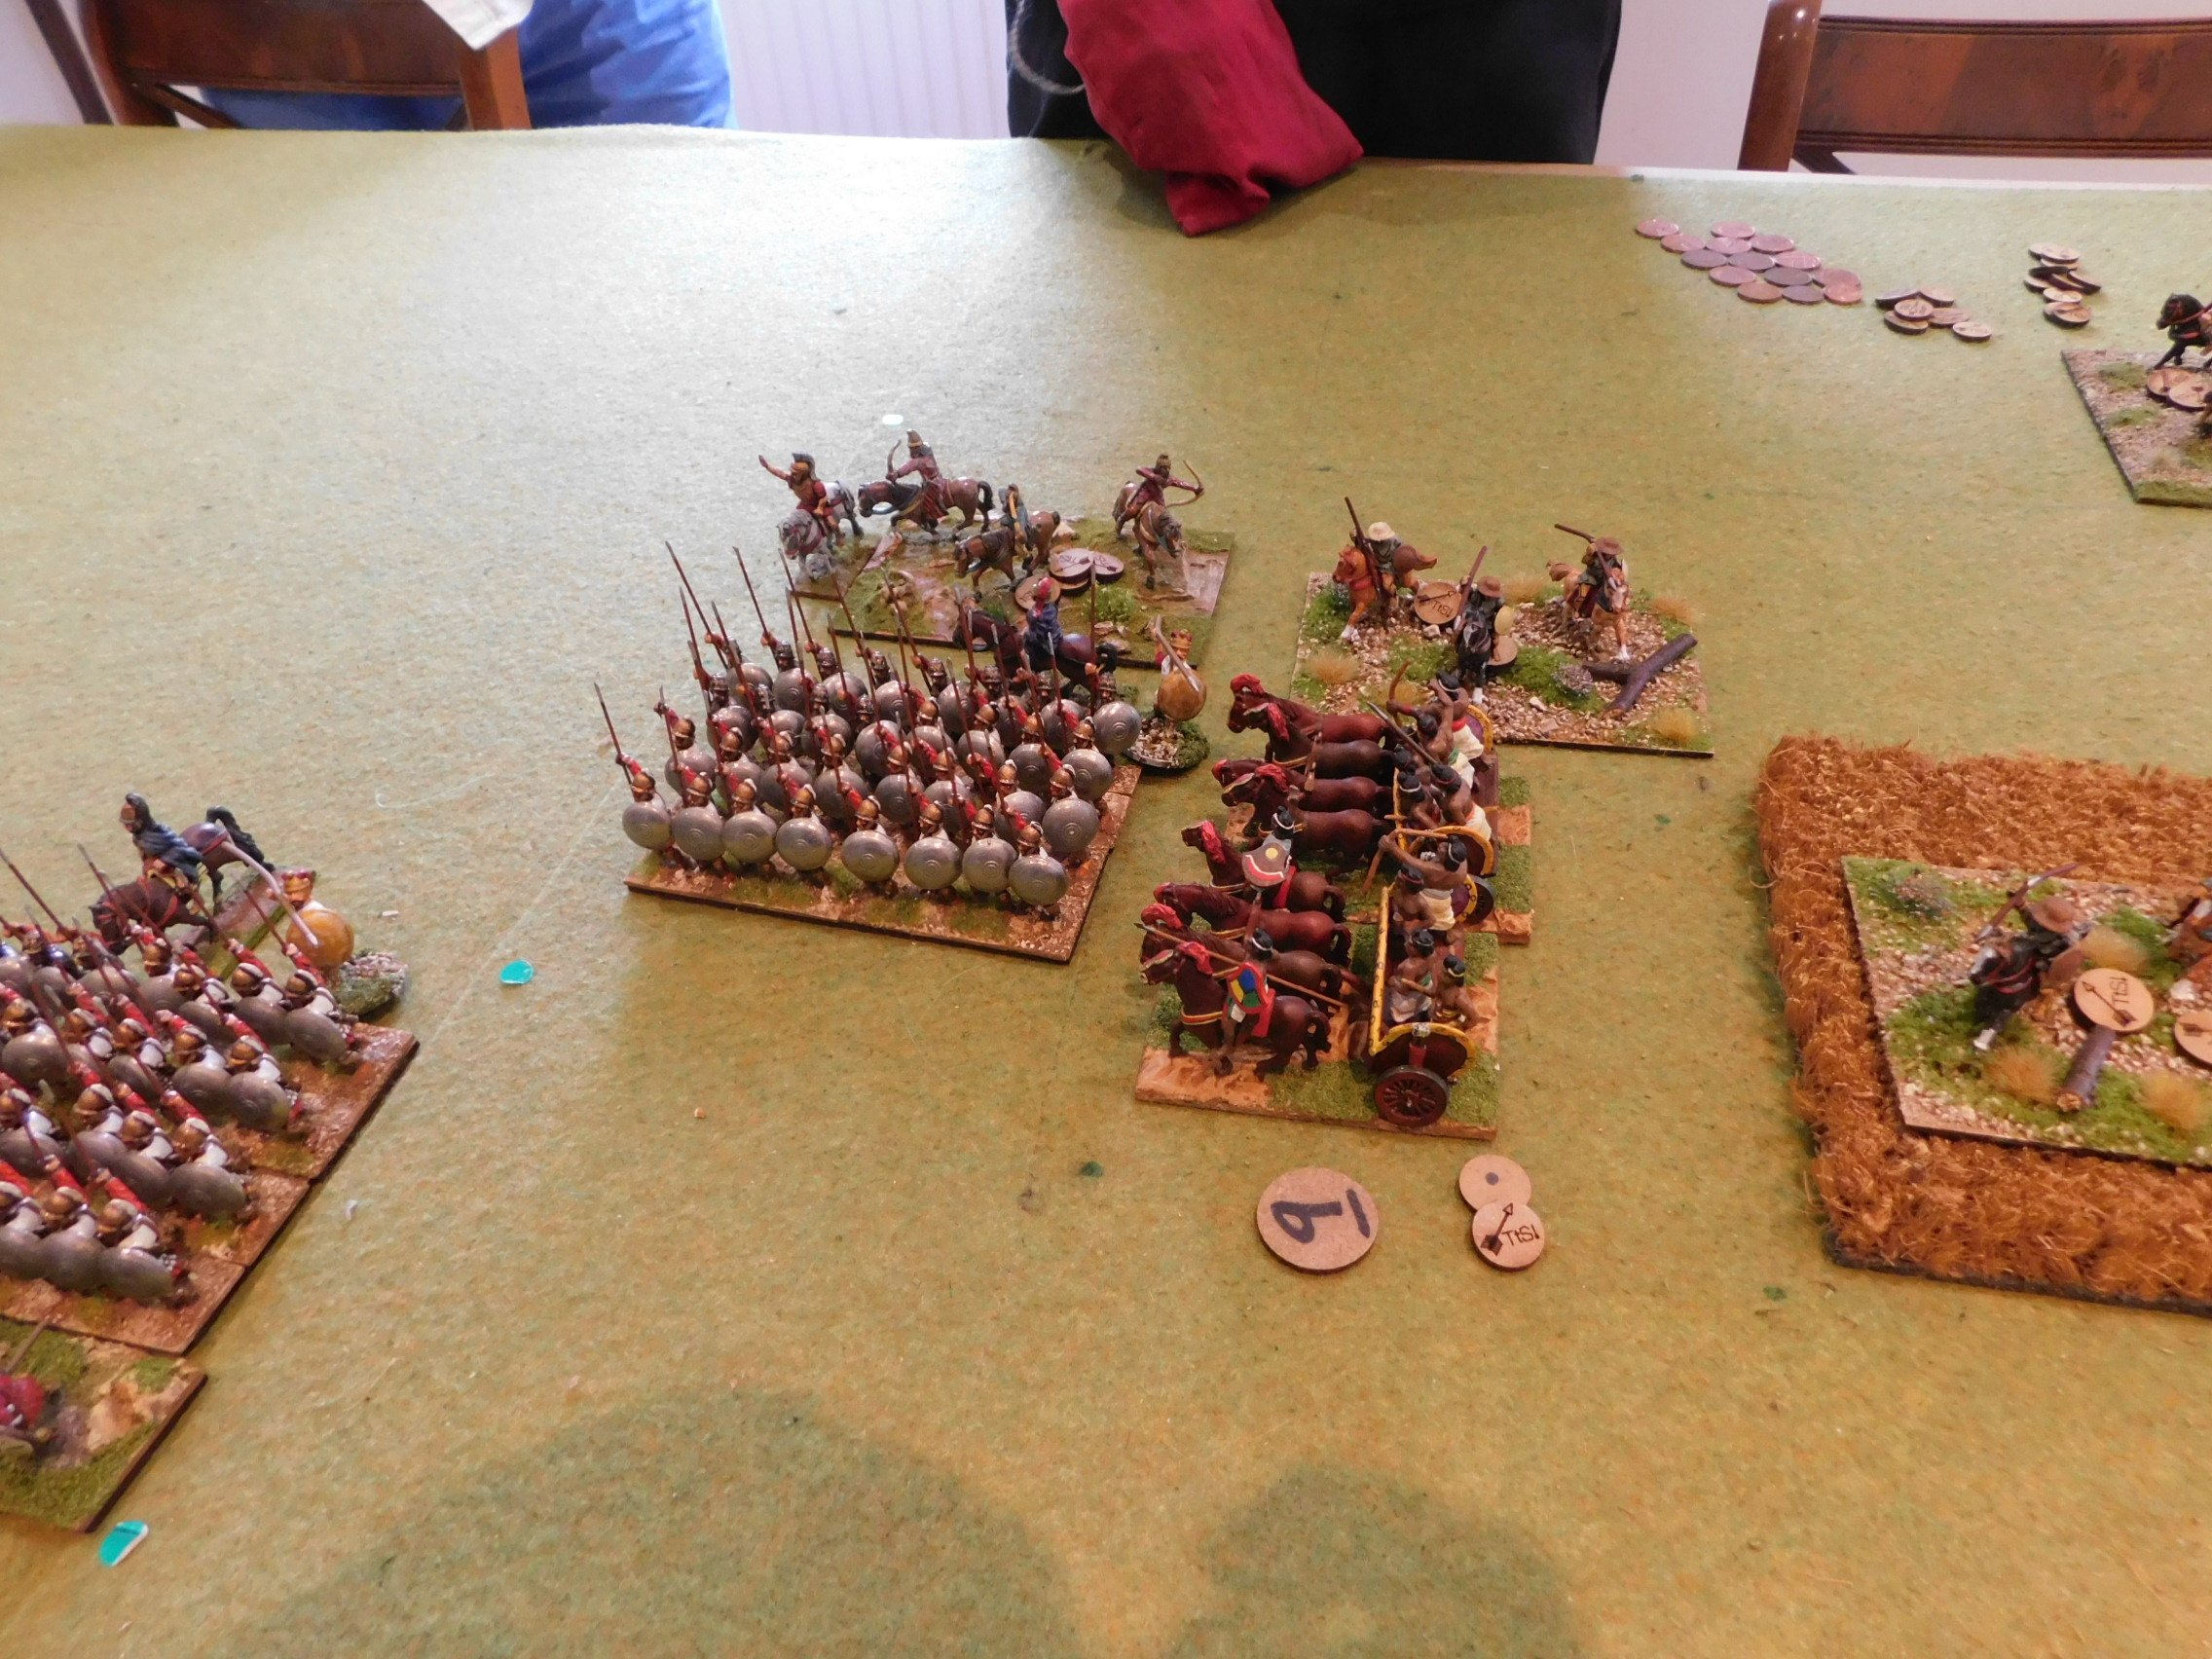
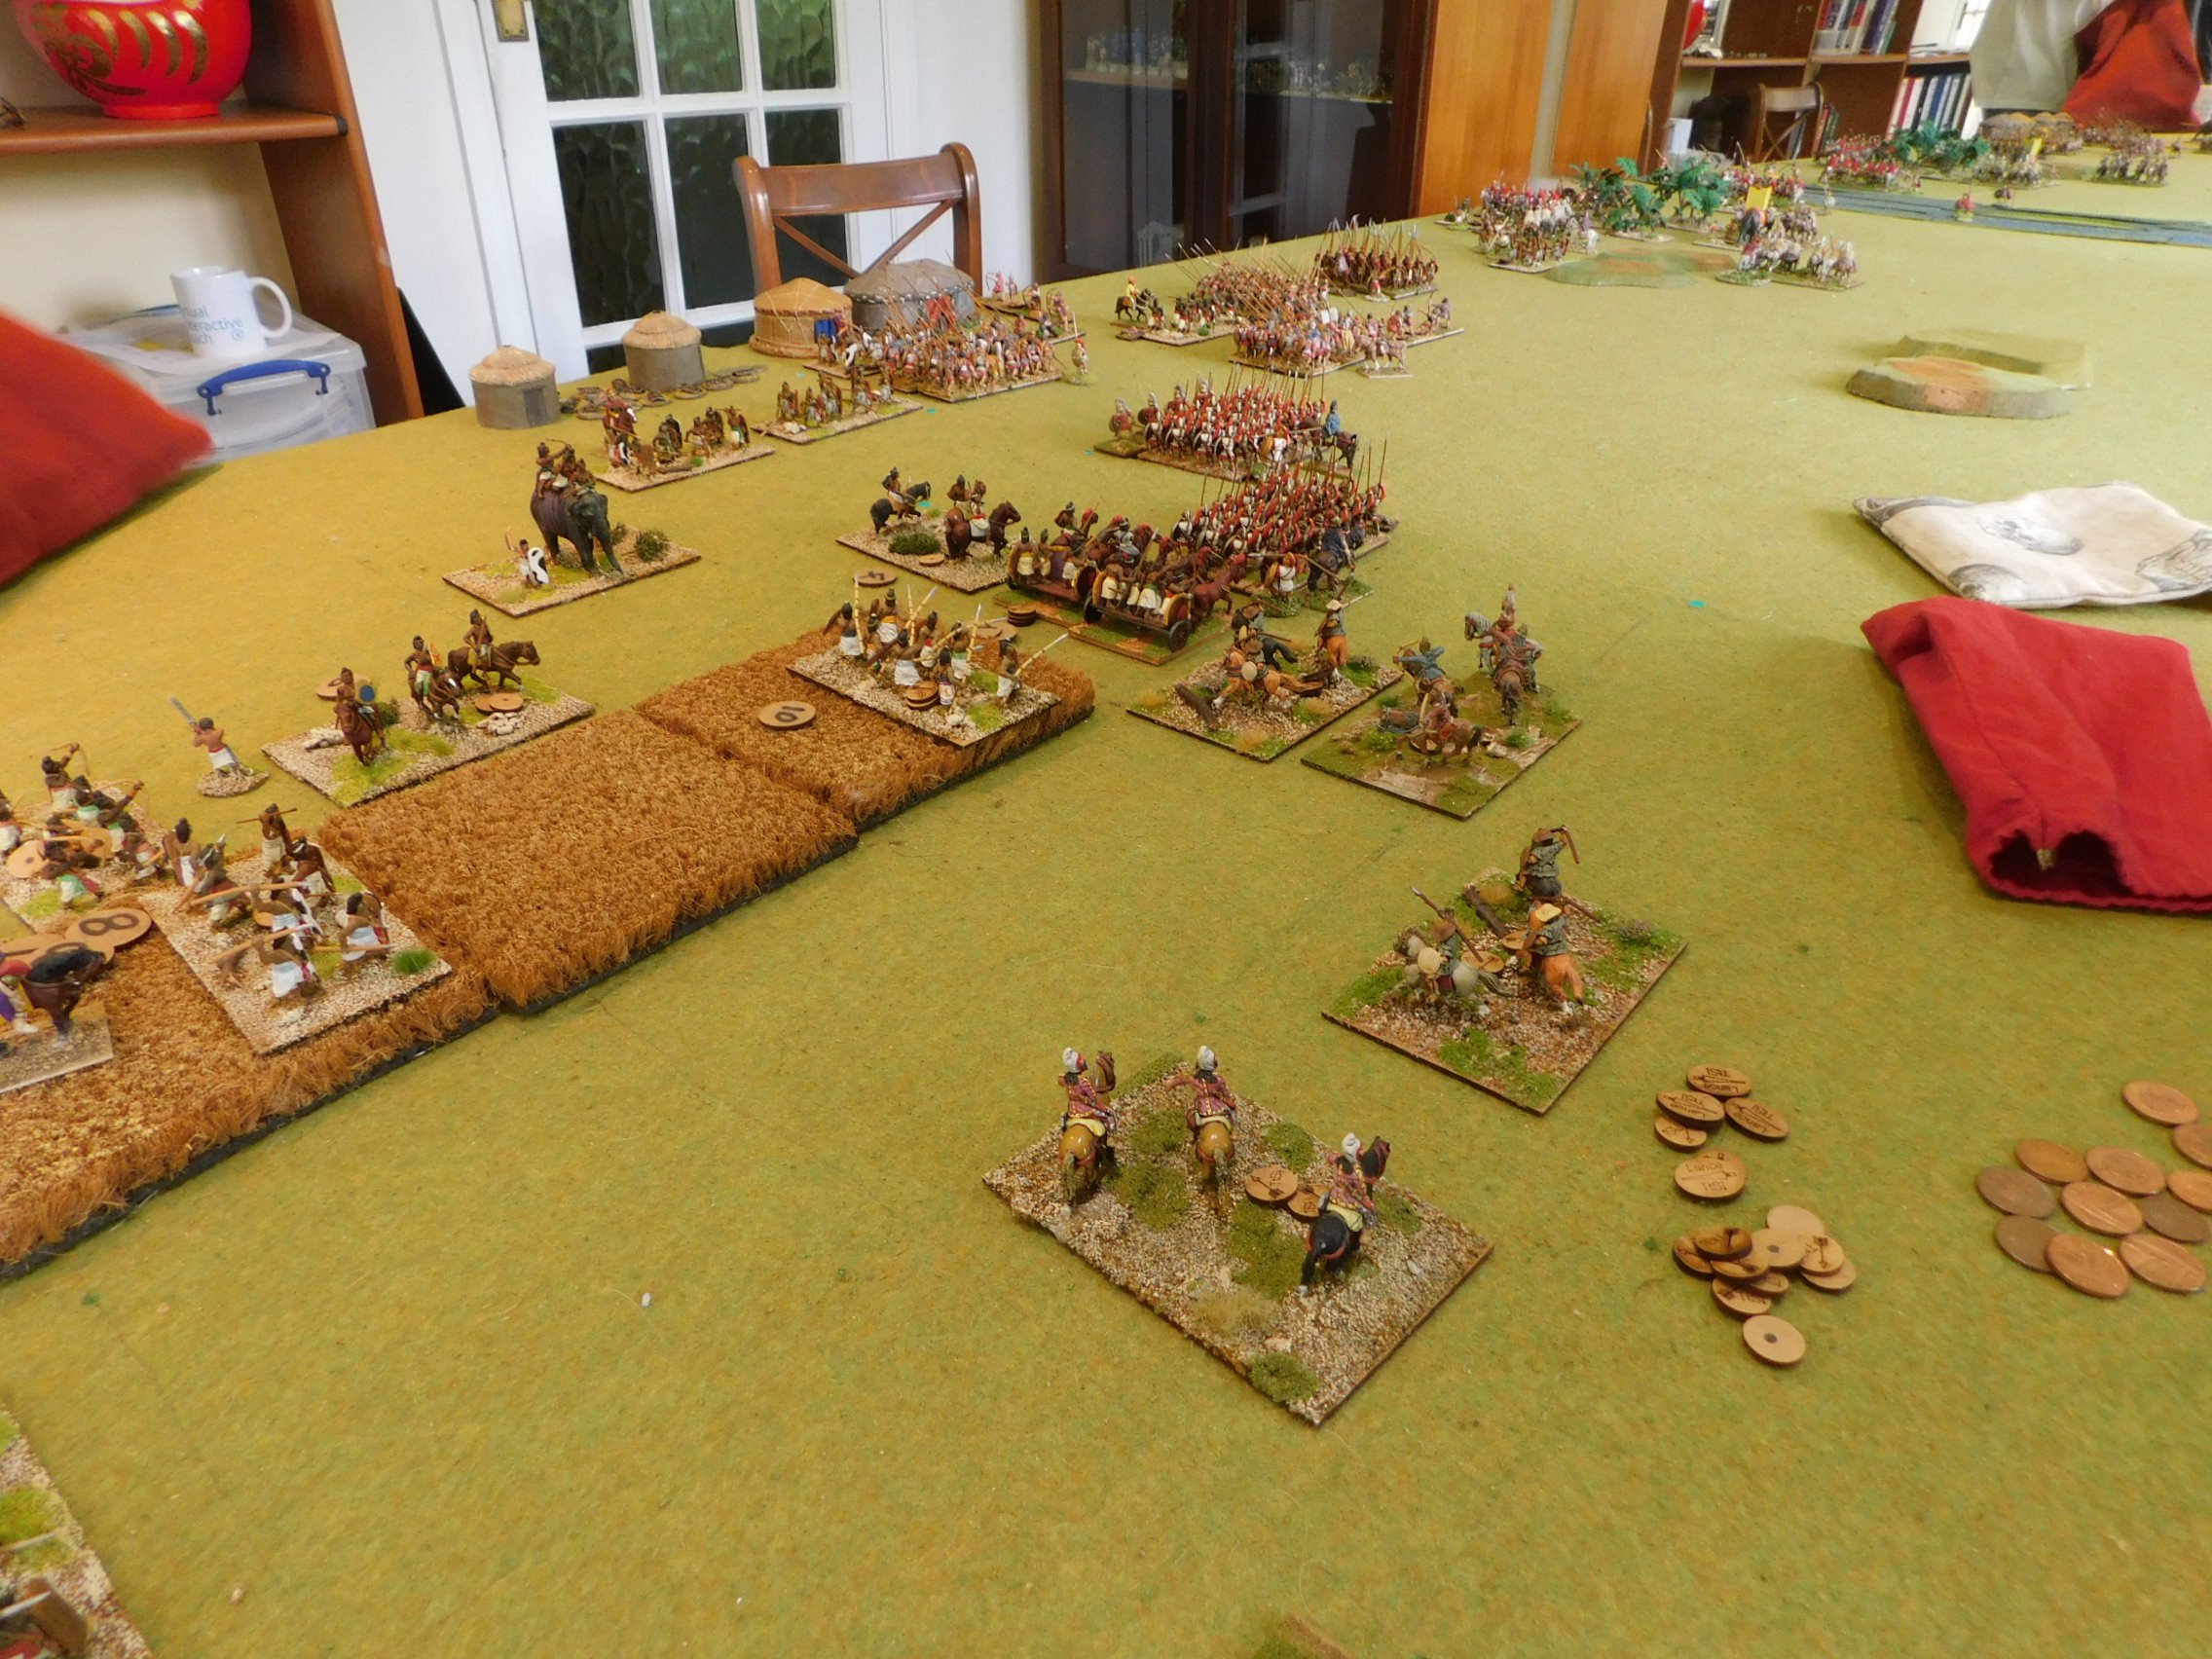
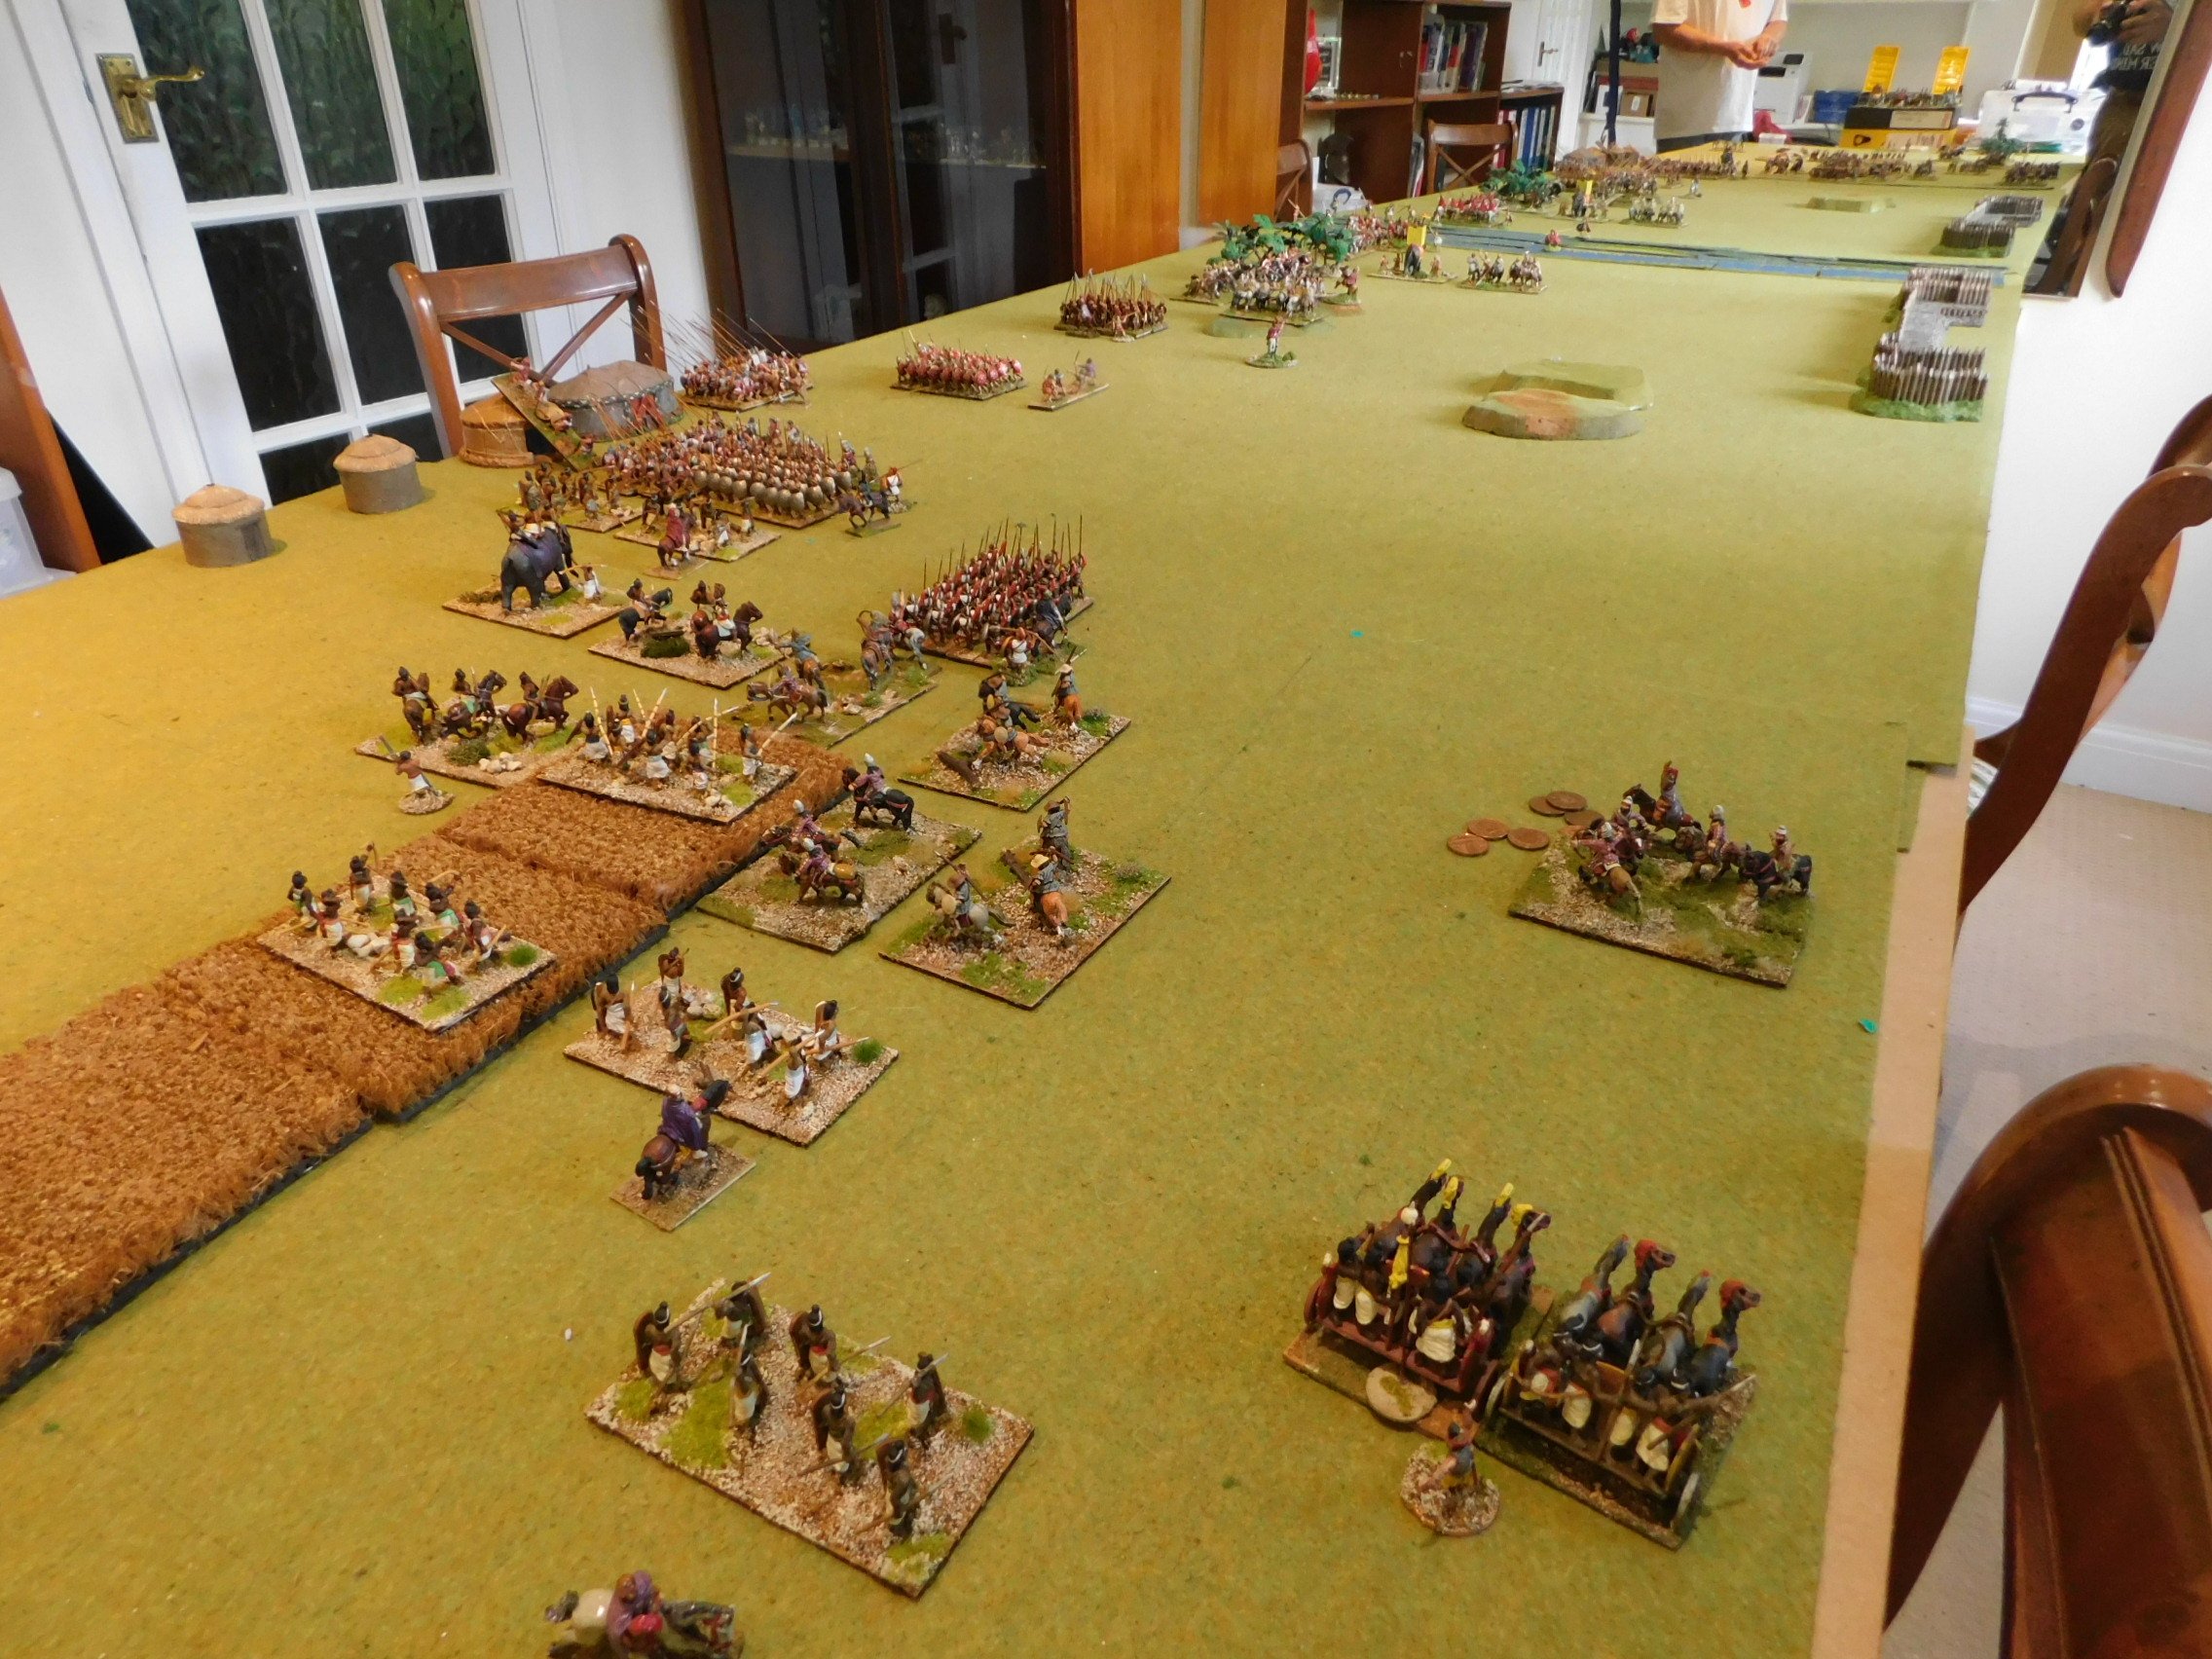
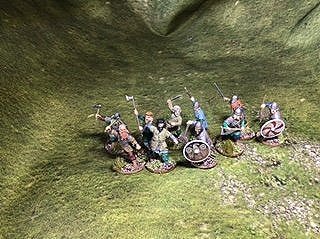
The re-basing of my Sassanids continues: this time with the cataphracts.

Re-basing is a horrible job. There’s the danger of destroying a paint-job or even a figure as you take them off the old bases. Then there’s the tedium of gluing the figures to the new base, adding the basing material, dry-brushing and flock…and after all that you haven’t actually added any more figures to the collection.

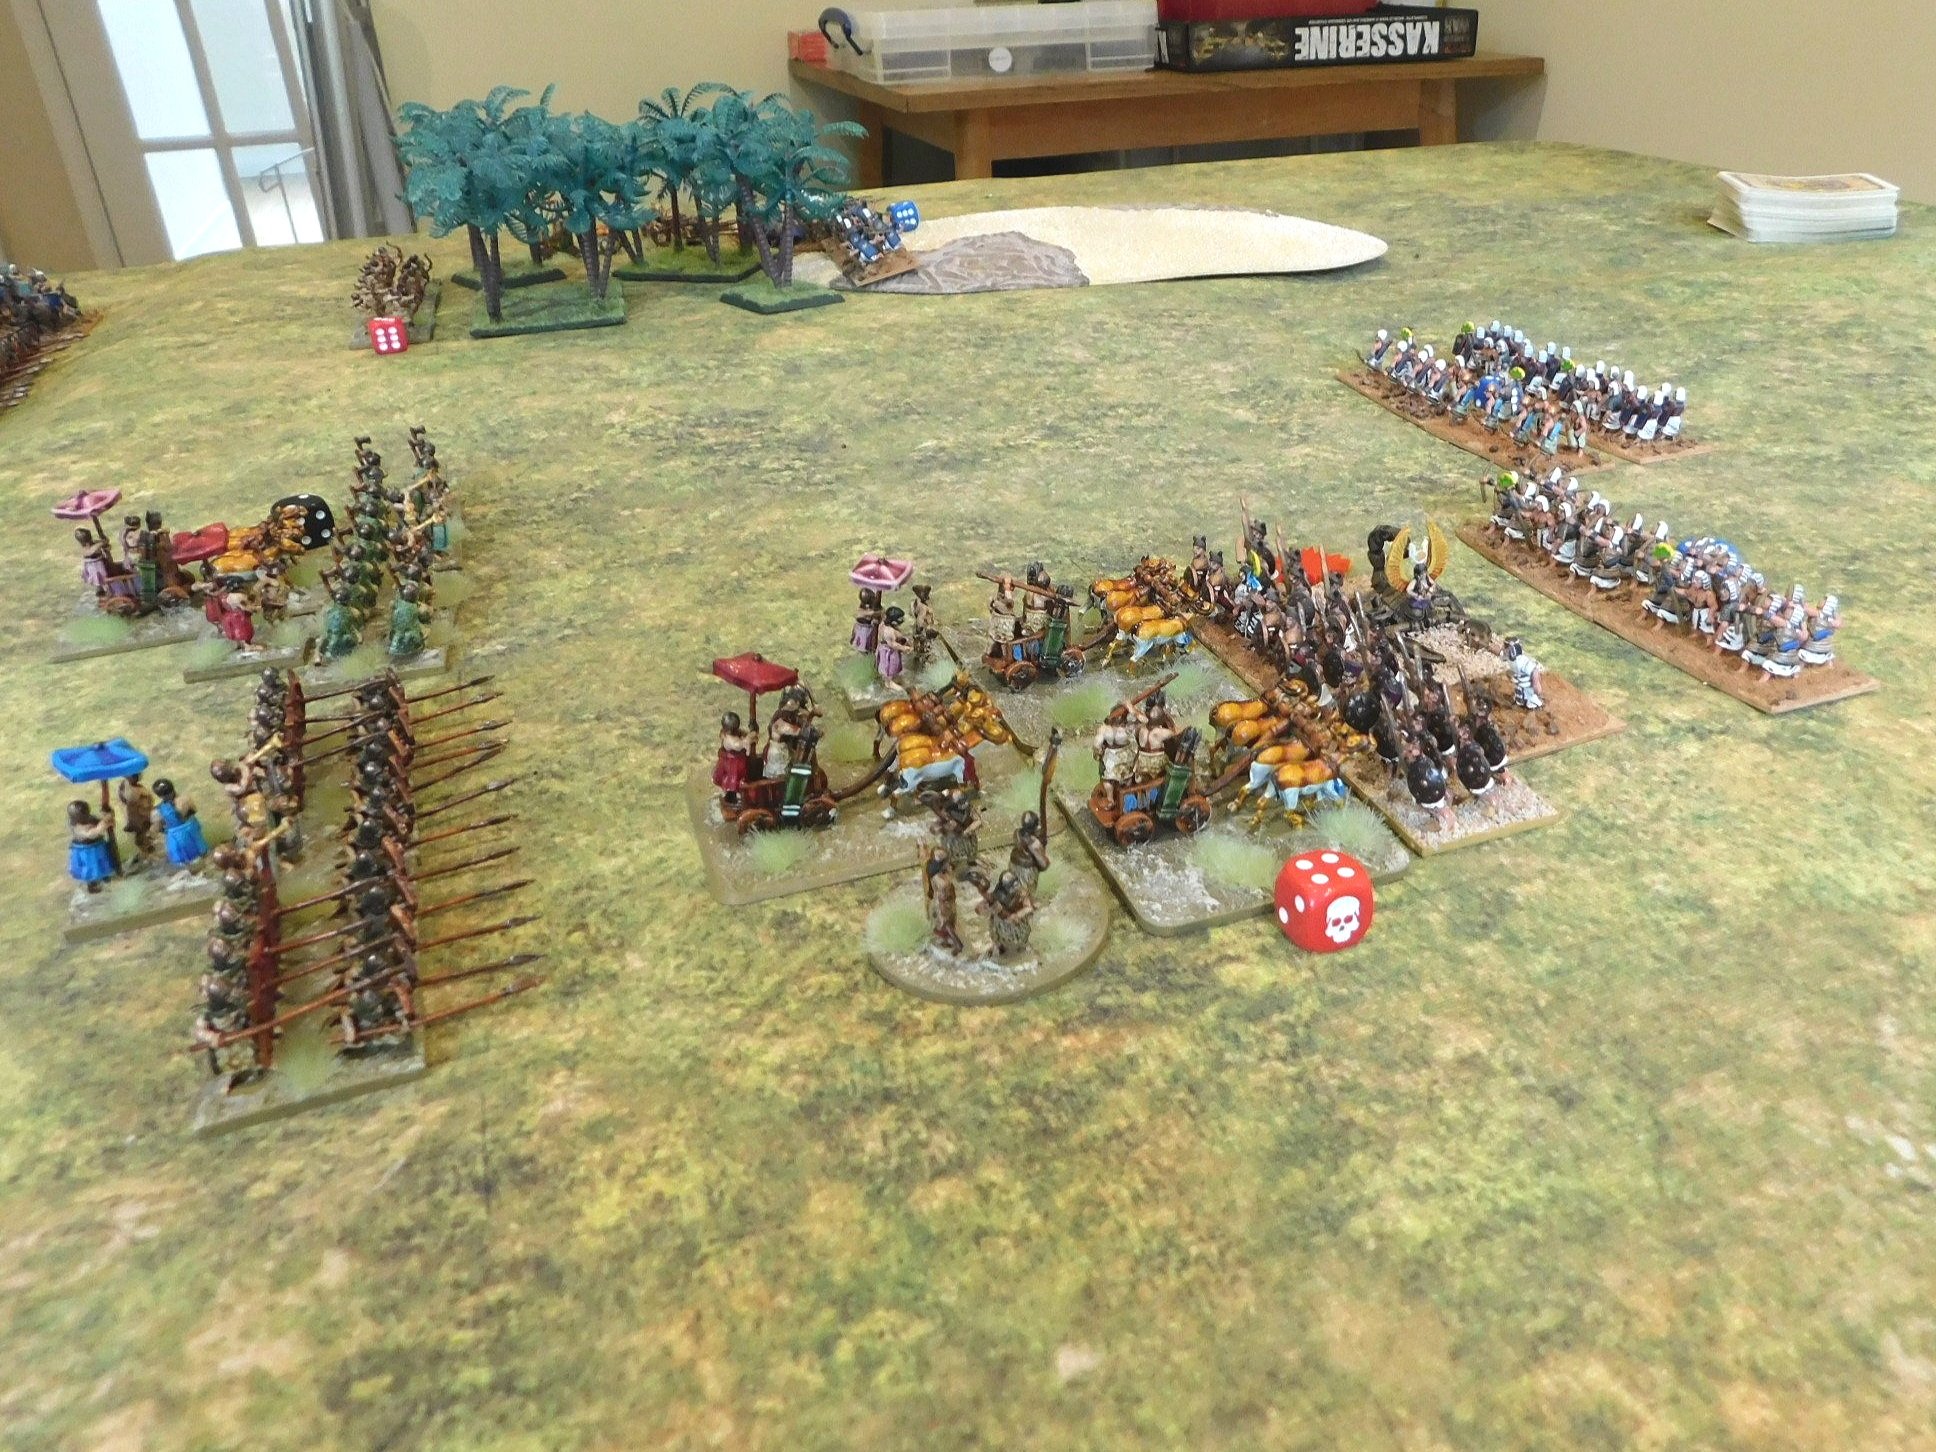
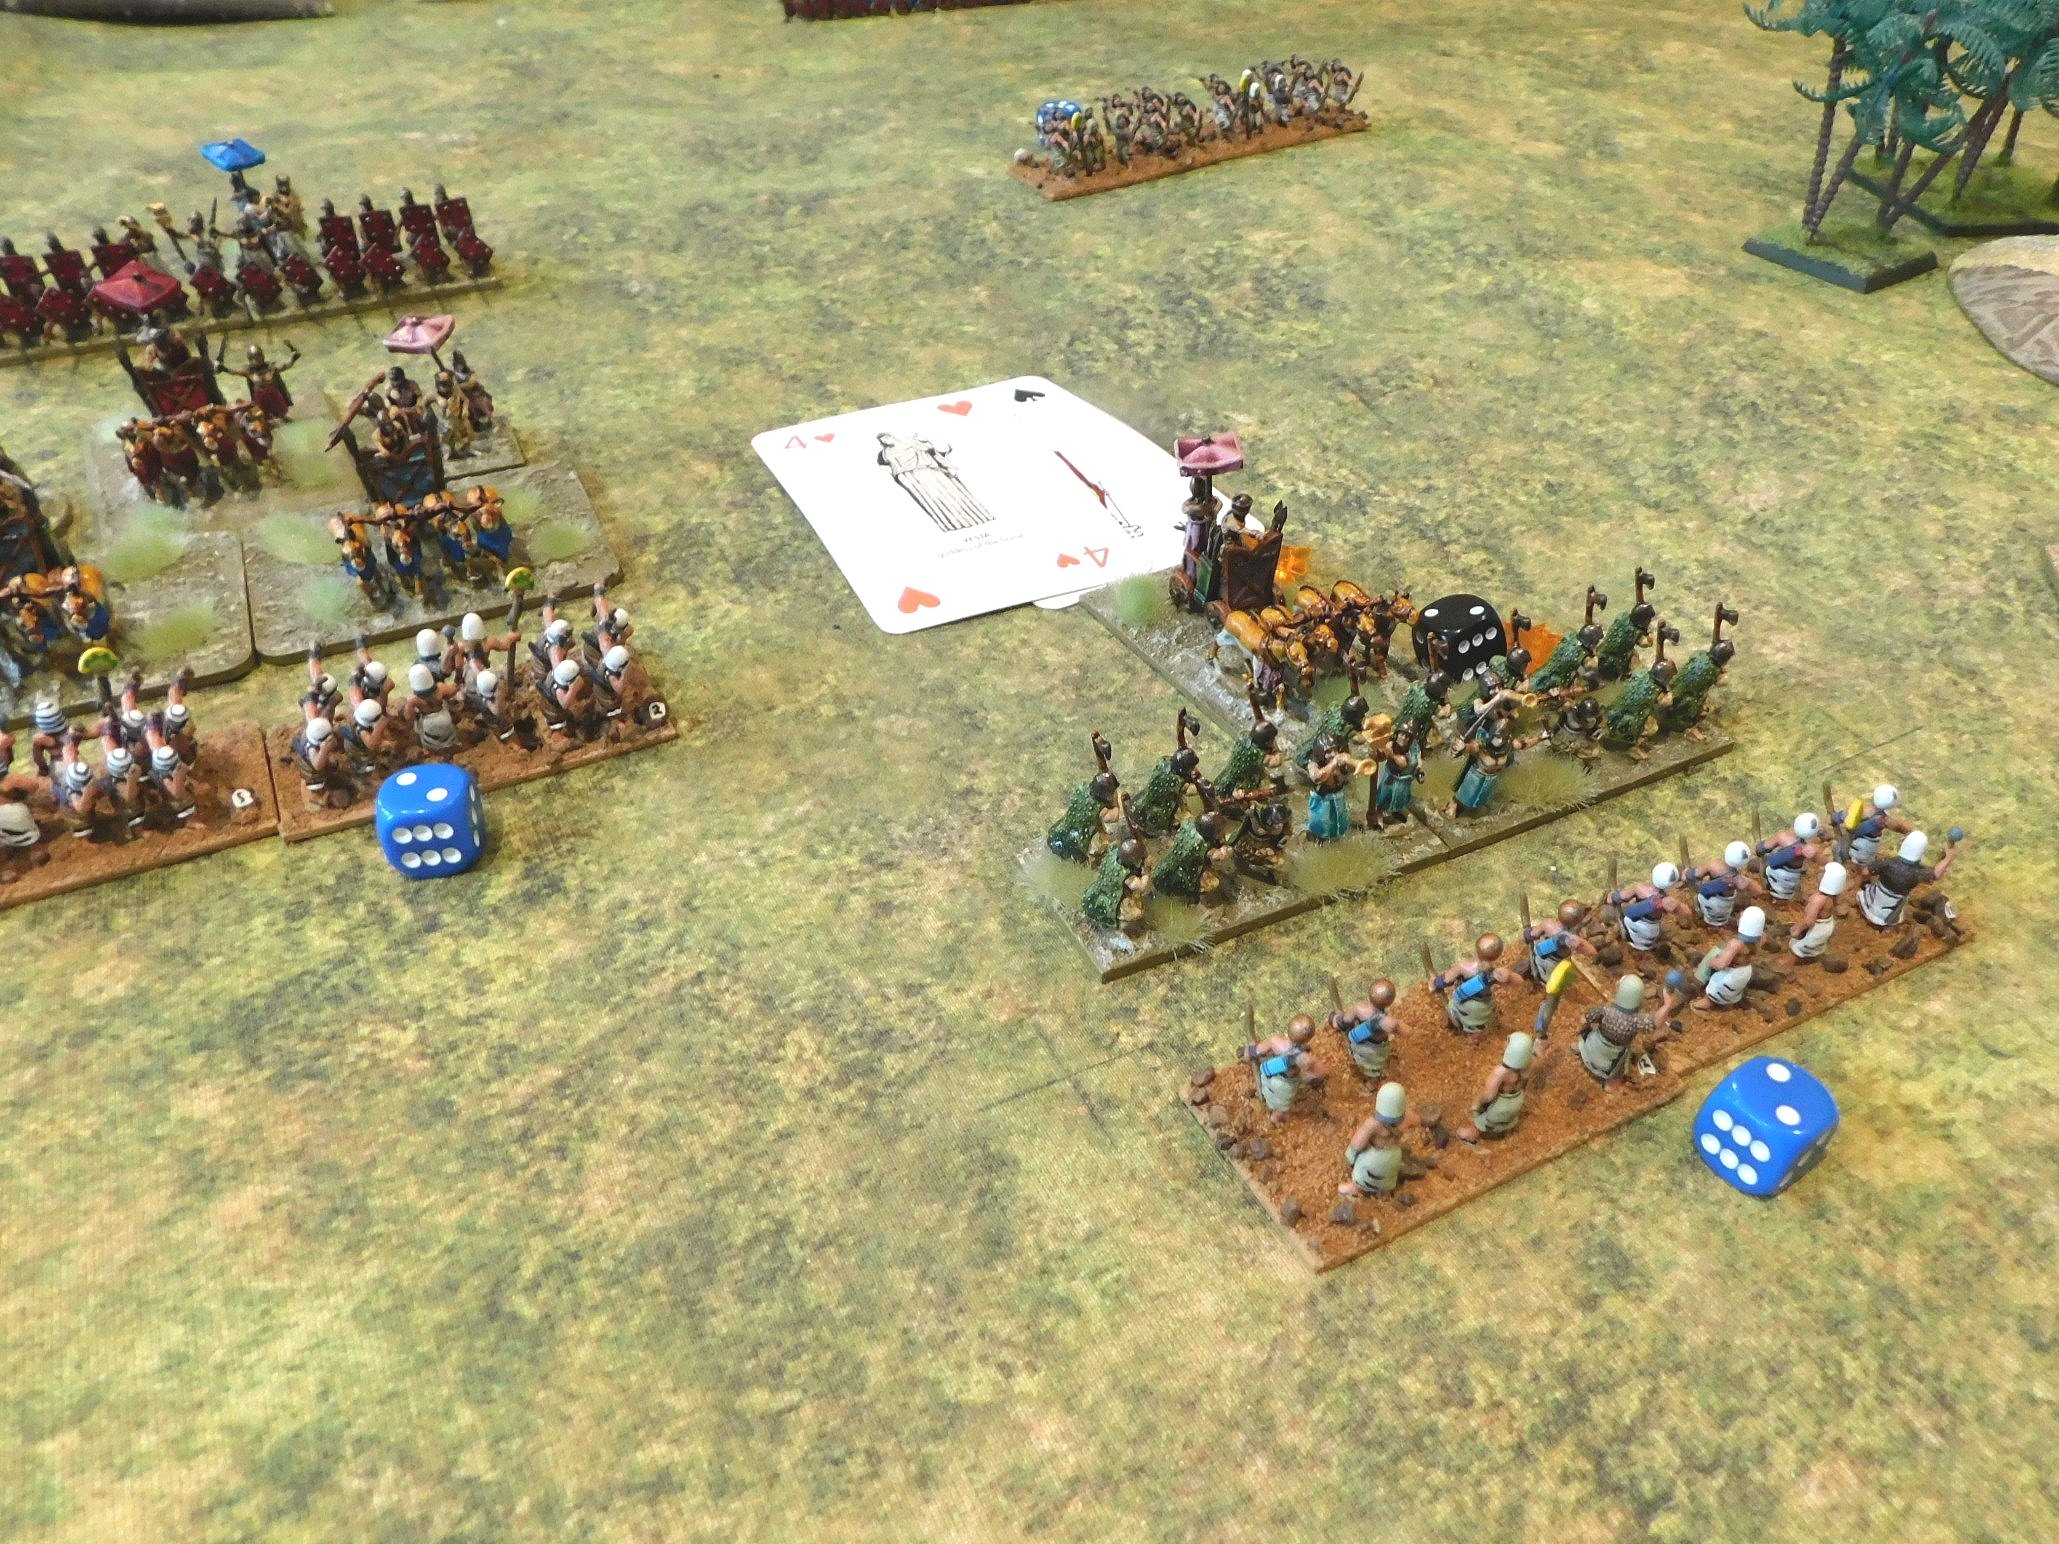
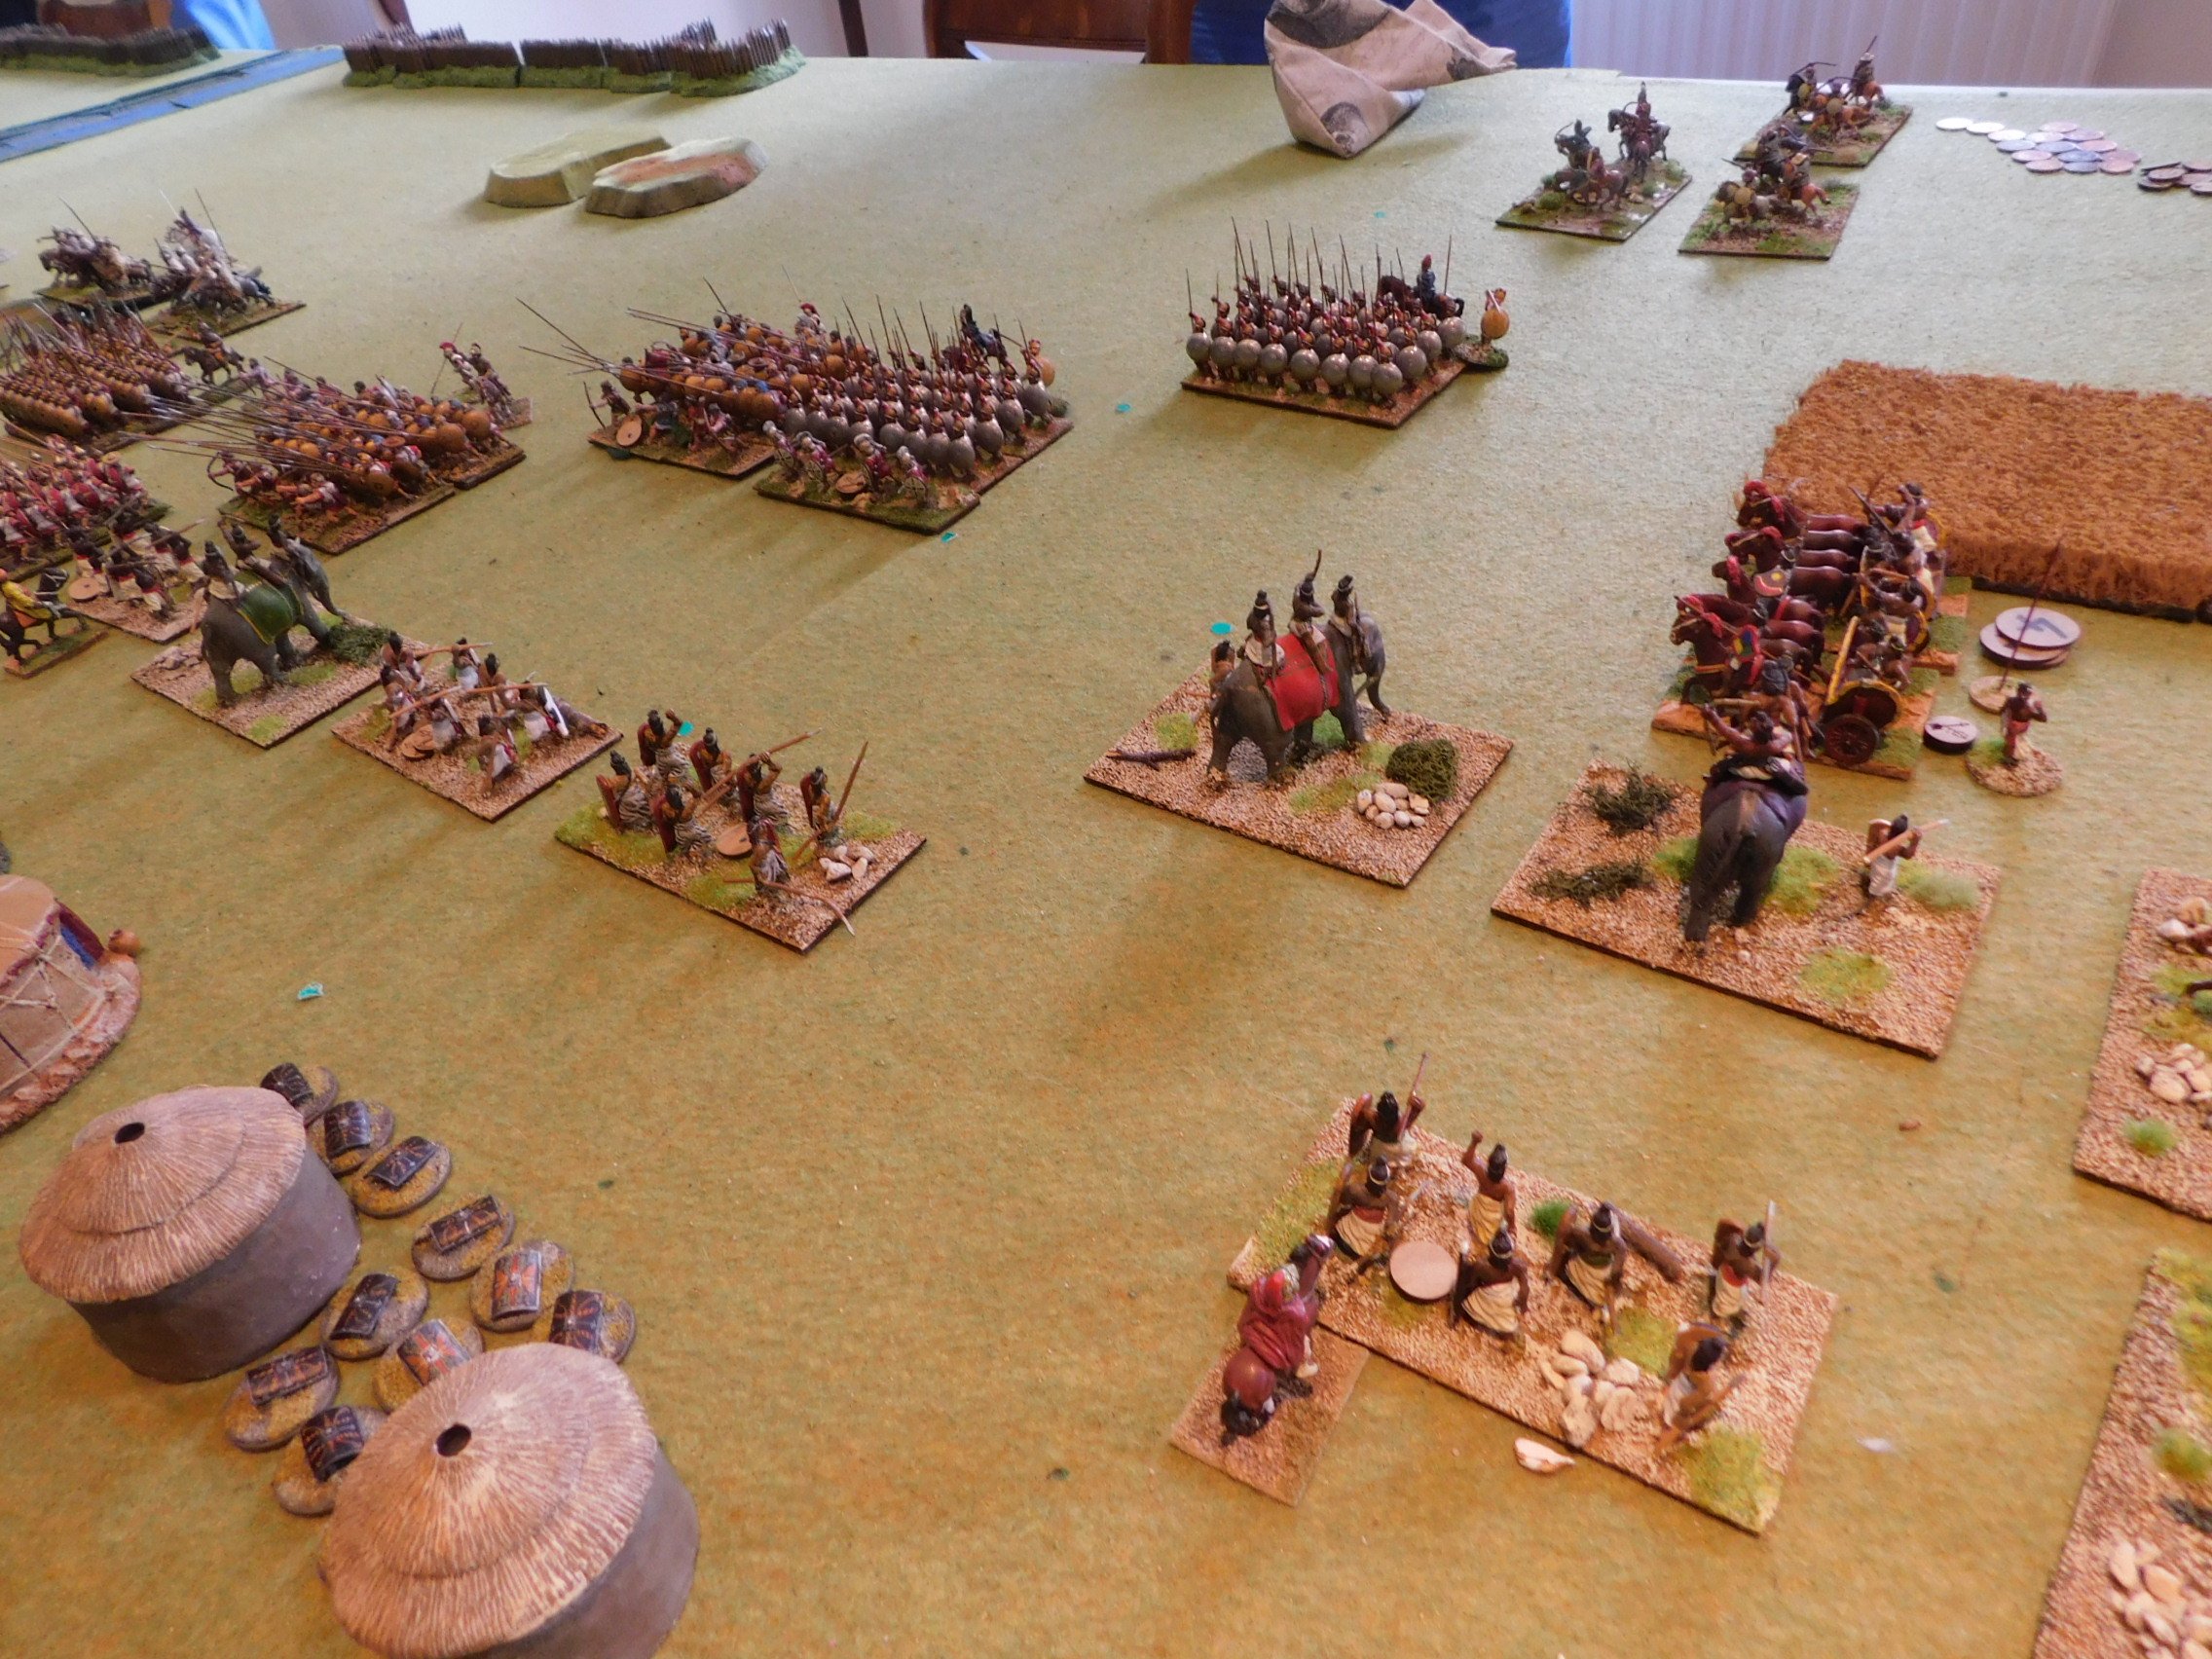
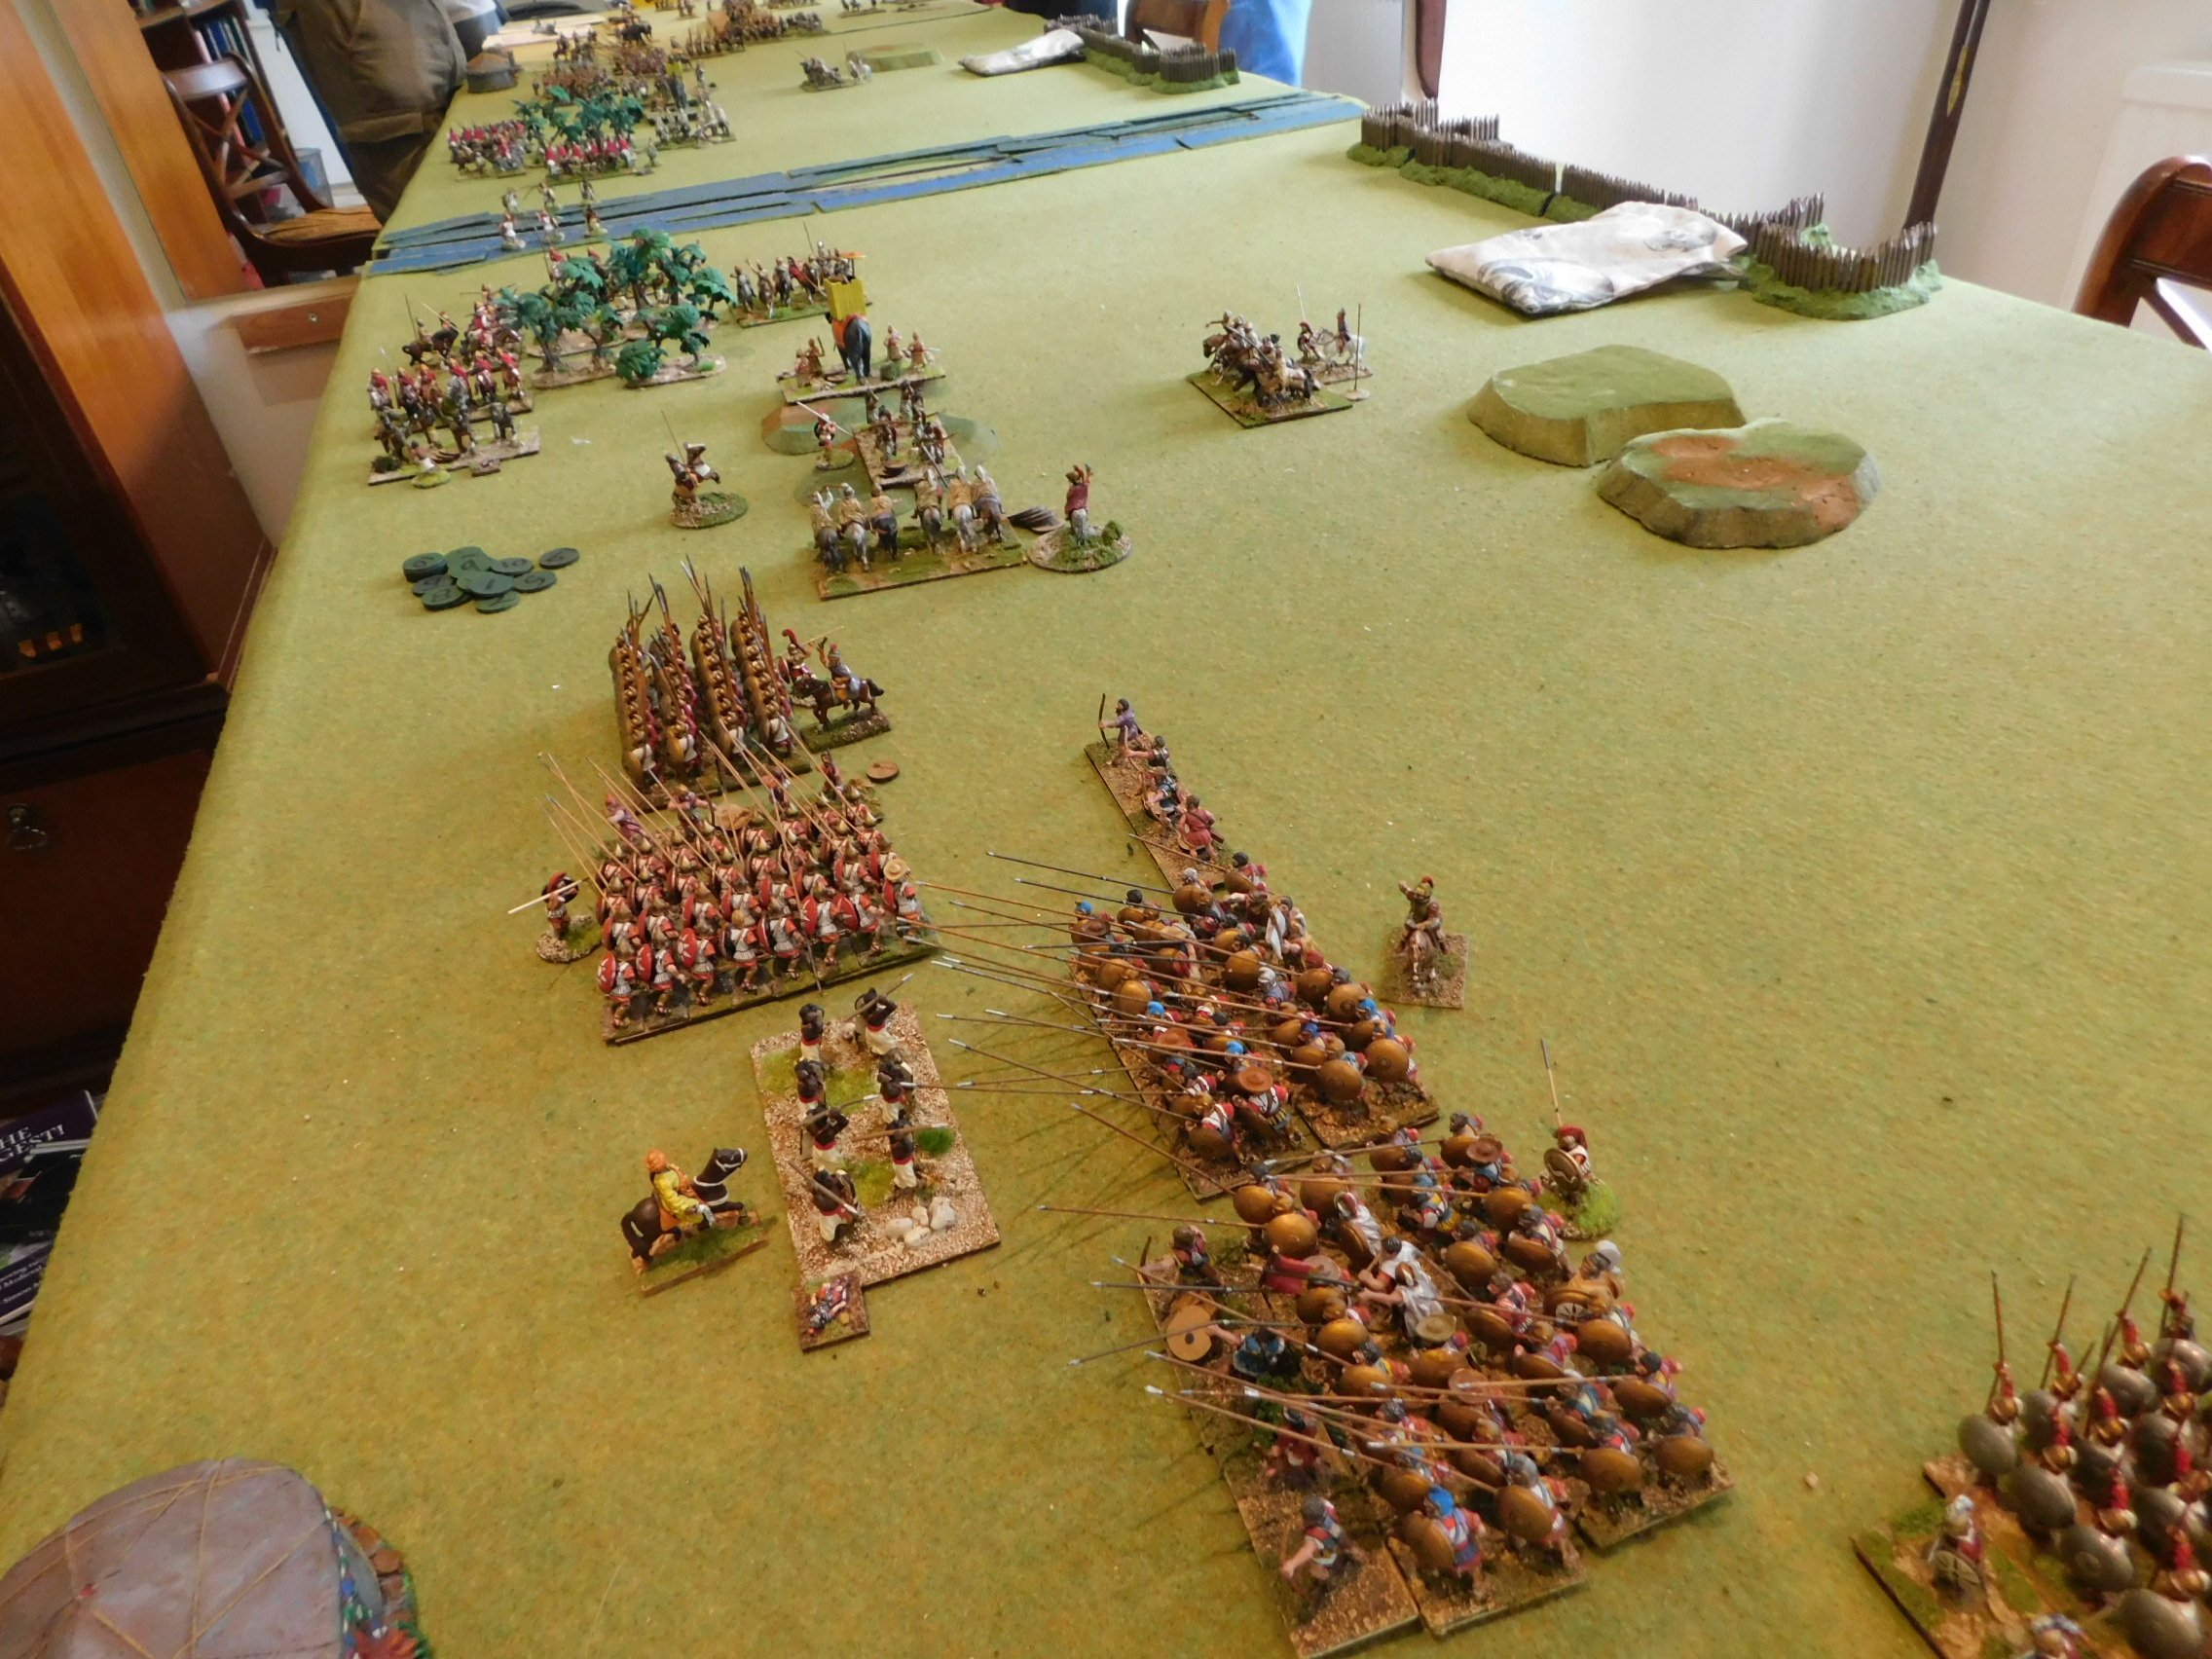
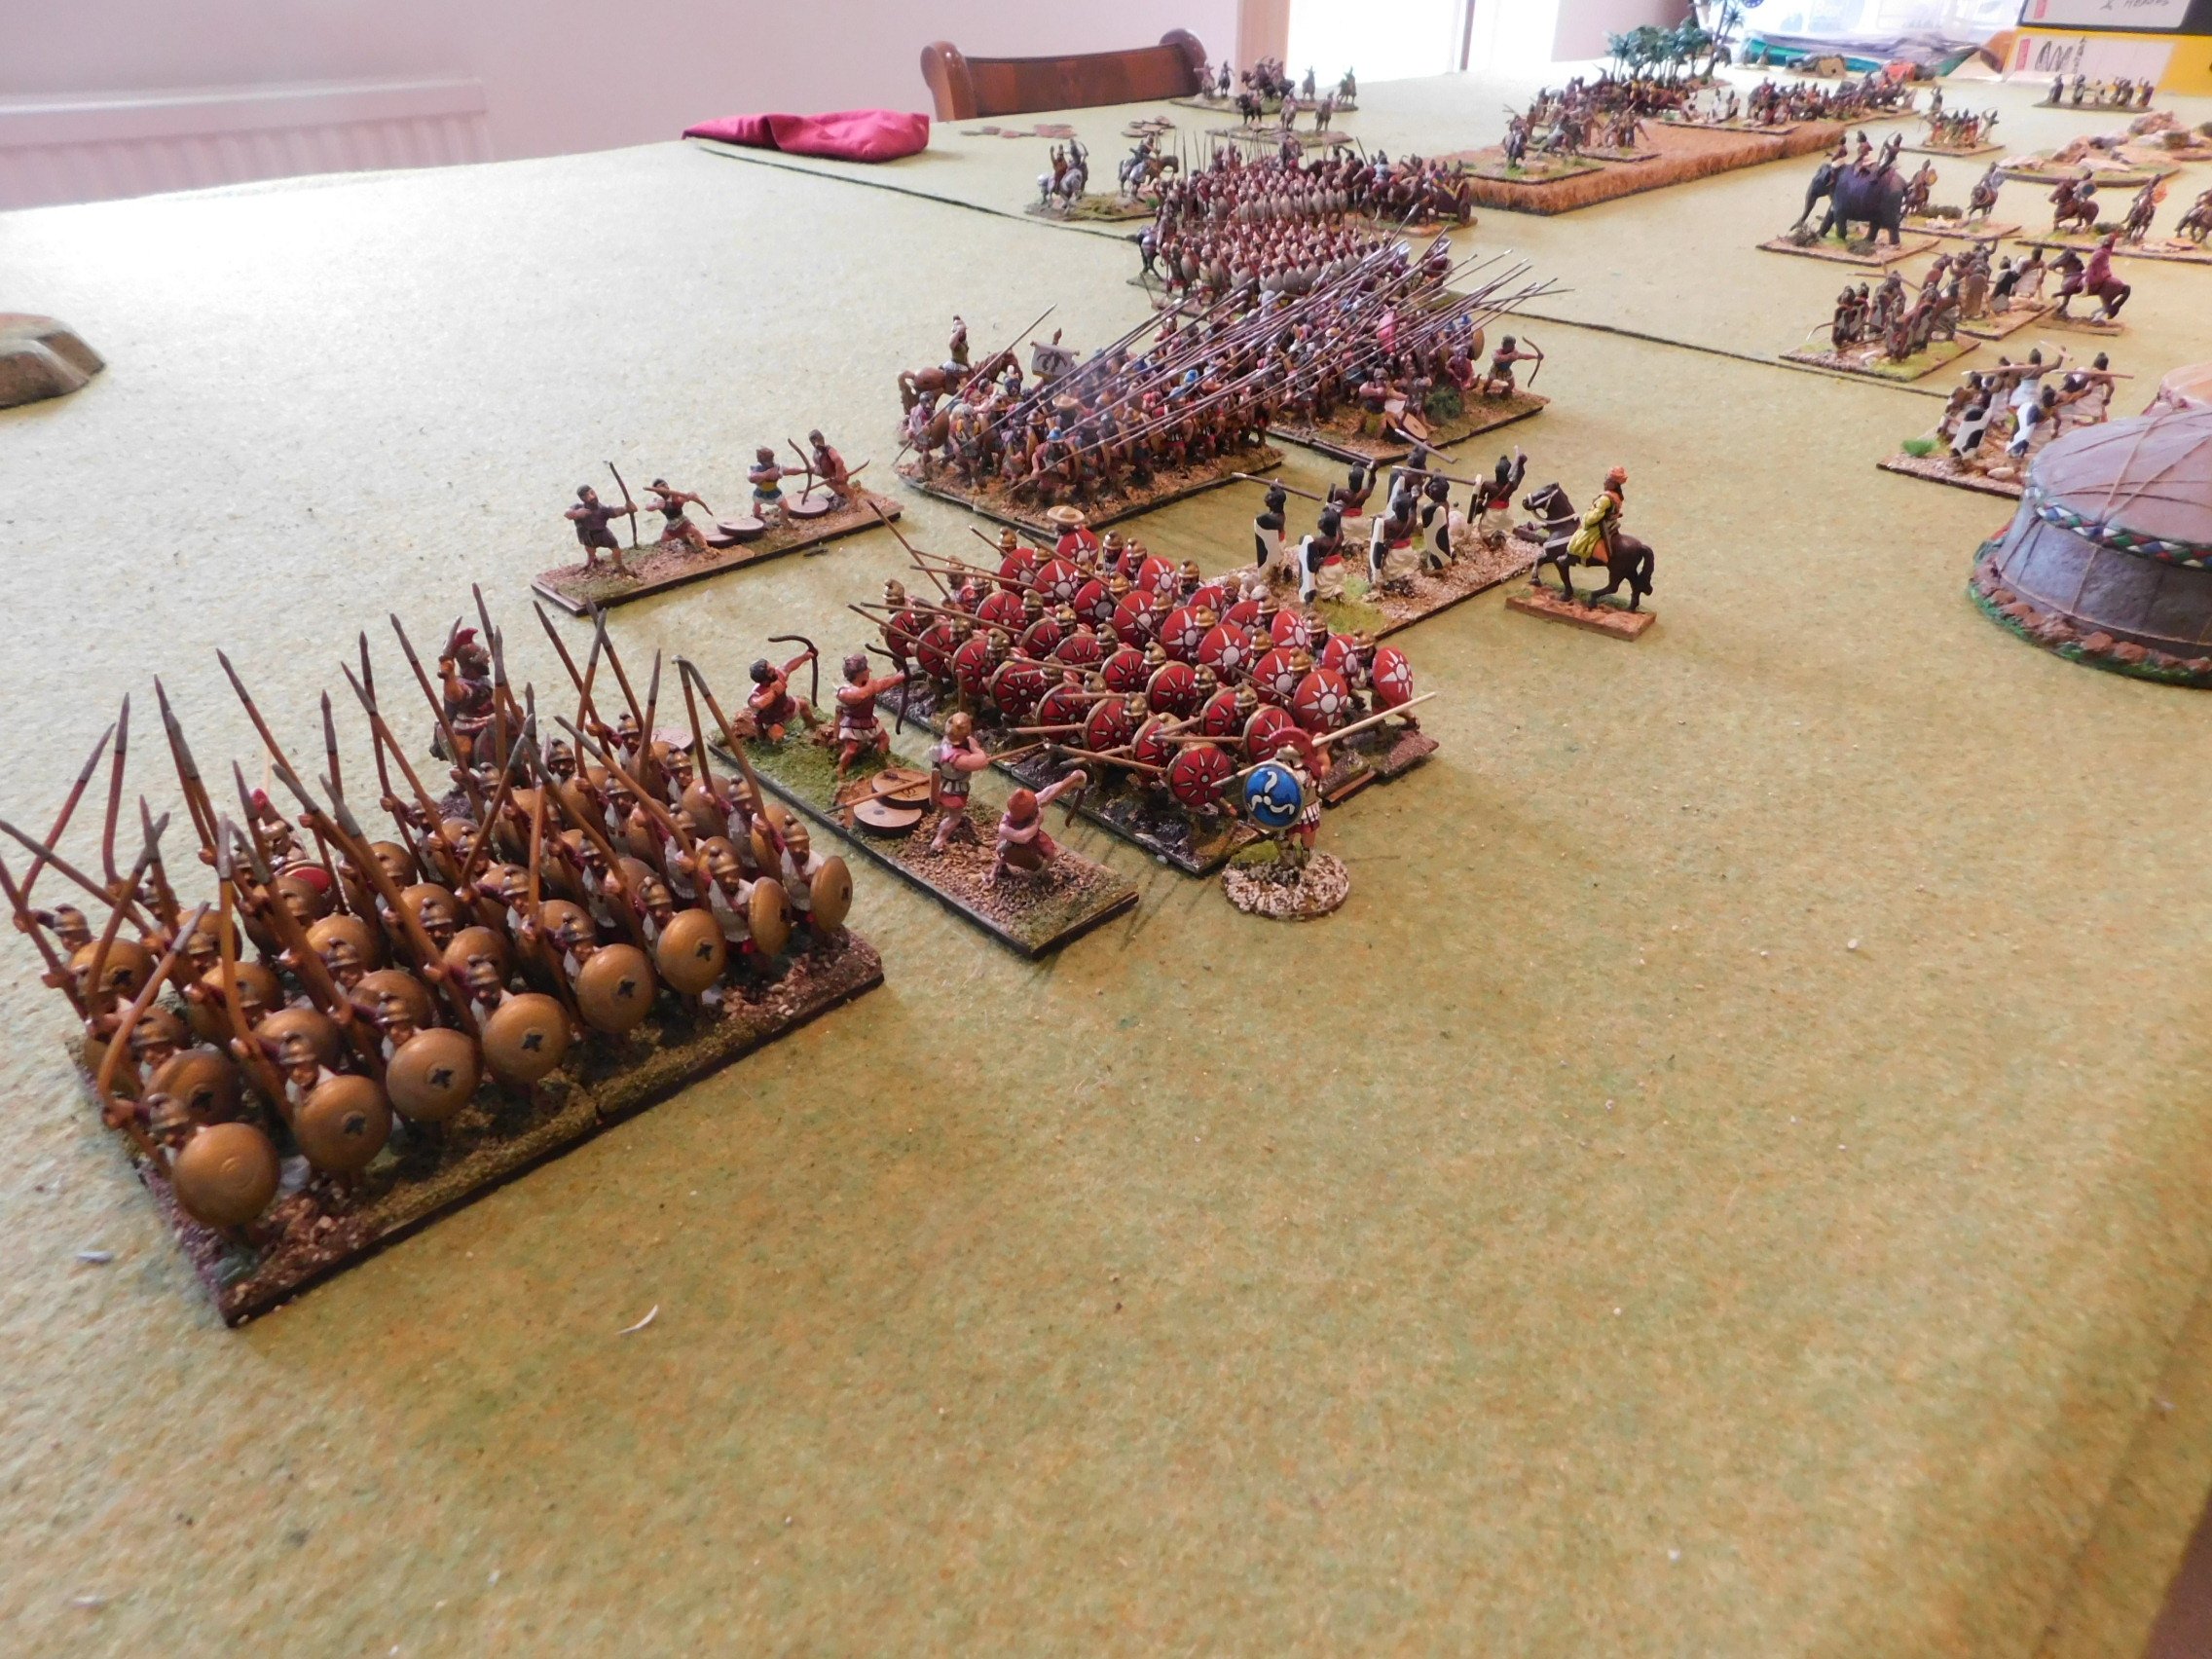
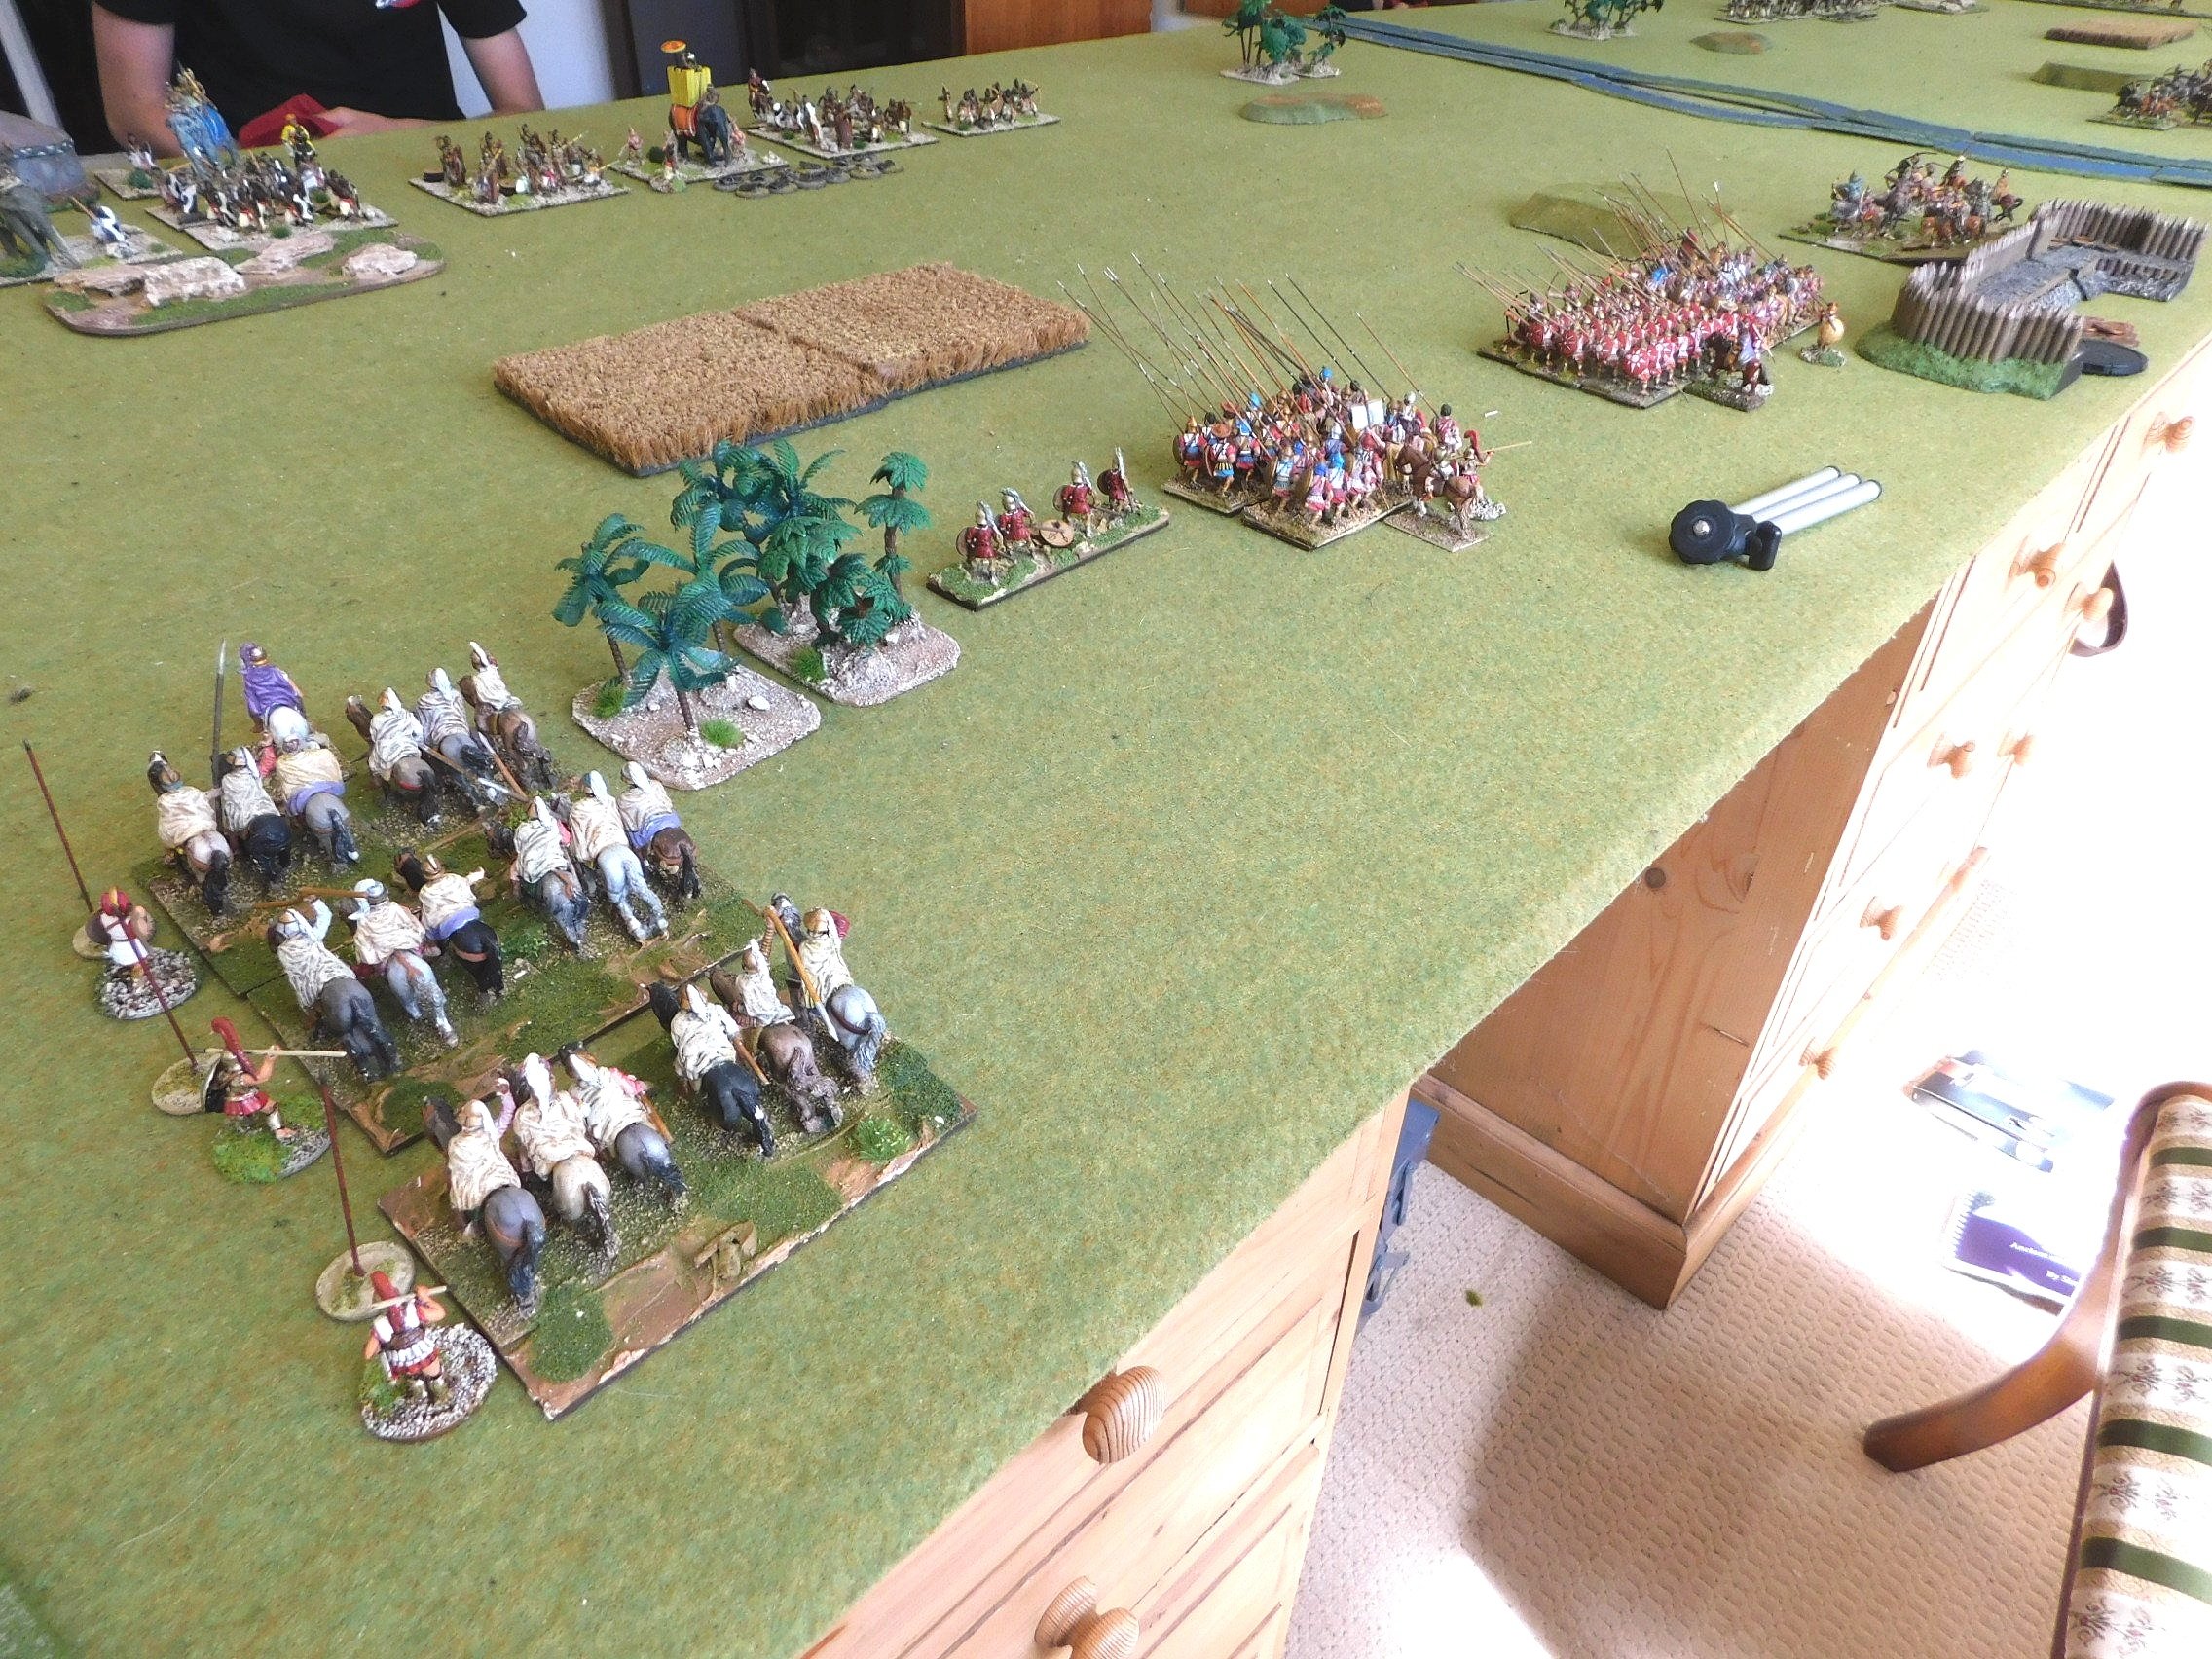
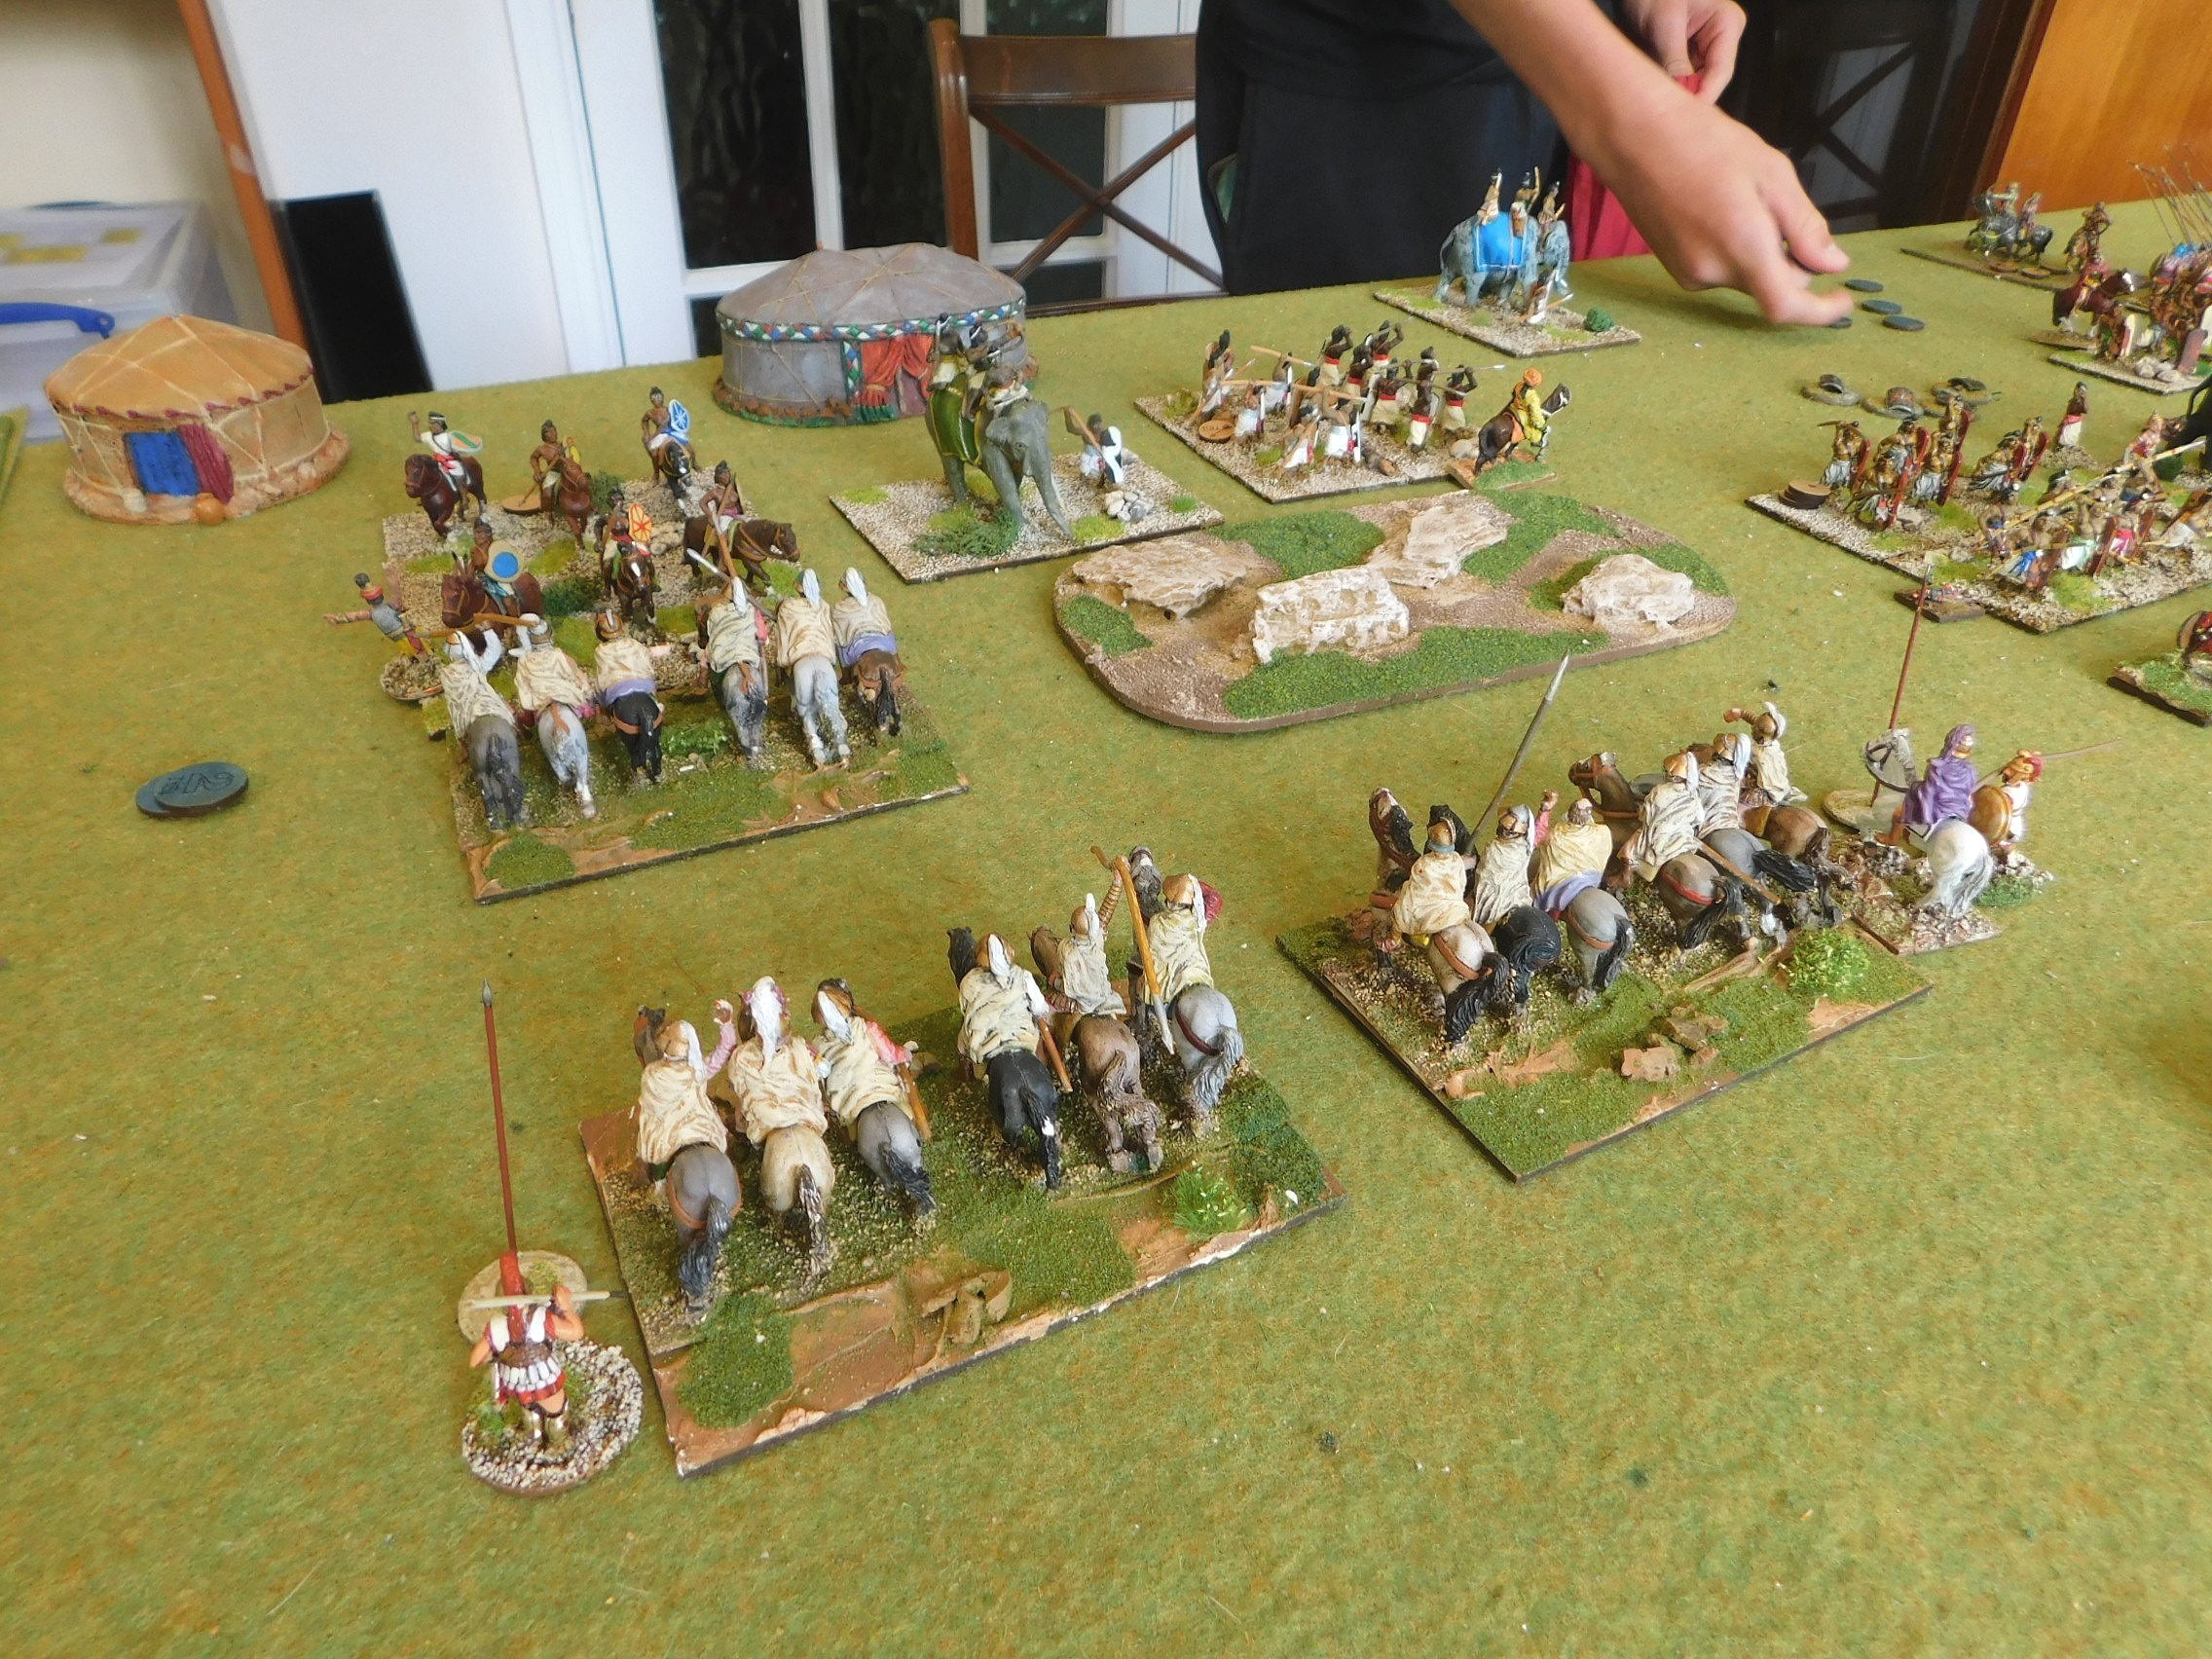
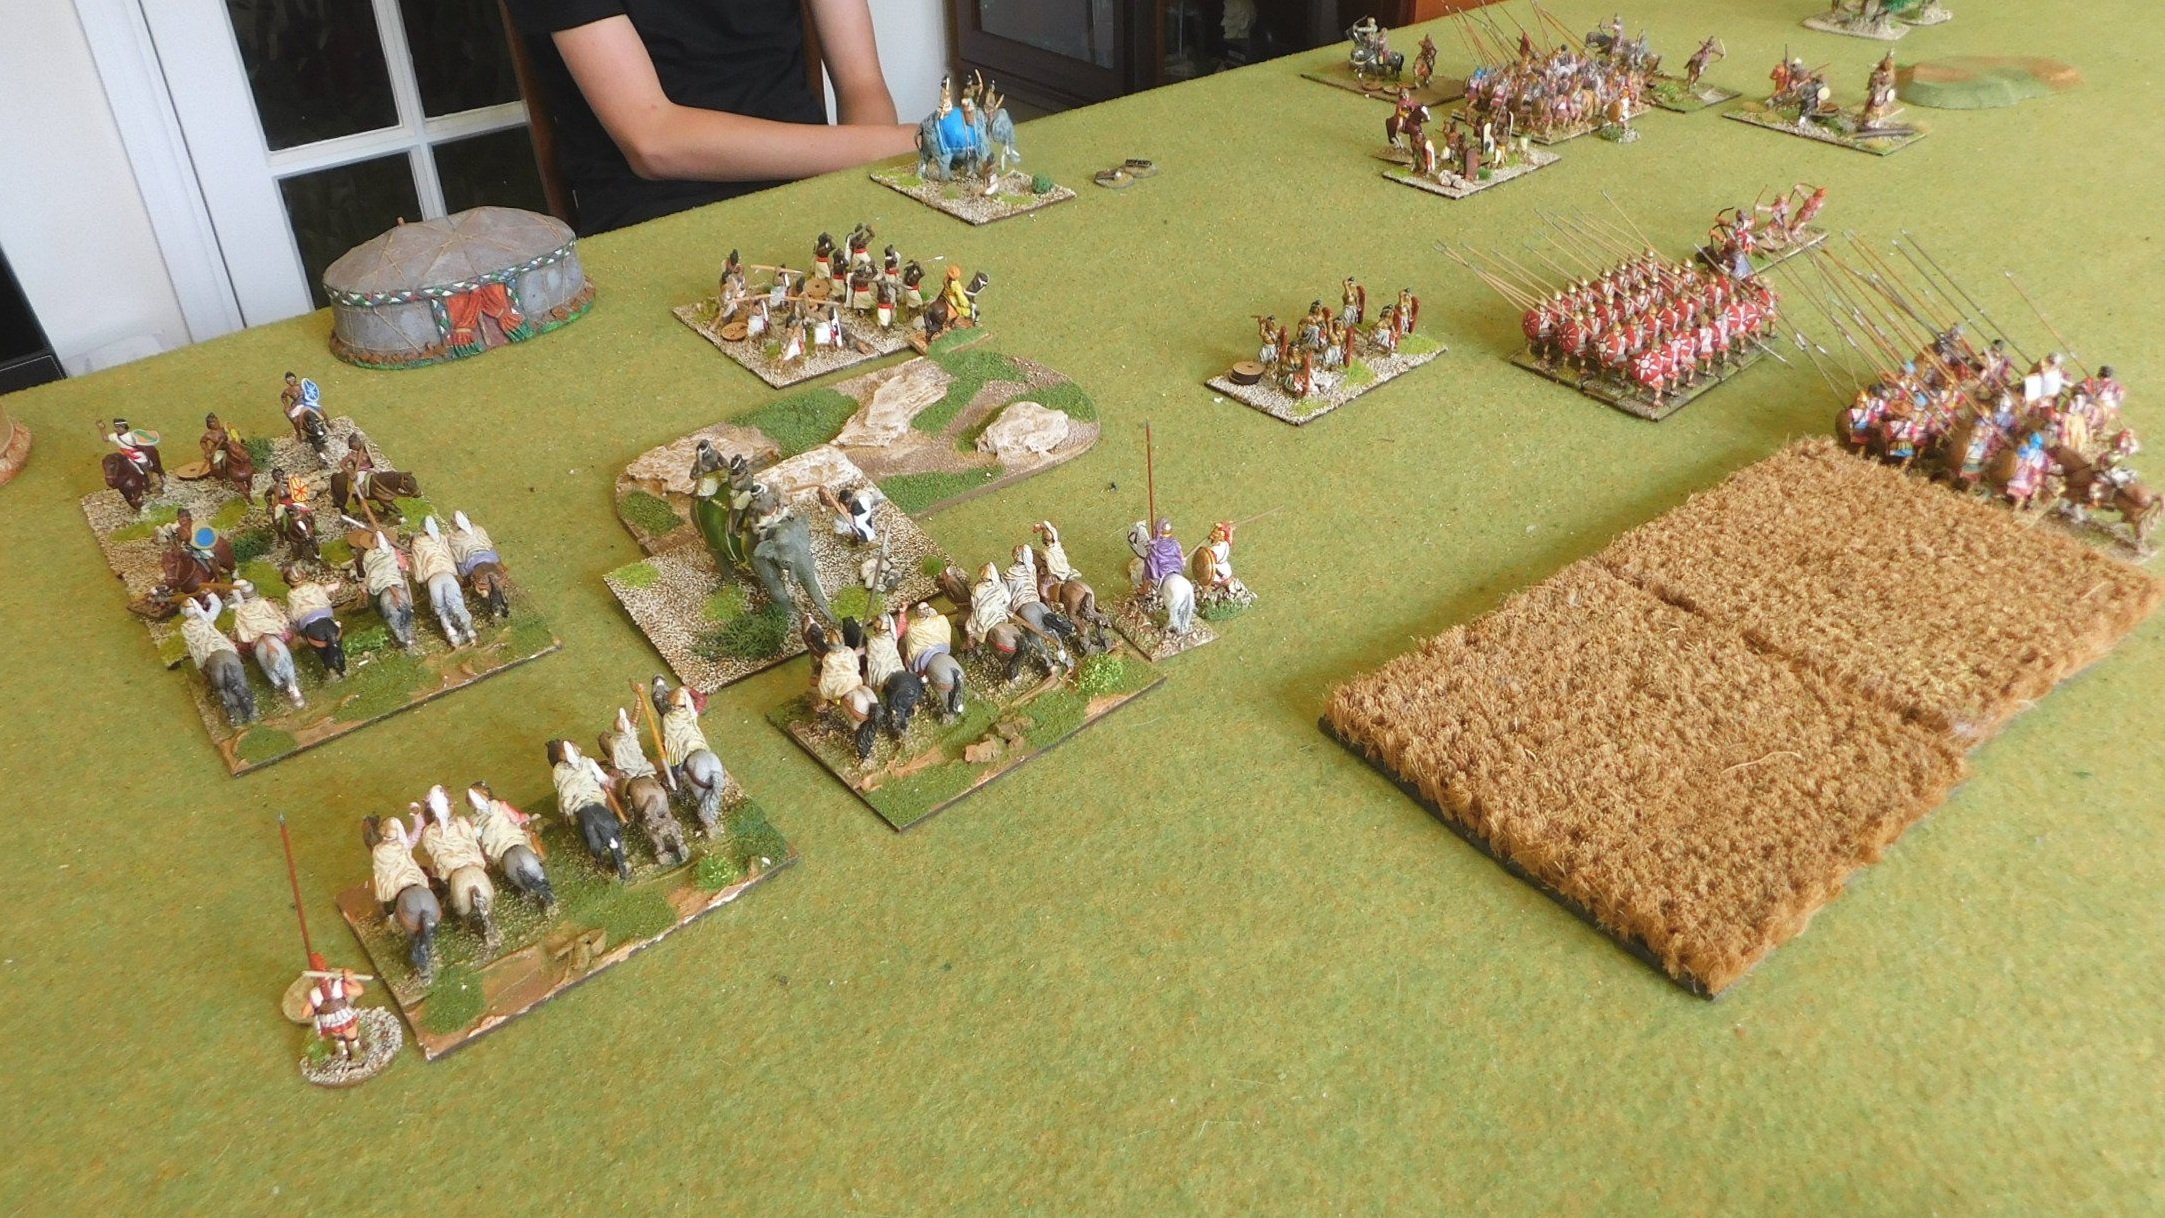
On the other hand, you have schroffed up figures that you might never have used again. Although I love playing a cataphract/horse-archer army, I had unconsciously avoided doing so as I didn’t like the basing.

All that has now changed, and my Sassanids will once again be taking the field in the very near future…once I’ve re-based the elephants, infantry etc of course!

So, in the end, well worth the effort.
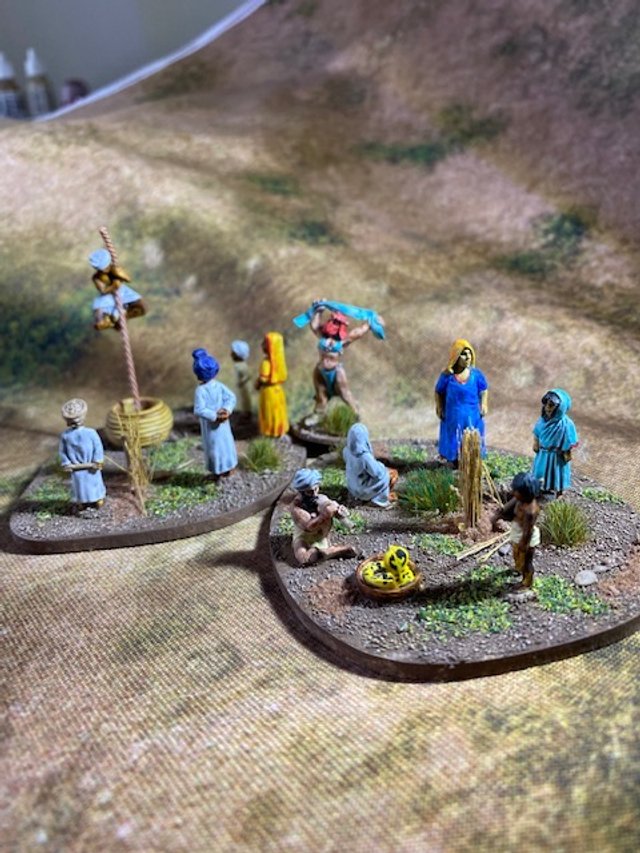
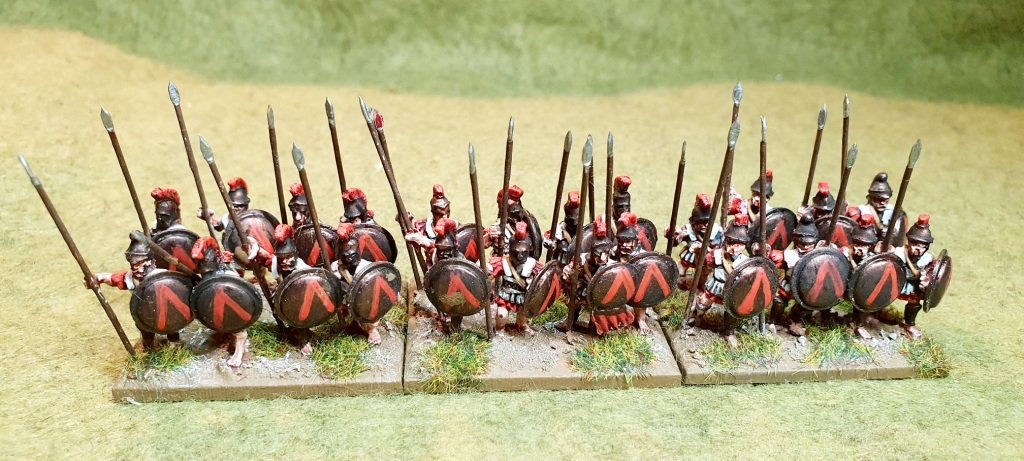
More Indians

Regular readers will know that I want to buy myself a Norman army with the new CAD designed range from Museum Miniatures.

Well, why haven’t you, I hear you cry?

Unfortunately my rule this year is that I can’t buy any new figures until I have painted an equivalent number from the lead mountain.

Stupid rule, I know, but said mountain was getting a bit out of control!

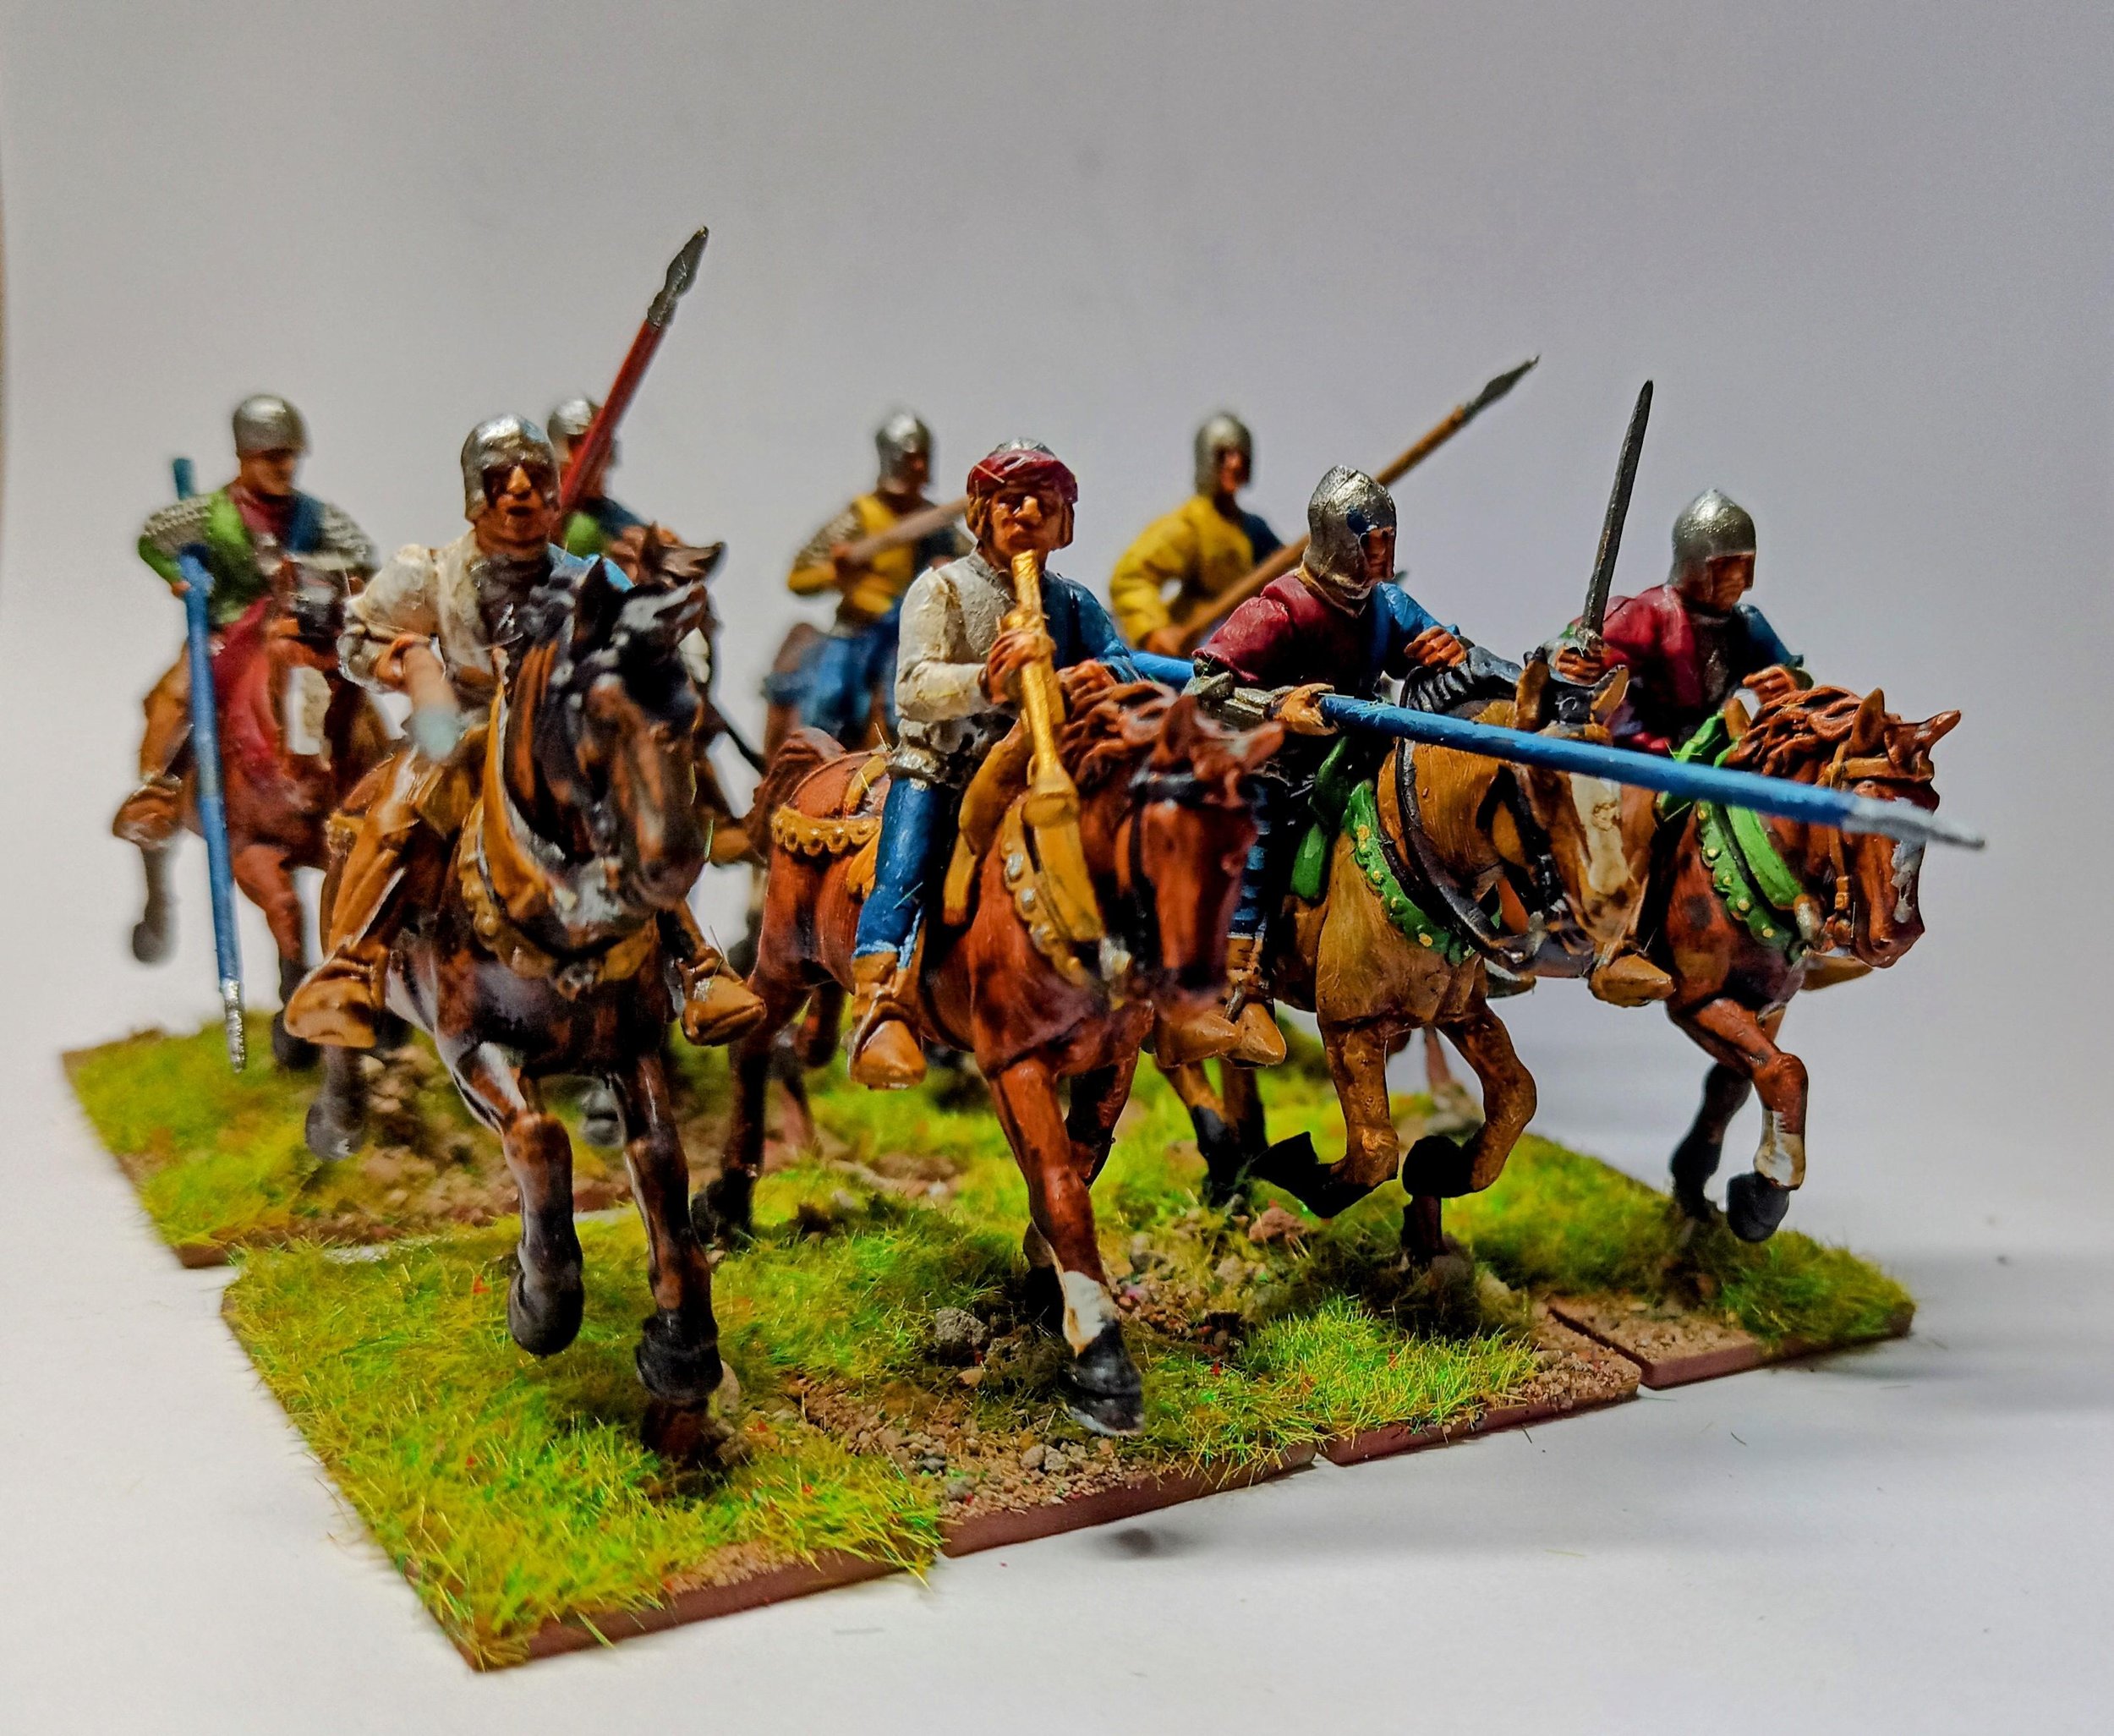
So here are another 19 Classical Indian javelinmen, also from the Museum Miniatures CAD designed range.

Coming back to an army after you’ve “finished” it is always difficult. You have to remember how you painted and based the previous units in the army. This blog helps, as I tend to note down the colours used when I’m displaying newly-painted figures, and I keep a spreadsheet with the details on it as well. Highly recommended thing to do, by the way.

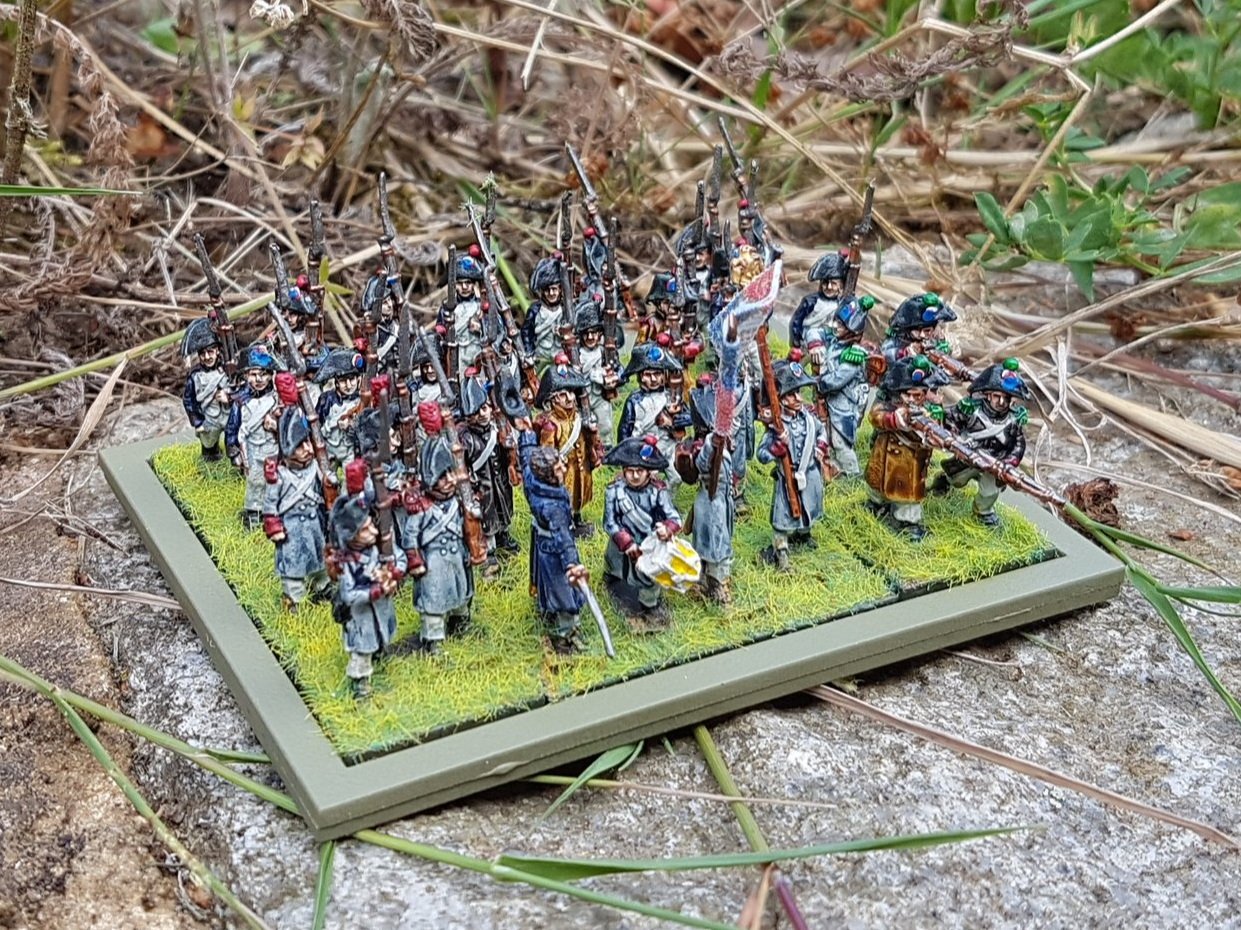
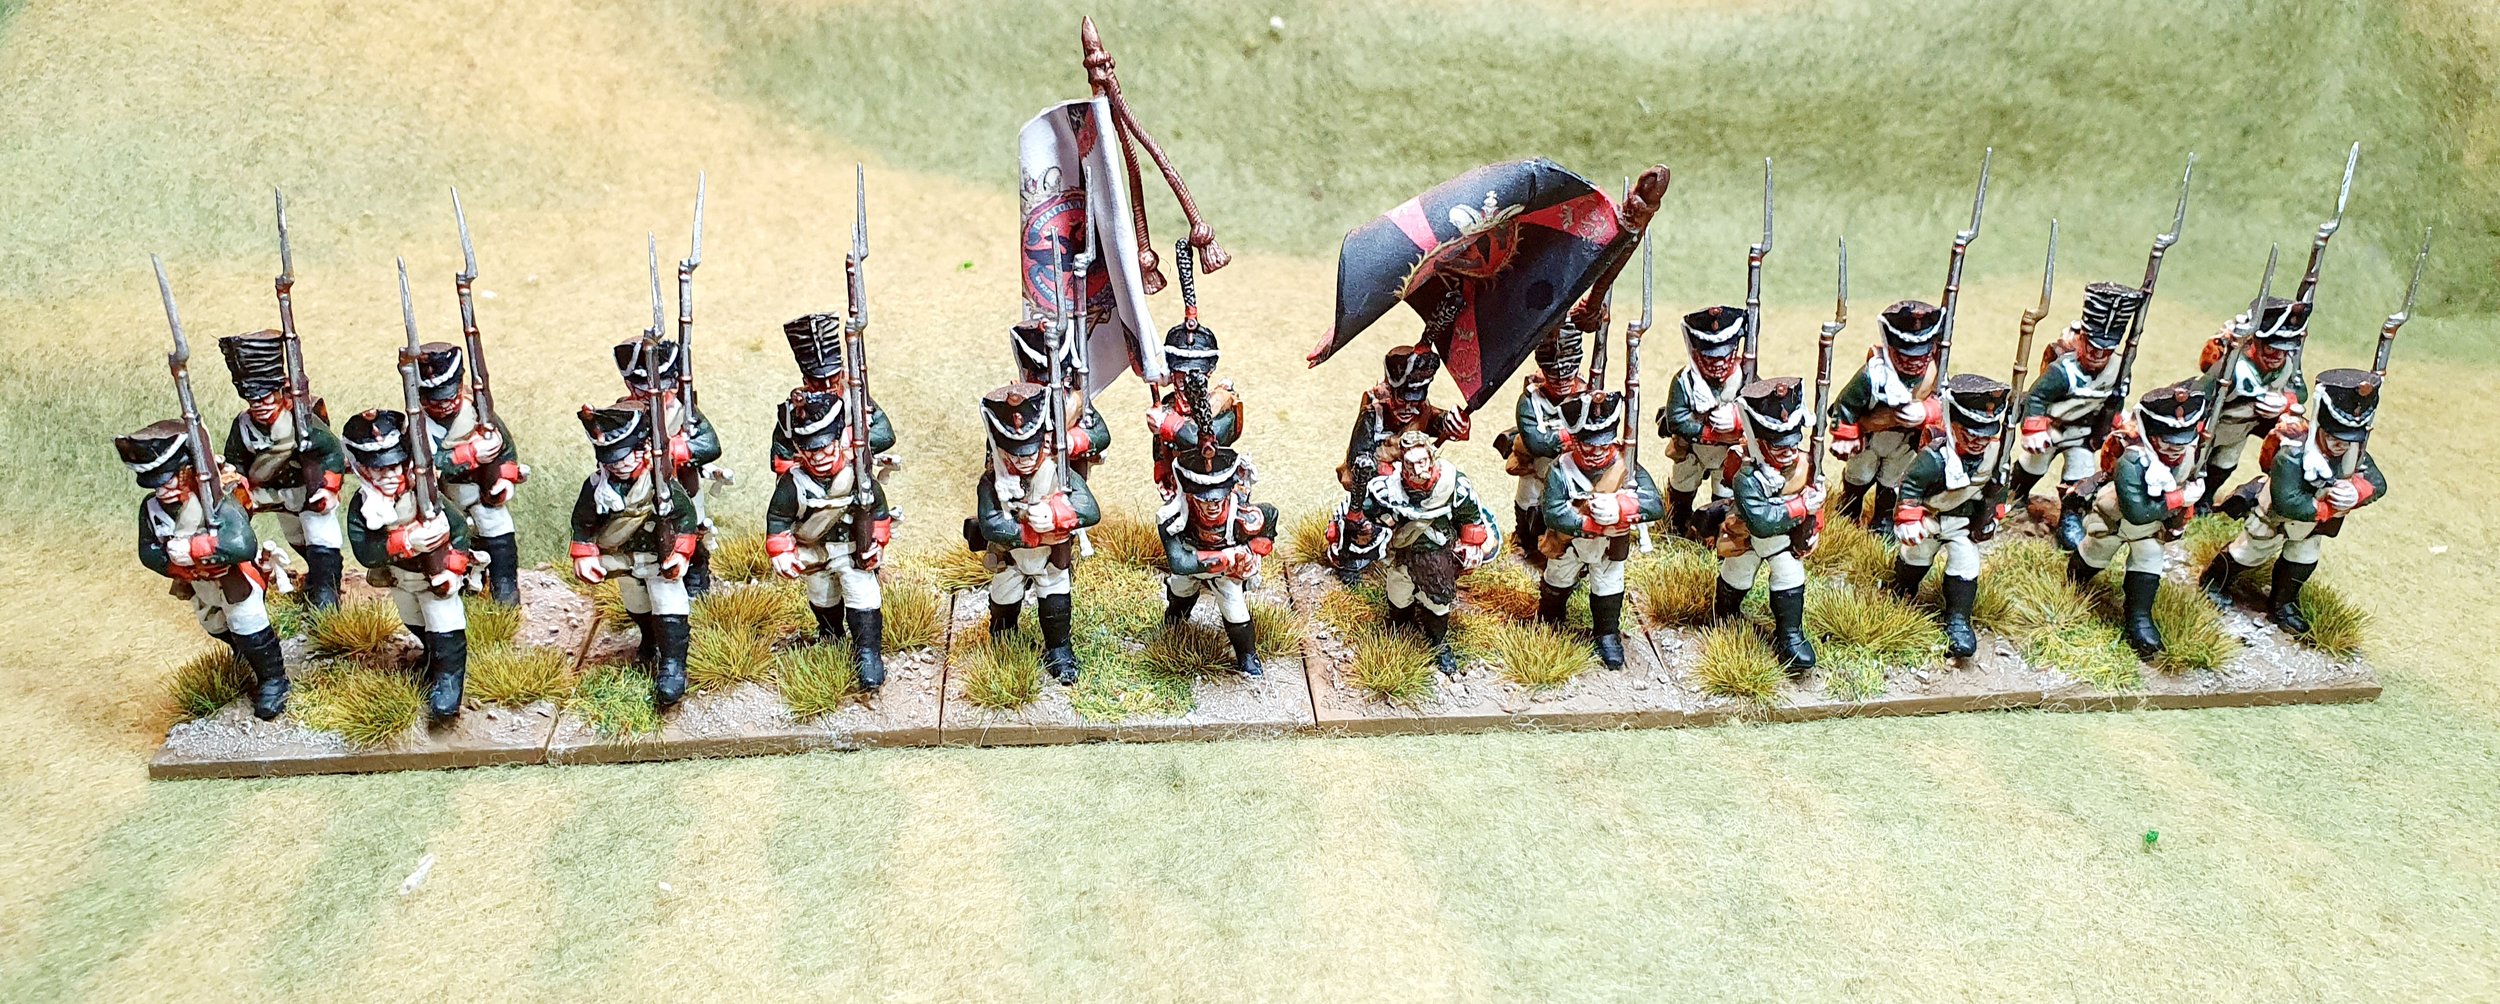
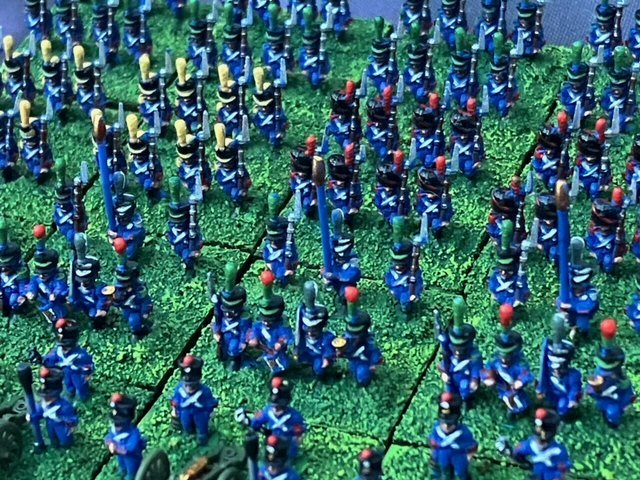
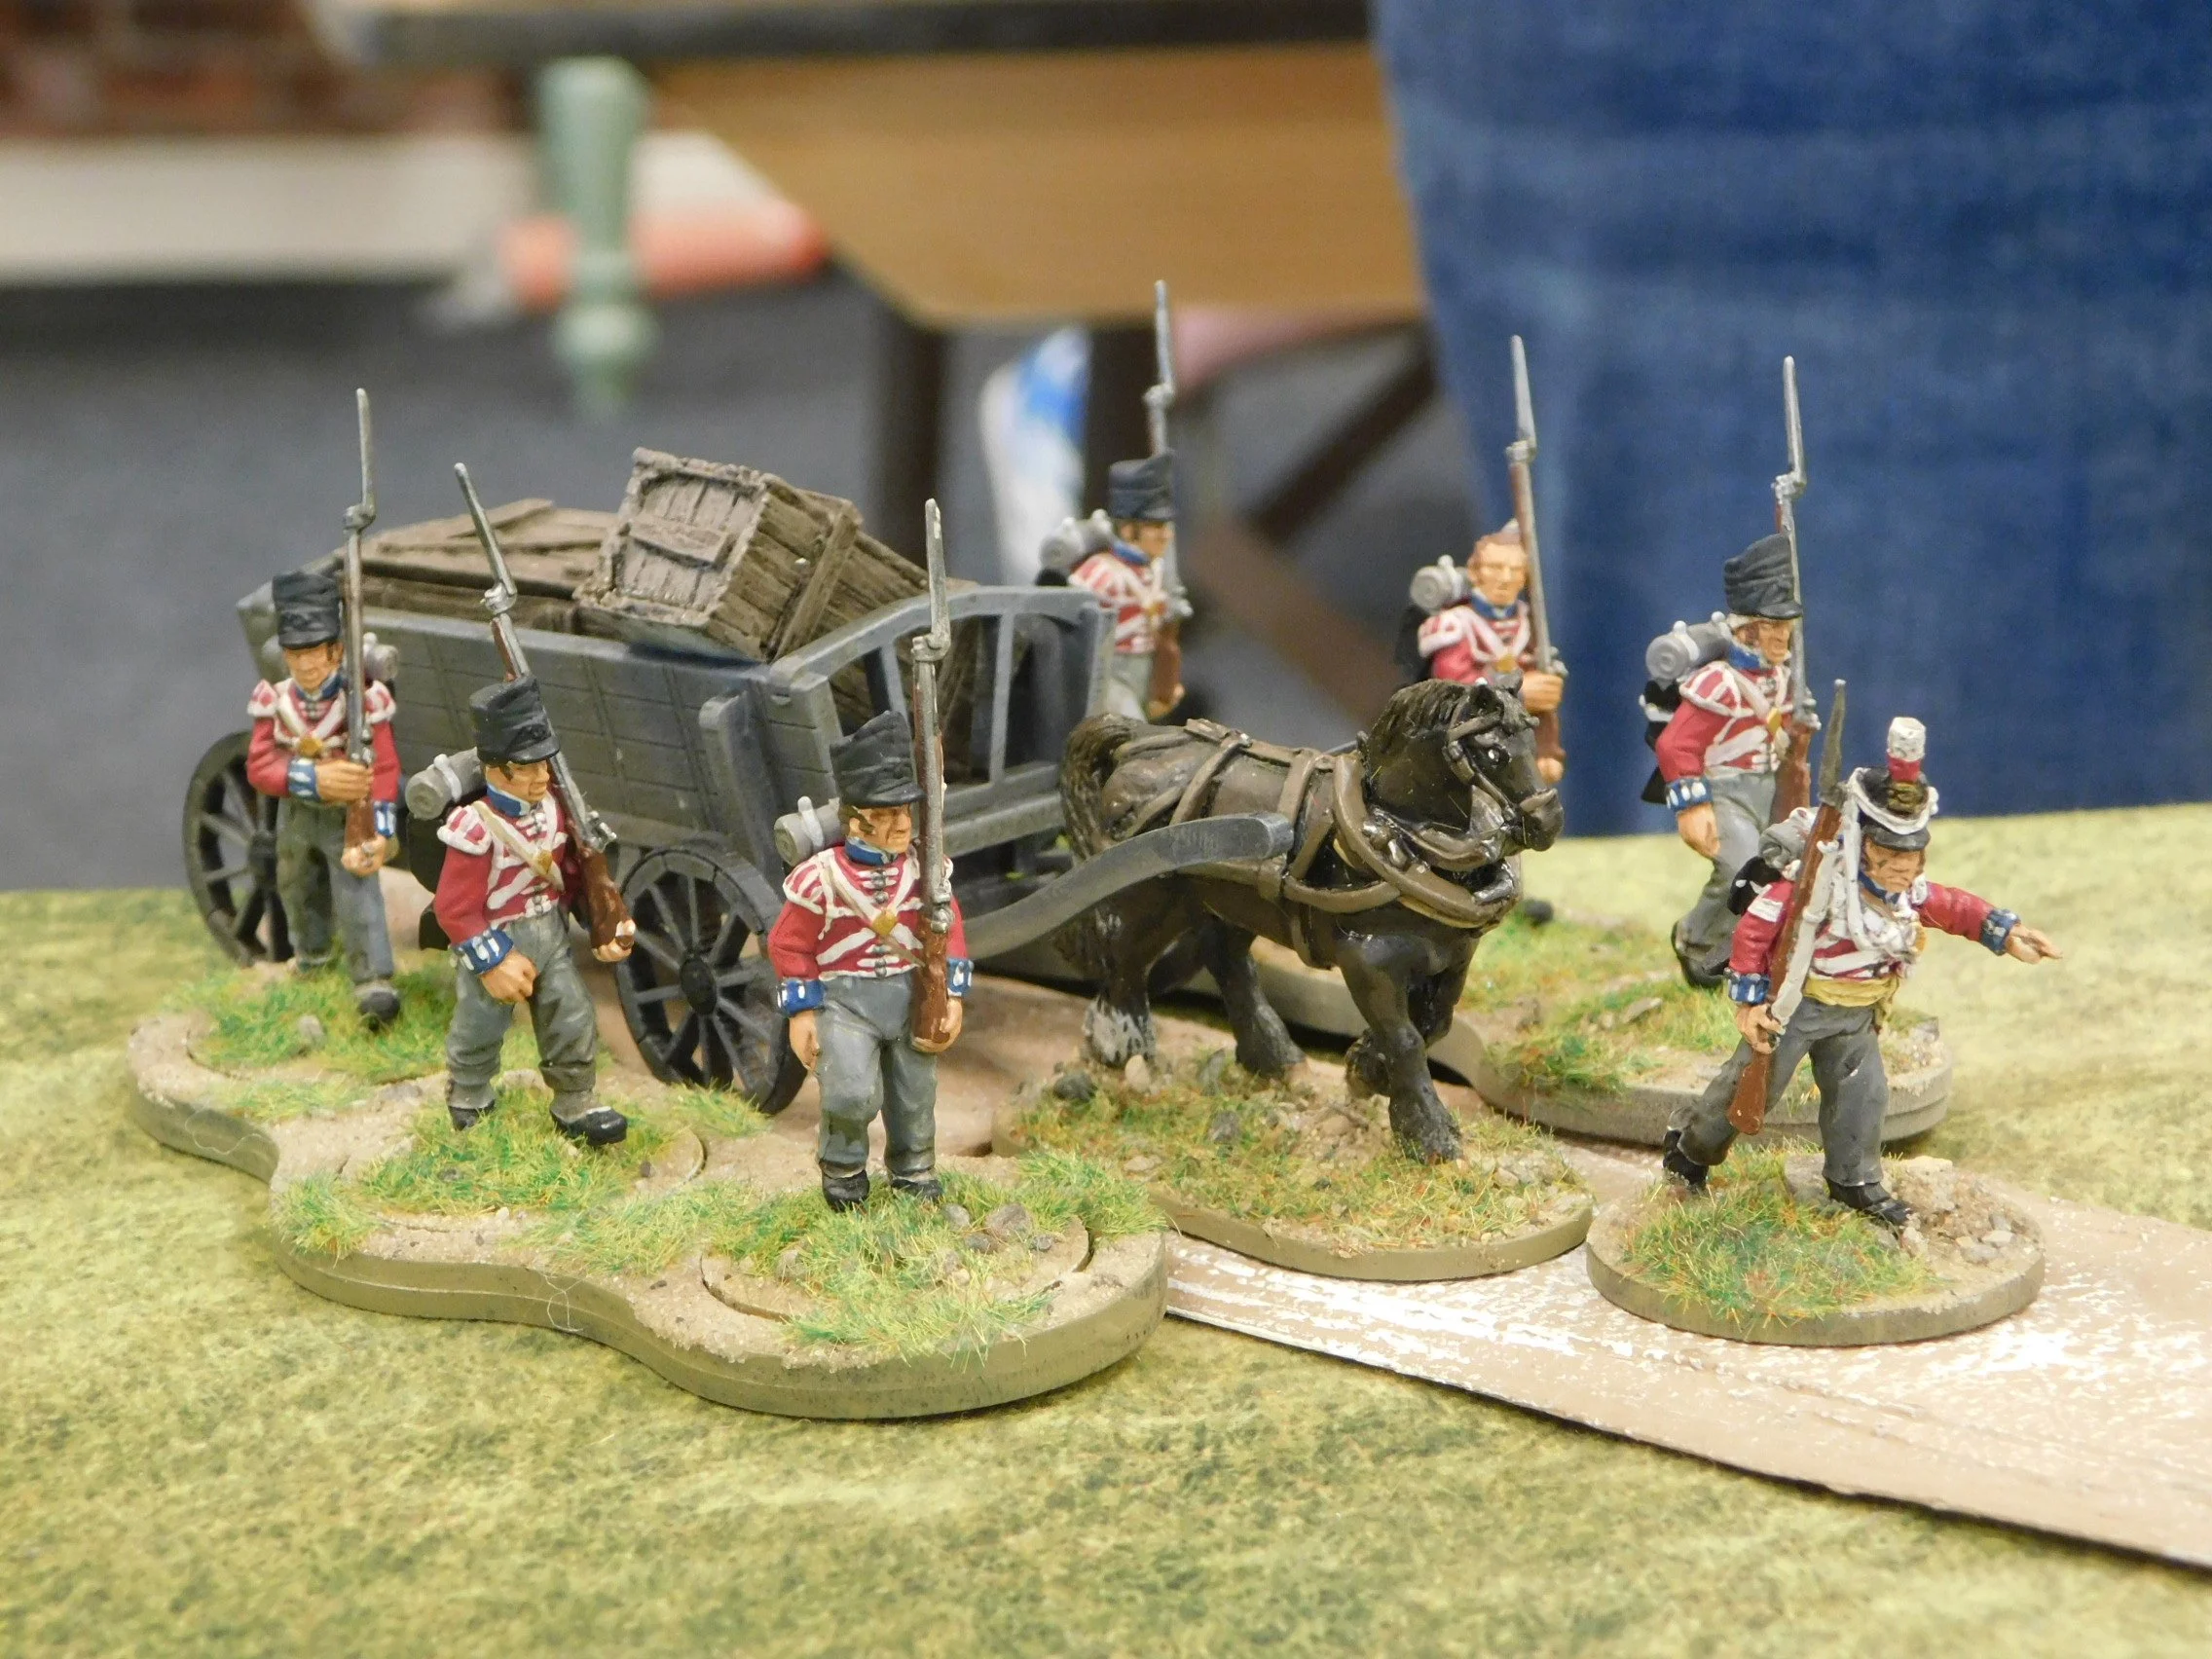
So, with the French infantry I’ve recently painted, that’s now 83 figures removed from the lead mountain. Another couple of units of Indians, one more of French, and I think I’m ready to give the bank balance a hammering on the Normans!

Horse Archers Re-Based

Now that I’m playing a lot of To The Strongest and the eastern Europe variant of For King & Parliament I thought it time to pull my finger out and re-base some of my ancients armies to suit.

I love the big elements that TTS encourages with its grid system, so have taken the first plunge with a load of generic horse archers. I didn’t like the way they were based, so this is a good opportunity to refresh and refurbish them and get them back onto the tabletop on a more regular basis.

How to base them though? I need them to act as a number of different nationalities: Parthians (desert scrub terrain), Sassanids (ditto); Steppes-nomads of various types (grass) and so on.

In the end, I plumped for a simple green flock with the odd bush and flower base. That will work with most of my existing armies and is about as neutral a scheme as one can get.

I went with bases of eight horse-archers each: perhaps it looks a little crowded, but I wanted to give the impression of a dense swarm of bowmen rather than a few individuals. It also suits the eastern Europe variant of FK&P where light cavalry can actually initiate melee combat and, perhaps, the new massed lights rules for TTS.

So now I have two brigades of three horse archer units each, plus command and a hero. I think I’ll re-base my generic cataphracts and clibanarii next…

TFL Painting Challenge: July Update

Lots of entries today into this year’s Painting Challenge.

A few points to note:

  • Mervyn has changed cameras, so his pics are looking good

  • Neil’s adventurers brought out a wave of nostalgia in me. I’m sure I had that cleric as one of the very first D&D figures and characters I ever had. Tolass the Holy if I remember correctly. I must see if I can find him again, although I don’t remember him being painted as well as Neil’s!

  • I’ve changed the way I present the Scorecard. It should make it easier (and faster) to update on an ongoing basis. The numbers are the same: it’s just the format that’s changed!

Check out the individual galleries, but here’s a selection to whet your whistle:

AAR TTS: Trialing the Massed Light Rule

Bevan and I manged to squeeze in a quick game of To The Strongest last week. Choice of sides was up to me, so I decided to test out the new-ish massed lights rule (where two light units can join forces and keep most of the characteristics of a light unit but be a bit tougher in combat) by fielding my New Kingdom Egyptians. Against them Bevan would take the newly slimline Akkadians: their deep spear units being reduced to normal size under the latest incarnation of the army lists.

I deployed my infantry in the centre, with two strong chariot-based units on either wing. My plan was to use my superior missile fire to weaken his troops and then either smash his weakened centre with my foot, or have my chariots harass his flanks…and it almost worked!

On my left, Pharoah himself led his veteran chariots forward. They shot loads of arrows at the enemy but failed to make any impression: there was obviously something wrong with their bow strings that day!

They then spent the rest of the battle being slowly pushed back or, in one case, sandwiched i.e. keeping the enemy’s right wing occupied, but not much else.

My right wing, however, did exactly what it was supposed to do. Quickly disposing of some light infantry, one unit of chariots swept around the flank of an enemy spear unit and drove it from the table. The other chariot unit skirmished with another enemy spear unit until it was sufficiently wounded, and then charged in and finished it off.

Great success, but the fact that I was hitting only on an “8” (light units remember) meant that it had taken more time than I had anticipated to achieve what I had done. One unit of chariots was also now quite a long way from the action, although the other was in a position to strike a commanding blow by taking the enemy’s camp.

Unfortunately, the cards failed me at the last minute and I ended up one square short (photo: right, above). The other chariot unit, or perhaps a unit of light infantry, also missed charging into the rear of an enemy spear unit in the centre by a similar margin. I would win the next turn, but could my centre hold out long enough for me to do so.

The simple answer was “no”. The Akkadian spear and axe units in the centre had been grinding forward and my mixed force of archers and spearmen just could not hold them. On Bevan’s next initiative he manged to break enough of my units to win the game just as I was poised to do the same to him!

So another great game of TTS. Looking at that last turn, I had four chances to take Victory Medals, two of which I needed to make happen in order to win the game. In the event, none of the four came off: by such slim margins are the fortunes of war decided!

AAR TTS: Classical Indians vs Alexandrian Macedonians: The Big One!

The final game of our To The Strongest battle day was a double-sized game with two players and 260 points per side. Si and I would take the Classical Indians again, Peter and Cayden would take the Alexandrian Macedonians.

One slight twist was that the results of the last four games were applied on top of the existing TTS points system to further balance the armies…and as the Macedonians had won three of the day’s four encounters so far, they had their Victory Medals (lose them all and you lost the game) reduced by a third.

Si and I decided to try the same plan that had almost worked in an earlier game: our left flank (under me) would hang back and try and hold the enemy’s main attack with the Companions and Phalanx whilst our right flank (under Si) advanced quickly, brushed aside the lights in front of it, and curled around to hit the phalanx etc in the side.

That was the plan…but unfortunately it didn’t work. Although the left flank did some heroic work holding up the Companions (the new rules about Javelinmen in rough terrain being very useful), the various Macedonian Phalanxes proved pretty unstoppable in the left centre, and our troops on the right just couldn’t get into play fast enough.

So there you have it: despite even points and a bias on the Victory Medals, the Indians still lost, Over the course of the day, that made four out of five Macedonians victories: I guess there’s a reason Alexander conquered the known world!

TFL Painting Challenge: Final June Update

Half way through the year and people are really getting into their stride now.

Today we have some very large entries showcasing some excellent work. Below is just a selection: please do visit the galleries to see all.

I haven’t had time to update the Scorecard yet: I shall do so asap!

AAR TTS: Alexandrian Macedonians vs Classical Indians

For the second encounter of the three-game marathon organised by Peter, I would take the Alexandrian Macedonians into battle against the Classical Indians.

My opponent set up in a tight formation in the centre of the battlefield hoping, presumably to pepper me with arrows before we made contact. His right wing looked very strong, with his heavy chariots and some elephants facing off against my Companions, but his left wing…well it looked a big “hanging” to me!

I therefore placed my three units of horse archers way out on my right: their aim would be to swoop round and attack his left wing from the flank and rear.

Once the game had begun, I advanced in echelon: holding back my left whilst my horse archers sprinted for the other end of the table. My pike blocks moved forward as fast as they could and, admittedly, I got a bit lucky here: the phalangites trotted forward faster than expected and almost immediately threatened his front.

After that good start, the battle unfolded almost exactly to plan. The horse archers swept around his left flank and rear just as the two phalanx units hit his front, and his left flank crumbled.

I then brought forward my Companions to prevent his quality troops on the right from intervening, and then it was just a matter of letting things take their course. In the end I won a victory 12:2 i.e. I only lost a couple of light units.

French in Greatcoats...and in mail?

With the prospect of a big Napoleonics bash coming up I thought it a good time to get back to painting the horde (or should I say hoard!) of early period French that I have in the lead mountain.

My first three battalia were normal line infantry so, for a change, I went with greatcoated infantry for battalia number four. My reading tells me that it would be extremely unusual to see a whole battalia in greatcoats but, for one out of what I am sure will be many, I’m sure it doesn’t really matter.

There are from the AB Figures 18mm range again and, despite the slightly weird looking photograph, look rather spiffing in their long coats. I painted three different colours of greatcoat: most of them are pale grey, some are dark grey, and some are light brown.

As you can see, I also took the opportunity to paint up the first brigade’s officer as well, although I should have turned the base a little as the hat on the rifle held up by his infantryman companion is right in front of his face. That’s why you pay lots of money to a stylist when you’re doing a photoshoot!

Normans!

And why am I so keen to bring the lead mountain down?

Regular readers will know that this year I have promised myself that I can only buy new stuff if I first paint some lead mountain lurkers. It’s a pretty pathetic attempt to instil some discipline into my project management process!

So, as I said, why am I so keen to bring the lead mountain down?

Well, those very clever people at Museum Miniatures have just launched their new CAD range: 15mm Normans. Haven’t seen any figures in the flesh yet (or should that be “in the metal”?) but the designs look epic…and if these are as good as the Sumerians, Indians, Persians and Greeks they’ve done before, then they are going to be a very welcome addition to my collection.

Here are some pics:

AAR IABSM: Retreat to Calais

Having recently played on a table set up by Phil & Jenny Turner (click here for the AAR) it’s great to see that they are gearing up for another demonstration game at this year’s Britcon.

Michael Curtis has posted some pictures of the playtest of the game onto the IABSM Facebook Group. Click on the photo below to see all:

AAR TTS: Classical Indians vs Alexander's Macedonians

Off to Peter’s house for a three game marathon with him, Si and Caydn. The idea was simple: two teams of two, individual battles in the morning, one giant game in the afternoon.

My first game, therefore, was to take the Classicial Indians into battle against Peter’s Macedonians.

I was out-scouted, so set up with my powerful escorted elephants on my left flank, standard infantry and normal elephants in the centre, and my chariots and cavalry on the right. Opposite my left flank were the dread Companions, in the centre the phalanx block, and on the right several units of light horse.

My plan was for the left flank and centre to hold the Macedonians at bay whilst my chariots and cavalry dealt with the light horse and then swung round to take his phalanx in the flank…and it so almost worked!

As the battle began, his Companions and Phalanx did indeed come forward. I held back my left and left-centre brigades, but was still engaged quite early on. My chariots and cavalry began dealing with the light horse opposite them, but were too slow to do so, and although my right-centre brigade did start turning the Phalanx’s flank, it just didn’t seem to be happening fast enough.

The strong Macedonian units facing my left and left-centre began chewing me up, and although I now had infantry in a good flanking position, my chariots and cavalry were still trying to mop up the last of his lights out on the right.

I did manage to take out one Phalanx, but ran out of medals on the left and in the centre before I could get everything I had on the right back and into his flank. Unfortunately my army crumbled before that could happen, and I lost the game 4:12.

We both agreed that if I’d managed to hold out on my left and centre for just one more turn, then things would have been very different (you can see my veteran heavy chariots posed to sweep his troops off the table in the picture bottom right of the gallery above) but it was not to be. A great game, though, and much closer than the result would suggest.

TFL Painting Challenge: Second Mid-June Update!

No sooner had I posted Friday’s Painting Challenge update when a flood of e-mails hit the inbox with more entries (including some that I seem to have missed) so, rather than make people wait another couple of weeks, here’s a part two:

TFL Painting Challenge: Mid-June Update

Just a quick update to keep things ticking over so that I don’t have too much backlog to clear!

Today we have entries from Matt, Carole, Nick and Mervyn. Do look in the individual galleries (access from the NavBar, above) but here’s a taster for you:

IABSM AAR: Breaking the Panzers

My afternoon game at Operation Market Lardon 2022 was a game of I Ain’t Been Shot Mum run by the legendary Phil and Jenny.

I must confess that I got so into the game that I forgot to note the background properly, but from memory Scottish infantry supported by tanks from the Lancers, commanded by Noddy and I, would be defending a village in Normandy somewhere against an attack by a combined force of infantry and armour from the Waffen SS commanded by Andy and friend John.

A superb game of IABSM played on wonderful terrain. Click on the picture below to see all:

SP AAR: The Hundred Days

Here’s the first of my two battle reports from the TFL Games Day, Operation Market Lardon: a game of Sharp Practice set not only in the Hundred Days campaign but actually at Waterloo itself. As you’ll see below, Joe McGinn put on a great-looking game

John and I played the French, commanding a force ordered to stop an ammunition cart getting to the British Guards in Hougement. The Allies were played by Ally and Phil

The French were quite lucky in that our Voltigeur skirmishers got onto the table quite quickly and managed to almost immediately drive the British guards away from the cart. One set of skirmishers was then able to take possession of the cart and get ready to move it towards our baseline.

The Allies then brought on a large force of German infantry in column that headed straight for the cart and managed to recapture it, forcing our skirmishers to withdraw, but they withdrew just far enough to put the Germans under fire again, with concentrated.fire from the two Voltigeur units then driving the column back.

This meant that the French had time to bring on both their main infantry force (conscripts) and a decent sized support unit (line infantry). The former headed towards the cart and were able to finish the German column off, the latter formed a blocking force that quickly got into a fire fight with some Nassau infantry coming up from the direction of Hougemont itself.

The blocking force and Nassau were fairly evenly matched until one unit of French Voltigeurs was able to break away from harassing the German infantry (who had been broken by the arrival and volley fire of the French conscripts) and lend its fire to the battle. The Nassau infantry started taking heavy casualties and were forced to withdraw.

As the battle ended, the French had the ammo cart in their possession and well on the way to their baseline; the German column and British guards were on the run; and the Nassau skirmishers were starting to backpedal fast.

It was a glorious victory for the French: we did not lose a single point of Force Morale and had reduced the Allied force to just one Force Morale point. We had also lost just two Voltigeurs whereas dead Allied infantry lay strewn over the field.

Here’s the game in photos:

Operation Market Lardon 2022

I’m just back from another very enjoyable day’s gaming at this year’s Operation Market Lardon TFL Games Day in Evesham.

Really nice to see everyone again after the lockdown break, and my heartfelt thanks to Ade Deacon for organising it as brilliantly as ever. I couldn’t stay for the evening curry this year but I am sure a good time was had by all!

As is usual, I played in a game in the morning and a game in the afternoon: Sharp Practice and I Ain’t Been Shot Mum respectively. I’ll write both games up over the next couple of days but, before I do that, here’s a pic of all the games on show from just before the day kicked off:

IABSM AAR: Le Hamel

Another great After Action Report from Mark Luther.

It’s I Ain’t Been Shot Mum and Normandy 1944. This was going to be a two part battle, with this AAR describing the first contest covering the attack by 46 Royal Marine Commando and the Fort Garry Horse on the village of le Hamel on June 11, 1944.

Click on the picture below to see all: