IABSM AAR: Decision at Le Mer, D-Day -1

Bob Cockayne and friends have been playing out an epic Normandy game over the last month or so.

They only have a limited time each session, so tend to play a single game over a number of get-togethers, with Bob reporting on each one on a week-by-week “serial” basis.

You can see Bob’s original posts on the Beasts of War forum but, firmly believing in the binge-the-box-set mentality (I’ve just finished a Peaky Blinders marathon!), I’ve gathered them all together into one massive AAR that you can read here on Vis Lardica by clicking on the picture, below.

IABSM AAR: Cymru Am Byth #12: Let's Get At The B*st*rds!

Mark Luther gives his very special treatment to the twelfth scenario from the Cymru Am Byth Welsh Guard scenario pack.

This is an attack for control of the little cluster of farm buildings on top of hill 242 overlooking Chenedolle at Le Haut Perrier on August 11, 1944.

Click on the picture, below, to see all:

IABSM AAR: Cymru am Byth #03: The Crossroads

A great AAR from Tim Whitworth and the Like a Stone Wall group! This encounter is taken from the Cymru am Byth (Welsh Guards) scenario pack, and features a game based on their heroic but ultimately doomed defence of Boulogne.

See how the Guards stand up to the German Panzers by clicking on the picture, below:

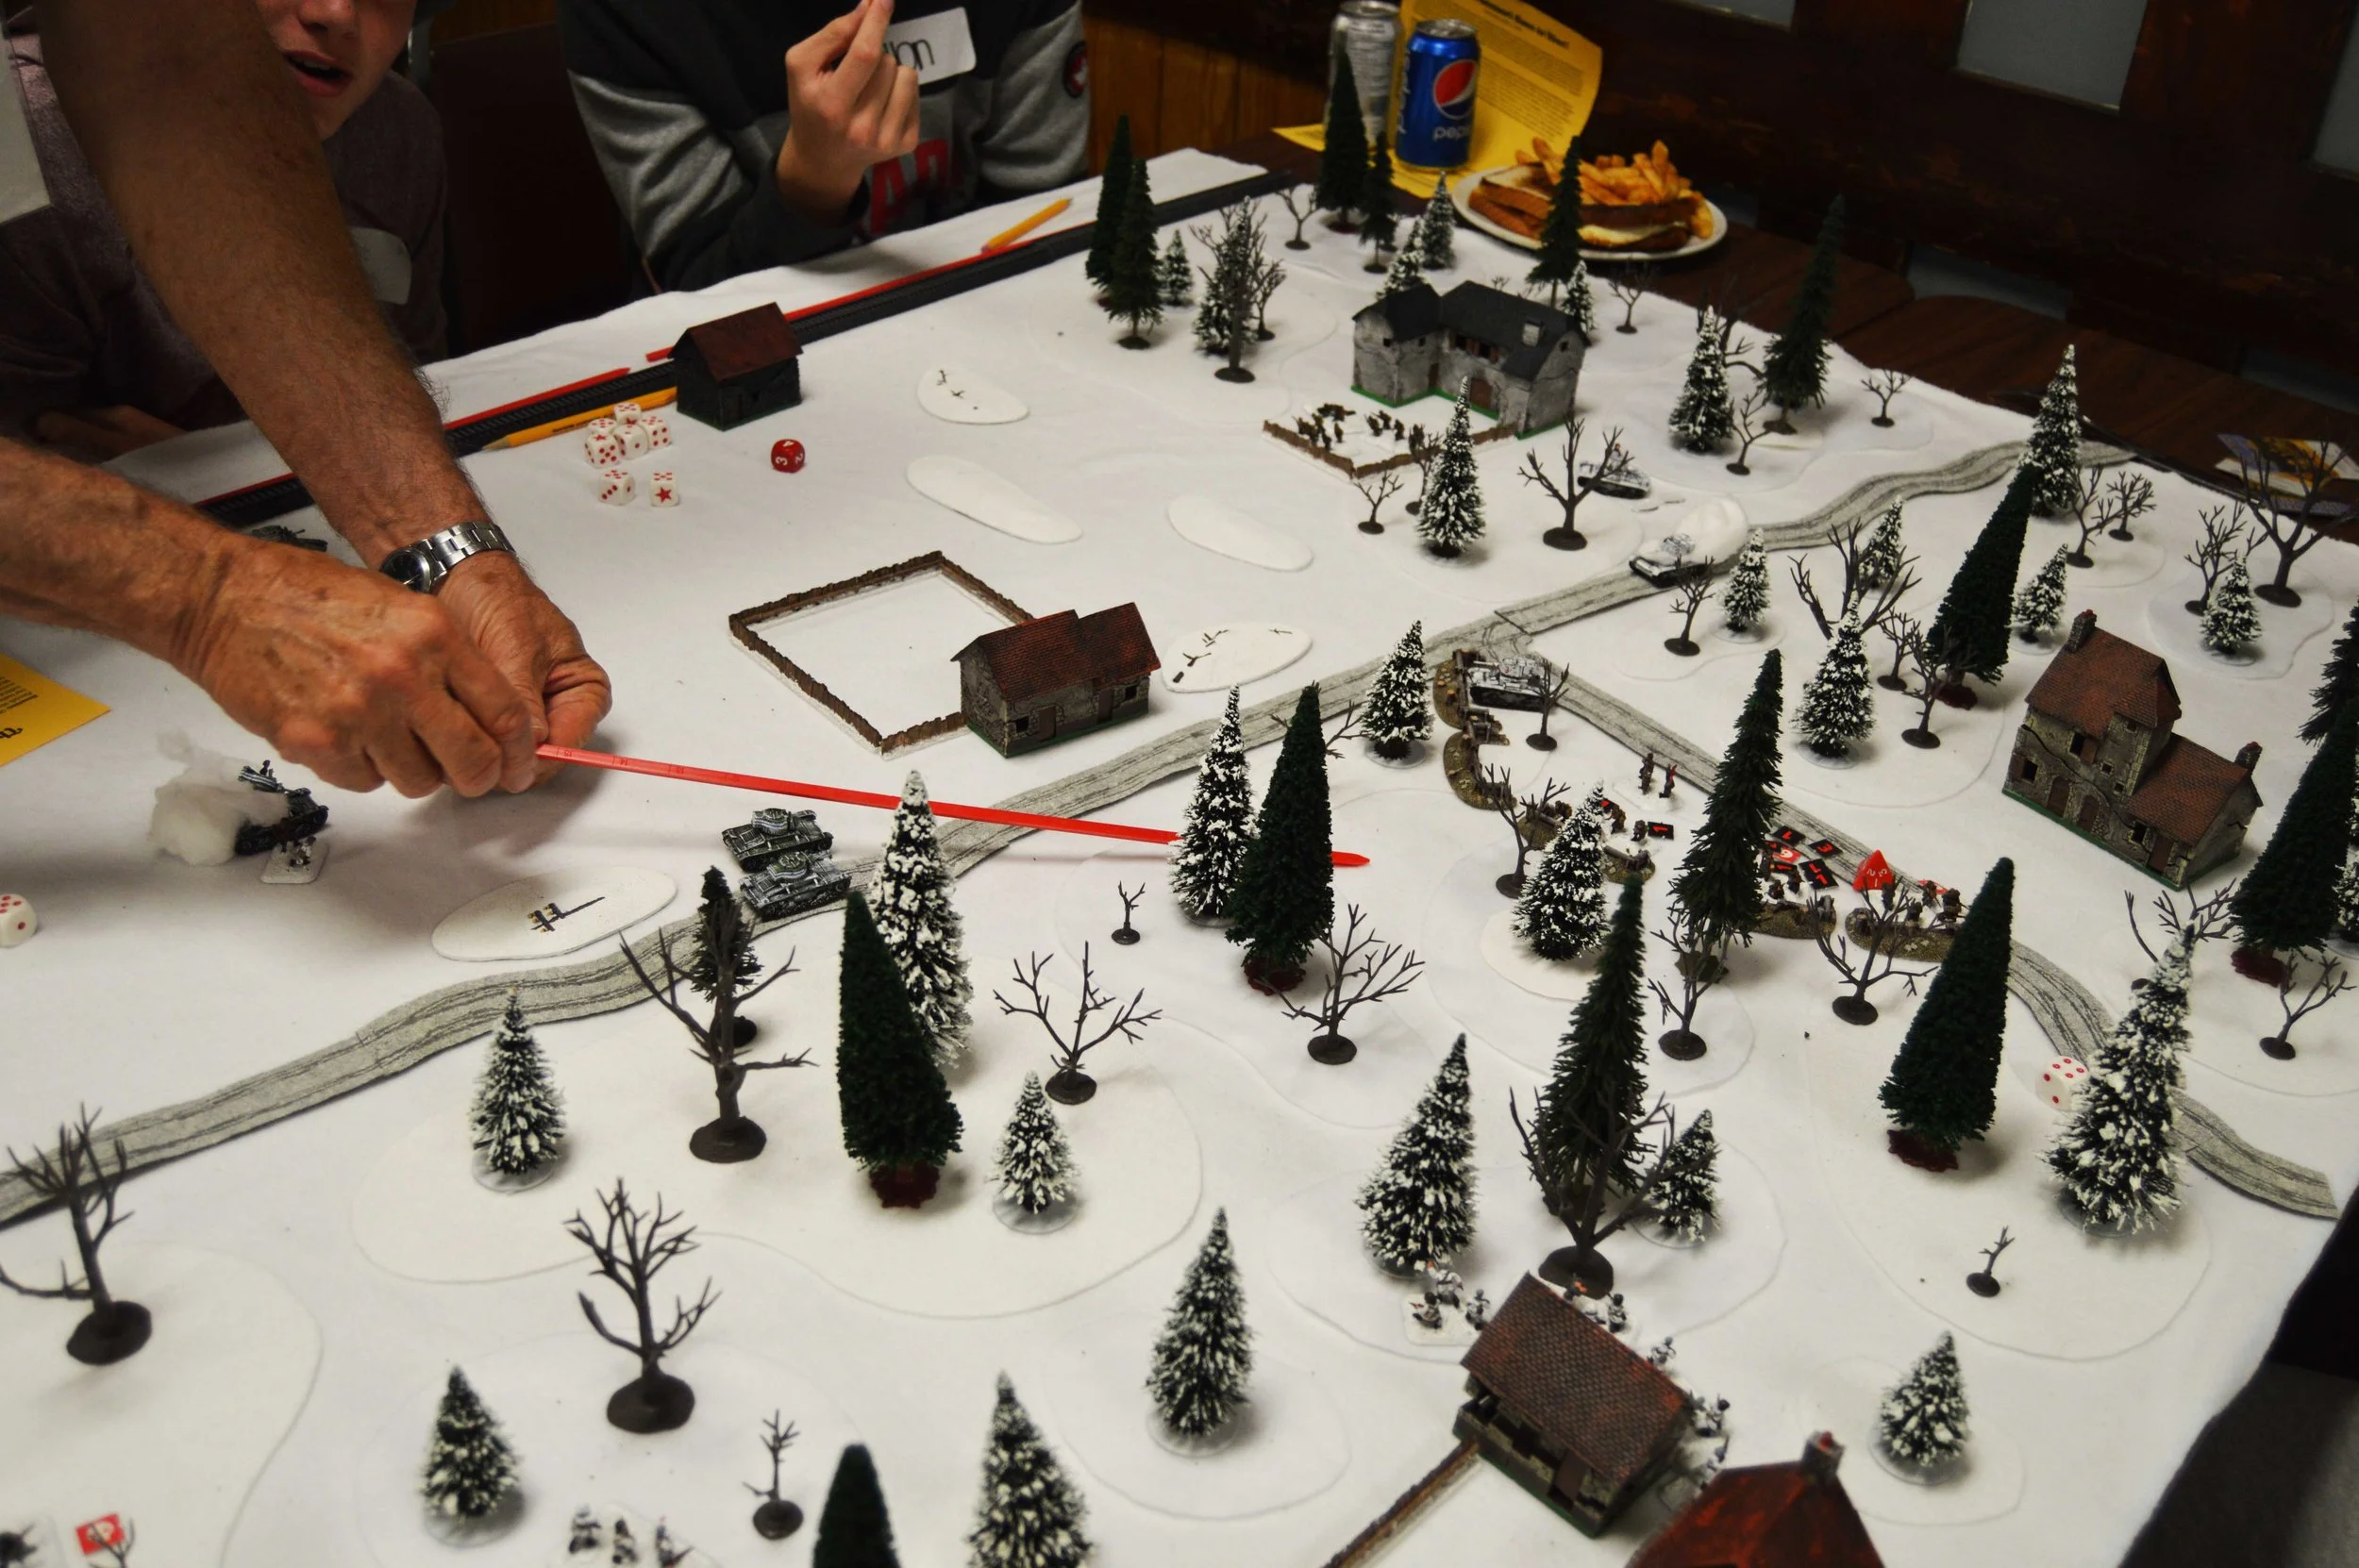
IABSM AAR: Eastern Front Clash

Desmondo Darkin and friends recently played an eastern front clash in 20mm using their dice-driven variant of IABSM.

Click on the pic below to see what happened, and to admire the superb winter terrain…

And as a reminder:

25% Off The September War Scenario Packs

To mark the 80th year after the accepted start of WW2 with the invasion of Poland on 1st September 1939, the TooFatLardies and I are pleased to offer a great discount on the two September War scenario packs for I Ain’t Been Shot, Mum! with a whopping 25% off when you buy them as a bundle.

Written by Robert Avery and Alexander Kawczynski, each September War scenario pack for I Ain’t Been Shot, Mum! provides thirty scenarios for the theatre, making sixty available in all.

Divided into eight mini-campaigns, the first pack (The September War Part One) begins with the battles at the border, then covers the fight for the Polish corridor, the Polish Thermopylae at Narew, the Siege of Warsaw, the climactic battles at Bzura and Tomaszow Lubelski, and the actions of the 10th Motorised Cavalry “Black” Brigade and the Independent Operational Group Polesie. There are attacks, counter-attacks, encounter battles, desperate defences…there’s even an armoured train or two.

Divided into six mini-campaigns, the second pack (The September War Part Two) begins with four based on specific German units: Panzerdivision Kempf, the 1st GebirgsjaegerDivision, the 4th Panzer Division, and the 1st Kavallerie Brigade. Then there are two mini-campaigns based on the Soviet invasion of Poland: the Belorussian Front and the Ukrainian Front. Finally there are details of two stand-alone battles: Westerplatte and the Hel Peninsula. As always, there are attacks, counter-attacks, encounter battles, and desperate defences, all containing a whole host of useful scenario mechanics that can be re-used elsewhere.

No need for any preparation: each scenario contains a brief background history, maps, a full game briefing, and a full briefing for each player. Simply print out the pages you need, make up the deck from the list of cards required, unpack your figures and dice, set up the table and away you go!

Click here to buy the combined bundle.

IABSM AAR: The 4th Panssari Goes to War!

Dave Lister had a lot of fun running a scenario based on the Battle for Honkaniemi (Feb. 26, 1940) at Broadsword 9 last weekend,. Honkaniemi is known as the only, and therefore largest, tank battle of the Winter War!

As you may know, while the Soviets had thousands of tanks at their command, the Finns had very few indeed. They threw them into a desperate attack late in the war that they hoped would throw back the Soviet forces that were closing on Viipuri (only 15km away at this point in the conflict) and spearhead a larger Finnish offensive operation.

Well, it turned out to be a terrible day for the Finns, from losing more than half of their thirteen operational tanks to mechanical trouble, to friendly artillery falling on the heads of the supporting infantry, to a complete lack of reconnaissance that could have revealed the Soviets were planning their own attack operation at the very same place and the very same time!

While a conventional victory was probably out of the question, Dave and friends decided to judge the results of this scenario against what the plucky and hopeless Finnish tankers achieved historically. And for all that, the Finns did very well during the game! Have a look and see what you think by clicking on the picture below:

Peleliu at The Other Partisan

The other game of I AIn’t Been Shot, Mum at The Other Partisan was another amphibious assault: Tim Whitworth and the Like a Stone Wall Group’s magnificent Pelelie scenario, set in the Pacific with US Marines assaulting a Japanese-held beach.

This game was, in fact, so good that it won the Best Demonstration Game award for the show. Click on the picture below to see loads of excellent pictures of the game:

IABSM AAR: A Hasty Defence

John Cooper is preparing to play through “The September War” scenario pack with his beautifully painted 10mm figures.

Here’s a quick warm-up game that he played using the fourth game from the random scenario generator in the IABSM v3 rulebook: “A Hasty Defence”. Click on the pic below to see all:

IABSM AAR: Peleliu Warm-Up

Tim Whitworth and his colleagues from the Like A Stonewall Wargames Group have been preparing the game they are showcasing at The Other Partisan wargames show in a couple of week’s time.

It’s a scenario for I Ain’t Been Shot, Mum based on the US Marine assault on Peleliu Airfield in 1944. Click on the pic below to see all:

IABSM AAR: Operation Compass #11: Bardia 1

Another great battle report resurrected from the archives of the A Wargamer in Cyprus blog.

This time, the scenario is #11 from the Operation Compass scenario pack: the first of the three games focusing on the Australian attack on the Italian-held fortress of Bardia.

Click on the picture below to see all:

IABSM AAR: Benghazi Handicap #01

I do so like it when I stumble across a source of material for I Ain’t Been Shot, Mum or one of the other Lardy company-sized games: it does take the pressure off a little…as anyone who runs a blog knows, keeping it fresh and updated is a serious, long-term commitment!

Anyhow, latest discovery is the excellent A Wargamer in Cyprus blog, which contains a plethora of quality wargaming material. I haven’t been able to get hold of the blog’s owner to ask permission (I’m no Tango!), so I hope he doesn’t mind me reproducing some of its content here as part of efforts to support TFL and IABSM etc.

Here’s an AAR taken from the site featuring the German attack at Agheila that formed the first proper German vs Commonwealth encounter in the Western Desert. Just as an aside, I actually have a half-written scenario pack for Sonnenblaum which features this action…and am now feeling all inspired to dig it out and finish it.

Click on the pic below to see all:

IABSM AAR: Anzio #20: Fischfang Day 3

Nice little battle report from Dan Albrecht and his friends at the Vermont Historical Gamers group in South Burlington Vermont.

Scenario is #20 from the Anzio: Wildcat to Whale scenario pack: part of the German counter-attack that was Operation Fischfang, Day Three.

Click on the pic below to see all:

IABSM AAR: Up From Asnelles

It’s been a few months since we’ve had one of these, but here’s another great WW2 After Action Report from Mark Luther.

Here’s his introduction:

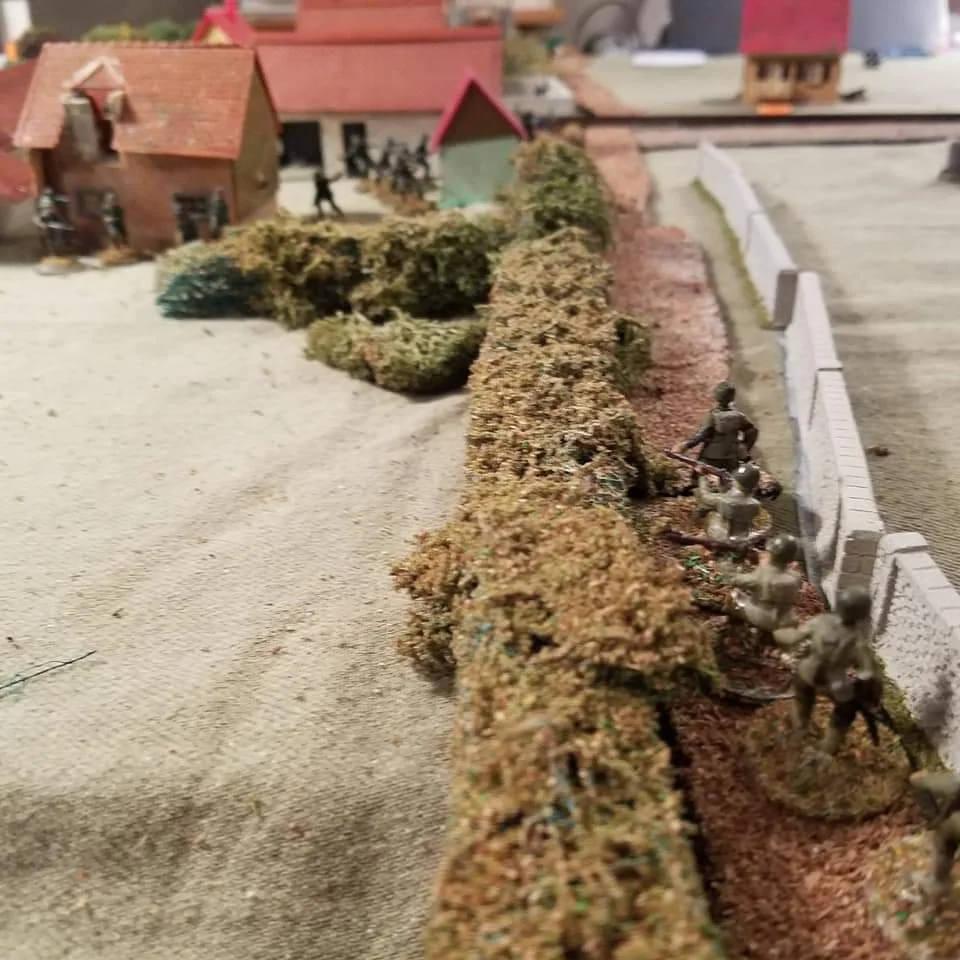
I just got back from France and Normandy so I was in the mood for a D-Day game. I also wanted something basic and that would allow for both sides to do some manoeuvring, so a straight out assault on dug in stationery troops was out.

I came up with the move in from Asnelles by the B Company 2 Devons and the counterattack by the 916 Grenadier Regiment later in the day on June 6. The two German grenadier companies had two three-section Zugs. I rated them as poor troops. This company had two attached MMG teams. The German orders were to get off the north edge of the table. A pair of StuG IIIs would show later.

For the Brits, B Company of the 2 Devons had all three platoons, but I also rated them as poor troops for this game. Between being seasick and inexperienced they were not fully up to their game. A troop from the Sherwood Rangers were assigned as support but were running late. Their orders were to advance south and get off the table.They began on the north board edge.

Click on the picture below to see all…

German Howitzers from Battlefront

Another unit destined to see the tabletop very rarely: a battery of German 10.5cm howitzers.

These are, again, plastic, and actually not bad at all. The guns are superb: they go together easily and paint up well; the crews are a bit more average but take also the paint well.

What I do like about the crews is that, unlike the chaps manning the Nebelwerfer battery I was complaining about a couple of weeks ago, these men have dumped all their backpacks, and gas mask cases, waterbottles etc, and are just dressed in their uniforms. Makes a lot more sense and saves a lot of time when painting them up!

Definitely another recommended from me: a great way to get some glorified objective markers onto the table without breaking the bank!