TFL Painting Challenge: Latest Update

It’s another sweltering hot day today in the UK: going outside is like walking into a wall of heat.

Unusual distribution of entries into the Painting Challenge this week: lots of entries but from a small number of entrants. Must be the weather!

Here’s a sample of the work of everyone who submitted something this week. Make sure you check out their full galleries: some inspirational content there.

IABSM AAR: A Canadian VC Luther-Style!

Here’s another great battle report from Mark Luther, this time using the A Canadian VC scenario from the main I Ain’t Been Shot, Mum v3 rulebook. Mark played this game remotely with four players scattered around Atlanta area and in Florida.

The game is based on the August 19, 1944 Canadian advance into St Lambert where the Allies are trying to plug the Falaise Gap.

Click on the picture below to see all:

Final Two Cohorts Now Done

The 15mm Marian Romans for To The Strongest are coming along nicely: about two thirds of what I need to field the army are now done.

I’m representing a legion with five TTS units, with each unit therefore representing two cohorts (these are the days before the Augustan super-strength first cohort). As I like to minimise the number of markers on the table, each unit is two bases (neatly making one base represent one cohort) with a formed unit being the two bases neatly in line with each other and a disordered unit represented by the two bases being separated and at an angle to each other. Latest off the production line are the final two cohorts (or one TTS unit) for the first legion I’m going to field.

In keeping with how the legions operated in Gaul under Caesar, I’m intending the core of the army to be six or seven legionary units: four or five from one legion, two or three from another. Naturally I’ll therefore be painting up two full legions (240 legionaries in all!) which will also allow me to play out the civil war battles that followed the Gallic wars.

The figures are from Baueda, bought in the UK via Magister Militum, painted using GW Contrast paints. The shield transfers are the Baueda-specific designs from Little Big Man Studios. Bases are from Warbases.

Next up will be the Legate Legionis in charge as a command stand, and a semi-permanent camp for the chaps to rest in after each battle!

TTS AAR: Three Games One Sunday

Three great games of To The Strongest this Sunday, all Sassanid Persians versus 100YW English. I took the Sassanids for Game One, Kavan for Game Two, and then it was back to me playing the Sassanids in Game Three.

Henry V versus the Persians!

Henry V versus the Persians!

The results? I think it fair to say that the Sassanids did very well indeed, winning all three games! Those of you who are paying attention will have worked out that that meant that the day was two-one to me.

The first game was a glorious victory for both me and the Sassanids, but one largely caused by Kavan’s terrible cards! I used standard tactics: horse archers on the wings keeping his men there occupied whilst the heavy horse and elephants punched their way through the middle.

The escorted elephants punch a hole

The second game was a similar affair, but this time it was me on the receiving end. I knew what was coming, so managed to deal with the initial horse archer advance on my right wing with mass longbow fire. In the centre, I had massed my heavies opposite his, but lost two of my three generals in the first round of combat. This effectively stuffed me command-wise, and I got overlapped on the left by those gosh-darned light horsemen as I just couldn’t get the units I needed to activate into action regularly enough. As my left began to crumble, Kavan punched a hole in my centre which he then flooded with the rest of his heavies: the coup de grace coming as he took my camp.

The English camp falls…again!

With both of us now very familiar with the strengths and weaknesses of both friendly and enemy troops, the third game was a neck-and-neck affair which either of us could have won. Each side had one camp each, and both fell: mine to mounted men-at-arms that three units of horse archers just couldn’t stop in time; his to another heavy cavalry punch through the middle. I won in the end, but it was a very close run thing.

All in all, an excellent afternoon’s gaming.

The Sassanid Heavies roll forward


FK&P AAR: Pinkney's Court Again

I’ve now had a chance to play the Pinkney’s Court scenario another three times.

The first game, versus Bevan, was a complete disaster. The more nimble Swedish-style Royalist cavalry sliced and diced their Parliamentarian opponents, destroying all three units for the loss of only one of their own. That meant that I had to divert troops to shore up the position, leaving me short of infantry (and victory coins!) for the clash on the other flank. A crushing defeat!

The other two games, against Kavan, however, went much better. The first was a close run thing, but I eventually prevailed. The second was a glorious, overwhelming victory caused, I hasten to add, by the most amazing run of luck at the cards. In each of the initial three clashes, I hit three times out of five: not bad when you’re needing an 8+ on a 1-10 evens chance. Much like my men in the game described above, Kavan’s troops never really recovered.

Here are some pictures of the game I lost:

IABSM AAR: Virtual Lard 2

One of the things that has been going on during lockdown is a series of virtual Lardy Days where people who are not lucky enough to be able to push lead with a member of their “bubble” can game remotely.

Mike Whitaker ran a game of I Ain’t Been Shot, Mum at the recent Virtual Lard 2. Here’s a quick AAR of the action taken from his excellent blog Trouble At T’Mill. Click on the picture below to see all:

Siege Guns

Having equipped my ECW armies with light guns and field artillery, it was time to add the big boys: a couple of Siege Gun elements.

The guns themselves were no problem: many years ago I was at an English Heritage site (or similar) and came across a tub of artillery models that have, over the years, proved ideal for siege gun-sized artillery pieces. I still have a handful left, so two of them would form the centrepiece of the elements.

I wanted the siege gun elements to look immobile, so rather than having the guns “naked” on a base, I bought a couple of resin gabion pieces from Peter Pig to serve as dressing. This also meant I didn’t have to have any sort of limber and team in the vicinity: they always take ages to do!

The crews initially came from Peter Pig, who do six different poses. Six men per gun didn’t seem enough, however, so I added a couple of Hallmark officer/sergeant types to each to bulk things out. Hallmark (available through Magister Militum) and Peter Pig size very well together.

I then discovered that the guns, gabions and crews didn’t really fit depth-wise on the standard element bases I’m using for my ECW troops. My standard bases are Warbases Vehicle Bases that fit up to about thirty foot or half as many horse figures without difficulty, and sit very nicely on my FK&P grided battlemat…but the combination of crew, gun and gabion stuck out over the end. Fortunately Warbases were able to supply customised “double depth” vehicle bases that exactly did the trick. I can even use the spares I ordered for TTS camps.

So that’s two siege gun elements now completed. More Romans on the way…

Painting Challenge: Post-Holiday Round Up

109837448_10163704097730062_5856398449183563298_o.jpg

As some of you may have gathered from the recent lack of posts, I have been on holiday for a week. Surfing in Cornwall, in Polzeath to be exact.

A very pleasant week: although the waves were only good on two days, it was glorious weather throughout, so plenty of fresh air and sea, with some fantastic meals in the evenings.

I like Polzeath: very poor ‘phone signal so unlikely to get bothered by work in the few hours that I’m not in a wetsuit, small enough to lack any sort of night life (except for a couple of restaurants) and we’re lucky enough to stay somewhere that’s only a five minute walk from the beach.

And lovely to get back to a Painting Challenge inbox packed full of entries. I highly recommend everyone visits the individual galleries, and here’s a selection of work from this week’s entrants to encourage you to do so:

Painting Challenge: Post Weekend Update

Rather than get overwhelmed by the backlog of entries that always seem to mount up against me, I’ve had a chance to process this weekend’s latest batch of entries to the Painting Challenge.

Please do visit each person’s individual gallery, but here’s a selection:

FK&P AAR: The Battle for Pinkney's Court

With Sir John Boulters seriously wounded as he led his Cuirassier bodyguard in a desperate, but ultimately futile, attempt to shore up his left flank at the battle of Widbrooke Common, his son, “Little John” Boulters, has taken command of Royalist forces around Maidenhythe.

This is not a moment too soon, as the Parliamentarians seek to take advantage of Sir John’s injury by striking for Pinkney’s Court, the manor house that sits on the edge of Pinkney’s Green, north-east of the town itself. Taking the manor will give them a fitting place from which to plan and direct the rest of their campaign.

The two sides will therefore fight it out at the Battle for Pinkney’s Court.

The Royalists (on the far side of the field, above) have positioned themselves around the court: infantry and gun in the centre and on the left, and most of their cavalry on the right.

The Roundheads have placed their strong Dutch horse contingent on the left, aiming to sweep across the open ground of the Green. Their infantry are on the right, and will need to cross fields in order to get at the opposition.

Both sides must defend their building. The Royalists lose three victory coins if the Court falls; the Parliamentarians have their train in the yards of the Golden Ball tavern, so will also lose three victory coins if the building top right is taken by the enemy.

Opening Moves

The action began with the cavalry on the Parliamentarian left wing. As the Roundhead Horse swept forward, one Squadron of Royalist horse headed left thinking to move up the road and take the enemy guns.

The Royalist commander (me!) had, however, misjudged things, and the right-hand unit of enemy Horse managed to get forward and charge them in the rear, smashing the Cavaliers from the field.

This success drove the Roundhead cavalry into a frenzy and, without thinking, they charged after the retreating Royalists, heading straight for the hedge behind which one of the Cookham Militia battalia waited.

This proved a foolish thing to do, and they were sent crashing backwards, and would spend the rest of the game lurking in the woods trying desperately to rally.

In the meantime, the rest of the Royalist horse would take advantage of their superior number of units and defeat the rest of the Parliamentarian cavalry. This wasn’t enough to break the whole Roundhead army so, as the Royalist horse promptly disappeared off table in pursuit, the game would be decided by the infantry.

The Other Side of the Field

The Roundheads advanced smartly up the field, but let one of their battalia get too far forward and become an isolated target for what little Royalist cavalry had been put on this flank.

I was sure that my two units of horse could take the Parliamentarian battalia: one to pin from the front, the other to hit if from the side.

Unfortunately, the rebels were made of stronger stuff than I had expected, and I ended up losing both units of horse to fire and melee. In particular, the Roundhead Gallant Gentleman (in blue on the front of the pike unit’s base) intervened at a crucial moment: the extra hit being just enough to finish me off.

Not a good start!

The main lines then clashed, but it was going to take something fairly miraculous to save the day now: I was outnumbered five battalia to two!

Miracles were in short supply on the Royalist side, so although my lone pike block lasted far longer than anyone expected, the Oxfordshire commanded shot were soon sent flying backwards, which was enough to finish the game in the Roundhead’s favour.

Aftermath

This was the narrowest of defeats. For about two turns, whoever lost the next unit would lose the game: my outnumbered infantry balanced by the lost Roundhead cavalry.

Another great game of For King & Parliament

Robert Avery

More Marian Romans

After leaving the painting table alone for a week, it was back to work on my 15mm Marian Romans. This army needs seven units each comprising 24 legionaries i.e. 168 legionaries in all. That’s a lot of quite repetitious painting!

Four of seven now done

I’m using Baueda figures, sourced through Magister Militum in the UK. They each come as one piece, so no hassle attaching shields or spears and, as you can hopefully see, have plenty of character and some variety.

These are painted using GW Contrast Paints. I began by undercoating in the Grey Seer undercoat rather than the Wraithbone White that I usually use. Running out of Wraithbone on another project made me try the single can of Grey Seer that I’d bought intending to experiment, and I was glad it did: I find the grey undercoat very much more forgiving than Wraithbone, and I don’t feel there’s really any difference in the colour you end up with. I will go grey (oh, in so many ways!) from now on, I think.

The shield transfers are from Little Big Man Studios: excellent but a session or two on its own to do them. As the shield has a heavy metal boss down its middle, the transfers come in two halves, each of which have to be carefully cut out. That’s 44 transfer halves to cut out (two figures don’t carry a scutum) and mount.

As usual, I need to remember to clean the excess flock off the figures before I photograph them. Just a question of brushing them down with a soft brush, but somehow I never remember. It all comes off anyway when you start using them!

So four down, three to go…and only one more unit with red shields and plumes. Onwards!

Painting Challenge Special: Matt Slade Catch Up

Those of you who follow the Painting Challenge regularly will know that this year super-painter Matt Slade has so far been conspicuous in his absence: Real Life interfering with Wargaming Life.

Well now he’s back with a bang, with a catch up of his work over the last six months. Visit his gallery to see the full extent of his work, but Matt has knocked up just over 2,200 points already. Here’s a selection of what you’ll see there:

Crusaders by Dan Jones

The good news about lockdown easing is that our local bookshop has re-opened. Yes, I know that you can buy any book you want online, and probably cheaper, but there is nothing better than a good browse amongst real books on real shelves.

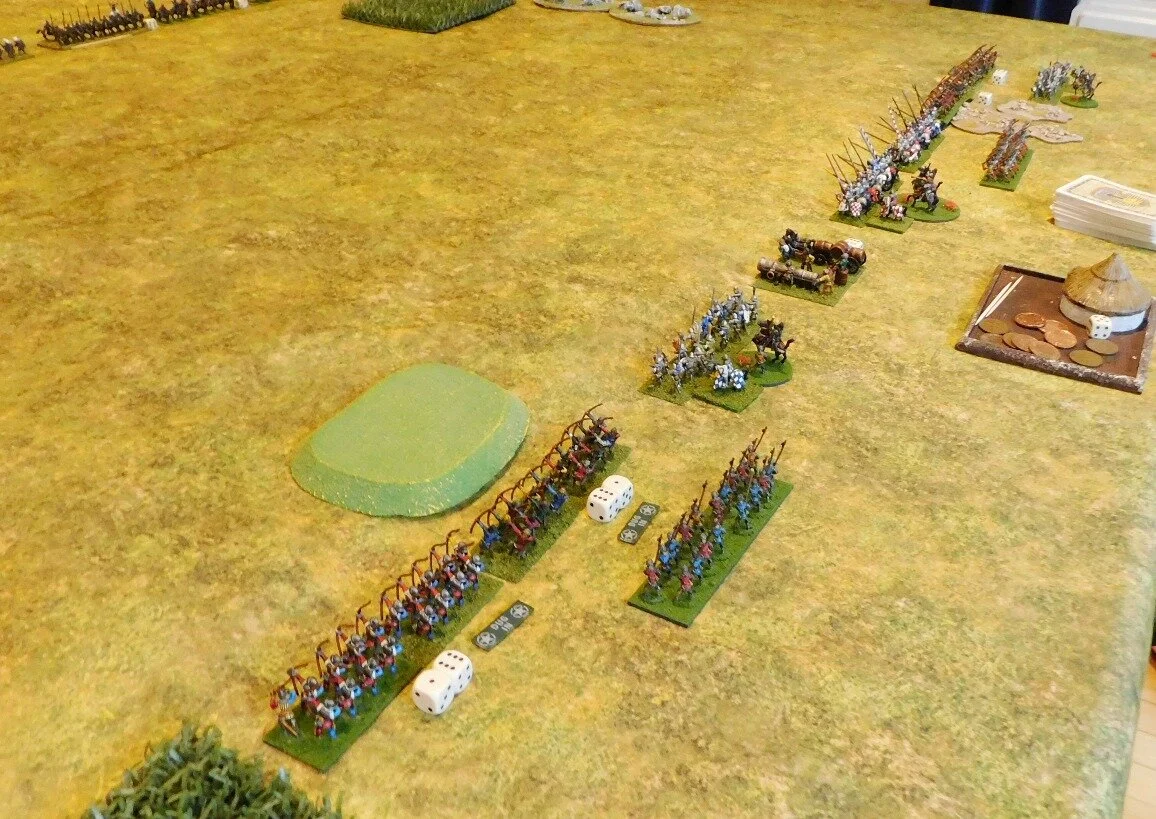
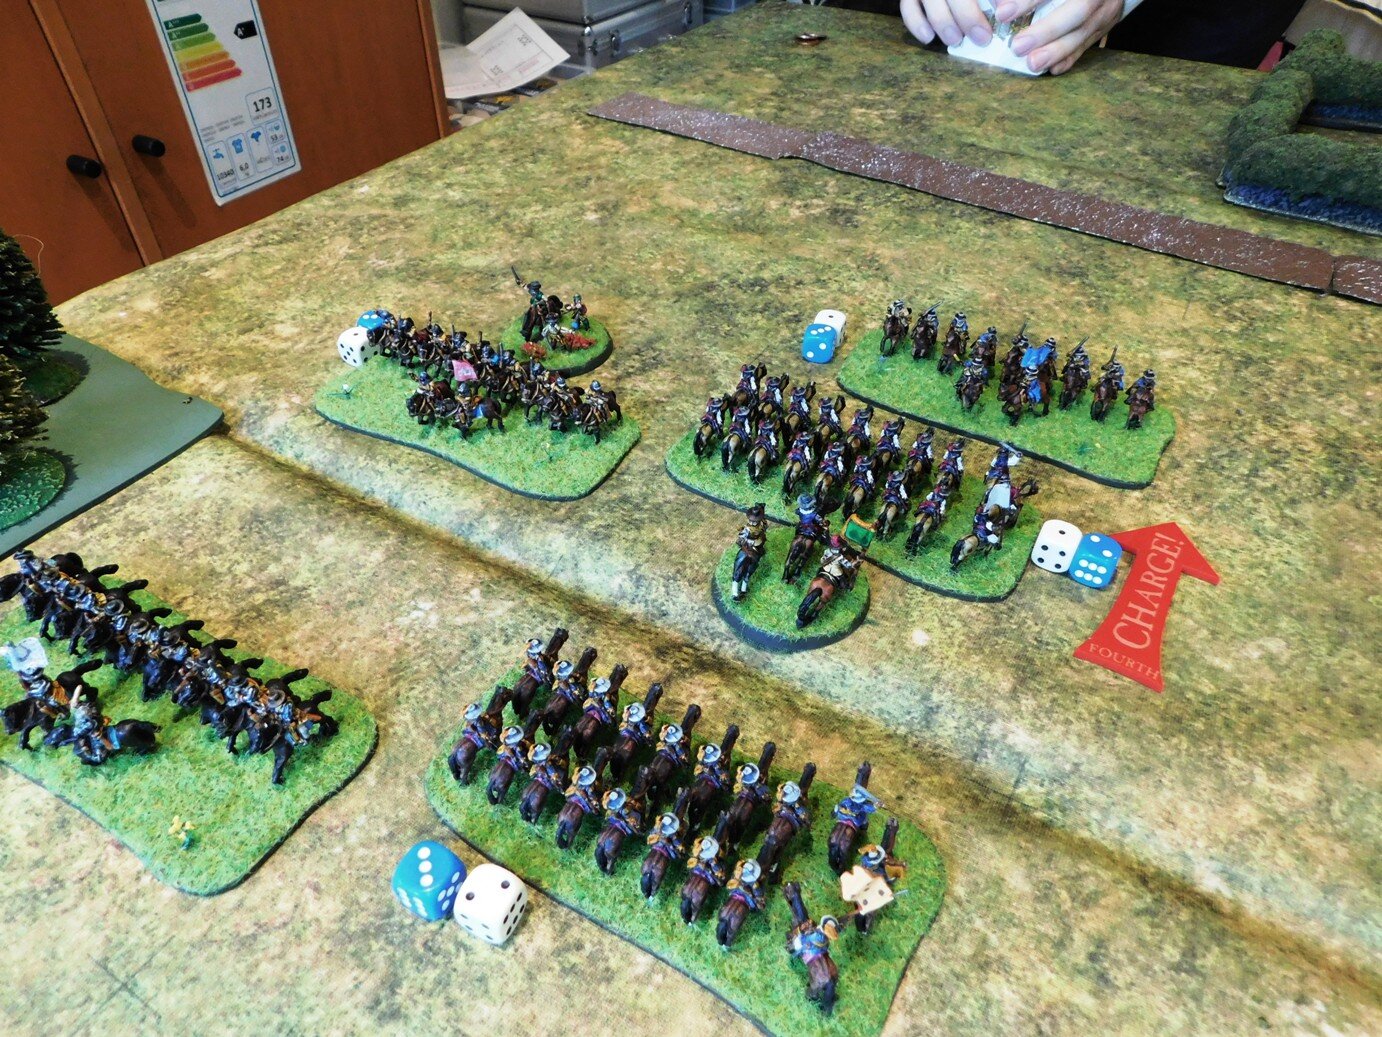
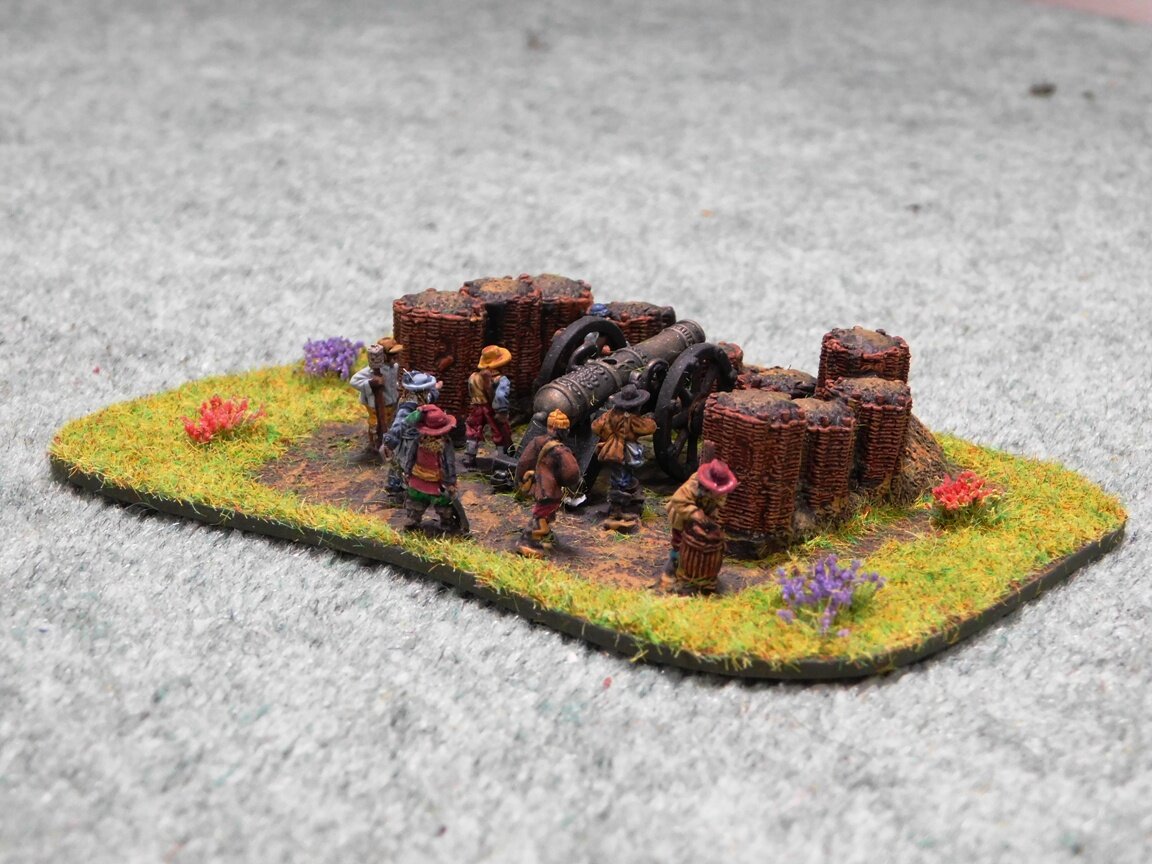
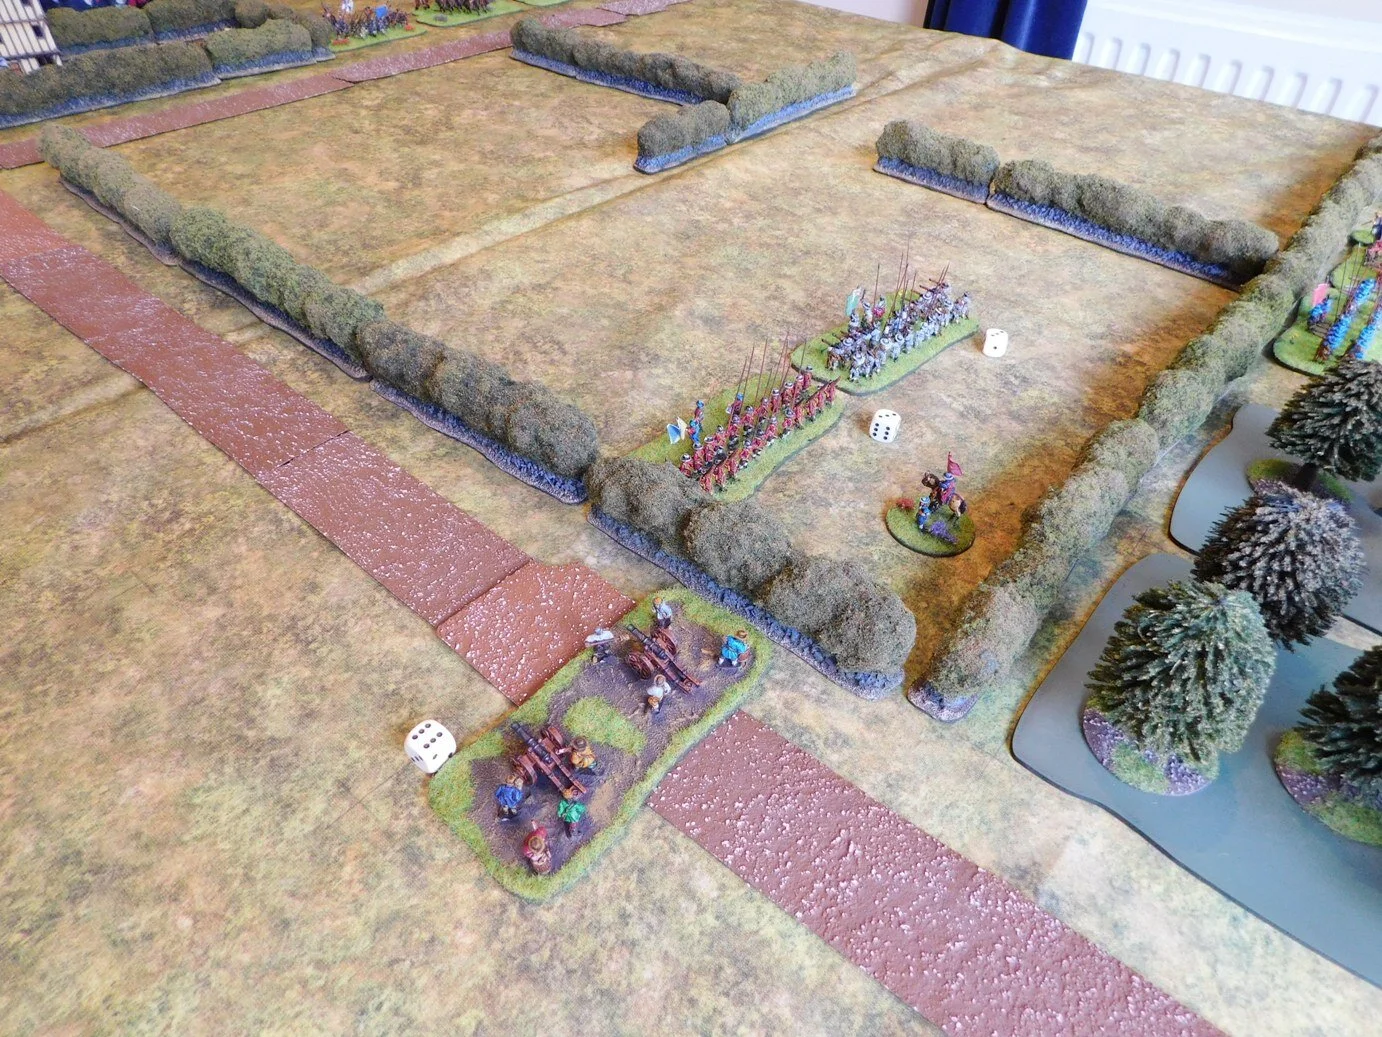
I popped in last week for nothing more than a quick browse and, whilst idly wandering around, noticed the book Crusaders by Dan Jones. As I’m thinking about adding a Crusader army to my TTS collection, I thought I’d buy it and give it a try. It’s been a long time since I studied anything to do with the Crusades, and even then it was a very cursory affair.

This book is excellent. Firstly, it’s written in a very accessible way. The action (the 1060’s through to the end of the 15th century) is detailed chronologically, with each set of Crusades detailed one by one. Everything is explained very clearly, so you quickly absorb the main timeline: 1st Crusade, huge success; 2nd Crusade, huge failure; 3rd Crusade, the one with Richard 1st etc.

On top of that basic information, the book is full of the sort of detail and quotes that brings the story to life: The twelfth Fatimid caliph of Egypt, al-Zafir, was murdered by his lover in a house near the sword-makers market in Cairo when he was twenty-five years old.”

Finally, I also liked the way it is written. When you start a chapter with the line When Najm al-Din Ilghazi ibn Artuq, co-ruler of Jerusalem, was sober he was a force to be reckoned with you really have to read on to find out what he was like when he was drunk! There are also plenty of maps, and some good lists in the appendices that allow you to easily check who a historical personage is in the unlikely event that you get a bit lost.

As a paperback, the book is about an inch and half thick: I read it in under a week.

Highly recommended.

TTS AAR: Assyrians and Egyptians Clash Twice

With lockdown restrictions easing, I was able to get in a couple of games of To The Strongest, with the width of the wargames table operating as an automatic social distancing device.

Friend Bevan and I decided to use the Egyptians and Assyrians: we’d have two games, keeping the terrain constant, swapping sides for the second game.

We opened with me commanding the Assyrians.

The Assyrian cavalry was massed on the right wing

I deployed in very much a traditional way: infantry in the centre, mounted troops on the wings. Wary of all the Egyptian light chariot units, my plan was to keep my line very much together and advance just into bowshot as one entity, aiming to concentrate fire from several units on any Egyptian lights that came into range and relying on the fact that one kill would knock one out.

The Egyptians massed all their chariots on their left wing, spreading their infantry across the battlefield from there. One thing I did immediately notice was that there were an awful lot of Egyptians on the table: a consequence of my smaller numbers of heavier, more veteran troops.

As the game began, the Egyptian chariots in front of my left wing faltered: apparently refusing to move until some bizarre religious rite had been fulfilled. This allowed me to advance forward so the flank of my line was protected by a piece of impassable ground.

The Egyptian chariots say “no”!

Eventually they did start to move forward. Well, some of them did. Bevan’s Guard Chariots turned smartly to their left and attempted the old switcheroo: heading for the other side of the battlefield. Although sometimes a successful ploy, this time it wasn’t. All that happened was that his elite troops spent the entire game shifting from right to left and never saw any action at all!

“Why not?” I hear you cry, “It can’t have taken that long to traverse the field!”. Correct, but in the meantime his other chariots had moved forward piecemeal and, as I had hoped, I was able to wipe them out with bowfire one by one. This left the Egyptian right wing hanging, with my veteran heavy chariots ready to pounce like the wolf upon the fold, to use an apt analogy. Bevan ordered a general retreat before this could happen!

The situation just before the end. Imagine the Egyptian chariots you can see at the top of the picture are no more, and my heavy chariots have swung round to flank the Egyptian line. The other Egyptian chariots are out of shot off to the right somewhere.

Game Two

For game two, I took the Egyptians. I deployed my chariots in a long line across the centre of the battlefield with my infantry in columns on either side. My plan was to advance together, shoot the enemy with my bows, and then have the infantry curl in from either side as he chased my evading light chariots.

Lure them into the centre, curl in from the sides.

What can I say except for the fact that it almost worked!

This was a terrific game that went on right to the point where both sides had only three victory coins left each. Both sides lost their camps, and both sides had many chances to finally polish the enemy off. In the end, Bevan gained the advantage, finishing me off by killing my last chariot unit with general attached.

My deployment was good, but I didn’t quite manage the infantry-curl-rounds correctly, being a little late on both sides i.e. I’d use this tactic again, but get the infantry into action a bit sooner.

Brilliant game, though!

Pharoah and the Shardana Royal Guard go into action

Robert Avery

FK&P AAR: Widbrooke Common Replayed

I had a chance to re-play the Widbrooke Common ECW scenario using For King & Parliament. I posted a long AAR from the first game so will limit myself to describing a couple of highlights this time.

wid1.JPG

For those who haven’t read the first report, the battle involves a Parliamentarian force emerging from a road through hedges to engage a Royalist force waiting for them on the other side of the eponymous common.

The game played in quite a similar way to last time, with both sides’ cavalry on the Parliamentarian right flank (i.e. right side in the picture above) coming together a few turns before the infantry met in the centre.

Once again, the Parliamentarian Dutch horse won the encounter overall, but lost a unit to pursuit. The other, however, crashed in to the left side of the Royalist infantry line in what turned out to be the coup de grace.

One unit of Royalist cavalry did break through, and went on to wipe out the Parliamentarian dragoons despite the fact that the latter were in cover behind a sizeable hedge. The Cavaliers then also disappeared off the battlefield: again showing how effective cavalry are in FK&P…but only once!

Another interesting incident was the way that the Royalist cavalry managed to bottle up the Parliamentarian reinforcements in a field. Ultimately, it didn’t have any effect on the result of the battle, but interesting anyway.

So another Parliamentarian victory, and it’s on to the battle for Pinkney’s Court next time.

More for the Painting Challenge

Morning all!

Almost a week since my last post: my apologies but the real world got in the way of wargaming! Trying to keep a company going during lockdown is a tough business and sometimes I just can’t face another session on the PC.

Anyhow, enough of my griping: time for another update to this year’s Painting Challenge. A bumper crop of entries this week, including the return of Ashley Pollard: someone who, after a good start back when the Challenge first began, hasn’t taken part for the last couple of years. Welcome back,and I love the colour scheme on the spaceships.

Make sure you visit everyone’s gallery, and here’s a sample of this week’s entries, one from each person submitting something.

IABSM AAR: Ost Front 1944

Another great little game from Julian Whippy and friends, taken from the IABSM Facebook Group.

Its the Eastern Front in 1944. The Bagramyans drive to the coast of Lithuania with 5th Guards Tank Army, colliding with Gross Deutschland and 551 Volksgrenadiers. The Russians had to clear the railway station and blow up the railway line with engineers before a train arrived in Turn 10.

Click on the pic below to see all.

Last of the 100YW Figures (for the moment)

One unit of billmen and a couple of command figures.

That’s all I’ve been needing to bring my English 100YW army for To The Strongest up to 130 points without having to use any proxies for a couple of months now…and I’ve finally got round to painting them.

The figures come from Gladiator Games, and were delivered promptly with their usual excellent service.

I must confess that I don’t much like these particular figures from the range (the bills are all bendy, and all held in the same slightly weird way) but they are done! The longbowmen and knights are much better.

The command figures came out a bit better:

So that army is now temporarily “done”.

On to finishing the Romans and more ECW.

FK&P AAR: Widbrooke Common

With lockdown easing, K. (daughter #1’s boyfriend, trapped with us for the duration, now a keen wargamer) was able to travel back to his native Ireland, so it was with a heavy heart that I took the news that he was going to visit his mother for three weeks. This was serious stuff: who was going to do the cooking and, obviously more importantly, who was I going to wargame with?

We decided to see him off with the next For King & Parliament English Civil War scenario in my North Wessex campaign.

For this encounter, the Parliamentarians under Sir Christopher Grey have discovered that the well-drilled and armed Royalist foot that did them so much damage last battle have been requisitioned by the King and sent to fight further west. This leaves Sir John Boulters, Royalist commander around Maidenhythe, very short of infantry: he must now rely on hastily recruited farmworkers from the Cookham area. Sir Christopher now leads his men towards Maidenhythe, seeking to take advantage of his erstwhile friend’s shortage of good quality foot. Grey’s men are strengthened both by reinforcements and a supply of arms and ammunition, including a couple of cannon. The two forces will meet half way between Cookham and Maidenhythe, at Widbrooke Common.

The set-up from the Parliamentarian side

And from the Royalist side

The Royalists have their back to a small splash-across stream. They have brigades of seasoned horse on either flank, and their untried, pike-heavv foot in the centre. Finally, they have a Forlorn Hope in the farmhouse on the right hand side of the field.

The Royalist infantry (the smoke markers represent an Untried unit yet to test for first-time nerves)

The Parliamentarians are just coming on to the common from the farmland immediately south of Cookham. Their Dutch horse has secured their right flank, half their foot is busy deploying in the centre, with the other half still in the process of arriving on the left flank. Their cannon have set up on or near the road: the common looks a bit soft for the guns!

The Parliamentarian Horse

The Parliamentarian Centre

The Battle Begins

One unit of Parliamentarian horse advanced forward quickly, the other two inexplicably lagging behind. This advanced unit was met by the three squadrons of Cavalier cavalry, also advancing strongly. In the resultant clash, the Parliamentarian horse was swept from the field, but one unit of Royalist horse had been lost, and another had set off in hot pursuit of their fleeing foe.

Note that the lost Parliamentarian cavalry squadron was my newly painted Dutch Horse unit, thus proving the adage that a unit never performs well on its first outing on the tabletop!

Meanwhile, the Royalist infantry advanced forward strongly, and the Parliamentarian foot on the left flank joined battle with the Royalist Forlorn Hope in the farmhouse.

Opening Stages

The main action continued with the cavalry. The pursuing Royalists ran over the Parliamentarian Dragoons, who had inexplicably pushed their way through the hedge in front of them rather than hiding behind it. This left the Royalists still in pursuit, jumping the hedge themselves as they headed off table to the Roundhead rear.

“That Be a big hedge, Jethro!”

Meanwhile, the other Parliamentarian horse had finally worked out how to get their steeds to go forward, and crashed in to the other remaining Royalist squadron. Honours were even in this fight, with each side losing a squadron, but that left one unit of Roundhead cavalry in a superb position behind the main Royalist infantry line.

Big problem for the Royalists!

Fortunately the Royalists had a reserve in the form of Sir John himself at the head of his Cuirassier Bodyguard. As the two infantry lines came together, Sir John led his loyal lobsters forward: outnumbered two-to-one.

This was actually an epic encounter, as Sir Christopher Grey was also at the head of his Cavalerie. The two commanders were therefore leading their horse directly against each other!

This proved a good move tactically, but a disaster for Sir John himself: seriously wounded in the clash that followed, he was carried from field, close to death, his Cuirassiers fleeing around him pursued by the Roundhead cavalry. History, unfortunately, does not record whether the two former friends actually met each other in the melee.

Worse was to follow. Although on the other side of the field the other Royalist horse had managed to flank charge a battalia of Untried Parliamentarian militia, the boys from Medmenham proved a tough nut to crack: quite frankly refusing to break no matter what the Royalists did.

The first flank charge goes in!

And worse! In the centre, the Untried Royalist foot wavered at the sight of the Roundhead foot in front of them, doubtless also unnerved by the fall of Sir John. Gradually the Royalist line began to bow backwards, and then suddenly broke: all victory coins gone. The Roundheads had won the day!

Just before the Royalist line broke

Aftermath

A great battle, and a suitable victory for K. as he heads off home.

The Untried Royalist foot proved no match for the seasoned Parliamentarian battalia, but it was really the two cavalry actions that decided the day. On the Royalist left, honours proved even with both sides losing the same number of units, but the Royalist horse left the field in pursuit whereas the Roundheads managed to rally and found themselves nicely behind the Cavalier line. On the Royalist right, the cavalry should have KO’d at least one of the infantry battalia they hit in the flank, but just couldn’t quite break them: they breed them tough in Medmenham.

But it was the wounding of Sir John and the dispatch of his Bodyguard that really did for the Royalists. It was an encounter that could have gone either way - a small but veteran Cuirassier unit versus a much larger but less protected Dutch horse squadron - but, as it was, the clash, and therefore the battle as a whole, went to Parliament.

Robert Avery