IABSM AAR: Anzio 'Wildcat to Whale' #02: Carroceto

Here’s a great I Ain’t Been Shot, Mum AAR from Tim Whitworth and his friends at The War Room featuring the second scenario from the Anzio ‘Wildcat to Whale’ scenario pack.

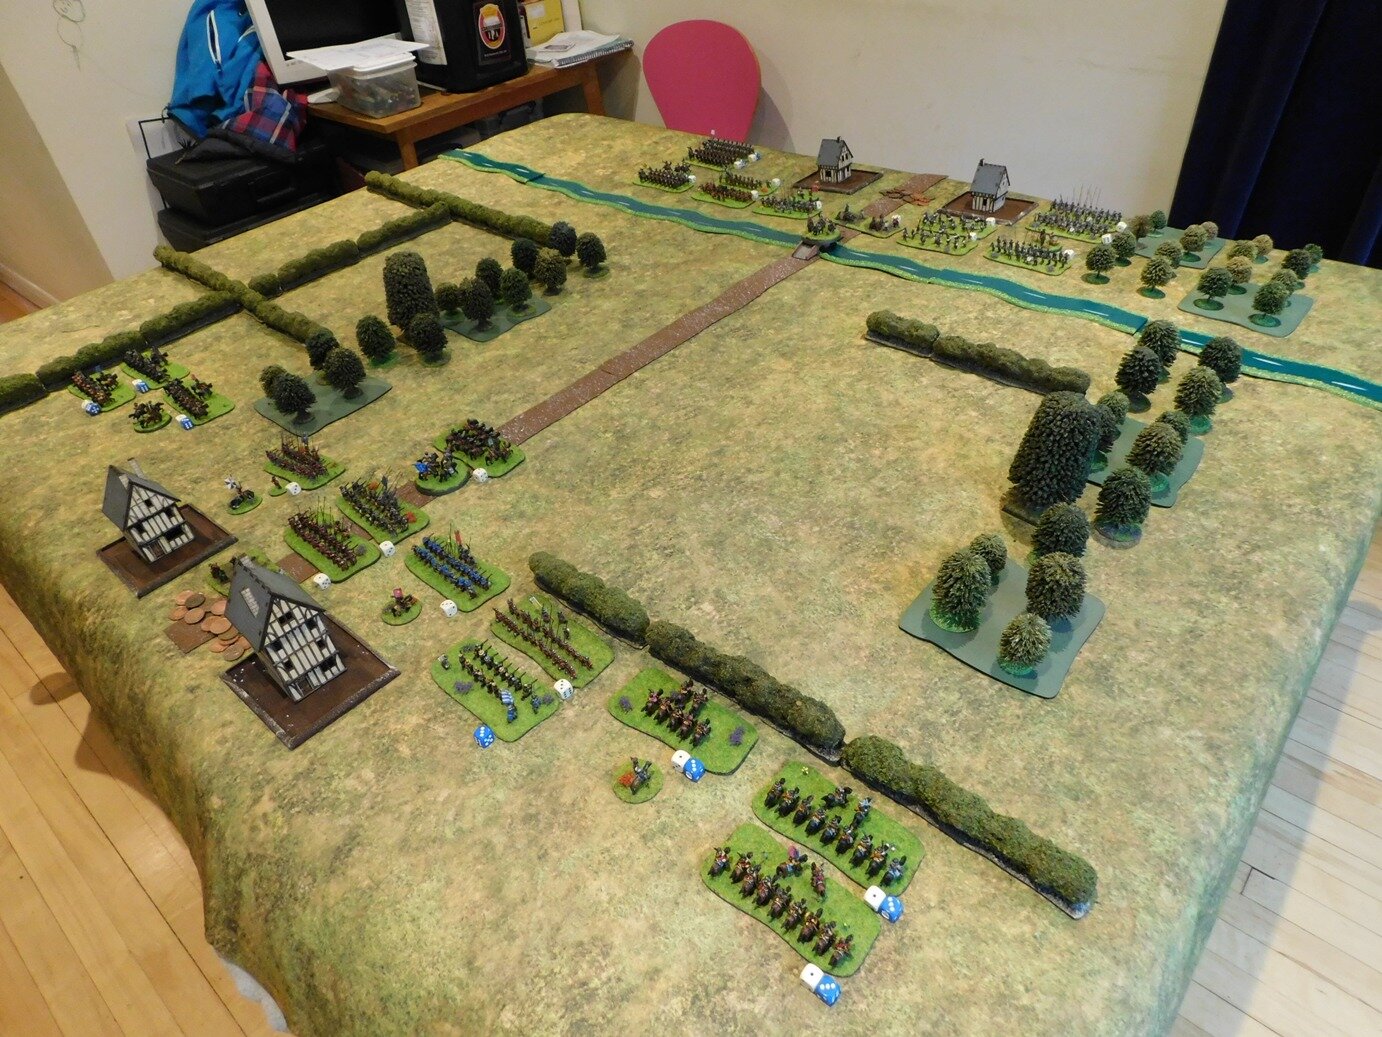
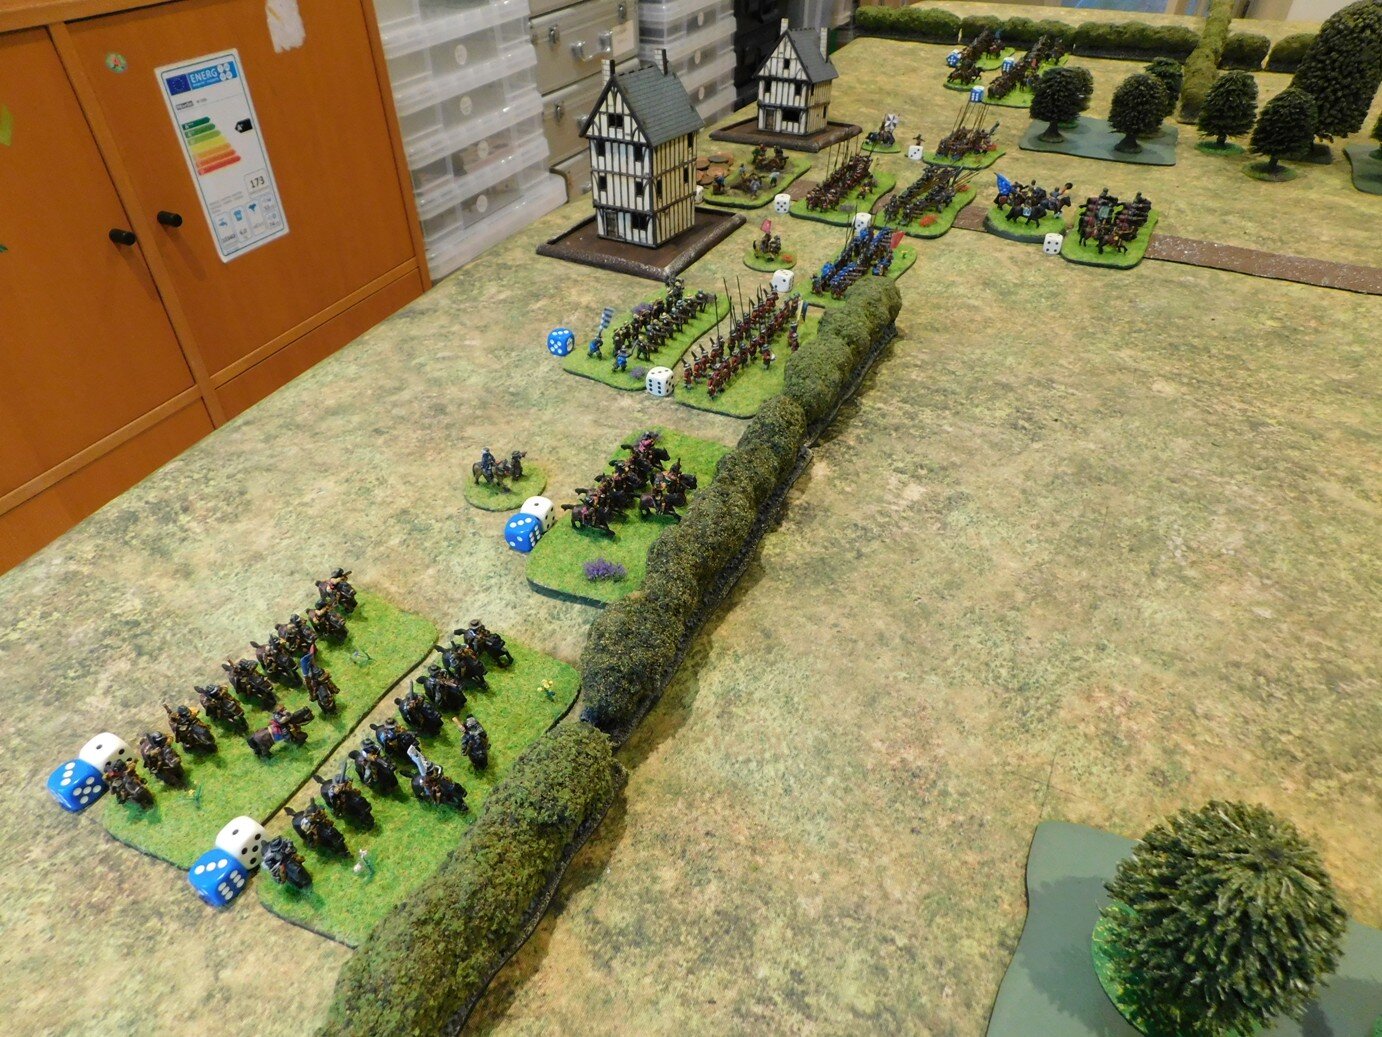
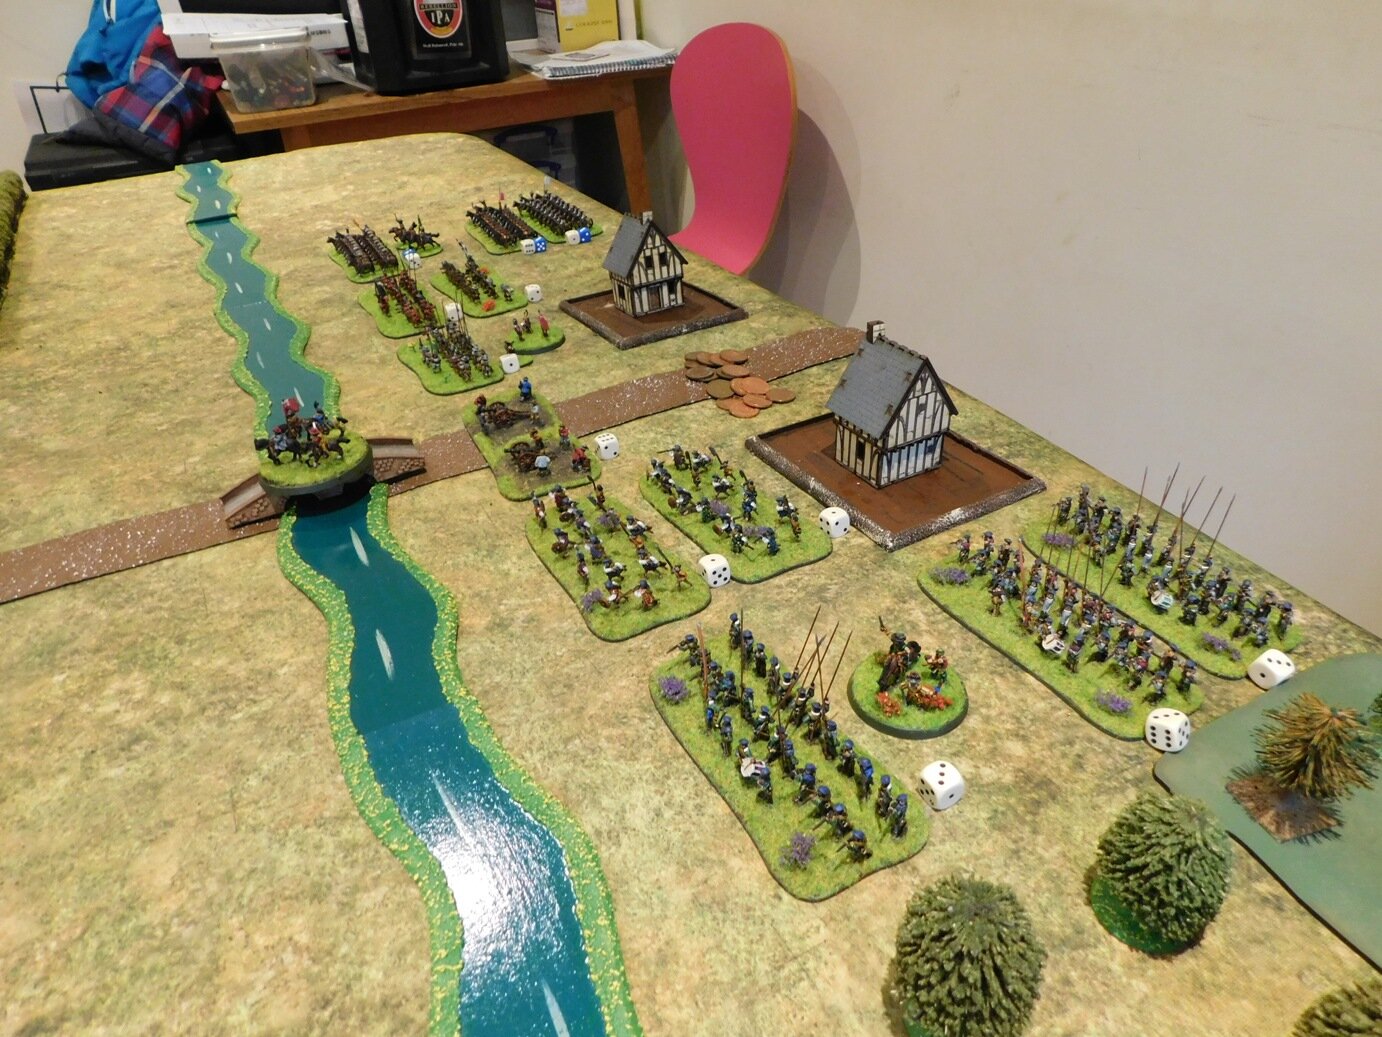
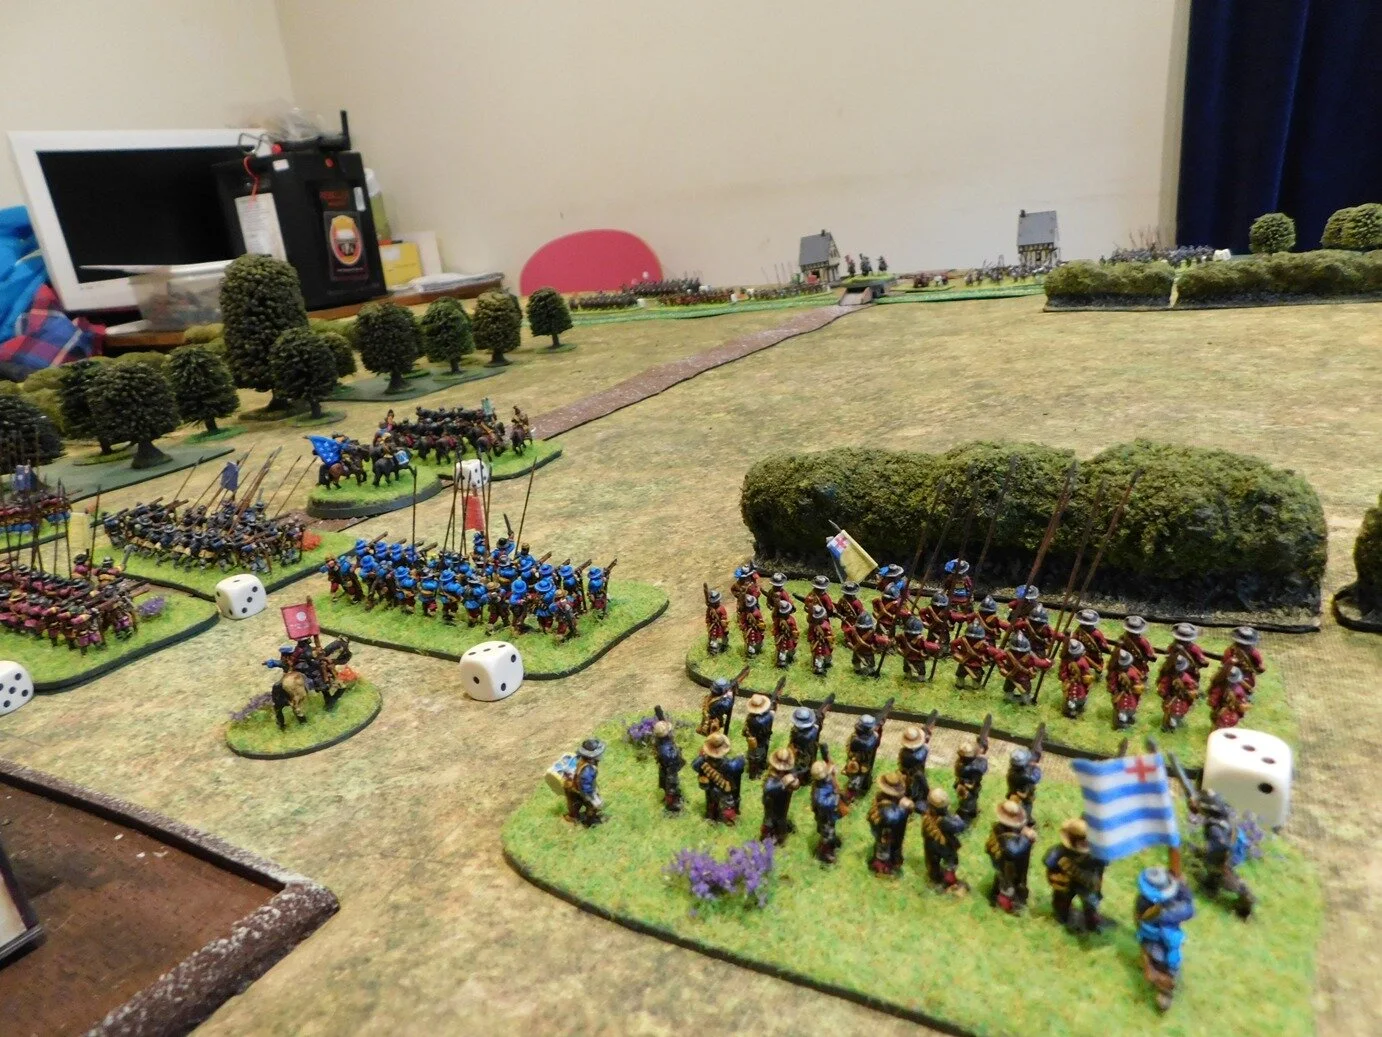
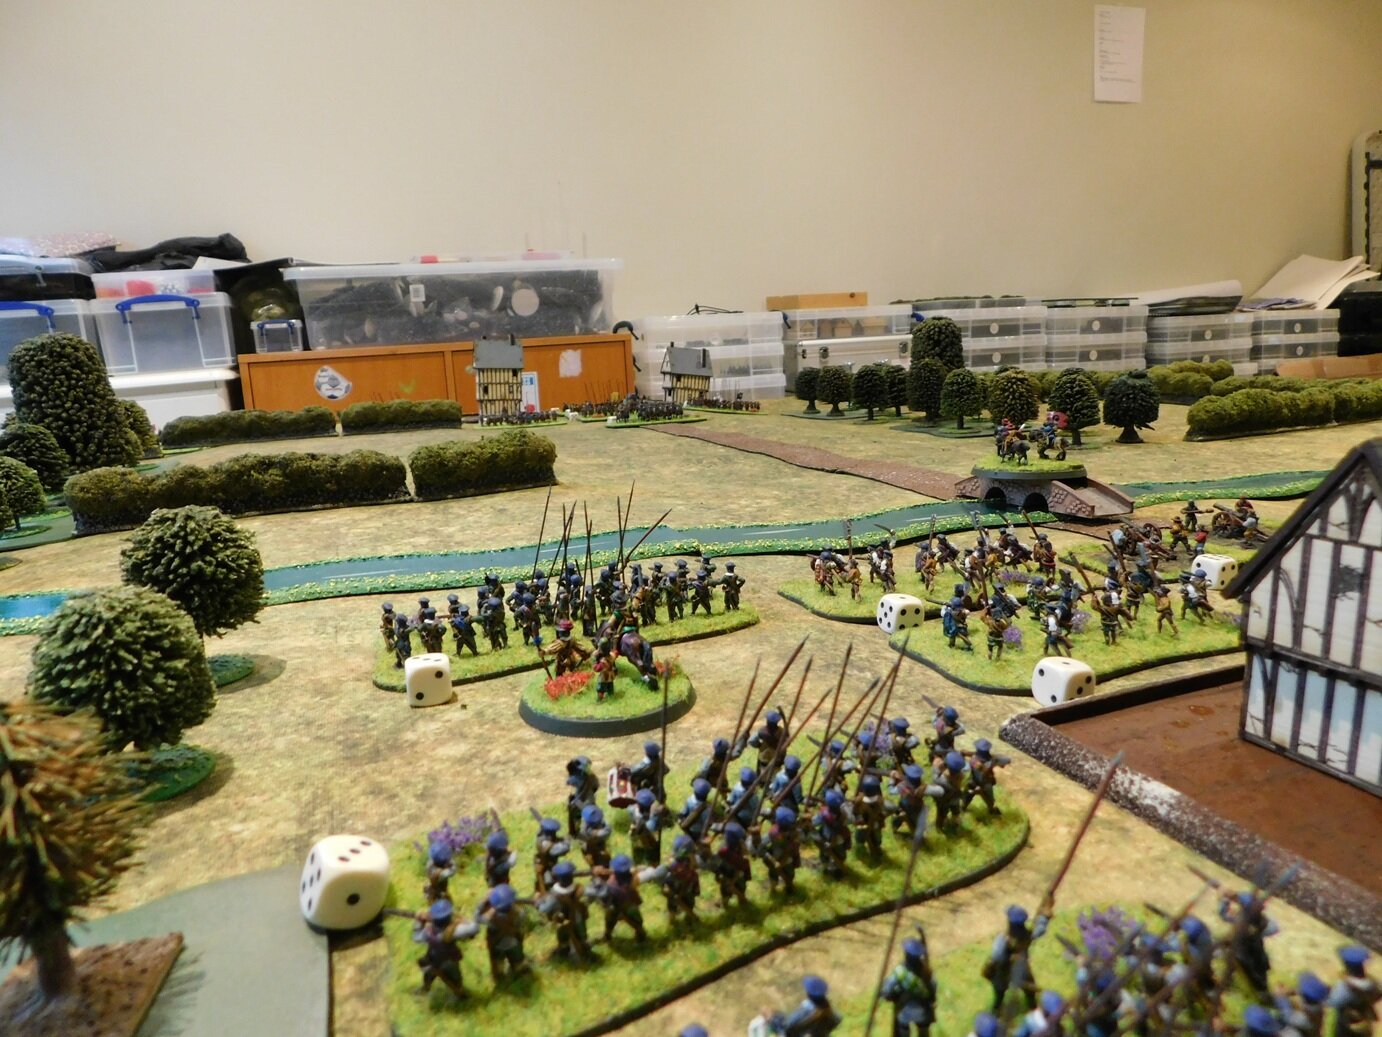
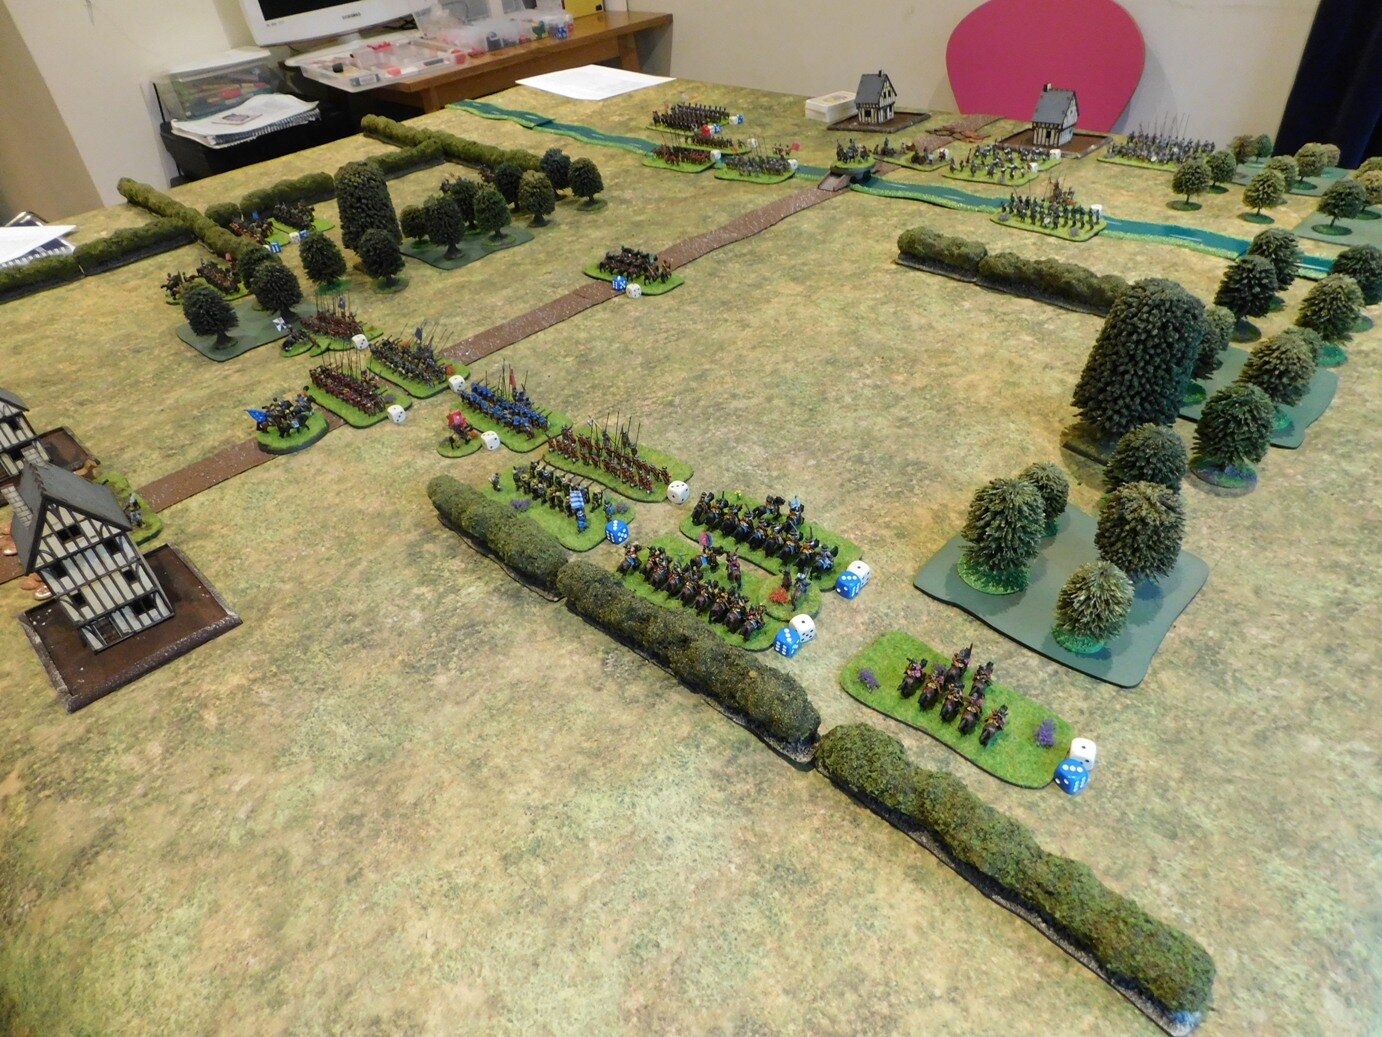
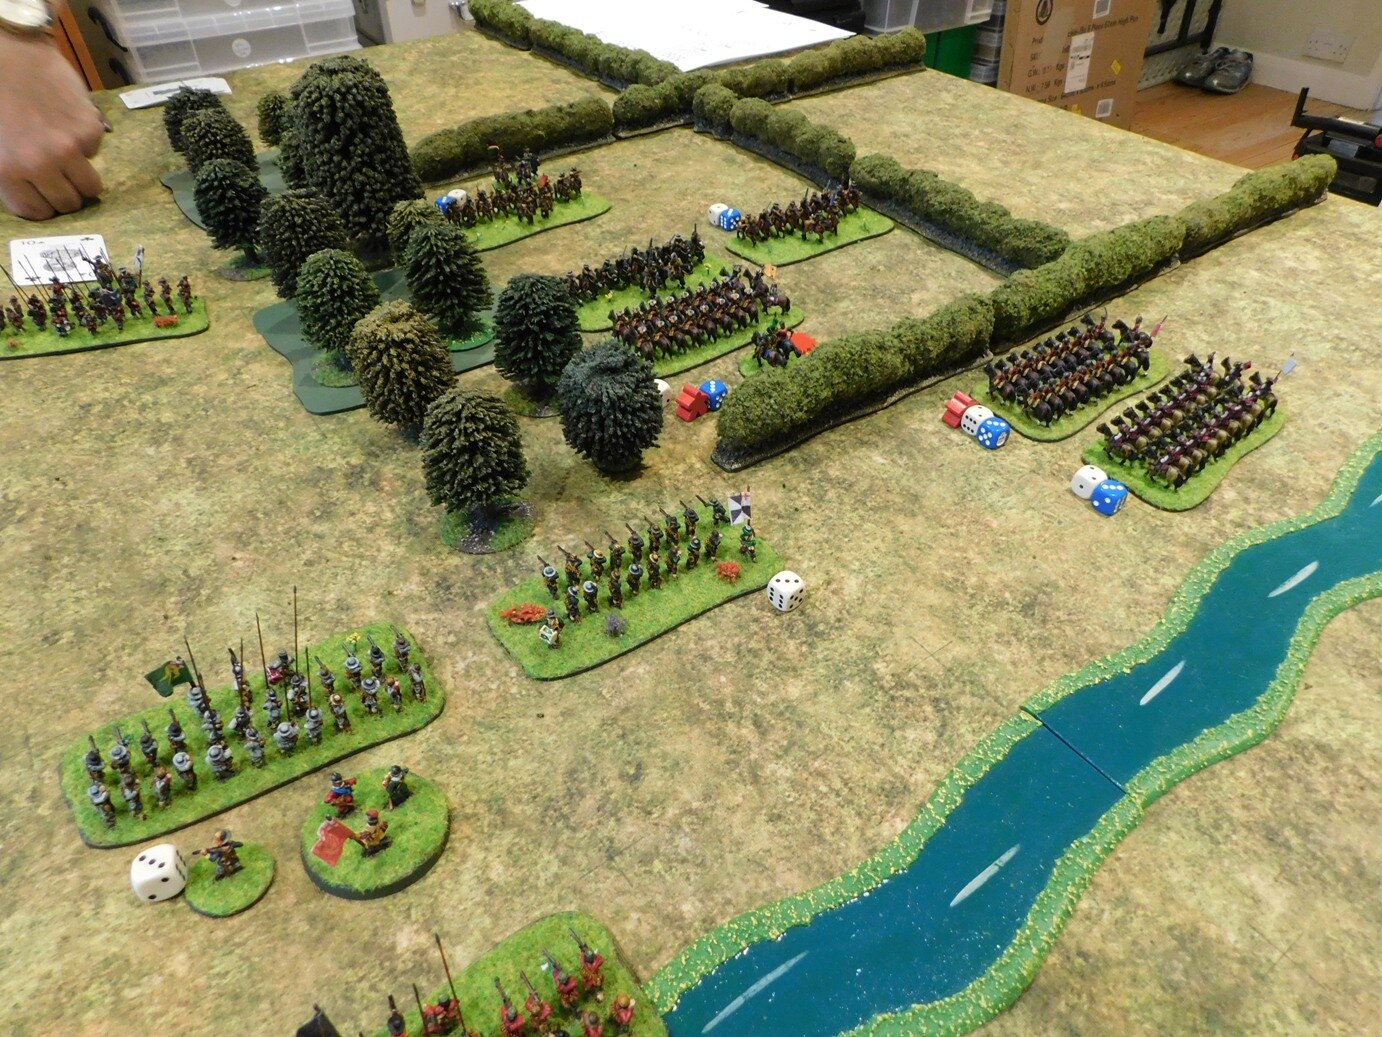
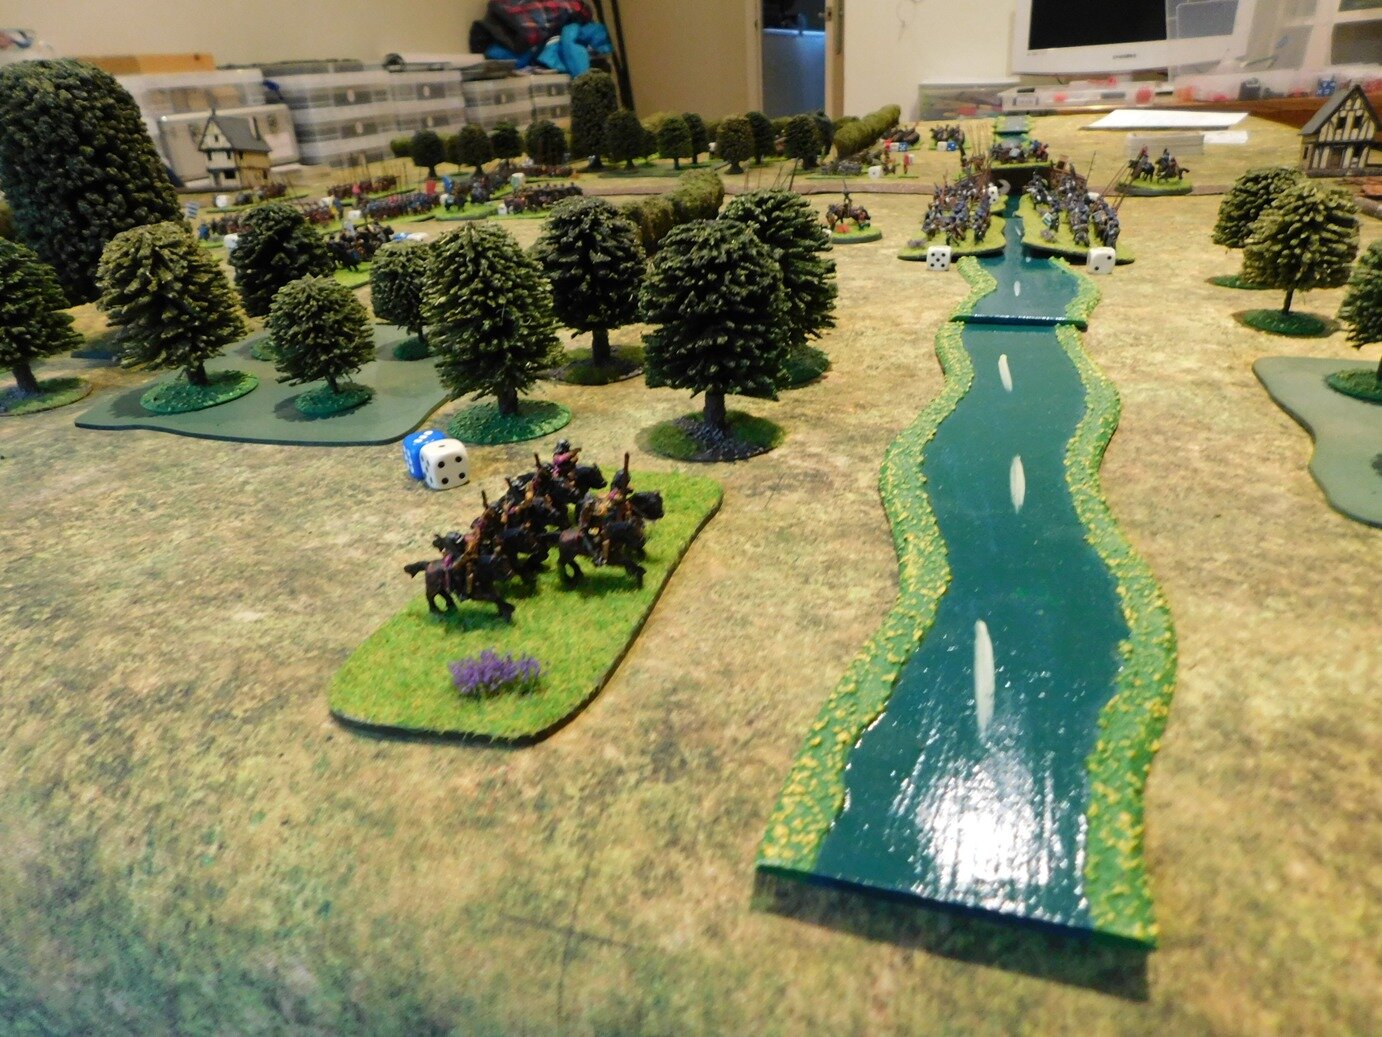
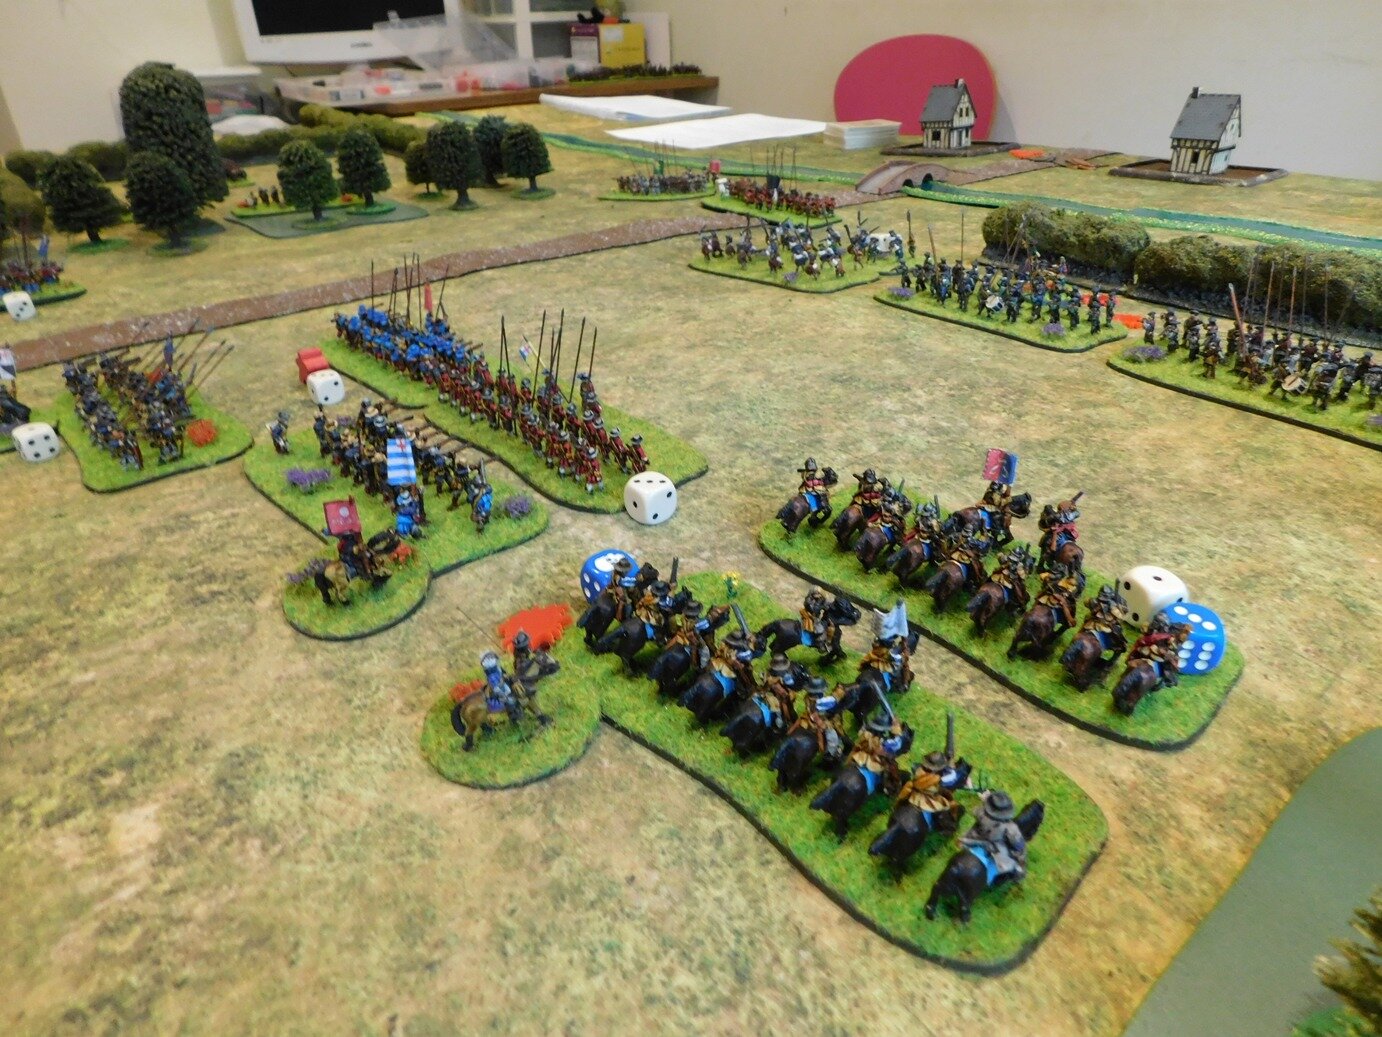
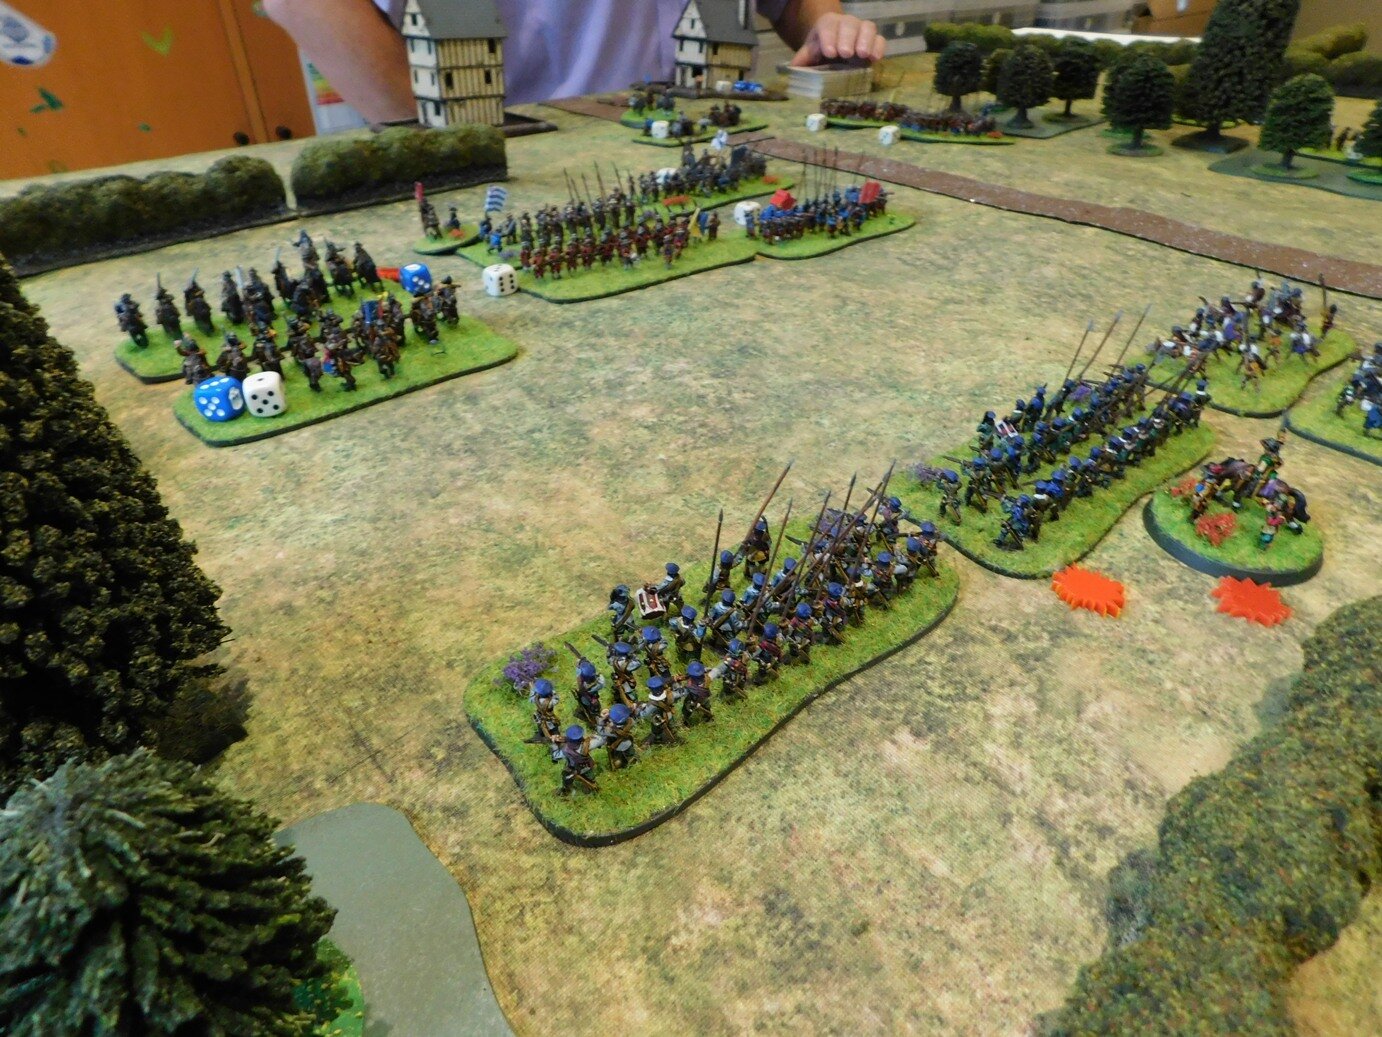
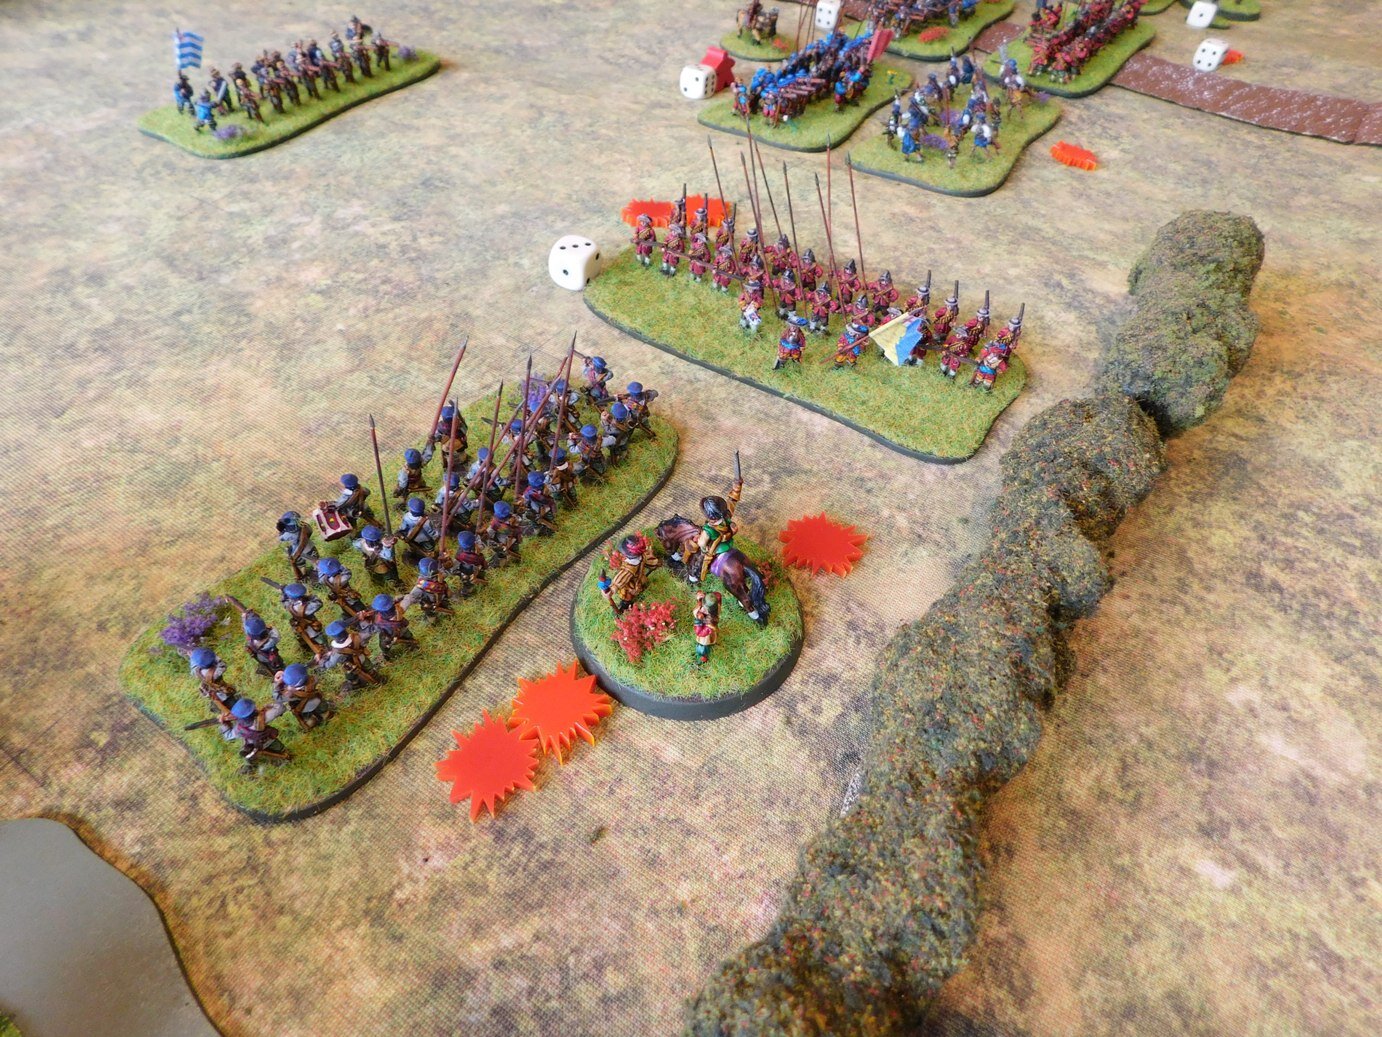
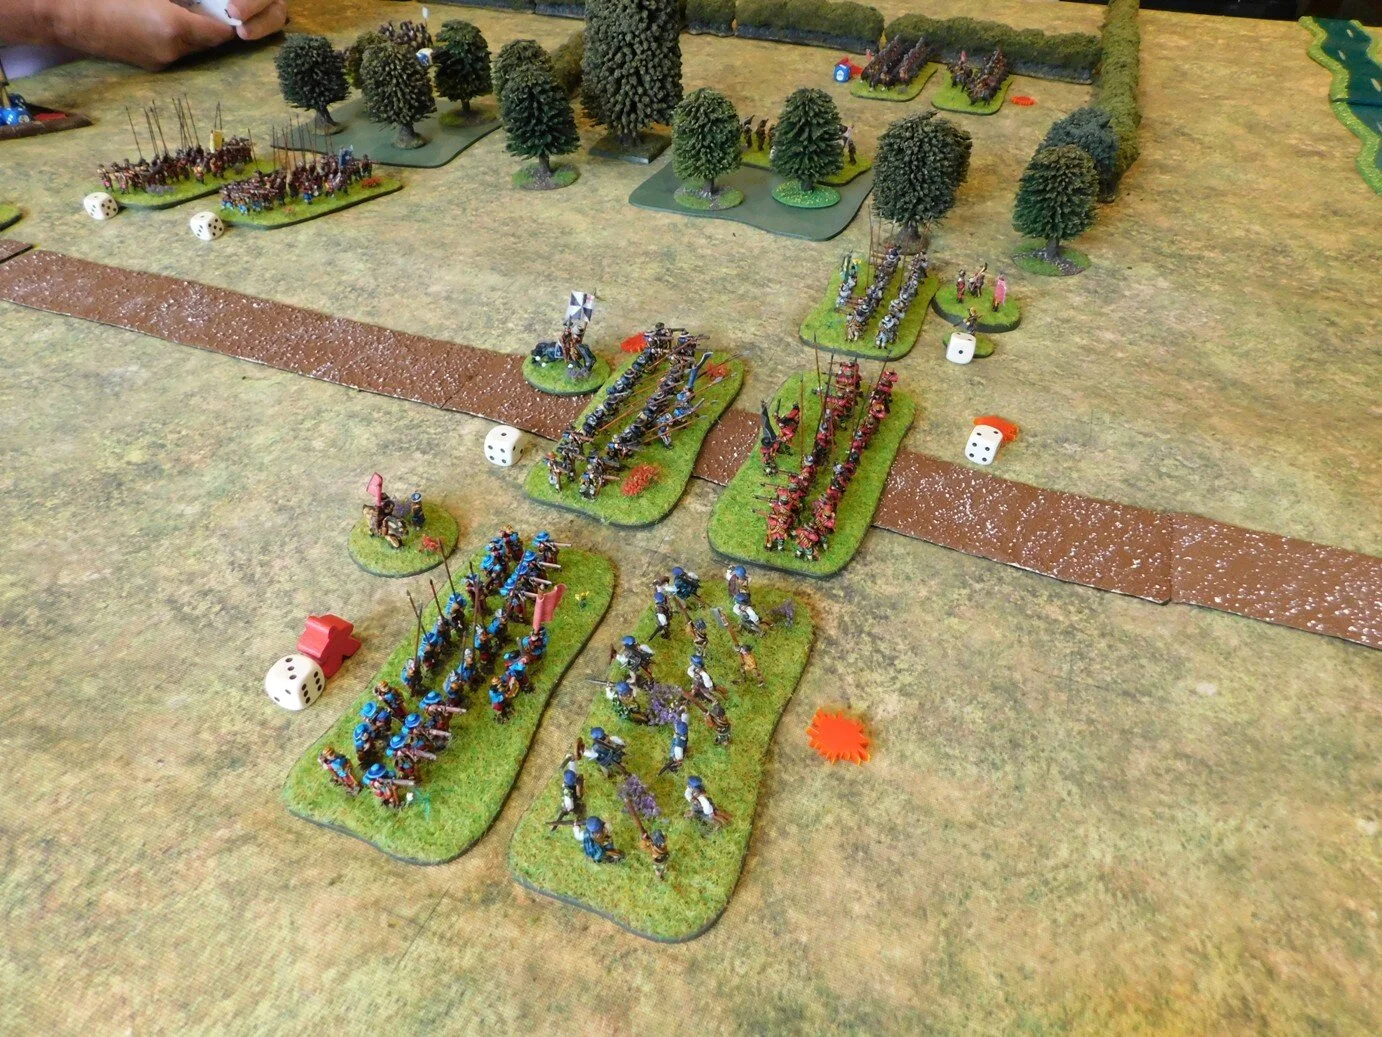
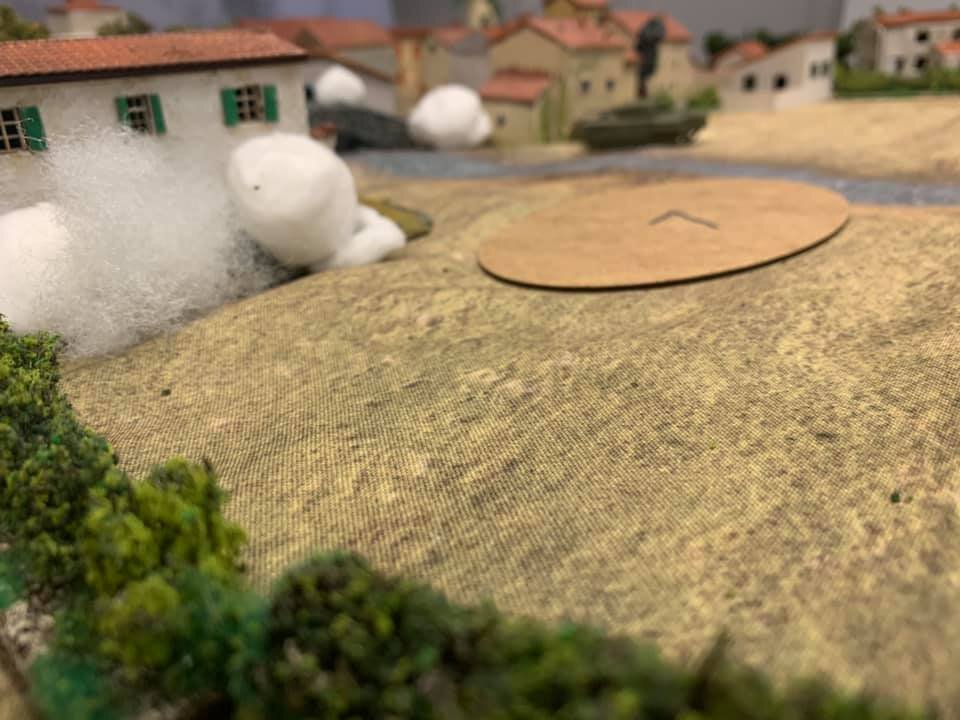
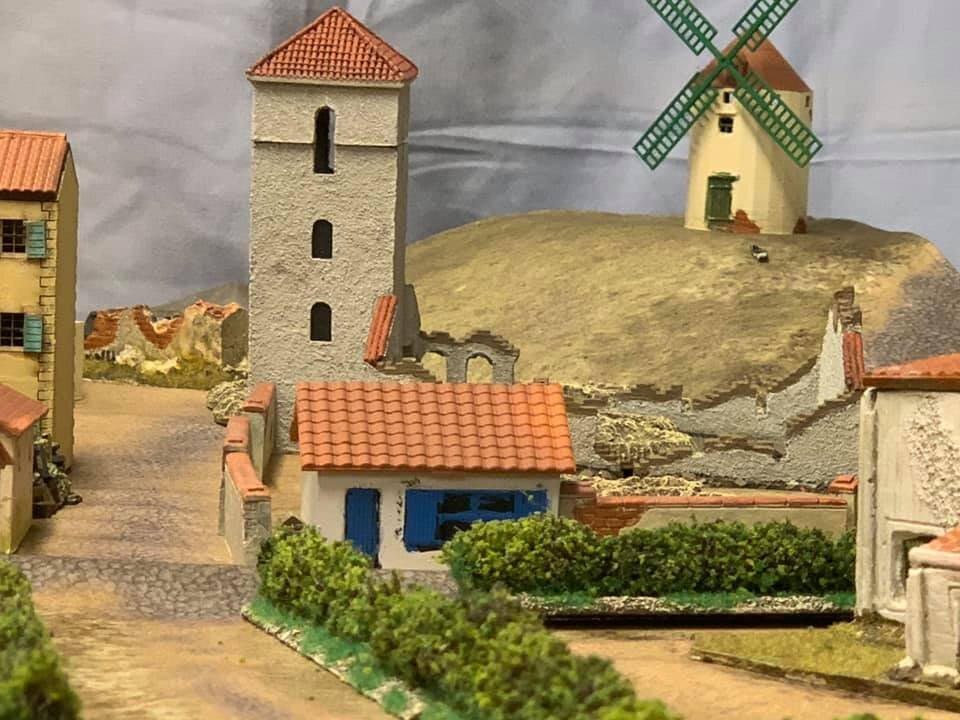
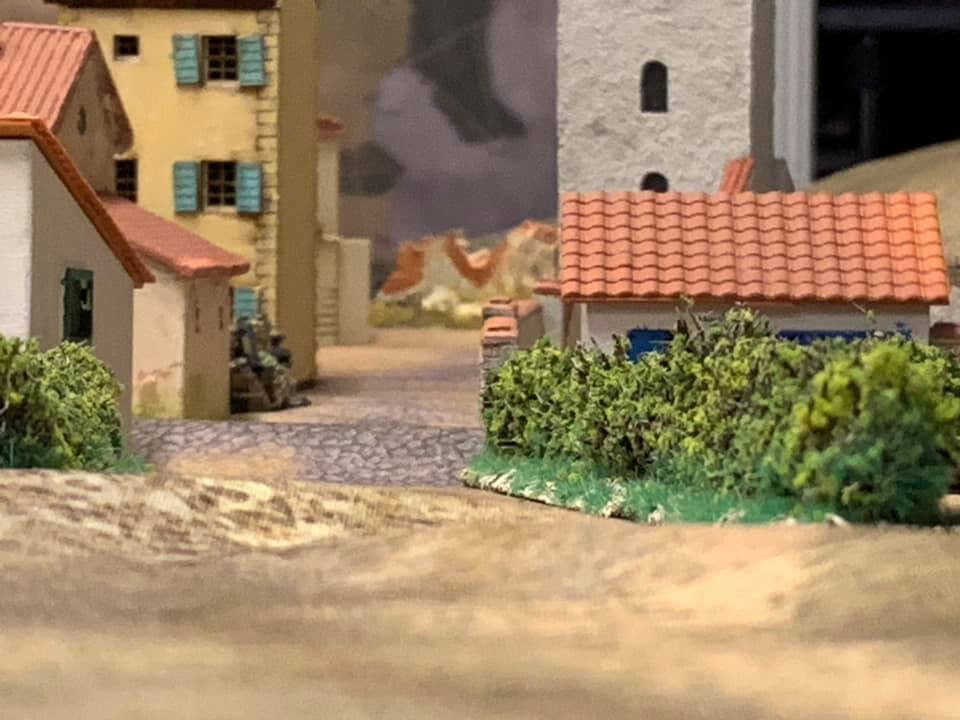
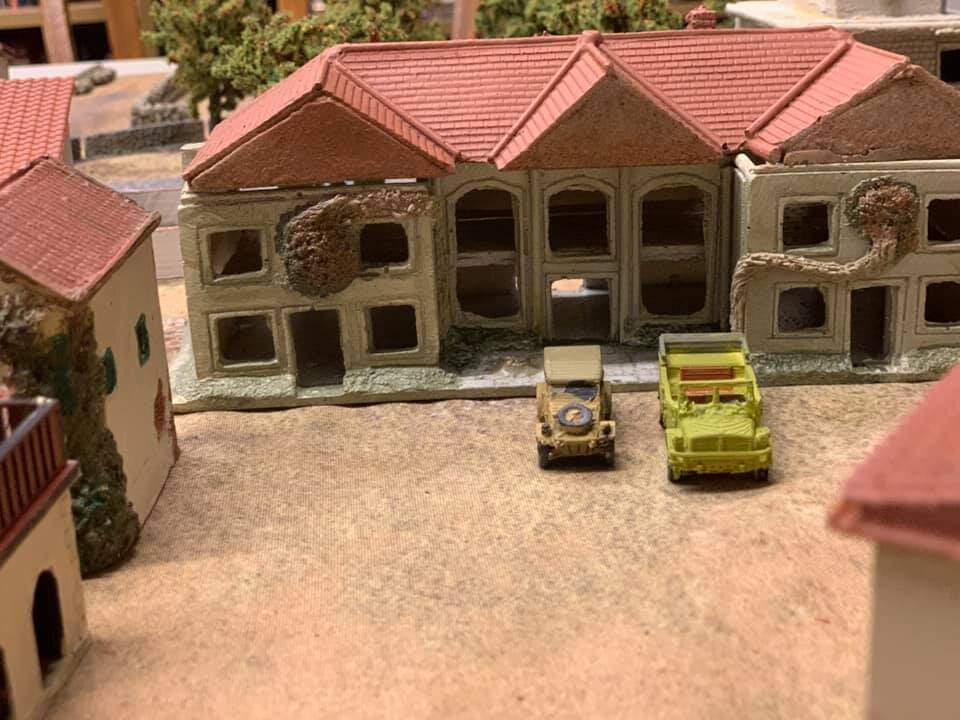
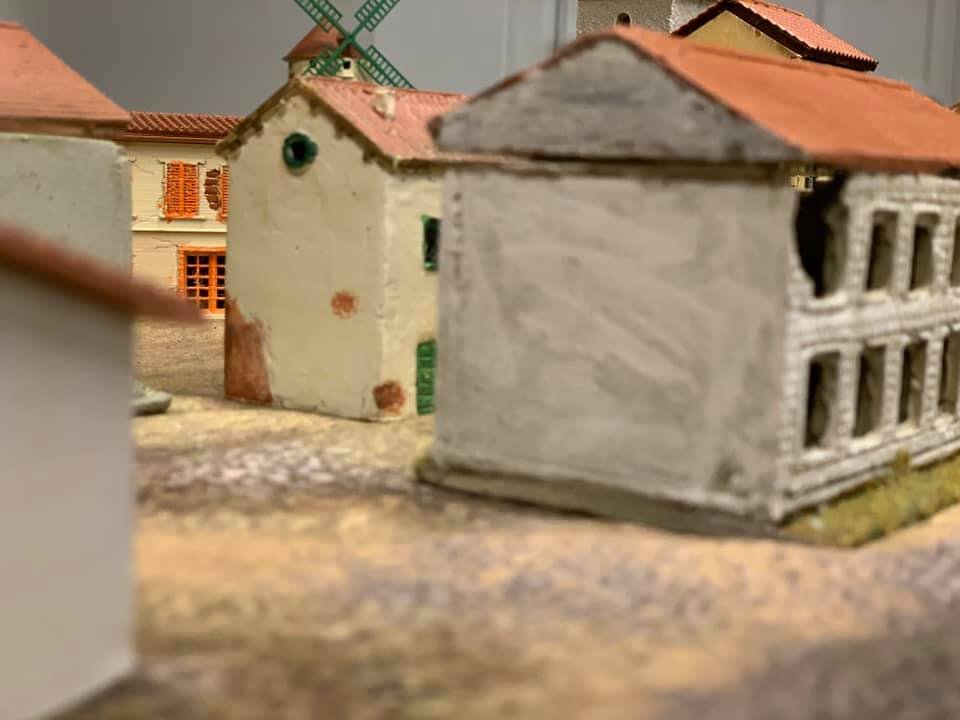
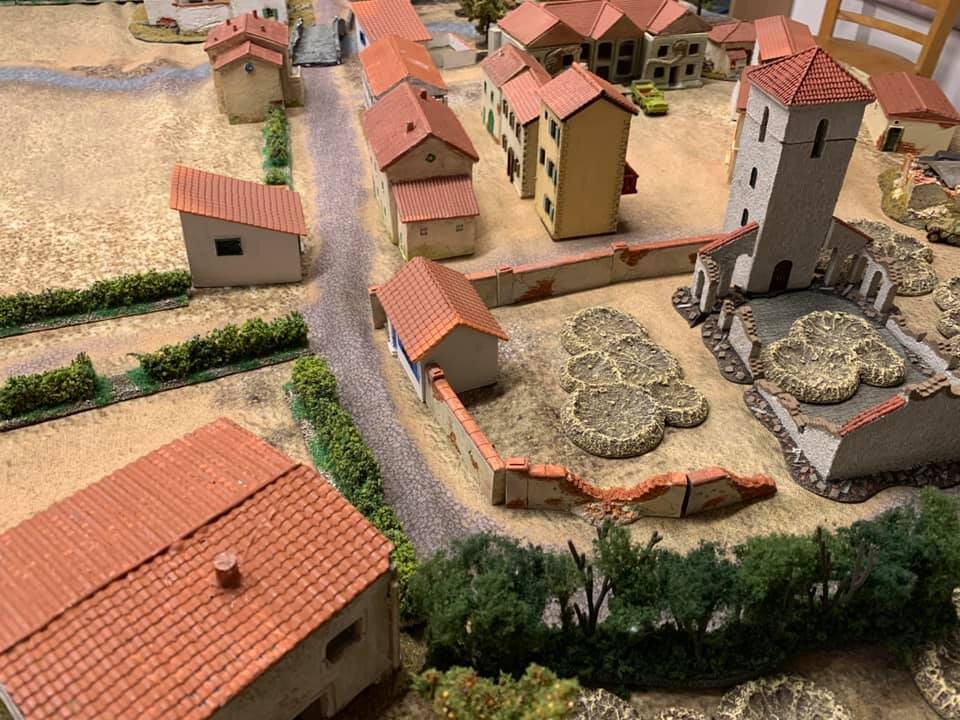
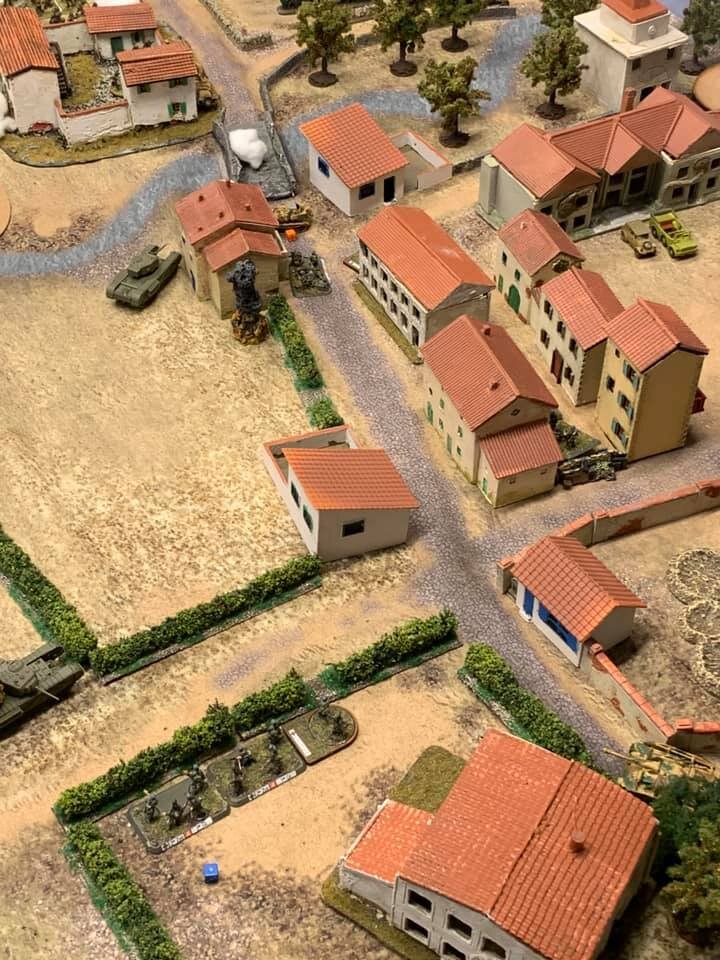
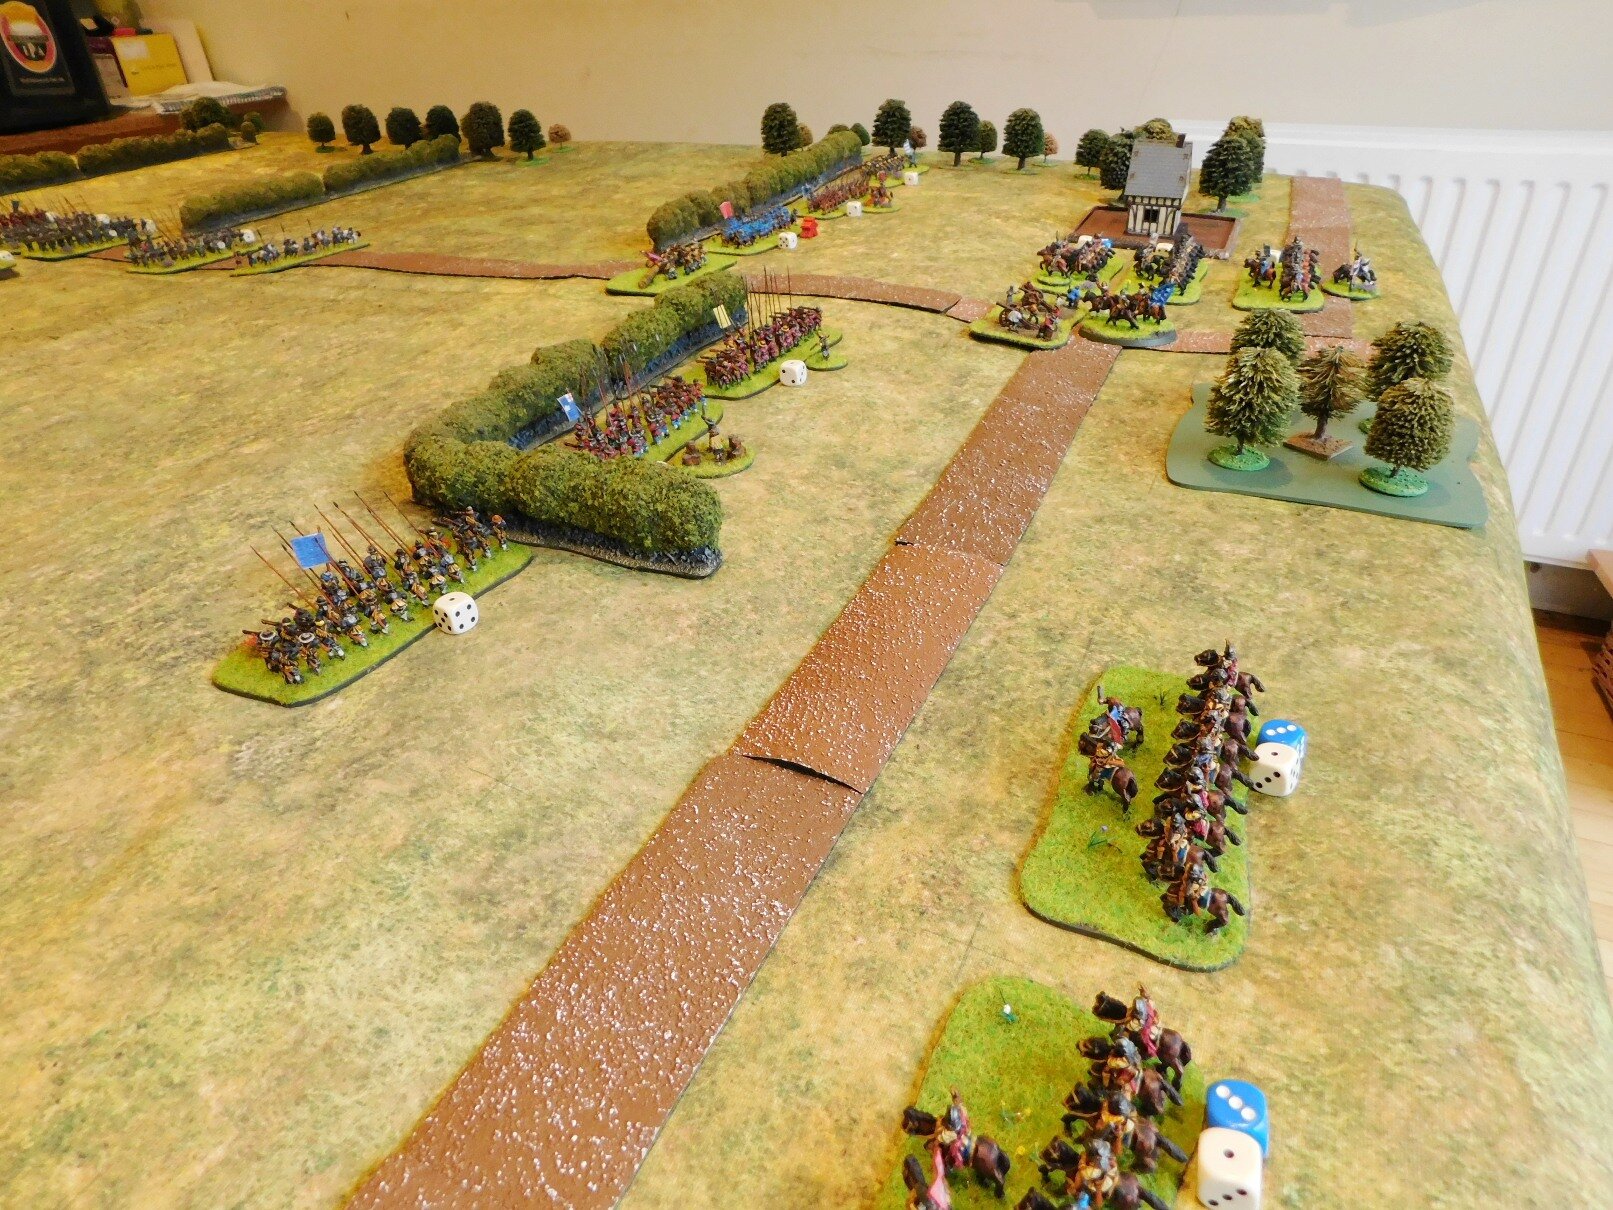
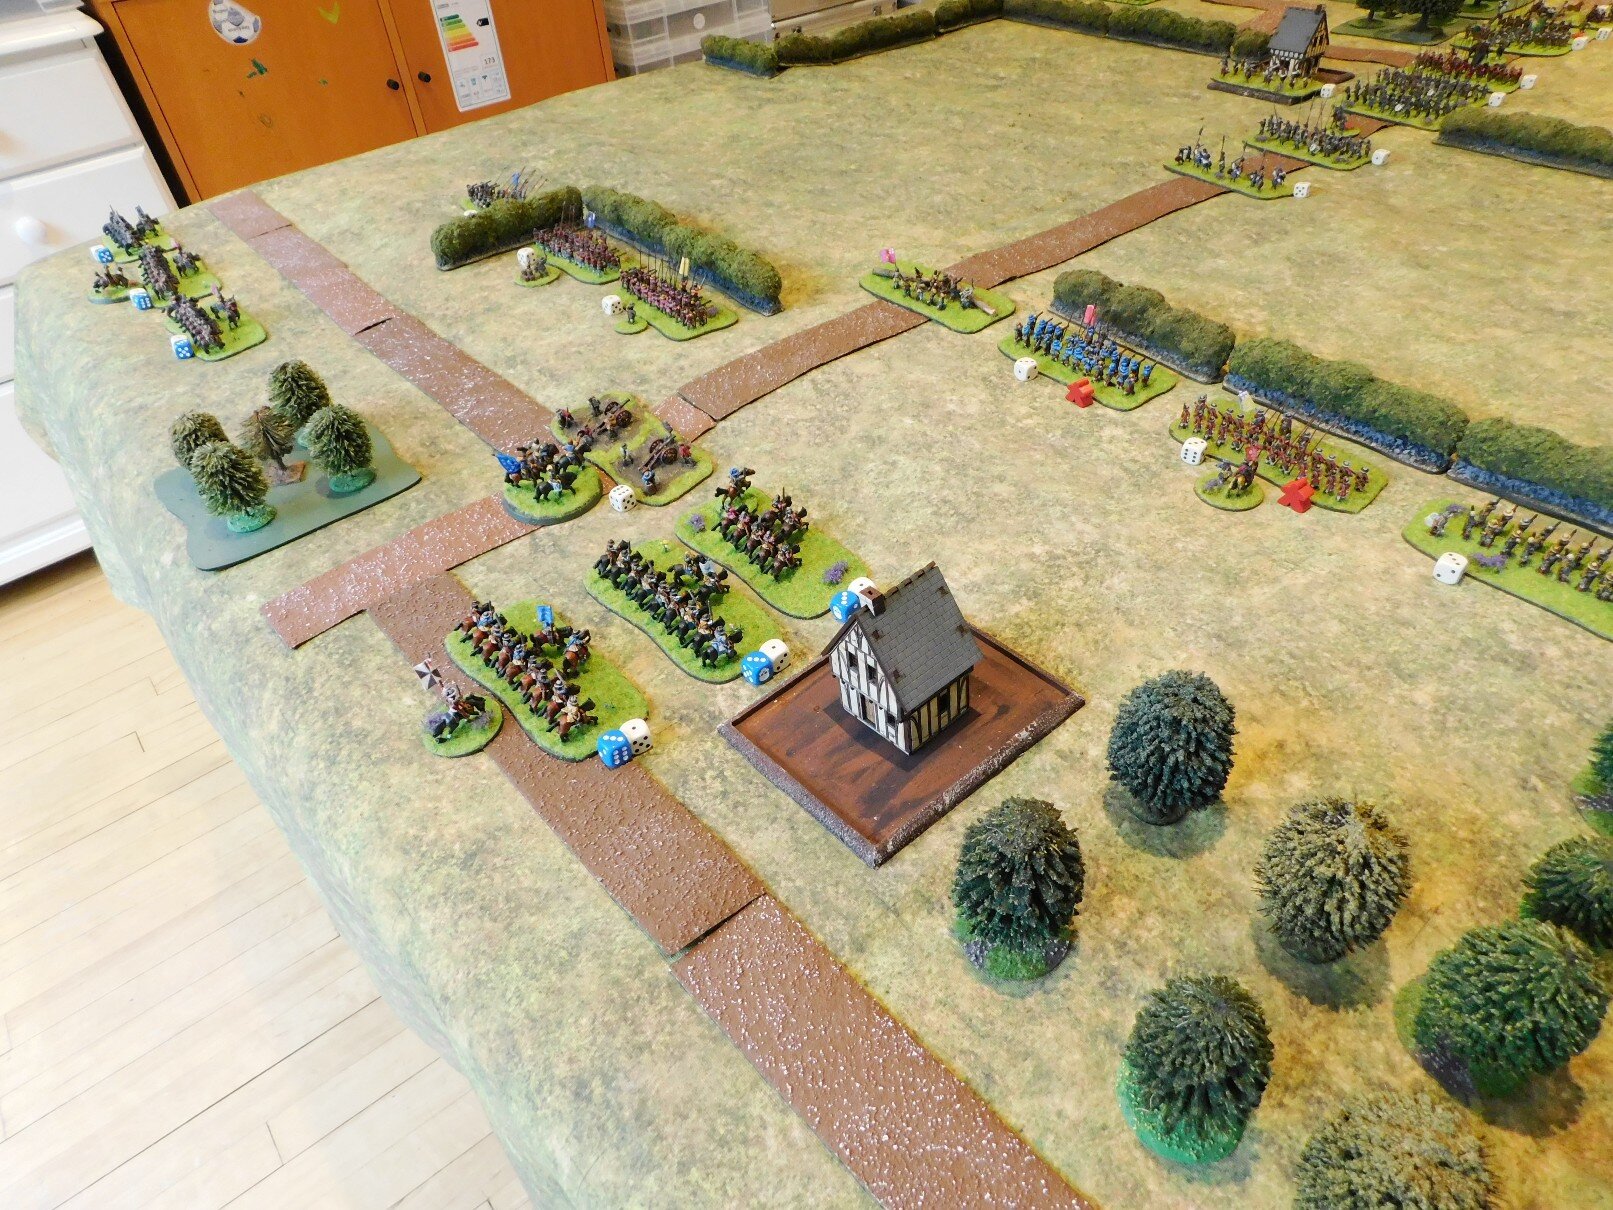
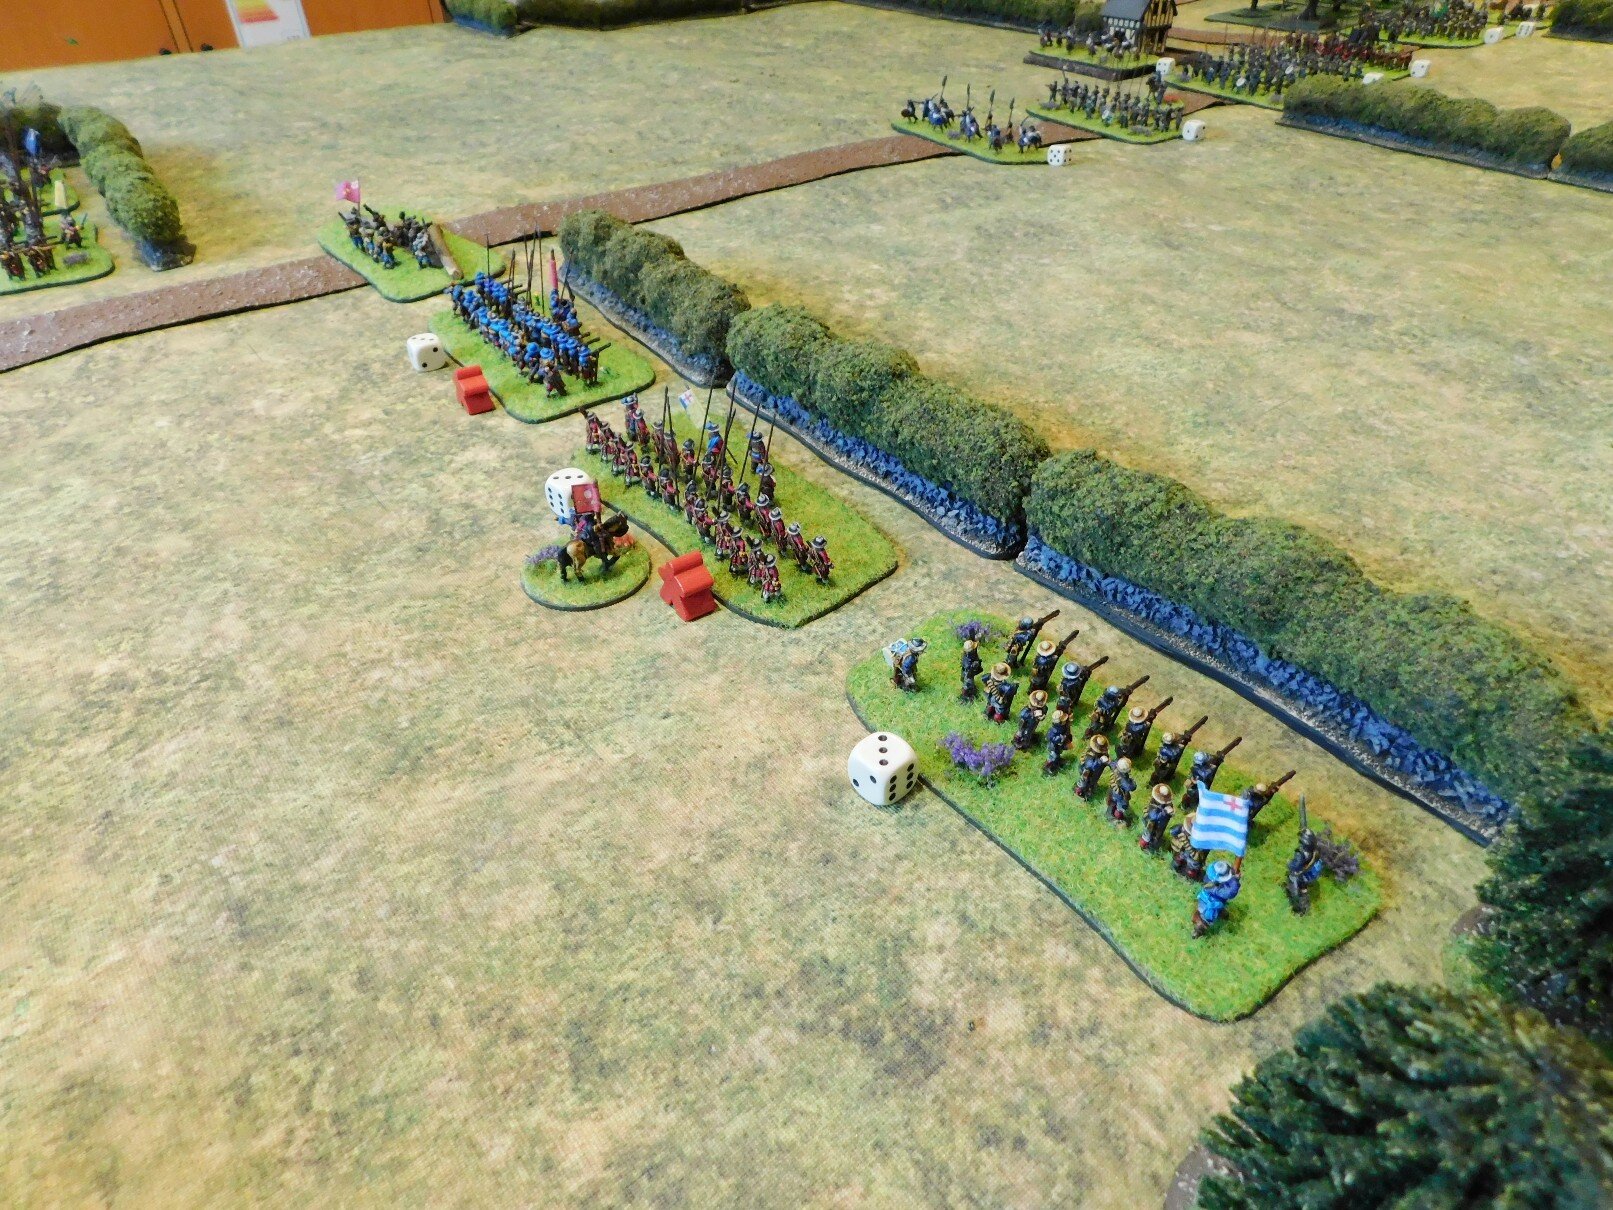
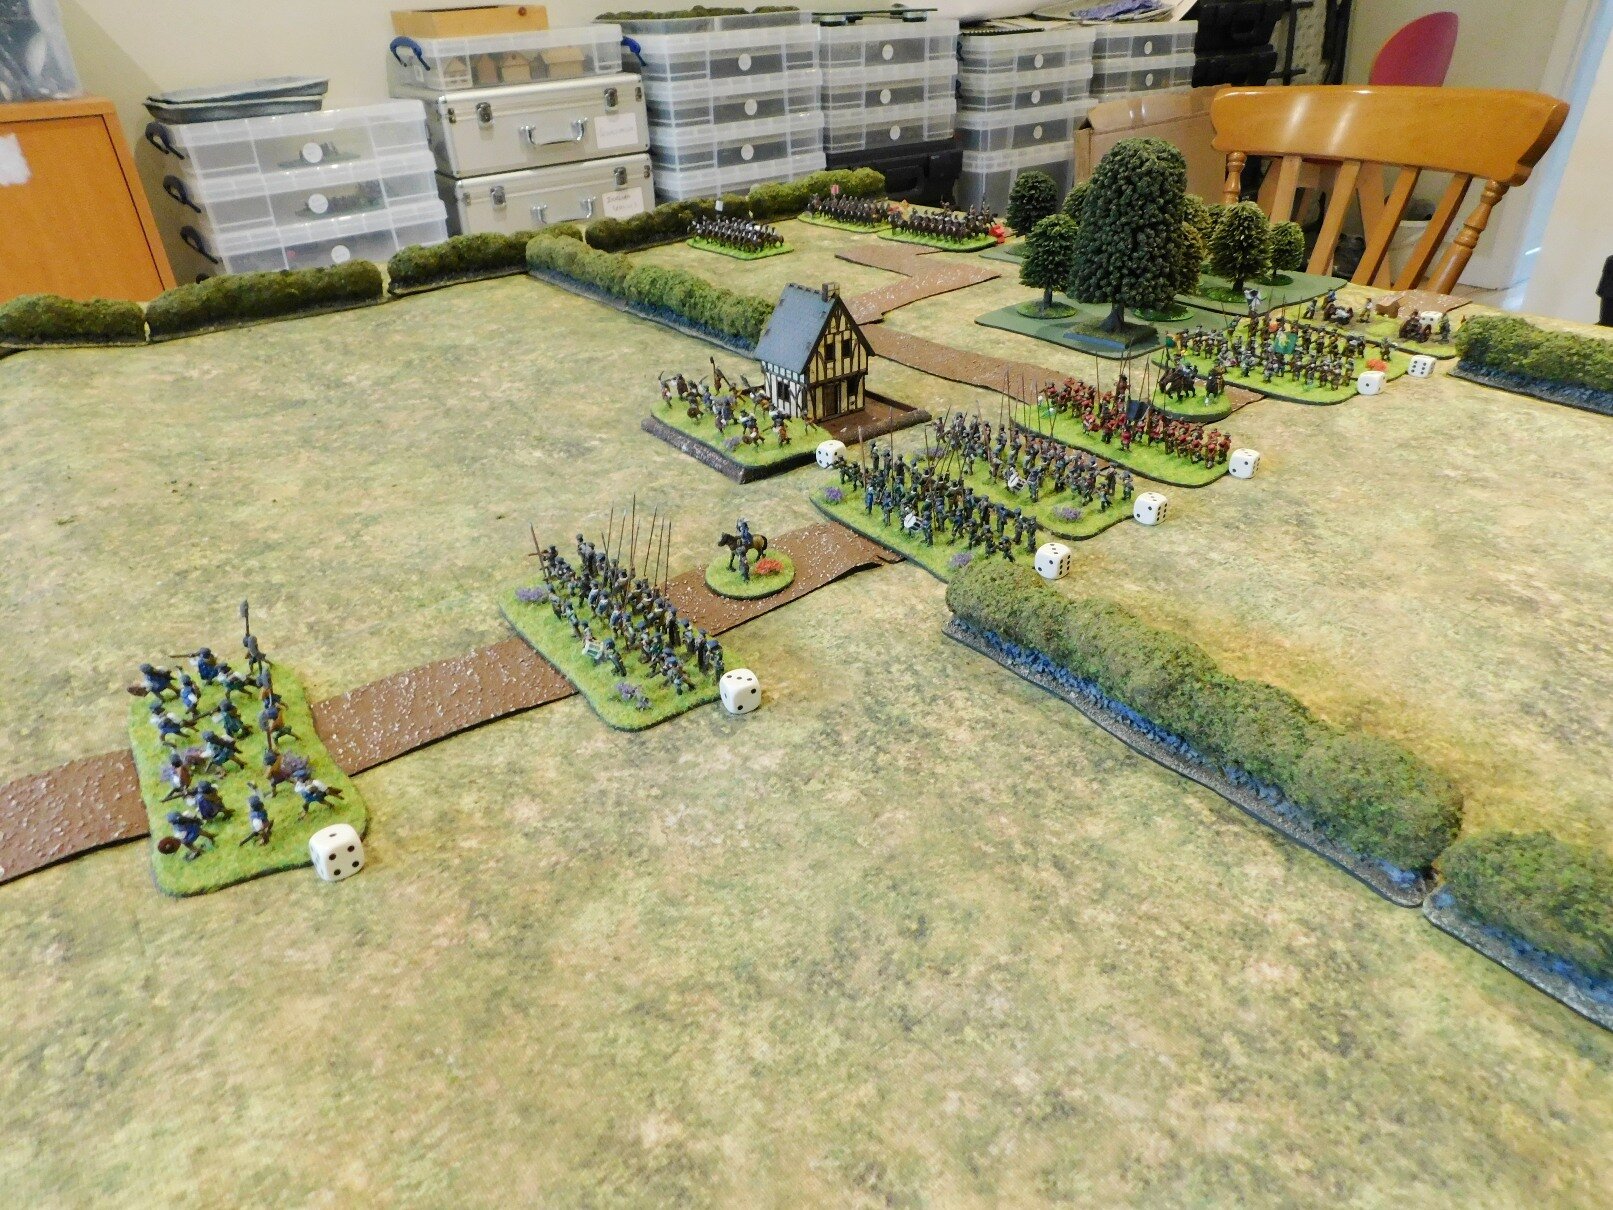
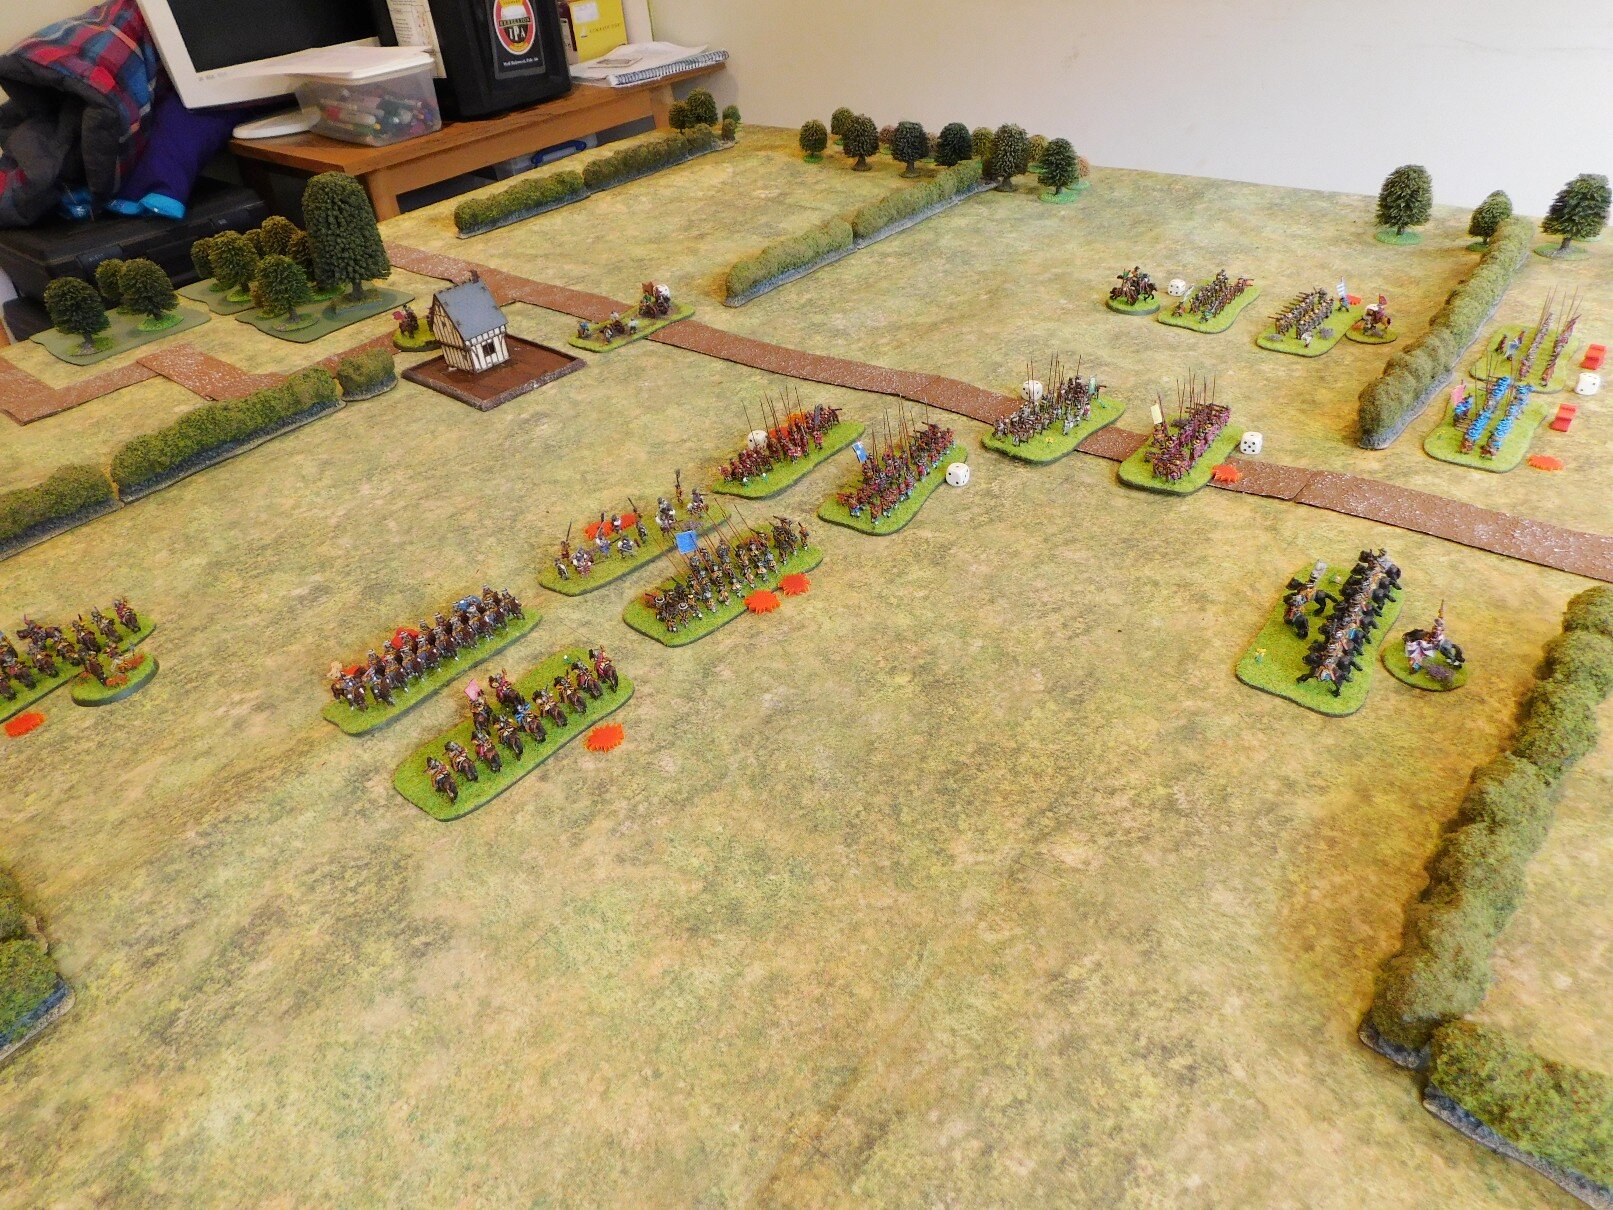
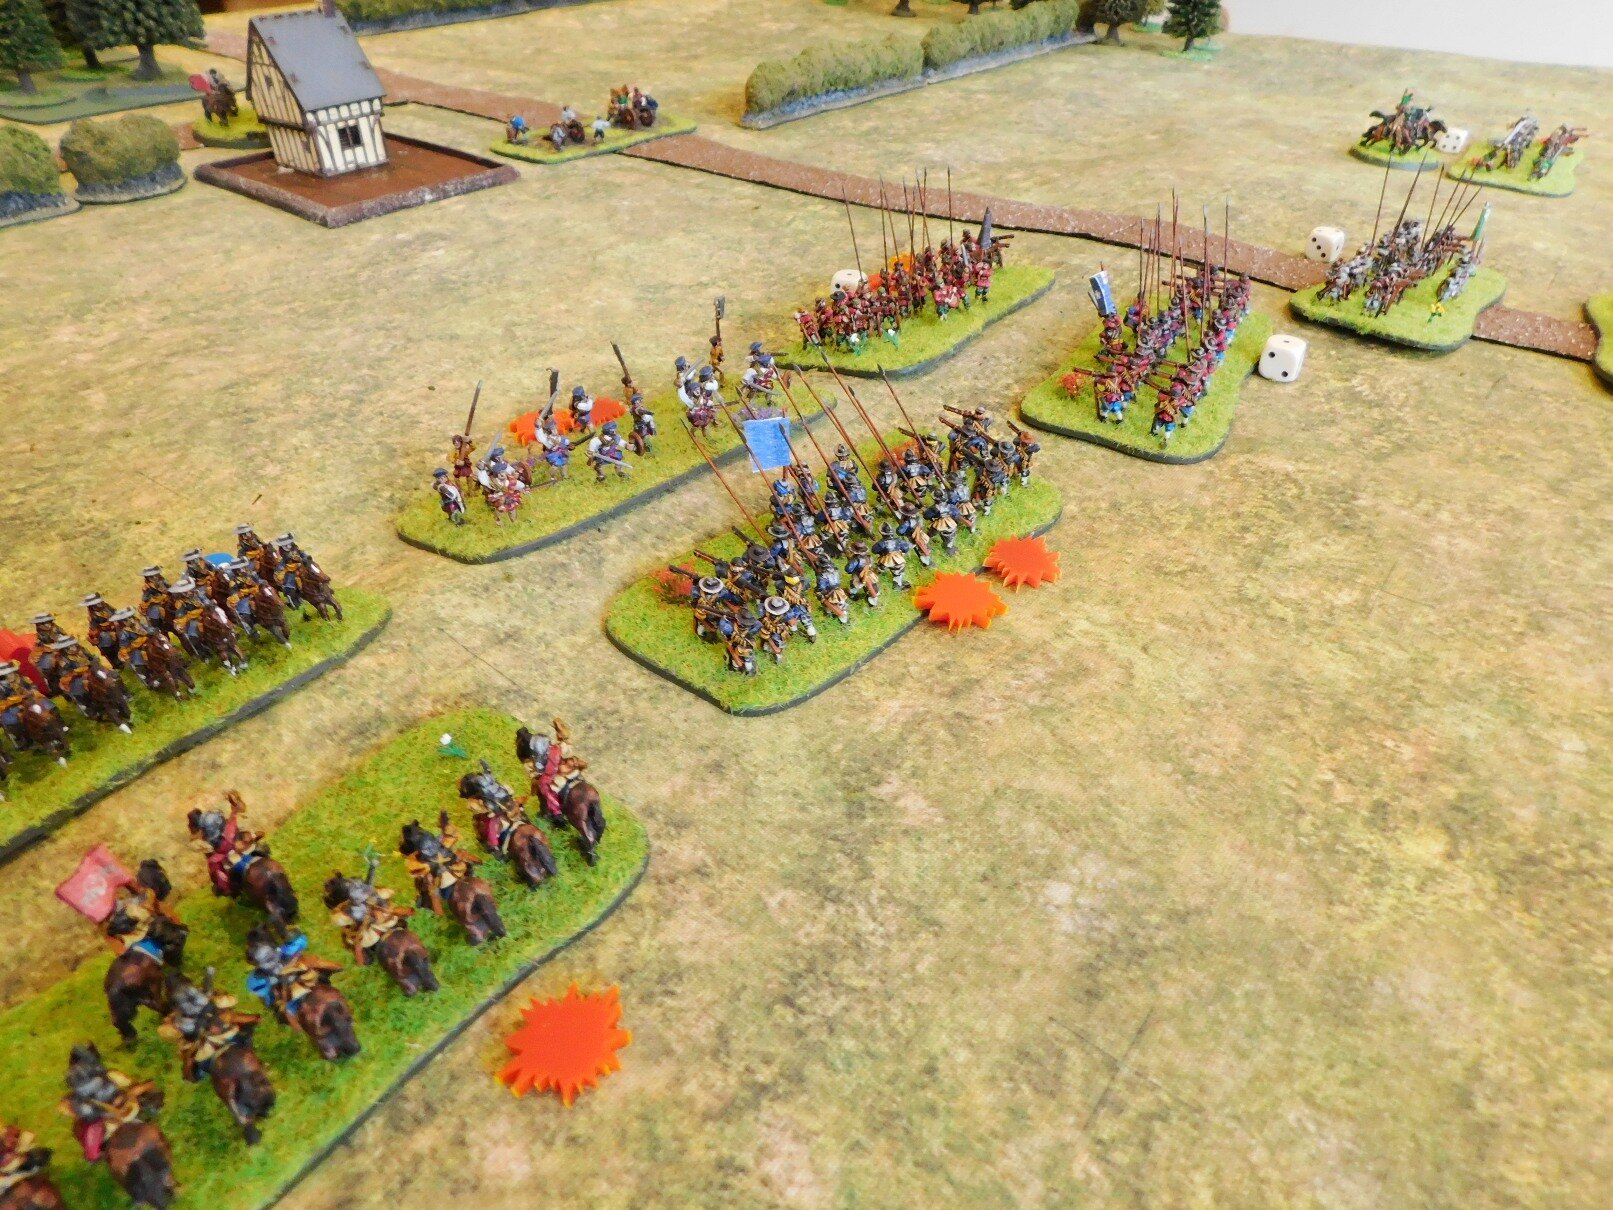
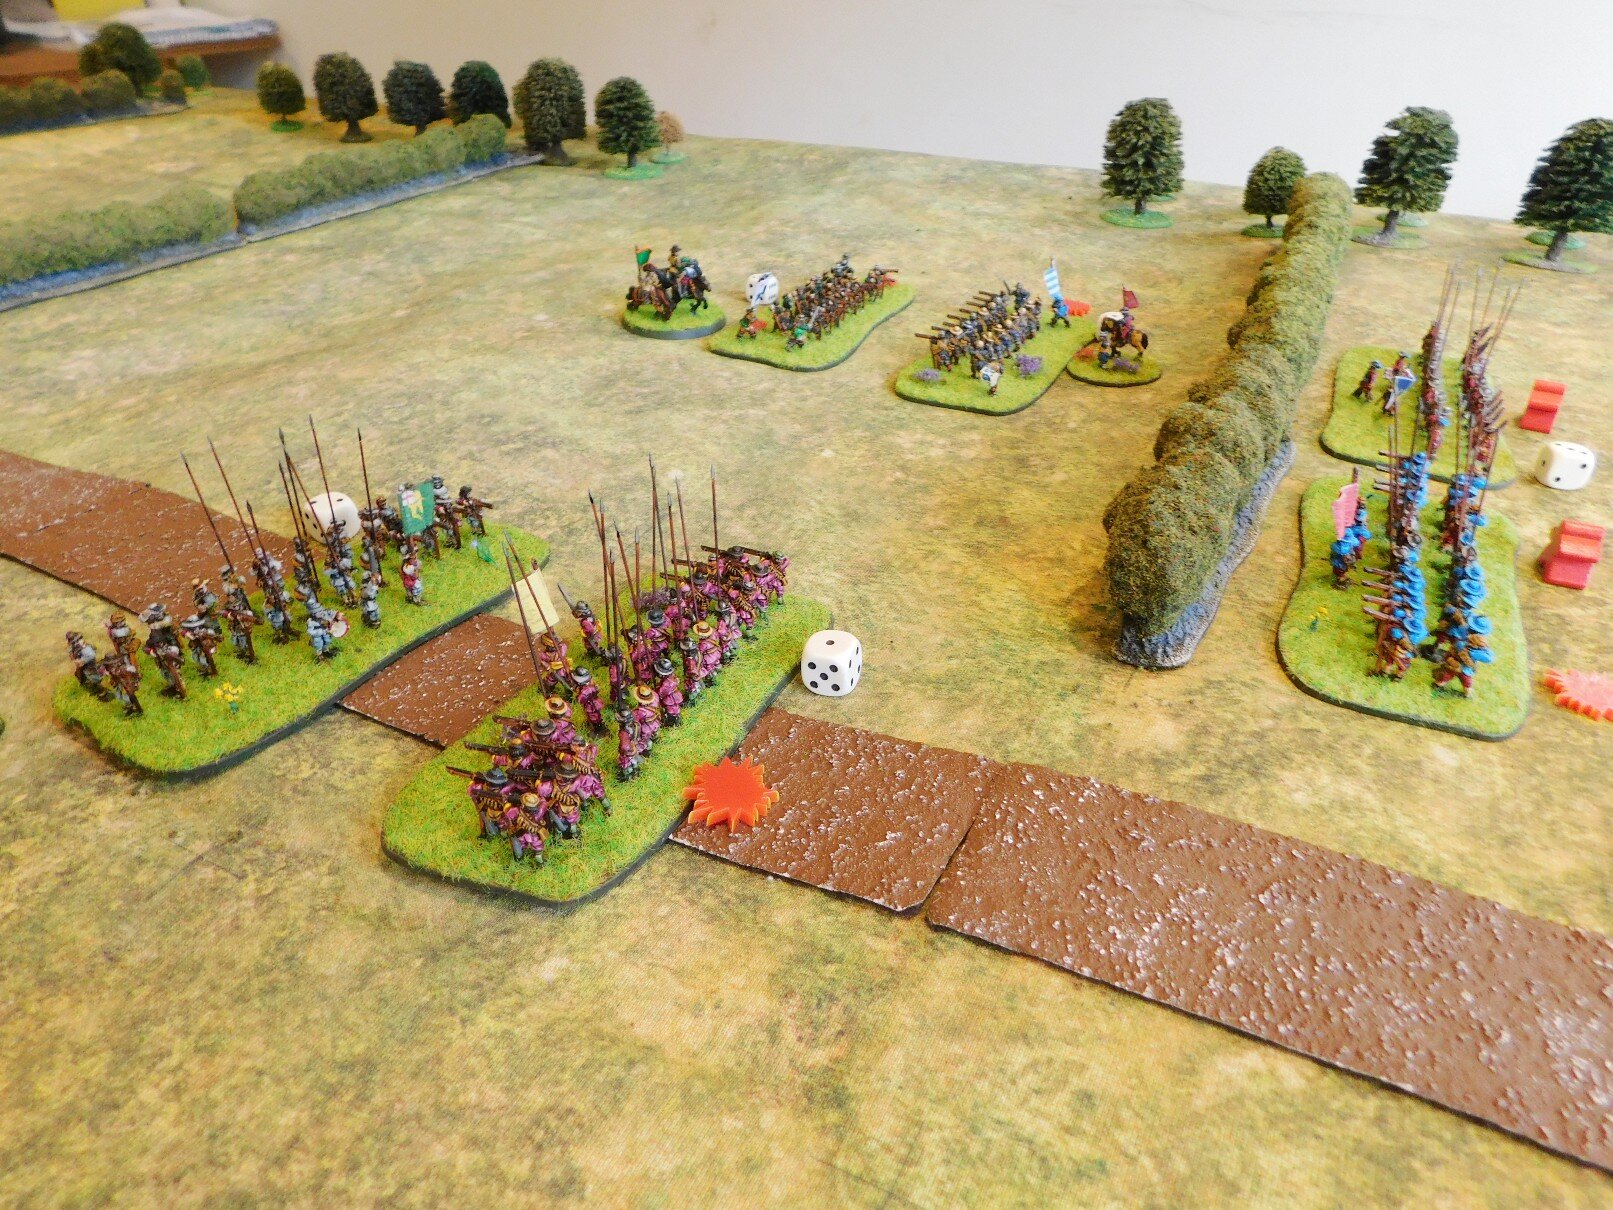
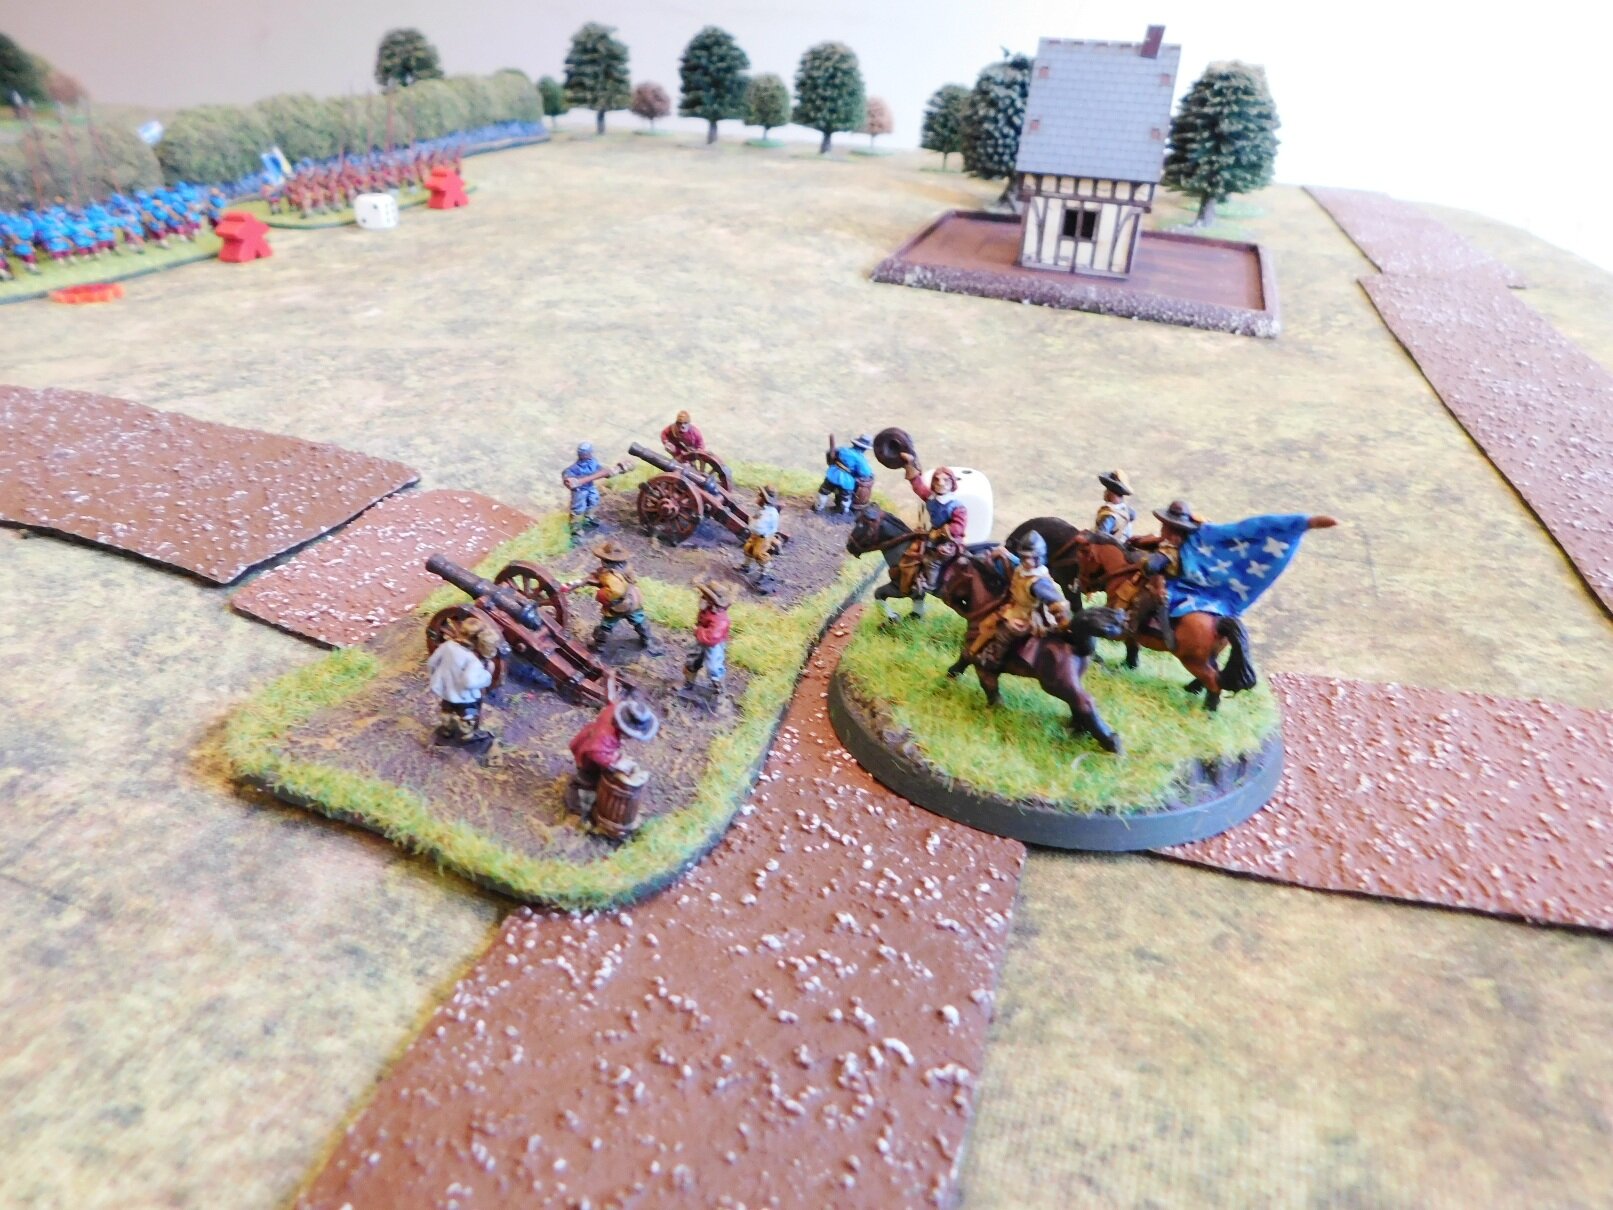
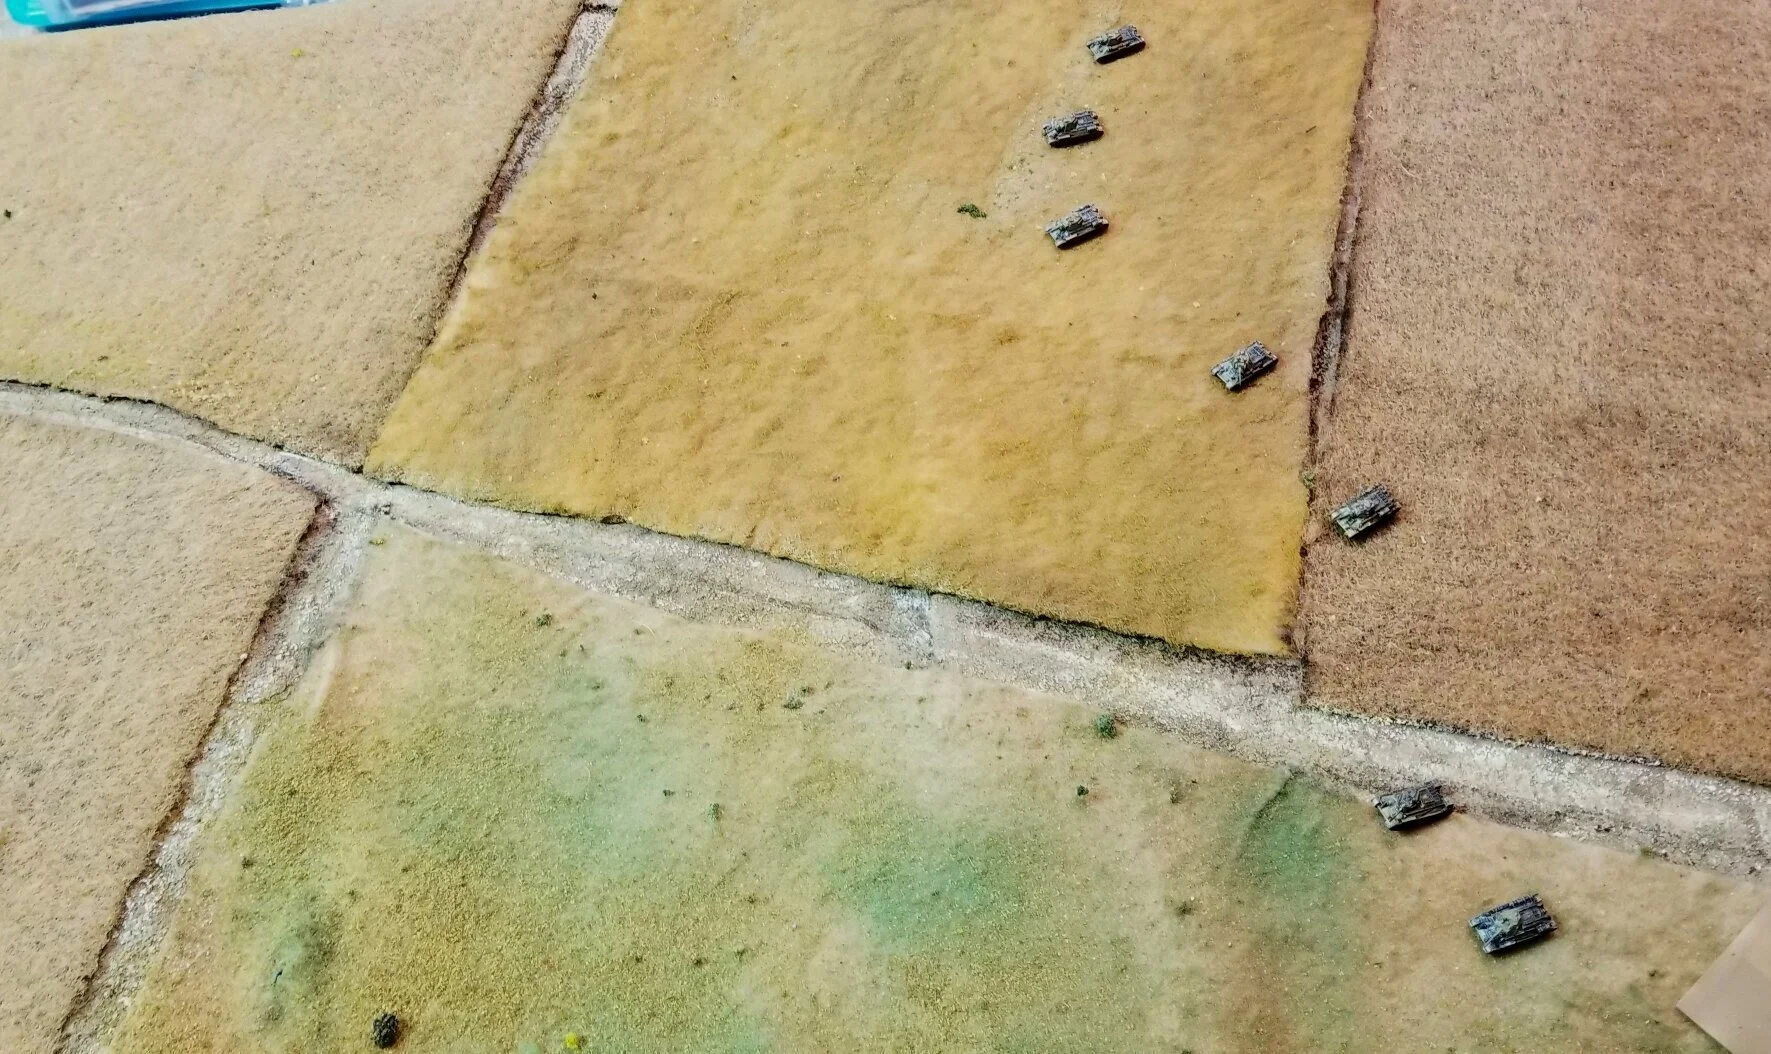
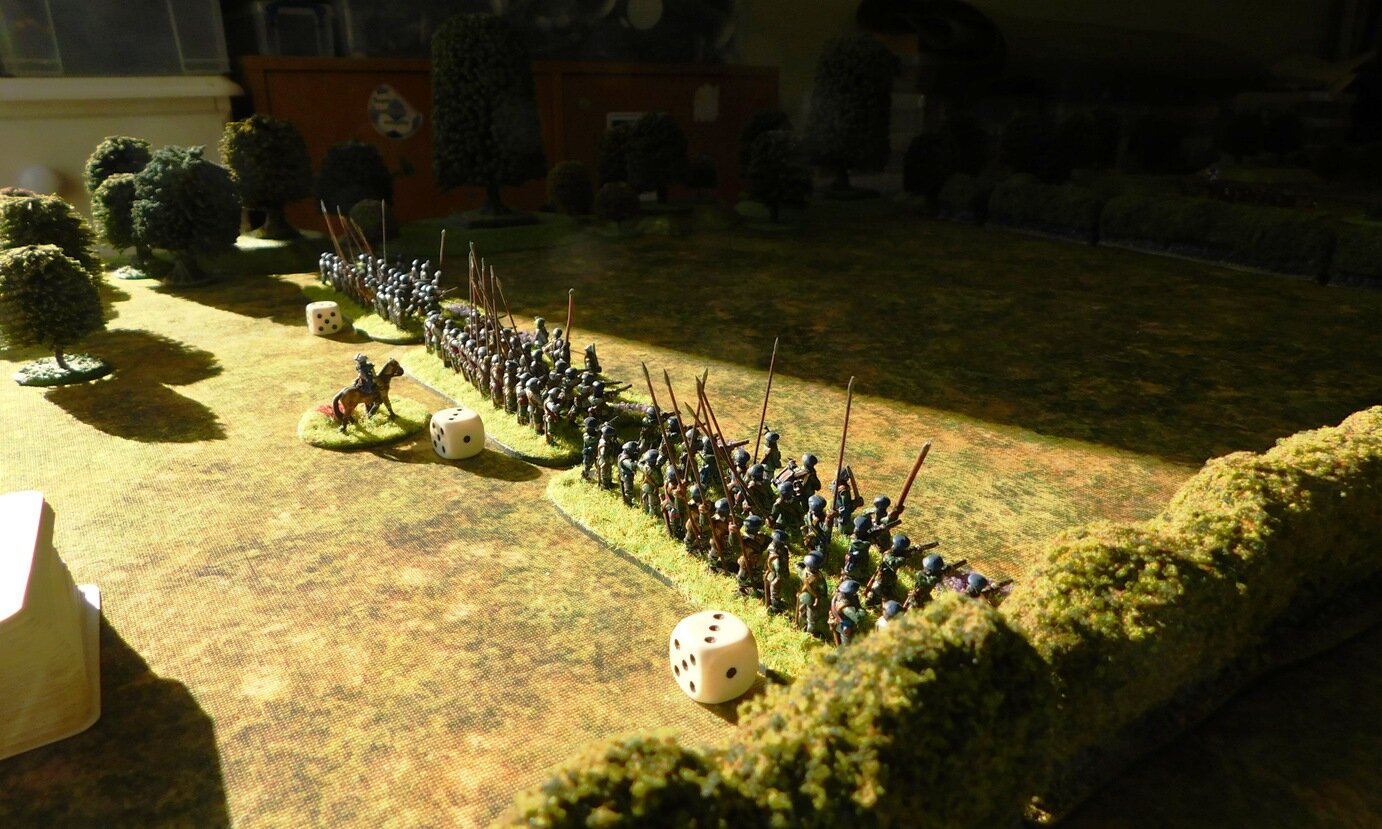
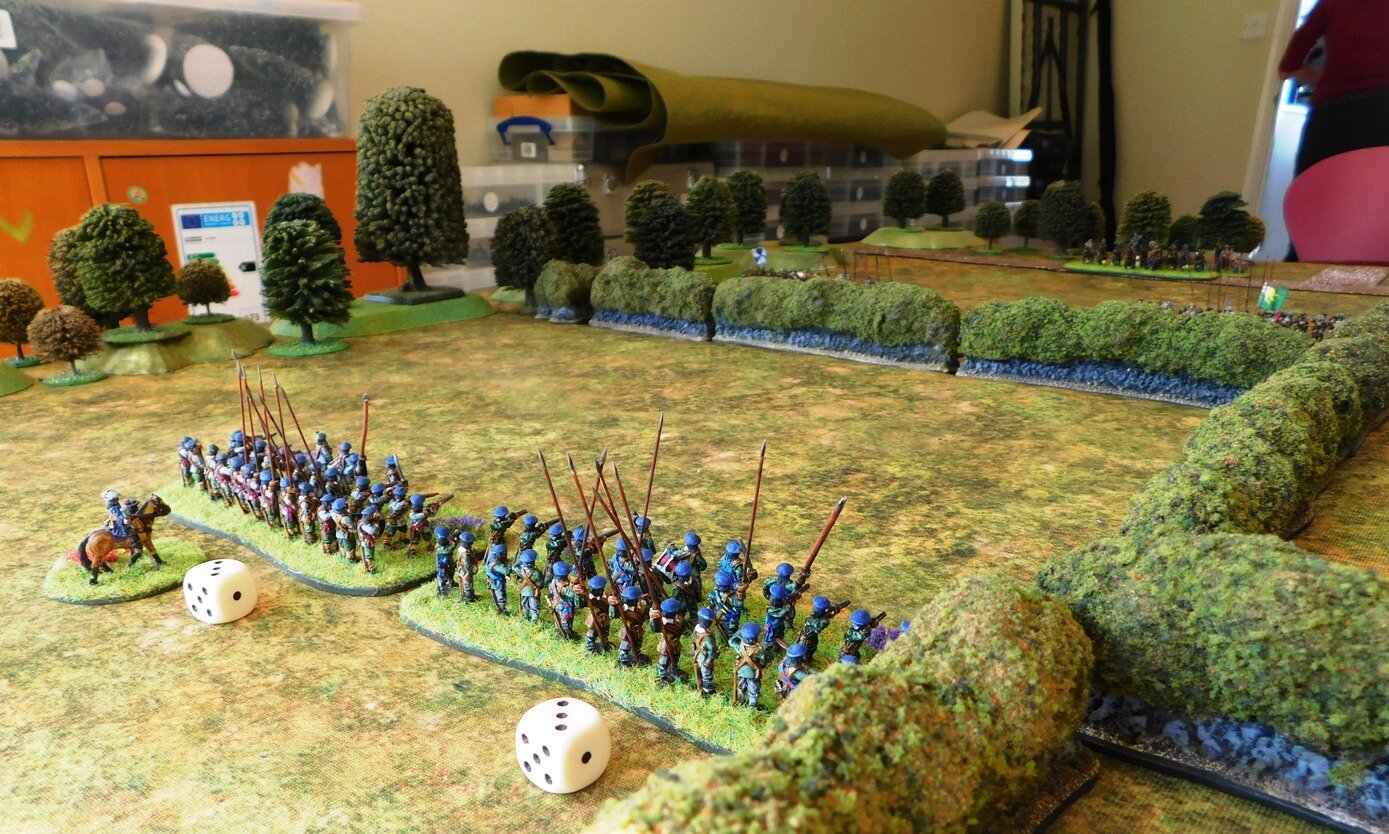
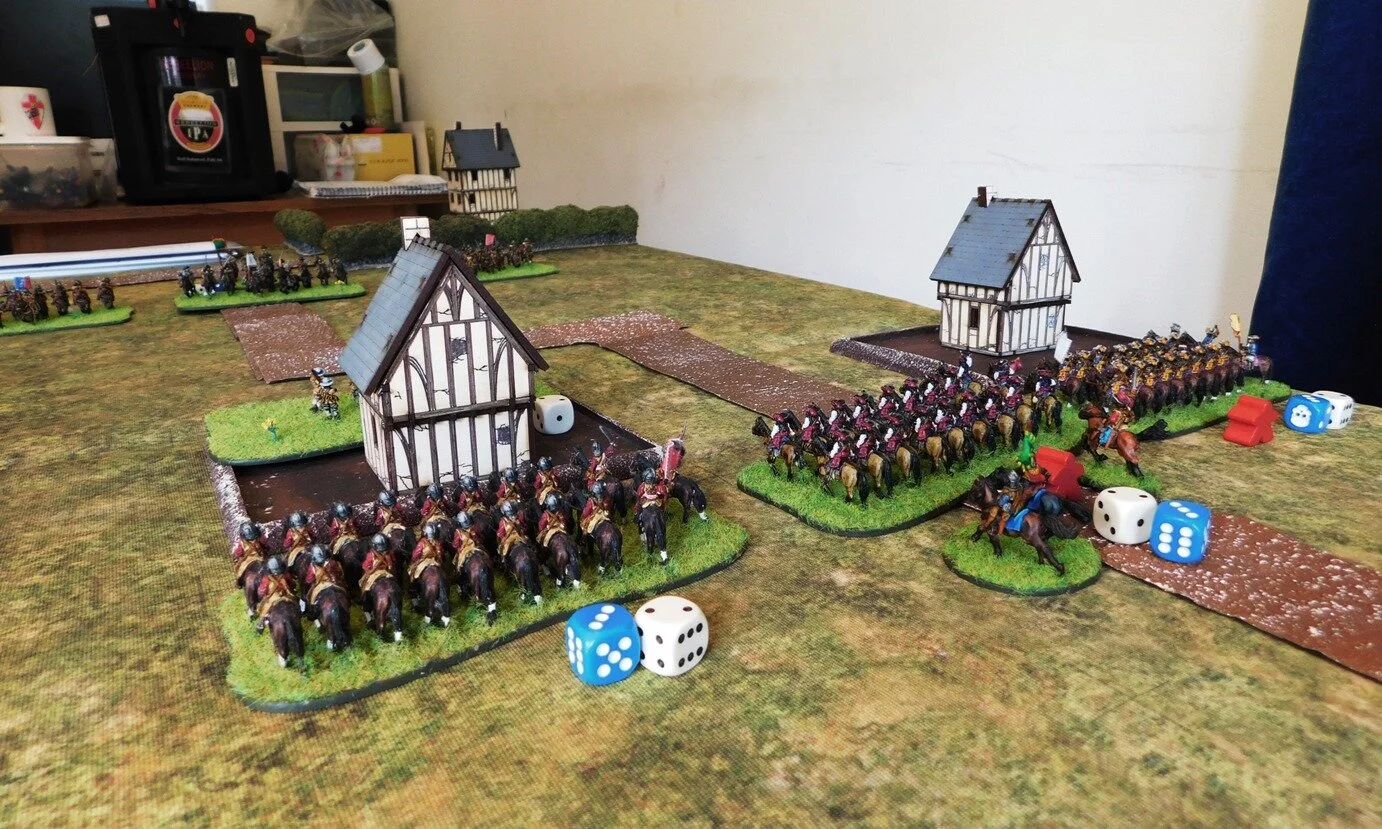
At dawn on 25th January 1944, the Guards Brigade, headed by Number 1 Company of the Grenadiers and with Shermans from one squadron of 46th Royal Tank Regiment (crewed mainly by Welshmen from Liverpool) in support headed back towards Aprilia. Using the embankment of the disused railway line (the “Bowling Alley”) as their start point, they first had to take Carroceto.

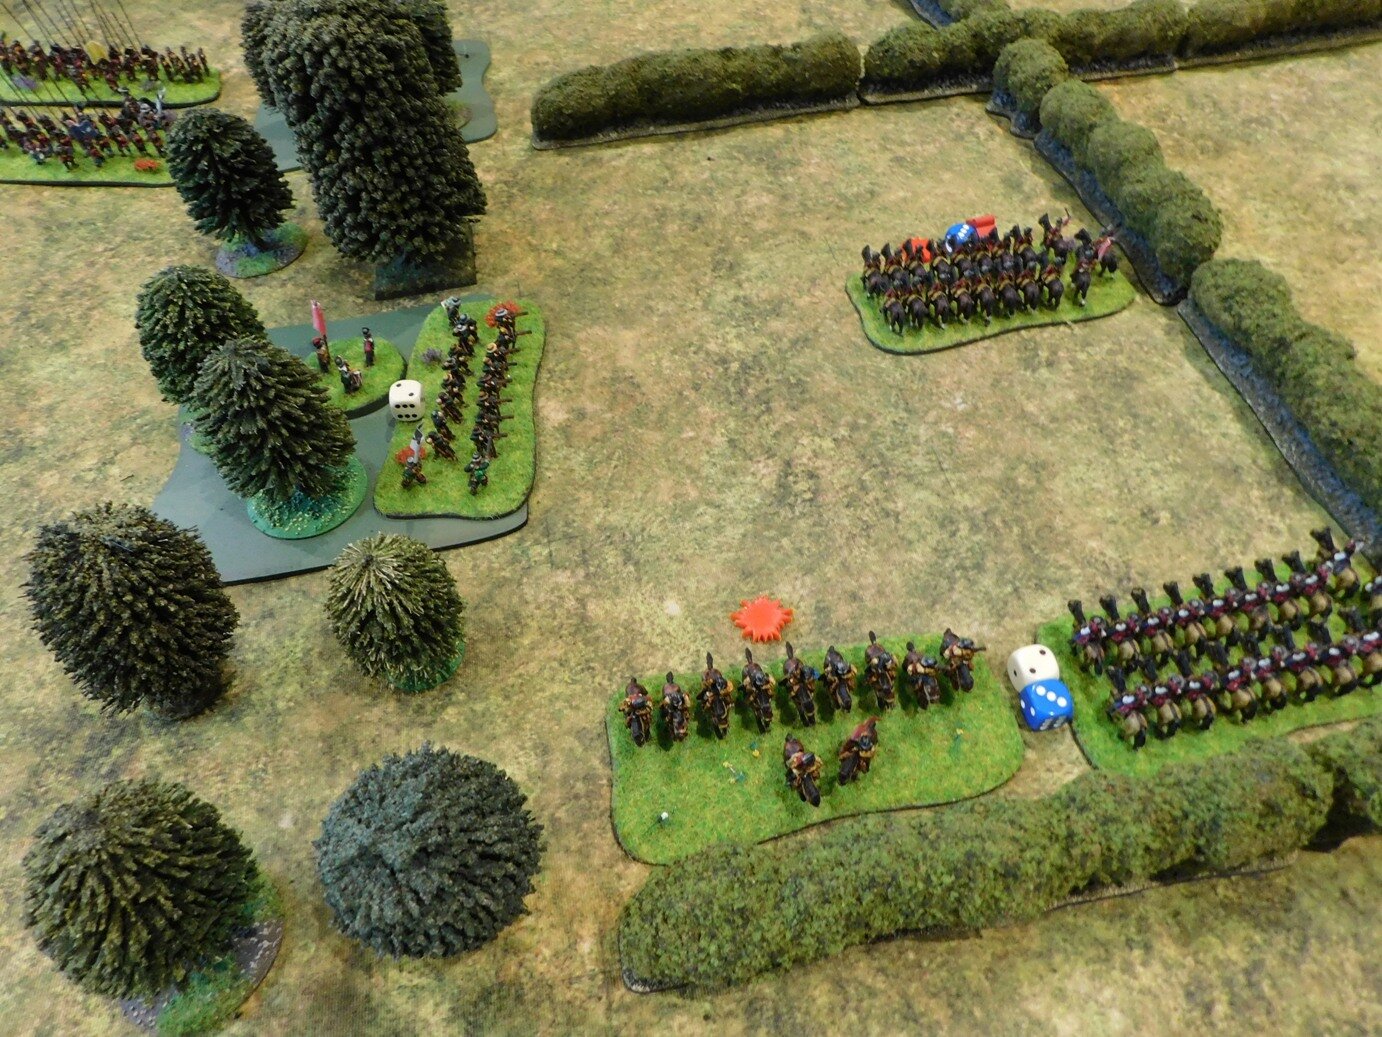
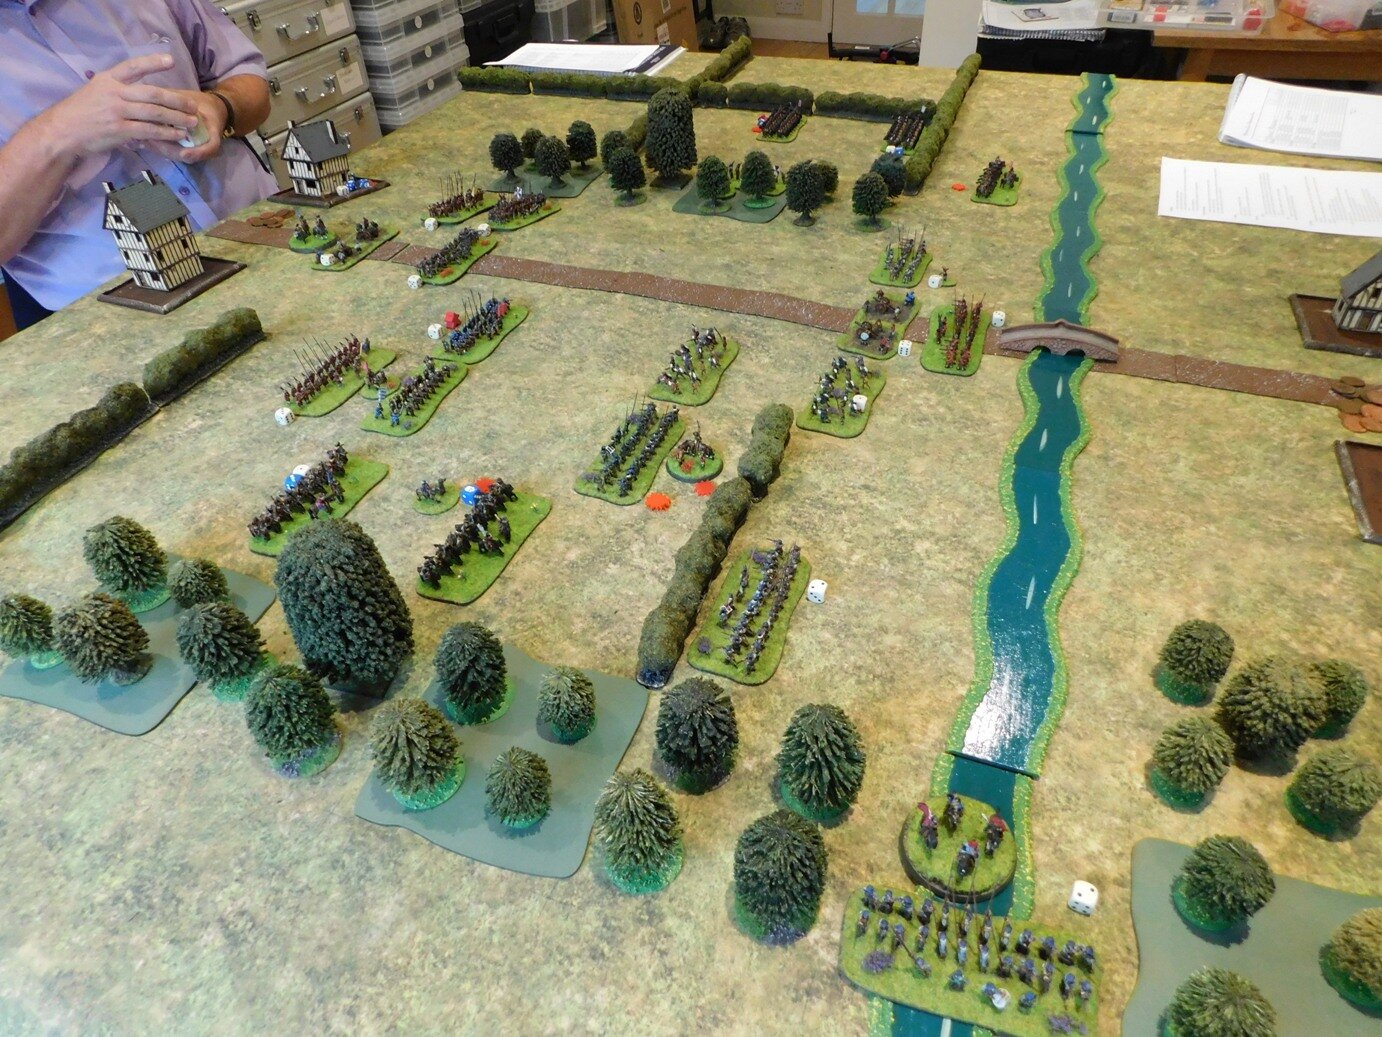
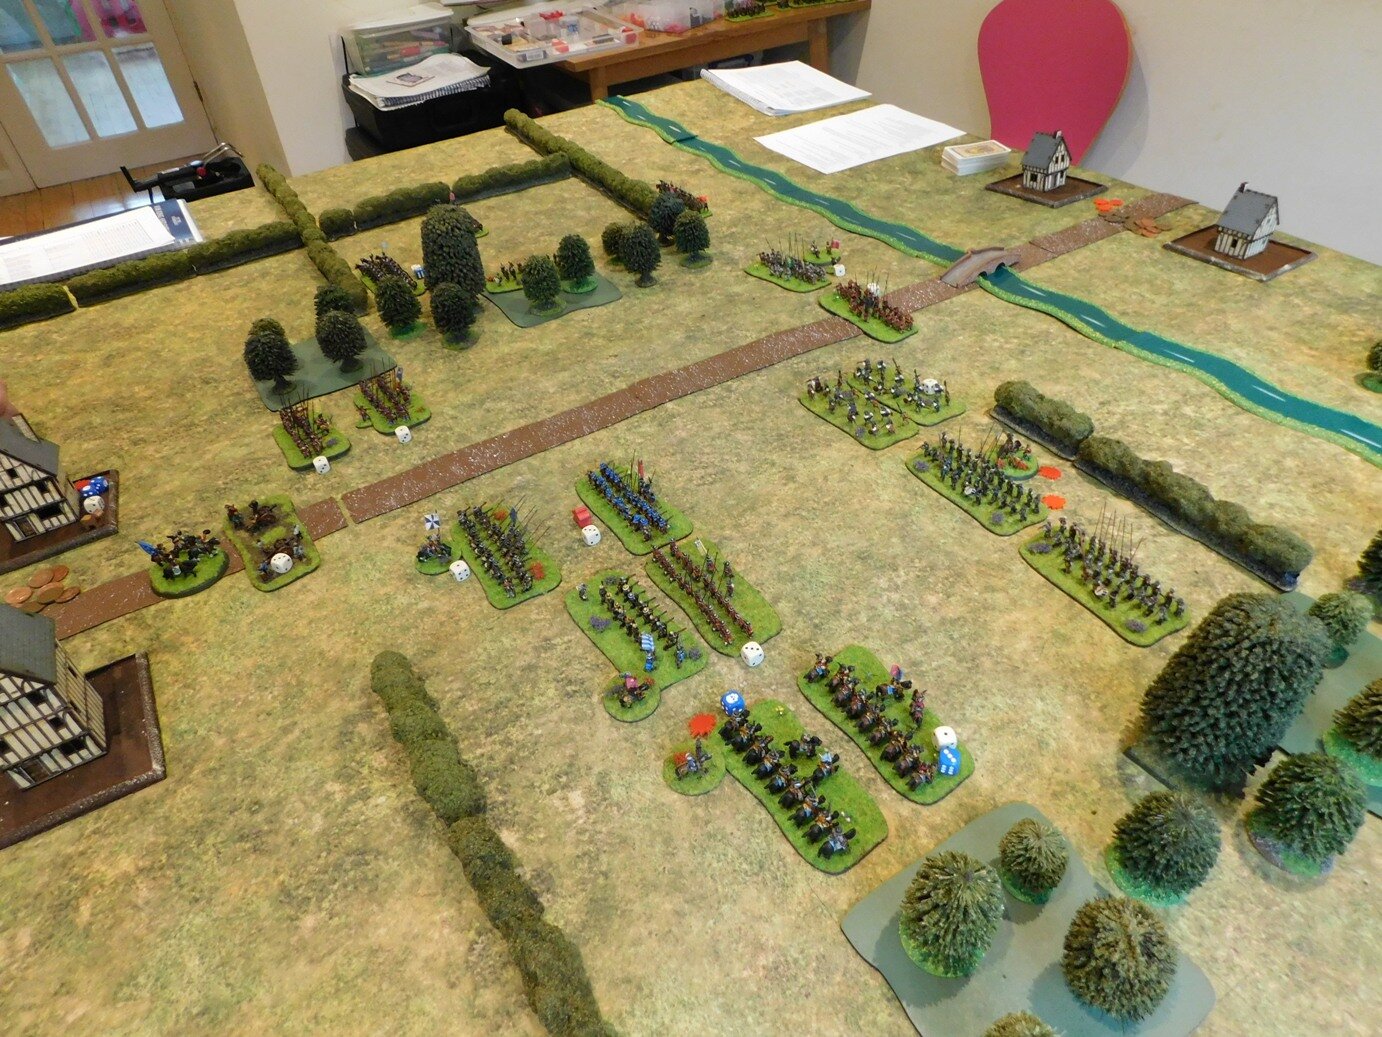
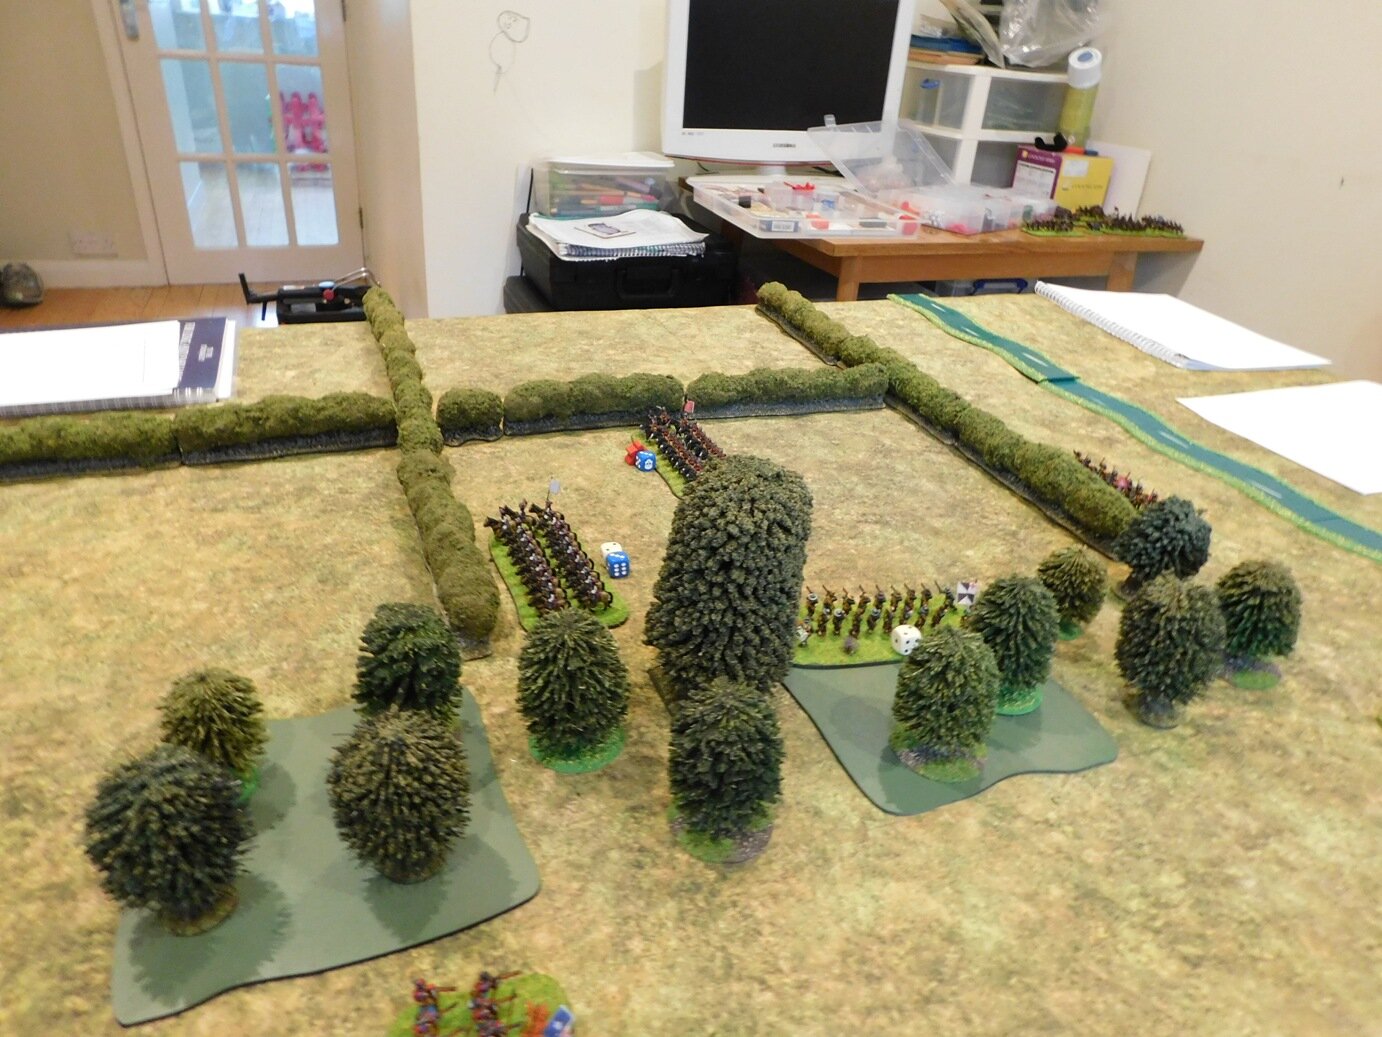
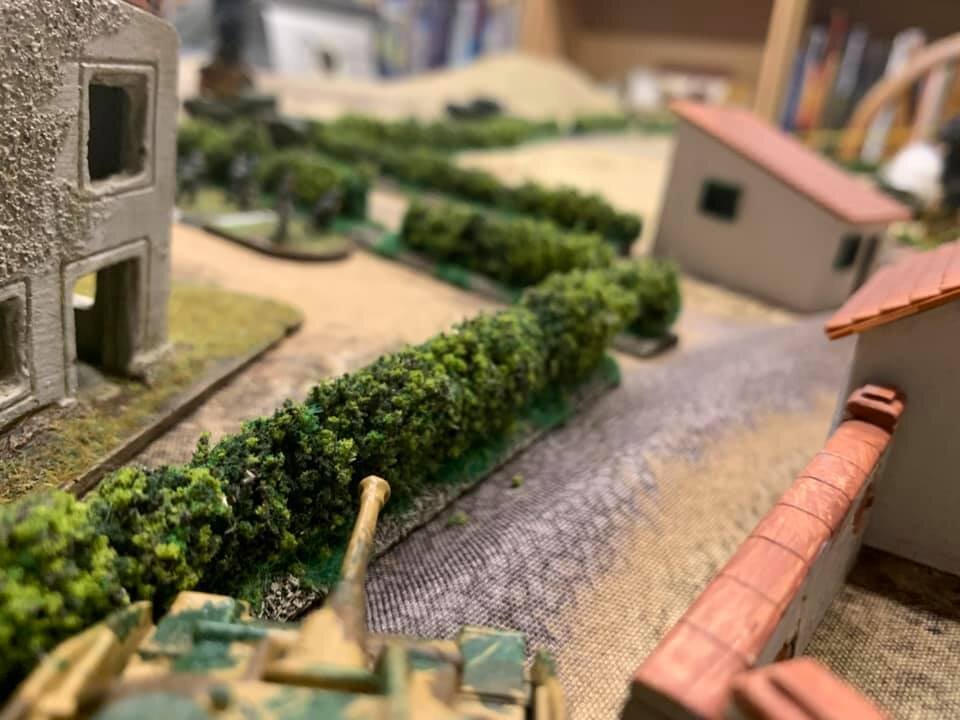
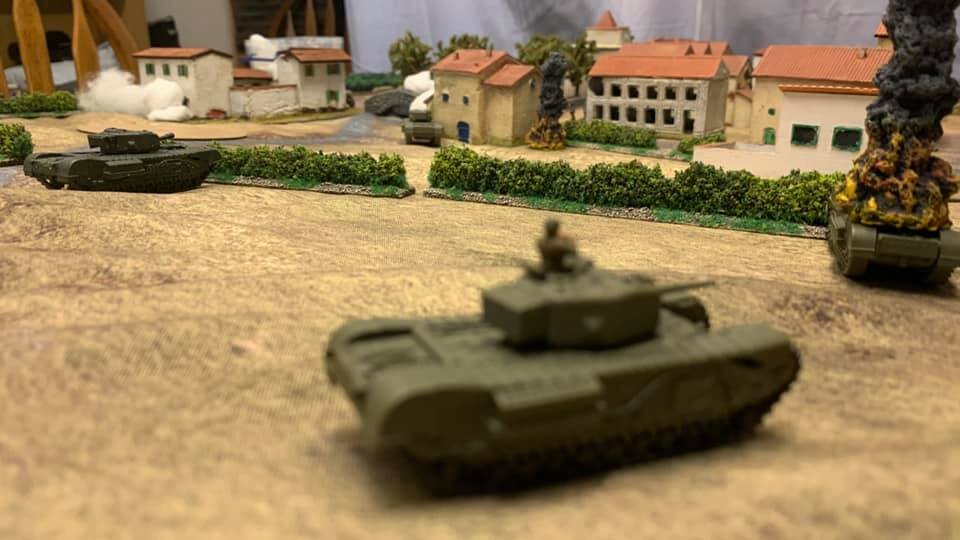
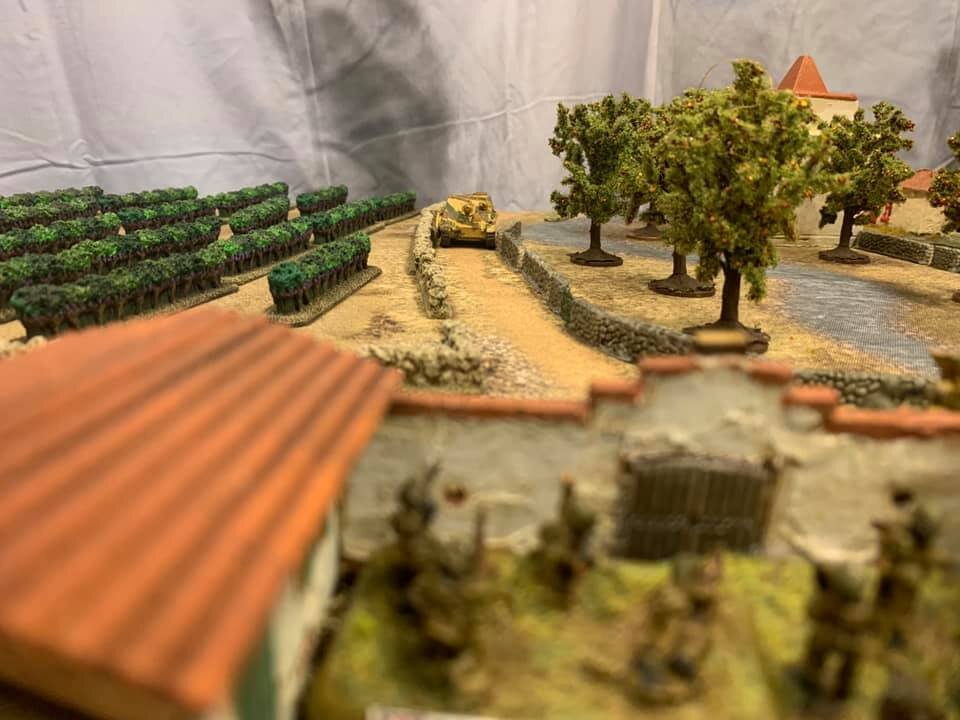
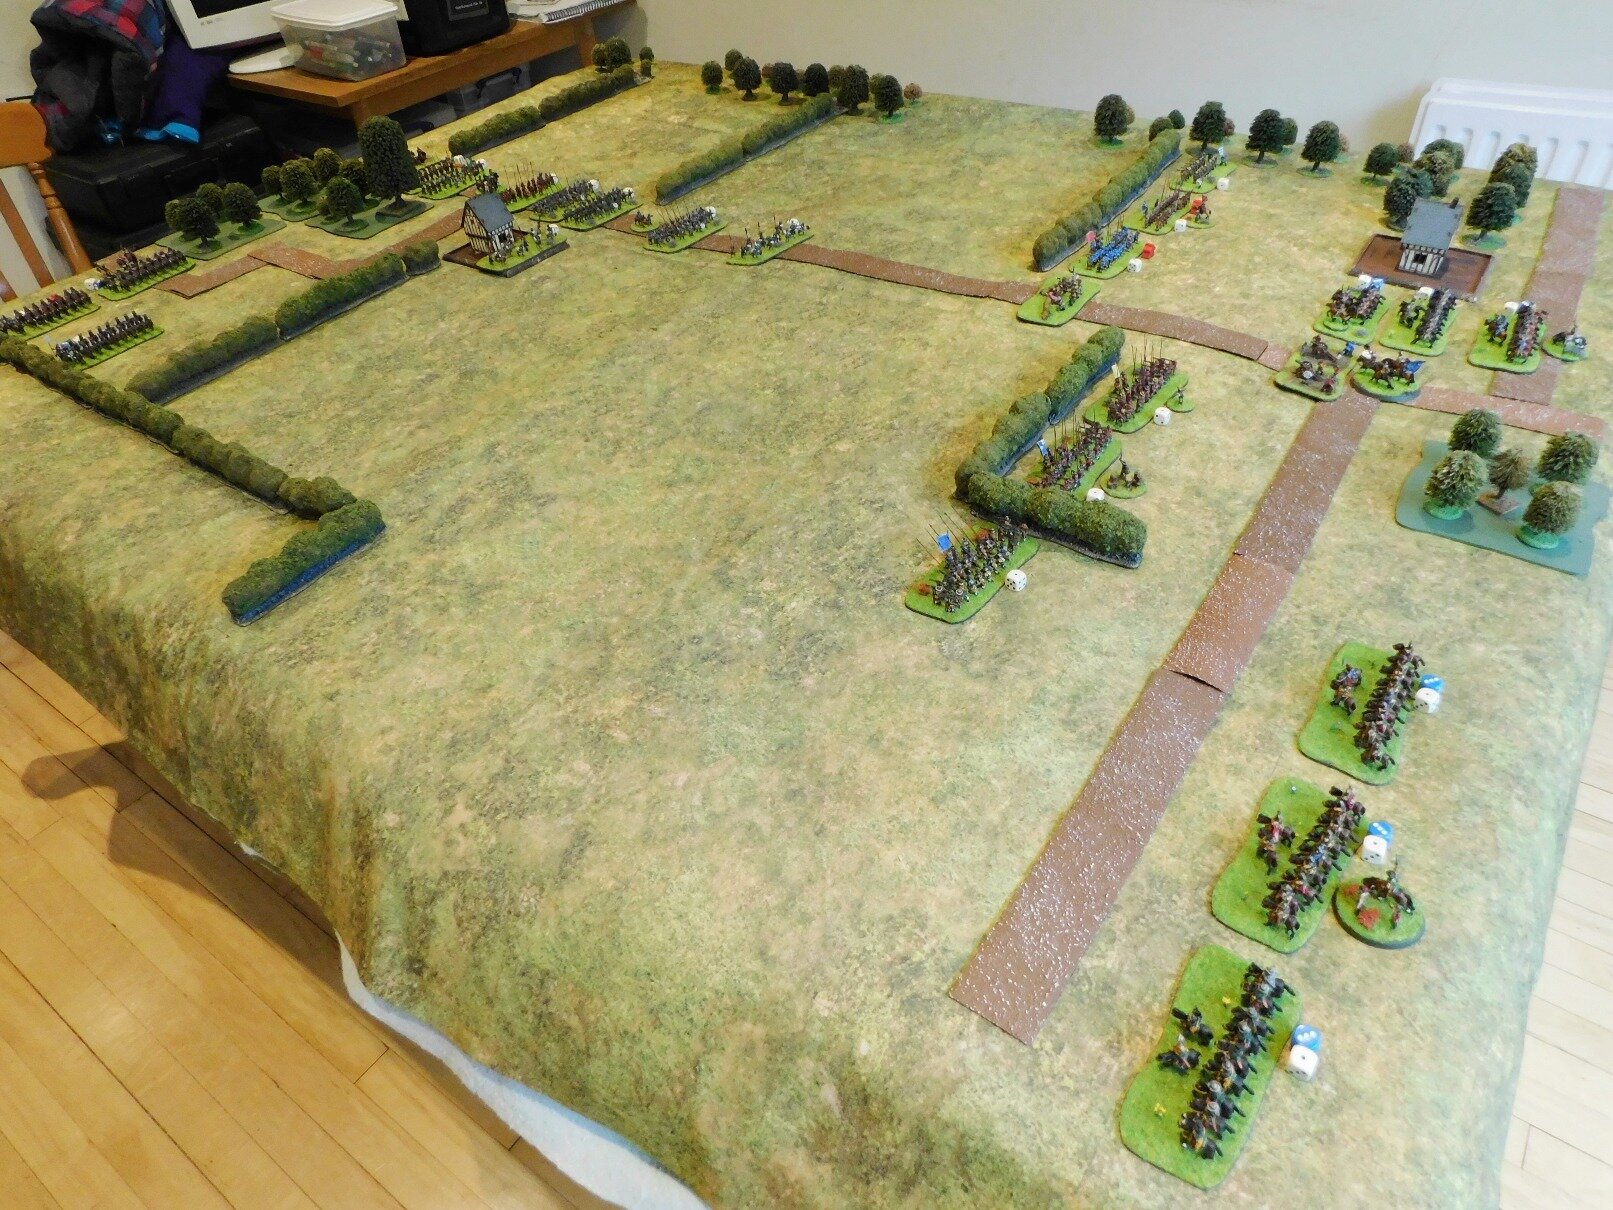
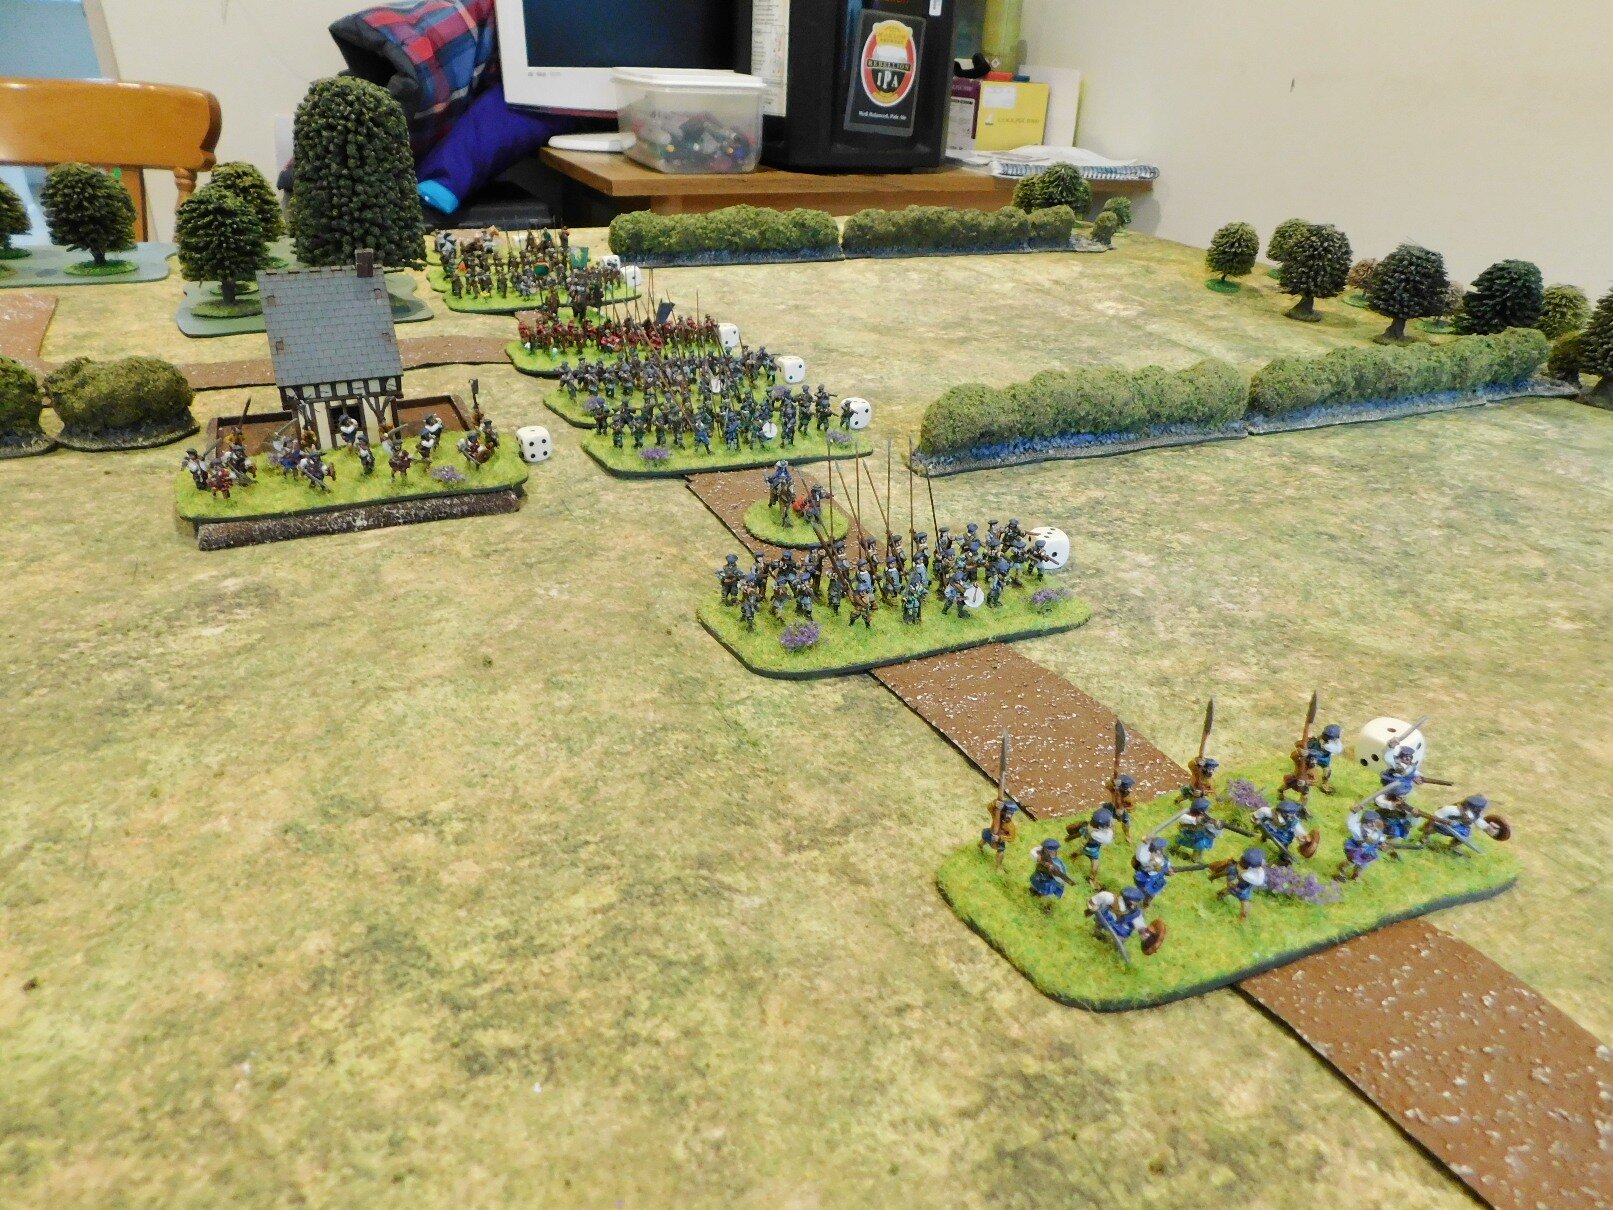
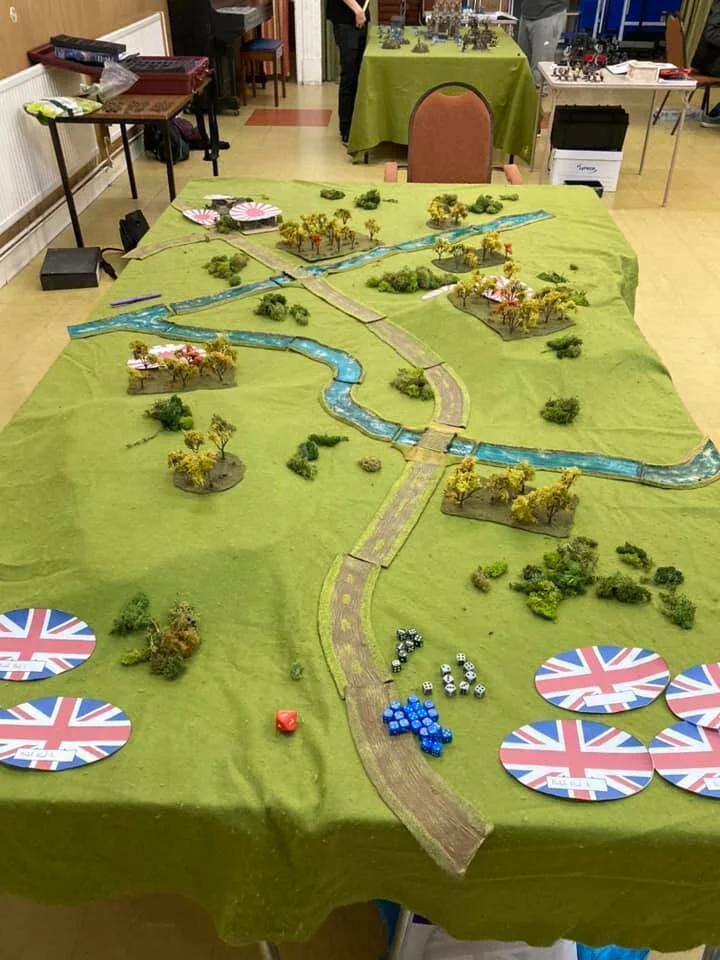
Click on the picture below to see how they did…

More Dutch Horse

This weekend I finally had the chance to get back to the painting table and polish off another unit of “Dutch” horse for my 15mm ECW collection.

The figures are Hallmark from Magister Militum, painted with GW Contrast Paints.

As with all my ECW figures, I mounted them as a For King & Parliament element on a Warbases Vehicle Base. They are lovely and chunky to move around the tabletop, but I am somewhat terrified of dropping one!

Whilst I was waiting for the paint to dry between colours on the above, I also managed to paint a command base for my Scots Covenantor force. Here I used the Peter Pig special Scots pack of ensign, preacher and dog and a Hallmark gentleman command figure.

I must remember to brush off the spider’s web before photographing!

These came out quite well, and I do love the preacher. One thing I must remember to do, however, is to brush off the bits of errant spider’s web that the varnish picks up when I’m spraying in the garage before photographing the figures. It comes off easily, but you can barely see it in normal light…or at least that’s my excuse.

Onto some pike-only units now.

FK&P AAR: Cookham Moor

After the encounter at Whyteladyes Lane, the Royalists retreated to the small hamlet of Cookham. The Parliamentarians, however, rather than withdrawing to regroup, have followed them.

Cookham, a pleasant place mostly home to farm labourers, is split by the Moor: an open piece of land crossed one way by a small stream, Strand Water, and the other way by Dean Lane, now more of a road.

Unwilling to surrender the Moor, “Little John” Boulters leads his men forwards to the eastern edge of the open ground only to see Sir Christopher and his men just arriving on the other side. The stage is set for another epic For King & Parliament clash!

And that’s where I ran out of coins!

Snatching Defeat…

Well that was a game that was really going my way when a sudden paralysis amongst my troops caused by the loss of my Colonel of Cavalerie and Sir Kavan’s defection (I can see no other explanation as to why Aces suddenly appeared all over his brigade!) meant that the Roylaists were given a chance to rally, catch their breath, and then move forward and concenrate their numbers with devastating effect.

It didn’t help that my CinC, Sir Christopher, led a sorely-needed Scots mercenary battalia on a complete Jeb Stuart-like perambulation up the wrong side of the left hand wood, effectively taking them out of the battle at the moment of decision. That was deffo my fault though!

A great game that saw John keeping his nerve as I scored early successes, pulling back and then seeing an opportunity and taking full advantage. Just to emphasise the point: at one stage of the game (after the early clashes) I was something like eight coins in front!

Time for the Parliamentarians to retreat and regroup!

Robert Avery

Pictures from Virtual Lard 3

What with COVID-19 putting paid to wargaming shows across the country, it’s good to see some remote events still taking place. One such that happened last weekend was Virtual Lard 3, and one game run there was an I Ain’t Been Shot, Mum scenario by Mike Whitaker.

The game was set in the Italian theatre. Here are some photos:

Scots Covenantor Artillery

Another unit for my ECW Scots Covenantor army: this time it’s the artillery.

These are figures from Khurasan Miniatures’ 15mm Scots & Irish range, with one man per crew coming from Peter Pig.

They are painted with GW Contrast Paints, and mounted on a vehicle base from Warbases. The “heather” comes from Boontown.

DSCN1999.JPG

Roll Up, Roll Up! Another Large Painting Challenge Update

Lots of business occurring since the last update!

Please do visit the individual galleries (accessed vis the Nav Bar, above), but here’s a selection of this fortnight’s entries:

FK&P AAR: Whyteladyes Lane

Time for the next encounter in my North Wessex For King & Parliament English Civil War campaign.

After the battle just north of Bisham Abbey, Sir Christopher Grey has led his Parliamentarian army (reinforced with more Scots mercenaries) east in an attempt to loop around the Royalists whom, he believes, are regrouping before moving north on their existing axis of attack.

The Roundheads get as far as Cookham Dean before they realise that the Cavaliers have been tipped off and have managed to get a blocking force across the Parliamentarian line of advance.

Battle will once more be joined!

At this point the Parliamentarians finally ran out of coins and I was forced to admit defeat: a fairly crushing defeat!

Aftermath

It had been a great game, even if I had lost!

The truth was that I never really got the Parliamentary battle line properly sorted, which allowed the Royalists to defeat my brigades piecemeal. Annoying, as before the battle I’d specifically told John that I needed to avoid that happening!

Robert Avery

IABSM AAR: Hill 227.9 NW of Ponyri

Here’s another great 6mm I Ain’t Been Shot, Mum battle report from Mark Luther, fought remotely due to the C19 lockdown.

The encounter is based on the lopsided engagement in the area between Step' and Hill 227.9 on the morning of July 6, 1943 involving the 107th Tank Brigade and the StuG IIIs of StuG Abt. 245 and off-table Tigers of s.Pz. Abt .505.

Click on the picture below to see all:

More Scots

A very productive weekend with another two units of Scots for my ECW collection rolling off the production line. All the below are 15mm figures from Khurasan’s Scots & Irish for the ECW range, painted with GW Contrast Paints and mounted on Warbases vehicle bases to give a nice chunky element for For King & Parliament.

First up was the third unit of Highlanders:

High2.JPG

Following the Highlanders was a suitably manky unit of mounted Scottish Pistoliers. In FK&P , Scottish horse are nearly always downgraded due to the poor quality of their steeds.

IABSM AAR: Operation Compass: The Invasion of Egypt

Here’s another great battle report from the A Wargamer in Cyprus website featuring a game of I Ain’t Been Shot, Mum taken from the Operation Compass scenario pack.

It’s 14th September 1940, and the Italians have finally begun their invasion of Egypt. A huge column of Italians - motorcyclists in front, followed by infantry in trucks, followed by tanks - has streamed across the border in almost a parade ground formation. Five divisions-worth heading into Egypt.

In front of them is a mixed force of British troops - infantry, artillery and tanks - with orders to slow them down. Click on the picture below to see what happened:

Painting Challenge: Mid-September Update

Some very nice examples of our craft submitted over the last couple of weeks.

Make sure you check out the everyone’s individual galleries, but here’s a selection:

IABNM Moderns AAR: Counter-Attack

Over the years, various people have adapted the TooFatLardies' company-level rules I Ain't Been Shot, Mum (WW2) and Charlie Don't Surf (Vietnam) for other, more modern periods.

One such adaptation, never officially published, was I Ain’t Been Nuked Mum. Here’s a battle report from 2015 taken from the now unfortunately moribund Maxim to Milan blog imagining action from the Cold War of the 1970’s.

The scenario is an attack-defence scenario based on a West German counter-attack after Soviet forces had been halted by NATO resistance.

Click on the pic below to see all.

IABSM AAR: Operation Compass: Fort Capuzzo

Blogger “A Wargamer in Cyprus” has been playing through the Operation Compass scenario pack. I haven’t been able to get hold of him to ask permission, so I hope he doesn’t mind, but here’s a quick report of his game using a slightly amended version of Scenario #01: The Road to Fort Capuzzo.

Hostilities have just been declared, and the 11th Hussars are on the rampage. Click on the picture below to see all:

FK&P AAR: Bisham Abbey

Time for another go at For King & Parliament, and the fifth scenario in my North Wessex campaign: Bisham Abbey.

After the last clash at Burchett’s Green, both sides have withdrawn to regroup and reform.

With “Little John” Boulters remaining in command whilst his father still recovers from wounds received at Widbrooke Common, the Royalists are bolstered by the return of the troops from Maidenhythe, hitherto sequestered by the King in Oxford. The Roundheads also receive reinforcements in the shape of a brigade of mercenary Scots troops under Colonel Macintosh MacLeod, and Sir Christopher (overall commander) is finally persuaded to lead from the back rather than the front!

The Royalists are ready to move first: marching north towards Marlowe. The Parliamentarians are ready for them, however, blocking their path just north of Bisham Abbey, a monastery-turned-manor-house that sits on the banks of the Thames.

The table from the Parliamentarian side

The Sides

The Royalist army, ably commanded by my friend John, consisted of four brigades. On the right was Col. Stafferton’s brigade of horse (two units of Swedish horse); to their left was Col. Spencer’s brigade of foot (the Cookham Militia, three battalia); to their left was Col. Sir William Ray’s brigade of foot (two standard battalia - the Maidenhythe Foot - and the Oxford Musketeers, a commanded shot battalia); and finally, on the far left, was Gen. Derrick’s brigade of horse (three units of Swedish horse).

The Royalist commander ponders his plans

The Royalist commander ponders his plans

The Parliamentarians, with Yours Truly in command, consisted of only three brigades. The Cavalerie, on the right, were led by Col. Hurst, and consisted of three squadrons of Dutch horse. Next to them, in the centre, were Gen. Nelson’s three battalia of infantry supported by the guns of Littler’s Battery. Finally, on the left, were the three battalia of mercenary pike under Col. MacLeod. A Forlorn Hope was positioned in the small hamlet of Bisham, mid-way between the battle lines.

MacLeod’s Scots in the dawn light. Well, we started at 9am, which is pretty dawn-like for a Sunday!

MacLeod’s Scots in the dawn light. Well, we started at 9am, which is pretty dawn-like for a Sunday!

The Best Laid Plans…

My plan was to pivot on the mercenary Scots, sending my horse forward as quickly as possible to smash through his lighter Swedish-types and then curl around the rear of the Royalist army. I would give up the distant hedge on the left, but take the nearer hedge in the centre.

As this was only John’s second game of FK&P, his plan was to advance generally across his entire front and see what happened when the enemy was encountered!

The Game

The End

The Parliamentarian coup de grace was administered by Sunnybank’s commanded shot and the Scottish mercenaries. Between them they utterly destroyed the Royalist 2nd Foot Brigade (the Maidenhythe Foot and Oxford Musketeers) which, added to the coins lost when the Royalist horse and artillery evaporated under the tender ministrations of Grey’s Cavalerie, finally emptied the King’s coffers!

In the end, my plan had worked, albeit with several road bumps on the way. I lost three of my command stands, and would have been gradually overwhelmed if it hadn’t been for the extraordinary fight shown by the 3rd Grey’s Cavalerie (the only non-veteran unit in the brigade, obviously). They turned the tide of the battle, with the Scots then digging in their heels and refusing to be broken.

All in all, another great game of FK&P!

My name is Connor MacLeod of the Clan MacCleod...

Now that the three battalia of Scottish pikemen are done, it’s time to start adding the Highlanders

These are, again, 15mm Khurasan Miniatures mostly painted with GW Contrast paints and mounted on my chosen element bases from Warbases.

I used 16 figures to represent the Highlander unit equivalent of a pike ‘n’ shot battalia. That might be a little light, but with the dynamic poses you can see in the pic above, any more would have had them on top of each other. It looks about right on the tabletop though.

Note that the chaps with the polearms and yellow shirts are “humblies”: called that because they are the poorer sort of Highlander!