More Romans

Just a couple of pieces today. First up is the Legatus Legionis or commander of the Legion: just a simple command base for my TTS Marian Romans. Figures are Baueda 15mm sourced from Magister Militum.

What is slightly odd is that with the Baueda Marian Roman cohort command, the chap holding the standard (the Aquilifer) is dressed in a lion skin and the signaller (the cornicen) is wearing a wolf skin, whereas here, for the legion command, it’s the other way around.

Next up is a Baueda Semi-Permanent Legionary Marching Fort that I will use as a TTS camp. Now this model was quite complicated to put together well, and I have a horrible feeling that the Primus Pilus would take one look and order the thing taken down and put up again.

The gates are particularly wonky, mainly because after I’d built it I realised that I had stuck the gates on upside down! This gave me a huge gap at the bottom of the gates (plenty of room for a barbarian to crawl through) which I then had to fill with Hama Beads!

But it is a lovely model, and I’m going to get the somewhat smaller Marching Camp as well.

Final Two Cohorts Now Done

The 15mm Marian Romans for To The Strongest are coming along nicely: about two thirds of what I need to field the army are now done.

I’m representing a legion with five TTS units, with each unit therefore representing two cohorts (these are the days before the Augustan super-strength first cohort). As I like to minimise the number of markers on the table, each unit is two bases (neatly making one base represent one cohort) with a formed unit being the two bases neatly in line with each other and a disordered unit represented by the two bases being separated and at an angle to each other. Latest off the production line are the final two cohorts (or one TTS unit) for the first legion I’m going to field.

In keeping with how the legions operated in Gaul under Caesar, I’m intending the core of the army to be six or seven legionary units: four or five from one legion, two or three from another. Naturally I’ll therefore be painting up two full legions (240 legionaries in all!) which will also allow me to play out the civil war battles that followed the Gallic wars.

The figures are from Baueda, bought in the UK via Magister Militum, painted using GW Contrast paints. The shield transfers are the Baueda-specific designs from Little Big Man Studios. Bases are from Warbases.

Next up will be the Legate Legionis in charge as a command stand, and a semi-permanent camp for the chaps to rest in after each battle!

TTS AAR: Three Games One Sunday

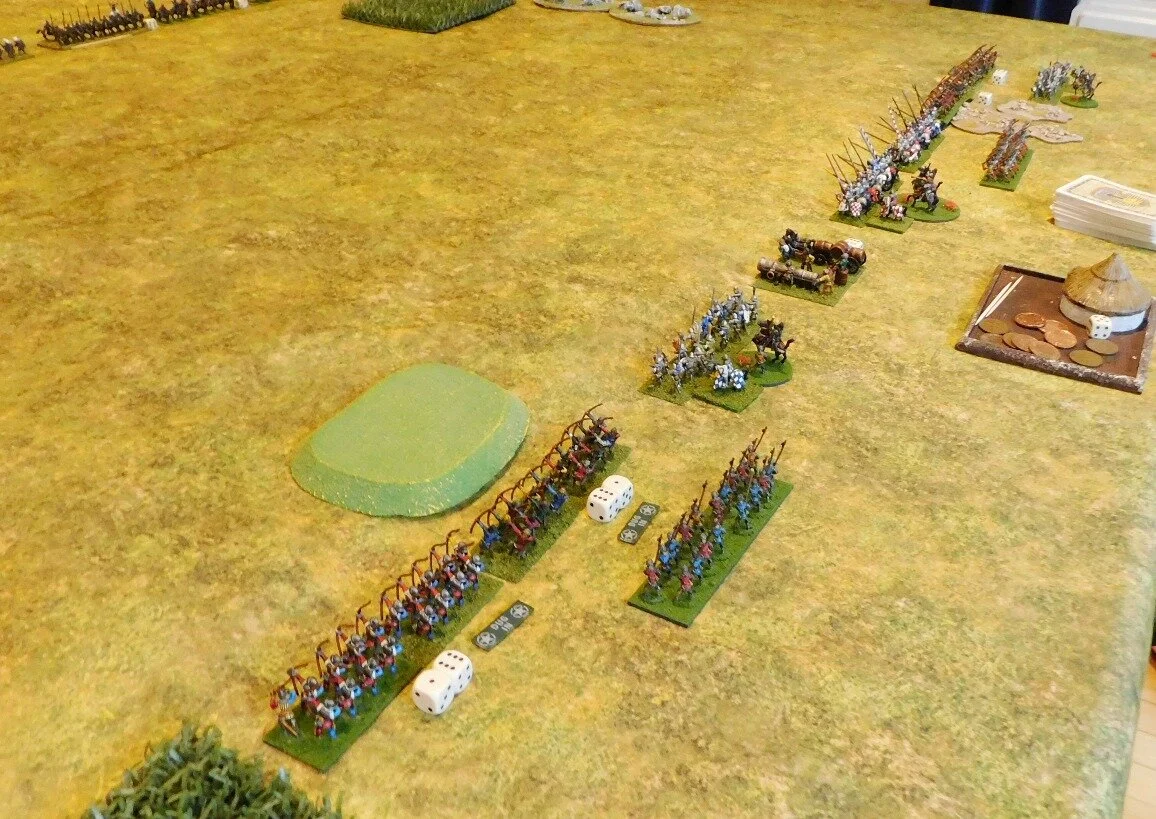
Three great games of To The Strongest this Sunday, all Sassanid Persians versus 100YW English. I took the Sassanids for Game One, Kavan for Game Two, and then it was back to me playing the Sassanids in Game Three.

Henry V versus the Persians!

Henry V versus the Persians!

The results? I think it fair to say that the Sassanids did very well indeed, winning all three games! Those of you who are paying attention will have worked out that that meant that the day was two-one to me.

The first game was a glorious victory for both me and the Sassanids, but one largely caused by Kavan’s terrible cards! I used standard tactics: horse archers on the wings keeping his men there occupied whilst the heavy horse and elephants punched their way through the middle.

The escorted elephants punch a hole

The second game was a similar affair, but this time it was me on the receiving end. I knew what was coming, so managed to deal with the initial horse archer advance on my right wing with mass longbow fire. In the centre, I had massed my heavies opposite his, but lost two of my three generals in the first round of combat. This effectively stuffed me command-wise, and I got overlapped on the left by those gosh-darned light horsemen as I just couldn’t get the units I needed to activate into action regularly enough. As my left began to crumble, Kavan punched a hole in my centre which he then flooded with the rest of his heavies: the coup de grace coming as he took my camp.

The English camp falls…again!

With both of us now very familiar with the strengths and weaknesses of both friendly and enemy troops, the third game was a neck-and-neck affair which either of us could have won. Each side had one camp each, and both fell: mine to mounted men-at-arms that three units of horse archers just couldn’t stop in time; his to another heavy cavalry punch through the middle. I won in the end, but it was a very close run thing.

All in all, an excellent afternoon’s gaming.

The Sassanid Heavies roll forward


More Marian Romans

After leaving the painting table alone for a week, it was back to work on my 15mm Marian Romans. This army needs seven units each comprising 24 legionaries i.e. 168 legionaries in all. That’s a lot of quite repetitious painting!

Four of seven now done

I’m using Baueda figures, sourced through Magister Militum in the UK. They each come as one piece, so no hassle attaching shields or spears and, as you can hopefully see, have plenty of character and some variety.

These are painted using GW Contrast Paints. I began by undercoating in the Grey Seer undercoat rather than the Wraithbone White that I usually use. Running out of Wraithbone on another project made me try the single can of Grey Seer that I’d bought intending to experiment, and I was glad it did: I find the grey undercoat very much more forgiving than Wraithbone, and I don’t feel there’s really any difference in the colour you end up with. I will go grey (oh, in so many ways!) from now on, I think.

The shield transfers are from Little Big Man Studios: excellent but a session or two on its own to do them. As the shield has a heavy metal boss down its middle, the transfers come in two halves, each of which have to be carefully cut out. That’s 44 transfer halves to cut out (two figures don’t carry a scutum) and mount.

As usual, I need to remember to clean the excess flock off the figures before I photograph them. Just a question of brushing them down with a soft brush, but somehow I never remember. It all comes off anyway when you start using them!

So four down, three to go…and only one more unit with red shields and plumes. Onwards!

Last of the 100YW Figures (for the moment)

One unit of billmen and a couple of command figures.

That’s all I’ve been needing to bring my English 100YW army for To The Strongest up to 130 points without having to use any proxies for a couple of months now…and I’ve finally got round to painting them.

The figures come from Gladiator Games, and were delivered promptly with their usual excellent service.

I must confess that I don’t much like these particular figures from the range (the bills are all bendy, and all held in the same slightly weird way) but they are done! The longbowmen and knights are much better.

The command figures came out a bit better:

So that army is now temporarily “done”.

On to finishing the Romans and more ECW.

Two More Games of TTS

It’s back to the living room for another couple of games of To The Strongest against K.: daughter #1’s boyfriend, trapped with us for the duration of lockdown. K. is becoming a seasoned wargamer now: into double figures with battles over the lockdown period and, as we began our games, victor in three out of our last four encounters.

“How is your Sarmatian coming along?”

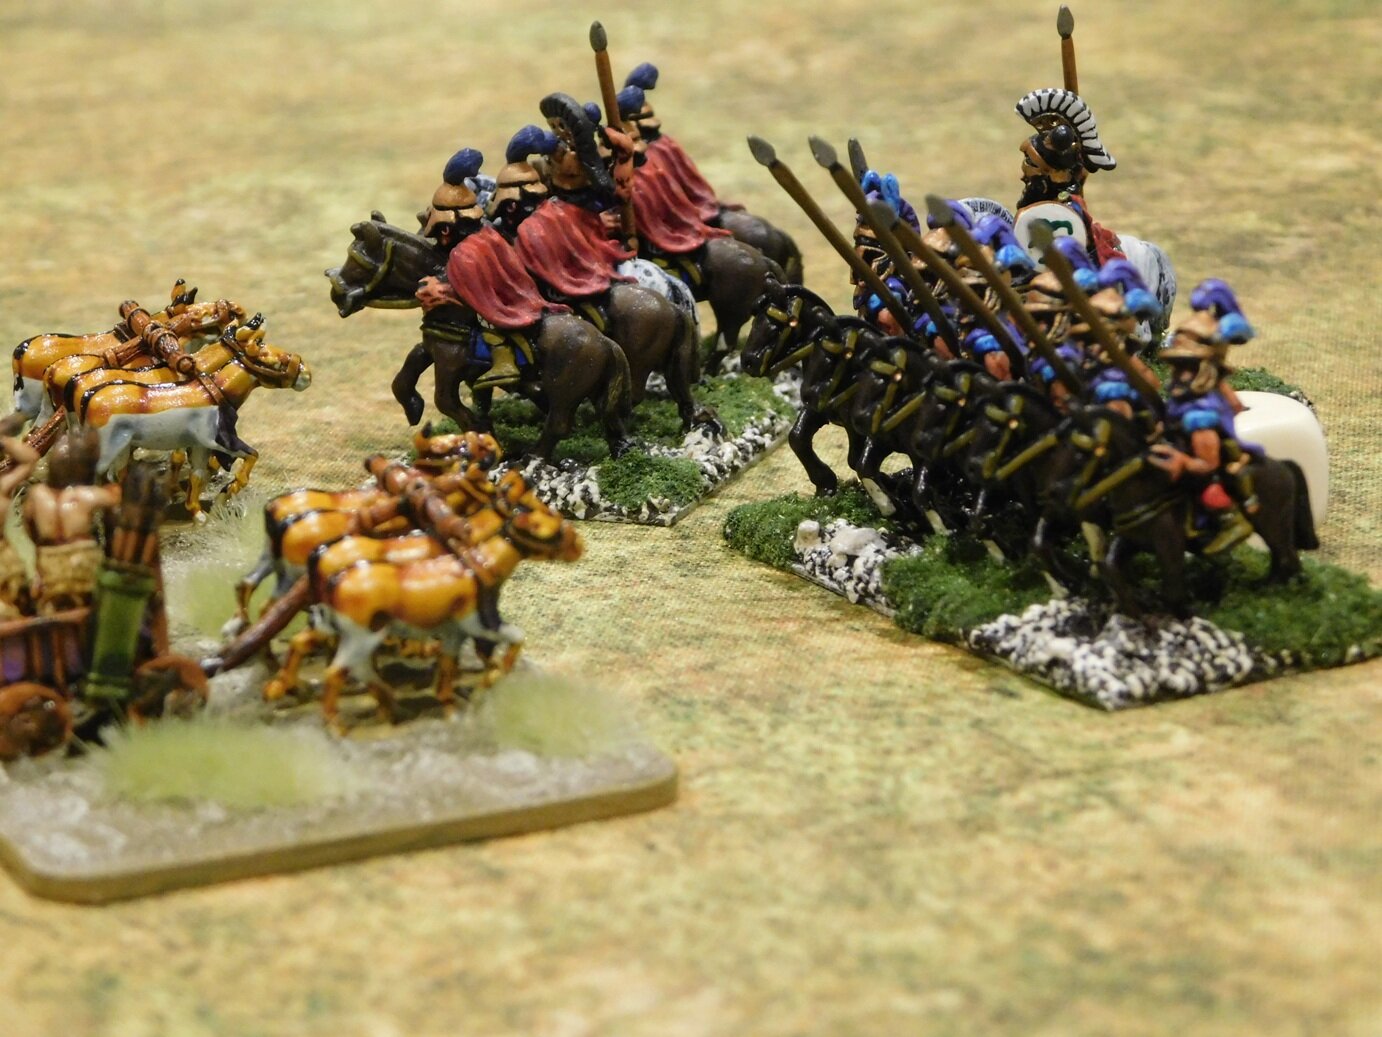
In fact, so veteran is he that for this game, rather than just saying that he didn’t mind which army he played, K. very emphatically said that he’s like to play the Sarmatians again: the army he’d had so much success with last time. That was fine by me: I proxie my Sassanid Persians as Sarmatians, with the cataphracts representing veteran Sarmations and the Clibinarii standing in for the regular chaps.

A solid wall of lancers!

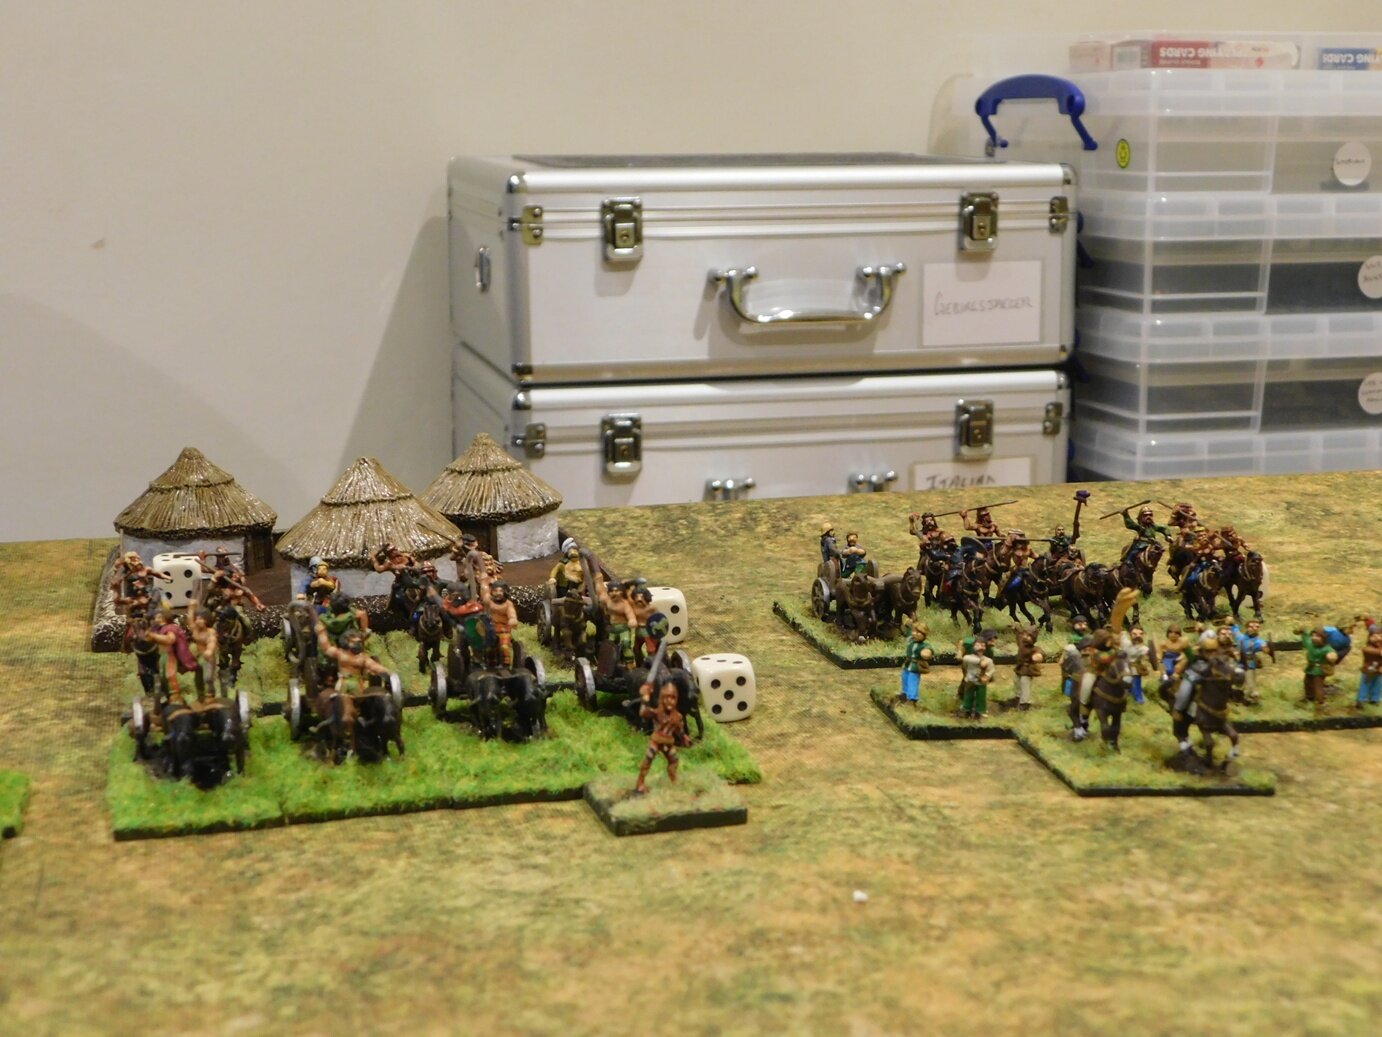
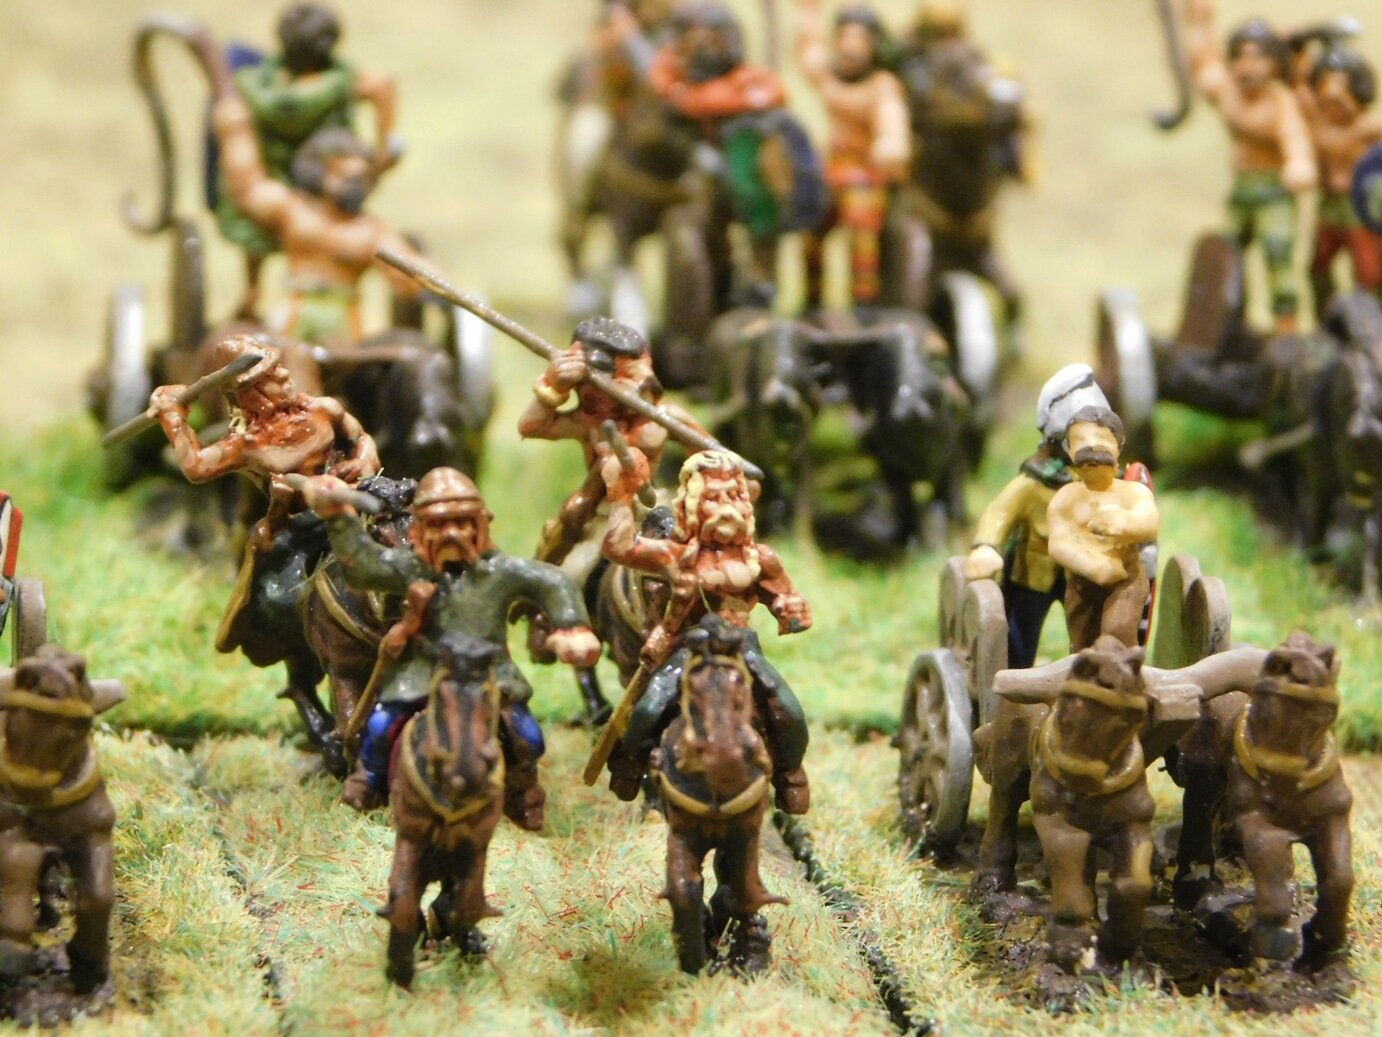
I, on the other hand, would take my beloved Ancient Britons, now quite a different army since the list changed the chariot force from being lights to being normal troops…it was time for the Ancient British Panzer Division to take to the field once more!

Four of my six warbands

I did still have some lights, javelin-armed horsemen and slingers, and was determined to try and use them as well as some of my other opponents i.e. manoeuvring around the battlefield like Billy Whiz, constantly nipping at flanks and rear.

“Come and have a go if you think you’re hard enough!”

Our first game was the sort of grinding encounter that typicalises battles where one or both sides are full of deep units. I couldn’t kill his veteran lancers, he was having difficulty breaking my deep warbands. I did manage to get my light horse attacking the flanks and rear of various Sarmatian units, but to no effect whatsoever!

The Ancient Britons head for the rough ground

Chariots kept back as a mobile reserve/exploitation force

In the end, however, it was lights that won the day for me. A unit of light infantry slingers found themselves out of ammunition and in the middle of the battlefield. They spent a bit of time desperately trying not to be noticed by the Sarmatians, a tactic that succeeded to the extent that one lancer unit, already disordered, strayed within flank charge range. In went the slingers and KO’d the Sarmatian cavalry. This left them a few squares from the rear of another Sarmatian cavalry unit. Their blood was obviously up, as a couple of high activation cards allowed me to charge them as well…and then take them out, relieving K. of the last of his victory coins. The slingers had won the day!

Game 2

As the distaff side of things had taken the evil pooch (squatter in my wargames room!) out for a walk, we swapped sides for a second battle.

One thing I noticed immediately was what a lot of Ancient Britons there were: ‘fousands of them to be inexact!

From the other side: there are an awful lot of hairy-arsed barbarians to kill!

This turned out, however, not to matter at all, as the game ended up being very much a walkover in my favour. The Ancient Brits came on in a slightly crooked line, which allowed me to target individual units with my bow fire. This was, as usual, quite ineffectual, but the odd Disorders I did achieve gave me an extra advantage in the melees that followed.

I did have a scare early on when one of my non-Veteran brigade generals was killed by a slingshot, but, once battle was joined in the centre, my veteran units killed the warbands in front of them, punching a huge hole in the British line.

The British line begins to crumble

Not only did this cost K. a lot of victory coins, but it also left the way open to his camp: worth another three coins. In the end, however, I didn’t even need that: I had kept my left and right flanks back whilst my centre went in, now I sent them forward as well, aiming all the time at his weaker units. This tactic proved successful, and suddenly K. had no coins left. Looking at the tabletop, we both realised that I hadn’t actually lost a unit: just one very unfortunate general. Total victory was mine.

Big Hole in the middle of the Ancient British line

Aftermath

A great afternoon’s gaming, and a chance for me to pull two games back against K. Tomorrow is Father’s Day, so I’ve booked another couple of games for then, but more on that in a future post…

Robert Avery

Third Batch of Marian Romans

Taking Mr Bloggs’ advice, I decided to crack on and paint the third of the minimum five legionary units I need for my Marian Roman army.

As he said, that way when I come back to them I will have already painted over half the legion, so the task won’t seem too great.

A bit of excess flock to remove, but these are effectively cohorts five and six, or should I say V and VI. For the record, these are Baueda figures ordered in the UK through Magister Militum, and painted mainly with GW Contrast paints.

I’m now going to give myself a break and paint some ECW artillery!

Matching Figures

As previously mentioned, I’m bringing my Vis Bellica 100YW English army up to To The Strongest strength: which means doubling the size of some of the units.

The big problem, of course, is how do you match the new elements to the old: especially when you painted the old elements at least a decade or so ago?

The first problem is sourcing the right figures. I’d used Museum Miniatures first time around and, doubtless because of their continuing quality of product and excellent service, they are still around and actually going from strength to strength with their Z Ranges. Their 100YW range was still available, so I was easily able to match up my existing unit of Household Archers in terms of the raw lead.

The second problem is the colour scheme to use. Yes, I can see what colours the existing figures are, but I haven’t always kept a record of exactly which paints I used. I do for many of my armies, especially for WW2 and later periods, but not for the 100YW one.

The new element is on the left, furthest from the camera

Fortunately I had painted the existing archers very simply: red and blue and metal, so I wasn’t too worried that the old and the new would differ too much.

Far more important was the development of my painting style. As you can sort of see in the picture above, my old way of painting was a simple two-shade approach over a black undercoat. So undercoat in black, paint a dark version of the colour you want, highlight with a light version. This was very effective, and looks good, but quite time consuming: you are actually painting each figure twice. These days, however, I tend to use GW Contrast Paints over their Wraithbone undercoat: an entirely different method.

And from behind (the new element is now on the right)

Here is where the pleasure of using Contrast Paints comes in to play: the results are almost identical to the shading, and half the effort. You can also get some very nice depth on things like the axeman’s hauberk and the belt around it.

Okay, so I’m only painting to good wargames standard, but you can achieve some incredible things with Contrast Paints. I was, for example, very pleased with my ECW command figures (Essex 15mm).

So you now have the right figures painted to a good approximation of the existing element: all you have to do next is base them.

This is where I came more of a cropper. Firstly, for my existing army I had used thin metal bases, but had now run out. I could have sourced some, I suppose, but in the end decided to take the easy option and use my now-standard Warbases premium mdf versions.

I also had no paint that matched the existing bases (a very oddly light green) and had no note of where I had got in from. Worse, I had totally run out of the flock that I had used previously and, again, had no idea of where I had got it from. In the end, I bit the bullet and just went for the closest thing I could find in my flock collection: it doesn’t match, but it’s not too bad.

So there’s what you have to do to match old and new units:

  • the figures

  • the colours

  • the painting style

  • the bases

  • finishing the bases

I’m pretty happy with the match, and I’m sure that under “battle conditions” I’ll stop noticing any differences within minutes.

Post Script

I also painted up a unit of what Museum call Brigandines and I’m using as Billmen:

More Painting

Not commuting every day has certainly increased my painting output, so it was time to start a project that’s been on my mind since before Christmas.

Regular visitors will know that I play the Ancients game To The Strongest using 15mm figures on a 15cm grid. This way, I can use the armies that I originally put together for Vis Bellica on 6cm frontages by using two VB units for one TTS unit. This has meant a lot of investment in my old VB armies: effectively doubling the size of each or, where “deep” units such as Hoplites and Warbands are concerned, quadrupling the number of bases needed.

One of the last armies to need the TTS expansion treatment is my 100YW English army: knights, longbows and billmen. The trick here was going to be matching the figures and paint schemes that I had used before.

Figures weren’t so much of a problem…once, that is, I’d remembered (i.e. searched the Internet until I got a match) that I’d used Museum Miniatures for the core of the VB army. Paints would have to be as close as I could get with the originals using Contrast Paints.

Here’s the first two contributions: a command stand and an element of longbows:

I also managed to find time to complete a second unit of Commanded Shot for my ECW armies. As with the other, these were Peter Pig figures in 15mm.

I’ve also just had another delivery of Hallmark figures so (once the wife has wiped the package down with Dettol!) it’ll be on to more Dutch Horse.

A Bit of Bank Holiday Painting

I managed to get a bit more painting done over the bank holiday weekend: just a few bits and pieces rather than anything major.

First up, a unit of Cretan Archers for my Greek and Macedonian armies:

These are from Museum Miniatures’ excellent Z Range of CAD figures. Really nice and highly recommended.

Then there are a couple of officer stands for For King & Parliament: a General and a Colonel.

These are the always-dependable Essex figures in 15mm. I think I went bit over the top with the costume on the Colonel’s flag-bearer, but have compensated by making the General’s costume quite muted.

A Couple of January Sales

I don’t often post this sort of, er, post, but worth mentioning I think a couple of January sales that are currently underway.

First up, those of you who have seen my Sumerian and Hoplite figures from Museum Miniatures will be pleased to hear that they are currently running a 25% off everything sale.

This is a proper sale, with a decent reduction, so well worth seeing if you can take advantage.

Some of my Museum Miniatures Sumerians

The second sale that caught my eye was that of Arrowhead Miniatures, producers of a great range of 1/44th kit, including WW2. Arrowhead are offering 20% off everything they do until the end of January, and although 12mm isn’t my scale, their stuff does look very good.

Here’s a picture of their Hummel SP gun.

If there are any other manufacturers who are having a sale at the moment, drop me a line and I’ll post about them as well. Address is in the sidebar on the right.

First Painting of 2020

If you’re a regular visitor to this page, then you’ll know that I have recently built a 15mm Sumerian army using Museum Miniatures’ superb “Z Range” of CAD-designed figures.

I was browsing their website wondering whether to go for their Z-range Classical Indians when I noticed that they had also released some Z-range Greek Hoplites. Now I need at least another three Hoplite spear blocks, each 48 figures strong. I actually have 48 figures from another manufacturer waiting to be painted, but doing two of the blocks towards the end of last year (i.e. 96 Hoplites) had quite put me off painting them. Those cuirasses take ages to do properly.

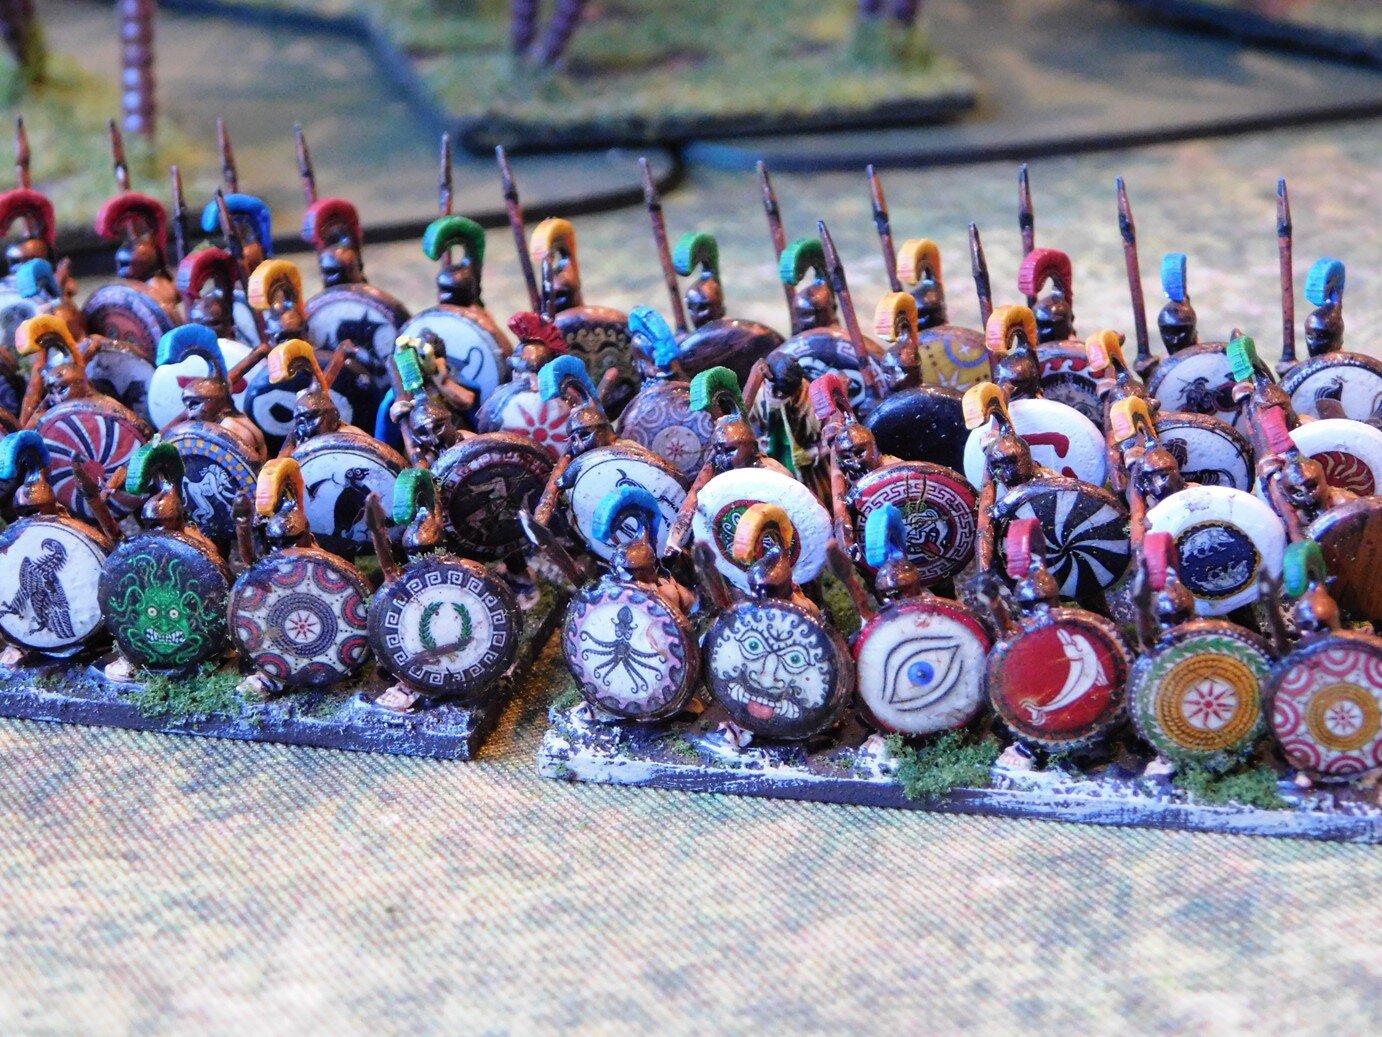
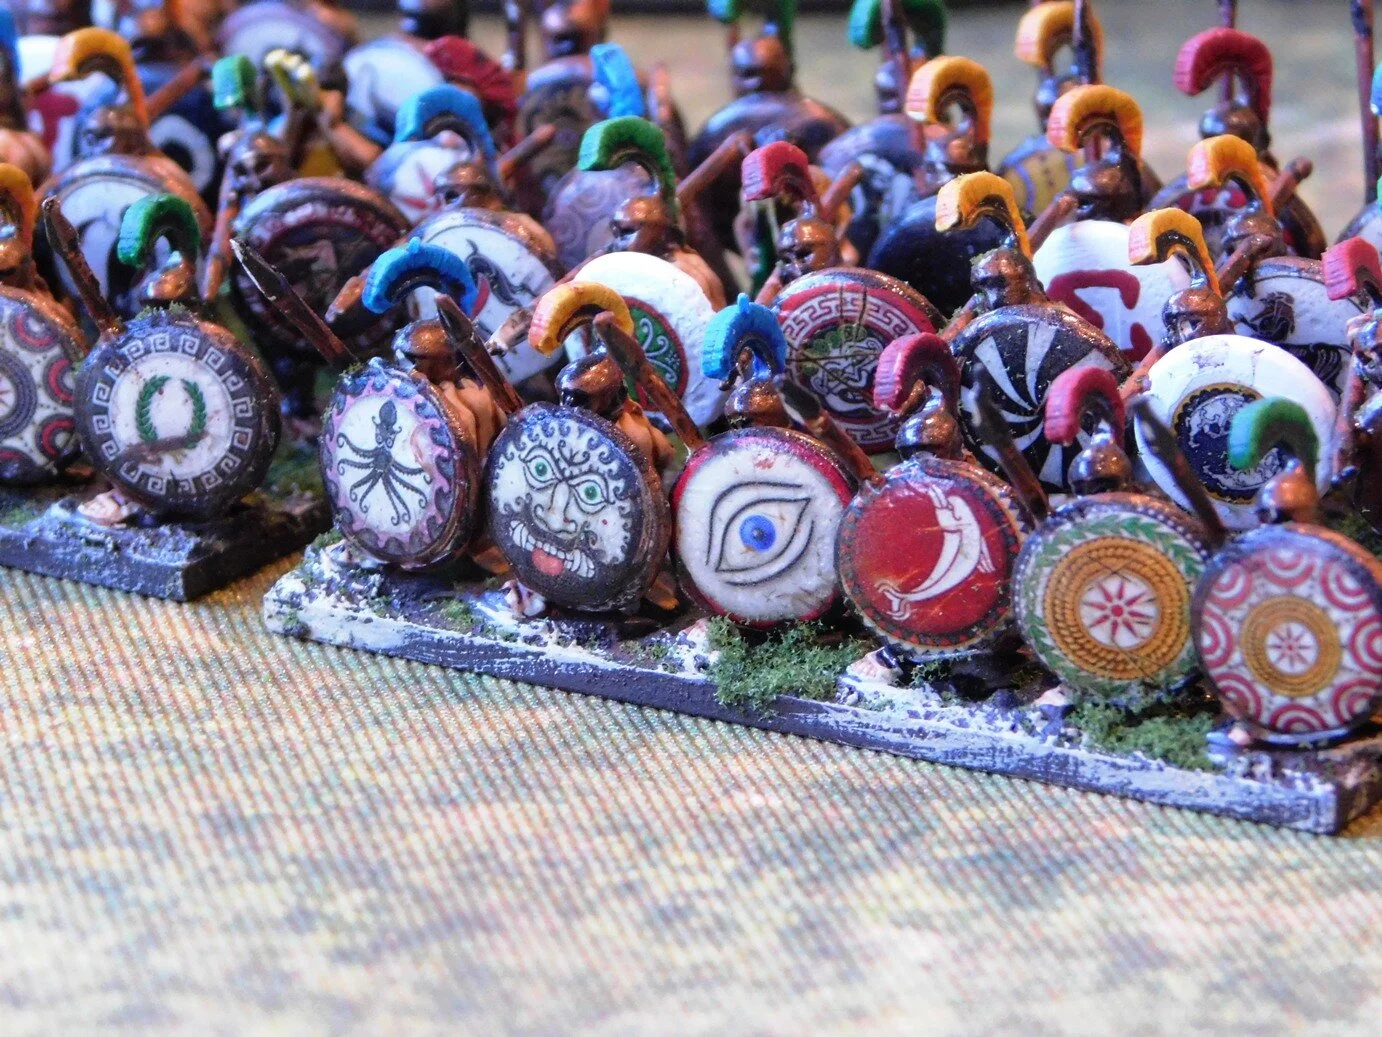
So I had a look and noticed that Museum produced a set of Hoplites with no clothes on and another with only a little kilt to cover their, er, dignity. Ideal: Z-range figures with no cuirass to paint! One odd thing: the Hoplites come in mixed packs of kneeling, thrusting and standing i.e. you can’t buy 48 of the same pose. Maybe I could have rung up and seen whether I could have had some custom homogeneous packs run up for me, but I thought I’d give the mixed unit a go.

Hmmm…not sure.

Good points: easy and quick to paint up, nicely animated, shield transfers from Little Big Man Studios are superb.

Bad points: I prefer my Hoplite blocks to have all the same pose, and somehow the kilts made me paint everything in prime colours instead of varying the crests and kilt colours more. At least my daughter likes my “rainbow Hoplites”!

Feel free to let me know what you think. I still need another couple of Hoplite blocks, and the Museum Miniatures ‘nearly nude’ range does make it easy to do…

Sons of the Scorpion!

Here’s a bit of my painting left over from last year’s scramble to get over the 2,000 points mark for the 2019 Painting Challenge: some 15mm Sons of the Scorpion from Splintered Light Miniatures.

The figures come in three parts: the scorpion body, the scorpion tail, and the human body. They glue together really easily: the tail is provided with a pin that neatly fits into a hole in the back of the scorpion body; and the human body sits in a little cup at the front of the scorpion body. Both bits show that someone has actually thought about how the average model maker is going to build this figure.

The figures are painted for the most part using GW Contrast Paints. One coat of Wyrdwood for the main scorpion body, then one cost of Darkoath Flesh for the human bit. Really very simple indeed and look really good.

The Sons of the Scorpion figures are part of a large collection of fantasy Egyptian figures available from Splintered Light, including: Sons of Anubis (Jackal-headed); Sons of Horus (da Bird!); and the Sons of the Scarab (dung beetle humainoid types). I must confess that do rather fancy a Sons of Anubis army to fight my “normal” Egyptians…a few other projects to finish first though!

Sumerians Finally Hit The Tabletop!

A great start to my Xmas holiday with an afternoon of gaming To The Strongest, so also a chance to get the Sumerians that I have been so assiduously painting over the last few months onto the tabletop.

First off was an encounter with the Ancient Britons. Weird how I would never think of playing a non-contemporaneous battle when playing WW2, but accept it as normal for the Ancient period. Doubtless the Brits were on holiday, and when asked where they wanted to go, just replied “Errr…”

Moving swiftly onwards, I had to deploy first, so it was chariots on the left, militia in the middle, and good troops on the right. Opposite me, the Brits had adopted a very traditional deployment: chariots and light horse on the wings, infantry in the middle.

In a nutshell, the battle went as follows. The Britons opened the game by moving forward really quickly. I responded by sending my chariots forward on the left, but they spent just about the whole game dealing with his light chariots and horse, who just wouldn’t stay still long enough to be properly mullered. On the right, the same thing happened with my Royal Guard axemen. I tied his chariots up, but that was all. That left the infantry in the middle to win or lose the battle. My troops were largely militia raw troops, his were screaming barbarians: I lost!

So on to a second battle, where although the Ancient Brits were unchanged, I switched my Dynastic Sumerians into the slightly more advanced Akkadians. With no raw militia, I was slightly more confident of success but my opponent, Bevan, was very clever and tactically astute: all his light chariots and horse went on one flank, whilst his infantry advanced in echelon towards me.

Those of you who are equally tactically astute will of course know exactly what happened next. His light chariots swarmed all over my ponderous battlecarts: if I chased one, it evaded, and then the others attacked my flanks and so on! Meanwhile my infantry just couldn’t get a grip on his foot and found themselves always facing two units or a threat from a flank. I lost again, and lost badly!

Our final game saw me using the Akkadians again, but this time facing another geo-anachronistic foe: a Pyrrhic army composed mostly of Hoplites. This was more my type of opponent: no hordes of light chariots to annoy me.

I deployed with my battle carts facing his cavalry on my right, my Household Axemen and Bowmen facing his elephants on the left, and a straight up infantry face off in the middle.

My battle carts literally smashed his cavalry from the field (apart from a nasty charge from his lancers), and then proceeded to take his left hand camp, with the other only a turn away from falling as well. On the other wing, my bowmen saw off his elephants without too much difficulty, which left an infantry clash in the middle. This was more even, with the fortunes of war swinging backwards and forwards. My successes on the wings, however, meant that although we each lost the same amount of infantry units in the centre, his army lost its morale first.

So two losses and one win for the first Sumerian outing: not a bad performance. Here are some more pictures of the day’s gaming:

The Last of the Gauls

I really should have painted these myself, but I’m very busy with the last of the Sumerians at the moment, so when friend John offered to paint them up for a very reasonable rate, I jumped at the chance.

This is a Gallic, or general Celtic, warband in 15mm. Figures from Forged in Battle’s excellent Empire range.

More Sumerians

Closing in on the last few units of my 15mm Sumerian army for To The Strongest.

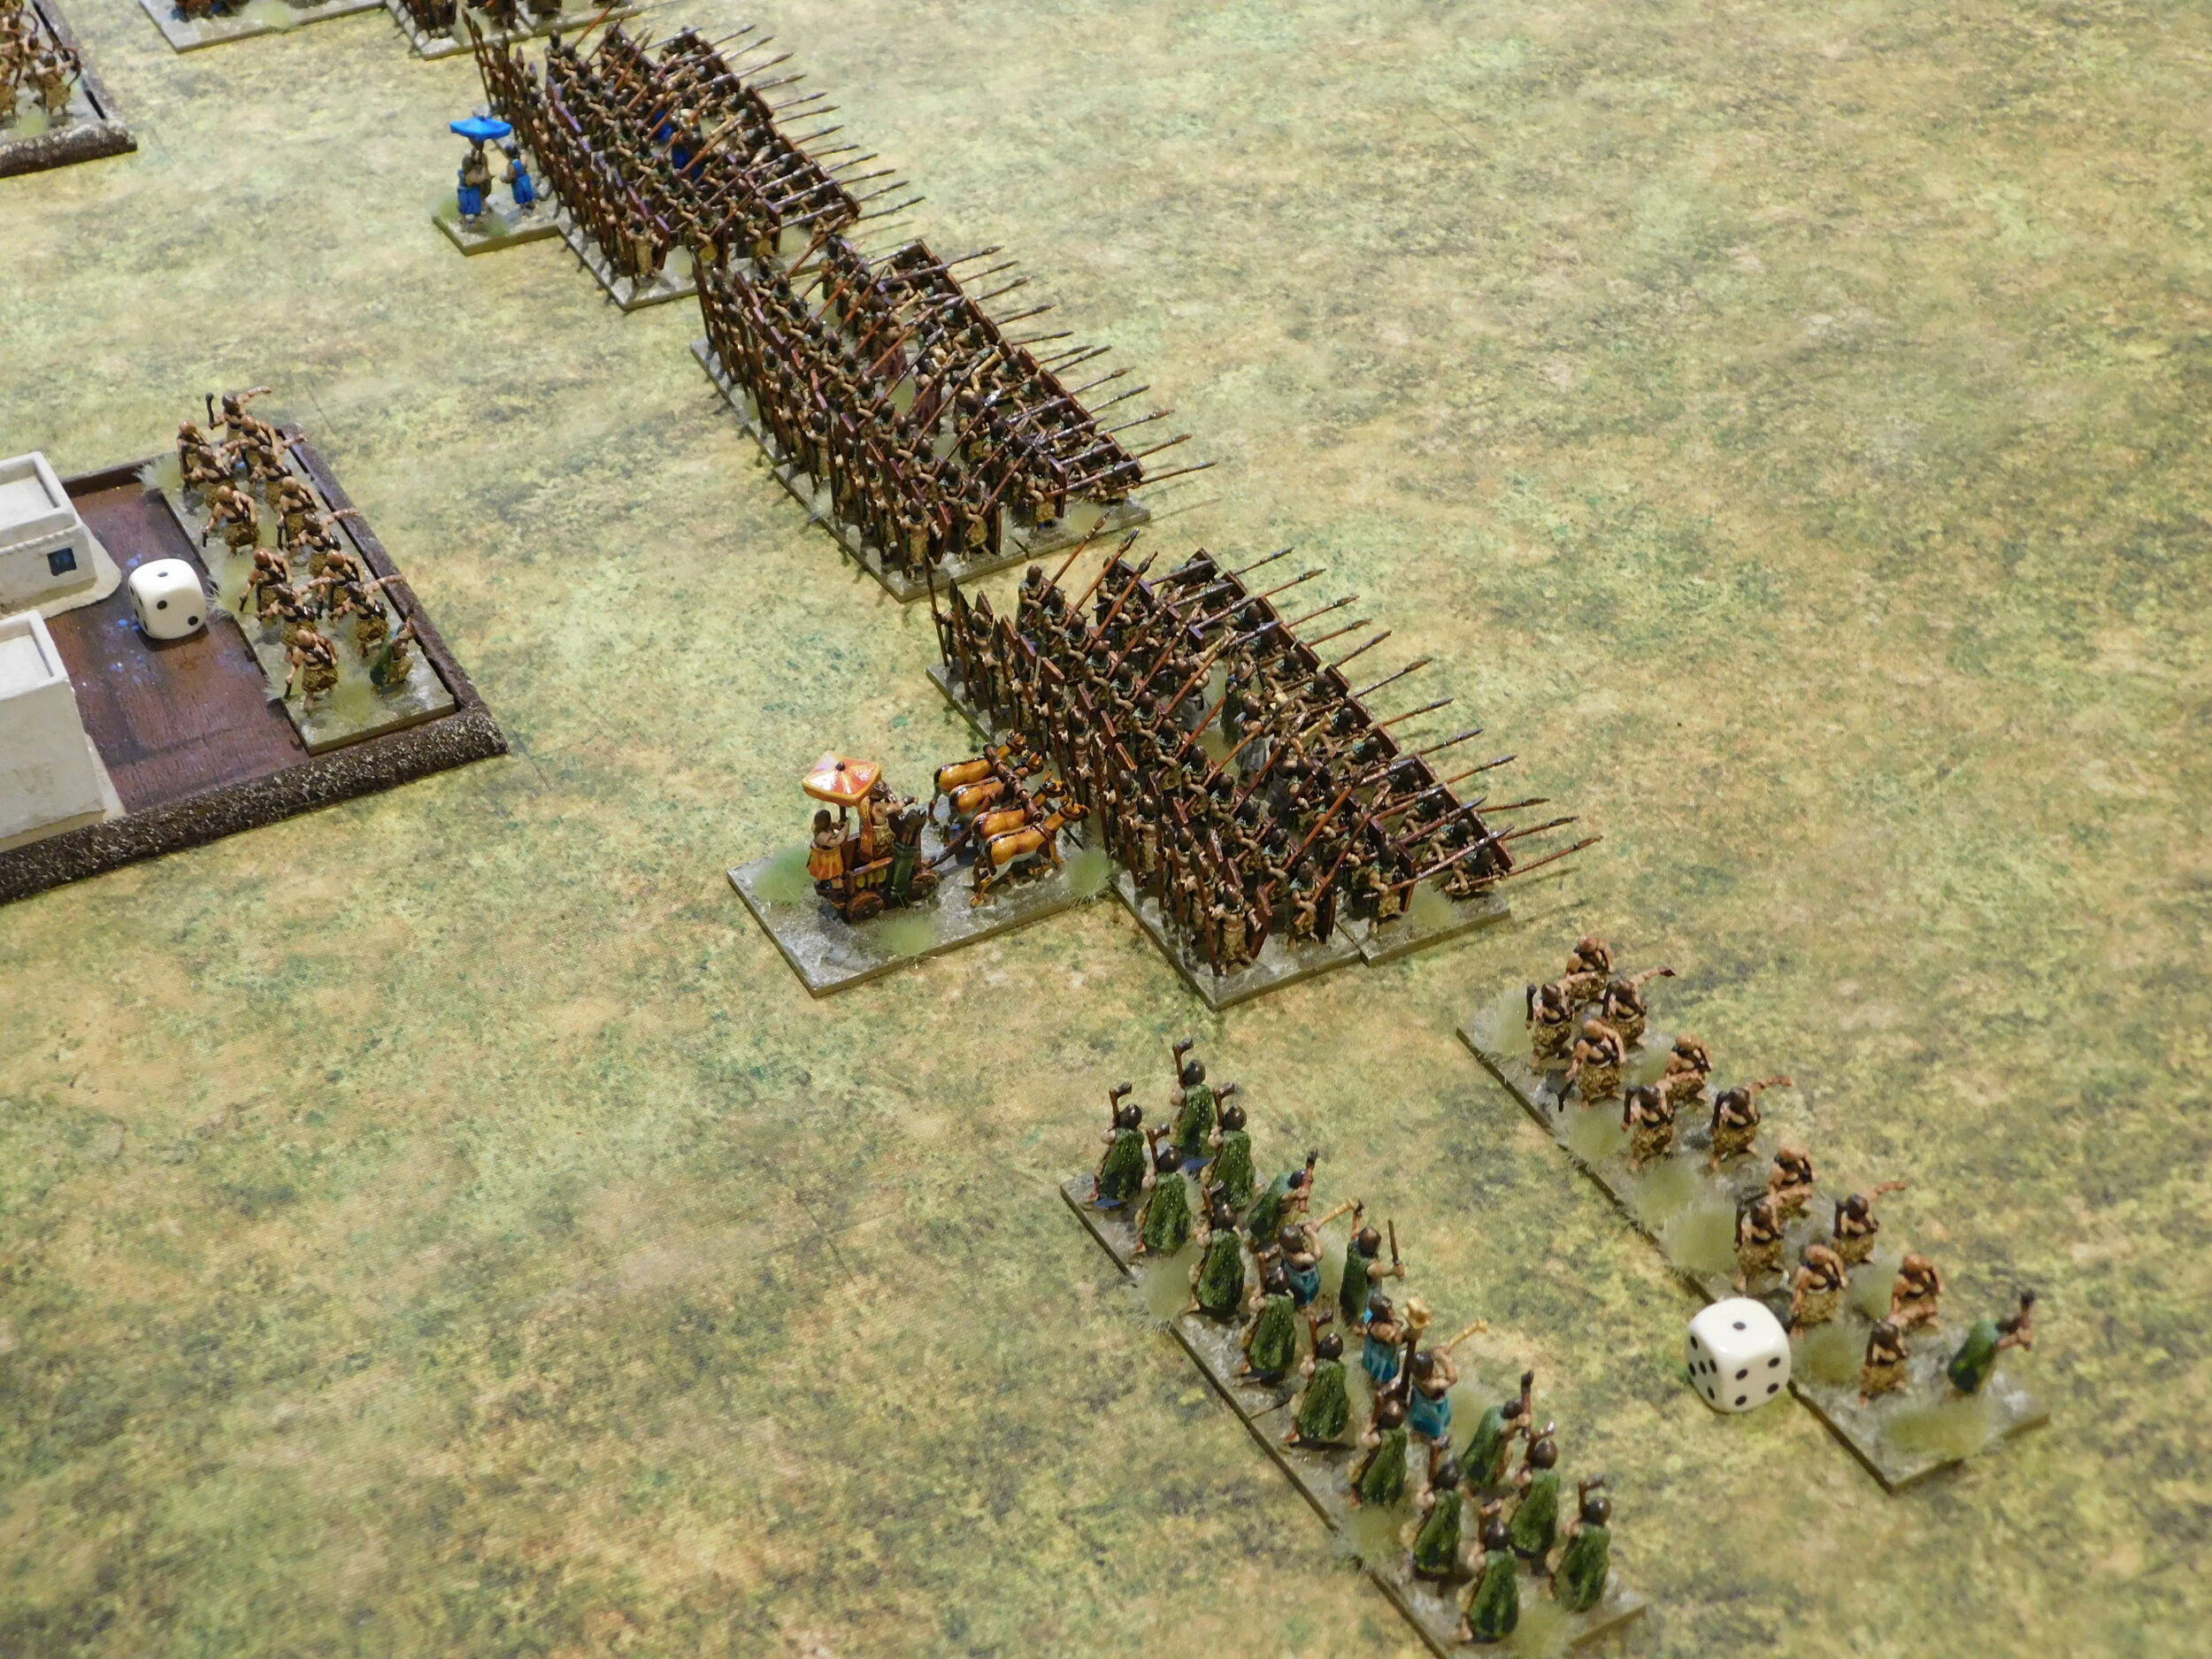
Today’s offering is firstly a fifth spear block of 48 spearmen: a rather daunting prospect when you see them all ready to be undercoated, but fine once you get into the rhythm of painting them.

Next we have some of the marker pieces I’ll need. These are the Heroes: allowing you a one-off re-try of a round of melee i.e. draw the wrong card, use our hero, draw another card, discard hero.

As you can see, each of my heroes comes complete with their own scribe (to record their valiant actions) and their own parasol holder (to keep the hero cool until he is needed).

Once again, lovely 15mm figures from Museum Miniatures.

Ancient, Ancient British!

I play To The Strongest in 15mm, but on a 28mm-sized grid. I love the look of the huge armies that you have to field to fill the space.

The problem, of course, is that you have to have the aforementioned huge armies in order to play and if, like me, your collection was gathered to play (my own) Vis Bellica rules, then you find yourself short of lots of figures.

Three of my existing chariots

No problem, I hear you cry: an excellent excuse to buy more…and indeed it is. So there I was, mooching around Warfare, wondering whether to buy the final pack of Ancient British chariots that I needed to complete my 130 point army when I saw a chap selling painted Ancient British (or Gallic etc) figures, including chariots.

Now these figures were old, and painted in quite a basic style, but on inquiry were being sold for only £1 per chariot. Hmmm…four new chariots at about £5 each which I then have to paint, base etc, or just buy four of these and be done.

Well, I prefer to paint my own stuff, but then I looked down at these poor figures, all jumbled together in a box, suffering a bit from lead rot (which shows you how old they were) and thought “no, I won’t buy new, I’ll give these old veterans a new home”. After all, figures are not just for Christmas, they are for life!

So here they are: four ancient Ancient British chariots that look more like 20mm than 15mm; are basically painted (although shroffed up a bit by me); are suffering from lead rot (hence the very heavy coat of shiny car lacquer I’ve given them): but given a new home and a new lease of life. Only a shame I couldn’t have taken them all…

Sumerian Commanders

Coming close to finishing the Sumerians now: just two more units of spearmen, some heroes, and some skirmishing archers to go.

That means it must be time to paint the generals: three of them needed, each in a four-equine chariot:

And very nice they are too: this really is a cracking range of 15mm figures from Museum Miniatures.

The Sumerian Panzer Division

More of the lovely 15mm Sumerians from Museum Miniatures. This time it’s the bronze fist of the army: the battle carts!

These are a bit like heavy chariots…except for the fact that there are no horses available, so the somewhat less sophisticated equids are used instead; and primitive technology requires the carts to have four wheels instead of two i.e. making them hard to manoeuvre.

Other manufacturers take note: these are easy to put together in that the carts are basically one piece with the yoke and pole being another. Add in the bow cases on the sides and you’re done.

As usual, I’ve painted these mostly with Citadel Contrast paints. I’ve covered how the Sumerian infantry are done in previous posts, but the equids are undercoated as usual, then have the legs and lower body lightly painted in Apothecary White. The upper body is then painted in Nazdreg Yellow. The mane down the back is simple black, black tufts on the ears and in the tail, and you’re done. Horse equipment was Contrast Snakebite Leather.

If I have any complaint, it’s that the warrior in the back is in a bit of a weird pose. I question how easy or practical it is to hold the spear like that for a sustained period, or even to thrust. I know holding a Japanese bo like that wouldn’t work unless you’re talking about literally the very final point of a somewhat unusual overhand thrust: I went and got mine out of the car to try it out!

But that’s a minor gripe: overall very nice figures.