
IABSM AAR: Operation Express
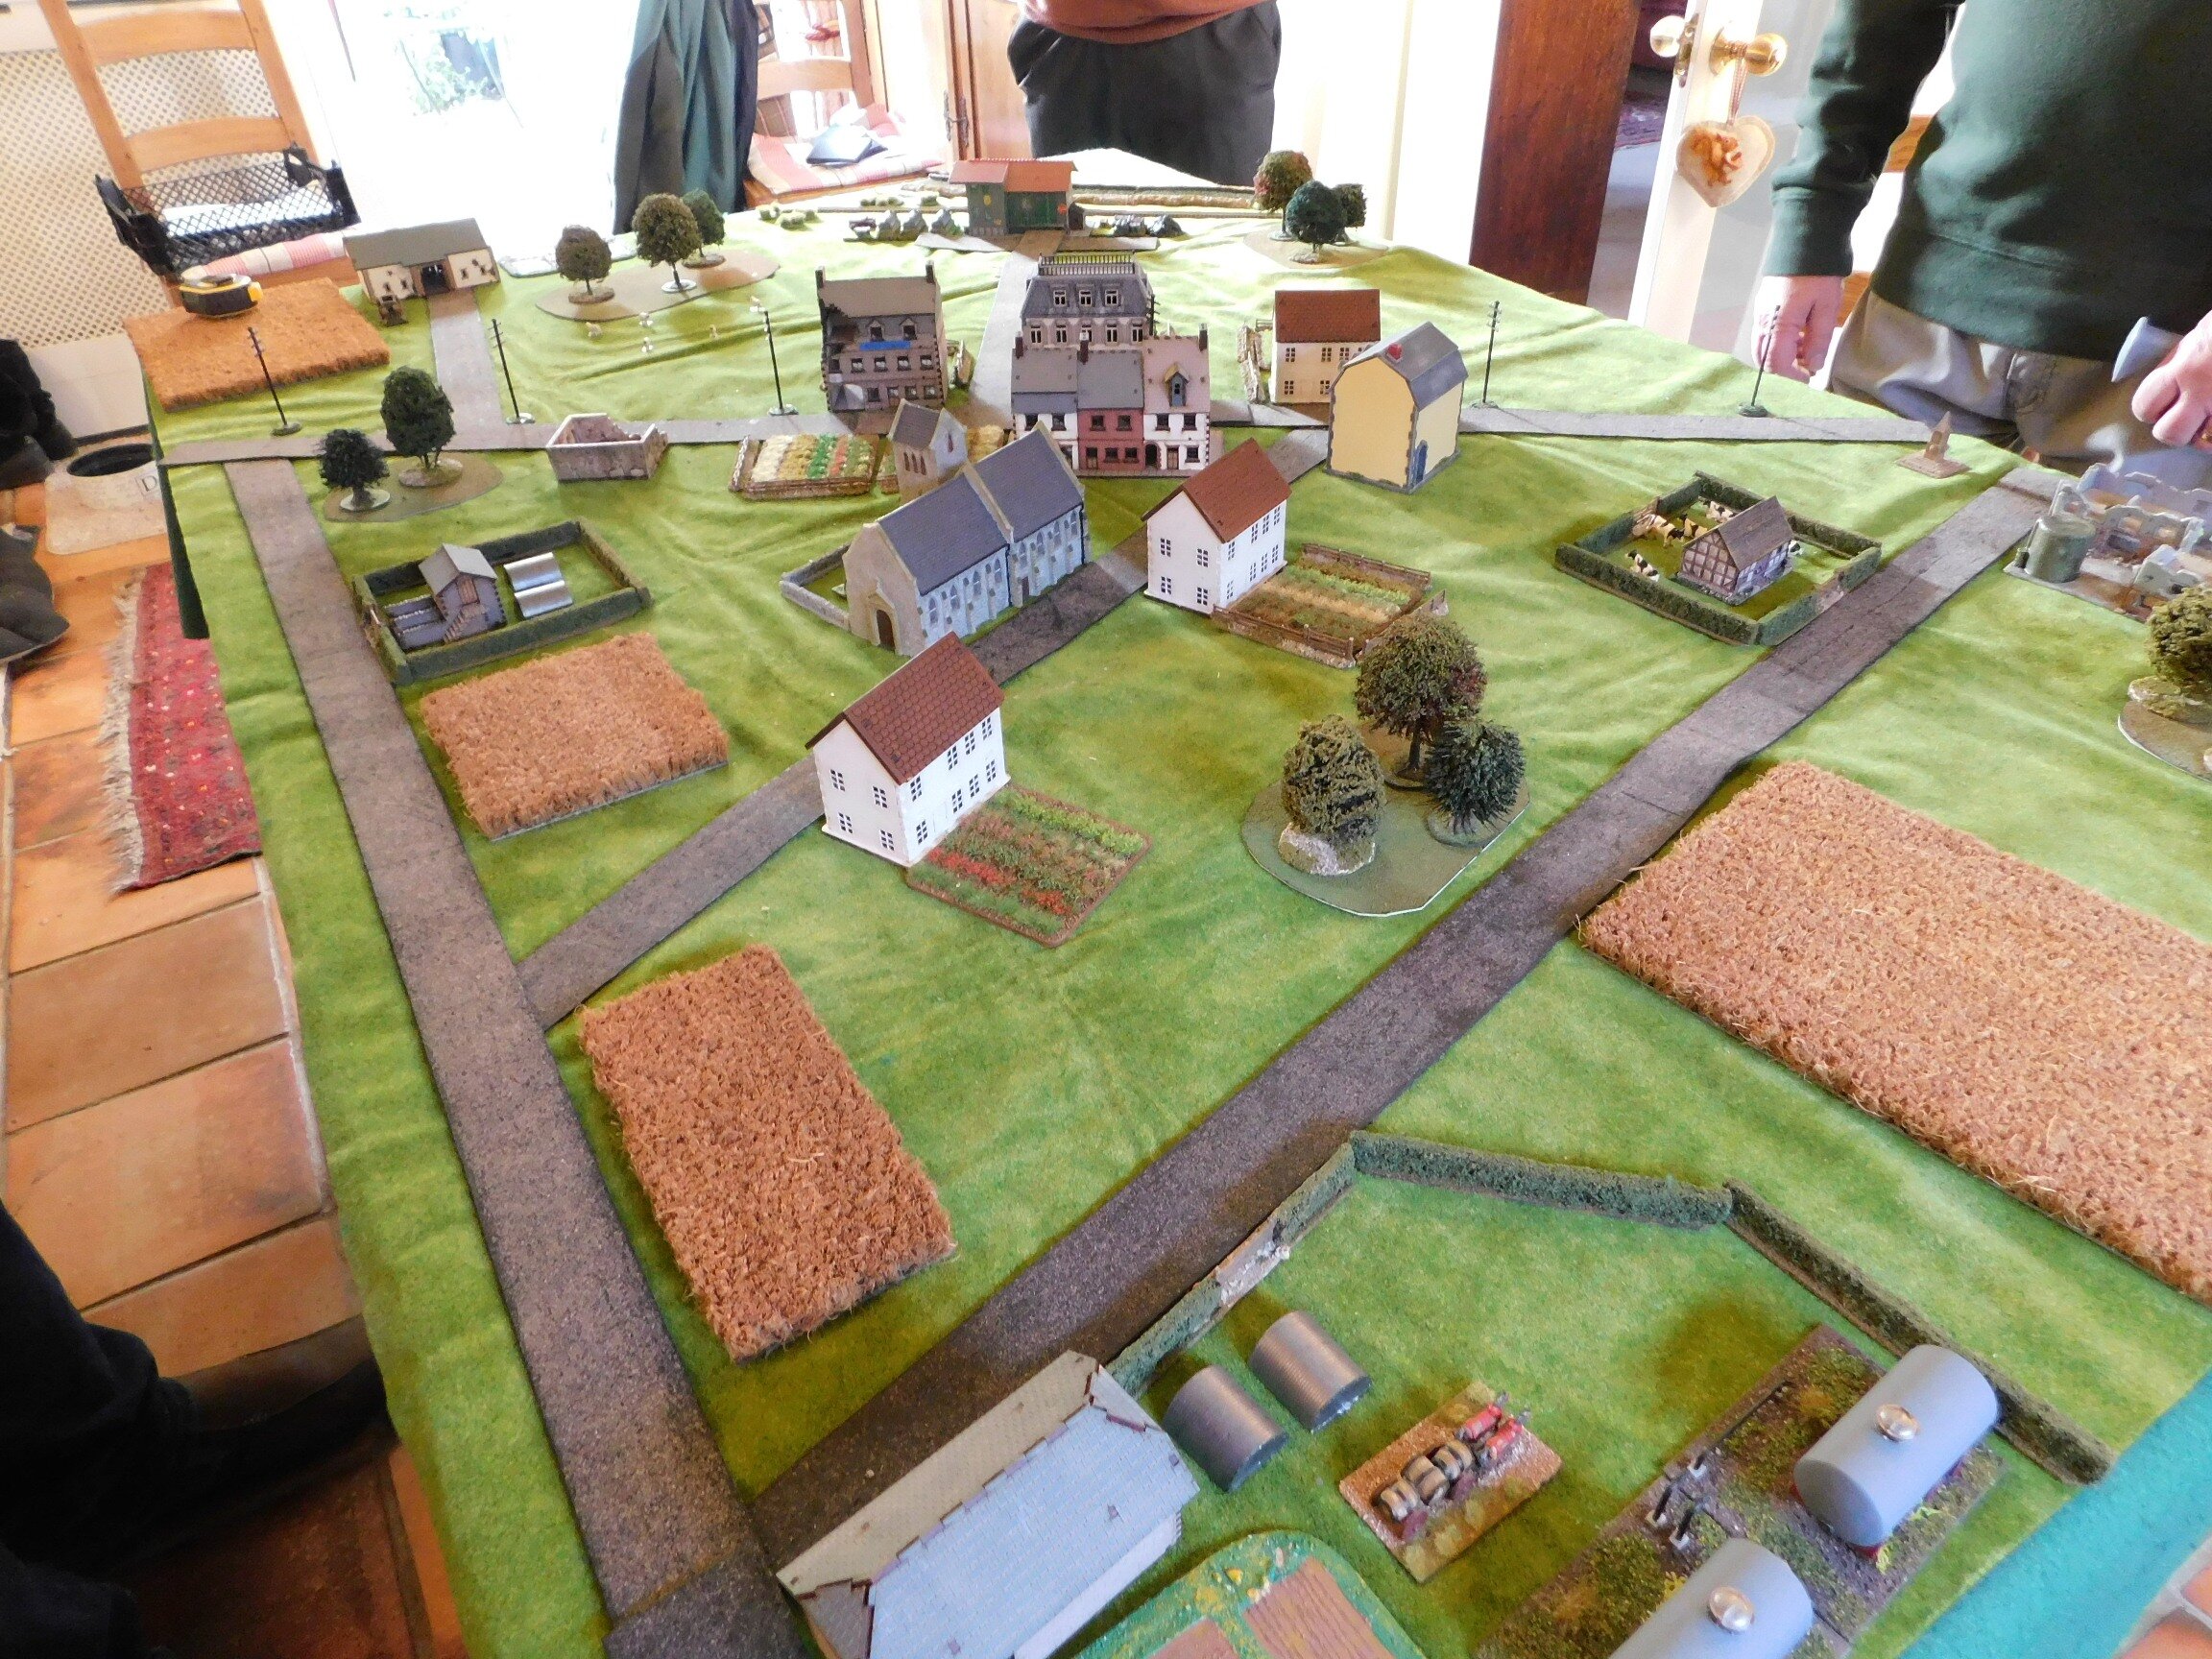
/Another of Mark Luther’s great After Action Reports: this time a game of I Ain’t Been Shot, Mum in 6mm set in Normandy 1944.
No words, but some cracking images. Click on the picture below to see all.

Another of Mark Luther’s great After Action Reports: this time a game of I Ain’t Been Shot, Mum in 6mm set in Normandy 1944.
No words, but some cracking images. Click on the picture below to see all.

Here’s another great I Ain’t Been Shot, Mum! after action report from the pen of Tim Whitworth and picked up from the IABSM Facebook Group.
This time, Tim and friends play one of the scenarios from the pen of Mike Whitaker that can be found in the various Lardy Specials. I can’t remember which one it is, so you’ll have to get them all to find out!
This encounter is set around the Gothic line in 1944. A British company attack supported by Sherman tanks and artillery against Germans dug in and determined to fight for the last inch of their territory. Click on the picture below to see all:

And why not compare the action here to Mike’s original report, which can be found by clicking here.
Here’s a battle report from a game of I Ain’t Been Shot, Mum played last weekend against John and Dave.
Unusually for us, the scenario was late war, eastern front: with the Soviets rushing forwards to secure a gap in a ridge that the Germans were also seeking to block.
It was a very close run thing, with a fair degree of carnage on both sides. Click on the picture below to see all…

A quick AAR from Julian Whippy and friends taken from the IABSM Facebook Group.
The game features a huge 12’ by 8’ table, and a German assault on stubborn British infantry.
Click on the picture below to see all:

Another quite frankly amazing After Action Report from Just Jack, taken from his excellent BlackHawkHet blog.
Here, Jack is playing the fifth of his series of battles set on the northern shoulder of the battle of Kursk.
Click on the picture below to see all: highly recommended.

A largely photographic battle report created from a mash-up of posts from Desmondo Darkin and Iain Fuller on the IABSM Facebook Group. The game is adapted from the Chain of Command “Operation Martlet” pint-sized camapign book.
They are playing a version of I Ain’t Been Shot, Mum that uses dice, not cards, to control initiative: a mash-up, if you like, of CoC and IABSM. Seems to have given them a great game.
Click on the pic below to see all:

It’s always nice when you hear about someone returning to I Ain’t Been Shot, Mum after a bit of a break and having a thoroughly good game…so here’s a quick AAR from Rob Goodfellow of the Tamworth Games Club.
Here Rob and friends play through the second sample scenario from the IABSM v3 rulebook: South of Cherbourg. Click on the picture below to see all.

Even better, Rob tells me that they are now thinking of playing through the Blenneville or Bust! scenario pack: so I’m sure we can expect plenty more AARs in the near future!
Here is another stupendous After Action Report from Just Jack, taken (with permission) from his excellent BlackHawkHet blog.
I say “stupendous” because not only is it a really good read, but it’s huge as well: 144 photos, all individually captioned with an account of the action that’s shown. It’s so huge that it actually broke my attempt to get a post every day in November: I managed one every day right up to Monday 25th and then ran into this monster!
It also didn’t help that Squarespace was playing up: I had to type out about one caption in every five as the cut-and-paste just wasn’t working. Thanks for the bleeding finger tips, Squarespace!
Anyhow, enough of my moaning. It’s a great read: click on the picture below to do so…

Micahel Curtis and friends are preparing to run a demo game of I Ain’t Been Shot, Mum at Salute next year, based on the Arras counterattack.
To put on a successful demo takes an awful lot of work, including many playtests. Click on the picture below for a very nice looking report of their latest one:

Those of you who have been on this year’s wargame show and Lardy Day circuit this year may well have seen Mike Whitaker’s excellent demonstration game Bloody Omaha. This is a fantastic set up representing The Big Red One’s assault of the eastern end of Omaha beach (Colleville-Sur-Mer).
Those of you who know Mike will know that he is a man of mighty generous spirit, as is proved here as he lays on the game for a couple of fellow Lardy’s who hadn’t had a chance to take part in any of the show sessions.
Click on the picture below to see a magnificent battle report taken from the Roll A One blog and Mike’s own blog Trouble At T’Mill.

One of the reasons I love running this site (at great expense in terms of time and money BTW!) is the opportunity to post battle reports from games based on scenarios from the various scenario packs that I’ve written.
I like seeing whether the game worked or not (fortunately they generally do!), and how people have interpreted the situation, terrain, any special rules and the like. It’s also great to see the beautiful figures and scenery that people use as well.
It gives me great pleasure, therefore, to introduce the following AAR by Time Whitworth using the 3RTR at Hames-Boucres scenario from the Defence of Calais pack (the first I wrote). It’s a great scenario that I’ve played several times myself. Click on the pic below to see all:

Another quick after action report from Burt Minarot’s excellent Spanish-language blog Las Partidas de Burt.
Here, British troops are trying to slow down a German force advancing towards a vital crossroads designated as the next jump-off point for the Allied advance.
Click on the picture below to see all:

Here are some great photos of a game of I Ain’t Been Shot, Mum from Joe McGinn and Tim Howard. These pics are lifted from the IABSM Facebook Group: membership a must if you enjoy the game!
Click on the pic below to see all:

Friend Dave and company have been playing a mini I Ain’t Been Shot, Mum campaign, Chasseur, and invited me to take part in game three. The campaign is set during the invasion of France in May/June 1940, and I would play a column of German Panzers as it motors towards the Seine.
The AAR contains all you need to play the scenario for yourselves, so click on the pic below to see what happens:
Yet another stupendously huge IABSM AAR from Just Jack: the third in his series of fighting on the northern shoulder of Kursk.
This time, the Soviets are counter-attacking towards Kastenwold, and seem to be doing a good job of it too!
This is another huge AAR: 162 photos if I recall correctly. So click on the pic below to see all…

Great little AAR by Desmondo Darkin, taken from the IABSM Facebook Group.
The scenario was based on Day 2 of Operation Martlet, 25th June. 1944: the British attack on the German line at St Nicholas Farm and the Grand Farm.
Desmondo and friends used the Oh What a Total Bummer dice-driven version of IABSM. Click on the pic below to see what happened:

Another stupendous After Action Report from Just Jack, currently fighting a mini-campaign On the Northern Shoulder of Kursk.
This is fight two, so make sure you are sitting comfortably as we launch into another epic tale: even if this report contains only 144 photos this time!
Just Jack runs as excellent blog, Blackhawknet, that can be found by clicking here.
Click on the pic below to see all:
A quick AAR from Joe McGinn and friends at the Hailsham Wargames Club.
They have come back to IABSM after at least a year away, and had forgotten what a great game they give.
Click on the pic below to see the results:

Tim Whitworth and friends are working their way through the Defence of Calais scenario pack. Here’s a quick AAR from Scenario #04: The Road to Gravelines.
The unenviable task facing the British was to get a massive truck borne supply consignment of rations from Calais to Dunkirk along the road via Gravelines. Early in morning the convoy left the Calais Gate and travelled the route until it reached the village of Le Beau Marais where 1 Panzer Division forward elements had set up a substantial roadblock on the village crossroads and billeted up for the night.
The game begins with the British reaching the roadblock and the Germans being alerted to their presence.
Click on the picture below to see what happened:

I always like it when people go back to their archives and add games from yesteryears to their blogs.
Here’s one from Burt Minorrot’s excellent Spanish-language blog Las Partidas de Burt from five year’s ago. Click on the picture to see all:

Vis Lardica is a website devoted to wargaming and military history, with a special emphasis on the company-sized rulesets produced by the TooFatLardies: I Ain't Been Shot Mum (WW2); Charlie Don't Surf (Vietnam); and Quadrant 13 (science fiction)

Welcome to Vis Lardica, a not-for-profit website mostly dedicated to the company-sized wargaming rules produced by the TooFatLardies, but encompassing my other gaming interests as well.


If you need to contact me, you can do so at:
vislardica@gmail.com
If you have enjoyed visiting this site, please add a link to it on your own wargaming blog: www.vislardica.com.