IABSM AAR: 3RTR at Hames Boucres

Time for another lockdown game of I Ain’t Been Shot, Mum against K, Daughter #1’s boyfriend, trapped with us for the duration.

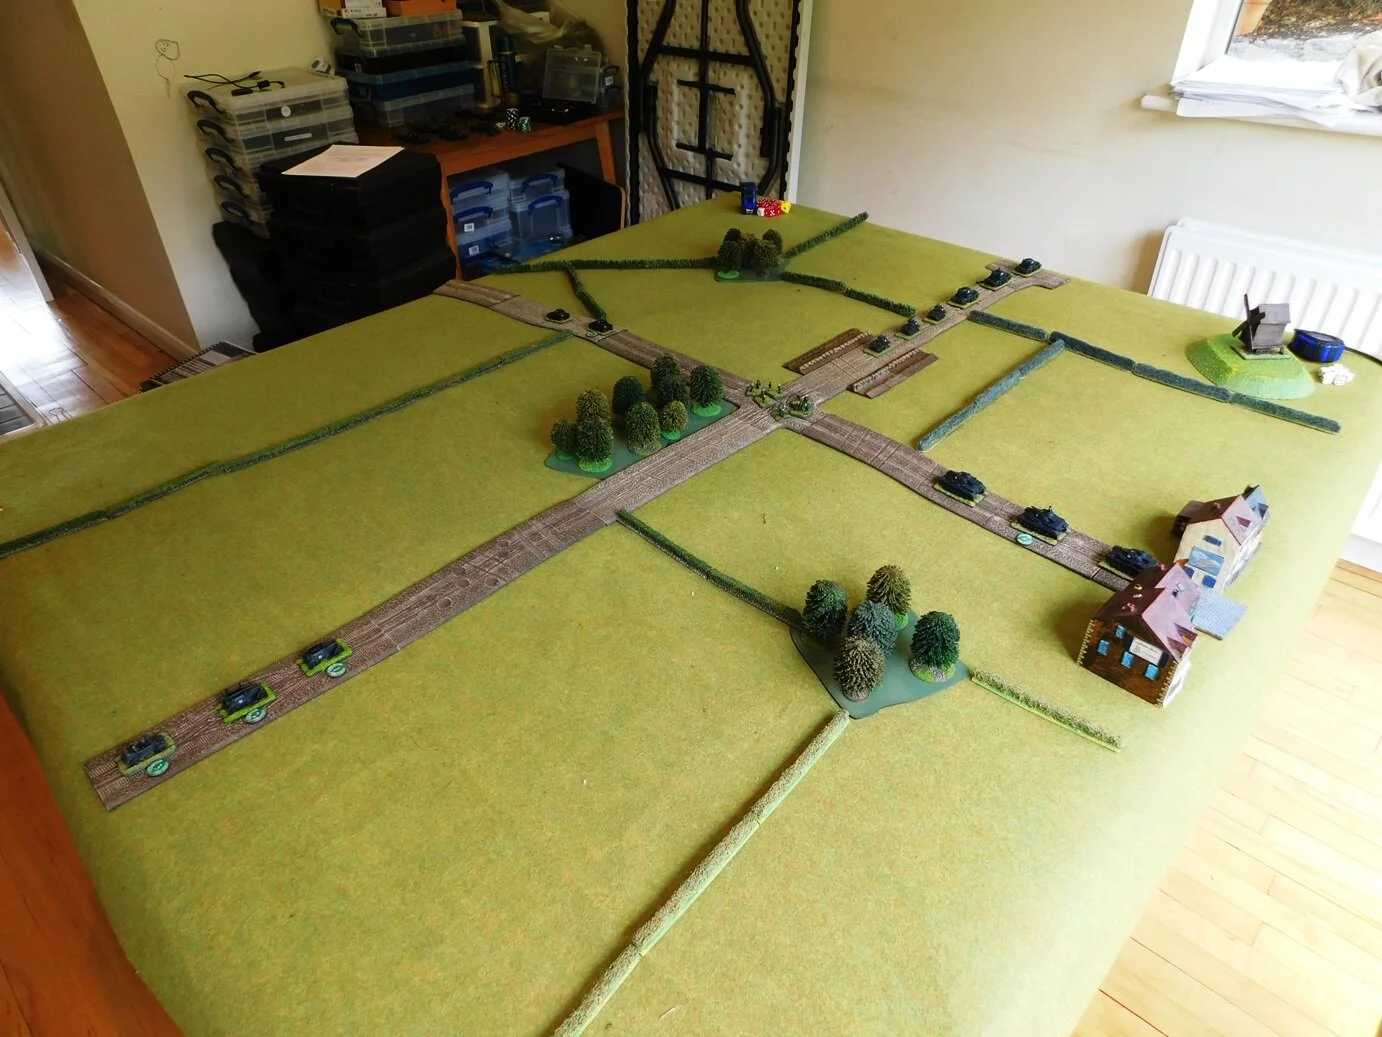
I used scenario #3 from the Defence of Calais scenario pack: 3RTR at Hames-Boucres. I would take the Brits, K would play the Germans.

The game begins as a squadron of British tanks (a Squadron HQ of an A9 and an A10; two troops of three A13s each; a troop of three MkVIb light tanks; and a couple of recon Dingos) headed in column along a sunken road towards the village of Hames-Boucres (a few miles from Calais) with orders to deal with a few "rogue enemy tanks" that had apparently been spotted roaming around the countryside…

Click on the picture below to see what they encountered:

A Game of Warlord

With five of us from two-three different generations all living on top of one another during lockdown, tensions can sometimes run a little high. One survival mechanic that we have adopted is to try every day to sit down to a family dinner (other meals being more ad hoc) and then do a family activity together. Sometimes it’s a film, sometimes an online quiz night with the extended family etc.

Some nights it’s a board game, and having exhausted Monopoly, Cluedo, Scrabble, Trivial Pursuit etc we were looking for something different. That’s when the teenager spotted Warlord: that classic game of conquest and nuclear war.

Initially dubious (“it looks like a wargame, Dad”) we’ve now played a couple of games and eagerly added it to our regular stable.

I first played the game at school as a slightly smaller version of what you see here was released by Games Workshop in 1980 (when they were a “general [war] game” publishing and retail company) and bought my copy from the original designer, Mike Hayes, a couple of years ago.

It’s a game with incredibly simple mechanics (you can literally learn all the rules in five minutes) but a combat system that is fiendish in application. Here’s the description from Board Game Geek:

Gaining territories through combat is an elegant use of cunning and bluff. Instead of rolling dice, the attacker simply chooses with a single D6 how many pieces they wish to attack with (subject to restrictions based on terrain). The D6 is then concealed and the defender attempts to guess it. If they guess correctly the attacker loses that number of armies; if they guess wrongly one defender is lost, and if the territory is now left unoccupied the selected number of attacking pieces or greater are advanced into the territory to capture it.

The picture above shows the final position from last night’s game, played on the European map. The black counters represent areas that are now permanently uninhabitable due to radiation. As you can see, Spain and Central Europe got hit badly but, despite having the heart of her empire H-bombed, the pinks under daughter #1 took the day.

Highly recommended!

IABSM AAR: The September War #01: Chojnice

It was time for the first lockdown game of I Ain’t Been Shot, Mum!

The daughter’s boyfriend K (trapped here for the duration) had tried and enjoyed To The Strongest, it was now time to introduce him to WW2 gaming, and what better place to start than with a game of IABSM set in Poland on 1st September 1939.

The scenario is taken from the first September War scenario pack, and involves the fighting around Chojnice, an important Polish communications hub where, during the first day of the invasion, the Poles fought a delaying action, only withdrawing in late afternoon.

The game itself centered around a railway bridge that the Poles must hold, rig with explosives, and then blow up before the Germans can take the bridge and defuse the charges.

Click on the picture below to see all…

Two Games of To The Strongest

Another two lockdown games of To The Strongest with Daughter#1’s boyfriend, who is staying with us for the duration.

This time we ditched any pretense of involving the distaff side of the family: leaving them to watch The Queen’s Corgis on Netflix or Amazon or one of the other multiple streaming services that we seem to have adopted over the past few months, as we men got down to some serious gaming.

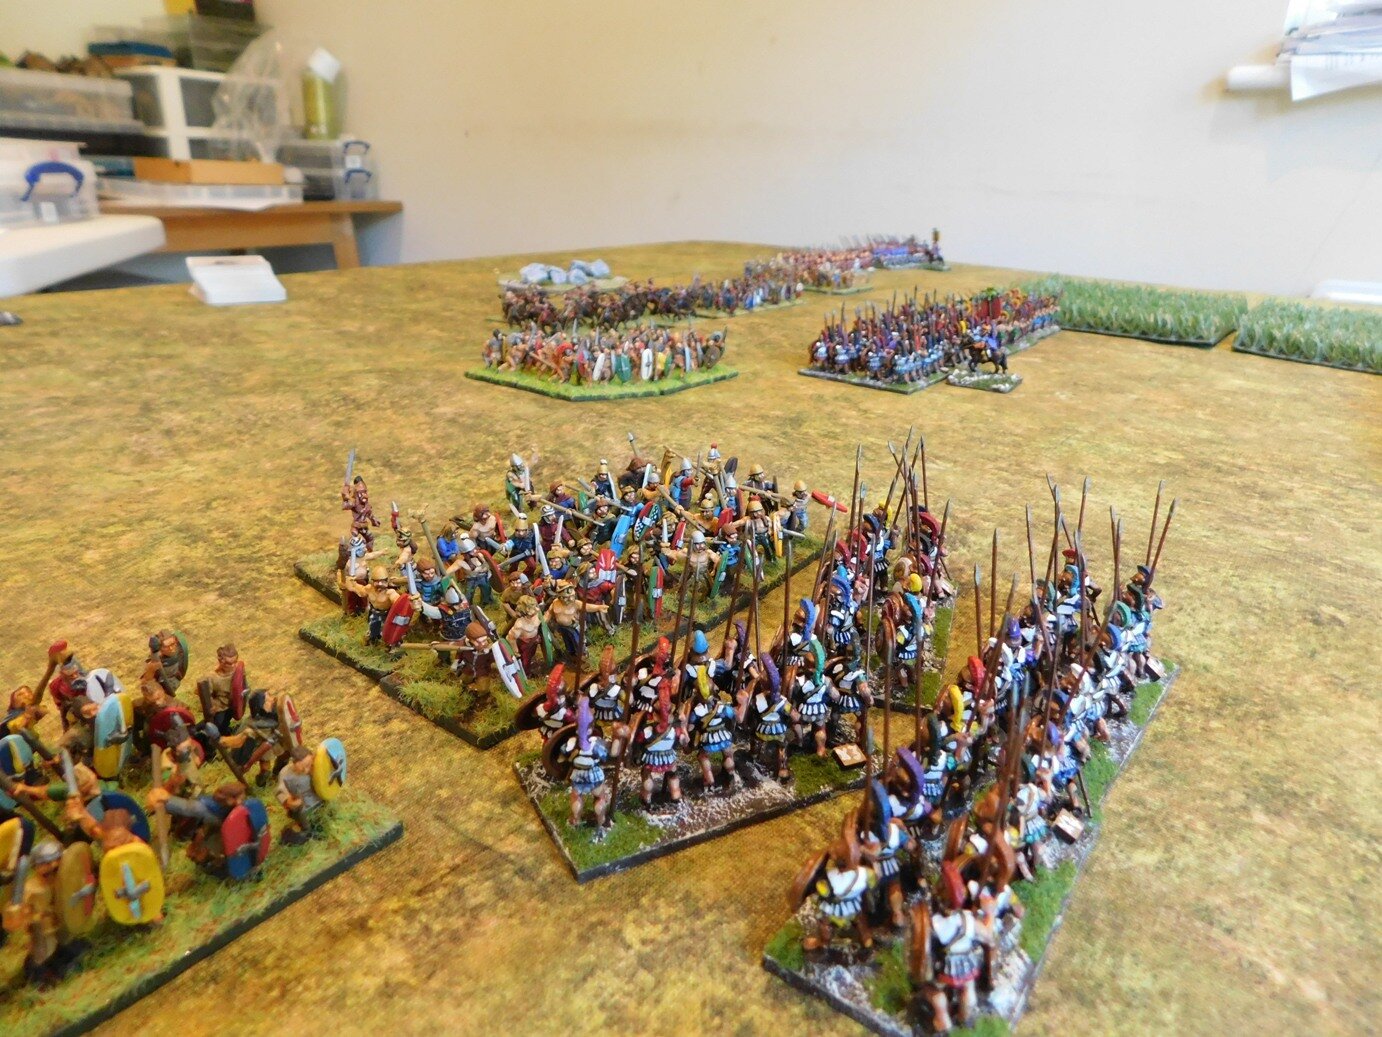
As this was our third session of TTS, I wanted K. to experience something a little different to the largely “deep units on both sides” games that we’d been playing so far. I therefore mocked up a Sarmatian army from my Sassanid Persians: four units of veteran heavy cavalry with lance and bow represented by cataphracts (represented by, not counting as!) and four units of standard heavy cavalry with lance and bow represented by clibinarii. There was also a unit of horse archers in there somewhere too.

K would take a Syracusan army: a core of four Hoplite units, one bodyguard; a mercenary command with a couple of units of Celts; and then a sprinkling of light infantry and raw cavalry to add flavour. It was, I explained, the first time that the Cretan Archers (see post from a couple of days ago) had been on the tabletop, so he was to expect them to perform extremely badly indeed!

“Why are all your men on that side of the battlefield?”

We deployed our troops, and K immediately noticed that I had heavily weighted my left flank, leaving many of his units with an open battlefield in front of them. He queried why I had done so, and I kindly explained that he would find out in a few minutes.

The reason, of course, was that I was going to try and smash his weak right flank to pieces and then wheel round and roll up his line like a yoga mat before his slow, left-flank units could get in on the action.

The first phase of my plan went, well, according to plan: one command of veterans and one command of standard cavalry did indeed clear K’s right flank from the table, leaving things looking like this:

Tough love!

Some of you might suggest that it was perhaps a little harsh of me to take advantage of the lad’s inexperience in this way, but I did explain exactly what I had planned and what I thought was going to happen as I did it: making sure that he would understand what was going on and be able to either counter or employ the same tactic in the future.

Back to the battle.

As a command of clibinarii duly held off his rampaging Celtic mercenaries, my cavalry duly wheeled round and, in text book fashion, slammed into his flank and, in one unit’s case, went for his camp.

Cretan Archers fulfilling their first-game destiny

Syracuse has fallen!

K began shedding victory coins right, left and centre, and the day was soon mine.

Game Two

As that game hadn’t taken very long, we swapped sides and prepared to do battle again.

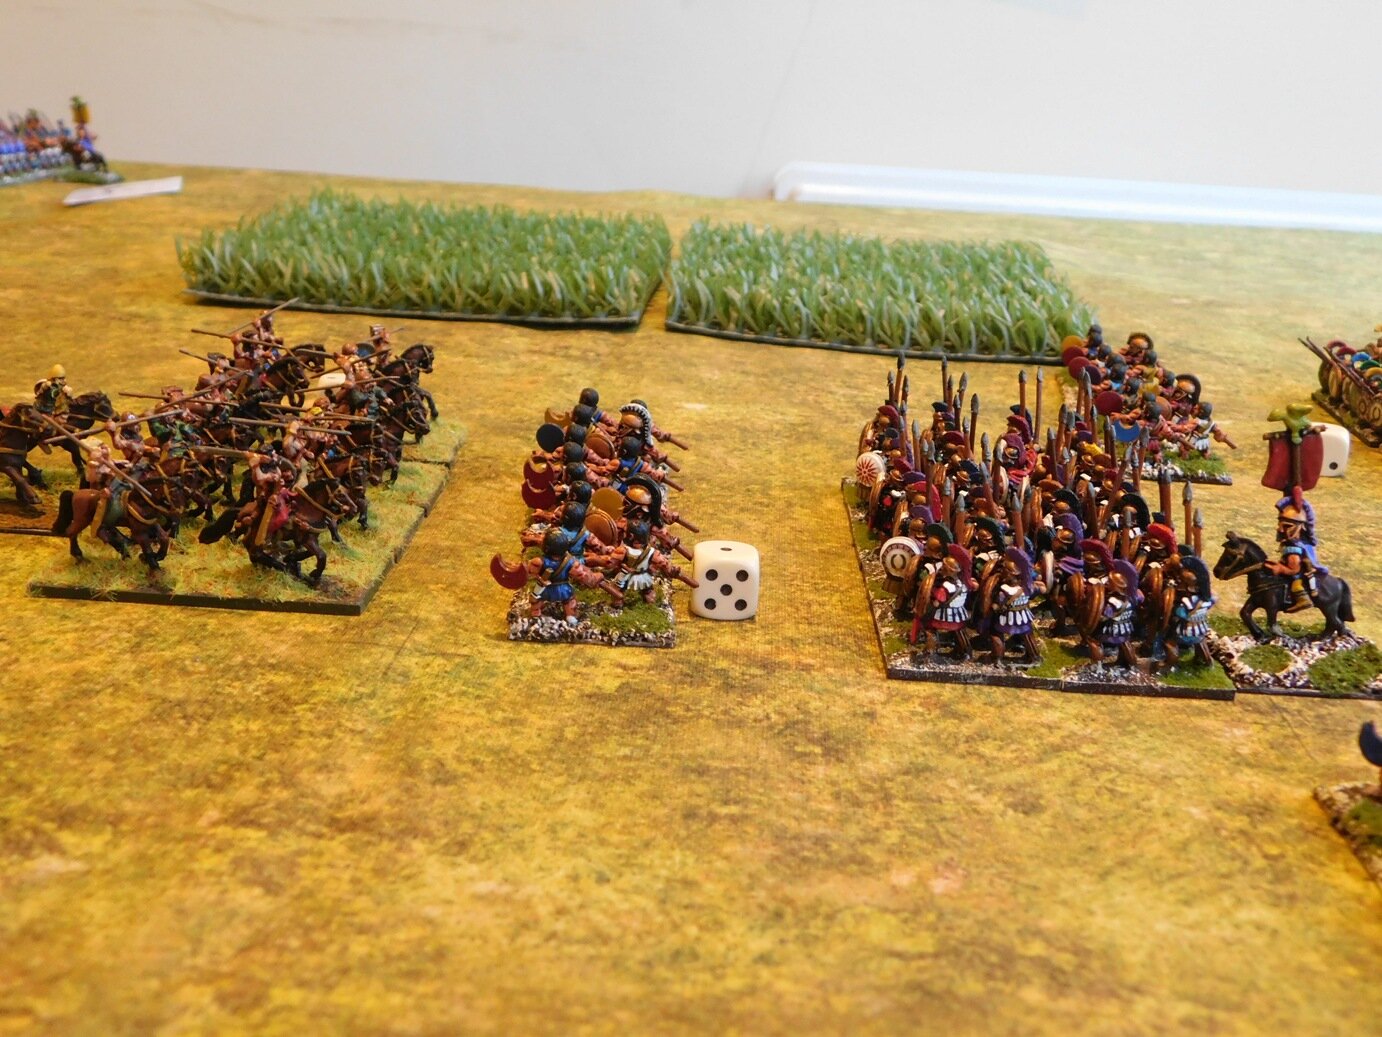
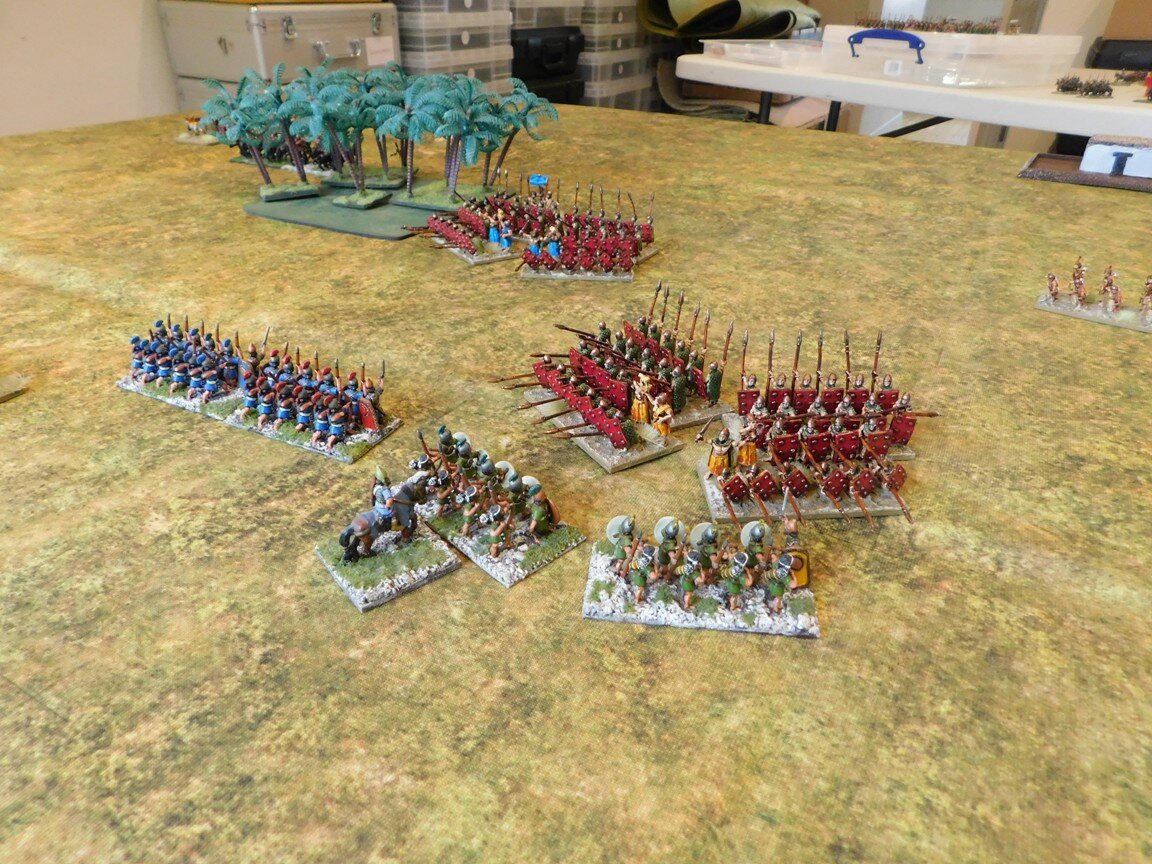
I was expecting K to try and copy my refused flank tactic of last time, so determined that I would use an advance in echelon tactic to try and disrupt his plans. As it happened, K deployed his men evenly over his side of the table, so after I had made my first move, the battlefield looked like this:

On his right flank, K advanced his cavalry forward to meet the two units of Celts coming towards him over the hill. This left his horse archers to hold off the mercenary Greek cavalry coming through the pass.

This turned out to be a bit of a mistake as, admittedly with a bit of luck, my cavalry rapidly dispersed his light horse and found themselves in a fantastic position on the flank of one of his commands.

By rights, his horse should have been able to turn to face me, and then a normal face-to-face combat would have occurred, but K managed to draw not one, not two, but three Aces in succession for activation: his horse weren’t moving anywhere!

By rights, I should then have been able to crash into his flank and roll up both units rather pleasingly before going on to sack his camp: seven of his nine victory coins should have been mine. Again, however, a weird series of cards meant that his cavalry, although they wouldn’t turn to face me, were able to hold me off for the duration of all his Aces. I did eventually destroy both units, but not before events on the rest of the field decided the day.

Battle was then generally joined across the rest of both lines, with K’s lance armed cavalry attacks compensating for the depth of my foot units.

the first cut is always the deepest!

I kept expecting my horse to roll up his cavalry and win the game but, as I said above, it kept failing to happen, and gradually my foot units began to lose the day. A lost general sealed my fate, and the turn after my horse had finally rolled up those cavalry at the back, I lost one victory coin too many and the day was K’s: a grinding triumph for the Sarmations.

K was naturally chuffed to bits to get his first victory. The only thing that now puzzles me is where he’s going to sleep tonight…

IABSM AAR: Campaign for Greece #13: Glider Assault

Another amazing-looking 6mm game of I Ain’t Been Shot, Mum from Mark Luther: his second, played-remotely, lockdown special.

This time he has used scenario #13 from the Campaign for Greece scenario pack, entitled Glider Assault.

Click on the picture below to see all:

AAR: Smash of the Titans!

So #1 Daughter’s boyfriend had been roped into cooking the Easter Roast, which left me no-one to play with except for #2 Daughter.

She felt that she could manage another battle, but only if it had “monsters and aliens and stuff” in it.

Not a problem my dearest fruit of my loins: time to make To The Strongest literally fantastic by breaking out my Legendary Greek figures.

I would play the Sumerians, #2 Daughter would take the part of Poseidon leading a contingent of Hoplite Greeks spiced up with few “monsters…” etc.

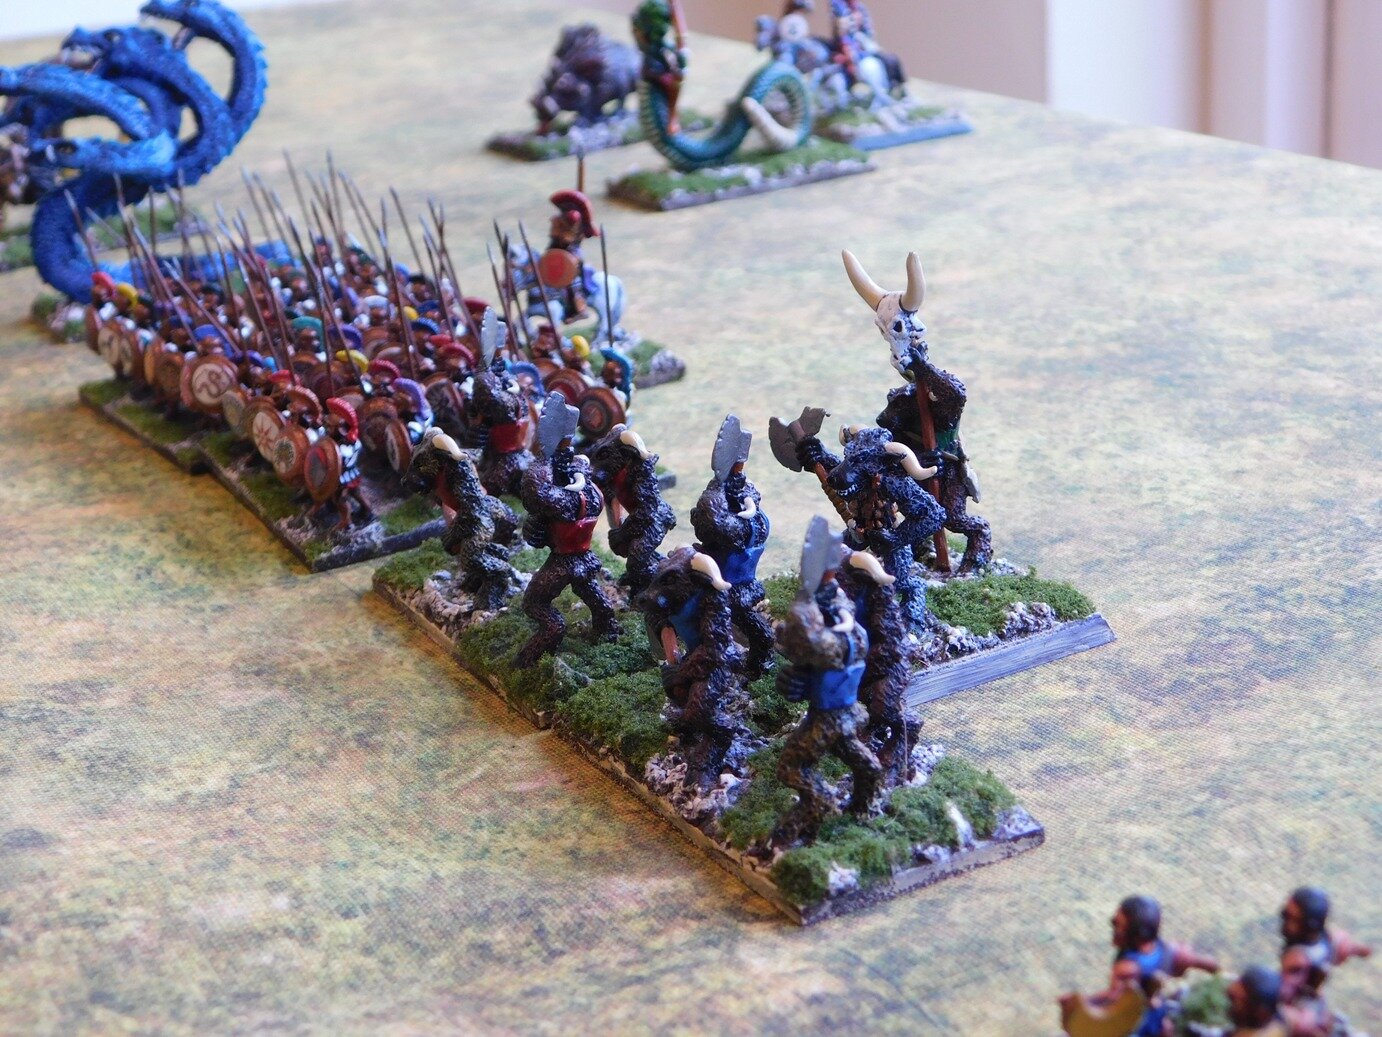
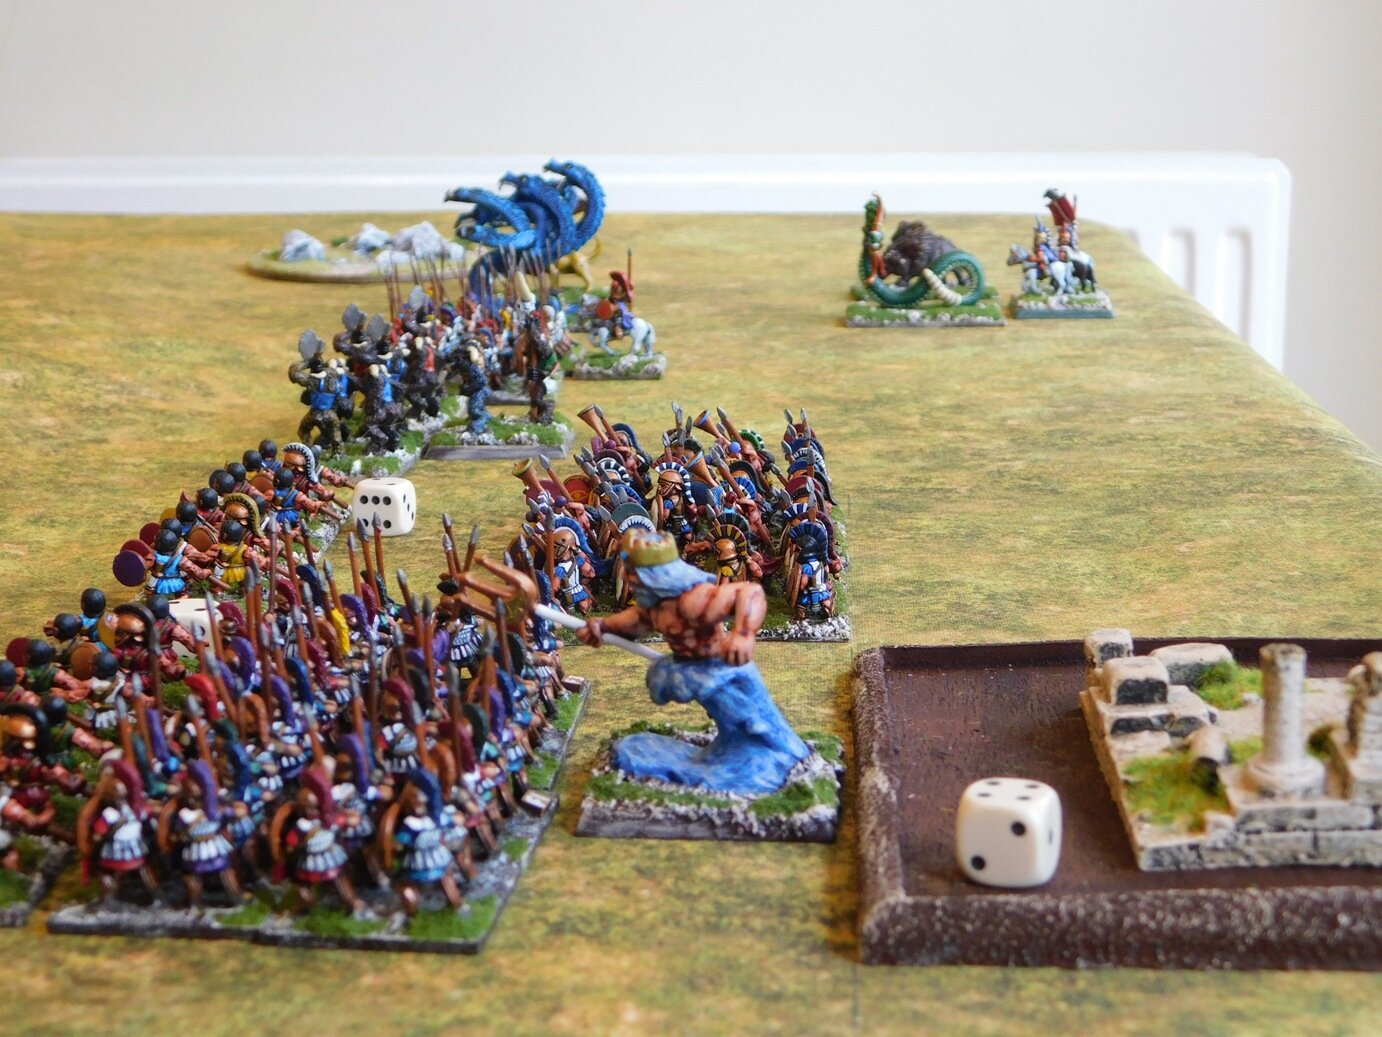
In effect, this meant that she fielded (nearest to furthest in the picture above) a unit of Pegasus horse that could ignore terrain penalties; two units of Centaur cavalry (one horse archers, one cavalry); a unit of Minotaurs counting as axemen; and two units of monsters: the Hydra, the Erymanthian Boar, the Chimera, and the Medusa (treated as elephants).

The Sumerians remained unphased by this display of divine horrors:

The Battle Begins

The game began with one of those weird series of multiple Aces appearing on each side, with the result that although the lines crept slightly closer together, the only interesting event was the Hydra and Chimera bounding forward to attach the Sumerian left flank.

Very sensibly, the slingers ran for it…and here #2 Daughter made a mistake. Instead of crashing through the poor terrain, or lurking in its lee, the Hydra and Chimera decided to go round it. Not being very manoeuverable, however, they got stuck with their rear ends sticking out!

This would prove to be a very inviting target for the, er, pink Sumerian spearblock, and they would eventually charge the two monsters in the rear and do enough damage to send them straight off the table, therefore negating the regenerative abilities that I had assigned to both (automatically regenerate from disordered when activated).

The two battlelines then got on with the business of smashing into each other, each advancing forward as fast as they could.

As Sumerian commander, I sent in my battlecars first: determined to soften the Legendary Greeks up a bit before committing my infantry.

This was all going nicely, with the Centaur horse archers eradicated when they failed to evade, but I had forgotten about the terrain-ignoring Pegasus cavalry: which snuck around my flank and threatened to roll up my entire line!

Fortunately, great Zeus was obviously determined to make sure that his somewhat soggy brother was humiliated, and the flank charge only managed to KO one unit of battlecars before a spear block managed to get forward fast enough to force the flying horses to evade beyond the trees.

Unfortunately, the other two units of battlecars believed in a different divine panoply, and were destroyed by the Hoplite unit backed by Poseidon himself and, a bit unexpectedly, the Centaur cavalry. Things were looking a bit dicey on my right flank, but I had the infantry brigade behind ready to stabilise the situation.

The action now swung to the other side of the field, where the Minotaurs had been easily dismissed: obviously their tales of martial prowess were complete bull! I had, however, lost my Axemen, so the situation looked like this:

Zeus intervened again, and somehow I managed to dispose of the Medusa and the Boar, and get my spearmen back across the field and into the rear of what had been the Minotaur-led Hoplites.

Their loss proved too much for the Legendary Greeks to take, and the field of glory was mine.

Aftermath

A most enjoyable game which, I must confess, that I won by sheer luck of the cards. #2 Daughter, who is not yet old enough to drive, made only one tactical error, at the beginning, and otherwise came close to annihilating an entire flank which would, I think have given her victory. As it was, I was only one coin behind her in terms of defeat.

I think I might actually make a serious attempt to define some characteristics for the Legendary Greeks, if only because it’s nice to get some unusual figures on the tabletop.

Right, off to the Temple of Zeus to give thanks…

IABSM AAR: War of the Rats

Over a few days earlier this month, fellow-Lardy Alex Sotheran played a solo game of IABSM set in Stalingrad, where the 6th Army are attempting to batter their way to the Volga but the Soviet defence line is proving tenacious.

Alex has posted both a YouTube video of the game and some absolutely cracking pictures.

To watch on YouTube, click the video link below. It’s 2.5 hours long, but well worth a watch.

To see the pictorial report, click on the picture below:

A Second Lockdown Game of To The Strongest

We’re still in coronavirus lockdown in the UK: banned from leaving the house except for essential trips. For most people, that means no gaming or, at best, some kind of online get together. I, however, am lucky enough to have daughter number one’s boyfriend staying with us for the duration: lucky because (1) he likes to cook and (2) he has discovered that he enjoys wargaming.

Our second game was To The Strongest again: it’s grid-based tabletop and simple-yet-subtle mechanics make it ideal for a new gamer to pick up quickly.

This time, I would take a Gallic army consisting of large amounts of hairy-arsed Celtic warriors and face off against an Athenian Greek Hoplite army consisting of large amounts of, well, hoplites.

Gauls

Greeks

The Greeks set up first: heavily weighting their right flank. At this point I realised that perhaps I should have mentioned to my novice opponent that hoplites can’t move diagonally to the left, but decided to just ignore that rule for the moment.

My Gauls were fairly evenly spaced out, but my noble cavalry were on the left i.e. facing two unit of hoplites with very sharp pointy spears! This was no good, so I decided to try a switcheroo gambit and move my cavalry right over to the other side of the field, leaving behind the warband that accompanied them.

The Switcheroo Begins

This would hopefully isolate his two units of hoplites on the far side of the table.

Meanwhile, both battle lines lurched towards each other, the Greeks behind a protective screen of light infantry.

The game then developed into three different battles.

On my left flank, the single warband faced off against the two hoplite units who had actually managed to advance forward much faster than I had expected. Although my warband did achieve one flank attack, this was largely unsuccessful, and I was soon under a lot of pressure as the Greeks got themselves sorted out and threatened to overwhelm me with the two-on-one advantage that they had.

In the centre, meanwhile, the main bodies of the two armies came together in a series of thumping clashes: deep unit versus deep unit. The Greeks took full advantage of their light infantry: using them either to soften the Celts up before contact, or to retreat behind if they suffered a disorder. The advantage would swing backwards and forwards between the two sides throughout the rest of the battle.

On my right flank, my light infantry had managed to see off his horse archers, but a warband was having real difficulty dispatching the rubbish Greek cavalry. Fortunately, my cavalry arrived after their pell-mell gallop across the back of the battlefield, and prepared to sweep all before them as they rounded the corner of some rocks and lined up on the Greek battle line’s flanks.

All that stood between them and certain victory was the lone unit of Greek peltasts that, so far, had hung back and stayed out of trouble.

Cavalry, bottom right, lined up to roll up the Greek line. Only the peltasts are in the way.

Could I get through the peltasts? Not in a month of Sundays! My grand plan blocked by a unit of men who only thought they weren’t light infantry!

Anyhow, that meant that although I had won the right flank, I was losing the left flank, and honours were just about even in the centre. A Greek hoplite unit finally broke through my line and captured my camp, one of my warbands threatened to do the same to the Athenian camp. Units were breaking on either side until we both had just two coins left: the next unit to break would decide the game.

It was the Greeks who had the initiative. I was in real trouble on my left flank, with a couple of double-disordered warbands who would go with one more hit. My opponent reached for his pack of cards: all he needed to do was to send his men in diagonally to hit me: 2+ to activate becomes 3+ for a difficult move becomes 4+ because your hoplite units are deep.

So that was the end of the Greek offensive and, on my subsequent turn, I managed to finally kill the peltasts and win the game!

Aftermath

Another great game of TTS, with the daughter’s boyfriend coming within Ames Ace of beating me.

Here’s a complete gallery of the game:

Robert Avery

IABSM AAR: Fallschirmjaegers on the Neva

Mark Luther set himself a real challenge when he decided to run a COVID-19 lockdown game of I Ain’t Been Shot, Mum remotely.

This game was played over two days using photographs of the table and texts: a great effort from all concerned. It’s a cracking battle report as well, so click on the picture below to see all…

Ed.’s Note: I expect you all to read this as it took me absolutely ages to load and caption all the pictures in the right order. Amazing set up, but the terrain does make everything blur into one when viewed in thumbnail size!

A Right Result!

So here we all are stuck under lockdown and unable to go out. No wargaming clubs are open, no wargaming friends can come round: what on earth is one to do.

Well I have had a right result.

Daughter number one came back from university just before lockdown and brought her boyfriend with him as a house guest for a couple of months (he lives abroad normally, but can’t get home at the moment). This is not a bad thing: we have plenty of room and he, unlike me, likes cooking. Even better, the kids were so desperate for entertainment yesterday that they agreed to have a battle: daughter number one and boyfriend on one side; daughter number two and I on the other.

I chose the To The Strongest rules for Ancients as it’s probably the easiest introduction to wargaming for beginners: no measuring, no dice, simple grid-based movement and combat rules etc. D2 and I took the Neo-Sumerians, D1 and BF took the Assyrians.

Neo-Sumerian Battle Line

This was an interesting clash: lots of slow-moving, poor quality Sumerians versus small numbers of deadly, fast-moving Assyrians.

Each side chose to put their heavy chariots on the right flank, so we rapidly got to a situation where the centre was a tie and each side’s right flank was winning and left flank was losing.

The advantage then swung back and forth with both sides ending up with only two coins each i.e. one more unit lost would mean an overall loss. As it happens, one of the Sumerian heavy onager units managed to knock out an Assyrian cavalry unit and the game was ours!

And the right result?

Not the win, funnily enough, but the fact that D1’s boyfriend really enjoyed himself and declared an interest in playing more battles. Well, if we’re stuck together for another ten weeks, his wishes are going to be more than fulfilled! A convert!

Here are some more pictures of the game:

IABSM AAR: Operation Express

All this spare time at home has given Mark Luther a chance to write up an AAR that has previously just been a collection of pictures.

So here’s the Operation Express battle report again, but this time with the pictures correctly labelled and ordered.

Click on the picture below to see all. This is a magnificent report of a great looking game, so recommended!

IABSM AAR: Blenneville or Bust! #5L: Diot

Fantastic battle report from Tim Whitworth on a game of I Ain’t Been Shot, Mum played just before we all went into lockdown.

Tim and his friends have been playing through a Blenneville or Bust! campaign taken from the scenario pack of the same name. This was the final game in the series, and a chance for the Germans to achieve maximum victory points.

Find out what happened by clicking on the link below. Highly recommended: this is a serious after action report!

IABSM AAR: Blenneville or Bust! #4F: Belle Maison

Lovely After Action Report from the pen of Tim Whitworth, taken from the IABSM Facebook page and his own blog Eagles & Lions Wargaming.

As the Germans had halted the American attack at Pierrecourt they were back on the counter offensive again, this time with a combined force of 30th Panther and 30th Panzer Grenadier regiments.

Click on the picture below to see all…

IABSM AAR: September War #60: Szack

Time to break out the I Ain’t Been Shot, Mum again with a scenario taken from the second September War scenario book: #60 Szack.

Szack was a small village in what was south-eastern Poland (it’s now just inside Ukraine) that was the site of a backwards-and-forwards series of actions between the Poles and the Soviets in very late September 1939. The scenario covers the first Soviet attack:

Soviet troops consisting of the 112th Infantry Regiment, some 13,000 soldiers supported by fifteen T-26 tanks and fifteen guns, arrived at the village of Szack on September 28th.

The Polish force near the village numbered 4,000 men of the Border Protection Corp, including General Wilhelm Orlik-Rückermann, and sixteen anti-tank guns.

Having taken the village, the Soviets then charged the Polish positions with infantry supported by the T-26 tanks. The Poles waited until the Soviets were right on top of them before opening fire with their anti-tank guns, destroying eight tanks.

Click on the picture below to see the action:

IABSM AAR: The Arras Counter-Attack

One of the great things about the world of Lard is the growing profusion of Lardy Days, where Lard-minded gamers can get together and indulge in their favourite pastime.

One of the early events on the 2020 Lard calendar was the Big Winter Wonder-Lard day held by Bristol Independent Gamers at the end of February. About twelve games, all fully participation, were run in each of the morning and afternoon sessions, covering just about the whole spectrum of Lard: What A Tanker; Chain of Command; Bag the Hun; Sharp Practice and, of course, I Ain’t Been Shot, Mum.

That game was run by Phil and Jenny, and featured action from the Arras Counter-Attack in May 1940. Click on the picture below to see an excellent pictorial report of the day’s events (lifted from the IABSM Facebook Group):

IABSM AAR: Lard Re-Visited

I was browsing the Internet the other day when I came across George Anderson’s excellent blog Musings on Wargaming and Life. Some really good content on the site, including a battle report from his first time playing IABSM.

George has played other TFL games but, as I said, this was his first time playing IABSM. Hopefully he’ll give it another go, but this does go to show that here on VL you’ll find every IABSM battle report, even the ones that aren’t totally positive.

Click on the pic below to see all: