More Battles on the Border

Even though the border was a different one!

It was off to friend Bevan’s house for some more To The Strongest. Our last games had involved Feudal English and Feudal Welsh battling it out on the border: this sessions would involve the Feudal English again, but this time facing the Feudal Scots.

This promised to be an interesting match up. The English had large amounts of Knights supported by equally large amounts of longbowmen, with a load of rabble Raw Spearmen following on behind. The Scots, on the other hand, had only one unit of cavalry (light chaps armed with lances), very few missile-men, but a lot of deep spearmen and warriors.

Game One

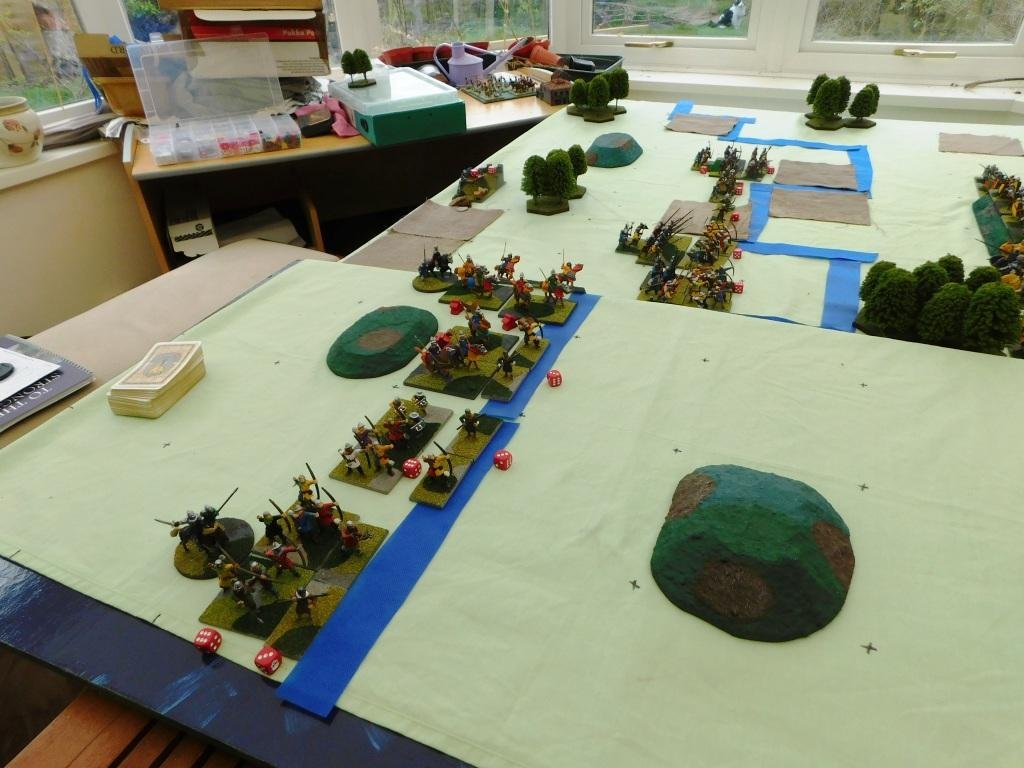
For the first game, I would command the Feudal Scots. My plan was to wait for his troops to come to me, largely ignore the longbowmen, tie his Knights up with some spearmen, and use my warrior-types to hack into his raw troops. The loss of all the English raw troops should give me the battle before the rest of my men gave way to his Knights.

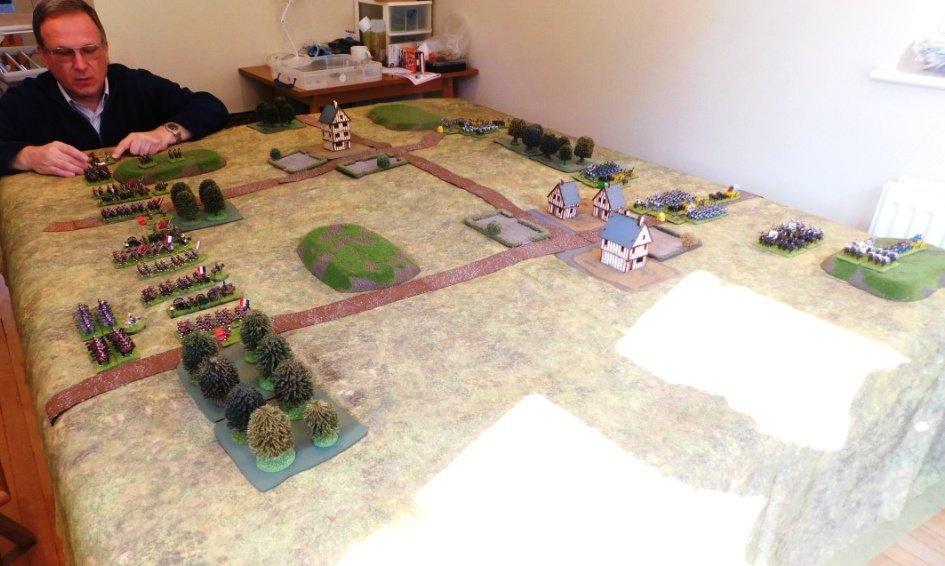
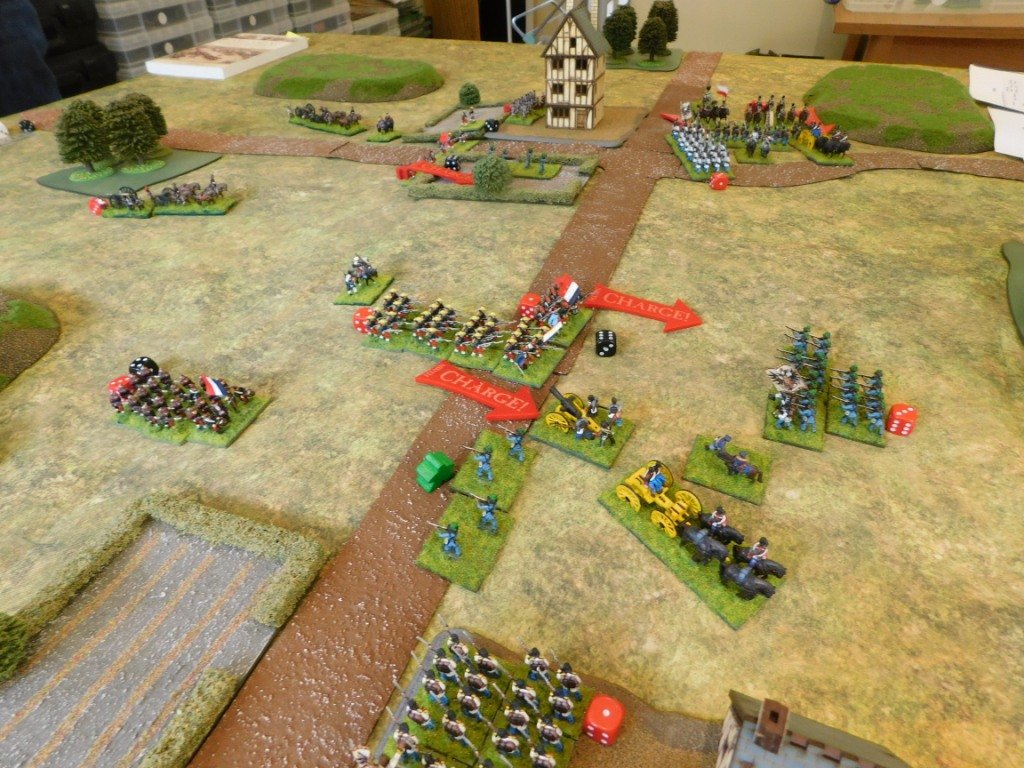
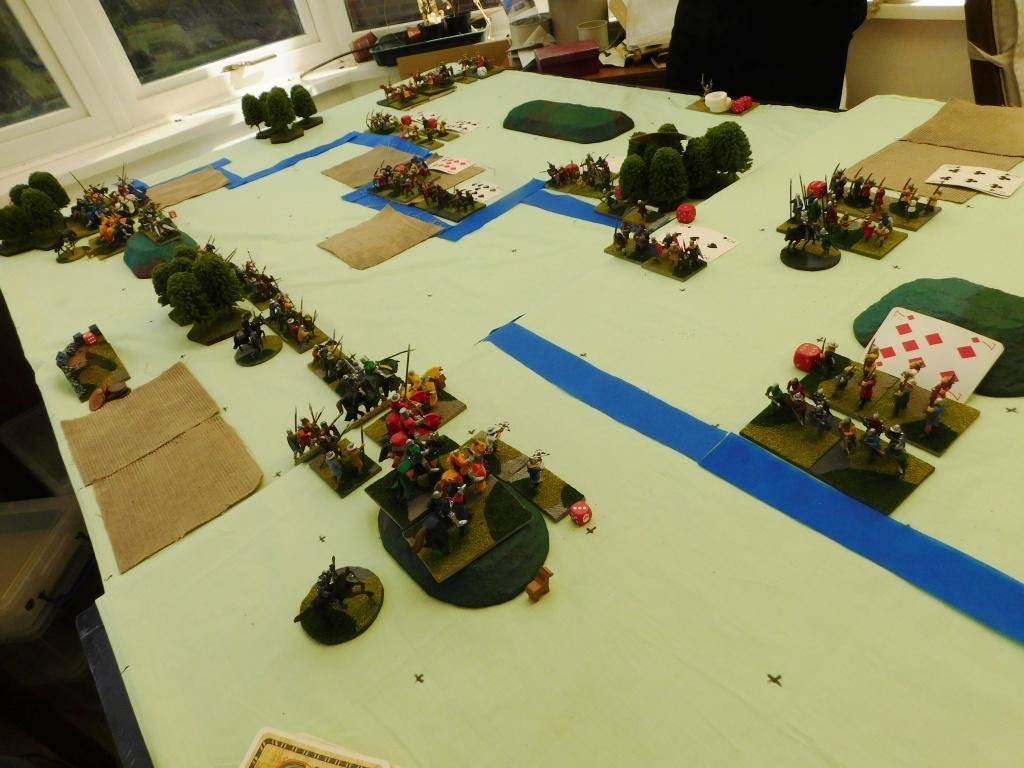
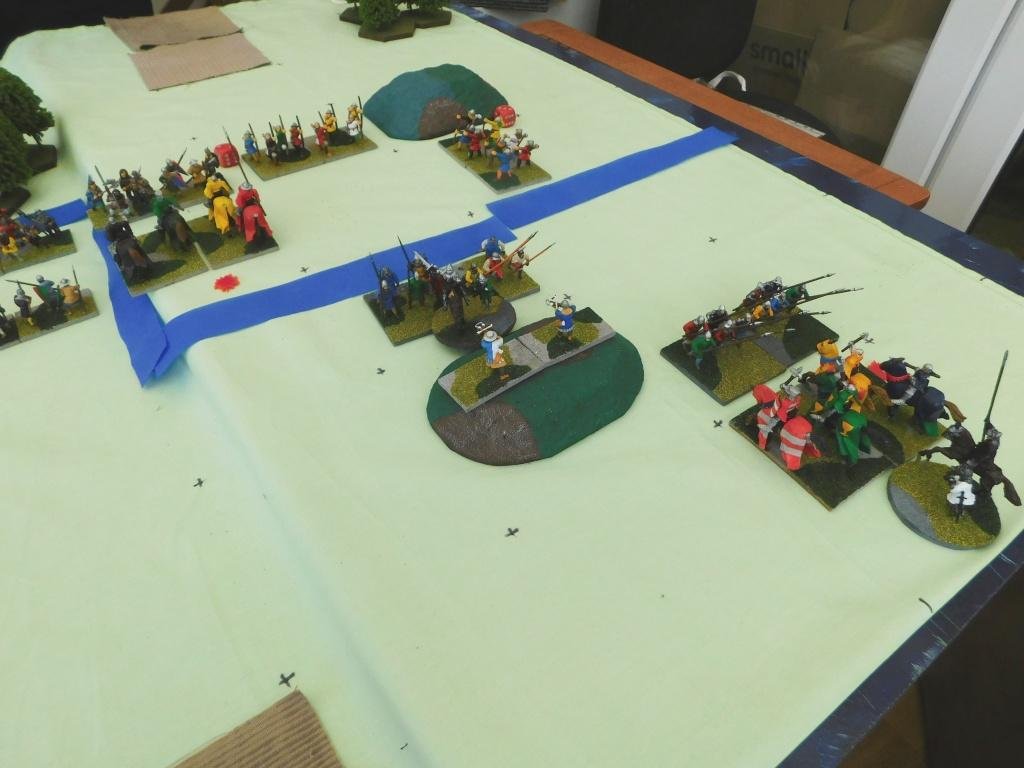
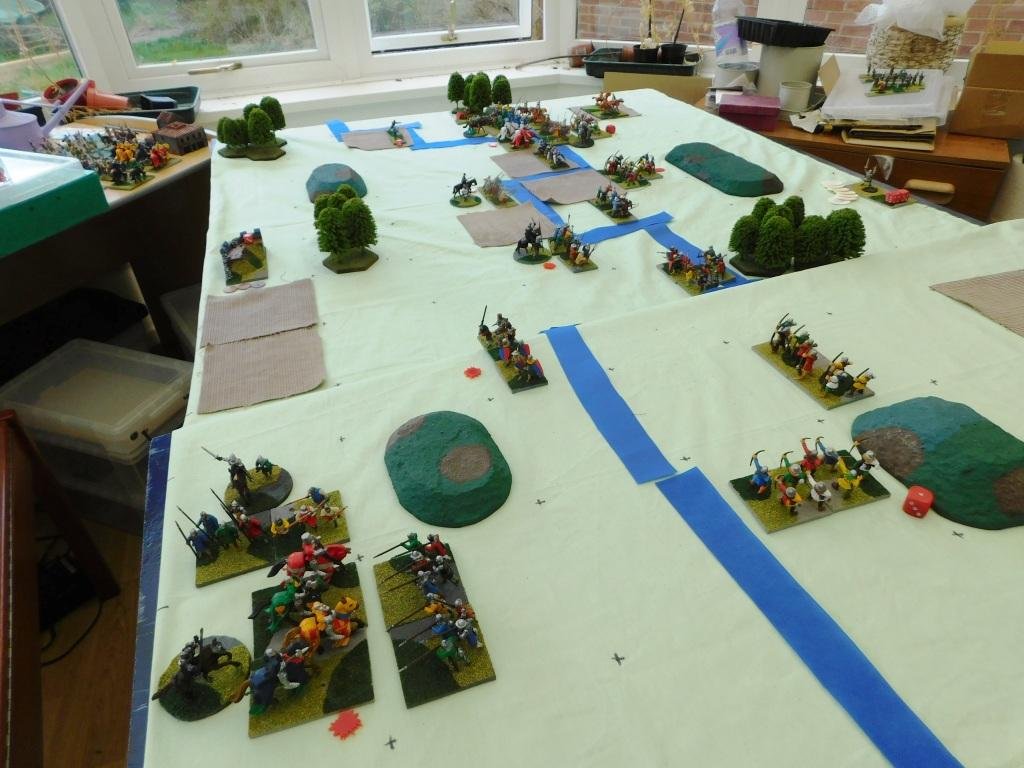
The English began the game with Knights advancing on either flank. I responded by bravely doing nothing. I had a bit of luck in that one English command refused to go forward, meaning that the Sassenachs would approach my line piecemeal as opposed to together.

Not advancing on the left meant that the wood there effectively protected my flank. This was good news, as the more the Knights advance was delayed the better. Bevan, realising what was happening, sent one lot of Knights into the woods, delaying their arrival even more.

I still got hammered by the other unit of Knights, but my men dug deep and held on. I had, however, lost a couple of units more than I had killed myself, so things were definitely not in my favour.

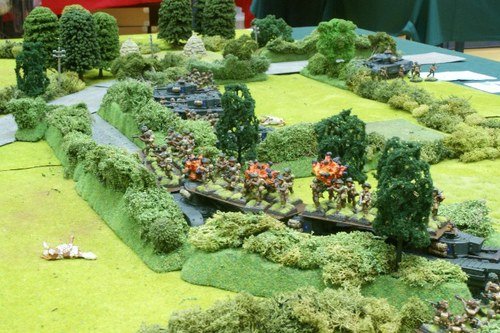
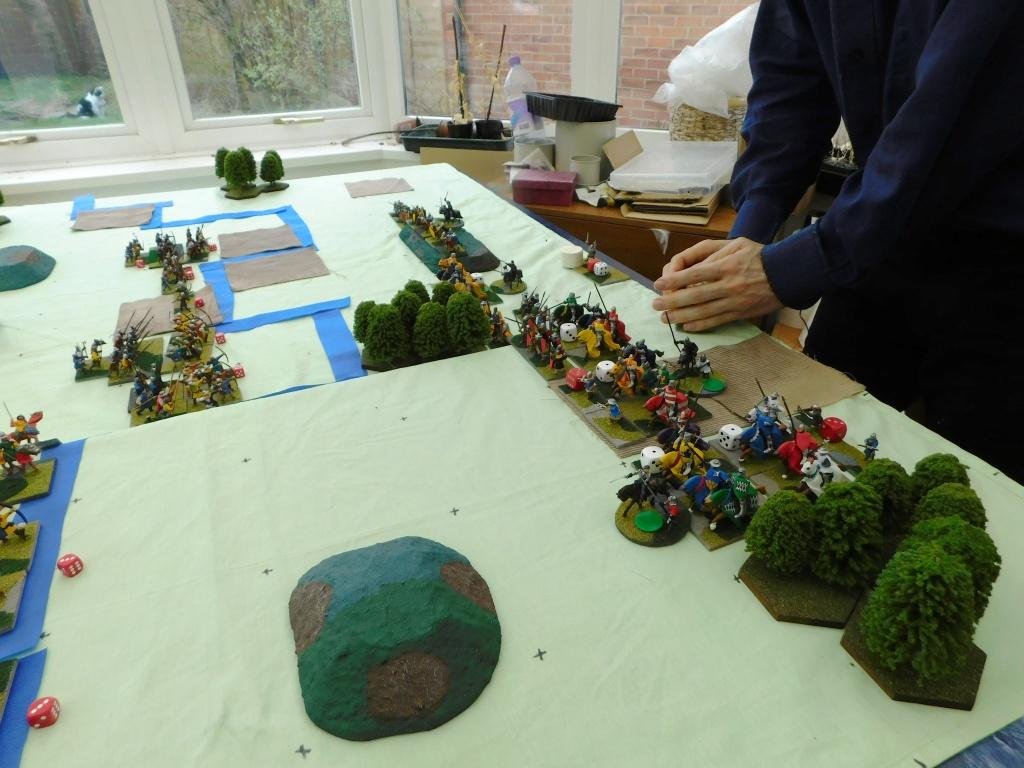
Meanwhile things were coming to a climax on the other flank.

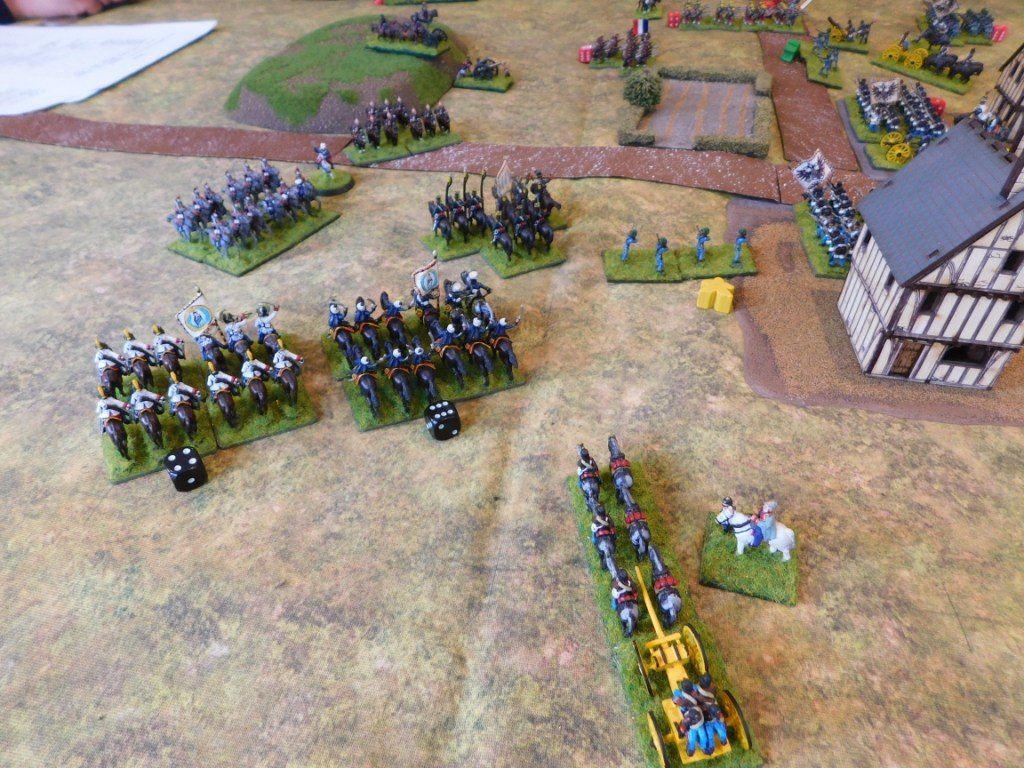
I had distracted the other of his Knights units with my light horse, who had kept evading away until they left the table. The Knights then turned round and headed back to the action, whereupon my Lights re-entered the table and charged their rear.

The Knights survived this, but not a flank attack from a unit of Spearmen: with the Knights losing both themselves and the General who was with them. Not only this but the other, already disordered, unit of Knights, seeing their comrades destroyed, also fled the field.

This, combined with the casualties on the other wing and the units my Warriors had destroyed, meant that Bevan was, much to both our surprises, out of Victory Coins. I had won!

The Roles Reversed

With neither of us sure how I had managed a victory, we decided to play again, but this time with the roles reversed i.e. I would take the English, Bevan would take the Scottish.

I had a very clear plan in my head: put all four of my Knights units on the right flank and send them forward as fast as possible. Refuse everything else, and let the Knights lap around the end of his line, turn, and roll the Scots up. Simples!

So that’s what I attempted to do.

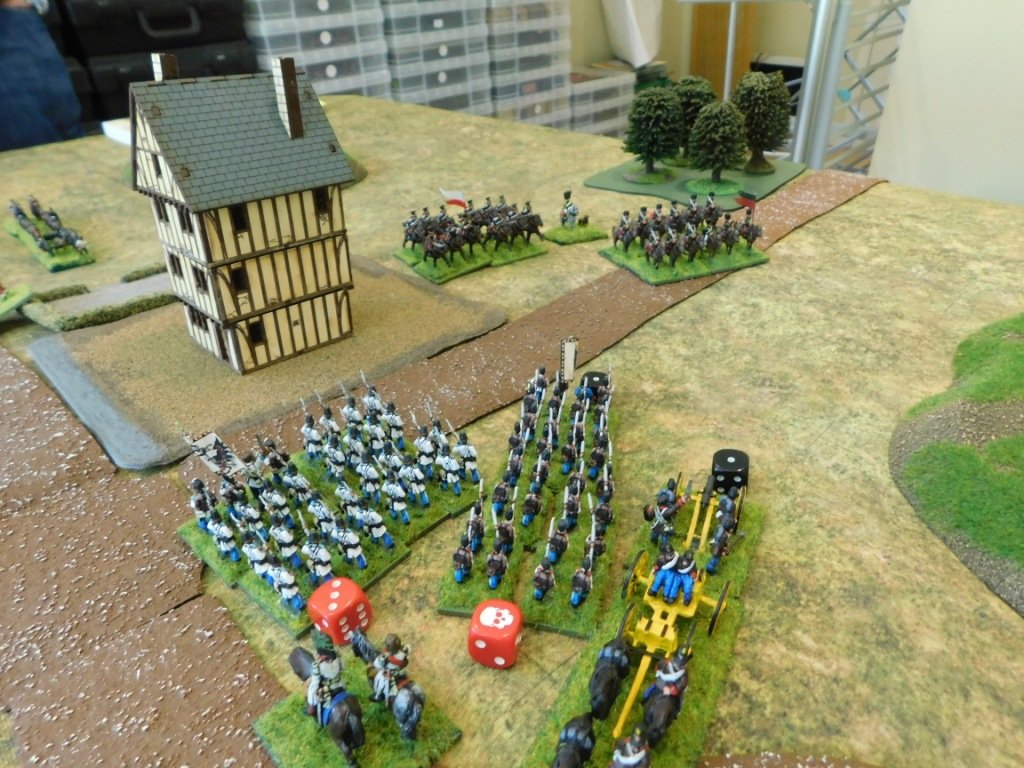
The initial advance went well. It would have been better if I had broken one of his units with one of my initial charges, but my aim had always been for most of my Knights to pin the left side of his line whilst the remainder rolled them up.

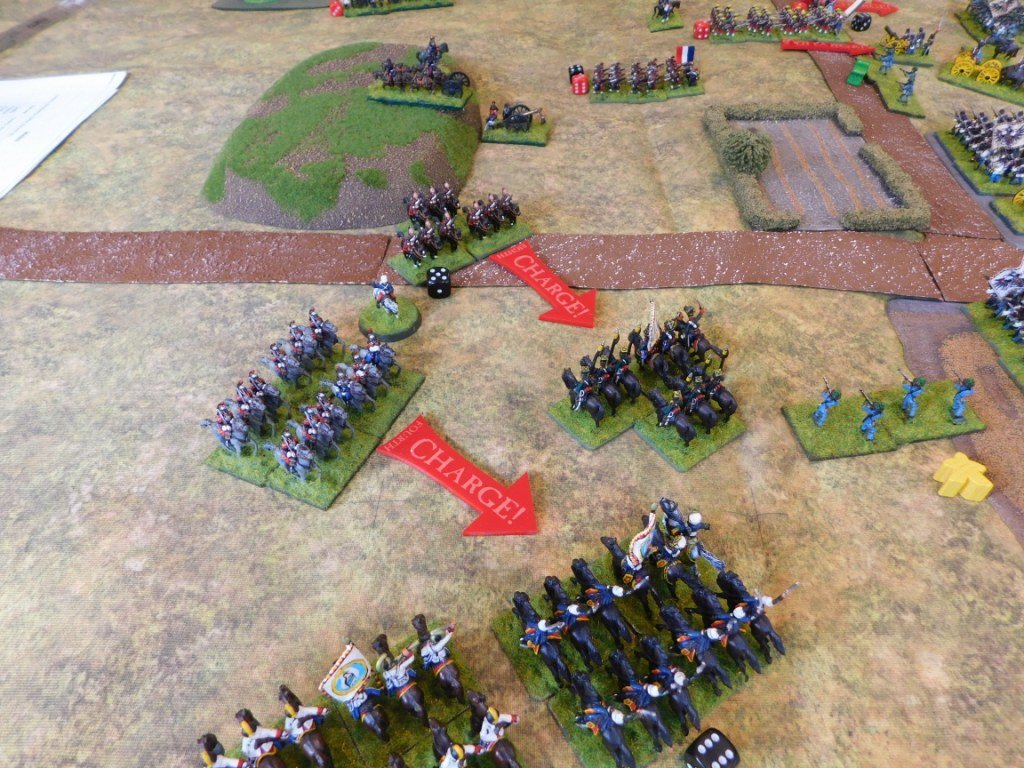
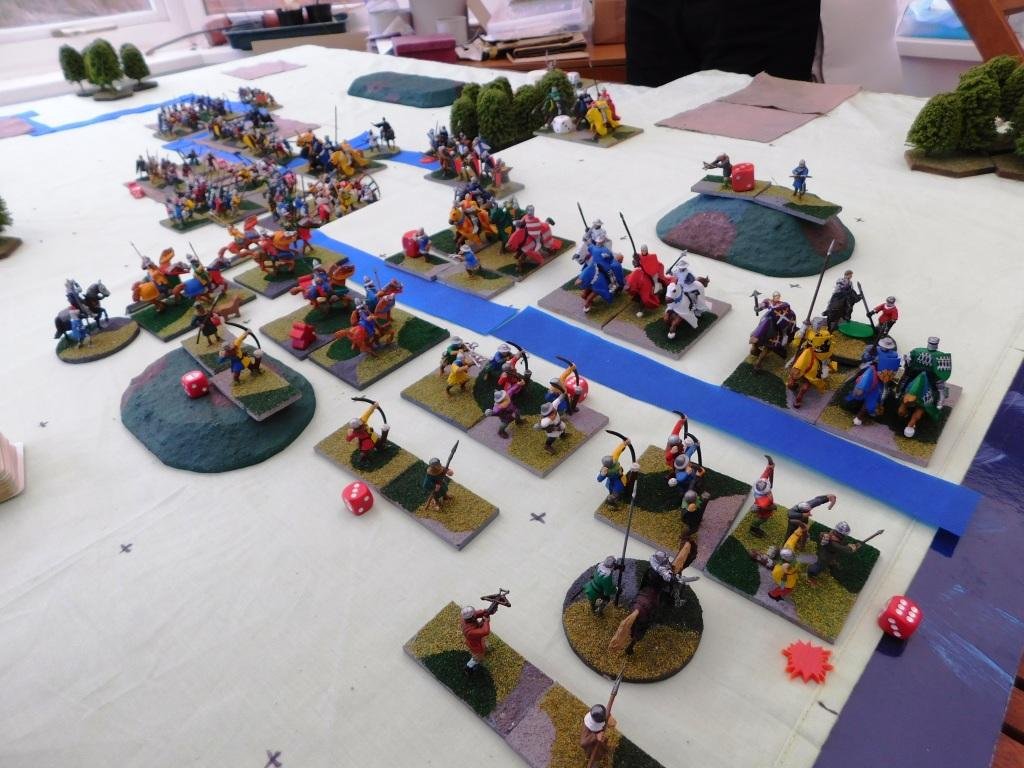
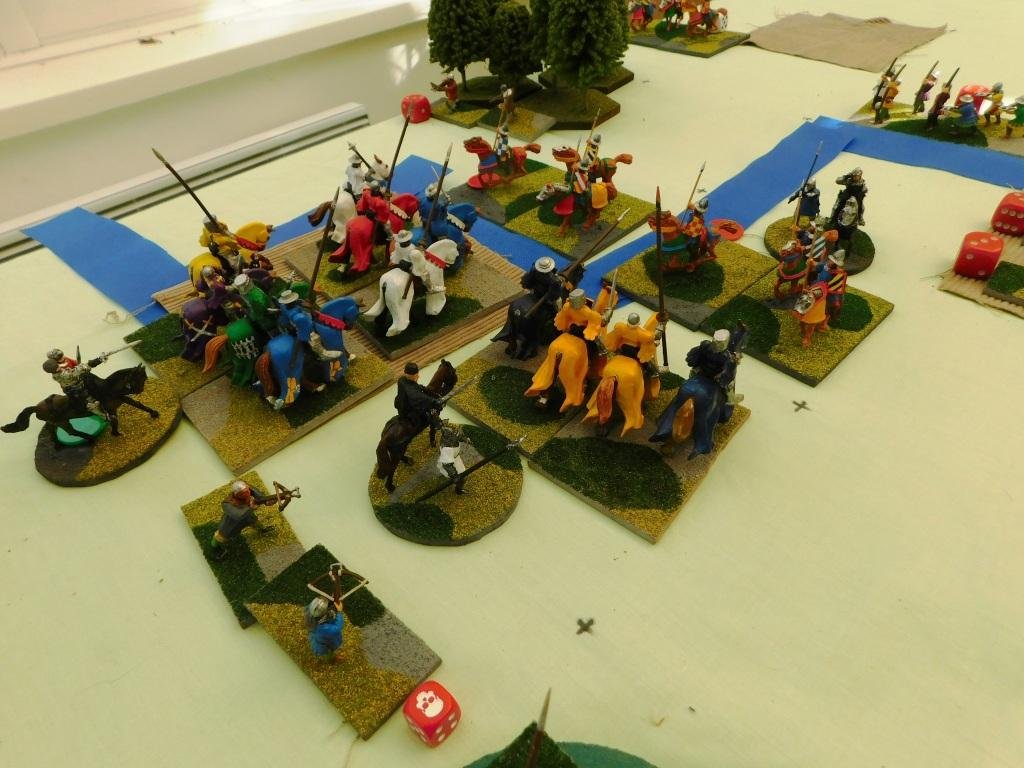
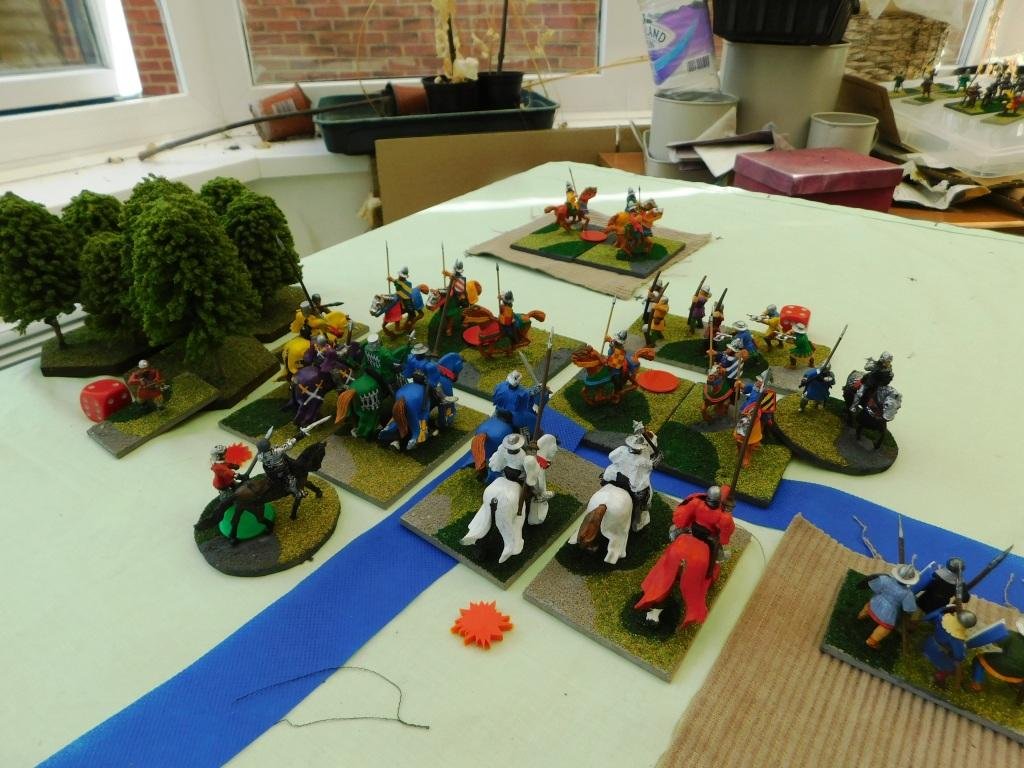
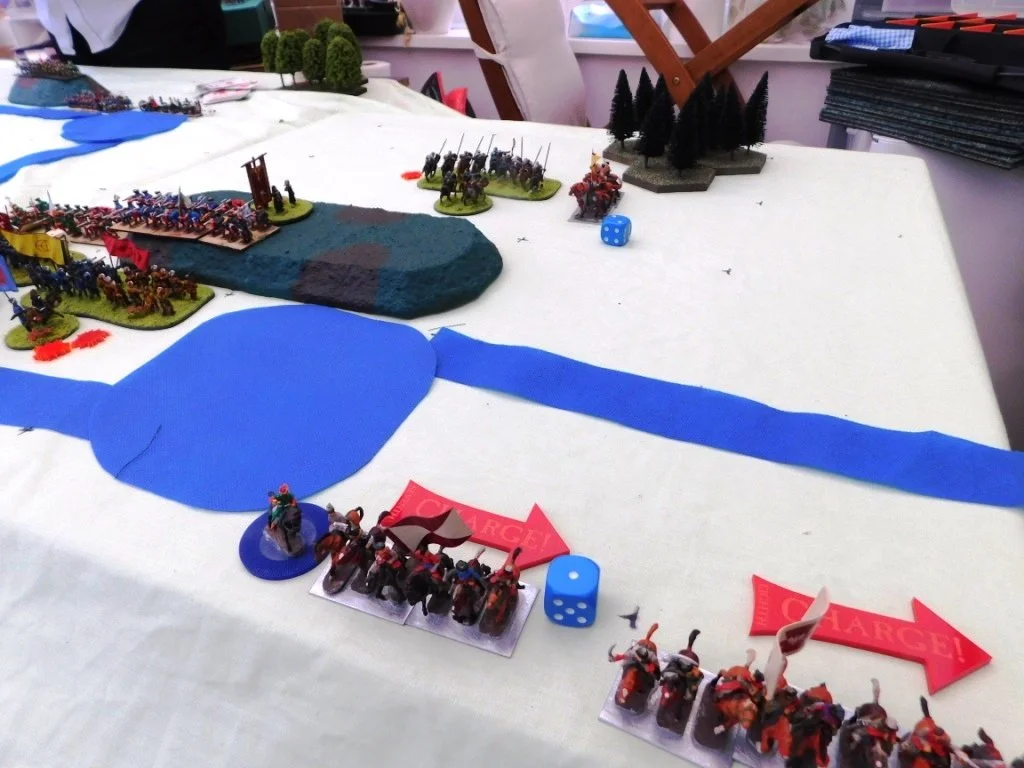
Incredibly, Bevan made a (very rare) tactical mistake, and let my Knights lap around his flank.

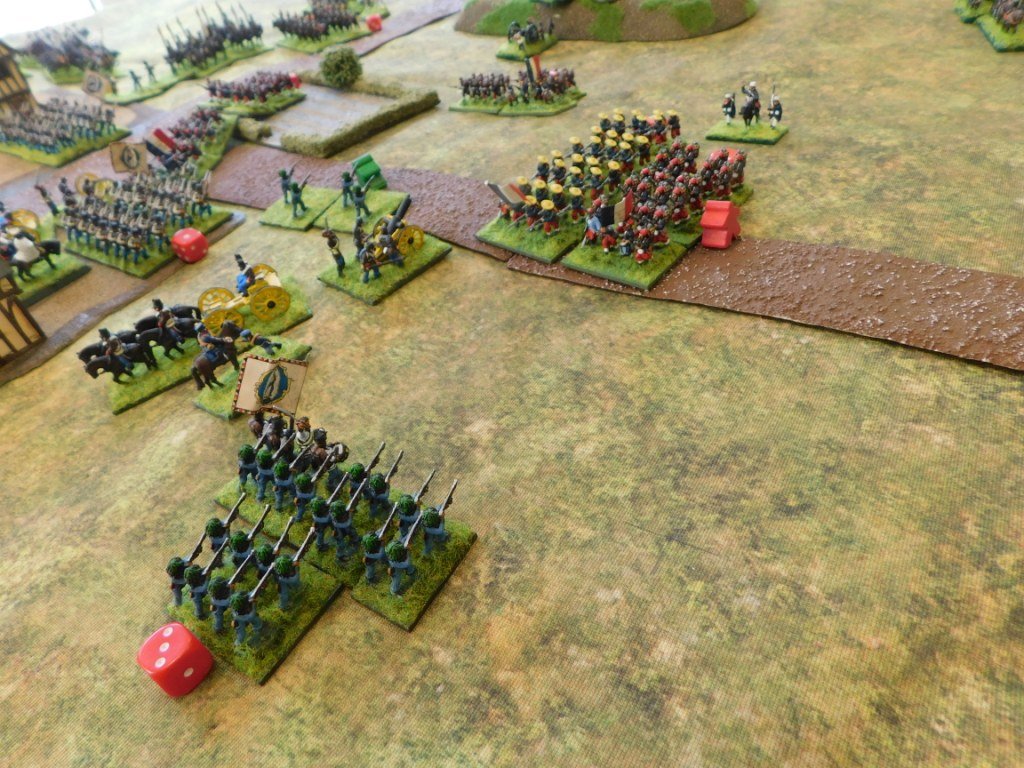
Look at the picture below. The Knights on the far right have turned and are about to hit the enemy’s flank. The rest of my Knights are perfectly in position. I had done it: I had the Scots exactly where I wanted them and it was now just a question of playing out the roll up.

Or not.

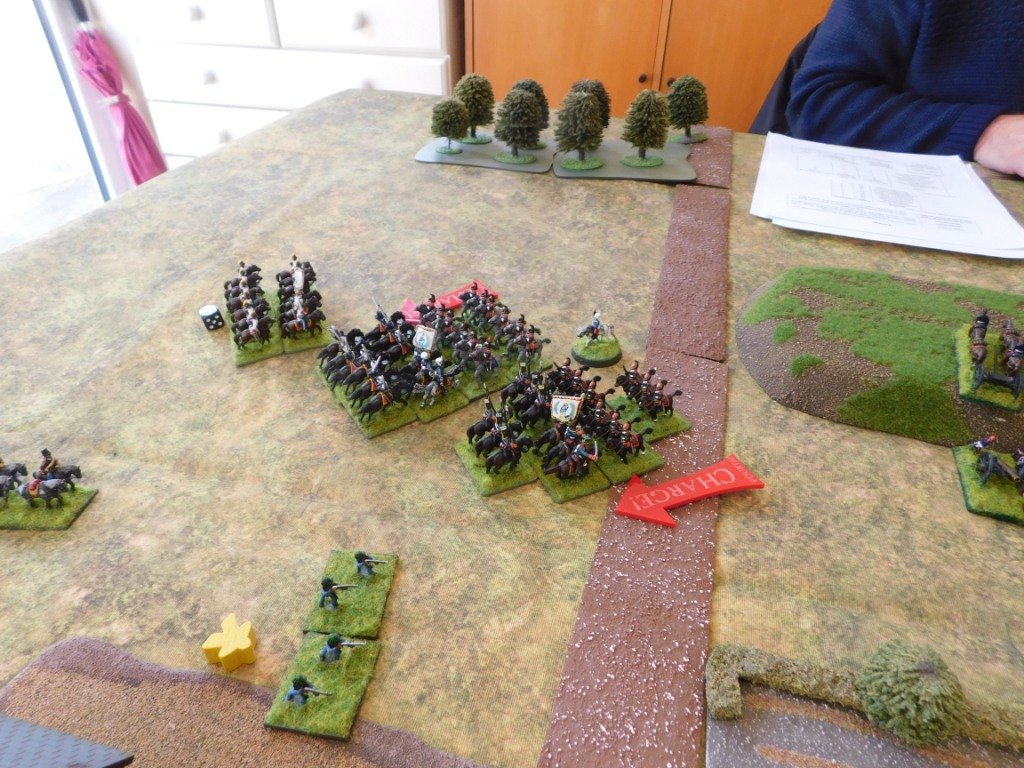
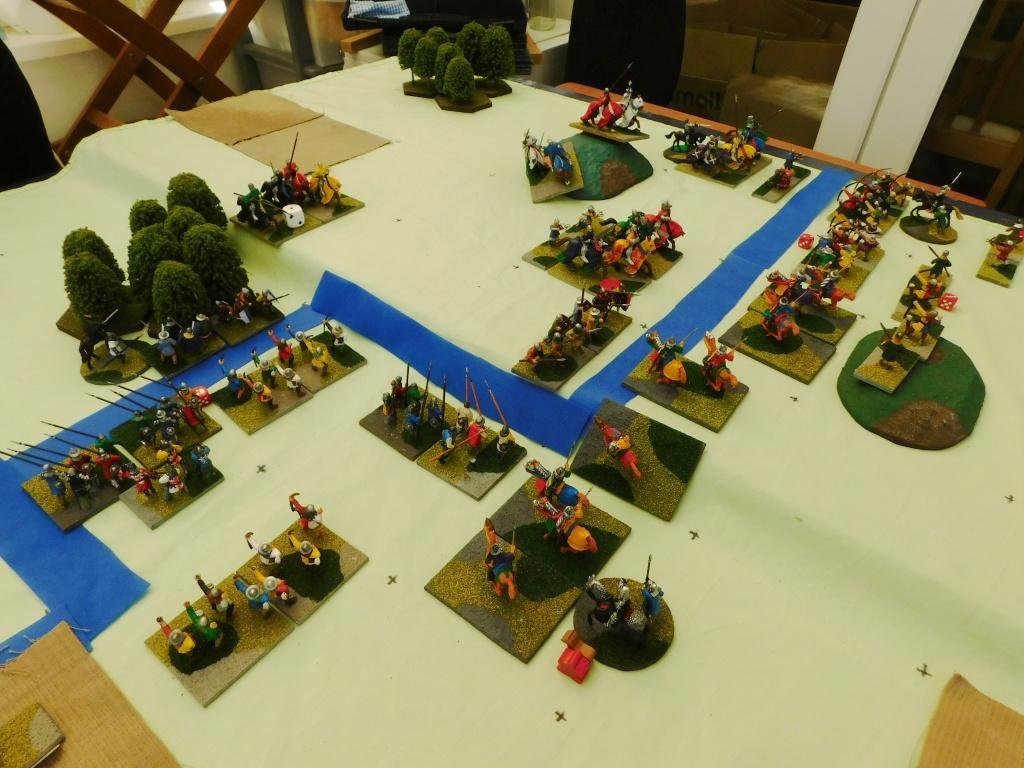
For those of you who don’t know what two Aces mean, it means my men won’t be moving that turn.

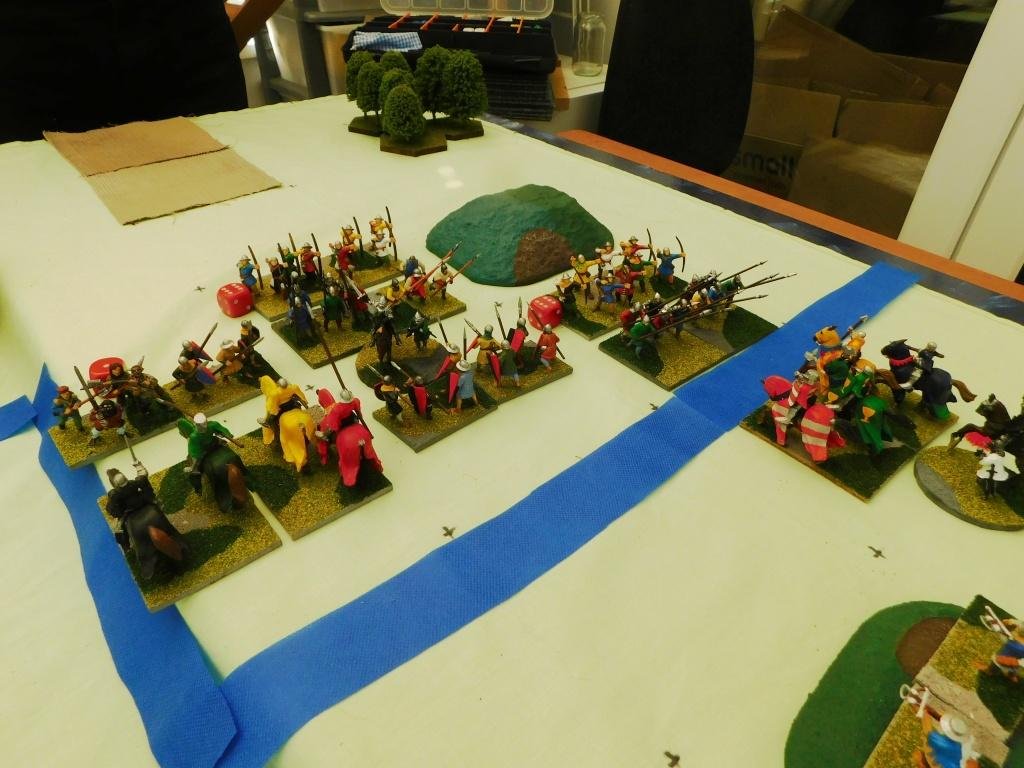
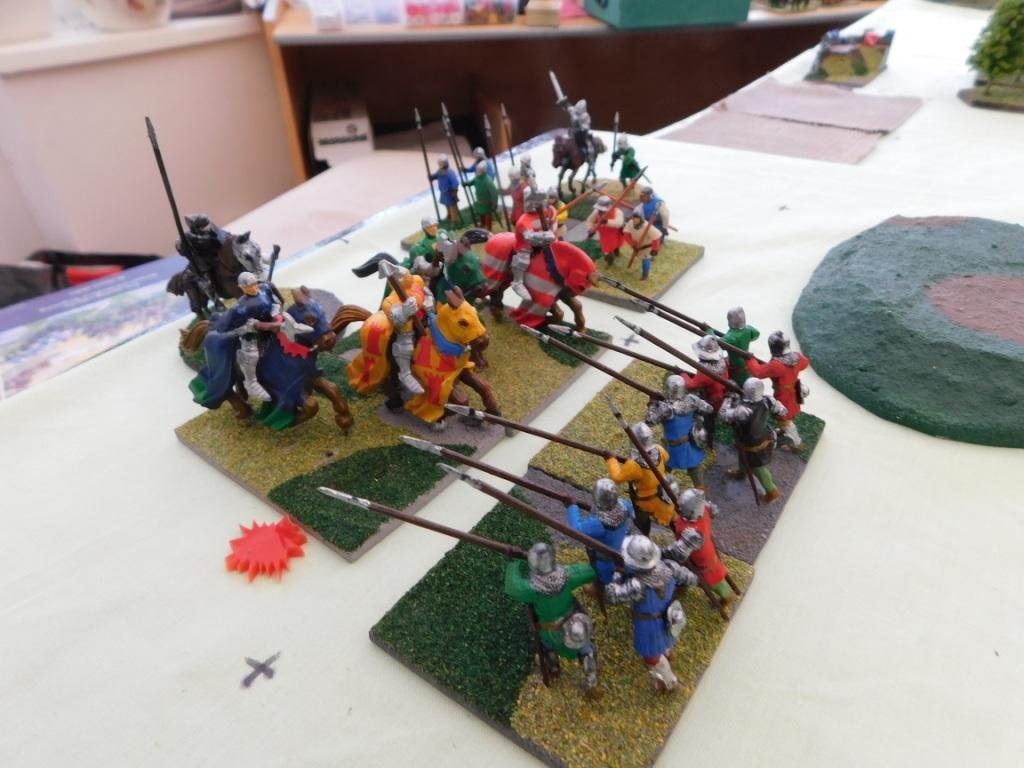
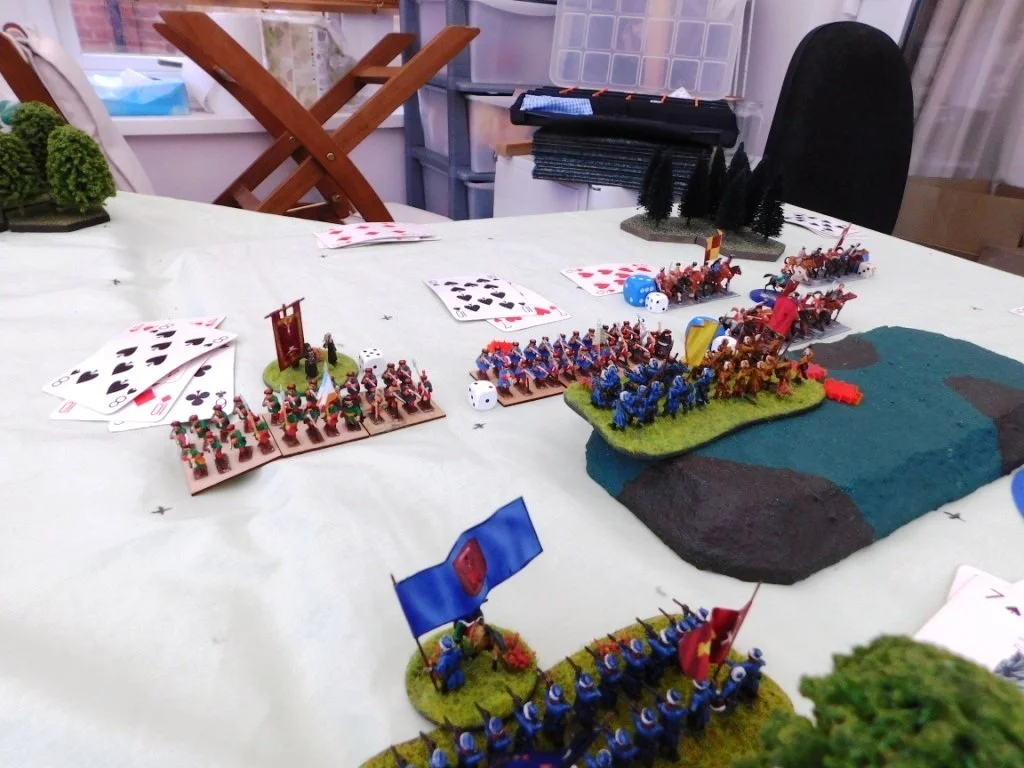
And on the next turn they didn’t manage to break the Scots either.

In all, it took me three turns to break that one unit when they should have fallen on turn one.

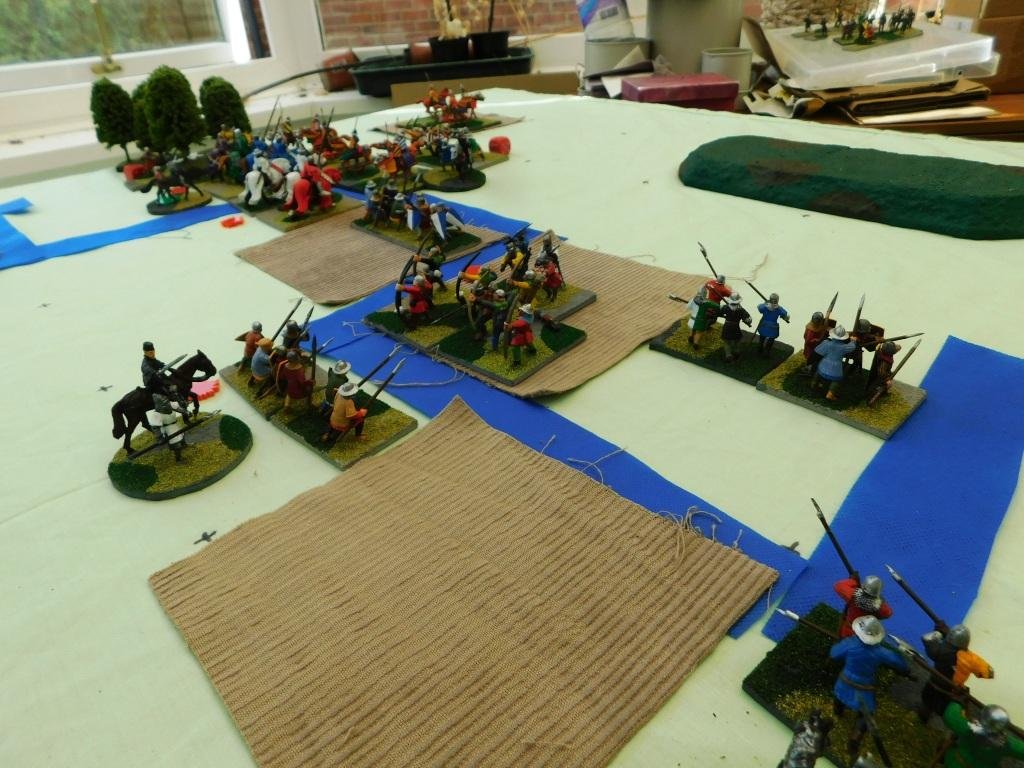
That meant that the meat of the Scottish force had enough time to hit my rabble Raw Spearmen and drive them from the field. I could only watch as my Knights stayed still or bounced off the Spearmen’s flank whilst the rest of the army crumbled.

To say that I was robbed is understatement in the extreme! Even Bevan couldn’t believe that he had survived the onslaught…but all credit to him for recognising what was happening and driving his men forward against my rabble as fast as he possible could.

Aftermath

Another two great games of TTS, and two surprise victories…one of which was a very big surprise.

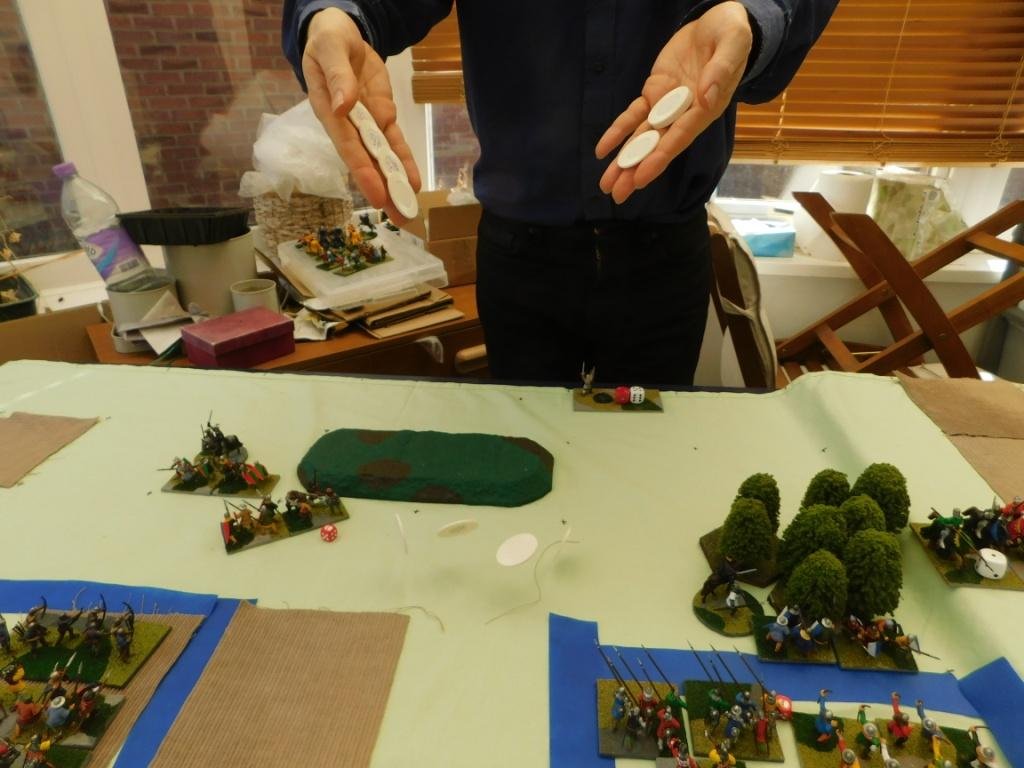
In fact, all that remained was for me to give the packs of cards I had been using a final shuffle:

IABSM AAR: Break-Through

For those of you who are on Facebook, I recommend joining the I Ain’t Been Shot, Mum group. People there answer questions about the rules, post up pictures of their forces, ideas for scenarios and, of course, after action reports.

Here’s one from James Moulding featuring late war action in a break-through scenario. Click on the picture below to see all.

IABSM AAR: Return to Le Haut-Perrier

I was adding another IABSM battle report to the 500+ already on the site (plenty more room: keep sending them in) when I noticed the links to five reports in particular were broken.

The reports were all from from the extremely talented Sergeant Perry: five different AAR featuring the same scenario from the Welsh Guards scenario pack played at the same convention back in August 2012.

The table set up and games look magnificent so, having repaired the links, I thought it worthwhile to highlight them again. Click on the links below to see all:

Sergeant Perry/01

Sergeant Perry/02

Sergeant Perry/03

Sergeant Perry/04

Sergeant Perry/05

And here are a couple of photos to whet your whistle:

19th C AAR: The Battle of Rigatoni

Time for some 1859 Franco-Austrian War action using Neil Thomas’ Wargaming 19th Century Europe 1815-1878 rules.

It’s what would become northern Italy, and the two small towns of Rigatoni and Bolognese are about to eb the subject of a major clash or arms.

On the left in the picture below are the French. They outnumber the Austrians in infantry and cavalry 6:5 and 4:3 respectively. The French are better commanded troops, a real advantage under these rules, and many of their units are Elite.

The Austrians, coming from the right, suffer from poor quality generals. They do, however, have more artillery (5:3), start the game uphill from the French, and begin the game closer to the two towns.

Both sides began the game by rapidly heading forward, with the Austrians reaching the towns first.

The French delivered three main thrusts: one on each town and one in the gap between them.

First in was the thrust against the Austrian right flank that forced the Austrian infantry out of the town. Good news from the French, but the Austrians rallied outside the town and punished the French with rifle and artillery as they reorganised after their attack.

One French battalion was wiped out as it took a battery of Austrian guns, the other was content to lurk amongst the safety of the buildings…and their accompanying cavalry was about to lap around the Austrian flank.

The French were also now approaching the Austrian left and centre, but the Austrian cavalry (much delayed by its painfully slow commander) had finally arrived:

Back to the left, and the French cavalry attacked the Austrian infantry that had been ejected from the town at such great cost to the French infantry.

The French cavalry charged forward, but were cut down in a hail of fire.

The Austrian left flank was now secure, and the town there could be re-captured…but only if the rest of the battlefield also remained in Austrian hands.

In the centre, the French infantry columns reached their destination and attacked. Again, however, although initially successful, the almost-victorious French infantry either exhausted themselves in an ultimately indecisive charge, or were shot down by the Austrian infantry in the town on the Austrian left flank.

That left only the Austrian left flank to be decided, and that was where the Austrian cavalry were massed.

Both sides hurled their cavalry forward, and a massive, swirling melee broke out. At first the French did well, but Austrian numbers soon began to tell, and eventually the remainder of the French horse were either dispersed or forced to fall back, especially when the Austrian horse-artillery rockets got into the action.

And with the defeat of their cavalry, the French’s chances of victory slipped away, and the pantalons rouge were forced to retire.

A hard fought victory for the Austrians, whose troops managed to absorb the initial charges of the French attack columns before wiping them out with rifle fire: a great game much enjoyed by either side.

Here’s a shot of the battlefield as the game ended.

TTS AAR: Battles on the Border

Off to friend Bevan’s house for some To The Strongest with some action from the Welsh Borders.

For the first game, I would play the Welsh, with Bevan taking the part of the Feudal English.

Game Two

It was now only fair that we swapped sides and gave things another go. I would take exactly the same Feudal English that I had just beaten, and Bevan would take my victorious Welsh for a spin.

So two great games of To The Strongest and, overall, I edged victory over the two battles. The real pity was that there was no time for a third game as a decider!

IABSM AAR: September War #24: Ambush in the Beskides

My turn to host a game of I Ain’t Been Shot, Mum, so I chose a scenario from the first September War scenario pack that would allow me to field some of my new motorised infantry vehicles: #24 Ambush in the Beskides.

The game would feature a German attack on a prepared Polish position. The Germans would have the numbers, but had a time limit, and those Poles were very well dug in!

Click on the picture below to see all:

IABSM AAR: Beyond Le Plessy

Yesterday’s post featured an After Action report from Des Darkin covering a game he ran for Iain Fuller and Philip Andrews.

Today’s post is the same game, but written up by Iain.

Usually I would combine the two AAR into one massive report, but both are such good AAR that I’ve decided to keep them separate.

Click on the picture below to see Iain’s colossal report on the second Plessy game:

FK&P AAR: Cossacks March Out Again

Time for the Zaphorogian Cossacks to ride out again, this time with an away fixture at friend Bevan’s house.

It was an unusually shaped battlefield, and one criss-crossed by small streams and (impassable) lakes. There was also a chunk taken out of one corner, meaning any units deployed there ran the very real risk of falling off the end of the world!

After their first encounter ended in ignominious defeat, the Cossacks had re-organised their army: equipping their tabor wagons with light artillery and dropping the brigade of raw Cossack horse.

On this battlefield, therefore, I placed my up-armed tabor in the centre, infantry to the left and right of them, and a brigade of Tatars on the far right just in front of the edge of the world. That left me a brigade of horse in reserve just behind my tabor’s right flank.

As before, our opponents were the Lithuanian Polish, hereafter known as the Poles or the Polish. They had their infantry and artillery in the centre, with loads of really quite good horse on either wing.

The battle opened with the Poles advancing rapidly on either wing, and the game split into two halves.

On my right flank, my Tatars (one unit of veteran nobles and two units of light bowmen) took on four units of decent Polish cavalry. My lights were quickly sent fleeing from the field, but their veteran comrades managed to destroy two of the Polish horse units despite, at one stage, being hit in the flank.

Half the Poles who had been chasing my lights from the field then returned and, eventually routed my tired nobles, but I’d still effectively won that flank, certainly in terms of victory medals lost.

Meanwhile, on the other flank, waves of Polish horse, most of it rather decent, some of it the dread Winged Hussars, came forward and crashed onto the three Cossack foot units right at the end of my line.

[The Winged Hussars were being represented by only their bases as painting their leopard skins had caused a delay in production. This was quite unnerving…as the temptation was to visually dismiss the units that were actually the most deadly on the table!]

Time and time again the Polish cavalry crashed into one unit of Cossack Moloitsy militia: a unit that just refused to break. Two light units and two medium units of Polish cavalry were sent packing before, finally, the Moloitsy gave way, leading to a general crumbling of that flank.

So exciting was this passage of play that I don’t actually have many photos of it. Below, left is the first wave of Polish cavalry moving forward. Below, centre is the situation after the first wave of Polish cavalry has been repelled, with the black-base-Hussars moving forward in the background. Below, right is after the Hussars have finally shattered the Moloitsy infantry.

Meanwhile, the Polish infantry had also split into two halves. On my right centre, they advanced towards the Cossack foot brigade amongst the trees and rough ground in the bend of the river. A firefight broke out between the two infantry forces, with each of us eventually losing a unit.

On my left centre, after hanging back for some time, the other Polish infantry brigade came forward. They advanced towards the left hand tabor unit but so keen was Bevan to get them into action at the same time as his Hussars were wiping out my Moloitsy that he left their flank exposed.

No sooner seen then acted upon: one of my reserve cavalry units, Tatar lights, smashed into their flank and smashed them from the field. The Tatars went on to knock off a unit of enemy Tatar light horse (Taras Bulba anyone?) before retreating back to safety.

The climax of the battle was now upon us. Before my Cossack Moloitsy on the left broke and ran I had been comfortably ahead: nine victory medals verses the three that Bevan had left. Once my left flank had broken, I was down to three victory medals. Could Bevan now snatch victory from the jaws of defeat?

As his troops massed for further charges into my left flank, the battle was actually decided back on the right centre, where Bevan’s remaining infantry unit had retreated back from its firefight with some of my Registered Cossacks in order to re-group.

I followed up, also deploying my final reserve: a unit of poor quality mounted Cossacks. These managed to pin the retreating Polish Haiduks in place, giving my Registered Cossacks time to follow up and hit them in the flank. They crumbled, their victory coins were lost, and the battle was mine!

The gallery below shows the initial clash between infantry lines on the right center. The position after this initial clash, and then the climactic moment mounted and Registered Cossacks dashed the enemy Haiduks from the field:

So a first victory for my Cossacks, but a very hard fought contest won only by the narrowest of margins.

Again the Poles avoided frontally assaulting my tabor wagons, concentrating on trying to win the battle by killing all my other troops. In this game that actually worked in my favour a bit: my tabor were free to deploy their new light guns with significant effect and the terrain was such that my infantry could hold on for long enough before fleeing the field.

For me, I tried to avoid throwing my cavalry away. Admittedly the veteran Tatar noblemen played a blinder and did much better than they should have, but keeping the other cavalry brigade in reserve worked really well: I would only have lost them to the mass of enemy cavalry as it advanced forward, and this way I was able to shore up my line and then exploit the retreat of the enemy infantry when the time was right. For my next outing, I think I’ll add a unit of artillery to the roster, sacrificing some infantry Gallant Gentlemen to do so. After all, I can only use them if I’m attacking, and my infantry won’t charge enemy horse!

Here’s a pic of the table at the end of the game.

IABSM at Winter Wonder Lard

Last weekend saw another excellent Winter Wonder Lard at Bristol Independent Gamers. On show were games of Chain of Command, Sharp Practice, Strength & Honour, What a Cowboy and, of course, I Ain’t Been Shot Mum.

The IABSM game was based on the tank battle on the Calais - Dunkirk Road, near St.Omer on 22nd May 1940.

On That day a patrol sent out from the Calais defences reported German tanks on the road between Calais and Dunkirk and fighting towards St.Omer. Staff Officers at Calais disputed this, stating that there were no substantial German forces within 30 miles of St. Omer and this could only be a stray reconnaissance patrol.

A British Force was ordered towards St.Omer to drive off these random German troops, but came into contact with lead elements of 1st Panzer Division, who were attacking French troops on the edge of the town.

Click on the picture below to see all:

Cossacks Take To The Field (Briefly!)

My first game of the year, so it was only right that the Cossacks finally take to the field with their opponents, the Polish/Lithuanians (hereafter known as the Poles/the Polish), provided by friend Bevan. So new to the table were both armies that the Poles hadn’t even been properly based yet.

The table was set up quite differently to our usual ECW terrain: no hedges and loads of irritating patches of rough or impassable ground.

We used the excellent eastern front modifications to For King & Parliament available on the Tales From A Wargames Shed blog.

View from the Polish side

The Poles arrived with a fearsome army: two units of Winged Hussars; four units of Pancerni horse; three units of Petyhorsy horse; three units of Tatar mounted bowmen; and four infantry Haiduk units.

Not properly based! Are the shades of the wargaming room to be thus polluted?

To oppose them, my brave Zaporogian Cossacks fielded four tabor war wagons; two brigades each of one unit of Registered Cossacks and two units of Moloitsy; and two Tatar warbands, one of two units of mounted bowmen, the other the same but with a unit of Tatar noble lancers as well.

Tabor in the centre, then the infantry, then the cavalry on the wings.

Here’s how the game went:

In summary, the Poles sent their cavalry forward on each wing. This proved too strong for my horse, who were mostly Tatar bowmen and reluctant Cossacks, leaving the end of my infantry/tabor line exposed.

My musket fire proved ineffective (I think it must have been raining) and although they did cause the Poles some damage, the Moloitsy infantry then began to crumble.

As the battle ended, the Poles were about to fall upon the Registered Cossacks whilst my tabor still sat in the centre watching what was going on!

Aftermath

An excellent game (despite the result!) and it was good to get back to gaming and give my latest army a baptism (of fire!).