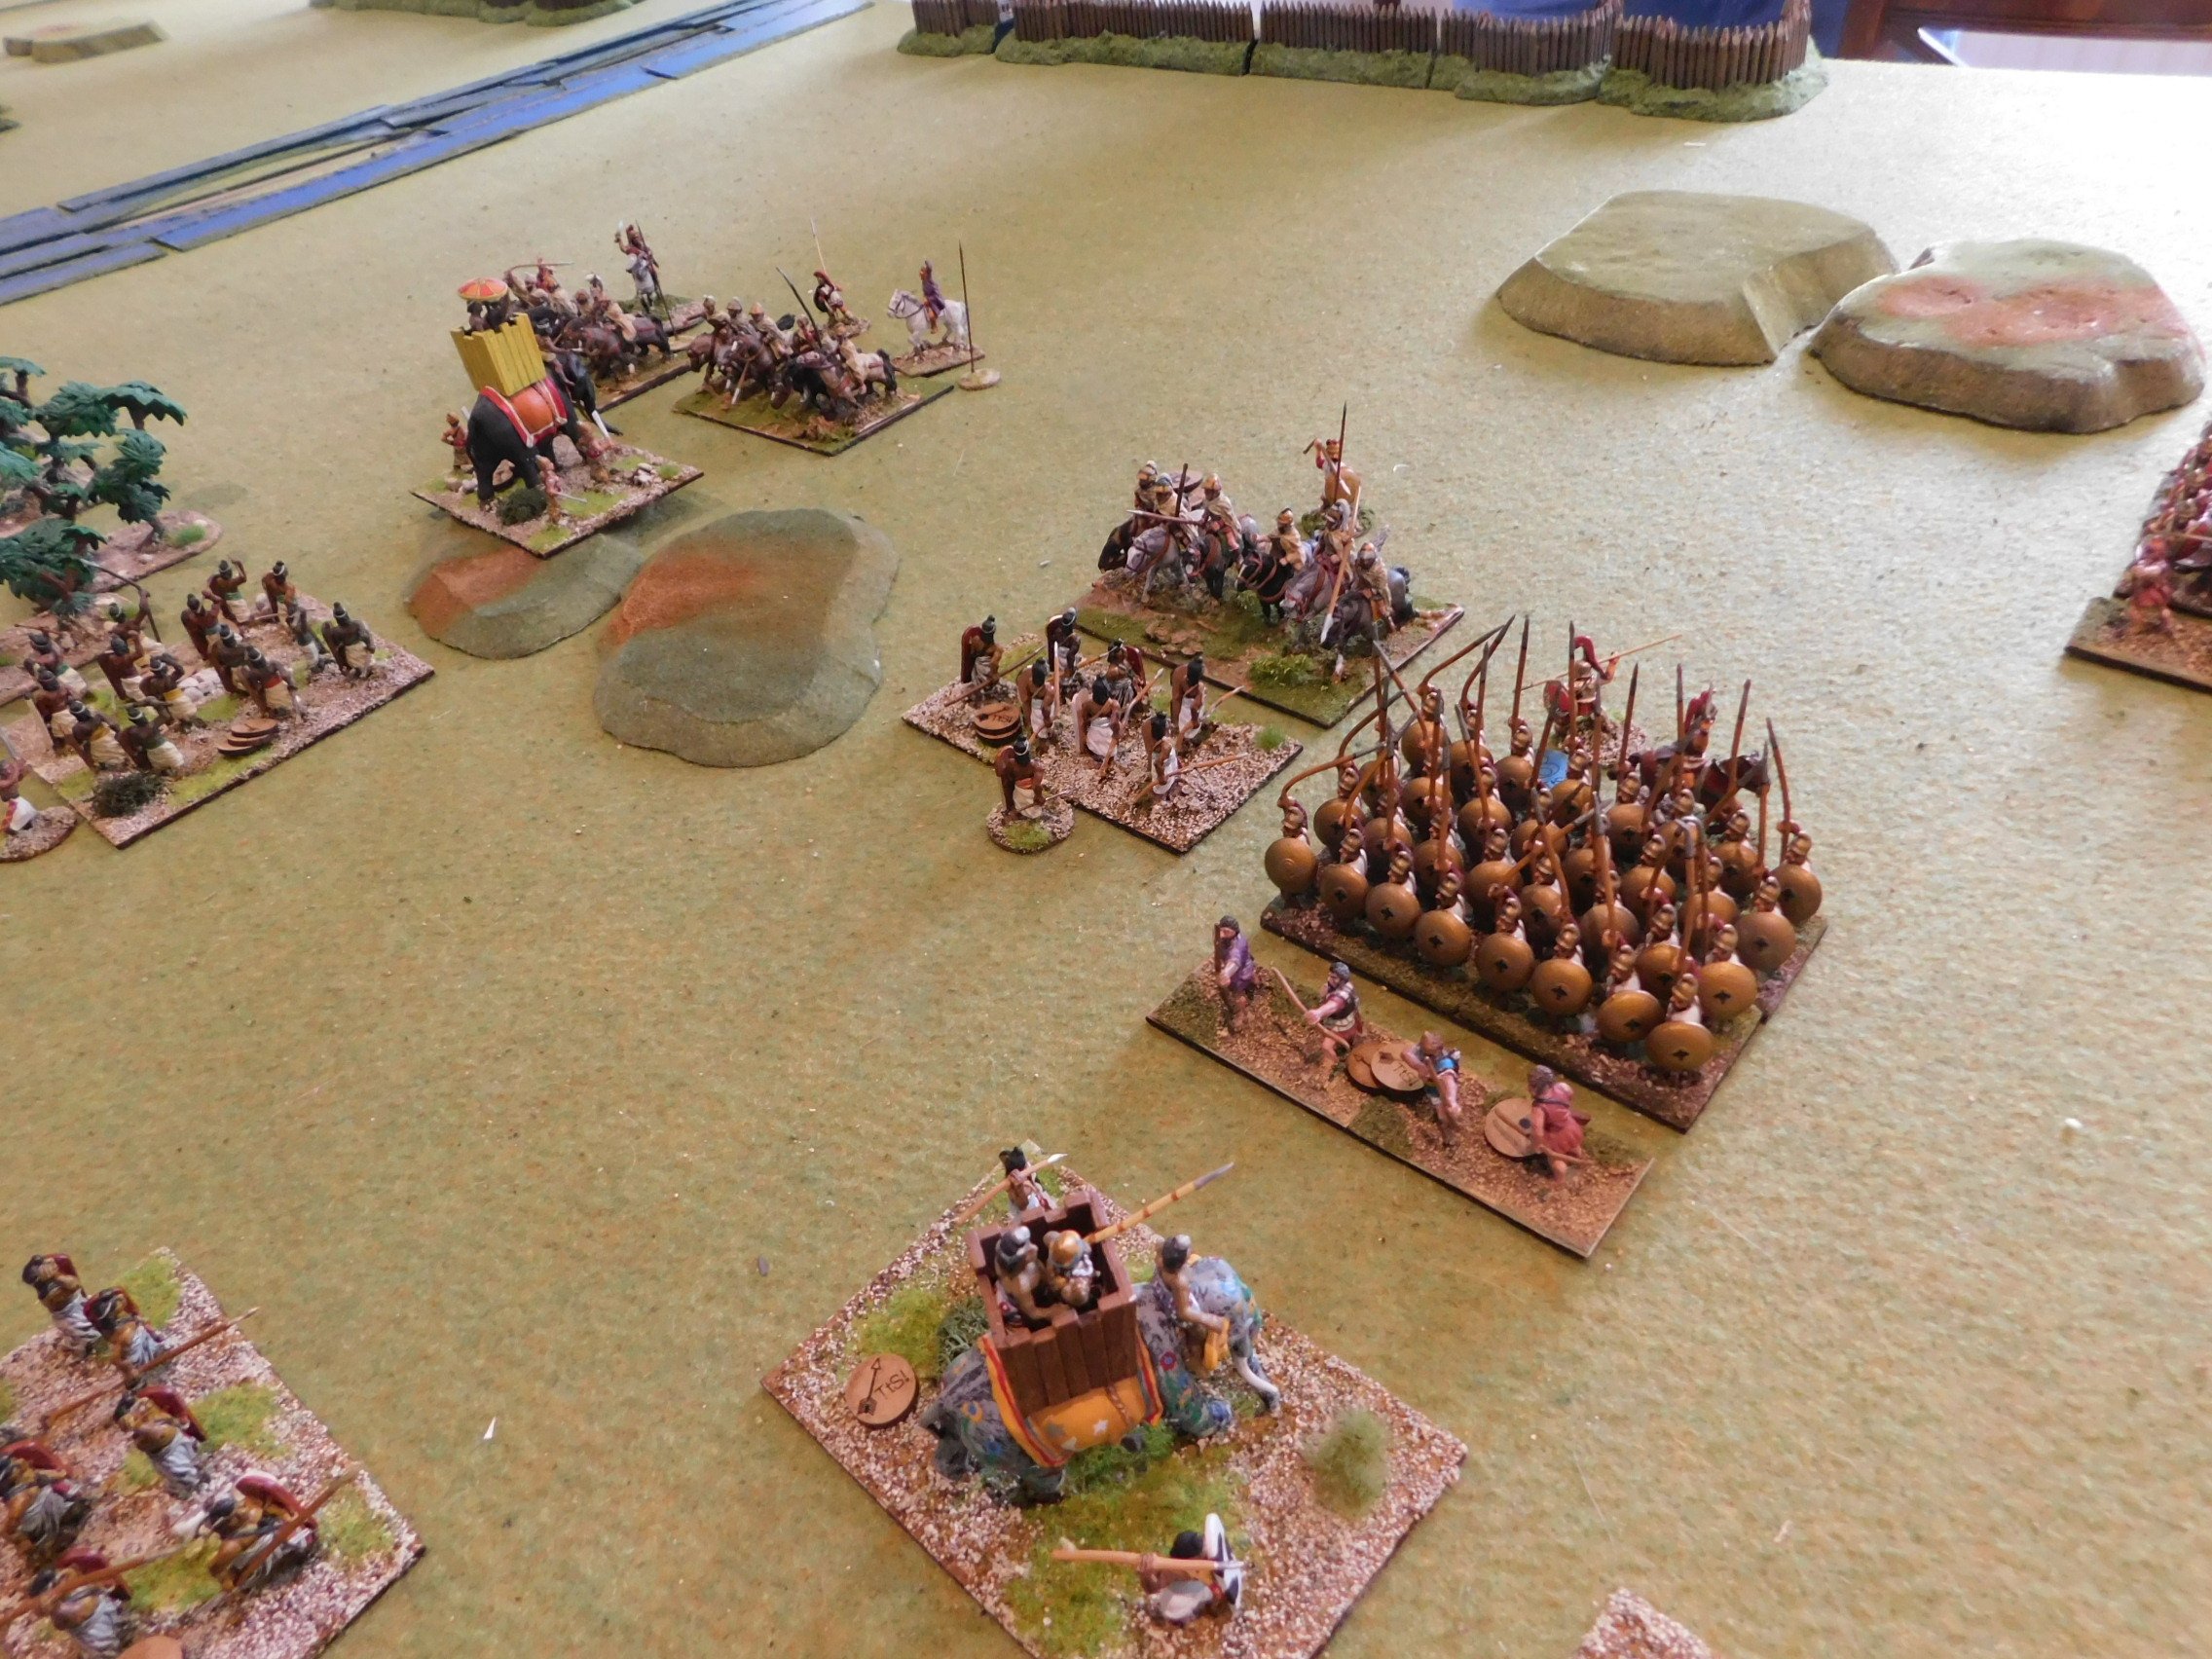
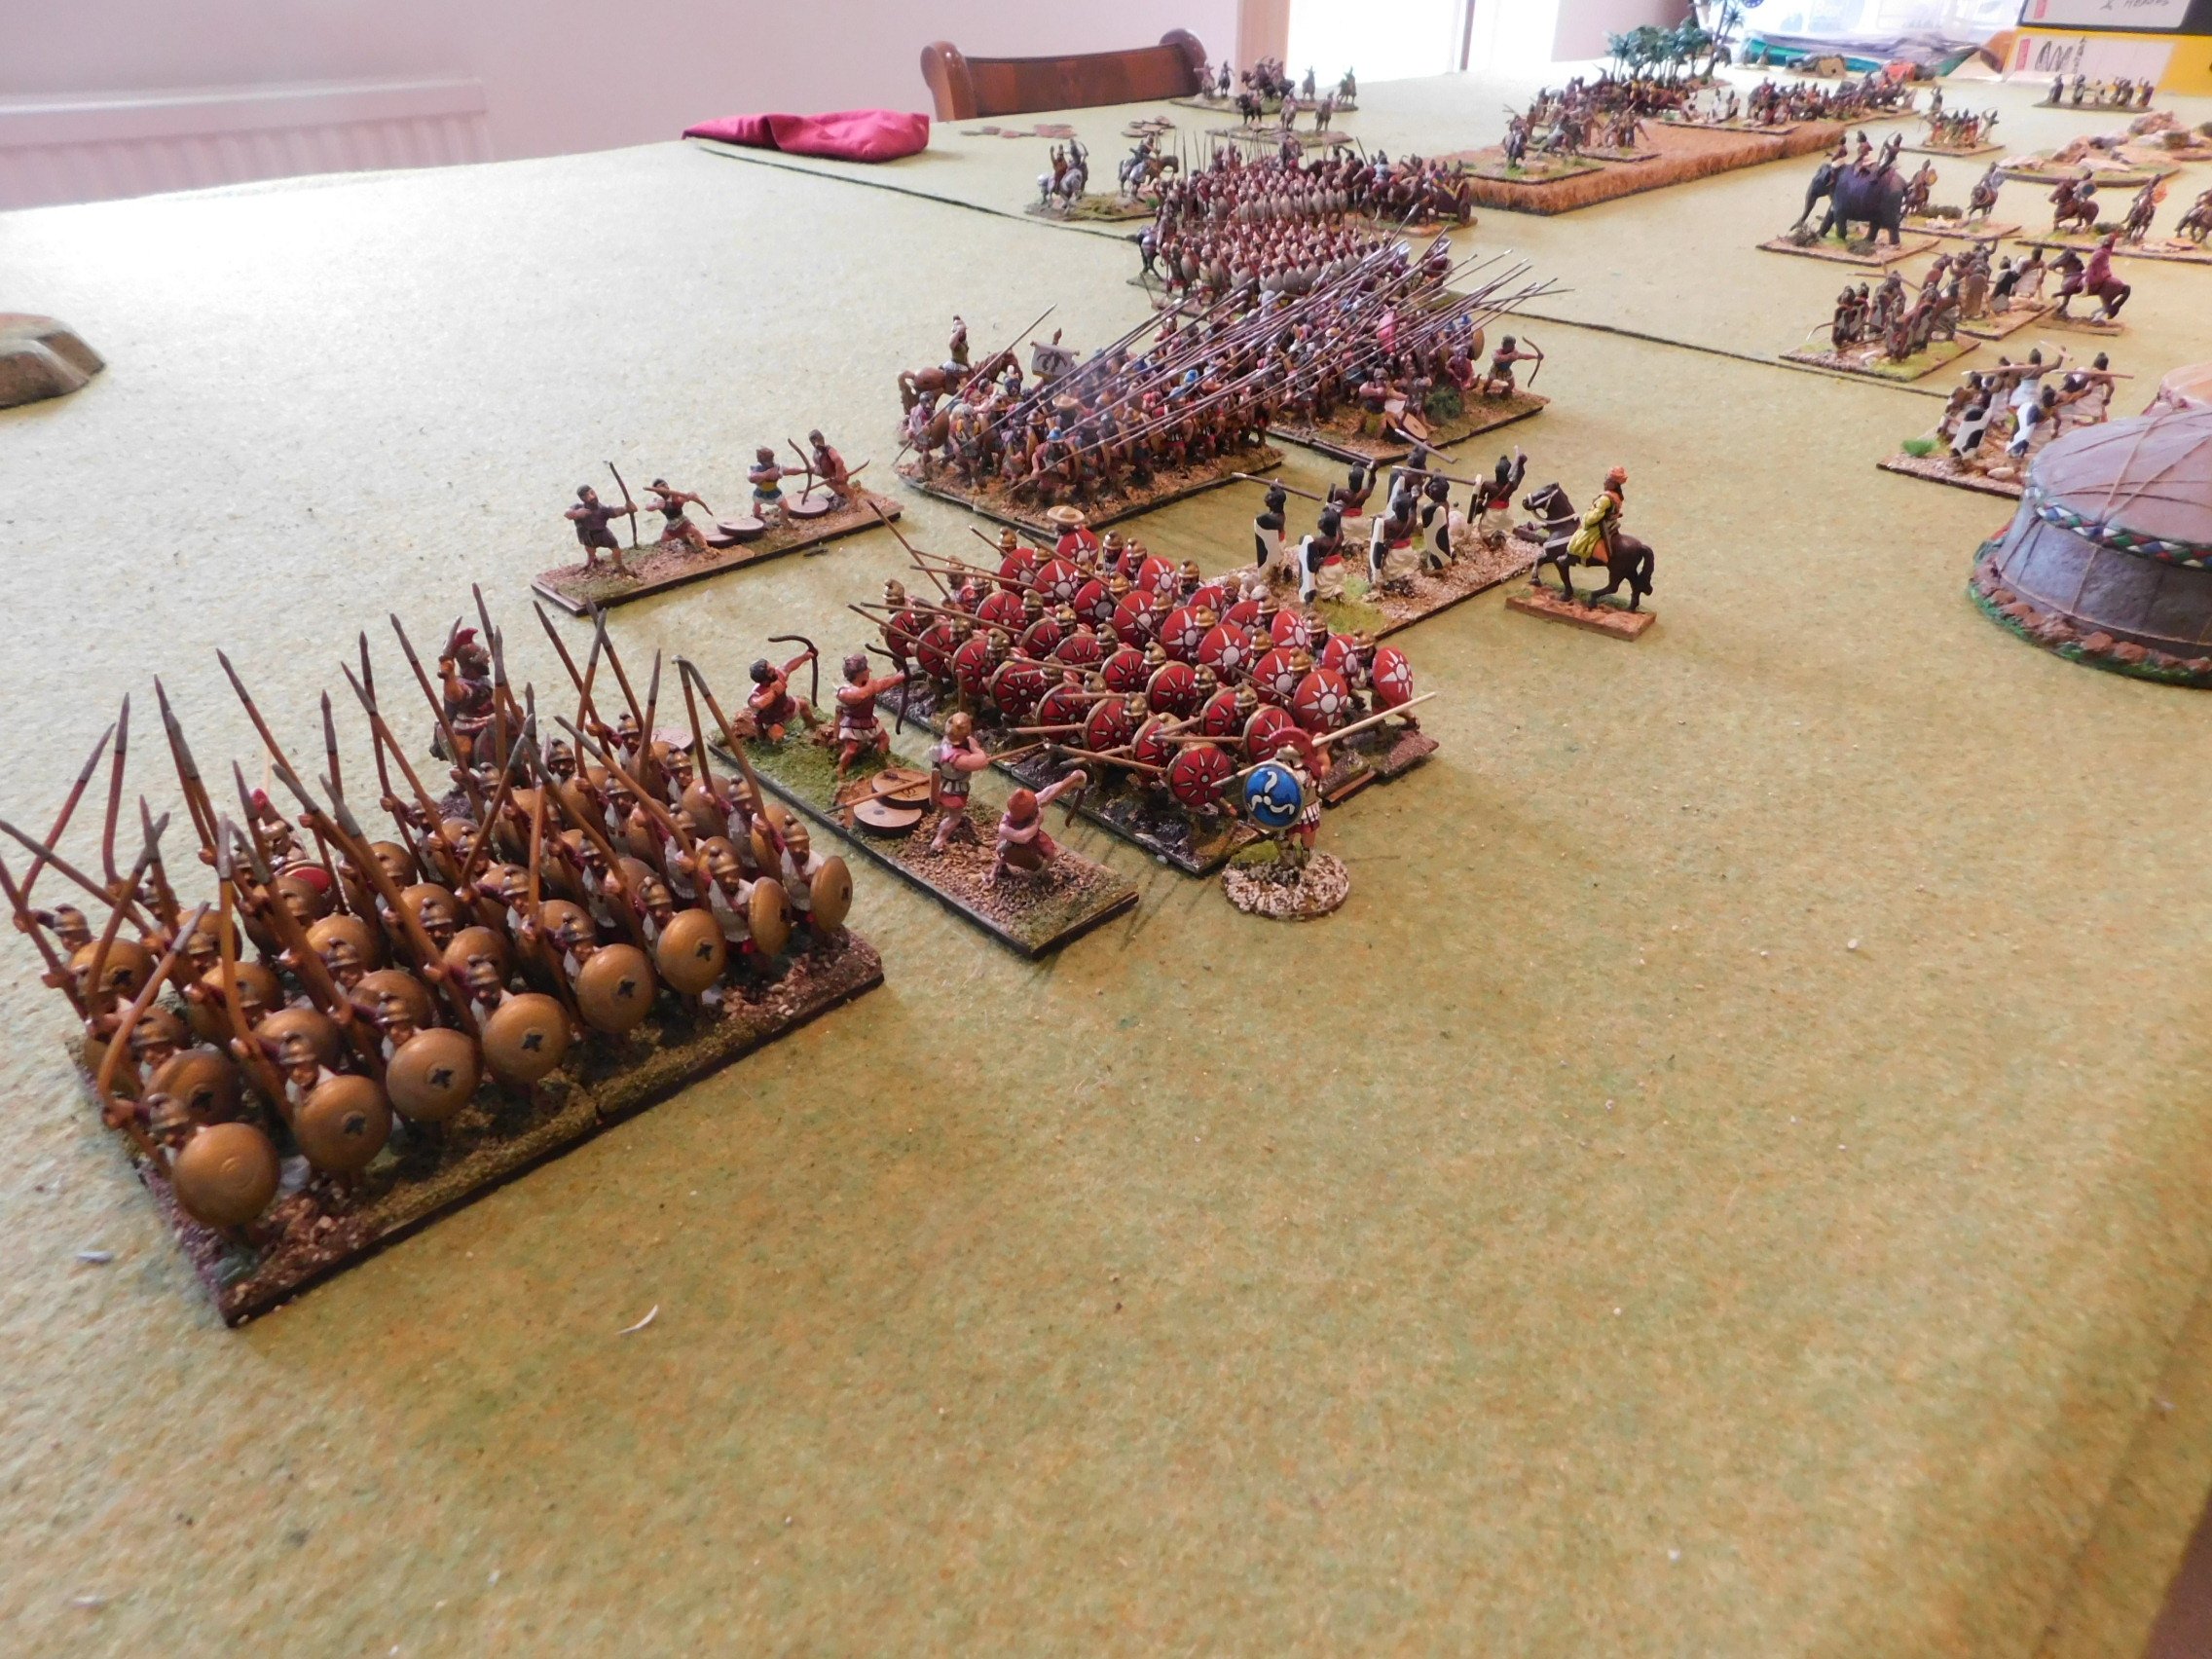
AAR TTS: Trialing the Massed Light Rule

Bevan and I manged to squeeze in a quick game of To The Strongest last week. Choice of sides was up to me, so I decided to test out the new-ish massed lights rule (where two light units can join forces and keep most of the characteristics of a light unit but be a bit tougher in combat) by fielding my New Kingdom Egyptians. Against them Bevan would take the newly slimline Akkadians: their deep spear units being reduced to normal size under the latest incarnation of the army lists.

I deployed my infantry in the centre, with two strong chariot-based units on either wing. My plan was to use my superior missile fire to weaken his troops and then either smash his weakened centre with my foot, or have my chariots harass his flanks…and it almost worked!

On my left, Pharoah himself led his veteran chariots forward. They shot loads of arrows at the enemy but failed to make any impression: there was obviously something wrong with their bow strings that day!

They then spent the rest of the battle being slowly pushed back or, in one case, sandwiched i.e. keeping the enemy’s right wing occupied, but not much else.

My right wing, however, did exactly what it was supposed to do. Quickly disposing of some light infantry, one unit of chariots swept around the flank of an enemy spear unit and drove it from the table. The other chariot unit skirmished with another enemy spear unit until it was sufficiently wounded, and then charged in and finished it off.

Great success, but the fact that I was hitting only on an “8” (light units remember) meant that it had taken more time than I had anticipated to achieve what I had done. One unit of chariots was also now quite a long way from the action, although the other was in a position to strike a commanding blow by taking the enemy’s camp.

Unfortunately, the cards failed me at the last minute and I ended up one square short (photo: right, above). The other chariot unit, or perhaps a unit of light infantry, also missed charging into the rear of an enemy spear unit in the centre by a similar margin. I would win the next turn, but could my centre hold out long enough for me to do so.

The simple answer was “no”. The Akkadian spear and axe units in the centre had been grinding forward and my mixed force of archers and spearmen just could not hold them. On Bevan’s next initiative he manged to break enough of my units to win the game just as I was poised to do the same to him!

So another great game of TTS. Looking at that last turn, I had four chances to take Victory Medals, two of which I needed to make happen in order to win the game. In the event, none of the four came off: by such slim margins are the fortunes of war decided!

AAR TTS: Classical Indians vs Alexandrian Macedonians: The Big One!

The final game of our To The Strongest battle day was a double-sized game with two players and 260 points per side. Si and I would take the Classical Indians again, Peter and Cayden would take the Alexandrian Macedonians.

One slight twist was that the results of the last four games were applied on top of the existing TTS points system to further balance the armies…and as the Macedonians had won three of the day’s four encounters so far, they had their Victory Medals (lose them all and you lost the game) reduced by a third.

Si and I decided to try the same plan that had almost worked in an earlier game: our left flank (under me) would hang back and try and hold the enemy’s main attack with the Companions and Phalanx whilst our right flank (under Si) advanced quickly, brushed aside the lights in front of it, and curled around to hit the phalanx etc in the side.

That was the plan…but unfortunately it didn’t work. Although the left flank did some heroic work holding up the Companions (the new rules about Javelinmen in rough terrain being very useful), the various Macedonian Phalanxes proved pretty unstoppable in the left centre, and our troops on the right just couldn’t get into play fast enough.

So there you have it: despite even points and a bias on the Victory Medals, the Indians still lost, Over the course of the day, that made four out of five Macedonians victories: I guess there’s a reason Alexander conquered the known world!

AAR TTS: Alexandrian Macedonians vs Classical Indians

For the second encounter of the three-game marathon organised by Peter, I would take the Alexandrian Macedonians into battle against the Classical Indians.

My opponent set up in a tight formation in the centre of the battlefield hoping, presumably to pepper me with arrows before we made contact. His right wing looked very strong, with his heavy chariots and some elephants facing off against my Companions, but his left wing…well it looked a big “hanging” to me!

I therefore placed my three units of horse archers way out on my right: their aim would be to swoop round and attack his left wing from the flank and rear.

Once the game had begun, I advanced in echelon: holding back my left whilst my horse archers sprinted for the other end of the table. My pike blocks moved forward as fast as they could and, admittedly, I got a bit lucky here: the phalangites trotted forward faster than expected and almost immediately threatened his front.

After that good start, the battle unfolded almost exactly to plan. The horse archers swept around his left flank and rear just as the two phalanx units hit his front, and his left flank crumbled.

I then brought forward my Companions to prevent his quality troops on the right from intervening, and then it was just a matter of letting things take their course. In the end I won a victory 12:2 i.e. I only lost a couple of light units.

AAR IABSM: Retreat to Calais

Having recently played on a table set up by Phil & Jenny Turner (click here for the AAR) it’s great to see that they are gearing up for another demonstration game at this year’s Britcon.

Michael Curtis has posted some pictures of the playtest of the game onto the IABSM Facebook Group. Click on the photo below to see all:

AAR TTS: Classical Indians vs Alexander's Macedonians

Off to Peter’s house for a three game marathon with him, Si and Caydn. The idea was simple: two teams of two, individual battles in the morning, one giant game in the afternoon.

My first game, therefore, was to take the Classicial Indians into battle against Peter’s Macedonians.

I was out-scouted, so set up with my powerful escorted elephants on my left flank, standard infantry and normal elephants in the centre, and my chariots and cavalry on the right. Opposite my left flank were the dread Companions, in the centre the phalanx block, and on the right several units of light horse.

My plan was for the left flank and centre to hold the Macedonians at bay whilst my chariots and cavalry dealt with the light horse and then swung round to take his phalanx in the flank…and it so almost worked!

As the battle began, his Companions and Phalanx did indeed come forward. I held back my left and left-centre brigades, but was still engaged quite early on. My chariots and cavalry began dealing with the light horse opposite them, but were too slow to do so, and although my right-centre brigade did start turning the Phalanx’s flank, it just didn’t seem to be happening fast enough.

The strong Macedonian units facing my left and left-centre began chewing me up, and although I now had infantry in a good flanking position, my chariots and cavalry were still trying to mop up the last of his lights out on the right.

I did manage to take out one Phalanx, but ran out of medals on the left and in the centre before I could get everything I had on the right back and into his flank. Unfortunately my army crumbled before that could happen, and I lost the game 4:12.

We both agreed that if I’d managed to hold out on my left and centre for just one more turn, then things would have been very different (you can see my veteran heavy chariots posed to sweep his troops off the table in the picture bottom right of the gallery above) but it was not to be. A great game, though, and much closer than the result would suggest.

IABSM AAR: Breaking the Panzers

My afternoon game at Operation Market Lardon 2022 was a game of I Ain’t Been Shot Mum run by the legendary Phil and Jenny.

I must confess that I got so into the game that I forgot to note the background properly, but from memory Scottish infantry supported by tanks from the Lancers, commanded by Noddy and I, would be defending a village in Normandy somewhere against an attack by a combined force of infantry and armour from the Waffen SS commanded by Andy and friend John.

A superb game of IABSM played on wonderful terrain. Click on the picture below to see all:

SP AAR: The Hundred Days

Here’s the first of my two battle reports from the TFL Games Day, Operation Market Lardon: a game of Sharp Practice set not only in the Hundred Days campaign but actually at Waterloo itself. As you’ll see below, Joe McGinn put on a great-looking game

John and I played the French, commanding a force ordered to stop an ammunition cart getting to the British Guards in Hougement. The Allies were played by Ally and Phil

The French were quite lucky in that our Voltigeur skirmishers got onto the table quite quickly and managed to almost immediately drive the British guards away from the cart. One set of skirmishers was then able to take possession of the cart and get ready to move it towards our baseline.

The Allies then brought on a large force of German infantry in column that headed straight for the cart and managed to recapture it, forcing our skirmishers to withdraw, but they withdrew just far enough to put the Germans under fire again, with concentrated.fire from the two Voltigeur units then driving the column back.

This meant that the French had time to bring on both their main infantry force (conscripts) and a decent sized support unit (line infantry). The former headed towards the cart and were able to finish the German column off, the latter formed a blocking force that quickly got into a fire fight with some Nassau infantry coming up from the direction of Hougemont itself.

The blocking force and Nassau were fairly evenly matched until one unit of French Voltigeurs was able to break away from harassing the German infantry (who had been broken by the arrival and volley fire of the French conscripts) and lend its fire to the battle. The Nassau infantry started taking heavy casualties and were forced to withdraw.

As the battle ended, the French had the ammo cart in their possession and well on the way to their baseline; the German column and British guards were on the run; and the Nassau skirmishers were starting to backpedal fast.

It was a glorious victory for the French: we did not lose a single point of Force Morale and had reduced the Allied force to just one Force Morale point. We had also lost just two Voltigeurs whereas dead Allied infantry lay strewn over the field.

Here’s the game in photos:

IABSM AAR: Le Hamel

Another great After Action Report from Mark Luther.

It’s I Ain’t Been Shot Mum and Normandy 1944. This was going to be a two part battle, with this AAR describing the first contest covering the attack by 46 Royal Marine Commando and the Fort Garry Horse on the village of le Hamel on June 11, 1944.

Click on the picture below to see all:

IABSM AAR: Relieving St Omer

Another excellent battle report from the equally excellent Bleaseworld blog.

Set during the Blitzkrieg in May 1940 the game was based around efforts by the 3rd Royal Tank Regiment attempting to relieve the French defenders of St Omer who were under attack by the 1st Panzer Division.

This AAR features a beautiful table put together by Phil and Jenny, so is well worth a look. Click on the picture, below, to see all.

Q13 AAR: Snake in the Space Dog's Shadow

It had been ages since I’d last played Quadrant 13, the company-sized sci-fi game using the basic IABSM engine that I wrote for the Lardies, so it was great to be able to take advantage of a day’s holiday and take the Astagar (space snakes) and Protolene Khanate (space dogs) for a ride.

Click on the pic below to see the whole report.

The majority of both armies originally come from Critical Mass Games, with the Khanate being one of the original races available and the Astagar added vis a Kickstarter campaign.

Unfortunately, CMG closed down, but the infantry figures (not the vehicles, just the infantry) are available from Ral Patha Europe.

Incidentally, one thing I missed out on Astagar-wise was the SP artillery. If anyone does have any that they don’t want any more, the snakeheads could do with a bit of support. E-mail me at admin@vislardica.com if you have some to sell.

And just for completeness, once I start collecting one particular category of sci-fi race, I have to have every variant possible…so my core Protolene Khanate space dogs are augmented by a platoon of Garrhul from Dark Star and a platoon of Raug from Khuarasan. If you are after dog-men, you have the choice of three different manufacturers or, like me, all three!

FK&P AAR: Swedish vs Cossacks

Now that I had my Swedes all planned out, it was time to take them into action against my only other vaguely contemporaneous army, the Zaphorogian Cossacks.

This would be an interesting clash, as the two armies were very different: essentially a western pike & shot army (the Swedes) against an eastern pike & shot army (the Cossacks). Indeed, so different were the Cossacks that Bevan, my opponent, asked if he could use the Swedes (despite the dice initially saying otherwise) as he wasn’t sure how to fight with the Cossacks.

The Cossacks, therefore under my command, consisted of a brigade of four tabor war-wagon bases and some artillery; two brigades of Tatar cavalry, each consisting of two horse archer units and one heavier cavalry unit; and two brigades of infantry, each consisting of two Moloitsy units and one Registered Cossack units.

The Left Wing of the Cossacks

The Swedes, commanded by Bevan, were more like a conventional ECW army. They fielded two brigades of Reiters (like harquebusiers) , each with three squadrons; two brigades of pike, one consisting of three “Swedish” or pike-heavy battalia, the other consisting of four “German” standard battalia; and finally a battery of artillery and an orphan brigade of mixed cavalry consisting of a small unit of cuirassiers and another unit of standard Reiters.

The Reiters grouped together on the Swedish left wing

Despite having all the Tatar bowmen to seek out the opposition, the Cossacks were out-scouted and had to deploy first. The ground wasn’t ideal for war-wagons, with the only open space on my left, so that’s where they went along with a brigade of Tatar horse. The two infantry brigades went in the centre and centre right, with the final brigade of horse out on my right. I planned to hold the hedgerows on my right whilst the war wagons dealt with the Swedish left wing, and go from there!

The battlefield from the Cossack side. My CinC is obviously off to visit the church in the middle of the field!

The Swedes massed their cavalry on their left wing, and lined their infantry up next to them but stretching across the rest of the battlefield. That looked like an awful lot of cavalry facing my right, and I could immediately see that Bevan was intending to punch through my right hand cavalry brigade and then bring his horse round onto my flank. Gulp! I’d better win elsewhere rather quickly then!

The Battle Itself

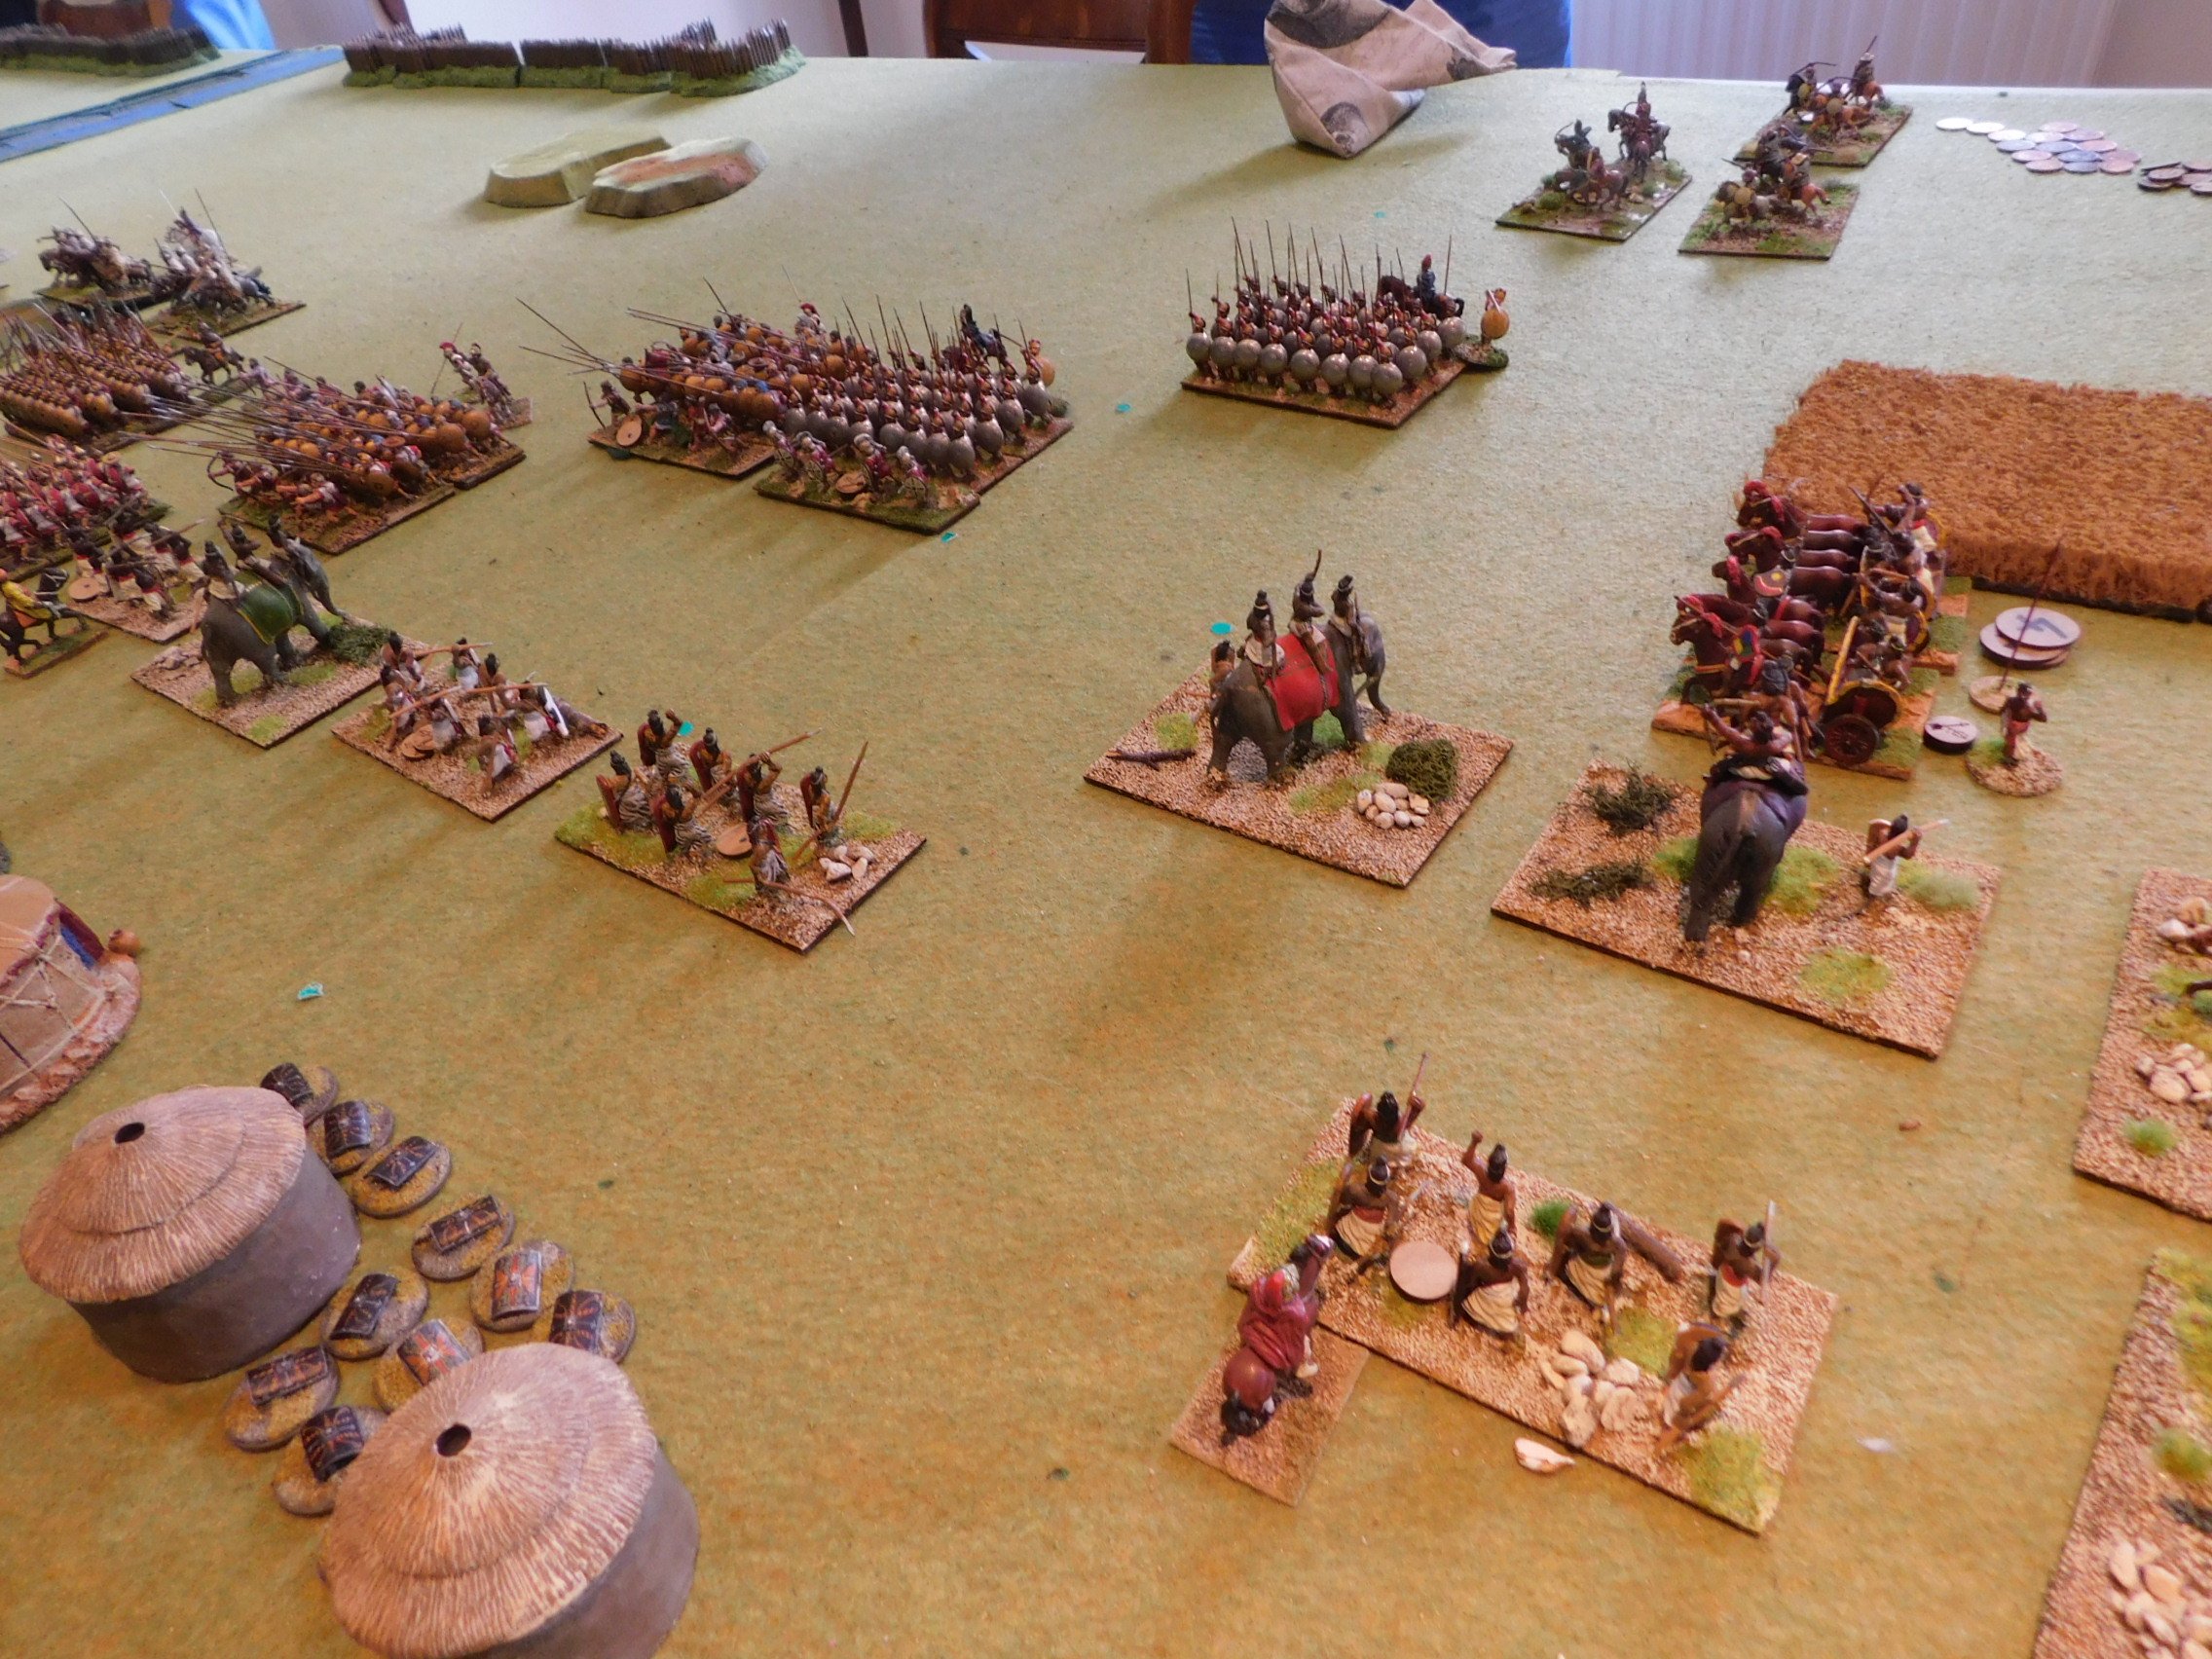
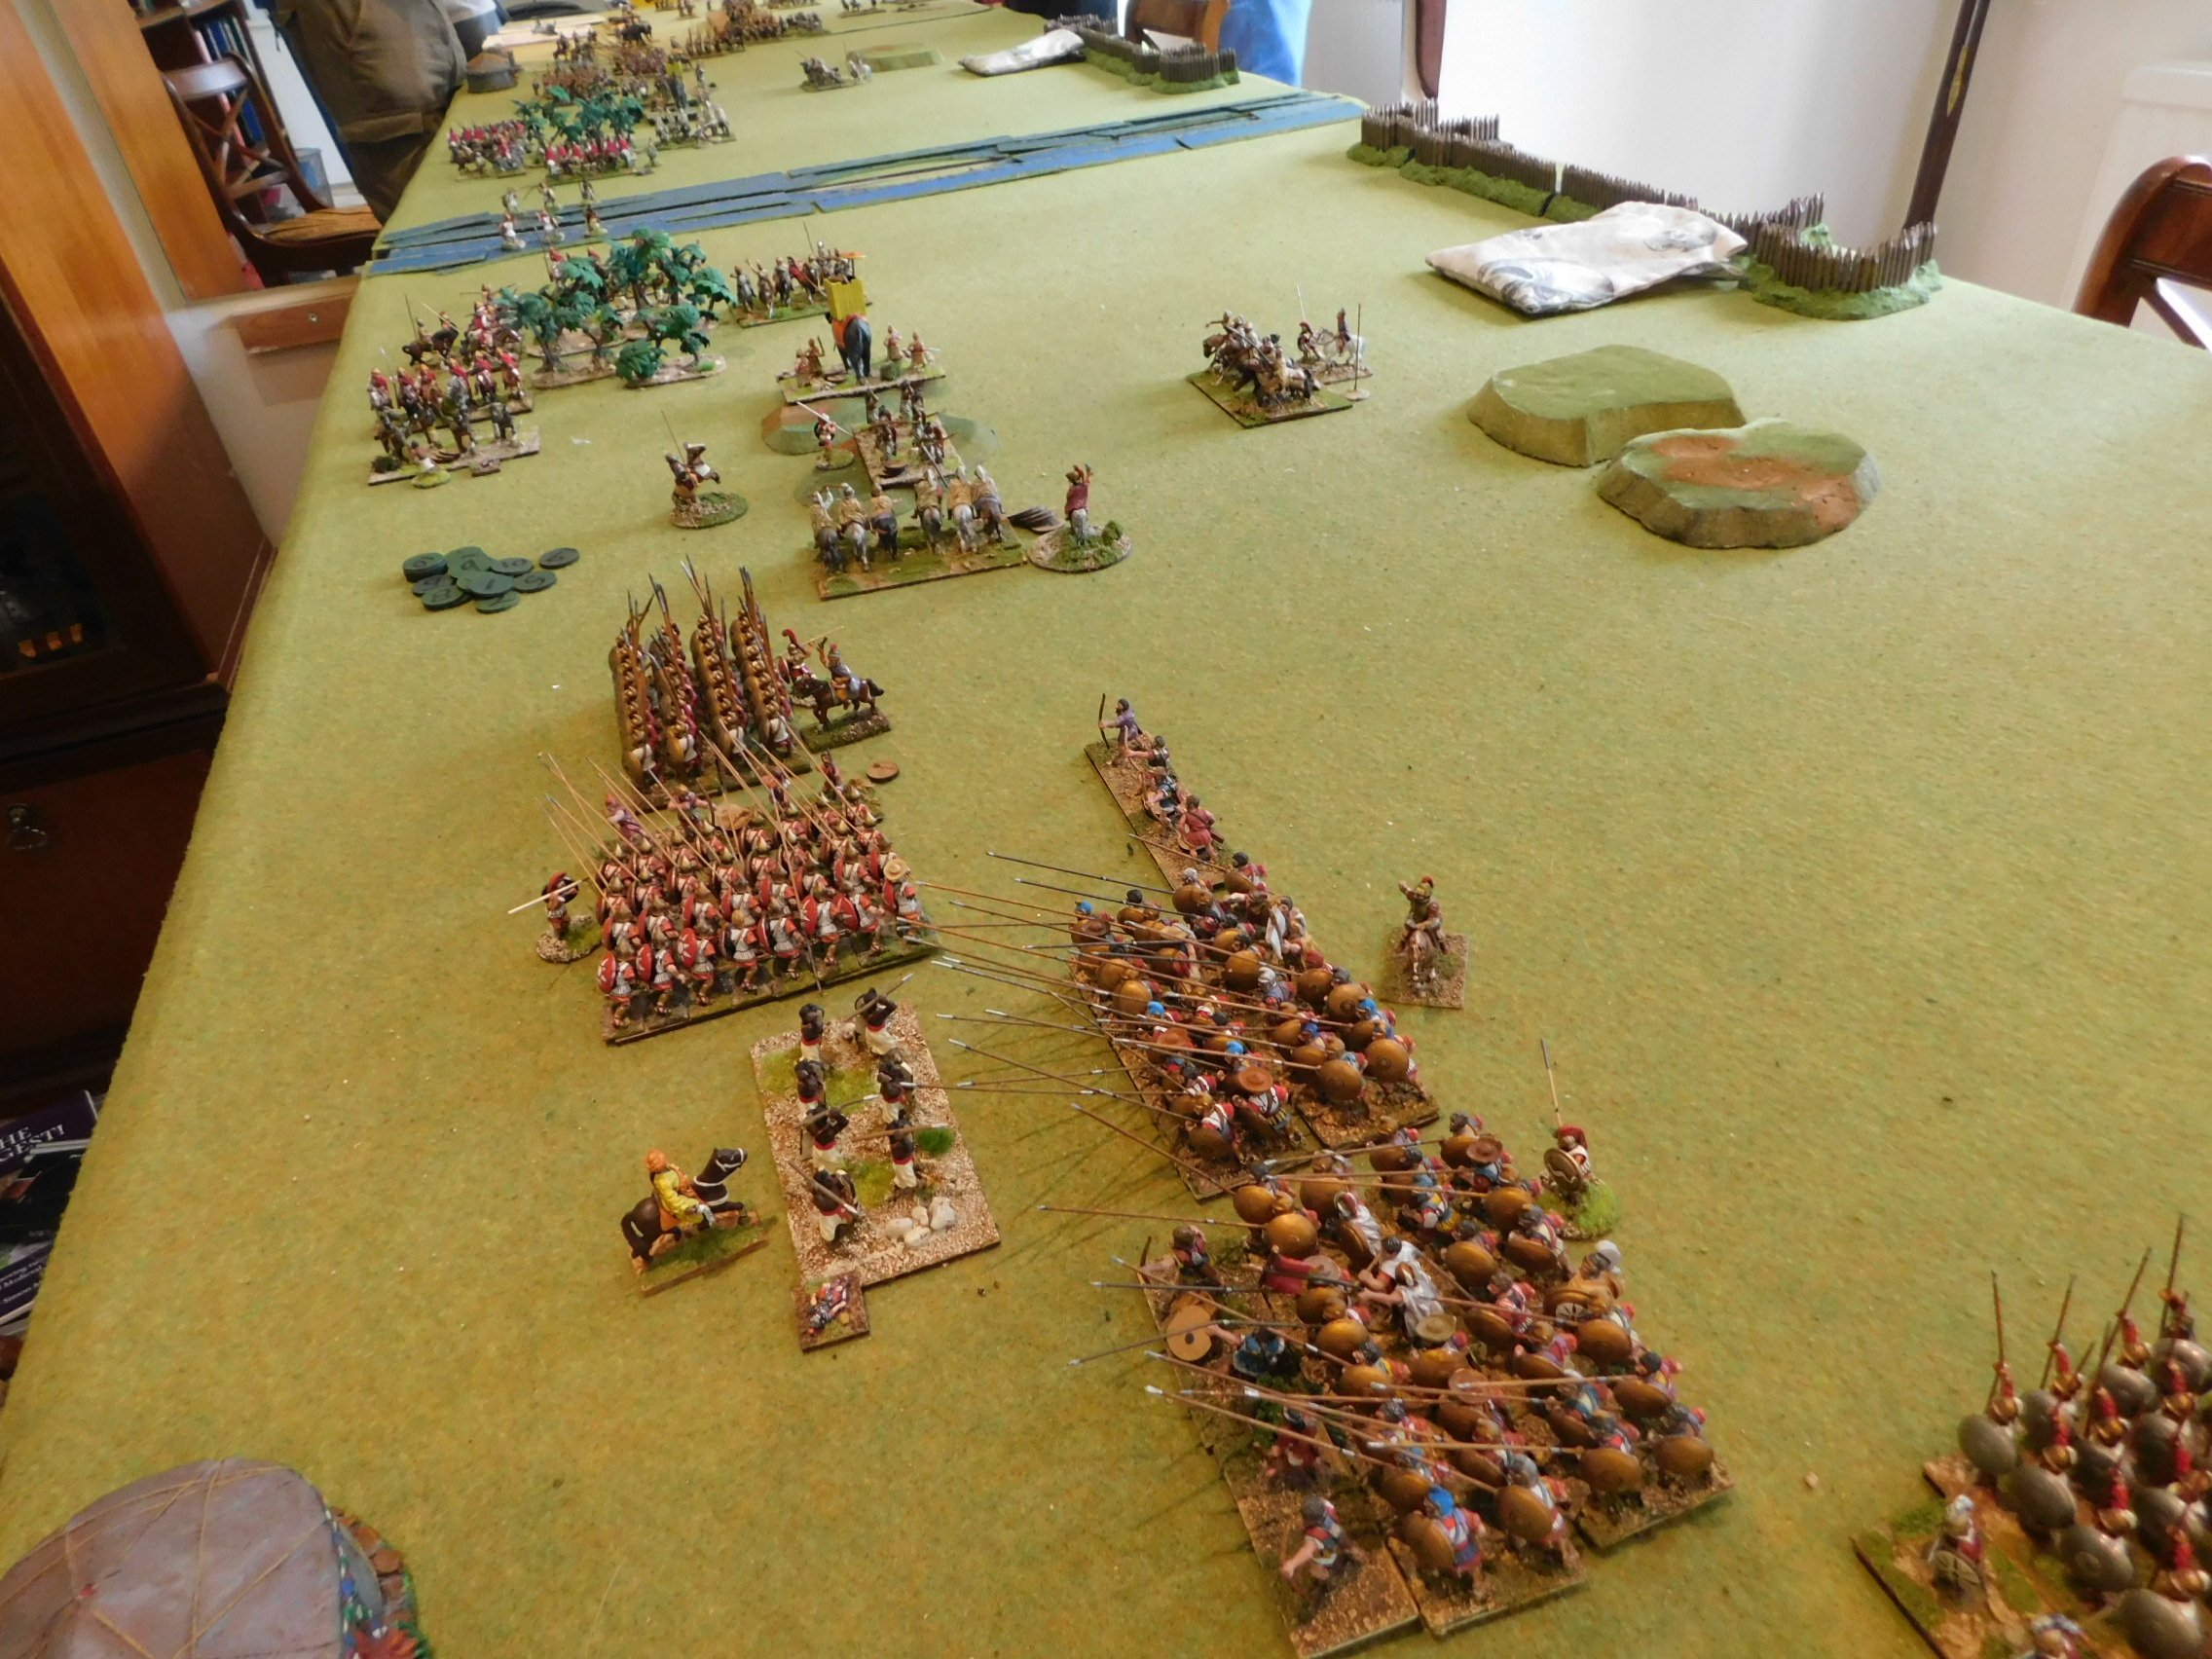
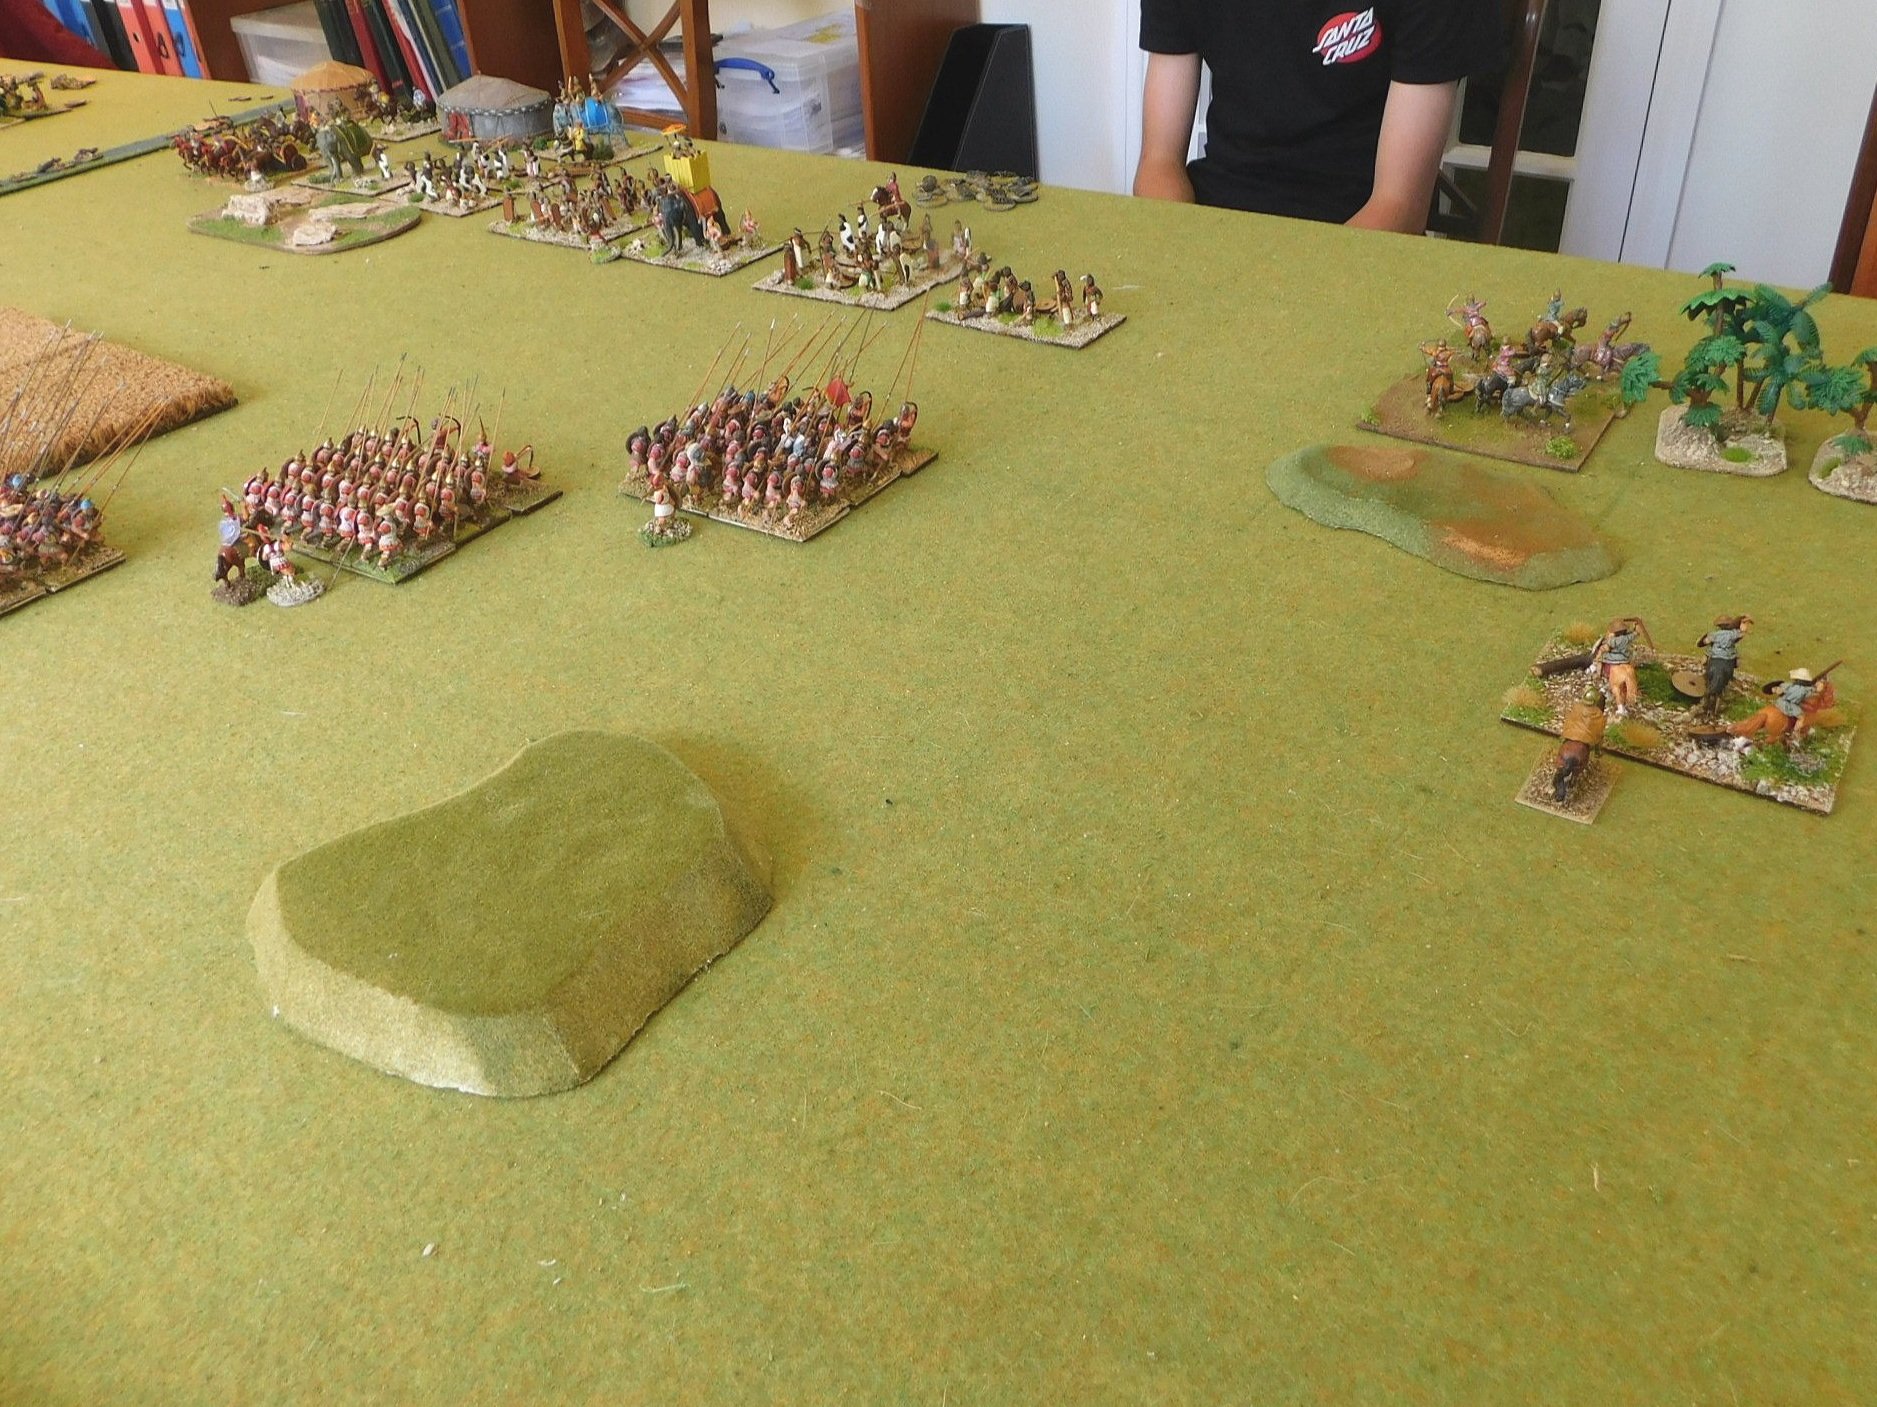
The battle itself divided neatly into two halves: with action taking place on either side of but not along the road that ran up the centre of the field.

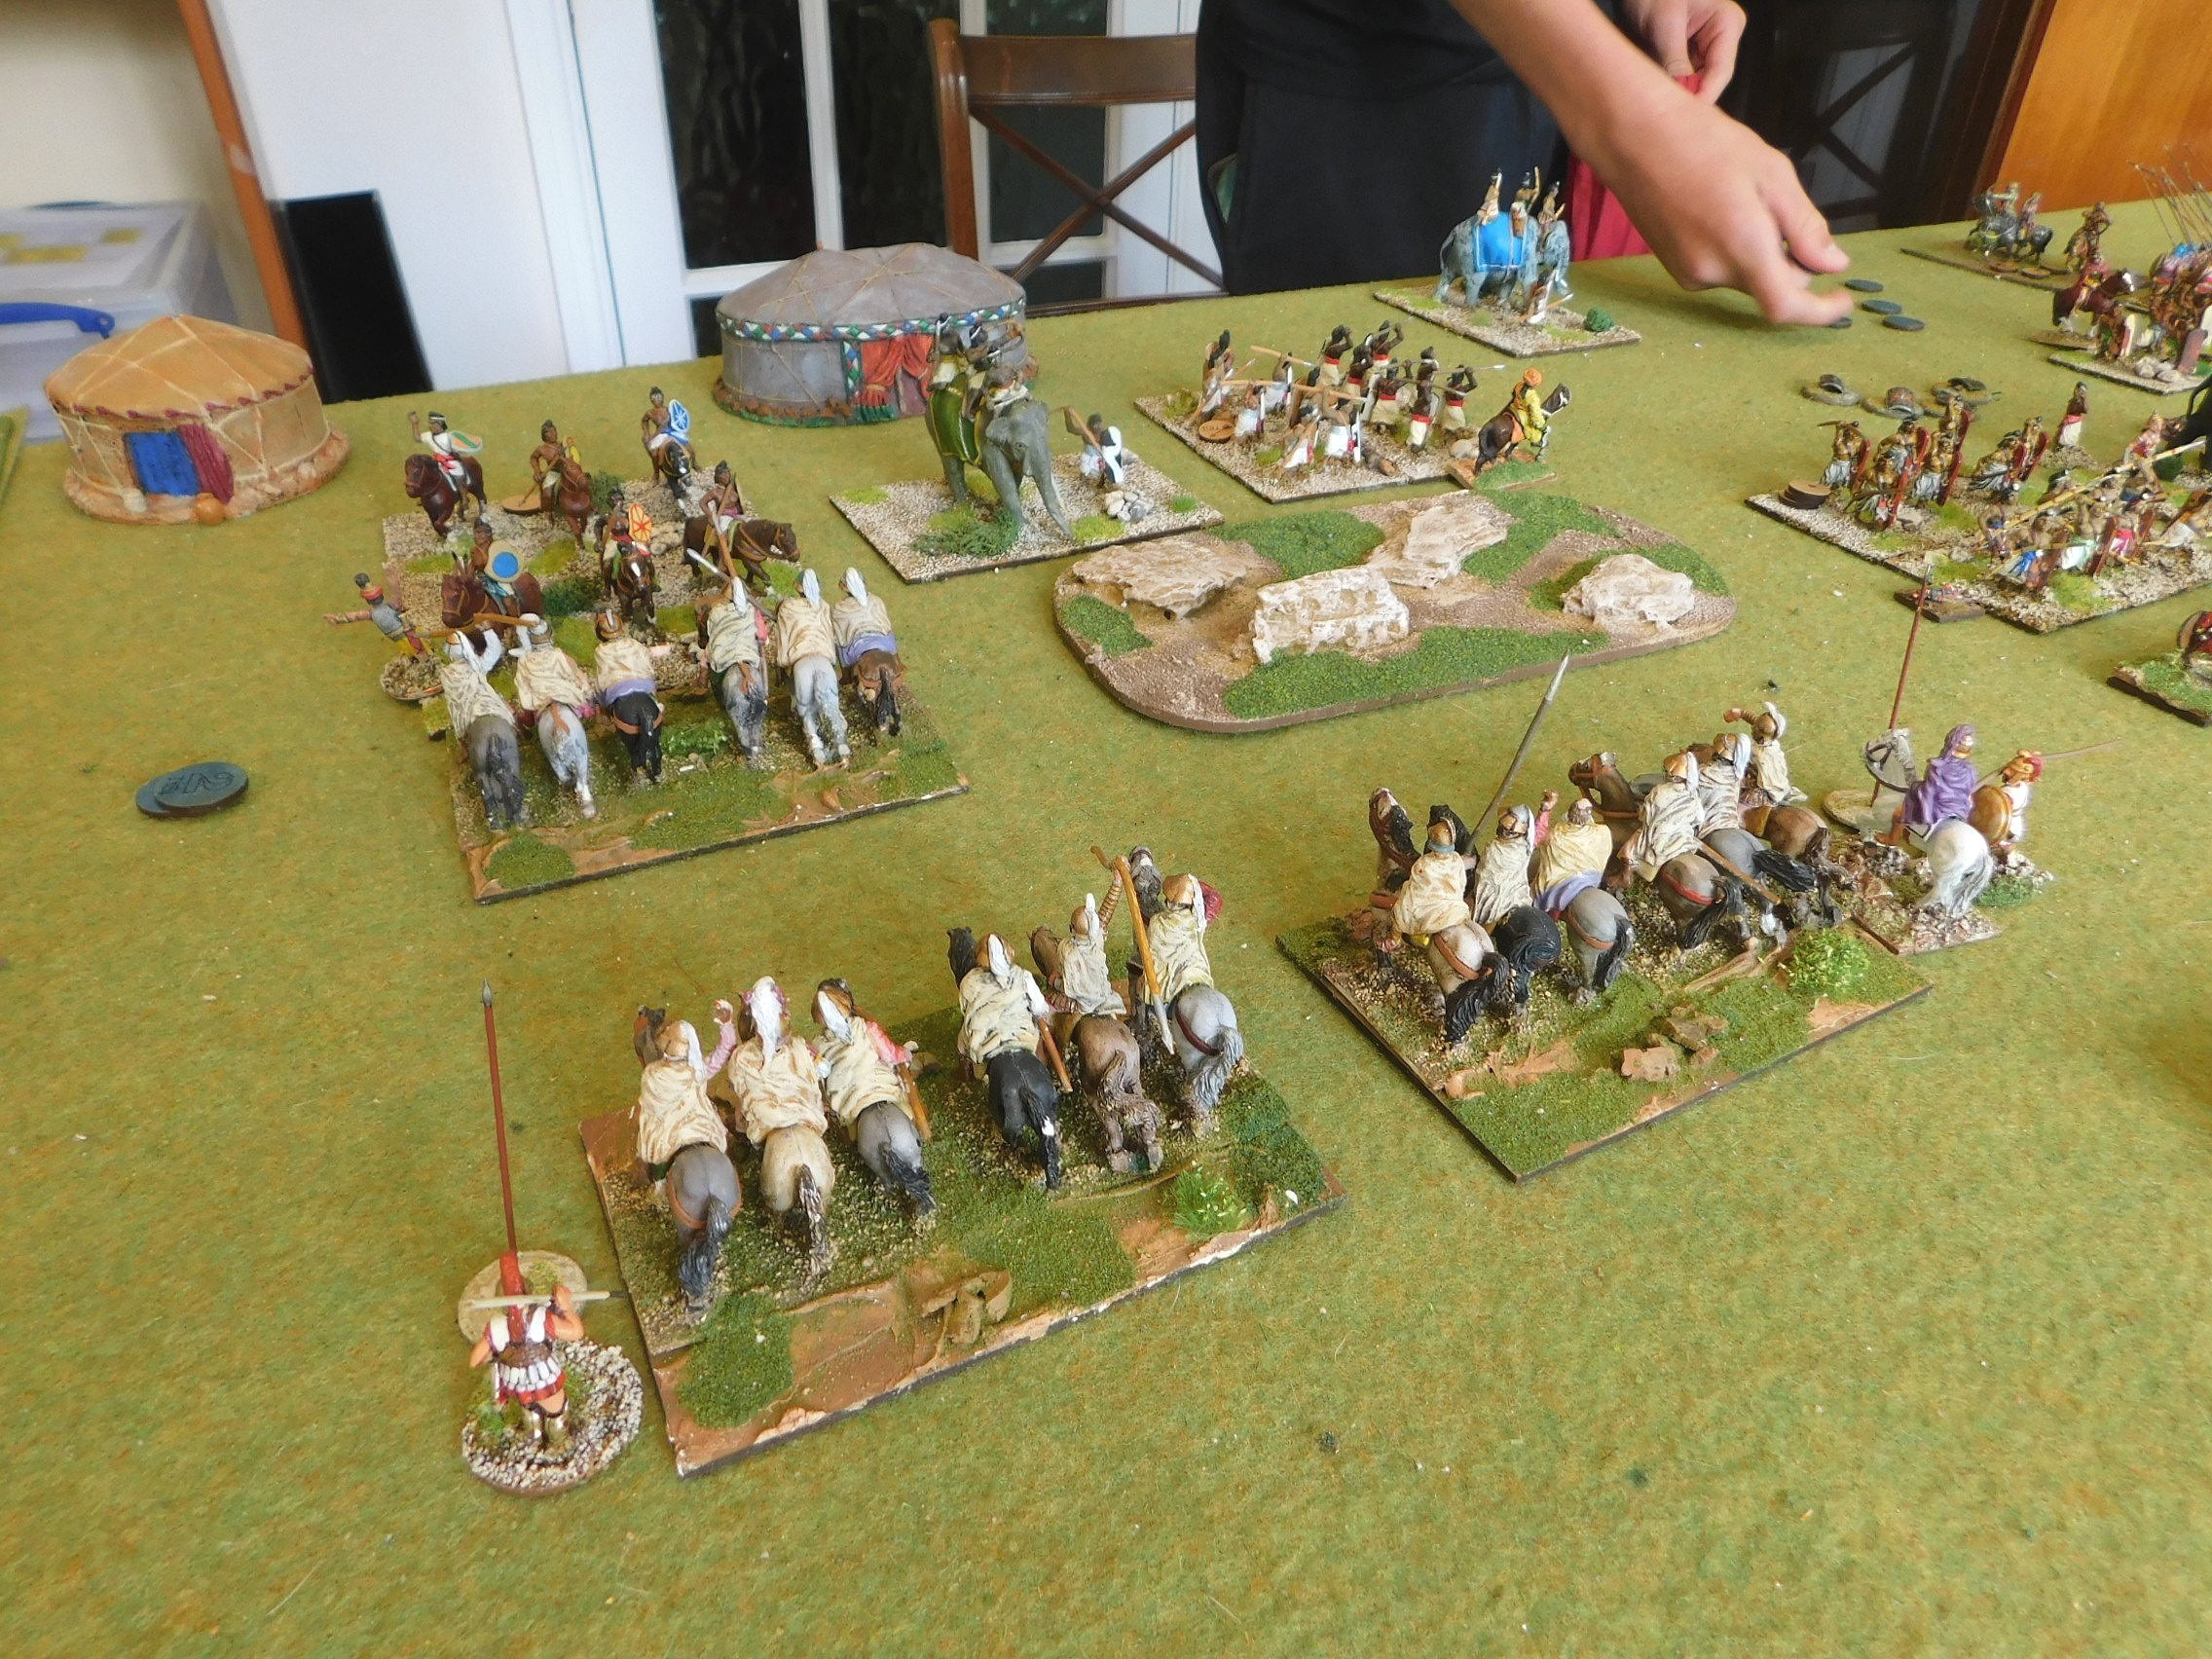
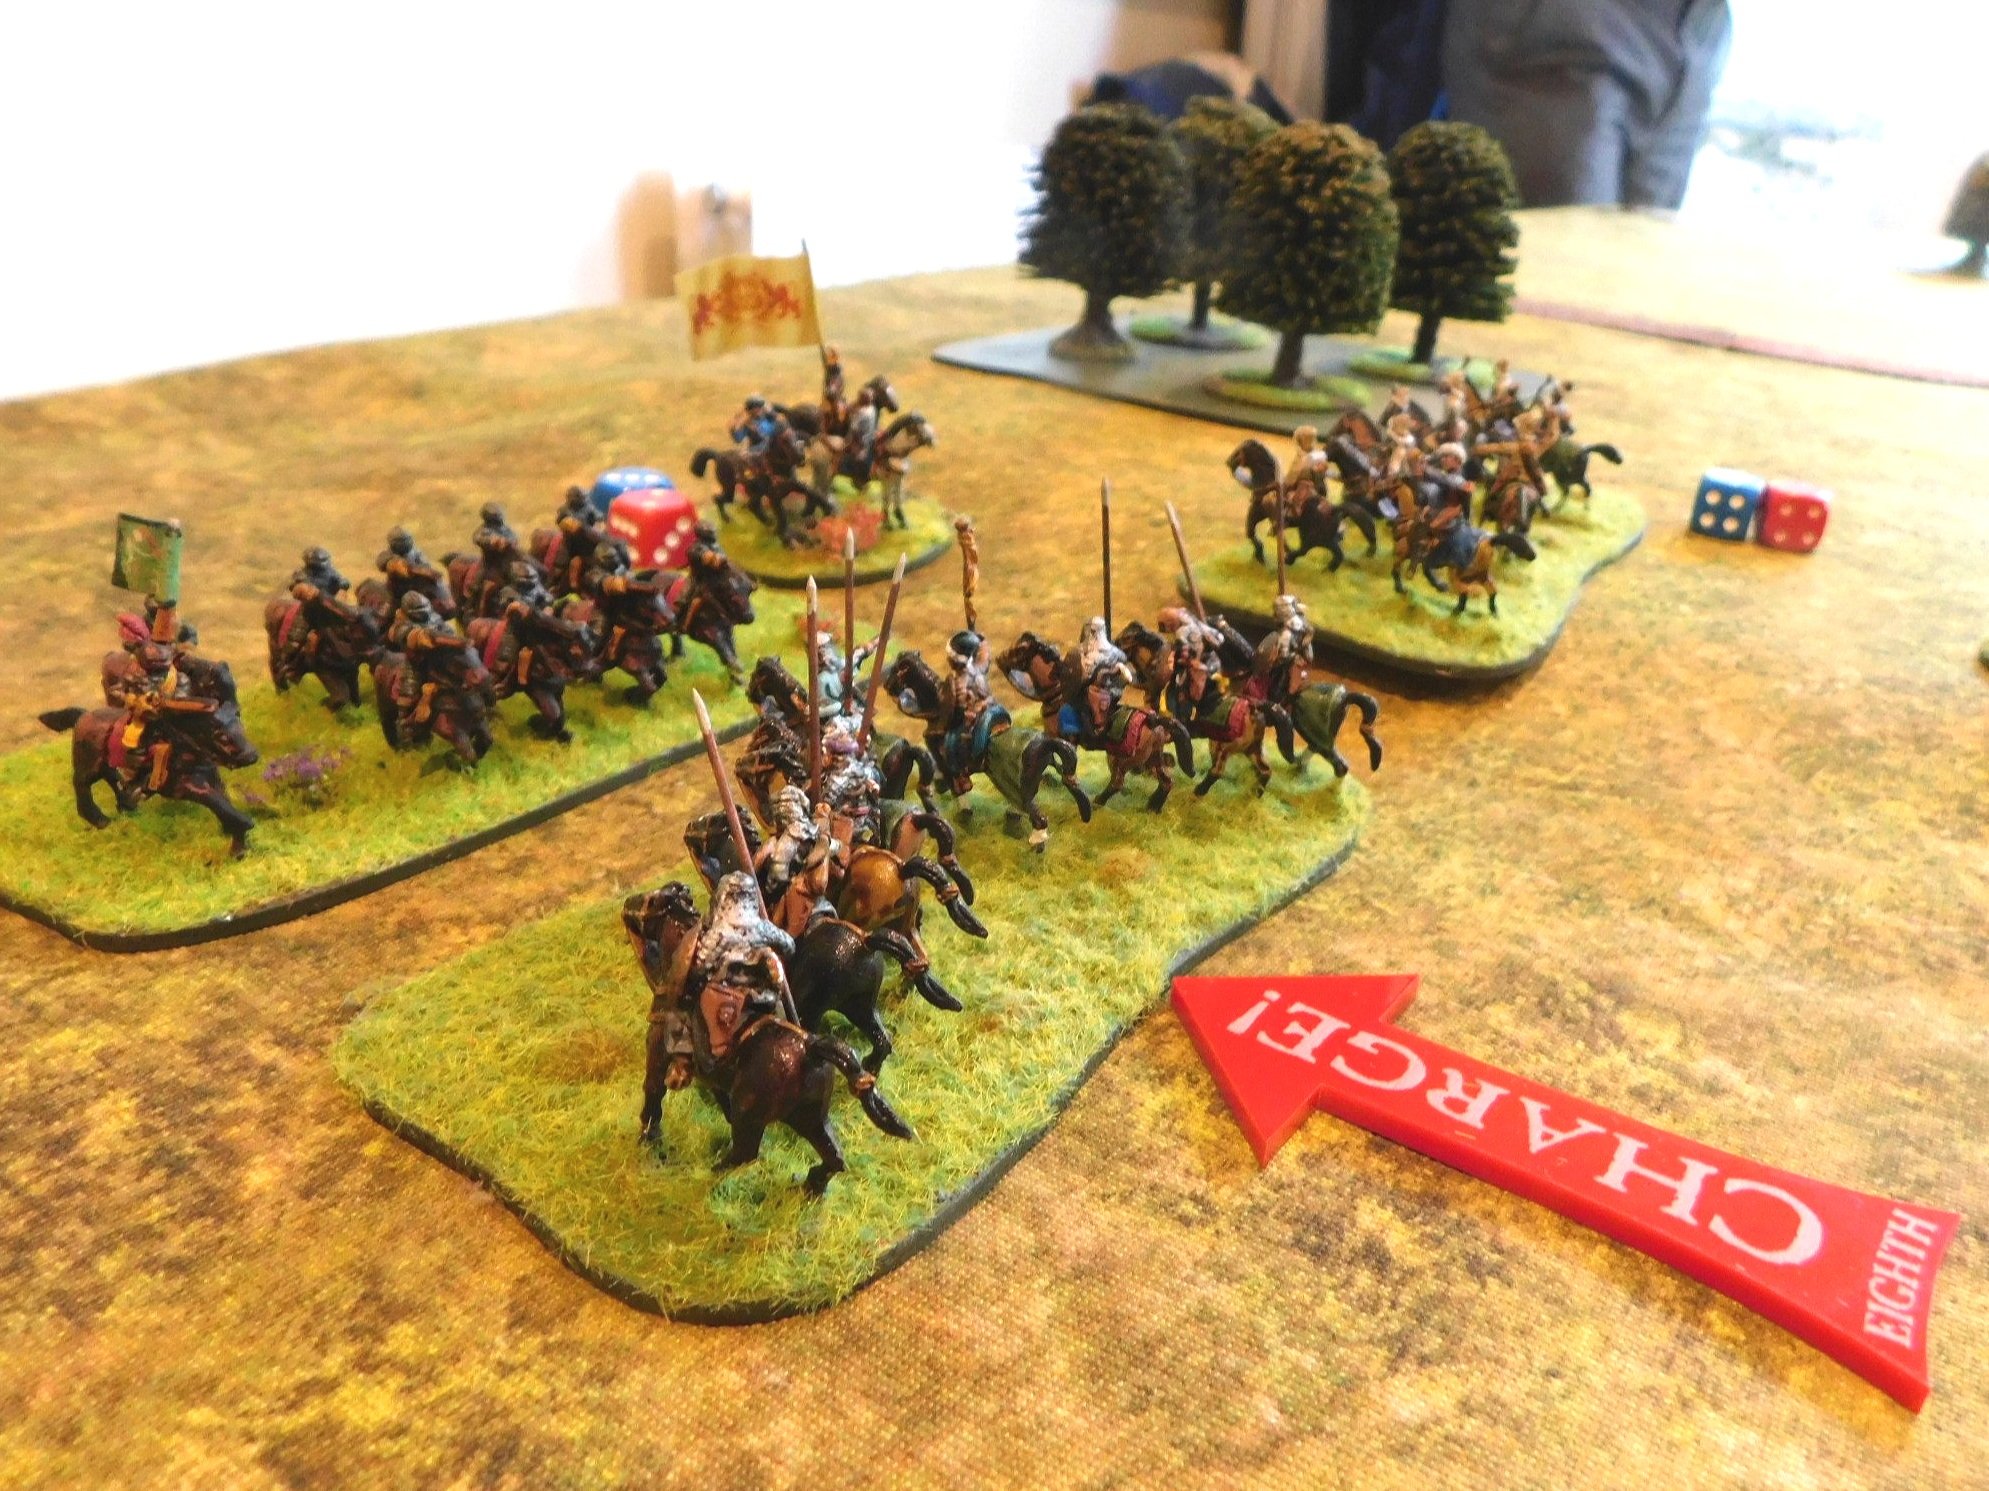
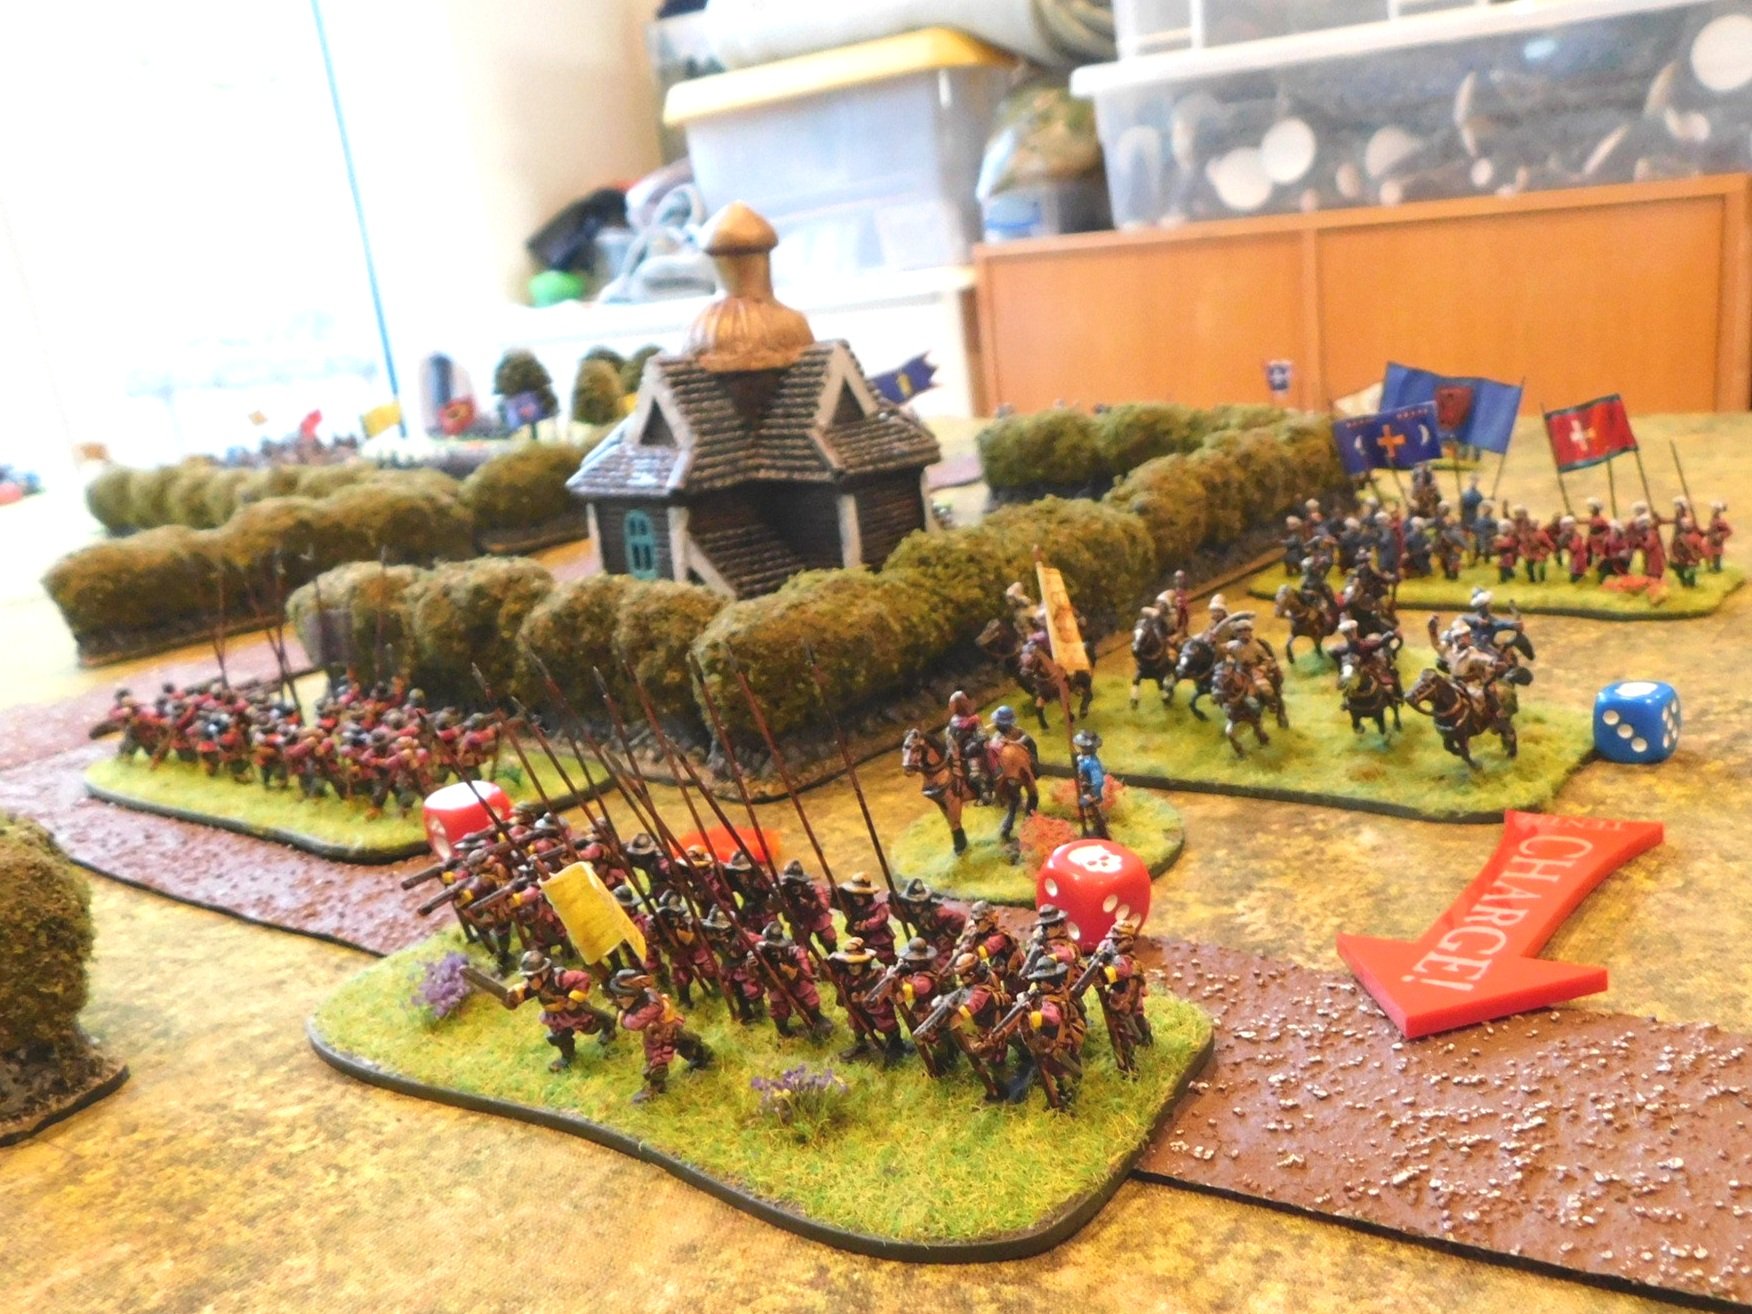
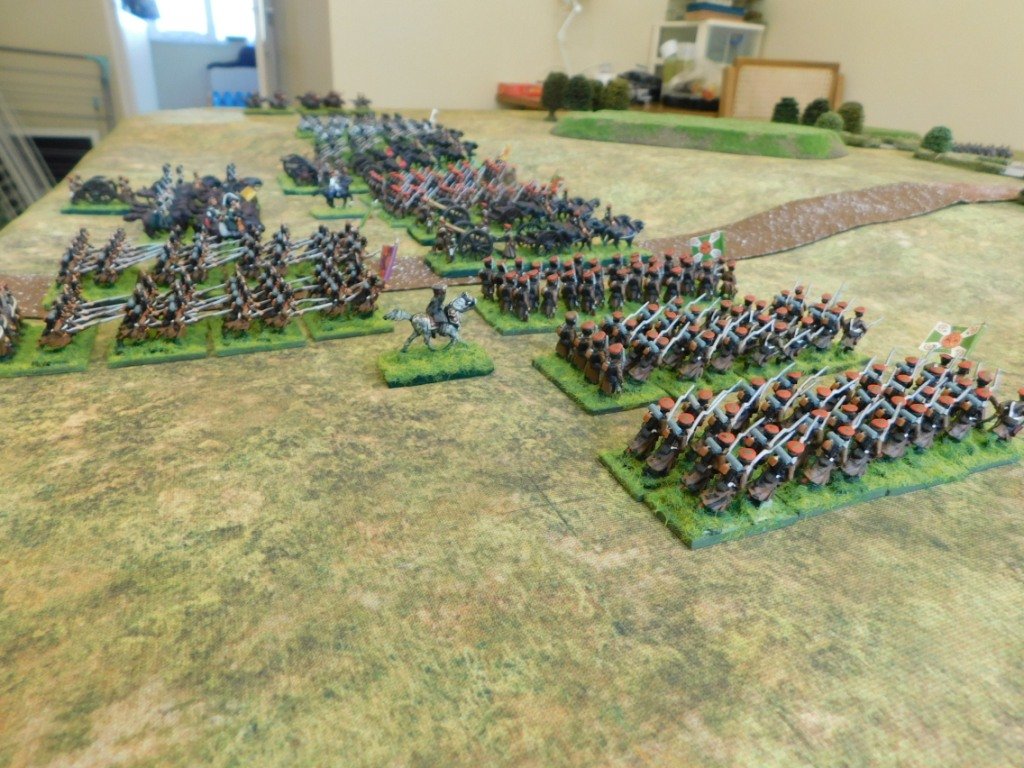
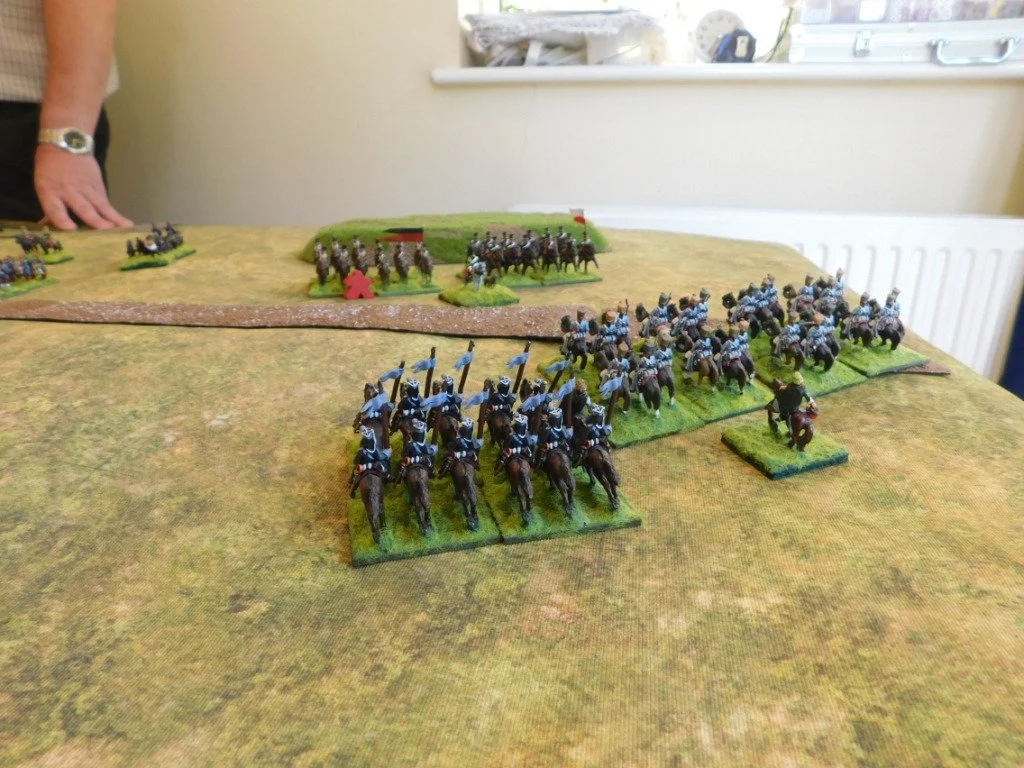
On the Cossack left flank, the tabor trundled forward with the Tatar horse easily keeping pace. Opposite them, the pike-heavy Swedish battalia advanced in a slightly ragged line, with the orphan brigade of cavalry behind them.

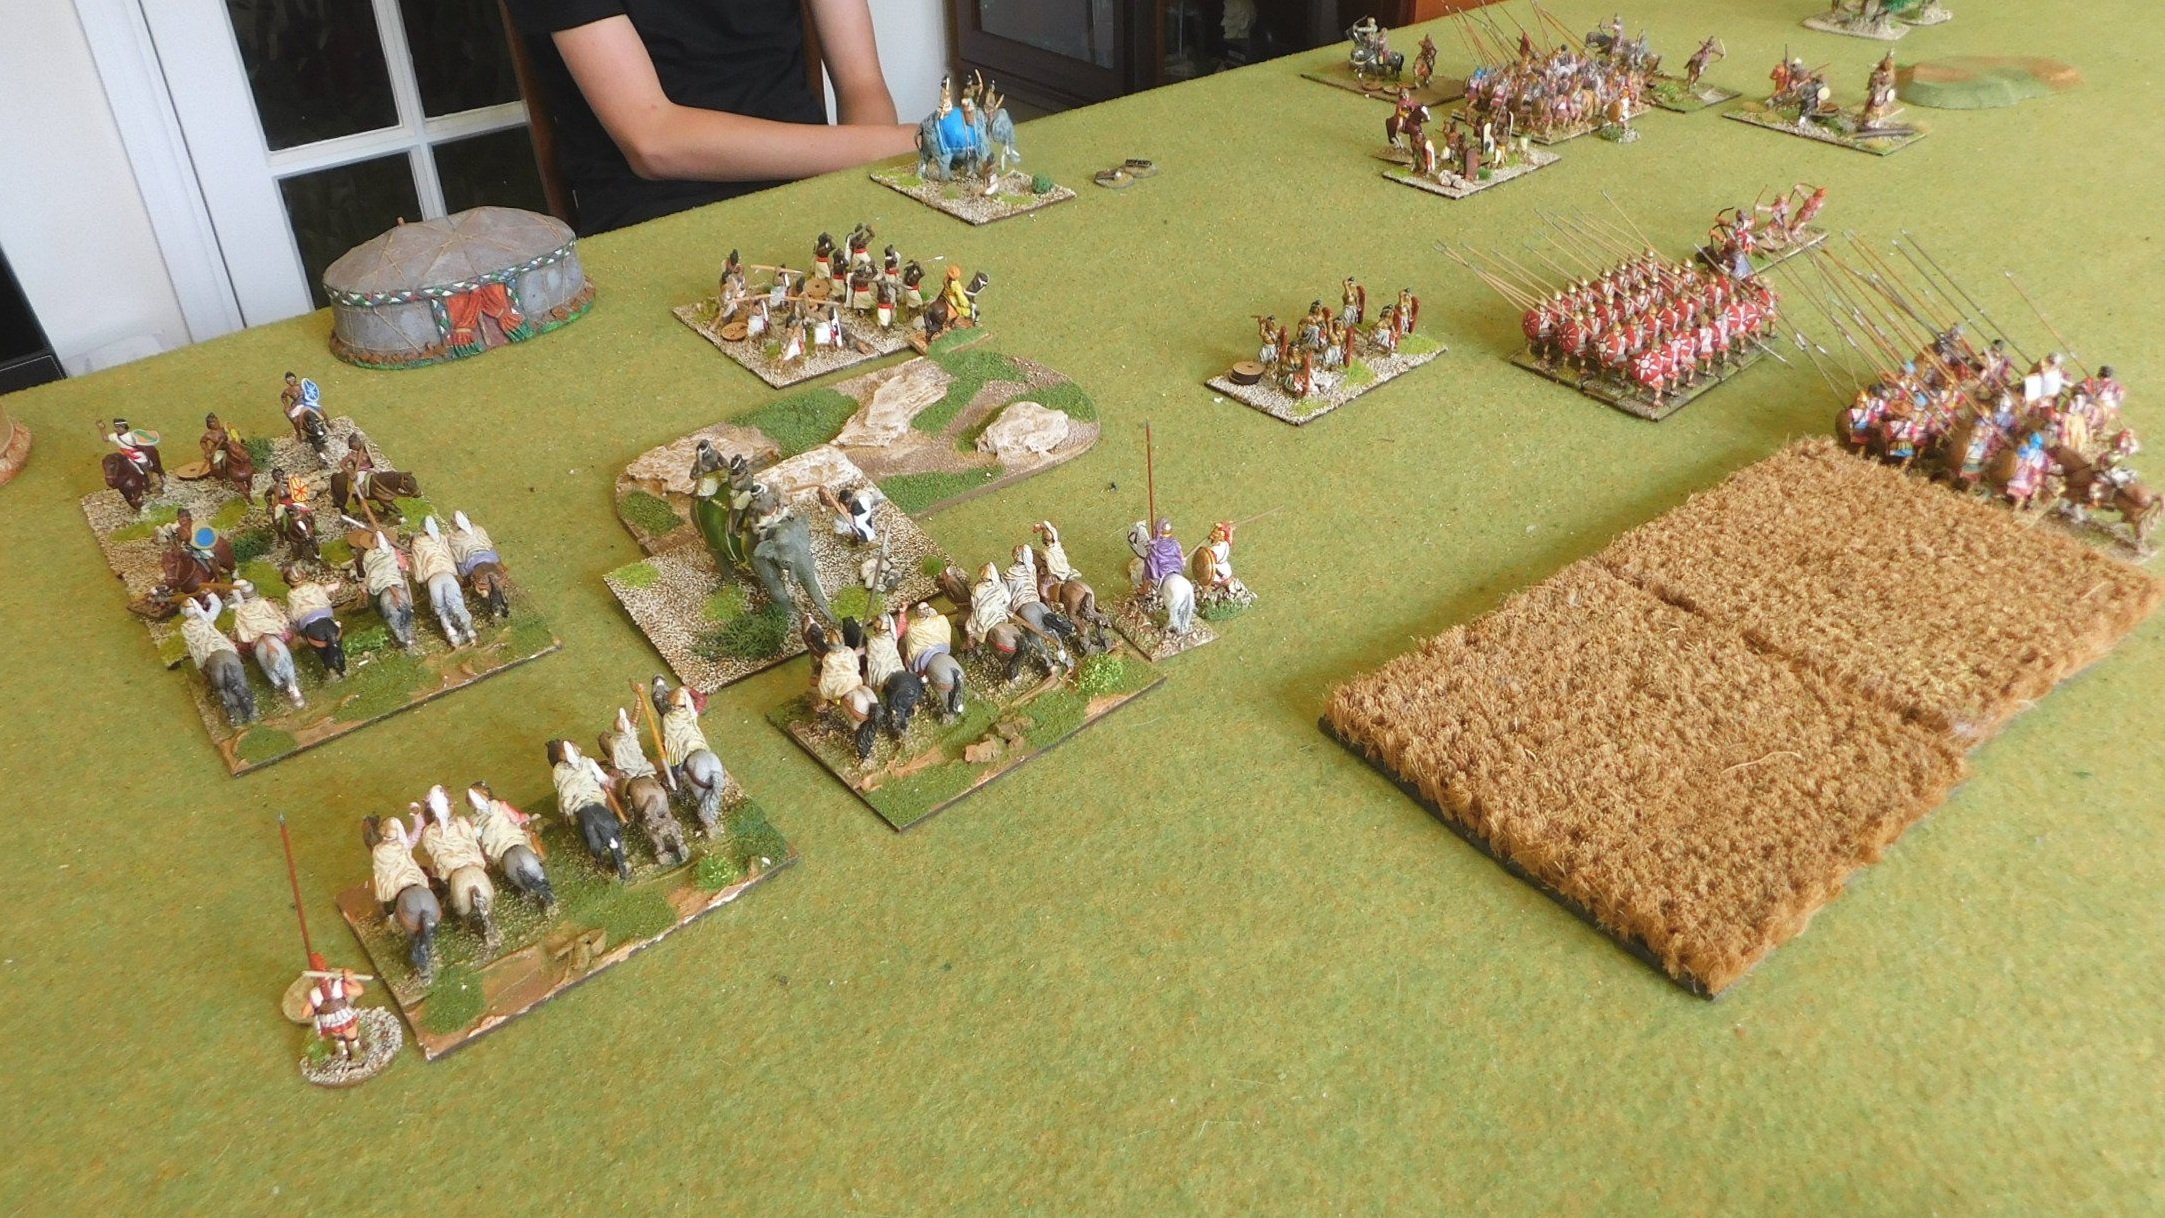
As the two sides got closer, the tabor turned and deployed ready for action, quickly opening fire with their light guns and muskets. One Swedish battalia was disordered by their fire, so the Tatar horse archers moved forward and double-disordered them with bowfire.

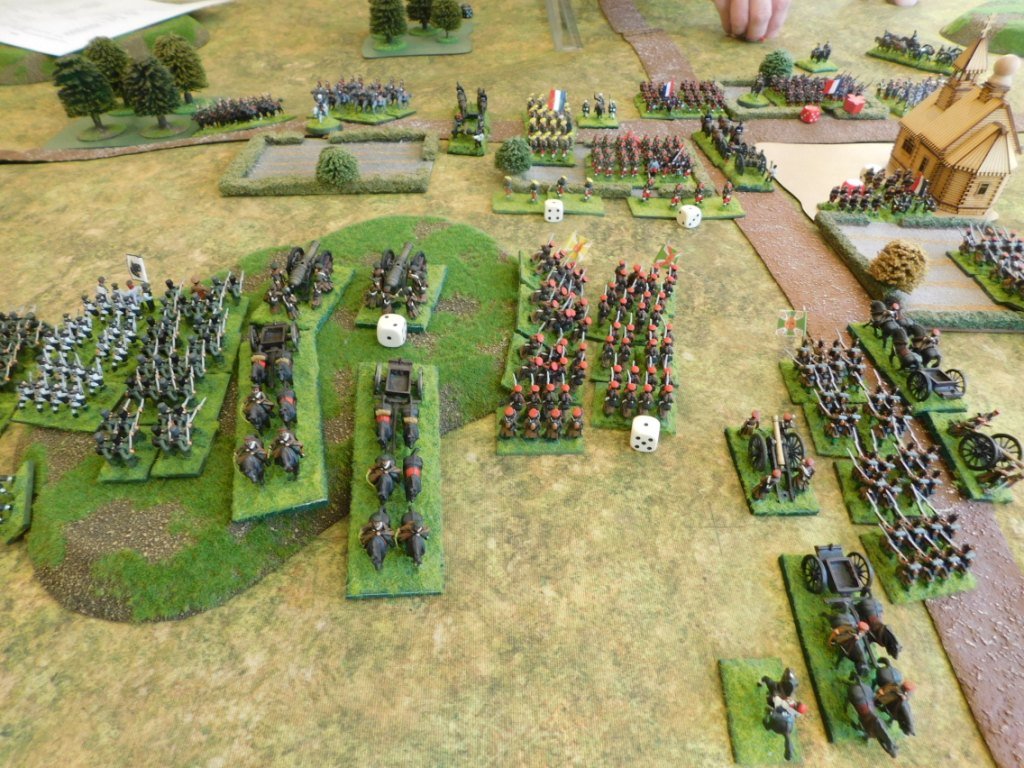
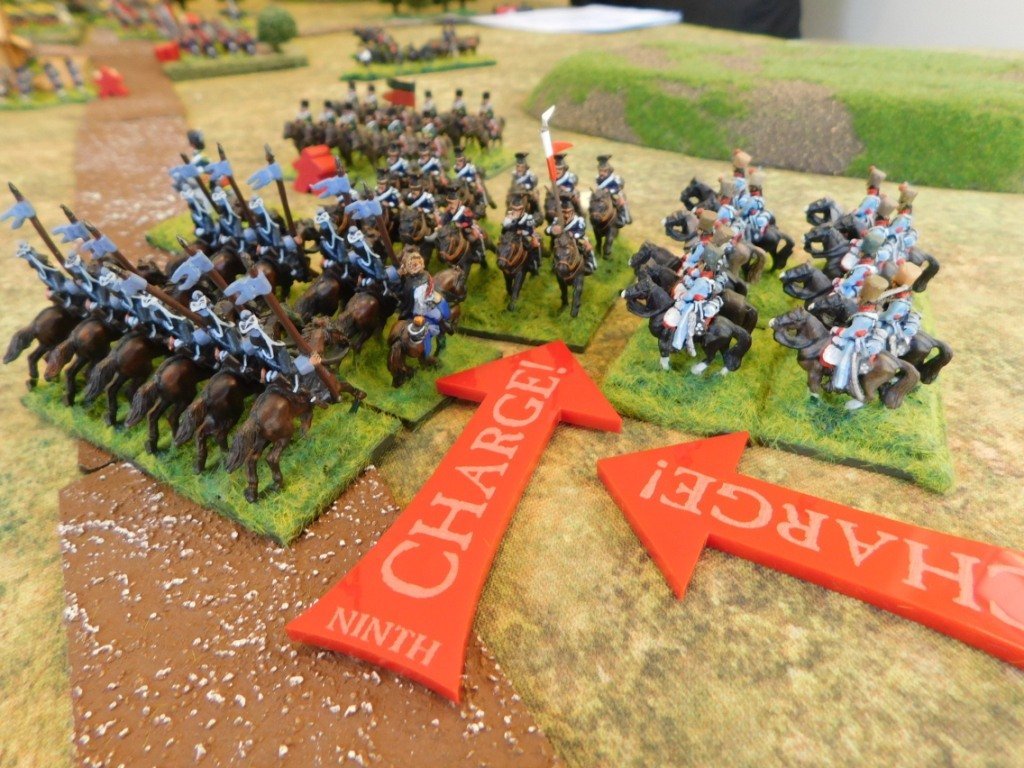
This was too good an opportunity to miss: the veteran Tatar Noble Lancers charged the disordered pike and smashed them from the table! Behind the pike were the Cuirassiers, but they were also dashed from the field by the rampaging Tatars. Unfortunately, the exhausted Nobles were then dispersed by the Reiters accompanying the cuirassiers, but they in turn were then routed by the horse archers following up their Noble comrades.

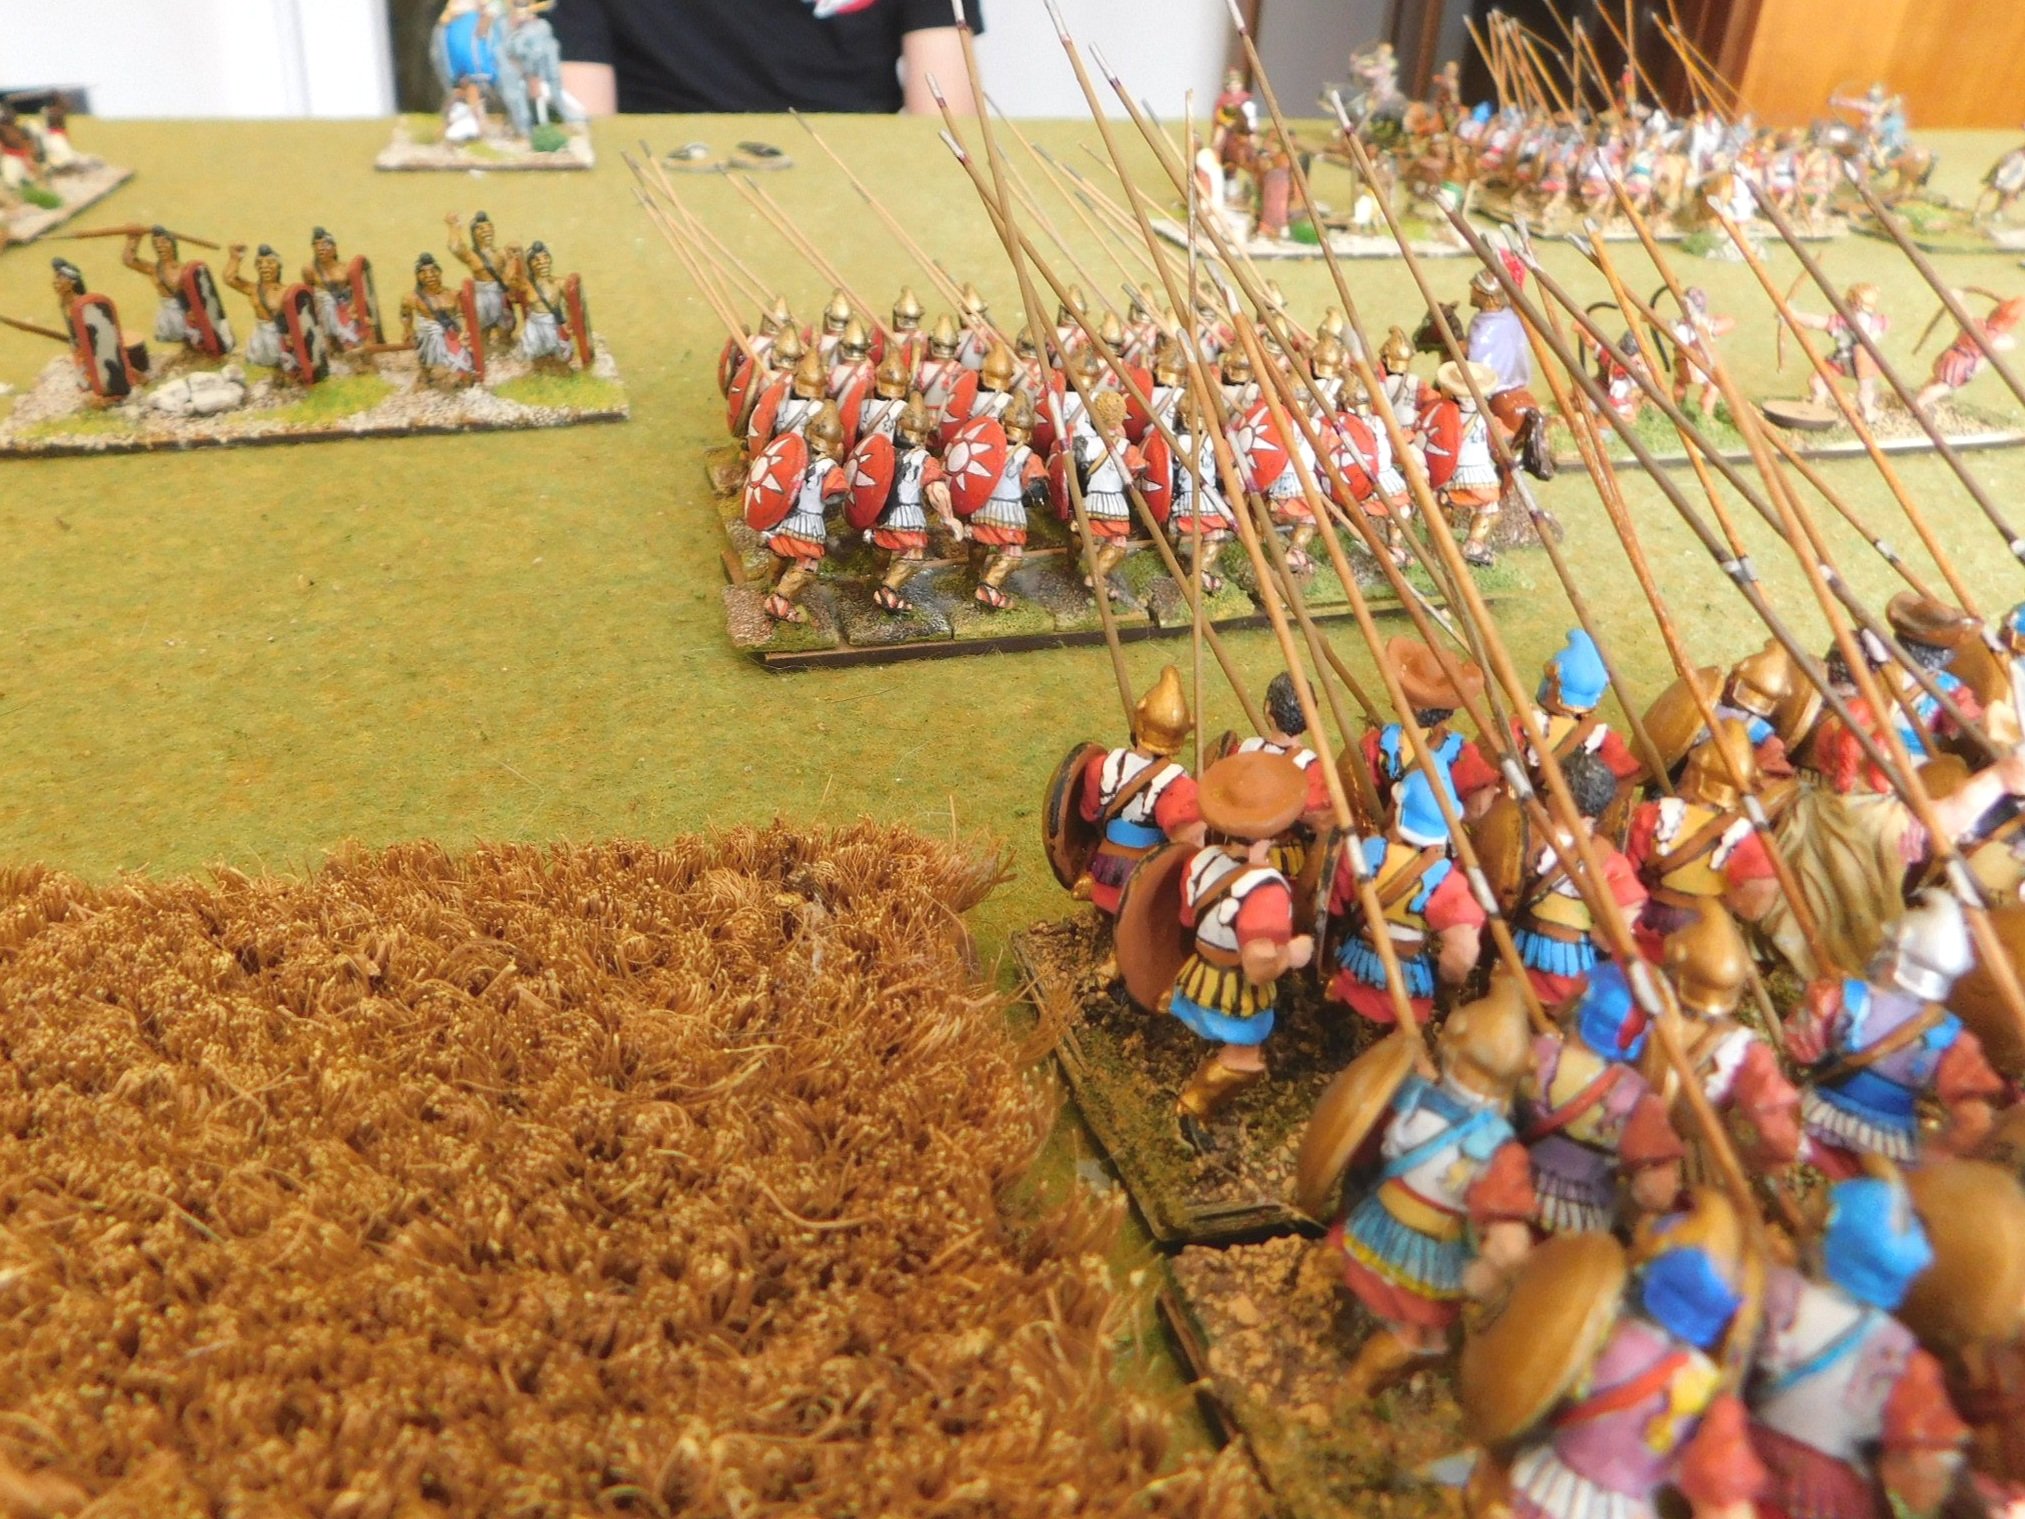
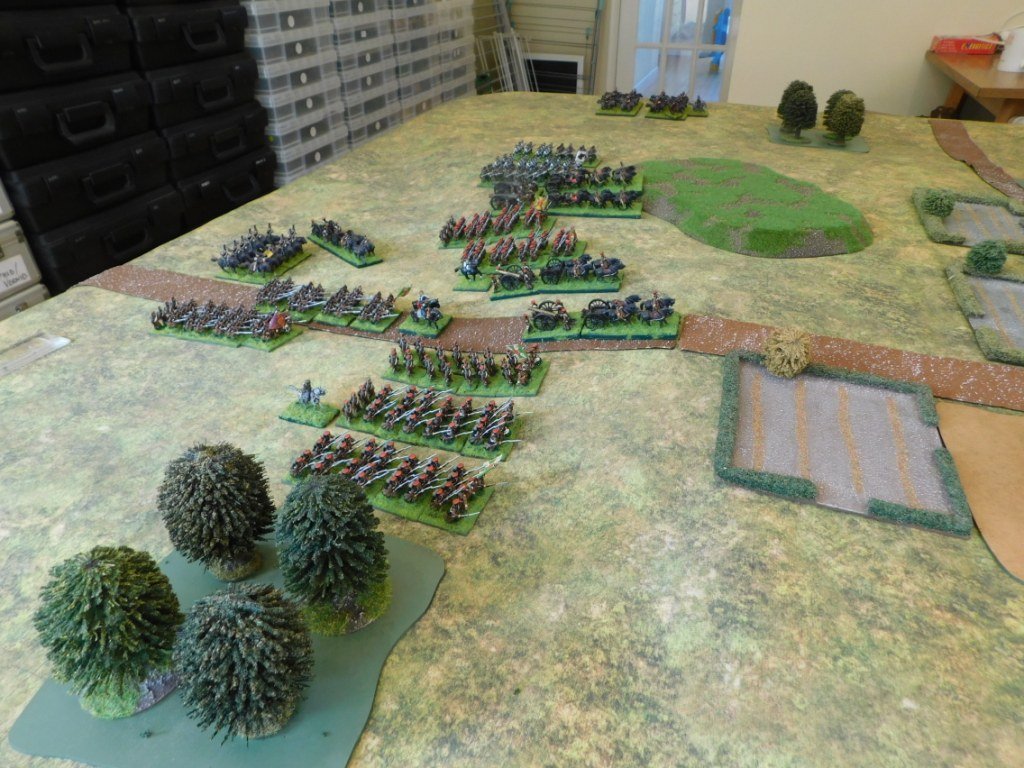
Meanwhile, one tabor was locked in combat with a battalia of pikemen. The action swayed back and forth, but the Swedish pike were too strong, and the tabor’s crew fled the field.

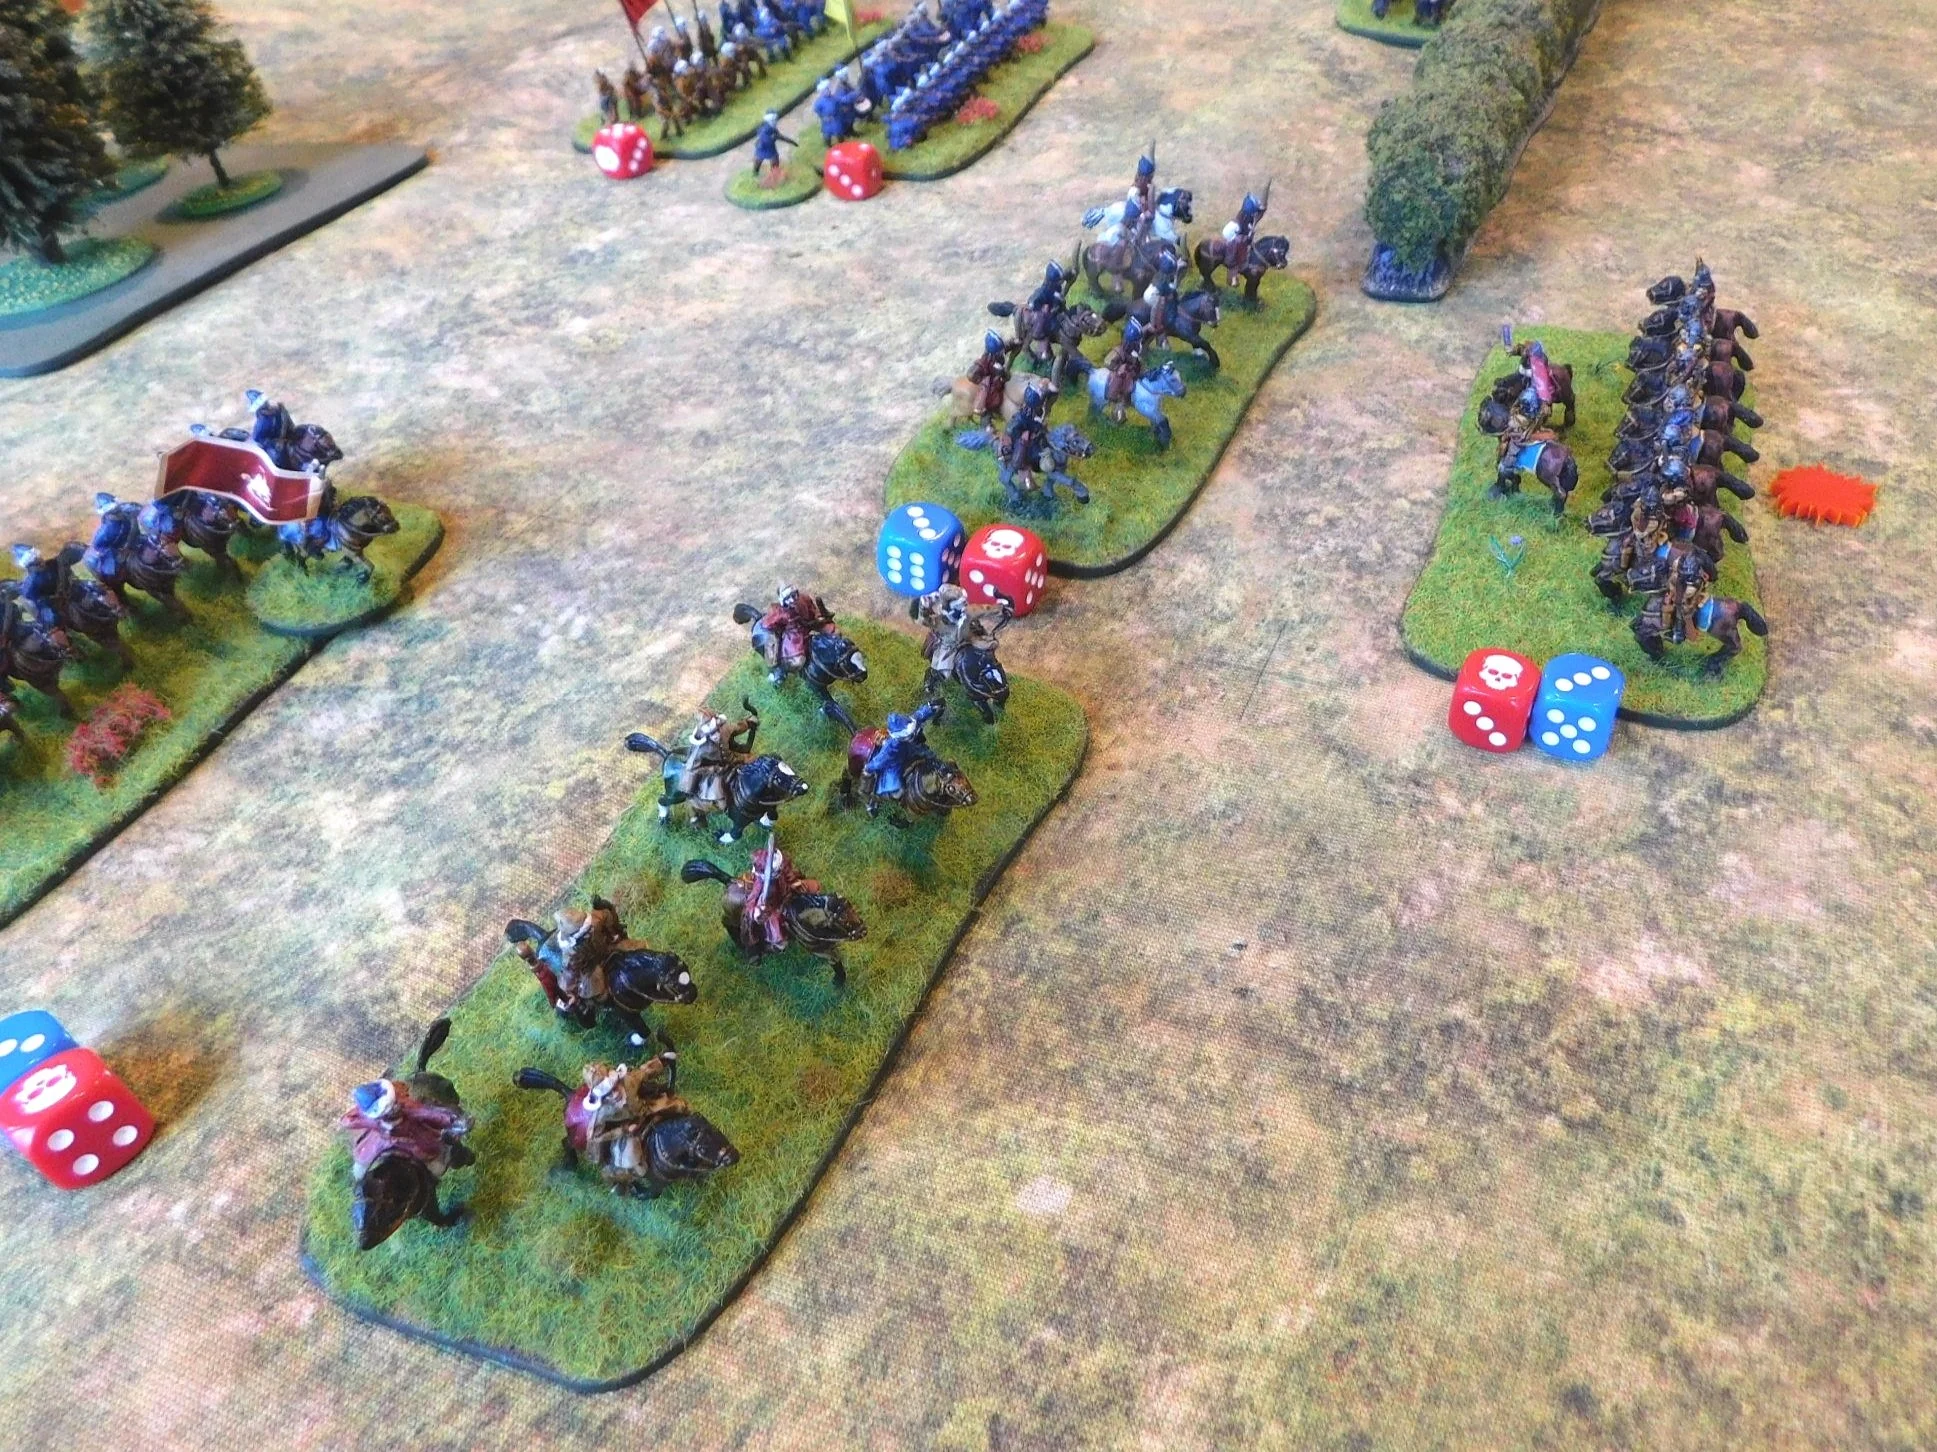
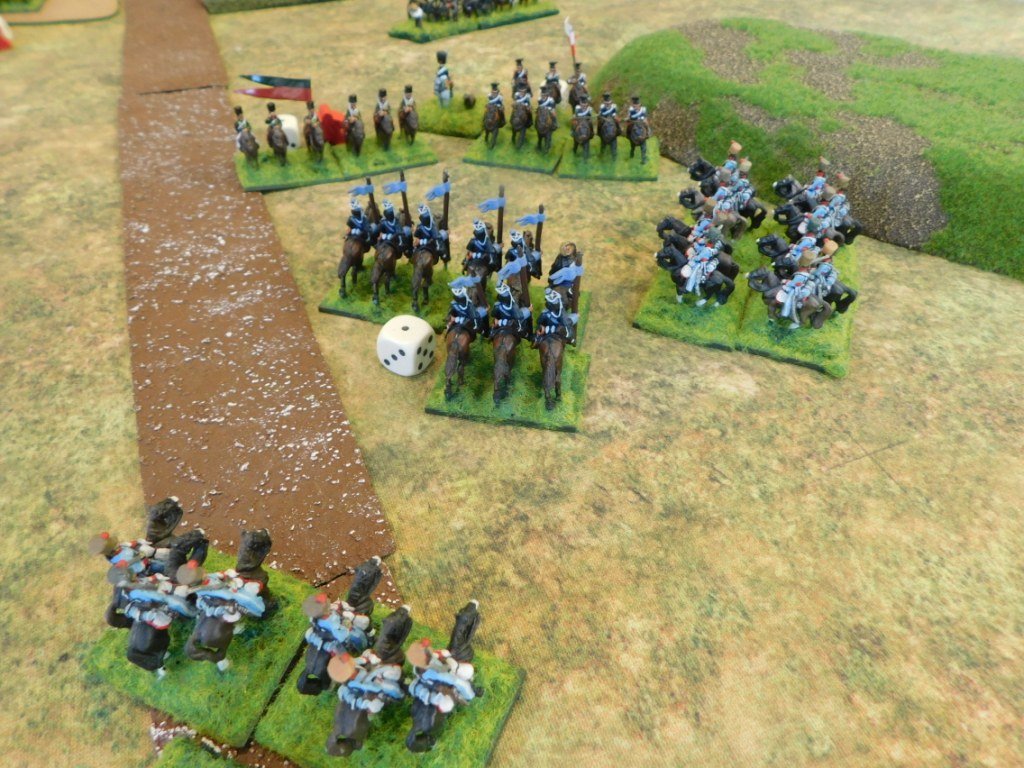
That was, however, the limit of Swedish success on this flank. Another battalia was hit in the flank and routed by horse archers, and as the battle on the other side of the field reached its climax, more Swedish infantry were about to be charged in the rear by the rampant Tatar horse: the combination of fortress-like tabor shooting any enemy that moved and the nimble Tatar horsemen proving a winnig combination.

It was, however, on the other flank that the battle was decided.

The Swedes wanted to push their horse forward en masse and just overwhelm the outnumbered Tatars in front of them. Unfortunately the cards did not smile on this endeavour, and their attack was first delayed and then delivered piecemeal.

This allowed the Tatars to focus their efforts on the front-runners and break two squadron of horse, but this initial success turned into a gradual retreat in the face of overwhelming numbers of Reiters and, as the battle ended, all three Tatar/Cossack units had been routed and the Swedish horse was preparing to lap around the right flank of the Cossack infantry.

The three Tatar/Cossack units had, however, effectively neutralised the initial Swedish plan of punching huge numbers of Reiters around the Cossack right flank meaning that, along with the successes on the left flank, the Cossacks had a real chance to win the battle with their infantry in the centre…provided they could do so before the Reiters eventually arrived.

The gallery below shows the cavalry action on the right of the Cossack position:

So the battle would be decided in the centre-right axis of the Swedish advance, where the good quality “Swedish” (pike-heavy) infantry moved forward against the Cossack foot: mostly raw infantry armed with long spears rather than pike.

The Cossacks lined the hedgerows near the crossroads and the Swedes advanced to contact. Cossack musket fire was largely ineffective, and they were soon forced to retreat away from the hedgerows in the face of a series of determined charges by the enemy pike.

I brought up reinforcements from the other flank, but so crowded was the nature of the fighting that I couldn’t find a way of extricating my disordered troops from the front line so that I could replace them with fresh. This, as I said, was due to the ferocity of the Swedish attack: continually pressing forward.

And then Lady Luck smiled upon the Cossacks: the Swedish Commanding General was cut down by Cossack musket fire as he led his infantry line forward!

In FK&P, your c-in-c is worth a lot (and I mean a lot) of victory medals, so this really tipped things in my favour. If I could break just two more Swedish units (across the battlefield, not just on this flank, so including all the action on the other flank, happening simultaneously with what I’m now describing) then the day would be mine.

The death of the swedish C-in-C

Unfortunately, Lady Luck is nothing if not even handed, and the very next turn the Cossack commanding general was first lightly wounded and then also killed, losing me an equal number of victory medals!

Death of the Cossack Commanding General

Both sides were now down to just two victory medals remaining: whoever next broke a unit would win the battle.

The initiative was with the Cossacks, so my line of Moloitsy and Registered Cossacks opened fire, bur failed to break the enemy. They returned fire…and this proved too much for one of my raw Moloitsy battalia. They broke and fled the field, taking the rest of my infantry with them.

Seeing their right flank broken and, indeed, with the survivors about to be cut down by rampaging Reiters, the victorious Tatar cavalry and tabor on the left flank remembered an important appointment elsewhere and also skedaddled. The day was with the Swedes!

Aftermath

It had been an epic game that, once again, came down to the final action.

All credit to Bevan for having a great plan and deployment: if his infantry hadn’t carried the day then his Reiters coming in from my right would have finished me off for sure.

TTS AAR: Slim-Line Akkadians Take The Field!

Amongst those of you who read my previous post (last Tuesday) about the changes to the To The Strongest army lists turning my Akkadian double-depth units into normal-depth Spearmen was friend Bevan. He suggested that the best thing to do was to immediately try out the new look “slim-line” Akkadians and proposed a battle.

This we duly arranged, fielding the Akka’s against a Classical Indian army. Figures for both sides came from the Museum Miniatures CAD-designed “Z” ranges, so looked very good indeed.

akkadians (left) versus classical indians (right)

The Akkadians boasted four brigades: a shock brigade of two units of battle carts (good in a straight line!) supported by a unit of lights; two foot brigades each of one “bodyguard” unit of Spearmen with extra bows and two normal Spearmen units; and then a reserve brigade of two raw, militia Spearmen units and two units of light archers.

The Classical Indians, on the other hand, had only three brigades. One consisted of a couple of units of veteran Heavy Chariots supported by a unit of crappy horse. The other two were built around a unit of escorted elephants: one had the veteran Maiden Guard (hard women all!) and two Longbowmen units, the other had three Longbowmen units.

The Game Itself

The two sides set up very differently. The Akkadians concentrated their battle carts on the left, opposite one of the Indian elephant brigades. The Indians concentrated their heavy chariots on the left (i.e. at the opposite end of the battlefield to the Akkadian battle carts) opposite the Akkadian reserves. Both sides deployed their main infantry bodies in the centre.

The game began with both sides moving forwards whilst maintaining their battle lines. On the Akkadian right, the reserve brigade refused the flank, leaving the Indian chariots with no-one to immediately charge.

the advance

The Indian longbowmen opened fire as soon as the Akkadians came into range. A storm of arrows headed their way, but there was something wrong with the Indian bows and the results of two rounds of longbow fire were one disordered Akkadian spear unit. Admittedly this unit then spent the rest of the game skulking in broken ground trying to rally, but the Akkadians had still got off lightly.

On the Indian right, one unit of elephants and the raw longbowmen headed forward, but the longbowmen hung back as the elephants surged towards the enemy…who wasn’t really there any more. Not liking the smell of the pachyderms (you don’t get too many elephants in Akkad) the battle carts had headed into the centre of the battlefield to join the main charge there, leaving some lights to keep the nellie’s occupied. The elephants would spend the rest of the game uselessly chasing the Akkadian skirmishers around that area.

elephants

The Akkadians initiated the main clash of the two battle lines, which rapidly turned into a disaster!

The Maiden Guard destroyed a unit of Spearmen, and either combat or longbow fire accounted for another…which happened to be the veteran unit carrying the Akkadian army standard and lost their accompanying general as well. That was seven coins (out of 13) down in one hit!

Losing generals seemed to be the theme of the game. Out of the seven generals who arrived on the battlefield at the start of the game, five were killed!

Losing to a bunch of ladies!

All was not lost, however, as the Akkadians settled down and got stuck in.

One Akkadian spear unit (the one out front in the first picture in this post) burst through the Indian line, destroying some longbowmen in the process, and managed to take the enemy camp, a significant loss of coins for the Indians.

The Akkadian reserves moved forward and filled the hole caused by the losses suffered so far, preventing the Indian chariots from lapping around the flank.

Other Akkadian units also saw off enemy units, killing generals in the process.

Taking the camp

The reserves are committed to cover the right flank

The climax of the battle was now upon us: with each side having just one victory coin left i.e. the next kill would win the game…and with disordered units all round, and lights on the Akkadian side, there were plenty of opportunities for either side to win.

The initiative was with the Akkadians: no kills on their turn!

The Indians tried their best: no kills (phew!) but the Akkadians were wavering. If I didn’t pull off a win in my next turn, there was no way I was surviving another round of Indian attacks.

I went through all my obvious kill possibilities (my good morale units versus his disordered units, flank fire on the raw Indian cavalry etc) with no result. Oh dear: this was not looking good.

There was, however, one last thing to try. Veteran, but disordered, battle carts charging diagonally at the disordered Indian Maiden Guard.

The battle carts managed to make the difficult move into contact, but failed to hit the Guard. Oh no!

But what was this? Striding forward came an Akkadian hero (the chap under the blue parasol in the picture below) and smote the Maiden Guard with a cracking hit. Bevan and I held our breaths as his save card was turned: a five and therefore a fail. The Guard fled the field and I and the Akkadians had won the day!

As always, a cracking game of To The Strongest and a game that had gone down to the wire. The narrowest of victories for the new slim-line Akkadians!

19C AAR: Crimean War Clash

Having re-based my Crimean Russian army a couple of weeks ago, it was now time to get them onto the tabletop. These figures had last seen action 23 years ago, so it was a real pleasure to wheel them out again and just proves my adage: never sell any figures, never give any away!

The game, using Neil Thomas’ Rules for 19th C Warfare, would therefore feature my Crimean Russians against John playing my Crimean French army in a fight for control of a strategically vital crossroads atop a ridge somewhere near Sebastopol.

Russians to the left, Frenchies to the right. The aim of the game was to take the crossroads in the middle of the table

As we wanted a big game and weren’t too bothered about making things fair, we fielded every figure that I had in the two armies concerned. This left the French pretty outnumbered, but with much better command and troops of generally better quality. The French could also form line for firing, unlike the Russians who were forced to stay in column throughout the game, and were armed with rifled muskets unlike the smoothbores of the Russians. Finally, the French could also field skirmishers (the Legere units) to harass the Russian columns as they advanced.

The Russians fielded four infantry divisions and a cavalry division for a total of ten infantry units, four cavalry units, five batteries of artillery and a couple of dubious looking sotnias of Cossacks.

The French fielded three infantry and one cavalry division for a total of six infantry units, three skirmisher units, four cavalry units and three artillery batteries.

So a hard fought victory for the Russians!

The French retreated in good order having lost all their skirmishers and half their line infantry. They managed to save two batteries of artillery, but lost most of their cavalry.

The Russians advanced to occupy the crossroads, but had lost half their infantry, half their artillery, half their cavalry and most of the Cossacks.

As the Russian commander, I knew my only route to a win was to just grind the French down, and grind them down I did.

John admitted that his infantry got bogged down in the fields and hedges near the town: his infantry mainly stayed static and tried to win by musket fire alone, which was a shame as every time the French attacked they smashed the Russian columns back. More elan needed next time!

The cavalry action on the Russian right was just a distraction: three units of Russians took care of two units of French, but hadn’t the strength to do much more. On the Russian left, the Cossacks were effectively wiped out by the French Guides, and it was again a shame that the French Cuirassiers had to be sacrificed in a vain attempt to stop the three columns of Russian infantry coming forward. At least they dies knowing that they gave the surviving French infantry in the centre time to retreat in good order!

All in all a cracking game!

IABSM AAR: Take the Ztarmerski Bridge!

Lovely looking game of IABSM posted onto the IABSM Facebook Group by Phil Turner.

The Wehrmacht is advancing across the Russian Steppe at speed. It is of vital importance that the Ztarmerski bridge over the river Korbynskia is taken before the Ivan’s have the opportunity to destroy it.

Click on the picture below to see the full AAR:

IABSM AAR: D-Day Spectacular

Here’s a superb write up of what looked like an absolutely cracking game of I Ain’t Been Shot Mum featuring another of Desmondo’s brilliant Sword Beach D-Day spectaculars.

The report is taken from Iain Fuller’s marvellous Tracks and Threads blog, and with extra pictures from the IABSM Facebook group.

Click on the picture below to see all: