AAR: First Game of the Year

And so to the first battle of 2019: a game of I Ain’t Been Shot, Mum! against Dave using one of the scenarios from the TooFatLardies Summer Special 2016. For those unaware of the Specials, and now the Lard Magazine, these are a wonderful source of scenarios, information and inspiration for all Lard games.

The scenario, by Richard Morrill, was called George of the Jungle, and was set in Burma, 1945. A Company, 9th Borders, part of 63 Brigade of 17th Indian Division, was tasked with clearing a small village near Meiktila of Japanese. The reason for the scenario’s title is that this action includes the participation of George McDonald Fraser, author of the Flashman novels, and is mentioned in his autobiography Quartered Safe Out Here. I would play the Japanese, and Dave would play the British.

Click on the picture below to see what happened:

IABSM B.E.F. Photographed

Continuing my re-photographing of my collections, next up is the BEF: the British Expeditionary Force of 1940.

The album portrays a Regular Infantry Company plus its battalion, brigade and divisional support; plus the various options available for supporting armour.

This was actually the very first WW2 army that I painted up, and although the infantry have withstood the test of time (and many appearances on the battlefield), the armour could do with a complete refresh. In my defence, however, when I started this collection many years ago, there weren’t the range of cheap, plastic tanks available that there are now. Were I starting again, I’d be going for a complete company of each type of tank available from Zvezda!

Click on the pic below to see all:

The OB for the collection is taken from the second of my Blitzkrieg in the West theatre books for I Ain’t been Shot, Mum!


IABSM AAR: Blenneville or Bust #4G: Belle Maison

Bruce Romanick posted another IABSM AAR on the IABSM Facebook page.

Following on from their last game using the Blenneville or Bust! scenario pack (scenario #3D: Saint Melotte) this time the SAGE group played scenario #4G: Belle Maison, where both the Germans and the Americans are aiming to the occupy the same village in the valley.

According to Bruce’s post, which I hope he doesn’t mind that I reproduce here, the Yanks managed to push the German out of the village, with an opportune air strike taking out a Panther. A minor US win after 3+ hours.

IABSM AAR: Cymru Am Byth #13: Swanning Up To Brussels

Tim Whitworth and the lads from the Like A Stone Wall wargames group played another game of I Ain’t Been Shot, Mum the other day, this time using the Cymru Am Byth scenario pack.

The scenario pack covers the operations of the Welsh Guards during WW2, and includes sixteen unique scenarios and a mini-campaign.

The LASW chaps played scenario #13: Swanning Up To Brussels: a German heroic rearguard action versus 1st and 2nd Battalion elements of the Welsh Guards Group that took place on 2nd September 1944.

Tim’s general comment was: “I'll just say the British found it hard going. In these rules the tactics that you employ certainly matter!”

IABSM AAR: Normandy Breakout

A few pictures from the Like a Stone Wall wargaming group playing a Normandy 1944 break out game. The British are defending against a German counter attack. 

Note the use of the Lardage measurement sticks. The LASW chaps have swapped from using inches to Lards, with one Lard being equivalent to 1½ inches.  This allows them to play on their rather swanky 12 foot long table!

First go at Blood Red Skies

Blood Red Skies is the WW2 aerial combat game from Warlord Games. It’s played with 1/200th scale miniatures on a mat showing the ground beneath…and quite a fun game it is too.

A 109 climbs towards a flight of Spitfires

The first big question, of course, is how do you represent the three dimensions of air combat using models and flight stands? Are the flight stands extendable? And, if so, how high do they go: 40,000 feet?

Well, BRS abstracts all question of height into “advantage”. A ‘plane is either Advantaged (i.e. has managed to get to a height at which is can dive down onto its target), Neutral, or Disadvantaged (i.e. the pilot has let the enemy get above him). The different states are shown by how the model is tilted: up for Advantaged, flat for neutral, down for Disadvantaged. You can only shoot another ‘plane that is at a worse advantage than you so, quite rightly, half the battle is getting into an advantaged position on your enemy.

The top 109 is at a Disadvantage

The other half of the equation is positioning: and how you can move depends partly on your ‘plane (some come with cards that you can play e.g. the Spitfires I was using came with a Tight Turn card, meaning I could turn at any point in my turn rather than just at the end); partly on your skill level and dice rolls (pilots can attempt to outmanoeuvre their opponents); and partly on what you choose to do during your turn: you can “burn off” one level of advantage by doing an extra manouevre.

This makes the game a bit like a game of chess: you have to think ahead at least one move and make sure you don’t leave your aircraft where it is vulnerable to what the enemy pilots will do when its their turn.

There are also rules for Aces, clouds, home field advantage, radar advantage etc. Games are pretty quick: about an hour for a decent-sized dogfight.

Dogfight!

You win the game mainly by driving off the opposition by putting holes into their aircraft, although would just like to point out that I did shoot down two Jerry crates for no loss during my successful defense of Blighty!

As I said above, all in all it’s quite a fun game: although you will need to shell out around £40 for a starter set (giving you two six-plane forces, the stands, the cards, the counters, the dice etc) and then the same amount again if you want a nice mat to play on (4’ by 4’ will do for dogfighting).

It’s not a game that I’ll invest in - aerial combat not being my thing - but it is something I’d be happy to play if on offer.

IABSM AAR: Blenneville or Bust! #3D: Saint Melotte

Bruce Romanick has been learning the IABSM ropes whilst playing some of the scenarios from the Blenneville or Bust! scenario pack.

He’s posted a few photos of his latest game, scenario #3D Saint Melotte (where the British are defending a small French village against German armoured attack) on the IABSM Facebook page, which (and I hope he doesn’t mind) I reproduce here.

Apparently the plucky Brits managed to hold off the Germans…

IABSM AAR: Lille

Time for another game of I Ain’t Been Shot, Mum! with John and Dave…but what to play? Dave has requested an early war encounter, so a quick look back through my library of scenarios and I settle on one of Richard Clarke’s games: Lille.

The premise is simple: Rommel’s Germans are advancing rapidly on Lille, aiming for the village of Lomme, whose capture will seal off the escape route of all English and French forces in the area. The Allies have realised what the Germans are up to, and have dispatched a small force to hold Lomme for as long as possible. The scene is set for an epic clash!

Click on the picture below to see all:

IABSM AAR: An Affair at Gazala

The regular TooFatLardies specials are a fantastic source of scenarios for all the TFL products, including that hardy perennial, I Ain’t Been Shot, Mum!

With John coming round for a game, I needed a quick bit of inspiration (sometimes you need a change from playing your own scenarios all the time) so quickly flicked through Derek’s excellent index to the Specials’ content, available for free in the files section of the TFL Yahoo Group. It had been a long time since the Italians had graced the tabletop, so I decided to play the An Affair at Gazala scenario written by fellow Lardy Klaus-Dieter Fritsch from the Christmas 2017 special.

The scenario takes place in June 1942 during the Gazala battles, but is entirely fictitious apart from the general setting.

The British are occupying a position atop a ridge. On the ridge are three hills and a few ruined buildings. Each hill represents an Italian objective: their aim being to either take at least two of the objectives or force the Brits to retreat through breaking their Force Morale (a rule “borrowed” from Chain of Command).

The situation is complicated by the conditions. The whole table is considered rough terrain, with wheeled vehicles limited to the track running up the centre. Even tracked vehicles have a chance of bogging down if traversing the rough ground, and both sides had a Vehicle Breakdown card in their deck. On top of that, the remains of a khamsin sandstorm were still around: visibility was limited to 36”, all fire at Effective and Long range was reduced, and the dust kicked up by moving vehicles a factor as well. In other words, just another day up in the Blue!

A lot of Italians!

The Italians

John would play the Italians. His choice, I hasten to add!

At his disposal, he had a three-platoon company of infantry consisting of a total of fourteen truck-mounted infantry squads and three AT rifle teams. These were supported by two platoons of tanks, with each platoon consisting of three M14/41 tanks, one Semovente 75/18 assault gun, and one L6/40 light tank. The Italians also had no particular shortage of Big Men or radios.

The British (or rather Scots!)

The Scots Guards holding the hills consisted of a three-platoon company of top class, stubborn, aggressive infantry (I shall refrain from commenting any further - the mother-in-law is from the Granite City - but there was no way the Italians were having our hills!) with plenty of Big Men, light mortars and anti-tank rifles.

Supporting them was a single Vickers MMG and a single 2pdr anti-tank gun (I think I was supposed to have two of these, but settled for one gun with a Bonus Fire card) plus an attached tank platoon of two M3 Grants, two A15 Crusaders and an M3 Stuart “Honey”. We’ll dispense with this last: the Honey spent just about the entire game Bogged Down, never getting to fire a shot and barely even catching sight of the enemy!

I decided to keep my armour in reserve, positioning them on the track, out of sight just behind the ridge.

It’s quiet…too quiet!

The Game Begins

As the sun rose over the British position, Italian Blinds began snaking their way onto the battlefield along the narrow track. Despite their elevated position, the khamsin prevented the Scots from spotting anything until the Italian column had passed a rocky outcrop near the track.

The Italian Armour Leads the Way

The lead Blind proved to be a platoon of tanks, so I deployed my single anti-tank gun (in a sangar) and opened fire. I also summoned my armour up onto the ridge: if the Italian tanks headed for the infantry platoon holding the hill on the right of my line, I wanted to have more than one 2lb and a Boys AT Rifle to face them!

Preparing for the Advance of the Italian Armour

The combined fire of the Grants, Crusaders and anti-tank gun proved effective: with the crews of the two lead Italian M14/41 tanks quickly bailing out as a fusillade of shells knocked holes in their vehicles.

Unfortunately, the abandoned vehicles then provided a neat shield for the other three Italian tanks, who would spend the next portion of the game shelling the Scots infantry in front of them with, fortunately, little effect.

The two tanks at the back are bailed!

“Keep your heids down, lads!”

Stymied on that axis of attack, the Italians now switched their entire effort to their right flank, advancing two platoons of infantry, their HQ platoon, and their other platoon of armour towards the left of the Scottish position as fast as they could go.

With so many units going forward together, there was a bit of confusion as the advance began, but the Italians soon sorted themselves out and began to threaten the Scottish line.

The Italian infantry advance by rushes, protected by a screen of tanks and the Khamsin

Although fire from the Scottish infantry proved ineffective due to the effects of the khamsin, the British tanks again enjoyed an initial success: knocking out the three Italian AT Rifle teams and taking a few chunks out of the advancing infantry.

All was looking good: with the Italian Force Morale reduced down to [4] in exchange for only a few casualties. Then, suddenly, the British tanks lost their mojo. All their shots at the advancing Italian tanks missed or bounced off armour, and return fire caused the crews of both Grants to bail: running for home chased by the jeers of their Scottish comrades!

I looked at my Force Morale: the loss of the tanks and a Big Man had dropped me down to [5], enough that if the Italians, despite their precarious hold on their own morale, managed to knock out a couple more tanks or infantry squads, then I was Gone (with a capital G), the Scots being ordered to retreat.

Correction: it was a Grant and a Crusader that bailed, not the two Grants

All now depended on who managed to land the first decent blow. Incredibly (in my opinion) it was the Italians who took the initiative: their tanks storming forward to burst through the British line and threaten to shoot everything up from behind!

Two Italian tanks burst through the line. Note the Bogged Down Honey!

A close up of the same situation

Both of the Italian tanks now turned their fire onto the Crusader: one shooting it from the flank, one from behind.

Not good!

Much to my surprise, the Crusader survived this onslaught, its gunner returning fire, but with no effect, and the first of the Italian infantry was now getting ominously close to the Scottish sangars.

Things were desperate, but the crew of the Crusader kept their nerve, reversing up onto the hill to keep their front armour towards the Italian tanks. The gunner calmly targeted one of the Italian tanks…BOOM!

At this point, the Italian Force Morale hit [0] and I had won!

Aftermath

Well that was a bit close!

If the Italian tanks had managed to dispatch the Crusader that they had got the drop on (more than possible given the situation) they would have been in the perfect position to start taking out my infantry from behind, with their own infantry poised to attack simultaneously from the front. A narrow escape for the Scots: who had just not been able to do enough damage to the khamsin-covered Italian advance.

An amazing game that all came down to the last few minutes of the action. Thanks, Klaus-Dieter, for a great scenario.

Robert Avery

IABSM AAR: Stopping the Gap

Another excellent battle report from Carojon of the Devon Wargames Group.

This game was a small fictitious battle from a free scenario designed by Richard Clarke using IABSM. The scenario recreates what must have been one of many similar struggles going on in the closing days of the Normandy campaign in late summer of 1944 as the allies fought hard to close what became known to history as the 'Falaise Pocket'.

Click on the picture below to see all:

IABSM AAR: The Second Battle of Tomaszow Lubelski

The last week of September 1939 saw a combined “Northern Front” Polish army join the attack towards Tomaszow Lubelski. Due to bad communications between the different Polish divisions, the result was a series of largely uncoordinated attacks by Polish unis arriving from the north-east, launched in the direction of the city only to be shattered wave-by-wave by the German defenders.

This scenario would represent one such attack: with Polish and German forces brawling for control of the centre of the table. Four objectives would be placed there, with each side entering the table and attempting to take and hold them. The game would end after ten appearances of the Turn Card, at which point victory would go to the side that held the most objectives. If, however, one side managed to hold at any point three of the four objectives, then the game would end immediately, with that side wining the battle.

Click on the picture below to see the extraordinary events that followed…

IABSM North of the Border

A quick trip to Edinburgh to visit daughter #1 at university gave me the chance to catch up with old friend Mr Hodge down at the South East Scotland Wargames Club.

Derek put on a game if IABSM set in France in May 1940, using his excellent 10mm figures.

That's not me with Derek btw but my opponent!

I played the French: commanding seven H-39 tanks (good armour, but armed with a pop gun), two 25mm anti tank guns (good panzer killers!) and a platoon of infantry.

Facing me were five Panzer 38(t) tanks (excellent at this time of the war), two Panzer IVs, a platoon of motorcyclists, and some other infantry that never arrived or got off their Blinds.

I deployed my tanks along the treeline and waited for Rommel's boys to attack. This they did, their motorcyclists appearing first: dumping their metal steeds as soon as I hit them with some HE, and then rushing forward towards a nearby field.

Meanwhile his P-38(t) tanks had appeared and advanced towards my line over open ground. My tanks engaged, and a firefight broke out: his five Panzers versus five of my tanks and, soon, my two anti tank guns.

His tanks were considerably better than mine, but stationary and out in the open. Mine were carefully concealed in the edge of the wood, and some lucky dice rolling meant that soon three of his were abandoned for the loss of two of mine.

When one of his Panzer IVs also succumbed to anti tank gun fire, the Germans decided that they'd had enough and retreated. Victory to the French!

All in all it was a good, if quick, game. My tanks performed much better than I was expecting (one of them proved almost indestructible despite being hit many times) and the tactics chosen by the Germans suited my deployment perfectly.

My thanks to Derek and the rest of SESWC for their hospitality, and I'm already looking forward to the next time I'm up.

IABSM AAR: Push Towards Lowicz

As part of a counter-attack that had already thrown the Germans back some twenty kilometres, the Polish 16th and 26th Infantry Divisions crossed the Bzura river near Lowicz on the morning of 14th September 1939, and the Polish 4th Infantry Division reached the road linking Lowicz and Glowno.

At this point, however, the retreating Germans were reinforced by the 4th Panzer Division, which had been withdrawn from the fighting in the outskirts of Warsaw, and launched a counter-attack of their own against the advancing Poles. This battle would recreate the encounter battle that followed.

A cracking game of IABSM in which a bold coup de main won the day. Click on the pic below to see all:

IABSM AAR: The Narew Crossing

It was back to Poland for our latest game of I Ain’t Been Shot, Mum and an extraordinarily exciting encounter that went right down to the wire.

On September 7th 1939, reconnaissance units from one of the Panzer Divisions of General Nikolaus von Falkenhorst’s XXI Army Corps captured Wizna after Polish mounted reconnaissance squads abandoned the village after a short fight and retreated to the southern bank of the Narew. When German tanks tried to cross the bridge, it was blown up by Polish engineers. This game would recreate the German attempt to force the Narew Crossing.

Click on the pic below to see all:

IABSM AAR: Grudziadz

Our last game of IABSM was set in the Tuchole Forest in Poland, right at the beginning of the war. Today’s battle would directly follow on from that encounter, and represent the stalwart Polish defense of Grudziadz. Both scenarios were taken from The September War, Part One, one of the TooFatLardies scenario packs that I have written for I Ain’t Been Shot, Mum!

Grudziadz was a strategically important town as it housed an officer academy, a cavalry school and the several army staffs directing Polish forces in the Polish Corridor region. It was, however, only lightly defended, with its garrison made up of infantry and border protection corps (KOP) along with supporting artillery. The German attack was launched from East Prussia by 21st Corps, mainly infantry and the reserve 10th Panzer regiment (mainly Panzer I and II).

Click on the pic below to see what happened.

IABSM AAR: The Tuchole Forest

Played a great game of I Ain't Been Shot, Mum! at the weekend: scenario #08 from the first September War scenario pack covering the invasion of Poland in 1939, The Tuchole Forest.

The battle, set in the Polish Corridor, was all about territory and objectives, and proved a very different kettle of fish from the usual head-on clash.

Click on the picture below to see who held onto what to win the game:

CoC Early War Handbook Available For Pre-Order

Although this site is dedicated to the TFL Company Level games such as IABSM, CDS and Q13, I do like to point out what else is going on in Lardland.

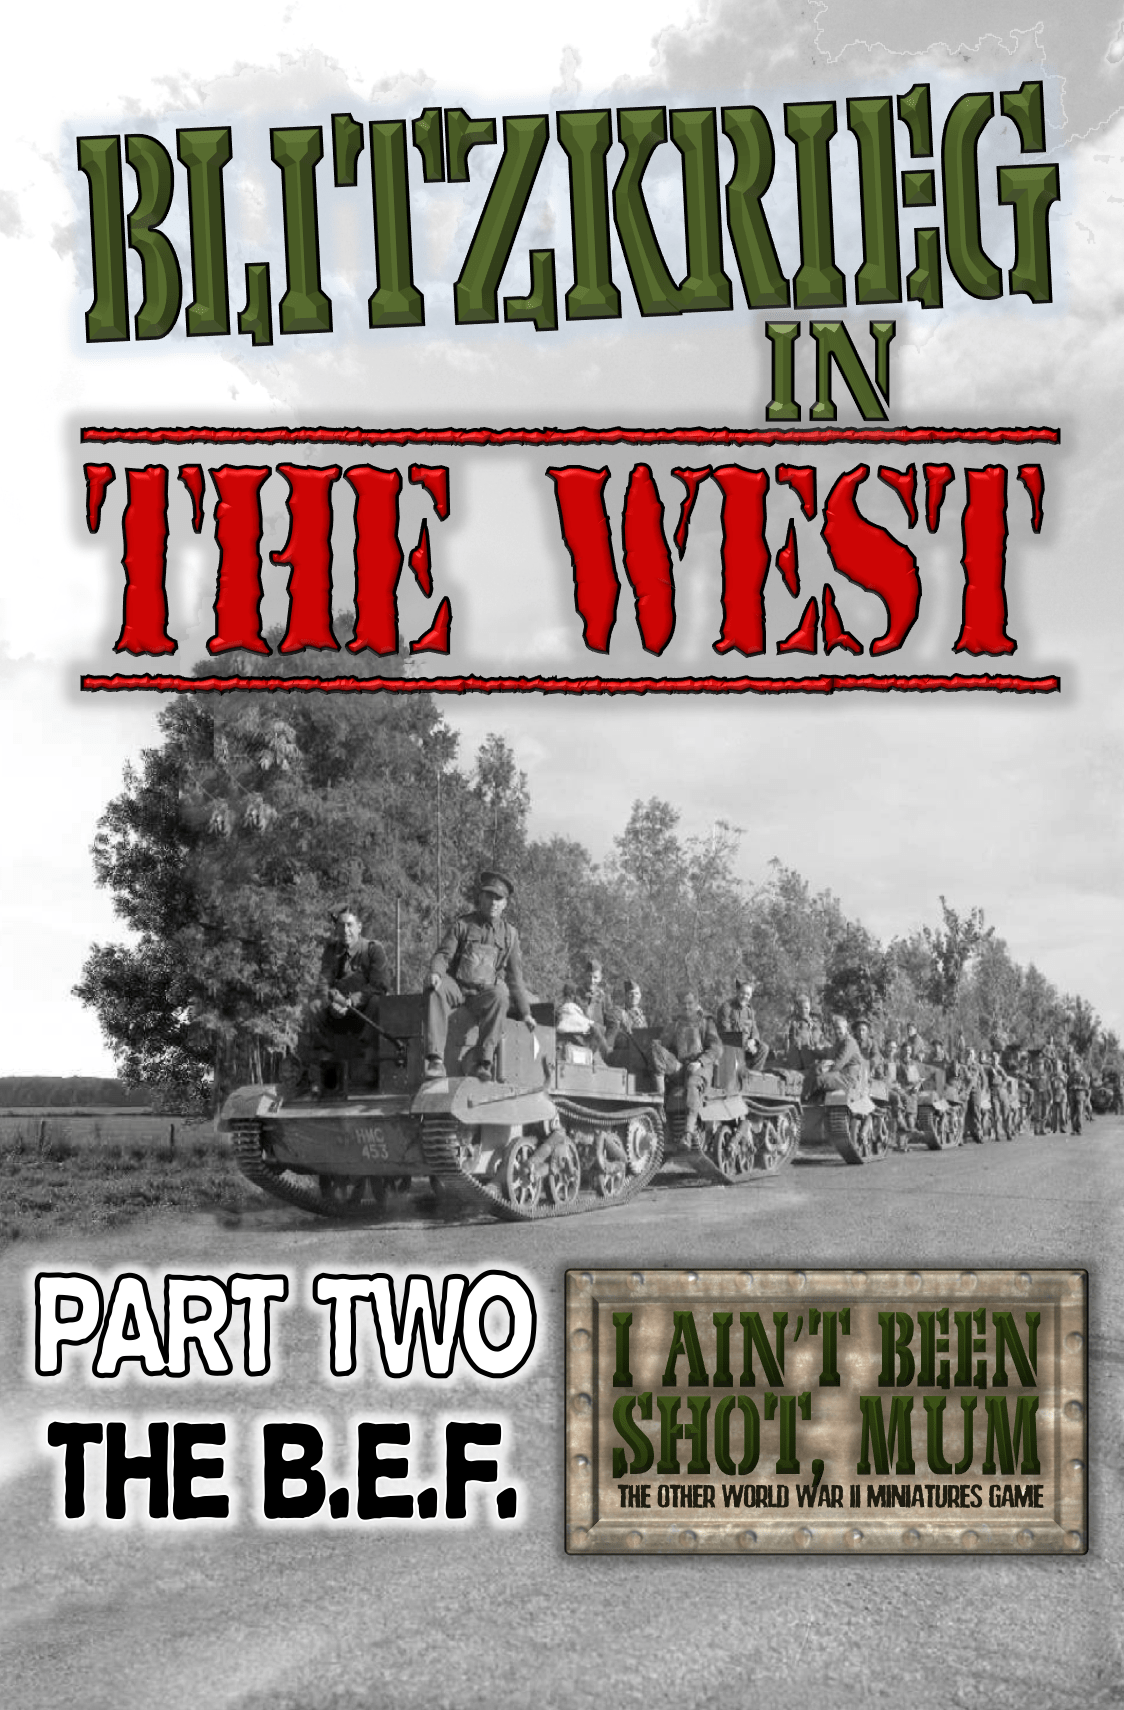
That's why I'm really happy to post that the much-anticipated Early War handbook is now available for the TFL platoon-sized game: Chain of Command.

Having published the IABSM early war books earlier this year, I was also somewhat involved in the production of this work, and can therefore assure you that it is truly epic. Rich has gone back to many first hand sources and original army manuals for the information it is based on.

Here's the marketing blurb:

Advanced Order Deal: This Handbook will, be published on Monday the 17th of September and despatched on that day.  The advanced order deal includes a free PDF edition which will be emailed to you on the release day.

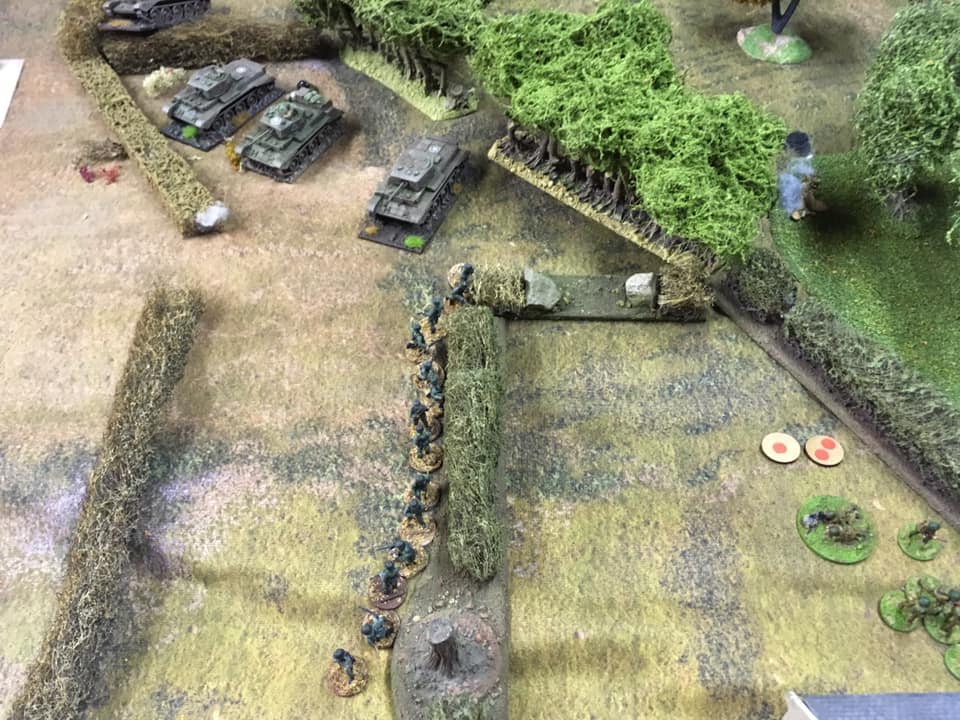
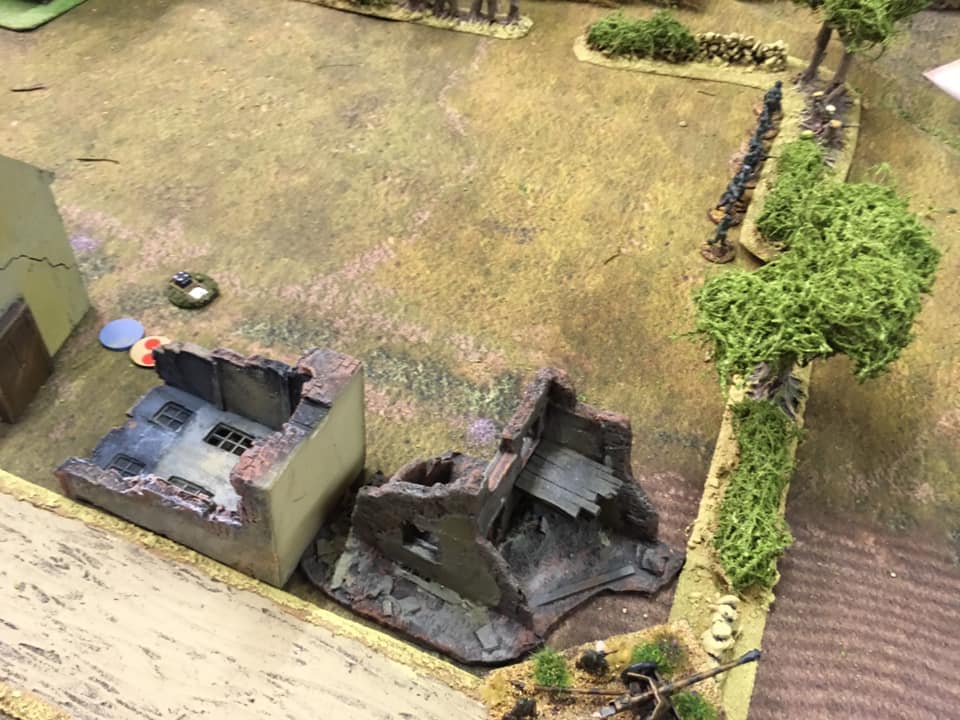
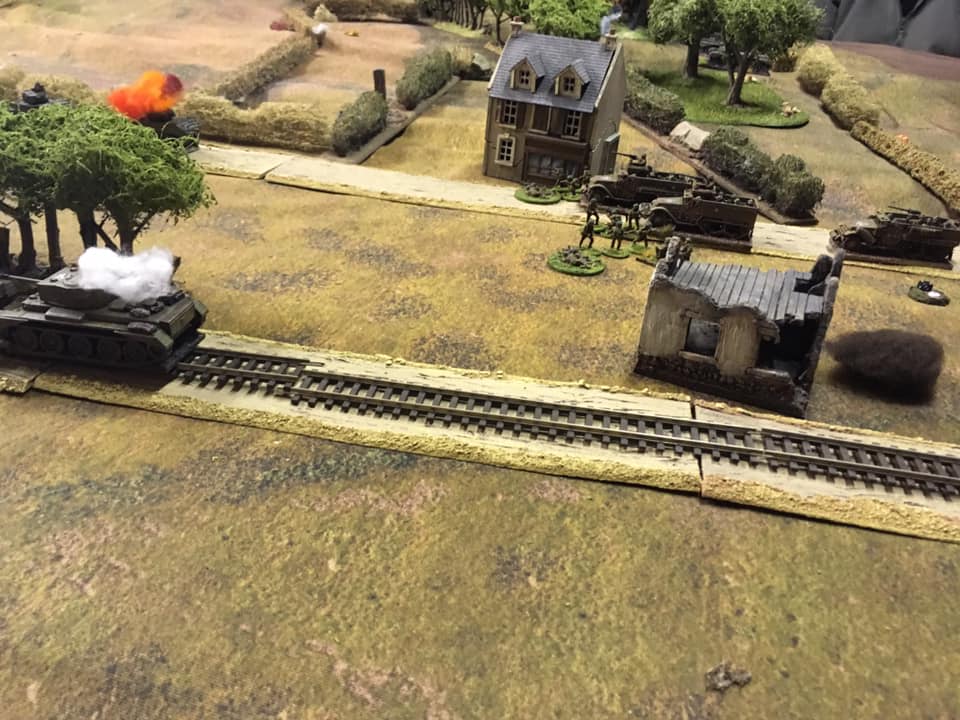
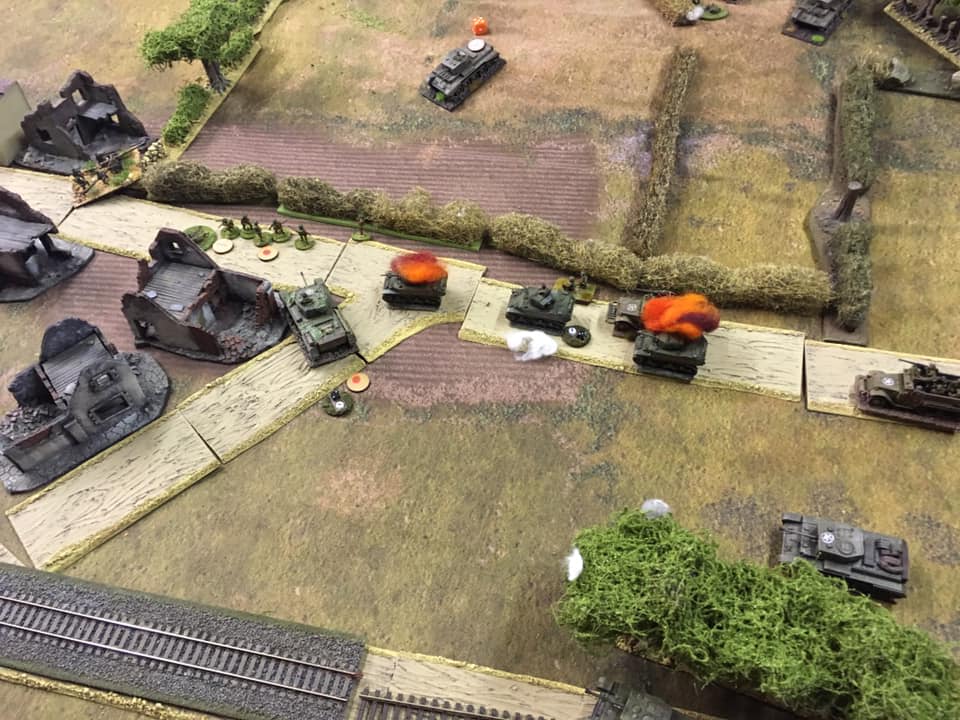
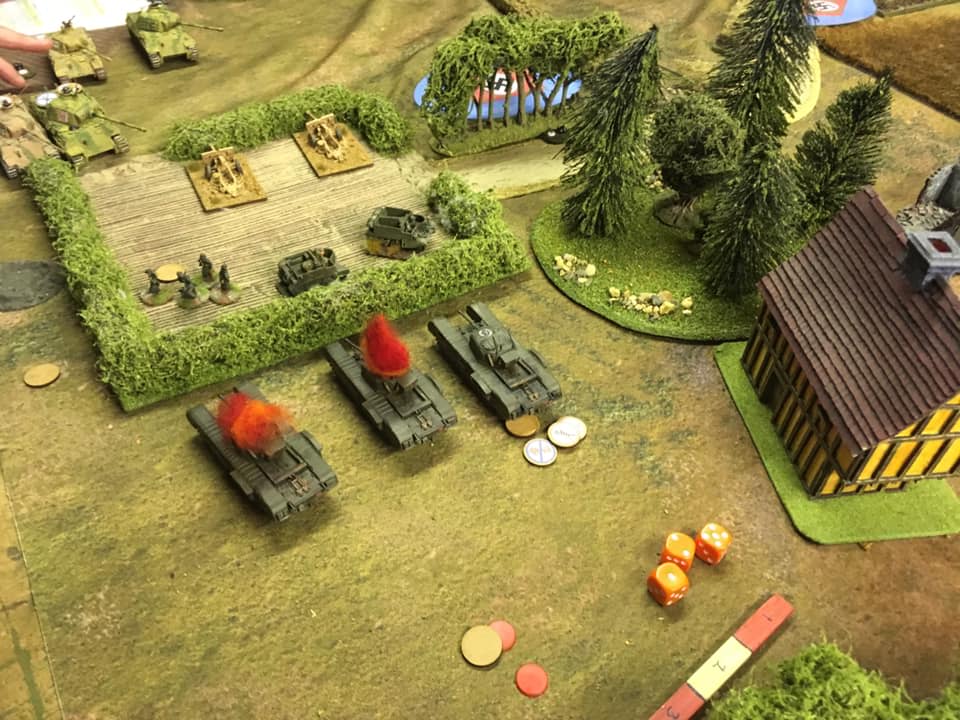
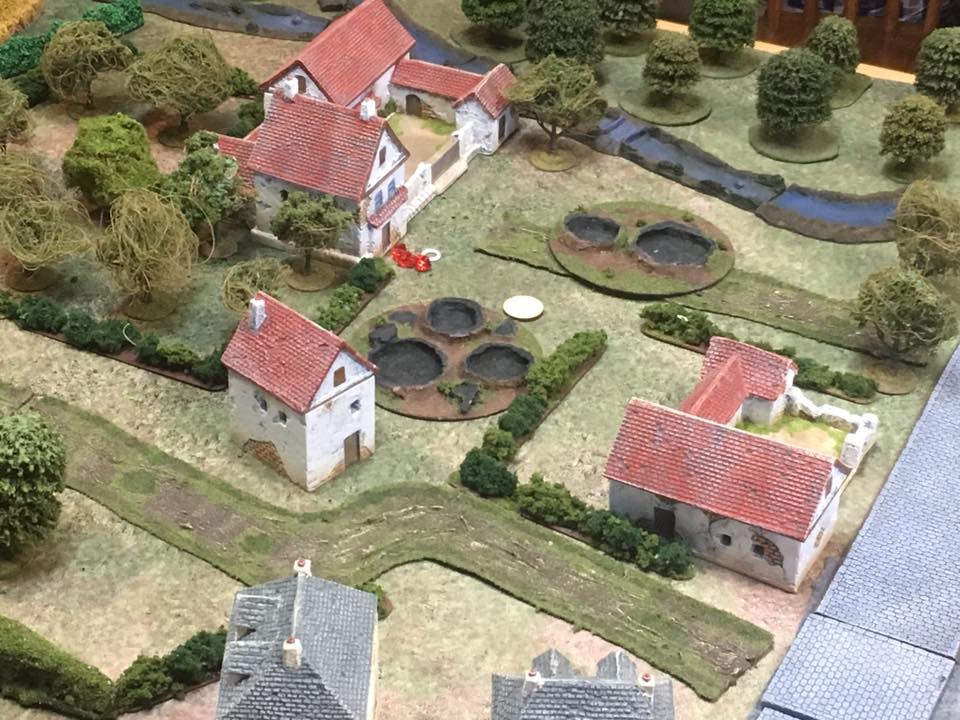
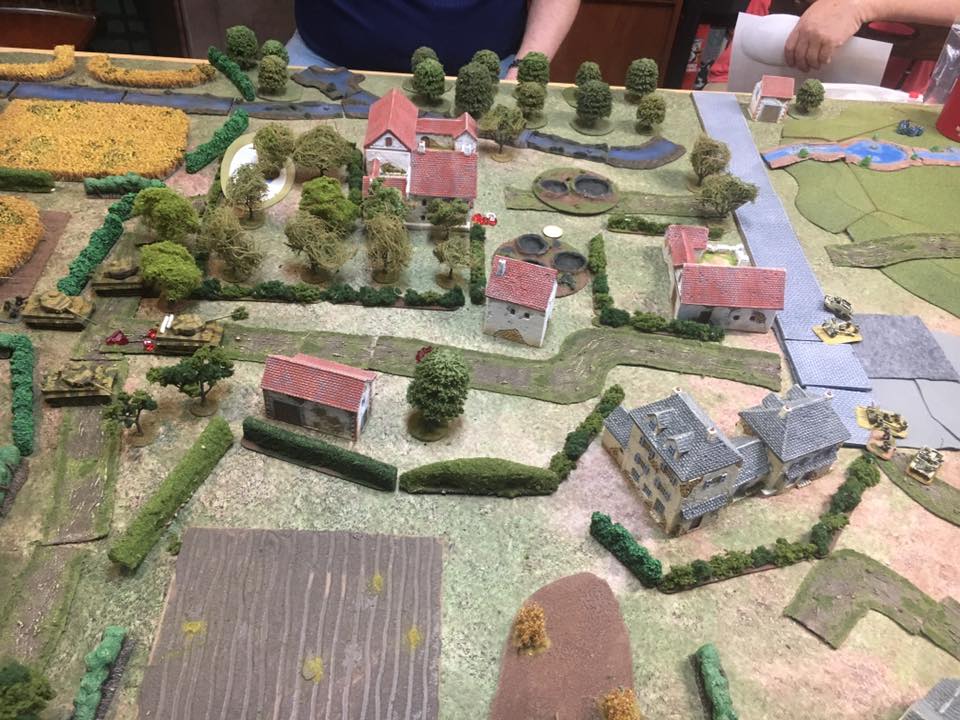
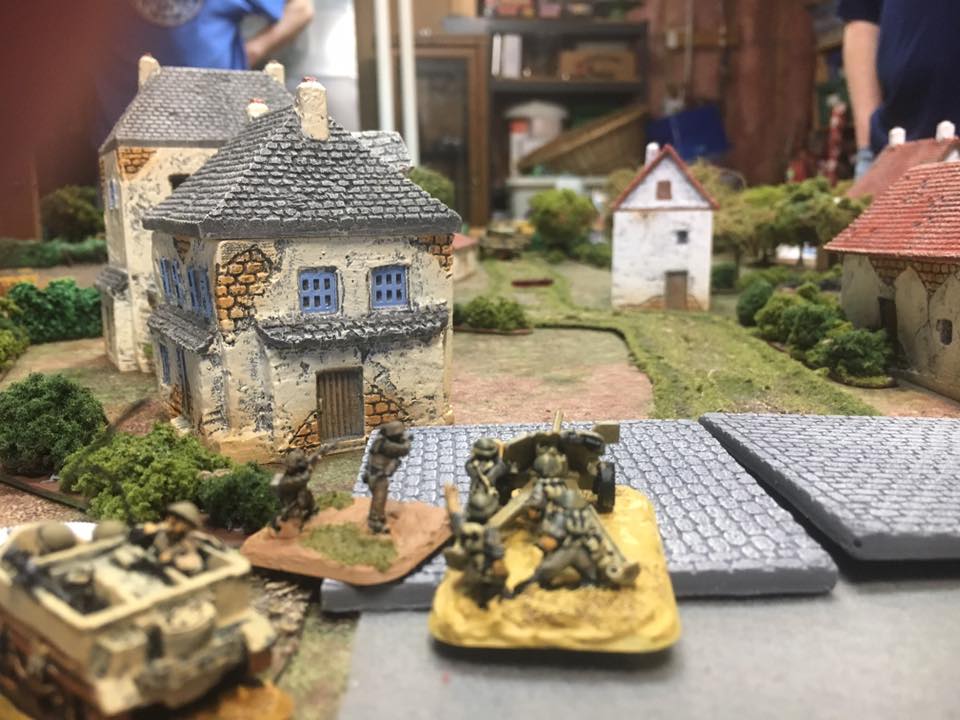
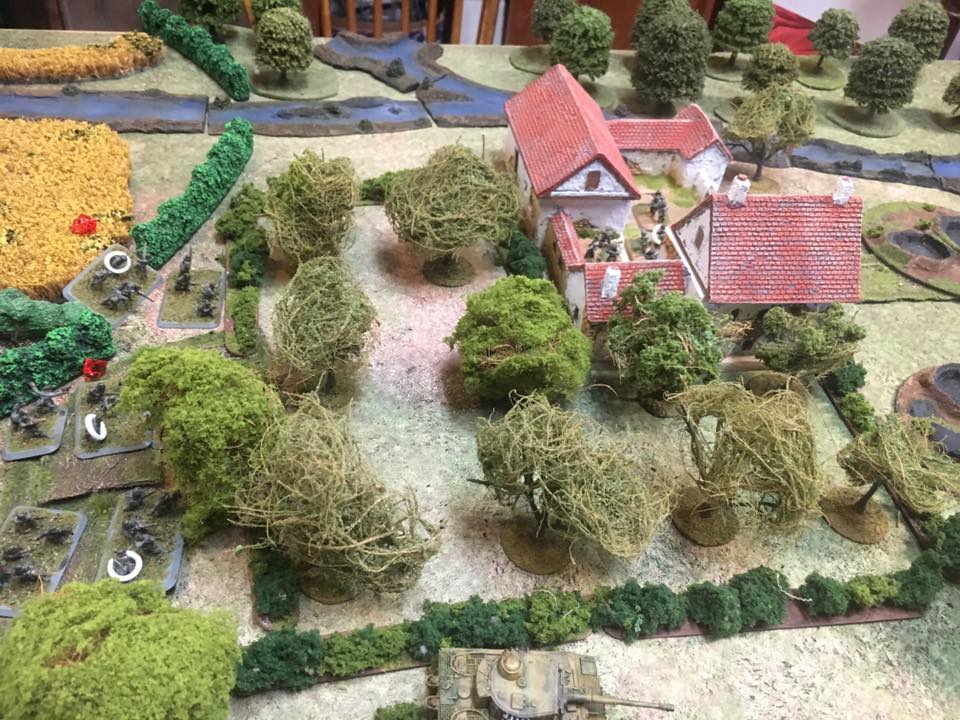
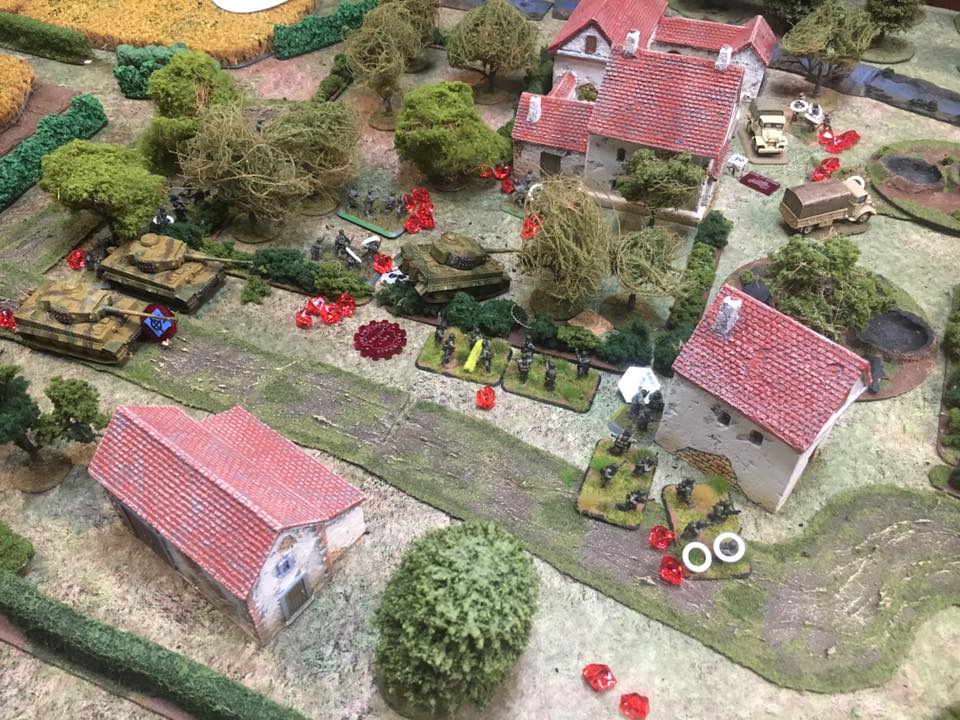
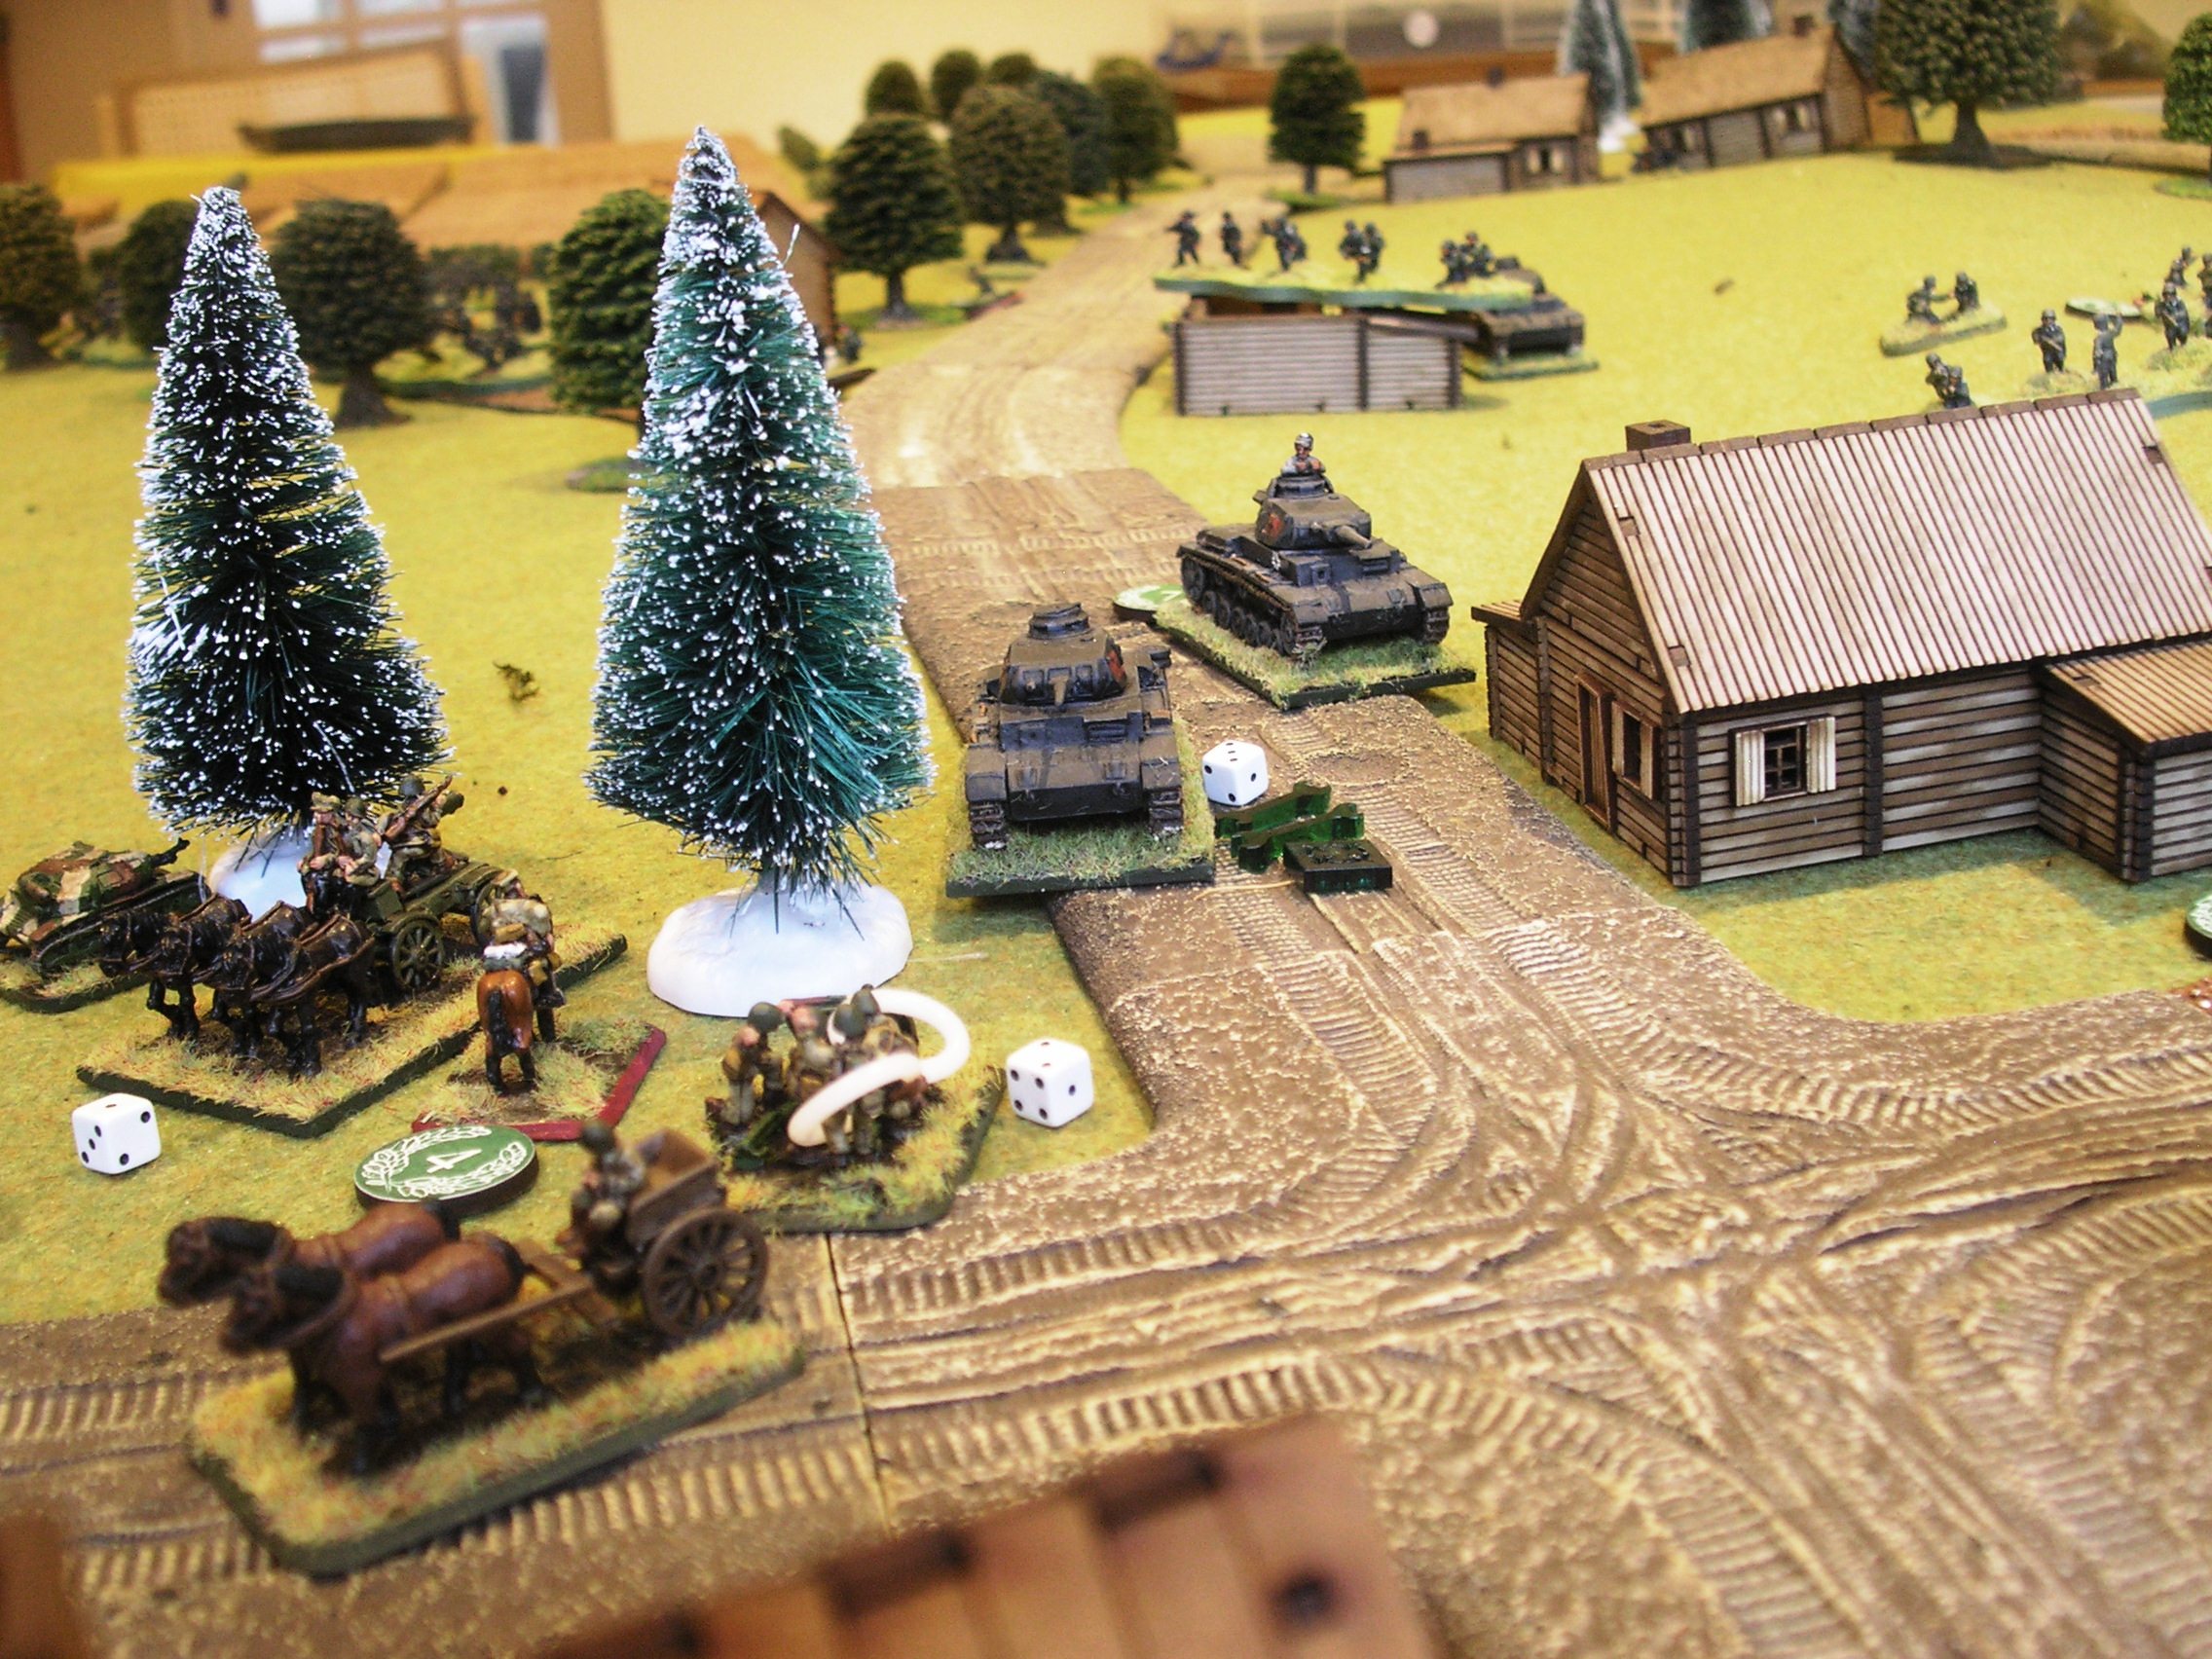
This 124 page handbook provides a comprehensive coverage of the campaign in France and the Low Countries in 1940.  Included is an historical account of the campaign in the West, as well as whole raft of new rules to cover the events of that summer.  New theatre specific rules include Assault boats and river crossings, parachute drops, glider landings, bicycles, horse mounted troops and motorcycles.  We have several new armour classifications for tanks with small turrets, vehicles lacking of radios and unreliable vehicles.  Fancy blowing up a section of the Maginot Line?  Well, you can with our new rules on fortifications and demolitions as well as looking at Francs Tireurs, ‘Shabby Nazi Tricks’ in the form of Brandenburg Commandos, Civilians, Stuka attacks and even the odd drinks cabinet being rolled out to stiffen the stiffest of upper lips.

Biggest of all is the truly massive section on Army lists.  Here we wanted to provide a really comprehensive guide to the period and in doing so we went right back to the book, or more specifically the manuals that the armies of the period issued to their troops.  The French Tableau d’Effectifs de Guerre, the German KsTN lists, the Dutch Handboek vor den Soldat and Officier series and many others issued throughout the 1930s and up to 1940.  These manuals tell us not just how troops were organised, but how their training prepared them for war and their doctrines.  This has allowed us to produce not just Army Lists but introduce national characteristics which make each nation unique in the way they fight.

Belgium

Line Infantry
Reserve infantry
Infantry scouts
Chasseur Ardennais
Frontier Cyclists
Motorised Cavalry
Motorcycle Cavalry

The Netherlands

Line Infantry
Reserve Infantry
Mounted Cavalry
Border Infantry
Bicycle troops
Motorcycle troops
Airfield Defence forces
Marines

France

First Line Infantry
Reserve Infantry
Chasseurs
Groupe Franc
Reconnaissance Motorcycle Fusiliers
Reconnaissance Cavalry
Motorised Infantry
Dragon Portes
Mounted Cavalry
Chasseur Portes
Colonial Troops
Mountain Troops
Ski Scouts
Light DIvision Infantry
Groupe Franc Motorise de Cavalerie

British

1939 Regulation Platoon
1940 Regulation Platoon
Motor Infantry
Motorcycle infantry
Line of Communication troops
Searchlight Troops

Germany

1st Wave infantry
2nd Wave infantry
3rd Wave infantry
5th Wave infantry
7th Wave Infantry
Static infantry
Pioneers
Motorised Infantry
Motorcycle Reconnaissance
Schutzen Type 1
Schutzen Type 2
SS Totenkopf
SS Verfungs and Leibstandarte
SS Motorcycle platoon
SS Aufklarungs motorcycle platoon
Fallschirmjager Type 1
Fallschirmjager Type 2
Luftlande Glider platoon
Gebirgsjager

Italy

Infantry
Blackshirt troops
Alpini

Alongside these lists we have nearly fifty support option lists giving support choices for a huge number of unit types, so if you have a motorcycle reconnaissance platoon you can select support from the different divisions which fielded that unit type.  All in all, the gamer can choose an incredible range of interesting and varied troops types and then  choose supports from friendly forces and allies for forces of almost limitless variety.  But that’s not all.  Each nation has a full Arsenal list for weapons and AFVs as well as comprehensive notes to cover their support options.

Finally, we have five new scenarios types, Going with a Bang, Strike from Above, Swift to Support, Hasty Defence and Blitzkrieg to bring the 1940 campaigns to life.  All in all, a huge addition to your Chain of Command library in both hard copy and PDF.

IABSM AAR: Anzio #13: Aprilia

Cracking game of I Ain't Been Shot, Mum fought this weekend just gone.

We used scenario #13 from the Anzio: Wildcat to Whale scenario pack featuring the action on 8th/9th February 1944 as the Germans advanced on Aprilia (the Factory).

Click on the picture below to see all: