Another ECW Battalion Added

As this year’s Painting Challenge draws to a close, I am frantically trying to hit my target of 2,000 points. I’m currently on 1,947 so, as I paint in 15mm, have four days to paint 53 figures or nine vehicles. That’s quite a tough prospect, but I can’t get this close only to fall at the final hurdle!

Here’s another English Civil War battalion to help me on my way:

The figures are all 15mm Peter Pig, painted with GW Contrast Paints.

Painting Challenge: Important Notice

For a variety of different reasons, I won’t have an Internet connection for the next few days, including over New Year’s Eve and Day.

That means that rather than updating Challenge entries right the way up to midnight on the 31st, I won’t be adding any entries until my connection is restored sometime towards the end of this week. So the final scores for this year’s Challenge won’t be available until probably the 4th or 5th of next year.

Fear not, however, any entries received before midnight on 31st December will count towards your totals for this year. Anything later needs to be clearly marked as belonging to 2019 or it will be counted as a 2020 entry.

And yes, that means that the Challenge will be continuing into 2020: usual entry requirements and rules apply, but don’t forget that without Internet it will take me a few days to set up all the galleries etc for 2020.

Hope everyone has a very Happy New Year.

R

Blast From The Past: Literally!

Boxing Day and the kids (well, young adults!) are demanding entertainment.

What a perfect time to break out a game I first played at school, some forty years ago: Warlord. Although I’m sure that when I first played it, it was called something more nuclear armageddon-y.

For those of you unfamiliar with the game, you build your empire through receiving a number of armies (the counters) based on how many cities, urban and rural regions you control.

You attack across a regional border with a simple but fiendishly cunning mechanic involving you committing a number of armies to battle and your opponent having to guess how many armies you’ve sent in. You have to have at least two armies to attack with, and you cannot empty a region you own, so that you can see that if you want to attack, say, four times, your first attack has to commit at least four armies…and it’s calculations like that that make the game so good.

Even better, each time you win a battle you get a one-stage nuclear missile i.e. one that can cross one border. The game rapidly becomes a race to build a nuke big enough to fire at an enemy target far enough away from your own empire and, in terms of action, massive military drives to capture enemy nukes before they can target you.

It’s a brilliant game, and I highly recommend it…providing you can find a way of getting hold of a copy.

A First Go At Art De La Guerre

The other day I had the opportunity to play Art de la Guerre : a set of rules for gaming the Ancients period that Bevan and John were using to play a game set in the War of the Spanish Succession.

I’m a real novice when it comes to the Pike & Shot period, and know next to nothing about the War of the Spanish Succession, but was keen to have a go in preparation for when my 15mm English Civil War armies would be ready for action. Today I would play the very Catholic Spaniards blocking passage for a German Protestant army.

My army seems a little small!

There seemed to be an awful lot of heretics on the other side of the battlefield: two big wings of cavalry, mostly cuirassiers, and five pike/shot blocks in the centre. I was assured, however, that their troops were mostly mediocre in nature and, after all, I had God on my side!

I had the same sort of structure to my force, just smaller. Two wings of cavalry, about half and half cuirassiers and arquebusiers; and four pike/shot blocks in the middle, including two tercio units which were apparently very good at fighting. I also held a small manor house top right with a couple of units of light troops.

The enemy line

my glorious troops

The game began with the Heretics advancing towards me. In doing so, he quite amusingly managed to mask his own guns (artillery was stationary in this encounter) meaning that I had a long range advantage. My guns hammered one of his infantry blocks throughout the game, and although I didn’t manage to disperse them, it kept them out of the action.

I could see that his main effort would be with his cavalry wings. On the right, my Forlorn Hope in the manor house gardens effectively halved his advantage in numbers as he peeled off a couple of units of cavalry to cover them. These exchanged fire with my lights for most of the game, neither side actually achieving much at all…except, of course, that that was another of his main strike units out of the main action.

Meanwhile, on the other wing, his cavalry also advanced strongly towards me. In response, I refused my cavalry, moving them so that they faced across the battlefield with their flank protected by the thick woods. I was hoping that the enemy horse would advance to contact, thus exposing their flanks to my left hand infantry unit.

And this is almost exactly what happened. His right wing of cavalry charged forward, but instead of overwhelming my horse with his superior numbers and armour, he hit a combined horse and tercio force that took his initial impact, and then he got hit in the flank by my other tercio unit, evaporating the left end of his line. The battle ended with me having twice as much horse left on that wing as he did: a mere matter of time before I disposed of them and moved to attack his flank with the survivors.

Meanwhile, in the centre, the two line of infantry had got into musket range and were exchanging fire. Here, the superior quality of my troops showed, especially when one of the tercio blocks that had disposed of the cavalry, changed direction and hit the right hand end of his infantry line (now nicely exposed by the absence of his cavalry). More of his troops evaporated from the battlefield!

Finally, on my right flank, his cavalry also thundered towards me. Fortunately, the fact that he had dedicated some of his troops to covering my Forlorn Hope and to charging my guns meant that we were now on even numbers, but his men were much more heavily armoured than mine: this was going to be close run thing. I should also note that half of my Forlorn Hope had left the comparative safety of the manor house and were now sniping at the rear of his cavalry line.

The two lines of cavalry came together with a mighty smash but, fortunately, I managed to survive the initial clash, with half the cavalry on both sides effectively disappearing from the field. This meant that his force had now exceeded the number of casualties that it was prepared to take, and despite the fact that the right flank could still be his, losing the left and centre meant that his men either retreated, fled the field or lay down their arms and prepared to be baptised!

So the field was mine, and by a pretty big margin too.

What did I think of the rules? Well, having spent the last few years playing games such as I Ain’t Been Shot, Mum and To The Strongest, this was more like a return to old days of WRG 6th Ancients: lots of fussing about movement involving wheeling and the like, lots of factors to add and subtract. It was, however, quite enjoyable, and I would definitely pay again.

Lard Magazine 2019

For those of you who missed all the various notices, this year’s Lard Magazine is now available to buy. An excellent last minute Xmas present for the wargamer in your life!

Nothing from me in this issue, unfortunately (just couldn’t find the time), but don’t let that stop you from purchasing this excellent tome.

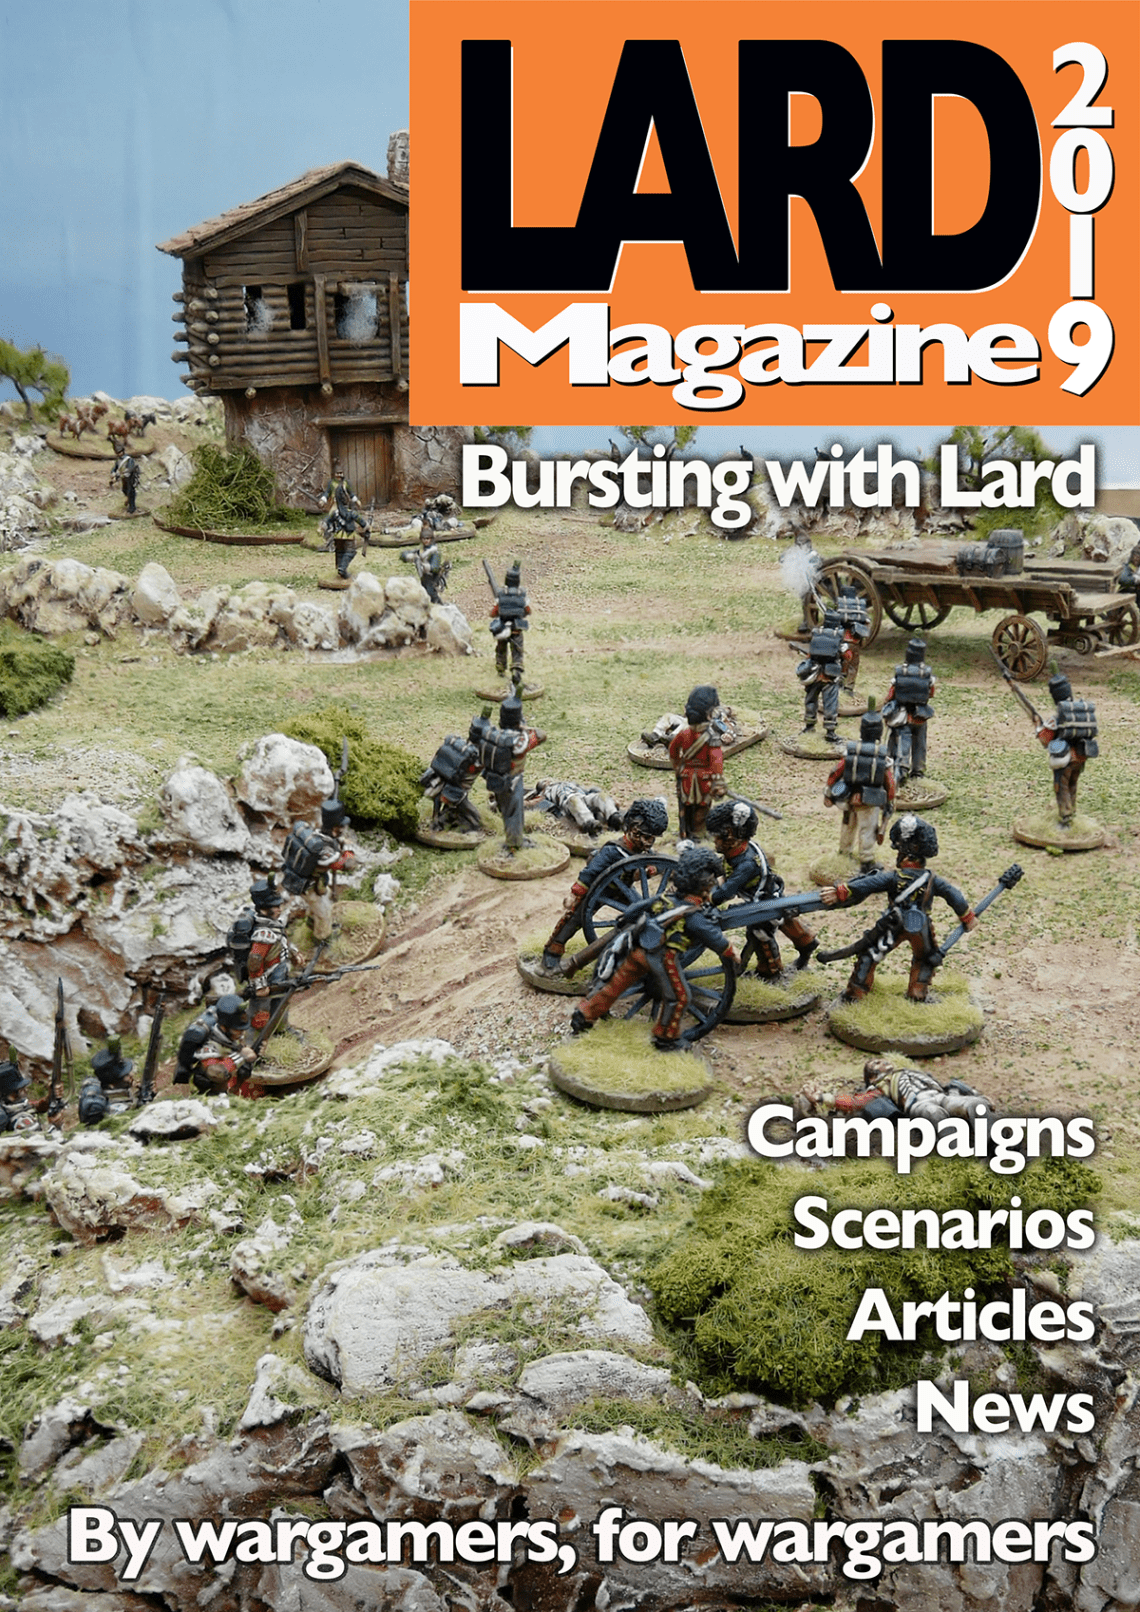
Lard Magazine 2019 tops the scales at a whopping 190 pages packed with Lard.  Scenarios, complete campaigns, rules amendments, fresh periods to game, previews of future rule sets, build projects unveiled and a whole host of other wargaming fun, written by wargamers for wargamers.

Here’s a full list of the contents.

A DEKKO AT RECCE:  Nick Skinner takes a look at British Recce for Chain of Command. 

THE BRIDGE AT SAINDOUX:  We send a British Recce Troop on a mission to see if a bridge will take Nick’s weight.

TO SLEEP IS TO DIE:  John Savage tells the story of his award winning scenario for Sharp Practice set  during the retreat from Moscow. Includes scenario.

2019  – A YEAR OF LARD:  12 months is a long time in the world of Lard. Richard Clarke & Nick Skinner have an alibi for all of it.

BLOODY OMAHA:  Mike Whitaker tells the story of an obsession with this scenario for I Ain’t Been Shot, Mum!

BAHAMAS BROADSIDE:  Chris Stoesen sails the seven seas and offers this small ship scenario for Kiss Me Hardy.

TOTENSONNTAG:  Marc Renouf presents a pint-sized campaign  set against the background of Operation Crusader, 1941.

A SERIES OF UNFORTUNATE EVENTS:  David Hunter, Lardy event organiser par excellence, shares his reflections and learnings on Lardy Games Days.  

ASSAULT ON PELELIU:  Hit the beach with this scenario for I Ain’t Been Shot, Mum from the pen of Tim Whitworth.

THE FRENCH CAVALRY CHARGES AT WATERLOO:  Wargaming superstar and housewife’s favourite David C R Brown peeks out from behind his cuirass to share the ultimate cavalry scenario for General D’Armee

THE CANNONBALL RUN:  Richard Clarke’s cupola runneth over with this break out game for What a Tanker!

BATTLE OF KARNSTEIN:  Tom McKinnell takes us to the Eastern Front for a Chain of Command Scenario with a difference.

THE LONGEST YOMP:  Rising talent Ioan Davis John takes us to the South Atlantic for this adaptation of Chain of Command for the Falklands War.

I AIN’T BEEN COC’D YET, MUM!:  Whilst working in the lab, late one night Desmondo Darkin created something… you need to see this.

CRUNCH AT KURSK:  Nick Skinner presents a Bag the Hun dogfight scenario for the skies above Kursk. 

PUSHING THE ENVELOPE:  Nothing is ever big enough for Simon Walker. Here he shares his thoughts on extending Sharp Practice into the Victorian Wars of the late 1890s and beyond. 

IT’S THE RIEL THING:  Simon Walker rises again and takes us to the depths of Canada for this Sharp Practice expansion.

GET CARTER!:  Richard Clarke teases us with a scenario for the Riel Rebellion.

RETREAT TO THE BEREZINA:  John Savage walks on frozen water with another 1812 scenario for  Sharp Practice.

WHAT A WHIZZ OF A WIZ…:  Richard Clarke and Nick Skinner finally complete Sidney’s Battlefield Challenge with the creation of this Chain of Command scenario for the 1944 fighting in the woods near Best, Holland.

INFAMY, INFAMY:  Richard Clarke offers an exclusive peek into an exciting new rule set headed your way in 2020. Blimus!

Painting Challenge: Big Pre-Christmas Update

Lots of work from lots of people as they frantically finish off their projects before Christmas, presumably in the expectation that Santa will add to their lead mountain!

In no particular order, we have:

  • Chris Kay with some Portacabins (yes, really)

  • The usual big and beautifully painted entry from Travis: a spot of barbarian horse and quite a few dwarves

  • Some medievals and more Napoleonic re-basing from Mervyn

  • Loads from Joe McGinn: US Airborne and AWI and Napoleonics

  • A mix of 28mm WW2 figures and vehicles from Jason Ralls

  • Mark Luther sends in some 15mm WW2 vehicles, guns and, er, sheep. And an awful lot of trees.

  • David Scott is up in the Blue with some 15mm WW2 Brits for the Western Desert

  • The Condotterie himself from Carole, with some Swiss Handgunners

  • More Aztecs from the Hat

  • And last, but not least, more SYW and more ACW in 15mm from Andrew Helliwell

As always, clicking on the names of the people in the list above will take you straight to their galleries. Still plenty of time to get your last entries in for the year!

Here are today’s pics:

IABSM AAR: Valle della Marie

Here’s another great I Ain’t Been Shot, Mum! after action report from the pen of Tim Whitworth and picked up from the IABSM Facebook Group.

This time, Tim and friends play one of the scenarios from the pen of Mike Whitaker that can be found in the various Lardy Specials. I can’t remember which one it is, so you’ll have to get them all to find out!

This encounter is set around the Gothic line in 1944. A British company attack supported by Sherman tanks and artillery against Germans dug in and determined to fight for the last inch of their territory. Click on the picture below to see all:

And why not compare the action here to Mike’s original report, which can be found by clicking here.

Sumerians Finally Hit The Tabletop!

A great start to my Xmas holiday with an afternoon of gaming To The Strongest, so also a chance to get the Sumerians that I have been so assiduously painting over the last few months onto the tabletop.

First off was an encounter with the Ancient Britons. Weird how I would never think of playing a non-contemporaneous battle when playing WW2, but accept it as normal for the Ancient period. Doubtless the Brits were on holiday, and when asked where they wanted to go, just replied “Errr…”

Moving swiftly onwards, I had to deploy first, so it was chariots on the left, militia in the middle, and good troops on the right. Opposite me, the Brits had adopted a very traditional deployment: chariots and light horse on the wings, infantry in the middle.

In a nutshell, the battle went as follows. The Britons opened the game by moving forward really quickly. I responded by sending my chariots forward on the left, but they spent just about the whole game dealing with his light chariots and horse, who just wouldn’t stay still long enough to be properly mullered. On the right, the same thing happened with my Royal Guard axemen. I tied his chariots up, but that was all. That left the infantry in the middle to win or lose the battle. My troops were largely militia raw troops, his were screaming barbarians: I lost!

So on to a second battle, where although the Ancient Brits were unchanged, I switched my Dynastic Sumerians into the slightly more advanced Akkadians. With no raw militia, I was slightly more confident of success but my opponent, Bevan, was very clever and tactically astute: all his light chariots and horse went on one flank, whilst his infantry advanced in echelon towards me.

Those of you who are equally tactically astute will of course know exactly what happened next. His light chariots swarmed all over my ponderous battlecarts: if I chased one, it evaded, and then the others attacked my flanks and so on! Meanwhile my infantry just couldn’t get a grip on his foot and found themselves always facing two units or a threat from a flank. I lost again, and lost badly!

Our final game saw me using the Akkadians again, but this time facing another geo-anachronistic foe: a Pyrrhic army composed mostly of Hoplites. This was more my type of opponent: no hordes of light chariots to annoy me.

I deployed with my battle carts facing his cavalry on my right, my Household Axemen and Bowmen facing his elephants on the left, and a straight up infantry face off in the middle.

My battle carts literally smashed his cavalry from the field (apart from a nasty charge from his lancers), and then proceeded to take his left hand camp, with the other only a turn away from falling as well. On the other wing, my bowmen saw off his elephants without too much difficulty, which left an infantry clash in the middle. This was more even, with the fortunes of war swinging backwards and forwards. My successes on the wings, however, meant that although we each lost the same amount of infantry units in the centre, his army lost its morale first.

So two losses and one win for the first Sumerian outing: not a bad performance. Here are some more pictures of the day’s gaming:

IABSM AAR: The Gap

Here’s a battle report from a game of I Ain’t Been Shot, Mum played last weekend against John and Dave.

Unusually for us, the scenario was late war, eastern front: with the Soviets rushing forwards to secure a gap in a ridge that the Germans were also seeking to block.

It was a very close run thing, with a fair degree of carnage on both sides. Click on the picture below to see all…

TFL Painting Challenge: mid-December Update

Loads of entries flooding in as we come to the end of this year’s challenge. There’s still plenty of time to get those last minute entries in, and no holding back to try to be the first entrant of next year’s event!

So, in no particular order, we have:

  • Travis Hiatt with an assortment of beautifully painted 28mm figures. I do heartily recommend a visit to Travis’ gallery: inspirational.

  • Some terrain from Mr Hodge

  • Another inspirational painter: John Emmett with a garage full of 28mm vehicles

  • Carole pops in some more Frostgrave-y type miniatures

  • Nice to see Chris Stoesen back in the fray: Yamassee Indians and some Romans and some Celts

  • Mervyn is still re-basing

  • Sapper has some nice SYW cavalry for us to admire

  • Chris Kay must try harder: just one half-track, even if it is a good one

  • It really is the week for 28mm vehicles: four more from Doug Melville

  • Mr Helliwell scores with some 15mm Confederates and an excellent 10mm-for-15mm village

  • And last, but by no means least, Chris Cornwell has some Burgundians and Swiss joining his ranks

As always, clicking on the names of the people in the list above will take you straight to their galleries. Do please take the time to have a browse: some excellent and, as I said, inspirational work on show.

Here are today’s pictures:

A New Project

Regular visitors will know that I enjoy gaming the Ancients period with To The Strongest.

That rule set has a companion set covering the English Civil War (1642 - 1651) called For King & Parliament. A month or so ago, I invested in a copy and started thinking how I would create forces for both the Royalists and Parliamentarians.

To match my grid-ed gaming mat, I need units that are about 12cms wide, which means that a double-ranked unit would be about 24 foot strong, assuming 1cm frontage for each figure. This worked with the numbers given in the rulebook, so 24 men per regiment it was.

In FK&P, foot regiments are of different types: standard (2 musketeers for every 1 pikeman); pike-heavy; shot-heavy; all pike; all shot and smaller units for Forlorn Hopes, dismounted dragoons etc.

What I initially thought of doing was to have separately based blocks of musketeers and blocks of pikemen, a combination of which would allow me to build the different types of regiment that I needed for a game. After a lot of experimenting with paper and pen, however, I realised that this wouldn’t work: it would be fine for a standard, all pike or all shot units, but wouldn’t work for the -heavy units and their 3:1 ratios.

Good luck against the tank in the background, lads!

After a lot more thought, and more pen and paper, I realised that the easiest thing to do would be just to mount an entire regiment of up to 24 figures (plus 3 command, so 27) on a single big base. In effect, I was doing what many 6mm gamers do, but in 15mm.

A quick trip to the Warbases website to discover that they actually do a suitable base as a standard product. It’s called a Vehicle Base, and is 12cms wide by about 5cms deep. It’s the one marked as 110x40mm, which is the rectangular area in the centre of the base, surrounded by curvy bits that give it its 12cms width.

Okay, so it’s all feasible…but rather than cough up huge amounts of cash for a whole army that might not work, let’s try one unit first. Easiest place to buy figures so specifically is Peter Pig, so a quick trip to their website to discover a very nice and comprehensive ECW range. I bought four packets only: one pike, two muskets (one firing, one reloading) and a command pack.

The results you see in the pictures, above. I rather like them, and I really like the big base effect. I did have a little problem with warping, which surprised me given this was a 3mm deep “hard” base, but I could use the lip to flatten the base for a couple of hours and problem solved.

So that’s one unit done and more ordered!

The Last of the Gauls

I really should have painted these myself, but I’m very busy with the last of the Sumerians at the moment, so when friend John offered to paint them up for a very reasonable rate, I jumped at the chance.

This is a Gallic, or general Celtic, warband in 15mm. Figures from Forged in Battle’s excellent Empire range.

IABSM AAR: Operation Martlet Day 2 (2)

A largely photographic battle report created from a mash-up of posts from Desmondo Darkin and Iain Fuller on the IABSM Facebook Group. The game is adapted from the Chain of Command “Operation Martlet” pint-sized camapign book.

They are playing a version of I Ain’t Been Shot, Mum that uses dice, not cards, to control initiative: a mash-up, if you like, of CoC and IABSM. Seems to have given them a great game.

Click on the pic below to see all: