
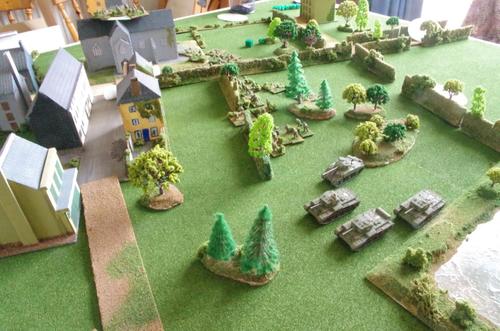
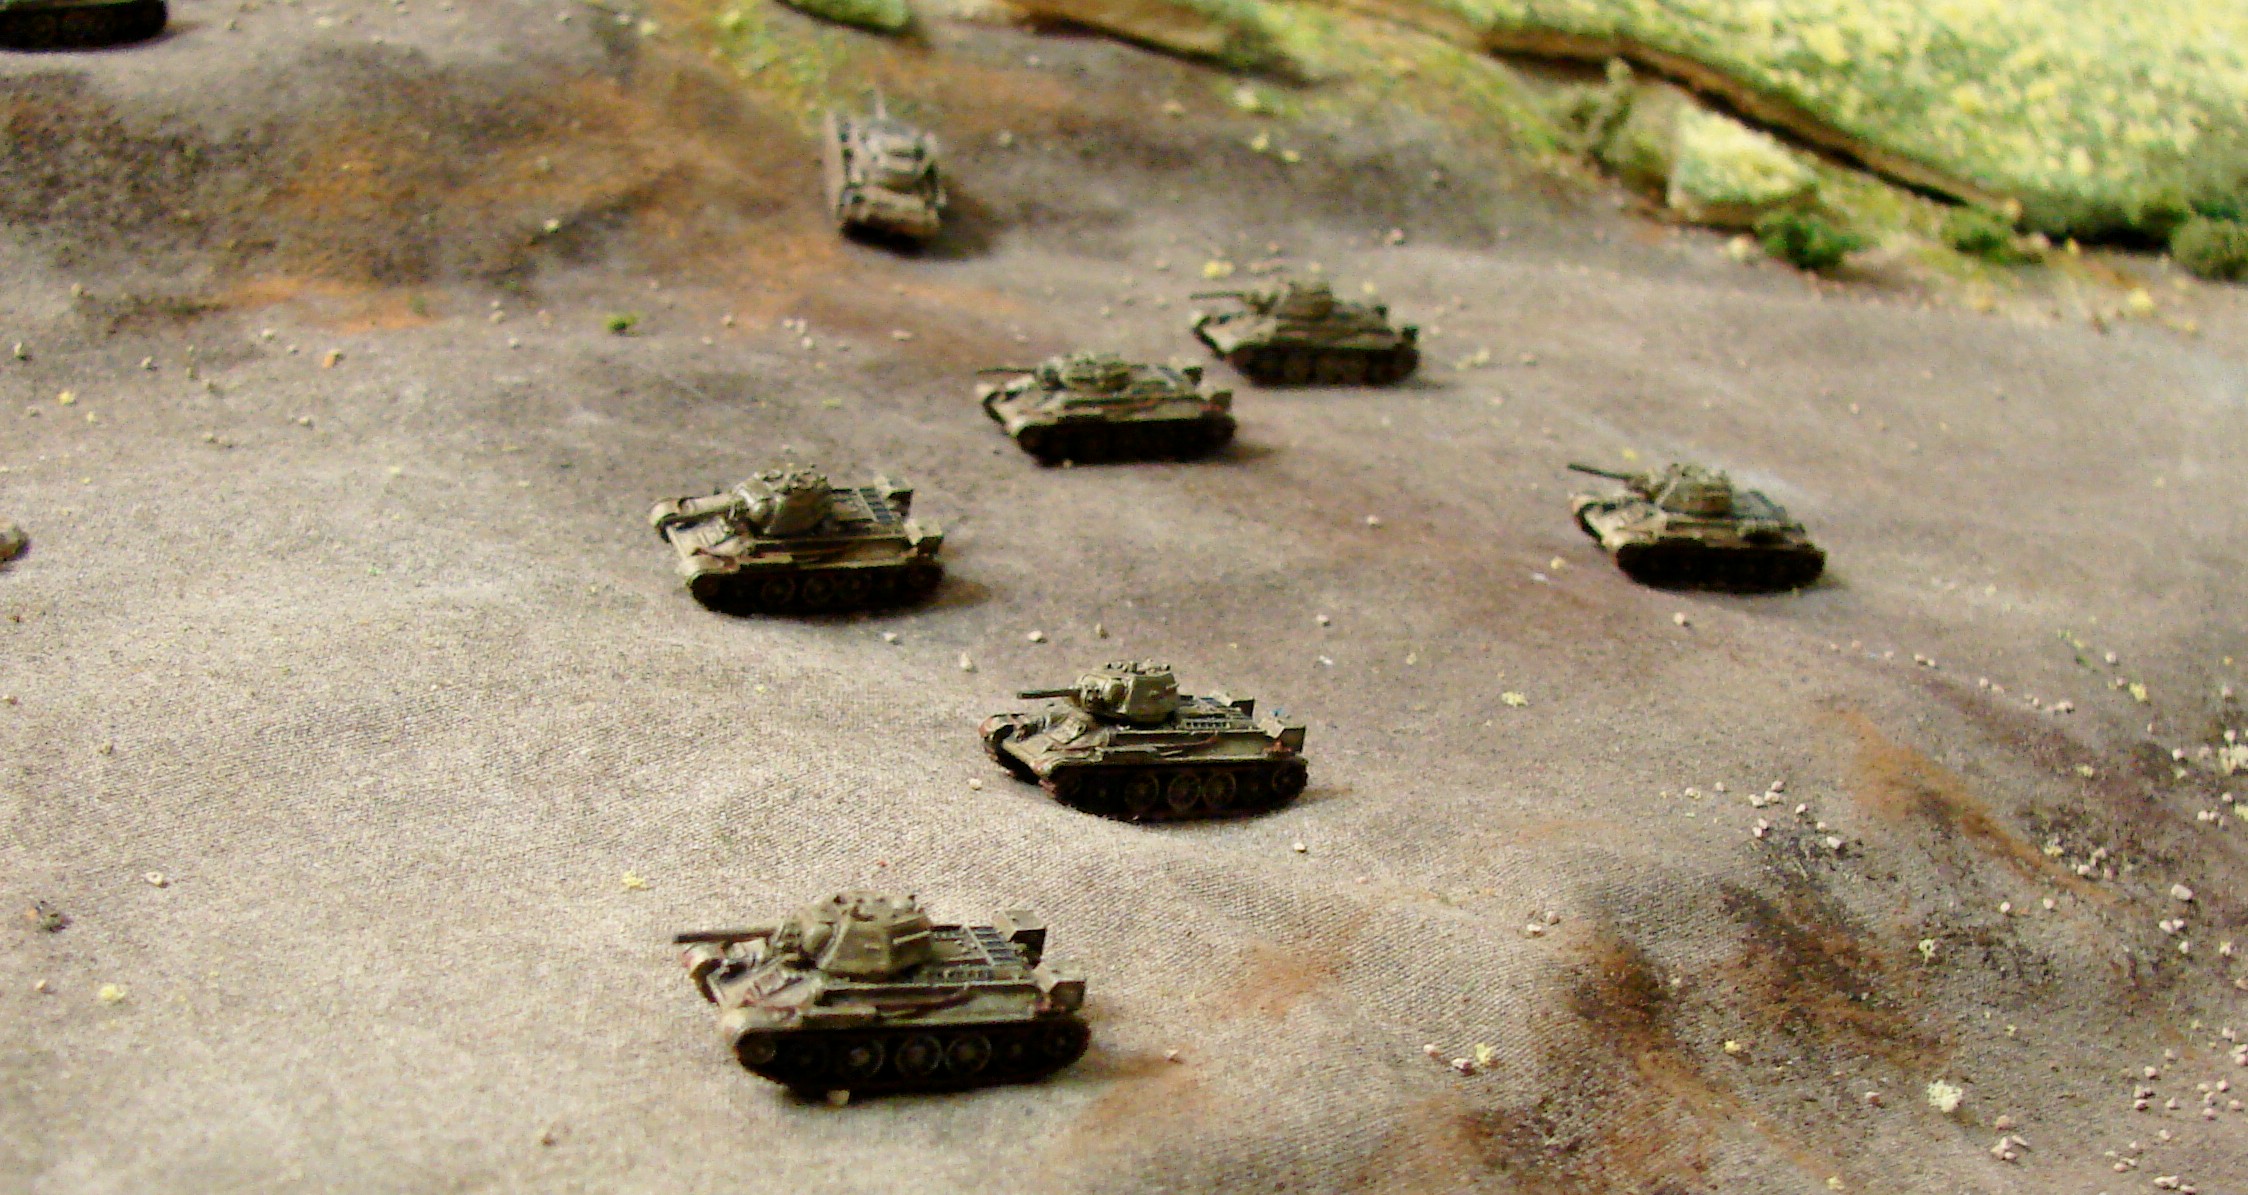
IABSM AAR: Werba
/Another great 6mm IABSM after action report from the files of Mark Luther.
This time, the T-35 behemoths emerge to do battle...click on the picture to see more:

Another great 6mm IABSM after action report from the files of Mark Luther.
This time, the T-35 behemoths emerge to do battle...click on the picture to see more:

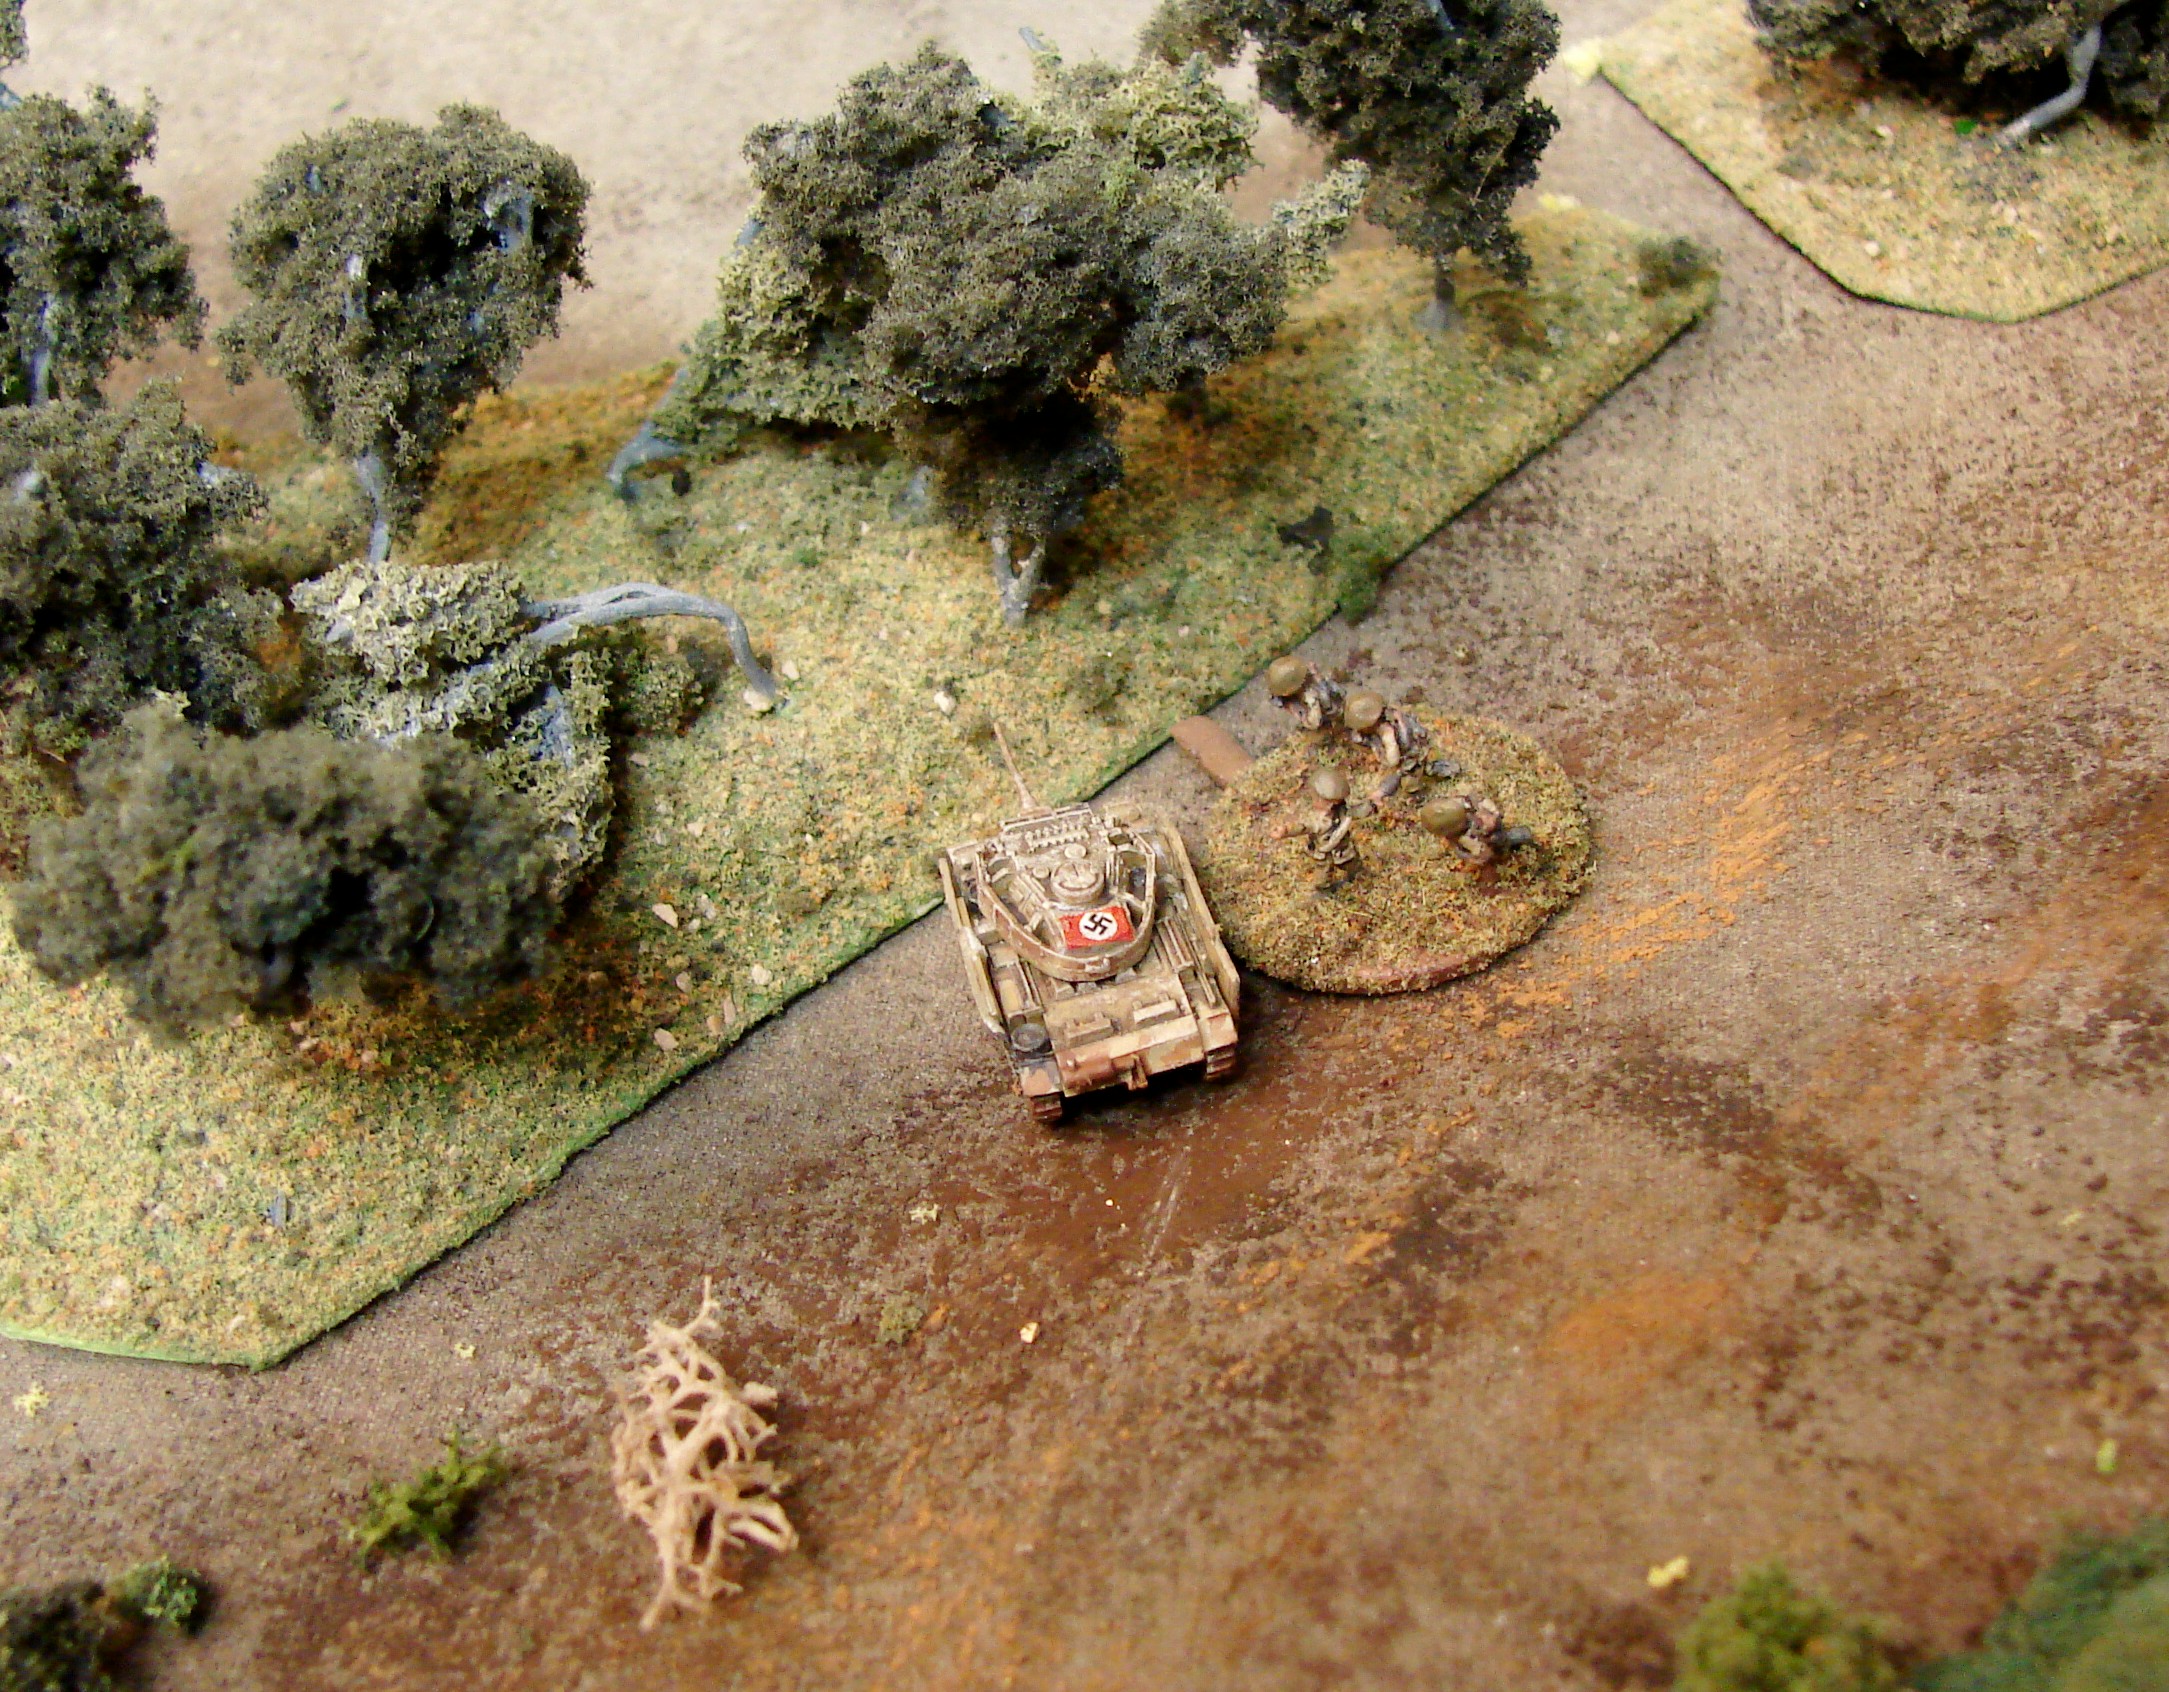
Having played a couple of 6mm Franco-Prussian War scenarios, it was back to IABSM for Saturday night's battle.
This game is from a scenario that appeared in the TFL Christmas Special 2006: one of the scenarios from Chris Stoesen's mini-campaign set in the Saar region of Germany in 1939 as the French invade.
Click on the picture below to see whether les gens braves can make a success of their attempt to clear a village of German troops. As the title suggests: Tanks Forward!

Keen to get his revenge for my win last time, Neil suggested a re-match, but with him playing the Prussians this time.
The situation was fairly similar: von Neil's troops holding a ridge that ran down the centre of the table, with my French aiming to knock them of it. I outnumbered him about 2:1, but Prussian reinforcements were expected, and would arrive at a time determined by a roll of the dice.
The Prussian Line
Looking at the Prussian line, I noticed that all their artillery was in the centre, and that the Prussian right wing was hanging. His left was hanging a little, being sort of anchored on a farmhouse, but it was his right that looked vulnerable.
I therefore set up in a long line parallel to the ridge, but with a column of four battalions of zouaves (nasty, fighting, little buggers) supported by a mitrailleuse and a battalion of chasseur sharpshooters as an attack column on my left flank. My aim was to advance forward, give the Prussian line an unanswerable volley due to the superior range of my Chassepots, and then slam in my attack column. Once I had a foothold on the ridge, the attack column would roll him up as my line kept hammering in the fire. Tres simple but hopefully tres effective!
My commanders were obviously having a good day, as on the first turn my entire army moved forward into rifle range. I took some artillery fire from the Prussian centre battery, but because of its positioning, my densely-packed attack column remained untouched.
On my next turn (the Prussians remaining stationary and relying on their guns) I let loose a volley with the entire line that proved satisfyingly effective, with many Prussian units taking significant casualties. More importantly, the Prussian right flank brigade was disordered, mainly due to some brilliant shooting by the Chasseurs. The mitrailleuse jammed, of course!
Note also that the Prussian left flank brigade was also disordered, leading me to think that there might be something I could do here as well...but more on that later.
the french centre and left (about-to-be-victorious zouaves in the background)
My four-battalion column of zouaves charged up the hill and hit the end of the Prussian line. The lead battalion had been disordered by the fire coming at them as they charged in, so failed to simply smash the Prussians from the ridge, and fierce hand-to-hand combat broke out. Weight of numbers quickly began to tell, however, and the first brigade of Prussian infantry evaporated.
Over to Neil and his next turn: the next brigade of Prussians along attempted to punish the zouaves with fire from their Dreyse needle guns, but someone had obviously blunted their needles as they had no effect at all, not a single casualty being caused.
This was obviously quite worrying for the Prussians, as they retreated both the brigade that formed the right of their line and their guns off the ridge and down into the valley below. The left of my line quickly consolidated their gains: that end of the ridge was in my hands!
Meanwhile, at the other end of the line, I had decided that the opportunity of a disordered Prussian brigade was too much to resist, and had thrown two brigades of infantry up the hill in an attempt to dislodge them as well. Proving that the 2:1 odds were right for scenario (my zouaves had been 4:1 and supported by chasseurs), les gens brave found it hard going, and a hard-slog pushing match developed.
Hitting the prussian left (note the cavalry in the background)
Weight of numbers, however, meant that my men gradually pushed the Prussians back but, just at the moment that his line began to break, Neil sent his regiment of divisional light cavalry into the flank of my assaulting units.
Very messy, and even sending in another battalion of infantry to hit the cavalry in its flank in turn didn't really help matters.
Numbers, however, still told in the end, and although I effectively lost a brigade of infantry doing it, the right hand side of the ridge was now also in my hands so, with the enemy centre retreating, I had achieved my aim.
At that point, however, the Prussian reinforcements began to arrive. Unfortunately, the clock wasn't just ticking for the French, it was ticking for Neil too, so we had to call the game before he could get his extra troops into action.
Saved by the bell, the French were victorious!
losers!
It's been a long time since I've played any 19th Century (i.e. Waterloo to Mons) wargames, so it was most pleasing when Neil, my regular opponent, offered to bring round his new 6mm Franco-Prussian War collection and run a game using a modified version of the Black Powder rules.
He duly arrived, laden with not many boxes (6mm, you see!) and set up what looked like a huge game on my 5ft by 6ft gaming table.
I would play the Prussians, versus the French, obviously, with the aim of smashing a French rearguard from their positions atop a ridge at the other end of the table from my start point. All directions are given from the point of view of the army being described.
prussians!
At my disposal, I had a Corps of Prussians consisting of:
I could also expect reinforcements at some stage.
Against me, lined up on the ridge line in front of me was a single division of French facing my left flank division.
I decided that I would strongly probe the French right flank and see what happened, so I set up my left hand division on the left and the right hand division in the centre, with the Corps cavalry protecting my right flank.
The left hand division began the game by advancing strongly, halting inside my artillery's range, but outside Chassepot range. The artillery opened fire with a round of counter-battery fire that had no effect.
Meanwhile, my right hand division and corps artillery (also deployed in the centre) had not moved: its orders having been mislaid or delayed or some such.
we are ready down to our last gaiter buttons!
The French, for their part, now revealed another division set up in line on the left hand side of the ridge. They therefore effectively had an unbroken line of infantry across the entire table's edge.
The artillery of the left hand division now switched targets to the enemy infantry on the ridge, and immediately forced one battalion to retreat in disorder. Excellent!
This left not only a hole in the French line, but led to the more central of two brigades facing my left retreating back behind the ridge in the face of the advance of the corps artillery in the centre.
This obviously left the other brigade isolated, so my left hand division moved forward and prepared to assault. A round of fire peppered my line, but I still had plenty of troops for the attack.
Unfortunately, the corps artillery were then told to move immediately to the right (a "blunder"), meaning that the French brigade that had moved back could now move forward again. In tactical terms, my left hand division could now punch up the hill and destroy one French brigade, but would then be destroyed in turn by the other.
This was not something I was prepared to accept, so my infantry fired one round with their Needle Guns, and then retreated back out of Chassepot range.
This doesn't seem in keeping with my orders, but the good news was that I had received reinforcements in the shape of another division of infantry behind my right flank.
This division kept in column and punched up the right hand side of the battlefield, aiming to hit the left hand brigade of French infantry. Behind my reinforcements were the four regiments of Corps cavalry, Cuirrassiers to the front.
the prussians in position for their assault, about to receive fire from the french line
What had been the right hand division was now in the centre. One brigade of this division headed left and, together with the left hand division, kept the French on the left hand side of the battlefield from helping stop my right-hand assault. The other brigade headed straight up the hill in line and began a firefight with the right hand end of the French line on the left: I took casualties, but this meant that they couldn't intervene either.
keeping the centre of the french line occupied (note the corps cavalry charging in on the right)
My full divisional column smashed up the hill against a single French brigade that had already been softened up by artillery. At the same time, my Corps cavalry came out from behind the infantry and charged the centre of the French left-hand line, which had become disordered as a result of the fire of the right hand brigade of what was now the centre division.
prussians assault the ridge
misere de misere!
It was carnage!
Although the French Chasseur battalion in the house protecting the left hand end of their line resisted all attempts to dislodge them, the left hand brigade lost three battalions and its artillery were over run...and that was before the cavalry hit.
The Cuirassiers (big men on big horses!) were disordered by the fire from the two French battalions in front of them, but kept going nevertheless. They slammed into the equally disordered French infantry that, effectively, ceased to exist!
At this point we called time and declared a Prussian victory. The right hand side of the ridge was in my hands, and it would not take much for me to wheel left and start to roll up the rest of his line in conjunction with a general advance from my left hand and now-centre divisions. The French retreated: battered!
the french right
keeping the french right occupied
It had been a great game: and a game that looked really good as well. There's something very satisfying about huge numbers of 6mm infantry or cavalry blocks manoeuvring around the tabletop.
Not that I'm going to switch to 6mm, I hasten to add...but I'll certainly have a some more games like this!
My thanks to Neil for putting on a great game.
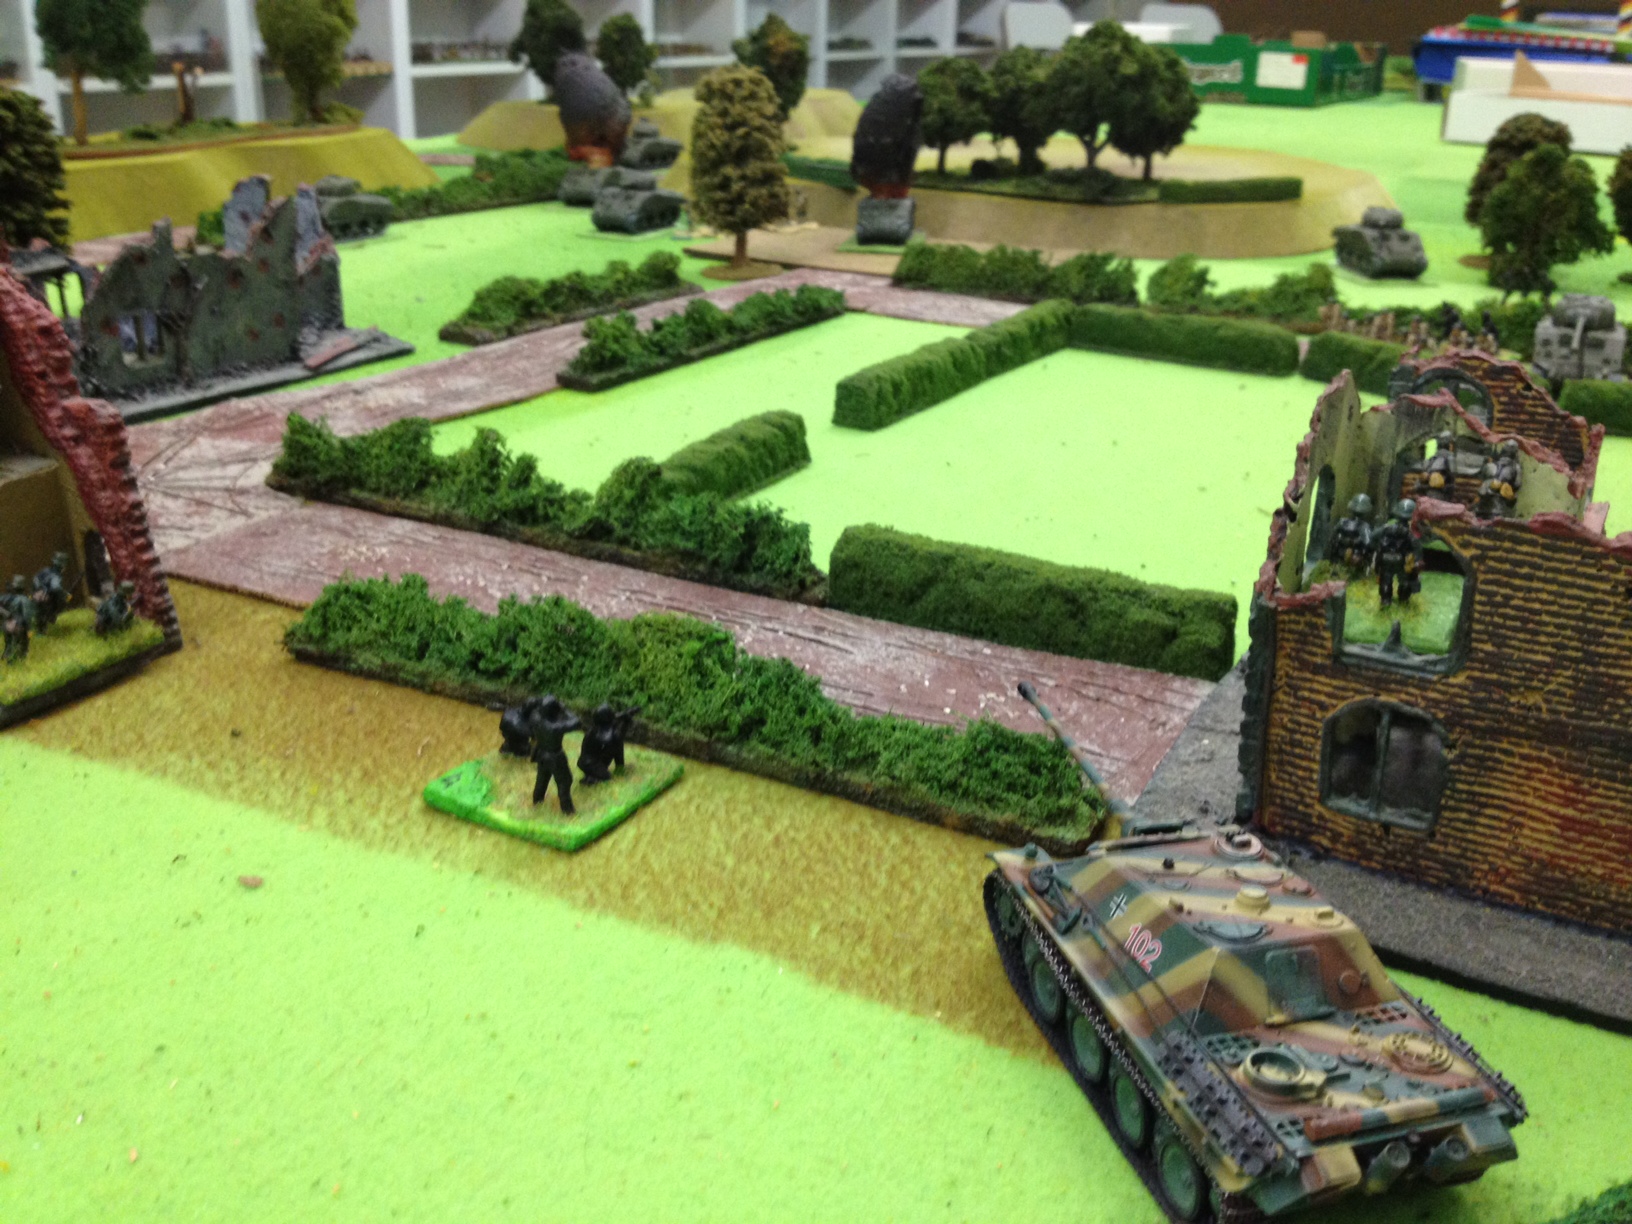
Carole is a regular contributor to the painting challenge, most recently amassing huge numbers of points with her latest late war figures. See her gallery here.
Now we get a chance to see some of her collection in action with her first AAR for the Vis Lardica site.
It's 1944 and somewhere west of Caen. he British need to clear a village, the Germans need to hold it. Find out what happens by clicking either here or on the picture below.
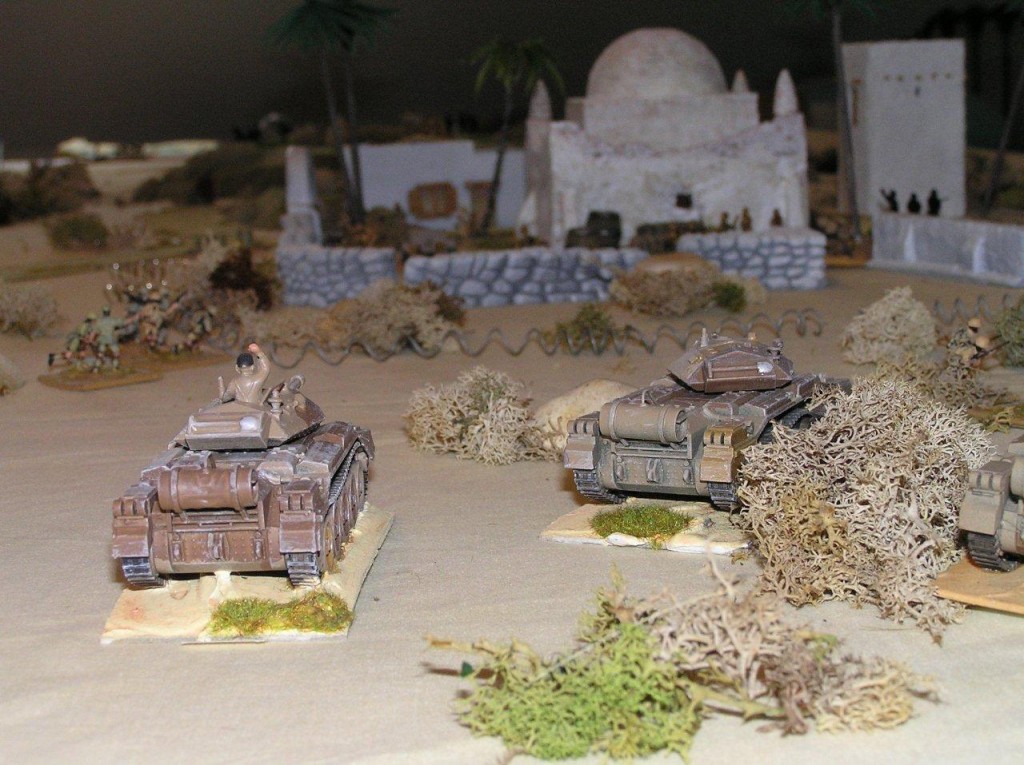
Another great battle report from Mark Luther: this time covering my favourite, early war period.
Here you can see Matilda Is and IIs in action against German infantry and gunners against a backdrop of Mark's excellent 6mm terrain.
Click on the pic to see the gallery:

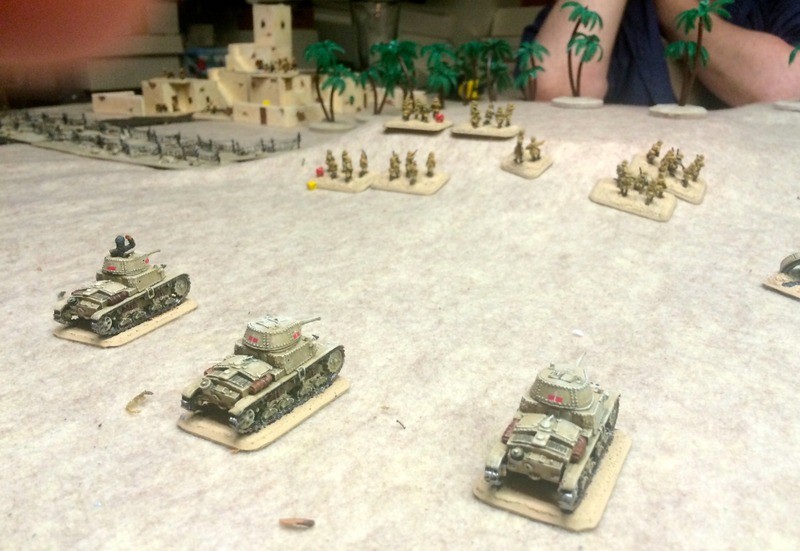
Just a quick six-pic AAR today as the Mad Padre heads into the Western Desert.
Click on the pic to see the report...
As per my post, below, I ran the morning game of IABSM at the recent Market Larden event.
I couldn't, however, do the afternoon game, as I was down to play Fighting Season: the new ultramodern variant for Chain of Command.
Step forward Geoff Bond, who kindly agreed to step into the breech and run the afternoon IABSM session using my figures and scenario. This was especially brave of Geoff as, by his own admission, he was a bit rusty re the rules, only having played once this year. Lucky the scenario was a small one, eh?
Click here, or on the photo below, to see a quick report on the action.
PS Probably best to draw a veil over my performance playing the British in Fighting Season...but the Taliban really shouldn't have shot my medic!
Apparently, when told that I had off-table support in the form of a 50mm sniper; a 50mm HMG and Javelin missiles, I said: "Haven't you got anything bigger?".
As Rich said afterwards: "Two dead, including a female medic; one platoon scarred for life; an ordnance bill topping half a million quid...all in exchange for sixteen dead Taliban and about fifty civilian casualties. I'm not sure Robert made a smooth transition from playing eastern front WW2 to modern day peace keeping in Afghanistan!"
June 2015 saw the annual Market Larden event in Evesham. Around fifty Lardies travelled deep into the heart of tractor country to play a variety of TooFatLardies' games. I was originally due to attend just as a player but, when one GM dropped out, stepped in to run the morning game of I Ain't Been Shot, Mum!
As I didn't have time to prepare something new, I delved into my library of scenario packs and decided to play one of the games from the Bashnya or Bust! book i.e. late war, eastern front.
Click here or on the picture below to see the battle report from the game. My thanks to Ralph, Noddy and Jamie for being excellent players, and to Ade for organising the day.

Another superb IABSM battle report from Brooklyn Wargaming, this time scenario #08 from the Sicilian Weekend scenario pack: Americans and Italians run into each other "East of Butera".
Click here or on the picture below to see the AAR.

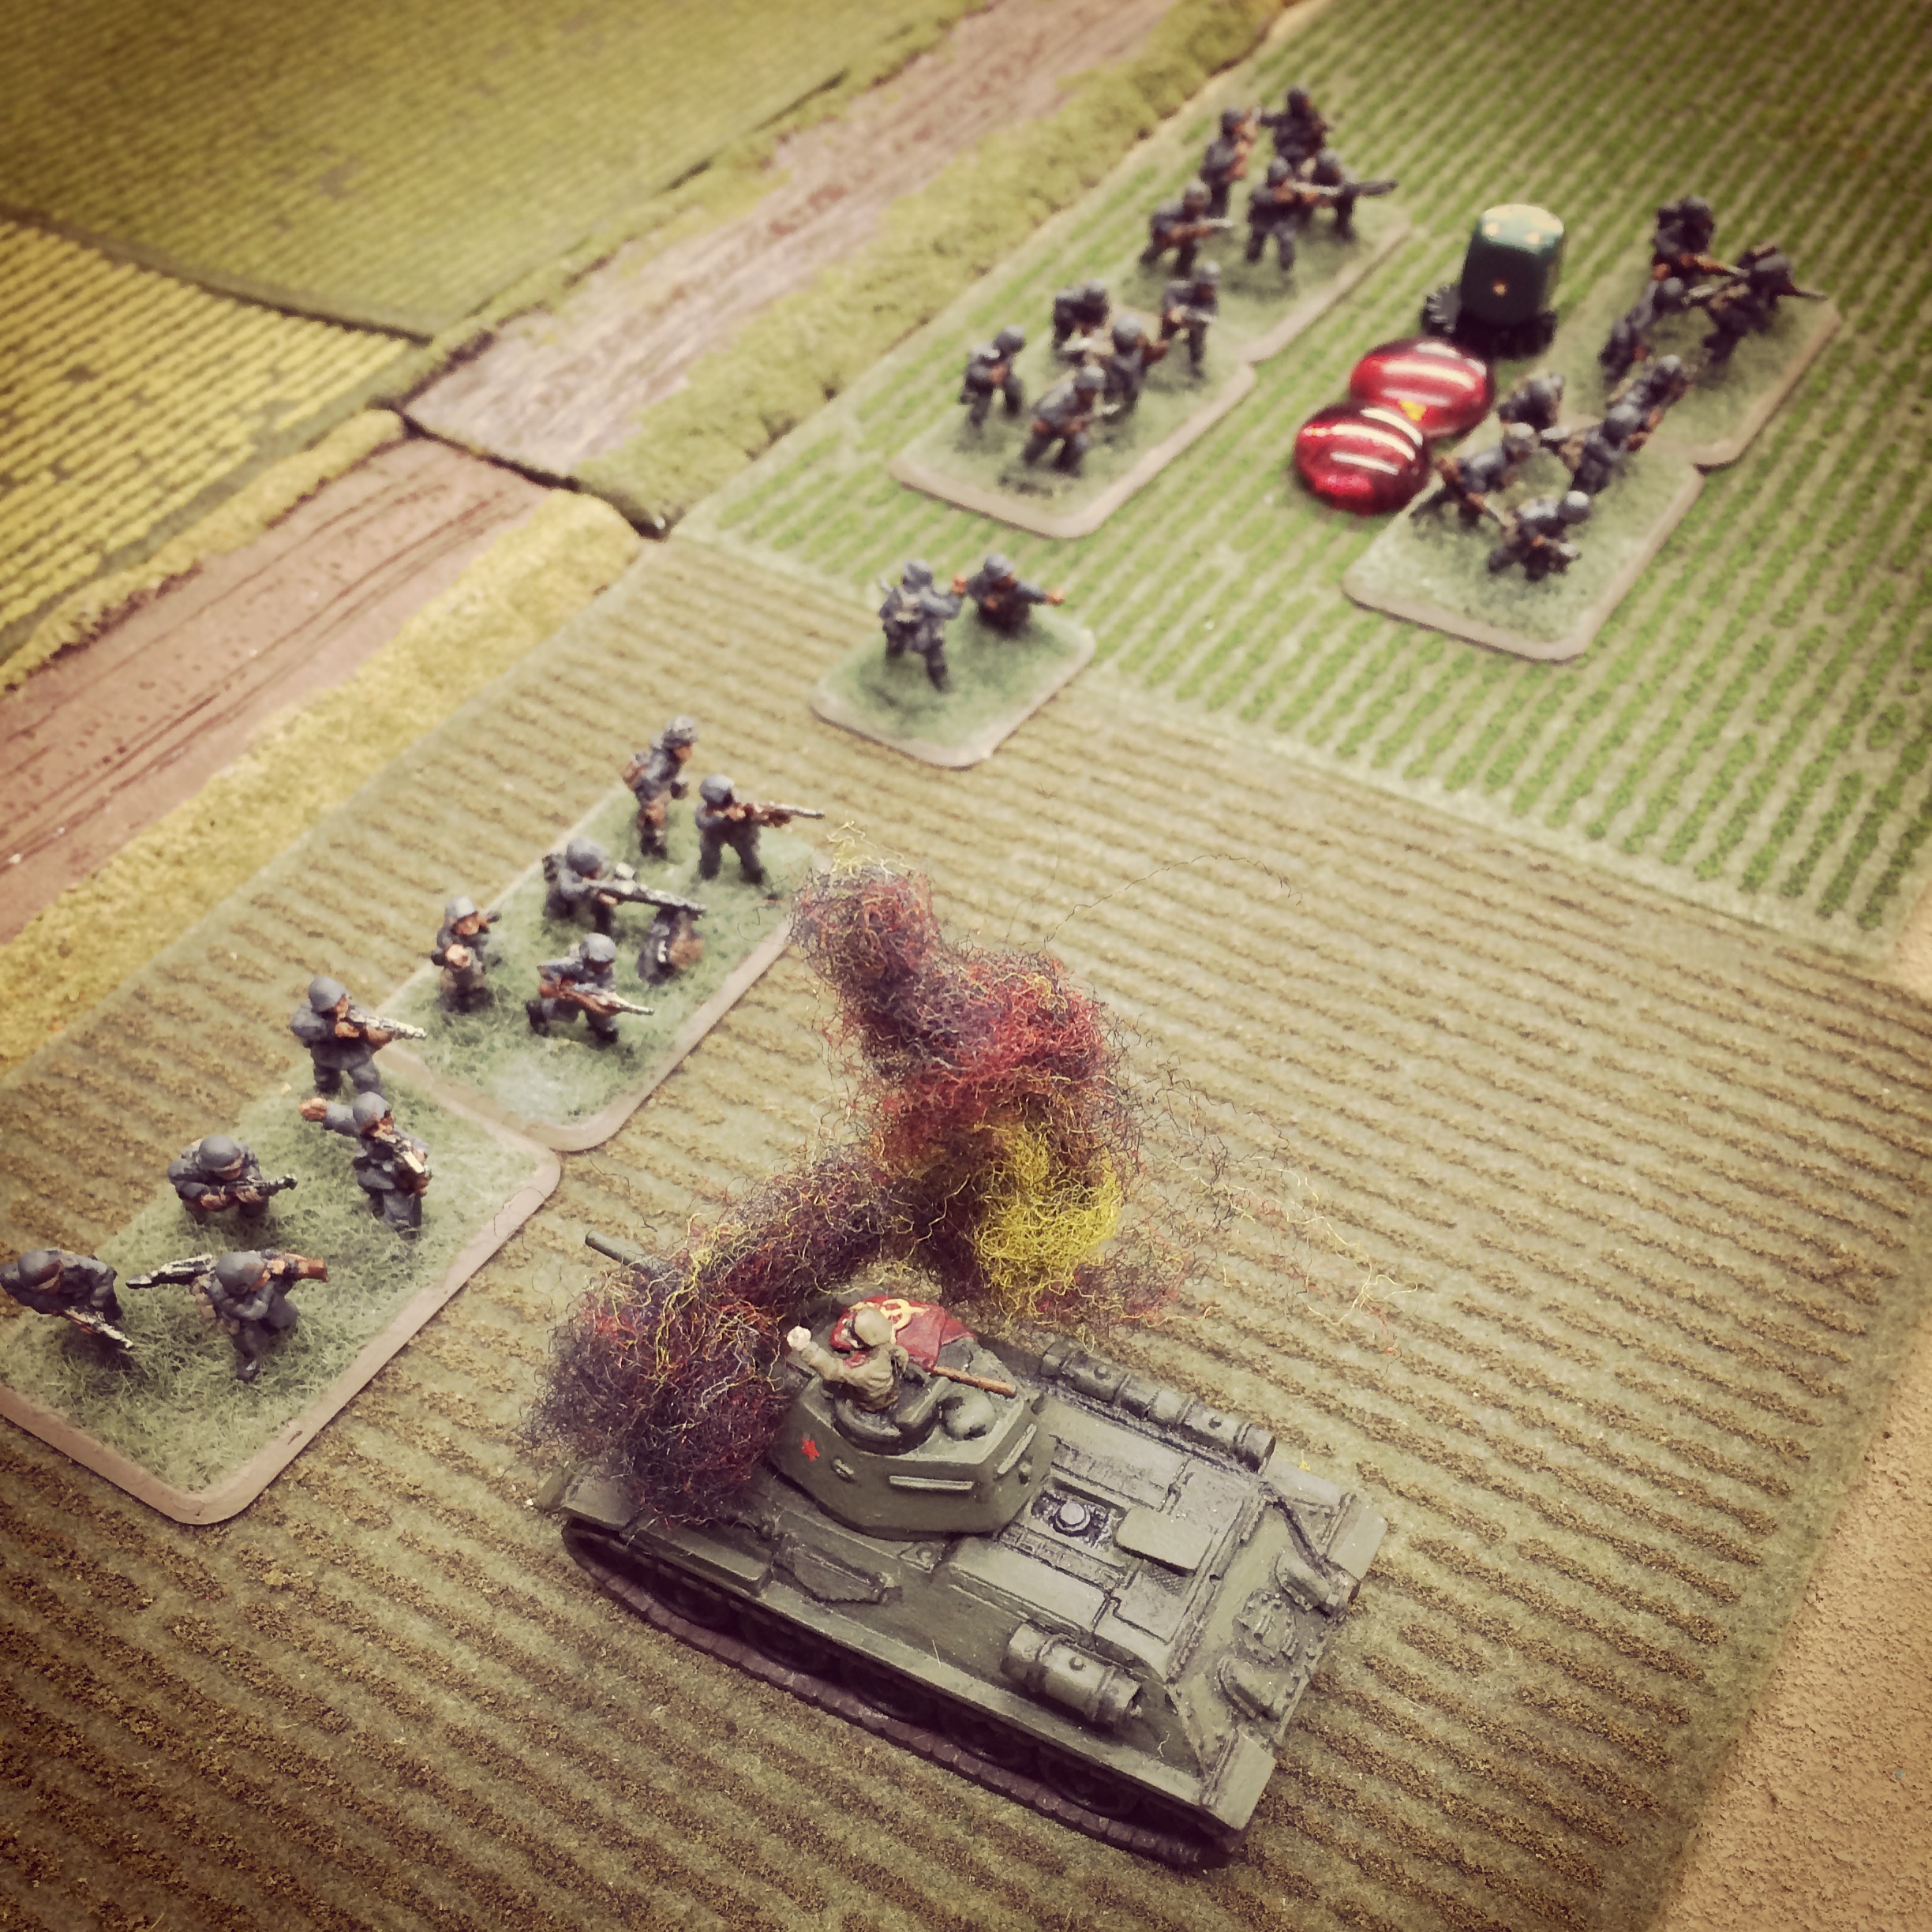
Another short but sweet battle report from the Stipsicz Hussars: this time an early war encounter between the Ardennes Chasseurs supported by French tanks and a German invasion force.
As always, forgive my poor translation...click here or on the picture, below, to see the report.

Another great 6mm AAR from Mark Luther: an encounter on the Eastern Front in 1944: see the Panthers run amok...at least for a time!
Reading some of the posts that people have written about the AARs on this website, I would just like to emphasise that they, and the painting challenge, are meant to inspire.
Yes, some of them are full of amazingly painted figures placed amongst amazingly beautiful terrain, but others (many of mine, for example) feature averagely painted figures amongst workmanlike terrain. Who can forget the fact that I used to use green ring binders as hedges!
So don't be put off by what you see here: be inspired!
Here's Mark Luther's latest piece of inspiration. Click here or on the first picture below to see the whole AAR...and if you scroll down a bit further: yes, it's a reminder about those green ring binders from me!

Bit further...
Bit further...

1940's action amongst the ring binders!
Another IABSM battle report, but up a scale this time.
Here is a 15mm Eastern Front game that comes from Brooklyn Wargaming's website, which is in itself a good place to visit.
Today's action is from the early part of the Battle of Kursk: a Soviet tank advance west of the Oktiabrski State Farm. Click here or on the photo below to see more...
No posts for three days? Shocking! Nothing to do with me watching three hours of Game of Thrones every night for the last three days: no sirreee, nothing to do with that!
Well, anyway, what can I say...except here's another blast-from-the-past 6mm IABSM battle report from Mark Luther.
It's Italy, 1944: can the Allies build the bridge they need...click here or on the picture below to find out.

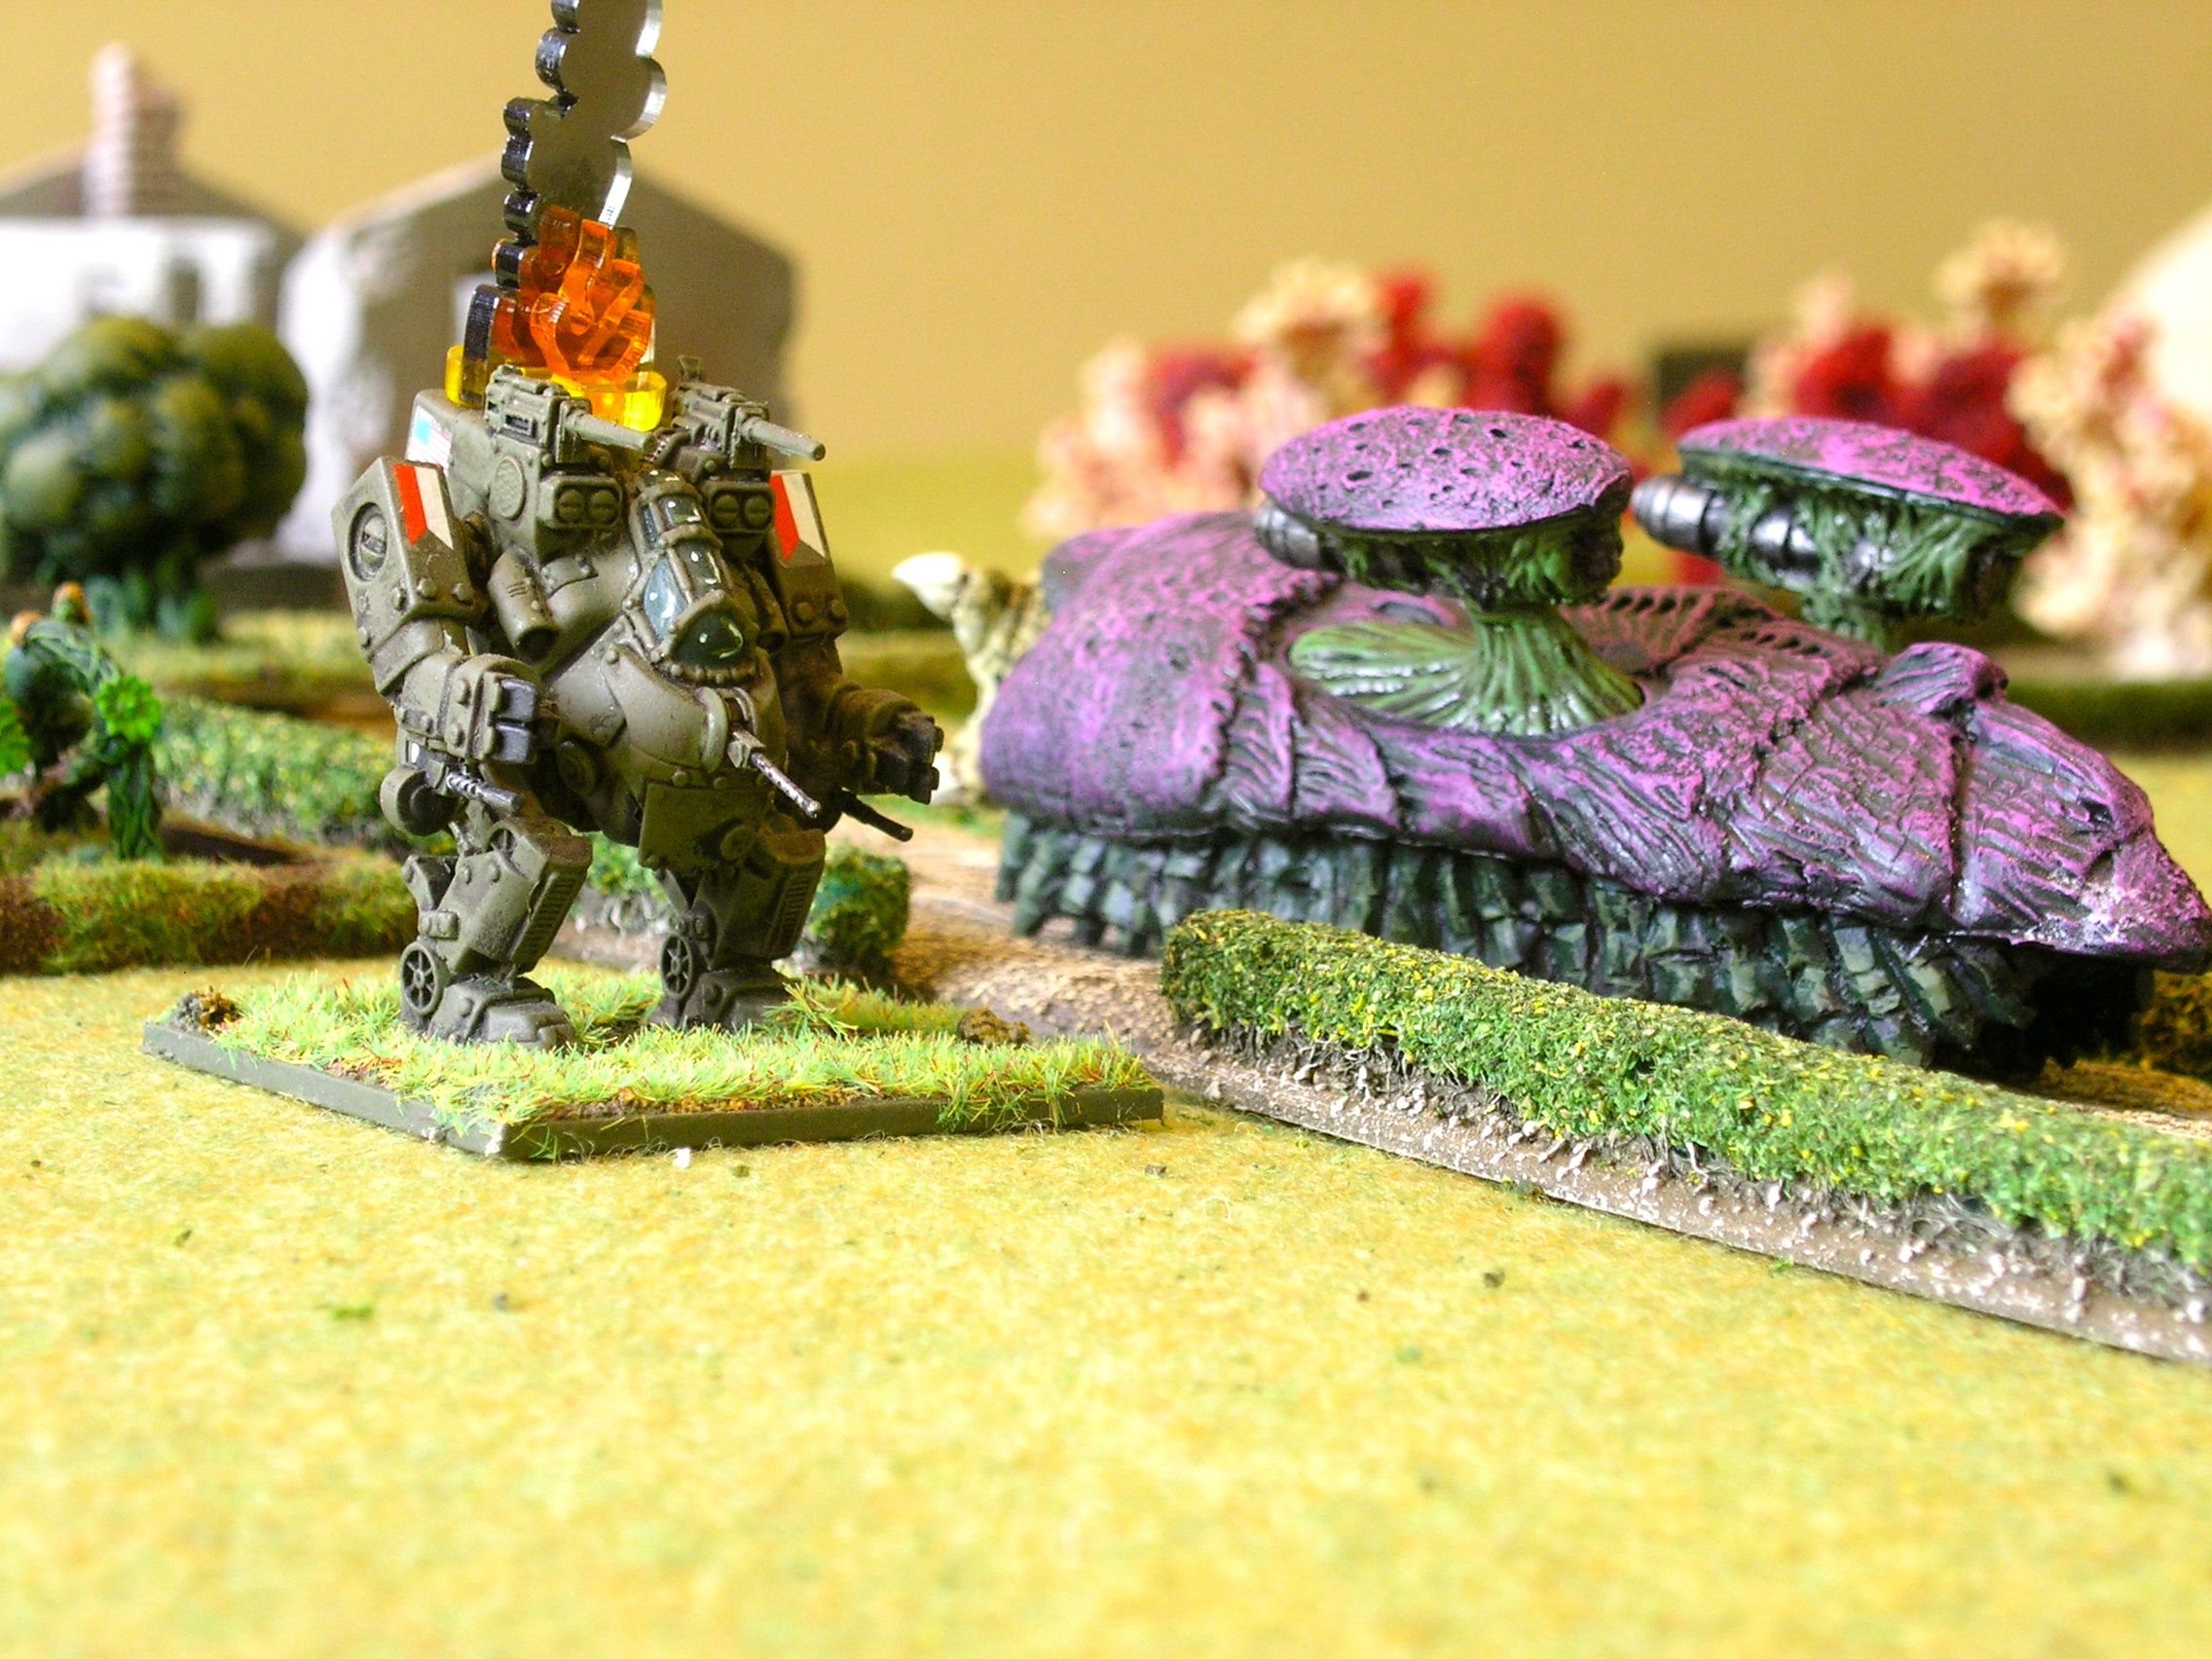
Great game of Q13 on Saturday night against long-time opponent Neil.
We used a variation of the 'Down on the Farm' scenario from the Five Planets campaign pack: moving the action from the planet Three to Earth as part of a series of Invasion Earth games that we are fighting.
Click here or on the picture below to see the full report.
Another epic game of IABSM in 6mm from Mark Luther: this time a continuation of the battle I posted last week.
Click here or on the picture below to see more.
Another of Mark Luther's amazing 6mm games of IABSM: this time with action on the Eastern Front as panzers try to battle their way through to a vital road junction. Who will win the fight amongst the sunflowers?
Click here or on the picture below to find out.
Apologies for the few days without a post: been a bit busy in the real world!
Anyhow, to return with a bang, here's another IABSM battle report from Brooklyn Wargaming, with a game taken from the Where the hell have you been, boys? D-Day scenario pack: cracking stuff!
Click here or on the picture, below to see the full report.

The second of three AARs from the Stipcisz Hussars in Belgium. It's only a teeny-tiny one, but included for completeness!
Click on the pic to see more.
Trawling through the Internet, I came across the website of the Stipsicz Hussars, a group of war gamers from the Nederlands with a few TFL AARs in their records.
Here's the first of them: a snippet of action in the Western Desert. Click here or on the photo below to see the full report, and here to go the the Hussars' website itself.
Vis Lardica is a website devoted to wargaming and military history, with a special emphasis on the company-sized rulesets produced by the TooFatLardies: I Ain't Been Shot Mum (WW2); Charlie Don't Surf (Vietnam); and Quadrant 13 (science fiction)

Welcome to Vis Lardica, a not-for-profit website mostly dedicated to the company-sized wargaming rules produced by the TooFatLardies, but encompassing my other gaming interests as well.


If you need to contact me, you can do so at:
vislardica@gmail.com
If you have enjoyed visiting this site, please add a link to it on your own wargaming blog: www.vislardica.com.