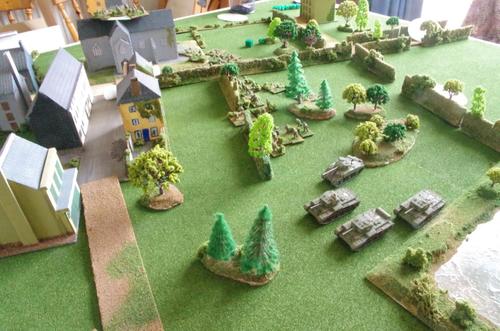
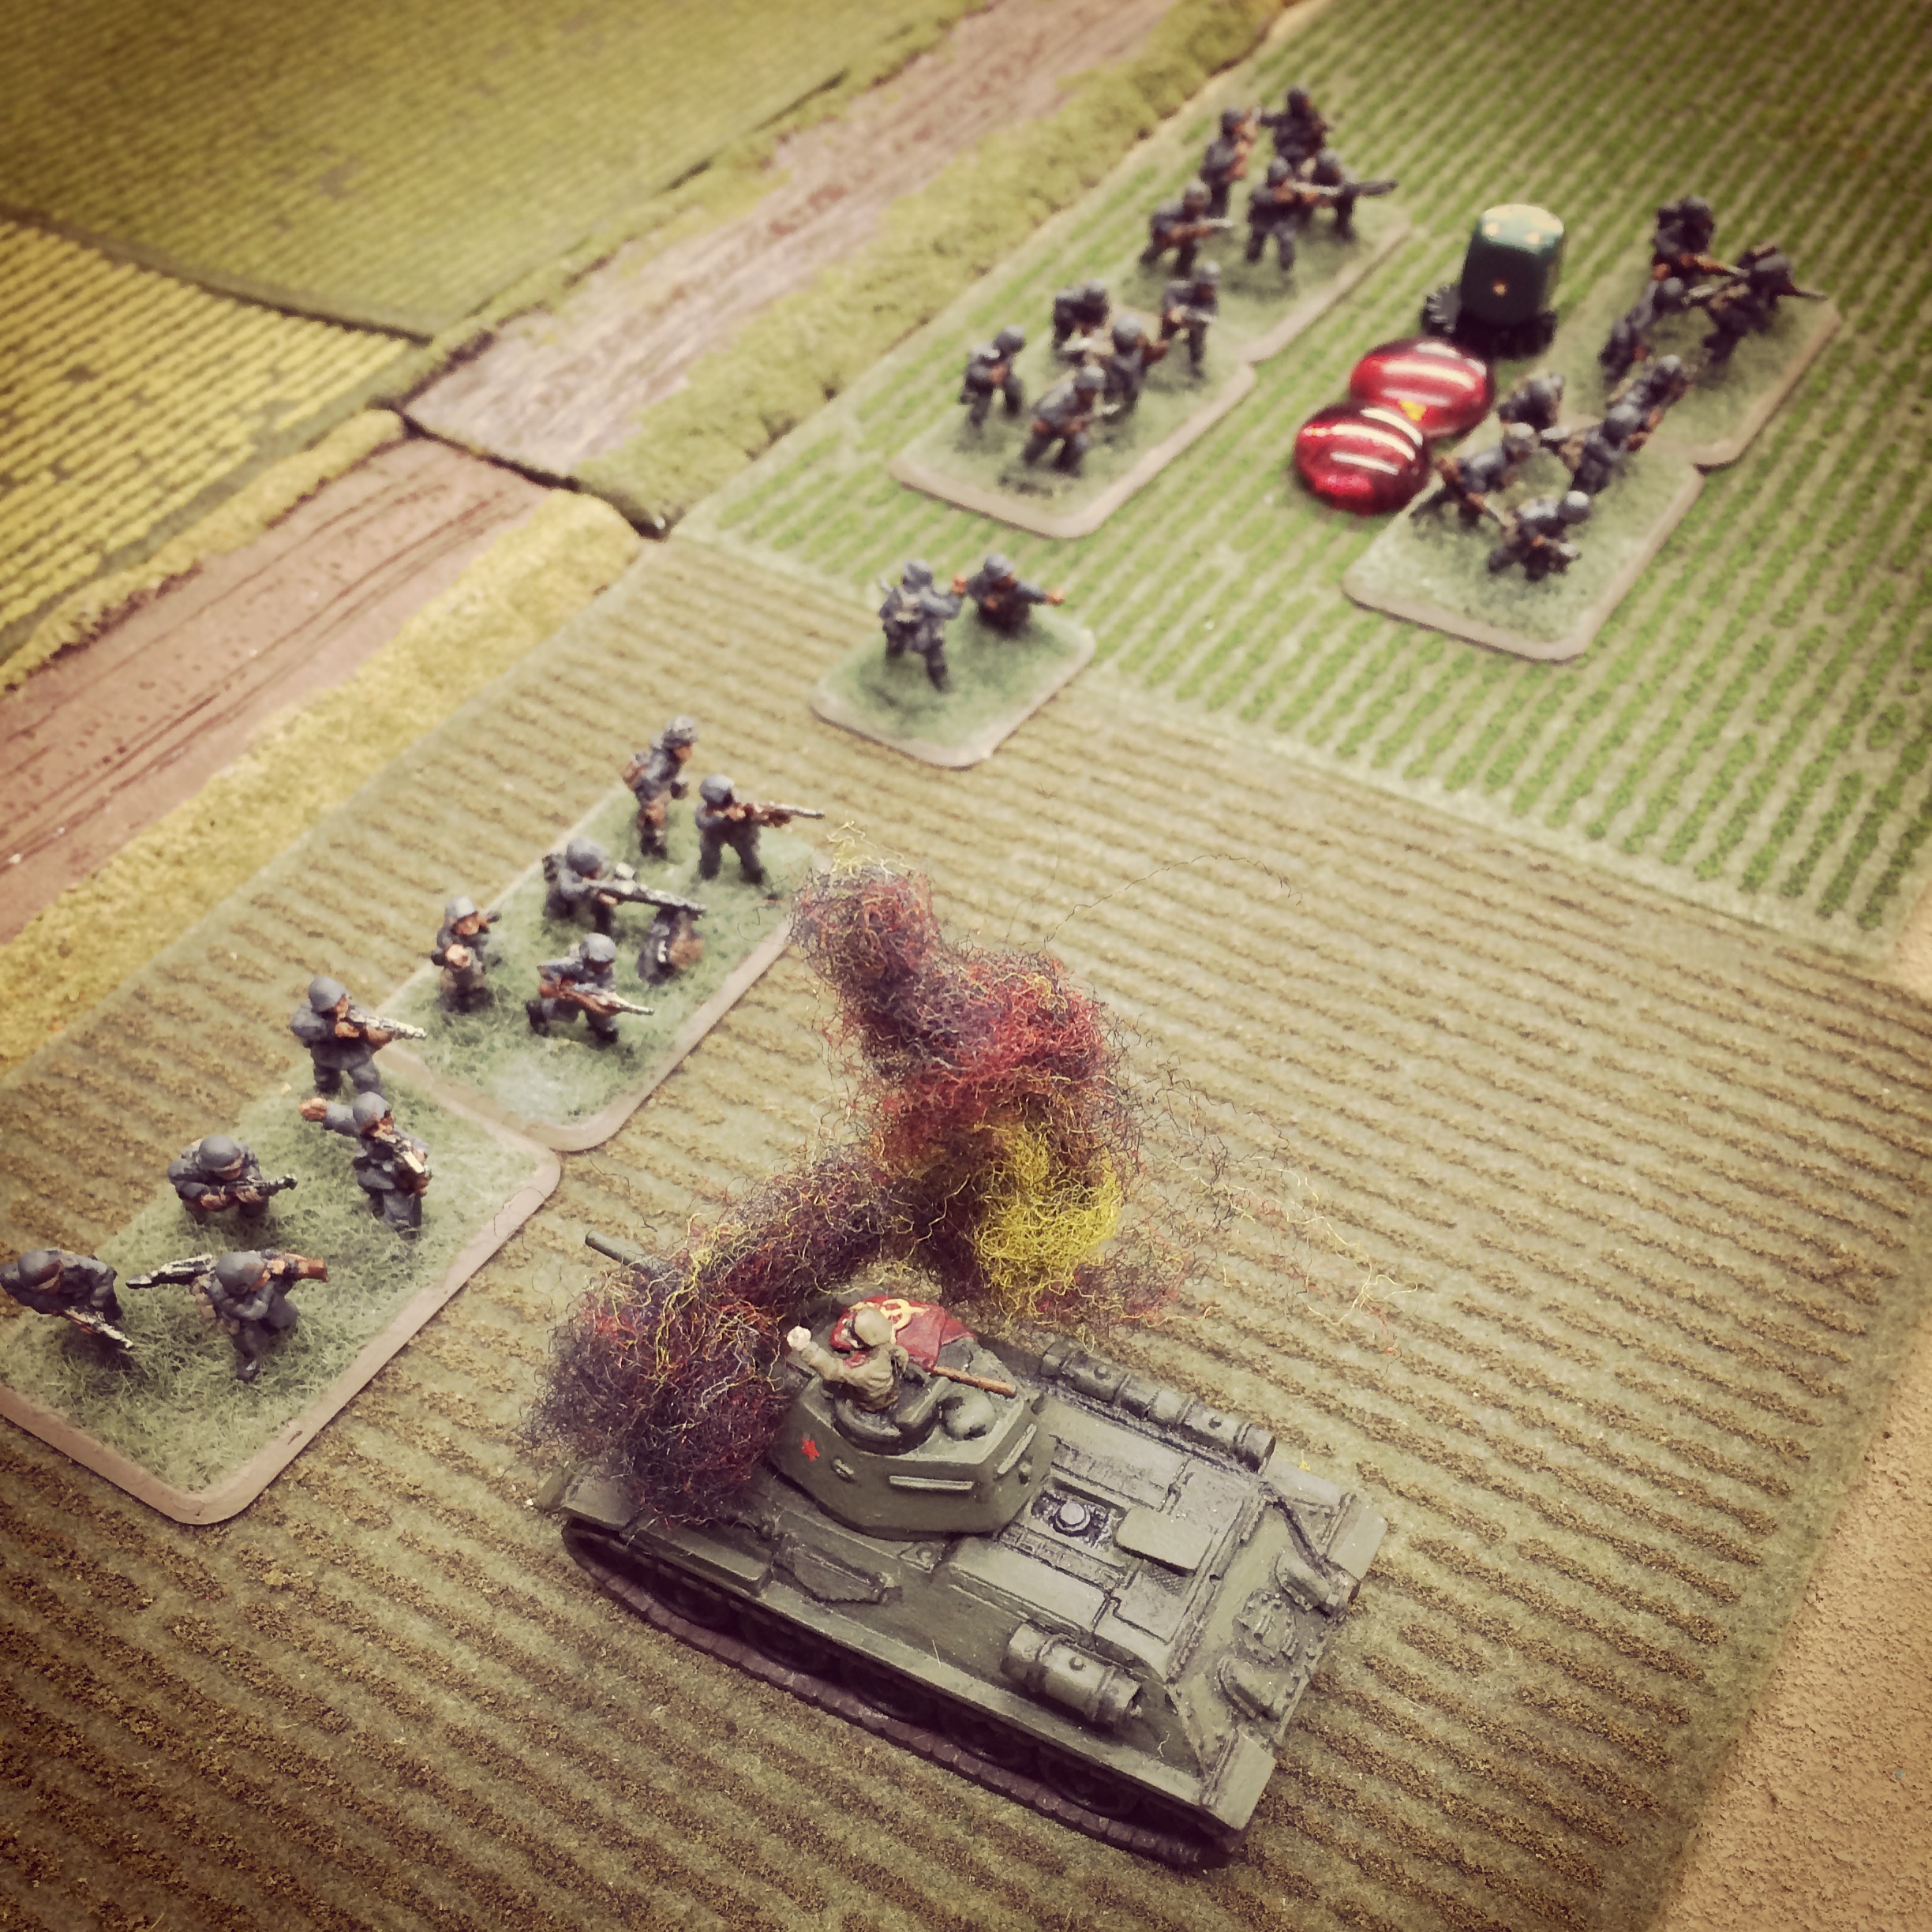
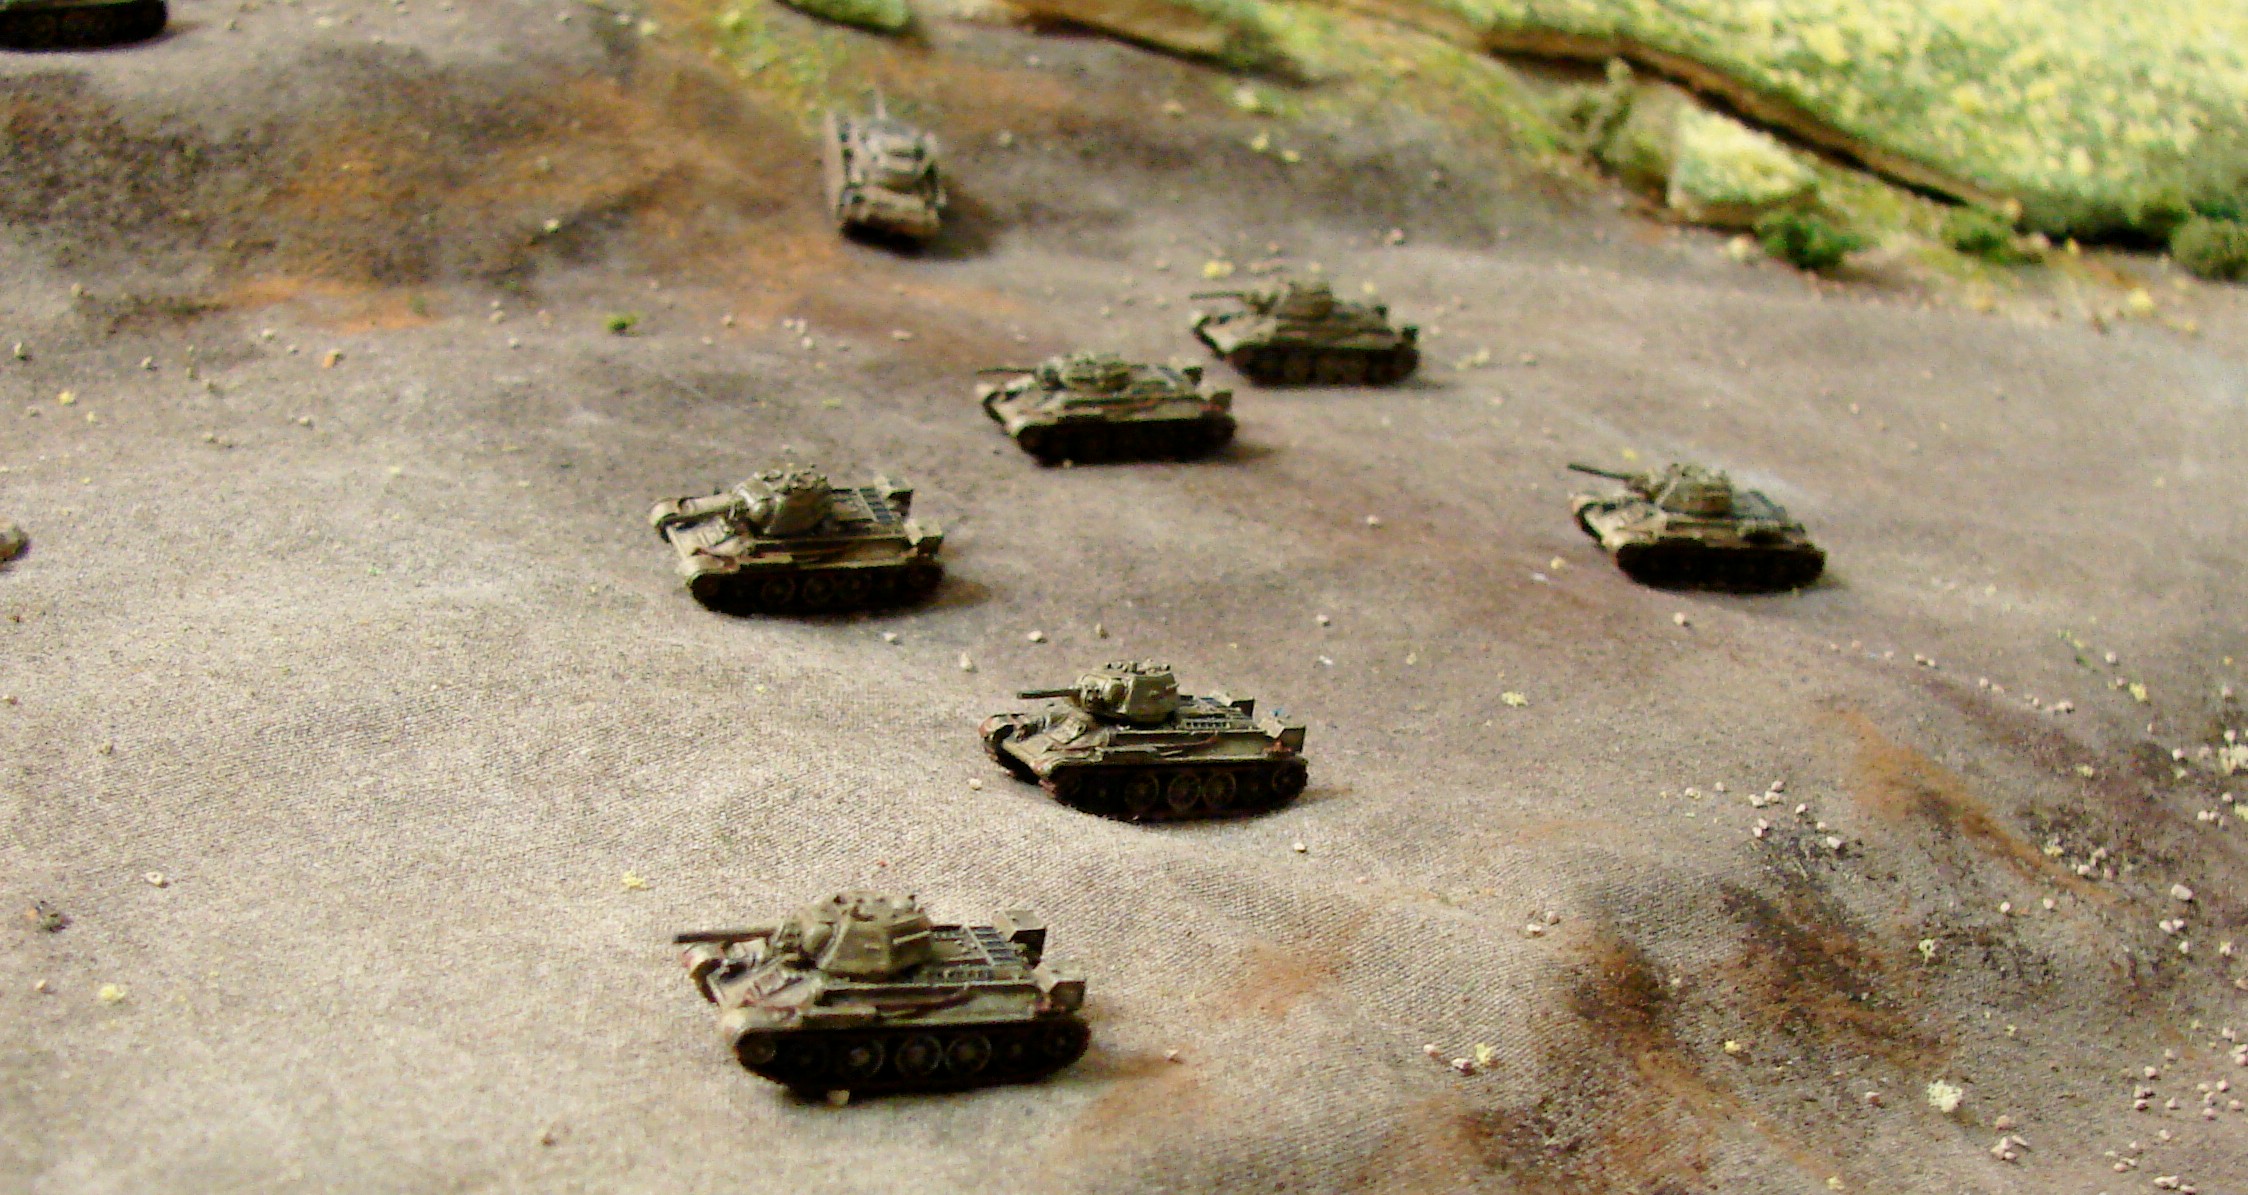
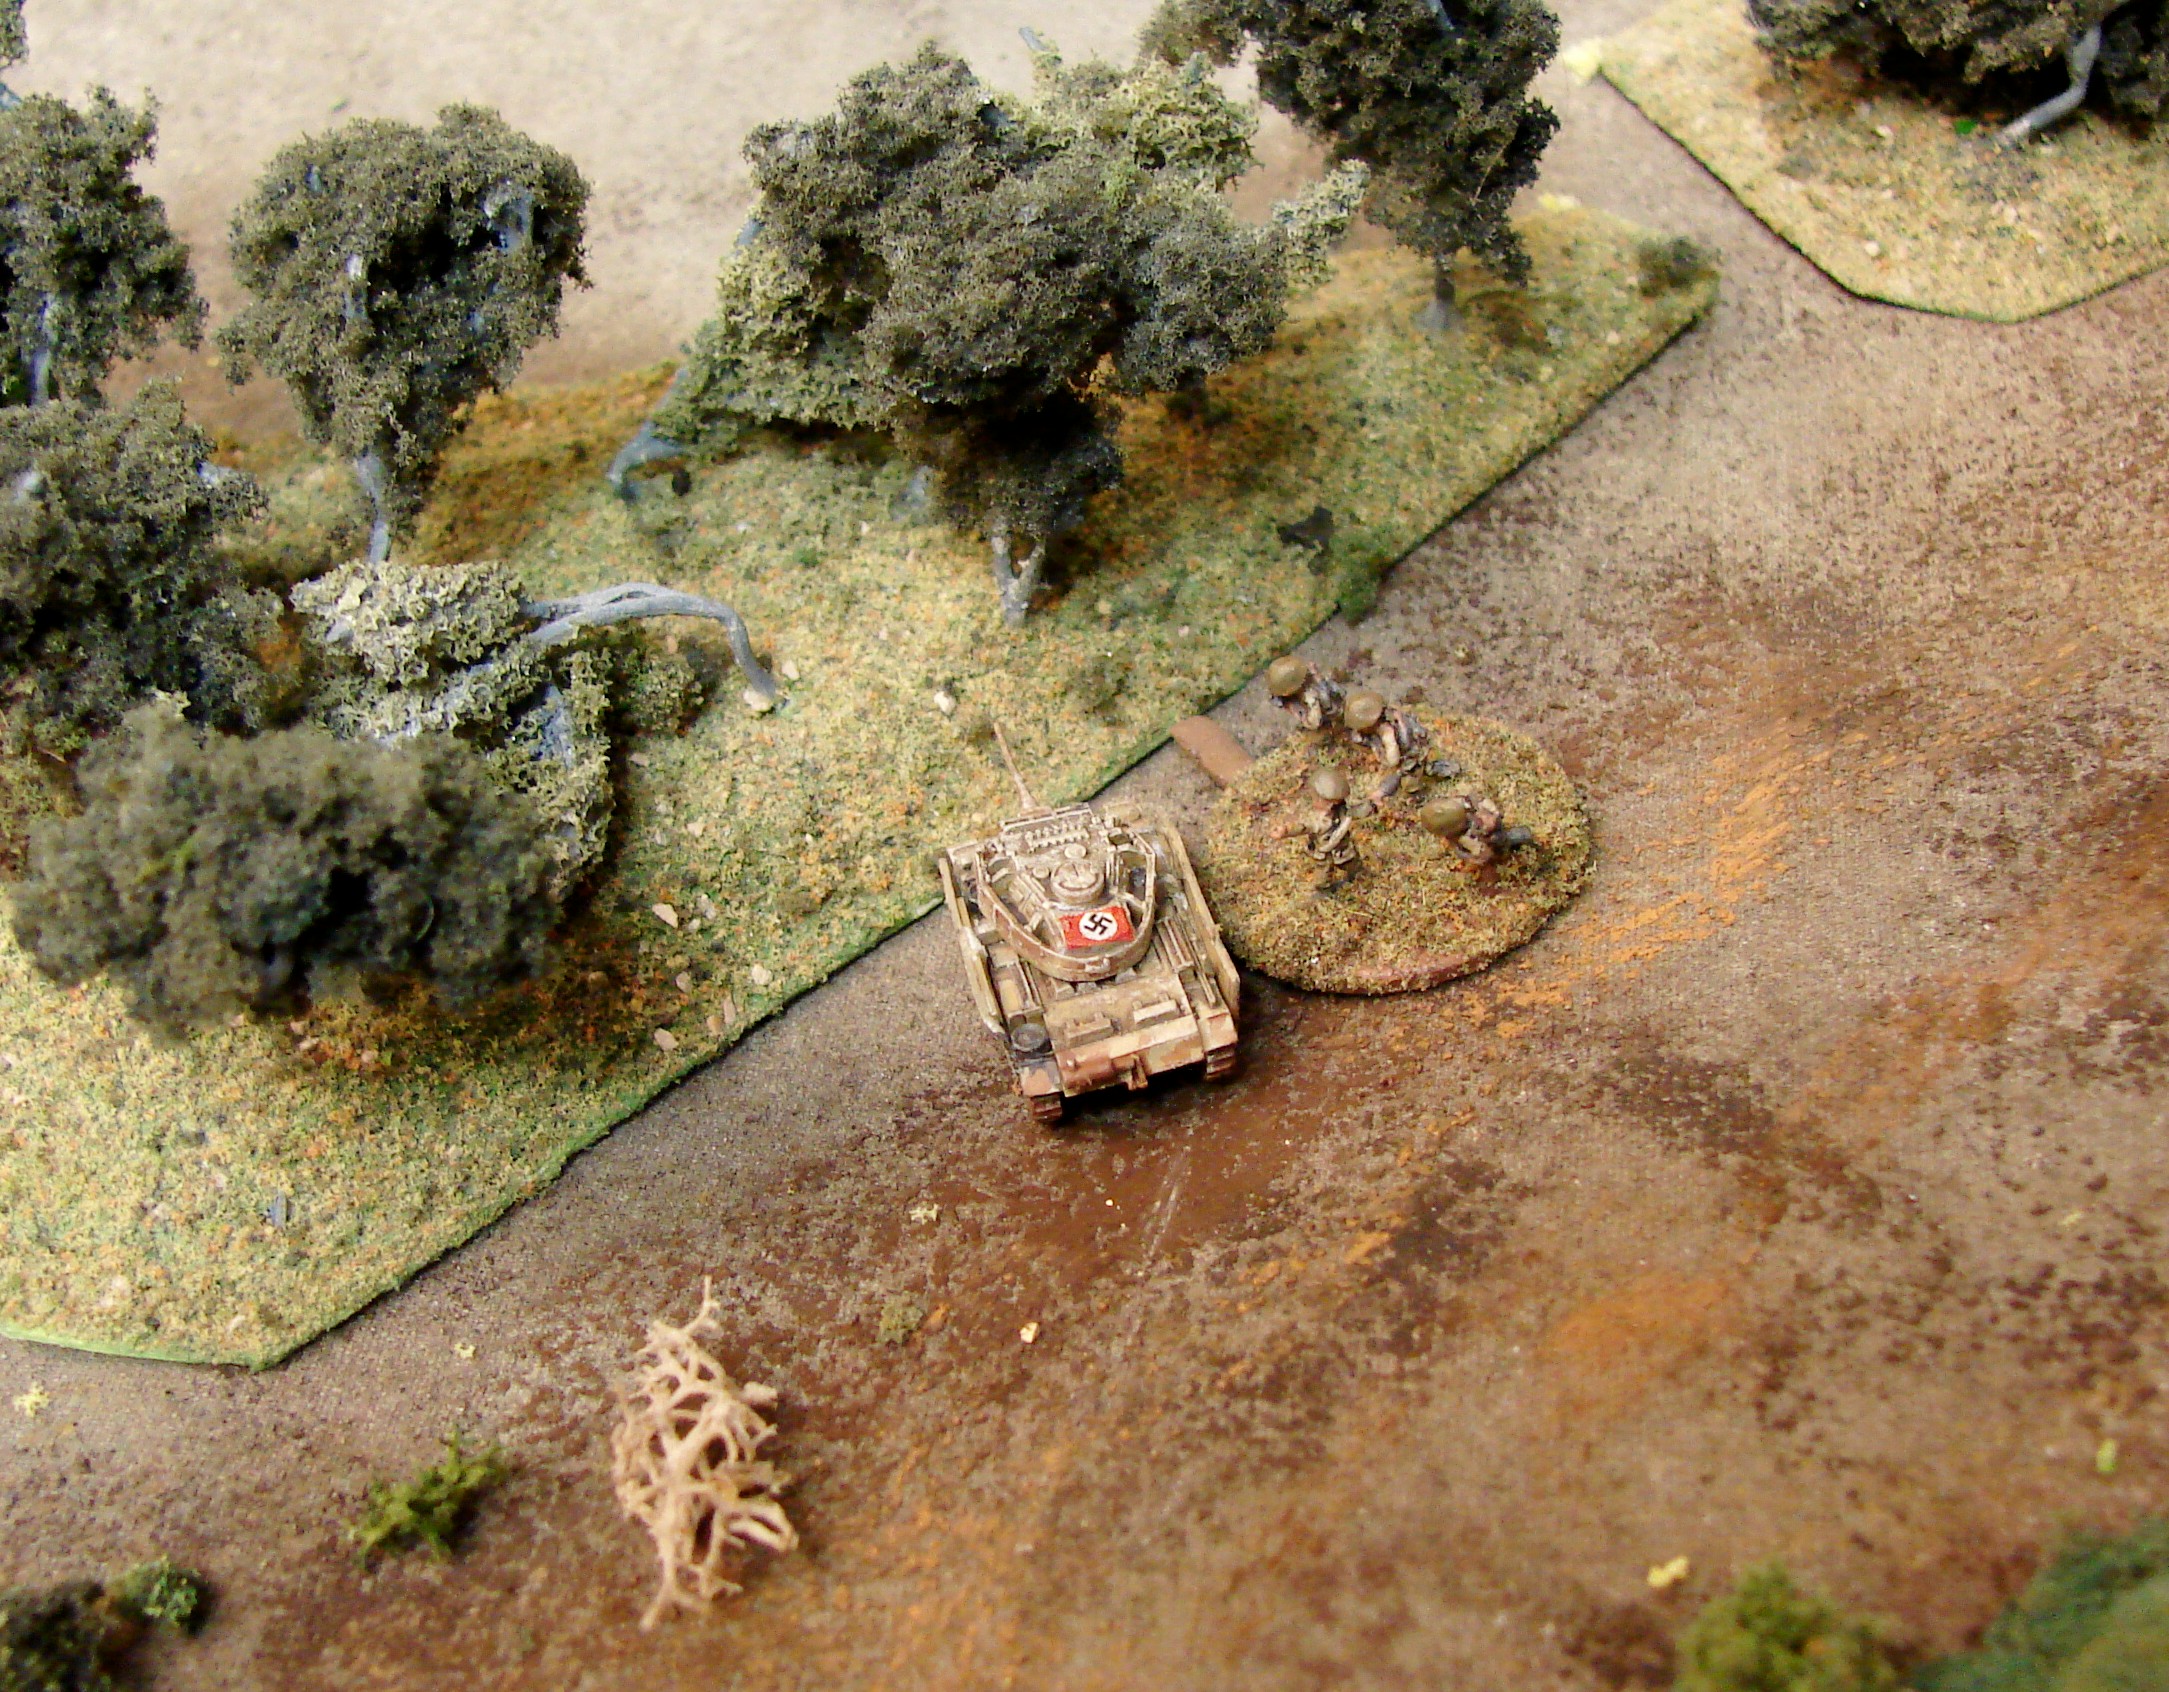
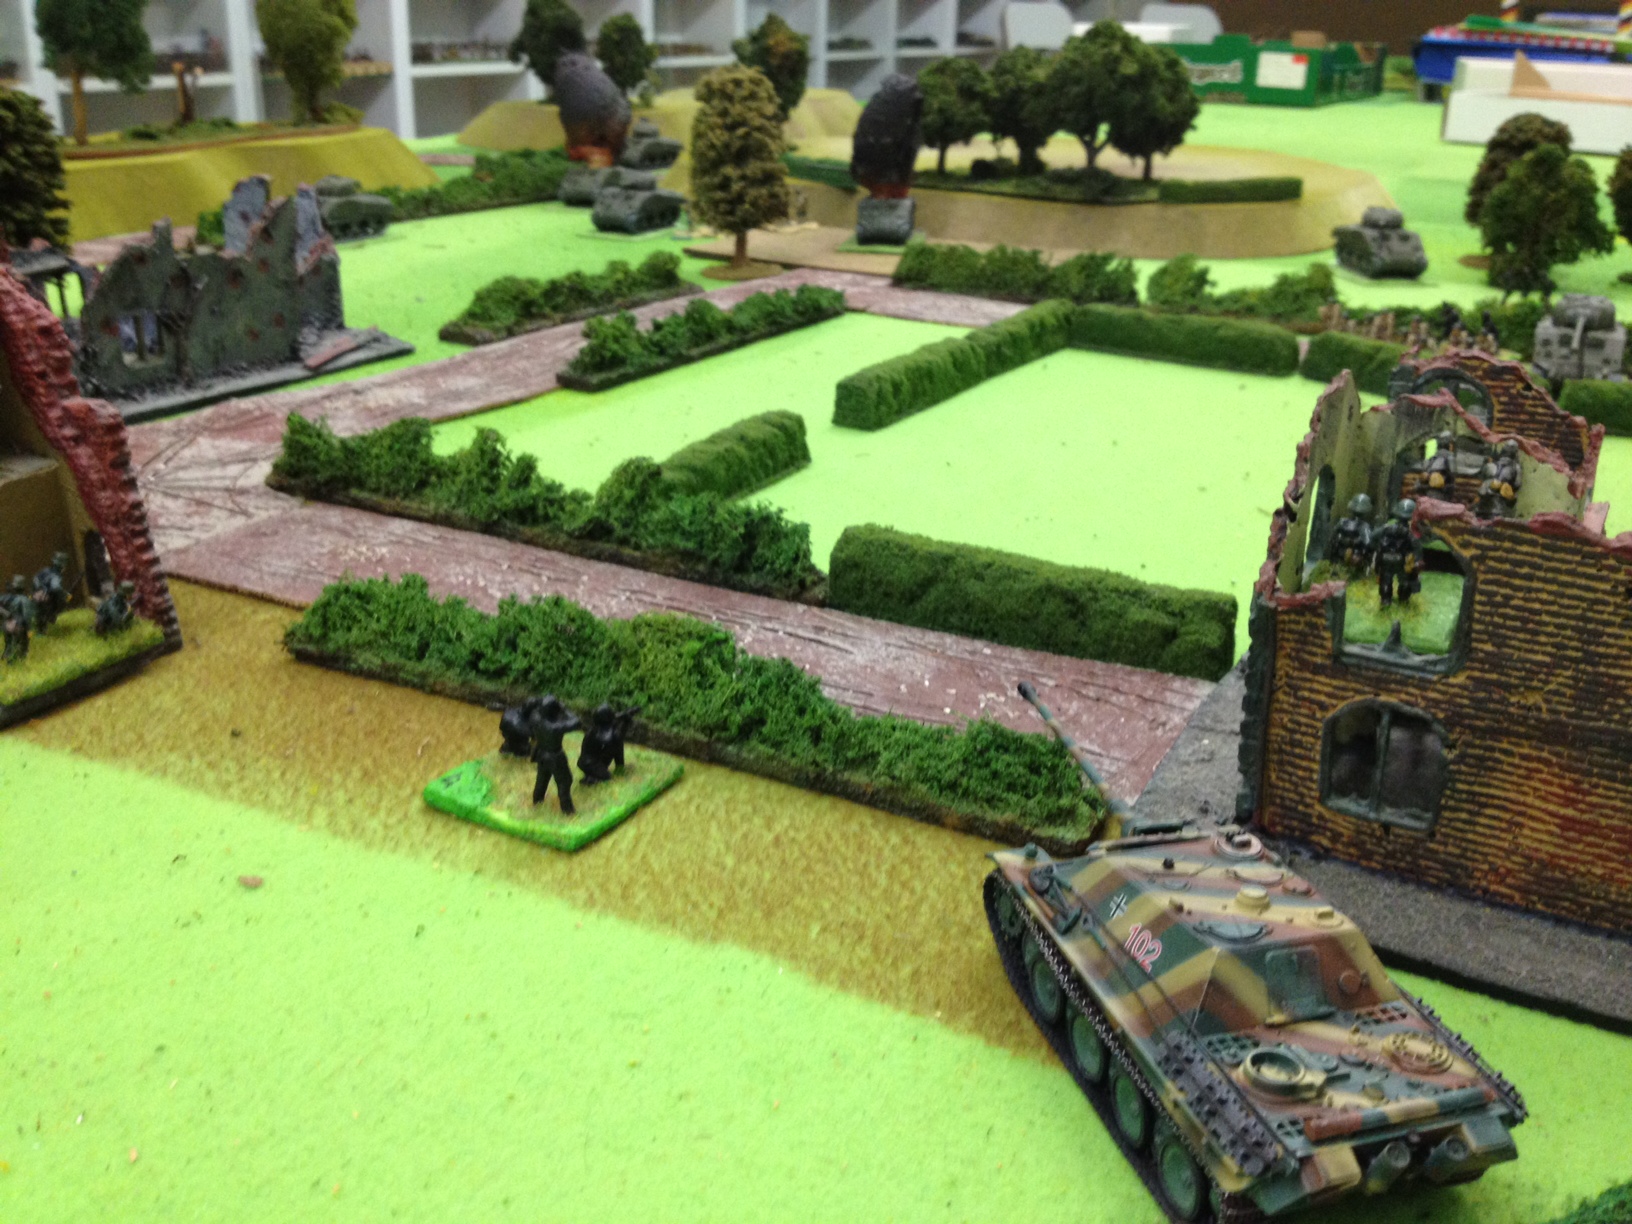
IABSM AAR: West of Caen
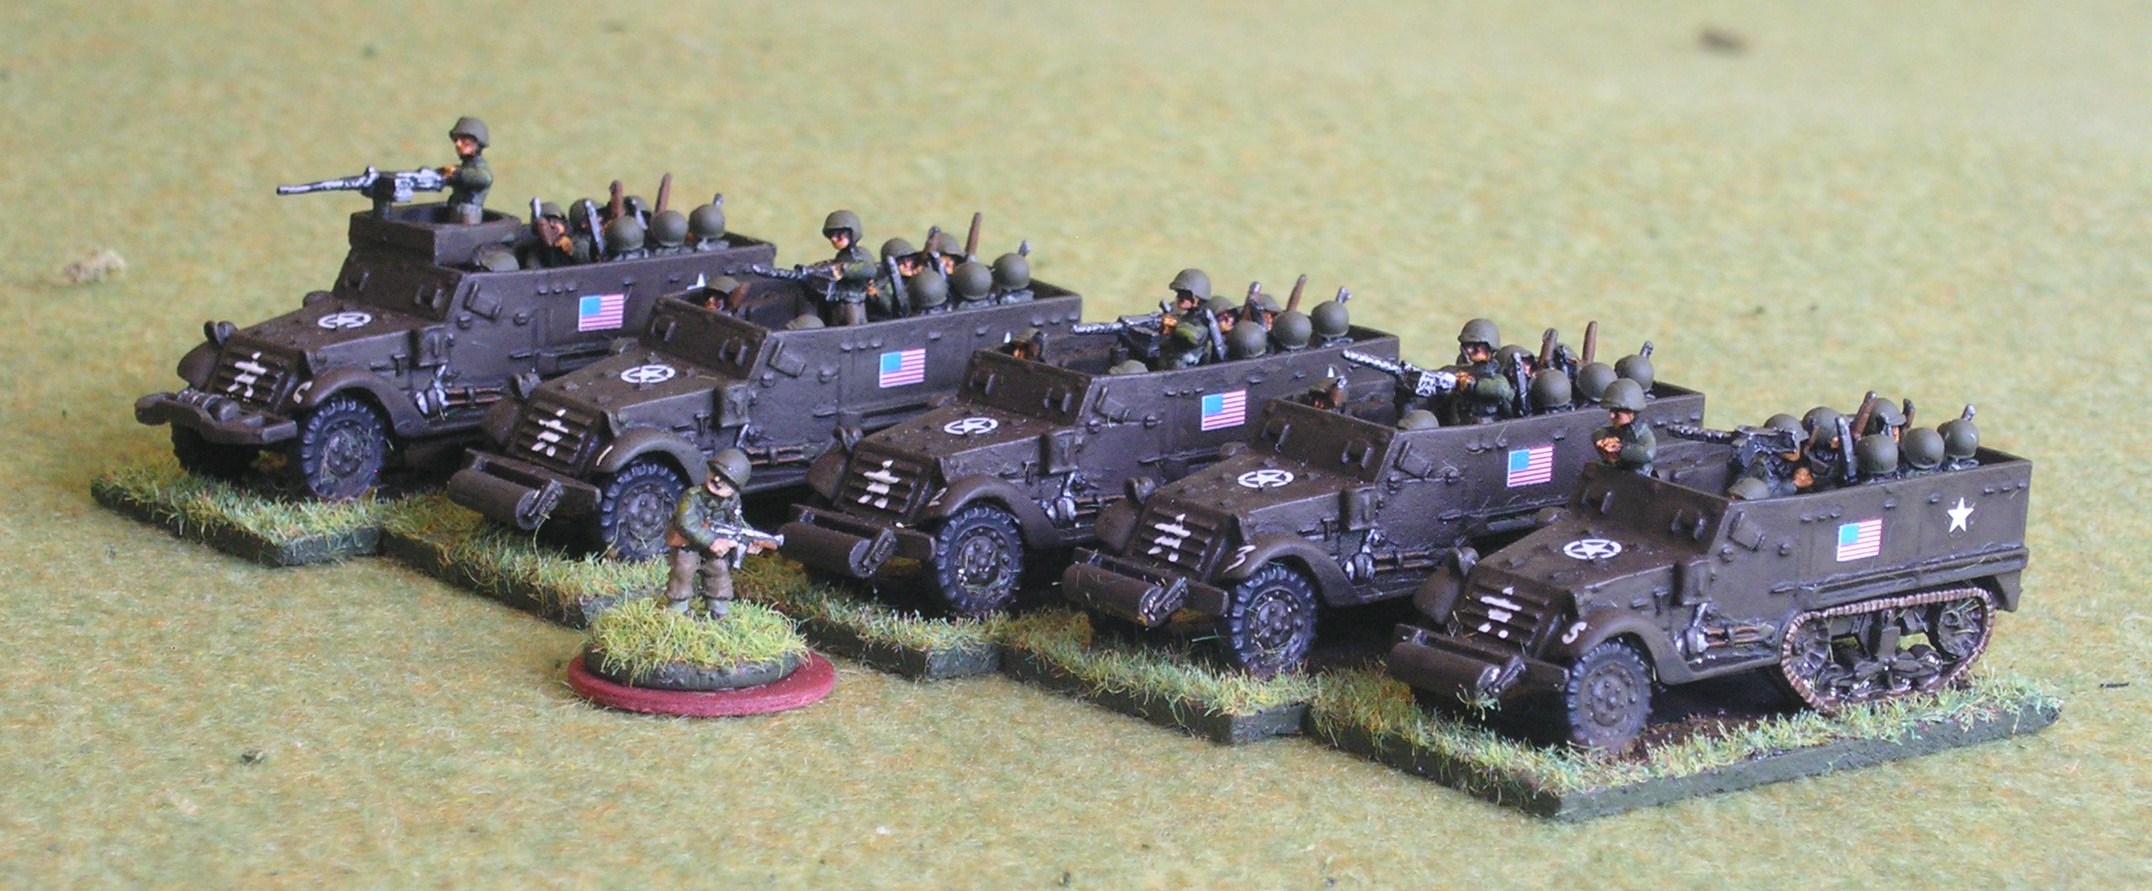
Carole is a regular contributor to the painting challenge, most recently amassing huge numbers of points with her latest late war figures. See her gallery here

Now we get a chance to see some of her collection in action with her first AAR for the Vis Lardica site.

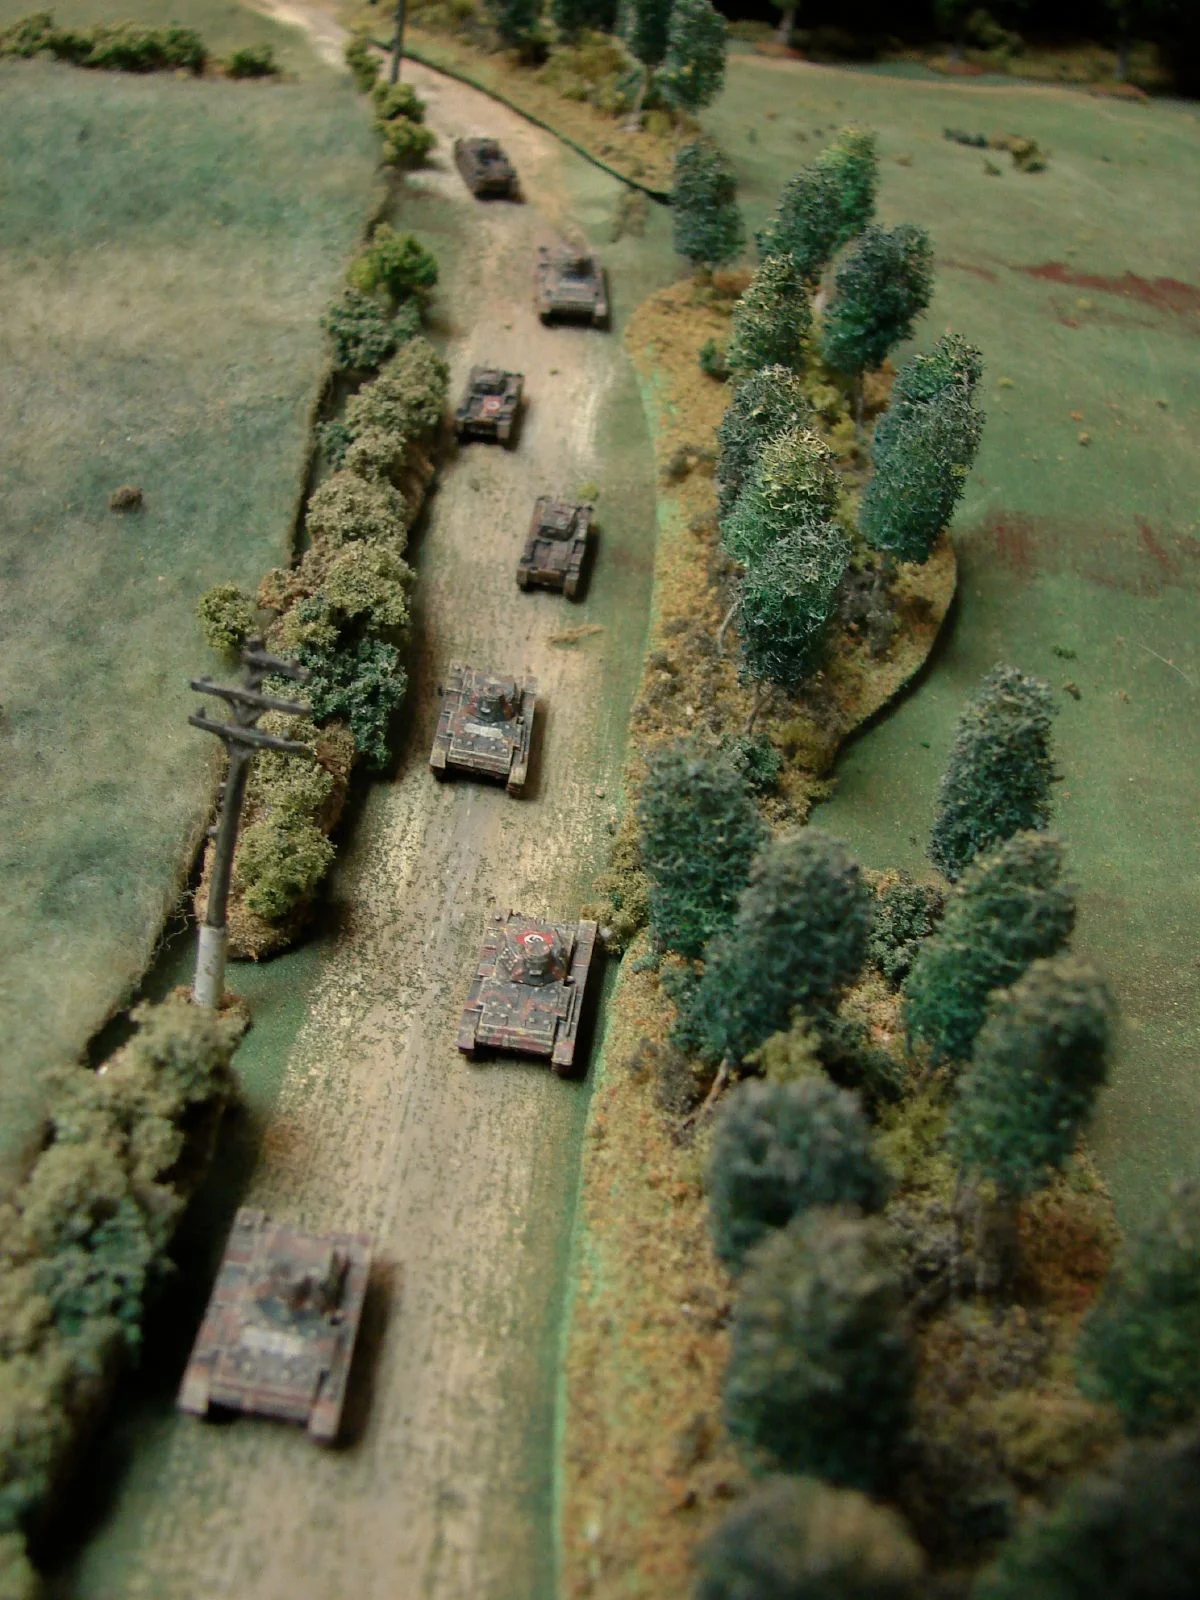
It's 1944 and somewhere west of Caen. he British need to clear a village, the Germans need to hold it. Find out what happens by clicking either here or on the picture below.

IABSM AAR: Bashnya or Bust! #4E: Holm (Again)

As per my post, below, I ran the morning game of IABSM at the recent Market Larden event.

I couldn't, however, do the afternoon game, as I was down to play Fighting Season: the new ultramodern variant for Chain of Command.

Step forward Geoff Bond, who kindly agreed to step into the breech and run the afternoon IABSM session using my figures and scenario. This was especially brave of Geoff as, by his own admission, he was a bit rusty re the rules, only having played once this year. Lucky the scenario was a small one, eh? 

Click here, or on the photo below, to see a quick report on the action.

PS  Probably best to draw a veil over my performance playing the British in Fighting Season...but the Taliban really shouldn't have shot my medic!

Apparently, when told that I had off-table support in the form of a 50mm sniper; a 50mm HMG and Javelin missiles, I said: "Haven't you got anything bigger?".

As Rich said afterwards: "Two dead, including a female medic; one platoon scarred for life; an ordnance bill topping half a million quid...all in exchange for sixteen dead Taliban and about fifty civilian casualties. I'm not sure Robert made a smooth transition from playing eastern front WW2 to modern day peace keeping in Afghanistan!"

IABSM AAR: Bashnya or Bust! #4E: Holm

June 2015 saw the annual Market Larden event in Evesham. Around fifty Lardies travelled deep into the heart of tractor country to play a variety of TooFatLardies' games. I was originally due to attend just as a player but, when one GM dropped out, stepped in to run the morning game of I Ain't Been Shot, Mum!

As I didn't have time to prepare something new, I delved into my library of scenario packs and decided to play one of the games from the Bashnya or Bust! book i.e. late war, eastern front.

Click here or on the picture below to see the battle report from the game. My thanks to Ralph, Noddy and Jamie for being excellent players, and to Ade for organising the day.

IABSM AAR: The Korsun Pocket

Another great 6mm AAR from Mark Luther: an encounter on the Eastern Front in 1944: see the Panthers run amok...at least for a time!

Reading some of the posts that people have written about the AARs on this website, I would just like to emphasise that they, and the painting challenge, are meant to inspire.

Yes, some of them are full of amazingly painted figures placed amongst amazingly beautiful terrain, but others (many of mine, for example) feature averagely painted figures amongst workmanlike terrain. Who can forget the fact that I used to use green ring binders as hedges!

So don't be put off by what you see here: be inspired!

Here's Mark Luther's latest piece of inspiration. Click here or on the first picture below to see the whole AAR...and if you scroll down a bit further: yes, it's a reminder about those green ring binders from me!

Bit further...

Bit further...

1940's action amongst the ring binders!

1940's action amongst the ring binders!


IABSM AAR: The Coriano Ridge

No posts for three days? Shocking! Nothing to do with me watching three hours of Game of Thrones every night for the last three days: no sirreee, nothing to do with that!

Well, anyway, what can I say...except here's another blast-from-the-past 6mm IABSM battle report from Mark Luther.

It's Italy, 1944: can the Allies build the bridge they need...click here or on the picture below to find out.

IABSM Army Gallery: US Armored Rifle Company

What should I have been doing this afternoon? Well either painting some more US Airborne figures, or some of the six alien races for Q13 I have on the go at the moment, or uploading more 19thC battle reports to this site so that I can get that section finished and move on.

What have I actually been doing? 

I've actually spent a very pleasant afternoon re-organising all my US forces for IABSM, amending the photo galleries of the Rifle and Tank Companies to bring them properly up to date, and finally getting around to constructing the gallery for the Armoured Rifle Company. Seems like I need an awful lot of half-tracks of the M2 and M3 variety, along with a handful of 1.5 ton trucks!

Five down, an awful lot to go!

Five down, an awful lot to go!

But seriously, I do think that properly cataloging your troops is an important part of our hobby...a part that's sometimes sadly neglected. I have a master spreadsheet of all my figures (all 15,000 of them) by period and unit, which also notes how many times each unit has been on the tabletop. Dividing one figure by the other then gives you a master efficiency quotient, so that I can see which of my armies are the most cost-efficient!

Then I have OB workbooks, where I list each force I've built by order of battle. This is really useful when playing pick-up games, as I can just print out a force's OB, then add or subtract units as required. The galleries on this website are a reflection of these spreadsheets: so far they're complete for my WW2, Vietnam and sci-fi armies, but I haven't even started on my 19th century, ancients or fantasy collections yet!

Thousands of them? Let me just have a look at my spreadsheets and I'll tell you exactly how many there are!

Finally, and perhaps most importantly, I keep a workbook with how I painted each army in it. Very useful when adding extra units to an already existing force.

Nerd?

Maybe so, but then to me the spreadsheets are all part of the fun!

US Paras from Forged in Battle

As some of you may know, I have started putting together a company of US Paras, plus supports, in 15mm.

The MMG Platoon proved a successful test paint, so I decided to bite the bullet and get on with the first of the big paints, the first platoon.

Being a bit sick of painting Battlefront figures, and wanting to spread my cash between manufacturers, I decided to get my first Airborne platoon from Forged in Battle. I like their vehicles, their infantry is metal, and some of the poses I'd seen in various images looked very good.

Well that platoon is now finished, and very pleased I am too. The poses proved excellent, the castings were almost totally flash free, and there wasn't a dud figure in the pack (Battlefront take note!). Here they are:

As you can see, they have taken the paint very well indeed.

For those interested, my painting method was as follows:

  1. Undercoat (spray) in white
  2. Two (2) coats of GW Agrax Earthshade brown wash to bring up the detail (so that I could see it) and provide creases. When painting, try to leave as many creases in place as possible i.e. every step is effectively a kind of highlight.
  3. Highlight face and hands with GW Dwarf Flesh
  4. Top highlight face and hands with GW Kislev Flesh
  5. Paint the helmet straps (one set) GW Balor Brown (leather colour)
  6. Base coat the uniform Foundry Drab Shade
  7. Highlight the uniform in Foundry Drab
  8. Top highlight the uniform in Foundry Drab Light
  9. Base coat the helmet in Vallejo Extra Dark Green
  10. Paint the boots GW Mournfang Brown. Brush from back to front as this leaves just the suggestion of wash colour where the laces would be. Didn't work on all of them, but looks like laces on enough of them to be worthwhile.
  11. Highlight the helmet with flecks of  Vallejo US Dark Green.
  12. Base coat any rucksacks in Vallejo US Dark Green.
  13. Base coast the wooden bits of the guns in GW Rhinox Hide
  14. Highlight any rucksacks in GW Loren Green
  15. Paint all webbing and the second helmet strap in Vallejo Green Grey
  16. Highlight any helmet-strapped medipacks in Foundry Moss Light by painting three vertical lines on them
  17. Paint the metal bits of any guns in GW Abaddon Black.
  18. Paint a square of GW Abaddon Black on the left upper arm as the basis of the Screaming Eagle patch
  19. Highlight the wooden bits of the rifles in GW Skrag Brown
  20. Very lightly highlight (barely at all) the metal bits of the guns in GW Leadbelcher
  21. Paint a triangle of GW Ceramite White on the black patch to represent the eagle's head
  22. Paint a dot on GW Sunburst Yellow at the tip of the triangle to represent the eagle's beak
  23. Glue to 5p pieces as bases: I like to mount my figures individually and use squad sized movement trays
  24. Glue coarse sand onto the bases. Undercoat in a thick coast of GW Rhinox Hide. Highlight with GW Balor Brown. Paint the edge in GW Castellan Green. Add GW Glade Grass flock.
  25. Seal with Army Painter anti-shine.

Phew! That's twenty-five steps for each of the 32 men (three squads of ten and two Big Men), but worth it as I'm very pleased with the results. Here's my favourite figure:

Now onto to platoon two, for which I have figures from Battlefront.

US Paras: Light Machine Gun Section

I've taken the plunge and finally decided to get myself a company-plus-supports of US Paras.

I think it was watching Band of Brothers again that did it: it was either the Paras or early war Poles, and somehow seeing Dick Winters and co. charging round Normandy and onto Germany tipped the balance.

It also means I'll be able to play the multitude of available scenarios involving US Airborne forces using the proper figures!

Here are my first efforts: the Light Machine Gun Section: 

The figures are from Forged in Battle: I decided I needed a change from Battlefront and Peter Pig, and so decided to give FiB a go. It's not a conversion though: I've only got the machine gunners, above, and a single platoon of infantry so far. We'll have to see how the first platoon paints up before deciding which manufacturer will have the privilege of providing platoons two and three!

Uniform-wise, they are portrayed in the drab uniforms worn for D-Day. I think this provides a more iconic image than the more green gear worn later on in the war. You'll note that I have painted on the eagle insignia: I did try using those teeny-tiny transfers, but they proved too fiddly to manage, despite Model Dads video tutorial.

Right:  on to the first platoon now...