Type 89 Japanese Tanks

Some of you may know that I am currently writing the I Ain’t Been Shot, Mum theatre handbooks for the Far East, starting with the Japanese armies that invaded the Pacific region: Malaya, Burma, the Philippines, Borneo, the Dutch East Indies etc.

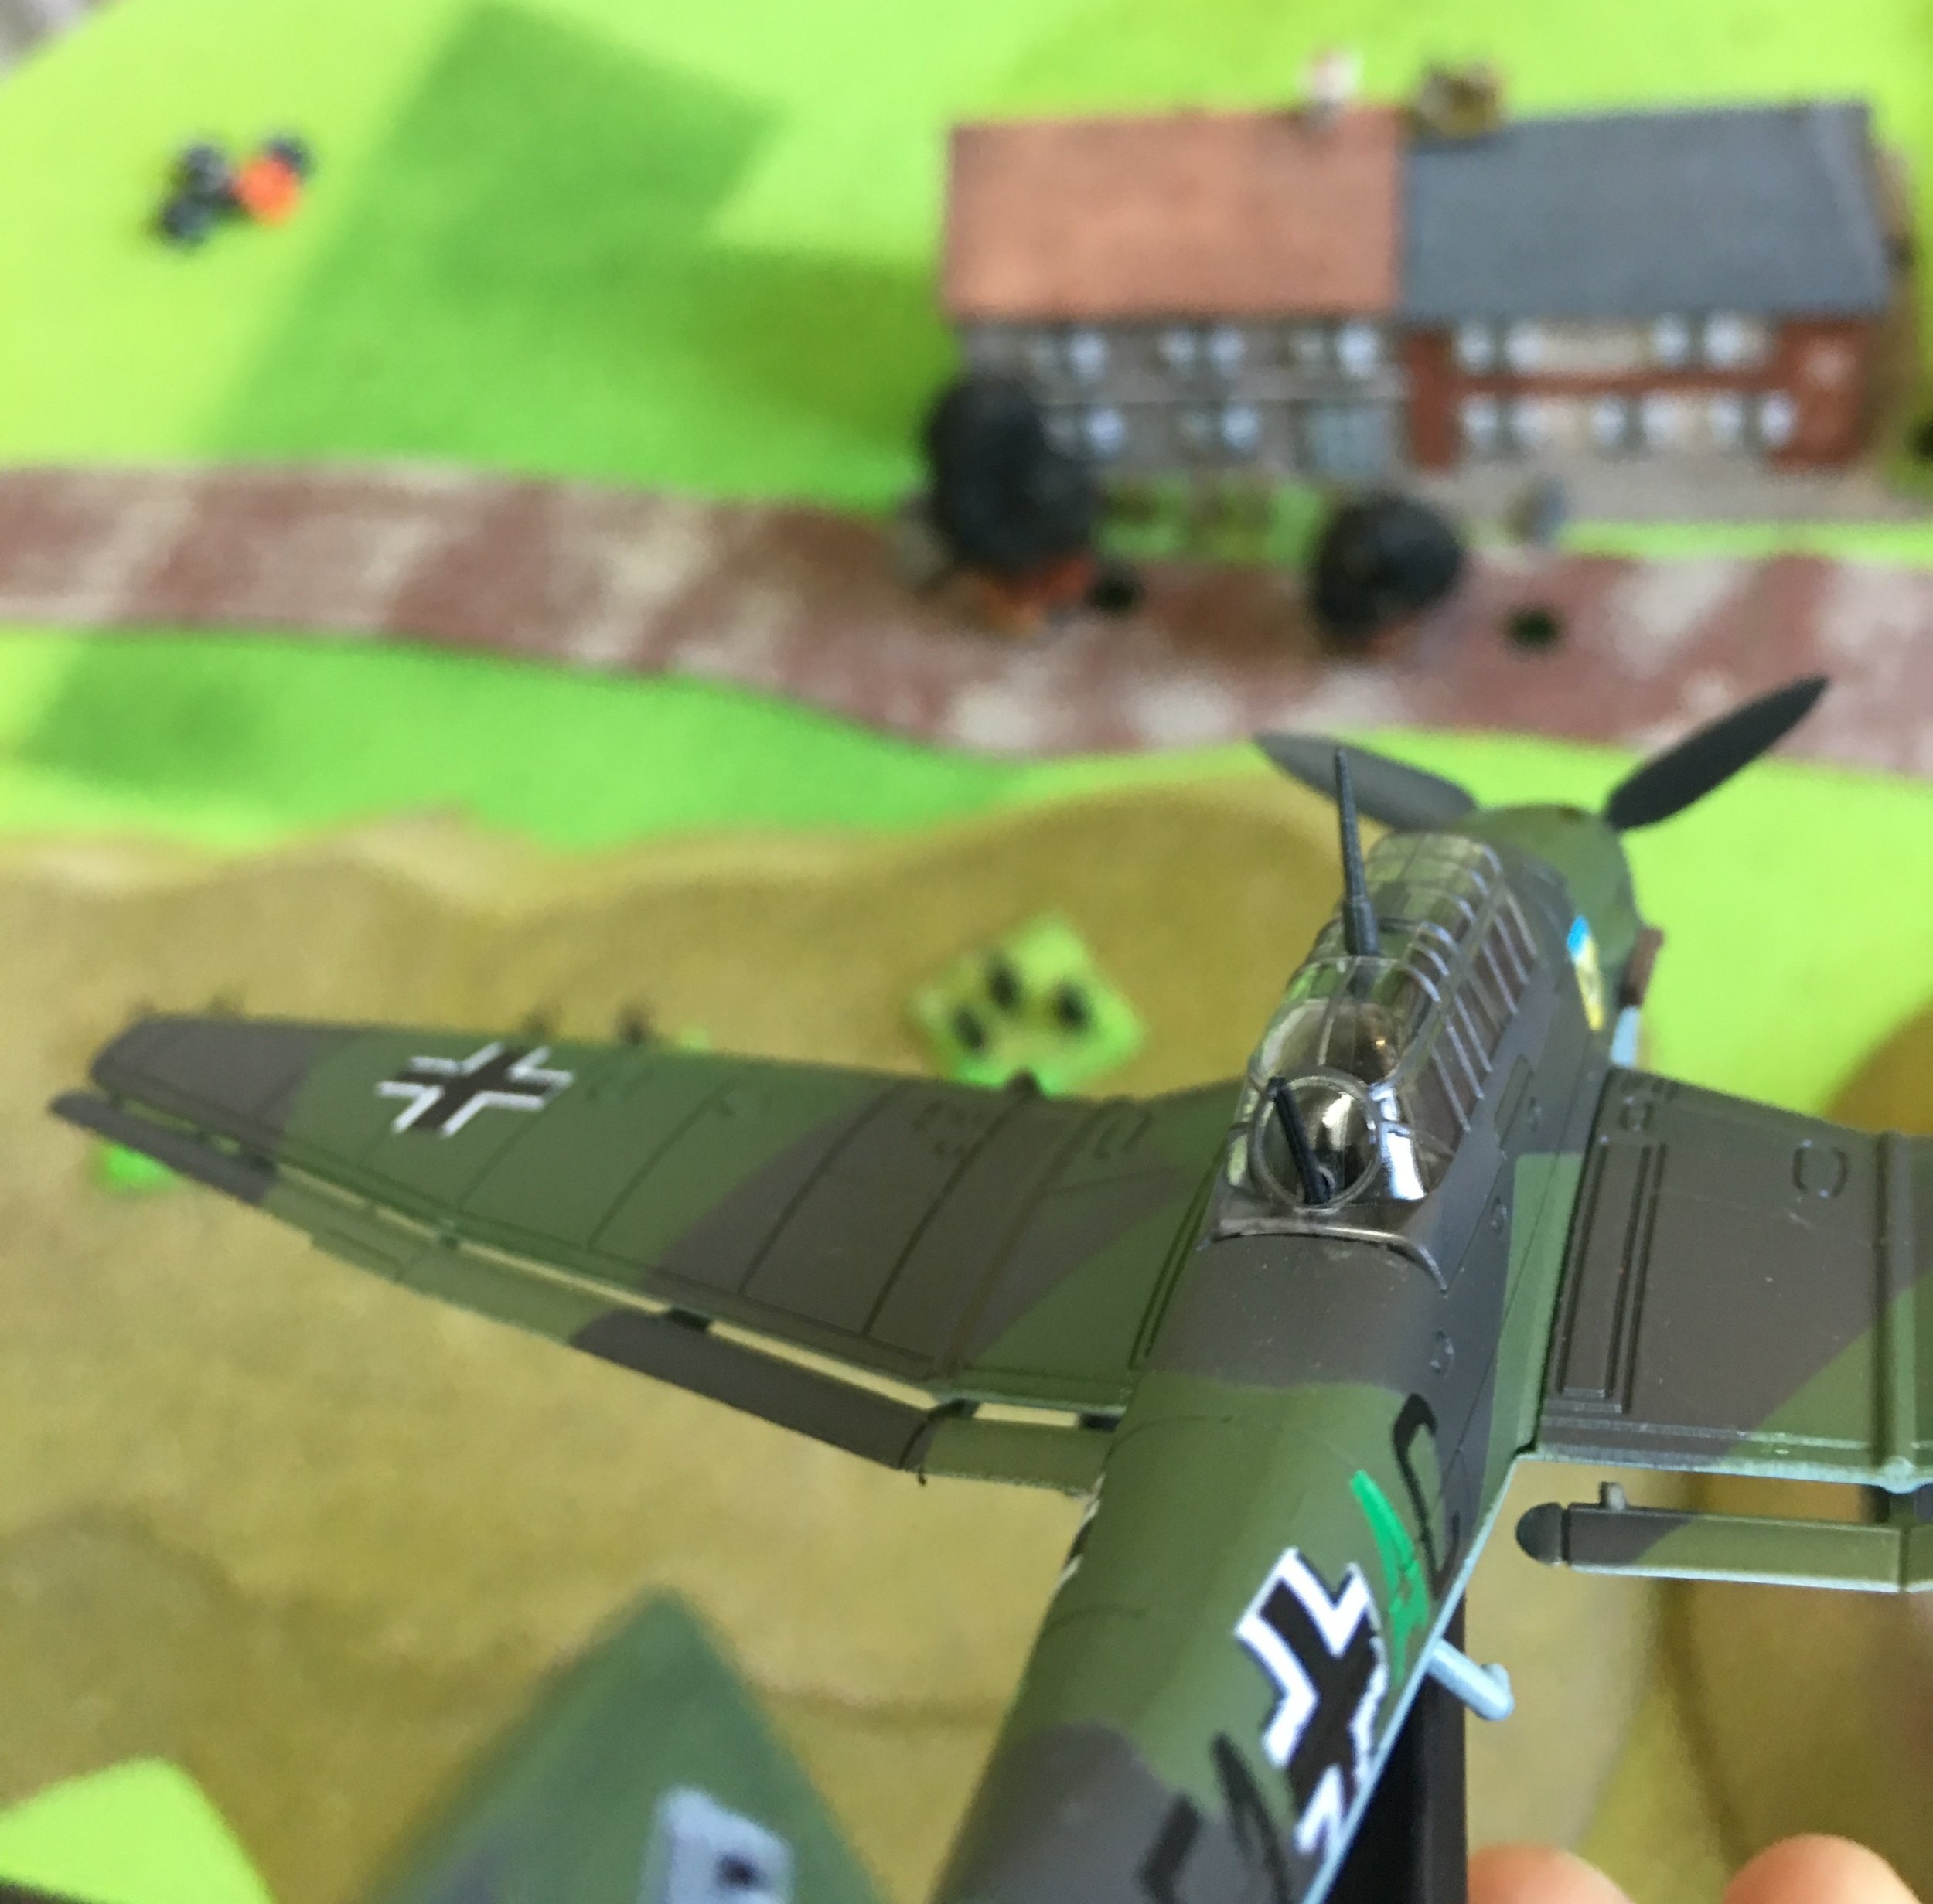
All the research, particularly into the 7th (Medium) Tank Regiment that fought in the Philippines, inspired me to finally get around to painting the two boxes of Type 89 Chi Ro tanks that have been sitting in my lead mountain since Salute two years ago. These I bought from Troll Trader for the princely sum of £12 each: a huge discount off ratecard at only £2.40 per tank.

These went together really nicely: even the back sled-things weren’t too hard to build. Not only that, but this makes 23 tanks consecutively from Battlefront without a single piece missing. Given my previous rants about quality control, this is a real (and very welcome) improvement.

Painting was just a matter of following the patterns shown on the box art. I now just need to tone down the gloss lacquer a bit with some mat spray.

My only disappointment was that when I went to enter my new Type 89 tanks into my Japanese roster, I found that I already had five of them, bought and painted some time previously. Ah well: you can never have too much of a good thing!

Recommended.

IABSM AAR: St Aubin

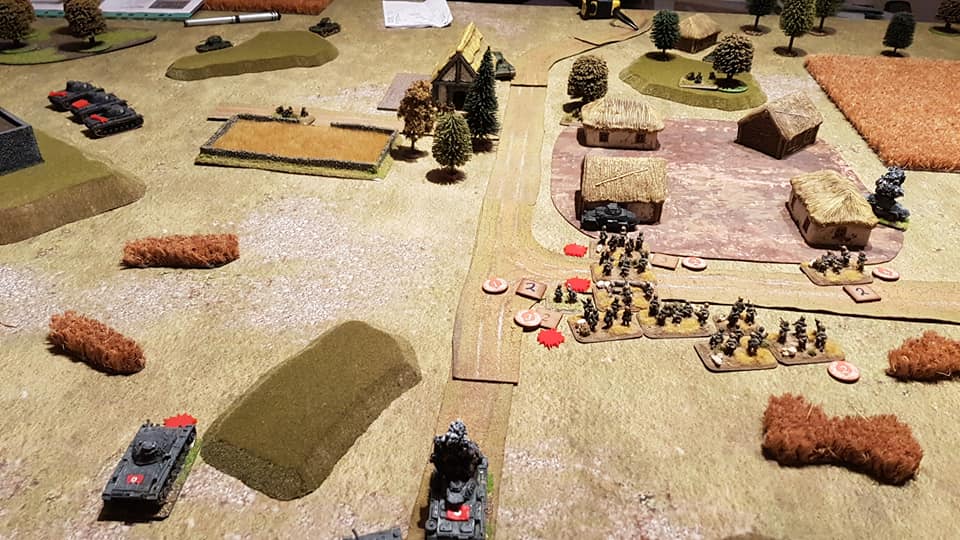
A lovely and impressive set of photographs from Desmondo Darkin that first appeared on the I Ain’t Been Shot, Mum Facebook group.

Desmondo and friends play a slight variant of IABSM where dice rather than cards/chips are used to govern unit activation. Now whilst we don’t countenance such heresy here at VL, if it helps spread the Lard, then go, Desmondo, go!

Click on the picture below to see the action:

IABSM AAR: Kicking in the Door

Here’s an AAR from Alastair Birch first published onto the I Ain’t Been Shot, Mum Facebook page, so I hope he doesn’t mind me reproducing it here.

This is a cracking little encounter written by the big man himself, Richard Clarke, back in about 2005. I actually have a Word version of the scenario, designed for IABSM v2, although where I got it from I have no idea!

Adolf himself has told his troops that “the Soviet Union is a rotten structure, that we only need to kick in the door, and the whole thing will collapse before us”. Click on he picture below to see if that’s true!

IABSM AAR: Operation Sealion #04: Take the Heights

Another great Sealion AAR, but not this time from Karim and friends at the Stipsicz Hussars. No, this time it’s Tim Whitworth and his friends at the “Like a Stonewall” wargames group who are playing out the action.

Click on the pic below to see whether the Hyde Home Guard Platoon, under the watchful eye of their daring commander Major fforbes-Cole MC (retired) can defend Paddlesworth against the Fallschirmjaeger Hun.

IABSM AAR: Operation Sealion #03: Capture the Port

Another great AAR from Karim Van Overmeire and friends at the Stipsicz Hussars, again from the Operation Sealion scenario pack for I Ain’t Been Shot, Mum!

This battle report features Scenario #03: Capture the Port, in which elements of the London Irish Rifles defend the small sea side village of Seabrook against the German 21st Infantry Regiment. The Germans had to capture this position on their way to Folkestone: securing the port of Folkestone was necessary to allow German armour to be brought ashore.

Click on the picture below to see if Seabrook will fall under the Nazi jackboot!

Salute 2019

This Saturday it was off to Salute 2019 at the Excel centre in Docklands.

Salute is one of the cornerstone shows in the UK wargames calendar, and it’s easy to see why.

Firstly, the Excel centre is a great venue: easy access by car, parking right underneath (even if it is £20 for the day), huge amounts of space, and plentiful food and drink outlets. My only complaint would be that sometimes I find the lighting in the hall a bit dim, but that might just be my fading eyesight!

The queue to get in used to be an extreme annoyance - one could wait an hour - but for the last few years its been so under control that, for example, this year I arrived at Excel at 9.50, had a baguette and coffee for breakfast, and then walked straight in to the show without queuing at all. Amazing! The only question is why couldn’t they have organised it like this before!

The show itself was full of traders and demo games. There are loads of blogs carrying loads of reports on the show, so suffice to say that it took me all morning and some of the afternoon to get round everything.

The Lardies were running a stunning game of Chain of Command set in Malaya in 1942, a period near and dear to my heart (Fall of the Liongate and all that). I didn’t play, but enjoyed watching the action.

Also Larding away was Mike Whitaker with his Bloody Omaha game. Now I played this game a few years ago at one of the Evesham games days…and its a cracker. Mike had 486 figures on 144 bases on an 8x6 table on display and managed two complete play-throughs of the scenario. And people say my games are big!

Click on the picture below to see all the photos:

As per usual, I did spend a bit too much money, but it was all on absolute bargains, honest! I bought a bag of fifty brushes for £20, which should keep even an established ‘brushbane’ like me going for a bit; and then I also bought one of the “all you can see for £100” mdf sci-fi industrial set-ups from Troll Trader that I just cannot wait to get built and painted up.

The show was nicely crowded all through the day, except perhaps at lunchtime. I hear a lot of people saying that their mates didn’t go because they couldn’t be bothered, or it wasn’t their thing any more or something rubbish like that. All I can say is that they are wrong: Salute is still a cornerstone show and a must-visit for any wargamer in reach in the UK.

IABSM AAR: Battle at Parczew

It’s September 29th, 1939, and Independent Operational Group Polesie are marching south towards Koch. Attacked by Soviet cavalry and tanks, the Poles are at first beaten back, but then counter-attack and manage to re-take the village of Milanow. This they then prepare to hold in the face of further attacks from Russian infantry with tank support.

The above is a condensed version of the background given to scenario #31: The Battle at Parczew from the September War scenario pack. I would play the Poles, defending Milanow; with John and Dave commanding the advancing Soviets.

Click on the picture below to see all…

IABSM AAR: Operation Sealion #02: Rearguard at Pevensy

Karim van Overmeire and the Stipsicz Hussars are continuing to play through the Operation Sealion scenario pack, this time they fight scenario #02: Rearguard at Pevensy.

Will the British hold the bridges, or will the fearsome Hun get in amongst them? Click on the picture below to find out all…

IABSM AAR: Return to San Marco

Tim Whitworth and the Like a Stonewall Wargames Group had a second go at the “Attack on San Marco” scenario from the “Cymru Am Byth” scenario pack.

Rather than start a new AAR, I’ve added the words and pics to the bottom of their first attempt.

Click on the picture below to see all:

IABSM AAR: Sidi Ahmed

Another great battle report by Carojon and the Devon Wargames Group.

This time they have ventured into the Western Desert, with a version of the battle for Longstop Hill: the encounter that opened the way for the final Allied advance on Tunis.

What’s great about this AAR is that the forces are detailed as well: so it will be easy for you to replay this encounter yourselves should you want to.

Click on the picture below to see all:

IABSM AAR: Hauts-Vents at Cold Wars 19

Matthew Matic and friends ran a game of IABSM at Cold Wars this year. Click on the pic below to see a few photos, including one that shows just how much kit goes into to putting on a demonstration game of this quality…


I’m happy to add any other pictures or info people have about the game: usual address of admin@vislardica.com.


IABSM AAR: Sealion #01: The Fight for the Military Canal

It’s been ages since we saw anything from the Stipsicz Hussars, our friends in Belgium/Flanders, so I was really pleased when the following battle report dropped into my Inbox.

Here we see the first game from the Operation Sealion scenario pack: the British defending a vital bridge against assault from German Paratroopers.

Click on the picture below to see all, and it’s great to see the next generation of wargamers pushing lead round the table…

It’s hard to reach the middle of the table when you’re only nine!

IABSM AAR: Lardiarz or BoB: Near Vcheva

Captain Cliche and friends have played another game based on one of the scenarios from the late war Bashnya or Bust! scenario pack.

This time, they have adapted scenario #5D (or scenario #5N): Near Vcheva. This is an encounter battle as two armoured forces meet to contest a vital junction.

Click on the pick below to see all:

IABSM AAR: Happy Christmas!

This weekend just gone, John, Dave, Bevan and I re-fought the Battle of the Bulge scenario that we played a couple of years ago. You can read the AAR for that game here (opens in a new window).

I played the Germans in that one, but played the Allies today. A cracking game that was action, action, action from the moment battle was joined.

Click on the picture below to see all:

IABSM AAR: Bashnya or Bust! #01: Near Osen

It’s always great when someone sends me an AAR for inclusion on the site, especially when they also say nice things about one of my scenario packs.

Here’s an example of what I mean: Captain Cliche (you can read his excellent blog here) and his wargaming friends have begun playing through the Bashnya or Bust! scenario pack (more details here, opens in a new window), starting with the first encounter: Near Osen.

Click on the picture below to see all, including some great 6mm figures: