I’m quite a fan of plastic vehicles: the price means you can buy by the company rather than by the platoon, the plastic allows for an incredible amount of detail, and they weigh a fraction of their metal or resin equivalents - important when you’re carrying a company of large tanks around!
So when I needed a re-stock of spray paints for undercoating, and had decided to use the ones available on the Plastic Soldier Company website, and noticed that they had released a set of Steyr heavy transport cars, I impulse-purchased a box-full and looked forward to adding them to my collection. I didn’t exactly need them, but they could join the mass of other PSC products that I already had: Cromwells, Churchills, half-tracks etc.
As you might have gathered already, I like PSC kit, and have built many a PSC model, but I’m afraid to say that these were a complete nightmare to put together! They’ve turned out brilliantly, as you’ll hopefully see from the pictures below, but the actual build process was…well, it was traumatic, to say the least!
So what was the problem?
The problem starts right at the beginning of the build: step 2 in the instructions IIRC.
The first step is to attach the bottom of the vehicle to the chassis that will take the wheels. No real problem here, but my advice is to do this on all the vehicles you are building first, then properly leave them to dry until the glue is rock-solid. That assembly is going to take an awful lot of pressure as you try and complete step 2, and will easily un-stick itself as the shear you will have to use takes effect.
Okay: now onto step 2. Sticking the sides of the vehicle onto the bottom/chassis assembly. This is where the fun starts.
The sides of the vehicle are necessarily shaped and curved to represent the body and the bonnet (hood for my US chums) of the Steyr. This curved piece of plastic is not quite shaped correctly to sit on the vehicle bottom. This means that you have to glue the front of it in place, and then bend the plastic into position on the sides. That means gluing plastic under pressure in place i.e. the sides want to flex back into their natural shape rather than sit in position as the glue hardens. As this is a 15mm model, the surfaces to be stuck together are small, which means there’s not much glue available to hold the plastic-wanting-to-flex-back to-its-natural-shape in place.
One simple paragraph, but a couple of hours of extreme frustration!
No matter what I did, I couldn’t get the models to go together without leaving seam-gaps where there shouldn’t have been seam gaps. By the end, I was using plastic cement, Superglue, and, finally, a paste made up of Superglue and PVA mixed together in a desperate attempt to make things work. I had so much glue on my fingers that, even now, four days later, I still look like someone trying to conceal their fingerprints from forensics!
Things got so bad at one stage that I seriously considered taking two of the models outside and using a hammer to smash them into smithereens! I can feel my blood pressure rising even as I type this!
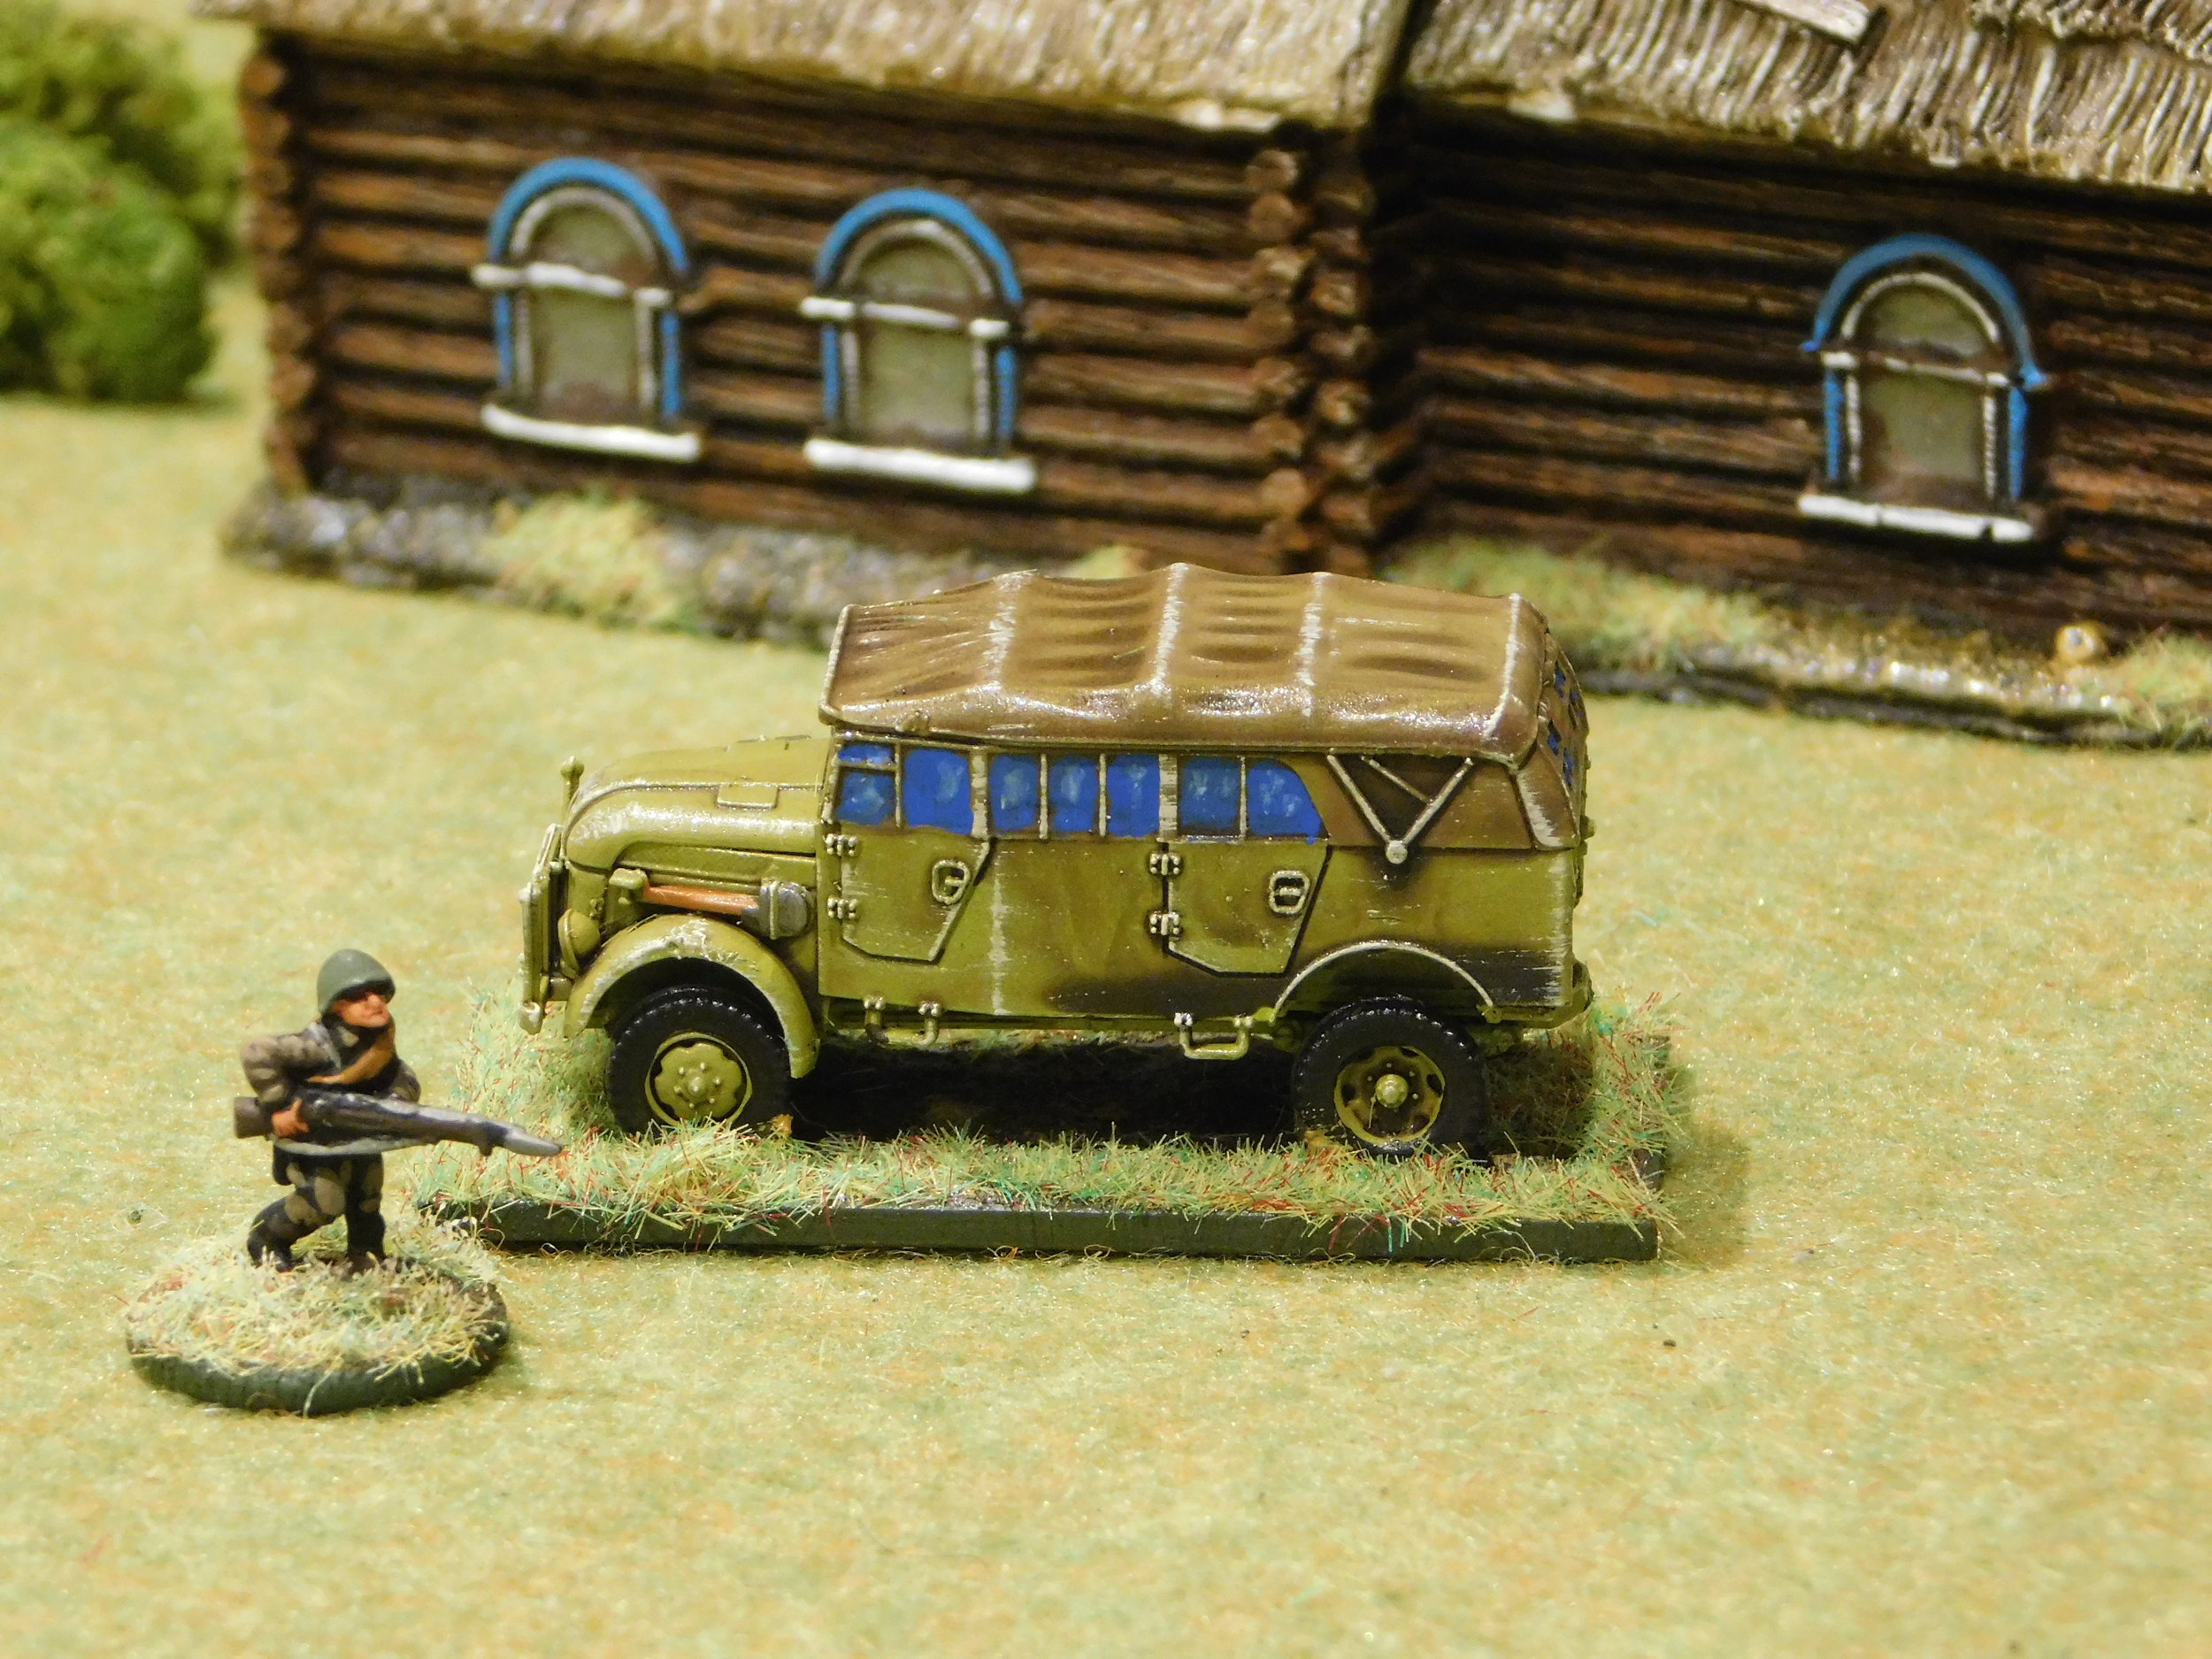
Anyway, I eventually got them built and painted and, I must say, they’ve turned out very well indeed:


