IABSM AAR: The Gap

Here’s a battle report from a game of I Ain’t Been Shot, Mum played last weekend against John and Dave.

Unusually for us, the scenario was late war, eastern front: with the Soviets rushing forwards to secure a gap in a ridge that the Germans were also seeking to block.

It was a very close run thing, with a fair degree of carnage on both sides. Click on the picture below to see all…

IABSM AAR: Operation Martlet Day 2 (2)

A largely photographic battle report created from a mash-up of posts from Desmondo Darkin and Iain Fuller on the IABSM Facebook Group. The game is adapted from the Chain of Command “Operation Martlet” pint-sized camapign book.

They are playing a version of I Ain’t Been Shot, Mum that uses dice, not cards, to control initiative: a mash-up, if you like, of CoC and IABSM. Seems to have given them a great game.

Click on the pic below to see all:

IABSM AAR: South of Cherbourg

It’s always nice when you hear about someone returning to I Ain’t Been Shot, Mum after a bit of a break and having a thoroughly good game…so here’s a quick AAR from Rob Goodfellow of the Tamworth Games Club.

Here Rob and friends play through the second sample scenario from the IABSM v3 rulebook: South of Cherbourg. Click on the picture below to see all.

Even better, Rob tells me that they are now thinking of playing through the Blenneville or Bust! scenario pack: so I’m sure we can expect plenty more AARs in the near future!

IABSM AAR: On the Northern Shoulder of Kursk, Fight 4: Karpunevka

Here is another stupendous After Action Report from Just Jack, taken (with permission) from his excellent BlackHawkHet blog.

I say “stupendous” because not only is it a really good read, but it’s huge as well: 144 photos, all individually captioned with an account of the action that’s shown. It’s so huge that it actually broke my attempt to get a post every day in November: I managed one every day right up to Monday 25th and then ran into this monster!

It also didn’t help that Squarespace was playing up: I had to type out about one caption in every five as the cut-and-paste just wasn’t working. Thanks for the bleeding finger tips, Squarespace!

Anyhow, enough of my moaning. It’s a great read: click on the picture below to do so…

IABSM AAR: Bloody Omaha Re-Visited

Those of you who have been on this year’s wargame show and Lardy Day circuit this year may well have seen Mike Whitaker’s excellent demonstration game Bloody Omaha. This is a fantastic set up representing The Big Red One’s assault of the eastern end of Omaha beach (Colleville-Sur-Mer).

Those of you who know Mike will know that he is a man of mighty generous spirit, as is proved here as he lays on the game for a couple of fellow Lardy’s who hadn’t had a chance to take part in any of the show sessions.

Click on the picture below to see a magnificent battle report taken from the Roll A One blog and Mike’s own blog Trouble At T’Mill.

IABSM AAR: 3RTR at Hames-Boucres

One of the reasons I love running this site (at great expense in terms of time and money BTW!) is the opportunity to post battle reports from games based on scenarios from the various scenario packs that I’ve written.

I like seeing whether the game worked or not (fortunately they generally do!), and how people have interpreted the situation, terrain, any special rules and the like. It’s also great to see the beautiful figures and scenery that people use as well.

It gives me great pleasure, therefore, to introduce the following AAR by Time Whitworth using the 3RTR at Hames-Boucres scenario from the Defence of Calais pack (the first I wrote). It’s a great scenario that I’ve played several times myself. Click on the pic below to see all:

IABSM AAR: Objective - The Crossroads

Another quick after action report from Burt Minarot’s excellent Spanish-language blog Las Partidas de Burt.

Here, British troops are trying to slow down a German force advancing towards a vital crossroads designated as the next jump-off point for the Allied advance.

Click on the picture below to see all:

IABSM AAR: Chasseur 3: La Ville

Friend Dave and company have been playing a mini I Ain’t Been Shot, Mum campaign, Chasseur, and invited me to take part in game three. The campaign is set during the invasion of France in May/June 1940, and I would play a column of German Panzers as it motors towards the Seine.

The AAR contains all you need to play the scenario for yourselves, so click on the pic below to see what happens:

Kfz 13 and Kfz 14

Regular visitors will know that my favourite era of WW2 is the early period: 1939 through to early 1942, with a big focus on the campaigns of 1939 and 1940. This period, however, is not the most popular: most gamers go for the mid- to late-war period with its bocage, big cats, Panzergrenadiers, Americans and tank-riding Soviets.

This means that it can often be quite difficult to find 15mm versions of some of the more esoteric early-war vehicles: it’s just not worth the whiles of figure manufacturers to go to all the expense of having them sculpted and cast - they just won’t sell enough of them.

One solution is Shapeways, custom-printed to order…but it’s often hard to find a Shapeways model that doesn’t look as if it’s been 3D-printed: the build lines can be very apparent, especially when using wash techniques to paint them. Washes, after all, are designed to run into cracks and crevices.

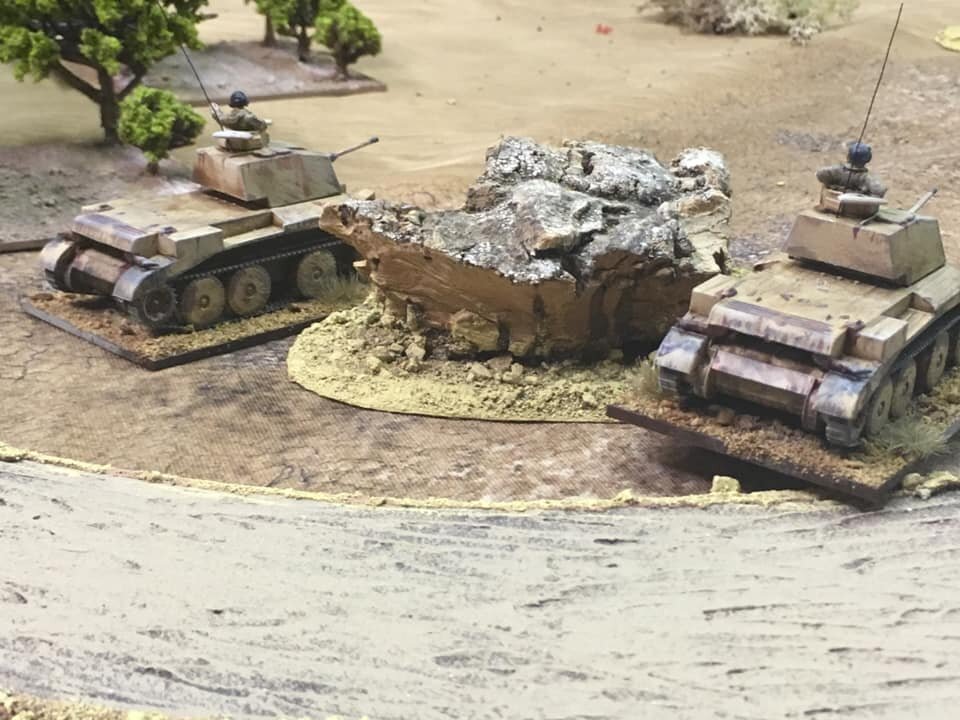
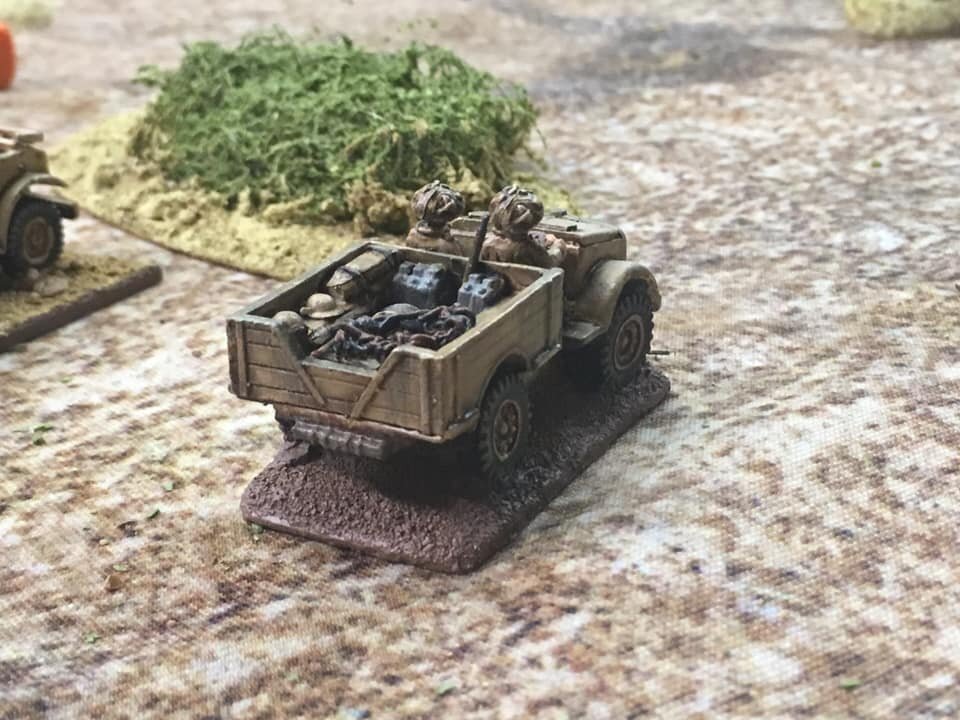
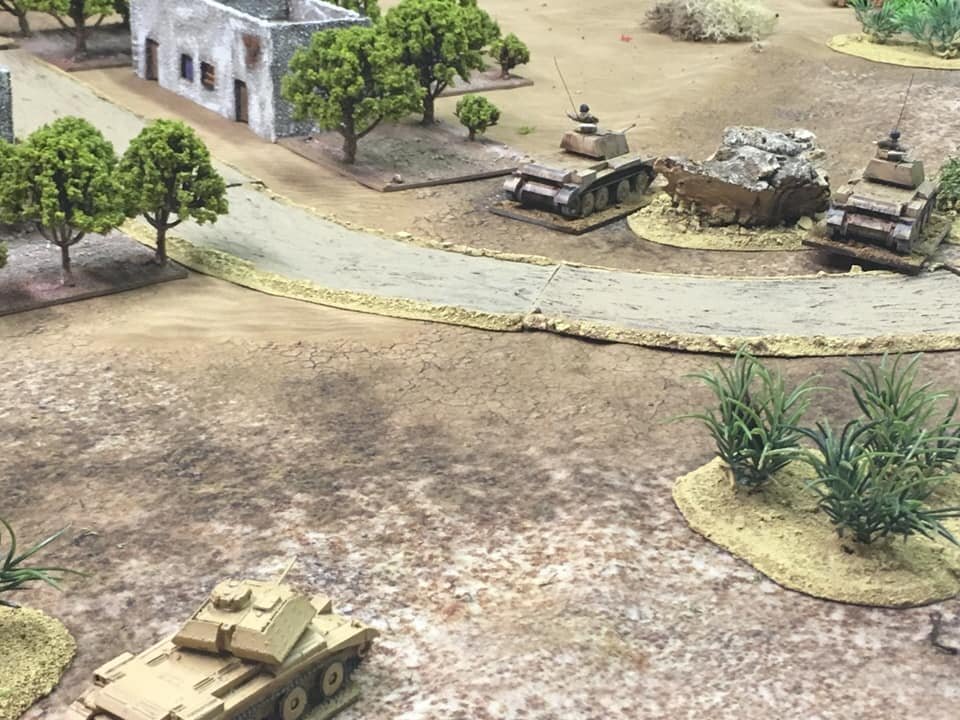
Recently, however, I was browsing the WW2 section of the Lead Adventure forum when I came across a post from a chap who has produced a number of uncommon early war vehicles on Shapeways. The picture of the vehicles looked better than normal, so I thought I’d give them a go. They were, as the title of this post suggests an Adler Kfz 13 reconnaissance car and, based on the same chassis, an Adler Kfz 14 radio car.

Here’s the link to the MojoBob’s Shapeways page.

The vehicles arrived promptly and actually look quite good indeed. Here they are painted up, with a suspiciously familiar command figure for scale comparison:

Adler Kfz 13

Adler Kfz 14

The machine gun in the Kfz 13 is very nice: grown from the bottom of the chassis with a little seat thrown in as well. No awkward sticking teeny-tiny pieces into teeny-tiny holes! Likewise, the antenna on the Kfz 14 comes integral to the vehicles, meaning that for both models all you have to do is undercoat and paint. The Kfz 14 also has a seat and radio-like boxes in the main compartment.

The only downside to the models, along with almost everything on Shapeways, is the rather hefty price tag: an average of £10 a vehicle, or at least double what you’d pay at Battlefront or Peter Pig etc.

But I like them, and they aren’t available elsewhere.

So we’ll give MojoBob a recommendation, especially as I’m currently eyeing up the Guy Lizard command vehicle, the Lanchester armoured car, and all three Soviet artillery tractors!

IABSM AAR: On the Northern Shoulder of Kursk, Fight 3

Yet another stupendously huge IABSM AAR from Just Jack: the third in his series of fighting on the northern shoulder of Kursk.

This time, the Soviets are counter-attacking towards Kastenwold, and seem to be doing a good job of it too!

This is another huge AAR: 162 photos if I recall correctly. So click on the pic below to see all…

IABSM AAR: Operation Martlet, Day 2

Great little AAR by Desmondo Darkin, taken from the IABSM Facebook Group.

The scenario was based on Day 2 of Operation Martlet, 25th June. 1944: the British attack on the German line at St Nicholas Farm and the Grand Farm.

Desmondo and friends used the Oh What a Total Bummer dice-driven version of IABSM. Click on the pic below to see what happened:

IABSM AAR: On the Shoulder of Kursk, Fight 2

Another stupendous After Action Report from Just Jack, currently fighting a mini-campaign On the Northern Shoulder of Kursk.

This is fight two, so make sure you are sitting comfortably as we launch into another epic tale: even if this report contains only 144 photos this time!

Just Jack runs as excellent blog, Blackhawknet, that can be found by clicking here.

Click on the pic below to see all:

IABSM AAR: The Road to Gravelines

Tim Whitworth and friends are working their way through the Defence of Calais scenario pack. Here’s a quick AAR from Scenario #04: The Road to Gravelines.

The unenviable task facing the British was to get a massive truck borne supply consignment of rations from Calais to Dunkirk along the road via Gravelines. Early in morning the convoy left the Calais Gate and travelled the route until it reached the village of Le Beau Marais where 1 Panzer Division forward elements had set up a substantial roadblock on the village crossroads and billeted up for the night.

The game begins with the British reaching the roadblock and the Germans being alerted to their presence.

Click on the picture below to see what happened: