Book Review: "Sand & Steel: A New History of D-Day"

One of my favourite Christmas presents was Peter Caddick-Adams’ new book Sand & Steel: A New History of D-Day.

As the title suggests, the book covers everything Overlord from the background to the invasion, the training and preparation for the day, and then the action on the day itself and after.

I very much enjoyed PCA’s previous book about the Bulge (Snow & Steel) and am pleased to say that this work is as good if not better. It’s very, very detailed, and a well-balanced mix of military history fact and personal accounts: one often complementing the other.

It’s also huge: over 230 pages or, in the hardback edition I have, 2½ inches thick! Some military history books of that size would be a nightmare to wade through, but Sand & Steel reads almost like a novel in terms of the way each section draws you into the next. In some places, particularly when dealing with the beach assaults, it is un-put-down-able.

The other problem one can encounter with detailed military histories is the difficulty in identifying how what you are currently reading about fits into the action as a whole: it’s easy to get lost or confused. Again, not a problem here: everything is ordered and laid out very clearly indeed. The beach landings, as above, are dealt with very logically: I actually found that once I’d seen them once, I didn’t have to refer to the maps scattered throughout the book a second time to work out what was going on…very unusual for me and the late war period!

So a “highly recommended” for this book. The price is fairly hefty (ratecard is £35) but you can get it new on Prime at the moment for about £23. Well worth it.

IABSM AAR: Rumble in the Jungle

Here a nice little after action report from Alex Sotheran, taken from both the IABSM Facebook group and Alex’s Storm of Steel blog.

The game was Alex’s first using I Ain’t Been Shot, Mum!, and involved a solo game set on the Malay peninsular at the time of the Japanese invasion in December 1941. Although knocked together by Alex himself, the scenario resembles #02: Ban Sadao from the Fall of the Lion Gate scenario pack.

Click on the picture below to see how Alex got on:

TFL Painting Challenge: More First Entries

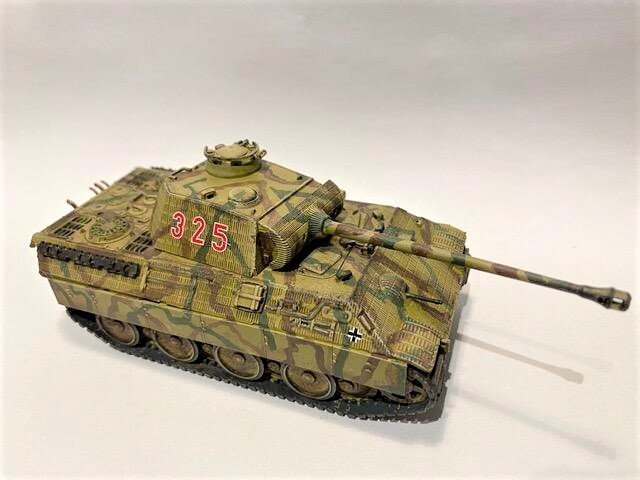
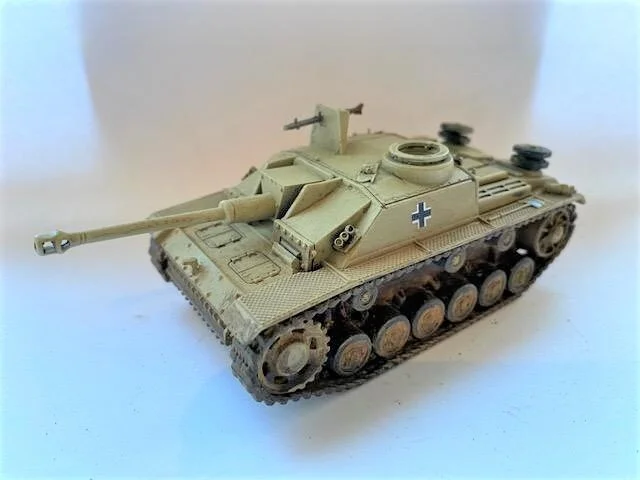
Chris Kay slams back into the Painting Challenge with a huge first entry for 2020: clearing the stash of 28mm vehicles that have been hanging around on his painting table for some time.

That’s 108 points for six 28mm vehicles:

Sons of the Scorpion!

Here’s a bit of my painting left over from last year’s scramble to get over the 2,000 points mark for the 2019 Painting Challenge: some 15mm Sons of the Scorpion from Splintered Light Miniatures.

The figures come in three parts: the scorpion body, the scorpion tail, and the human body. They glue together really easily: the tail is provided with a pin that neatly fits into a hole in the back of the scorpion body; and the human body sits in a little cup at the front of the scorpion body. Both bits show that someone has actually thought about how the average model maker is going to build this figure.

The figures are painted for the most part using GW Contrast Paints. One coat of Wyrdwood for the main scorpion body, then one cost of Darkoath Flesh for the human bit. Really very simple indeed and look really good.

The Sons of the Scorpion figures are part of a large collection of fantasy Egyptian figures available from Splintered Light, including: Sons of Anubis (Jackal-headed); Sons of Horus (da Bird!); and the Sons of the Scarab (dung beetle humainoid types). I must confess that do rather fancy a Sons of Anubis army to fight my “normal” Egyptians…a few other projects to finish first though!

TFL Painting Challenge: Another First Entry of the Year

It’s John Emmett’s turn to make his first contribution to the TFL Painting Challenge 2020, with a rather magnificent 1/48th scale model of a Citroen motor car.

And, not to be outdone by anyone, Travis has already submitted his second entry of the year: dwarven command and the aptly named Gandalf the Field-Grey!

IABSM AAR: On the Northern Shoulder of Kursk, Fight 6: German Assault on the 1st May Collective Farm

Here’s the final episode from Just Jack’s incredible “On the Northern Shoulder of Kursk” series of battle reports.

Here the Germans launch a last-ditch attempt to take the 1st May Collective Farm is the face of the usual determined Soviet defence.

This is another truly epic report (146 photographs plus plenty of text) so well worth a look. Click on the picture below to see all:

Check out Just Jack’s blog by clicking here.

TFL Painting Challenge 2019 Now Closed...TFL Painting Challenge 2020 Now Open!

So the 2019 TooFatLardies Painting Challenge is now closed, with thirty-three Lardies participating: about the same as last year.

Those of you who follow the Challenge will know that it is not a competition between the entrants, but a competition where the entrants try and improve on their year-on-year performance, either in terms of quality of painting or points scored. In 2019, we had twenty out of thirty-two, or 62.5%, of people improving their scores, with one new entrant: a most impressive performance by all concerned.

We also now have sixteen people have now participated for all of the six years that the Challenge has run, with four more only missing the first year i.e. completing five years in a row.

I’m quite happy as well, as I managed to hit 2,000 points for the first time ever, scraping over that particular benchmark with some intensive painting over the Christmas break to hit a grand total of 2,004 points.

The good news is, as I mentioned in previous posts, that I will run the Challenge again in 2020, and declare the competition officially open as from…now!

Details are up on the site as usual but, as a quick reminder, send your entries to the usual address (with the photos clearly labelled please and, preferably, with the points totals already worked out) and I’ll open your gallery with your first entry. New or returning participants are welcome.

And what better way to start off the year than with a first entry from regular participant Travis Hiatt. Travis is an accomplished painter whose galleries are always worth a browse. Here’s his first entry of the year: six dwarven archers:

Ladies and gentlemen: pick up your brushes!

Forlorn Hopes for the English Civil War

My ECW armies are based on one figure = twenty men i.e. a foot battalia of about 500 men is represented by 24 figures plus three command figures. That allows me to show the difference between a standard battalia, a pike-heavy battalia, an all-pike battalia, and a commanded shot battalia just by varying the ratio of musketeers to pikemen.

Similarly, a horse regiment of about 200 men is represented by nine figures plus two command figures, with the difference between Swedish, Dutch and Cuirassier formations being shown by the way the figures are placed on the base: one line for Swedish horse, two lines for Dutch horse, with Cuirassiers being a smaller unit altogether.

How then to represent a Forlorn Hope: a much smaller foot unit of around only 150 men?

I have settled on using just eight figures, plus two command figures, which makes one of my big bases look very empty indeed:

For certain Forlorn Hope units, if only for variety, I am going to do a little diorama. Here’s a very simple one involving just mounting the figures behind a couple of sticks:

Looks good!

TFL Painting Challenge: Last of 2019 Entries

Here are the last of the entries for 2019 TooFatLardies Painting Challenge. Well done to all those of you who have participated over the last year: there are some very impressive scores and beautifully painted miniatures to see in the individual galleries.

Here are the final few entries for 2019:

As usual, clicking on the name of the person above will take you straight through to their gallery, which will open in a new window. Final scores will be updated within the next couple of days.

The competition continues into 2020. Usual rules and destination address applies. New entrants welcome!

Here are today’s pictures:

ECW Horse

Here’s another unit for my growing English Civil War contingent. Regular readers will know that I am basing each individual unit on a single base with a 12cm frontage: proper elements!

This unit is a regiment of so-called Swedish Horse. Not that they actually hail from the land of IKEA: it’s all to do with their fighting formation and technique.

These are Peter Pig figures in 15mm painted with GW Contrast paints. A single line of nine figures plus two command figures forward.

Three Games of To The Strongest

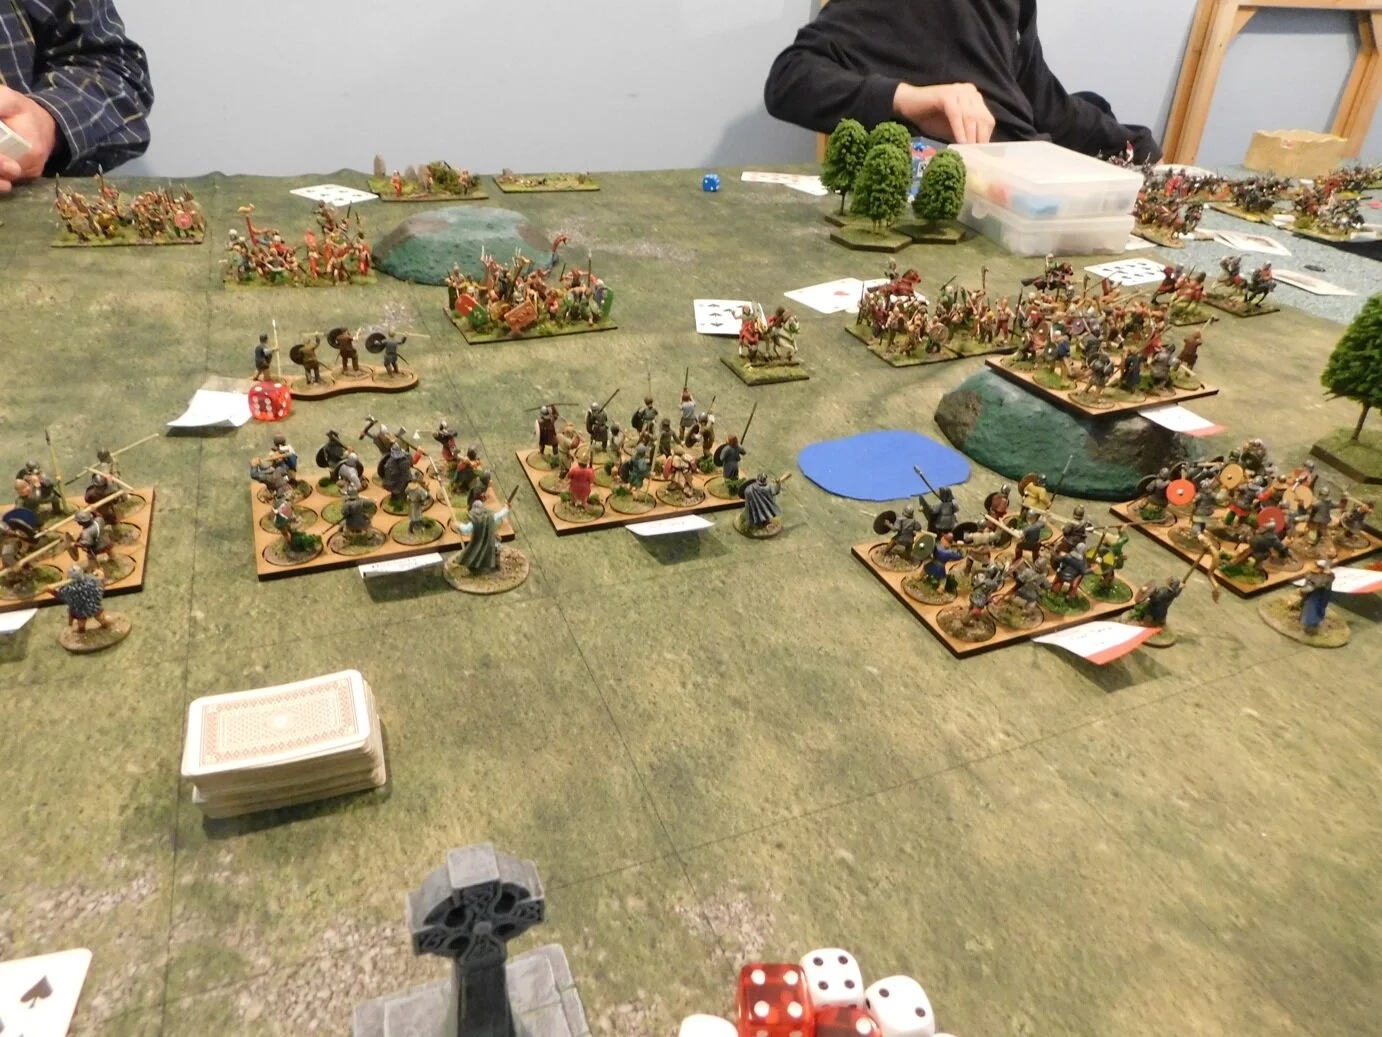
Off to friend Bevan’s house for an afternoon of To The Strongest. Playing at 130 points a side (the standard for the World Championships) you can easily get three games into one afternoon session.

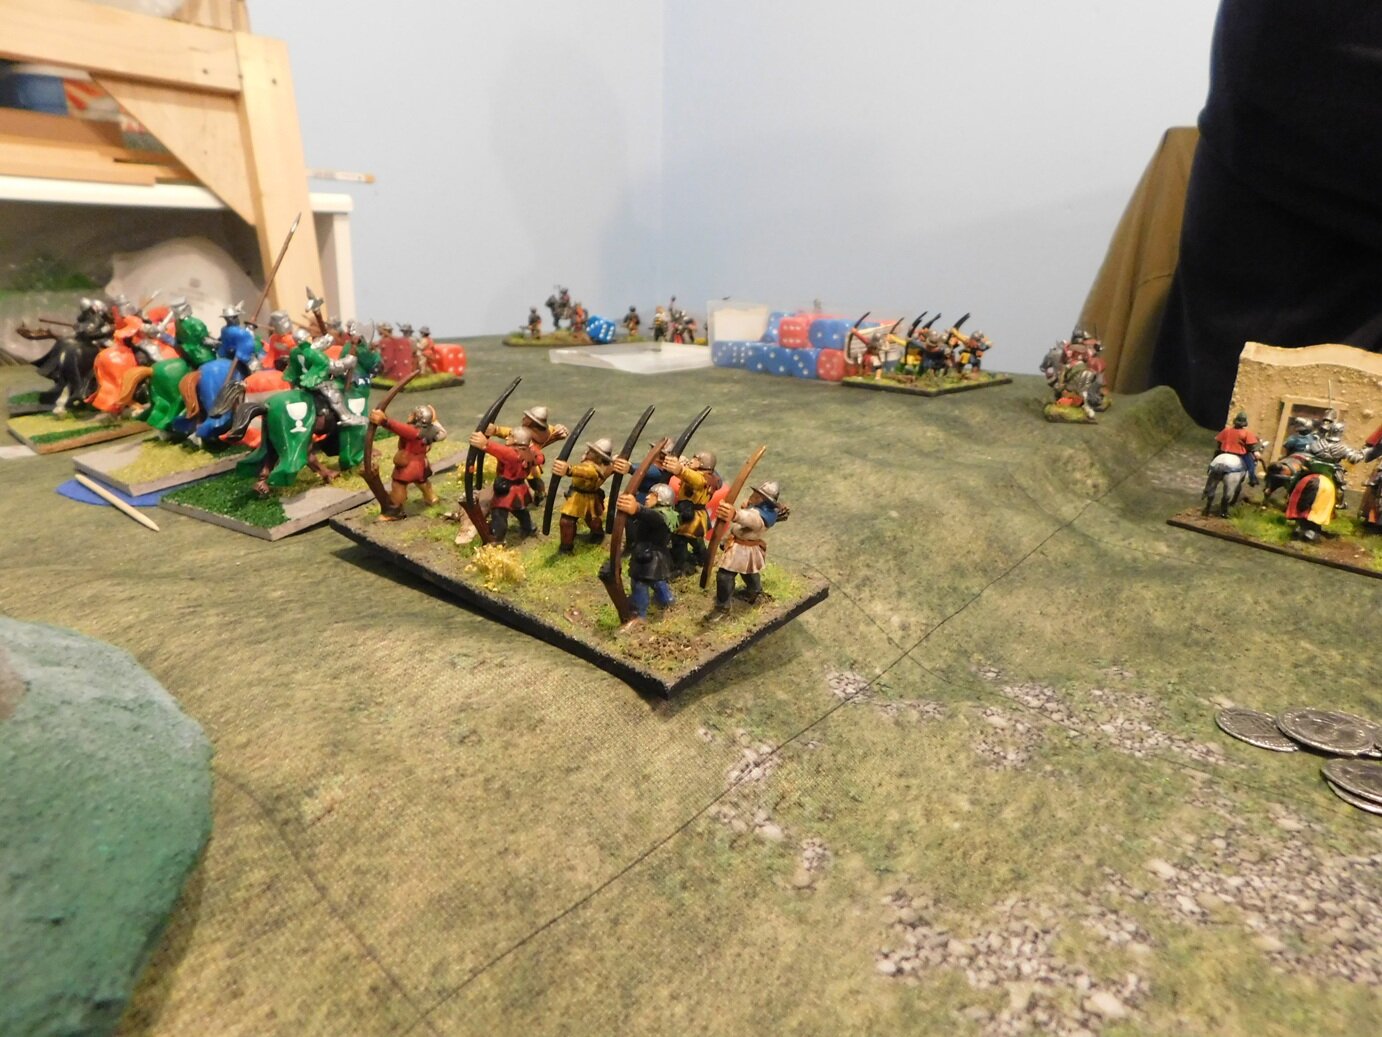
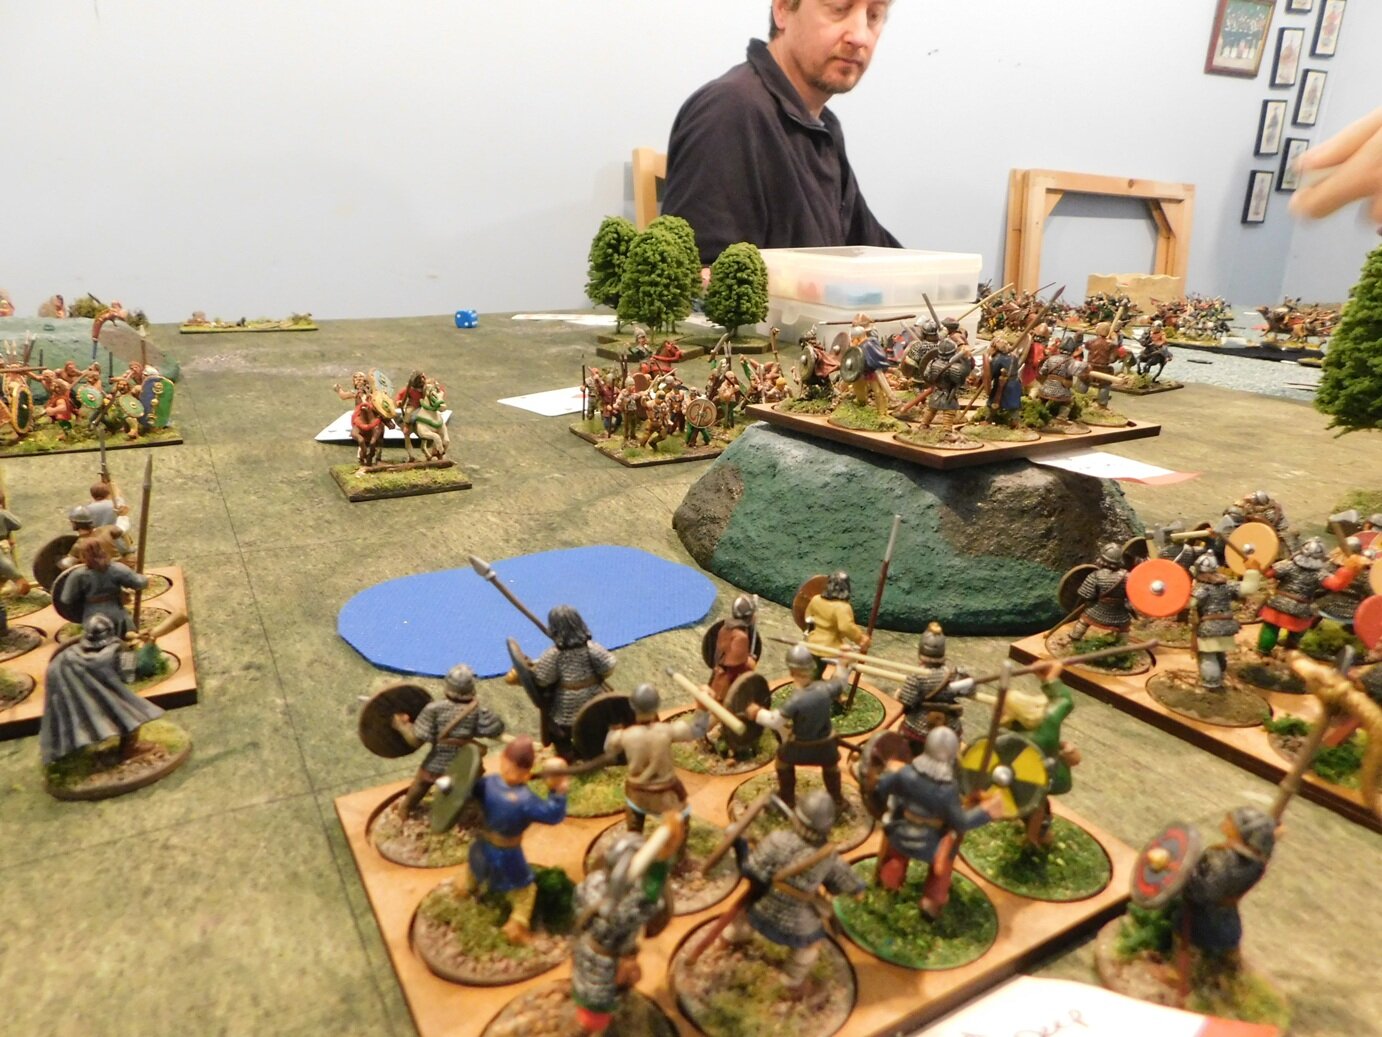
My first game was commanding a longbow-heavy English HYW army against an impressively painted Viking army.

The Vikings rushed forward as fast as they could, eager to get into hand-to-hand with my massed archers. I was equally eager to stop them doing so, so with my Knights and Billmen protecting my left flank, I sat back in the centre and sent flight after flight of arrows into the advancing hordes.

This tactic worked quite nicely, so by the time his men actually got up to my battle line, many of his units had already taken one or two hits (three would remove them from the table). That’s when John discovered that my archers were all veterans with extra two-handed cutting weapons: just right for finishing off already-pin-cushioned Viking units! A victory for me.

The next game promised to be very interesting: it was time for a bit of civil war as I used the same army as in game one but now faced another English HYW army.

Our forces were thus very similar, except for the fact that Steve, my opponent, had two longbow and one dismounted knight units in each of his foot brigades rather than the three longbow units that I had. Steve’s army make up was thus actually more historically accurate than mine, with the added difference that his longbowmen were all standard types, giving him a slightly bigger headcount.

I decided to adopt the same basic tactics as last time i.e. my archers would shoot from distance whilst the heavies protected my left flank. Steve adopted a similar deployment, so I thought it was all going to be about who had the best luck with the cards (TTS has playing card based game mechanics).

In the end, however, that’s not how it worked out. In the centre, Steve advanced his melee foot units towards my line, giving me the opportunity to target each one individually with my longbows. This generally resulted in them disappearing from the table, meaning that when the rest of our troops did clash, I only had to win a third of the combats to win the game (the heavies just faced each other, manoeuvring for some kind of positional advantage, throughout). A second victory.

I fancied a change for my final game, so volunteered to take the Vikings, this time facing Peter and his Ancient Britons. This, again, was two quite similar armies, with the only real difference between them being the British light chariots/horse.

And it was indeed the light chariots/horse that made a difference. I made a terrible mistake early on in the game by leaving my right flank floating. This allowed Peter to get a couple of units of light horse in on my flanks, disordering a couple of my Hyrd units. This allowed his warriors to hit them at a distinct advantage, my right flank crumpled, and my opponent neatly rolled me up on the right and in the centre! Another nice tactic that Peter used was to refuse his own right flank, meaning that any units I had there (one third of my army) spent the entire game chasing after contact with the any enemy units. The end result was a fairly catastrophic loss!

So all in all a great afternoon’s gaming. Thanks to Bevan, John, Steve and Peter.

Another ECW Battalion Added

As this year’s Painting Challenge draws to a close, I am frantically trying to hit my target of 2,000 points. I’m currently on 1,947 so, as I paint in 15mm, have four days to paint 53 figures or nine vehicles. That’s quite a tough prospect, but I can’t get this close only to fall at the final hurdle!

Here’s another English Civil War battalion to help me on my way:

The figures are all 15mm Peter Pig, painted with GW Contrast Paints.

Painting Challenge: Important Notice

For a variety of different reasons, I won’t have an Internet connection for the next few days, including over New Year’s Eve and Day.

That means that rather than updating Challenge entries right the way up to midnight on the 31st, I won’t be adding any entries until my connection is restored sometime towards the end of this week. So the final scores for this year’s Challenge won’t be available until probably the 4th or 5th of next year.

Fear not, however, any entries received before midnight on 31st December will count towards your totals for this year. Anything later needs to be clearly marked as belonging to 2019 or it will be counted as a 2020 entry.

And yes, that means that the Challenge will be continuing into 2020: usual entry requirements and rules apply, but don’t forget that without Internet it will take me a few days to set up all the galleries etc for 2020.

Hope everyone has a very Happy New Year.

R

Blast From The Past: Literally!

Boxing Day and the kids (well, young adults!) are demanding entertainment.

What a perfect time to break out a game I first played at school, some forty years ago: Warlord. Although I’m sure that when I first played it, it was called something more nuclear armageddon-y.

For those of you unfamiliar with the game, you build your empire through receiving a number of armies (the counters) based on how many cities, urban and rural regions you control.

You attack across a regional border with a simple but fiendishly cunning mechanic involving you committing a number of armies to battle and your opponent having to guess how many armies you’ve sent in. You have to have at least two armies to attack with, and you cannot empty a region you own, so that you can see that if you want to attack, say, four times, your first attack has to commit at least four armies…and it’s calculations like that that make the game so good.

Even better, each time you win a battle you get a one-stage nuclear missile i.e. one that can cross one border. The game rapidly becomes a race to build a nuke big enough to fire at an enemy target far enough away from your own empire and, in terms of action, massive military drives to capture enemy nukes before they can target you.

It’s a brilliant game, and I highly recommend it…providing you can find a way of getting hold of a copy.

A First Go At Art De La Guerre

The other day I had the opportunity to play Art de la Guerre : a set of rules for gaming the Ancients period that Bevan and John were using to play a game set in the War of the Spanish Succession.

I’m a real novice when it comes to the Pike & Shot period, and know next to nothing about the War of the Spanish Succession, but was keen to have a go in preparation for when my 15mm English Civil War armies would be ready for action. Today I would play the very Catholic Spaniards blocking passage for a German Protestant army.

My army seems a little small!

There seemed to be an awful lot of heretics on the other side of the battlefield: two big wings of cavalry, mostly cuirassiers, and five pike/shot blocks in the centre. I was assured, however, that their troops were mostly mediocre in nature and, after all, I had God on my side!

I had the same sort of structure to my force, just smaller. Two wings of cavalry, about half and half cuirassiers and arquebusiers; and four pike/shot blocks in the middle, including two tercio units which were apparently very good at fighting. I also held a small manor house top right with a couple of units of light troops.

The enemy line

my glorious troops

The game began with the Heretics advancing towards me. In doing so, he quite amusingly managed to mask his own guns (artillery was stationary in this encounter) meaning that I had a long range advantage. My guns hammered one of his infantry blocks throughout the game, and although I didn’t manage to disperse them, it kept them out of the action.

I could see that his main effort would be with his cavalry wings. On the right, my Forlorn Hope in the manor house gardens effectively halved his advantage in numbers as he peeled off a couple of units of cavalry to cover them. These exchanged fire with my lights for most of the game, neither side actually achieving much at all…except, of course, that that was another of his main strike units out of the main action.

Meanwhile, on the other wing, his cavalry also advanced strongly towards me. In response, I refused my cavalry, moving them so that they faced across the battlefield with their flank protected by the thick woods. I was hoping that the enemy horse would advance to contact, thus exposing their flanks to my left hand infantry unit.

And this is almost exactly what happened. His right wing of cavalry charged forward, but instead of overwhelming my horse with his superior numbers and armour, he hit a combined horse and tercio force that took his initial impact, and then he got hit in the flank by my other tercio unit, evaporating the left end of his line. The battle ended with me having twice as much horse left on that wing as he did: a mere matter of time before I disposed of them and moved to attack his flank with the survivors.

Meanwhile, in the centre, the two line of infantry had got into musket range and were exchanging fire. Here, the superior quality of my troops showed, especially when one of the tercio blocks that had disposed of the cavalry, changed direction and hit the right hand end of his infantry line (now nicely exposed by the absence of his cavalry). More of his troops evaporated from the battlefield!

Finally, on my right flank, his cavalry also thundered towards me. Fortunately, the fact that he had dedicated some of his troops to covering my Forlorn Hope and to charging my guns meant that we were now on even numbers, but his men were much more heavily armoured than mine: this was going to be close run thing. I should also note that half of my Forlorn Hope had left the comparative safety of the manor house and were now sniping at the rear of his cavalry line.

The two lines of cavalry came together with a mighty smash but, fortunately, I managed to survive the initial clash, with half the cavalry on both sides effectively disappearing from the field. This meant that his force had now exceeded the number of casualties that it was prepared to take, and despite the fact that the right flank could still be his, losing the left and centre meant that his men either retreated, fled the field or lay down their arms and prepared to be baptised!

So the field was mine, and by a pretty big margin too.

What did I think of the rules? Well, having spent the last few years playing games such as I Ain’t Been Shot, Mum and To The Strongest, this was more like a return to old days of WRG 6th Ancients: lots of fussing about movement involving wheeling and the like, lots of factors to add and subtract. It was, however, quite enjoyable, and I would definitely pay again.