
IABSM AAR: The Dunes West of Buc Buc
/Here’s another After Action Report from the A Wargamer in Cyprus blog. It’s a Western Desert scenario, but not one taken from the Operation Compass scenario book..
Click on the picture below to see all:

Here’s another After Action Report from the A Wargamer in Cyprus blog. It’s a Western Desert scenario, but not one taken from the Operation Compass scenario book..
Click on the picture below to see all:

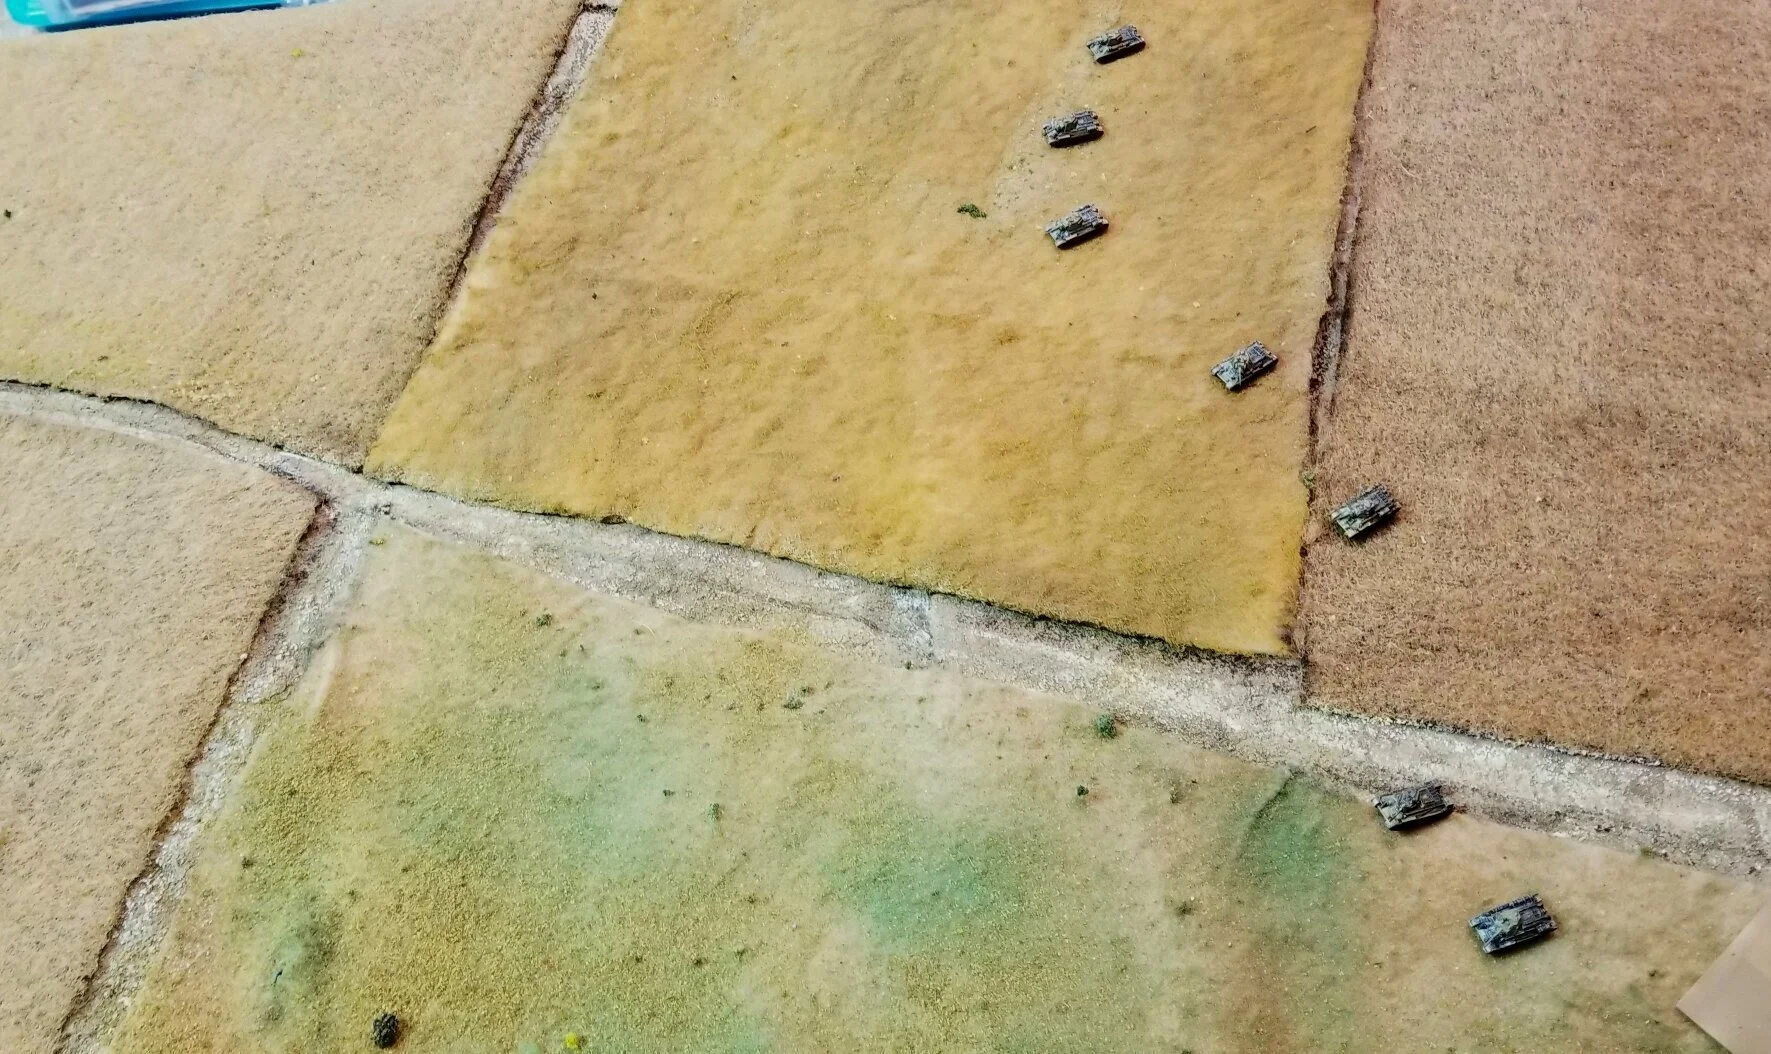
Here’s another great 6mm I Ain’t Been Shot, Mum battle report from Mark Luther, fought remotely due to the C19 lockdown.
The encounter is based on the lopsided engagement in the area between Step' and Hill 227.9 on the morning of July 6, 1943 involving the 107th Tank Brigade and the StuG IIIs of StuG Abt. 245 and off-table Tigers of s.Pz. Abt .505.
Click on the picture below to see all:
A very productive weekend with another two units of Scots for my ECW collection rolling off the production line. All the below are 15mm figures from Khurasan’s Scots & Irish for the ECW range, painted with GW Contrast Paints and mounted on Warbases vehicle bases to give a nice chunky element for For King & Parliament.
First up was the third unit of Highlanders:

Following the Highlanders was a suitably manky unit of mounted Scottish Pistoliers. In FK&P , Scottish horse are nearly always downgraded due to the poor quality of their steeds.
Here’s another great battle report from the A Wargamer in Cyprus website featuring a game of I Ain’t Been Shot, Mum taken from the Operation Compass scenario pack.
It’s 14th September 1940, and the Italians have finally begun their invasion of Egypt. A huge column of Italians - motorcyclists in front, followed by infantry in trucks, followed by tanks - has streamed across the border in almost a parade ground formation. Five divisions-worth heading into Egypt.
In front of them is a mixed force of British troops - infantry, artillery and tanks - with orders to slow them down. Click on the picture below to see what happened:

Some very nice examples of our craft submitted over the last couple of weeks.
Make sure you check out the everyone’s individual galleries, but here’s a selection:


Over the years, various people have adapted the TooFatLardies' company-level rules I Ain't Been Shot, Mum (WW2) and Charlie Don't Surf (Vietnam) for other, more modern periods.
One such adaptation, never officially published, was I Ain’t Been Nuked Mum. Here’s a battle report from 2015 taken from the now unfortunately moribund Maxim to Milan blog imagining action from the Cold War of the 1970’s.
The scenario is an attack-defence scenario based on a West German counter-attack after Soviet forces had been halted by NATO resistance.
Click on the pic below to see all.

Blogger “A Wargamer in Cyprus” has been playing through the Operation Compass scenario pack. I haven’t been able to get hold of him to ask permission, so I hope he doesn’t mind, but here’s a quick report of his game using a slightly amended version of Scenario #01: The Road to Fort Capuzzo.
Hostilities have just been declared, and the 11th Hussars are on the rampage. Click on the picture below to see all:

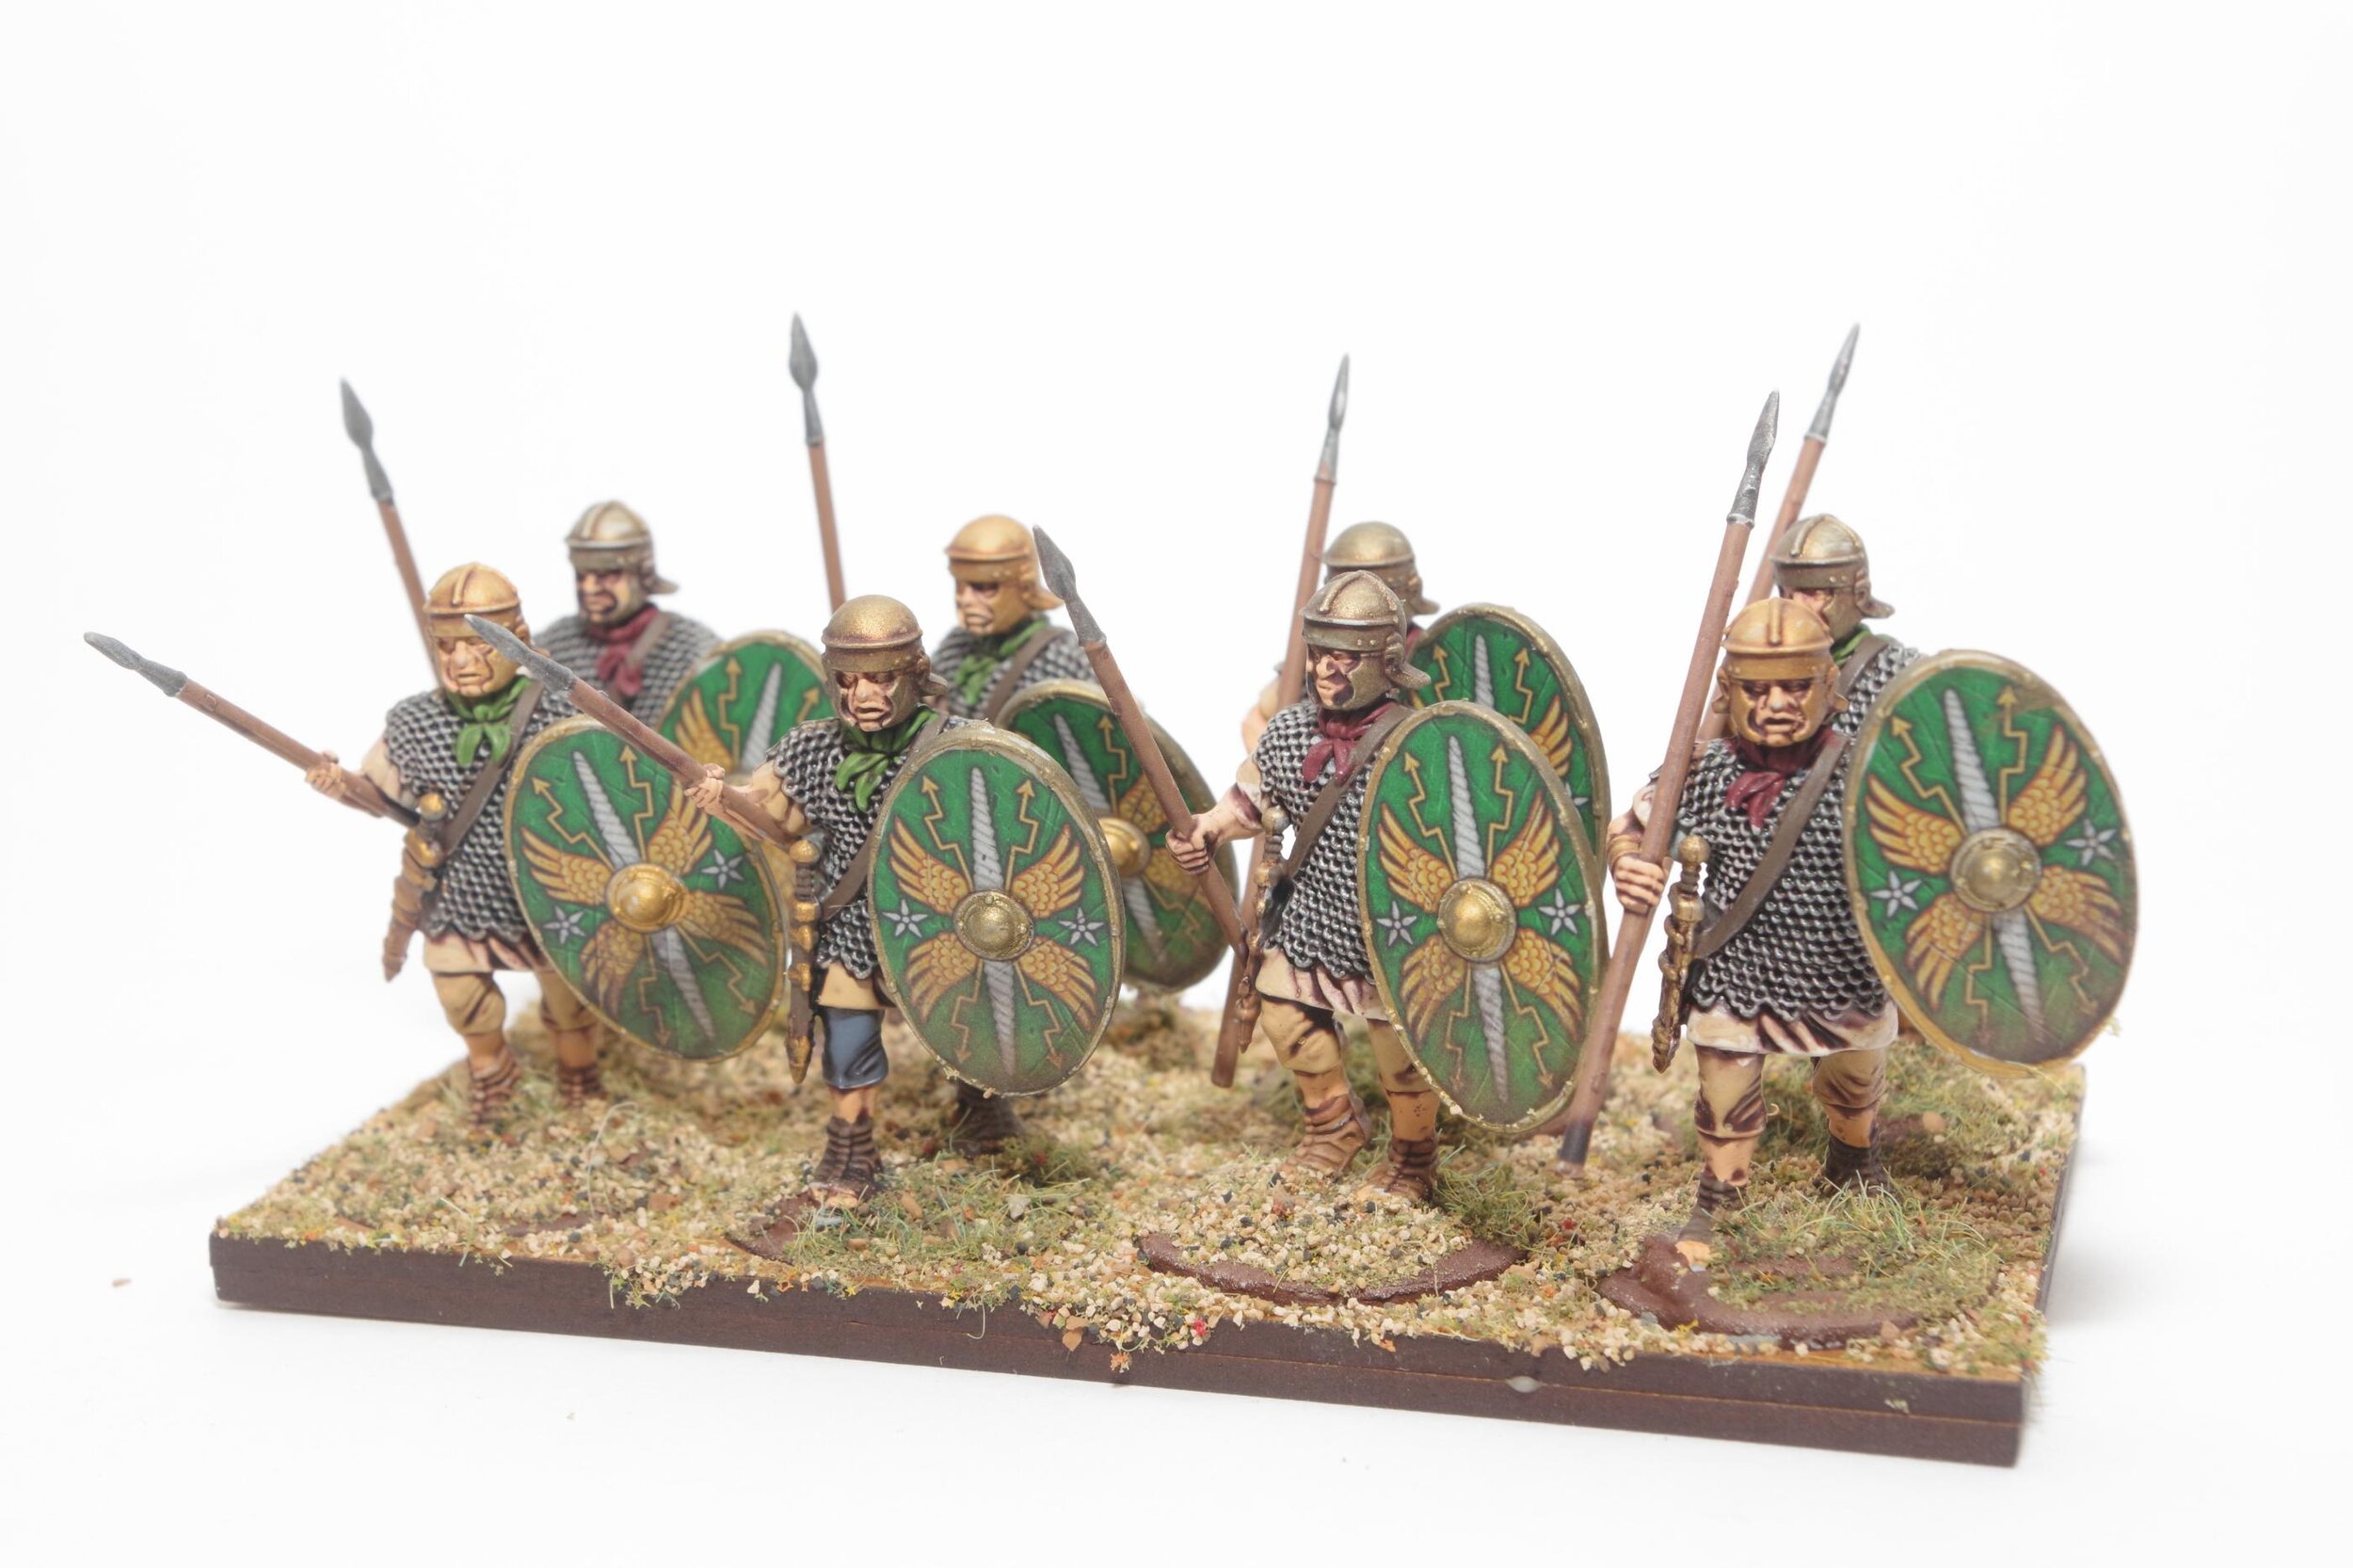
Here’s the second unit of Highlanders for my English Civil War project:
These are 15mm Khurasan figures from their ECW Scots & Irish range: full Highlanders at the front, Humblies at the back.
One more Highander unit to go and then it’s on to the Scottish horse.
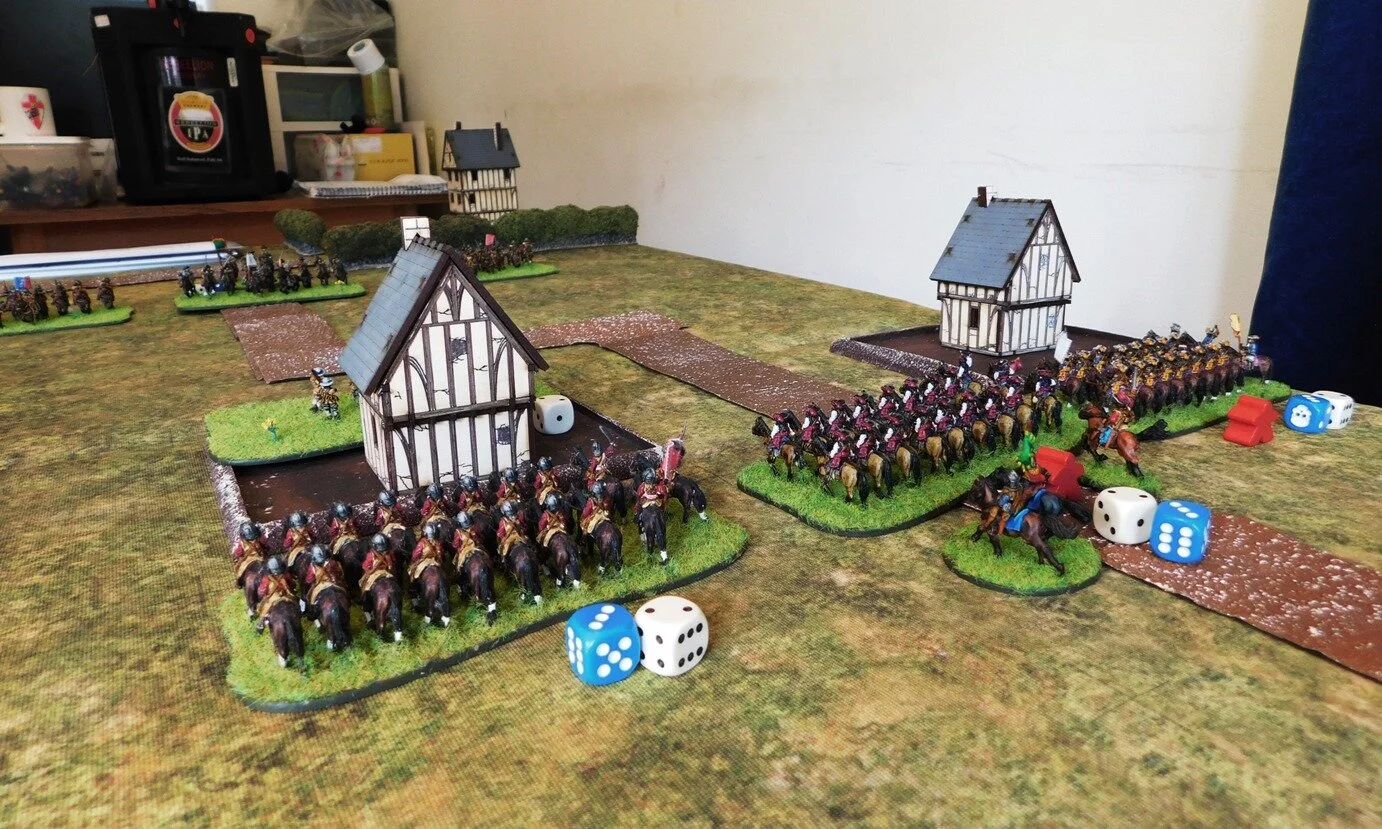
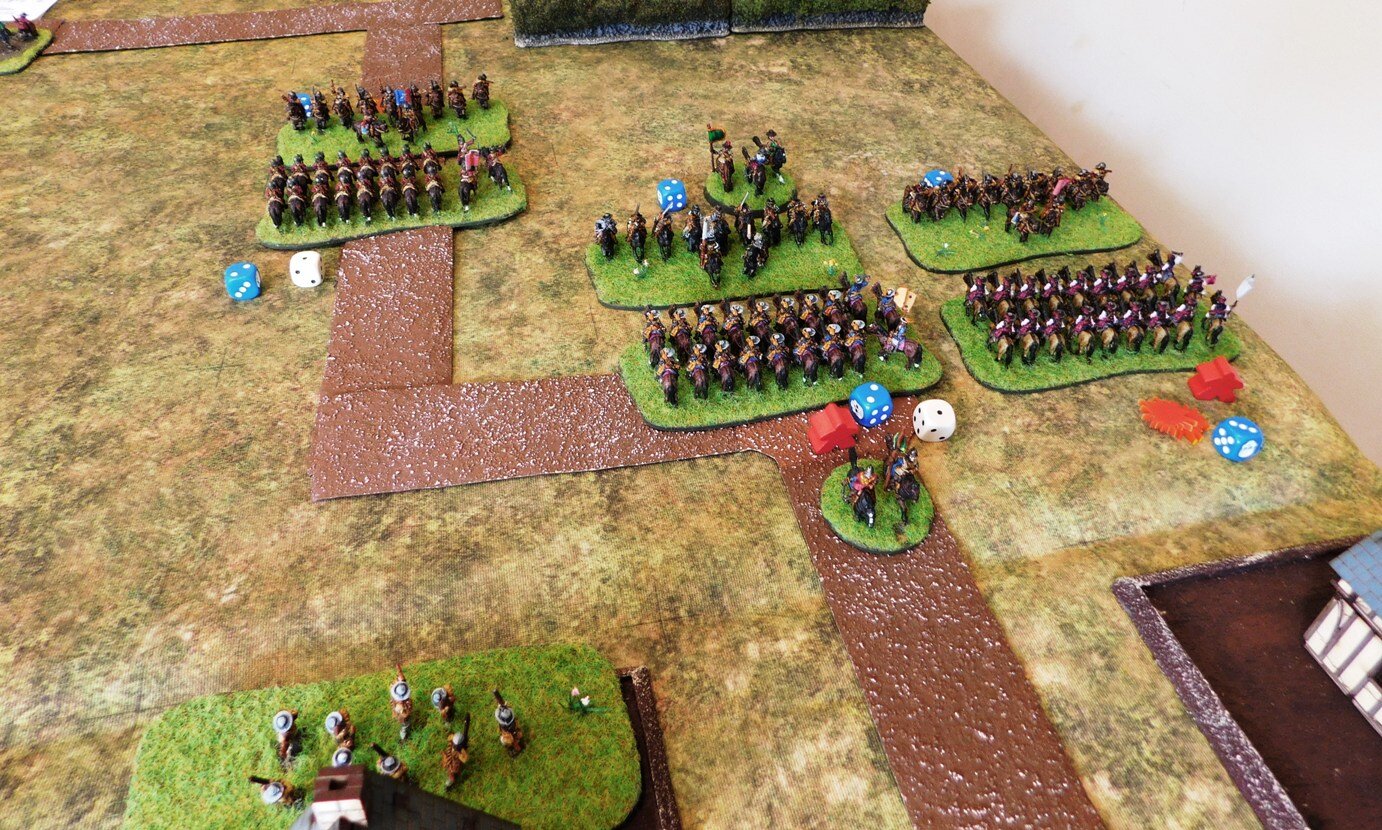
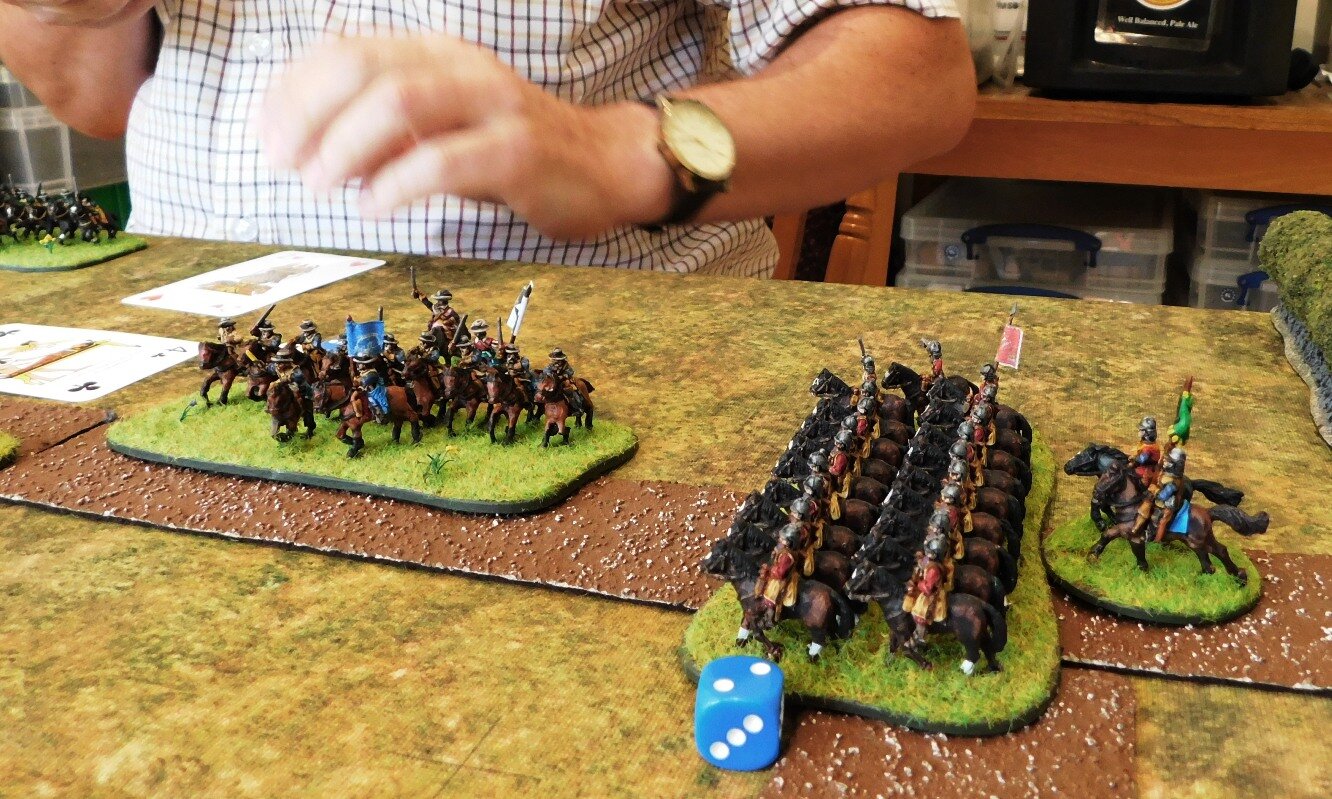
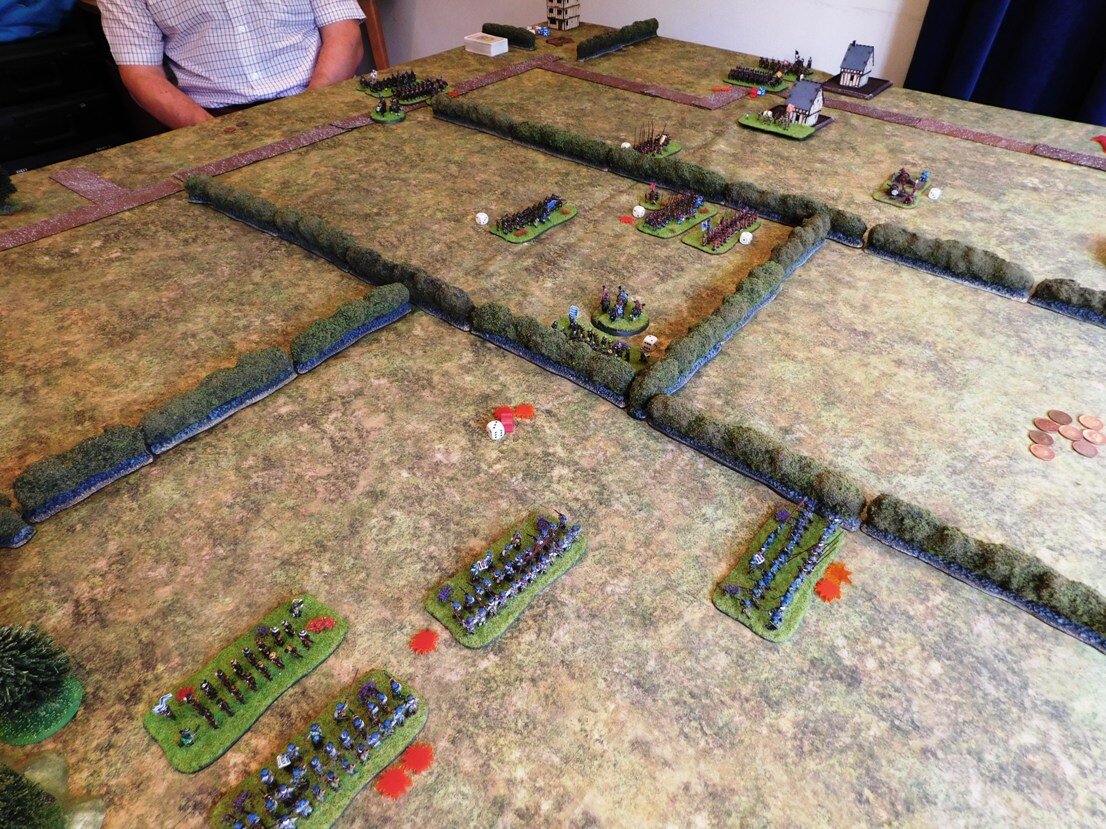
Time for another go at For King & Parliament, and the fifth scenario in my North Wessex campaign: Bisham Abbey.
After the last clash at Burchett’s Green, both sides have withdrawn to regroup and reform.
With “Little John” Boulters remaining in command whilst his father still recovers from wounds received at Widbrooke Common, the Royalists are bolstered by the return of the troops from Maidenhythe, hitherto sequestered by the King in Oxford. The Roundheads also receive reinforcements in the shape of a brigade of mercenary Scots troops under Colonel Macintosh MacLeod, and Sir Christopher (overall commander) is finally persuaded to lead from the back rather than the front!
The Royalists are ready to move first: marching north towards Marlowe. The Parliamentarians are ready for them, however, blocking their path just north of Bisham Abbey, a monastery-turned-manor-house that sits on the banks of the Thames.
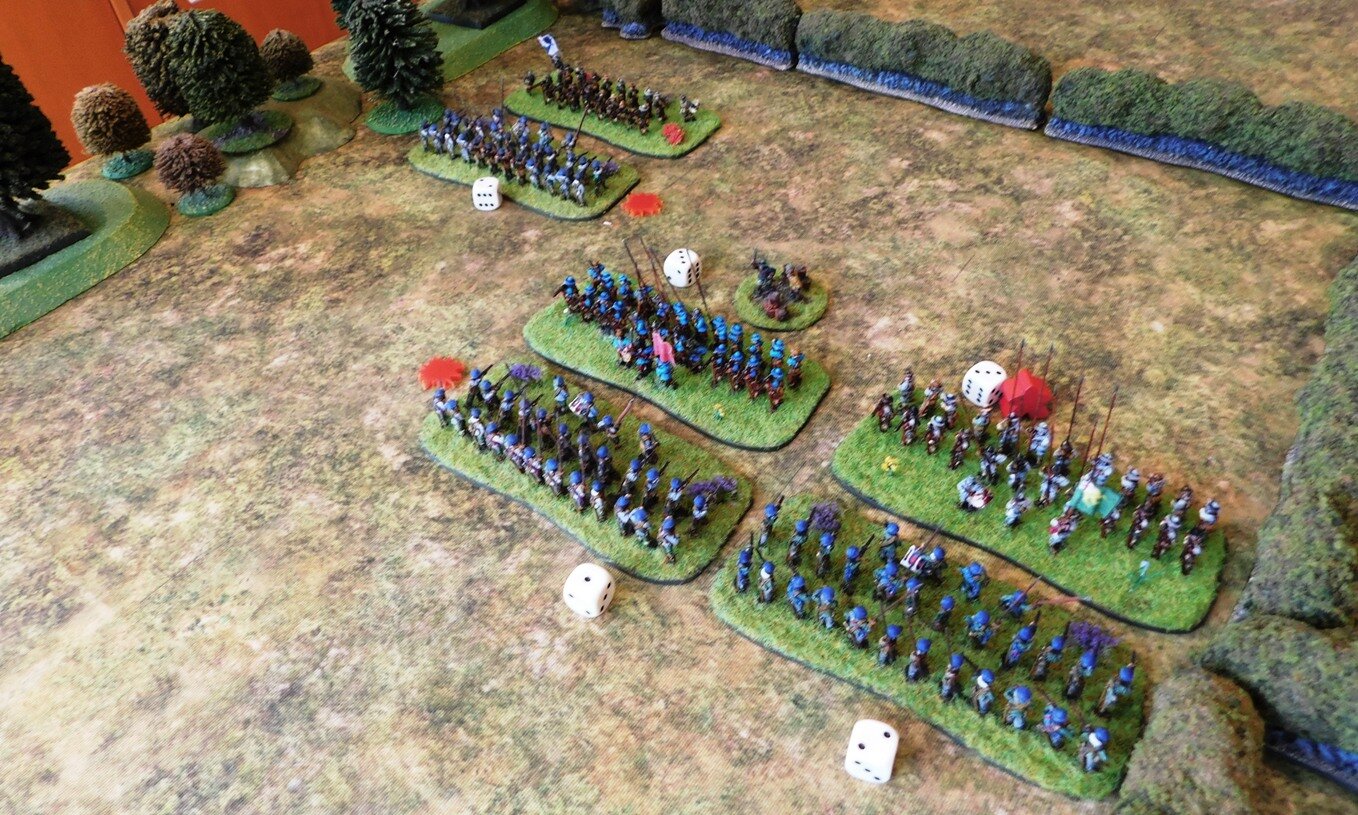
The table from the Parliamentarian side
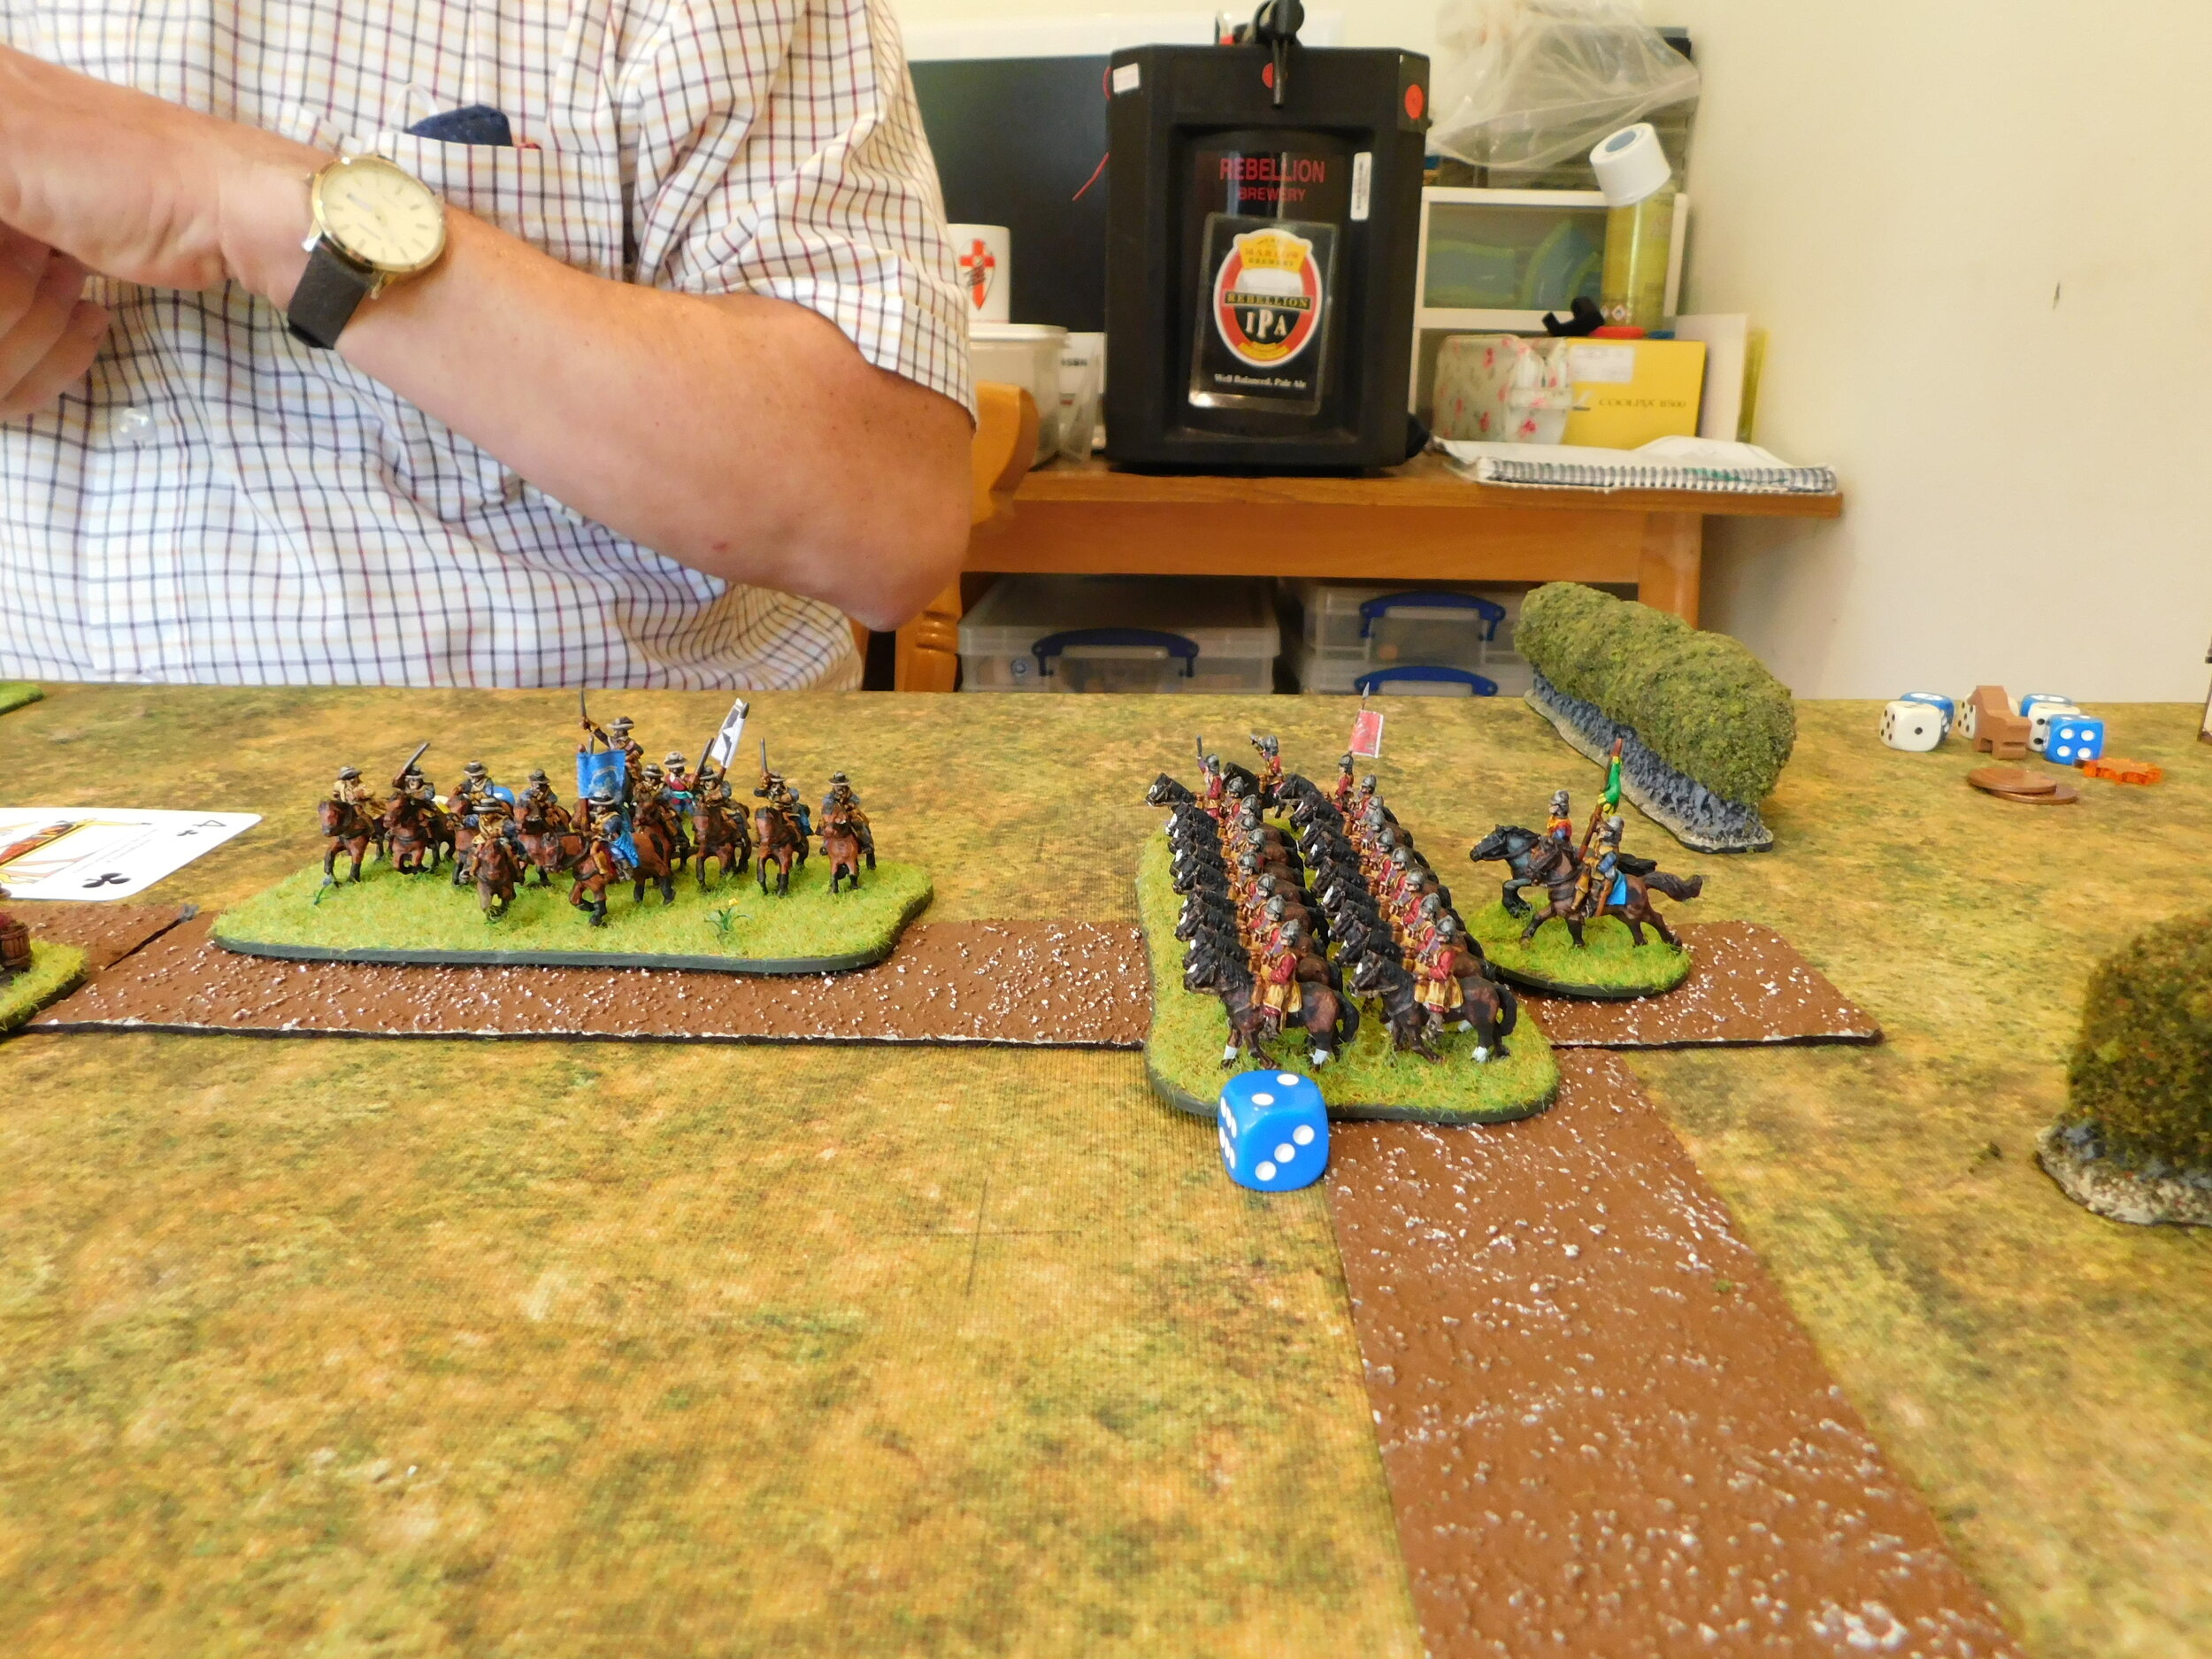
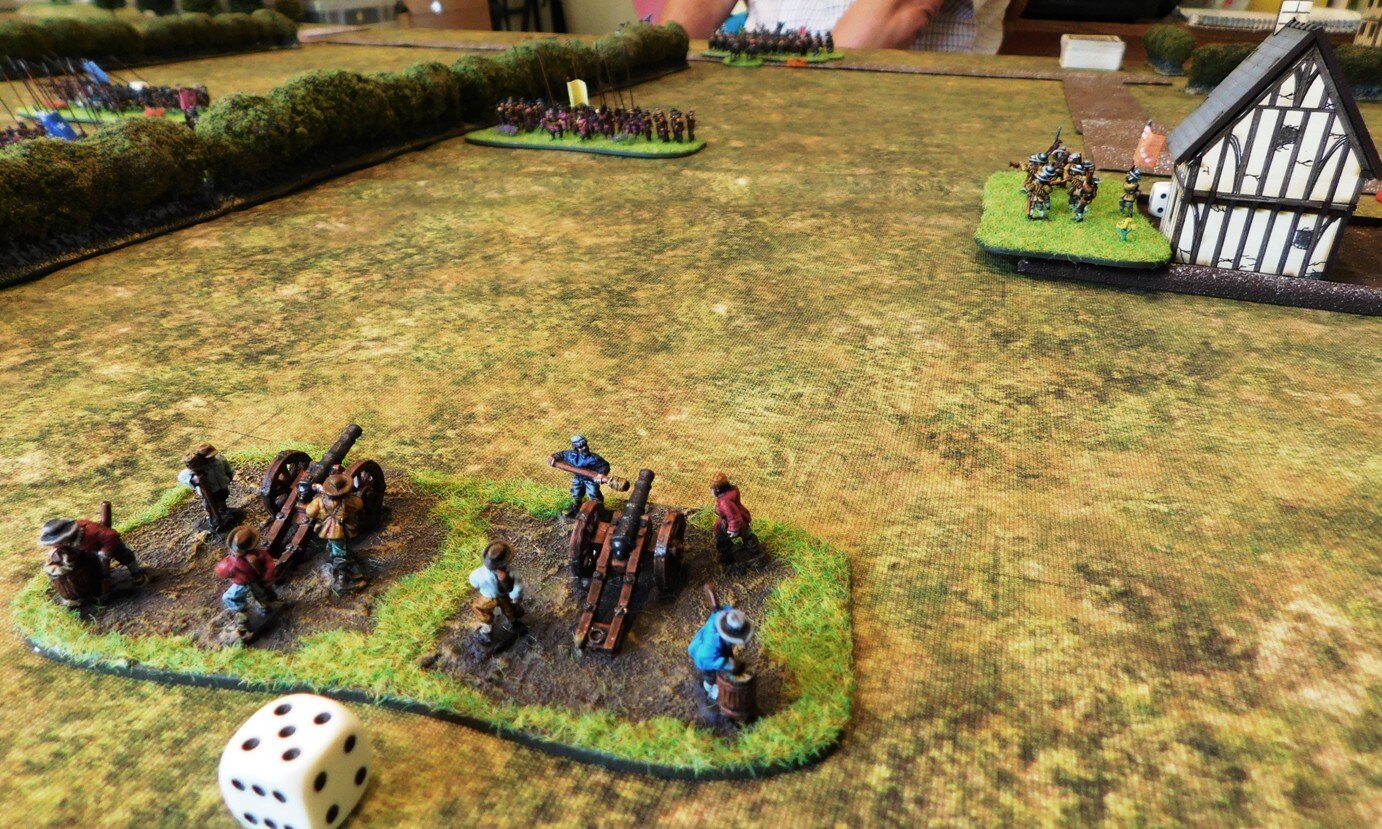
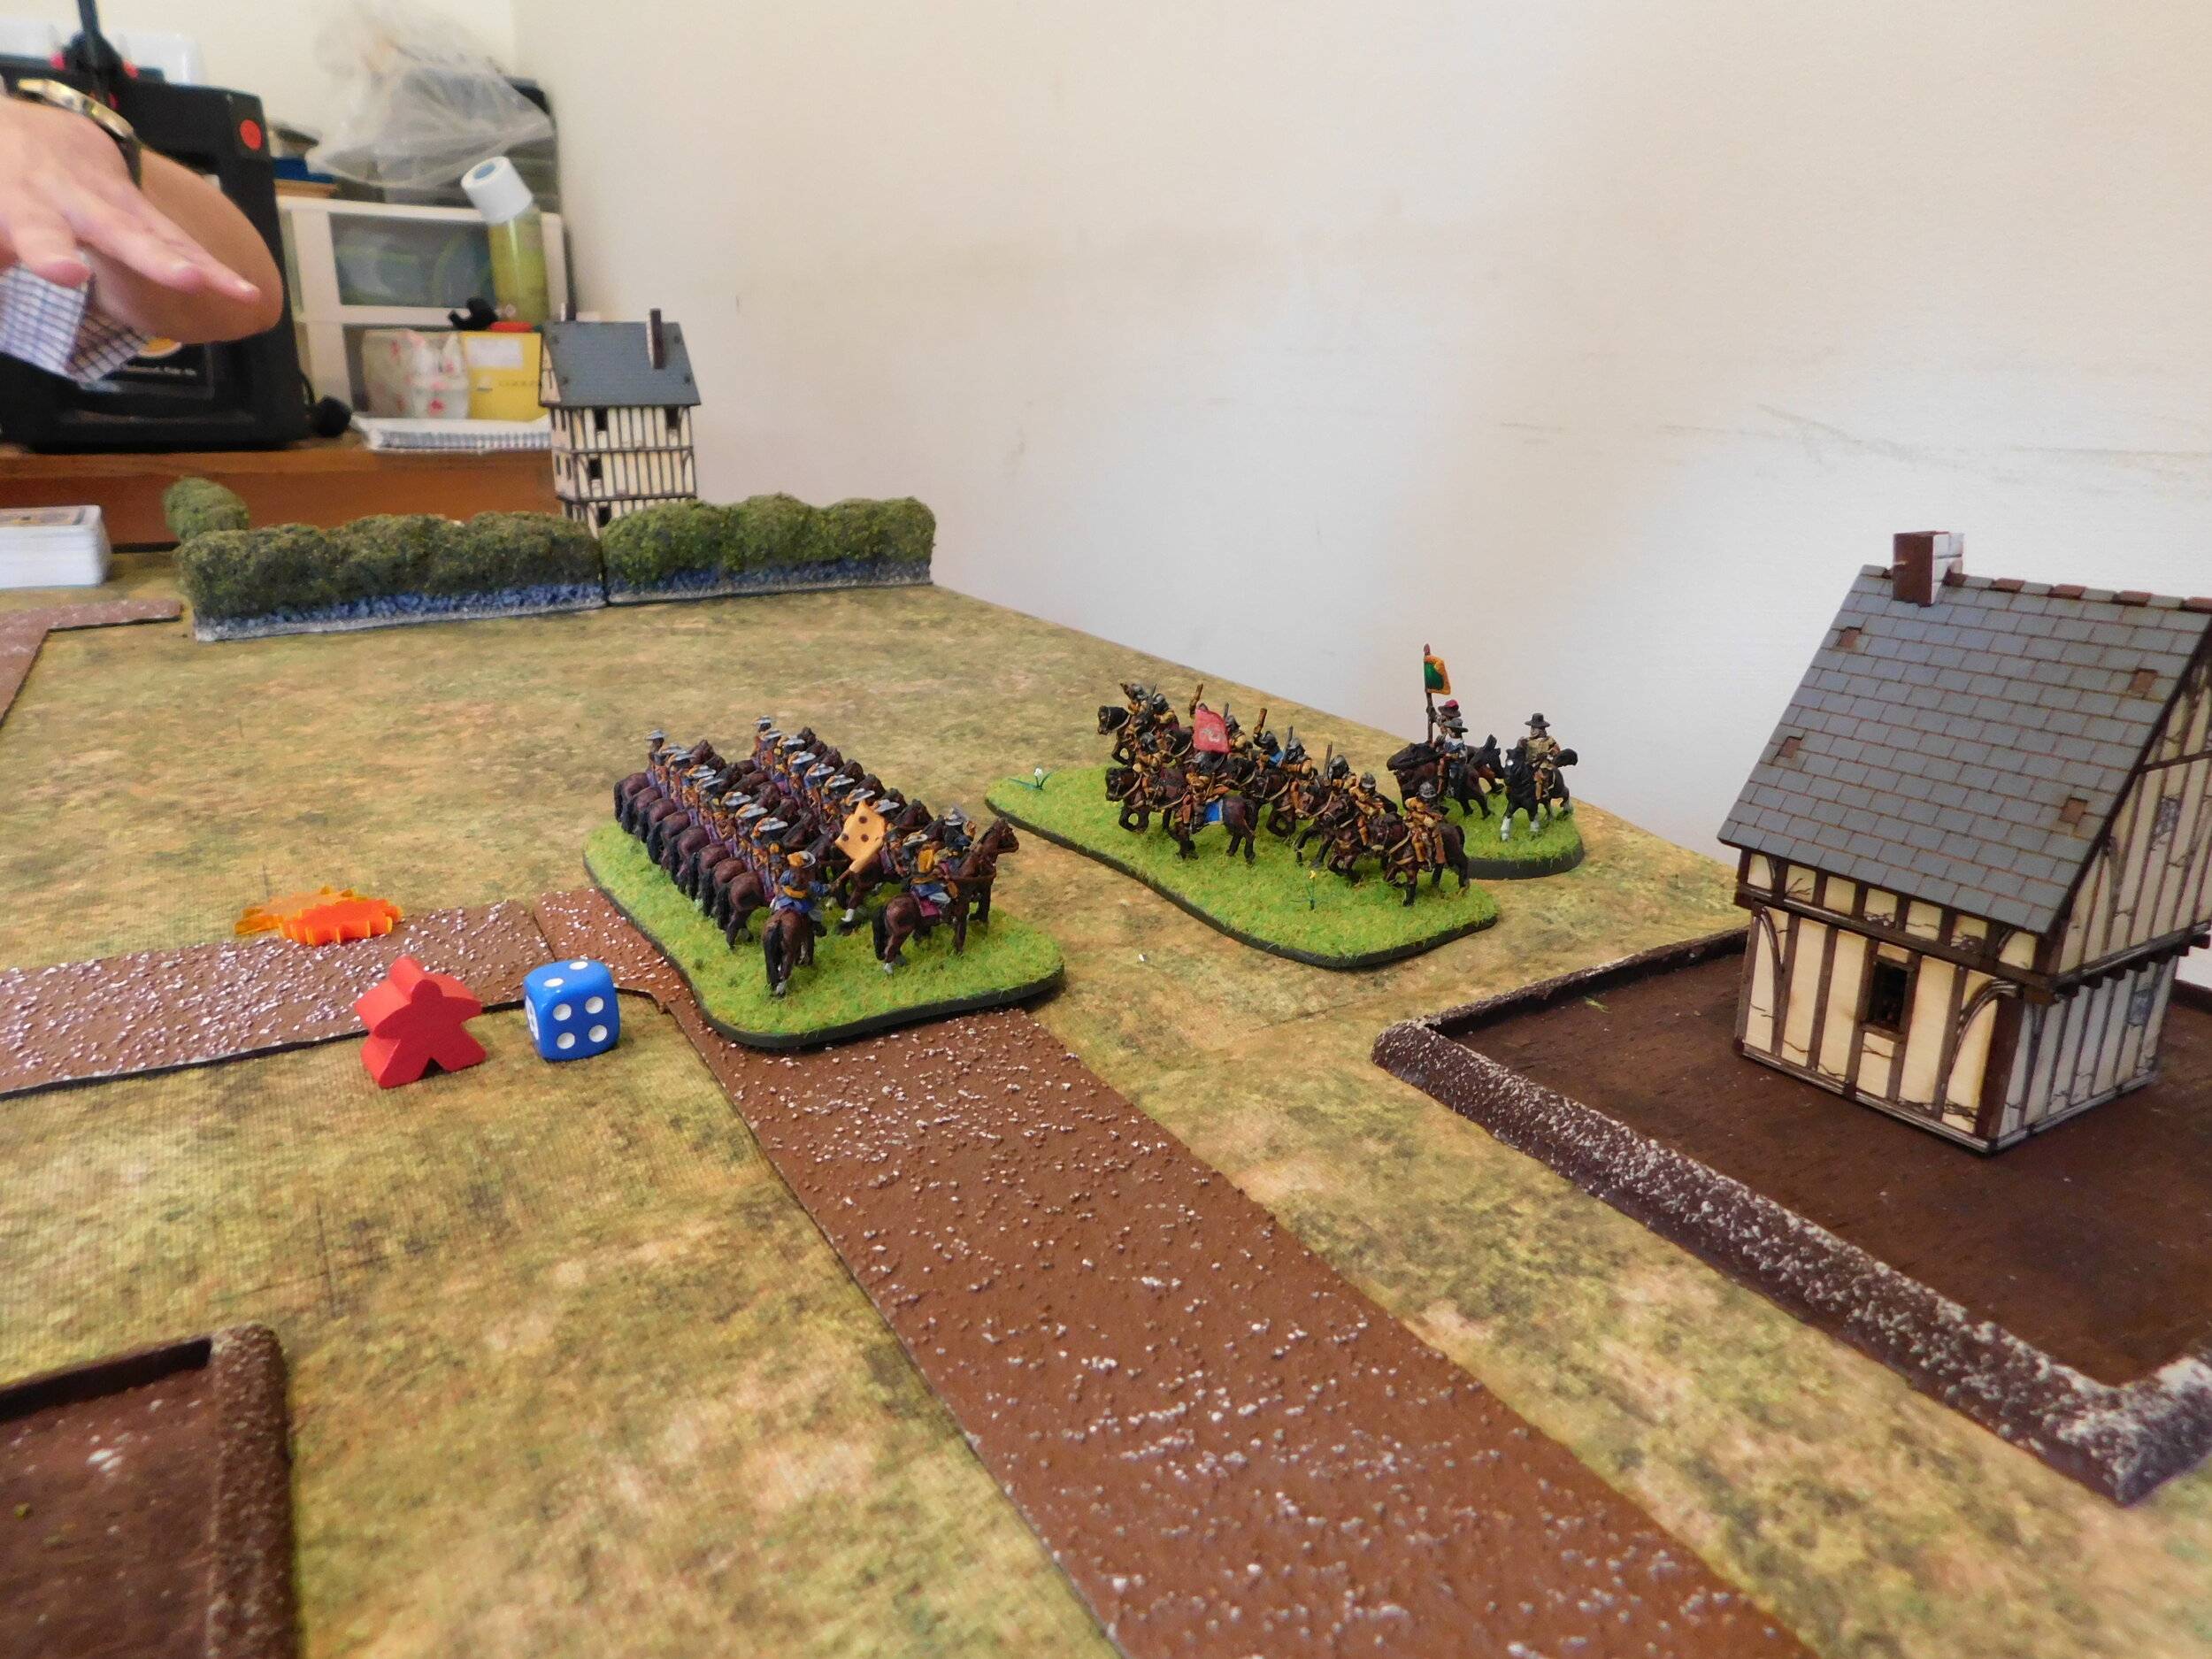
The Royalist army, ably commanded by my friend John, consisted of four brigades. On the right was Col. Stafferton’s brigade of horse (two units of Swedish horse); to their left was Col. Spencer’s brigade of foot (the Cookham Militia, three battalia); to their left was Col. Sir William Ray’s brigade of foot (two standard battalia - the Maidenhythe Foot - and the Oxford Musketeers, a commanded shot battalia); and finally, on the far left, was Gen. Derrick’s brigade of horse (three units of Swedish horse).

The Royalist commander ponders his plans
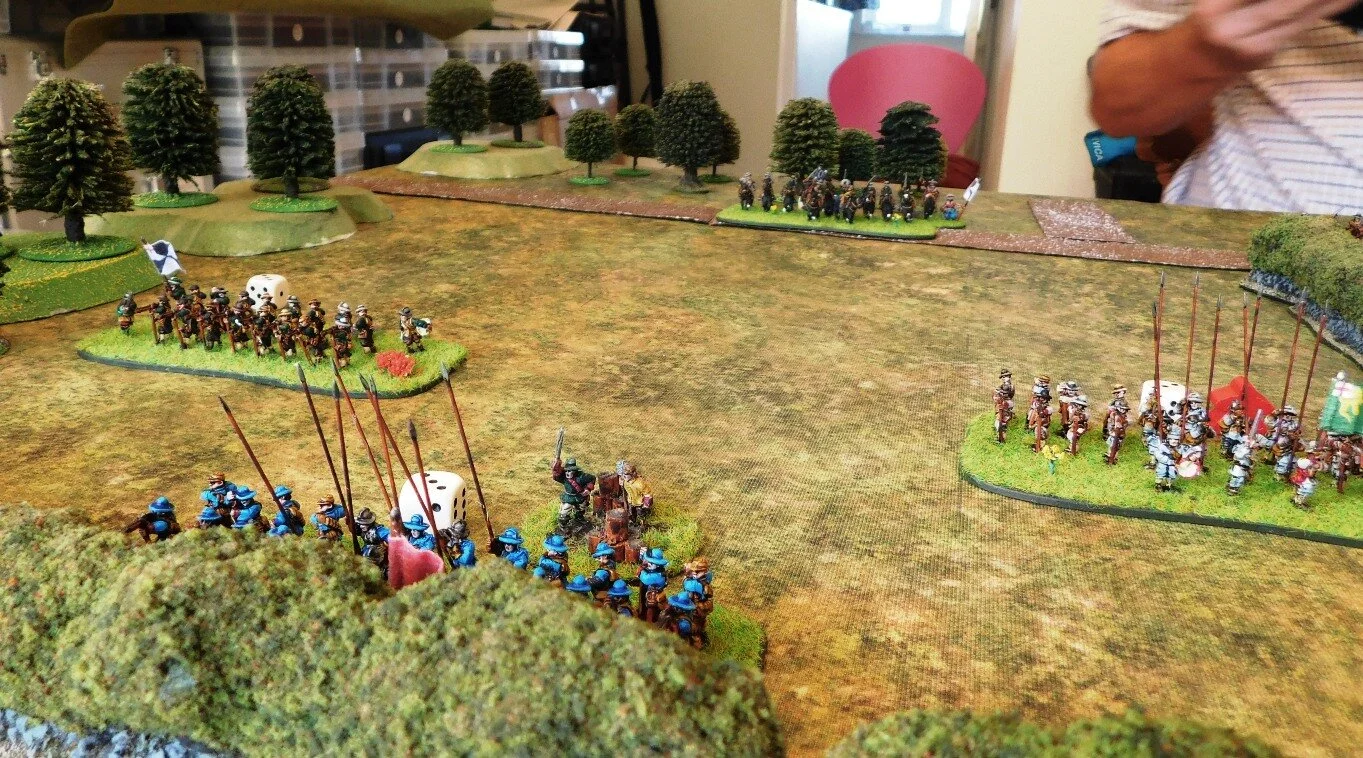
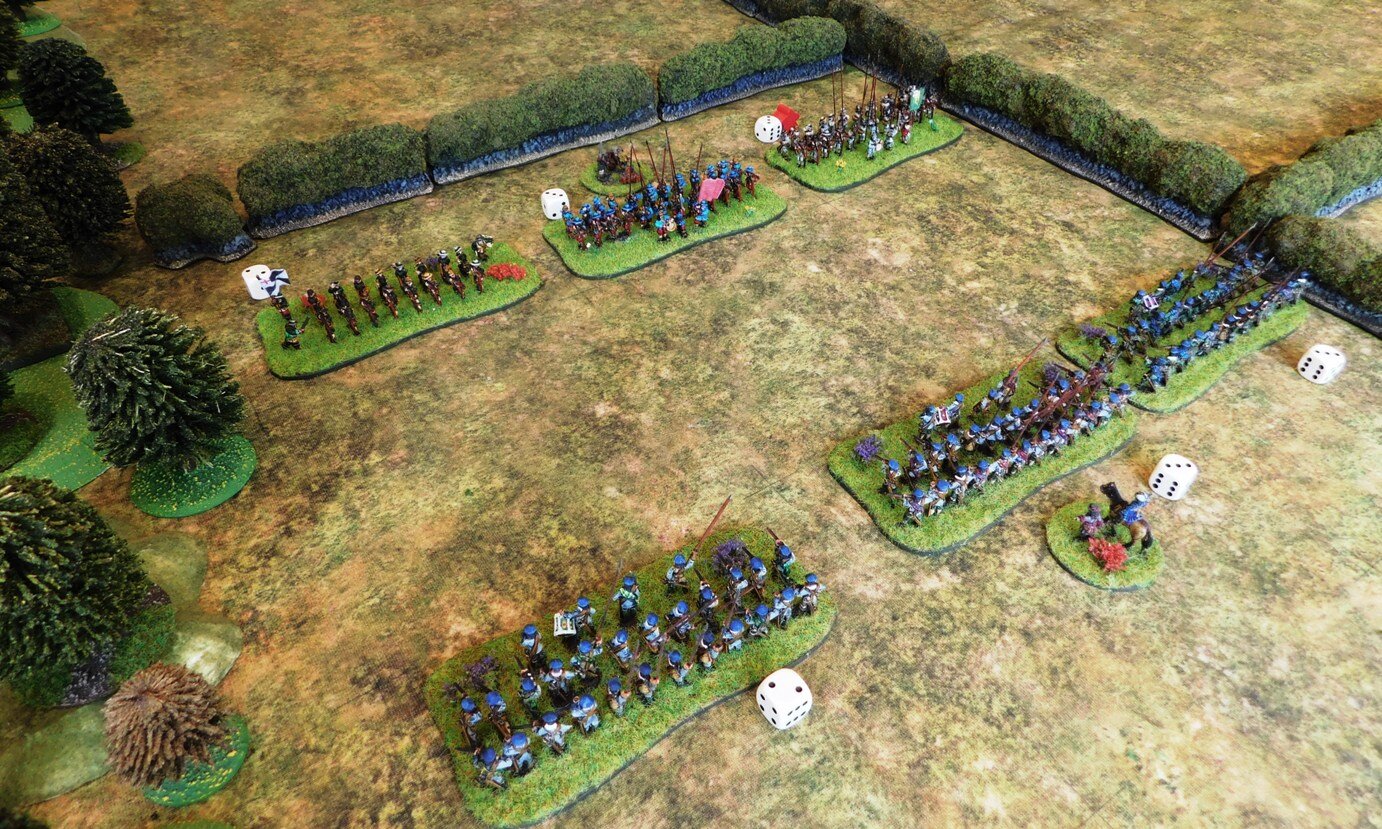
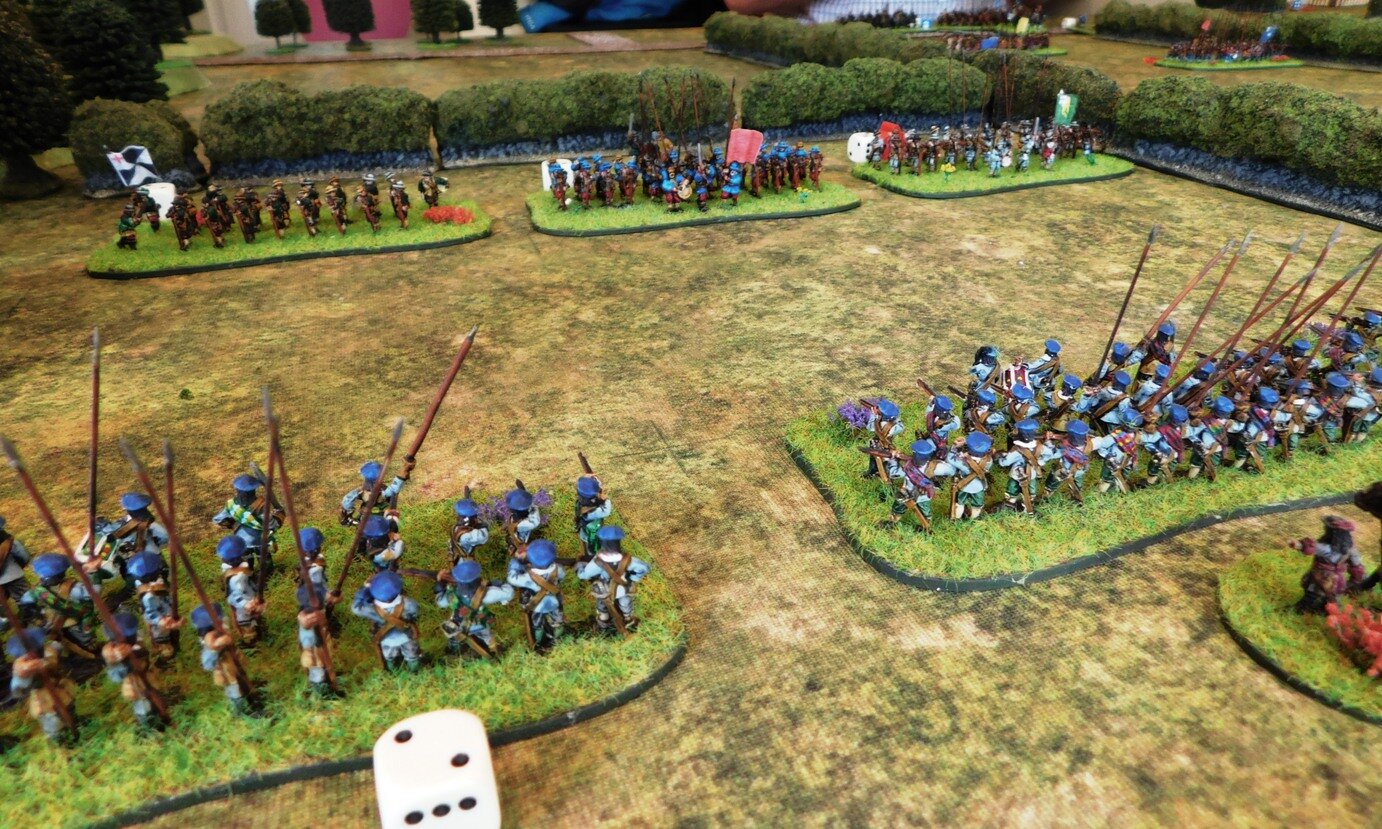
The Parliamentarians, with Yours Truly in command, consisted of only three brigades. The Cavalerie, on the right, were led by Col. Hurst, and consisted of three squadrons of Dutch horse. Next to them, in the centre, were Gen. Nelson’s three battalia of infantry supported by the guns of Littler’s Battery. Finally, on the left, were the three battalia of mercenary pike under Col. MacLeod. A Forlorn Hope was positioned in the small hamlet of Bisham, mid-way between the battle lines.
MacLeod’s Scots in the dawn light. Well, we started at 9am, which is pretty dawn-like for a Sunday!
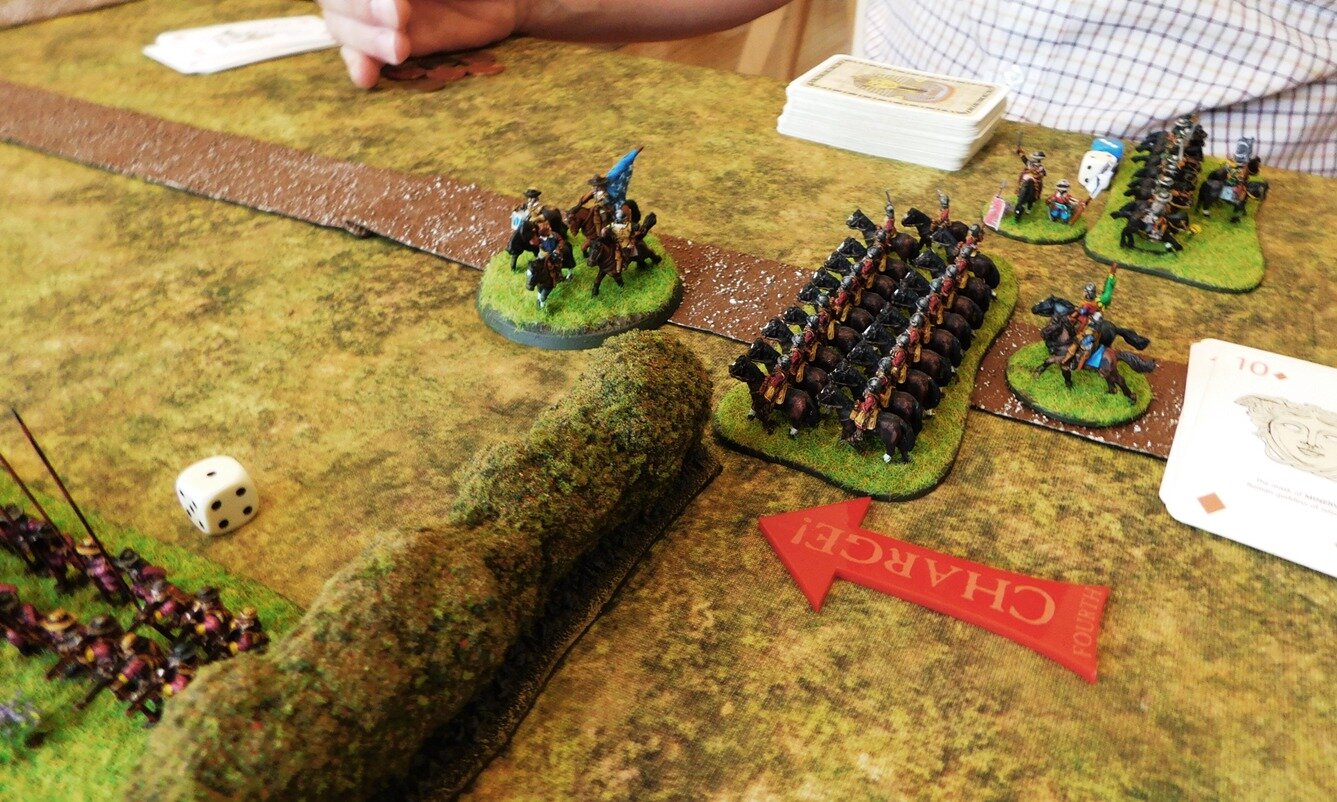
My plan was to pivot on the mercenary Scots, sending my horse forward as quickly as possible to smash through his lighter Swedish-types and then curl around the rear of the Royalist army. I would give up the distant hedge on the left, but take the nearer hedge in the centre.
As this was only John’s second game of FK&P, his plan was to advance generally across his entire front and see what happened when the enemy was encountered!


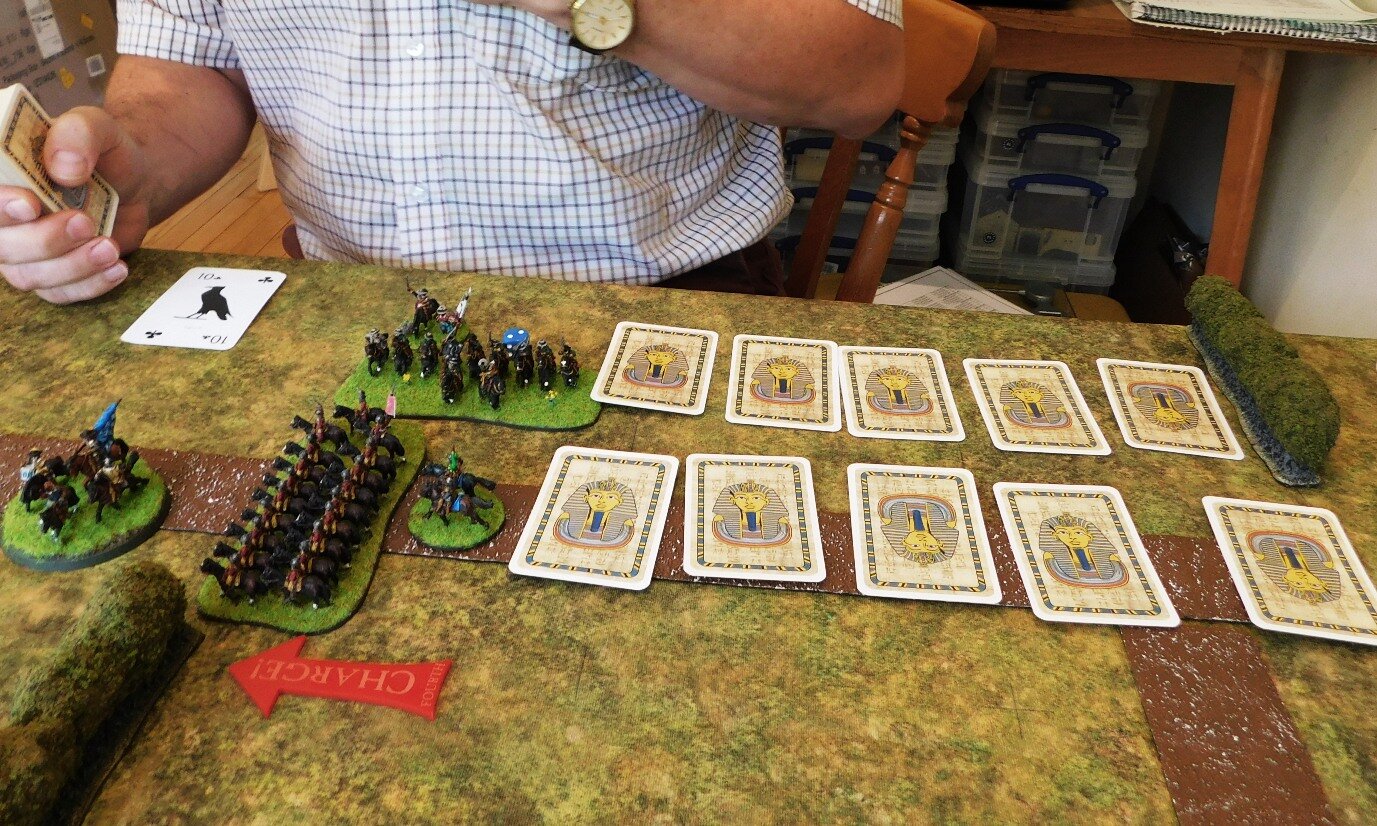
The red Meeples indicate veteran units.


The Parliamentarian coup de grace was administered by Sunnybank’s commanded shot and the Scottish mercenaries. Between them they utterly destroyed the Royalist 2nd Foot Brigade (the Maidenhythe Foot and Oxford Musketeers) which, added to the coins lost when the Royalist horse and artillery evaporated under the tender ministrations of Grey’s Cavalerie, finally emptied the King’s coffers!
In the end, my plan had worked, albeit with several road bumps on the way. I lost three of my command stands, and would have been gradually overwhelmed if it hadn’t been for the extraordinary fight shown by the 3rd Grey’s Cavalerie (the only non-veteran unit in the brigade, obviously). They turned the tide of the battle, with the Scots then digging in their heels and refusing to be broken.
All in all, another great game of FK&P!
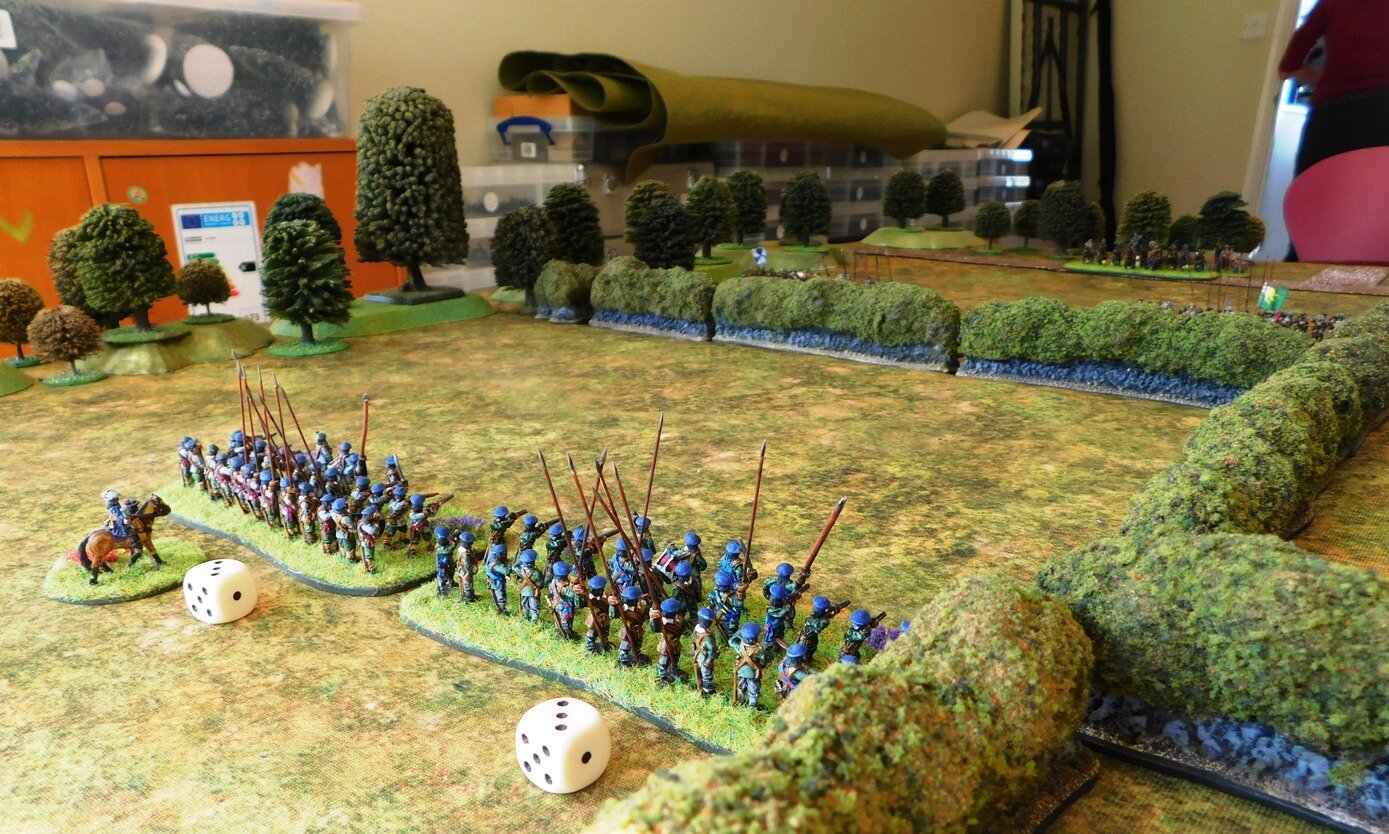
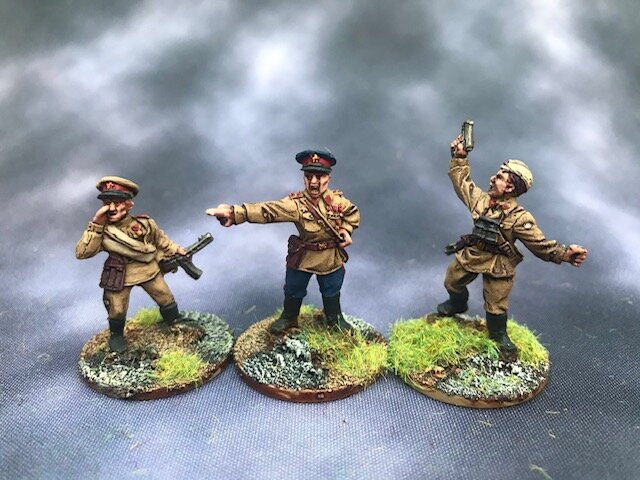
Here’s another great little battle report from Chris Lane, taken from the IABSM Facebook Group, and featuring more action in Malaya.
Here a British probing attack gets tangled with Japanese pickets. Click on the picture below to see what happens…
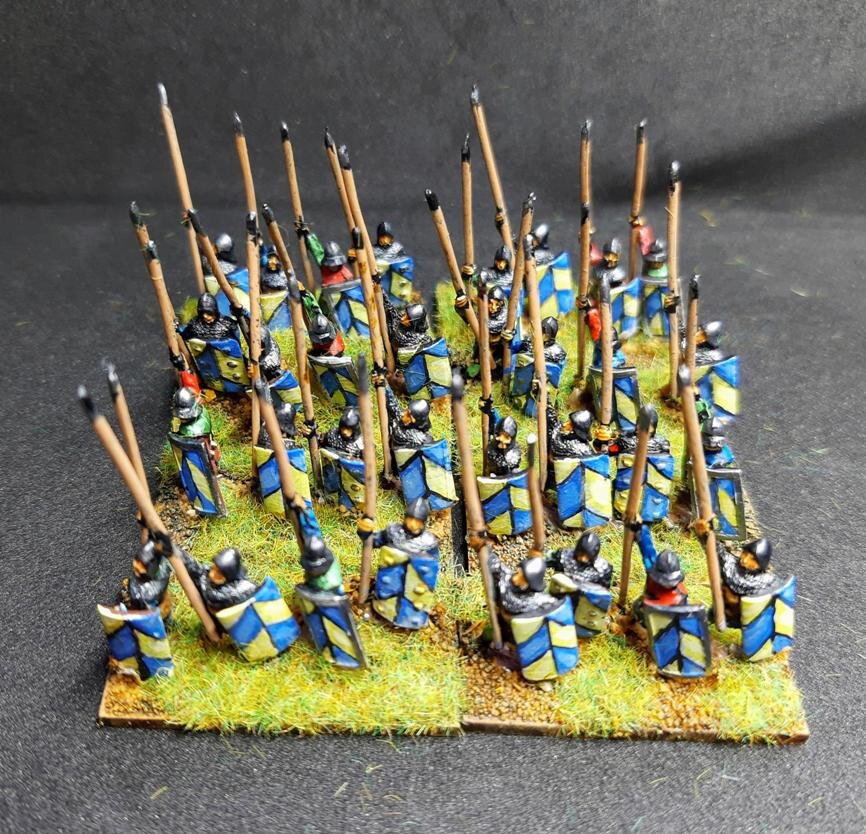
Now that the three battalia of Scottish pikemen are done, it’s time to start adding the Highlanders
These are, again, 15mm Khurasan Miniatures mostly painted with GW Contrast paints and mounted on my chosen element bases from Warbases.
I used 16 figures to represent the Highlander unit equivalent of a pike ‘n’ shot battalia. That might be a little light, but with the dynamic poses you can see in the pic above, any more would have had them on top of each other. It looks about right on the tabletop though.
Note that the chaps with the polearms and yellow shirts are “humblies”: called that because they are the poorer sort of Highlander!
Here’s another battalia of lowland Scottish pikemen for my English Civil War collection:
The figures are from Khurasan’s Irish/Scottish ECW range. They are 15mm and size nicely with the Peter Pig and Hallmark (from Magister Militum) ranges that I am already using. They are very cleanly sculpted and an absolute pleasure to paint. Those of you in the UK might be interested to note that they arrived with me only five days after ordering them from the US: the GZG teleport device is obviously now working in both directions!
They are painted mainly with GW Contrast paints and are mounted on a Warbases vehicle base, giving a very nicely sized element for use with the For King & Parliament ruleset. The flowers/heather is from Boontown.
I’ve taken a pragmatic approach to painting tartan. Rather than spend hours and hours trying to actually reproduce a genuine tartan pattern, I’ve made do with something that doesn’t take too long and looks good at a wargames distance of three feet or so. In effect, all I did was add stripes of a different colour to a heavily shaded sash. This worked for these guys, but the highlanders that I’m currently painting need a little more work as they have a lot more tartan, but more on that in a later post.
A little bit slower this week, probably because the summer holidays have ended and it’s back to work time!
It’s still, however, an impressive collection of entries this week. Visit the galleries to see all, but here’s a snapshot of what’s been sent in:


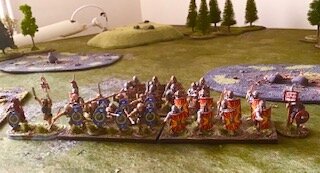


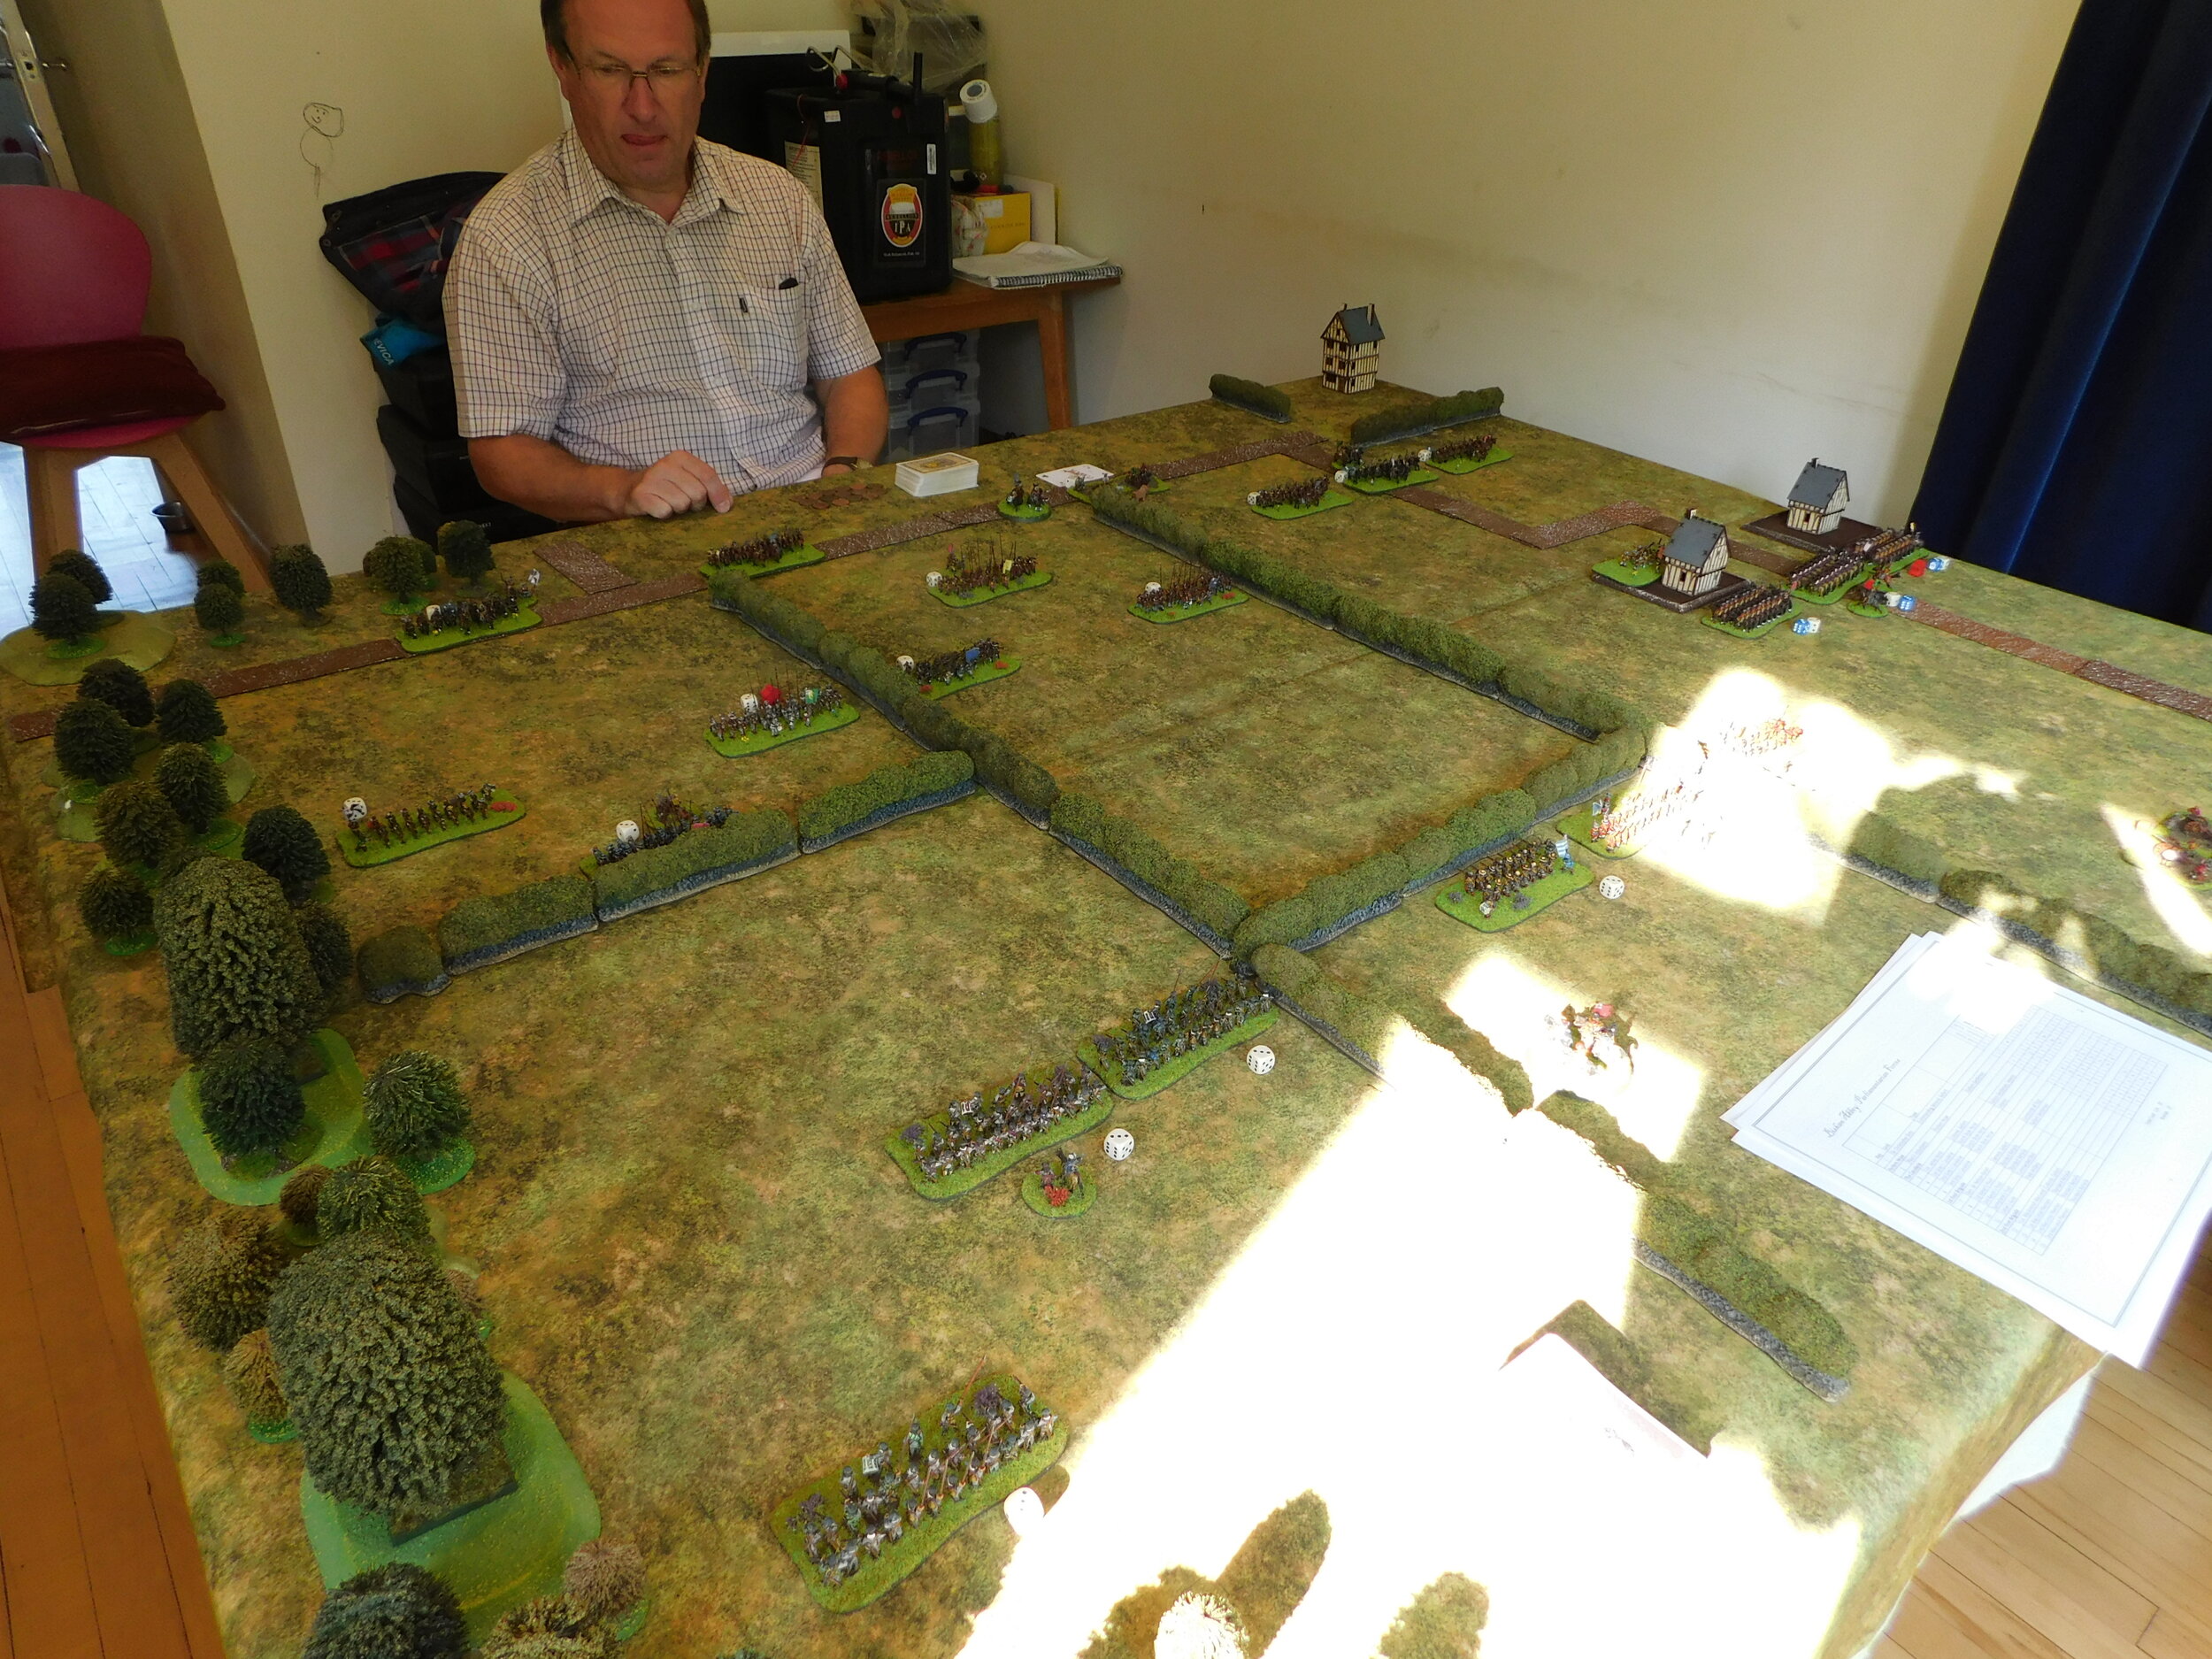
With the varnish on the first two cohorts of blue-shield legionaries literally still drying, it was time to take the Marian Romans out for their first game of To The Strongest.
Looking at their list, the Romans have three basic options dependent on their commander: Caesar (Spain and Gaul); Pompeii (the East) and Sulla. My choice was to field a Caesarian army, mainly because I already have Gauls so wouldn’t need to paint any of them. My list was therefore as follows:
Proconsul
Two units of legionaries (one veteran)
Legate
Two units of legionaries (one veteran)
One unit of Cretan Archers
Legate
Two units of legionaries (one veteran)
One unit of legionary artillery
Allied Cavalry Leader
Two units of veteran Gallic cavalry
One unit of horse archers
I’m thinking that perhaps the Gallic cavalry should, if veteran, more properly be Germanic cavalry, as the Gauls fighting for Caesar didn’t seem to be very good whereas the Germans were very effective, but that’s something I can rectify in due course: for this battle they were hyped up on Getafix’s potion!
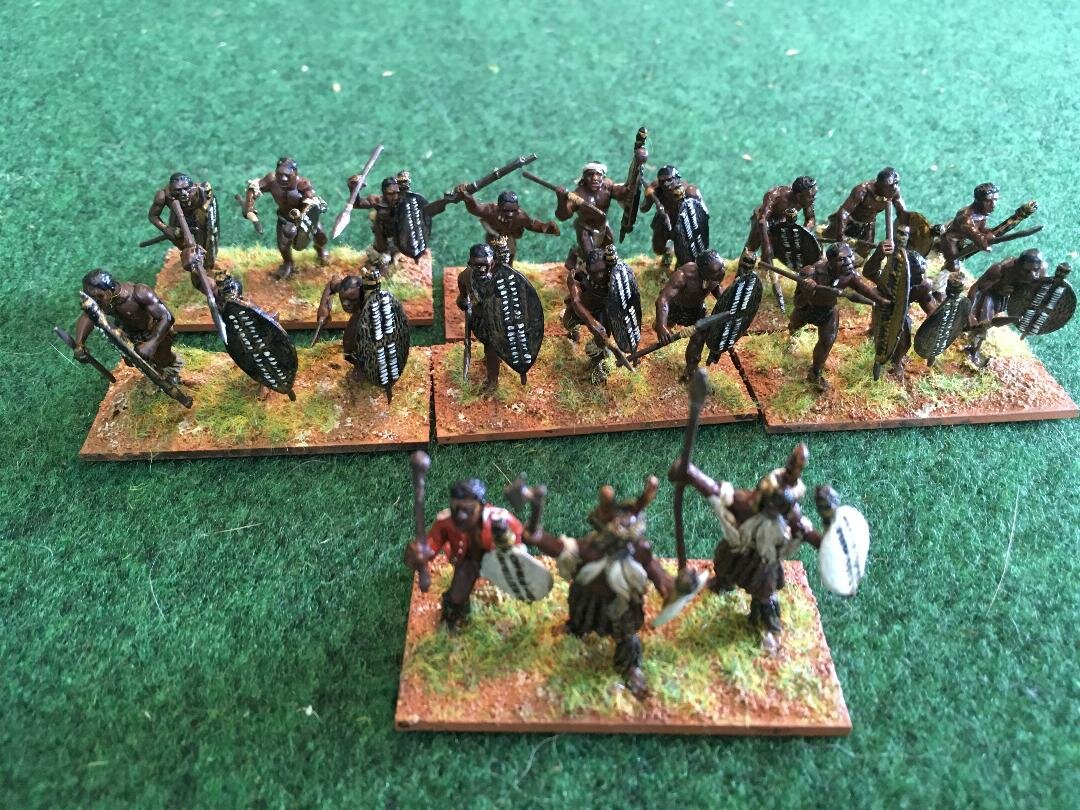
Kavan, my opponent, chose to field a Syracusan army. Not strictly speaking contemporary, but very much the sort of army the Romans had faced in the years leading up to the Marian period. His force consisted of:
Commander-in-Chief
One unit of Bodyguard Hoplites
One unit of Light Infantry
Commander
Two units of Gallic mercenaries
One unit of mercenary Greek cavalry
Commander
Two units of Syracusan Hoplites
Two units of light infantry
Commander
One unit of Syracusan Hoplites
One unit of Syracusan cavalry
One unit of light infantry
I deployed the Romans in a long line of Legionary bases, with the Gauls on the left wing.
The Roman Battle Line
A friend had warned me that being very much an infantry army, my flanks were very vulnerable, so although I felt my left was covered by the Gallic cavalry, I was very much aware that my right was somewhat ‘floating’, so just after the picture above was taken, I moved the legionary artillery onto the small hill behind the 9th/10th Cohorts.
Kavan also deployed in a long line but, obviously reading my mind, heavily weighted each flank i.e. his Gallic mercenaries were in the centre along with the bodyguard hoplites, but he had two hoplite units on his far right and one on his far left.
That’s an awful lot of syracusans
I opened proceedings by advancing slowly forward, holding my line. The Syracusan centre, on the other hand positively leapt forward. My Gallic cavalry annoyingly hung back, but this was countered by the fact thatb his right-flank hoplites were also slow to get going.

syracusan centre advances forward speedily
As the two centres approached each other, the action actually began on my right wing where, as predicted, the Syracusan cavalry attempted an outflanking manouevre, backed up by a unit of hoplites and some light infantry. The 9th/10th Cohorts turned to face them and the artillery opened fire.
The Syracusan cavalry were disposed of by the artillery (superb shooting!) and, for the rest of the game, the 9th/10th Cohorts would hold off the hoplites despite being attacked in their rear by more Syracusan light infantry. At one stage, the legionaries survived four consecutive rear attacks whilst disordering the hoplites in front of them. Plaudits and rewards all round!
cohorts IX and X hold the right flank against all comers
On the left wing, my Gallic cavalry were keeping the two enemy Hoplite units occupied, using their superior mobility to avoid a head-on clash and occasionally managing to threaten their flanks even if contact couldn’t be made. Two veteran cavalry units for two Hoplite units seemed a fair exchange to me, so it looked as if the action was going to be decided in the centre.

the two centres are about to clash
The legionaries and enemy Gallic mercenaries clashed first. I was expecting my pila to make a difference, but they didn’t really have much effect at all. The clash became a grinding melee where the quality of my legionaries was perfectly balanced by the size (and therefore extra hits) of the Gauls.
Slightly to the left of the above, my 1st/2nd and 3rd/4th Cohort unit were faced by two units of Syracusan light infantry. I just couldn’t get rid of these: every time I charged forward, they evaded, and I soon found my troops well in front of the rest of the centre. Kavan had done to me what I had done to his two Hoplite units on the far left!

cohorts I to IV distracted by light infantry
Eventually, however, one of his light units were caught and disposed of, leaving my legionary unit to turn either for the enemy camp or back towards the centre to drive into the back of the enemy who were, bu now, hard pressing my men there.
the centres have now clashed!
I decided that the Roman thing to do was to go to the aid of the legion, so two cohorts of fresh Roman infantry drove into the back of the Celtic mercenaries, smashing them from the table.
This proved too much for the Syracusans, who had by now lost enough troops to force a retreat. It had been a narrow victory for the Marian Romans.
Lots of lessons learnt about the capabilities of the Marians. I was very pleasantly surprised by the effectiveness of the Roman artillery, although I do feel that that was down to the cards they turned rather than any innate ability. On the other hand, I was disappointed with the Roman pila: the extra attack card was useful, but not decisive.
What was without doubt the key to victory, however, was the manouevrability of the Roman cohorts along with their staying power, particularly the three veteran units. I foresee interesting times ahead, particularly as the next fight will be with the Sassanids.
It’s taken me about three months, but I now finally have enough Marian Roman figures painted to get the army onto the tabletop.
My target was achieved with the painting of a second Legatus (commander of a legion) and the first two Cohorts of my second legion.

Those of you who visit this site regularly will see that I have differentiated between the legions by giving this second set blue-painted shields instead of the red ones used for the first legion. I was tempted to use black helmet crests as well but, in the end, decided that different shields were enough.
The figures are 15mm Baueda Marian Romans painted mainly with GW Contrast Paints. Shield transfers are from Little Big Man Studios, bases from Warbases.
This now means that I have 130 points of Romans to field using the To The Strongest rules: four commanders, six units of legionaries (three veteran), two units of veteran Gallic cavalry, and then a unit each of horse archers, Cretan archers and legionary artillery.
The Marian Romans laid out and ready to go!
Also good news is that daughter #1’s boyfriend is back staying with us for another week…which means the chance to take the Romans for a spin. Obviously I’m a little concerned with fielding a brand new army, as wargaming tradition has it that newly painted figures always perform really, really badly (especially if they are the best painted figures that you have ever done!), but I think I shall just have to bite the pila as it were and get on with it!
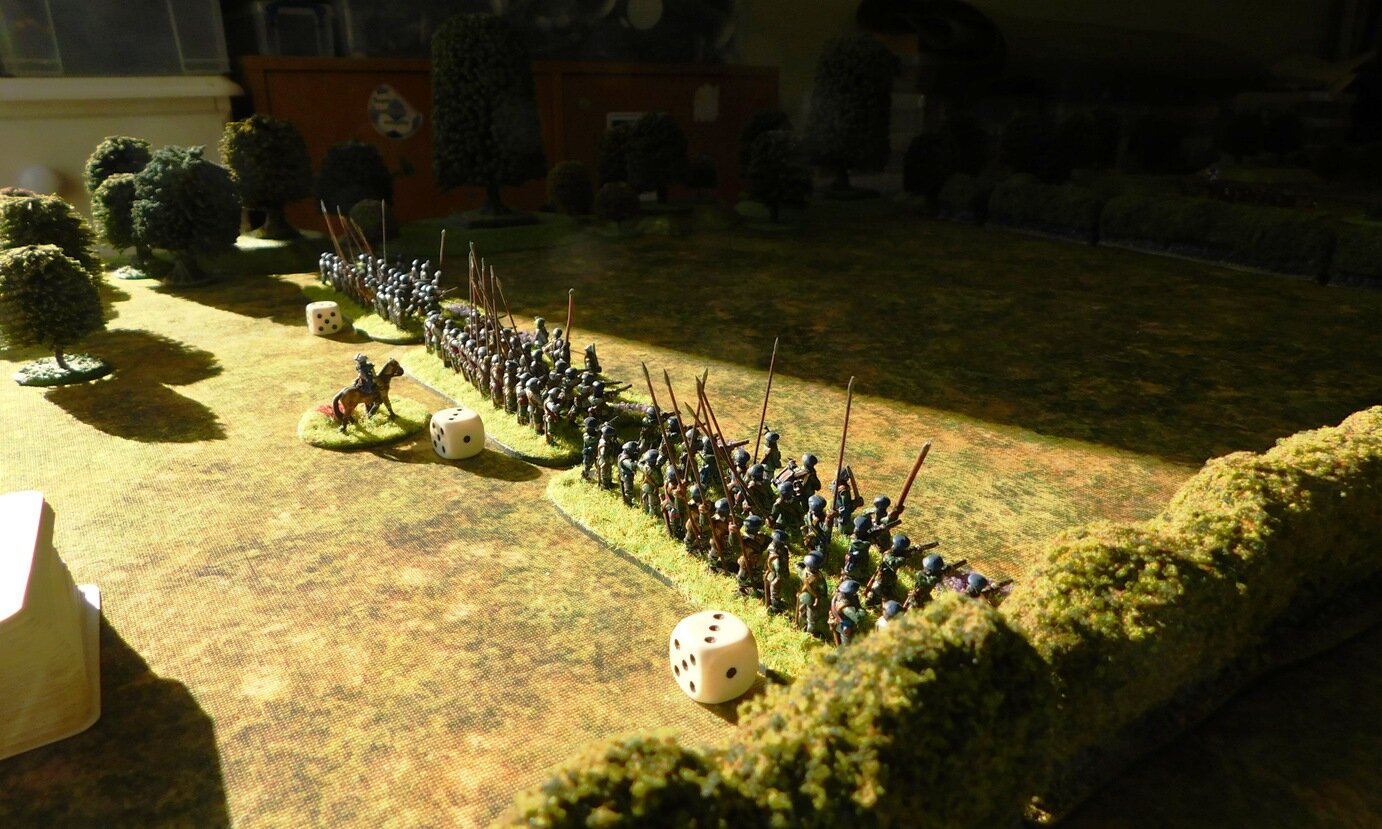
Two of my regular wargaming opponents, Bevan and Dave, turned their guns on each other: playing a game based on the famous British counter-attack near Arras on 21st May 1940.
The British attack had already broken through the main road west from Arras – the N25 - and this was an attempt to close the other viable road west that Rommel would have to use to supply his over stretched tanks. This road (the D3) runs through the village of Wailley just west of Arras, so the British mission was to take the village and block the road. The German brief was to keep the road open at all costs.
Unfortunately, Dave’s photographs of the game disappeared into the technological ether, so here’s a shot from one of Michael Curtis’ excellent Arras games. Click on it to read Dave’s report on his battle…

Over the years, various people have adapted the TooFatLardies' company-level rules I Ain't Been Shot, Mum (WW2) and Charlie Don't Surf (Vietnam) for other, more modern periods.
One such adaptation, never officially published, was I Ain’t Been Nuked Mum. Here’s a battle report from 2015 taken from the now unfortunately moribund Maxim to Milan blog imagining action from the Cold War of the 1970’s.
The scenario sees a hastily assembled US force of a mechanised platoon, an anti-tank section and an armored cavalry section on a mission to stop a breakthrough by a Soviet company of T62s with a motor rifle platoon in BMPs attached.
Click on the pic below to see all.

Enthused by how the first Scots battalia came out, I leapt into painting the second one and polished it off in no time at all.
As a reminder, these are Khurasan Miniatures’ 15mm English Civil War Scots infantry: a mixture of their pikemen, musketeers and infantry command packs. They were painted using GW Contrast Paints, and mounted on a Warbases Vehicle base. The purple heather is from Boontown.
When I first started the Scots, I was a bit worried about painting tartan, but I seem to have found a way of getting the various sashes looking at least tartan-esque, certainly from usual wargaming distance. To be honest, all I did was paint each sash a basecoat red, then drew lines of various different colours (mainly green) against the grain of the sash. I think they have come out quite well, but the real test will be when I move on to the Highlanders!

There will now be a short interval whilst I paint the one remaining legionary unit I need to actually field the Marian Romans…
It’s time for another Painting Challenge update, and today we have some really lovely entries coming in.
Make sure you look at the individual galleries (accessed via the nav bar, above) but here’s a selection…


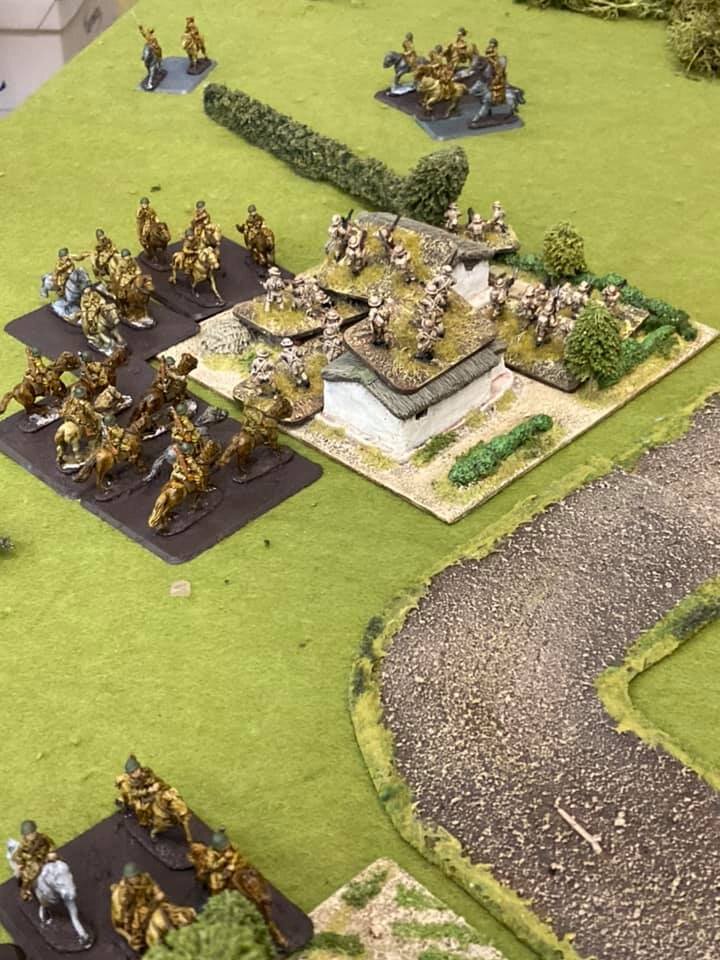
Another great I Ain’t Been Shot, Mum battle report from the keyboard of Chris Lane, and taken from the IABSM Facebook Group.
Their game this time saw part two of what has now become their fall of Singapore campaign. In this battle, a full strength British company was tasked of taking two strategic hills while the Japanese (briefly) rested. The Japanese commander was tasked with holding the hills but with the option of taking a junction for a major victory.
Click on the picture below to see all…
Vis Lardica is a website devoted to wargaming and military history, with a special emphasis on the company-sized rulesets produced by the TooFatLardies: I Ain't Been Shot Mum (WW2); Charlie Don't Surf (Vietnam); and Quadrant 13 (science fiction)

Welcome to Vis Lardica, a not-for-profit website mostly dedicated to the company-sized wargaming rules produced by the TooFatLardies, but encompassing my other gaming interests as well.


If you need to contact me, you can do so at:
vislardica@gmail.com
If you have enjoyed visiting this site, please add a link to it on your own wargaming blog: www.vislardica.com.