TFL Painting Challenge: Into the Second Half of 2021
/Not quite sure how this happened but we’re now into the second half of 2021 and therefore into the second half of the year’s TFL Painting Challenge.
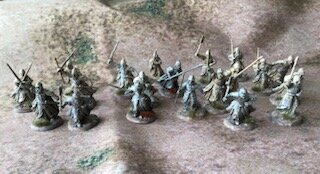
It would have been quite a slow couple of weeks since the last update except for a truly colossal catch-up from Doug Melville, with his first entry of the year hitting over 2,300 points in one go! There’s some lovely work on display from him, so do make sure you visit his gallery.
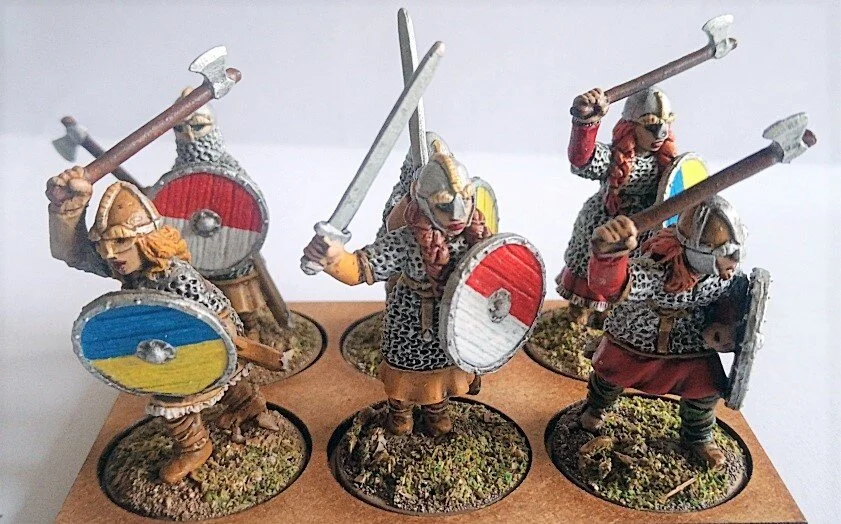
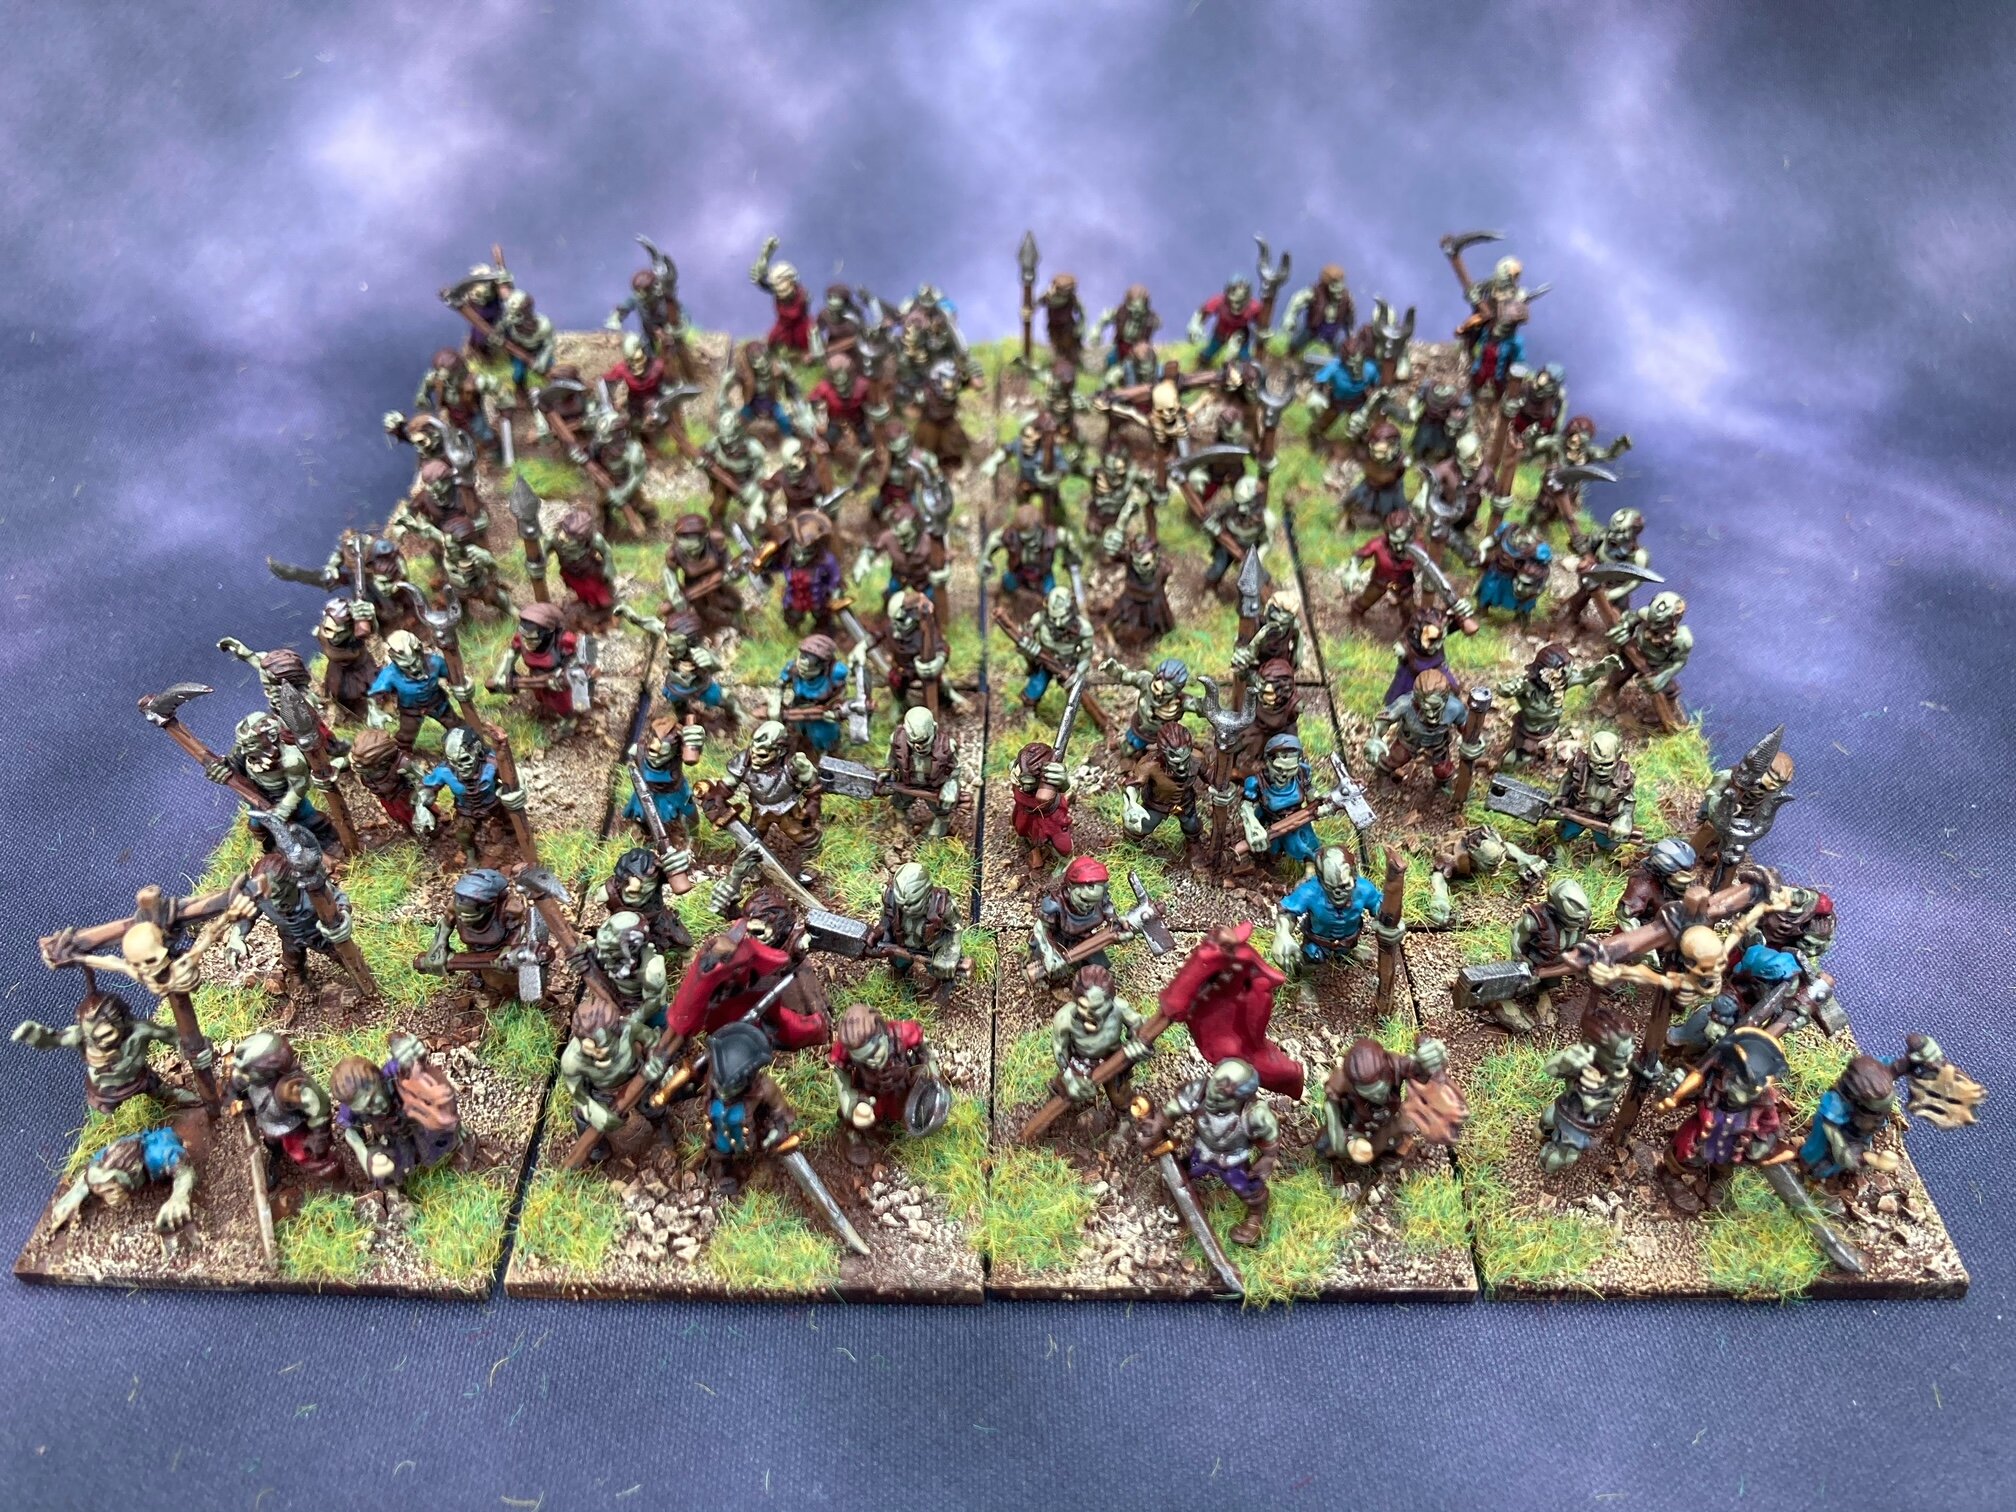
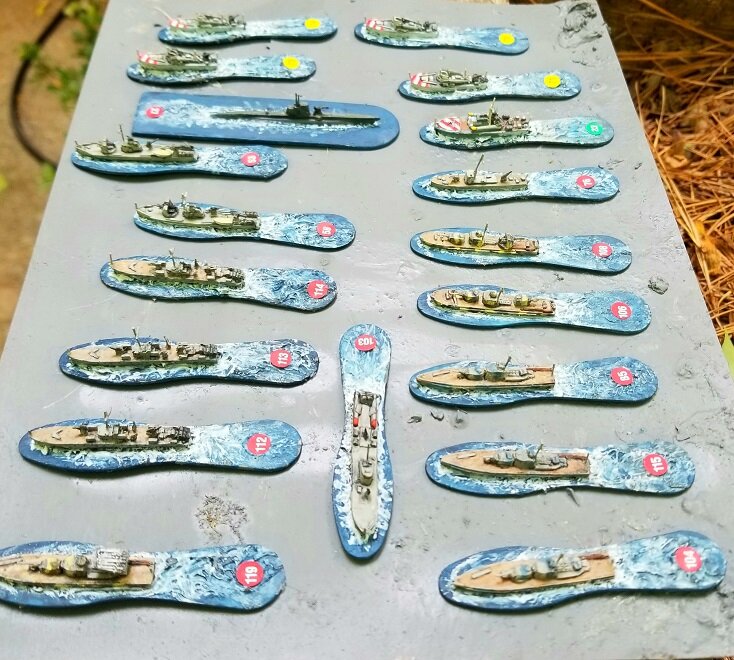
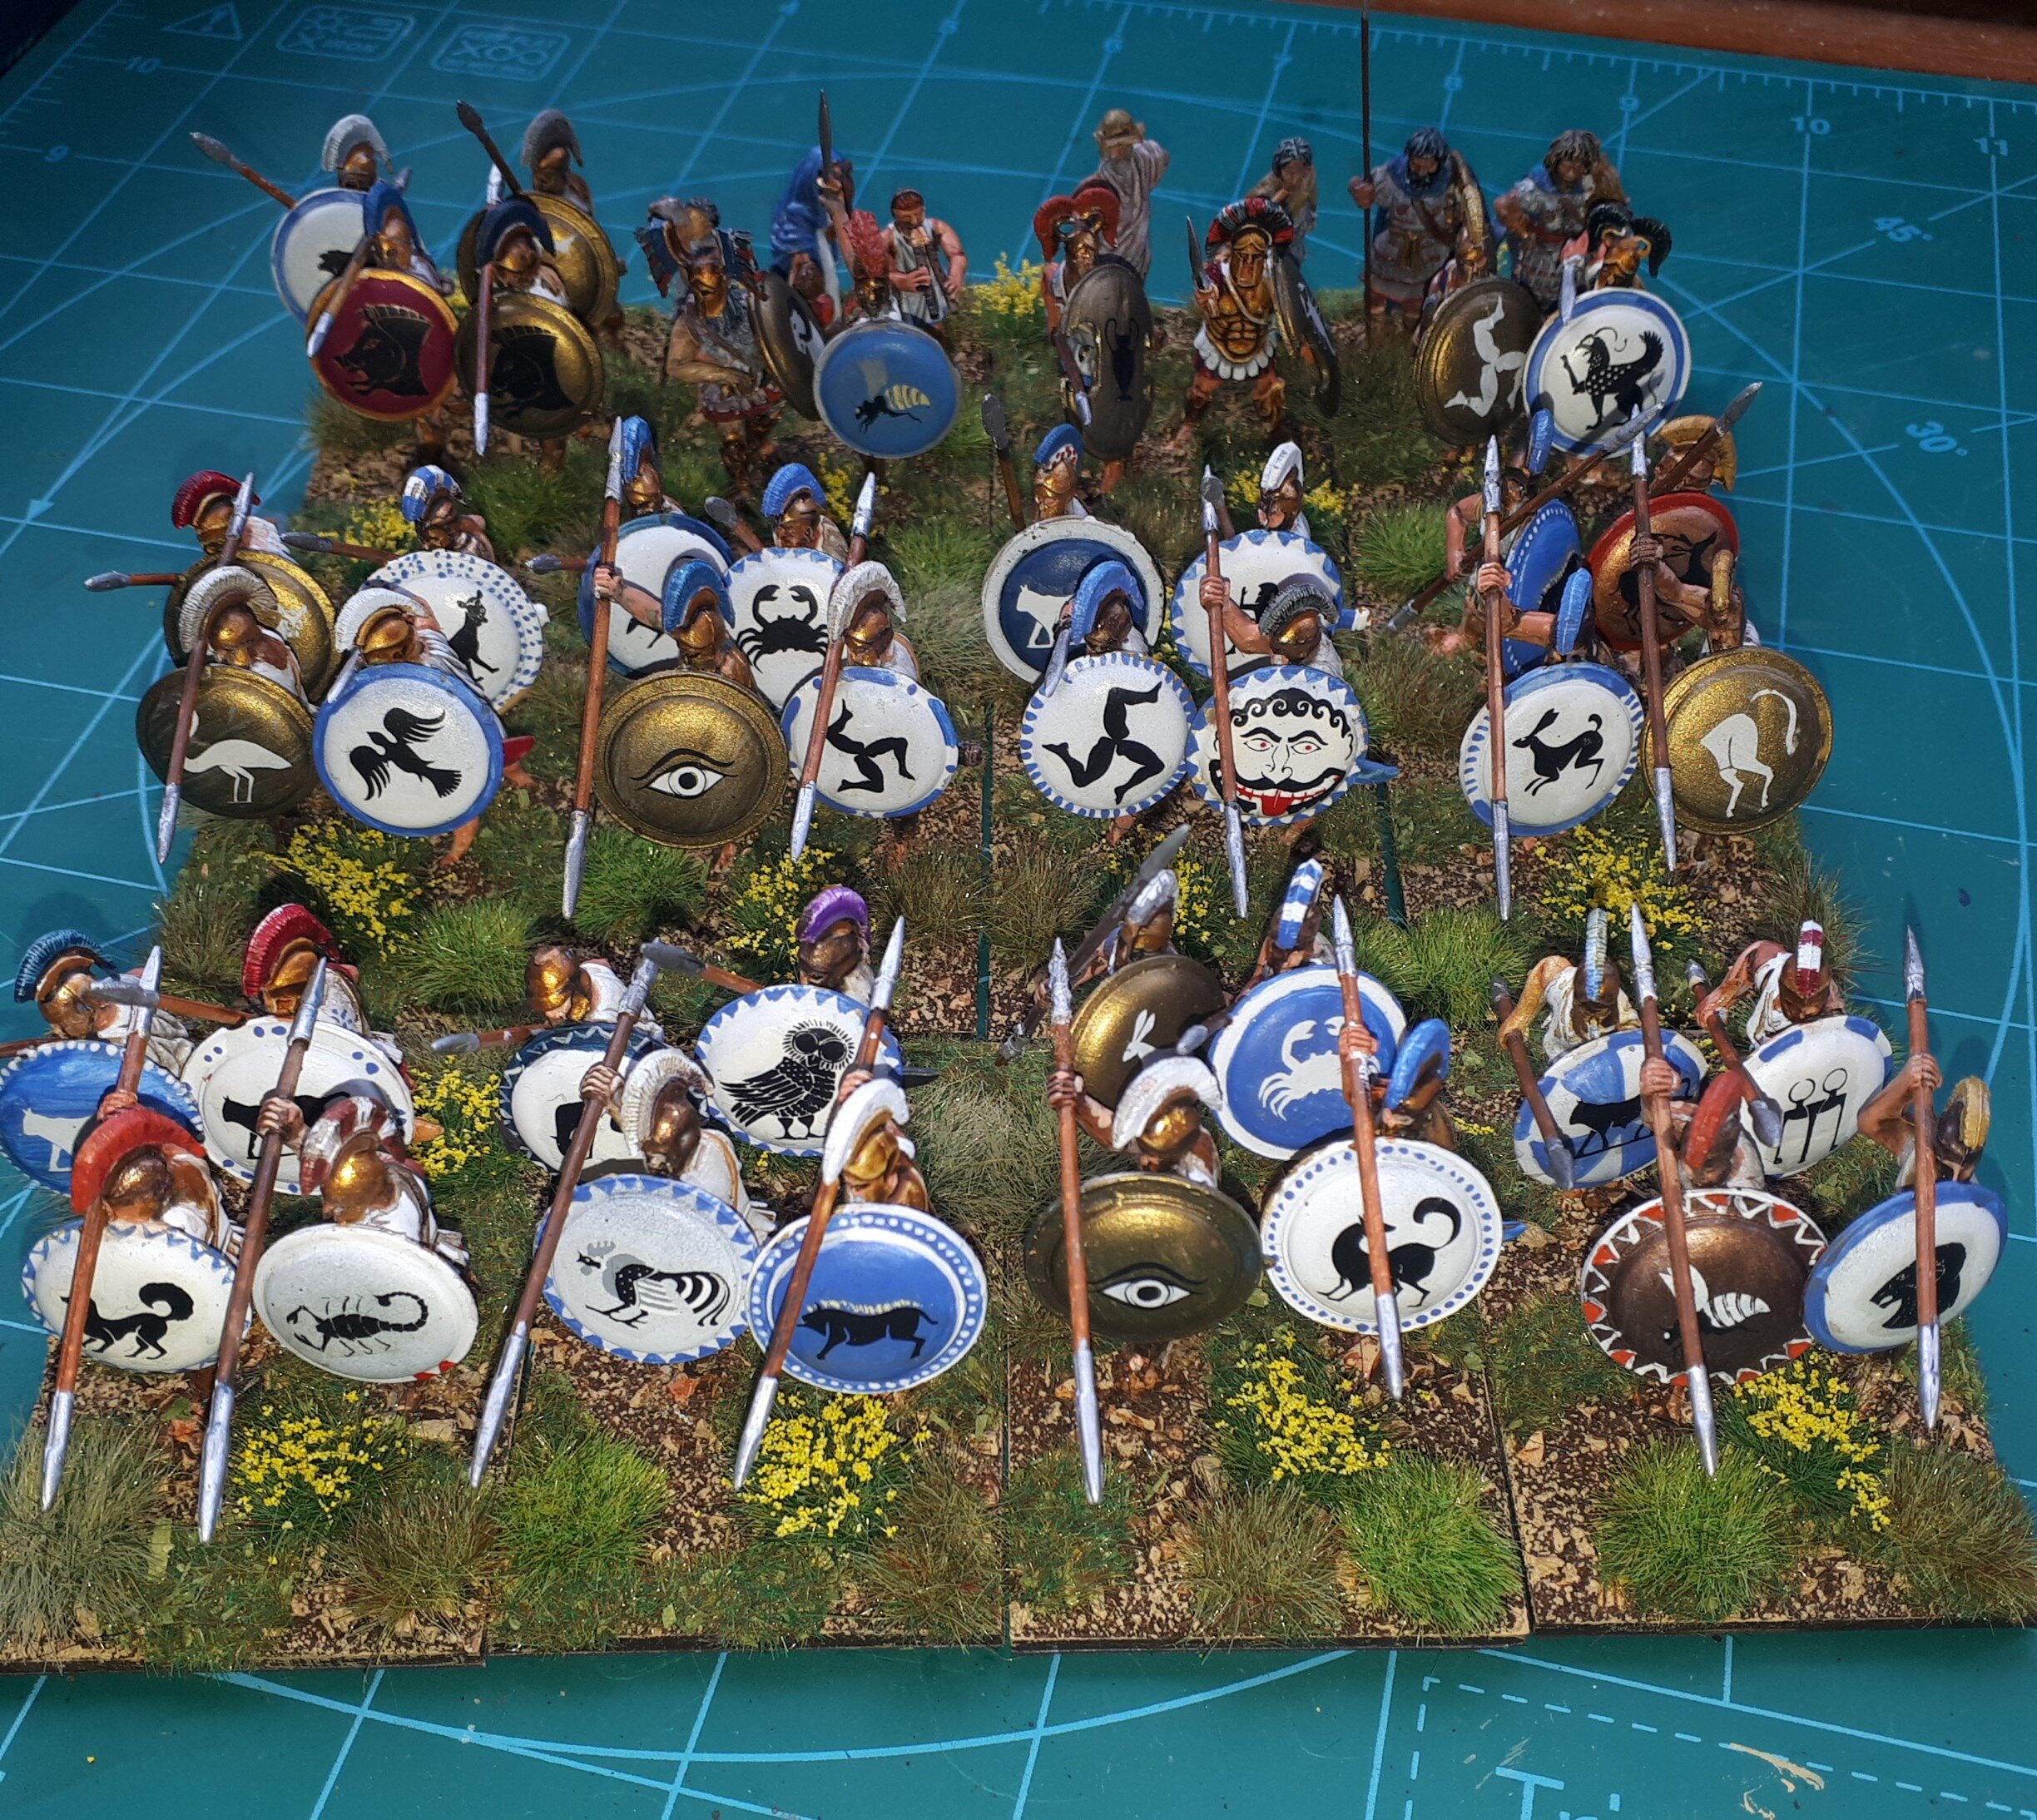
There’s also a first entry of the year from Chris Stoesen, and entries from Ashley, Sapper, Travis, Mervyn, Carole, and Coop.
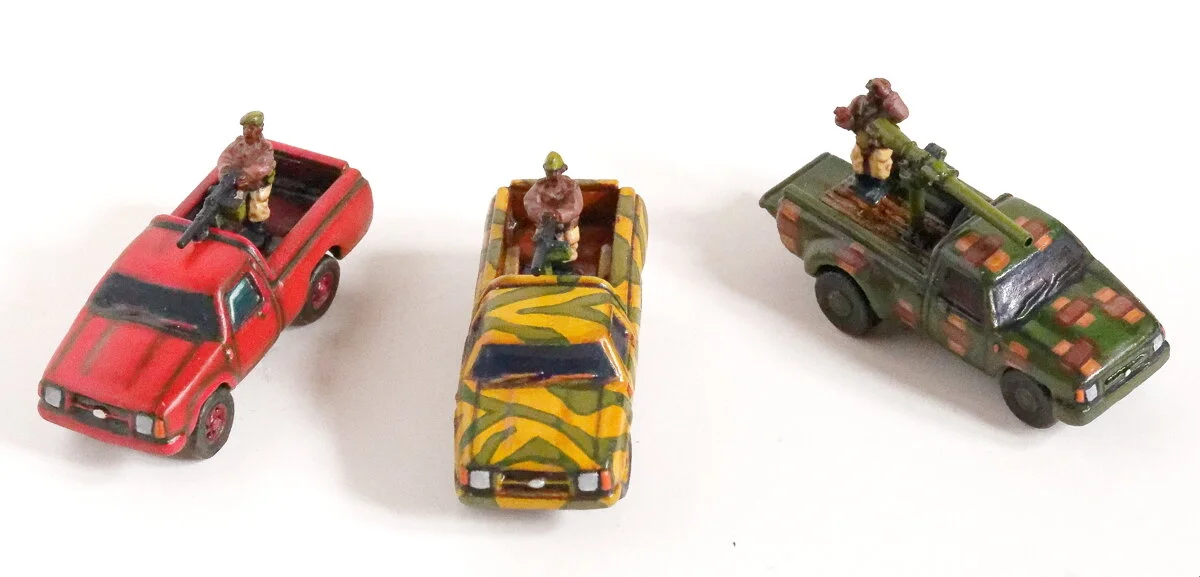
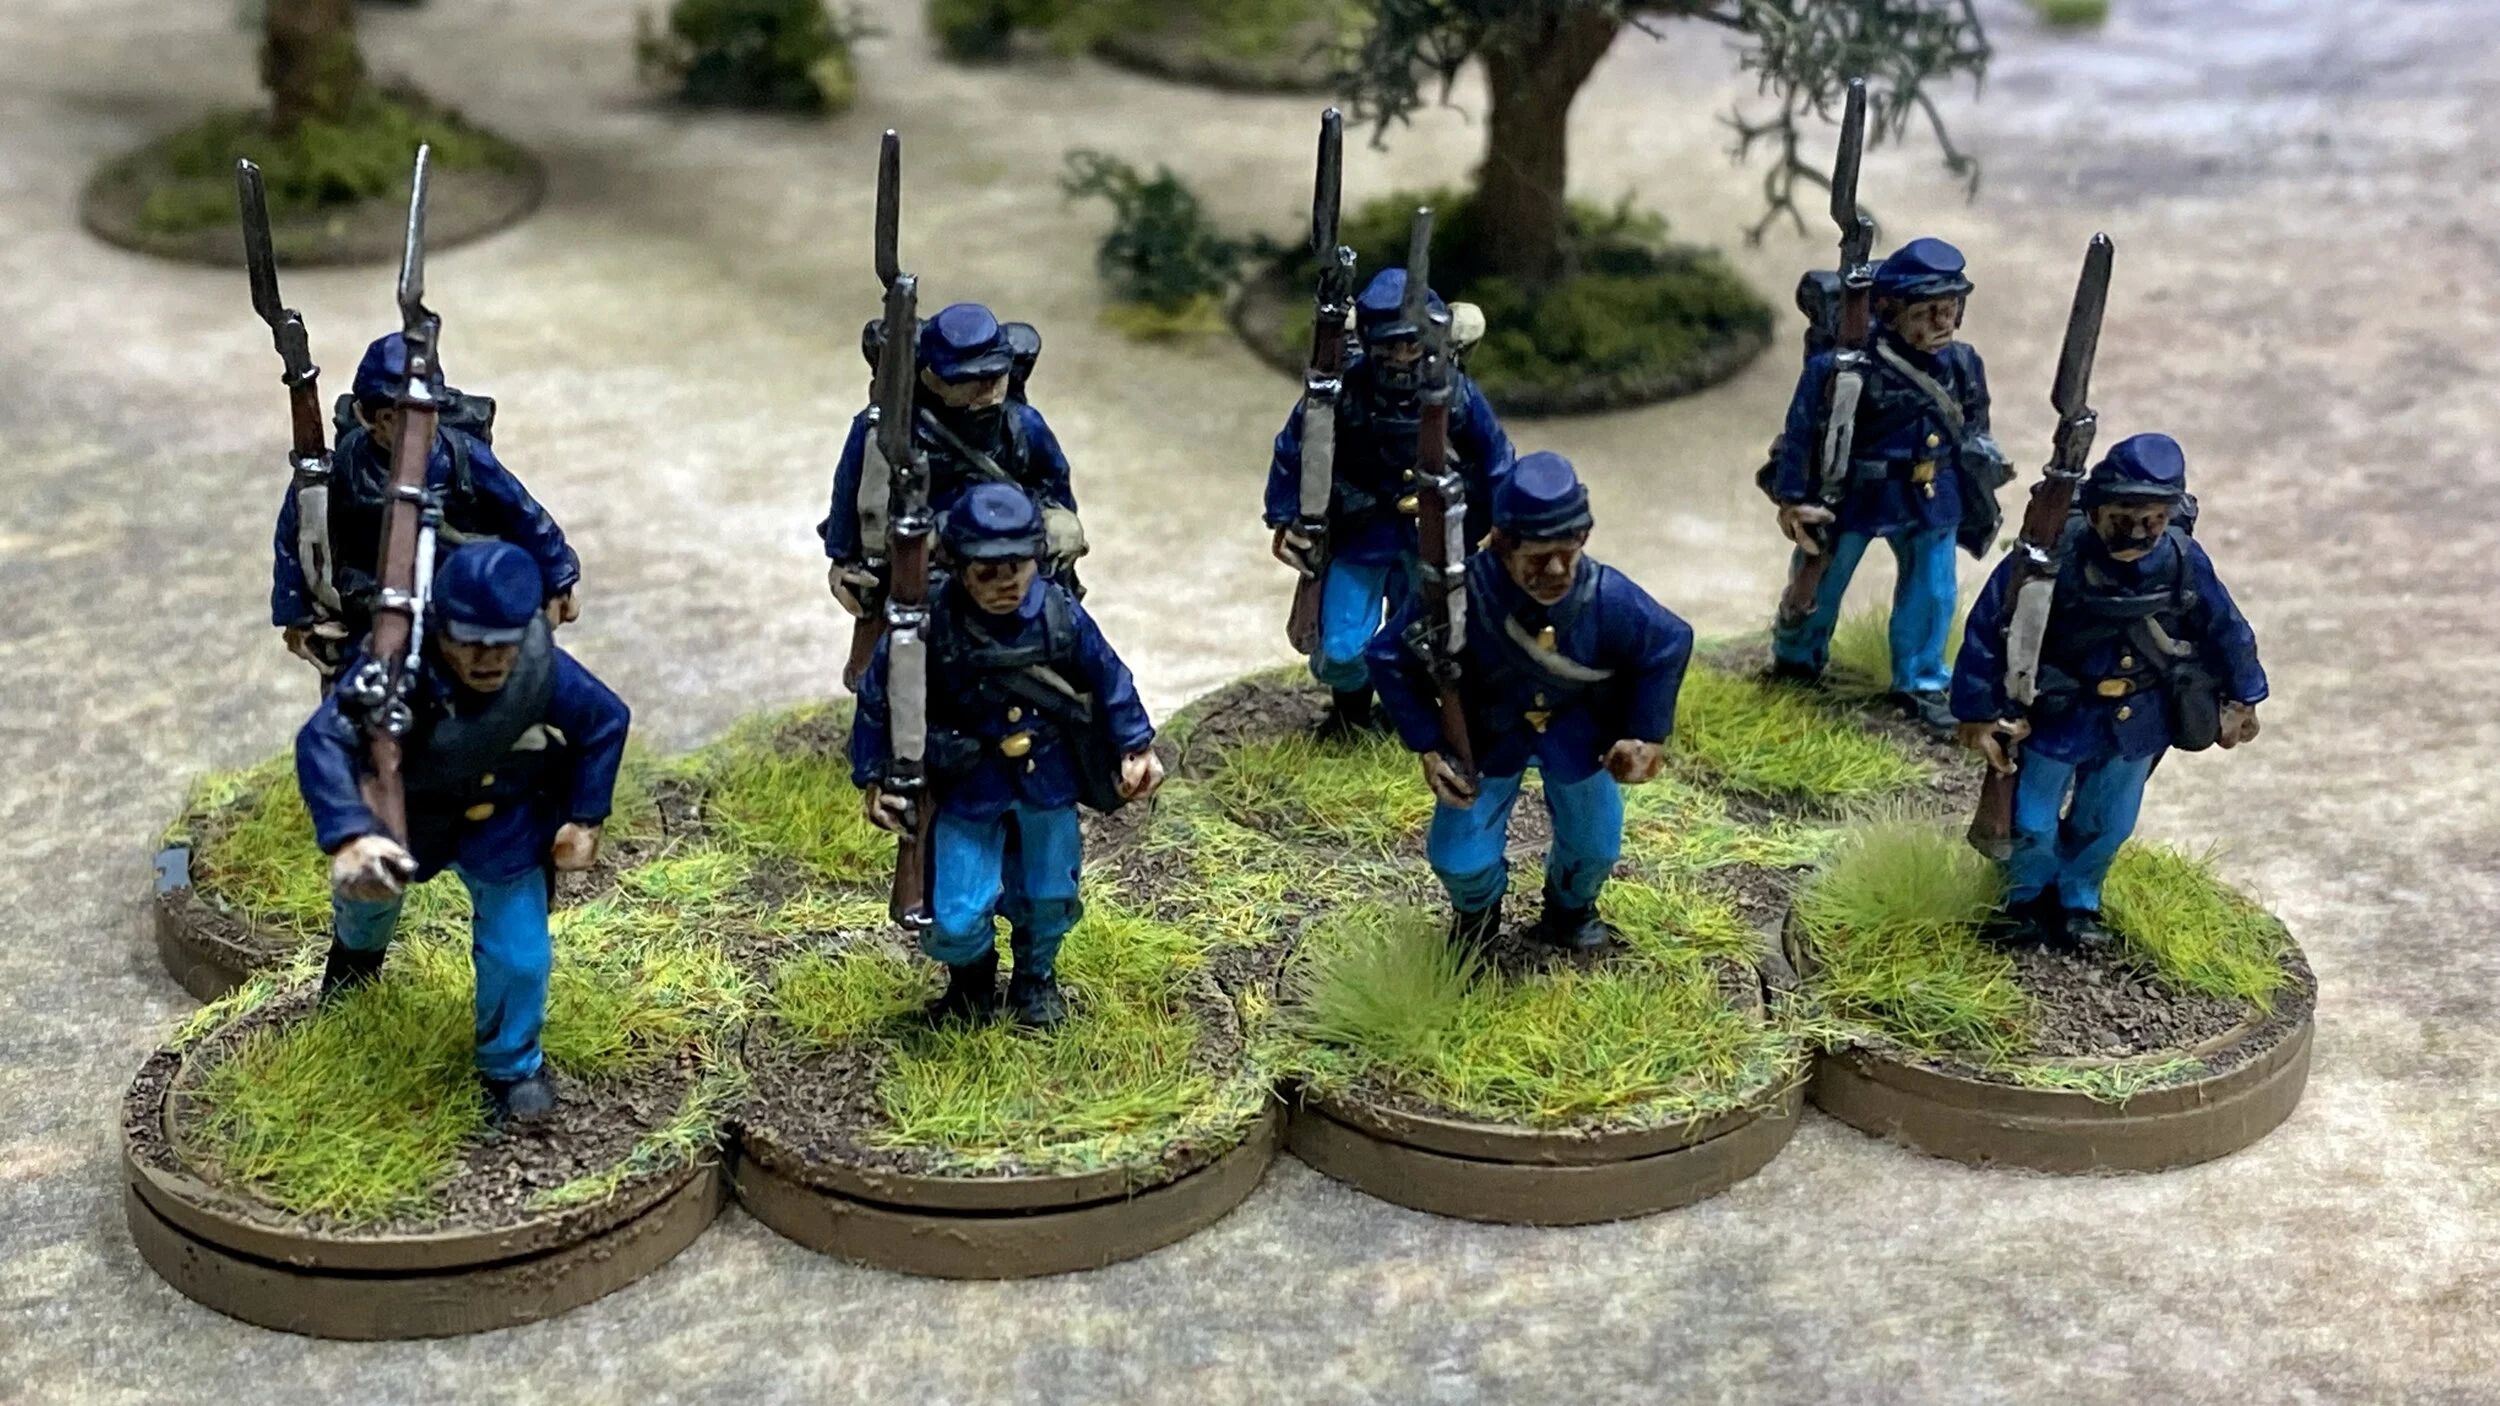
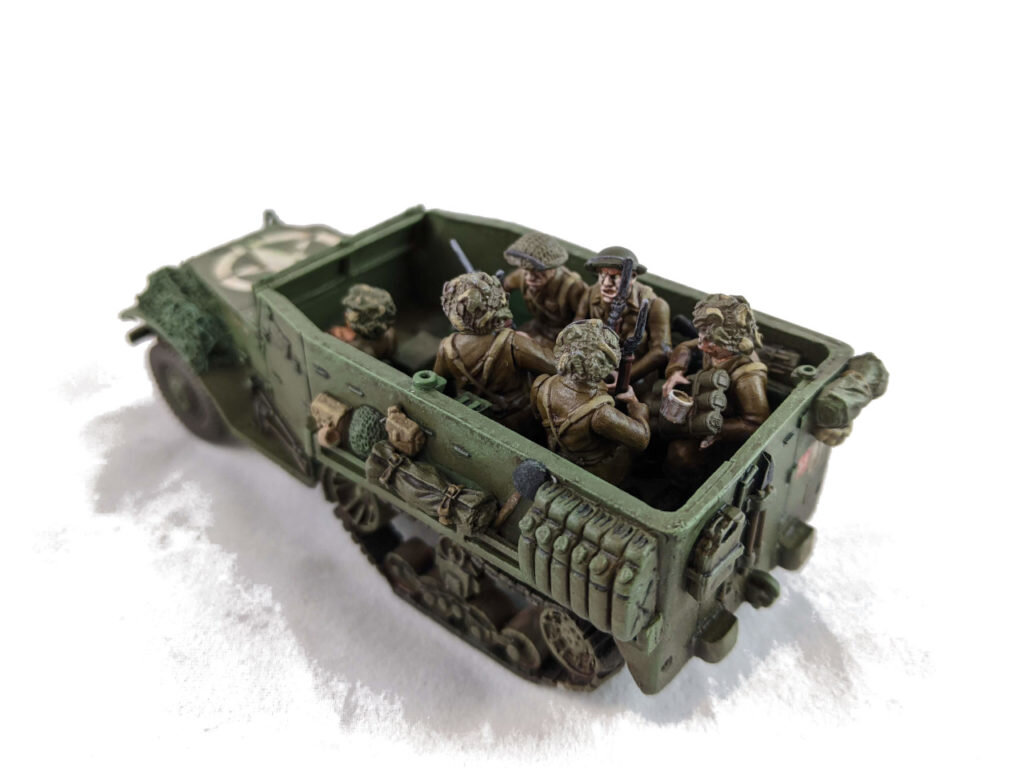
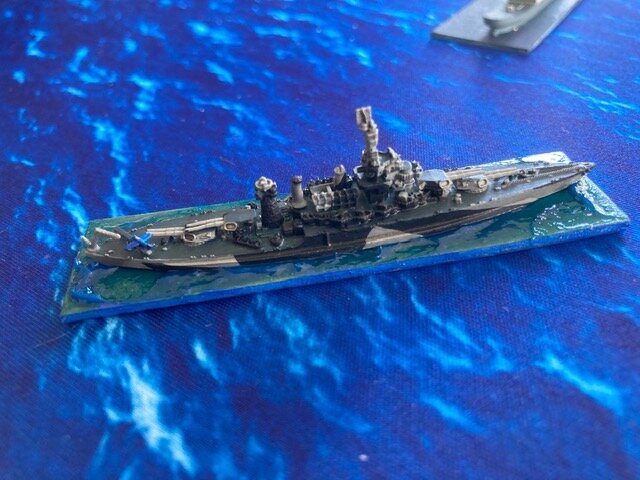
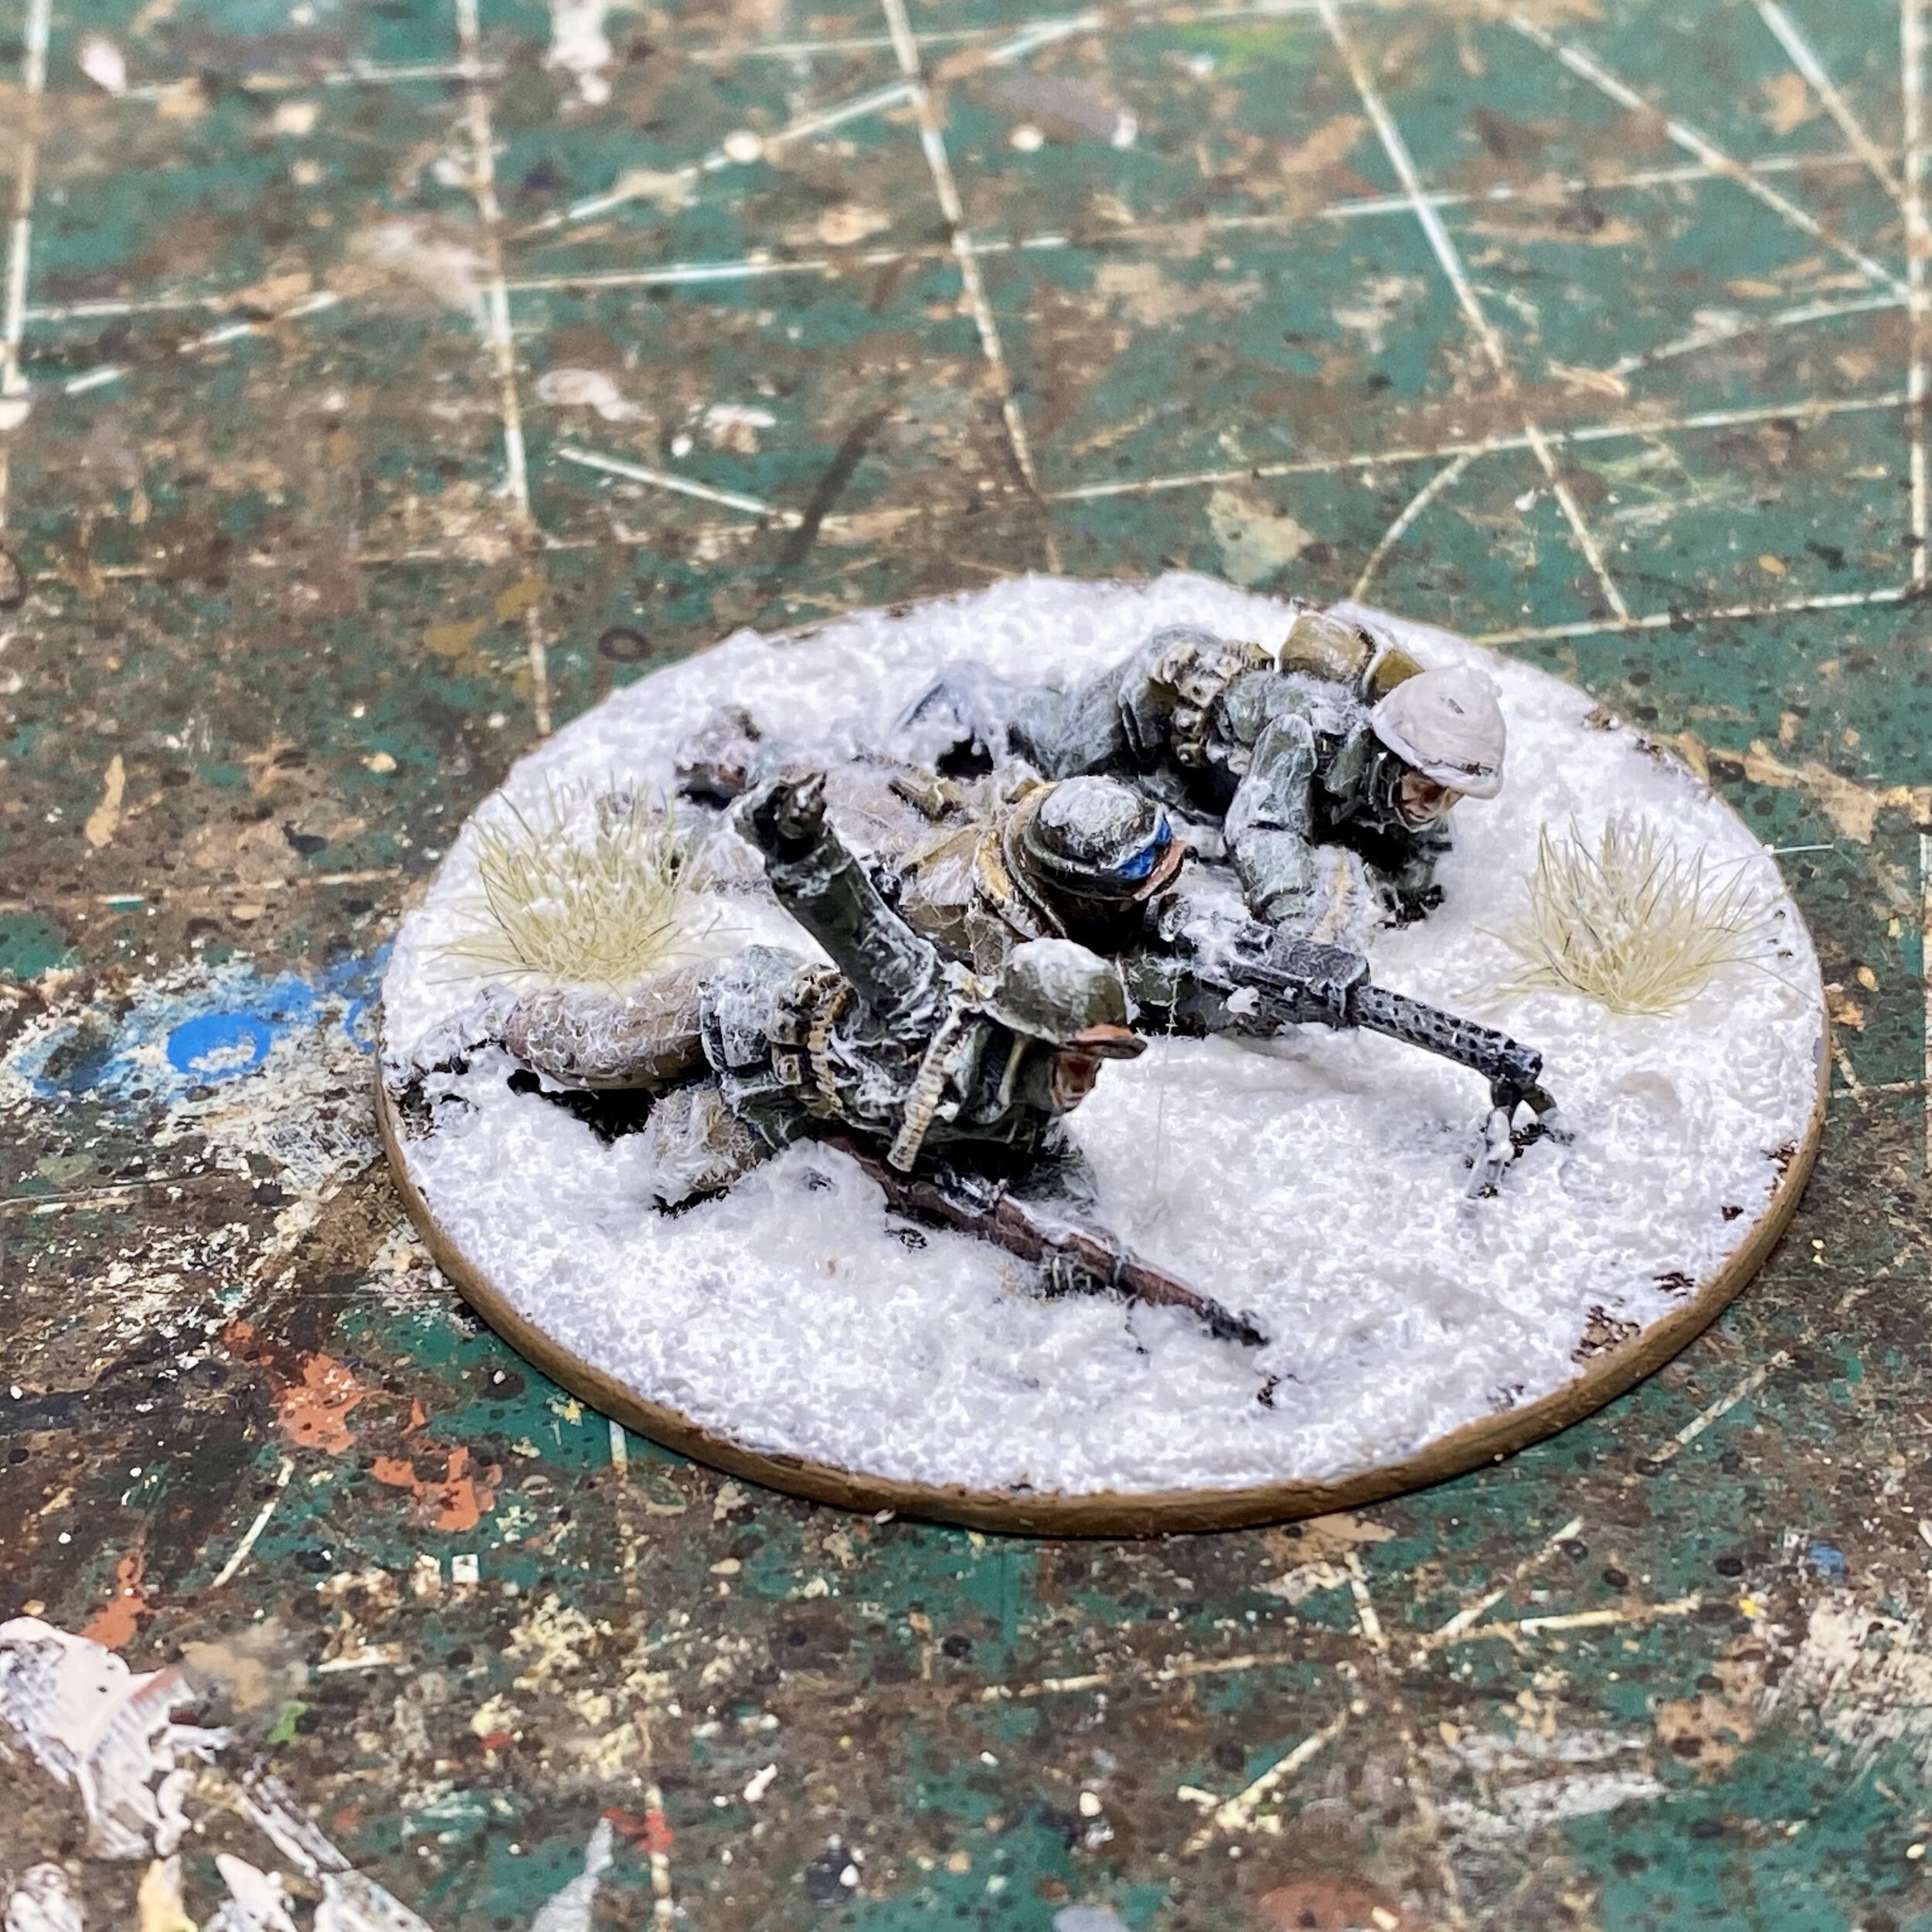
As above, do make sure you visit the individual galleries, but here’s a selection to whet your collective whistles:
Keep them coming!
FK&P AAR: Tounton Bridge
/Friend Bevan wanted to play some more ECW battles, and as we had exhausted all the scenarios I had written for the Marlowe to Maidenhythe scenario pack, it was time to get the quill out and write a new one.
The background is simple: the Royalists are withdrawing into a walled town but need to cross a bridge to do so. Sir Henry Carlyle therefore volunteers to hold the Roundheads off from the bridge whilst his comrades make their retreat. His opponent is Sir Edward Dexter, leading a force of men from the Borders supported by a brigade of Puritan horse (commanded by Colonel Kill-Sin Rhapsody) and some rather uncouth Reivers.
View from behind the Parliamentarian column. The bridge is just behind the village.
This turned out to be one of the best games of For King & Parliament we have ever played, with the luck being evenly split all game and the result in the balance right to the last moment.
The Royalist Forlorn Hope opened the game by deciding that their position was not just forlorn but actually untenable. They were also blocking the fire of the Royalist artillery. They therefore retreated behind a nearby hedgerow to await developments.
The Roundheads took their time to shake out from column into line, with the Puritan Horse performing various convoluted evolutions to end up heading across the battlefield on the far left Roundhead flank. The Royalists watched all these developments with interest from behind their hedgerows, but eventually decided that something needed to be done about the Puritans, so dispatched Col Shaw’s Swedish horse to deal with them.
Parliamentarians shake out their line
There are an awful lot of Puritans!
As the Parliamentarian pike in the centre of the field approached the Untried Royalist “Just-Raised” brigade, the Cavaliers opened fire at long range and promptly disordered themselves due, presumably, with their surprise at how loud their guns were! This was a right pain, and would dog me for the rest of the game as I never had a spare moment in which to try and rally them.
Meanwhile, however, one of Shaw’s horse units had sprung forward and smashed a squadron of Puritans straight off the field: the first time we could remember a 3-hit Dutch horse unit succumbing to a 5-card attack in one go. The other unit didn’t do quite so well though, ending up even-stevens on one disorder apiece.
The Royalist centre-right scares itself silly!
Some initial success for Shaw’s horse
As all this was going on, some nag-mounted Parliamentary Pistoliers from the Border regions rode forward, survived the long-range fire from some of my Commanded Shot, and then promptly charged them and dashed them from the field. Not good, especially as this left a big hole in my line right in front of my guns. Worse, those very same Pistoliers survived flank fire from one of my veteran Battalia. Surely my guns were now toast!
Gulp!
Most unusually, however, the guns actually worked for a change, and blew the Pistoliers away. Crisis averted.
Meanwhile, the main melees rolled on:
Here’s a look at the whole battlefield. Note how I’m desperately trying to get a horse unit over from my left hand side to help shore up my centre and right!
Things now started happening in rapid succession (too fast for many pictures).
My two units of Swedish horse on the right finally succumbed to the four units of Dutch horse they faced, but they had down a good job in holding them off for so long. One unit of enemy horse came forward and threatened to turn and hit my infantry line from behind, but those reinforcements I’d moved across blocked them.
Then, in the main melee, one of my Untried units gave way, but this allowed me to turn the Battalia directly under command of Sir Edward onto their flank and destroy them. That gave me access to the flank of the main Parliamentarian line, and I took full advantage and destroyed another enemy Battalia.
The battle reached its climax
This left both Bevan and I on three coins each i.e. the first person to lose another unit would lose the game. There were also two combats underway: my reinforcements versus the enemy horse, my triumphant Battalia against some enemy Commanded Shot.
I chickened out of sending my Swedish horse in against his Dutch boys (the photo above left is actually from slightly earlier so my horse had become blown by now, which meant two cards versus two cards with death to whoever lost) thinking that I would charge his Commanded Shot from the field but, as you will see from the photo above right, I drew an Ace which meant my lads wouldn’t charge home.
Bevan then turned his Commanded Shot towards me and opened fire: two Nines, no Saves from me, Battalia and game lost!
Aftermath
An absolutely terrific game of FK&P: tactical challenges, extreme but even luck on both sides, and a succession of notable events: Swedish horse bashing Dutch horse from the field; three Untried Battalia disordering themselves; the guns surviving a frontal charge by blowing their enemy away; a succession of flank charges; reinforcements rushed from one side of the field to the other just in time to charge an outflanking enemy units; and, of course, everything coming down to the last combat.
Epic stuff, and I’m now inspired to write Scenario #02!
Robert Avery
More Scots Horse
/I’m still filling in a few gaps in my ECW collection.
This week’s completed unit is a squadron of Scots Pistoliers. The figures are from Khurasan, and very nice they are too.
As always, these are painted with GW Contrast Paints, and mounted on a single element base from Warbases.
IABSM AAR: Prokhorovka
/Off to Dave’s for my first face to face game of I Ain’t Been Shot, Mum since before lockdown!
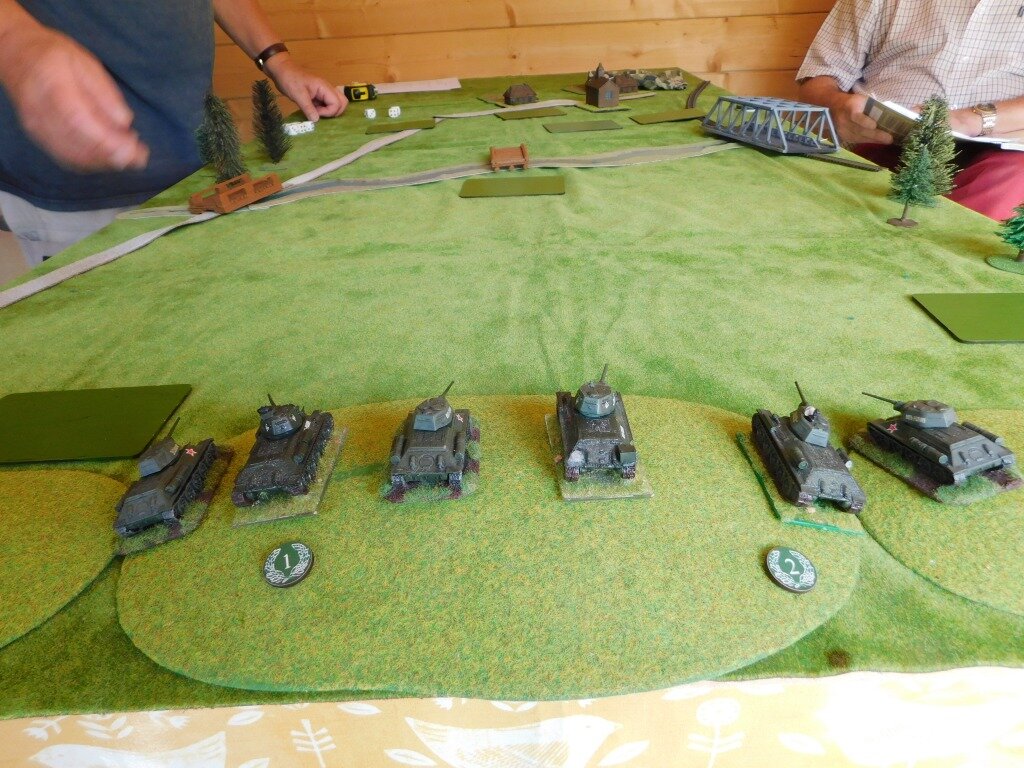
The scenario was set on the Eastern Front in 1943, and based on an historical encounter. Elements of the Soviet 5th Guards Tank Army (played by me) had to advance onto the table and take a village, Prokhorovka, defended by German armour. Yes, unusually for IABSM, this was to be an armour versus armour game with no infantry present.
I had what looked like an overwhelming force: a first wave of an HQ element, two platoons of three t-34s each, and a third platoon of three BT-17s. Following that, I had six more platoons of armour split into two more waves for a total of six more T-34s, three venerable KV-1s, three SU-76s, two SU-76is and, the piece de resistance, two SU-152 big beast tank killers.
If that’s what I had, I was a little nervous about what I was going to face. I’d been told to watch out for the new German Tiger tank: presumably I’d be facing about 20 of them!
Click on the picture below to see what happened:
TFL Painting Challenge: Probably the Last June Update
/A fairly quiet week this week, with just a steady trickle of entries coming in.
Please do visit the individual galleries, but here’s a selection of what people have submitted:
I’ll update the Scorecard when I have a moment!
IABSM AAR: Cauquigny
/Dan Albrecht and friends played out the second scenario from the All American pack the other day. This report lifted, with Dan’s kind permission, from the IABSM Facebook page.
Great looking game. Click on the pic below to see all:
More Bits and Pieces
/Whilst I’m still waiting to find inspiration for my next major project, I thought I’d finish up a few bits and pieces from the lead mountain.
First up are a couple of Gallant Gentlemen for my Scots Covenantor ECW army:
Wallace-sized. The real one, not the shorty Gibson effort.
These are 18mm figures from Blue Moon’s new Scottish ECW range, and lovely figures they are too.
I bought these as a test to see how well they fitted in with my existing collection as I still can’t get the hang of whether 18mm figures are actually large 15’s, small 20’s or a scale all of their own!
With these, however, there is no doubt: they are too big to fit in with the Hallmark (via Magister Militum), Peter Pig and Khurasan models that form the main part of my 15mm ECW forces.
That said, a couple of comparative giants as Gallant Gentlemen fit right in with the concept of the GG, so I am very happy to have these two fearsome warriors on board!
As I said: lovely figures, but 18mm, so highly recommended if you want to field an 18mm ECW Covenantor army, but not if you want to field one in 15mm.
Next up was another general for my Classical Indians:
May the Fourth be with you!
These are more figures from Museum Miniatures excellent CAD-designed “Z” range of Classical Indians.
I’m always being told that I should field four generals when playing To The Strongest at 130 points. Now, with these, I can…and I actually needed a more cavalry-orientated commander for the later Indian armies anyway: by the time you get into the ADs, chariot-mounted generals are so yesterday!
Finally, I’ve had these undercoated on my painting table for, like, forever (as Daughter #2 would say).
Thundercats are go!
These are more of Khurasan’s excellent Felids mounted on jetbikes. I already have a couple of squads worth, so can now field a platoon.
These new versions are painted with GW Contrast Paints, and it’s interesting to contrast them (did you see what I did there?) with how I painted their predecessors:
Both look really good, but the old-platoon were painted with the base coat/wash/highlight method (i.e. each figures was picked up three times per colour) whereas the new ones, with the Contrast Paints, are only one coat per colour i.e. each figures was picked up only once per colour.
You can decide which is better!
Marlowe to Maidenhythe Gets Physical!
/Exciting news. My Marlowe to Maidenhythe scenario pack for For King & Parliament has been printed in physical form i.e. is now not just available as a pdf but also as a wire-bound book.
This is the first time one of my books has been available ready-printed since the heady days of Vis Bellica.
I’m sure that you have all bought M2M in digital format already (and if not, why not!) but here’s the link to the hard copy.
As a reminder, here’s the marketing blurb:
The 66 page Marlowe to Maidenhythe scenario Book, written by Robert Avery, is a physical print book, designed for the TtS! For King and Parliament English Civil War rules but useful with other rule systems too. It is printed on 130 GSM paper and is wire-O-bound so that it will lie flat on the table.
The book contains twelve free-standing fictional scenarios set around in the counties of Buckinghamshire and Berkshire during and shortly after the English Civil War. They tell the story of a series of clashes between Sir John Boulters (for the King) and Sir Christopher Grey (for Parliament). Each scenario contains a background briefing, separate briefings for each of the players, a deployment plan and orders of battle. The scenarios can be played individually or in sequence, as a campaign. Many of the characters and units recur throughout the campaign.
And finally, here’s a couple of pics of the Cookham Moor scenario just starting, one from a game I played over Zoom recently and one taken from the FB 6mm Miniatures & Wargaming group.
TTS AAR: No Revenge for the Indians
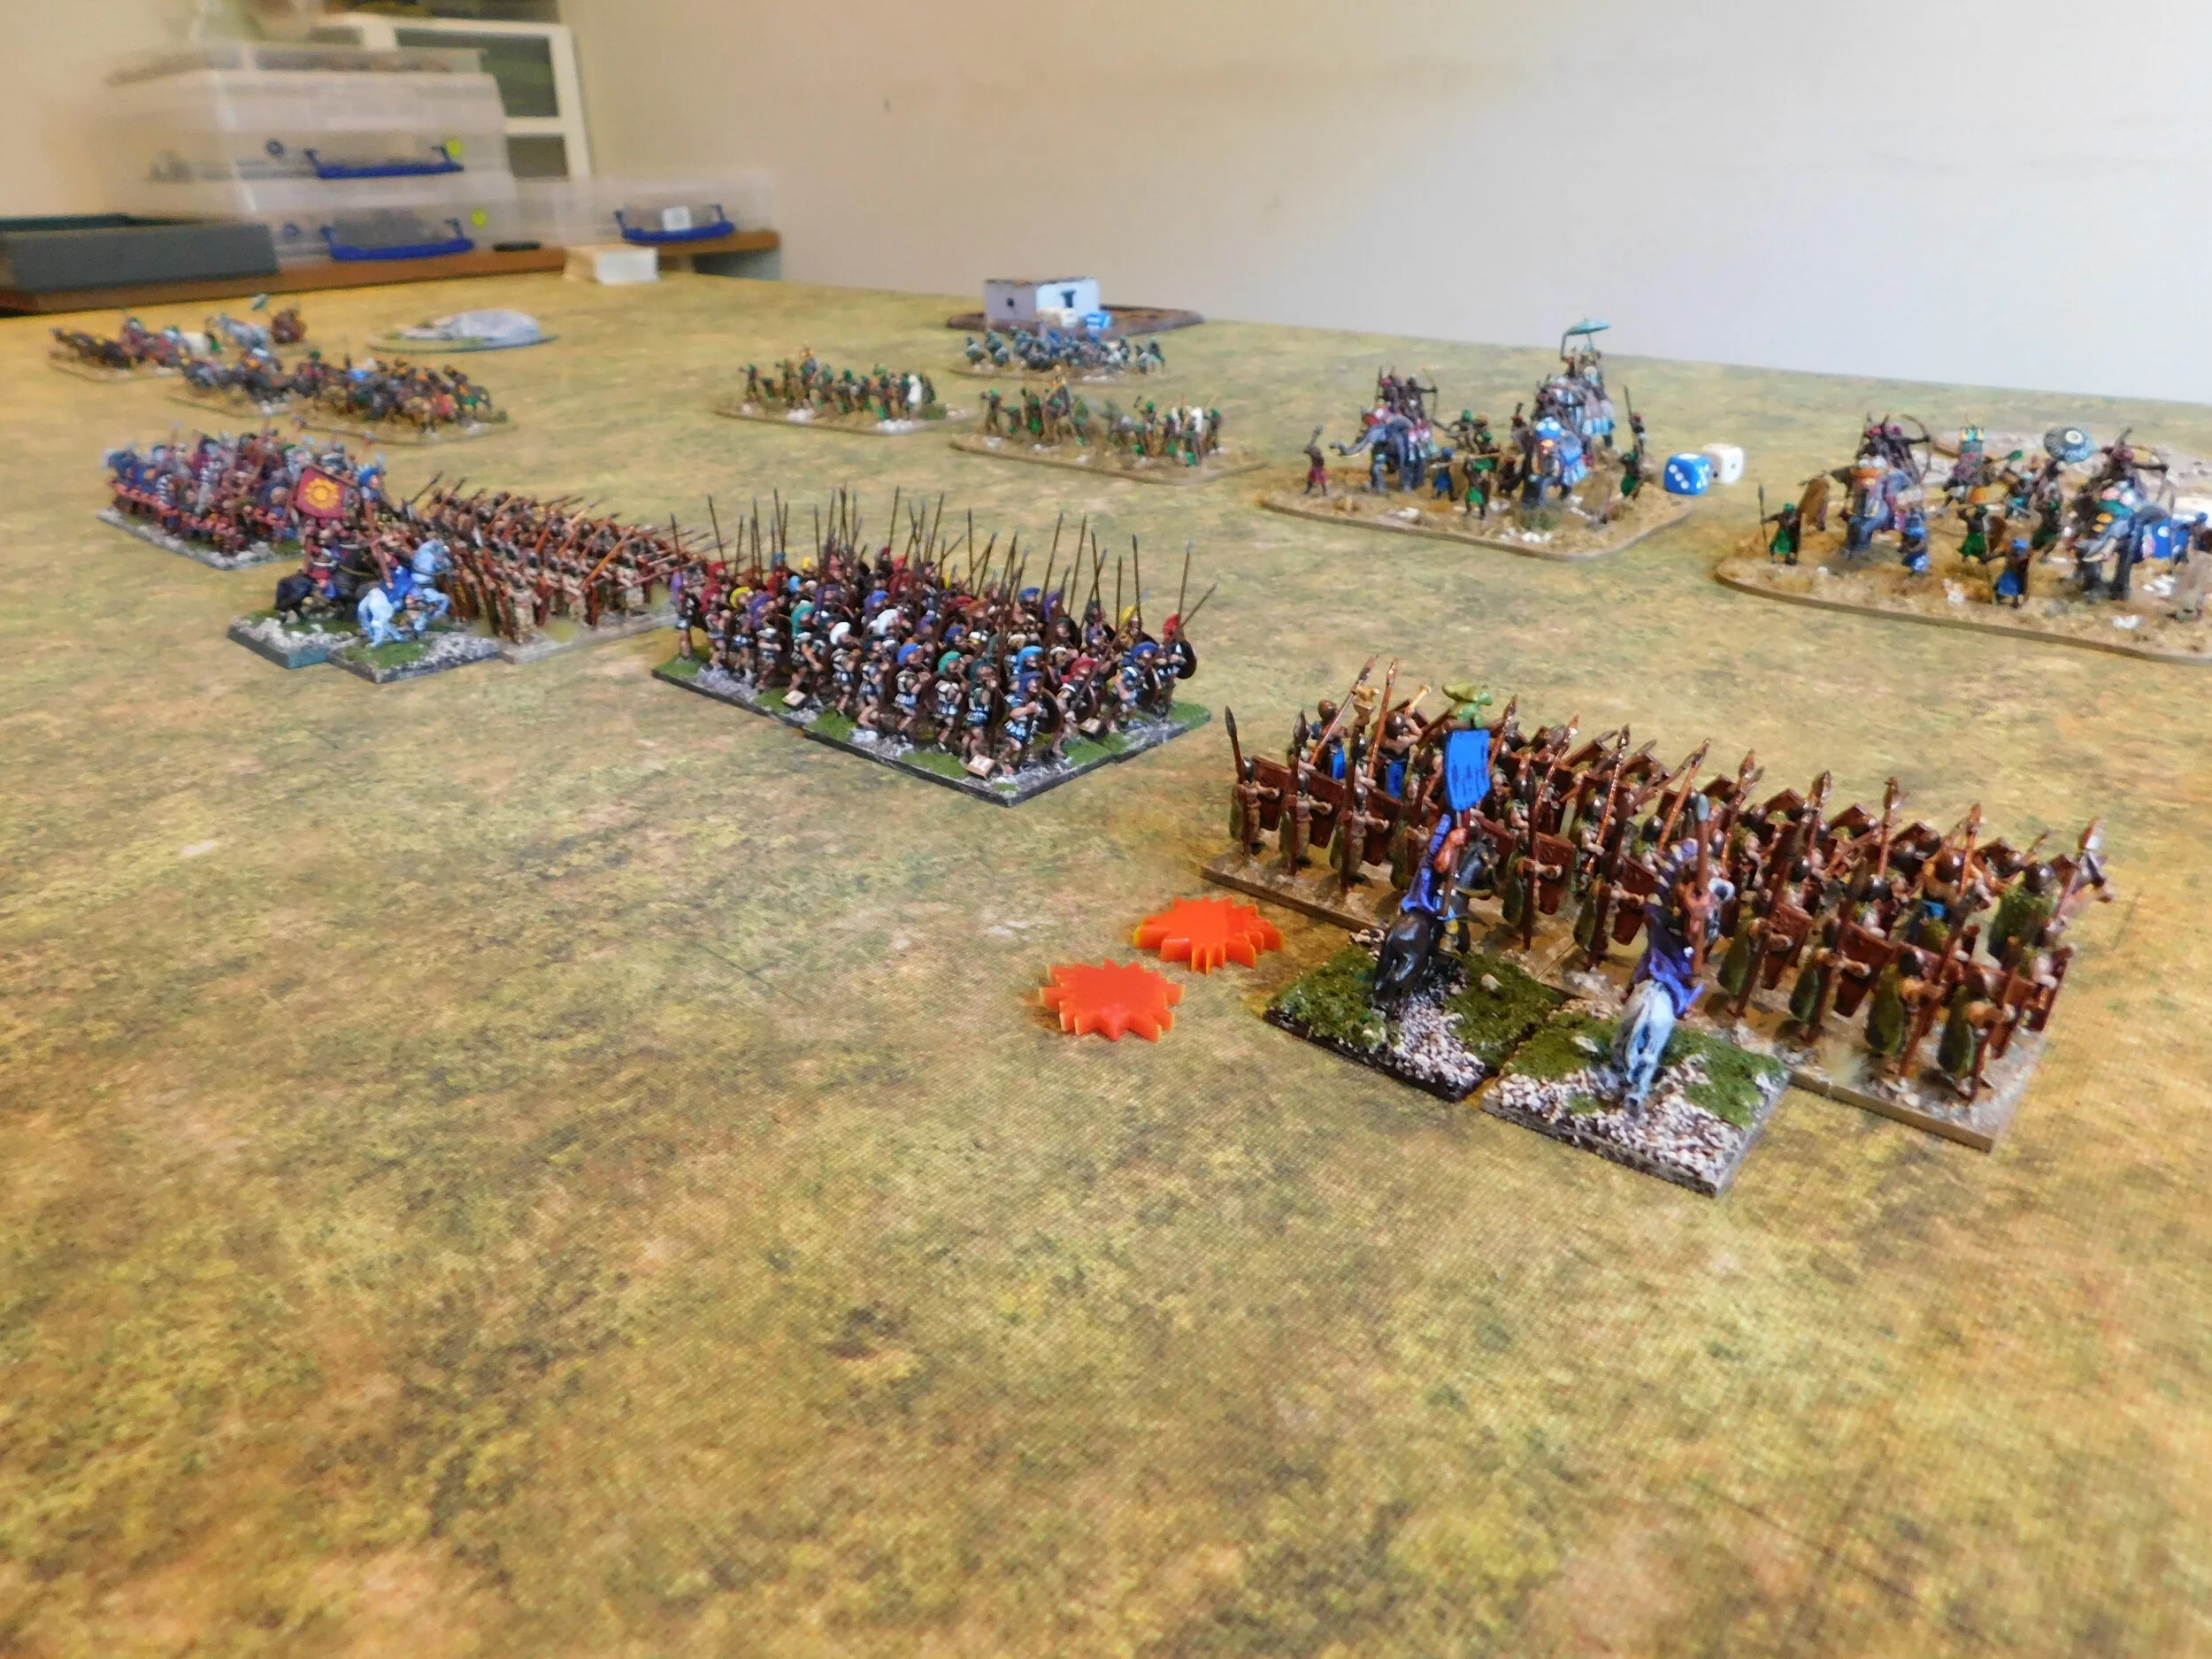
/Regular visitors will know that a couple of week’s ago, my Classical Indians were defeated by an 11-phalanx strong Hoplite Greek army played by friend Bevan. Now it was time to get my revenge with a re-fight of the same battle.
Opening stages: so far everything is going to plan!
Well that was the plan!
Unfortunately things didn’t go at all to plan, and I ended up getting beaten more comprehensively than at our last encounter. Once again my massed longbow fire just failed to break his deep units, often getting to the stage of double-disordering but then not managing the extra hit needed to break them, but this time my impact troops suffered from terrible cards just at the point of impact, when it mattered most.
Just before the two battle lines came together
Although the game, as always with To The Strongest, was great fun, my troops were then gradually ground down by the remorseless space invaders from Greece!
Here’s a few more pictures of the game:
TFL Painting Challenge: First June Update
/The Painting Challenge has been quite quiet of late. I’m hoping that’s because you’re all out either playing face-to-face games now that COVID restrictions have been partially lifted or out in the sun getting some Vitamin D!
Whatever the case for the rest of you, this week’s entrants have done their usual sterling jobs. I’d recommend a visit to the individual galleries, but here’s a taster:
The Scorecard is also now properly updated i.e. includes the scores from the last set of entries as well as today’s.
Keep up the good work everyone: we’re coming up to the half-way point in the year!
The Wojtek Memorial, Edinburgh
/I was wandering around Princes Street Gardens, under the shadow of Edinburgh Castle, the other day when I came across a memorial that I hadn’t previously been aware of: the Wojtek the Soldier Bear memorial.
From Wikipedia:
In the spring of 1942 the newly formed Anders' Army left the Soviet Union for Iran, accompanied by thousands of Polish civilians who had been deported to the Soviet Union following the 1939 Soviet invasion of eastern Poland.
At a railroad station in Hamadan, Iran, on 8 April 1942, Polish soldiers encountered a young Iranian boy who had found a bear cub whose mother had been shot by hunters. One of the civilian refugees in their midst, eighteen-year-old Irena (Inka) Bokiewicz, the great-niece of General Bolesław Wieniawa-Długoszowski, was very taken with the cub. She prompted Lieutenant Anatol Tarnowiecki to buy the young bear, which spent the next three months in a Polish refugee camp established near Tehran, principally under Irena's care.
In August, the bear was donated to the 2nd Transport Company, which later became the 22nd Artillery Supply Company, and he was named Wojtek by the soldiers. The name Wojtek is the nickname, diminutive form, or hypocorism of "Wojciech" (Happy Warrior), an old Slavic name still common in Poland.
Wojtek initially had problems swallowing and was fed condensed milk from an old vodka bottle. He was subsequently given fruit, marmalade, honey, and syrup, and was often rewarded with beer, which became his favourite drink. He later also enjoyed smoking (or eating) cigarettes, as well as drinking coffee in the mornings. He also would sleep with the other soldiers if they were ever cold in the night.
He enjoyed wrestling with the soldiers and was taught to salute when greeted. He became an attraction for soldiers and civilians alike, and soon became an unofficial mascot to all the units stationed nearby. With the 22nd Company, he moved to Iraq, and then through Syria, Palestine, and Egypt.
Wojtek copied the other soldiers, drinking beer, smoking and even marching alongside them on his hind legs because he saw them do so. Wojtek had his own caregiver, assigned to look after him. The cub grew up while on campaign, and by the time of the Battle of Monte Cassino he weighed 200 pounds (14 st; 91 kg).
From Egypt, the Polish II Corps was reassigned to fight alongside the British Eighth Army in the Italian campaign. Regulations for the British transport ship, which was to carry them to Italy, forbade mascot and pet animals. To get around this restriction, Wojtek was officially drafted into the Polish Army as a private and listed among the soldiers of the 22nd Artillery Supply Company. Henryk Zacharewicz and Dymitr Szawlugo were assigned as his caretakers.
As an enlisted soldier with his own paybook, rank, and serial number, he lived with the other men in tents or in a special wooden crate, which was transported by truck. During the Battle of Monte Cassino, Wojtek helped his unit to convey ammunition by carrying 100-pound (45 kg) crates of 25-pound artillery shells, never dropping any of them.
From my 1939 September War Polish army: presumably a Wojtek predecessor!
While this story generated controversy over its accuracy, at least one account exists of a British soldier recalling seeing a bear carrying crates of ammo. The bear mimicked the soldiers: when he saw the men lifting crates, he copied them. Wojtek carried boxes that normally required 4 men, which he would stack onto a truck or other ammunition boxes. This service at Monte Cassino earned him promotion to the rank of corporal. In recognition of Wojtek's popularity, a depiction of a bear carrying an artillery shell was adopted as the official emblem of the 22nd Company.
Post War
After the end of World War II in 1945, Wojtek was transported to Berwickshire, Scotland, with the rest of the 22nd Company. They were stationed at Winfield Airfield on Sunwick Farm, near the village of Hutton, Scottish Borders. Wojtek soon became popular among local civilians and the press, and the Polish-Scottish Association made him an honorary member.
Following demobilisation on 15 November 1947, Wojtek was given to Edinburgh Zoo, where he spent the rest of his life, often visited by journalists and former Polish soldiers, some of whom tossed cigarettes for him to eat, as he did during his time in the army. Media attention contributed to Wojtek's popularity. He was a frequent guest on BBC television's Blue Peter programme for children.[
Wojtek died in December 1963, at the age of 21, weighing nearly 500 kilograms (1,100 lb), and was over 1.8 metres (5.9 ft) tall.
The Wojtek Memorial
The statue was commissioned by the Wojtek Memorial Trust: a Scottish Charity established in 2009 to celebrate the life of Wojtek, "the Soldier Bear", the lives of those who knew him, and their stories during and after the Second World War. The Trust also aims to promote wider understanding of the many historic and current links between the peoples of Poland and Scotland.
The memorial is a life and a quarter bronze statue of a Polish soldier with Wojtek, and a 4m low relief pictorial panel set on a granite platform. It was sculpted by Alan Beattie Herriot and the cast in Edinburgh by Powderhall Bronze. Its setting was designed by Raymond Muszynski of Morris & Steedman Associates.
Last Painting Challenge Update of May
/Is it almost June already? Just where does the time go?
Here’s the last Painting Challenge update for May, although you’ll have to wait a few days for the Scoreboard to be updated.
Lots of excellent work on show: make sure you visit the individual galleries, but here’s a selection:
Classical Indians vs the Greeks
/Restrictions lifted on Sunday, first face-to-face game on Tuesday!
My Classical Indians would face off against a Hoplite Greek army fielded by Bevan…and what a Hoplite Greek army it was: ten units of Hoplites and one of light infantry. The rules used were To The Strongest, a grid-based game, so with my table being twelve squares wide, Bevan could form a space-invader like line of hoplite units and just advance forward, spearpoints out!
So many hoplites that I had to draft in some Summerians as proxies!
On the other side of the battlefield, my Classical Indians consisted of five units of longbowmen as the softening-up element, with a hard core of two escorted elephant units and two heavy chariot units as the “finishers”. Reserves were provided by the Maiden Guard.
Maiden Guards, Elephants, Longbowmen
The Game
As predicted, the Greeks deployed in a largely straight line and spent the early stages of the battle manoeuvring around the patches of scrub and palm trees in order to keep their frontage solid as they came into longbow range.
opening stages
At one stage it did look as if the cards had opened up a couple of holes in the hoplite line and, given a little more lateral space and luck, I could perhaps have got one of my heavy chariot units through a gap and into his rear, but Bevan just managed to block my path on both occasions.
I really wanted to get through that gap!
Finally the Greeks (and pseudo-Greeks!) arrived into longbow range, and my men opened fire. I was determined not to end the game with a camp-full of spare ammunition, so shot for all I was worth.
The Greeks staggered slightly, but came on. There were so many enemy units in an unbroken line that I couldn’t concentrate my fire, so although I could disorder or even double-disorder half his unit, I couldn’t quite break any.
The View from the Other Side
It was time to commit my melee troops, so forward trundled the elephants and chariots, wherever possible aiming at already-disordered enemy units.
Helicopter Viewpoint
Unfortunately, things followed the same pattern again: I disordered or double-disordered the four units I hit, but couldn’t quite manage the break, apart from one raw hoplite unit that did flee the field…but this was soon, space-invader like, replaced by another.
Damage, of course, was being done to both sides, but my troops only had two hits each as opposed to his three. I lost a unit of elephants (to what looked like the Spartans, no less), evening things up again, and the battle became one enormous melee.
Bye bye Nellies!
My men (and maidens) resisted bravely for a couple of rounds, another unit of hoplites was destroyed by one of my chariot units, but the writing was on the wall: I hadn’t done enough damage in the missile-fire stages of the game to win the grinding melee that followed.
I started steadily losing units, victory coins and eventually, the battle itself.
Aftermath
The game was actually a lot closer than the above implies. At one stage, I did actually manage to break his line with some chariots and had two more of his hoplite units on double-disorder. Unfortunately, the chariots couldn’t turn and get into the enemy rear in time, and I just couldn’t get the extra hit I needed to break the spearmen. I did use up all my spare ammunition though!
So a close run thing despite the apparent disparity in sides. My Classical Indians will lick their wounds and have another go in a few week’s time!
The far chariot unit has broken through, but too late to alter the outcome of the battle
Indian Cavalry Ride Out!
/As mentioned in previous posts, I’m expanding my Classical Indians to embrace later Indian armies: the Graeco-Indians, Kushans and Indo-Scythians and so on.
A lot of the differences involve the decline of the chariot balanced by the ascent of the cavalryman leading, eventually, to the era of cataphract-like cavalry supported by lights.
Here then are a couple of units that allow me to begin to effect that change: two squadrons of Indian armoured horsemen:
As usual, these are the rather excellent Museum Miniatures CAD designed “Z” range of Classical Indians: very nice figures indeed. These were painted with a base coat of metallic paint washed with Agrax Earthshade and then highlighted. All non-metals are Contrast paints.
Viva Juarez!
/When I used to play a lot of 19th Century gaming, one of the campaigns that really interested me was the French Intervention in Mexico in the 1860s.
Without going into too much detail, in 1861 Britain, Spain and France decided to persuade Mexico to pay their extensive debts by sending troops to Veracruz. It soon became obvious that the French had actually decided to not just get their money, but invade Mexico properly with the intention of turning it into some kind of client-state. Although some Mexicans sympathised with the French, others, under President Benito Juarez didn’t, leading to a combination of all-out French invasion and Mexican civil war. As is so often the way, the invading French were initially very successful, taking Mexico City and installing the puppet Emperor Maximilian on the throne, but eventually they were worn down by the constant guerilla warfare and withdrew, leaving Maximilian to his fate.
It’s a fascinating campaign full of colourful personalities and even more colourful uniforms. The only thing that has really been lacking is a single source of information that puts everything easily in one place for the wargamer.
Until now!
Those fine chaps at the Virtual Armchair General (aka TVAG: with whom, I might add, I have no connection) have published not one but two books on the campaign: Viva Juarez Volume 1, The Armies; and Viva Juarez Volume 2, The Battles.
These were initially available on a pre-subscribe print on demand basis: a service which is quite extraordinarily incredible. I ordered both books via e-mail, paying via PayPal, and got them in the post the next day!
These are proper wargaming books written, it seems, by wargamers for wargamers. They are full of the detail that normal historians tend to ignore but that are vital for those recreating the conflict. There’s a lot of chrome as well: information to add colour to your games.
The Armies book has easy to decipher OBs backed up by vast numbers of uniform plates that provide a great guide for the painter. The Battles book effectively gives you a large number of wargaming scenarios that you could almost play straight from the book.
I include all TVAG’s blurb below, but would highly recommend both volumes to anyone who has any sort of interest in the period. Excellent work TVAG!
Click here to go the the TVAG page where you can buy these.
TVAG’s Blurb
Over two years in development, Viva Juarez! is now the most complete single source for all matters military pertaining to the French Intervention in Mexico, Napoleons III's mad scheme to create a puppet Empire of France ruled by an Austrian prince.
Though a number of good English language books have been available, none have detailed accounts of any of the key battles and sieges, only generic references, and little or no Order of Battle information. Uniform data is out there, but a thorough collection of all that is available--and a number of uniforms that are not--previously took a major effort to find.
The Los Supremos Podres, figures from my collection
Well, that is all ended now. Viva Juarez! has it all, and then some, in two unique volumes. "Volume One--The Armies," has 62 pages of full color uniform plates, many contemporary to the events, and a good number of new ones specifically made for this project by former Disney illustrator, Nick Stern. But more than just the plates, there is full organizational information for all combatants: Mexican Republicans, Franco-Mexican and Imperialists, Belgians, Austrians, Egyptians, and, of course, Second Empire French. Color plates of weapons and their operating stats for all armies, and more, make this the single most complete source on the armies engaged. "Volume Two--The Battles" contains in its 204 pages full details of 31 actions, each with OB's and at least one period battlefield map. These maps have been reproduced in full color and printed full page size in order for the terrain and troop movements to be easily studied. Further, there is a section on Key Personages, brief biographies of some of the most influential players which can help the reader keep track of who-is-who and their affiliation(s) during the war. Twenty appendices are include for thoroughness, including a full chronology of the war, Regional OB's for different stages of the war, and organizational information on the Imperial Gendarmerie and the disposition of captured Republican Officers sent to France. Attention to Mexican topography has been taken, as well, to help illustrate it effects on campaigns and logistics with descriptions and pages of special maps.
The 2nd Battalion of Mexican Infantry (they can fight on either side!)
Even current devotees of The French Intervention will learn more than has ever been available to them before. This Editor was able via the Internet to source Spanish, French, and German language books, contemporary magazines and periodicals, memoirs, and reports not previously translated to English. Besides the actual events of many battles not previously accessible, the sheer volume of contemporary photos, illustrations and maps is without precedent. Of particular value was Mexico's Mapoteca Orozco y Berra whose generous staff made available maps previously thought non-existent.
While Viva Juarez! can be read by any history buff, it is truly aimed at the wargaming possibilities. With the actual battlefield maps and detailed OB's, it is definitely possible to re-fight any of these historical actions with great authenticity using whatever rules are preferred. But of particular interest is the fact that most of the battles fought in Mexico can be represented on the table top with no more than 100 figures. The great sieges of Puebla, Oaxaca, and even Queretaro are possible, especially if only key actions are played, but so many were affairs were of only a few thousand to a few hundred combatants. No massive Napoleonic or American Civil War collections required here! And yet the variety of troops by nationality, uniforms, weaponry, terrain (jungles, not just desert!), quality and numbers on the table is best likened to the most exotic Colonial Wargames. There are even amphibious operations along both coasts of Mexico recounted in detail. Viva Juarez! is now the "go to" source on the subject.
Viva Juarez! is available in two volumes, each is a stand alone devoted to its topic. Volume One--The Armies Retails for $30.00, plus postage. Volume Two--The Battles Retails for $40.00, plus postage.
TFL Painting Challenge: The Next May Update
/Another great set of submissions for the painting challenge: I really have no idea how people are so productive!
Do visit the individual galleries to see everything, but here’s a selection to tickle your fancy!


